Leaderboard


Popular Content
Showing content with the highest reputation on 06/27/2019 in all areas
-
3 points
-
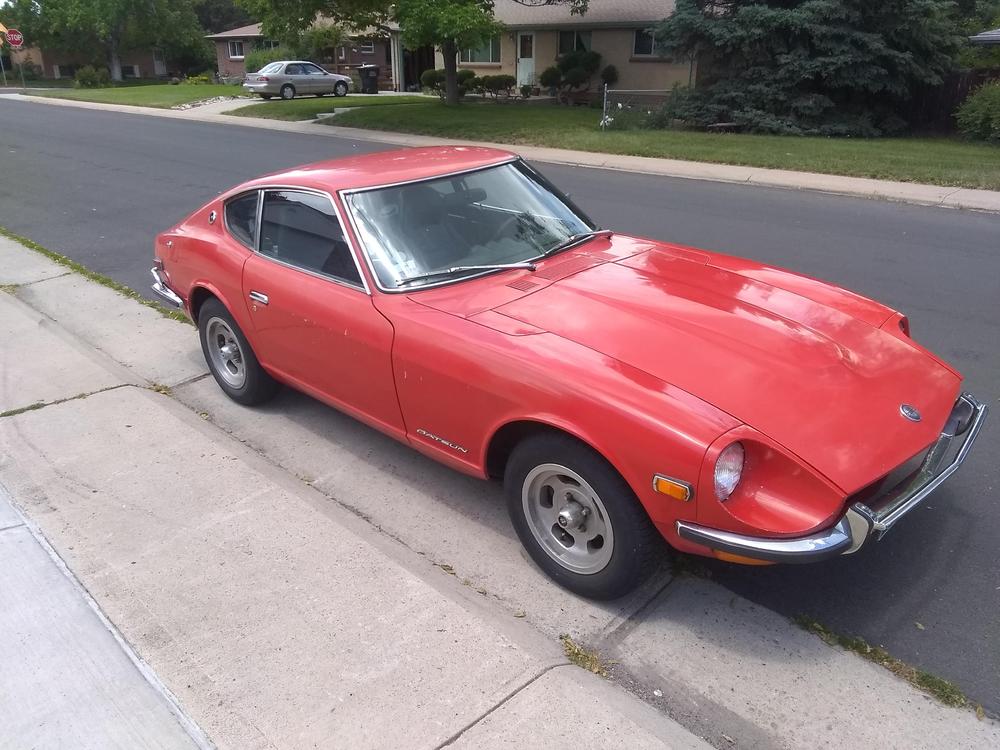
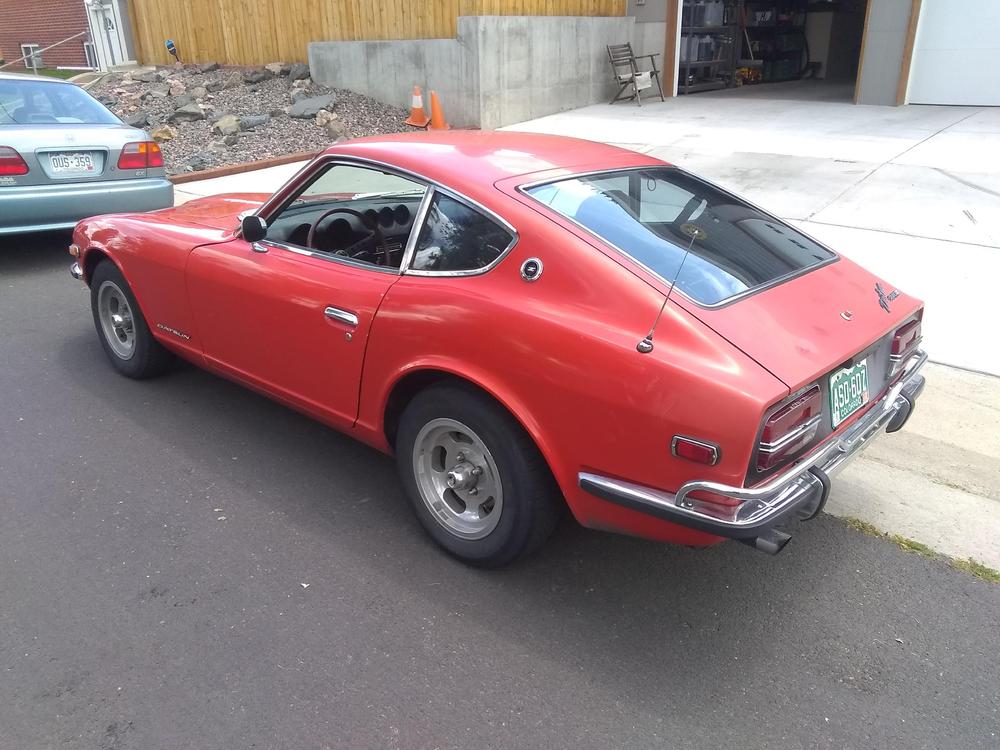
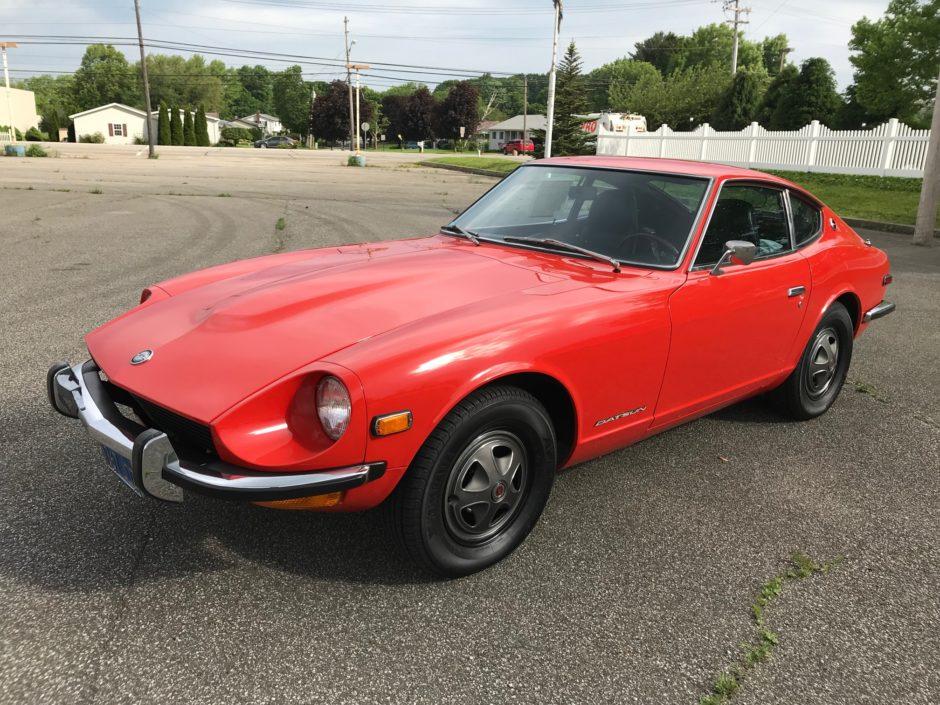
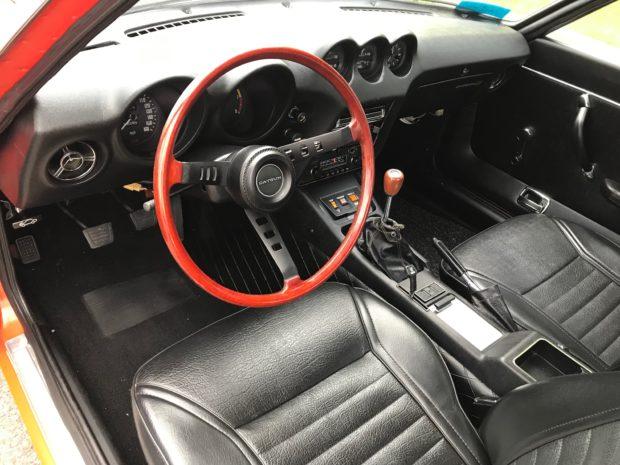
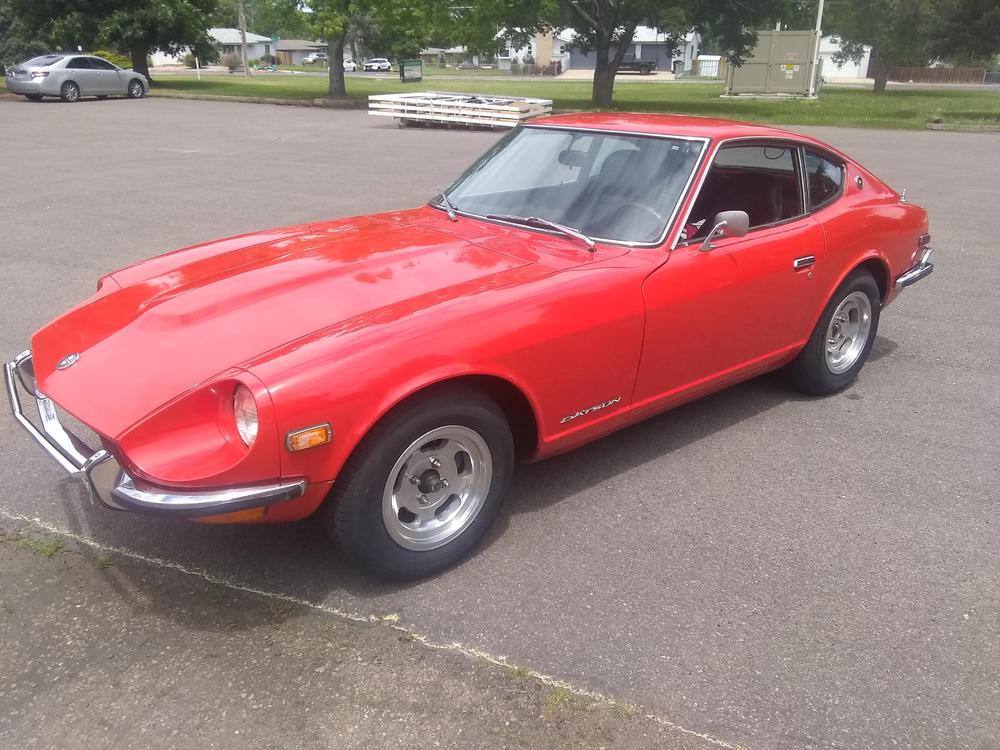
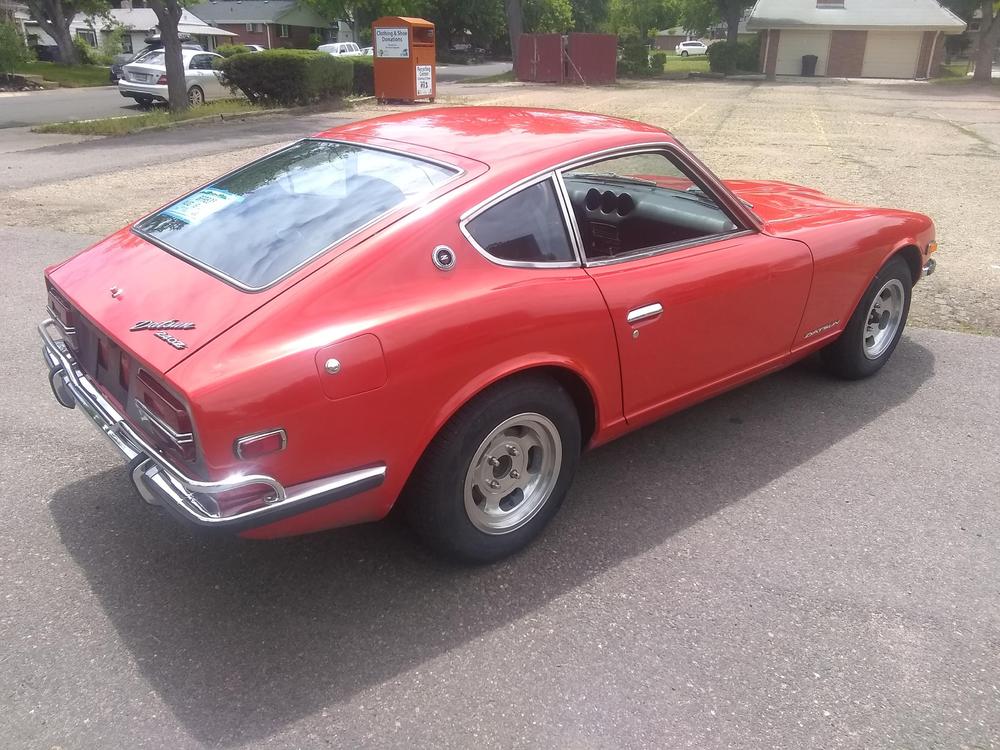
2 pointsHey Guys, I was sent here from the Hybridz forum. They said you do more factory and stock cars so it might be a better fit. I wanted to introduce myself. I bought this car 2 weeks ago from an old lady down the street. It was her husbands and he bought it in 1973. The build date is 6/1971. He never drove it in the rain and kept it nice. It hadn't been run in 7 years and hadn't left the garage in 10. I put gas in the carbs and tank, aired up the tires, fired it up and drove it home. It has 98k miles and service records since 1973. I have never owned a z before. I have been reading a bunch and getting familiar with it. So far I have changed the tires, belts, fuel lines, trans fluid, differential fluid, brake fluid, shoes, pads, and unstuck a brake cylinder. I have some interior parts coming to freshen up the interior. I polished the wheels today and tomorrow I am going to buff out the paint. This winter I am going to do the trans and differential seals, suspension, bushings, steering ect.. I am preparing a laundry list now. Aside from the suspension, the car runs and shifts well except when downshifting into third. It grinds every time, no matter what I do. None of the other gears grind. My buddy suggested double clutching but that hasn't worked. The fluid in the trans was thick and smelled like gear oil. I put in red line I think the PO used the wrong fluid. I was reading that the wrong fluid can damage the syncros. Is there anything else I can try to make downshifting into third smoother. Bill
 2 points
 -
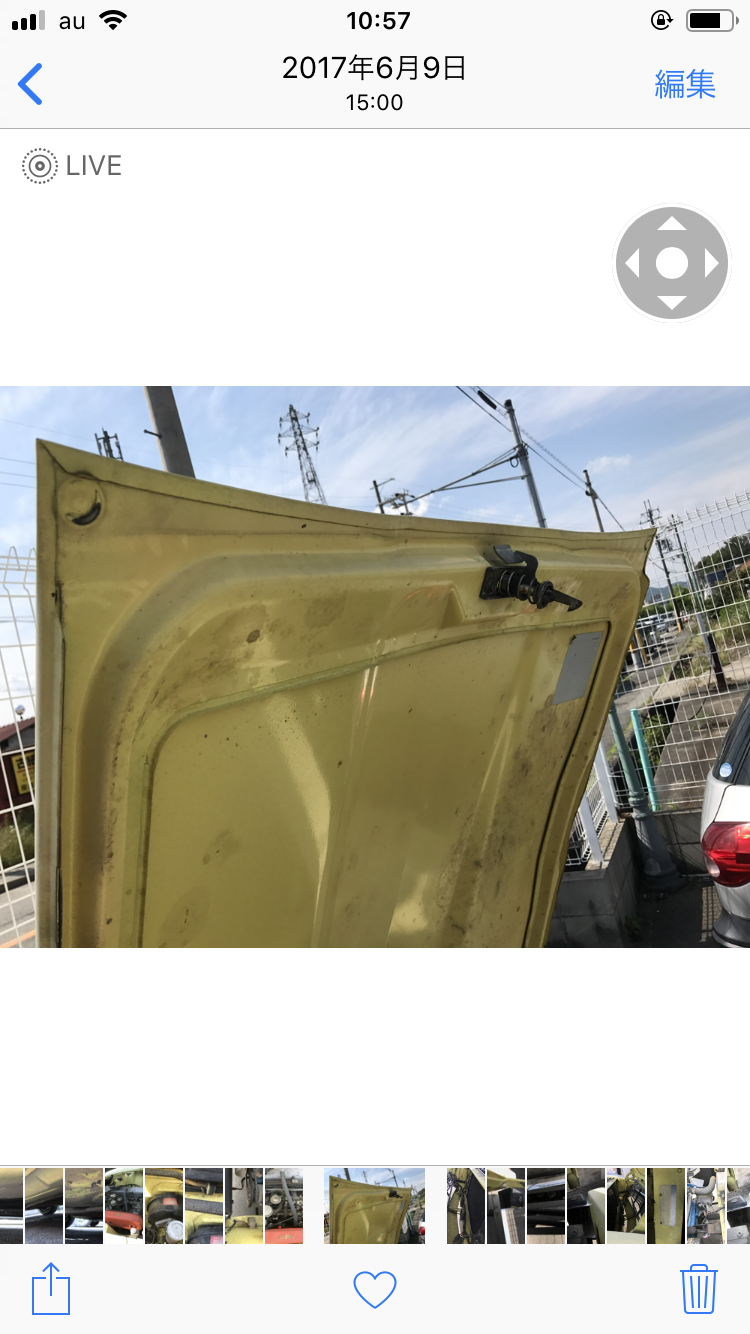
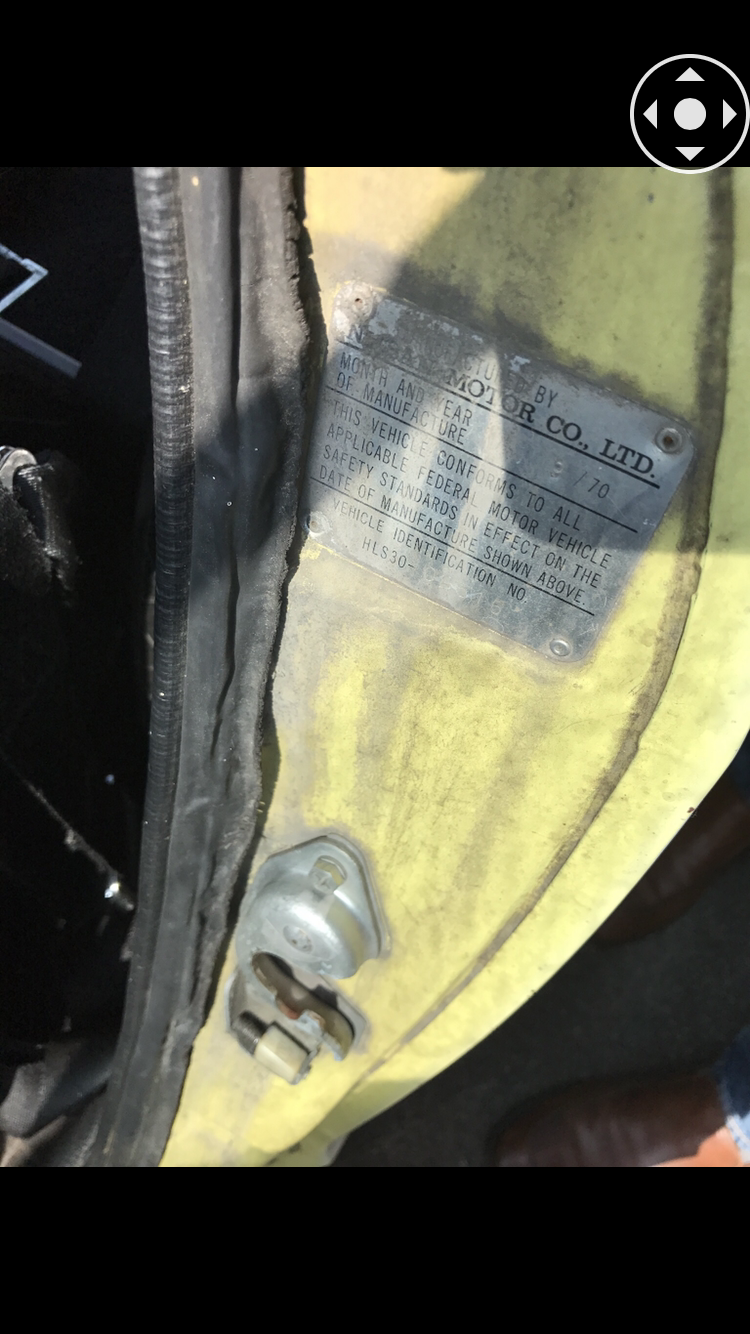
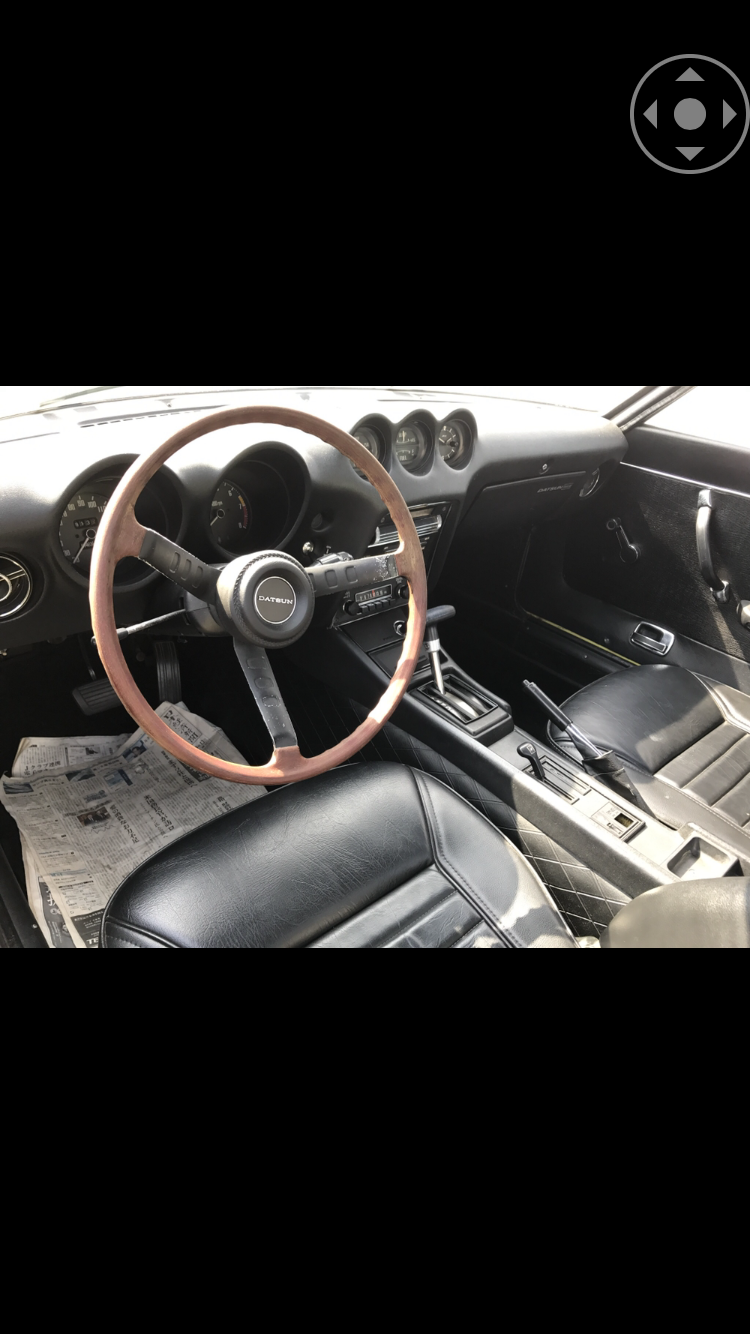
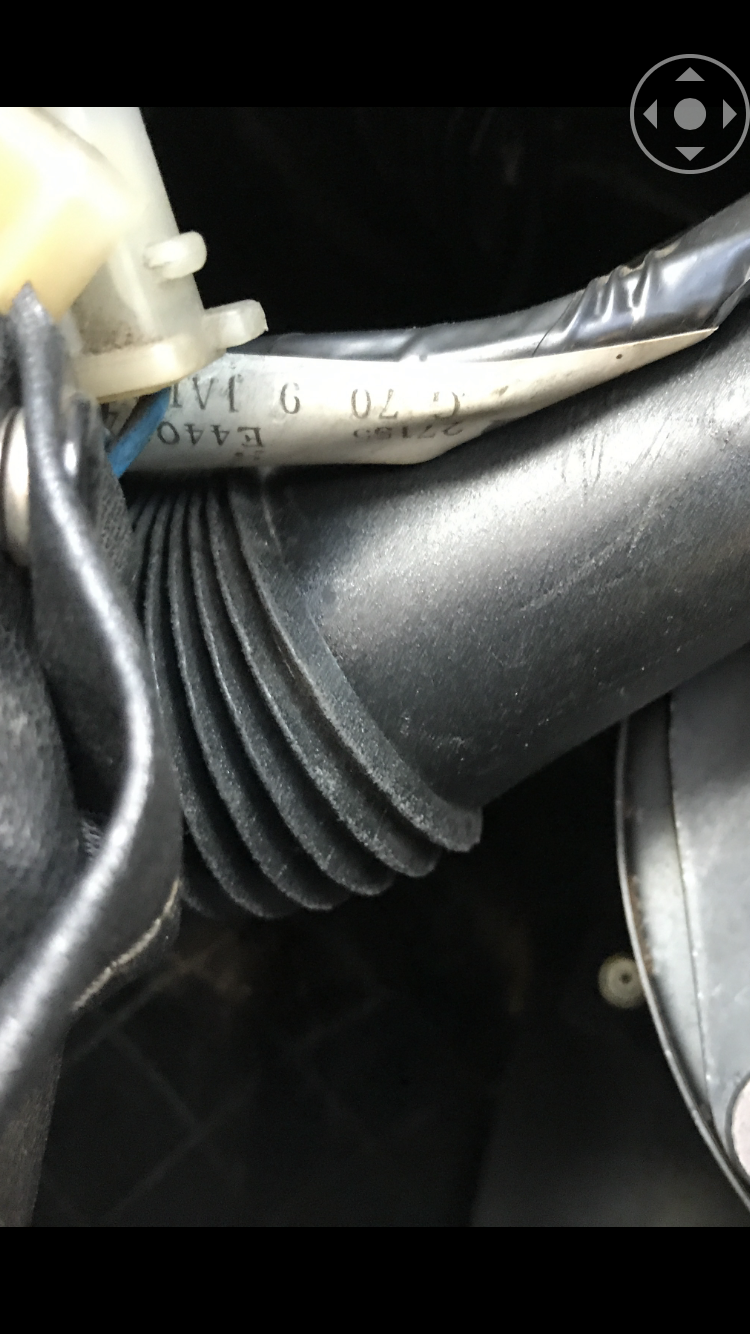
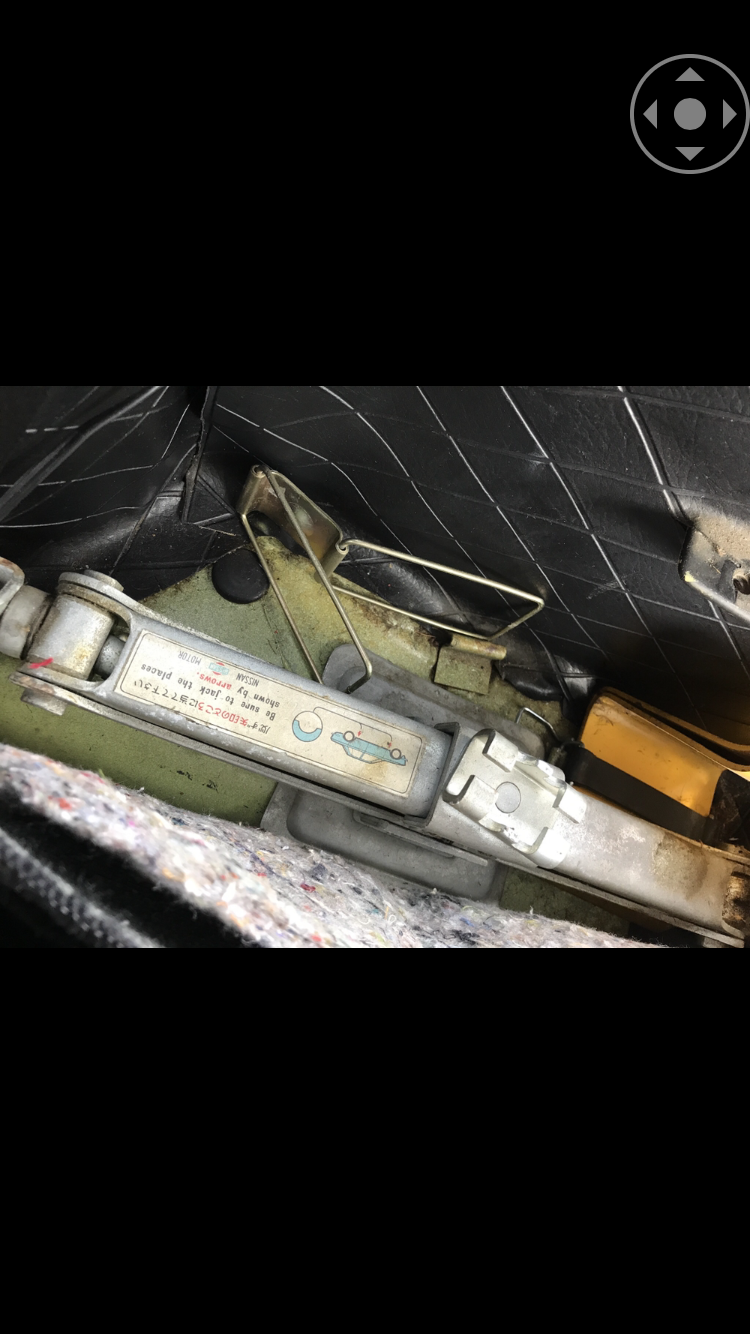
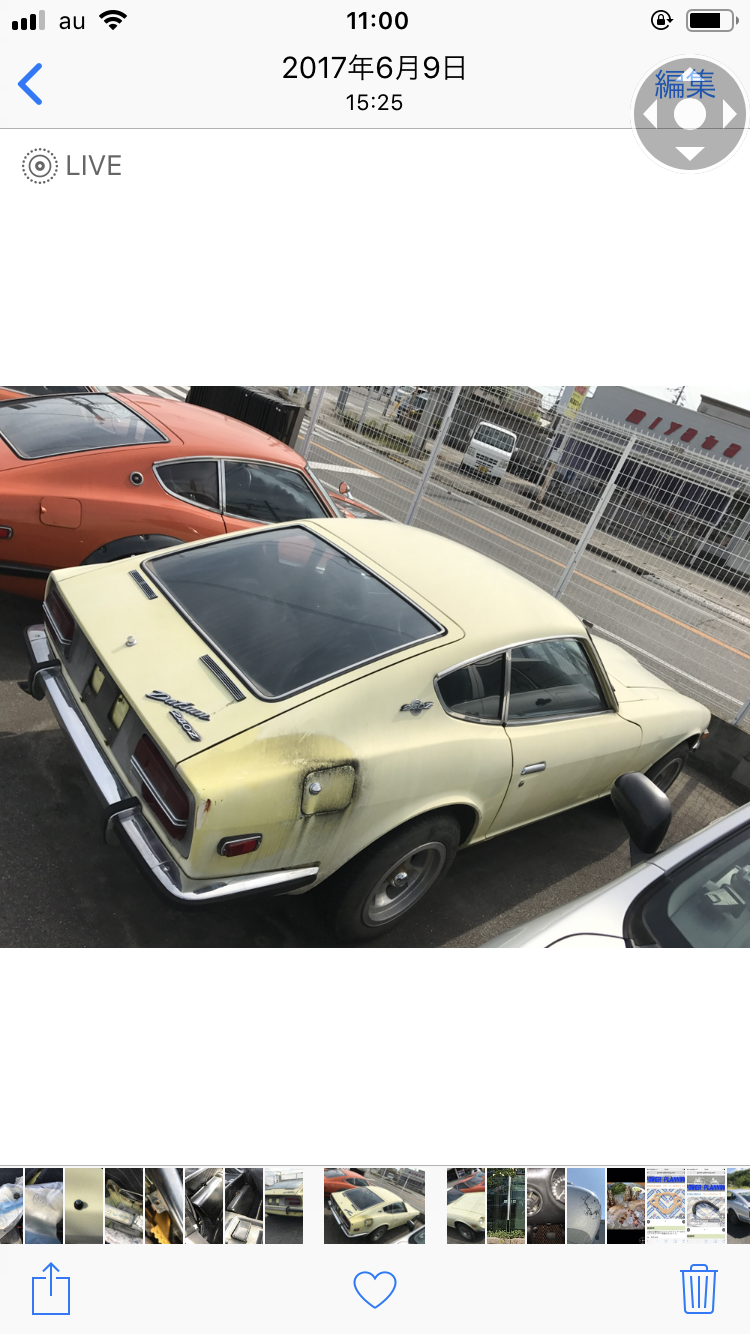
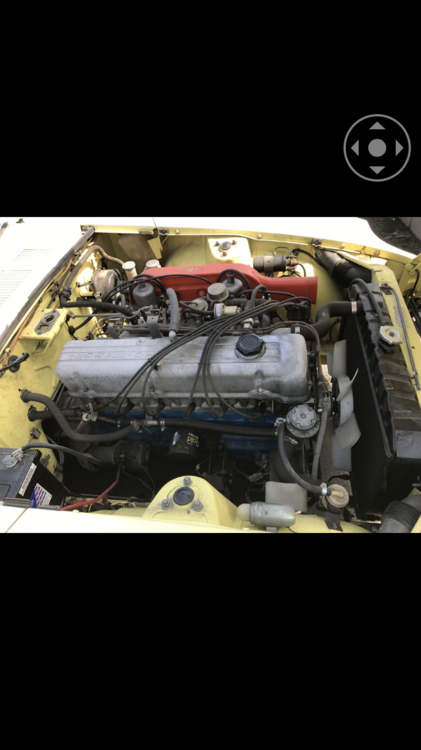
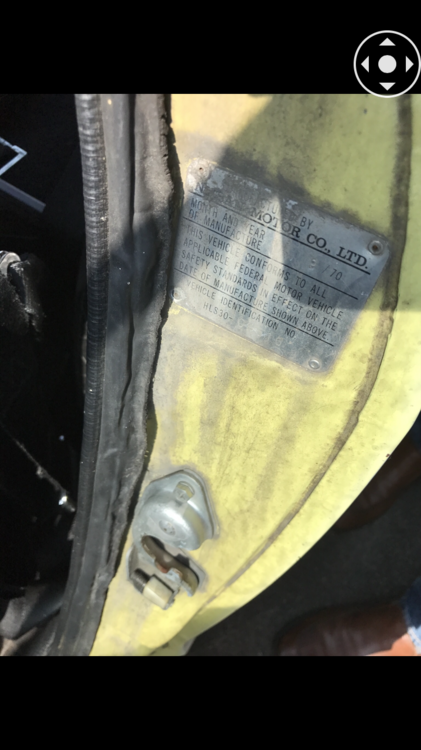
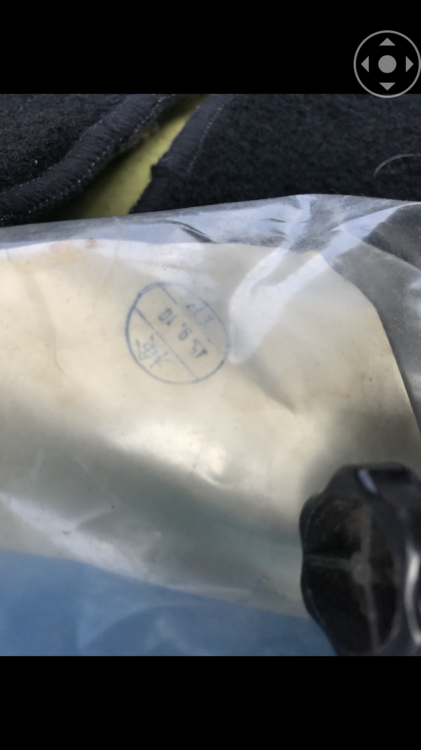
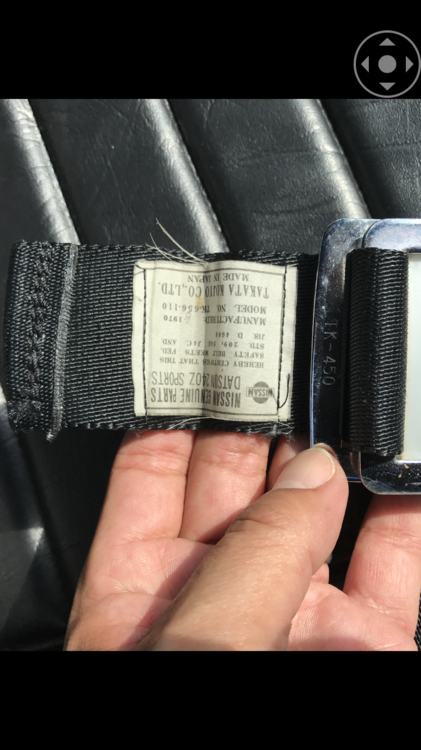
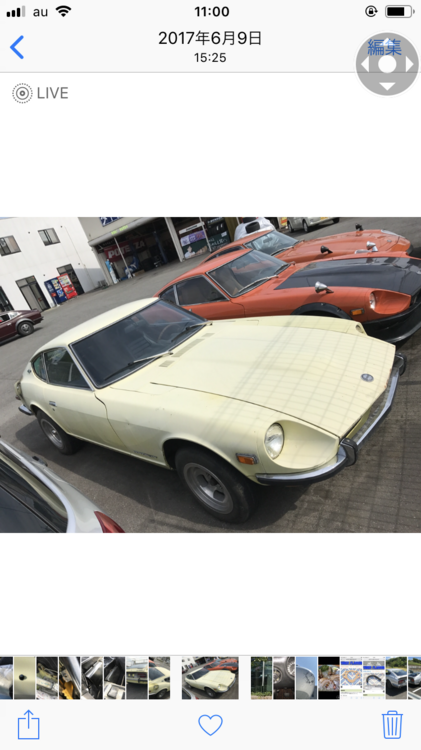
2 pointsHi , I forgot to report this , I found this car for sale in June 2017 in Japan . 09/1970 on the door jam tag . This car has an early bonnet which looks to be origin to this car but , the edge of the bonnet doesn’t have a small tab which can be seen in the one from 69- 1970 early. So , this could be the second bonnet , no holes / no reinforcements , no tabs . I enjoyed discovering this car’s condition, many original parts still there . It was a fun to look at various type of “ date” markings are corresponding. The seat belt 8 /1970 , the tool’s contents paper “ 45 . 9. 10 “ September 10th 1970 ) , even the wiring harness showing 70. 9. (September 1970 ) and , I see the jack has corresponding date “ P H Y “ ( 1970 August 25th ) . Someone has to rescue this car , still sitting outside of the shop . Sorry I wrote to many things , just I wanted to give some information of the date to see when this betweenness was applied from and up to . Kats


 2 points
 -
Throw out bearing? One hair off a rat's a s s.2 points
-
Here's the link to this beauty, already at $30k with 5 days to go: https://bringatrailer.com/listing/1973-datsun-240z-95/
 1 point
 -
1 pointThe great news is that the driveline is done. Engine and transmission bolted in, rear end bolted in and driveshaft installed. So much relief and satisfaction today. Now on to all the fun and not so fun stuff. I will button up some of the plumbing for the AC and the heater lines, route some lines for the speedo cable etc. I will leave the wiring of the motor for a while. Once I’m done playing with the engine bay I will get going hardcore on the final body work and metal repairs. Time to get serious!1 point
-
1 pointThanks man. This forum looks like a better fit. This car is too nice to modify. Some of the paint is original but I don't know how much. I polished the wheels last night and spent 4 hours buffing the paint and polishing the chrome today. I hand polished it using some light compound and then put a coat of wax on it. It came out nice, but it is still a 20+ footer .
 1 point
 -
1 pointI love your attention to detail Capt. Did you go to engineering school or just have the knack? That coming from me, who never even reads the instructions! ?1 point
-
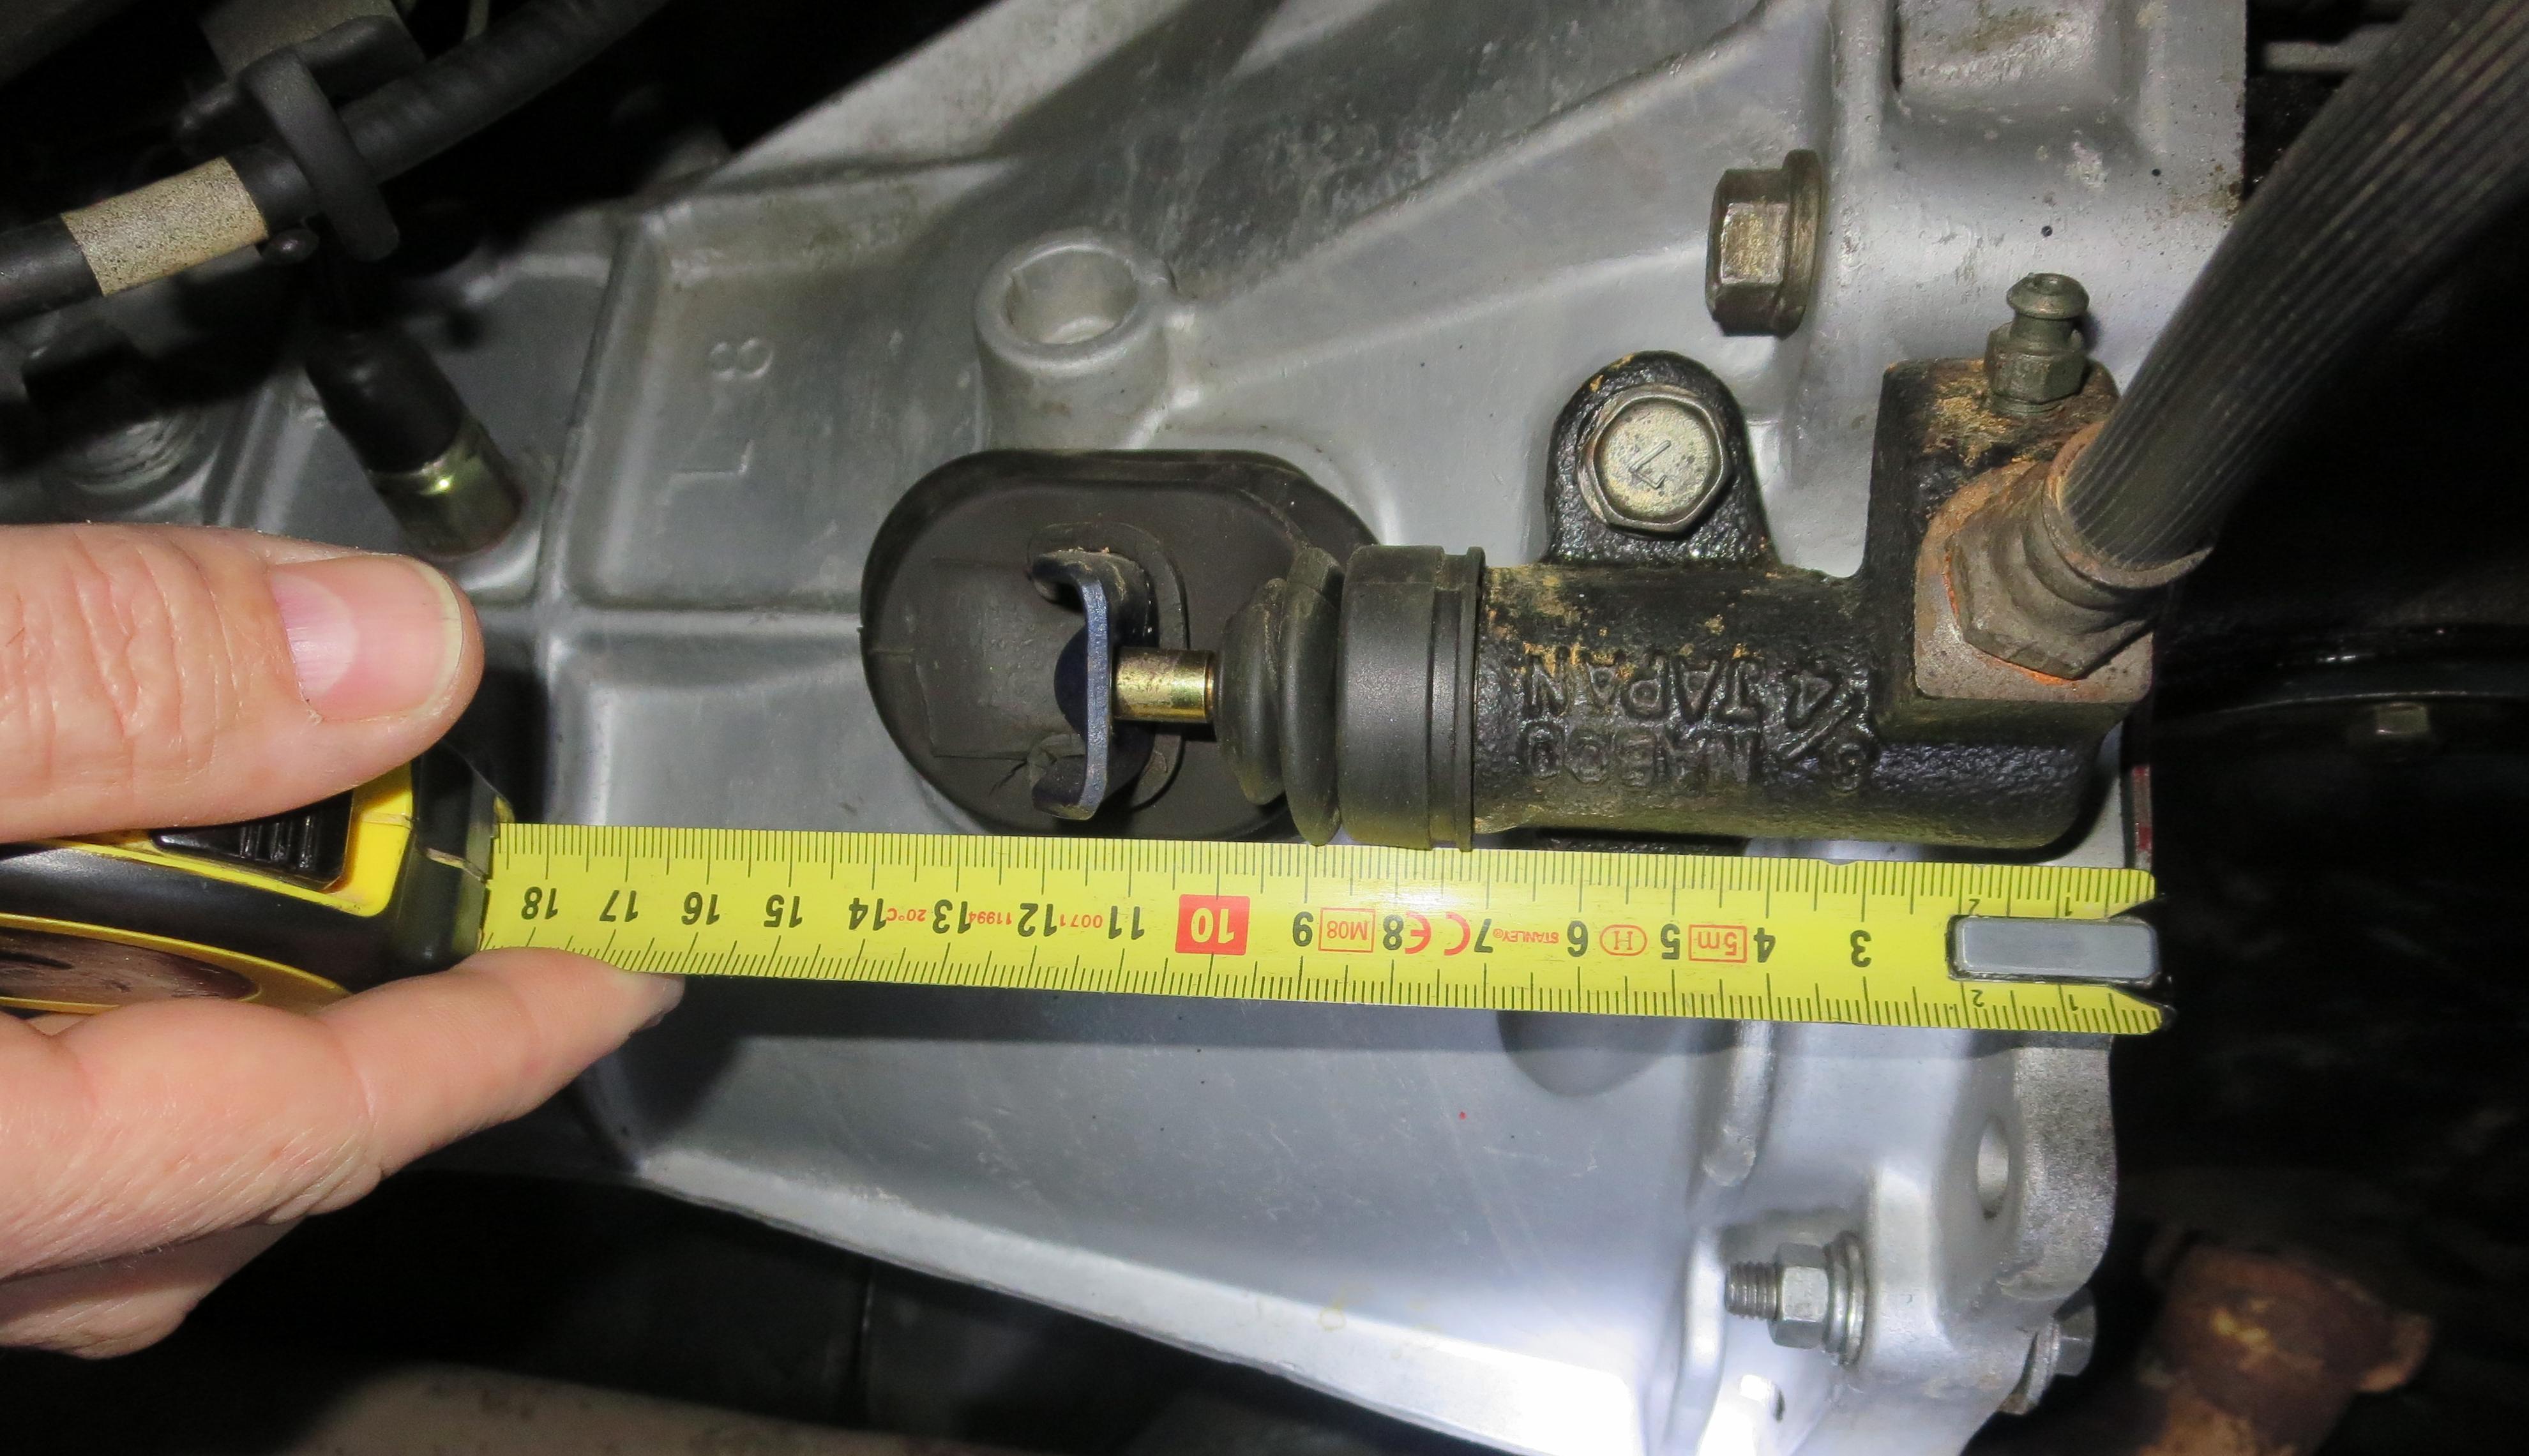
1 pointWhen you changed the clutch. Did you compare the two pressure plates. There are basically four different heights available. The magical number between the flywheel and where the clutch fork contacts the collar is 92mm. The collar must match the pressure plate. Very easy to mix them up when using aftermarket pressurs plates. Measure the fork position in rest. From the front of the transmision bellhousing to the clutch fork should be around 115mm. If you measure 120-125 then the clutch fork will bind on the transmission housing before releasing the clutch.
 1 point
 -
The Horns are working again! Take the 6 screws out (on the front) at the edge, NOT the middle one.. leave that one in. There is a contact under the small steel bridge.. this bridge is adjustibke by the screw on the back. Clean the contact and adjust the screw on the back out.. In my case there was some sand or grit between the contacts, clean it thoroughly. put it al together and connect it to a battery or pwrsupply. (12v at least 3 A) then adjust the screw on the back in so it sounds as it should… paint it and ready to install.1 point
-
1 pointThe parts you are asking for can be sourced at any aftermarket parts dealer or direct from Nissan. See attached list. Nissan Part numbers are: O-ring 24x2.5mm P/N: 32710-14600 Seal 14/20x4.2mm P/N: 32858-U6702 Material: NBR Tranny_Rebuild_FEB2012.pdf1 point
-
ok so now the fun begins, get the wiring diagram from the FSM that details the headlights for starters, you should be able to find the power lead, un plug that and see if you can clear the short on the terminal where the fuse wire plugs in. You are going to want to set things up for continuity testing and start working to see when the short goes away. My guess is the combo switch has been futz with, but you will just have to do some circuit tracing. IIRC its a big fat single red lead plug that is part of the combo switch harness. That one supplies power thru the combo switch back to the fuse box that has dual 10amp fuses for each head light. The headlight get the ground thru the dimmer, a big fat Black lead that is part of the combo switch harness.1 point
-
1 pointSorted out my Clutch Slave Cylinder. zKars had provided me one with the Stroker, but I had not noticed it was designed for the clutch fork with the hole through it! My 280 fork is solid... So after careful perusing of the forum and referencing the info from Eurodat, I was able to mount the new CSS with the push rod out of my old rusted CSS. It’s all in the small details... Adjustable pushrod (assembled backwards to show needed length) Adjustable and old solid pushrod: Properly assembled and adjusted for 110mm static length and 126mm stroke length from bell housing. Thanks to zKars for the wealth of info and Eurodat for the reference.1 point
-
I started my leather search here: http://keleenleathers.com/ There are several other leather dealers on the net.1 point
-
1 pointI don't think slimming the head results in advanced timing. I believe removing material from the head results in retarded valve timing. I think about it this way... The distance between the crank and cam got smaller, but the length of chain between the two did not. So the cam will trail the crank by that additional length. Did you mean slimming or shimming?1 point
-
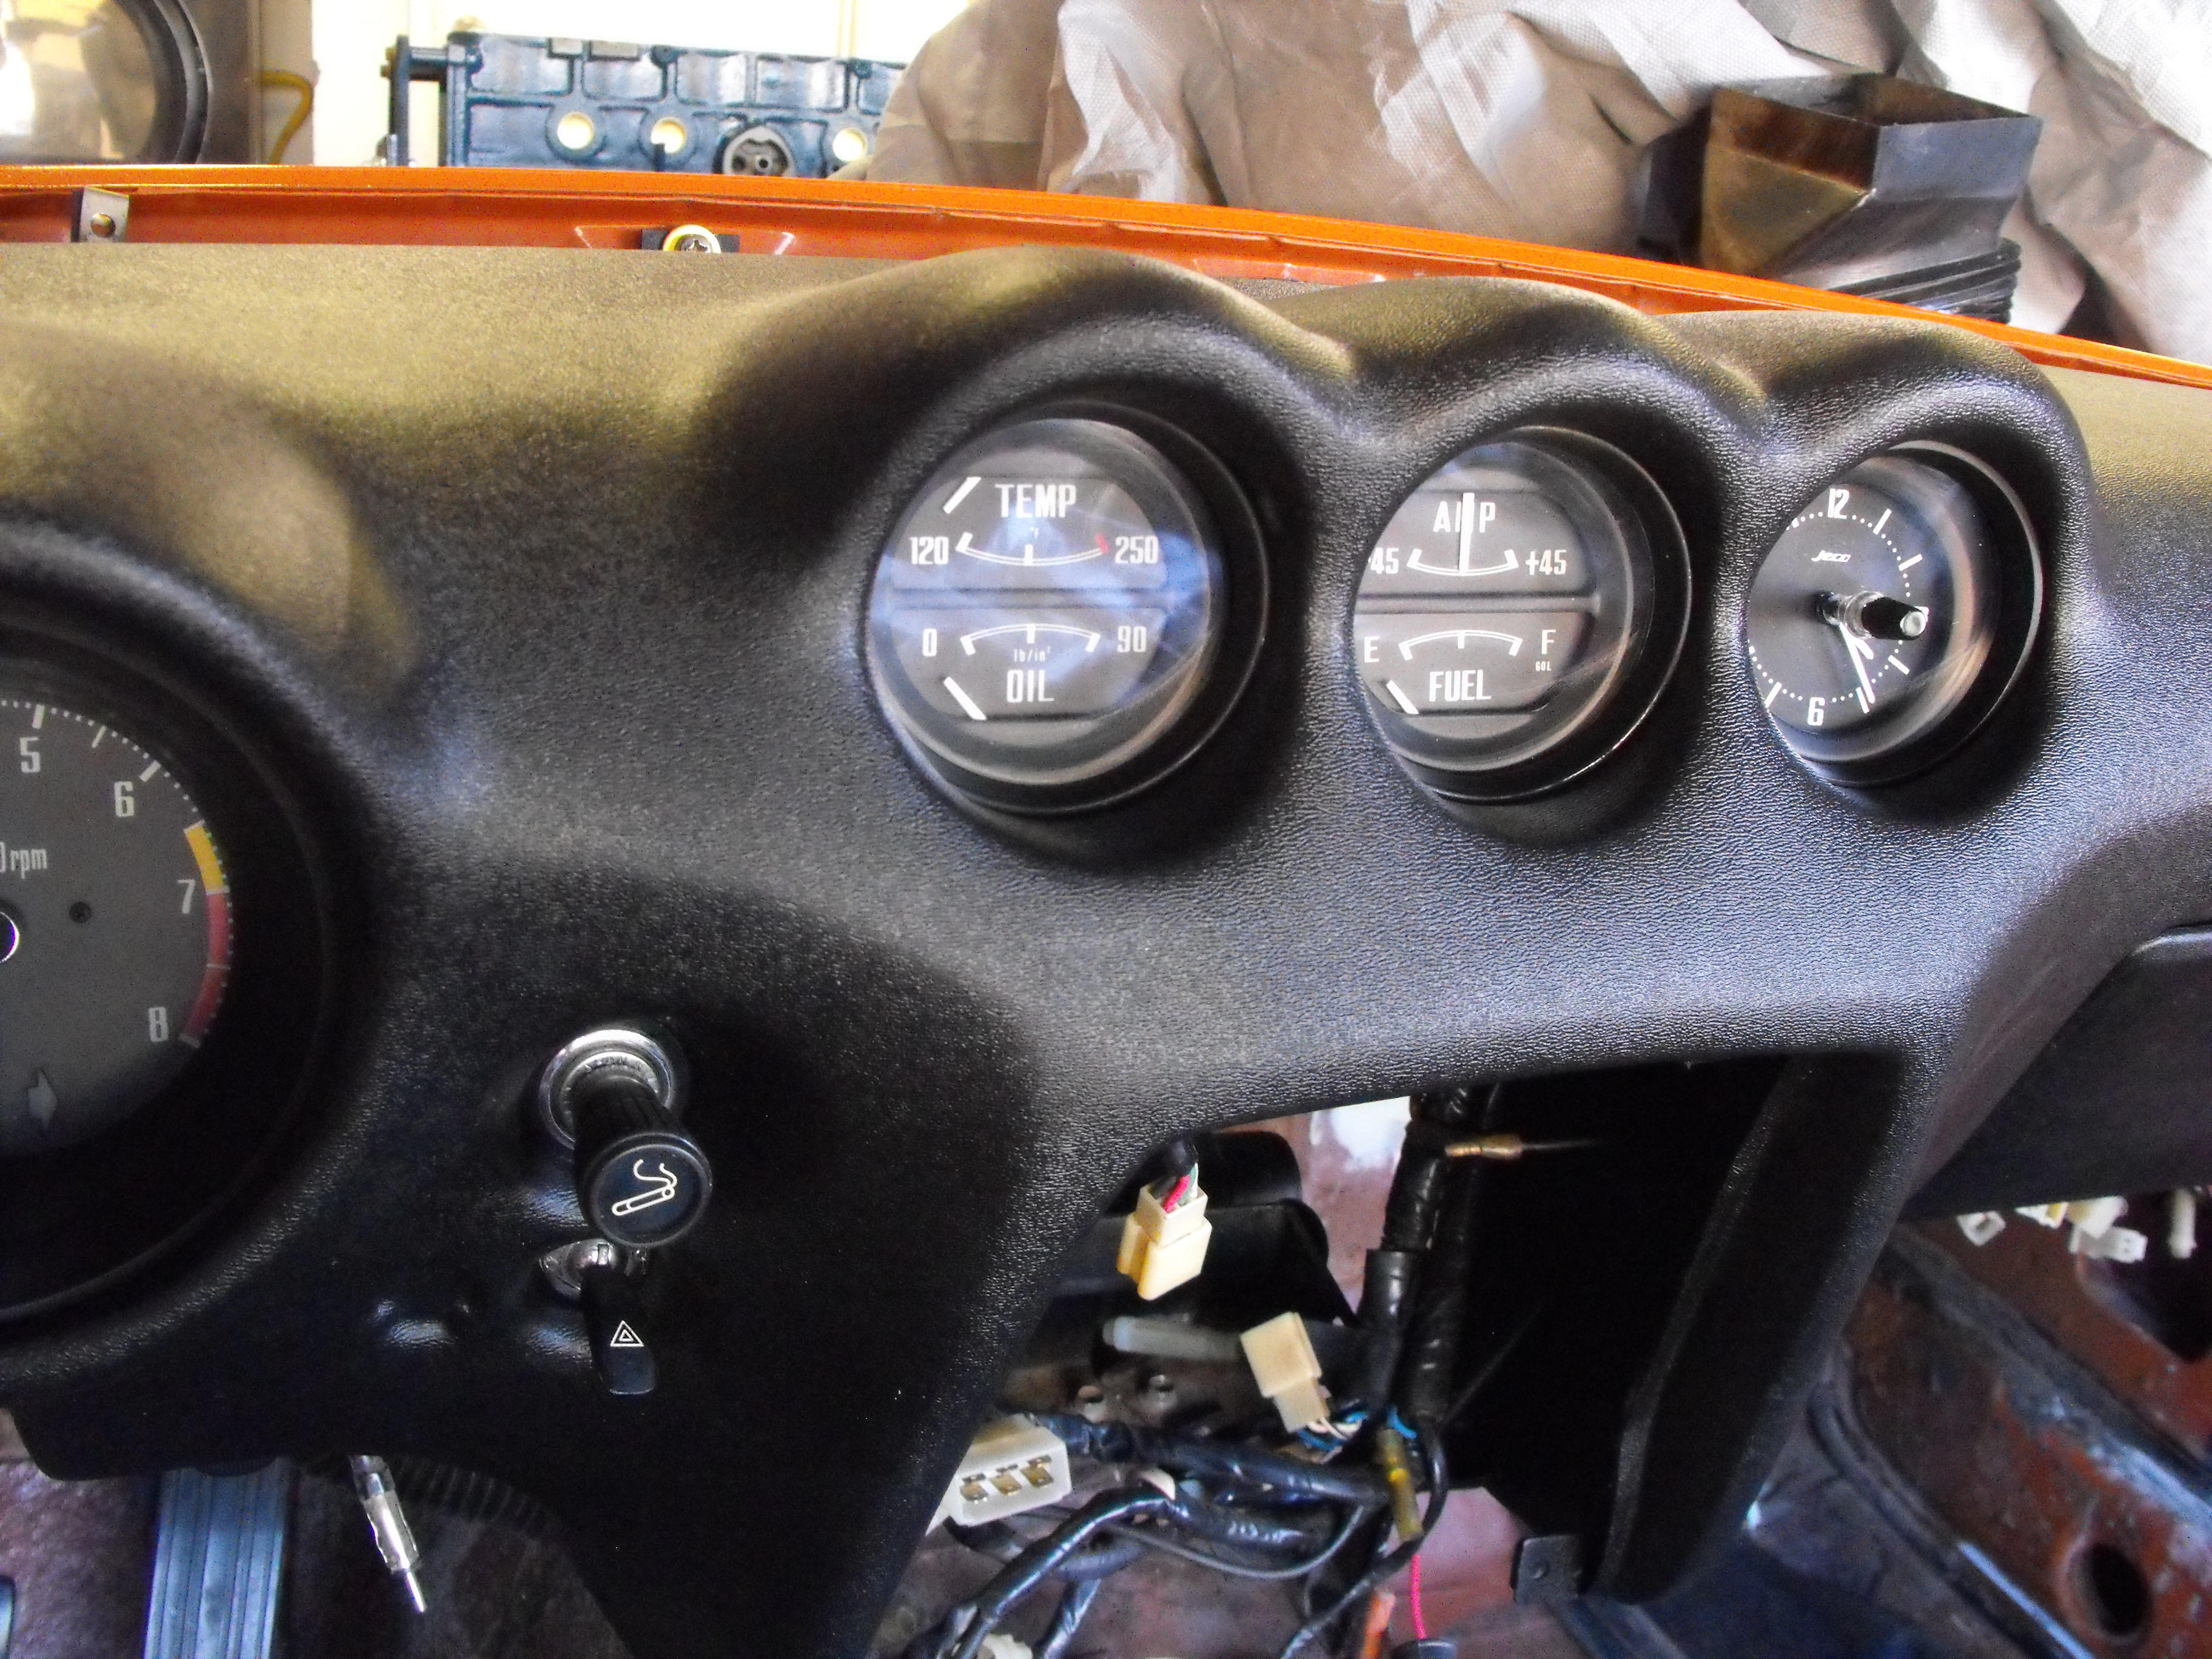
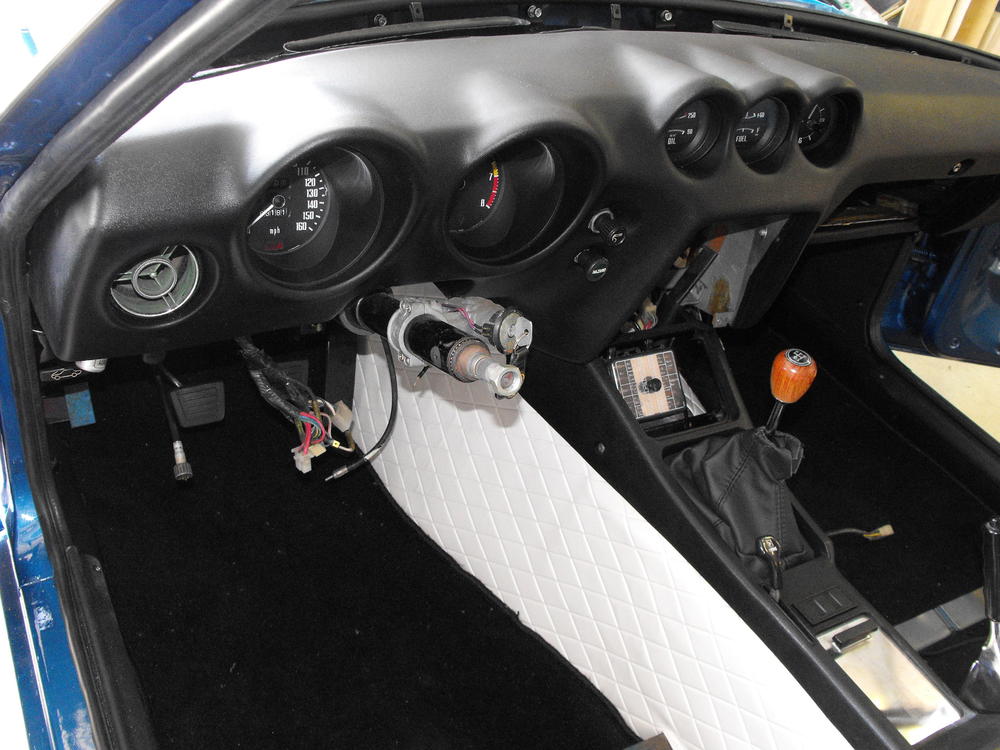
1 pointI will have to walk away from the pissing contest about the dashes on this BAT thread. Do not wish to hi-jack it and detract from the auction. For those actually interested in the difference between the the two dashes, other than the huge price difference, my thoughts are as follows. Personally, I believe the exterior plastic is exactly the same for both dashes, and both are installed the same way (vacuum forming). Both have the exact same texture which does not match the OEM texture, but looks good. The difference is the foam portion. The Vintage Dash foam is molded and is a single piece. Just Dashes removes the outer plastic skin and trims the foam where needed and then re-foams and shapes the dash. I think the problem here is that there can be areas of the Just Dashes dash that are not replicated as well. One of those areas is the center cluster where the three instruments are located. You can actually see the difference in the pics below, Just Dashes dash is on orange car, Vintage on the blue. The 'Deja Vu' Dash is from Just Dashes and was purchased, I think, before Vintage Dashes was in existence..or at least in it's infancy. The Just Dashes 'scallops' are a bit fat and rounded, where as the Vintage Dashes 'scallops' are a bit more sleek. I did a visual check with my '70 and feel that the Vintage Dash replicated this area much better than Just Dashes. I did not check other areas of the dash. Instrument fit is similar for both dashes. The one negative for Vintage Dashes is that they omit some of the flaps in the glove compartment area. Not sure why that is as it would seem pretty easy to re-produce. The flaps are not visible once the glove box is installed. Anyway, just my opinion for those that are interested.

 1 point