Leaderboard
-
Patcon
 Subscriber
 4Points11,142Posts
 -

wheee!
Free Member4Points4,607Posts -
charliekwin
Free Member3Points664Posts -

Zed Head
Free Member3Points19,236Posts


Popular Content
Showing content with the highest reputation on 08/27/2018 in all areas
-
3 pointsI think that CO is referring to part of the original problem, the reason for parking it, above. I saw the same conflict. The question might be what "rough driving" means. It's a dilemma because it might have just needed a good tuneup, if it was running well before. The OP was pondering buying a new AFM, after "calibrating" the existing one. So the $5 AFM tweak would be a good diagnostic tool. It might not solve the popping problem, but if it doesn't a new AFM probably won't either. The basics need to be covered first though, like fuel pressure. Get it driveable, then worry about gas smell, seems reasonable. A non-drivable car with clean exhaust isn't very valuable. There are other ways to get backfiring, like cross-firing plug wires.3 points
-
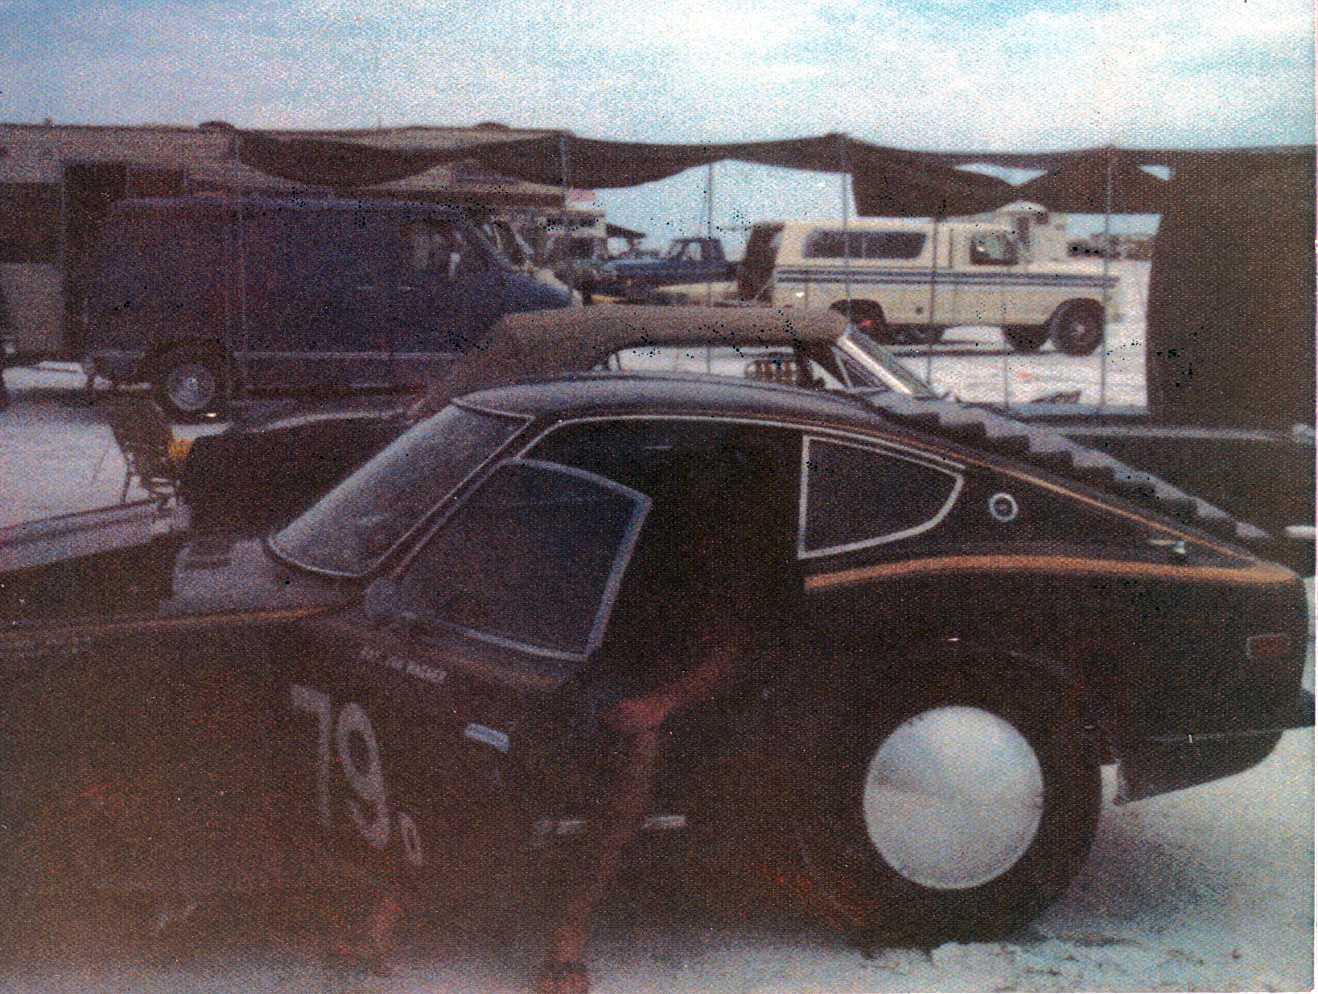
Sorry for the typos one more pic a little backround on the Z he bought it new in 72 from Granada Datsun it was 113 green he then put an air research turbo on it i think it came from AK mille r the car had a full roll cage and he extended the louvers to the edge of the hatch -then when he put the G nose on it he then painteded it brown some of the pictures are at the dry lakes and some are from bonneville the picture with the hood off was taken in the alley on the side of Granada Datsun the service manager at the time was a good friend of his
 2 points
 -
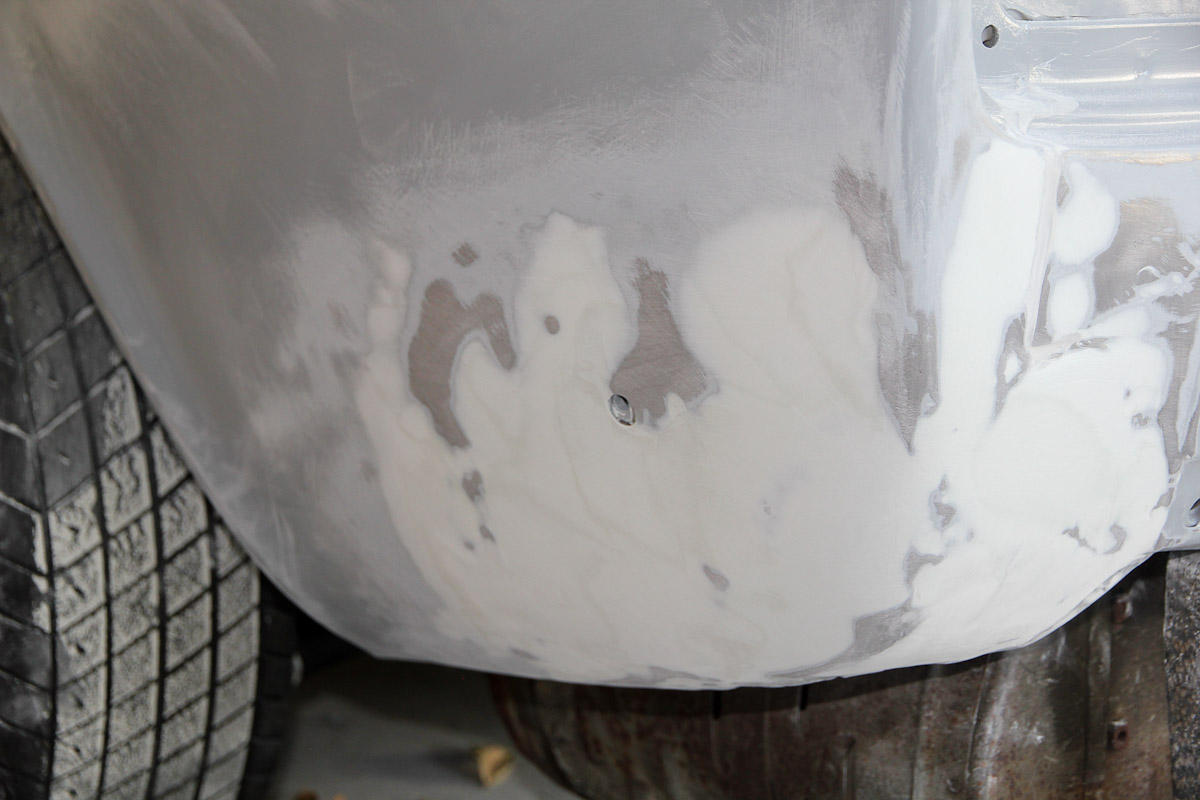
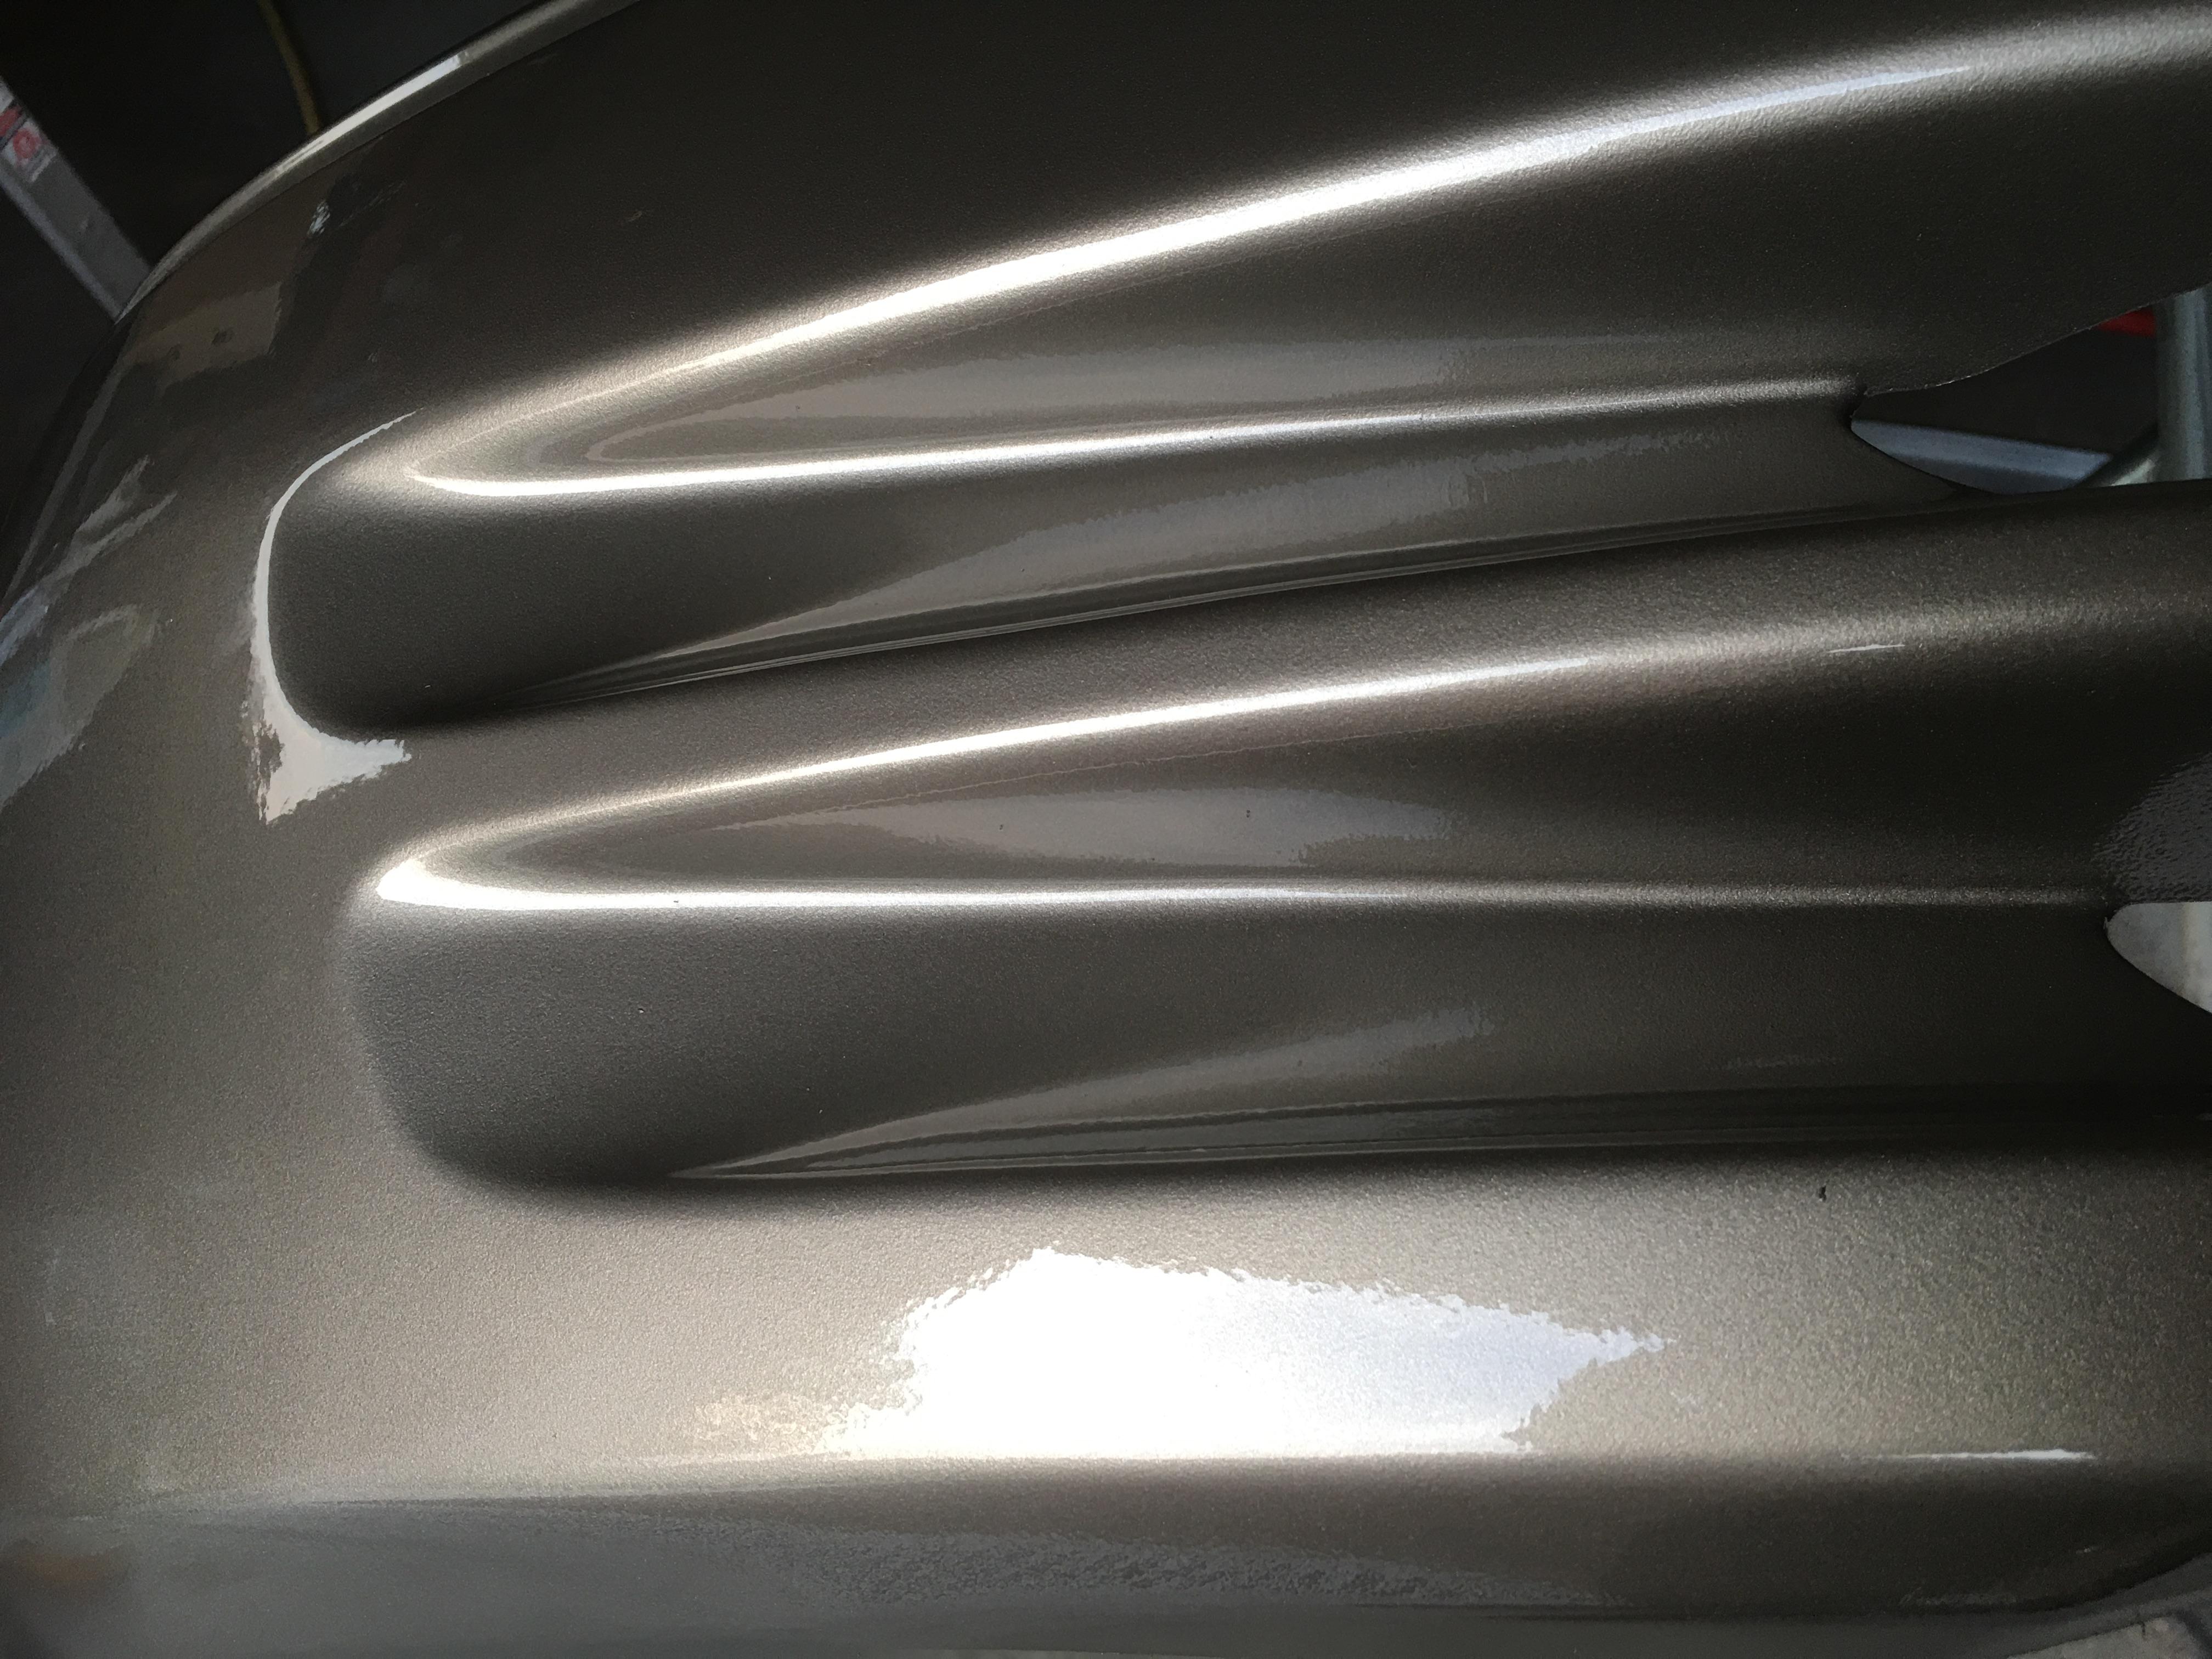
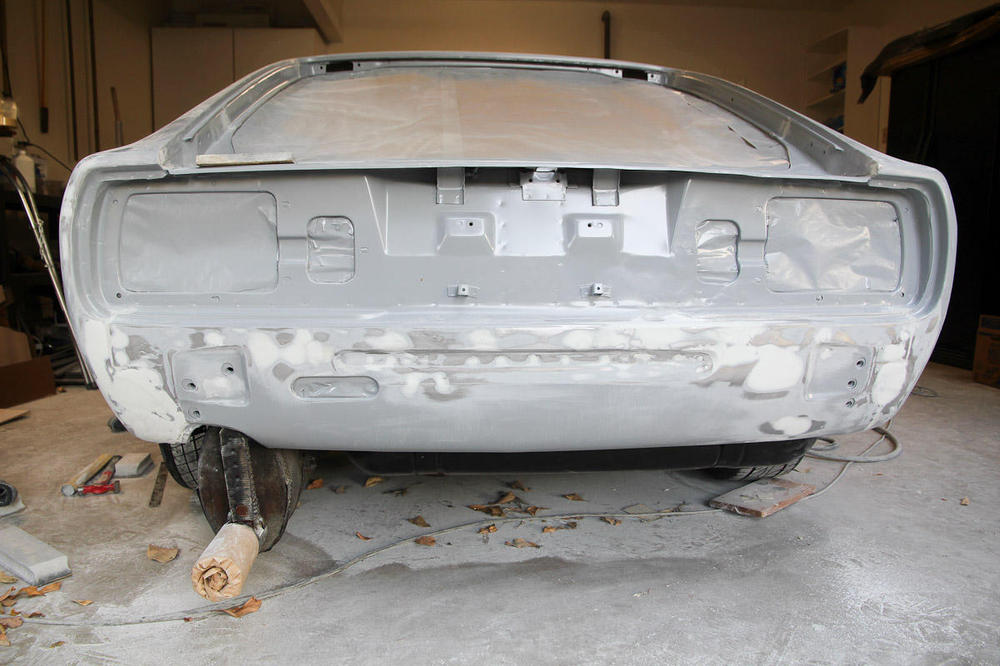
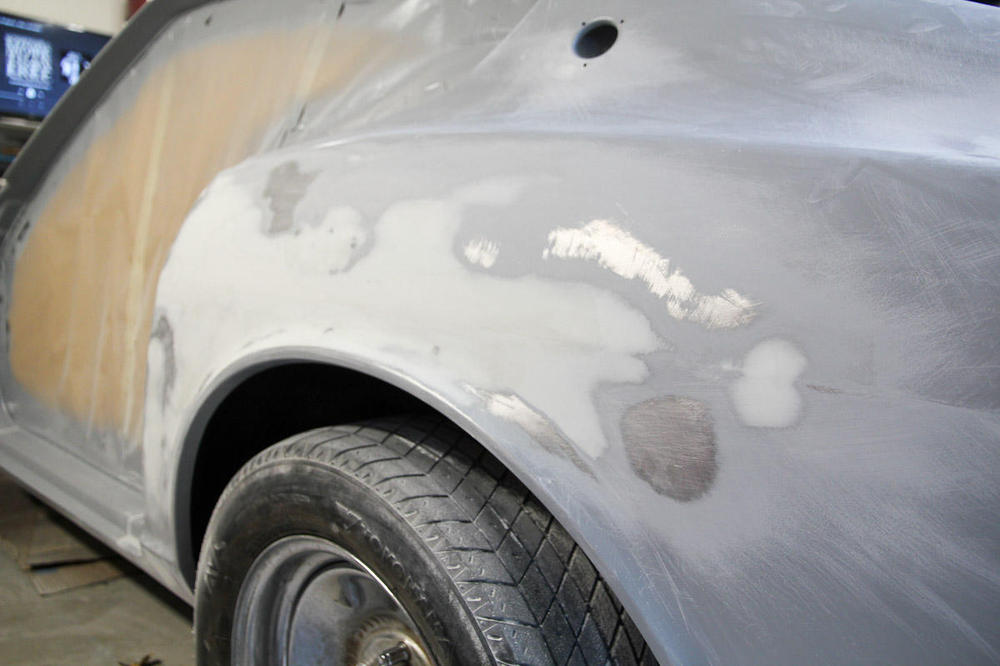
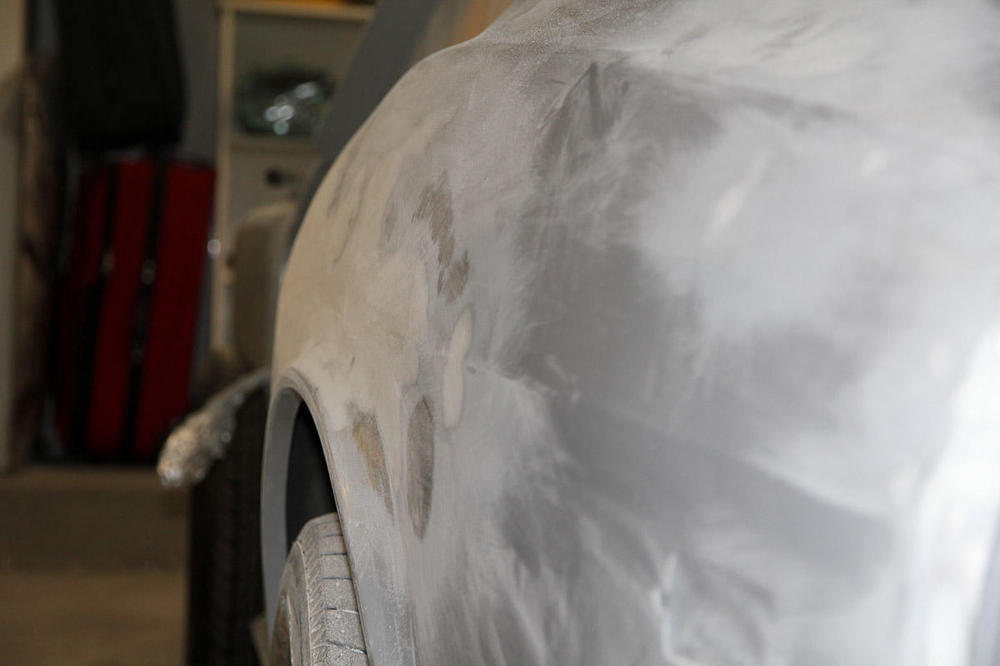
Woohoo! I might (fingers crossed!) be done with body work and filler. Finished the rear valence and the quarter panel I'd been putting off. These all had the most work needed to get them back into shape and for now, at least, I'm happy with how they look. Hoping to shoot the primer over the long weekend, if I can clean up the garage and get everything prepped by then.
 2 points
 -
2 pointsYup. From someone with a garage queen of 4 years plus.... drive it while you can. Restore it later when you have time.2 points
-
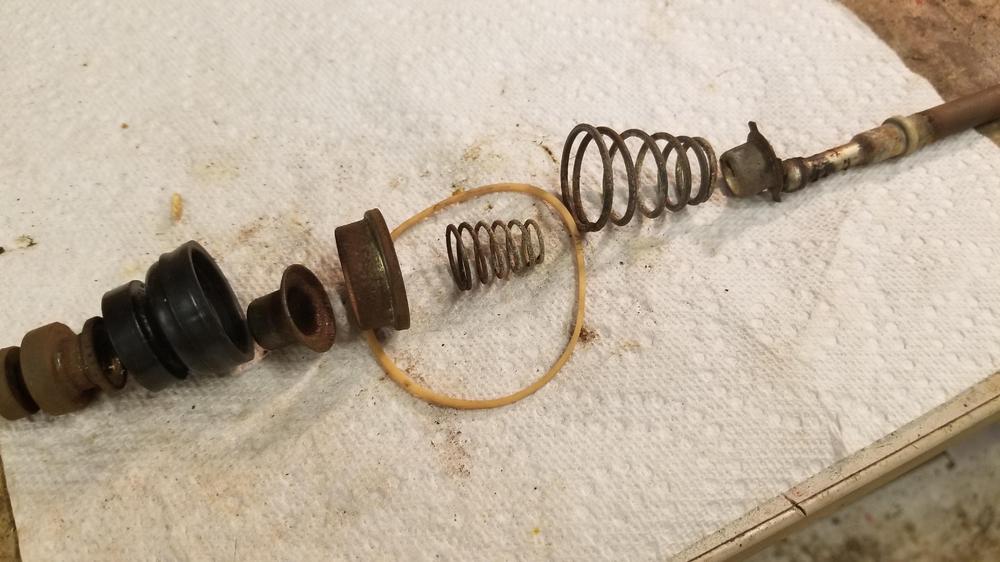
Exploded view of the plunger and after plating Now I need to come up with a punch. Maybe a reworked flat head screw driver
 2 points
 -
1 pointKudos for three of the best pictures I've seen that show the challenge of repairing the Z dogleg. This seems to be the single most important and consistent repair area for a Z and yet no one manufactures a repair panel kit to address the problem. If these were Alfas or Porsches, someone would be making the kit. Disepsyon is a very talented guy, but he's not interested in making 100+ repair kits. We really need someone like MSA or ZCar Depot to step up here.1 point
-
1 pointLook at Disepyom's thread. He was selling these parts but I think he has stopped but he has some great pics in his thread1 point
-
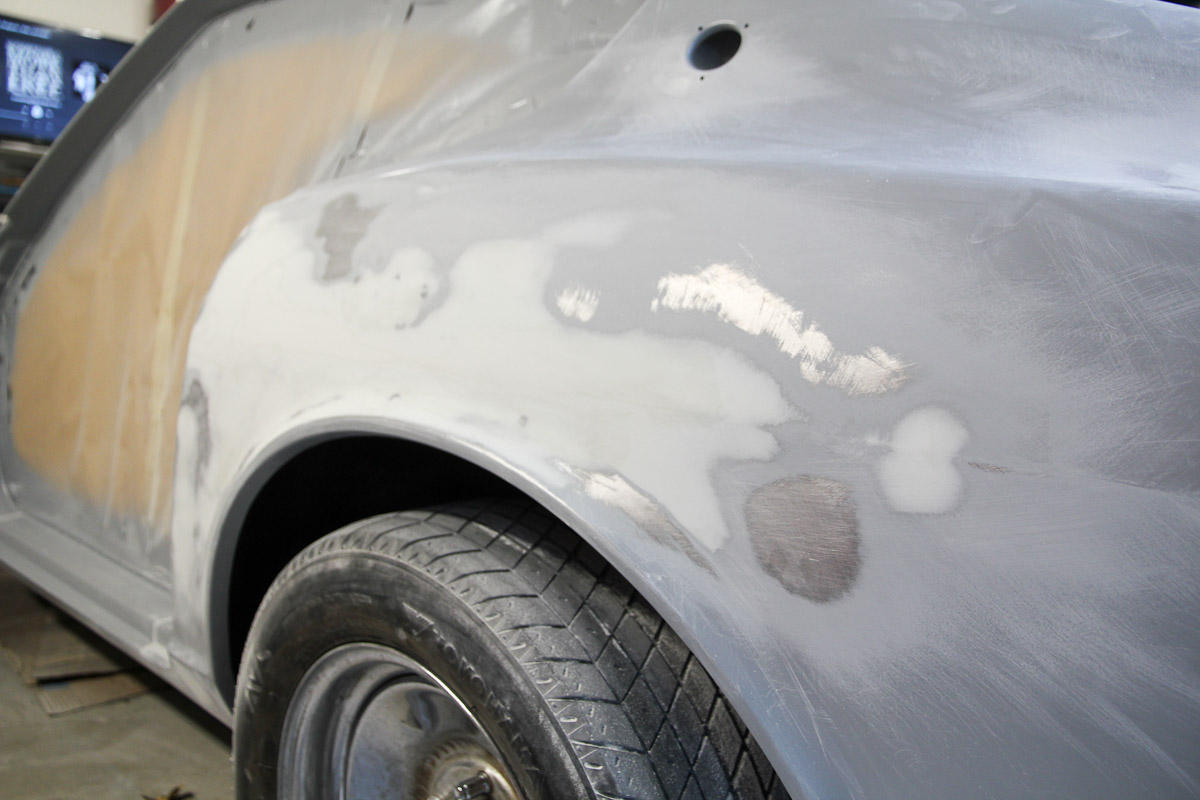
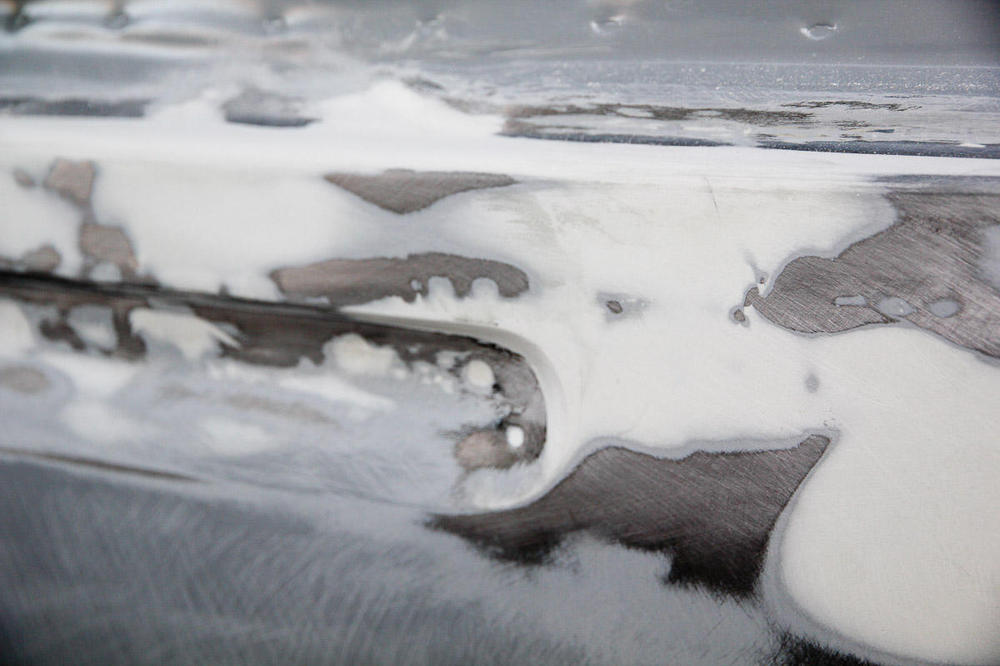
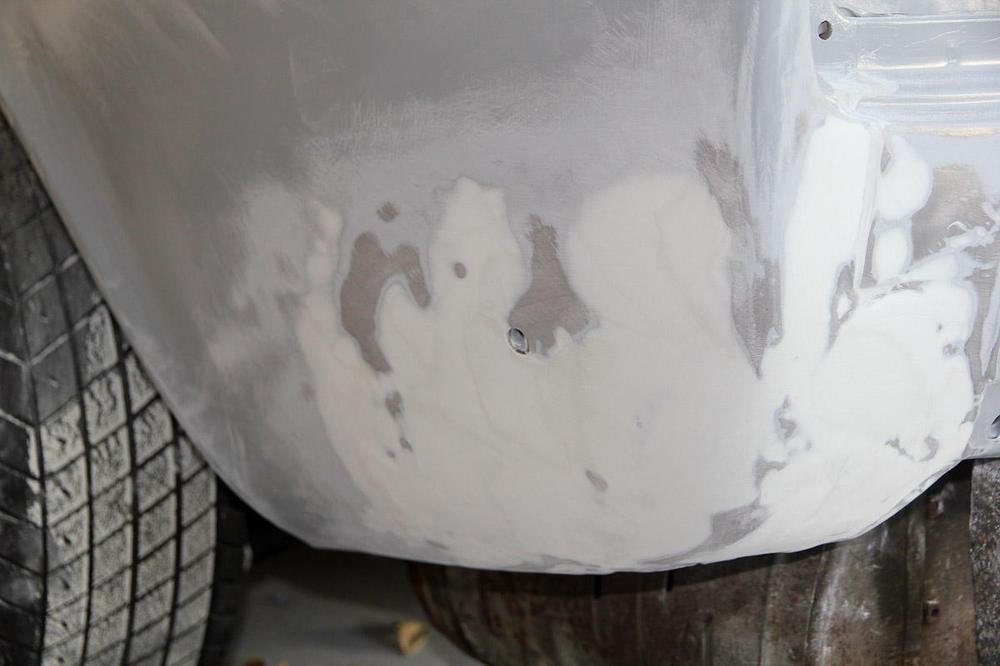
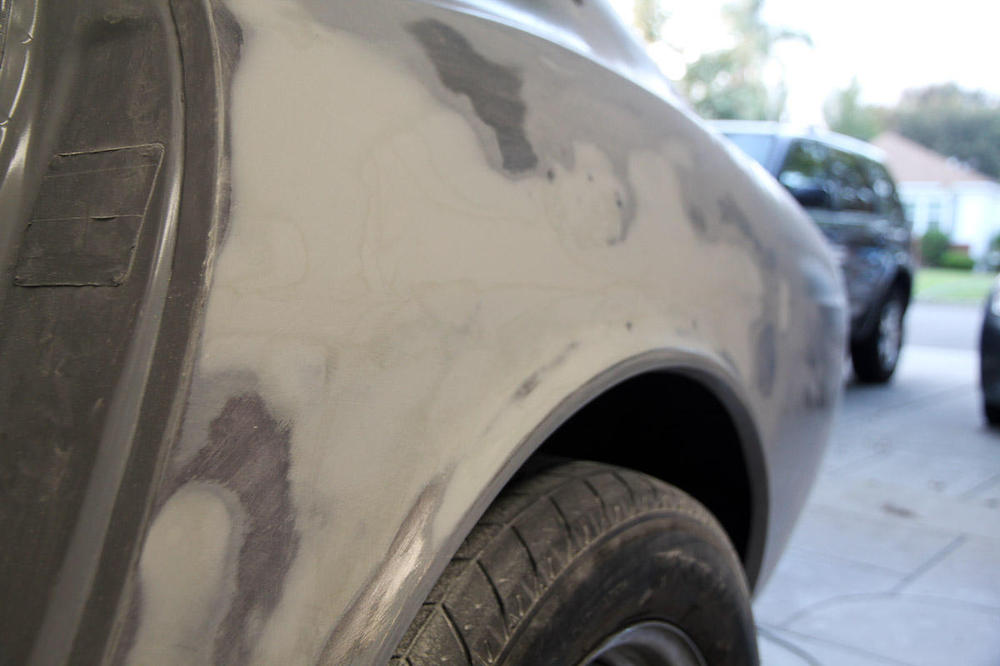
Next steps, following the advice of my paint guy: To this point, everything's that's been sanded was done by hand with 80 grit Scuff up the untouched areas of epoxy with 180 or a red scotchbrite pad (I should have done that while I was already working on the filler, but oh well) Wax and grease remover, dry, then tack rag, then 2 or 3 coats of primer (using SPI's regular 2K primer) Say quiet prayer that I did a good job on the body work, and my panels all look decent enough Block sand as needed, probably 220->320->400 I'm planning to shoot a single stage color, but don't have that yet, so that's as far as my next steps go. But, according to SPI, I should be able to shoot the color over the primer without a sealer or any additional steps.1 point
-
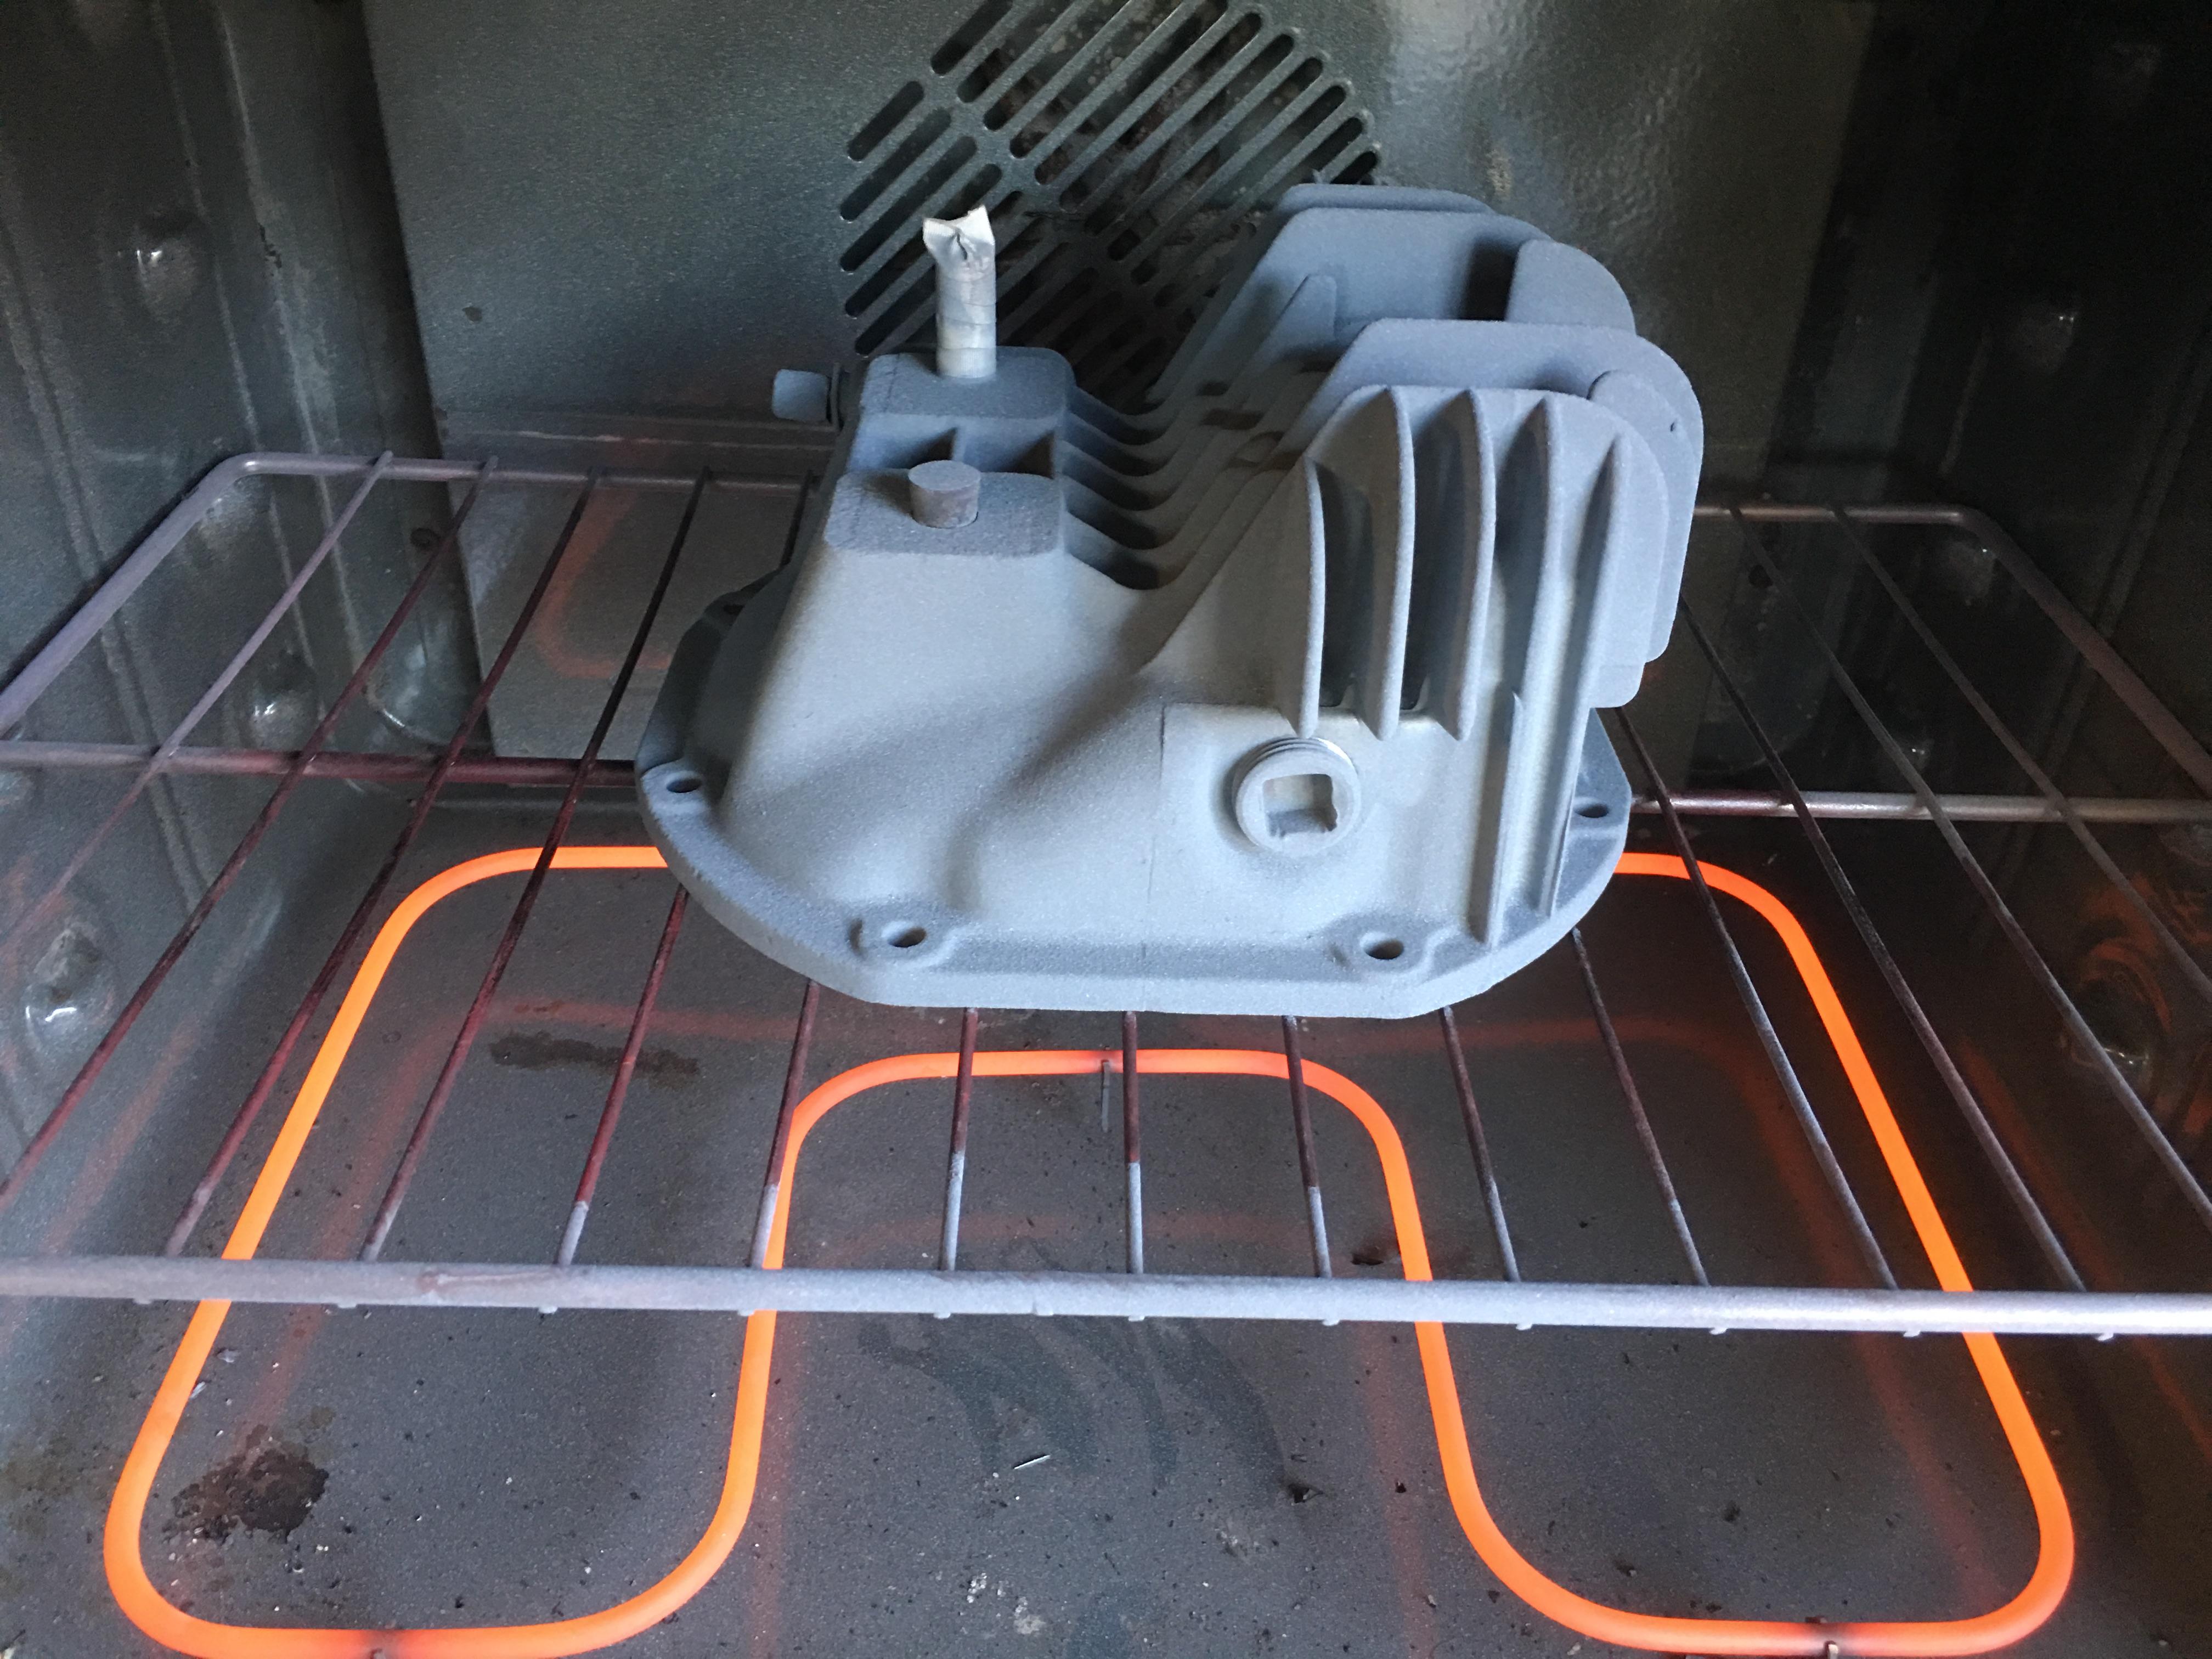
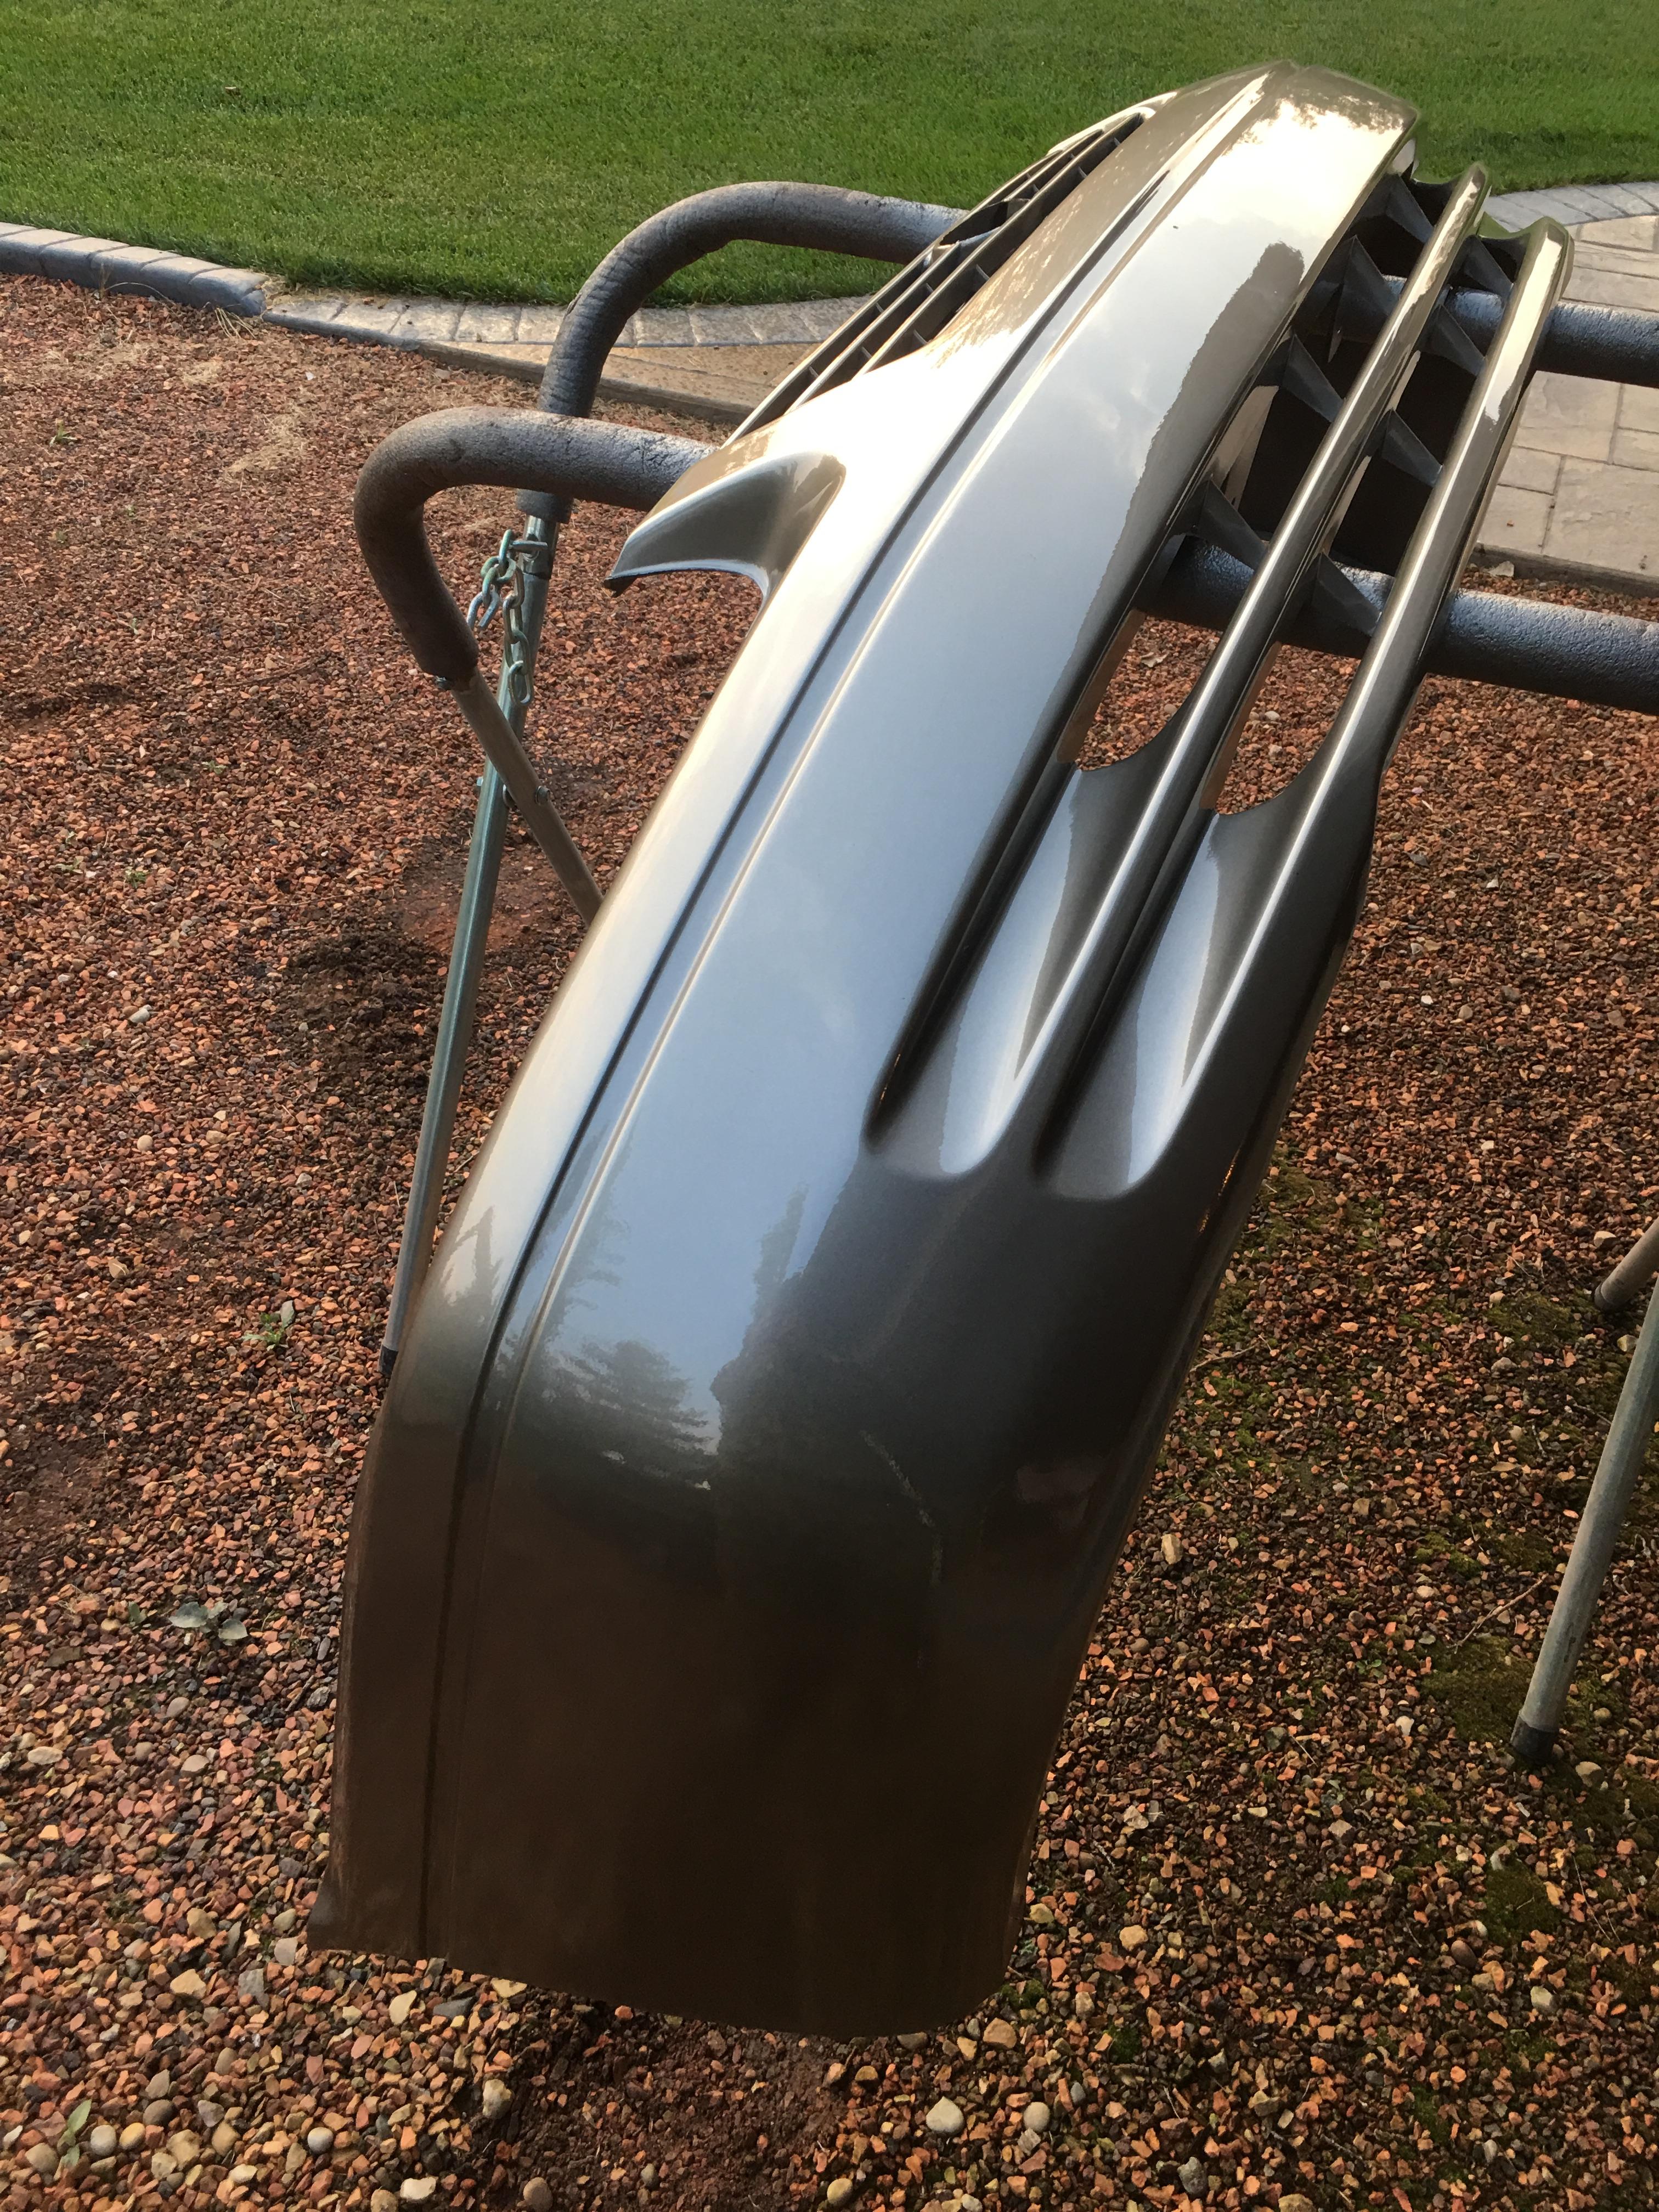
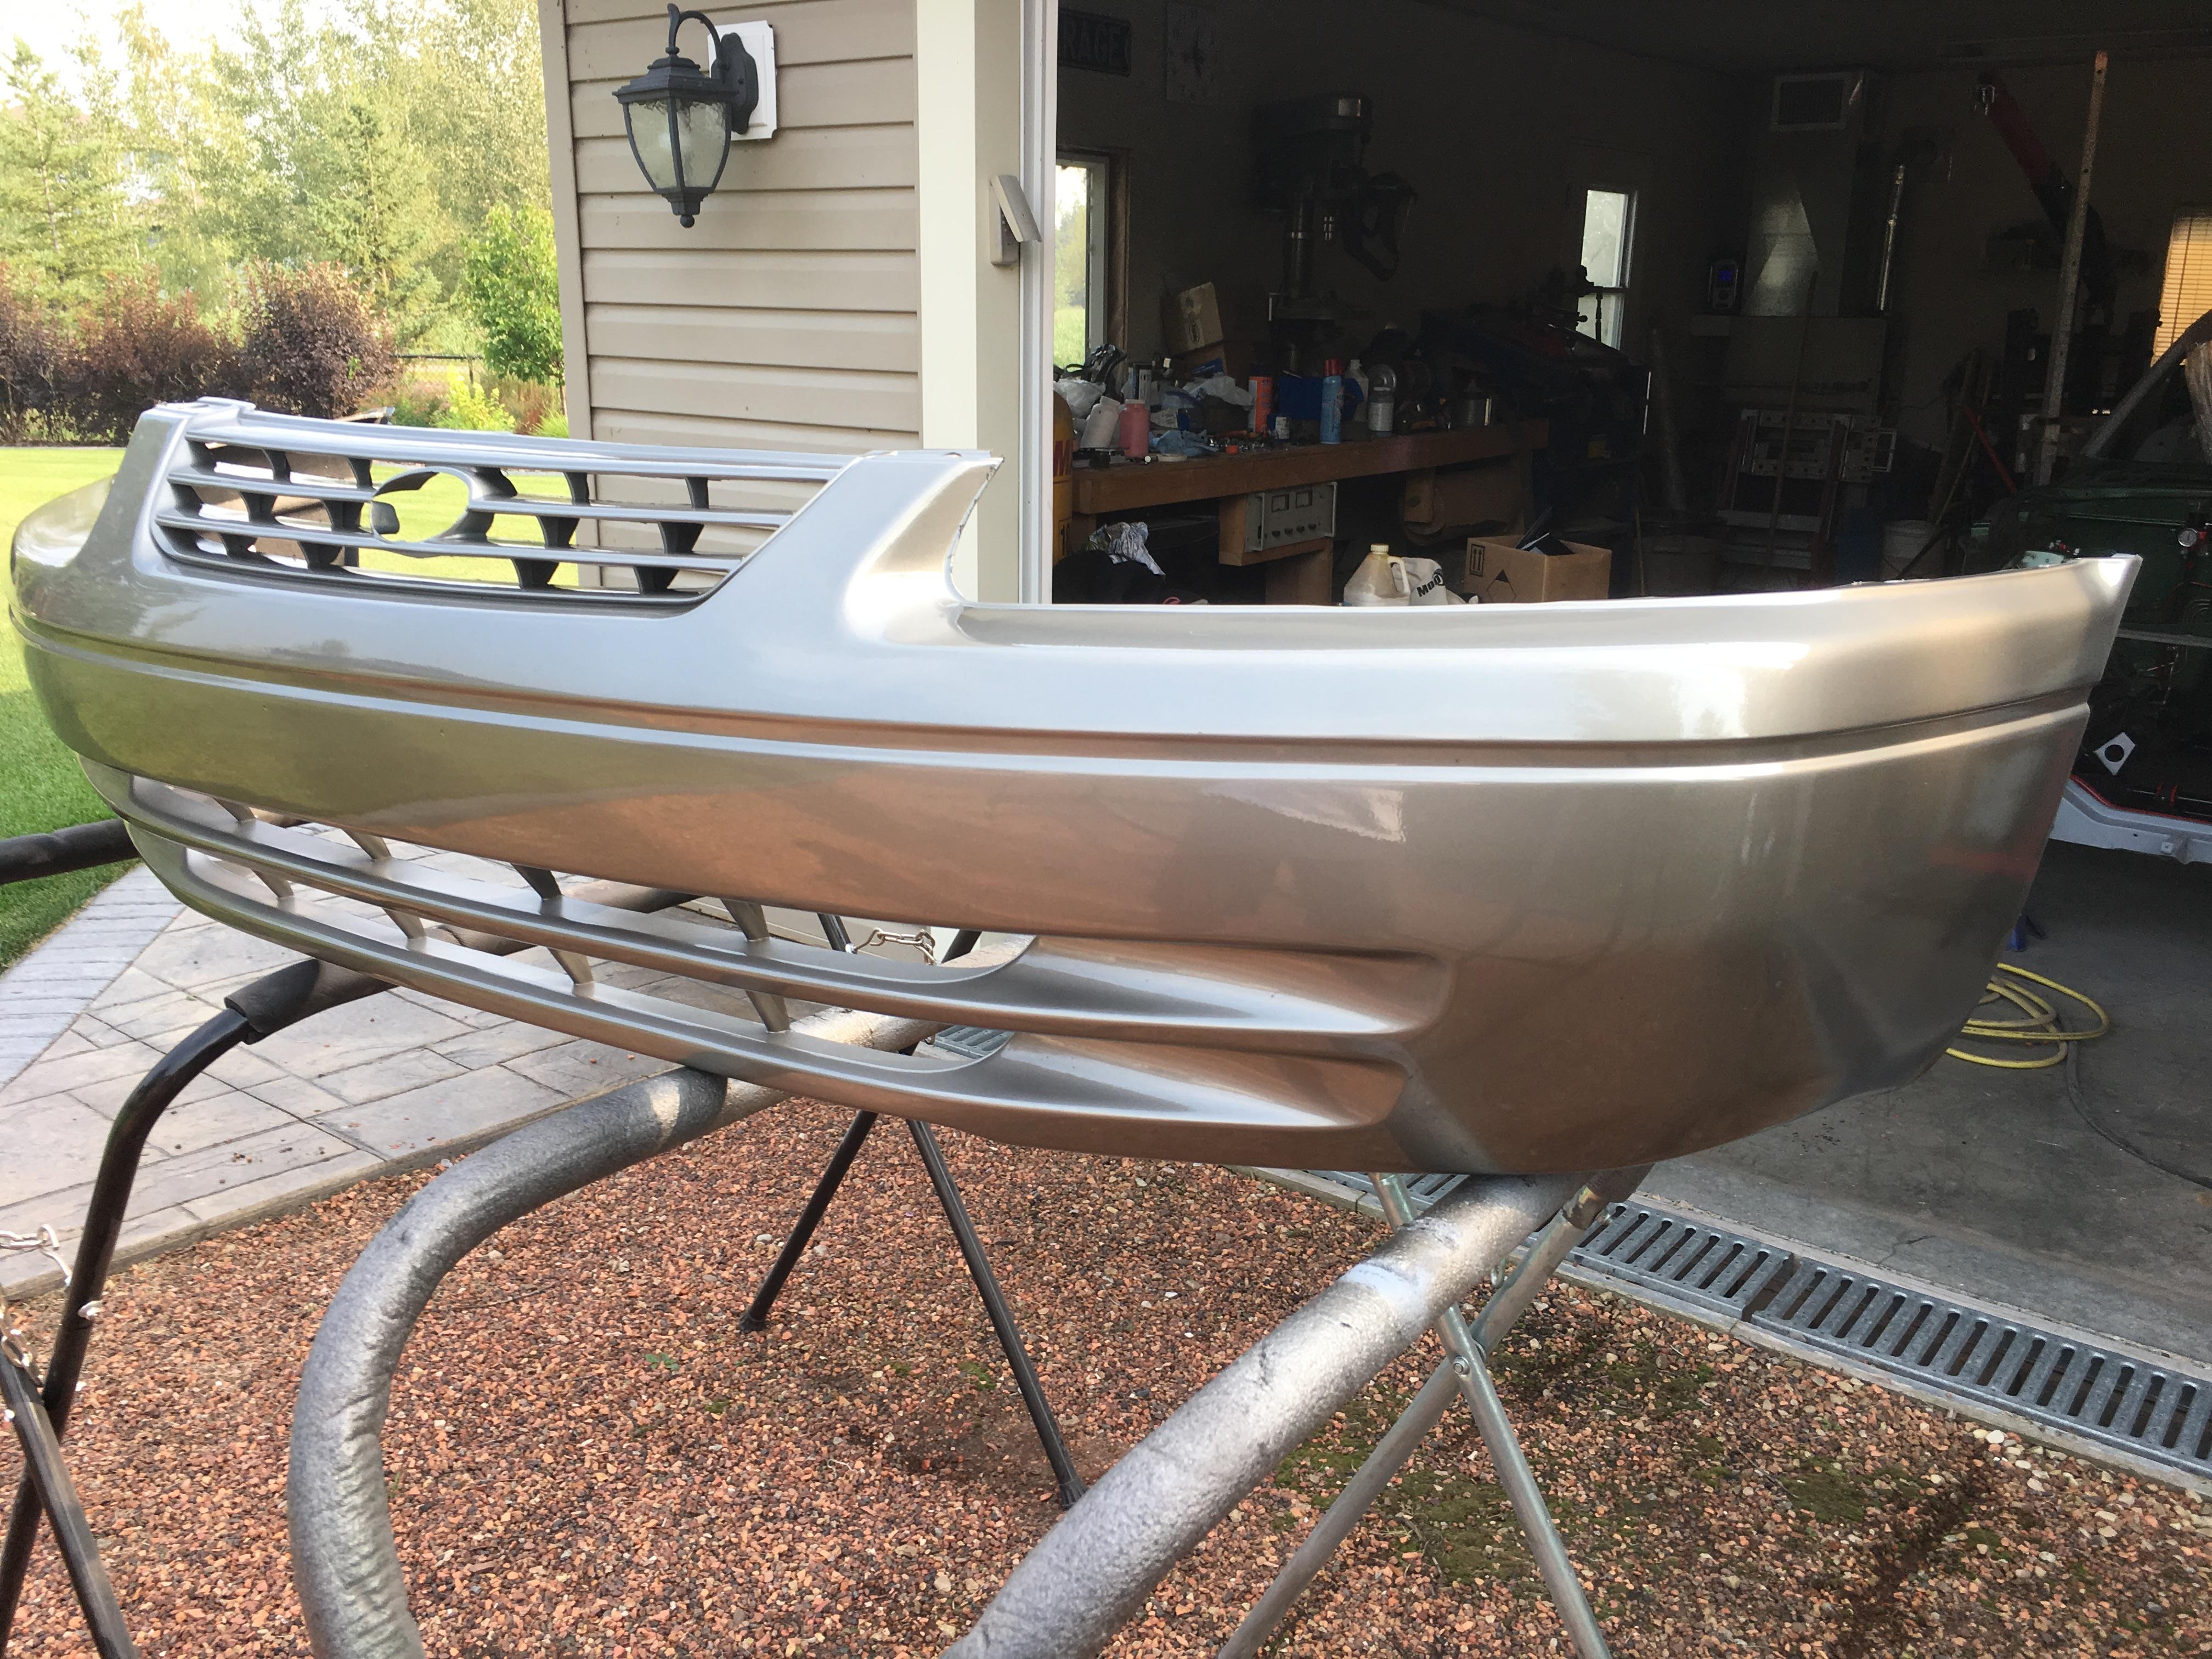
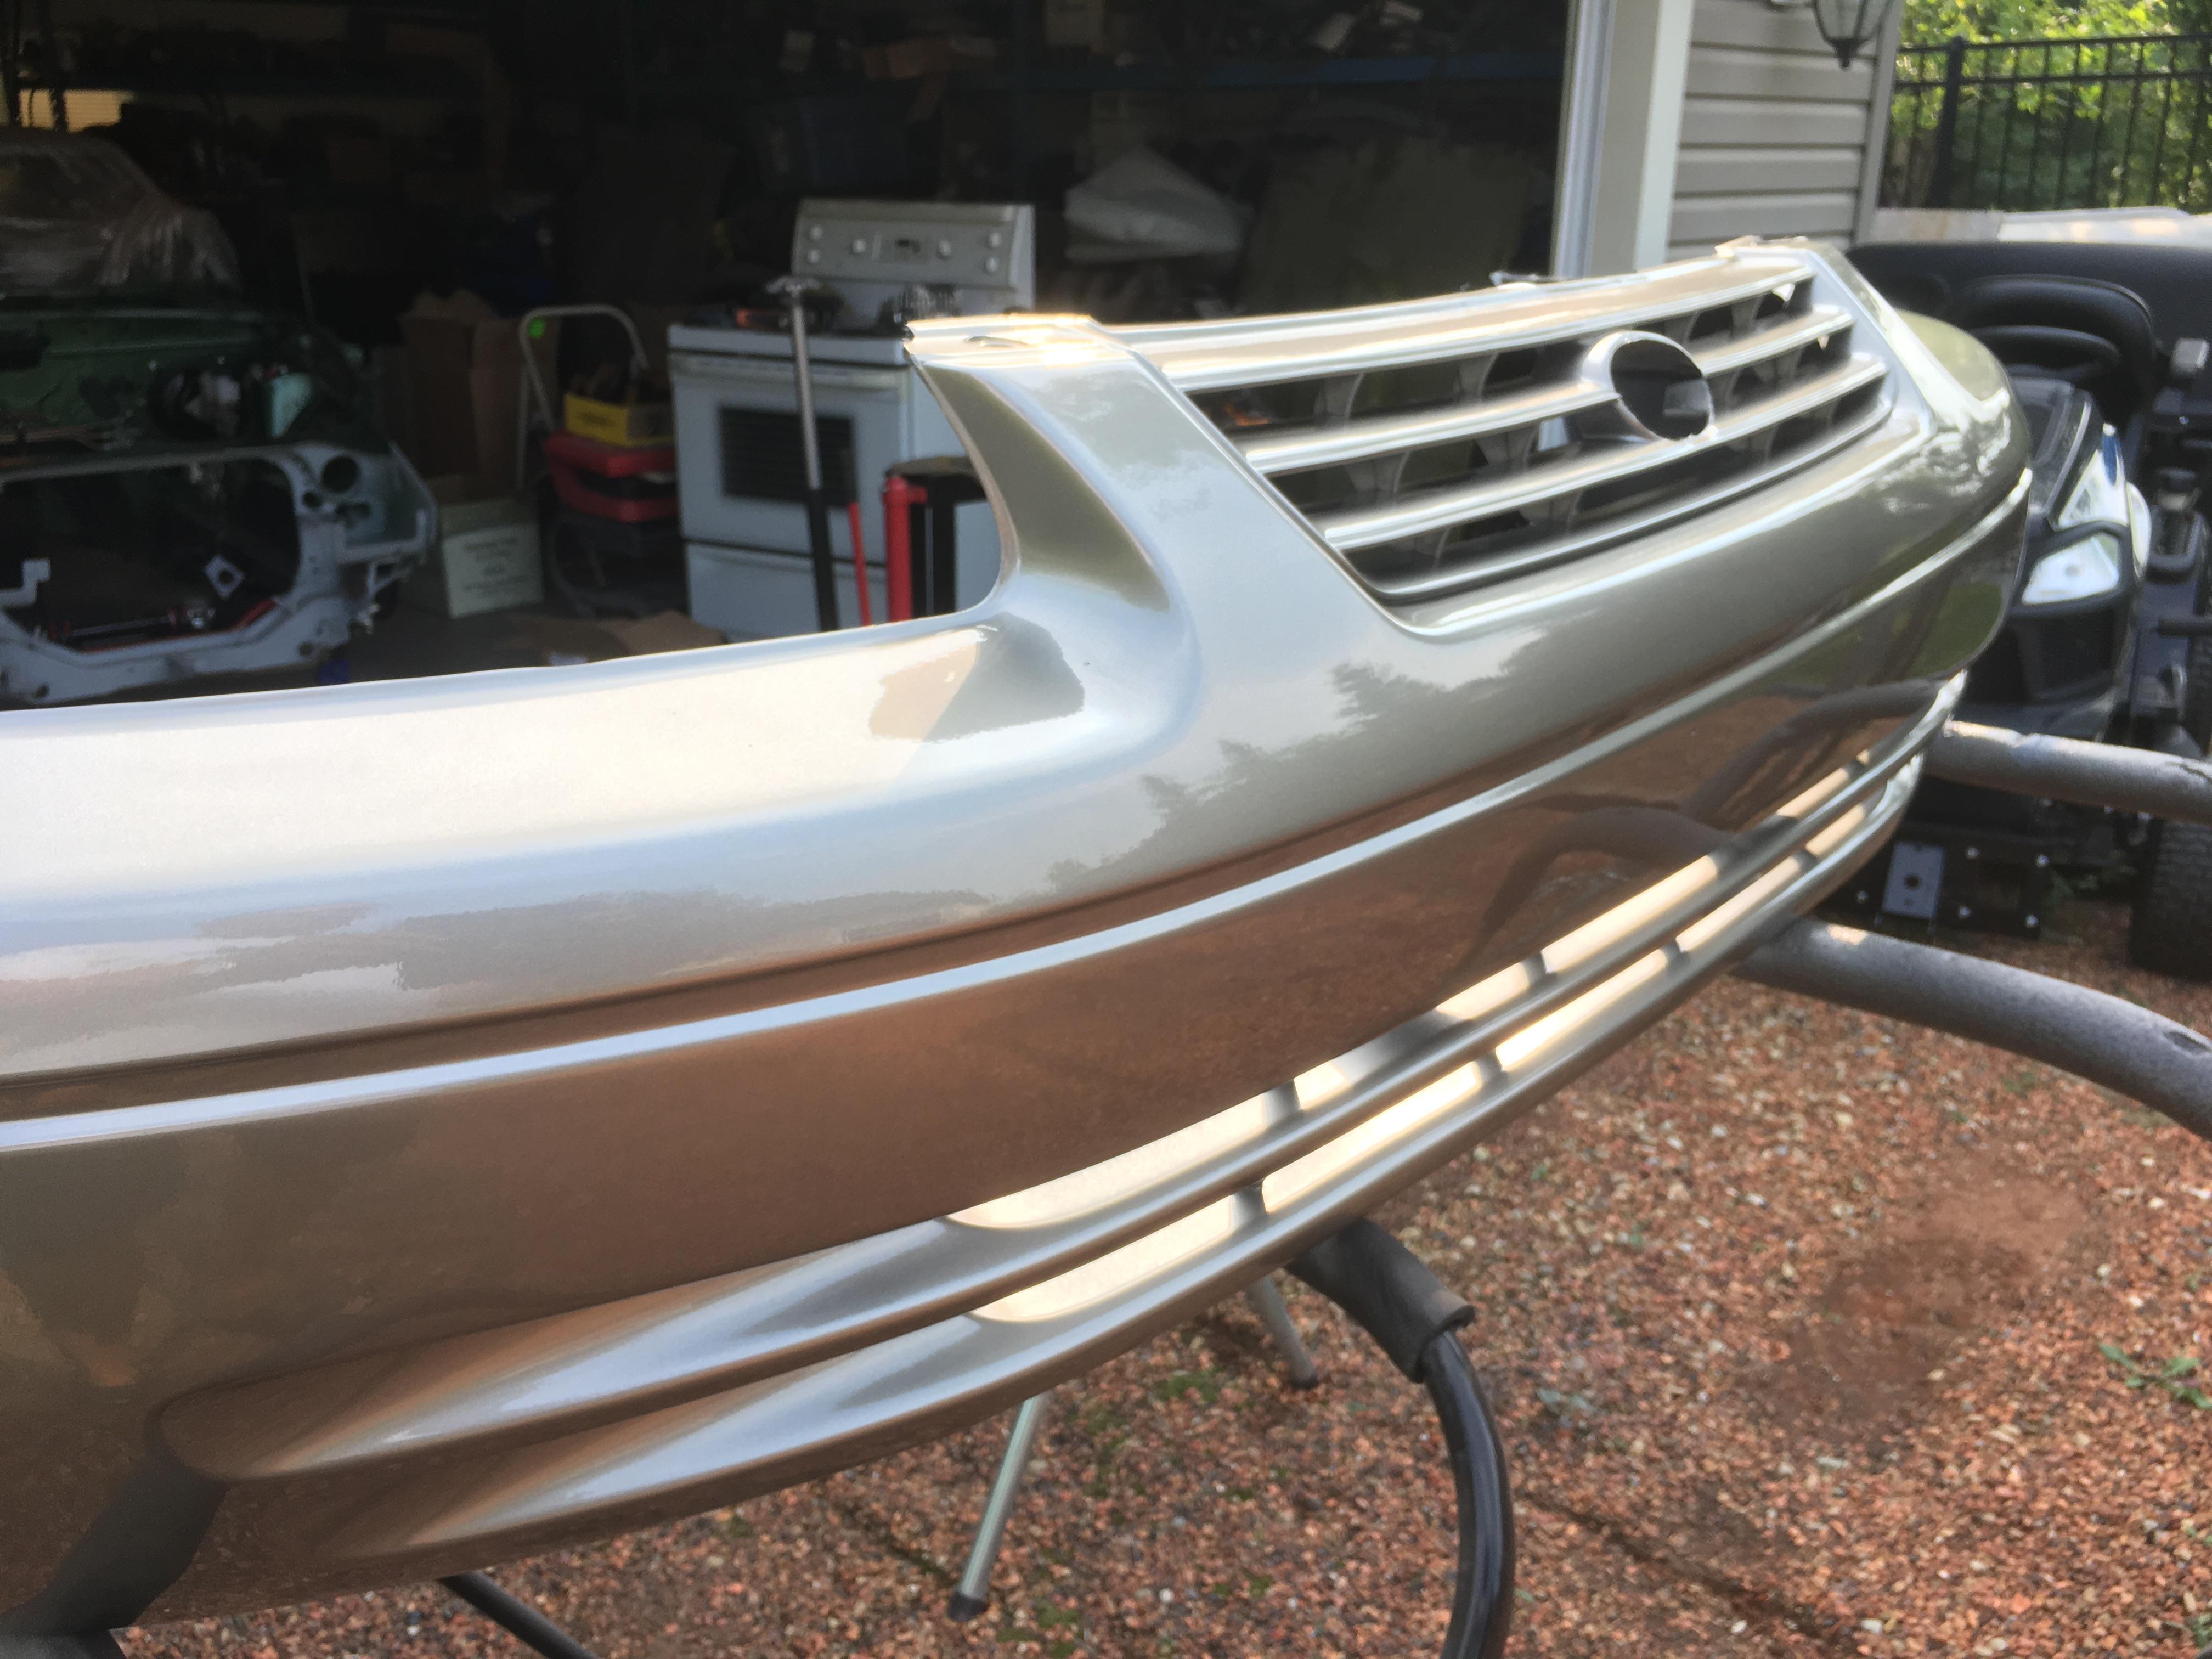
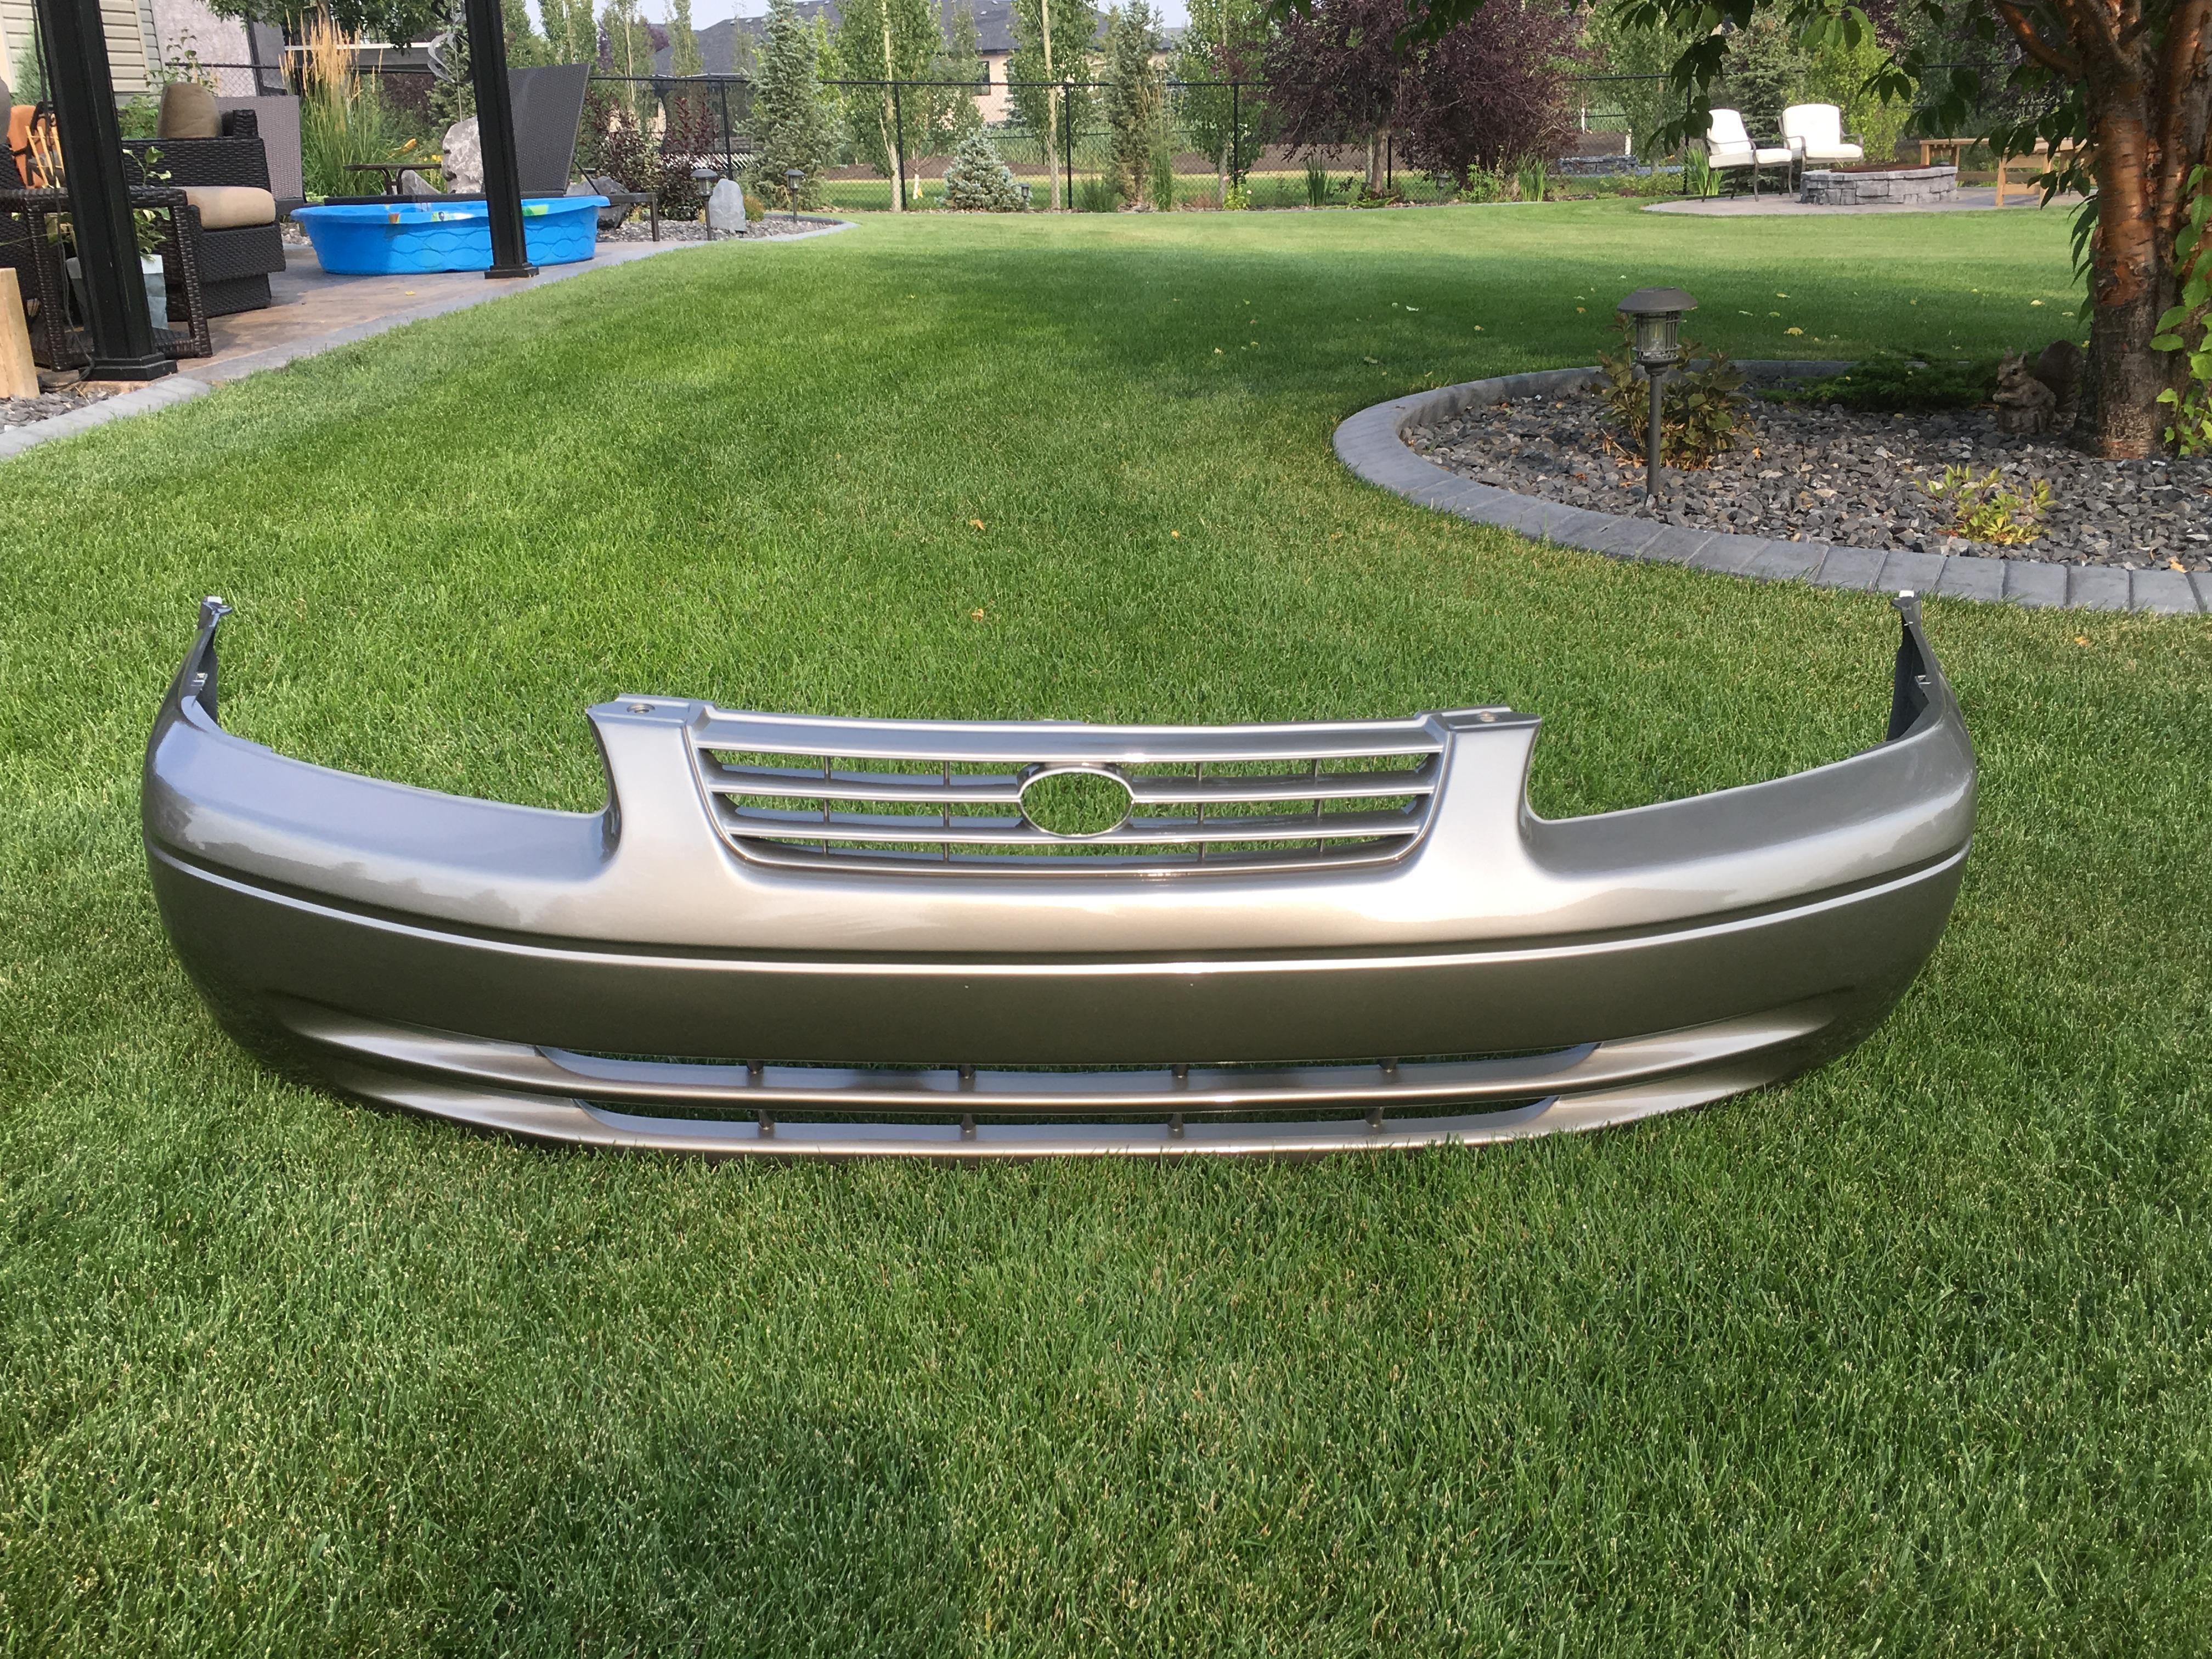
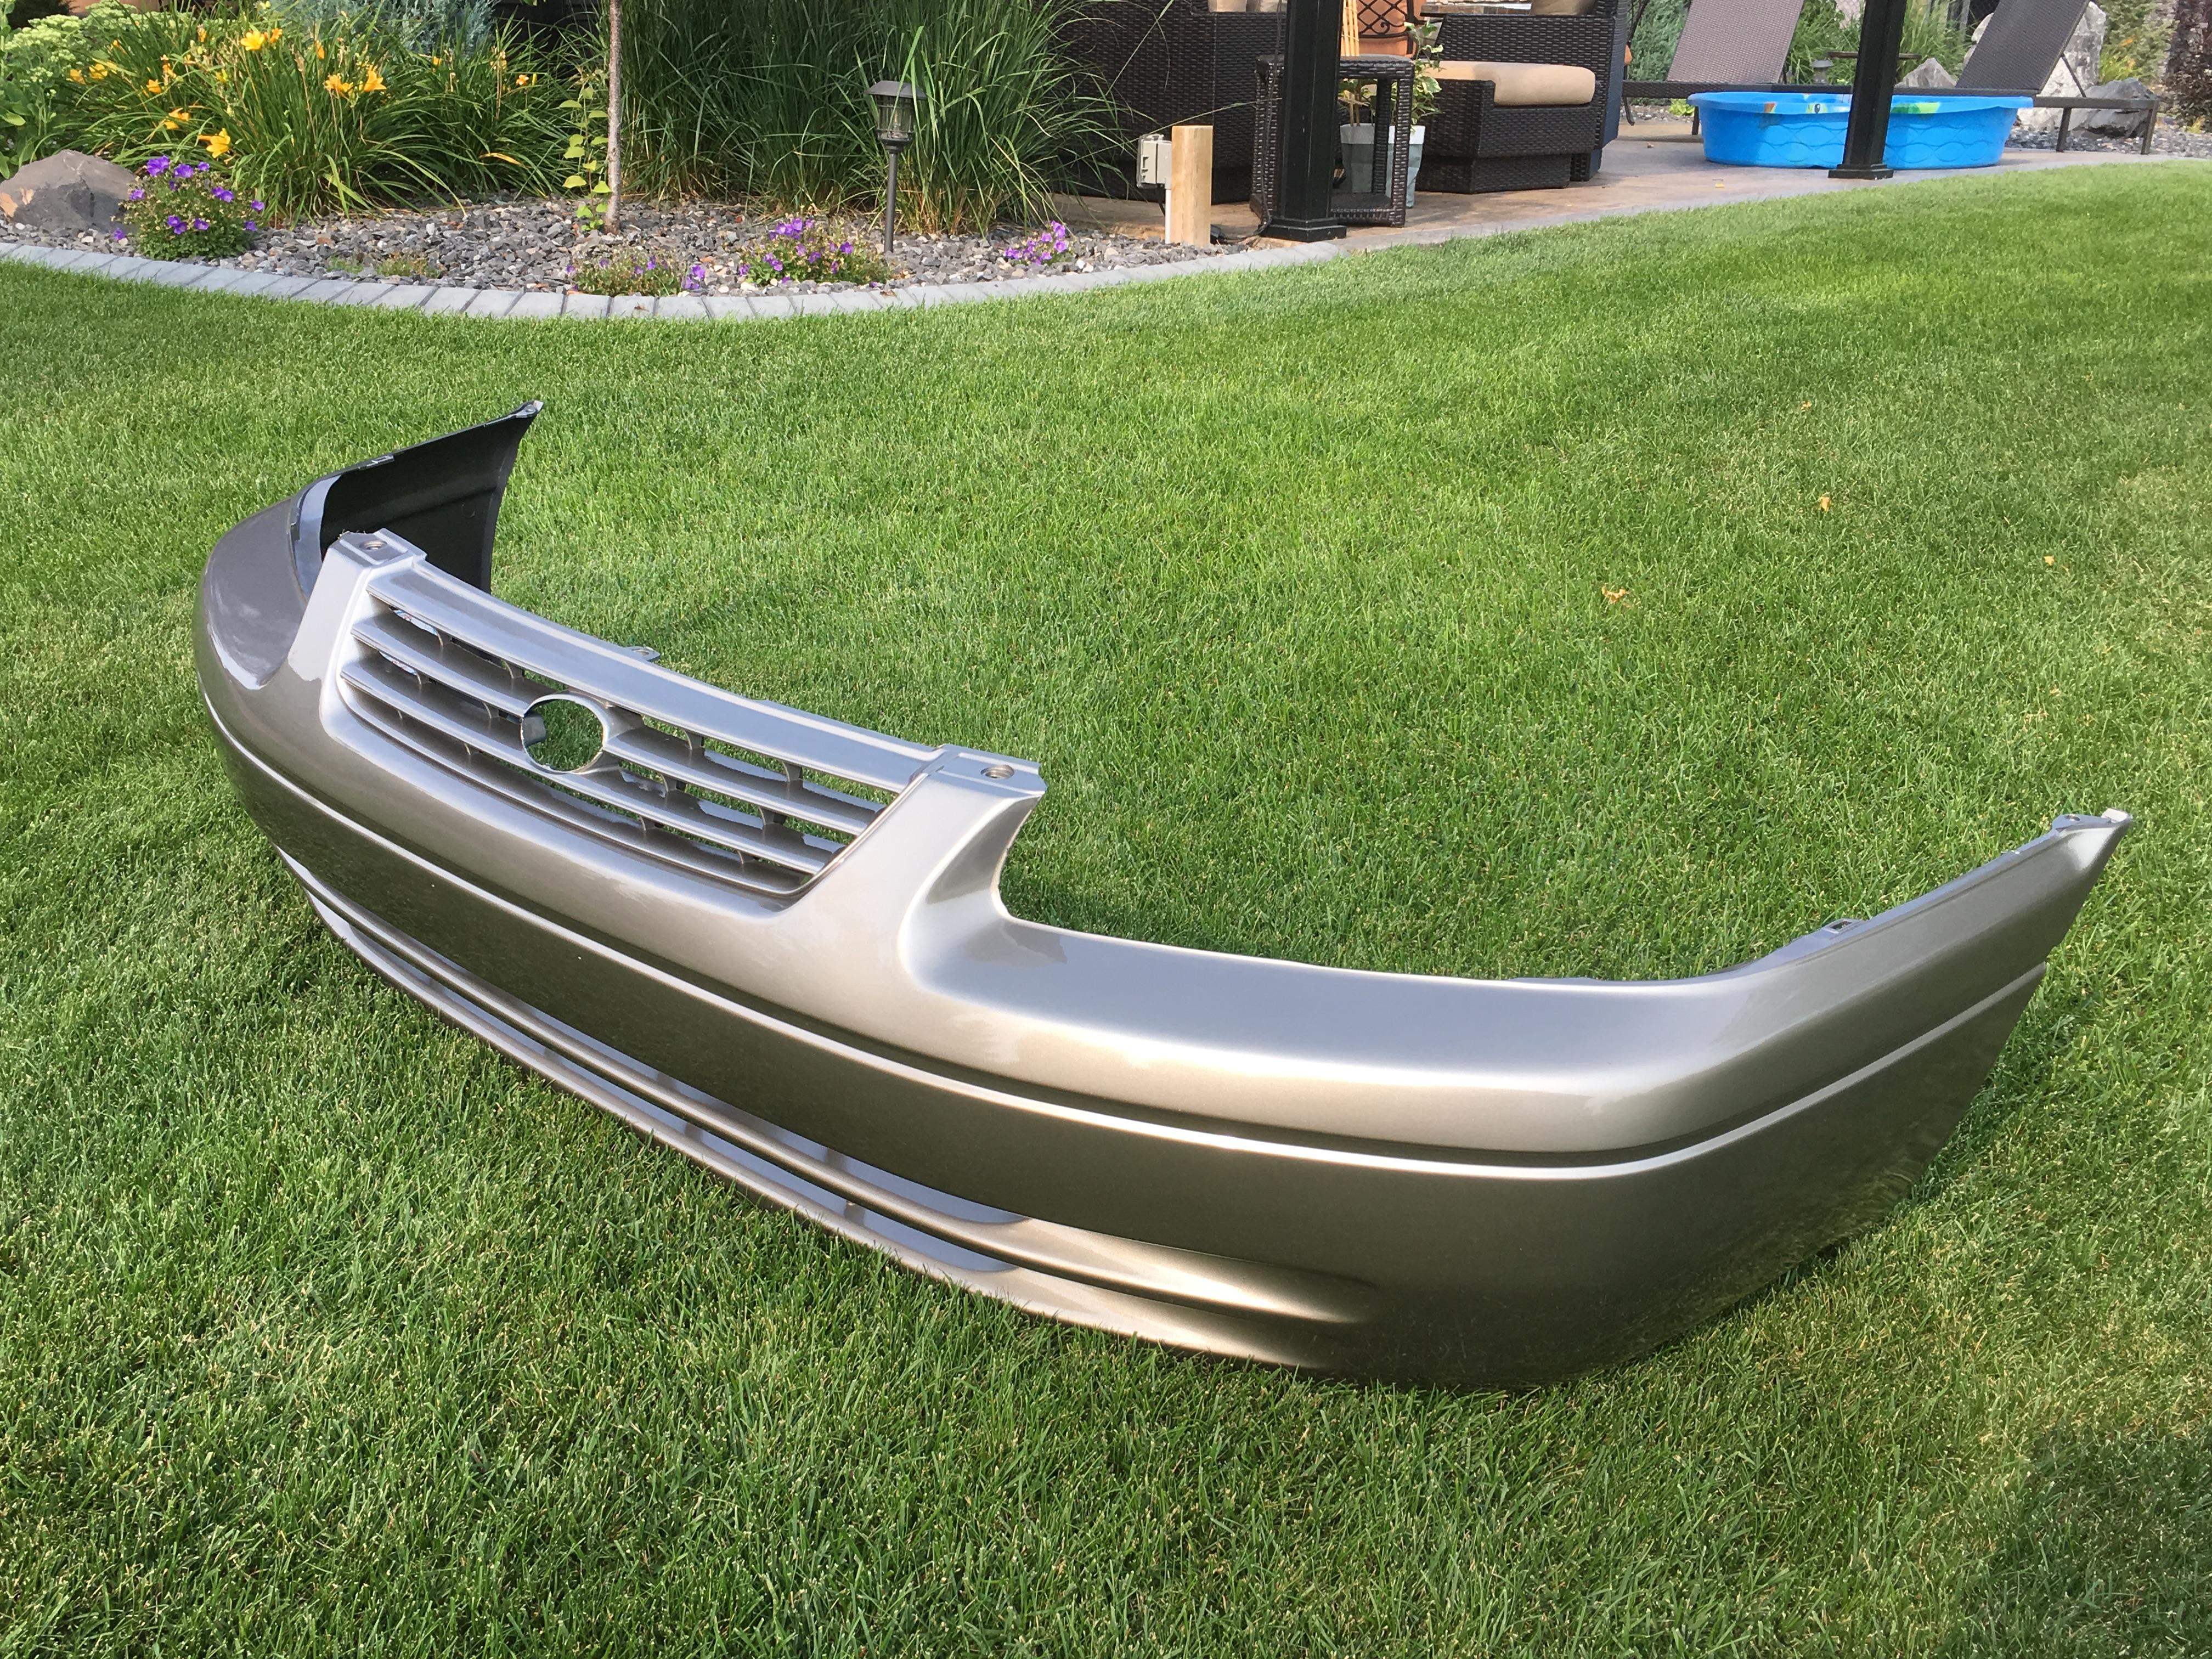
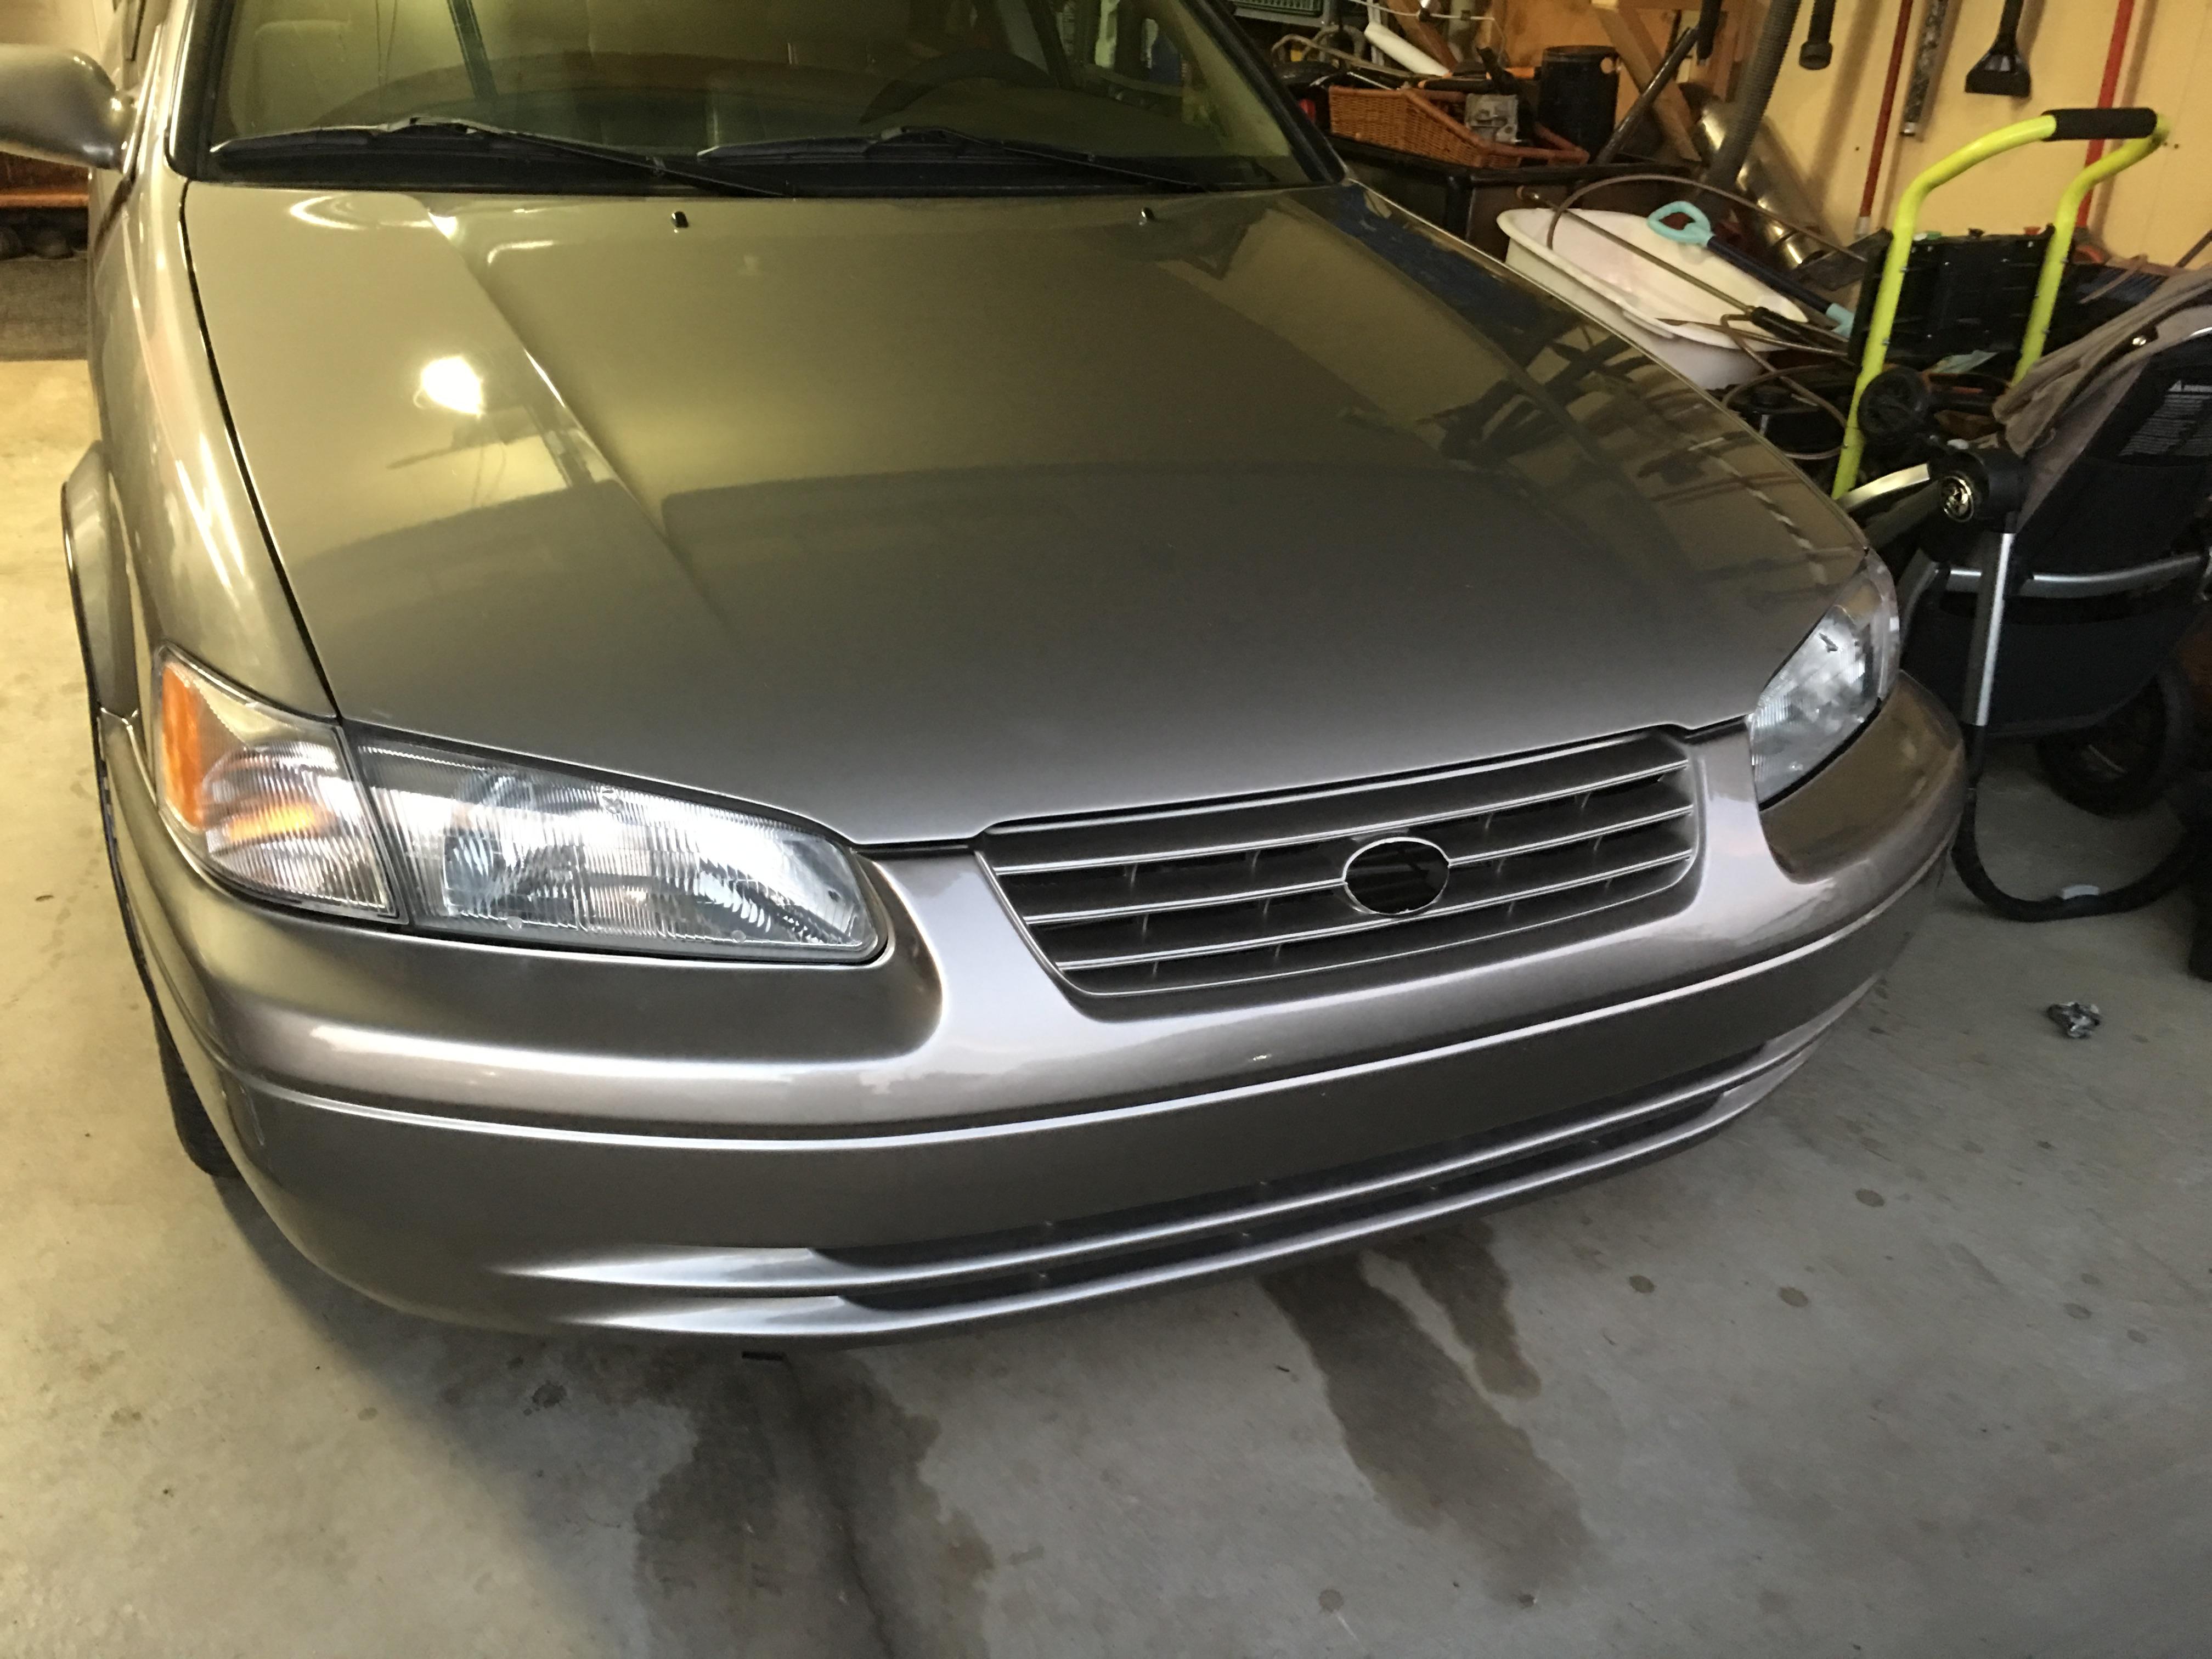
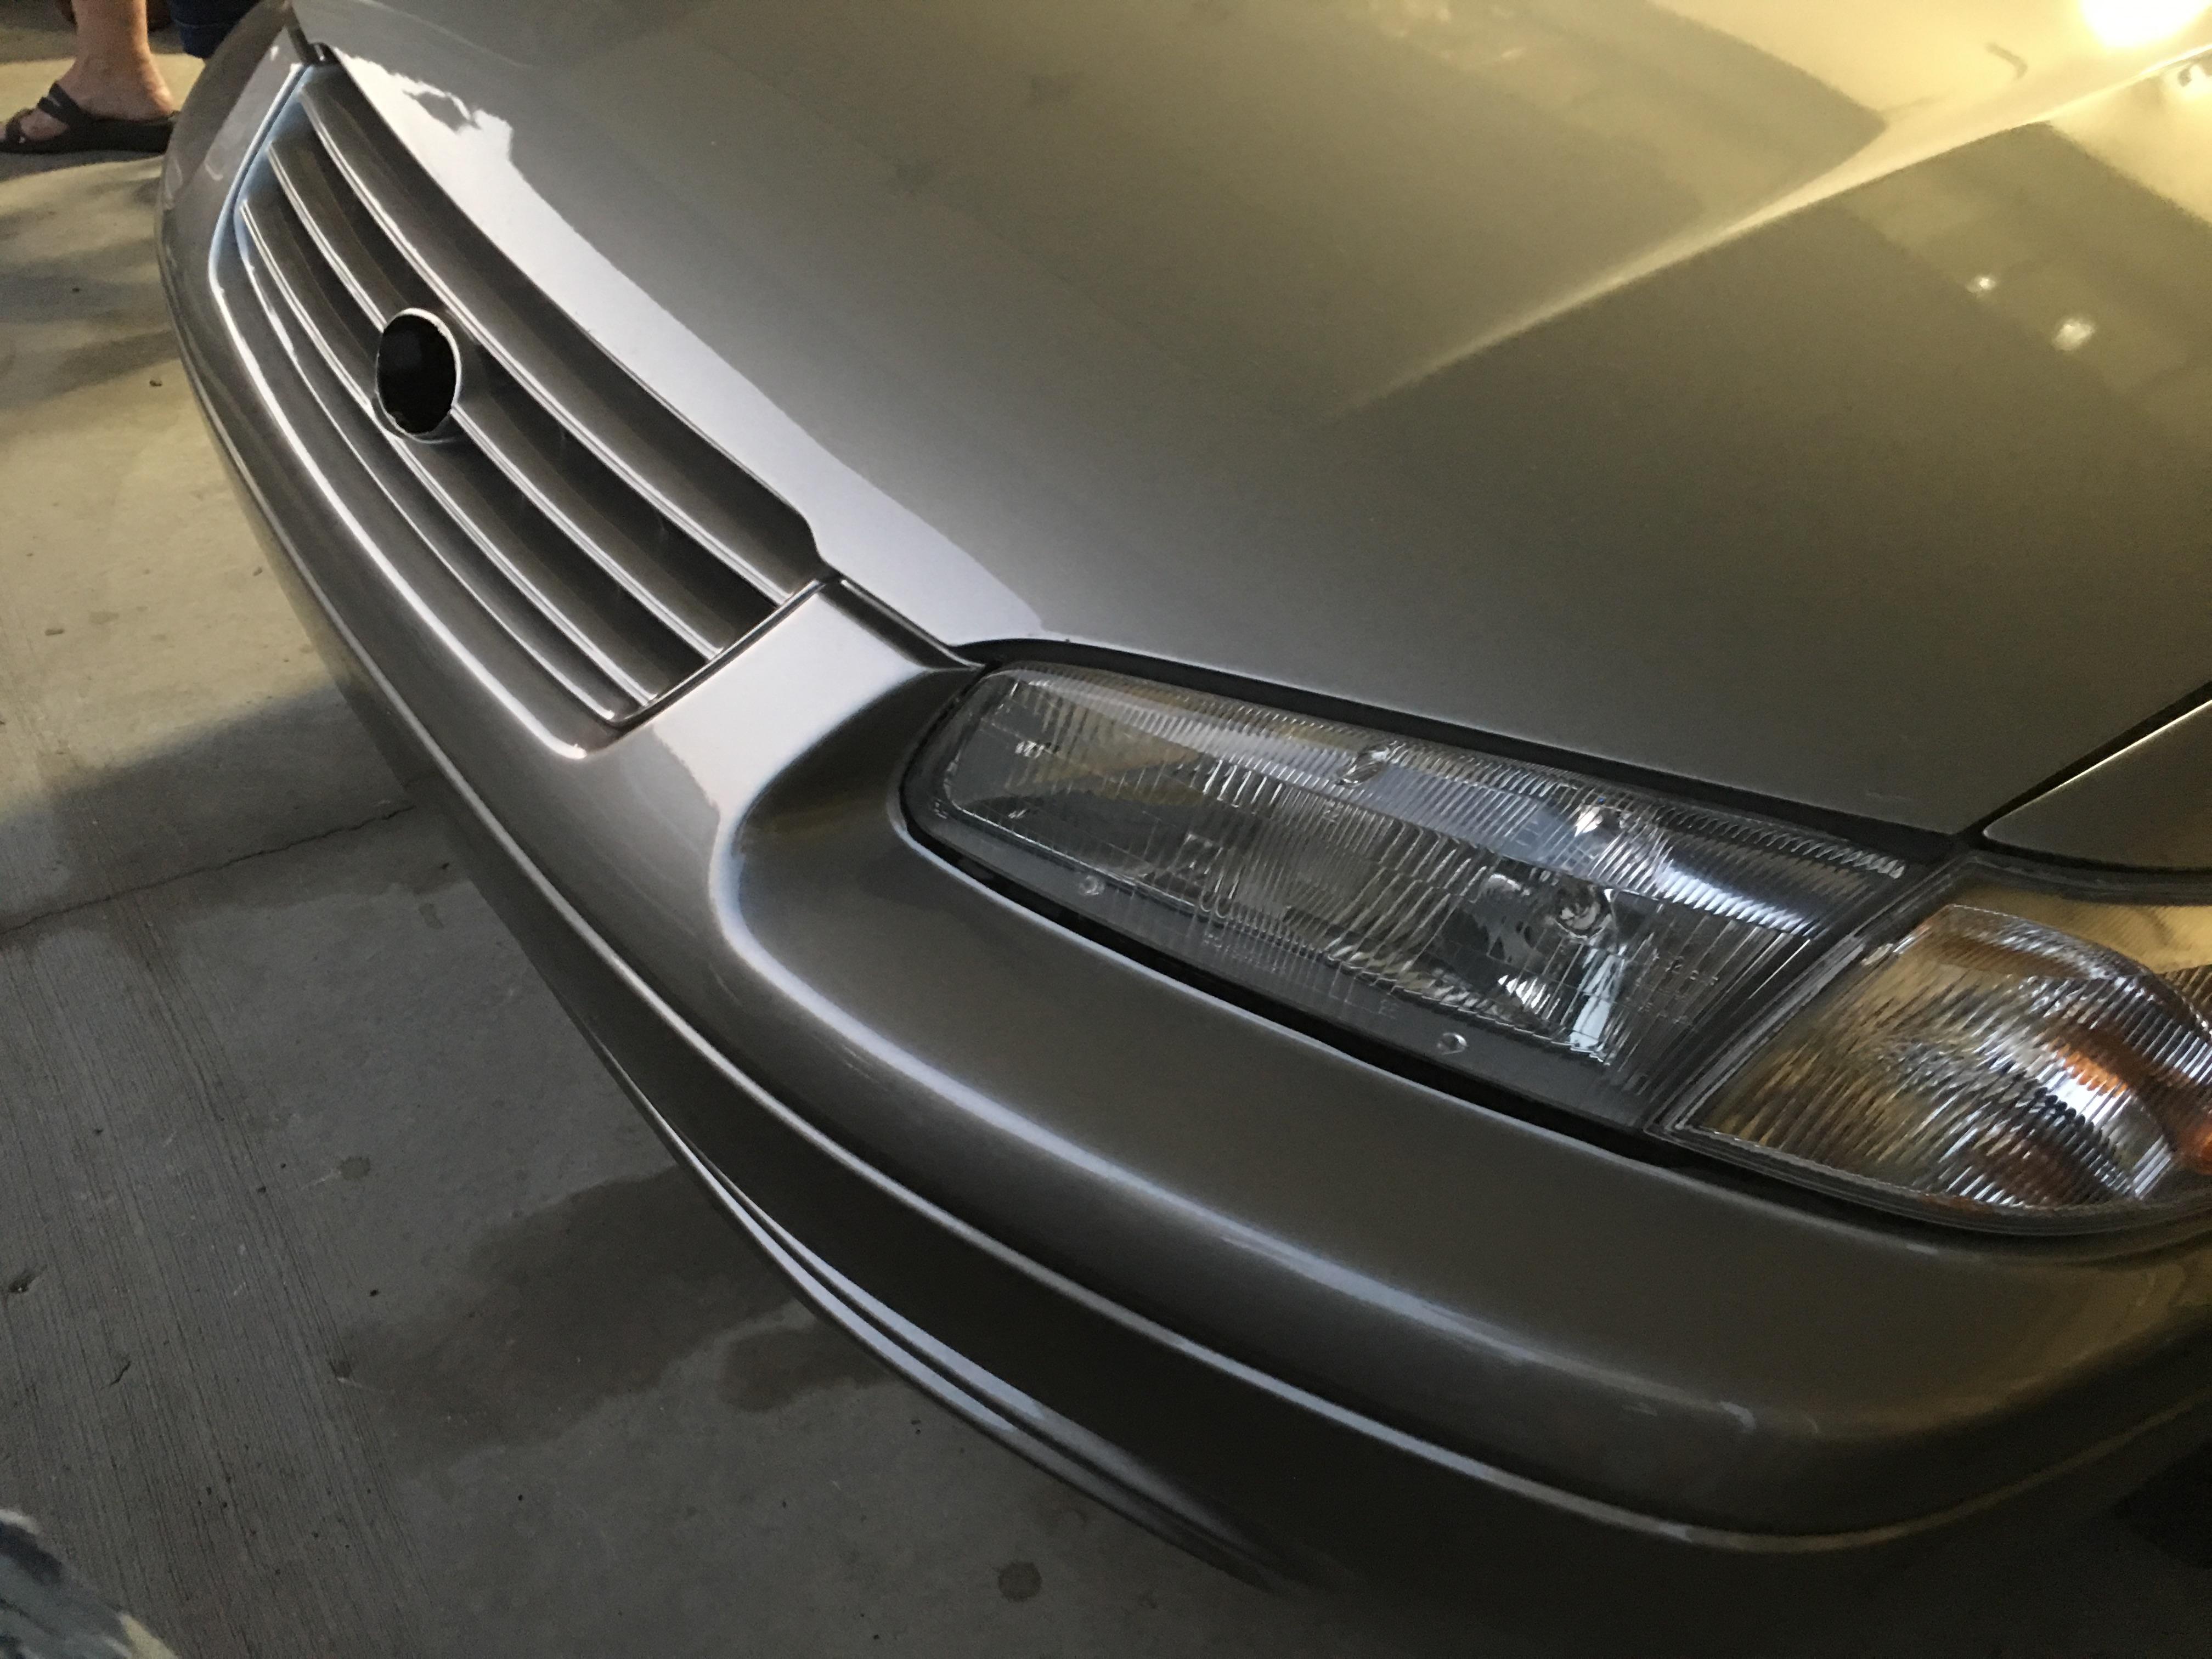
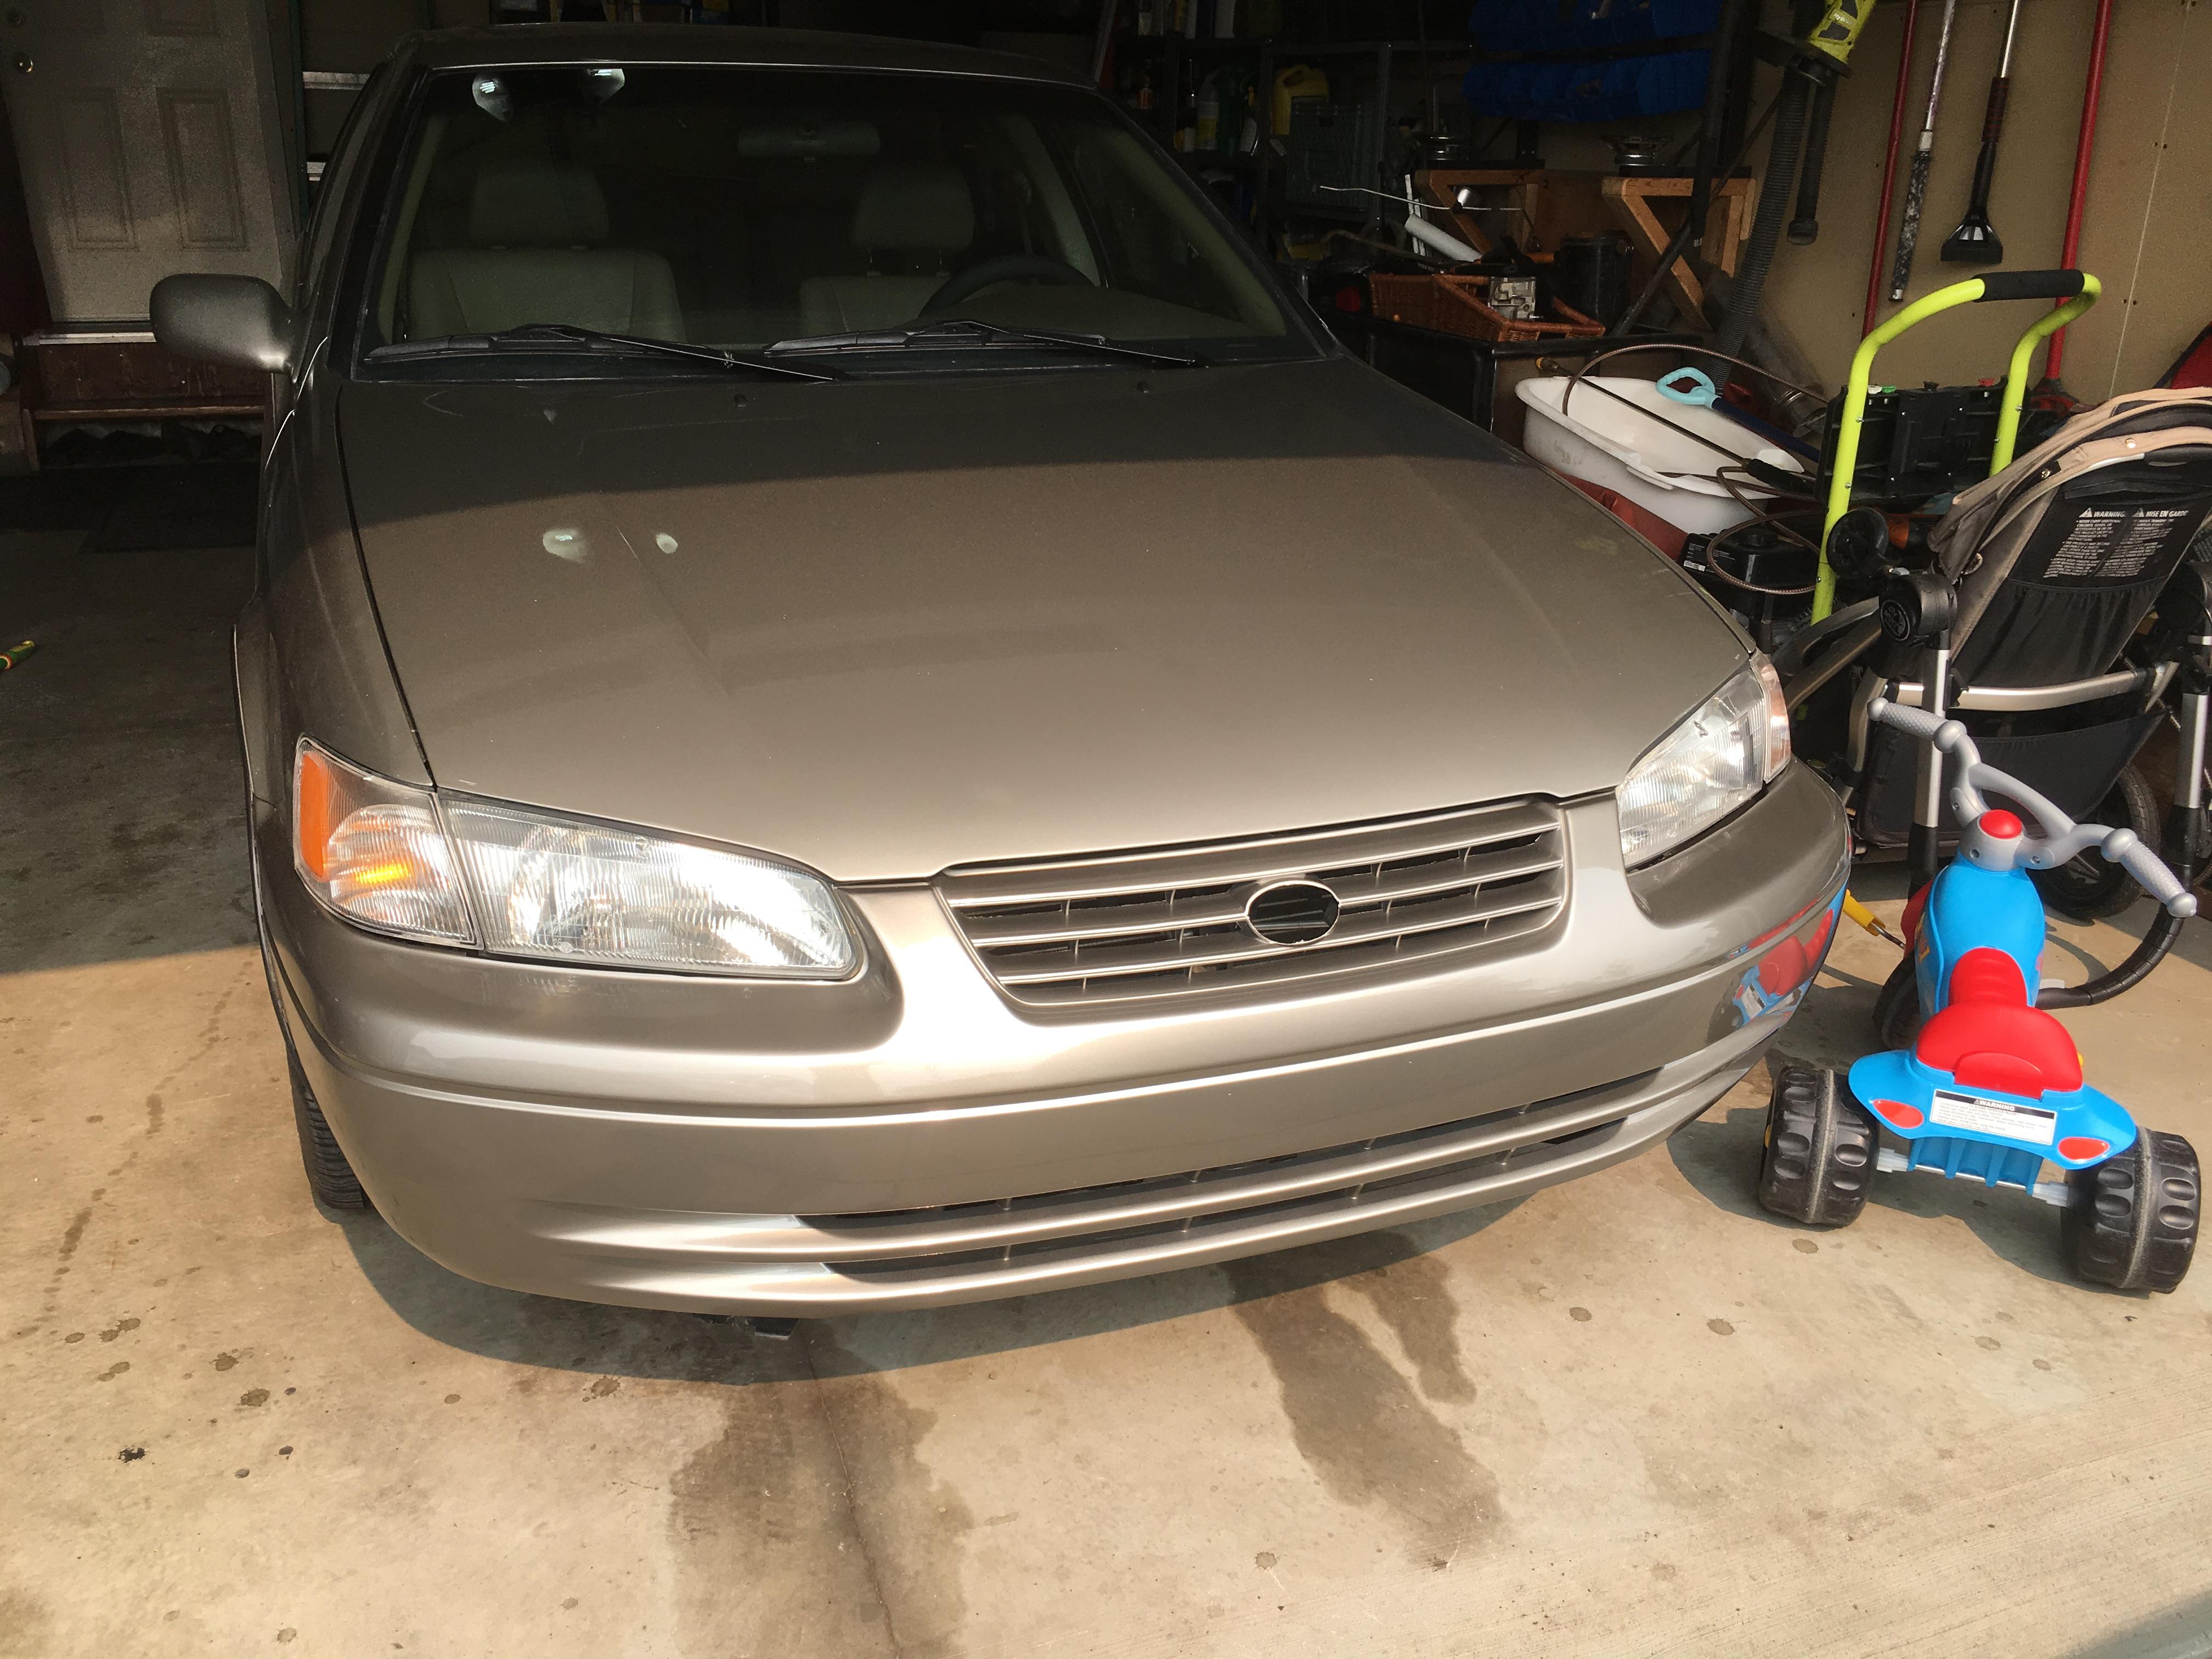
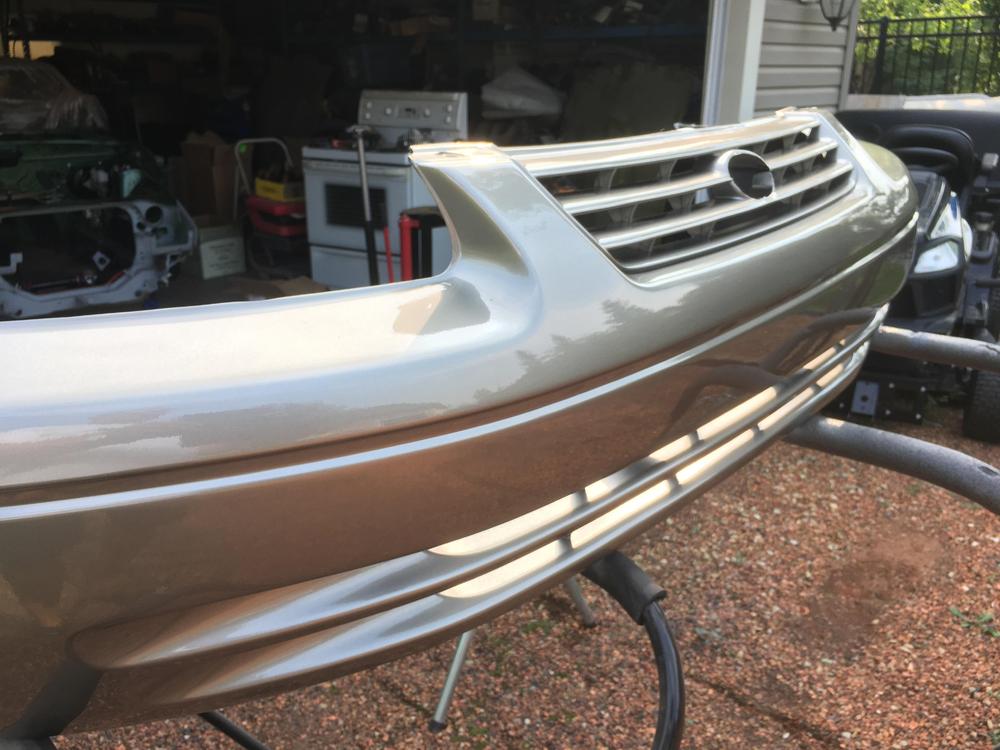
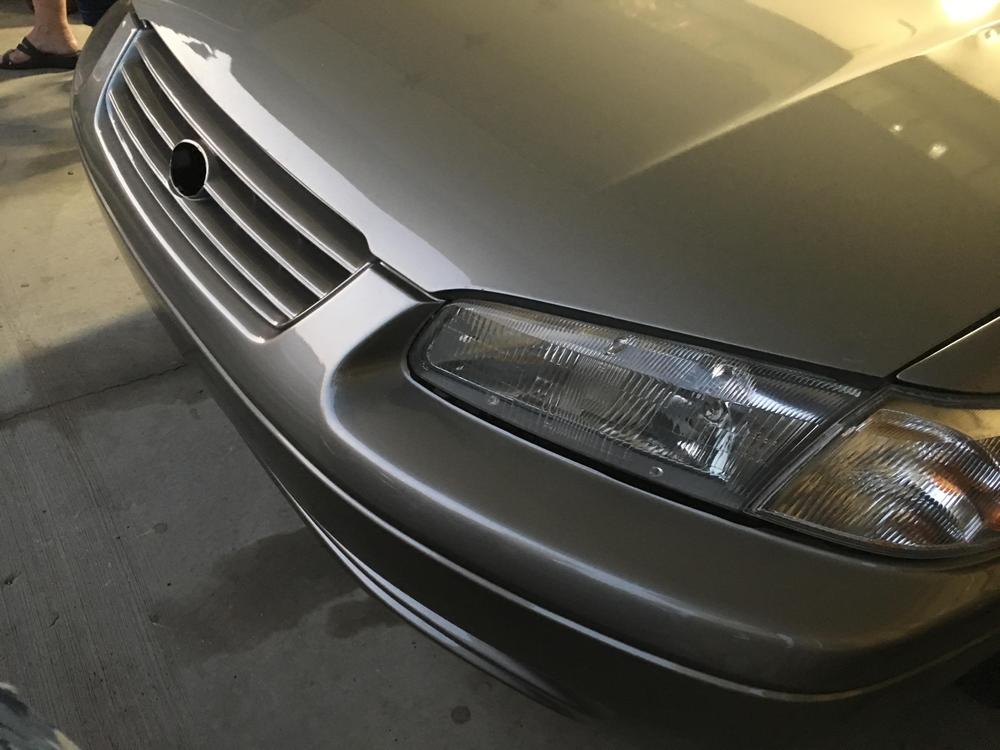
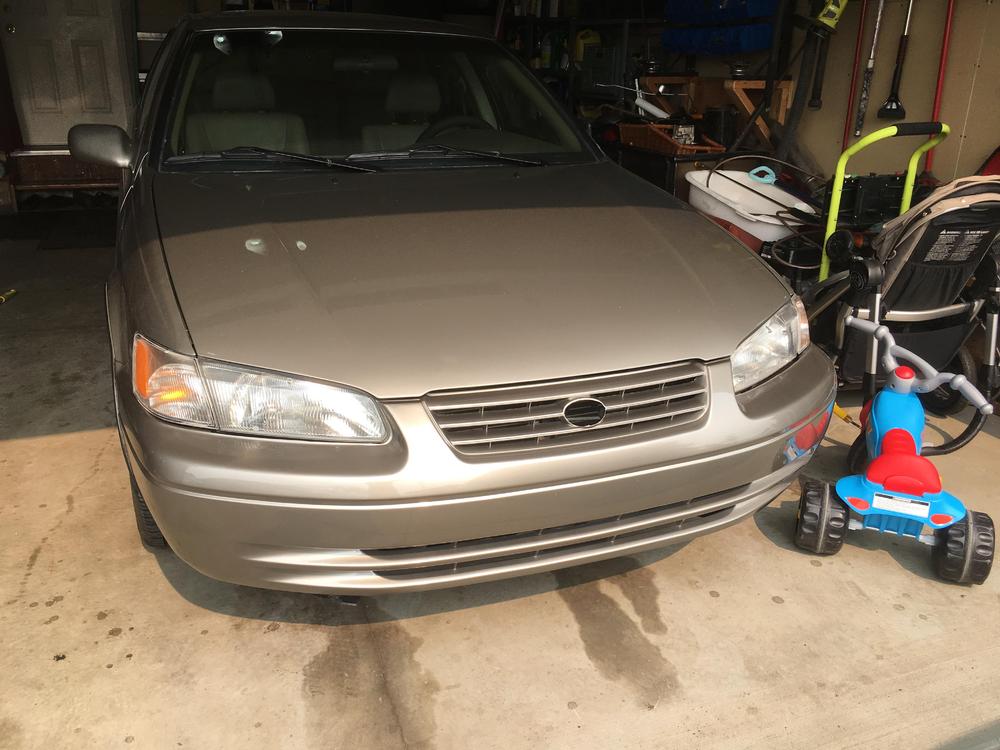
1 pointSo I have still been picking away at things but not a lot during the nice weather. I have been spending some time with the grandkids and the wife while the sun has been out. I few developments to report though: 1) I have decided to leave the R200 CLSD as is. The 3.70 ring gear is going back on as I do not trust a redrill of the 3.90 ring gear to fit the larger M12 thread versus the M10. Not worth damaging a ring gear if I can live with the 3.70. The CLSD will go back in with fresh paint and seals, then I will rebuild the 3.90 as an open diff for now. That means I have to prep the new R200 diff case and housing for paint. This is not too big a job but... 2) I tried to powder coat the stripped and blasted finned R200 diff cover with chrome powder coat. The blasting and powder coating went on flawless and I had pre-baked the cover to help cleanse the porous cast aluminum. Didn't work... The cover came out of the oven like a bubbly wrinkle coat from all the off-gassing. arrghhh. Now I had to start over, media blasting fresh hardened powder coat off the cover!! Three times the work of a regular painted cover. No pics of the disgusting powder job after baking. 3) Took a few days to help out the son-in -law get a car ready for resale. A 99 Camry with low kilometres but a little bit of body abuse. Needed a new front bumper and some paint detailing. Spent about 8 hours sanding and polishing the clearcoat on his car, then painted his replacement bumper from a jobber in town. I was happy to do this because I wanted to test my paint skills. The results were excellent considering I painted outside on a cool day with no paint booth etc. The clear went down like glass. Raw urethane black bumper was sanded, primed with flex primer in grey, degreased and sanded with 600 grit, sprayed with 3 coats of urethane base coat gold and then three coats of urethane clear. Very happy with the results and this gives me great confidence in spraying the rest of my car when the time comes. 4) Plan going forward is to paint the diff cover with an anodizing silver engine paint and the diff itself in an engine enamel black. I hope to have it reassembled and installed in the next couple of weeks. Hopefully by then, AZC will have the rear brake brackets I need to get the car down on its wheels and I will finally have a rolling chassis again after 3 years of rotisserie!


 1 point
 -
1 point(Blush) Thank you, but please know that everything in that thread has been gleaned from those that came before me like @HaZmatt and @Patcon and @grannyknot and many others on this forum!1 point
-
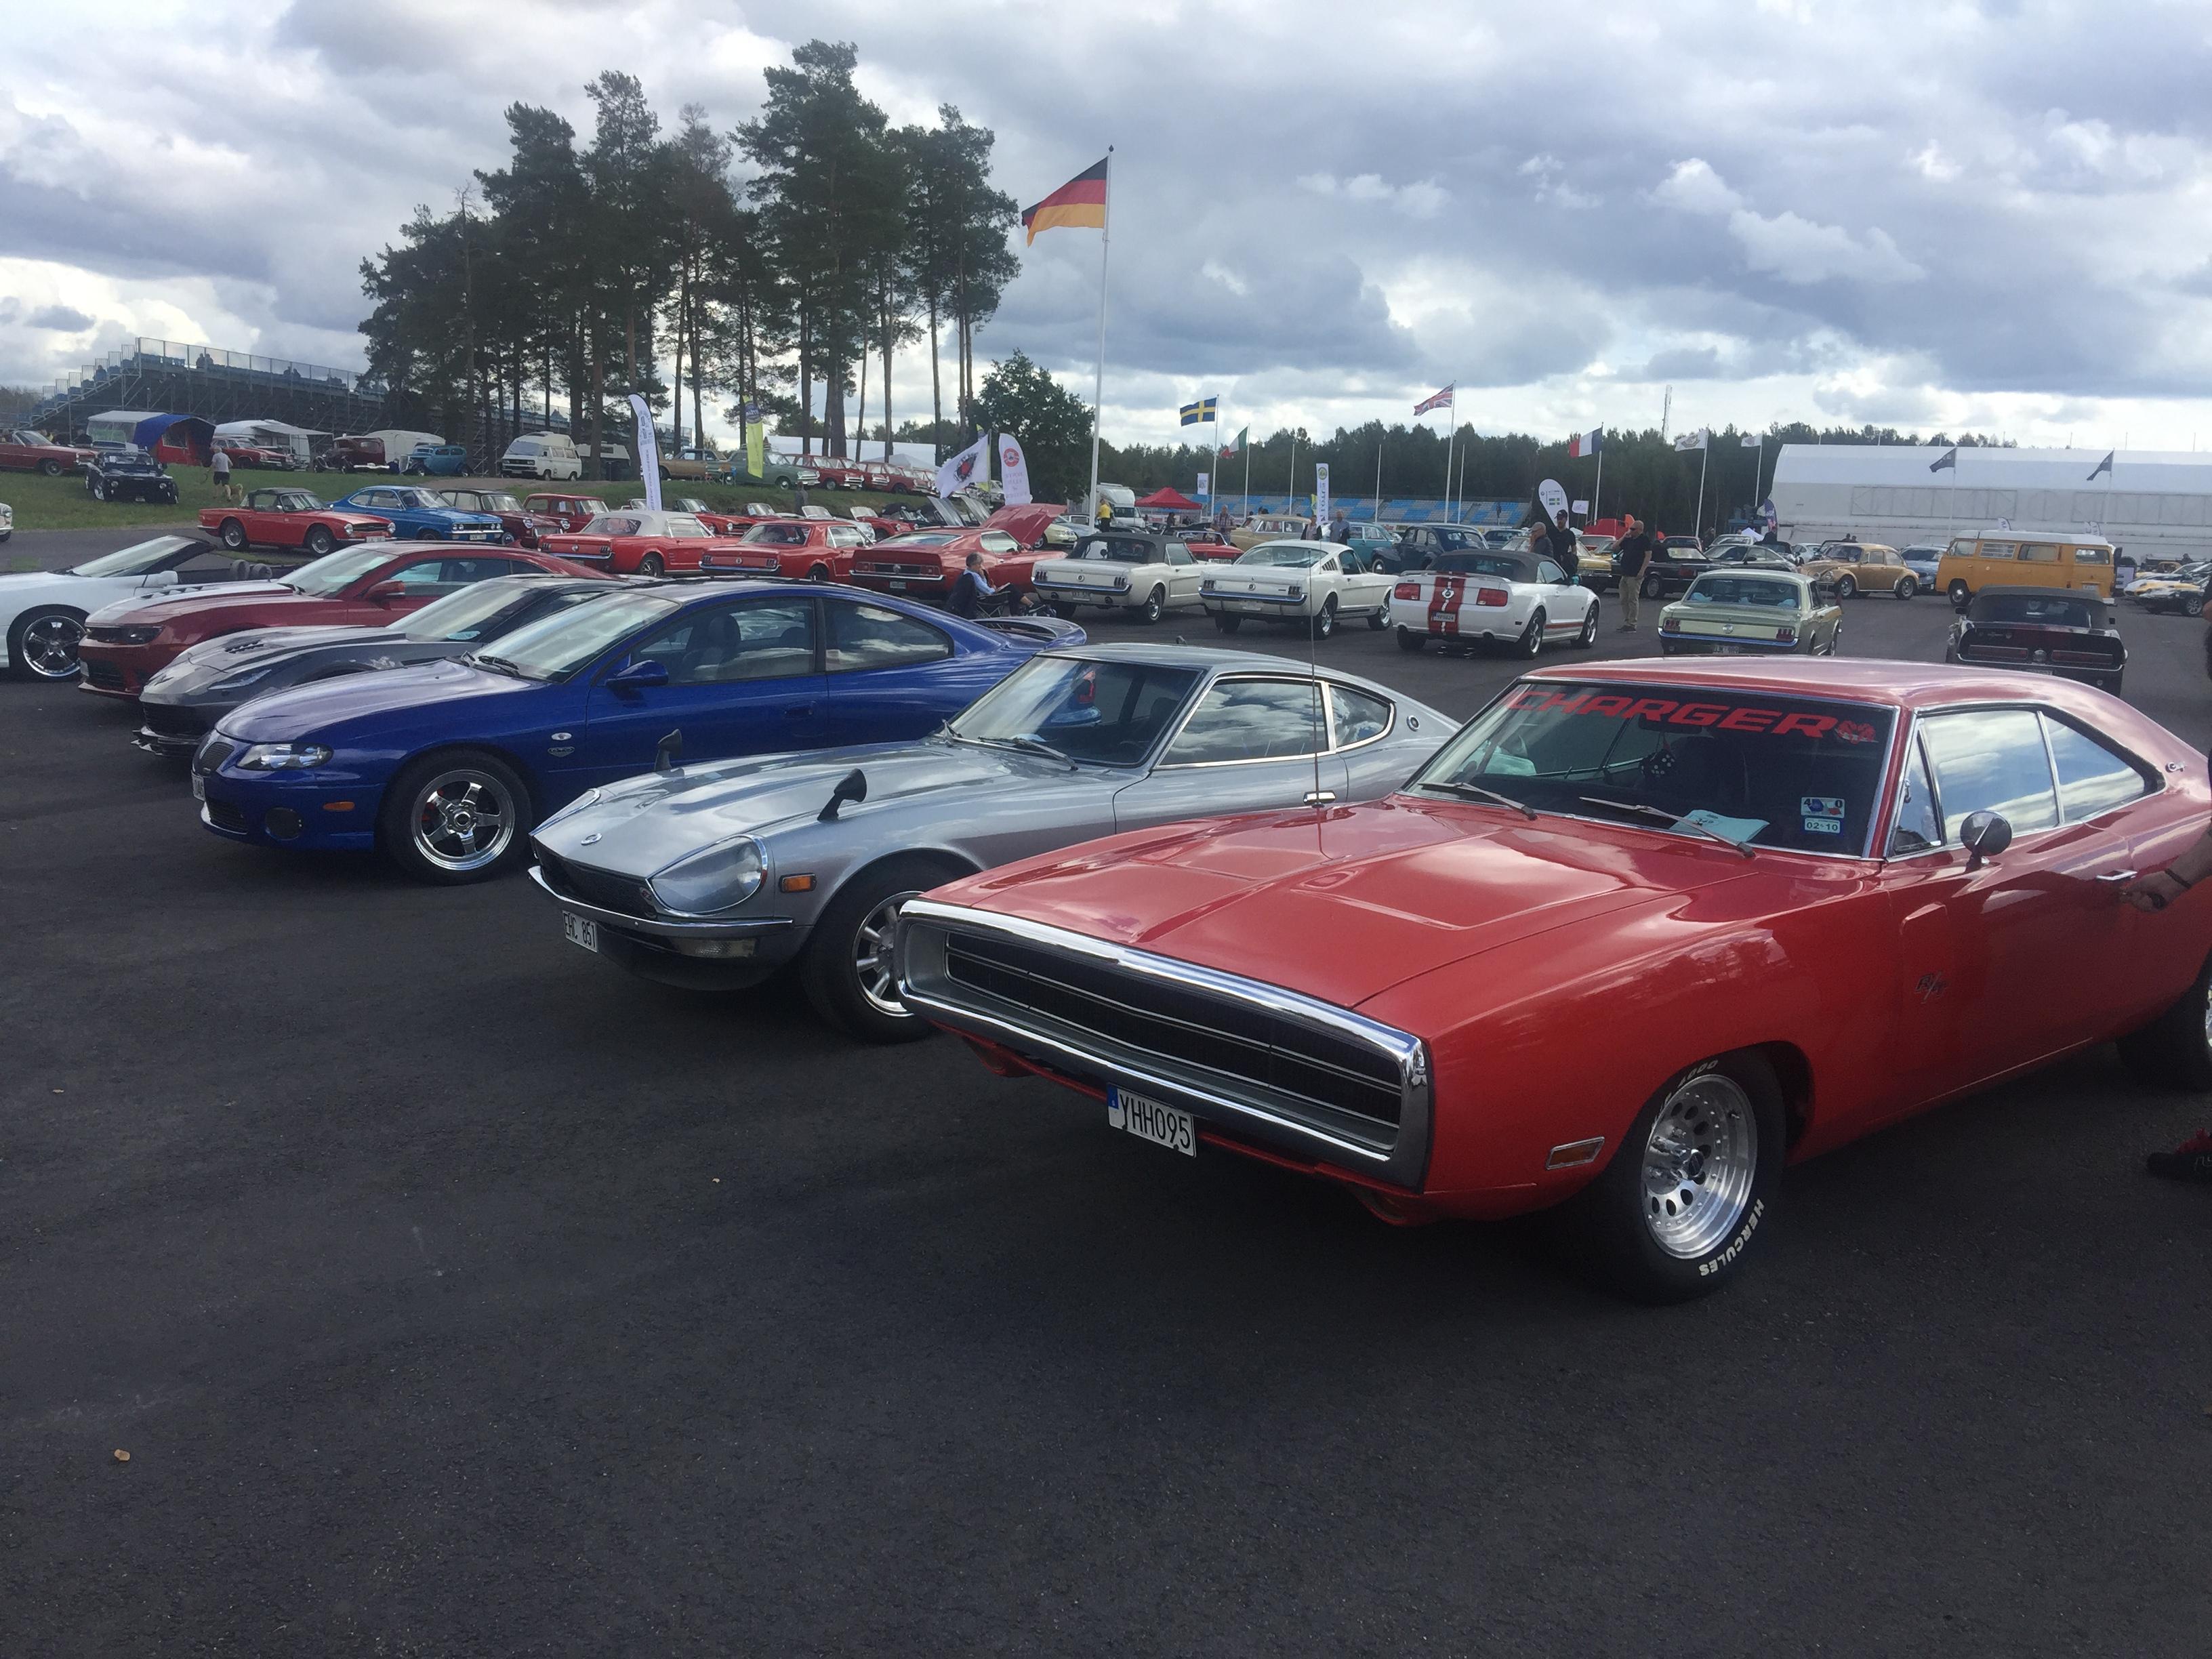
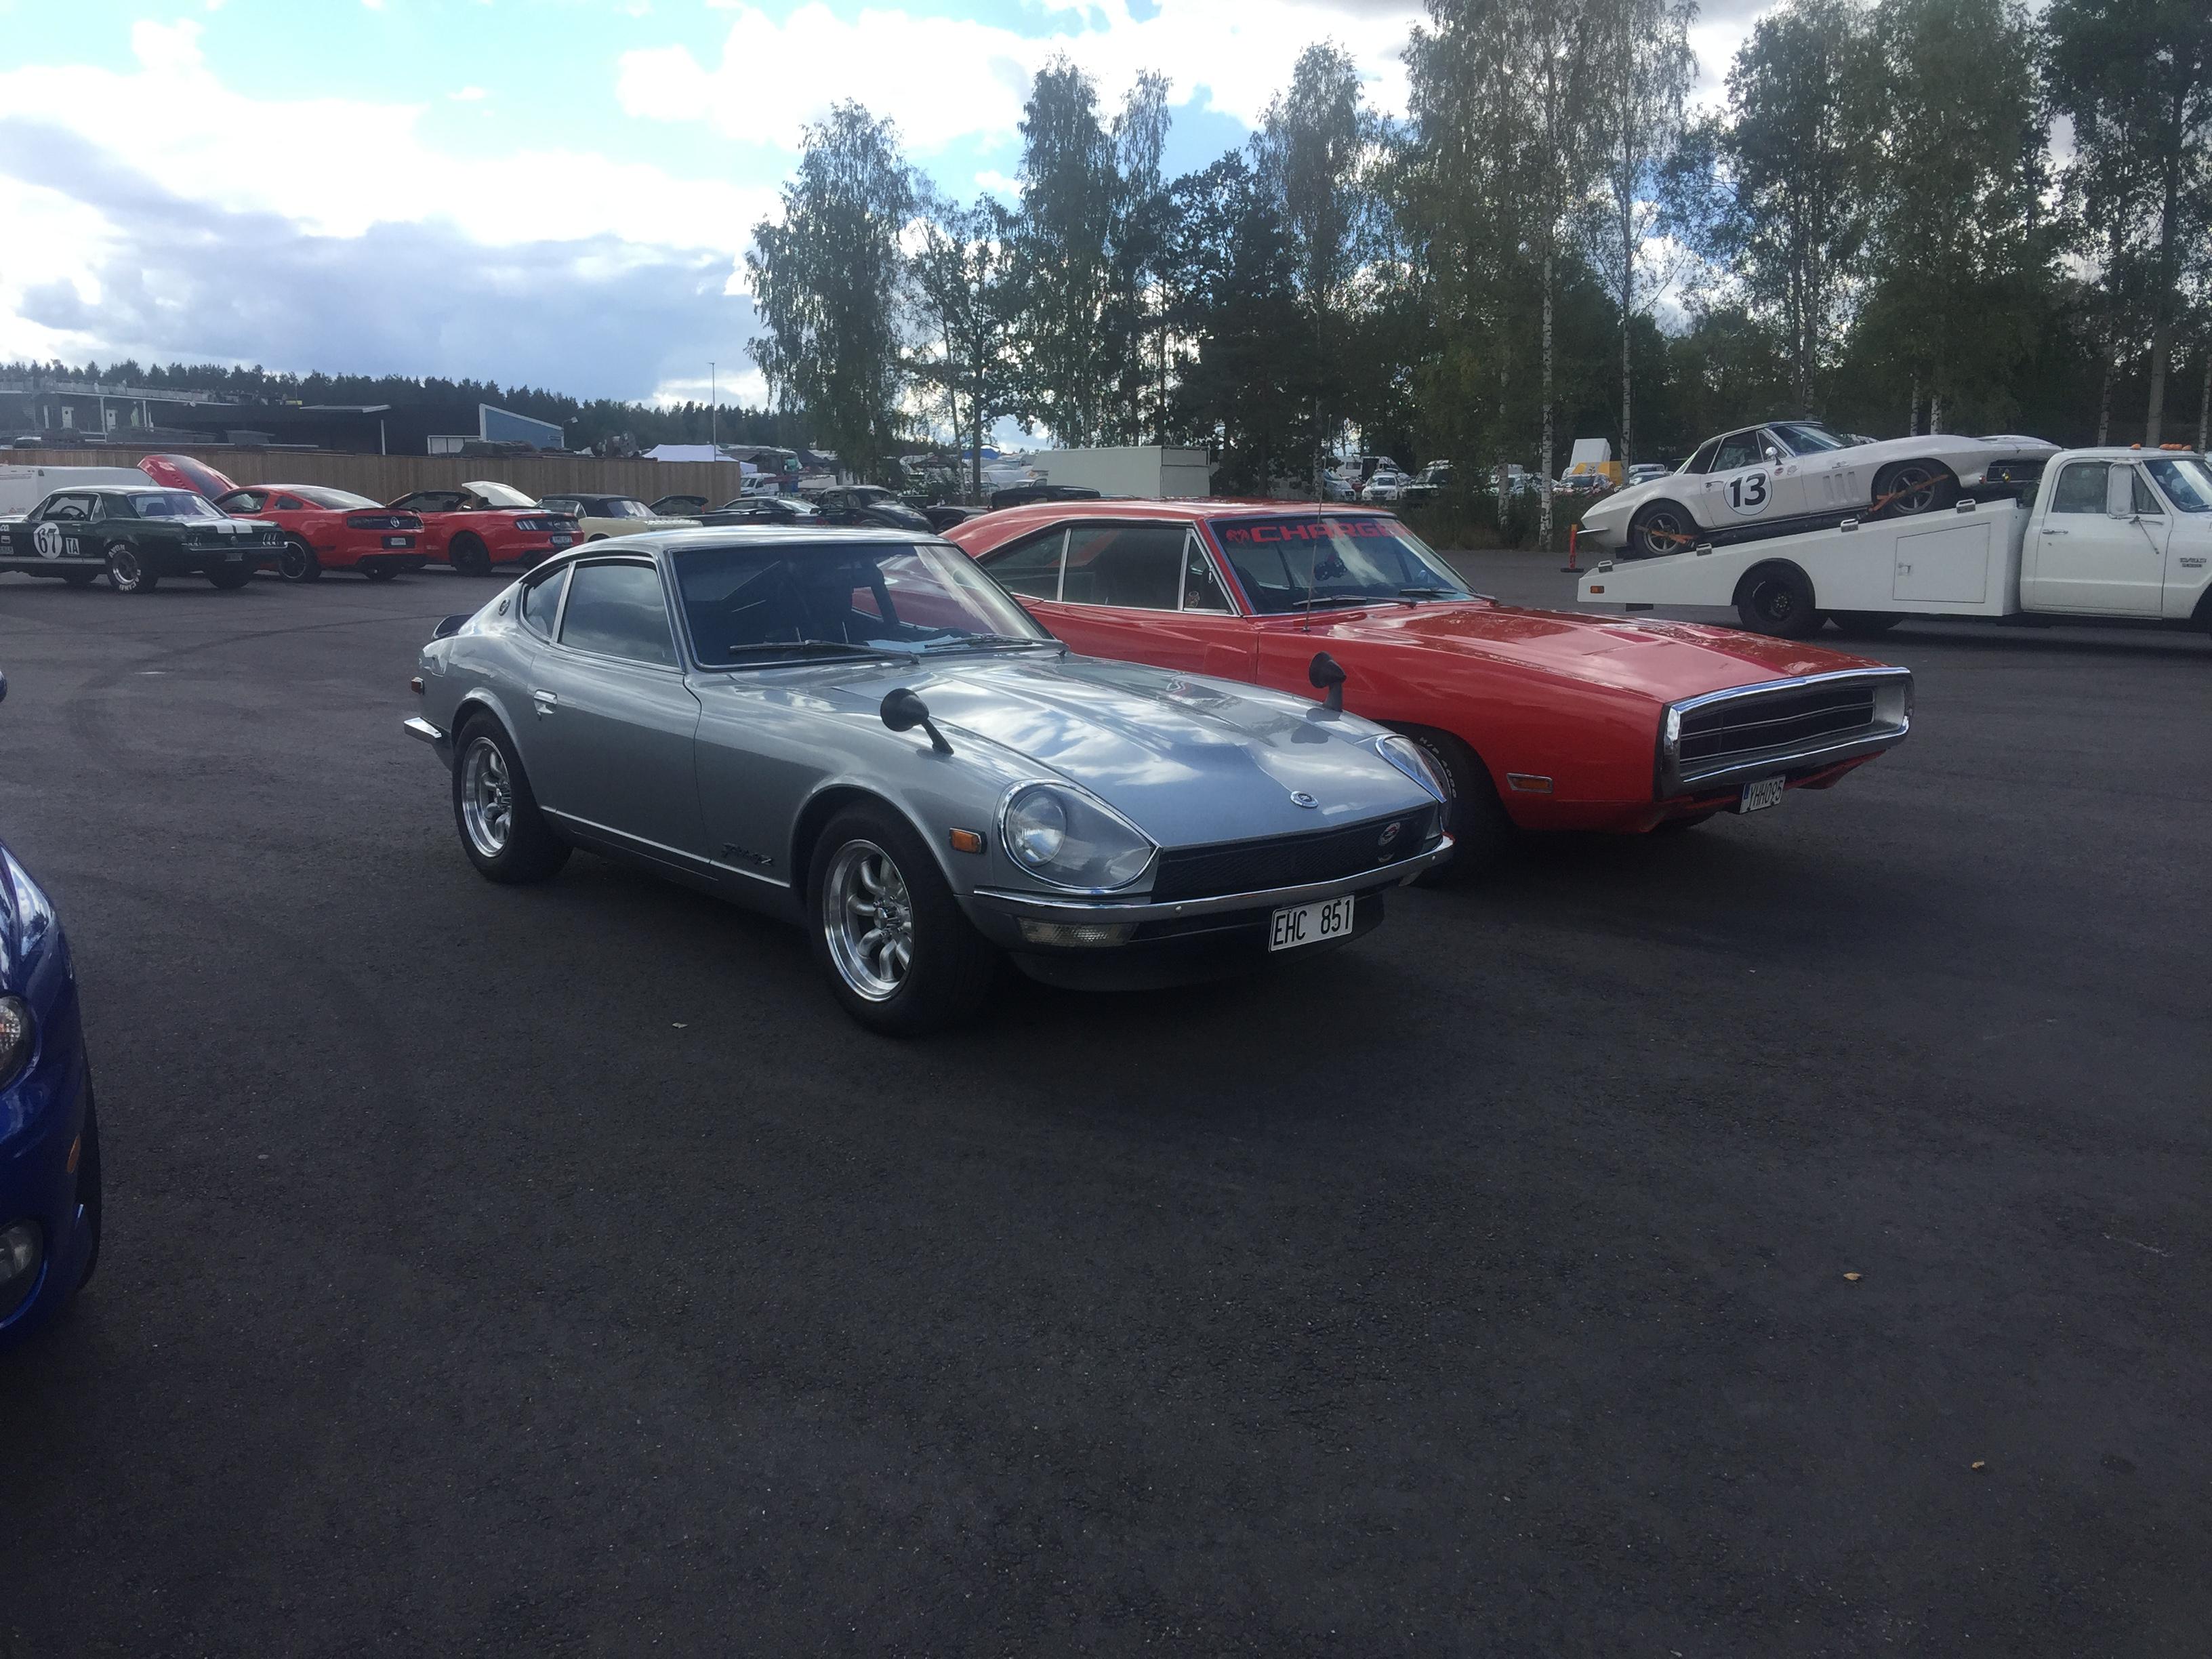
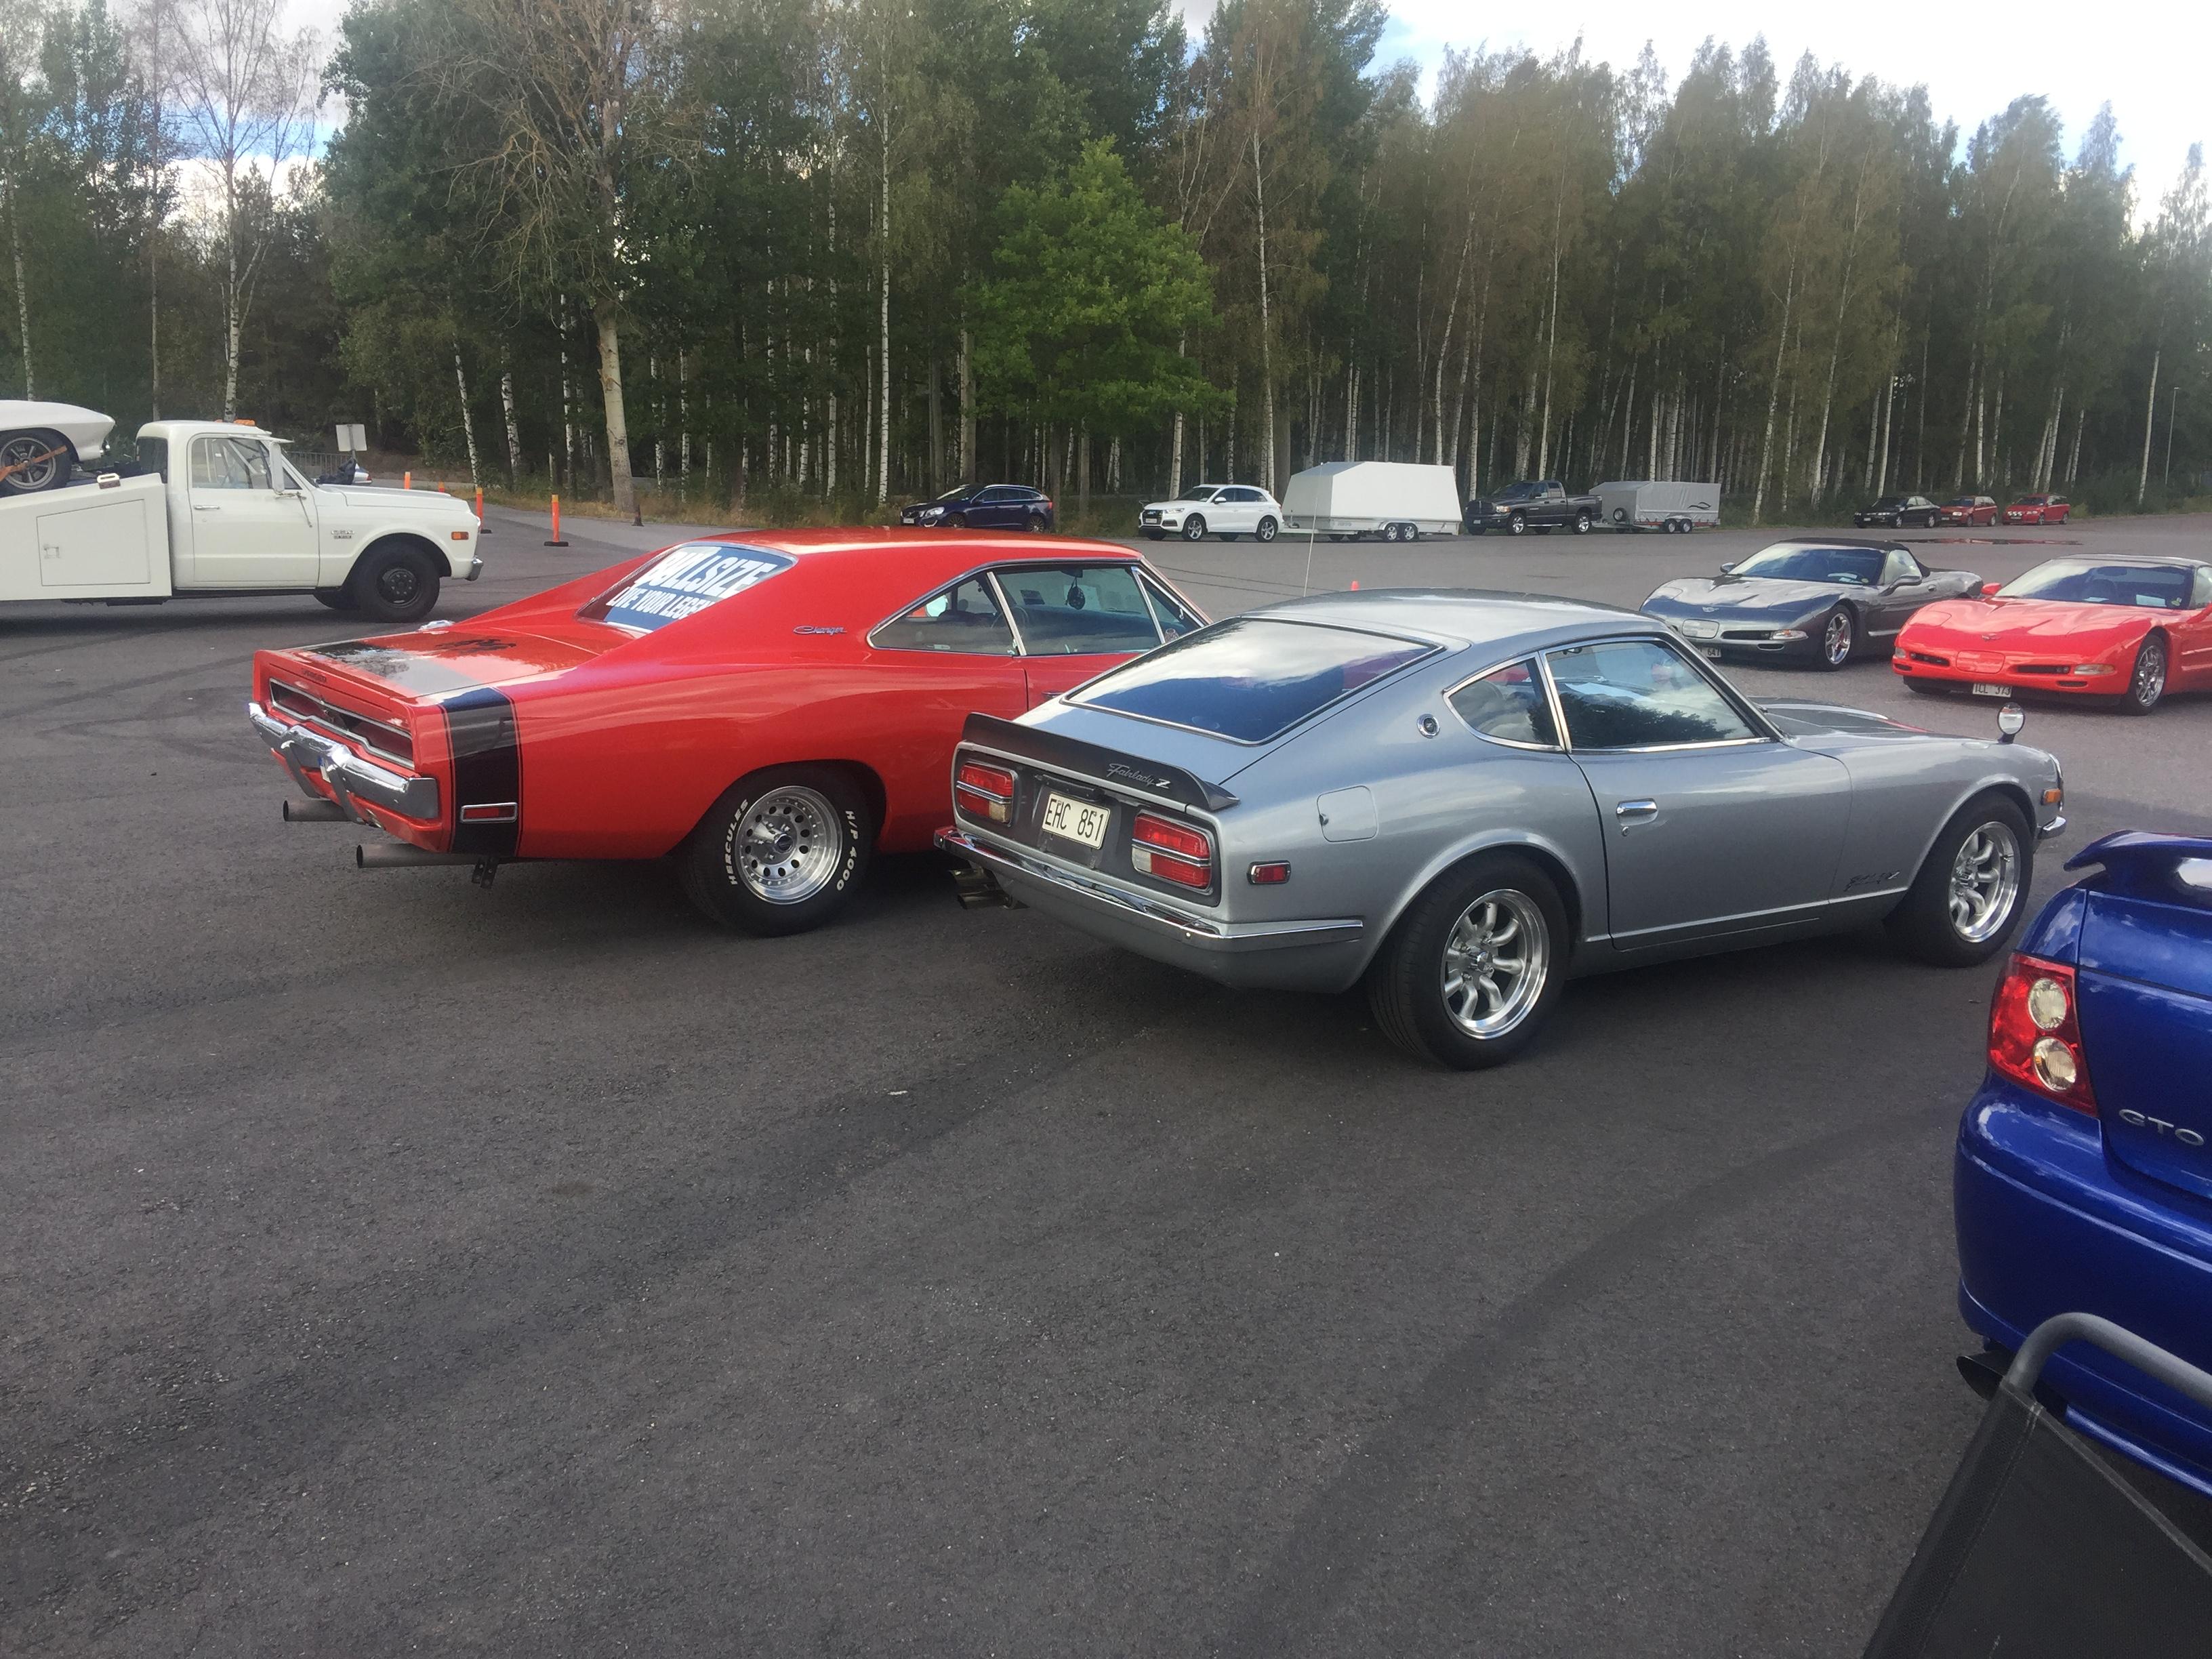
You misunderstand my post. While that sports car in the foreground is not a race car the two vehicles behind it are in fact historic race cars, so the photo does belong in this thread.1 point
-
1 point
-
2:50 mark is the GT and Imsa race with Datsuns. Historic F1 was race before this one. A favorite of mine. https://www.motortrendondemand.com/detail/replay-day-1-2018-rolex-monterey-motorsport-reunion-weathertech-raceway-laguna-seca/0_lqko3k4a/1 point
-
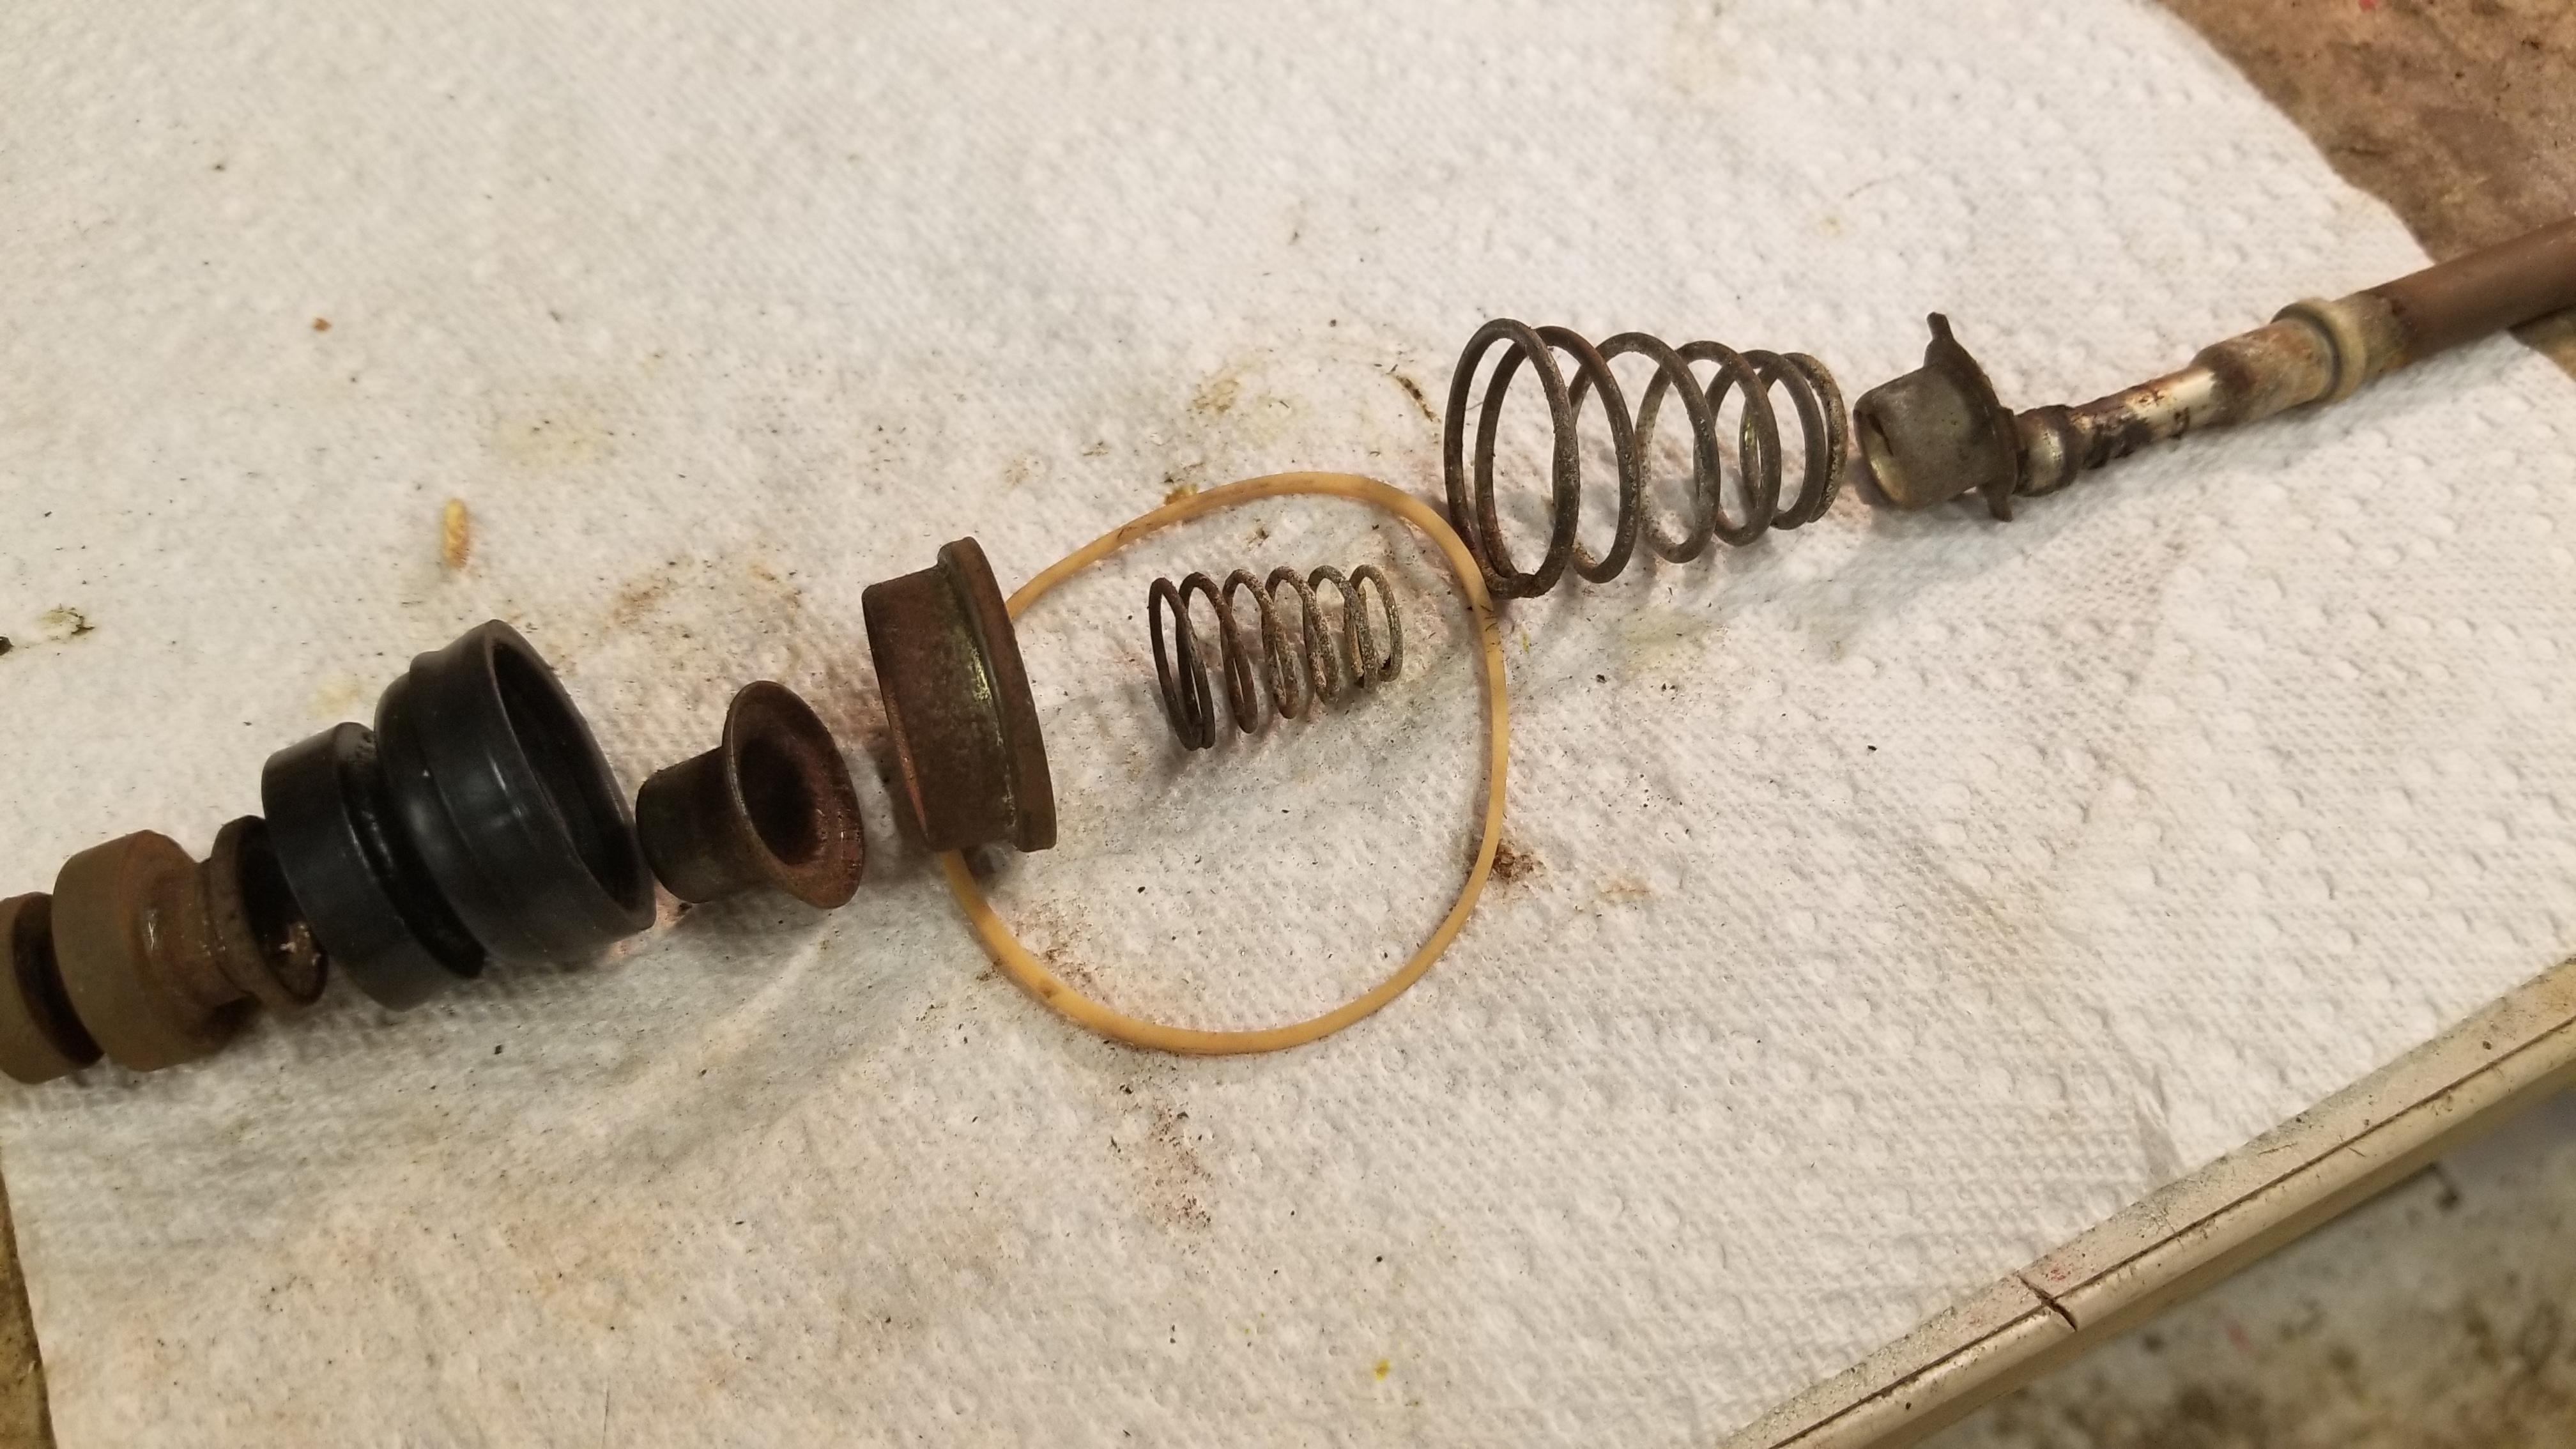
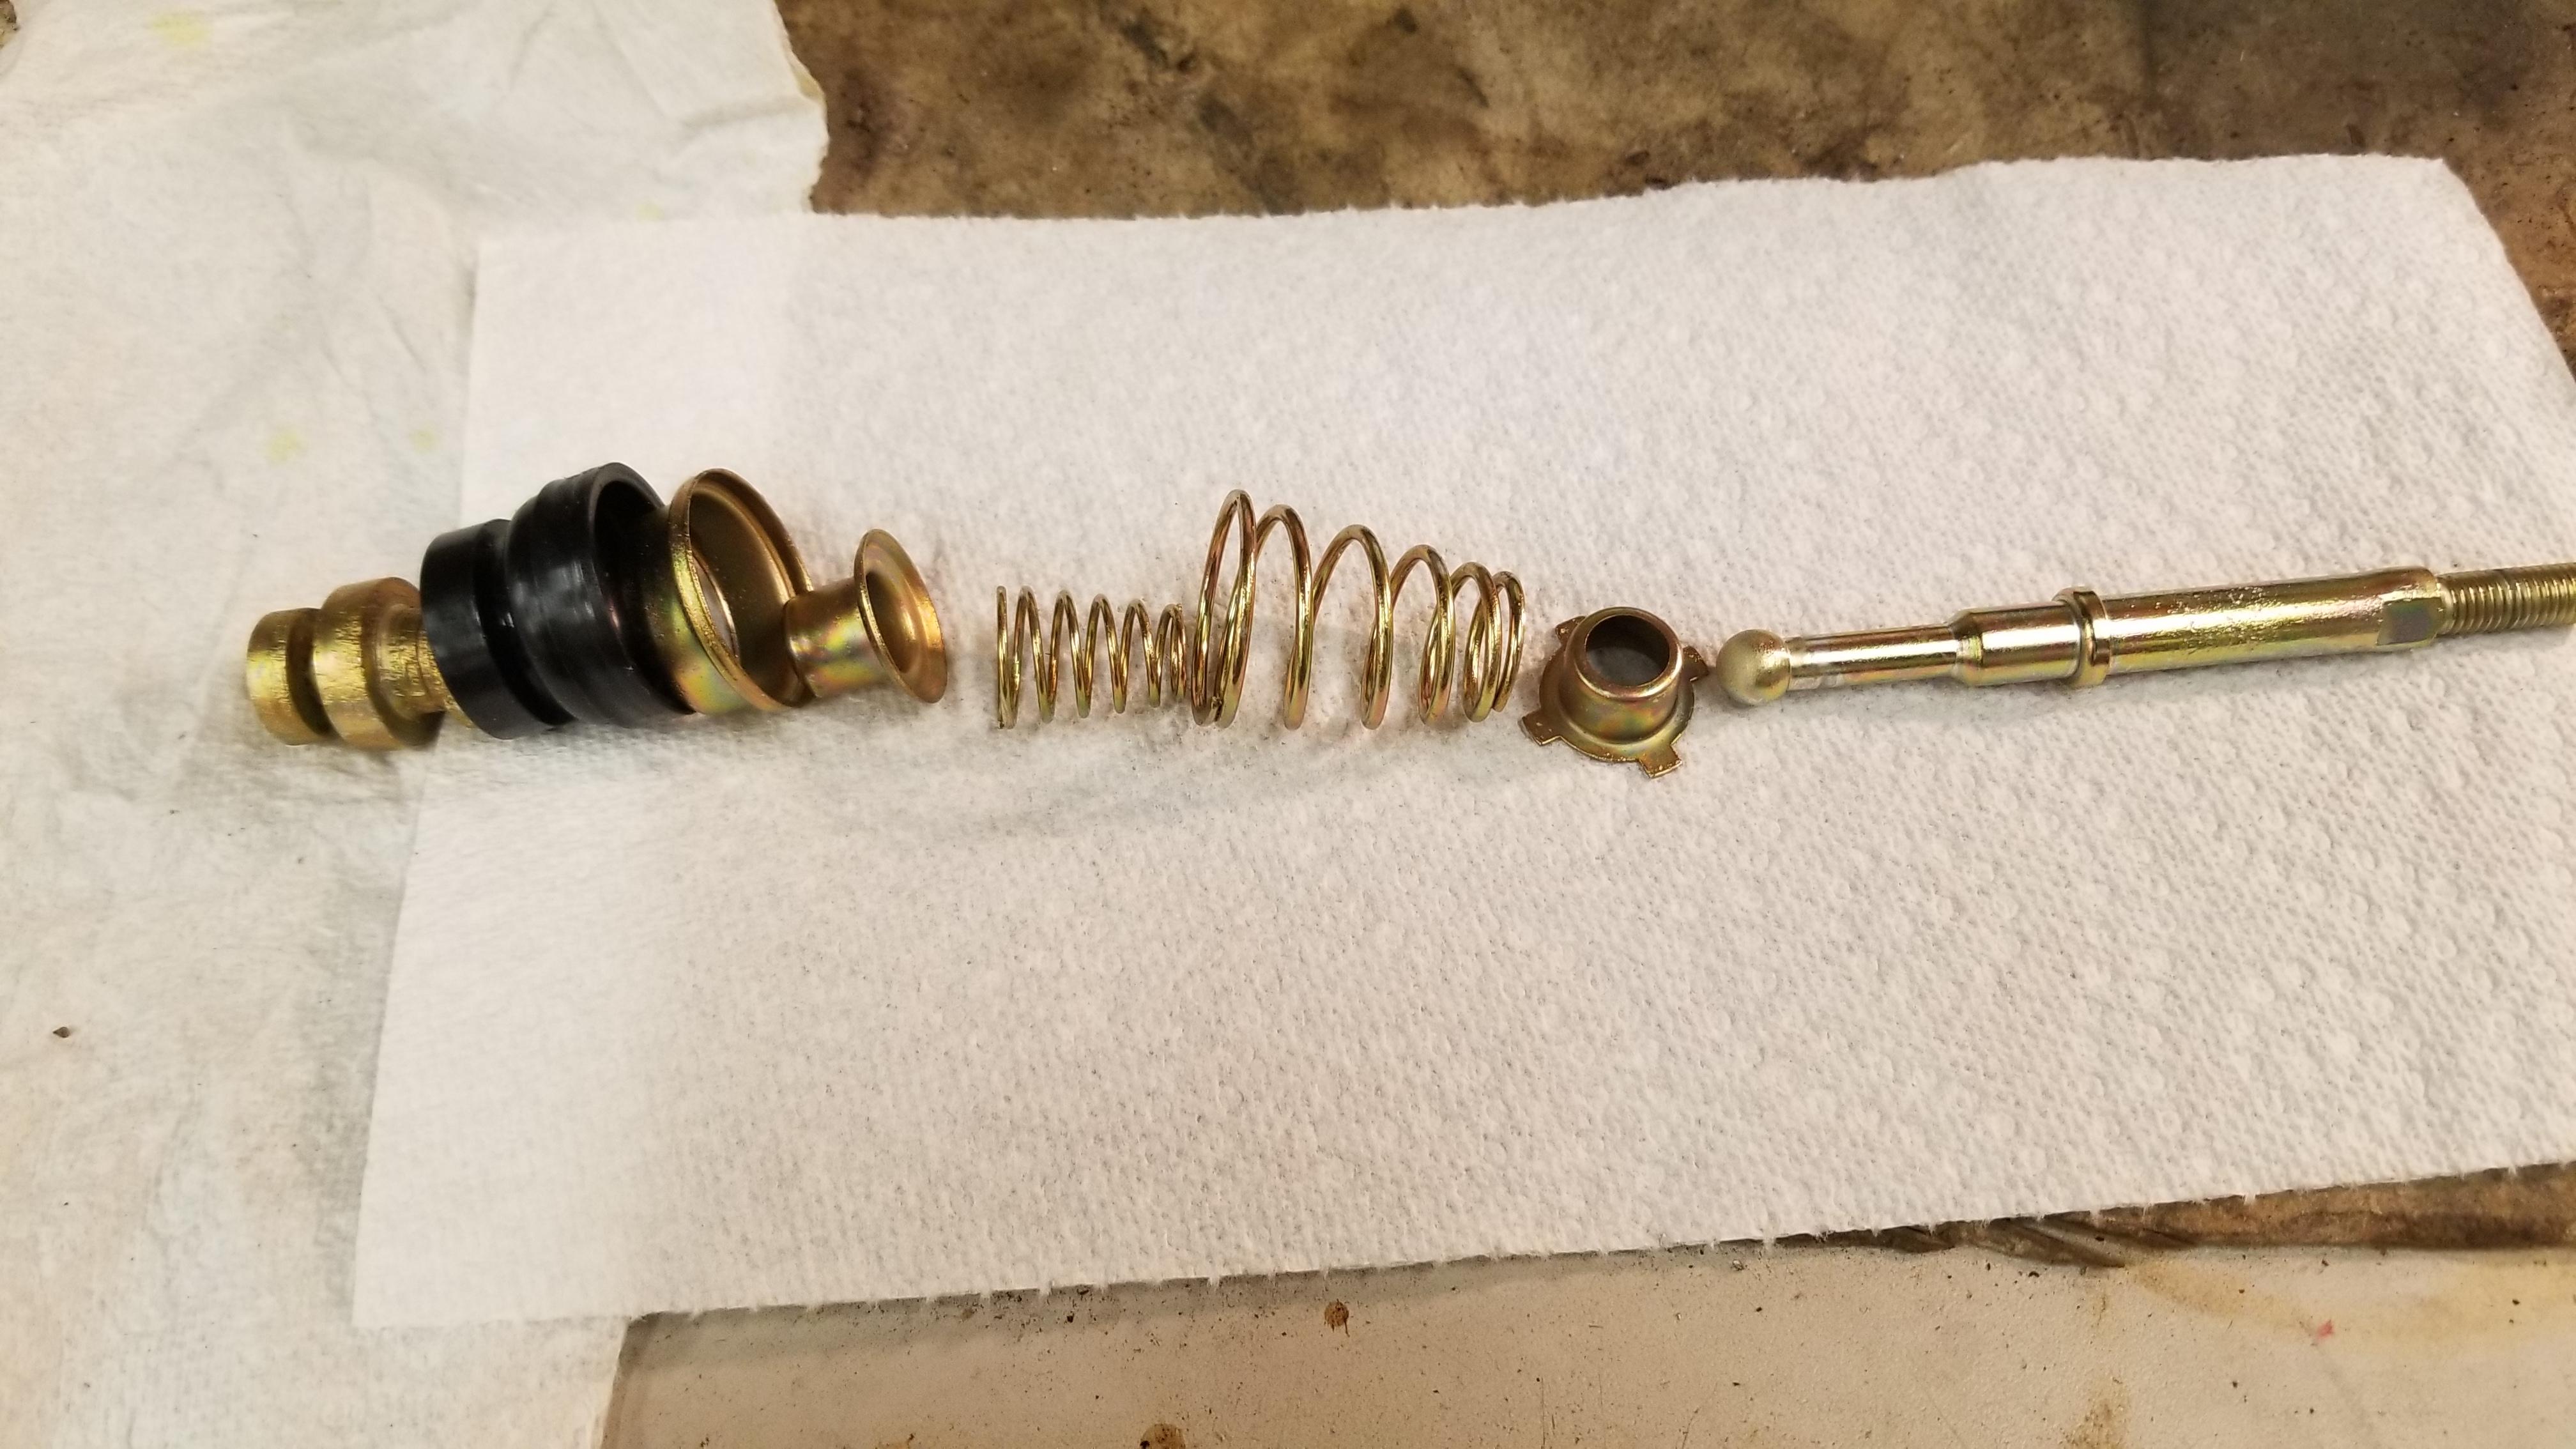
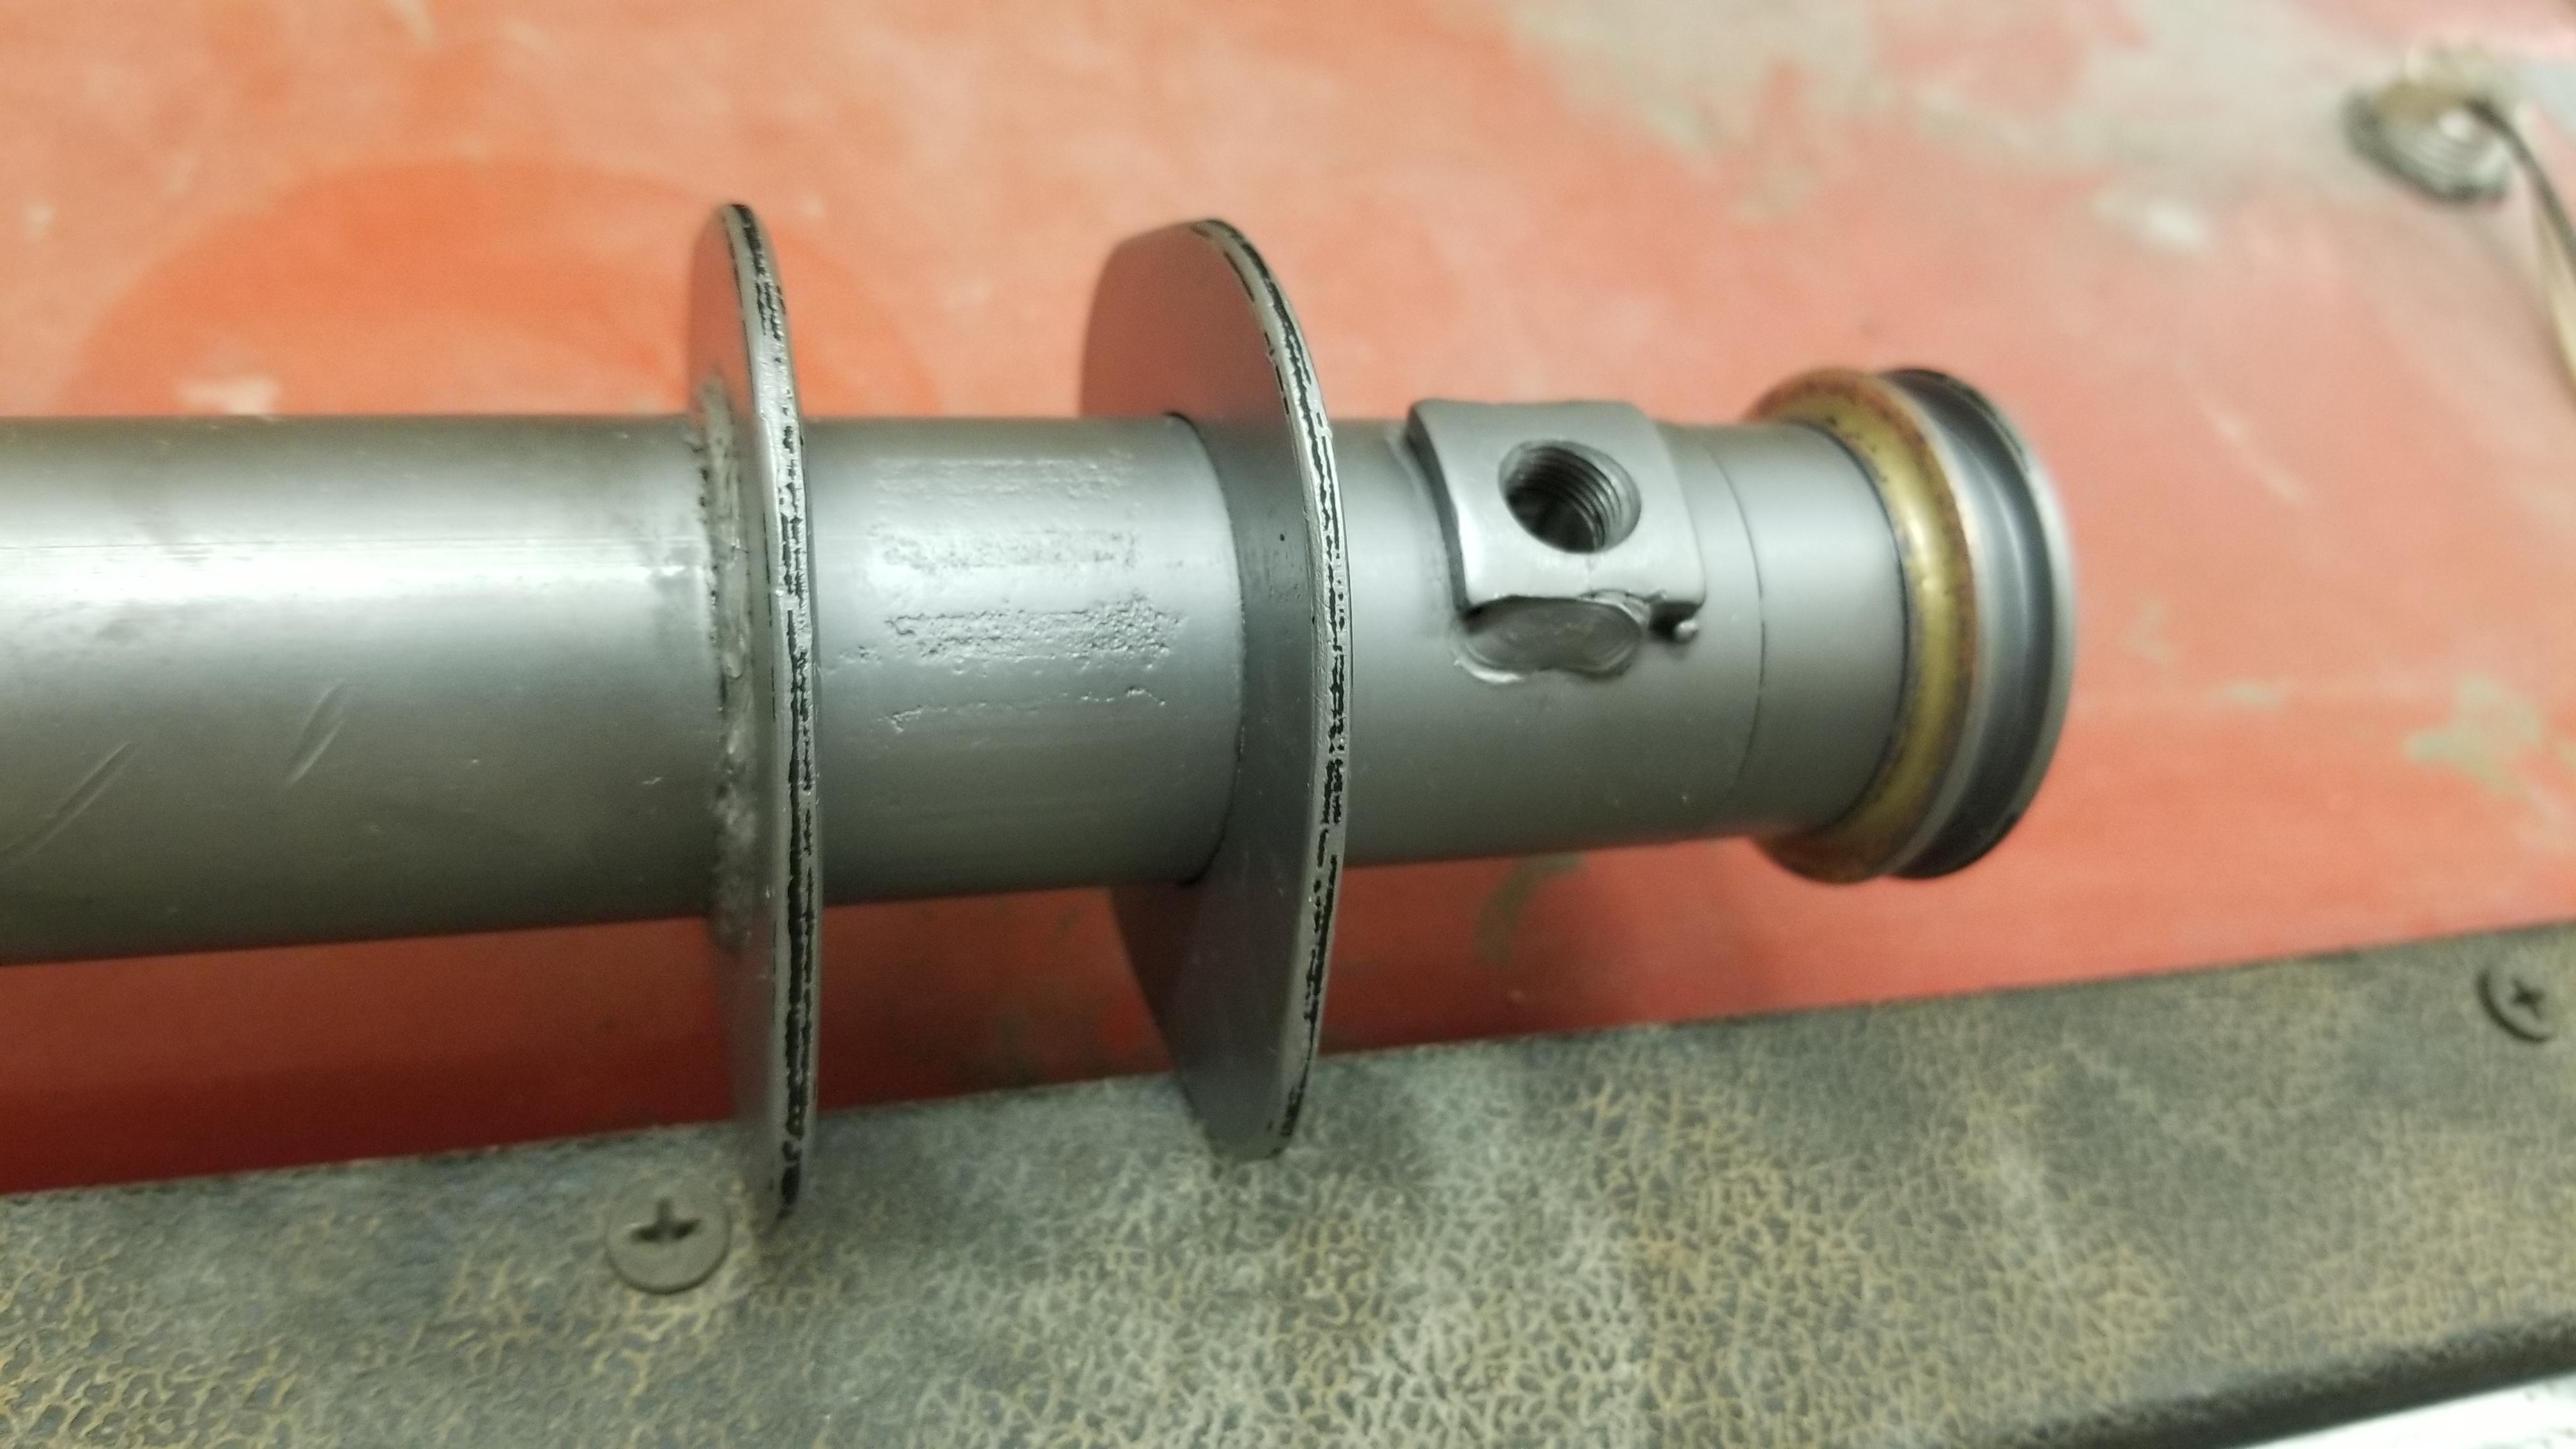
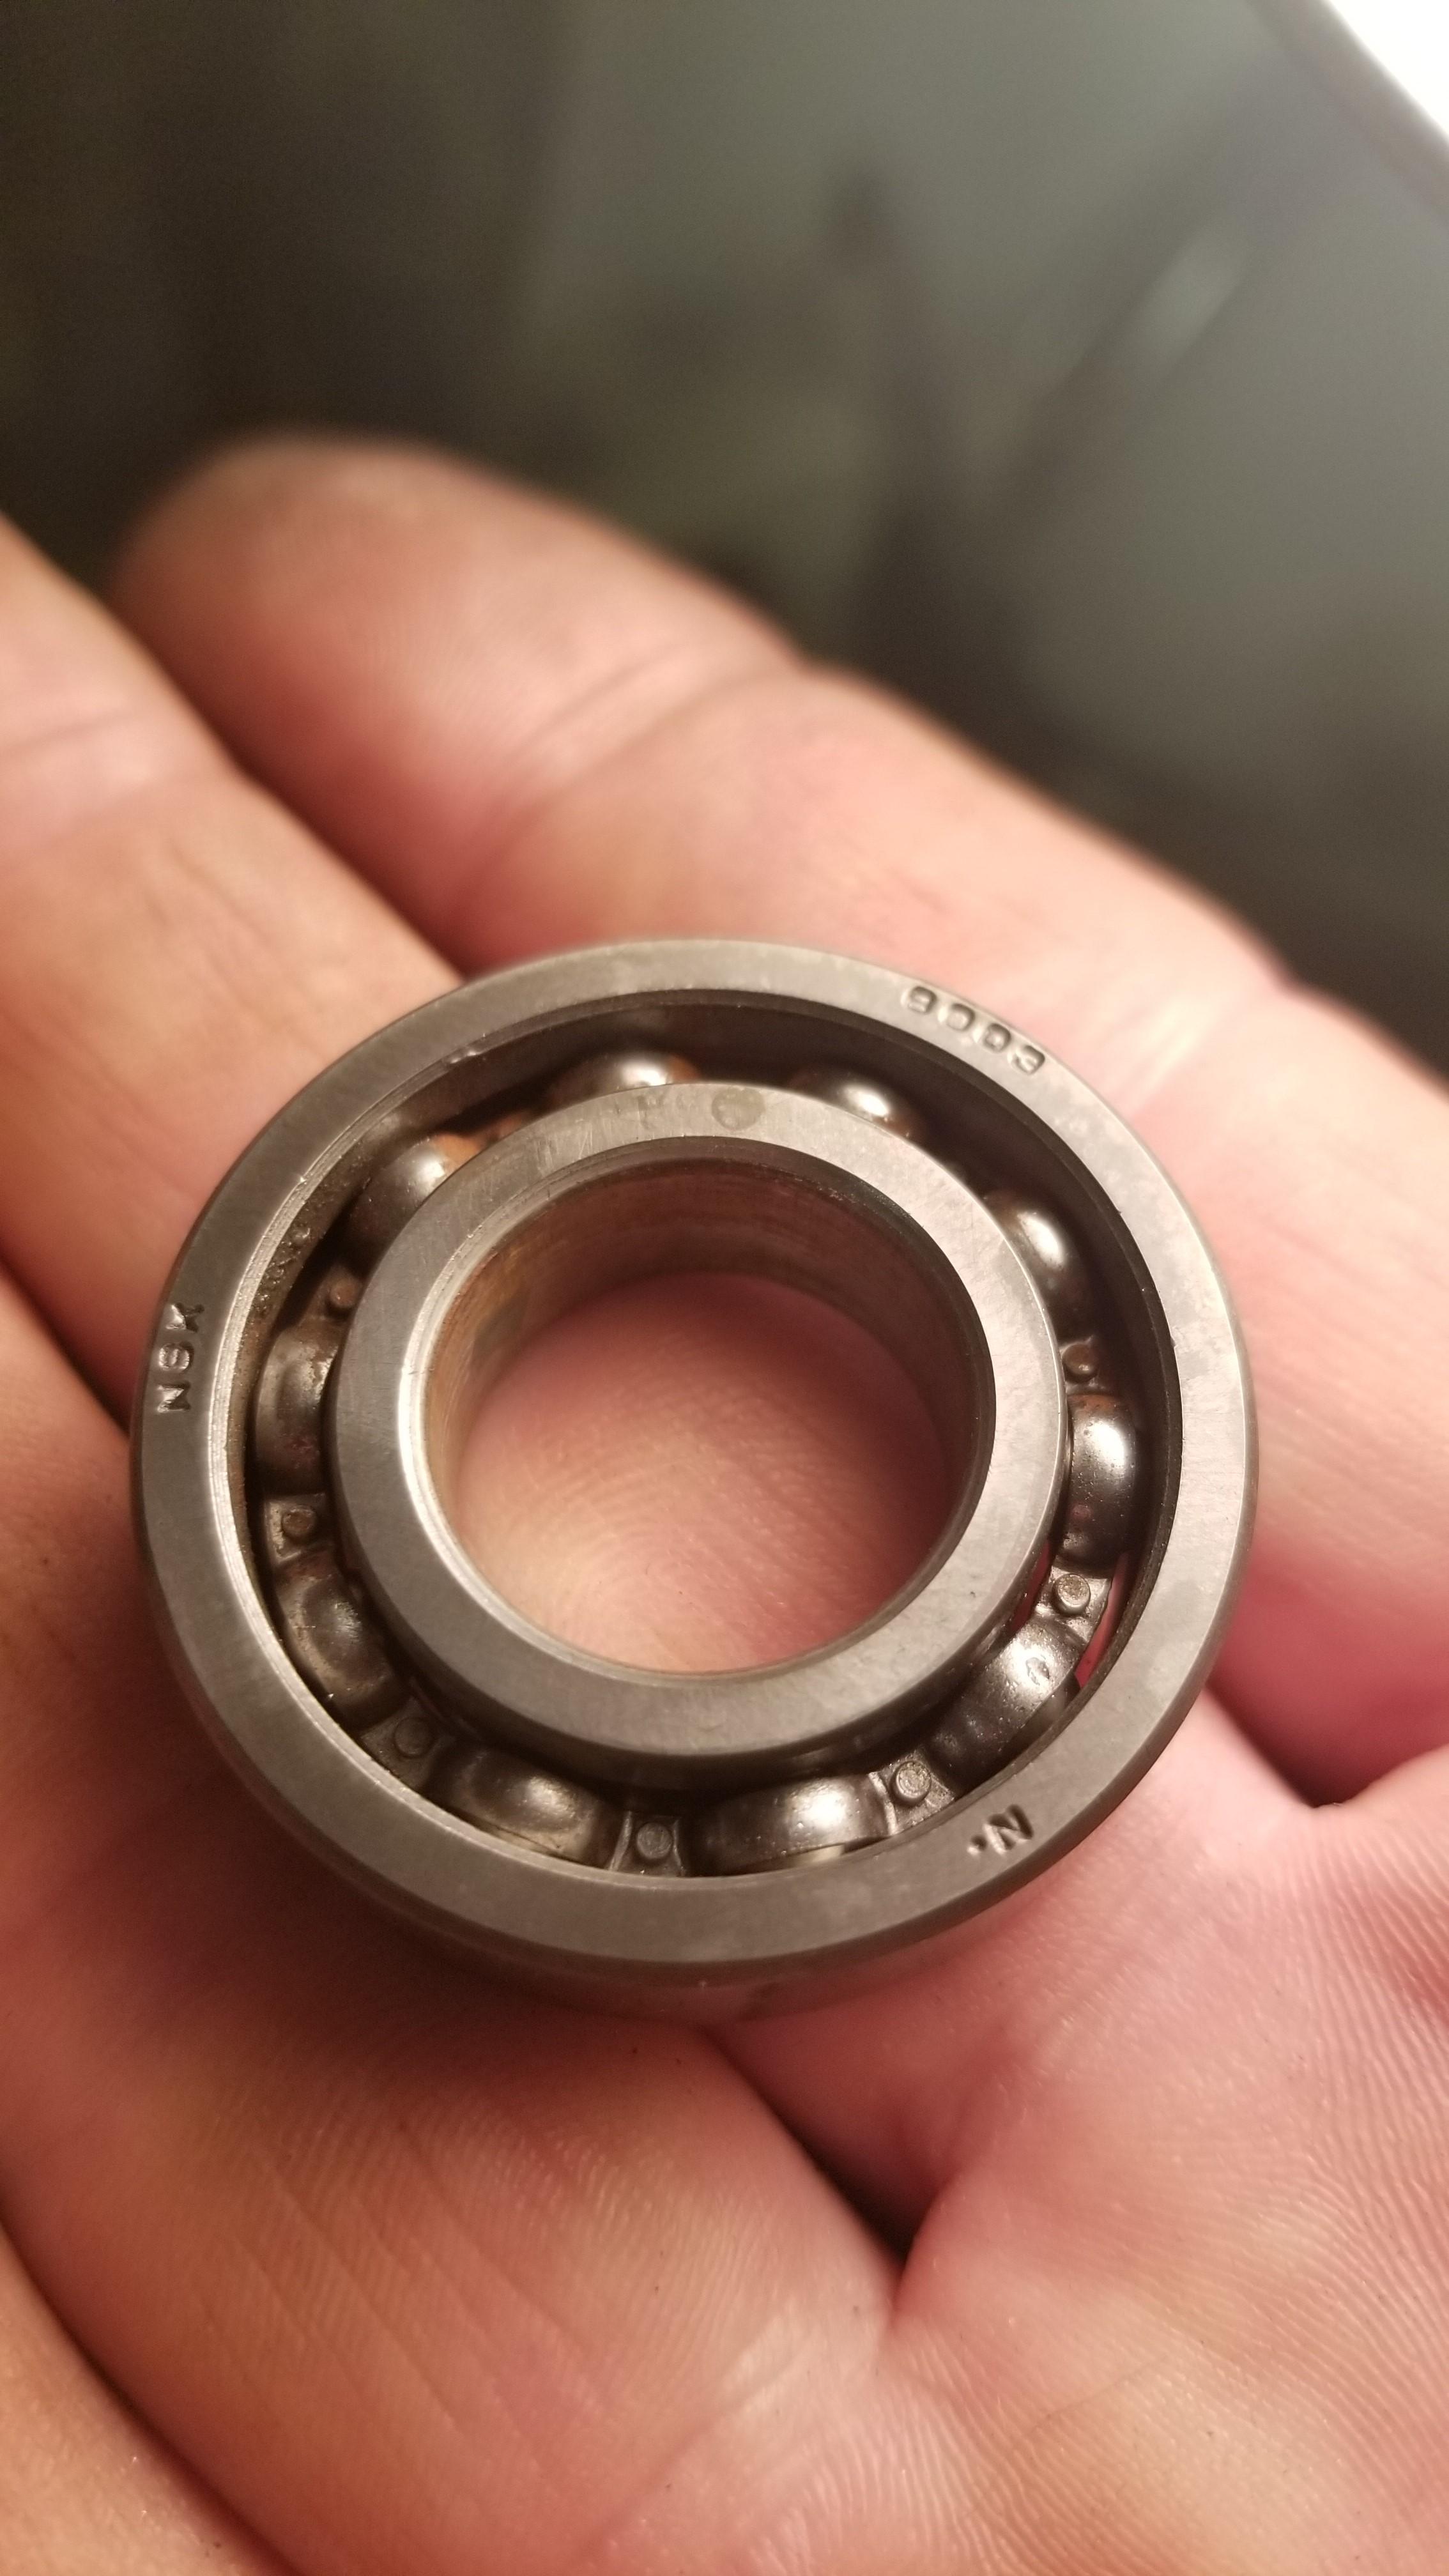
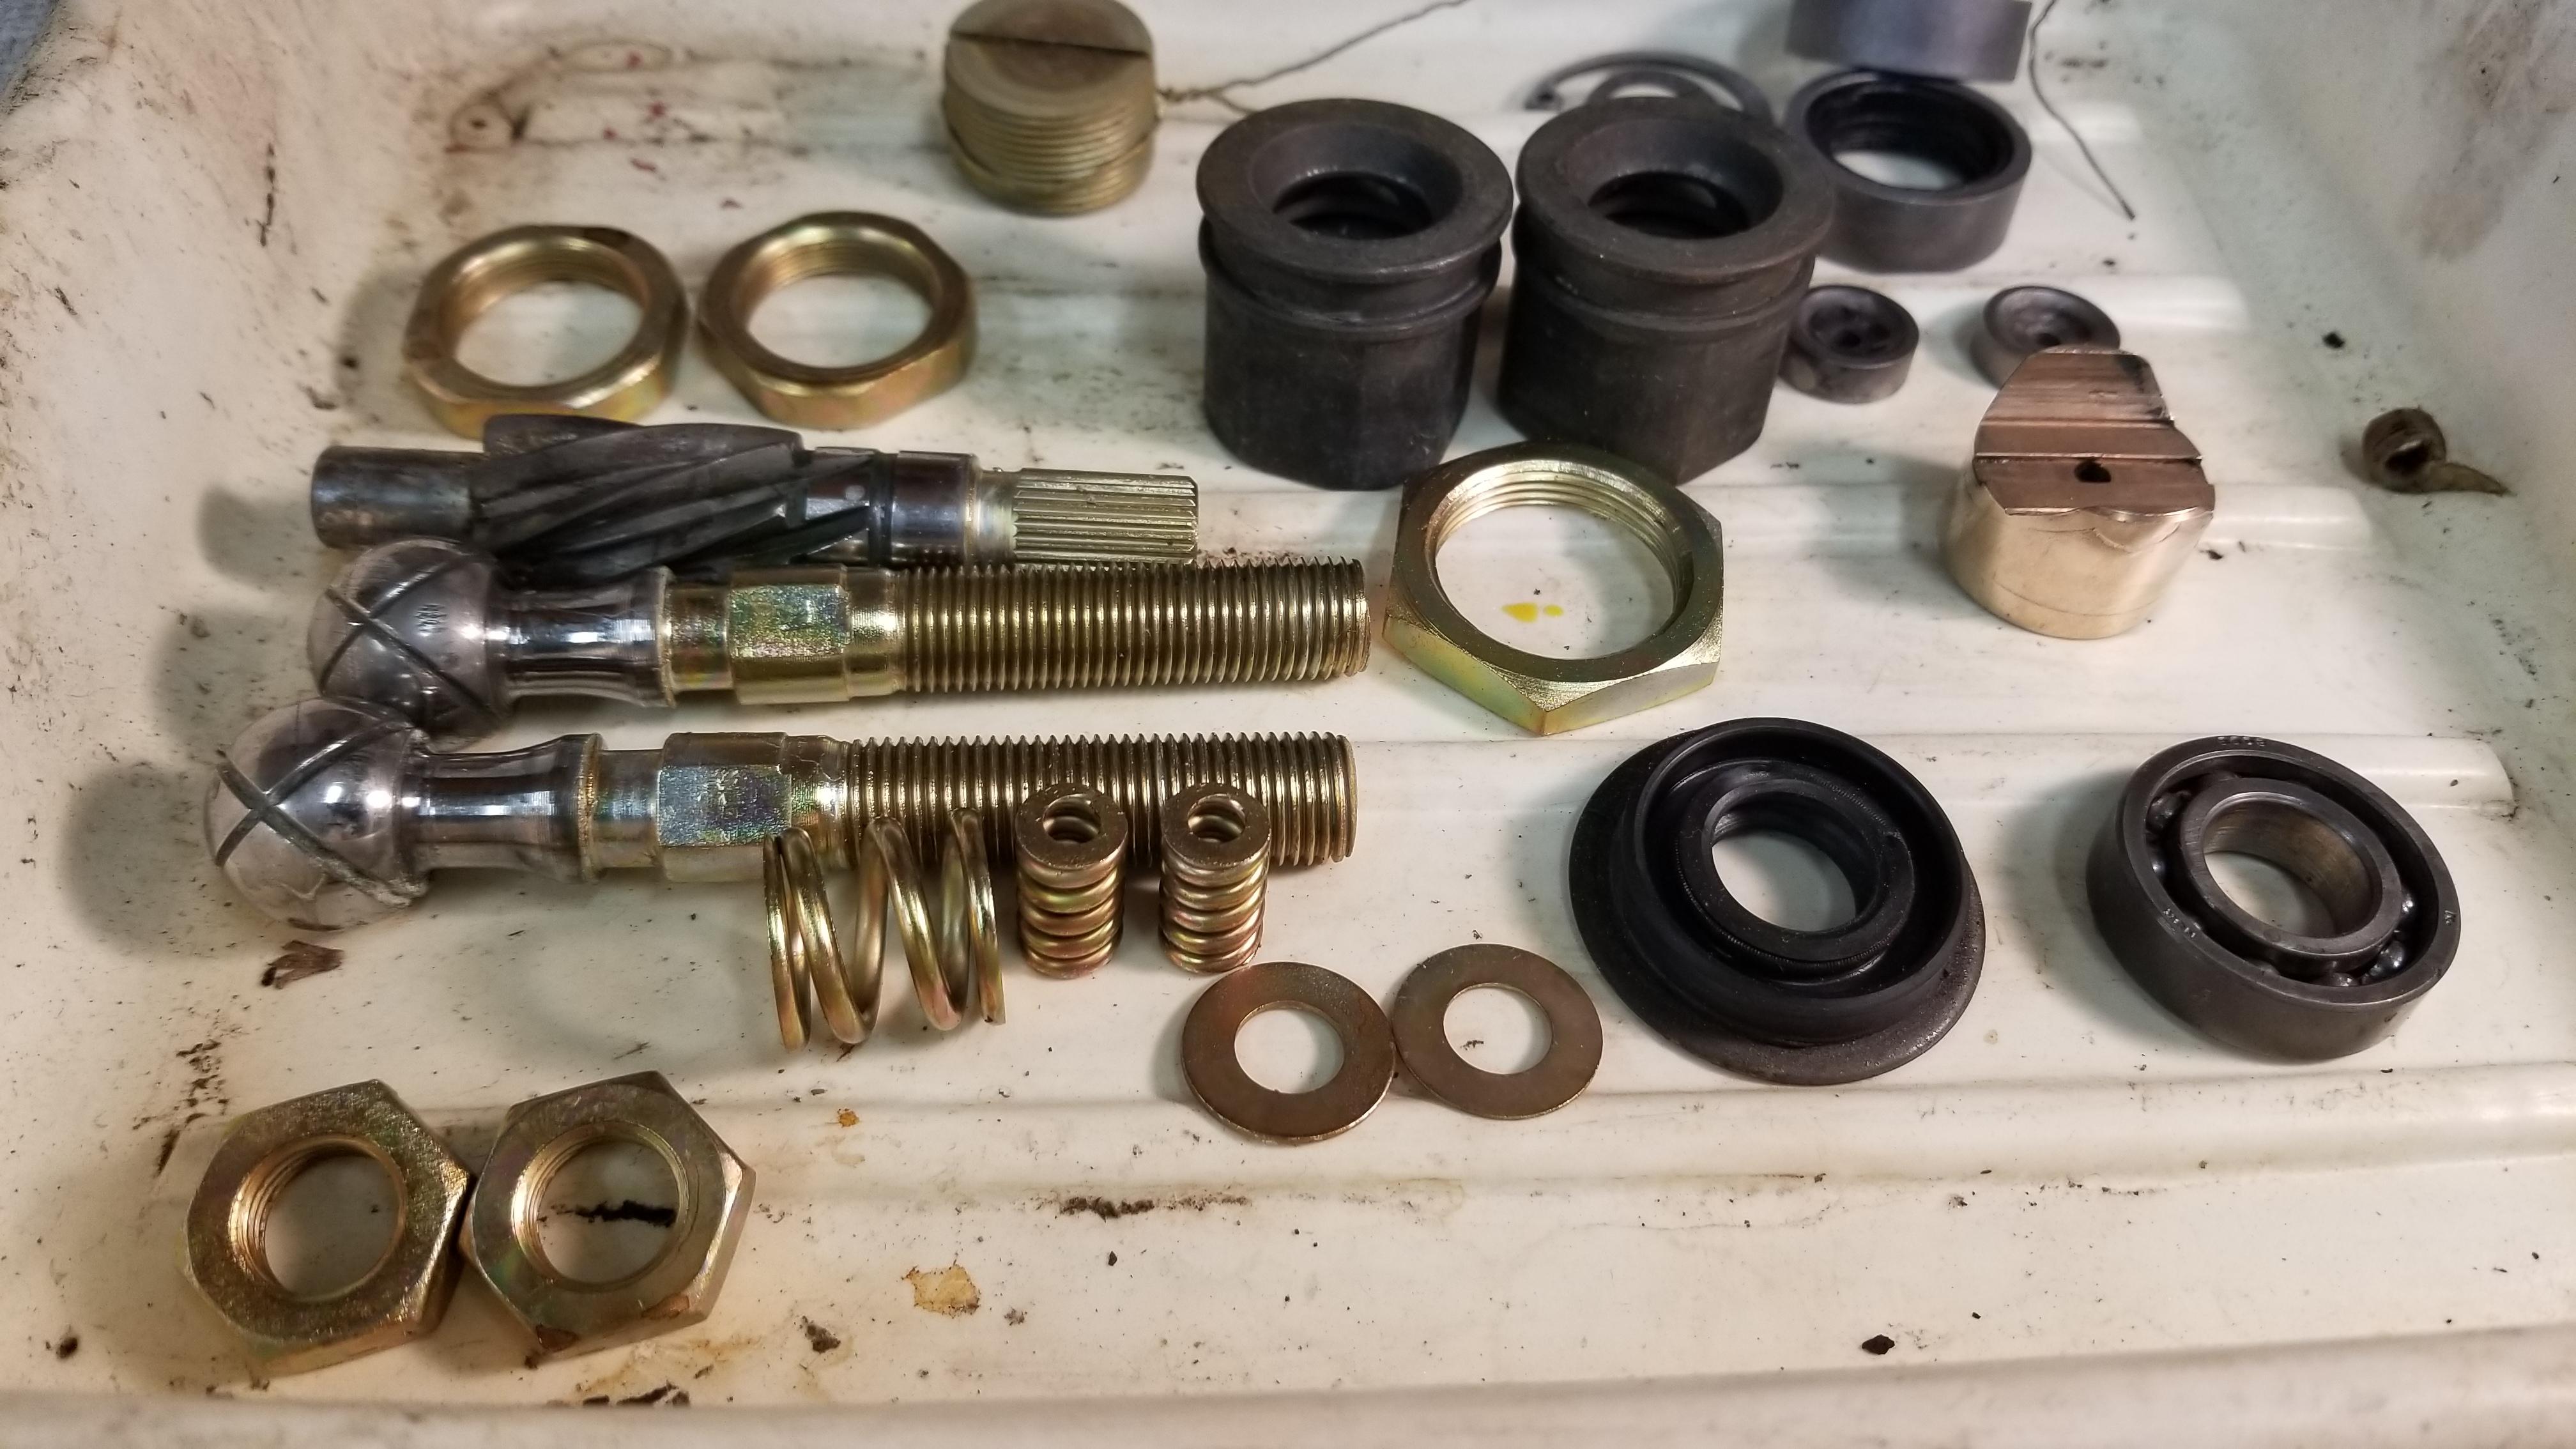
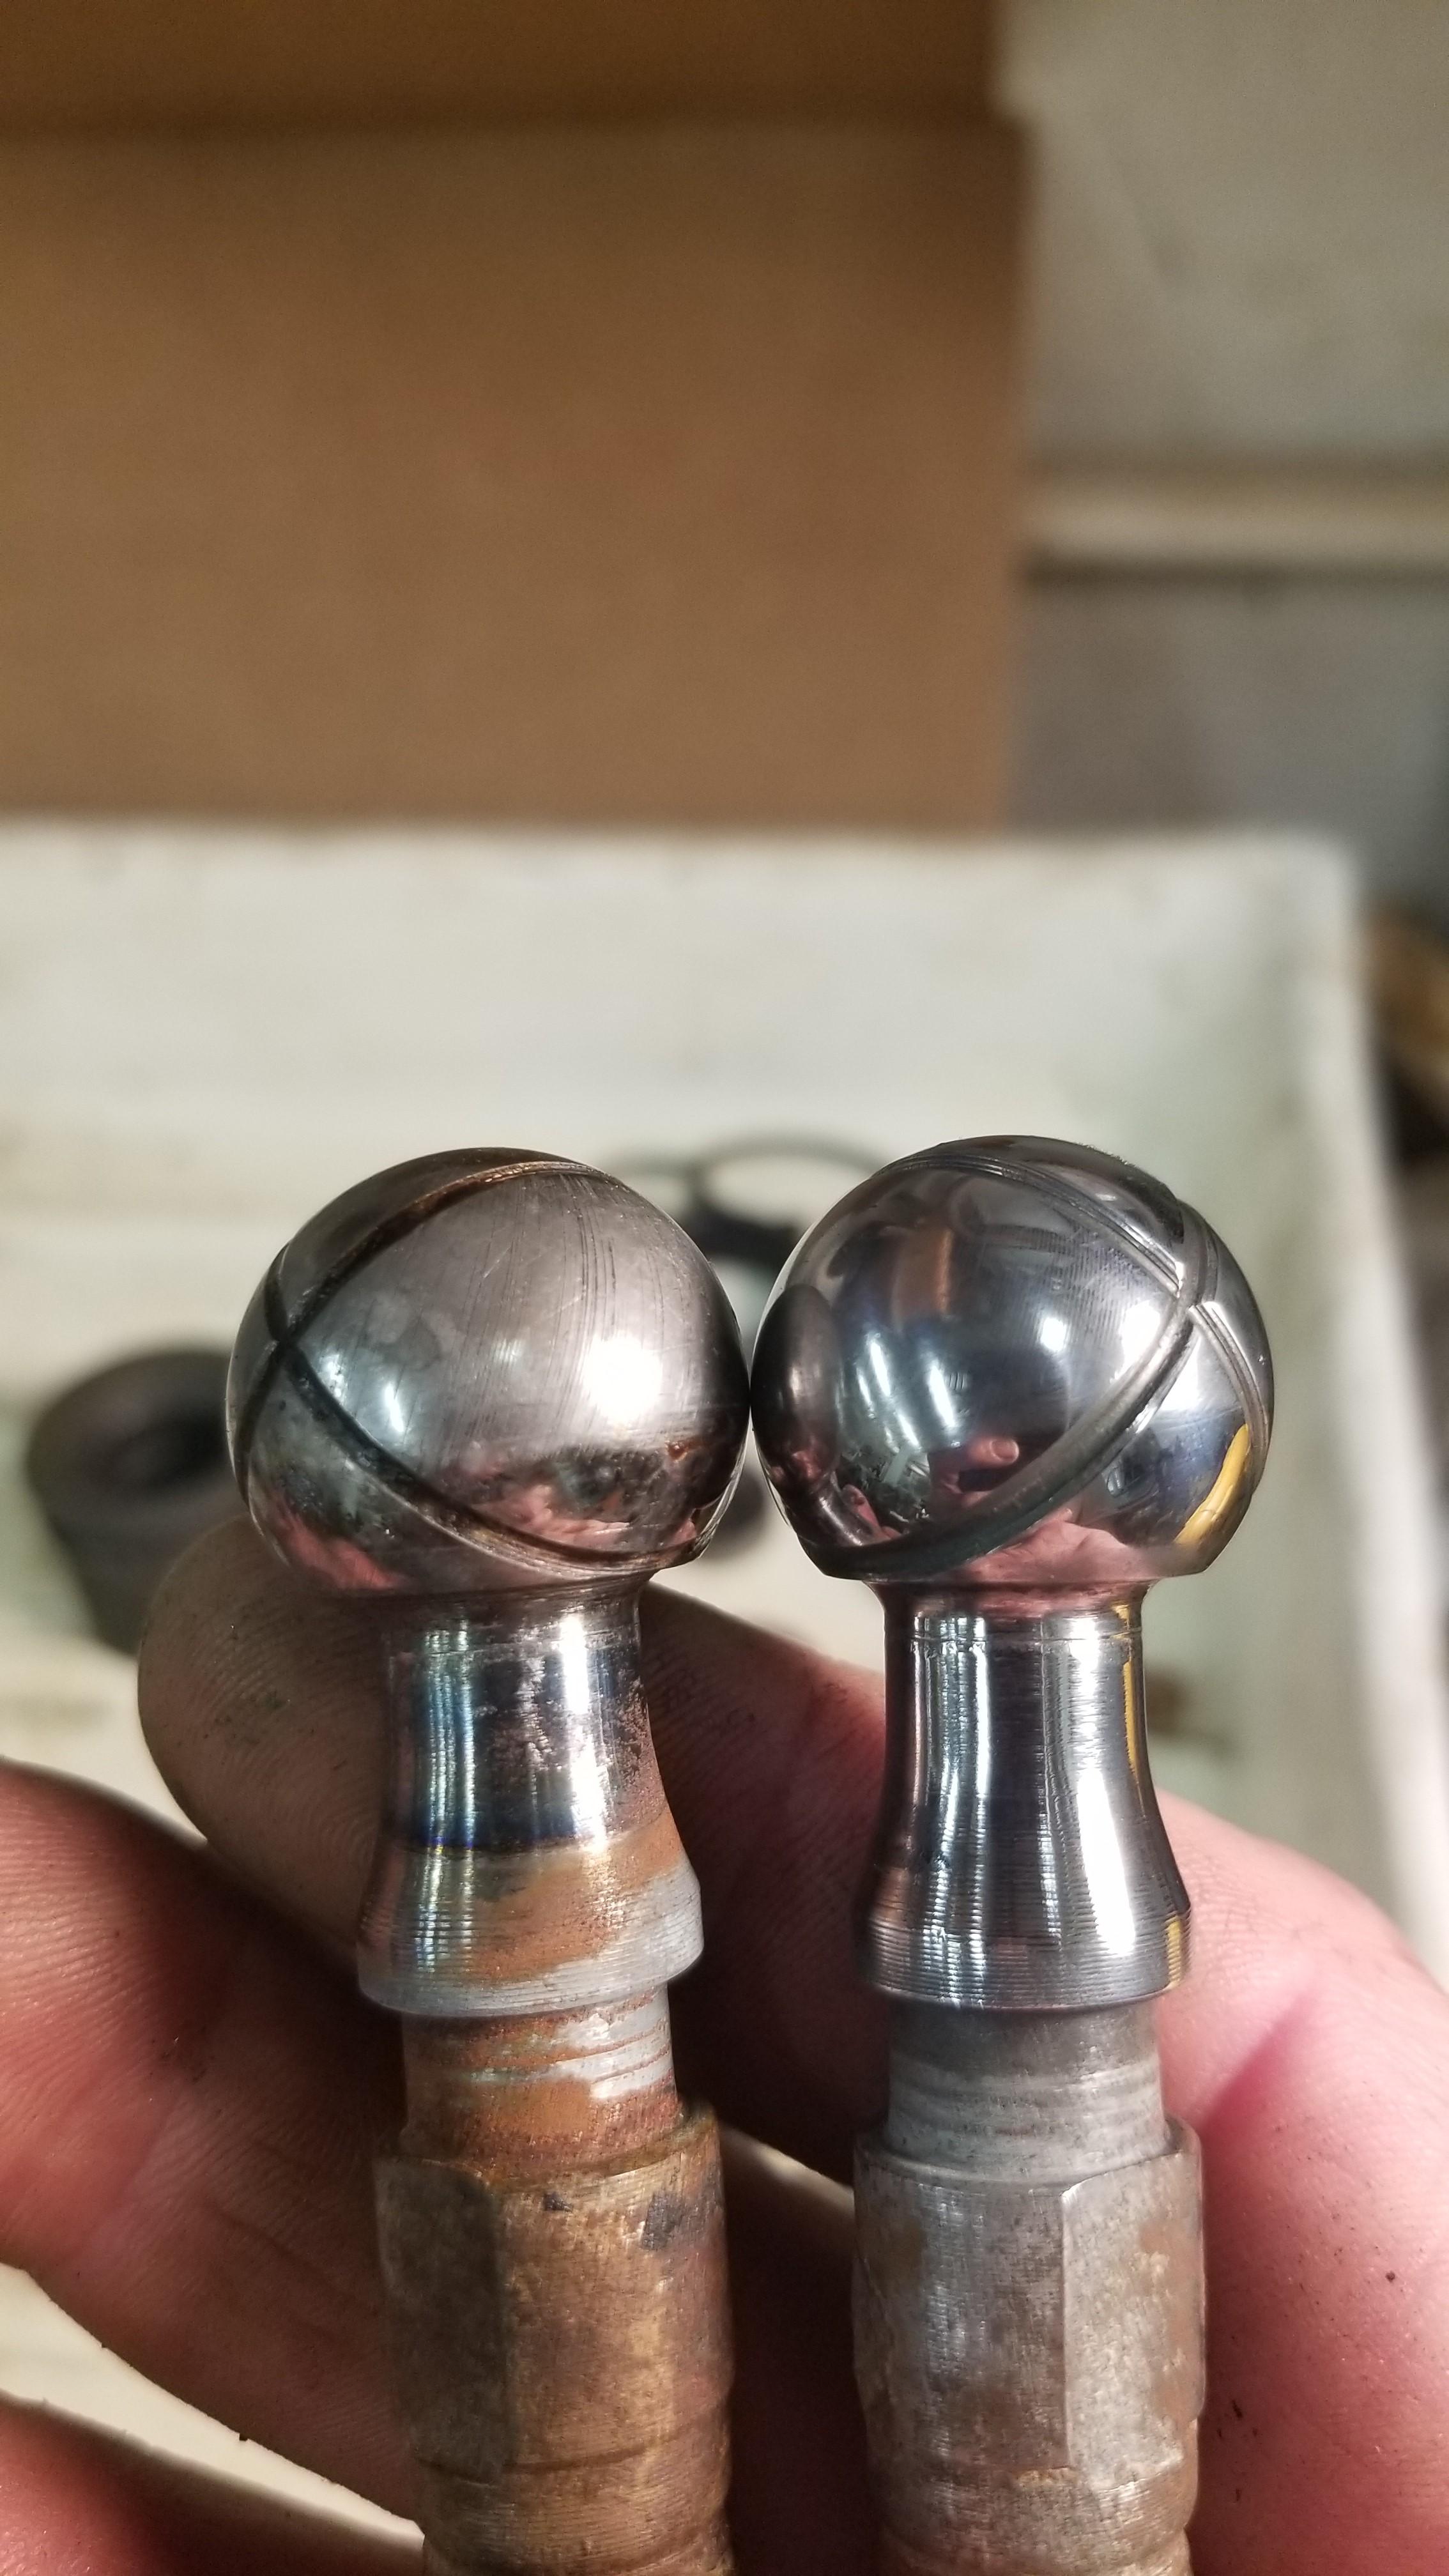
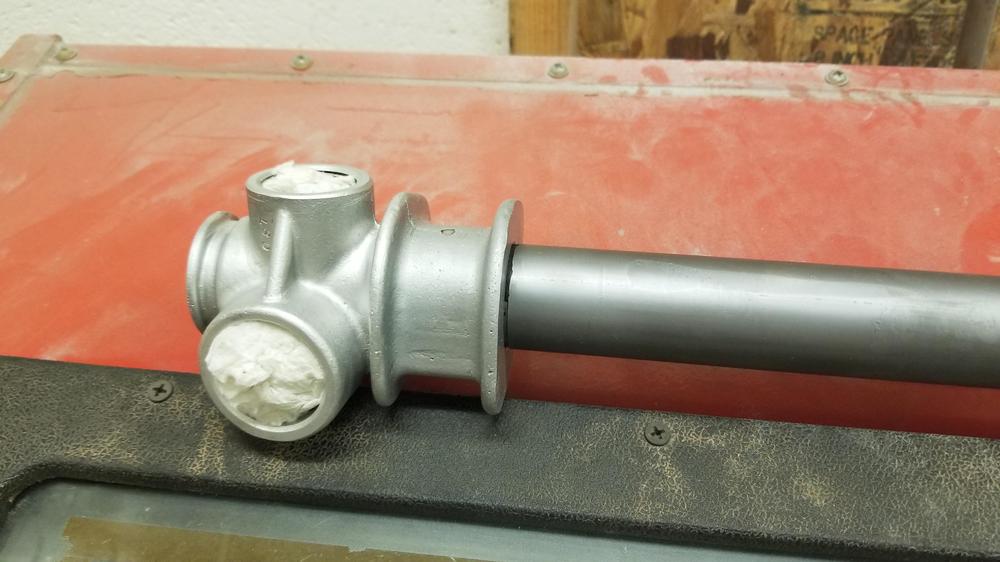
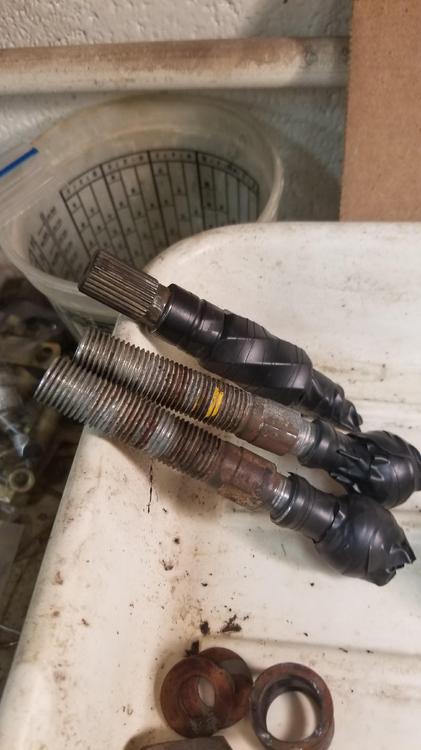
1 pointI bead blasted the rack tube. then I diamond cleared the aluminum end. It's interesting the other end is brazed on Here is the bearing from the steering rack. I believe it is an NSK #8003 So I buffed up the inner tie rod hard chromed ends. Then I wrapped them up in electrical tape and plated the other ends Here is some of the finished plating I will have to redo one of the inner tie rods ends because I plated it too long and the threading is tight and I have the same problem on the adjustment screw but not too bad overall


 1 point
 -
1 pointCheck your fuel pressure inline with a gauge between the filter and the rail, verify that it can maintain 35+ psi when loaded up. I've had your same symptom before with 0 psi in the rail. I had no clue how it was idling (possibly secondary source through the charcoal canister...?), but it would sound healthy as a horse until you tried to drive it, then fall flat on its face. To make sure the gauge wasnt broken I used clear vinyl tubing on both sides and sure enough, the air bubbles in there would remain stagnant, yet it would idle until I shut it off. And of course check for vacuum leaks, etc1 point
-
As soon as I'm done with it? Haha! Let me see what I can come up with. You can see a whole complete poppet valve plunger in the bag in pic that Kats posted. Complete with seal already on the assembly and crimped together. So it's clear, not surprisingly, that Nissan was never expecting that plunger to be disassembled: I had mentioned it before, but the only reason I even ever started messing with taking it apart was the one that came in my rebuilt booster had been disassembled and had a new seal installed by the rebuilder company. So I knew it was at least "possible". Here's a question for ya.... What is the recommended replacement procedure for that poppet valve seal on the Mustang booster? It's included in the kit, so clearly they are expecting you to use it. Did you find any pics or instructions for the expected use of that rebuild kit from Harmon? In other words... Does the Mustang poppet valve assy come apart and go back together easier than the one from Hitachi? Is the Bendix version easily repairable or is it crimped together like the Hitachi version?1 point
-
@katsToo bad, but at least we now know with certainty. Thanks for investigating. We will now need to hope for a successful outcome from Patcon's experiment with the Mustang kit.1 point
-
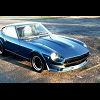
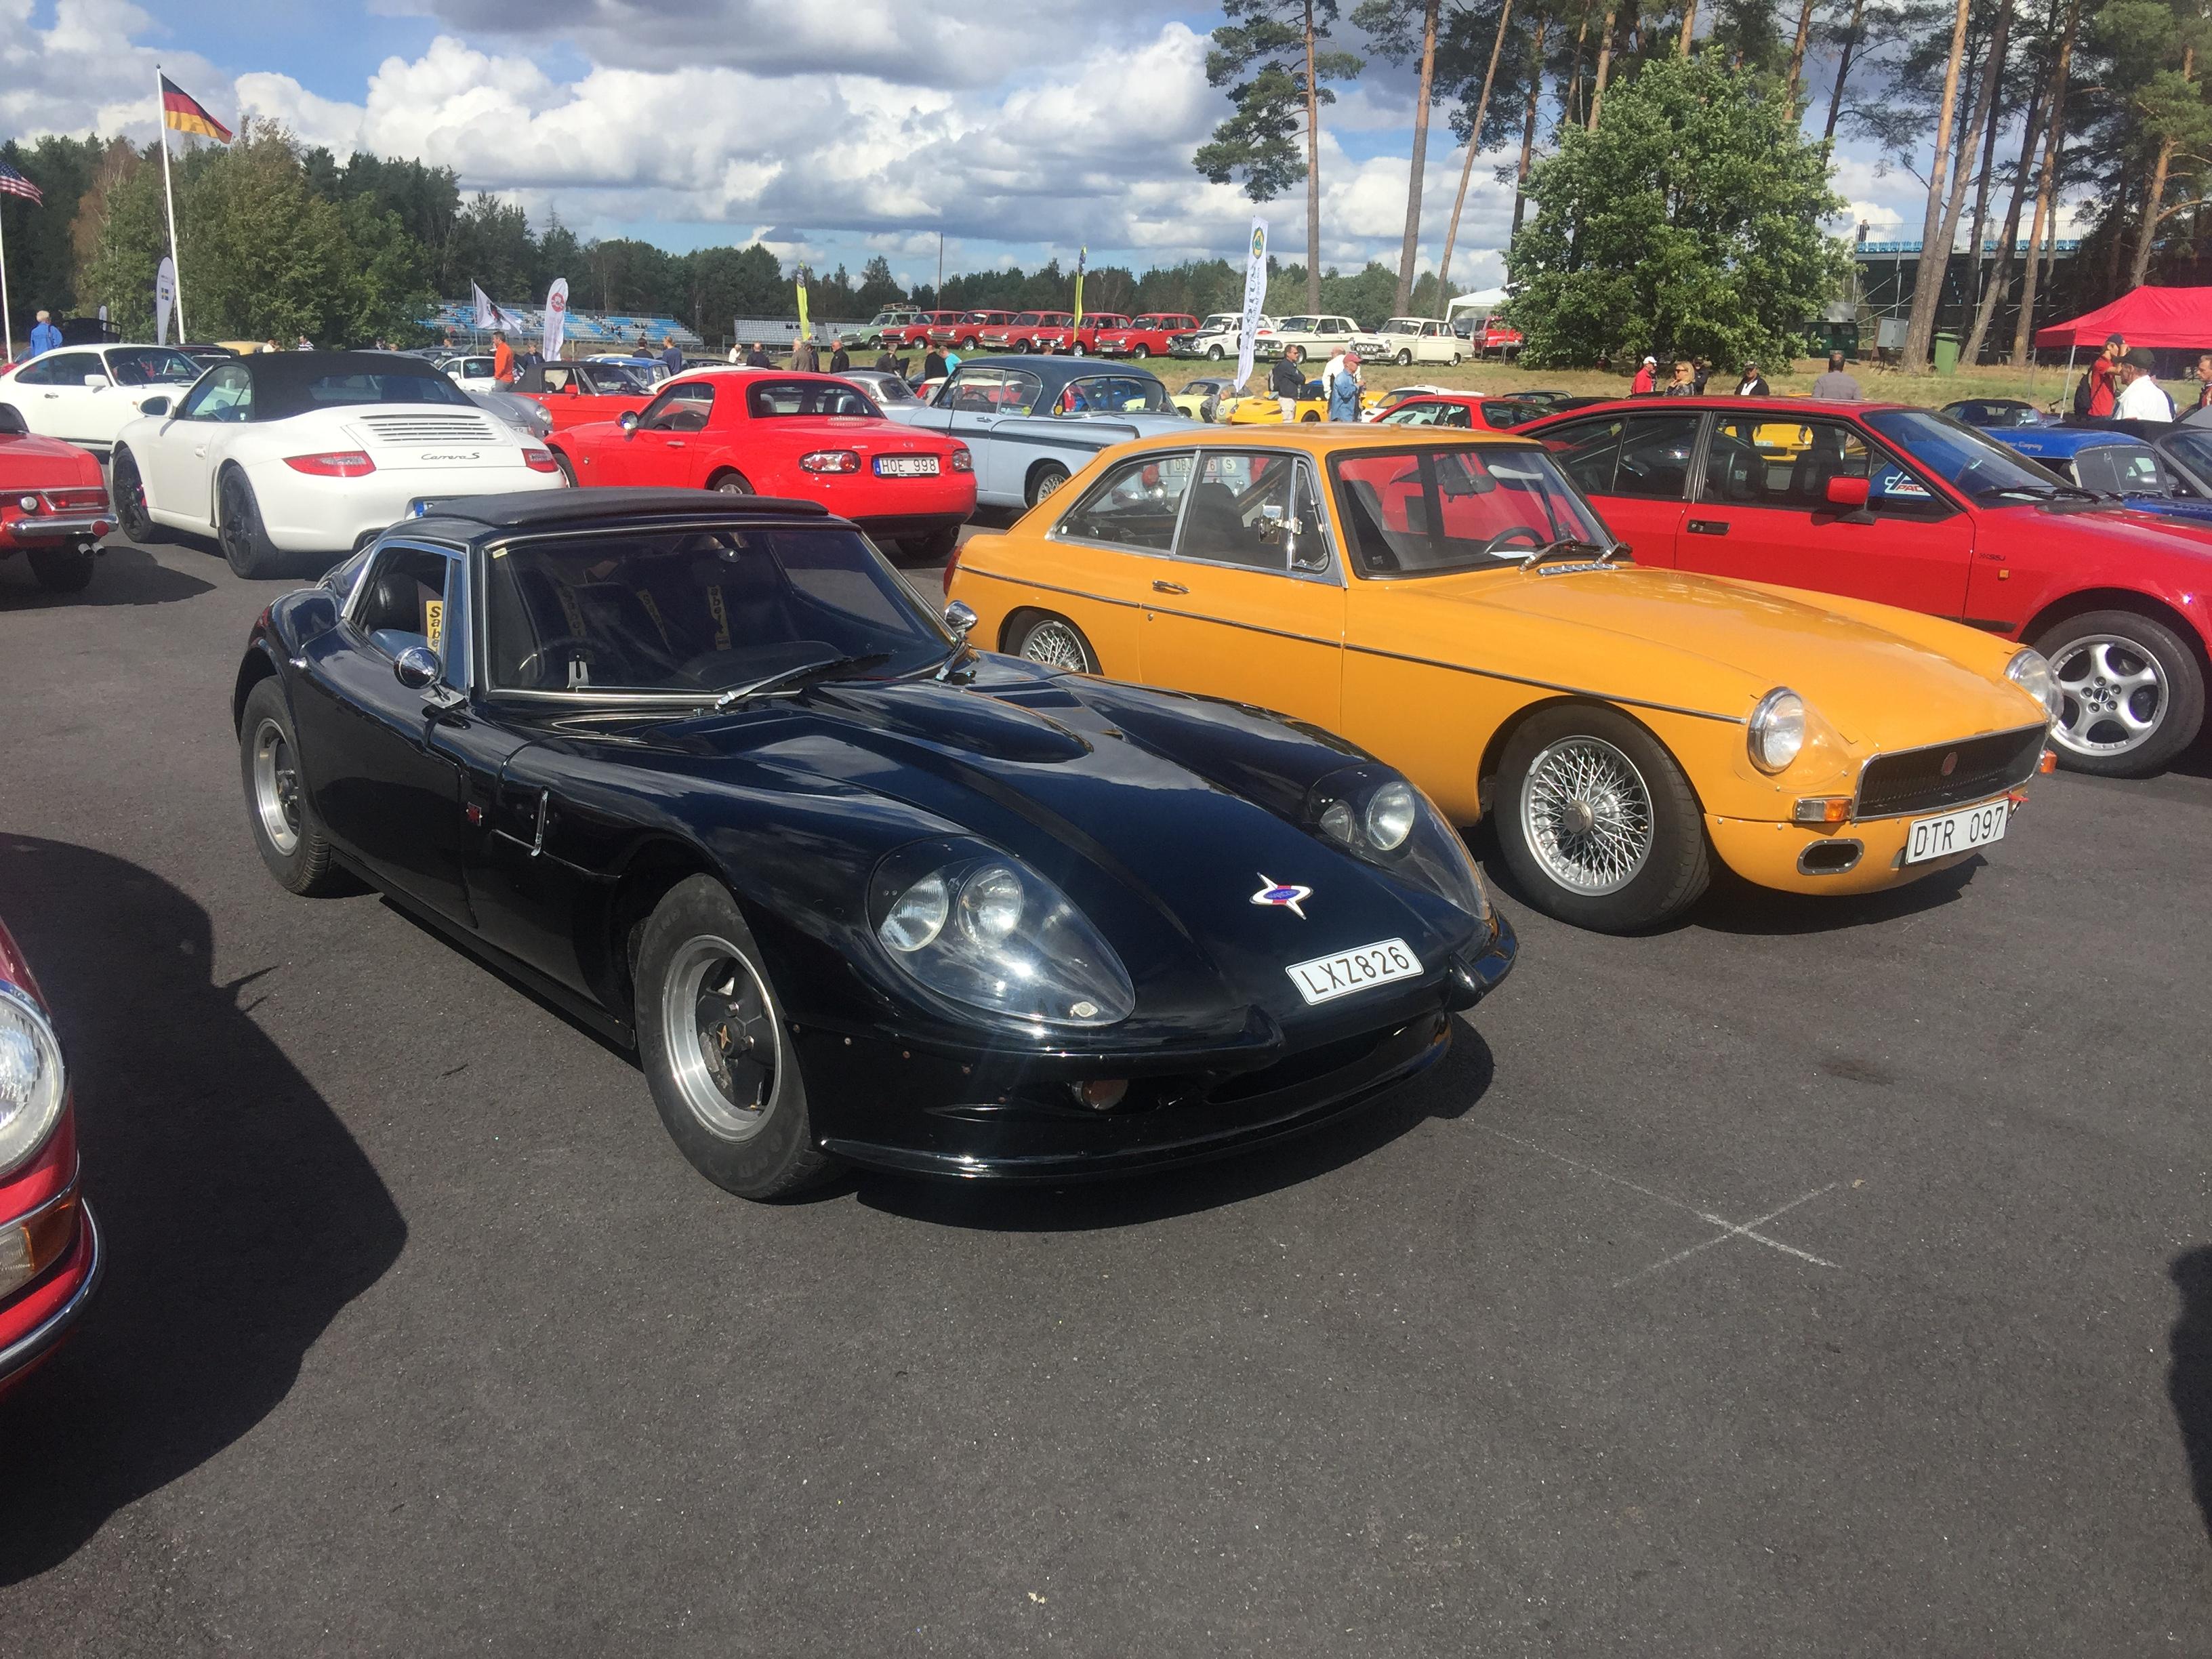
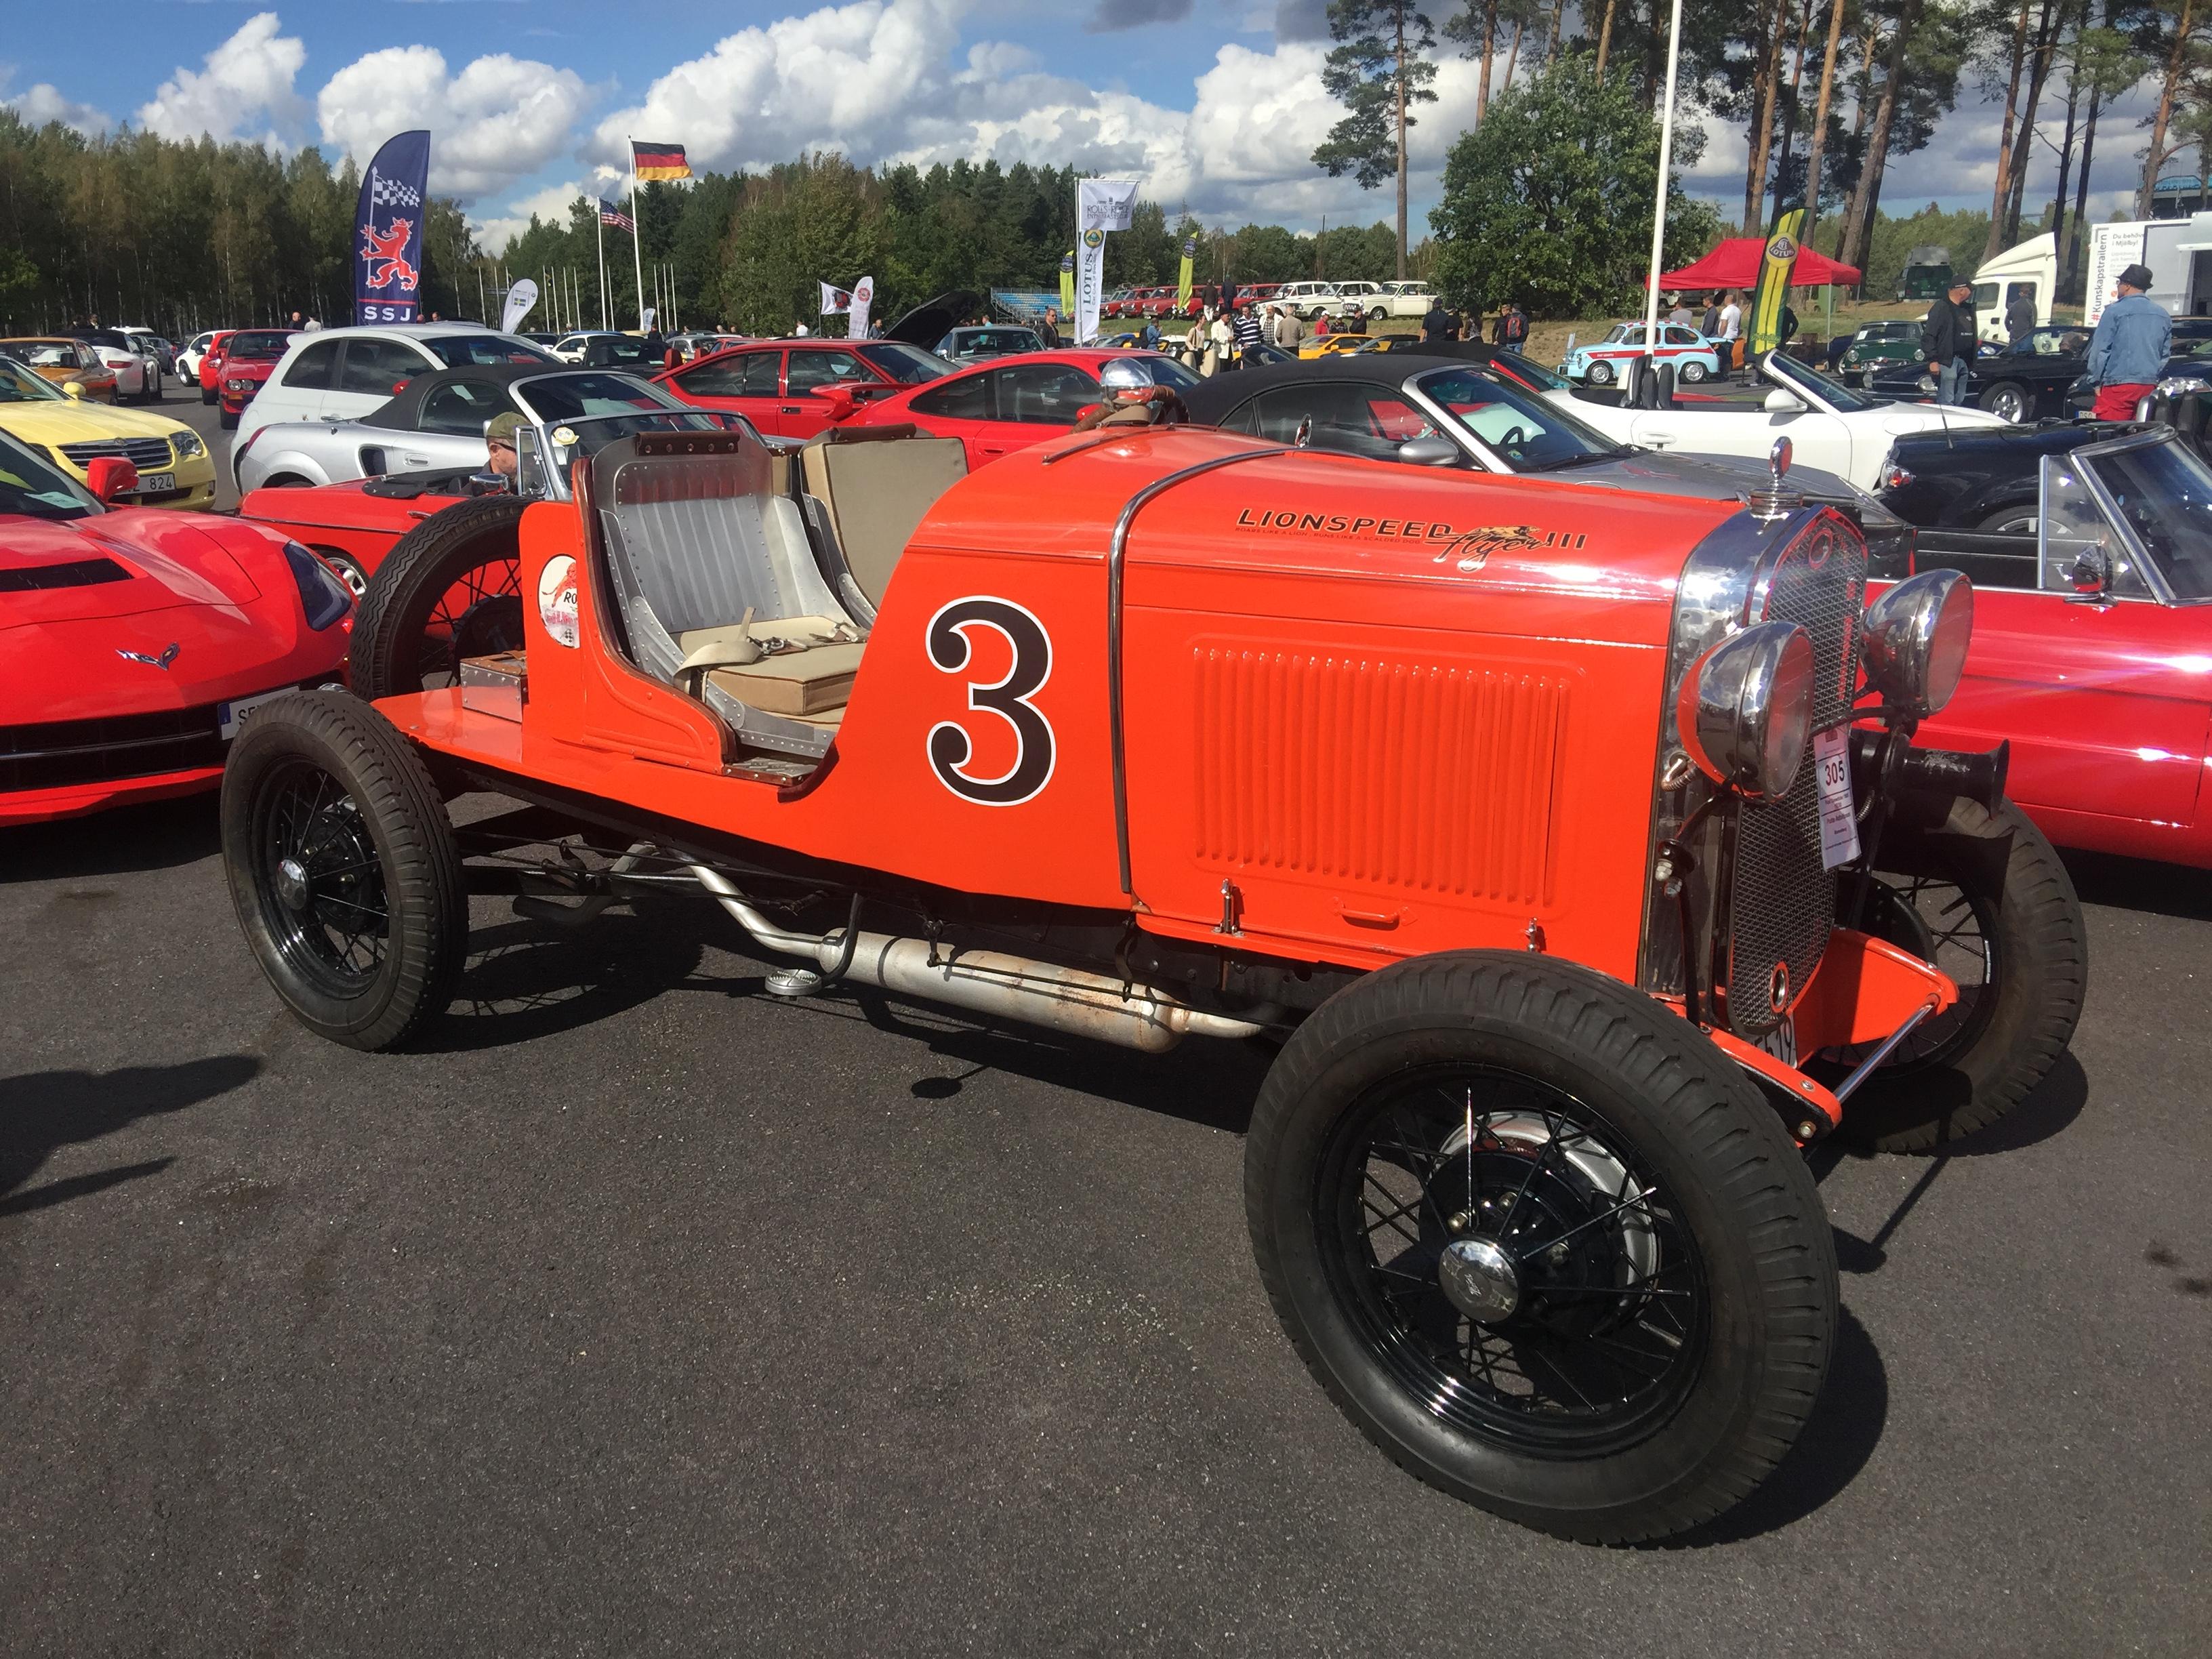
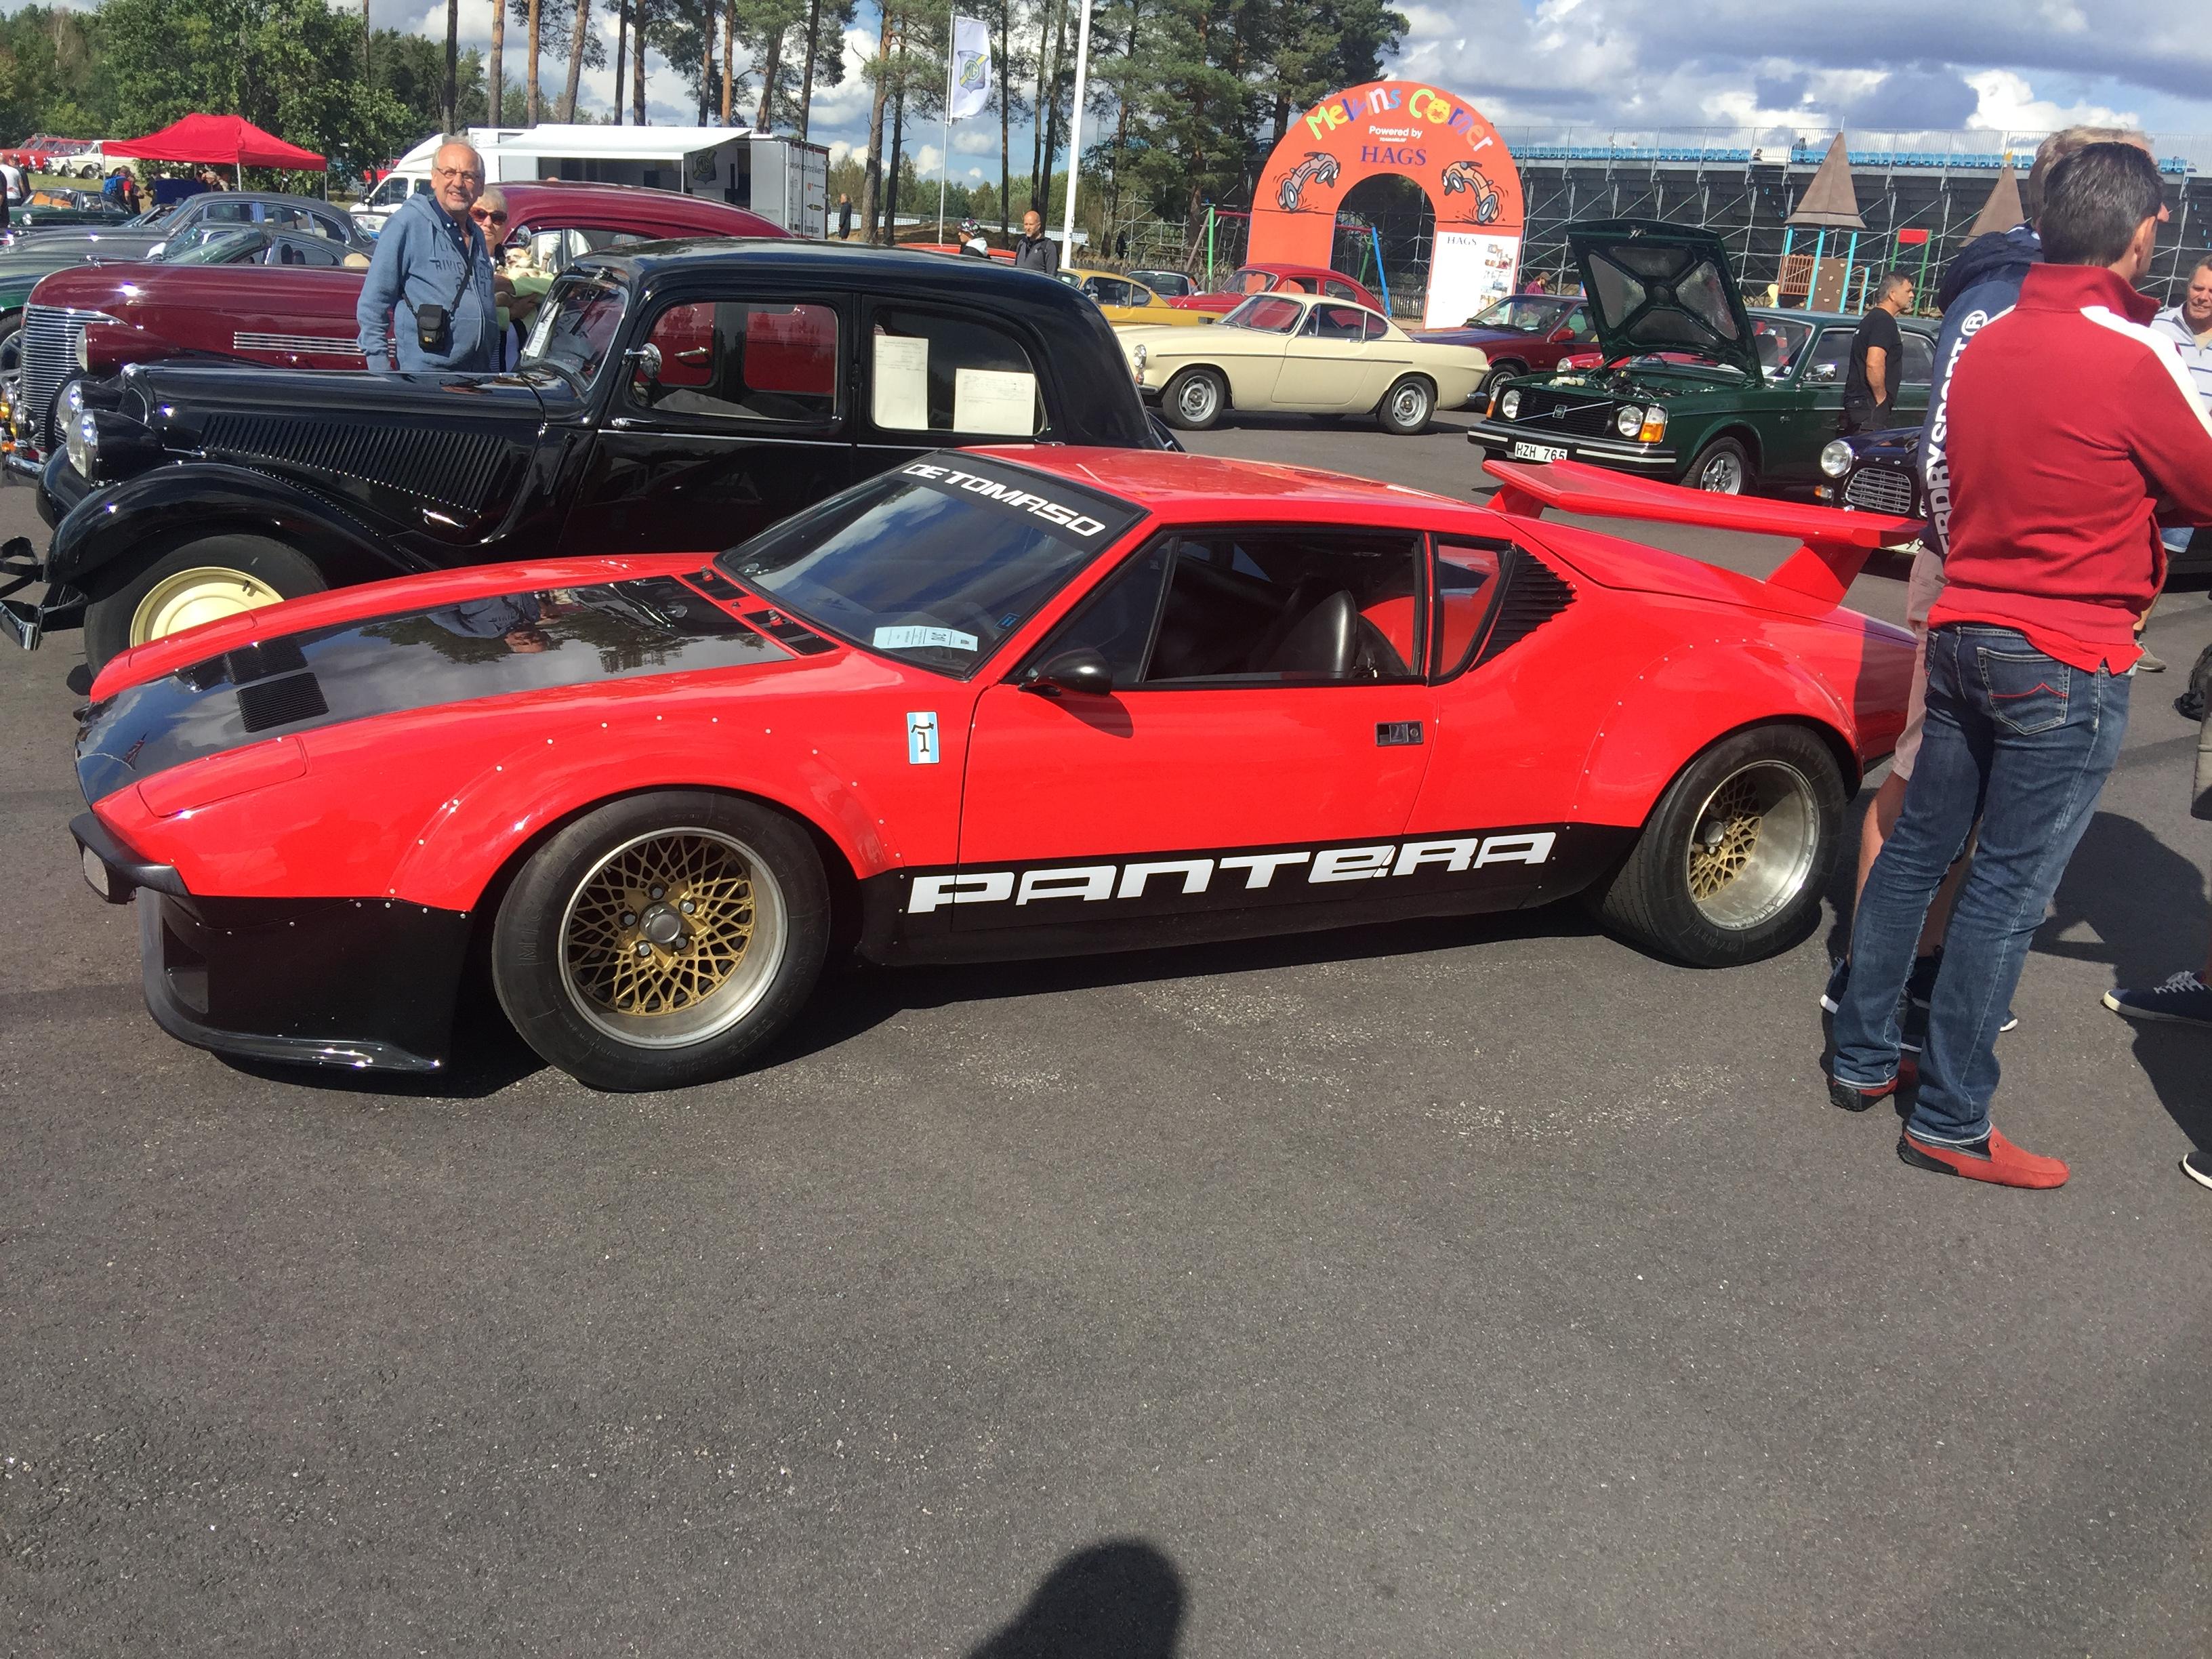
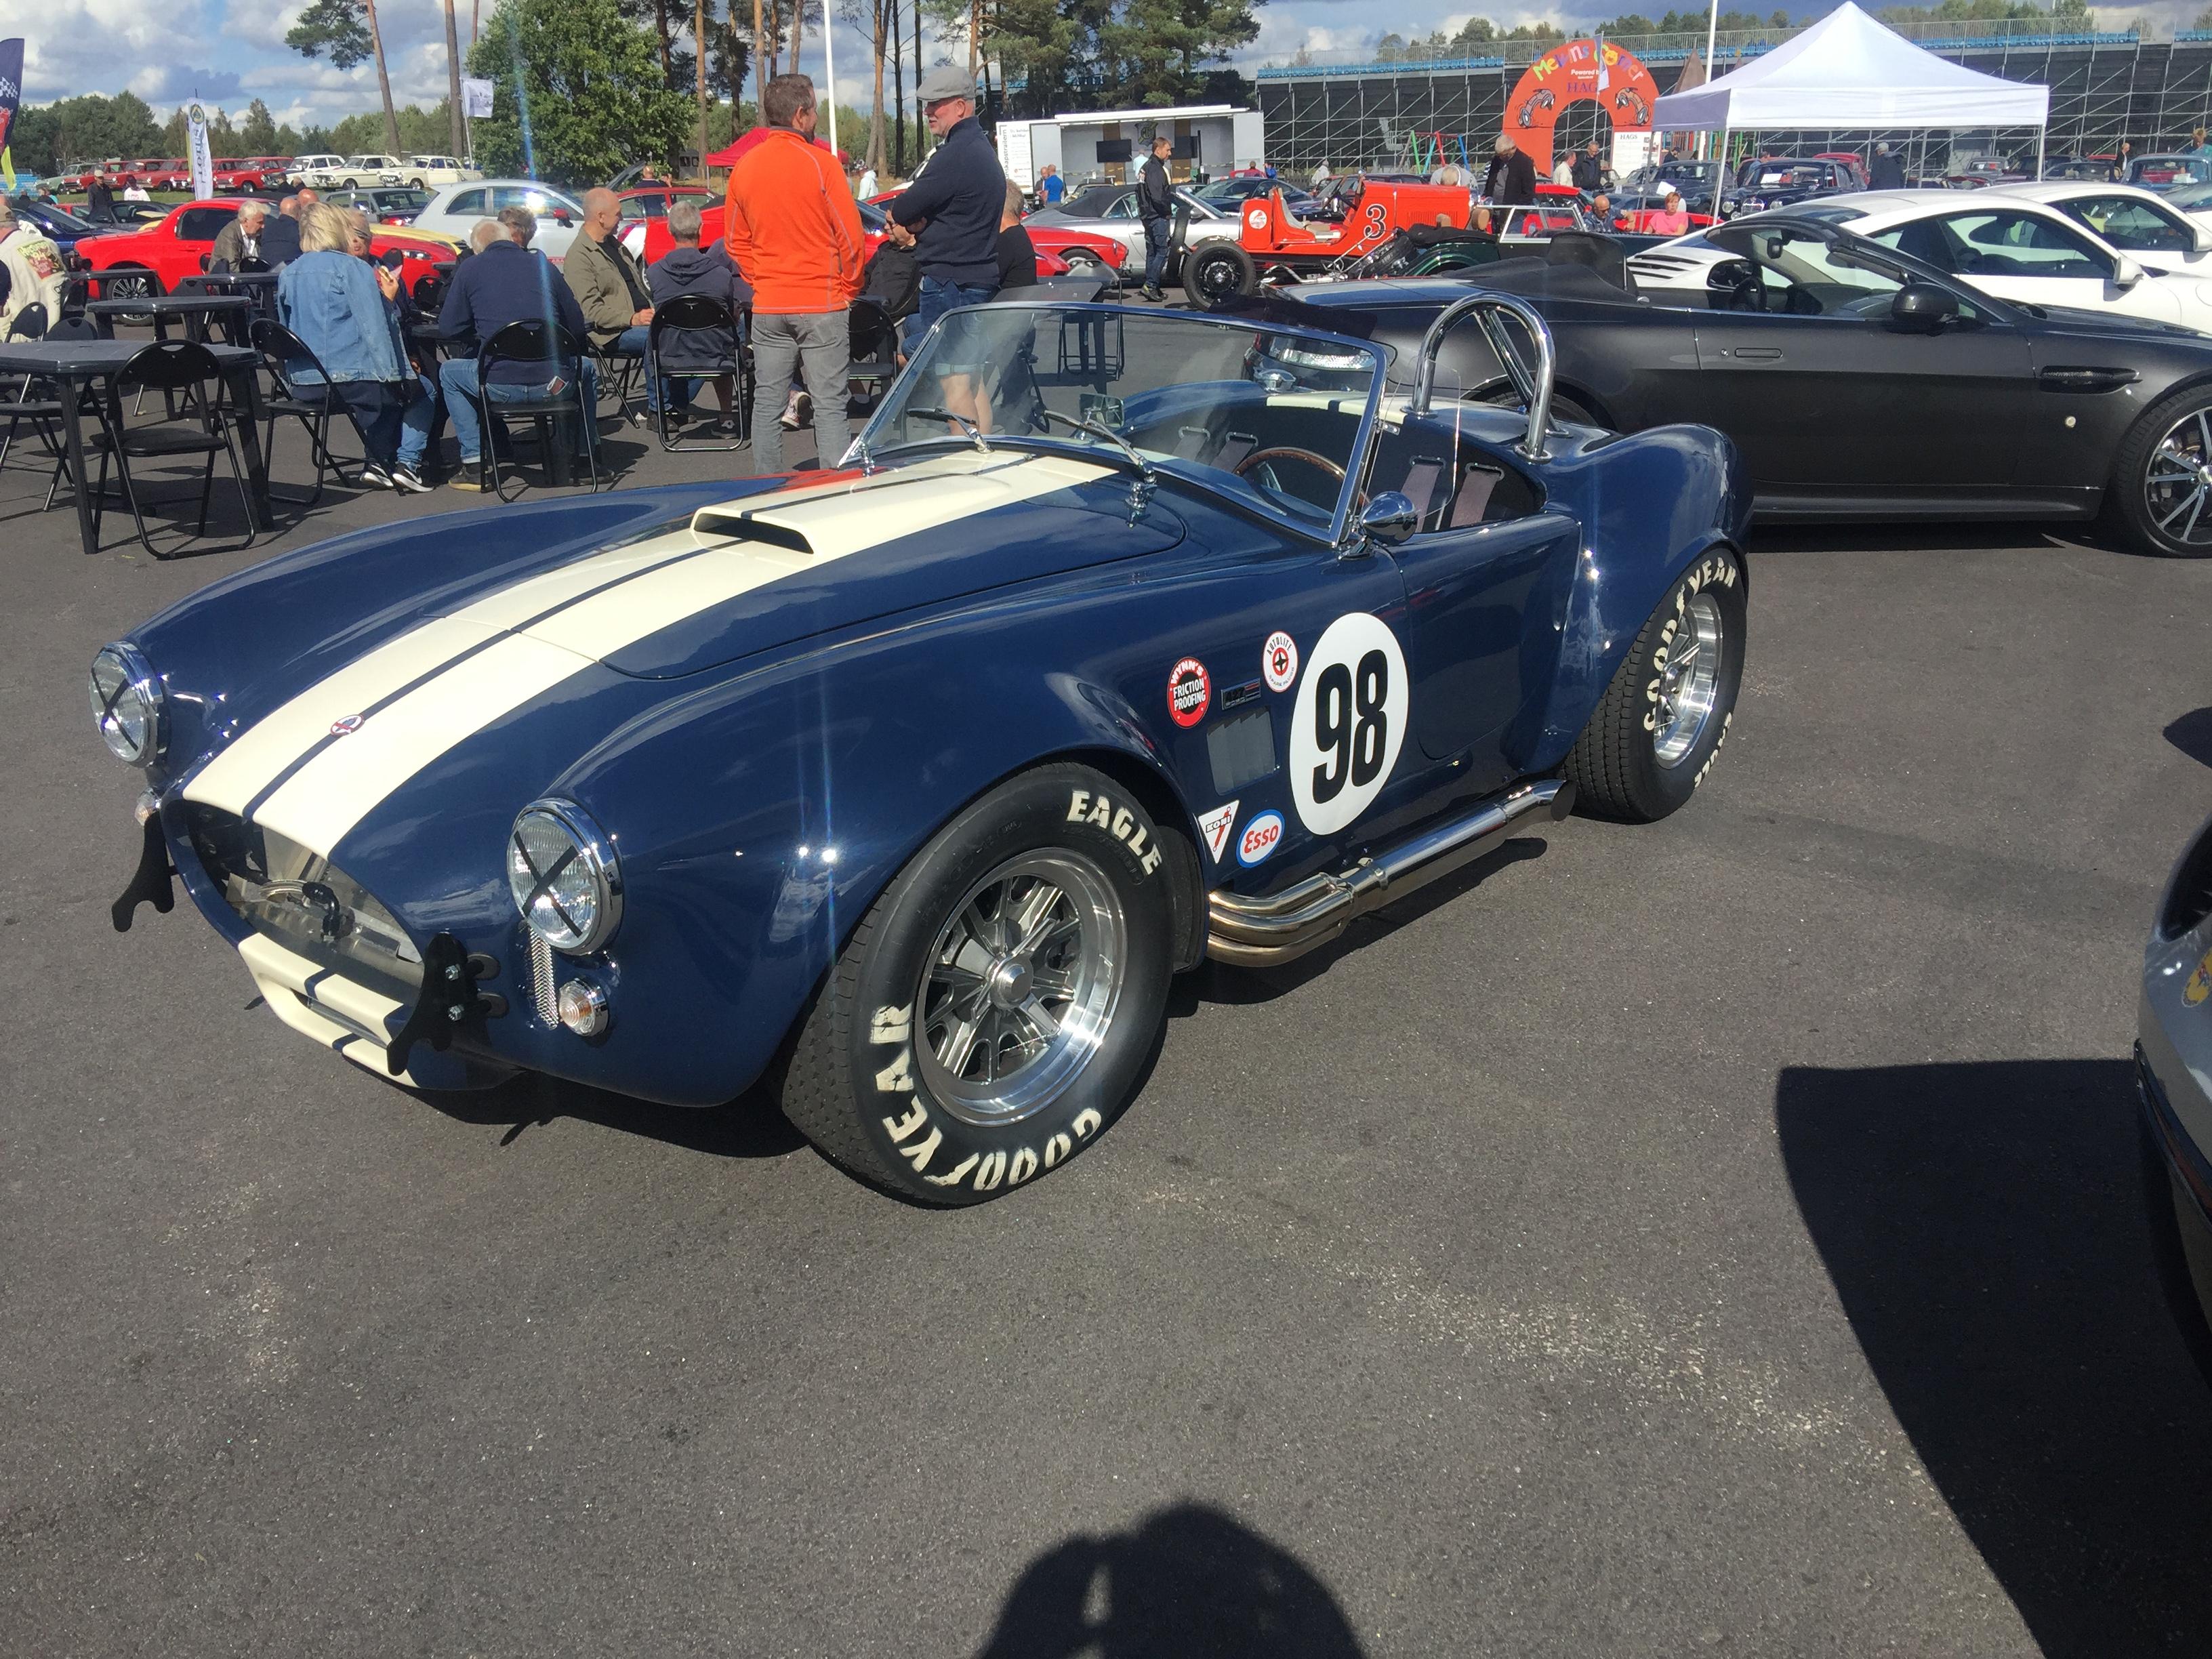
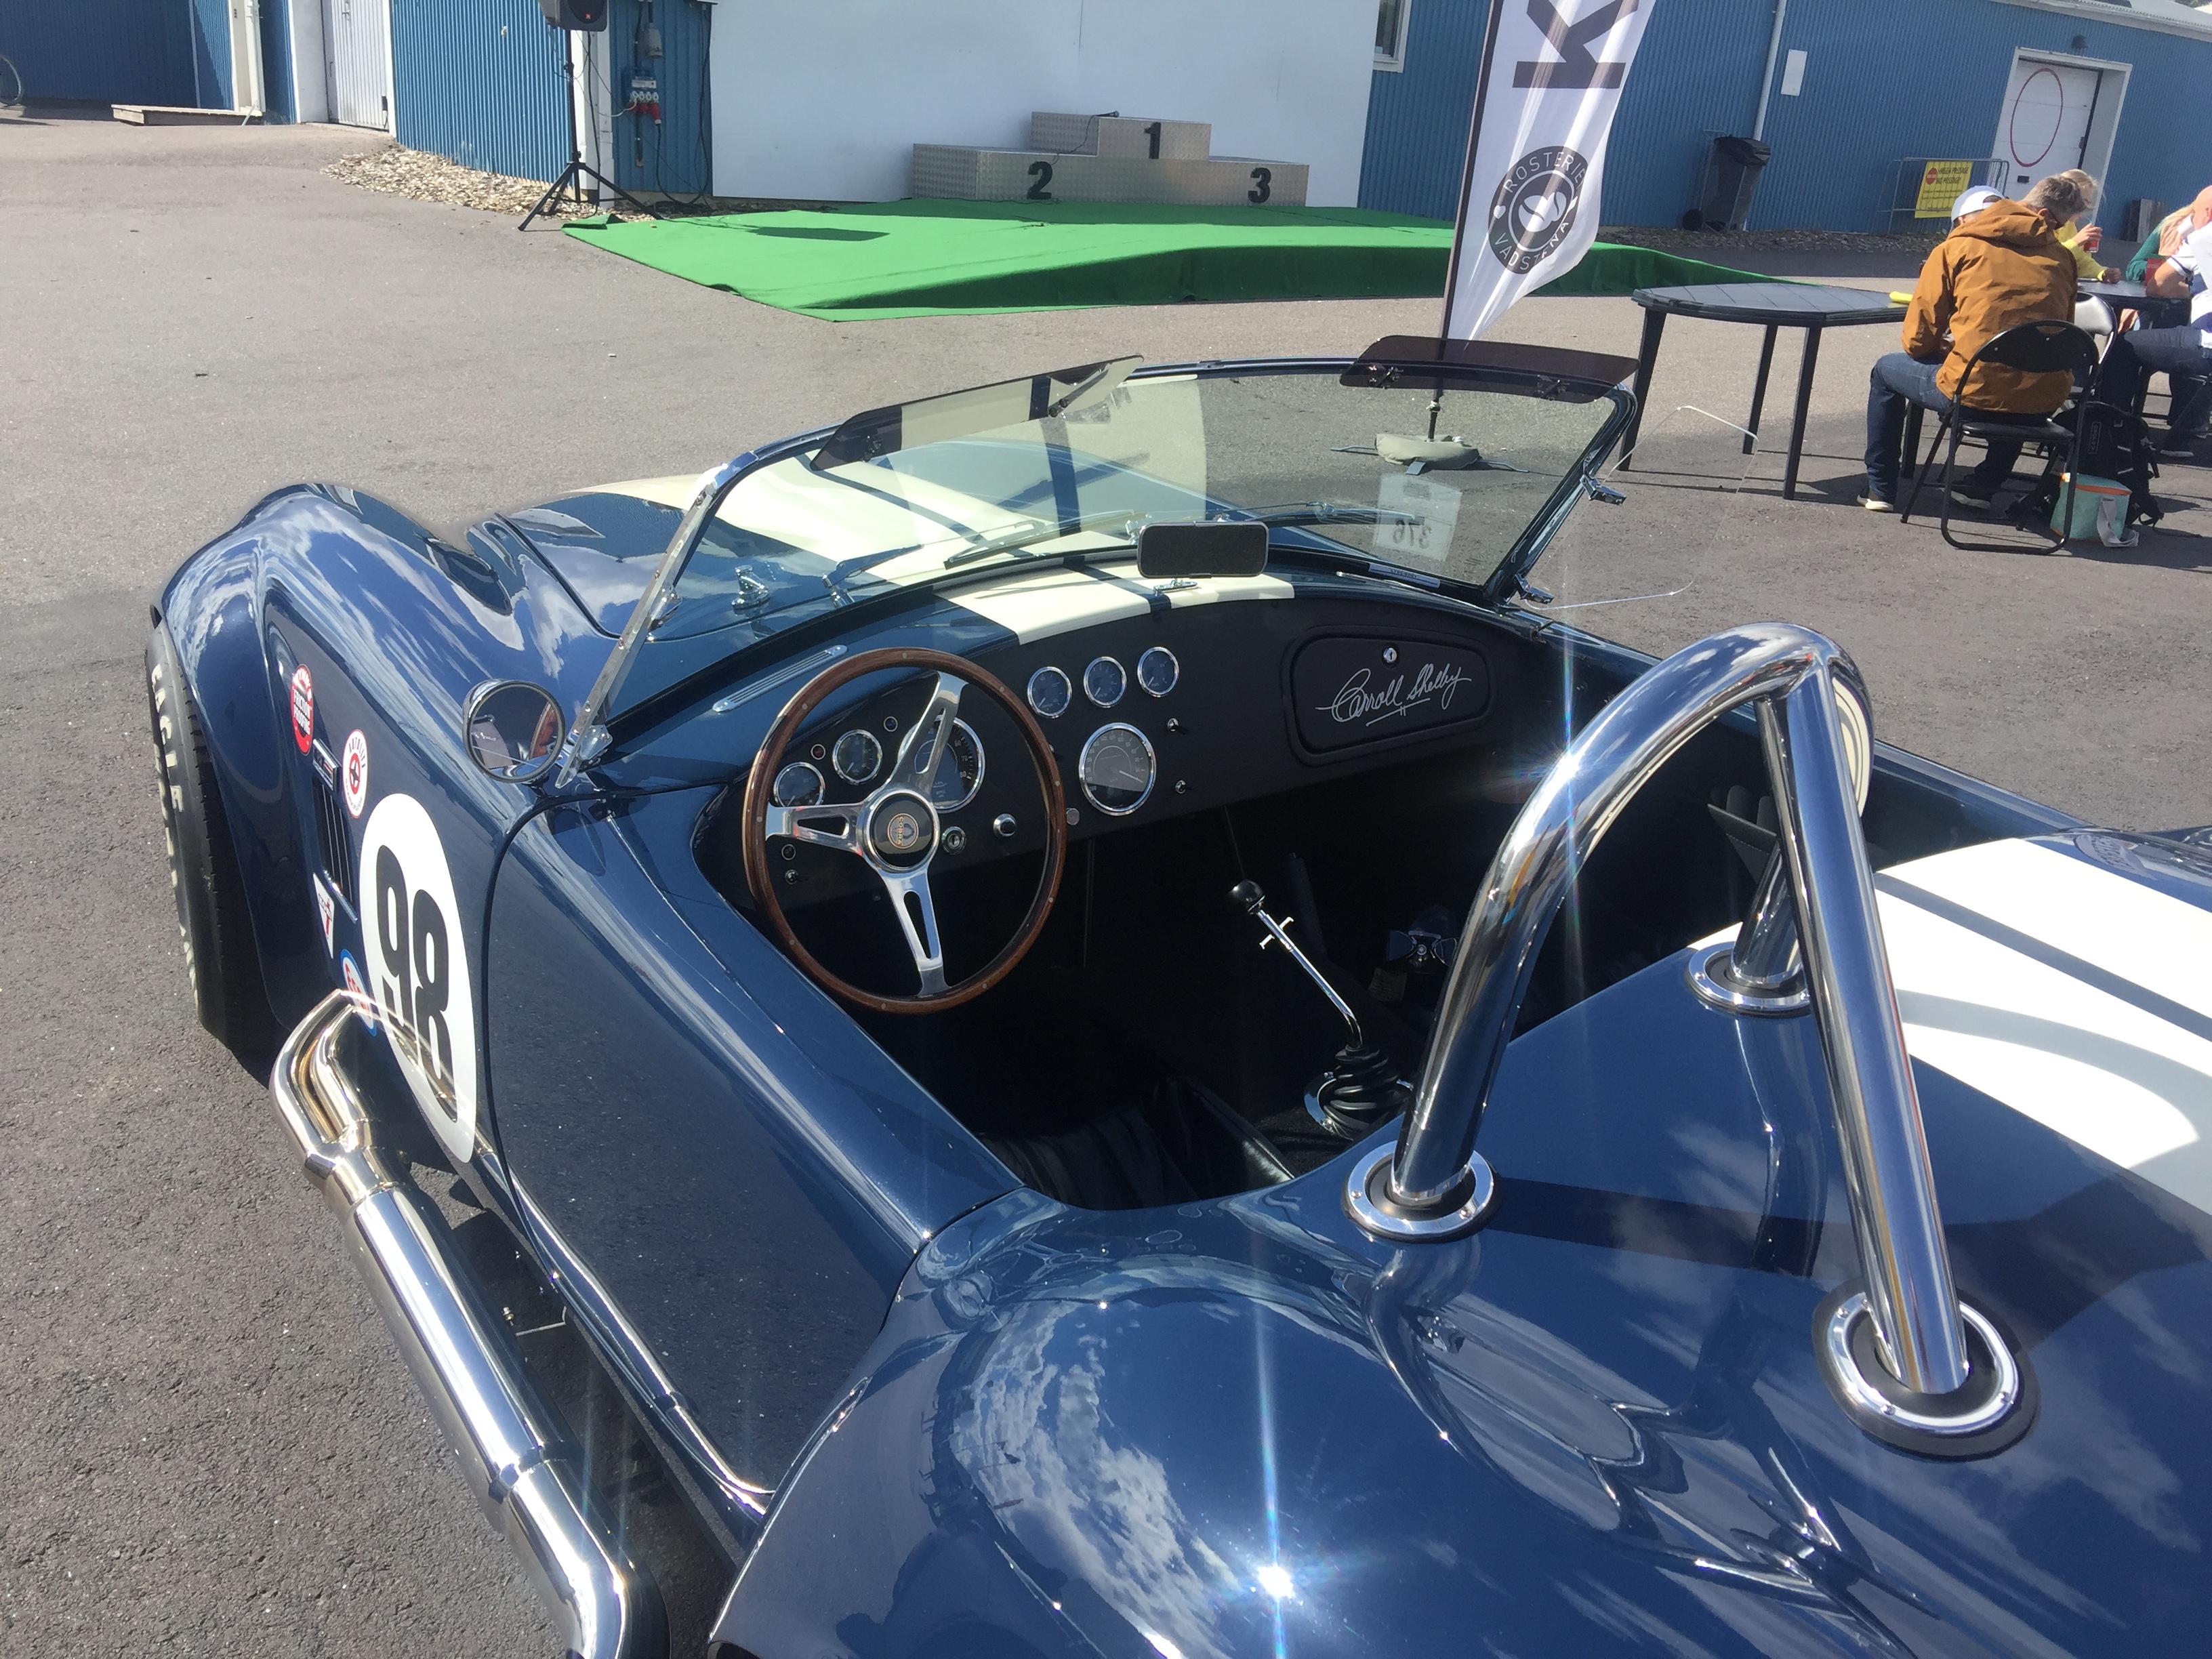
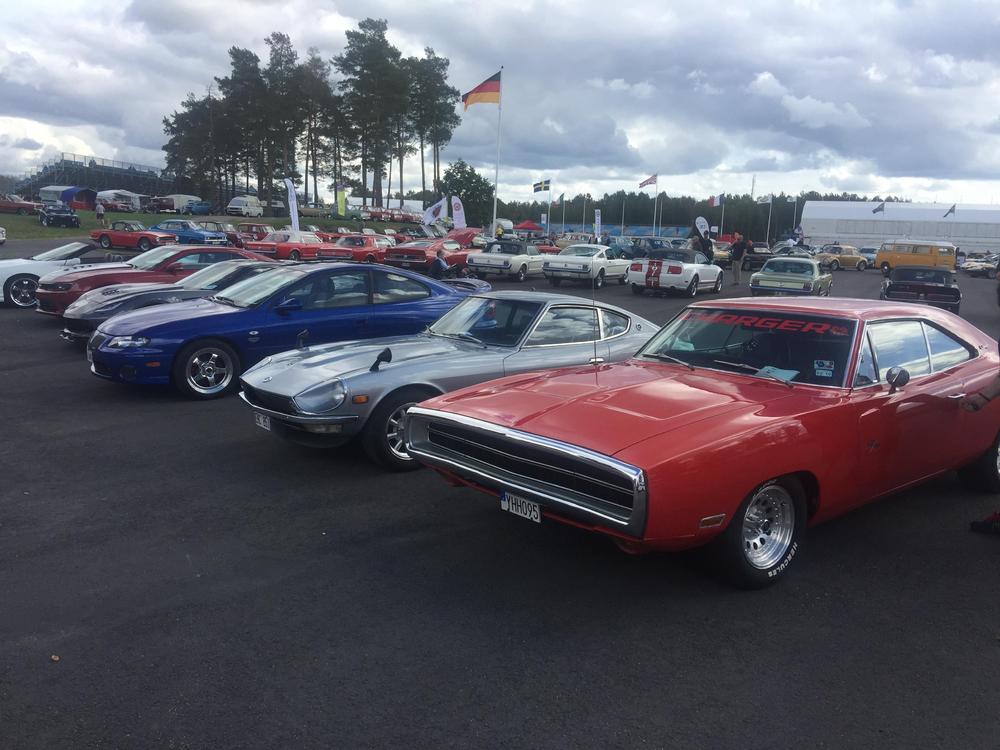
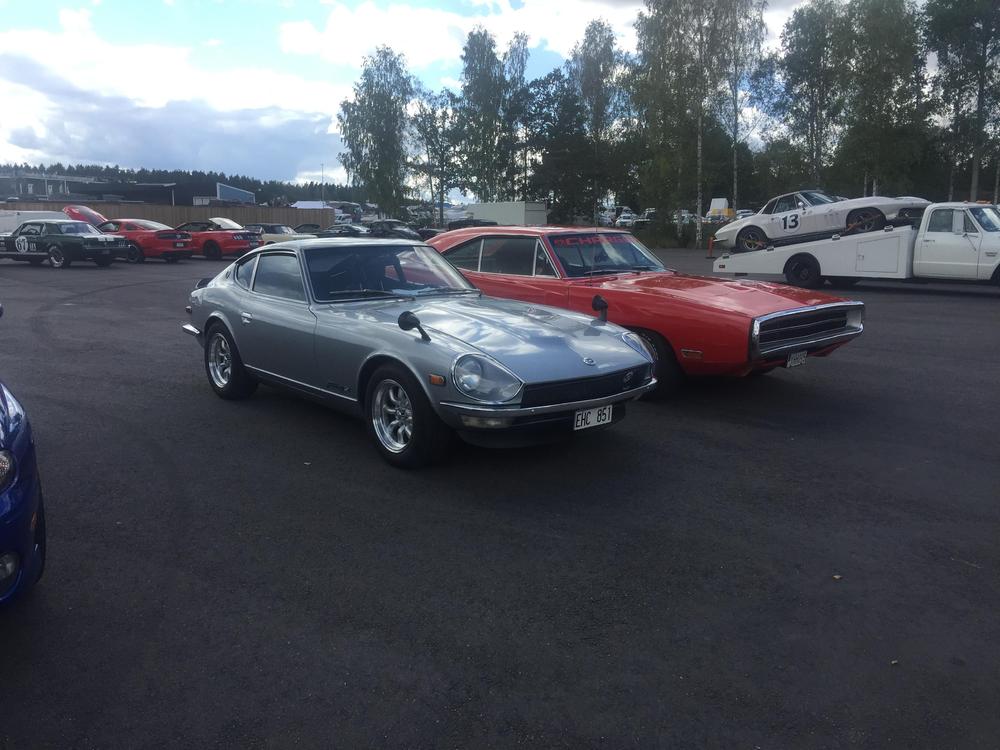
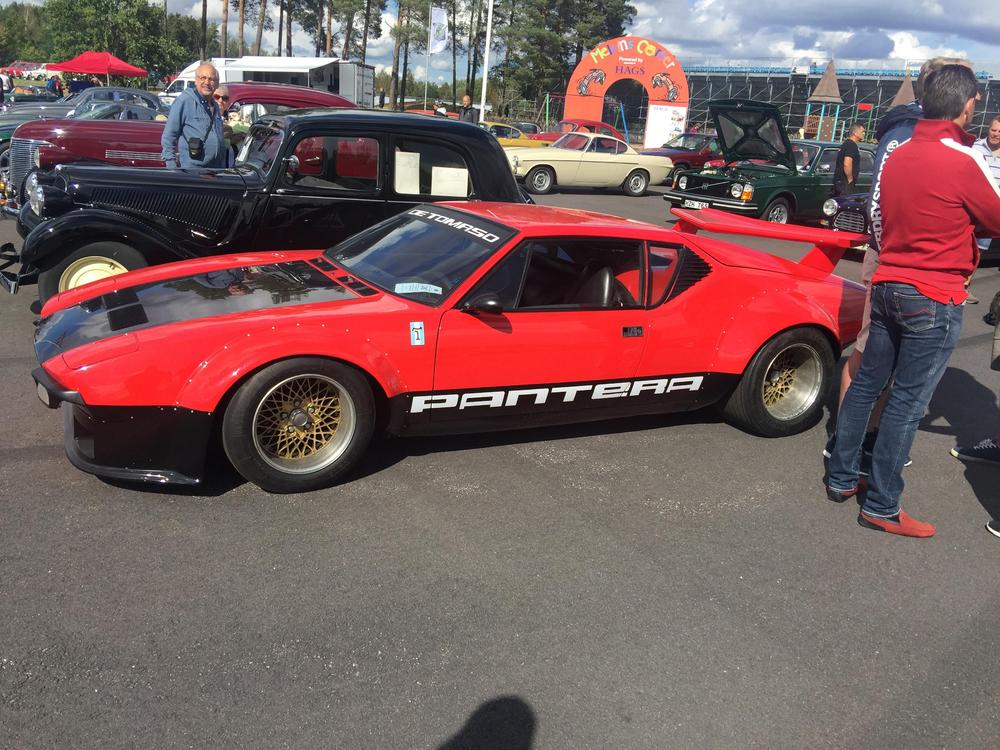
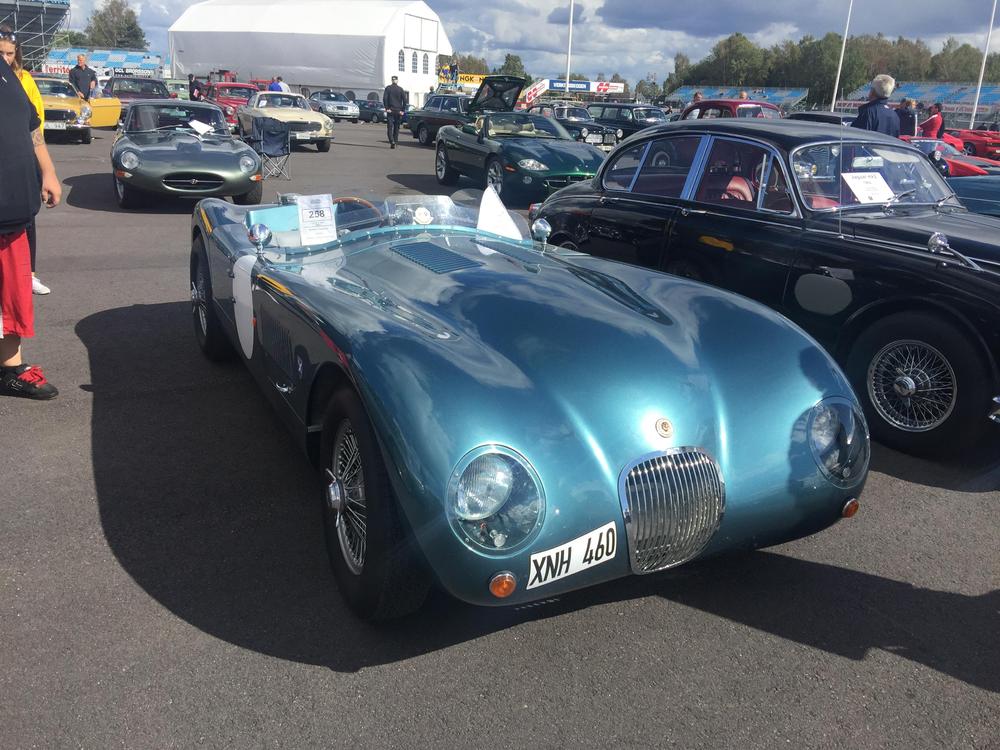
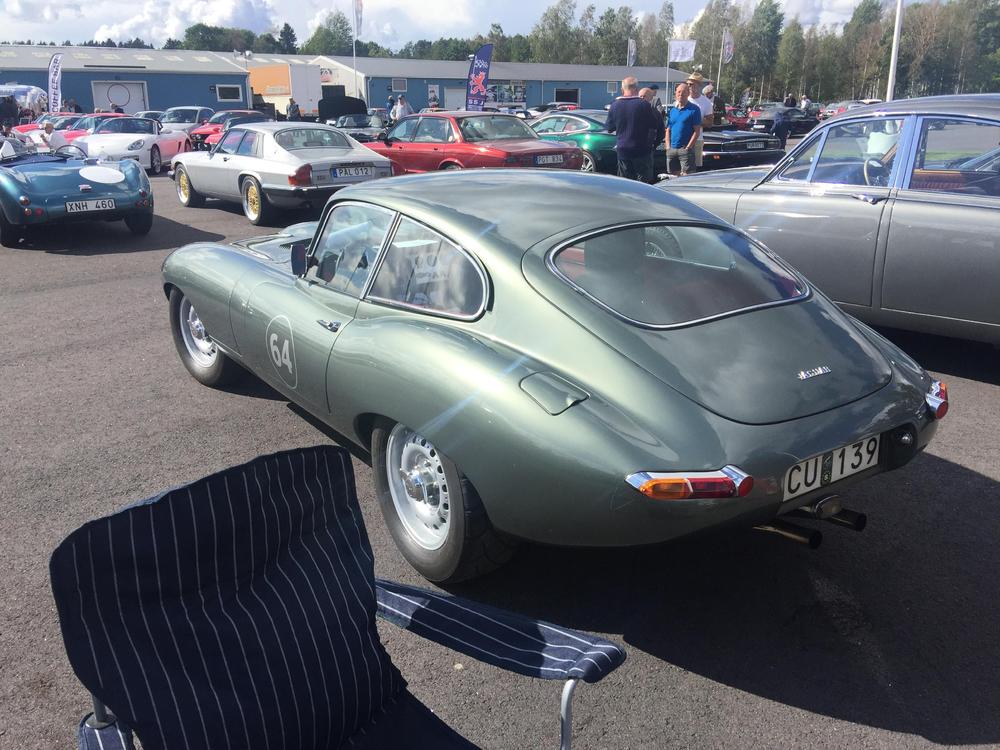
Classic racing Days at Mantorp Motorpark. I was the only Datsun....as usual. Lots of fun.


 1 point