Leaderboard


 Subscriber
Popular Content
Showing content with the highest reputation on 08/08/2018 in Posts
-
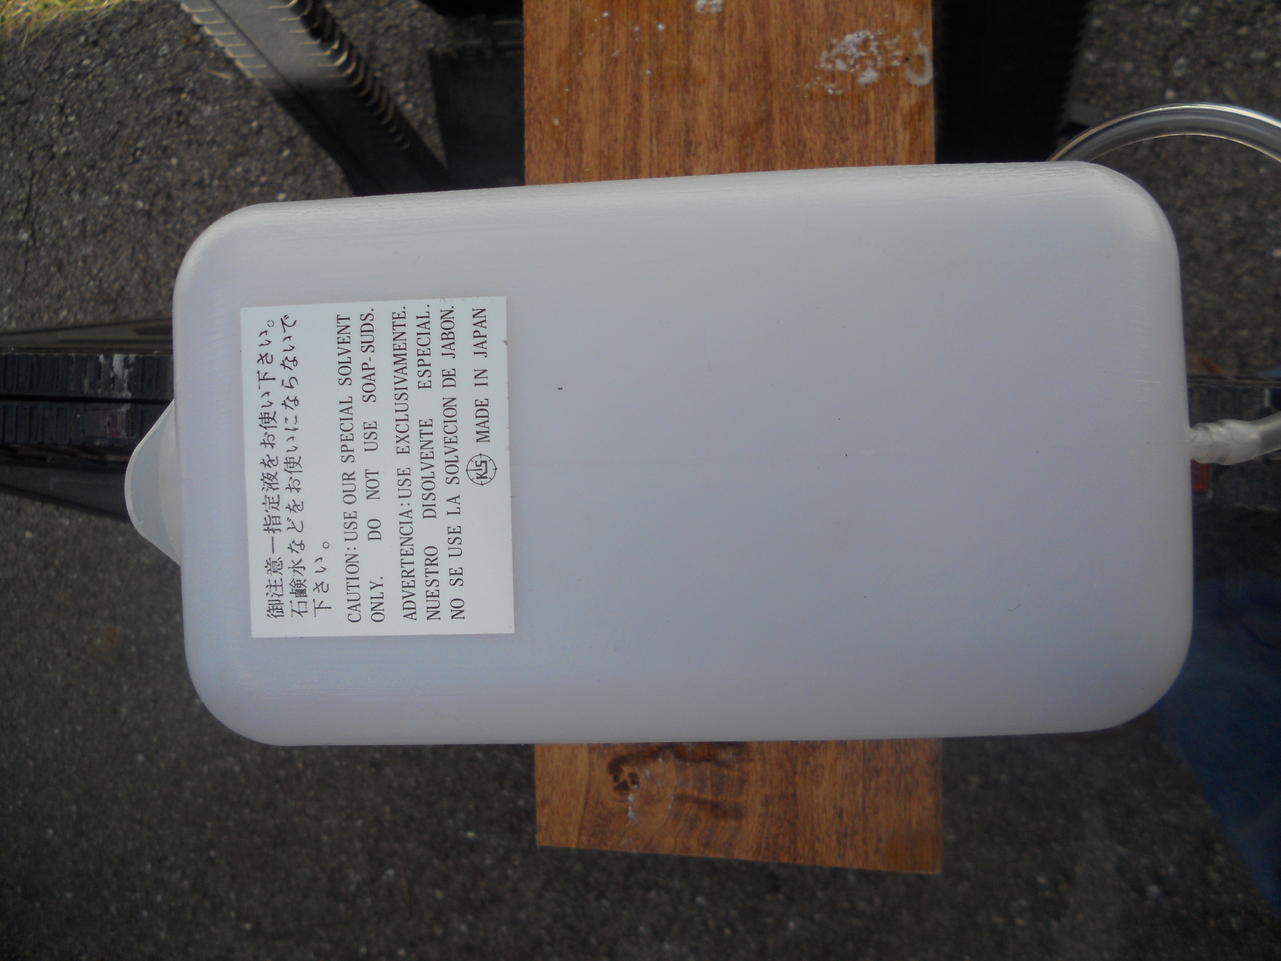
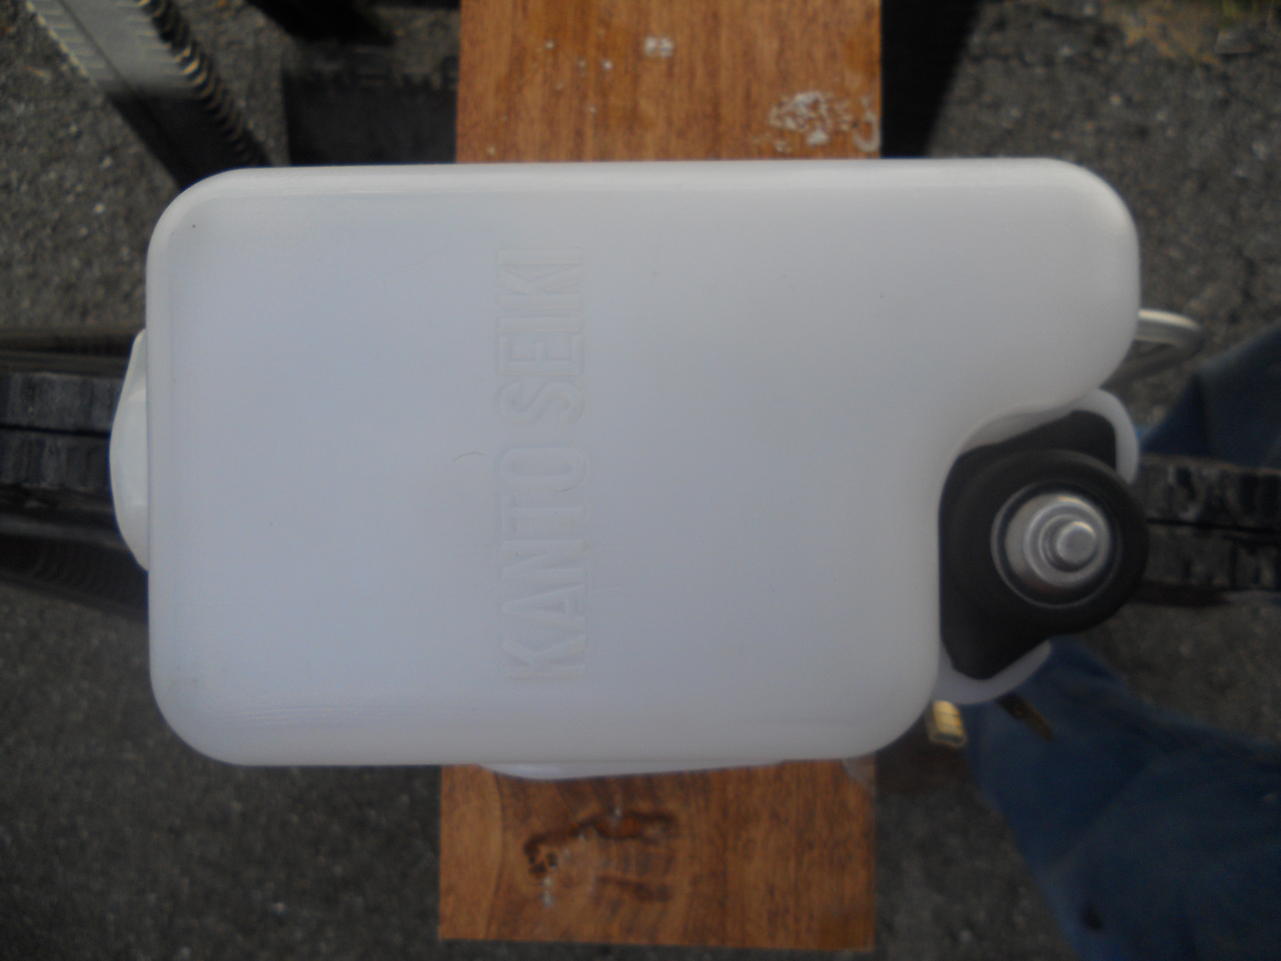
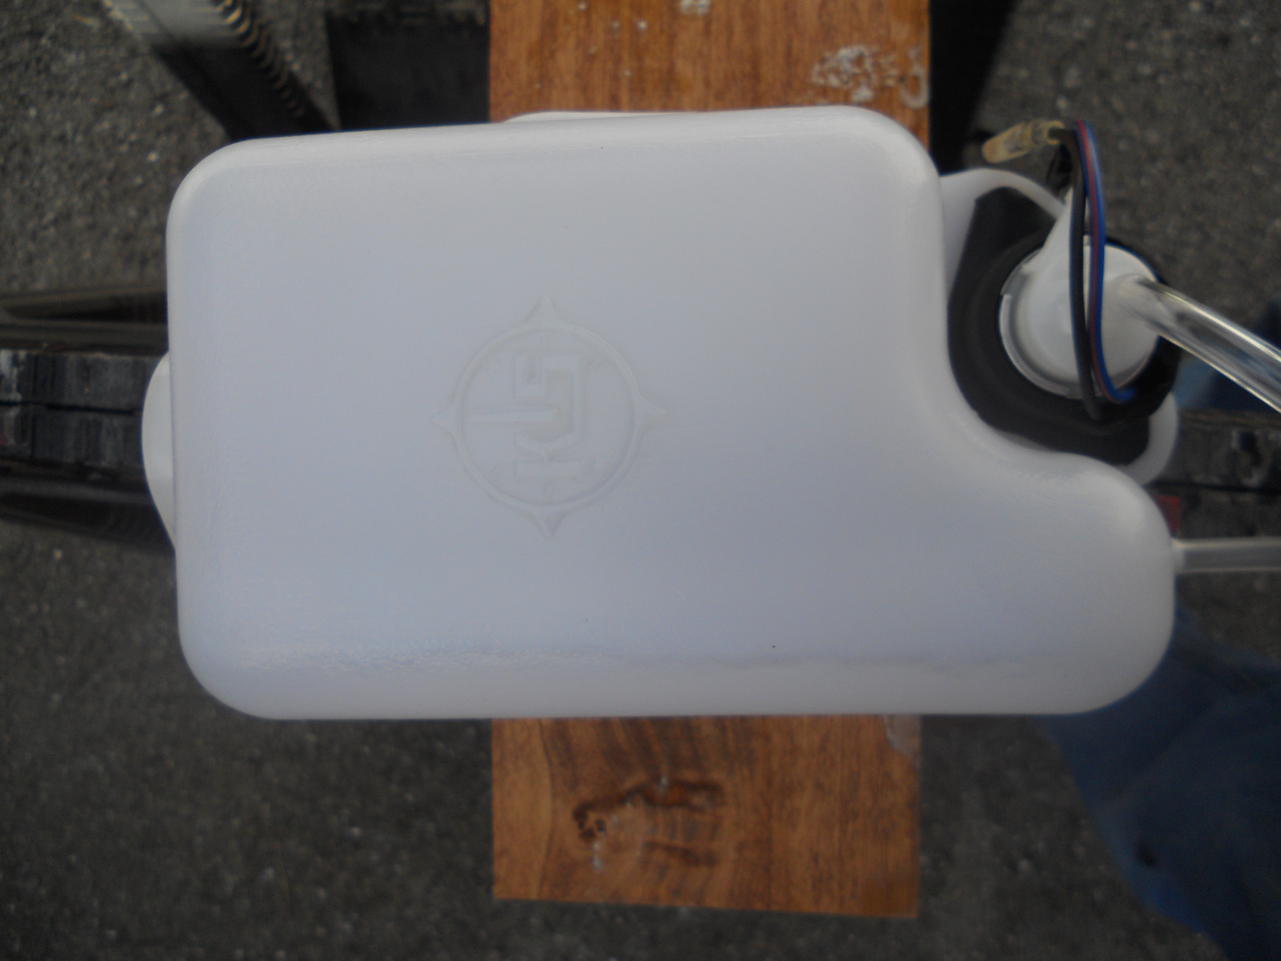
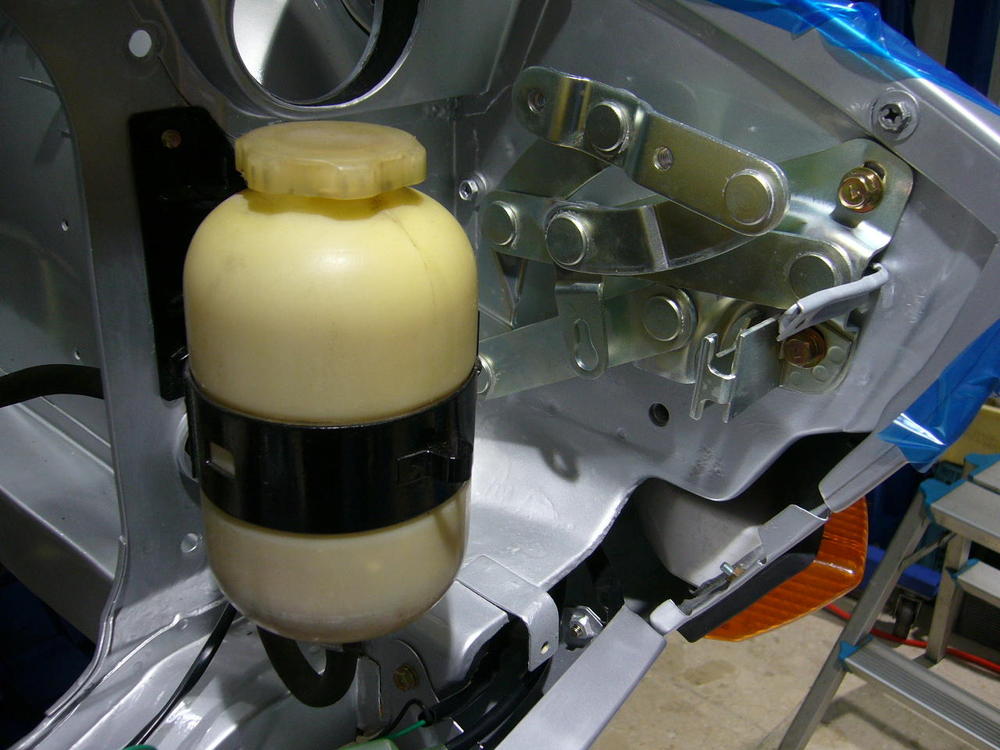
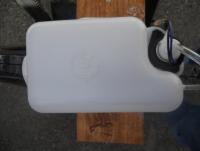
3 pointsKats, The good news is that you don't have to drill any holes in your HLS30U for the mounting bracket. Nissan very kindly put them there for you...! I was lucky to pick up an 'early' type overflow bottle for my 432-R replica project car. Actually, I rather like that yellowed age to the nylon part. I prefer to keep it like that. I tried to put as many genuine 432/432-R parts on the car as I could, but it's a very long list.3 points
-
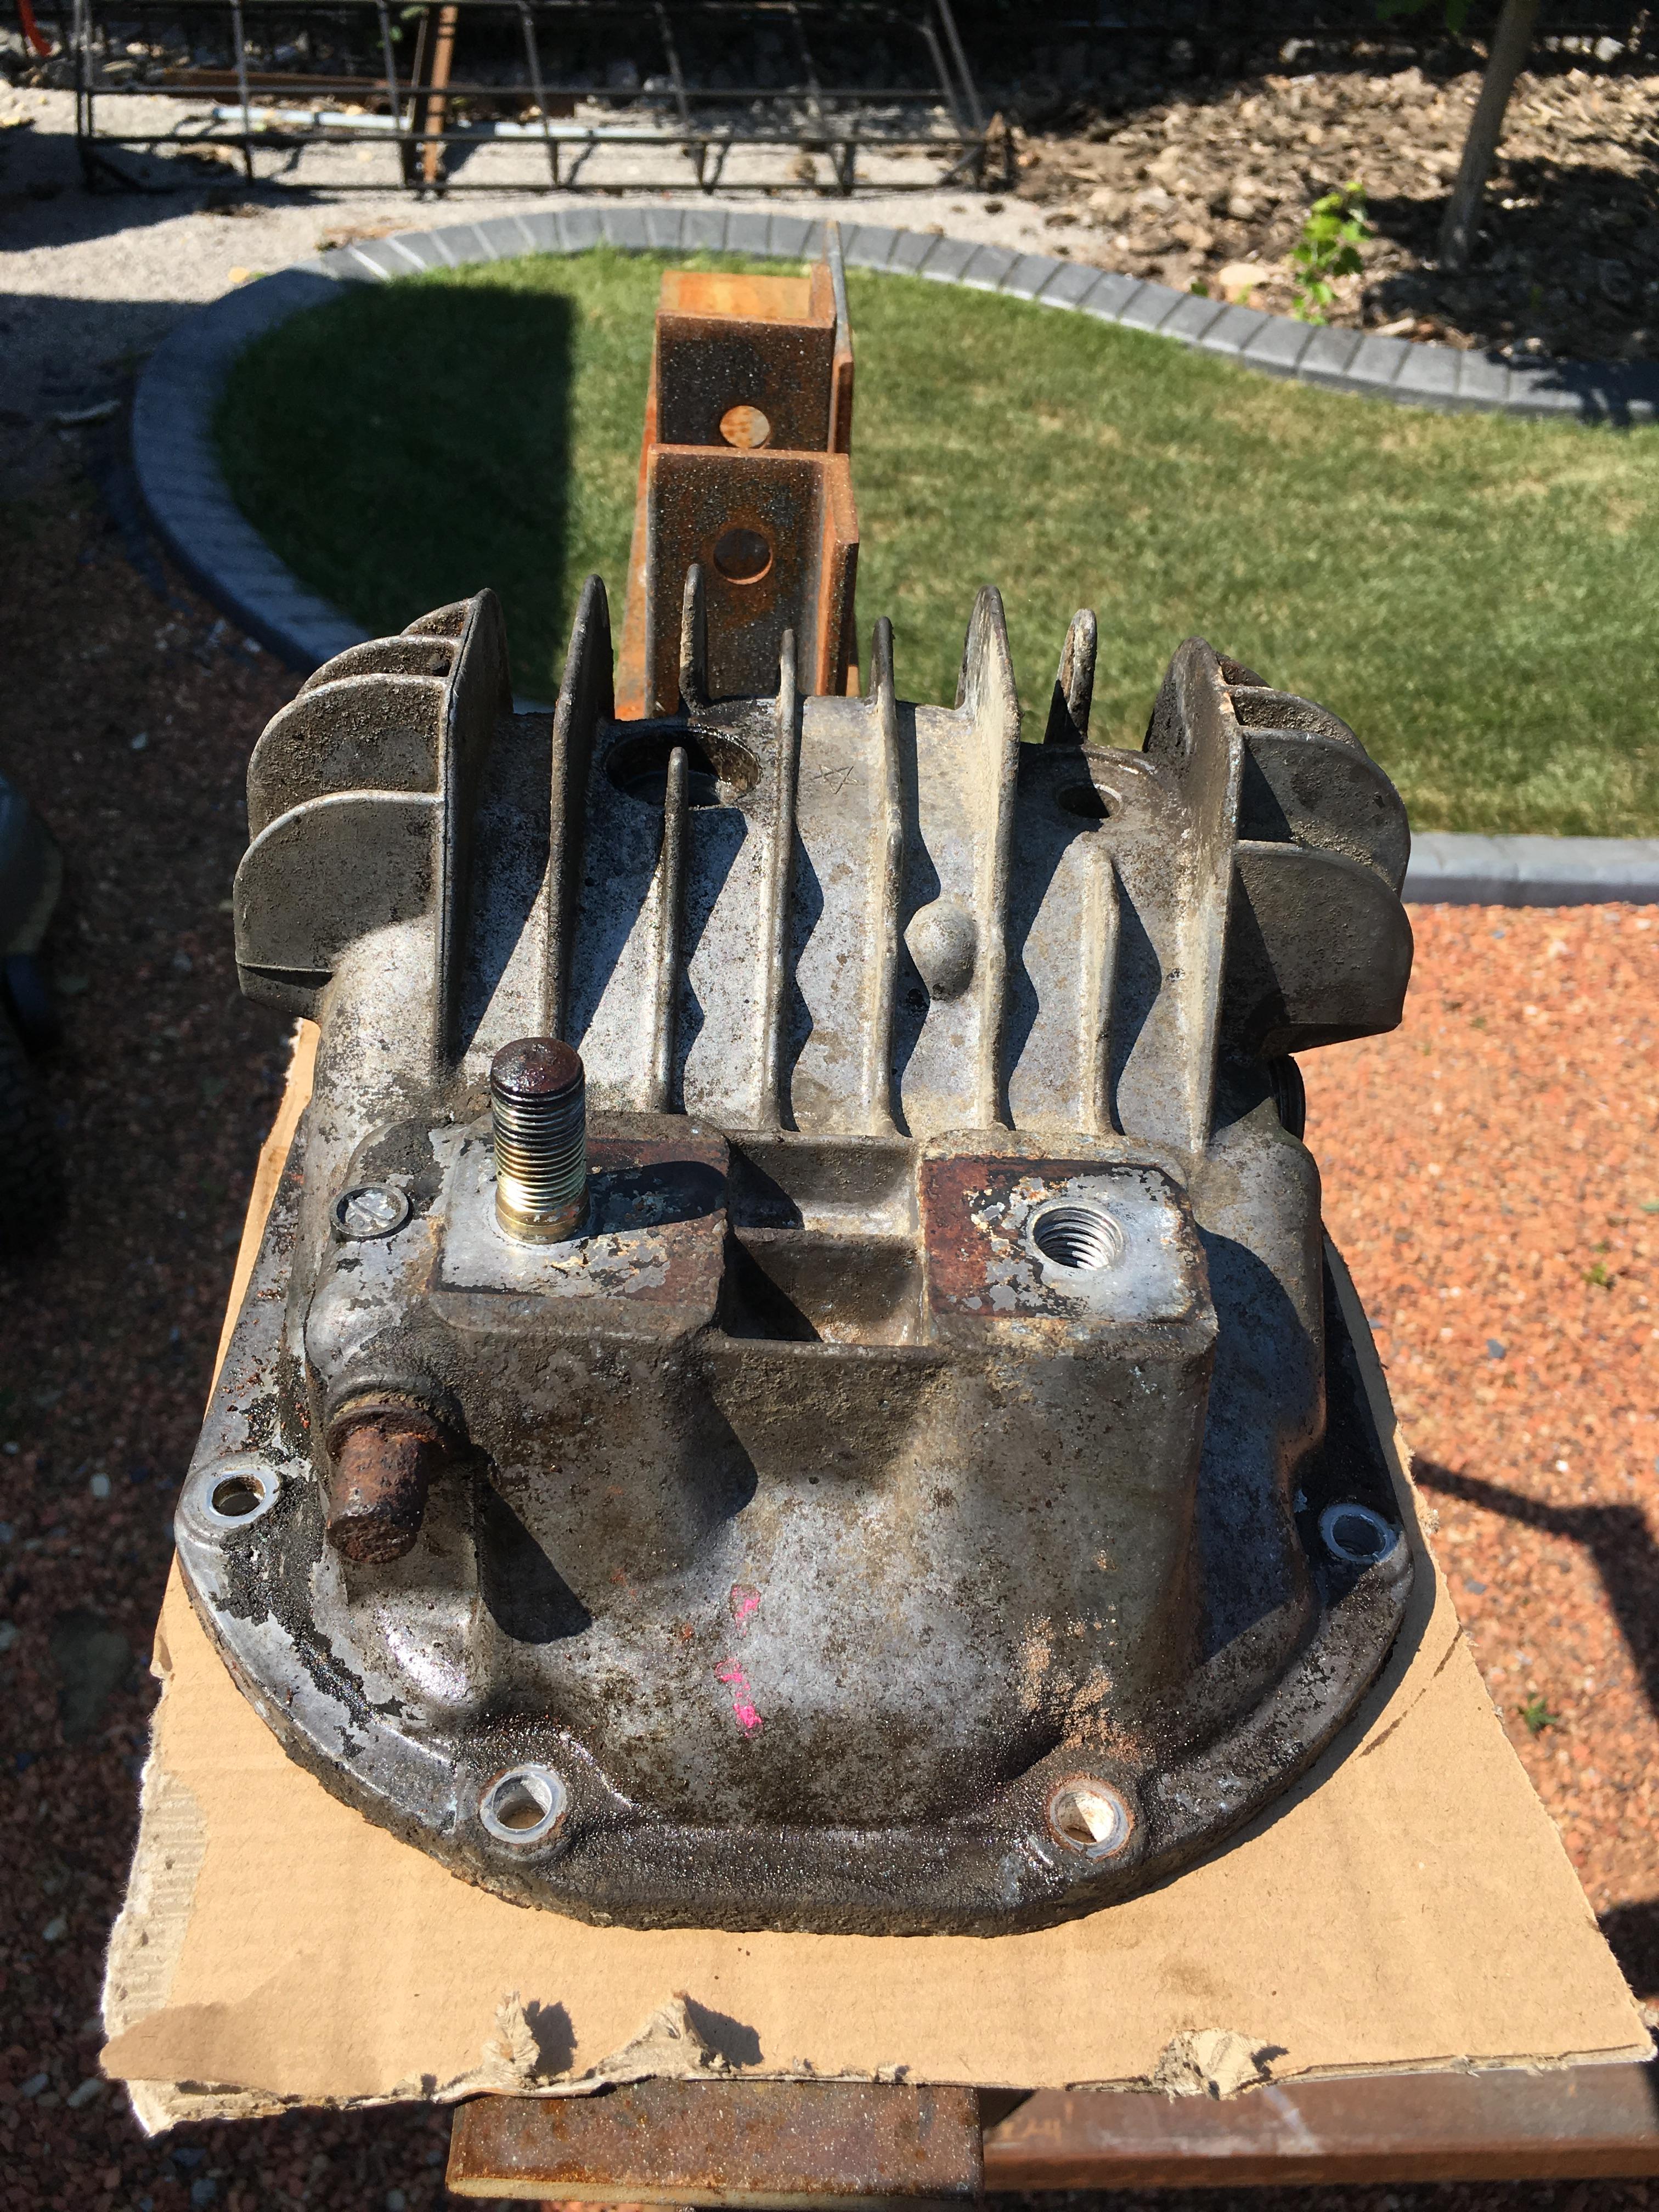
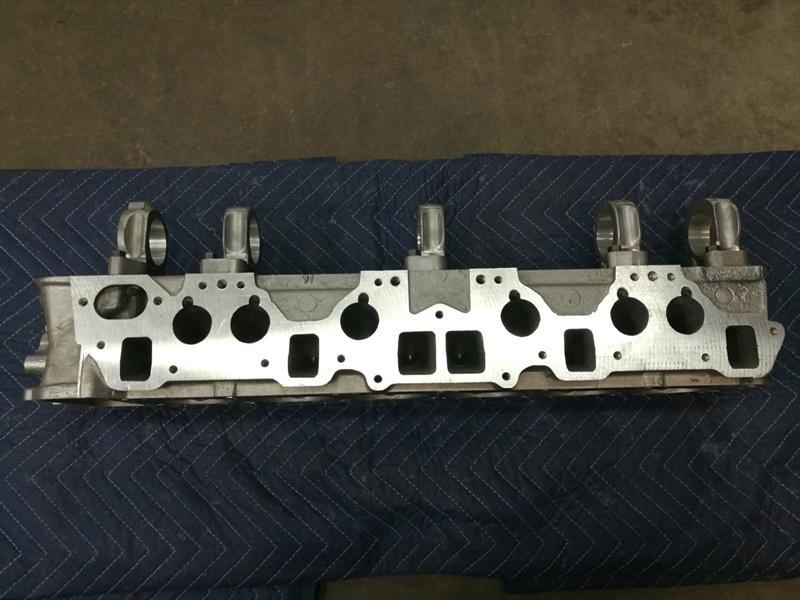
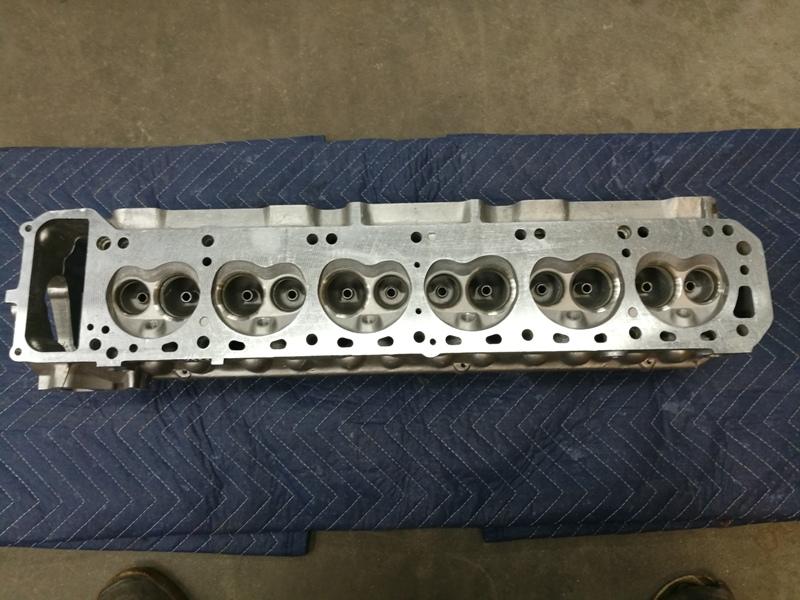
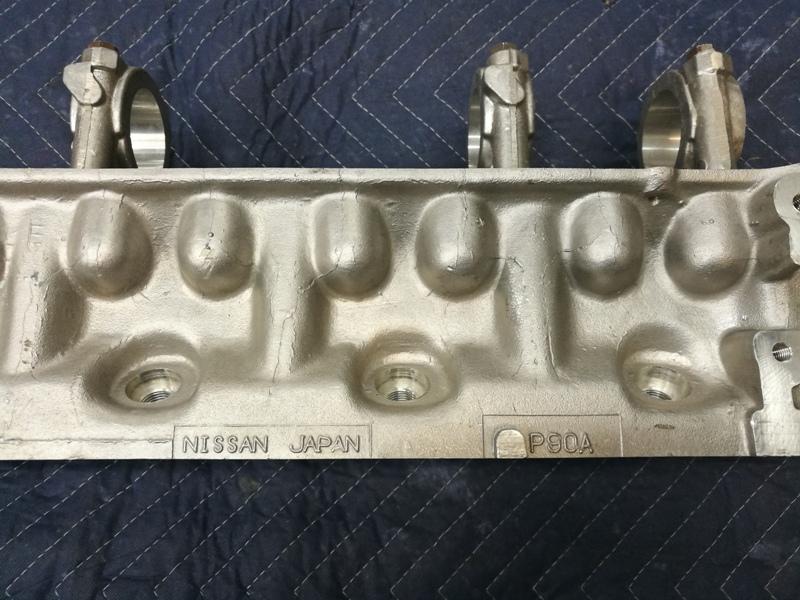
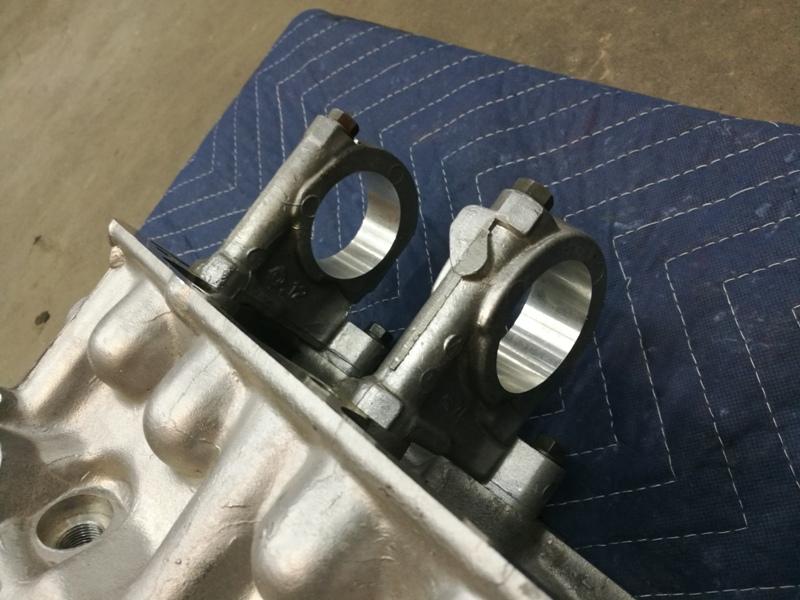
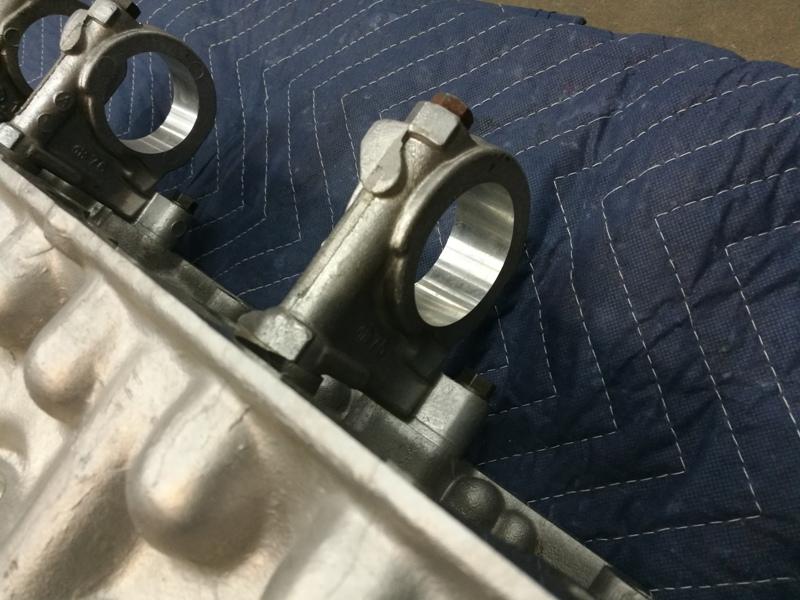
New Old Stock P90A cylinder head. Excellent condition. $700 plus reg Fed EX shipping to your zip code. See pics:

 1 point
 -
Somewhere in Abate's content he has gone through all of the same problems you're having, and done all of the things that you're doing. It's an old story. CO eventually helped get it straightened out but I can't find the specific thread posts. The bearing races were getting cocked during insertion. Not obvious, ironically. @Captain Obvious Old news, it's out there somewhere. https://www.classiczcars.com/profile/30168-matthew-abate/?do=content&type=forums_topic&change_section=11 point
-
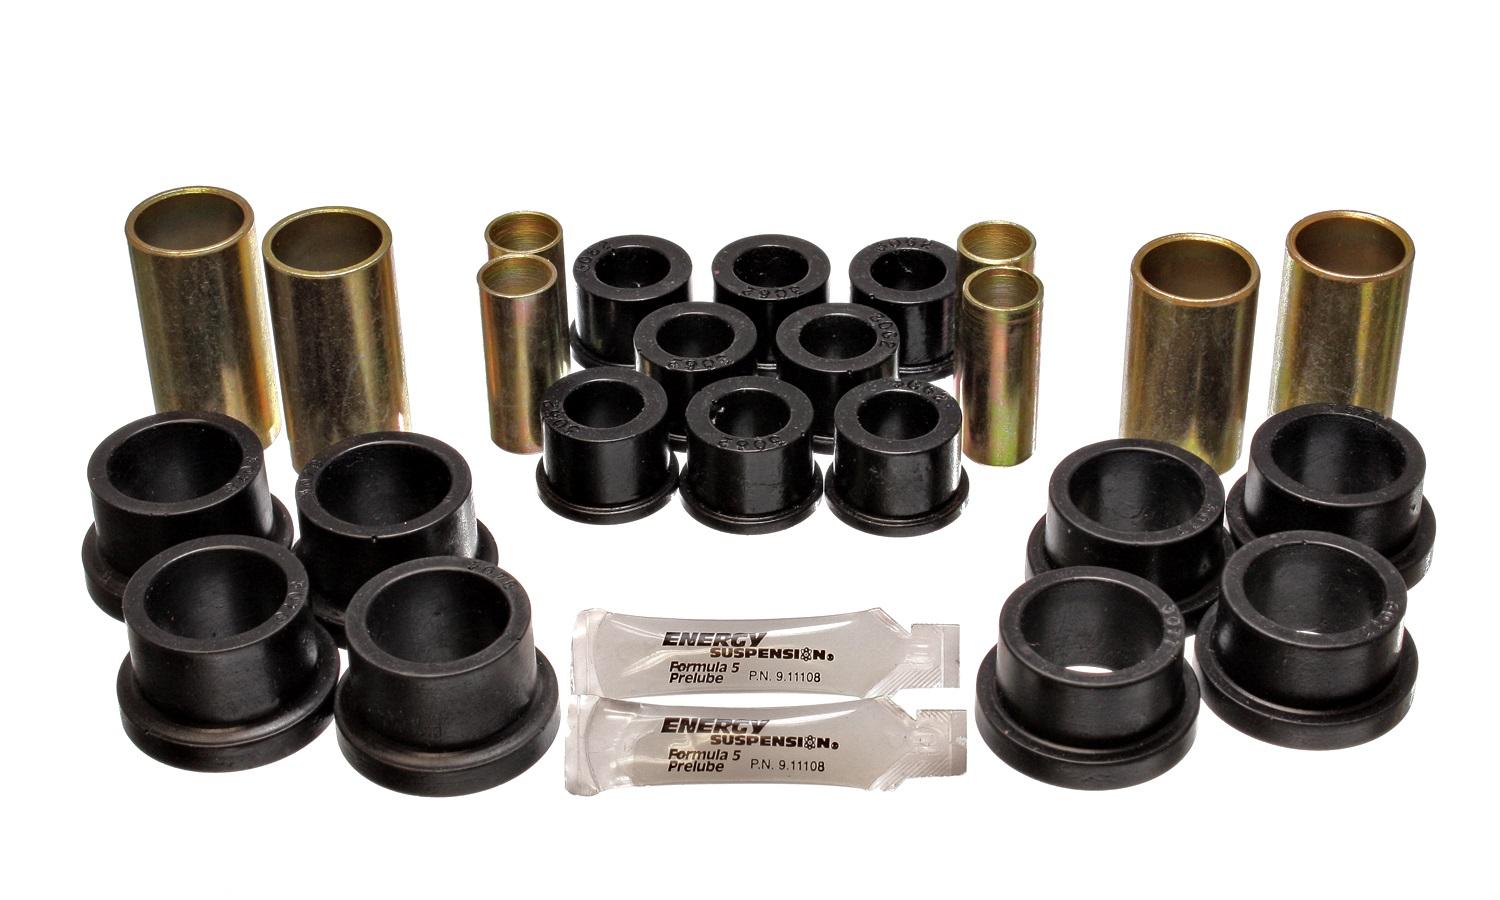
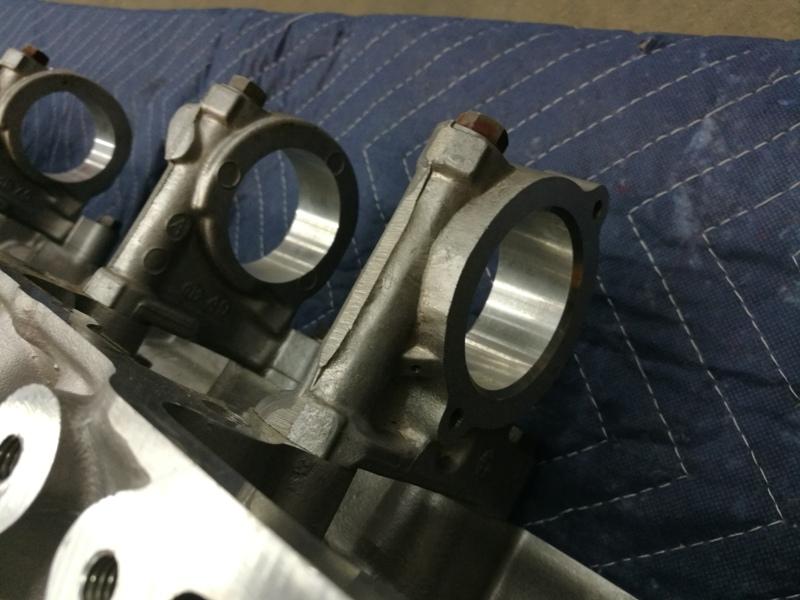
1 pointPerhaps I have an insite. Fact. He had a set of poly bushings installed. If you have done this job, you will remember that the inner and outer half of each of the pairs of outer rear control arm bushings have a thin lip on them. Here is a picture of rear control bushings from energy suspension. The outer set is in the center of the picture. When installed that thin lip would visible/present in that gap, unlike stock where the inner bushing is completely different and has no lips. That's what is damaged in his picture, part of the lip is gone. Does it matter? No. If the pin bolt is properly torqued, the inner metal tube in the control arm is locked to the face of the strut where the pin goes through. Since the control rotates with respect to the strut at this point, that lip can get damaged. Does not matter. As long as that horrible sticky grease the bushings come with is generously used on the spindle pin, it will last for ever.
 1 point
 -
1 pointMy Z432 , when the restoration was in progress , the car did not have a metal neck. Lost at some point for sure . And an original bottle was very yellowish. So a new 3rd type bottle and an original bracket were joined as one. Later I found a metal filler neck and , the metal cap is still available at local Nissan dealer today. Kats
 1 point
 -
1 pointSo to add a little controversy to this discussion, I have had raging debates with a number of my Z club members about the wisdom of using Dot 5 silicon fluid versus the more conventional Dot 3/4 fluid. To me the benefits of using a non corrosive fluid (to paint) out weighed the negatives that I had read about Dot 5, so I gave it a try about 2 years ago when I installed a big brake kit on my car. I can say for certain that I do not have poor pedal feel and in fact my pedal feels a little better than with Dot 3/4. I have not noticed any differences in stopping power, although with the big brake kit installed, my car stopped significantly better than with the stock setup. Based on my experience, I have been very happy with the Dot 5 and it also gives me some peace of mind wrt paint corrosion. Having said that, if I were tracking my car or using it in other really high performance situations, I would probably stick with Dot 3/4 as it does have better characteristics under those conditions. Having said that, switching over to Dot 5 and actually using it is a little trickier than Dot 3/4. First if you have been using Dot 3/4, you will need to completely flush your brake system as the 2 fluids are not compatible. Second, for some reason the Dot 5 fluid tends to hold onto air bubbles and so you need to be really careful when you pour it into your reservoirs or into a pressure bleeding system. I use a pressure bleeding system and will let the fluid sit in the container for a few hours to let the air bubbles escape. I will also usually bleed the brakes completely, let the car sit for 12-24 hours and then bleed again. I have found that doing it this way lets me get all of the air out of the system and results in a very good pedal feel. Hope that helps. Let the controversy begin!! Mike.1 point
-
1 point
-
1 pointDude come on man... Sent from my iPhone using Classic Zcar Club mobile1 point
-
1 pointKats, Here is a thread where Jerry worked on a bottle. As your part is probably very rare, I would proceed with caution...1 point
-
Hi Chris and Charles, My good buddy @Dr. 240Z gave me two U-Joints. They say: MFG: Kawasaki Part: 578234 Ref: ATV700 I hope this helps!
 1 point
 -
Great news, now I can stop feeling guilty.1 point
-
My Isky Stage III is 290 degrees duration. I’ve built 6 of the .080 shaved P79 head/ F54 block different variations. All 6 have Isky Stage III Cams. Four have .040 over flat top stock pistons. Two have Datsun Spirit Forged Pistons (they are 3.1 Stroker Motors). I built two with L24 cranks with L28 pistons and rods, two with L28 stock cranks with L28 pistons and rods and two with LD 28 Stroker cranks and forged Pistons and rods (Datsun Spirit built the two 3.1strokers). I love each and everyone of them......the strokers the most?. I would definitely go with the Isky Stage III....do it now or you will regret it IMO. I have several build threads under (topics) on my home page you can reference. No ping at any rpm or load on any of the six engines.....fabulous set up you are building.....kudos. Let me know if I can help. Guy1 point
-
No Site, because the springs are shimmed up and the valve is .080 longer. He can go stock valve seals. BTW jy.s30z.....don’t forget the spring shims....don’t see them mentioned.1 point
-
Good news. The car is now sold to a friend that is going to restore it to OEM glory. It will live again.1 point
-
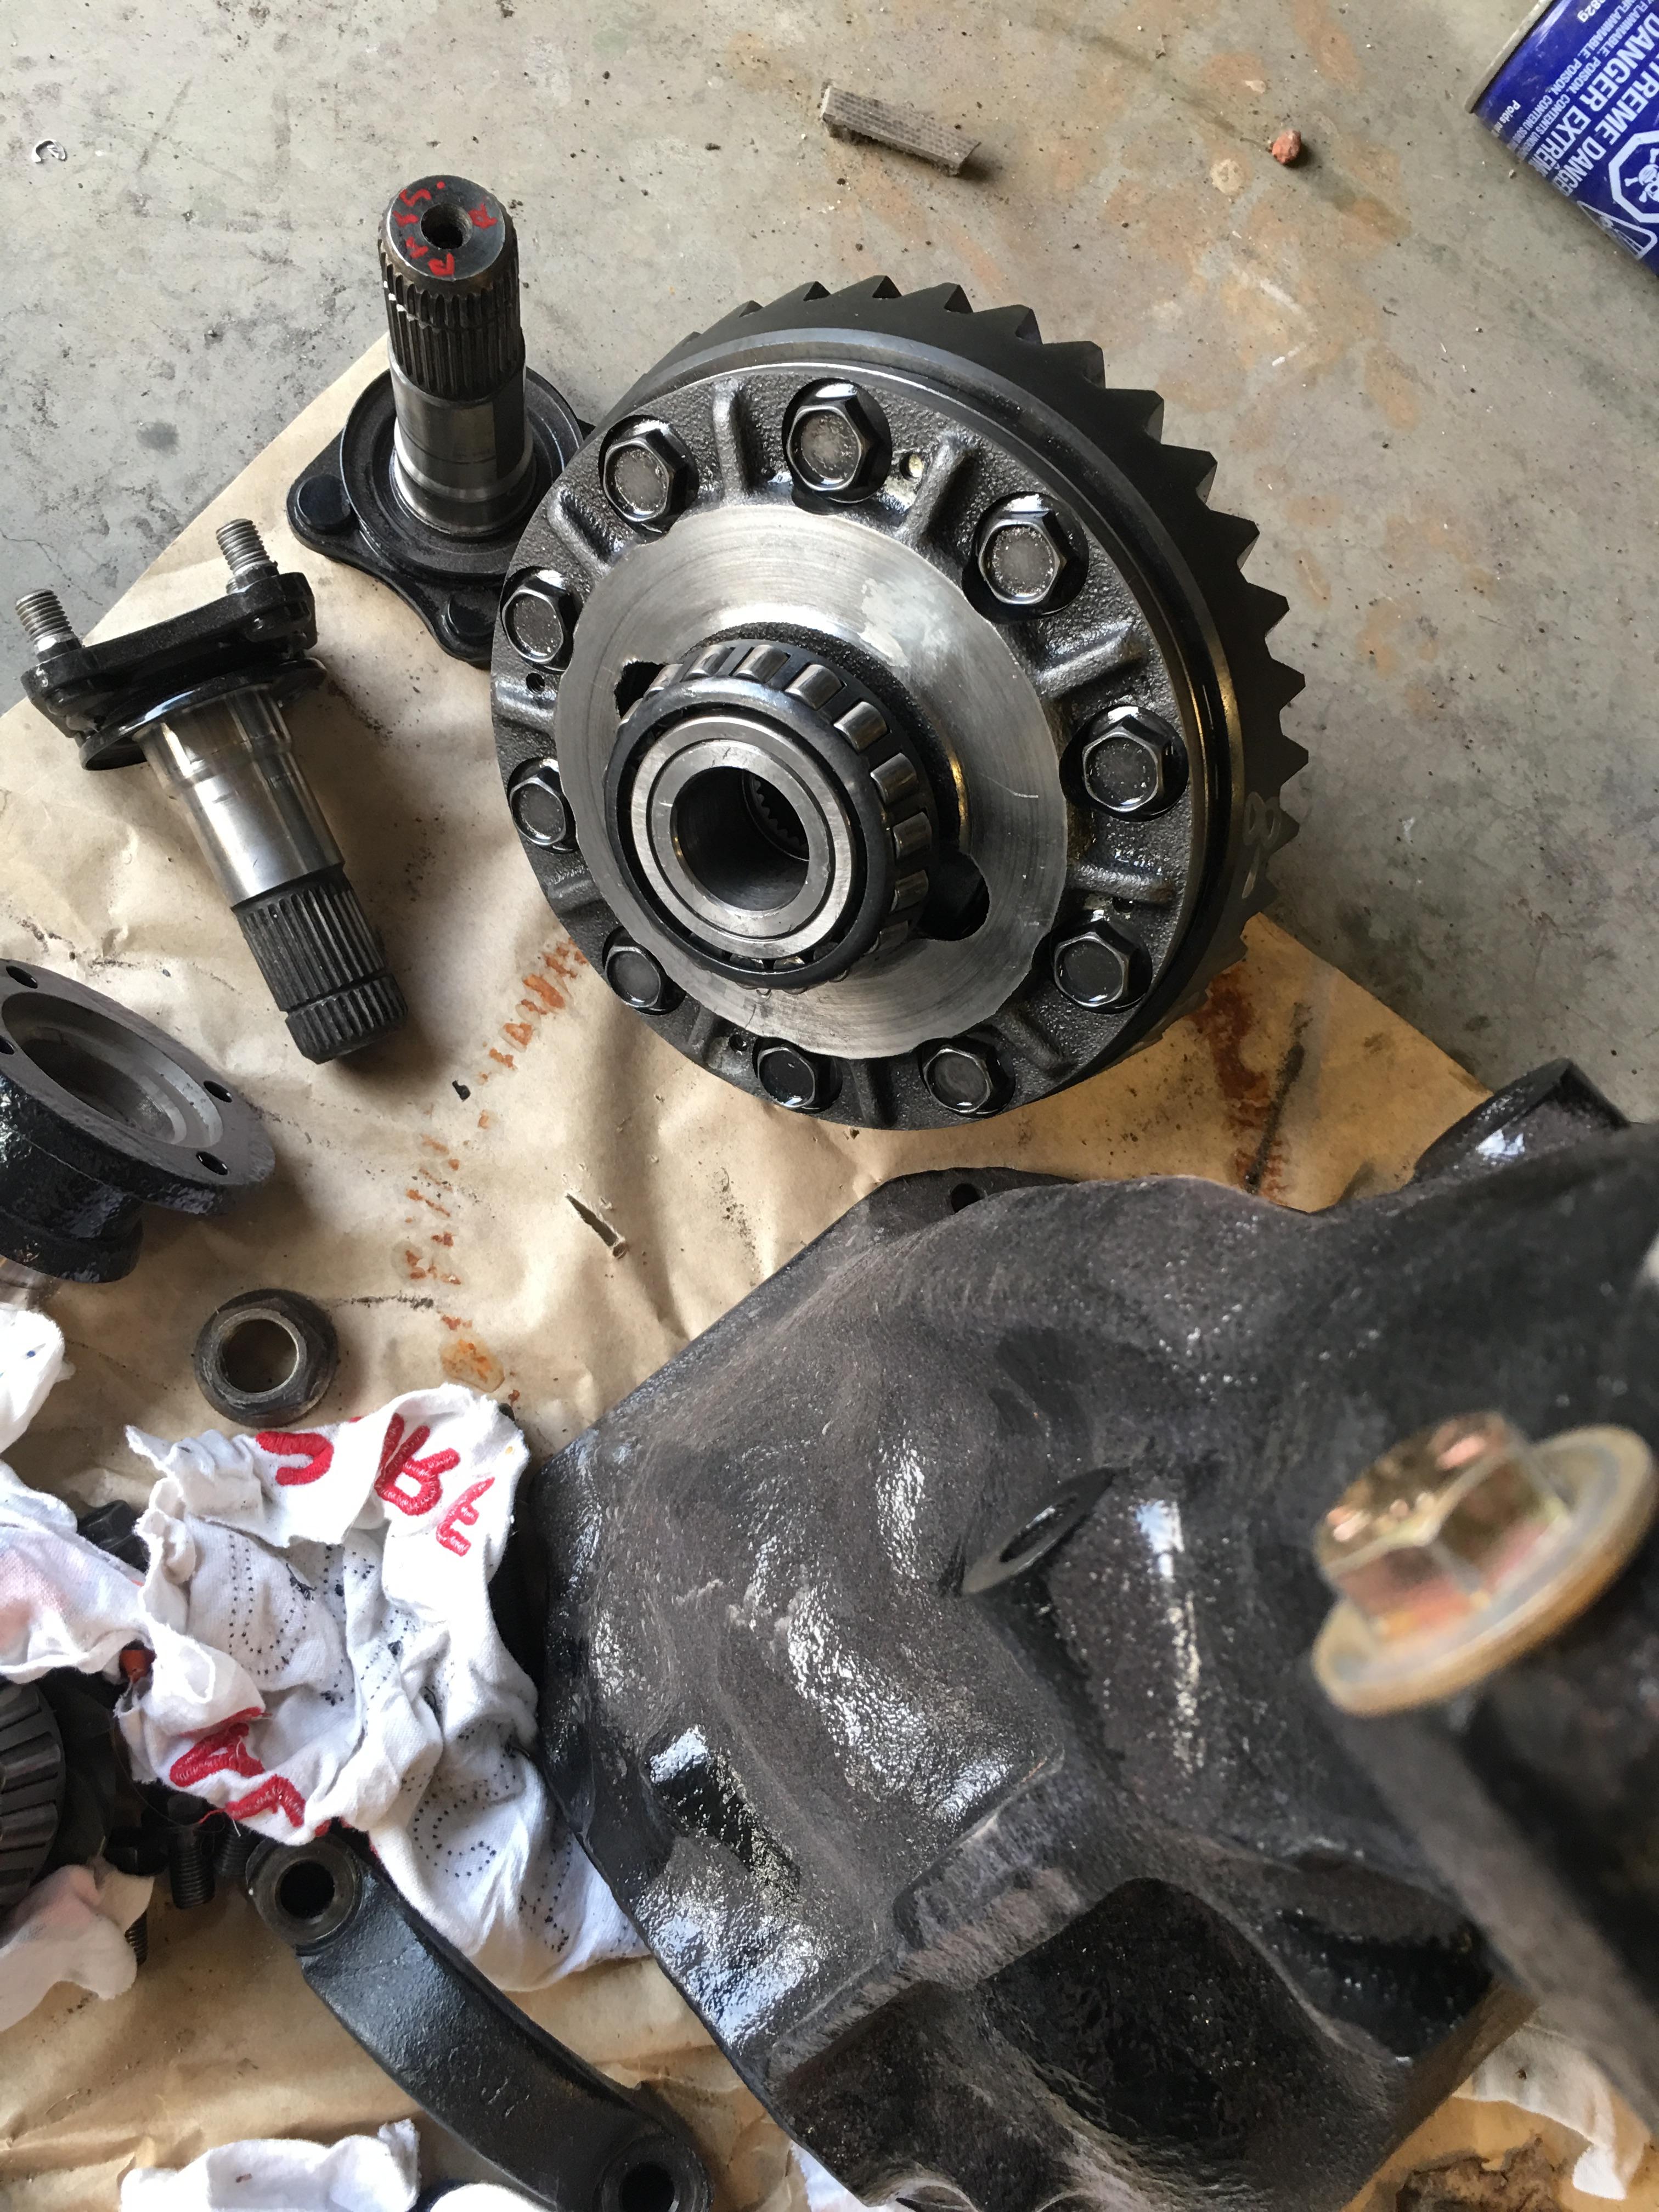
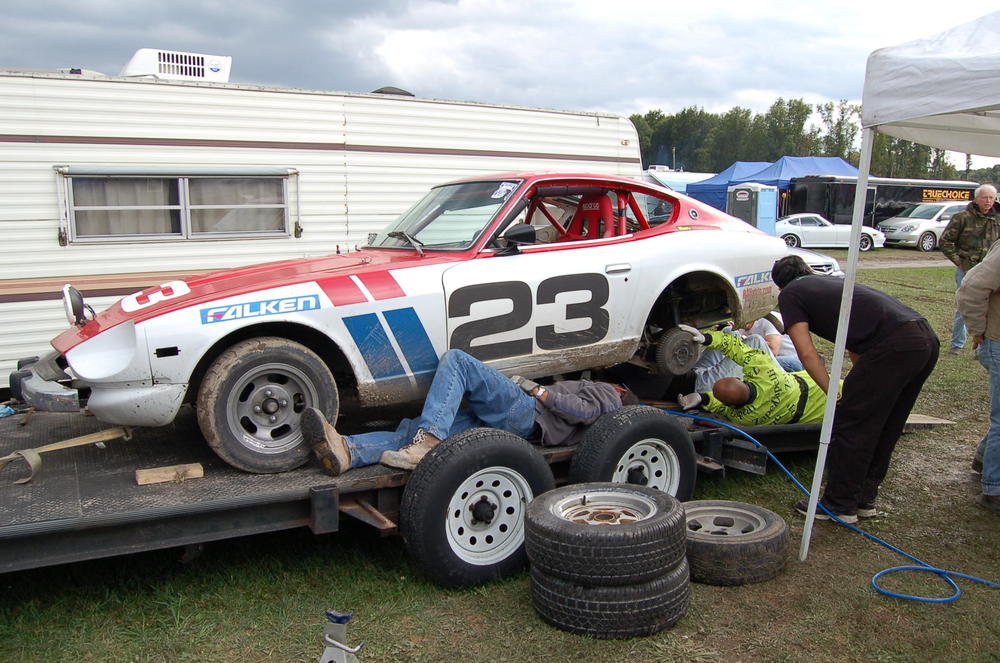
I broke an R180 during a 24 hour endurance race. I converted it to an R200 and finished the race. I even fabricated the R180 mustache bar to make it fit. ☺️

 1 point
 -
That surely is the truth, wouldn't we each love to have been part of this magnificent car, the 240Z. My thanks to Kat. I read all of your observations, as I had no idea of all these happenings. I just know I love the Z! I now have my second one, coming to me in my second youth of my life. A 1971, and now a 1976 at 72 years old. Sign me a Zoholic! Jai1 point
-
If there are parallel timelines as some say exist and we exist on them it might be possible that some of us were involved in the styling design of the Z car, in another time and place.1 point
-
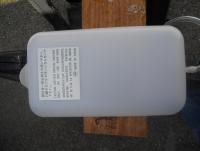
I have attached photos for comparison of my reproduction water bottle purchased from Banzai Motorworks. I will also post photo's of my NOS bottle when it arrives. That should give a visual of the options out there.

 1 point
 -
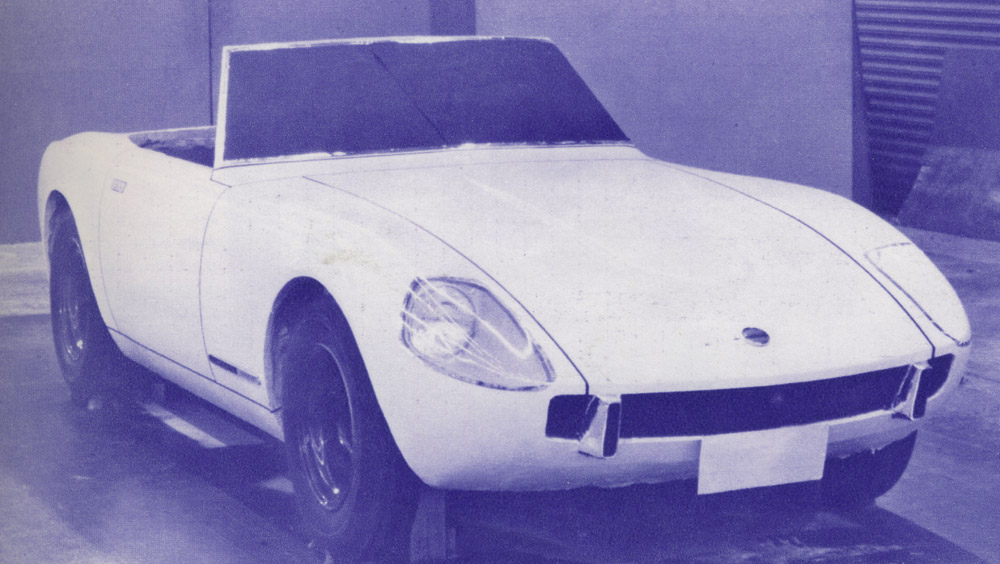
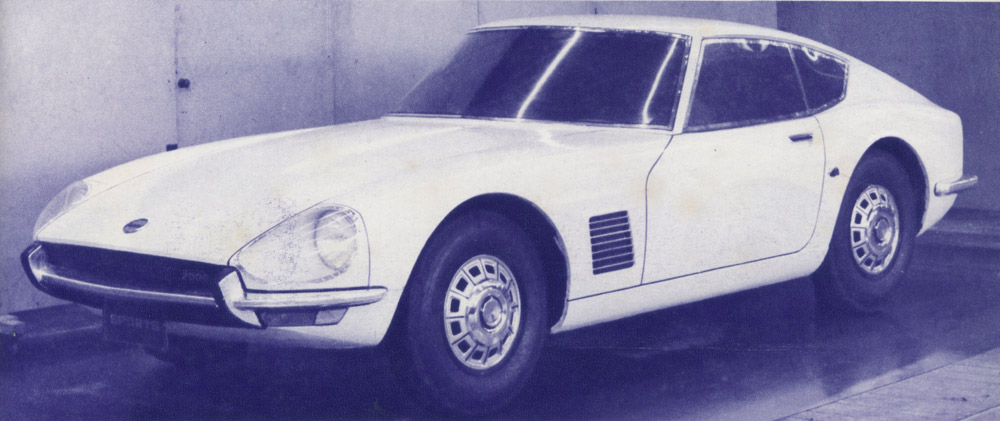
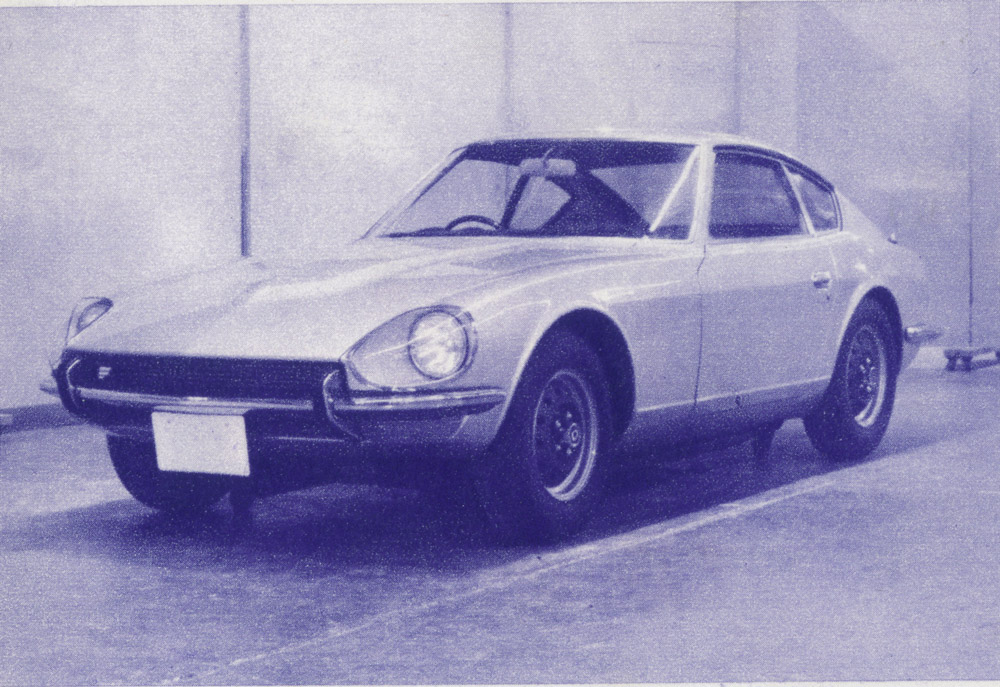
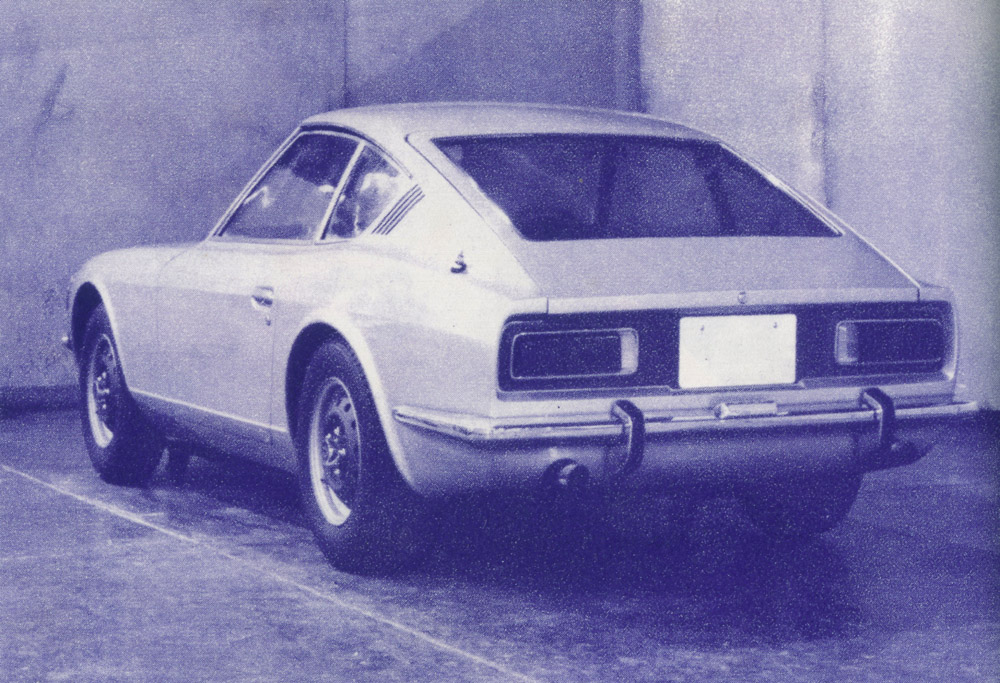
Kats, Interesting story from Mr. Tamura has me thinking. If he was part of AC prototypes from 1966 through most of 1967 but not part of the final clay models - P-types. Here are some pictures of the AC models. The convertible is A6 from January 1966. It shows the sharp corners of the headlamp cover design. Perhaps what Mr. Tamura was talking about with his Yoshida conversation. Then model types AC-2, AC-3, and AC-4 from May through October of 1967.

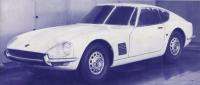
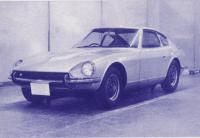
 1 point
 -
This is a great thread. Thank you everyone. Wish my Japanese wasn't so poor. I would love to read the design notes for myself.1 point
-
Great thread Kats. I've only just found it. Great read.1 point
-
Hey Kats! Many thanks for the pictures and story. This is great information to hear! The pictures of clay tools are stunning information to add to our collection of how our cars were conceived. All my best to Mr. Tamura. Chris1 point
-
Thank you, Kats, for bringing this topic to the club. Please also tell Mr. Tamura thank you for joining in the discussion. We are honored to be a part of the topic. The sketches and photos in this thread are beautiful pieces of important history of the Z. Mike Gholson1 point