Leaderboard
-
zKars
 Subscriber
 5Points3,770Posts
 -
conedodger
Free Member3Points12,513Posts -

siteunseen
Free Member3Points15,115Posts -

Jaymanbikes
Free Member2Points333Posts


Popular Content
Showing content with the highest reputation on 07/19/2018 in all areas
-
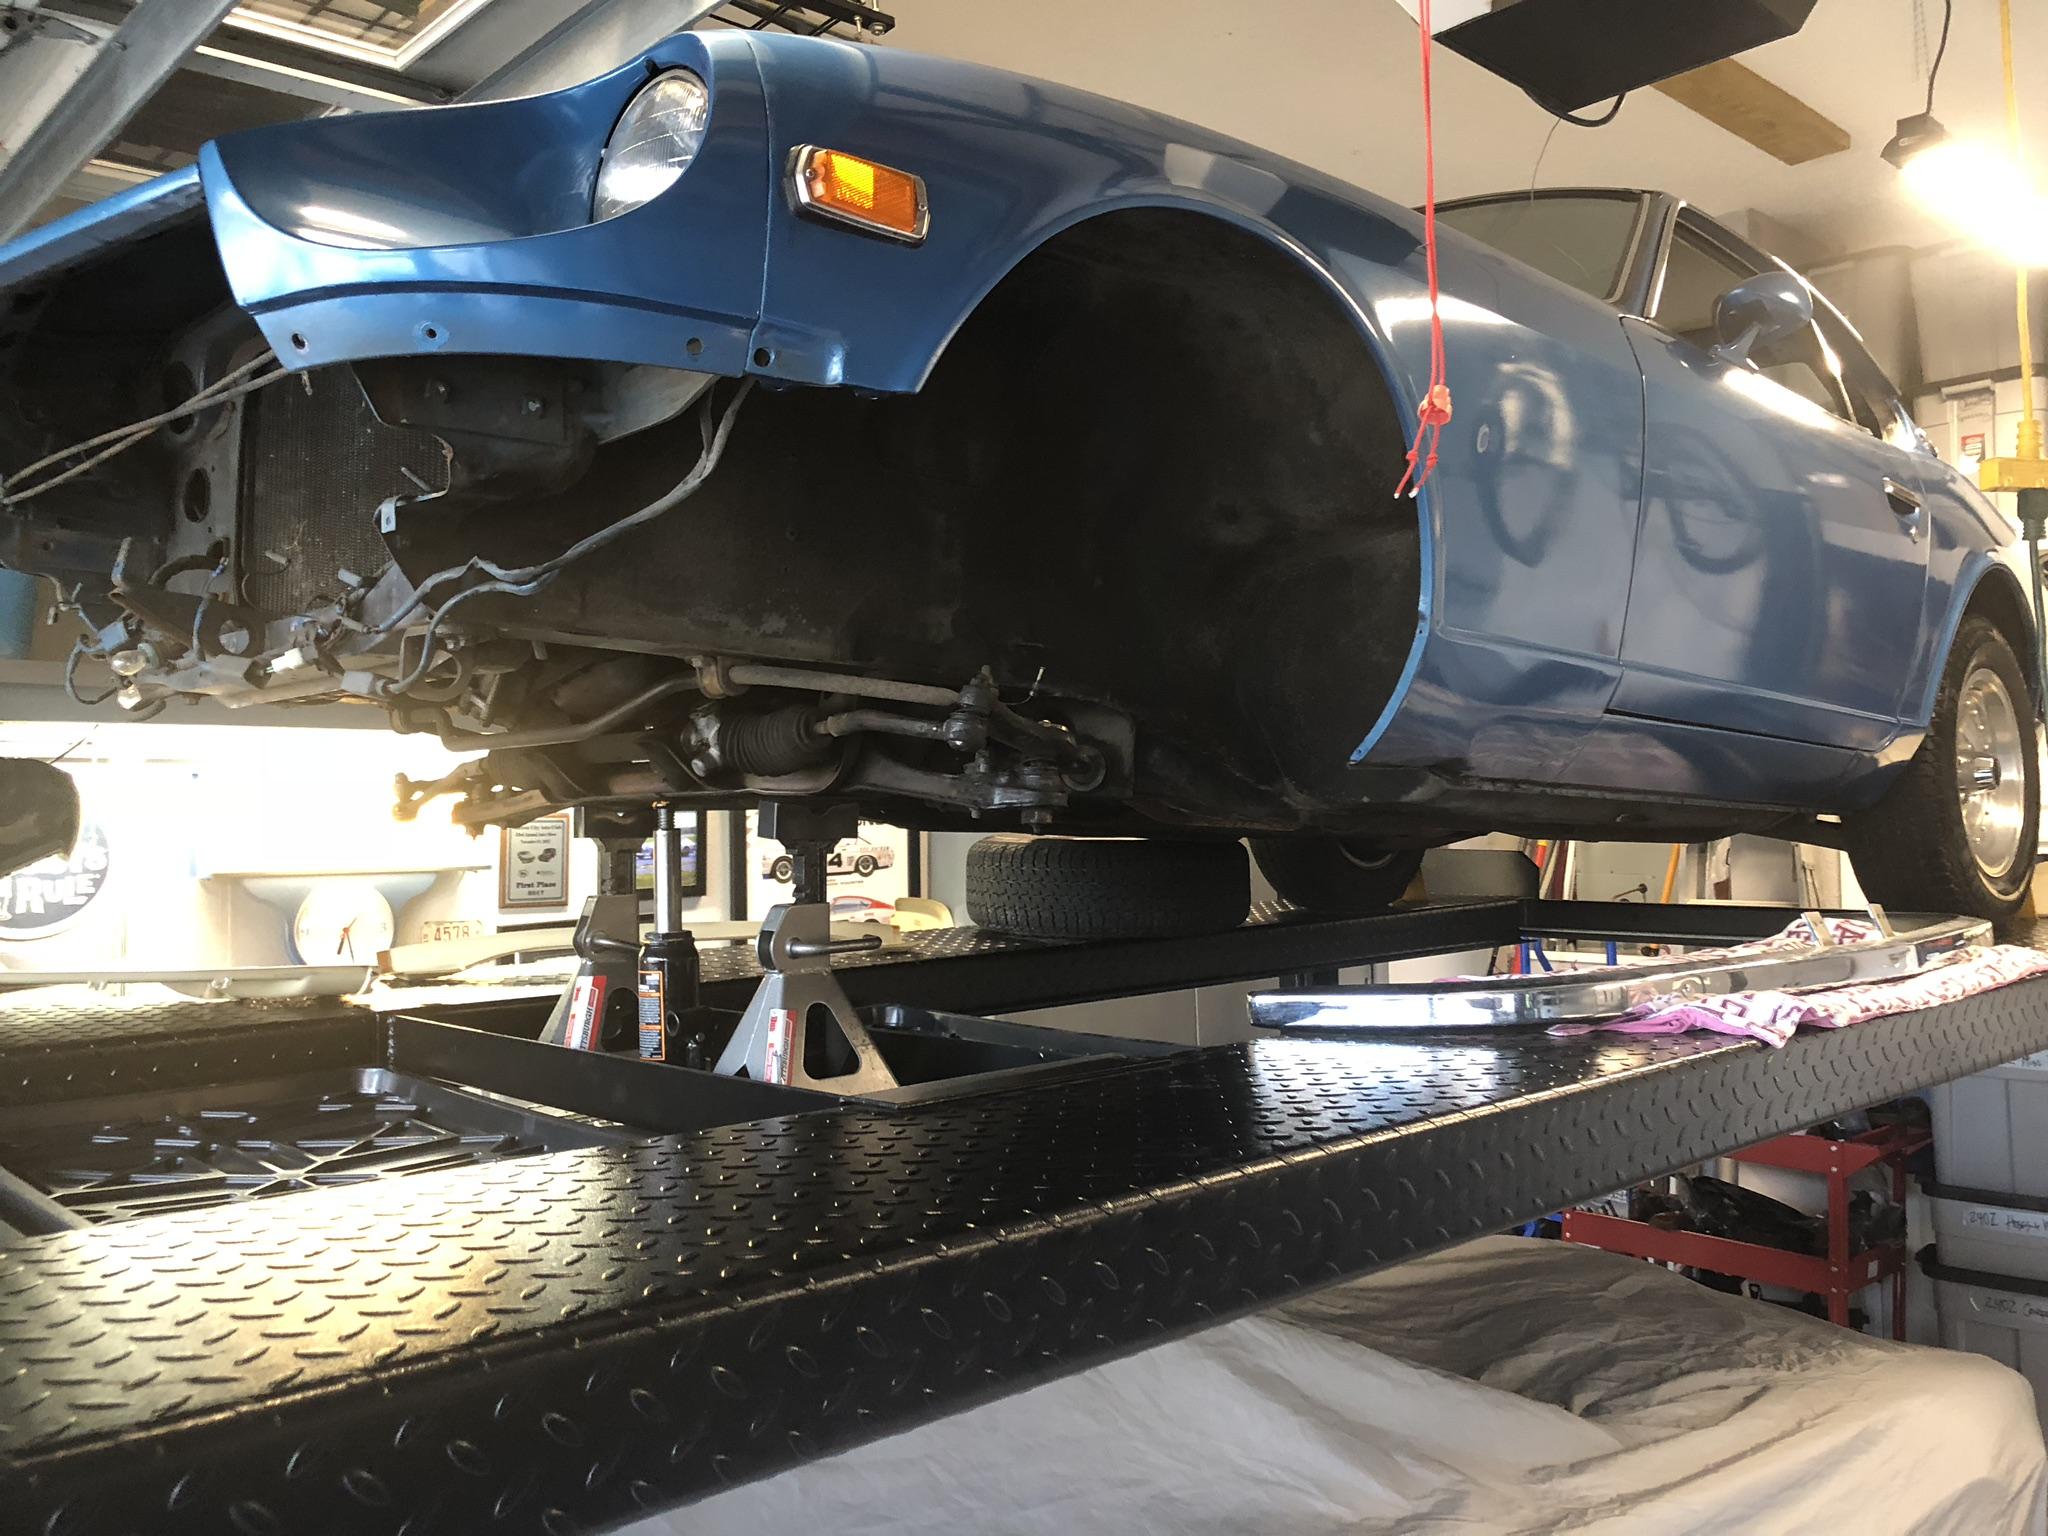
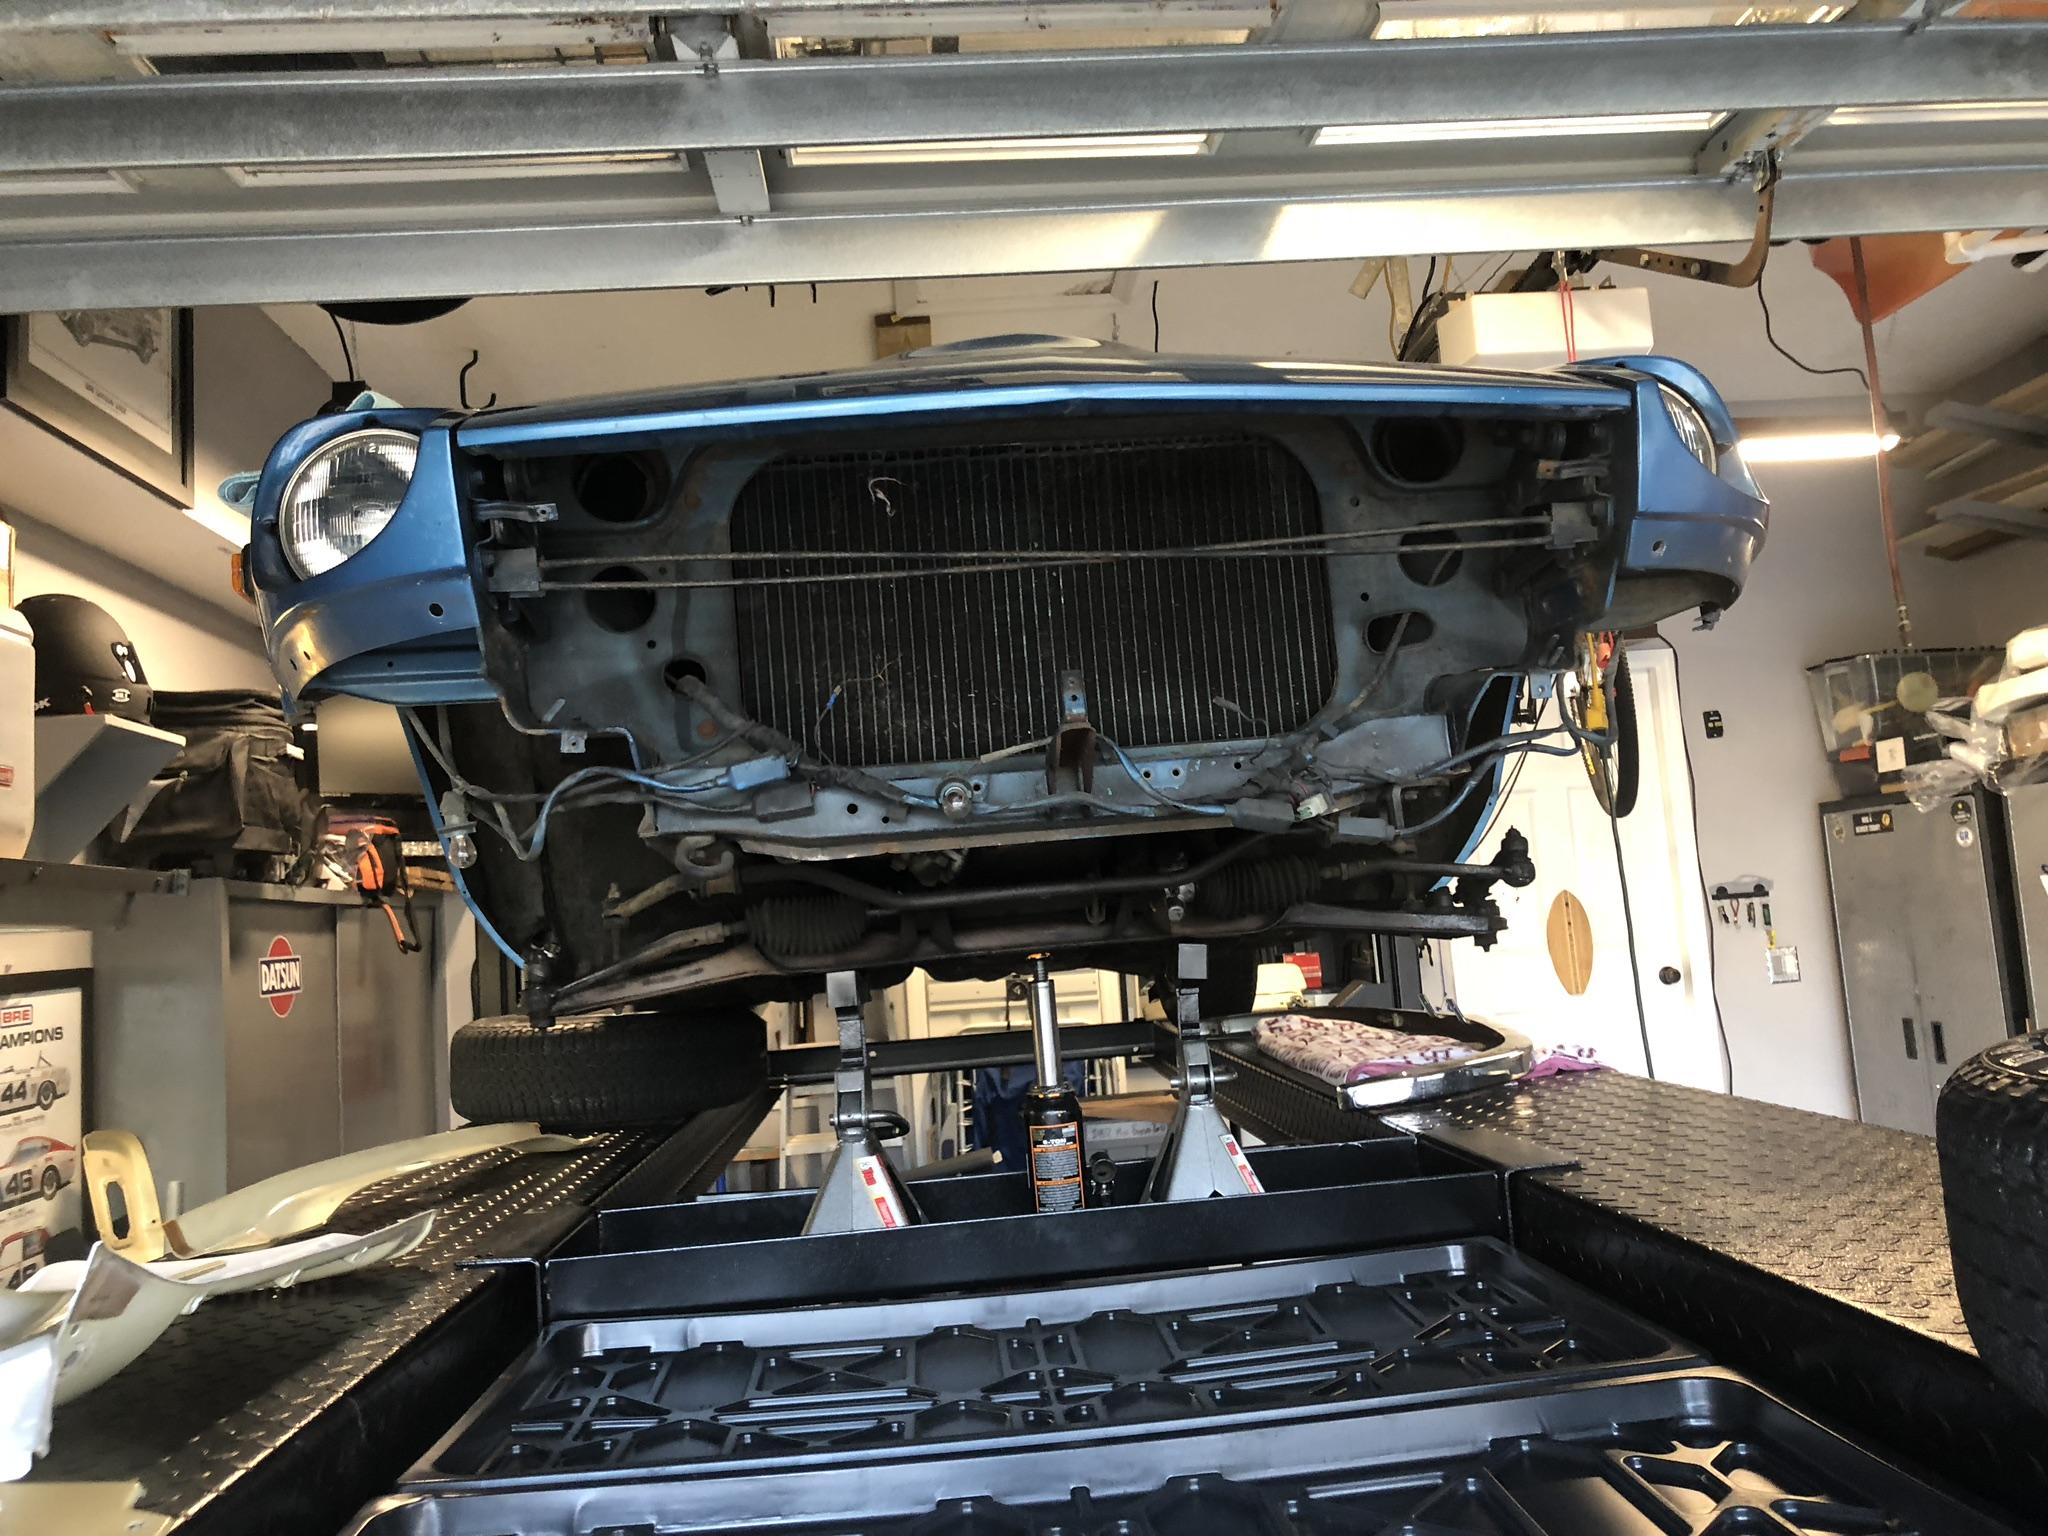
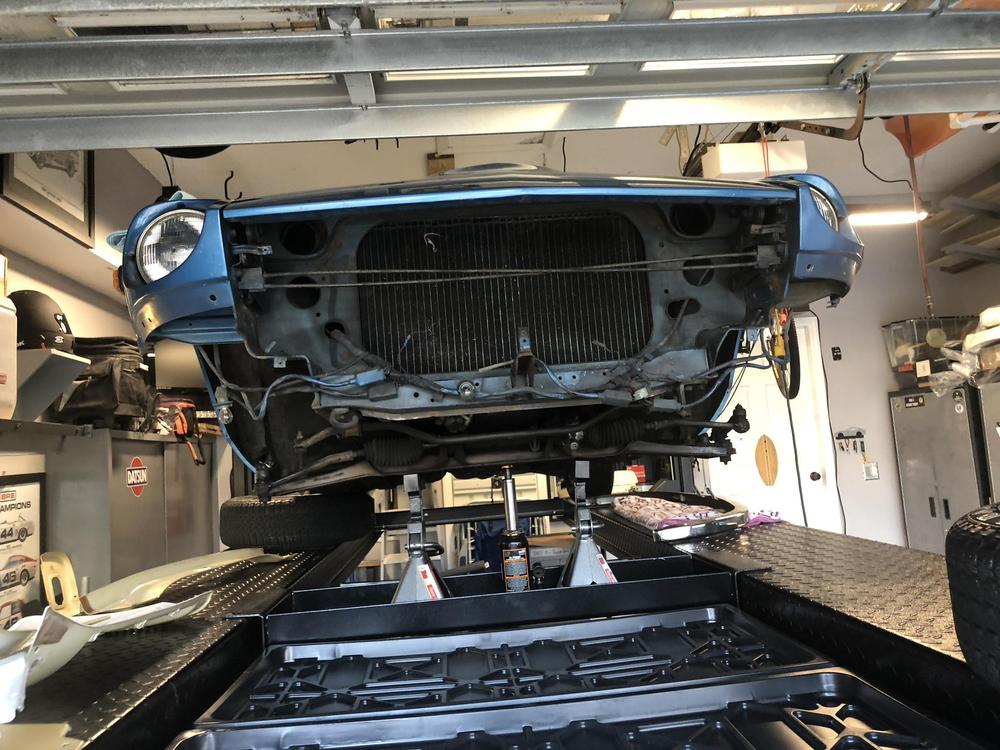
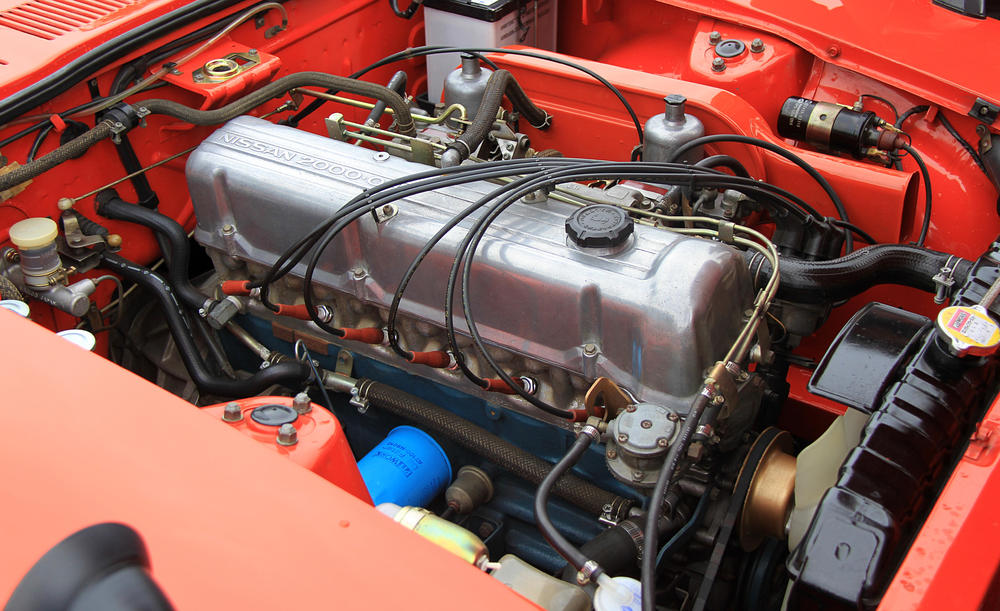
Getting the 72 ready for motor extraction this weekend. I don’t have plans to paint the car anytime soon but will go ahead and detail and respray under the hood, no better time than the present.

 2 points
 -
2 pointsHaHaHaHa, no beer was spilt thank goodness. Although underwear was damaged and I had to use make-up for a few months. Ah hell, I still use it!2 points
-
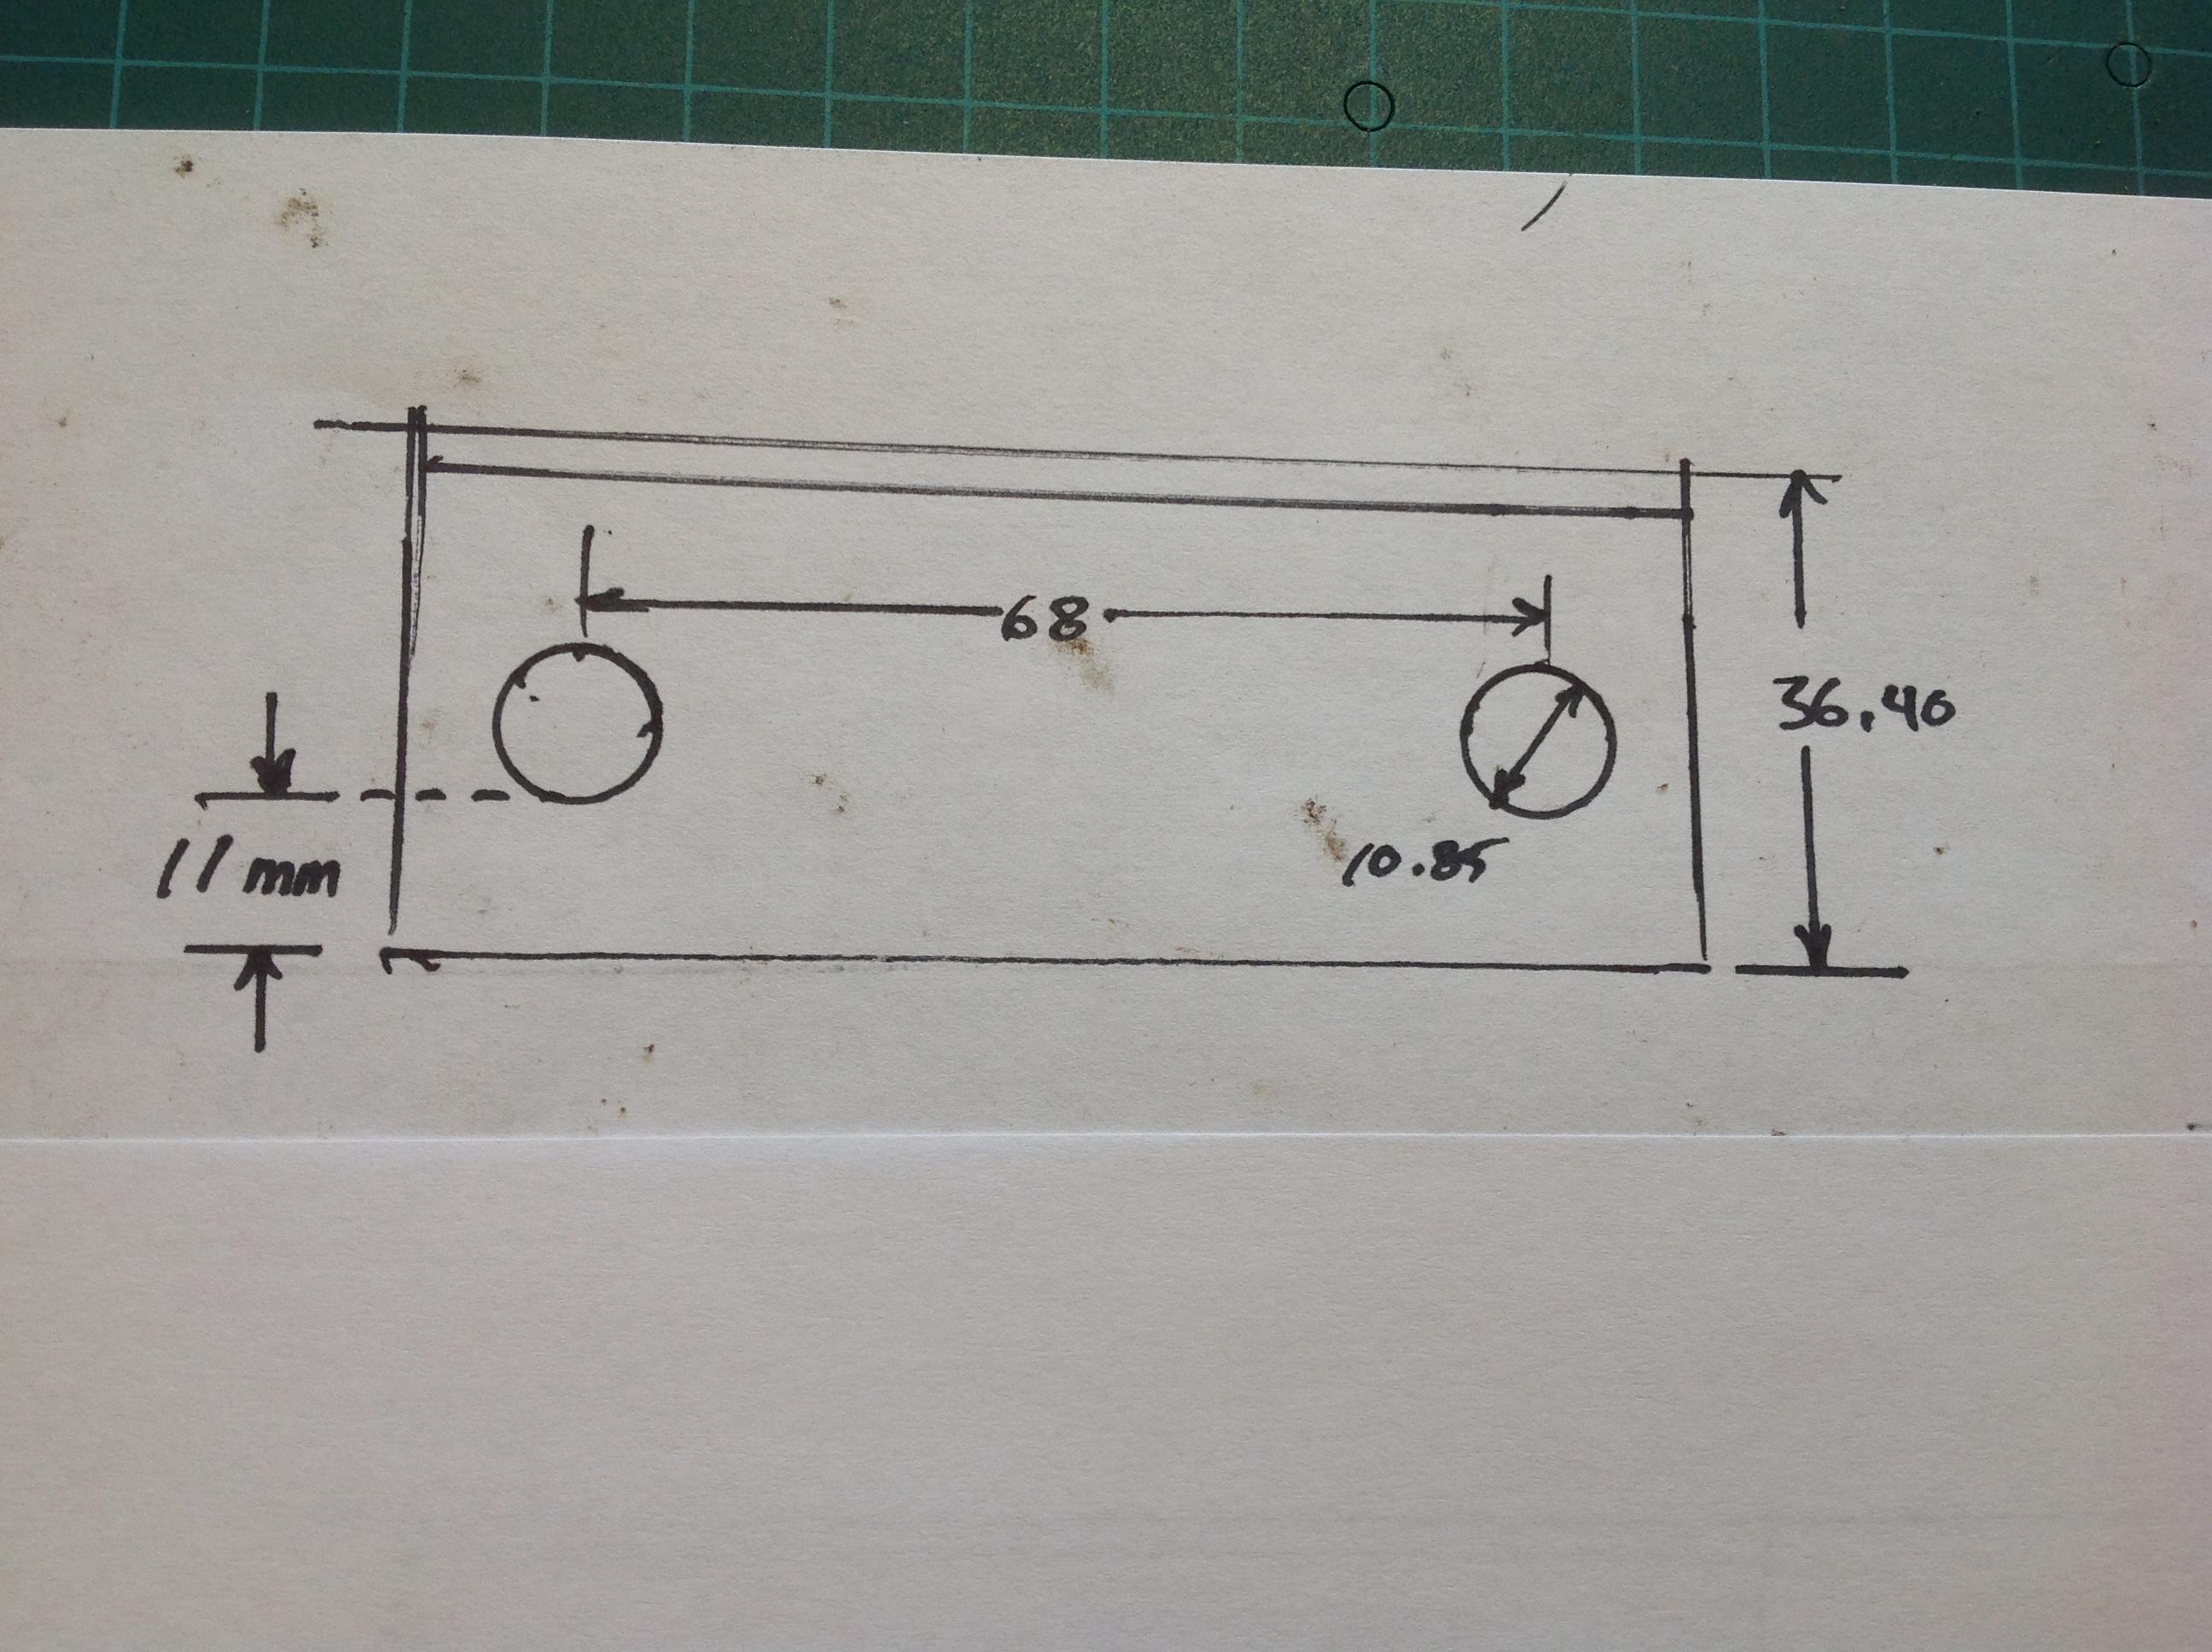
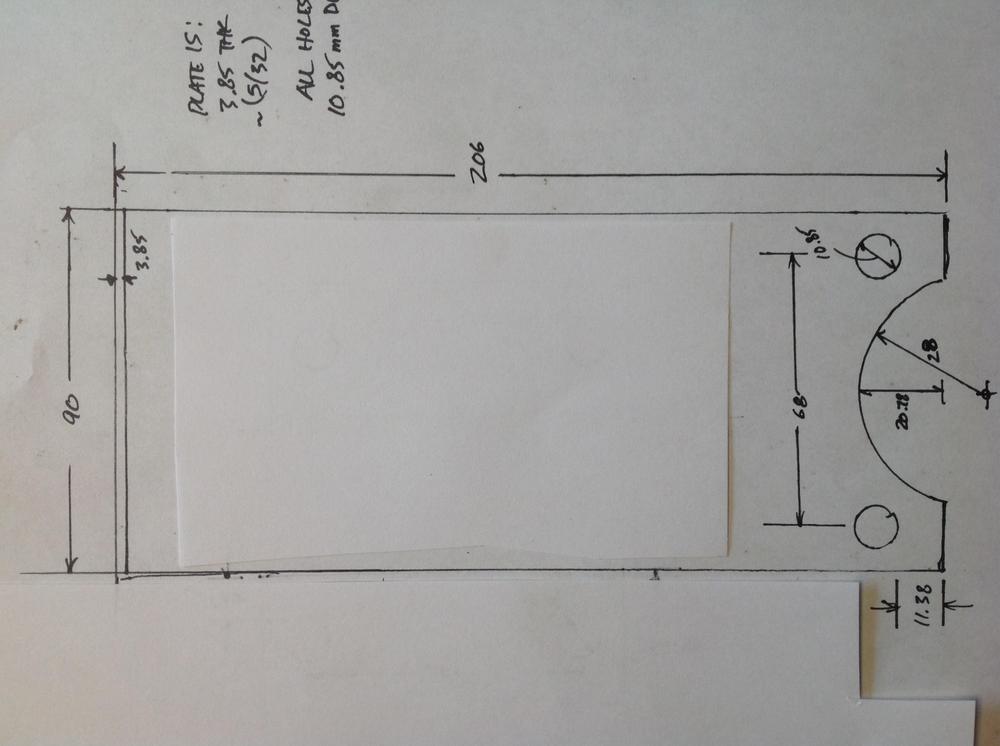
1 pointBasically its 206 x 90 x 36.4mm Holes are all 10.85. 7/16 bit would be fine, bit big... Both sets are 68mm apart, centered across the width. The size of the radius cutout is not critical, just have to clear the curve of the bushing pocket on the bar it bolts to. And before you whacko's ask what's behind the little paper slips on the drawing, it's not dirty. They cover up bleed thru marker lines from the other side. I'm saving the forests by using both sides of the sheet. yay me...

 1 point
 -
1 pointThe stock one is 3.85mm thick steel. Very hard to drill, not just mild steel. Doodle coming1 point
-
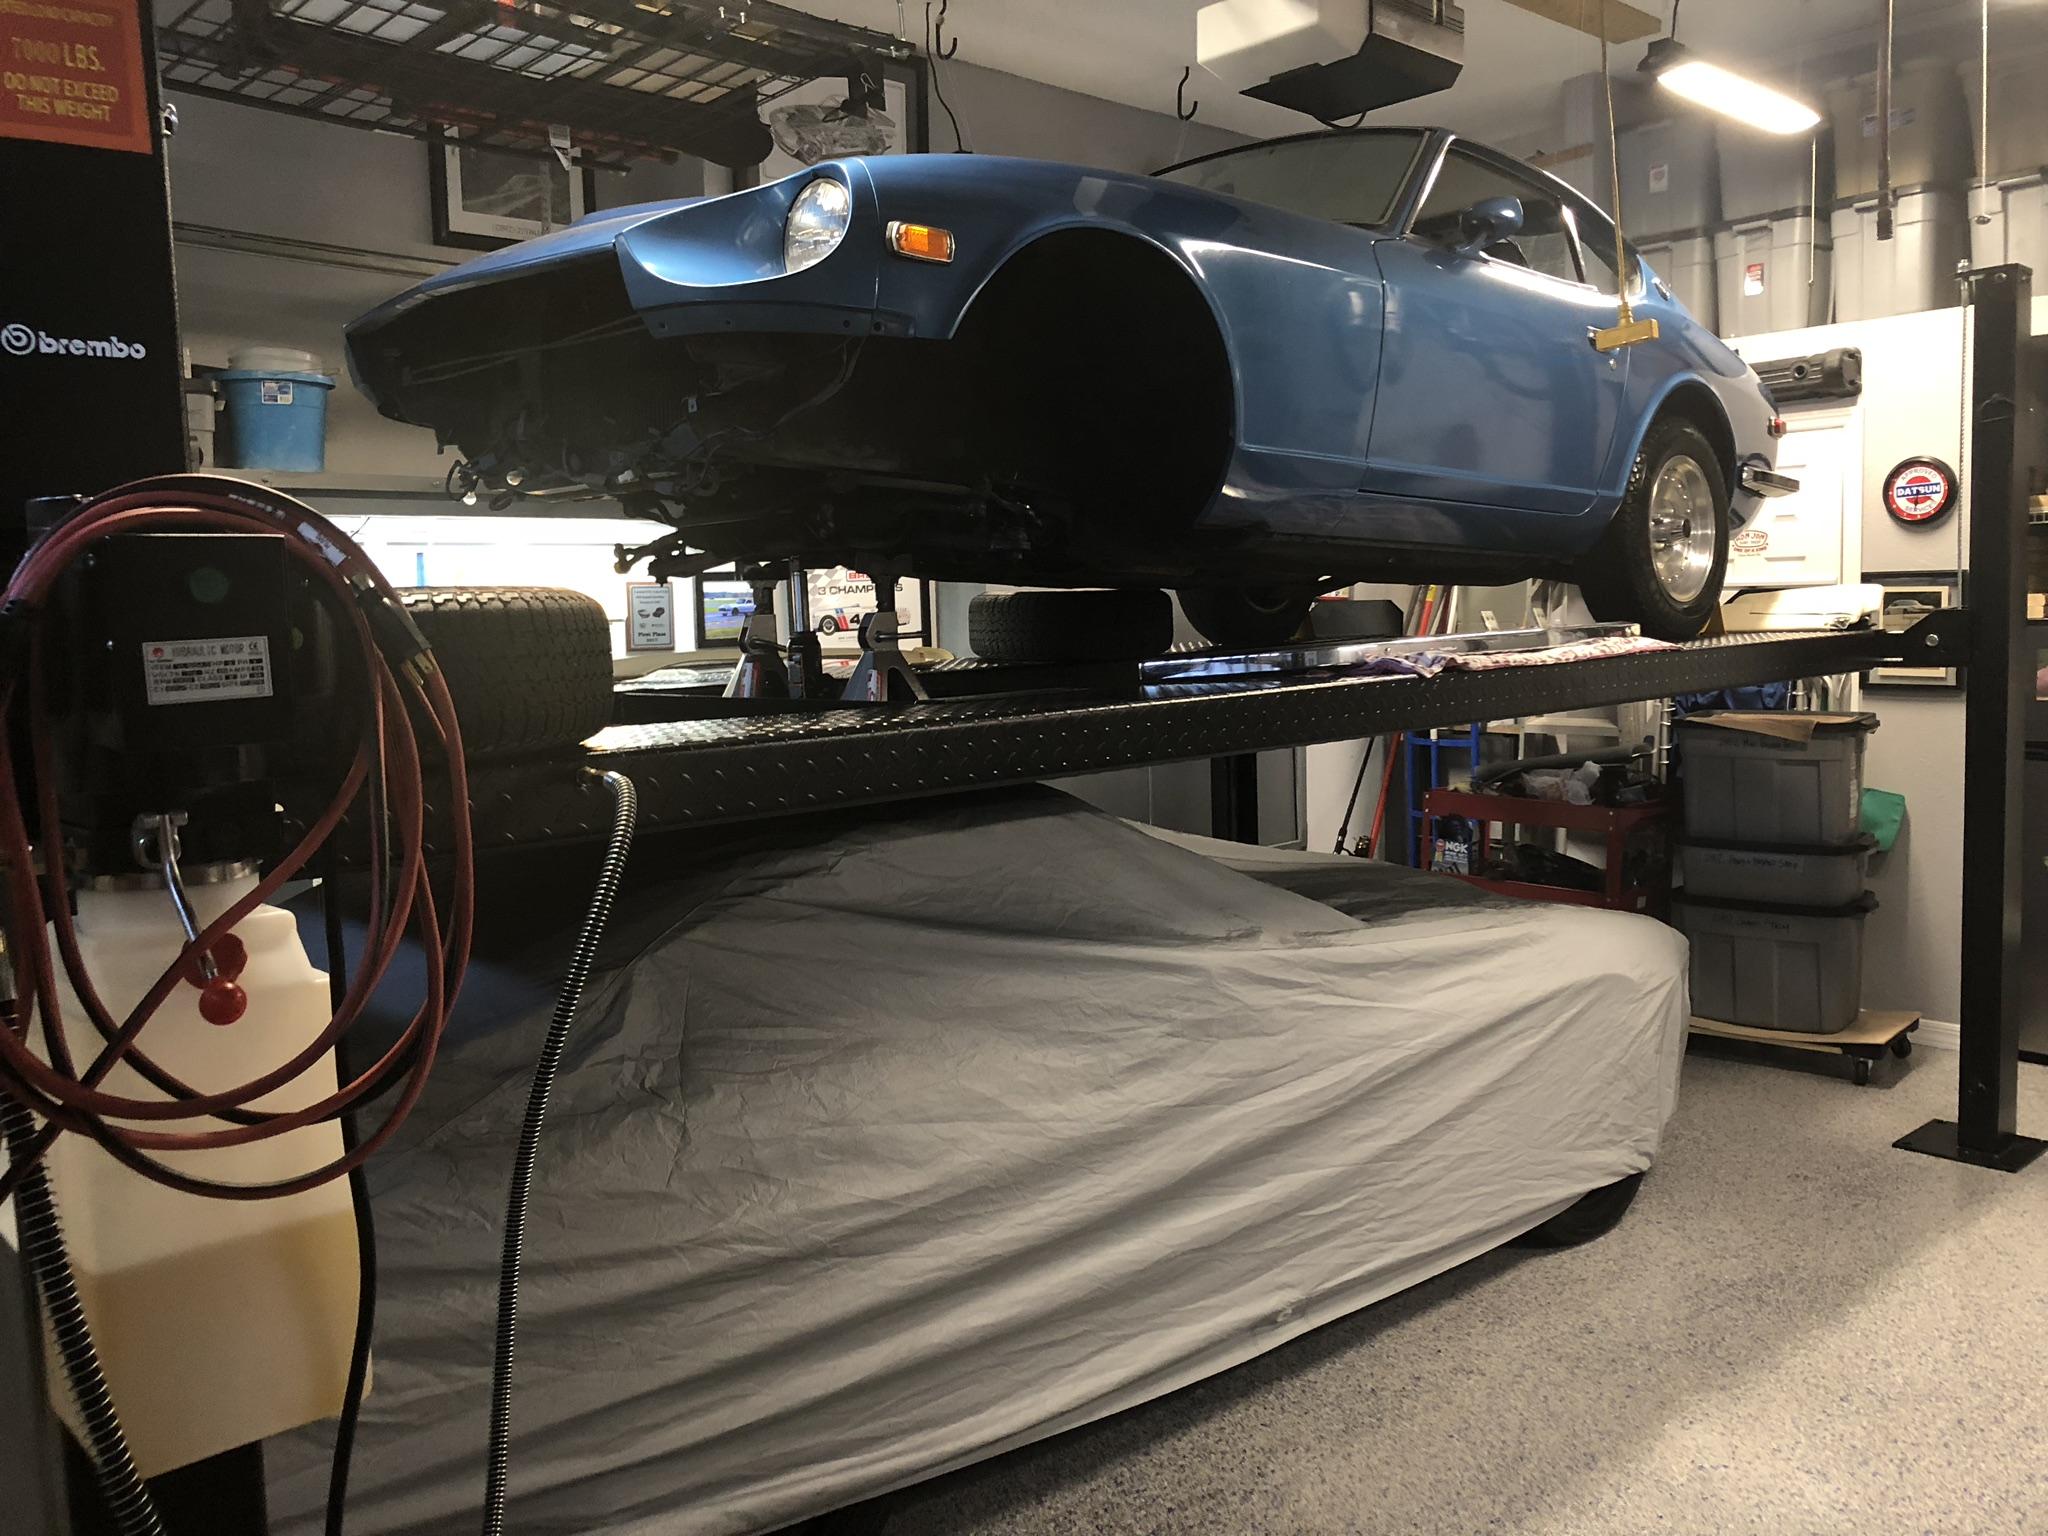
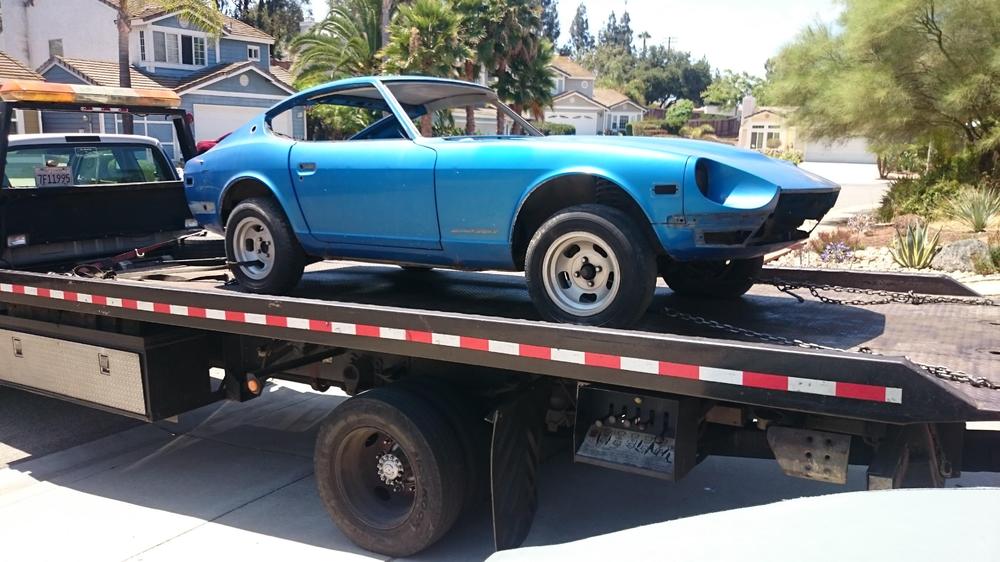
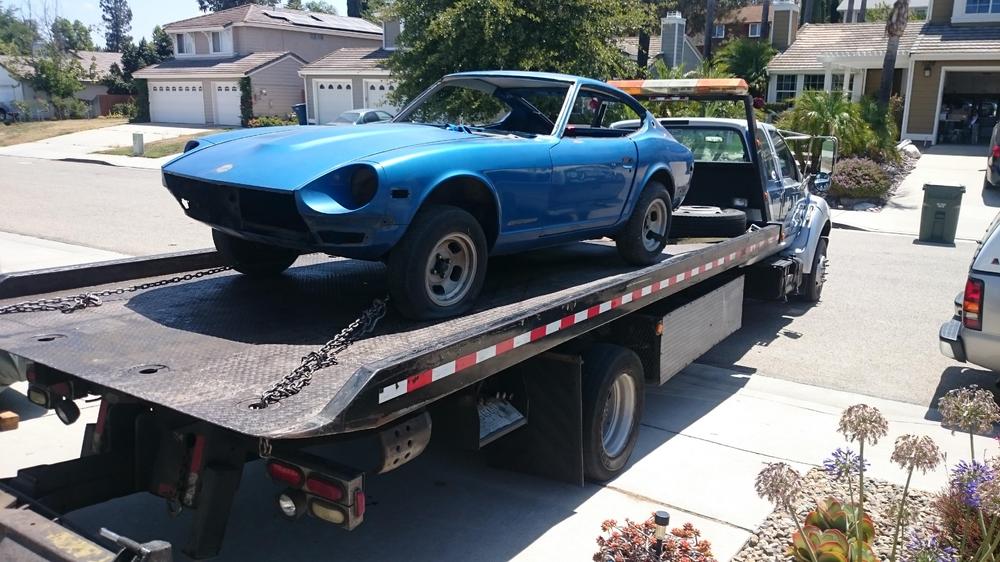
OK, she's off to the paint shop! Will meet with Miguel tomorrow to go over the details.
 1 point
 -
1 pointI also have lots of those link bars and gas pedal assemblies as well. Let me know Another option is to get the Suspension techniques rear sway bar kit that comes with a fresh set of those uprights with the extra holes for the sway bar mounts. BTW they are the same for all S301 point
-
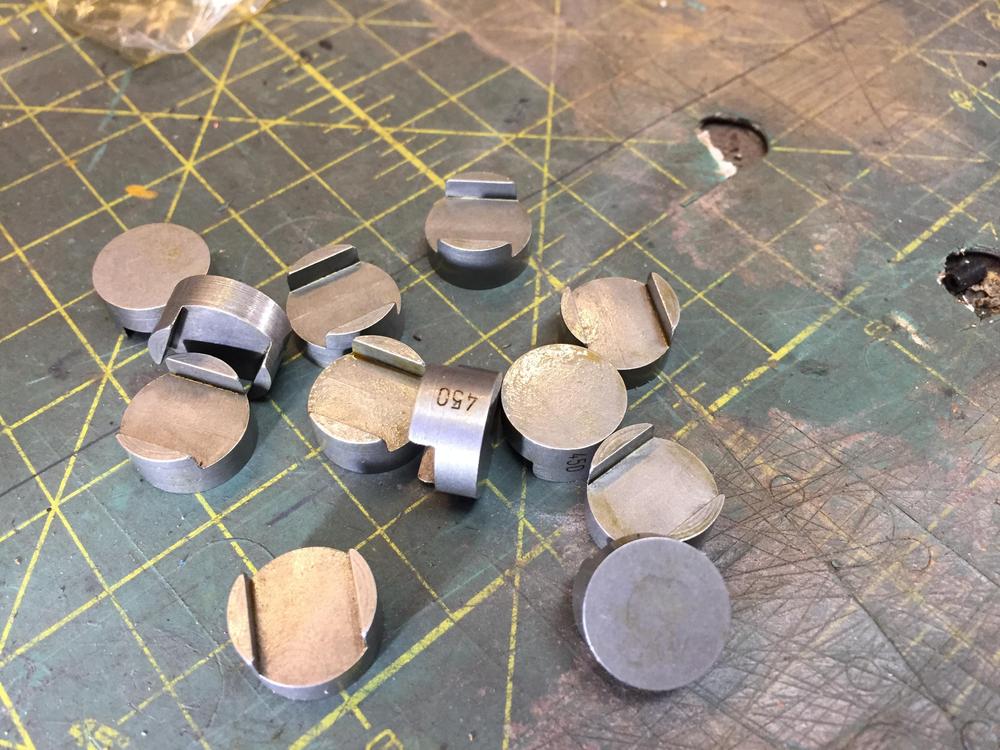
Someone on hybridZ from the UK mentioned a source for lash pads from a company I had not heard from before. They are Precision Shims from Australia precisionshims.com.au They have both flat bottom and recessed bottom (like stock) lash pads in any thickness. They have stock thicknesses in 0.5 mm steps, but will make you any thickness. They make shims as they call them for many many engines. They even have the size printed on the edge! Now the best part. Price. They are $9 AUS each for the flat bottom. For Canadians, this is fantastic, as the dollar is near par with Auzzie land. In fact I had about a 1% advantage in exchange rate on the day I bought some. US folks will win even further with a 30%+ advantage. Anything Datsun I can buy from Australia is an easy choice. Datsport for 510 stuff like weatherstripping, is another favorite. Chris Bullen the owner was great to work with and very responsive. Shipping was fast (about 10 days) and three sets (36) in a padded envelope was $30. Highly recommended!

 1 point
 -
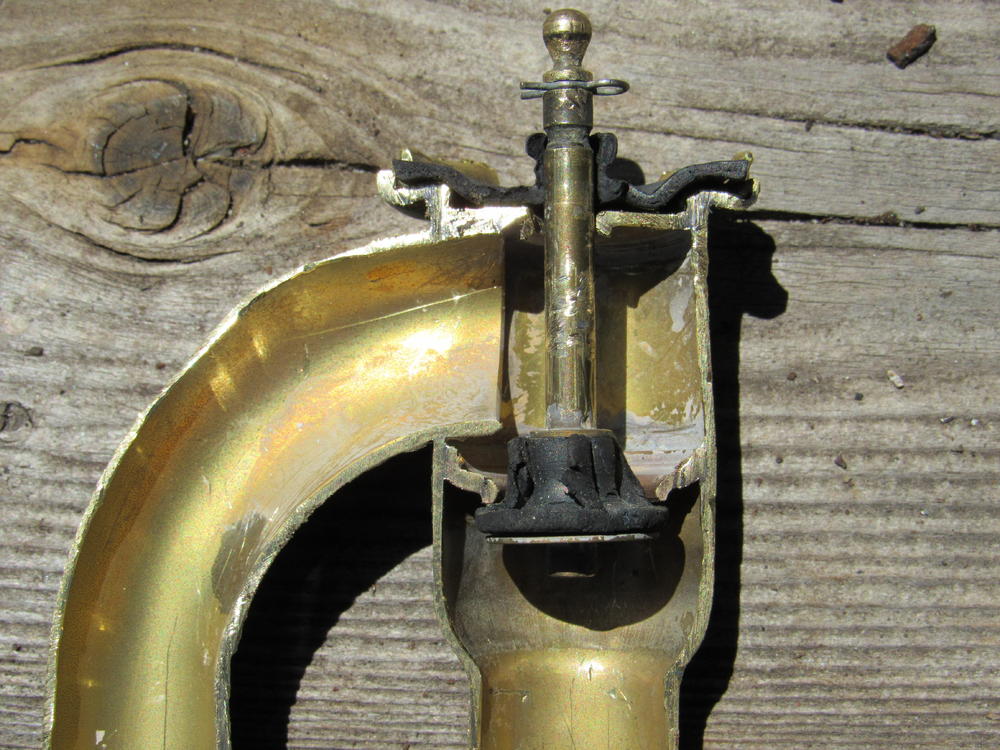
1 pointUsing crude measurements, I think it will come out. The restriction seems to be the rolled bead at the end. Might have to open up the end a bit. The bead was probably formed after assembly. If the rubber gets hung up in the bead, I'd cut a piece of beer can to use as an inner sleeve to ease it past that spot.1 point
-
1 pointFantastic job with the autopsy! So if that plunger and lower seal cannot be pushed out the bottom, then I'm not sure about the assembly process either! It's certainly possible that they soldered the assy together after putting the plunger and seal inside, but I consider that unlikely. Next time I have that box in hand, I'm gonna see if I can find my old valve. Maybe the plunger just needs a little persuasion to be pushed out the bottom?1 point
-
1 pointPPG was the paint supplier for the Vintage Z program. They have the colors for the early Zs. What percentage were painted 918? Anyone's guess as I have never seen any records. What is interesting and fairly well documented is that color combinations were produced in multiple sequences or series of two or three. For instance my two cars (26 and 27) are identical 907 green with butterscotch interiors.1 point
-
1 pointI did patcon, it was unclear if the early cars where somehow different, my car is also RHD.. so more potential issues.. I give Sean the benefit of the doubt as there is no way he would be able to test every year and chassis. It would be simple to modify the footwell, but I want to keep the floorpan original (for now.. will probably strengthen frame rails later). 7tooZ, to be honest I didn't expect much of a performance gain from the std 2.4 I have (with Weber's).. I had a rusting performance exhaust already, but the sound wasn't great.. I am sure it will be great once it's fitted (the sound from the videos I have seen look awesome)1 point
-
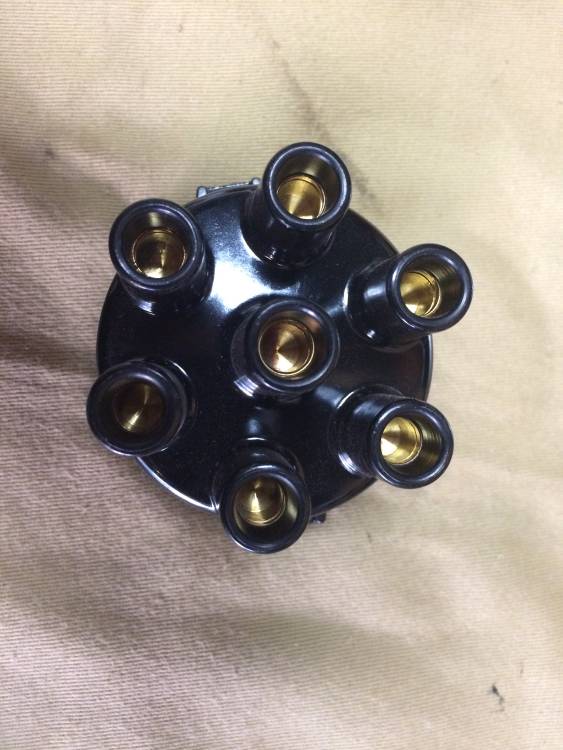
After relaying everyone's feedback to him about the correct distributor cap, he dug through his stash and found a black NOS cap with the brass contacts. So that'll be used going forward. Sent from my [device_name] using http://Classic Zcar Club mobile
 1 point
 -
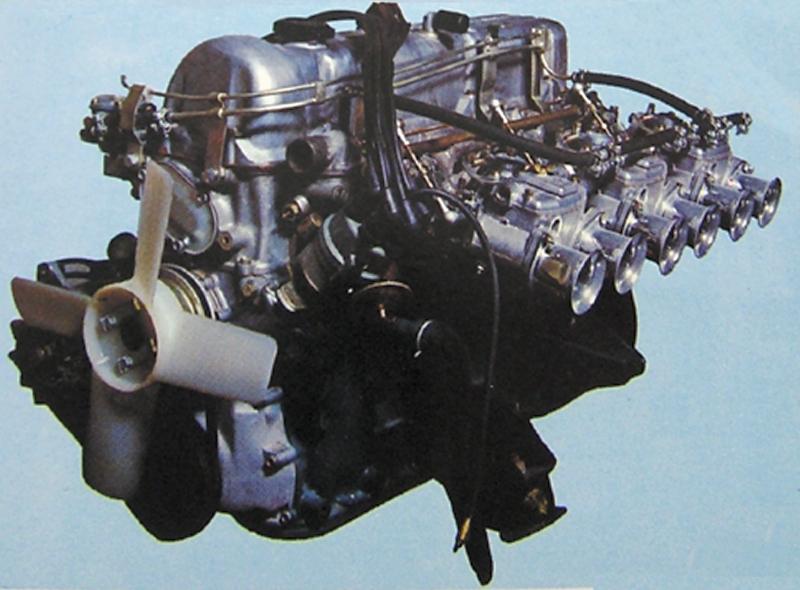
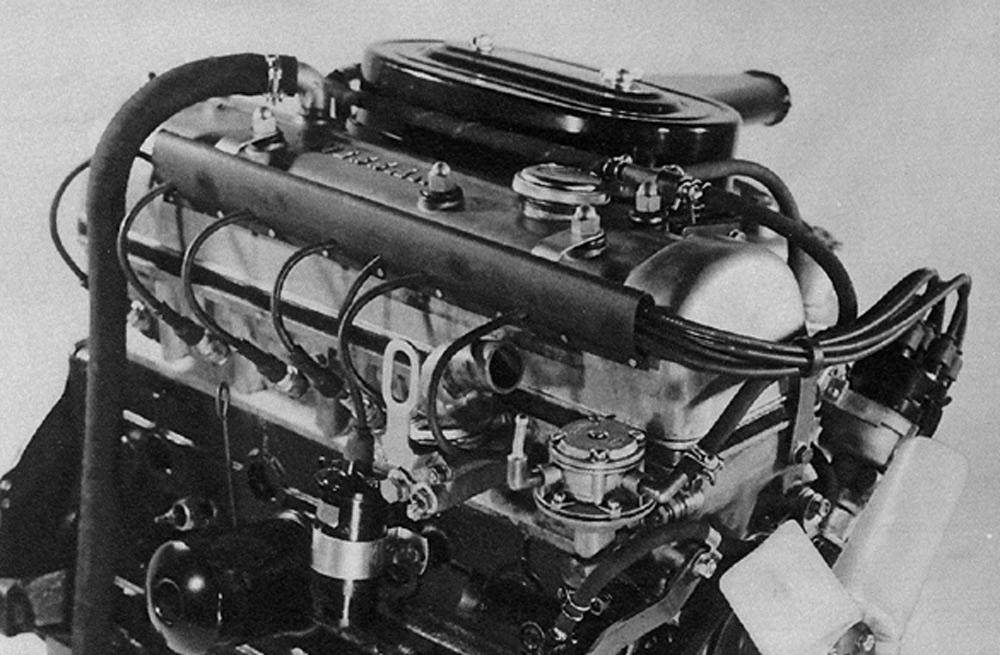
The original fan should be fine to run with. Either way it is fine. FYI Kats posted this photo which may be from 68 or 69 test car or dyno. It looks like an early plastic fan from another application such as 510 or from a Cedric (with L24) that would predate the production metal fan application: @kats @HS30-H may be able so share more. Here is a Cedric engine with a similar fan: and an L20A with similar fan:
 1 point
 -
Regarding the Diluted Muriatic Acid...It is just a 5% solution, so 20 parts water to 1 part Muriatic acid.1 point
-
The zinc will get very dull with age. The shine came from the brightness of the metal. In the case of plating, the finish is going to reflect the smoothness of the base metal. Plating only comes in one 'finish'. So the color of the distributor cap has been discussed ad-nausium for years. I say black but there is strong evidence for green. What is important to me is the brass contacts. They don't wear out as fast.1 point
-
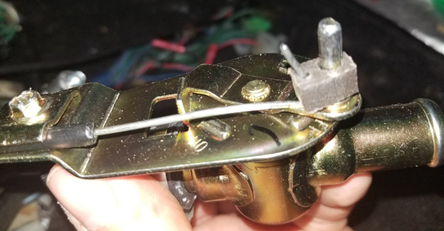
1 pointSo here's the money shot, not only is the valve not missing anything, it opens and closes 180 degrees opposite of what I assumed. When the plunger is up the valve is closed, down is open, however, the valve was leaking out of the top past the worn out rubber seal so it had to be replaced regardless.

 1 point
 -
Ok, that's the last time I post anything useful for you bunch of jokers.....1 point
-
1 point
-
You know you want those on that '76! I burnt mine off thinking 2 cycle boat gas was diesel fuel and walked right up and lit it. Kaboom!1 point
-
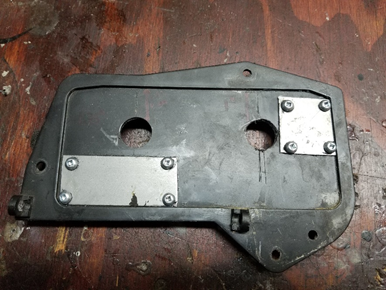
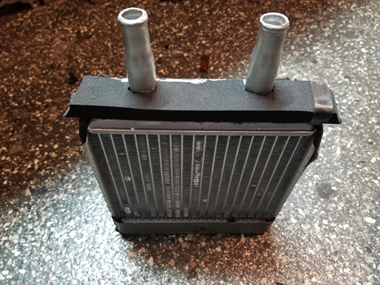
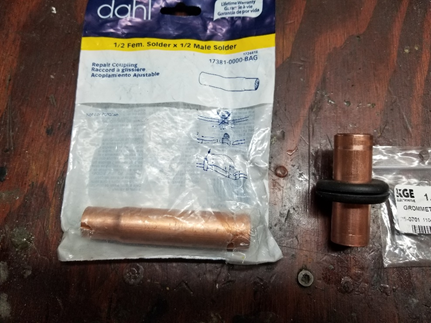
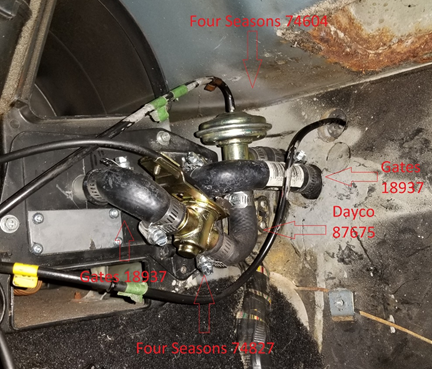
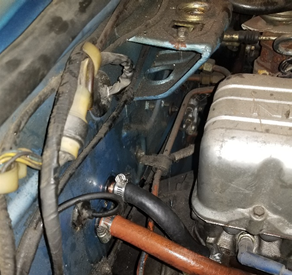
It took a while but I think i've finished my conversion. It looks redneck compared to Captain's beautiful Stainless Steel work. It's more of a bush fix. I’ll try to detail it so the next guy can use it as a starting point to make a better job than me. So modifying the the airbox door is easy. Used a little piece of steel and some epoxy glue and screws. Must trim the screws flat on the other side. Trimmed the pipes about ¾’’ and made some sort of a bead using a DIY bead roller made with old vise grips, a washer and a welder. Room for improvement here… but it will do. Also added a piece of foam to the top since it is a bit shorter than the stock one. The foam keeps it nice and snug in place when the airbox door is bolted in place. I looked for an alternative to drilling the firewall. I realized that 11/16 grommets enter perfectly in the stock hole. I then found these ‘’slip on’’ adapter for plumbing. They are just the perfect size to enter the grommet tightly. A 5/8 coolant hose slides on them nice and tight. You just have to cut the small end. I kept all the valves inside the cabin for now. I used a dayco 87675 hose which I trimmed only the wye part. I went to the auto part store which had a Gates 18937 hose. It has two nice tight 90deg bend in it so by cutting it in half you can finish the rest of the job. One part that took me a lot of time is adjusting the cable. It needs to be trimmed shorter, and bent correctly but also, the stock valve has a linear front to back movement, the 74827 has an arc to it’s movement. The stock stiff cable did not like that and would bind up. So I made a little adapter using some Delrin. Works like a charm. Take your cable out of the sleeve, polish it a bit with some steel wool and lube it at the same time. There is a good amount to be trimmed off, so trim a little bit at a time until you get the hang of it. Connected inside the engine bay. If you are quick you don’t need to drop the coolant. Mine was looped , lifted it up above the rad, uncoupled and quickly coupled it again. No major leakage, Everything looks as tightly packaged as stock, so i'm not too worried about space. I'll confirm once everything is operational.

 1 point