Leaderboard
-
Captain Obvious
Free Member6Points10,081Posts -
motorman7
 Subscriber
 5Points2,228Posts
 -
rcb280z
Subscriber4Points2,392Posts -
jonathanrussell
Free Member3Points474Posts


Popular Content
Showing content with the highest reputation on 01/23/2018 in all areas
-
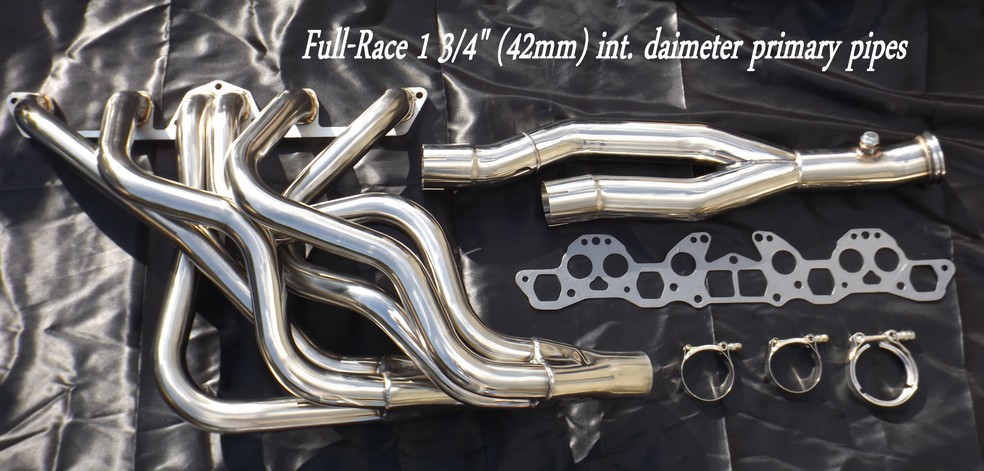
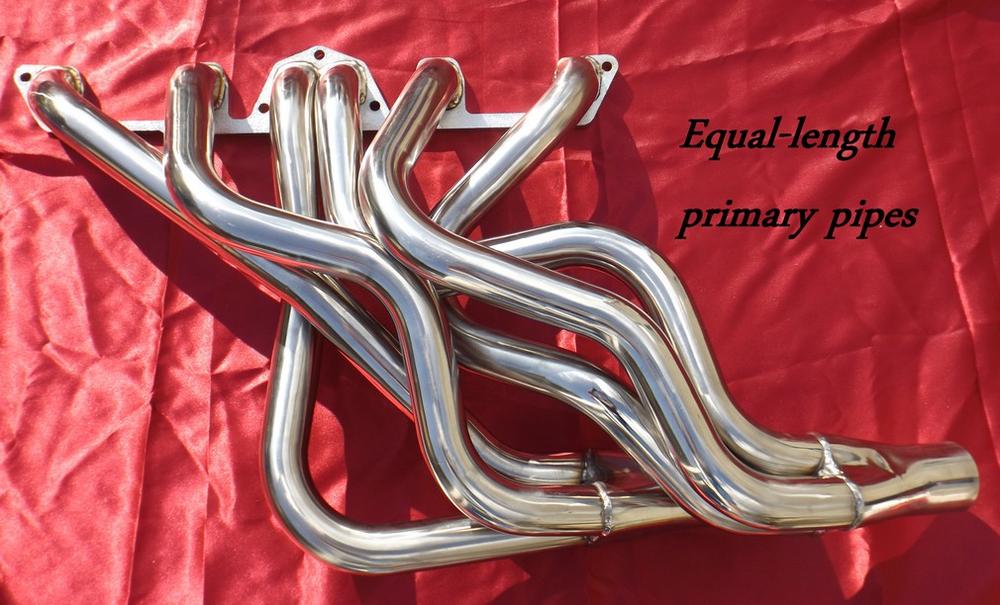
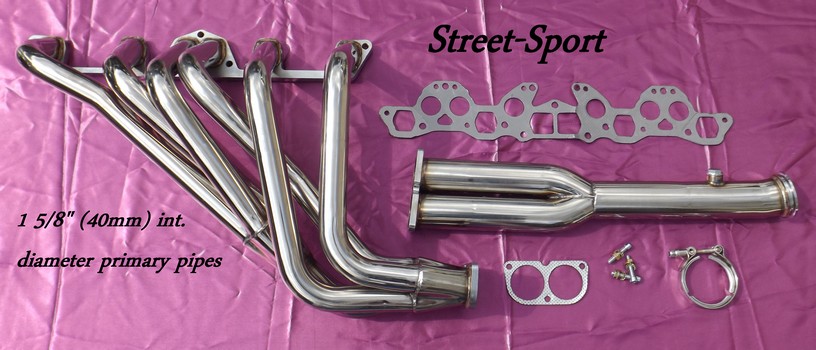
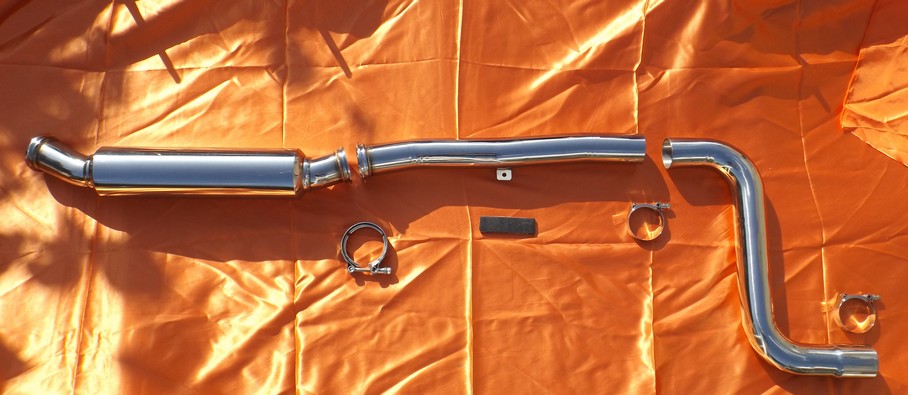
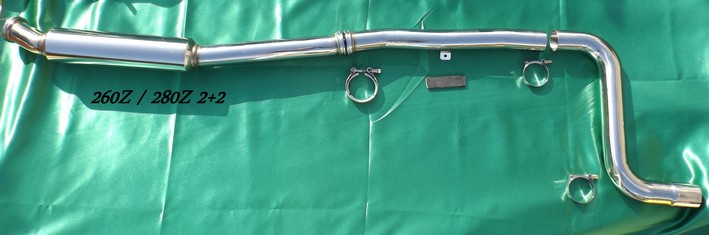
Hi guys. Been a while and I'm sure that you've been as busy as I have elsewhere. The last batch in August sold out within 2x months and the latest has just arrived meaning that my garage once again becomes a rich 'dump' of cardboard and stainless-steel ! If anyone is interested, not all was pre-paid and reserved - prices remain the same. Cheers


 3 points
 -
2 points
-
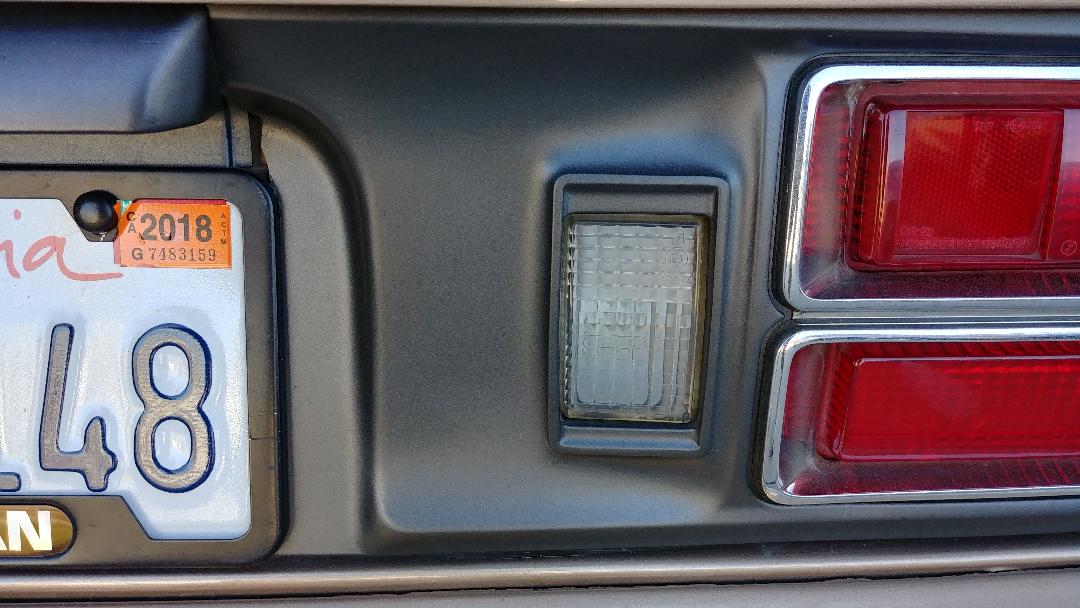
1 pointNix - 240ZRUBBERPARTS.COM as we all know makes a lot of reproduction rubber parts for our restoration projects. He is just finishing up on a replacement part for the original 70-73 antenna. He has the ability to make the ball (two halves) for the antenna where it comes through the body. I was also wanting to see if there is any interest in reproducing the body gasket for the factory sport mirrors. I am taking a poll to see if there is enough interest in these parts to warrant reproduction. Interest in ball as shown below: Interest in sport mirror gasket reproduction: Interest in sport mirror gasket:1 point
-
1 pointJust curious if anyone would have one those removal tools and willing to let me use it? Sent from my iPhone using Classic Zcar Club mobile1 point
-
1 pointHere's a couple more pics. I painted it about 4 yrs ago and it still looks good.
 1 point
 -
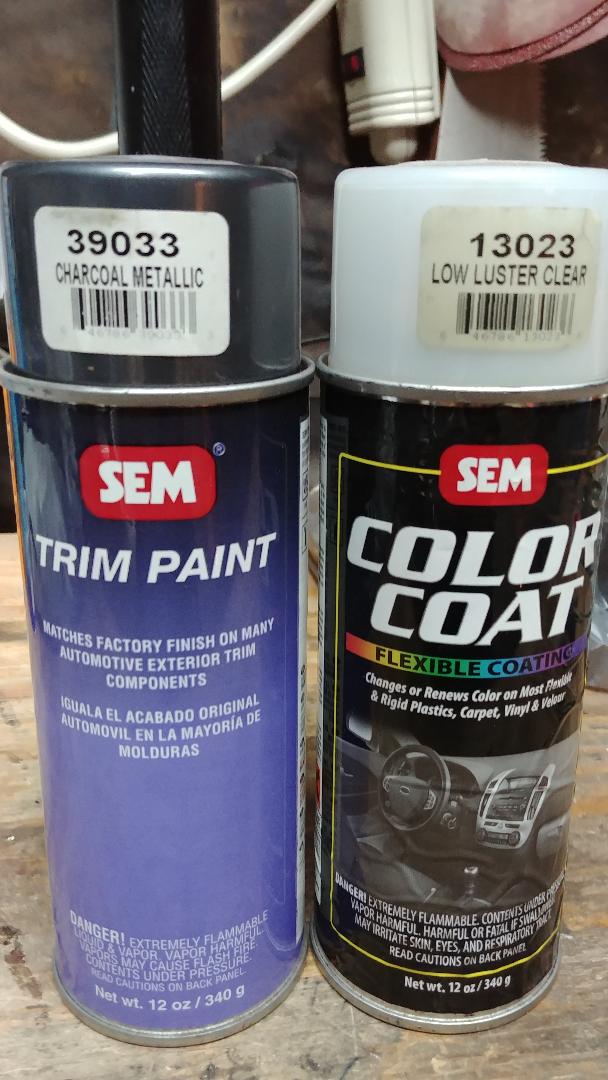
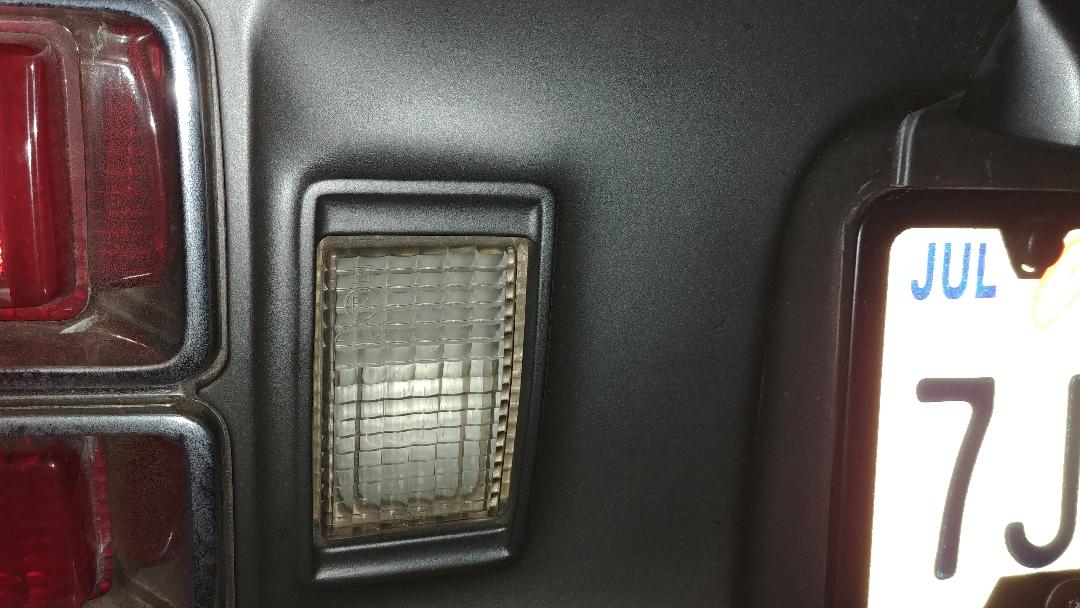
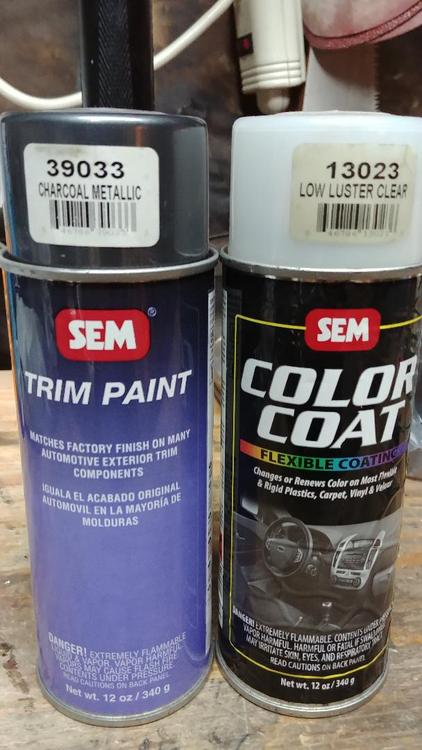
1 pointHere ya go. If you want more pics let me know. As you can see it is the "mat" looking finish that was original to the car. This is what I used to get there. I did 2 coats of gray and 1 of clear. May not be the best pic of the panel. I'll attempt a better one later.
 1 point
 -
1 pointIf you don't drive your car in wet or salted roads, you'll probably be OK. Let's hope so!!1 point
-
1 pointAnd SKILL. Don't forget about that part. That's the missing ingredient that would be standing in MY way.1 point
-
1 pointNot sure what Motorman used but these look good. Maybe the same spray?1 point
-
1 pointDepends on how you define the terms. All enamels are Single Step so to speak... in a sense. You spray them on - they flow out to leave a high gloss finish. But when we say base/clear, the word “base” at least to me - indicates a 2 Stage Paint Job. First Stage is to spray on the Base - that finishes out DULL… the Second Stage is a Clear Coat that melts into the Dull Base and brings out the Shine. You can spray an enamel on the car - that by definition with flow out to leave a shiny surface. Then Apply a Clear Coat on top of that - to add protection and gloss. That is two steps, but not a 2 Stage Paint job. The 2 Stage Paints were developed to solve the previous generations of Clear Coat problems - i.e.. cracking/crazing/graying. However with the newer and higher quality Clear Coats today - using the manufactures recommended paint and clear coat - most of the older problems have been solved.1 point
-
1 point
-
1 pointIf the mast could be reproduced with the correct tip it would be a no-brainer to have at the very least 100 reproduced. What is the cost per unit? I had forgotten about the seal ring under the retainer. I hope that along with the cap Nix can reproduce this part. With the mast and the rubber parts correct restoration of an antenna for the early Z will be possible.1 point
-
1 pointIf you think of them as "boxed reinforcing members" instead of frame rails it generates some extra possibilities. You could cut the bottoms off and have a flat piece welded on without even removing floor pan parts or even carpet. Just an alternative view. Edit - I didn't read all of the posts. I like madkaw's. Edit 2 - I like grannyknot's post. Edit 3 - they're all good. I have bad forum etiquette.1 point
-
1 pointThat is correct. Can you make a single stage look as good as a base/clear?1 point
-
The best thing would be to find someone willing to give you a printout of the numbers without running an emissions test. This way you wont be put on whats called a "gross-polluter" list. You don't want that to happen. My mechanic just plugs mine in and has to make a slight adjustment. I usually have it pretty close. You do not have a CA car I know but I'm not sure if thats better or worse. The cat will clean up the exhaust to a certain point. But if you go in with "fat rich" condition you'll fail anyway. Get a print out and lets see the numbers. Not saying you are going to fail but lets look at things first.1 point
-
1 pointSpindle lock pin deformation is the #1 cause of stuck pins followed closely by corrosion. Heat the housing up as much as you can with ever heat source you can muster. MAP gas on a propane torch is barely adequate but all most will have. Heat at 350F for 30 minutes then cool the cookies on a baking rack..... Wait, wrong recipe... John Coffey's favorite method of removal was a high quality air chisel with a point on it to drive them right out, run by a large air hose and adequate supply. I get about 75% removal rate with the conventional puller. BTW, hybridz has had a spindle pin removal tool loaner program going for years.1 point
-
1 pointyou can also try the larger washers as spacers, worked for me, use some PB blaster down the lock pin holes (plug up the bottom with something so the juice does not run right out). Just don't go ape on it with the washers, you can ruin the threads of the spindle pins if its too tight. either way I would still put new spindle pins and use anti seize compound. Knocking down the high spots around the lock pin area makes them go back but I had new ones anyway so in they went. Get some new rubber washer while you are at it, and some new nuts for the spindle pins.1 point
-
1 pointYou might just take a short try at getting the pin to move to see if it's actually stuck. Sometimes they slide right out. You could remove the locking pin and the end nuts then tap on the pin to see if it's jammed. Without removing tires, brakes, suspension, or anything else. Whether it moves or not, it also gives a chance to squirt some rust breaker in to the lock pin hole. My pins were stuck due to deformation of the locking pin hole, not rust. I used a rat tail file to knock the high spots down so the replacement pins would slide in easily.1 point
-
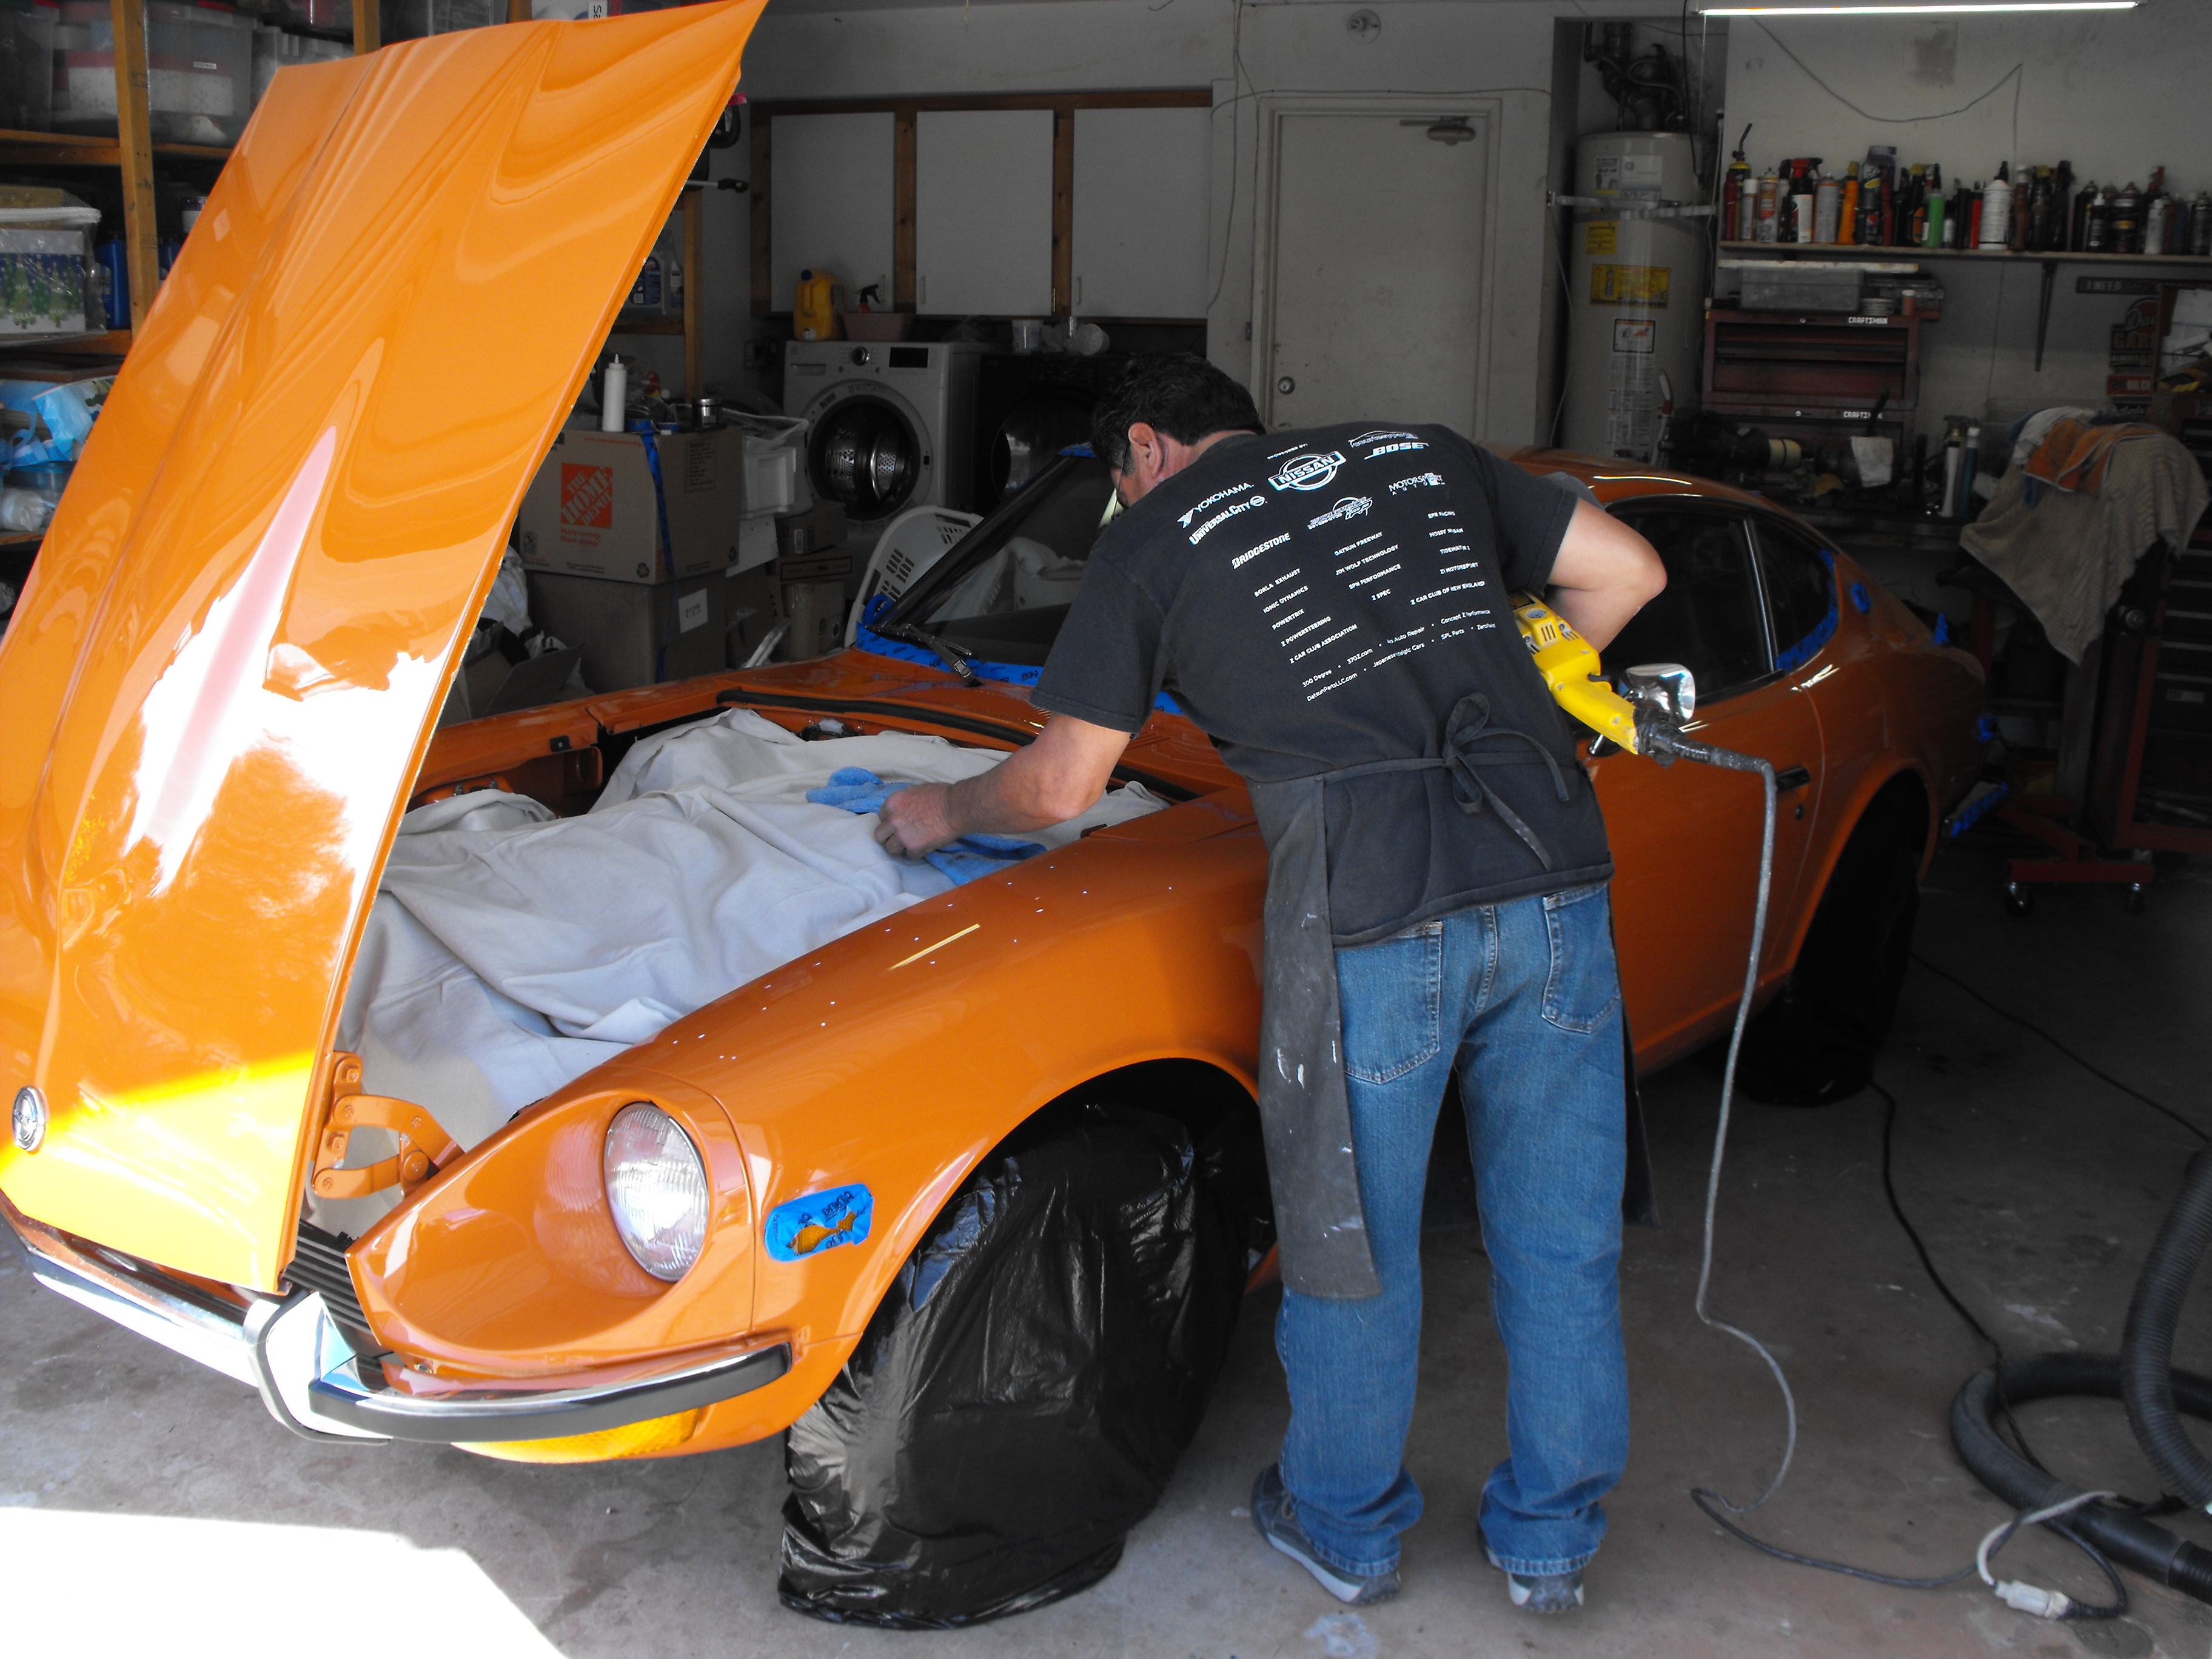
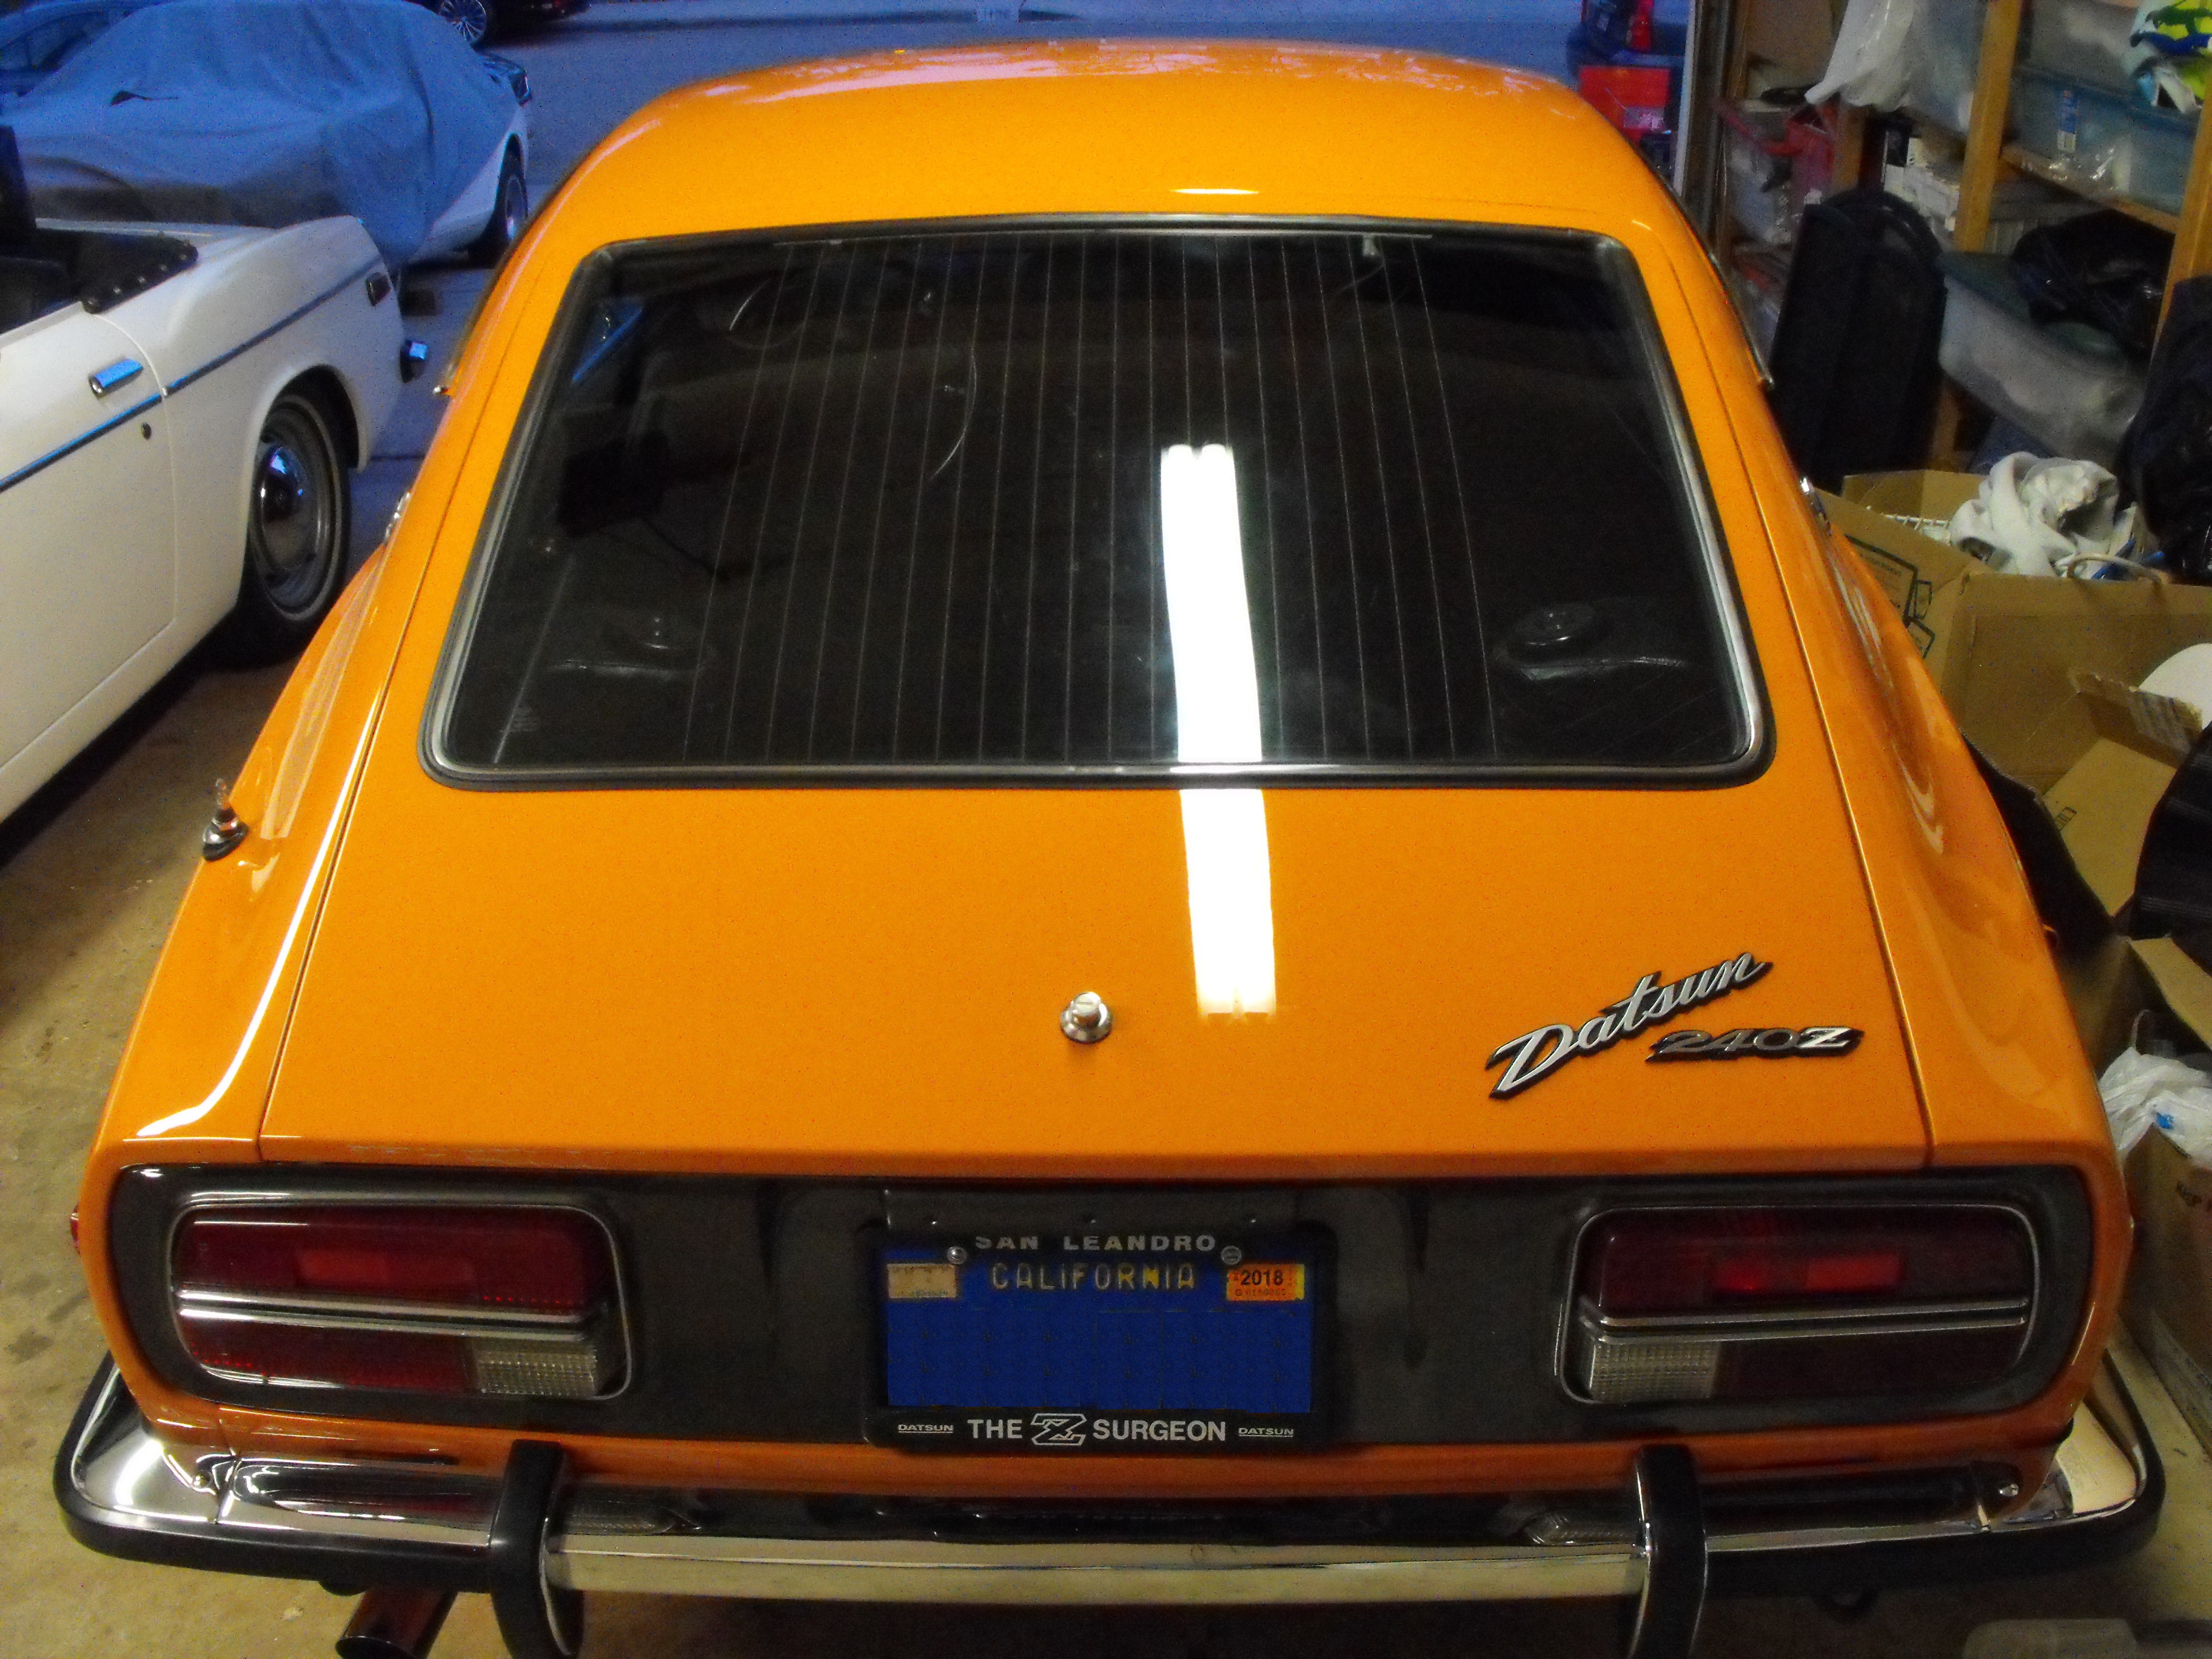
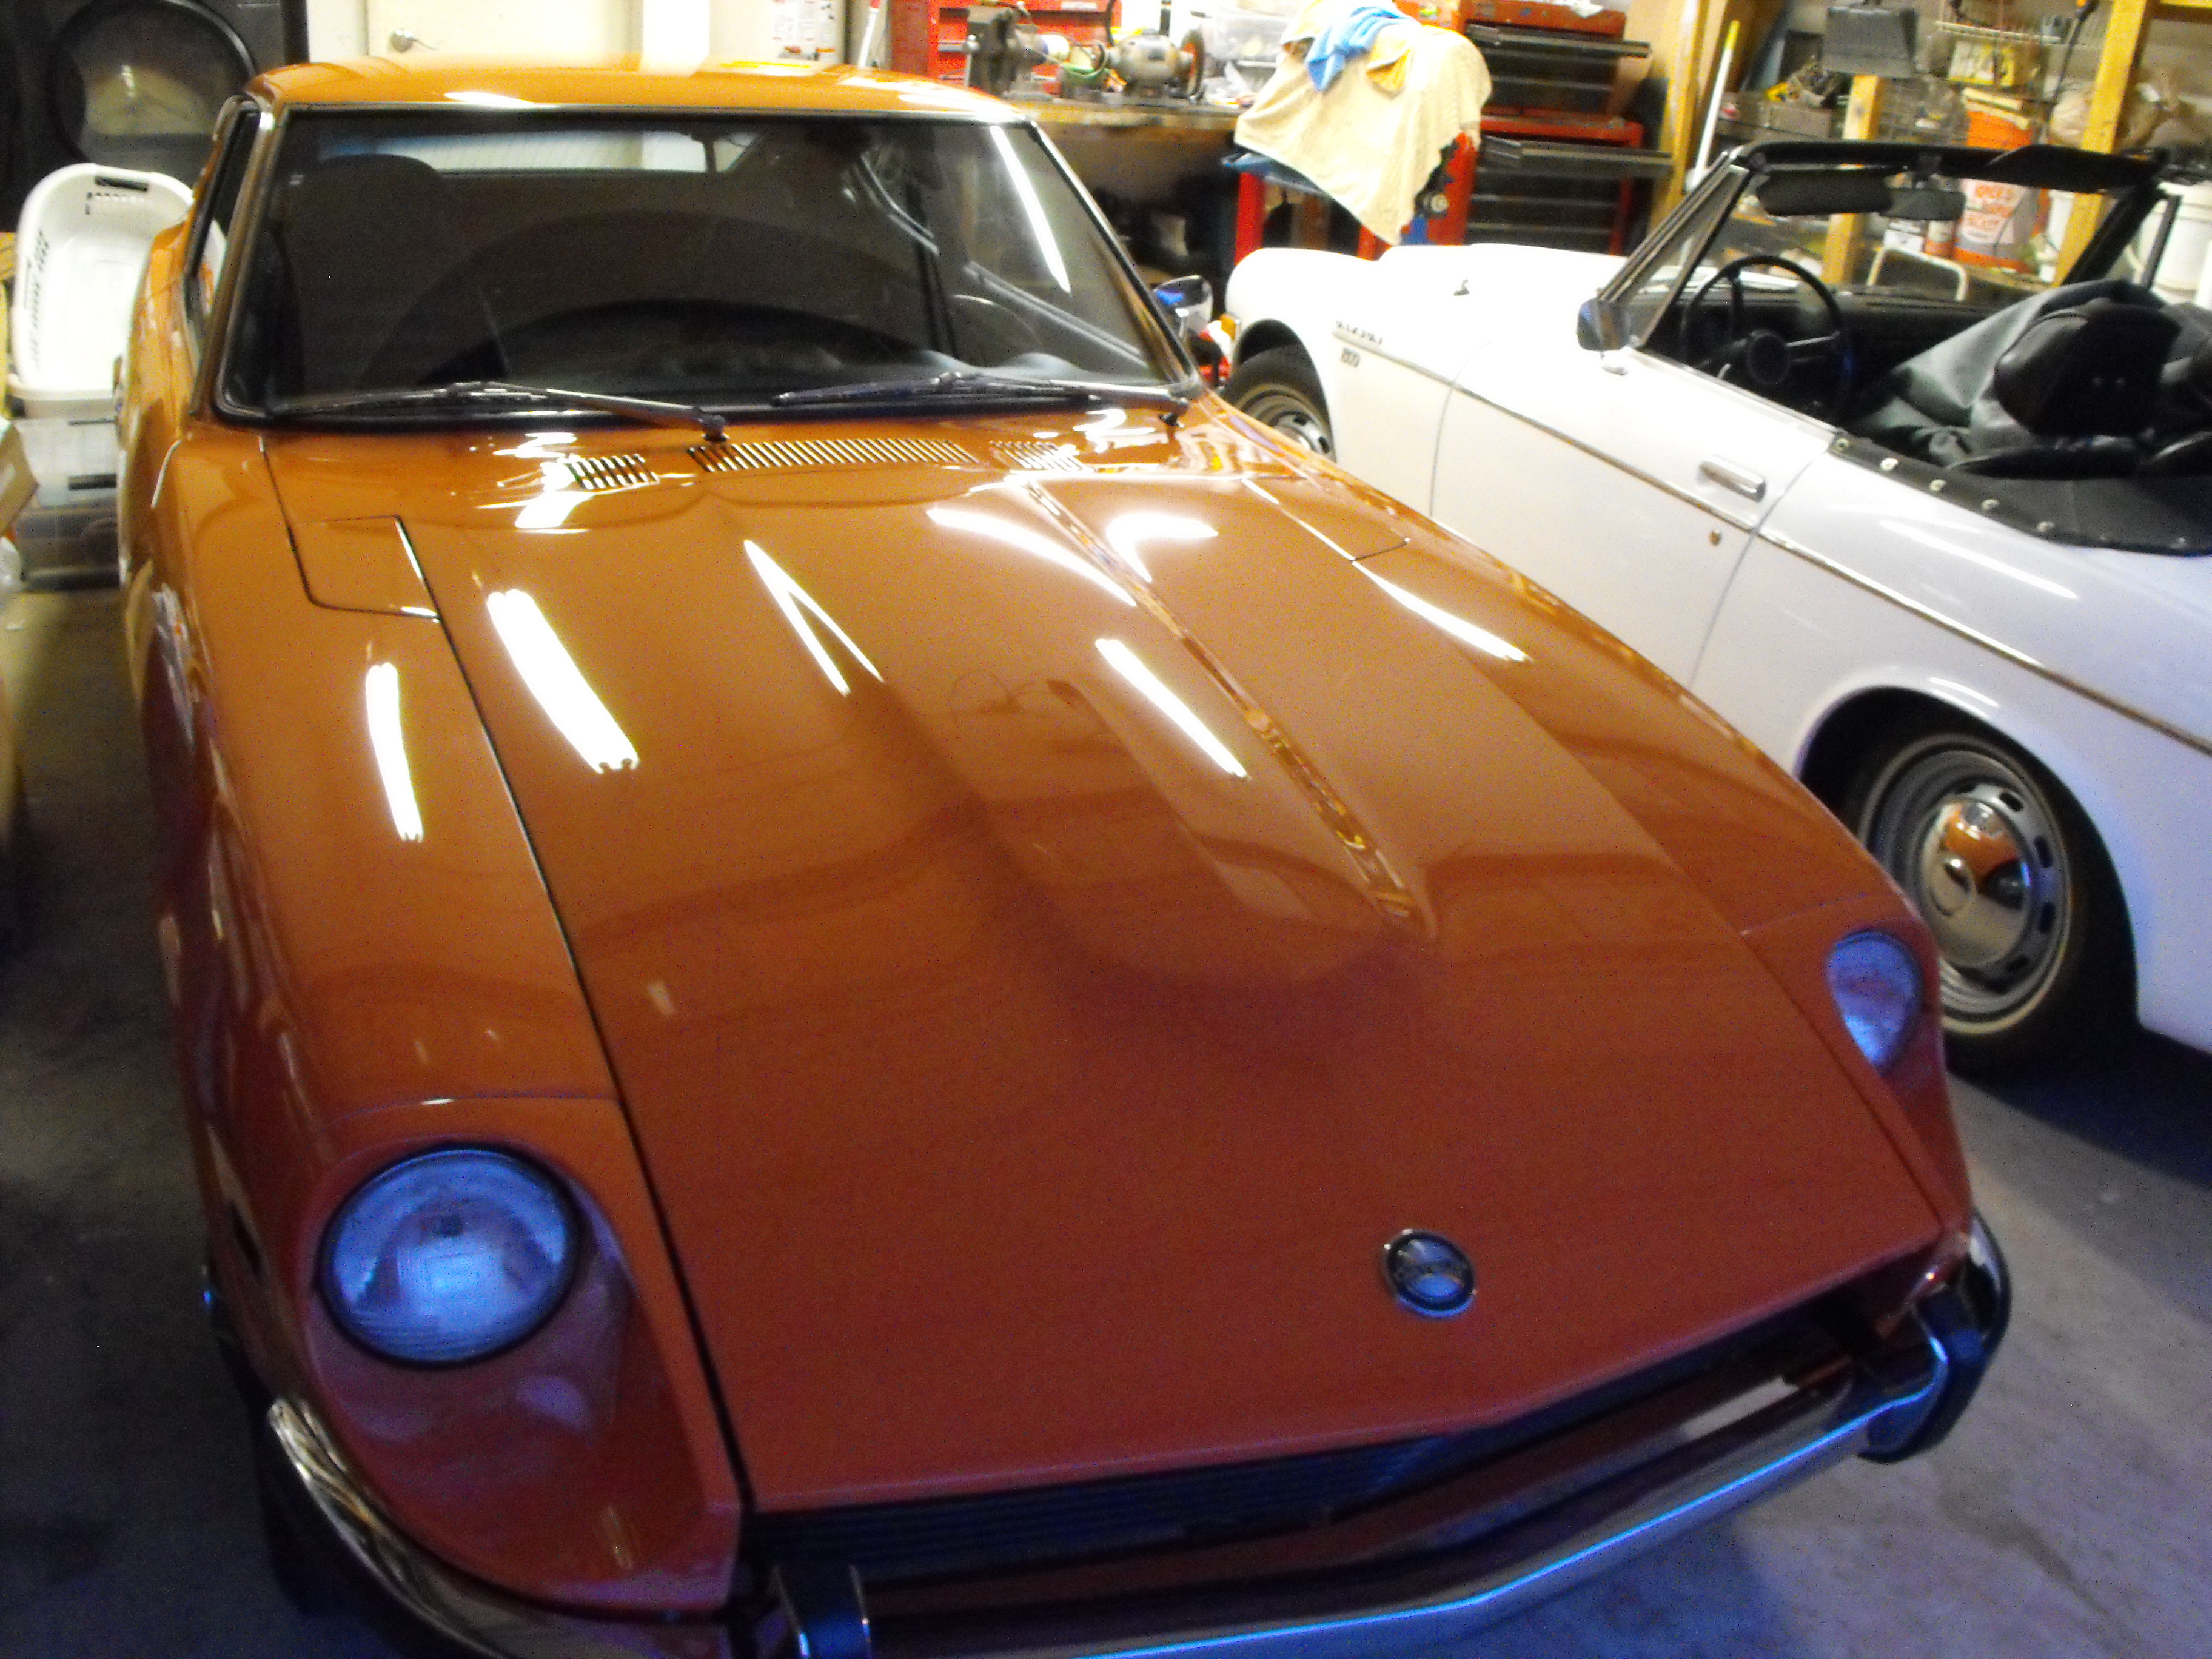
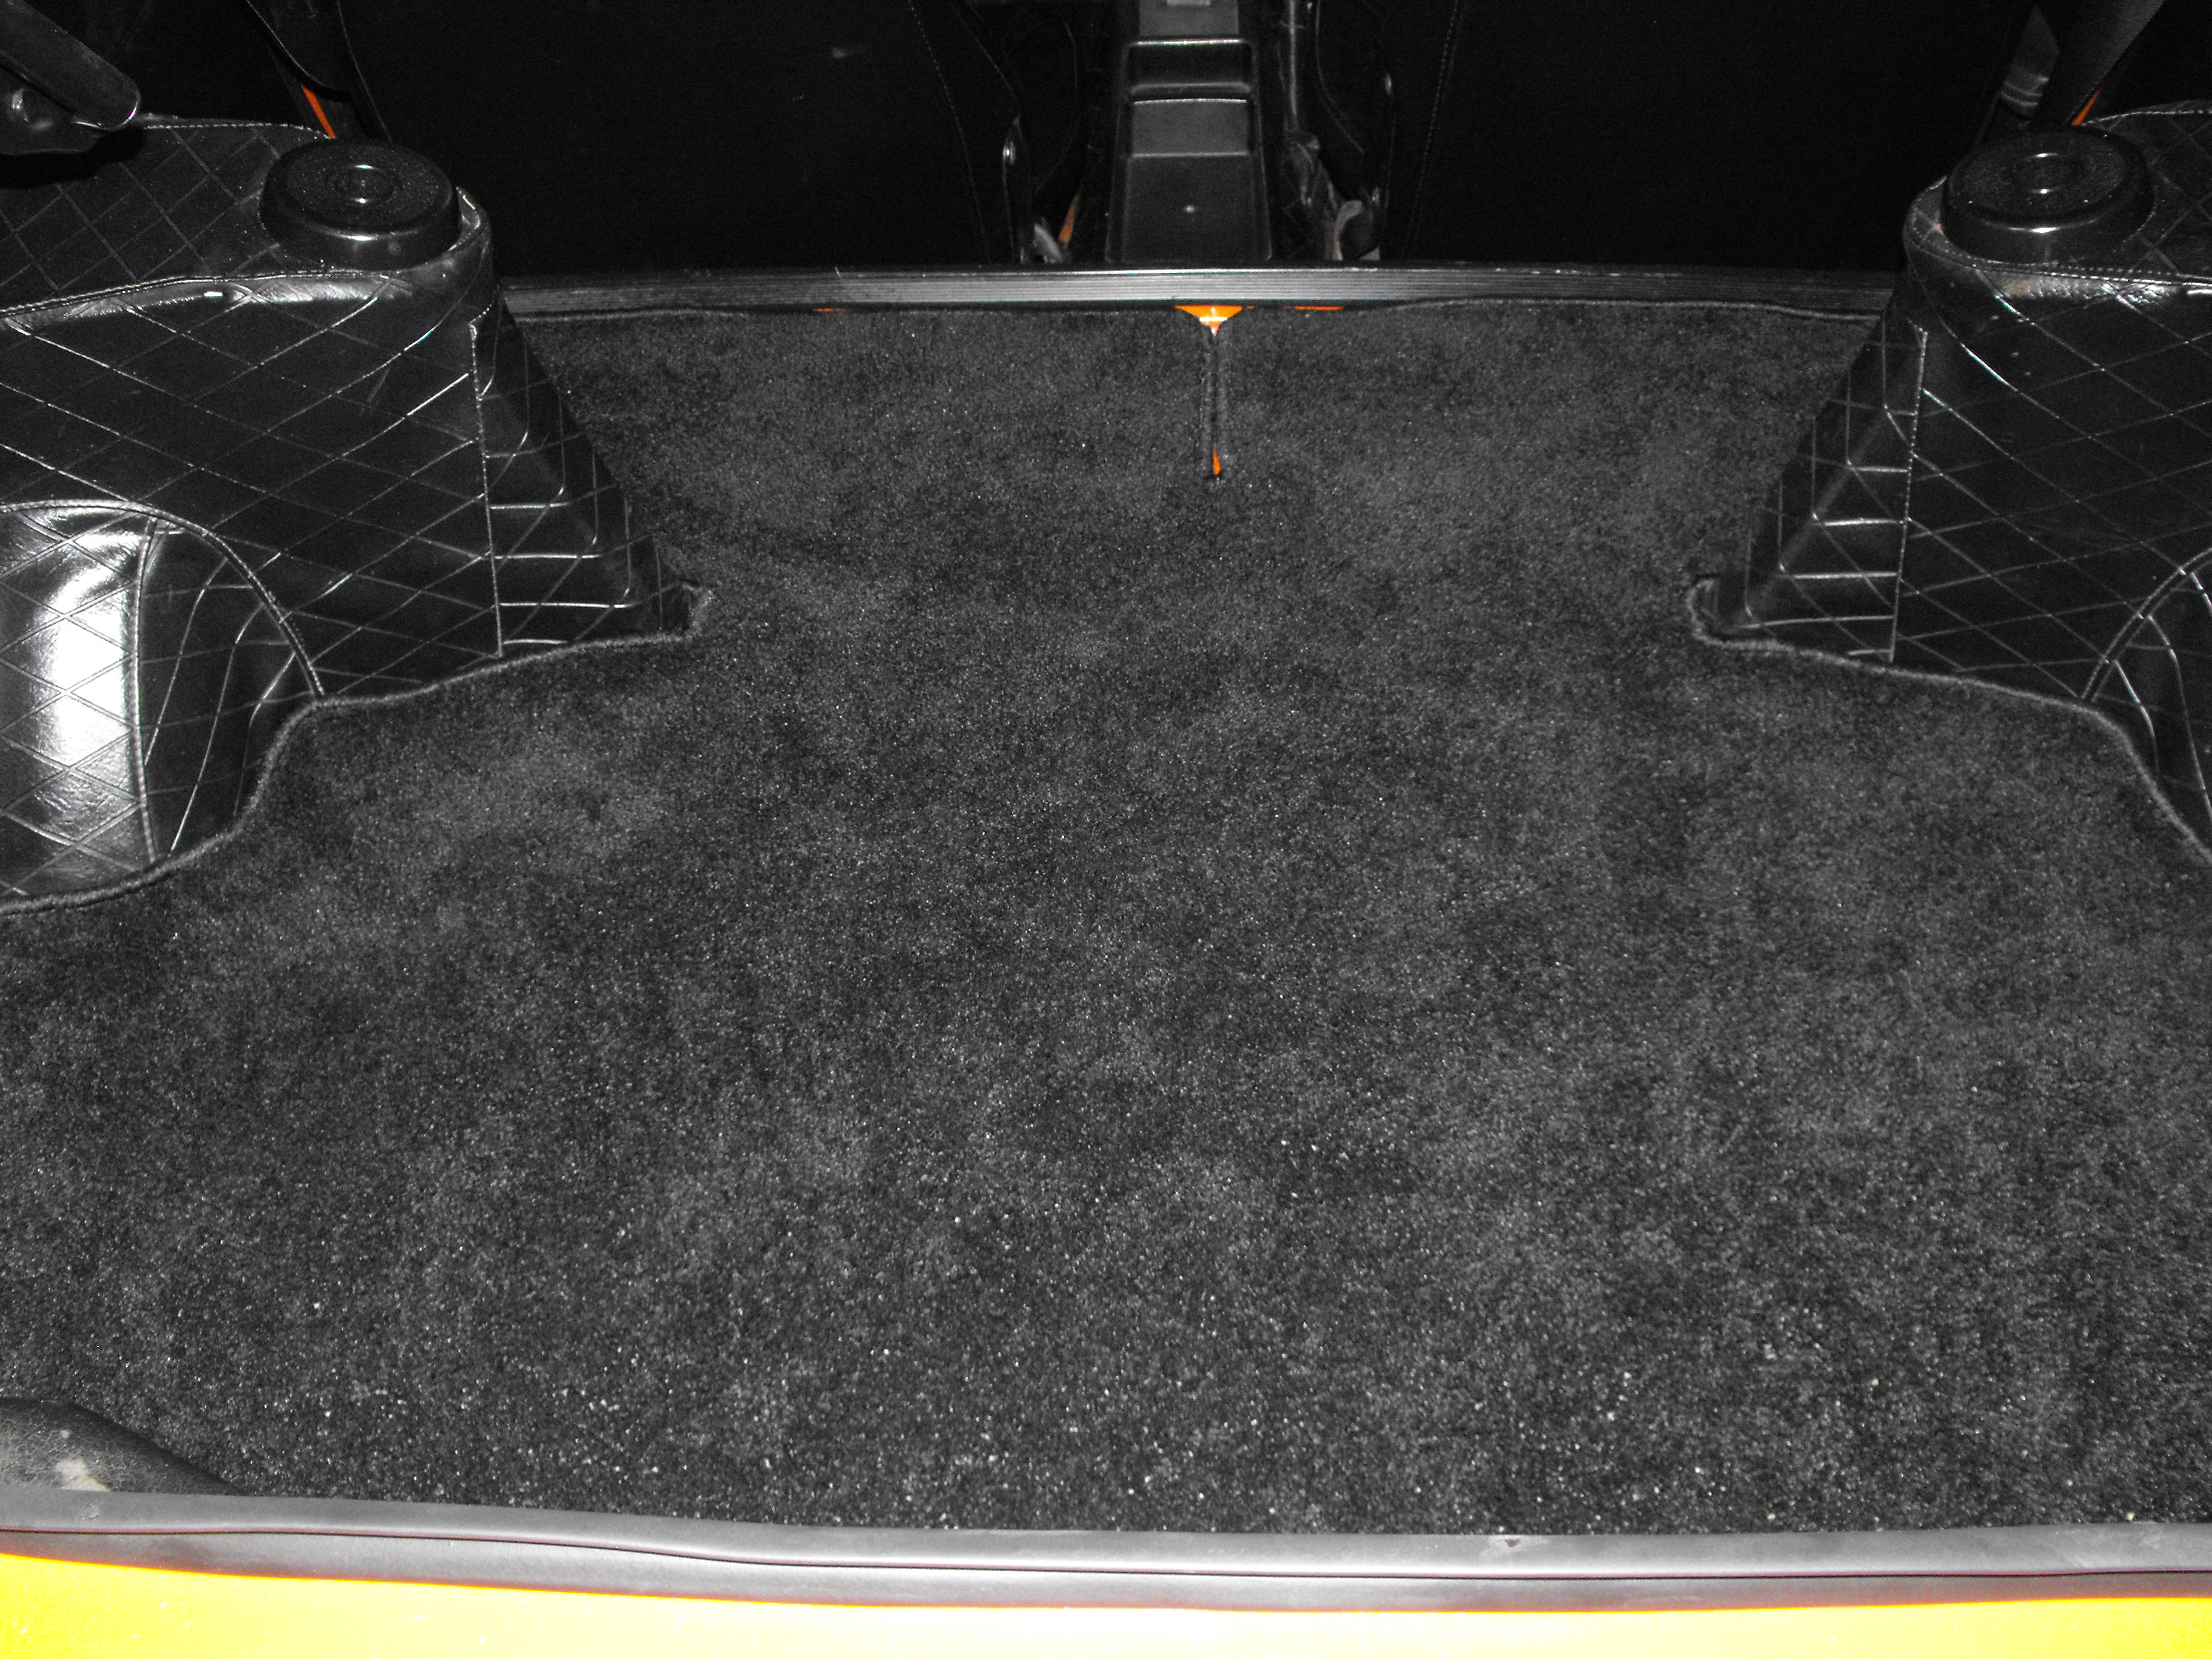
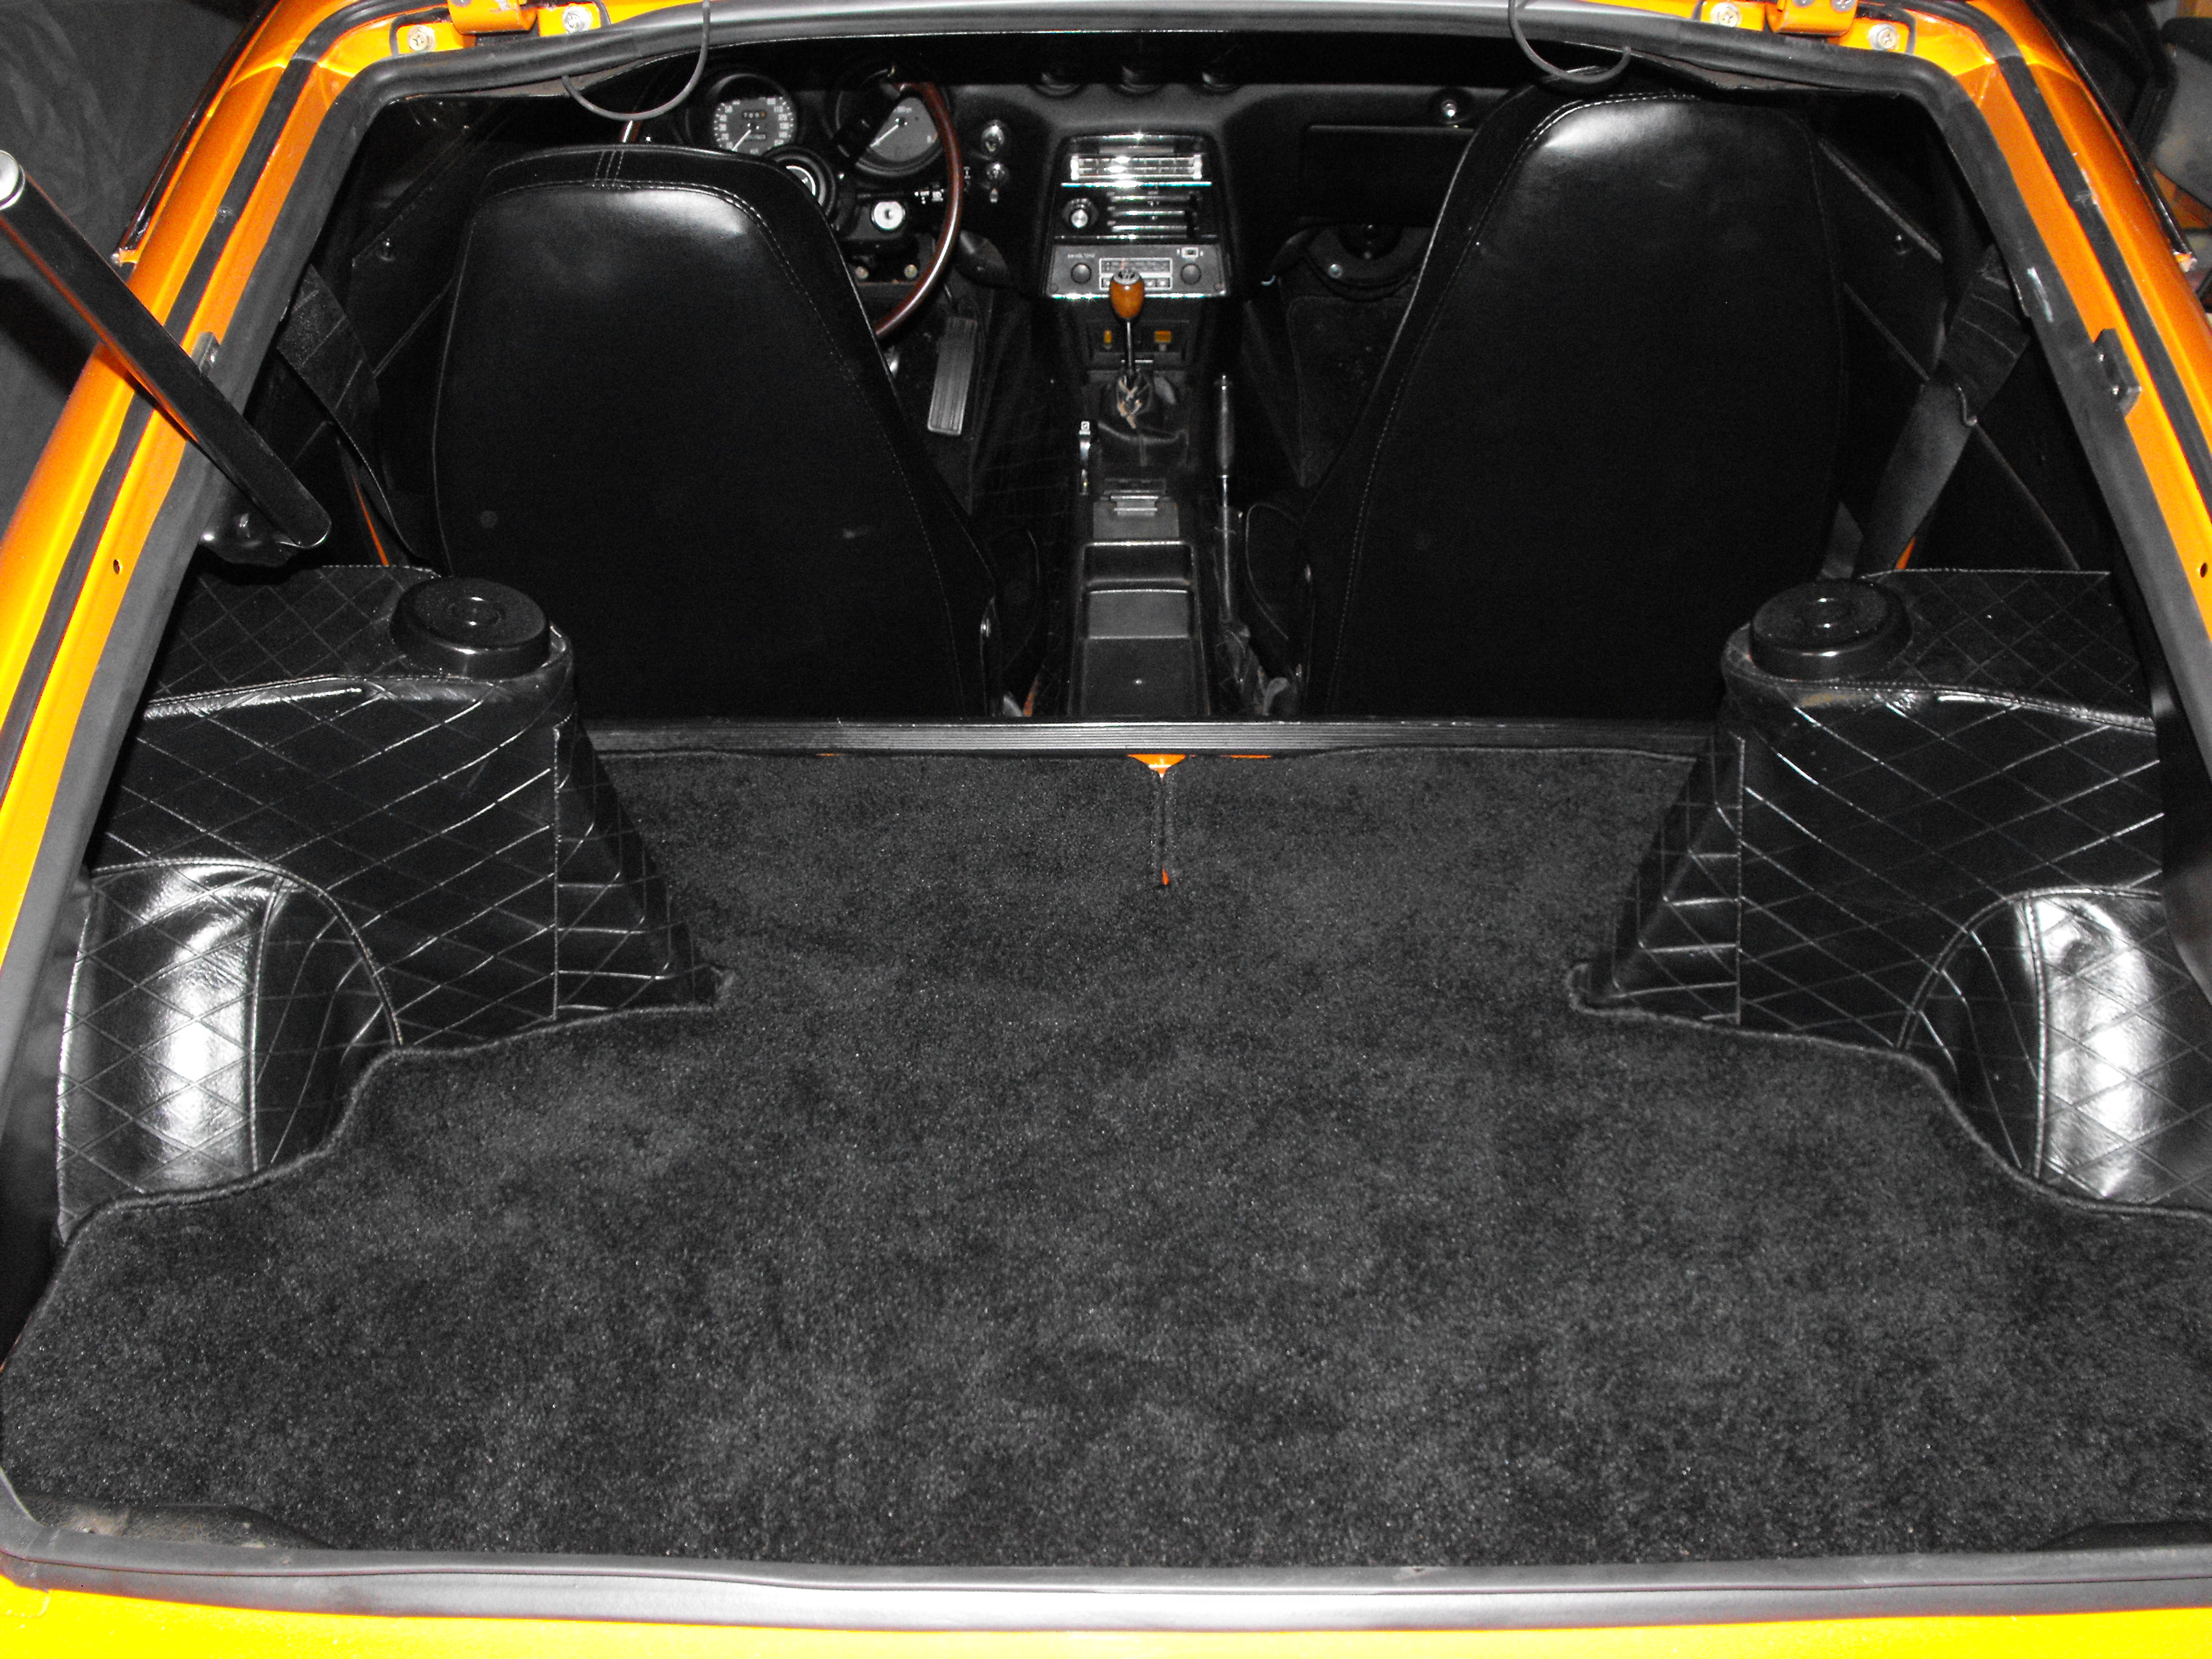
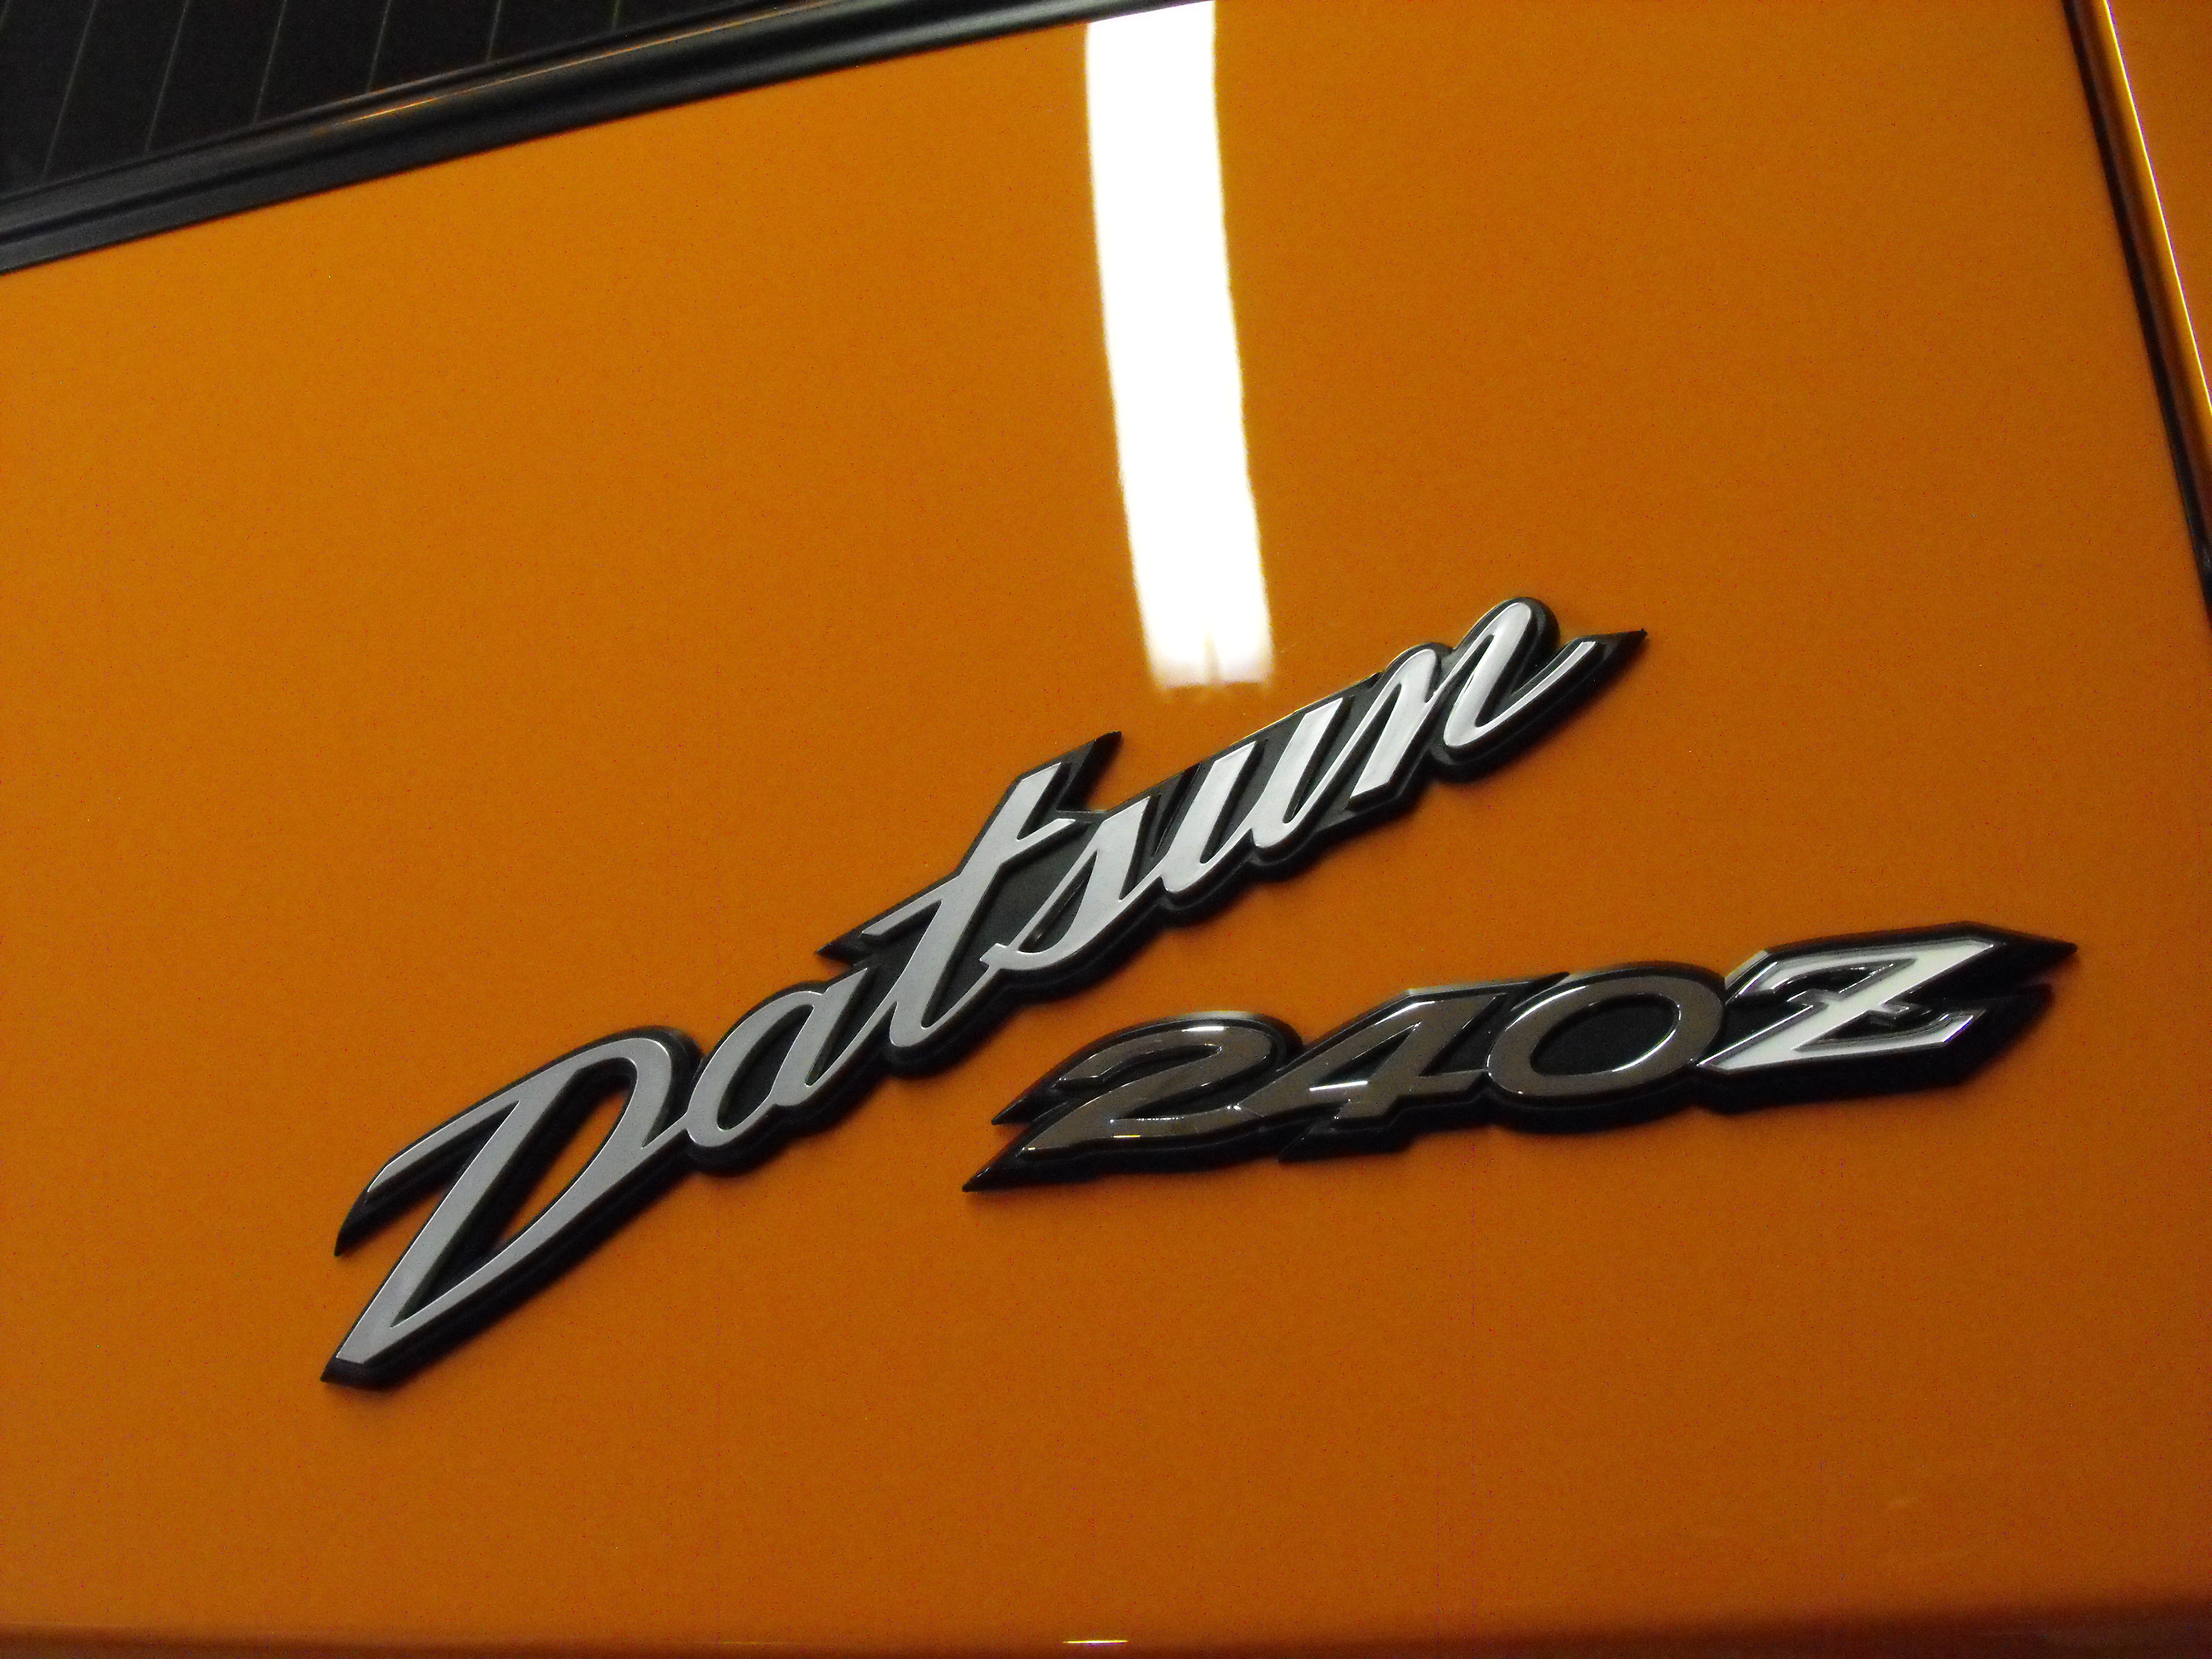
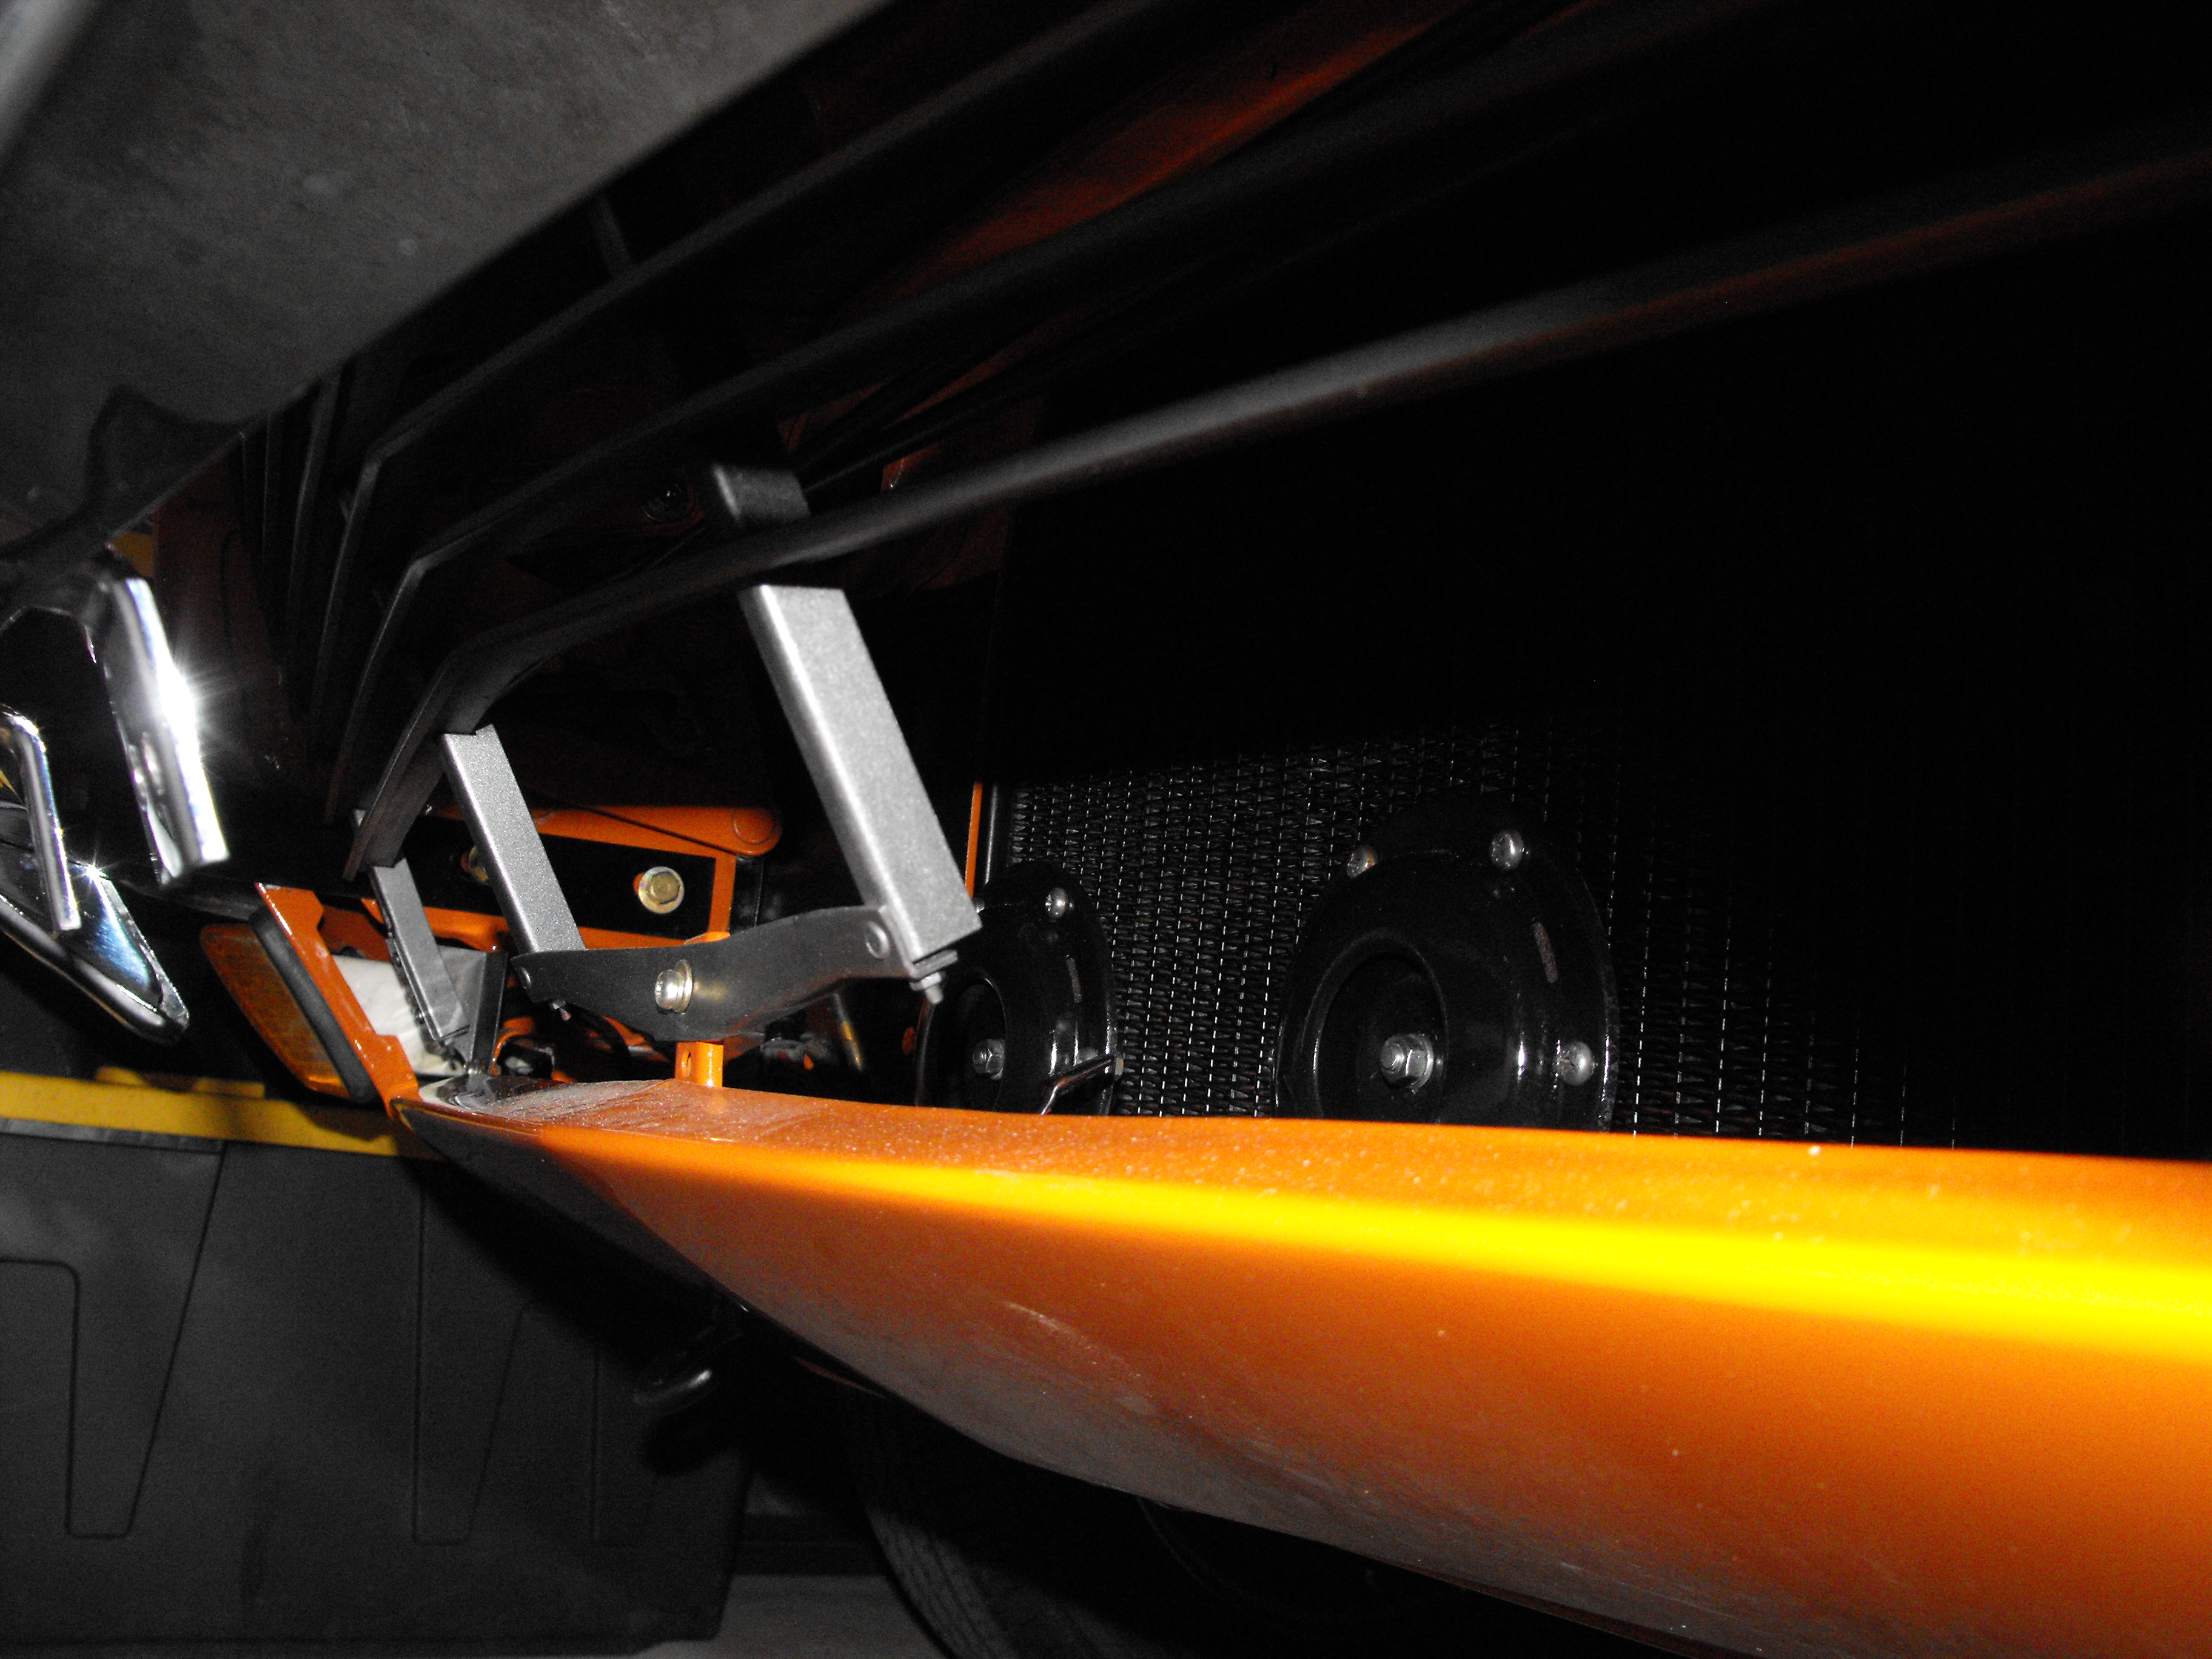
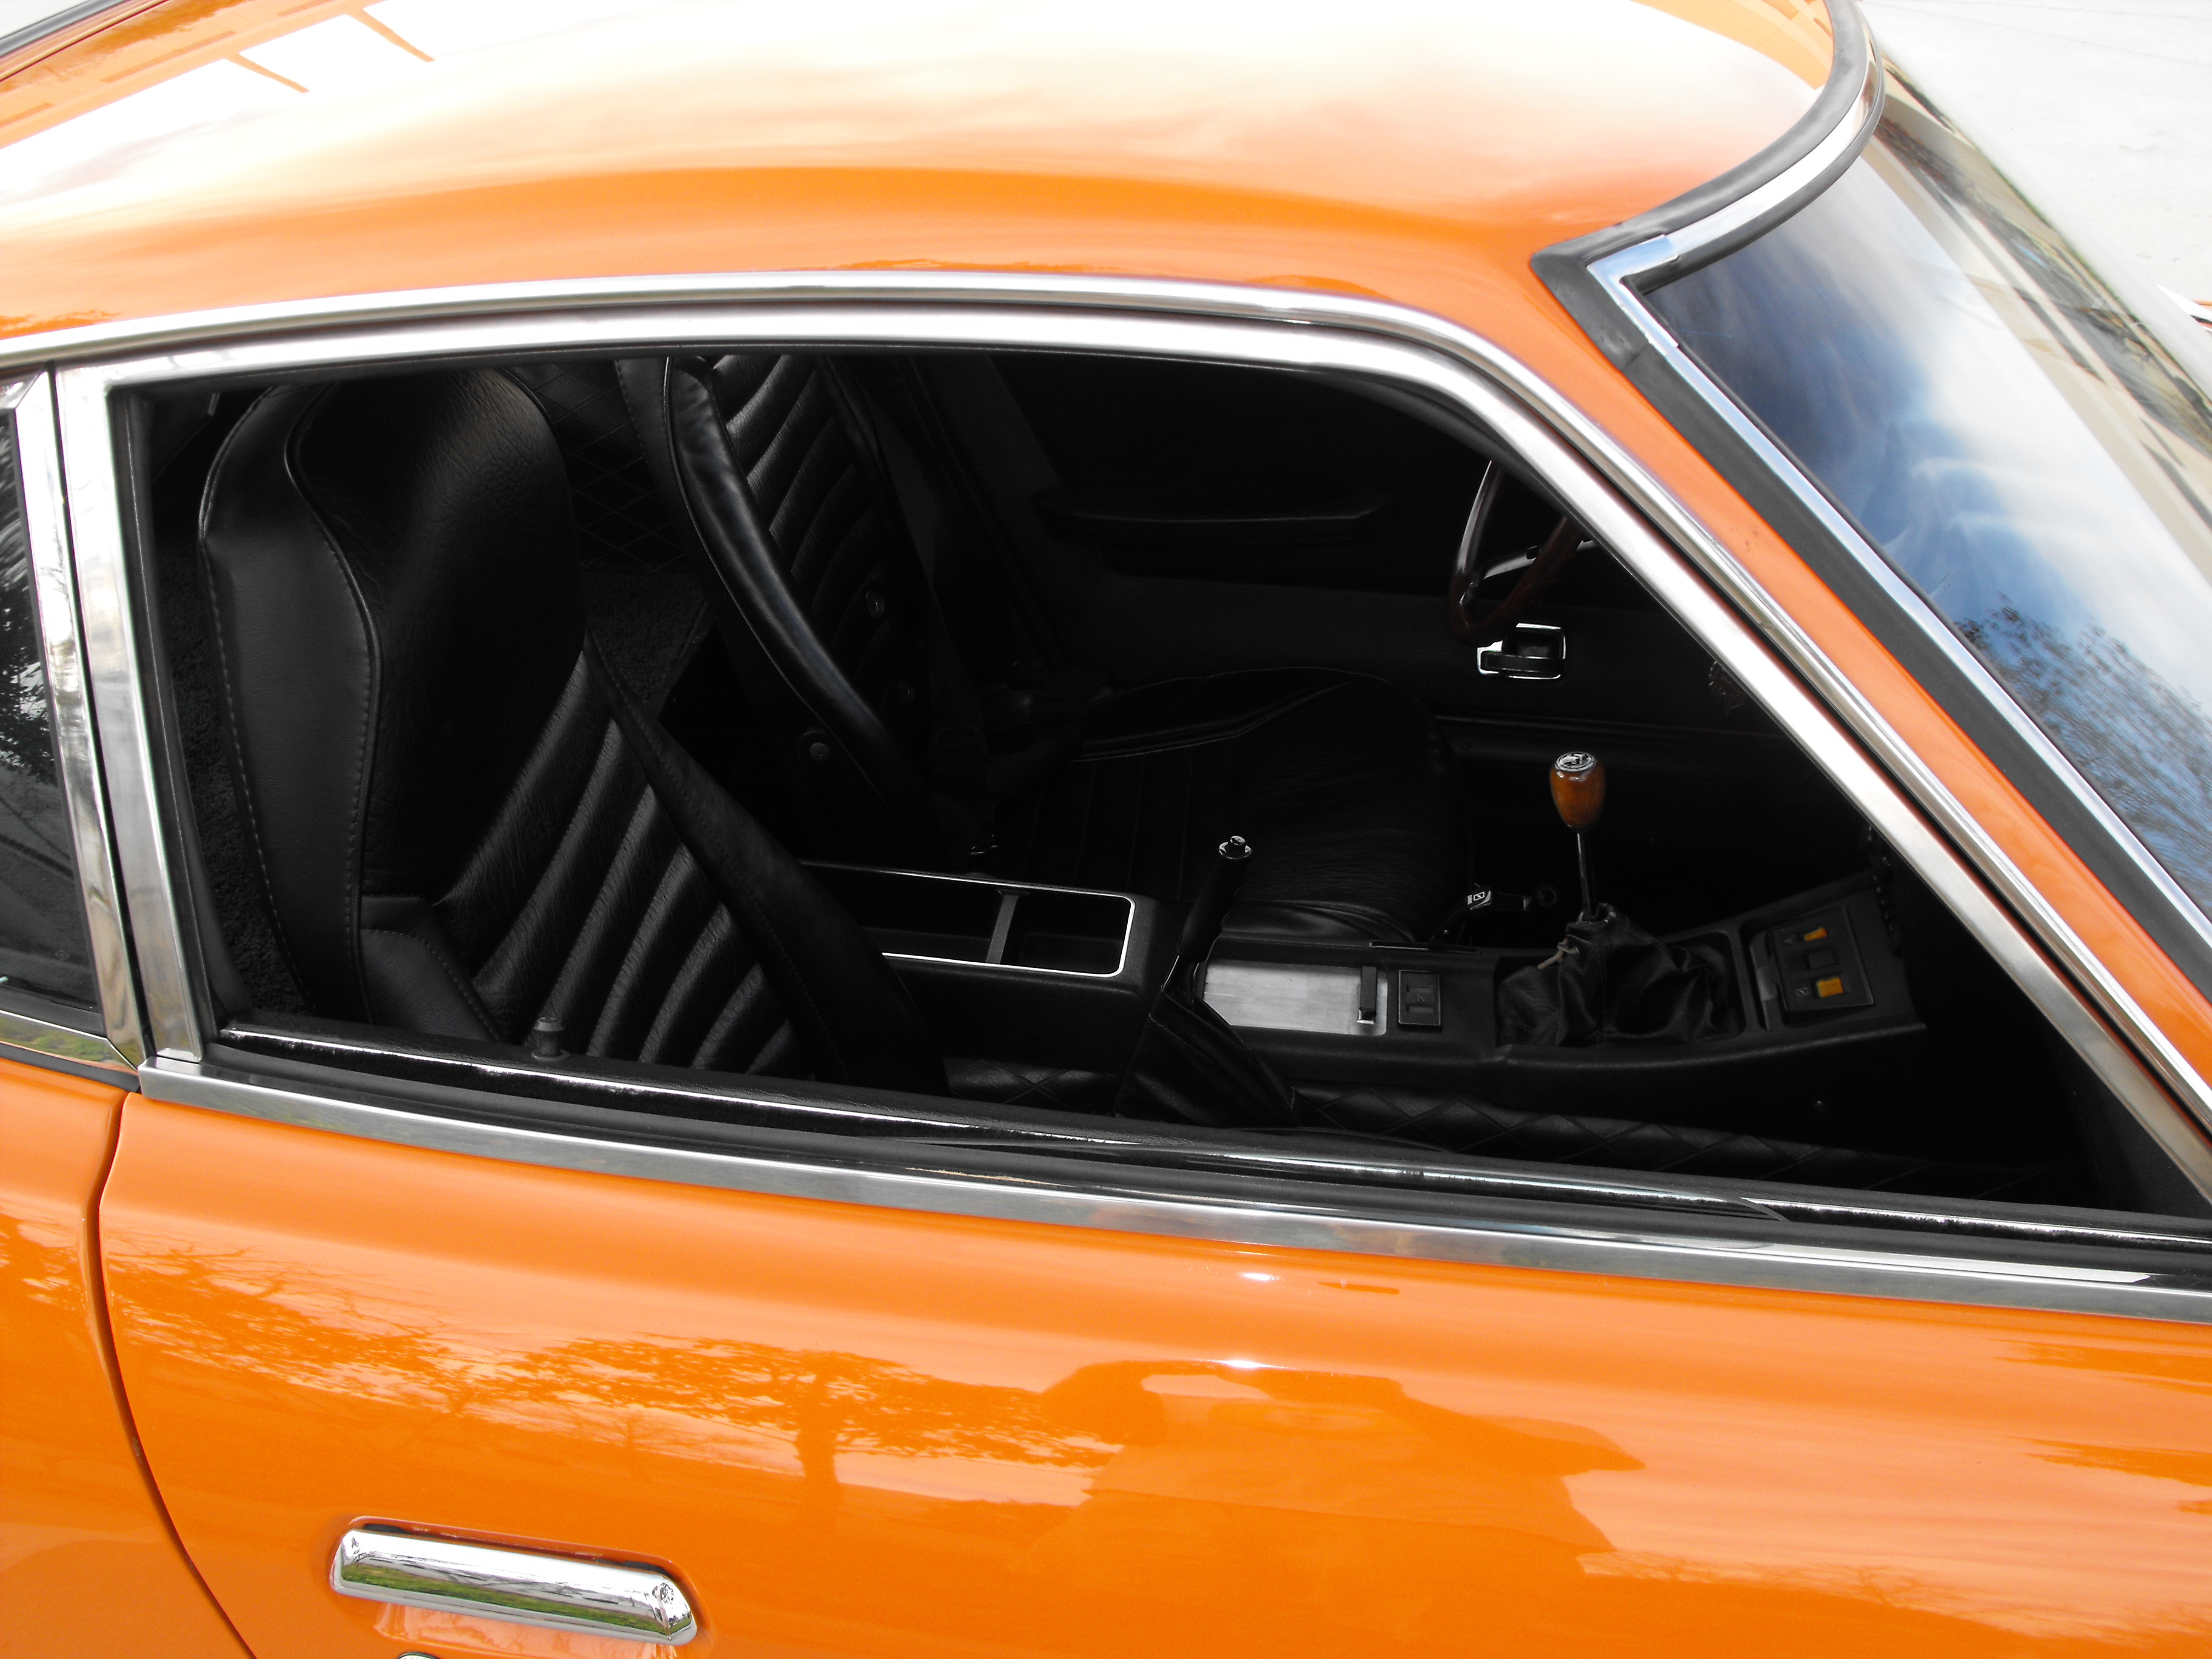
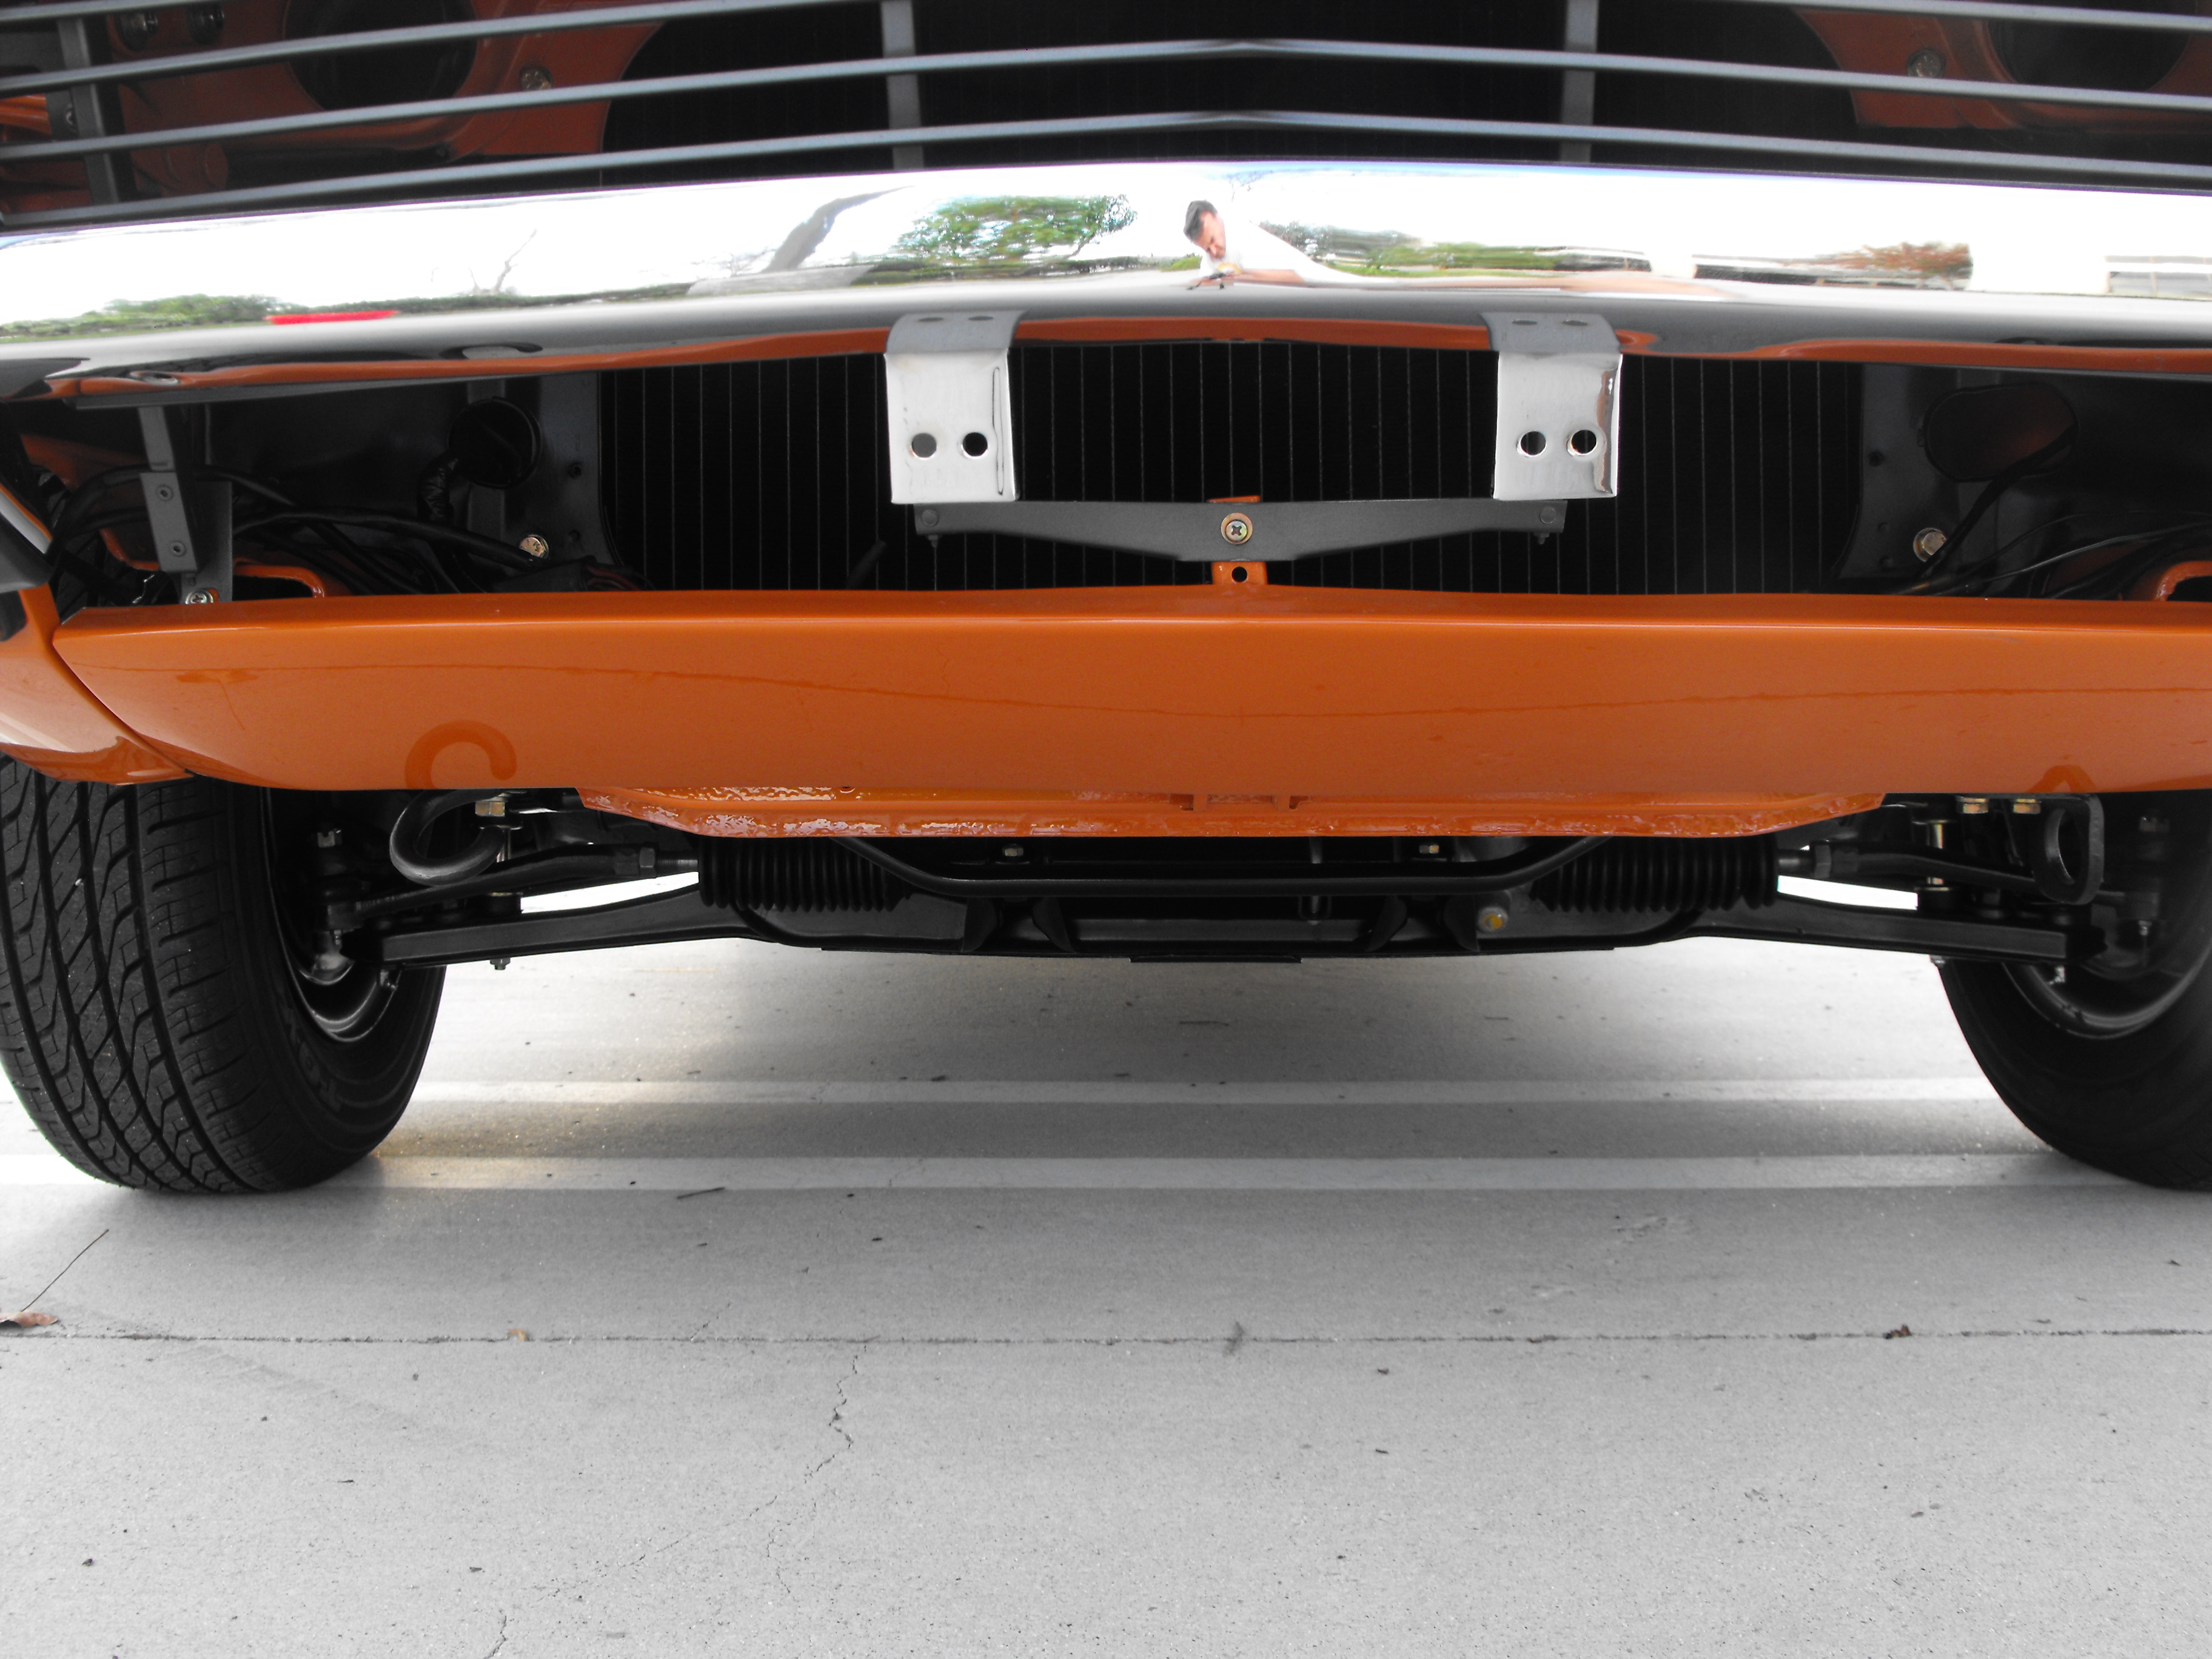
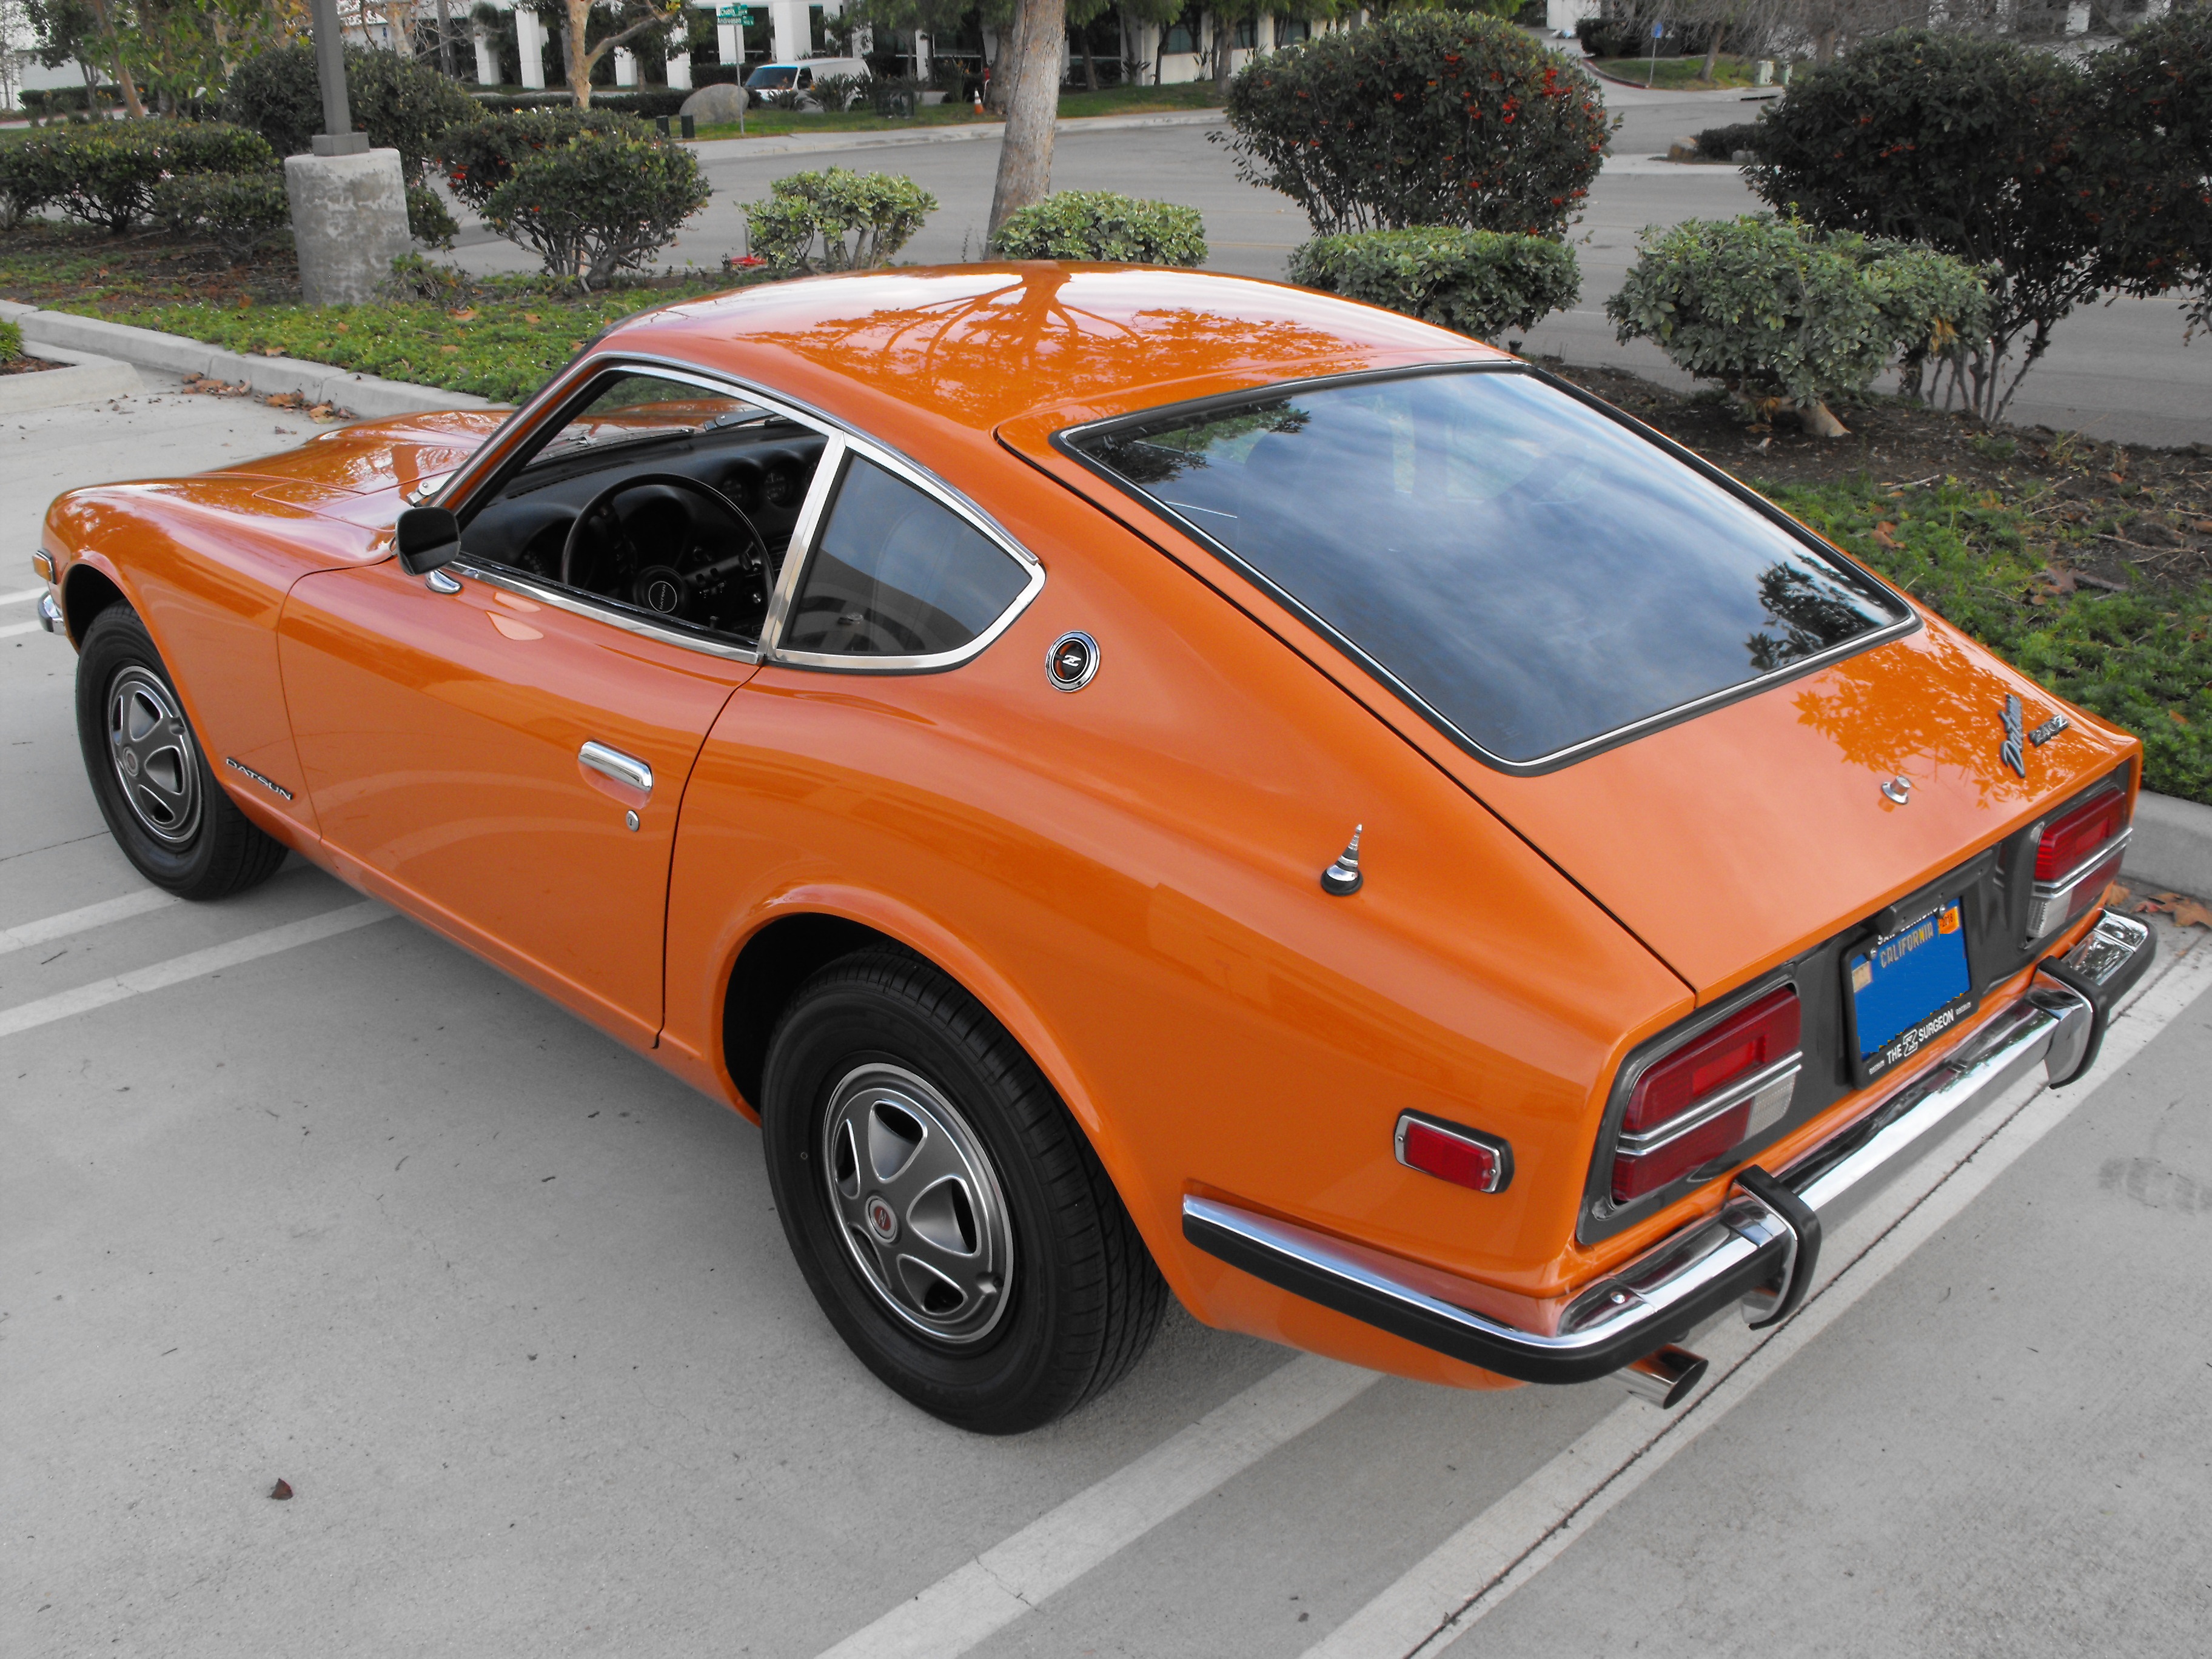
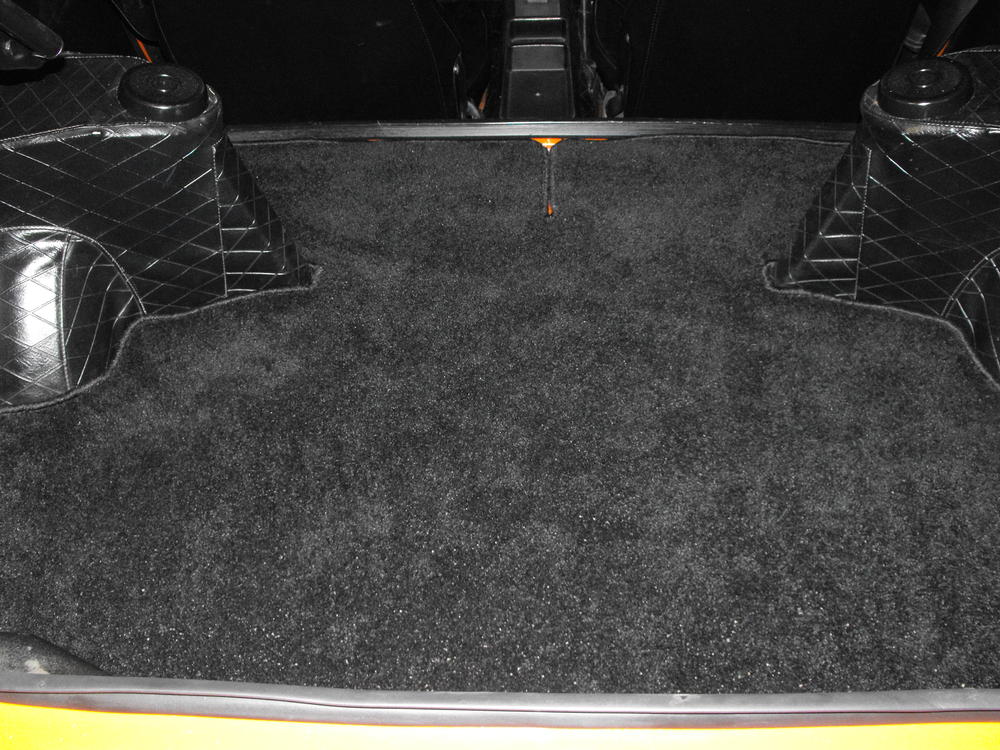
1 pointWell, things are getting close to the end here. Still waiting on a few parts to come in and the revised center section of the exhaust to be completed then she will be about ready to go. Miguel came over today and did the final polish on the paint which actually looked pretty amazing before he even started. After about 6 hours of polishing with three different compounds and pads, the paint is absolutely incredible. Not a single scratch or swirl to be seen. There are a couple pics below, but they do not do the paint justice. I will have to wait for a nice sunny day and take some pics here to really show the quality of the paint job. While Miguel was doing the polishing, I painted the rear carpet which really looks great. I was a little skeptical of how it would look, but it really looks like new carpet. I should get the new luggage straps in from Jay in the next couple days to complete the back hatch area. It should look great once these are in. Also got the hatch plugs coming in as well. Got the horns refurbed and installed. Also put in the final fender screws and touched those up with paint to match.


 1 point
 -
1 point
-
All the other years* are jealous in every way except collector value. I would drink that beer with pride, and the offer is the same from me at this end of the country!! I love my noise reducing weatherstrip along the top edge of my window trim!! * Except 78 which is basically identical with a few electrical differences. Haha!!1 point
-
1 point
-
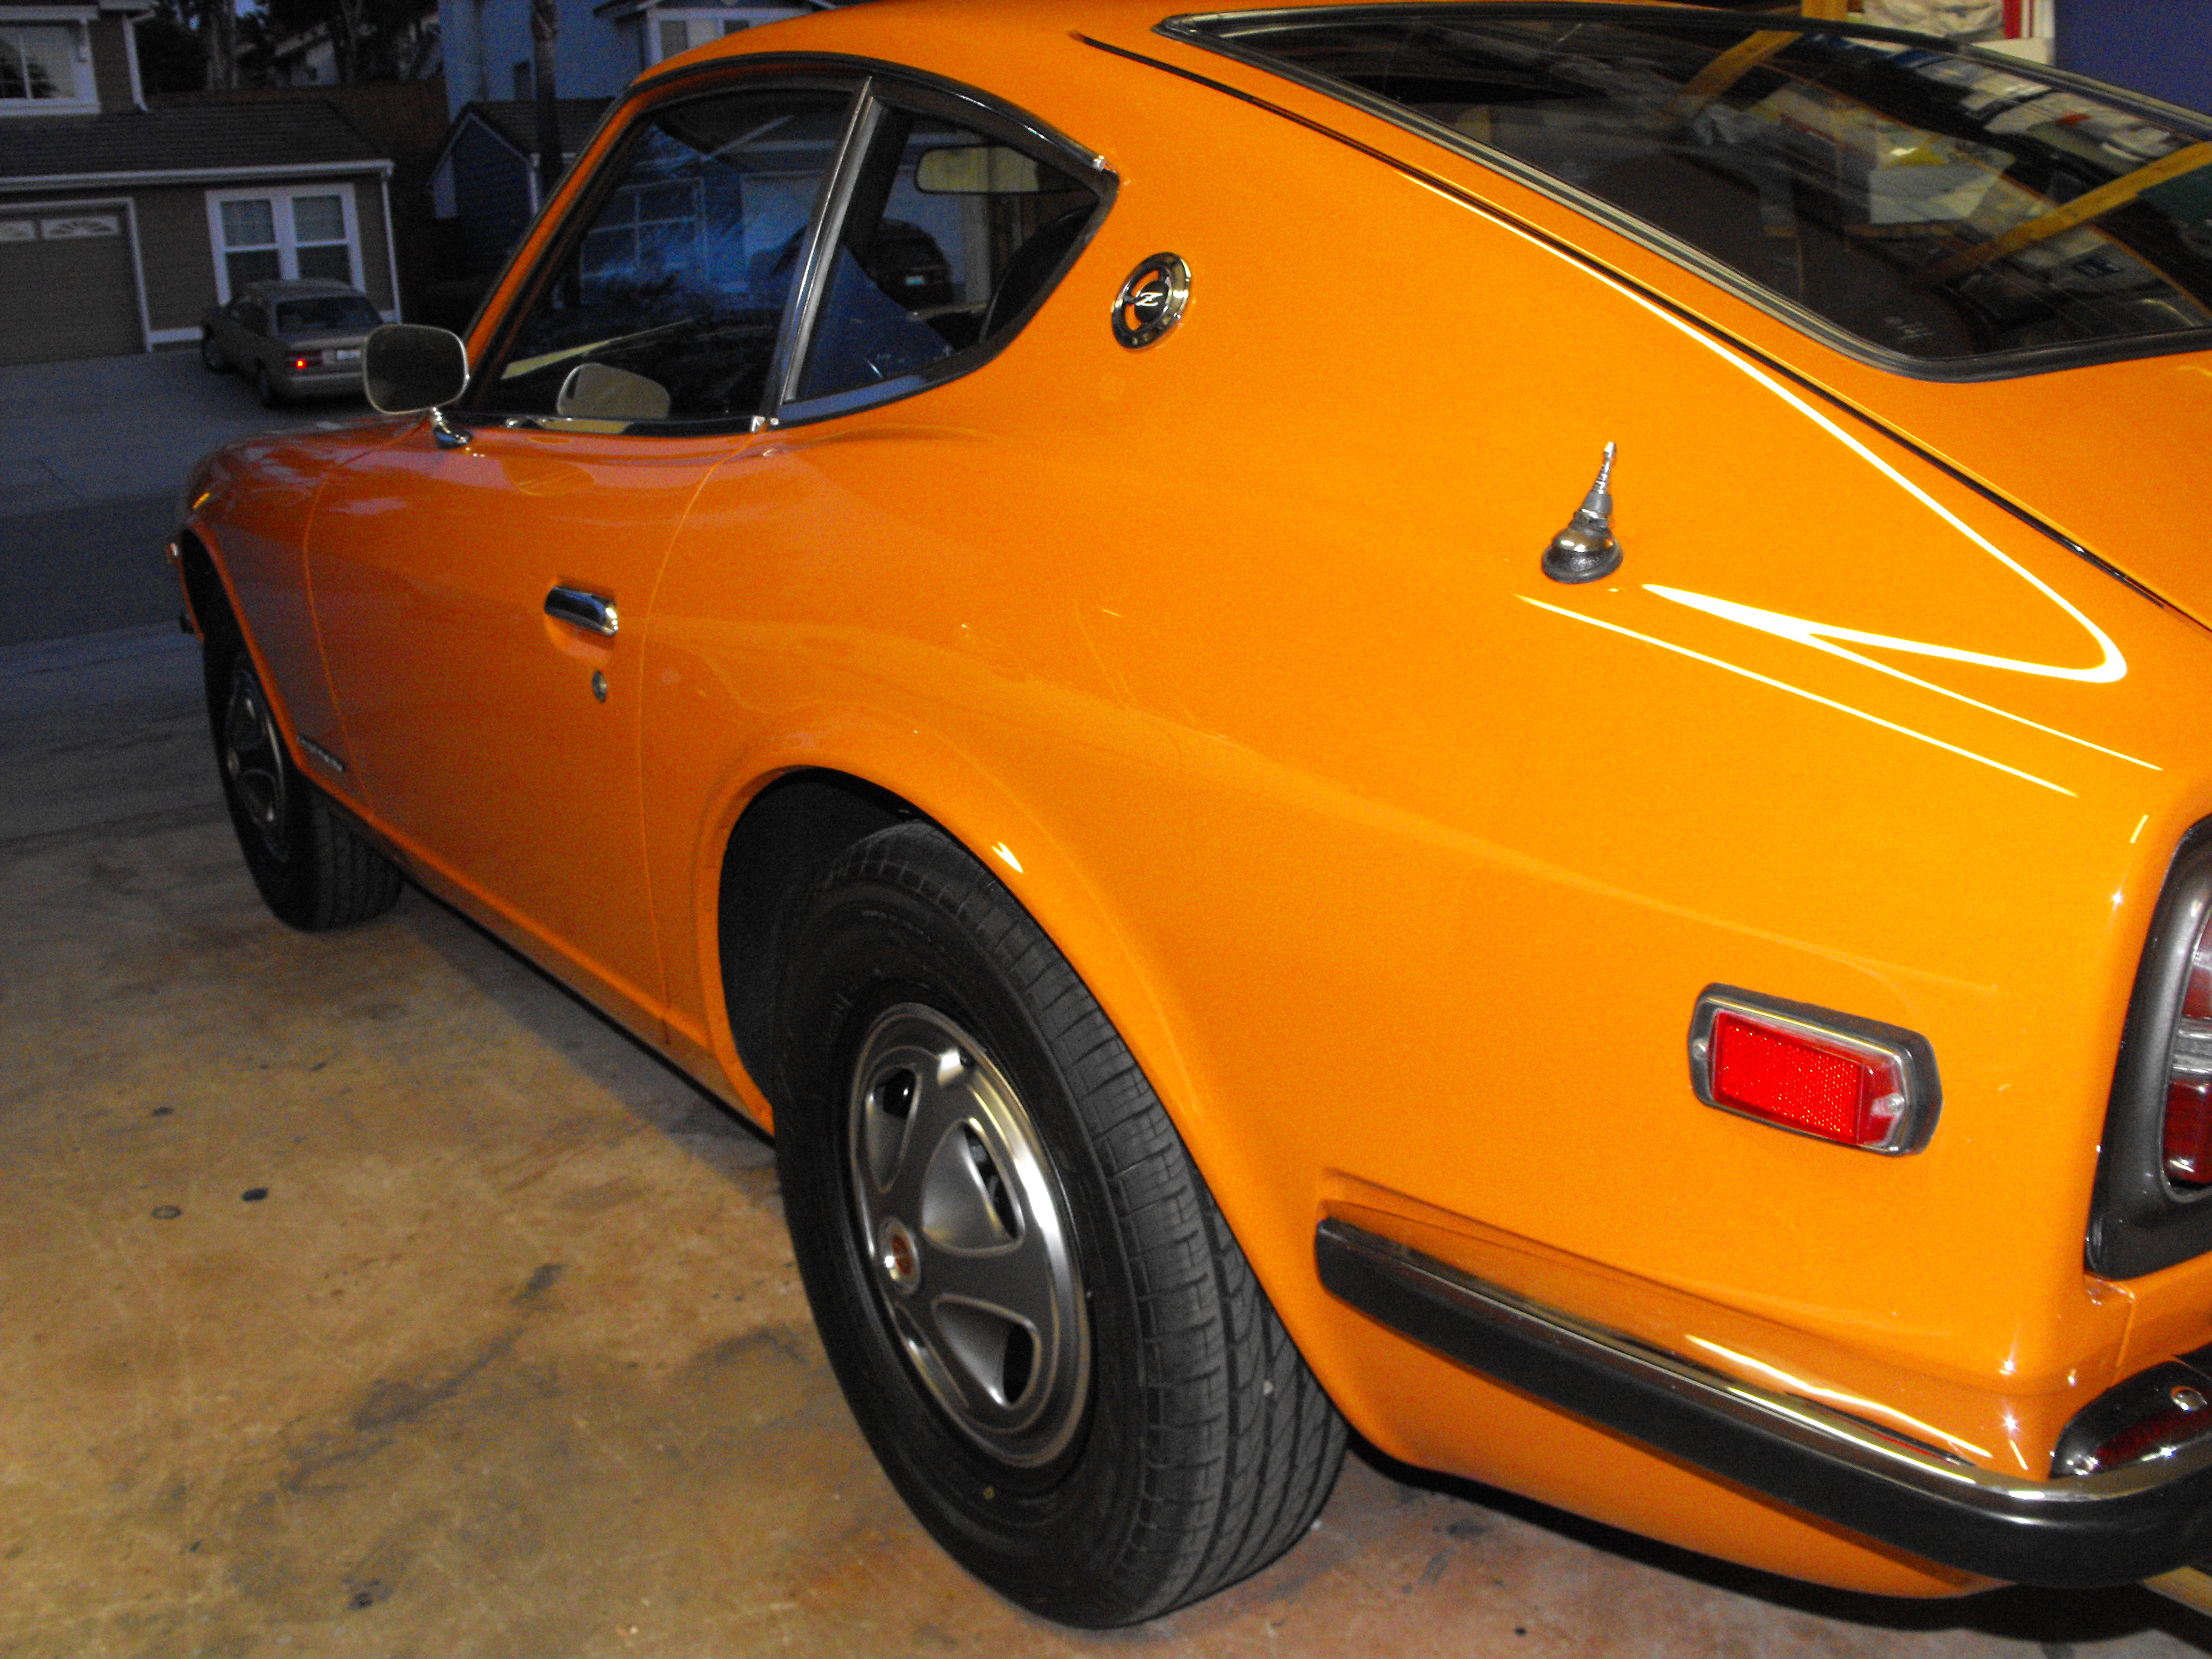
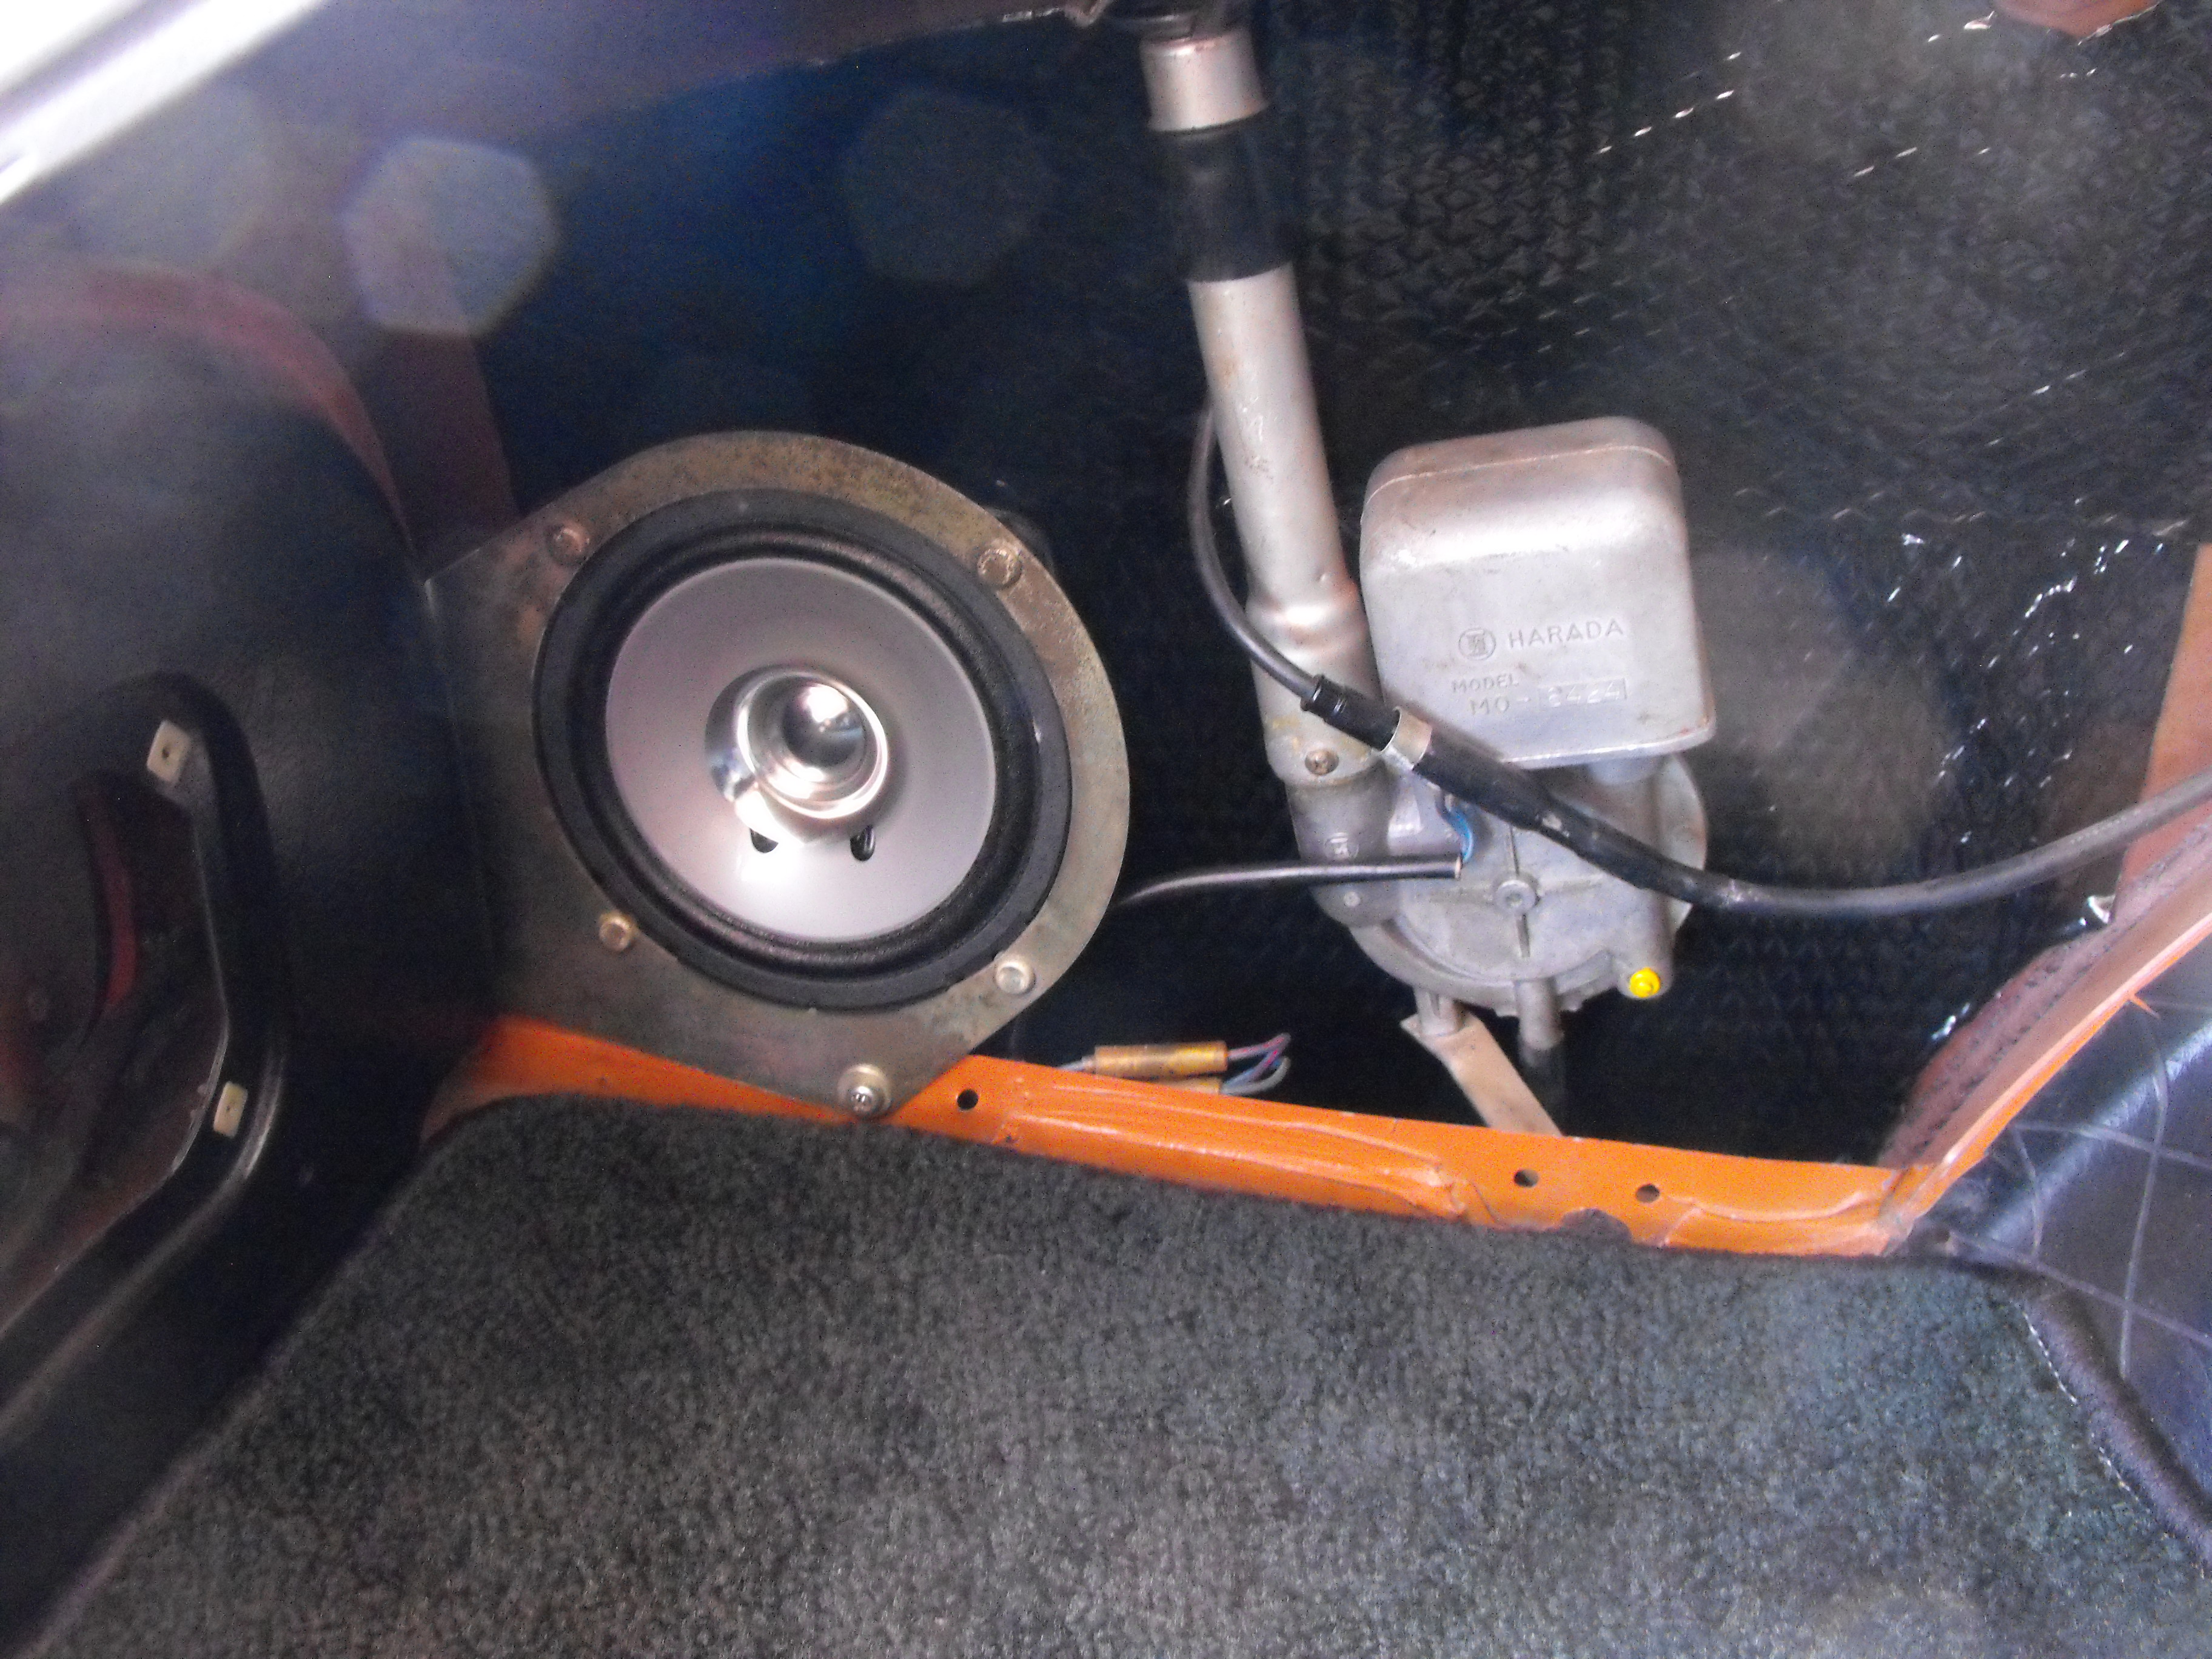
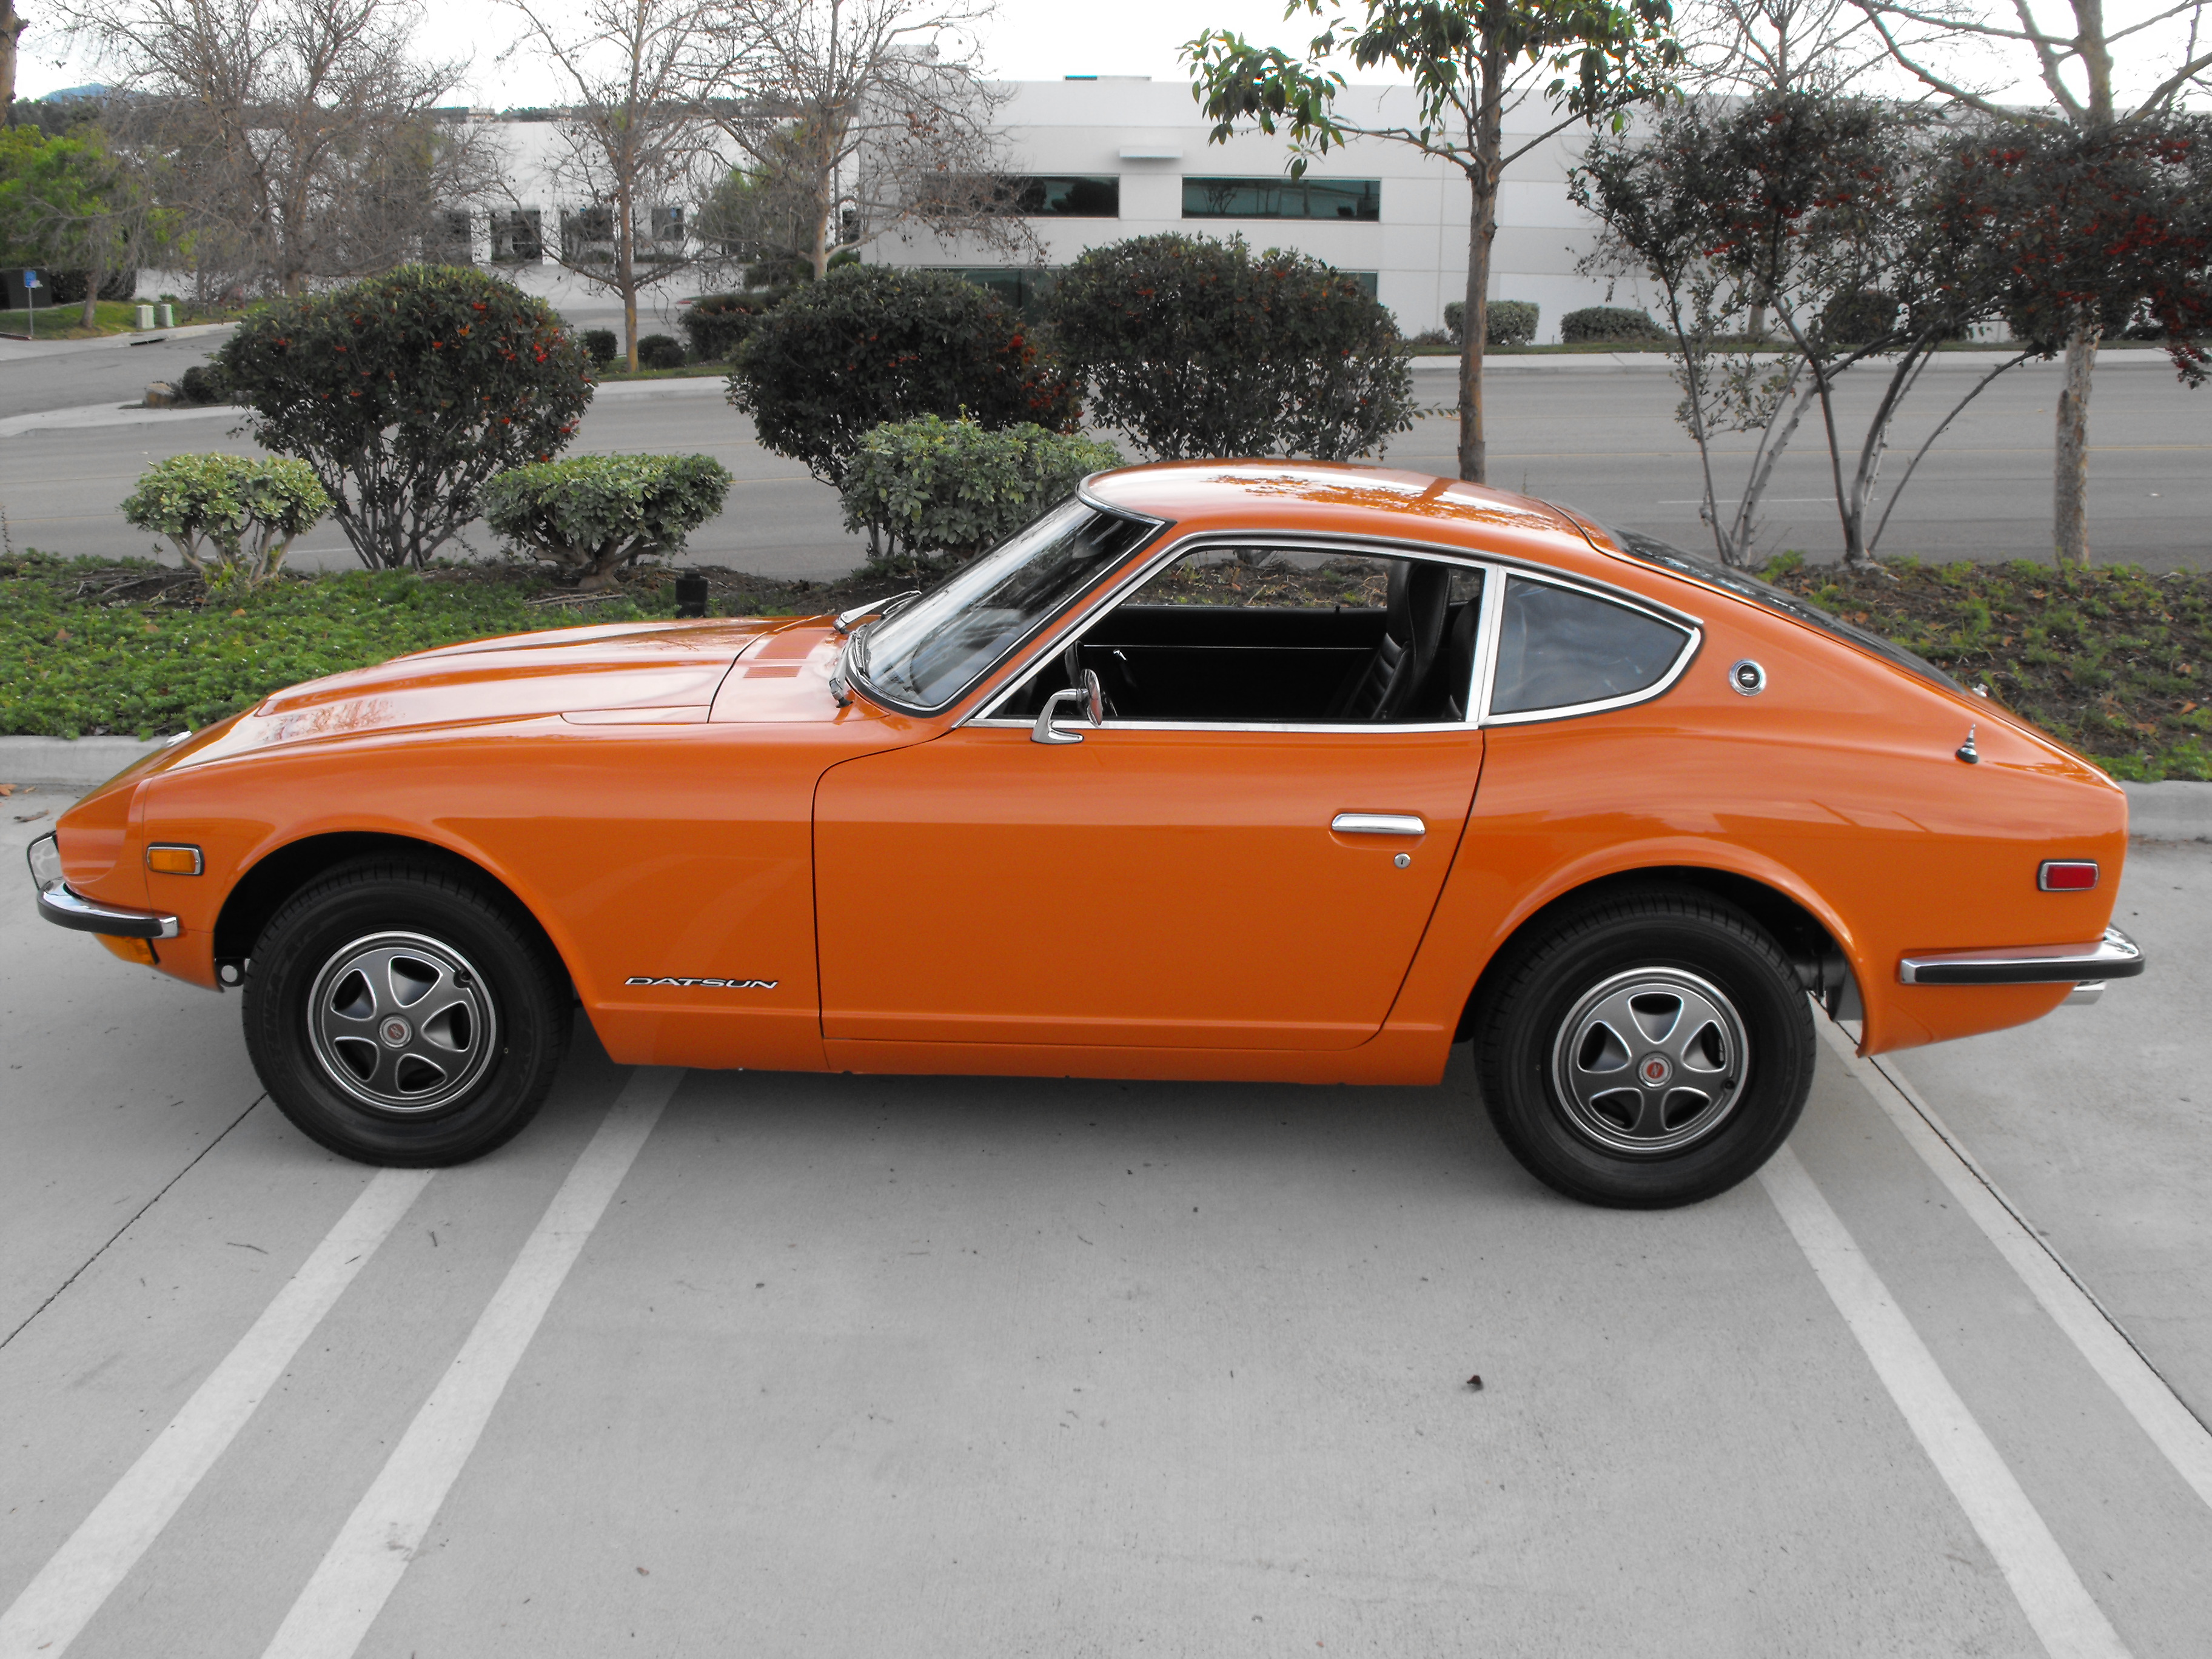
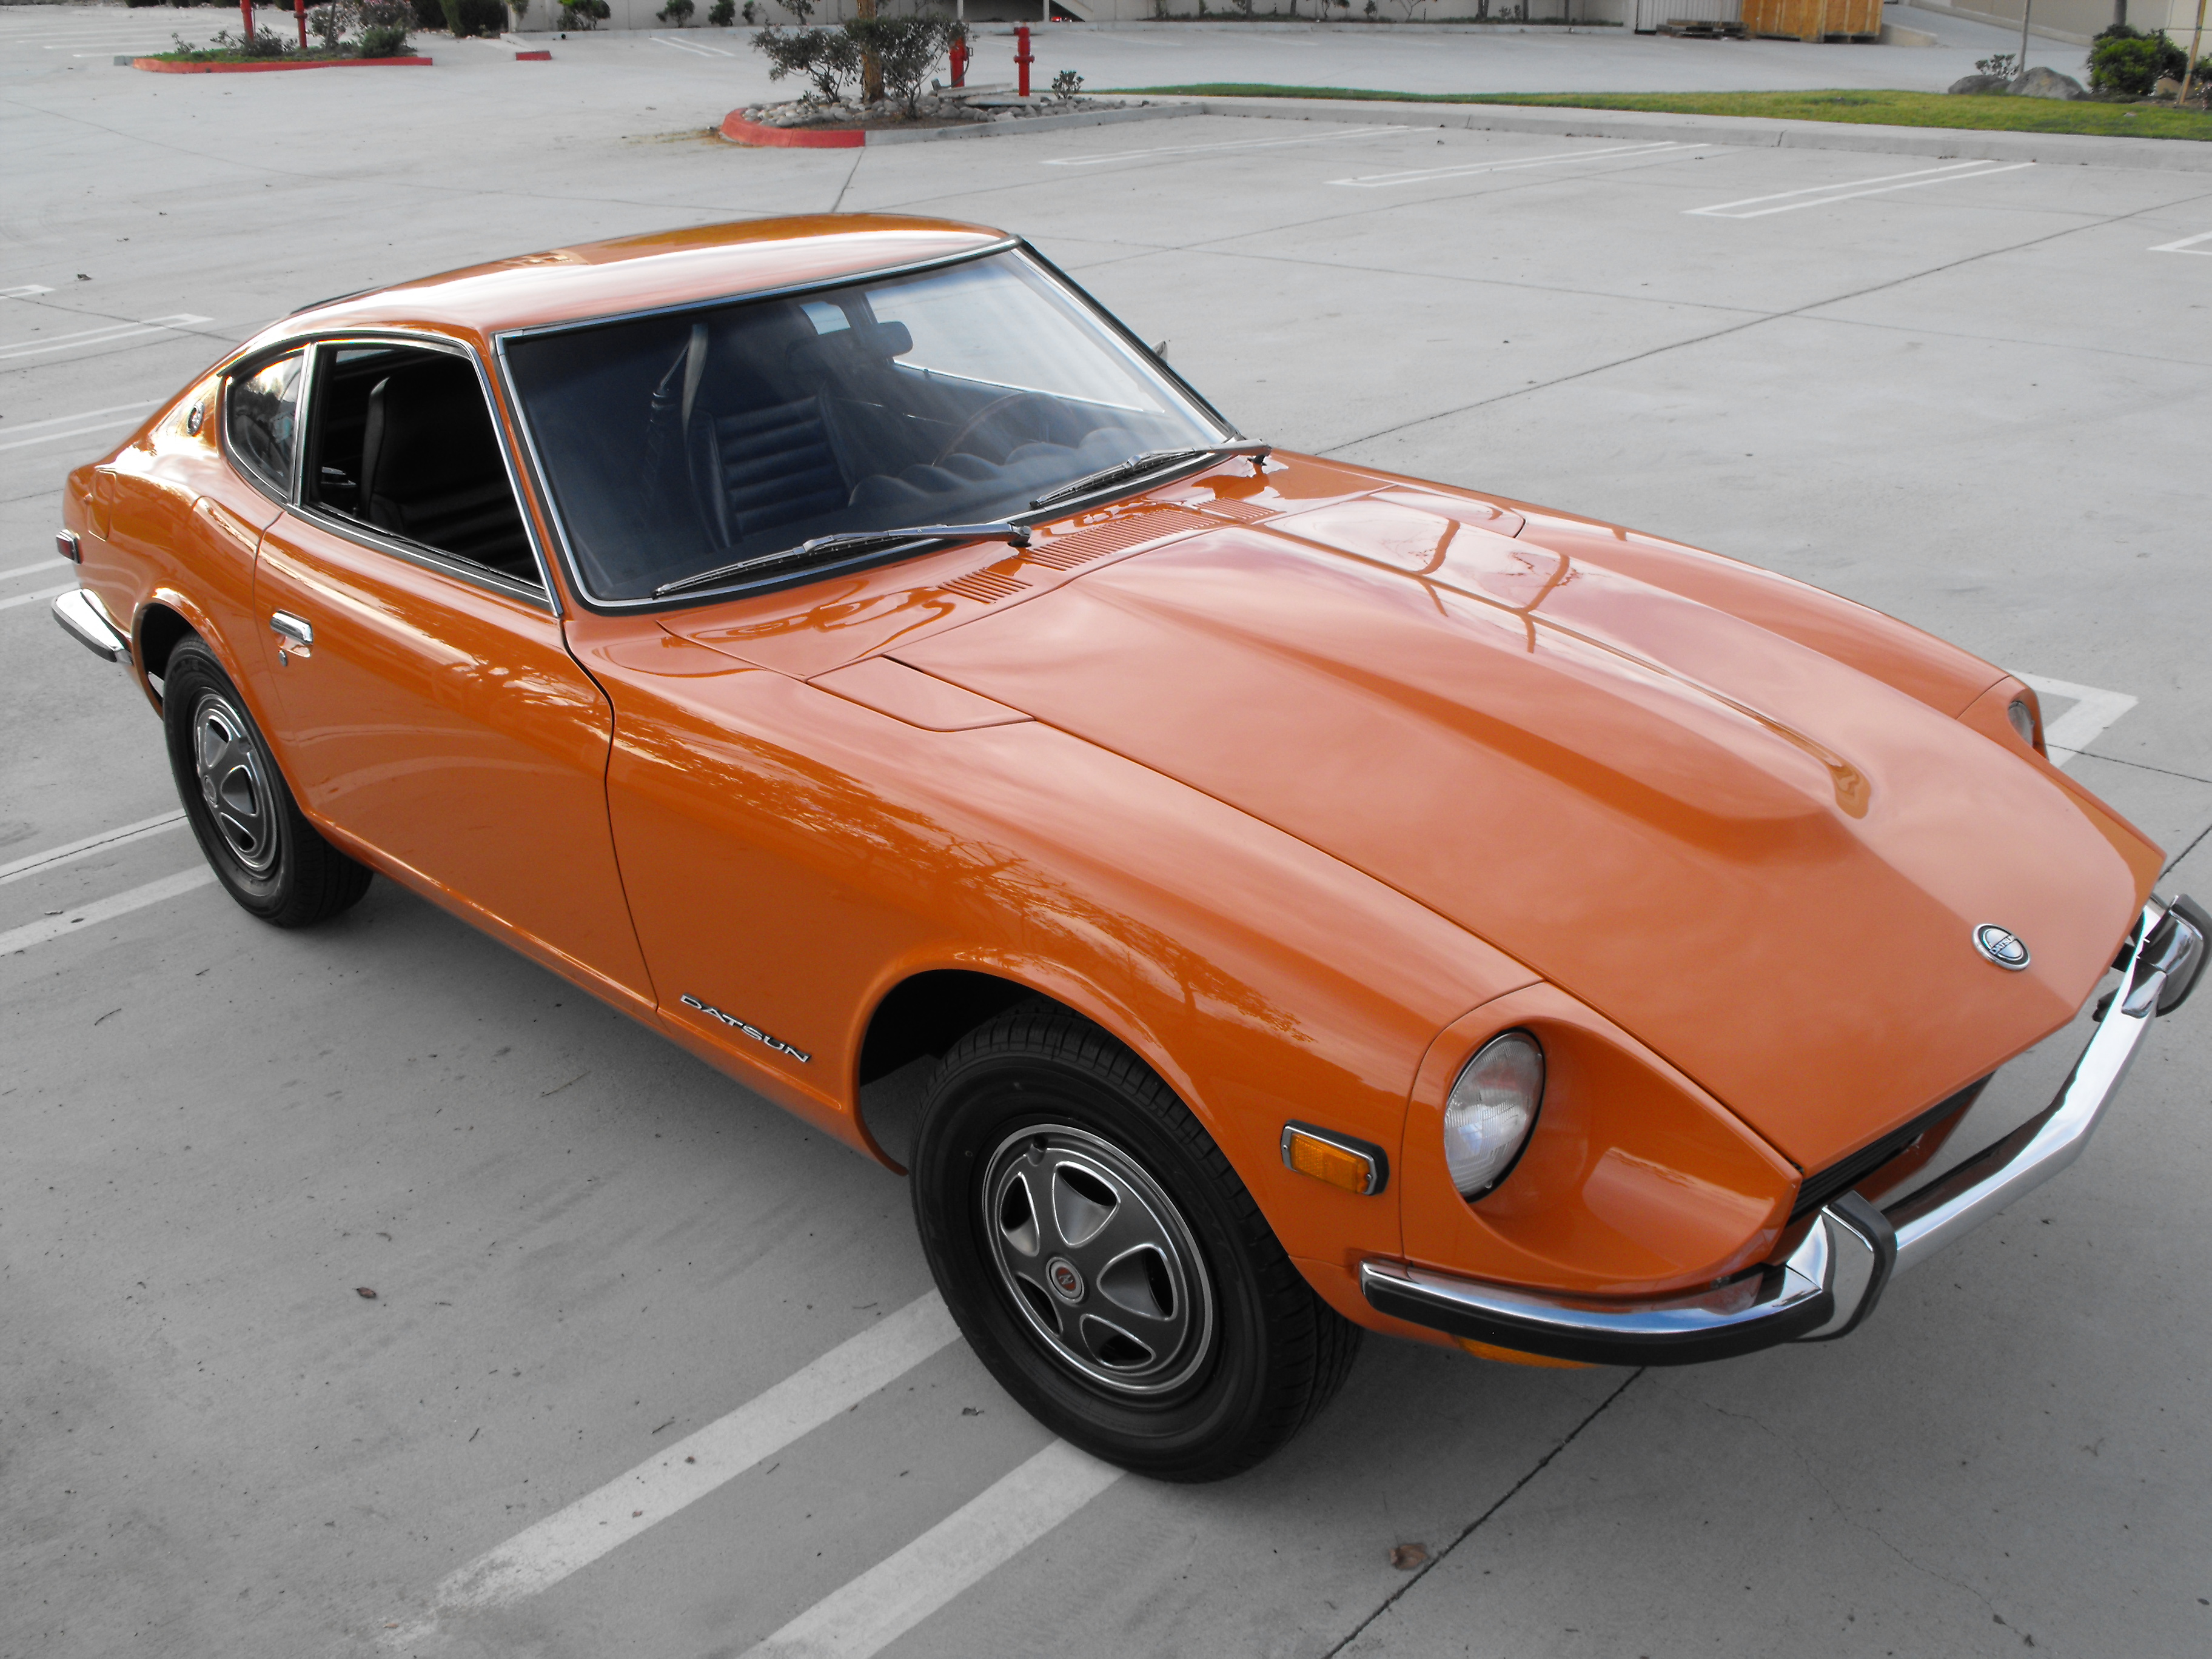
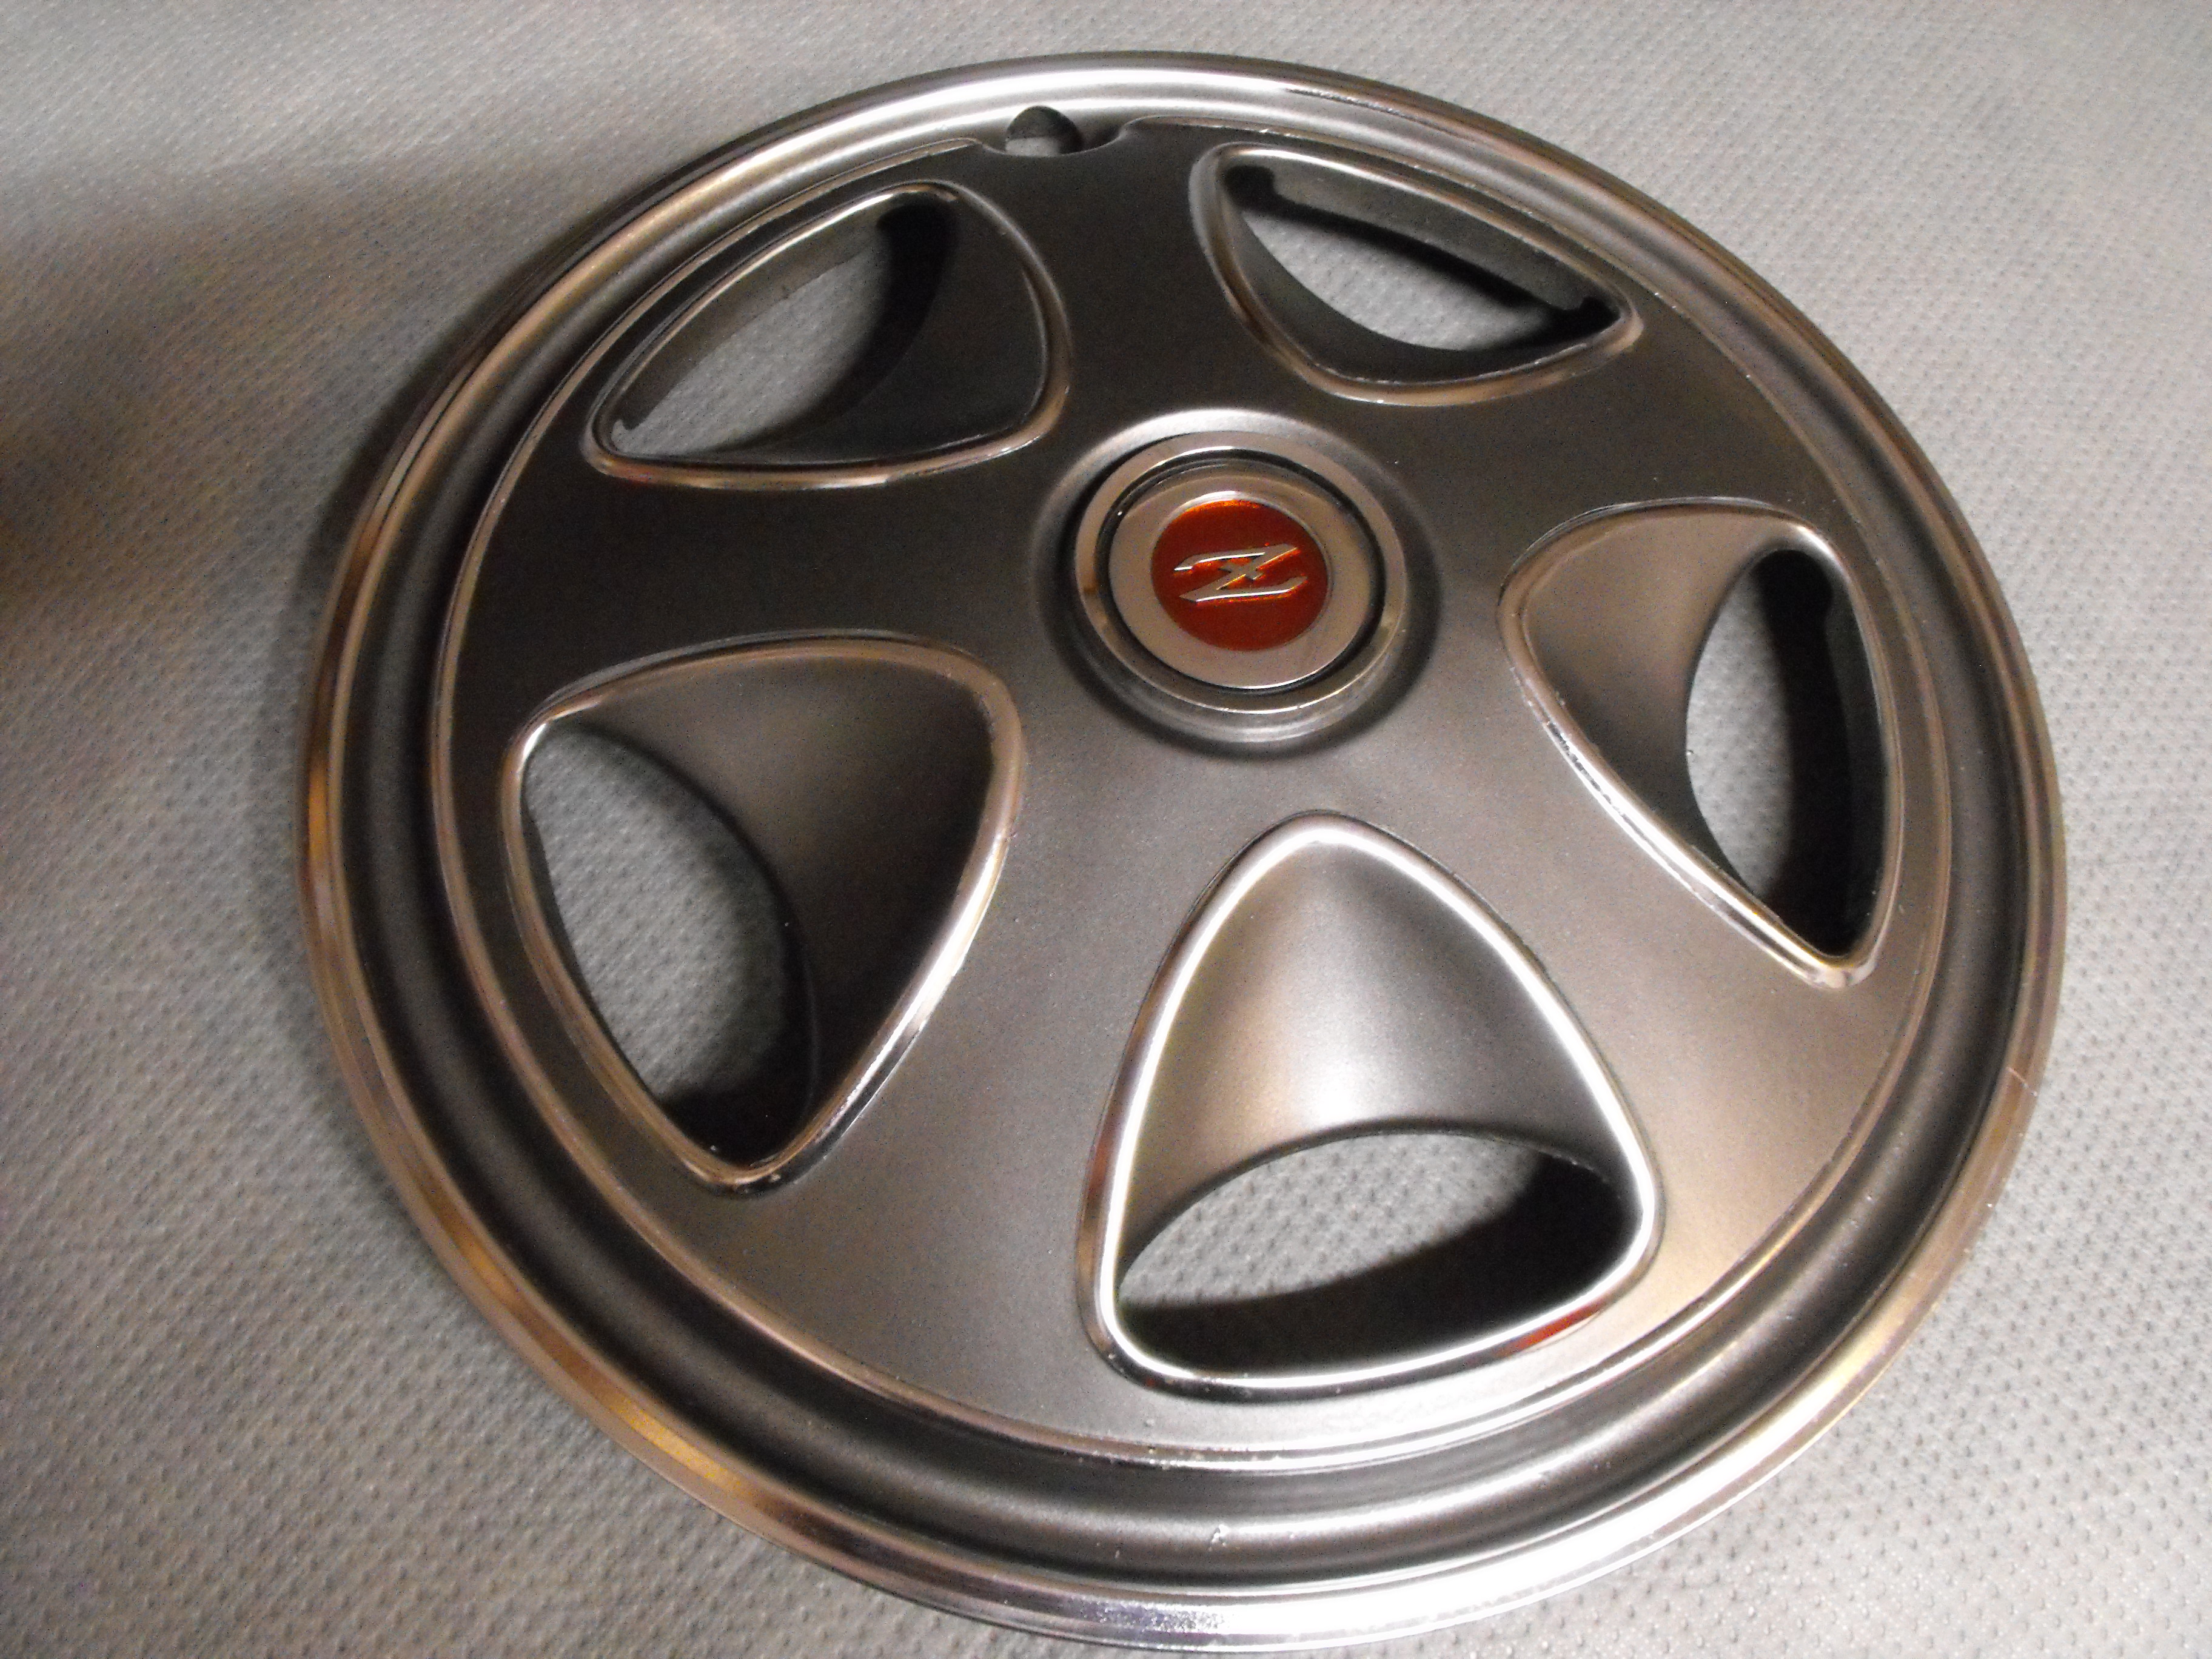
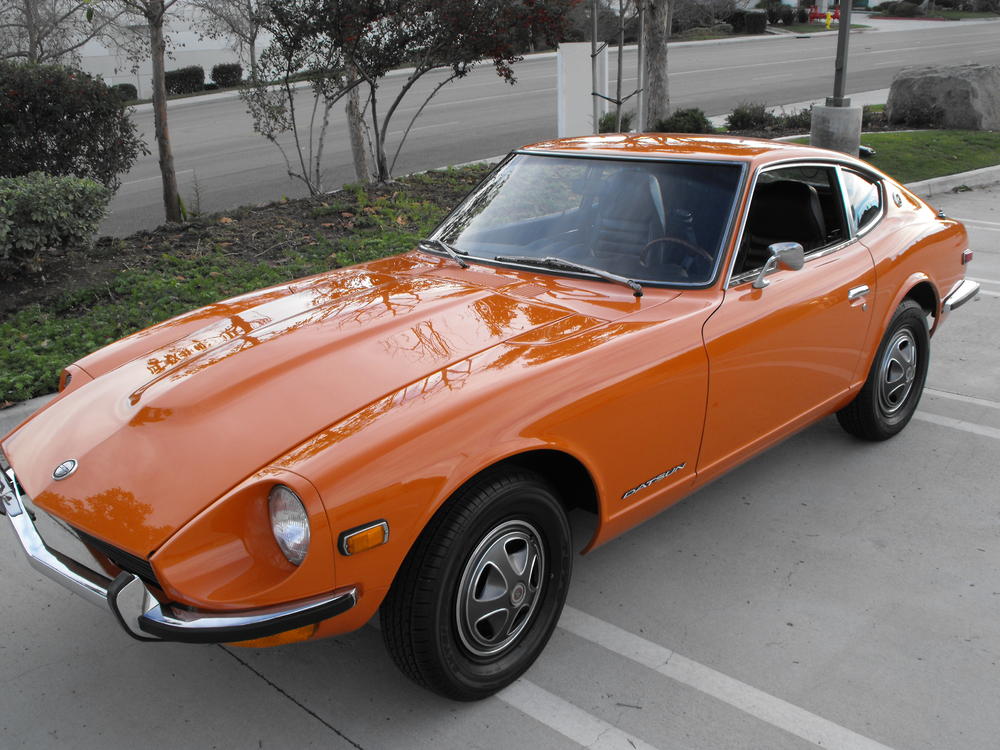
1 pointI finished the hubcaps and installed them. Also put in the new speaker. Took the car out for a small photo shoot. For some reason I thought the best conditions for photographs was with over cast skies, but I don't think that is the case here. Everything reflects off of the paint. Should have taken the photos when it was sunny..I guess. As you can tell, I am not really a skilled photographer. Anyway, here are a couple pics.


 1 point
 -
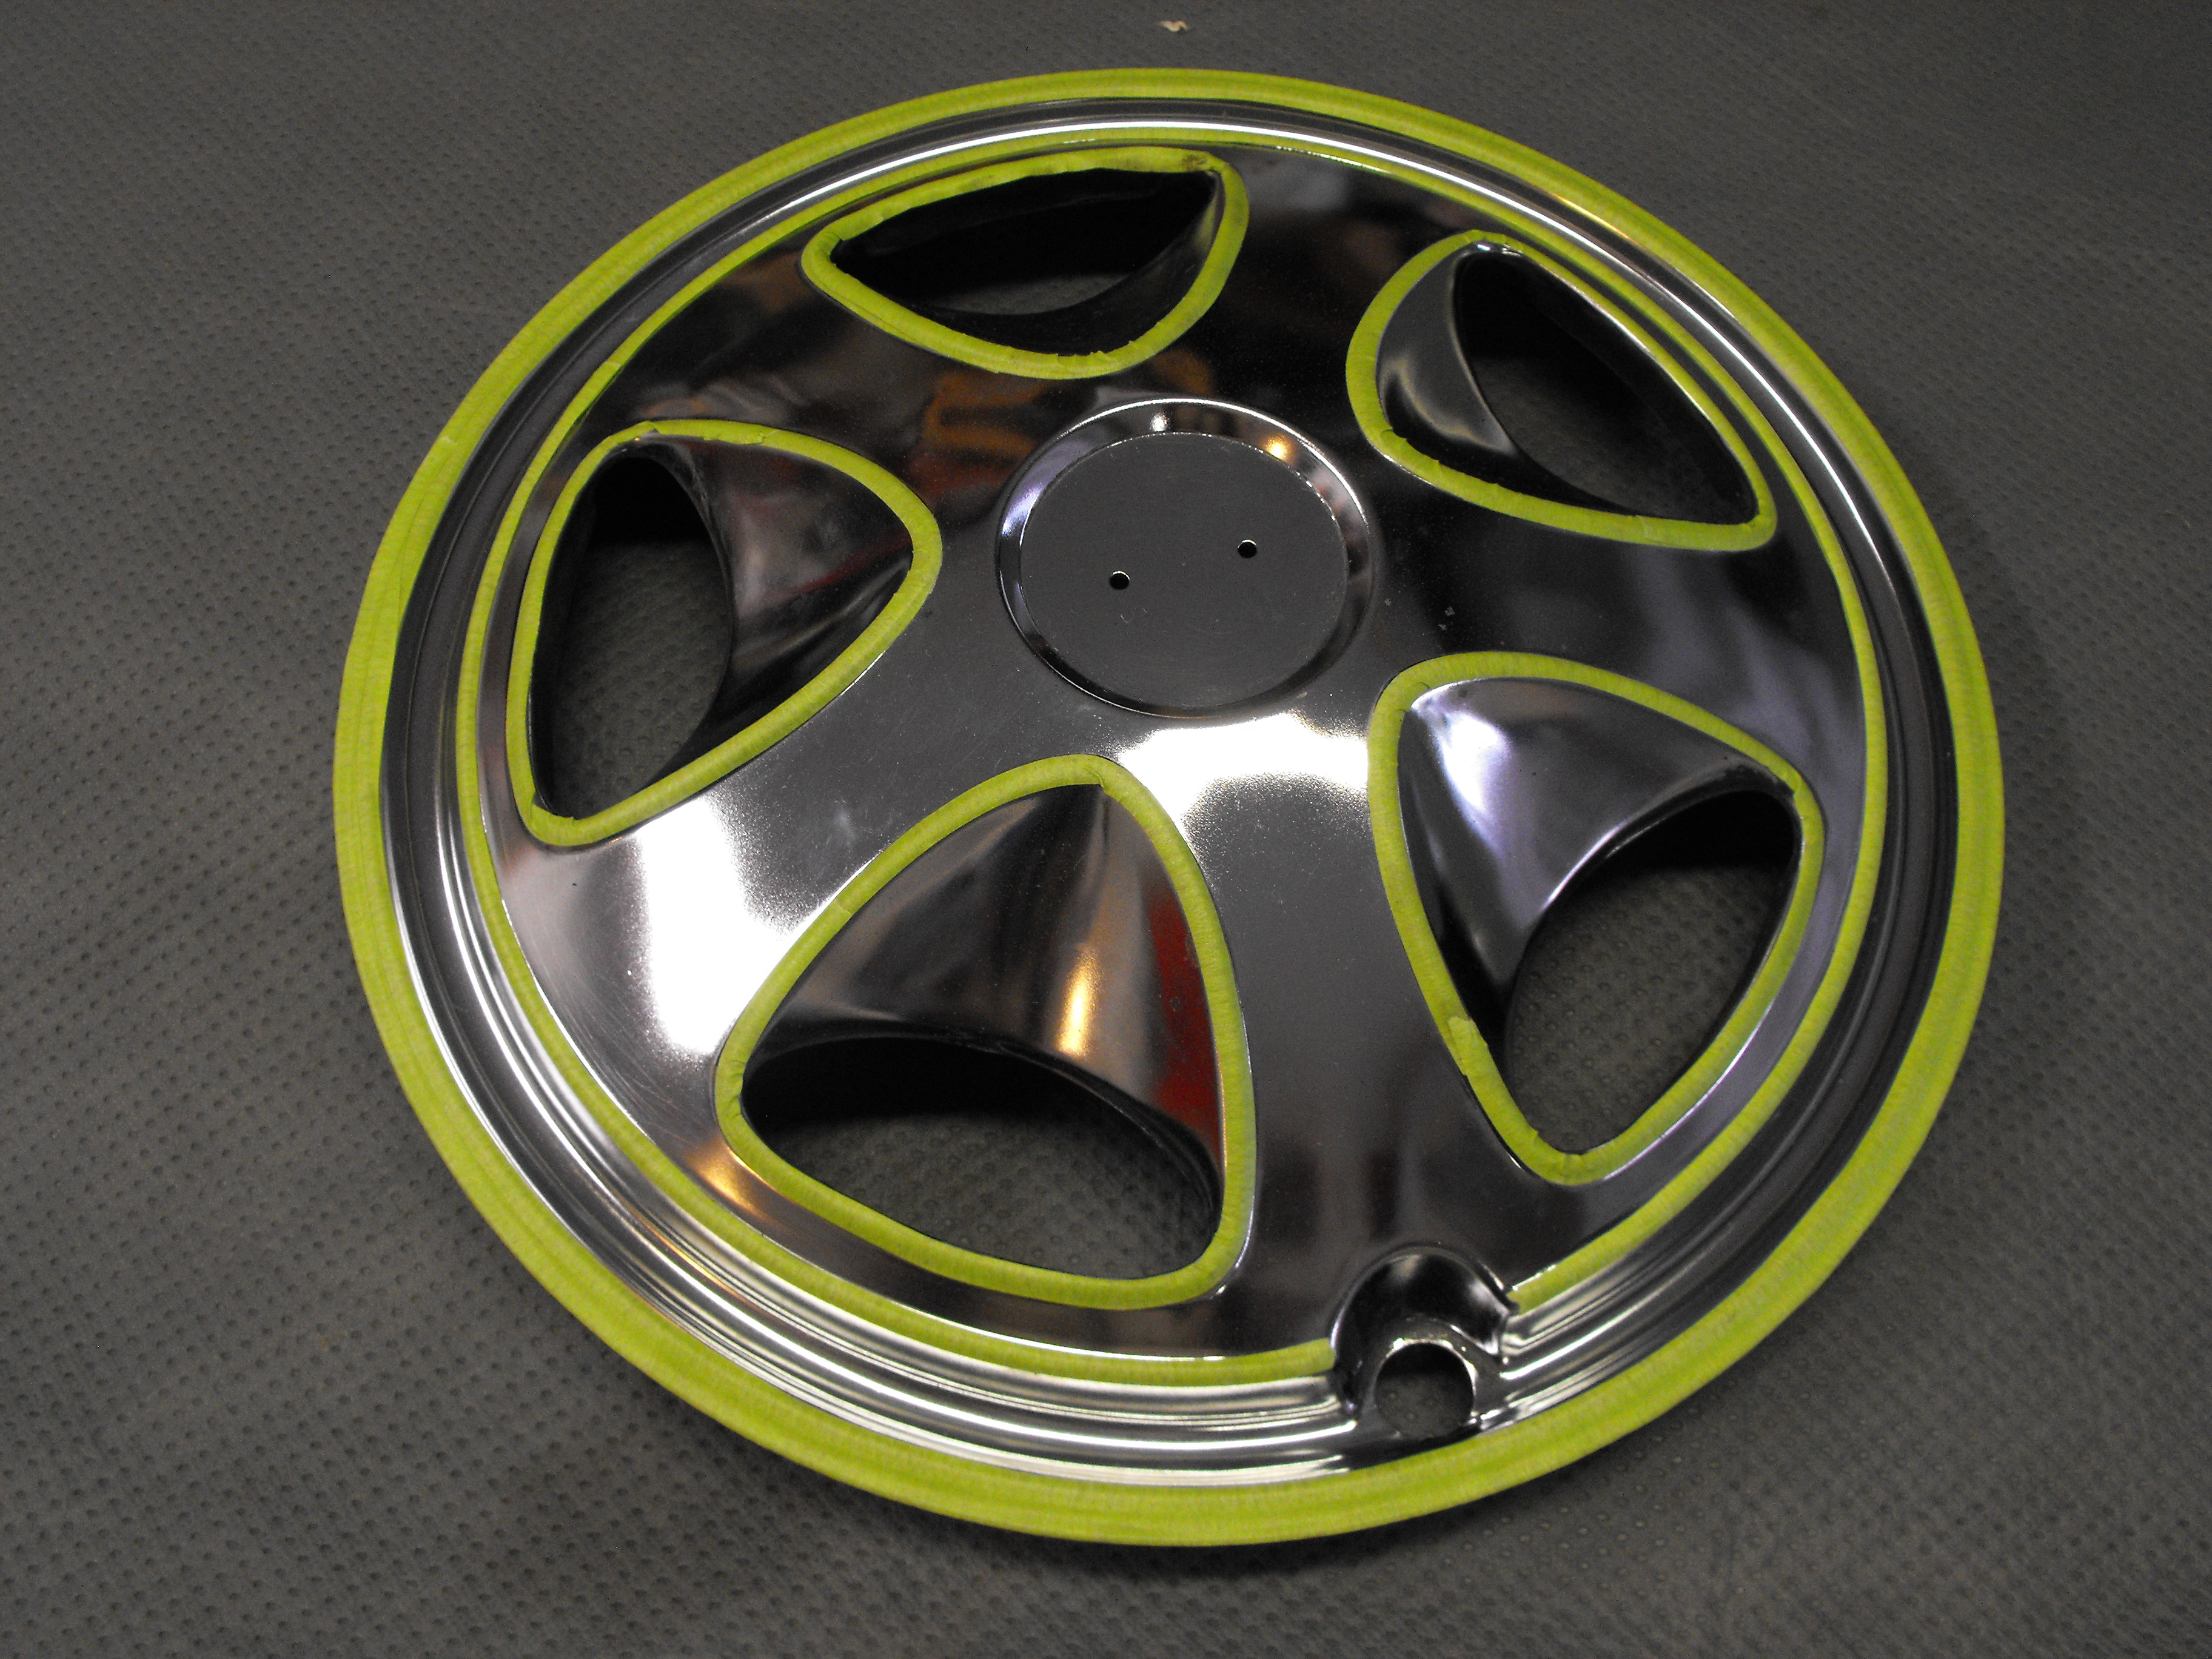
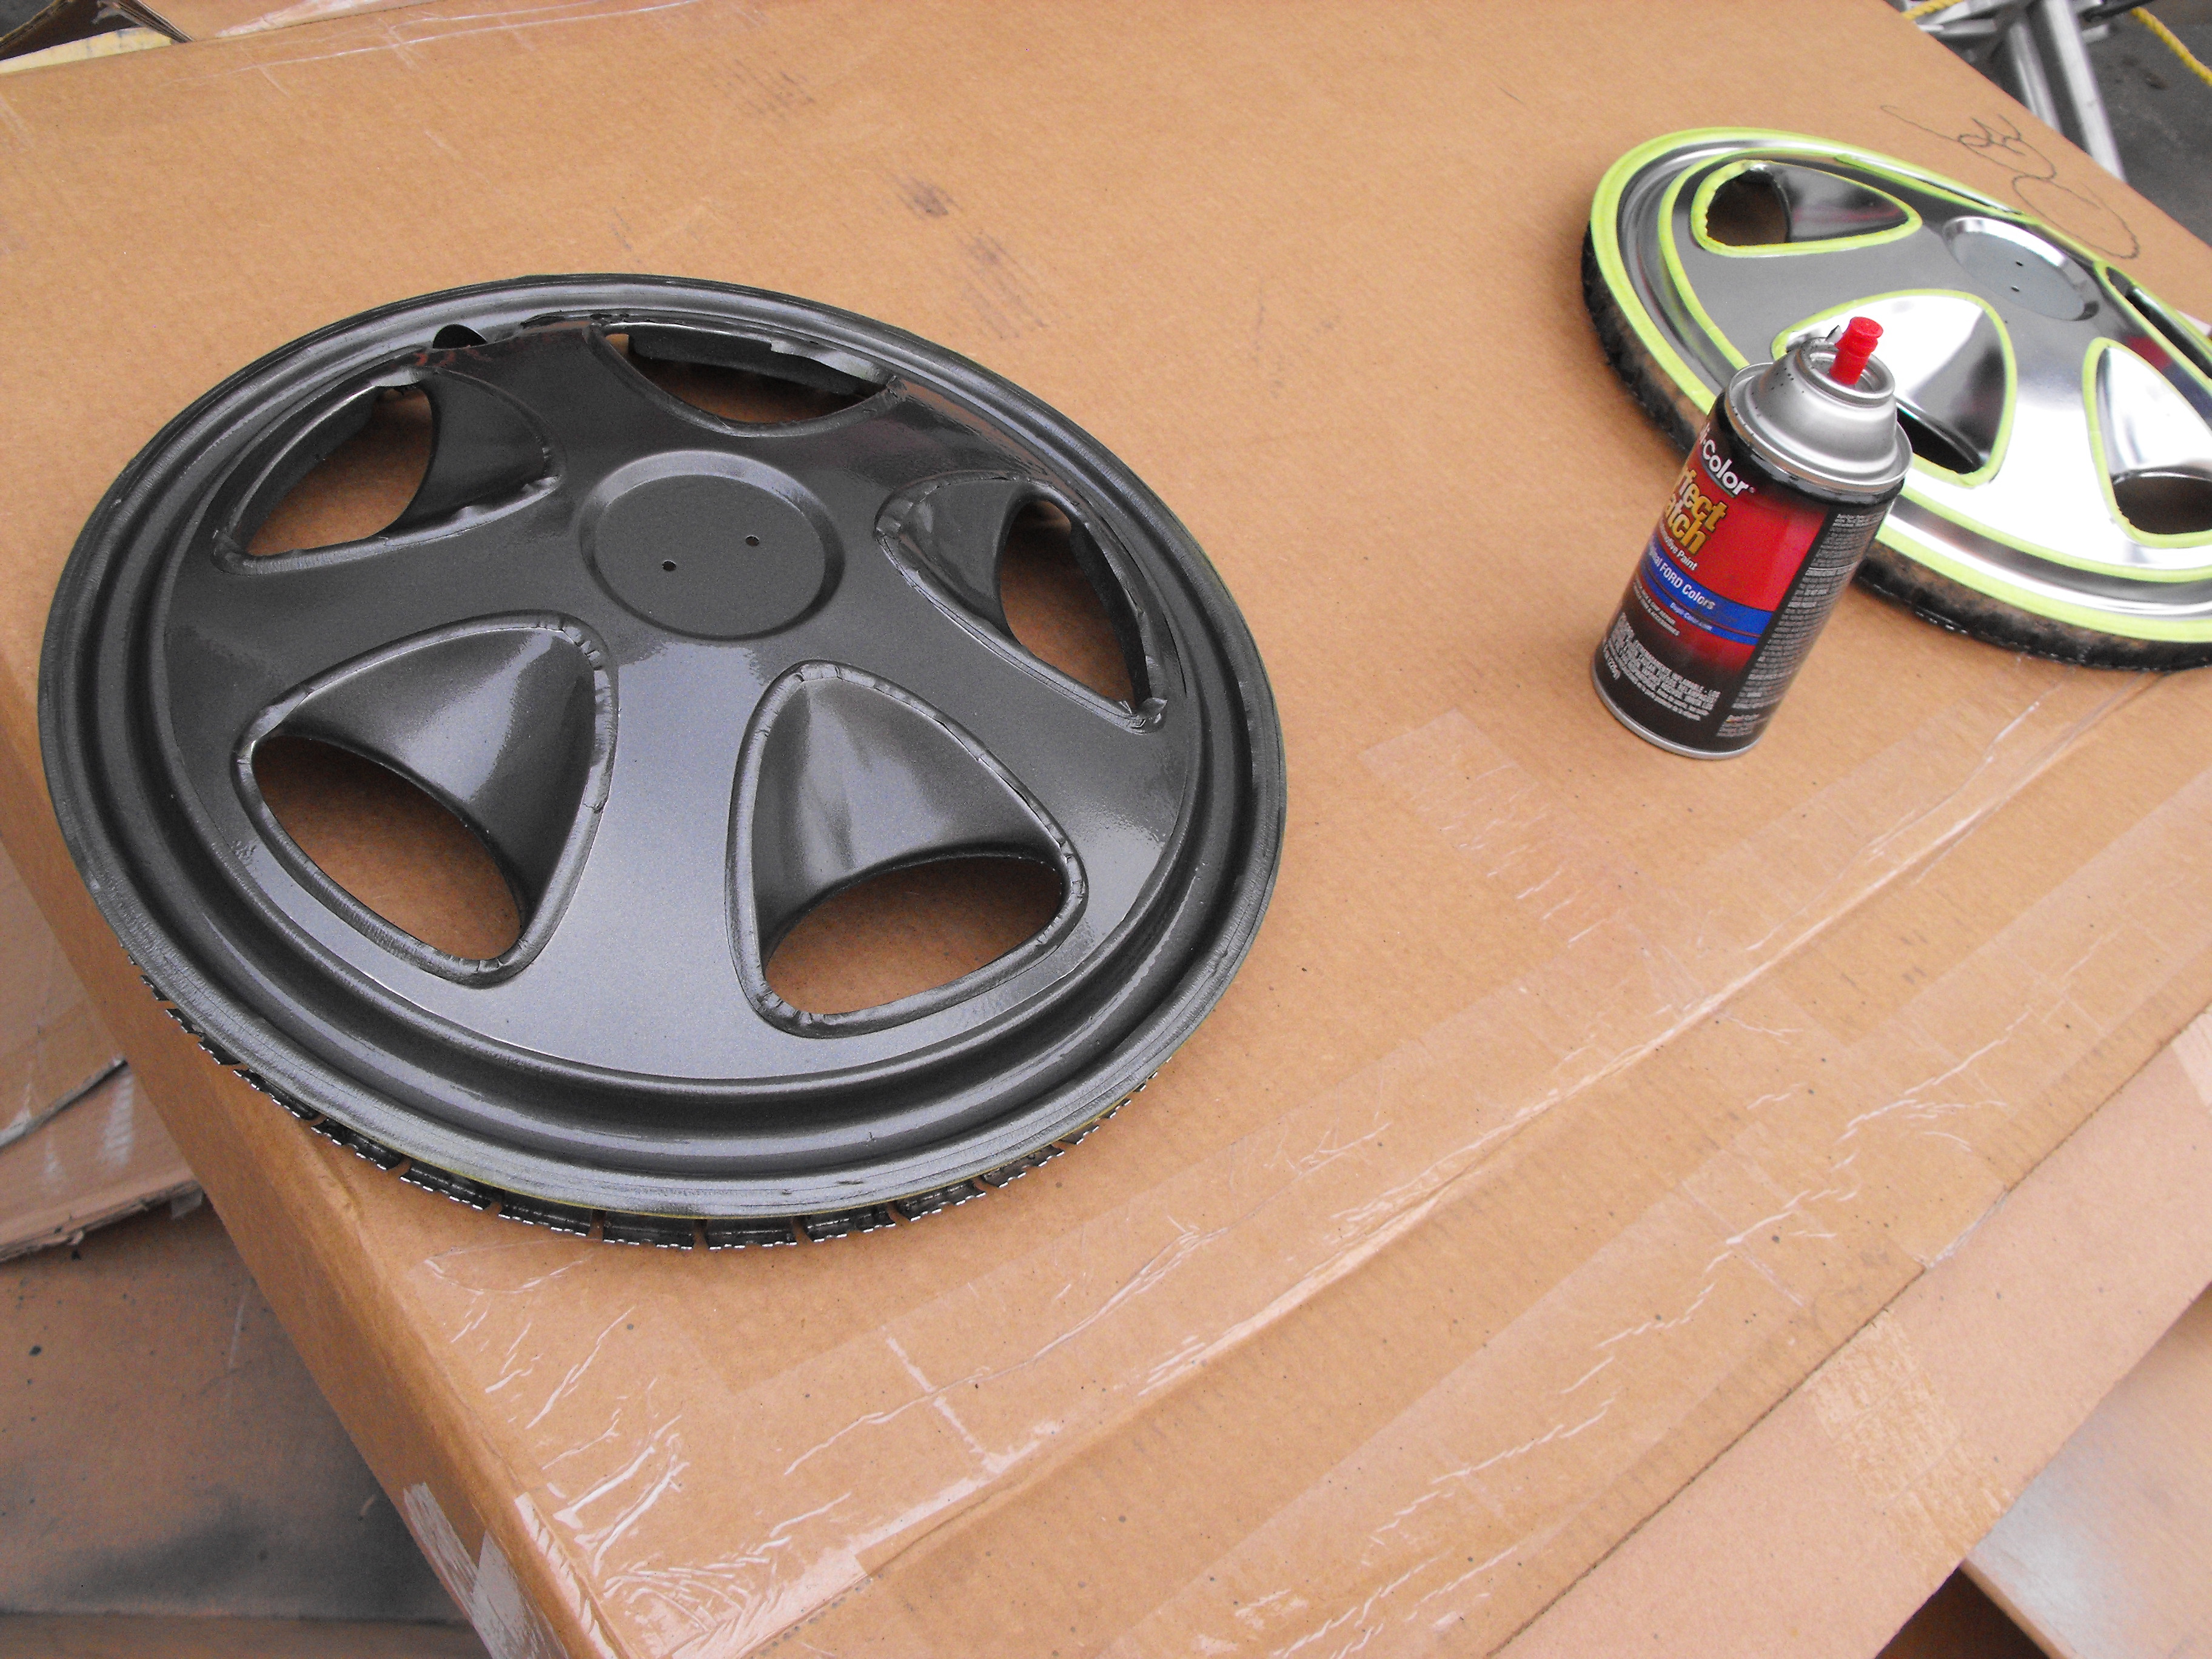
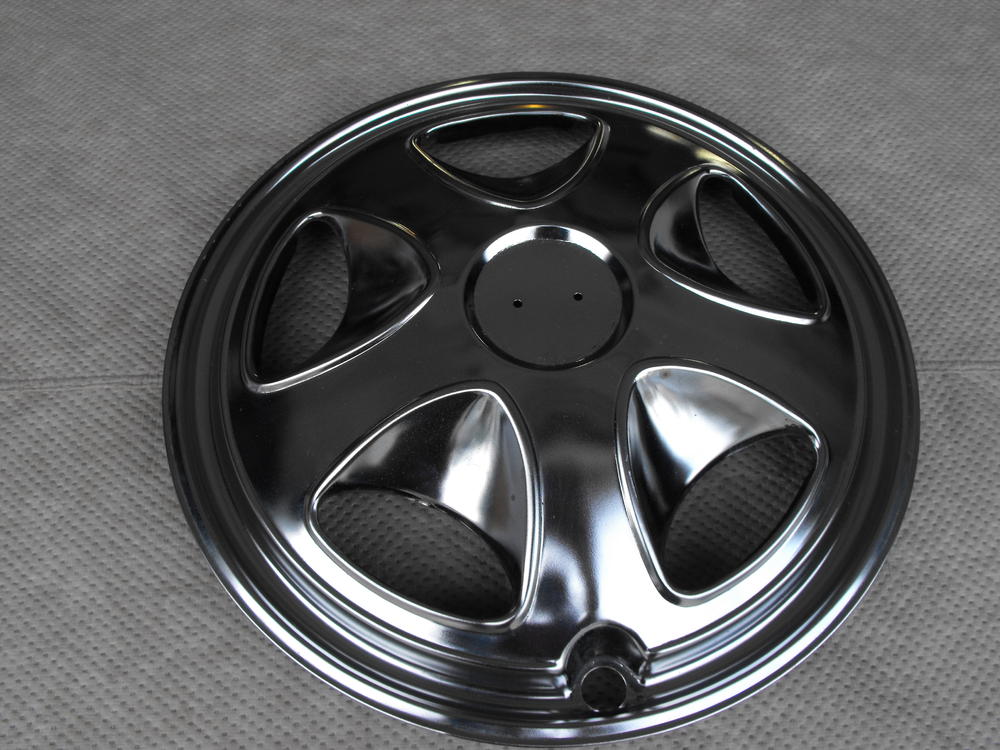
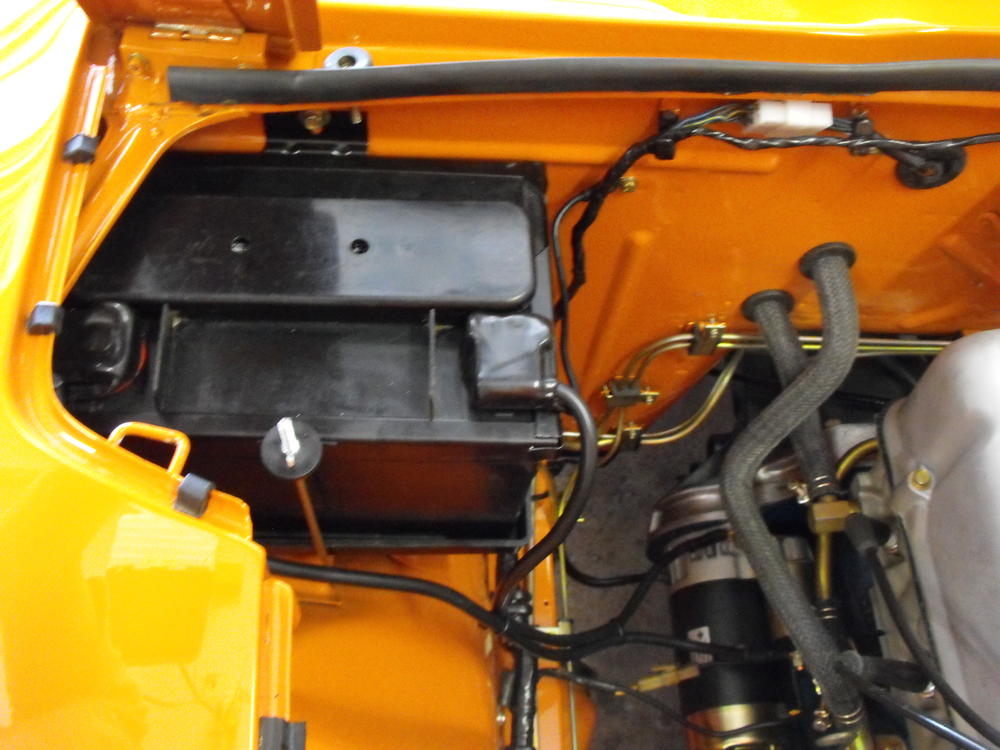
1 pointYes, nice to have the correct battery cables in. So much nicer. I stripped all of the hubcaps and prepped a couple for paint with the green tape. Unfortunately I ran out of paint, so will order some more from Amazon. The first one came out nice.


 1 point
 -
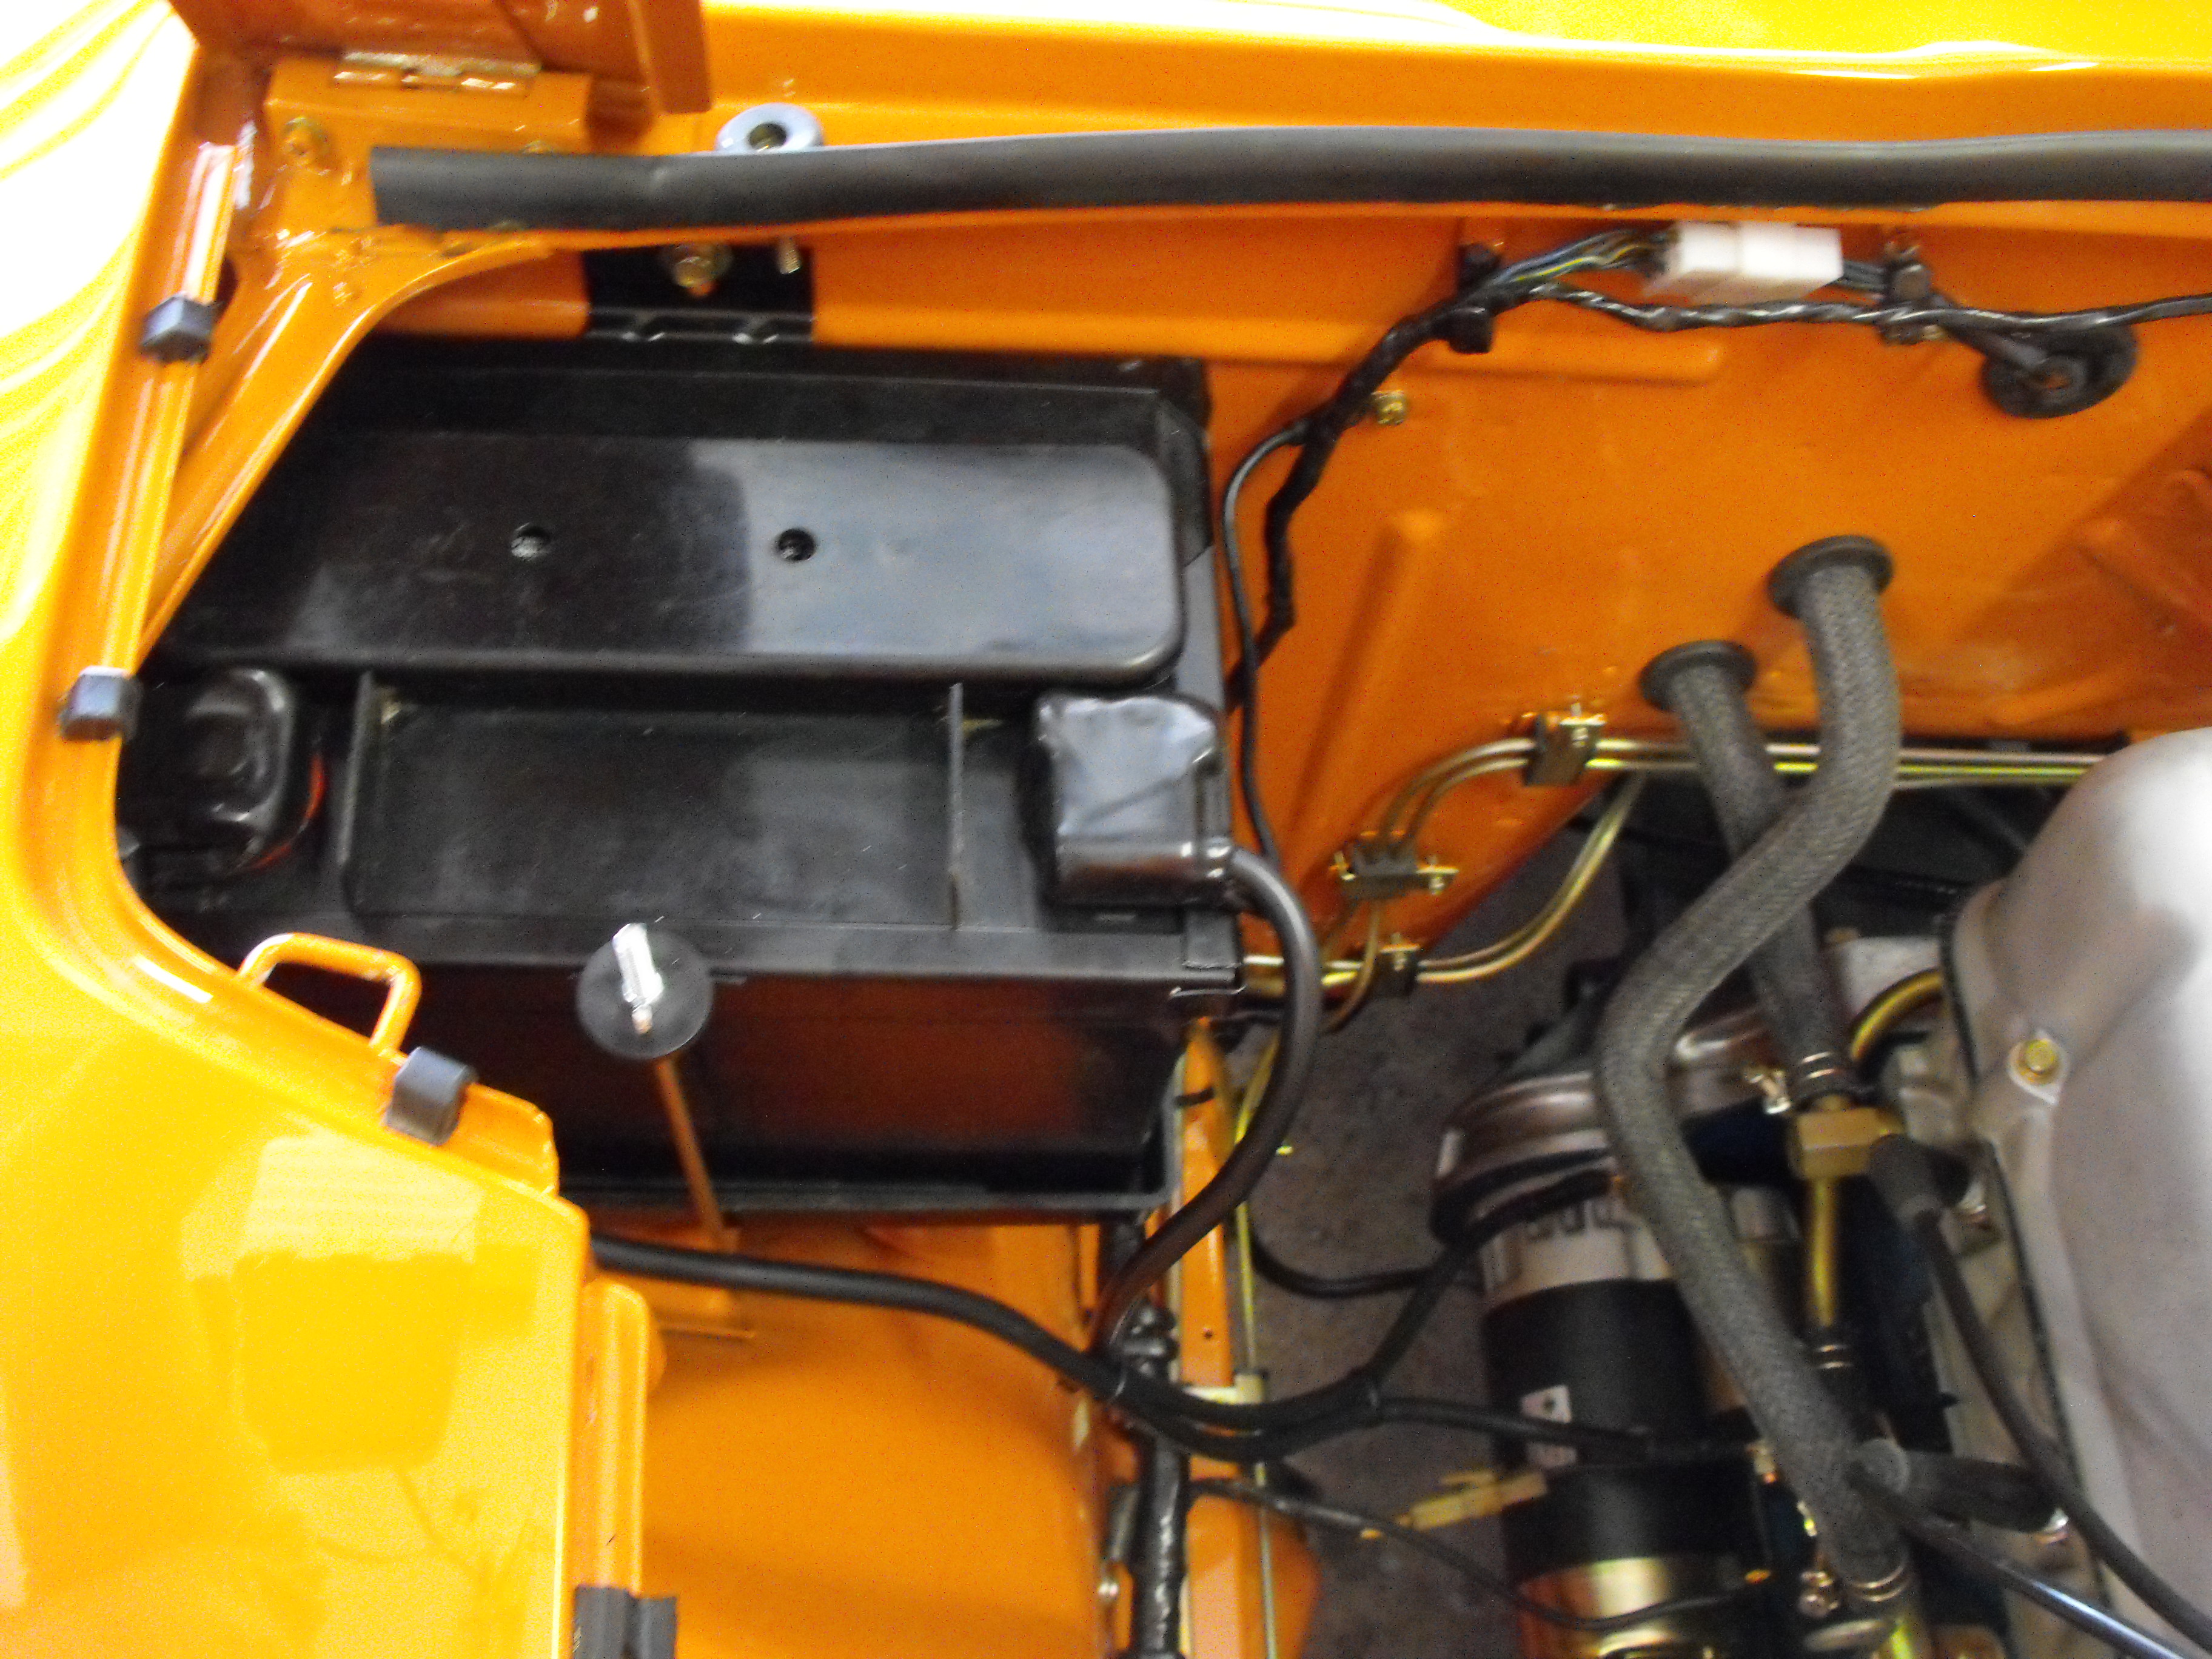
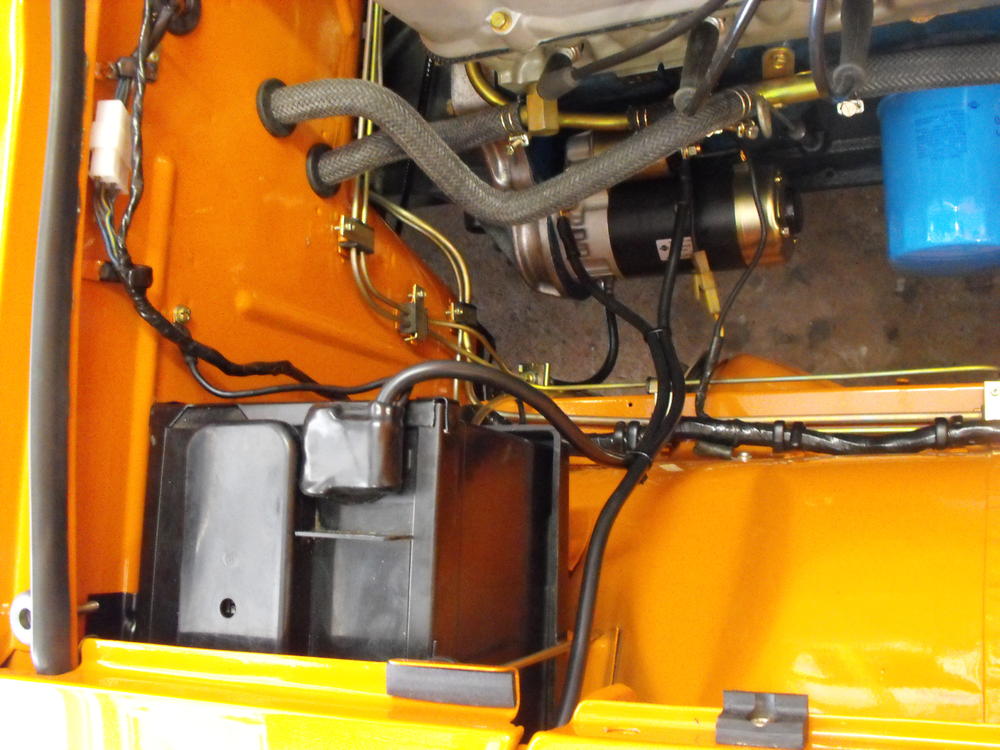
1 pointHere are the new battery cables installed. The ty-wraps are not stock, but it looks a bit nicer this way.
 1 point
 -
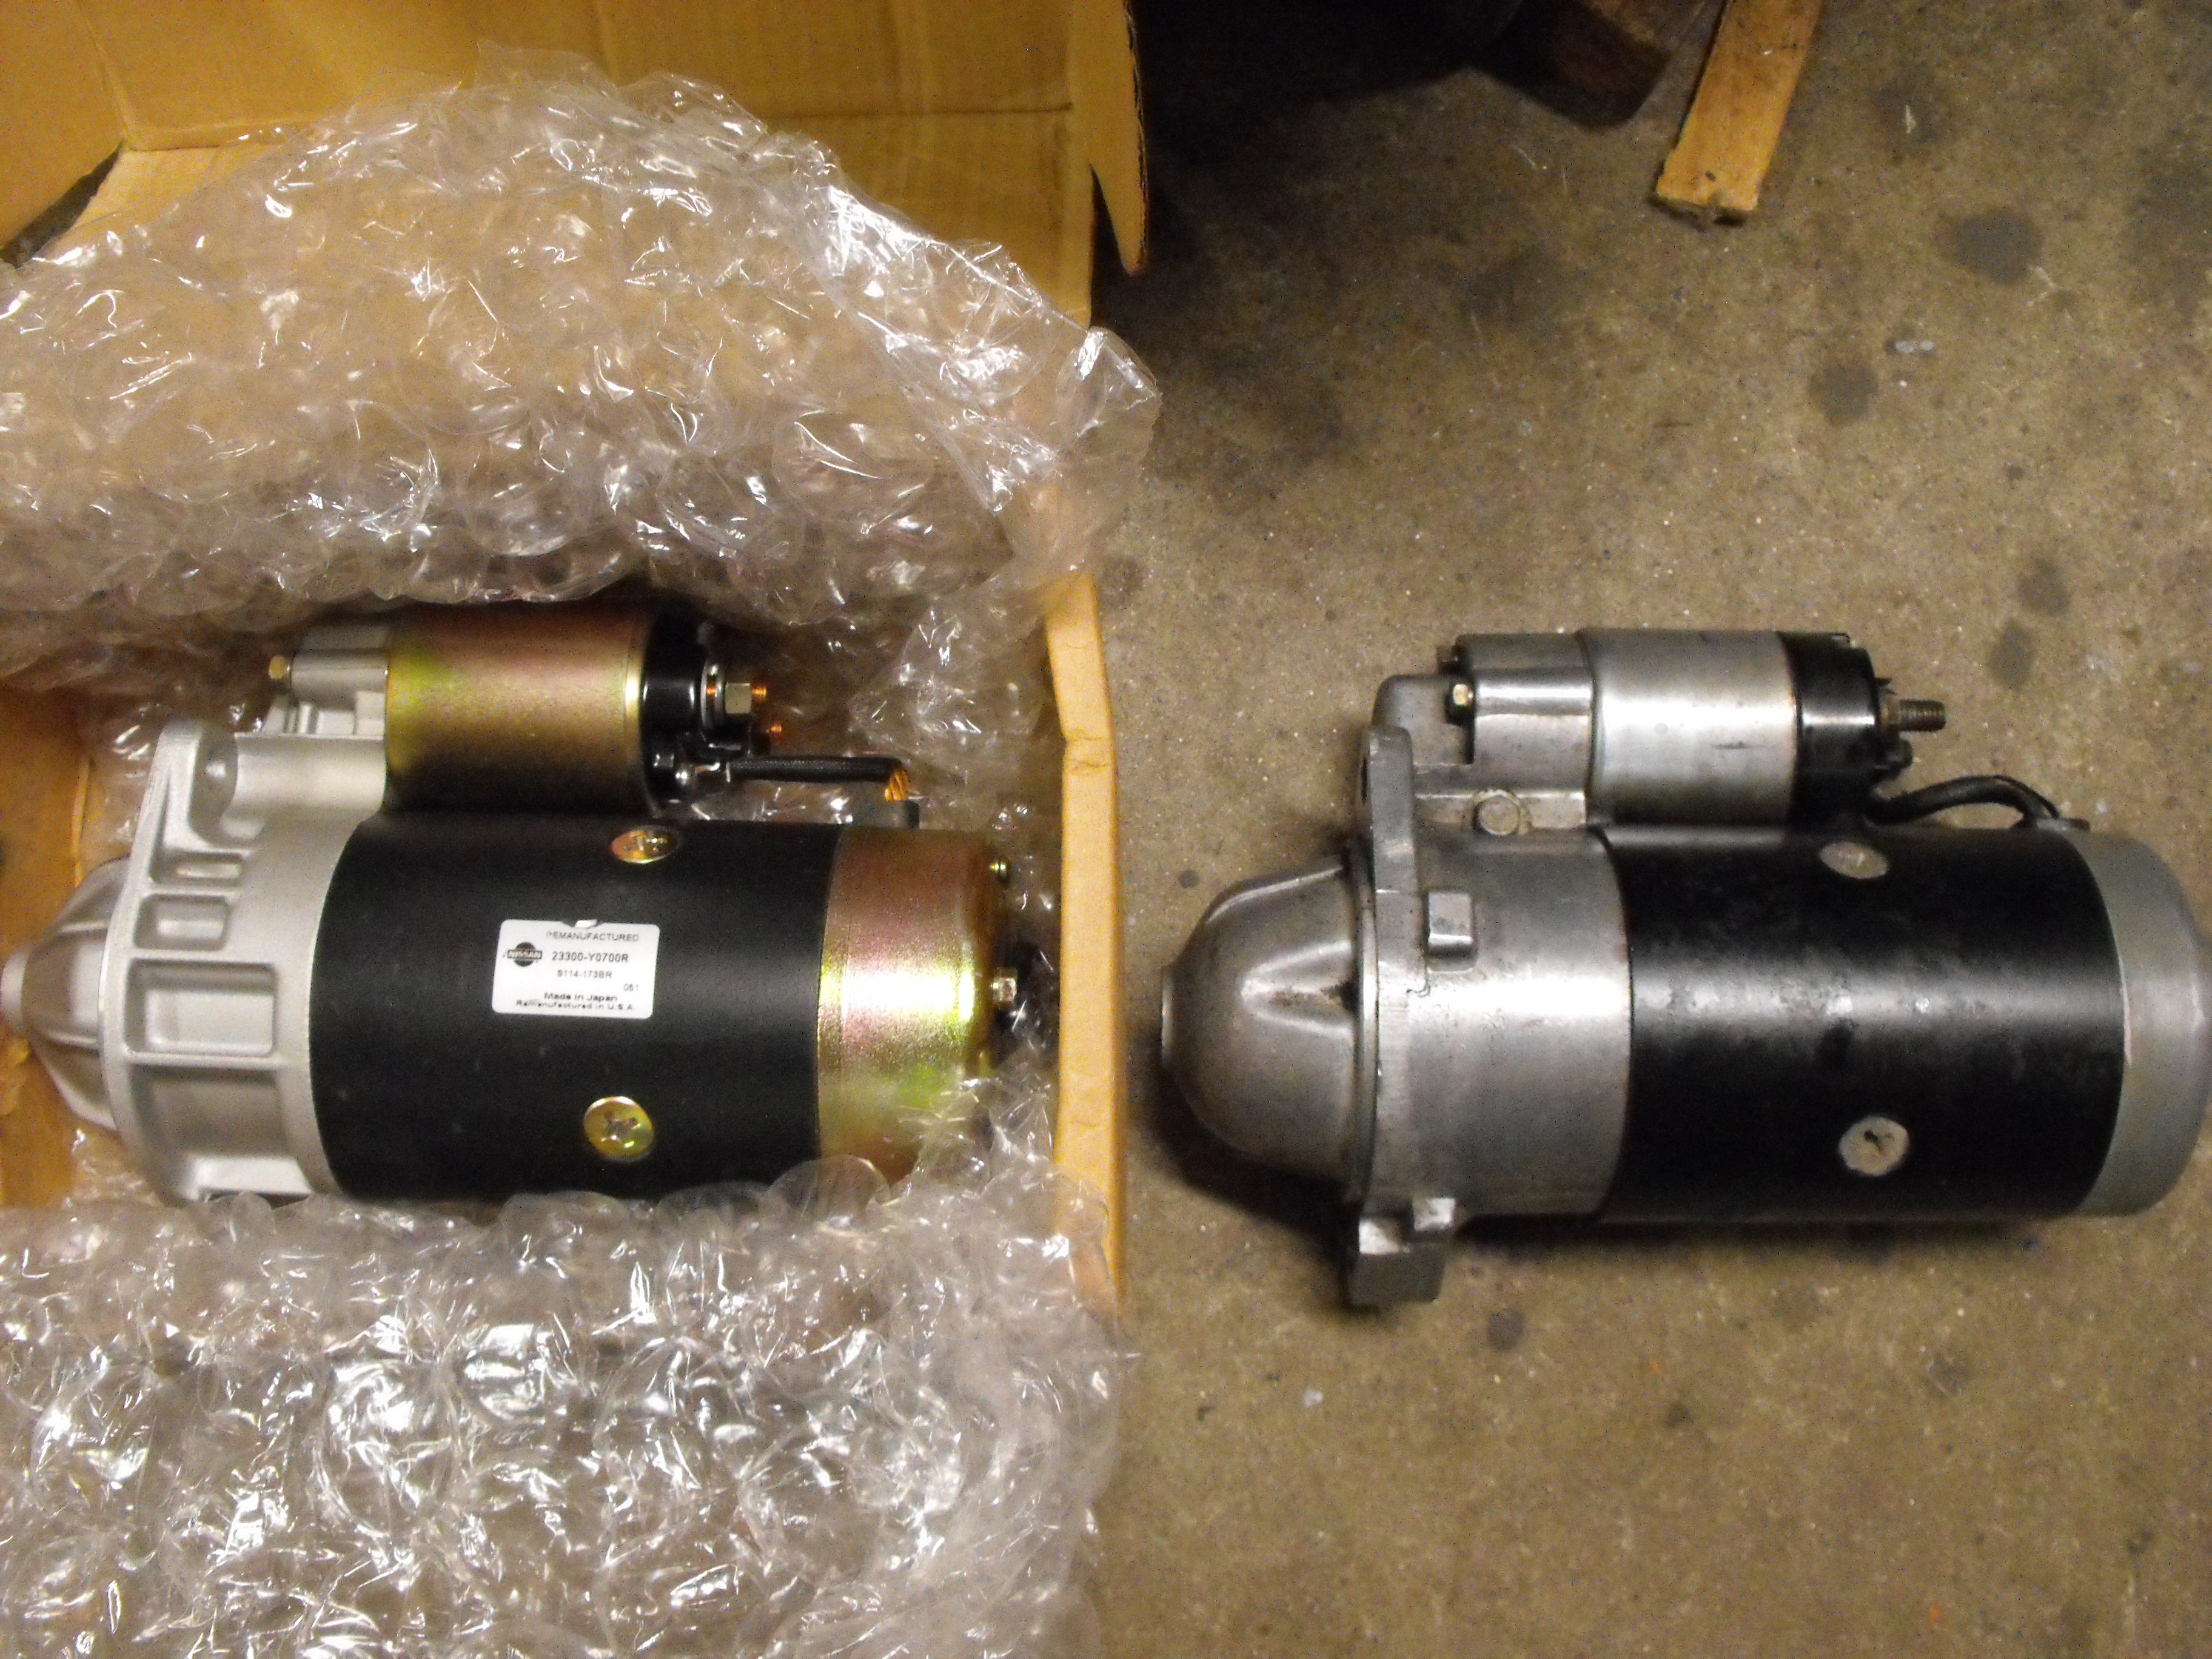
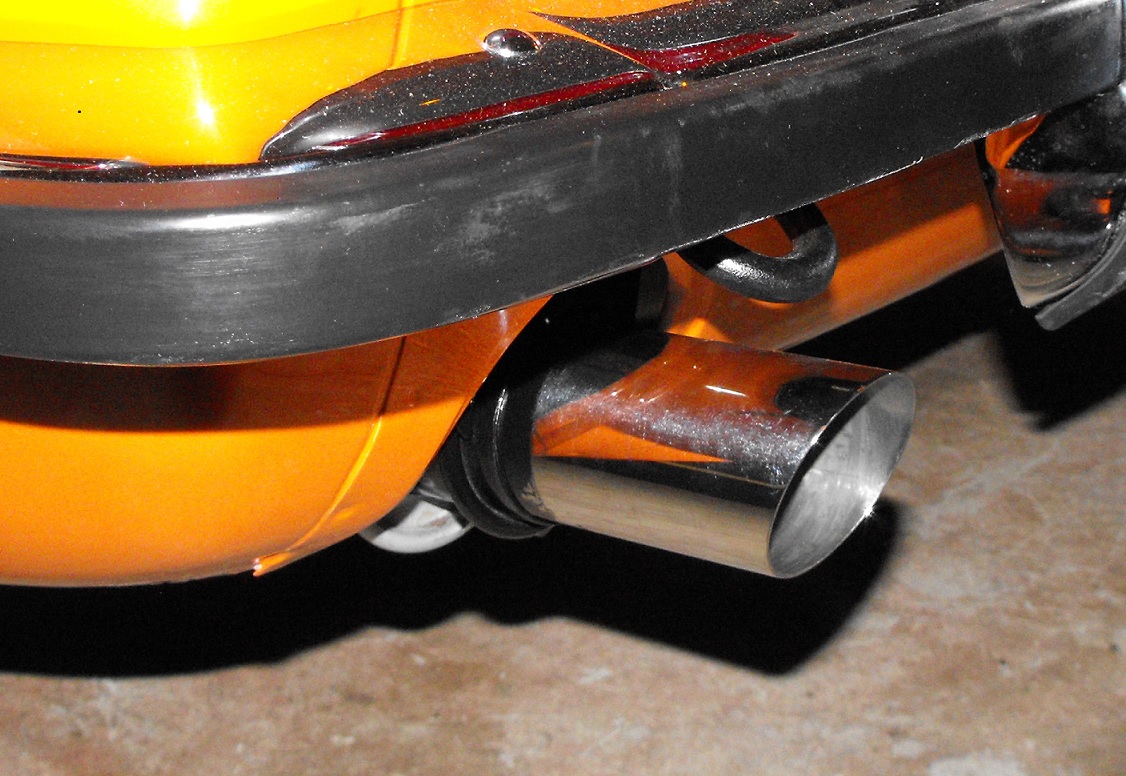
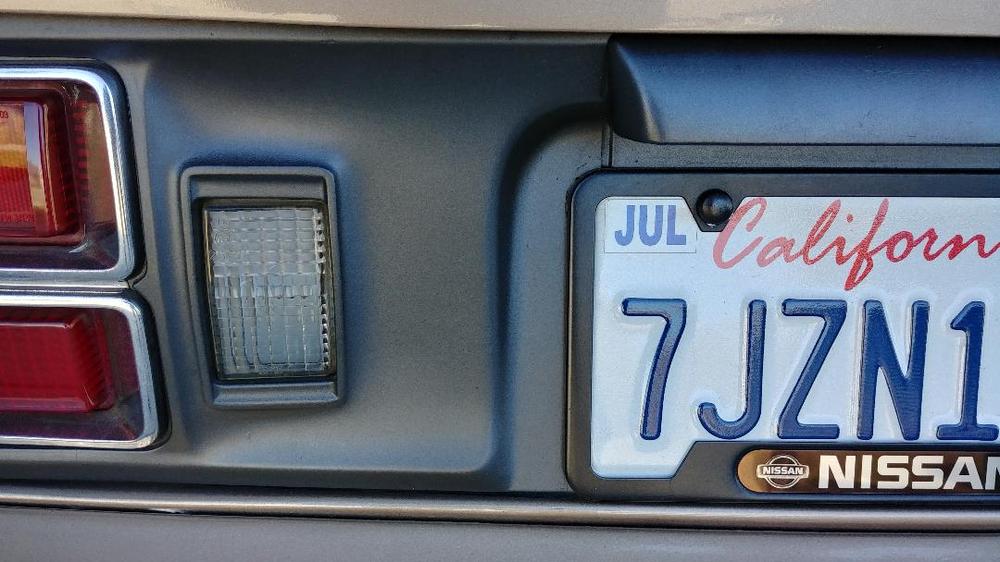
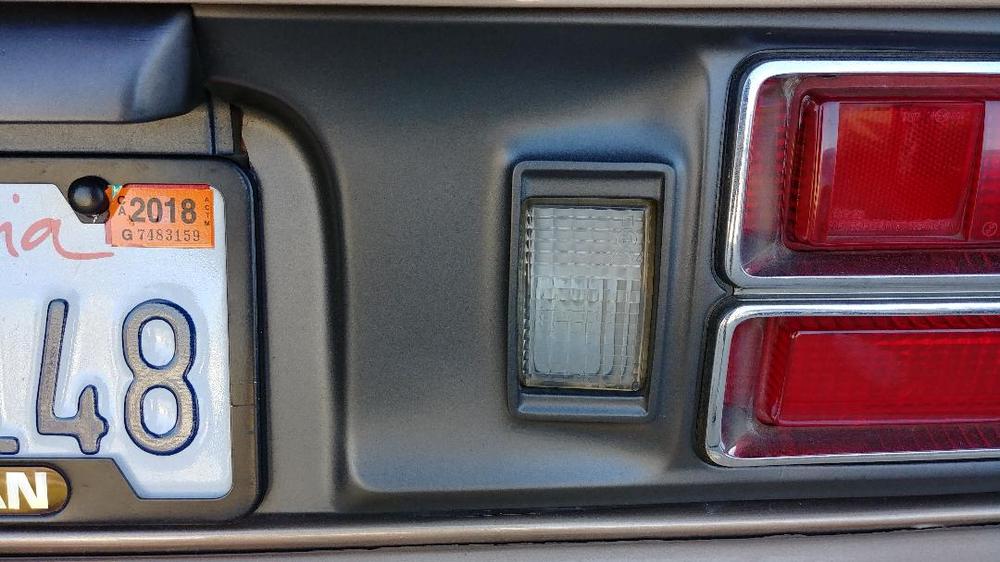
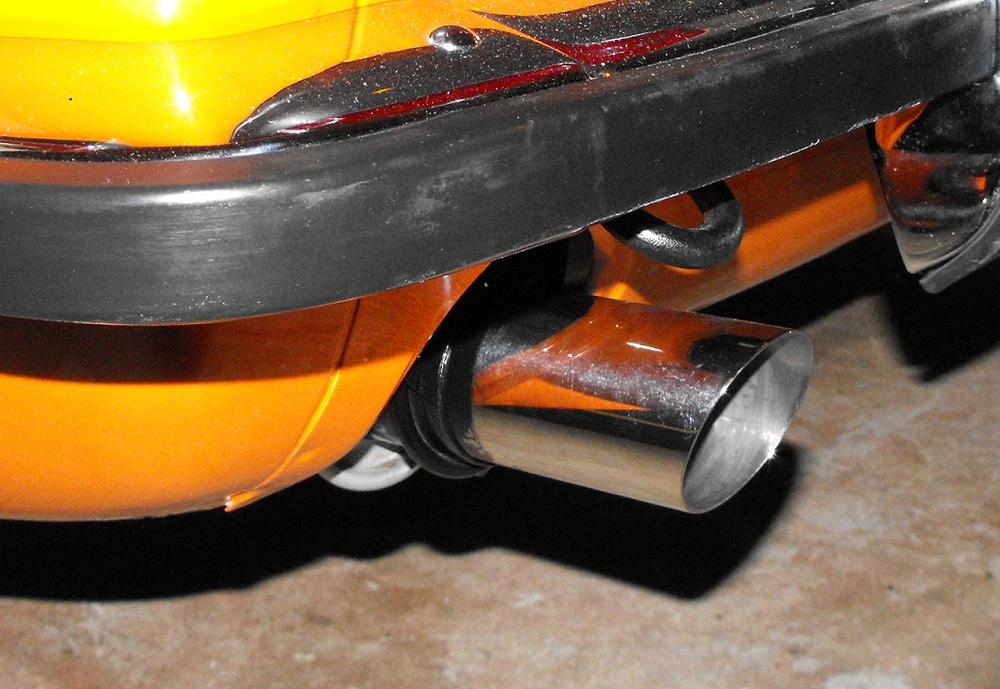
1 pointJust a few quick updates. Got the new starter in. I put the old starter and new starter side by side just to see the difference. New one looks much better in the car. Did a gentle sand on the stick shift knob with 320 grit then stained with Red Oak wood stain. Put a clear coat over that. Got the OEM style muffler tip that Jay makes so at least the muffler looks fairly close to original from the back end.


 1 point
 -
1 pointI rebuilt two proportioning valves this weekend. I used the seal kit from MSA. I paid close attention to the orientation of the seals during disassembly. Both valves had the exact same seals in them and they were identical to the photos above where seal (3) in BR-8 is fluted / grooved on the flat outside edge and dotted on the cupped inside edge. Seal (5) in BR-8 is exactly like the photos above where it is a little thicker than seal (3) and not dotted or fluted / grooved on the outside or inside surface. For clarity, in the case of both seals, the cupped side is oriented to face the middle of the valve. I personally was easily able to match up the MSA seals with the equal (but not identical) original seals. I found disassembly and re-assembly to be fairly quick and easy. I used a small c-clip squeezer (not spreader) (OTC brand, 1120) to squeeze the c-clip and remove from valve. Re-installation is a little more tricky. I use the same c-clip squeezer to squeeze the c-clip and insert it partially into the valve. Then I used a 5/16 deep socket to push / press (gently) the c-clip down until it clicked into position. To be clear, I don't yet know whether the proportioning valve works as I am still rebuilding the brakes on my 240z. I should know in a week or so. The valve from my low mile car was very clean. The valve from the car I am rebuilding the brakes for was very full of dirt and sediment....but not corrosion. So, I feel like I accomplished something....assuming the valve works. And, I enjoy rebuilding little parts. I should also mention that I cleaned up all original seals and, to me, they look new....like they could be reused without concern. Again, I think the key thing I accomplished is cleaning out the valve.1 point
-
Q - How much current could you get from a metal star-wheel whizzing by an inductive coil? A - Infinite if the resistance in the loop is zero. Zero if the resistance in the loop is infinite. It's the Law.1 point
-
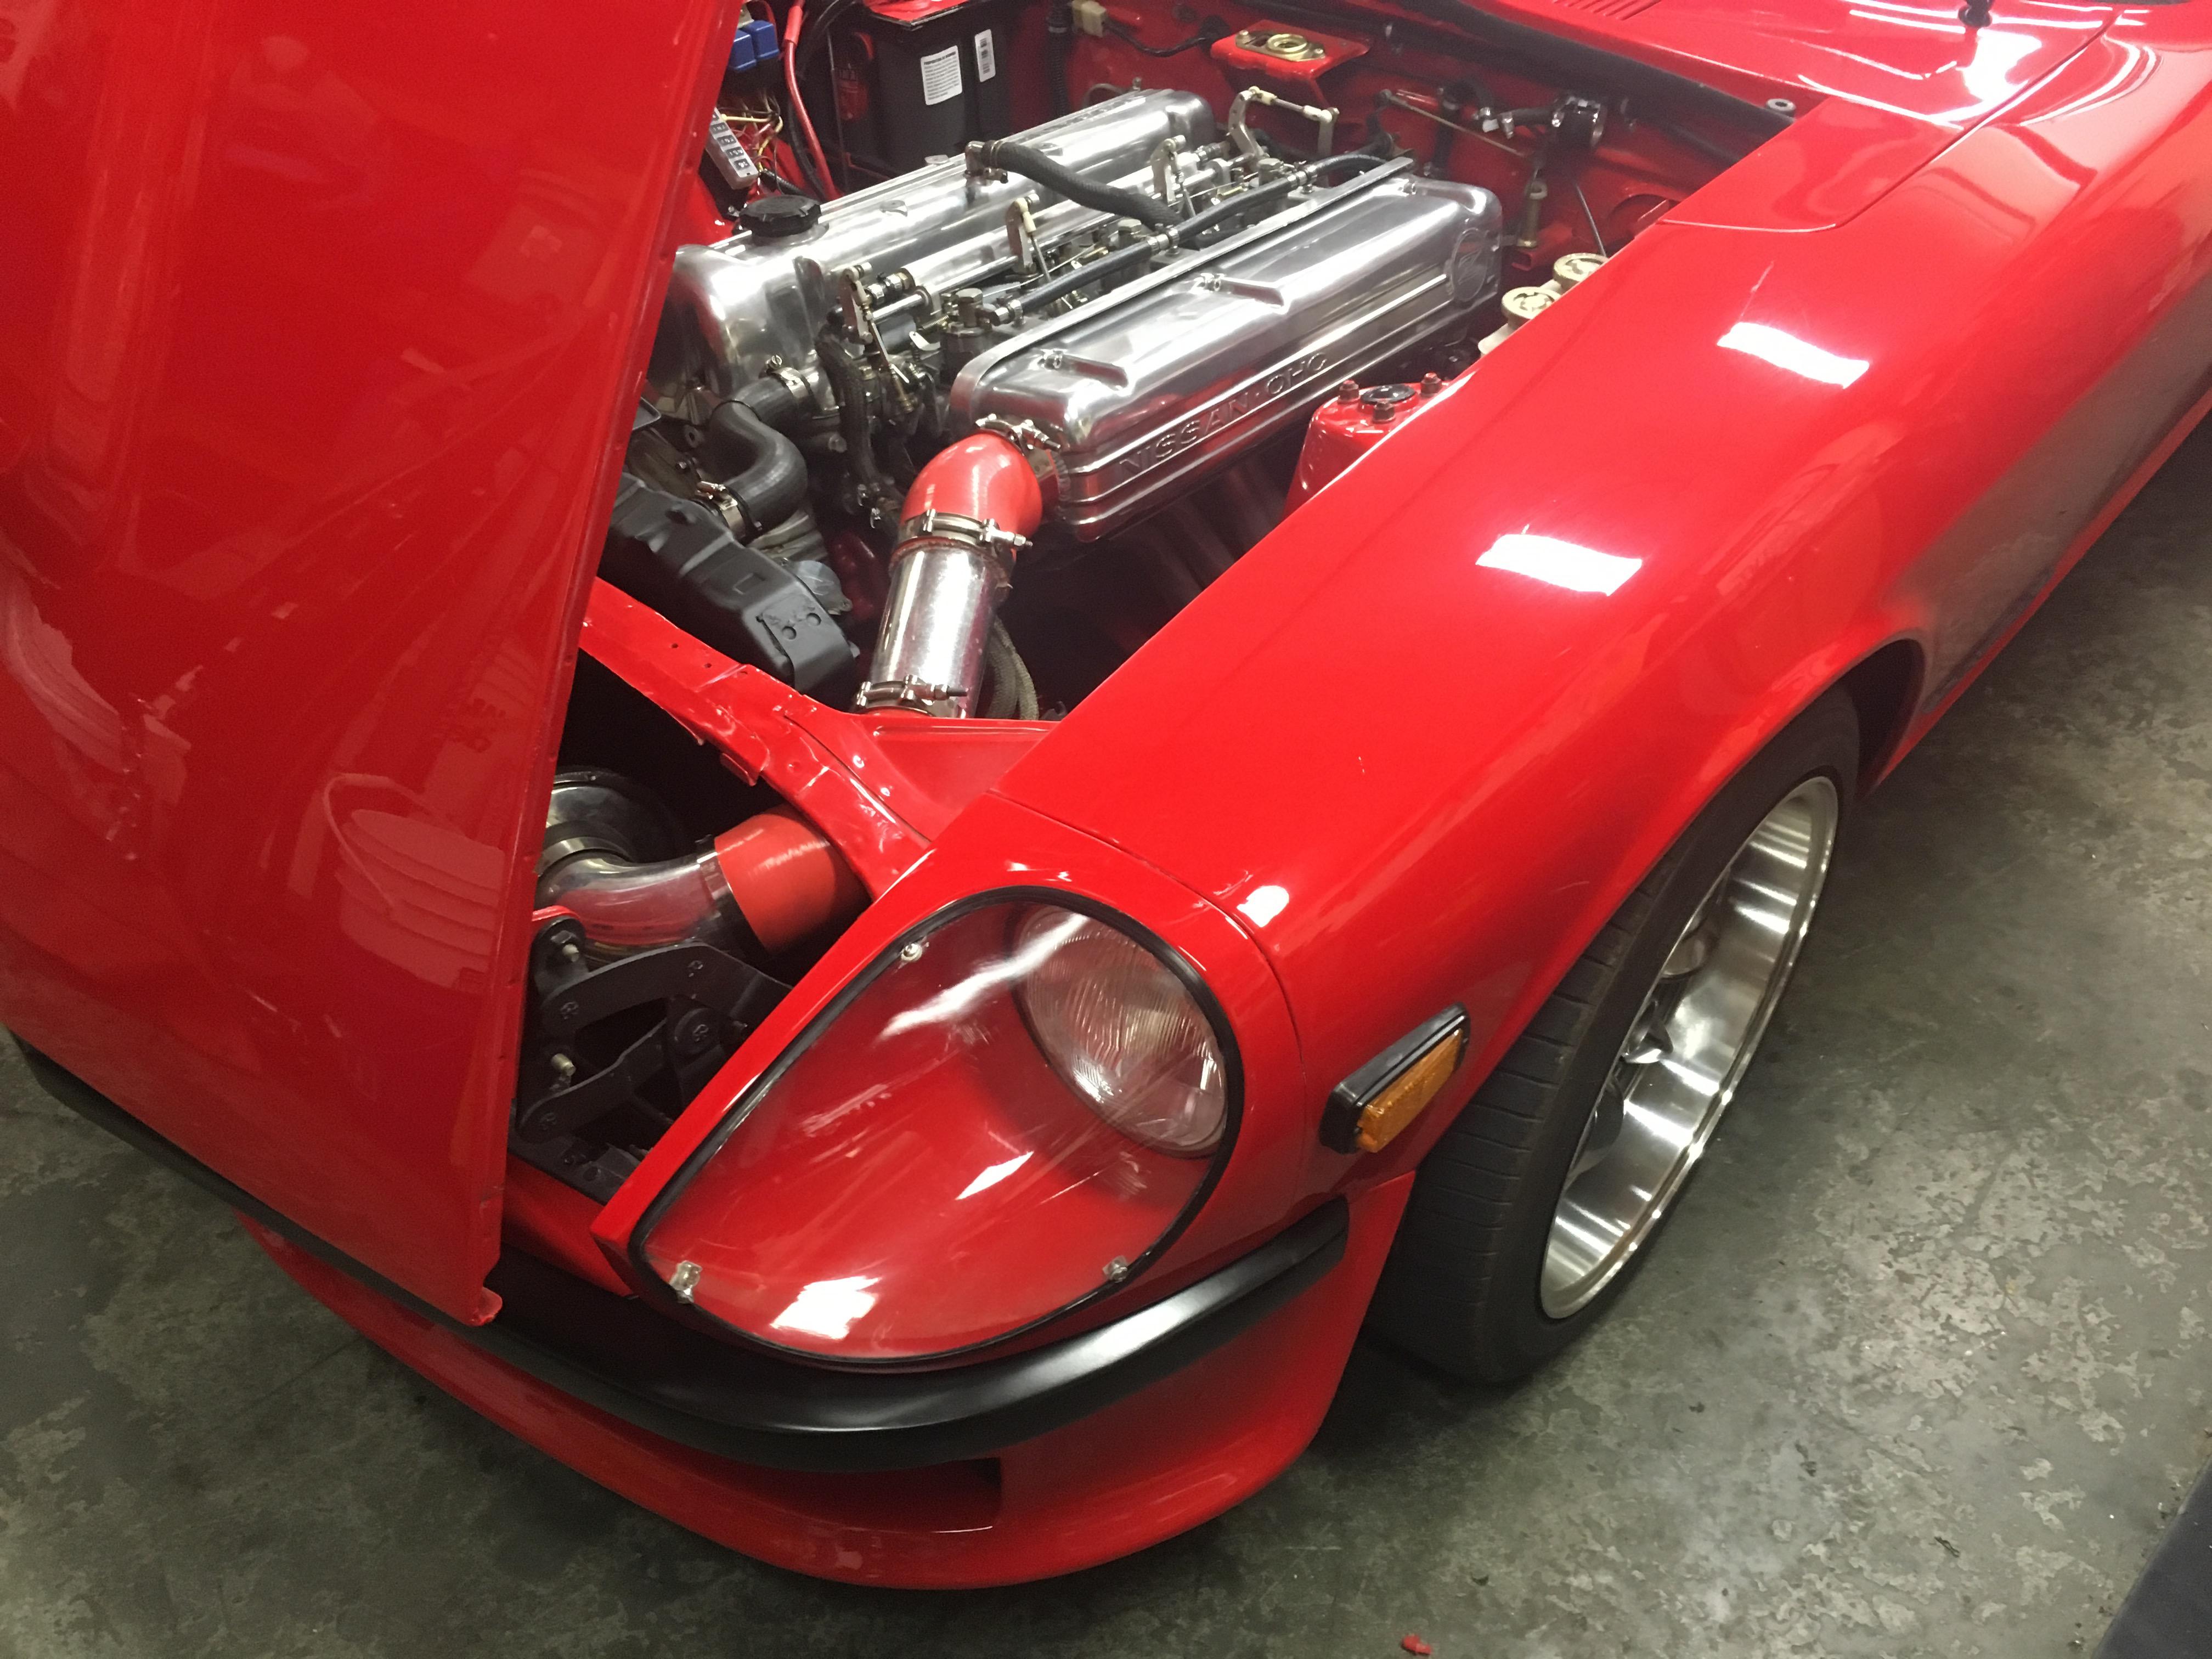
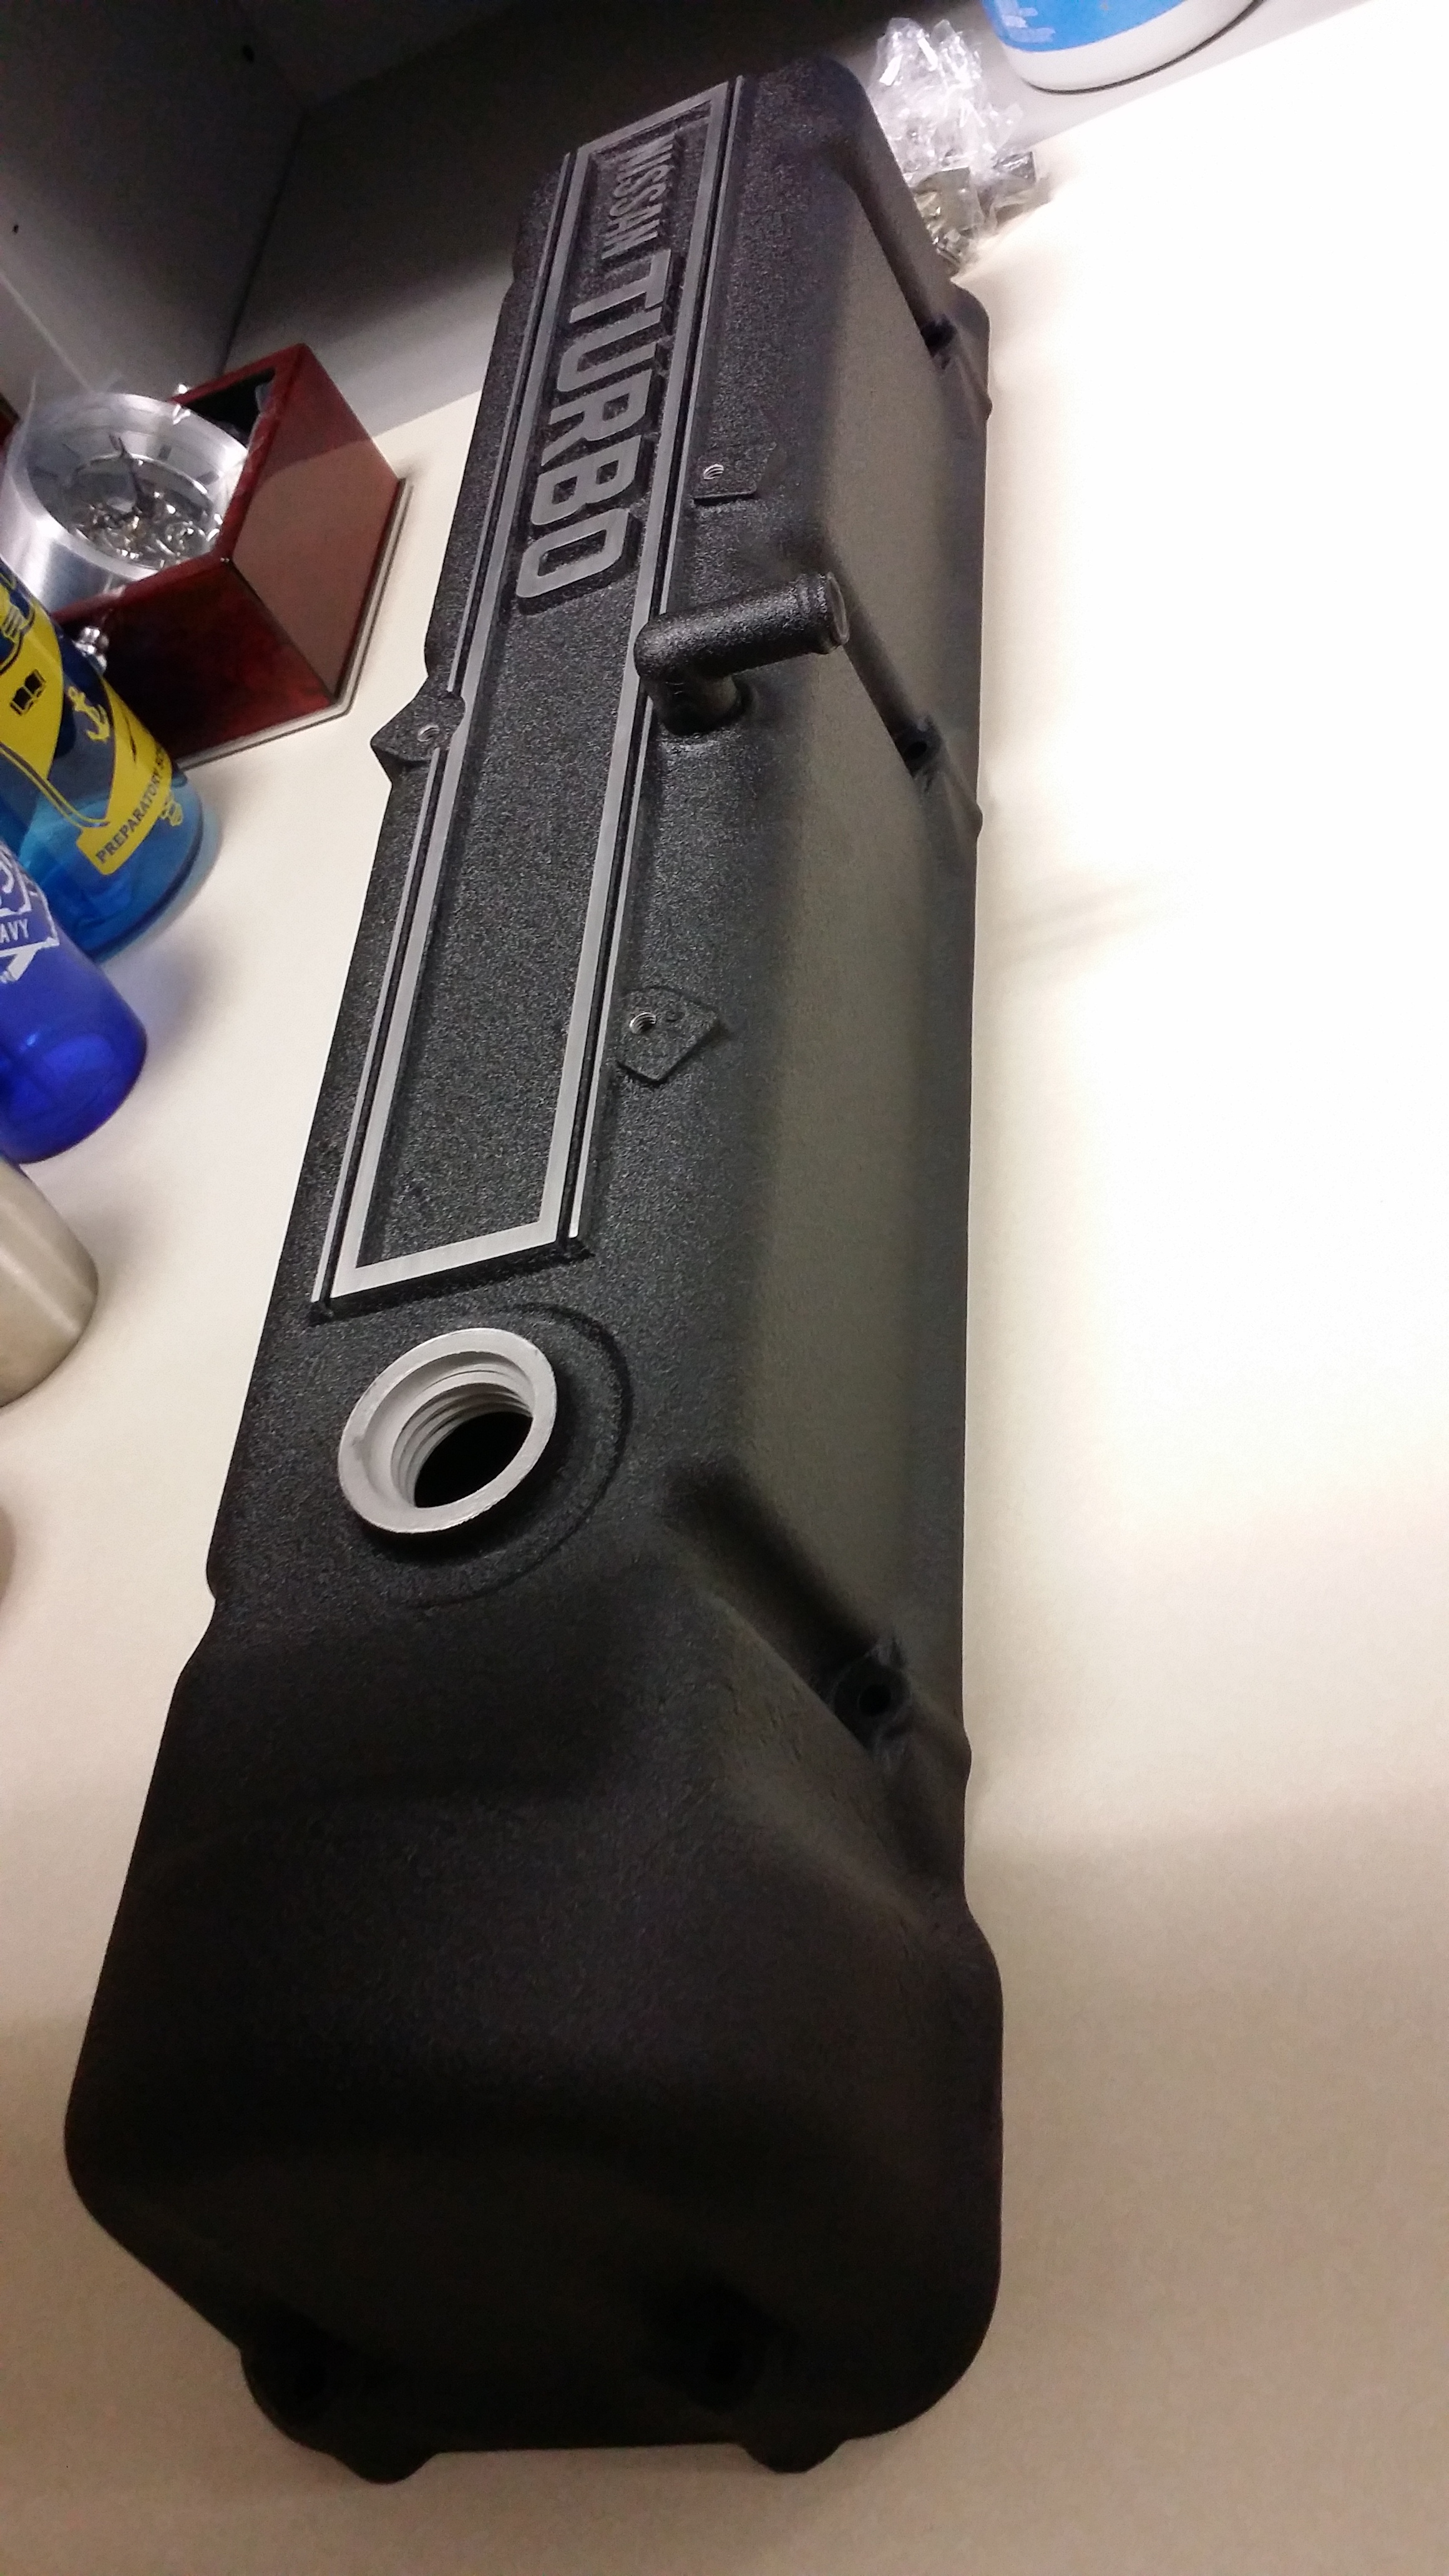
1 pointOrdered a an ATI pulley. In other news, the valve cover came back from 'the guy at work'. #beautiful.
 1 point
 -
0 pointsIt really didn’t work that well. The tube was too thin and bent. These tools were designed for a spindle that is not seized. Mine may have been severely seized not sure. I think the idea is good. Just the materials used were cheep. I still had to use a torch/hack saw / air hammer/ sledgehammer/ lots of swearing/ 1 can PB Blaster penetrating oil. Several long bolts and chisels. Then literally all day I have negotiated with zcar depot to return the tool for credit since I have rebuilt 80% of my car with them. So sorry it is no longer available . Maybe their source of these tools will be annoyed and start using thicker material :/ Sent from my iPhone using Classic Zcar Club mobile0 points