Leaderboard
-
zKars
 Subscriber
 5Points3,770Posts
 -
Captain Obvious
Free Member3Points10,081Posts -
Namerow
Free Member2Points1,551Posts -
Newzowner
Free Member2Points22Posts


Popular Content
Showing content with the highest reputation on 10/21/2017 in all areas
-
I've had mixed results with computer matching. According to one paint tech I dealt with, the darker the color, the more difficult it is to get a good match. Metallic content adds to the challenge. My car came painted with an unidentified, non-stock dark green metallic, so getting a match has been a problem. I ended up asking a high-end restoration shop for help and they put me onto the specialist paint supply shop that they use. I removed one of my Z`s inspection cover panels and gave that to them to use for the paint-matching. Perhaps you can try the same approach. Find a resto shop that works with high-end customers and high-end cars, and then ask them who they use for their paint.2 points
-
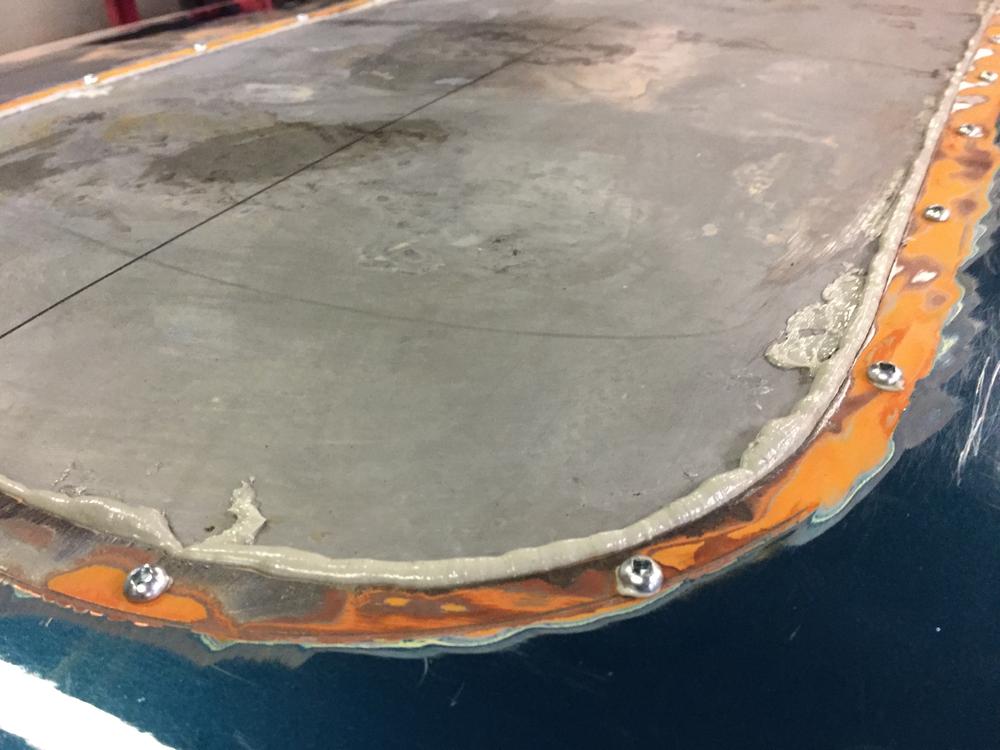
One more trick I forgot to mention. I put a thin (1/16") layer of bondo on the inside of donor roof BEFORE I cut out the patch section. I wanted to support the shape and make it stiffer while I handled and mounted it. Made a huge difference to stiffness. I used about a 3/16" notched trowel that you use to apply tile adhesive evenly to get a nice even coat of bondo, and just knocked it flat with a wide putty knife to spread it out. Some people call me thin skinned....2 points
-
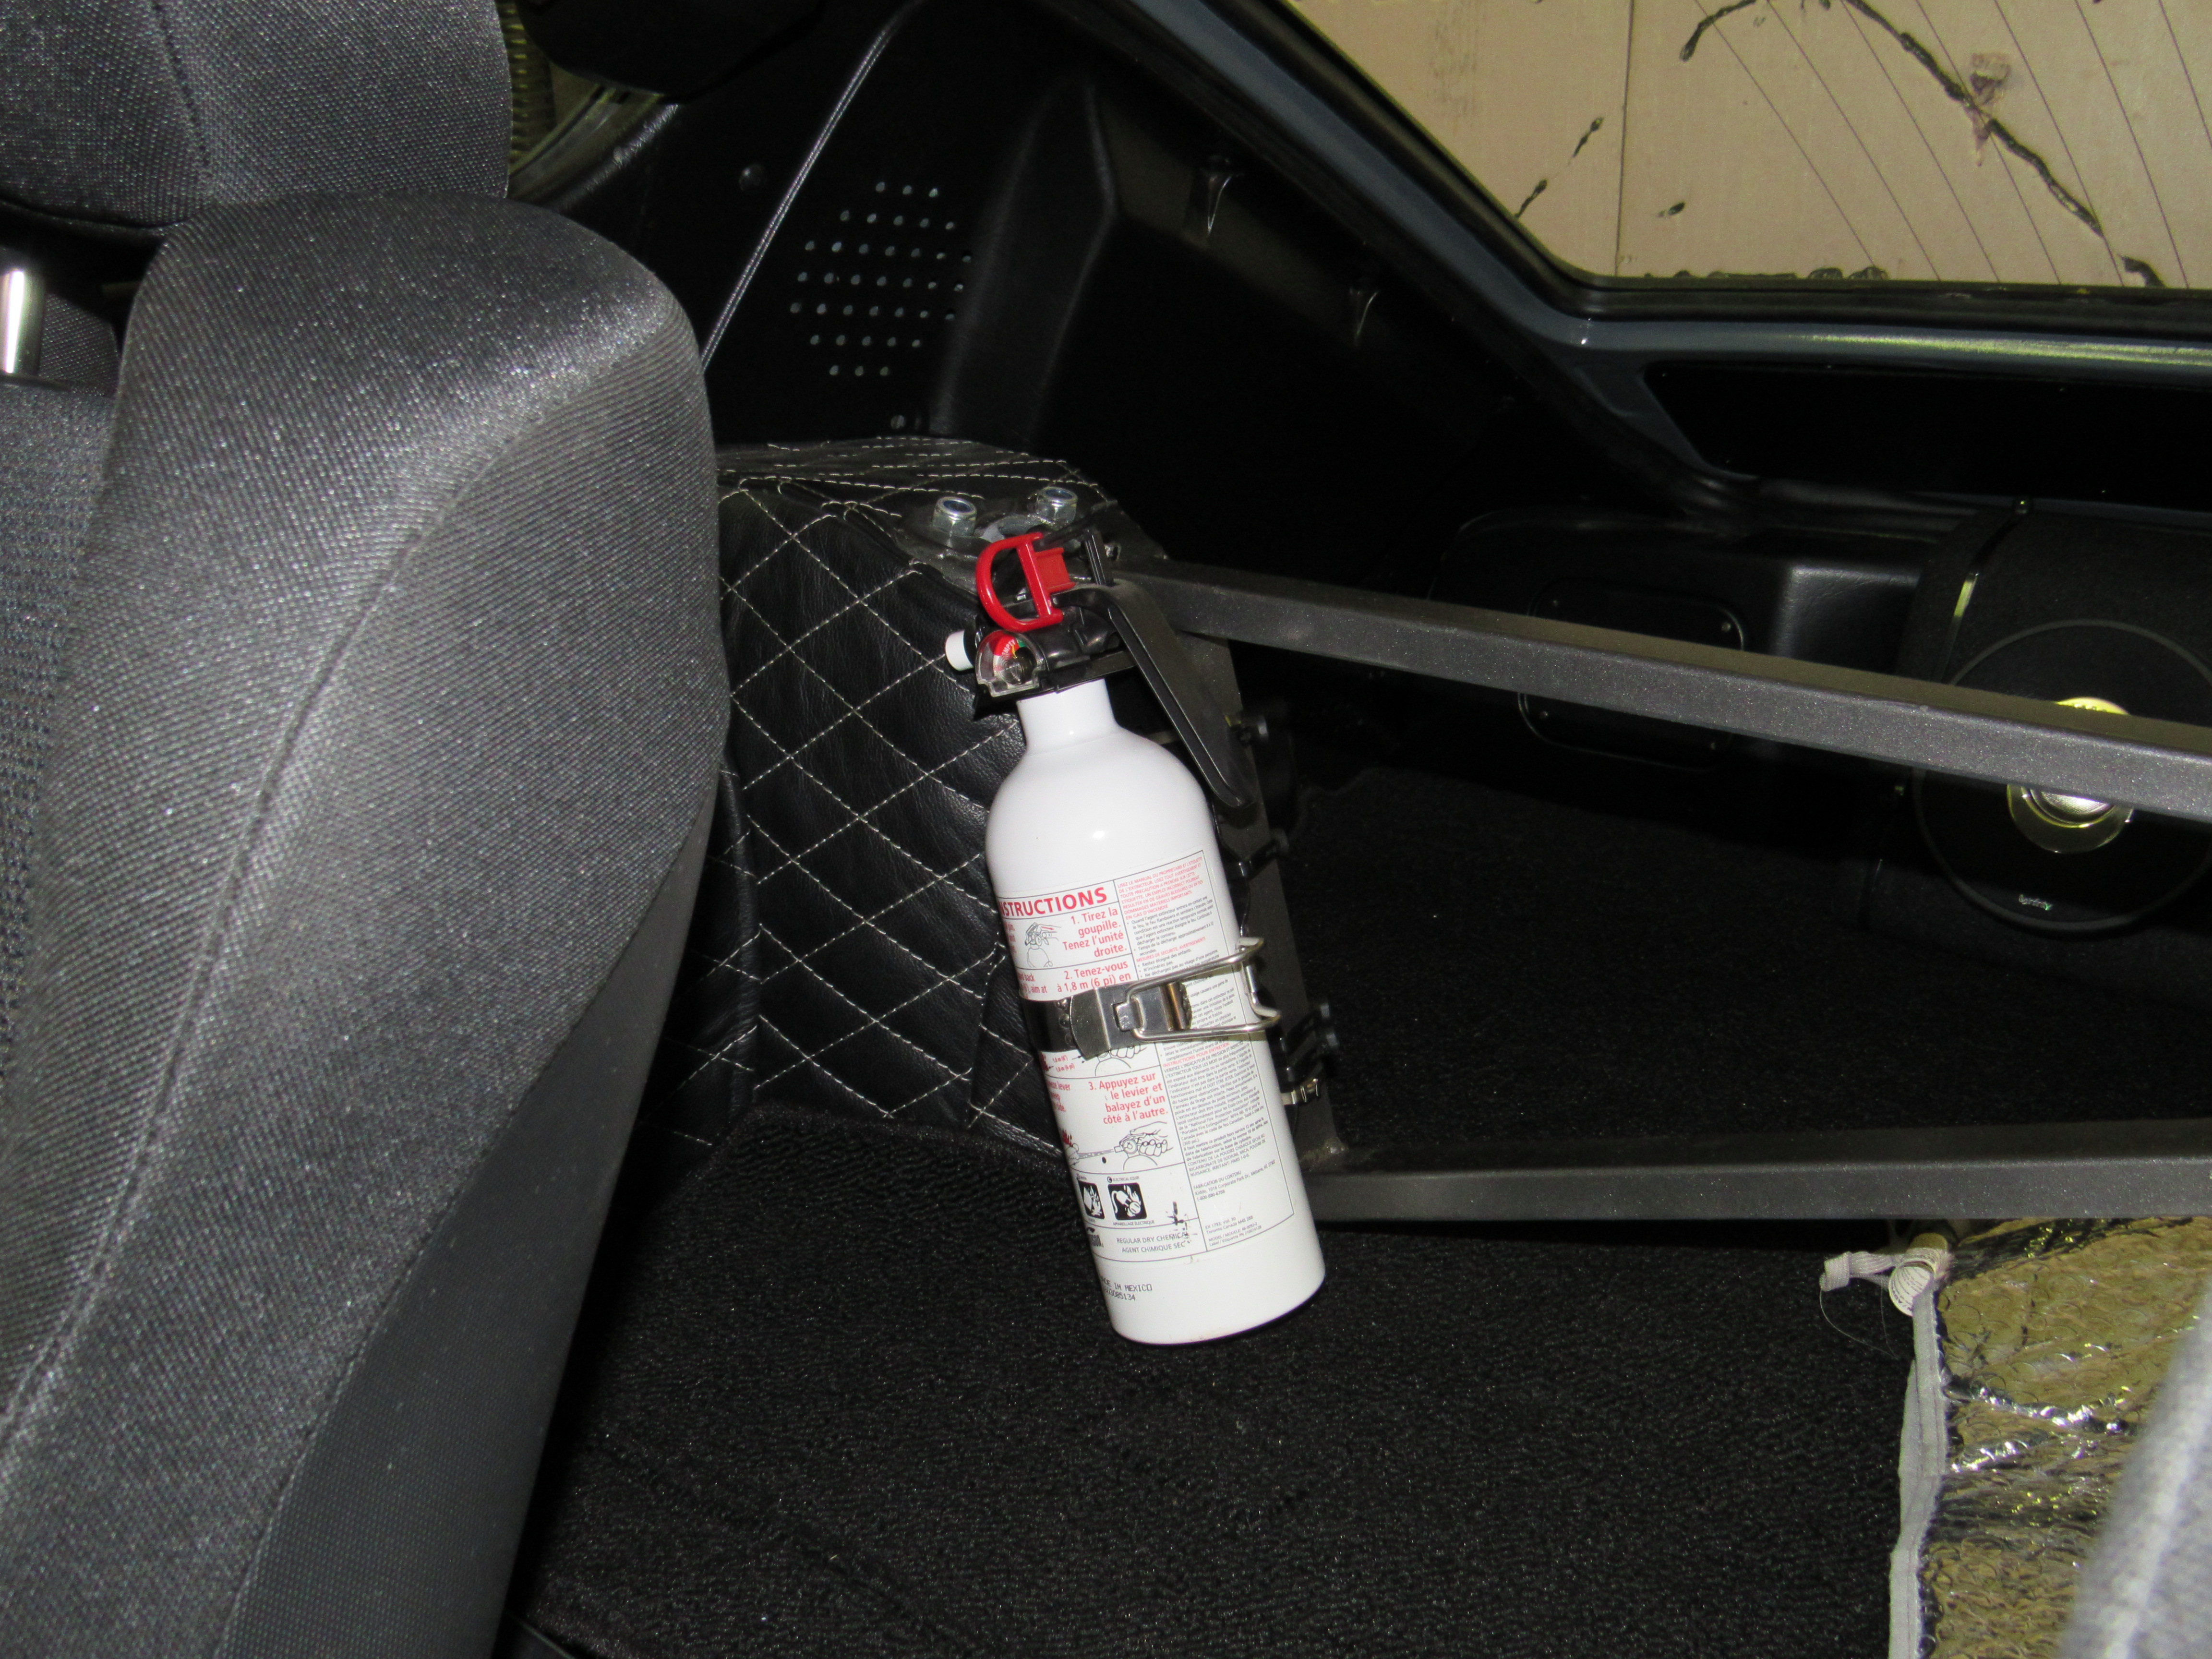
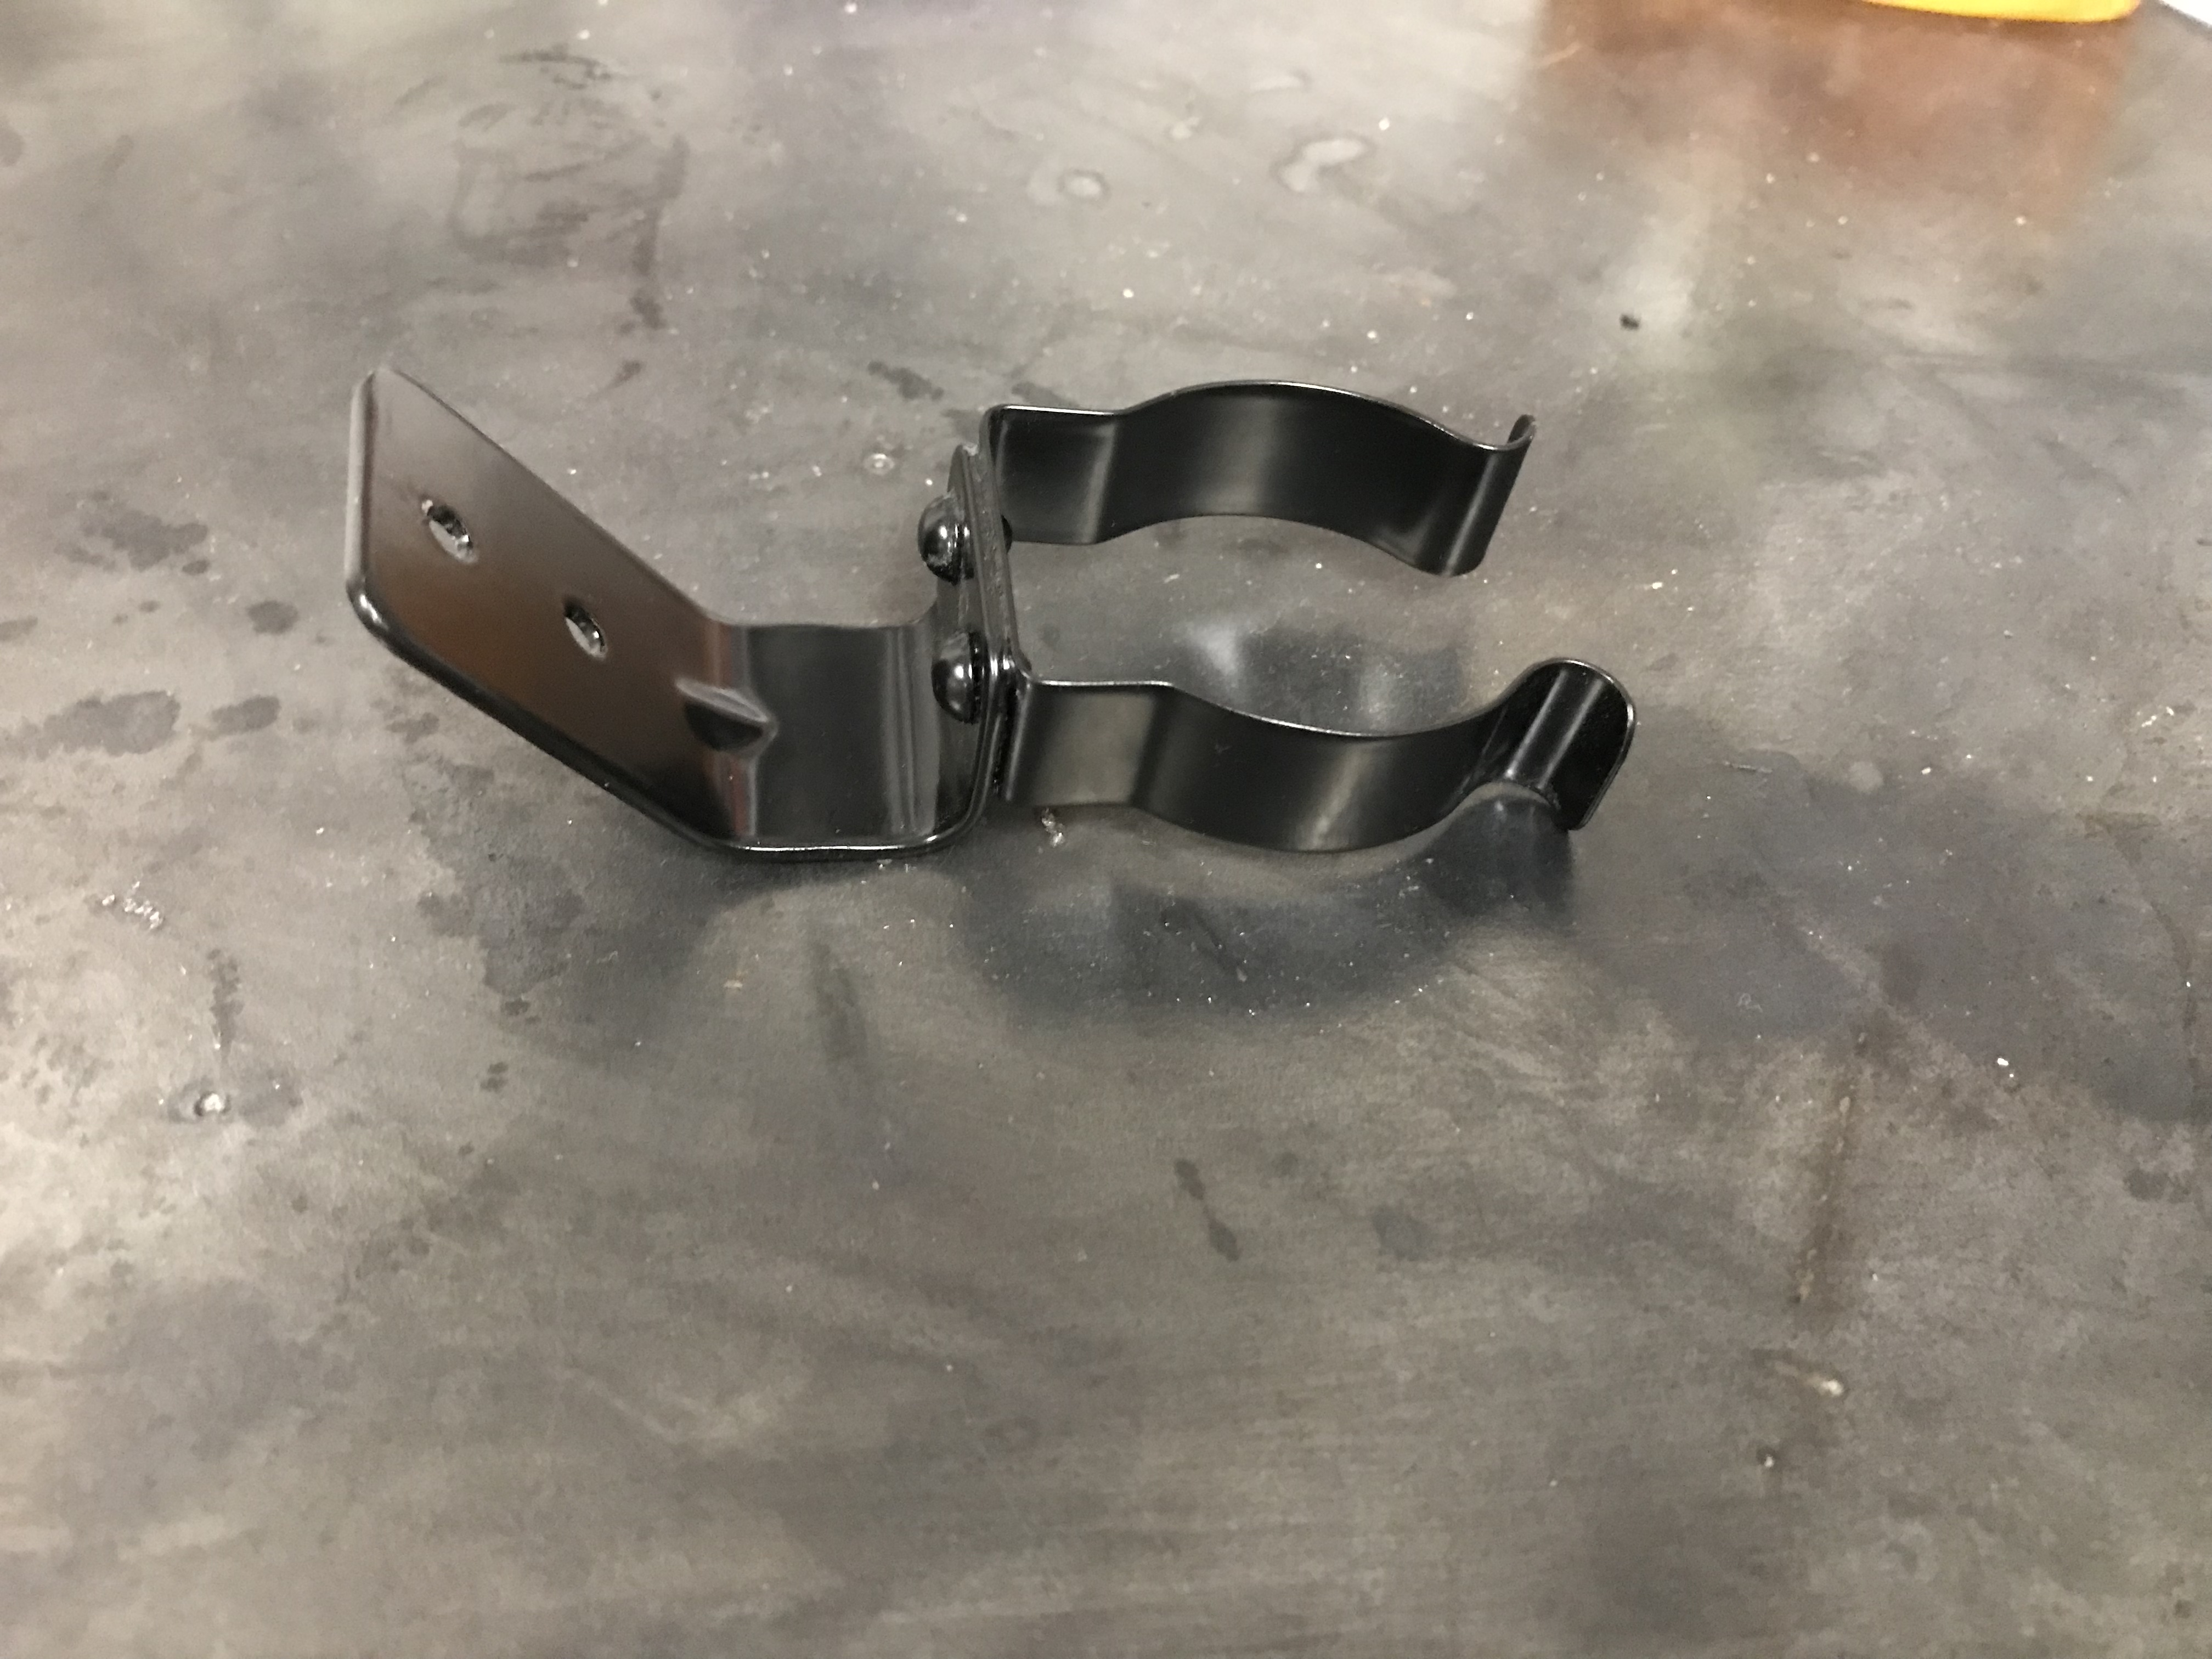
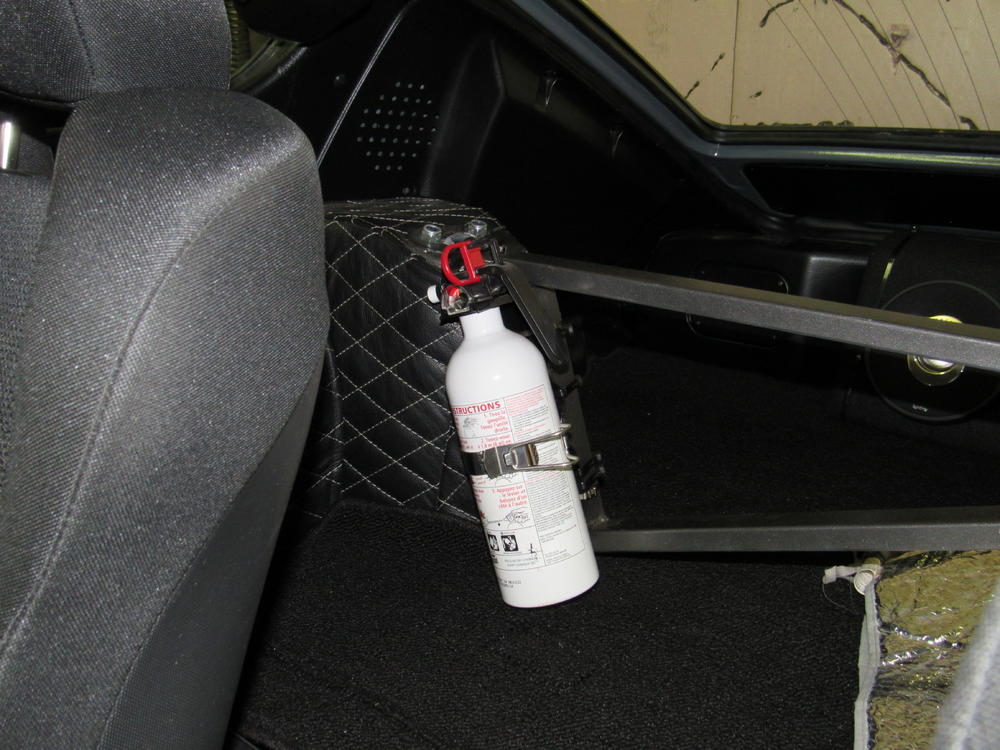
1 pointJust remember that if your car comes to a VERY sudden stop the canister will become a fast moving projectile heading toward you and your passenger, a steel bracket and straps are a good idea.
 1 point
 -
Make sure you can find suitable 15" tires before getting wheels. The selection of 15" tires is small while there are many choices in 16". Konig Rewinds in 16X7 are popular, have the zero offset perfect for Z's. Keep in mind the OE tires had a 24.75" diameter - try to find a tire with similar diameter to avoid speedometer error.1 point
-
1 pointCliff - I have one with the same mount. I have it on the forward side of the right side shock tower, mounted upright. Its an easy reach from the driver's seat, is not in the way when putting stuff in the rear deck area. Jim1 point
-
1 pointMaybe measure the distance for the mounting bracket and see if you can mount on the rail of the deck that has screws already. You'd likely be able to drill a hole in the extinguisher bracket.1 point
-
1 pointMaybe in front of the passenger seat? Sent from my iPhone using Classic Zcar Club mobile1 point
-
1 pointOh yeah that's part of the fun of bringing these sexy ladies back to life i love to rescue sleeping beauties this will be the first z im bringing back to life however i have some experience with vehicles at rest for ten years plus Thank you for the information and concern!1 point
-
1 point
-
1 pointThank you, also found a good one on here that could be printed pretty much after I posted this . Sent from my iPhone using Classic Zcar Club mobile1 point
-
1 point
-
You and me booth! I'll take a dime size dent, try all the proper techniques, I think, prime and go what the heck! I think it's like art, some people got it and some don't. I don't!1 point
-
Screws are out, more adhesive goo stuffed into the holes. Clearly welding the holds shut is silly. I will be entrusting the roof shaping to a real body man. That thing is no place to learn sanding technique. I dont do my own drywall either....1 point
-
Typically what sets off the excess fuel in the exhaust is a hot point. If you have a thin piece of metal in the new exhaust that gets really hot, it might even glow, it will ignite the extra fuel like a spark plug would.1 point
-
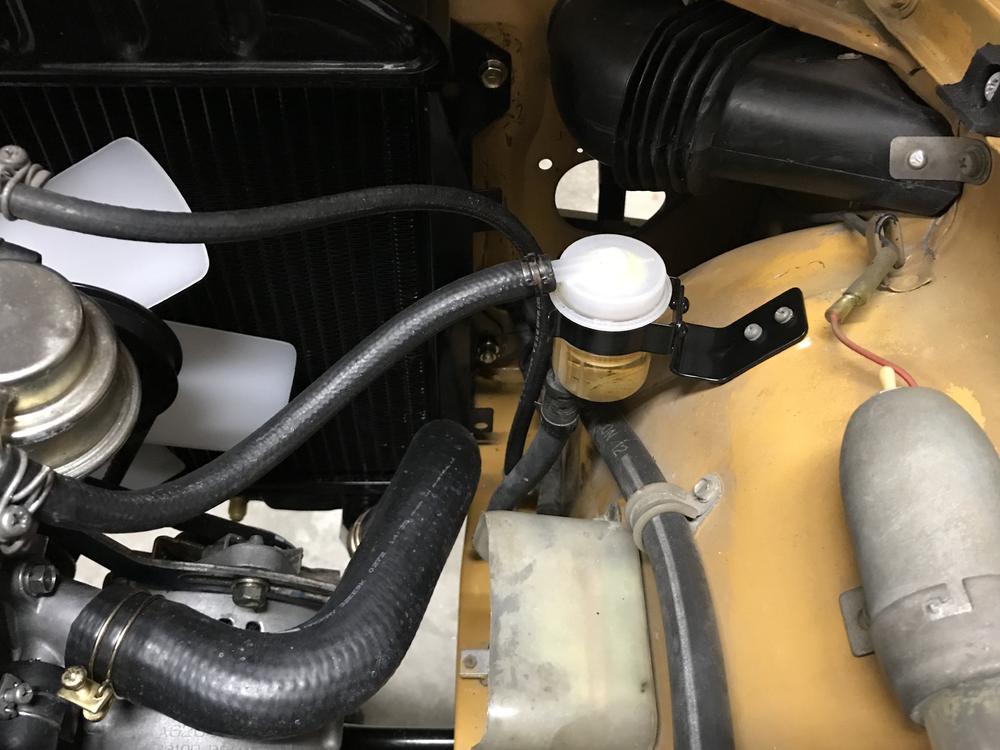
1 pointJoe that wire harness laying across your spare tire area should route through a hole on the right side of the passenger seat and up and over the inside it the fender above the wheel well inner fender. It should come out by the expansion tank. It drops through a hole and the routes through the sub frame to the rear of the expansion tank hoses. Don’t for get to separate the wire harness for the interior light and defroster and route up to that area. Sent from my iPhone using Classic Zcar Club mobile1 point
-
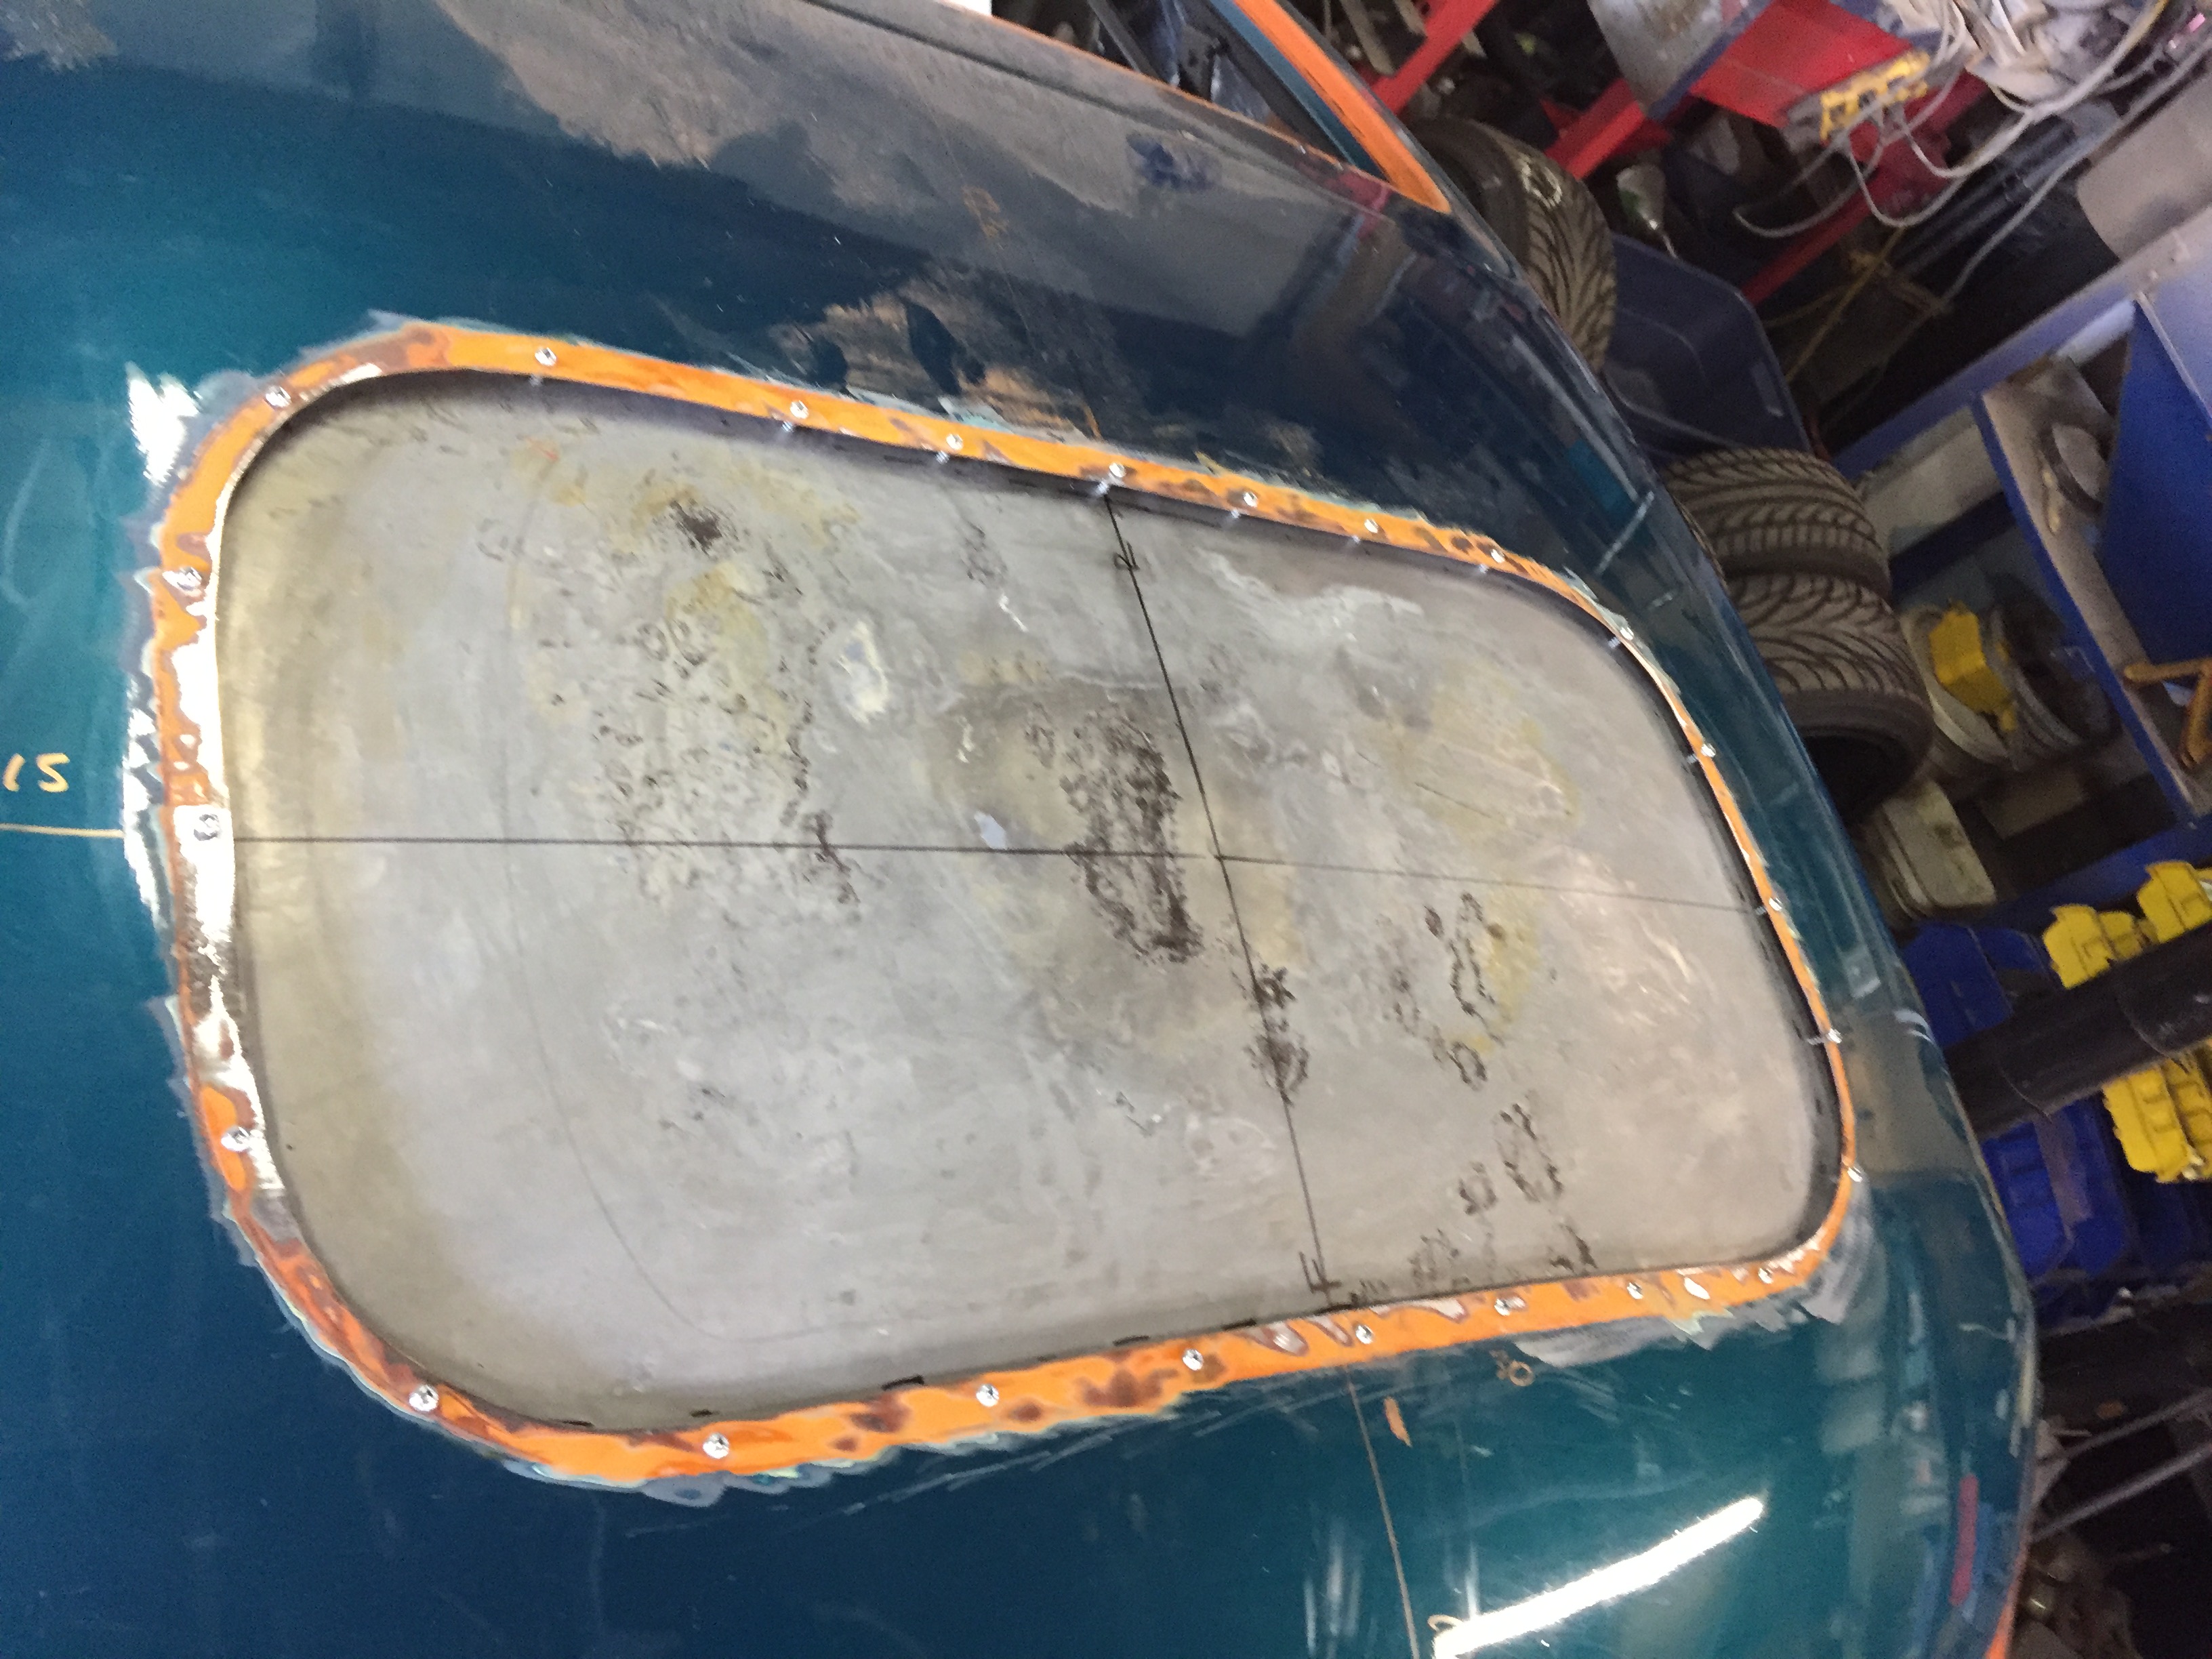
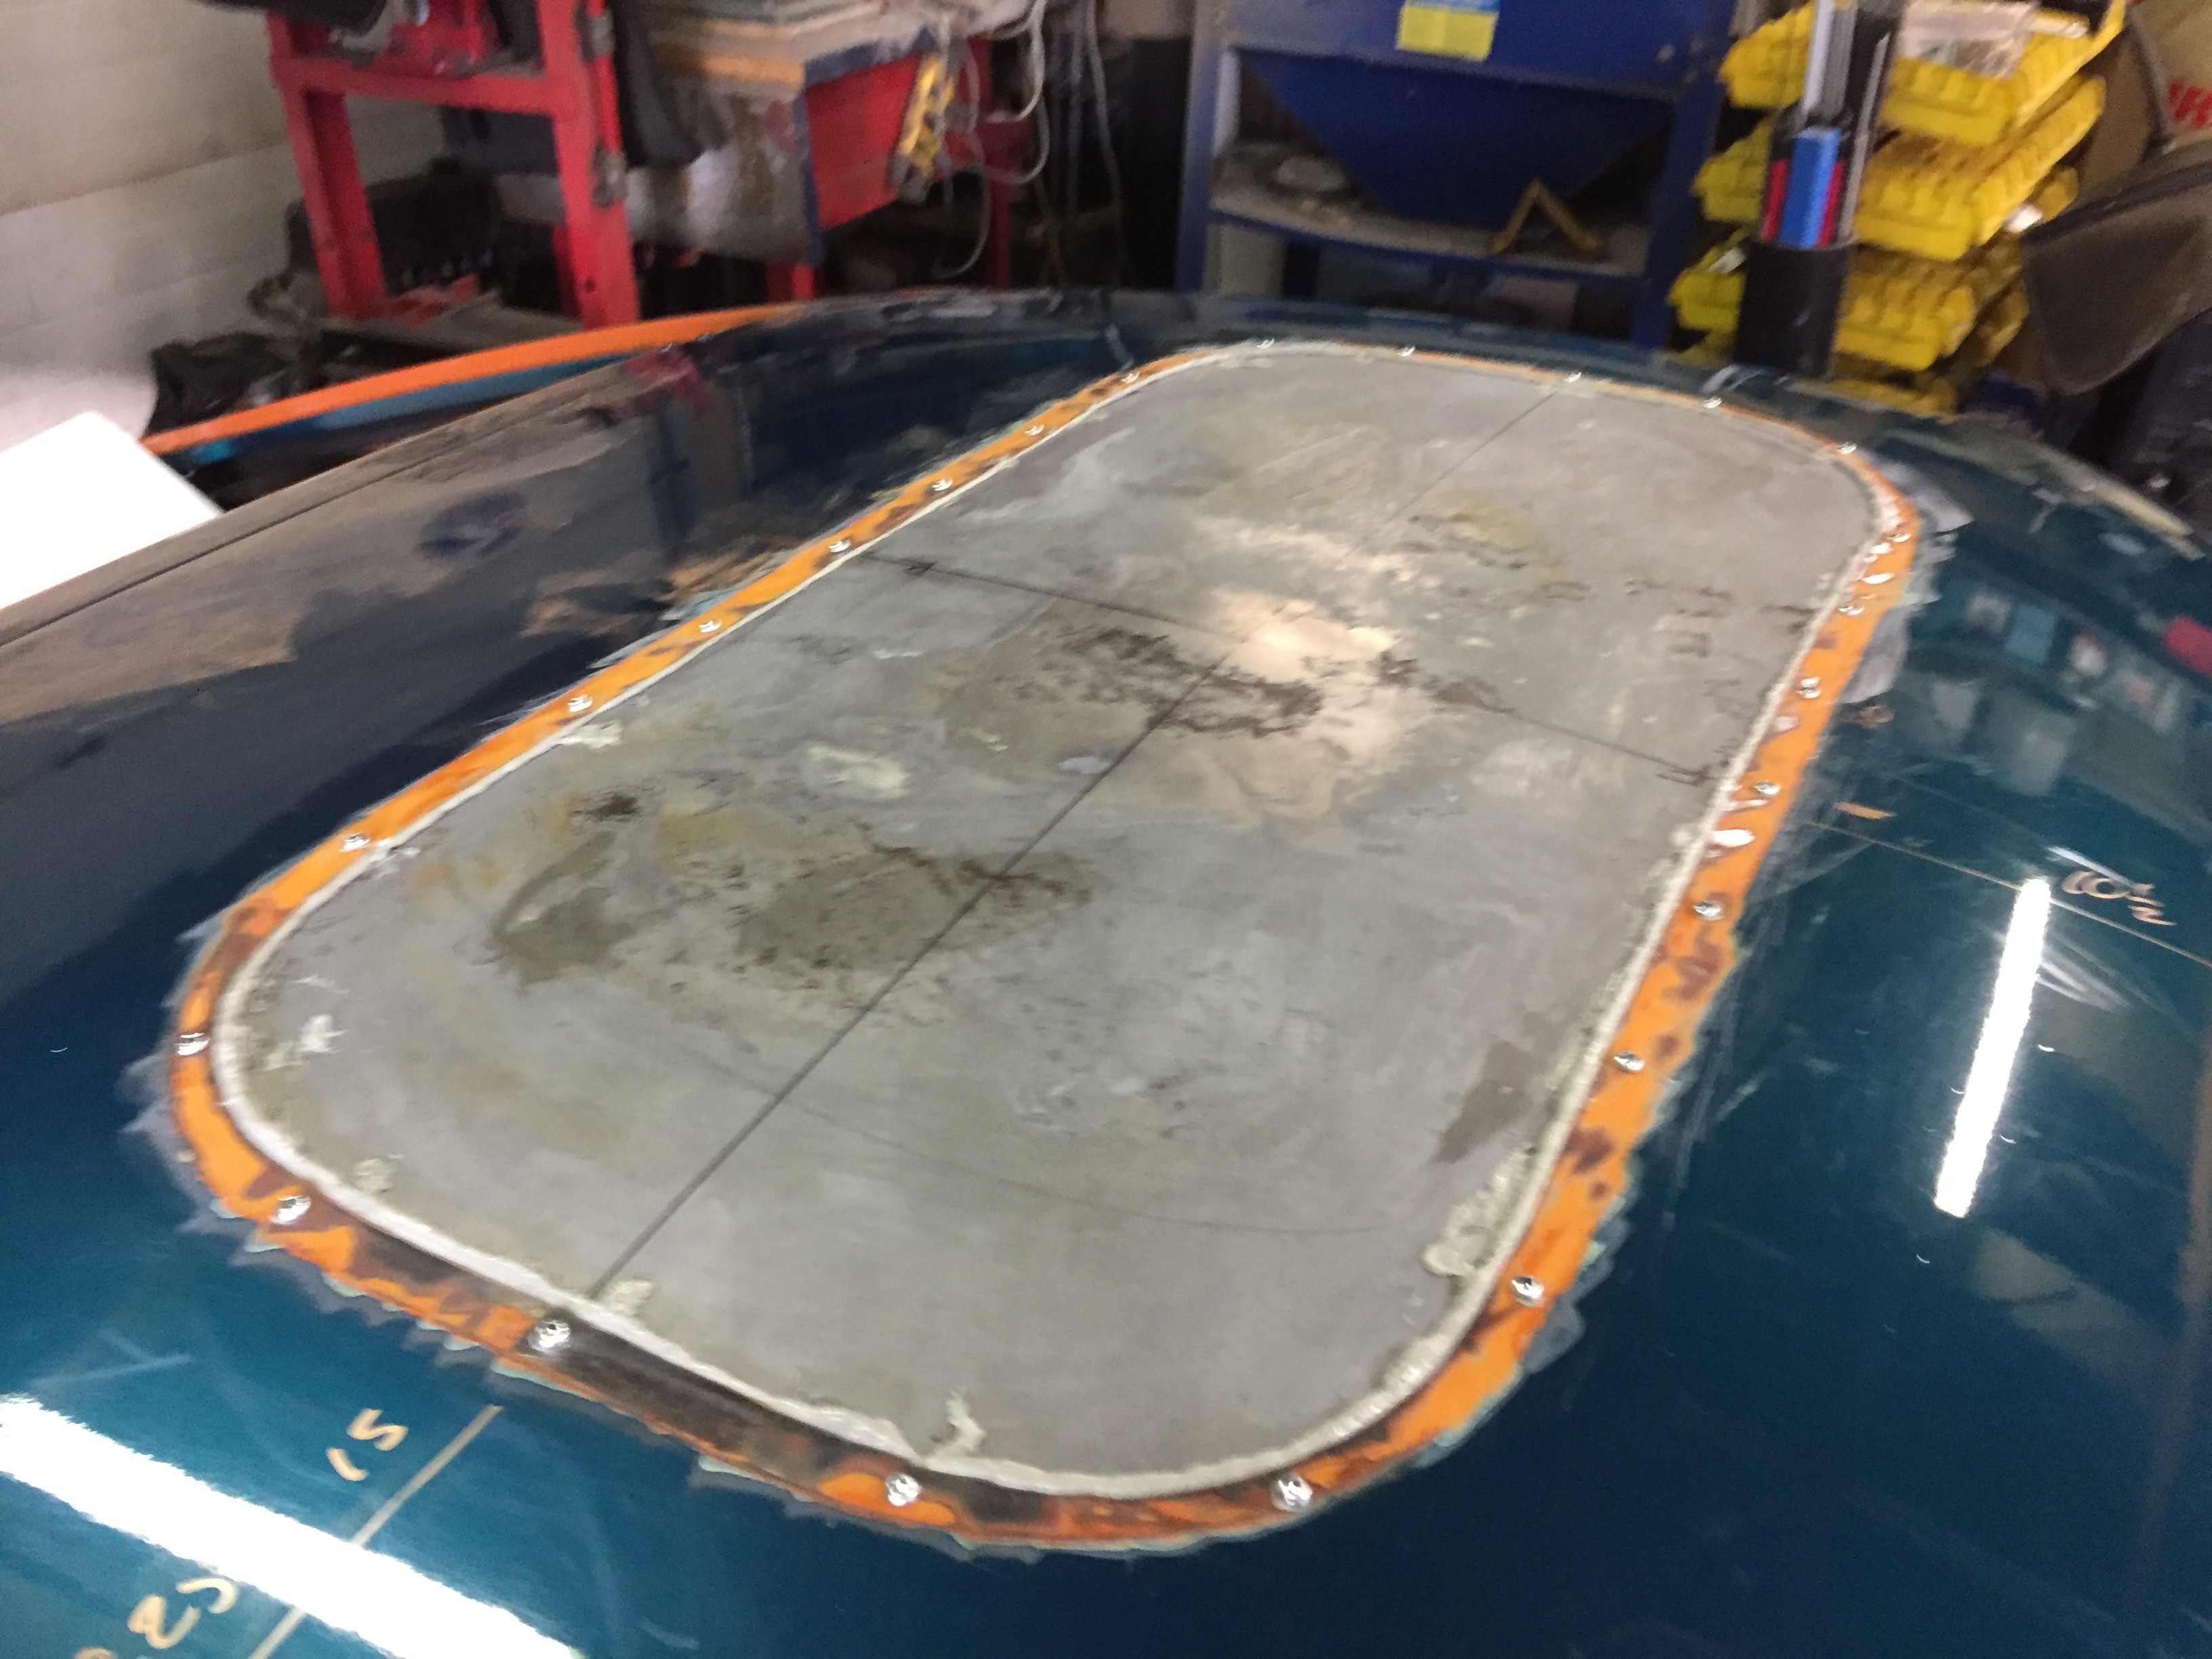
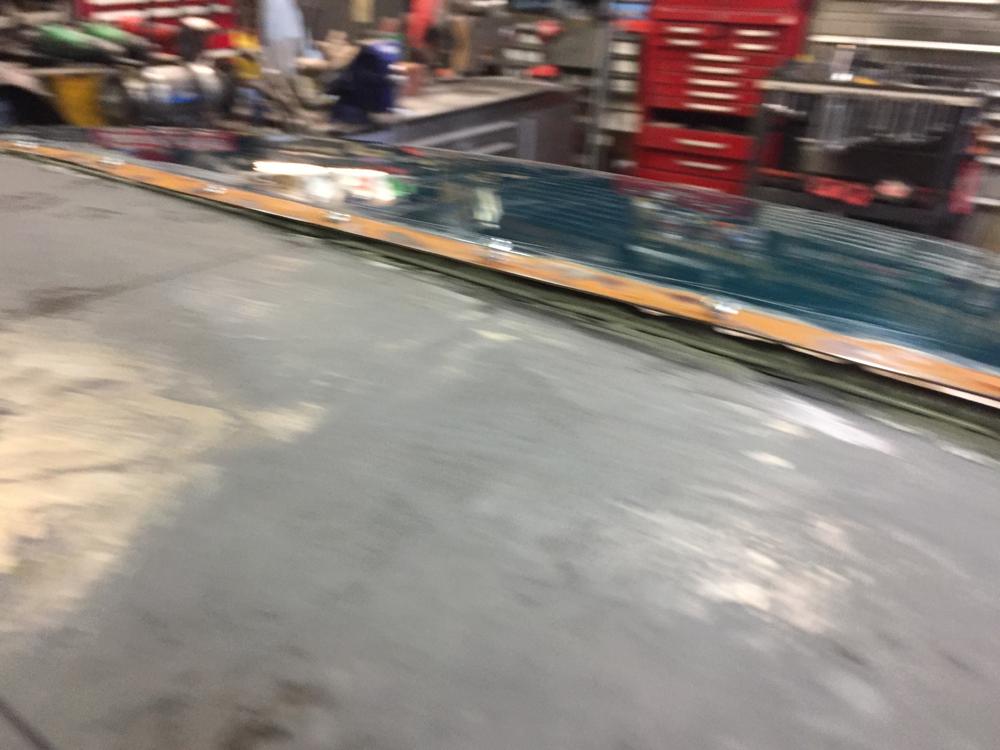
Well that went well. Love that body epoxy/urethane bonding stuff. Cut the new roof patch panel (after very careful measuring to get the right section and section) 1" larger than the opening, clamp it in place, drill 24, 1/8" holes and put 3/4" sheet metal screws in to secure. At this point the whole roof should feel nice and taut. Remove screws one at a time, and drill each top original roof hole to 11/64 so the screw won't bite in the roof hole, then put the screws back just biting 1-2 threads in the patch panel so the new patch panel leaves a lovely 1/4 or 3/8 gap all around. Squeeze in a nice bead of the adhesive into that gap (about a 1/4 bead or so, too much is fine), and tighten the screws in sequence to pull the two together. Not too tight. Squish goes the glue, look for squeeze out all the way around (inside too!) . Clean up the excess. Wait 8 hours. Add a very thin coat of bondo to fill the low spot where the roof patch is located, exactly the thickness of the roof. Sand and prime. Enjoy a nice tight and proper shaped roof. Don't forget proper prep, coating bare metal with primer or zinc phosphate treatment. Don't leave Have done this with welding, but between the hours and trouble of slowing welding that patch in to prevent heat distortion, I can tell you this method is very strong and much simpler. Not as good as replacing the entire roof, but as long as the tension and shape is retained, then my method is a reasonable alternative. Here is a few pics of the process. Screws in, just catching the patch, nice gap to fill with goo Side view of the gap being closed at the left, still open at the right All screws snug, nice even bead of squeeze out. Full view. You can poke the patch all over with your finger and the roof and it all feels tight. Low angle viewing from all angles shows me the overall shape of roof is totally right. Nothing funky. Just have to be really meticulous when laying out the patch to get the exact same piece from the doner and positioned perfectly. The car is a 72, the roof patch is from a 78.

 1 point
 -
Powerwrap. Interesting stuff. At Home Despot Canada a lousy 2"x 30" package is $16! Would cost $300 to do your floors one layer thick. Another product from a different industry applied to DIY and home Improvement. I think that's just Fiberglass medical cast material repackaged (and price jacked up). Remember the TV ad for the miracle "new" water proofing spray? They huckster puts a screen door in the bottom of his boat and sprays this black gooey crap over it then rows the boat across some pond? Well we know that stuff as good old vehicle undercoating. Been around for years. Put a new label on it, double or triple the price, sell it to home owners. Now what else do we use every day that could be used in another part of our lives to make it easier? Come on now, use your imaginations. Keep it clean.1 point
-
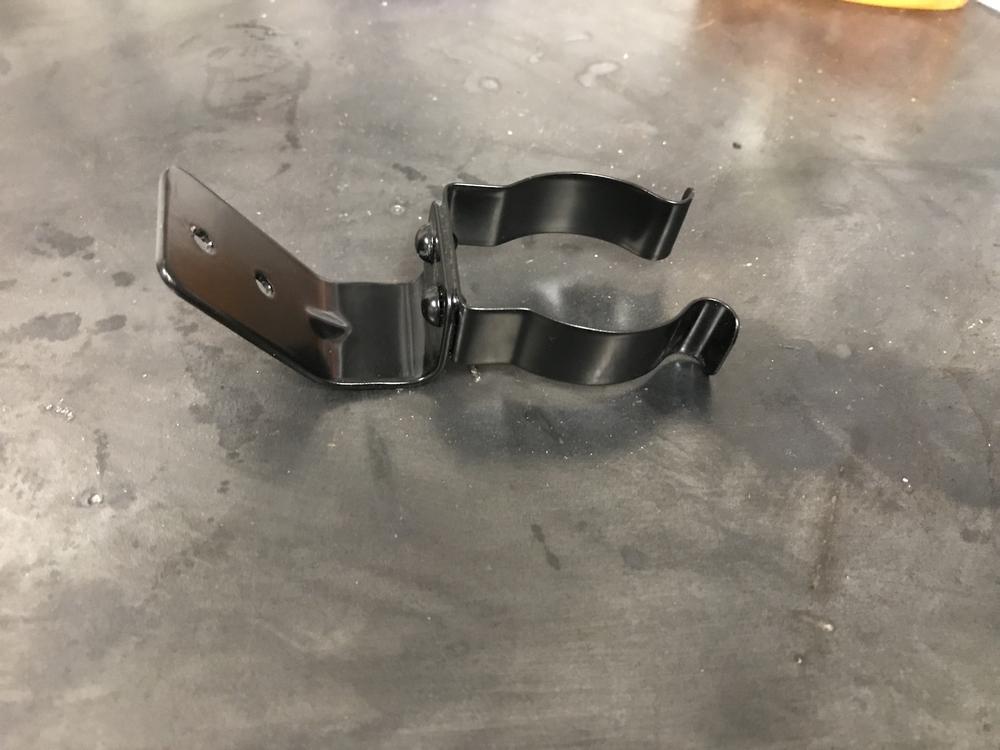
1 pointFilter holder is now powder coated. I love doing all the little things.
 1 point
 -
1 pointThis week I have a go at making a stud puller to do some dent repairs and I pull the engine out of the car.1 point
-
1 point
-
1 pointThanks Mike. I'm making a list of offers to give to body shop. It would depend for this bumper, if the rubber can be found. I do want '76 bumper on her, getting rid of the '77 wrong one. Jai1 point
-
1 pointJeff I absolutely love your work and determination to get these cars going. The workmanship is first class. One thing that bugs the crap out of me is the bumper music you chose. Is this a rave for 19 year old girls or a real man's show about building awesome cars? Get some AC/DC or guitar based stuff not that techno garbage. I see your wife (you're punching way above your class) is in a lot of your vids, maybe she chose the music. Sorry for the rant but that type of music is slowly taking over the world because no one is paying attention and real people who have the talent to play instruments are losing work. Otherwise I'm envious of what you've accomplished and keep up the videos. I even like the home repair ones.1 point
-
1 pointNow I am actually working on my Z I thought it was about time I actually started learning something about it1 point
-
1 pointChuck, I hear ya. I usually just use a local notary. I only went to Harrisburg once because I had three things to do all at once and I was in a real hurry for one of them. It was way cheaper to burn the gas to drive to the PennDOT hive than to spend three times the notary fees, plus I walked out with what I needed. Yes, I had to sit in that big smelly room and I wouldn't have done for just one item, but since I had three.... I also burned an additional extra couple hours and took the guided tour of the Capitol building while I was in the area. I tried to turn the day into a tourist "experience". PS - What's it cost to blast an entire car at your guy?1 point
-
1 pointMy local blaster does everything from cars to blasting paint off old buildings. I think he charged me $950 for a 240Z. He has a tow behind rig with a diesel compressor. He used sand on my car and it came out fine. You will not have good luck doing this at home. It takes ALOT of air like over a 100 CFM to do a good job. The way it was explained to me, it is about air volume not pressure. He keeps his pressure pretty low like 70 psi and lots of volume and media. This keeps the metal cool and prevents "work hardening". He also never blast straight at panels always at an angle. I have a fairly large home air compressor 60 CFM or so and a 90# pressure pot. I use it for little stuff, but Site is correct it makes a huge mess and is a pain. Normally if I can't fit it in the blasting cabinet I think about farming it out. Charlie Osborne's floor boards work pretty good but I reworked them a little to make them fit more like OEM. Cheaper to sub it out than buy the equipment and do it yourself. Don't get the idea you can do it with a cheap 100 Amp welder; it will just frustrate you.1 point
-
1 pointa broken watch is right twice a day ;} seriously though - the clock in my '78 keeps absolute perfect time, dead on to my iphone after over a year, and yet the digital clock on my stereo picks up 5 min. a month. congrats matthew - ya got a healthy project she looks straight and doesn't appear to have a lot of PO bodywork. when i got my z i was fully intending to do a sbc swap because i know that motor well from my teenage years and always liked the glug-glug-glug sound. i was advised to try out the L6 first, as it is a great motor with lots of character and i have to say i'm glad i did. something about the hard-pulling revvy nature of it coupled with a raspy exhaust note just really seems to fit the car. it grows on you.1 point
-
1 pointMy one kid is eyeing my cycle. "Can I have a cycle when I get older?" I can't legitimately tell him he can't with mine sitting there... I tell him "After you're out of college and living on your own, your mom can't tell you "no" anymore."1 point
-
1 pointSeriously? He towed it from MO to NJ for you??? Wow! A laminated wiring diagram included with the car is never a good sign. And I like the multiple generations of cycles. Yours and the kids? You two ride together? Good luck with the project. Looks like a great starting point.1 point