Leaderboard


Popular Content
Showing content with the highest reputation on 02/25/2017 in Posts
-
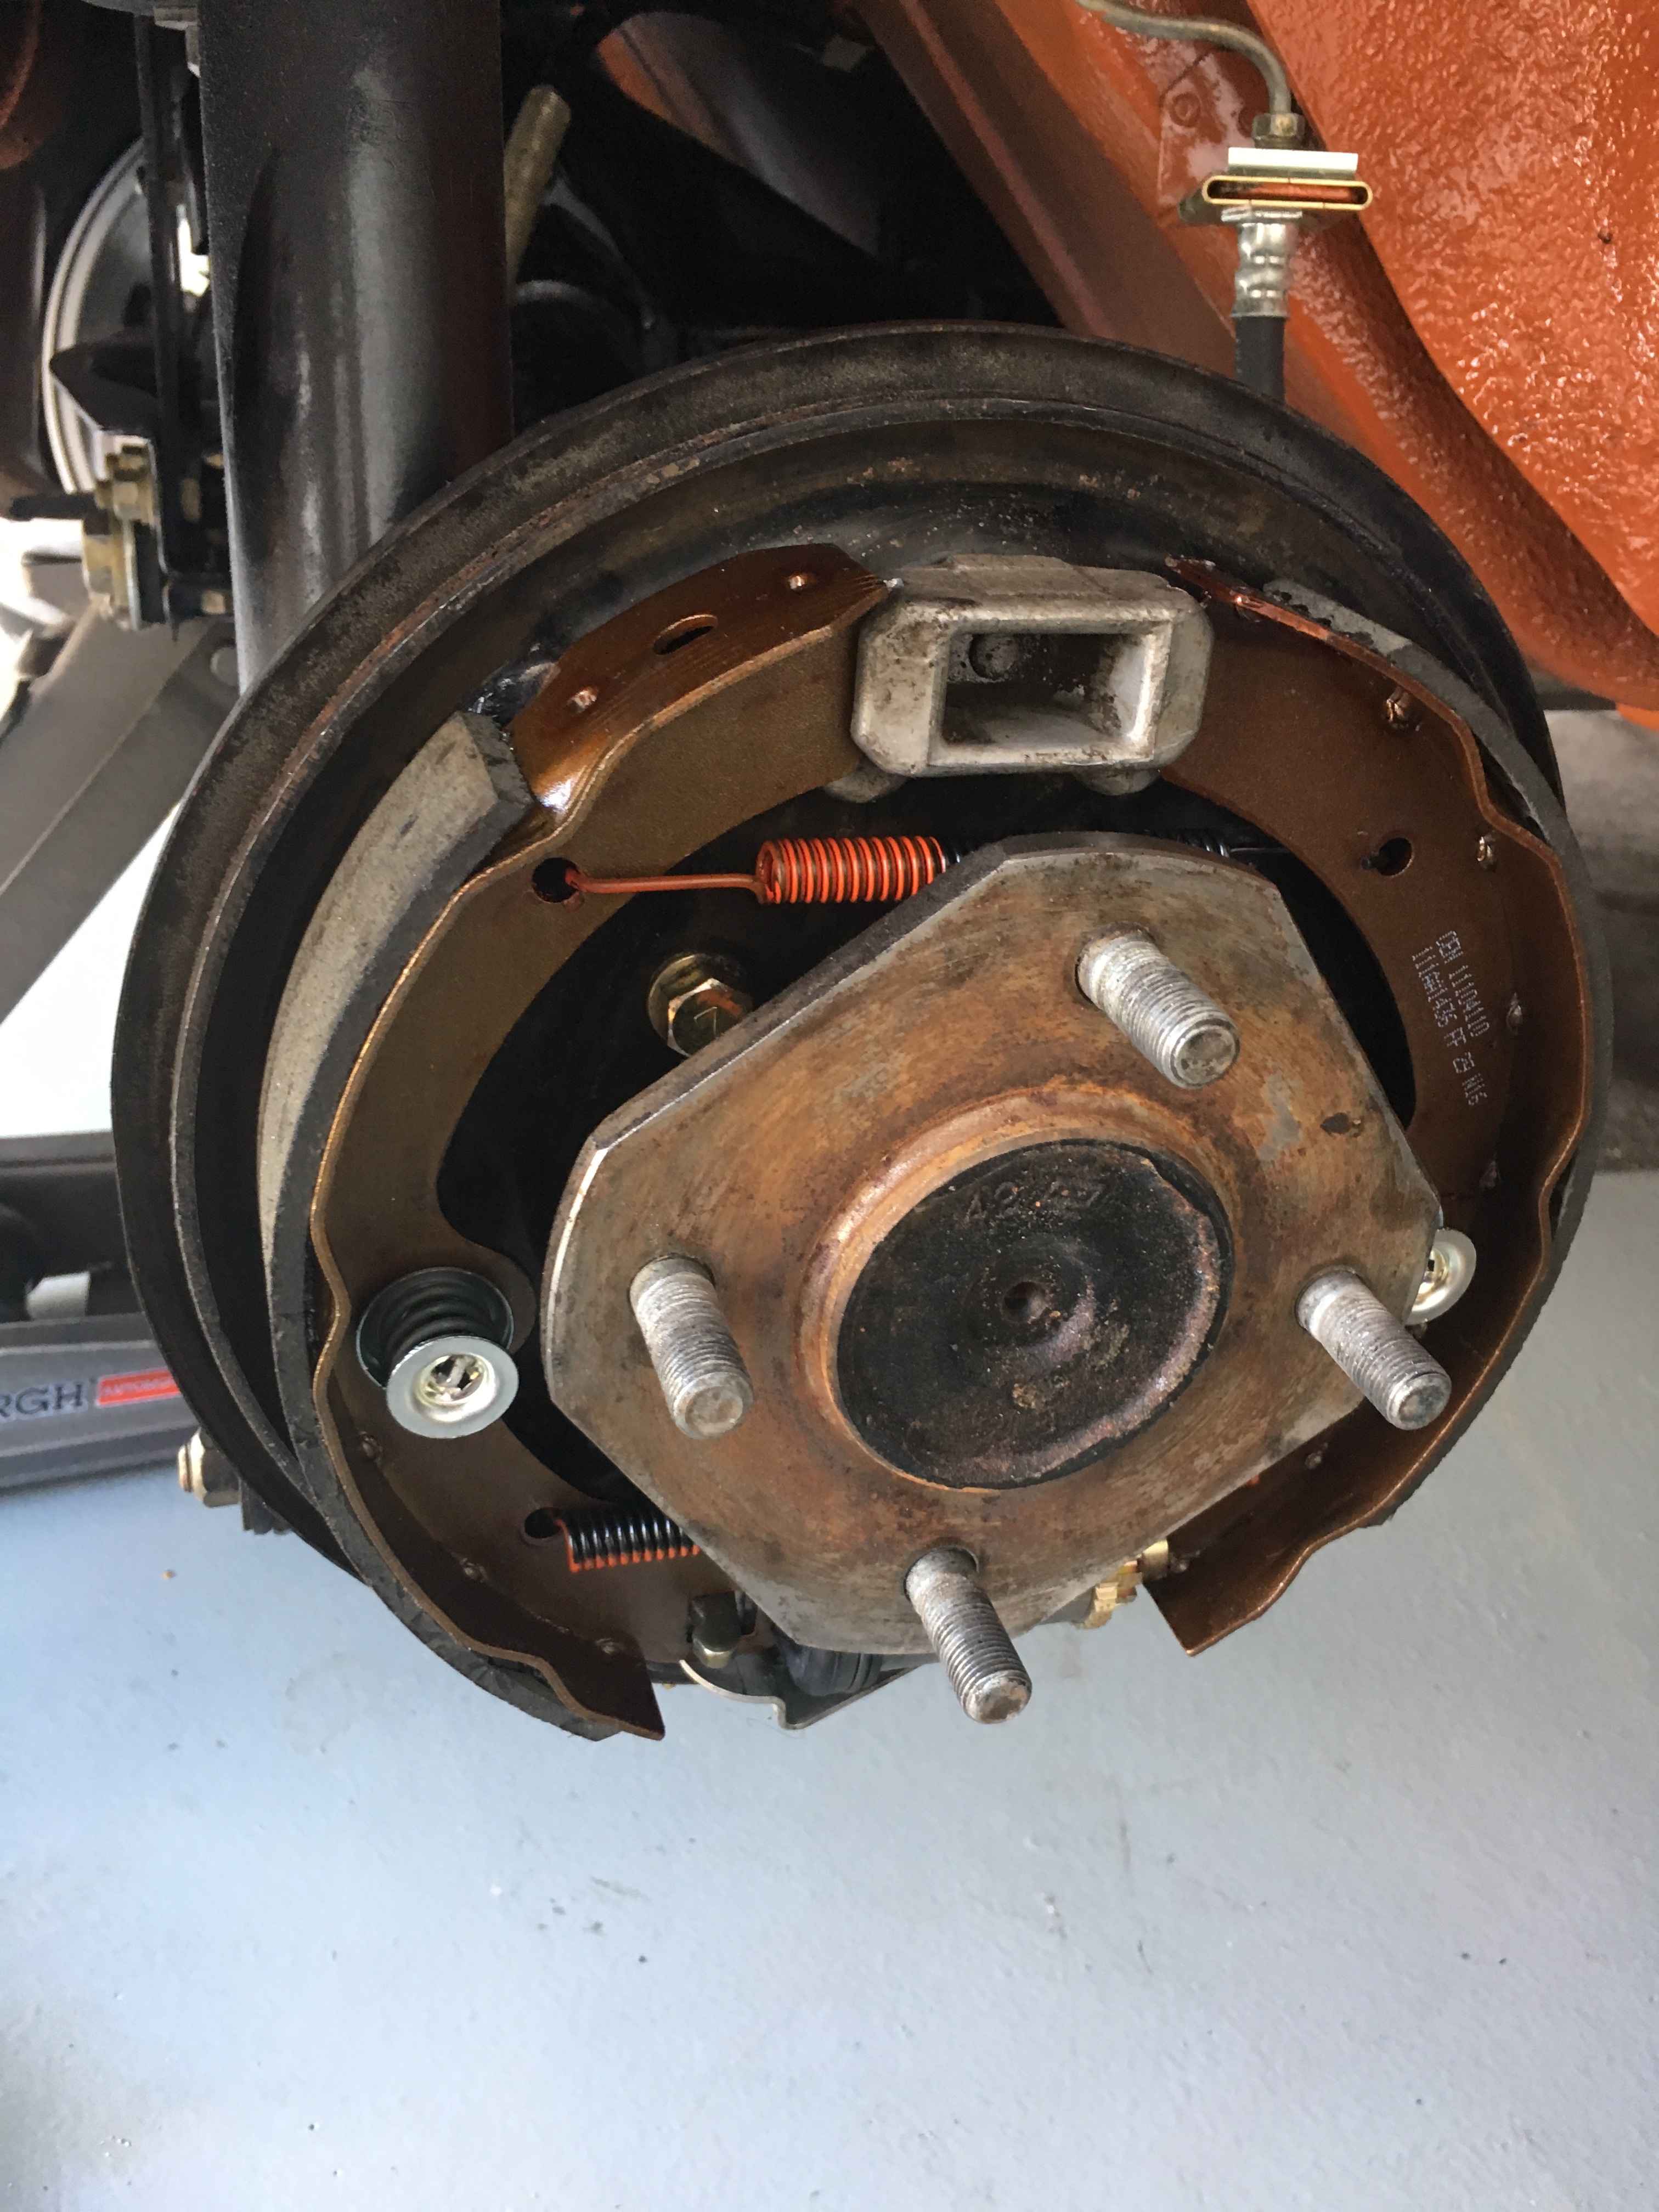
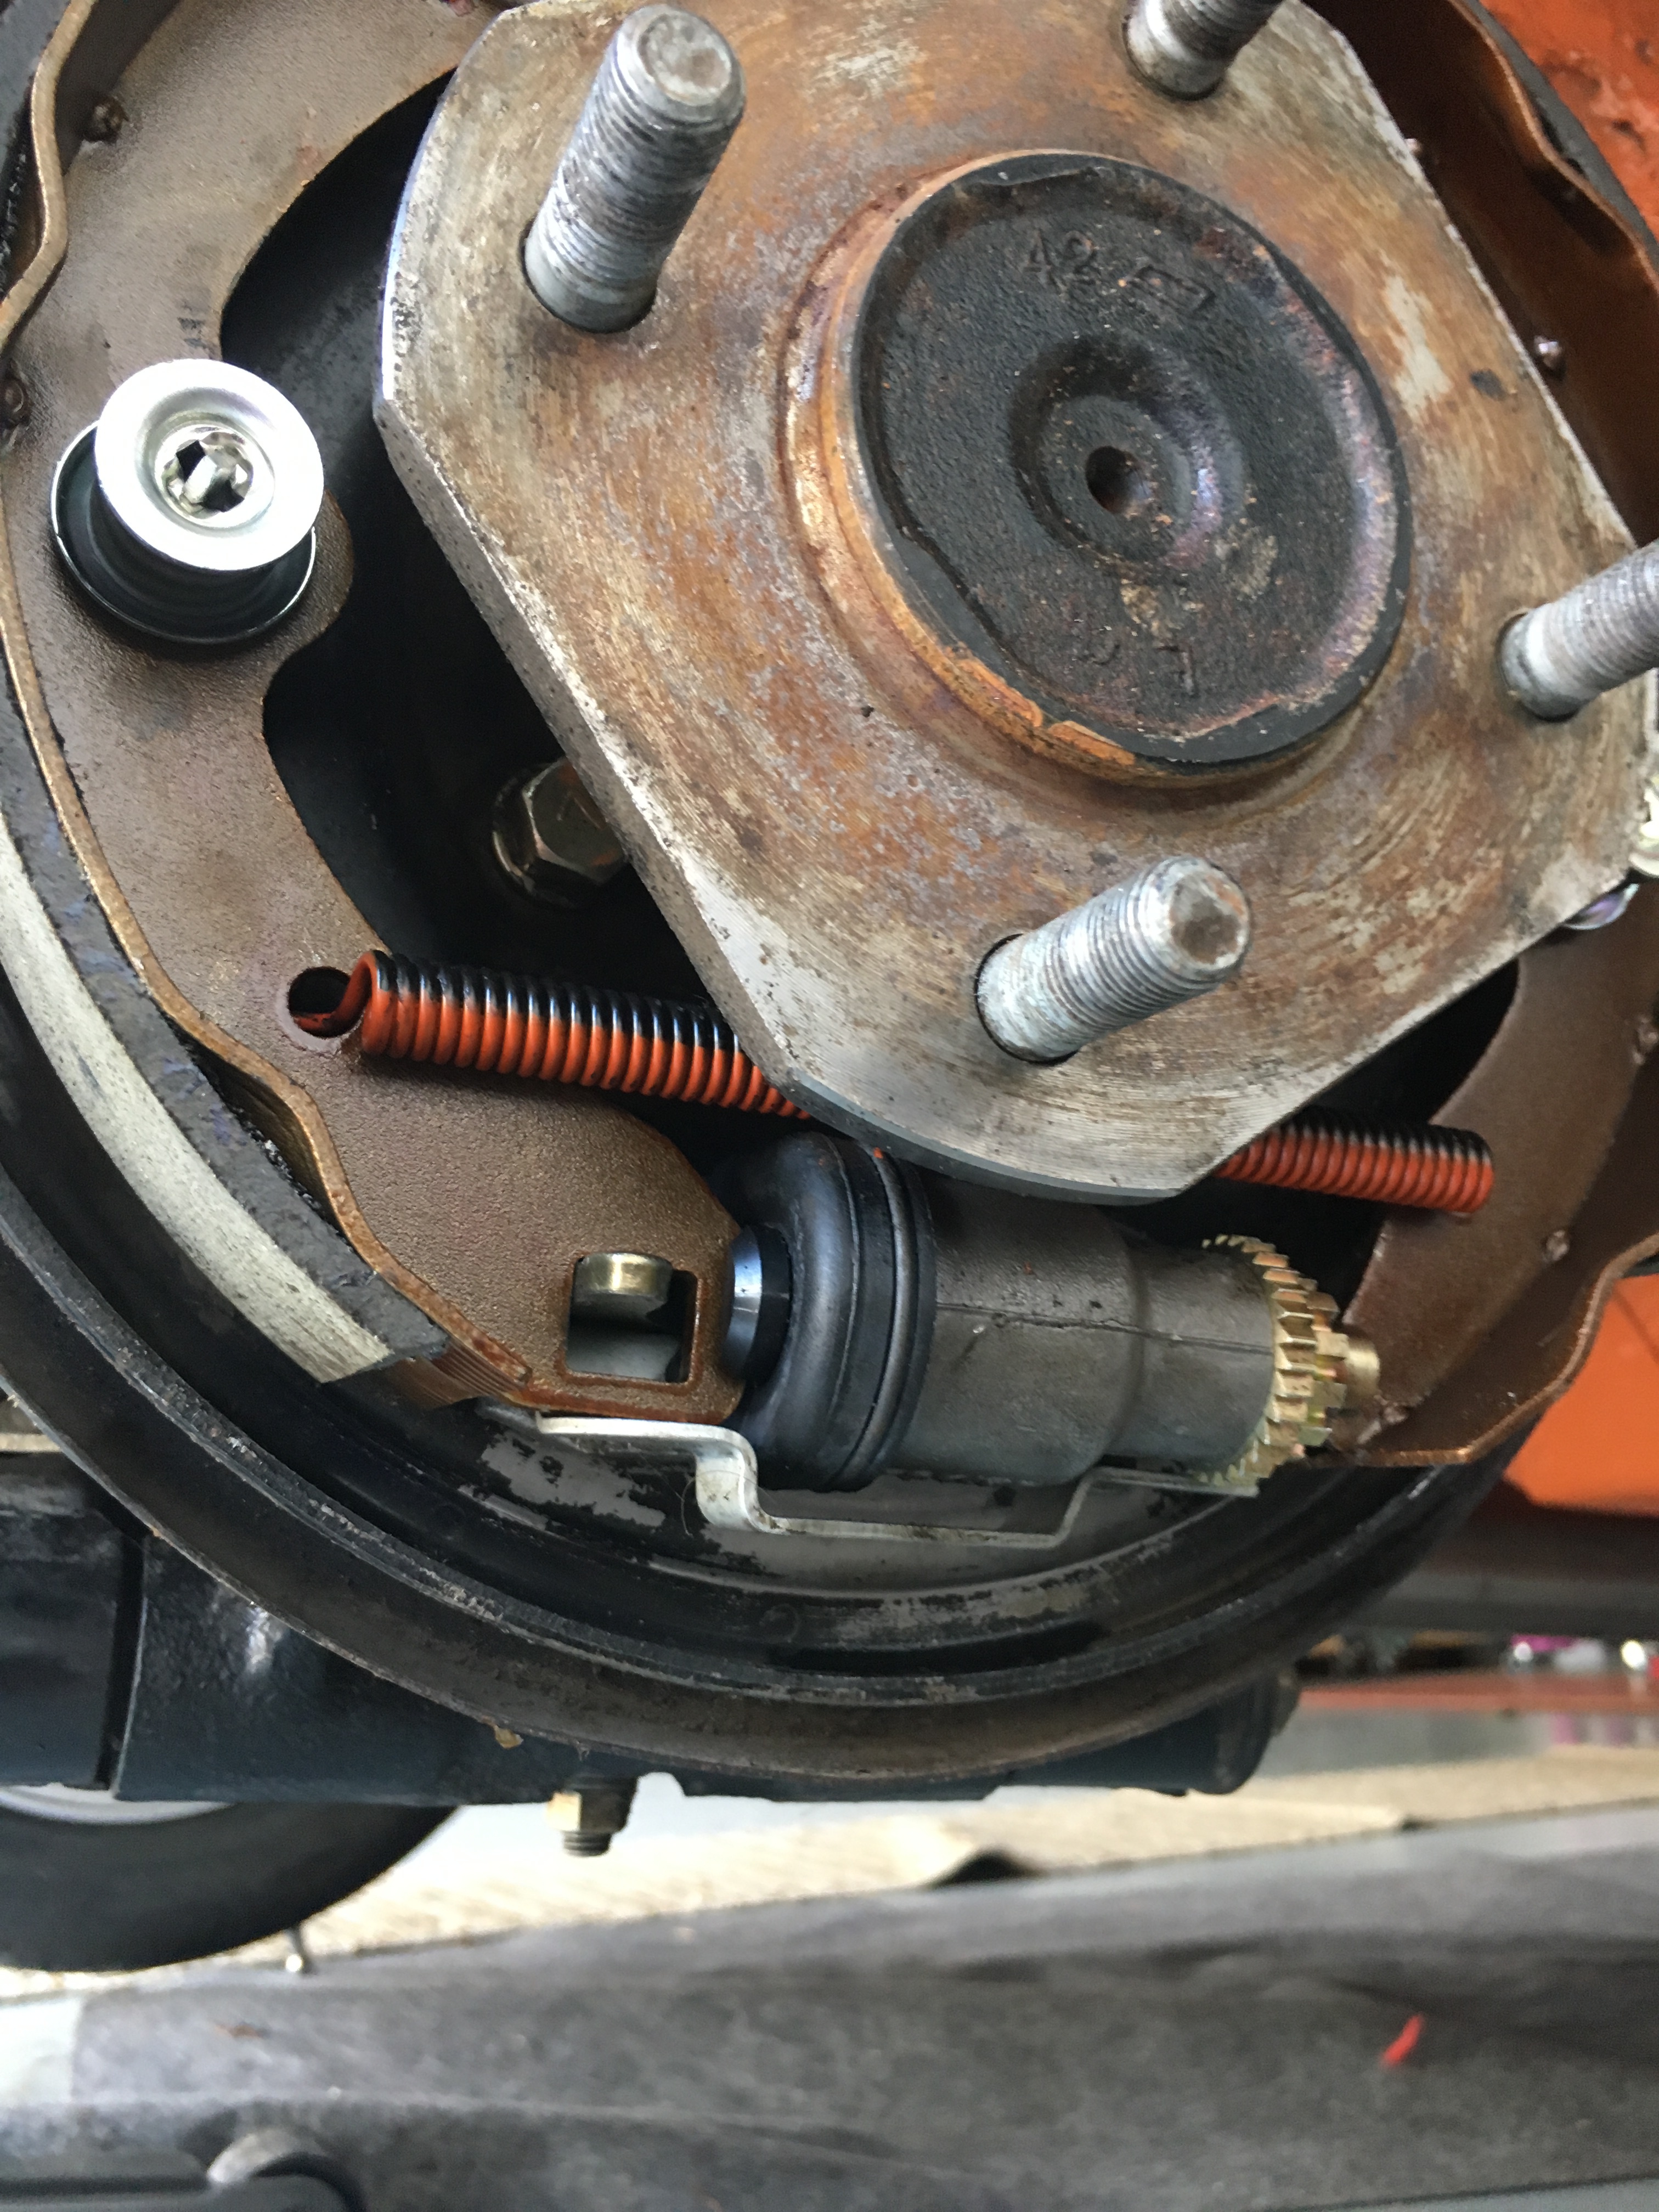
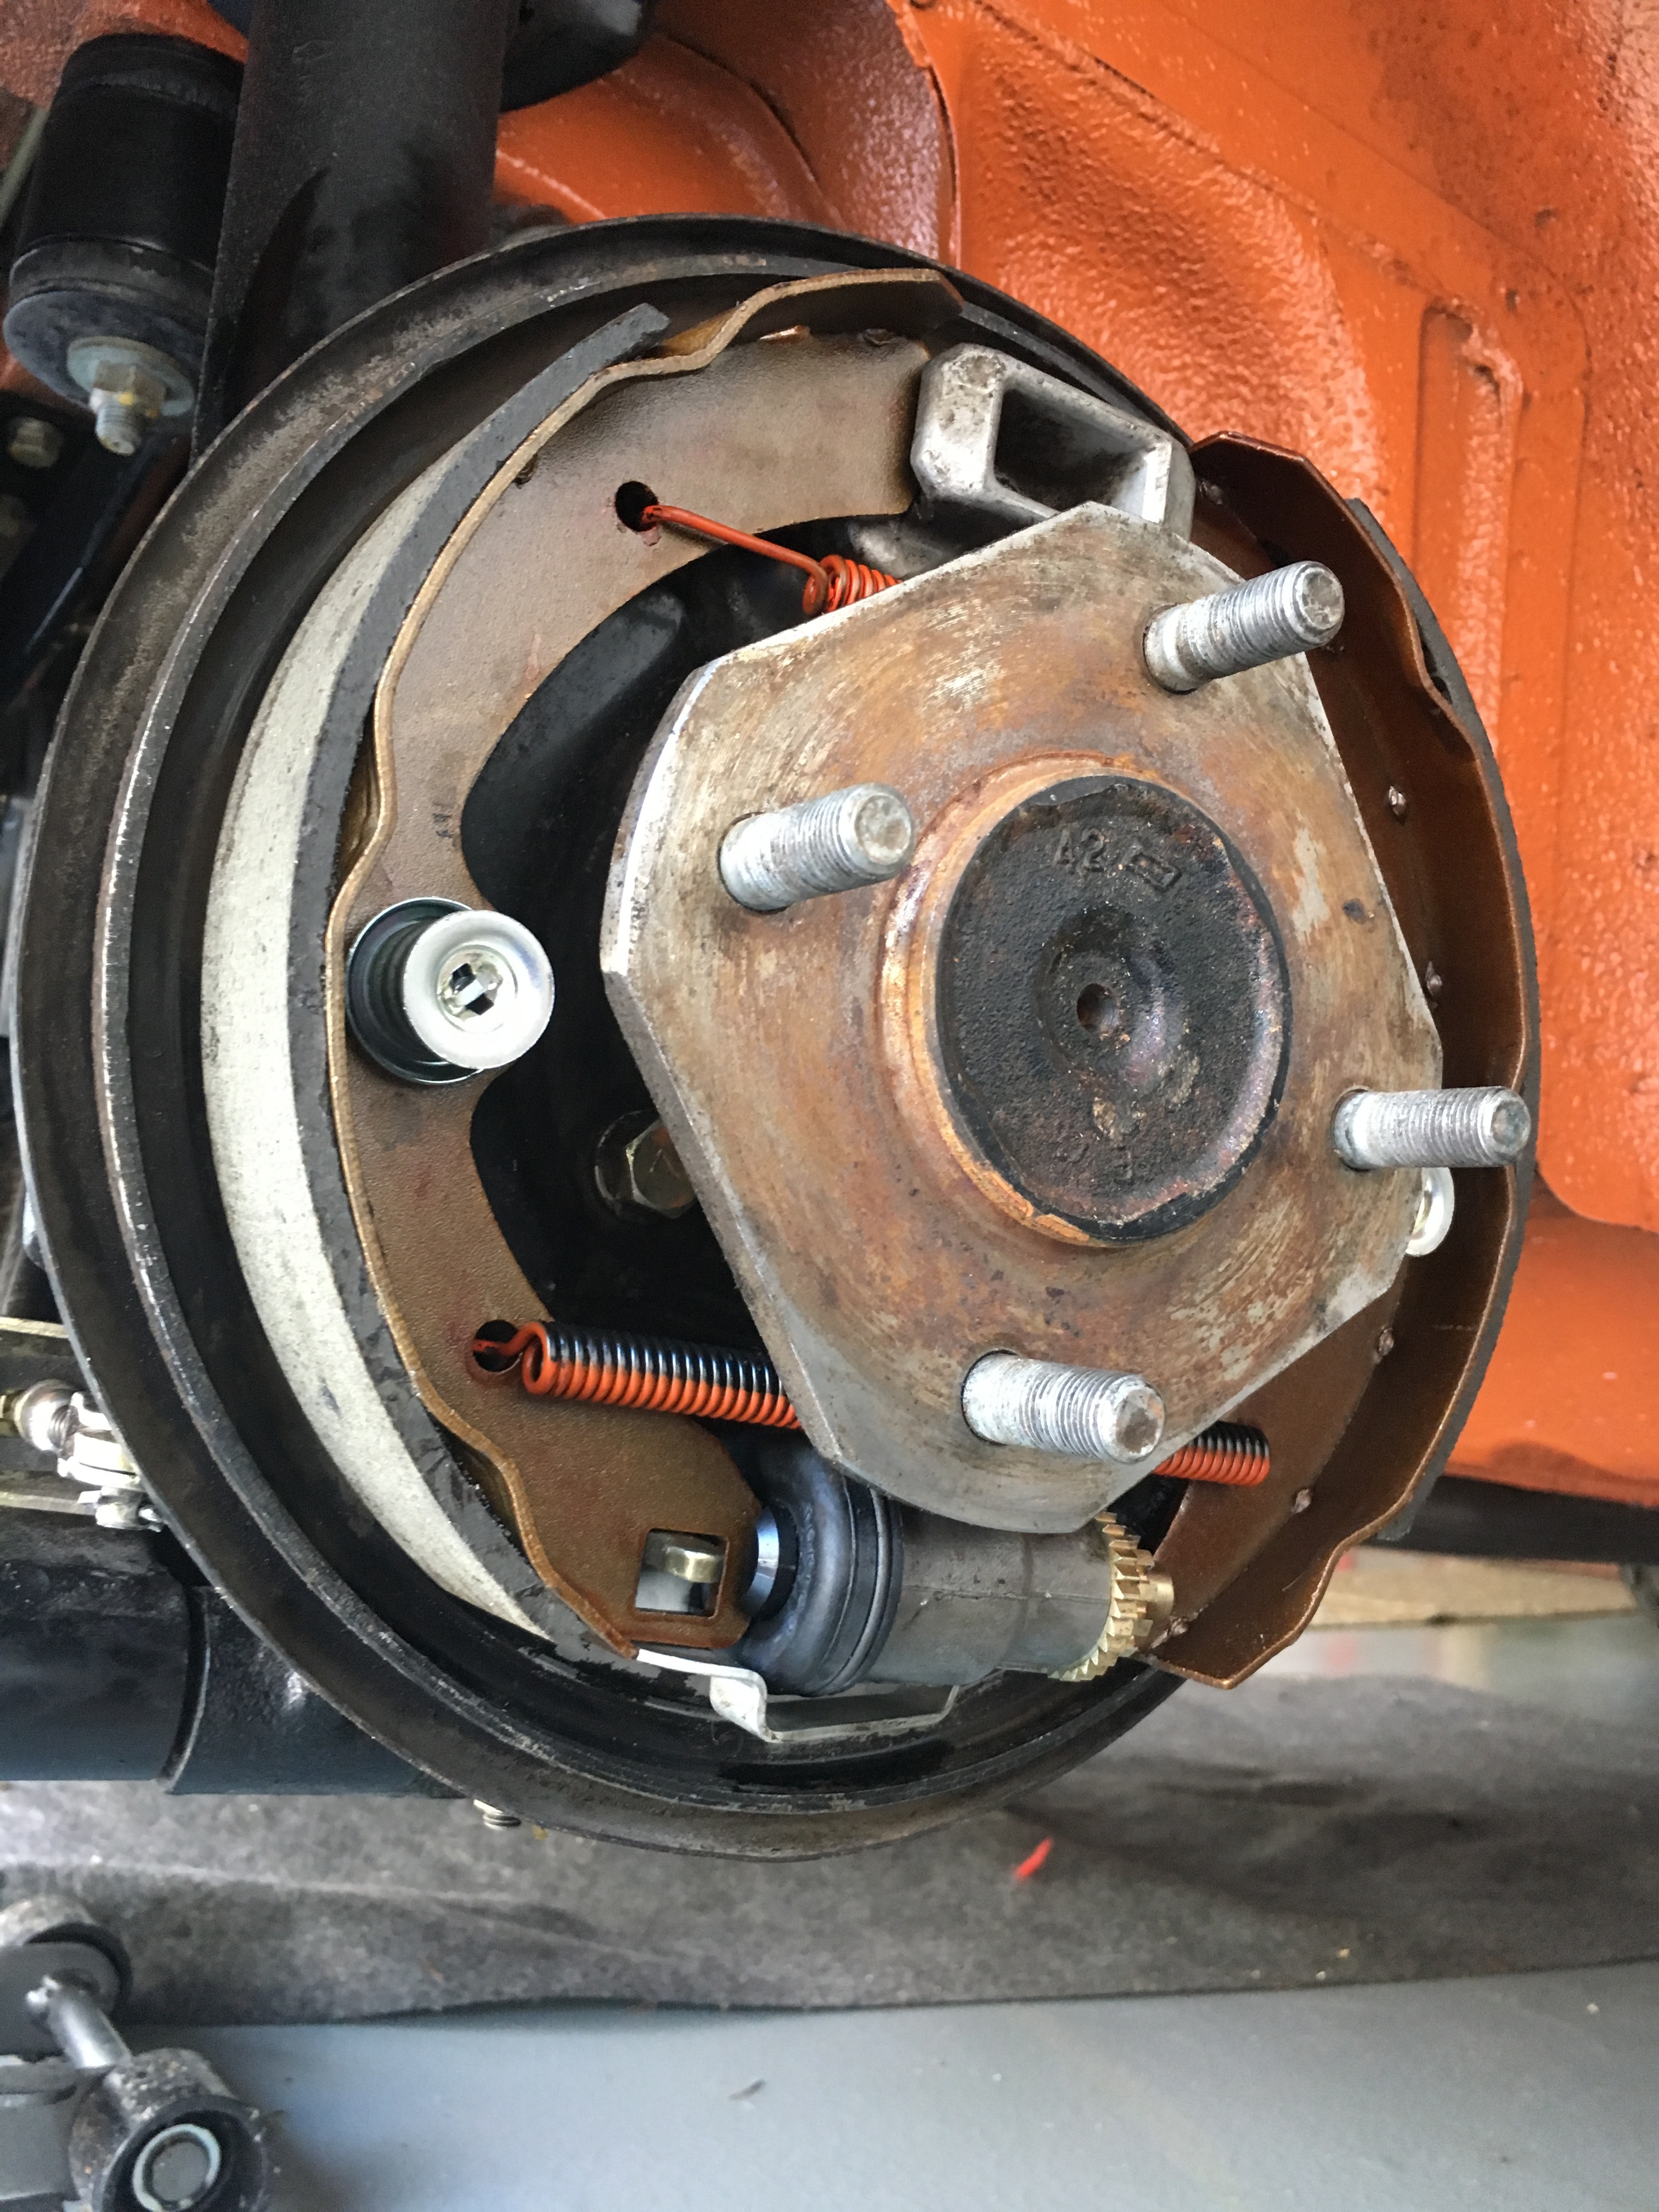
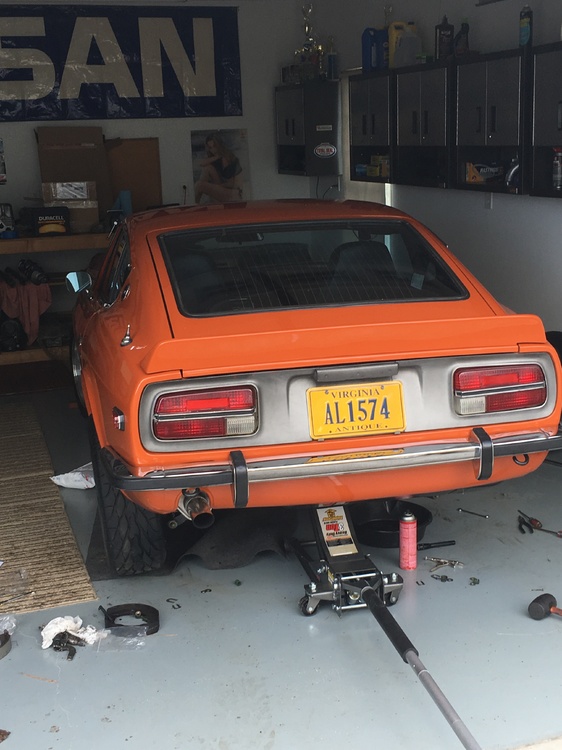
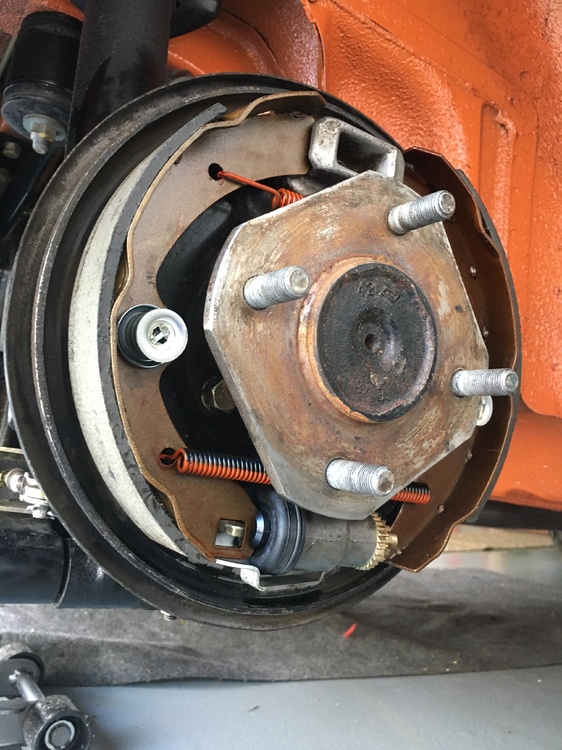
I put new wheel cylinders and shoes on the orange 72......she blew a driver side cylinder a couple weeks ago.....cheap Datsun parts....only lasted 45 years!


 3 points
 -
Glad to see a nice collection of NOS parts. It seems I was correct pointing out that these are vented, so I wasn't mad.... Keep us posted on this great brake project.2 points
-
What a wonderful stock MK63 and stock parts !! Almost there , just a little more parts are wanted, fingers crossed. Kats1 point
-
1 point
-
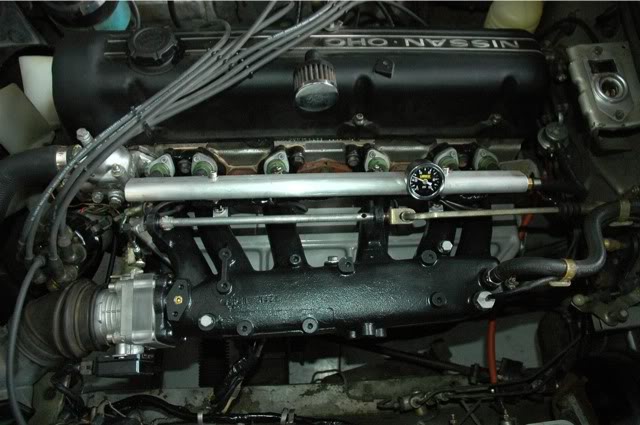
1 pointYou can tuck them and run under the fuel rail and out the back. I was actually looking at using a injector wire holder from a BMW but figured a nice wire loom would be better. Check out how Brapp did it in this thread at Hybridz: http://forums.hybridz.org/topic/75982-shaved-intake-280zx-now-wont-start/?p=724215
 1 point
 -
Does it close? That's the important part because it's the only thing that makes it different from the idle speed air bypass screw, which also does what CO described for the AAR. You should be able to raise your idle speed by turning the idle speed screw. But it will stay high after the engine warms up. The AAR doesn't stay open very long, it has its own internal heater that closes it well before the engine gets to operating temperature. If you connect a battery to the terminals you can watch it close if it's working correctly. Some people remove them and just hold the throttle open for a short while. As Captain impled, it has very little affect on how the engine runs. It's just a convenience.1 point
-
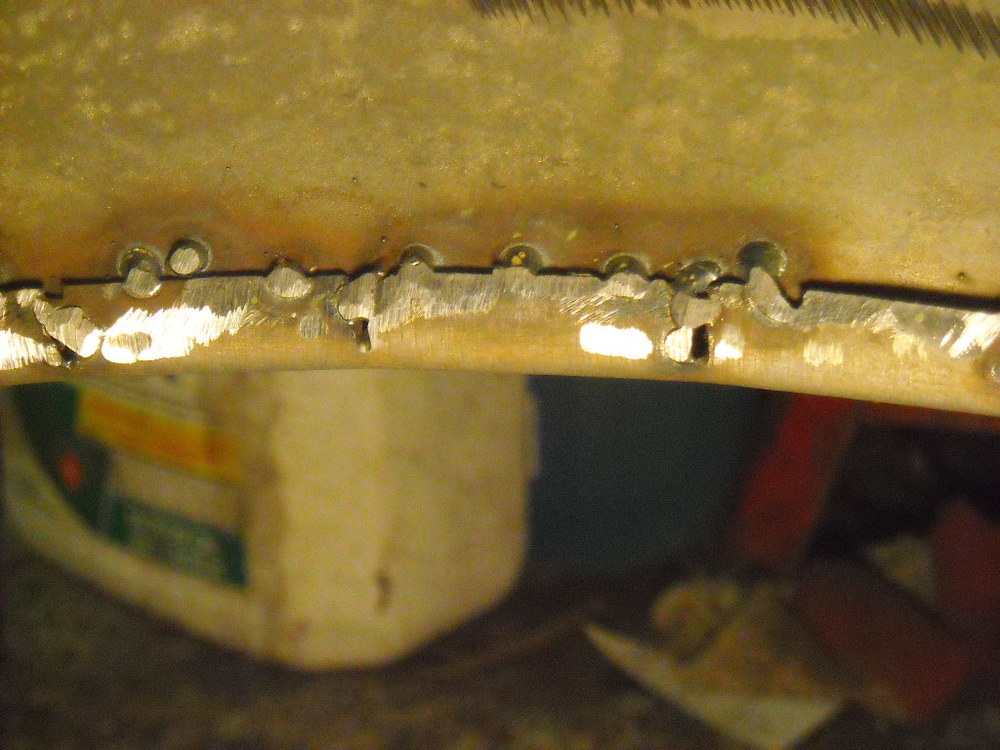
1 pointWell because of the previous repairs to the rear fenders I couldn't use a roller either, the last guy butted the patches up against the lip of the fender so it was too thick to roll. I took the cut off saw and sliced multiple petals a 1/4" in on the lip then with a piece of wood on the outside of the fender lip to protect it squeezed the petals up with a pair of pliers. Then tacked them in position, after everything is primed I'll fill with seam sealer until it is all smooth.

 1 point
 -
Took the Z out today for a few miles today. 74 degrees and Sunshine in GA today. February. go figure. Right off the bat got challenged by a Honda Civic breadbox (83'-87') with a dangling muffler. PA LEEZ! In all fairness, it did have some kind of LED lights zip tied to the grill.1 point
-
1 pointThanks so much! That is exactly what we need to finish off the exhaust manifold. I will be ordering that plug and new studs later tonight. Thanks, John-Lugoff, SC.1 point
-
1 pointInteresting, my car had the non-braided type for all of the fuel supply & return hoses. Three of the hoses have been replaced but I still have the old ones, don't ask me why, I just have trouble tossing old parts. The ones I had to replace (about 12 years ago) were extremely hard and some cracking was evident on the ends. The rest are now getting quite hard so I probably won't get many more years out of them.1 point
-
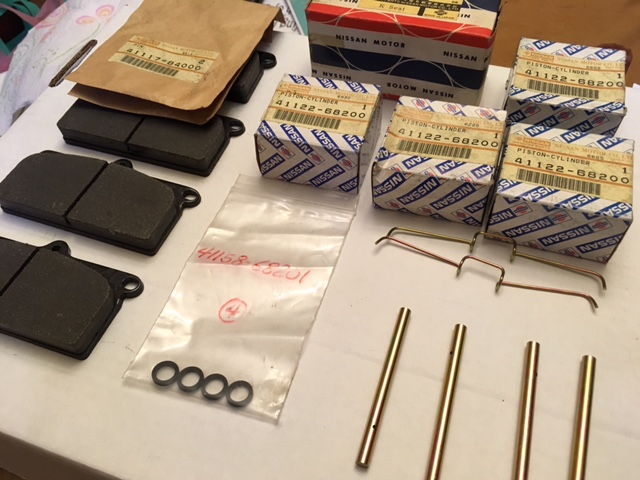
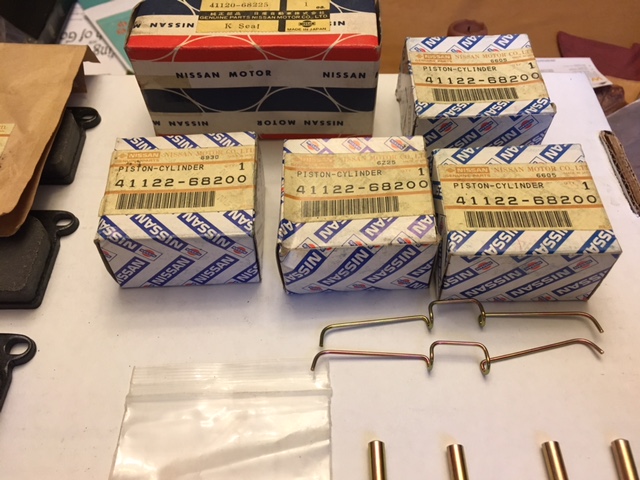
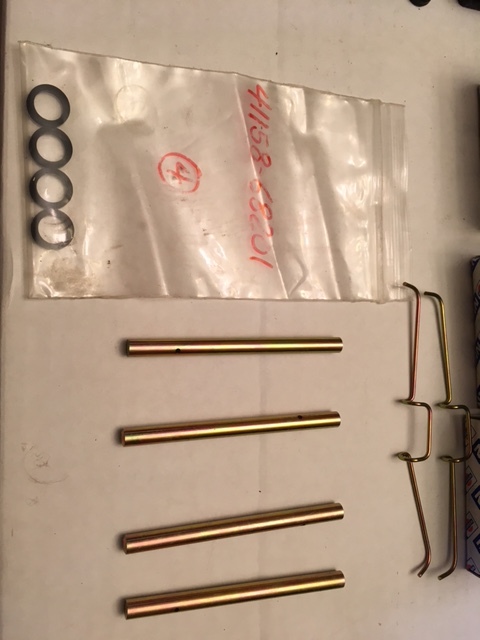
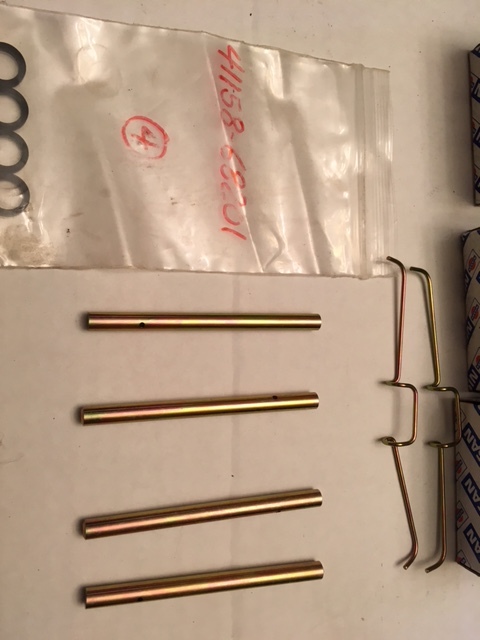
These are the additional parts that I purchased with the calipers. I need two more spring clips that hold the brake pad shims, brake pad shims, spring clips that hold the pad retaining pins in place and possibly vented rotors.
 1 point
 -
Searched the electrical forum but couldn't find much. It would help to get a link or two. Need to do some troubleshooting of the ignition system. Unraveled a harness, found some corrosion and other surprises. Don't want to do a big electrical job, don't feel qualified, but looks like I might get stuck with it. Got and read some troubleshooting books, and watched some videos about soldering and crimp connectors. Seems easy enough, and maybe it is, but wondering what to do when I get to one of the many stock multi-connectors. If I find a burned or corroded one, or if I accidentally mangle one while trying to "fix" it, are they still available ?1 point
-
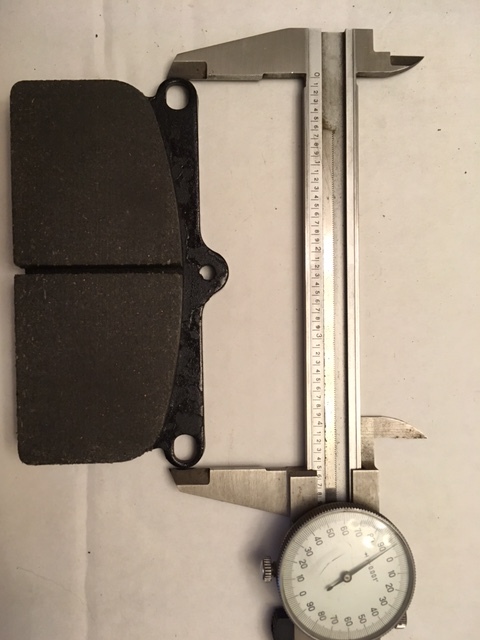
Kats, I just received the calipers. The space for the rotor is 23.62mm where the one you show is 15.9mm. I will assume that these are for the vented rotors. That means quite a bid of additional expense for the rotors. There are enough extra seals to rebuild both calipers and 4 NOS pistons a set of pads ( I will check to make sure they are correct), 4 NOS pad retaining pins (without the clips to hold them in place). Two of the 4 needed spring clips to hold the shim plates in place but not shims. So if I decide to go ahead and install these I Know at this point that I would need vented rotors, 4 brake pad shims, 4 spring clips to hold in the pad retaining pins, 2 spring clips to hold the brake pad shims in place. Possibly brake pads I will check on this using your measurements. I will post a picture of the calipers and parts this evening. I also plan to pull the pistons to make sure the NSO calipers are in good condition internally.1 point
-
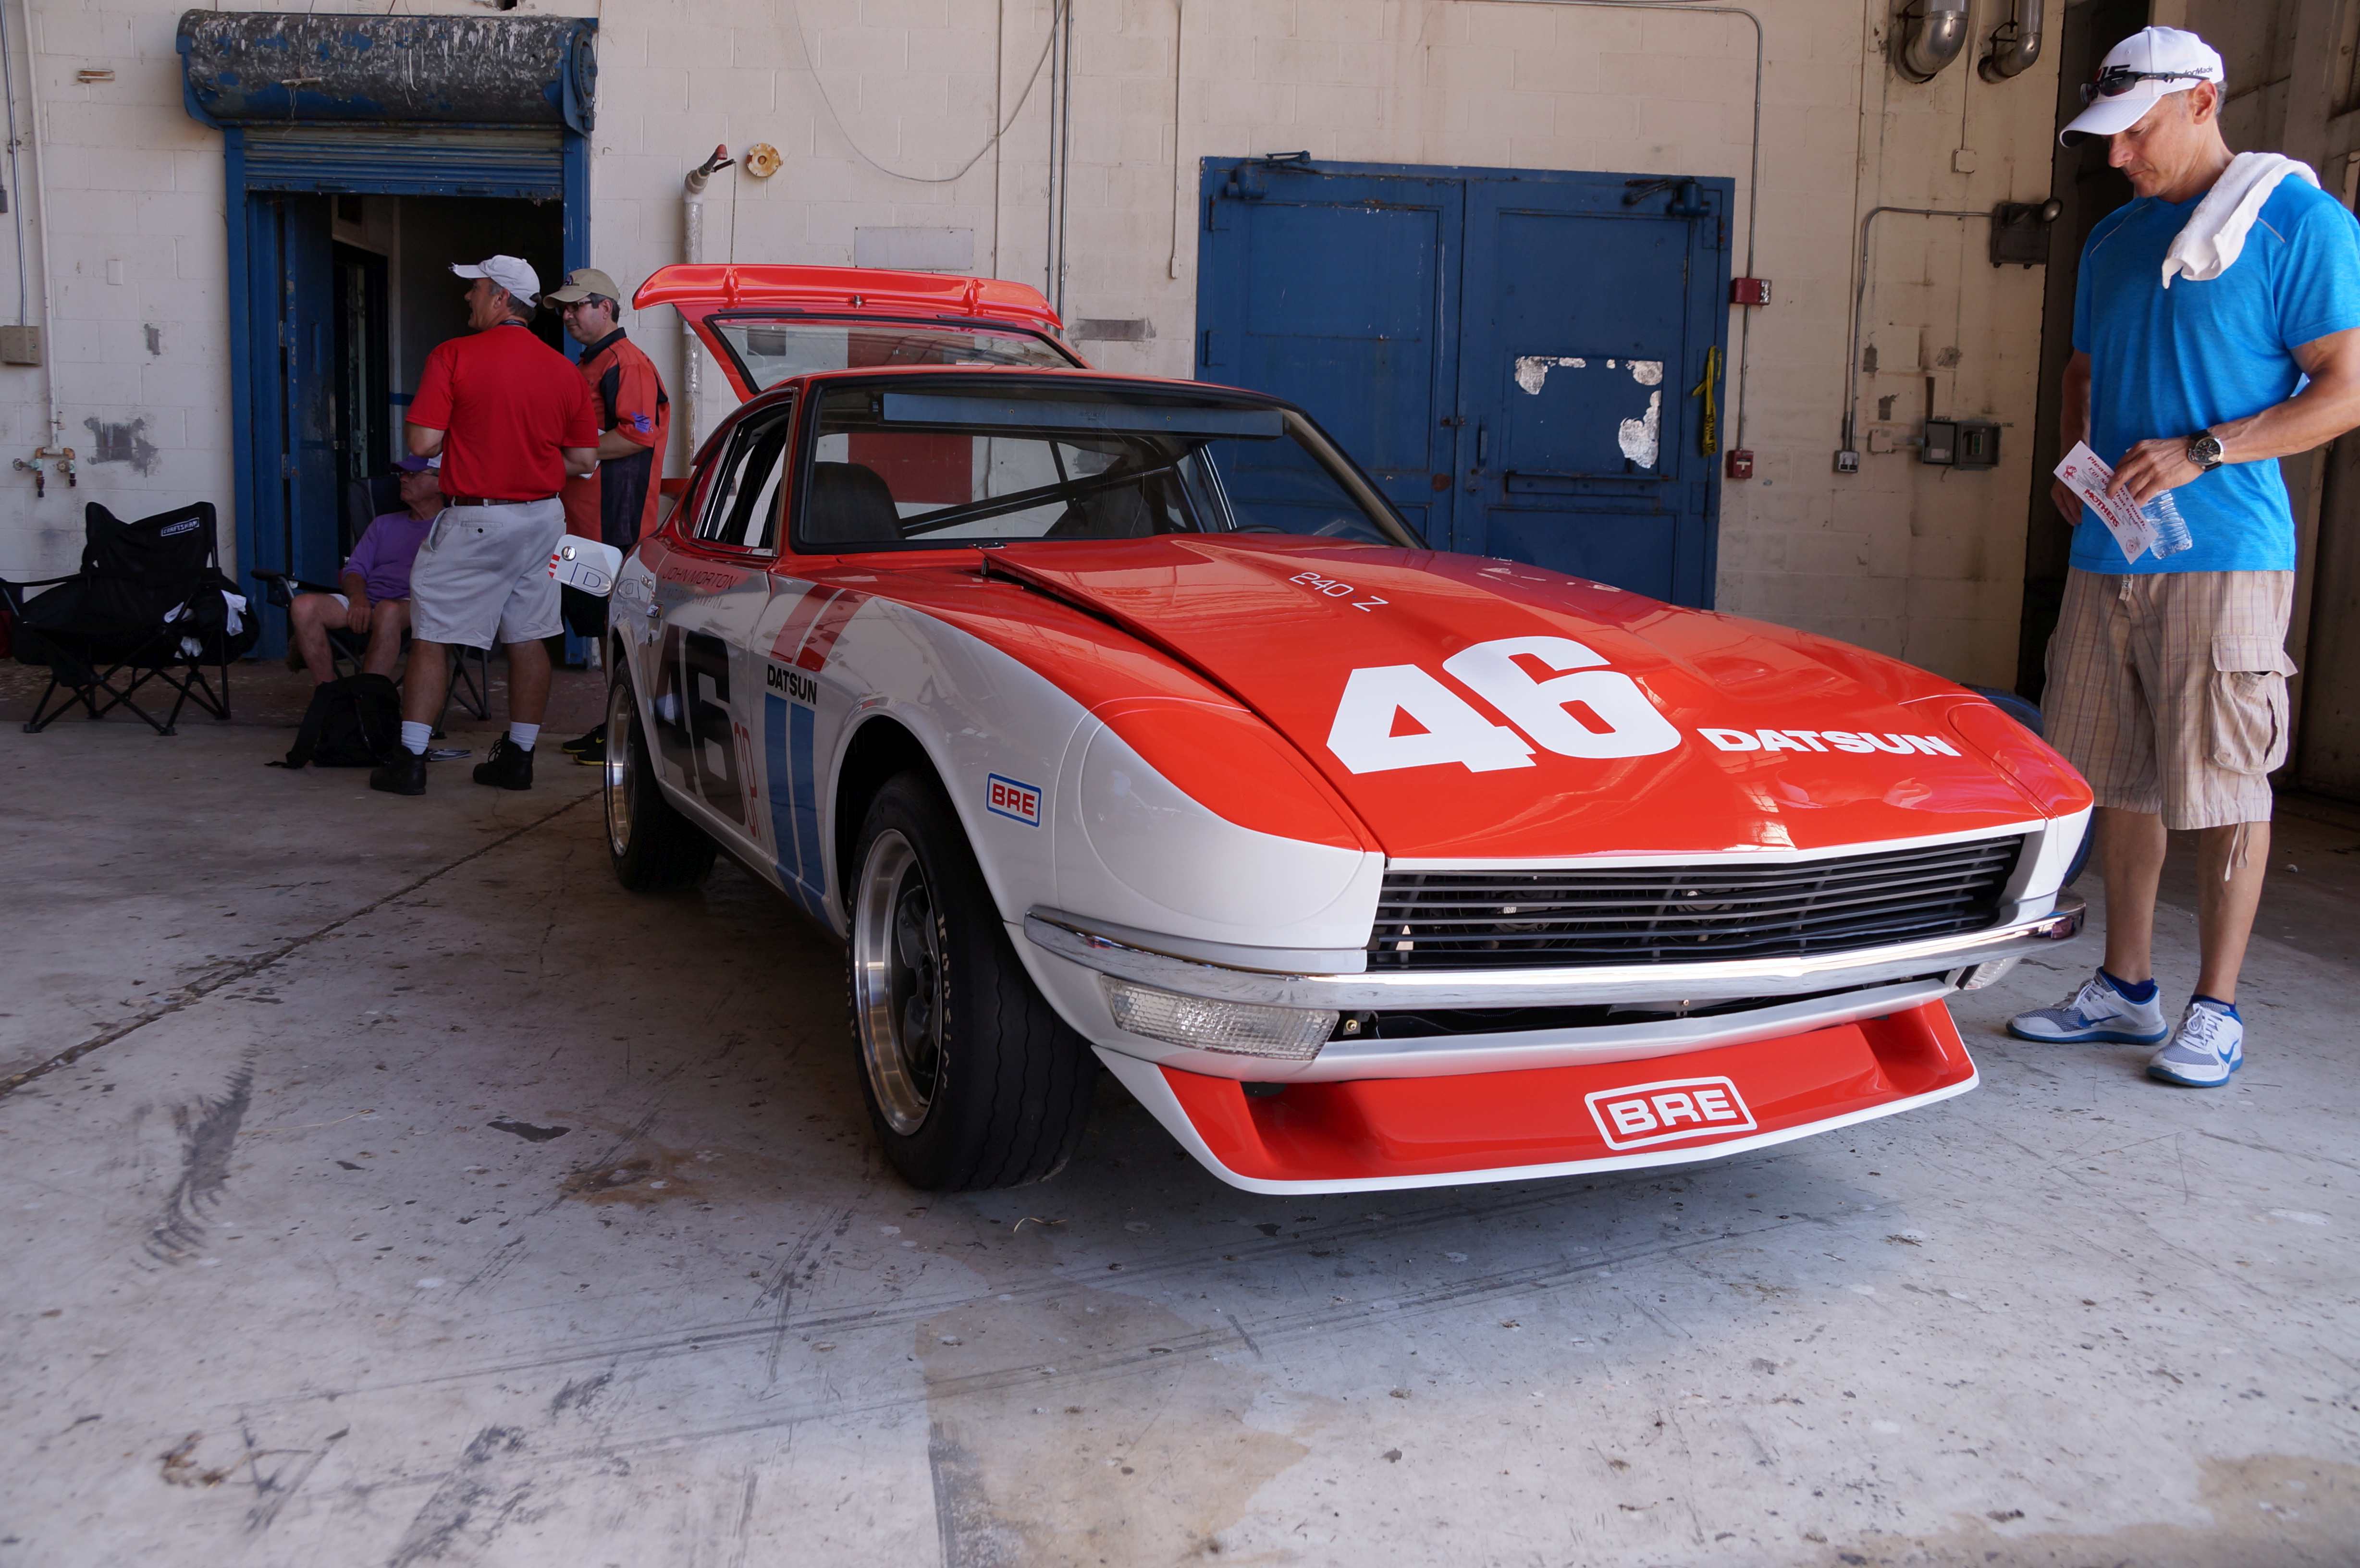
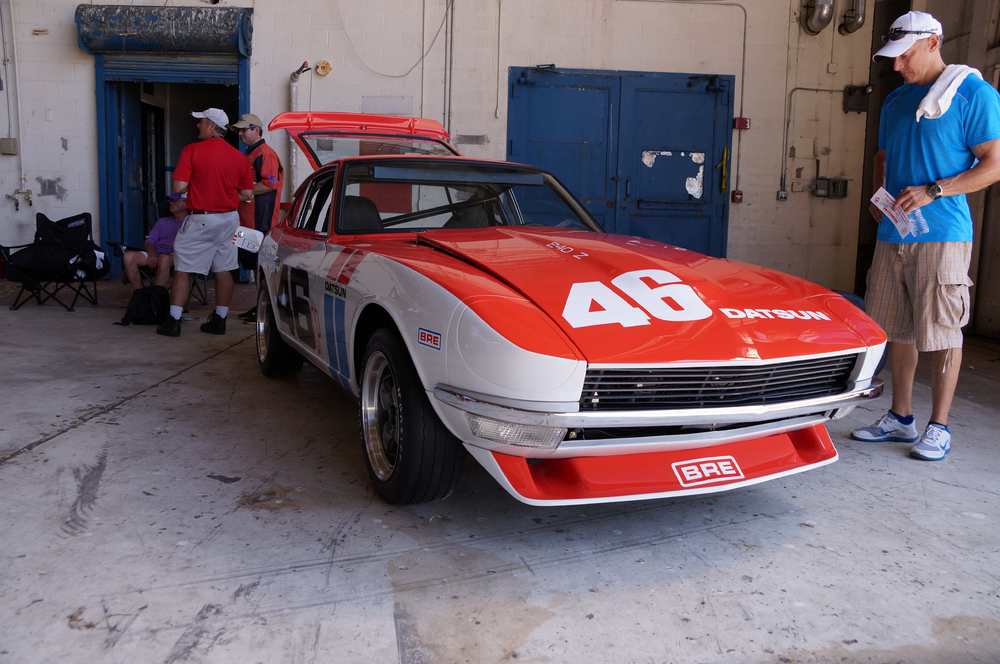
Randy Jaffe is taking his BRE car there.1 point
-
1 pointHello Kats! The Video on YouTube is much better - thanks for putting it there. Your photographs are stunning - keep them coming. Carl B.1 point
-
1 pointThat's my favorite color, Kats. Looking good! Sorry to hear about your slave cylinder. It will buff out!!!!1 point
-
Today hyperventilated about Excellent but slow, no, extremely busy engine builder.... Sent from my iPhone using Classic Zcar Club mobile
 1 point
 -
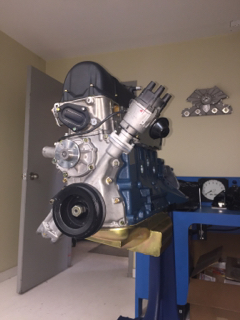
I drove my Z down to Sugar Hill Speed Shop (https://www.facebook.com/Sugar-Hill-Speed-Shop-1001732356563108/photos) today to pick up an engine, flywheel and clutch that a friend gave me. We loaded it up on another friend's truck and stored it in his garage. The engine is a fresh rebuild with less than 150 miles on it. I attached a photo of the car it came out of. The friend who is storing the engine for me is going to help me with the engine swap in about a month from now. I have been unbelievably blessed with making some incredible friendships over the last few years.
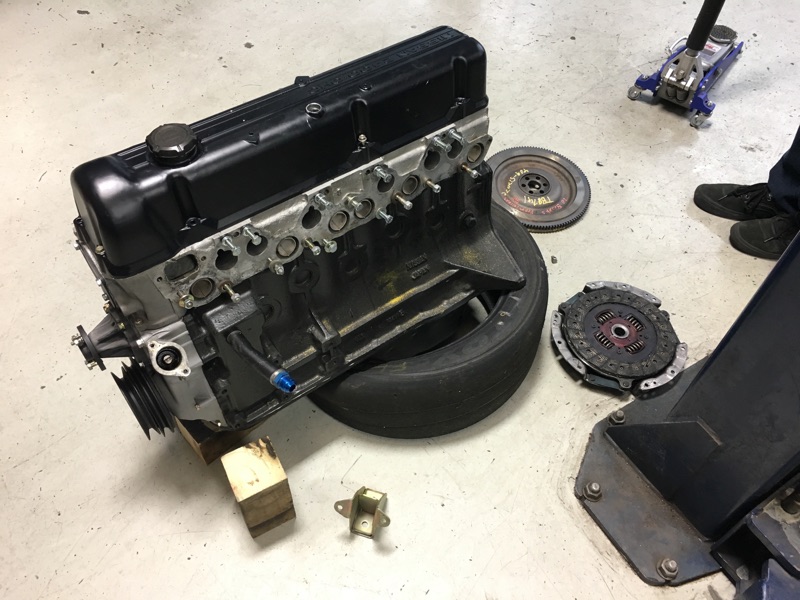
 1 point
 -
Grannyknot is right there are factory seams there that join the quarter panel to the roof. You need to be careful working on this joint because you can give yourself lead poisoning if you grind on these. I have had cars that cracked here too. I believe they were driven very enthusiastically and that may contribute to the problem. The lead flexes better than thick body filler. So if the during the repaint they filled these full of Bondo that could contribute to the cracking. Being in California your rust won't spread as fast as in other parts of the country. I would definitely treat the rust spots to prevent spreading. I would also be careful of making the car a garage project. IT can be very hard to stay motivated to finish a car once it comes off the road...If you rework the roof seams, remember, body filler isn't waterproof, good primer is, not rattle can stuff...1 point
-
+ 1 on what grannyknot said about the seams. It looks like yours has a repaint already. A lot of what you will have to do depends on how well that paint job was prepped. If you are going to repaint it in the future, the sooner you address the rust spots, the better, like that one at the bottom the hatch glass. You want to prevent holes. That will lead you to having primer spots until you have it properly painted. If you don't mind that look then I would start on those spots now and prime them when ready. For under the hood, I stripped mine to bare metal with Aircraft stripper and used a razor blade scraper. Powerful stuff. Definitely use a mask and rubber gloves. Then, I sanded some and sprayed rattle can primer. I wound up stripping the whole car that way. Other folks have done it with media blasting. Either way, once you start, you're committed. There is no going back.1 point
-
1 pointThat's what I figured as well. And I don't think you can put them on and end up with partial covering, can you? I think if you get them on wrong, you completely occlude the oil feed hole. I haven't been in there in many moons however, so memory is quite fuzzy. Well good luck with the investigation and keep us posted! It's just so odd to be on the other side of the fence. You so often hear people complain about low oil pressure. How often do you hear the opposite!1 point
-
1 pointYou did help out a bunch Zed. I believe I have a blockage deep in the block somewhere. I know I have been careless before because I found a piece of foil in the bottom of my oil pan before. It was one of the sealing foils-possibly from an additive bottle. It was all balled up and beat up like it had been beaten around my engine. So maybe something else is partial obstructing a passage way? Unfortunately, there will be only one way to find it. I will try removing the end plugs and cleaning out the main galley first. I will run pressurized air thru there and hope something lets loose. The problem is that I won't be sure I did anything unless I find something. It might be a total tear down. Maybe I will find a bearing misplaced, but I don't remember having this issue from day one. One thing about fresher motors-they come apart without much fuss.1 point
-
1 pointI ran into a guy today in Corvallis, OR who has a 240z running on Hydrogen. I introduced myself and asked him to come and visit the club. Anyway, the brief conversation I had with him was interesting. He popped his hood and showed me some kind of container that looked like a water filter connected to the intake on the engine. The whole conversation lasted about 5-10 minutes but I would like to know more about this kind of modification. He also mentioned a hydrogen fuel cell in the car. But, I was thinking the whole time this must be some kind of fuel cell technology? Separation of the hydrogen from the oxygen (ie: water car). I don't know much about it, but, when he took me to the back of the car, he put his hand up to the tail pipe and commented on the low temperature and the fact that only water vapor comes out.... Anyone here have experience or know of this kind of mod for a car? Or, better yet, maybe he joined the club and can tell us more about his modification? Mike1 point
-
Damnit Sam, I was JUST in Auburn Yesterday. Had to go to "Carbs Unlimited" off 22nd and Auburn way? I could have brought you a switch. I have a couple (dozen? maybe?) I'll try and take a picture for you tomorrow. But check this thread for and late 73' switches, they are the SAME. Dave1 point