Leaderboard
-

kats
Free Member3Points2,215Posts -
moelk
Free Member2Points661Posts -

siteunseen
Free Member1Points15,115Posts -
240dkw
Free Member1Points711Posts


Popular Content
Showing content with the highest reputation on 02/03/2017 in all areas
-
3 pointsBlue, you inspired me , still a lot of home works need to be done but I did this today, Test drive in north america on you tube. Much much better condtion than I used to show several years ago. This time the video was copied into a DVD. Enjoy ! Kats3 points
-
1 point
-
1 point
-
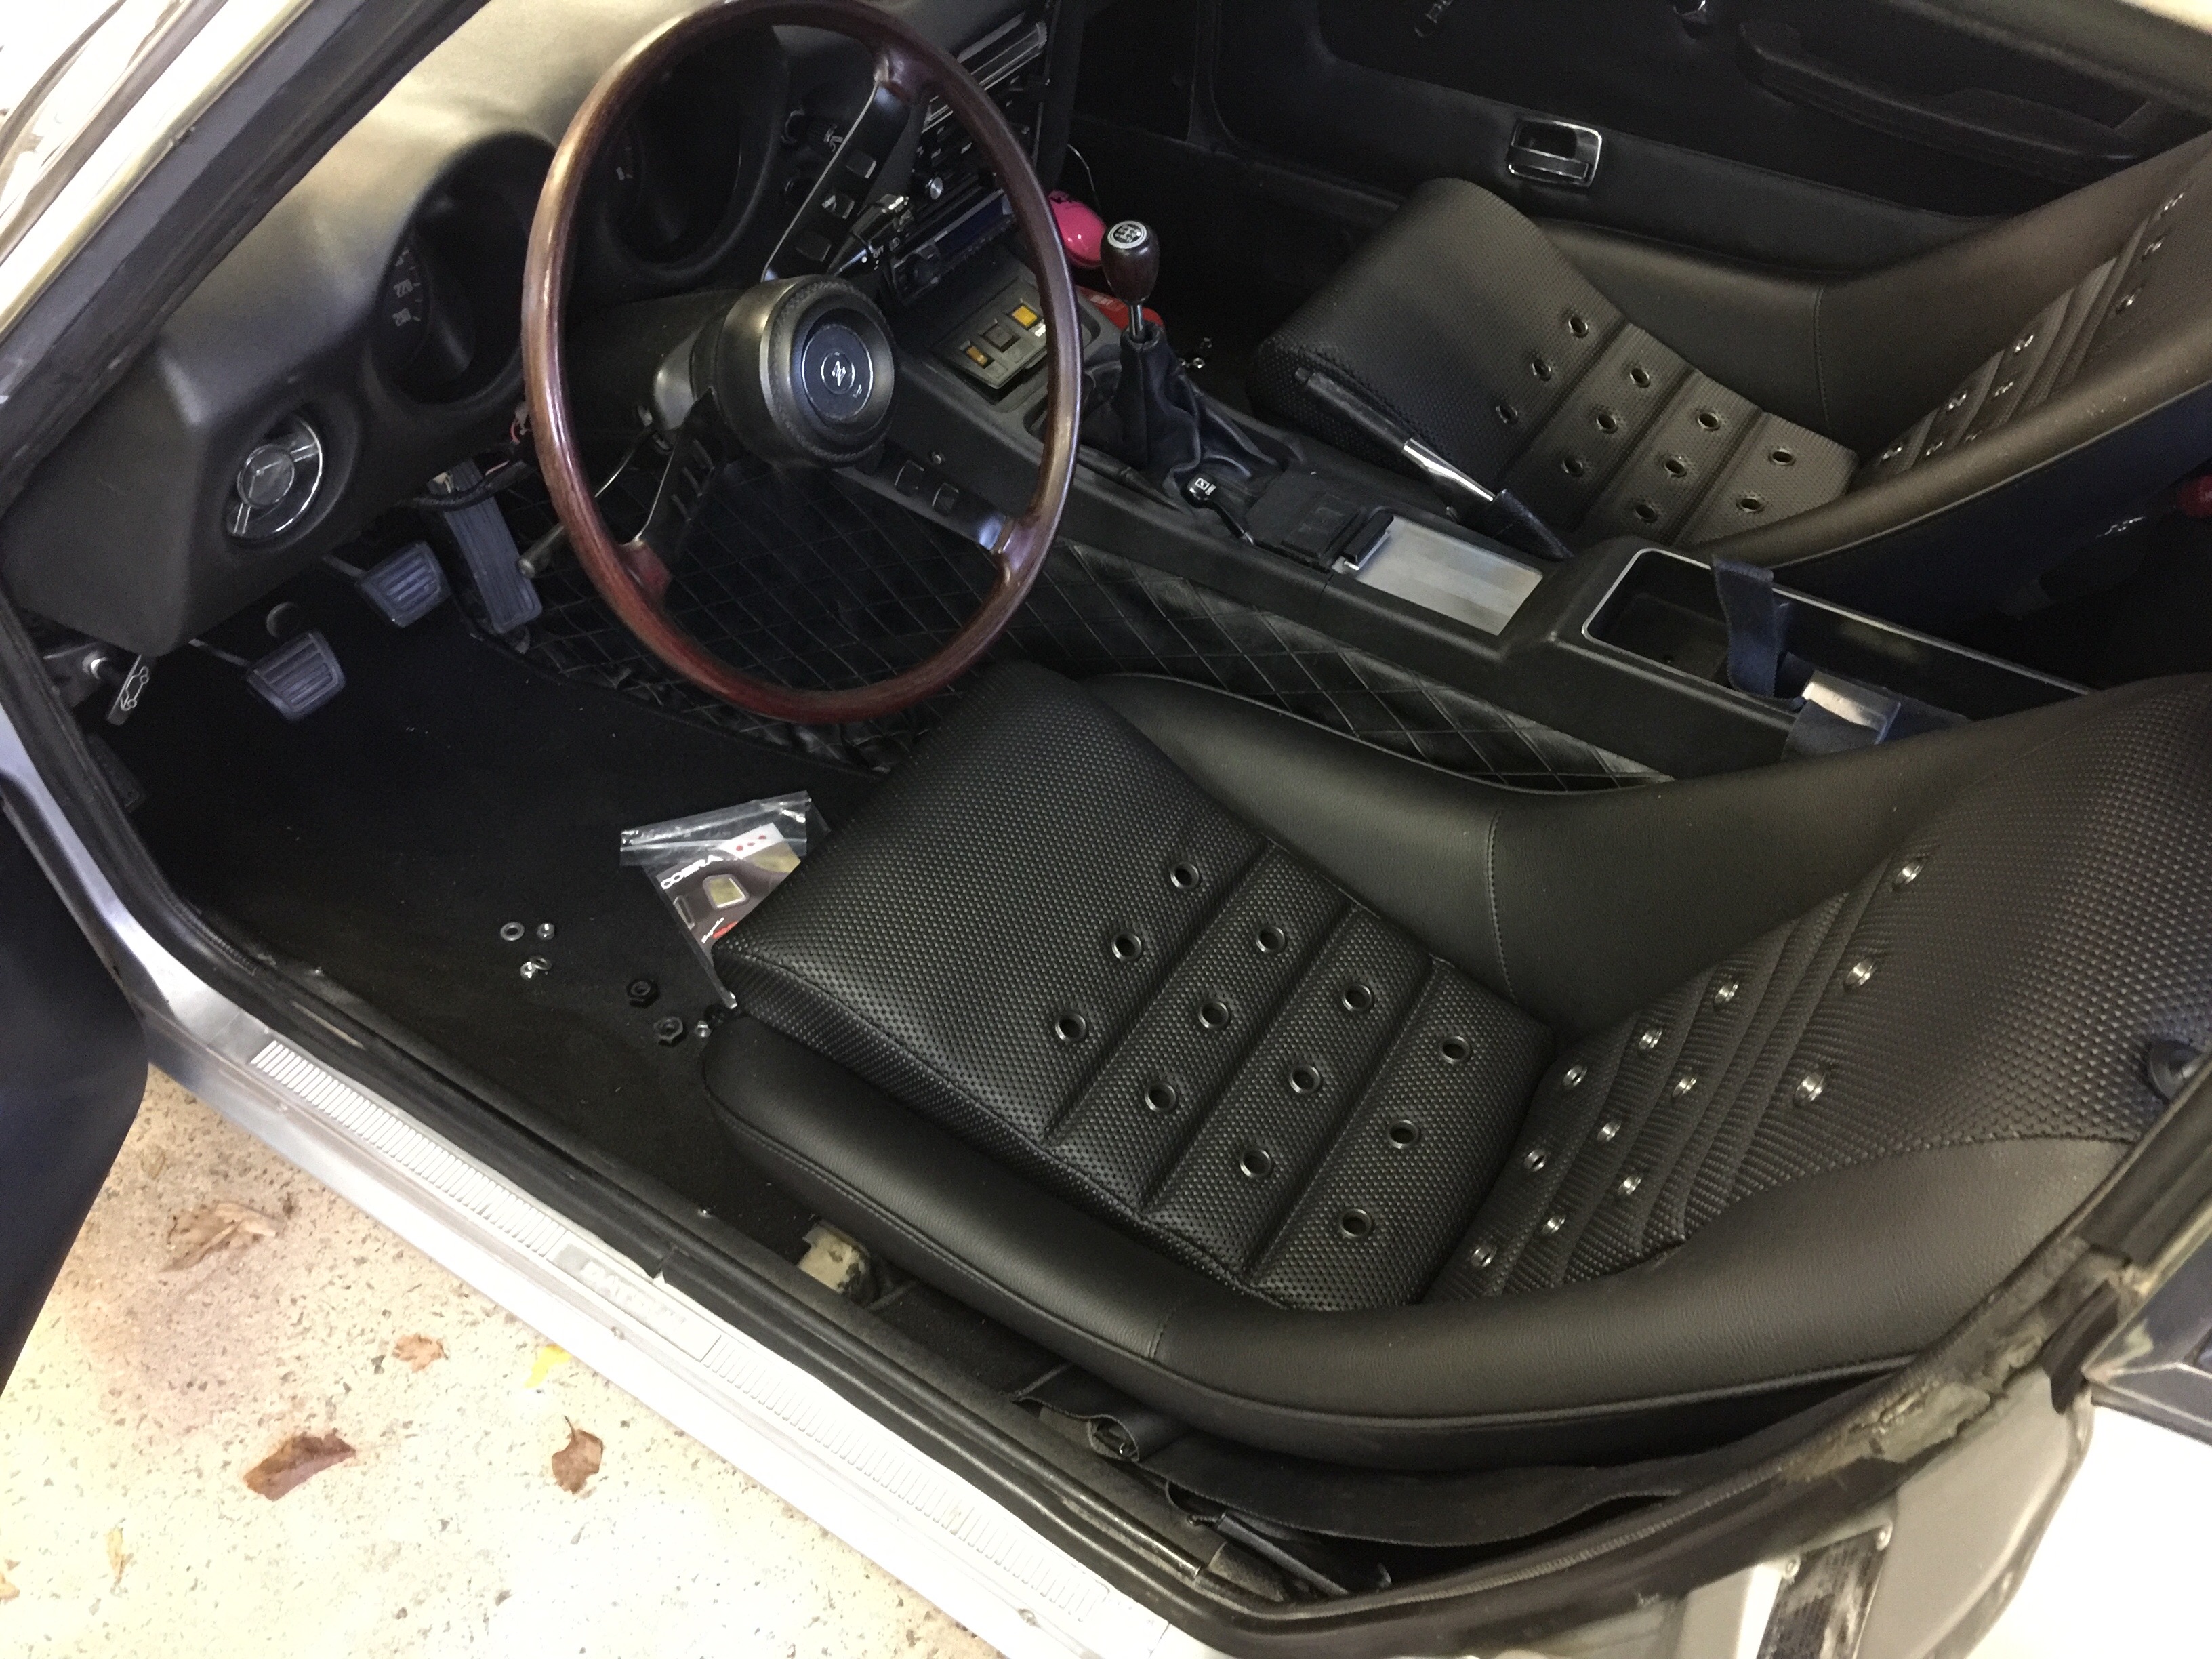
1 pointalso, leaning towards not installing the fender flares... guy said he would have to cut into the body besides drilling the holes to mount it. have to remove the body flares that are already on it to properly install the flares. realllyyy feeling like not destroying that body. so if anyone needs fender flares, i got a set..1 point
-
1 point
-
They originate in the UK, small company and hand-made.1 point
-
Yes they are thick and feels comfortable. But time will tell. It's winter here for at least 2-3 more month.1 point
-
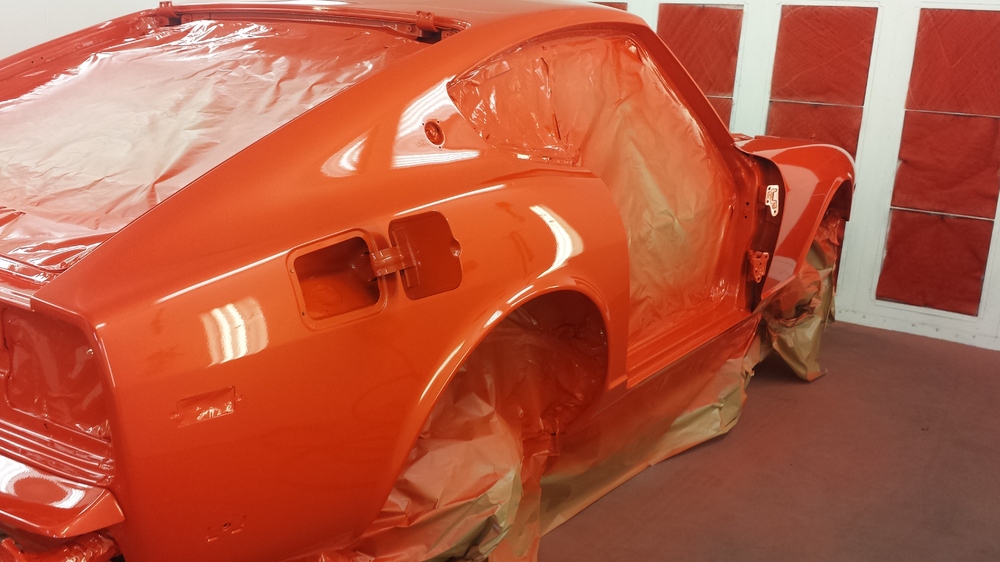
1 pointHey Mat, I used the Lamborghini Arancio Atlas pearl (from the 2015 Aventador) which is similar to what you're considering. The original factory paint on my 1978 280Z was Datsun code 110 and the base pigment for the Lambo color mentioned is virtually identical to that. I'm very happy with my choice because it truly highlights the car and in a way keeps the original color, however you must be aware that touch ups require an great expertise. I think your car will look stunning. Nice work. Arancio Atlas de Lamborghini.MOV

 1 point
 -
1 point
-
1 pointHaha! I've never heard that one before. I've heard "Drive it like ya stole it", but your version is rougher.1 point
-
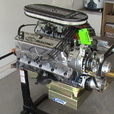
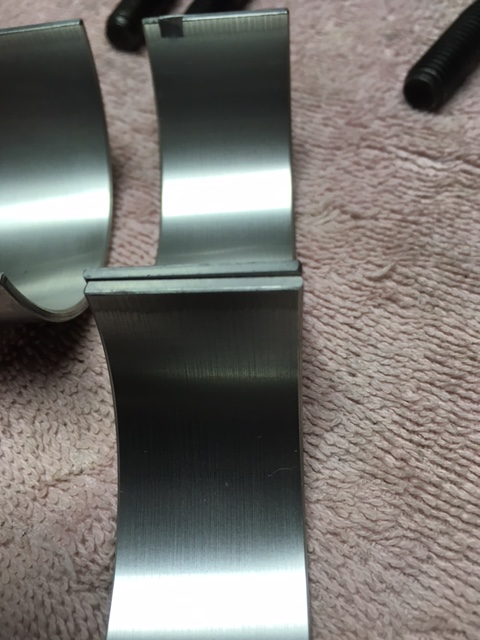
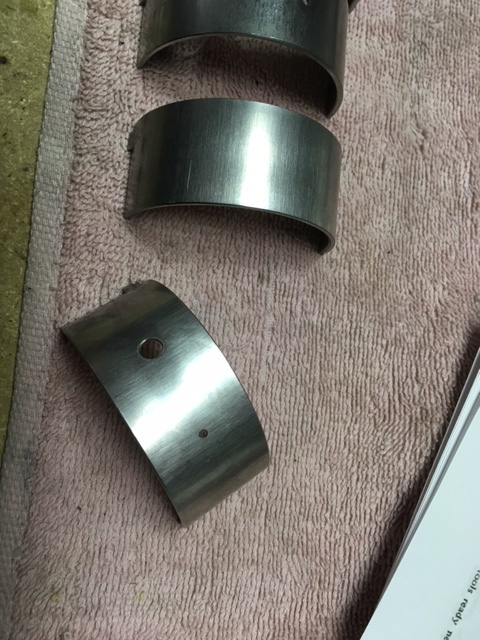
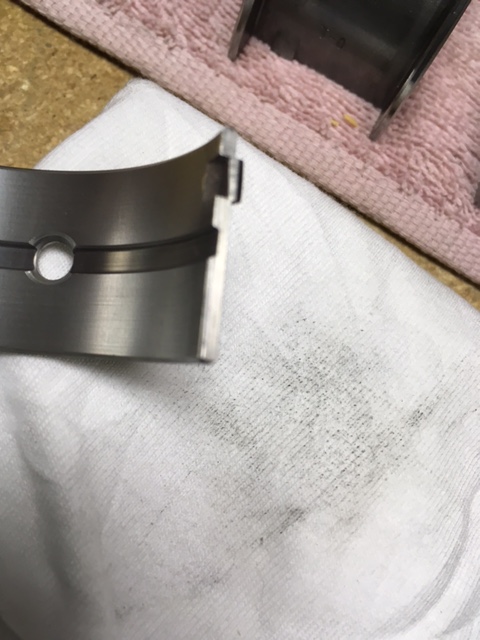
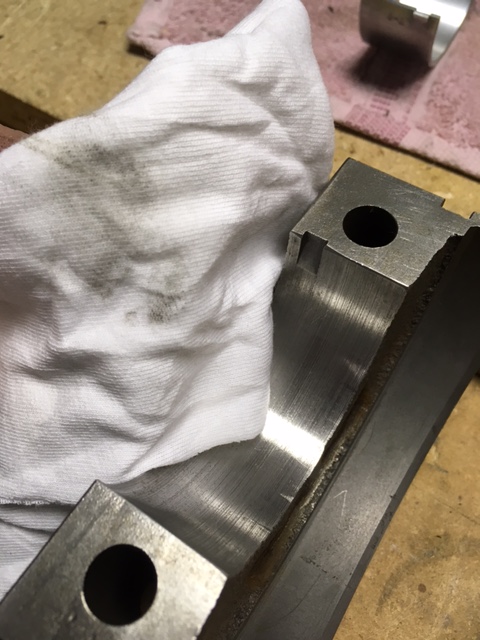
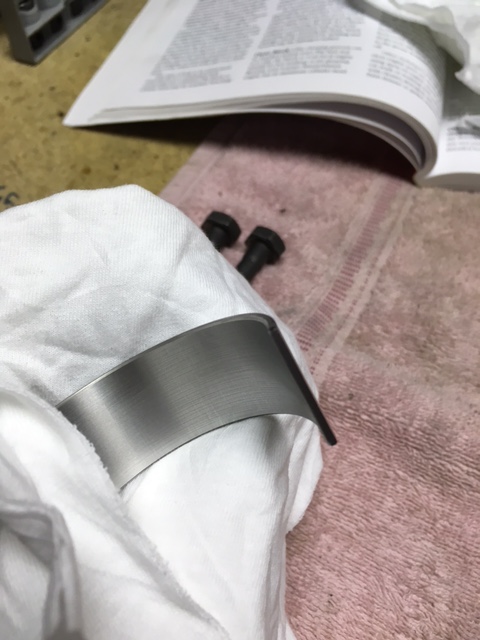
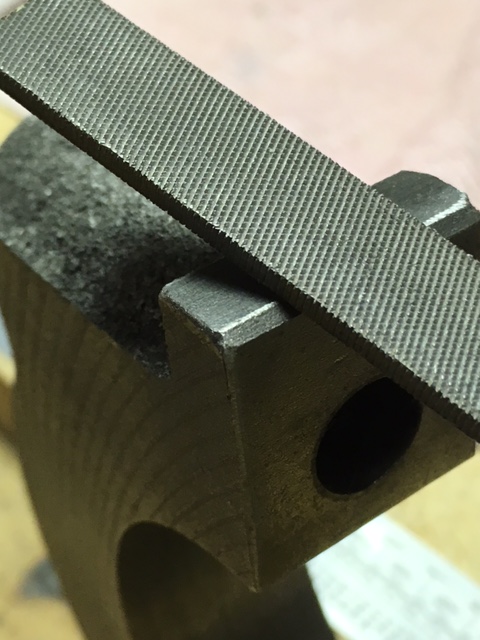
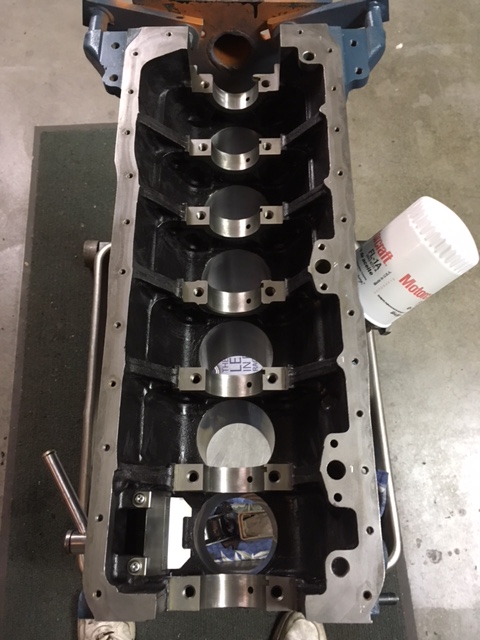
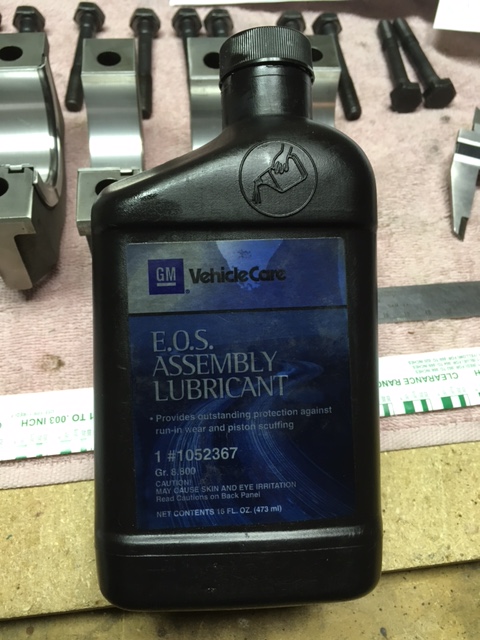
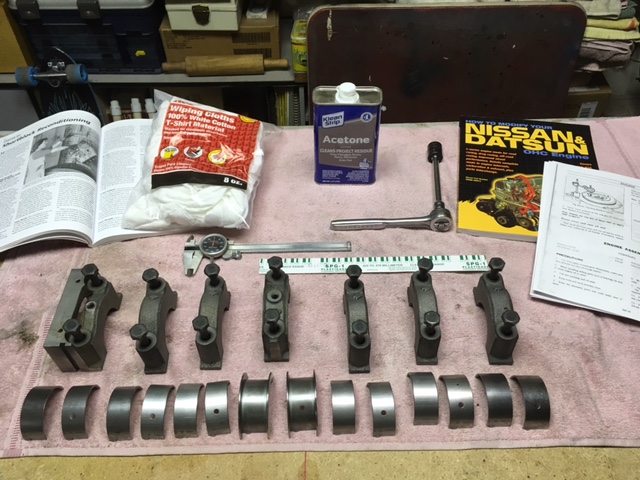
1 pointAs you see above, I've done some assembly of Matt's short-block. Those with experience in building engines please excuse the detail but for the rest of you, following is the way it was done: Before beginning, I wash up thouroughly and take extra care to get my hands really clean. Also, I never build an engine while wearing gloves of any kind. That may seem odd to some but I like to be able to feel my parts as they go together and wearing gloves prevents feeling any grit or the tiniest particals that may find their way onto my clean engine parts. Gloves can also scratch the fine coating on bearing inserts. Next, comes cleaning my work area. I do not use compressed air in the area near my parts, but a dust pan and wisk boom to pick up the crud. Once the work area is clean comes setting up my organization and cleaning the engine parts. Acetone and dust free cloth are all I use for bare metal engine parts, and GM Engine Oil Supplement is what I use for assembly. I set all my parts and reference material in a clean dry location close to my assmbly area, then I begin an inspection of parts, regardless of them being used, recondioned, or new. Even if I've done an inspection previously. I also read my instructions several times before I begin. On the six-cylinder L-series engines it's important to note that the number 1 and number 7 bearing inserts are wider than the others. No so important to these engines is the small additional hole in the block insert that feeds the timing chain oiler. Our set of bearings came with this extra little hole in both the wider block inserts so I only had to make certain the inserts were in the proper bearing saddles. You may think that because you recieve parts in sealed packages they would be clean enough to install, straight away... Not so! The next few photos show the fine grit that came off the bearings and our main bearing caps with a simple wipe with acetone. Look closely and you will see that there is still residue on the towel after three passes with acetone wetted cloth. A word to the wise... Your parts cannot be too clean! Cleaning includes deburring the caps and making certain the flats on each boss are in fact true. Lay 400 grit wet-dry paper paper saturated in light oil on the CLEAN work bench and dress the flat, to gently remove any burrs that may have arisen during the block's stay at the machine shop. Then use a small fine file to dress the chamffer on the cap. When done, I clean the block saddles with acetone. Stay tuned... There's more to come.


 1 point
 -
1 point
-
1 pointJai: Non working Tach and new plugs get sooty quickly? That could be the Trignition box. First thing I would do is check the spark output as others have mentioned. Pull the coil lead out of the dizzy and hold it about 1/4" from the engine block ( Stat housing is good ). Have a helper crank the engine. You should get a sharp bluish/white spark with a bit of a " Snap " sound. A weak yellowish or orange spark is not good and may indicate a failing Trignition unit. Tach is also triggered through Trignition box. Edit: I can't remember what year your 280z is Jai, but 1975 and 1976 models had very low output Trignition boxes. 1977 and 1978's had more output. If spark is very weak, check the coil wire resistance to make sure you don't have a bad coil wire. If that is OK then I would suspect the Trignition box is failing. Failure after a heat cycle is a common problem with old electronic systems. They fail when they get hot... then the components cool off and it works for a while. Sound familiar? BTW, A bad ground to the Trignition box can cause overheating of Internal components in the Trignition box.... so you may want to check that. It the Trignition box does turn out to be flaky, a 280ZX " Matchbox " Dizzy with the electronic module on the side of the dizzy is a great upgrade. Very strong spark and much more reliable than the old Trignition boxes. Rock Auto has re-manufactured 1980 280ZX distributors for sale for $104.79 out right. Part #31619: https://www.rockauto.com/en/catalog/nissan,1980,280zx,2.8l+l6,1209316,ignition,distributor,7108 The A1- Cardone re-man unit does not come with a Cap and Rotor, but you should be able to use your old 280Z cap and rotor if they are in good condition. If you need a new Cap and Rotor, go with OEM Nissan or buy the Beck Arnley parts from RA. The Beck Arnley parts are usually OEM Japanese made. Keep us informed of what you find. GL.1 point
-
1 pointStart by replacing the coil. Instantaneous shut off is typically complete loss of spark related. Next would be the transistorized coil firing module under the passenger side dash, THEN the ECU. Dirty plugs for whatever reasons don't act like on-off switches.1 point
-
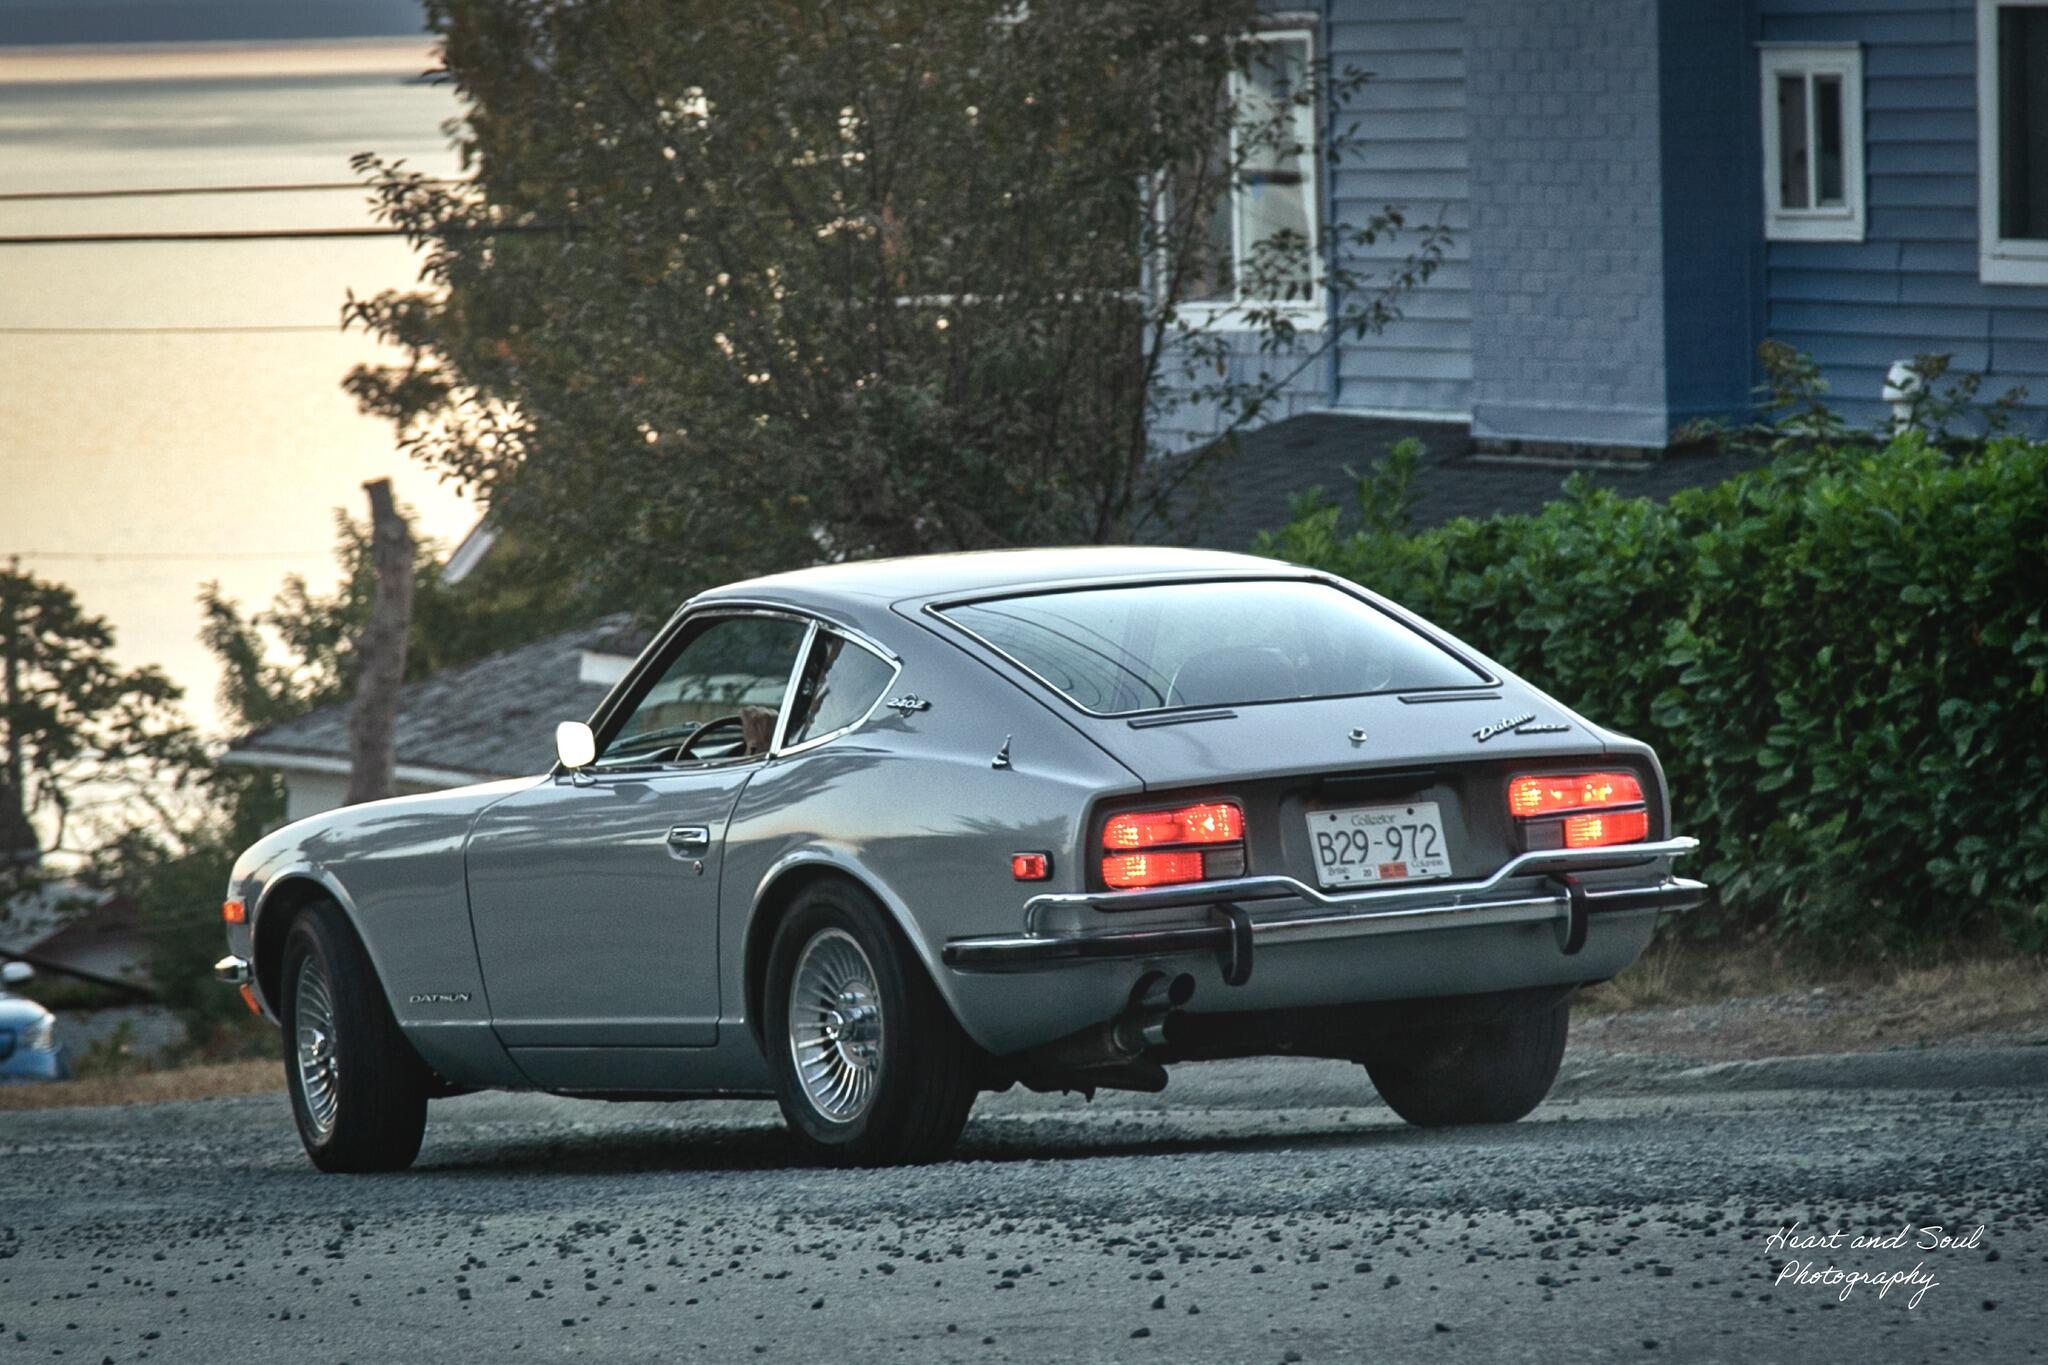
I own the ex-Masami KUWASHIMA Fairlady 240ZG, which he imported to the UK from Japan as his personal transport when he was competing in European F3 and F2 in the early 1970s.1 point
-
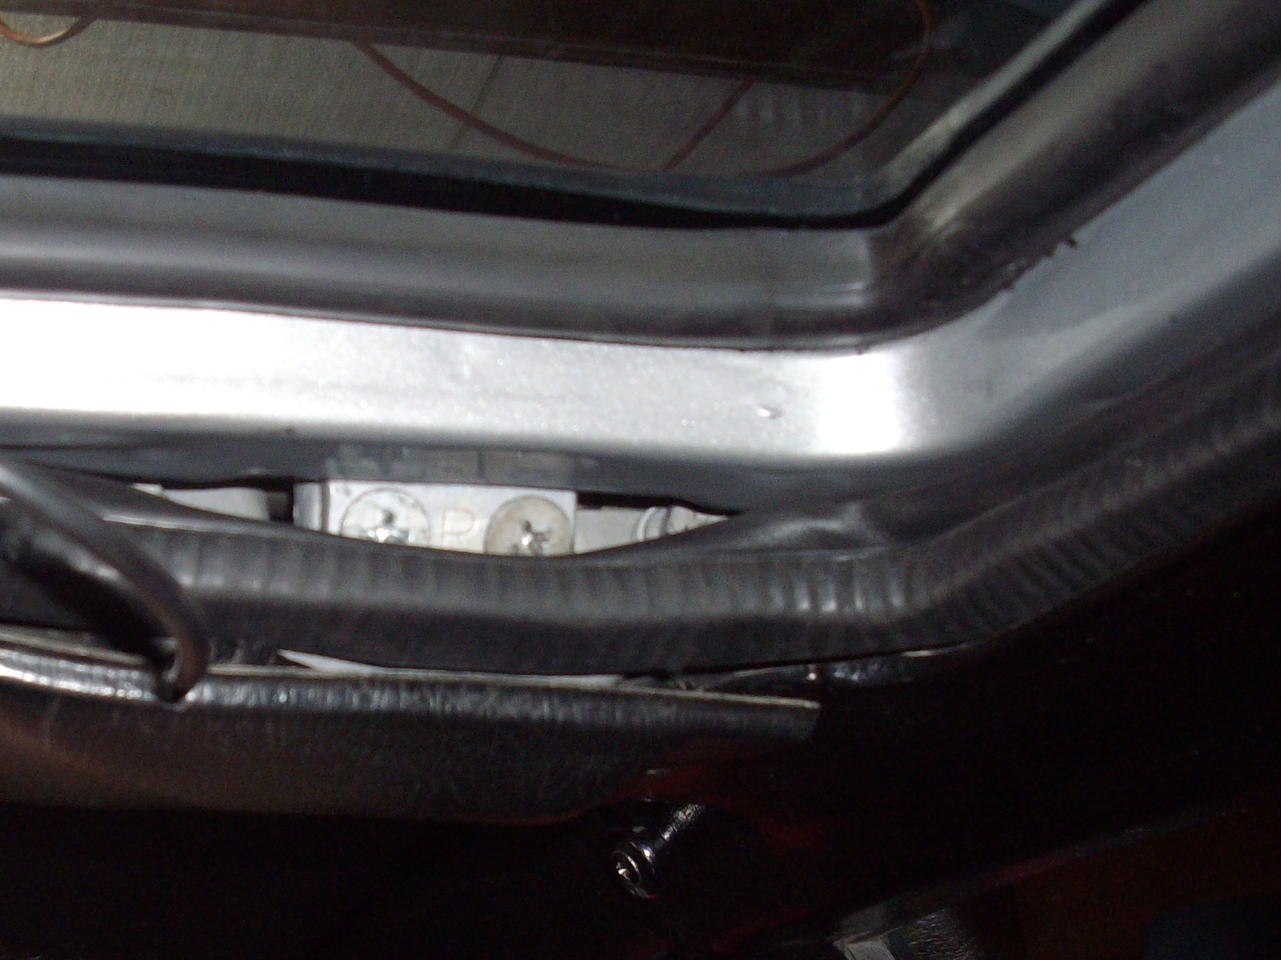
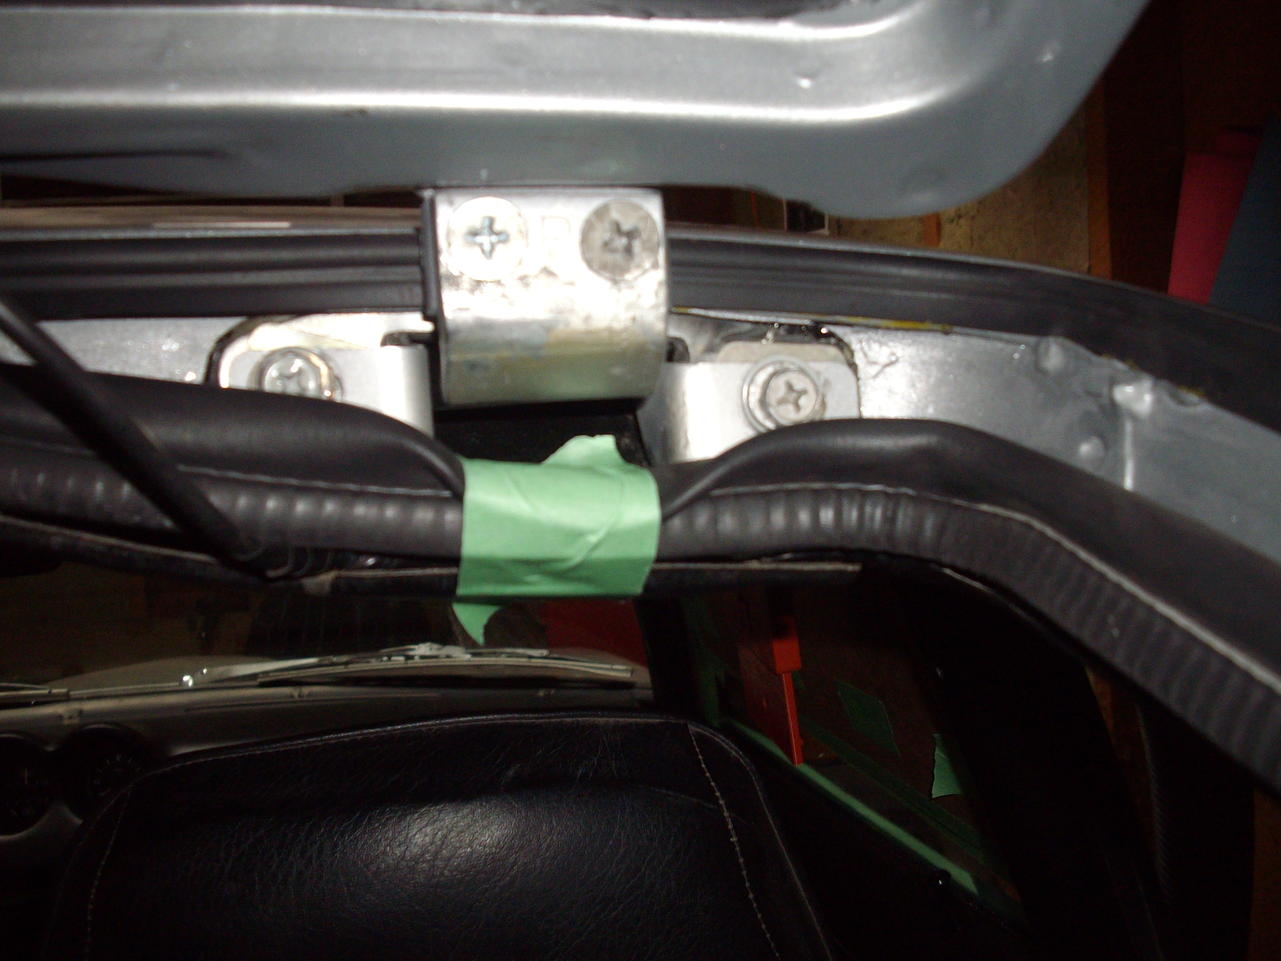
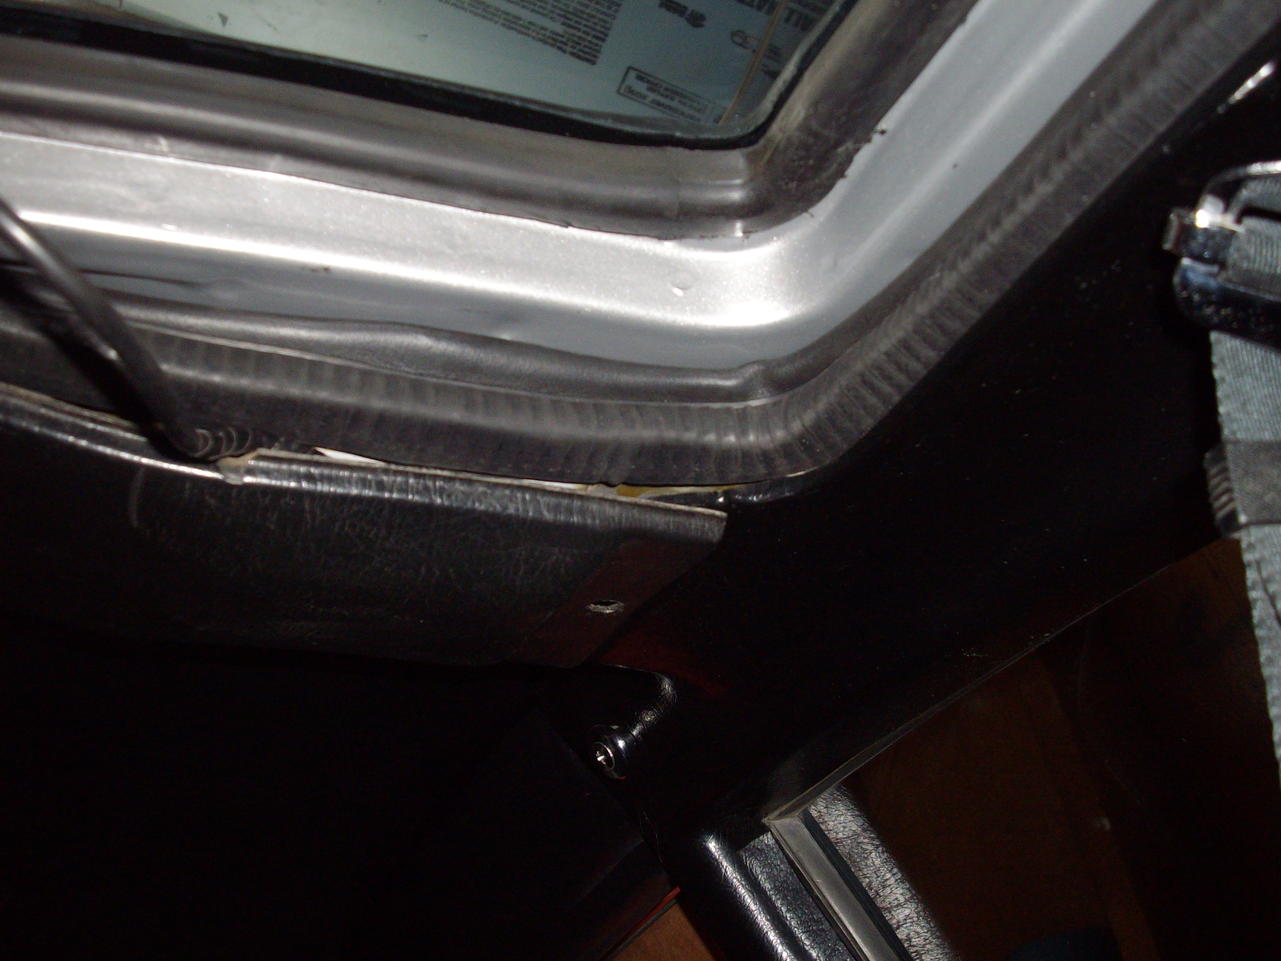
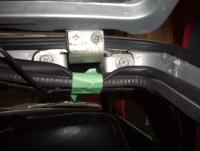
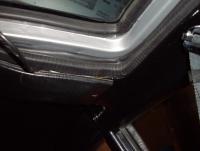
I have been using this thread to find my leaks. When I rebuild my car I wanted to make sure that I had no exhaust coming back into the cab. I used new gaskets for the taillights, sealed all of the holes and used seam sealer on everything before I installed the int panels and used a new Kia seal for the hatch. But of course the car stinks bad. I did the first step using the vac to do the depressurize test. Right away I found both areas around the hinges leaking a lot. Just like the picture in the first post you could see the hinges with the hatch closed. I thought this was odd as not everyone has this problem. I taped open the rubber on the seal and closed the hatch. After removing the tape with the hatch closed the seal popped right into place. And I had a good seal. It seems that because the hinge is so close to the rubber it grabs the seal and pulls it down. I used some armor all to lubricate the seal and then opened and closed the hatch a few times. It seems to have solved the problem as the seal stays in place and I am getting a good seals everywhere. Not sure if this will always fix the problem, but it sure worked on mine. Dan

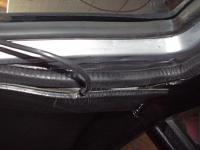 1 point

.thumb.JPG.21f1724e227b22b6d5306af2d3267f40.JPG)