


Leaderboard
-
psdenno
Free Member6Points2,632Posts -
dmorales-bello
Free Member3Points627Posts -

siteunseen
Free Member3Points15,115Posts -
Captain Obvious
Free Member3Points10,081Posts


Popular Content
Showing content with the highest reputation on 12/14/2016 in all areas
-
3 points
-
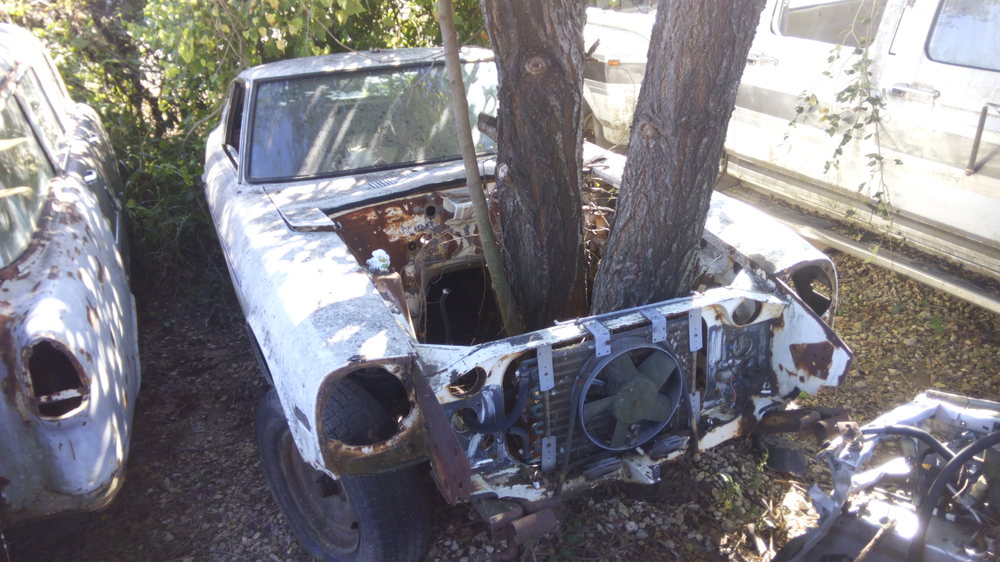
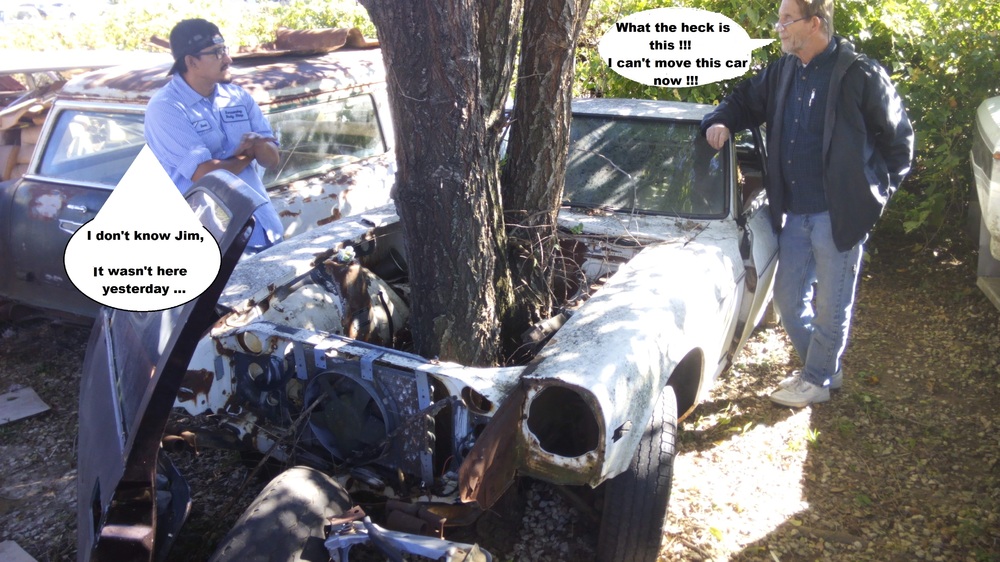
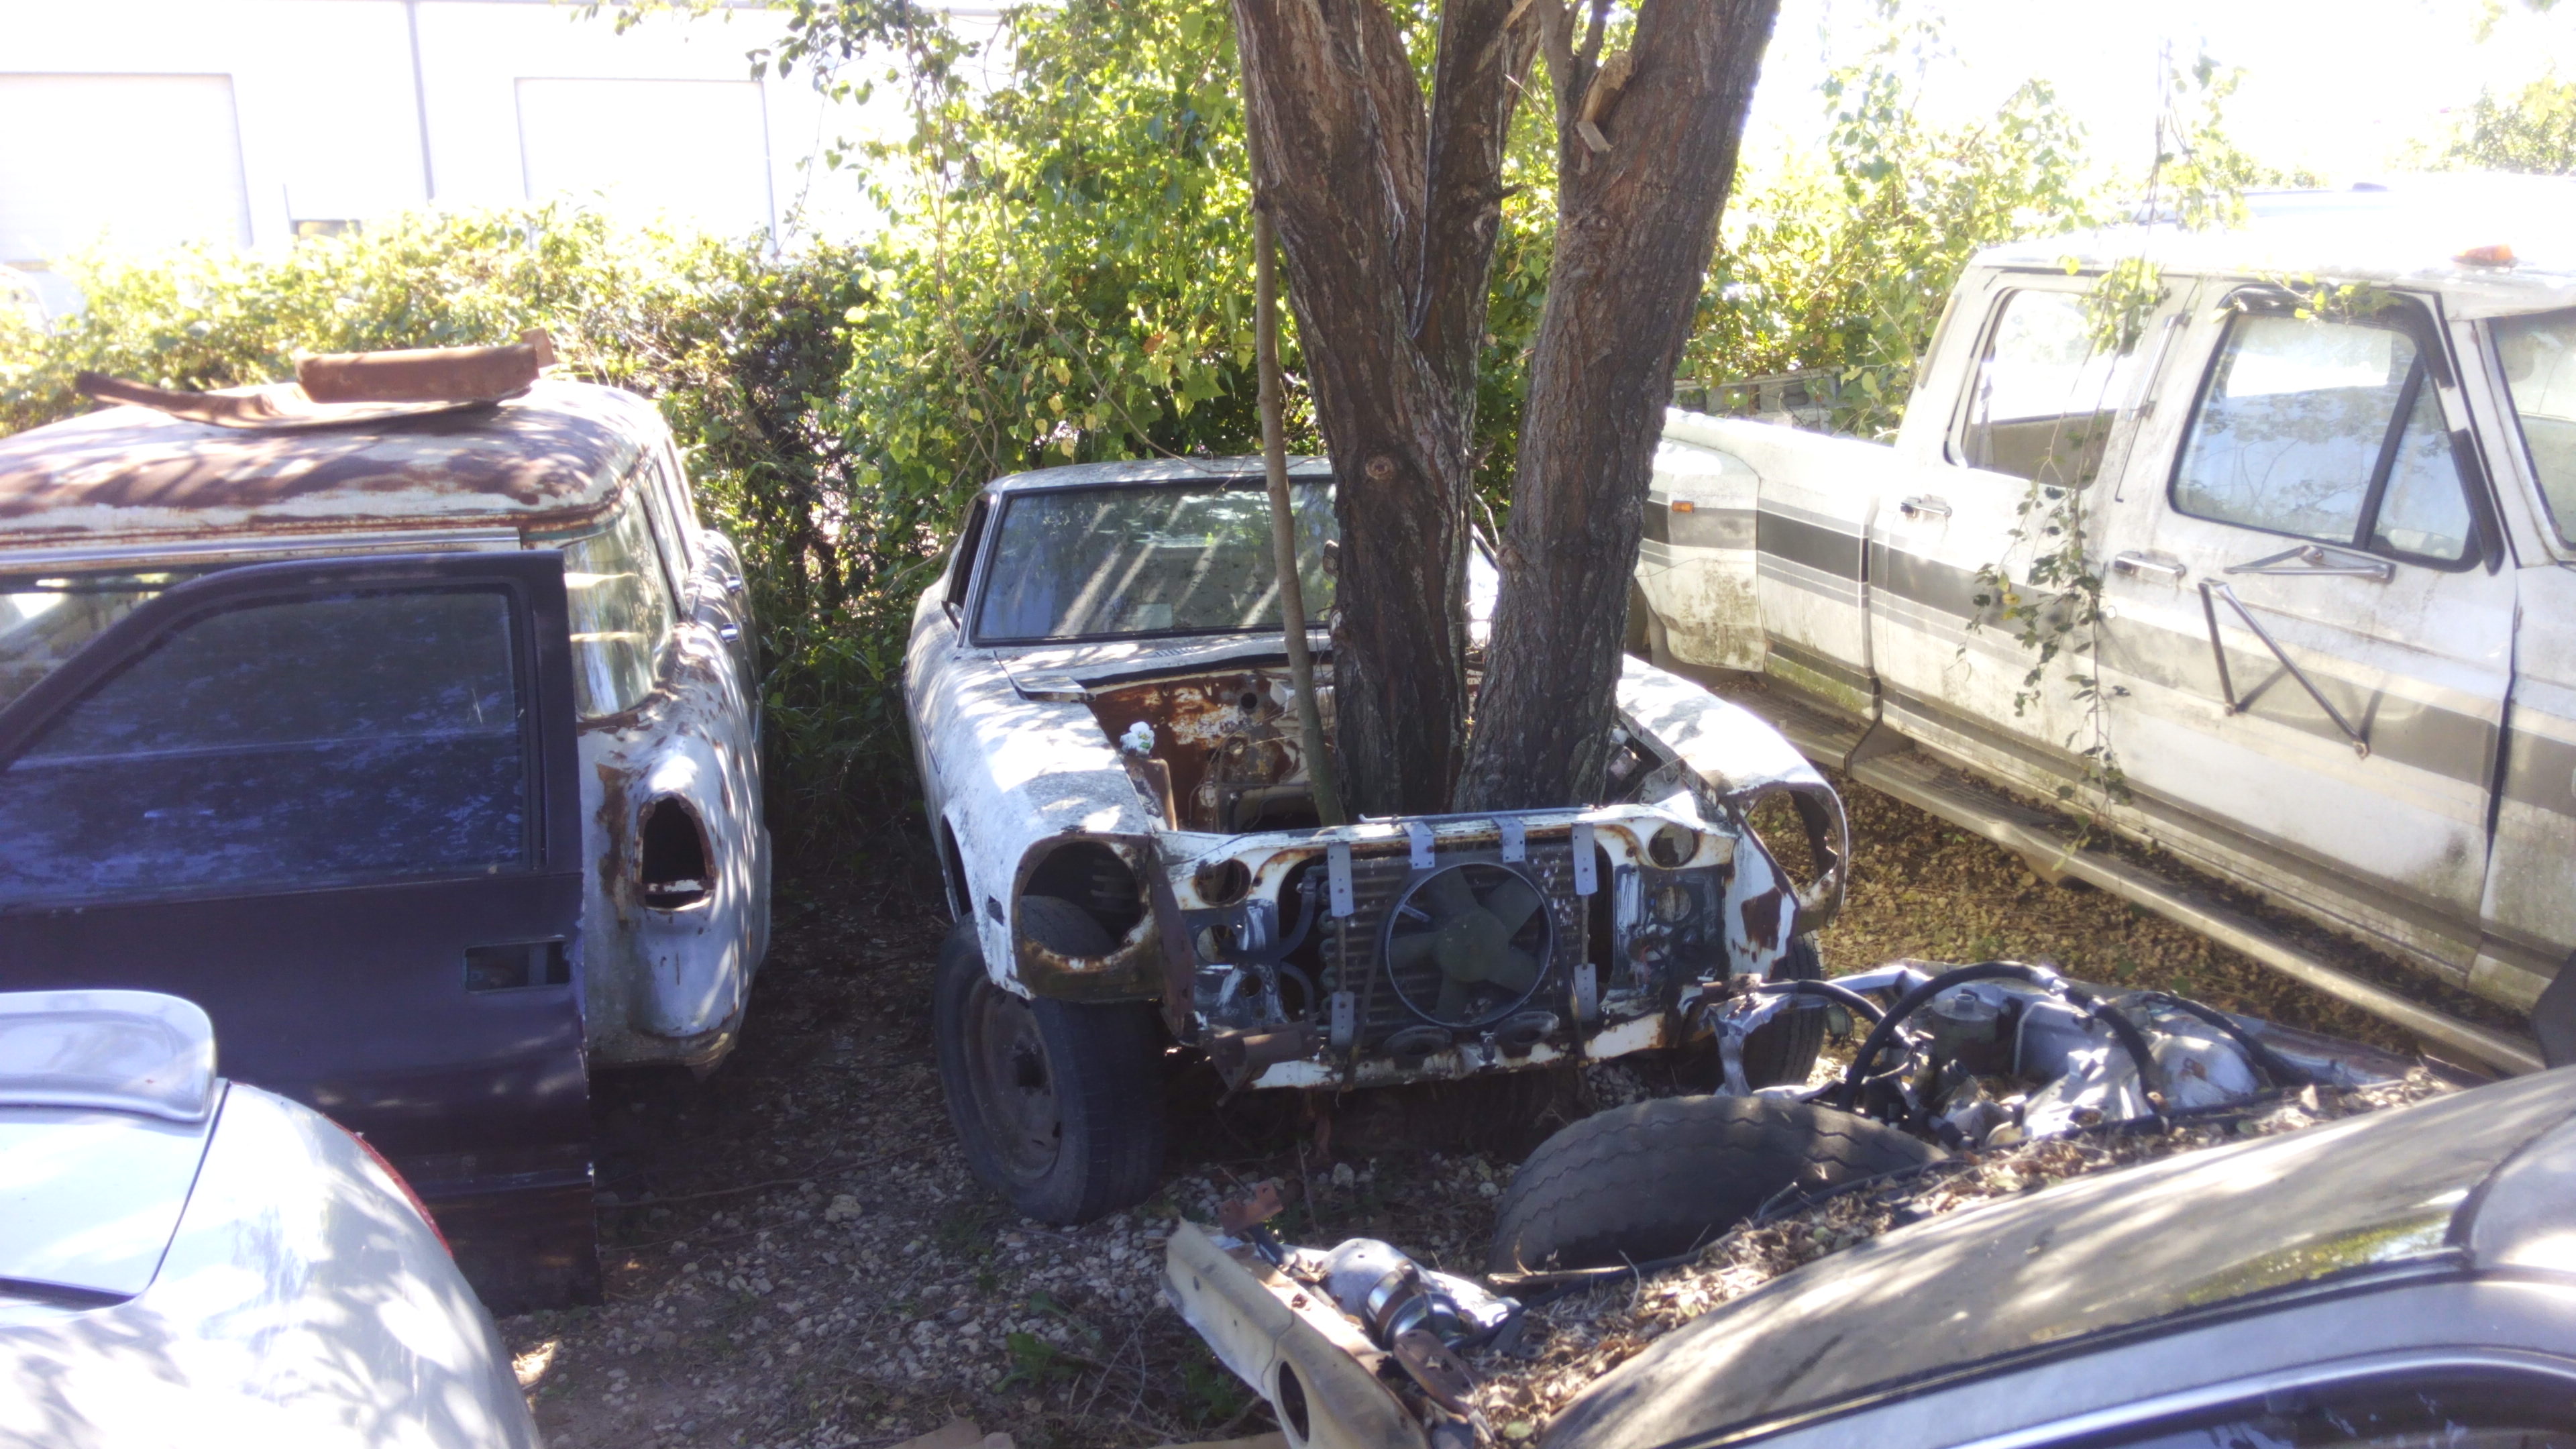
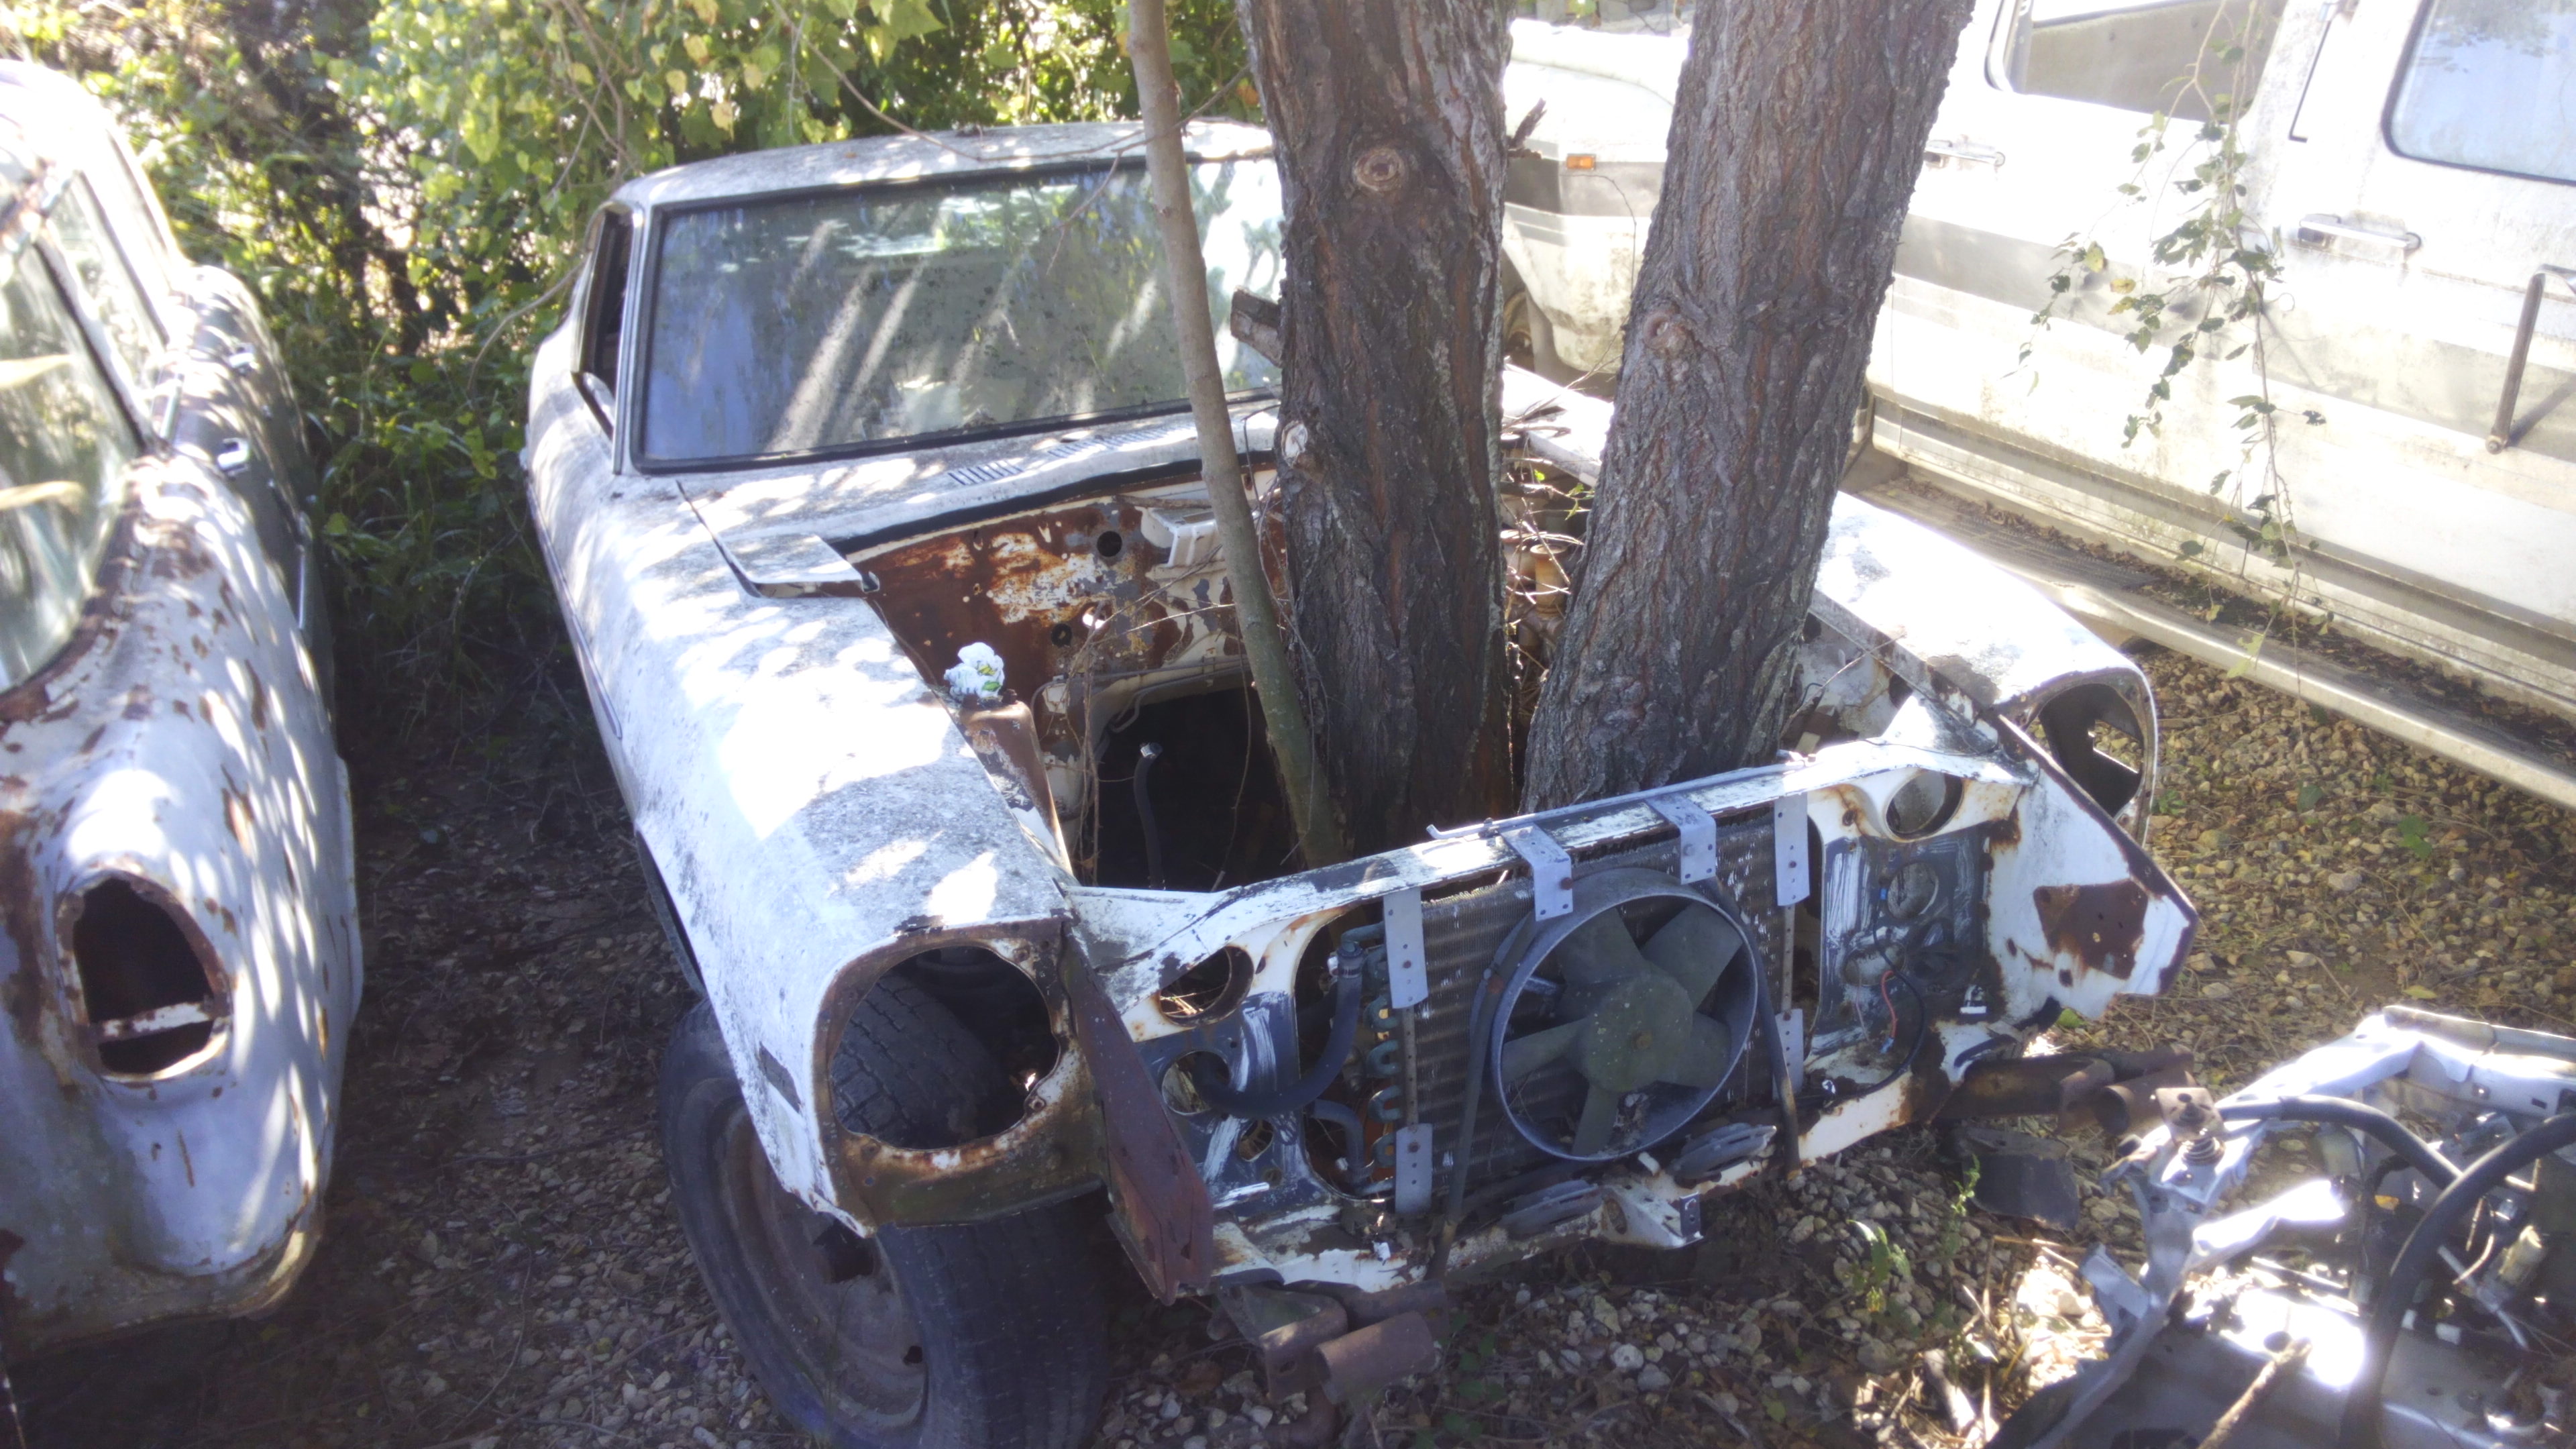
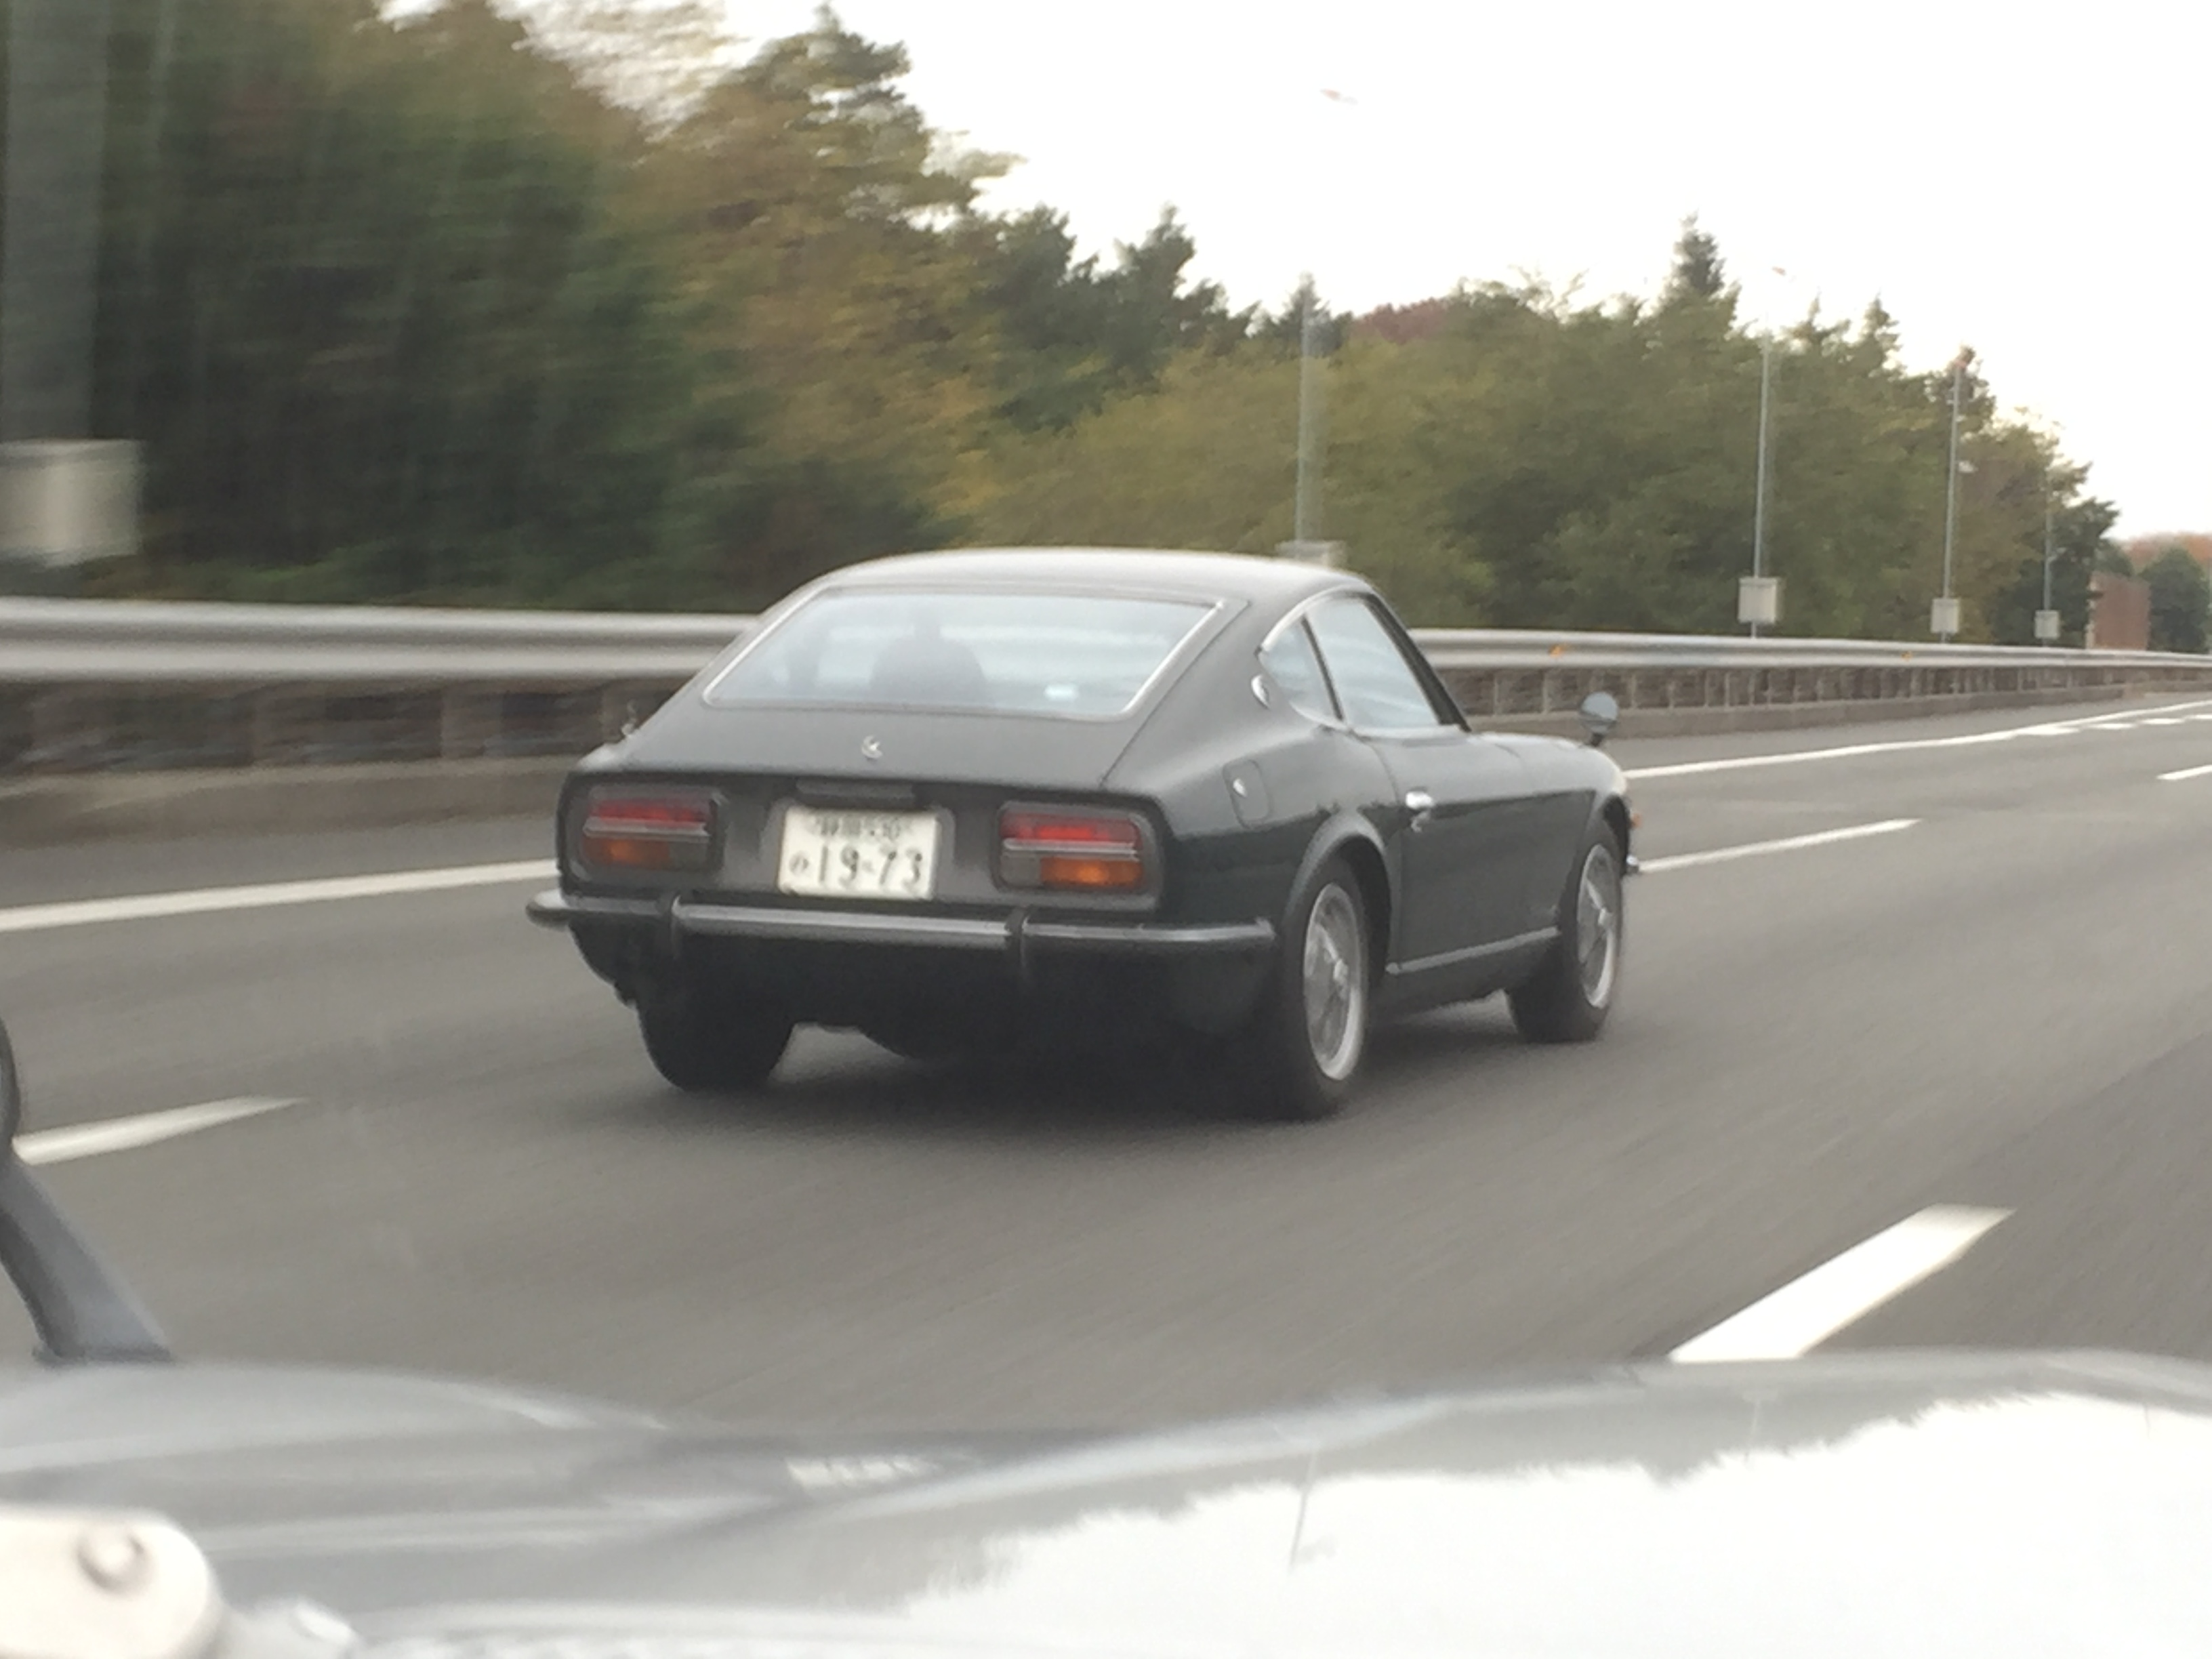
2 pointsThe ravages of time are usually not kind to Z cars left sitting for too long. Especially outside. The wind, the rain, critters, the elements and nature can take their toll ... This 73 240z decided to at least defend it's self from theft. Qualifies for Bring a Trailer and also ... Bring a Chainsaw A while back, me & Zup made a trip to the shop yard where he has three 240 parts cars stored. Some other interesting cars stored in there, but this is probably the best one to look at. Thanks again for the Enkei wheels off the other white one Jim! We will have to get back over & put some steelies back on it. And maybe do some pruning on the one pictured.

 2 points
 -
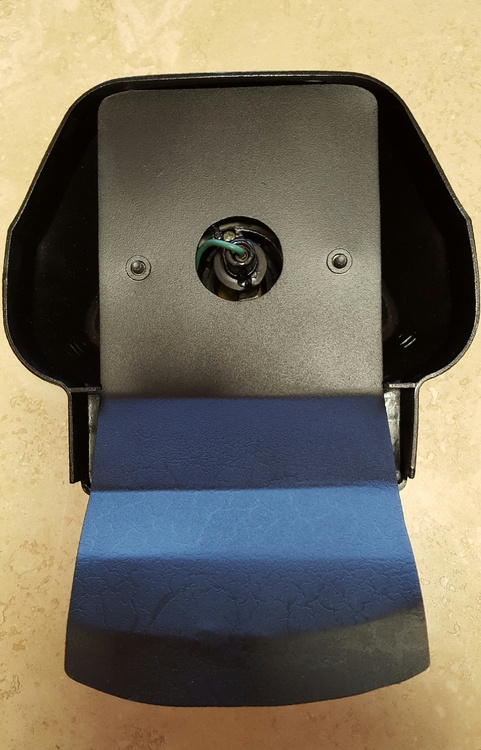
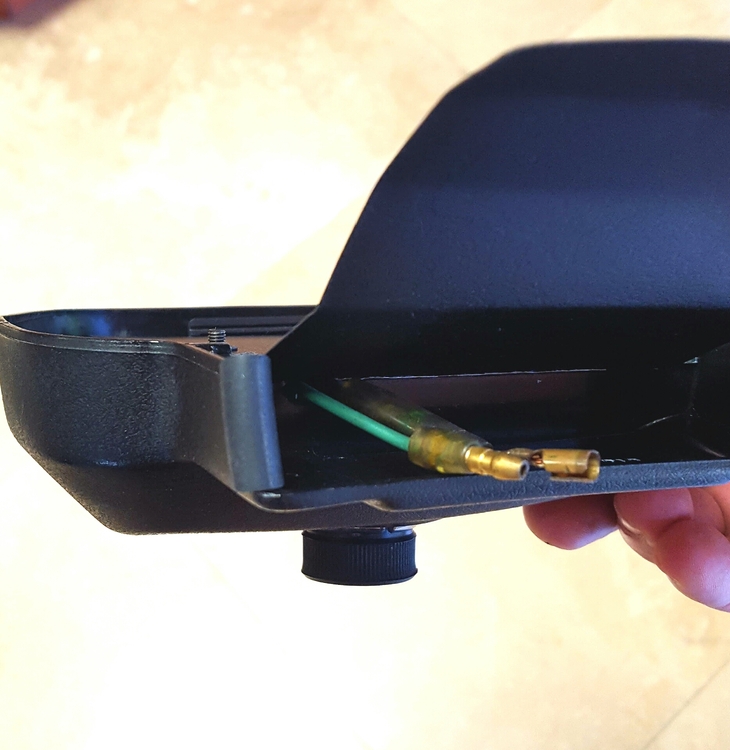
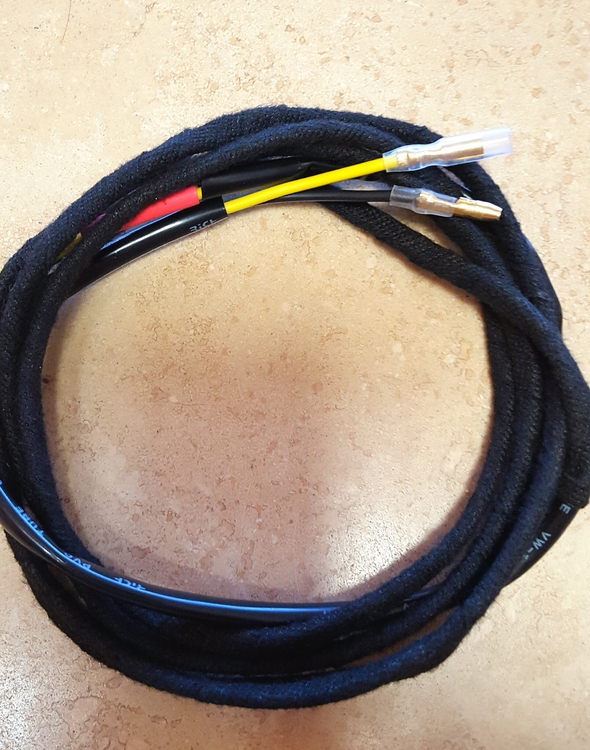
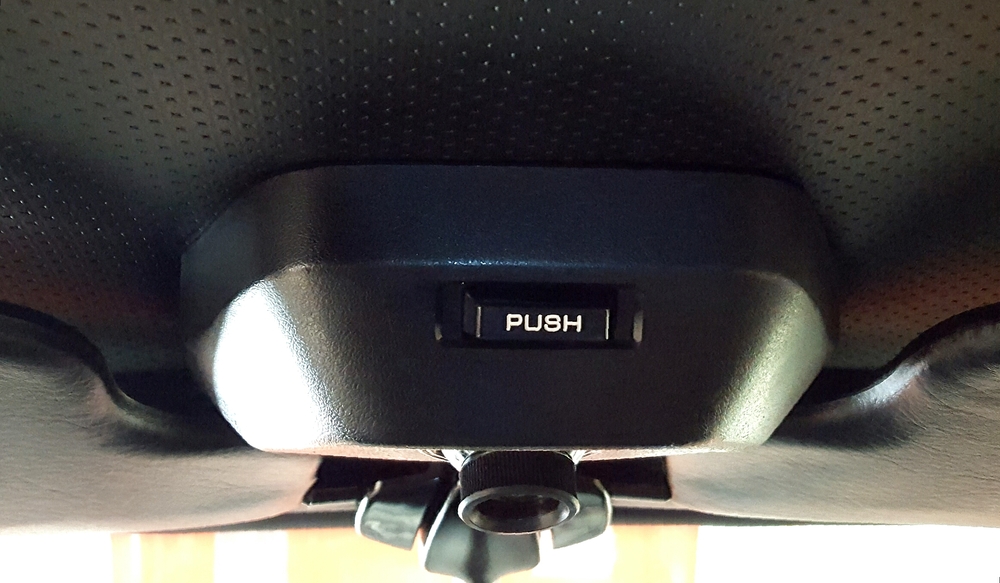
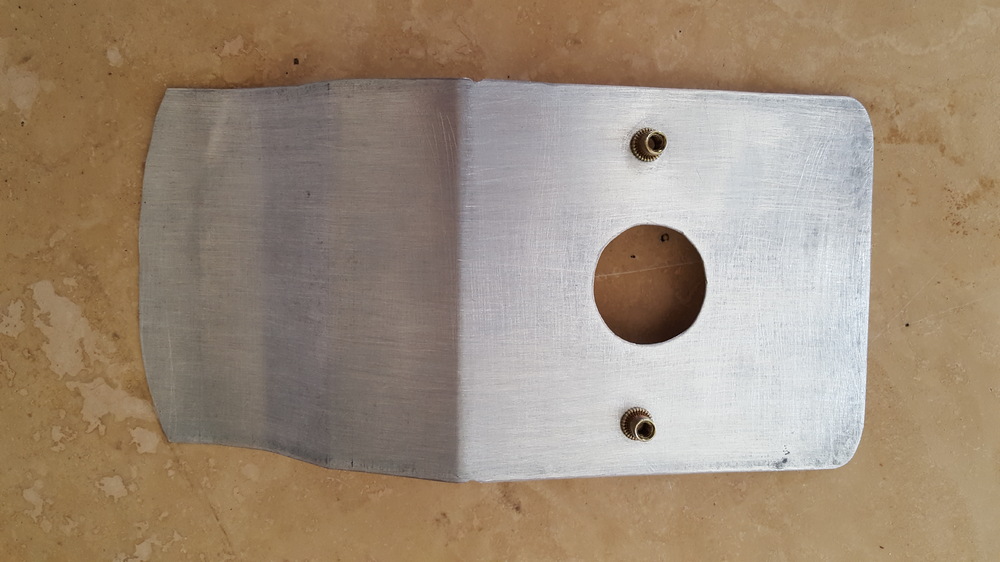
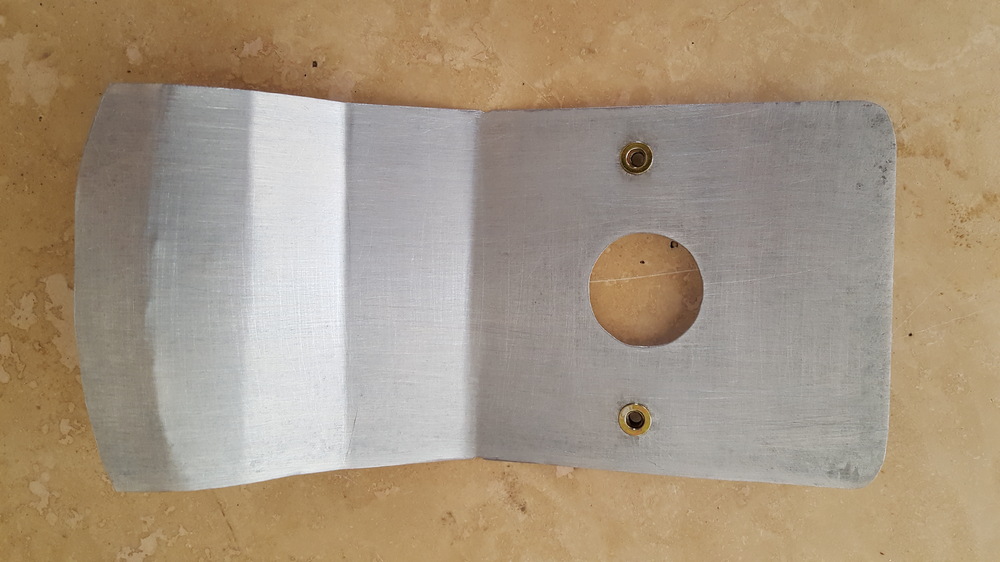
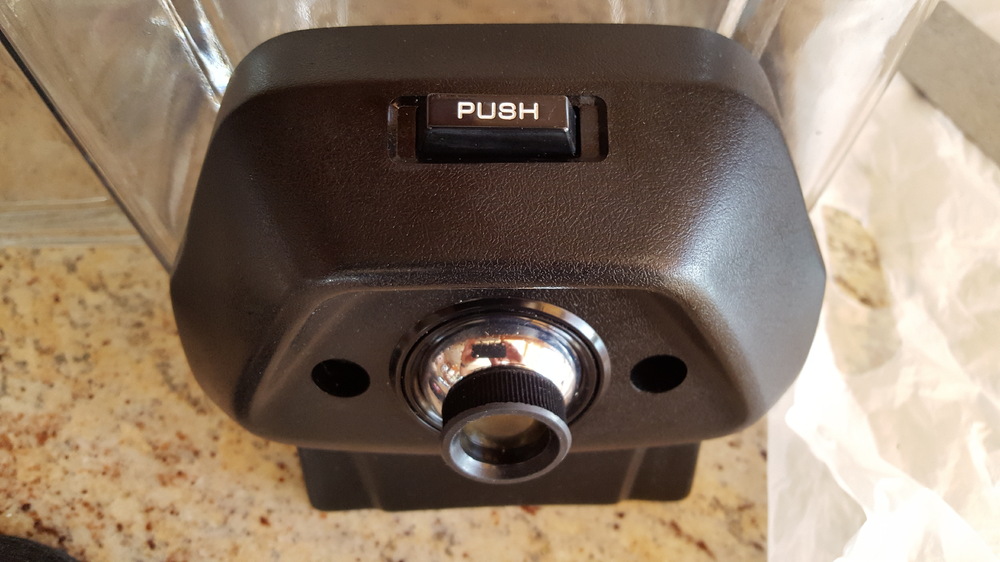
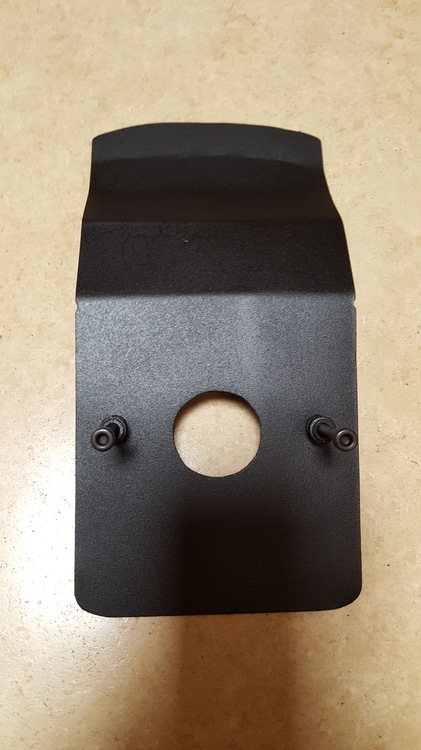
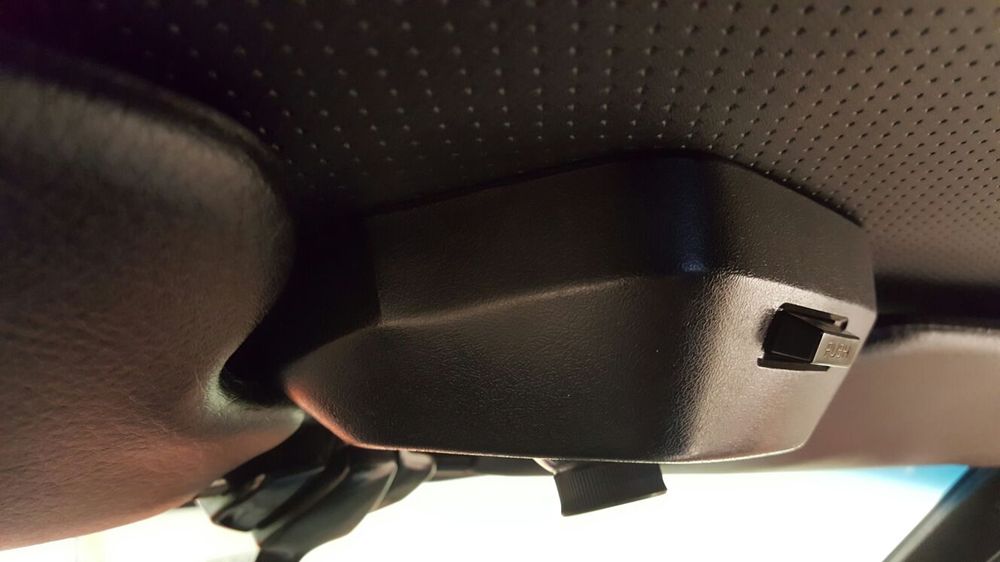
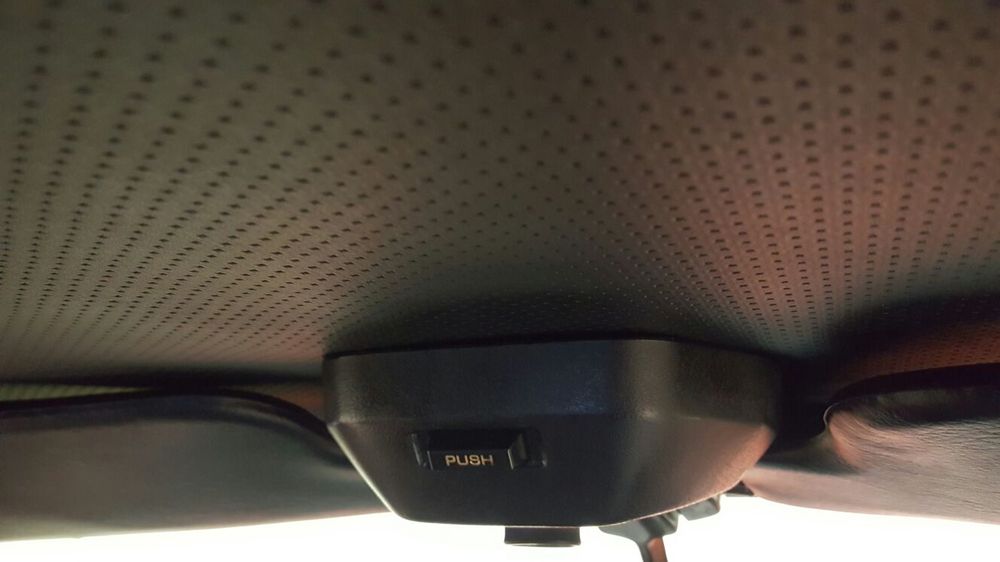
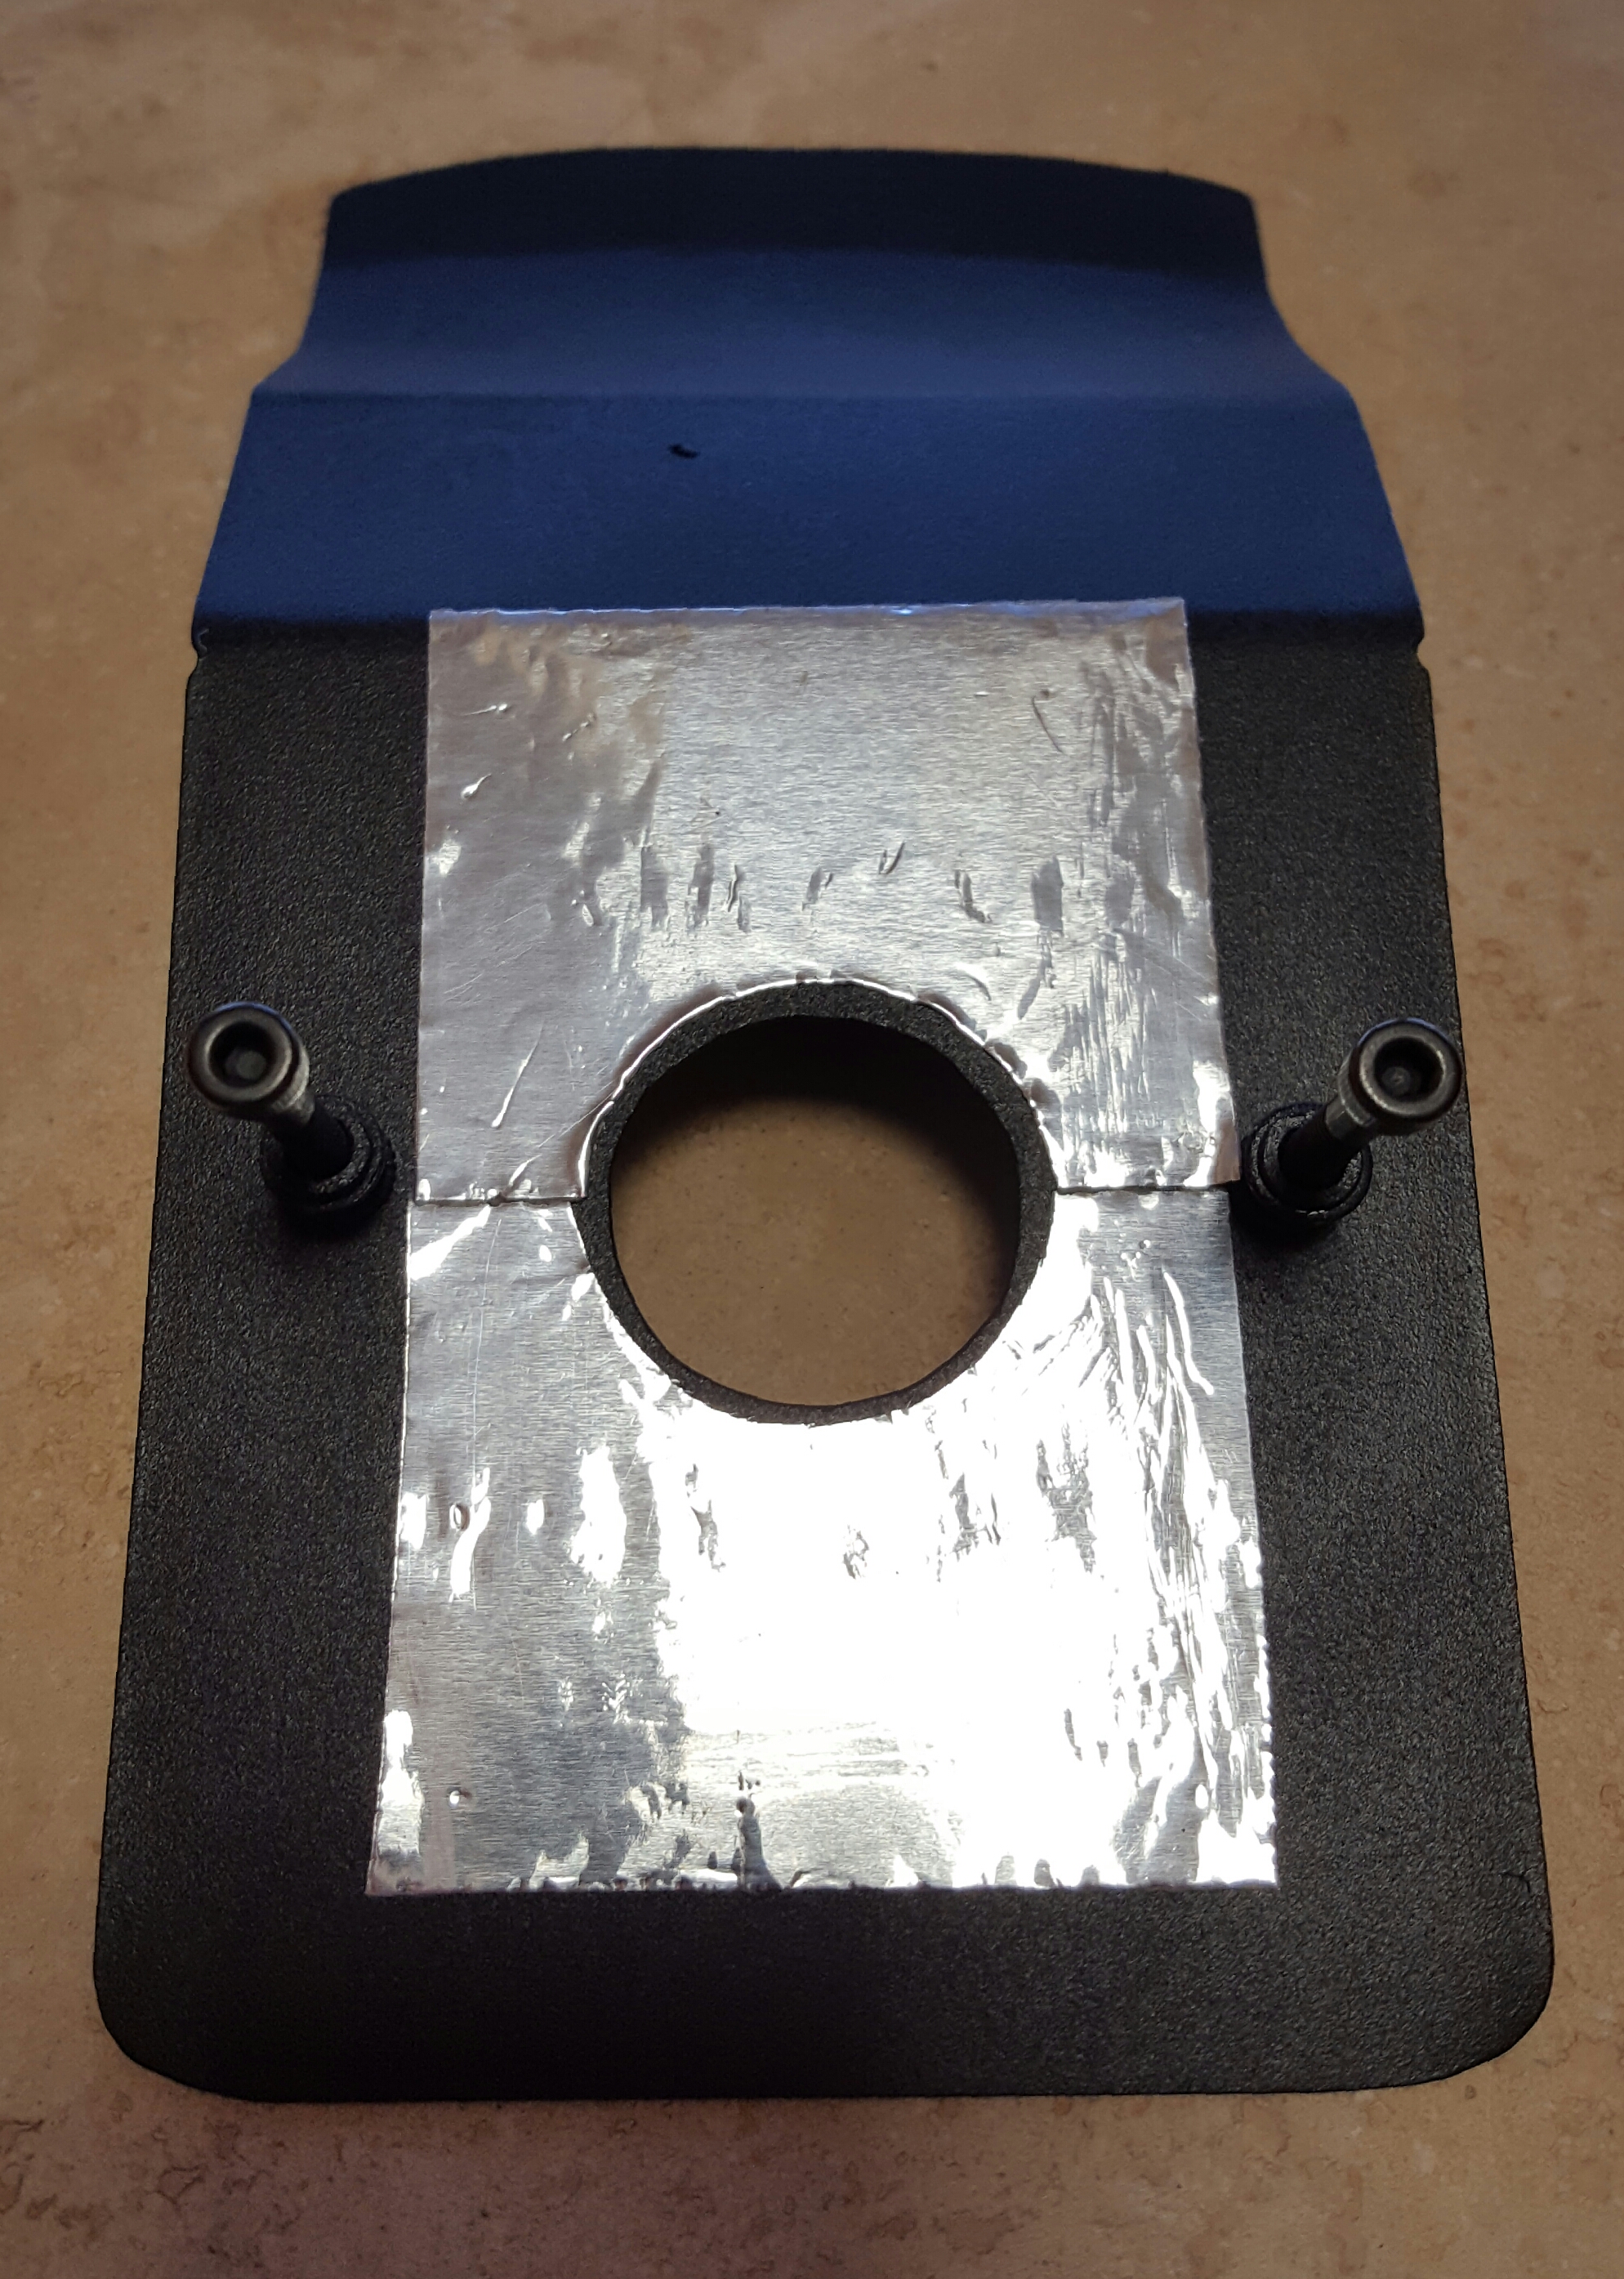
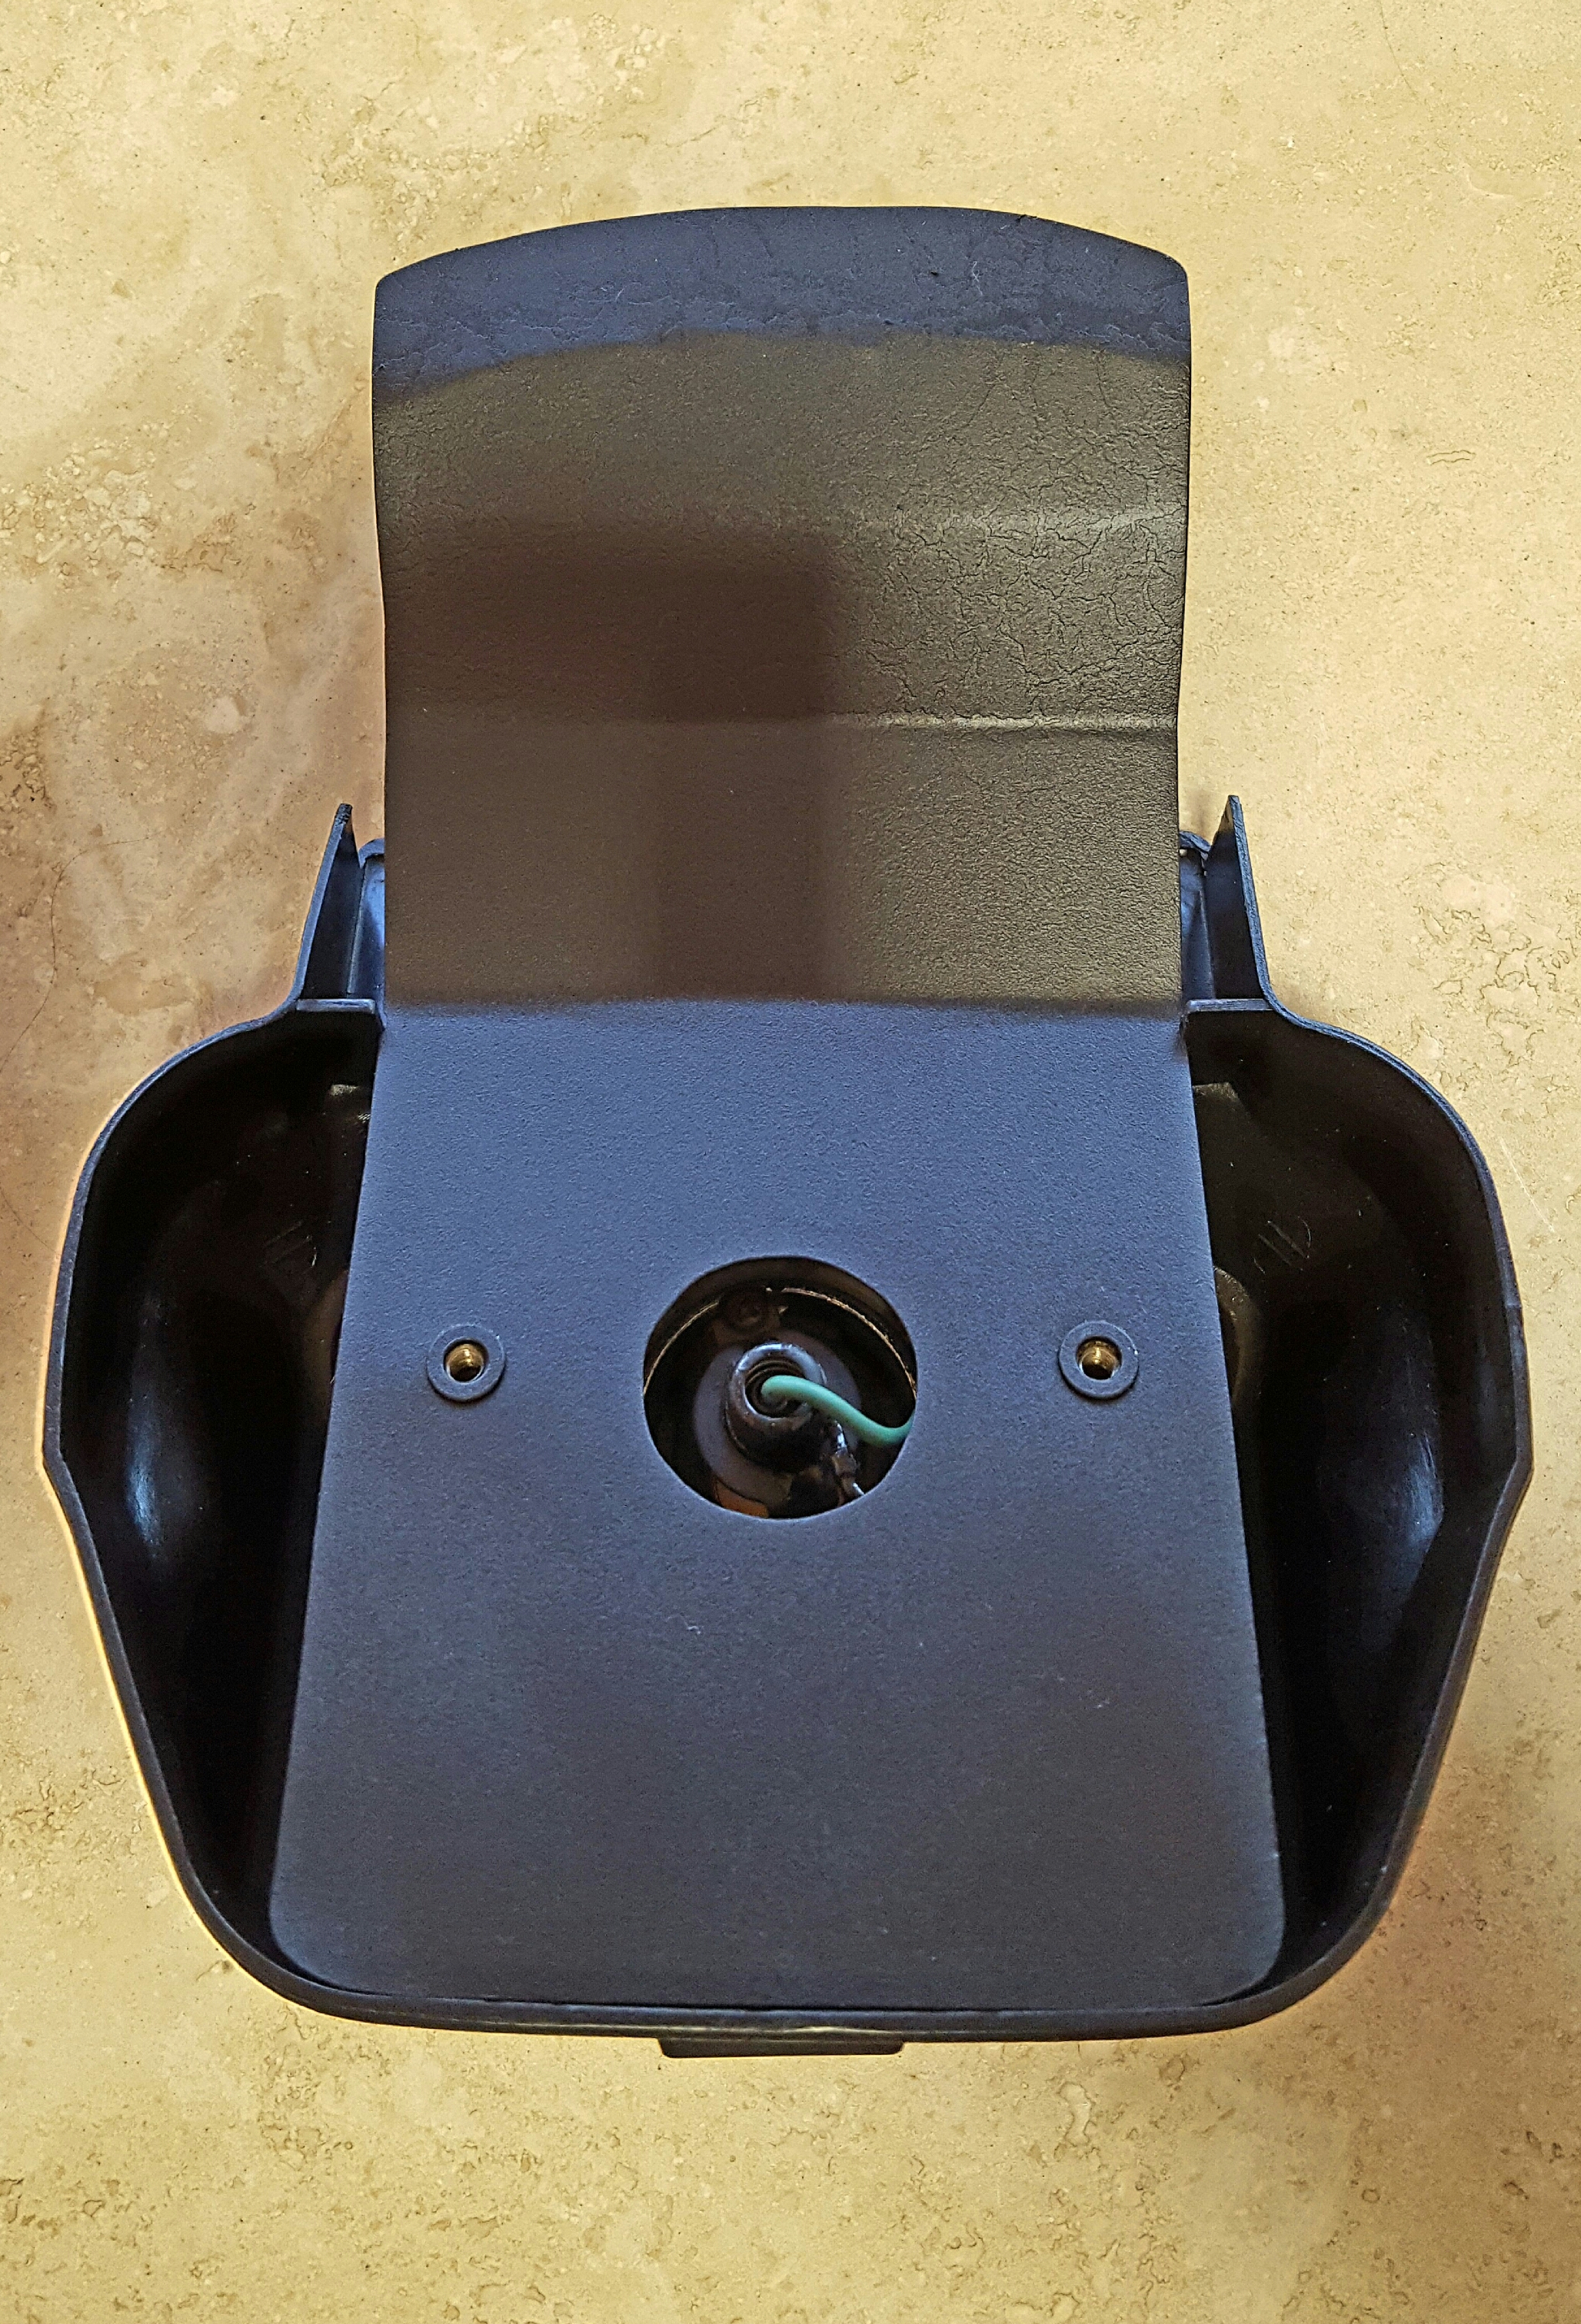
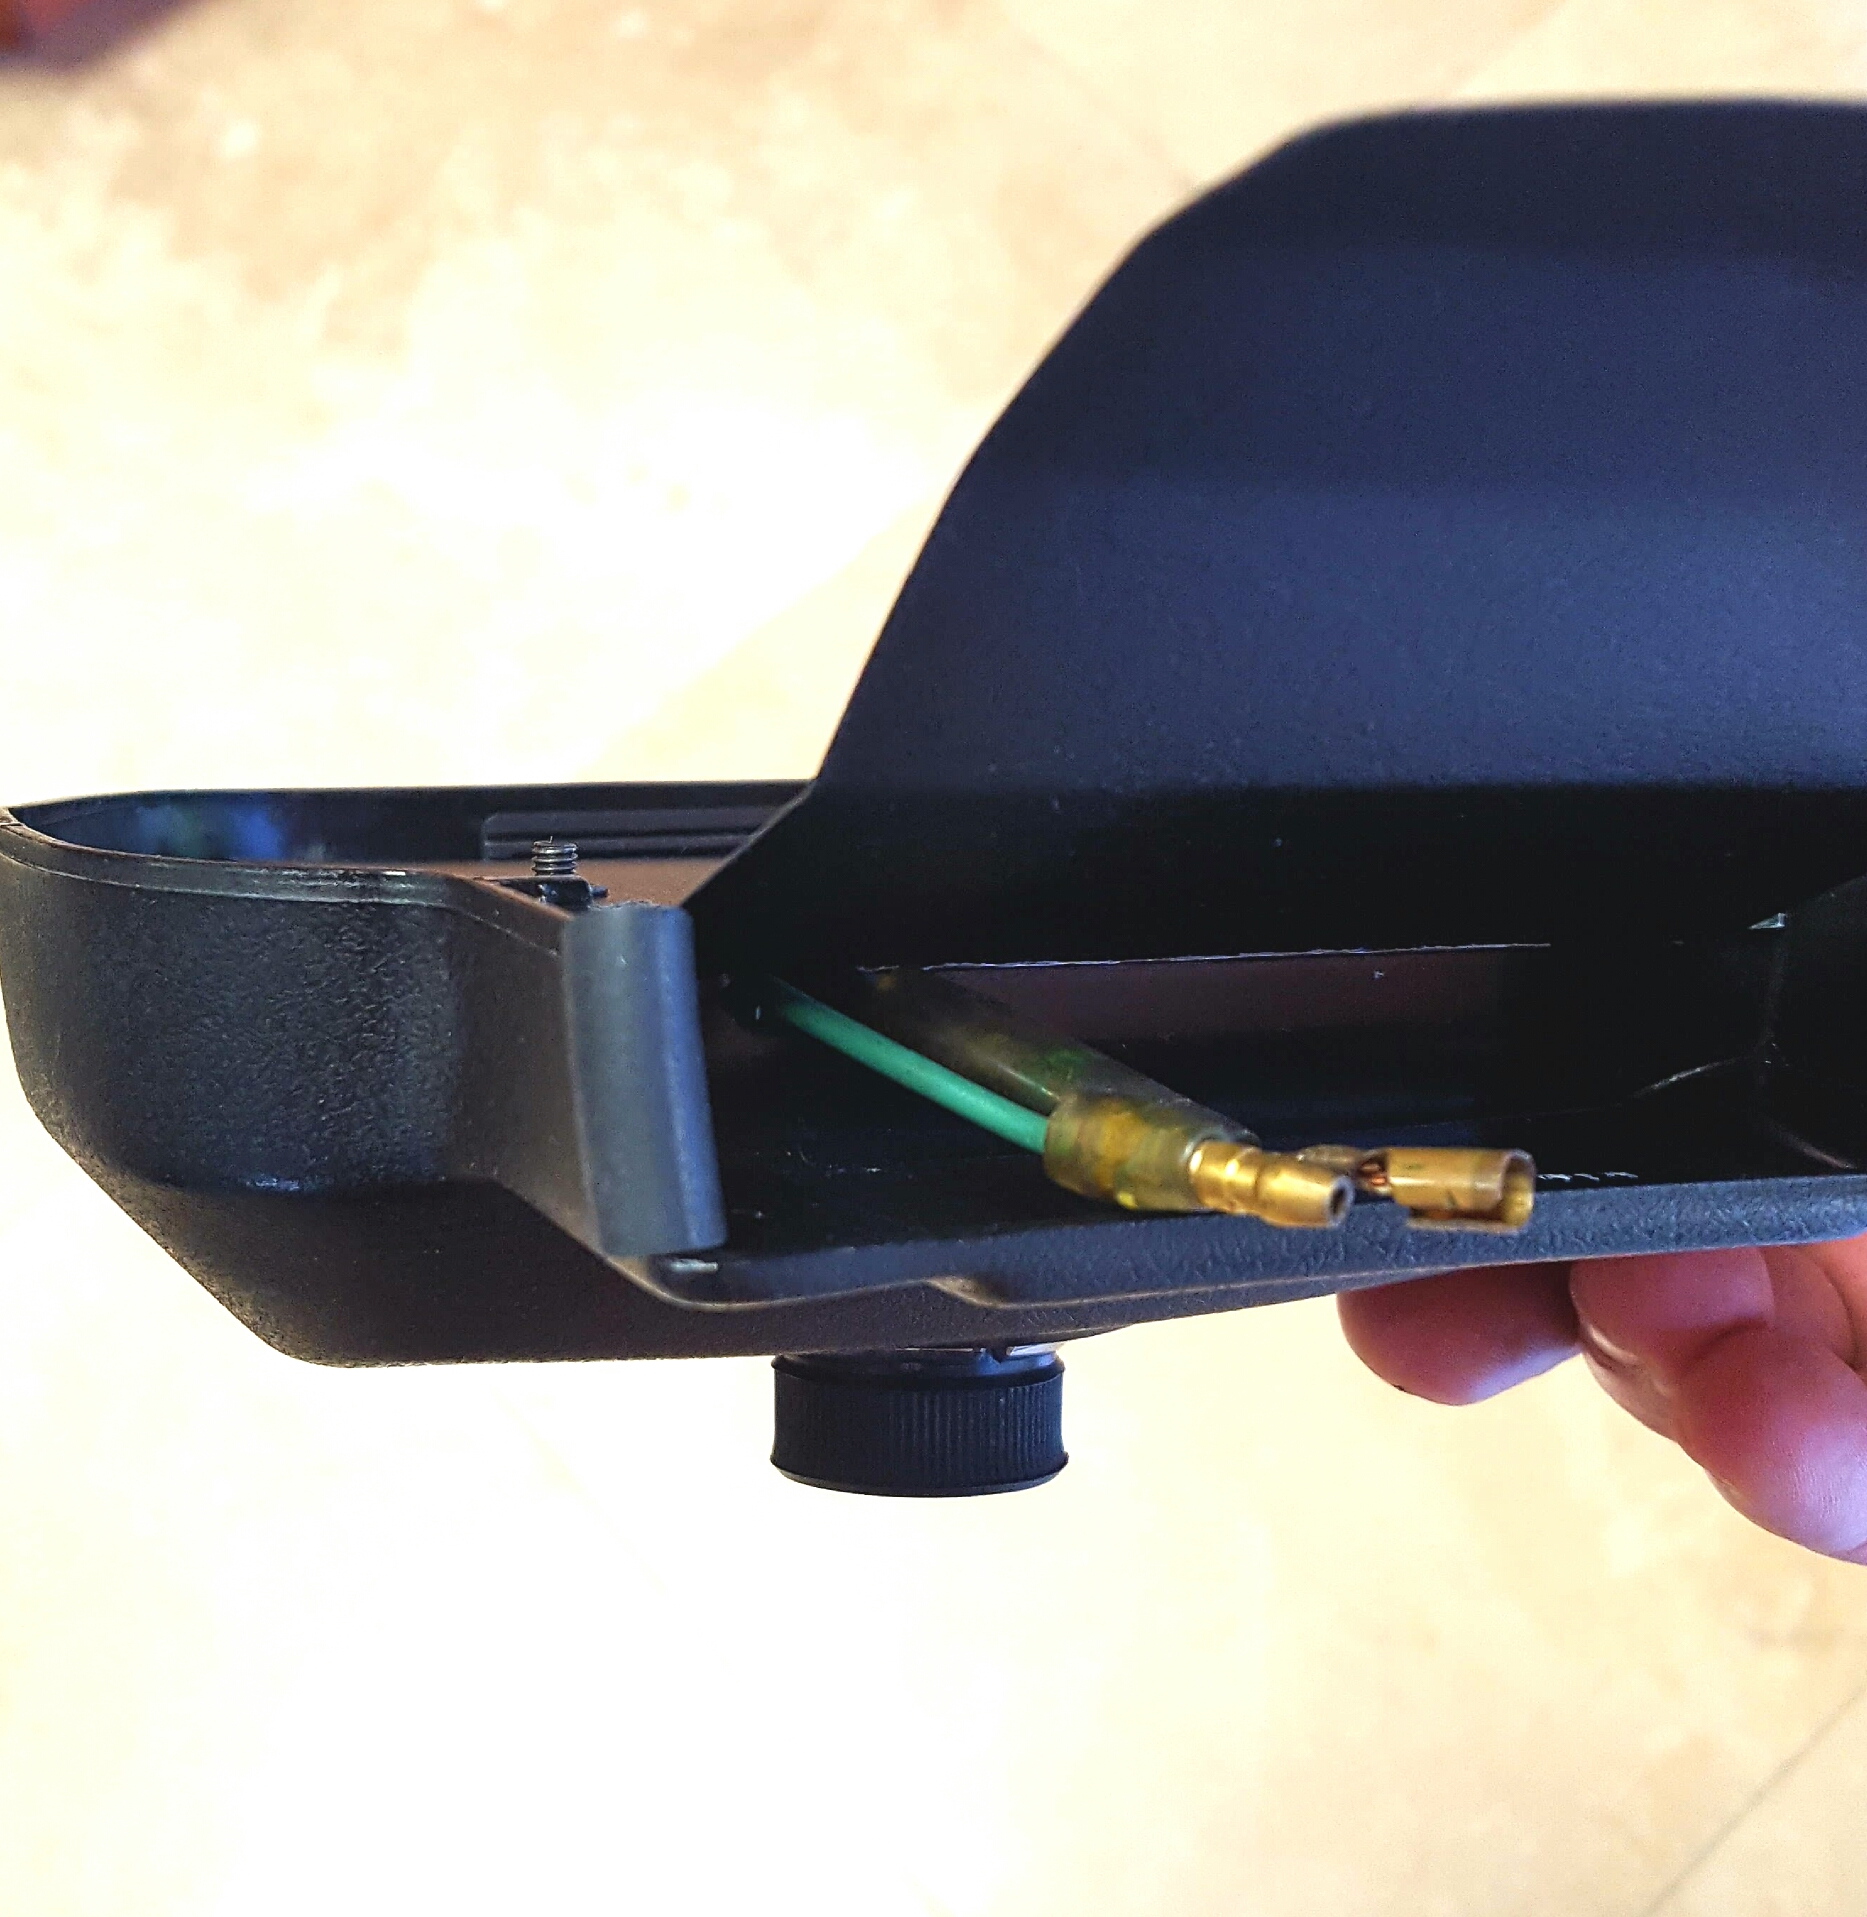
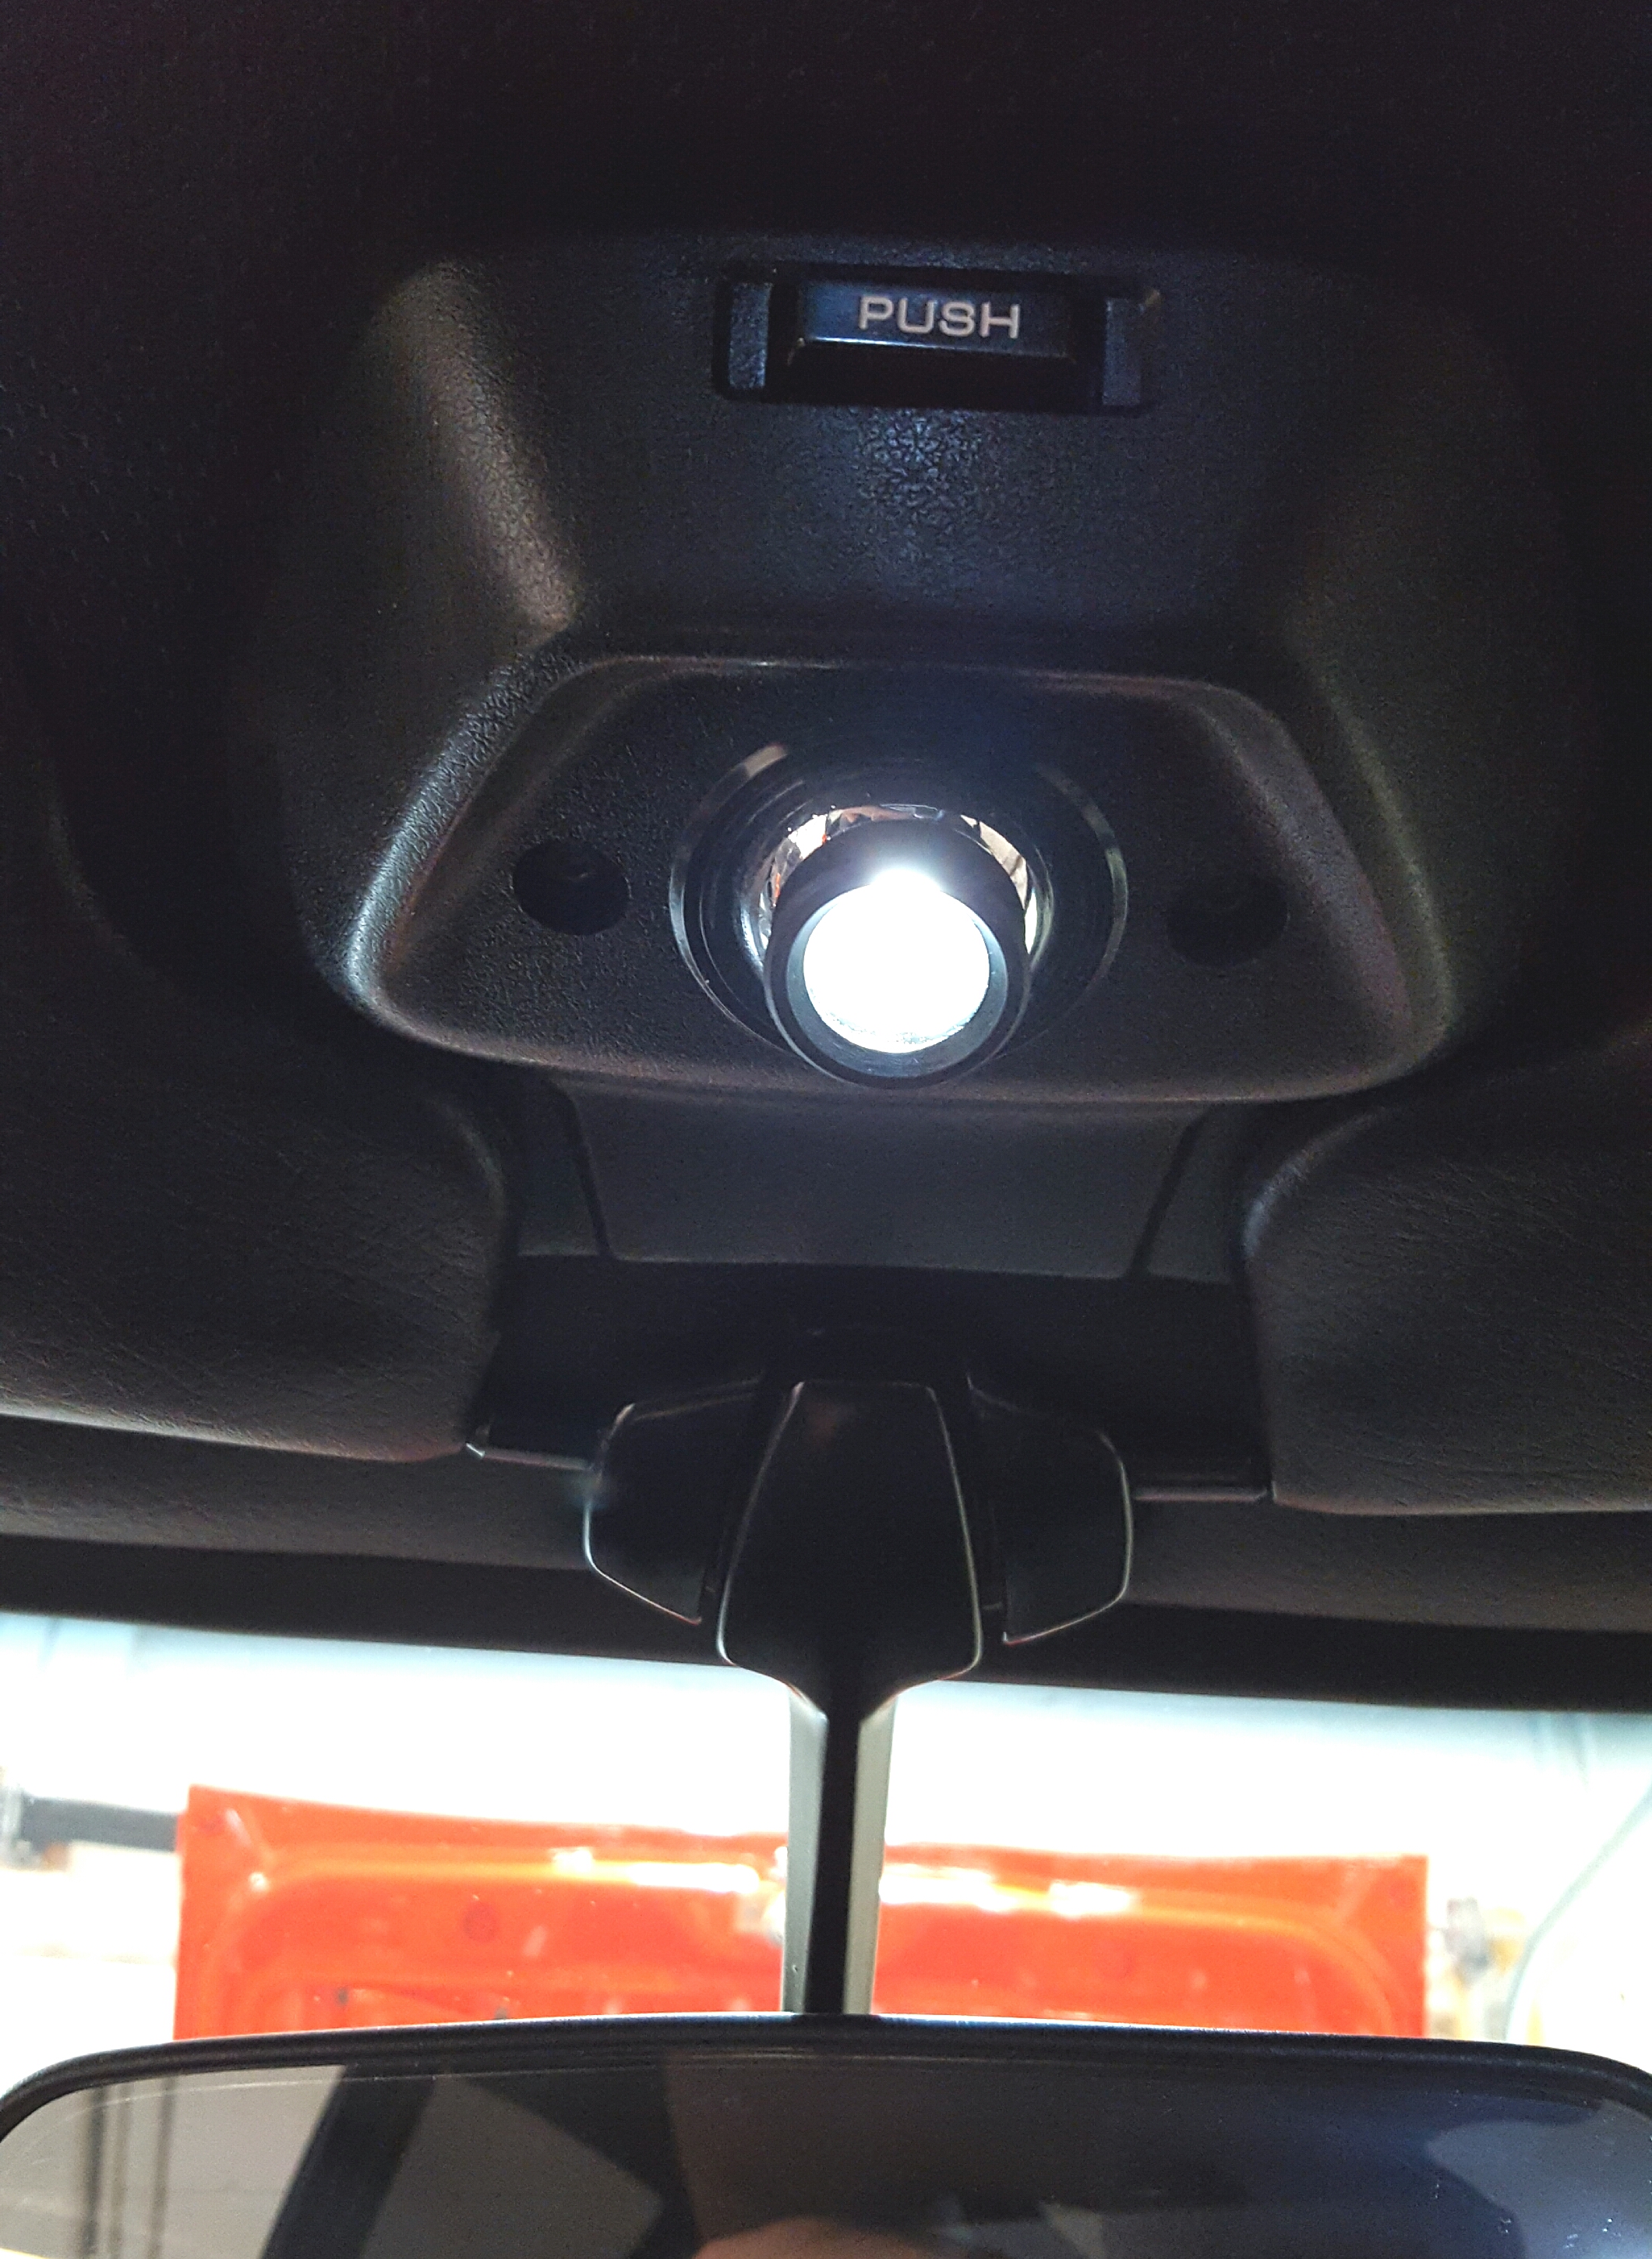
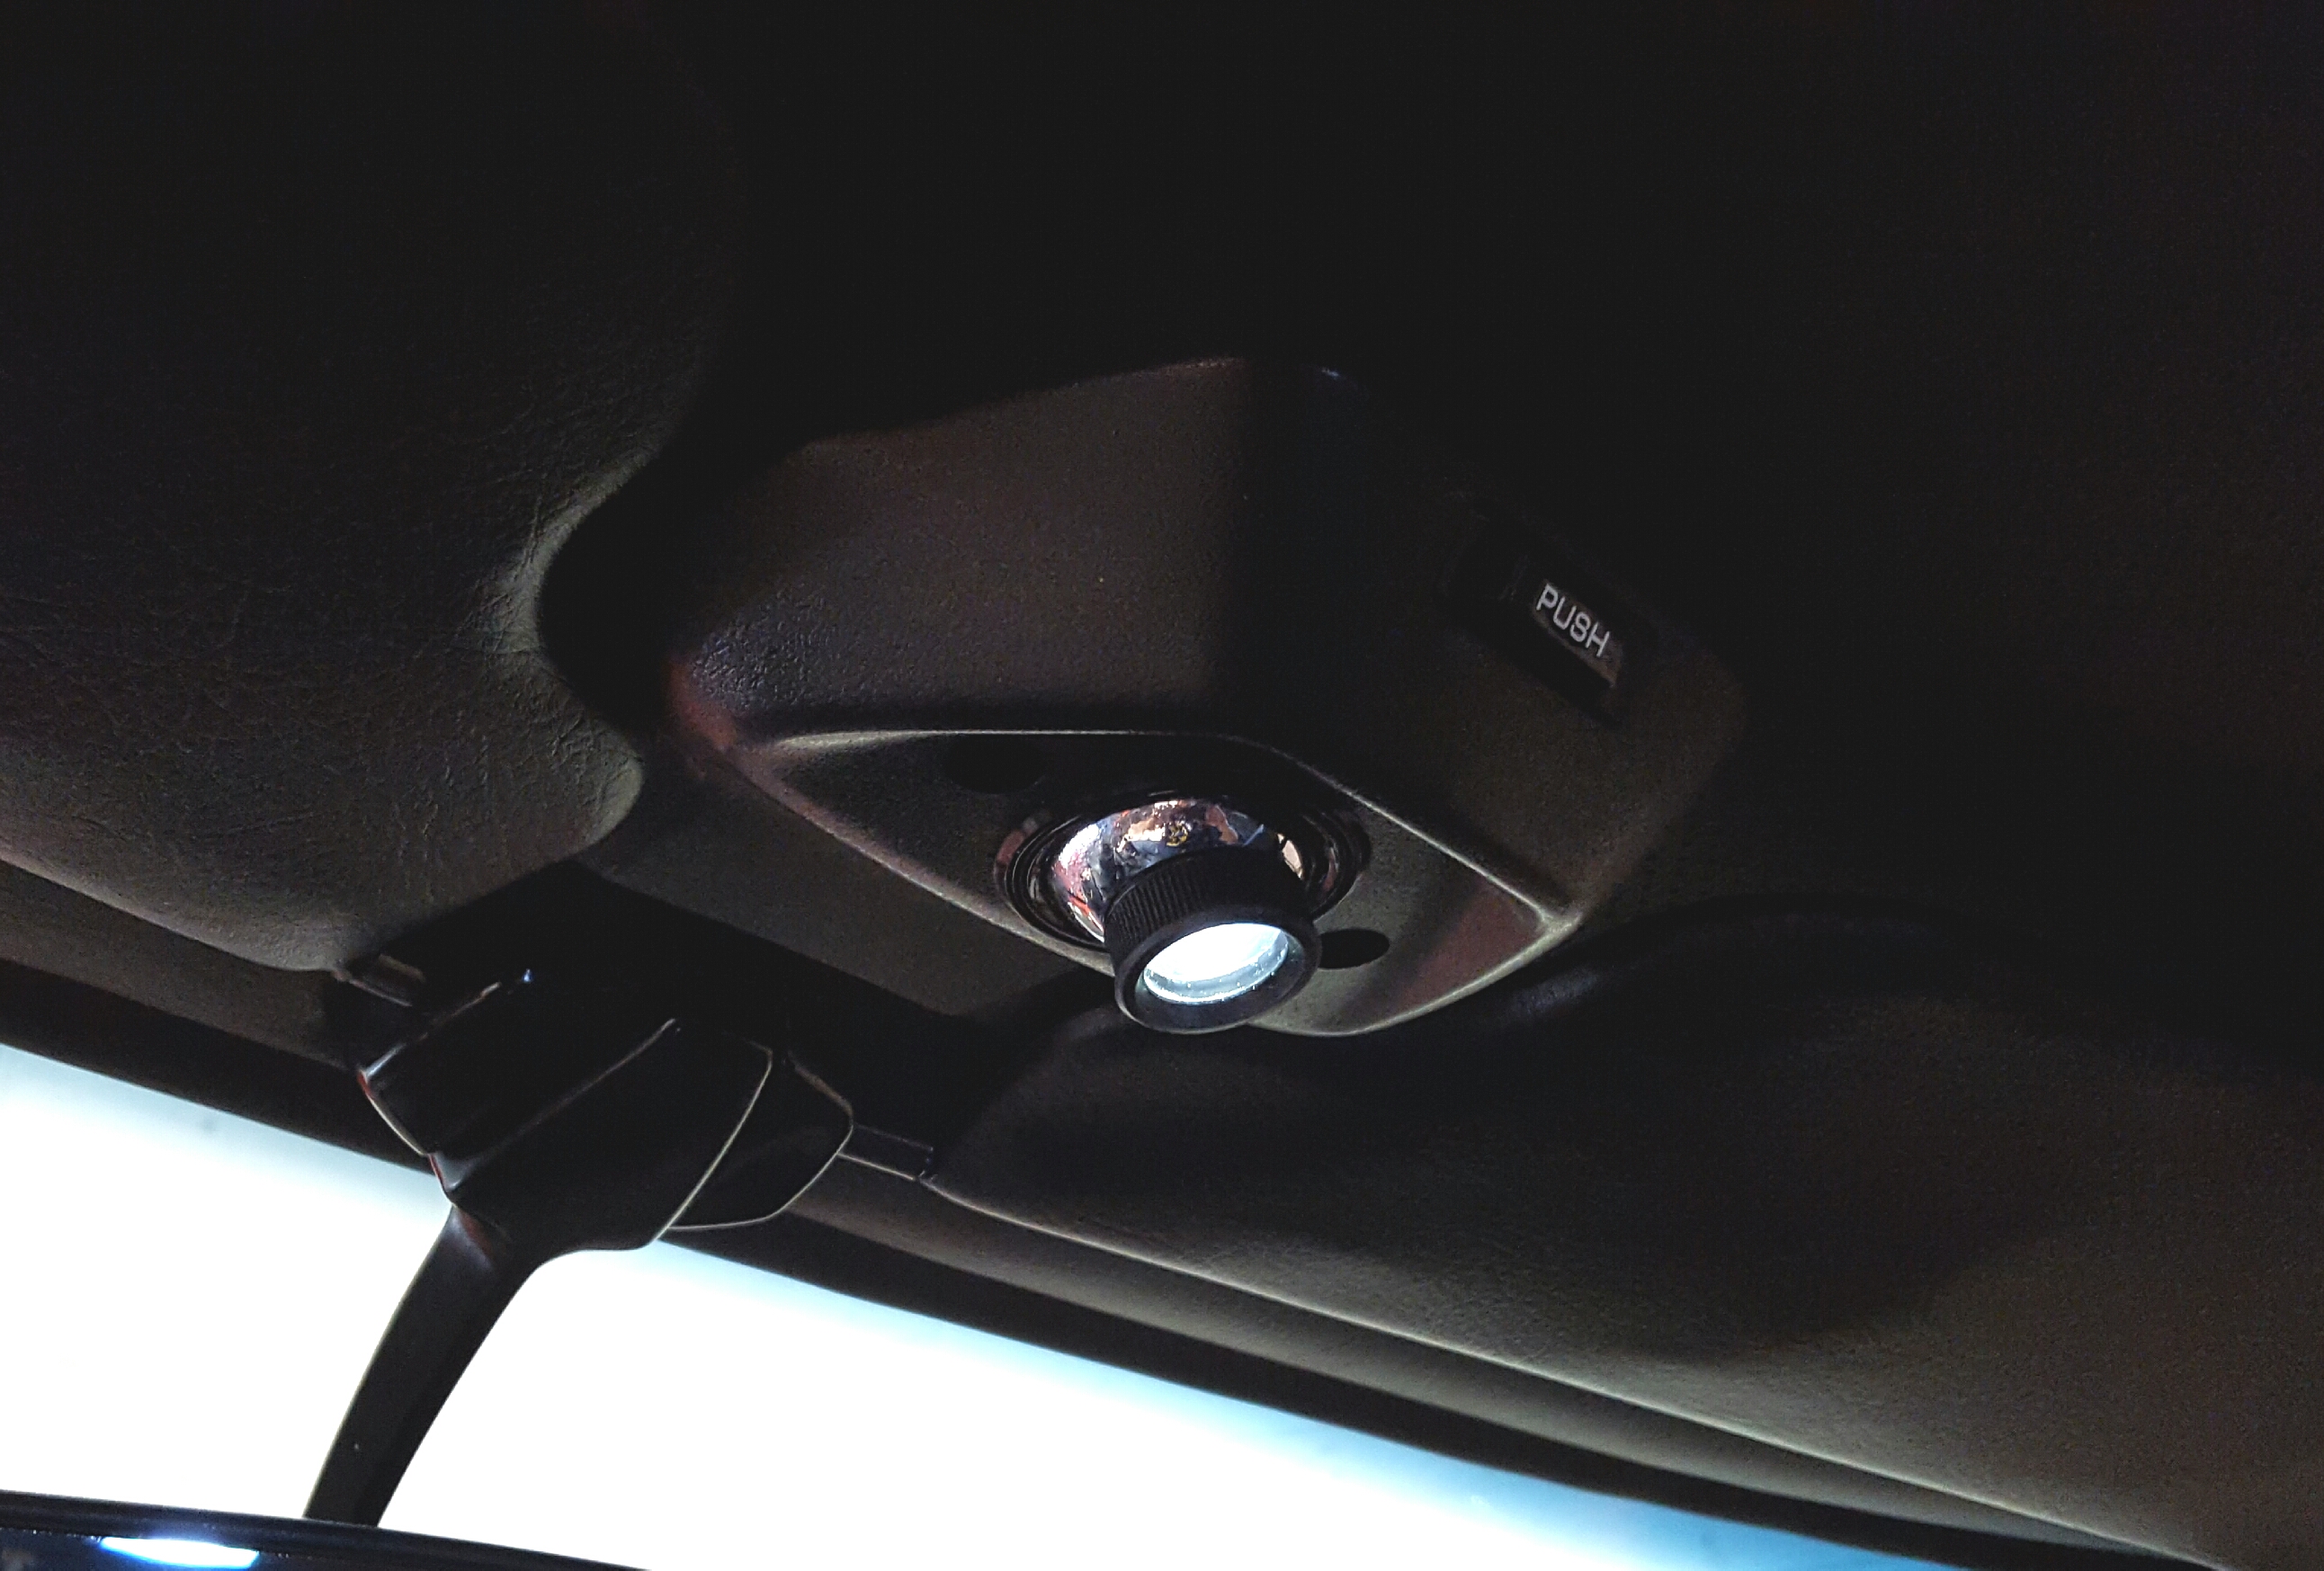
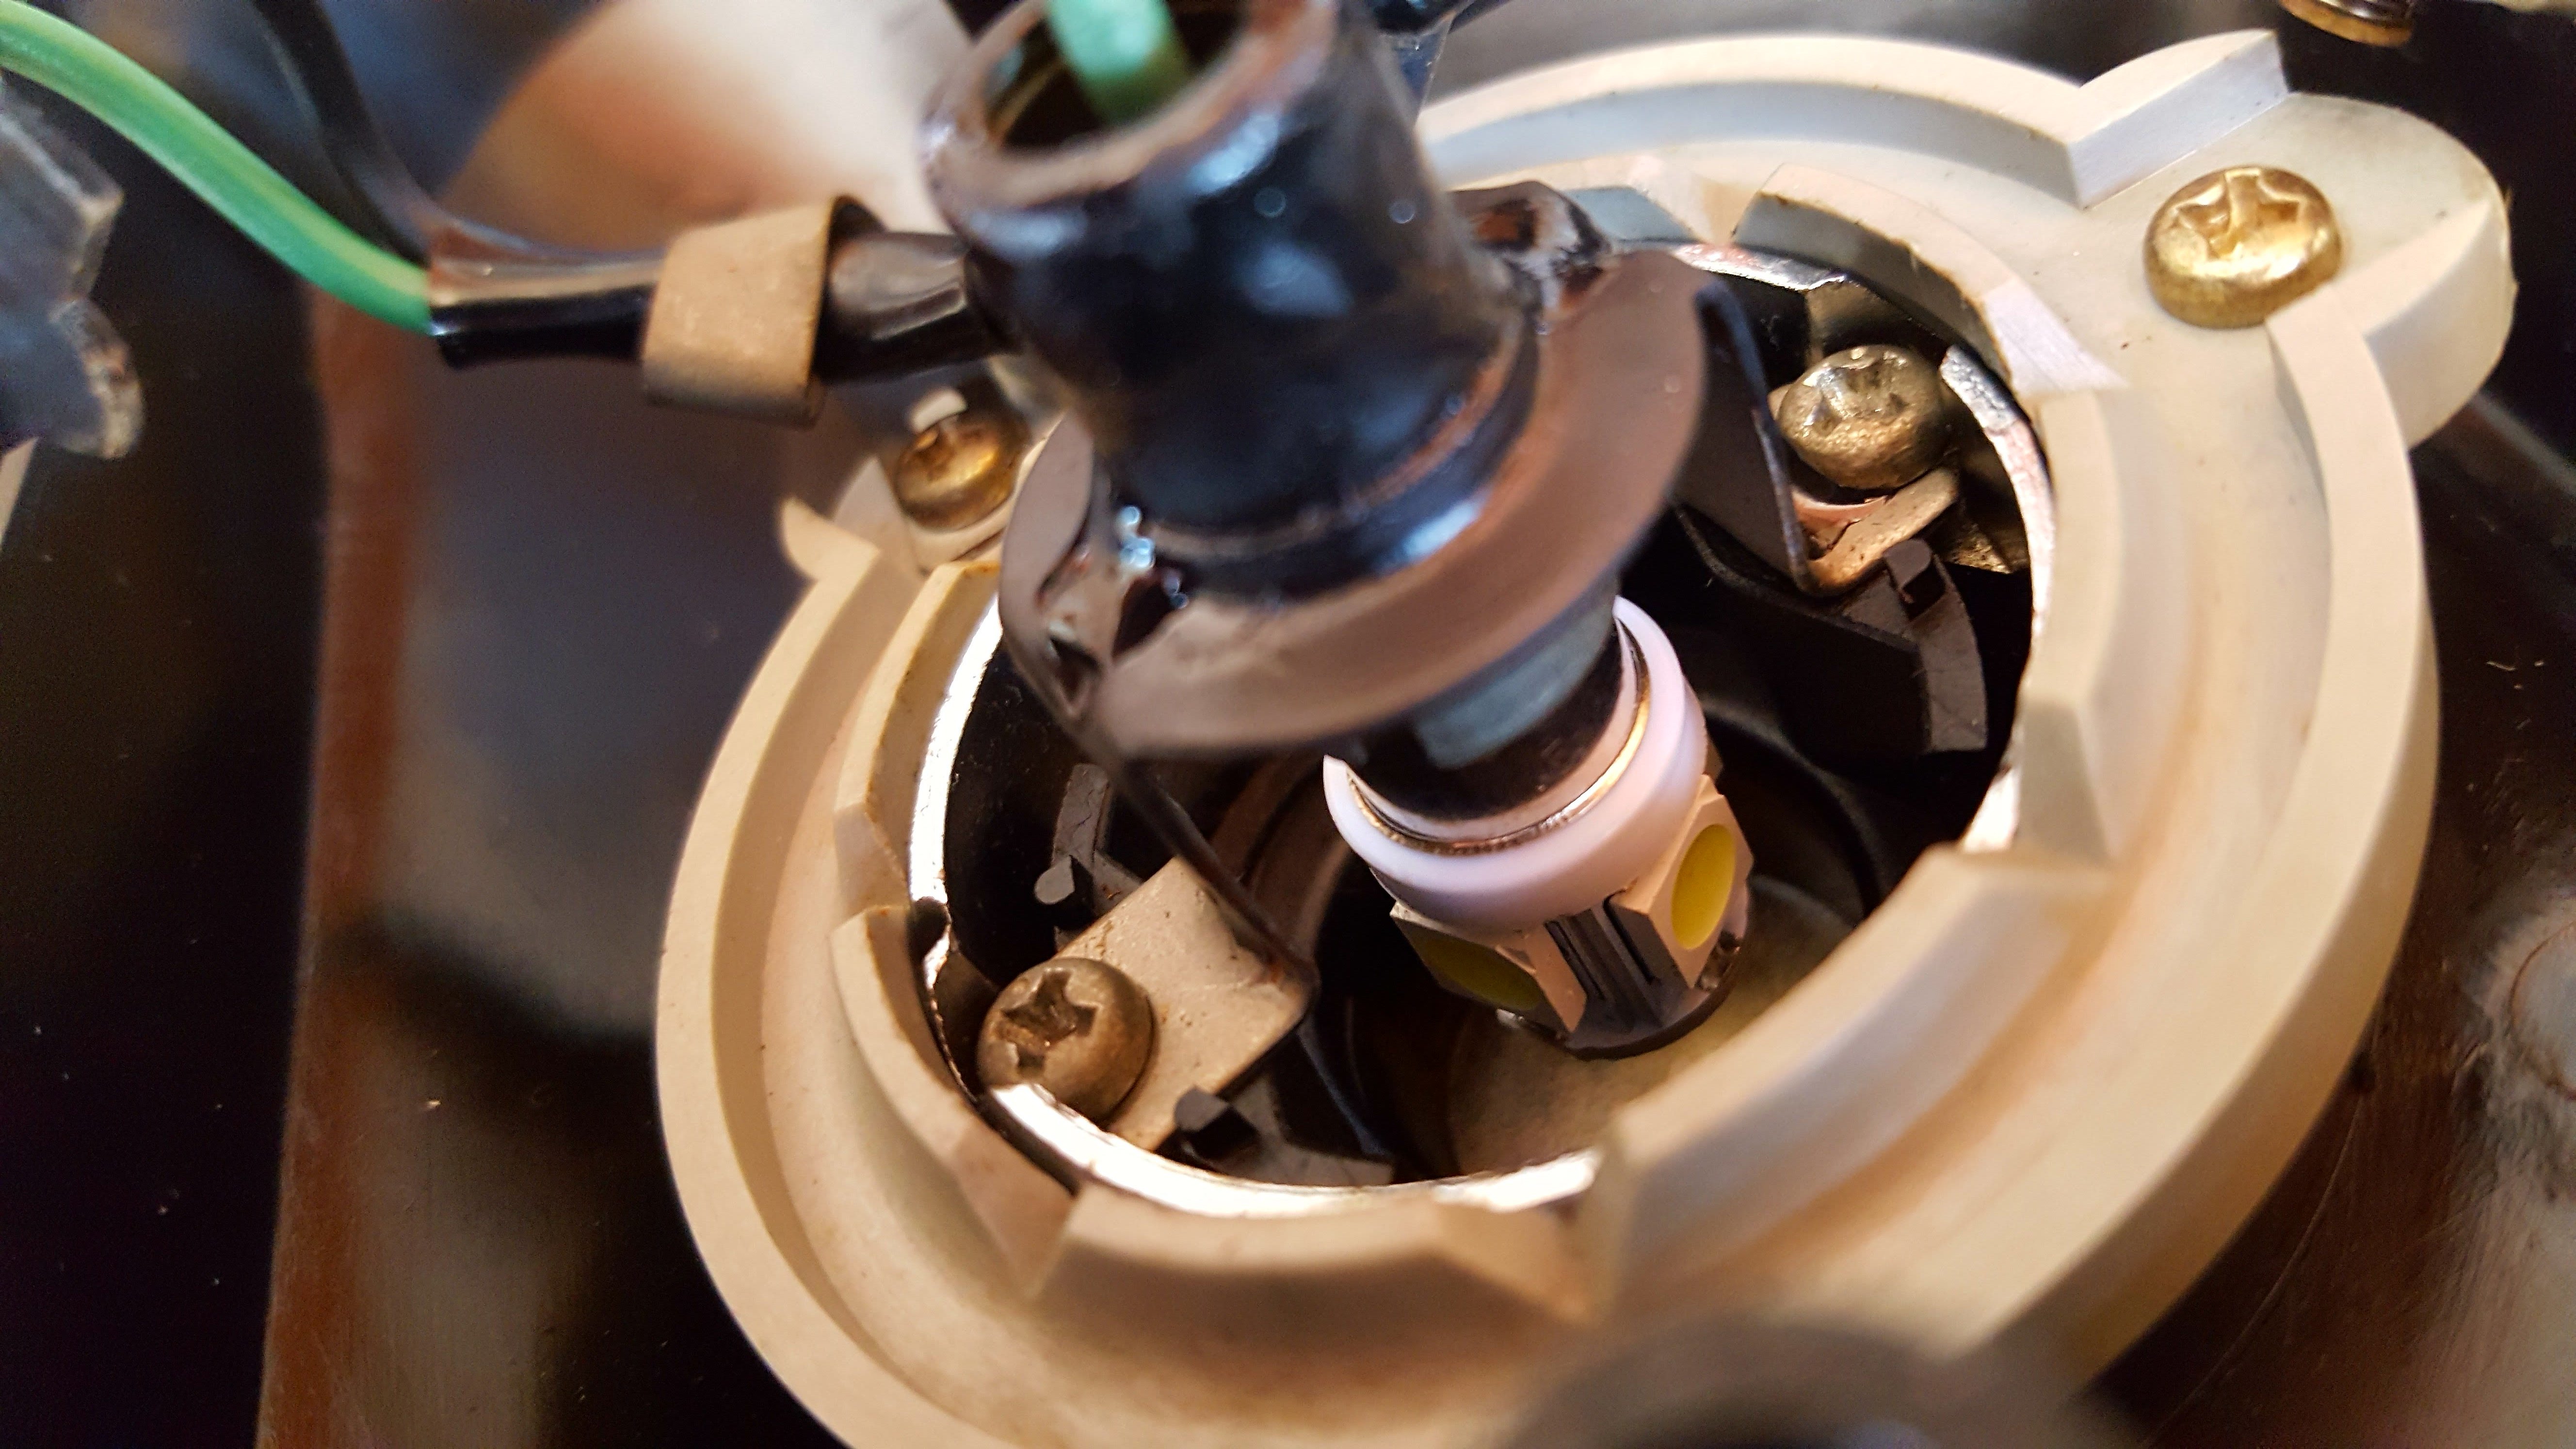
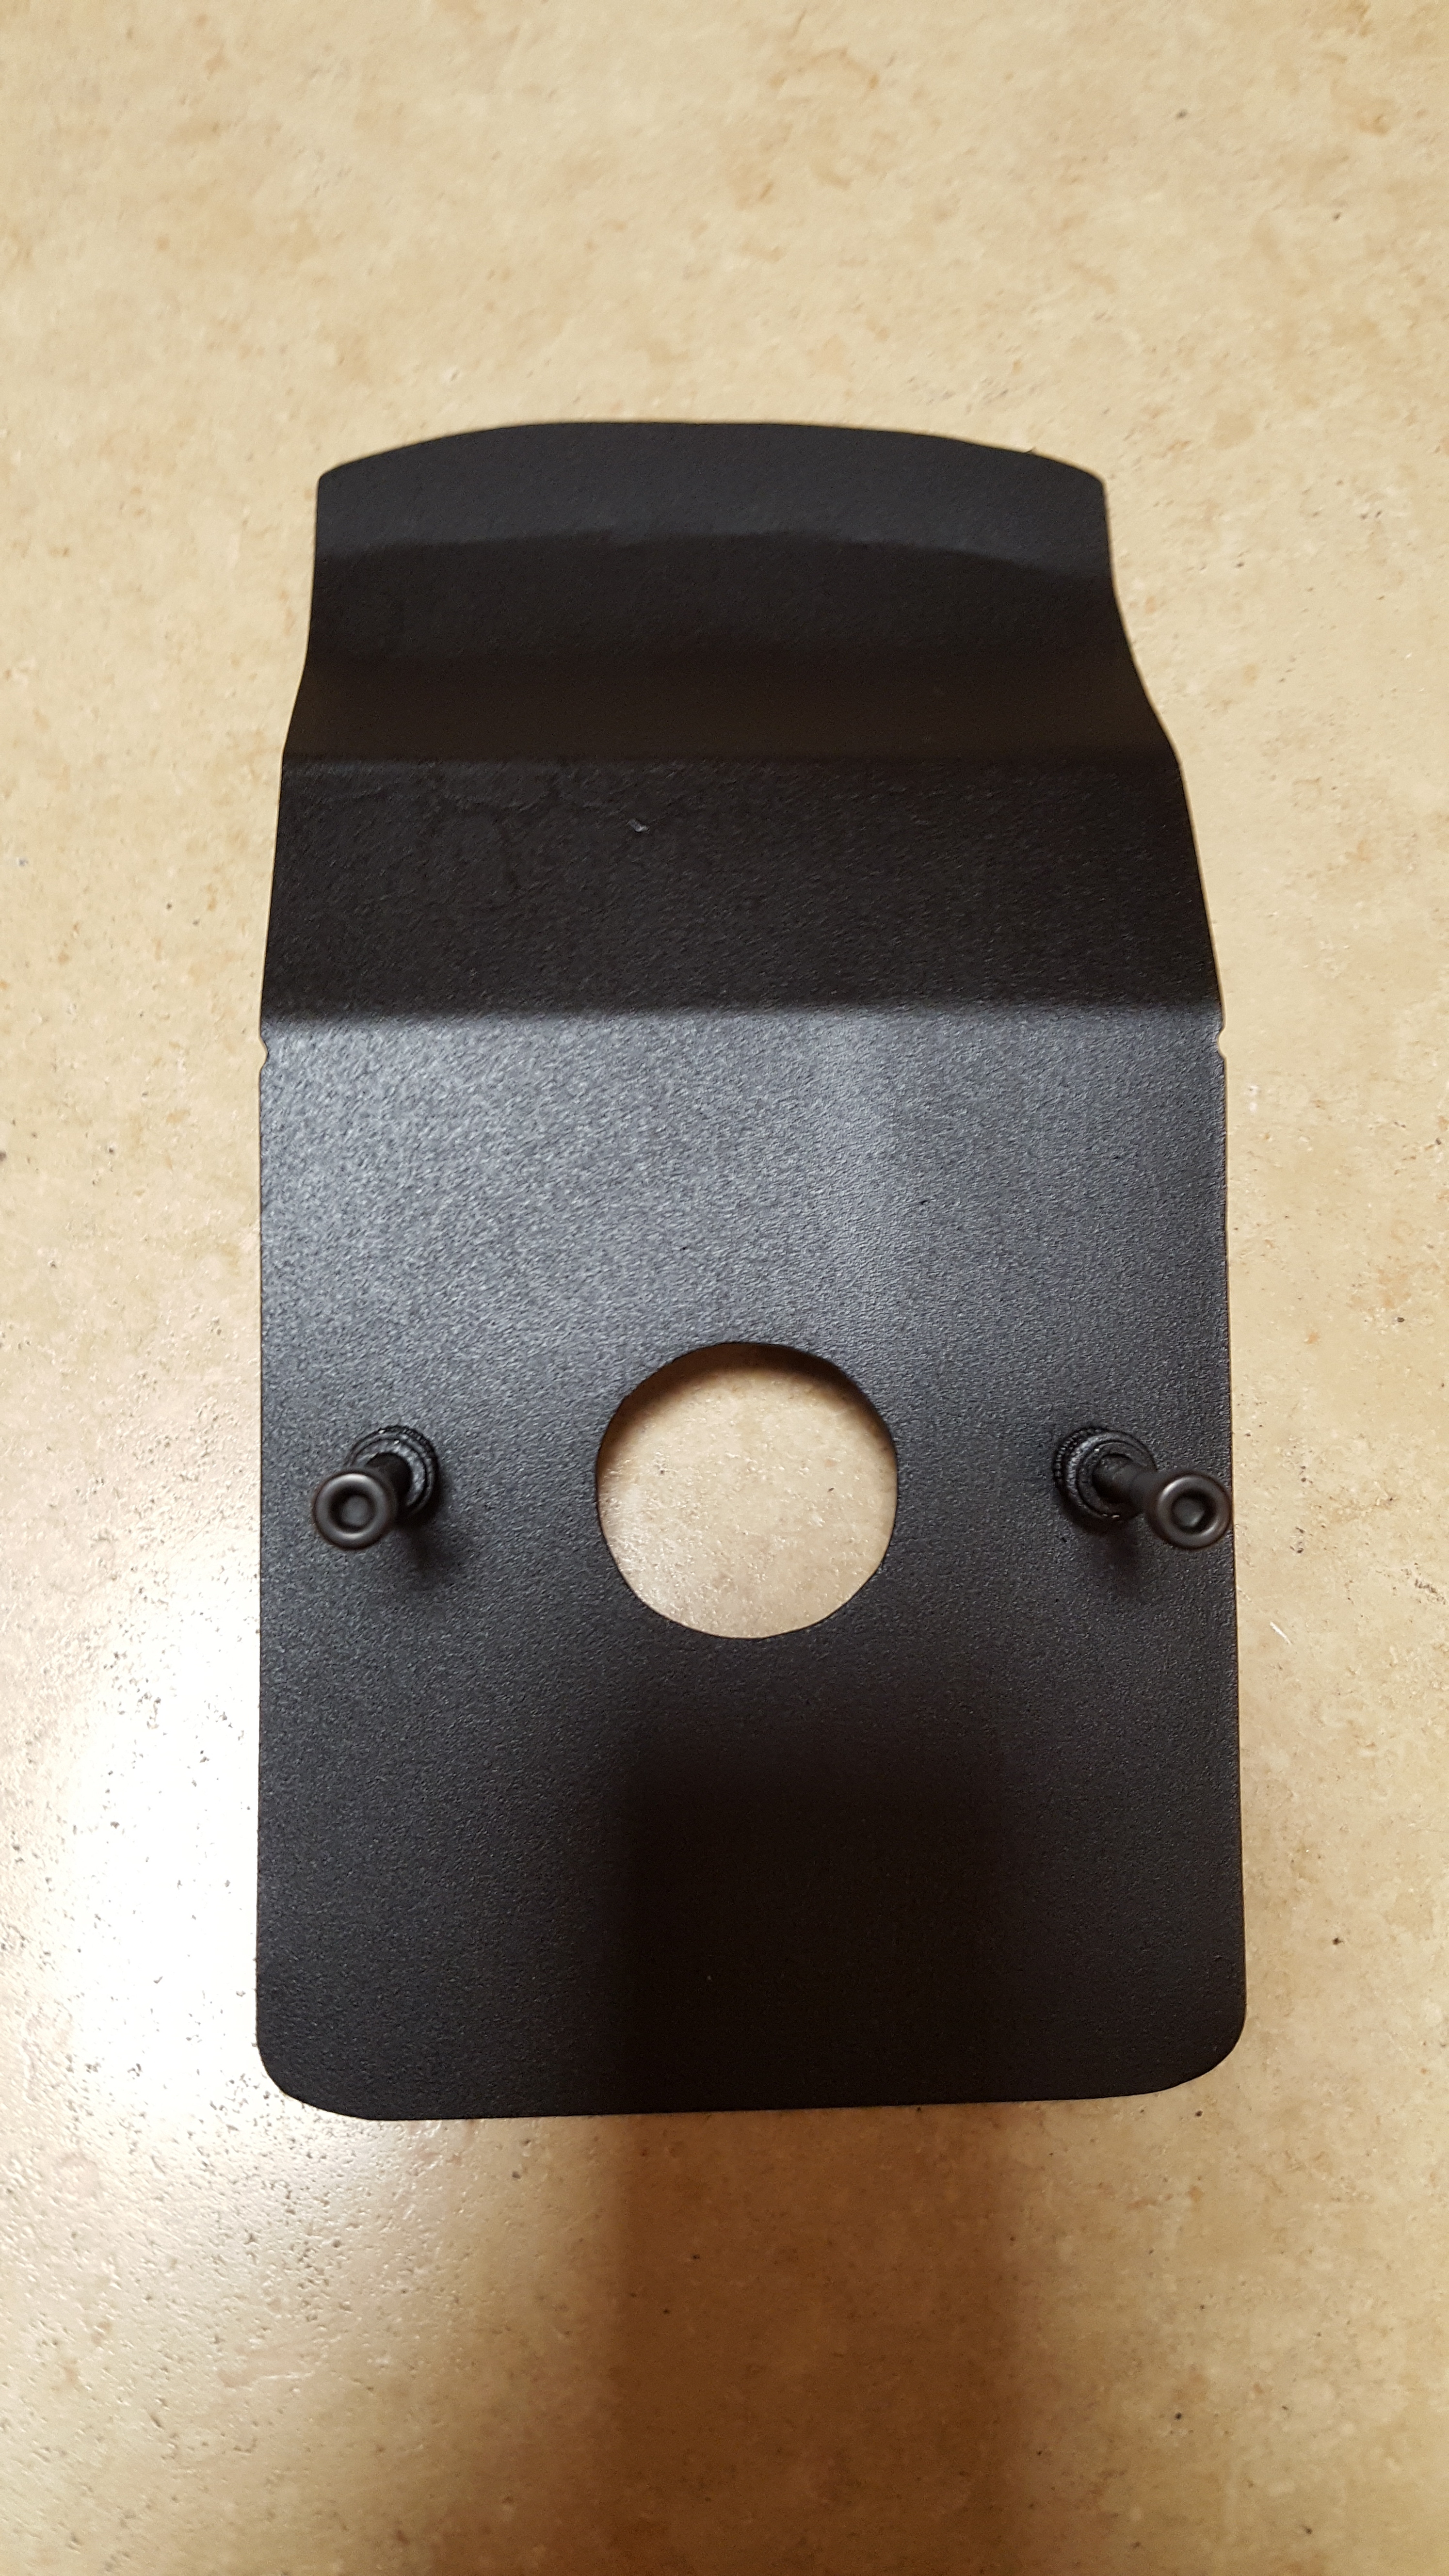
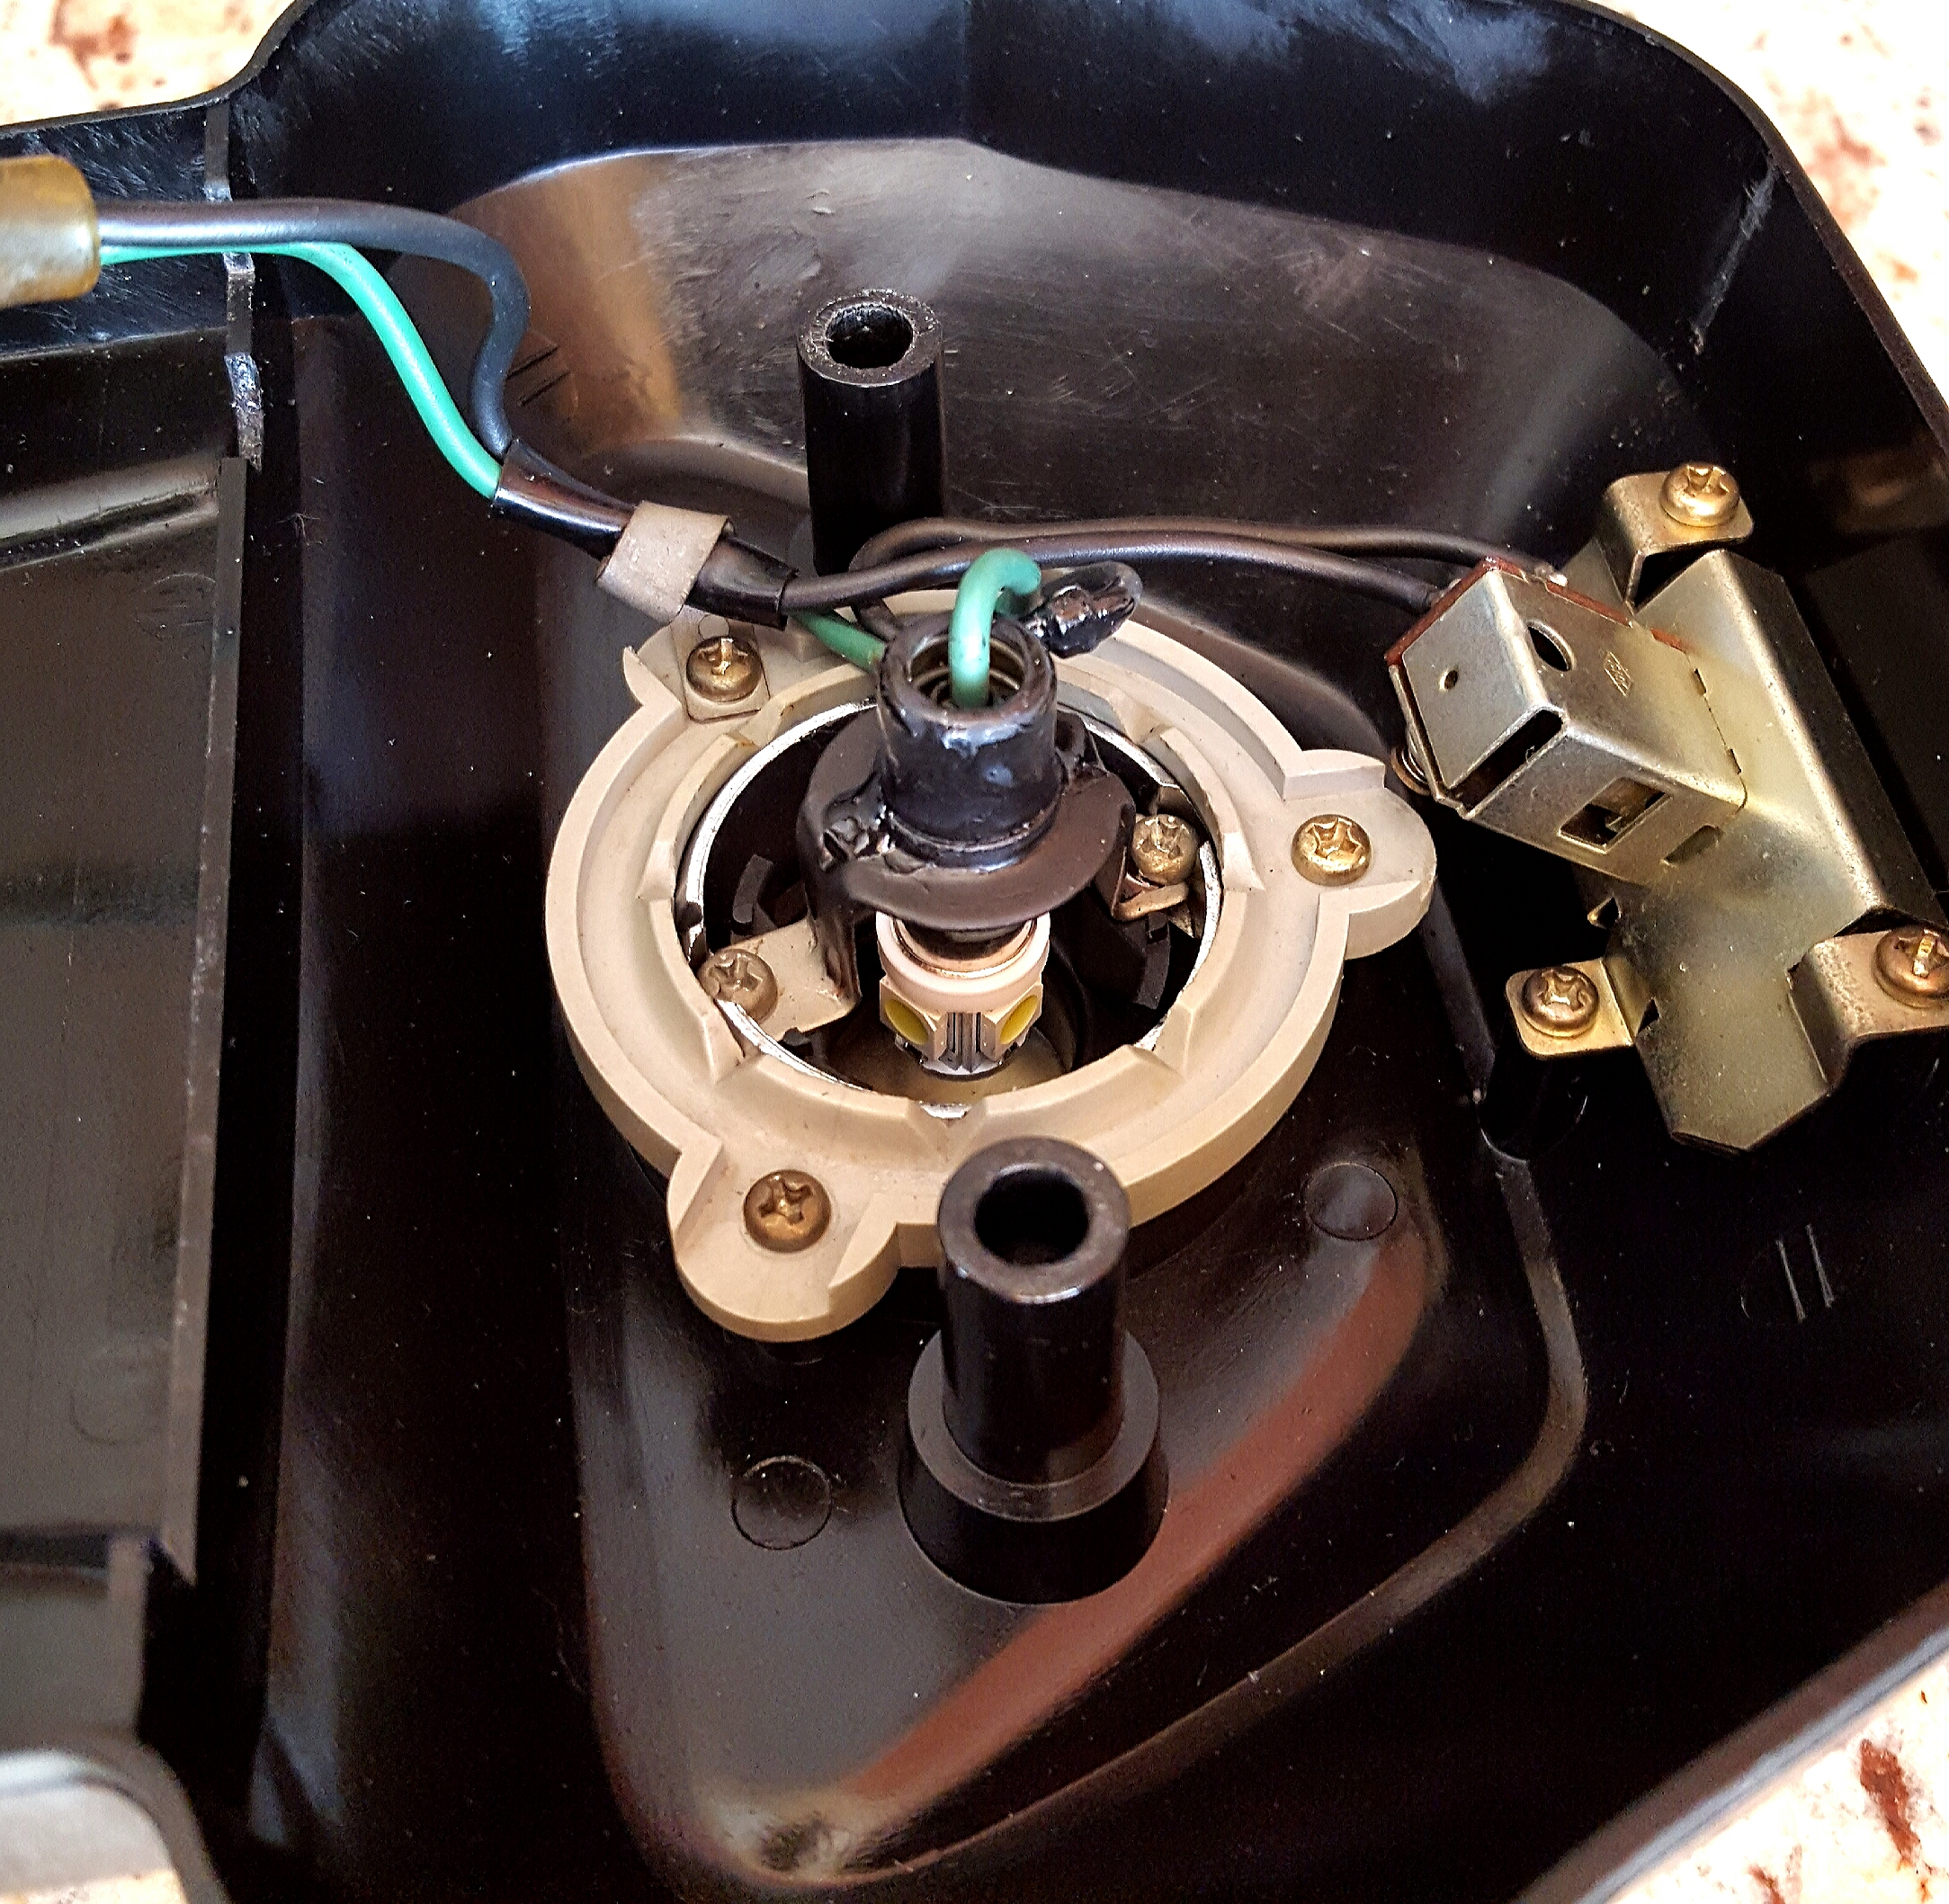
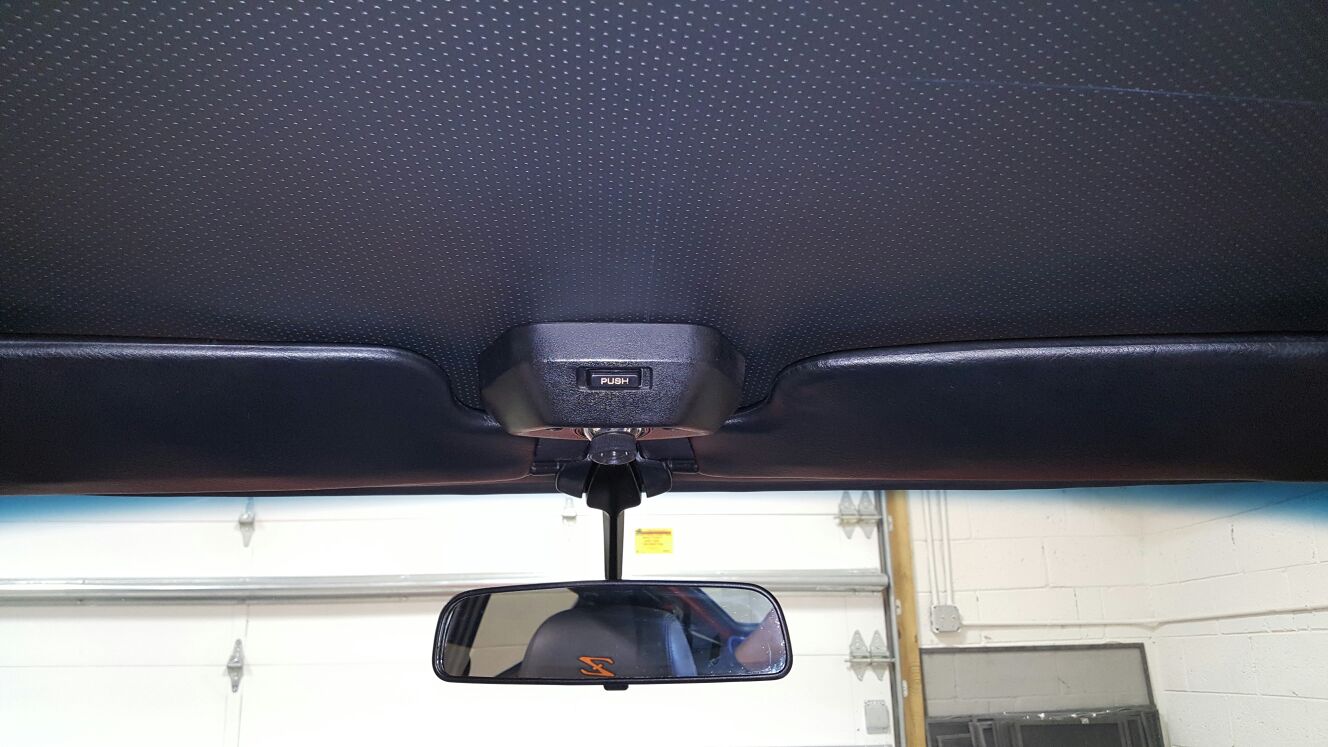
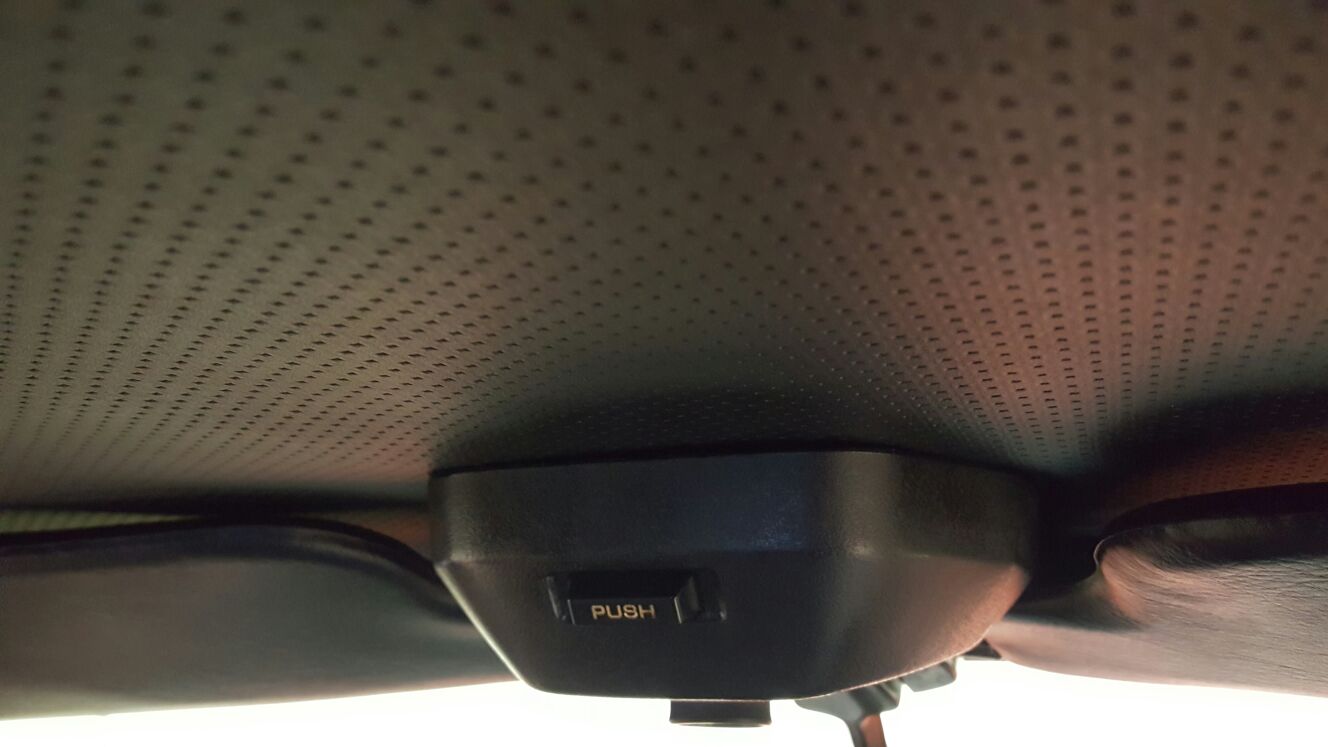
2 pointsHere's the final install. No hiccups, everything mounted right up and the electrical connection was as planned. Here are the pics. Added aluminum tape on the underside to increase light reflection: Mounted the lamp assembly on the metal base: Created an exit for the cables and attached to new harness: Slipped the foremost section of the mounting plate over the front headliner trim, connected the harness to the glove box light connection and I think it looks like it belongs there :


 2 points
 -
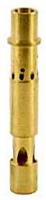
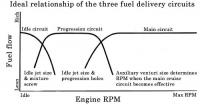
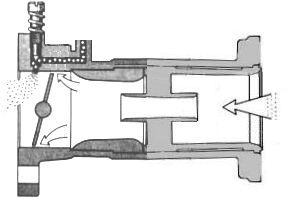
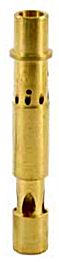
I am exploring Weber carbs and decided to try to simplify and present their functioning so that others can quickly grasp the basic concepts. To do this, I decided to make a fictional path of design that Mr.Weber, may or may not have traveled. I will provide further details for operation and maintenance in future posts, however this first post is a very simplified introduction. Blue The Ideal The simplest carburetor design that comes to mind would be a tube to flow air with a source of gasoline spraying in the middle of the tube. This would provide even distribution and symmetrical mixing at the highest velocity point of the tube. Approaching the Ideal: The Main Circuit The Weber carb commonly used on Datsuns is basically just a tube with a fuel nozzle in the mid-stream of the air path. Unfortunately another part was required.... the Throttle Valve. To control the amount of fuel and air drawn into the engine a throttle valve was added. Its location was chosen to be downstream from the fuel nozzle as the manifold vacuum on the motor side of this valve would otherwise suck the fuel from the fuel nozzle when the throttle valve was closed. The main drawback of the throttle valve location being down stream is that it still blocks the air flow when open and, fuel sprays over it and can also be deposited on it. In addition to a simple tube with a fuel nozzle design, Weber shaped the tube so that it was narrowest where the fuel was drawn into the air stream by using the Venturi principal. This promoted fuel draw and fuel distribution. It is interesting to note this simple tube and nozzle design is nearly identical to a modern high performance fuel injected individual throttle body (ITB) manifold architecture. Reality and The First Corrective Actions: Adding the Idle Circuit and the Emulsion Tube Unfortunately for Mr. Weber, the above design was only marginally optimal for middle to wide open throttle and it failed completely at idle. Here are the main problems that he faced: At lowest rpms (Idling) when the throttle valve was nearly closed, there is not enough air flow over the main nozzle to draw fuel. (Lean) At higher rpms when the throttle valve was moderately to fully opened, the air fuel mixture became too rich as too much fuel was drawn from the main nozzle. (Rich) Weber was not beaten as the fundamental design worked in principal and could be modified to work. In fact the above design is actually the so-called “main circuit” of a Weber carb. Onward: The way Weber addressed these two problems of fuel flow at both ends of the RPM spectrum was: To address idling lean, Weber knew that the main nozzle was no where near the high velocity air flow so he added a new and totally separate second so-called “circuit”: the idle circuit. Basically he added a needle valve on the high vacuum downstream side of the throttle valve. This needle valve independently controls the amount of pre-mixed fuel and air (mixed upstream and not shown for simplicity) to flow past the throttle valve and feed the engine when the throttle valve is nearly closed (and the main circuit was not functioning due to low air flow). The simple one circuit carburetor now becomes a two circuit (Main and Idle) To address the need to lean the mixture in the main circuit as the throttle valve approached "Wide Open Throttle valve" (WOT), he added a “fuel/air mixing tower” with holes in it called an “emulsion tube”. Air and Fuel mixing took place in and around this tower before the fuel was drawn out of the main nozzle. Fuel entered the tower at the bottom of a well and air entered from the top. As the fuel demand increased approaching WOT, the fuel level in the tower& well lowered and in turn exposed more air holes thus mixing more air with the fuel. This ultimately leaned the mixture (as required) in the main circuit as more airflow through the carb occurred. Emulsion Tube Weber now had a 2 circuit carb design: One being the idle circuit and the second being the main circuit…. But how to switch from one to the other slowly and quickly? Dealing with the Transitions: Adding the Progression Circuit and the Acceleration Circuit. The Progression Circuit (for slow transitions from Idle to Main): Weber found that, as the throttle valve slowly opened, when transitioning from the idle circuit to the main circuit, the air flow required to activate the main circuit did not occur quick enough. This delay in the main circuit starting caused a lean spot between idle and main. The solution used by Weber was to simply add more fuel holes near the throttle valve. These holes were drilled upstream of the idle needle valve port. As the throttle valve opened, it exposed each successive hole to the manifold vacuum. In turn, (due to high velocity air and manifold vacuum) it would draw more mixed air/fuel from each progression hole. For economy, the source for air fuel Weber used was the idle circuit. The Accelerator Pump Circuit (for fast transitions from Idle to Main): Weber found that if the throttle valve opened quickly (when transitioning from the idle circuit to the main circuit) the progression circuit above did not have enough time to operate as the airflow suddenly was across the whole carb throat rather than up near the roof and progression holes. This sudden bust of air and delay in the main circuit starting caused a lean spot between idle and main. The solution used by Weber was to add more fuel by using a one-shot-squirt-gun-like pump that was activated on a quick throttle opening (hammering the gas pedal). The design also had a clever feature where slow throttle valve openings did not squirt additional fuel (to be shown in more detail in subsequent posts). Summary: - A Weber side draft carb used on many Datsuns has two independent "circuits": The Idle Circuit and Main Circuit). - A so-called Progression circuit is used to aid in slow rpm transitions from Idle Circuit to Main Circuit. - A so-called Acceleration circuit is used to aid in fast rpm transitions from Idle Circuit to Main Circuit.


 1 point
 -
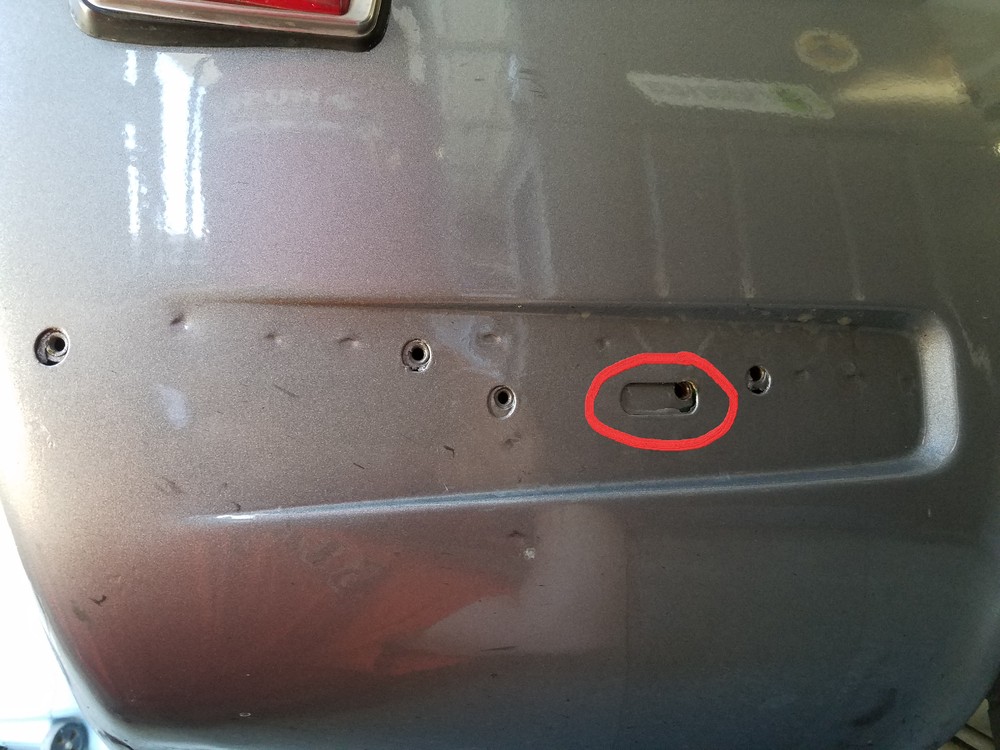
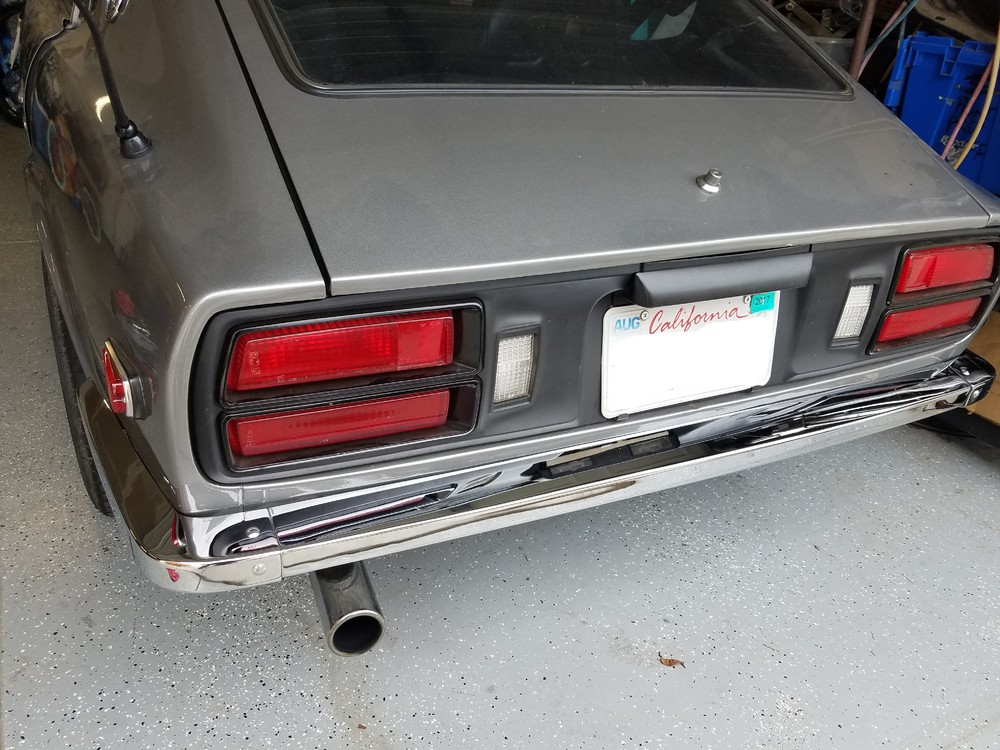
1 pointRear bumper brackets also worked on the early 260z! Actually i think they fit better than the front. Slight modification: The fenders on the early 260z look like they are the same as a 240z but have some square nuts tack welded to the inside of the fender. I drilled these out and used the regular mounting hardware for the Z store bumpers and everything bolted right up
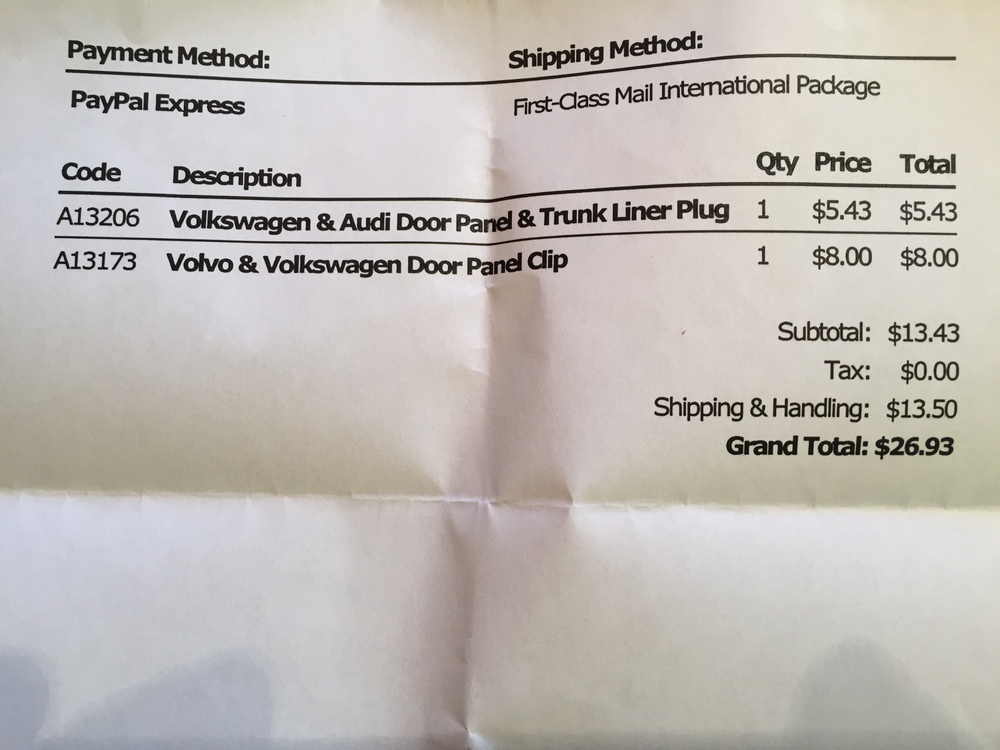
 1 point1 pointYes, not only is it NOT a Z432-R but it has a few un-correct items.1 pointWhile looking through one my of favorite parts suppliers web site for "stuff", I spotted these beauties. ( Clipsandfasteners.com) They seem to be near perfect replacements for the 240z door panel card clips and receiver cups, but since there are no dimensions, I had to order some and find out. Good news! Here is a comparison between a couple of each, old and new. But dear god the PRICE!!! Don't get me started about shipping costs and GST, and exchange rate etc. I searched a bit to see of anyone had found these before. There was a post from @Mike W about his having found these, but he didn't divulge the part numbers. Now you got them. And they fit 510 door cards and doors too! Bonus!
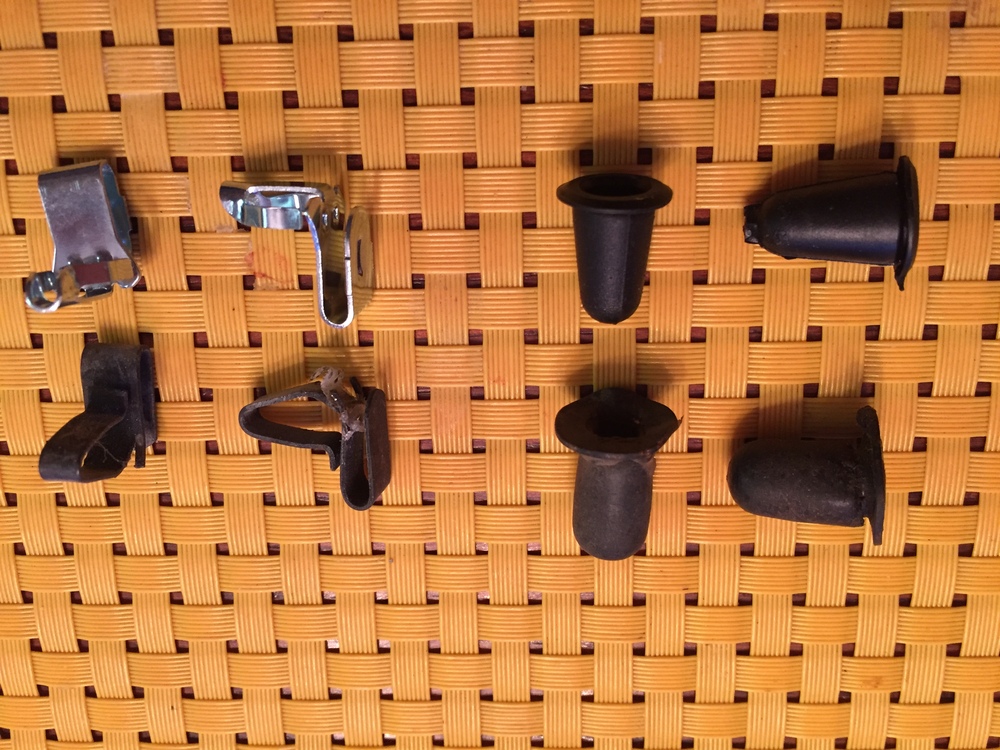


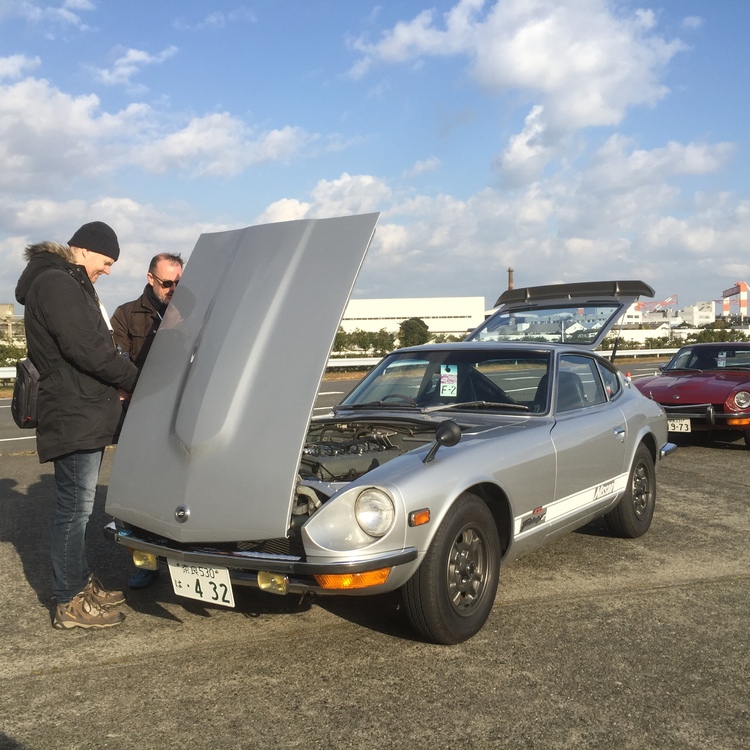
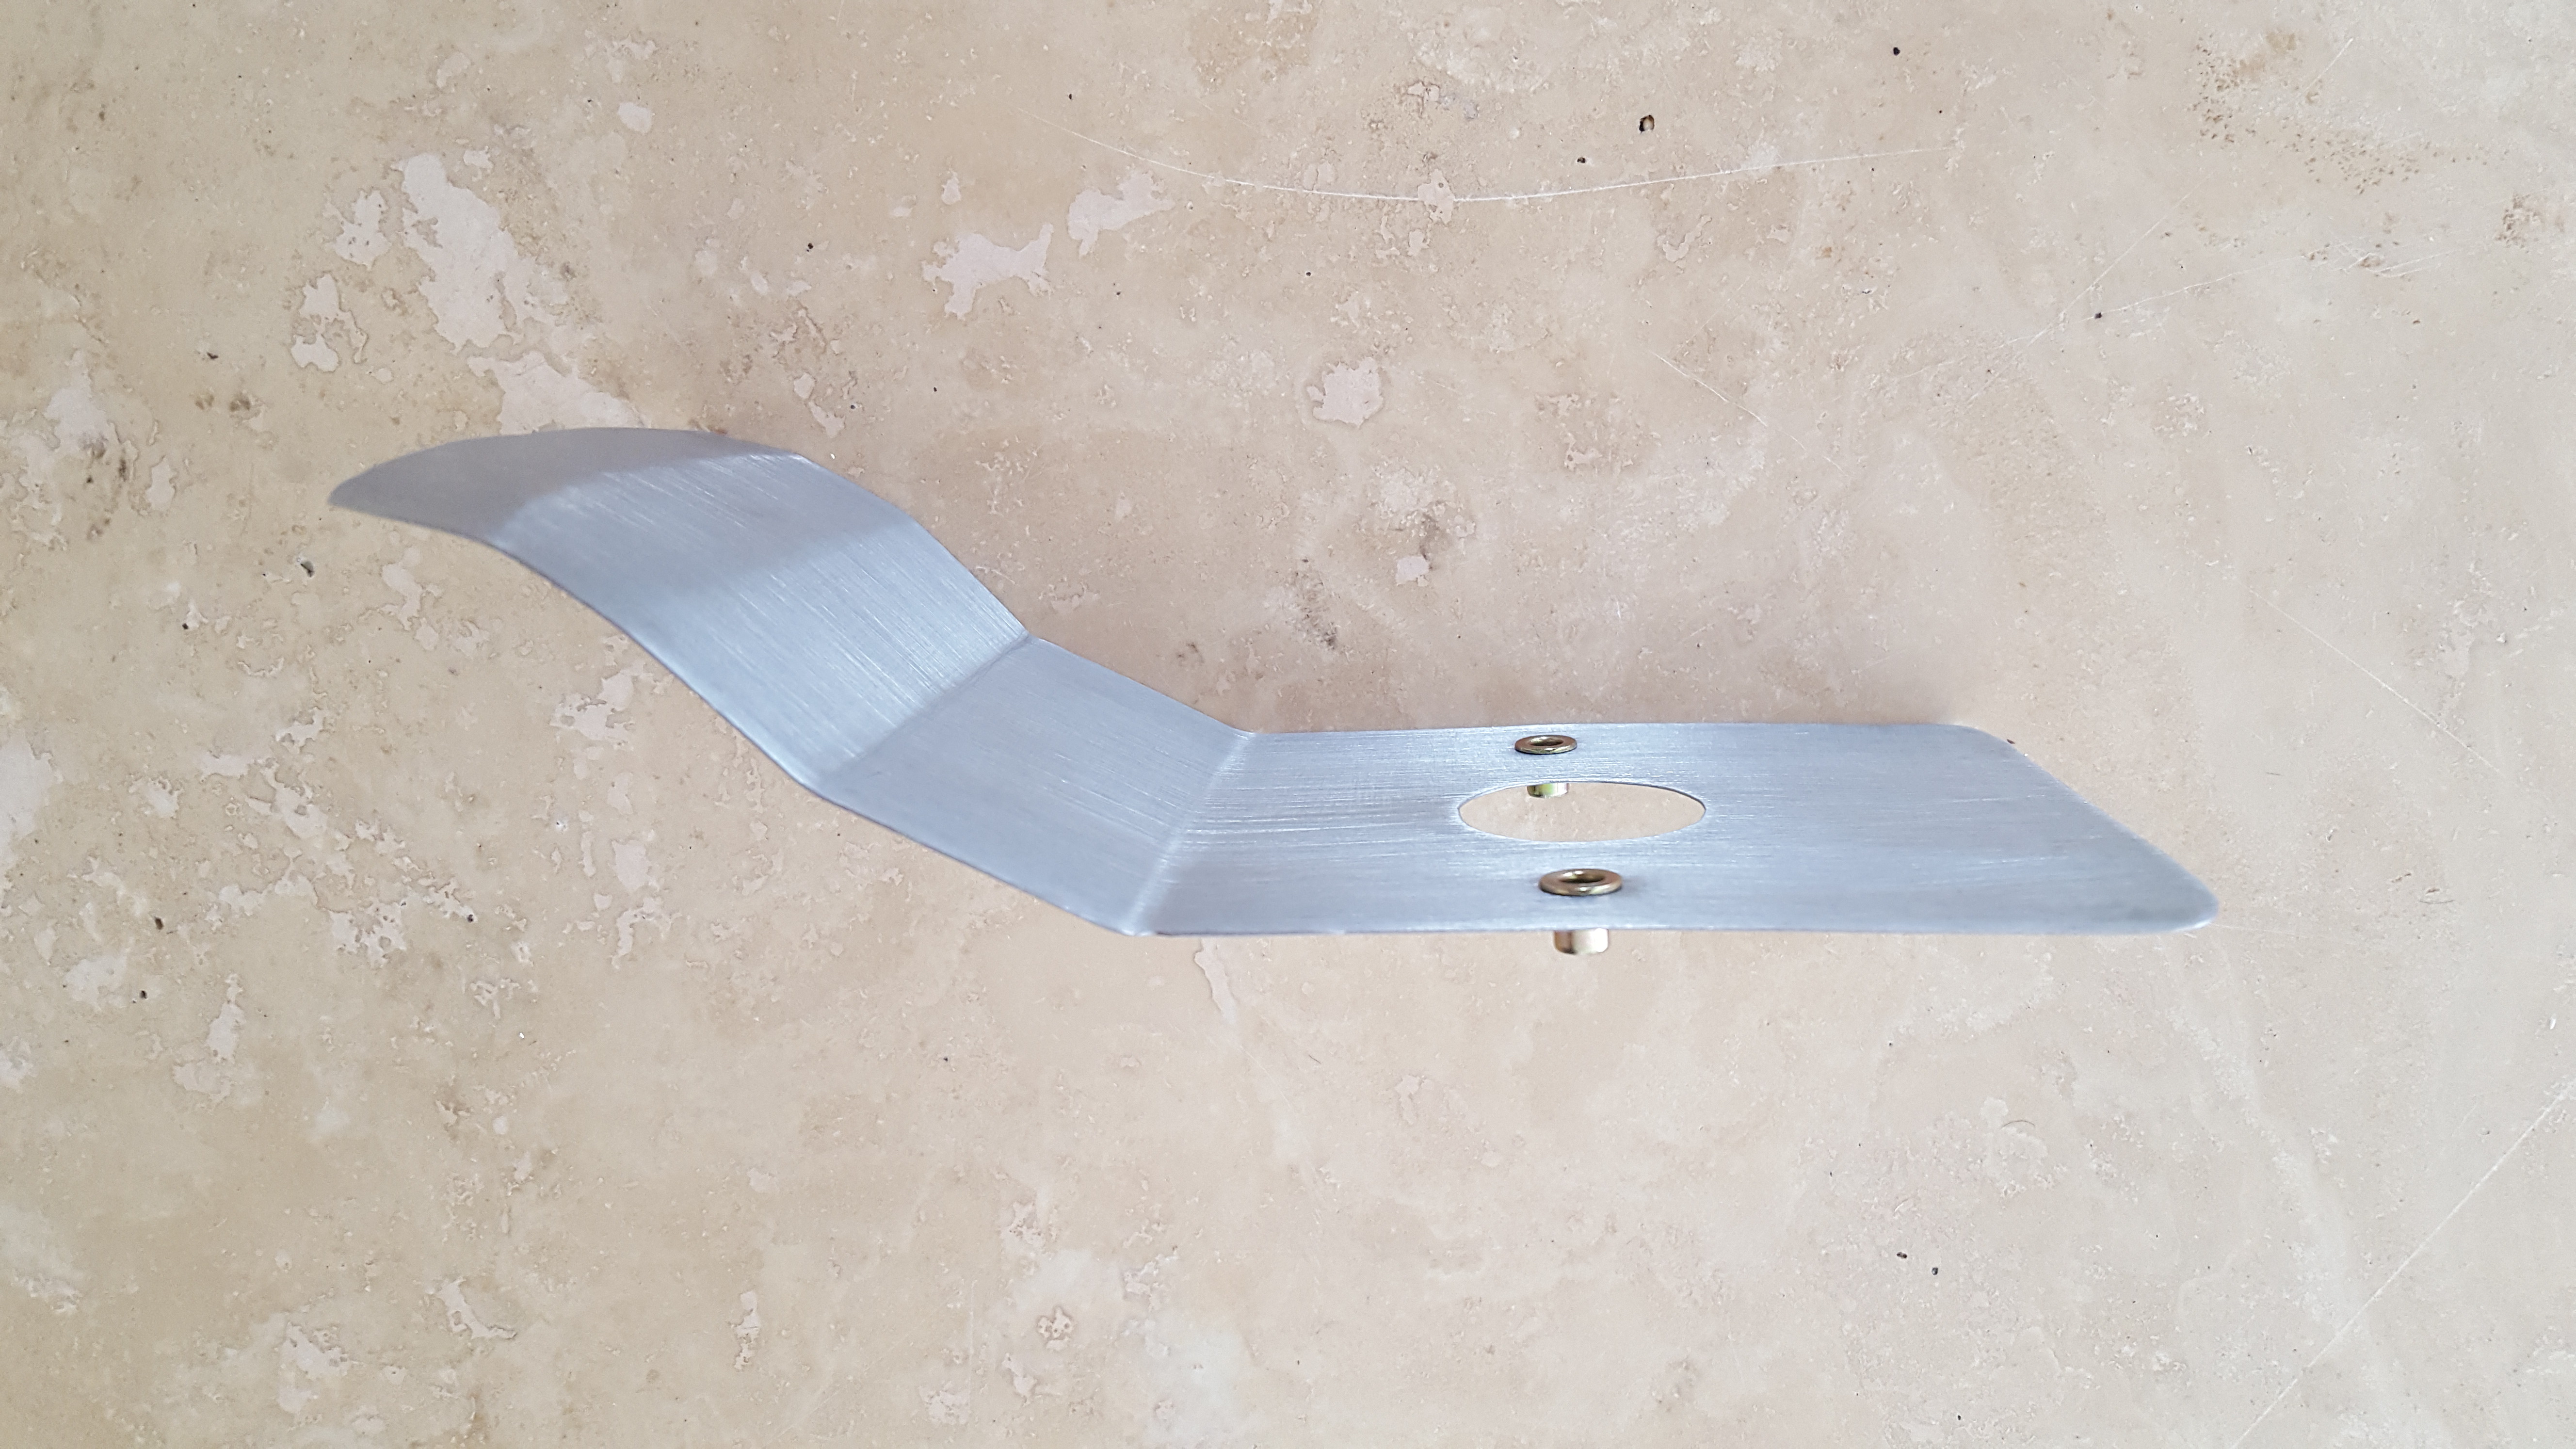
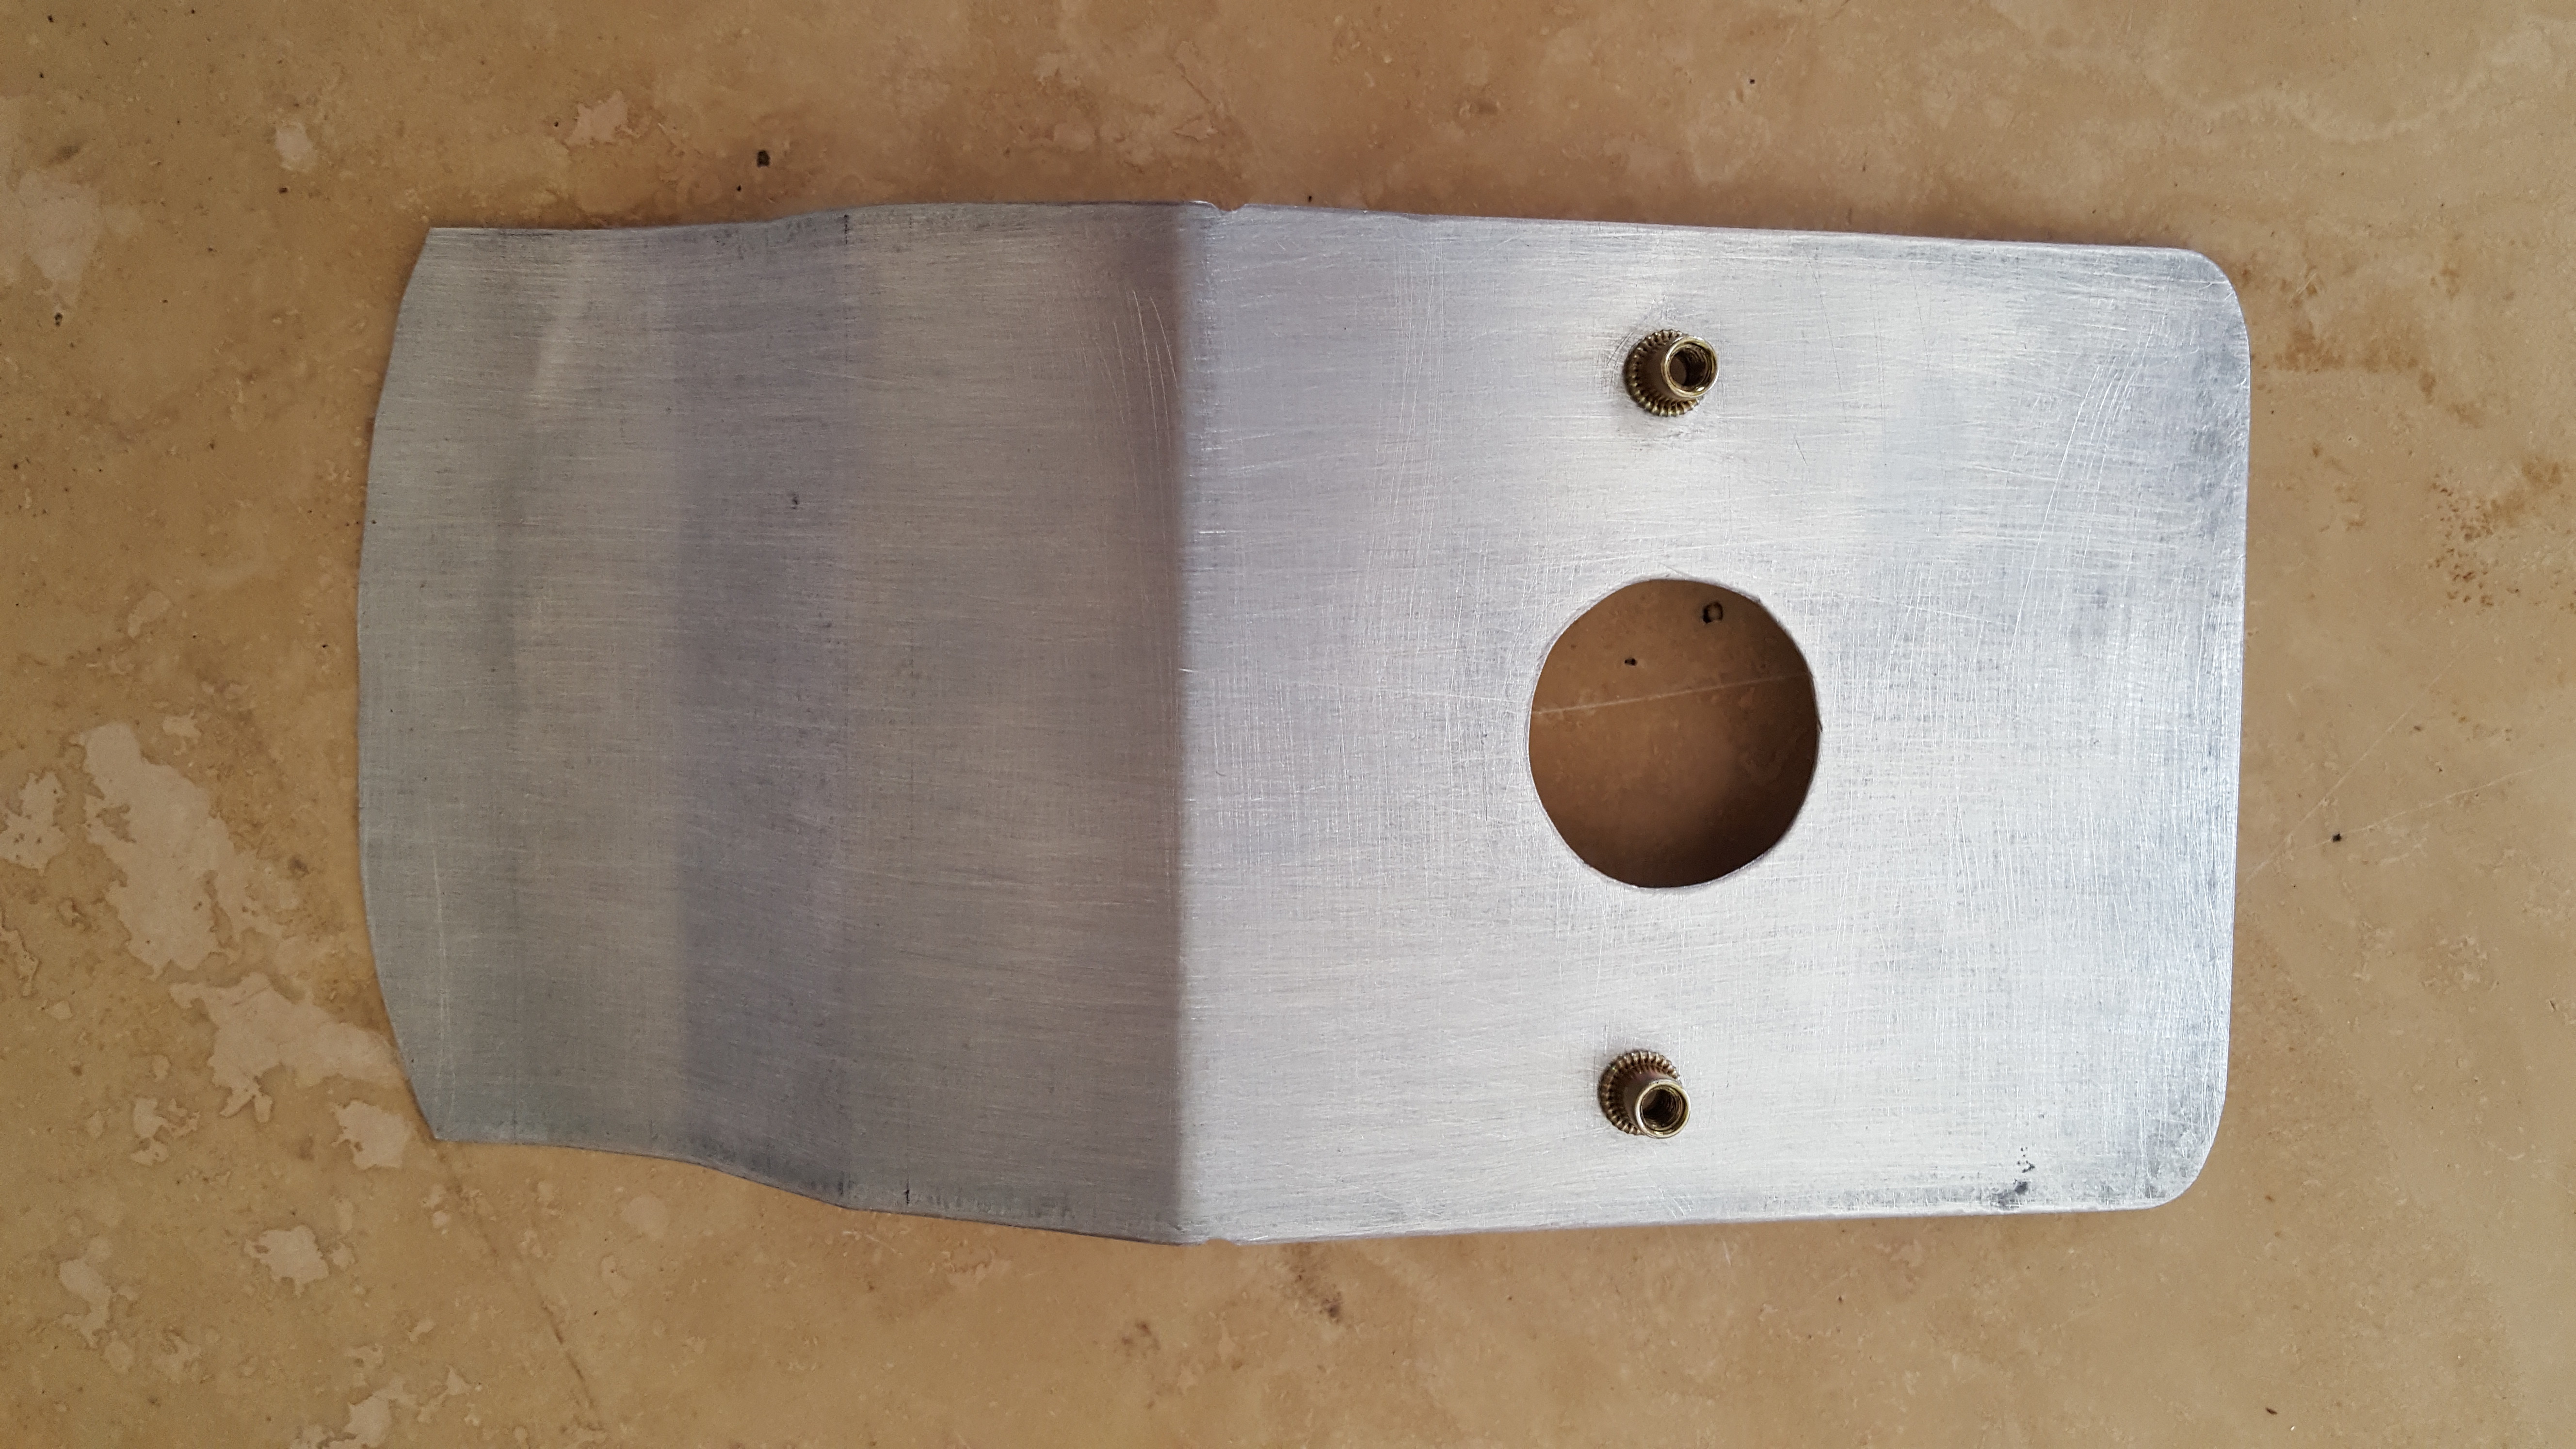
 1 point1 pointHi, we can see the current number of its exsistance, Mr. Watanabe 's website, http://z432.sakura.ne.jp/newpage10.html At 06 NOV 2016 , total 140 ( 129 Z432 + 11 Z432-R) Z432s are confirmed of its exsistance. In his website , Z432 and Z432-R means the car has ''PS 30 '' prefix on the chassis number. We saw some S20 engined S30 body cars, also some PS30 cars which are not listed yet . I hope it reaches up to 50 % of its production number, looking at TOYOTA 2000GT is remaining 80-90 % of its production. Kats PS : A Z432-R is now on sale , I had not seen a Z432-R for sale long time , what price is this real one ? http://www.carsensor.net/usedcar/detail/CU5261803431/index.html?TRCD=3000011 point1 pointFinally found some time to work on the Z again and take care of the map light installation. After some trial and error I decided to use a sheet of stainless steel and shape it to fit inside the base of the lamp and extend forward over and into the headliner front trim above the rearview mirror base. The carefully bent plate wedges firmly in place without the need for additional fasteners. The maplight attaches to the mounting plate via two rivnuts and a couple of M5 bolts. After mock up I dismounted everything, painted the mounting plate, touched up some areas of the lamp and replaced the incandescent bulb with an LED. My wiring harness extension is ready and I'll do a final install tomorrow and post some final pics with the working light. Here are some pictures of the process so far:
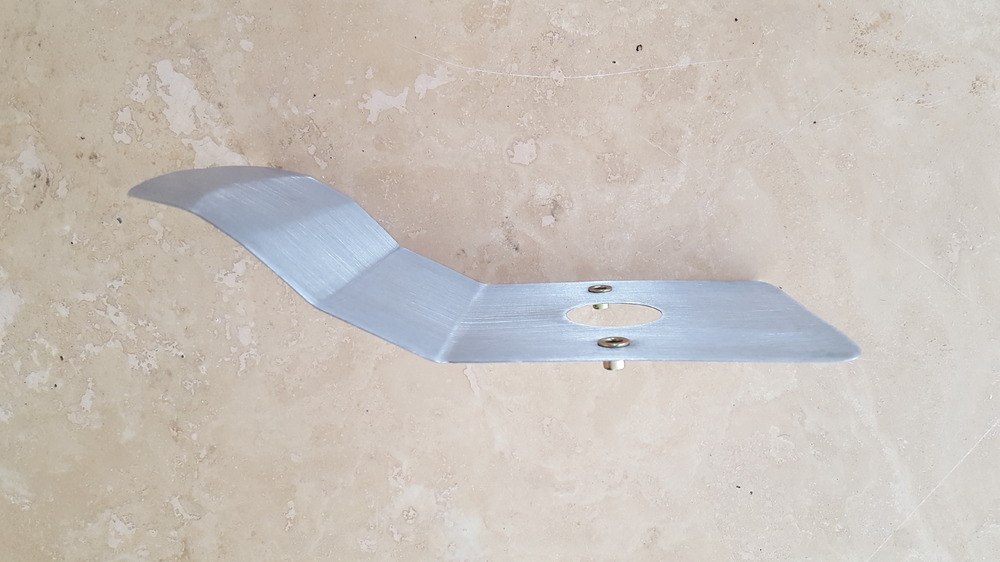


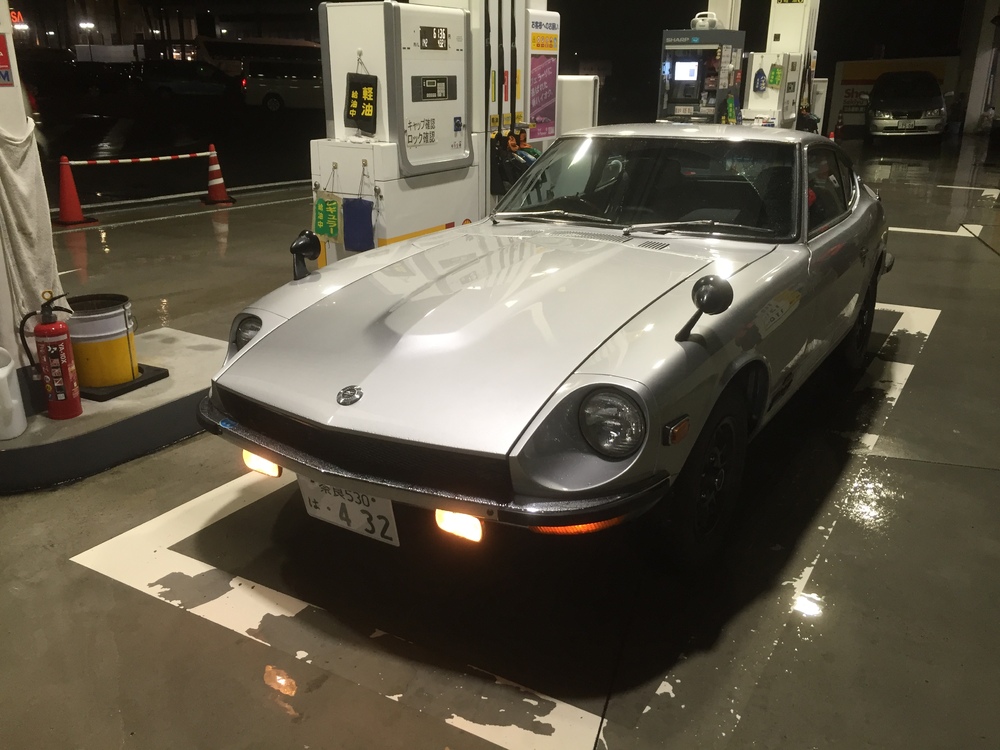
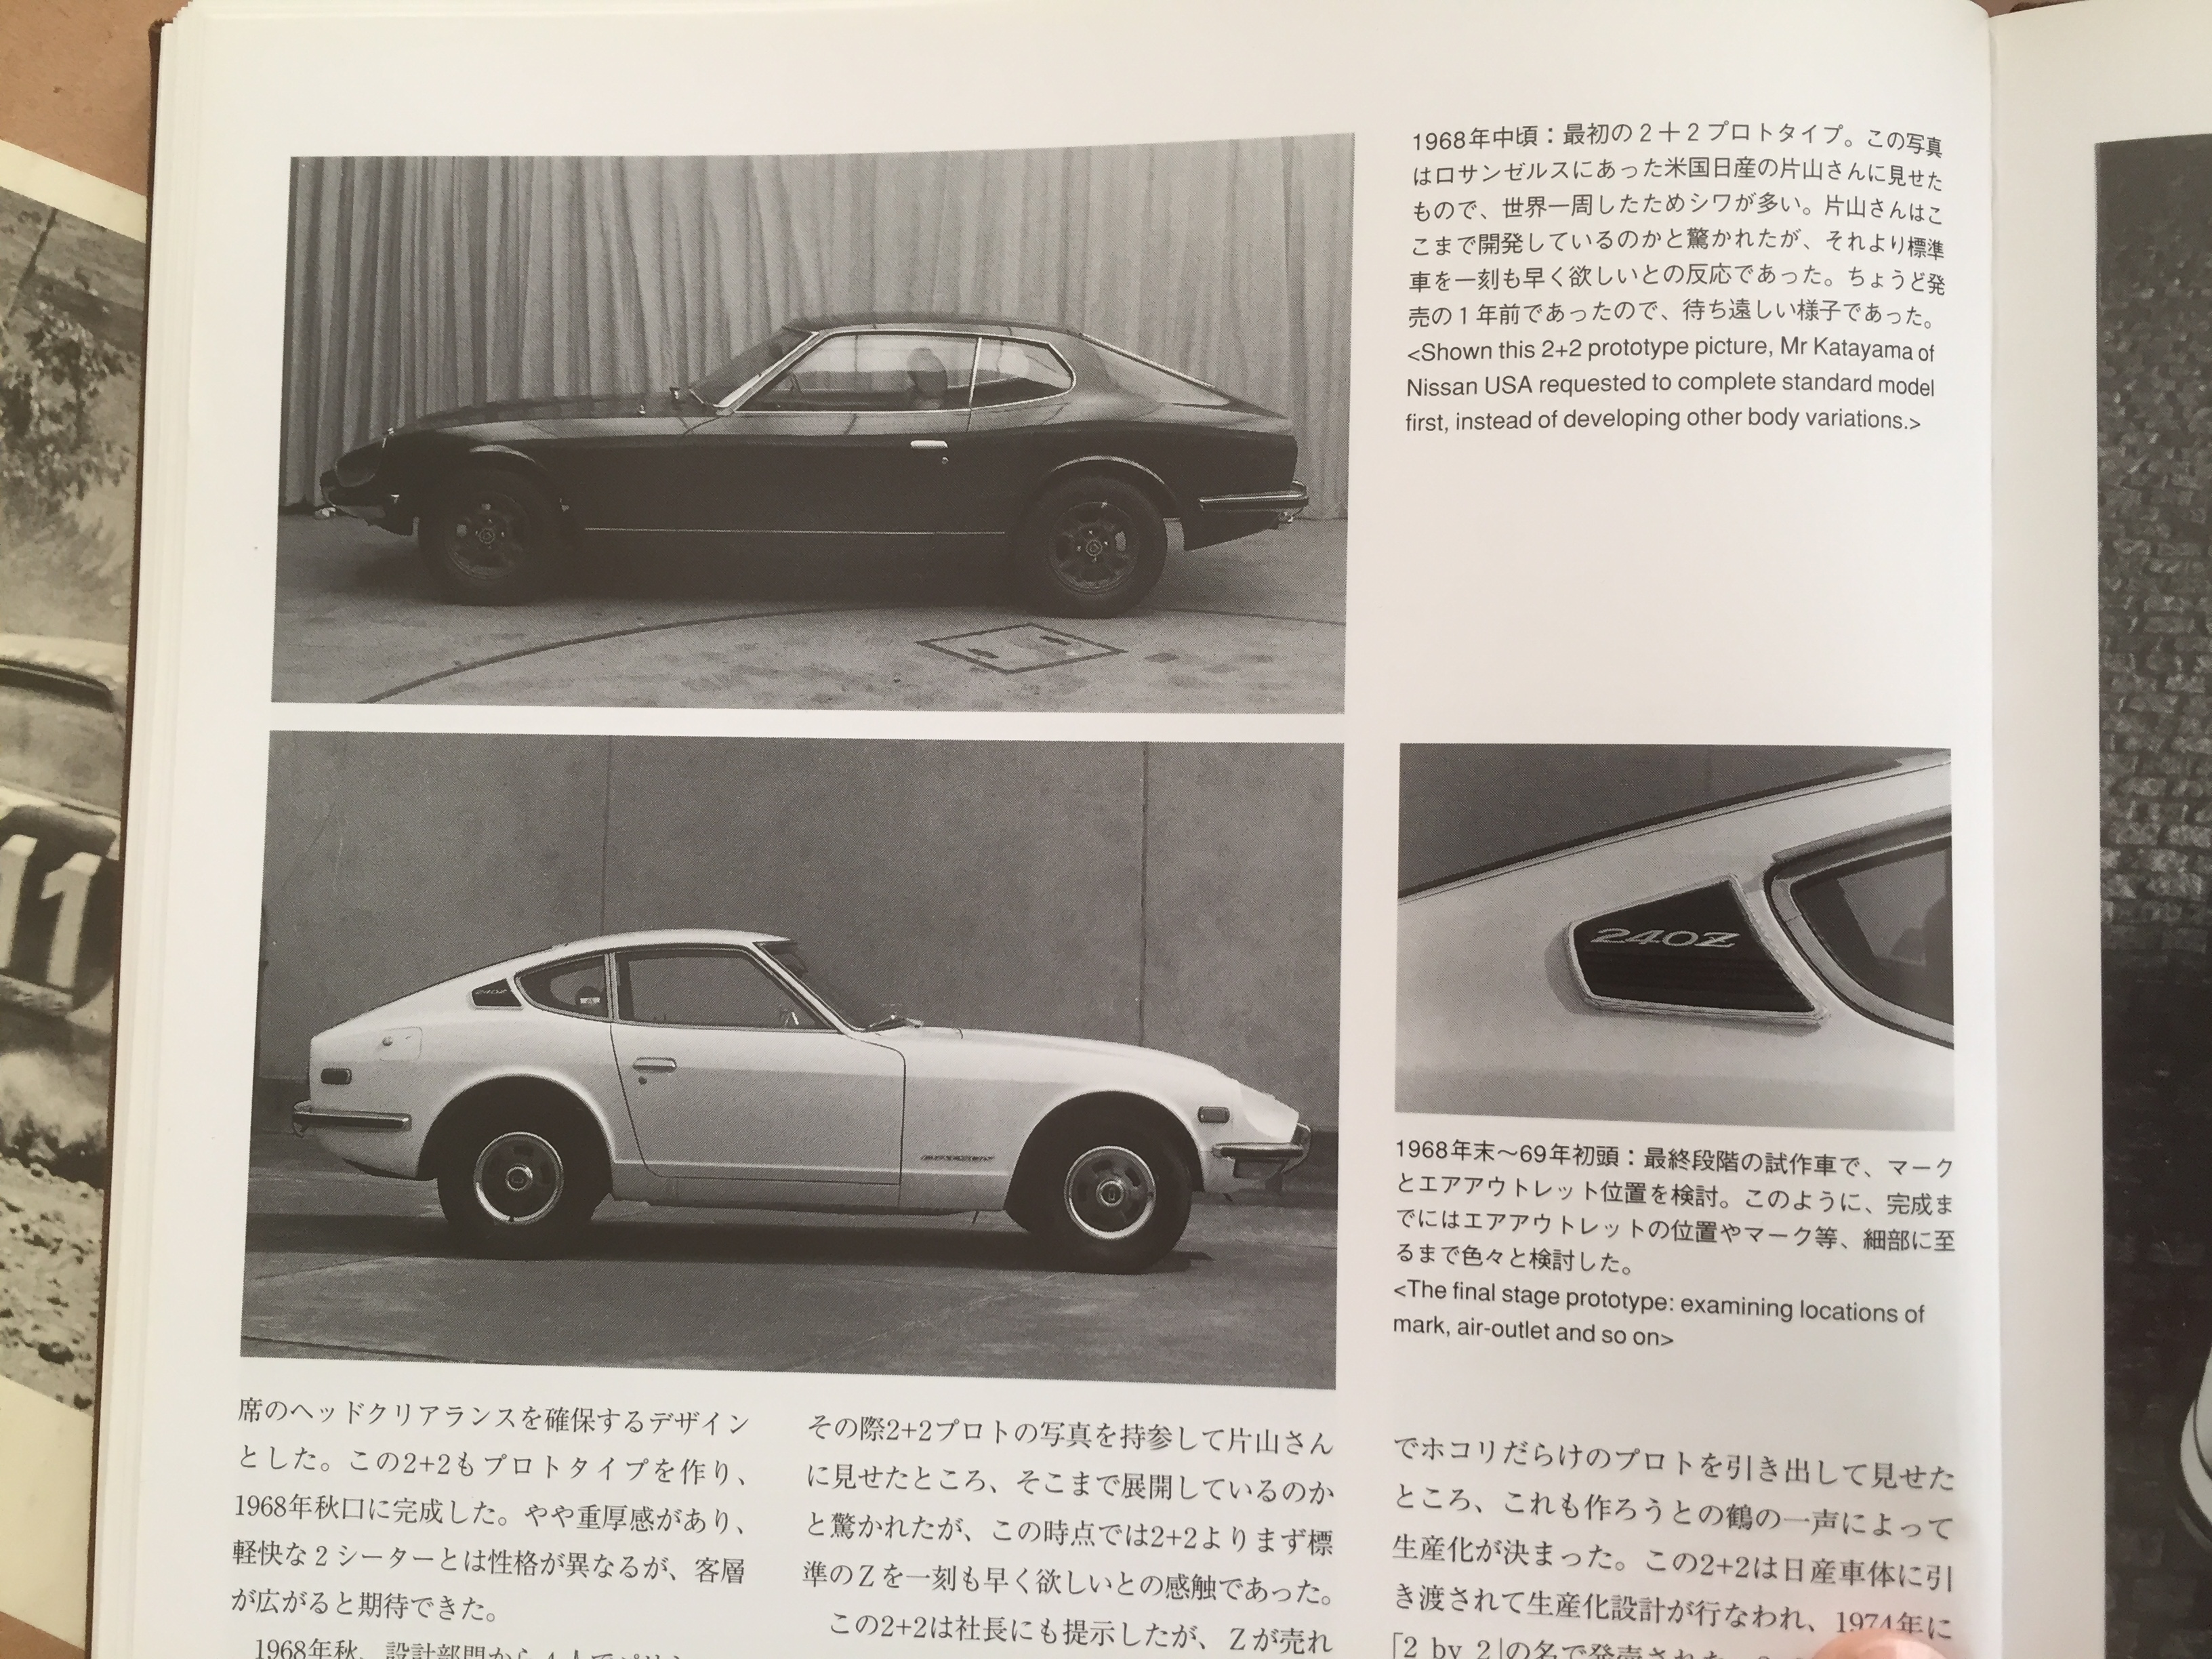
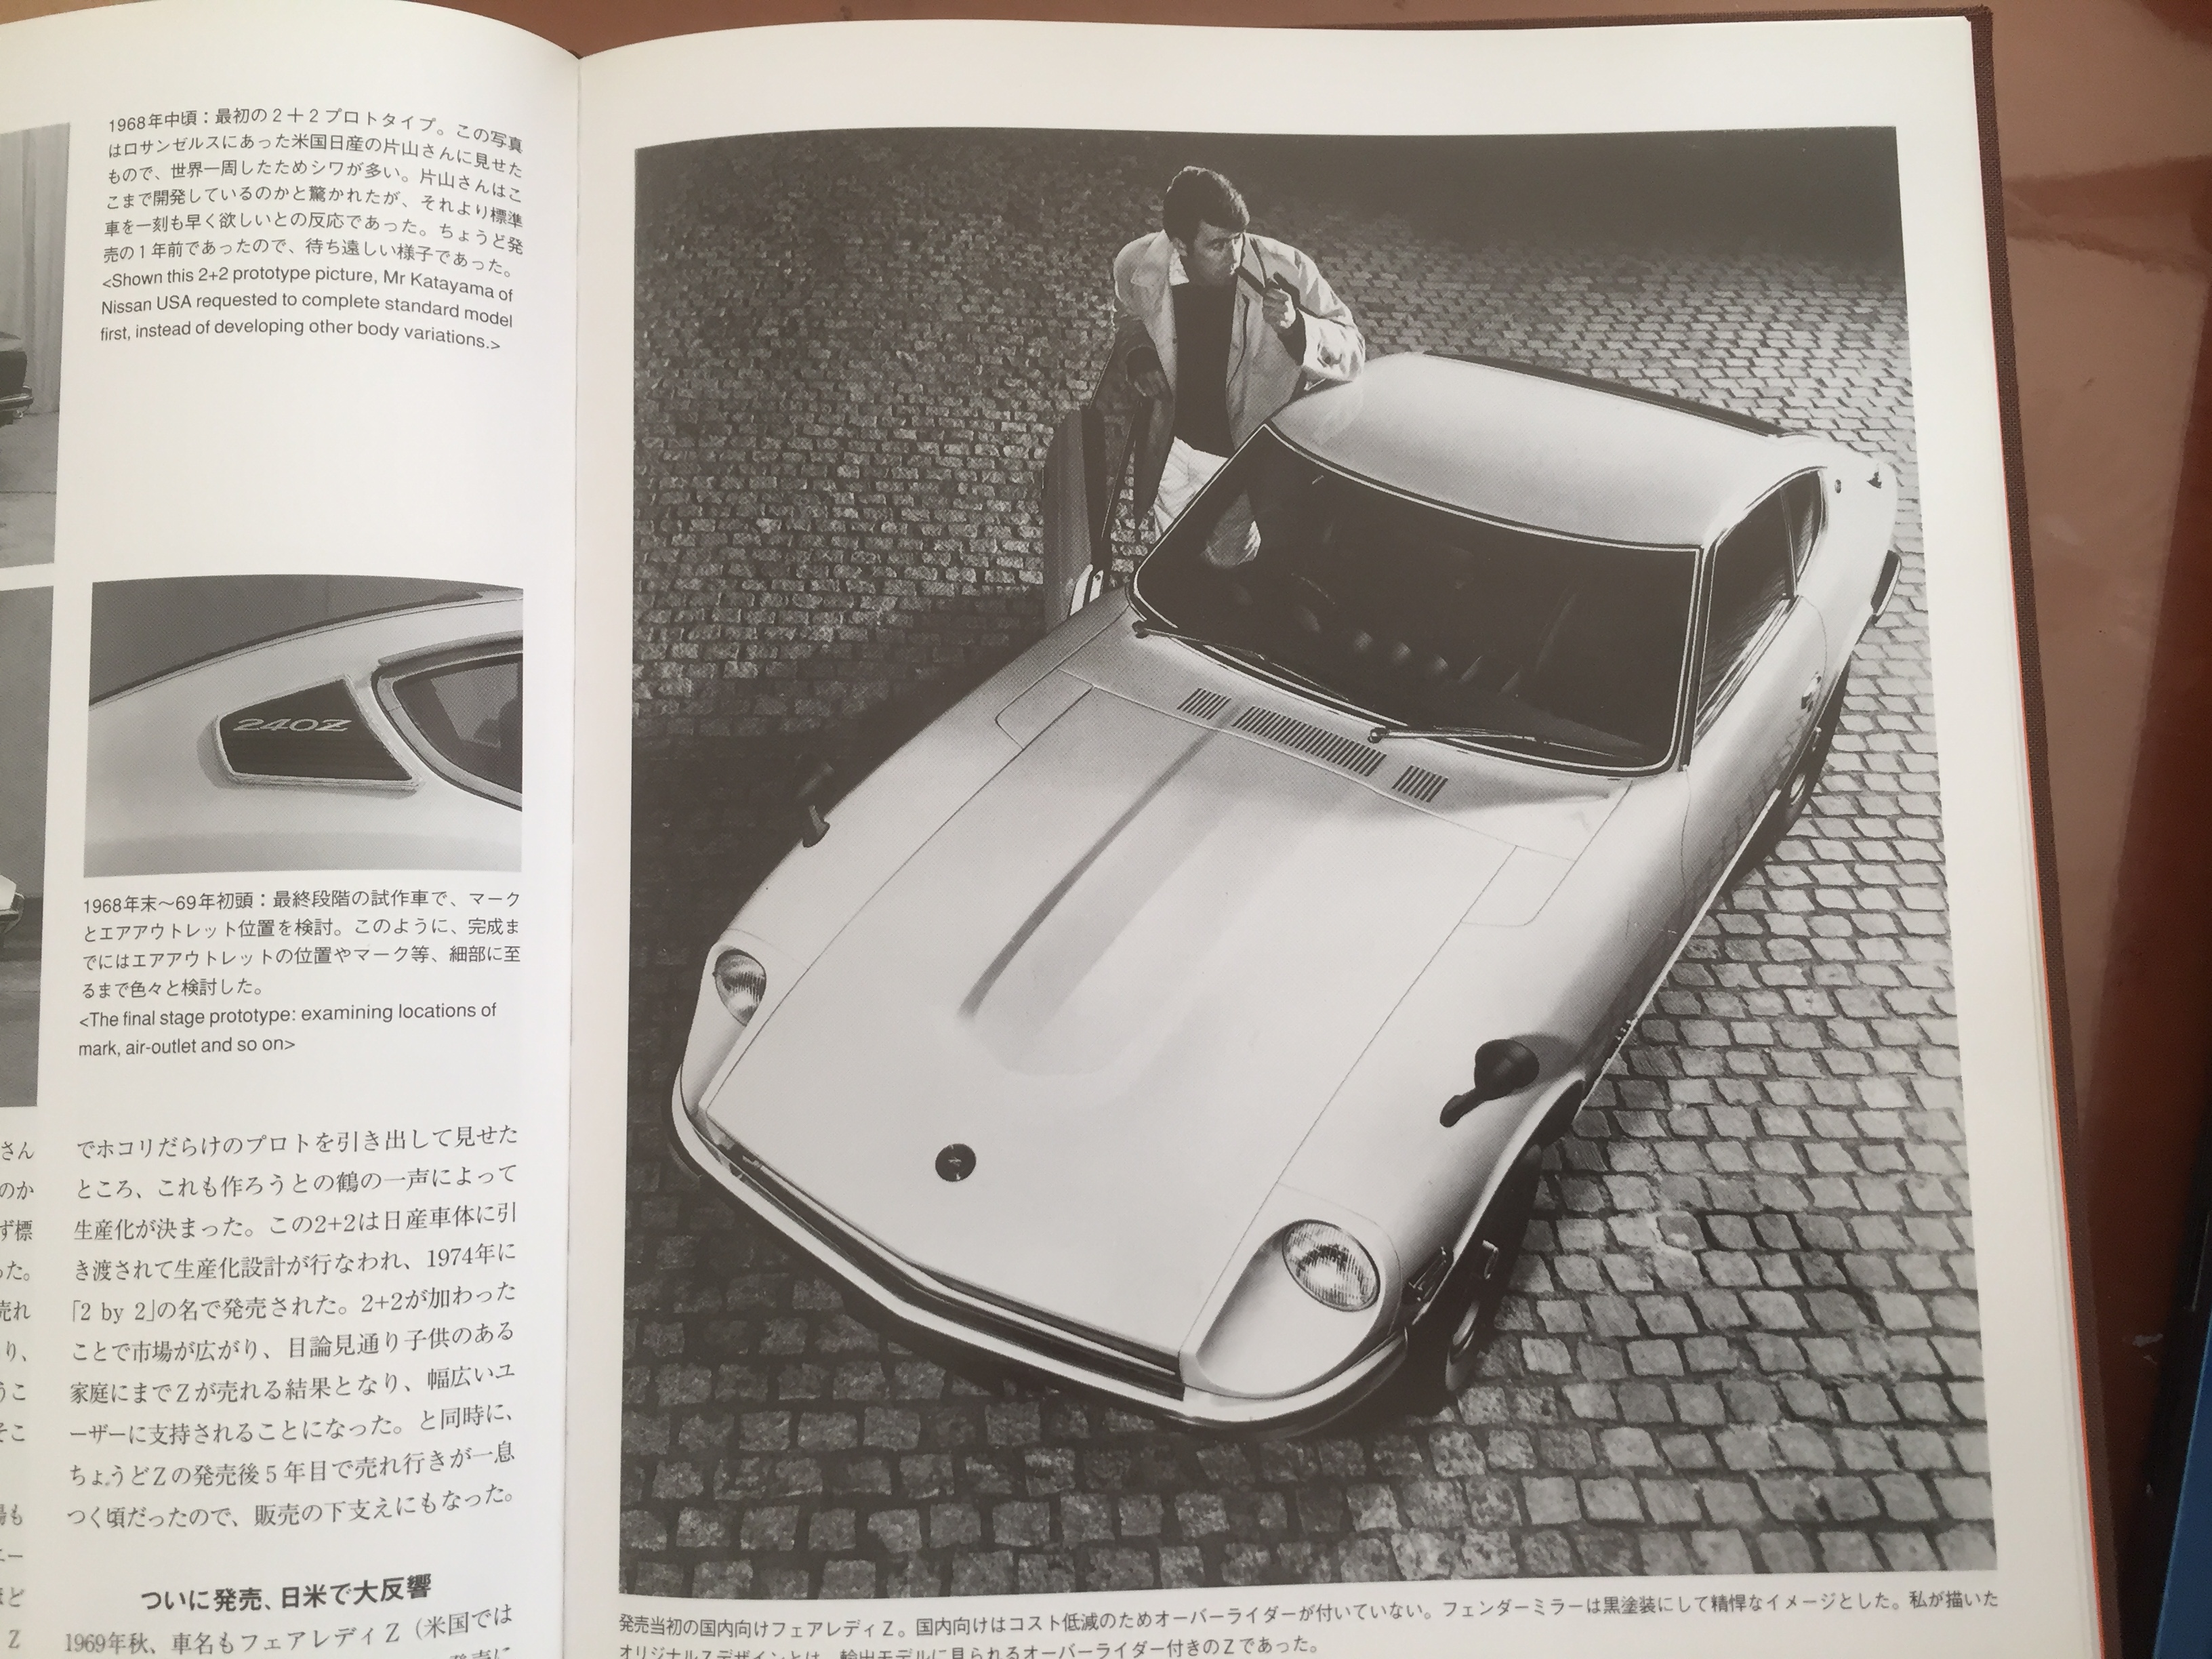
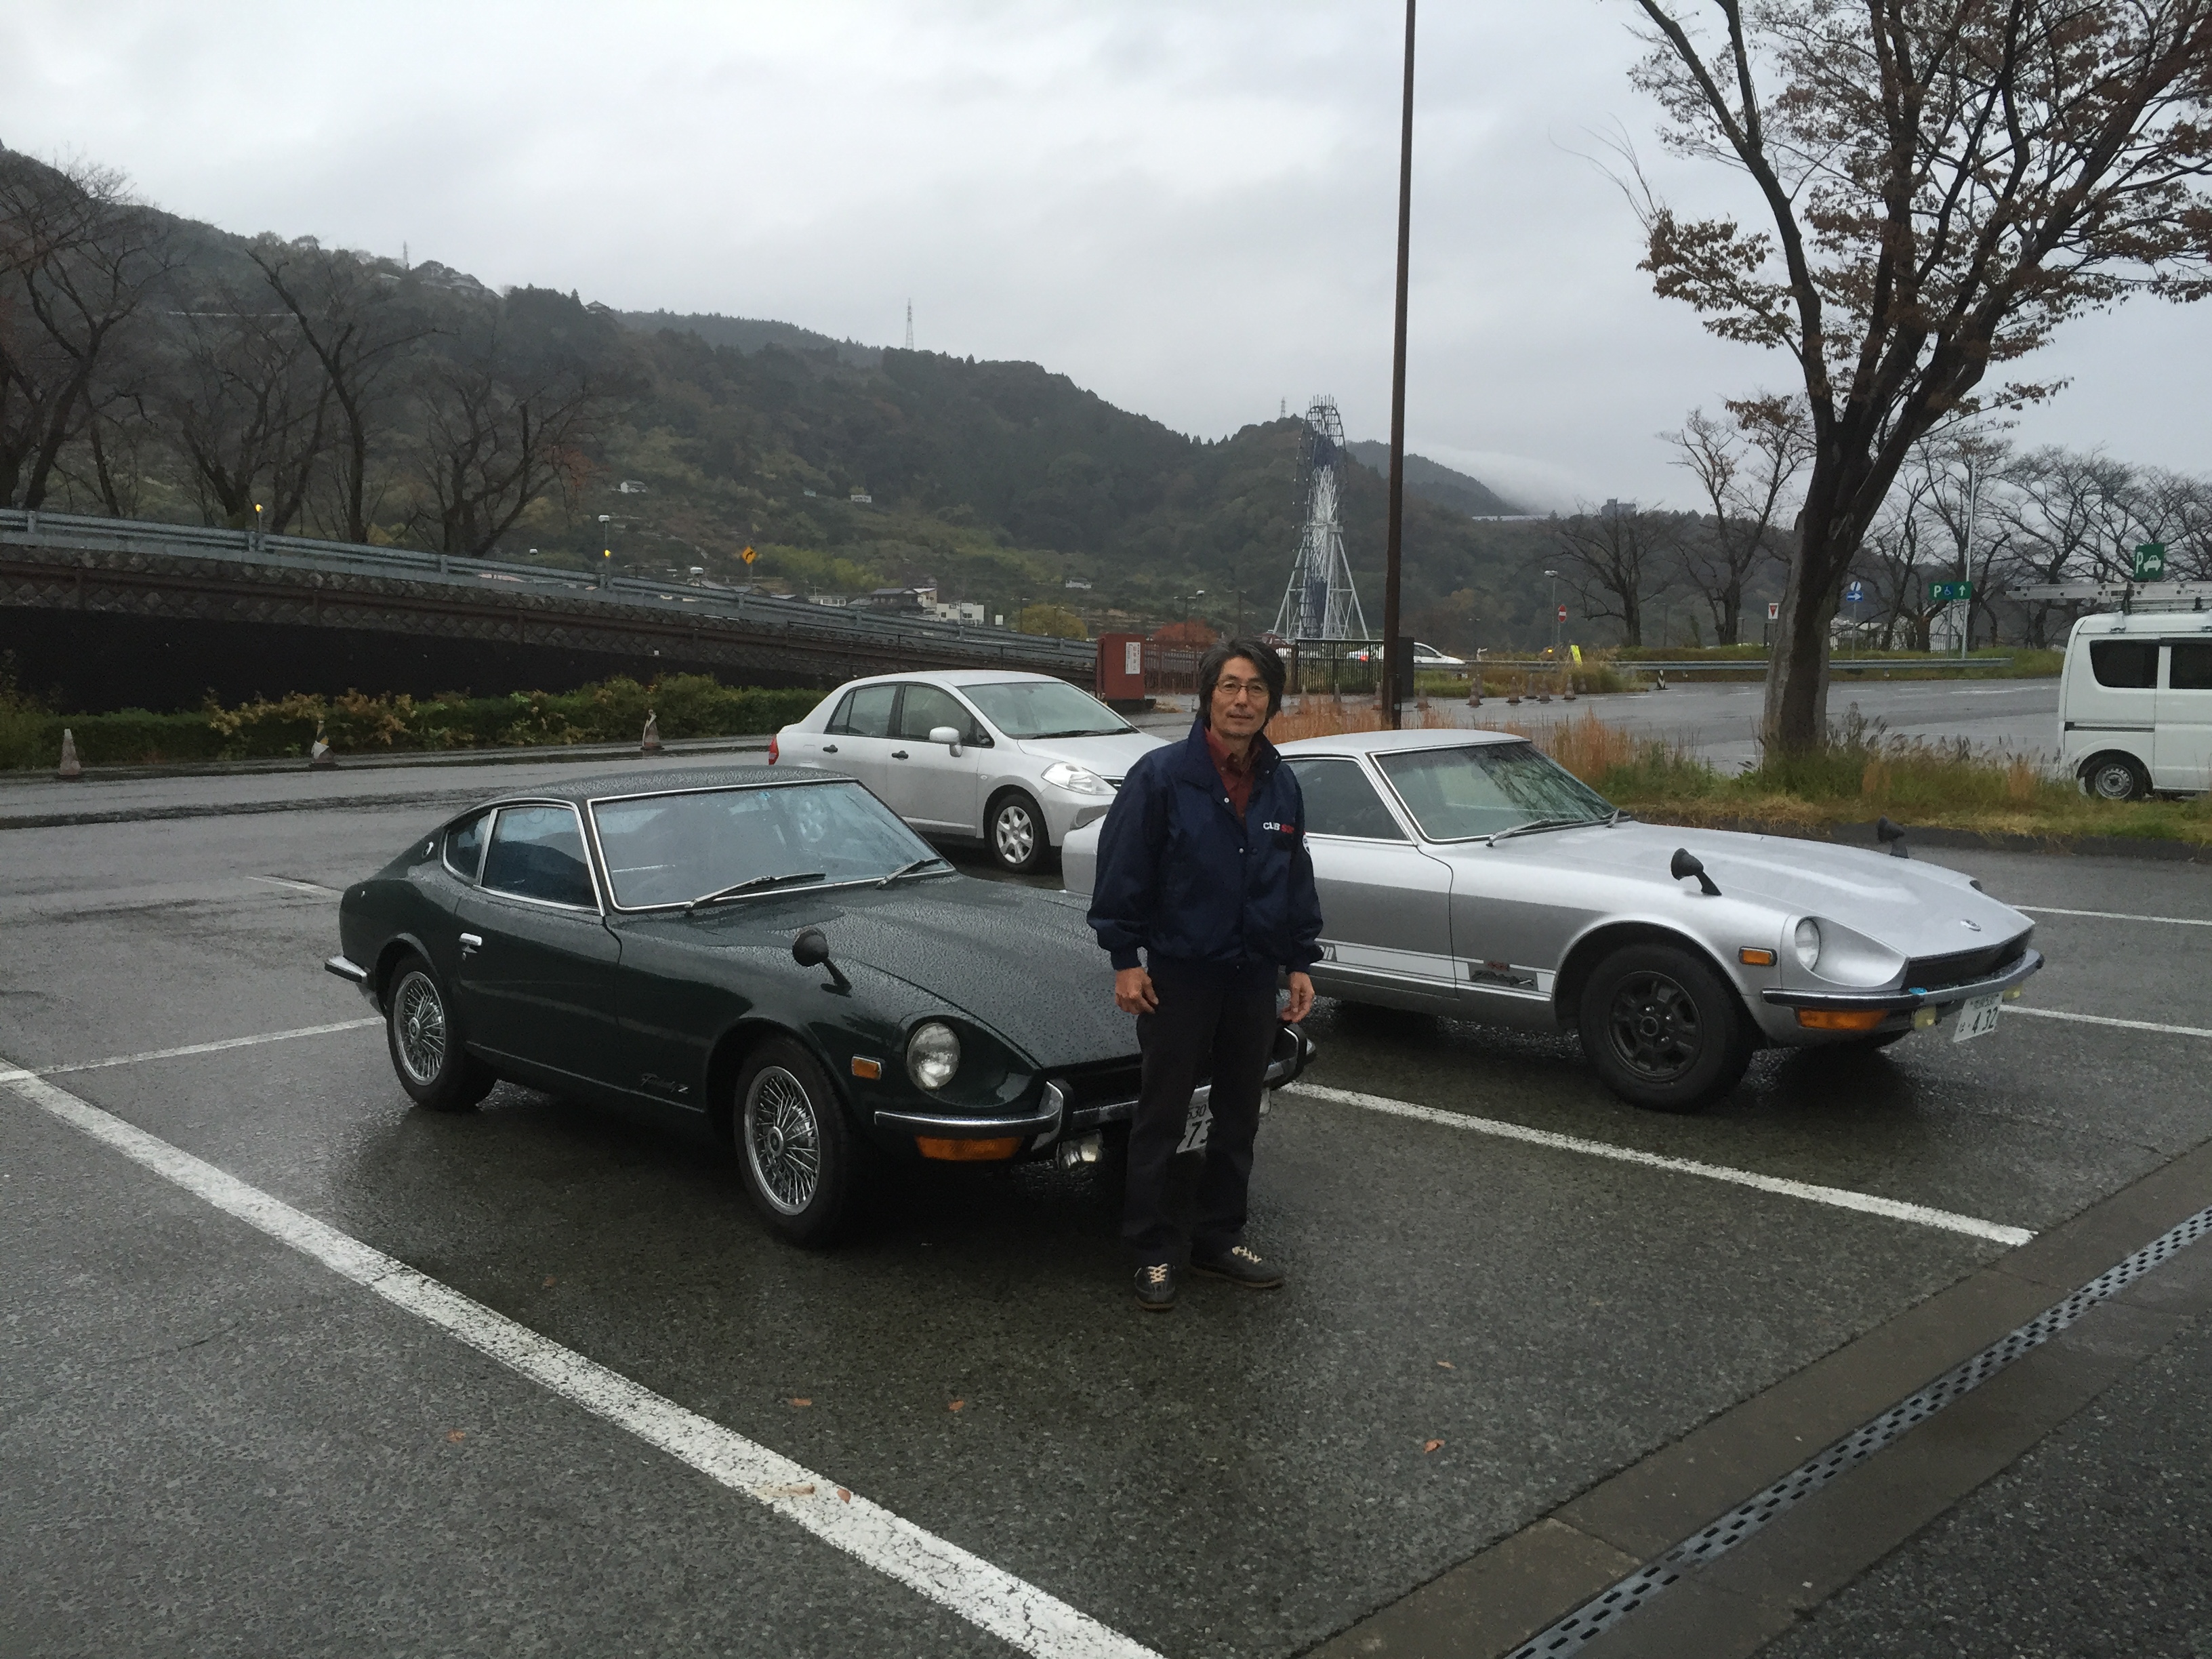
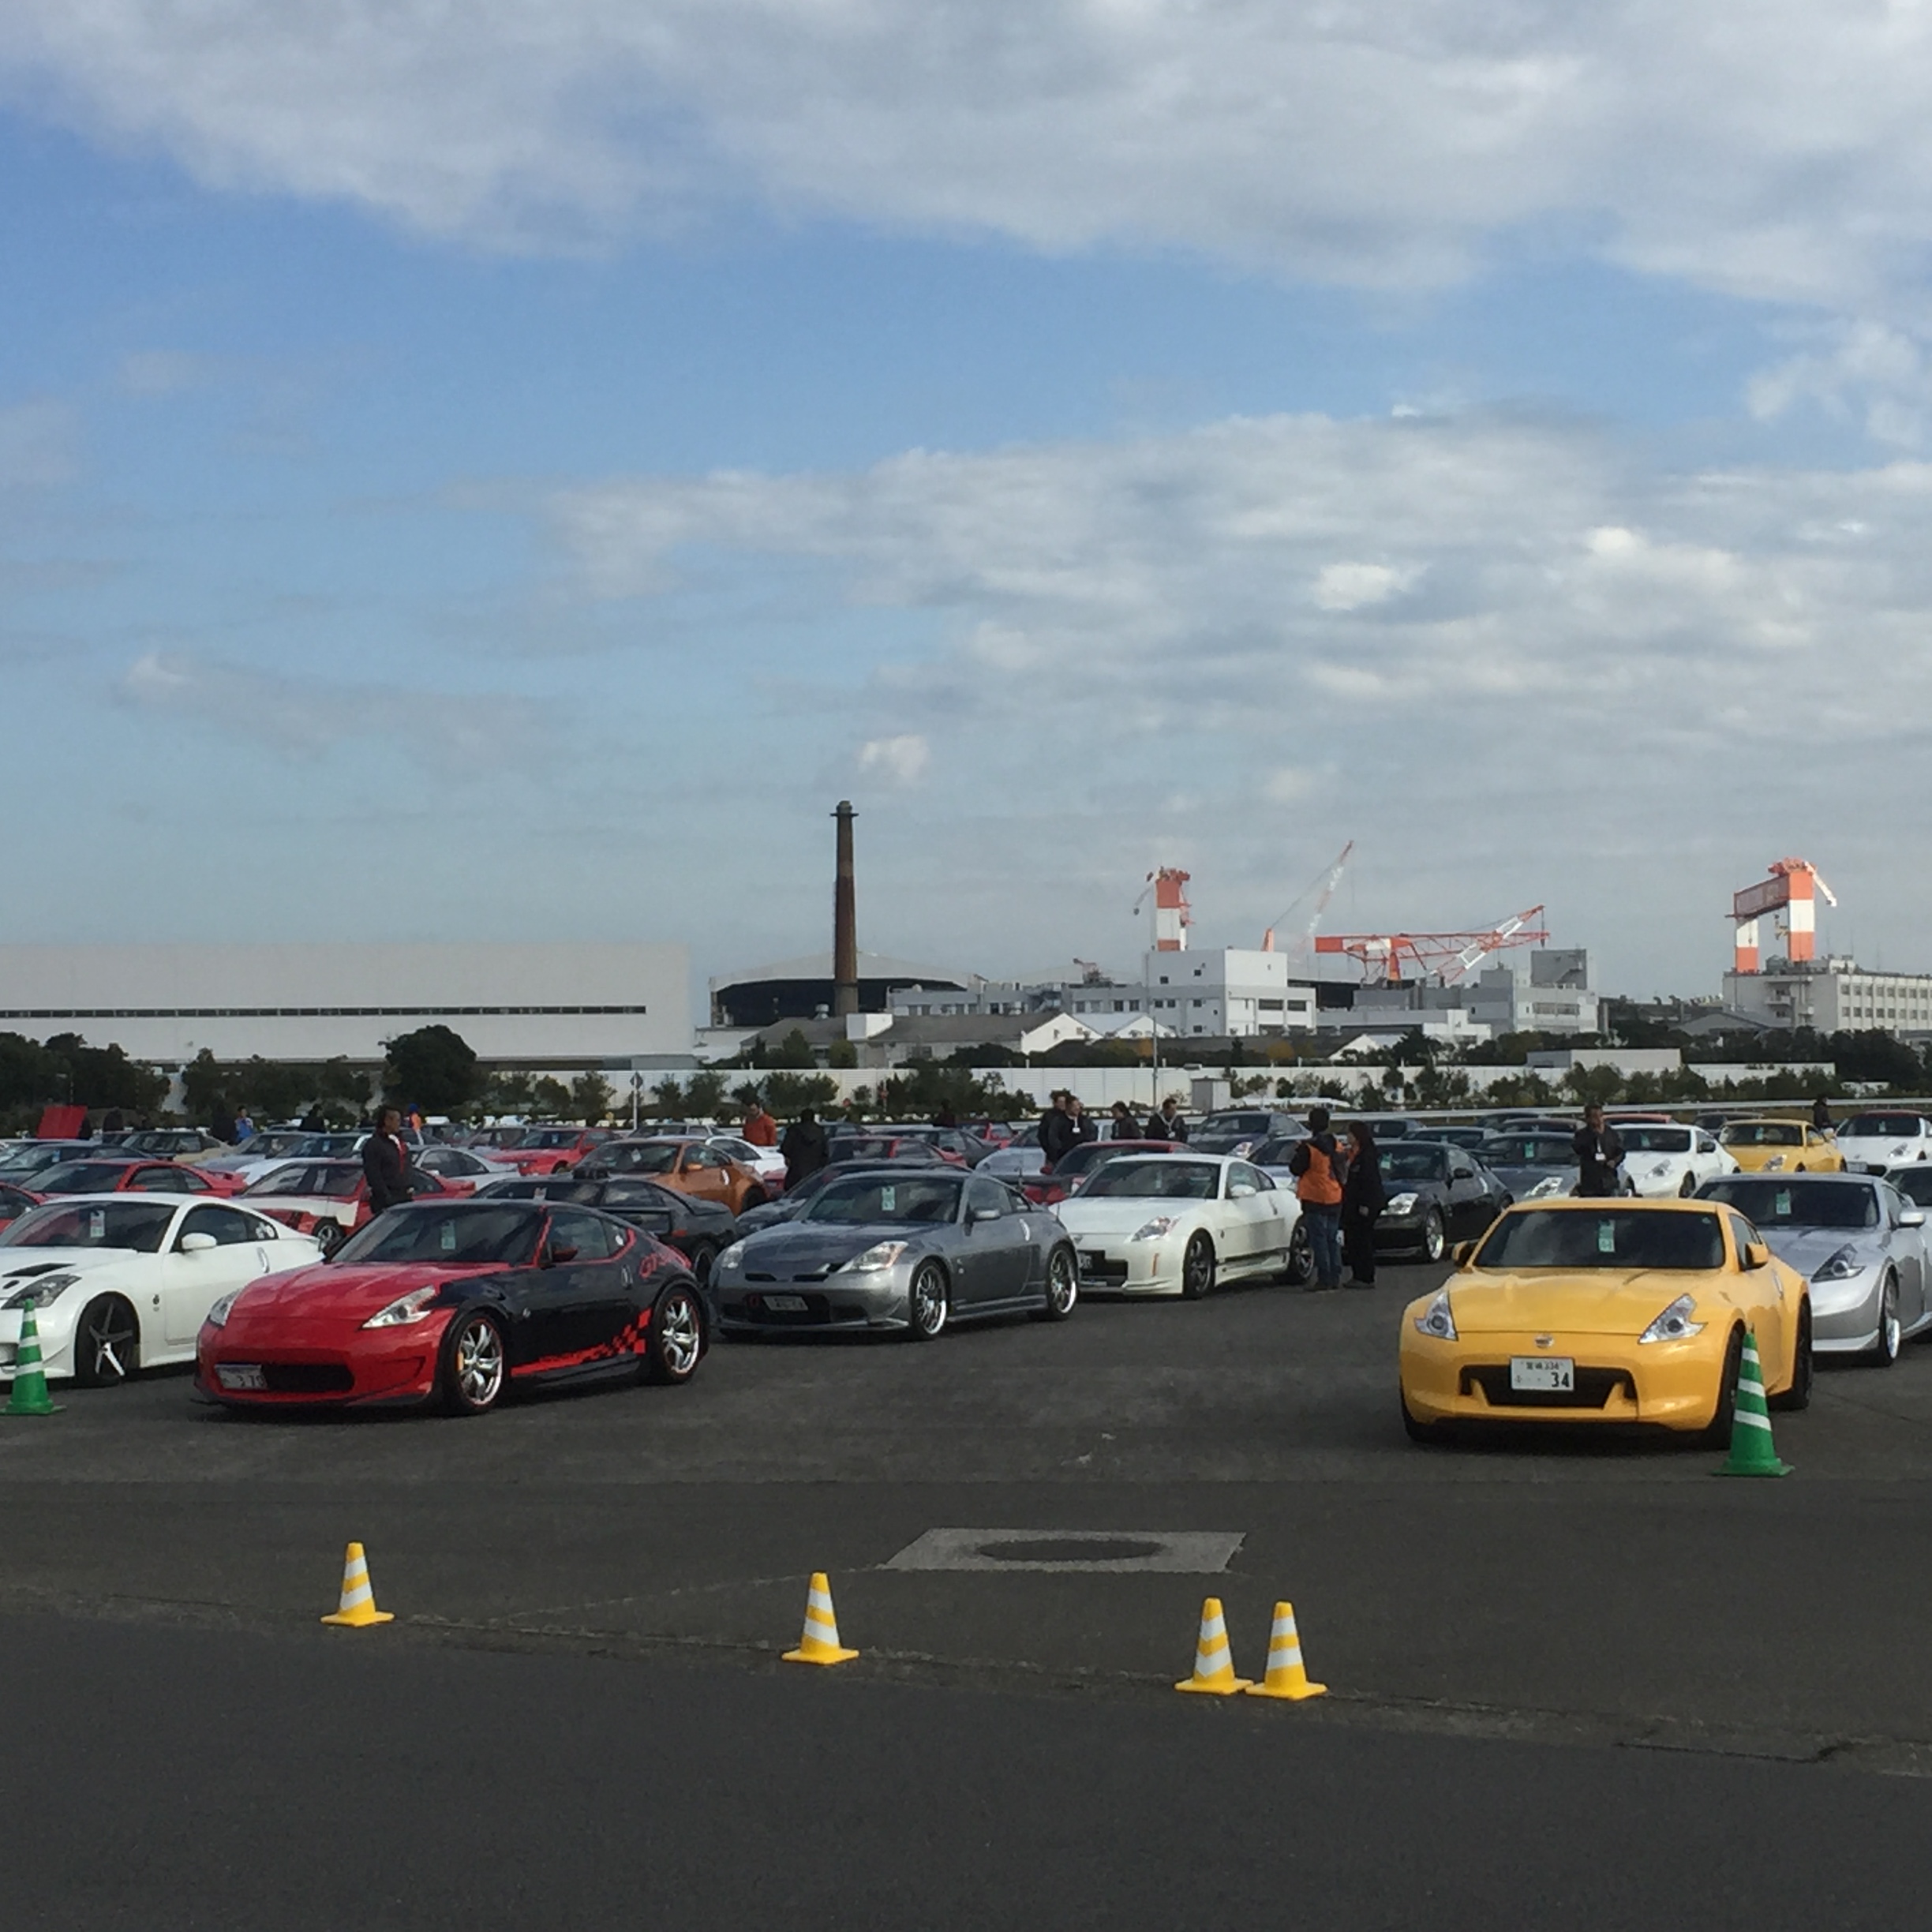
 1 point1 pointZcar fiesta at Oppama factory I spent wonderful time with so many Zcar owners .Total 900miles driving was pretty happy , but on the way home was in a heavy rain, my Z432 likes rain... Mr. Matsuo is doing well , he said he and some design teem members made a world round trip just after finishing S30 styling ( it was late 1968) . Nissan gave this prize to designers who's work became production model. The trip for visiting world's famous motor show. That was a special treatment , Mr. Matsuo was not for sure that his request was accepted or not, because usually a few motor shows were considered . But he made a bid, he requested Paris , London, Frankfurt, Milano, Newyork and the last one was Los Angels. His request was accepted! Mr.Matsuo met Mr.K in LA , he showed a photo of 2+2 prototype to Mr.K , Mr.K was amaized about it but he was told "forget about making 2+2 for now , I want the 2 seater as soon as possible! " Kats PS The green S30 and the gentleman next to it is Mr. Kawashima, he rebuilt transmission for my Z432.
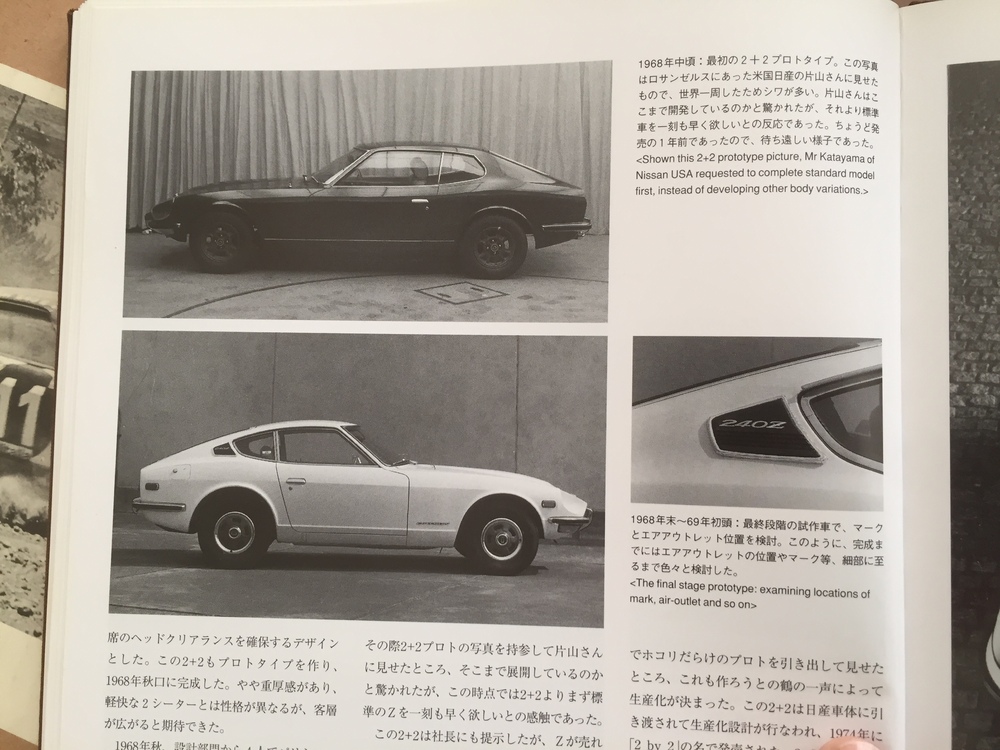


 1 point1 pointMy son was willing with his BRZ . I spanked him on the way home though . Sent from my iPhone using Classic Zcar Club mobile1 point


Important Information
By using this site, you agree to our Privacy Policy and Guidelines. We have placed cookies on your device to help make this website better. You can adjust your cookie settings, otherwise we'll assume you're okay to continue.