.JPG.cfcada9cf1c1b502df3f5f2f2ca3ff36.JPG)

SteveJ
Community Member
-
Joined
-
Last visited
Everything posted by SteveJ
-
Are you staying with incandescent or are you switching to LEDs? Also I didn't mention earlier that circuit voltage can affect the flash rate with the electromechanical flashers. For modeling purposes, R is constant. R=V/I, so if voltage drops, current drops. That's why old cars with electromechanical flashers blink slowly at idle. The alternator output drops from 14.5V to 13V or 12V. That drops the current through the circuit by 10% or more.
-
What is driving your question? There are only two exterior bulbs and the gauge bulb per side. - Correction: 2 in the back and one in the front per side plus the gauge bulb. That's not true for electromechanical flasher relays typically found in Z cars. The electromechanical flashers use a bi-metal strip that heats up, opening the circuit. It cools down and completes the circuit again. The rate the bi-metal strip heats up is a function of current flow. Since a bad bulb is very high resistance, there isn't as much current flow, so what would make it flash faster? LED bulbs are high resistance compared to incandescent bulbs, and if you replace all your bulbs (including gauges) to LED, you will see that an electromechanical flasher won't flash at all.
-
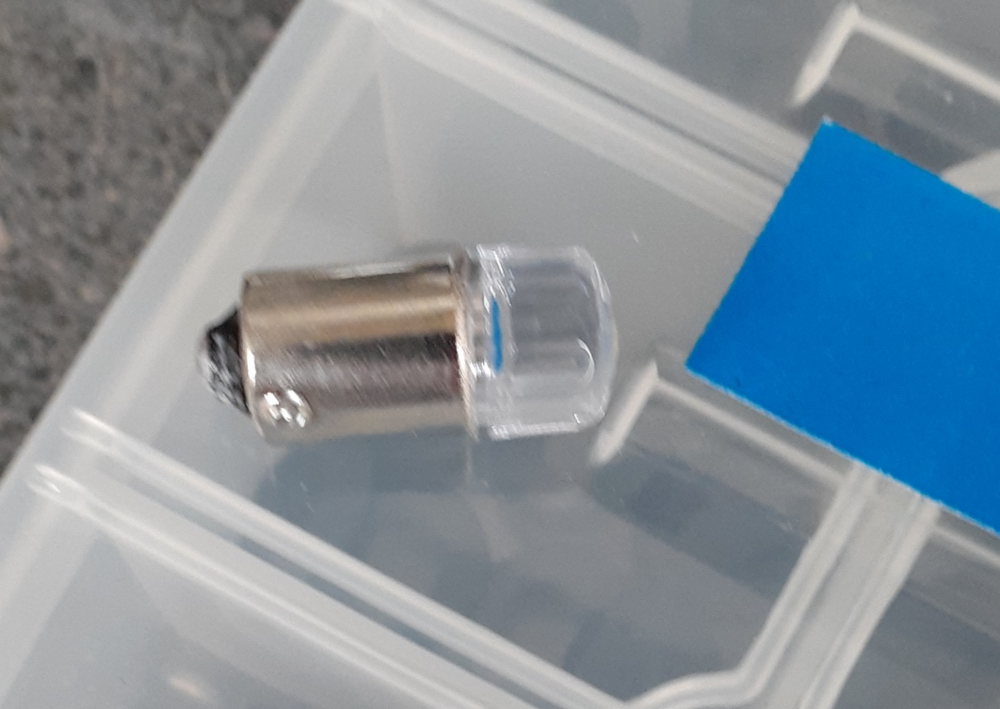
For the 73, there are 10 green BA9S, 1 red BA9S, 1 blue BA9S, and 1 green 194. There are also 1 red BA7 for the seat belt warning light and 1 amber BA7 for the choke warning light. Earlier 240Zs only need 9 green BA9S and don't need the 194. I also believe the BA7s are only in the 72 & 73. I forgot the count for the 280Z and 260Z.
-
Here you go, @Captain Obvious
-
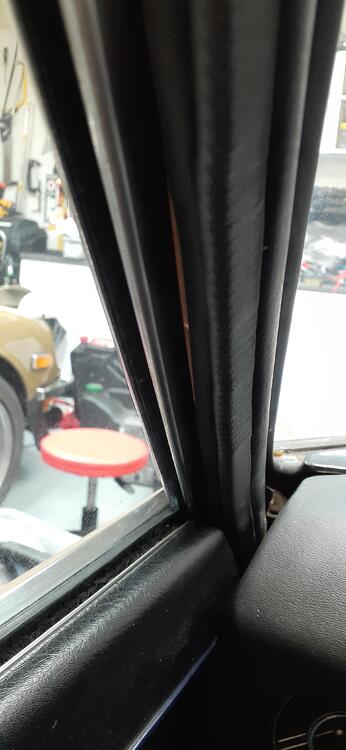
I took the Z out for a drive today since I wasn't able to yesterday. Two steps (minor) back. I could see a long gap between the window frame and the door seal on the driver's side. I am thinking that a 12.7 mm bulb on the door seal would be better. The ones I tried were only 9.5 mm. I found the 1157 bulbs in front and back failed and were cross-feeding. I was seeing signs of that last night, but I realized the problem and confirmed my diagnosis today. New 1157 bulbs are on order front & rear. What were the symptoms I saw? Well, first, I saw the heater panel illuminate with the turn signals. I thought it was just stray light. Then I noticed the same thing happening with the brakes. I removed both the front and rear bulbs from the driver side and tested the turn signal on that side. The cross-feed was gone. (And, yes, these were 1157 bulbs with 2 contacts and oriented properly.) I took one of the bulbs and a spare 1157 socket over to my power supply. When I applied power to the brake lamp circuit on the socket at around 13VDC, I could see 12 on the positive wire for the running light circuit. Dang Chinesium electronics! Anyway, I ordered some red 1157 made by the same company as the H4 LEDs I'm using. The new 1157 ambers are from another company since Auxito doesn't sell amber 1157 bulbs on Amazon.
-
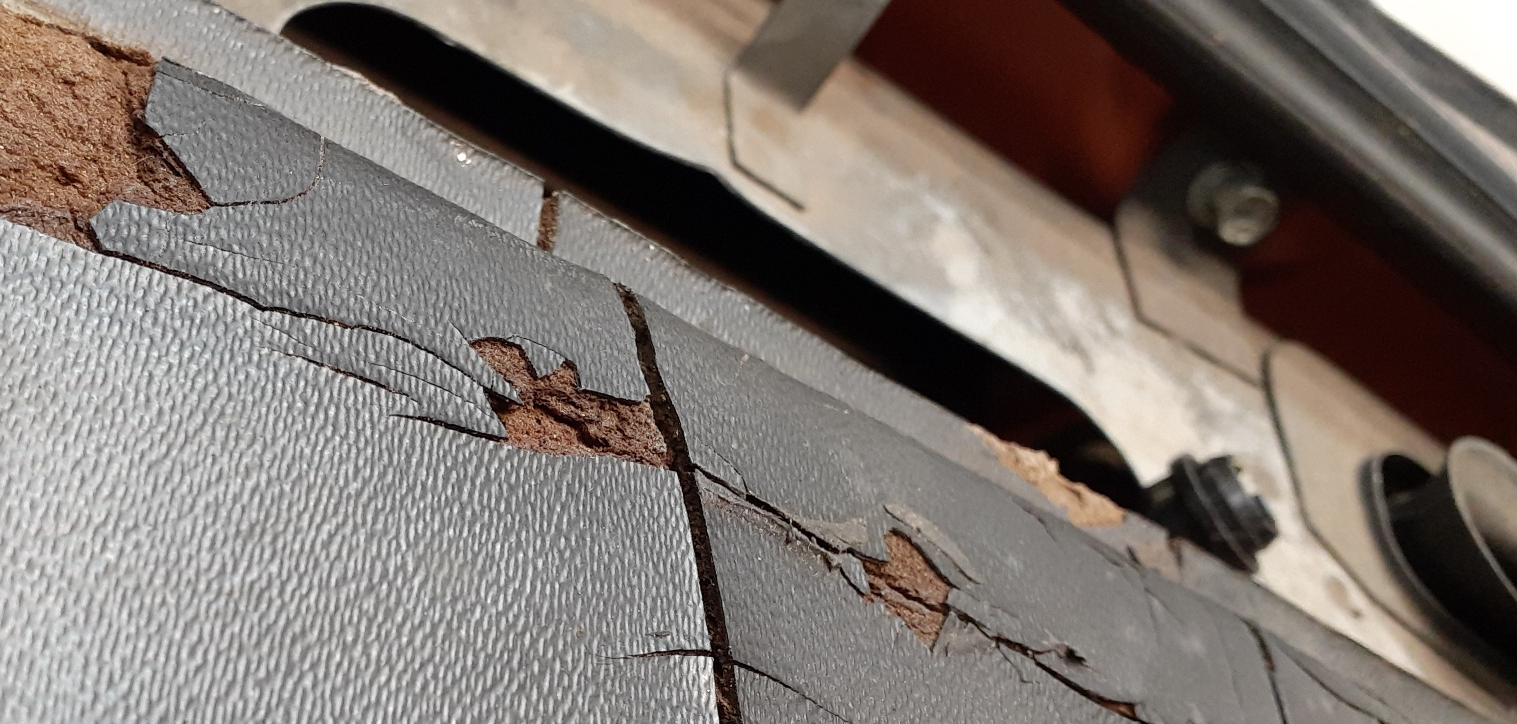
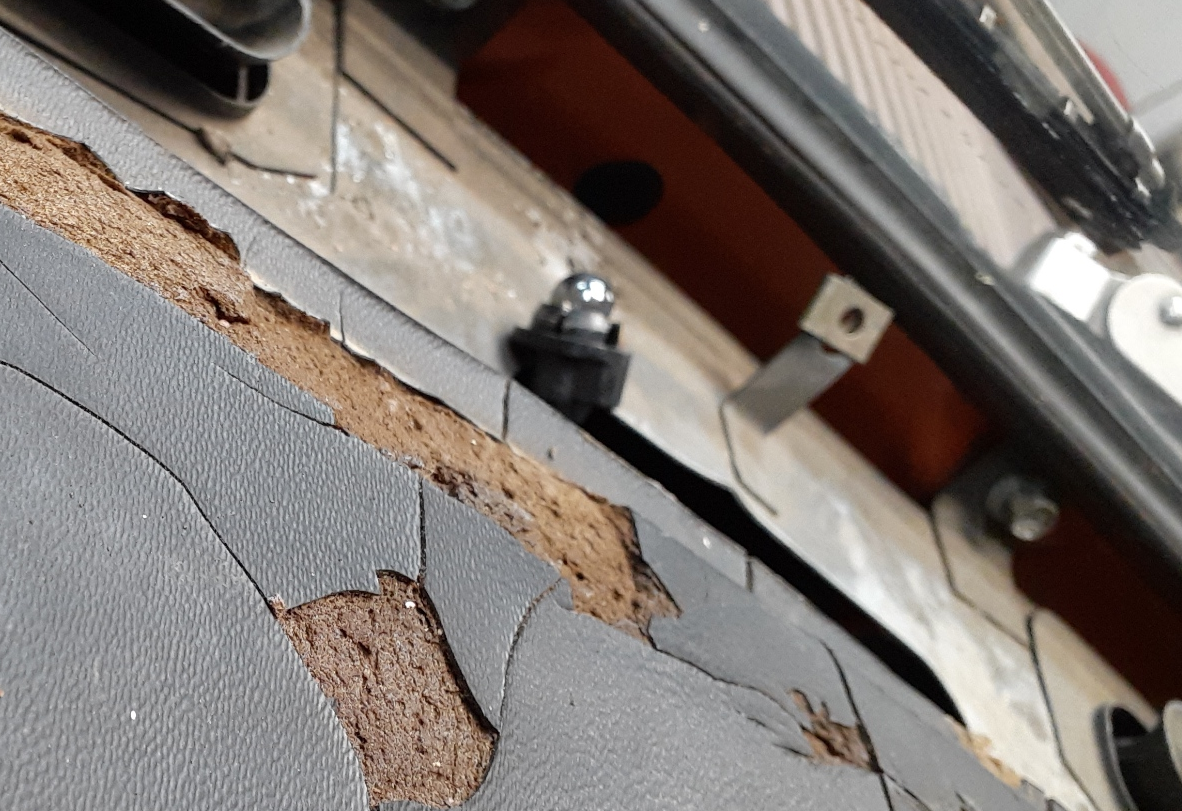
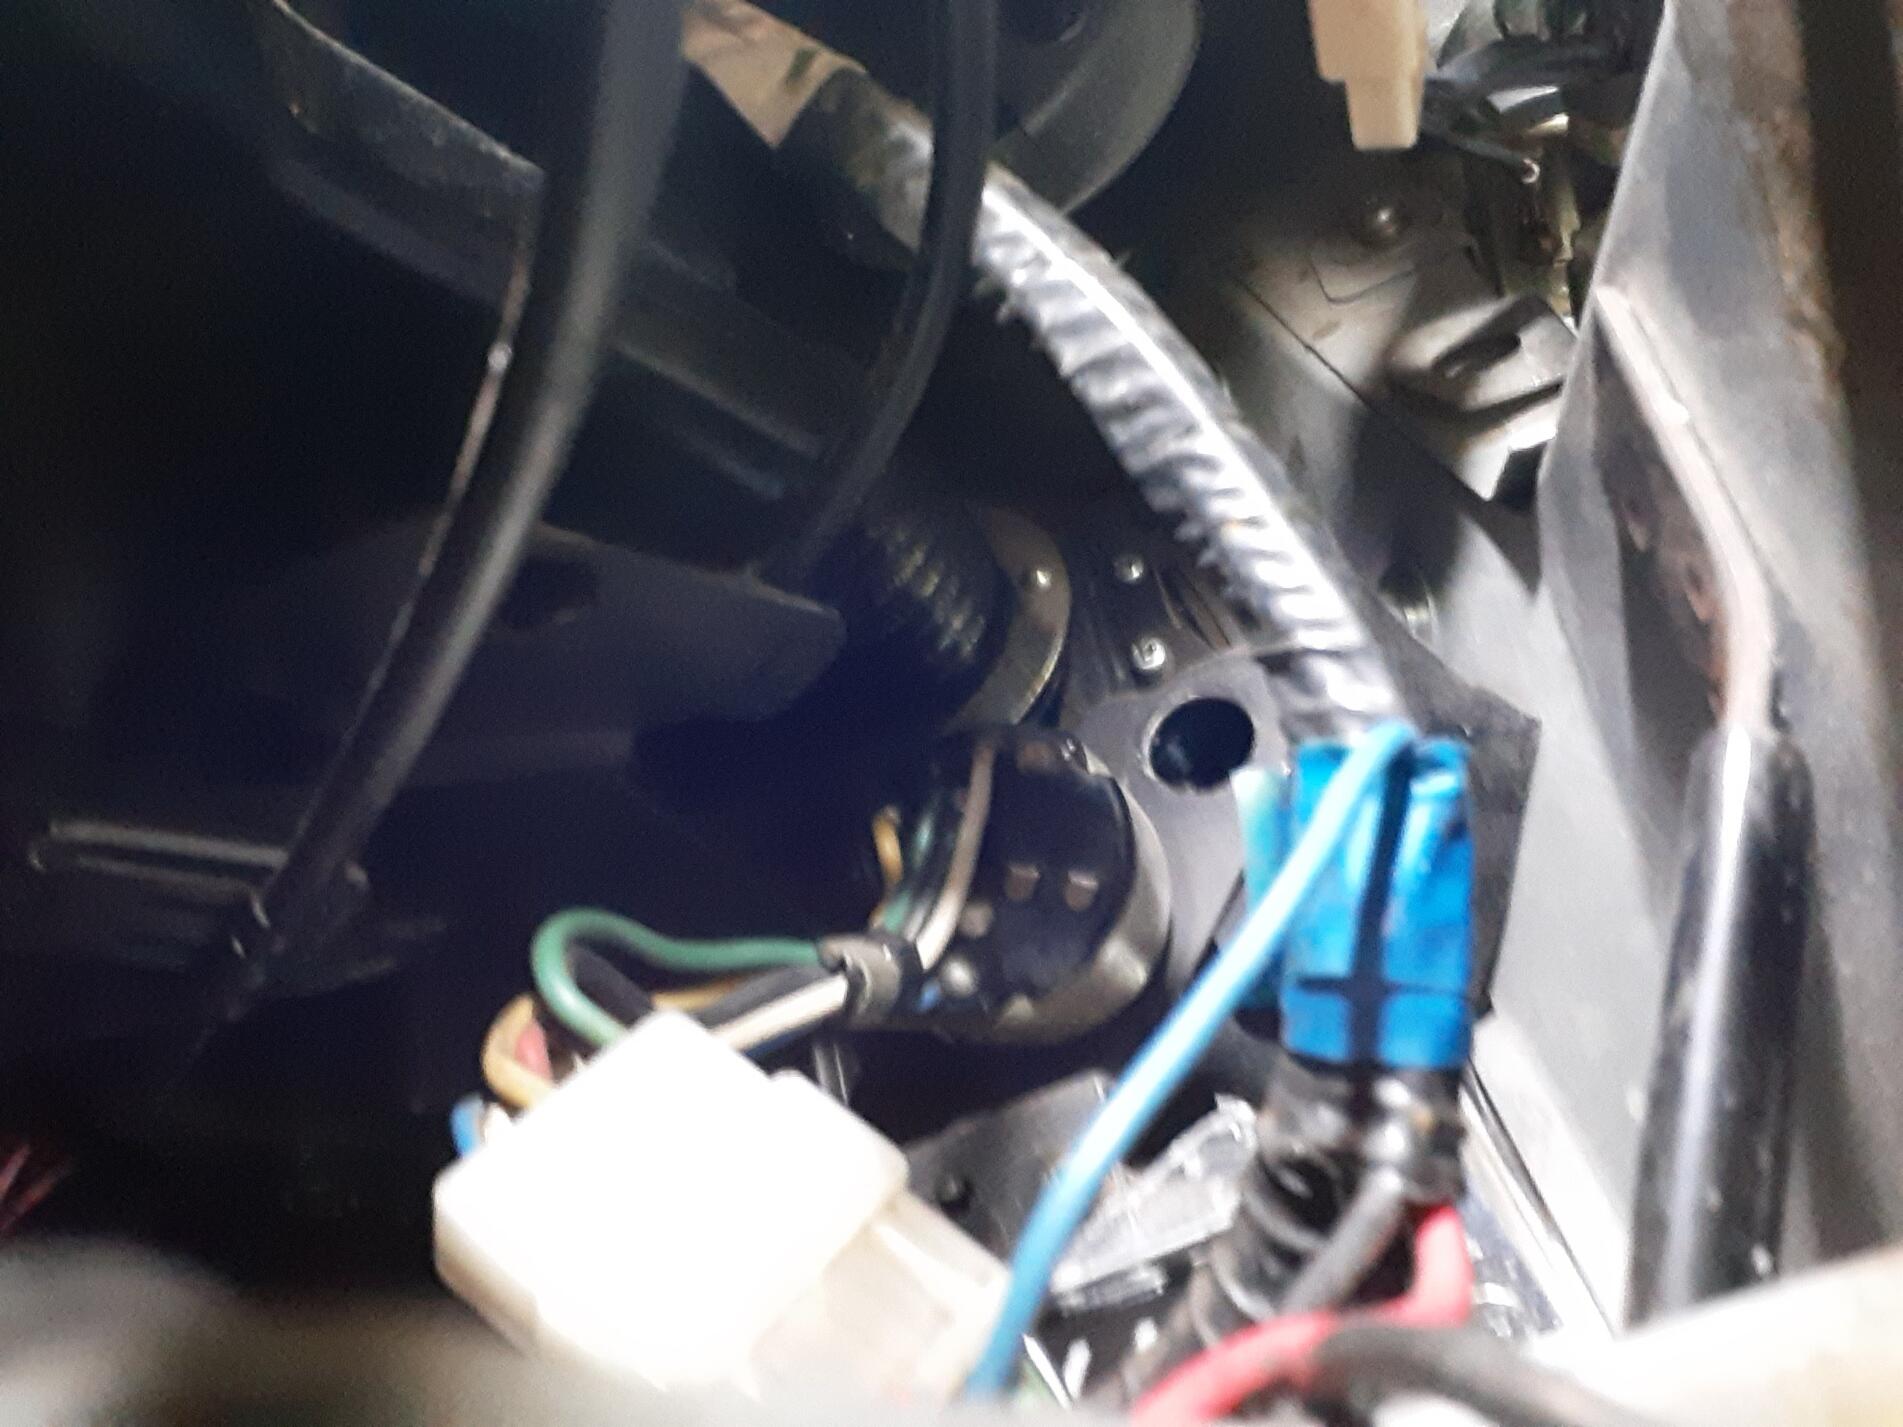
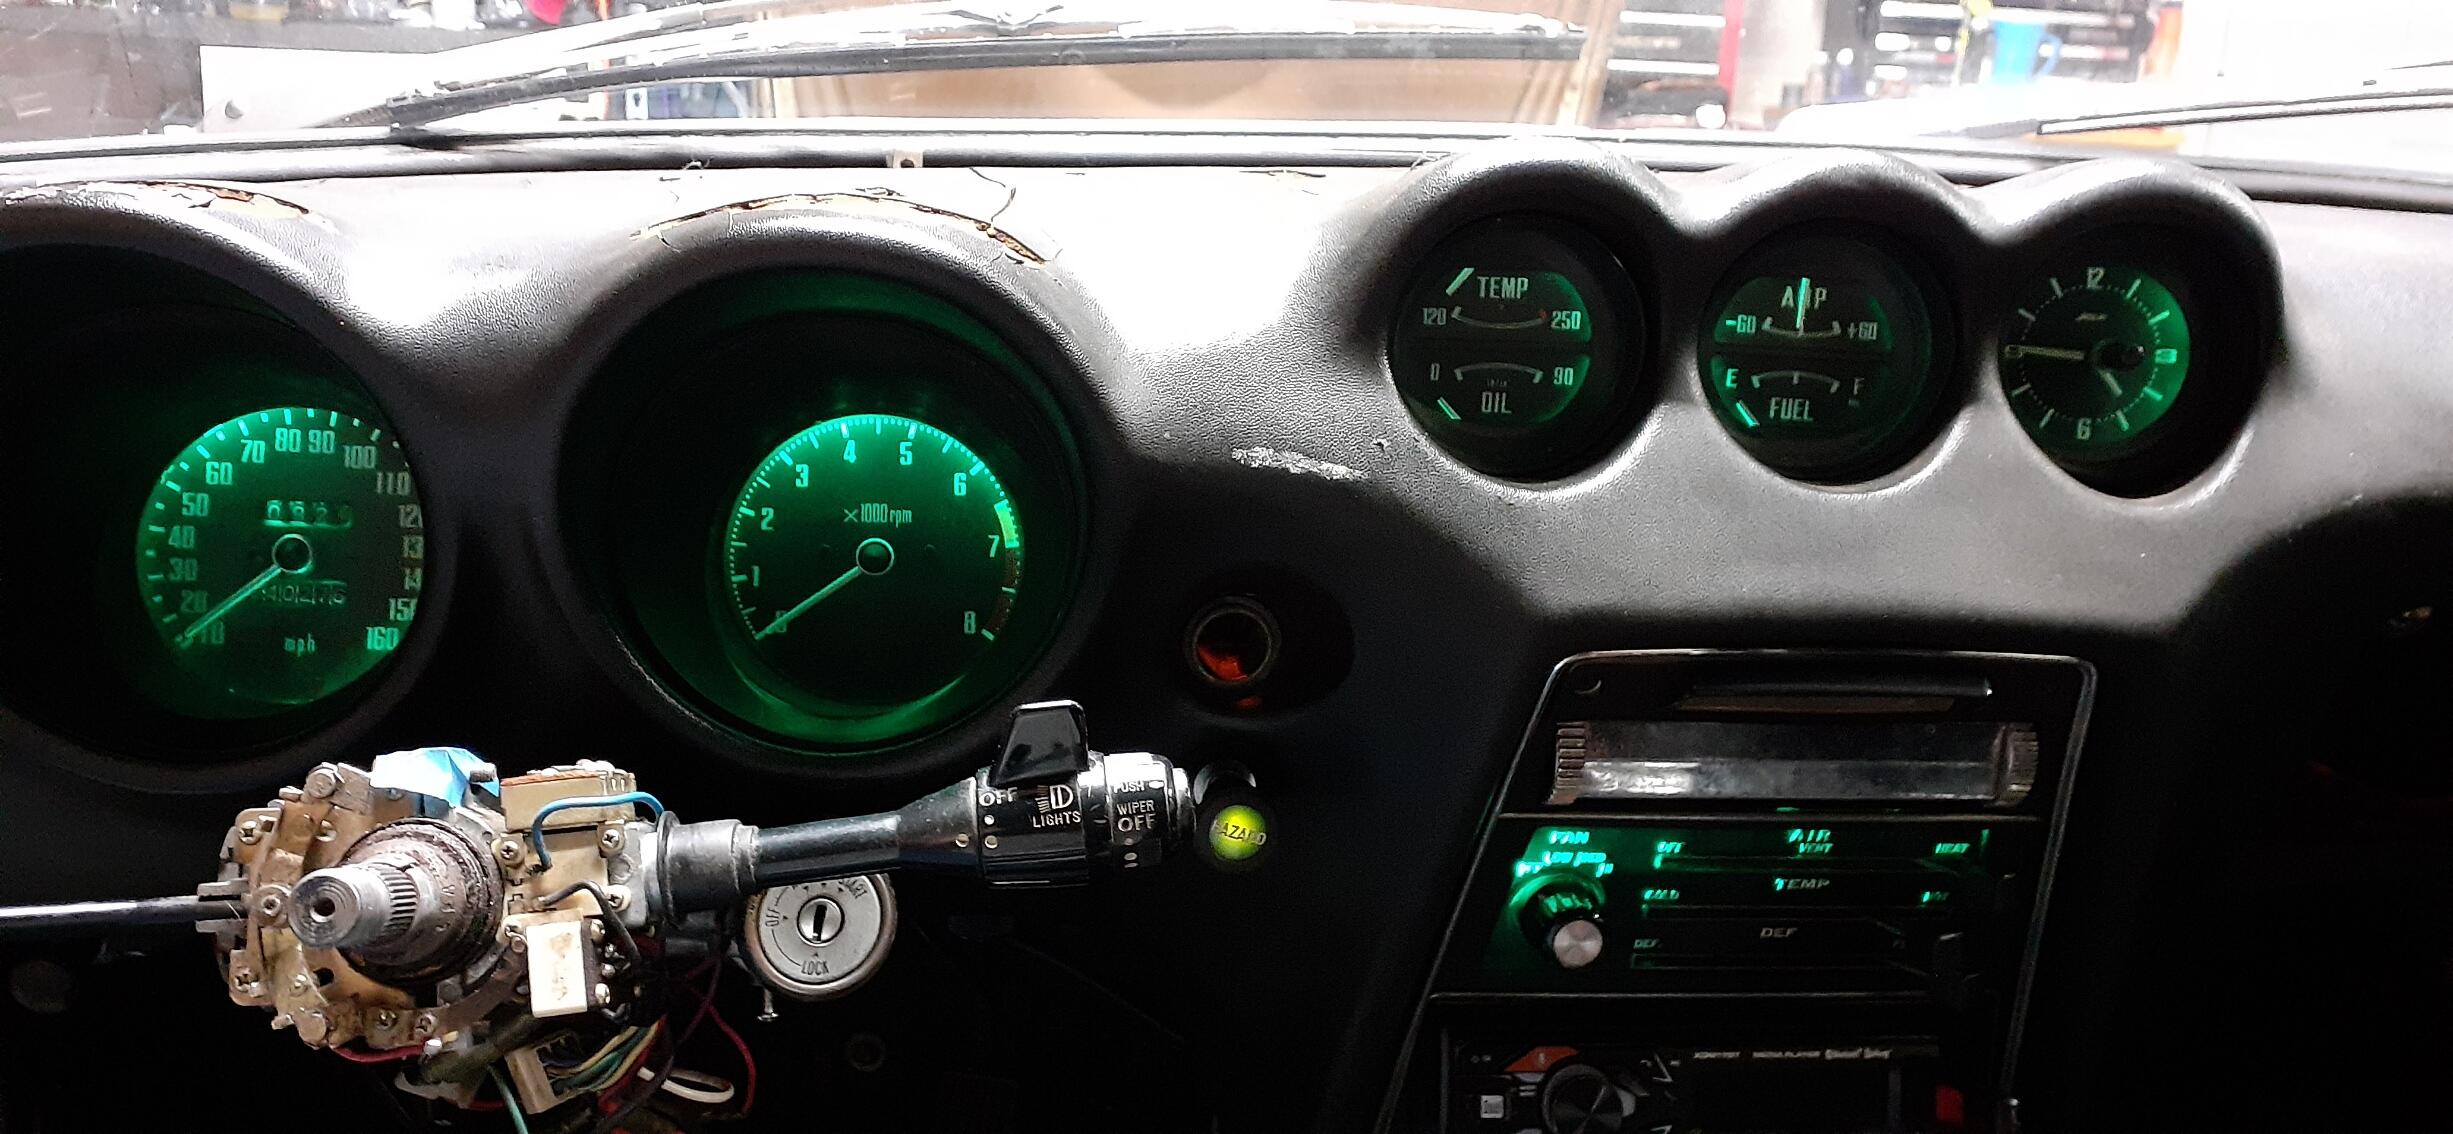
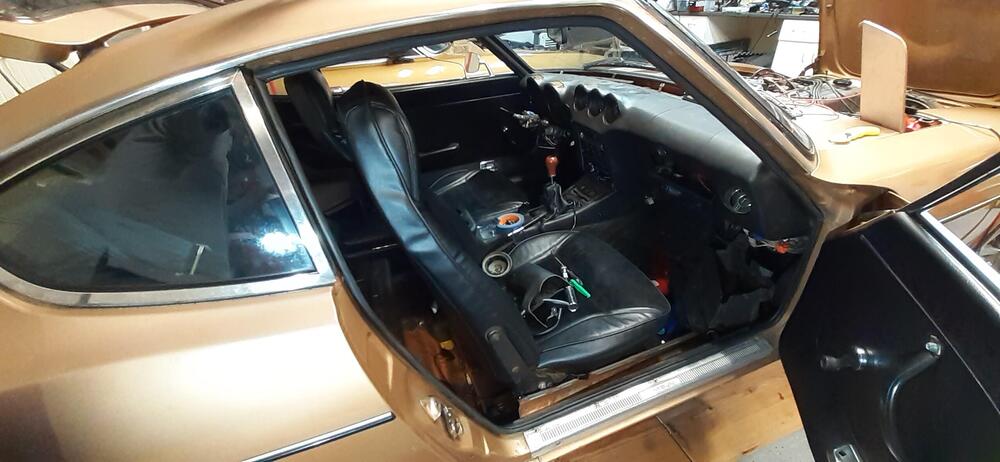
Well, I was going to put some miles on the 240Z today, driving over to a guys shop to see his GTU prepared 240Z in BSR livery. I got in, turned the key, and the engine wouldn't fire. I made sure it had fuel and tried again. I tested for no spark and confirmed. I then tested for voltage at the coil - nothing. Well, I figured it probably had something to do with my work from a couple of days ago. I took the 260Z instead and enjoyed looking at the GTU 240Z. The owner went over the car in detail, and I look forward to seeing at the track at the Mitty in April. When I got home, I tested for continuity between the black/white at the coil and the green white - open line. With my suspicions confirmed that it was at the tach, I went to work. First, I tried the shortcut - blindly feeling behind the tach. I could find the connector on the back of the tach, but I couldn't find the connector on the dash harness. Okay, pull the gauge. Since I have the dash cap (not glued down fortunately), I went through the process of removing it. As I reached behind the tach to get the wing nuts off the back, I noticed that I pulled the turn signal lights away from the tach. I also found I pulled loose the wedge bulb that lights the cigarette lighter and hazard switch. Not only that, I noticed bits of plastic falling that I could tell were from the socket for the wedge bulb. After getting the tach connected, secured, and lit with dash lights and turn signals, I took on my next distraction. I didn't like the how my electronic flasher relay was working with the LEDs, so I got out one of my EP34 flasher relays, added a ground wire to it, and plugged it in. It blinks faster than I would prefer, but it does click, giving it an advantage over the other flasher relay. Now it was time to turn my attention to the decaying wedge socket. I have some replacement wedge sockets, so I grabbed it and tried to fit it into the housing where the old bulb socket resided. I couldn't do it with the housing in place. Anyway, I also noticed the old bulb had a connector in the dash harness. It was a 3 pin stacked 2.8mm connector. "Great!" I thought, "I have plenty of those." And with that, I wired up the replacement socket to a male three pin after verifying I knew the polarity of the new bulb/socket. Then I went to plug it in, and it wouldn't plug in. At that point I compared the old connector to the new and noticed they were ever so slightly different. That meant I had to de-pin both connectors so I could use the new socket with the old connector. Then it was time to put the socket into the housing. I took the optical fibers off the housing and removed it from the dash. I ended up modifying the socket and housing slightly to get them to work together. Then I tried to put the optical fiber back on...only to find I needed the housing mounted to the dash to have the leverage to put the optical fibers back in. To keep this shorter than a Tolstoy novel (at least by a little), I finally got it all back together and working. At that point I quickly put the dash back together. Then it was on to phase two. I put the door seal in the driver's side door. I was about 1/8 of an inch short when I cut the top corner, though. D'oh! I'll keep some of the left over material and make a patch if I have to. I definitely need to take the car for a drive tomorrow after putting as much effort into it as I did this week.
-
The first thing to do is see if you're getting voltage to the solenoid. You can disconnect the wire from the solenoid and measure voltage to ground on that wire while someone is turning the key to start. If it's not getting voltage to the solenoid, they you know it's before solenoid (and rule out the starter for the time being). Two likely culprits are the ignition switch itself and the seat belt relay not behaving. It might be a matter of making a jumper plug for the seat belt relay. Disconnect the relay from the wiring harness and take photos of the relay and the harness. Take notes on the wire colors (including stripe) of the wires in the harness and which pin on the connector. Share that here, and I can probably give you instructions on bypassing the seat belt relay.
-
From the parts manuals, I only see the alternator changing in 3/77 to the externally regulated 60A. Our friends north of the border were getting that alternator even earlier.
-
So I did this last night. In my 73 there was no trimming. The part number I used was VDO PM9196. Rockauto still has plenty available for decent prices. Thanks @jfa.series1 for letting us know about it.
-
Actually the relay on the right is the horn relay. The give-away to me is that I can barely make out the B and the S.
-
So I got the seal for the passenger side today. I wasn't sure it would be thick enough when I did my first test fit, but I took the plunge and installed it on the full door seal. The door doesn't compress it much, and the door closes easily. I did use the top corner for the meeting of the ends. I got it just about perfect, too. Thank goodness. Anyway, the door closes easily, and it doesn't seem to rattle. I'll take it on the freeway tomorrow to see. Door Closing.mp4 I then took on the glove box and promptly wrote it off. RIP, original glove box. Well, I got the glove box door put back on for now. While I was looking around that area, I decided to go ahead and try to replace the blower motor with the Kia one I bought a few years back. After a misstep in wiring, I got the positive and negative figured out, and the fan is an improvement over the old Datsun fan. By the way, if you do that on a 240Z, use the non-latching T connector on the Kia fan. You're welcome. After that it was time to put the dash cap on. At first it wouldn't fit right. Then I remembered that I needed to remove the knob for the hazard switch, first. After that, the cap fit just right. As I fiddled with the lights, I noticed that the headlights were not coming on all of the time. There is an issue with the switch. At least I have a good stock of switches. The first switch I grabbed had a bad 9-pin connector from overheating on the parking light circuit. I replaced the connector, and I found this little screwdriver did a better job releasing the pins in the connector than the de-pinning tool. I installed the replacement headlight switch, and found the bullet on the white/red was bigger than the female bullet in the dash harness. I took it back out and found a switch that had the right sized bullet. Okay, the lights were working consistently. I put the steering wheel back on and adjusted the combo switches so the steering wheel could cancel the turn signals. I attached the horn button and got ready to put on the plate that goes on the front edge of the dash by the windshield. Then I realized I didn't put the nut back on the steering wheel. Who likes a loose nut in a Z? With the steering wheel PROPERLY secured and the horn button in place, I secured the metal plate to the dash and called it a night.
-
Thank you for clarifying. I wasn't paying close enough attention to the picture you posted. That's what I get for trying to read when I'm tired.
-
Have you tried here? https://zcardepot.com/products/headlight-gasket-rubber-seals-240z-260z-280z
-
I think the shock mounts are completely different. Here's the image for the 75/76 Here's the image for the 77/78 I would doubt they interchange easily.
-
And I was just going through the thread on my 73 and came across this photo. I think @Pat Carr's photo is hard to beat since he has owned the car since 79.

-
I don't think it's stealing any thunder. I appreciate you re-posting the pages from the manual. It's always good to compare the photos to the manual, too, since it can be a challenge to track the errata in manuals.
-
It didn't occur to me either when I did it in the 260Z. Then the positive wire came out of the gauge light for the hazard switch and touched ground. Not only did I lose the running lights, but it melted the connector at the headlight switch some. If I had a lower rating fuse, it would have popped before the damage. Be sure to check out the thread on my 73. I just went through changing out the gauge lights on it. I even put a link to an LED bulb that will fit under the stock lenses in the gauges.
-
I put an ammeter on the 240Z after I finished with my gauge bulbs last night. It was 2.5A with just the running lights and 6A with the headlights. Now I need to put lower amperage fuses in the fuse box to better protect the wiring.
-
@kats I have a 260Z evaporator on a shelf in my garage. I'll take some photos for your for comparison.
-
I was noticing the corner at a 45 is how the old door seal was done. I was thinking of doing it there, too.
-
Thank you for the photos, @kats. Matsuosan talked about the AC in the 240Z when he was at ZCON in 2018. I can't remember if it was during his presentation or when I was helping him with making the slides for it. He said he received push-back from the engineers because he wanted the evaporator to fit behind the center stack. I don't think I ever saw the eventual solution. If you have a chance, could you post more photos of the AC components?
-
Good news! So far I'm upright and functional. My upper back is a little sore but none the worse for wear. I'll put the dash back together today and experiment with door weather stripping today. I have two similar types arriving today that bear a strong resemblance to the Kia Sportage door seals. That should be a lot easier than the gauges.
-
Trust me, I've made in a concerted effort in the last 2 hours to do a red-neck spinal adjustment on myself by twisting my back frequently at various angles. I was definitely spent after all was said and done, though.
-
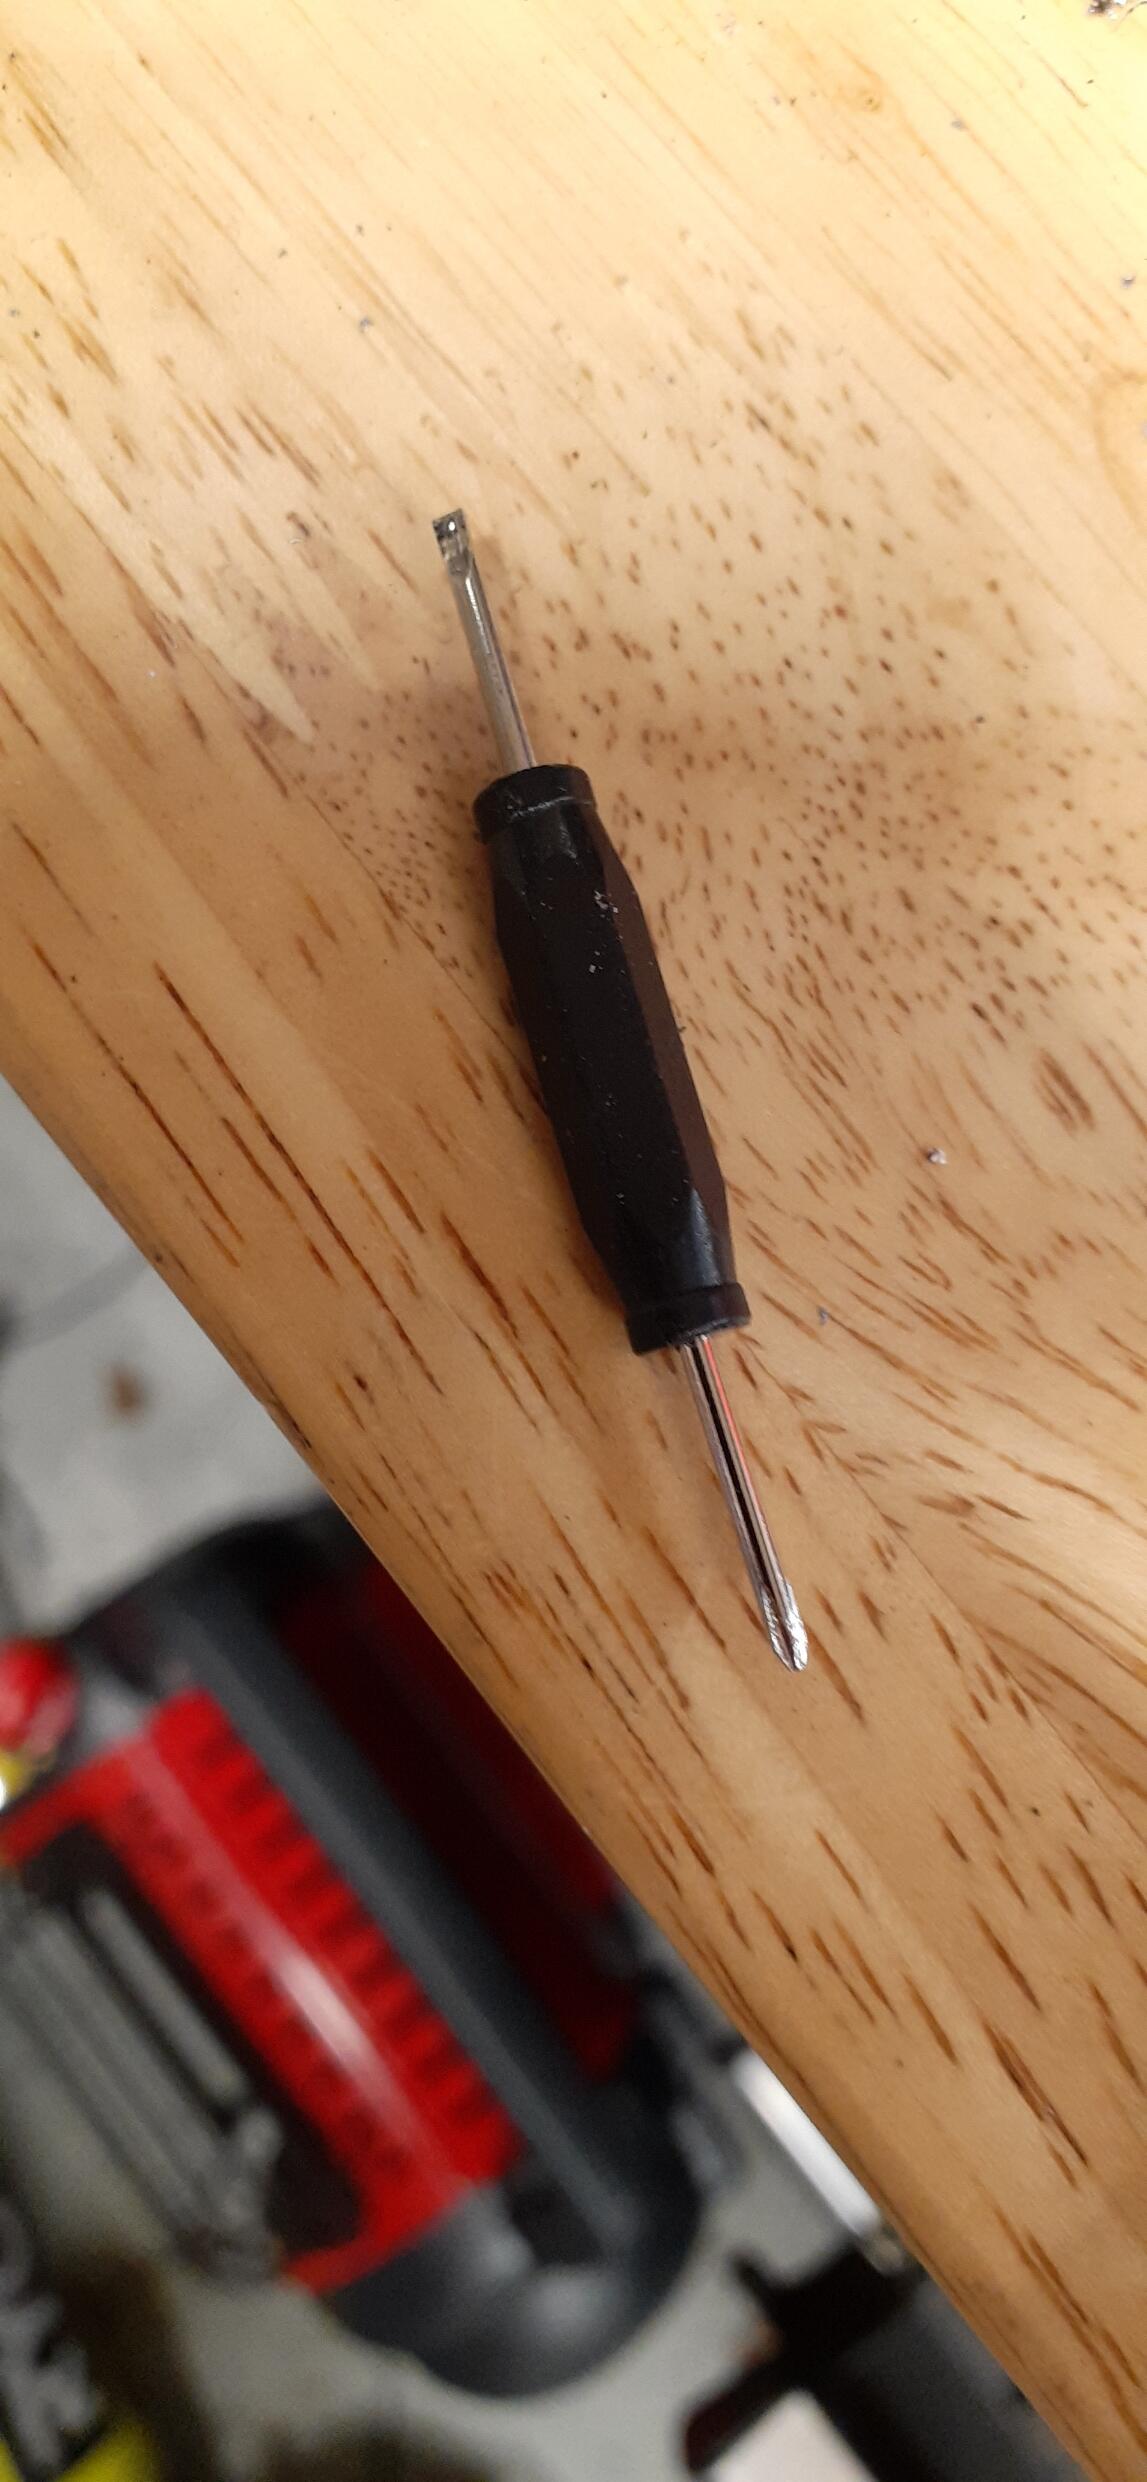
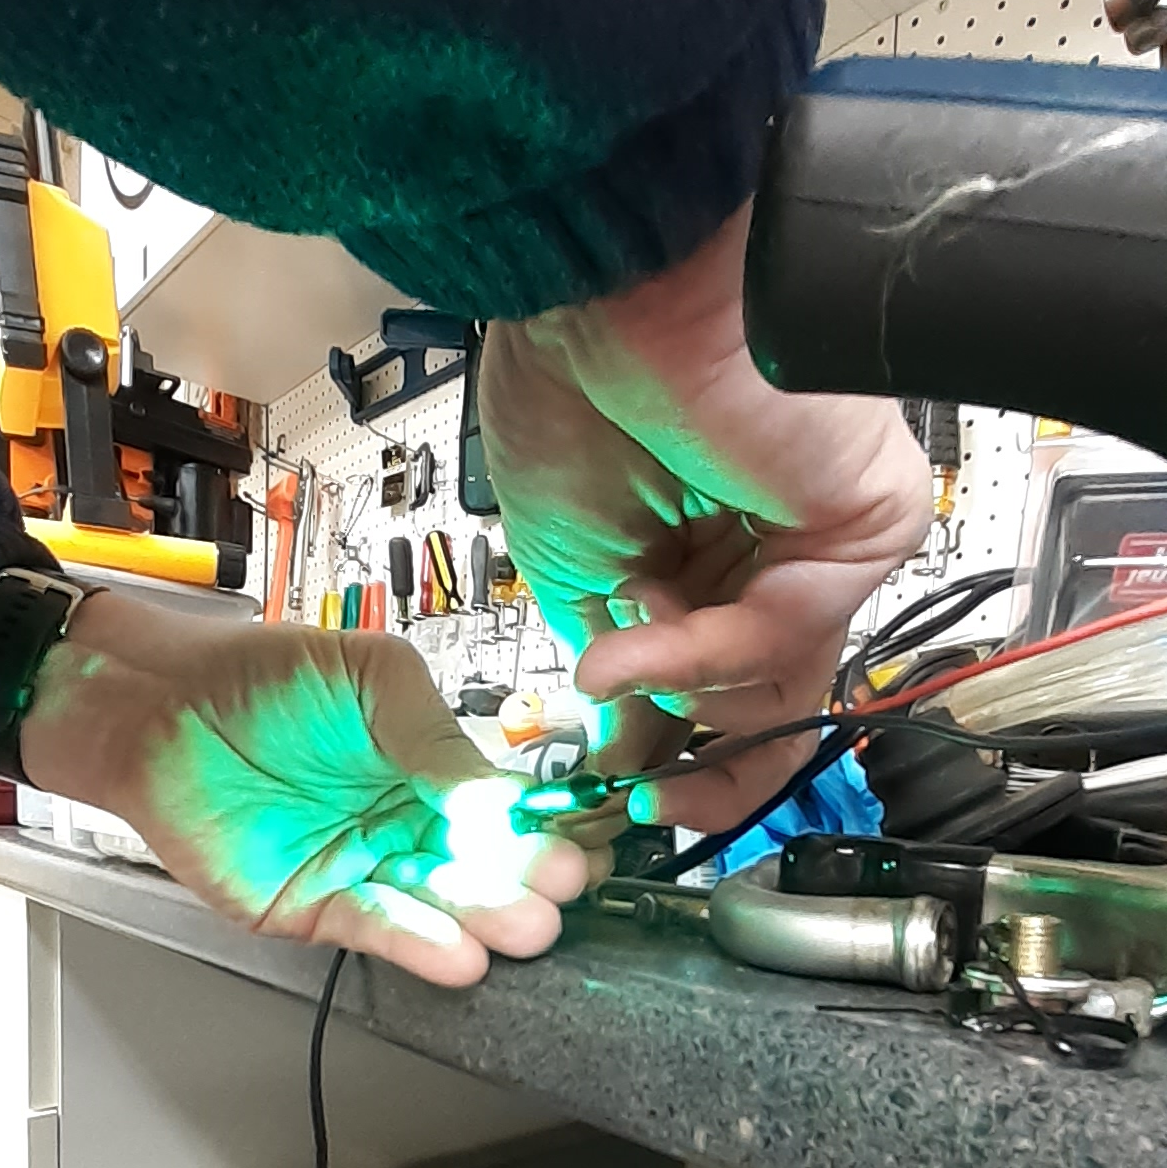
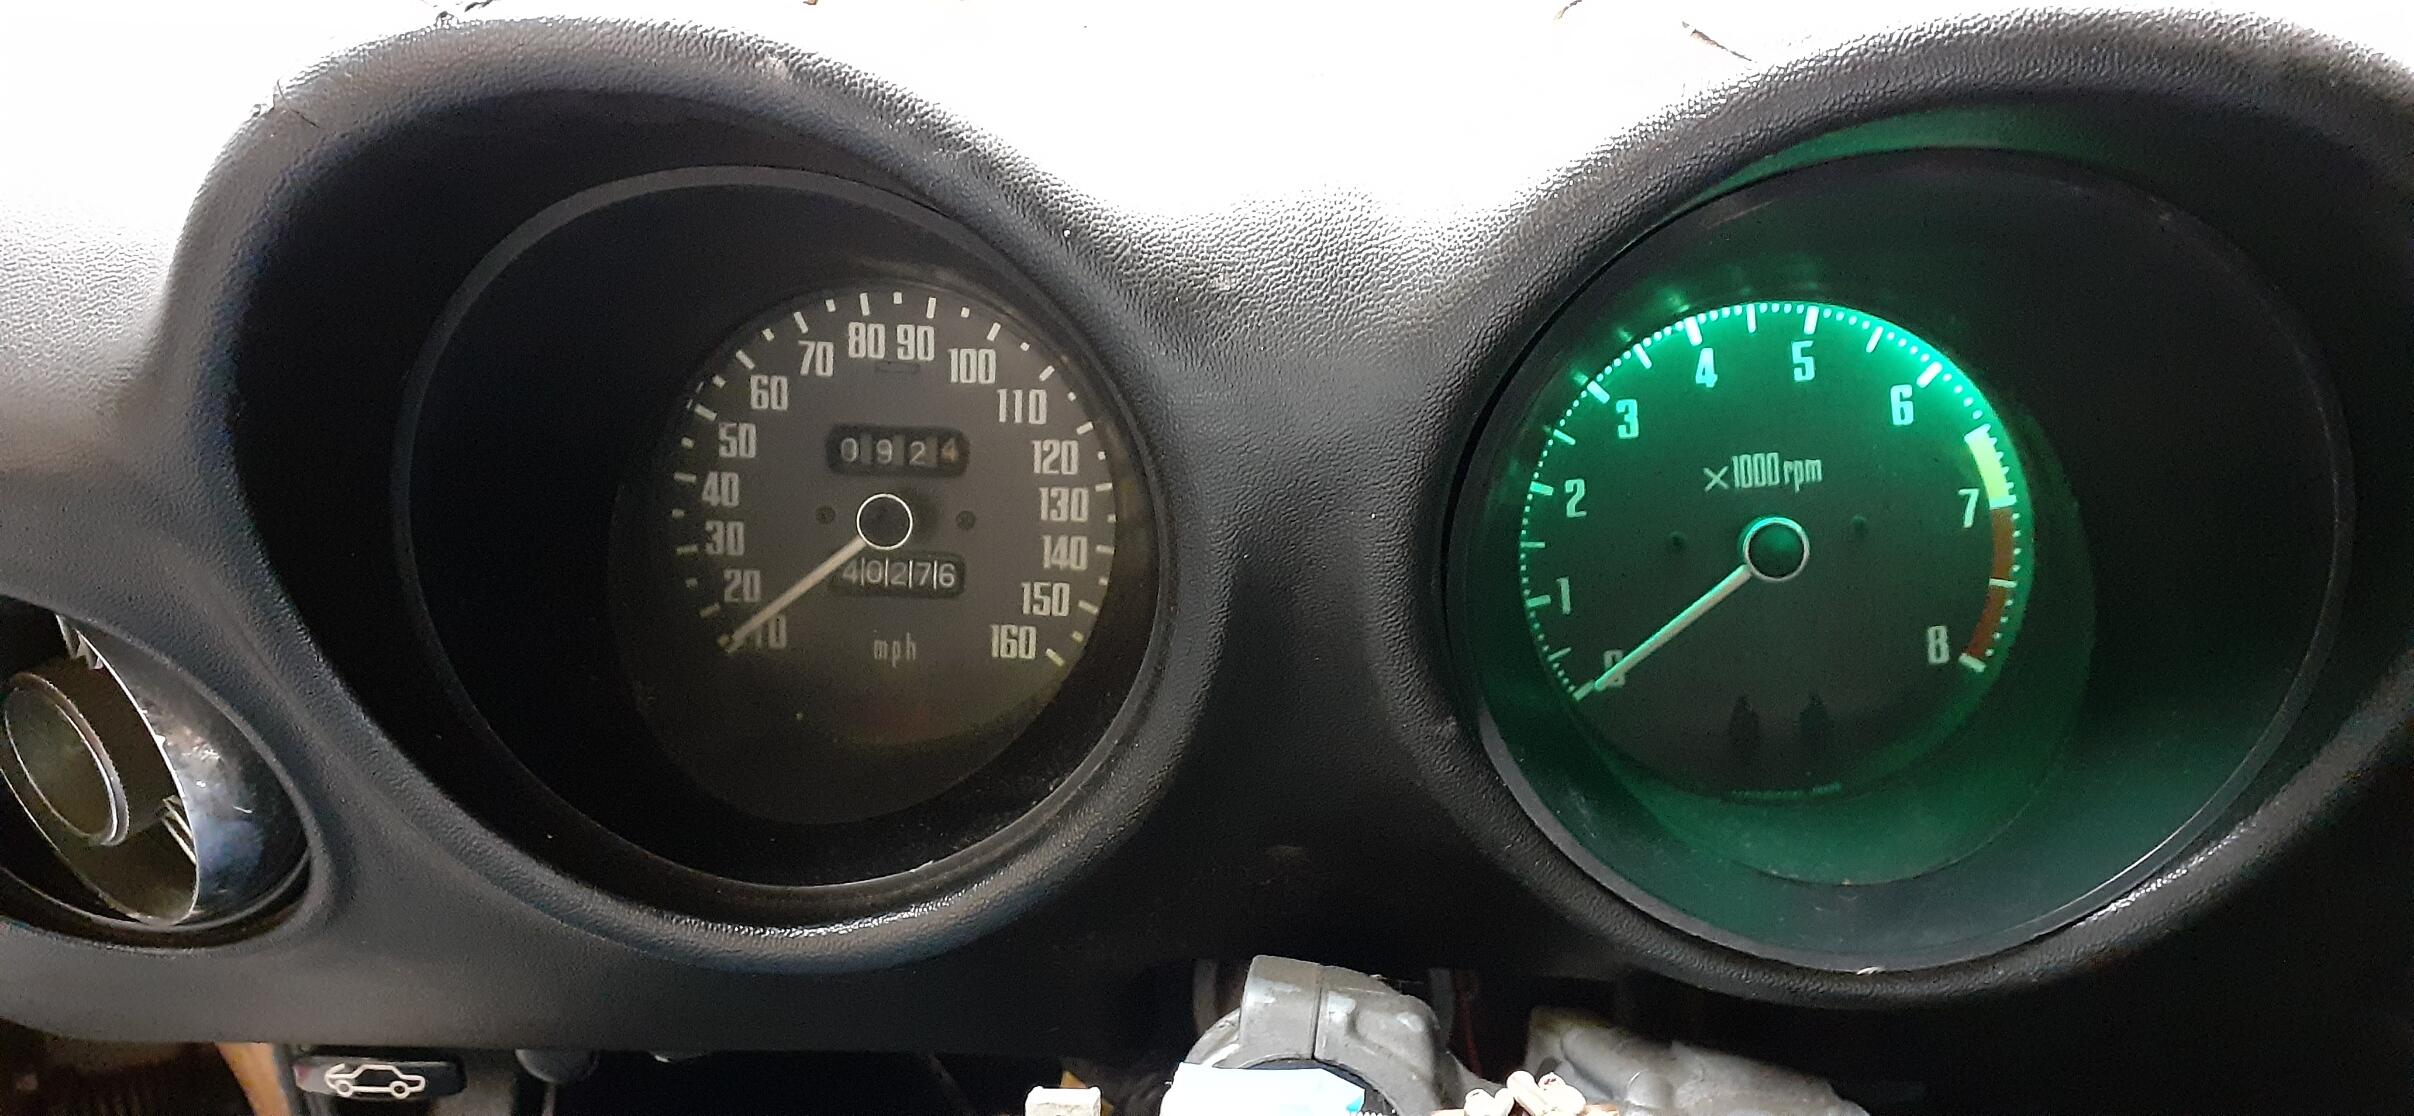
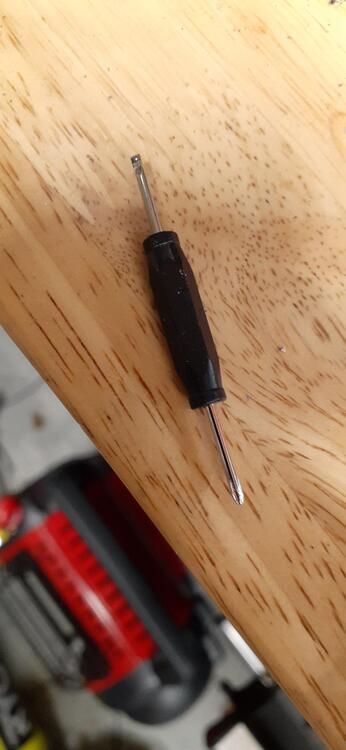
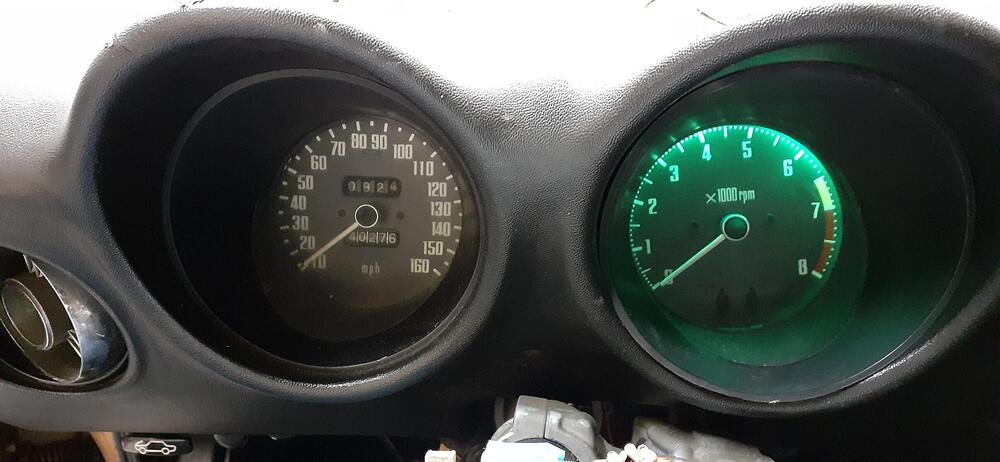
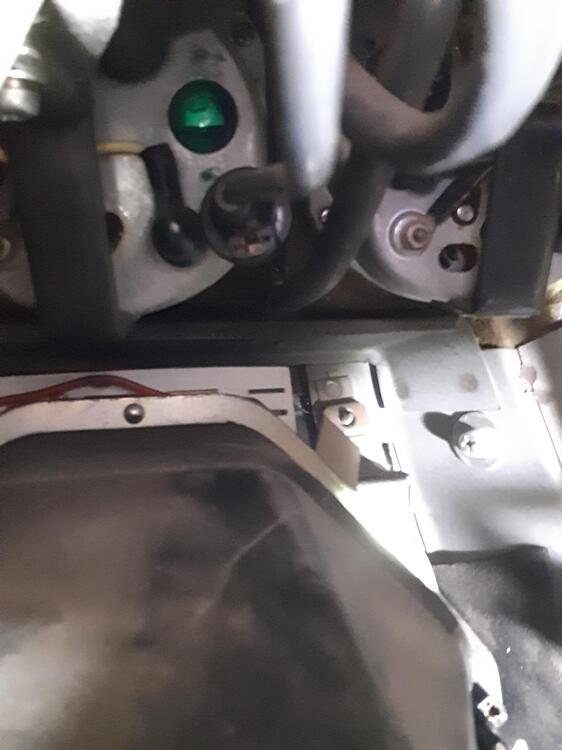
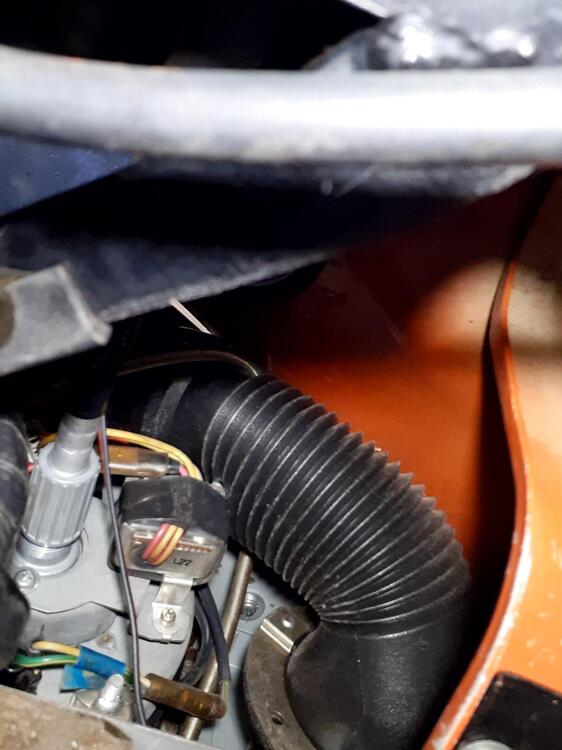
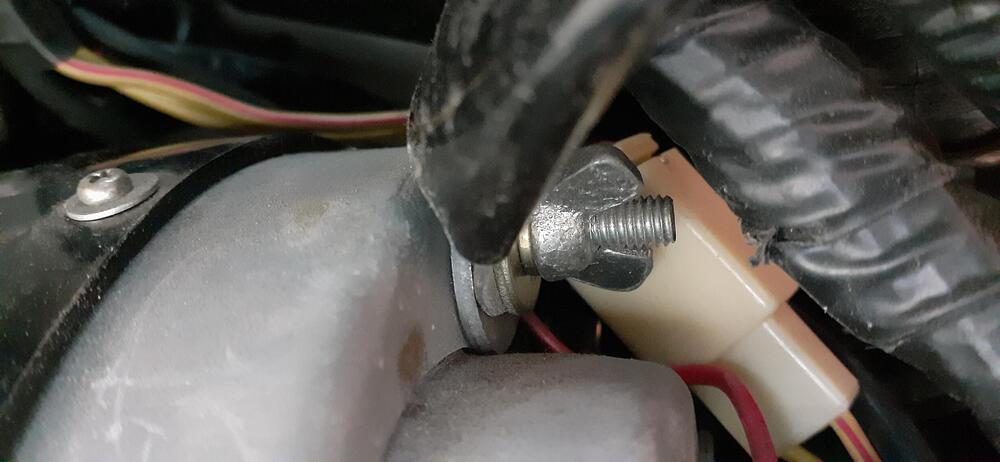
Okay, the gauge bulbs have been converted to LED. The bulbs I got today worked well. https://www.amazon.com/dp/B092VNXS6H These are green LEDs, and they are small enough that they work with the green lenses in the gauges. Prior to installing them, I ran a test with my power supply. And since the tach was handy, I did the bulbs for it and did a test lighting. So for the center gauges, I didn't want to take out the vent control panel. I manipulated the lights from the hole for the tach, from the glovebox side, and from the top. By the way a small light and a cell phone camera can go a long way to orient you to get to areas you can't see. The last photo was taken through the top of the dash with the camera in selfie mode. Far and away, the biggest challenge was the speedometer. The top bulb is a bear and a half to reach without pulling the speedometer, but I managed to get to it just with removing one wingnut and loosening the other. The bulb in question is above the module on the back of the speedometer and is partially blocked by the vent hose. Here's the wing nut that I loosened...mostly because I wasn't sure I'd be able to get it back on. And I think the results justify the effort. Pro tip on removing the old bulbs. Have a small screwdriver handy. The blade should be about 1/8 inches (3mm) wide. Press down on the bulb with one hand while leveraging the screwdriver blade against the tab on the bulb and the bulb housing. Once you get it moved away from the left, you can use the screwdriver blade to push the tab to finish rotated fully to be removed. I was pretty worn out when I was done, so re-assembly will be tomorrow, and I hope to have a new door seal arrive so it can go in, too.


-
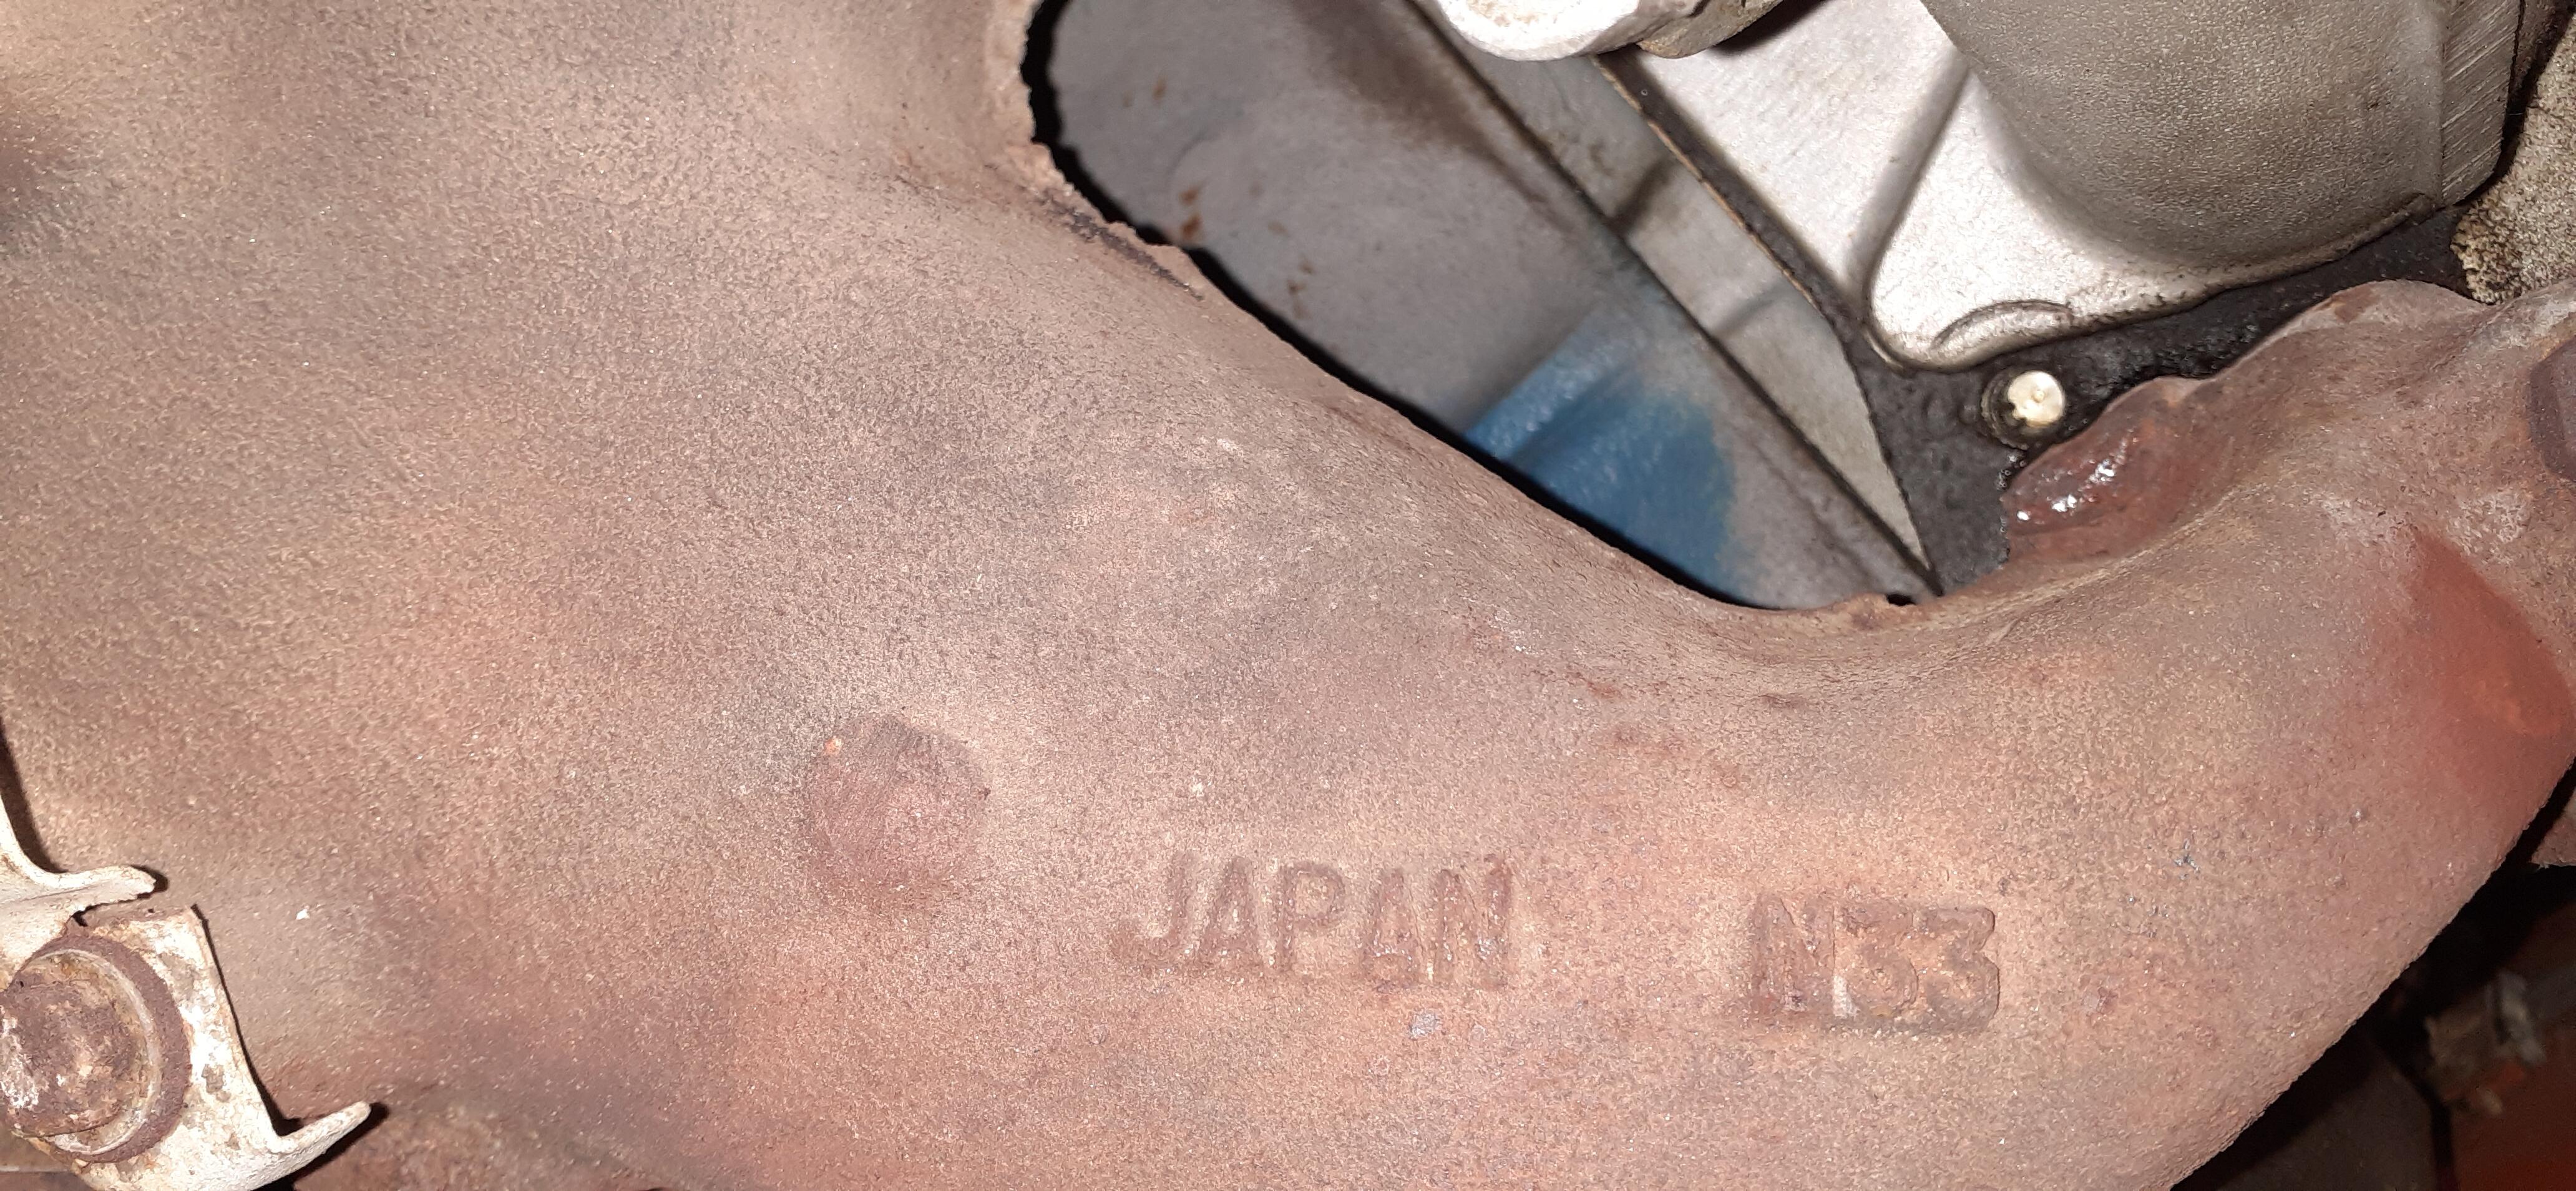
No you should have the externally regulated 60A alternator, 23100-N3303, in your car. The round plug in your last photo is the VR. Your ground wire at the alternator is looking a little green. You might want to find some Caig Deoxit and spray it down good. Heck it wouldn't hurt to do that on the connector for the VR and the T connector at the alternator, too.