HusseinHolland
Community Member
-
Joined
-
Last visited
Everything posted by HusseinHolland
-
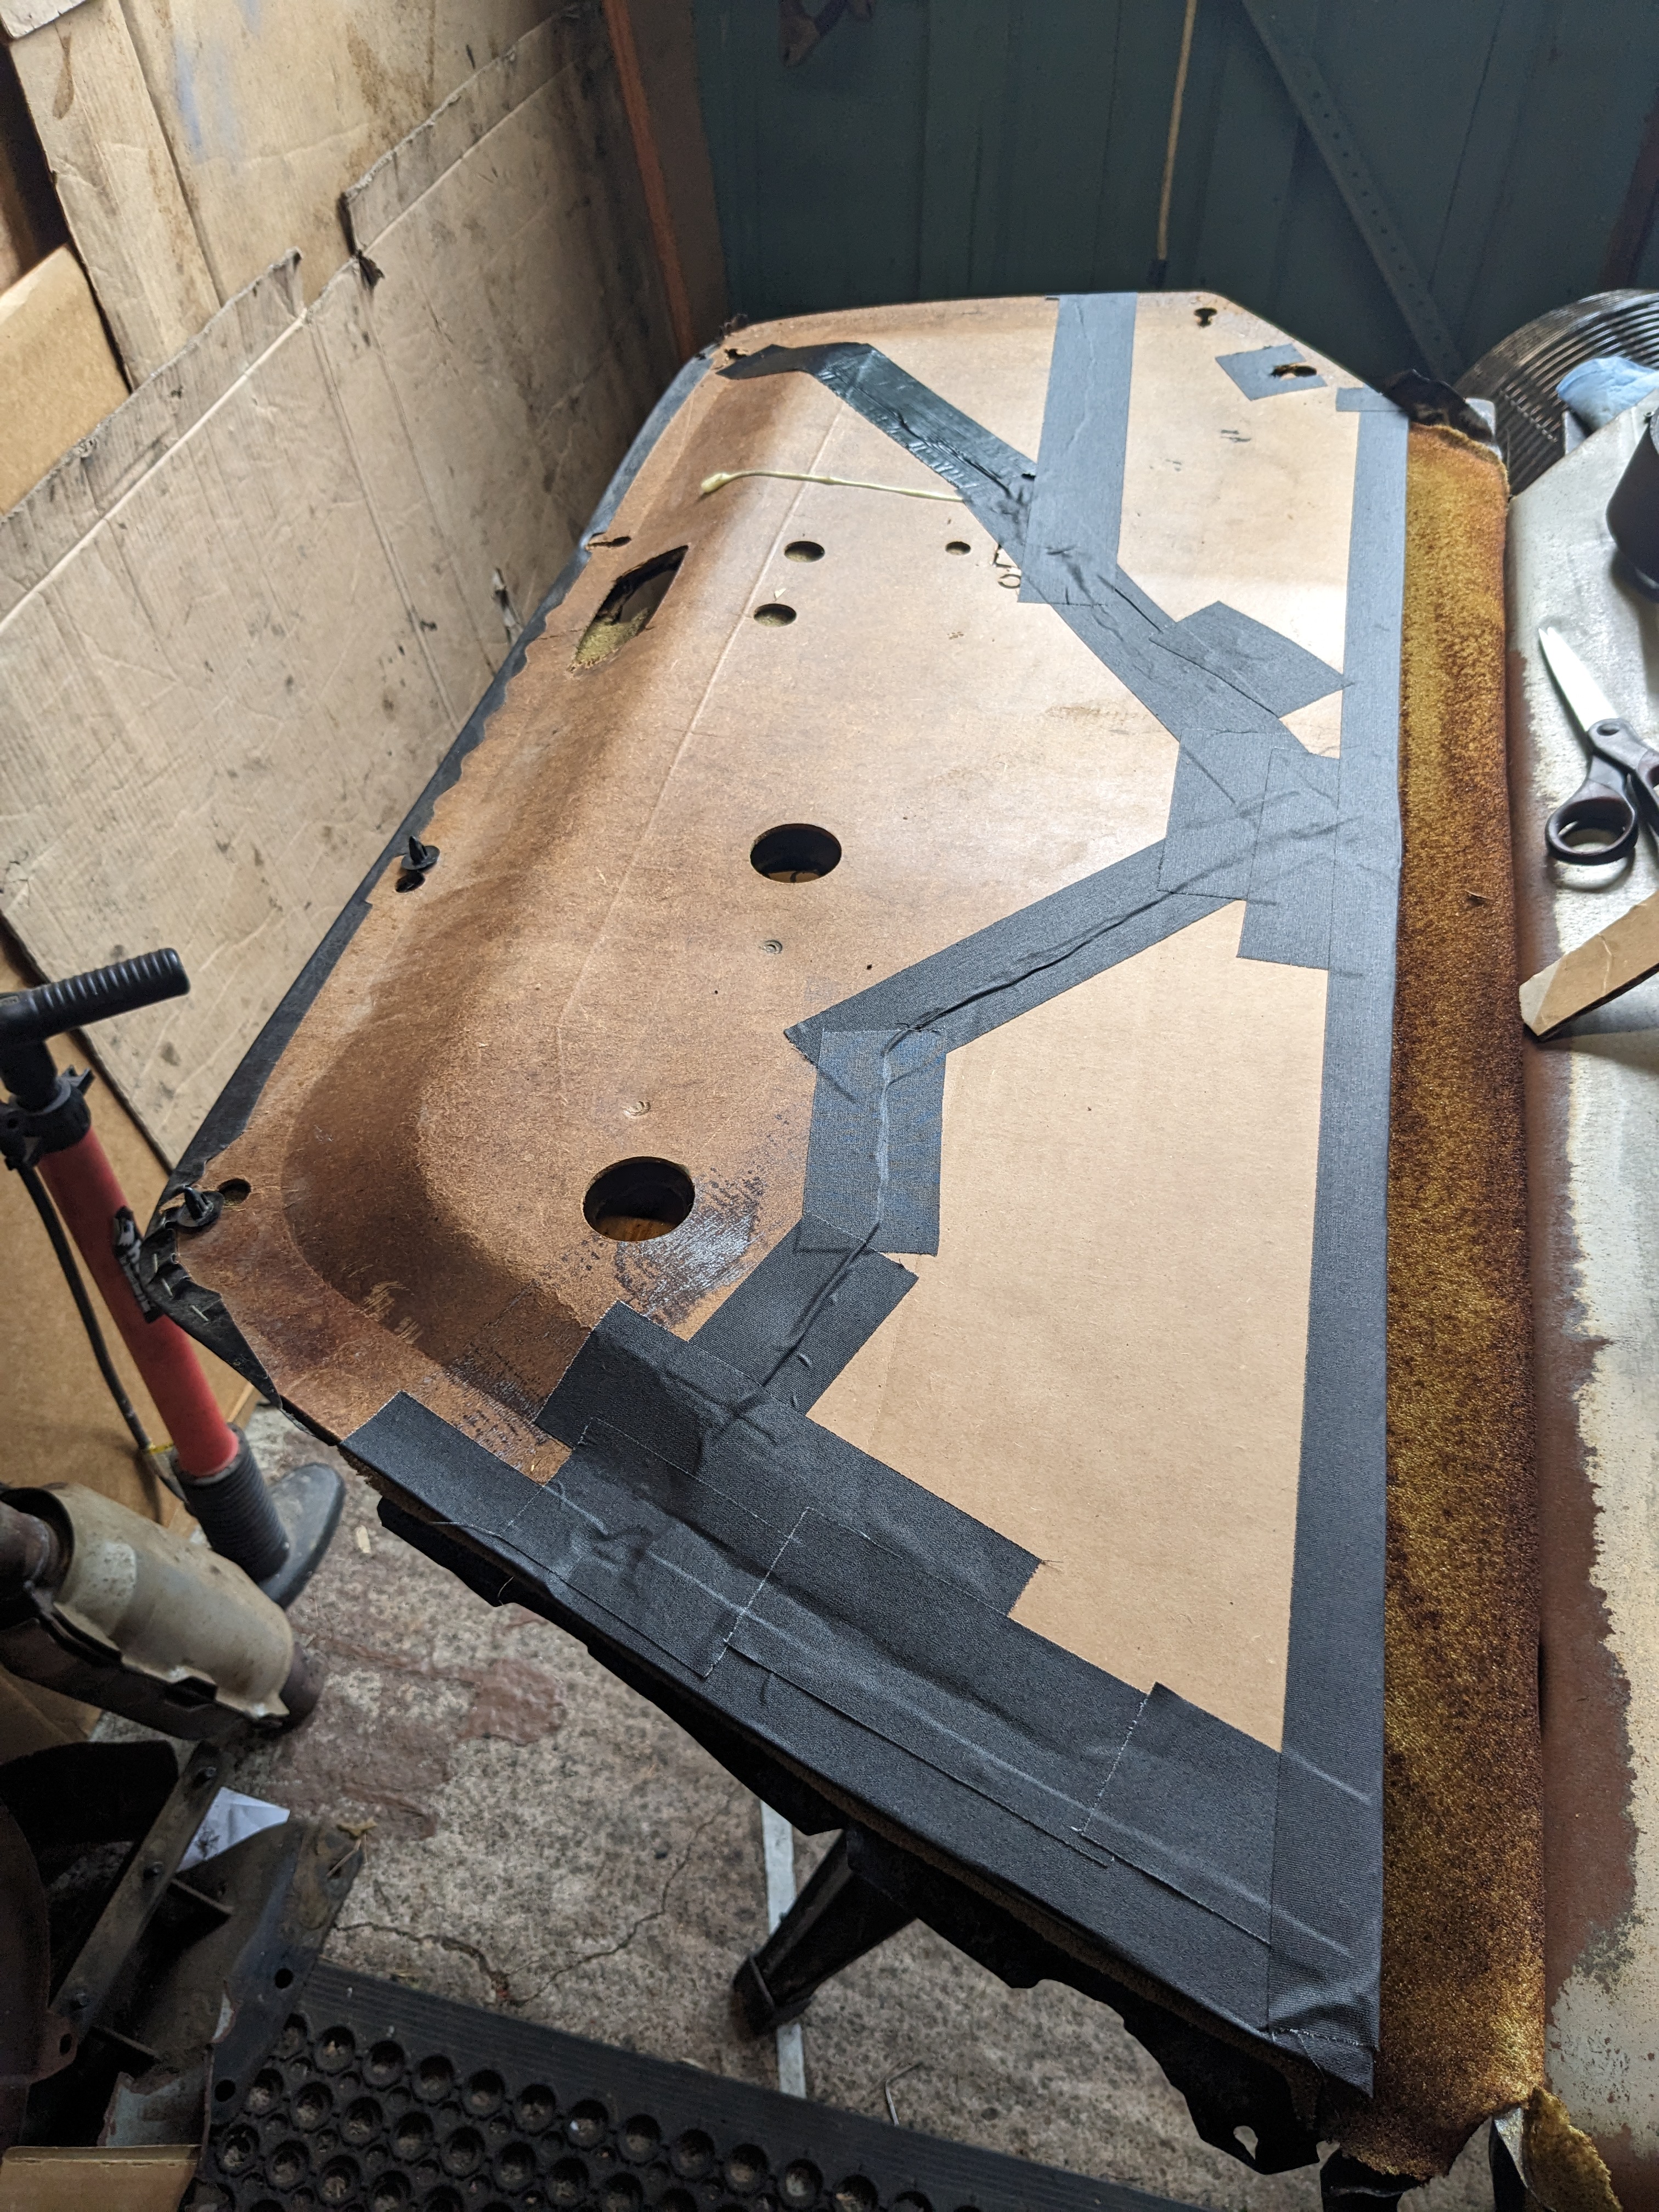
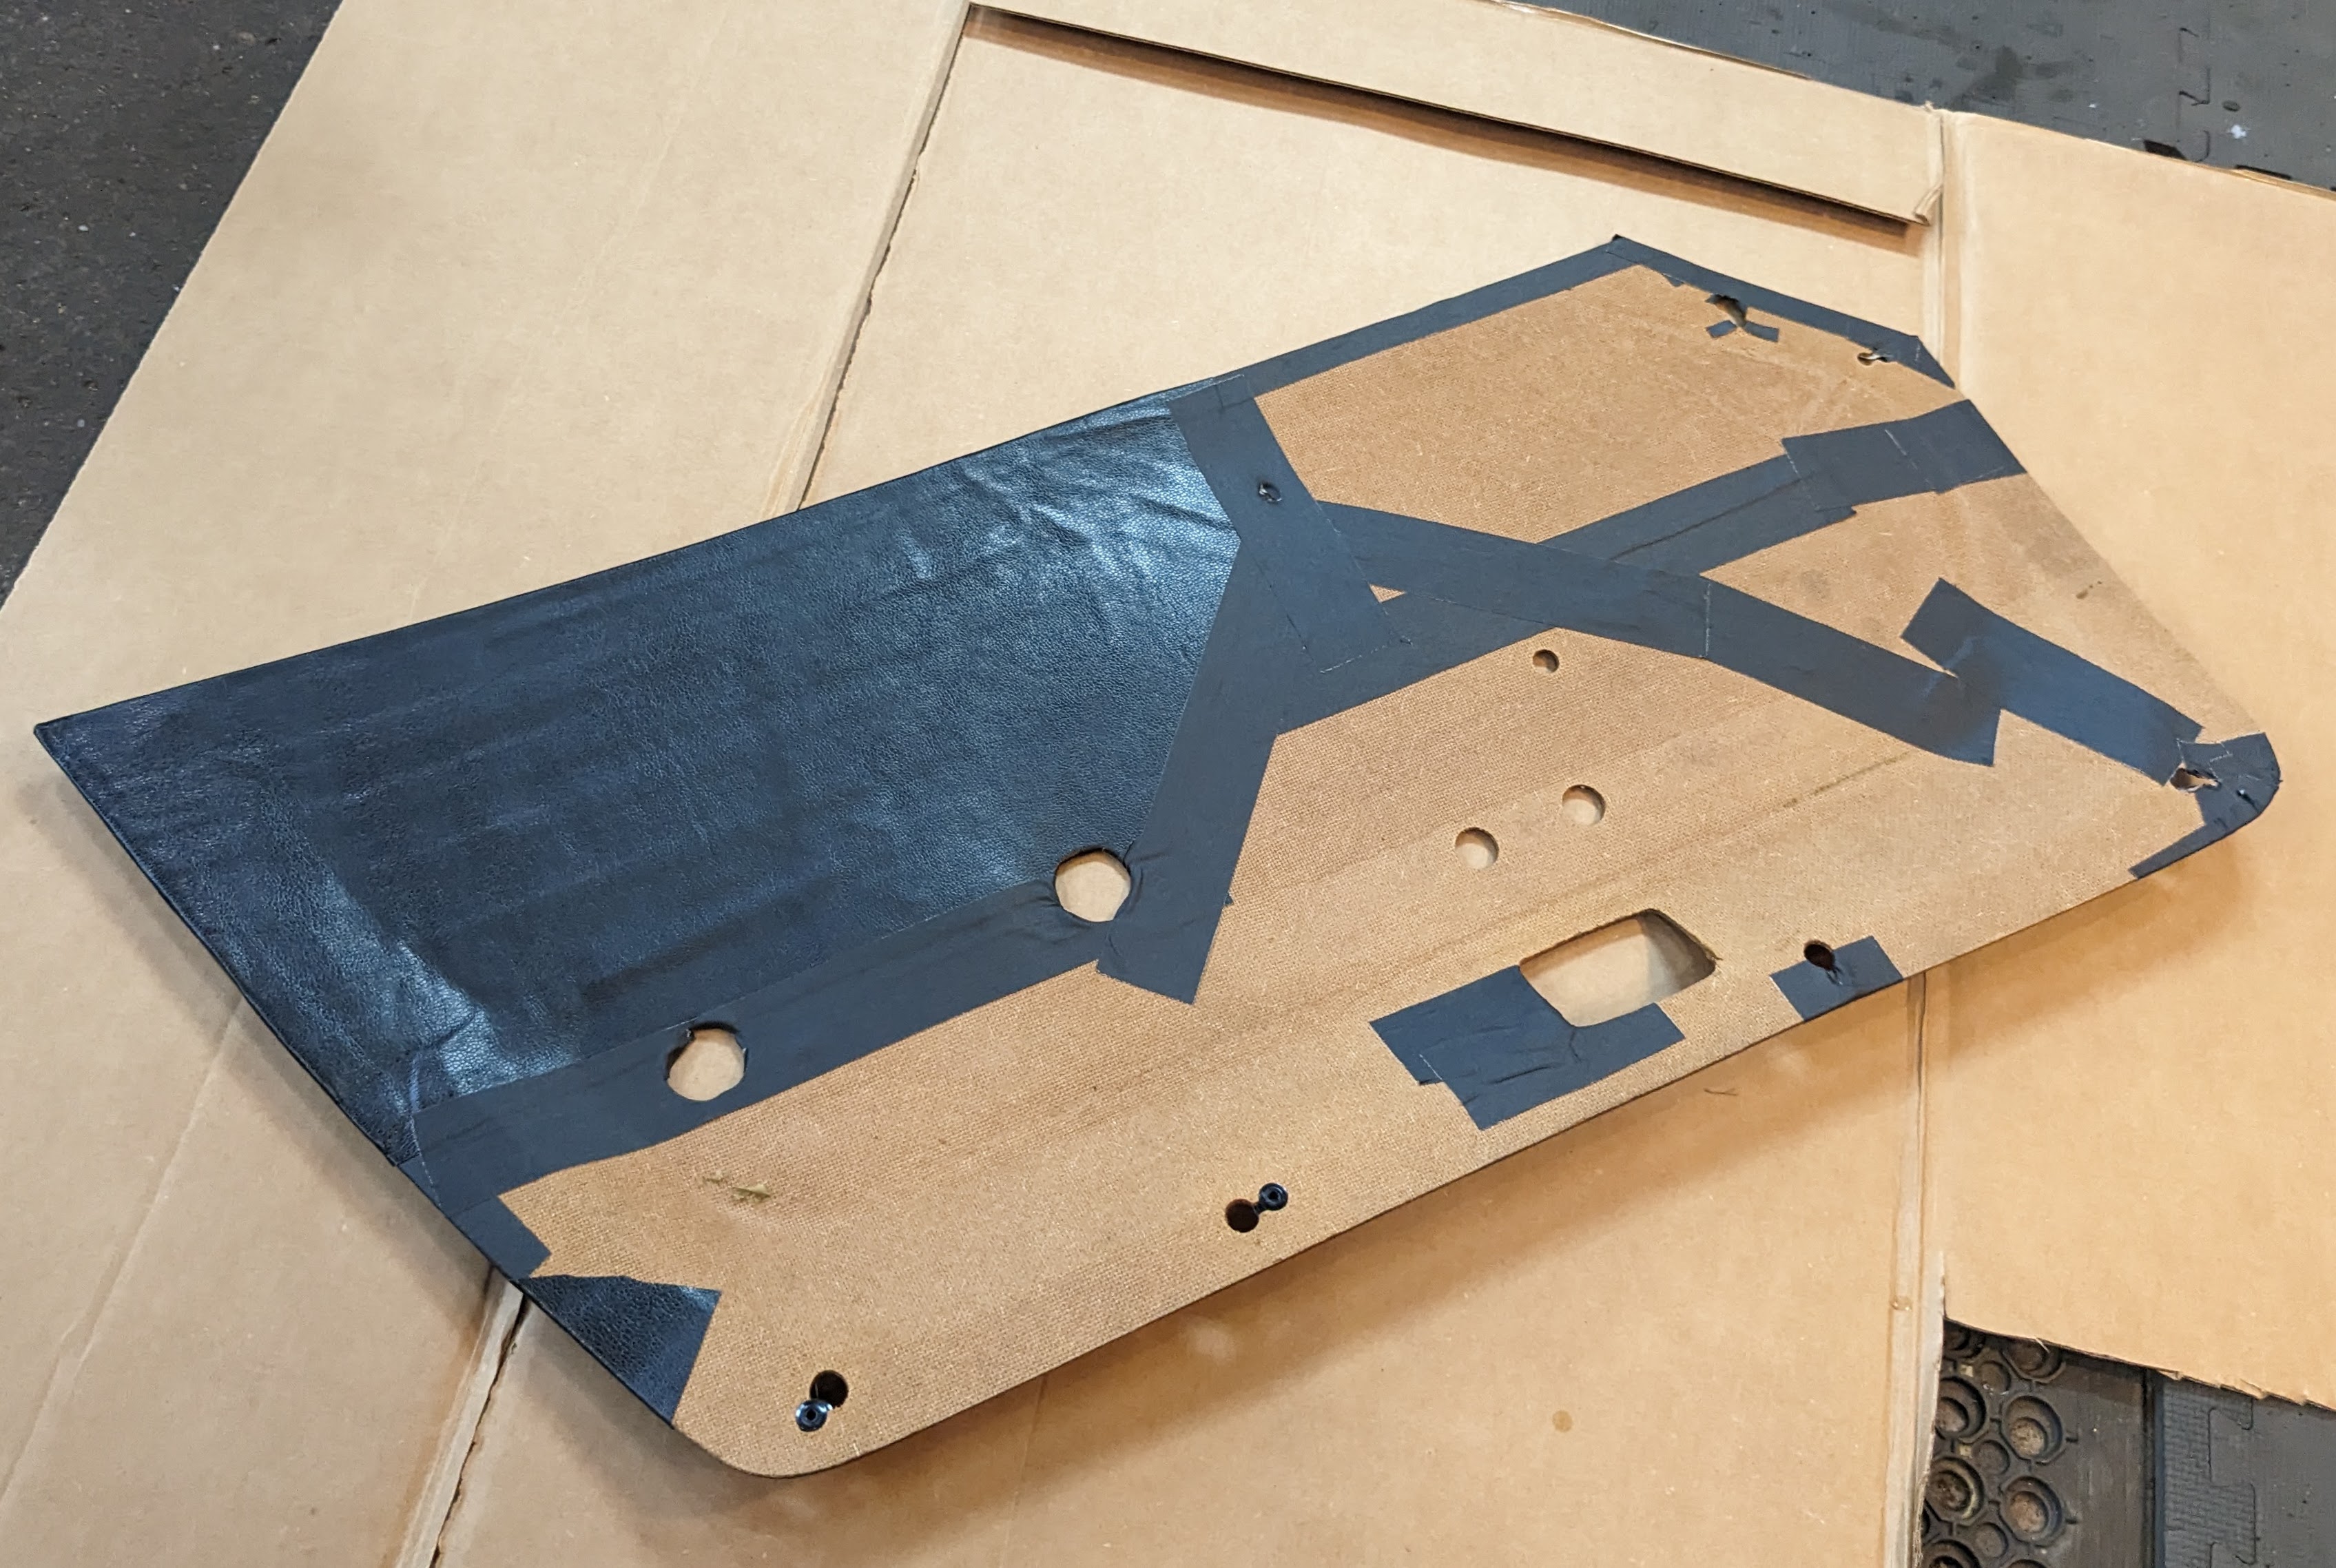
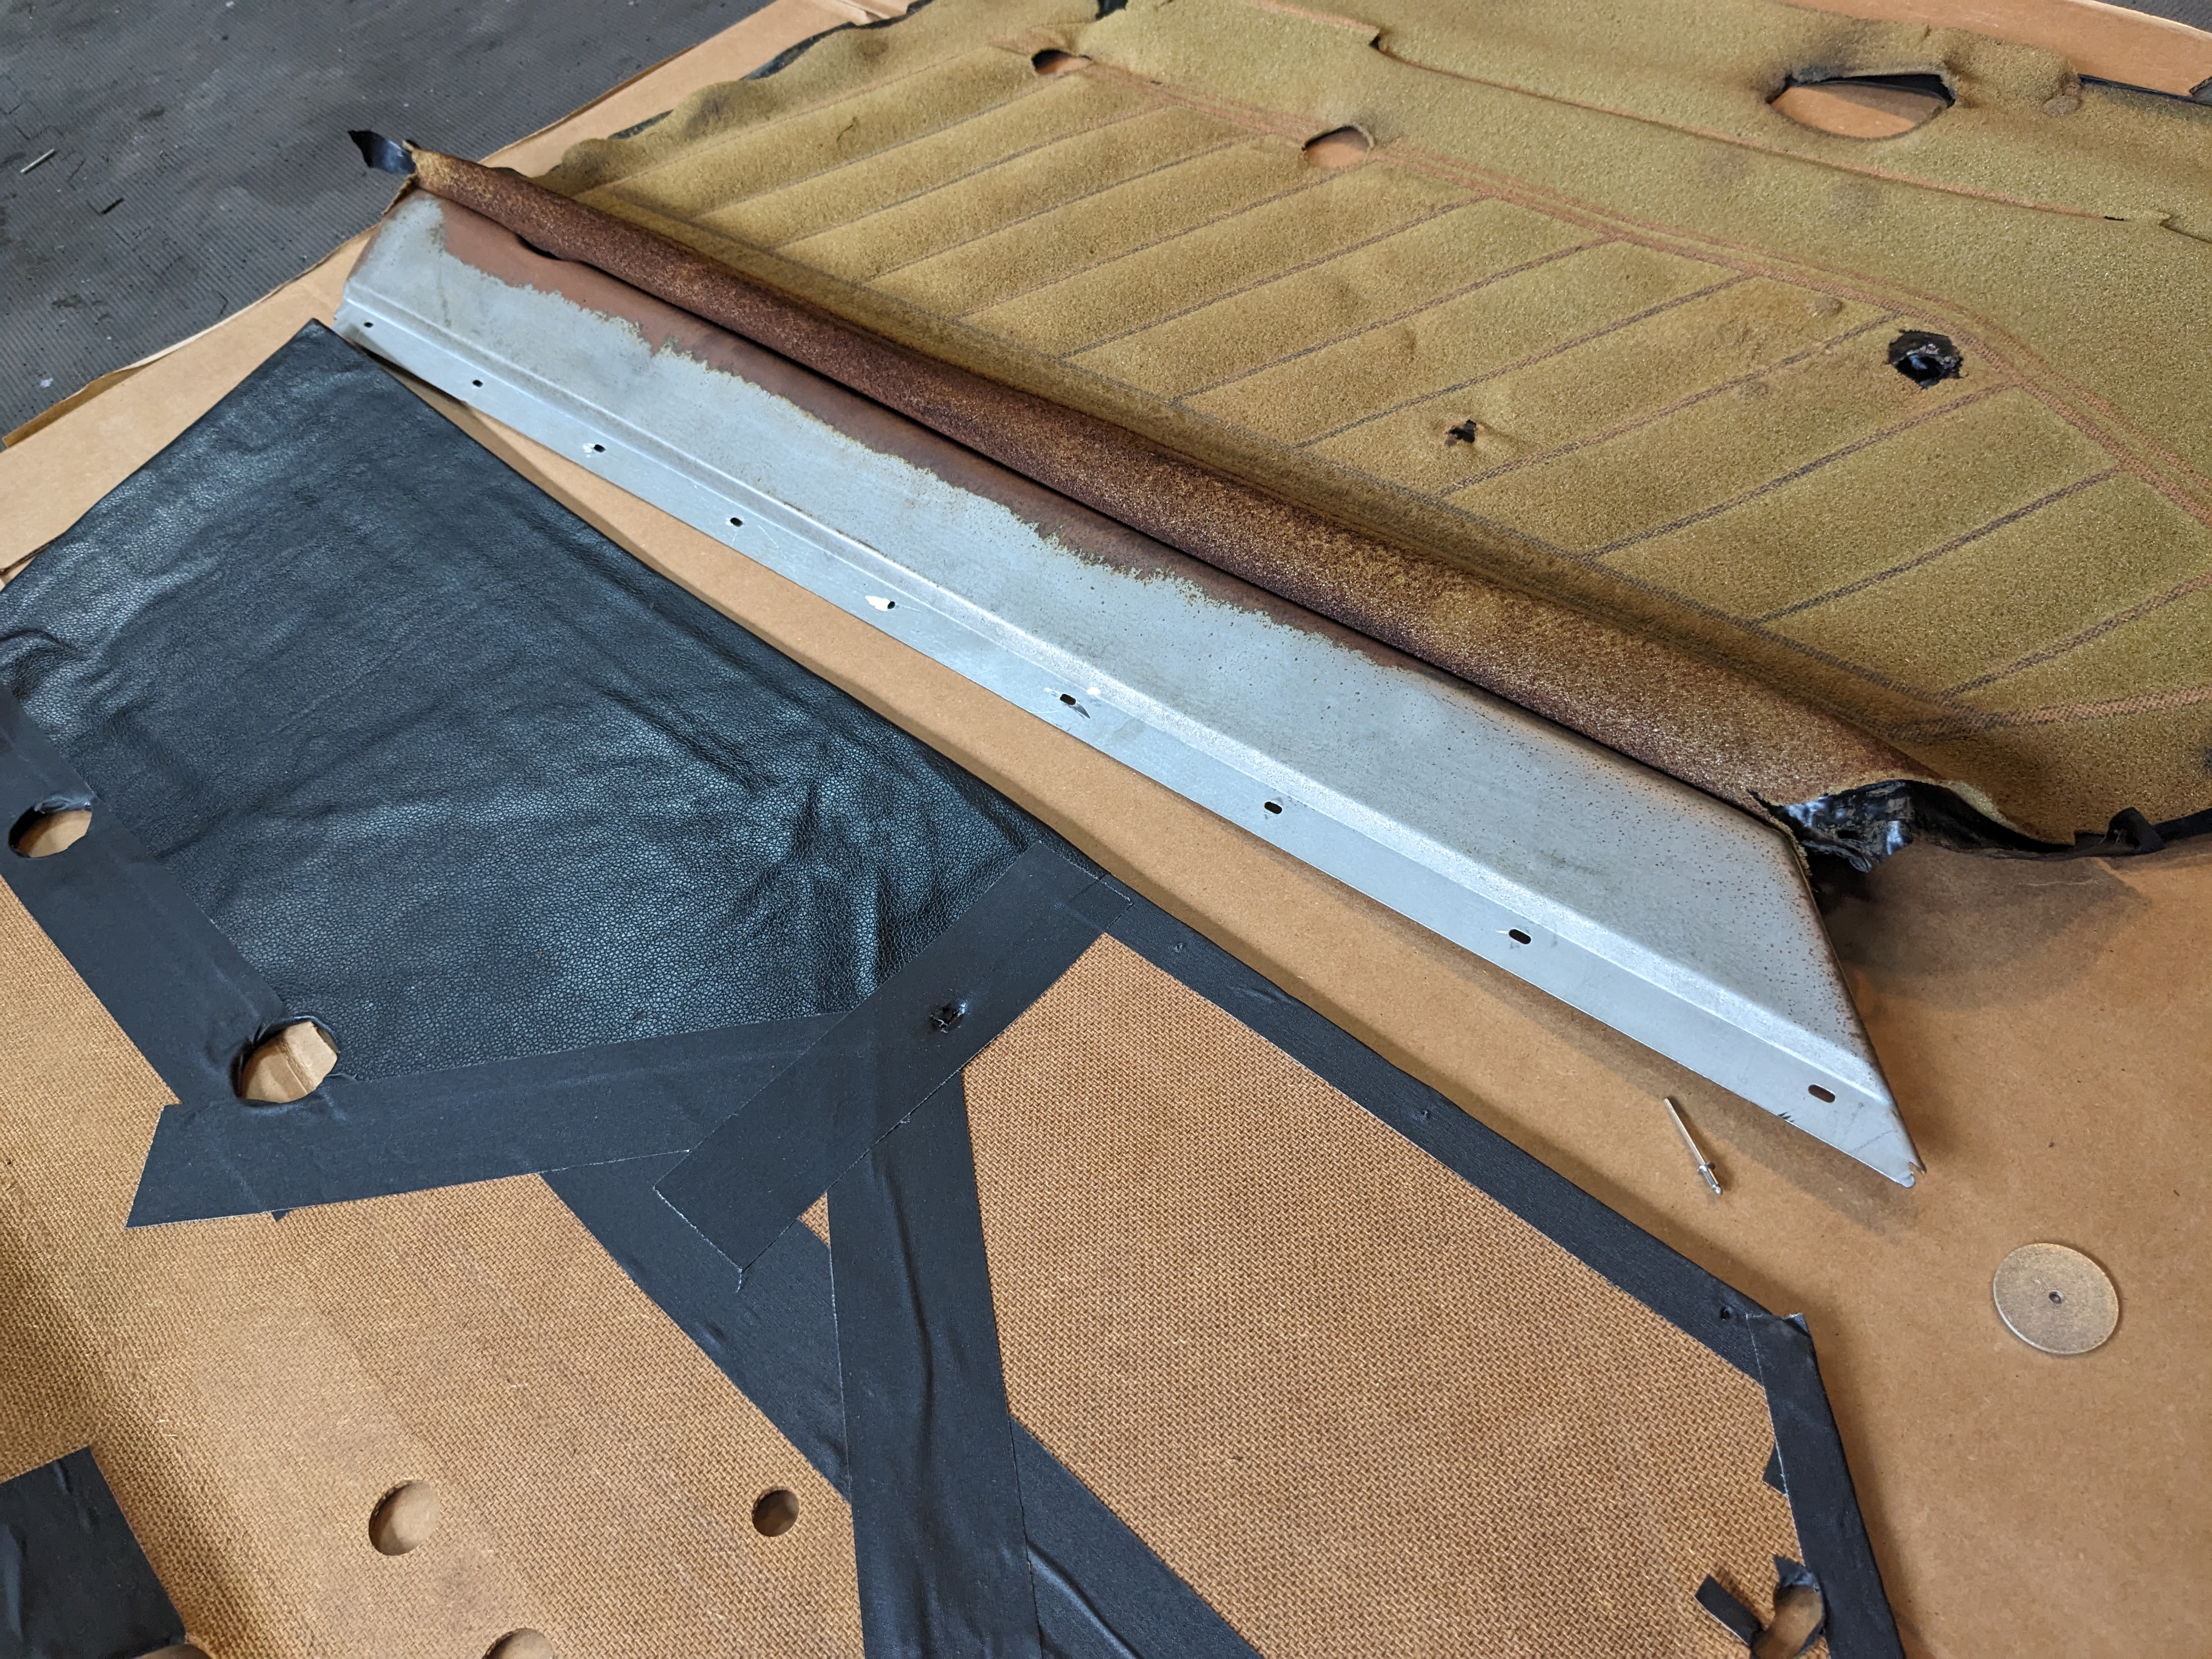
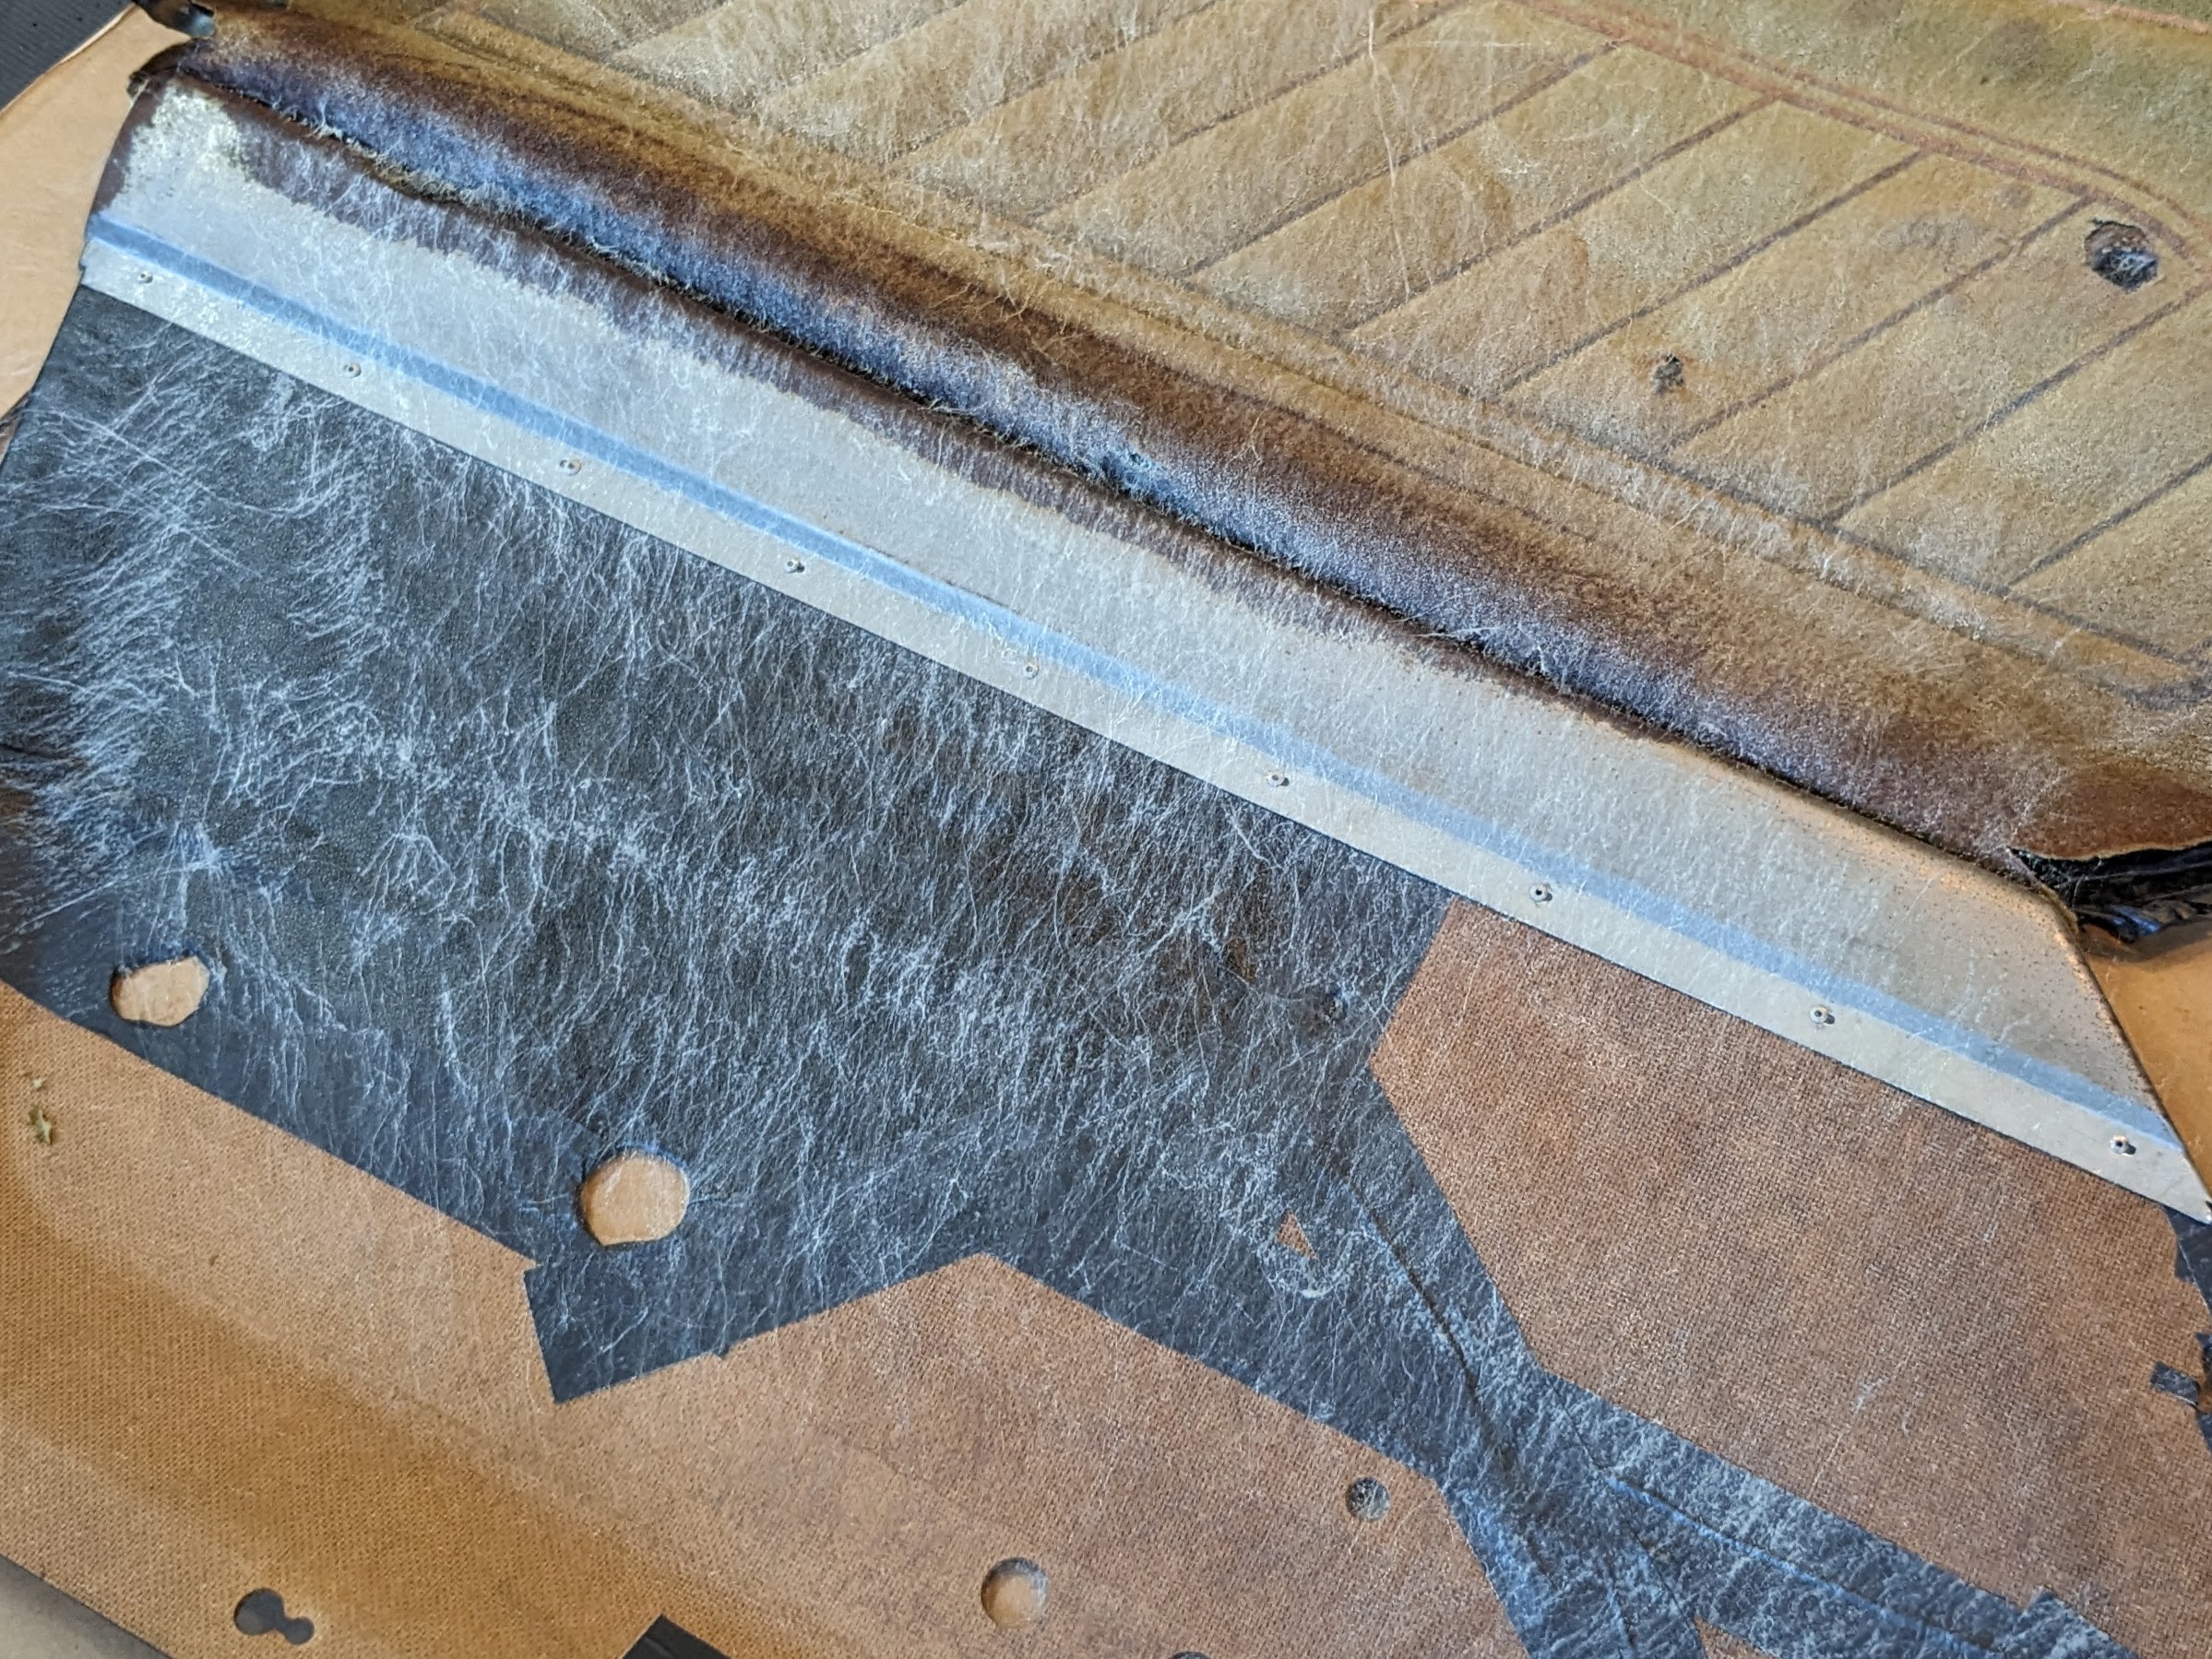
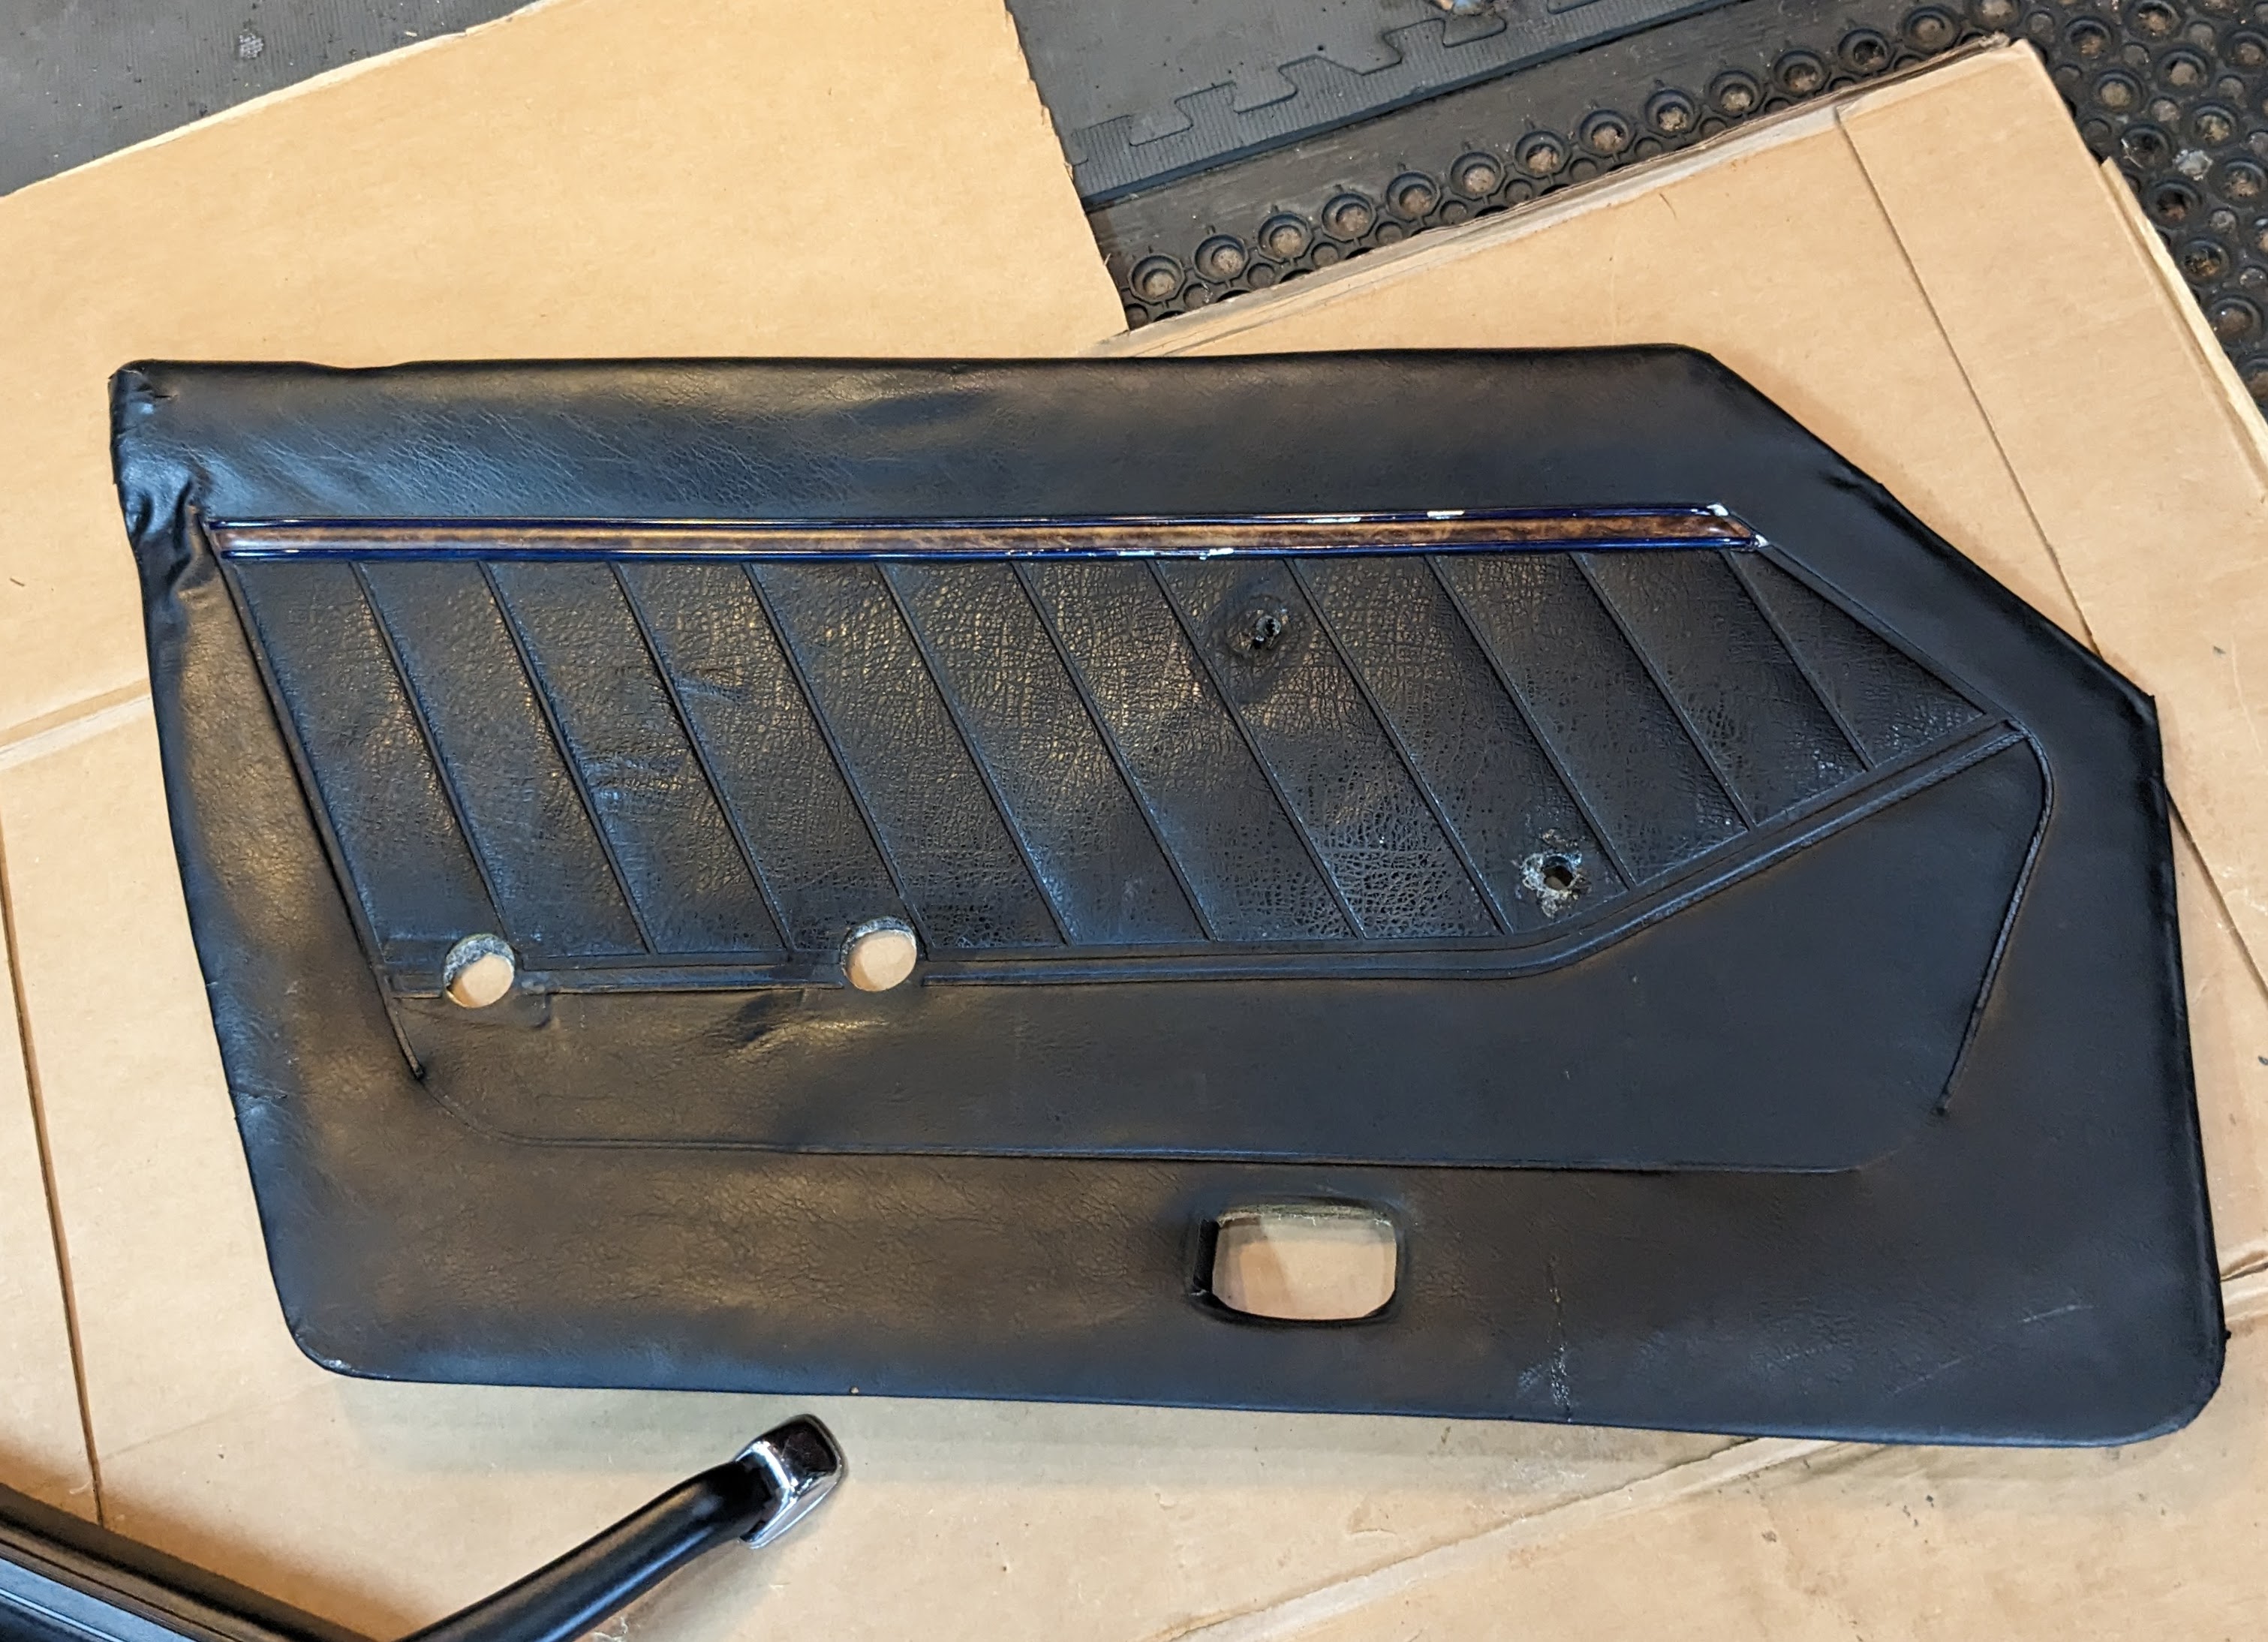
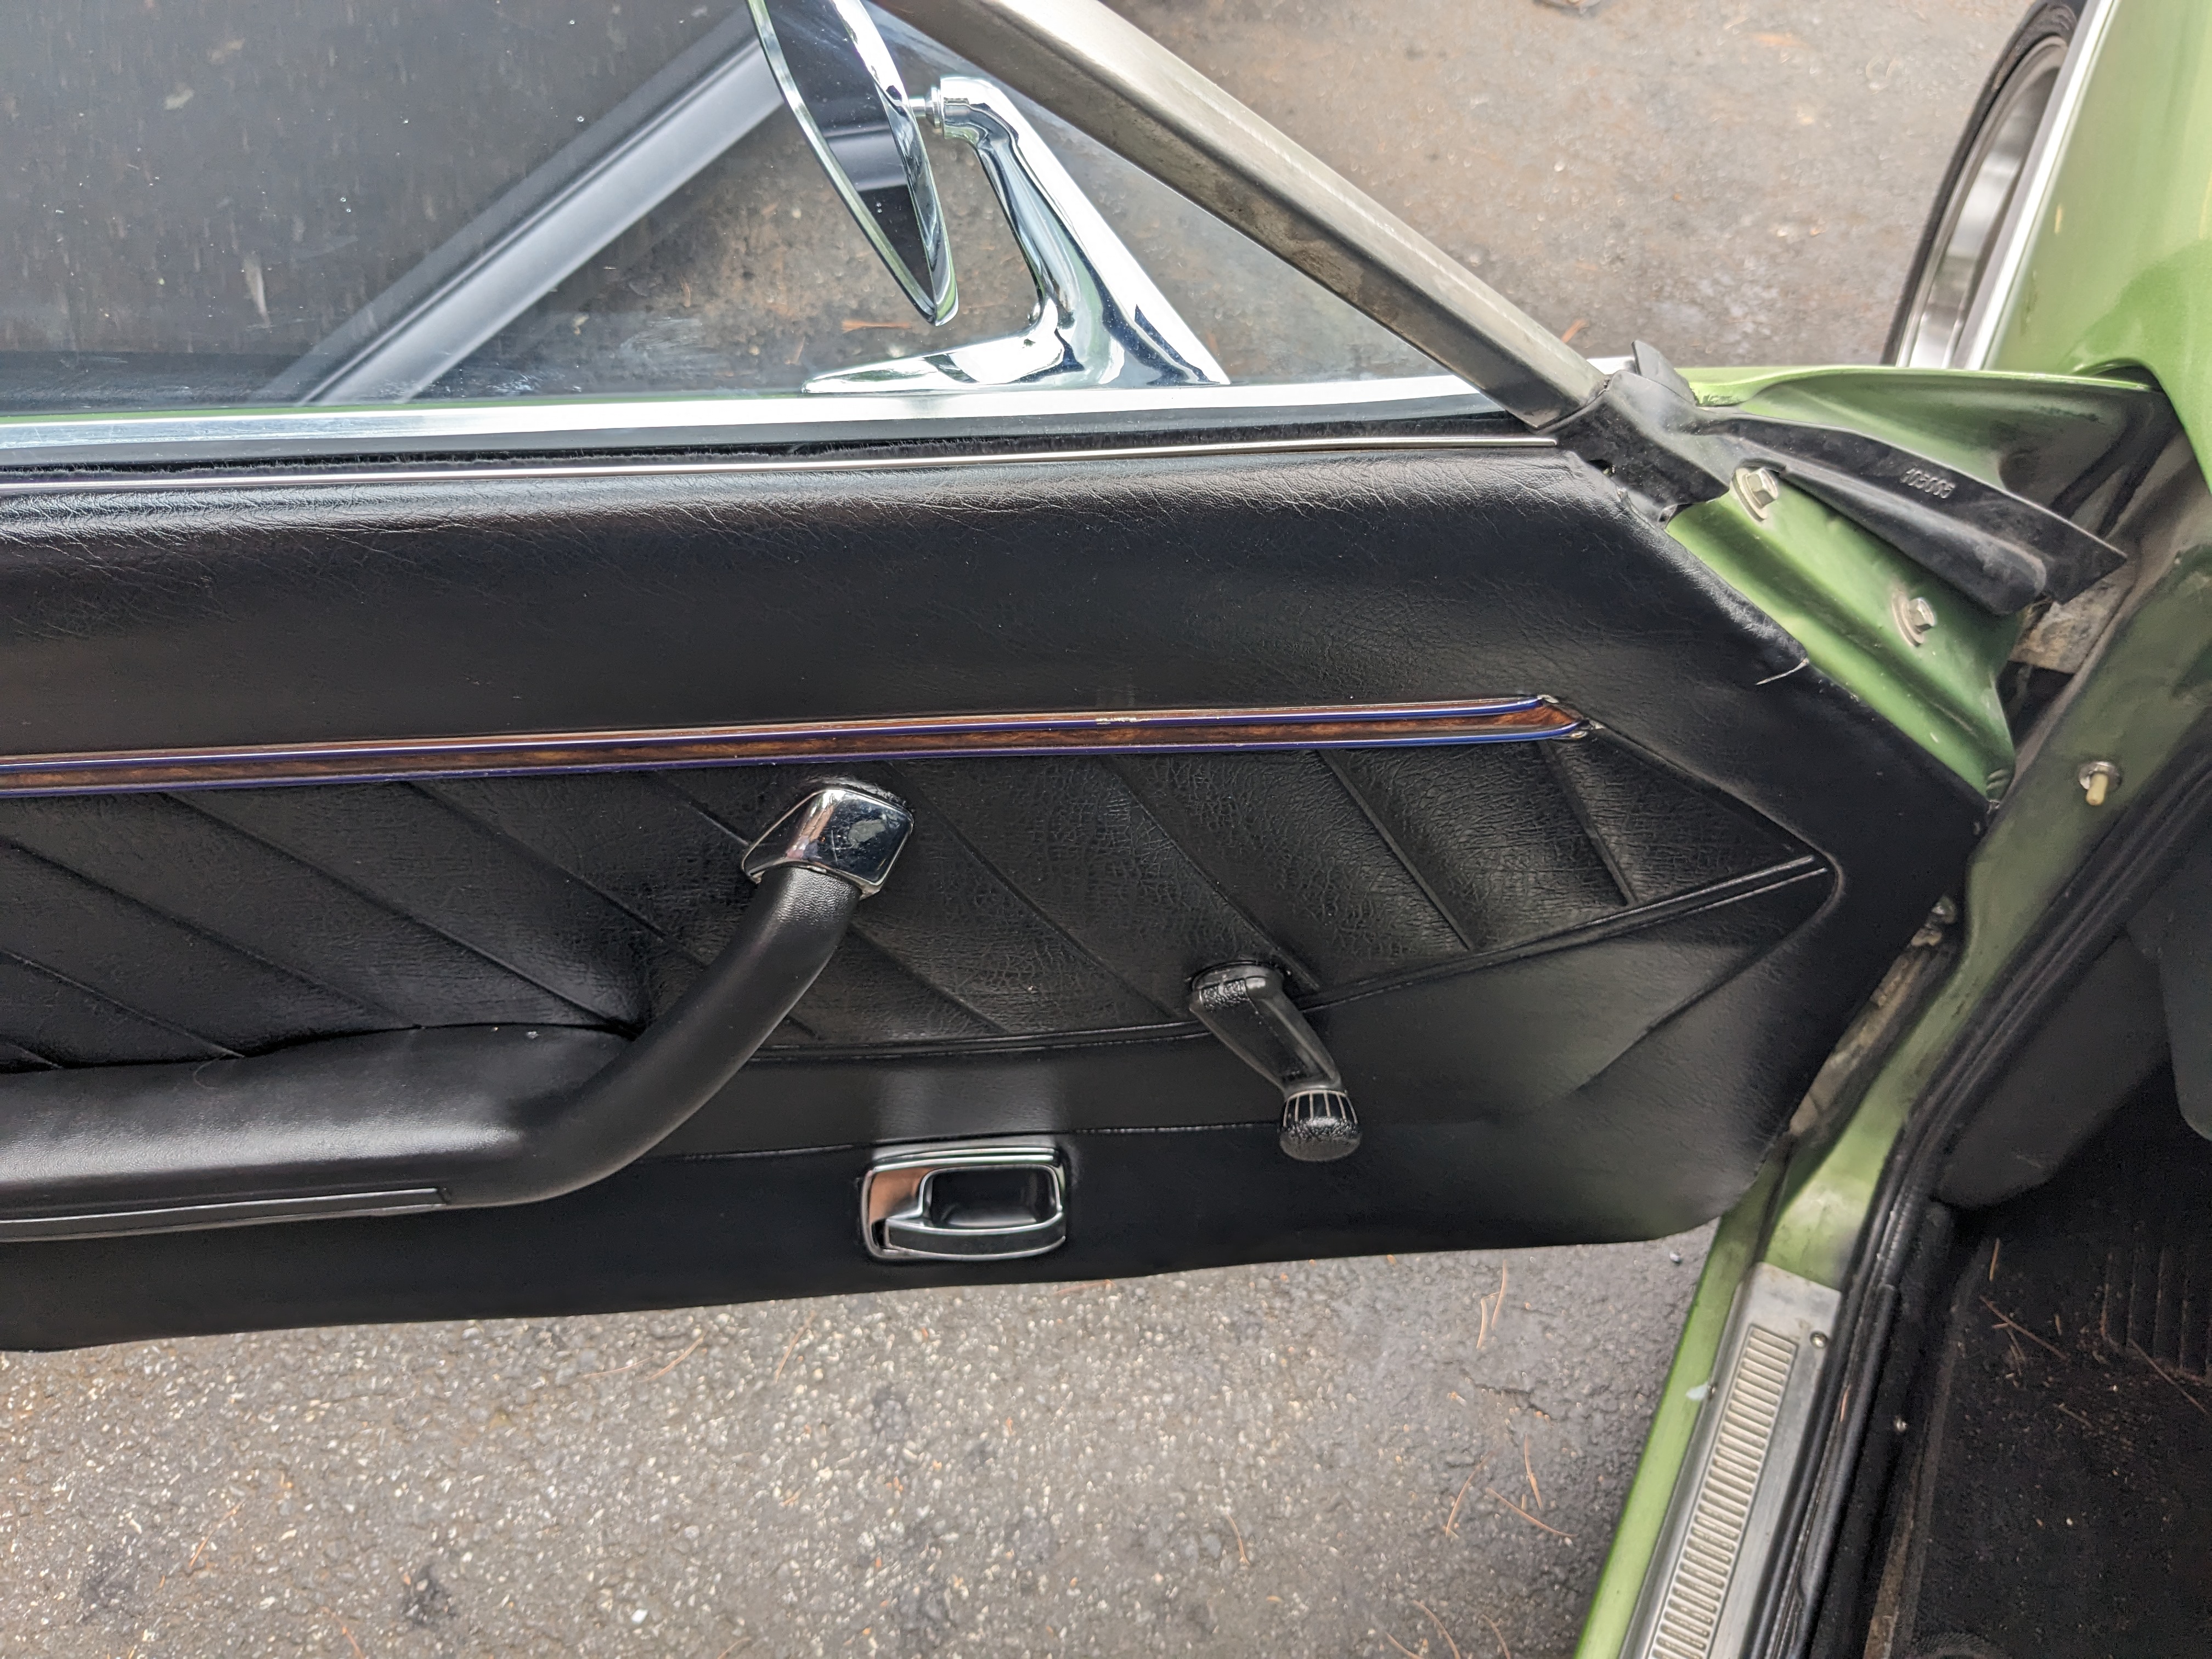
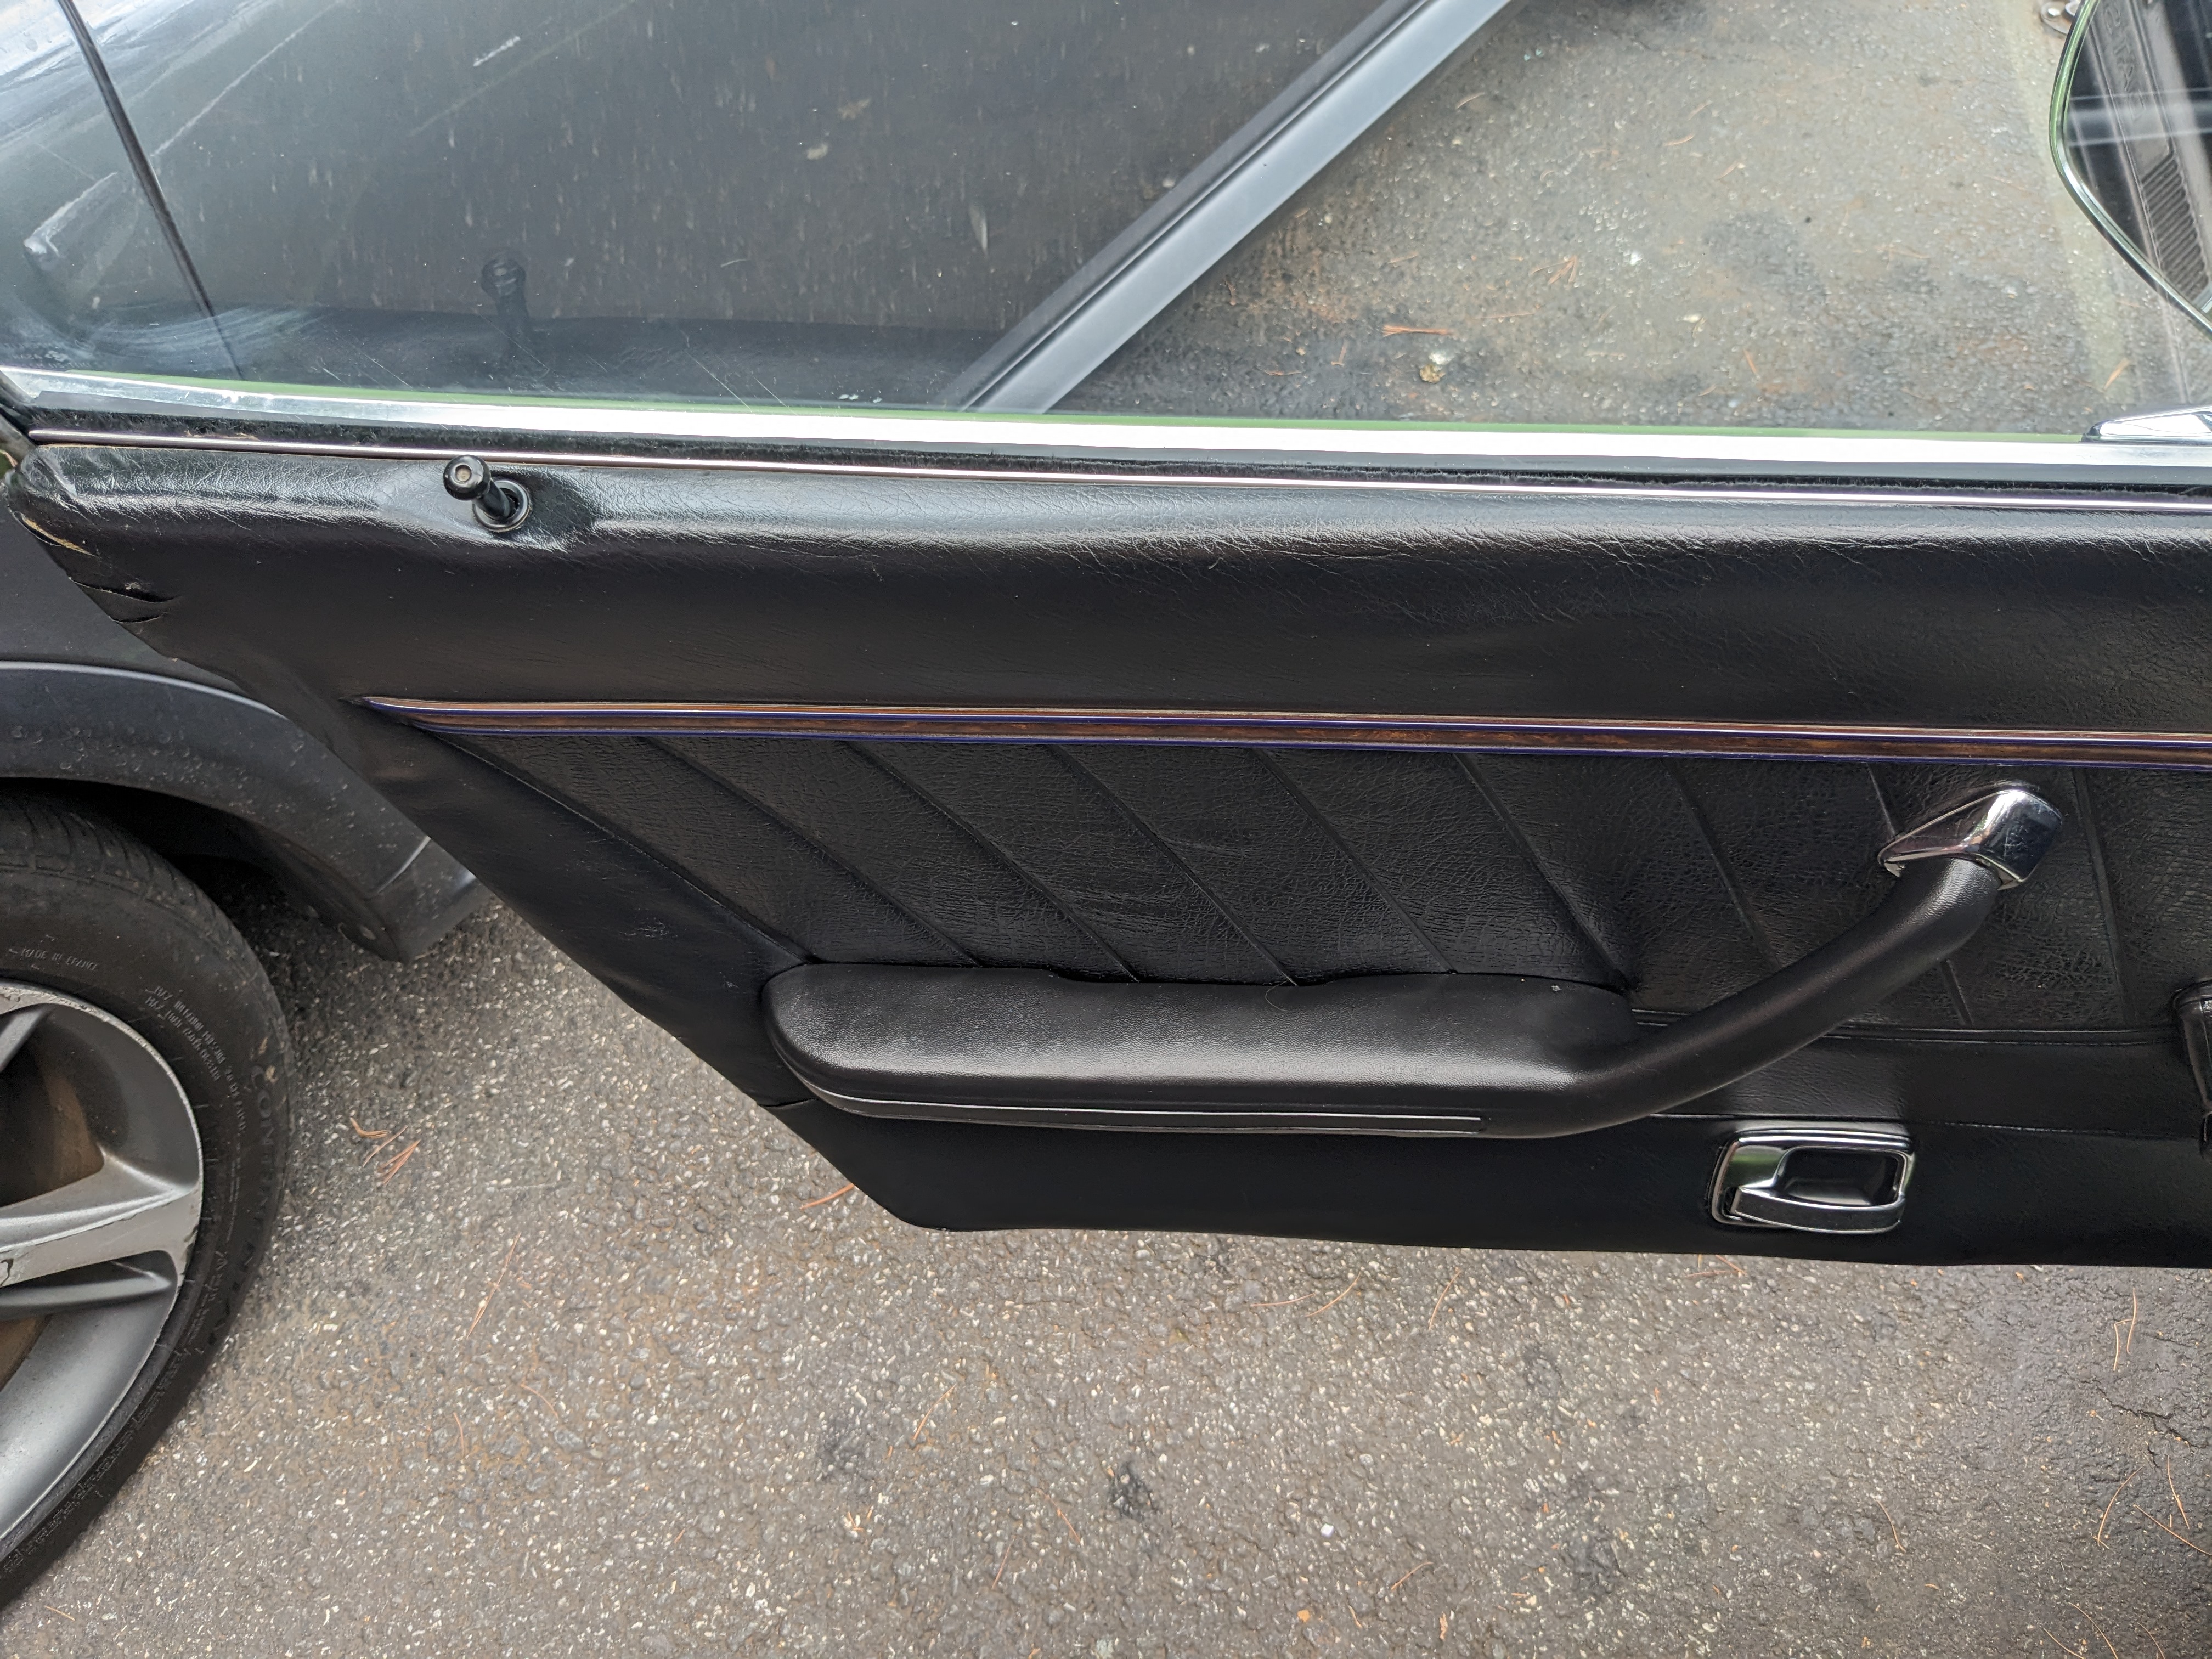
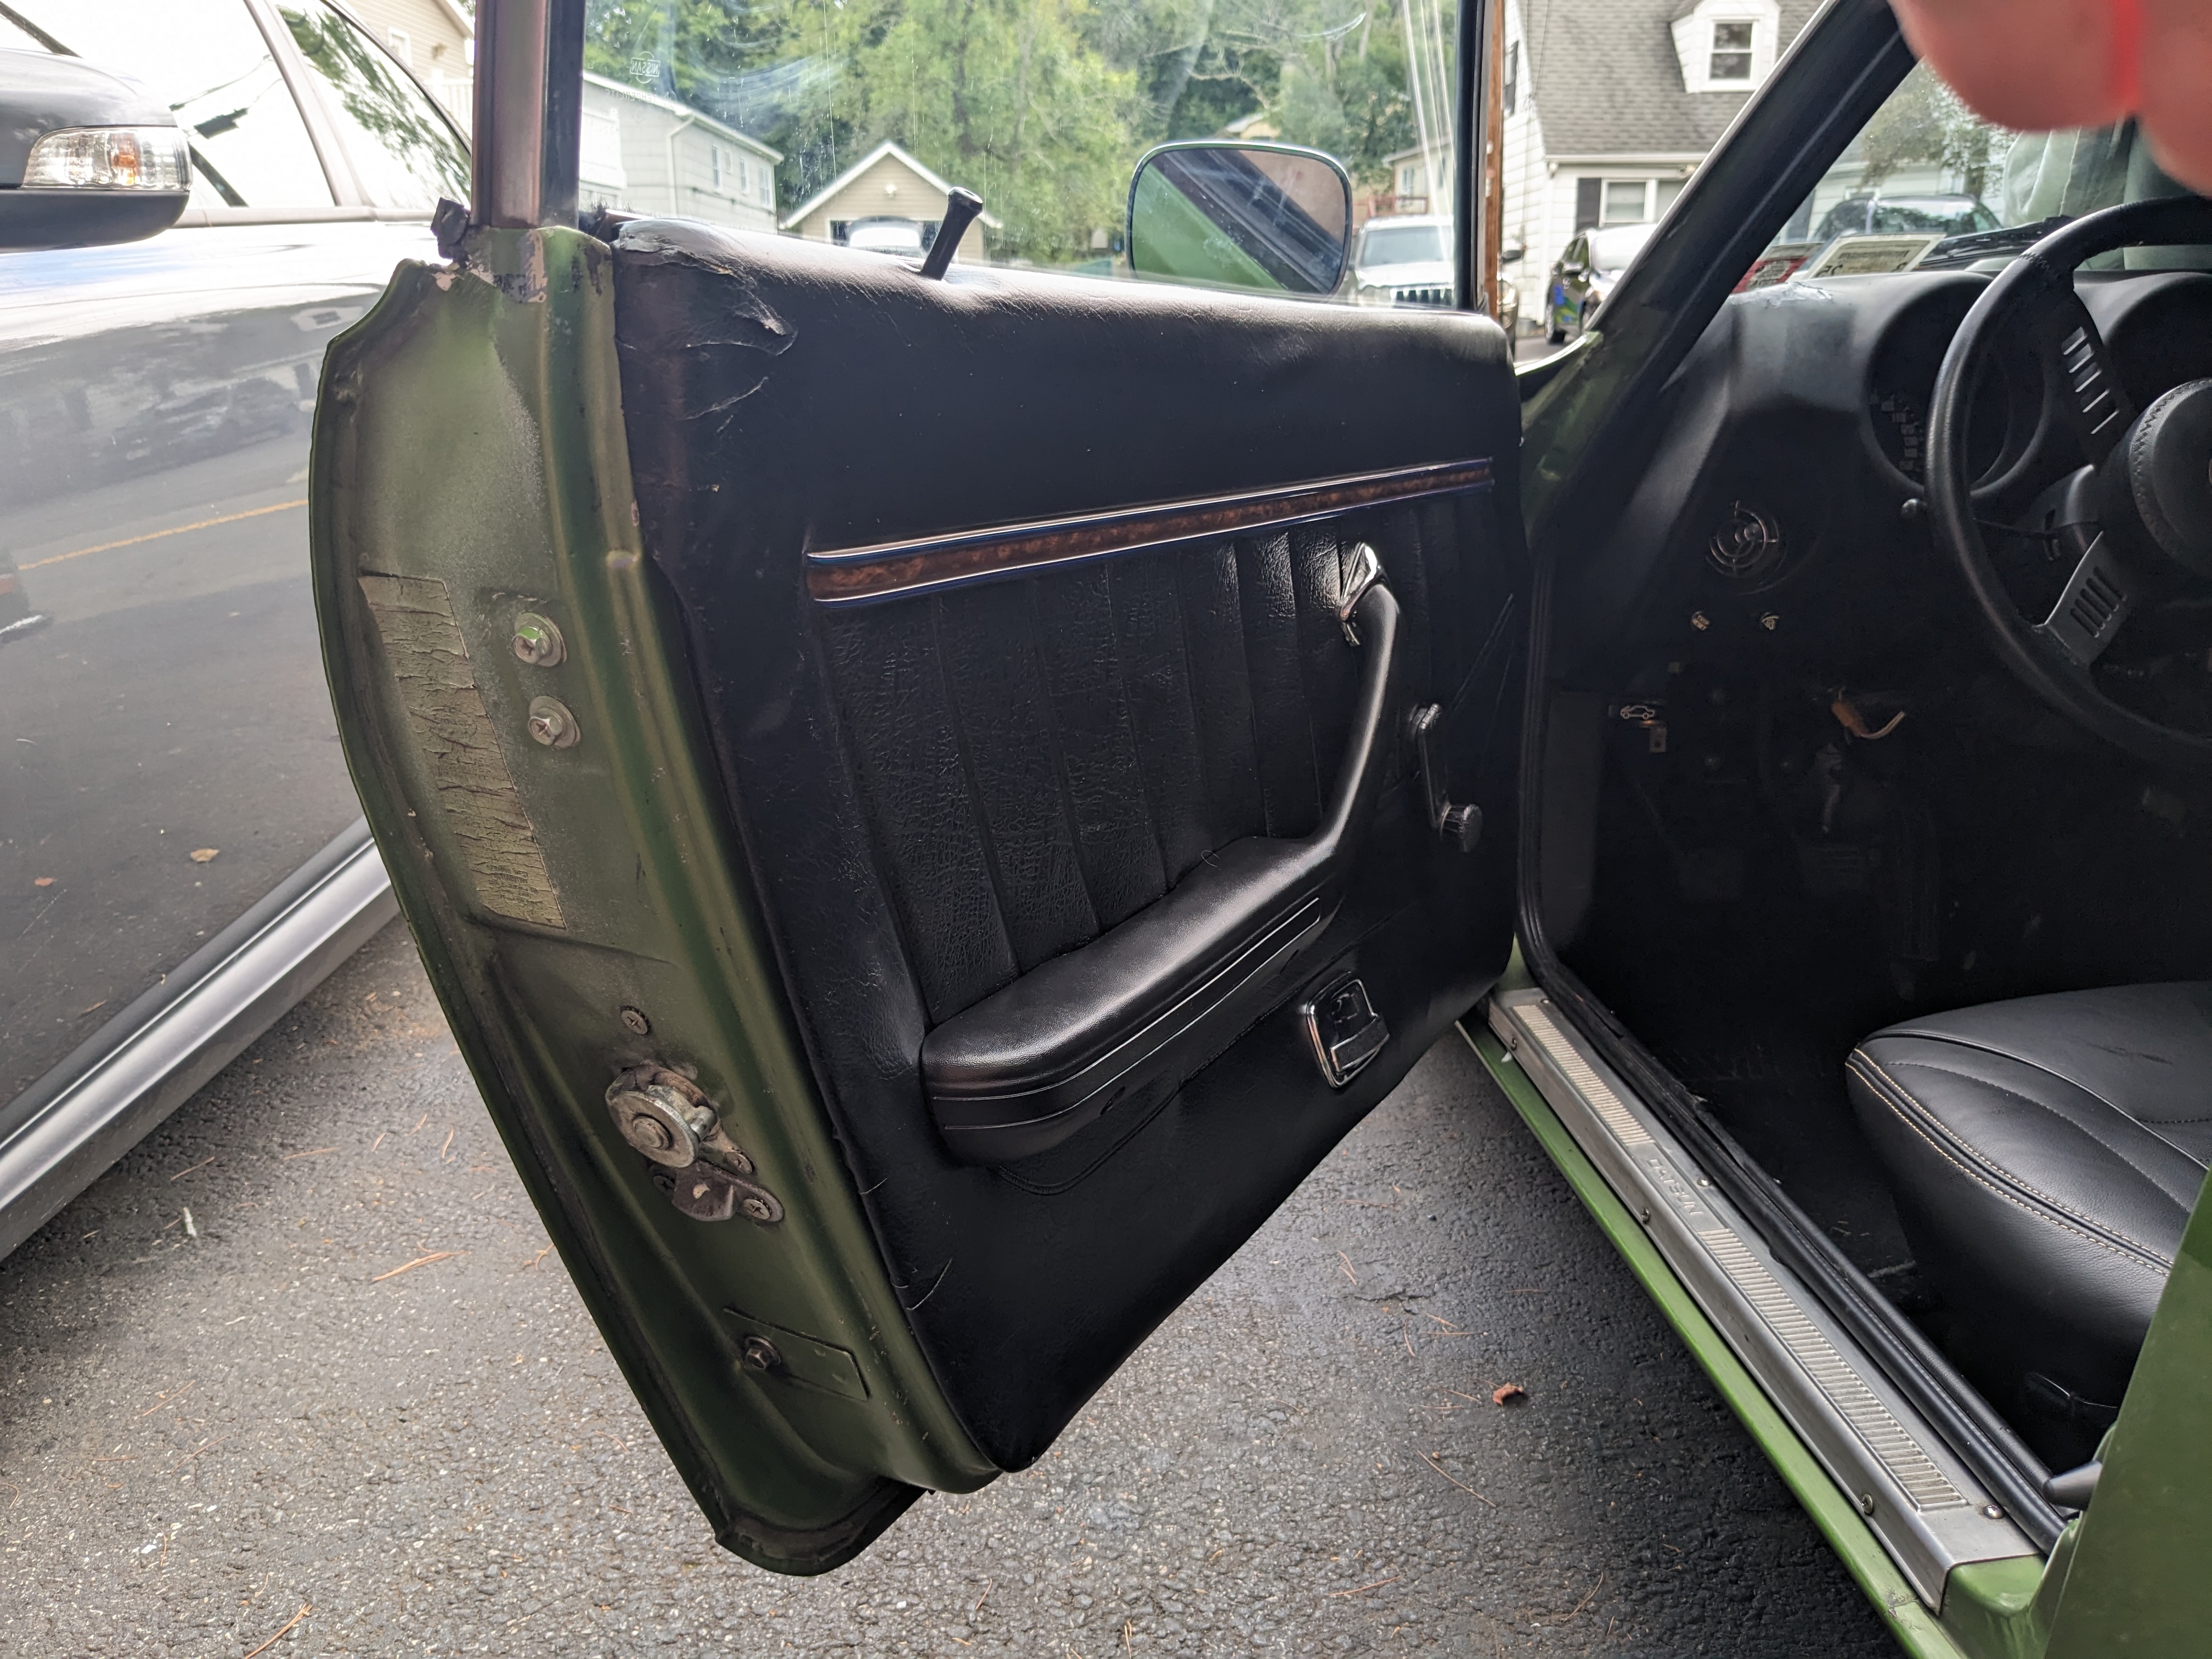
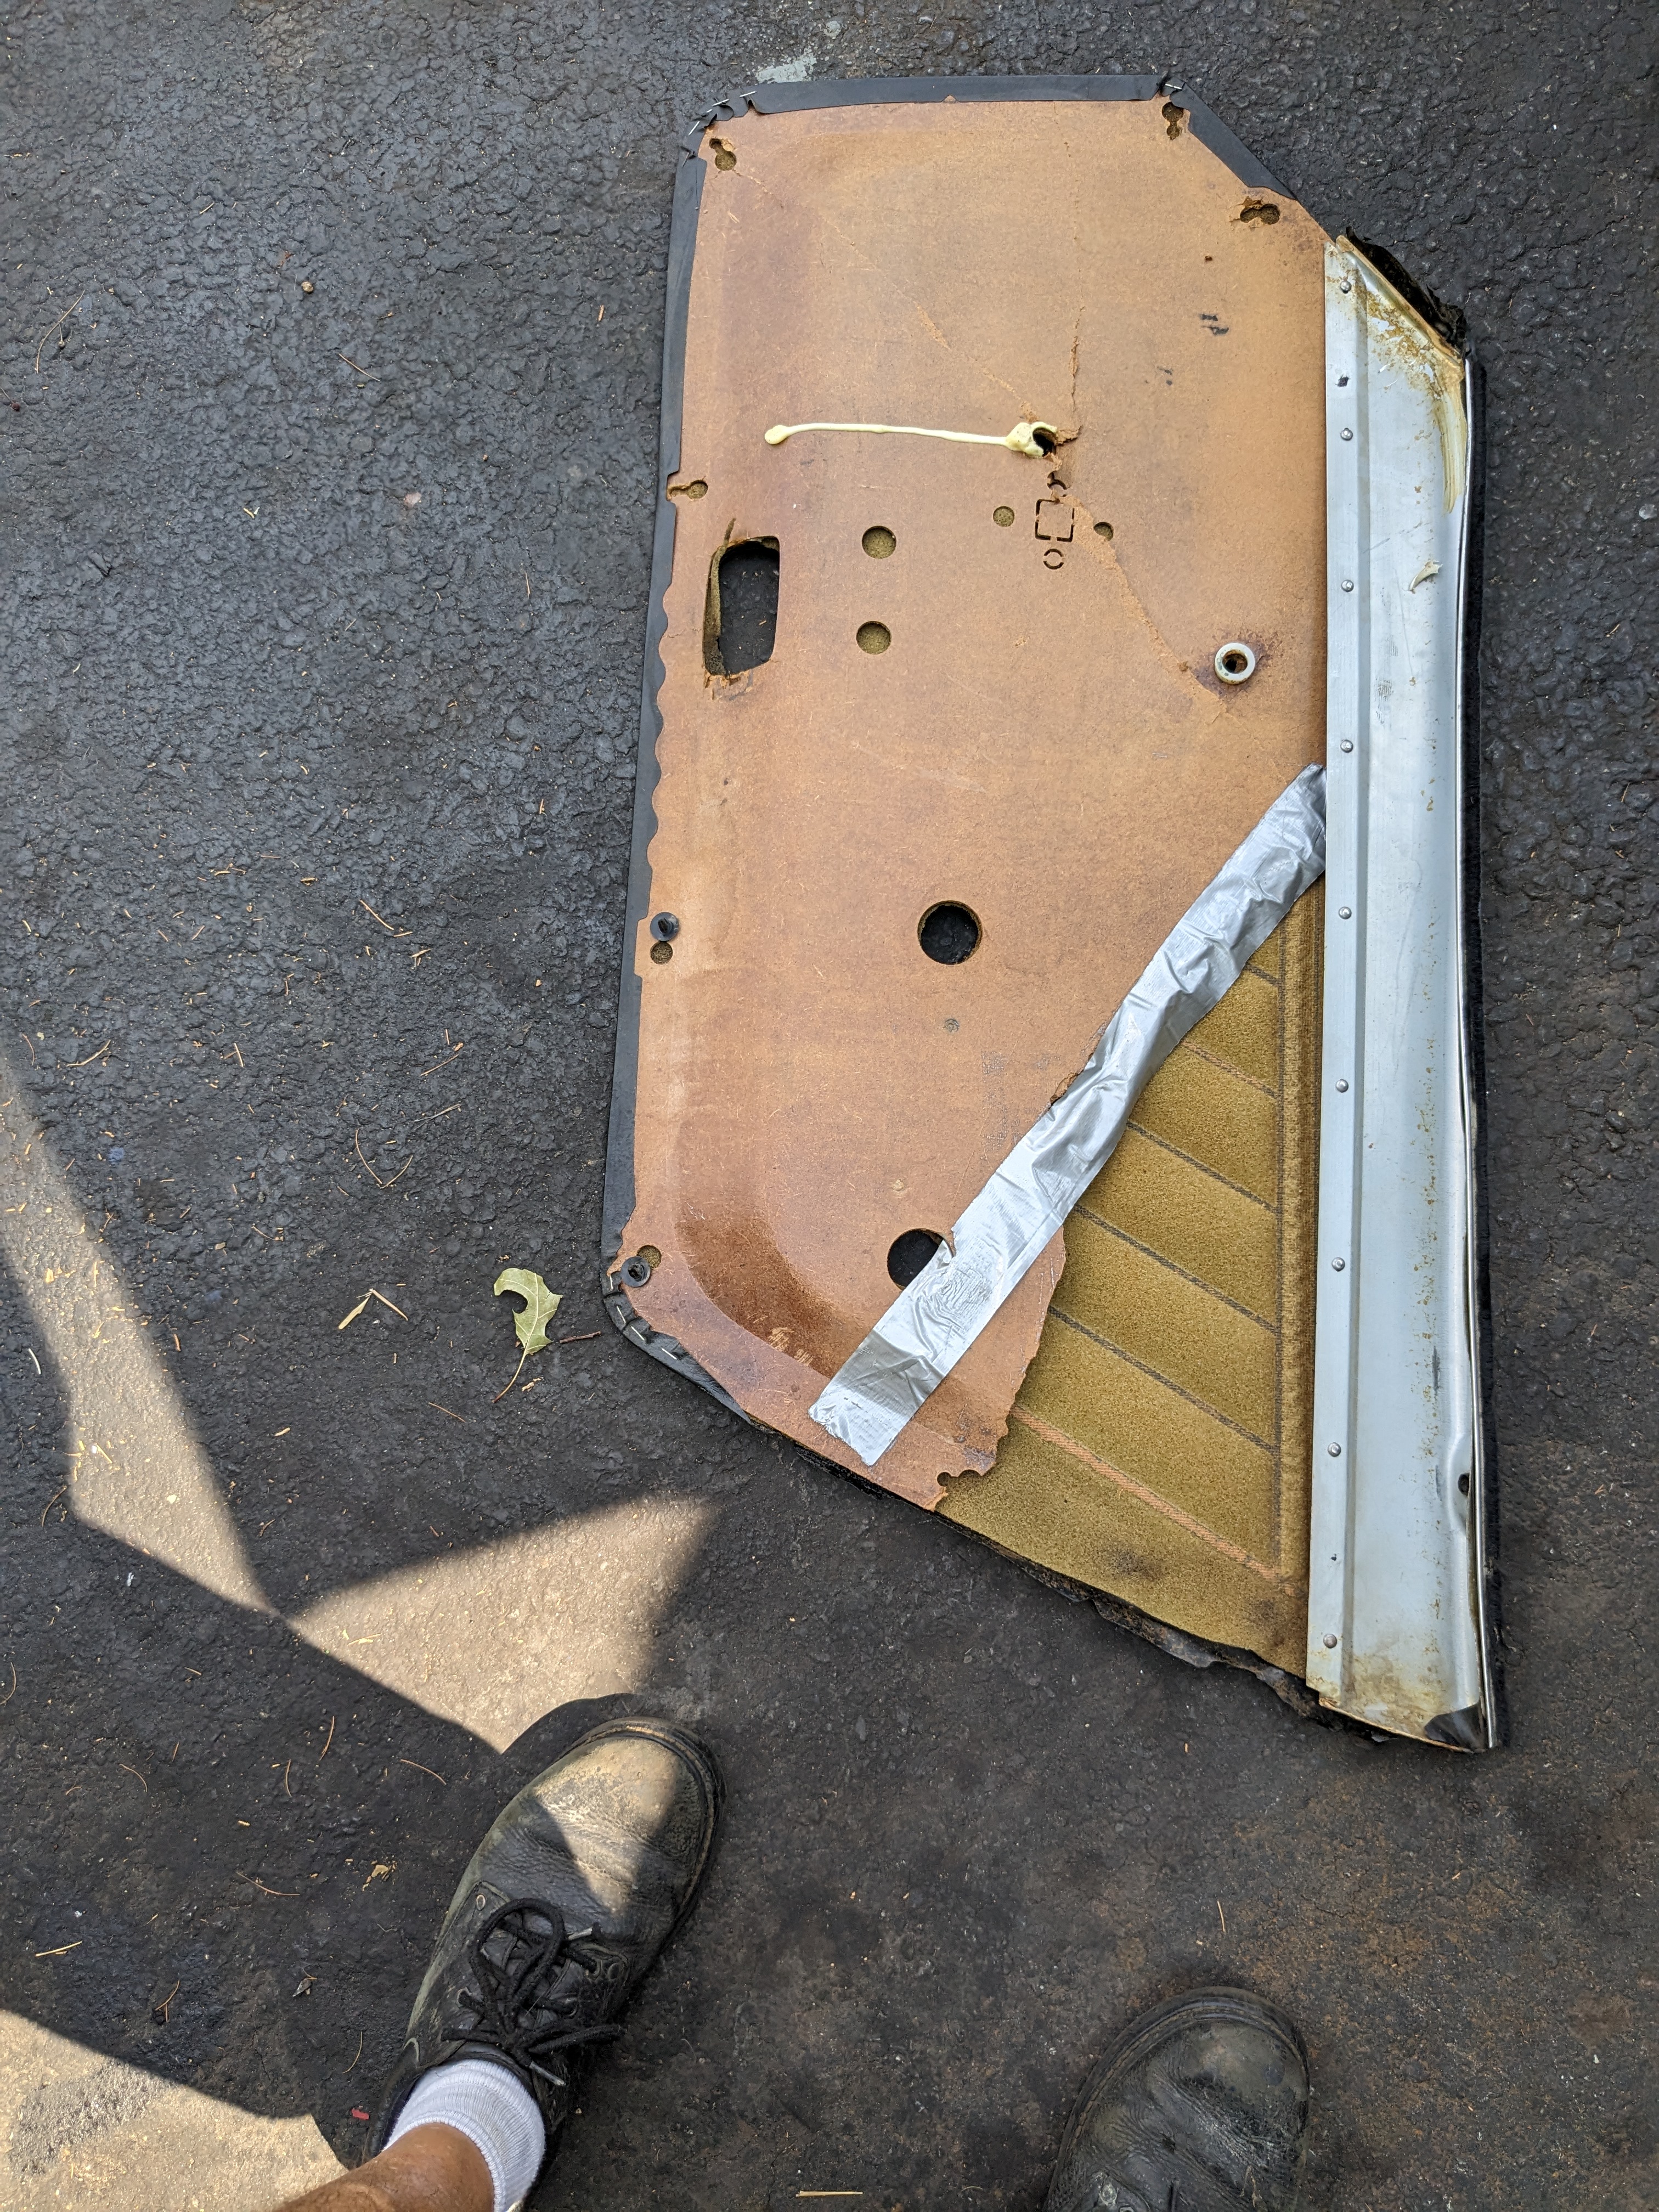
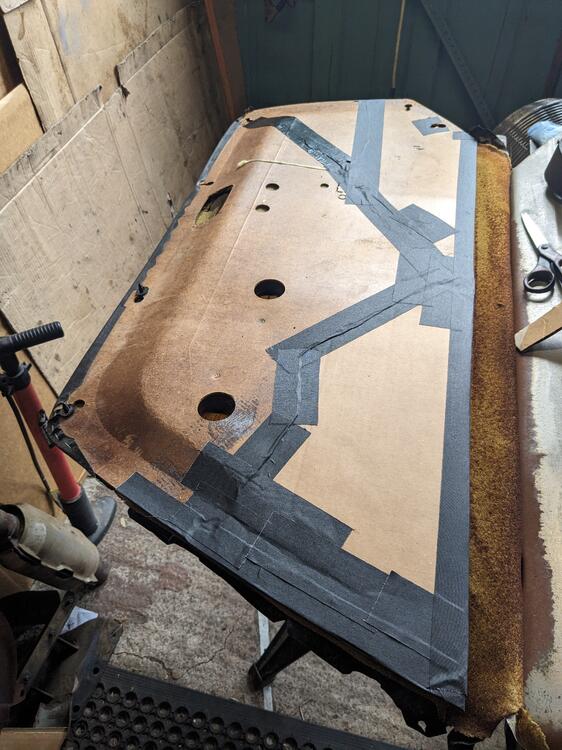
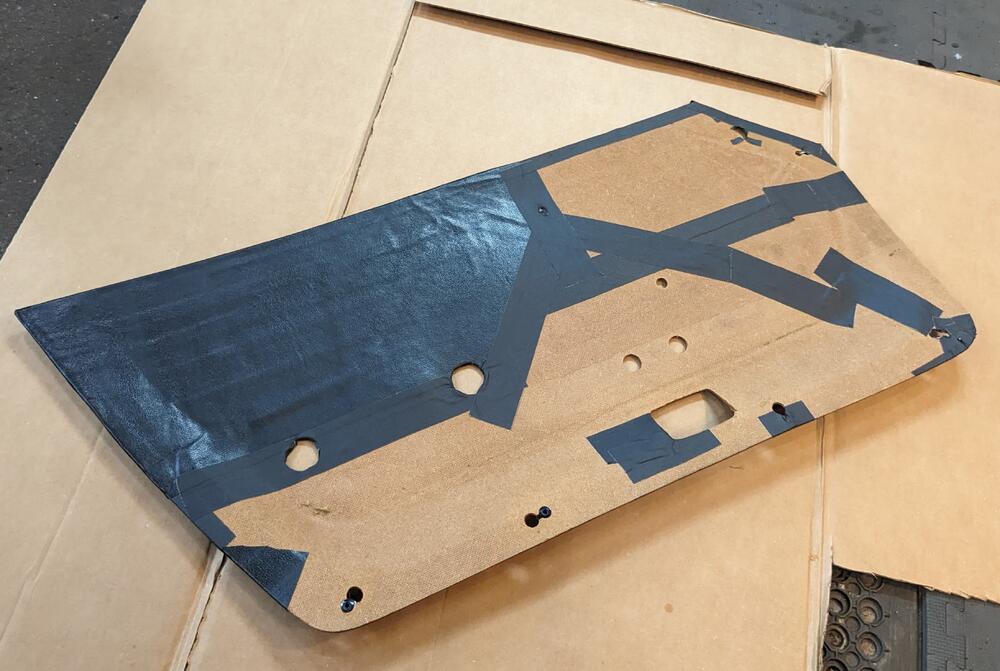
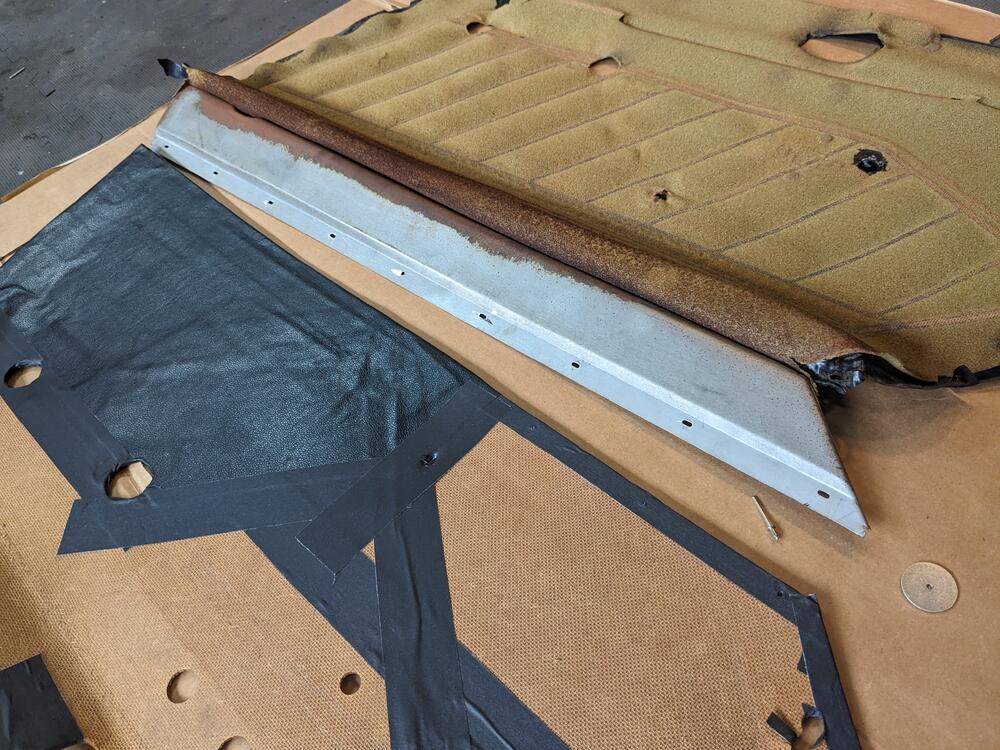
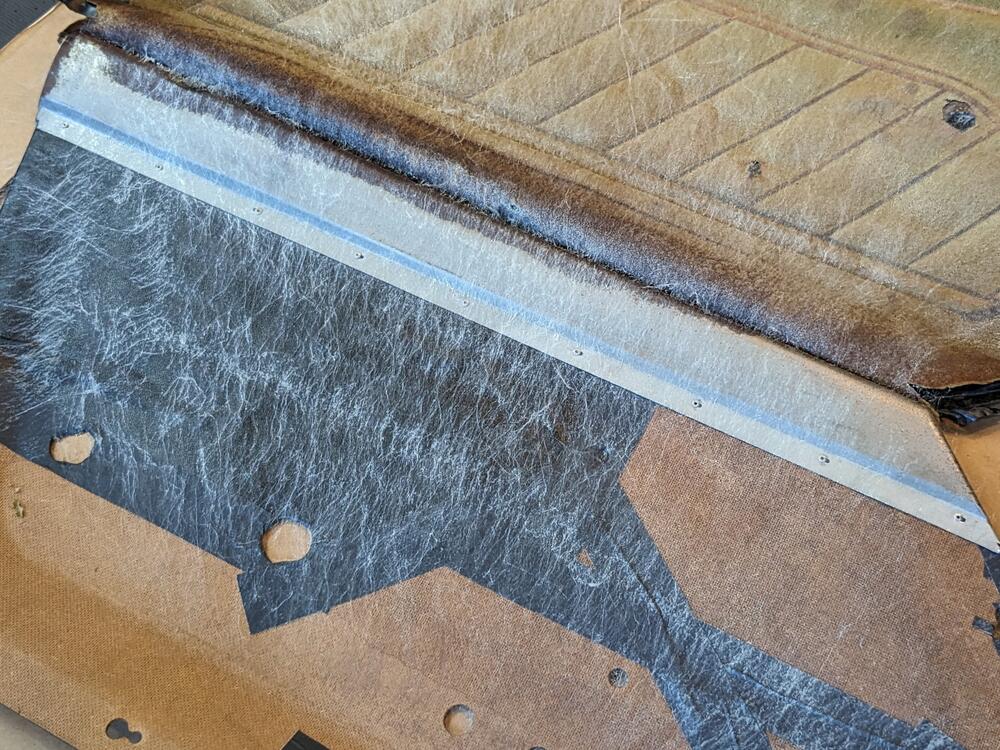
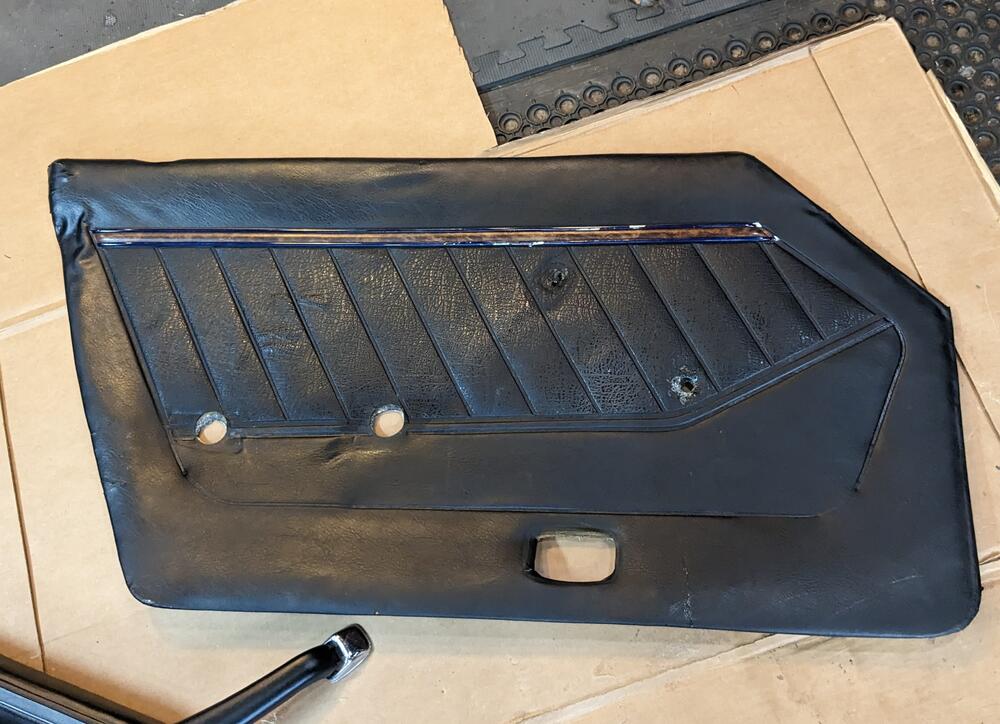
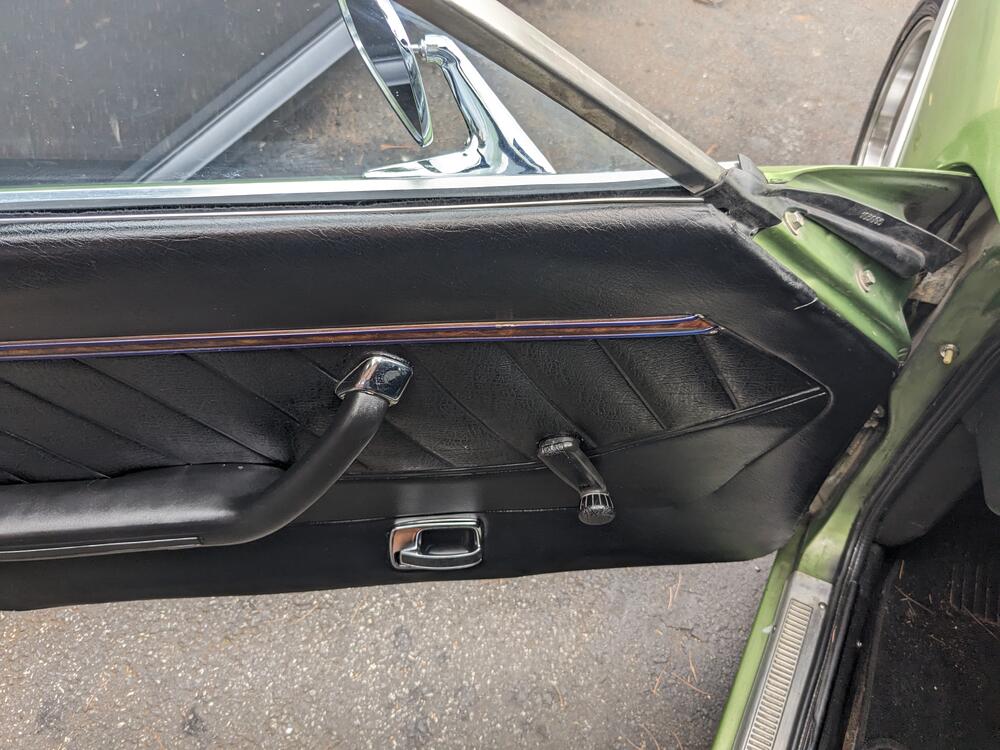
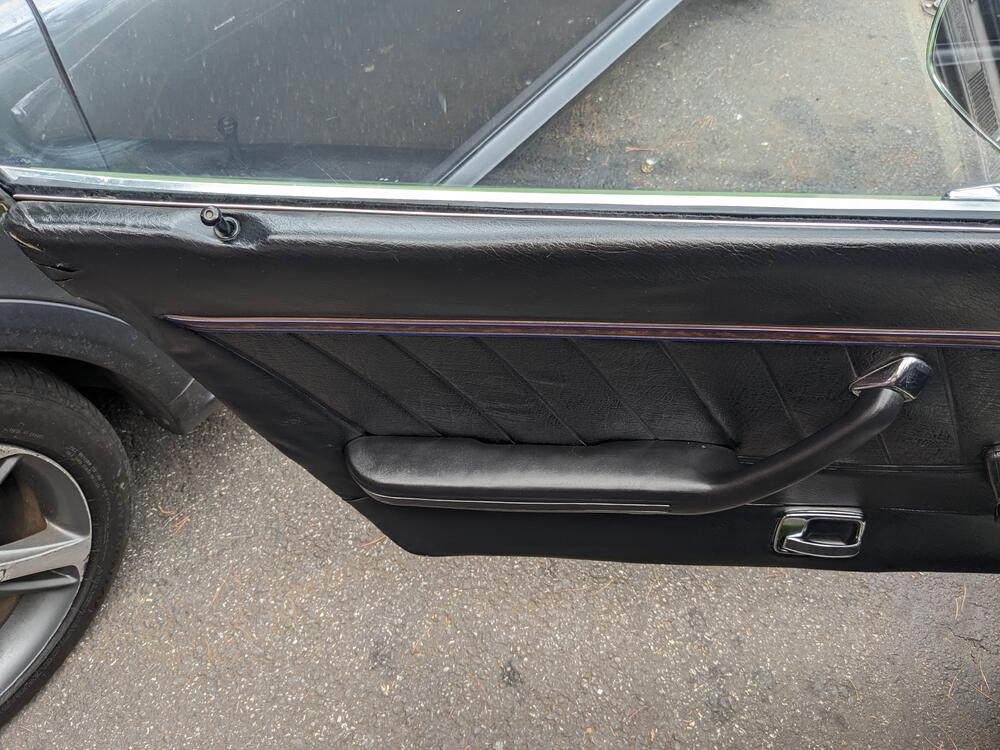
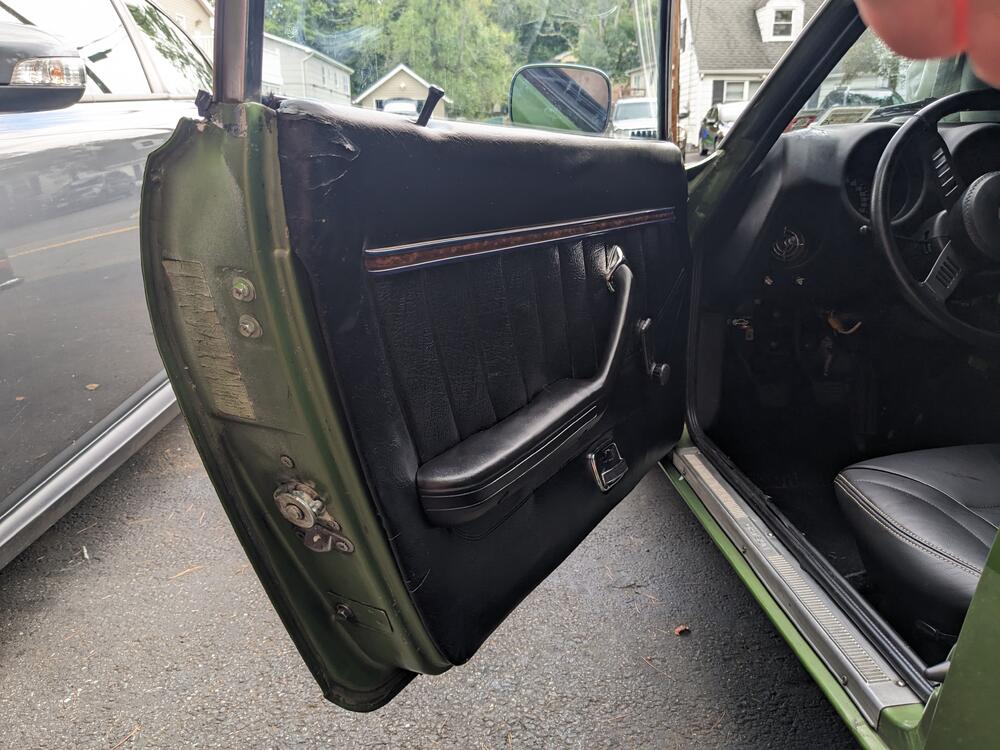
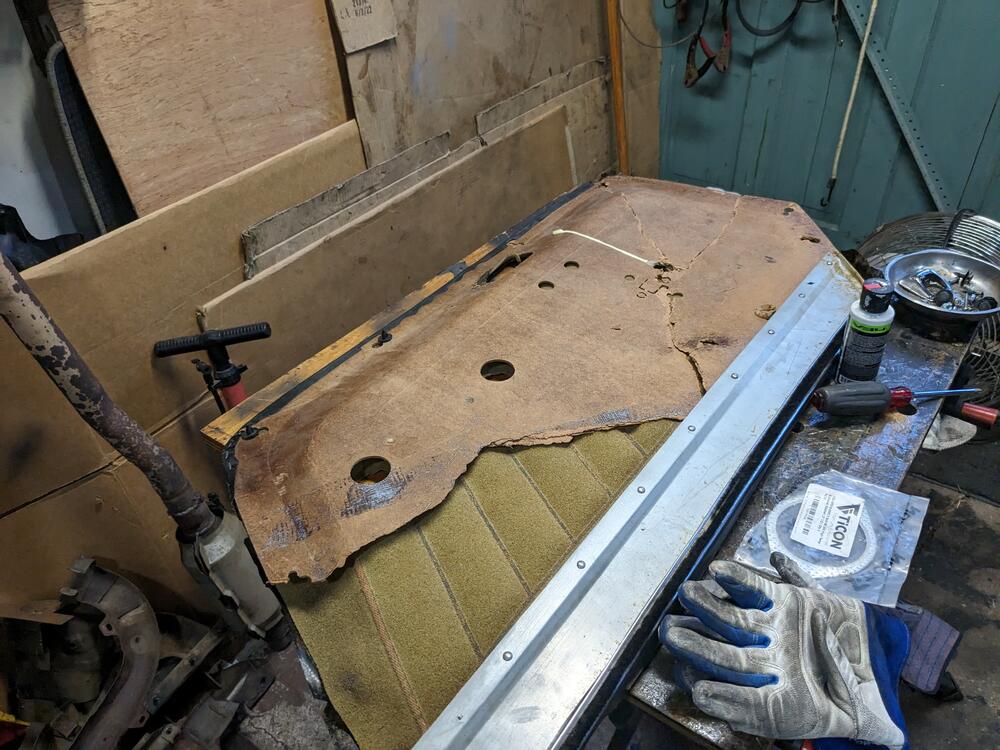
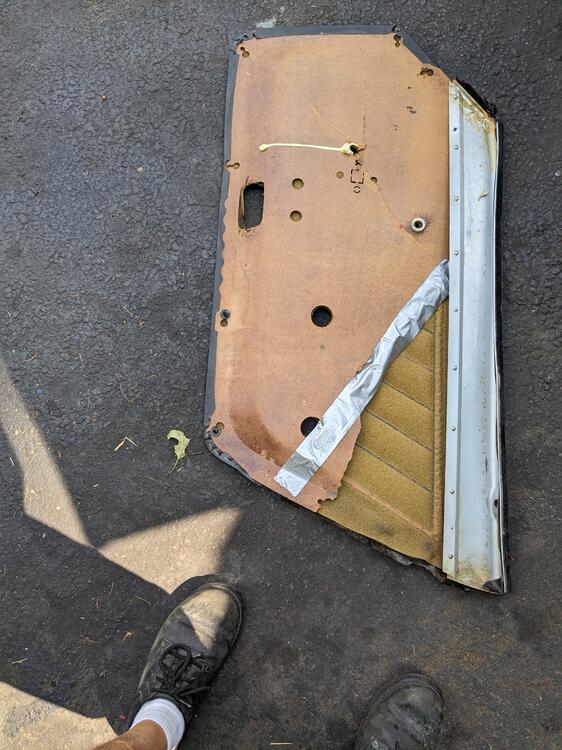
Thunderstorms on & off today, so not much time outside. I worked on repairing the door card as best possible for the time being. Going to get new door cards when they become available. cardboard & gaffer's tape removed the original rivets riveted in place, 3M super trim adhesive to re-bond the foam to the card edges done last. Back in the car. Armrest is a brown one I painted, the original was f'kd. Hard to photograph the damaged rear corner, the vinyl is all torn up here. They had duct taped the panel to the door skin 😞 Lol - I should have looked at the thread before I put the panel back on
-
It is - but there is no obvious way to attach it, and since mine are gone I have no frame of reference
-
Yeah - I assume the monkeys that did the "repairs" to the mechanisms must have literally ripped it off the door.
-
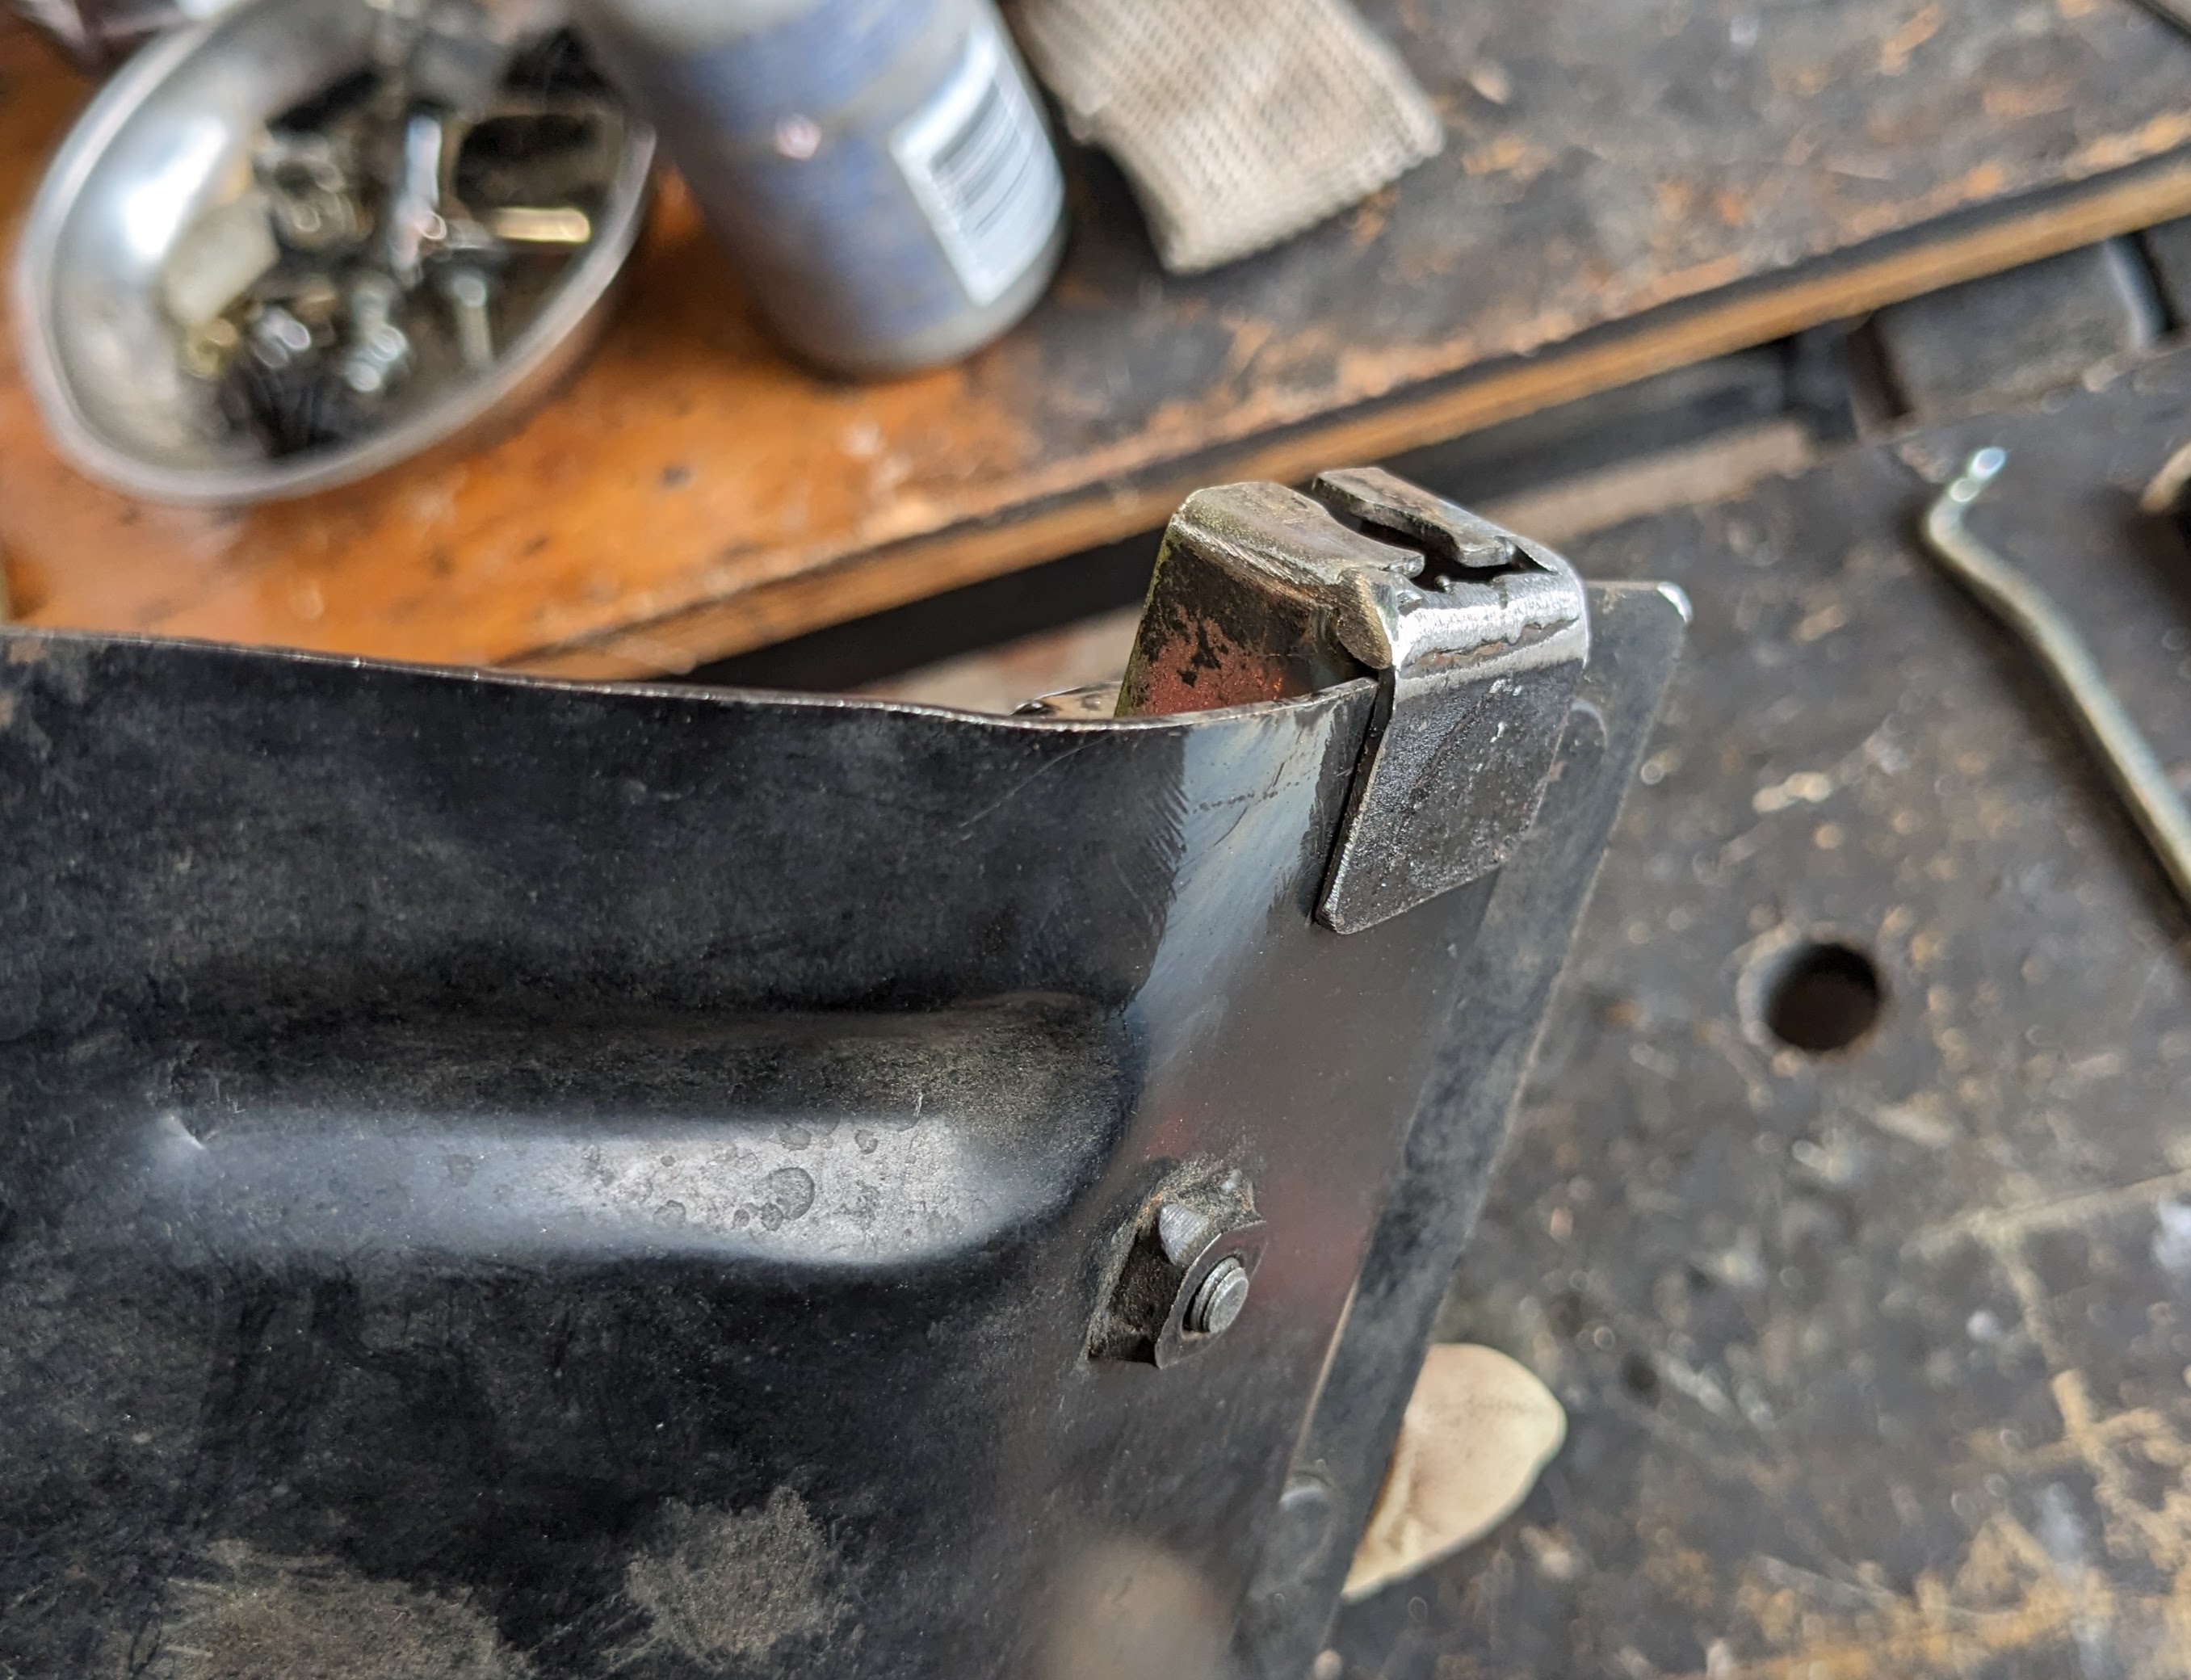
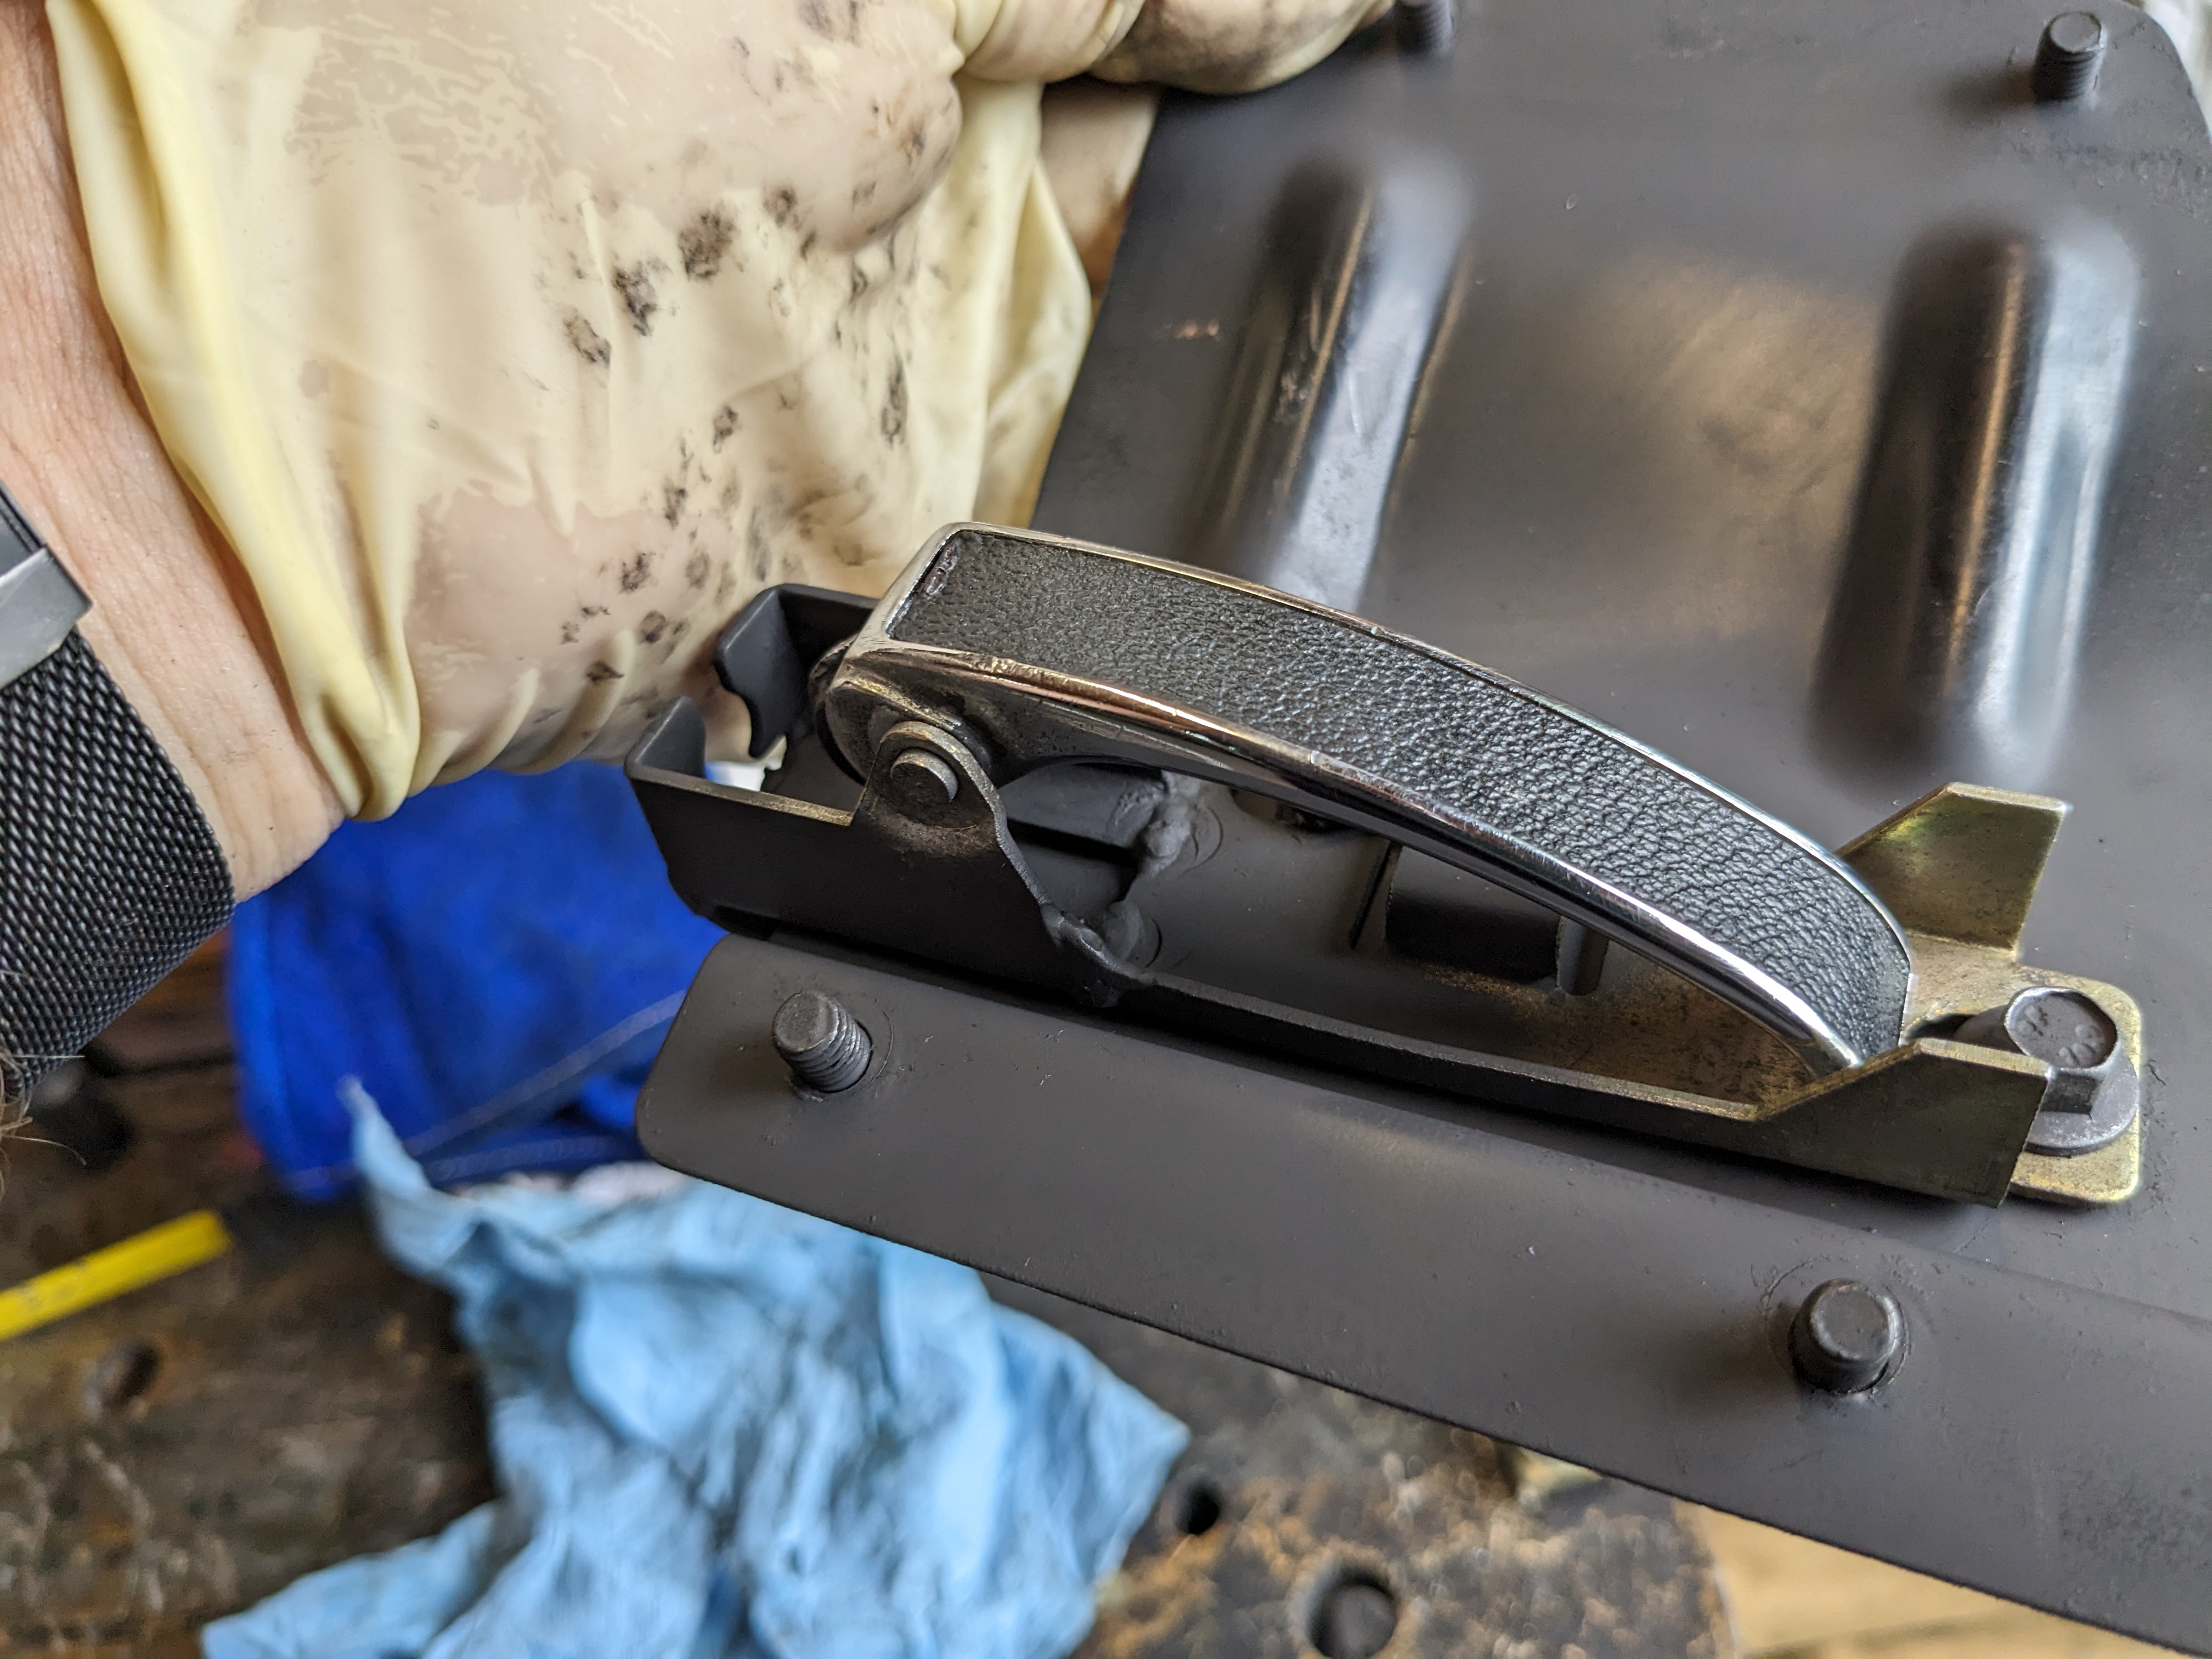
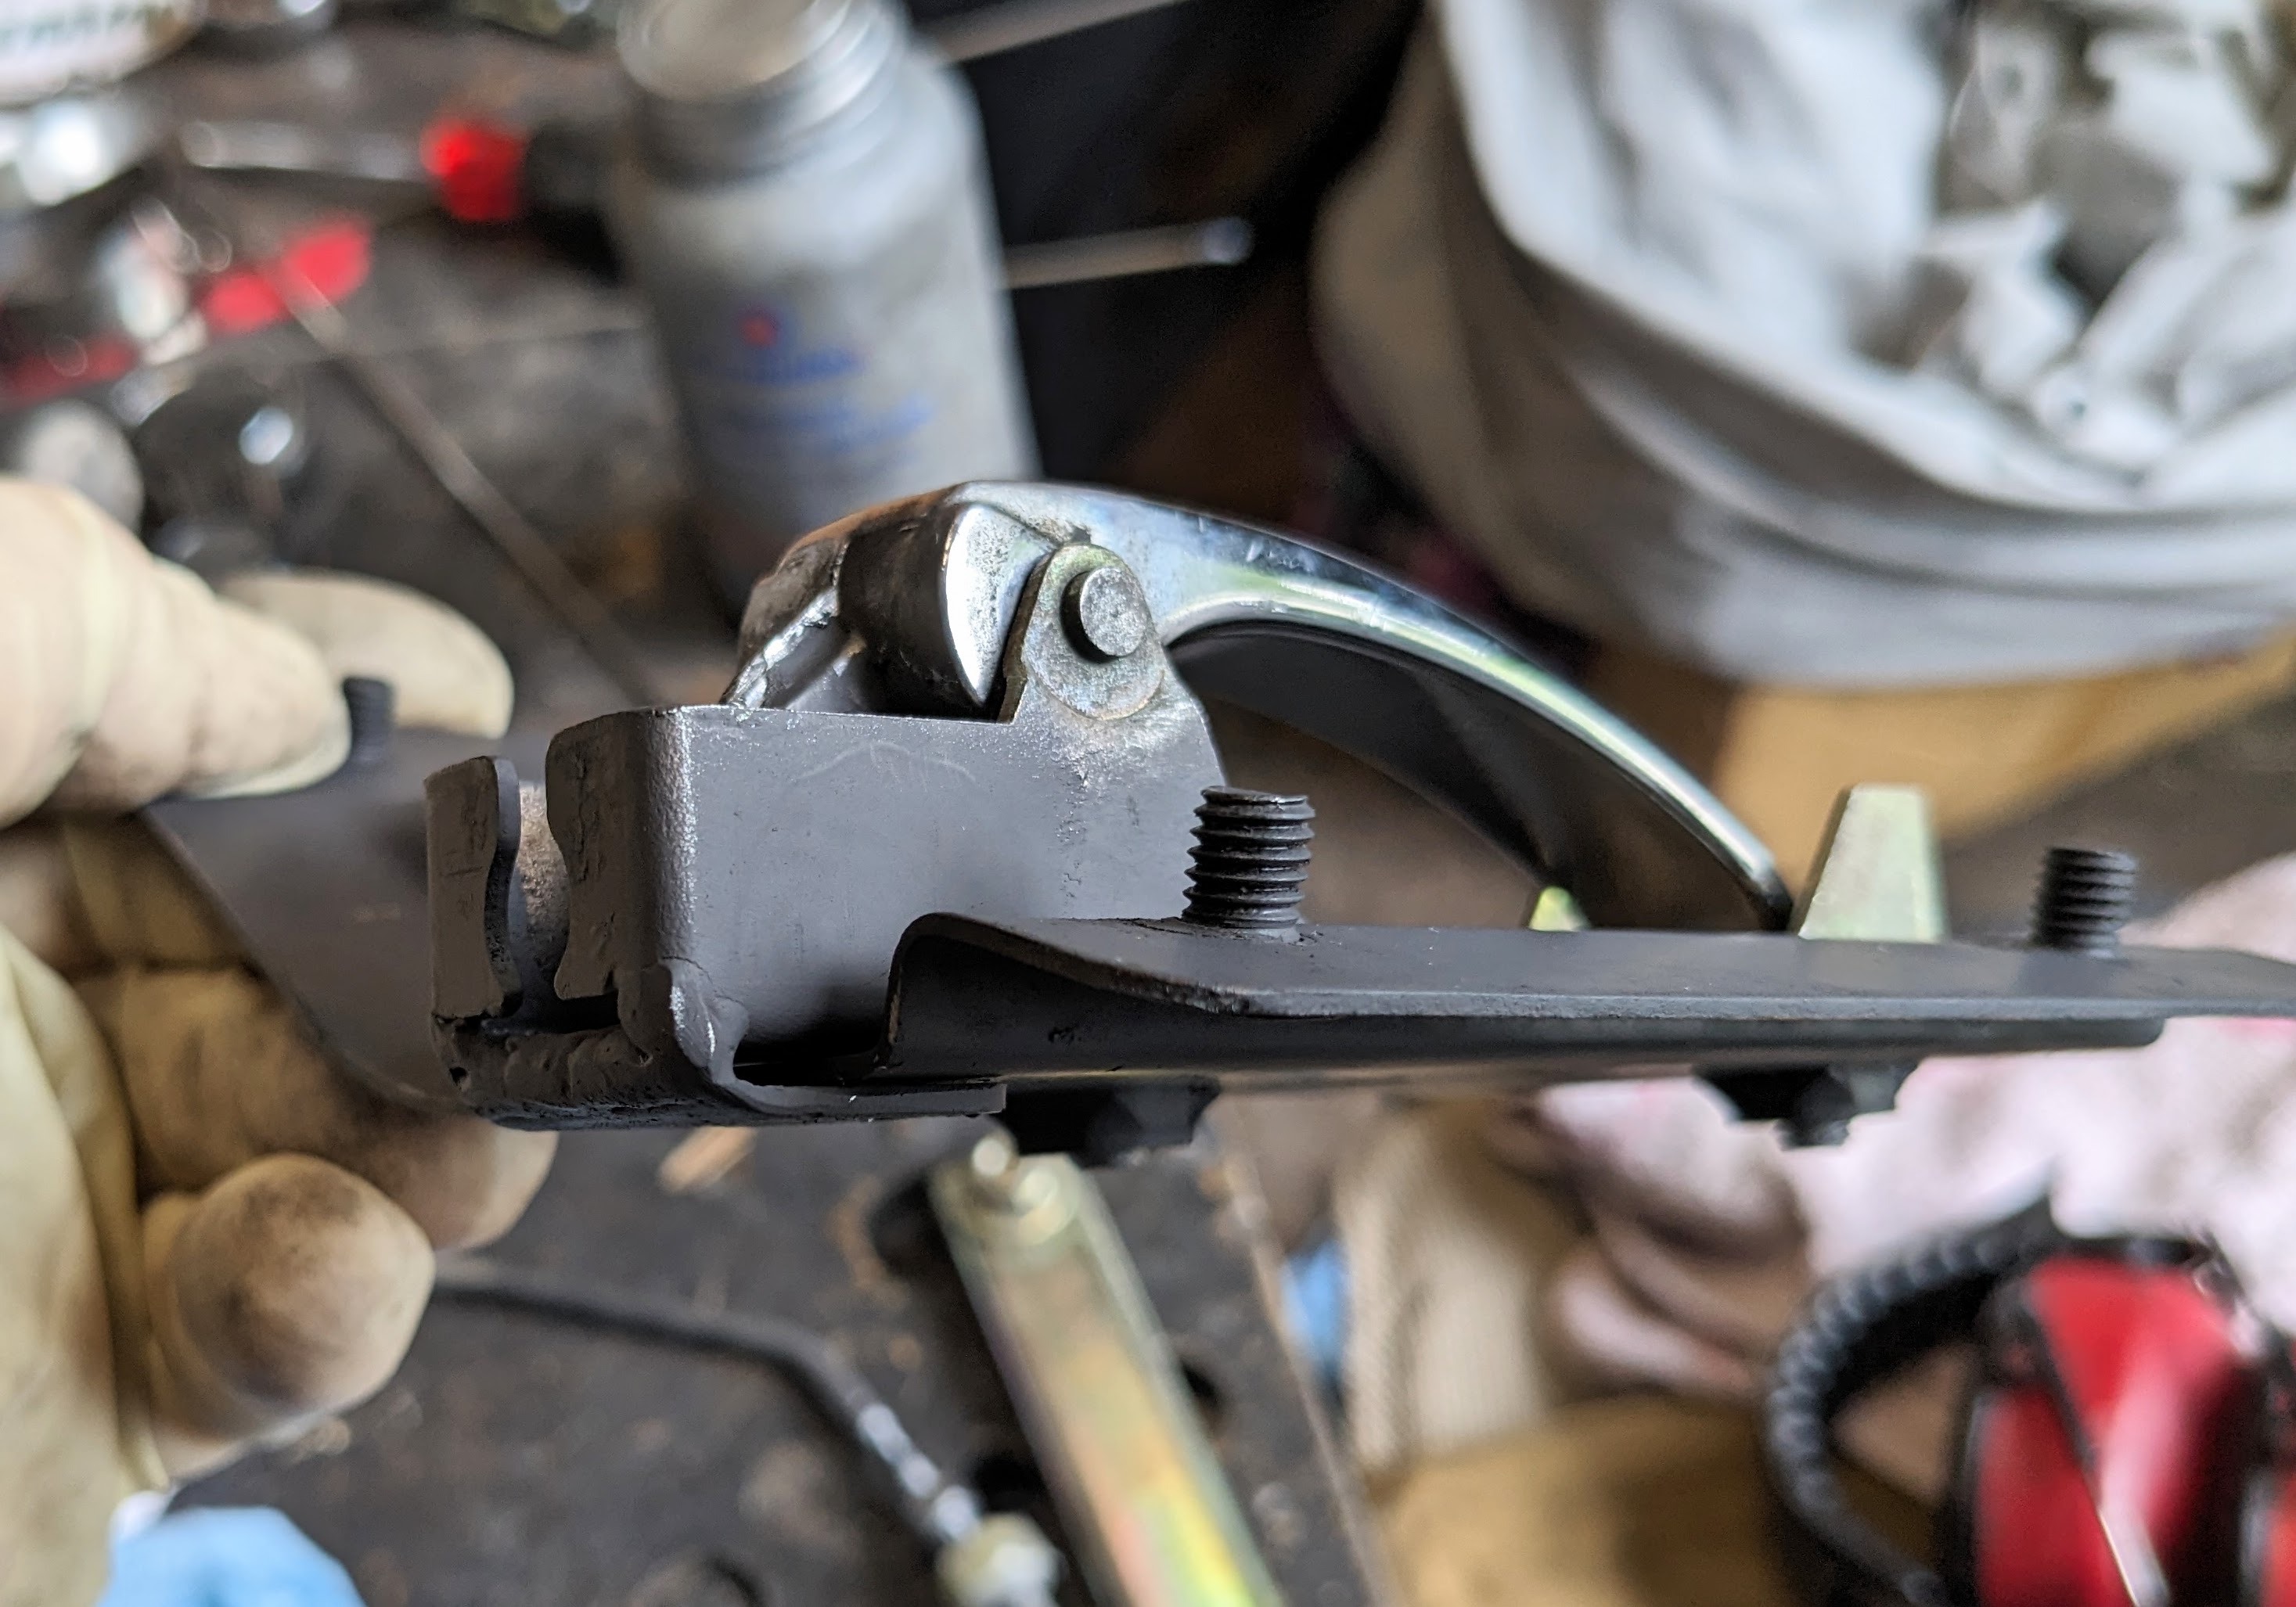
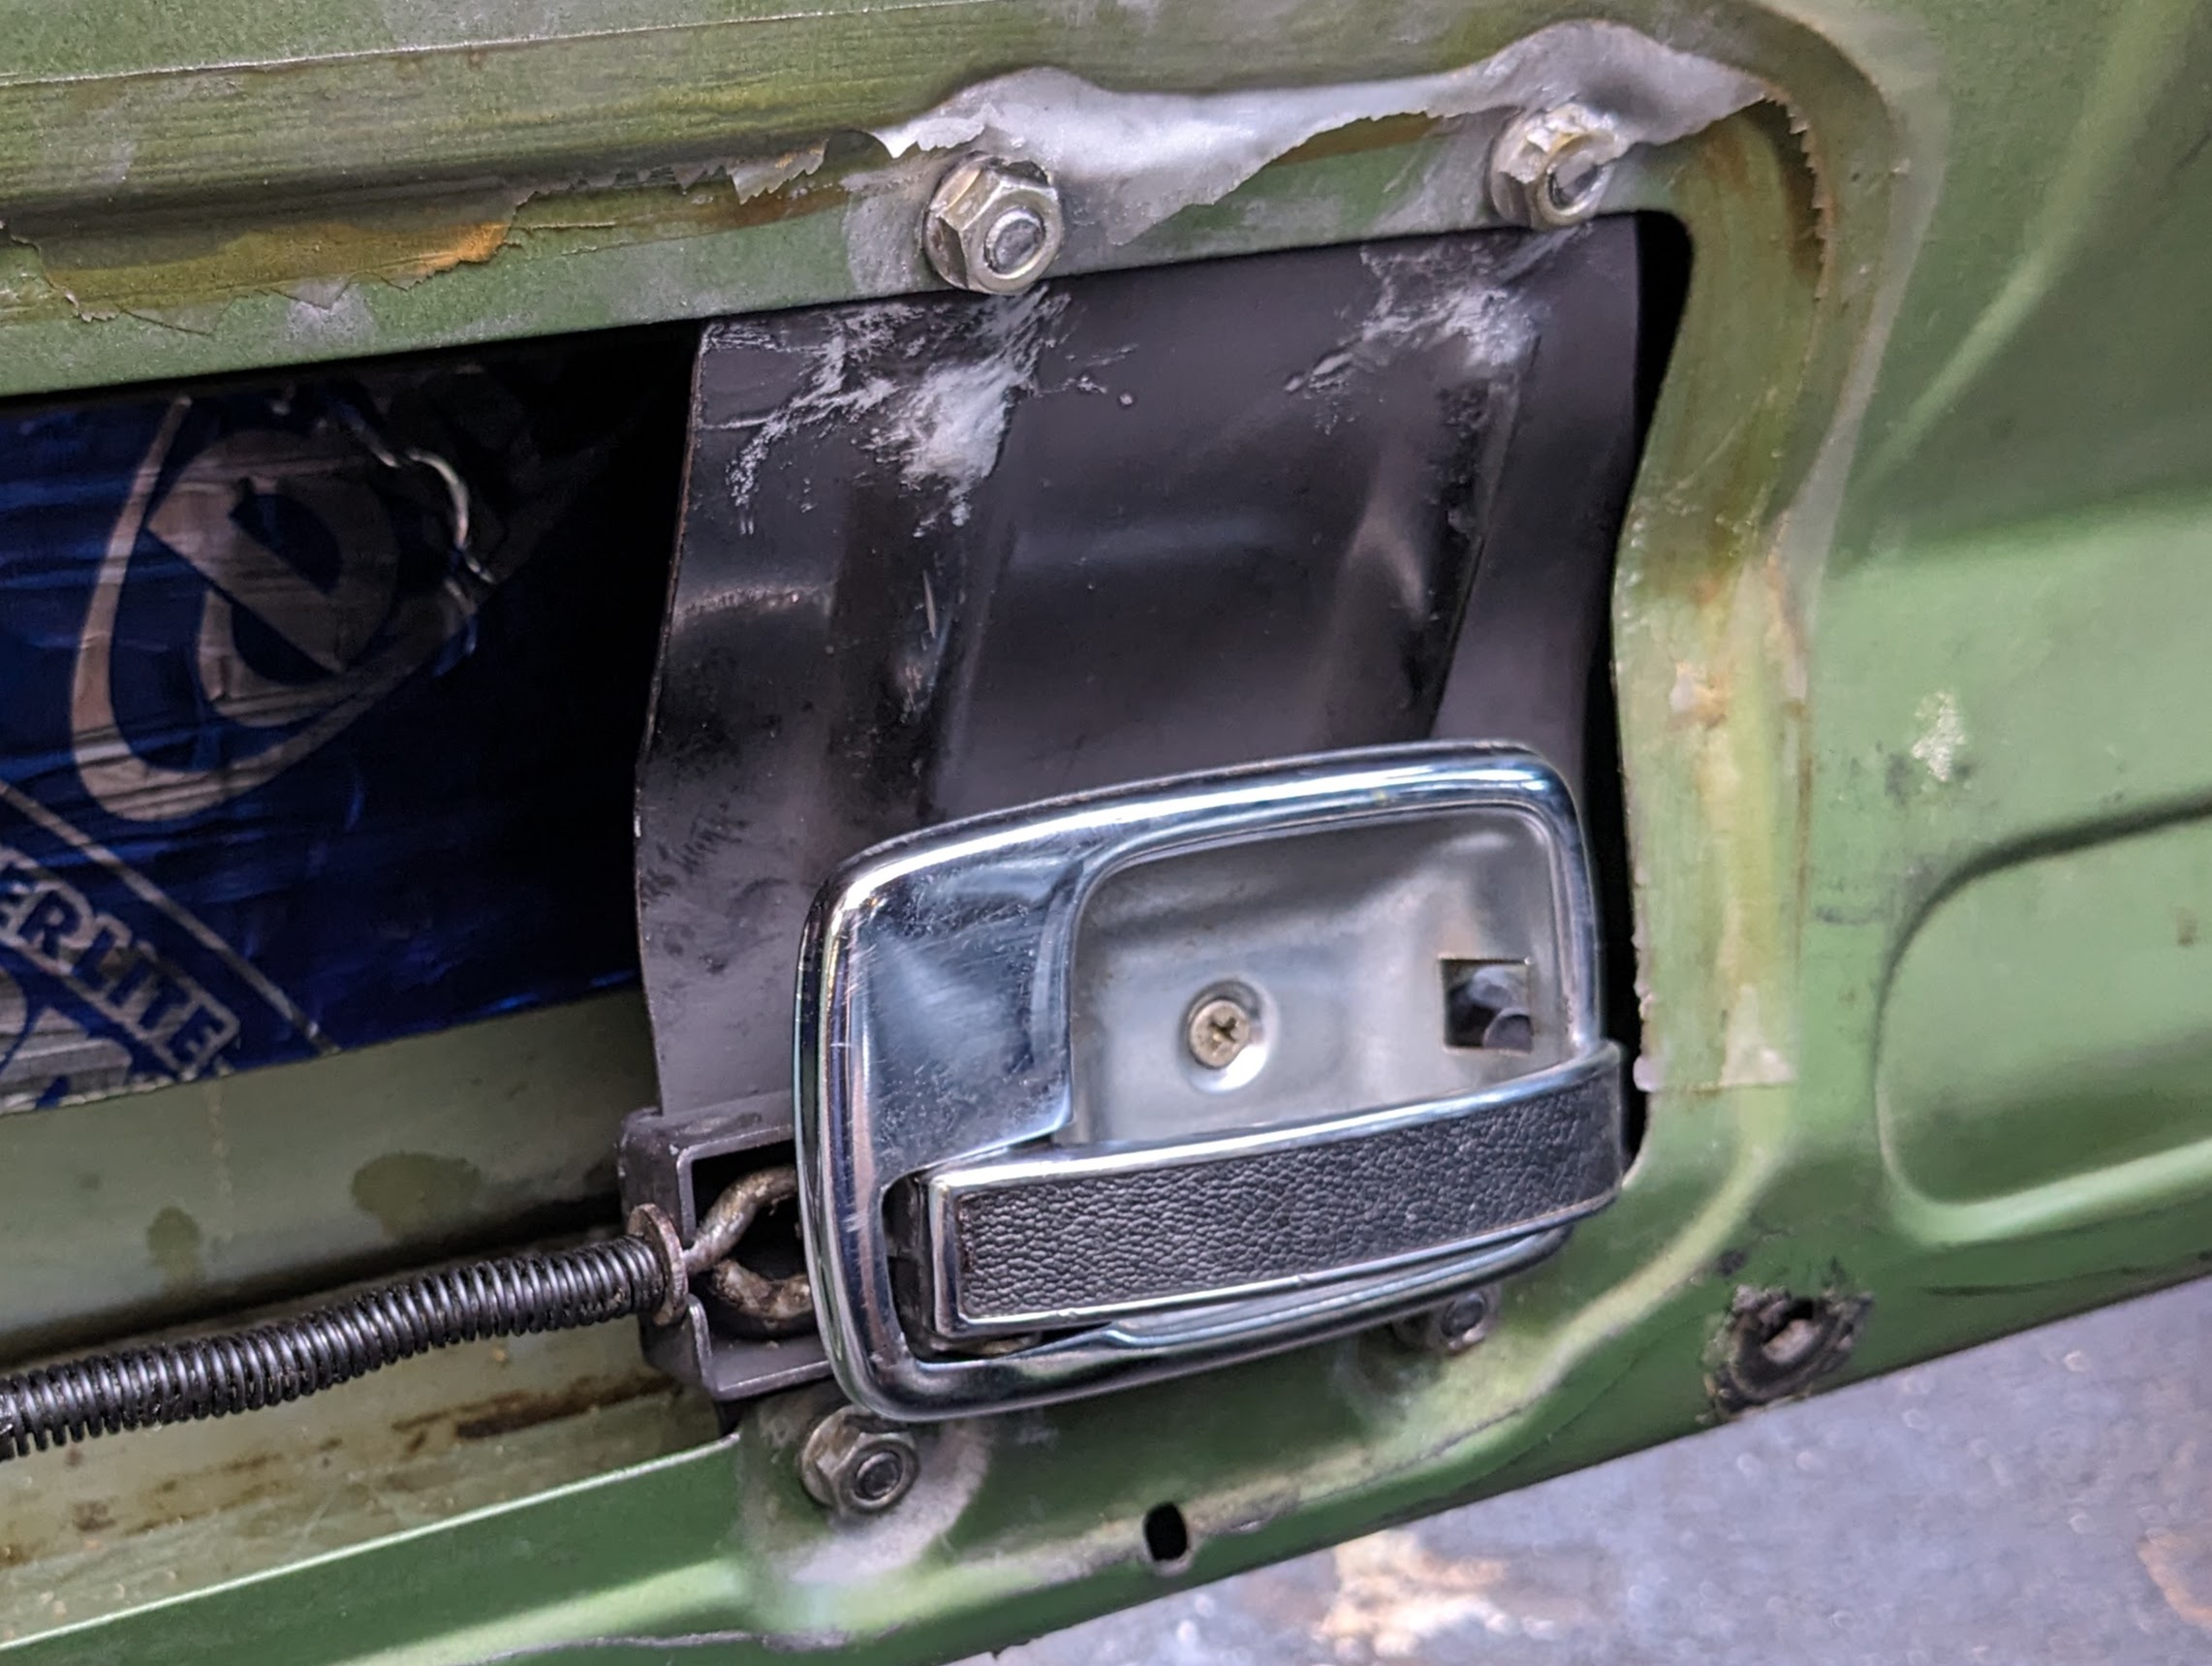
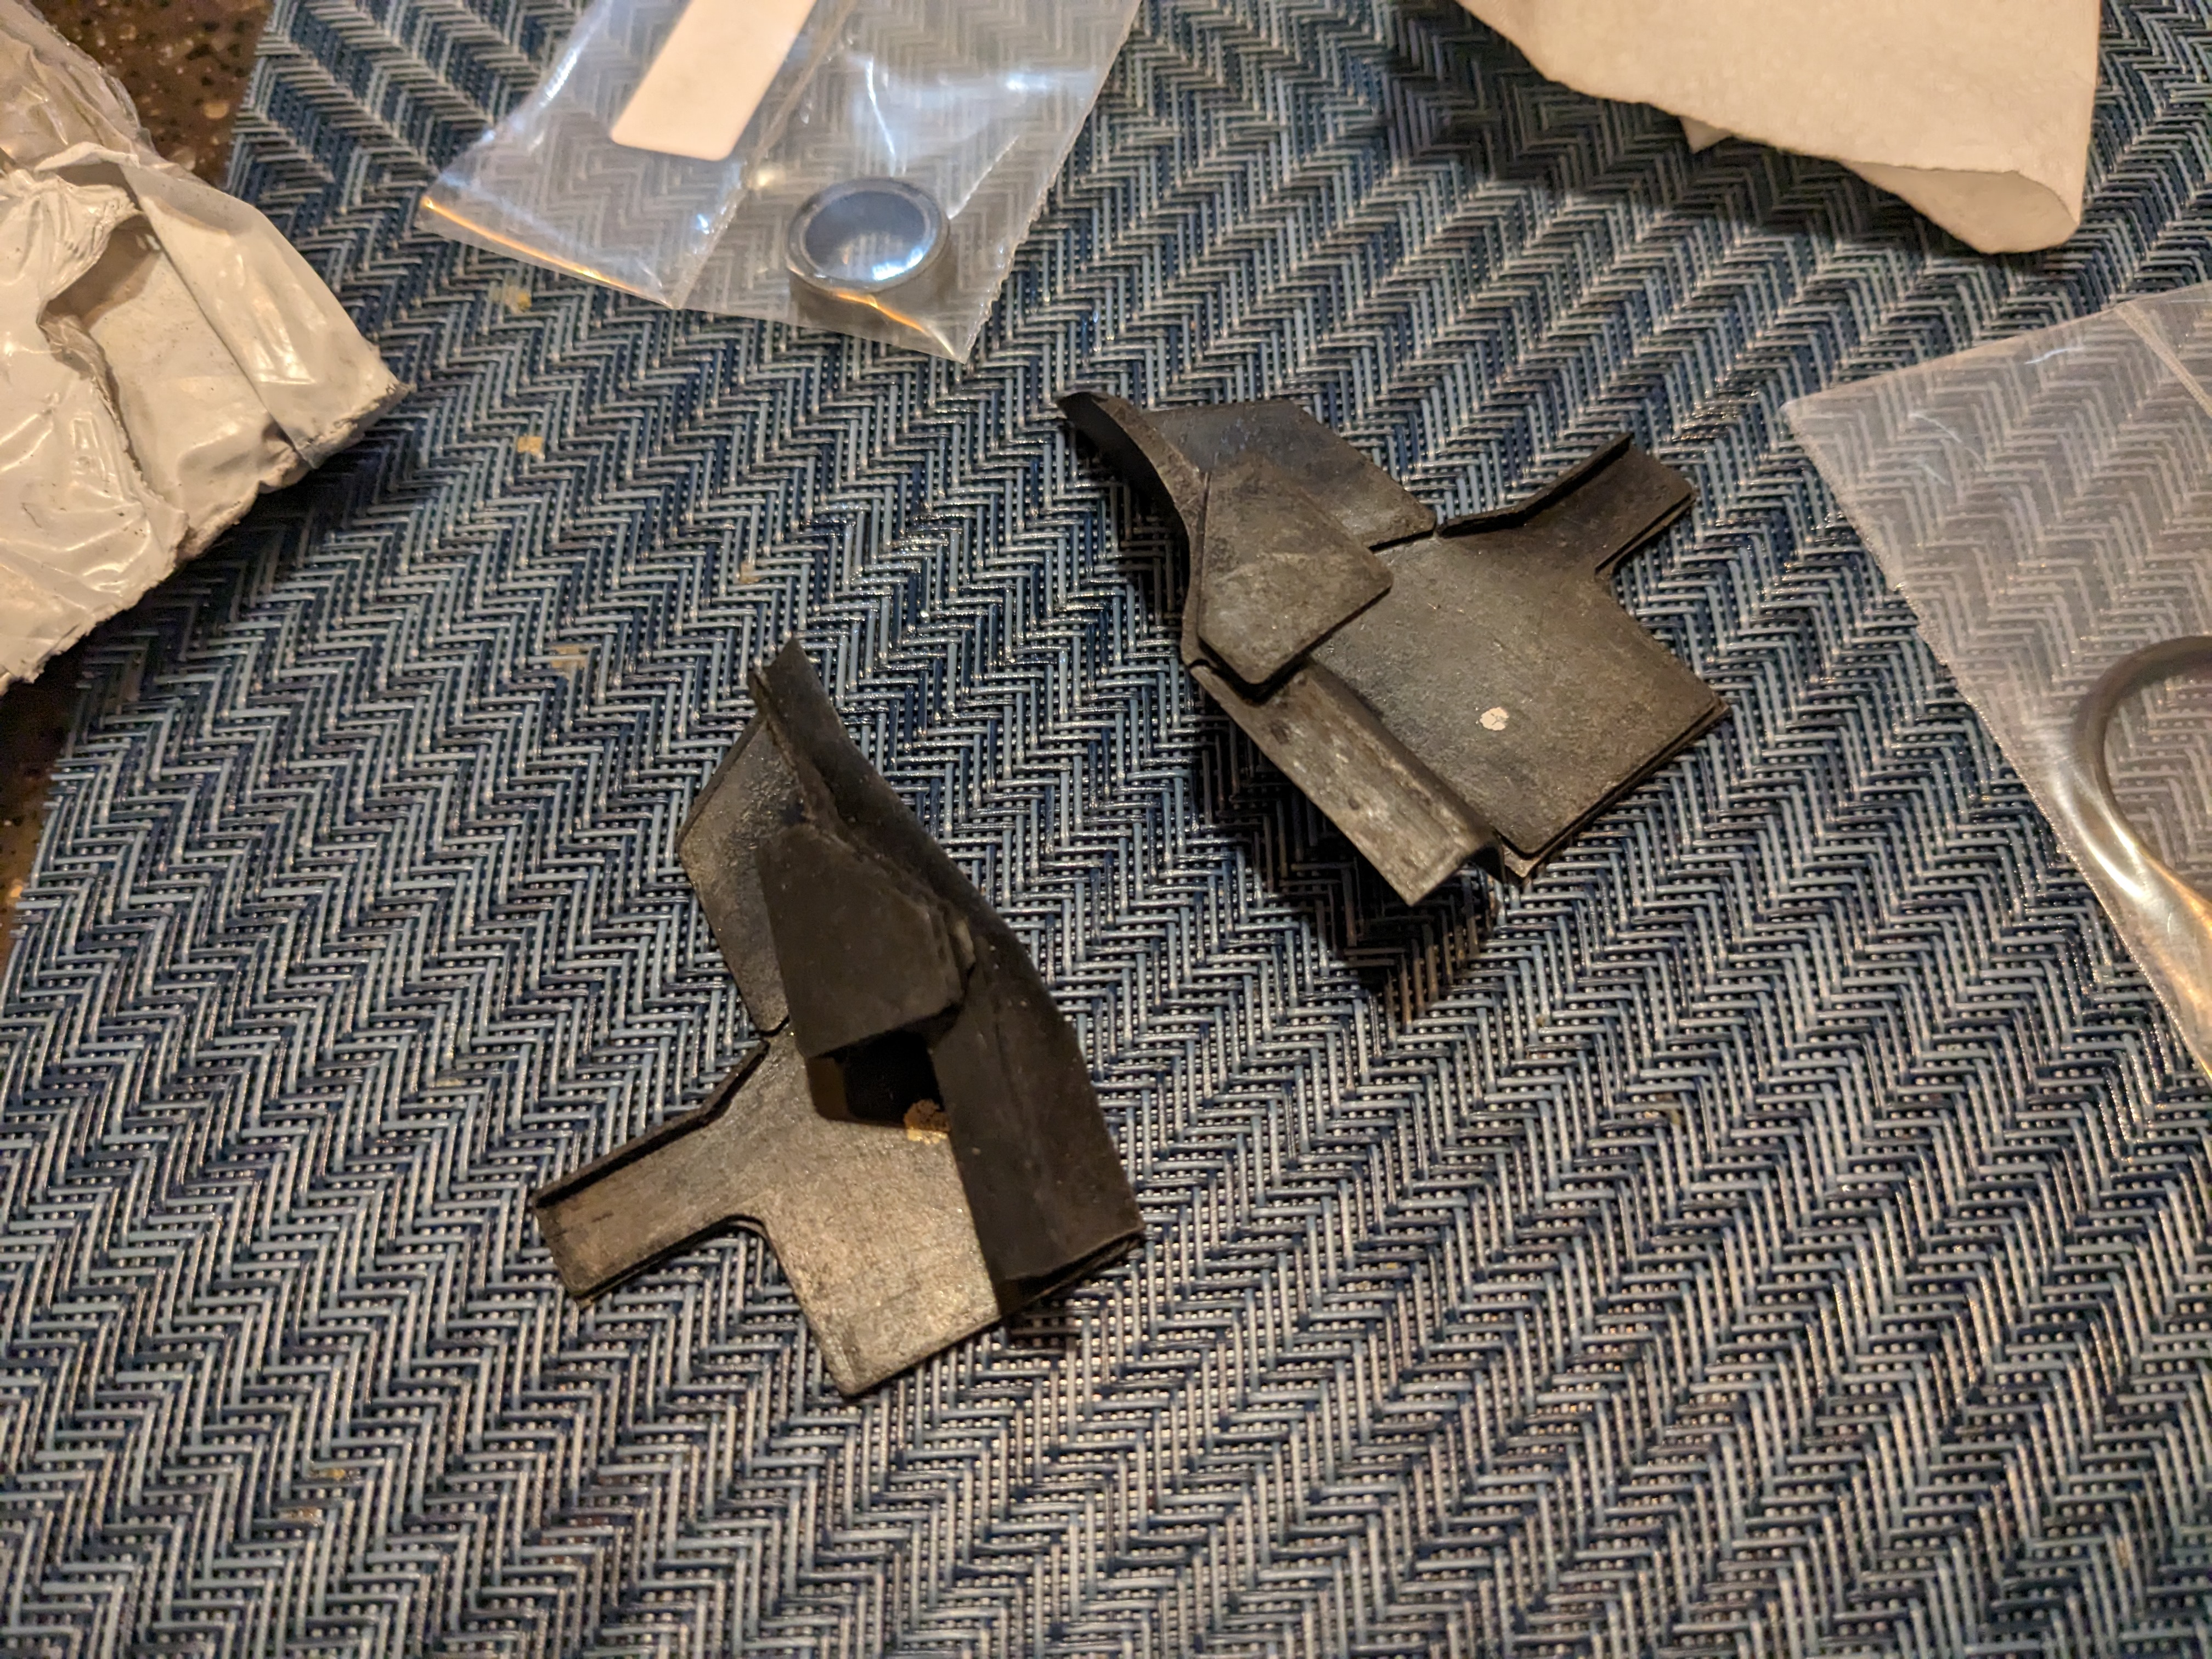
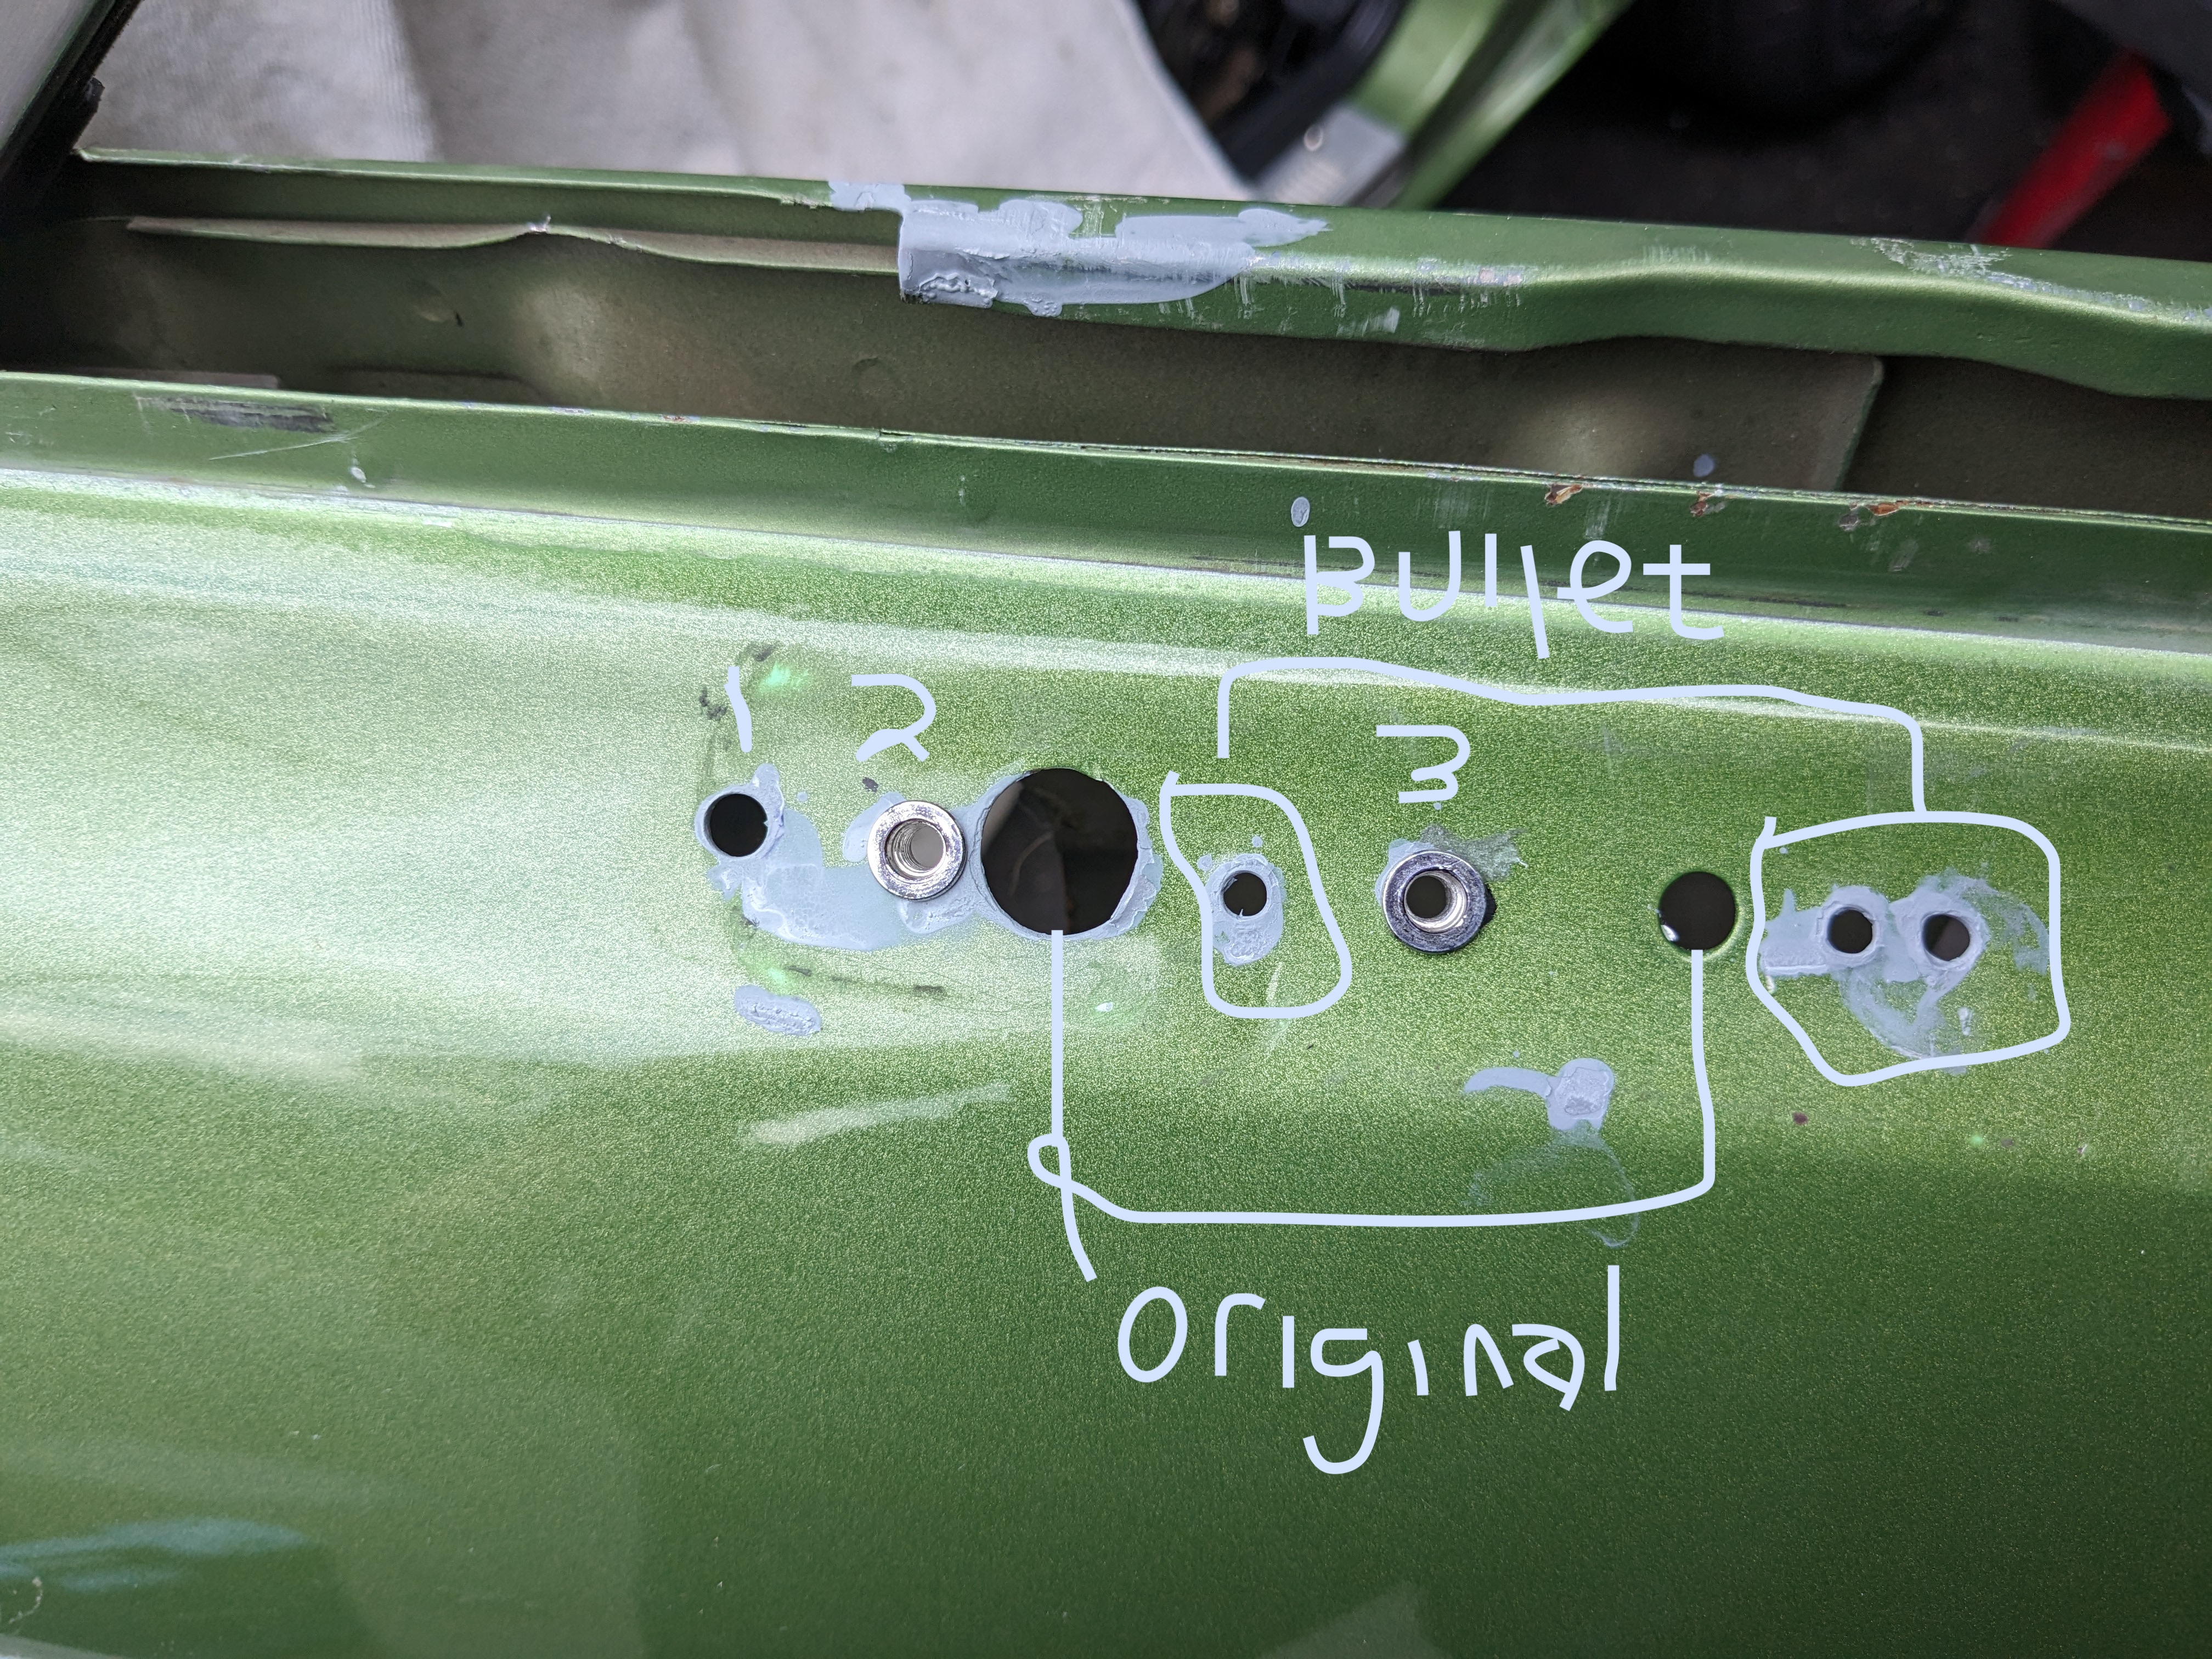
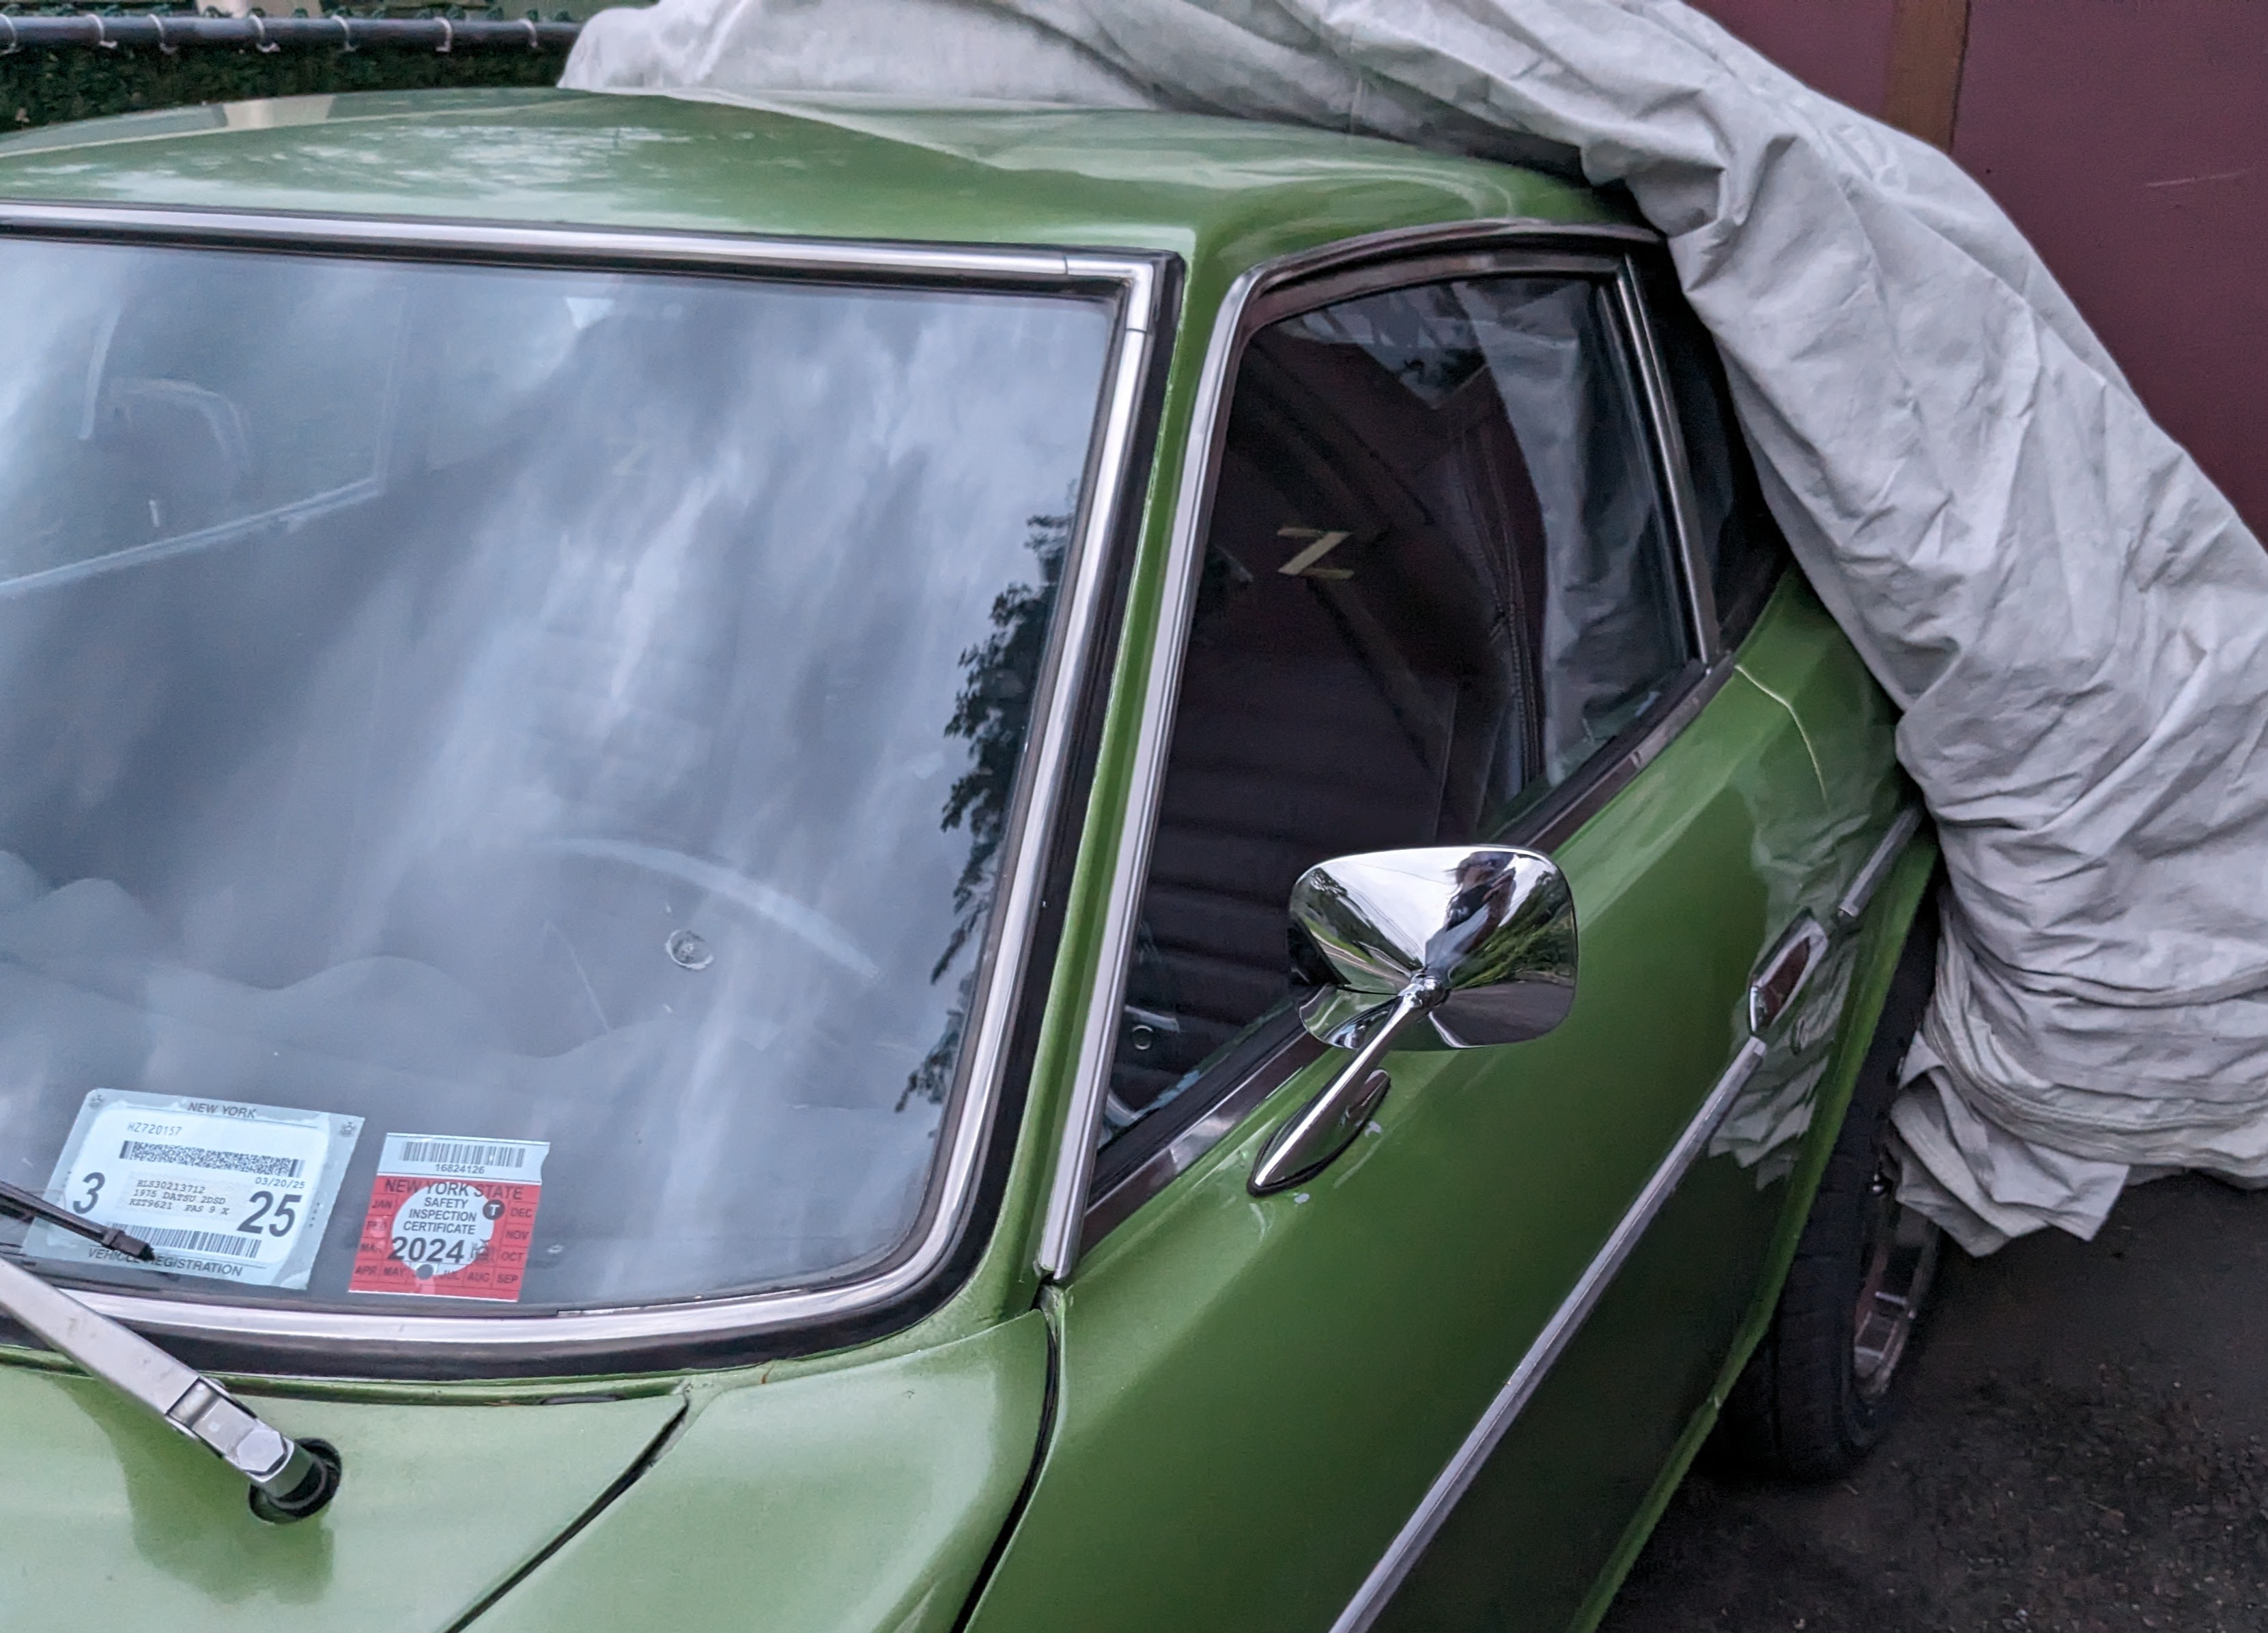
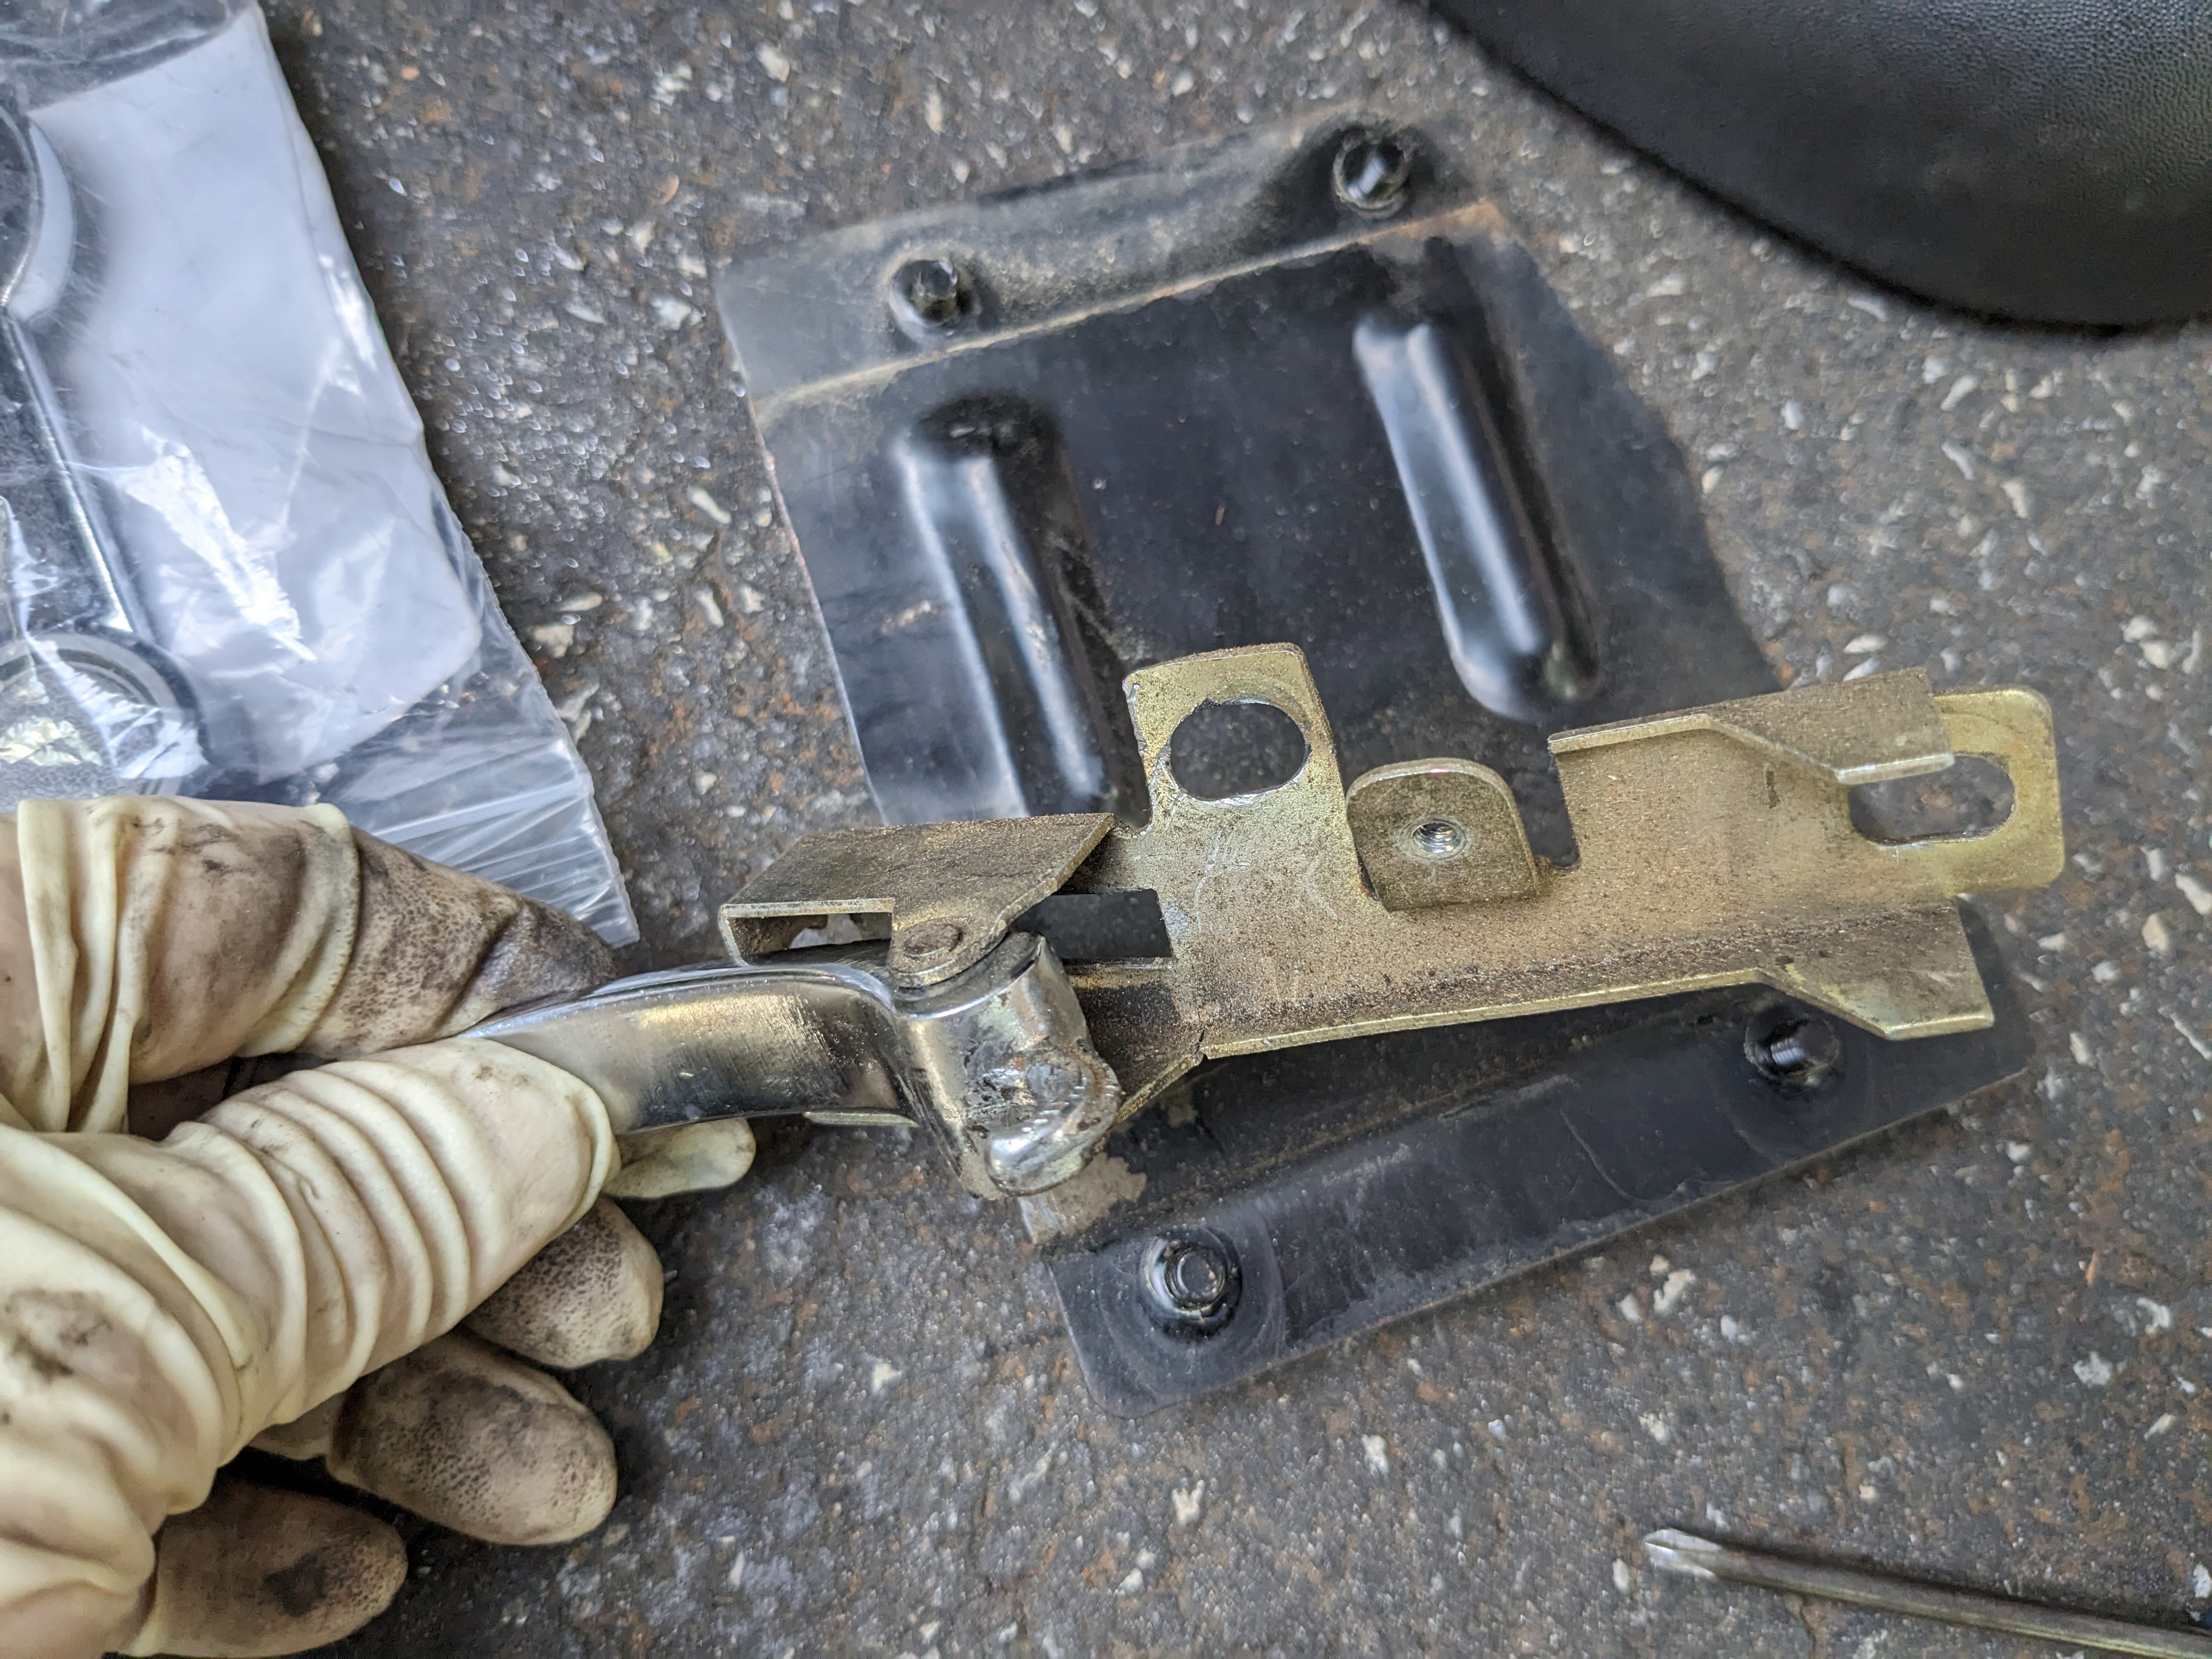
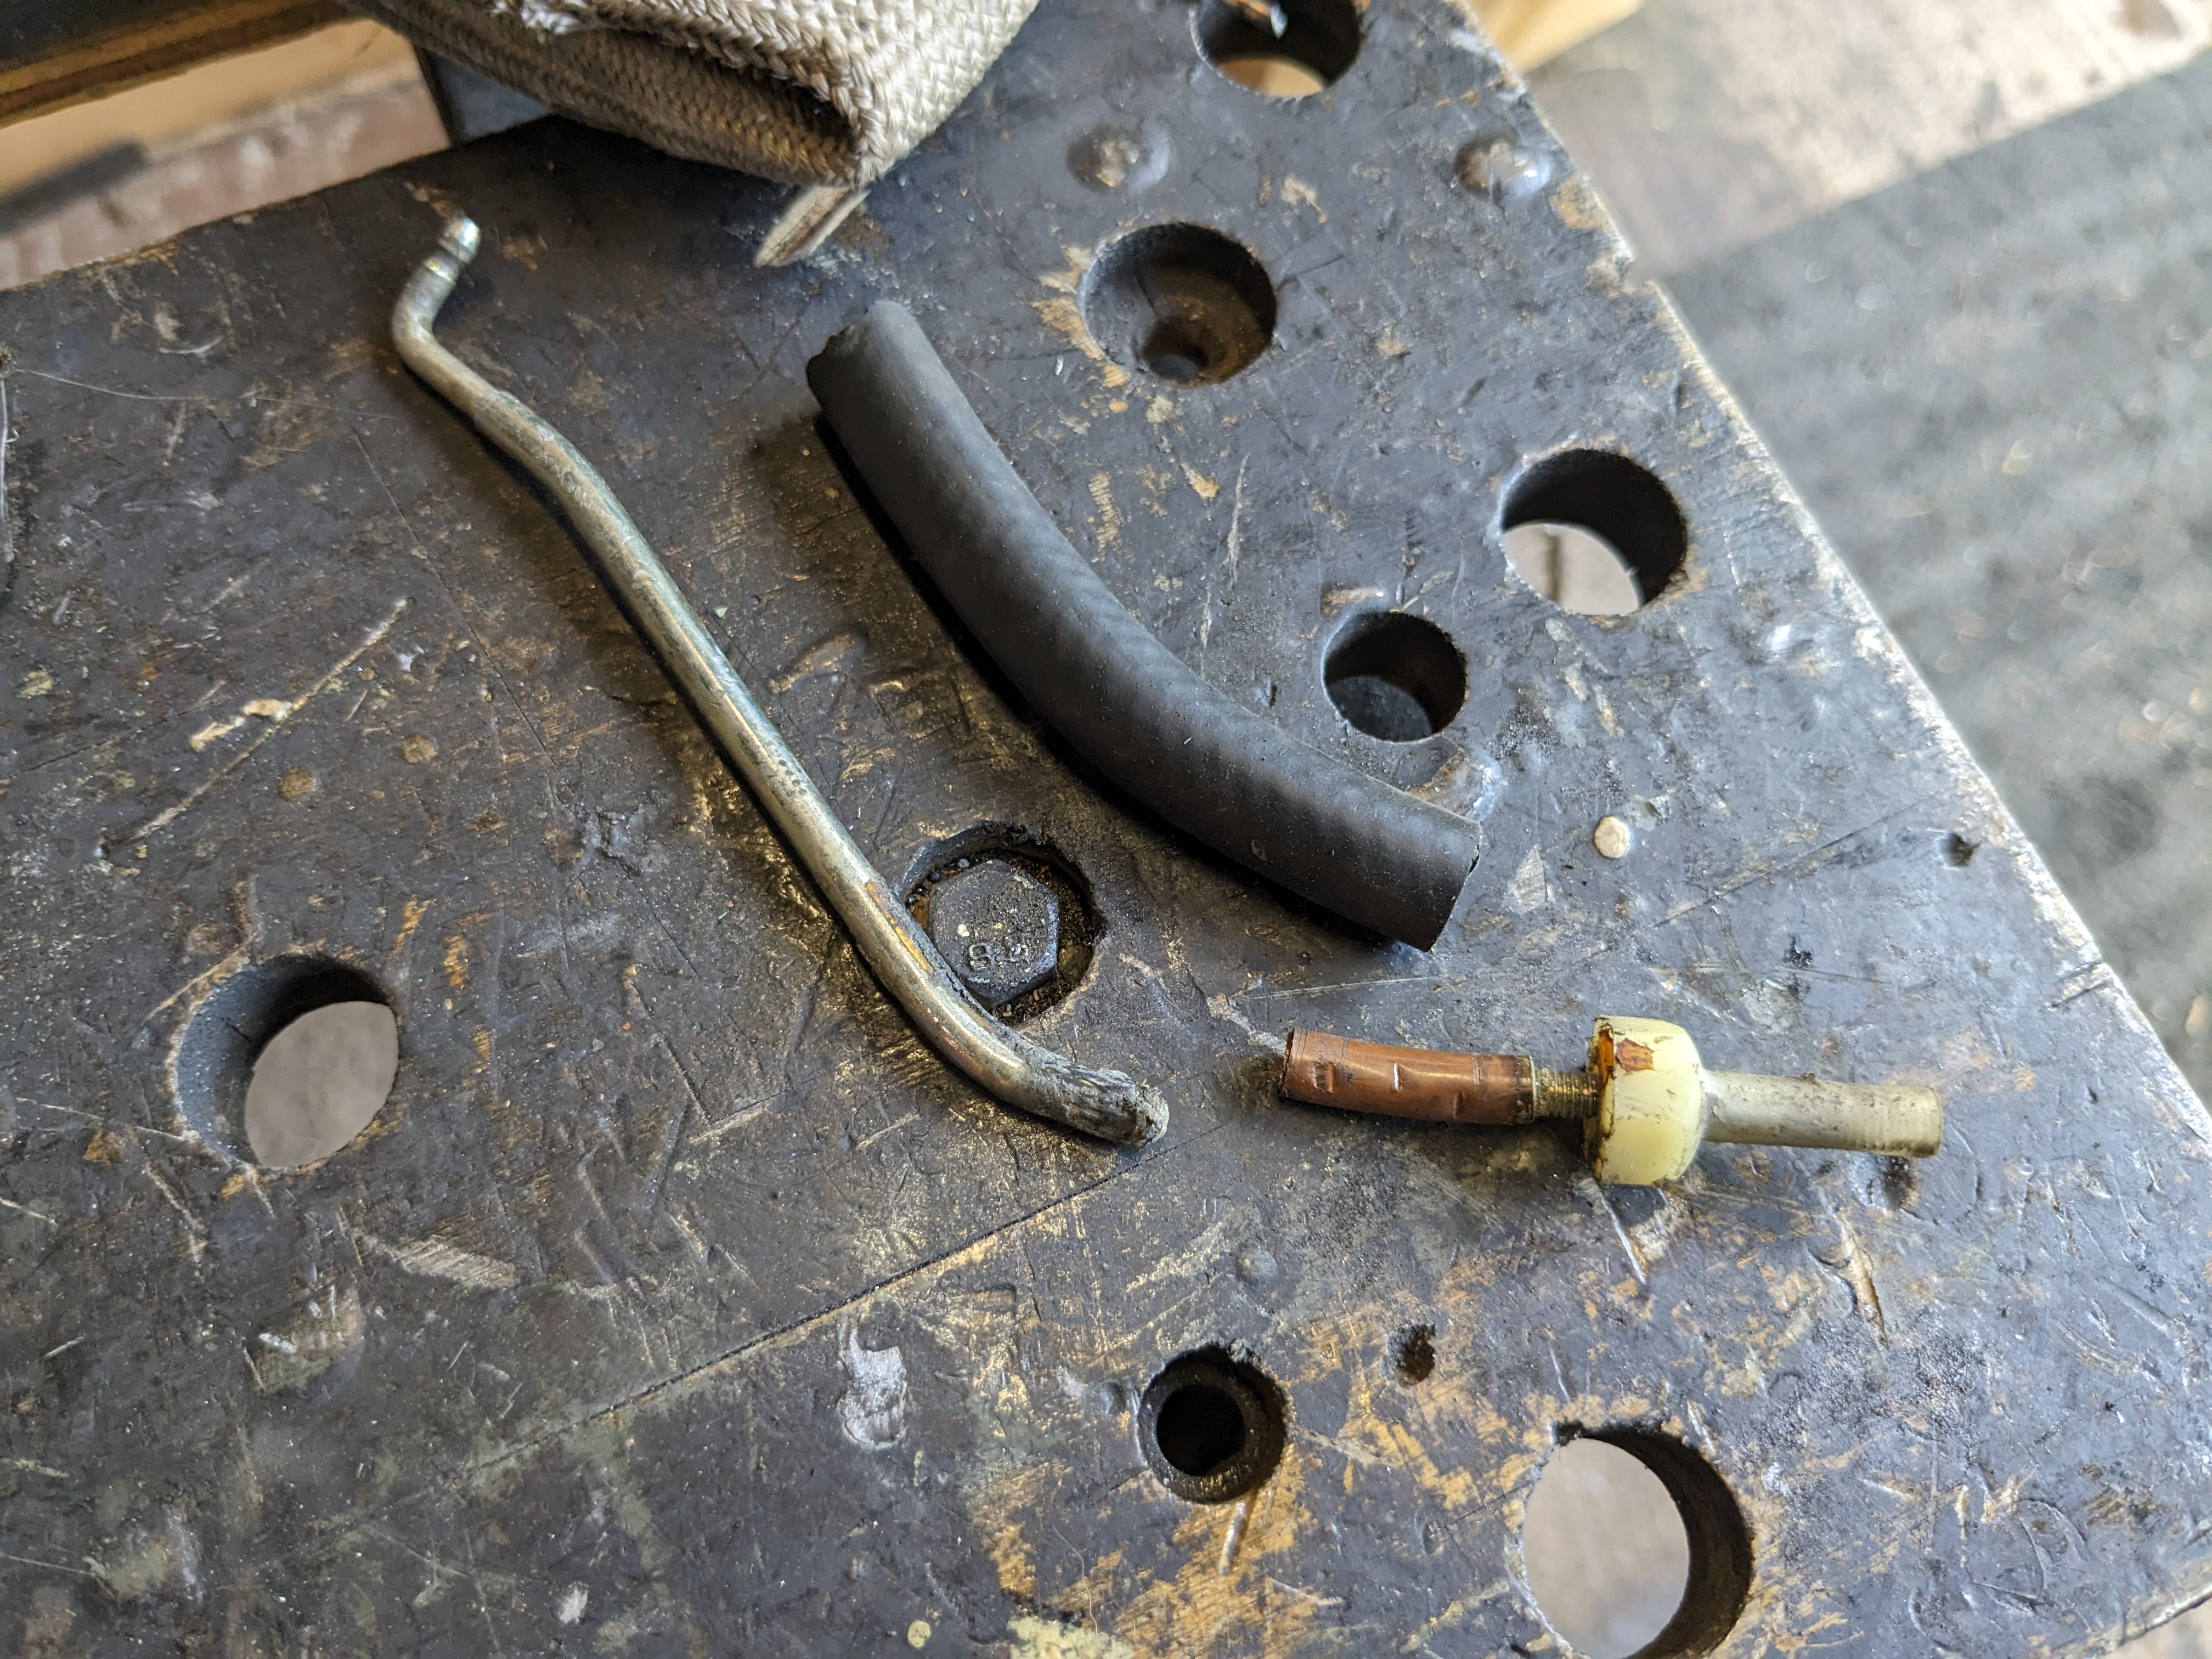
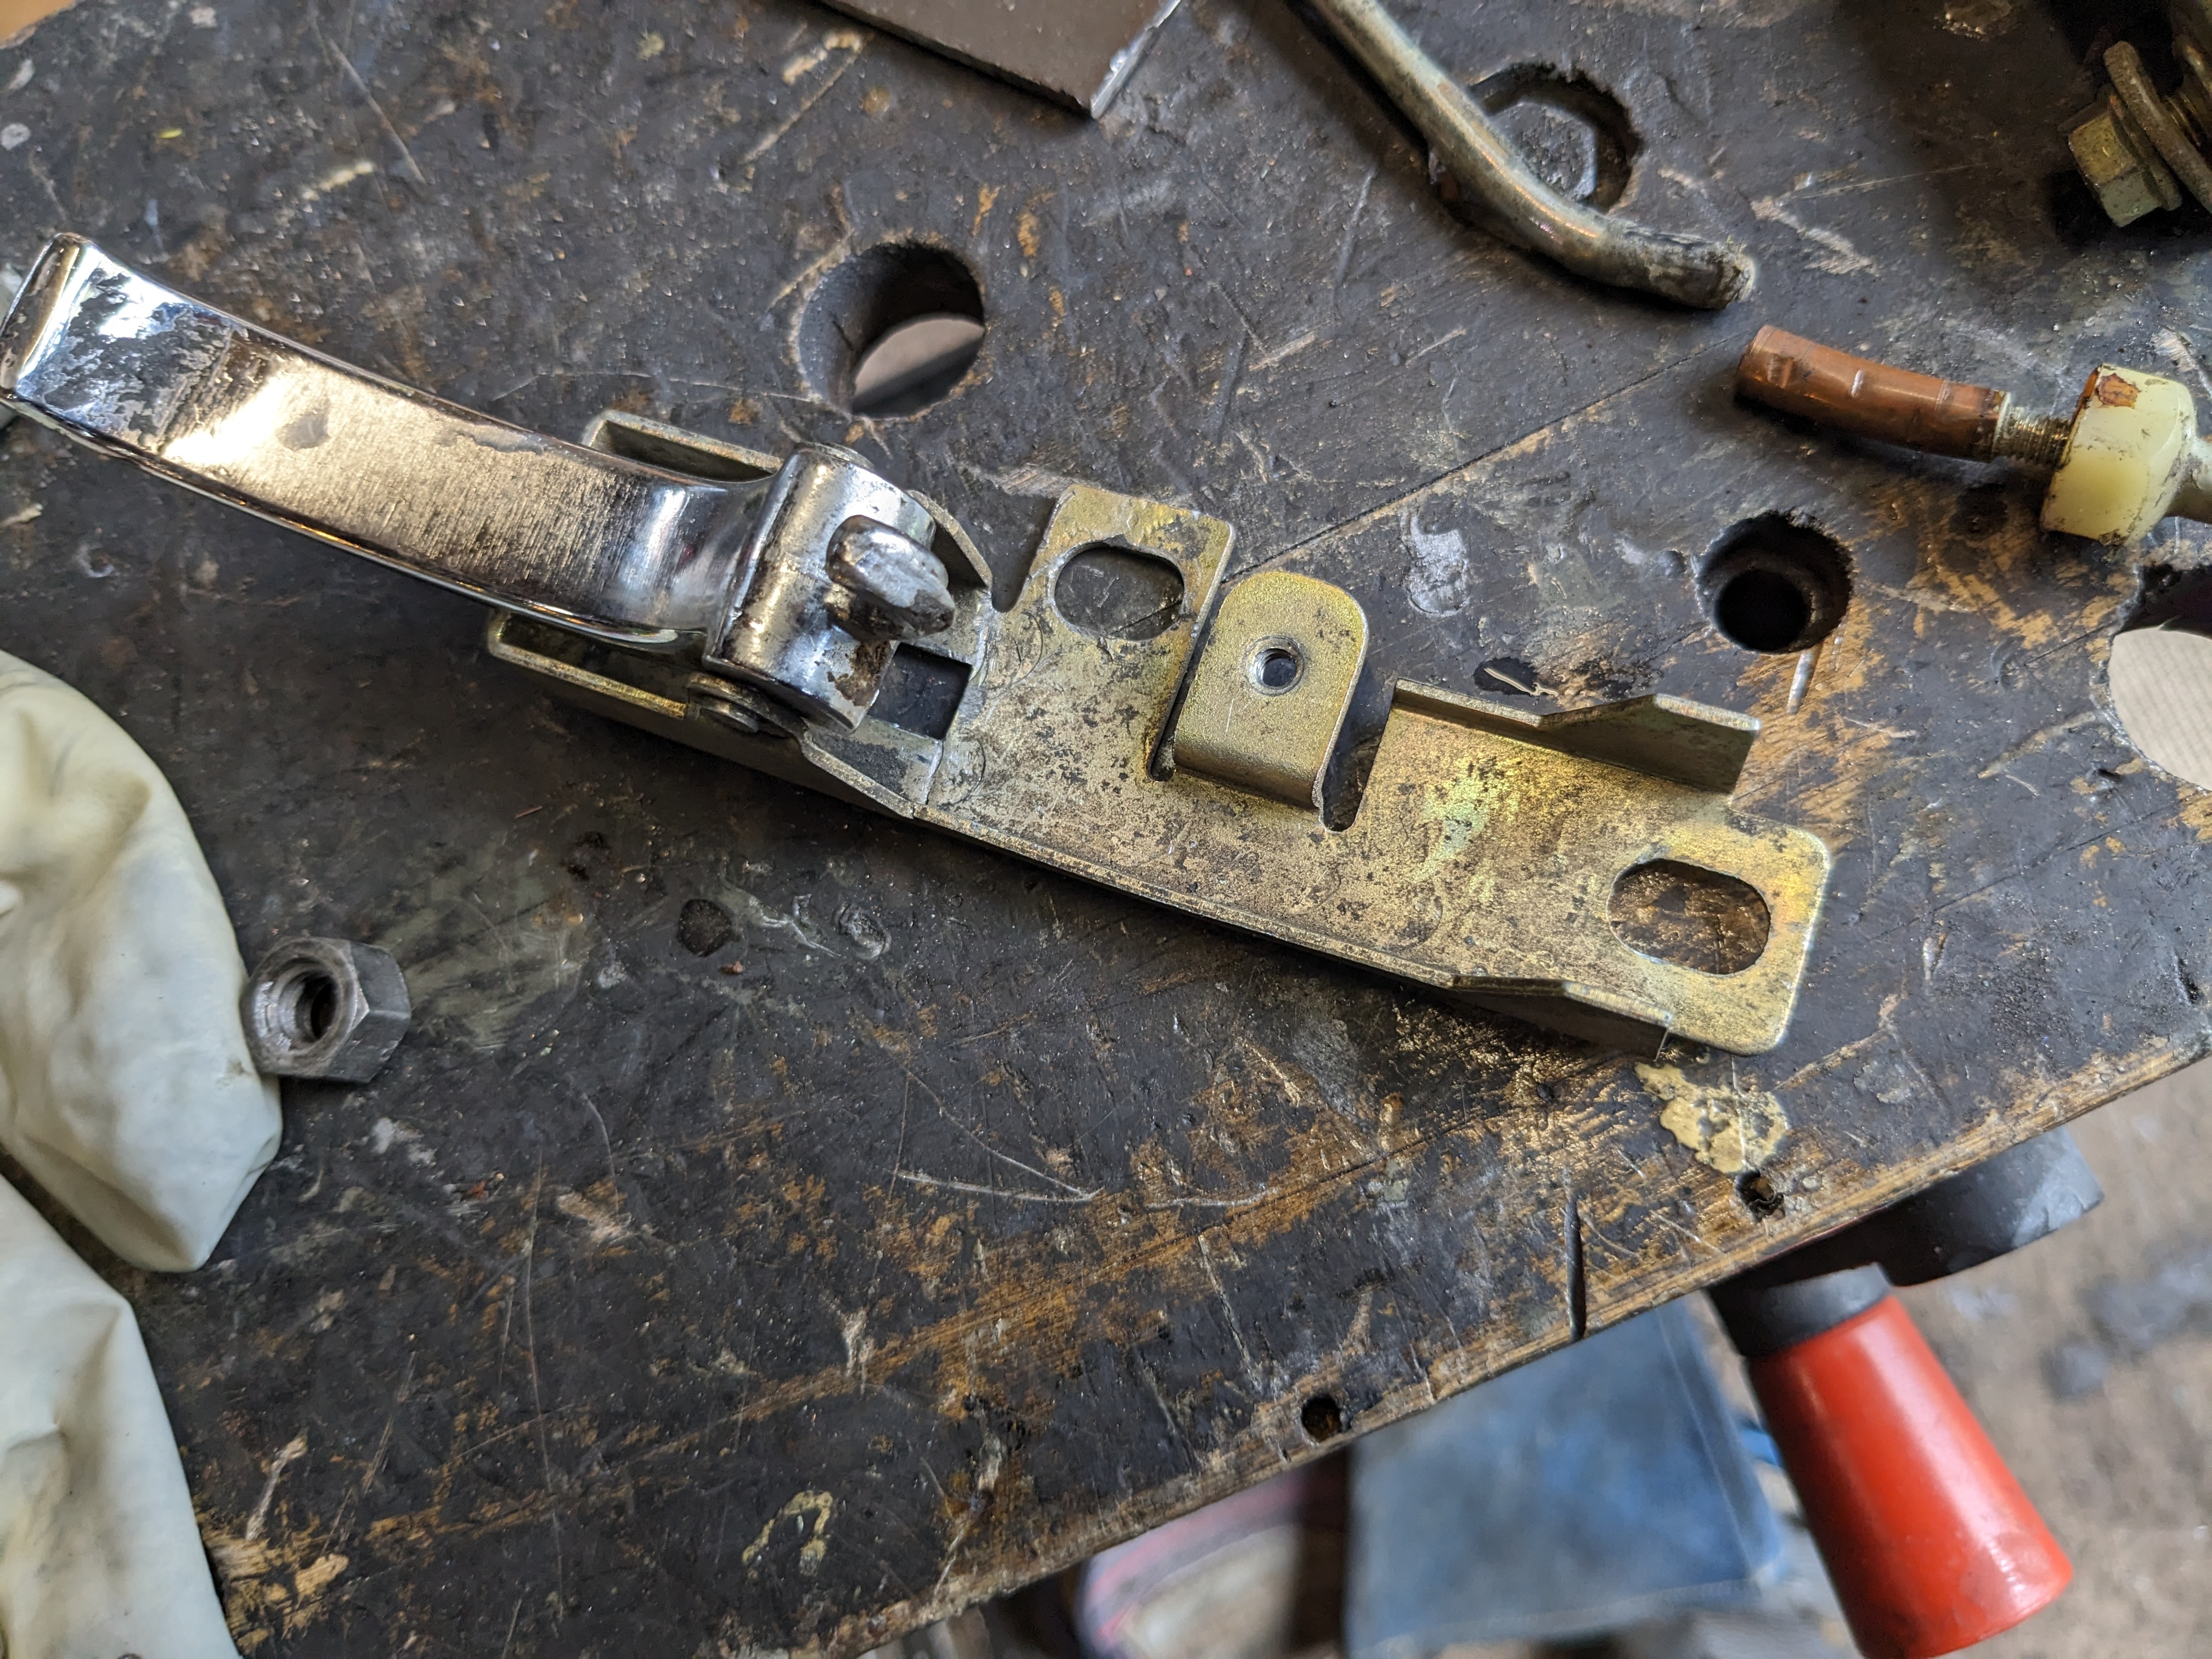
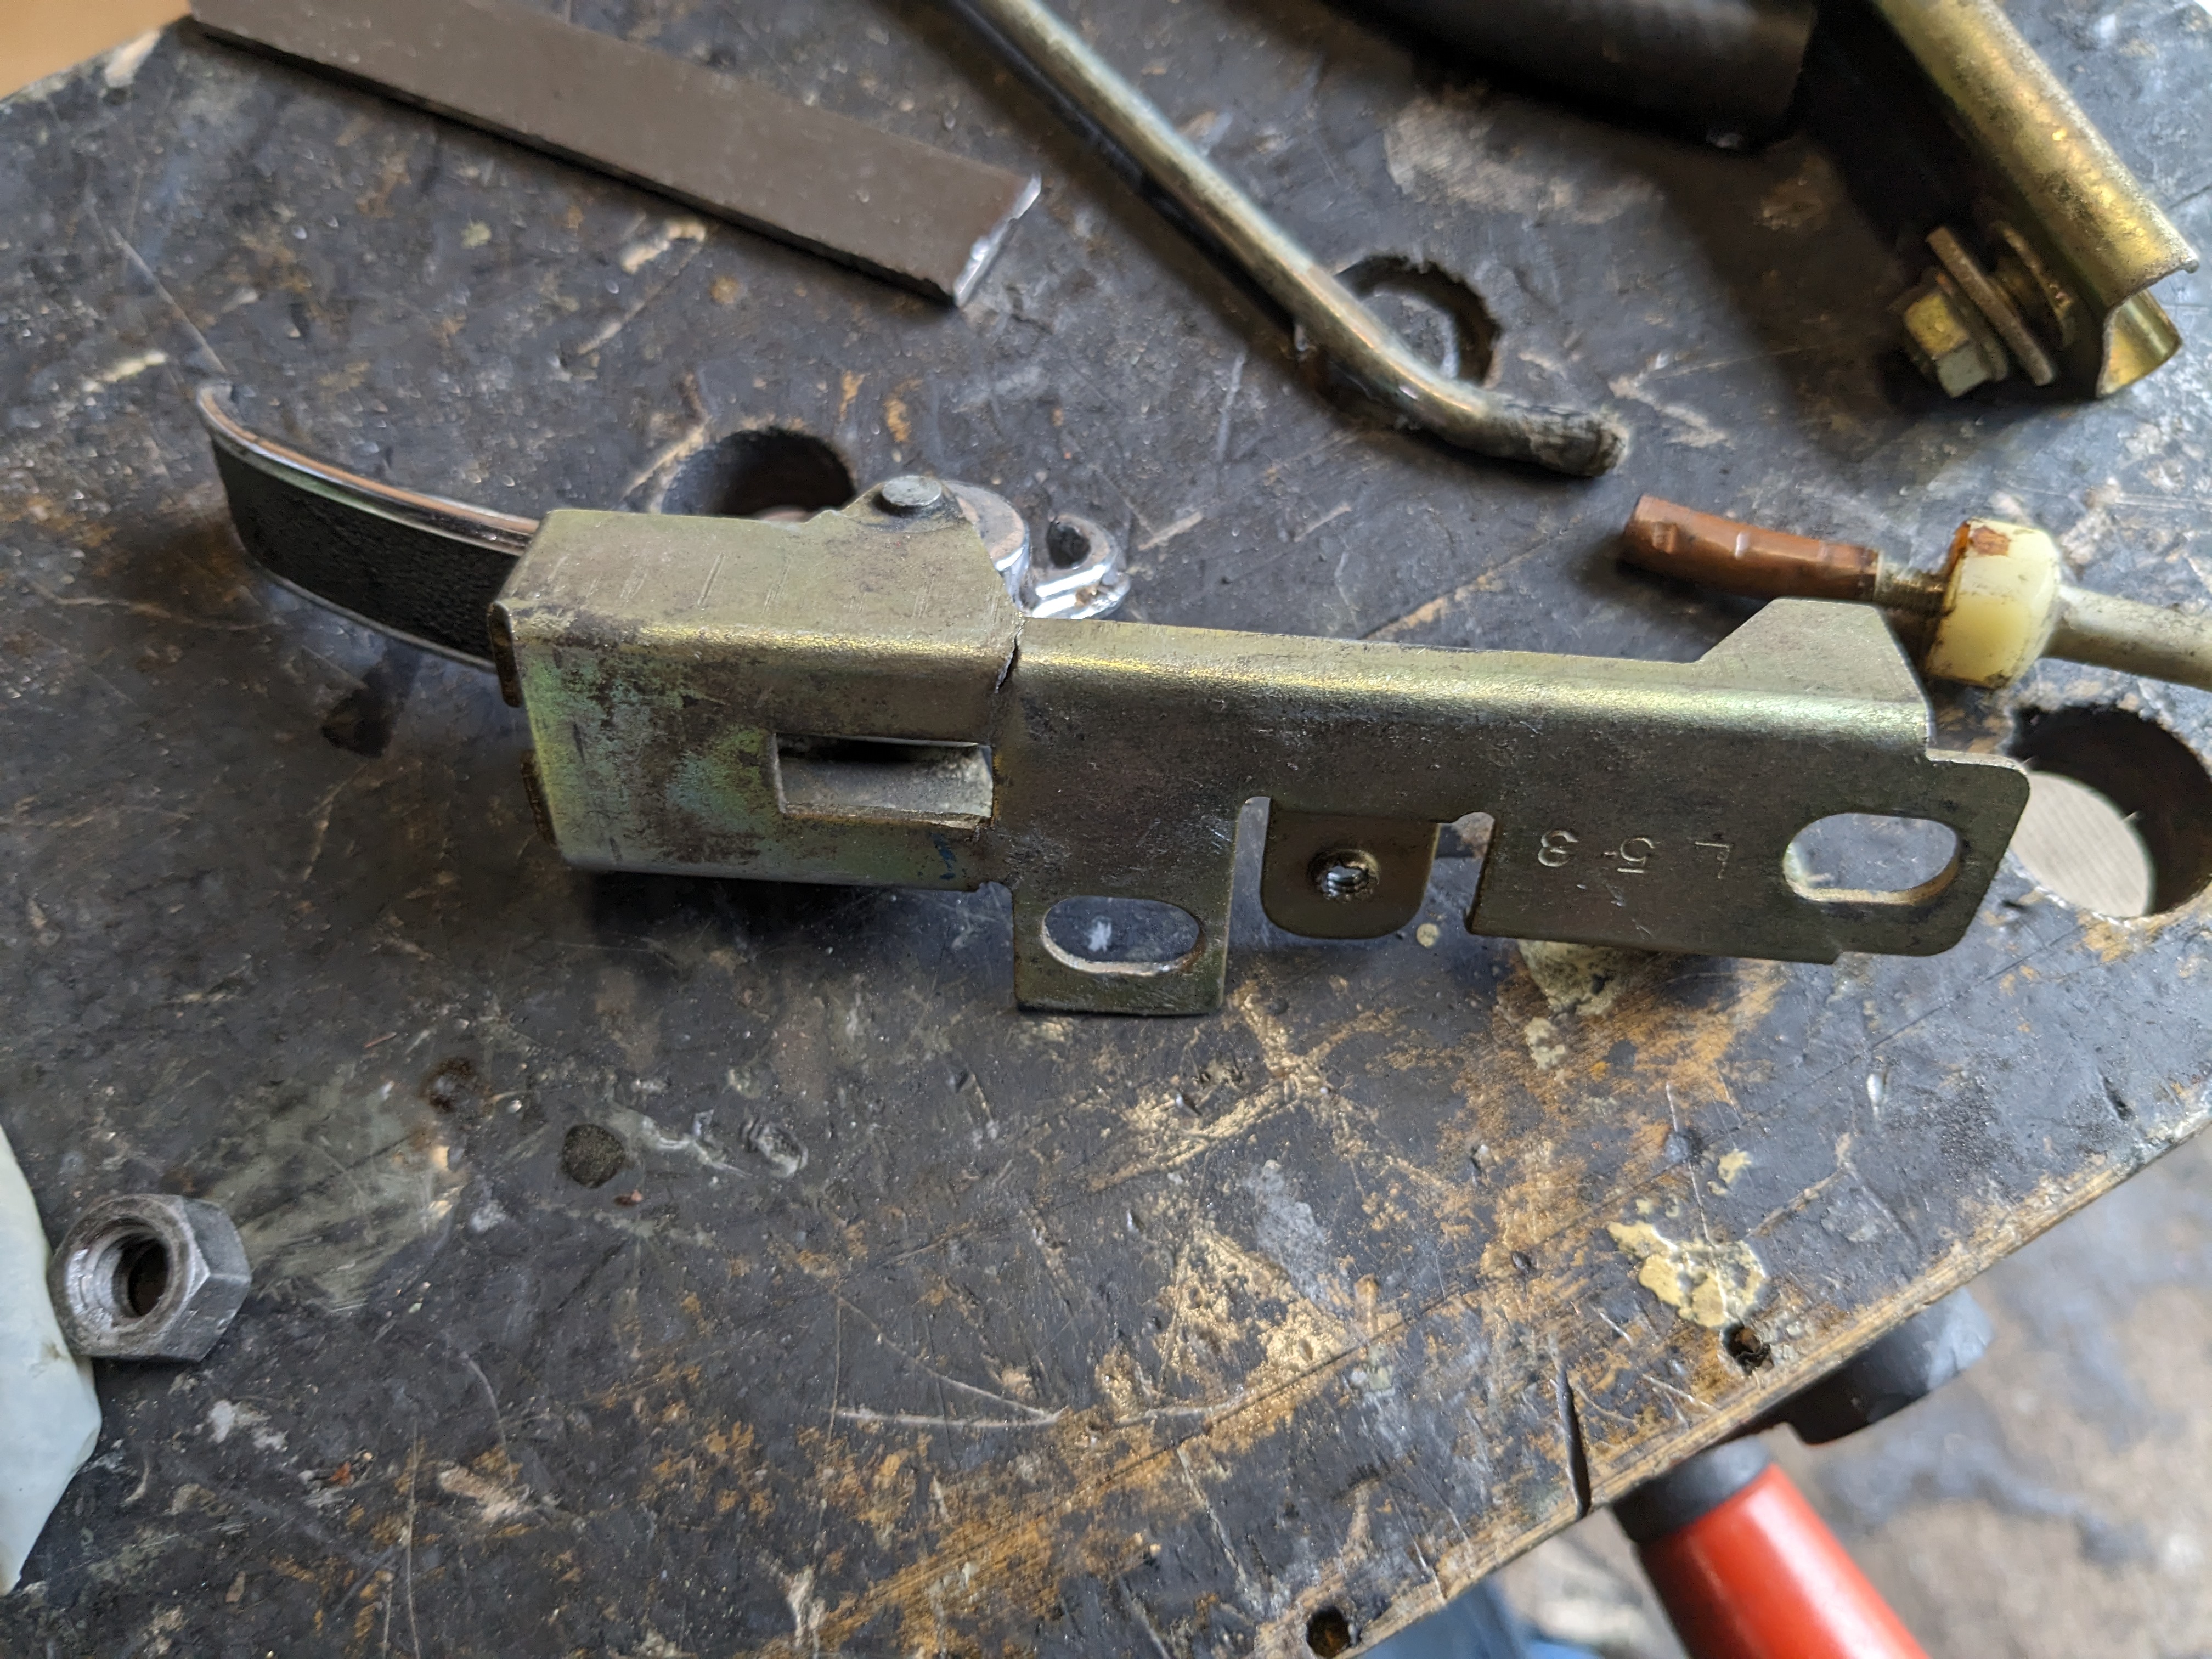
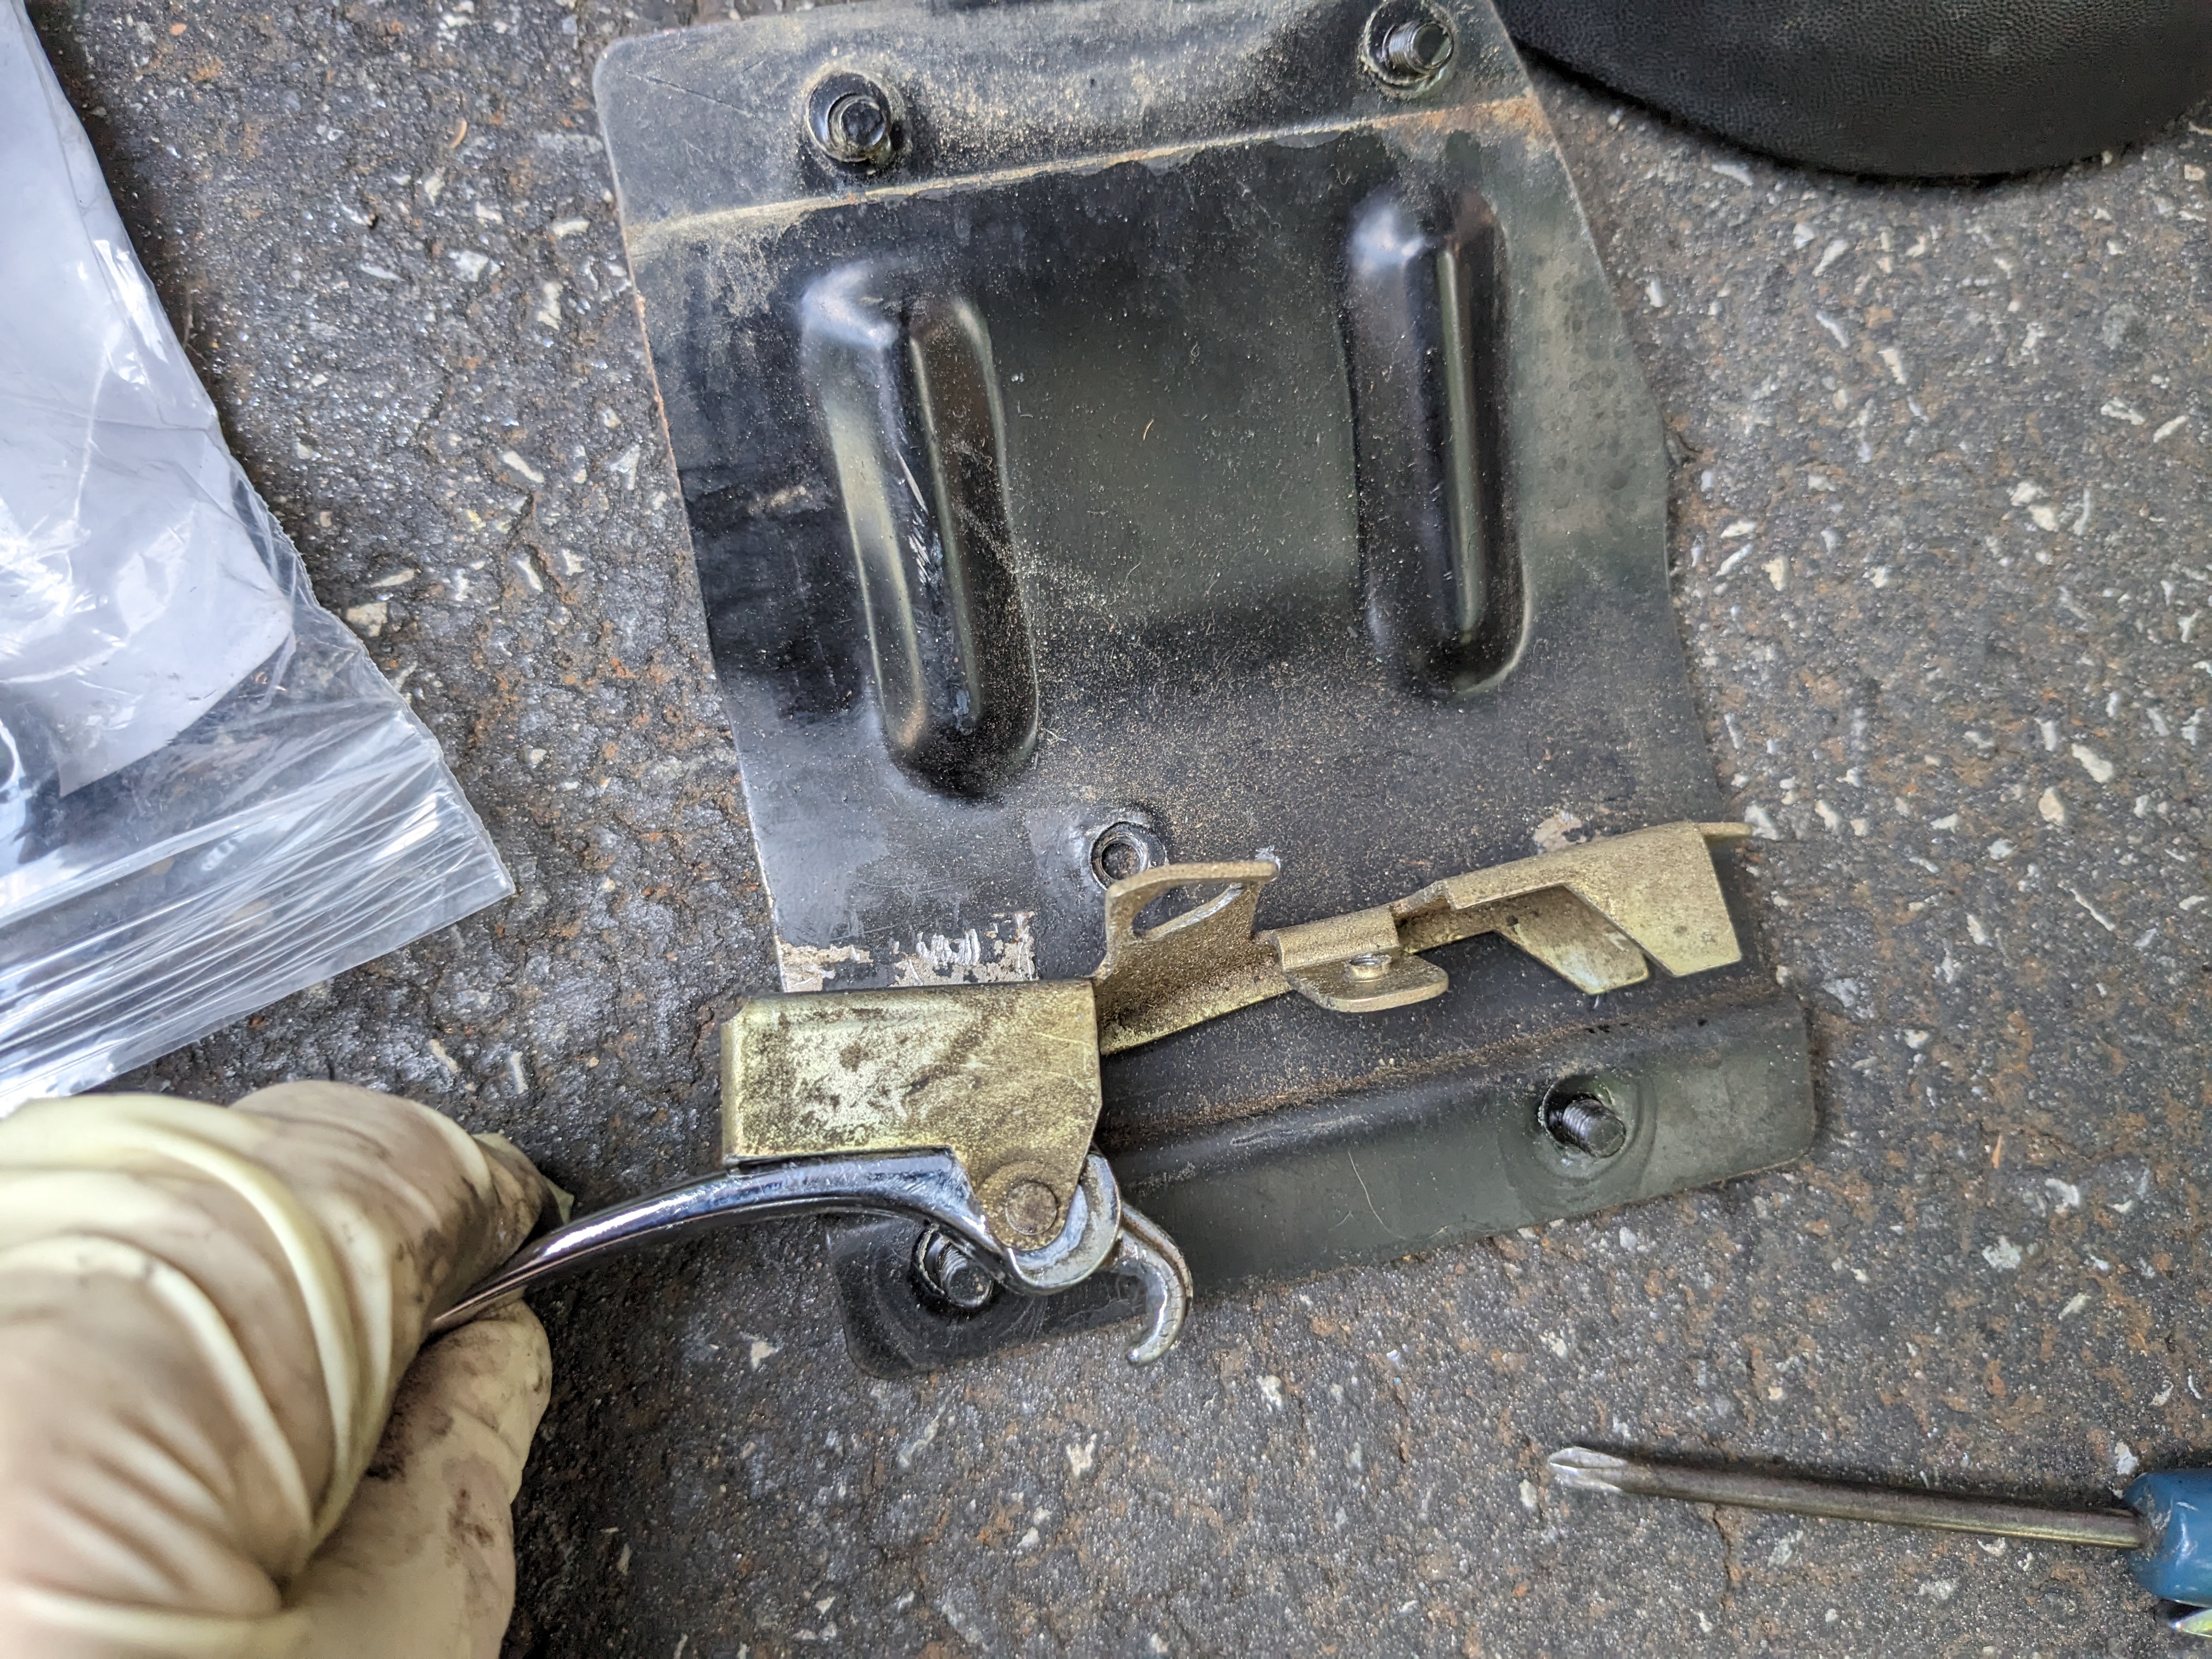
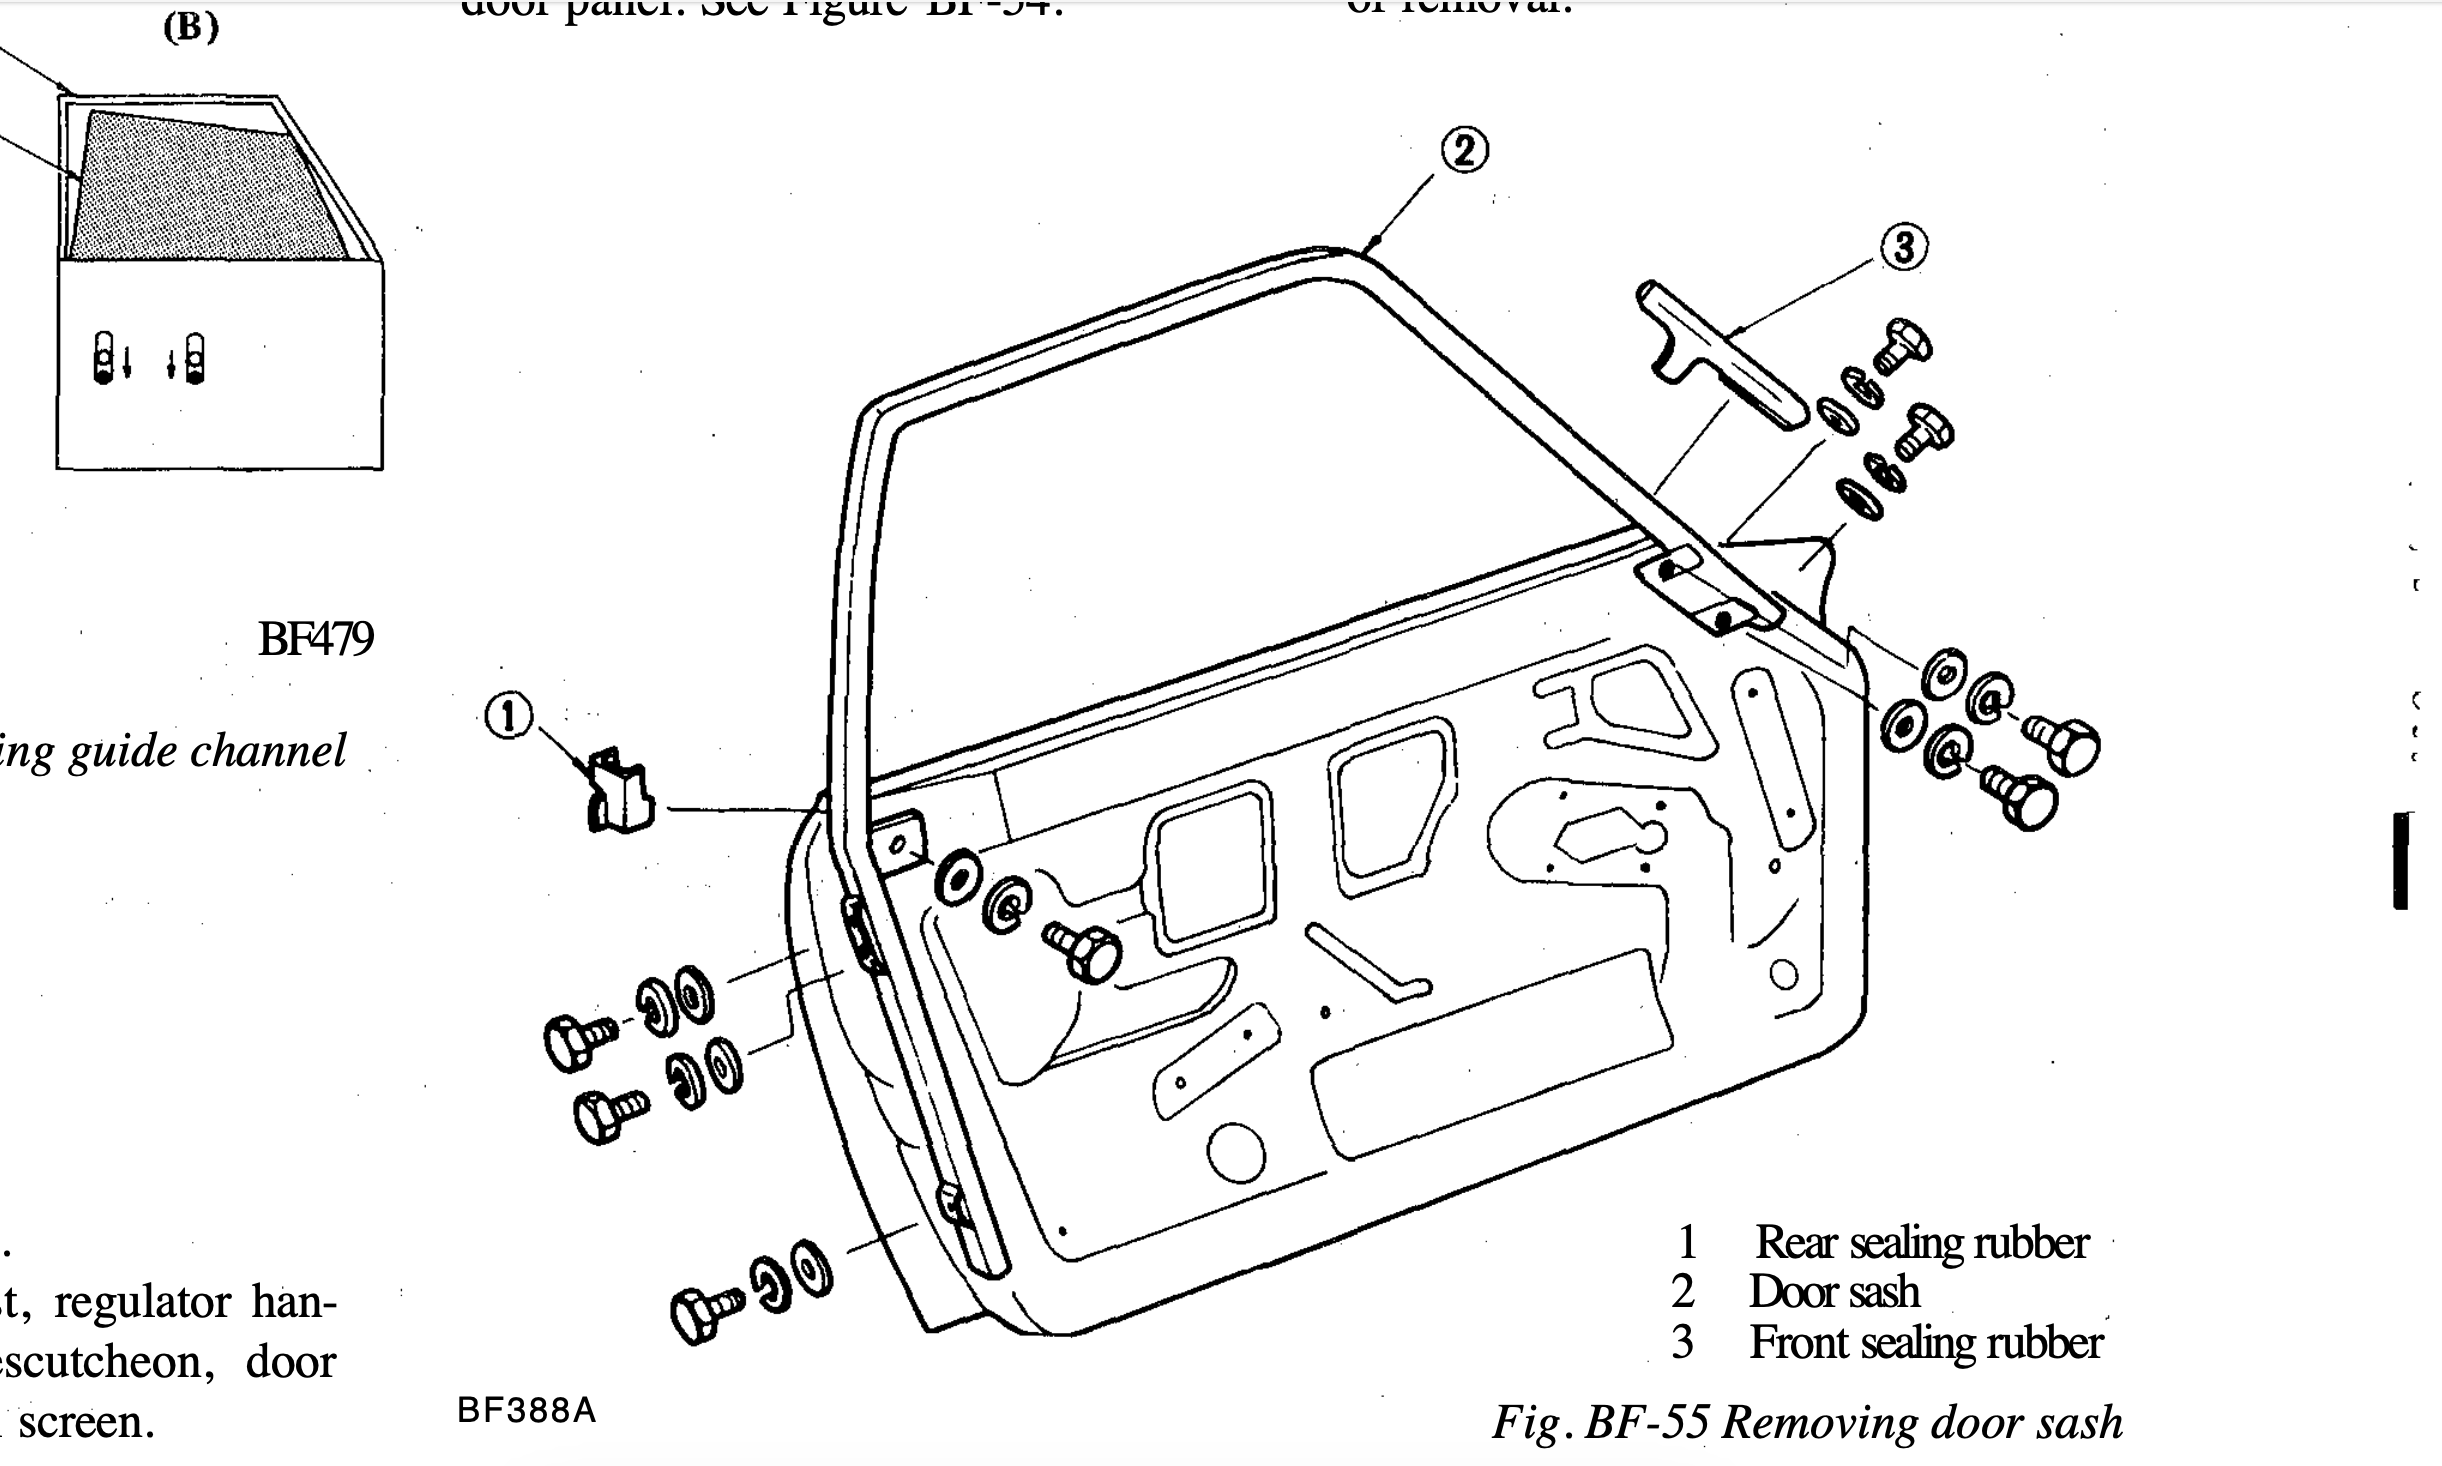
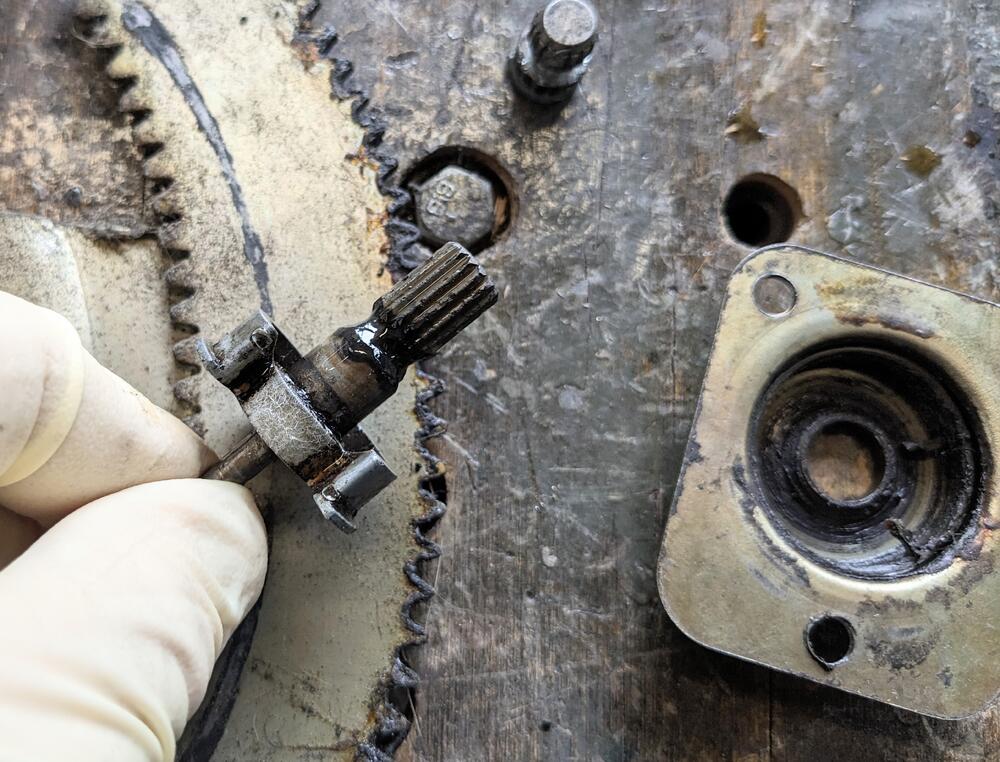
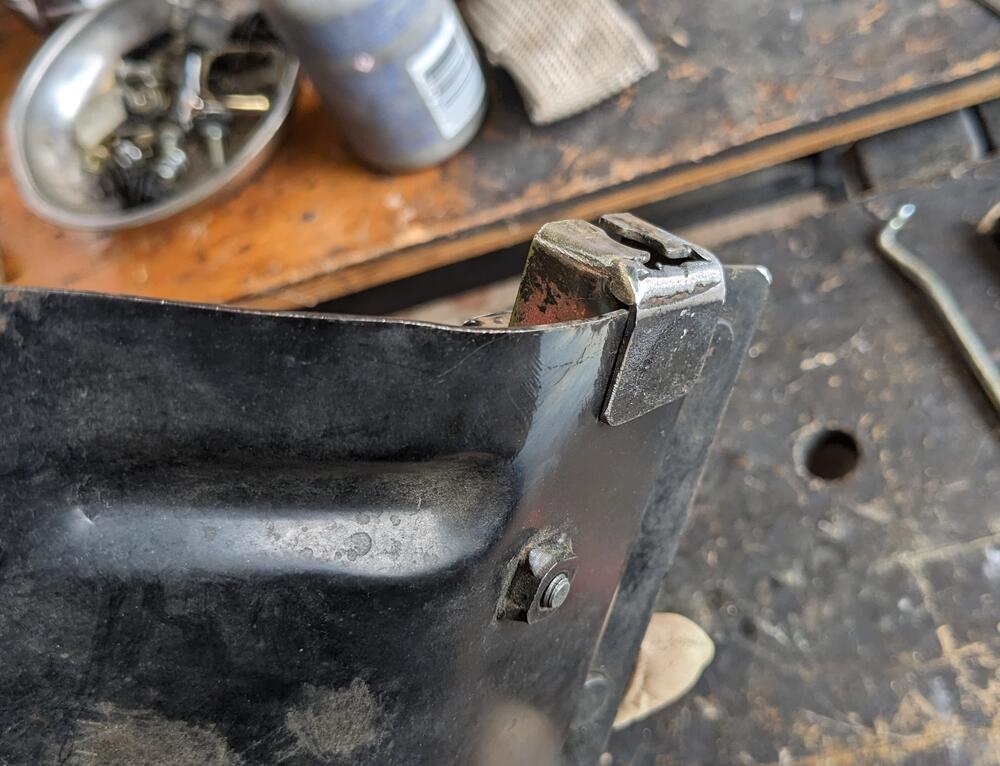
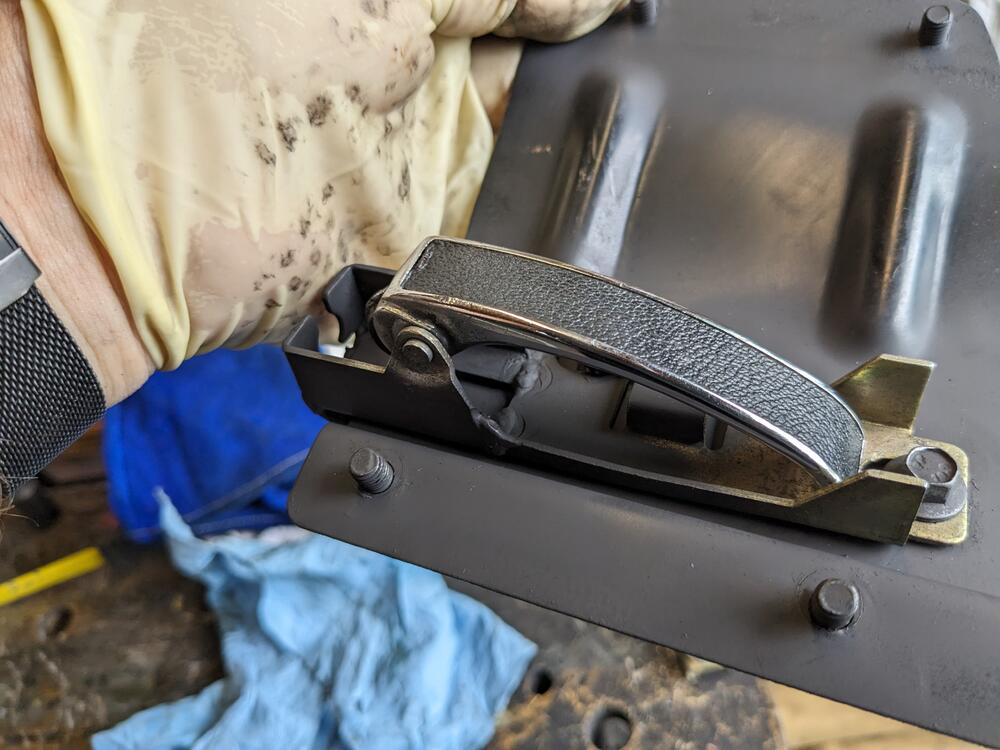
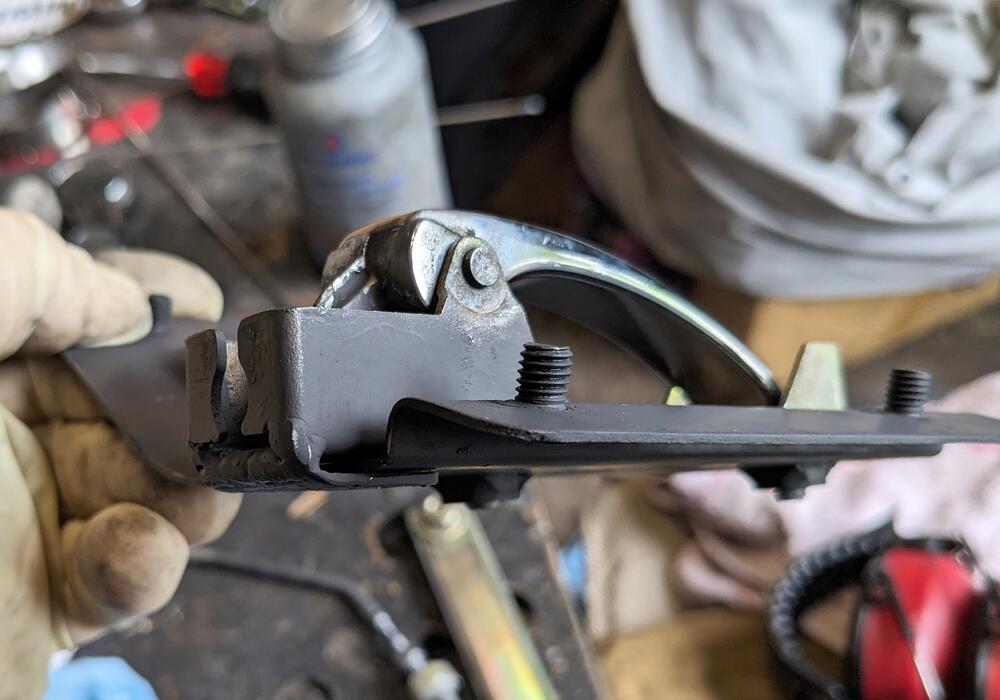
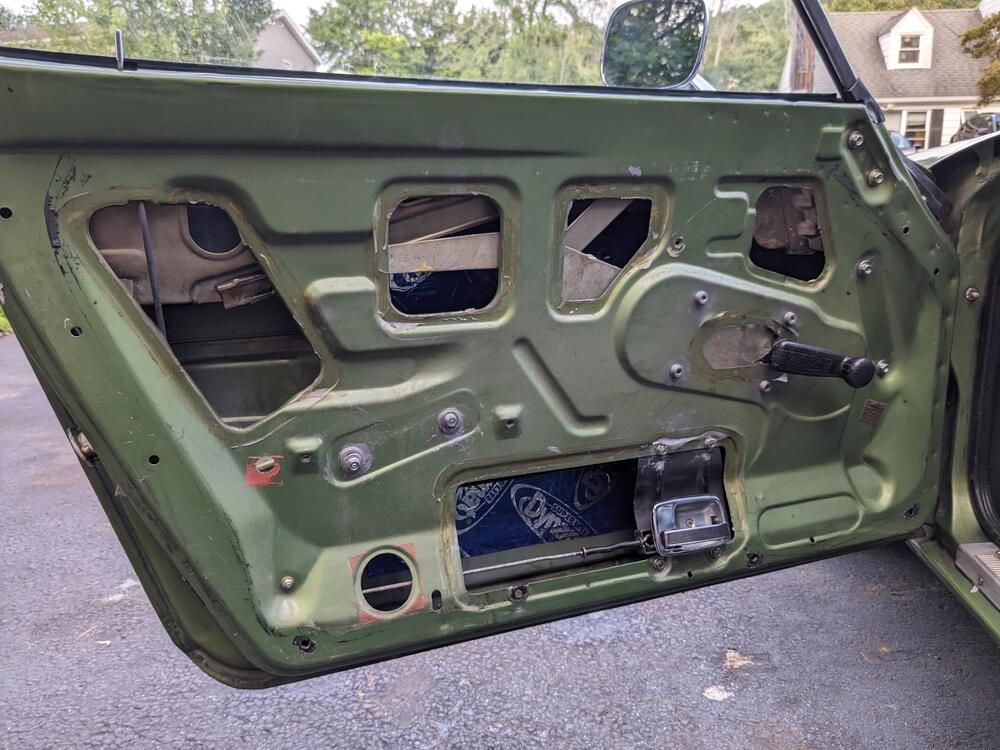
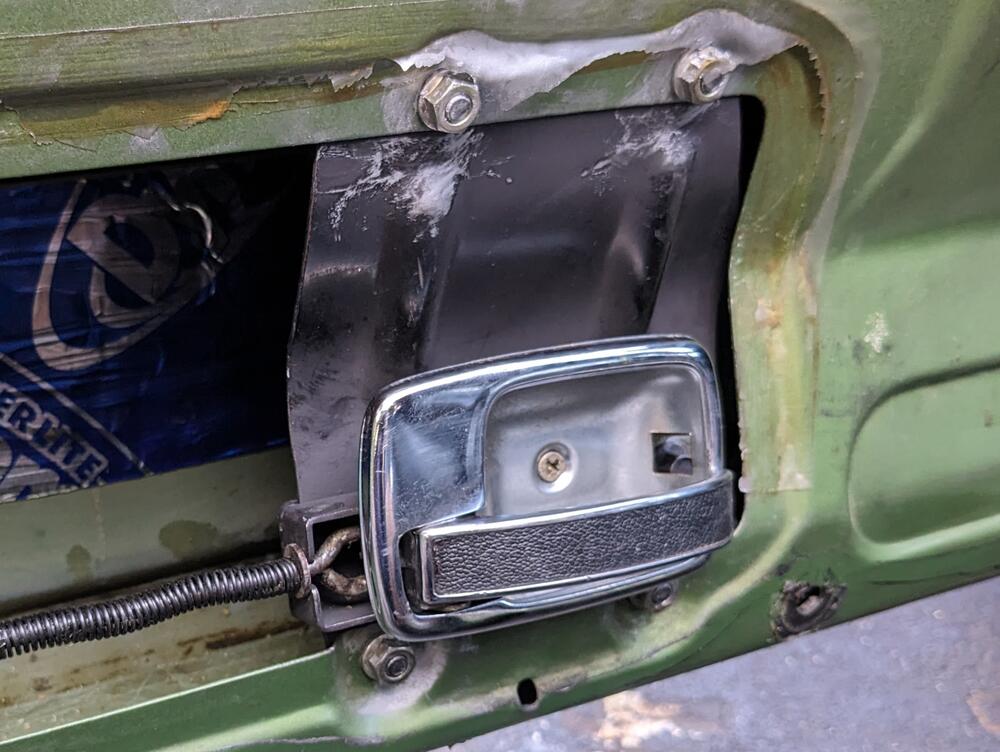
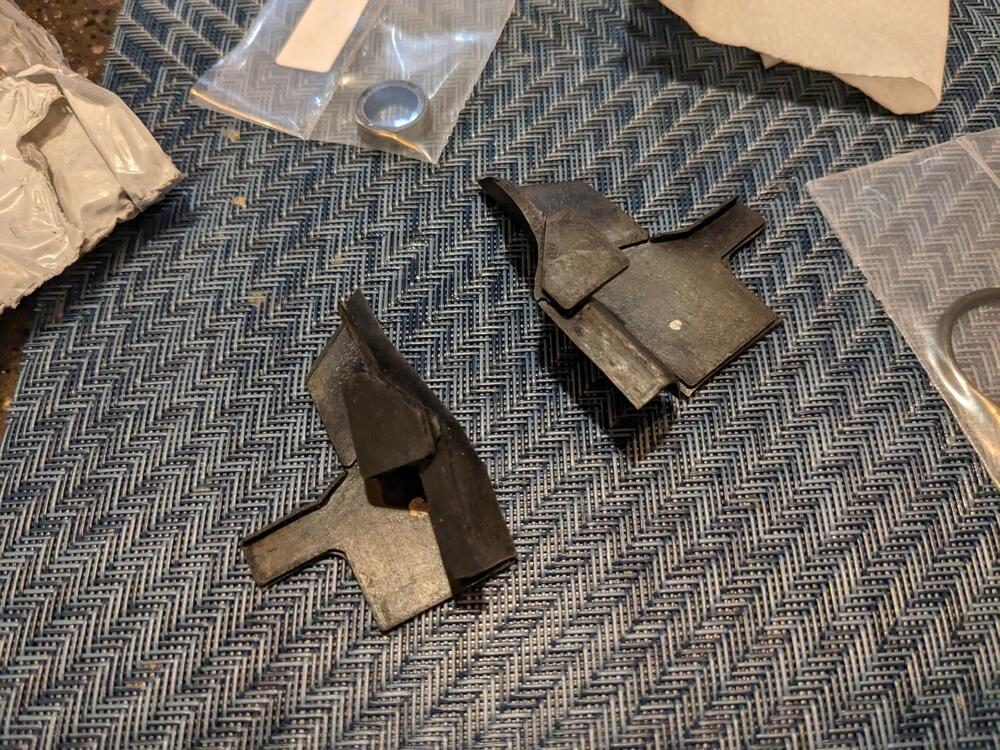
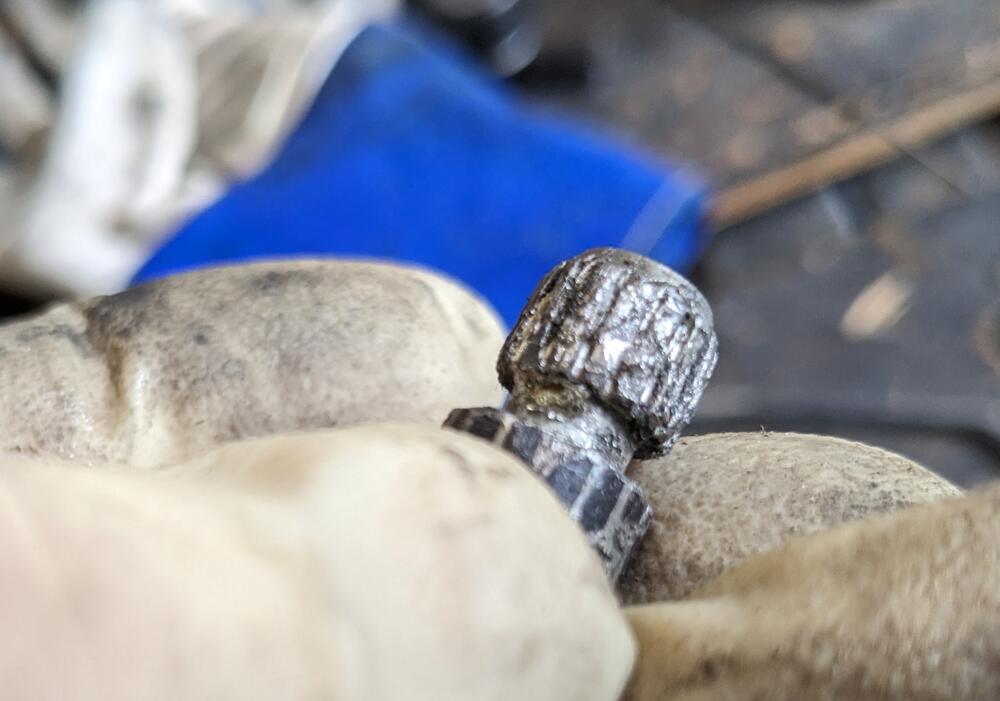
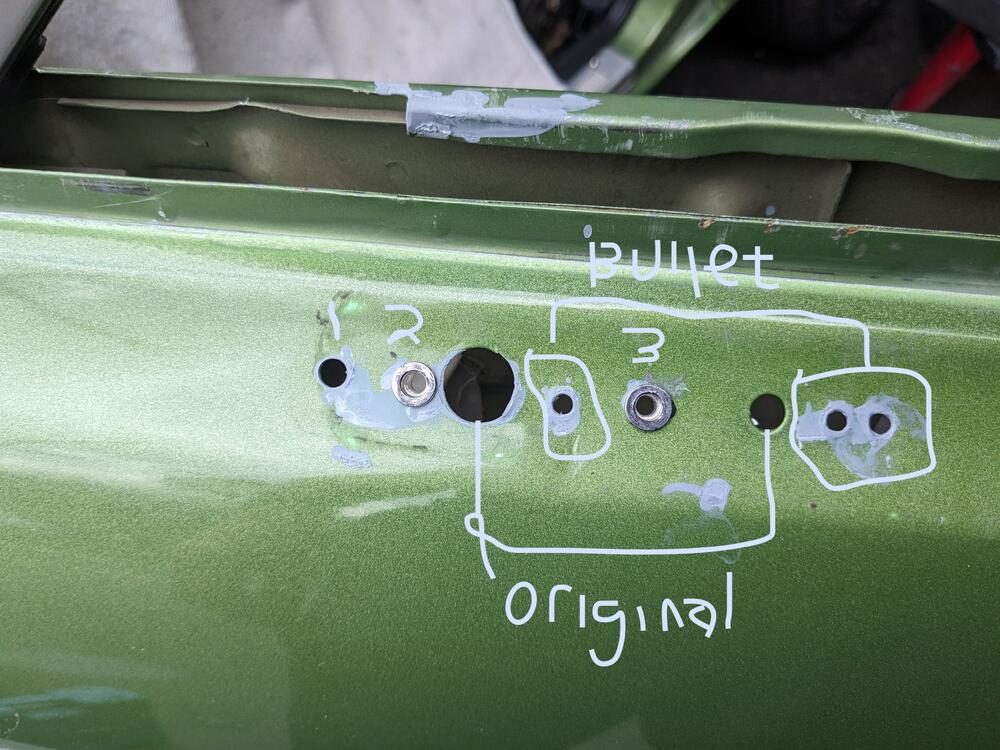
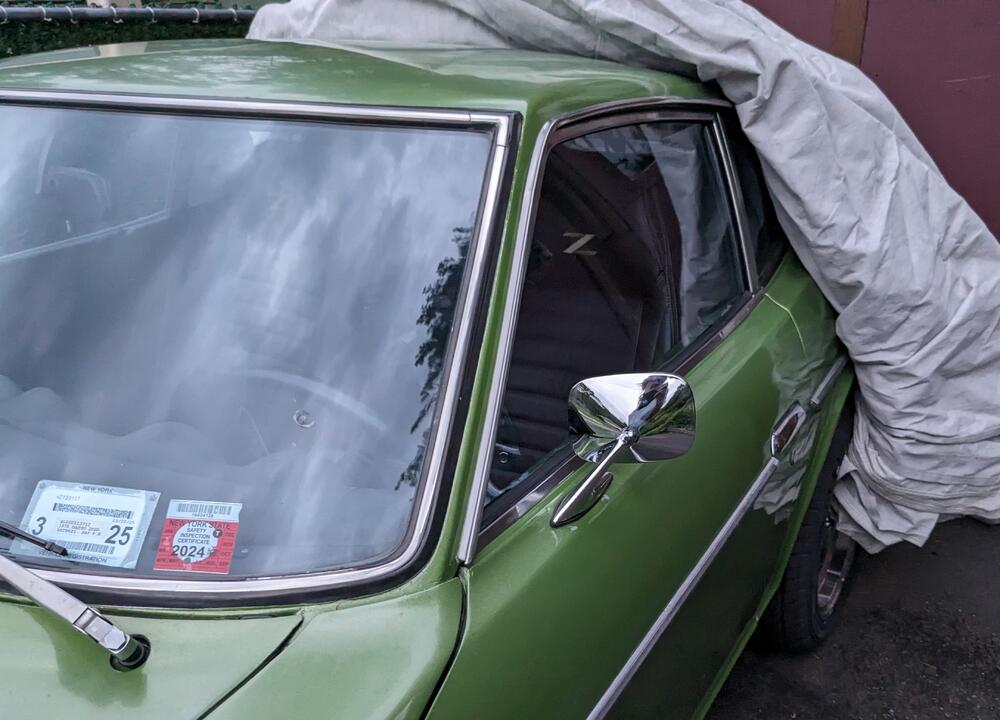
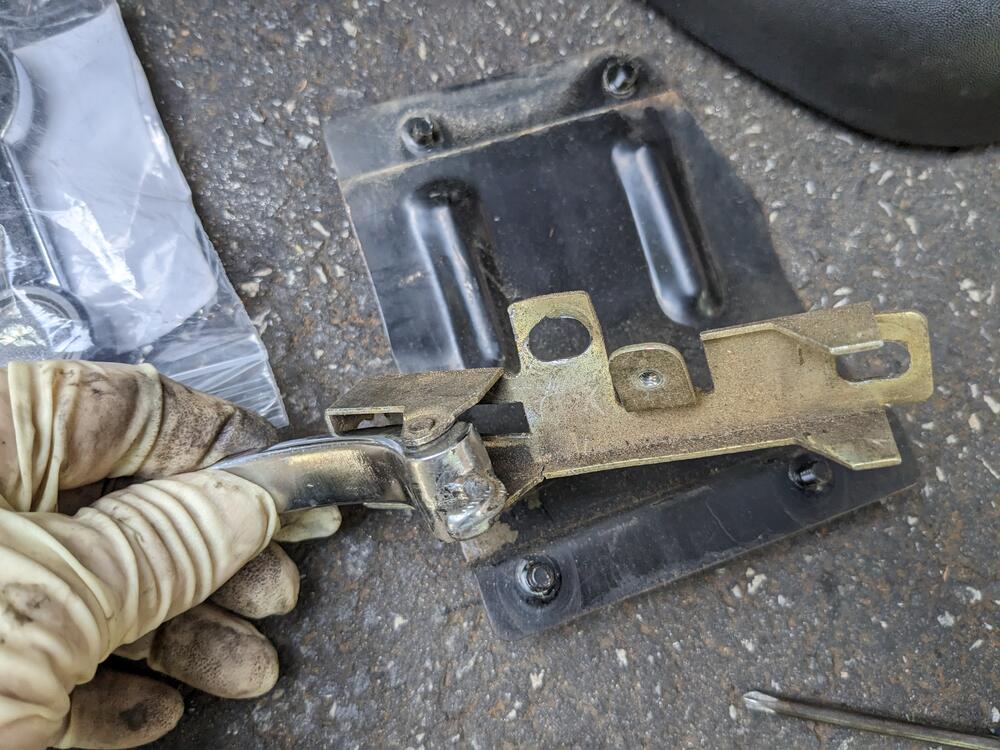
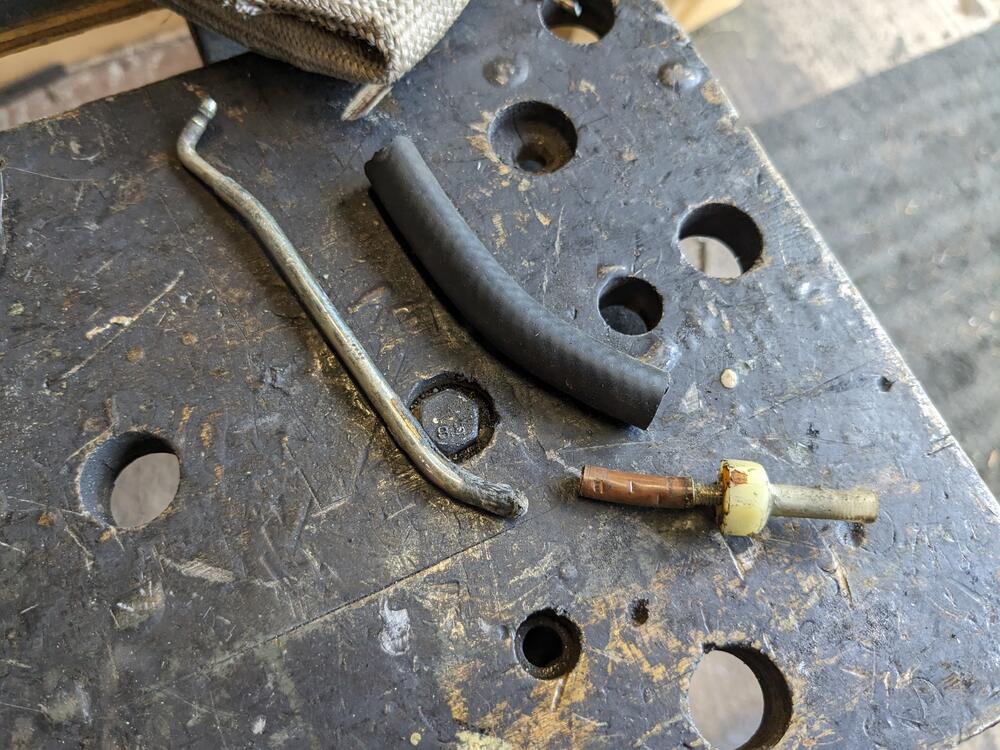
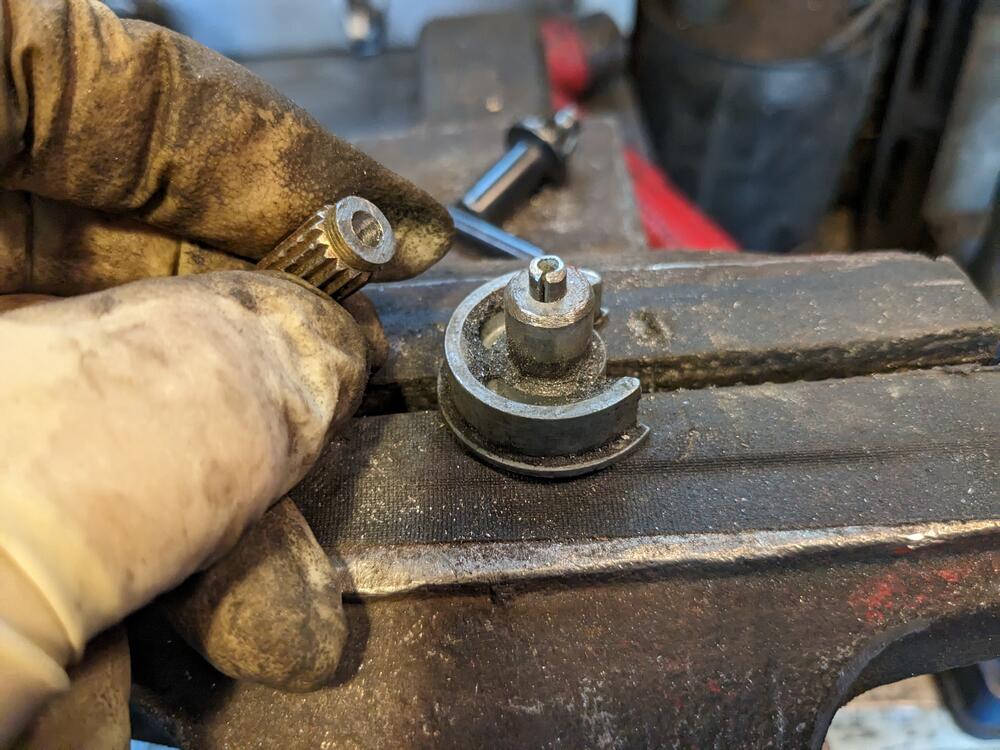
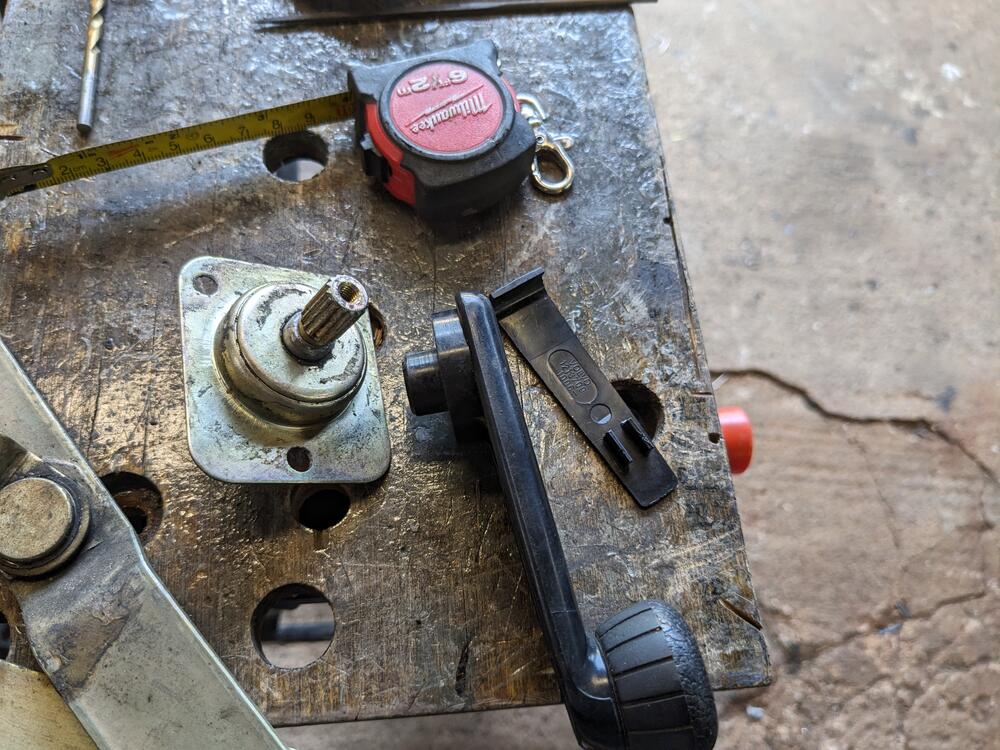
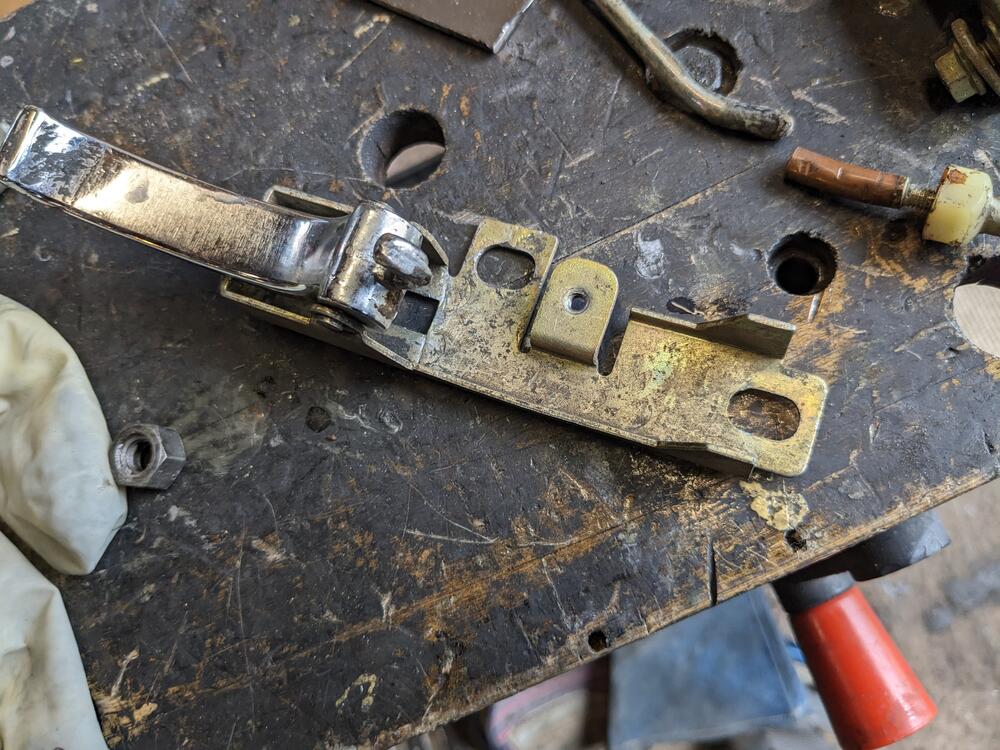
OK. Got the outer handle release rod welded. I looked at using other rod as the threads were damaged at one end, but it's an odd ball size - seems to be 4.5mm .75 pitch. So, I flipped it & welded the damaged end to the main rod. Forgot to take a pic. Welded the winder spline to the shaft & put the crank back together, applied new grease to the mechanism. original splines Welded the inner release plate, and added a tongue that hooks over the back of the retaining plate, so the leverage load is not unsupported welded the cracks in the plate Before I put the door innards back in, I drilled the 3 new holes fore the all-metal chrome mirror I got from Zcardepot. I moved it as far forward as possible while still covering the existing holes. I considering welding them up, but that will have to be another day. Thunderstorms were coming in. I used M5 riv-nuts to score the mirror base, I hate sheet metal screws after that I reinstalled the glass, winder & release for the life of me, I can't figure out where these seals are supposed to go on the outer edge of the door frame. Anyone have a pic of one installed? Still have to figure out if I can repair the door panel
-
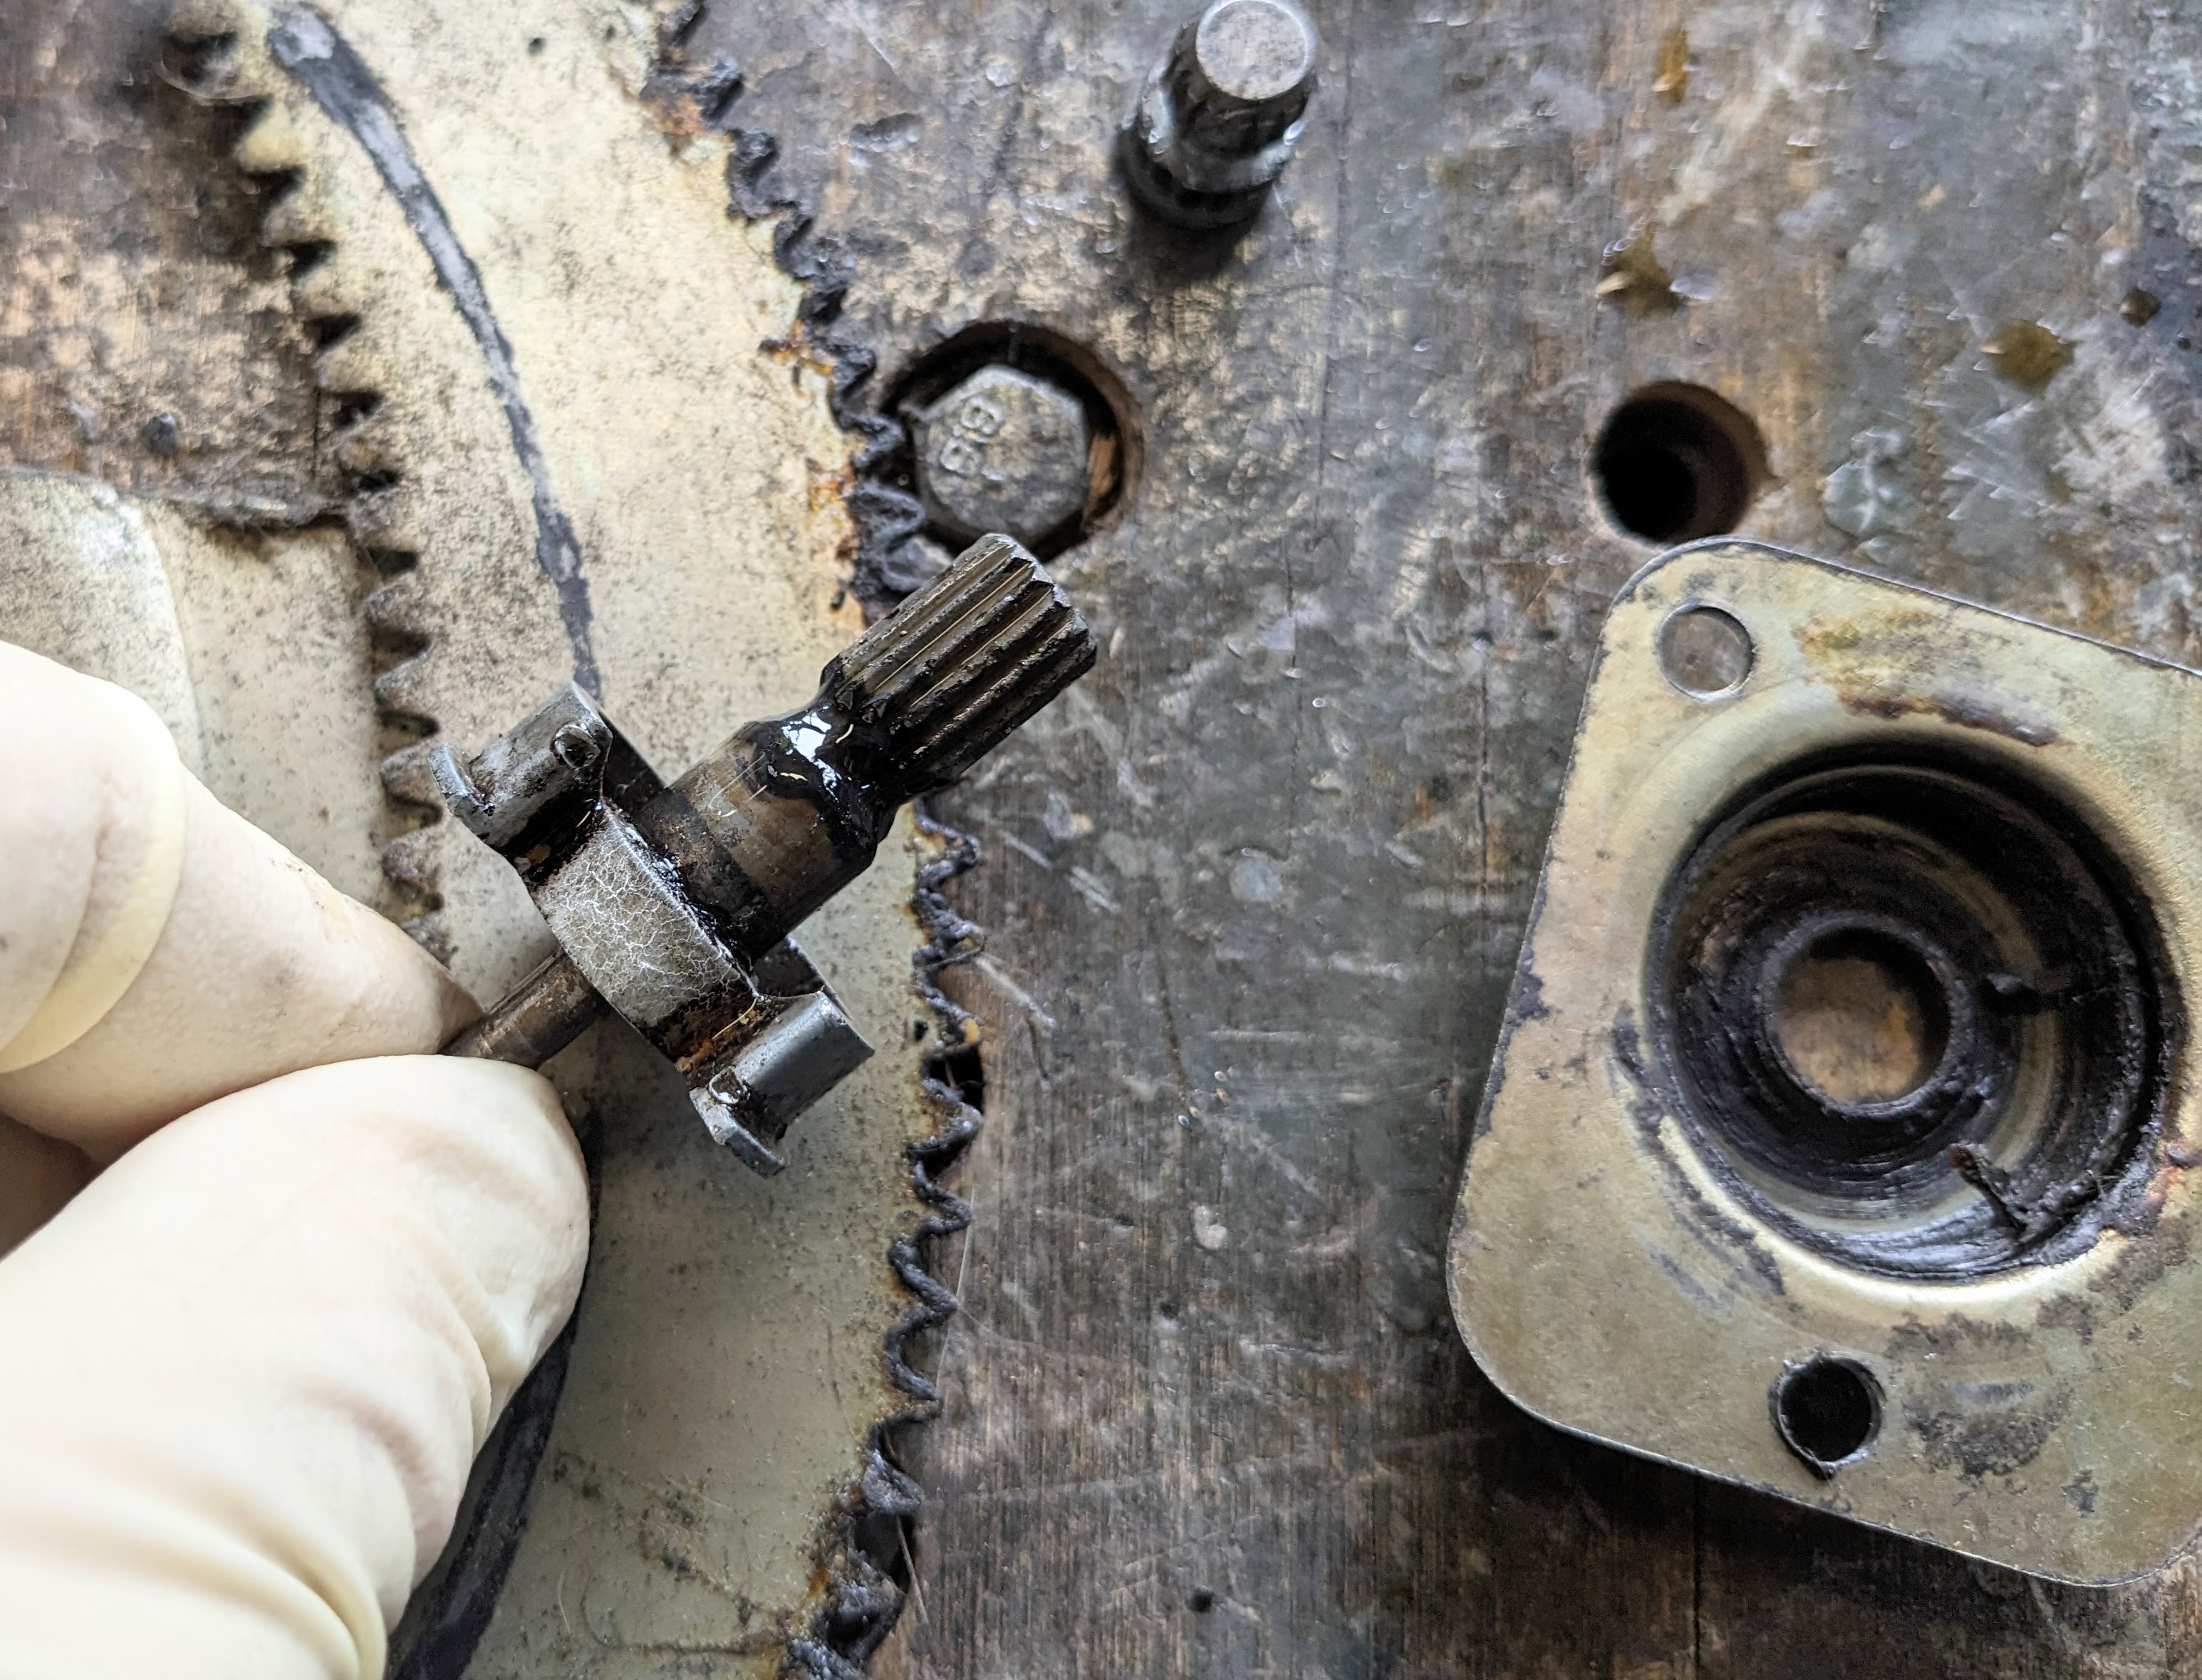
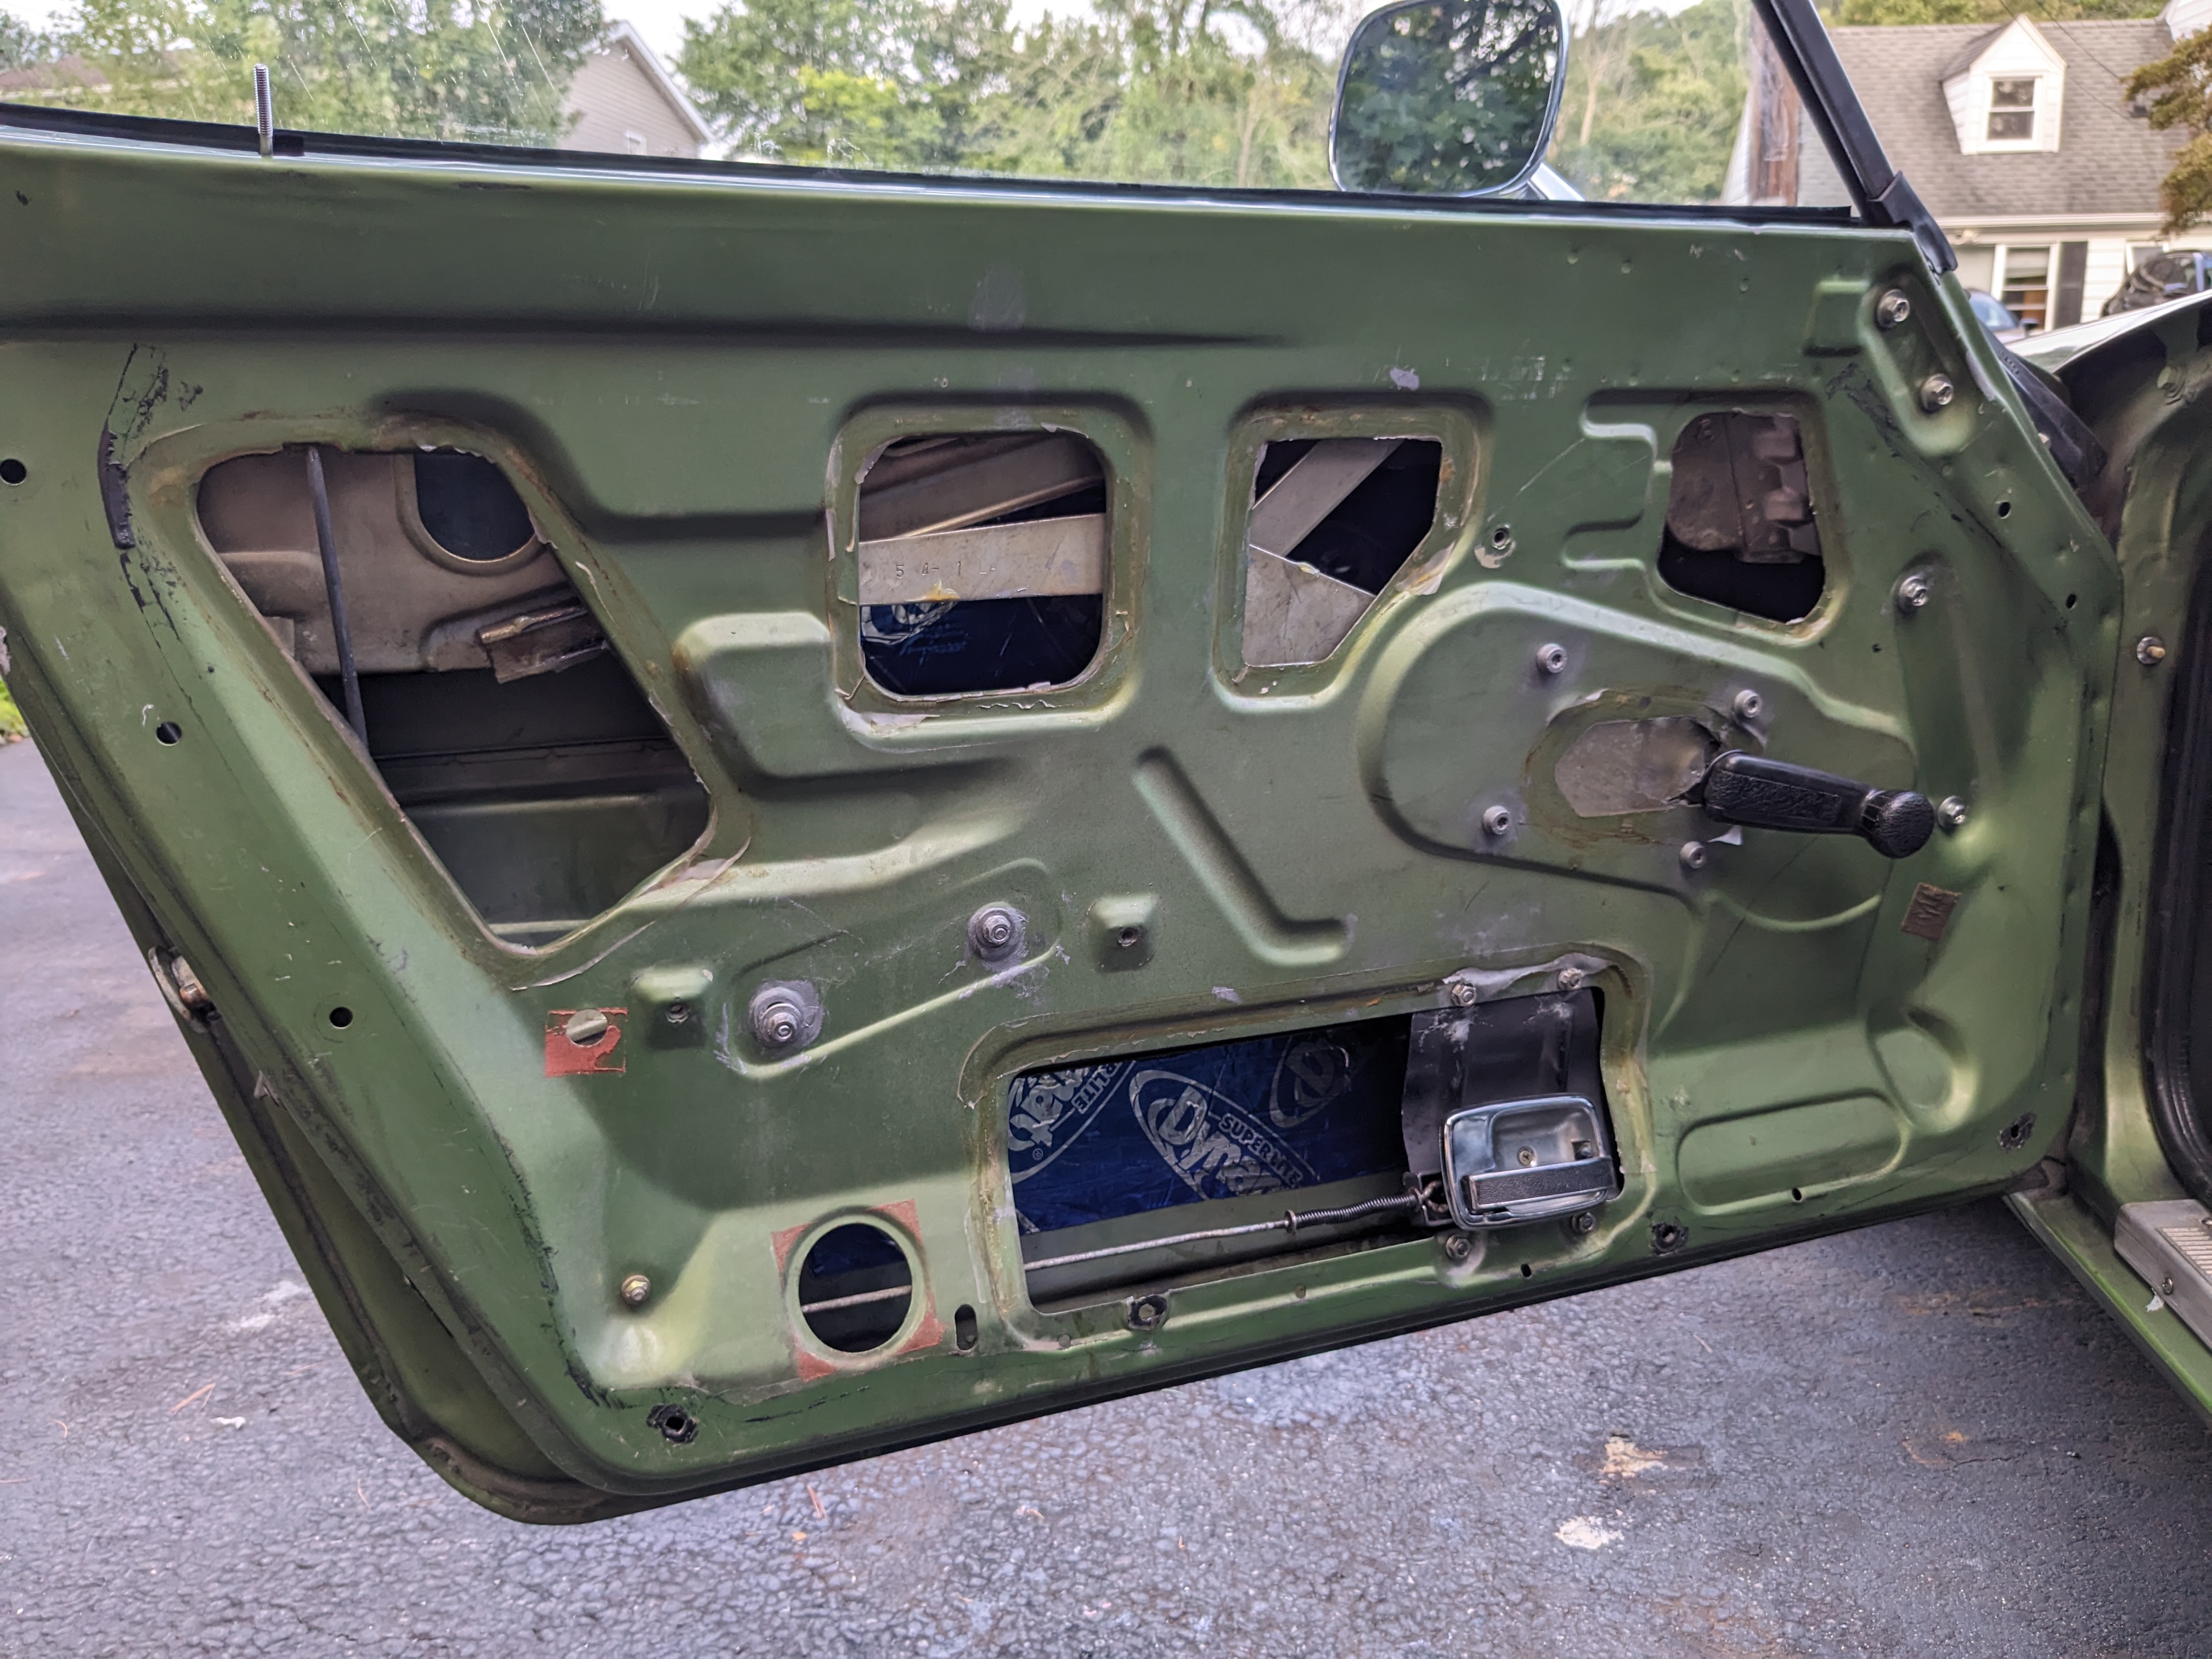
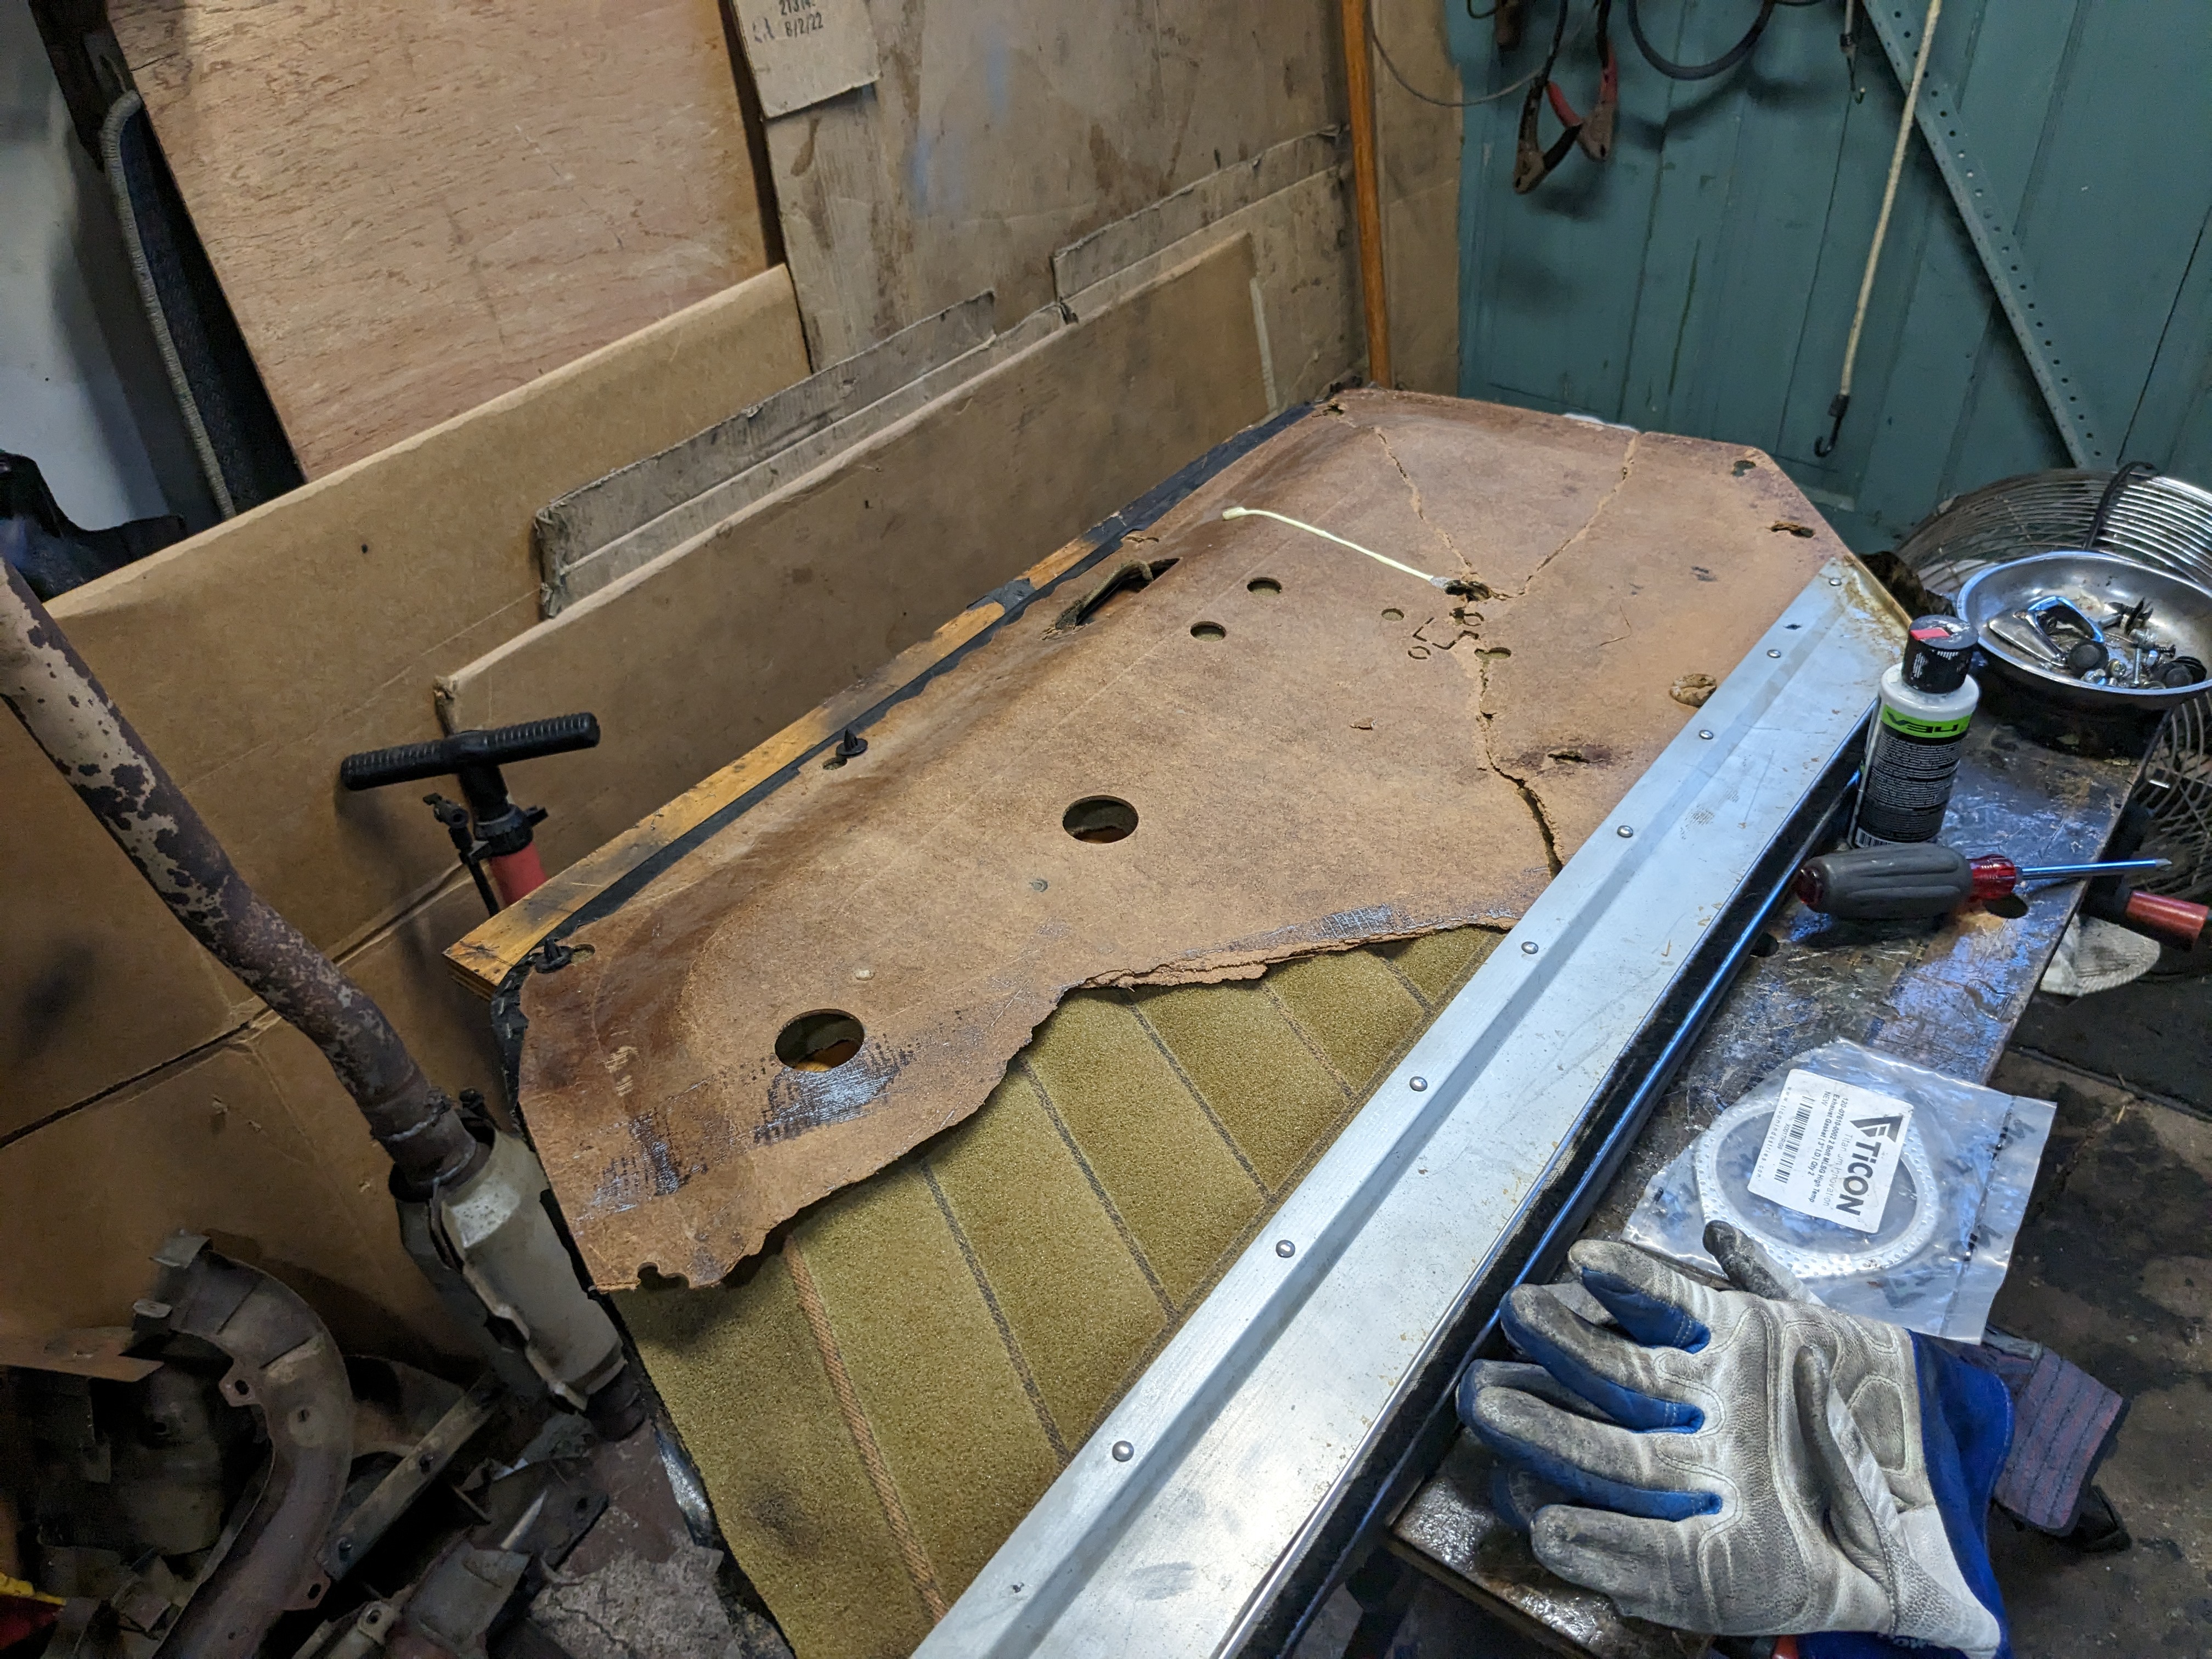
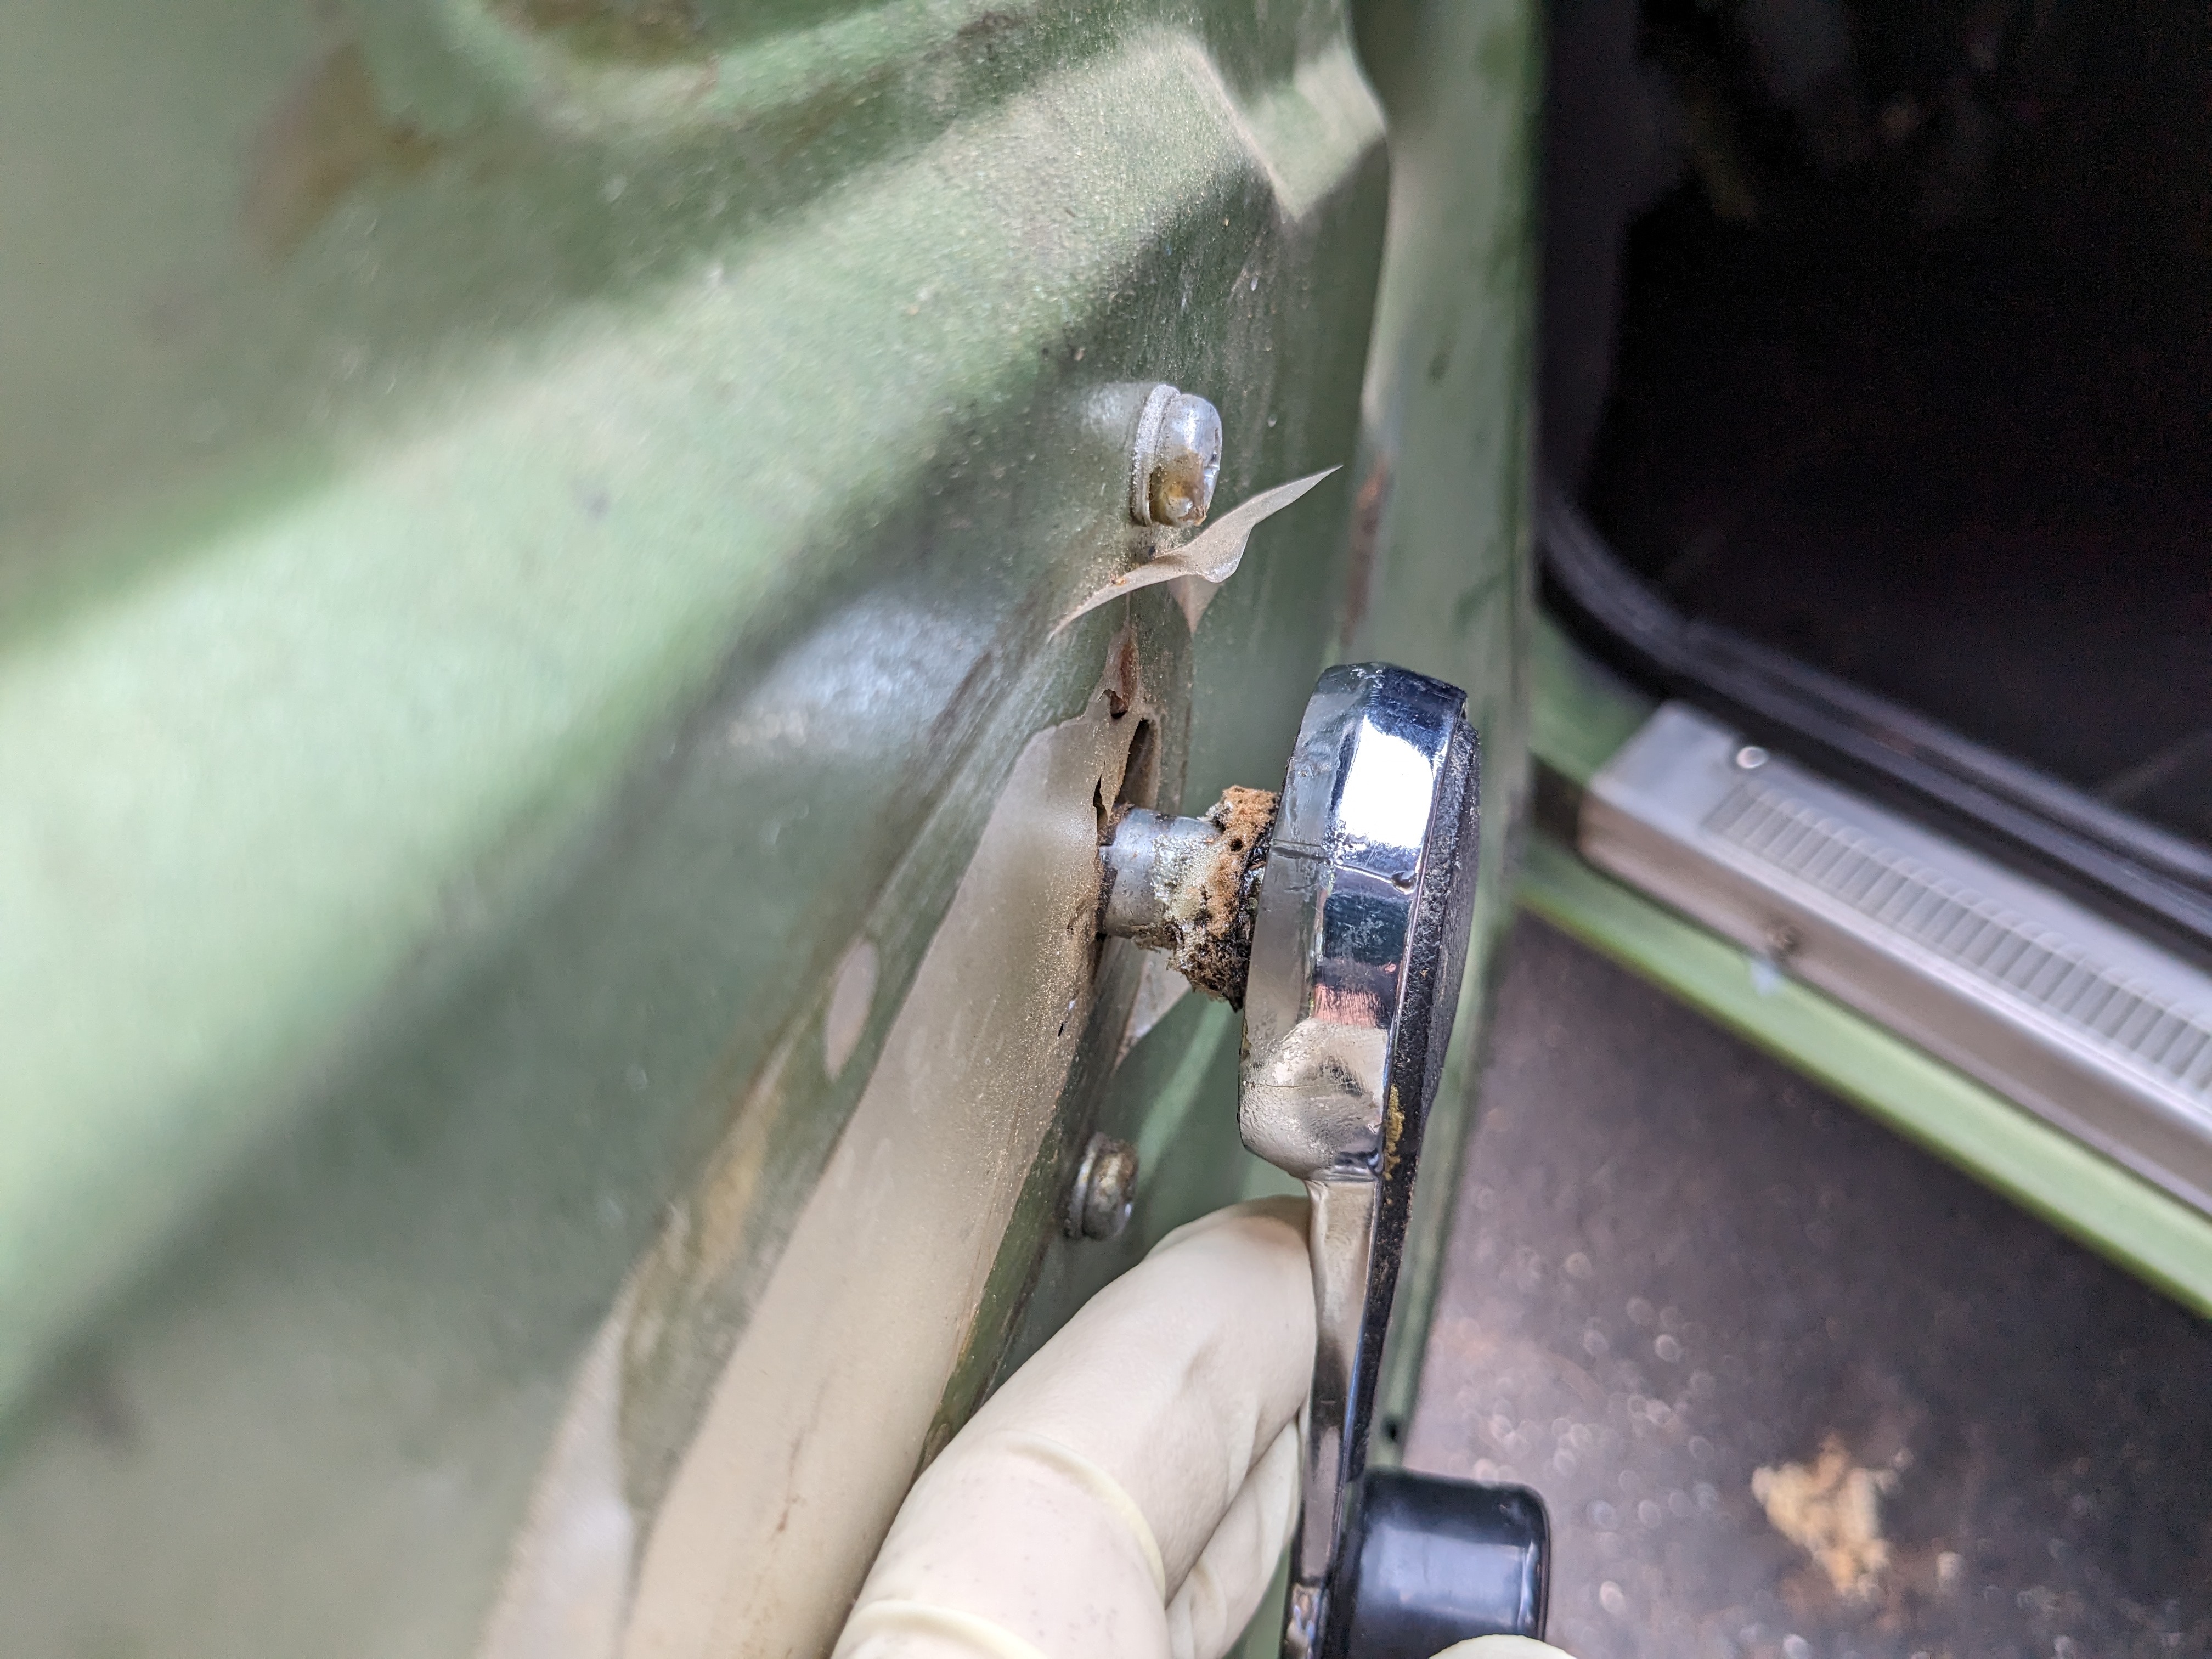
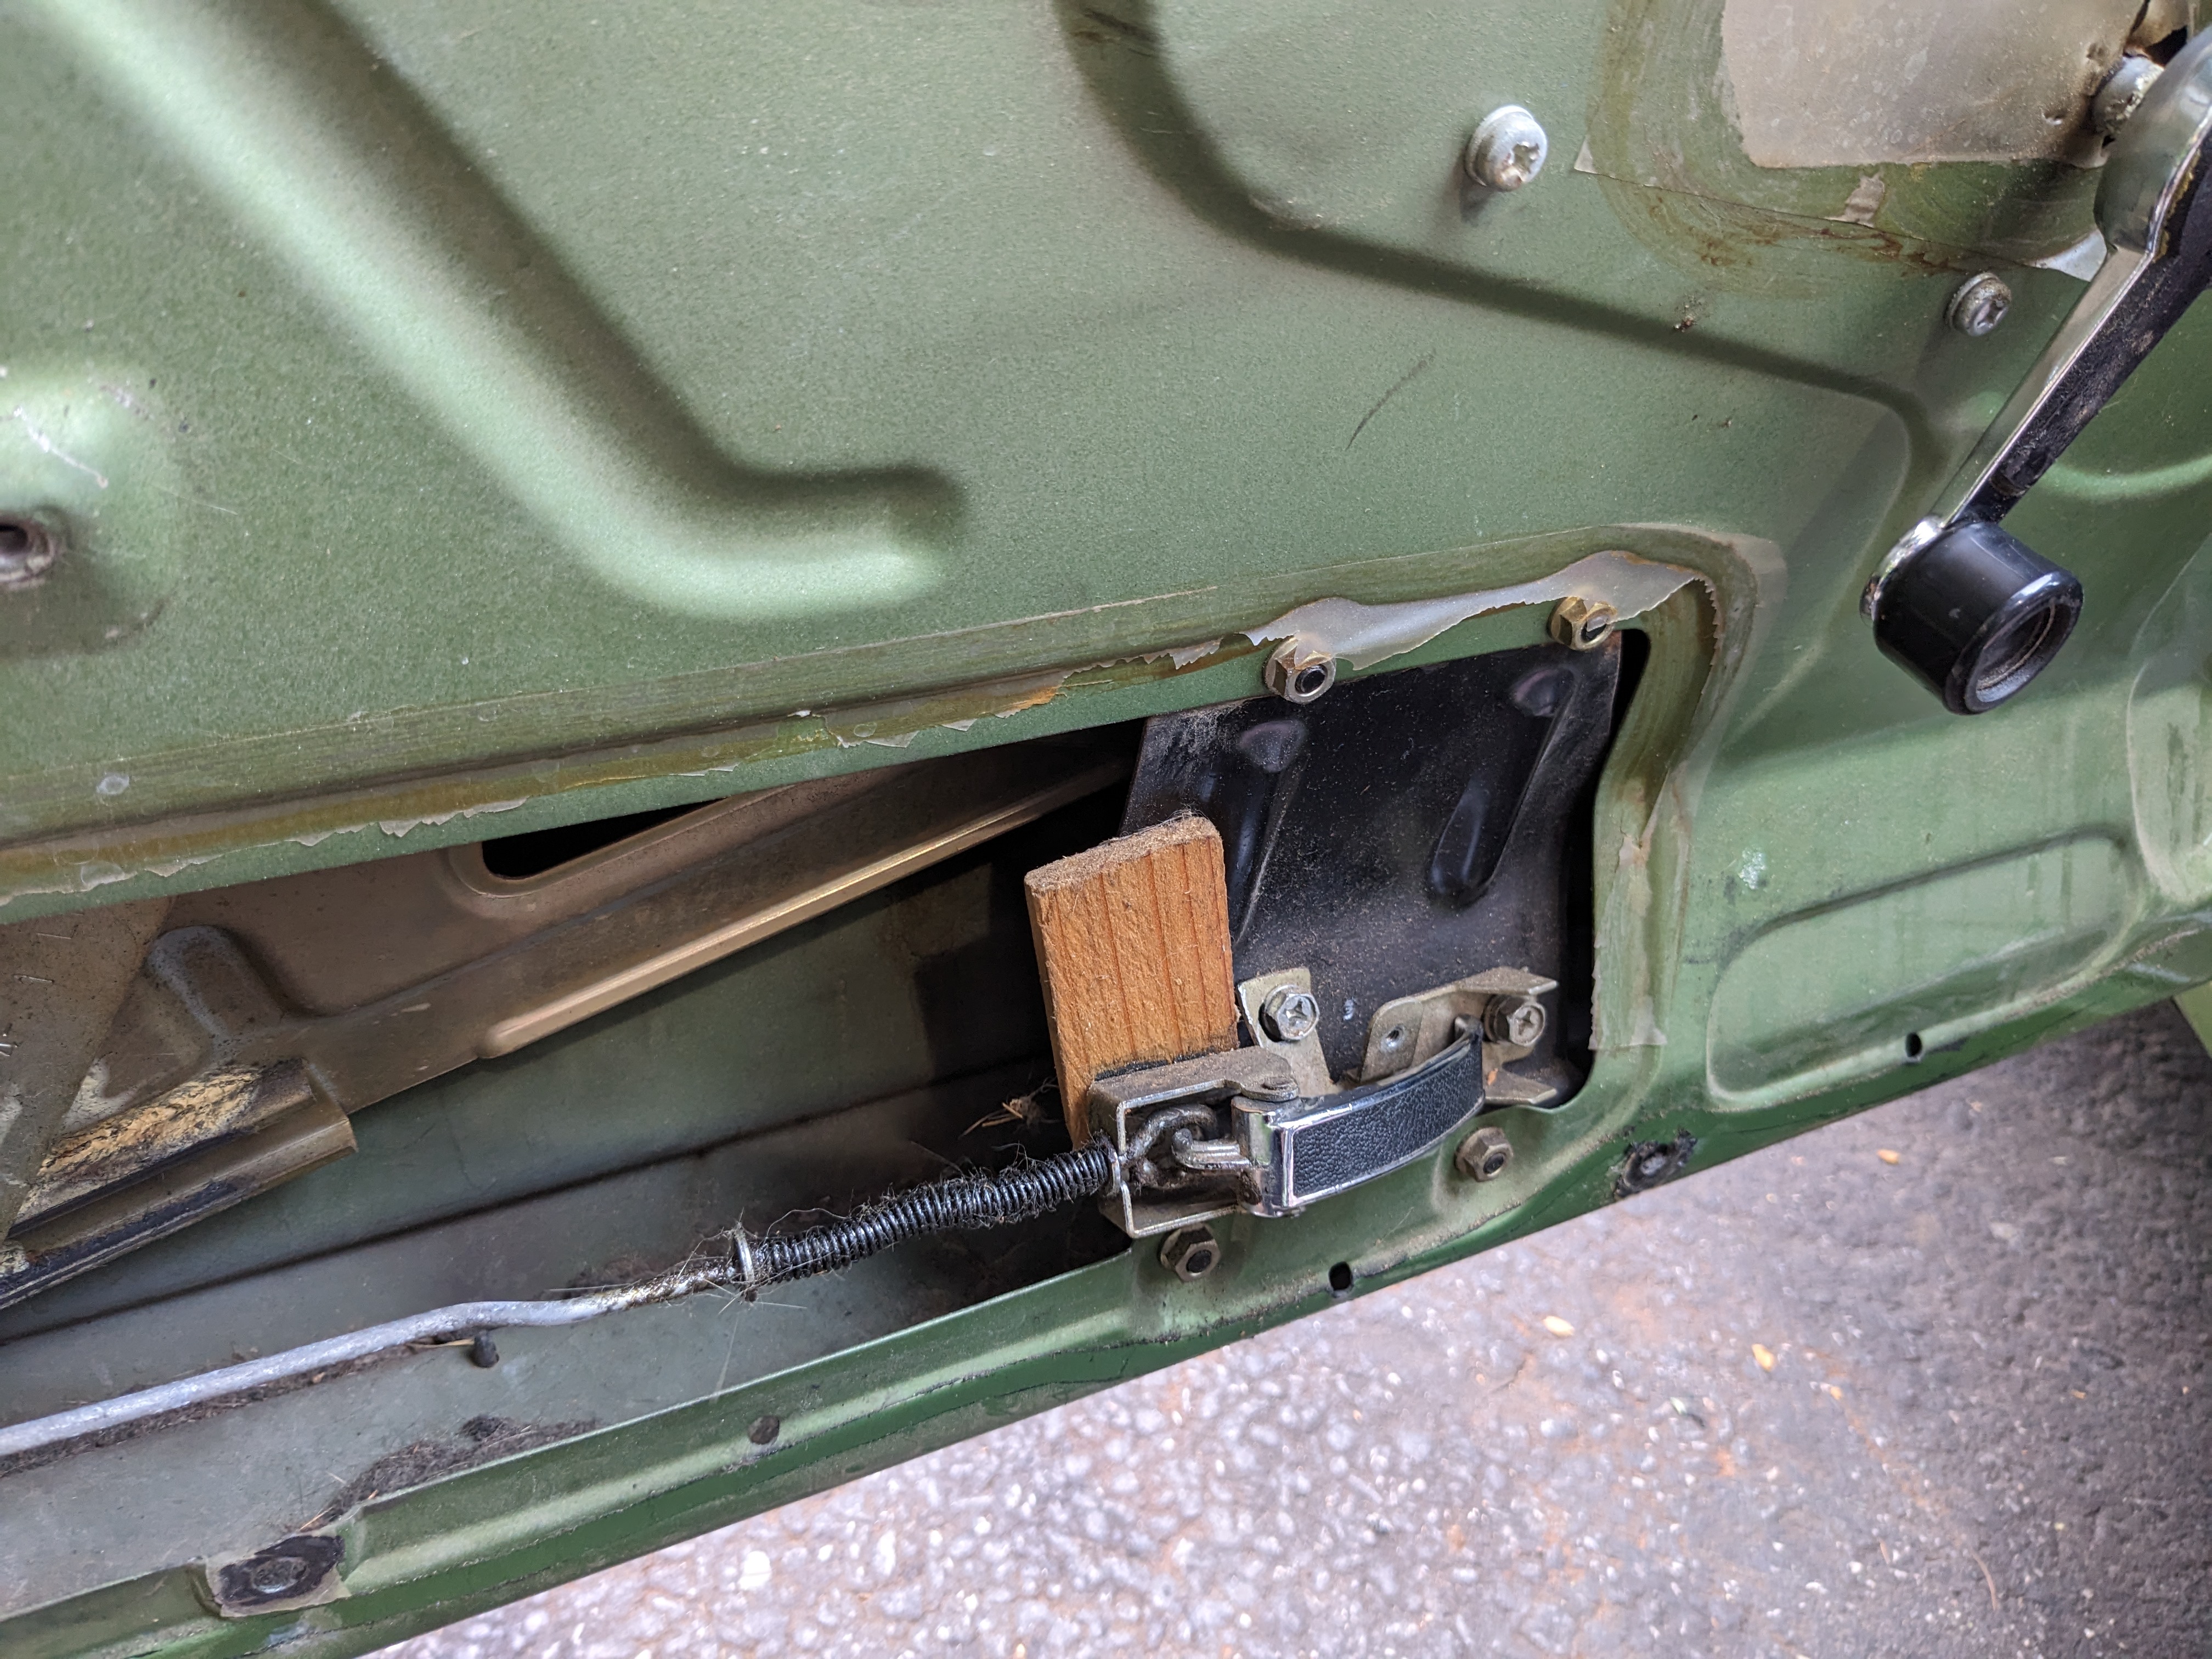
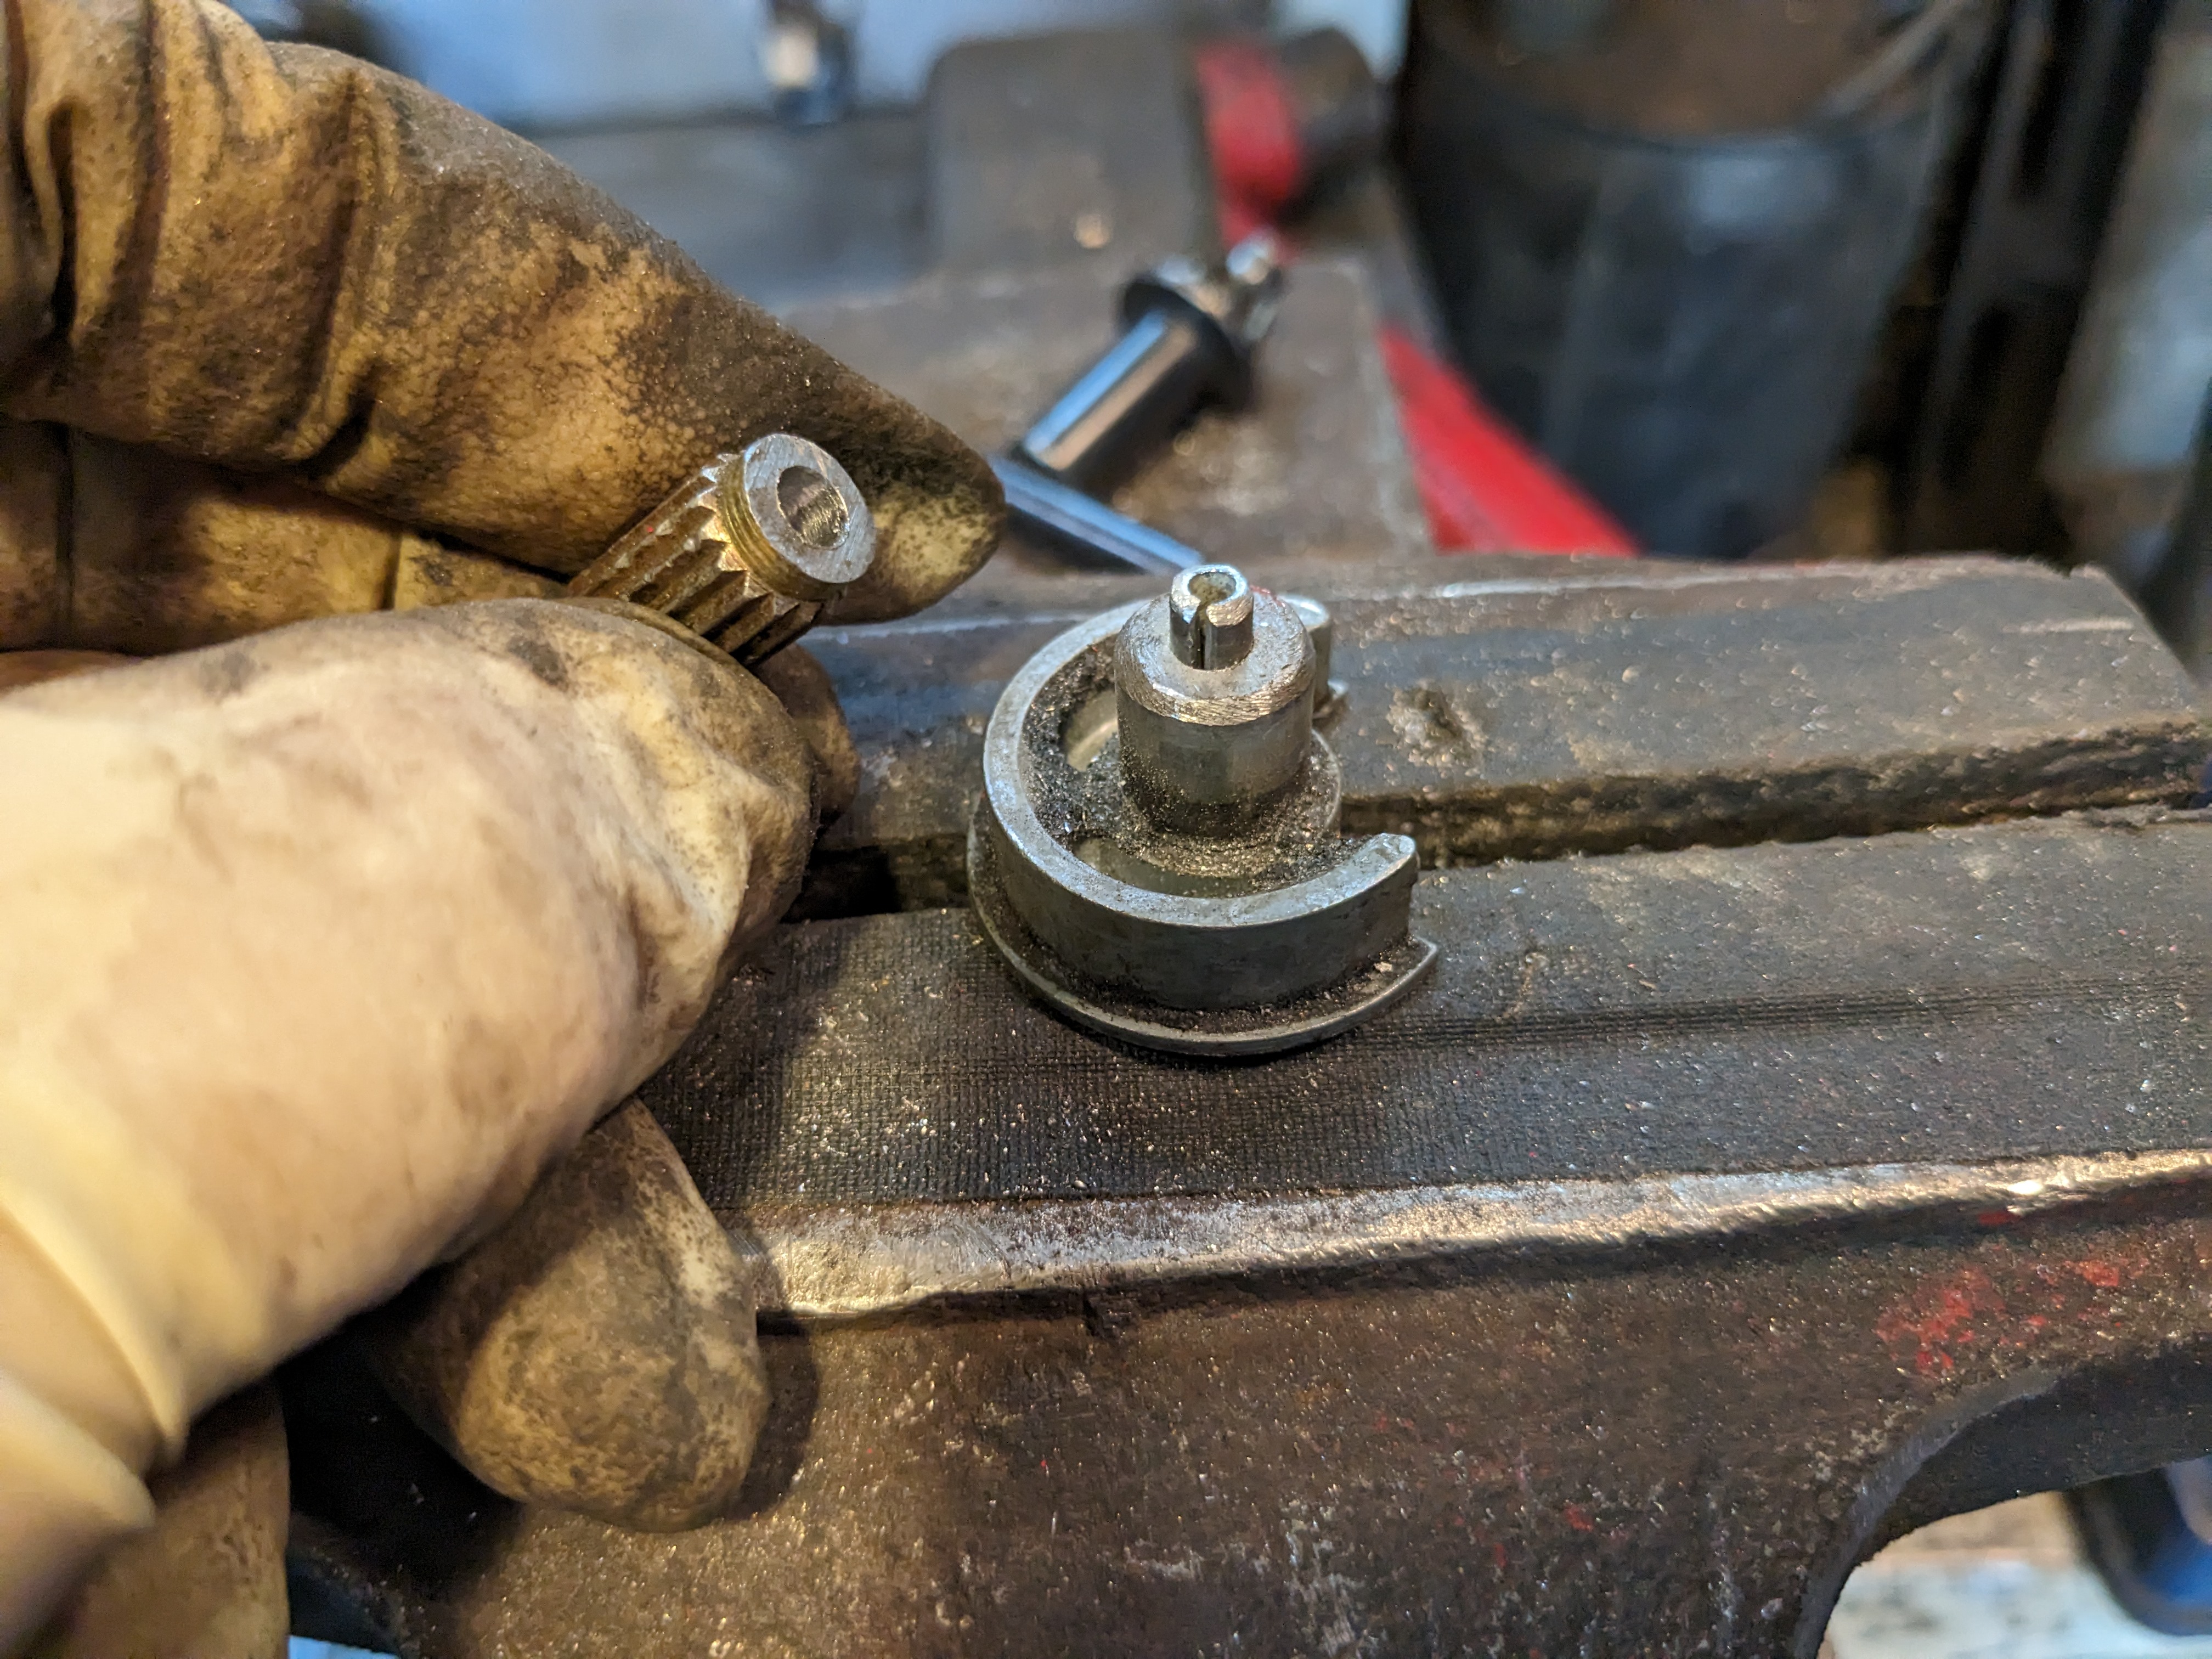
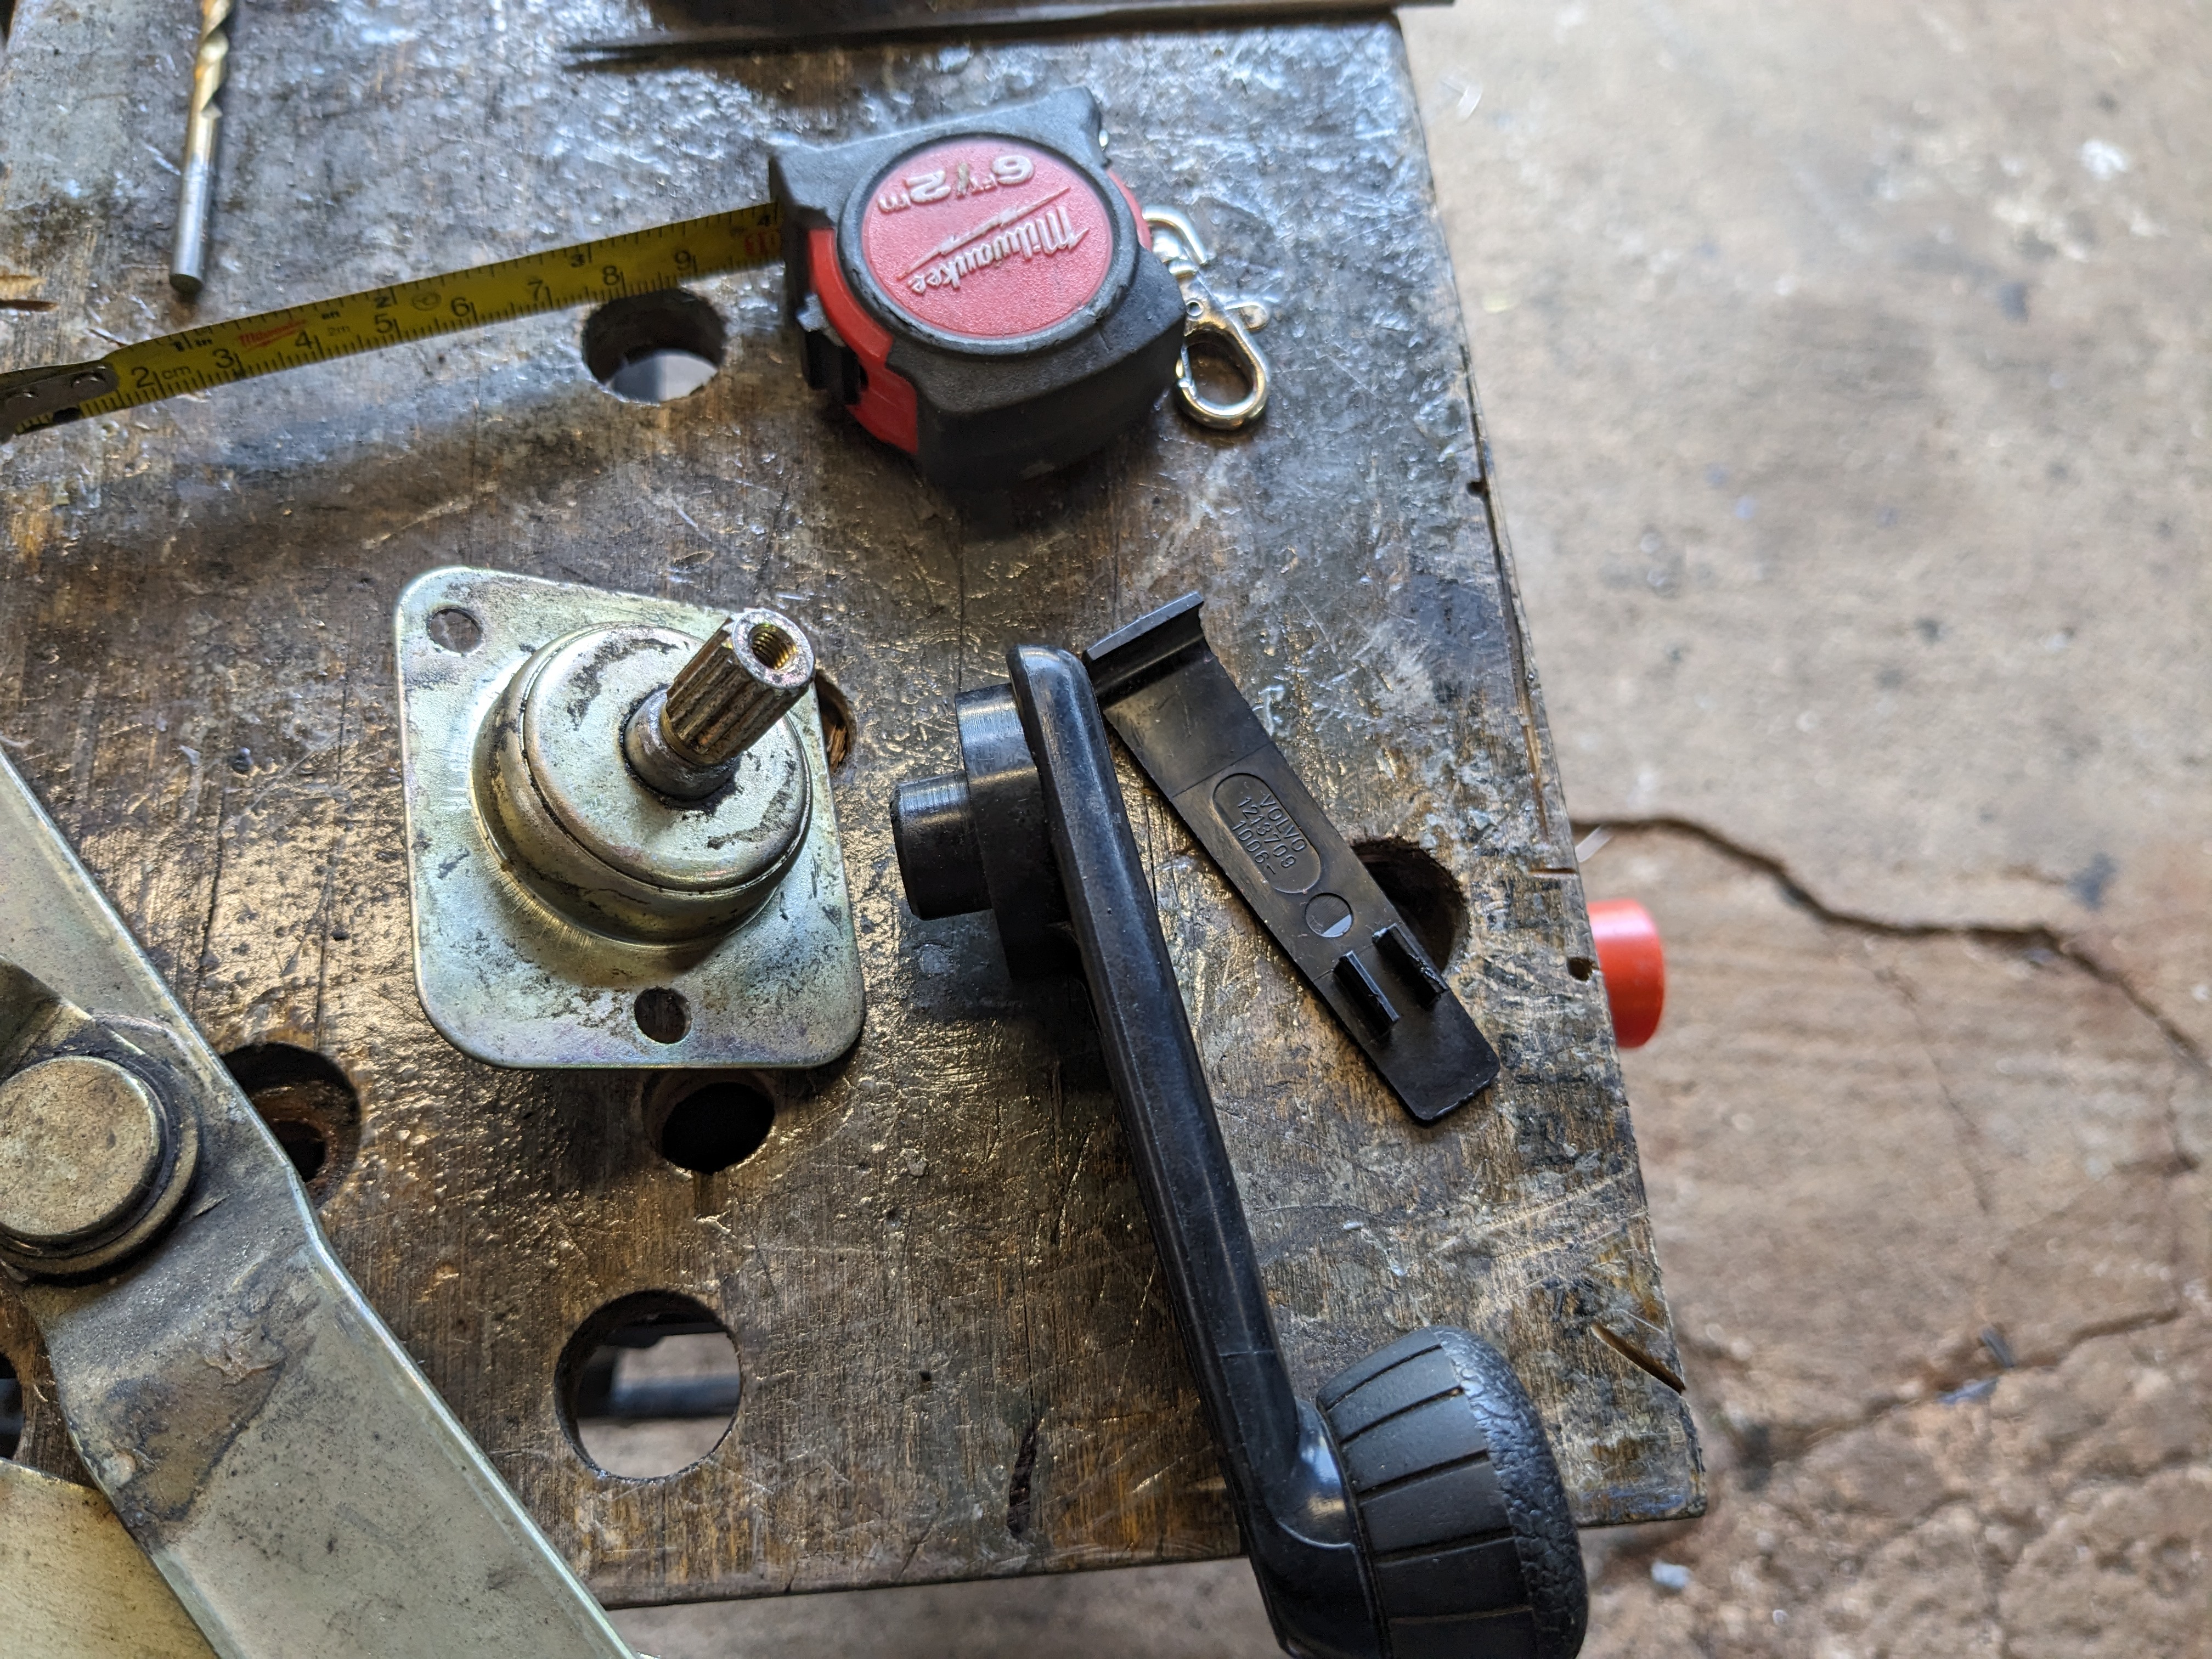
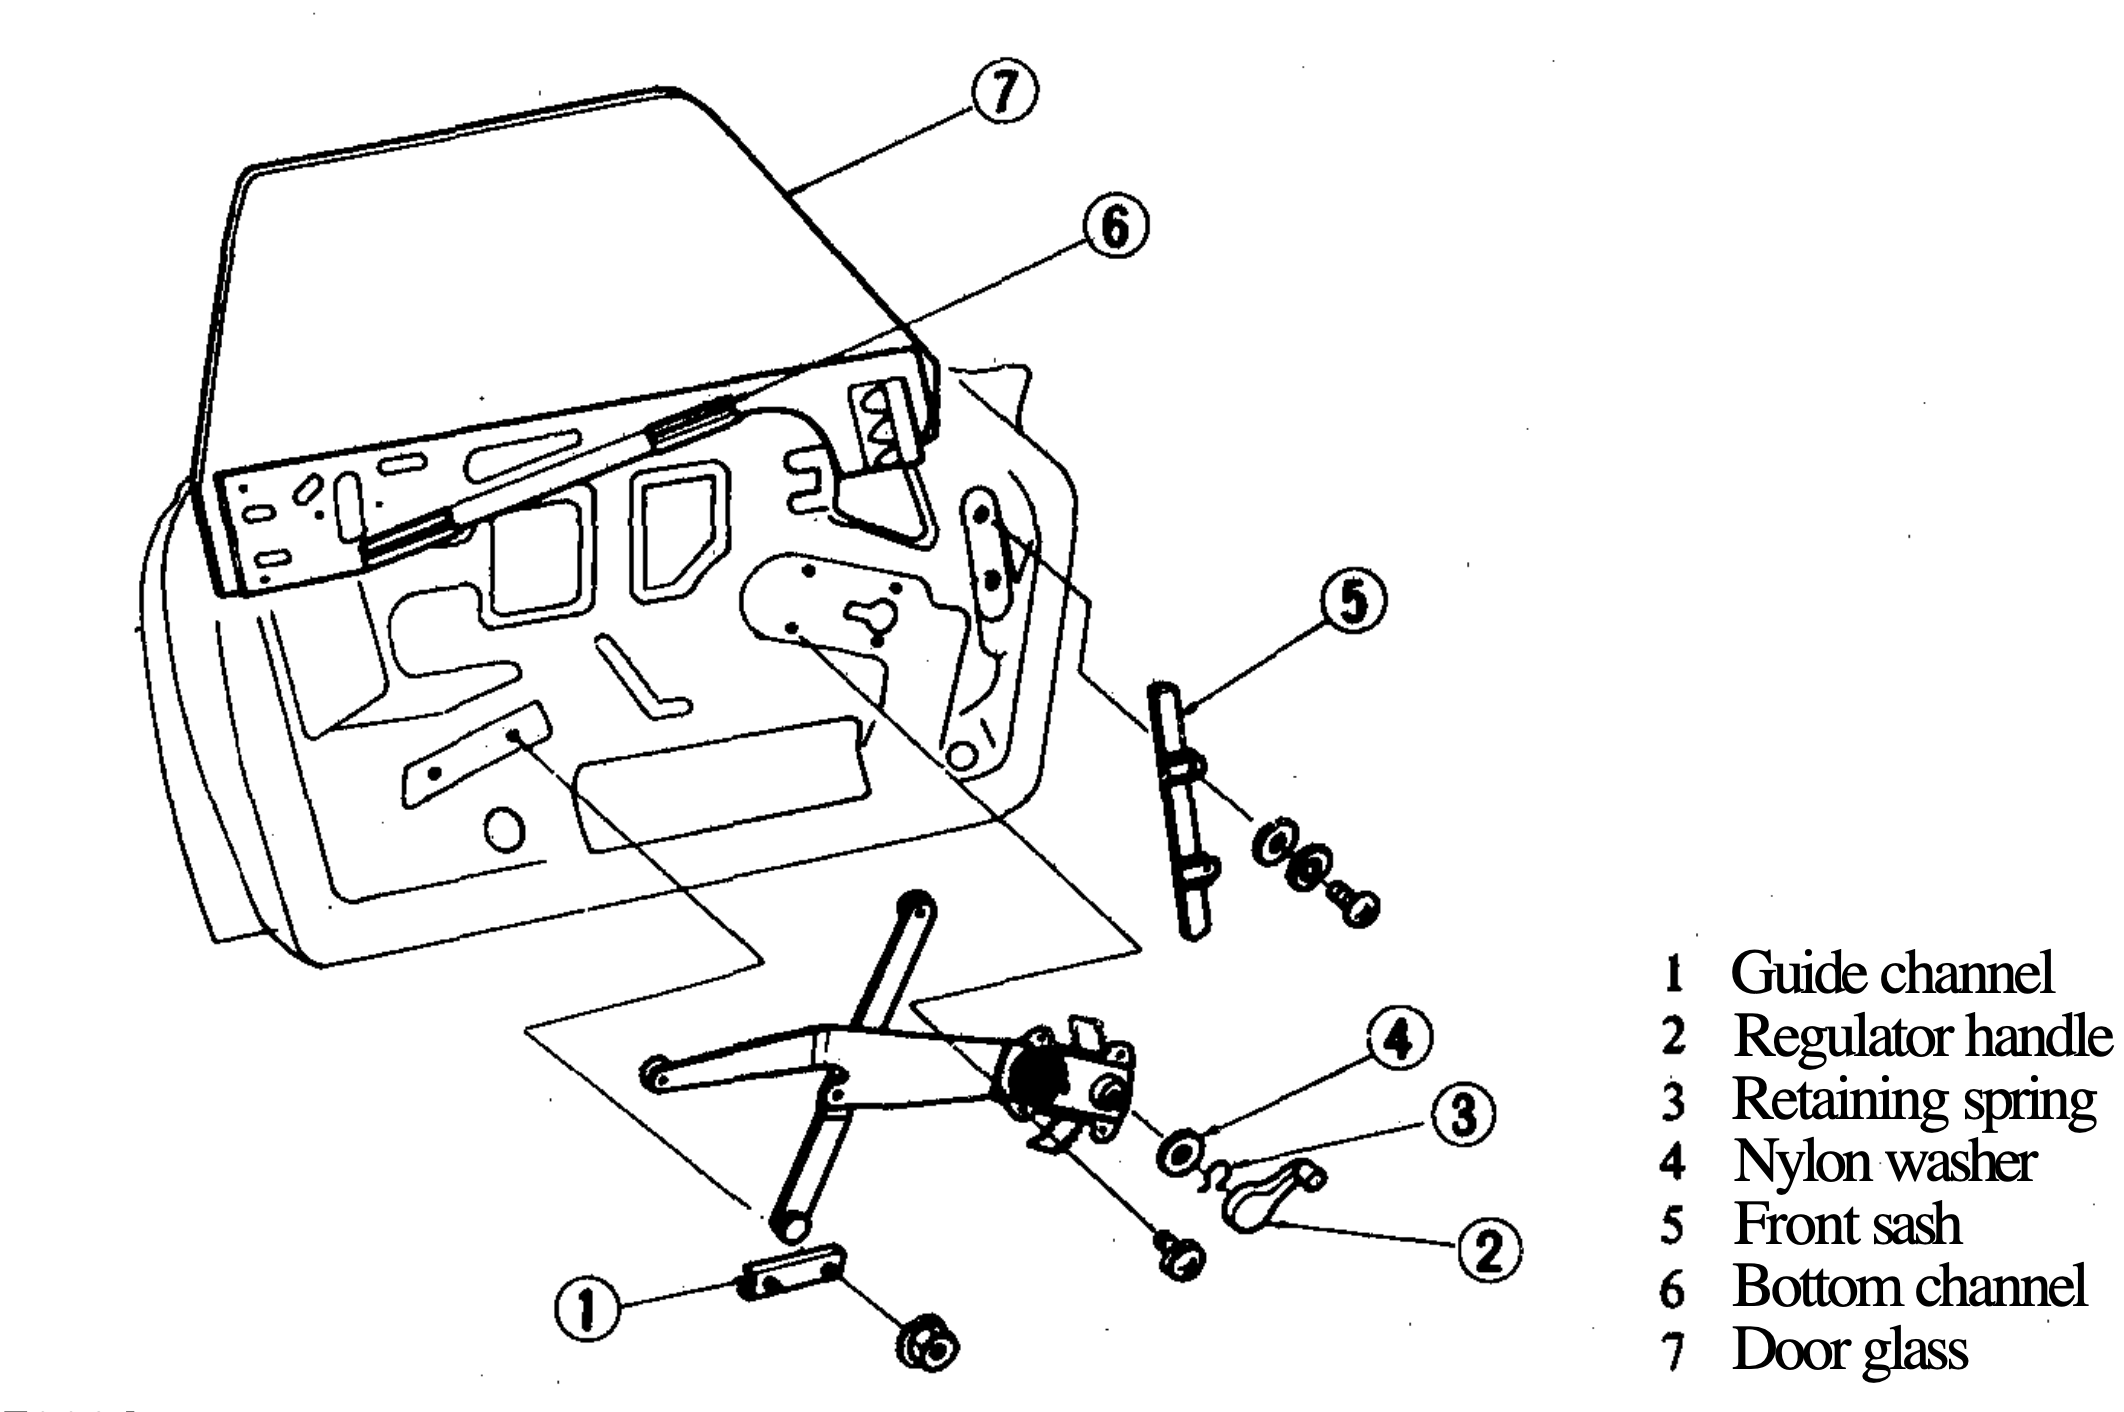
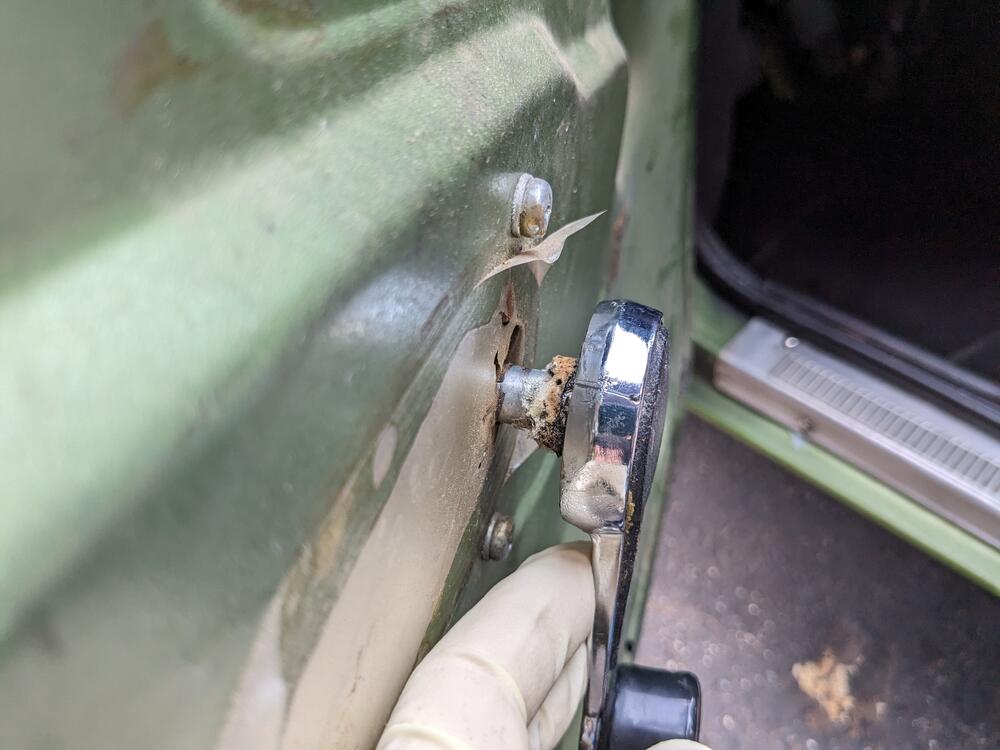
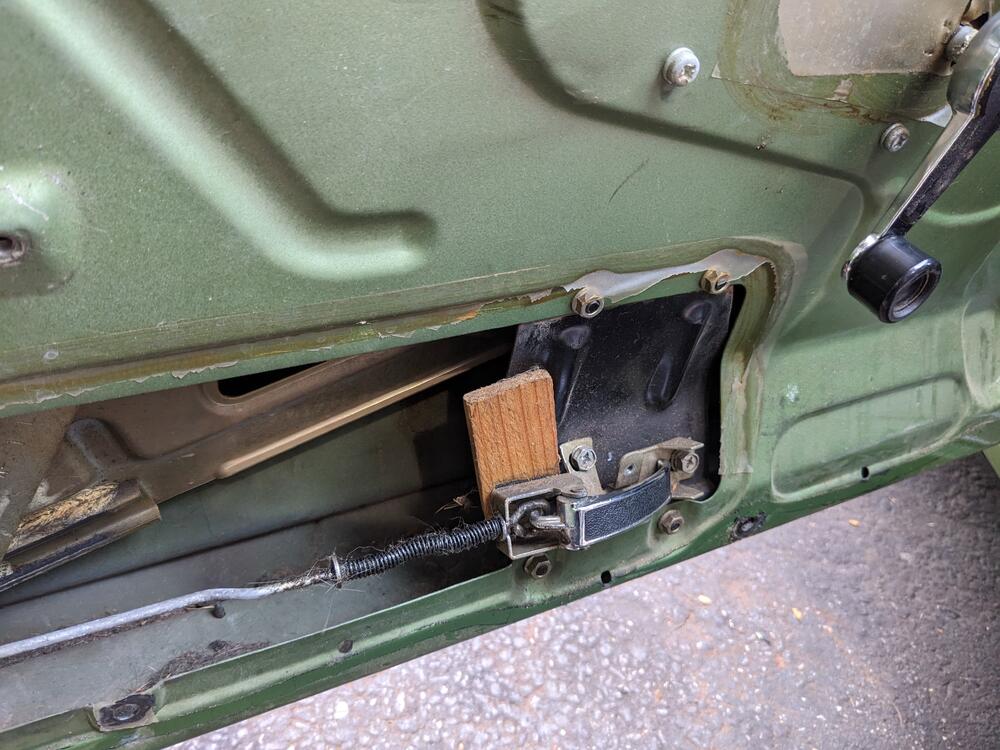
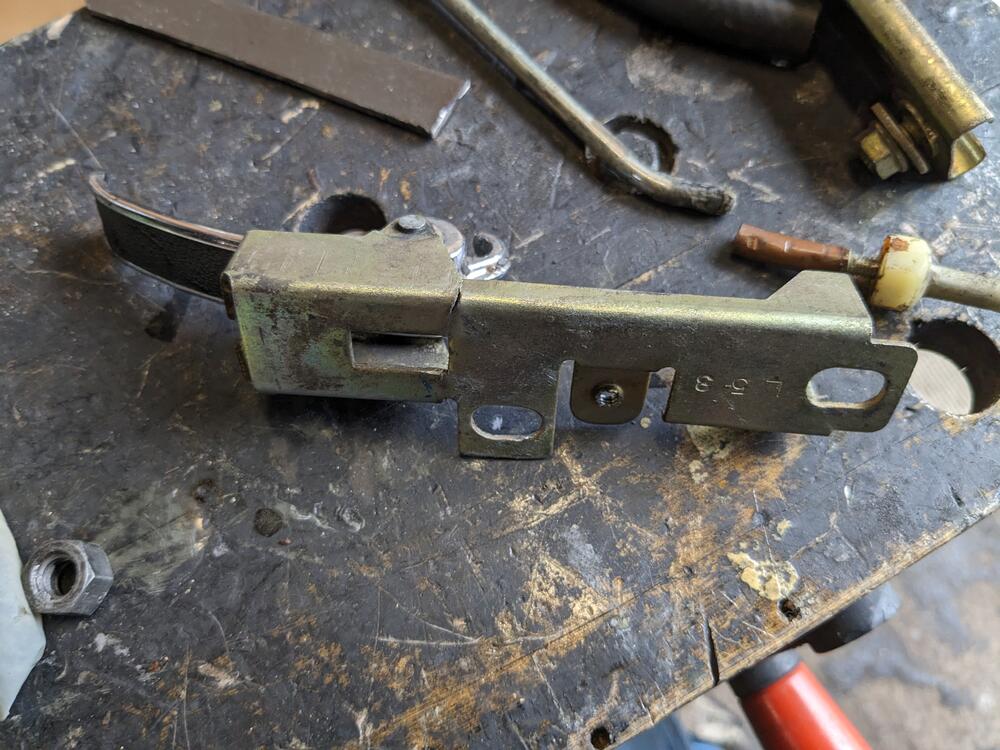
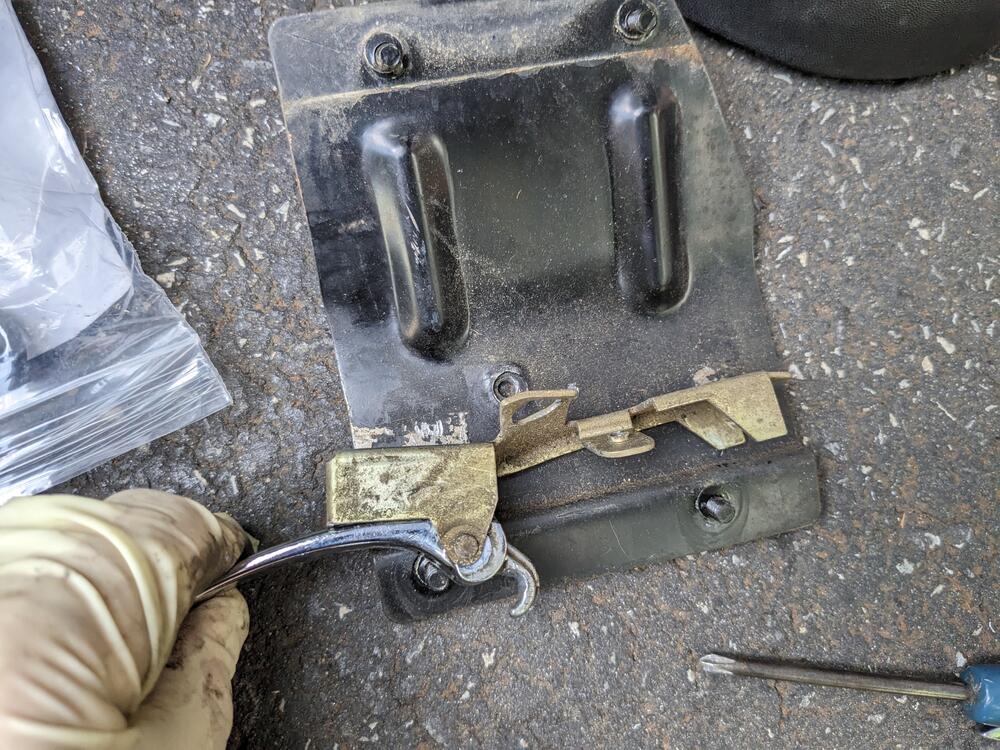
Took the driver's door apart today to change the door glass channel. I already knew the door panel was a problem, and that something funky was up with the inner release handle. As far a I can see, the only rubber in the door is the glass guide & the rear molded seal, (front outer seal I've already done) which I have coming tomorrow. First problem was that the window crank was epoxied to the winder Botch repairs here Release plate is cracked & distorted. release rod for outer handle is also a problem. I'll weld the rod. release plate straightened out - have to weld the stress crack & reinforce the plate The spline section of the winder crank was buggered, so I cut it off & prepped a replacement spline section from a 240 (Volvo) window winder drilled both pieces & used a roll pin to join the pieces before welding, which I will do tomorrow. Volvo crank is screwed in place once attached, no more spring clip to worry about. Crank winder plate rivets were drilled out to remove winder.


-
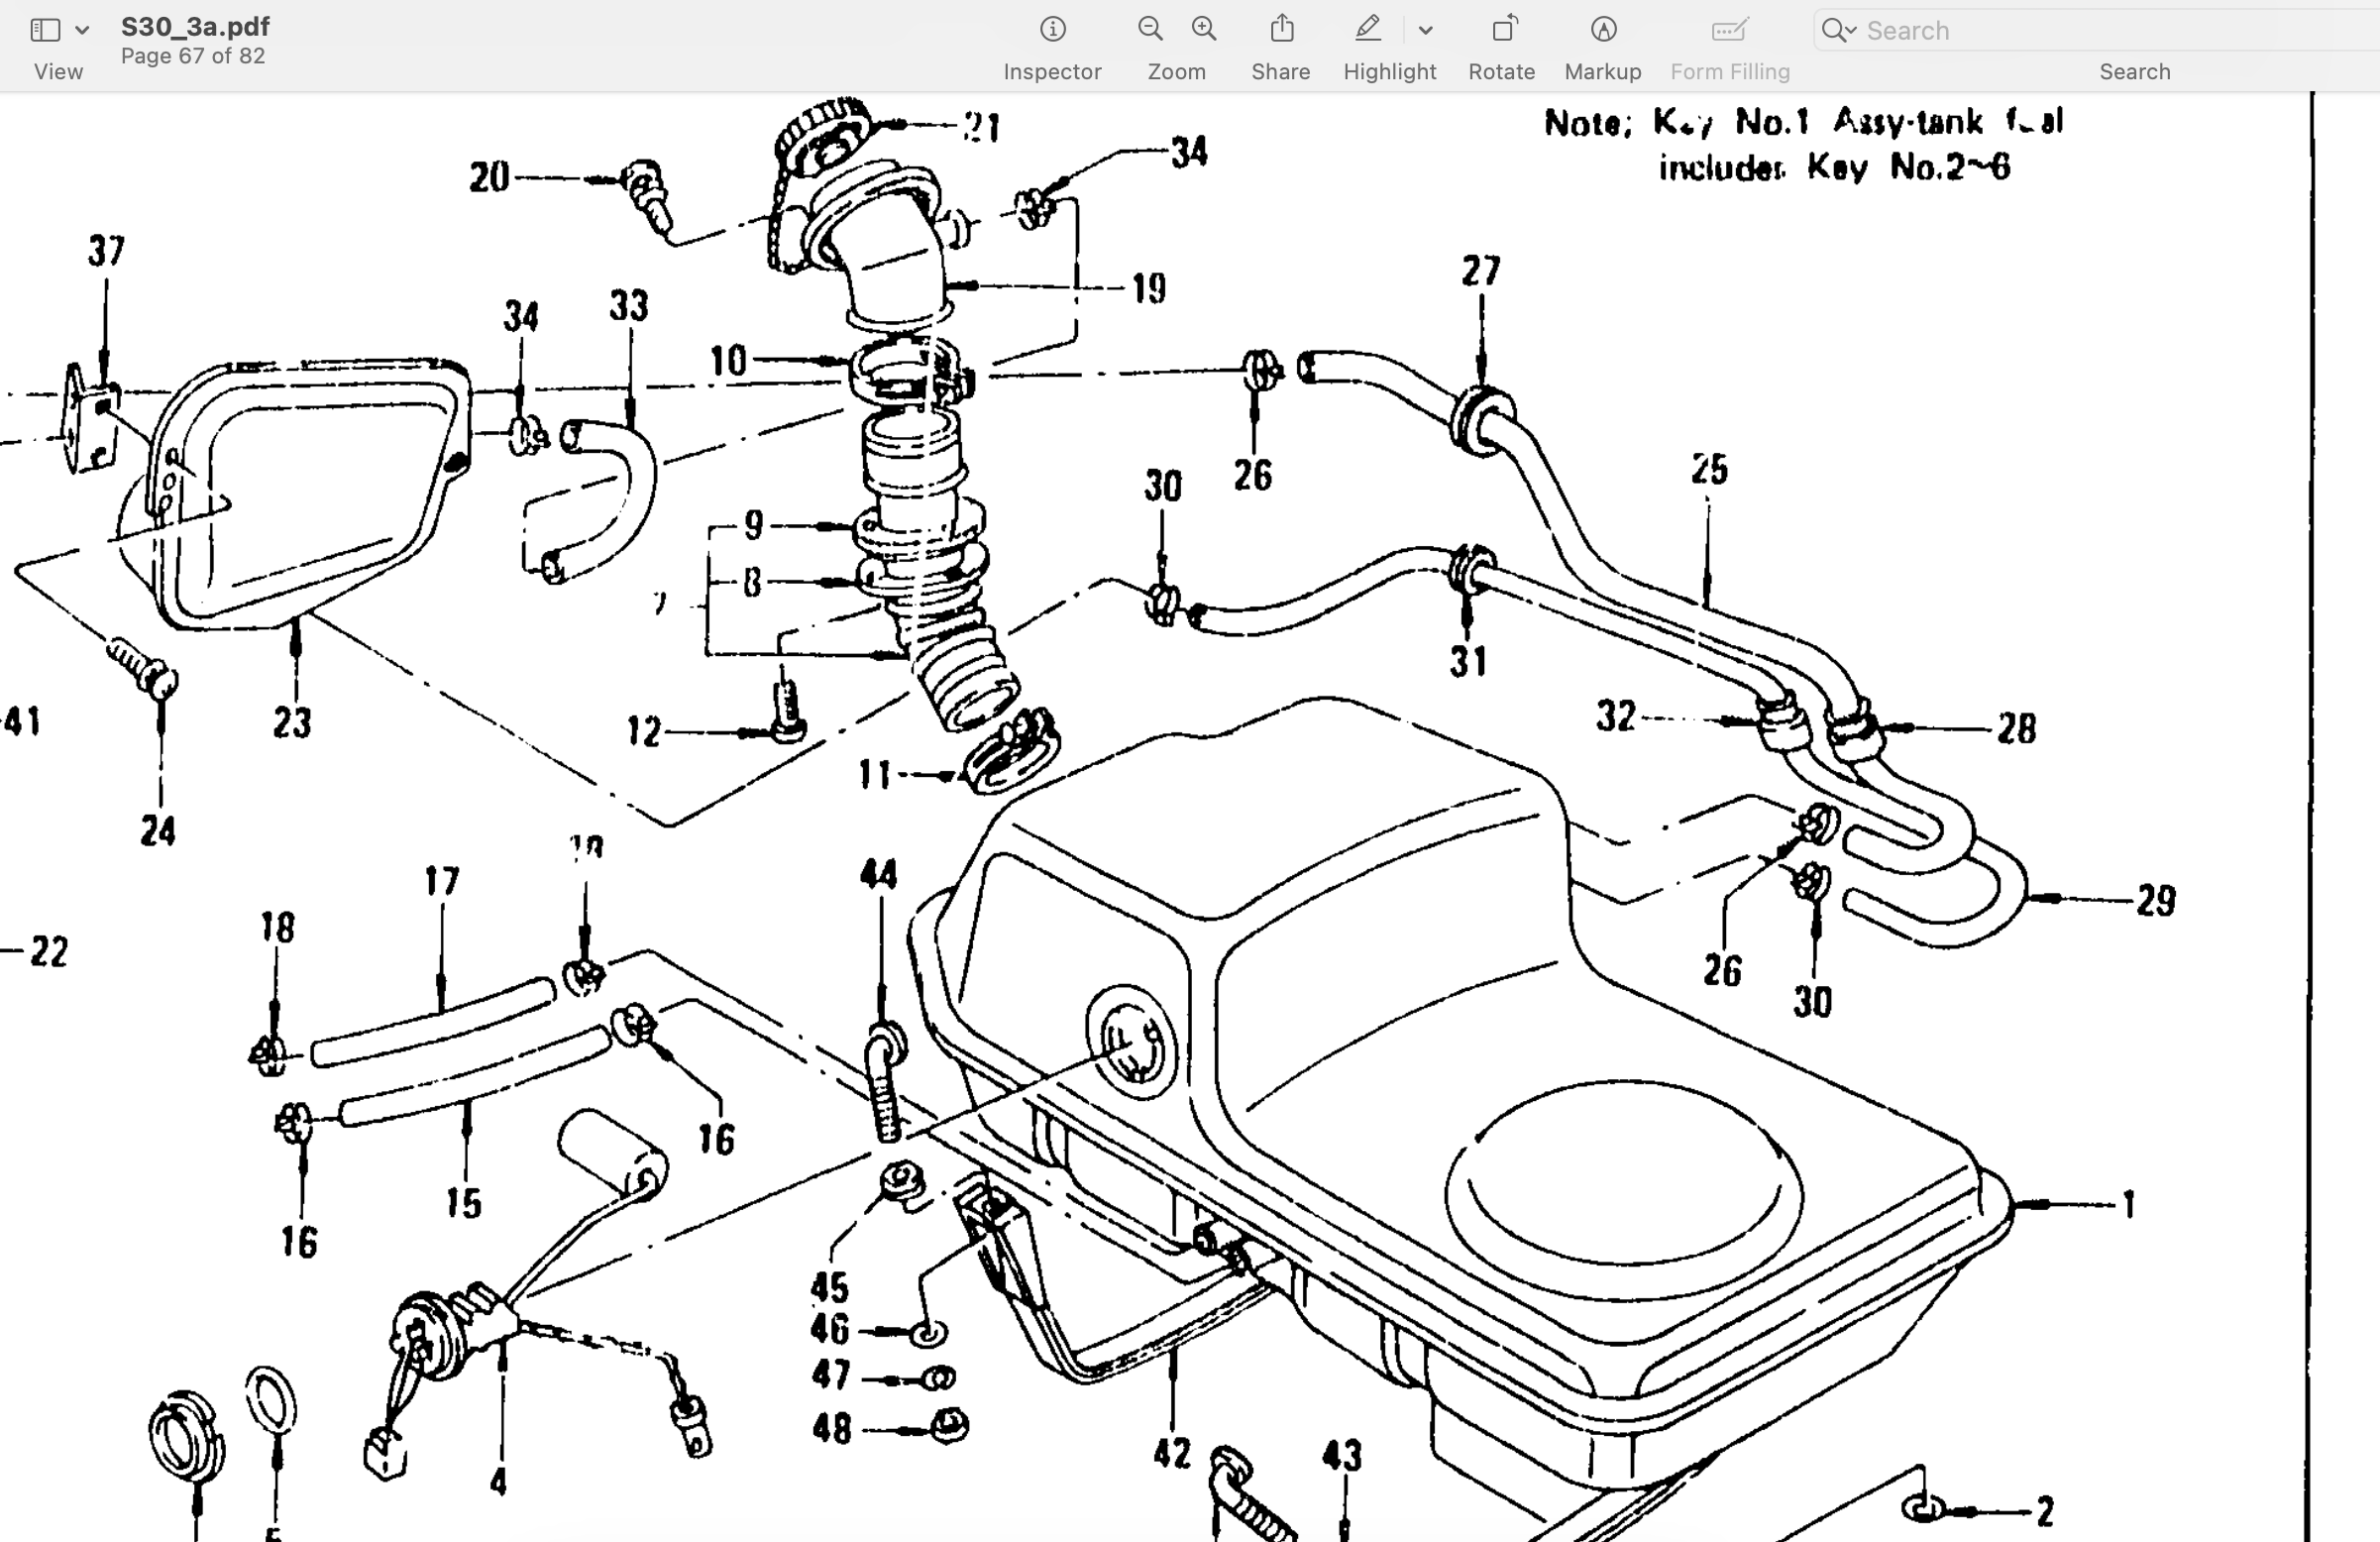
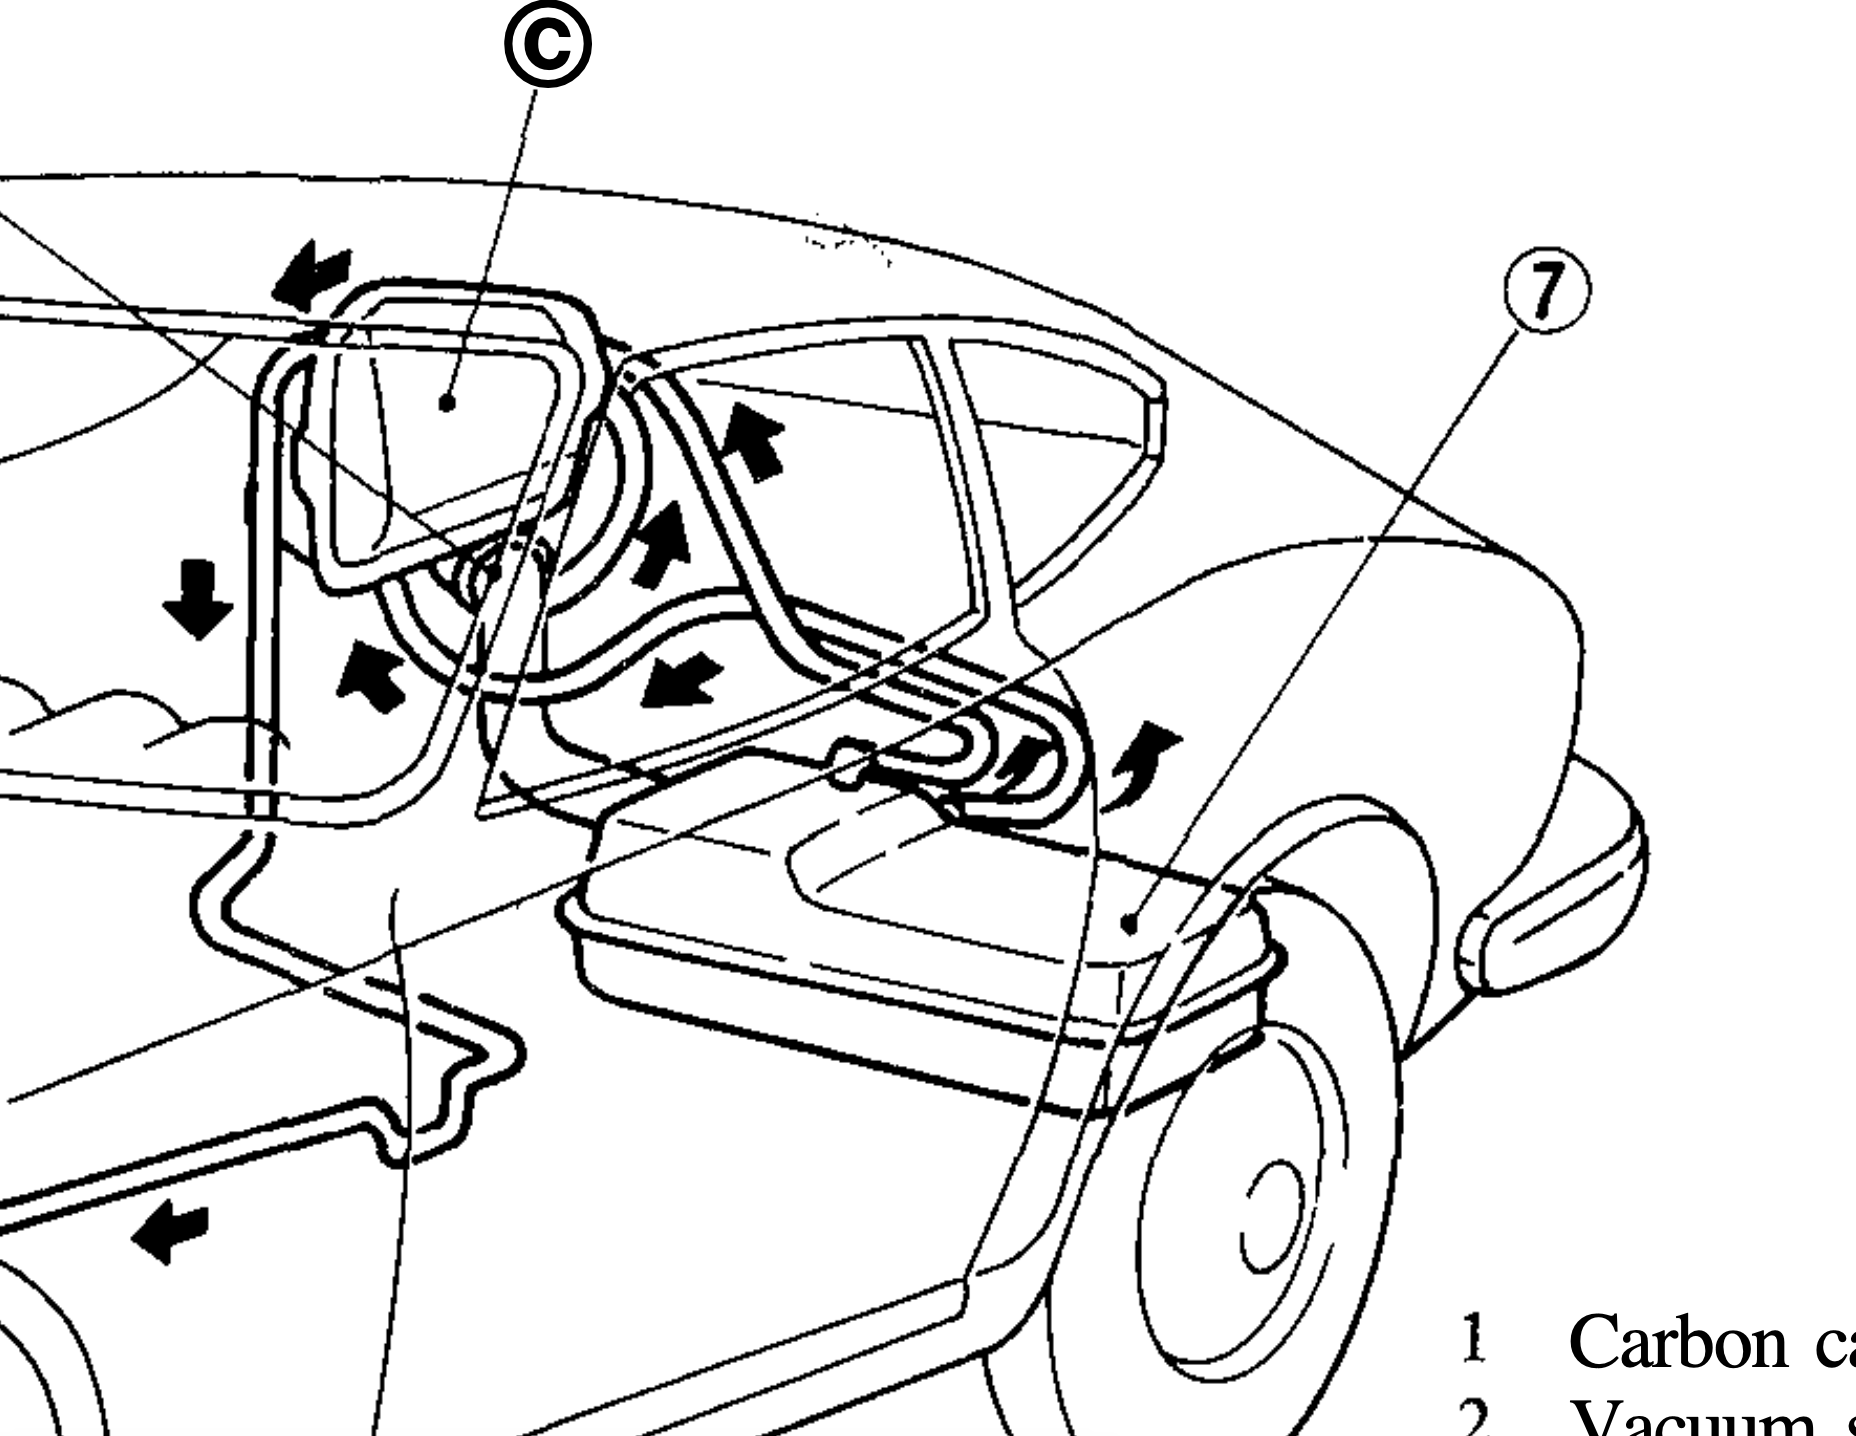
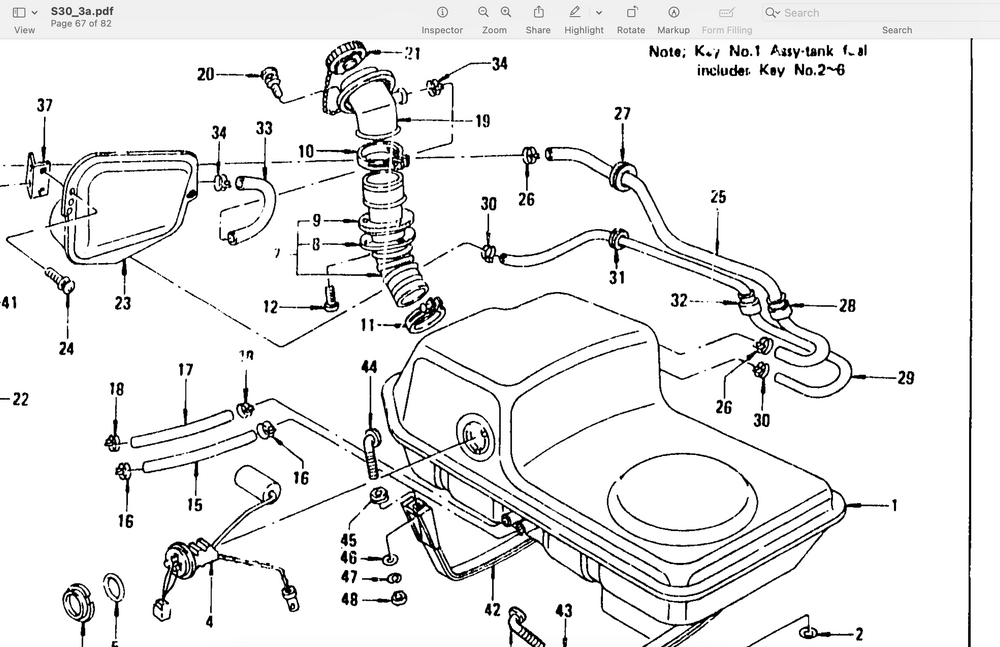
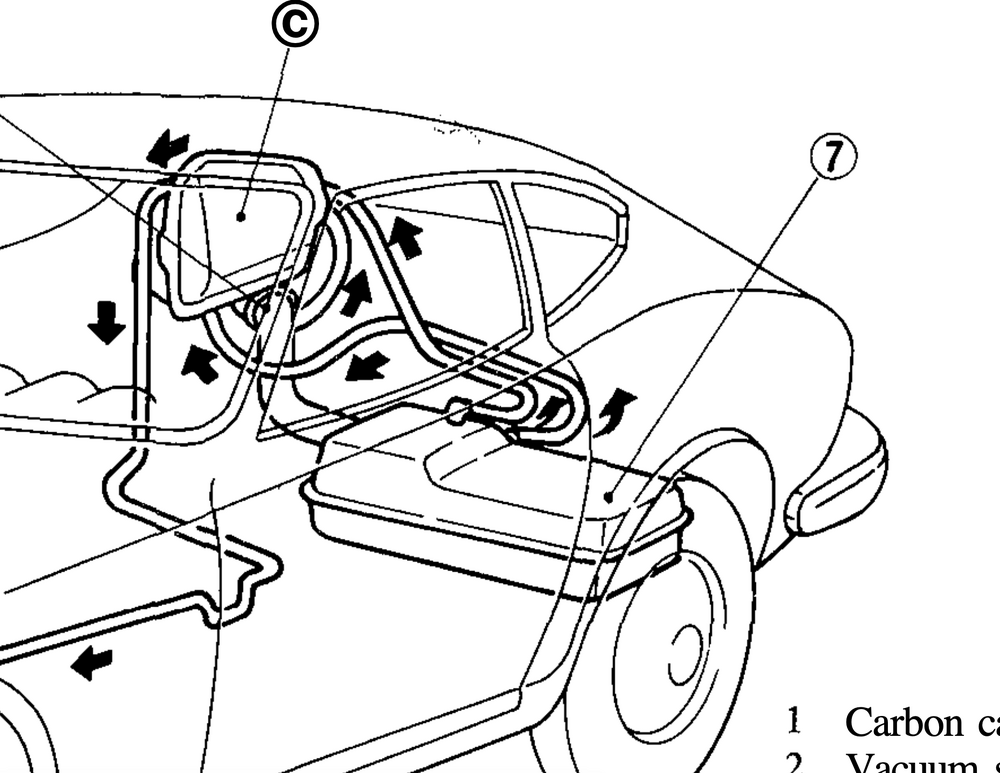
1975 280Z, CA car. So today is the first time I have put gas in the car. Drove it around to check the exhaust note after redoing the exhaust. I filled it - took about 13 gallons. Within seconds fuel started pouring down the back right side of the tank from above the seam. As an aside, getting my wife to like being in the car is getting more & more difficult 😞 In any event, looking in the manuals there are two EVAP lines on the top of the tank. So, I'm assuming the leak is either an aged hose (#28 or 29) that has ruptured, and/or one of the necks is leaking at the tank. I don't know if that's a thing with these though, so I'm hoping it's just the hoses. Looking online, dropping the tank doesn't appear to be a major deal. Any pointers or catches I should be aware of?
-
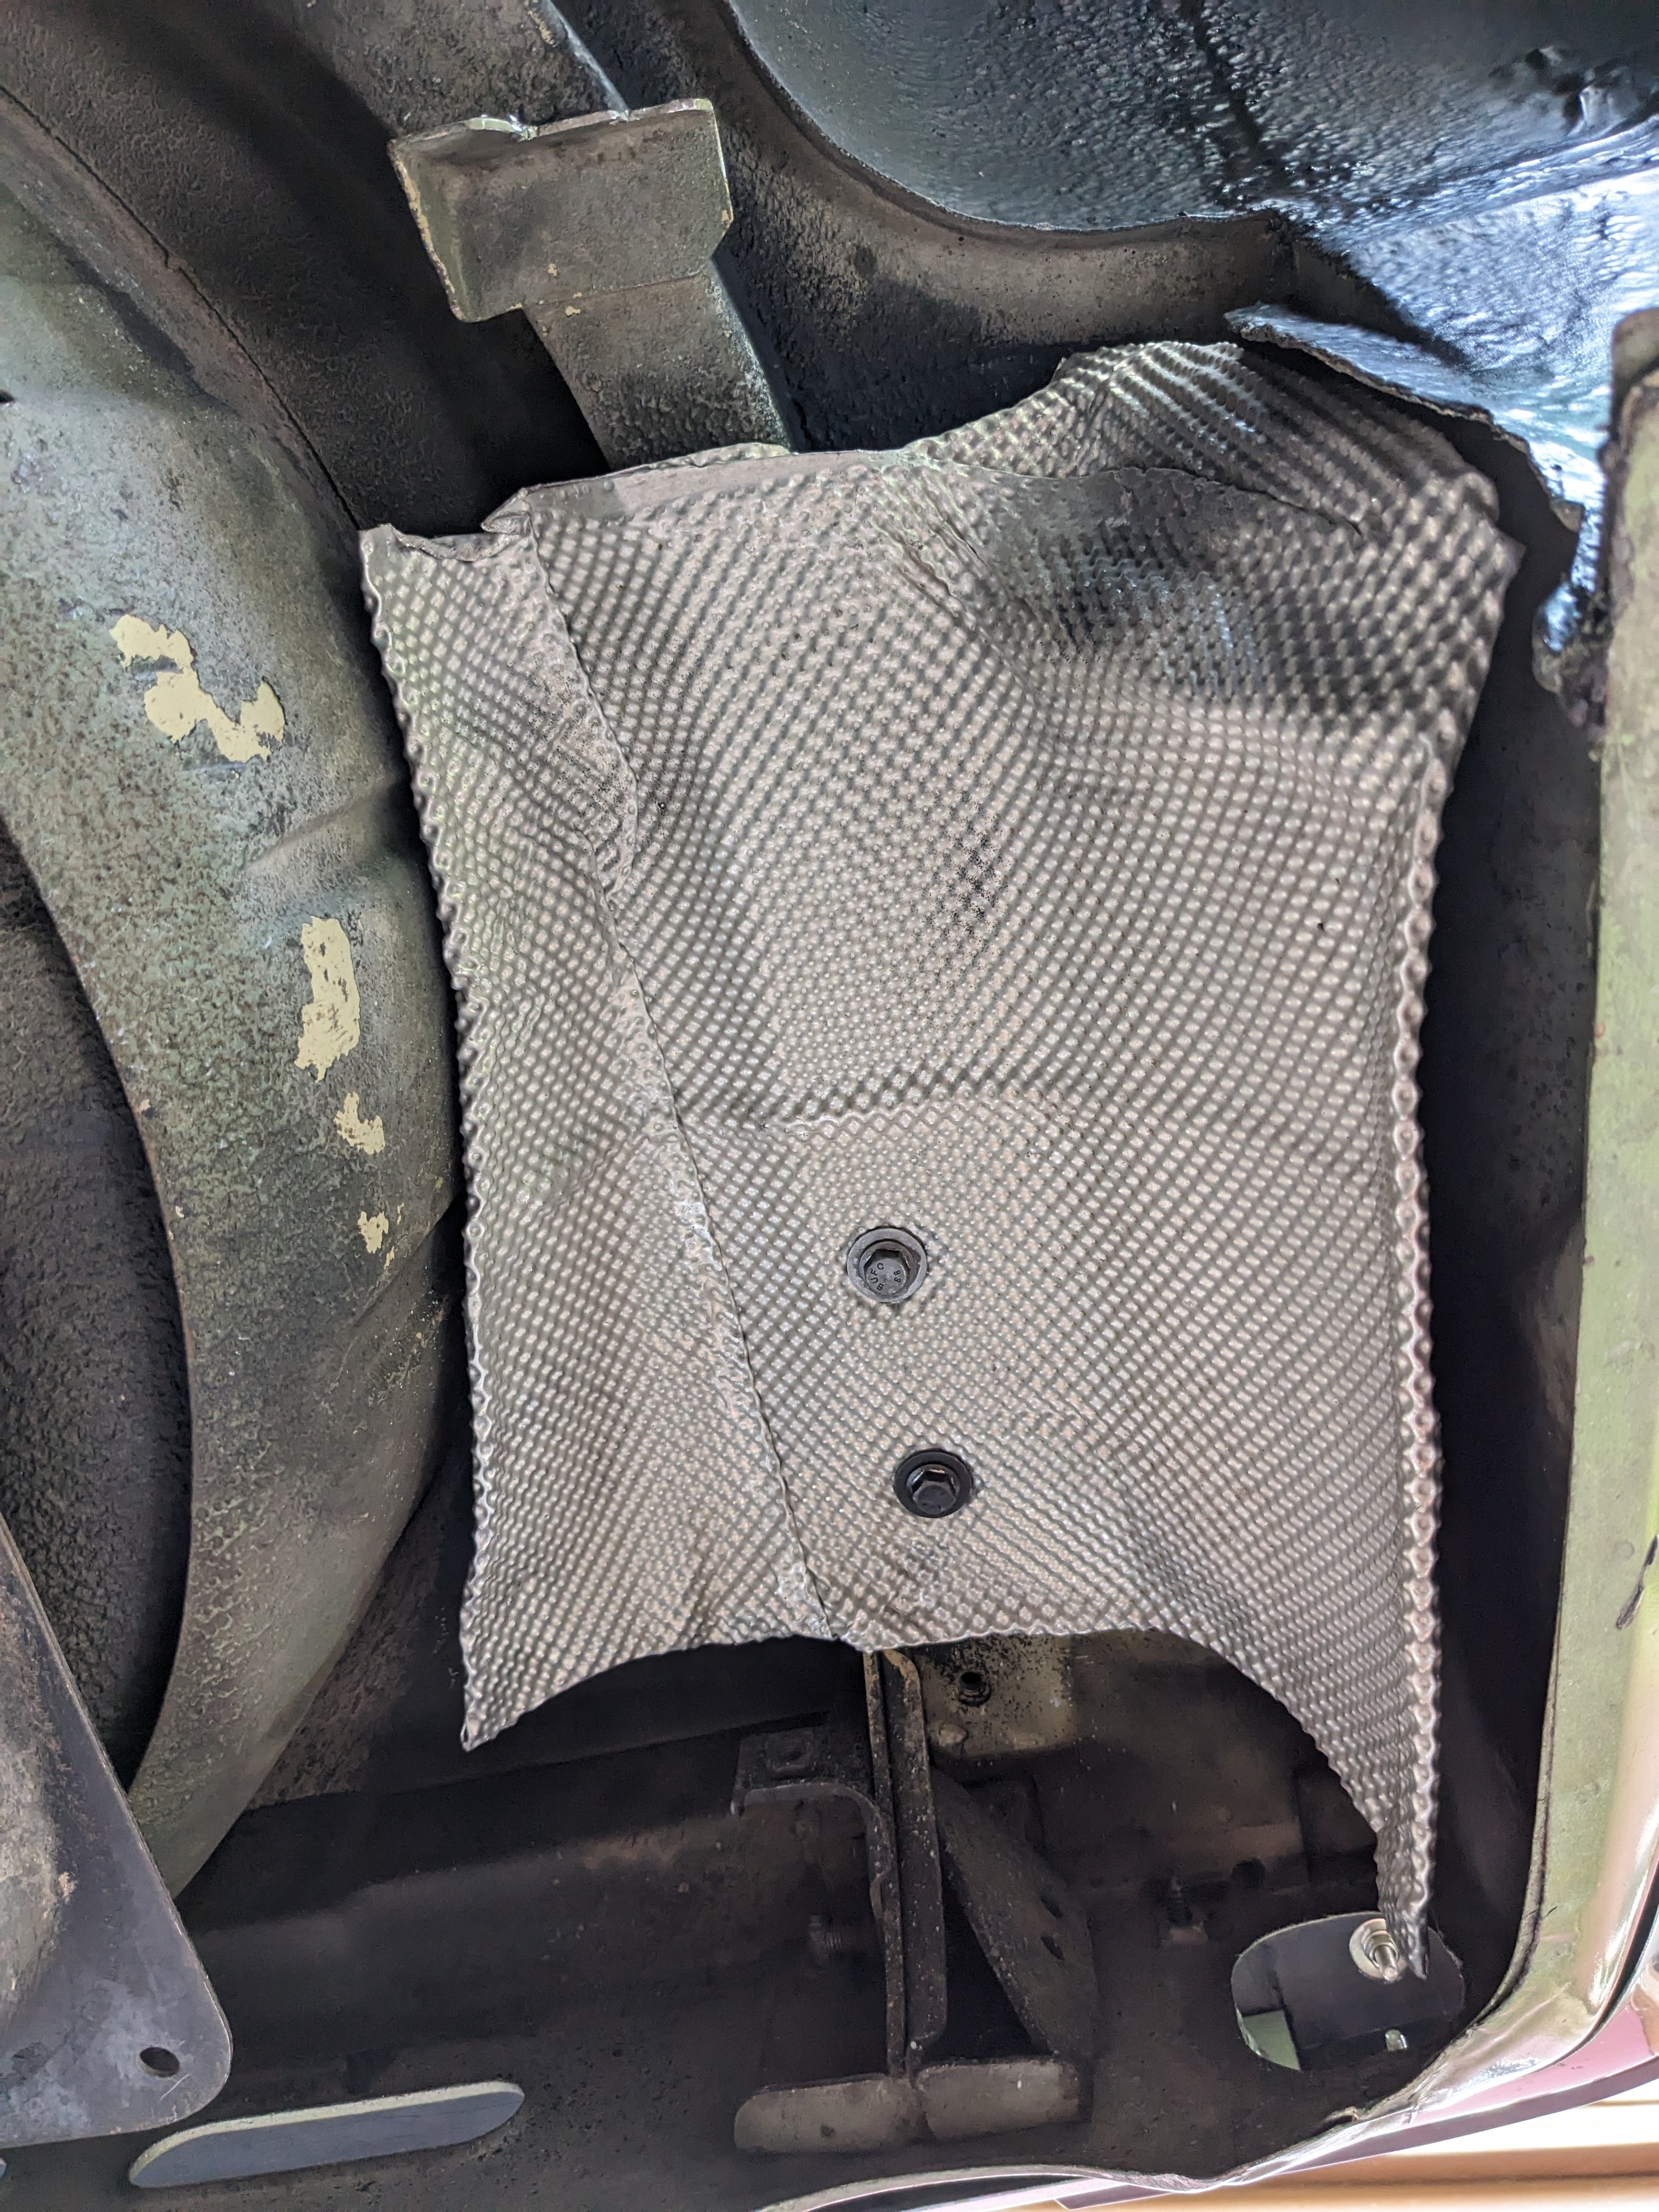
All Volvos from 2000-on use it in the driveshaft tunnel & under the rear cargo/trunk floor above the rear muffler. I saved the sections from an 2004 S40T5 AWD when I stripped it for converting my C30T5 to AWD
-
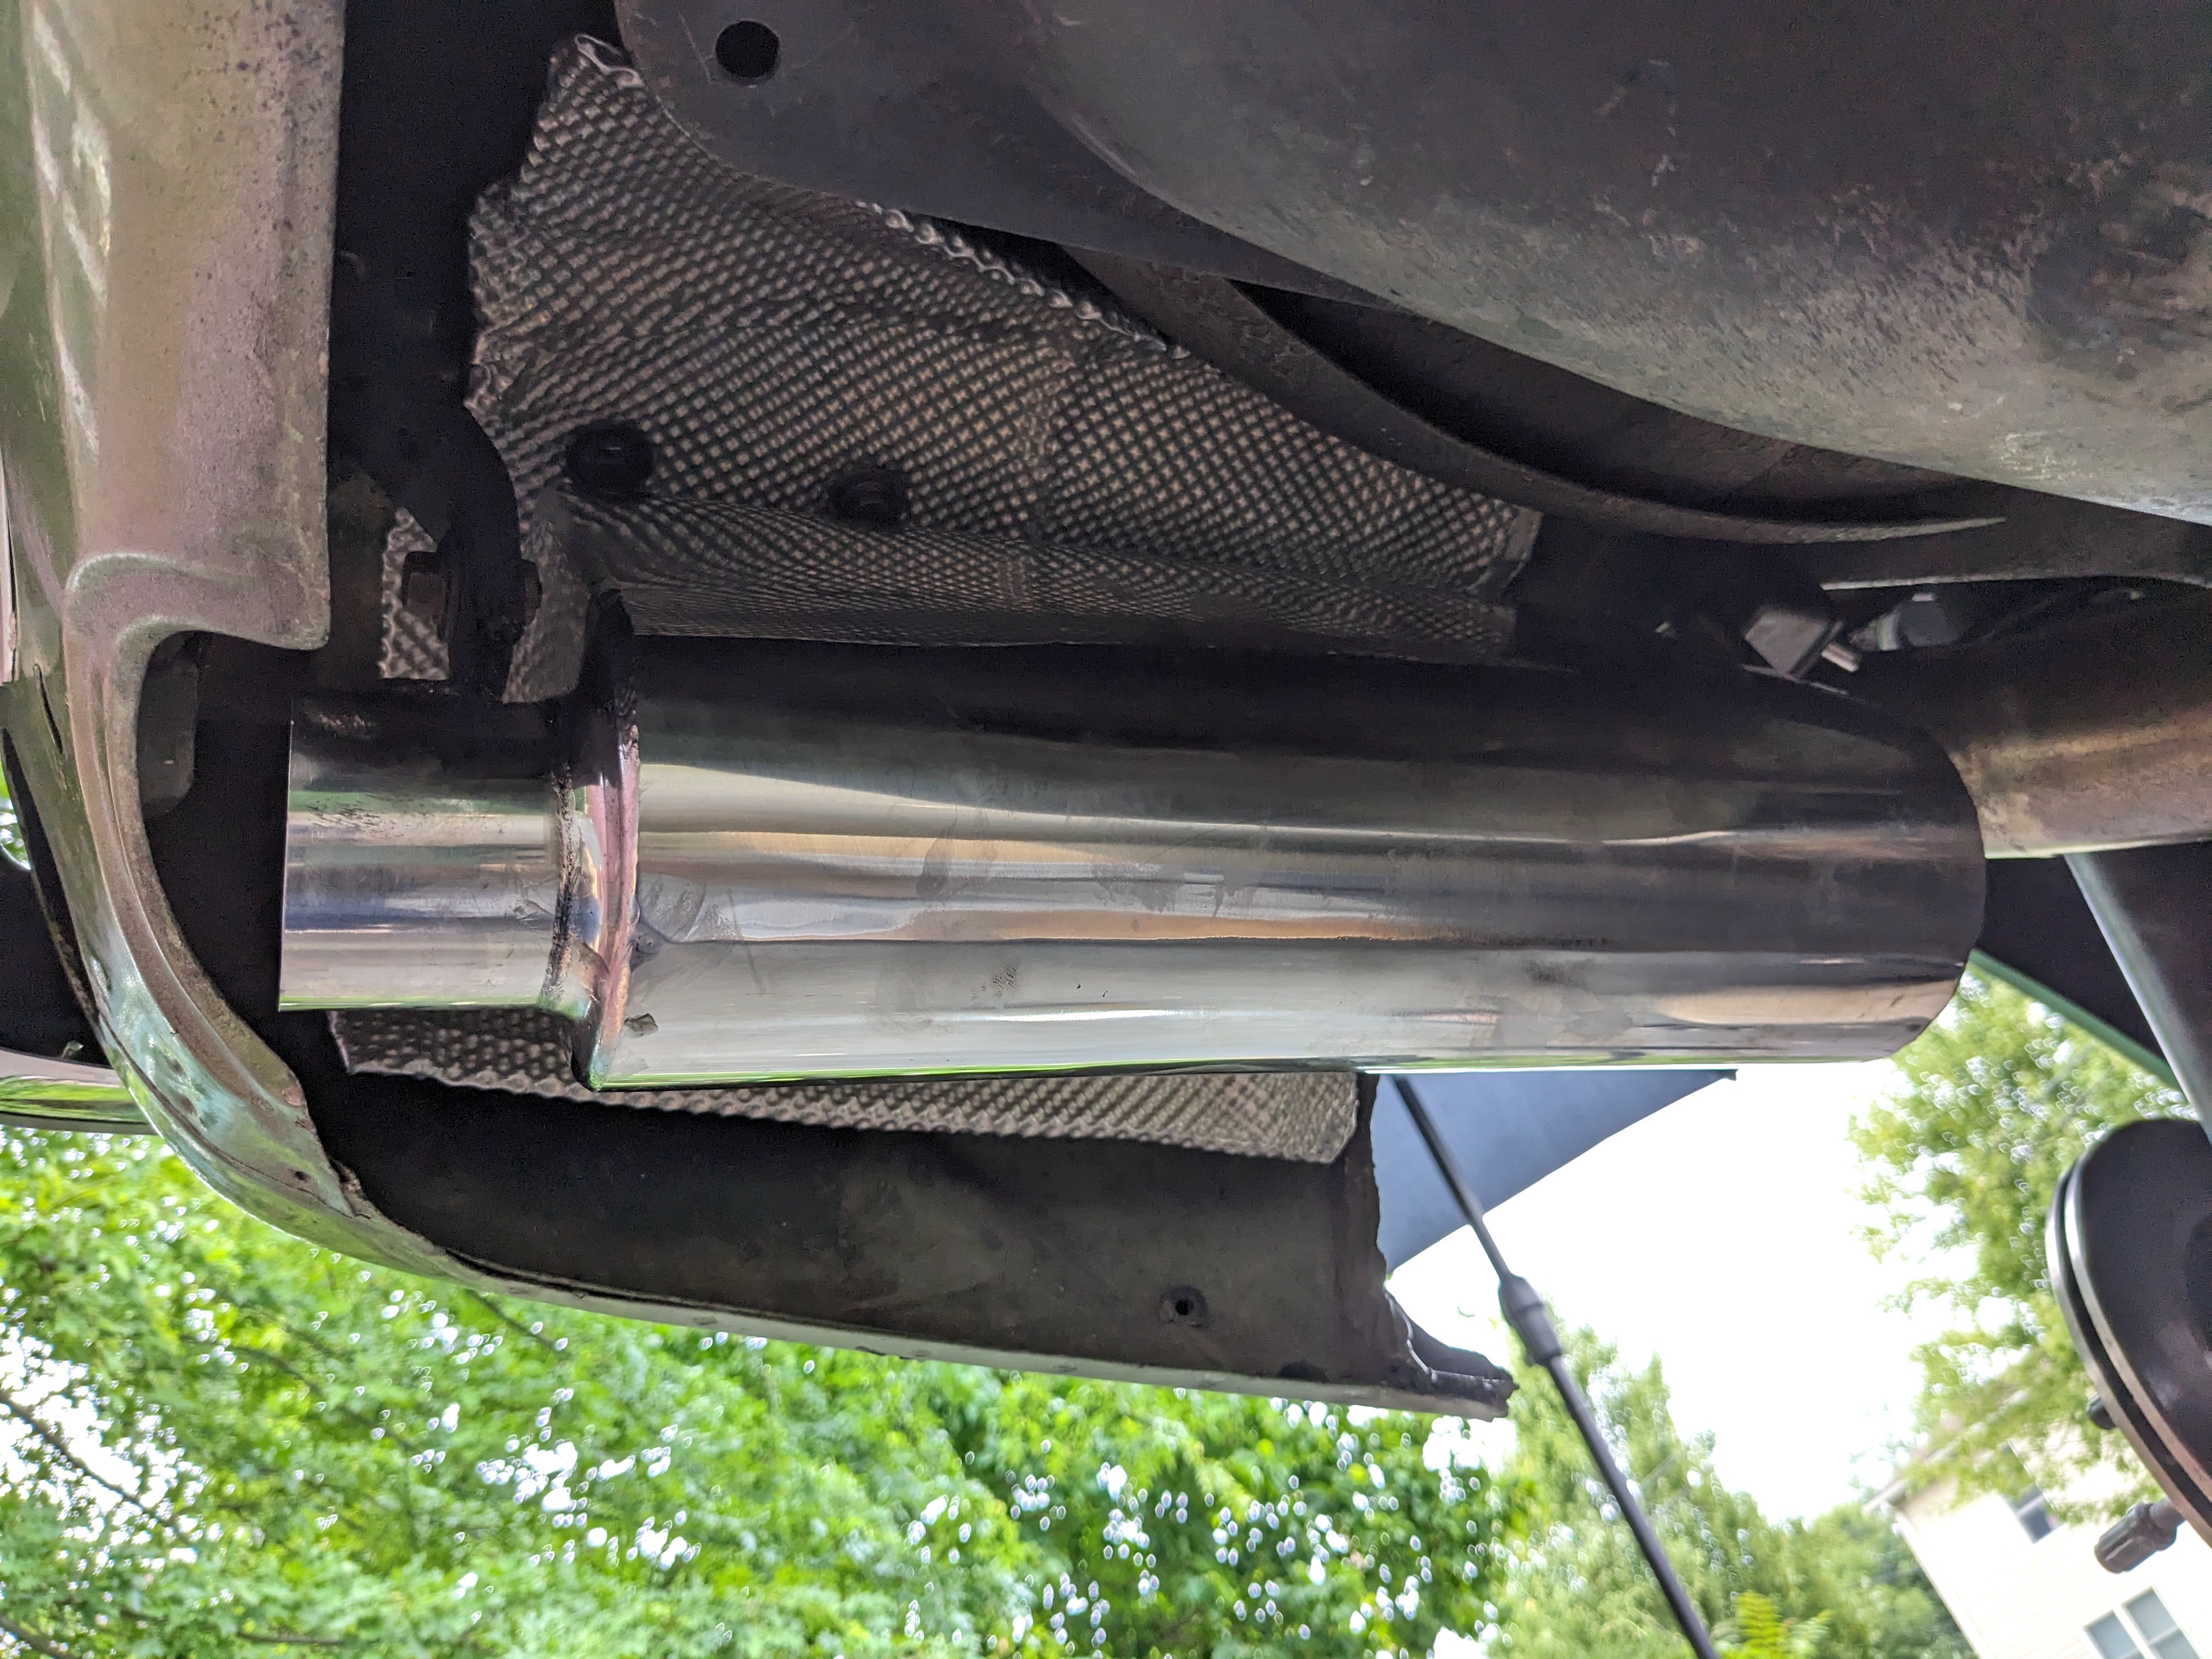
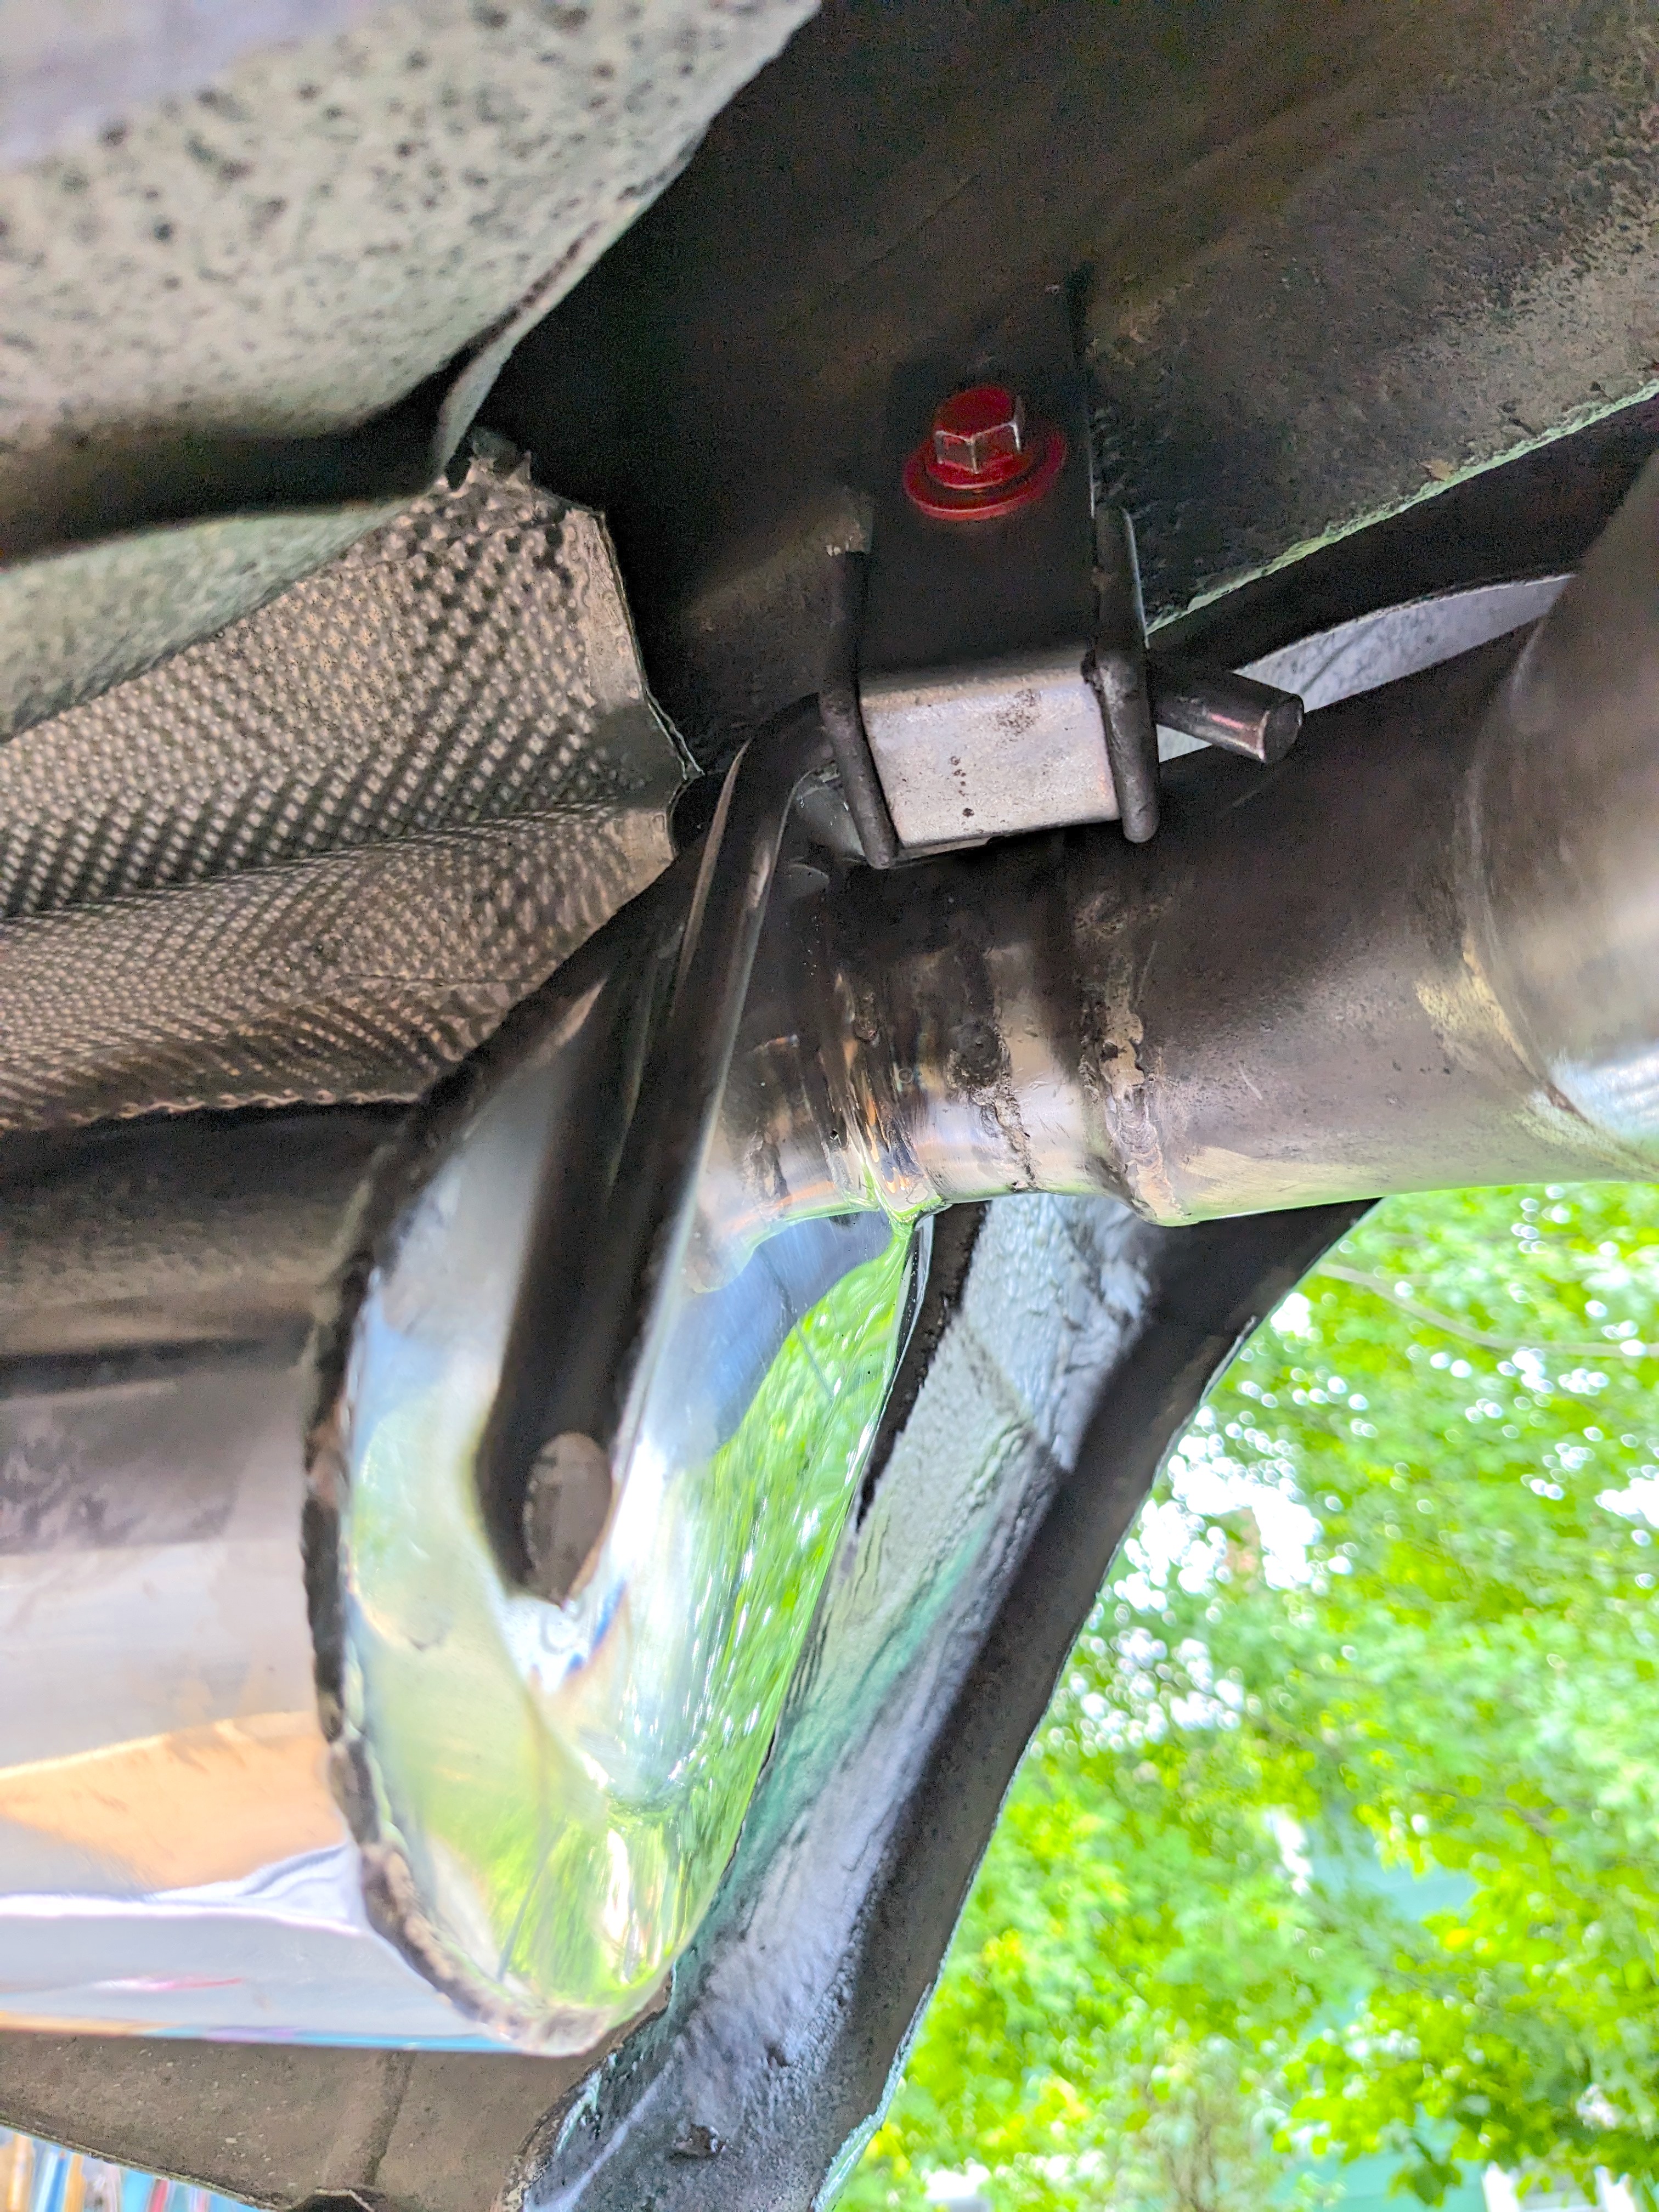
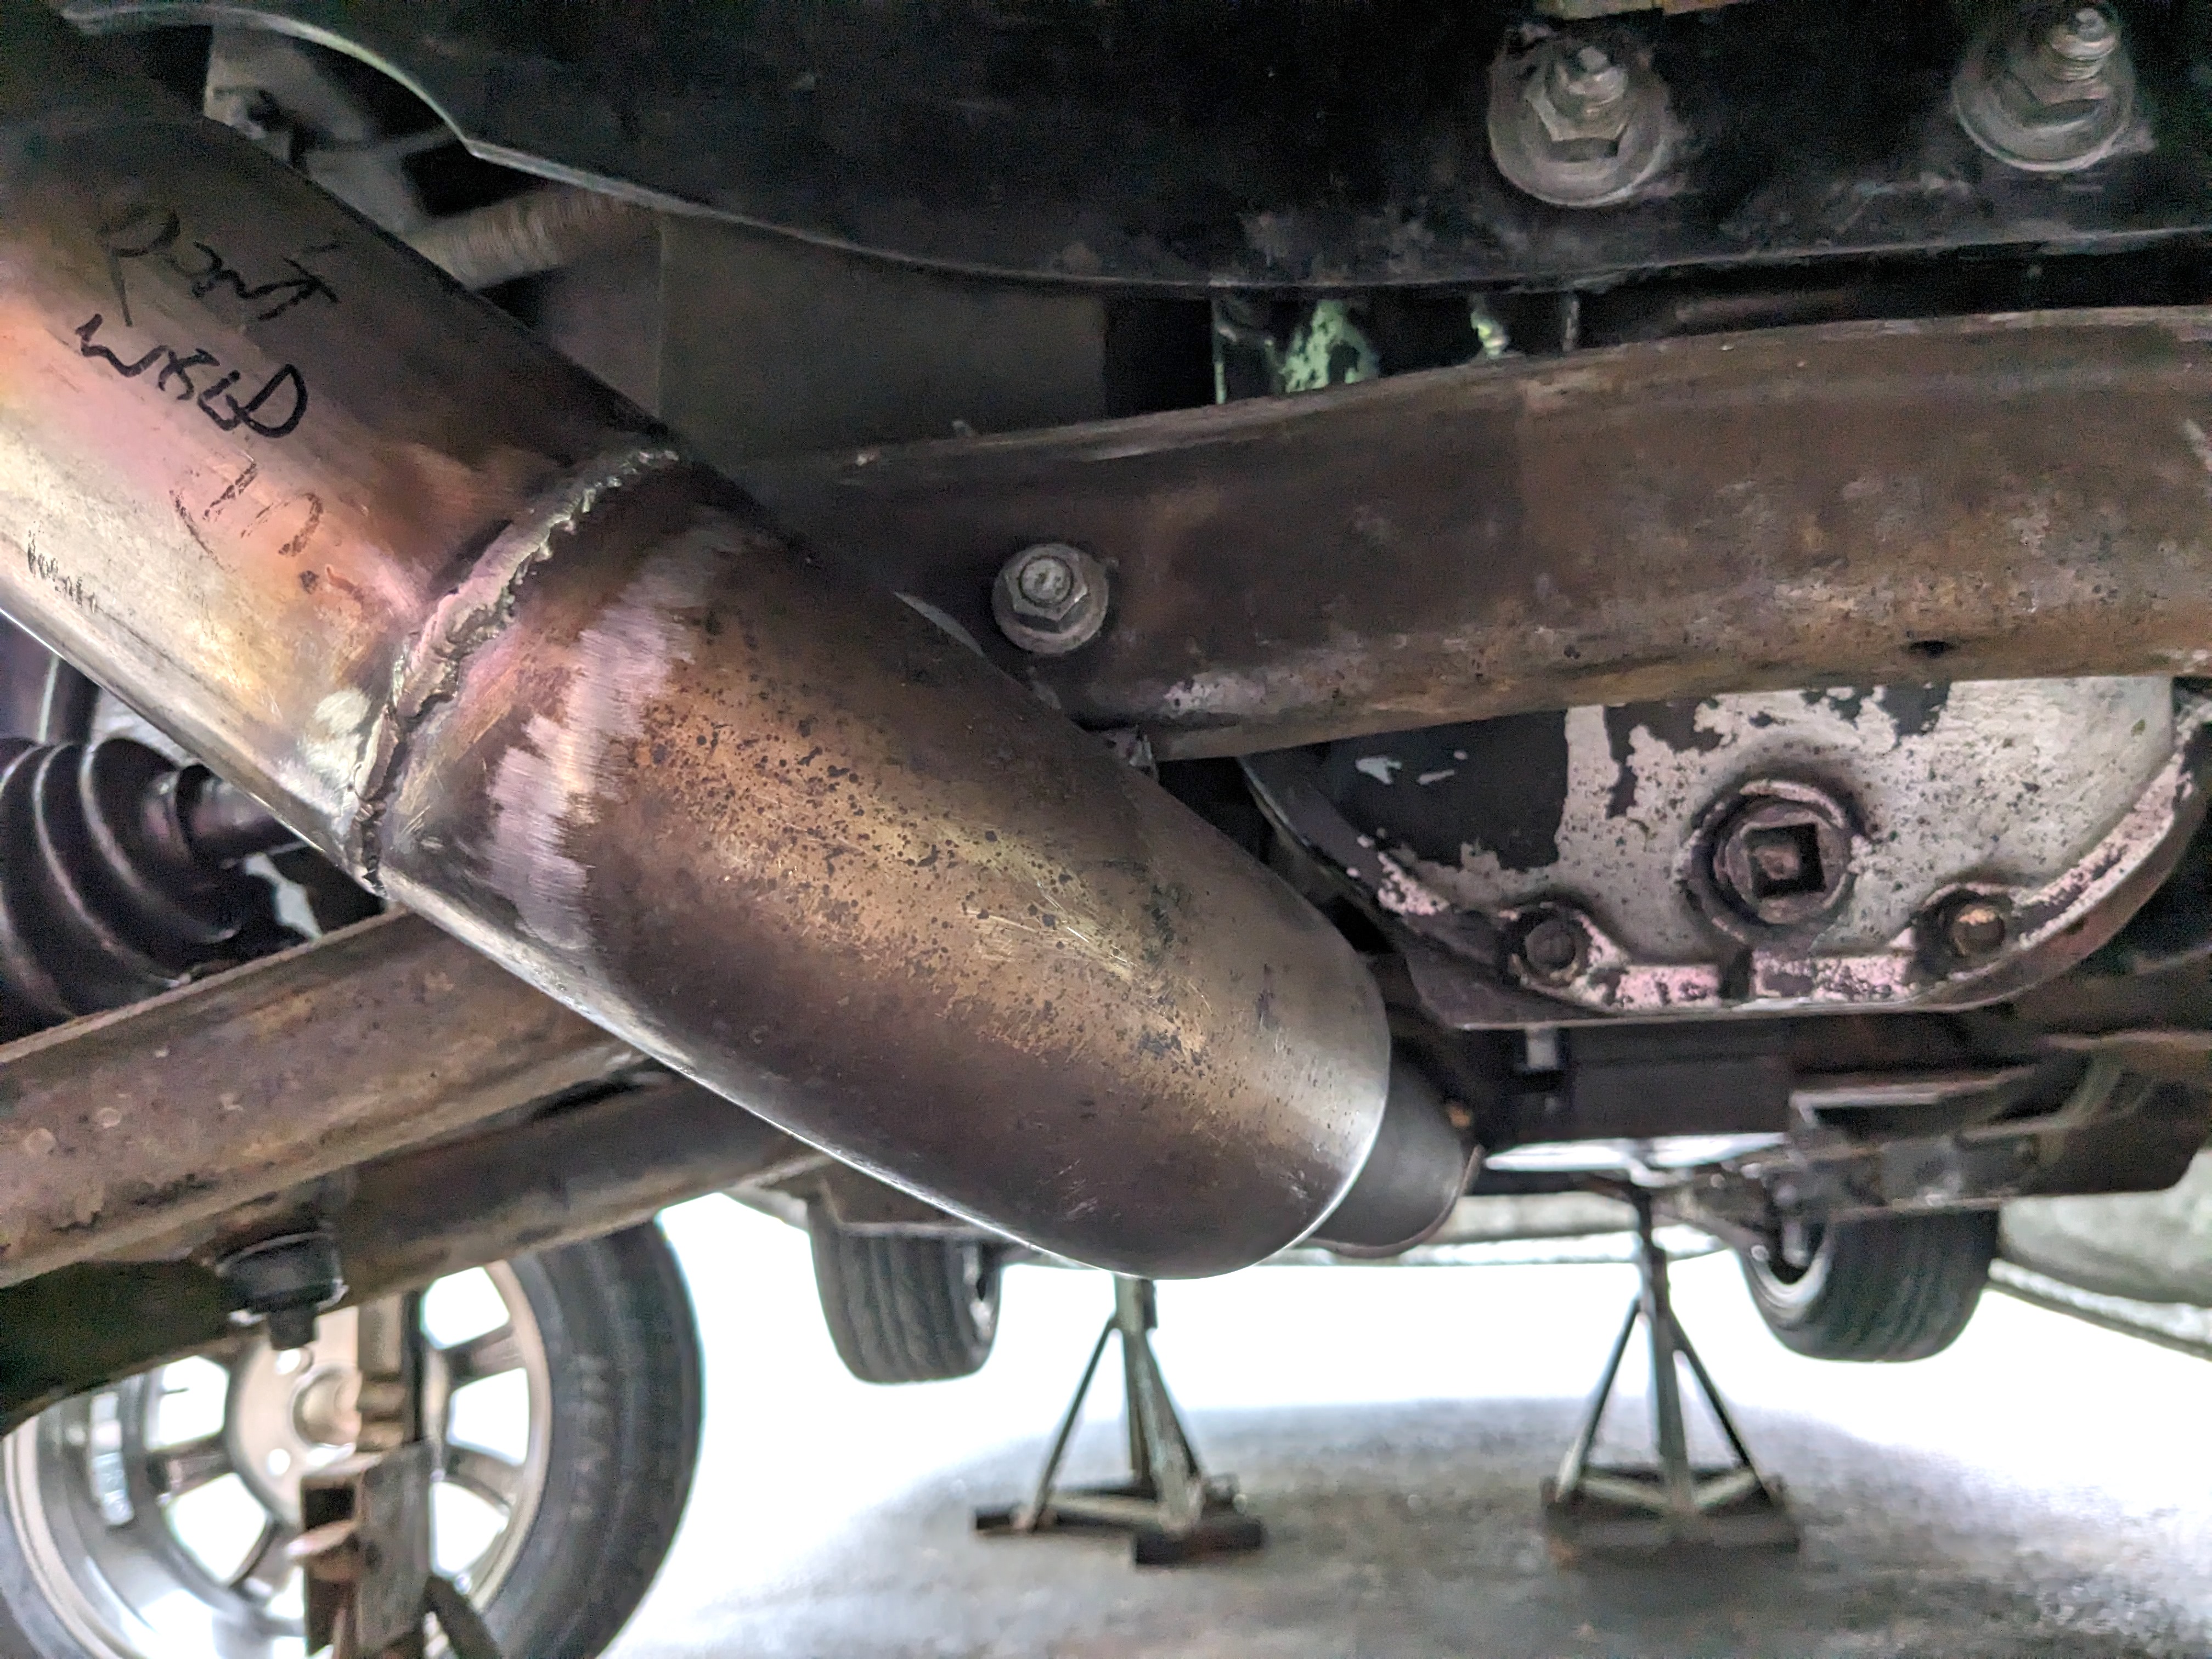
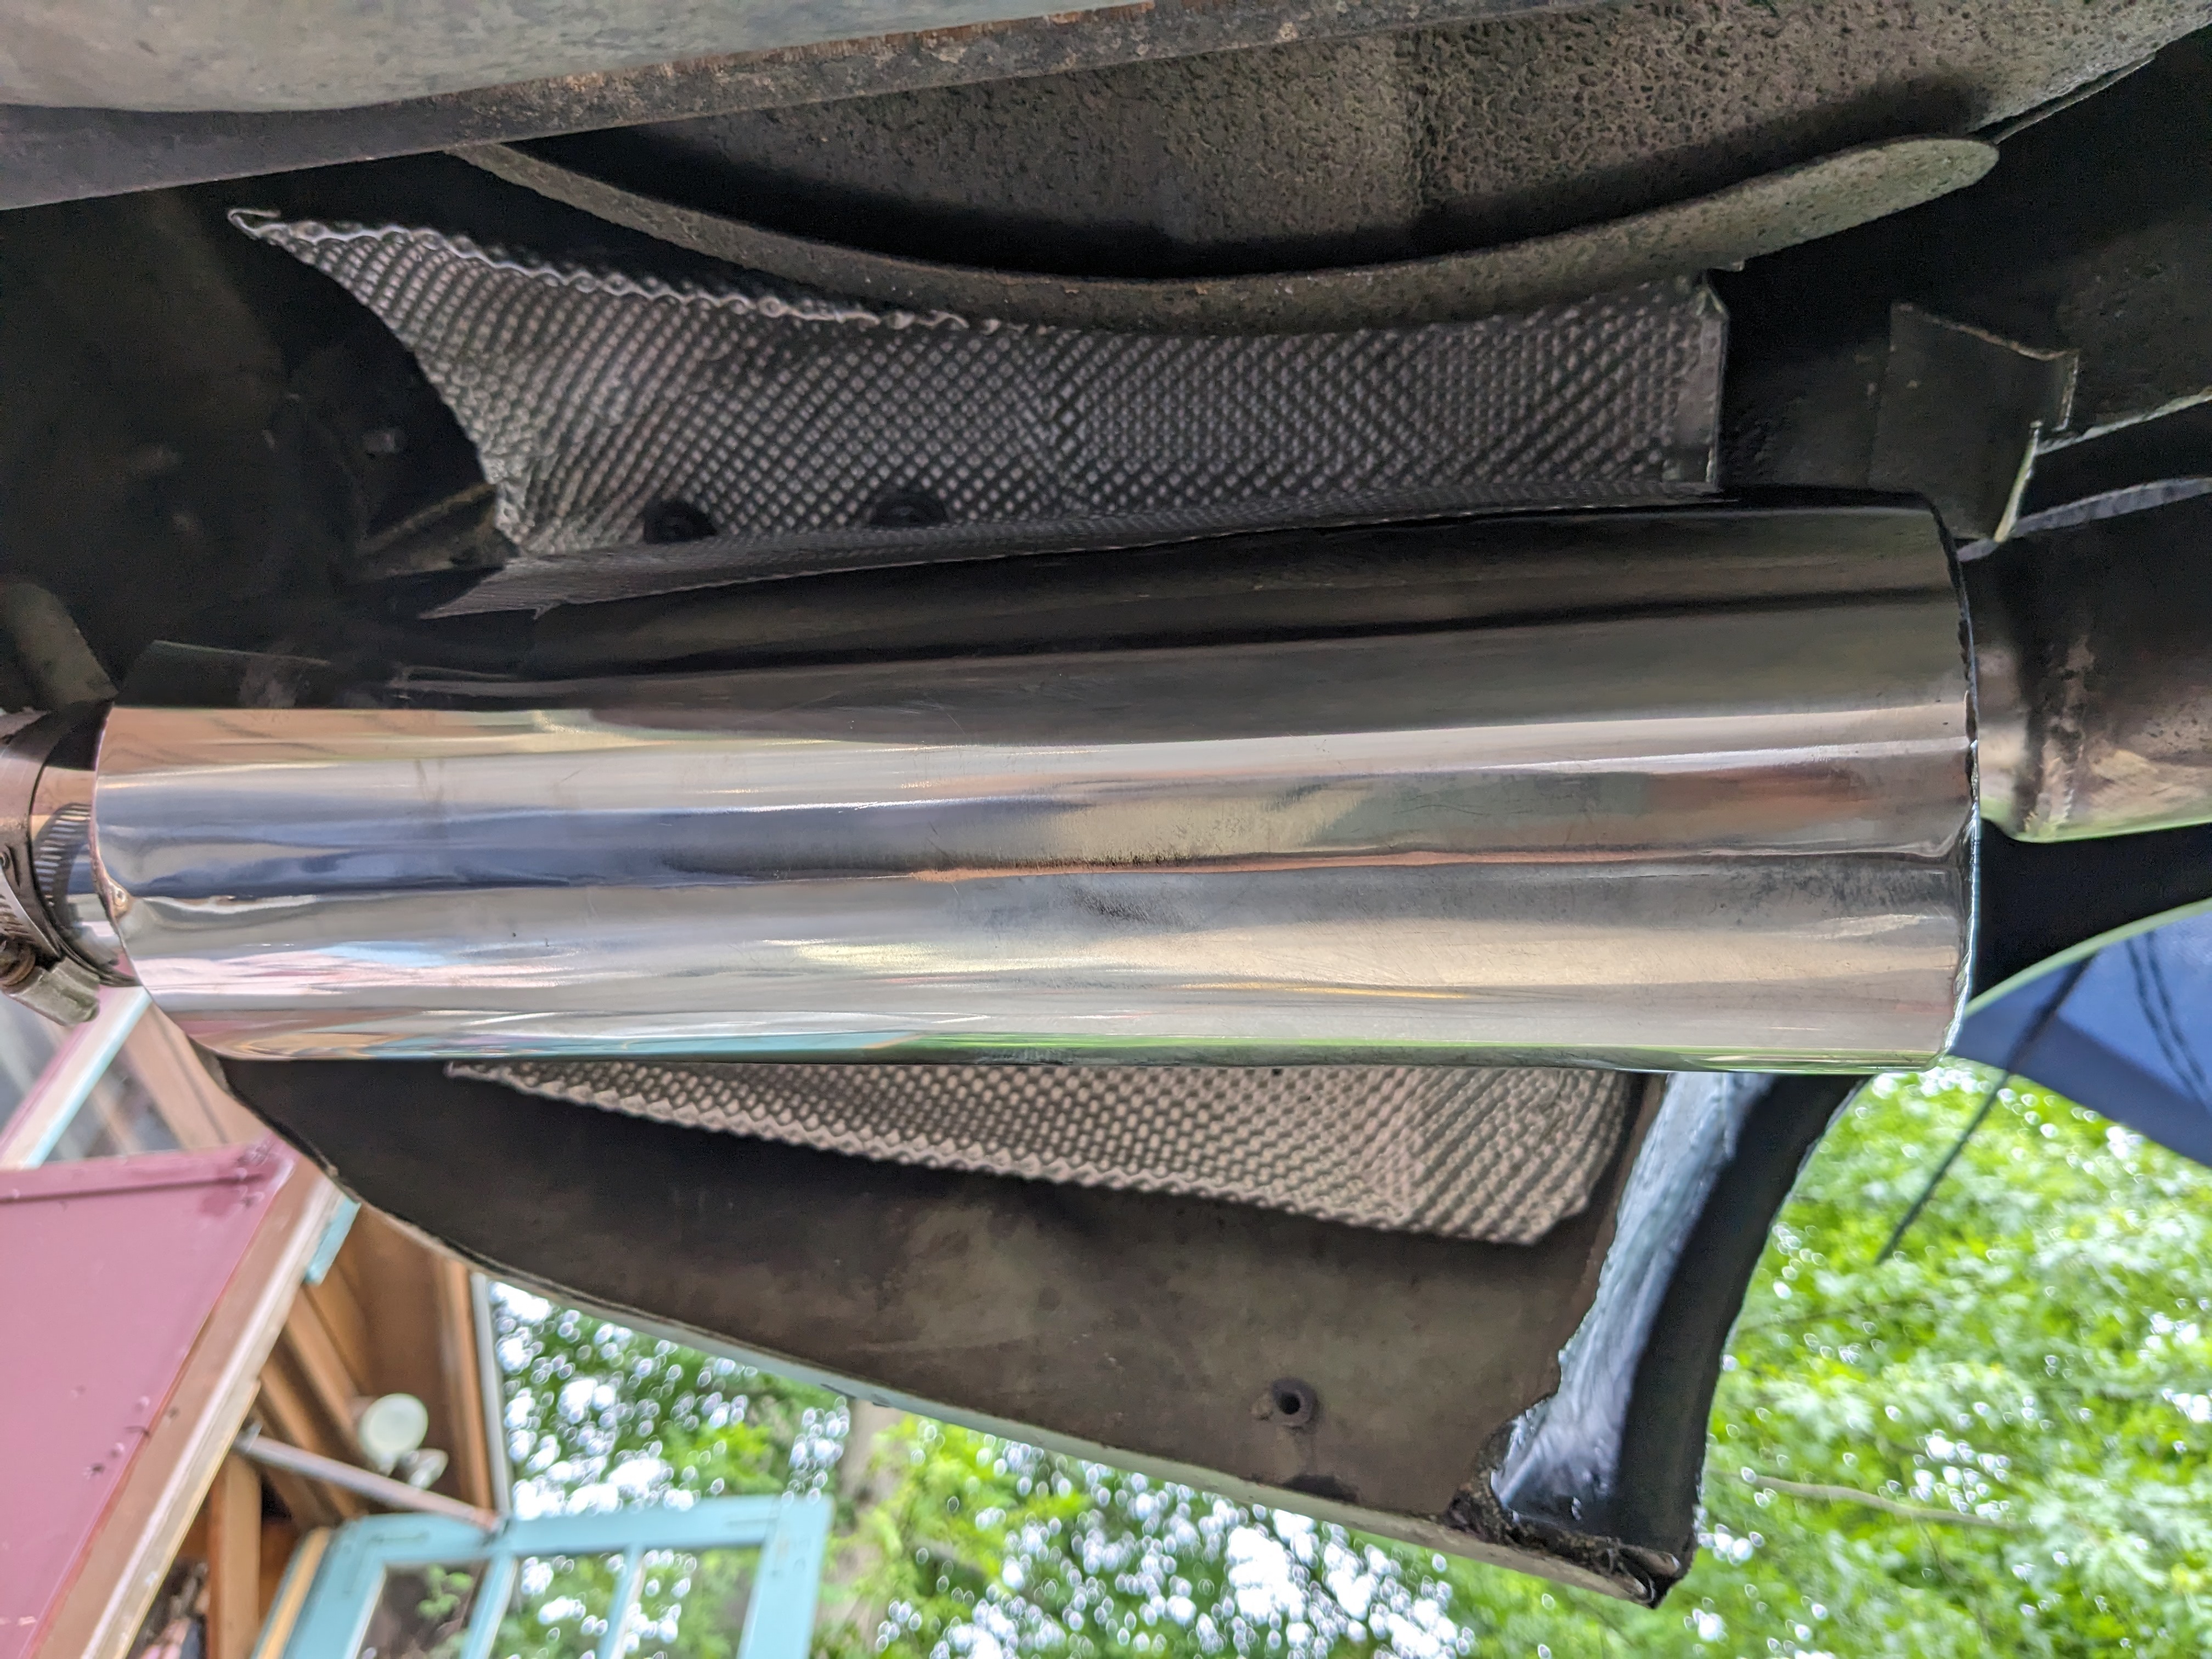
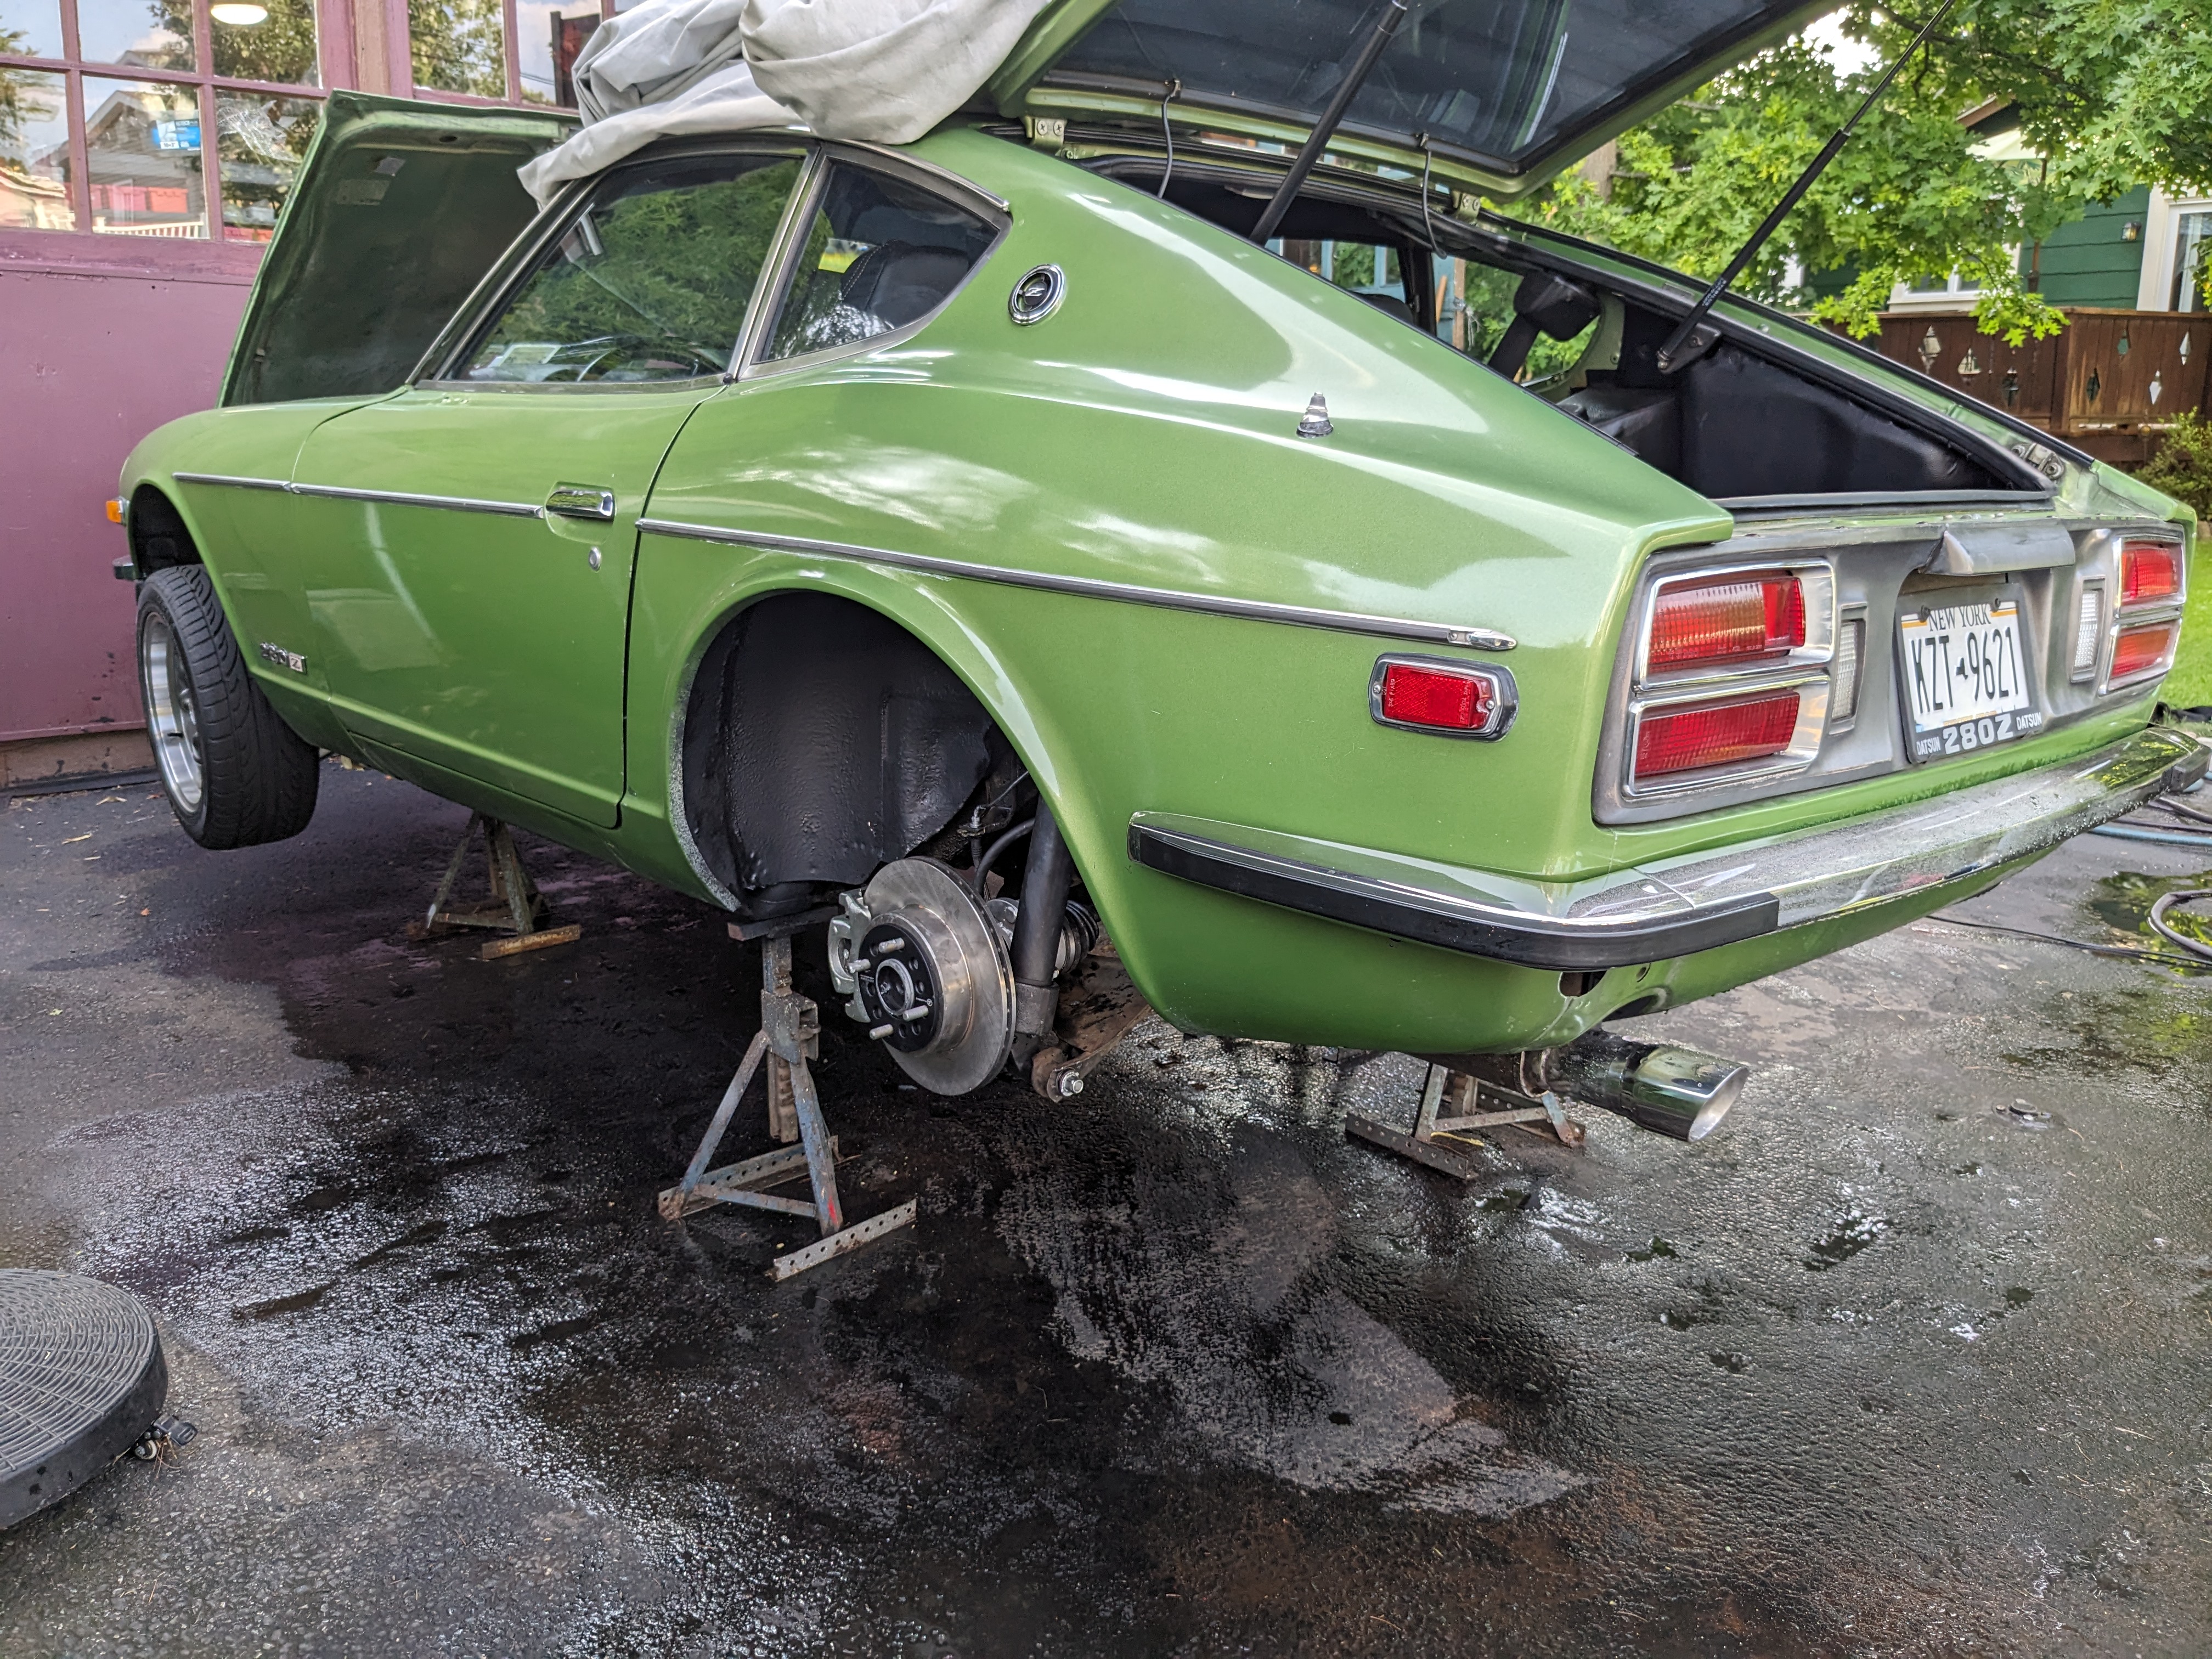
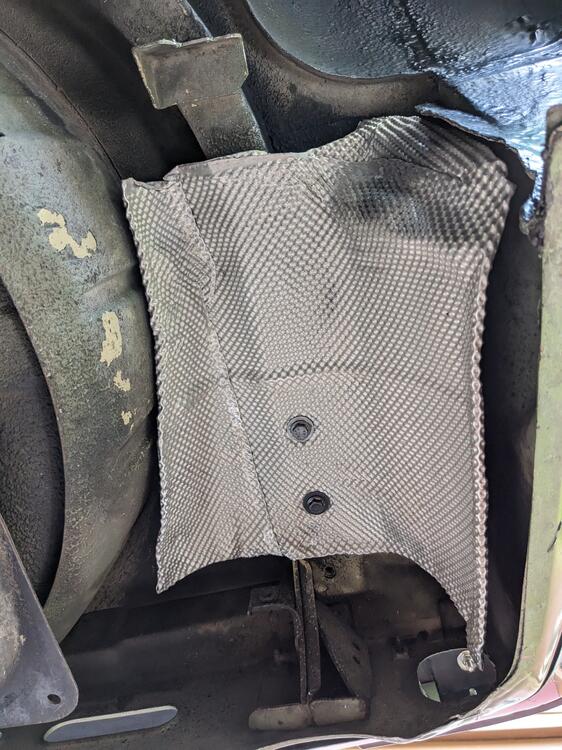
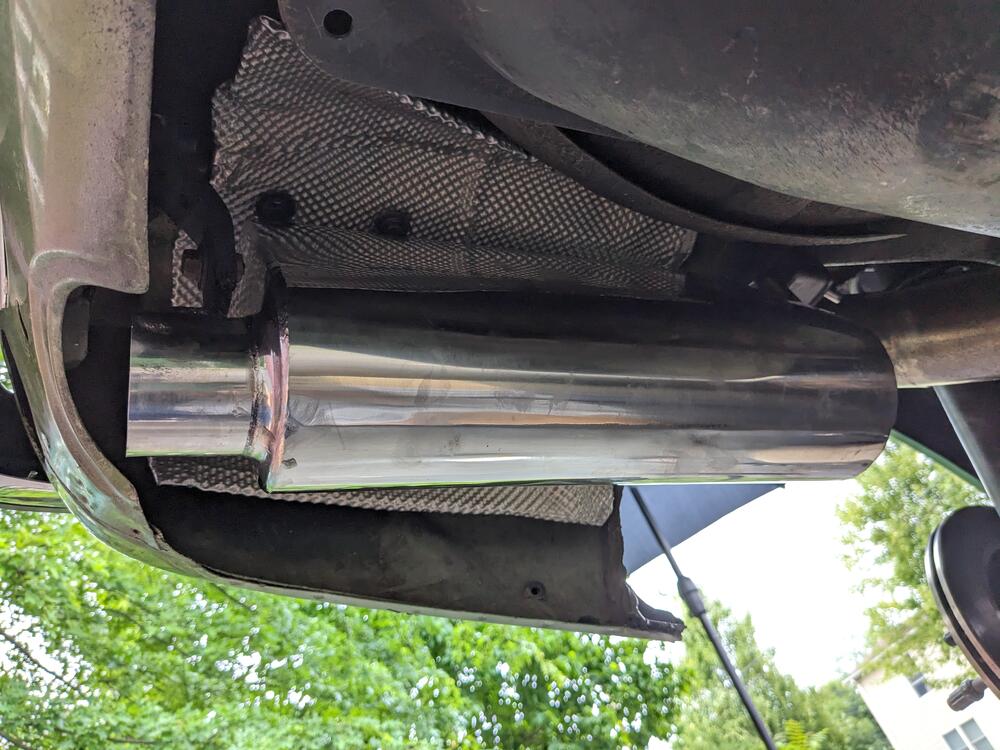
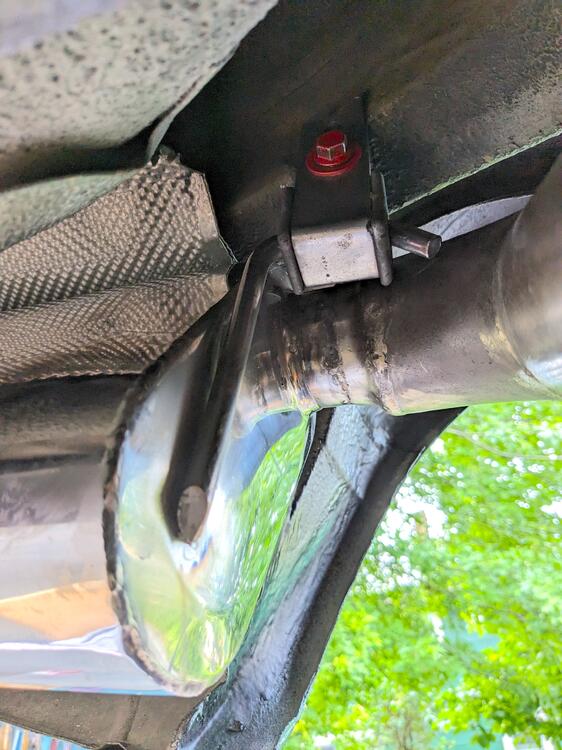
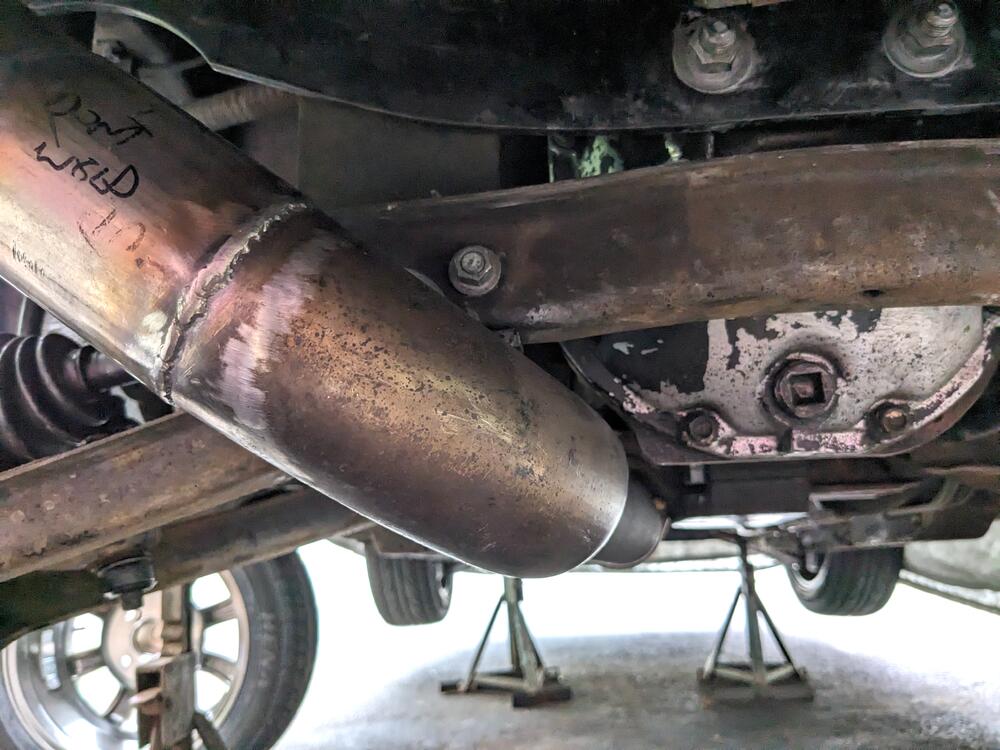
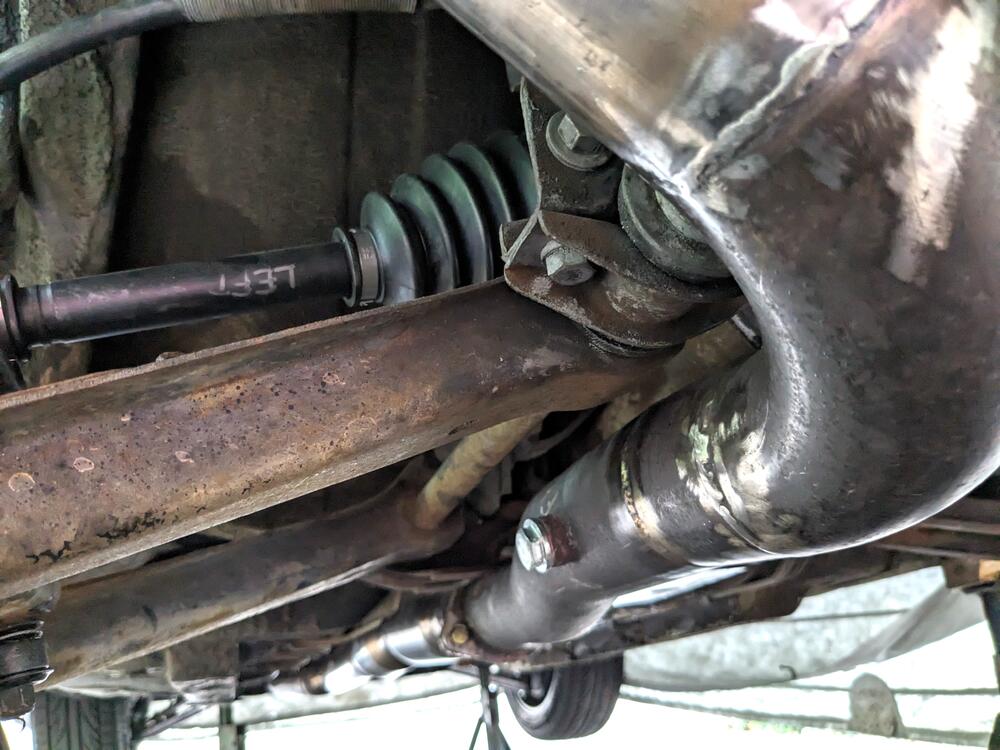
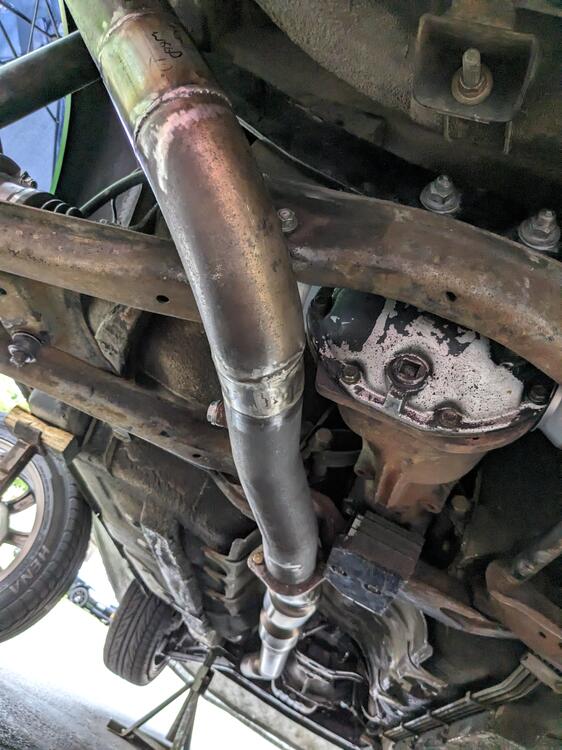
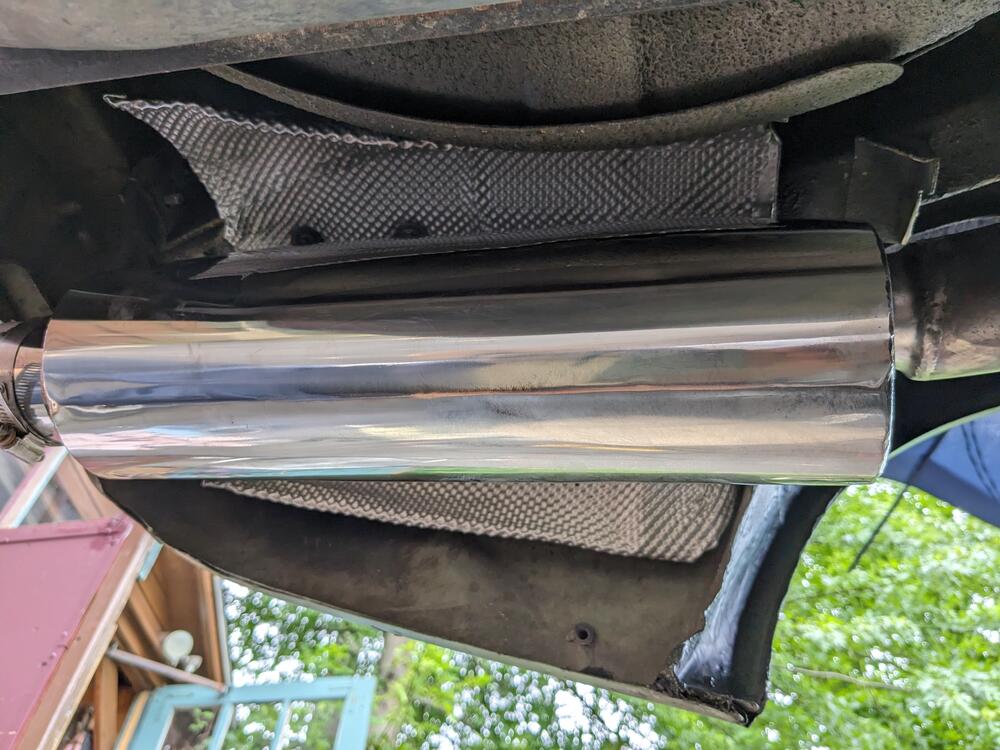
Made a heat shield to go above & around the muffler, since it is now set so close to the frame/floor. Bolted in place where the original bumper shock shield was attached forward muffler hanger gaps/clearance off the subframe is still good Just have to deal with the tailpipe now
-
Yeah, happier with the overall fit on this one. I was thinking about the upper clearance. With a hanger on the front of the muffler, the whole rear pipe/ muffler will get pushed very slightly outward & down a smidge. That will center the tailpipe a little better also. Still close though, so I may put some Volvo/FoMoCo heat shielding up above it.
-
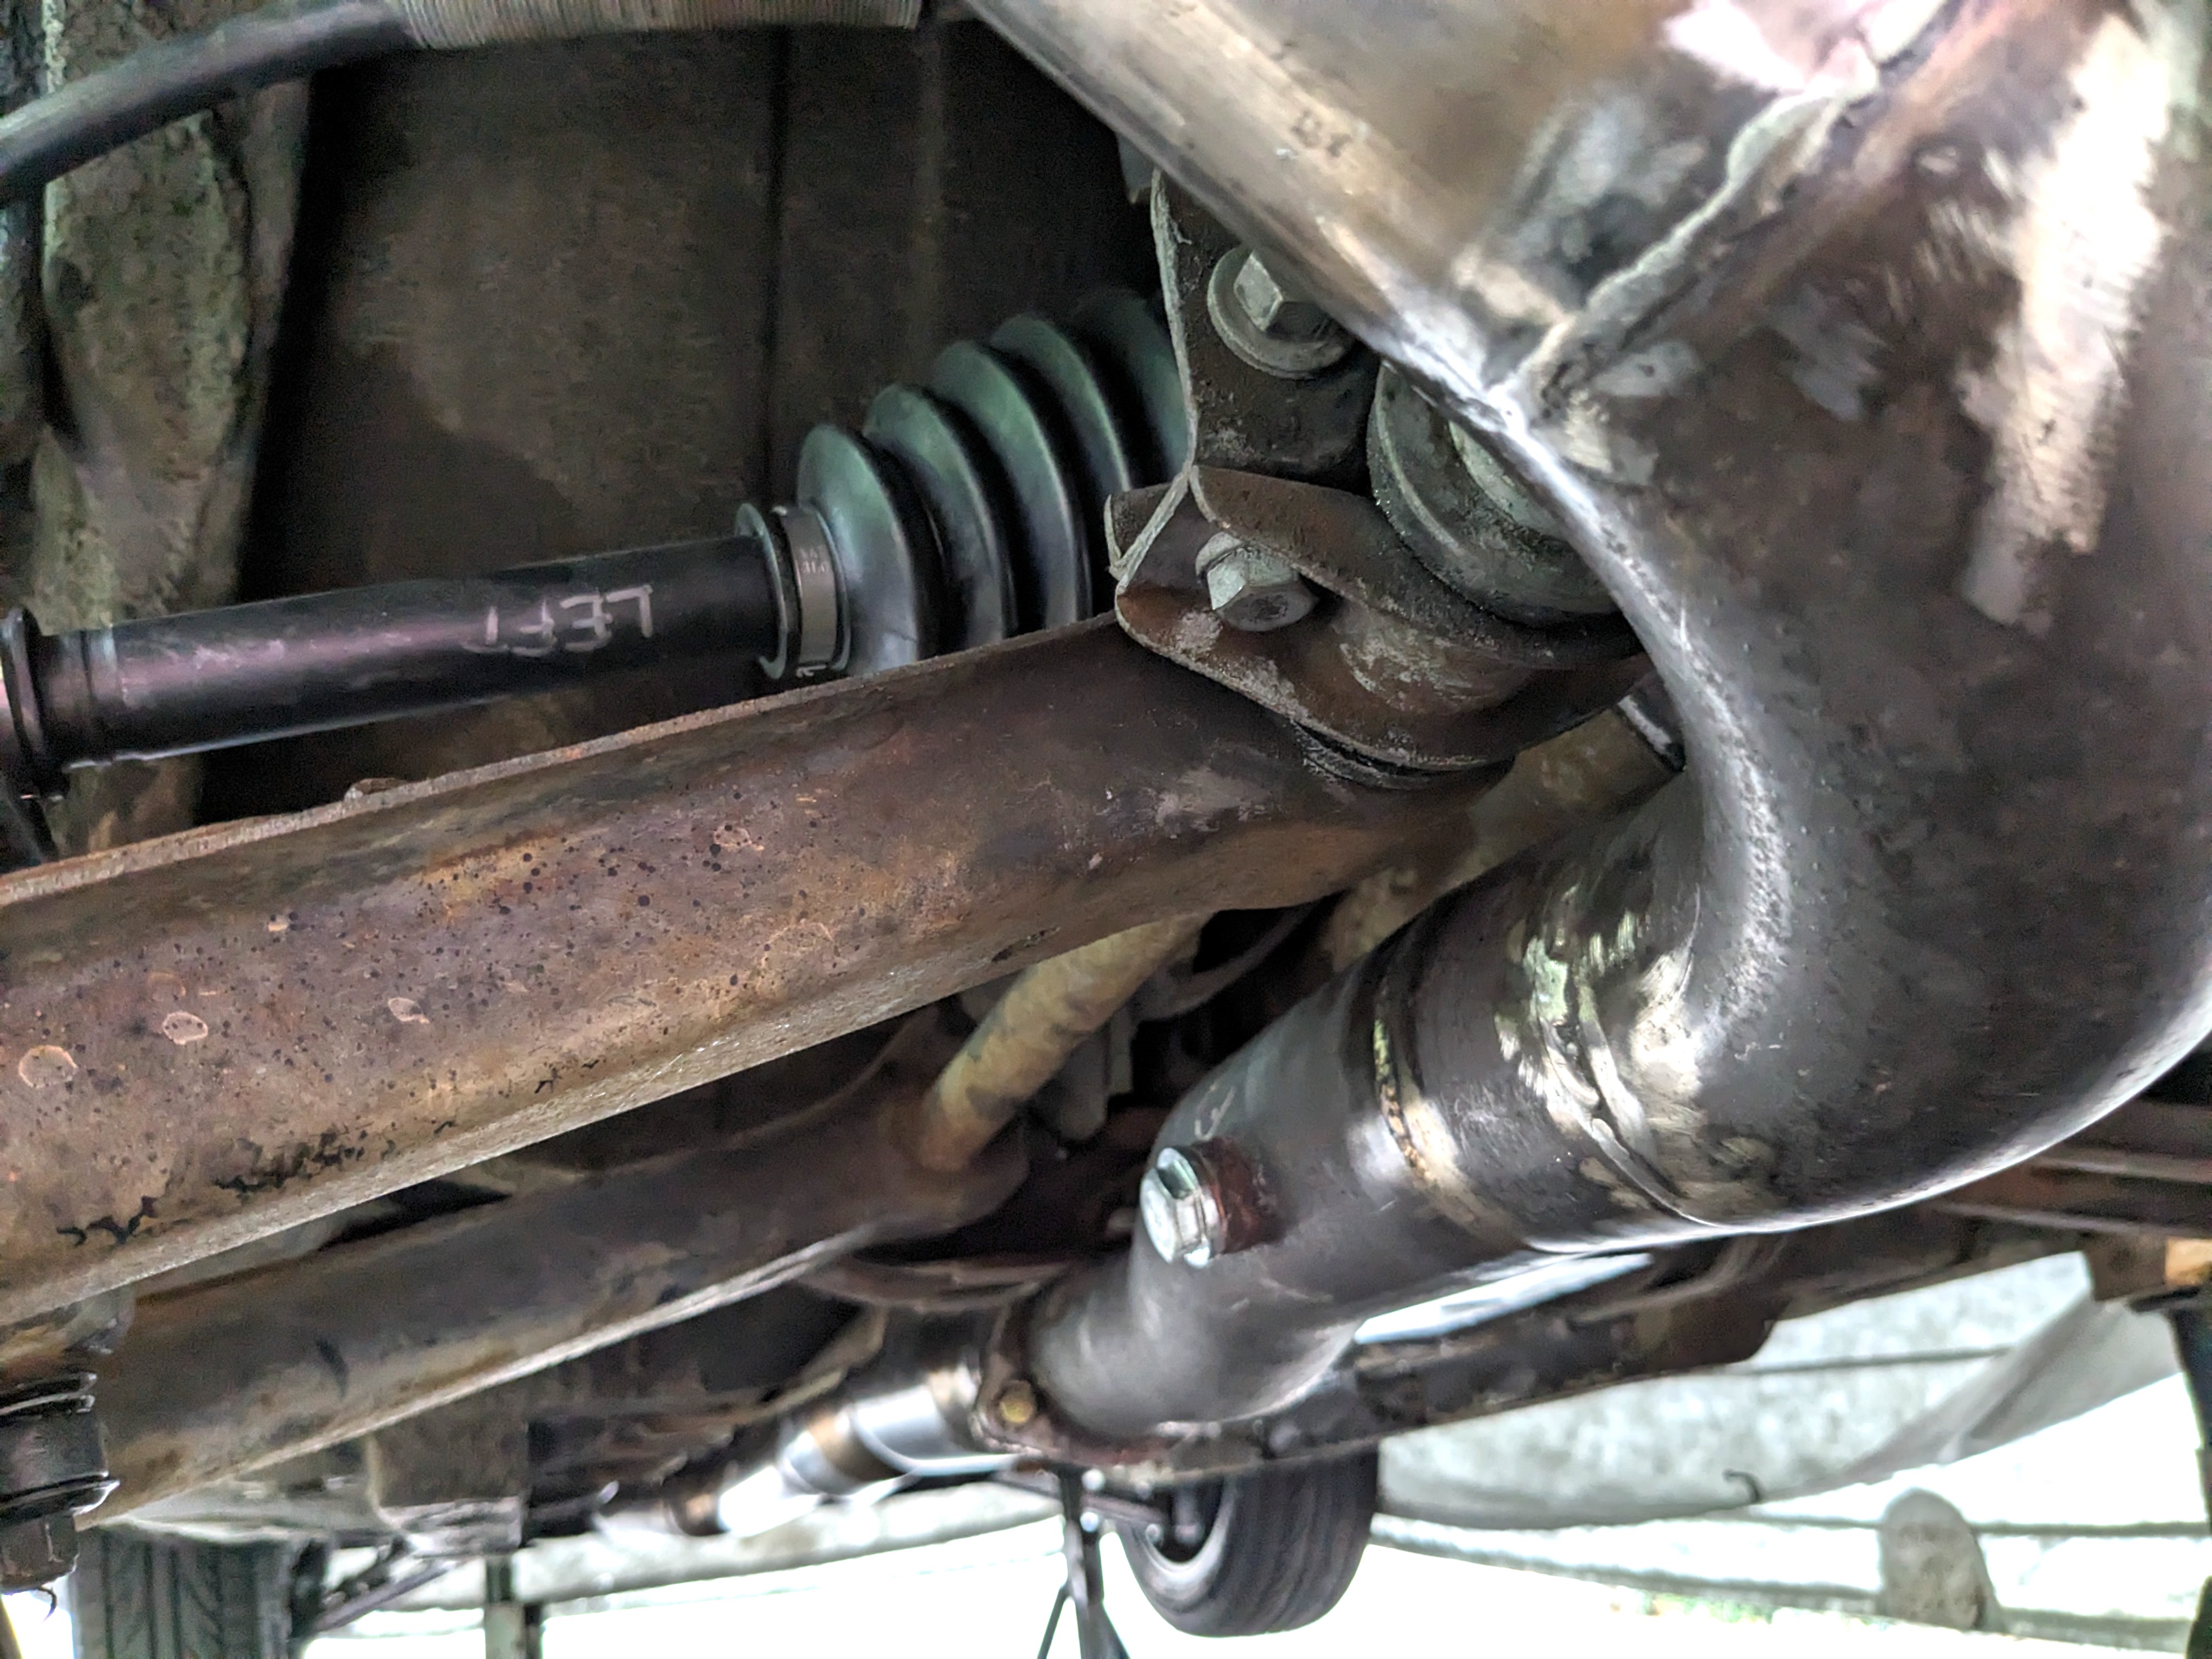
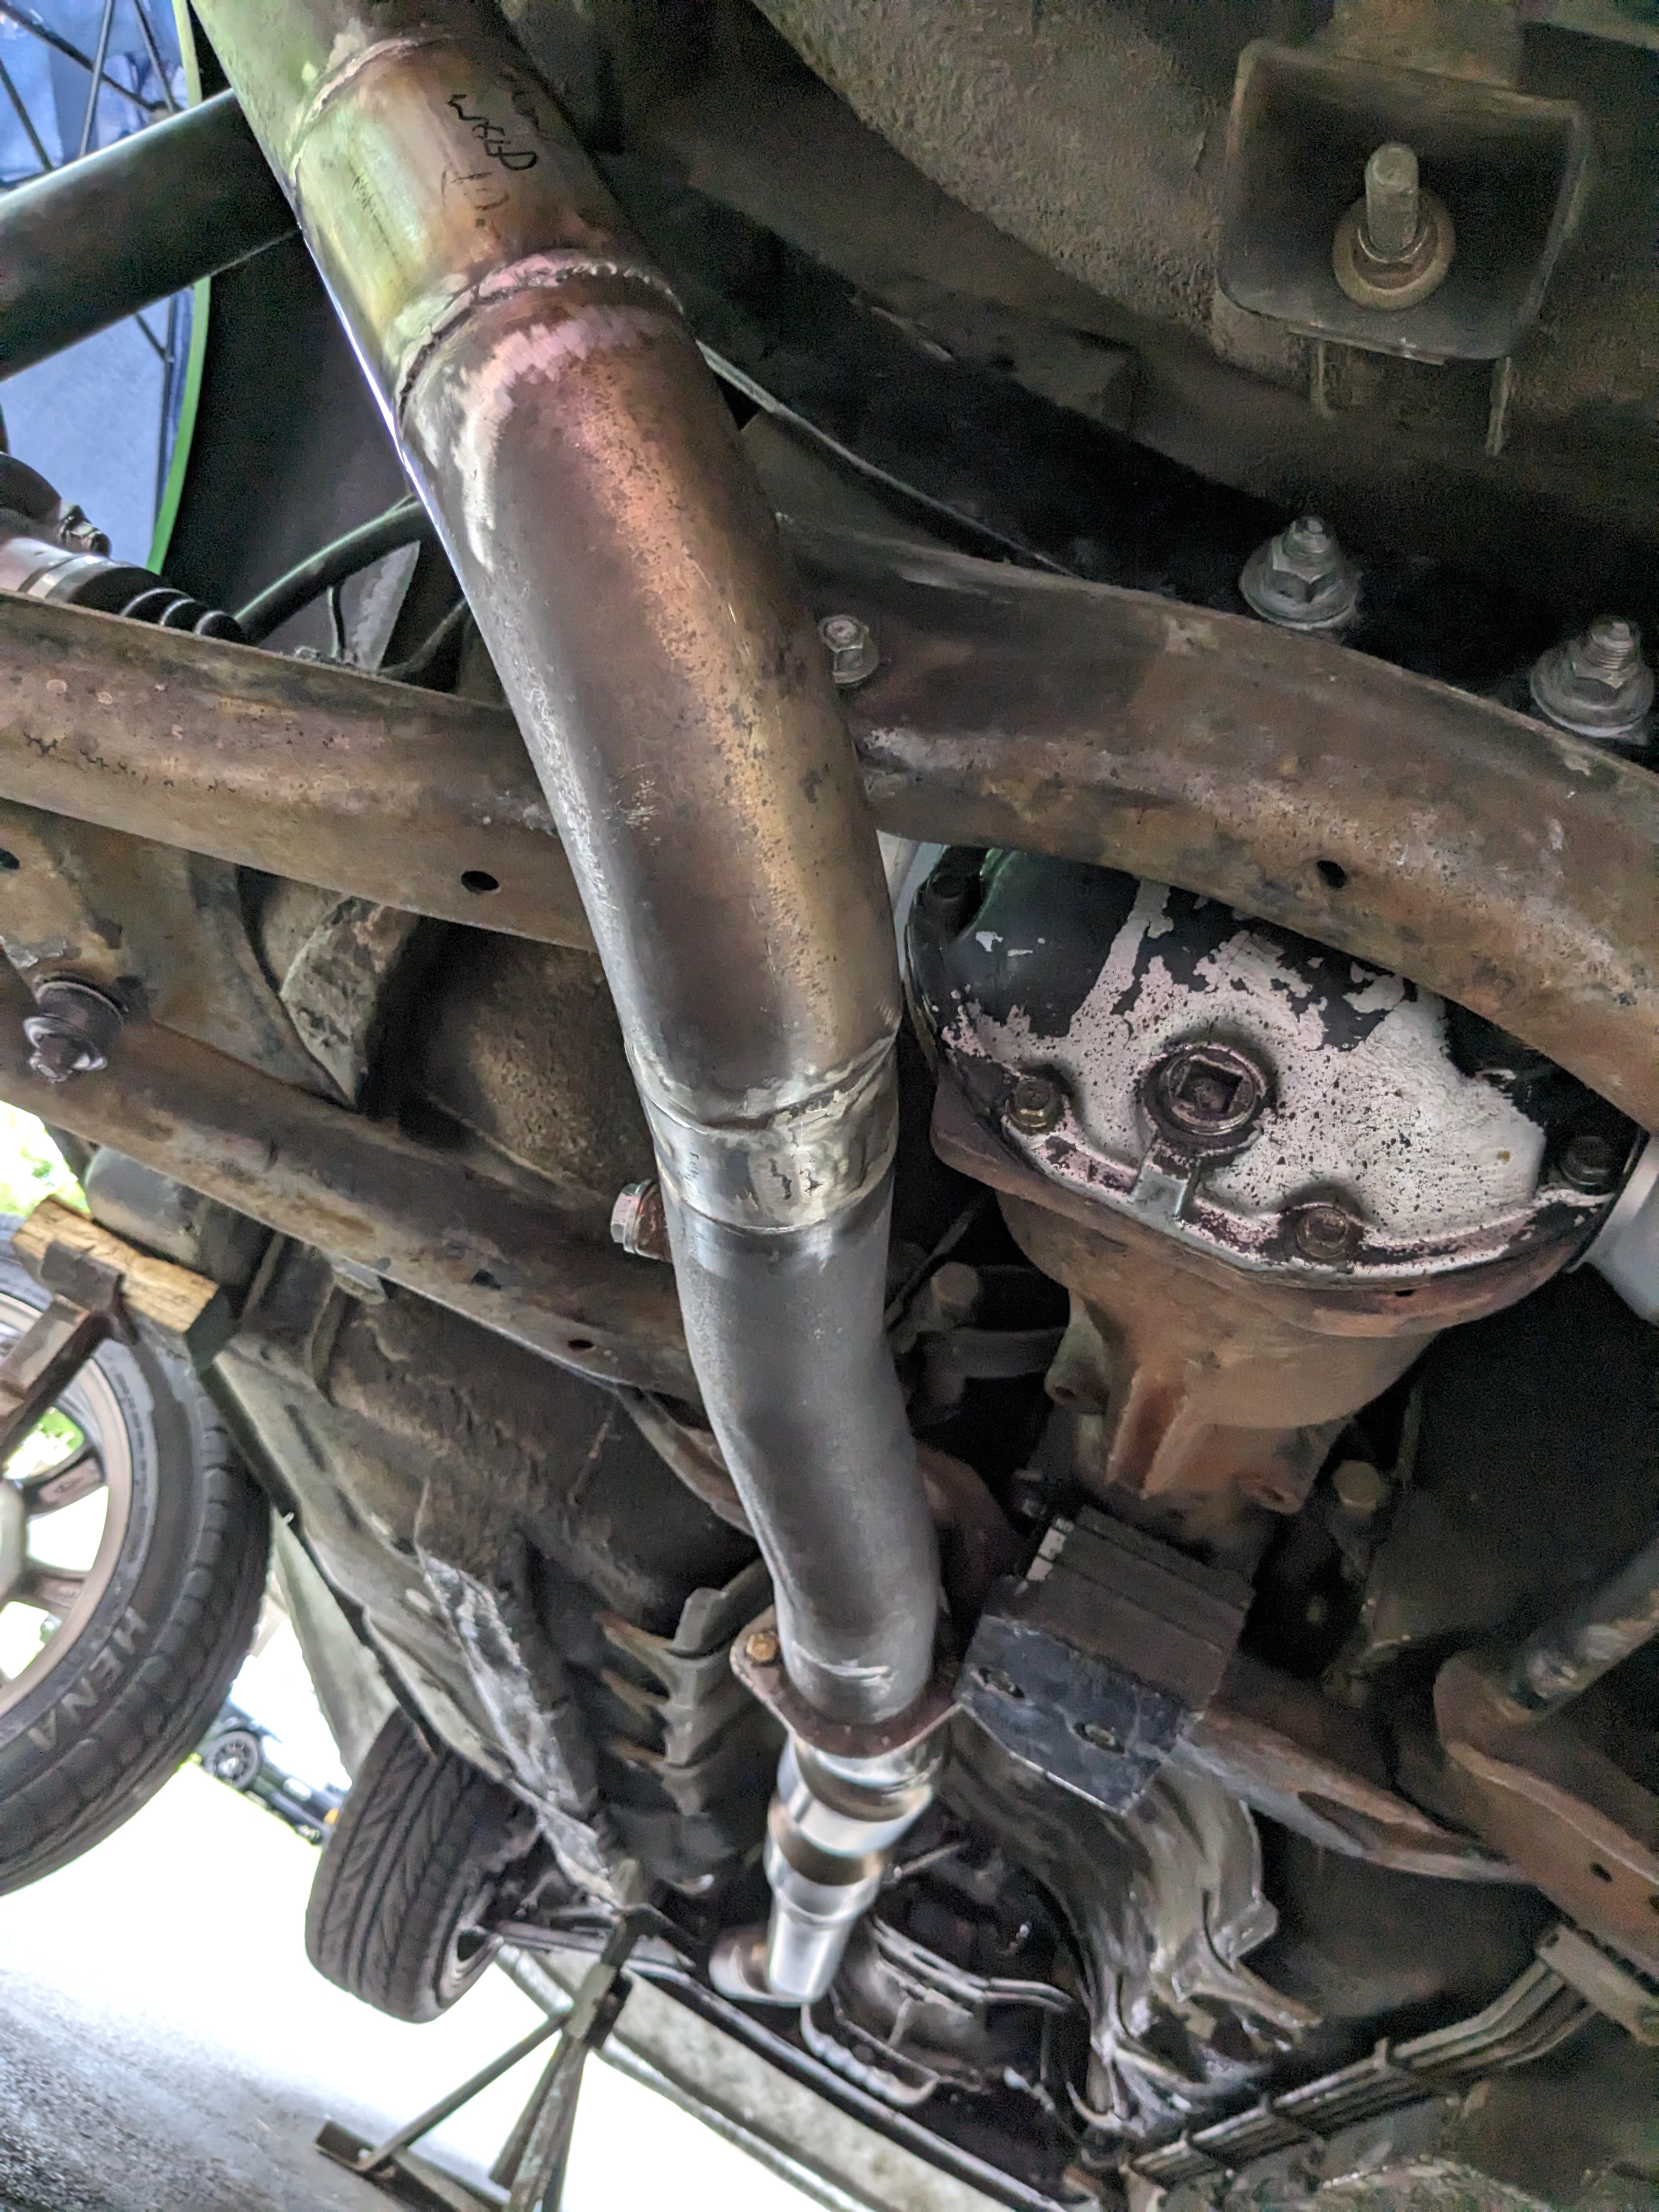
Reworked the rear section to incorporate the Solo Perf. muffler. Dimensions are a little different - a little more rectangular in cross section than oval , so I had to cut & move the feed pipe and remove the stock exhaust hanger bracket to make it fit Have to weld the rear hanger to the muffler outlet, then add a short section for the exhaust tip to clear the valance Got the whole thing set closer to the rail, but with better clearance off the spare well Left the innermost part of the bracket, so I have something to hang a support off of. got it all tacked, now I have to weld it all & make a new hanger
-
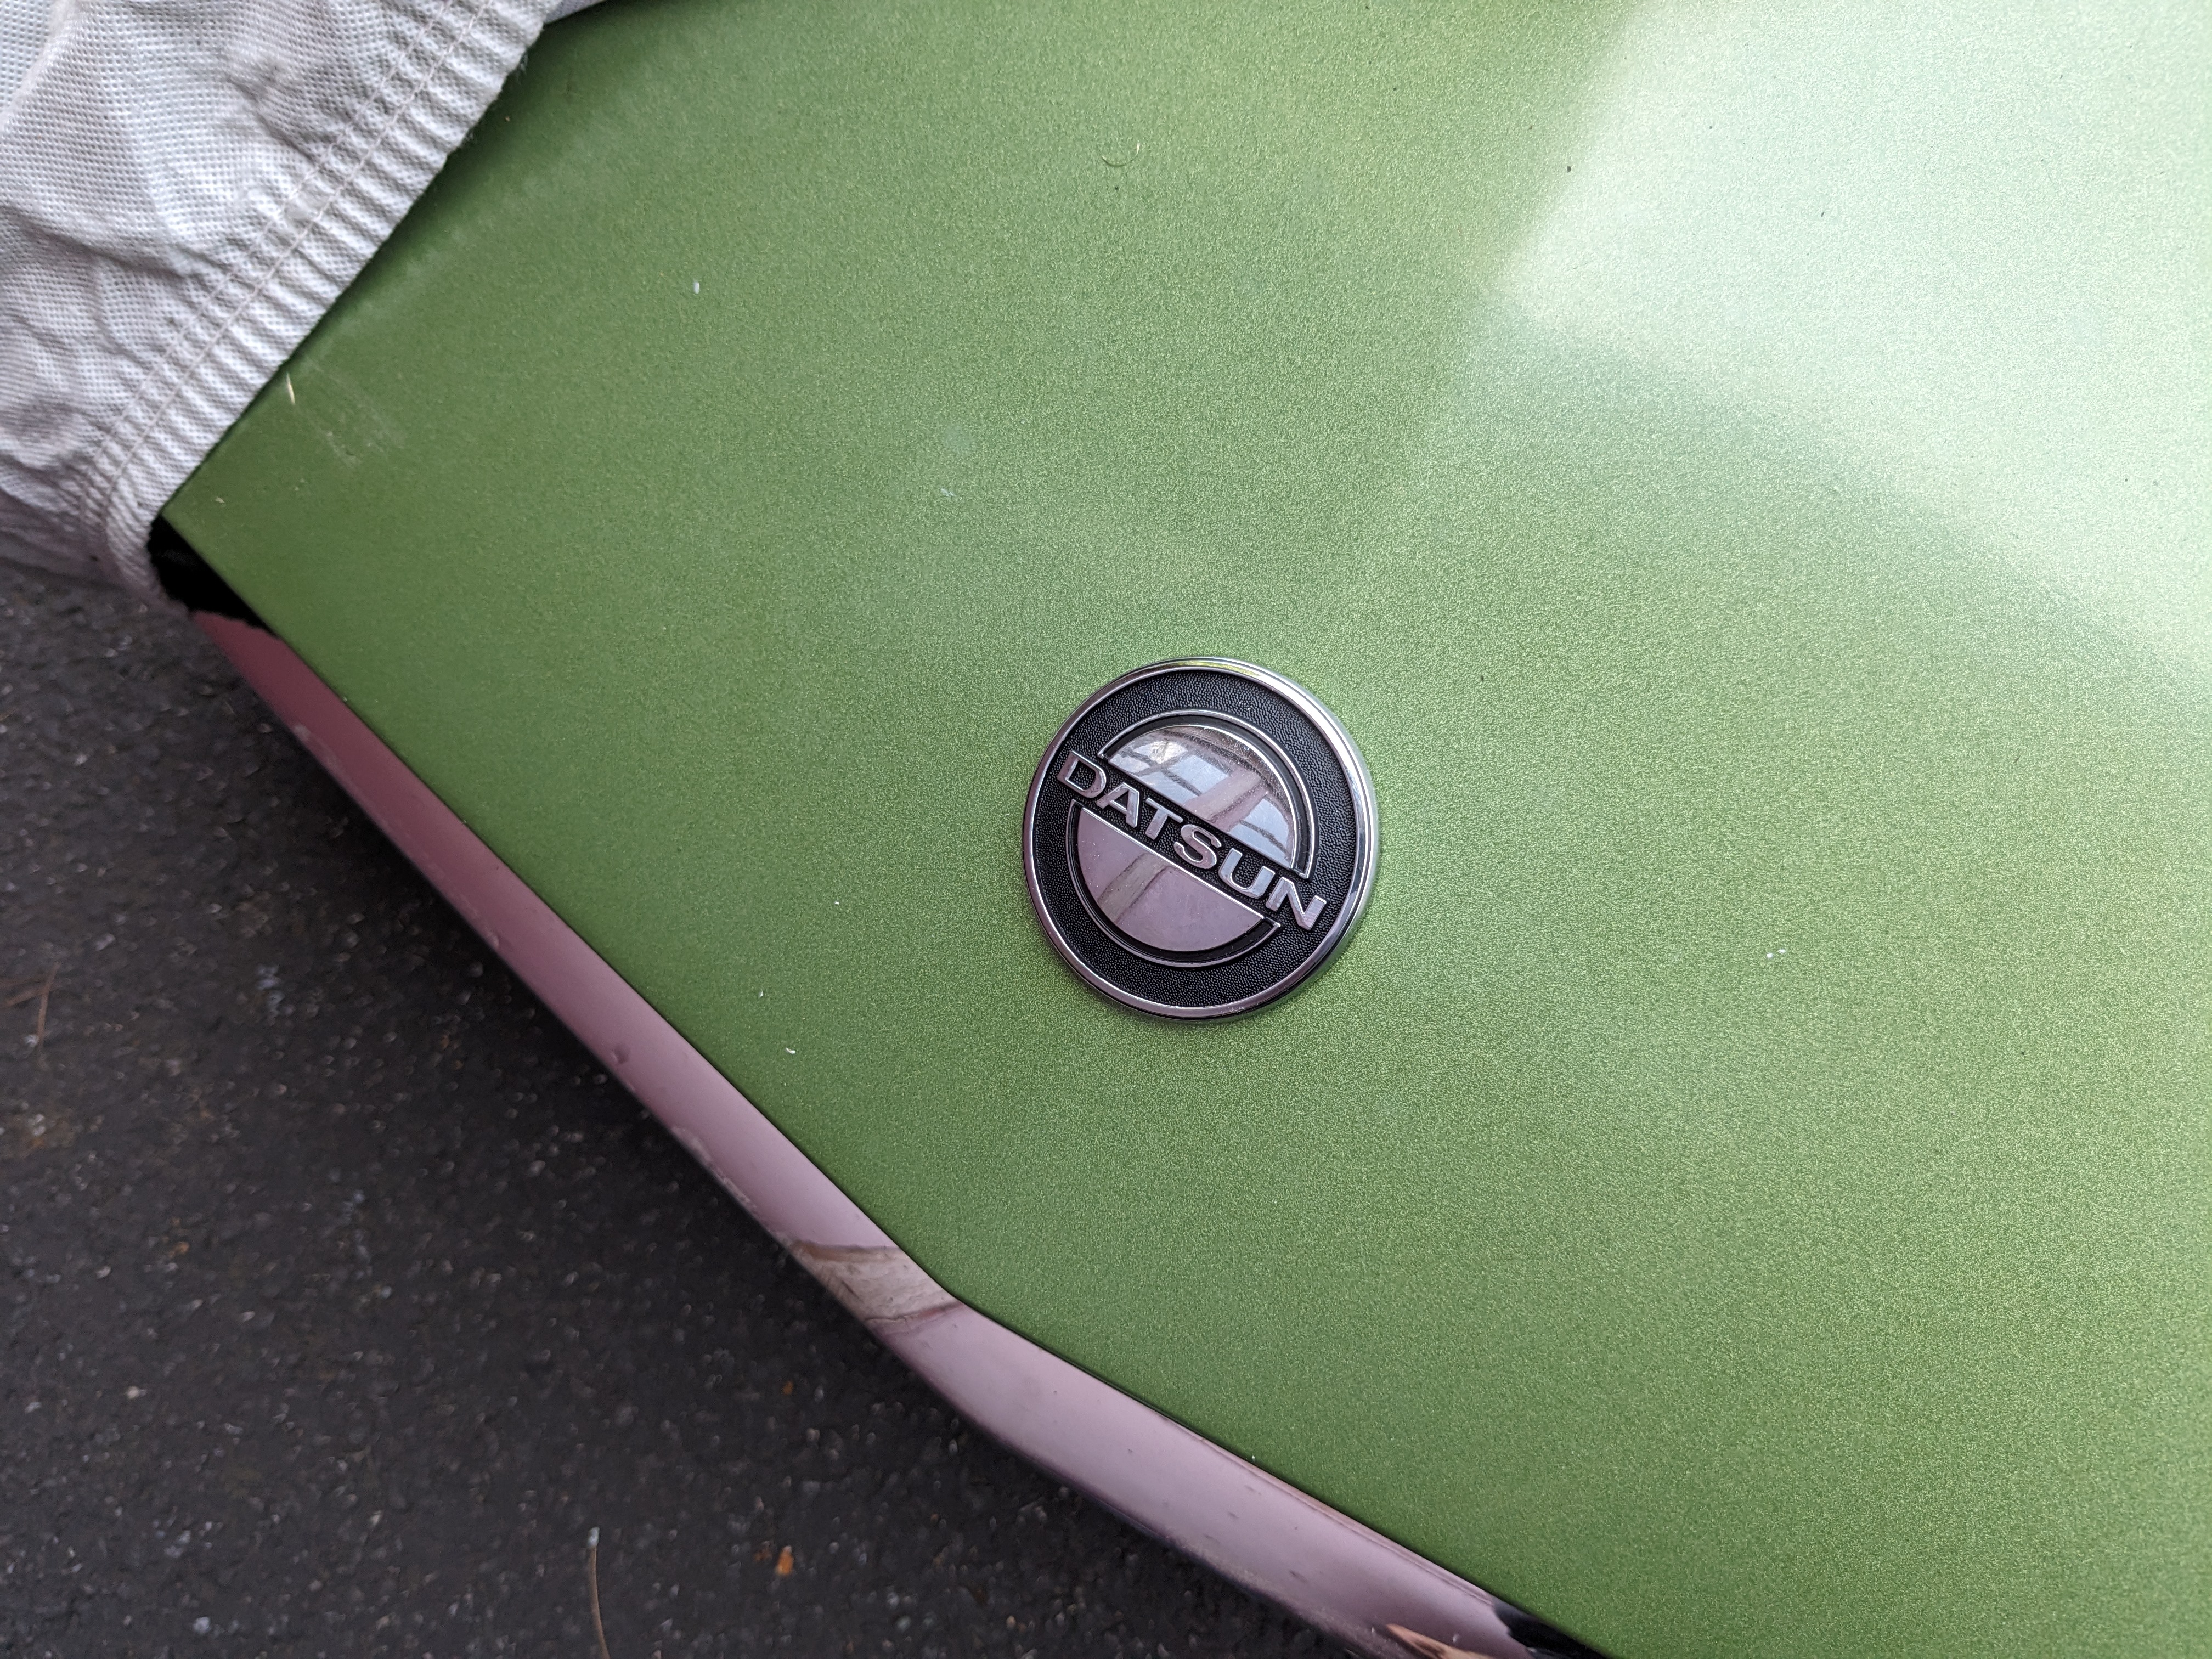
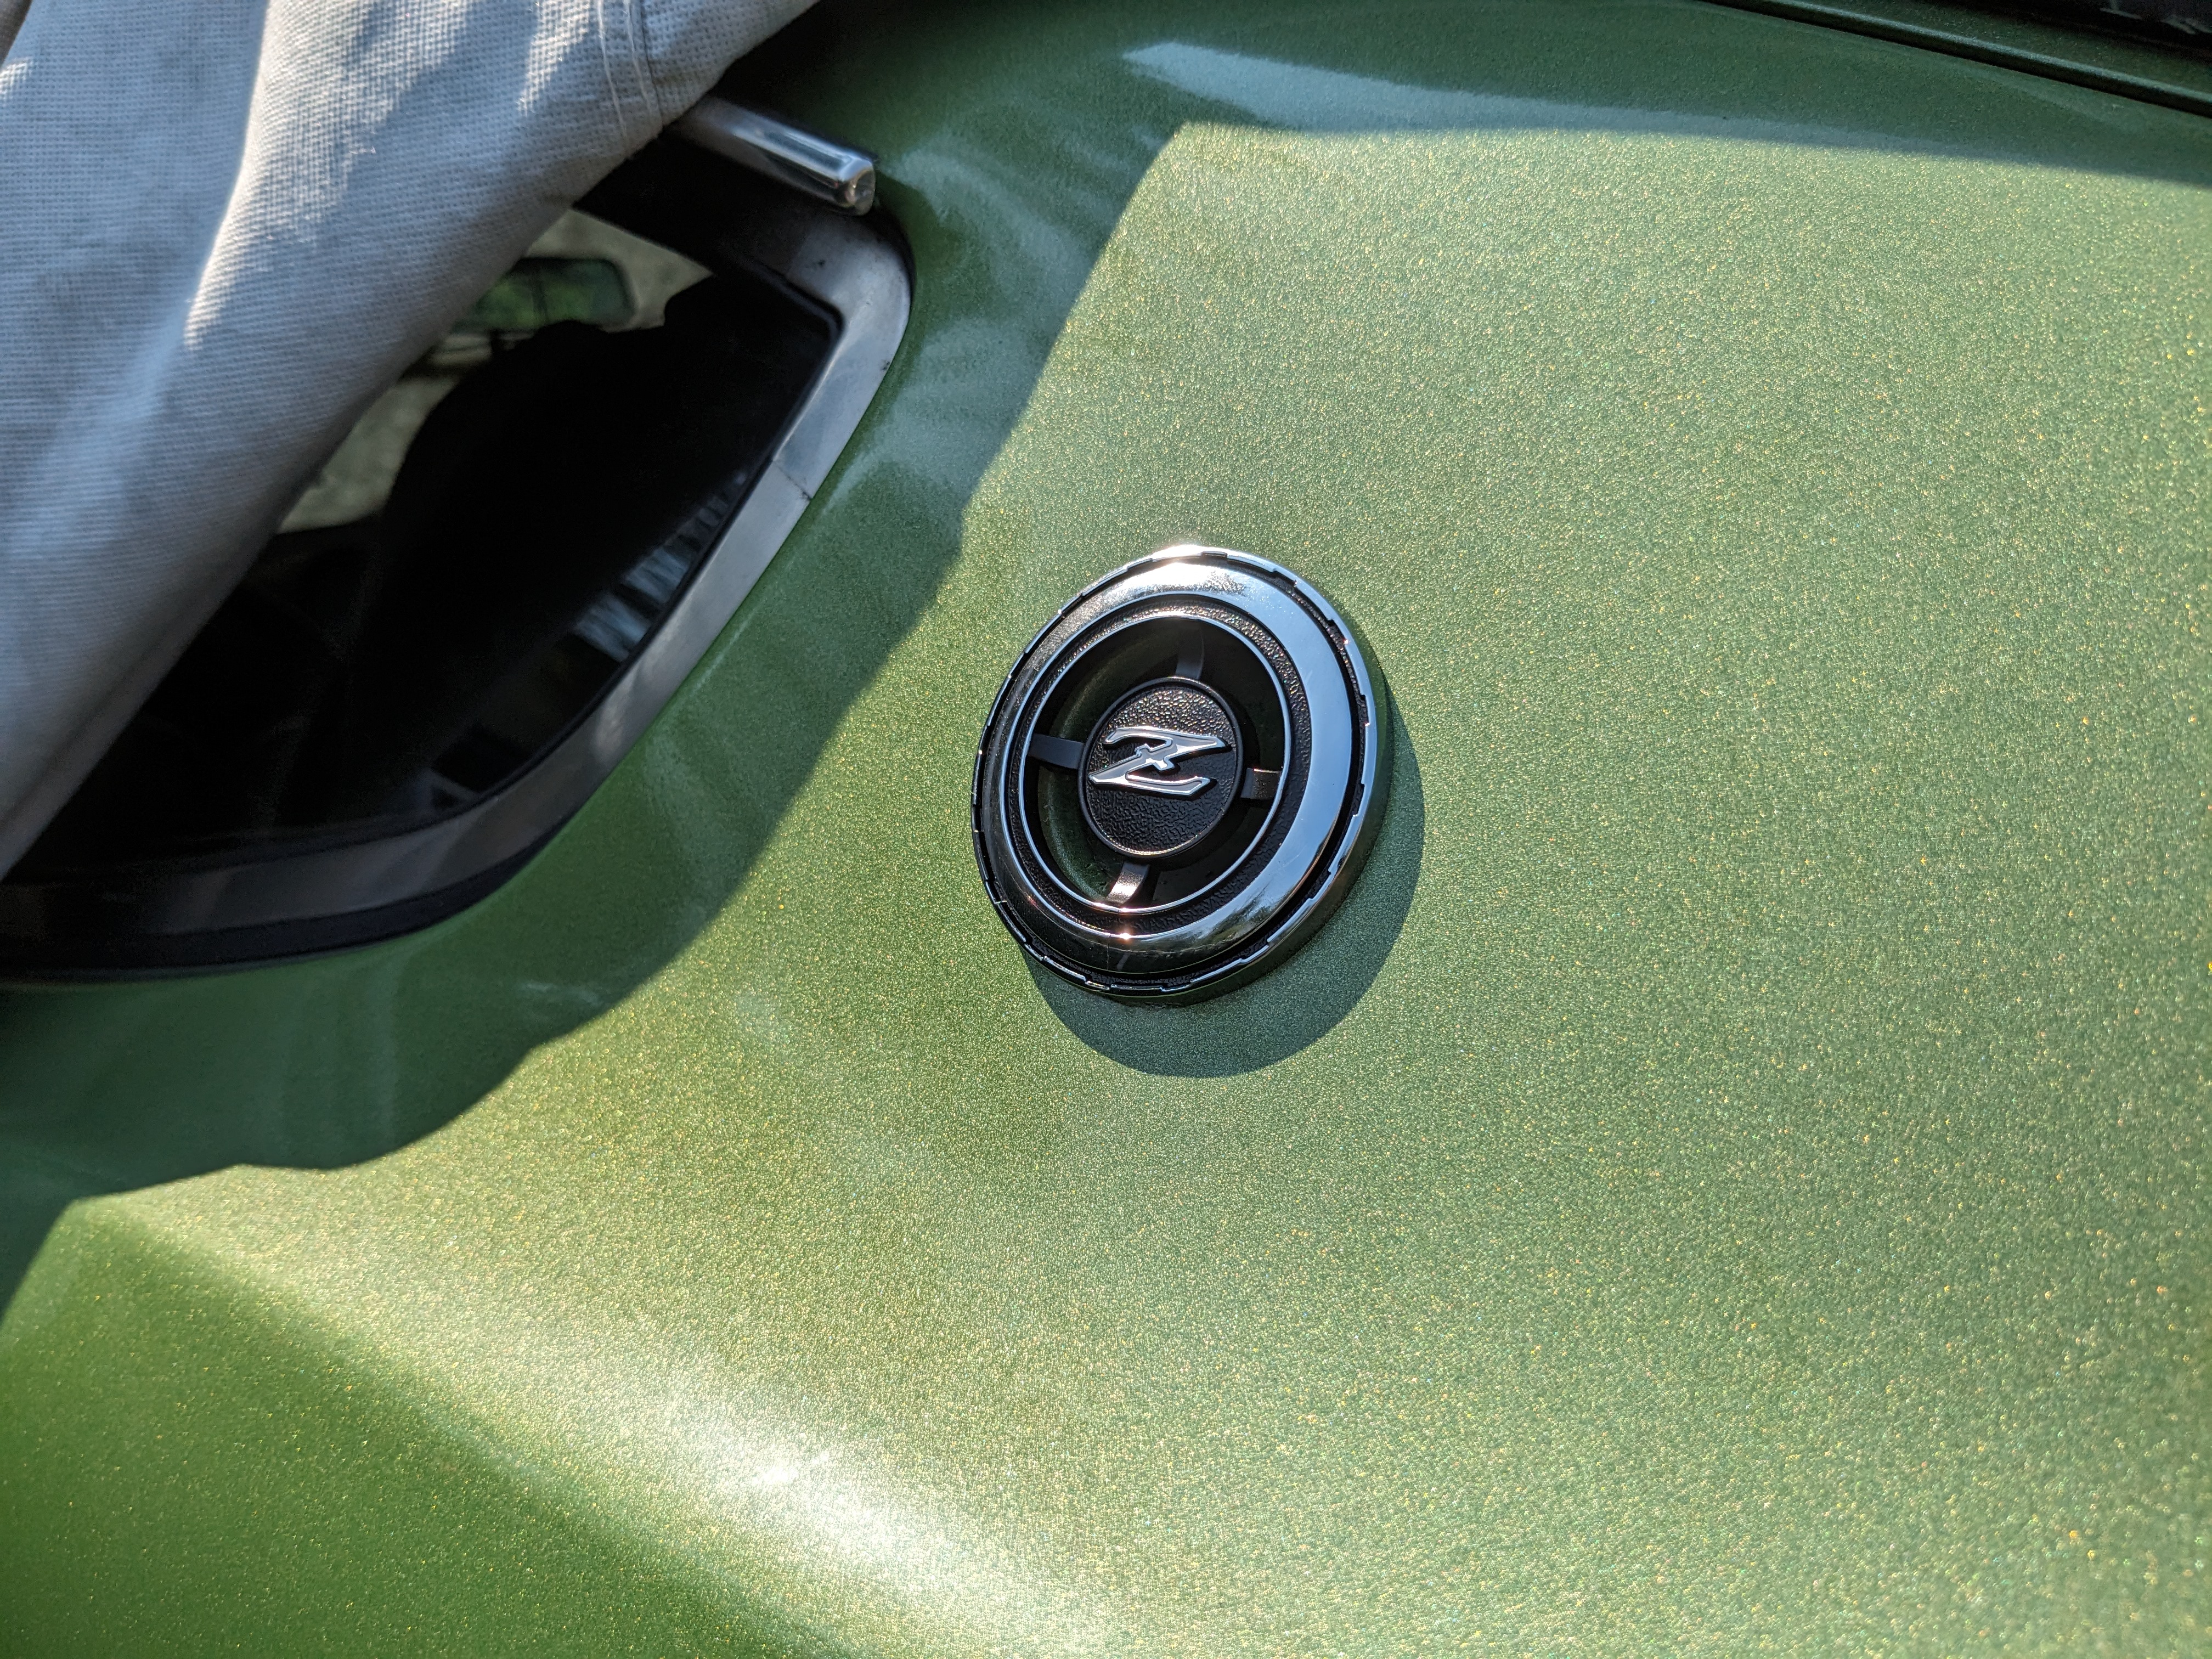
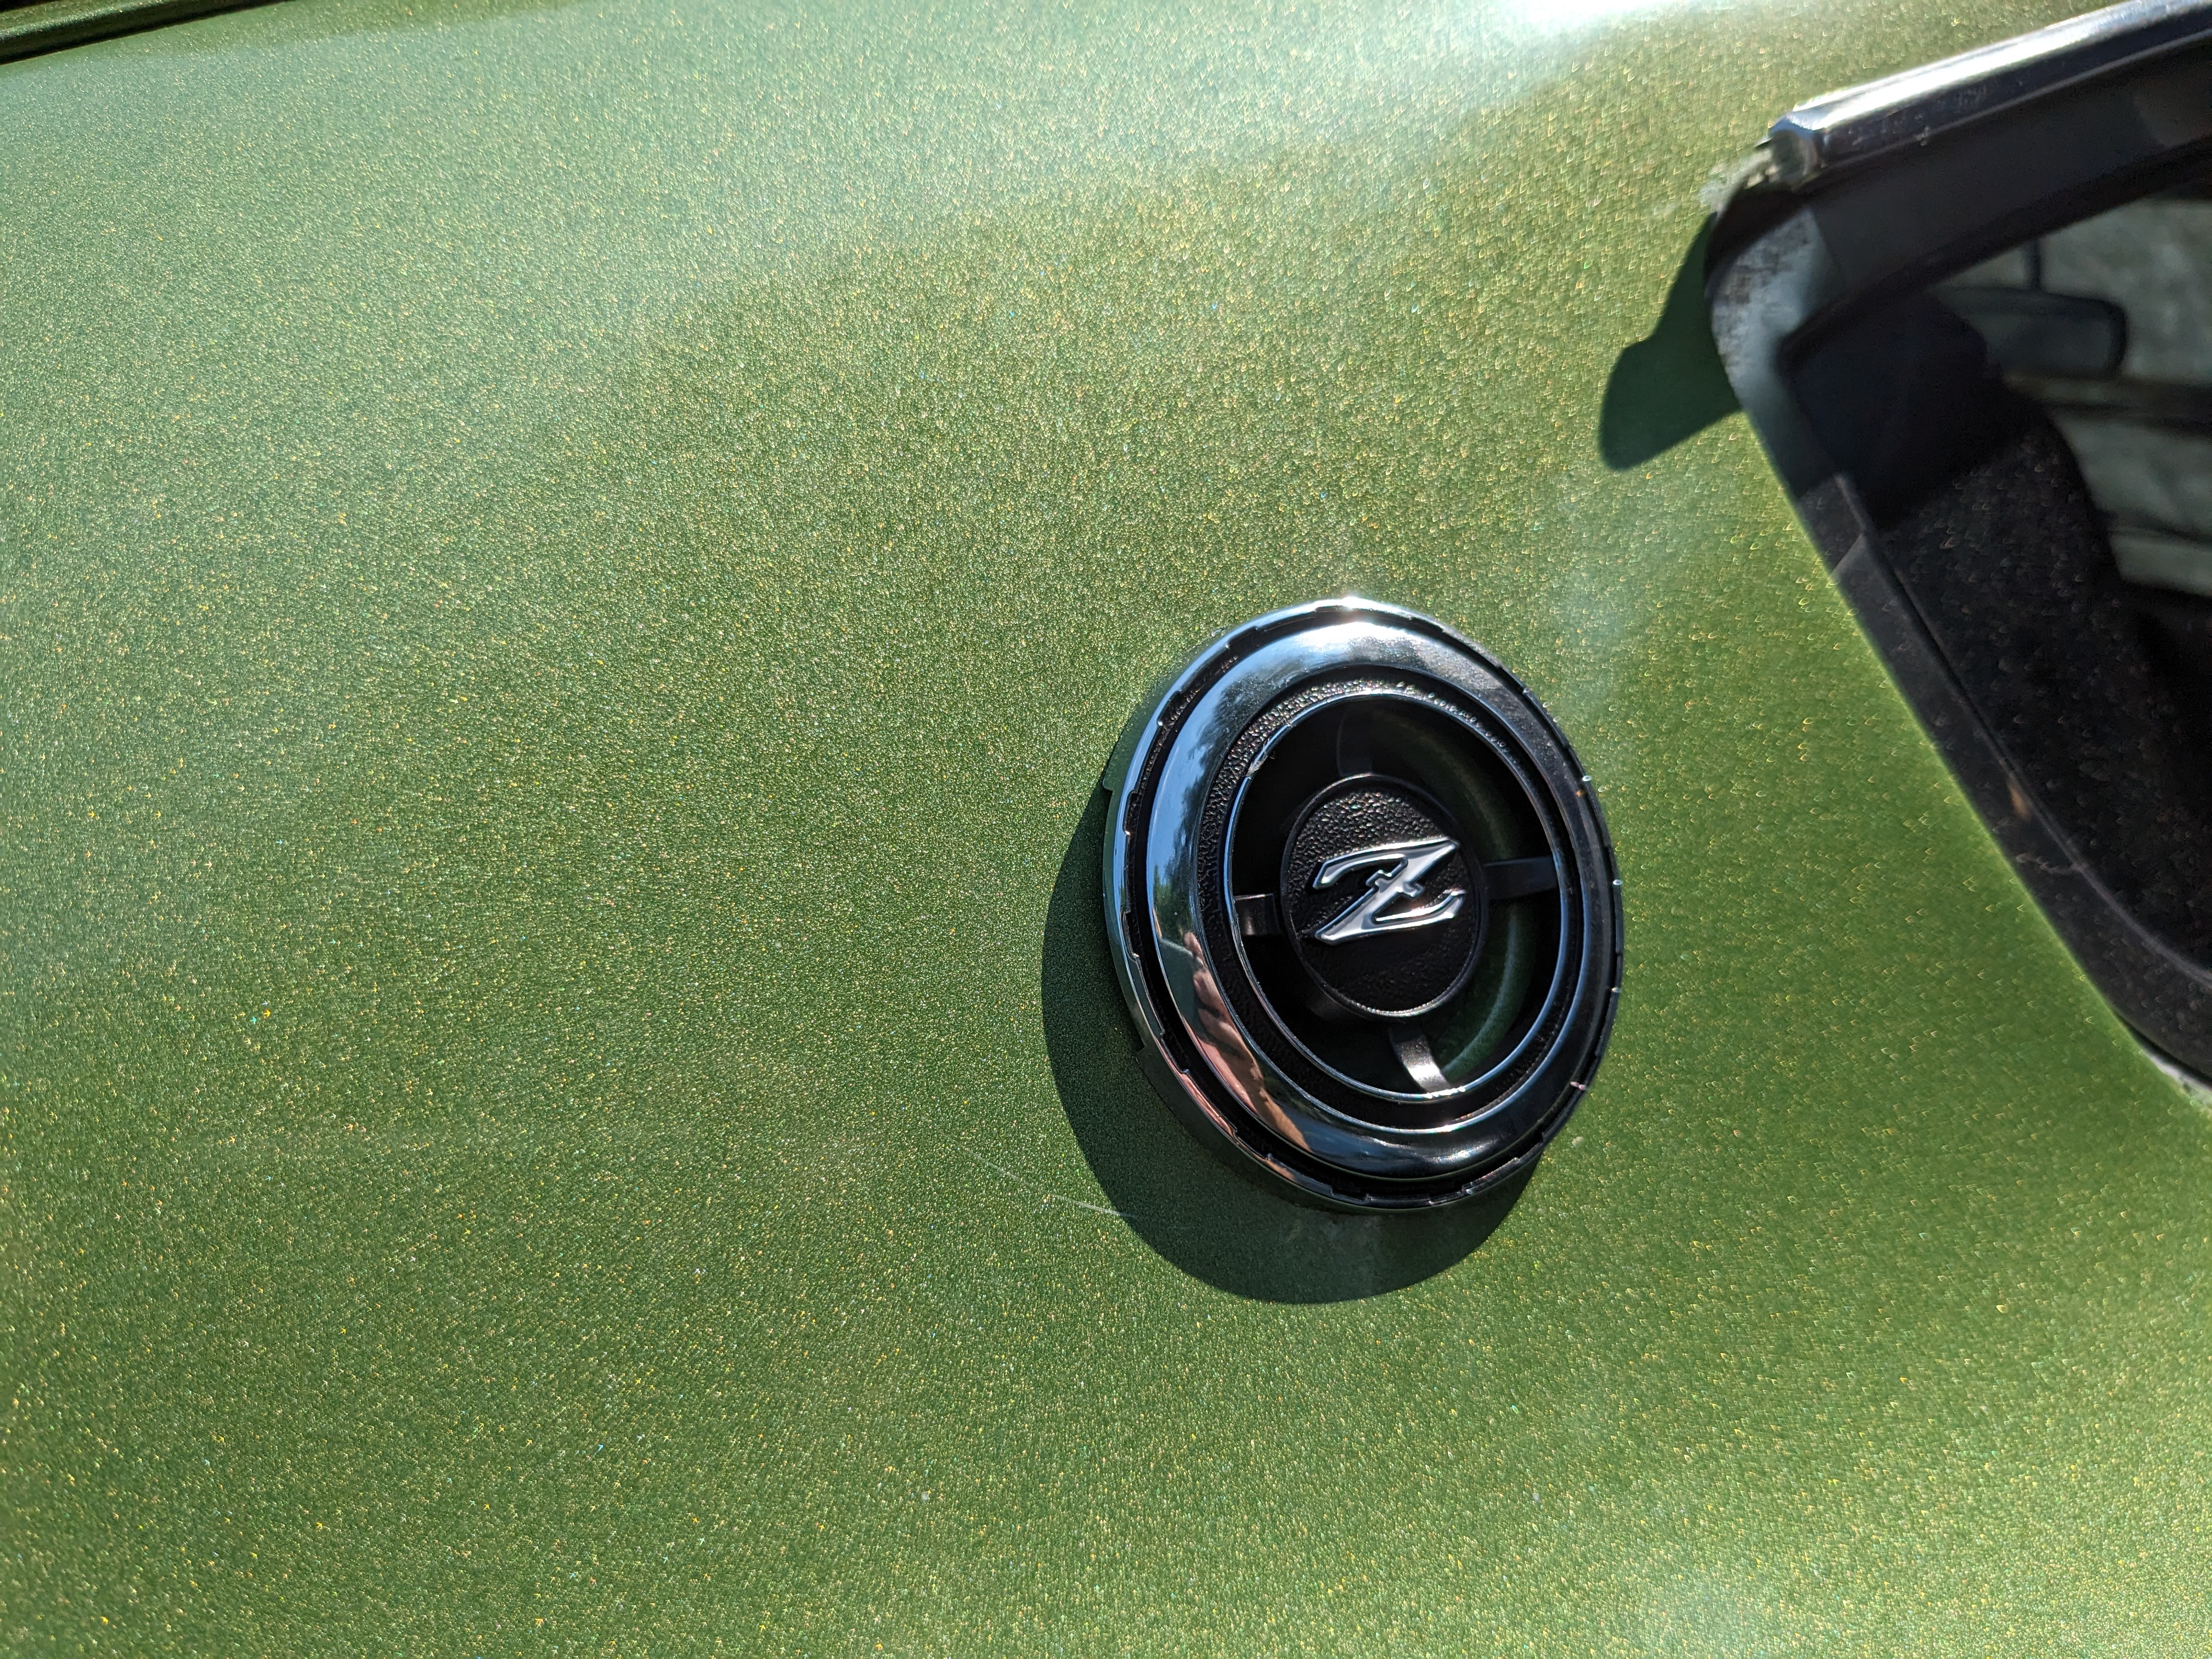
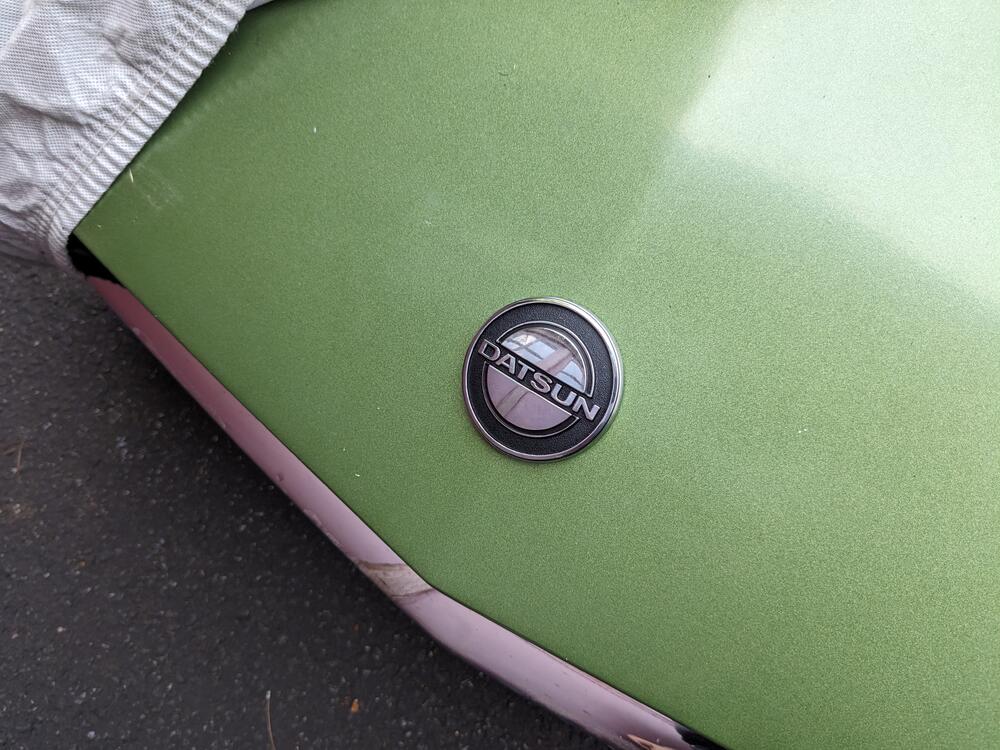
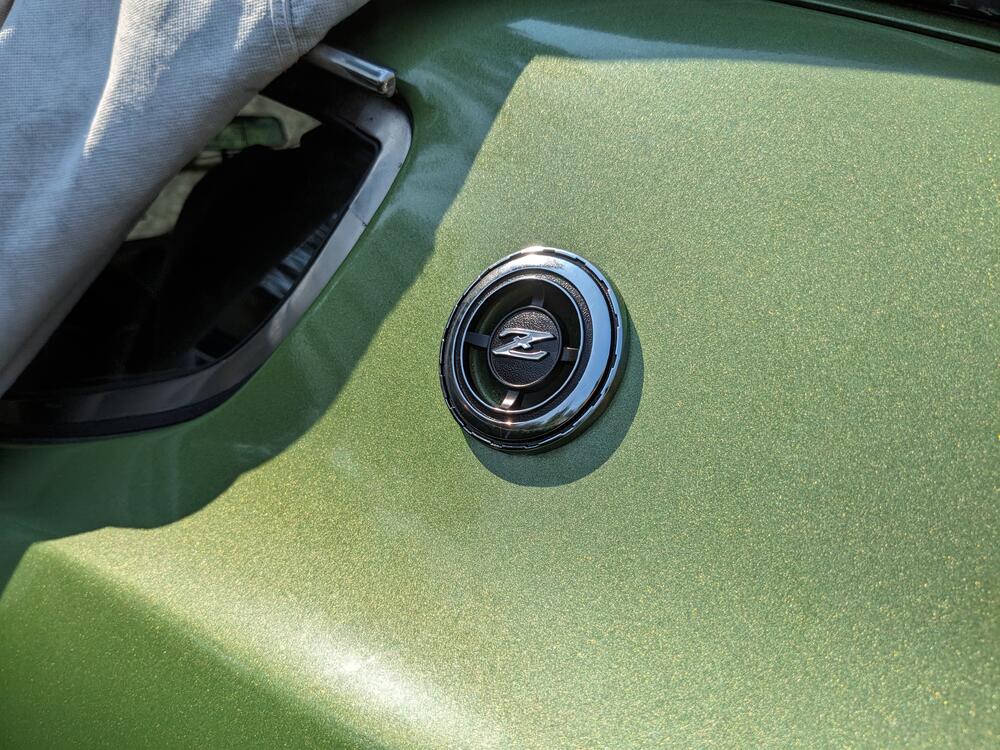
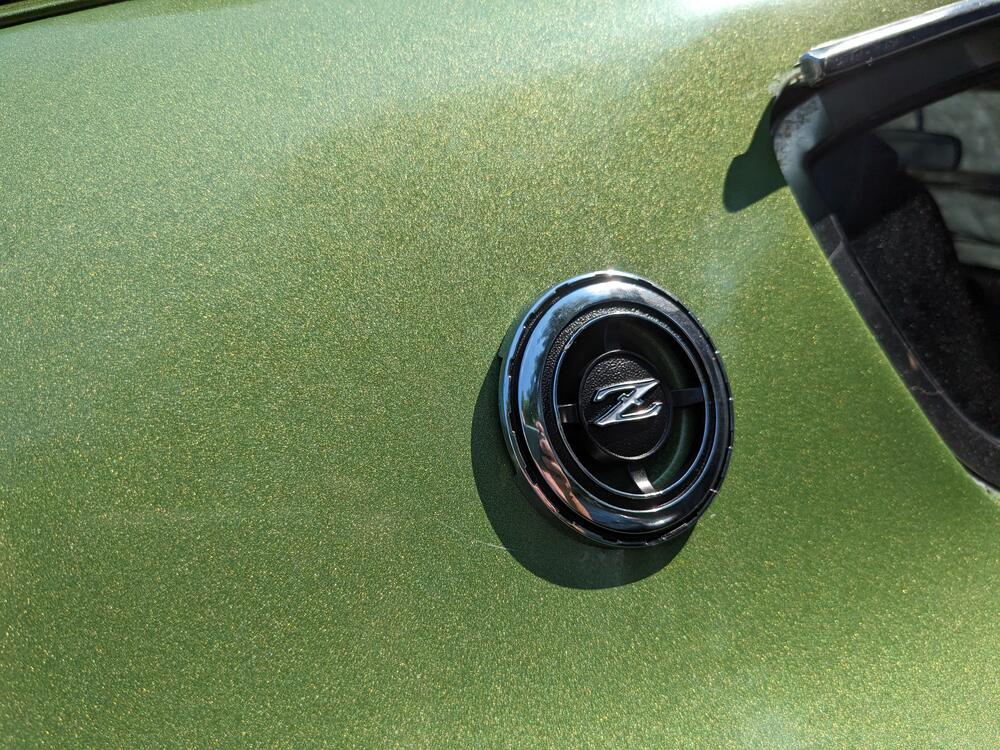
After I got the nice new seals done, I realized I really couldn't stand looking at the 47 year old side emblems - so I got the 2 sides & the hood emblems from Resurrected Classics - by way of the Etsy site, the shipping was less that way for some reason The fit & finish is spectacular
-
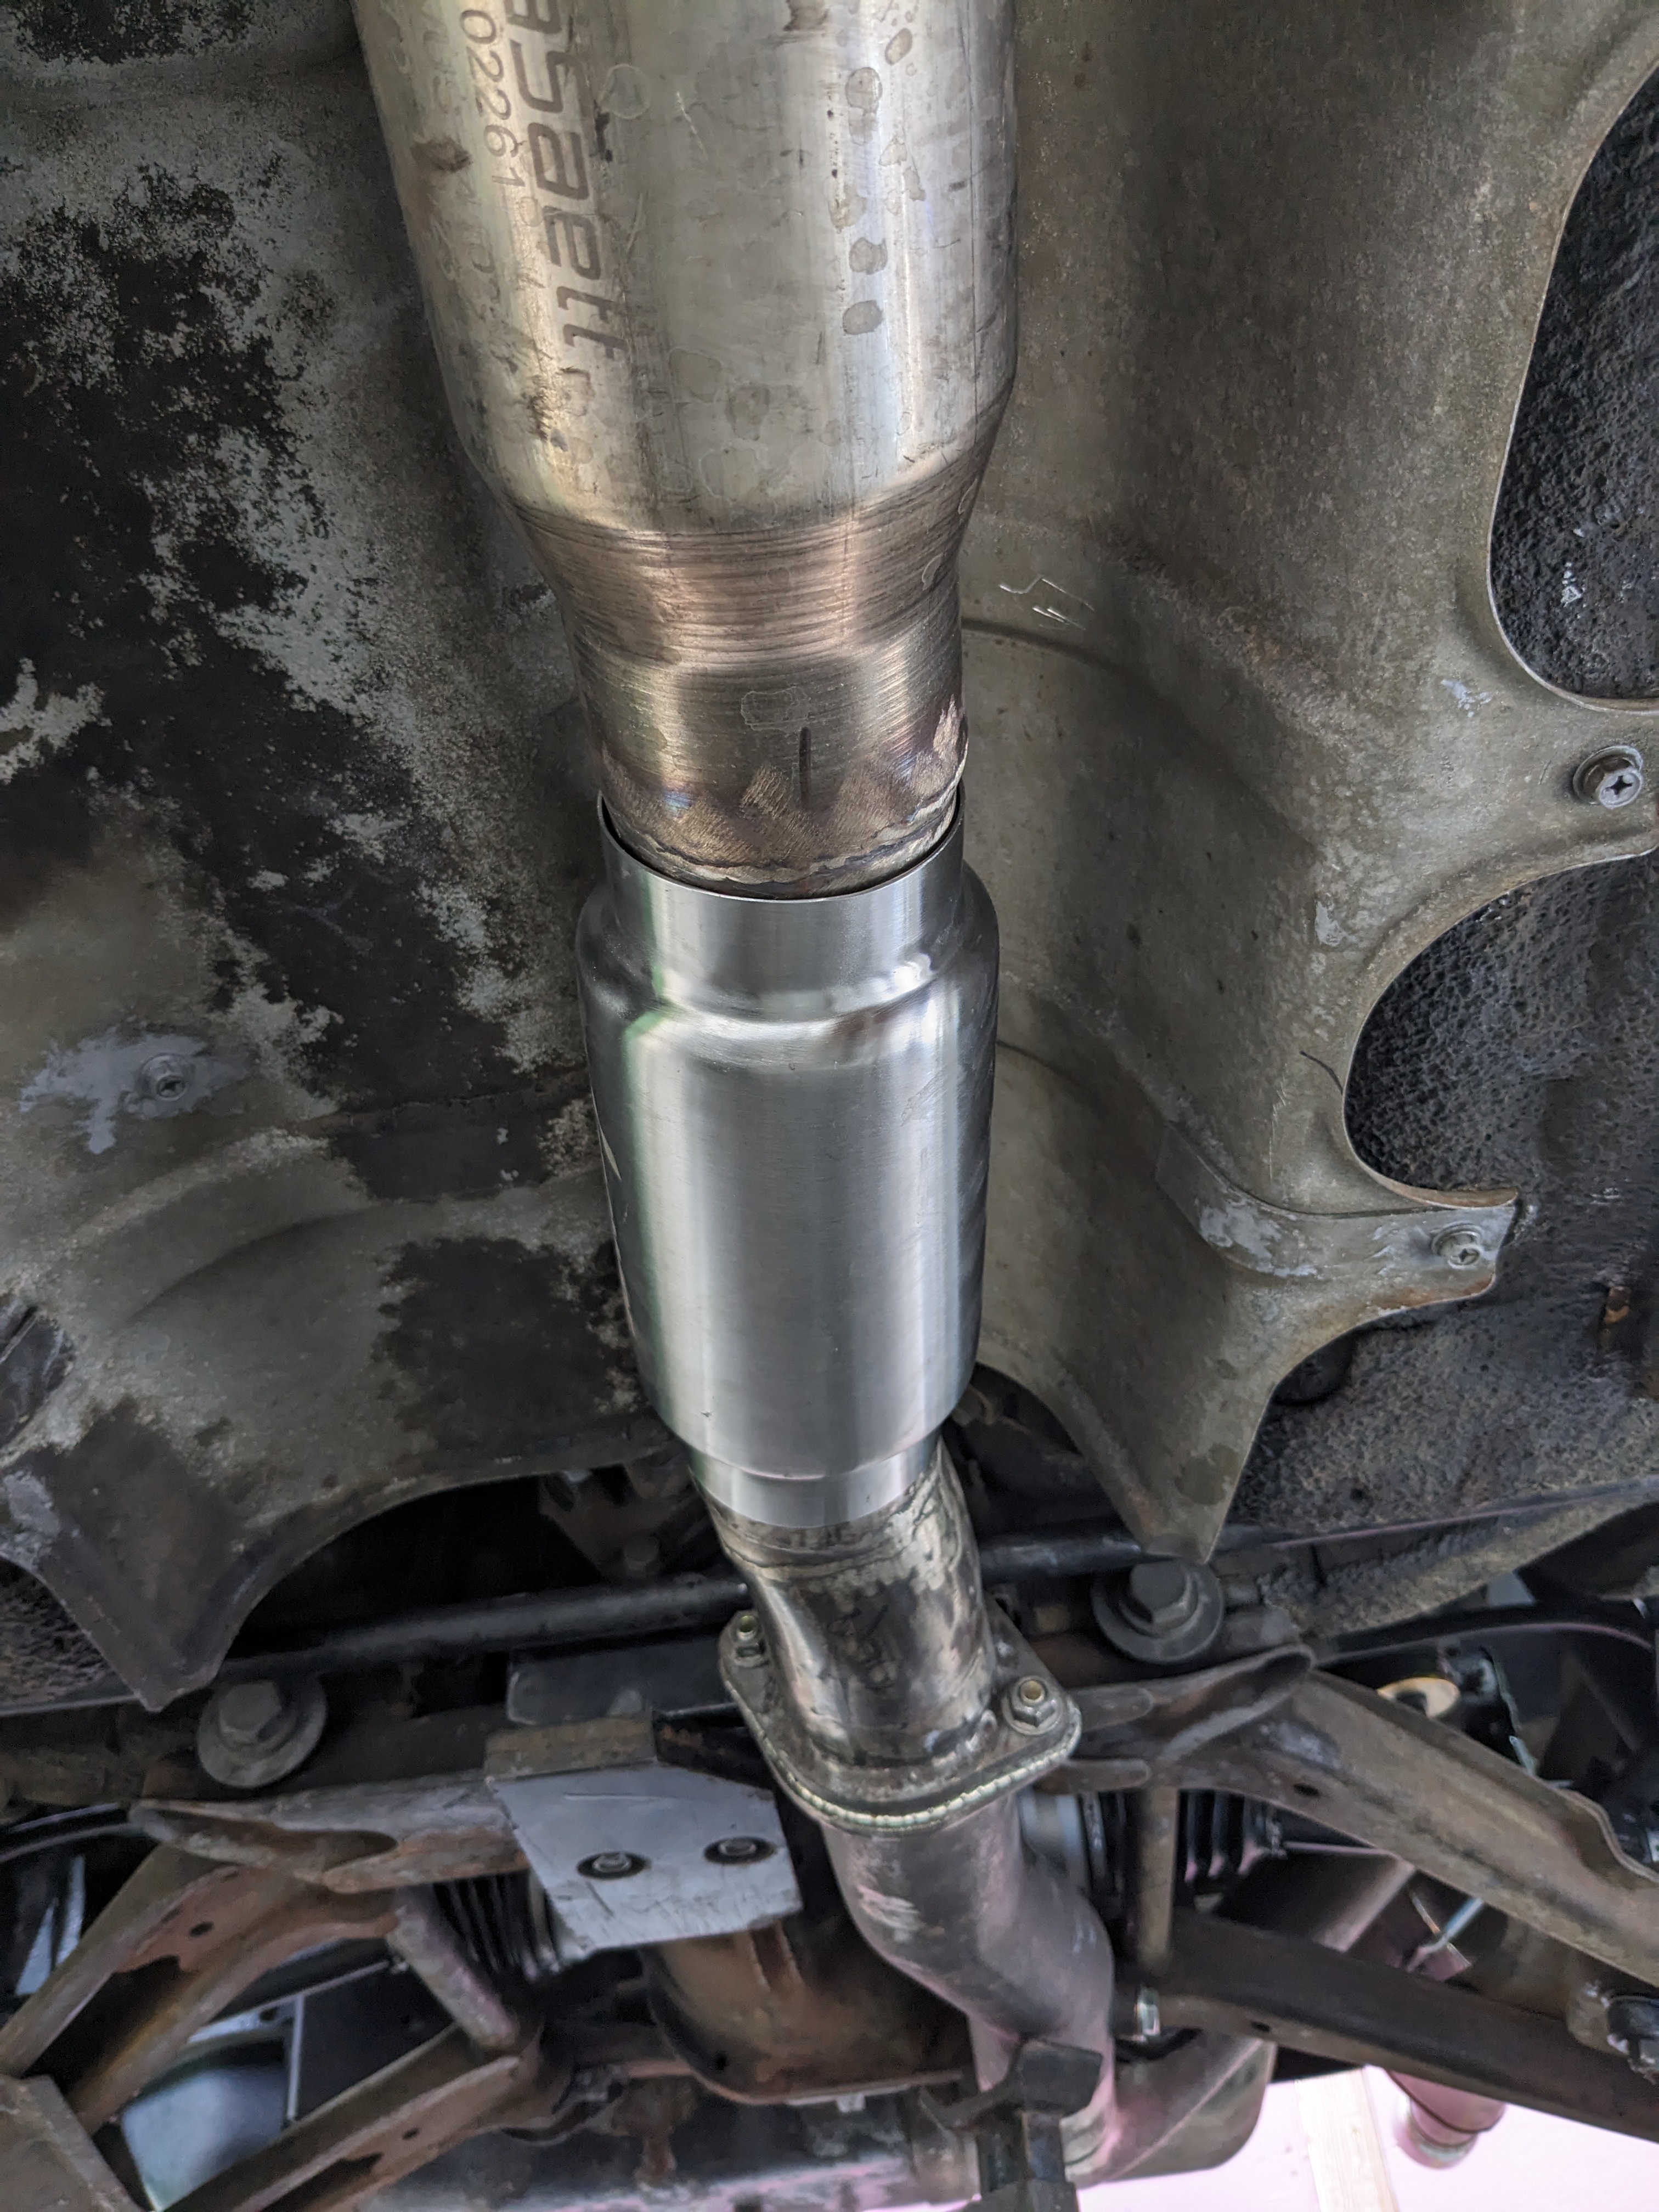
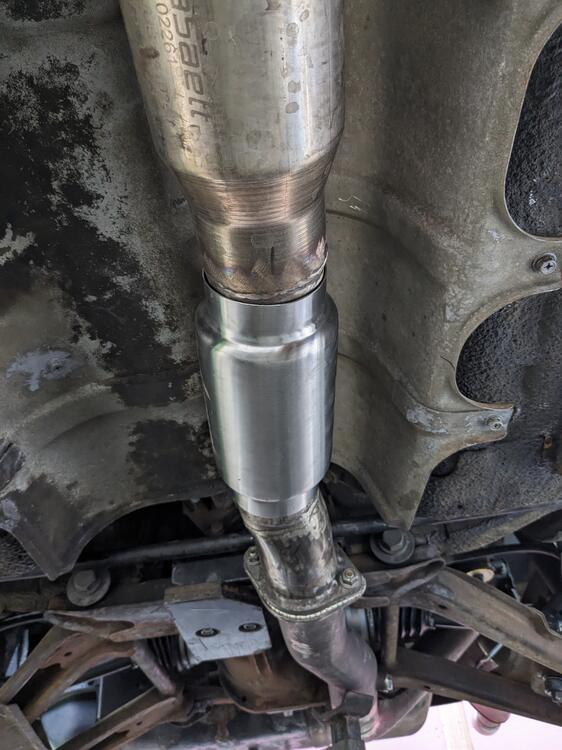
Put the resonator in today. Helped with the drone, but still need a quieter muffler. I have a new Solo Performance Stealth 25 from my X1/9 K24 build, so I'm going to swap that out next
-
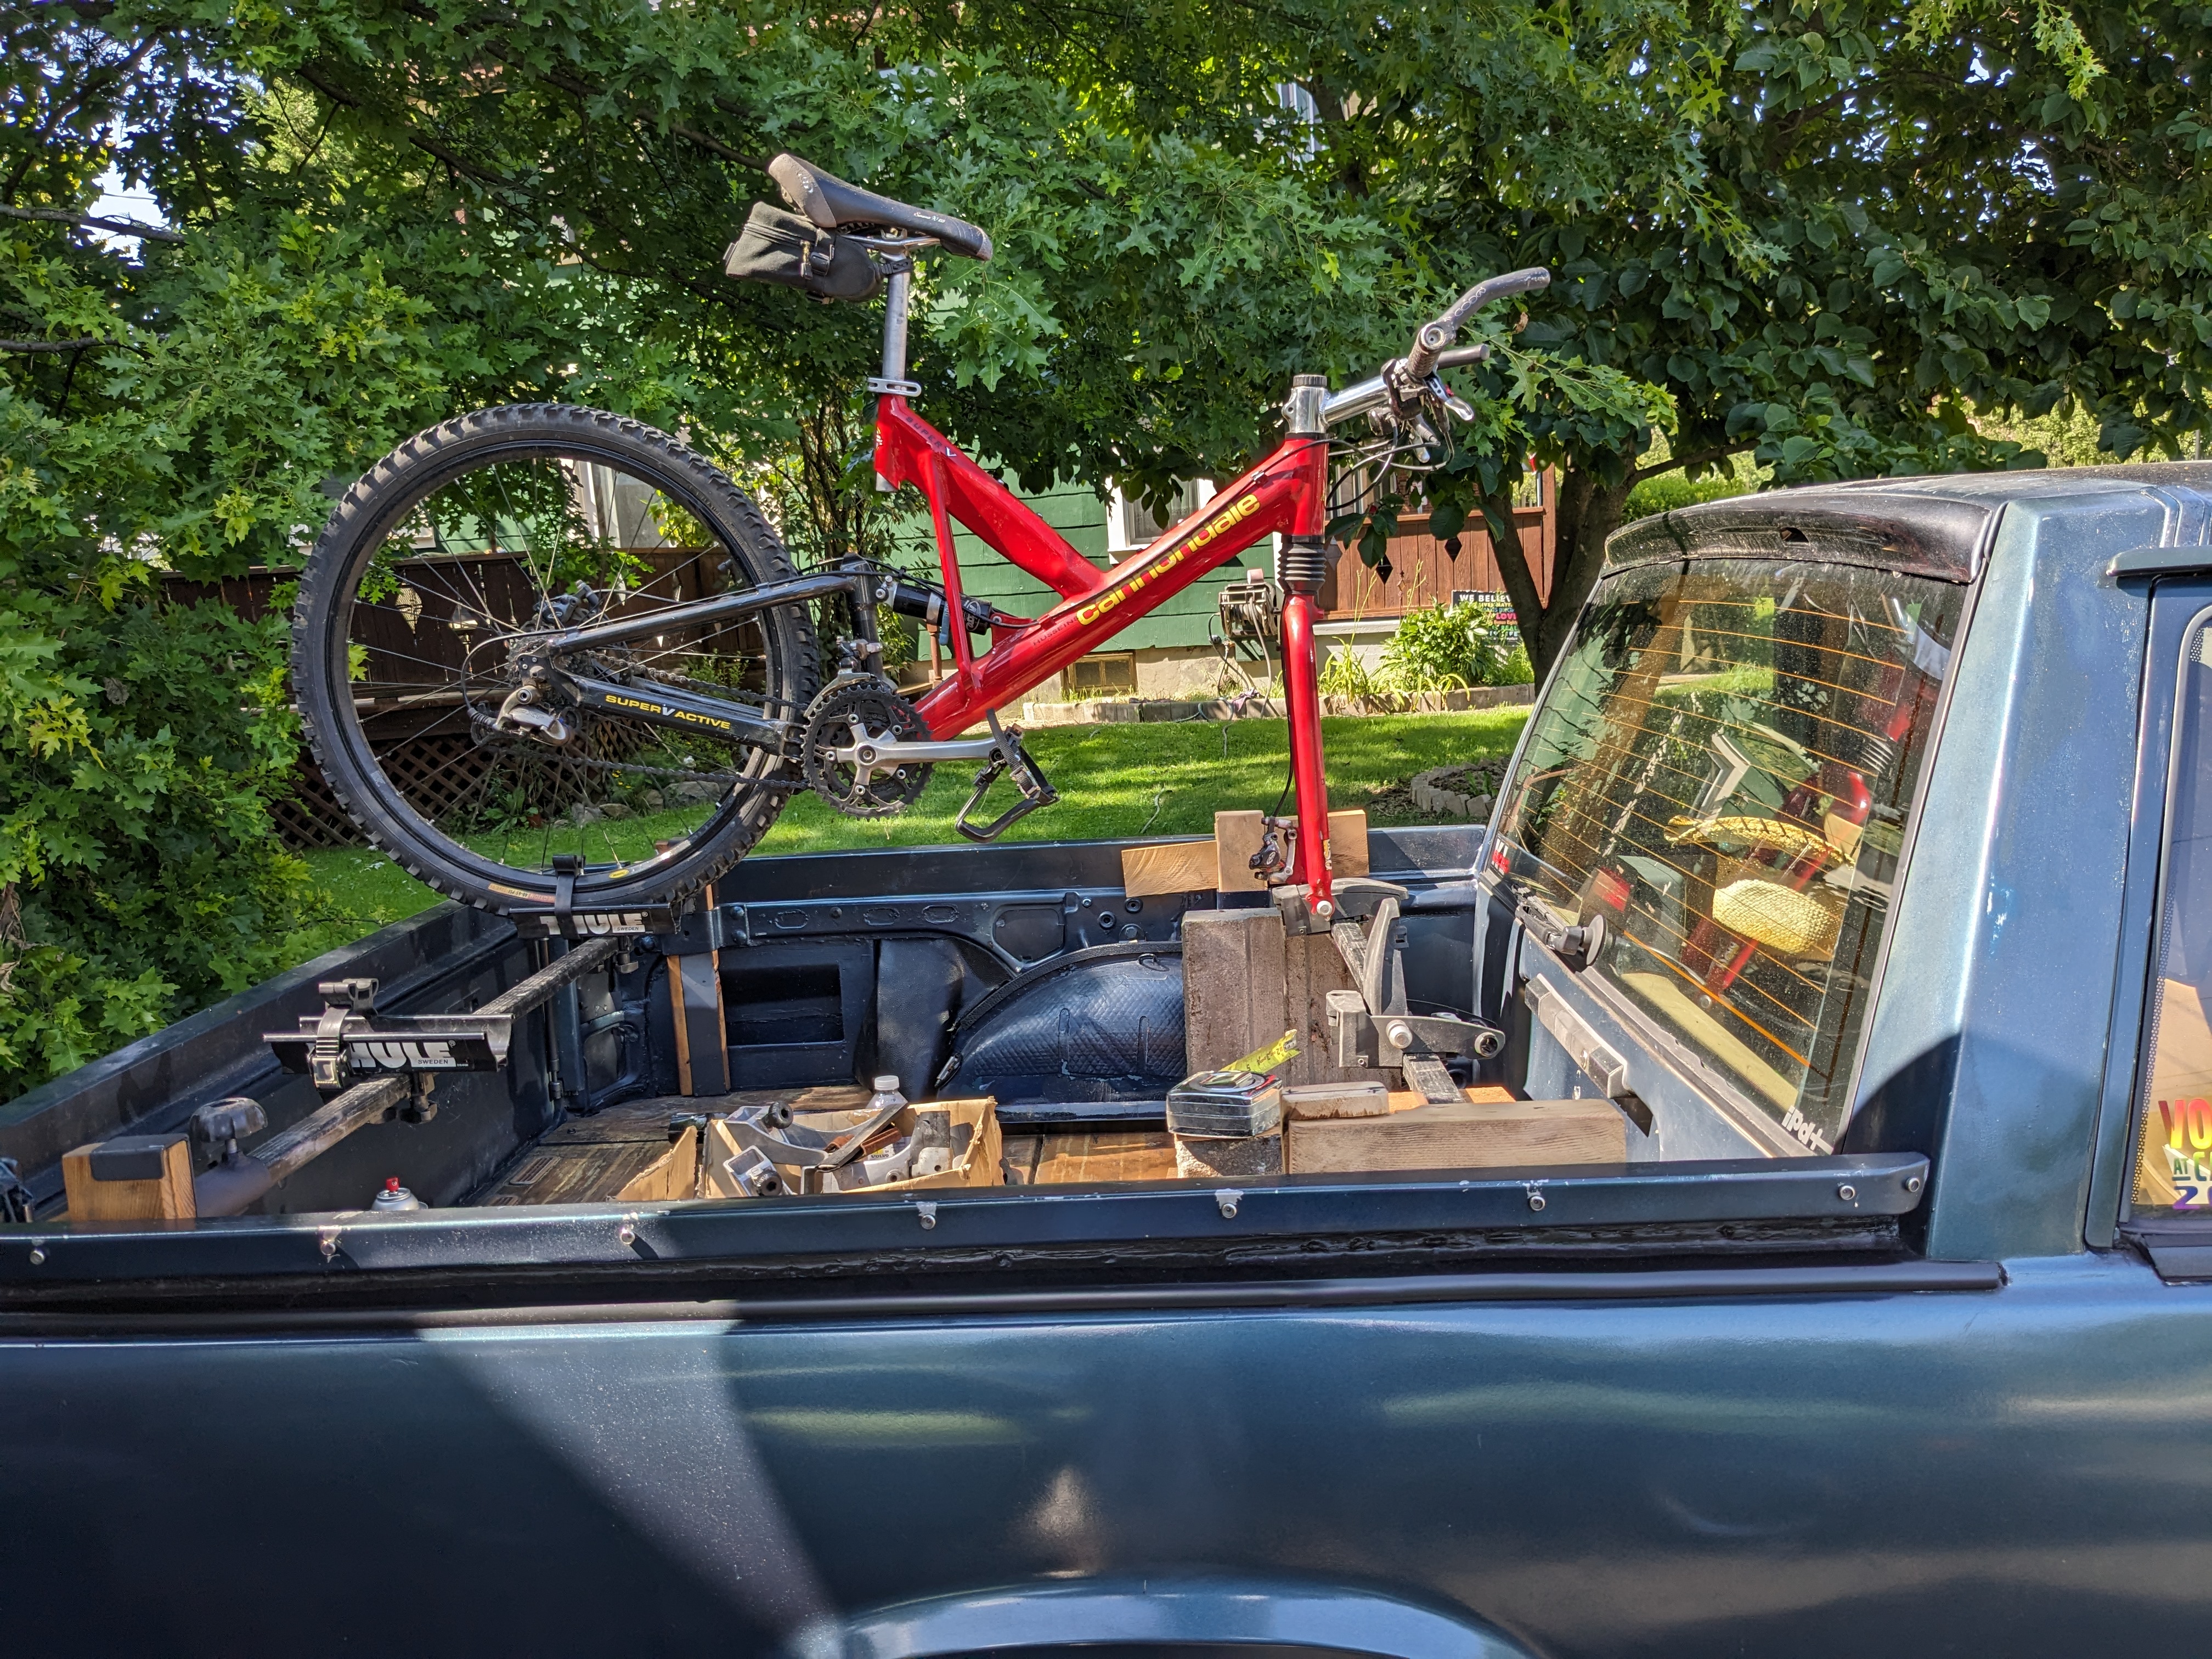
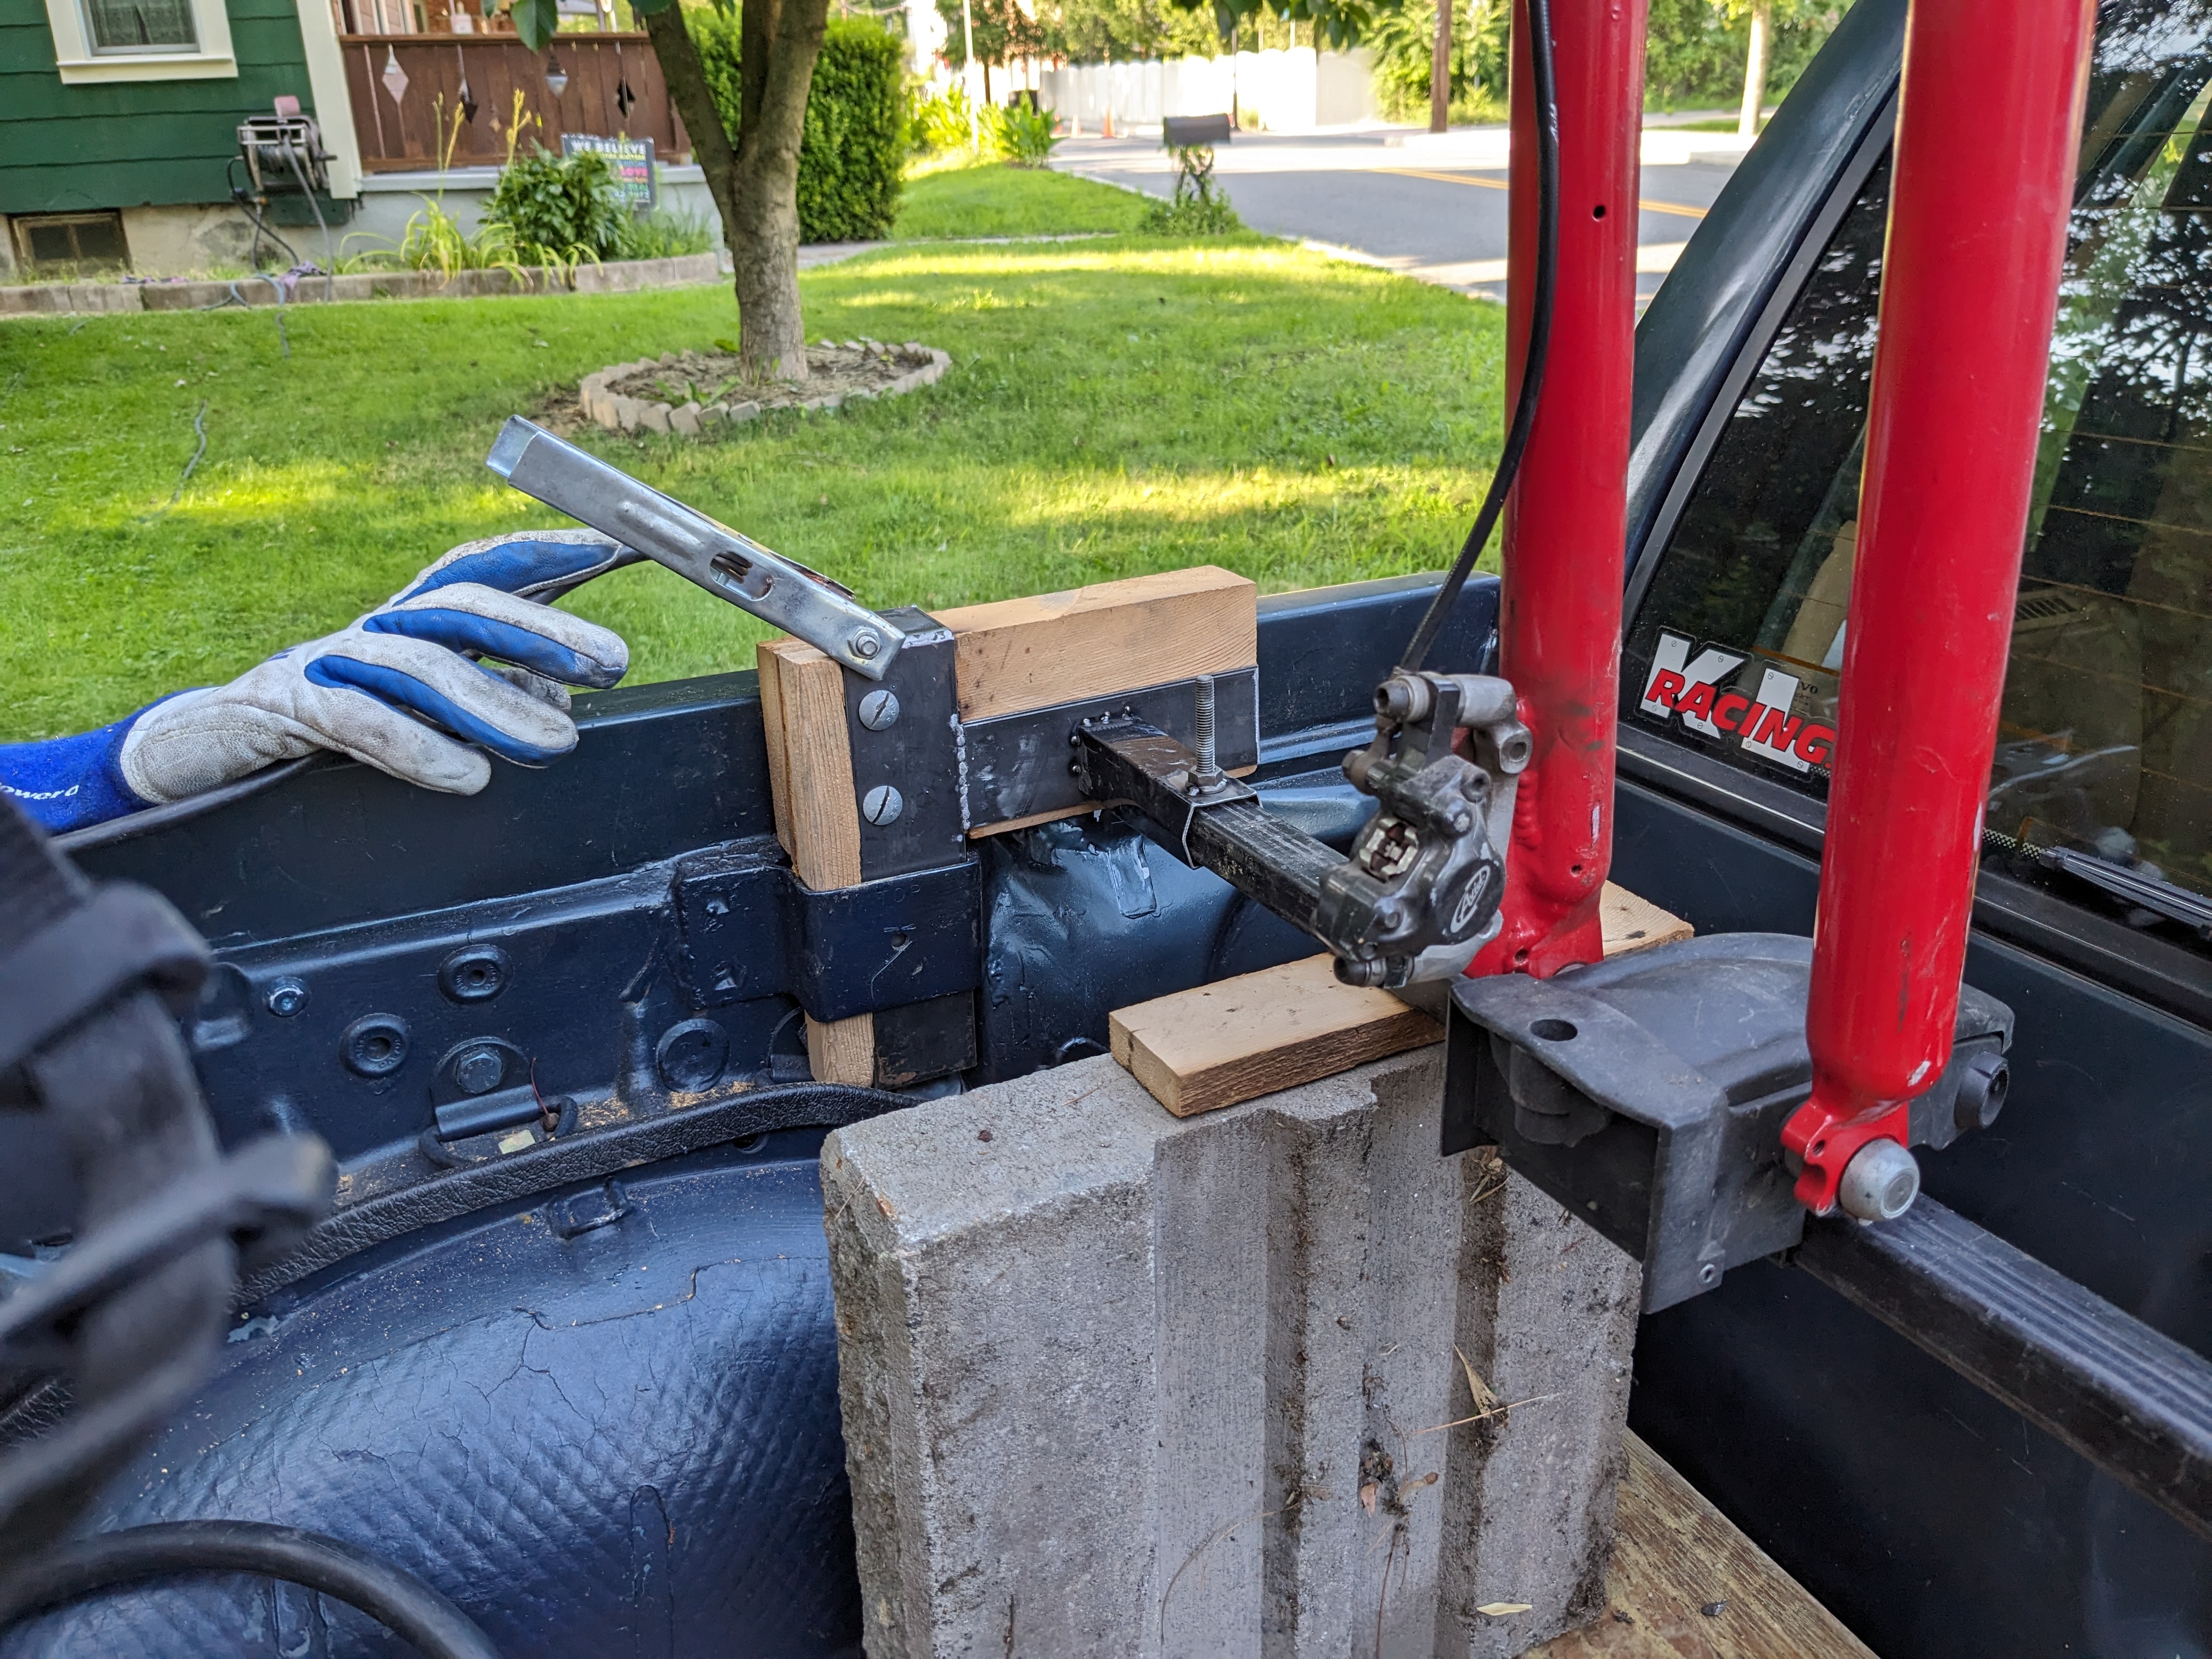
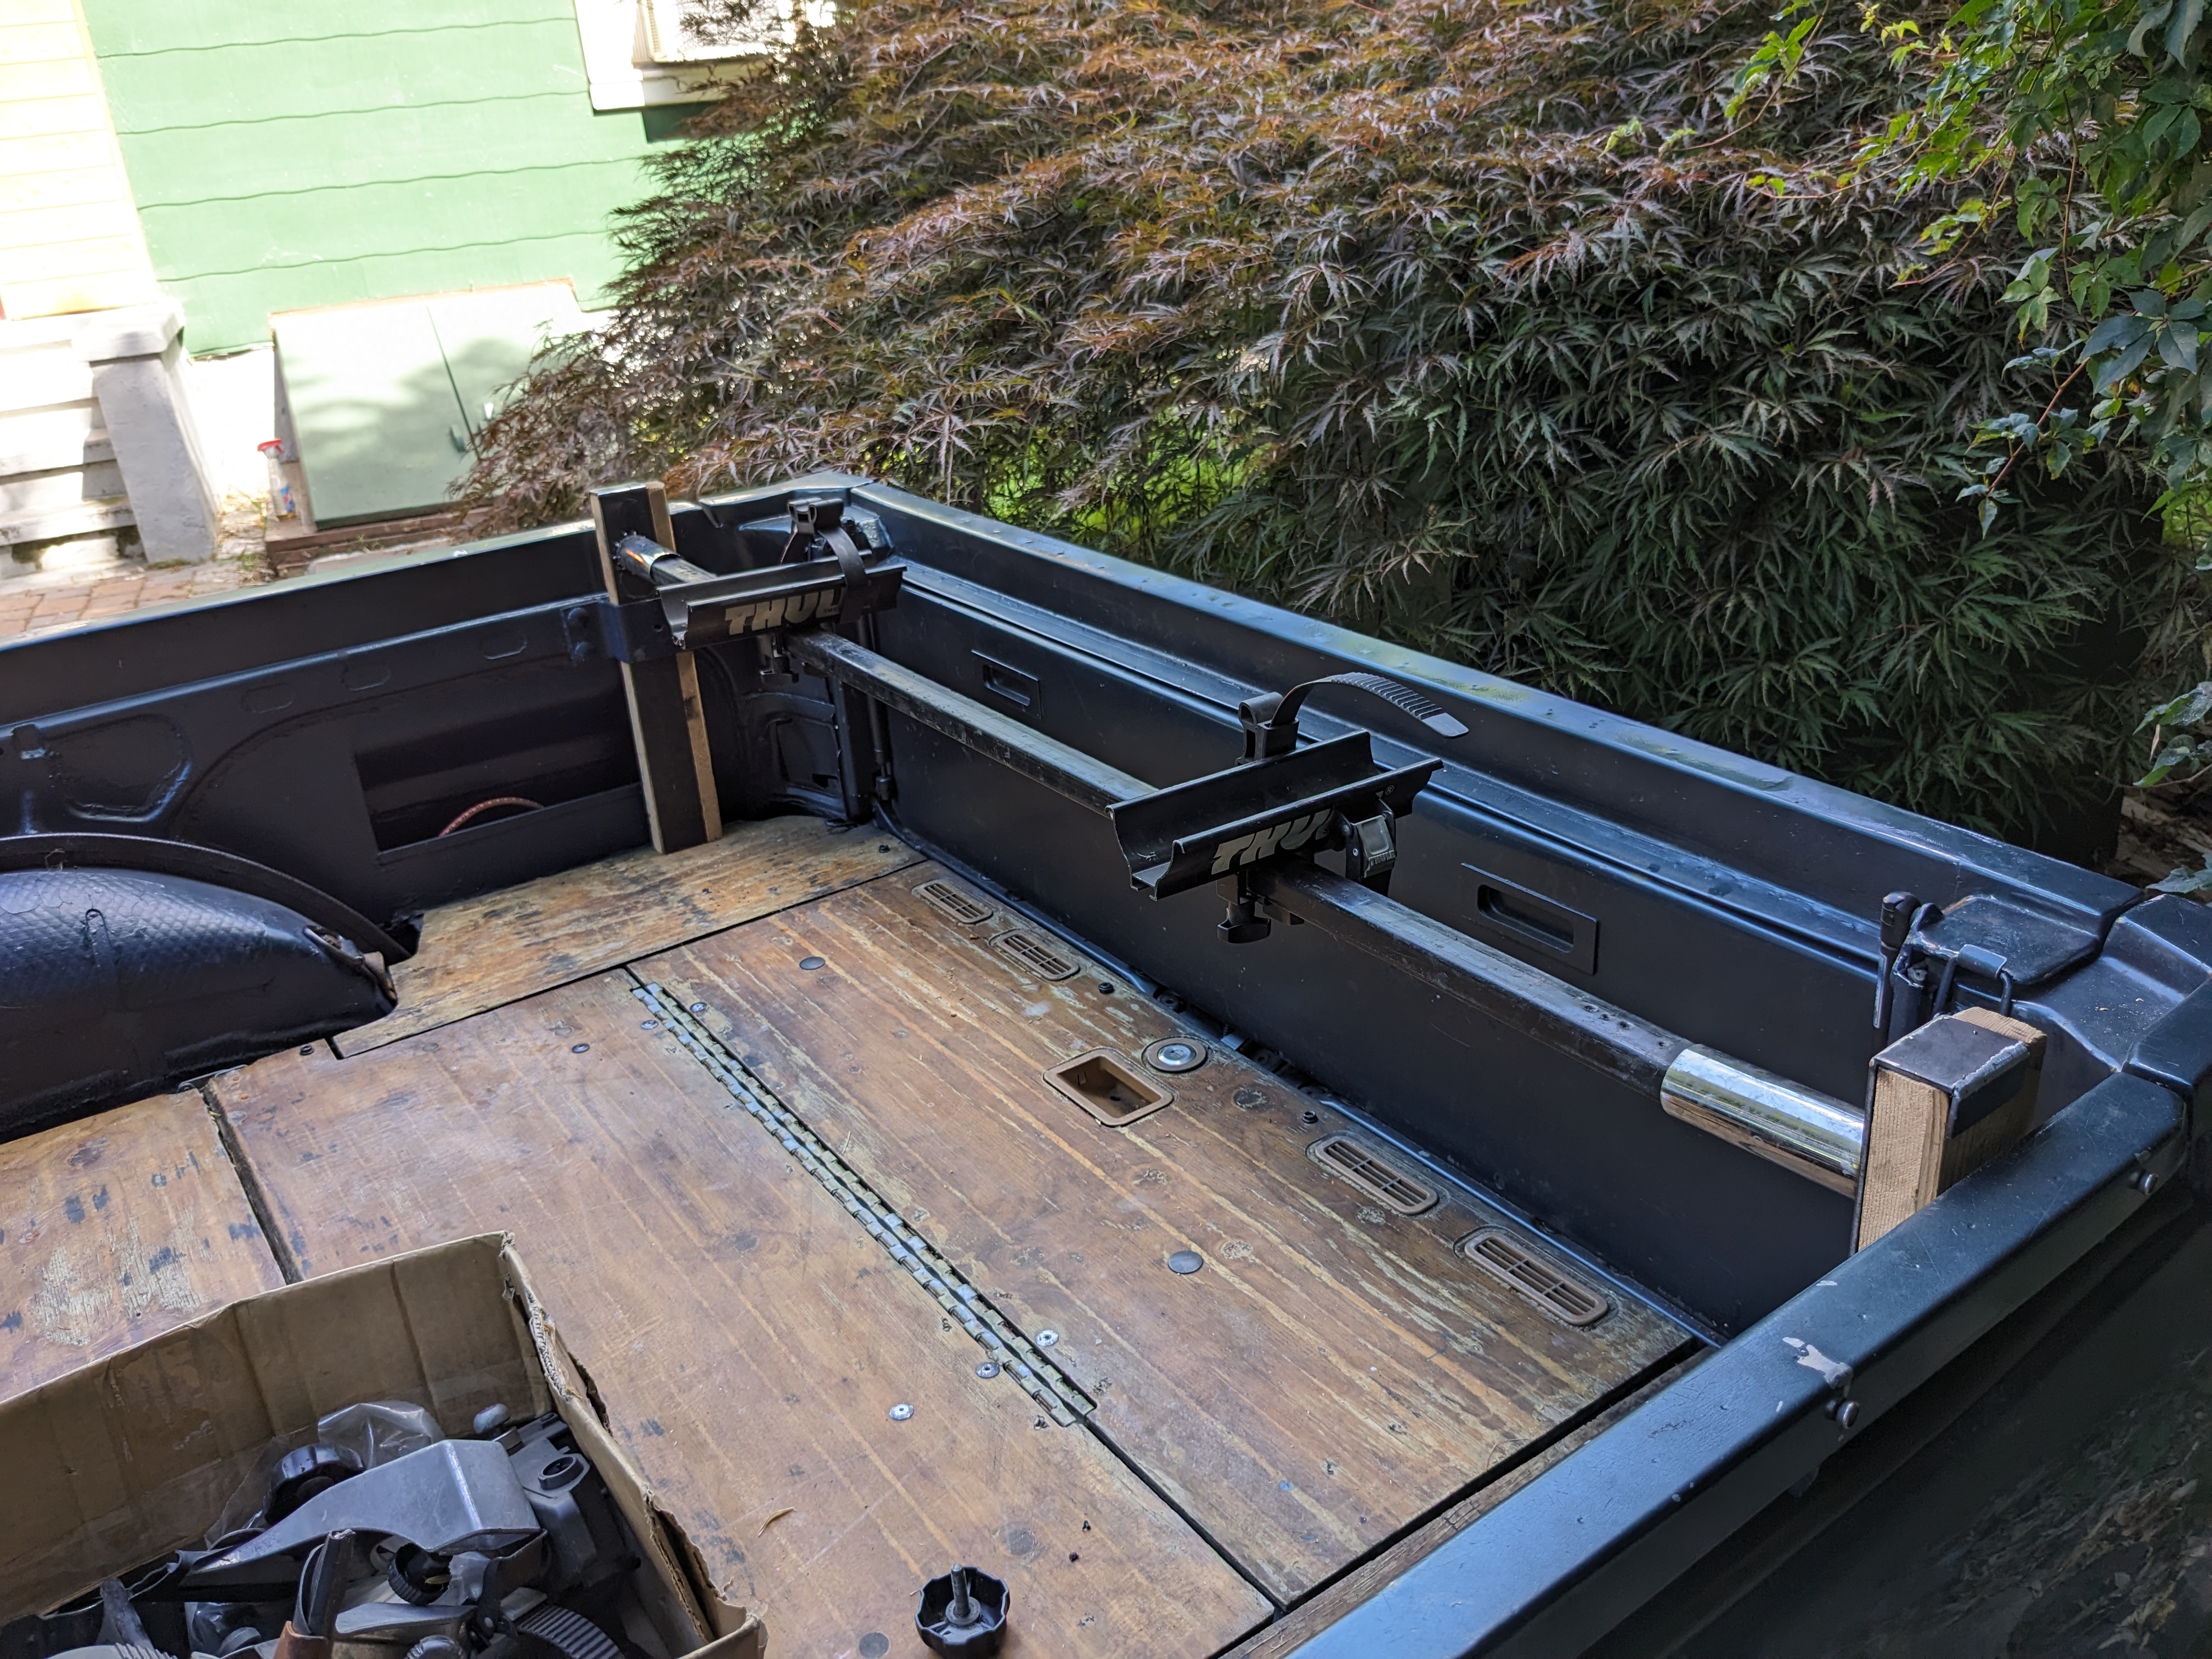
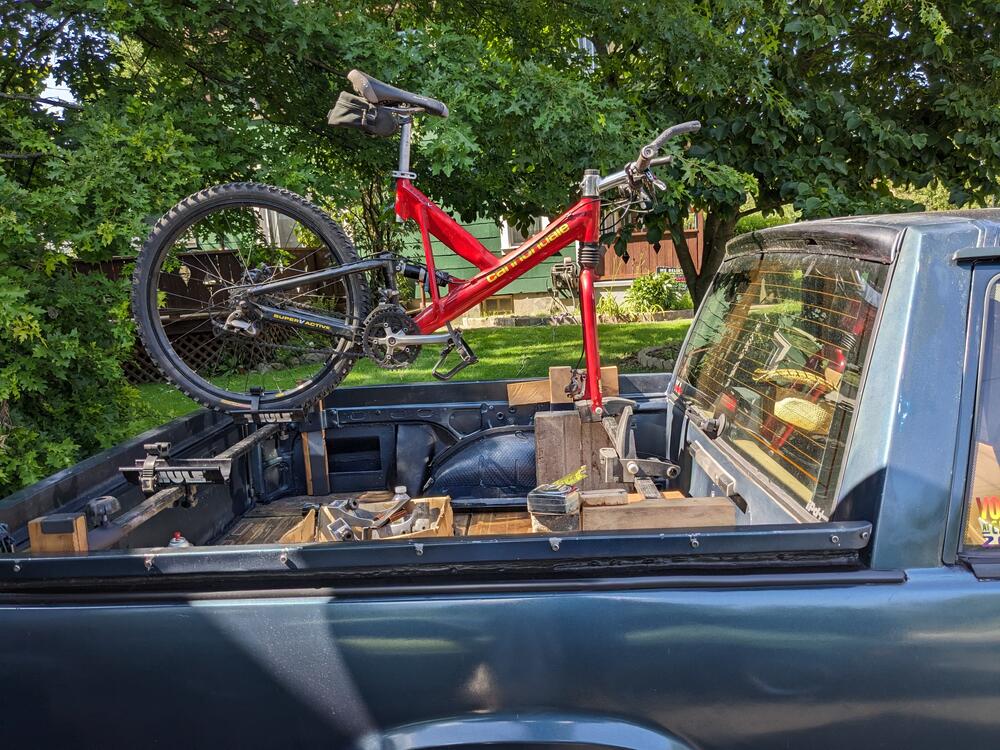
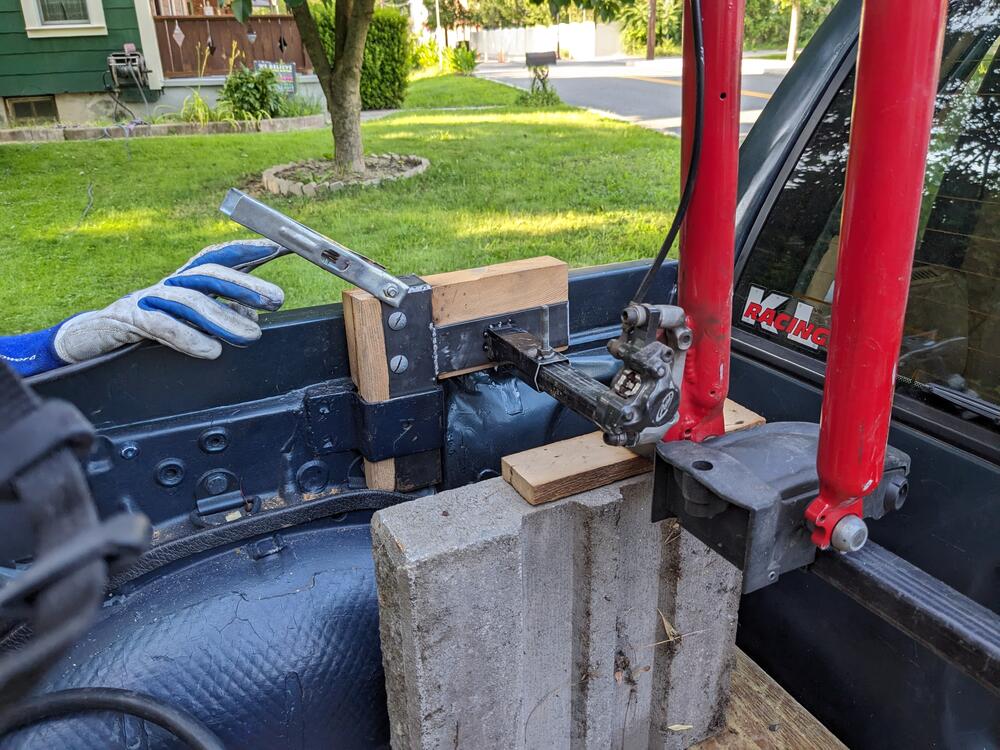
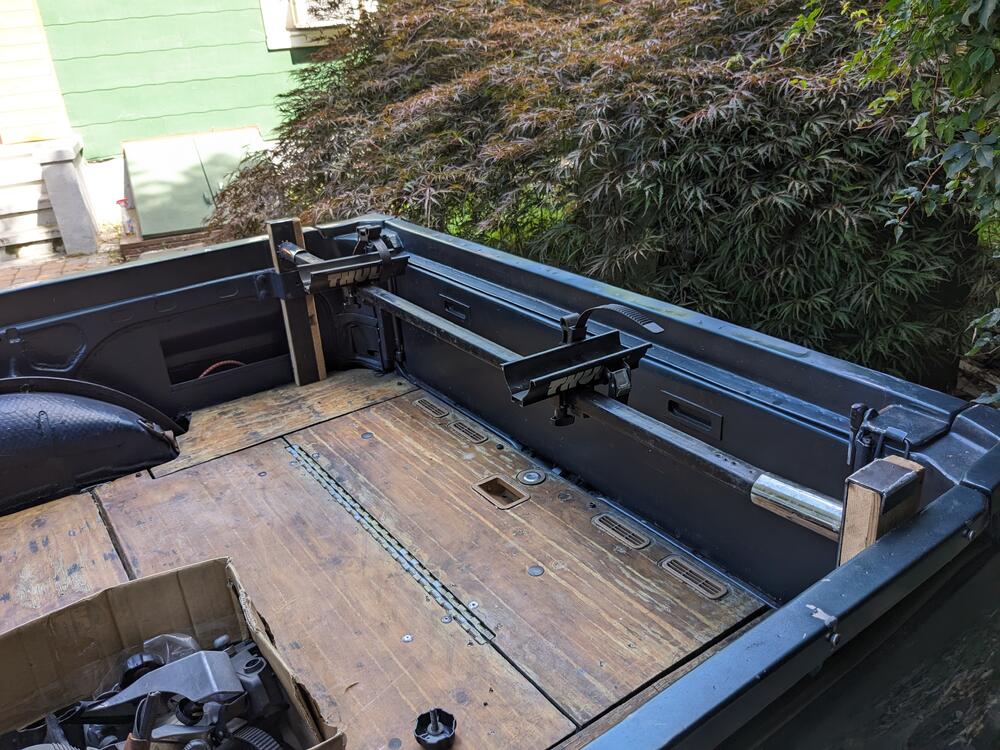
3" OD, 9" long resonator came today, so I'll hopefully get that in tomorrow. In the middle of making bike carrier adapters to hold the Volvo/Thule load bars & bike carriers I have had since the early 90's. I added stake holders to the bed sides when I made the truck. When my kids were young, we would typically fit 4 bikes on the roof of whatever Volvo wagon I had at the time. Wife & I are going to go upstate NY & CT in a couple weeks to do some hiking & rail trail biking. my bike is almost as old as my pickup.
-
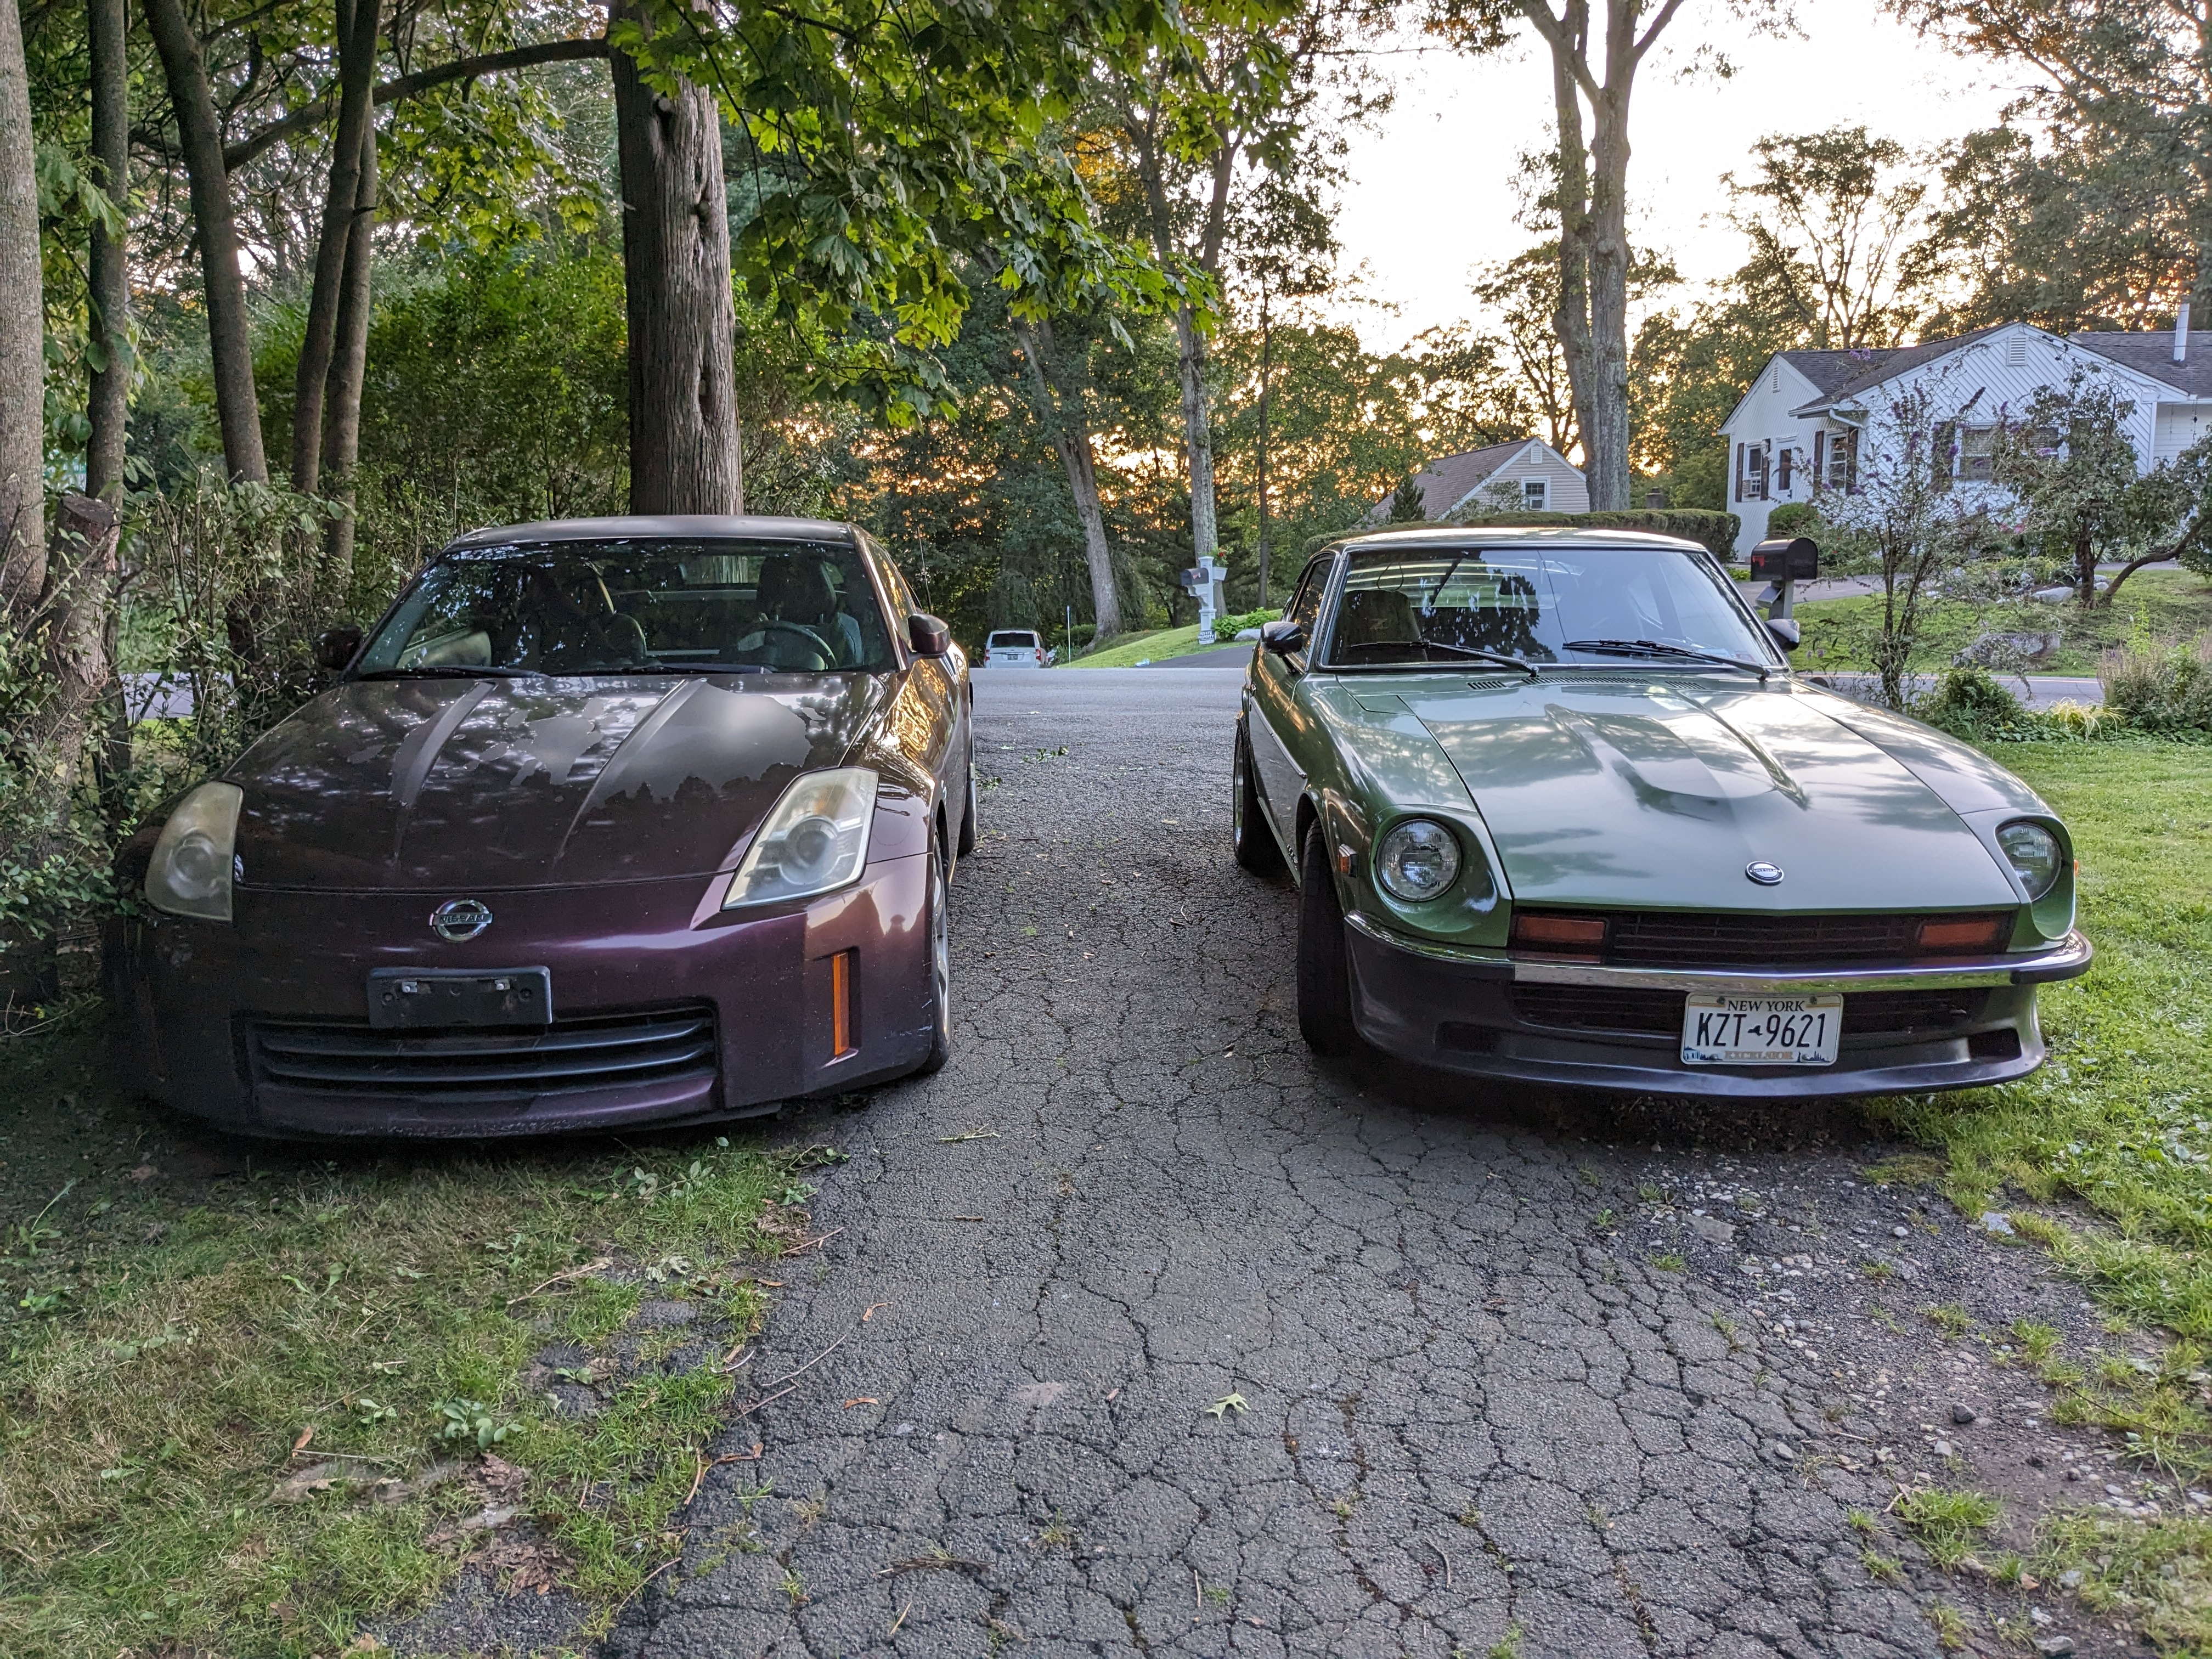
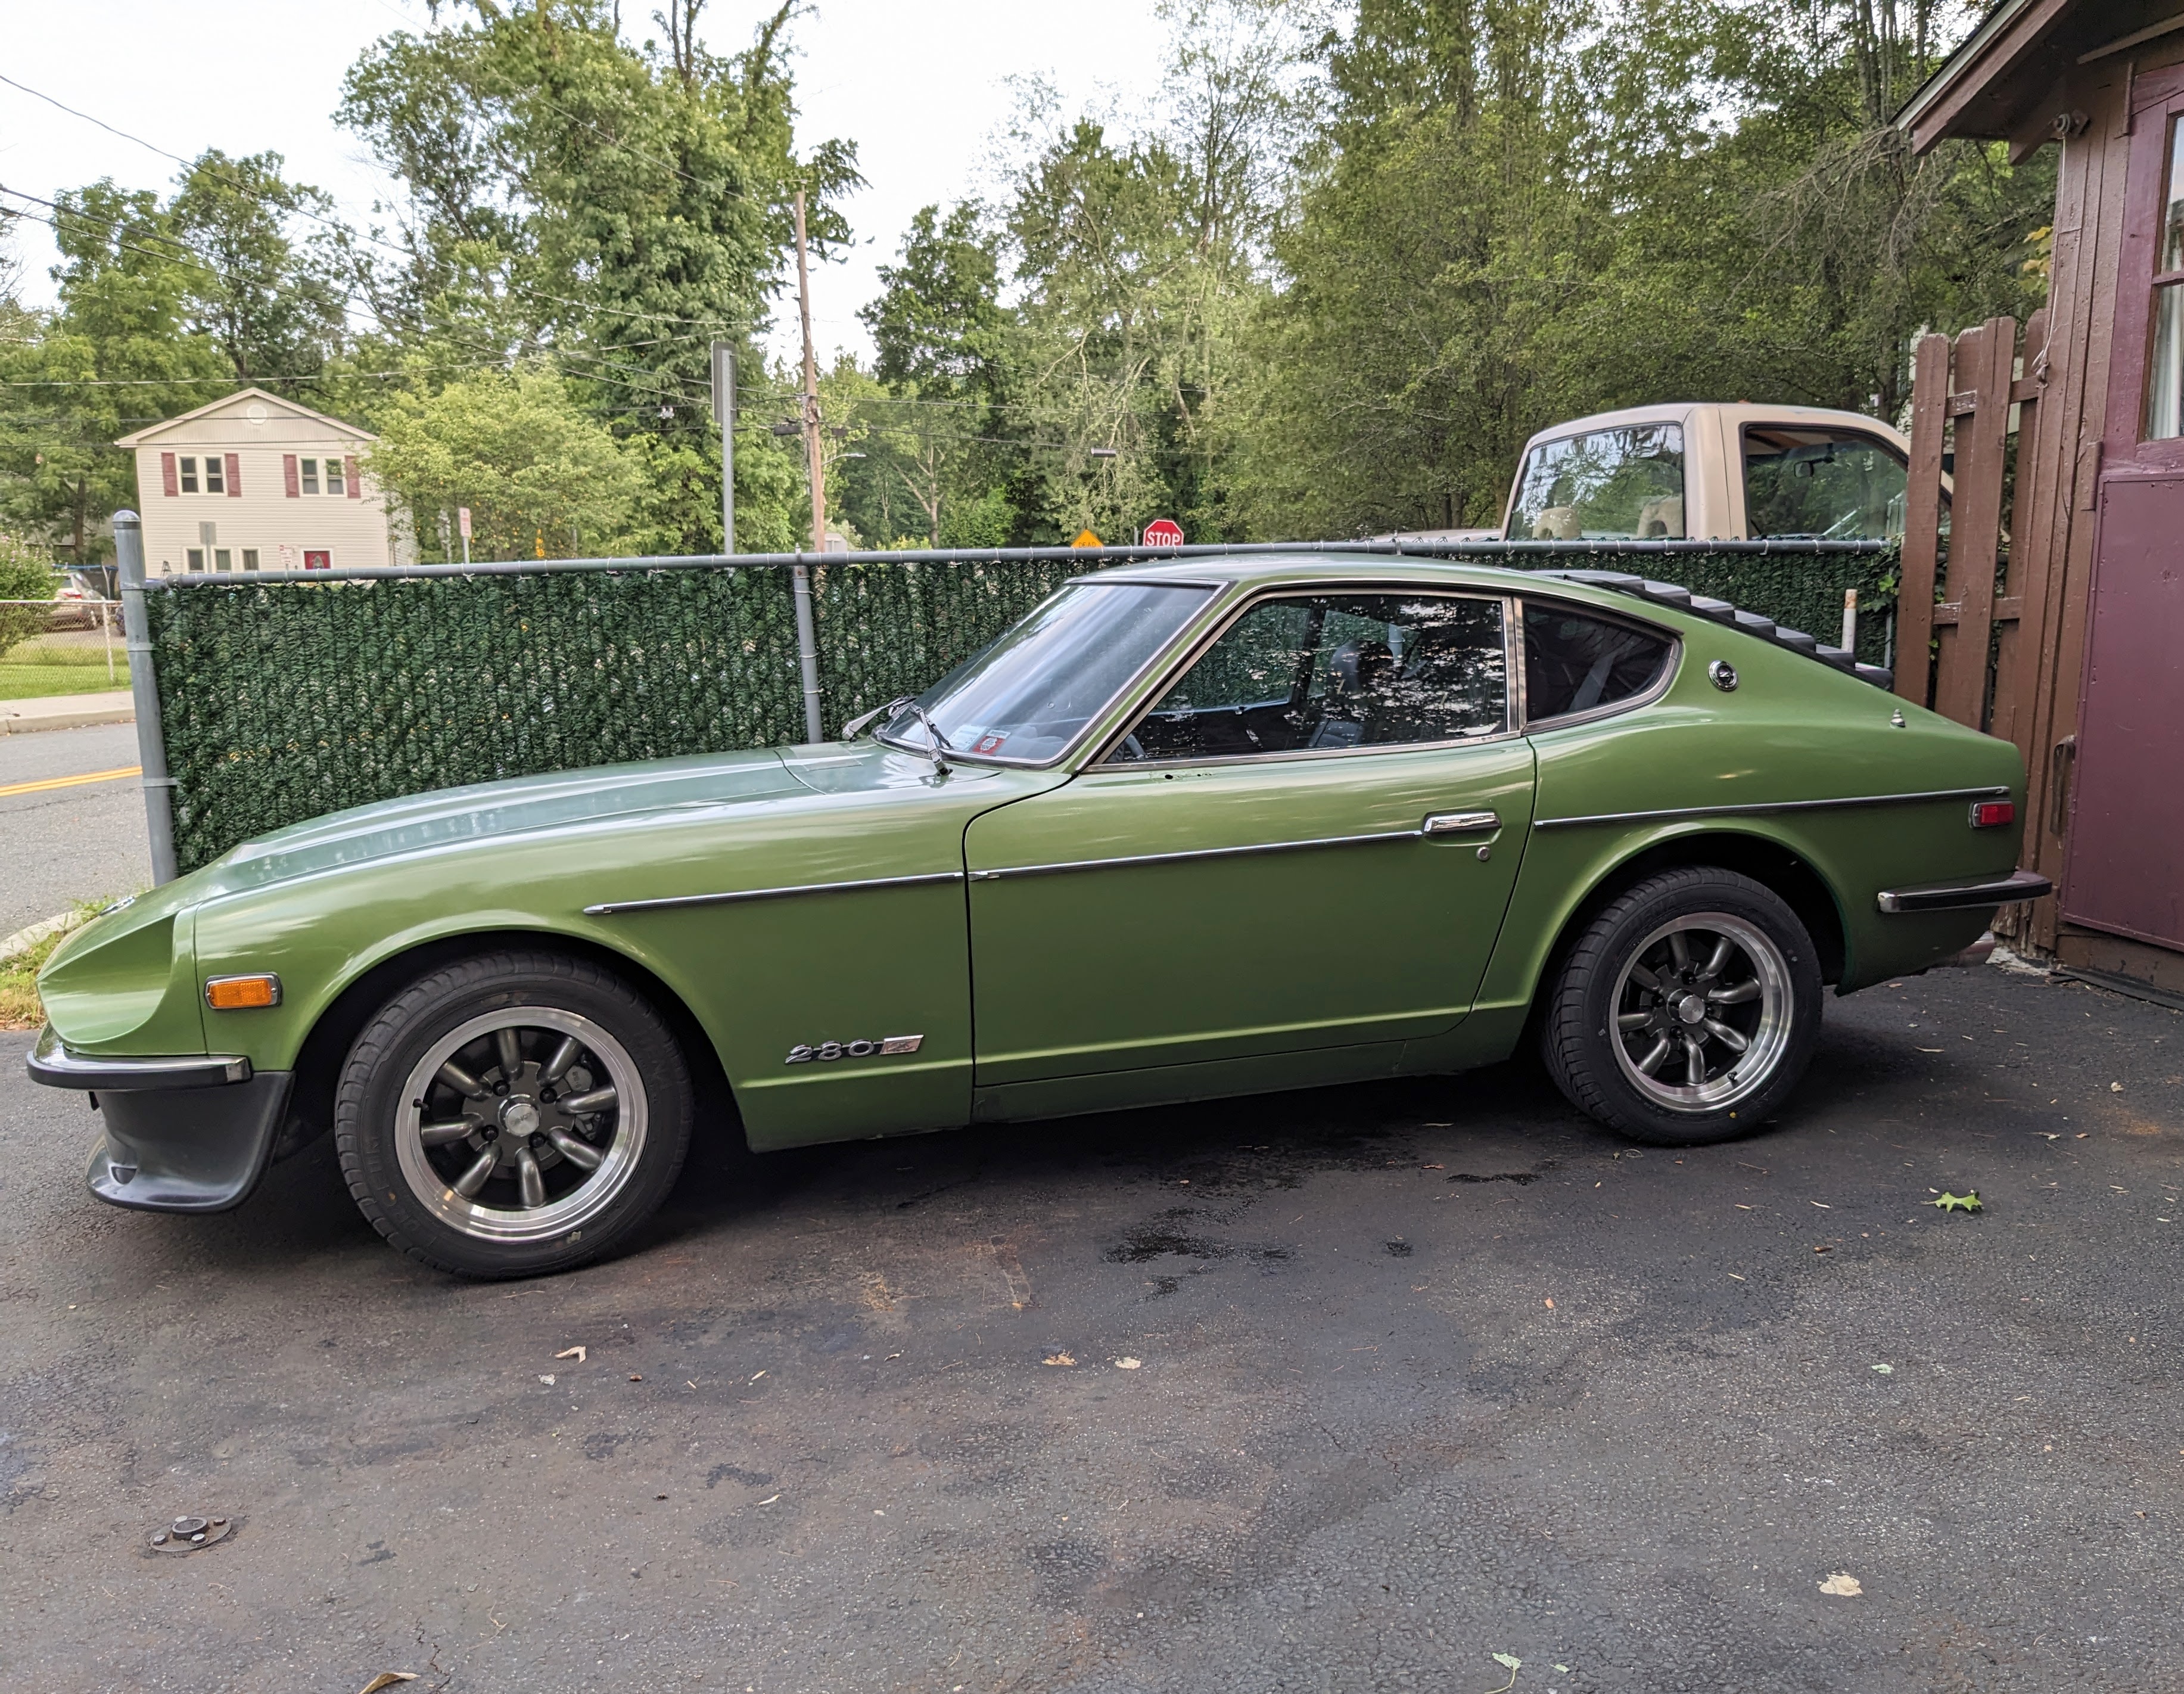
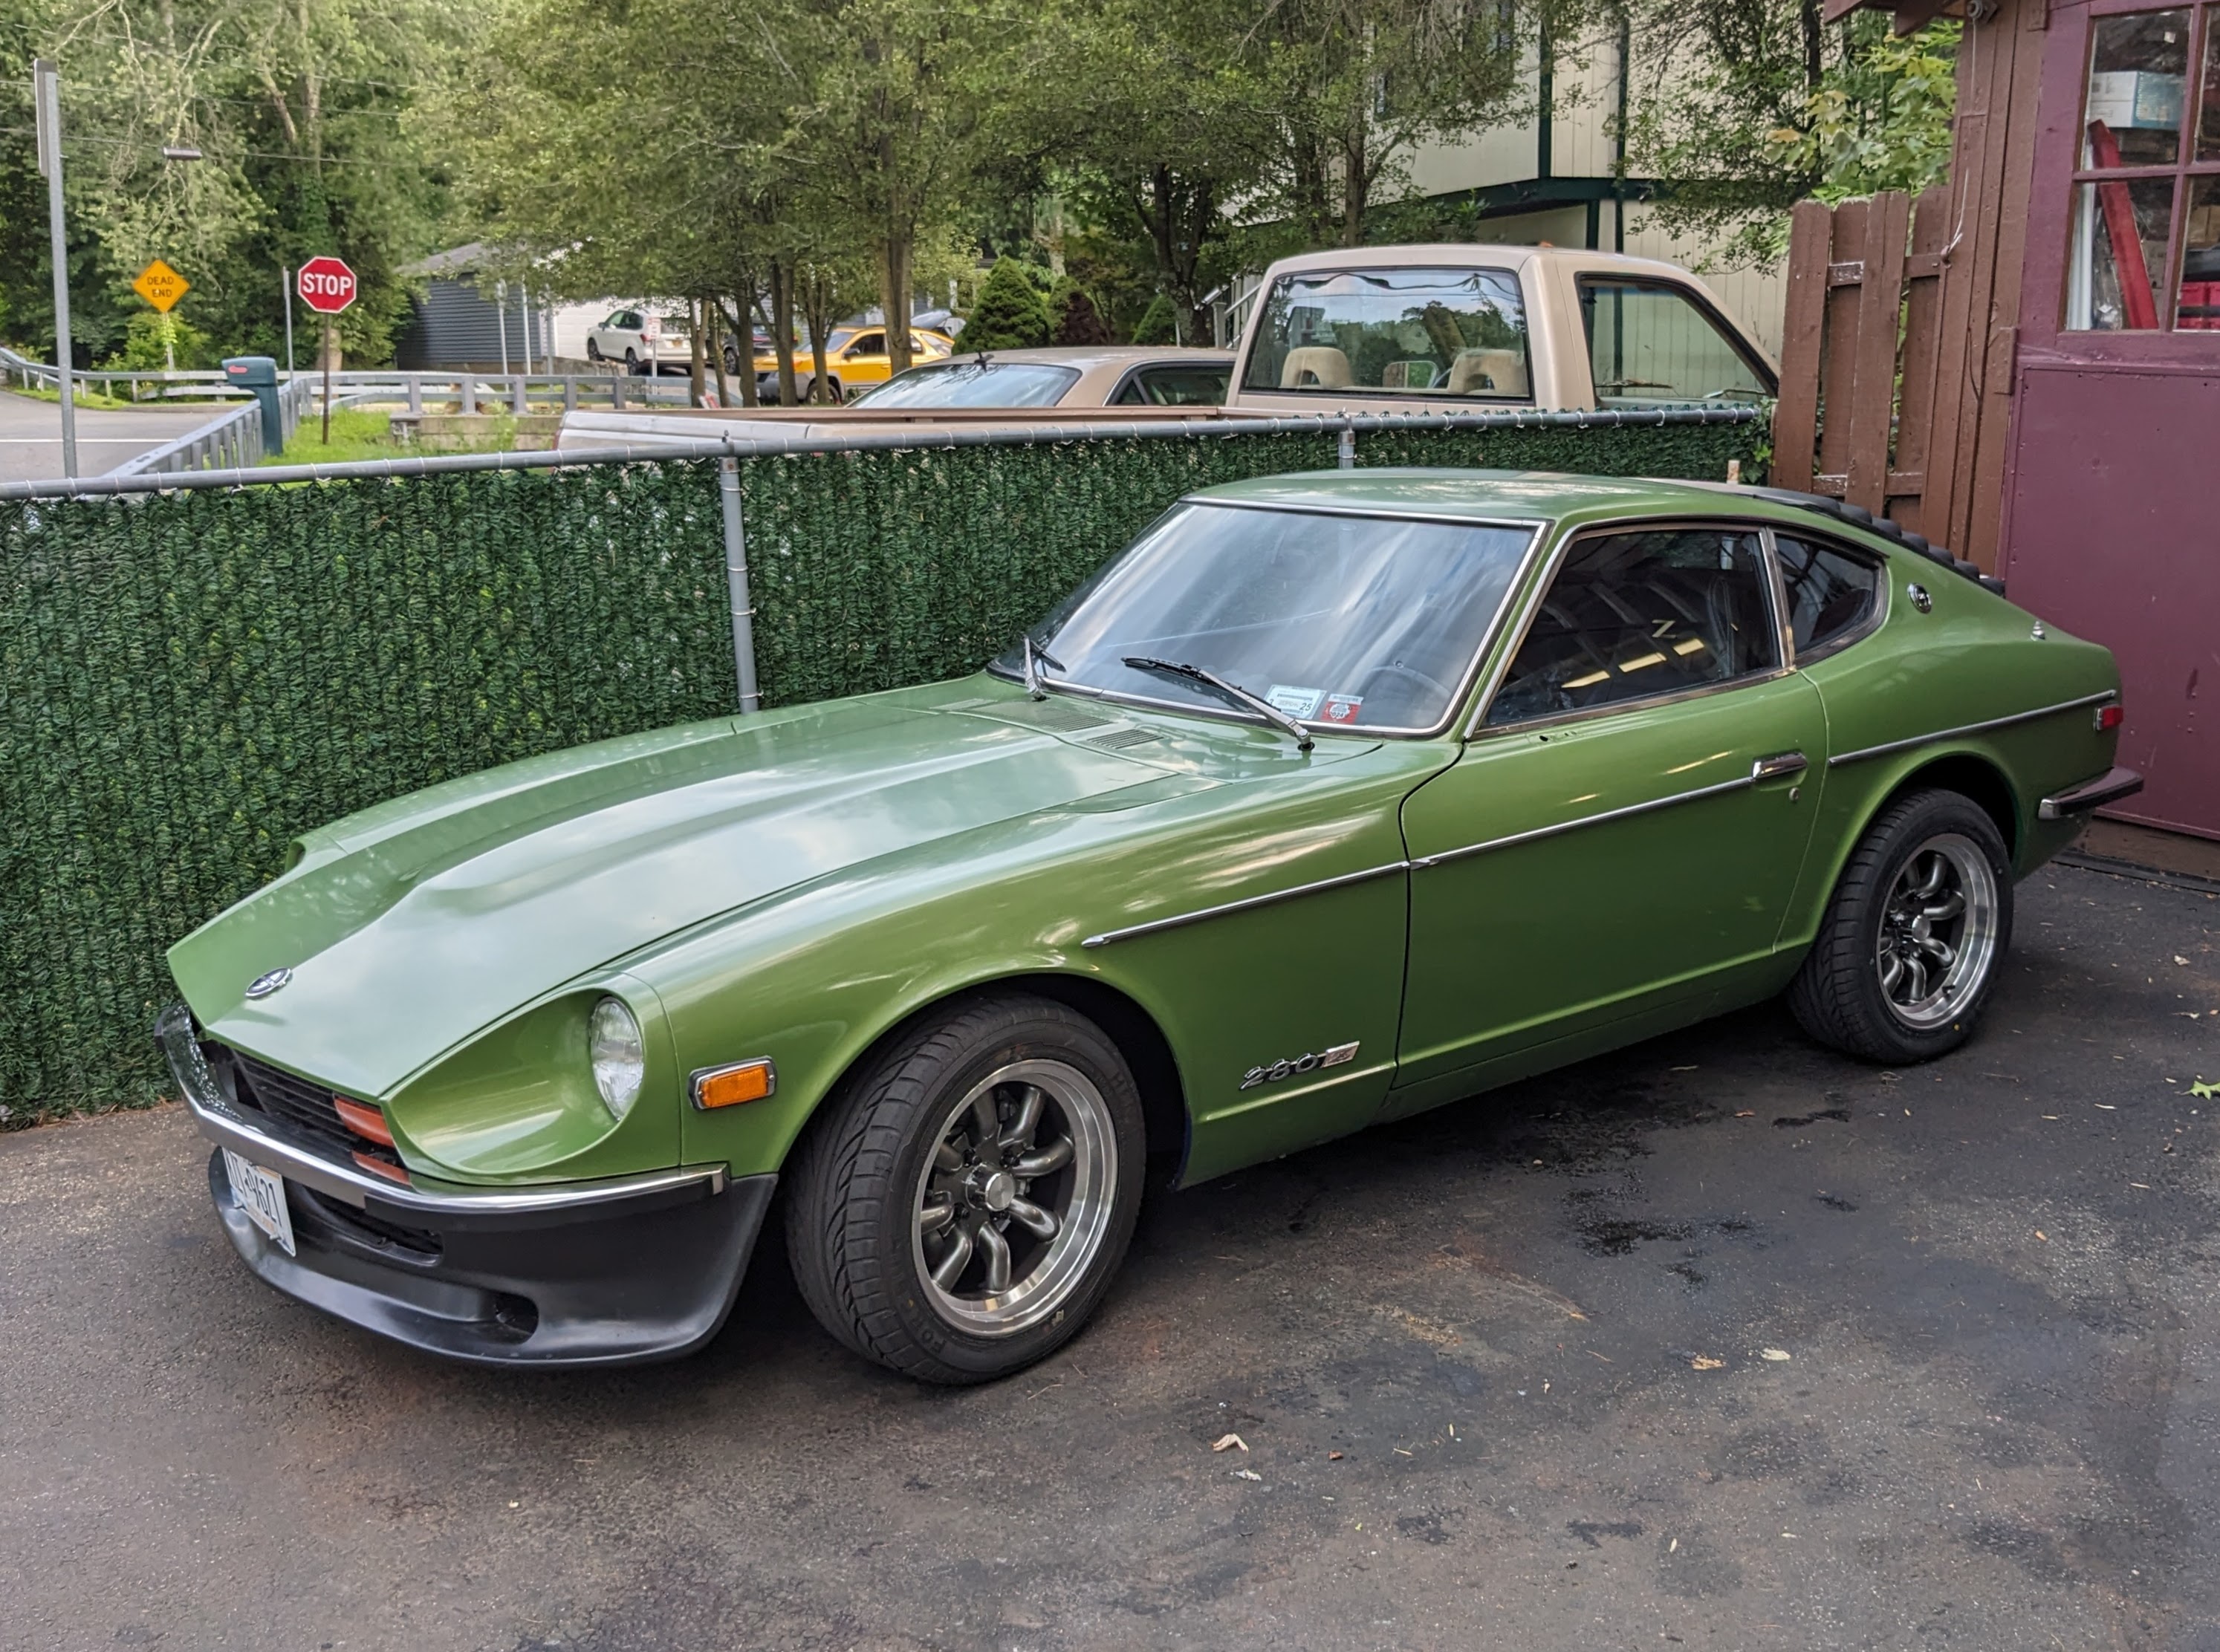
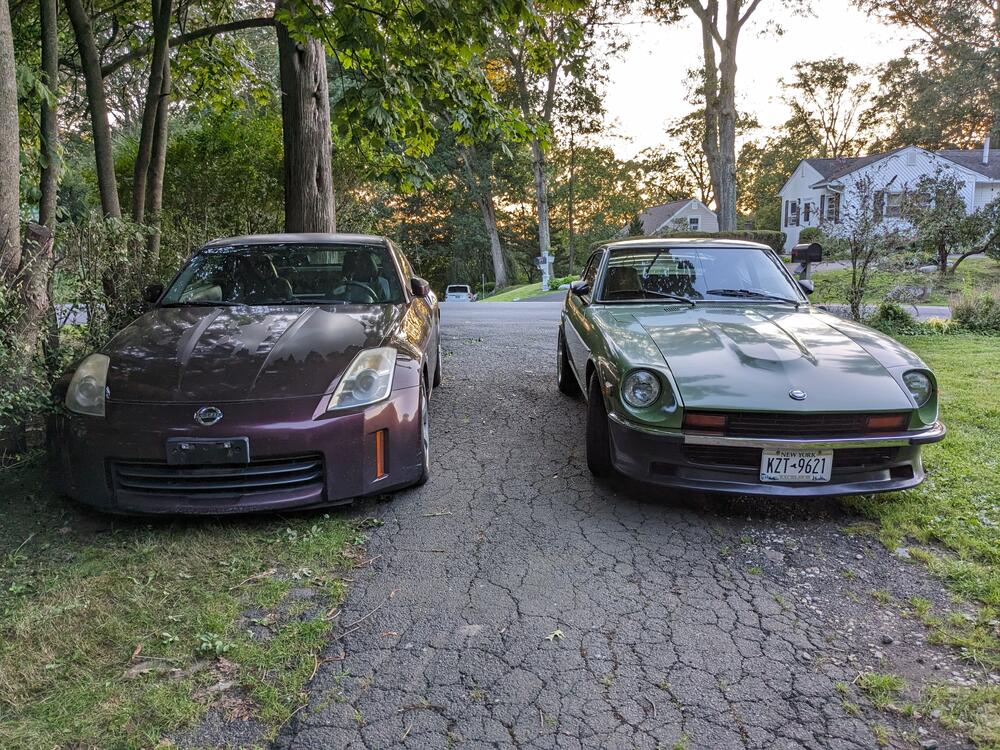
3" Exhaust thread (prep) My Z with the organ donor Considering the Apex Engineered Front crossmember, so the basic drivetrain geometry will be established up front.

-
So, now that I'm driving it again, the exhaust is WAAAAYYYY to loud & drones terribly between 2-3K rpm. I will have to look at a different muffler, and perhaps a resonator that is smaller than the 3" Magnaflow I have, that was too long to fit after the cat in the straight section, which is only about 10".
-
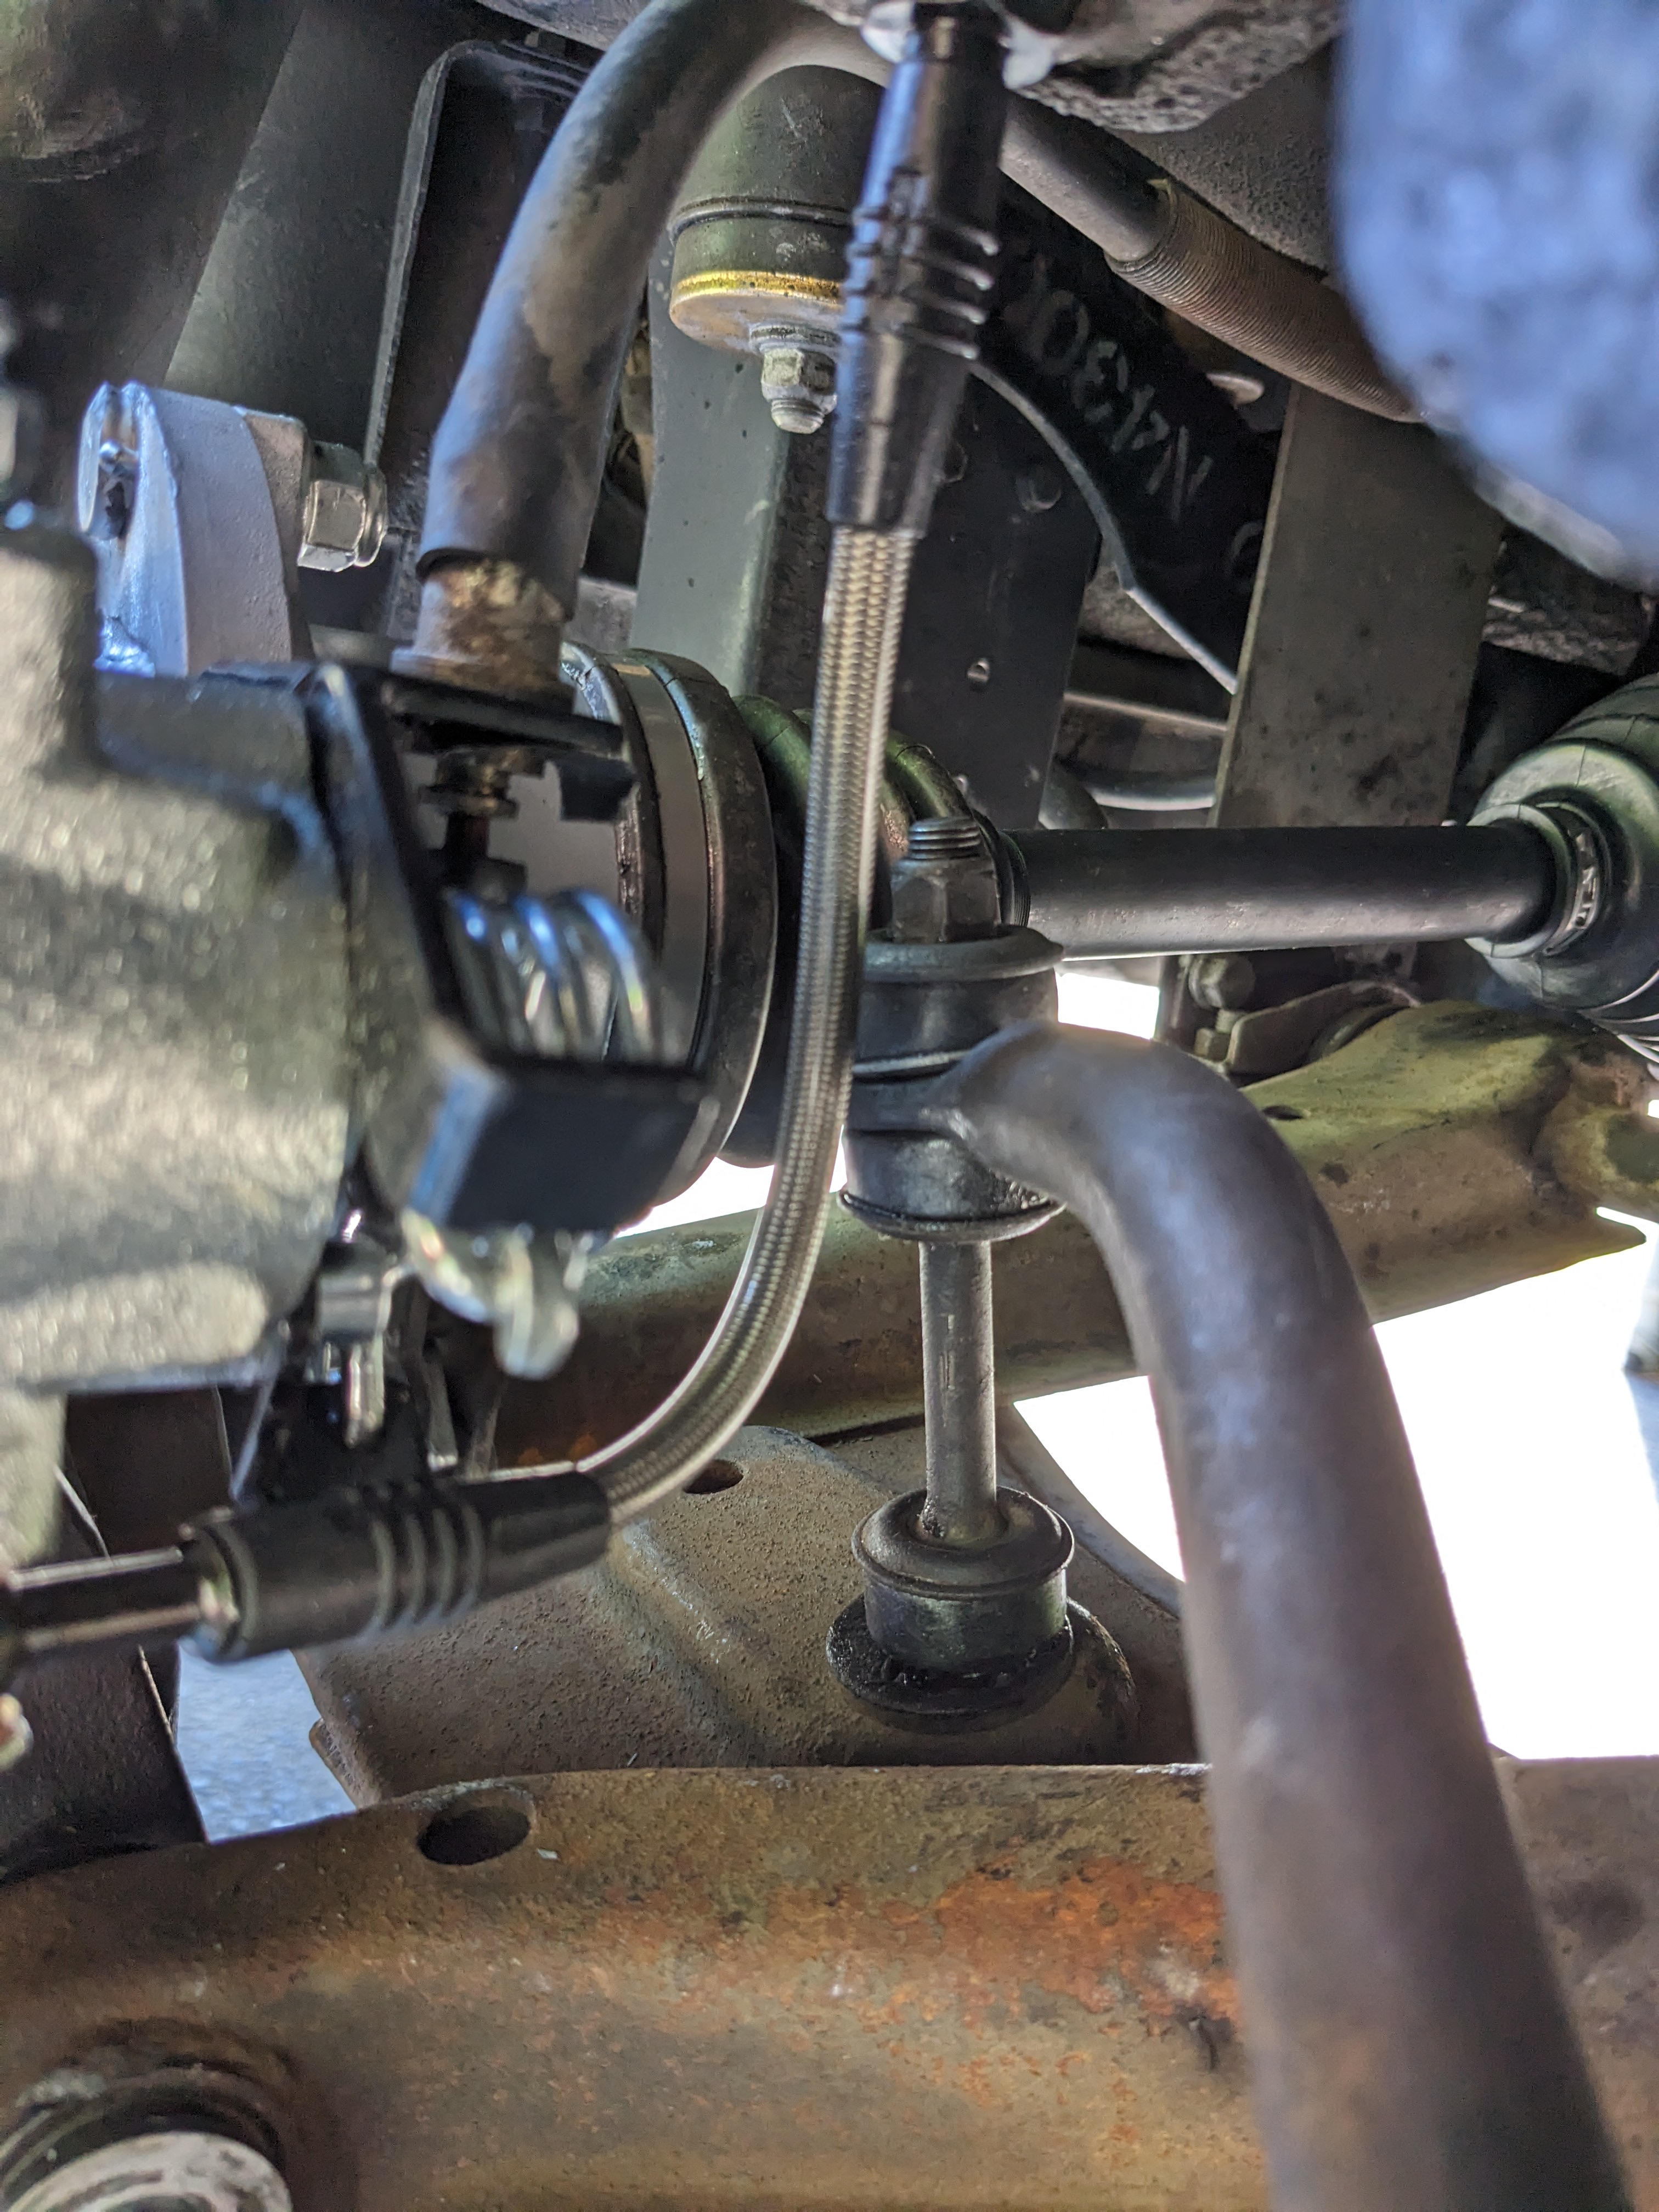
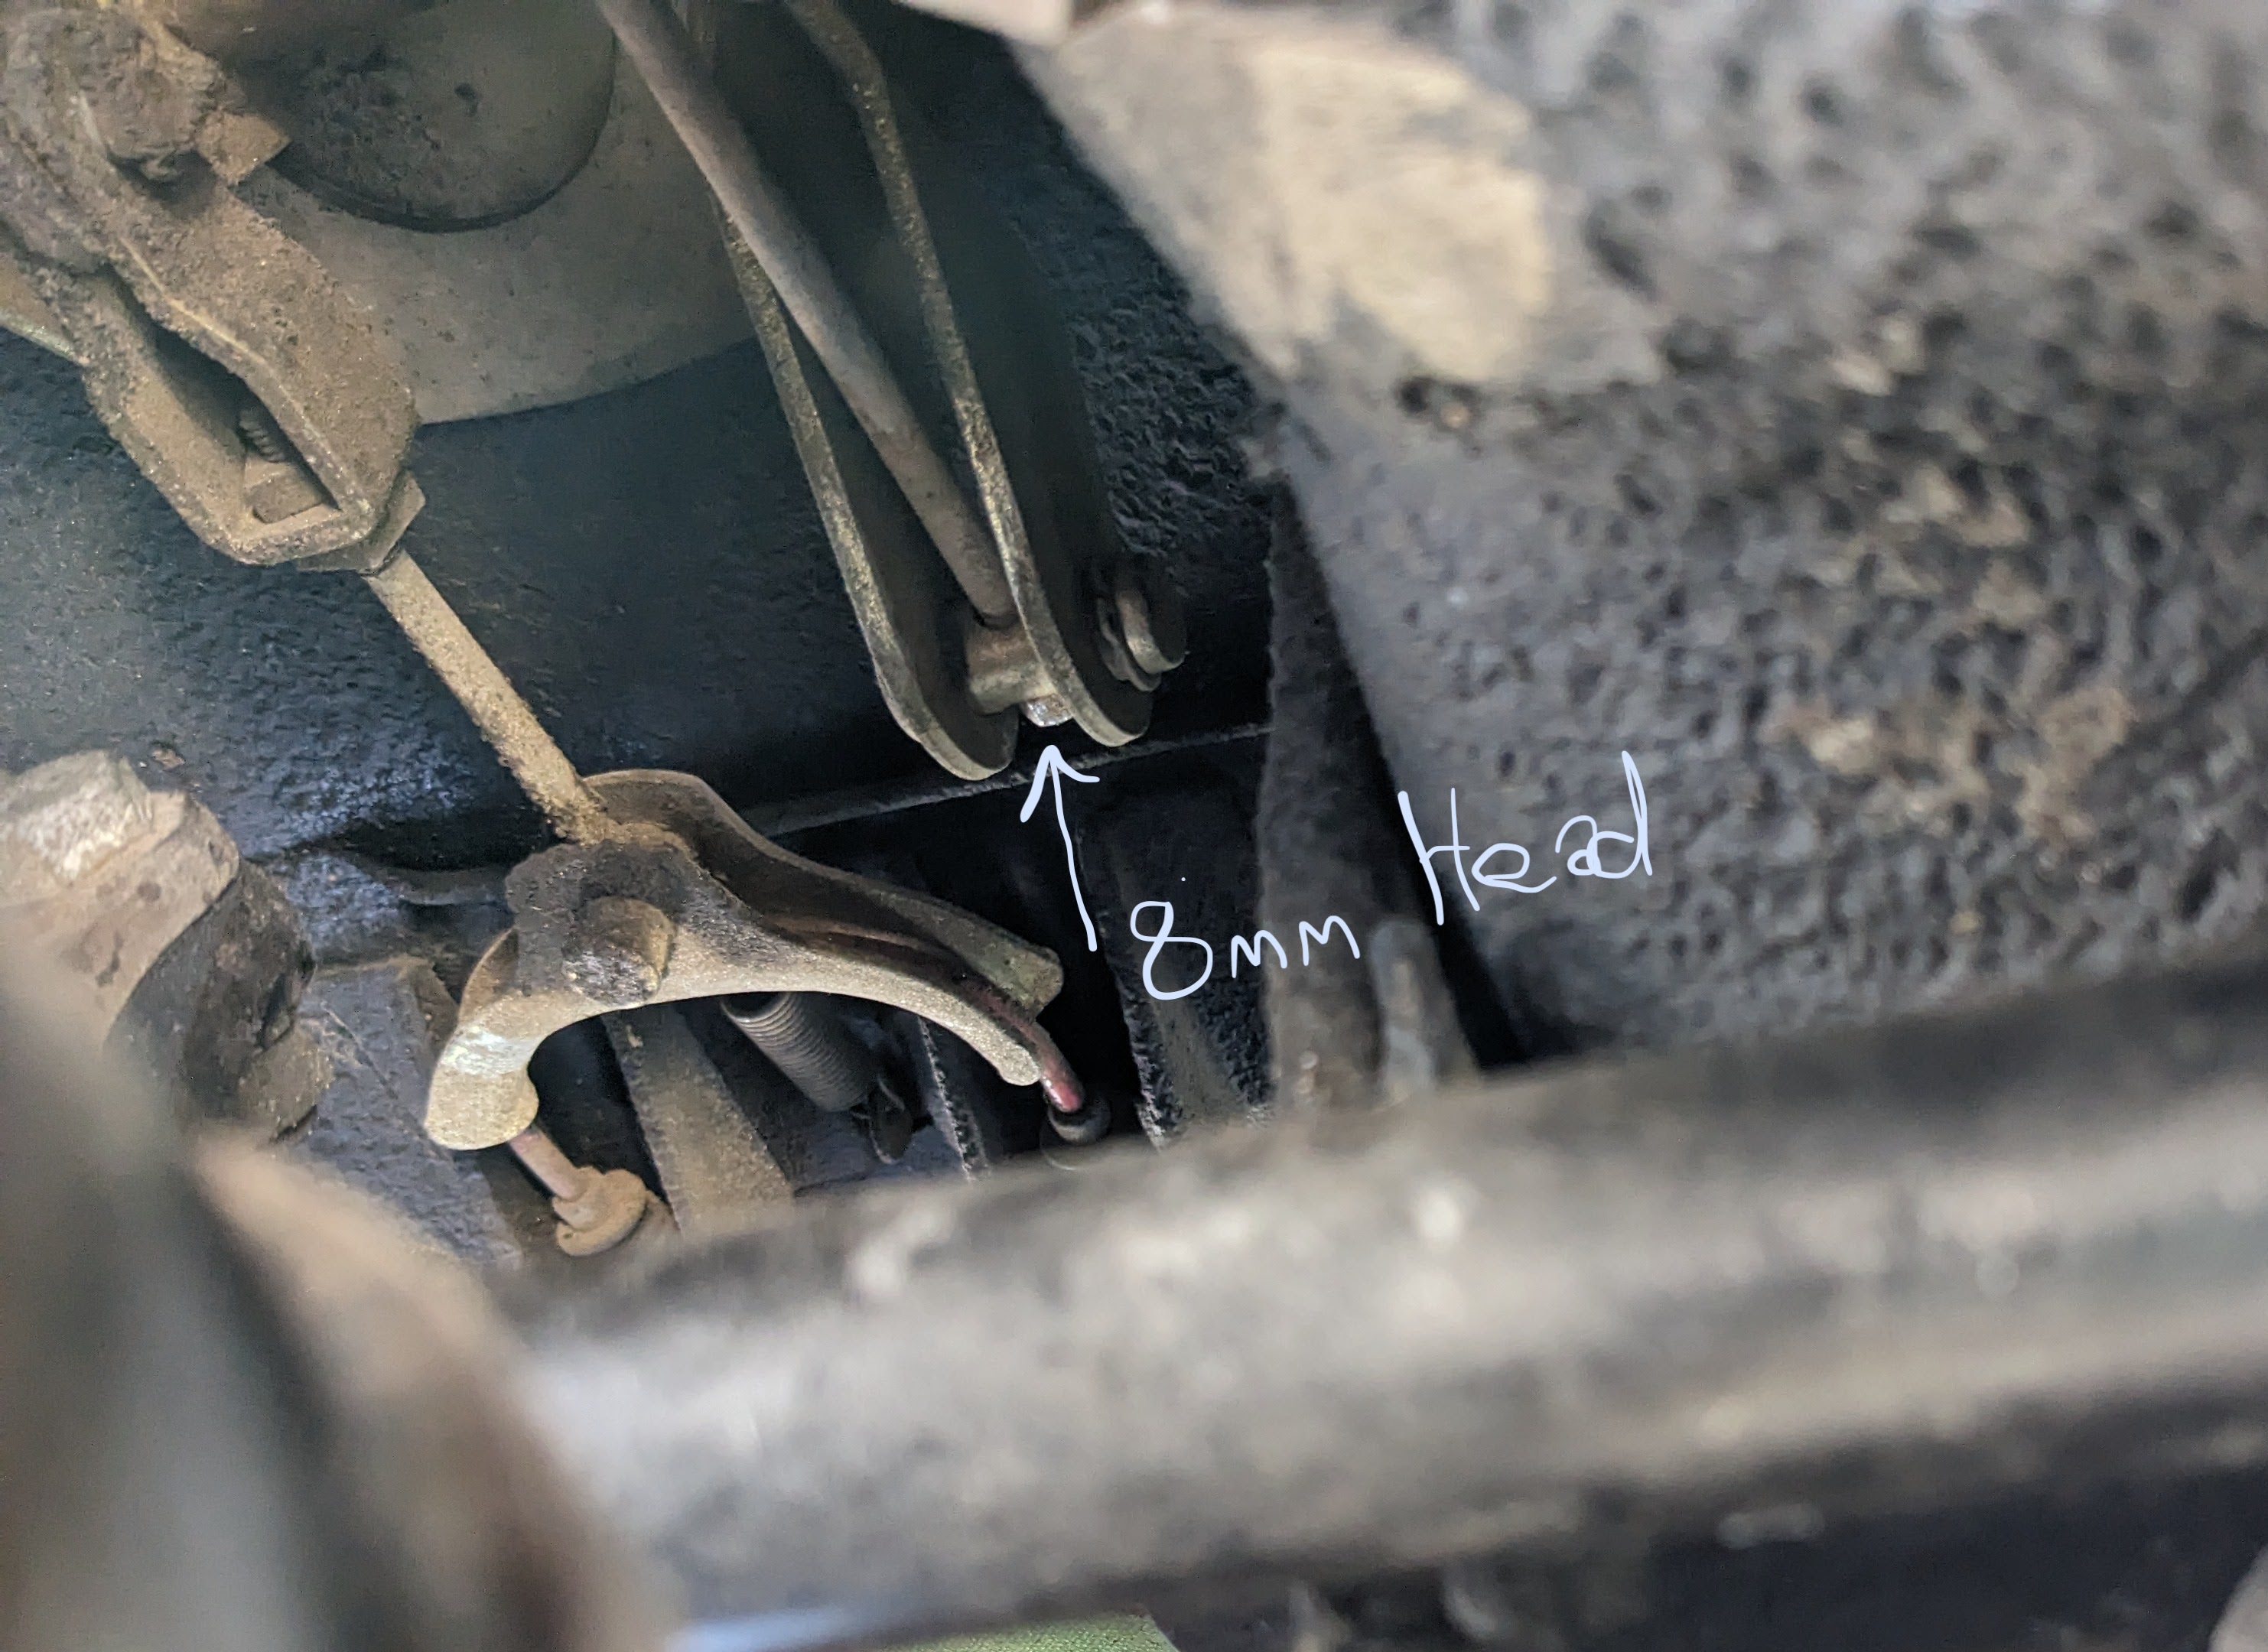
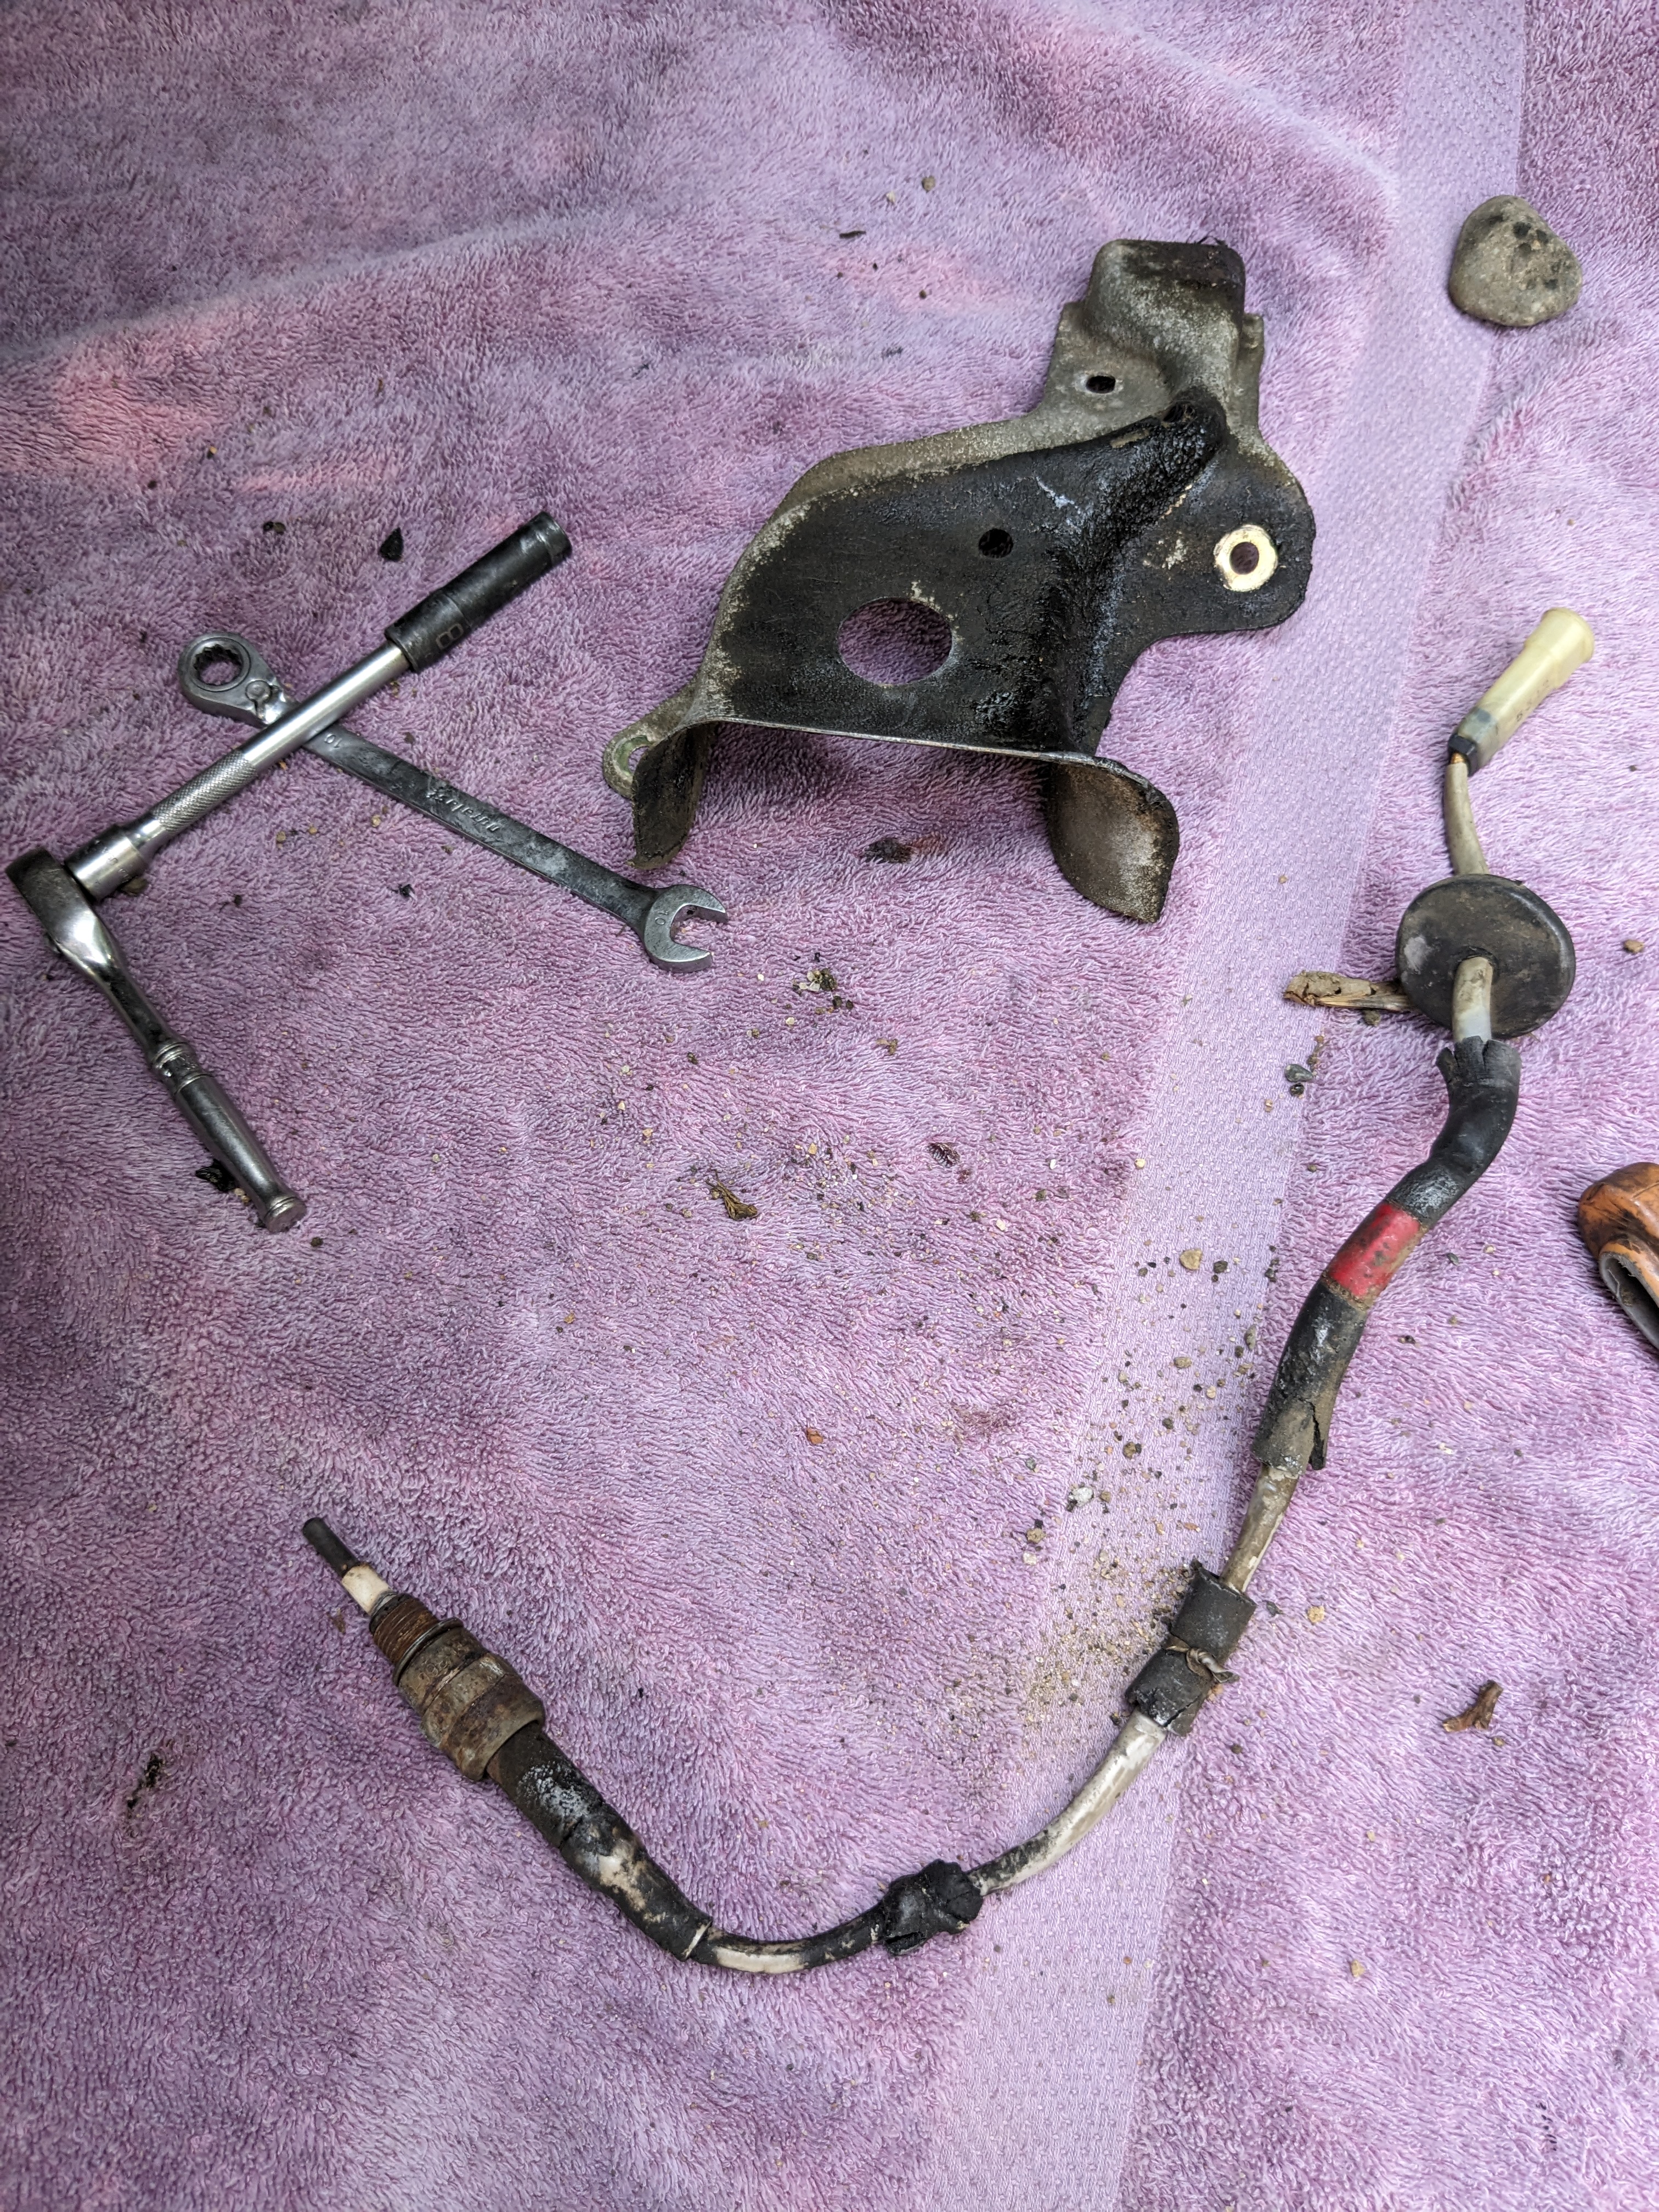
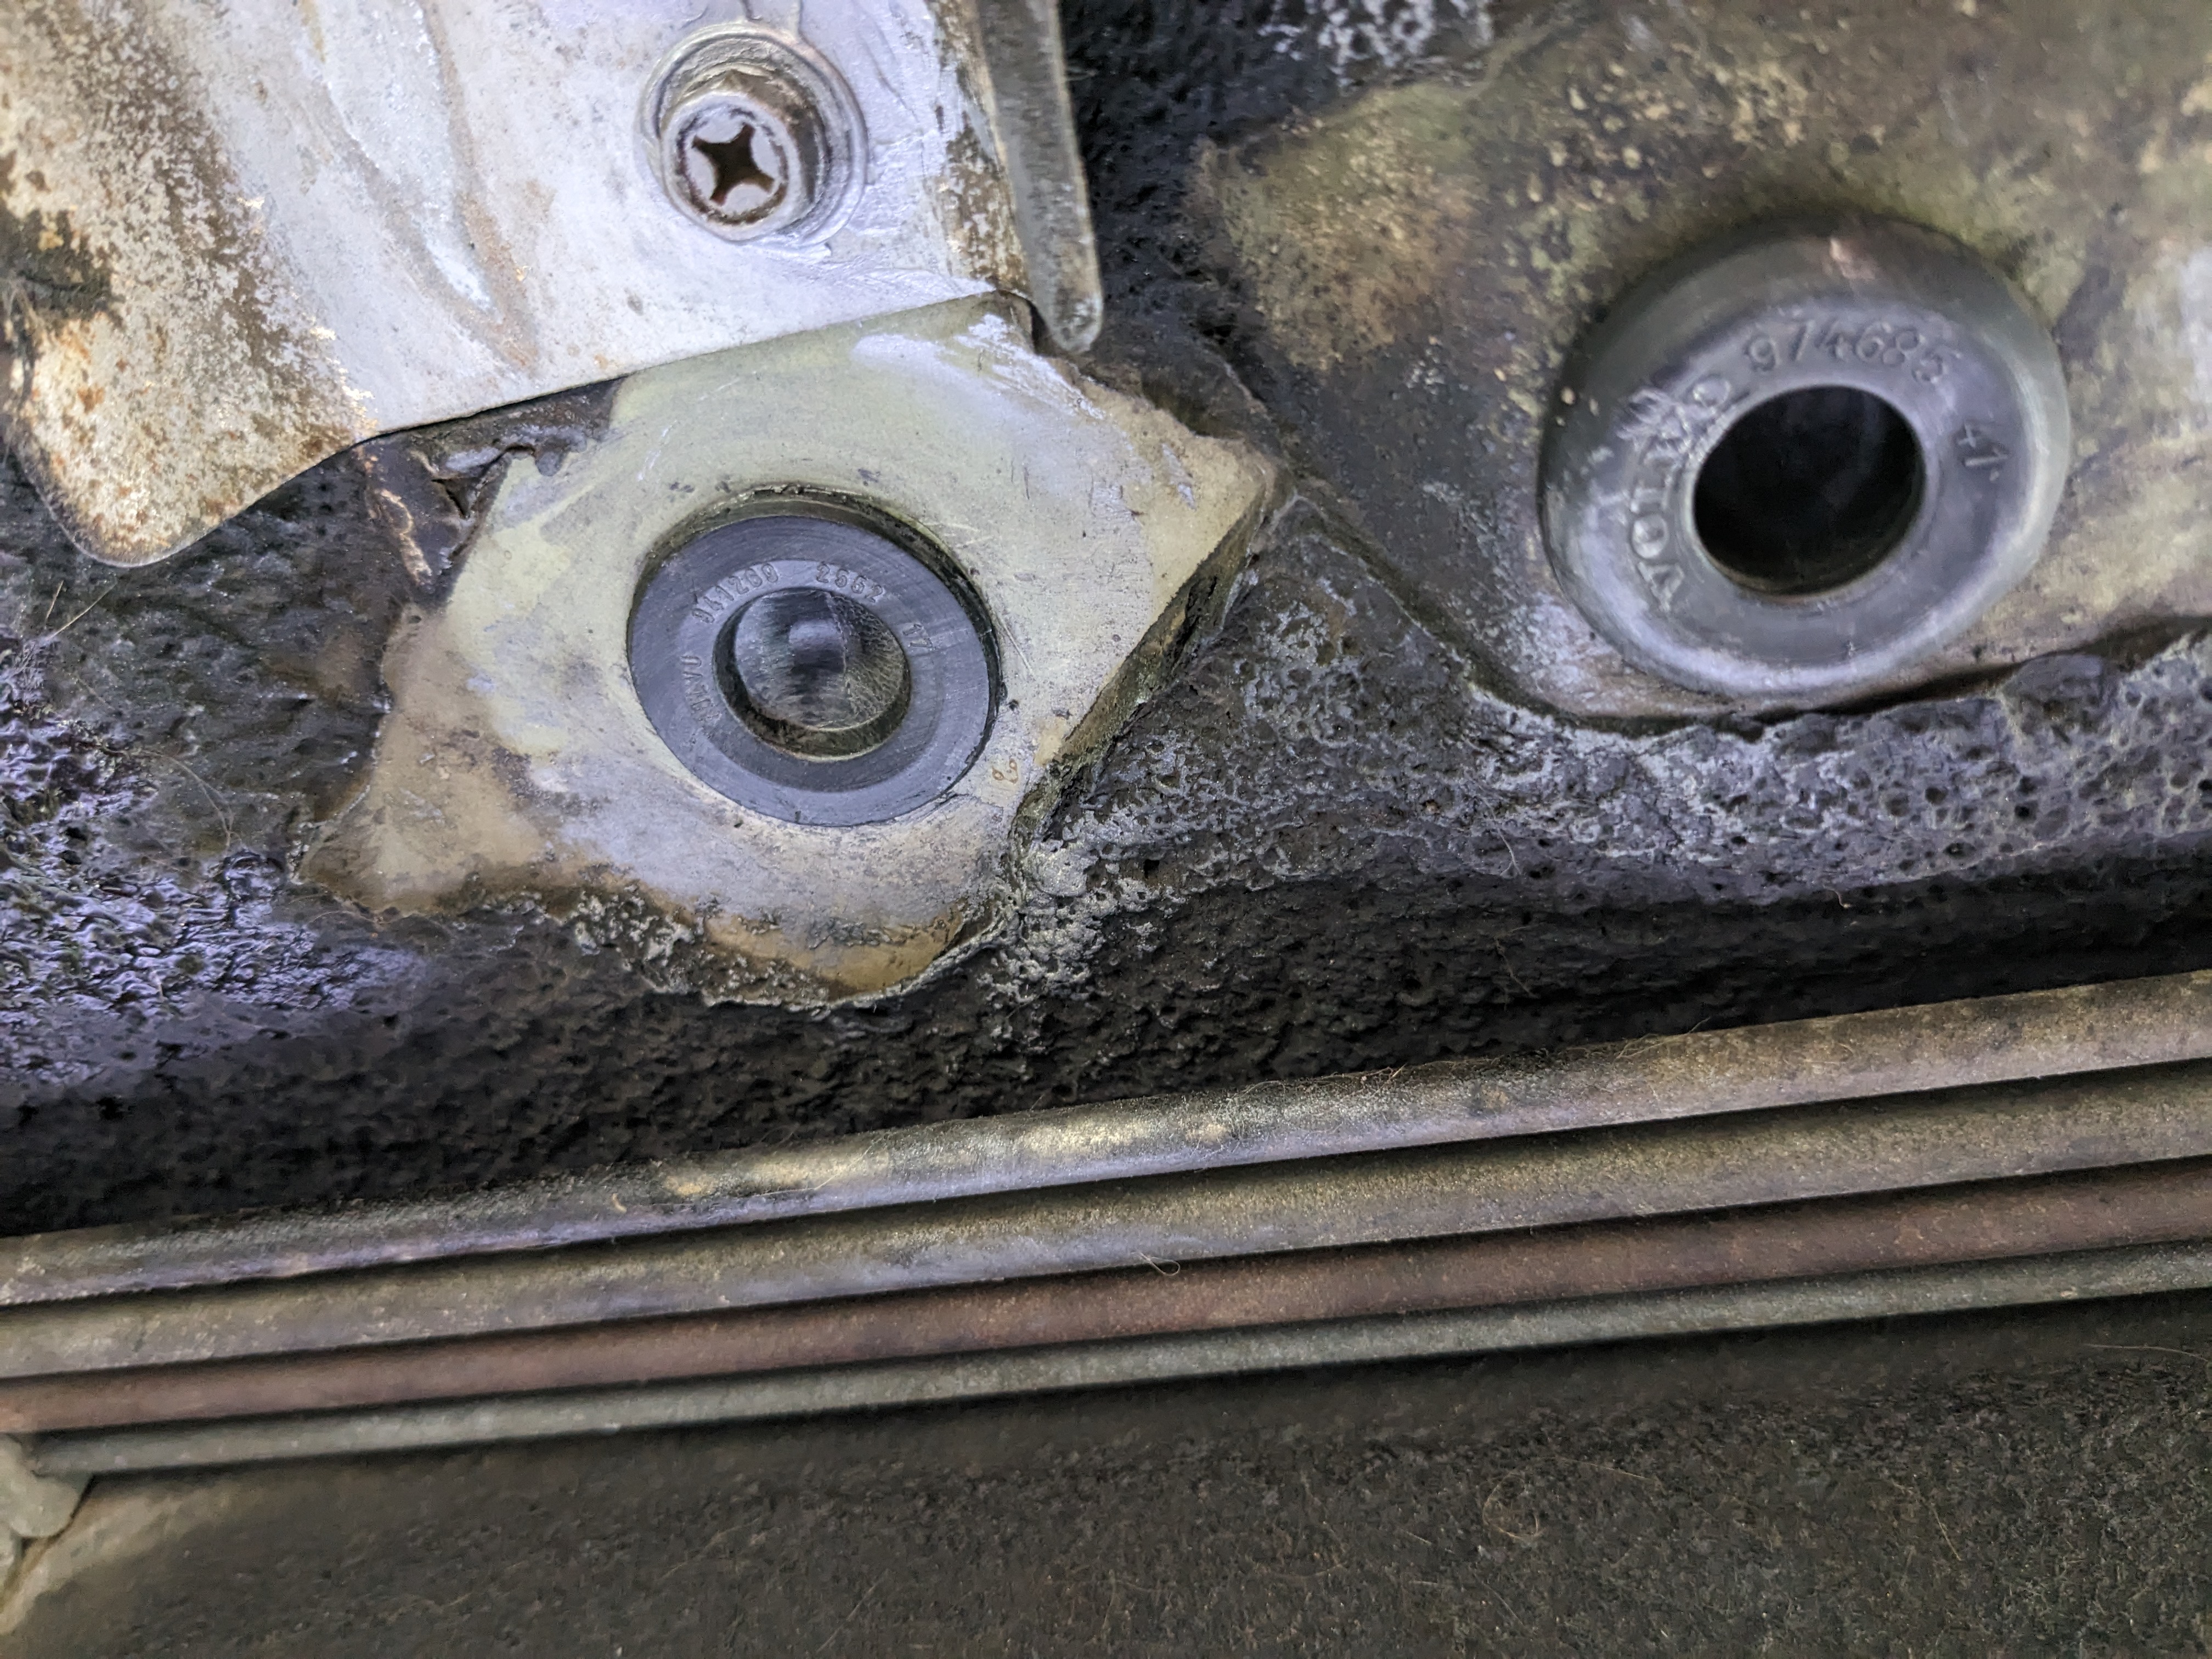
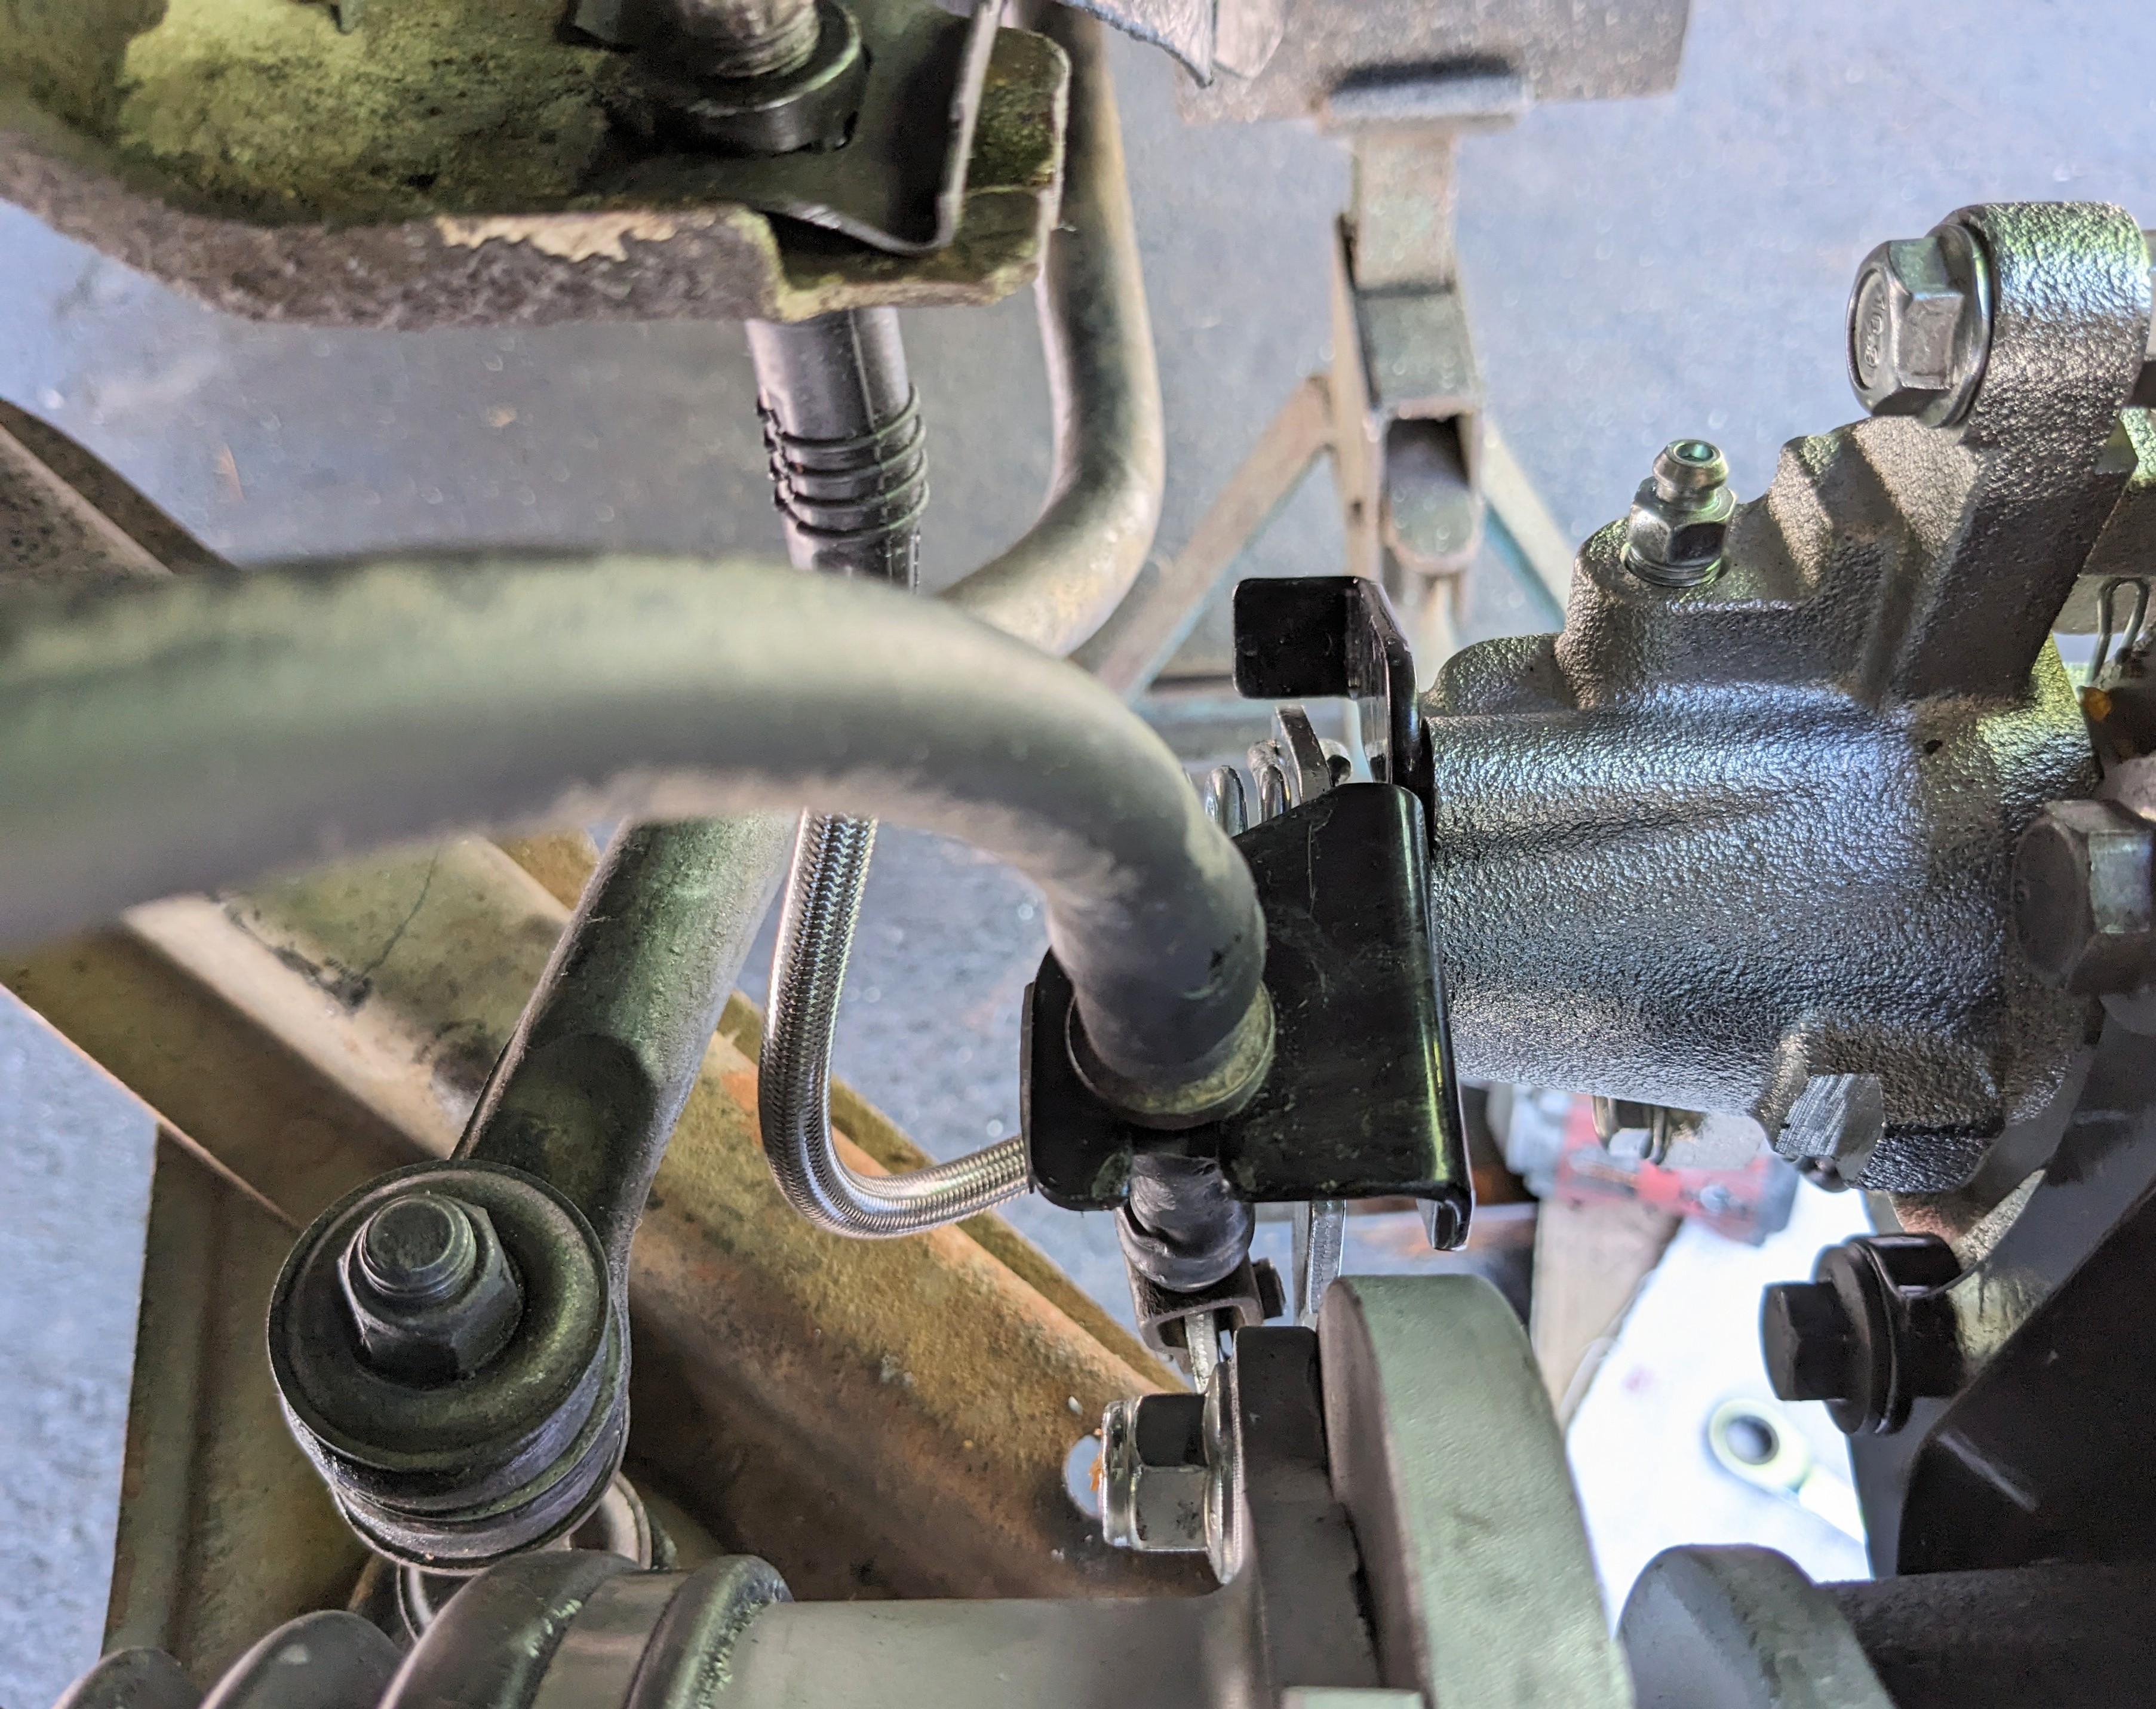
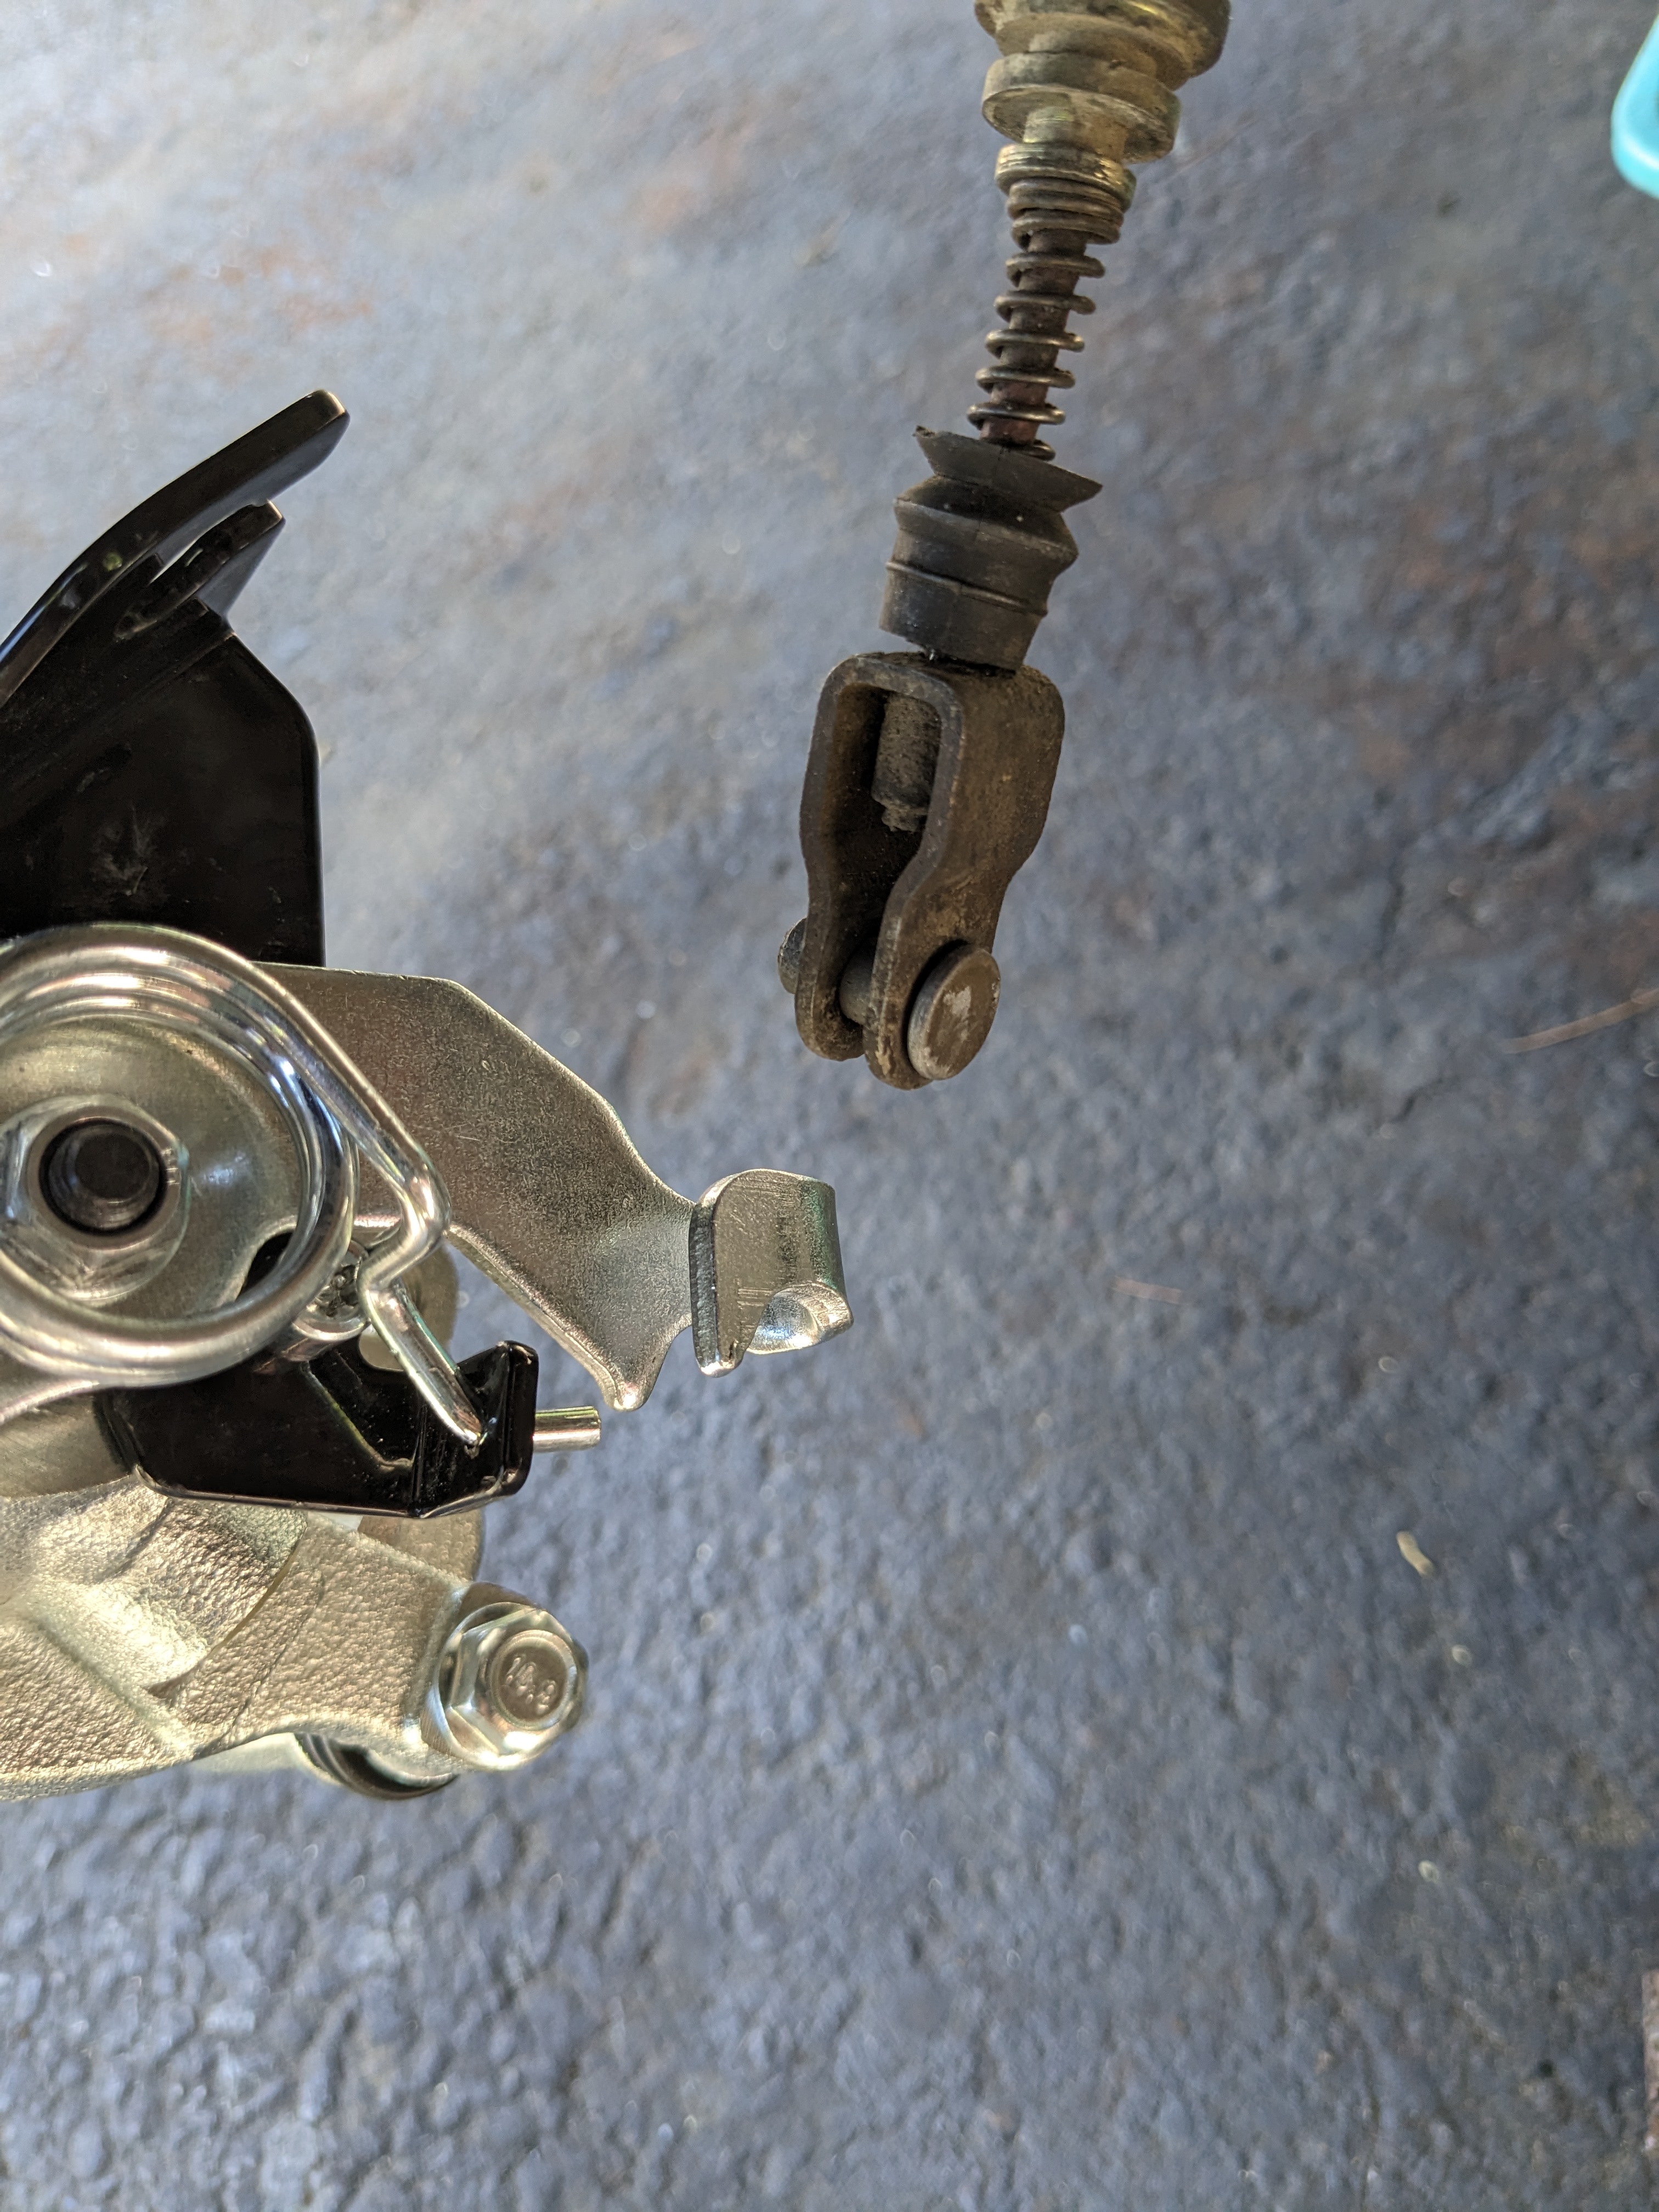
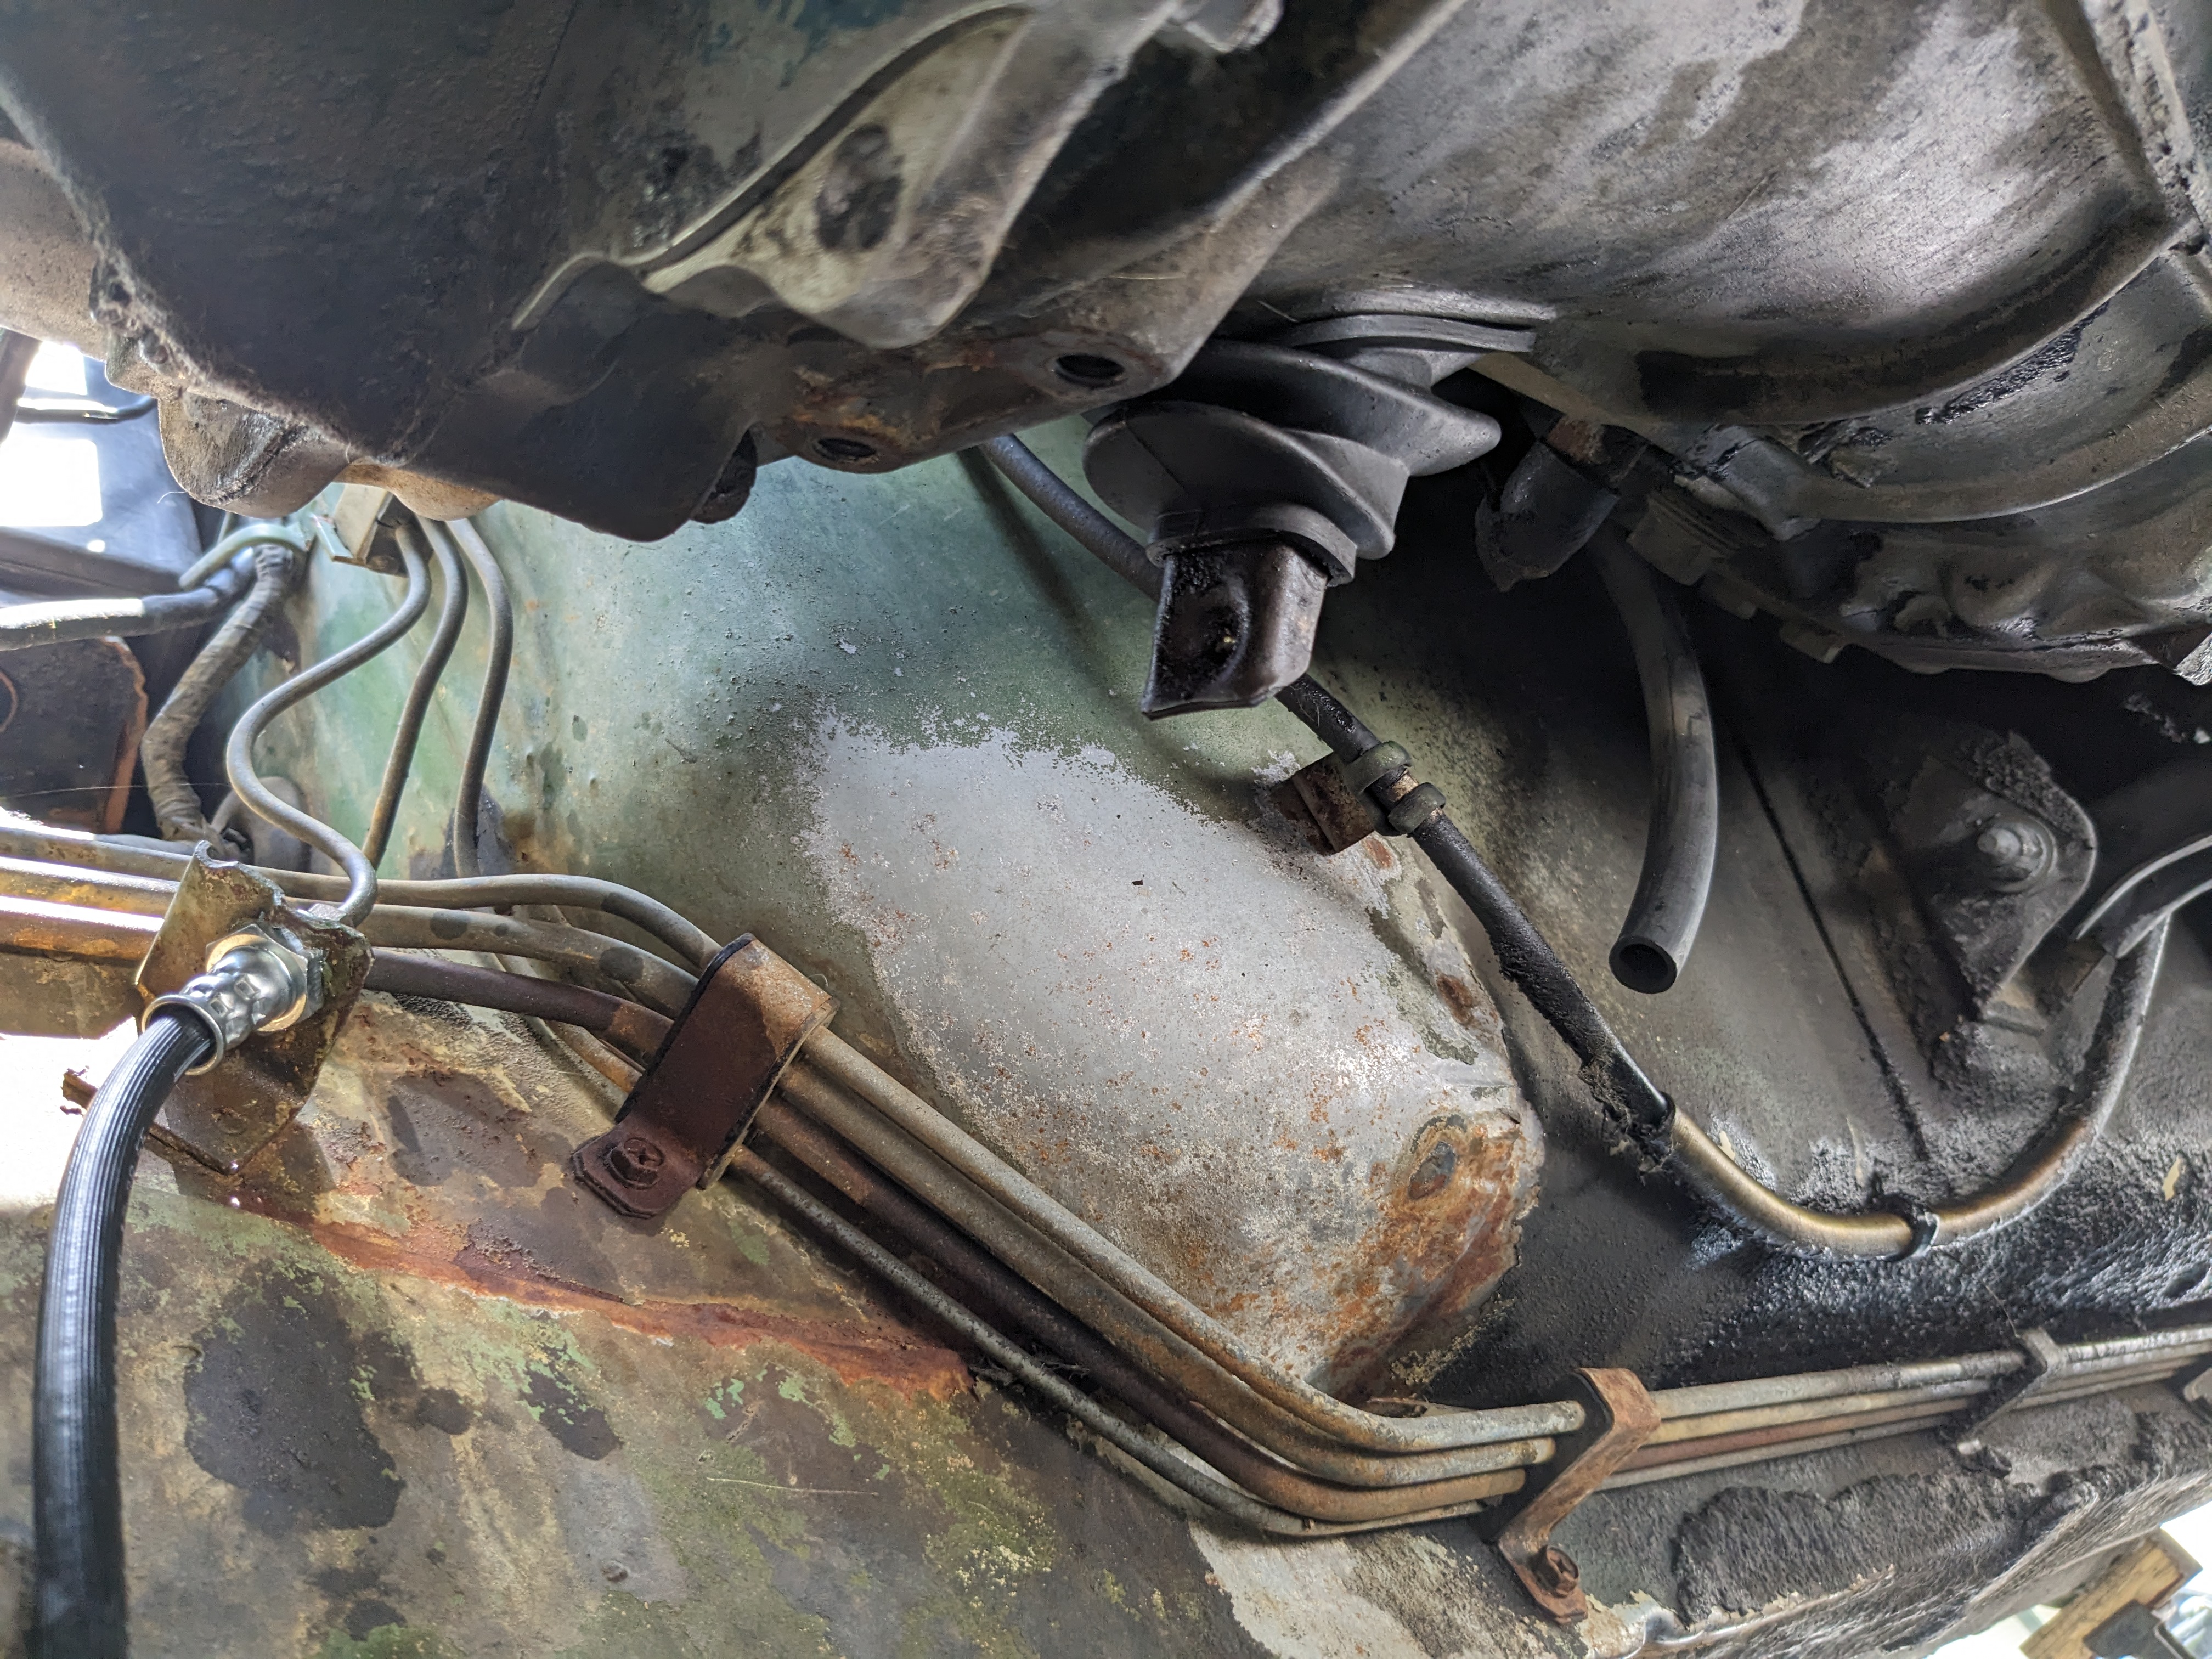
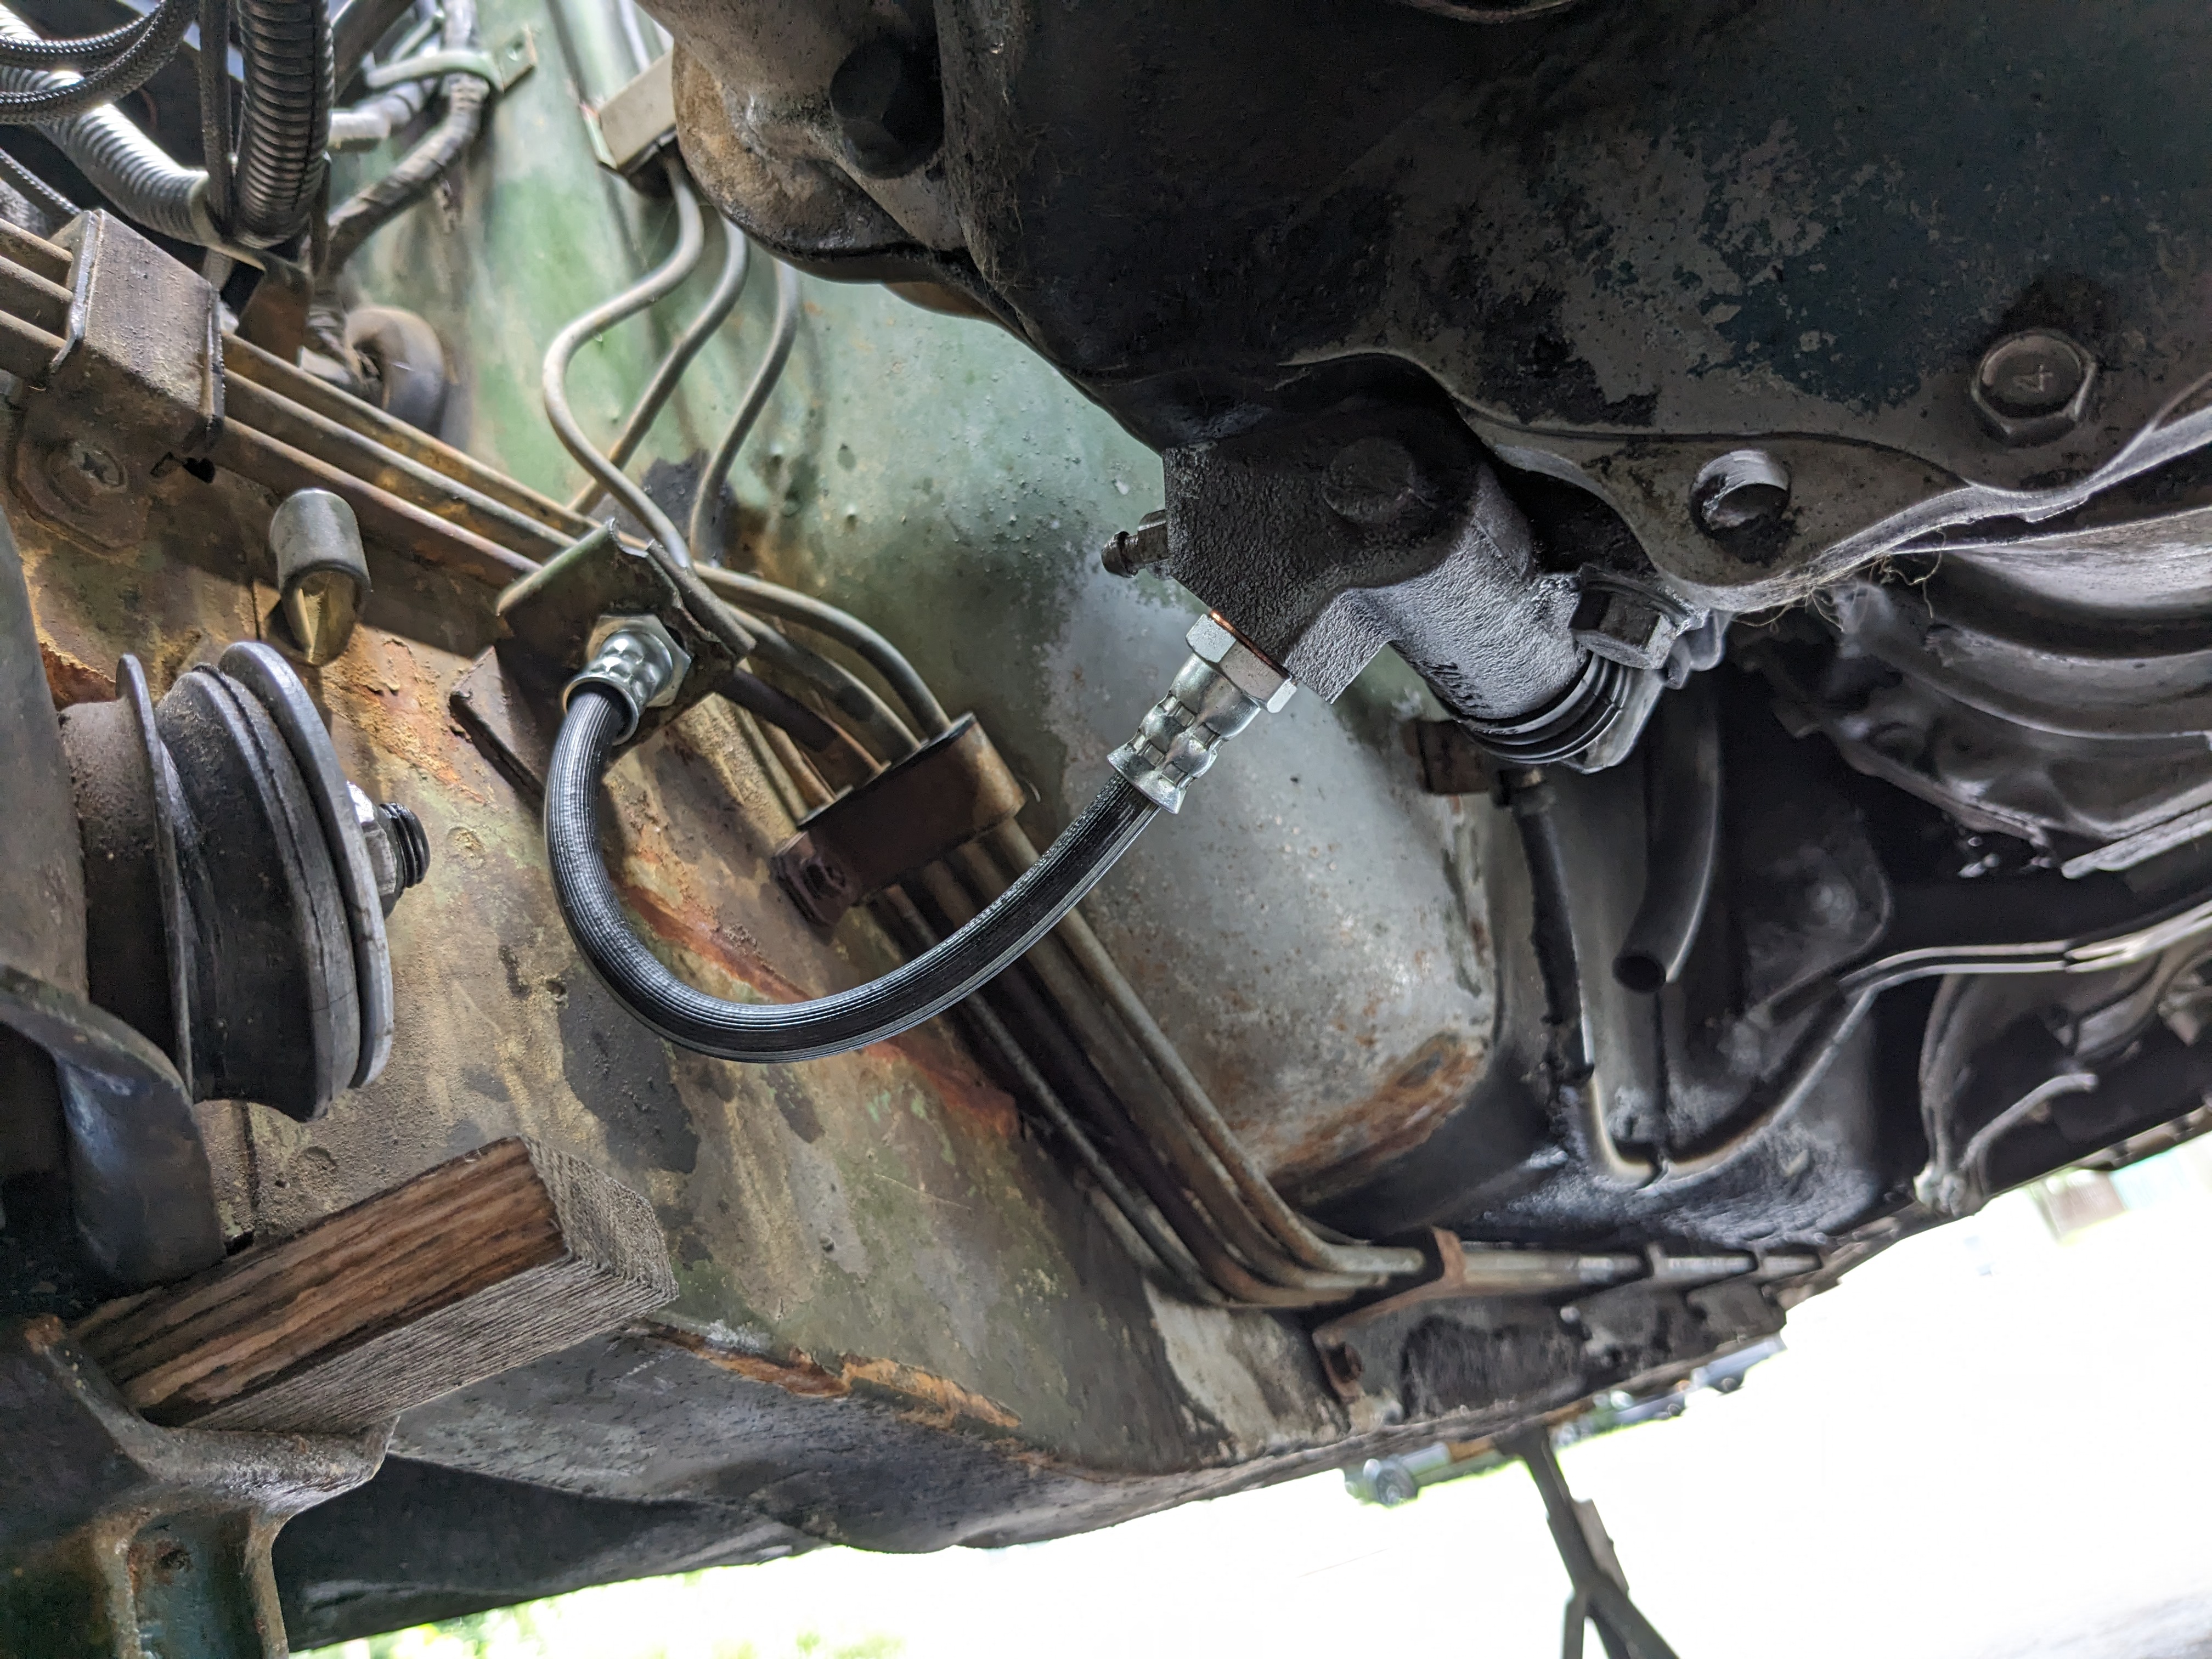
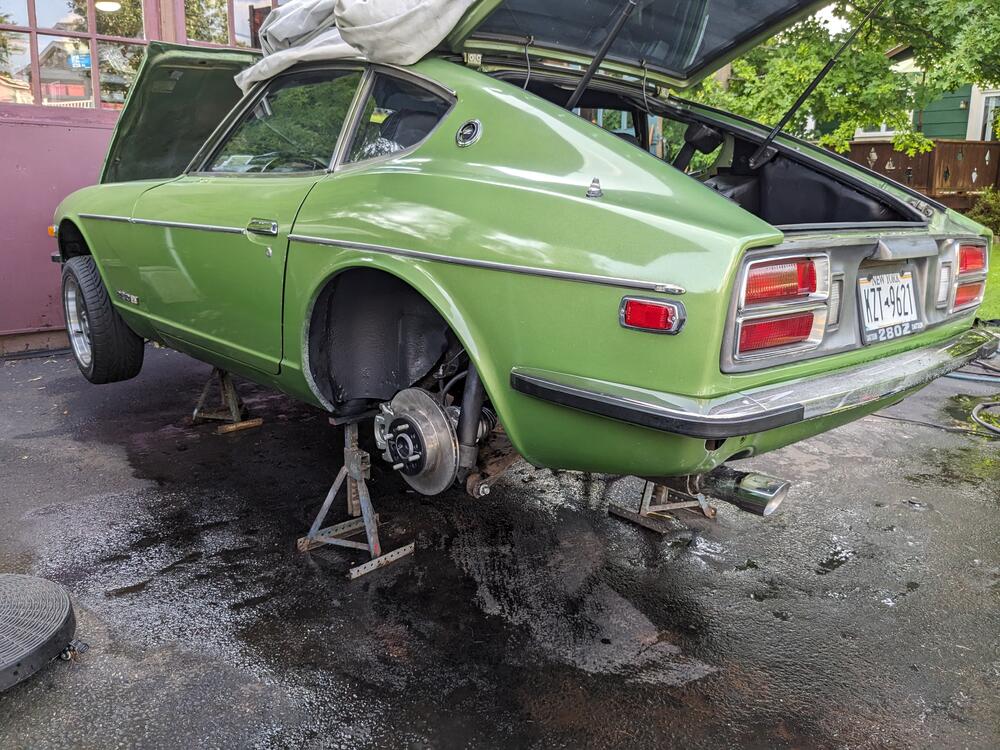
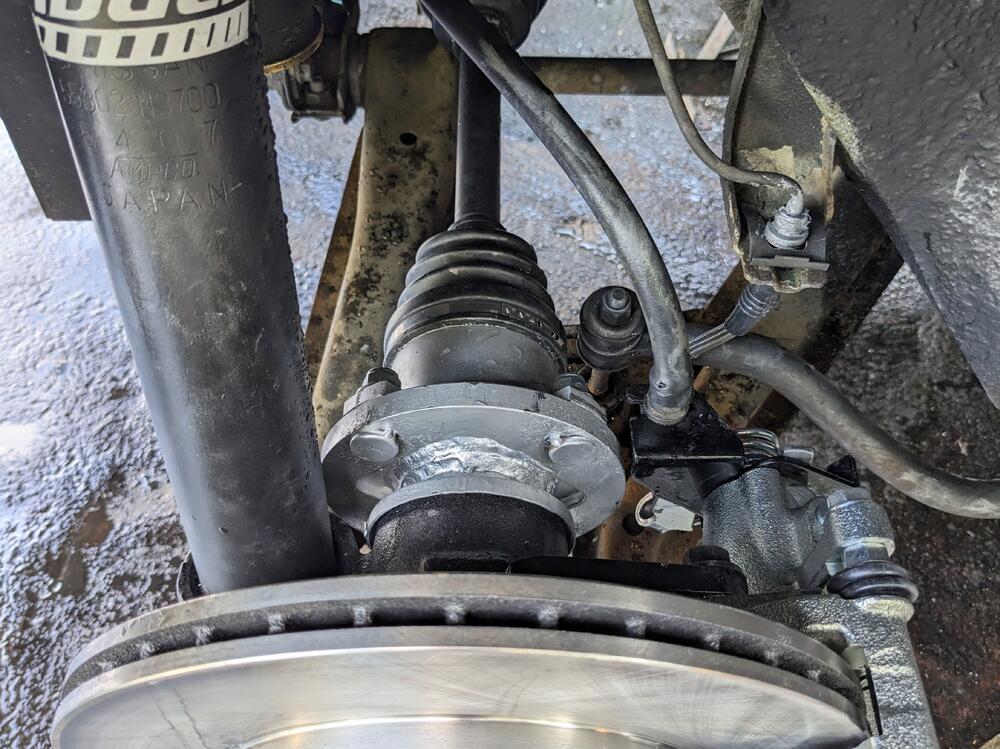
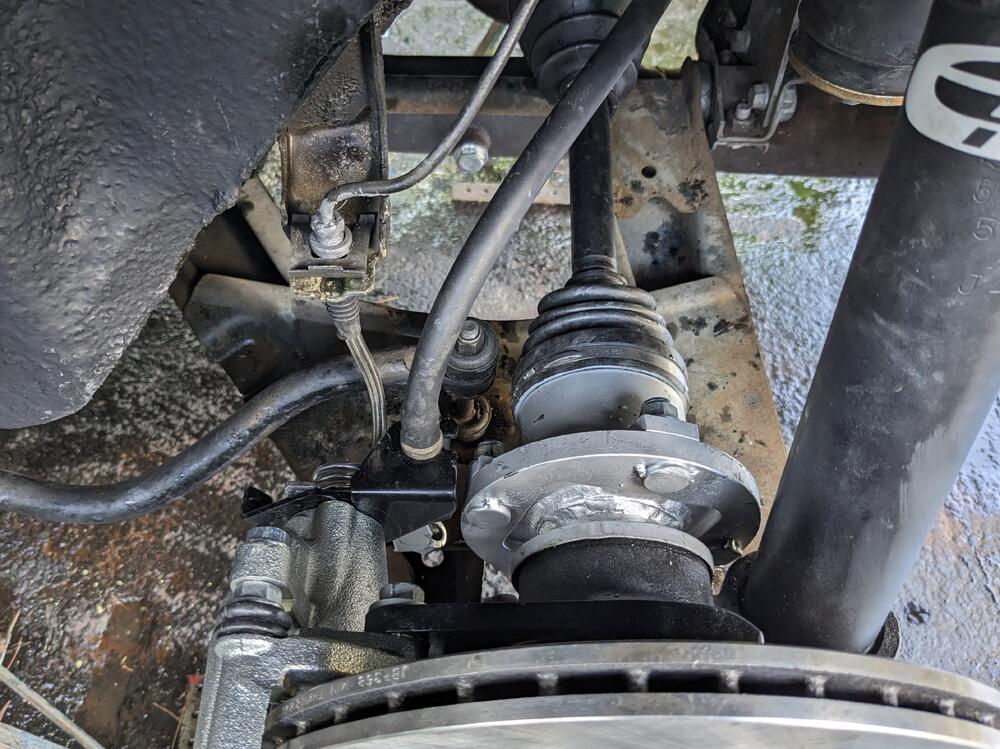
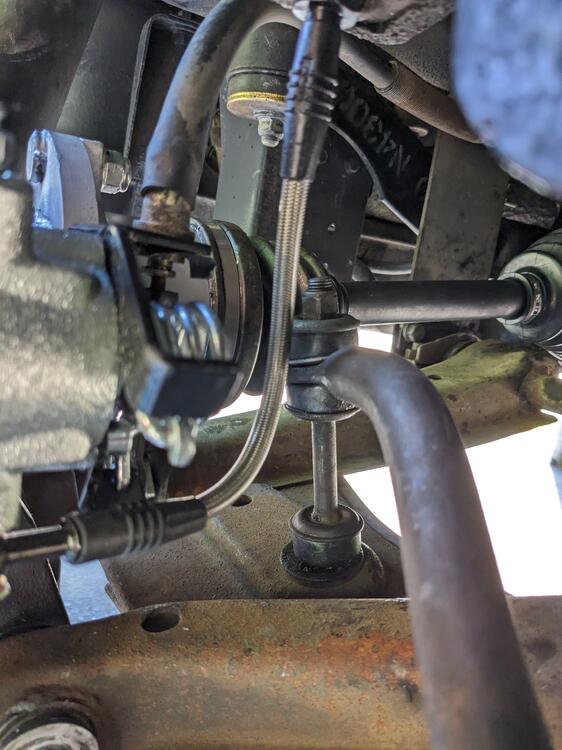
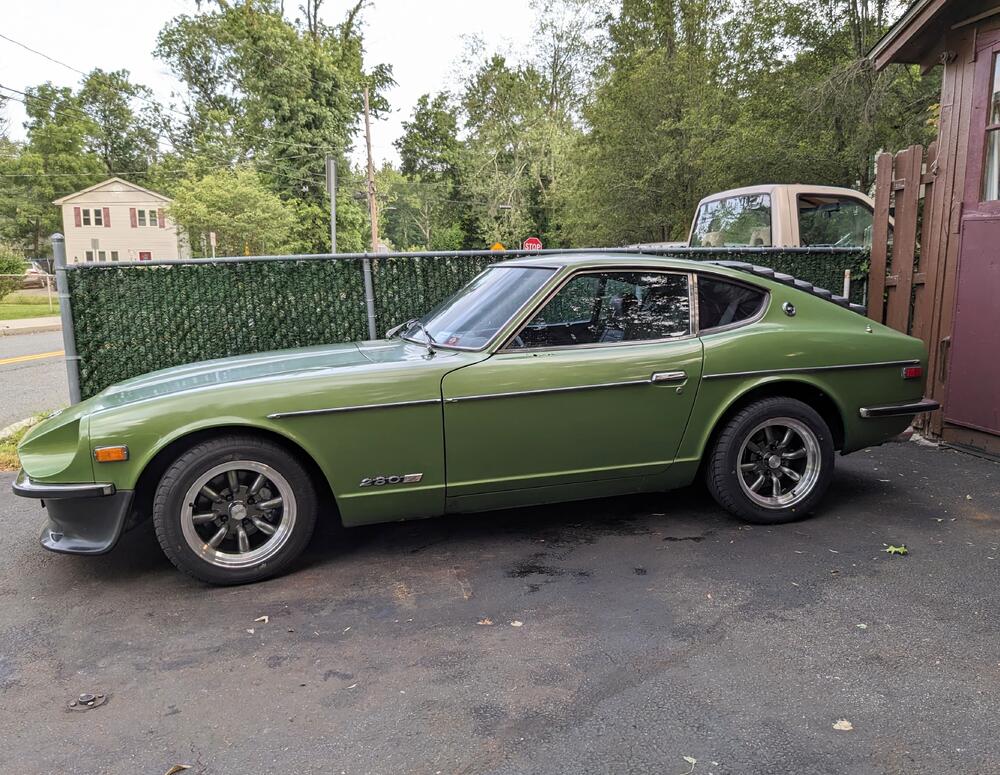
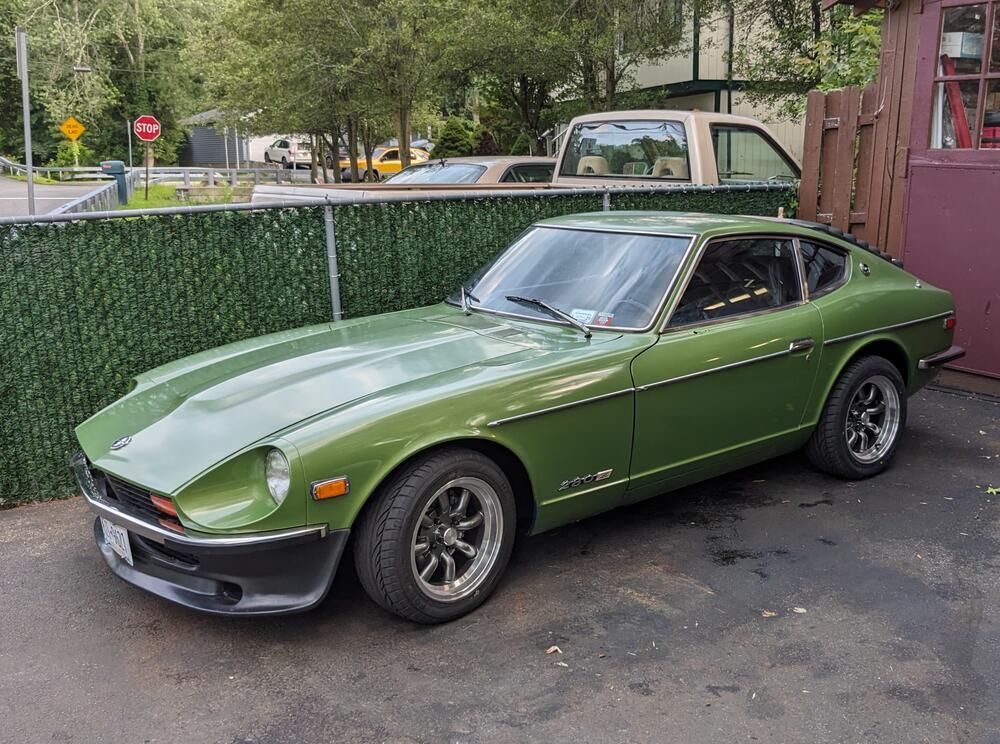
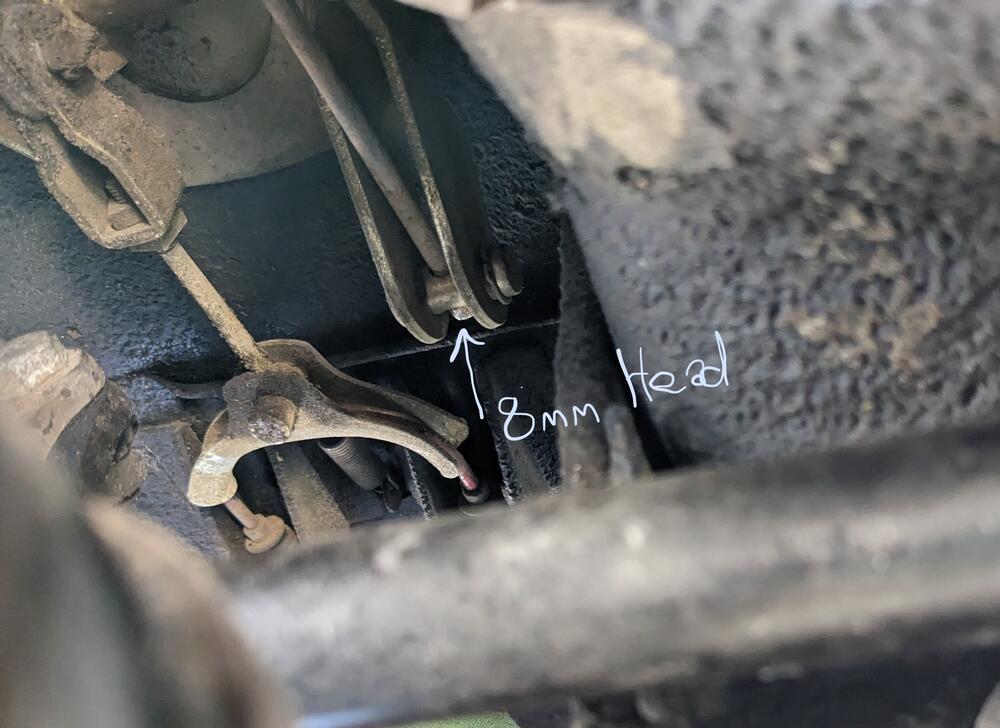
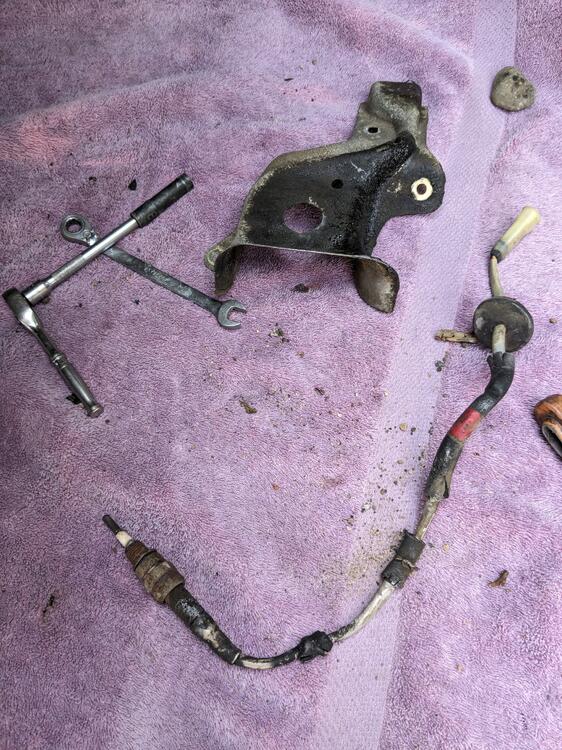
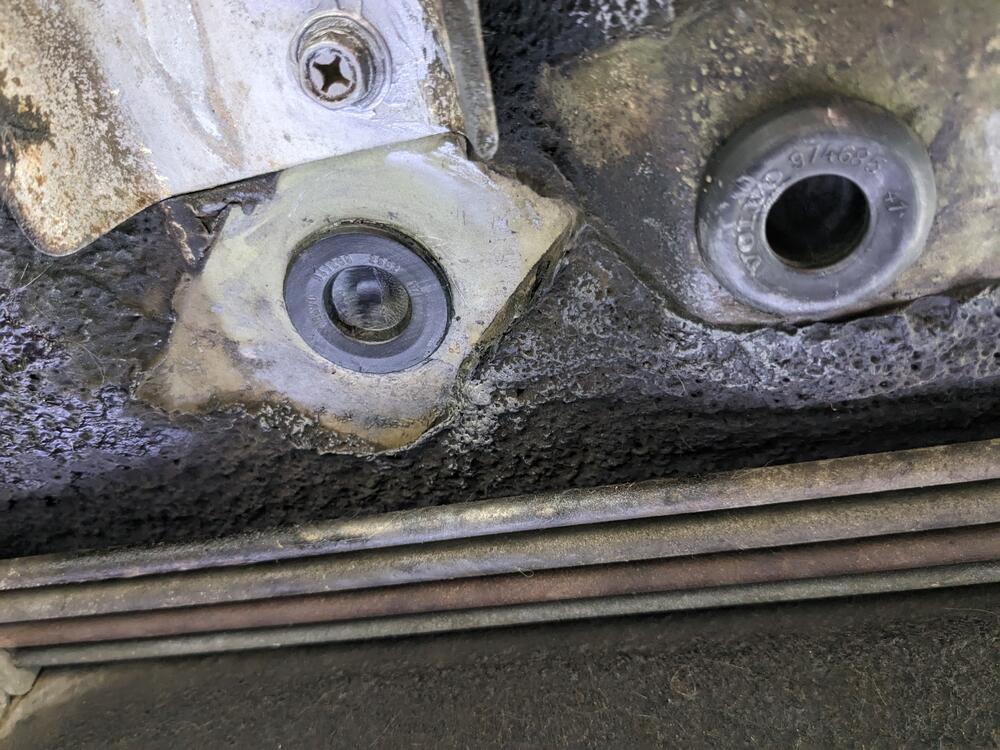
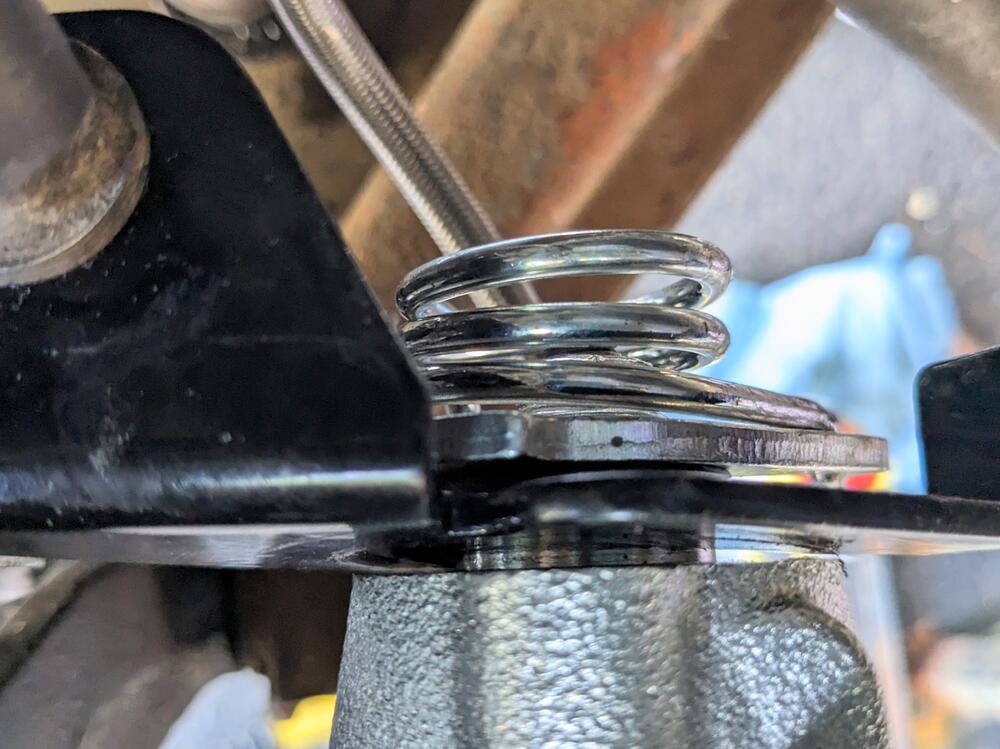
Cable attaches as I thought after looking at the pics I took Getting all the cables / hoses routed nicely. Used a vacuum- bleeder after this to get the rears bled (Dot 3). adjusted the cable to get enough slack. Looking online, there are ppl using pliers to turn the rod - I realized that the rod end is 8mm, just have to turn it had dropped the heat shield to get better access - so I removed the Cat heat sensor & shield while I was in there Volvo grommets to fill that & another hole problem with MilkFab cable bracket - it flexes significantly when cable is operated. I've emailed MilkFab about it car in the air, did some more power washing before putting wheels back on wheels on, after driving to settle the suspension - when I first took it off the stands, it looked like monster-truck arch clearance. Still would like it lower, but roads around here are not great & the town had speed bumps all over. Feels so much better on the road now, it was horrible with all the worn parts.
-
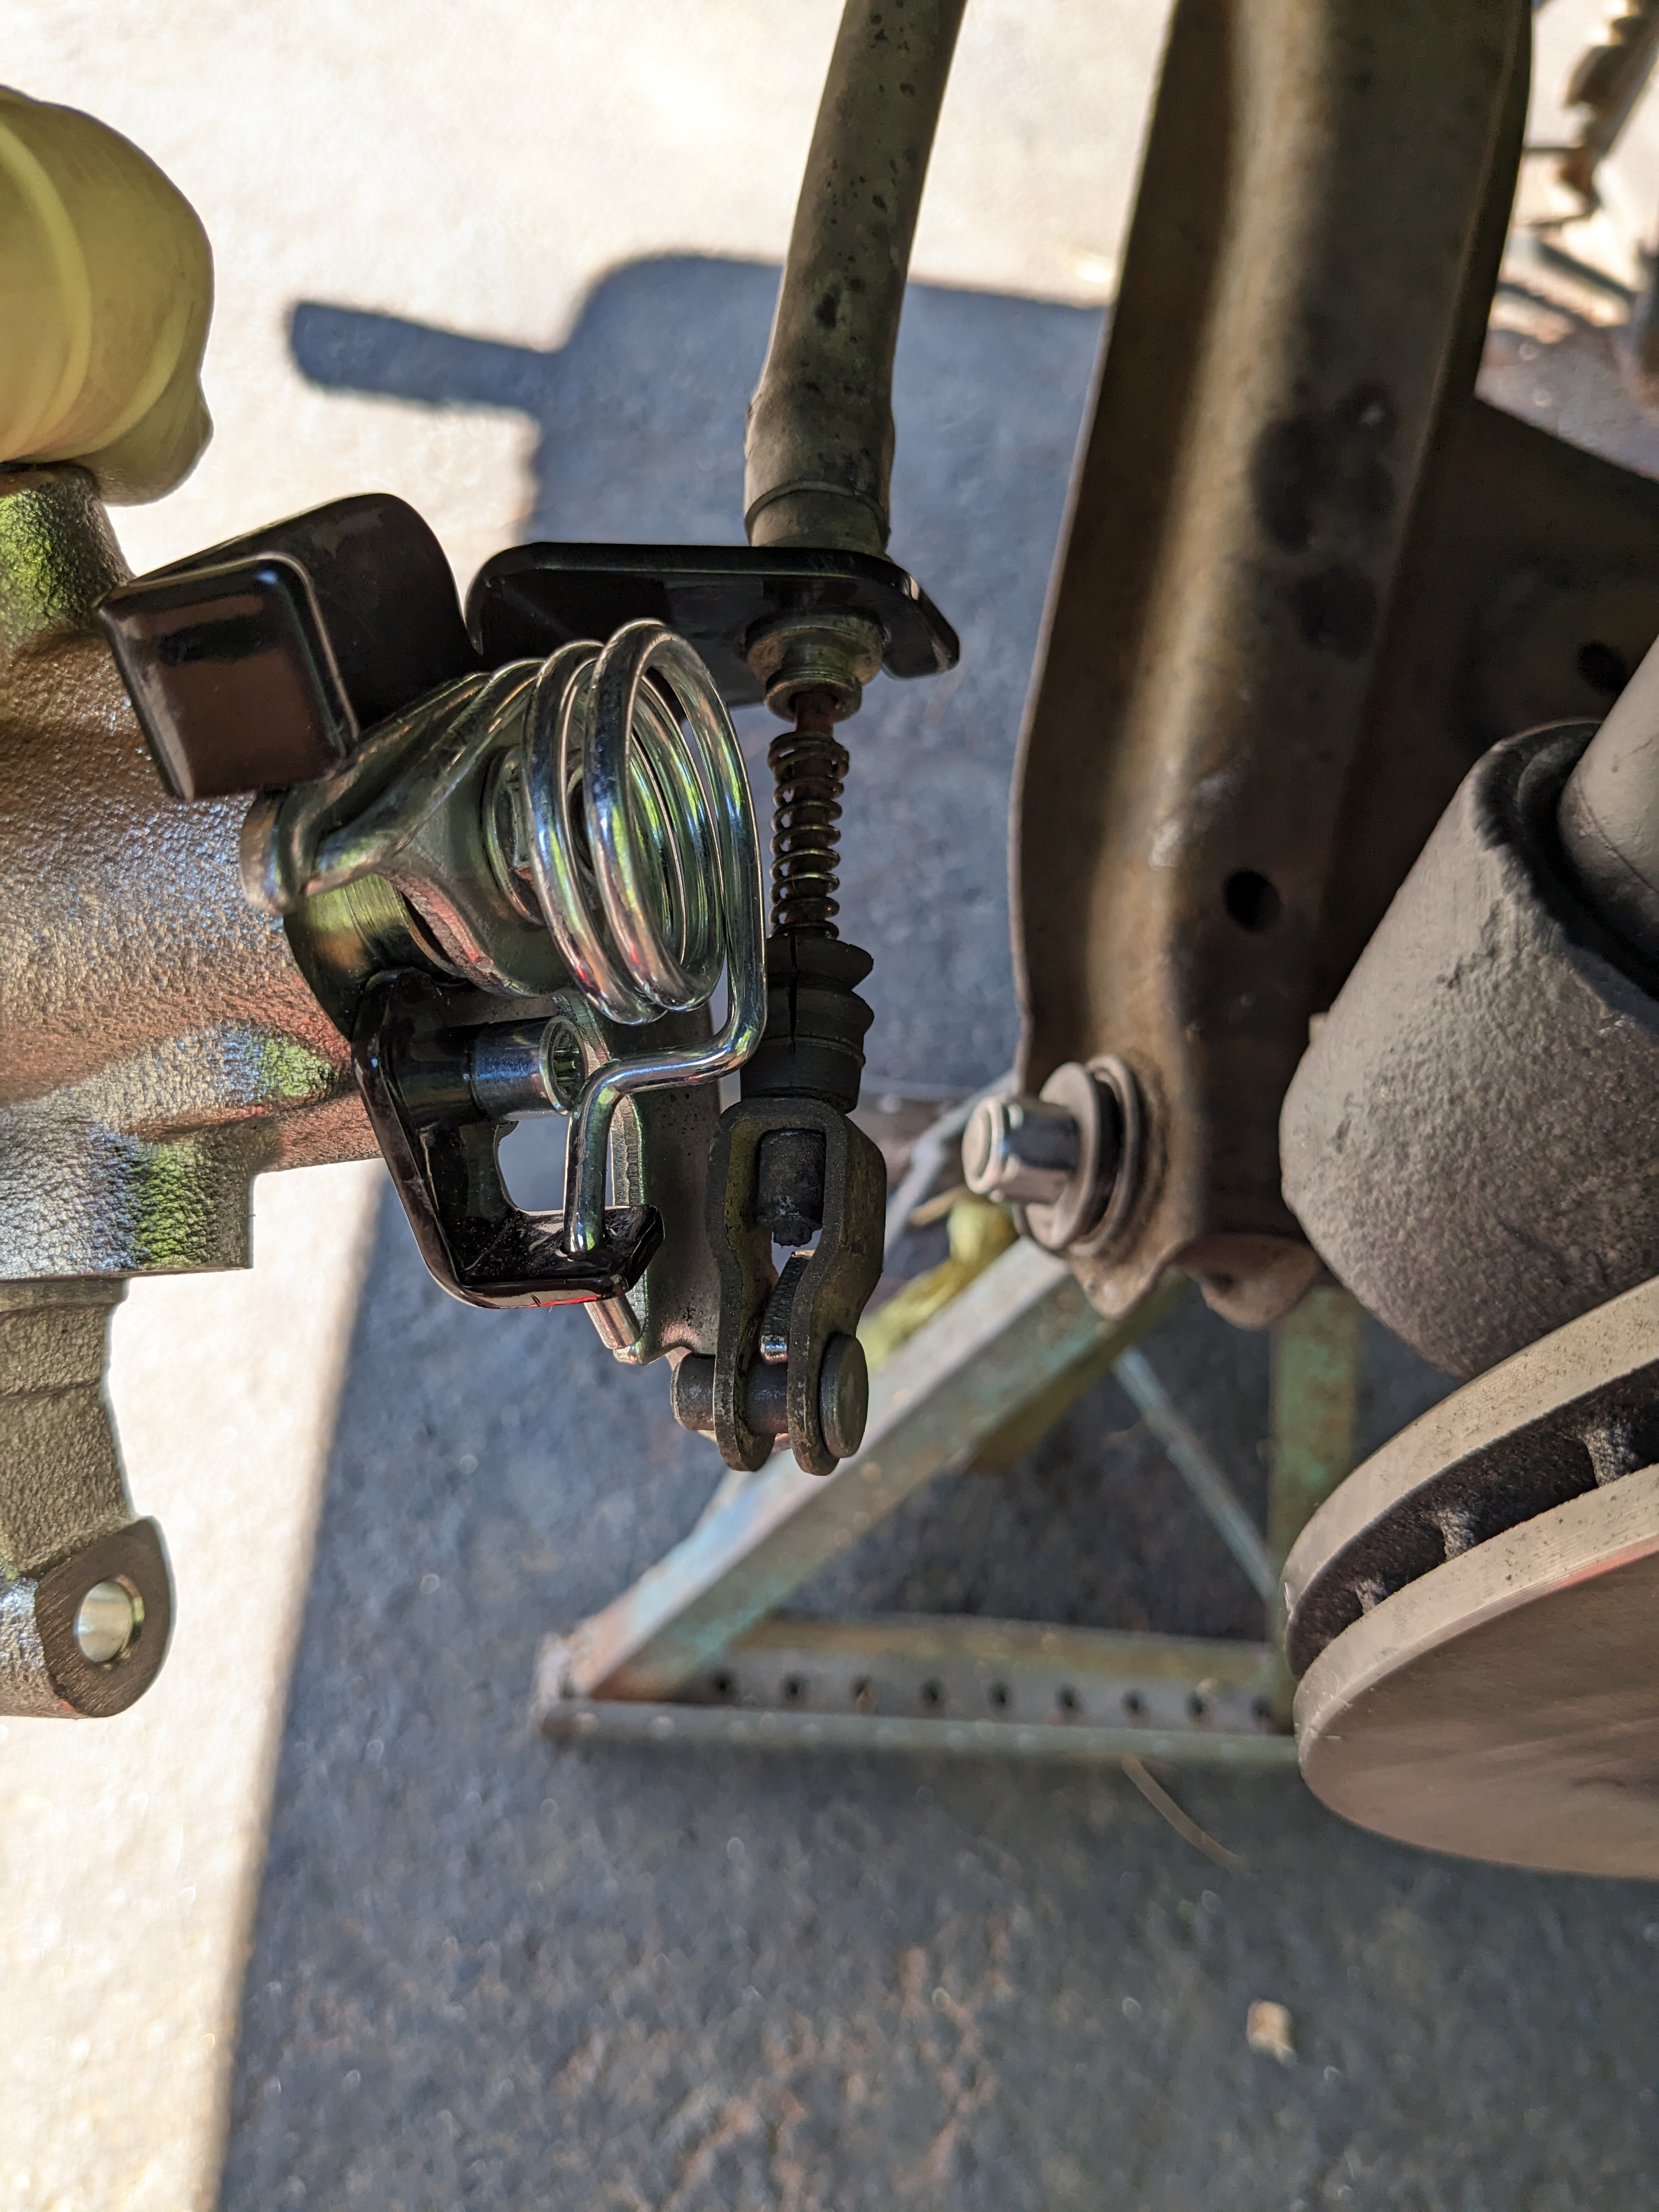
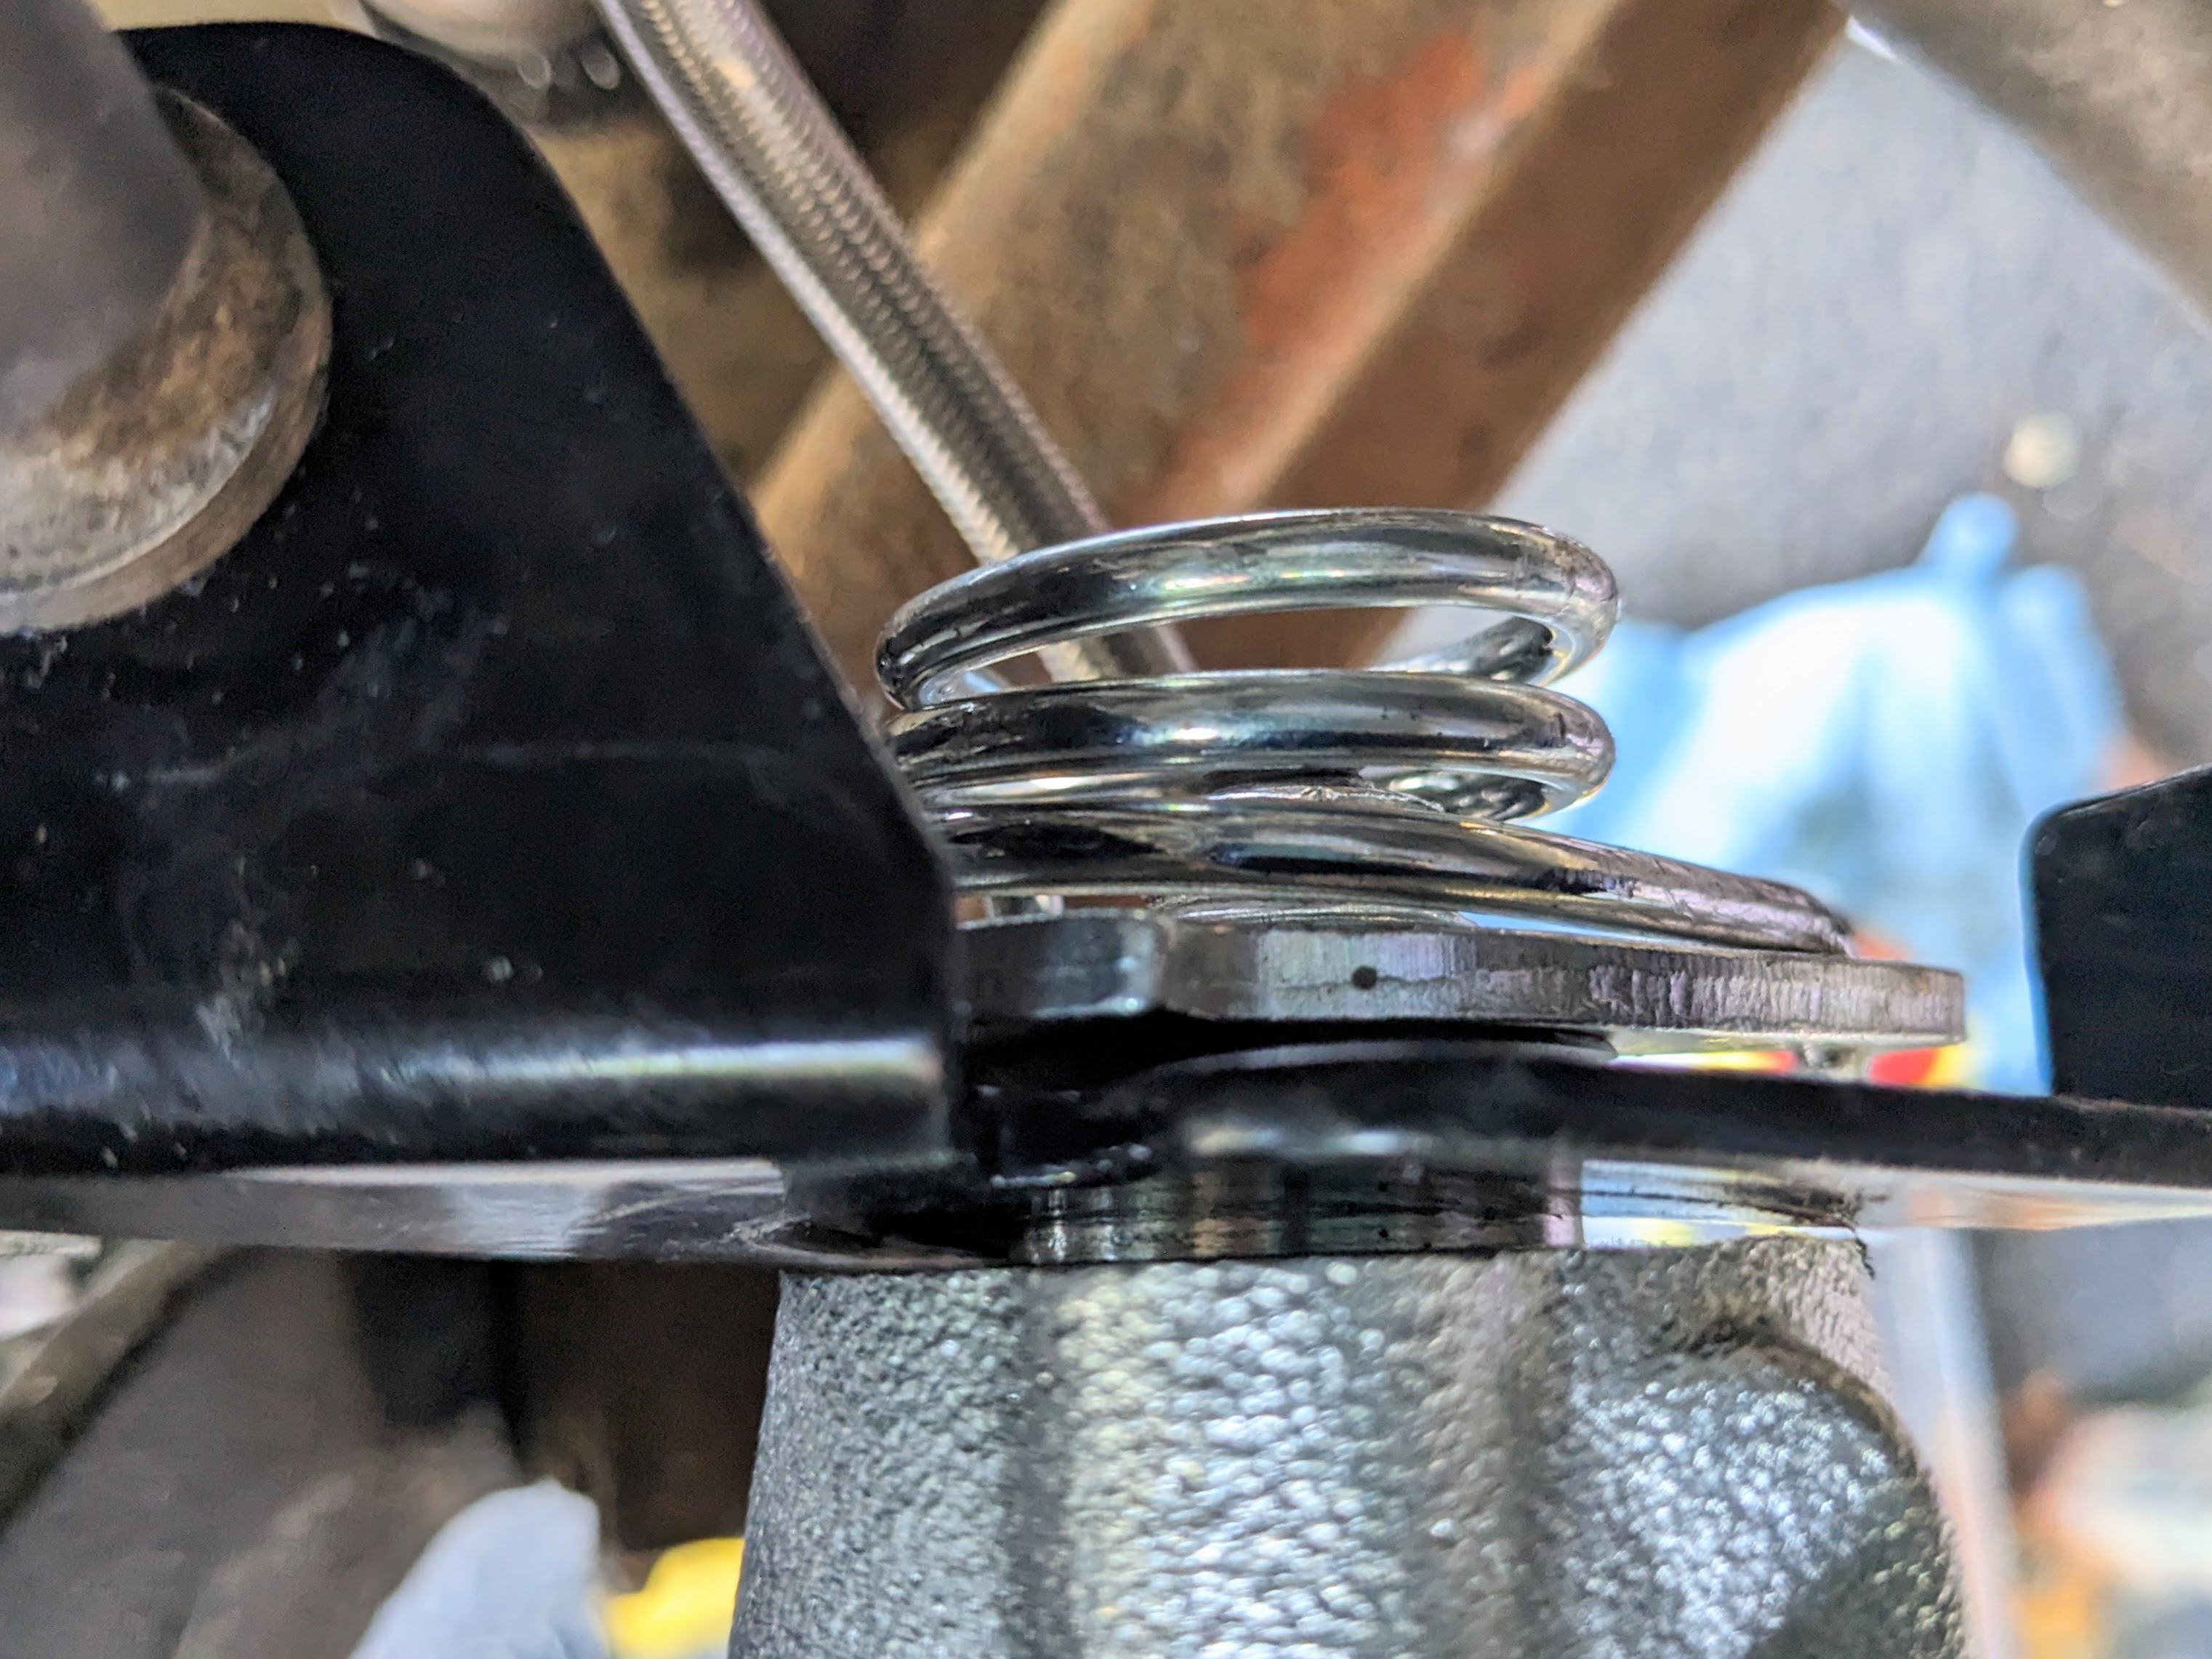
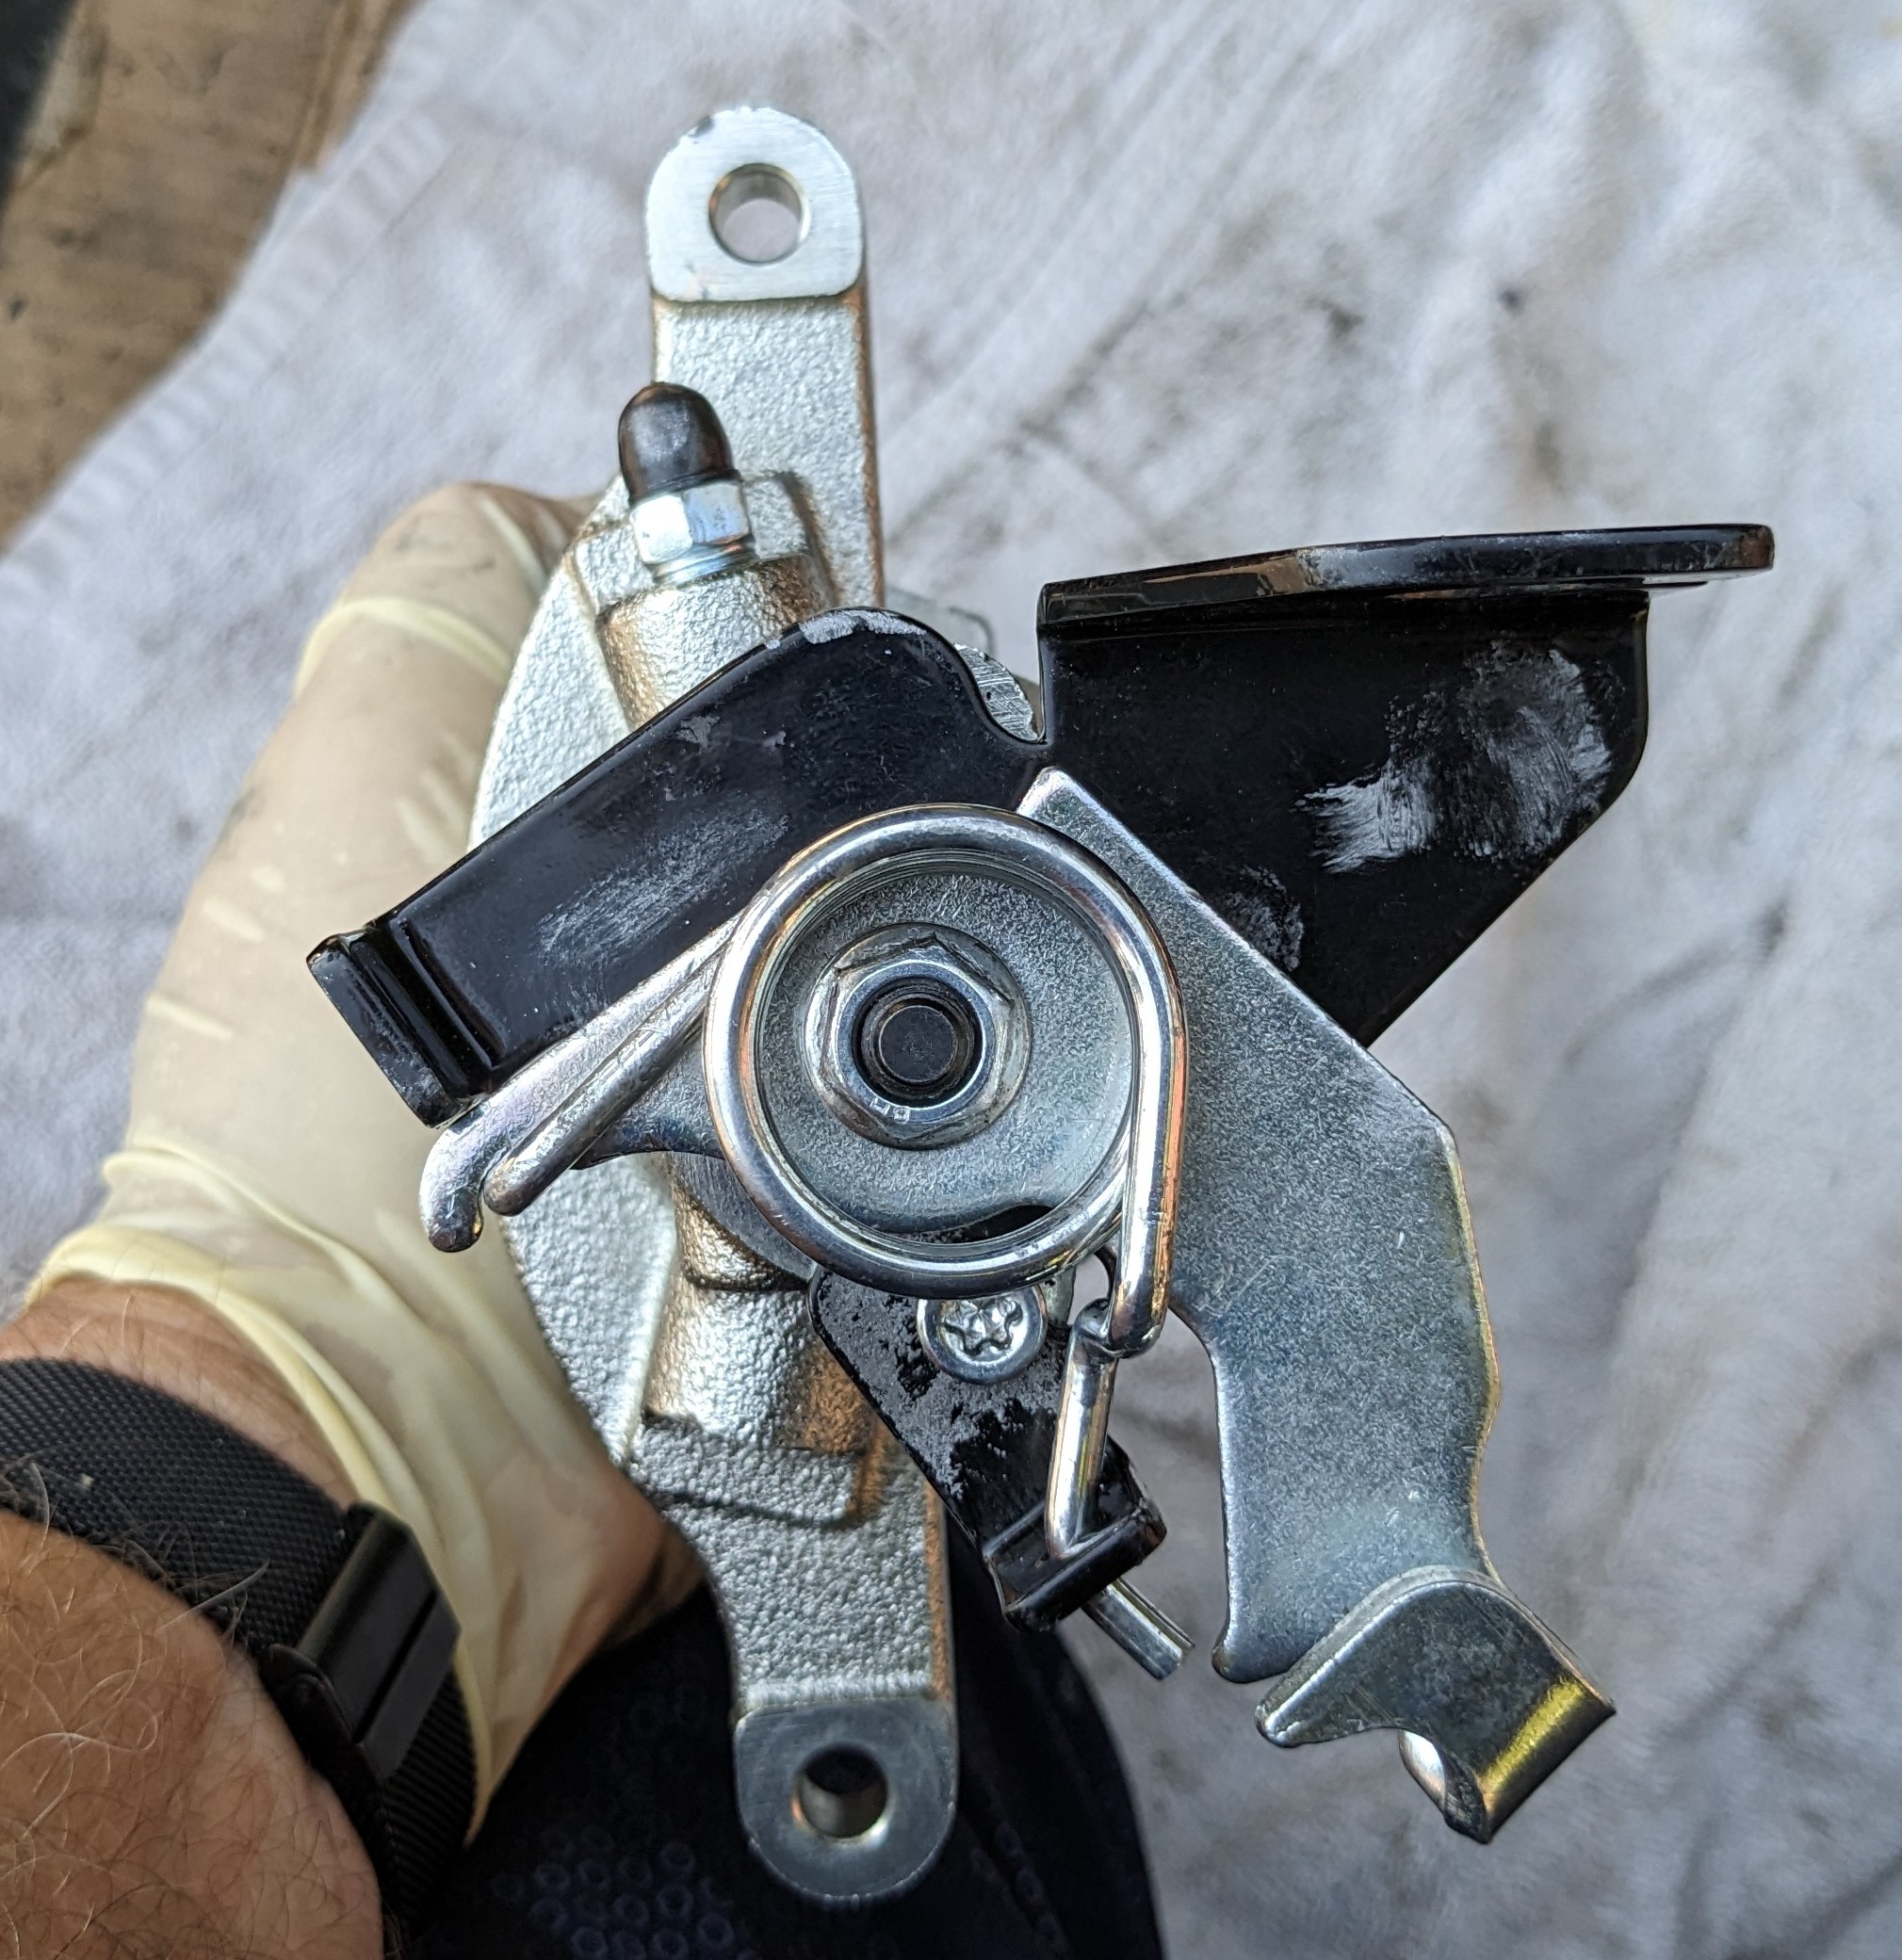
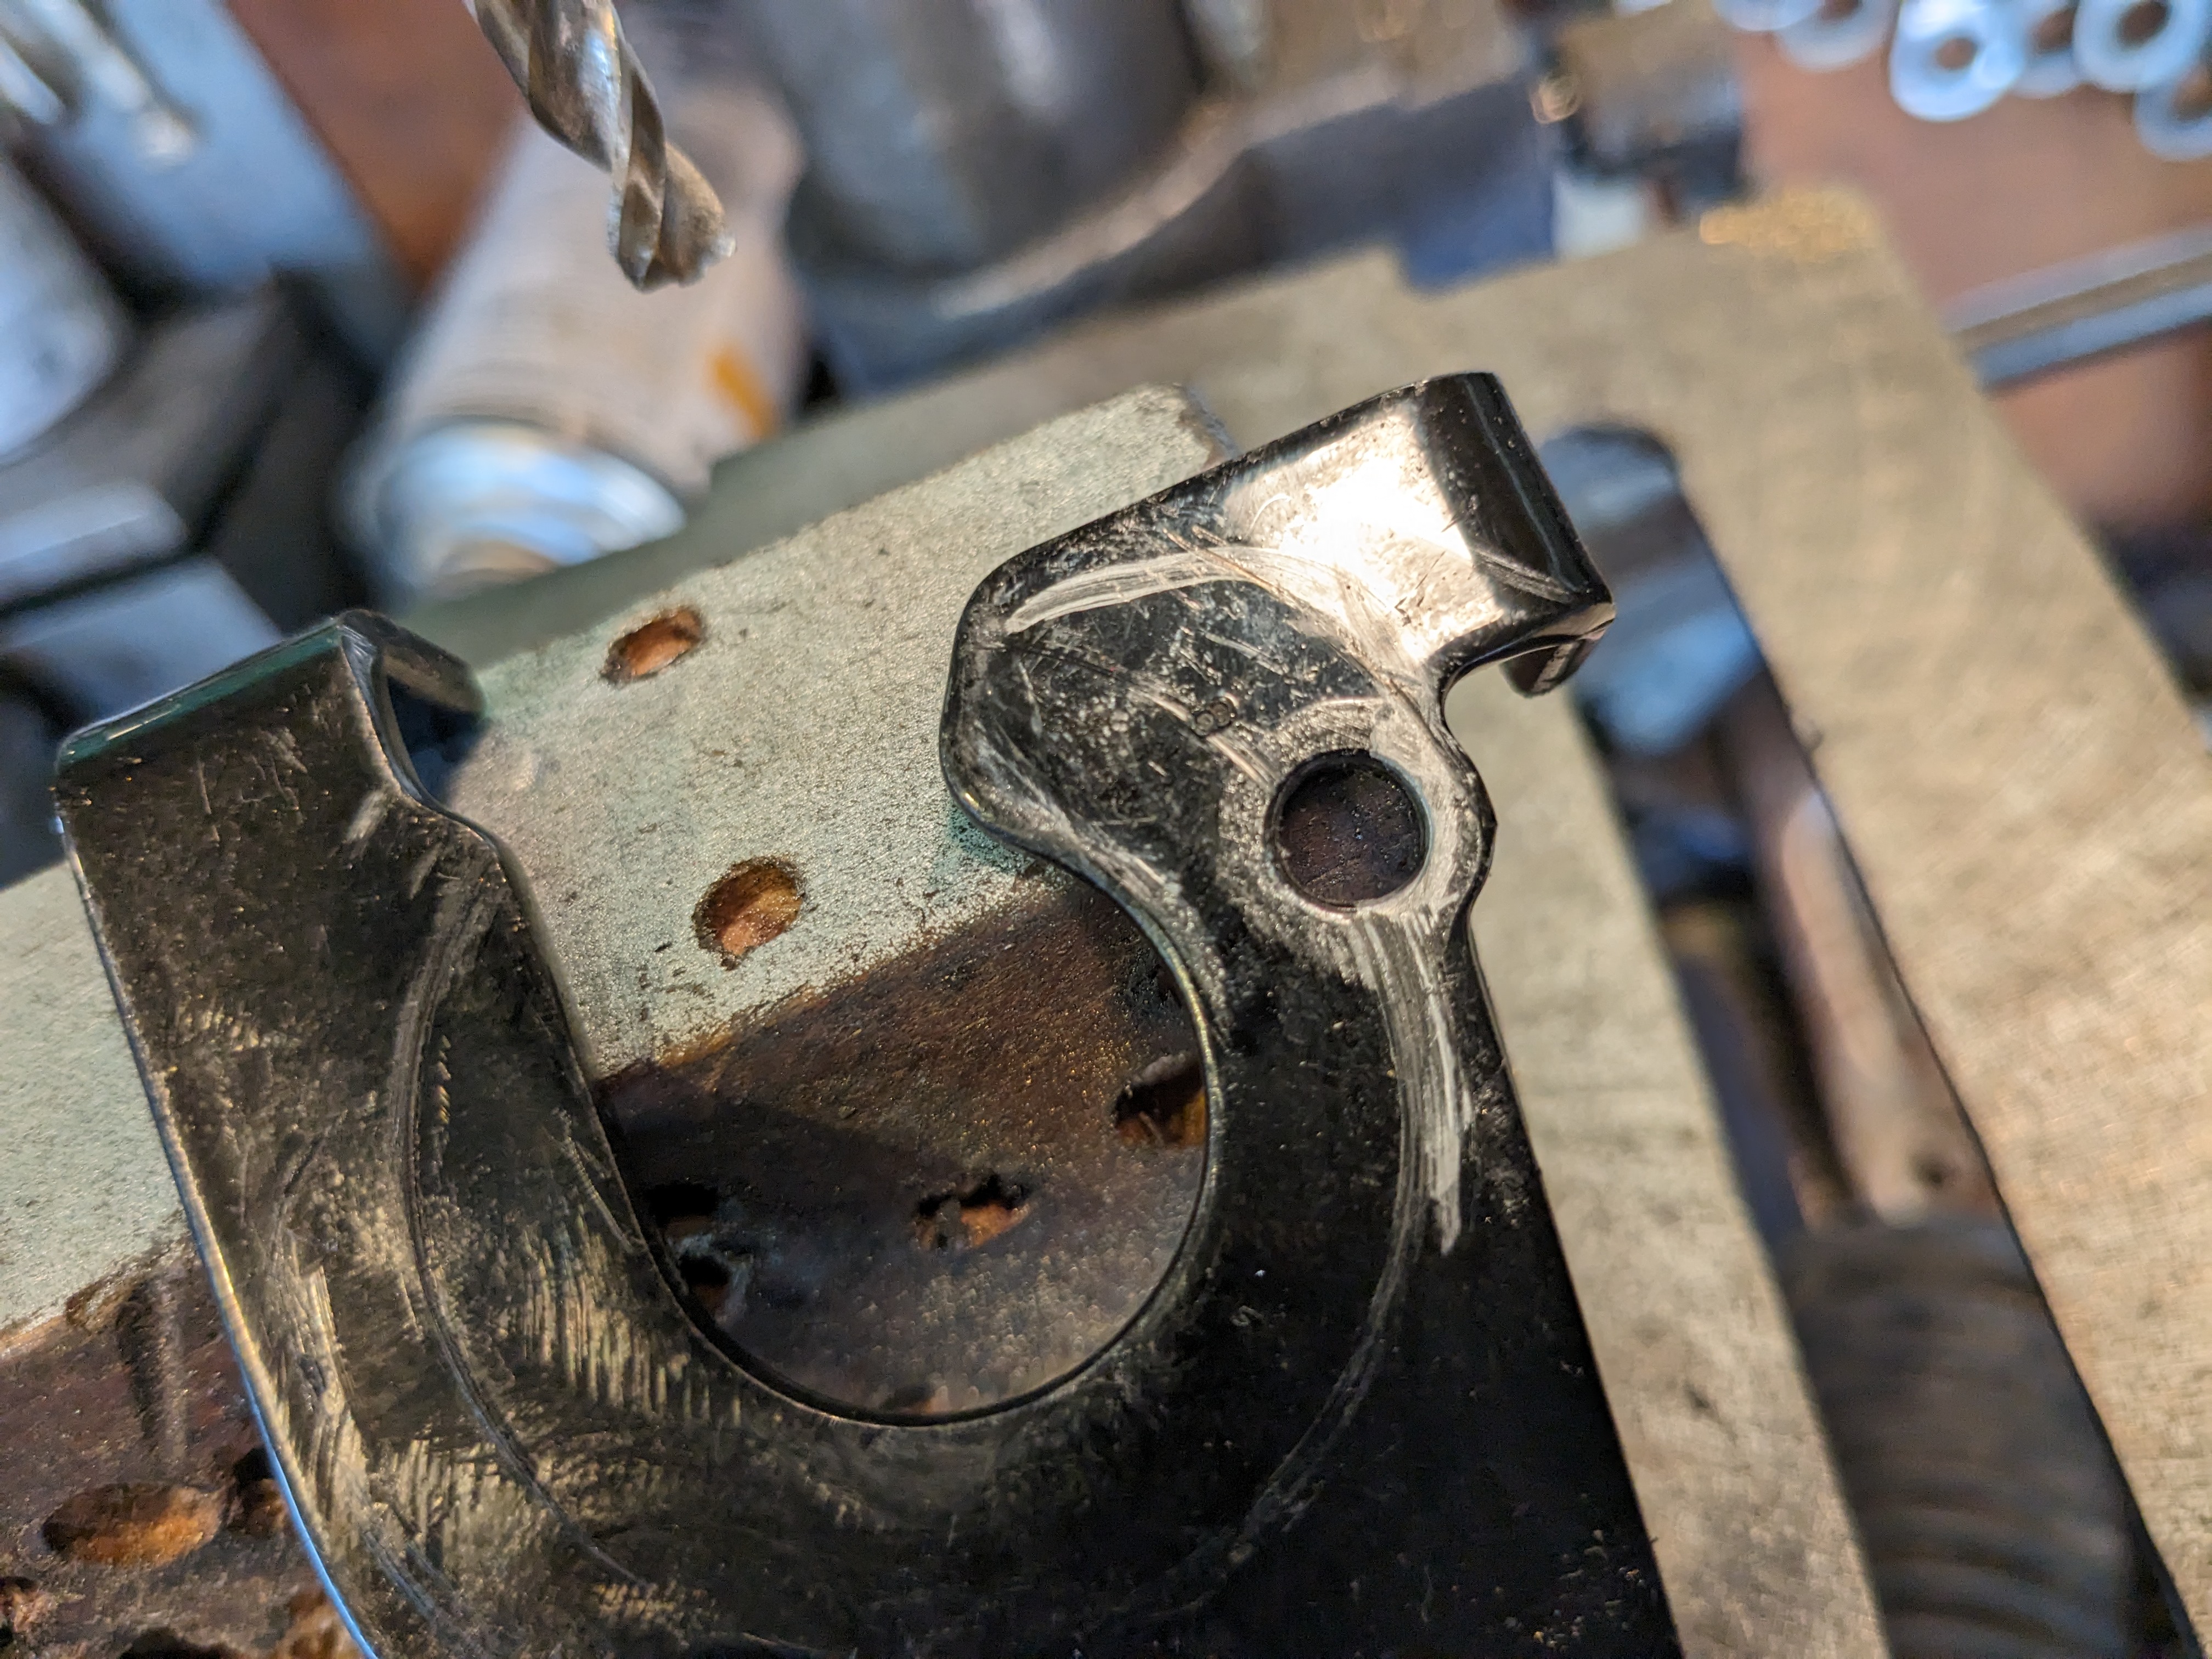
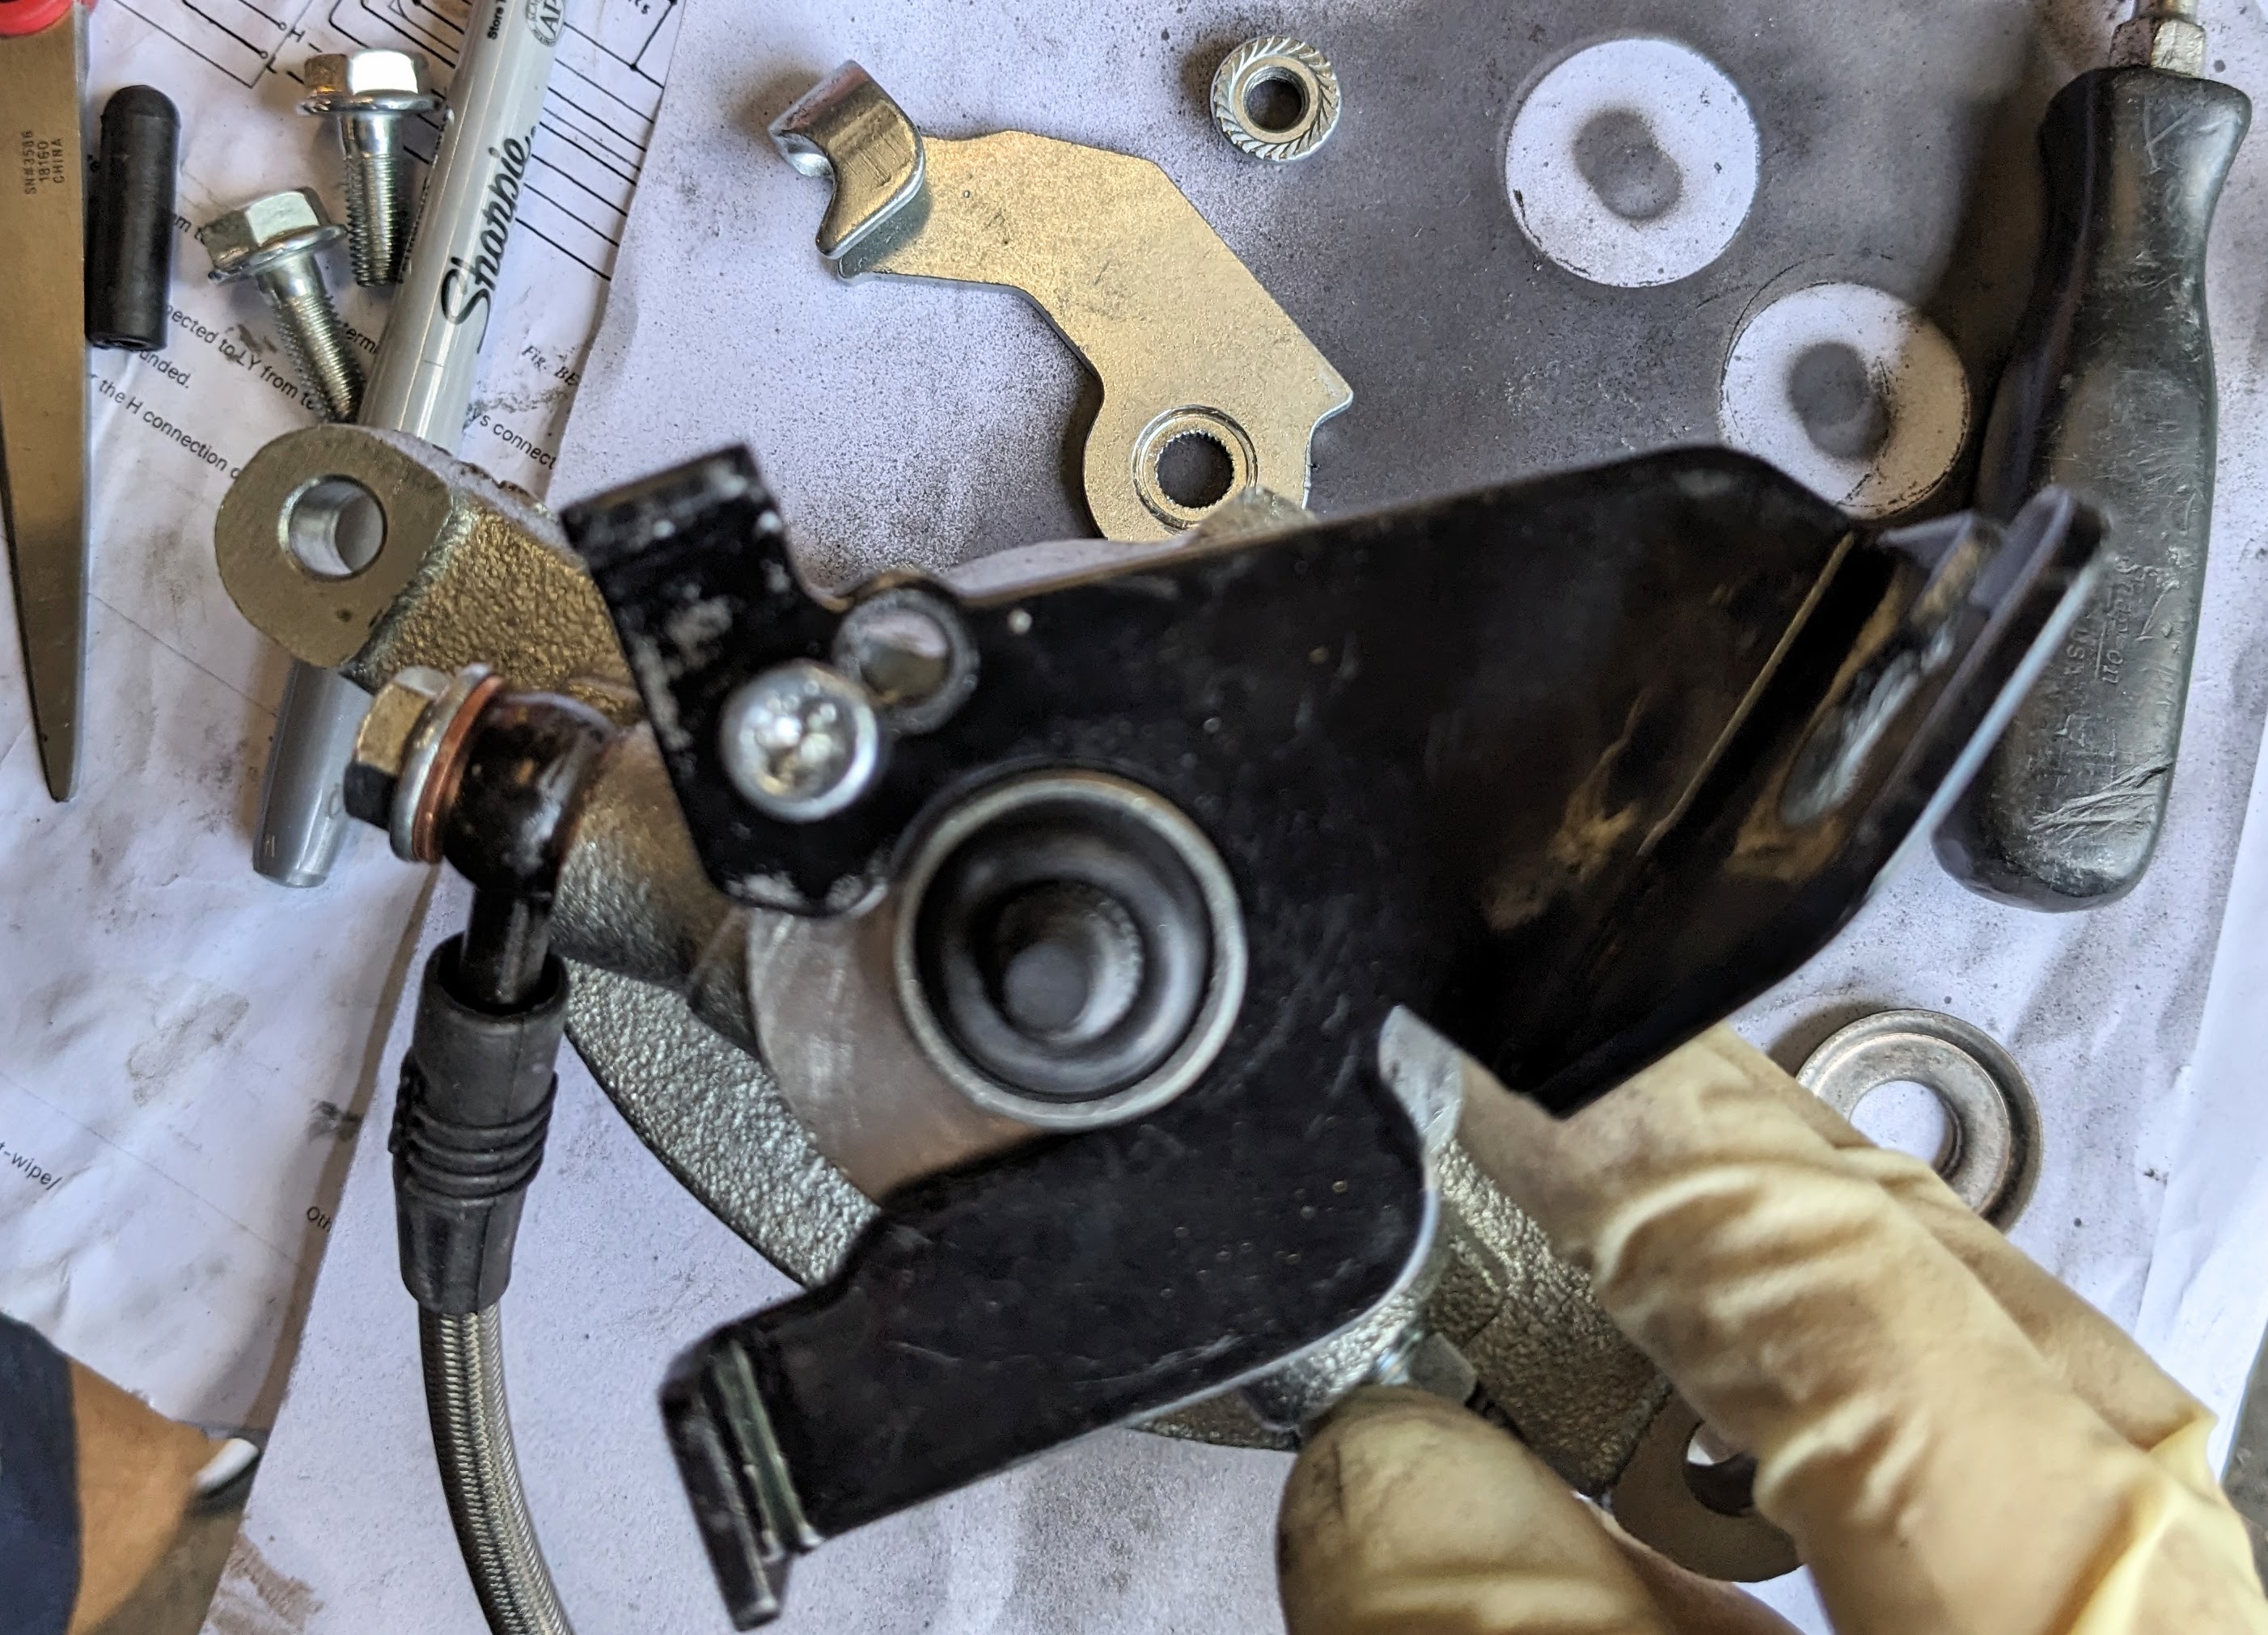
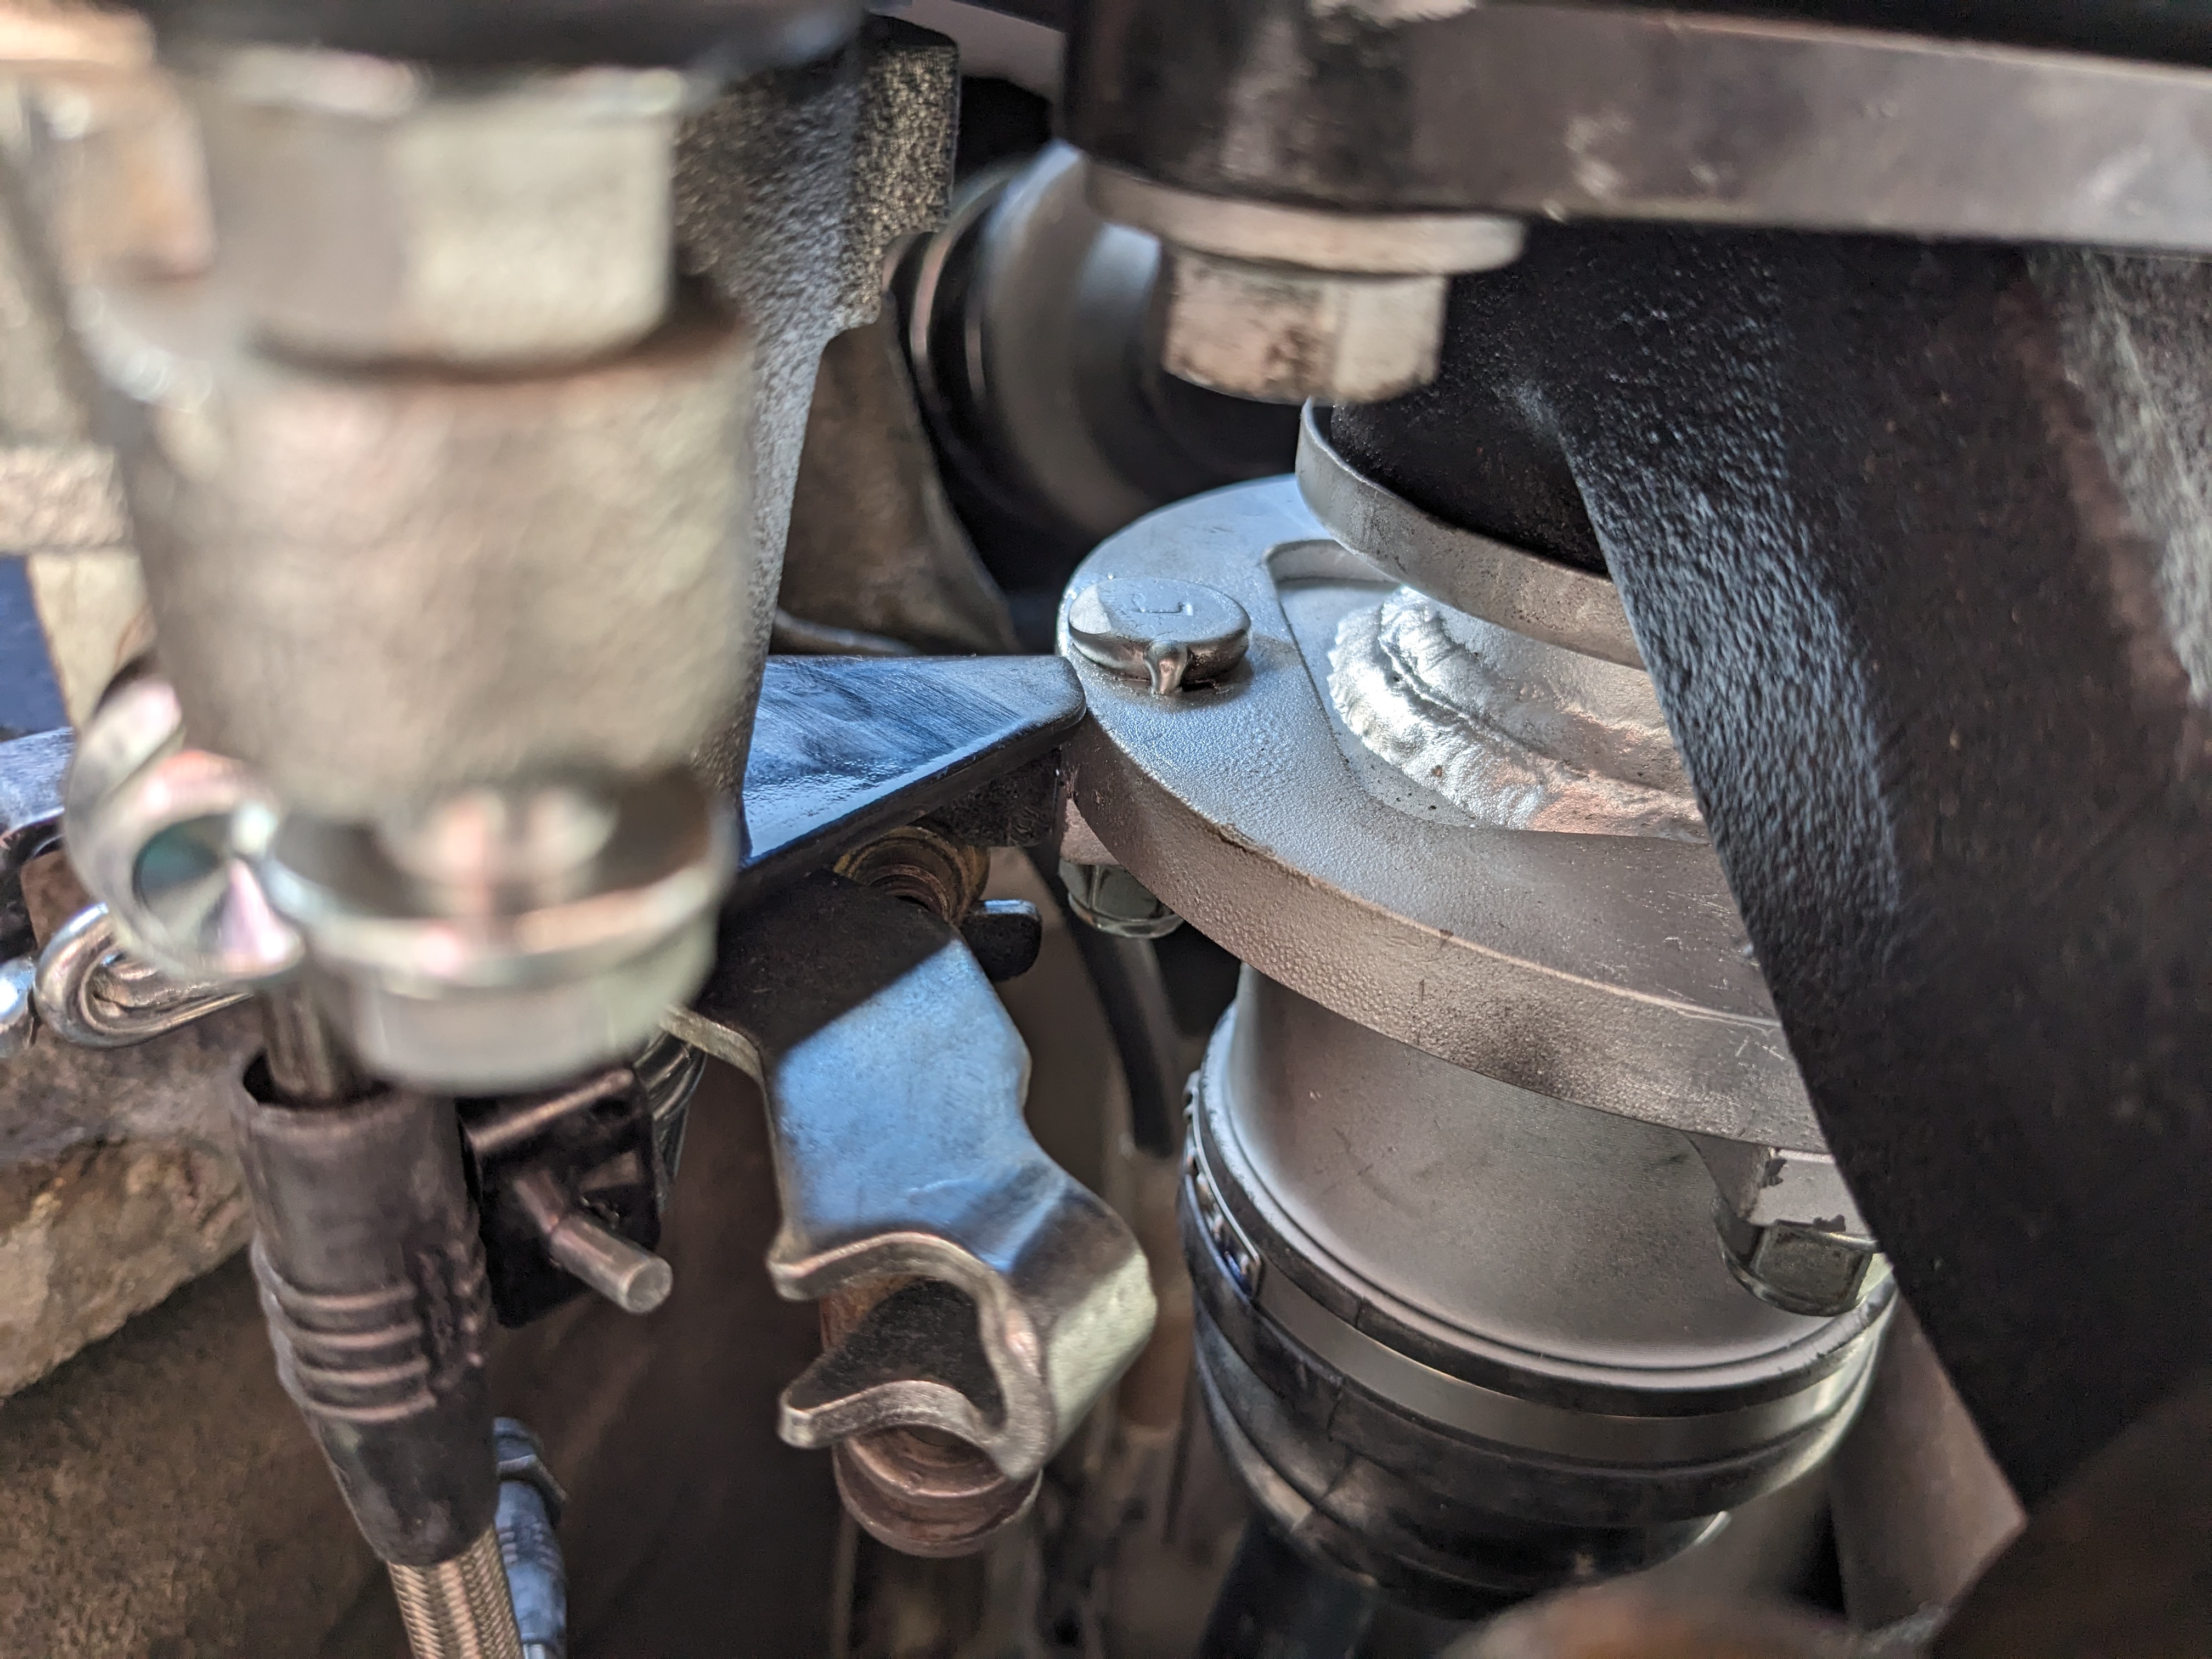
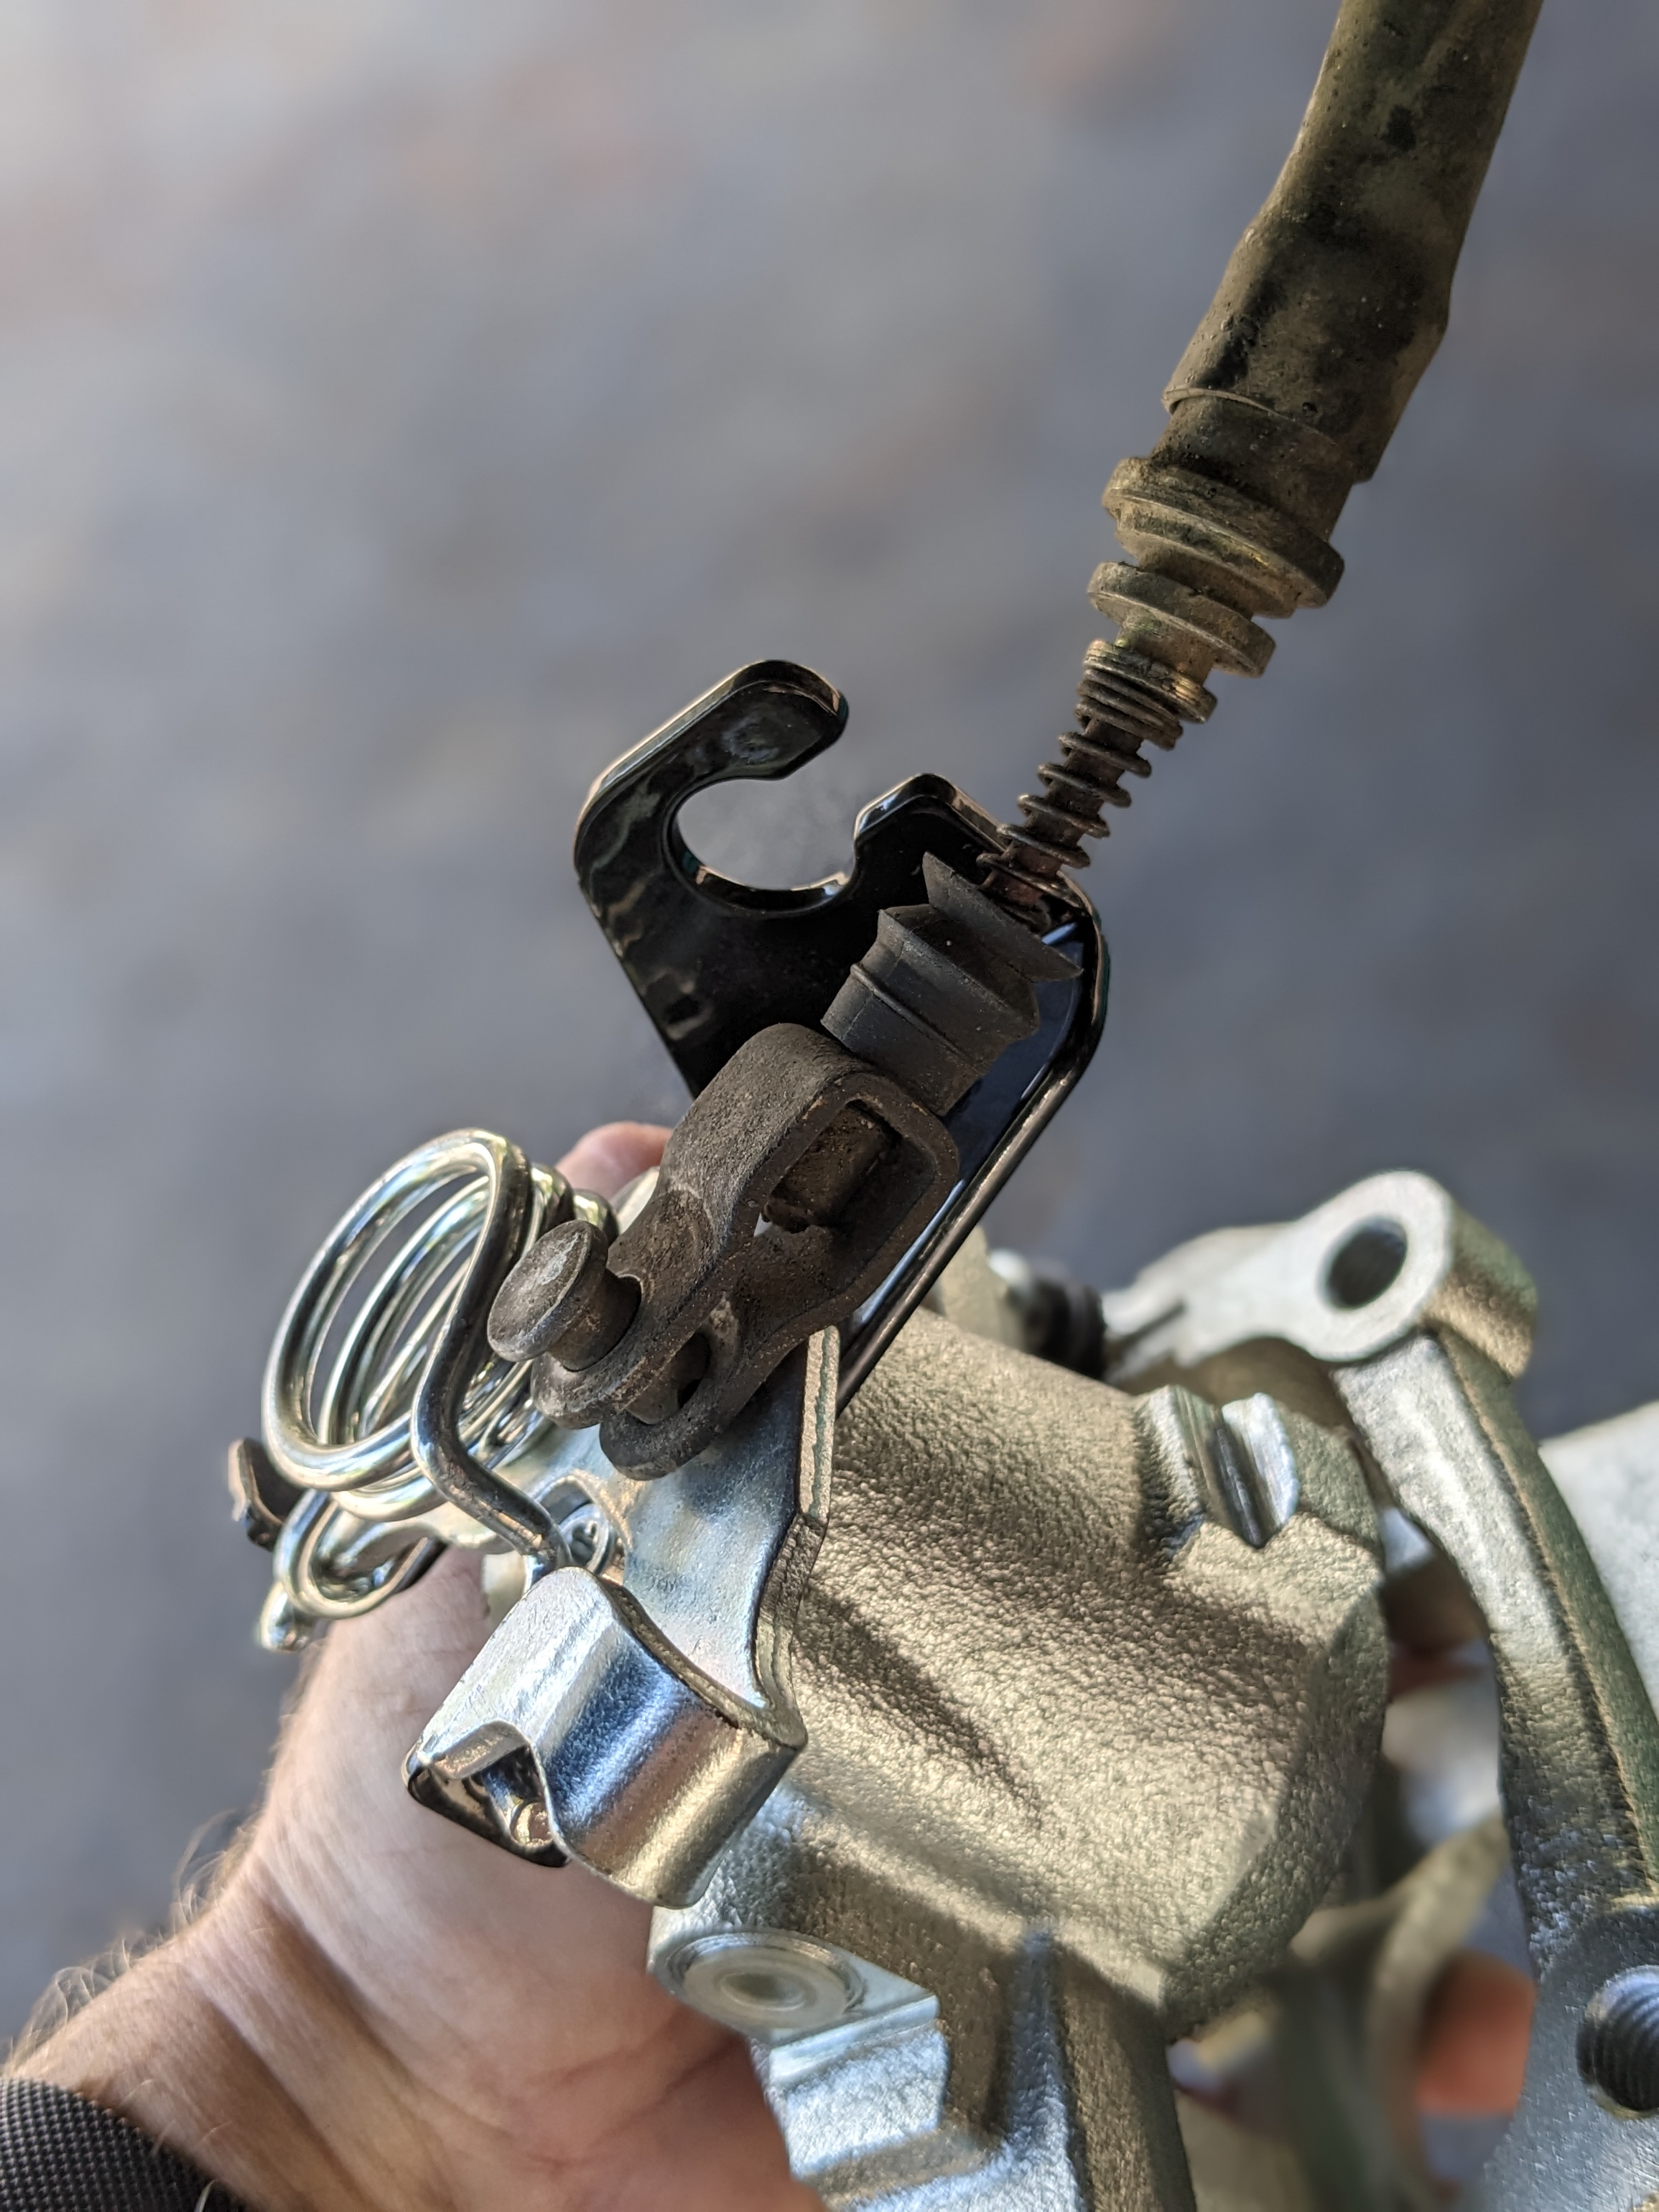
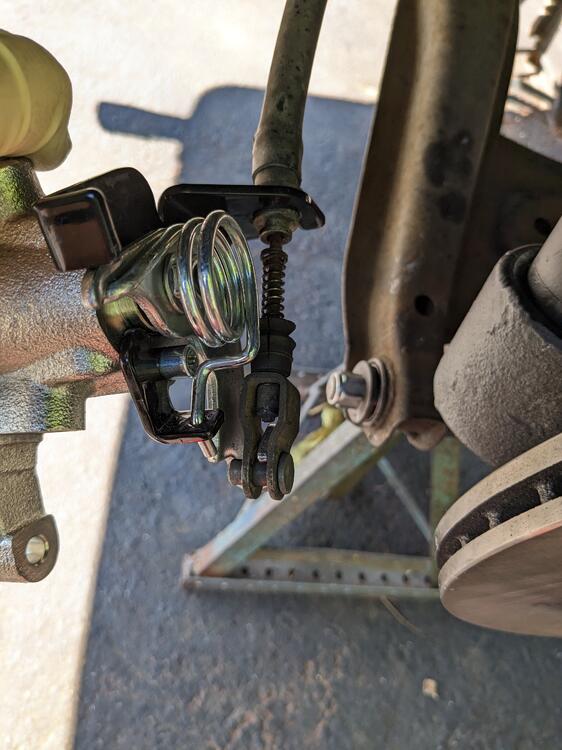
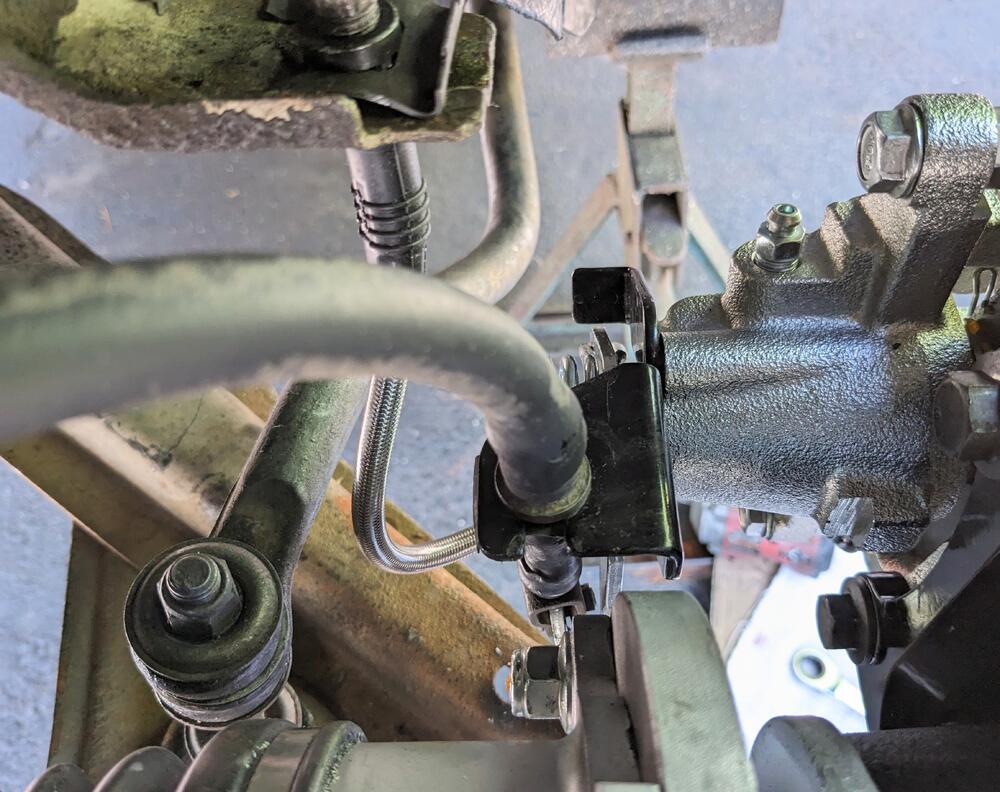
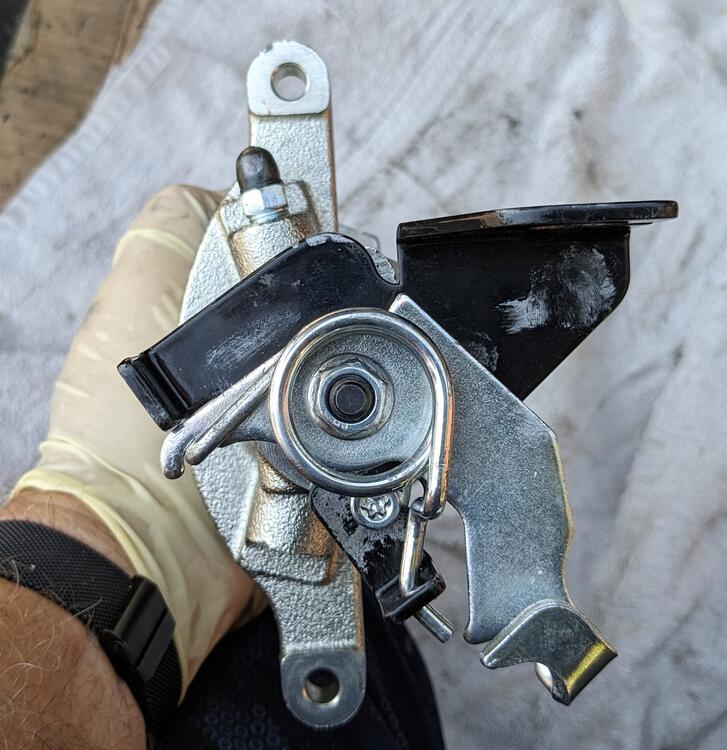
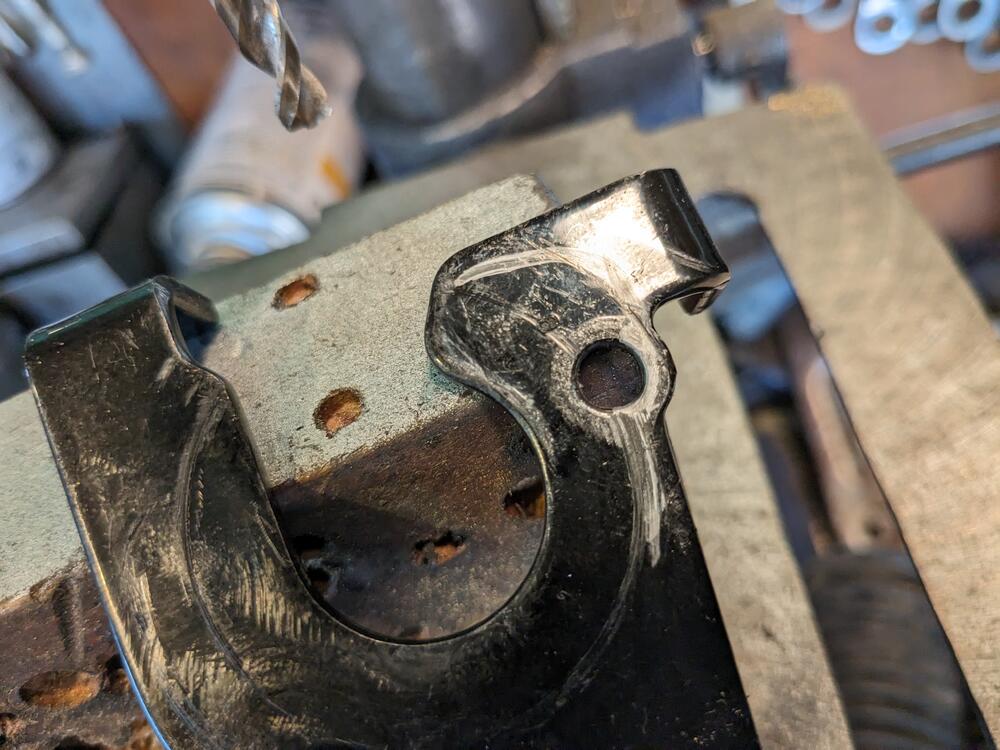
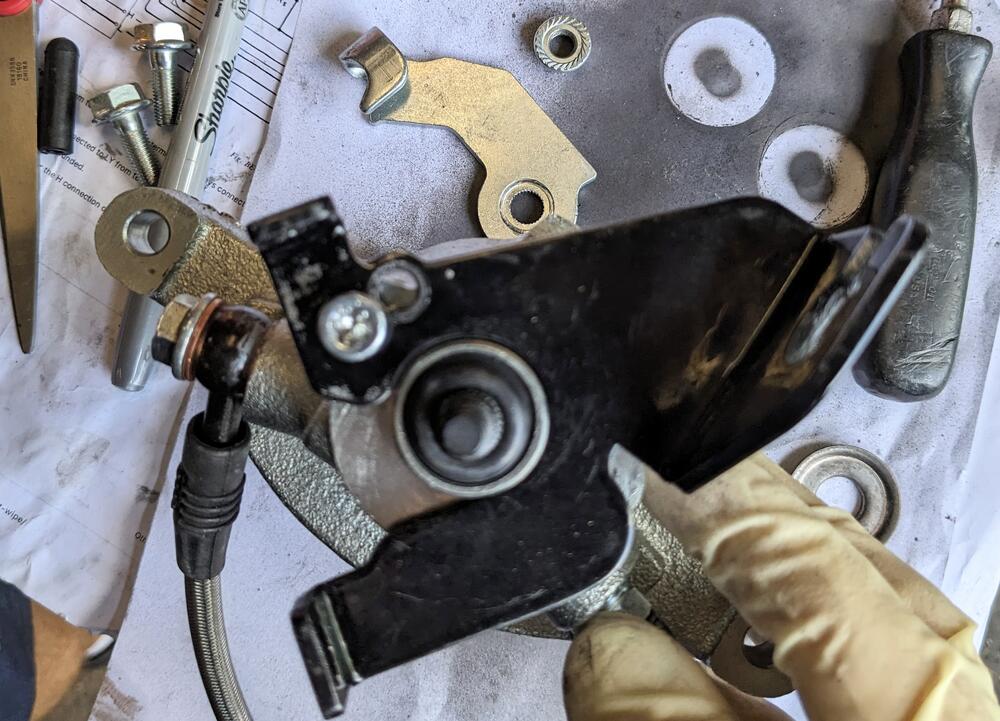
Resolved the eBrake lever issue. Figured out I could just redrill the axis point, and gain the necessary clearance off the flange Rotated the flange on the back of the caliper to mark the centerline, drilled a new 1/4" hole just outside the existing Reassembled after confirming offset clearance
-
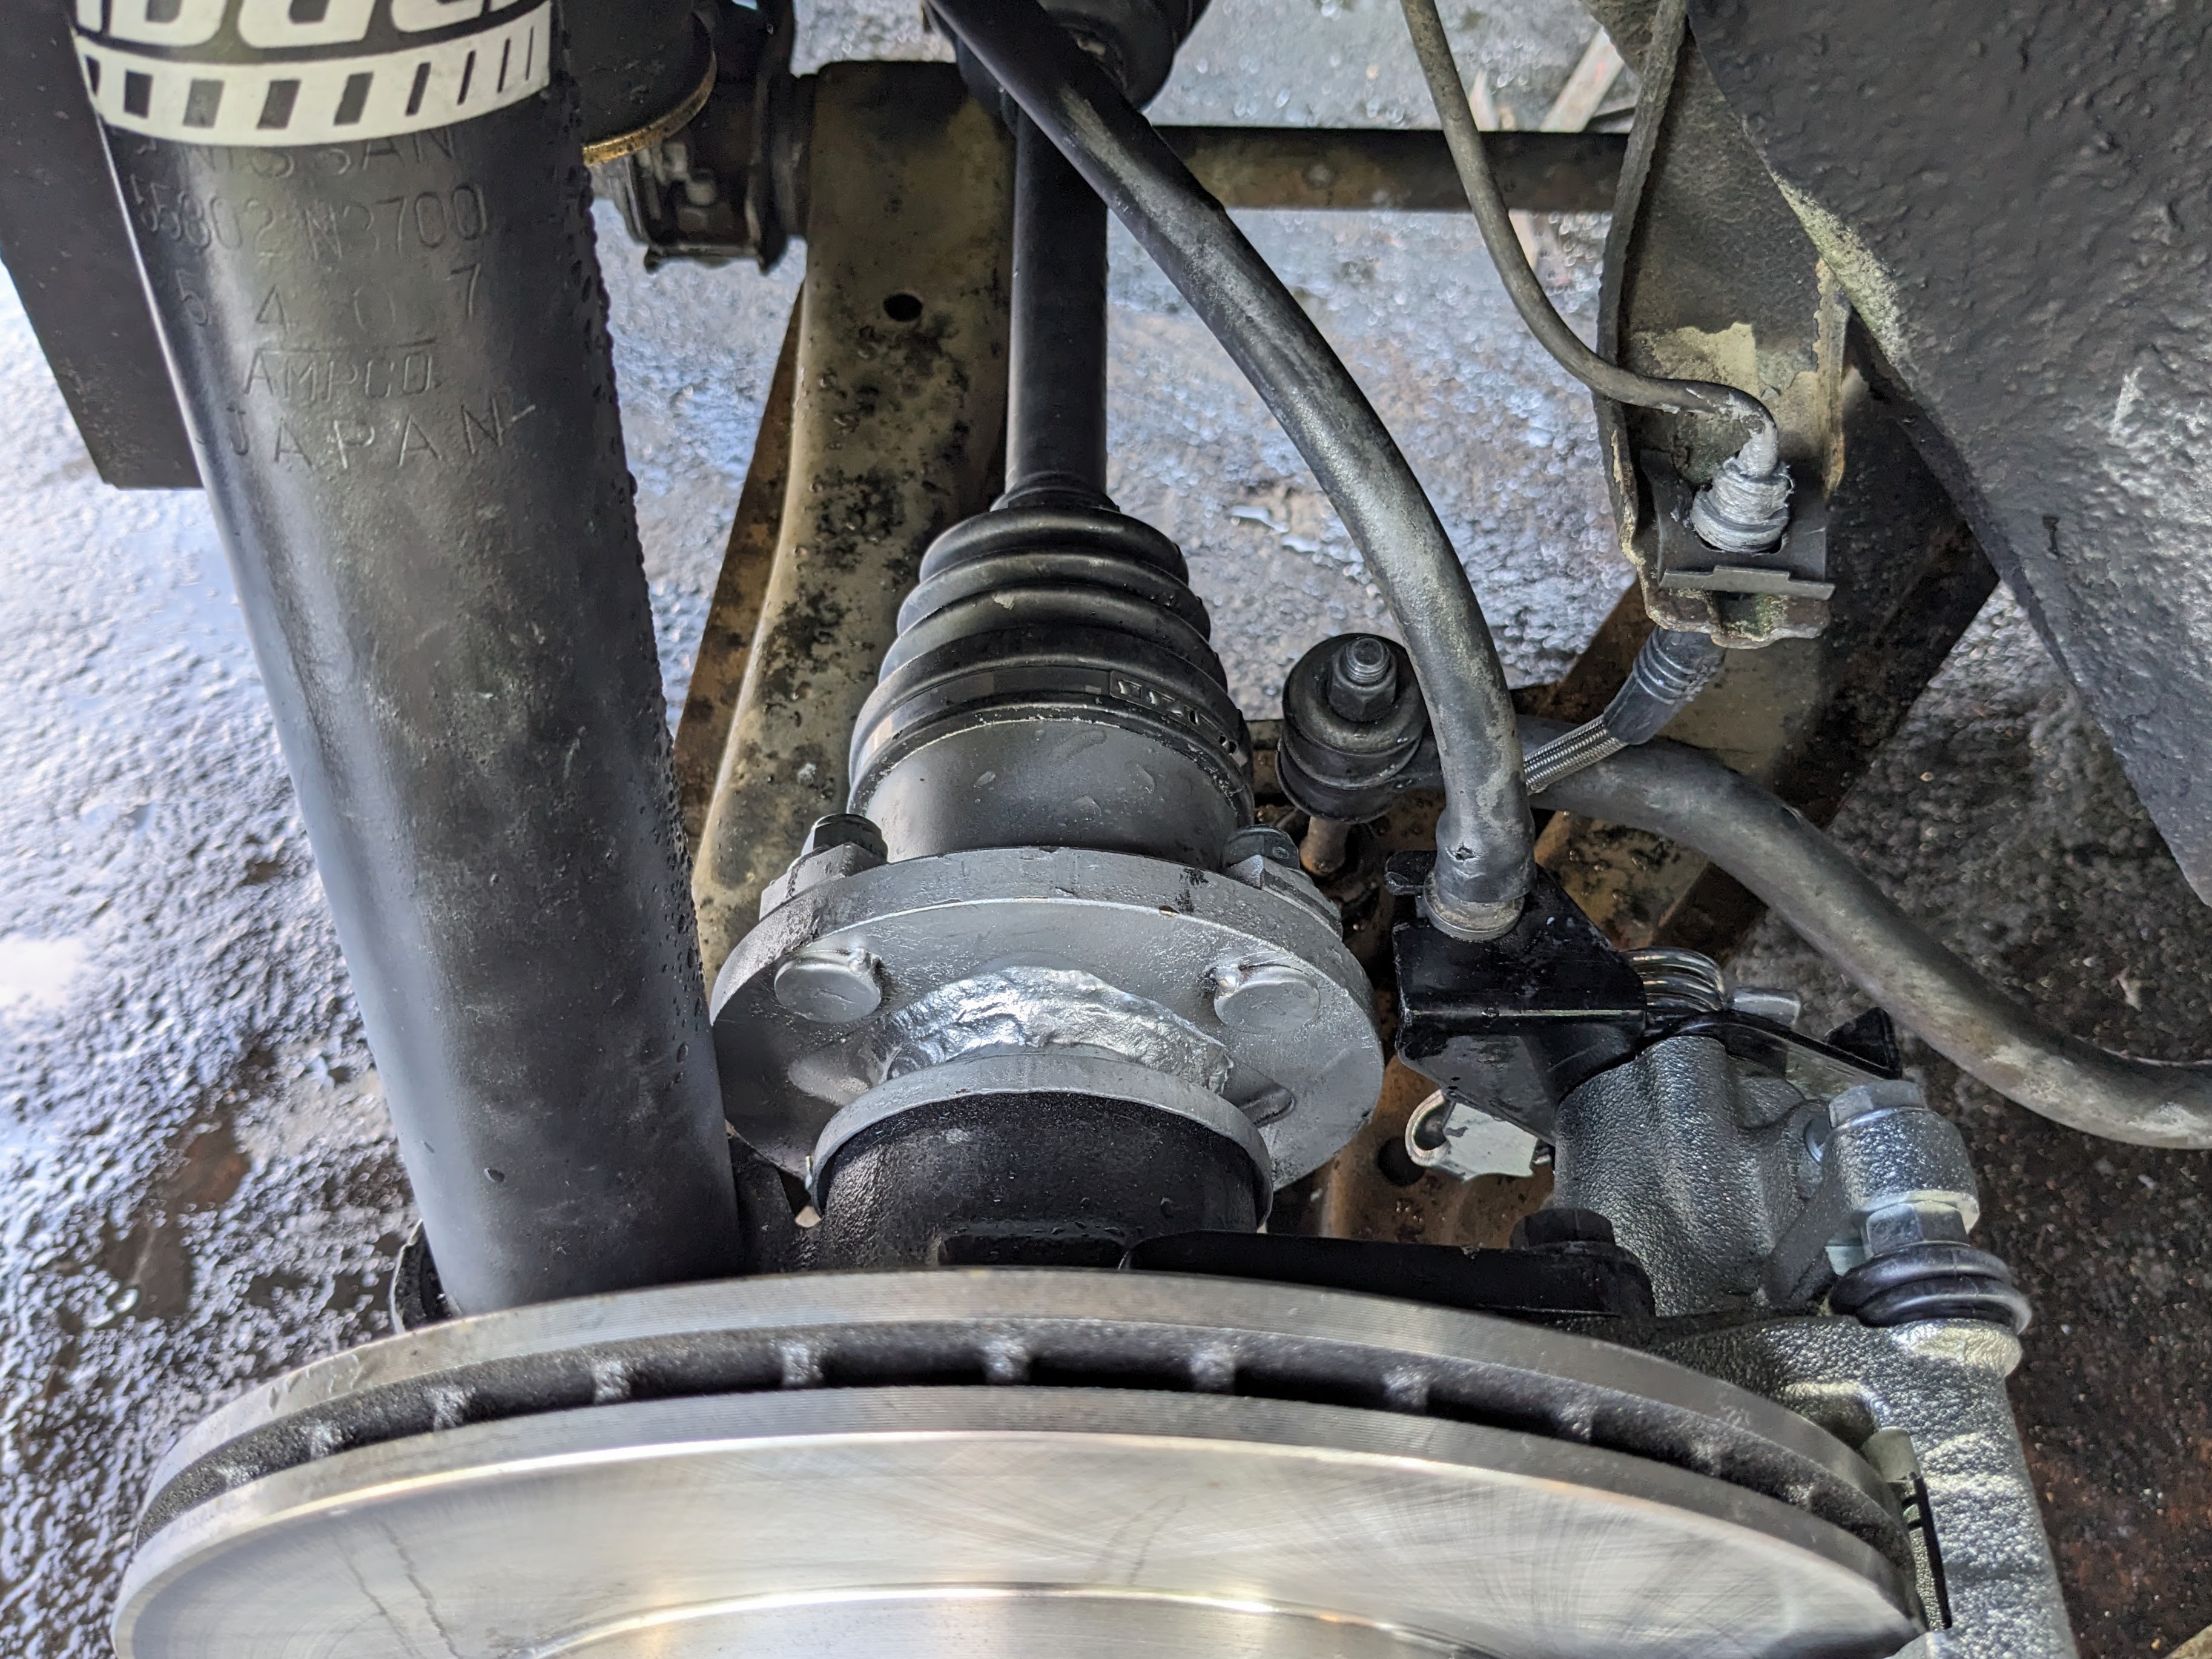
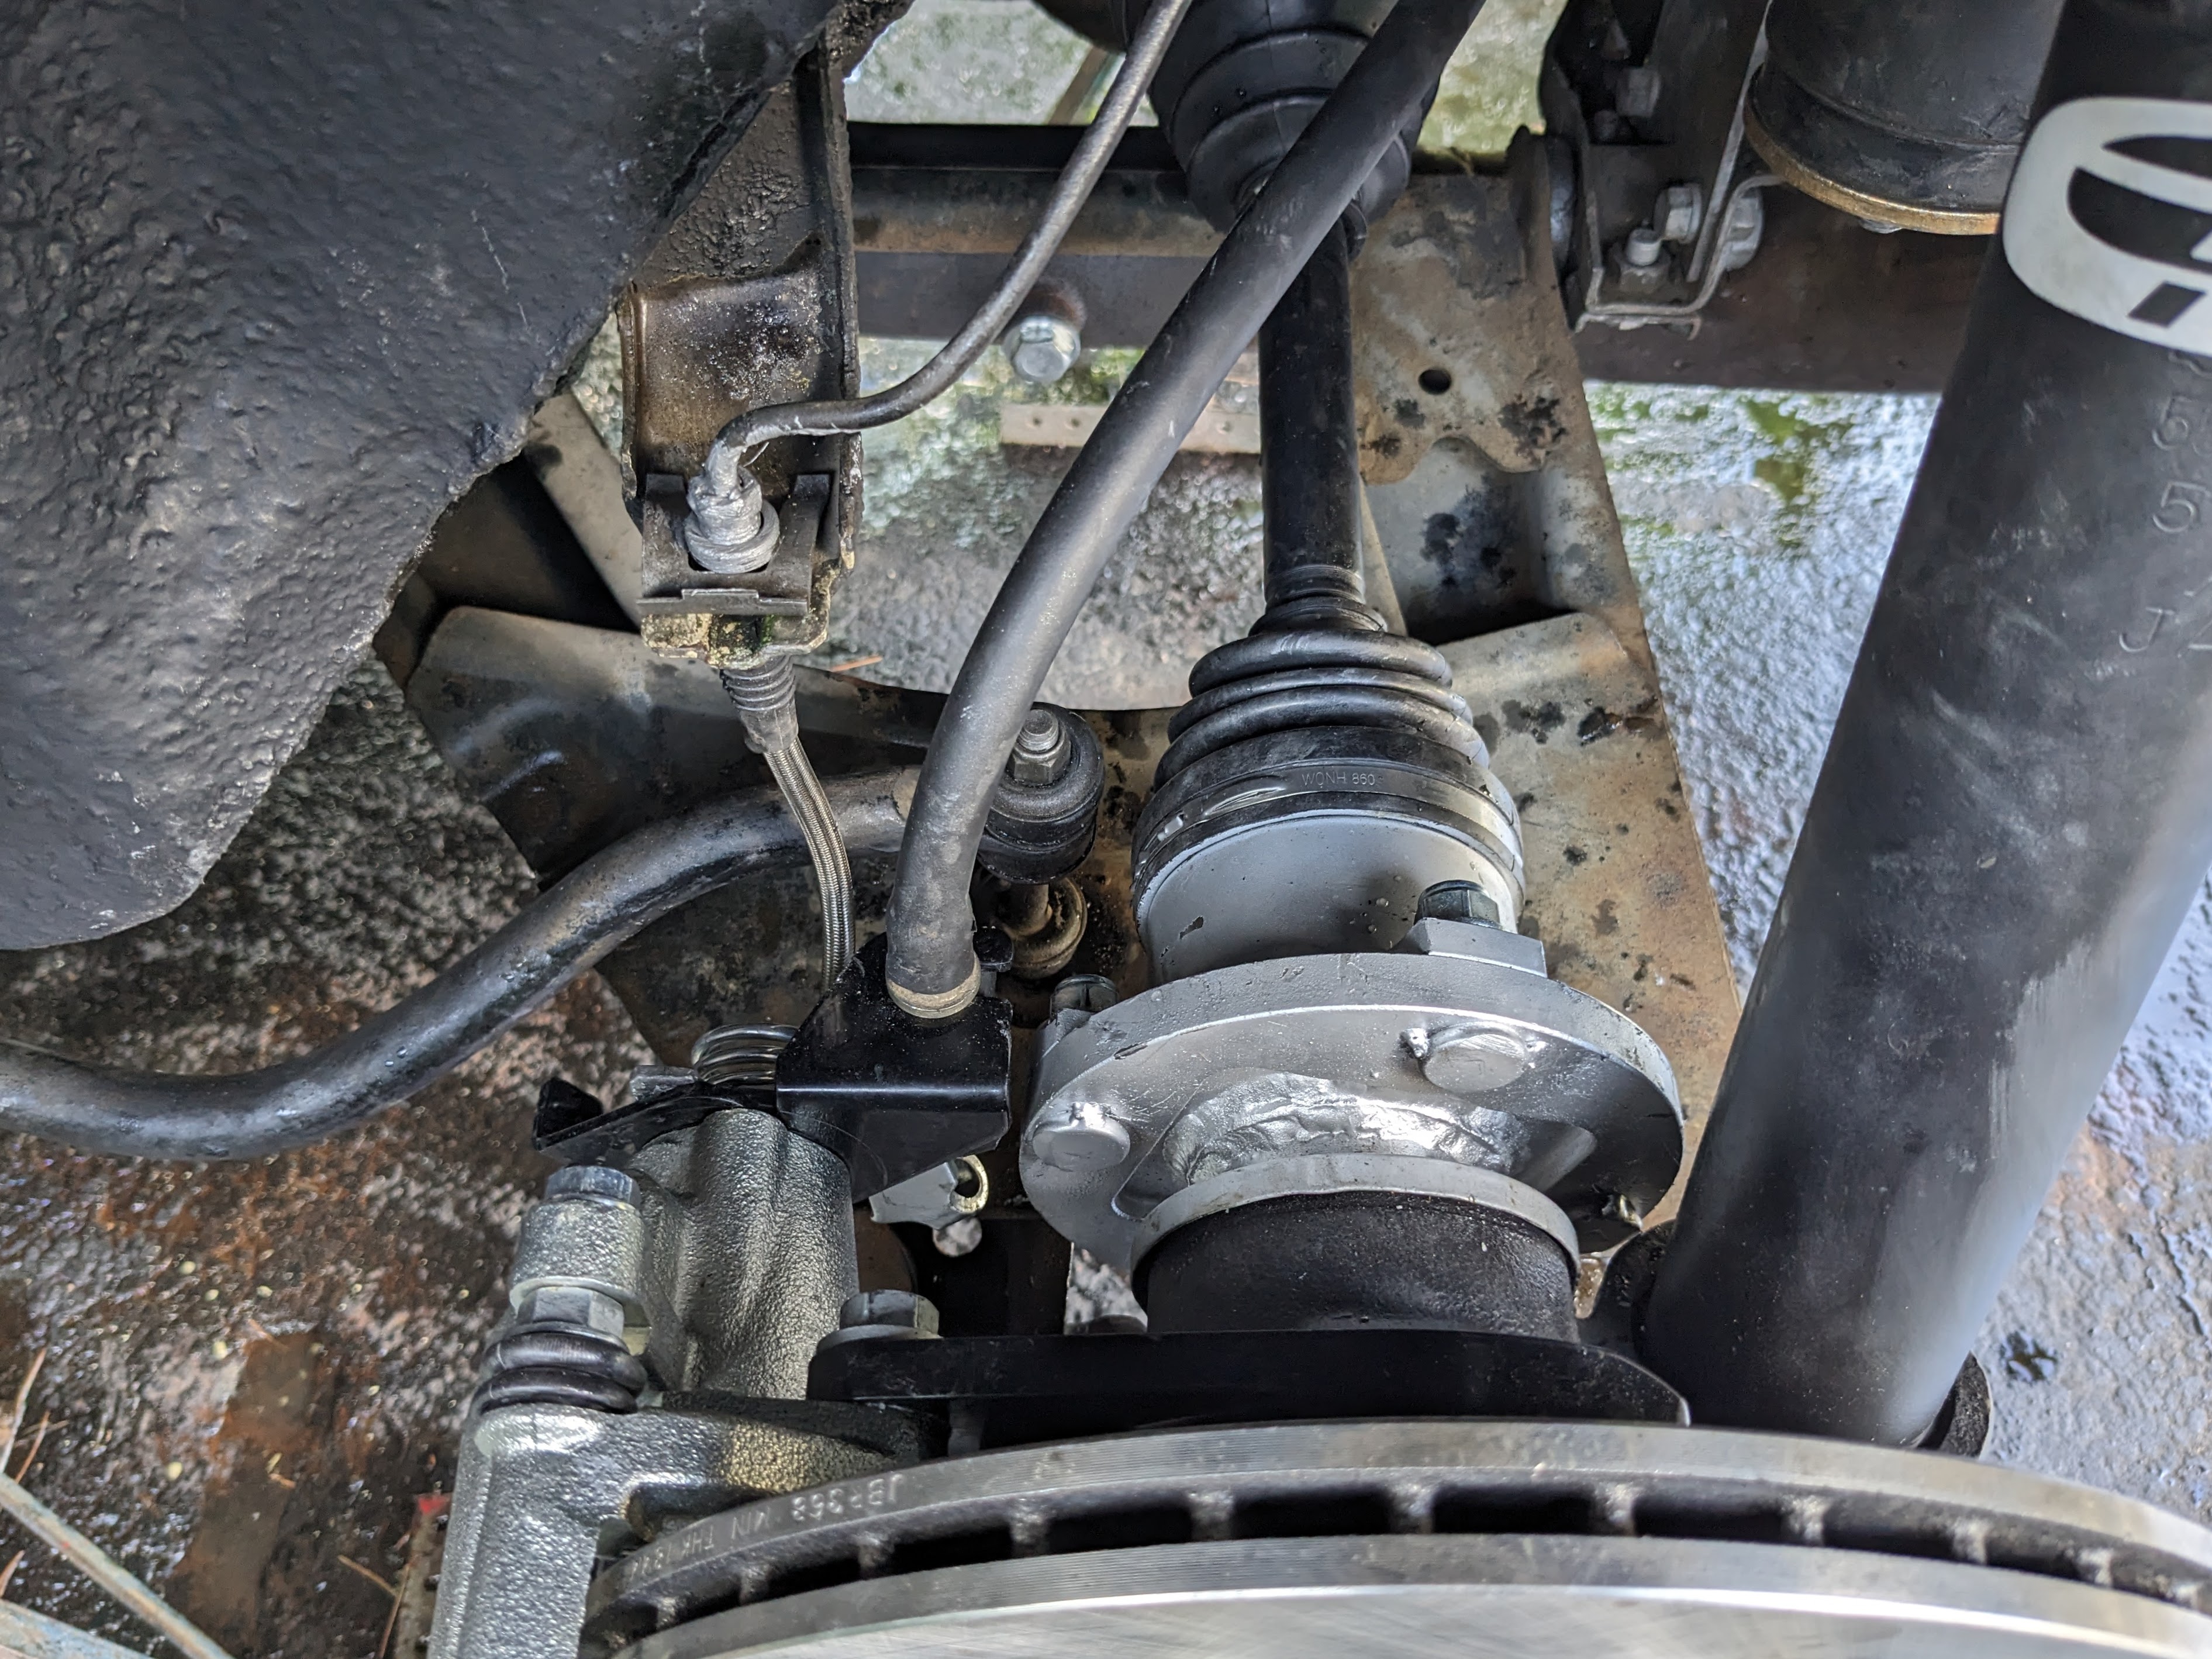
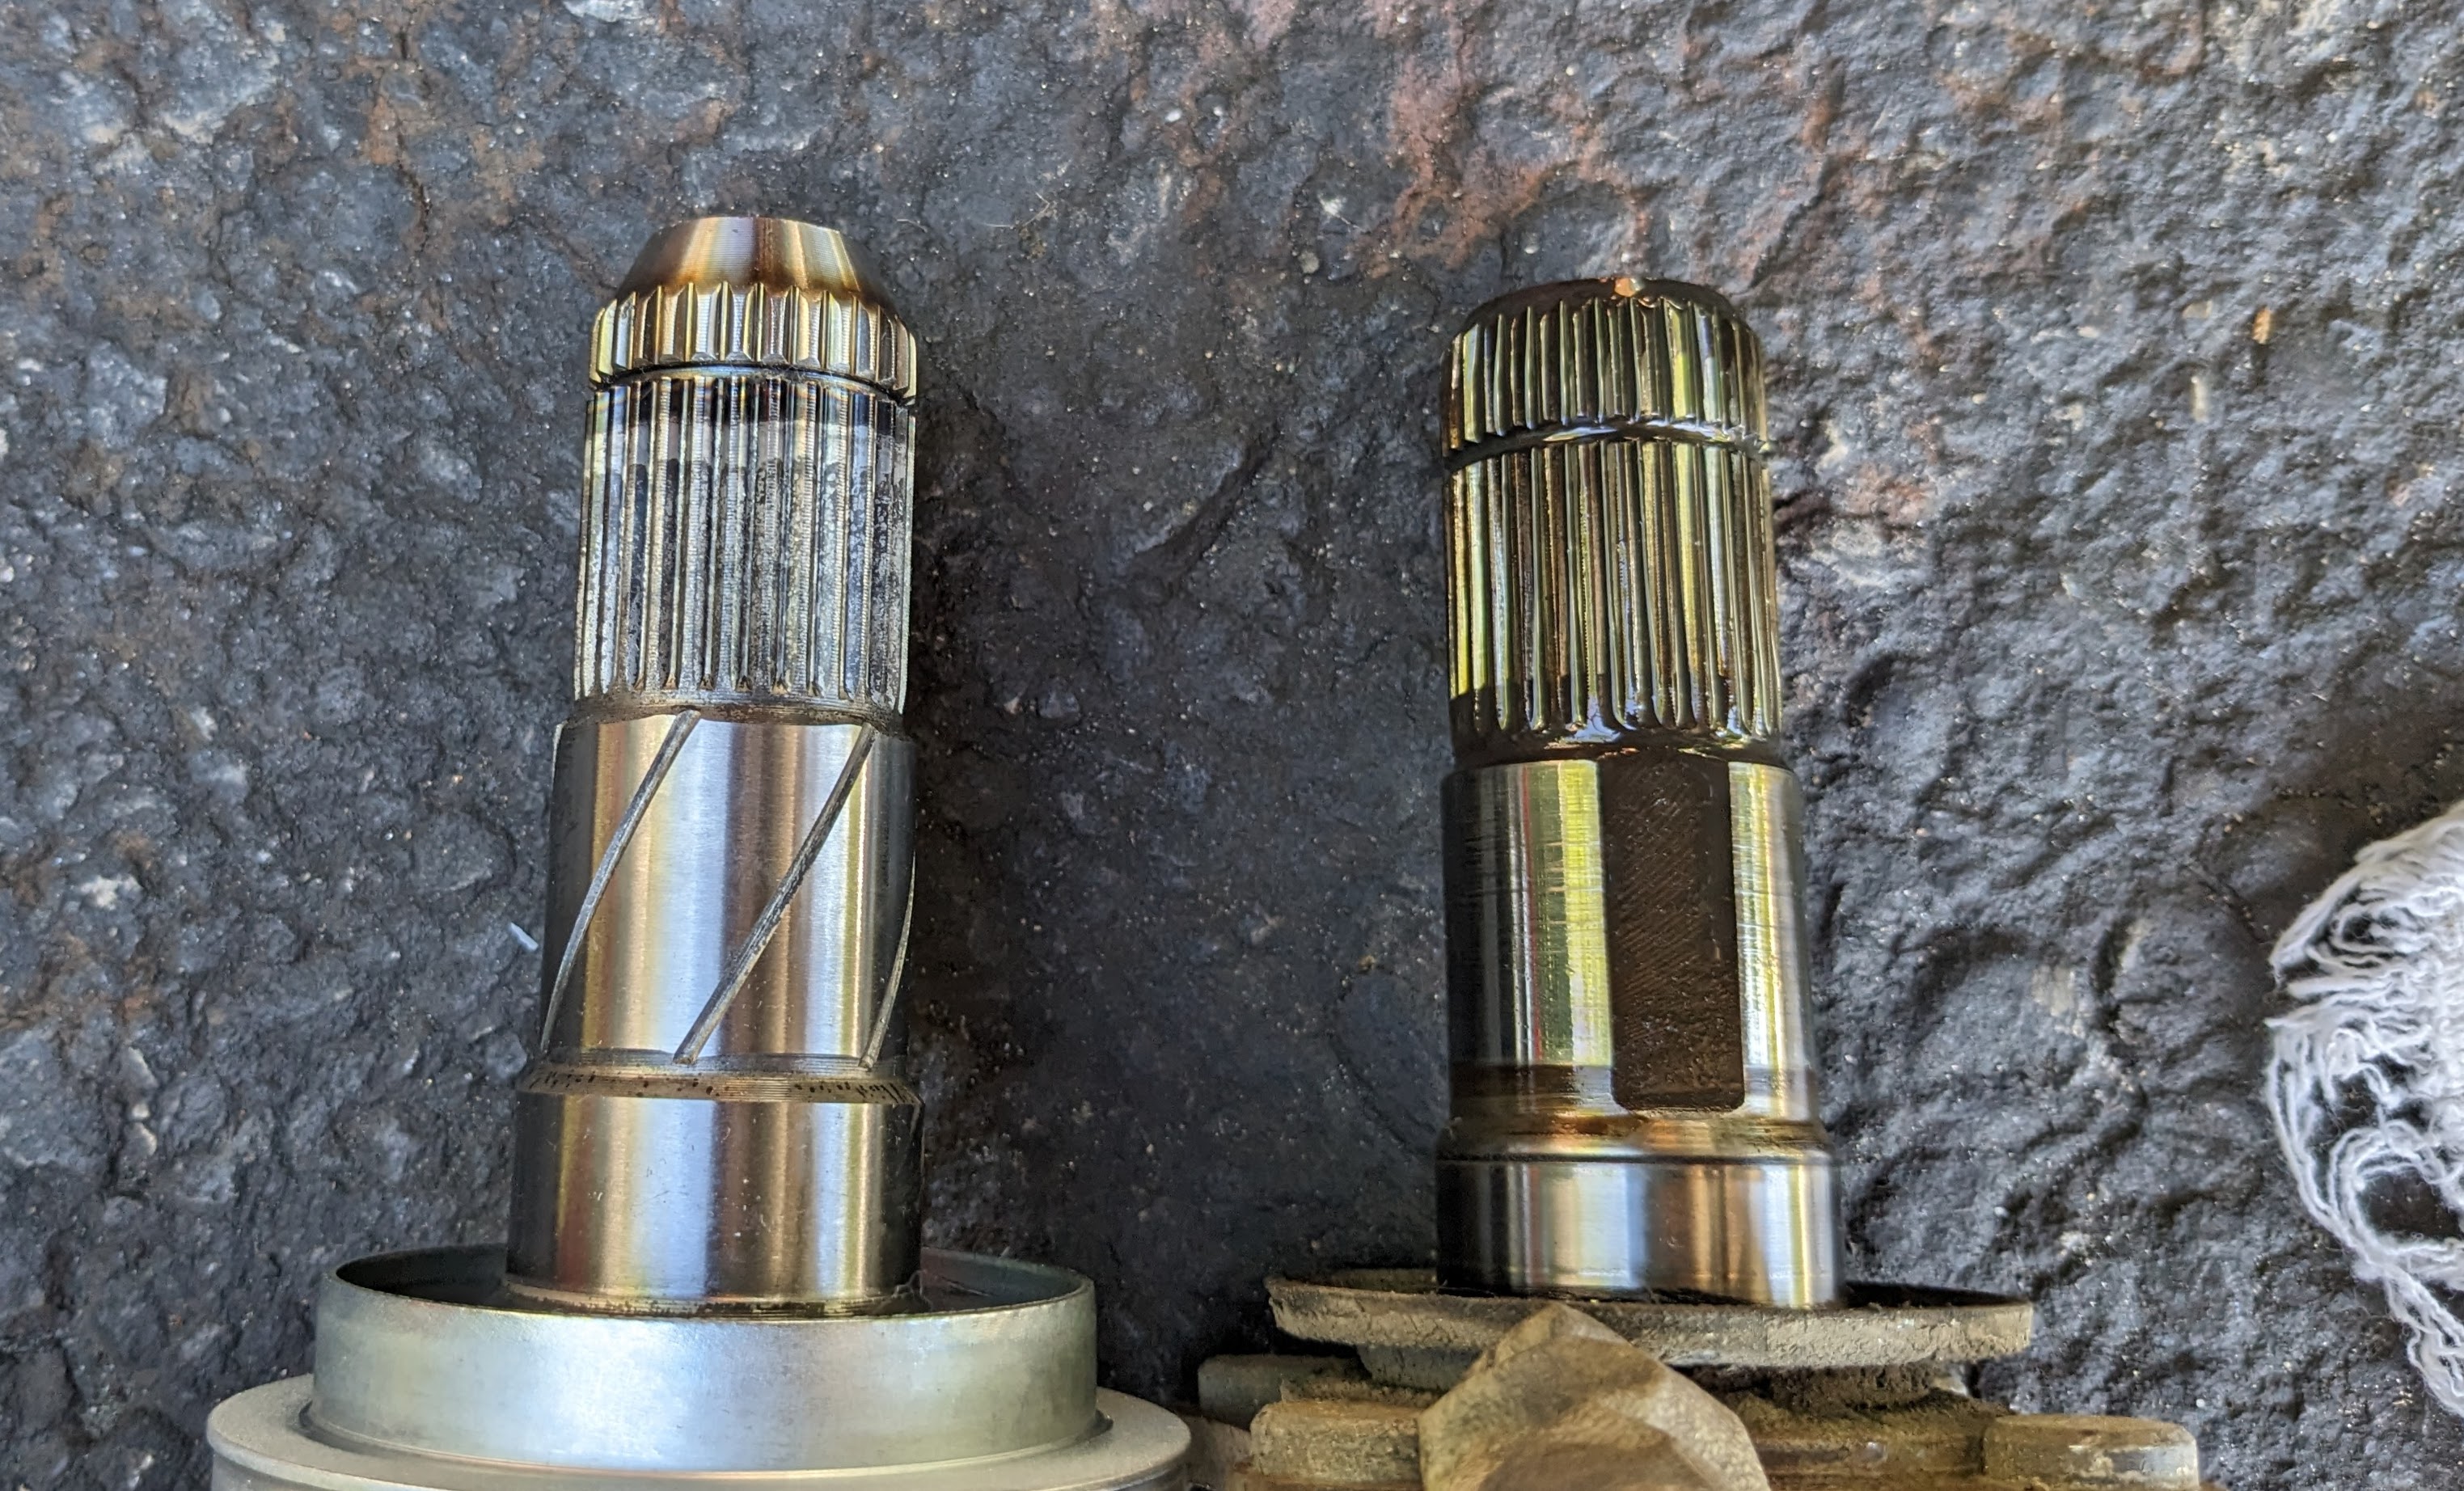
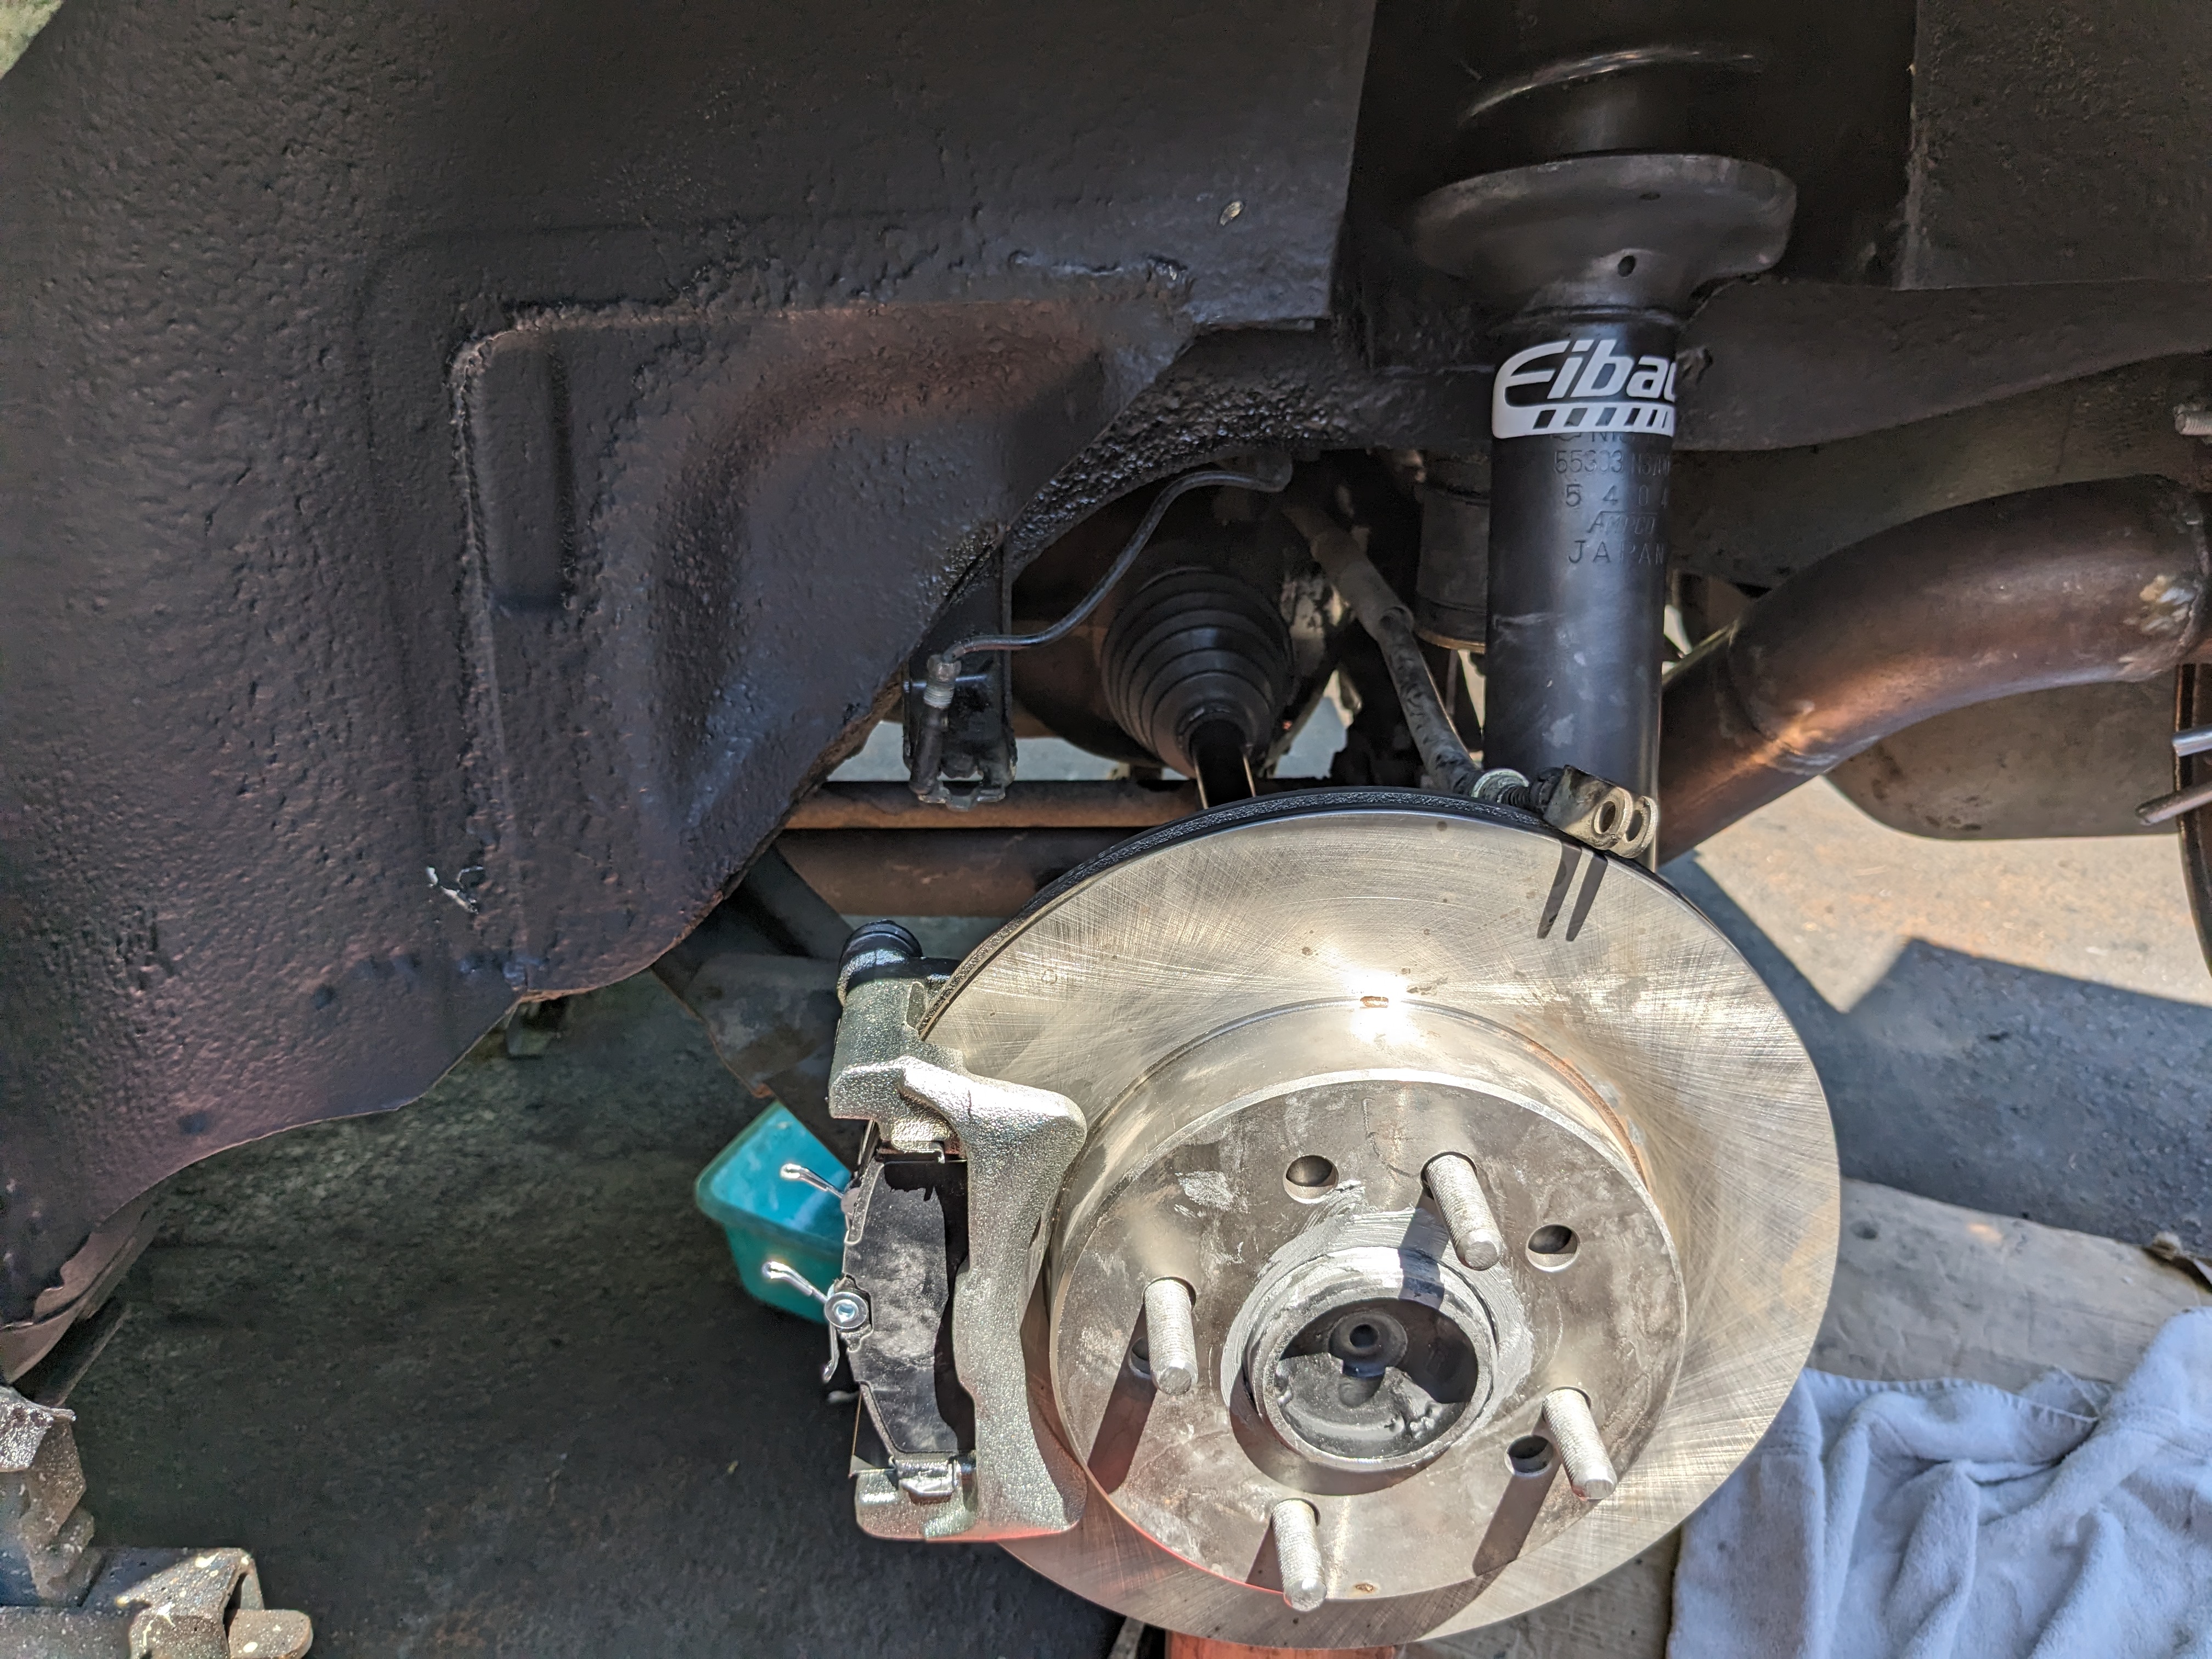
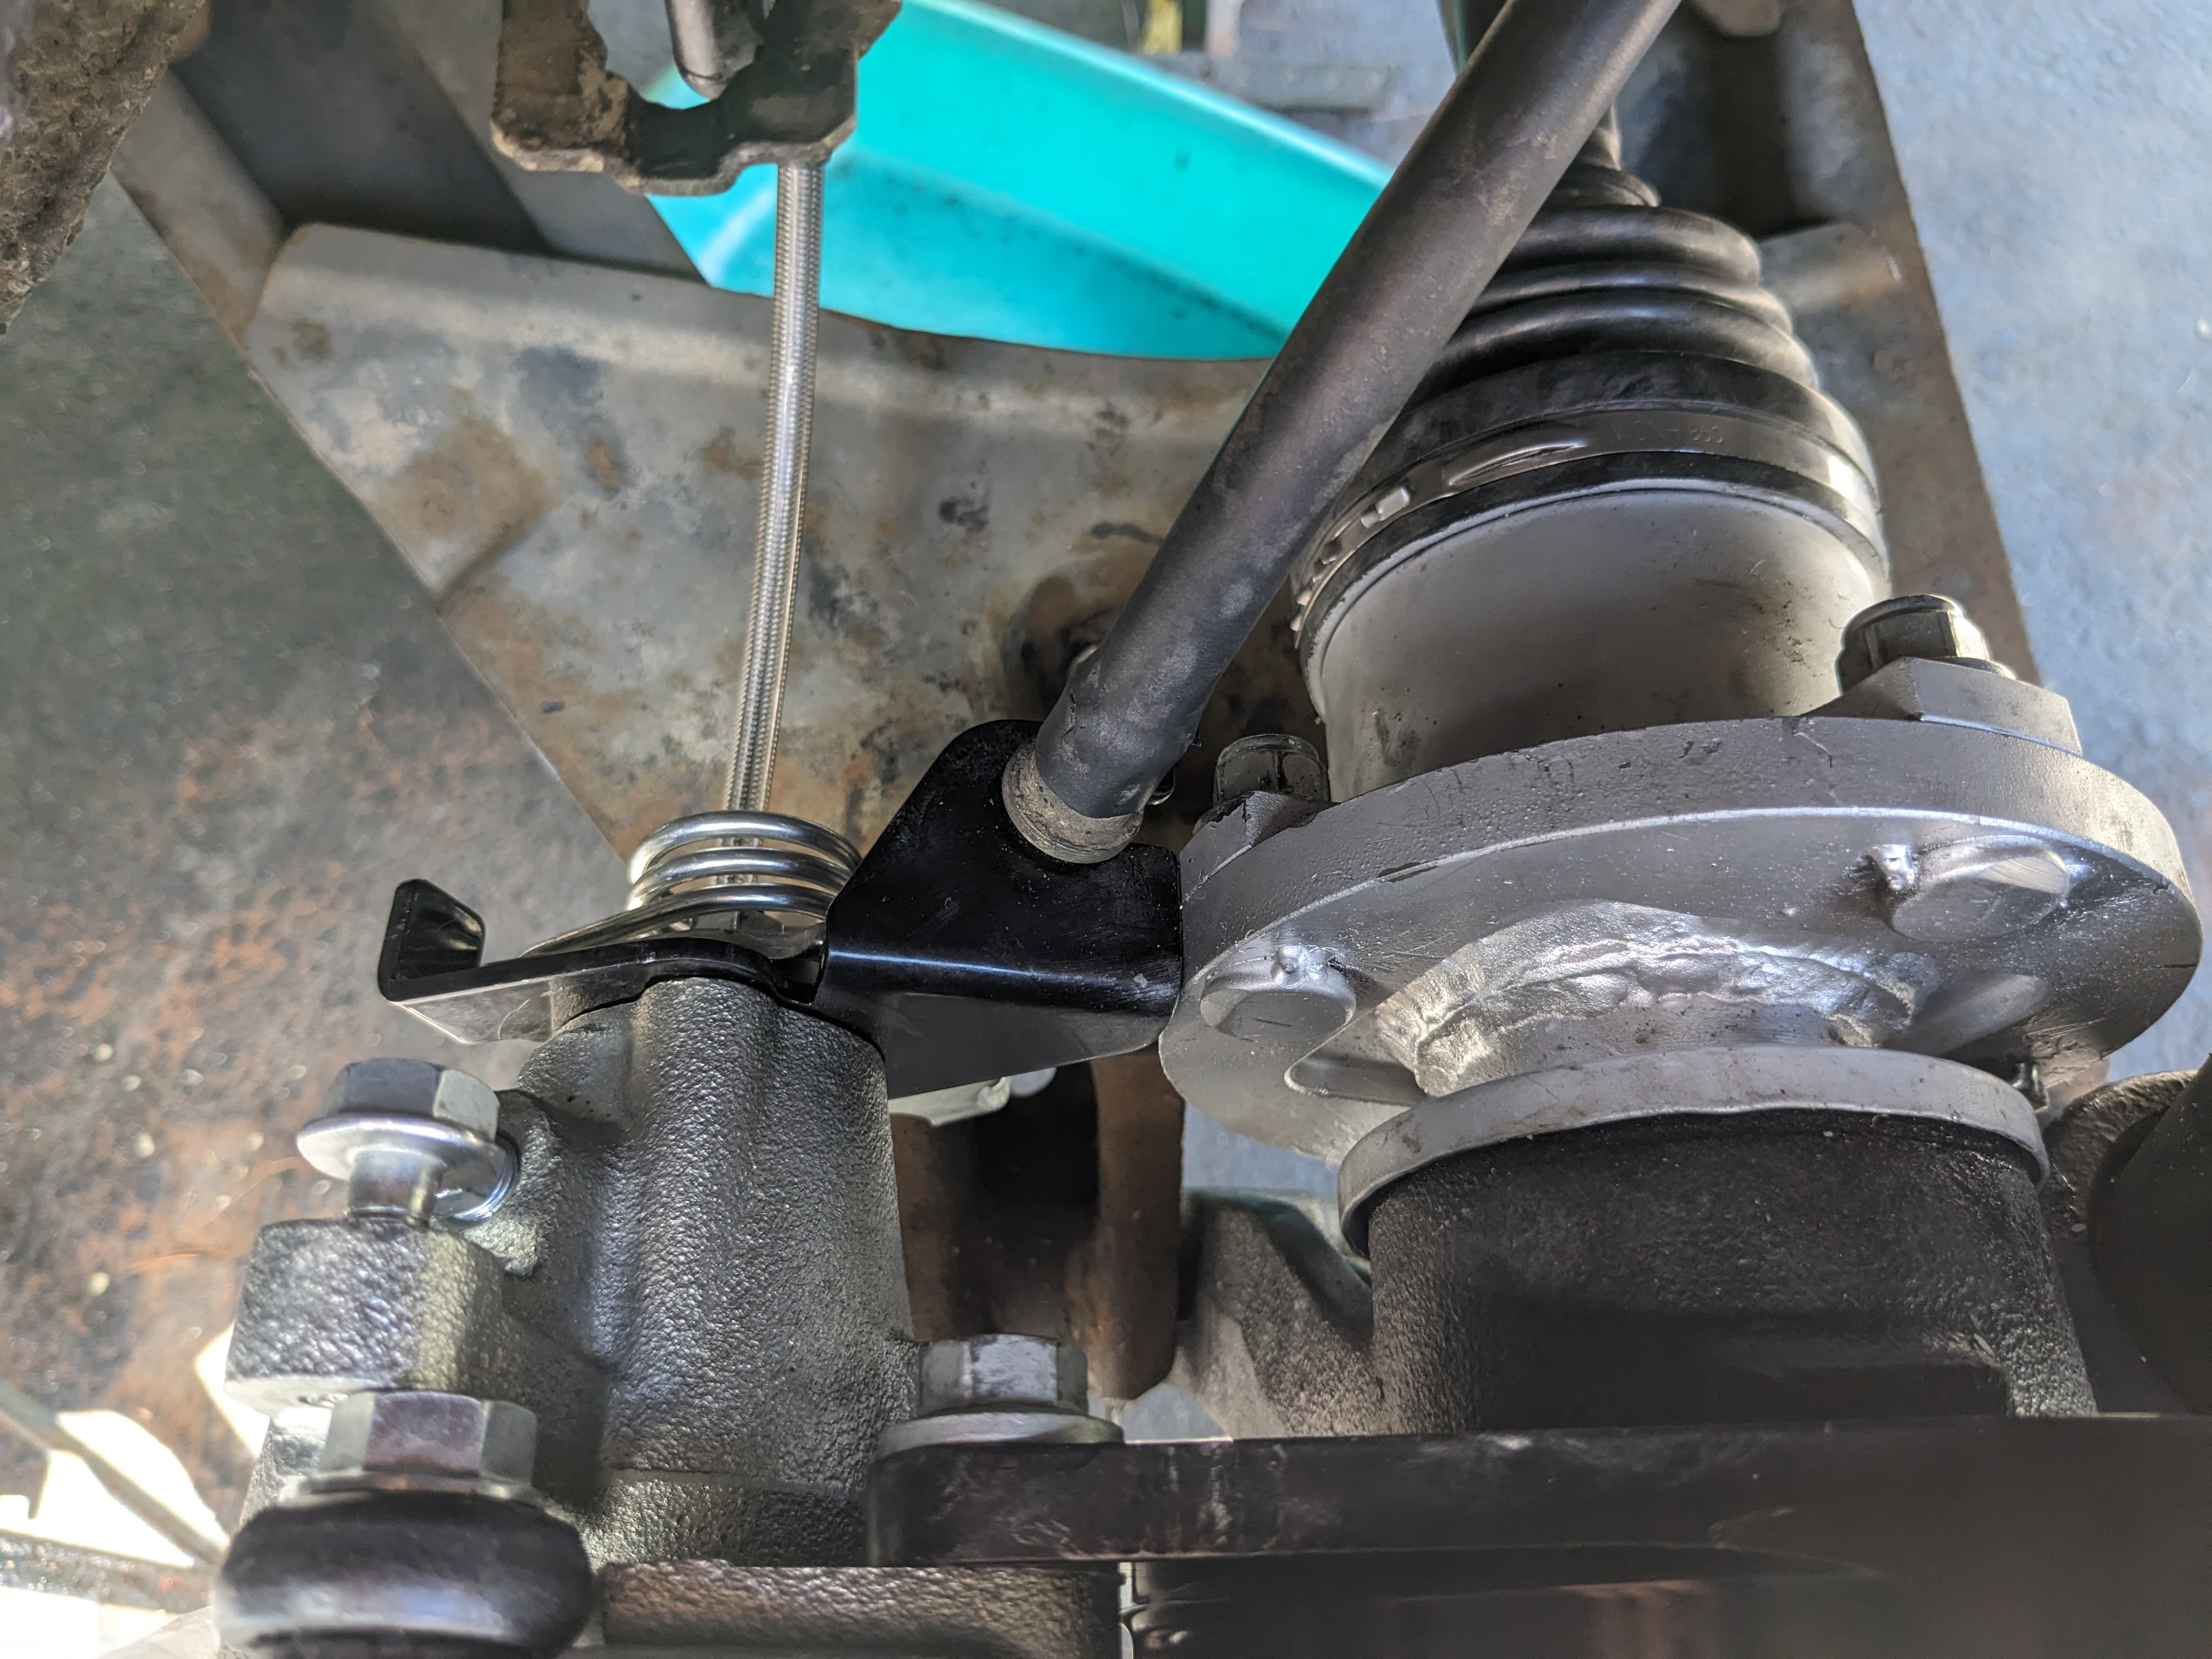
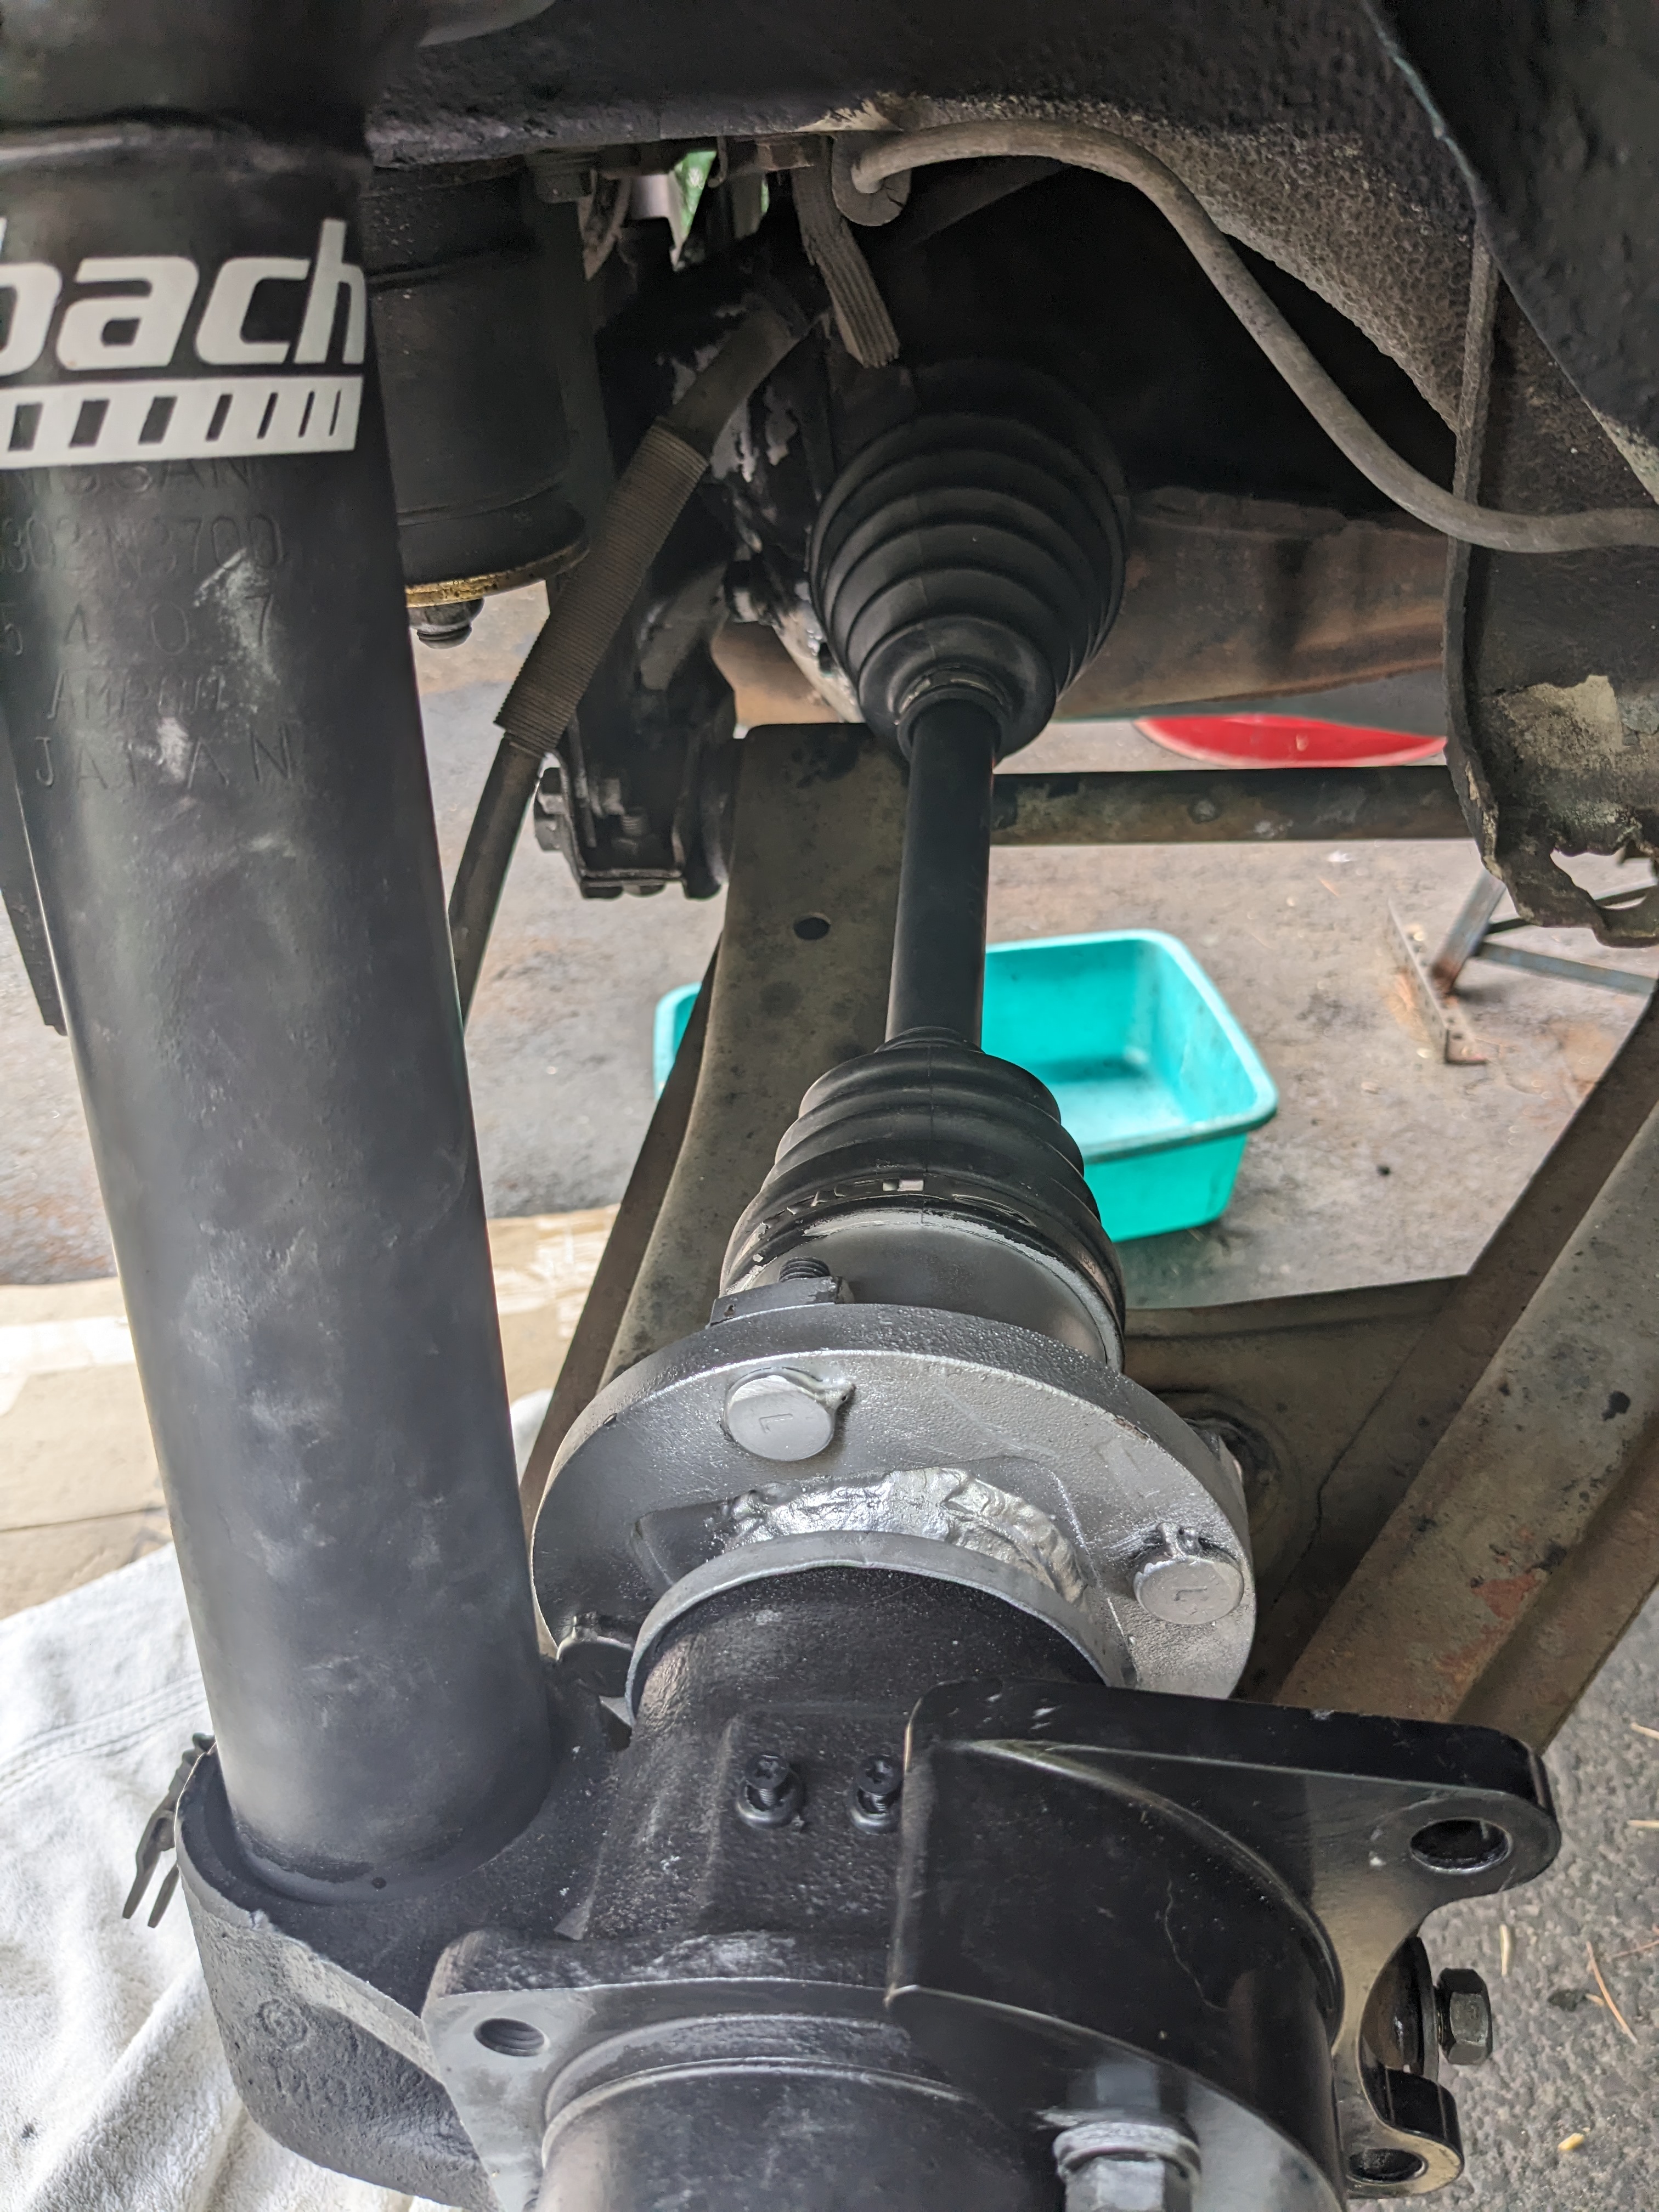
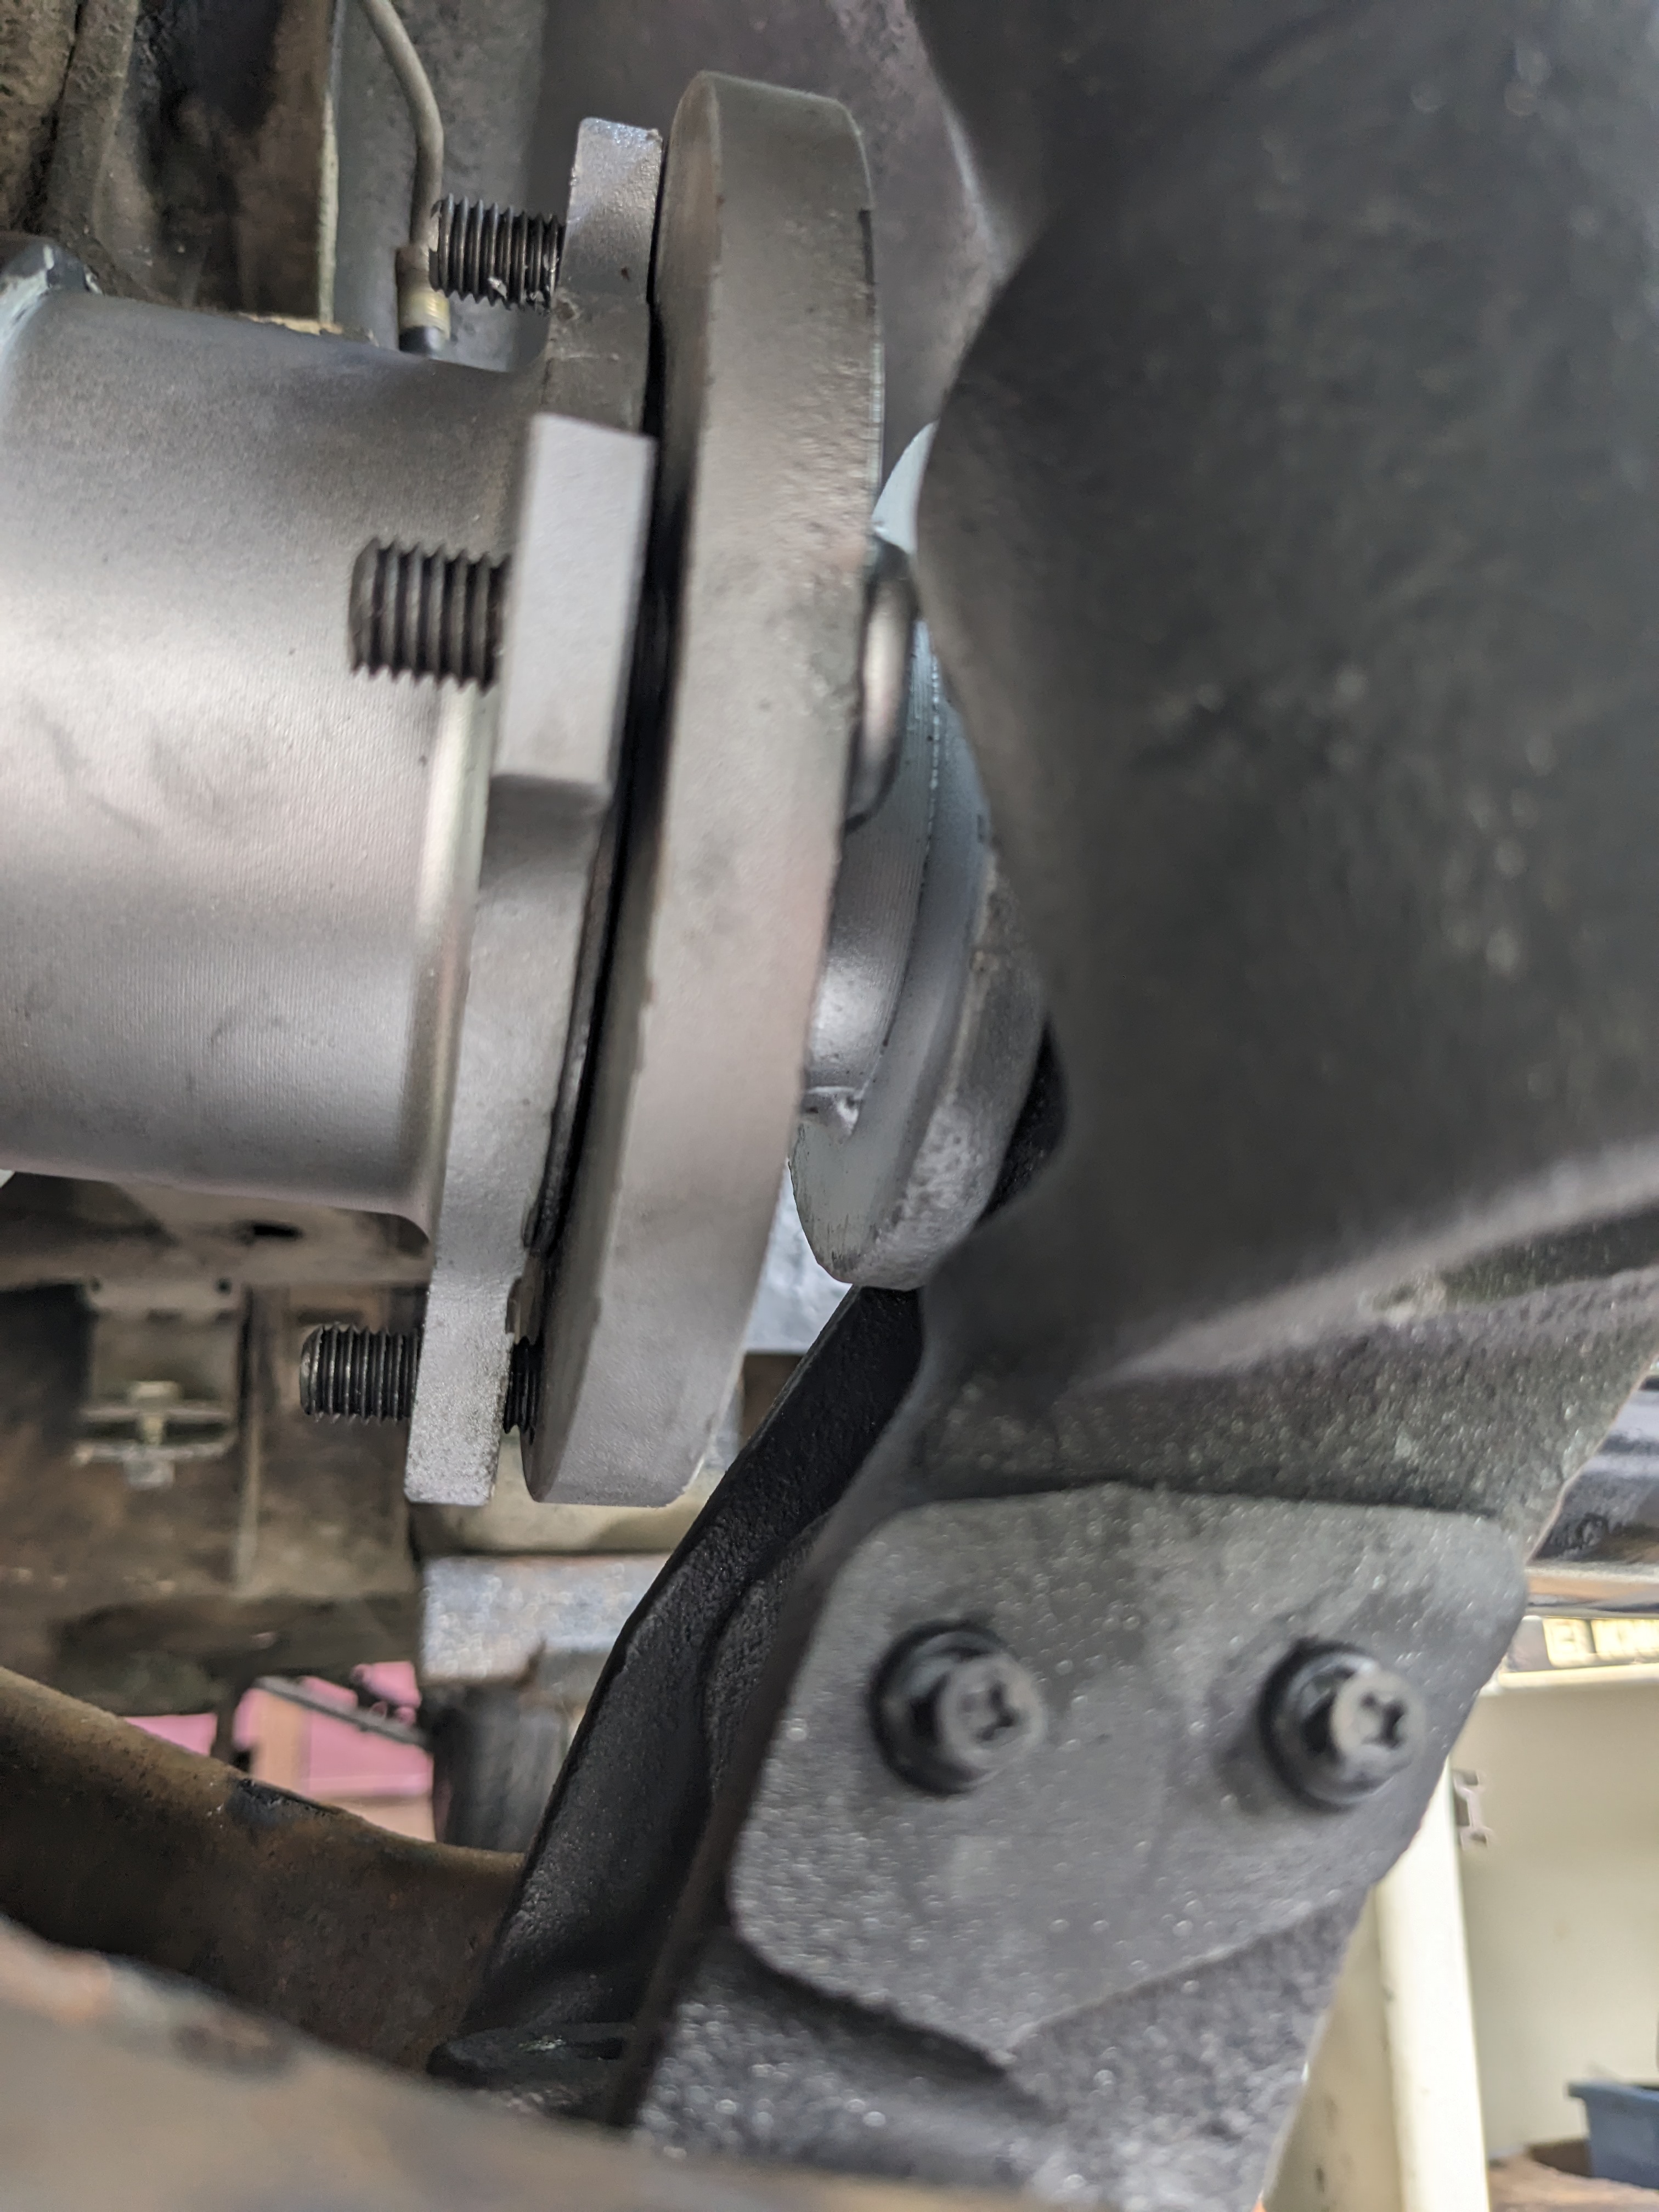
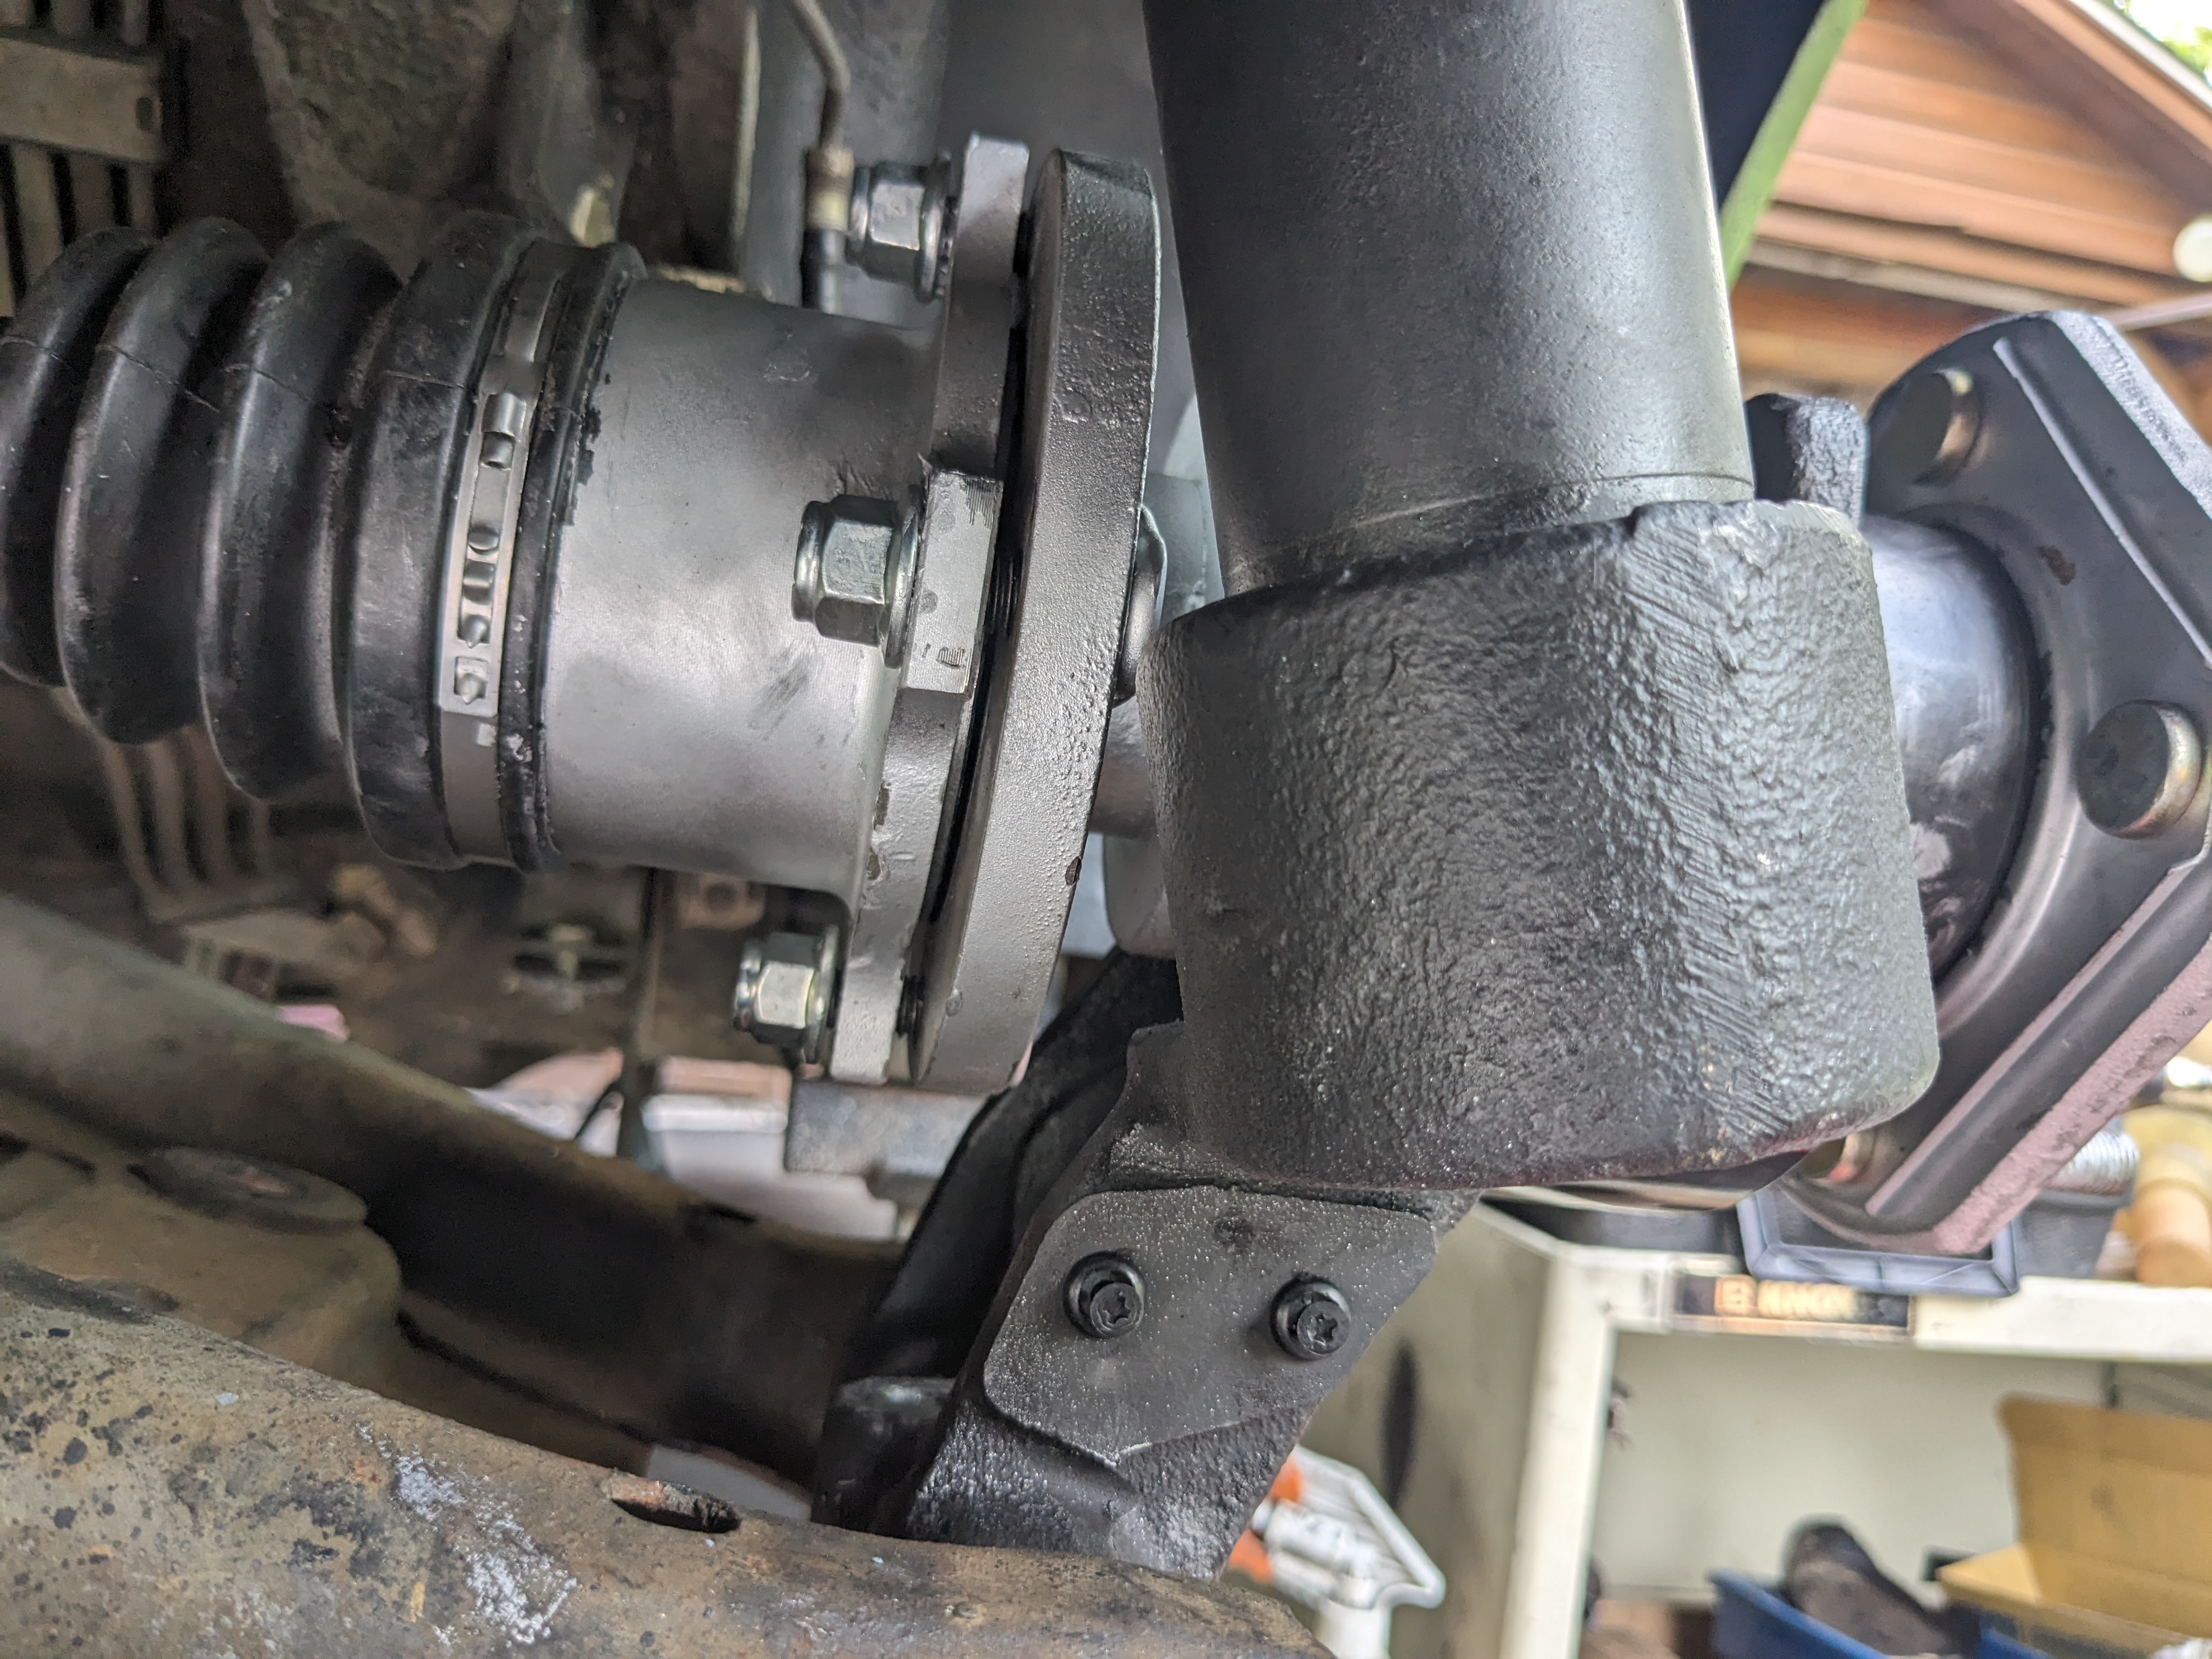
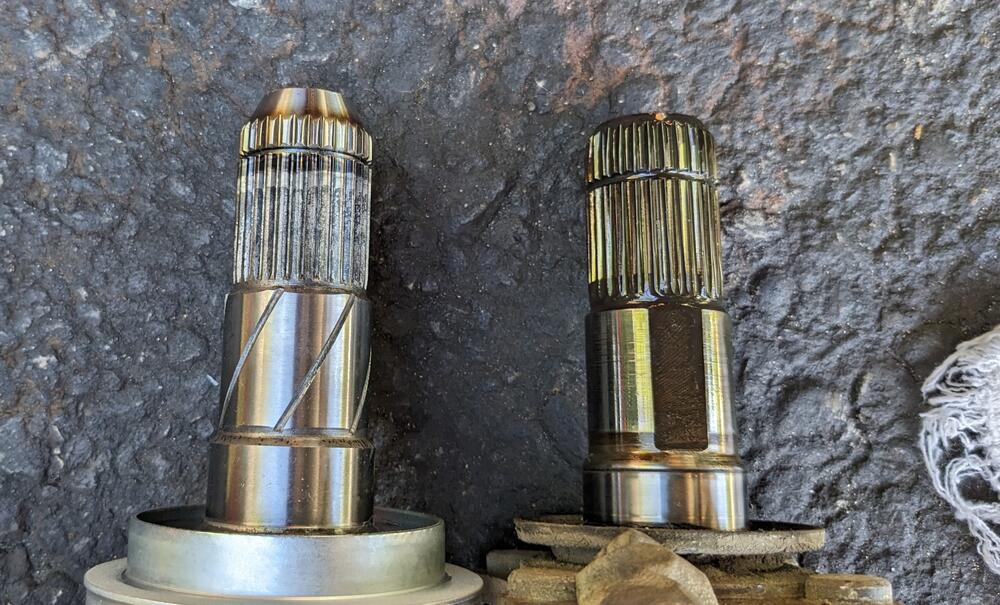
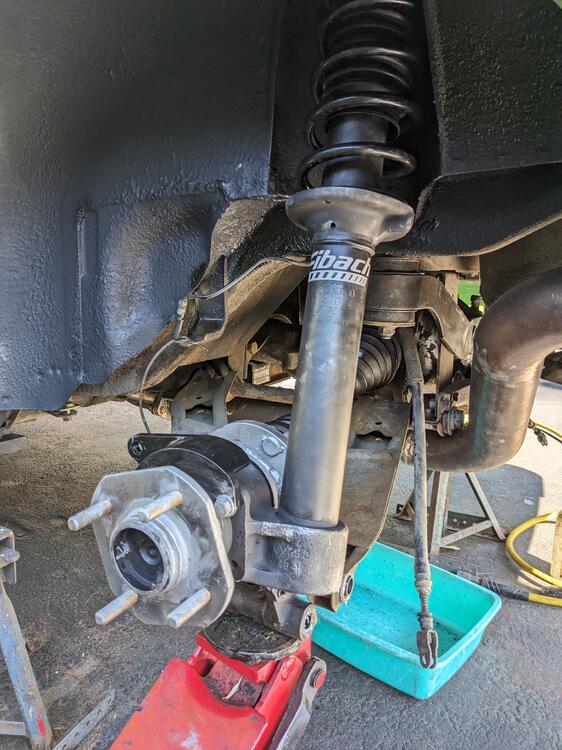
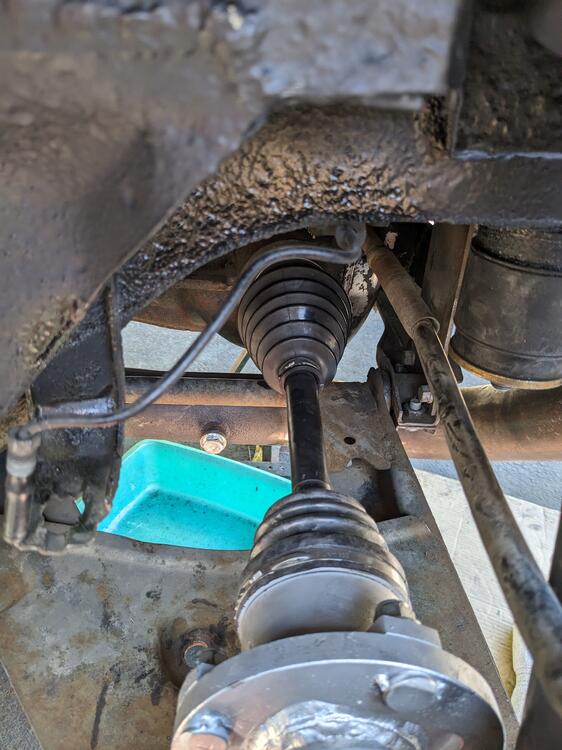
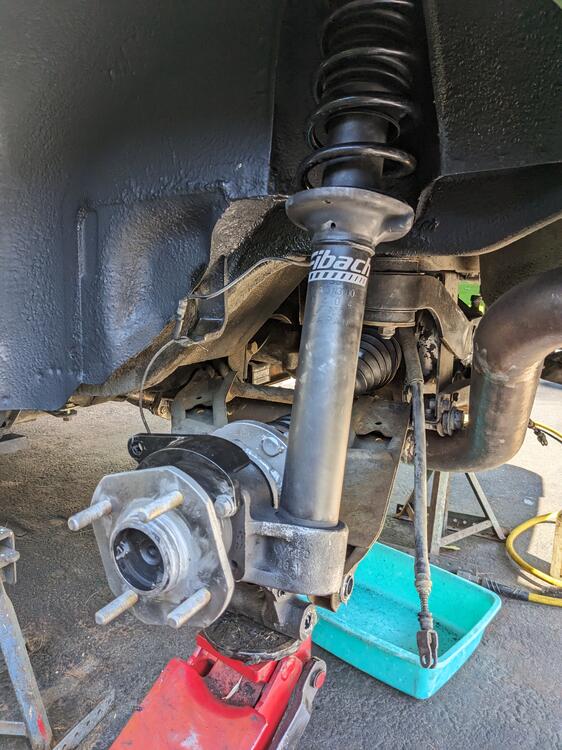
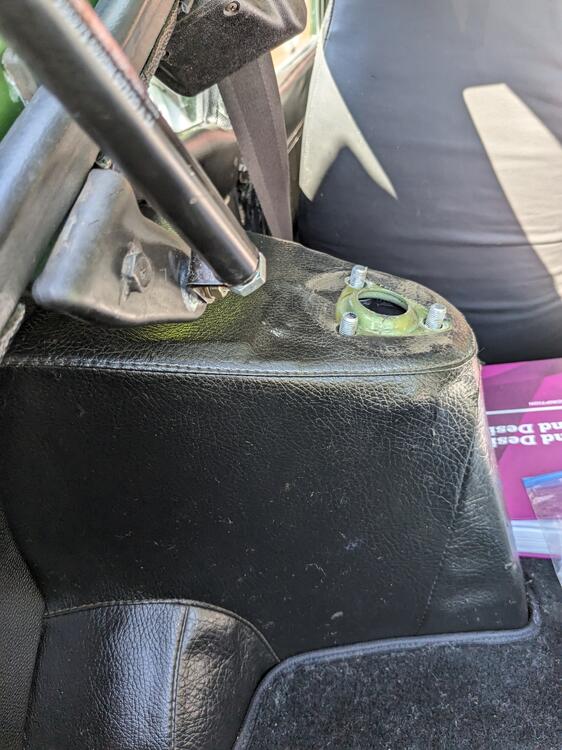
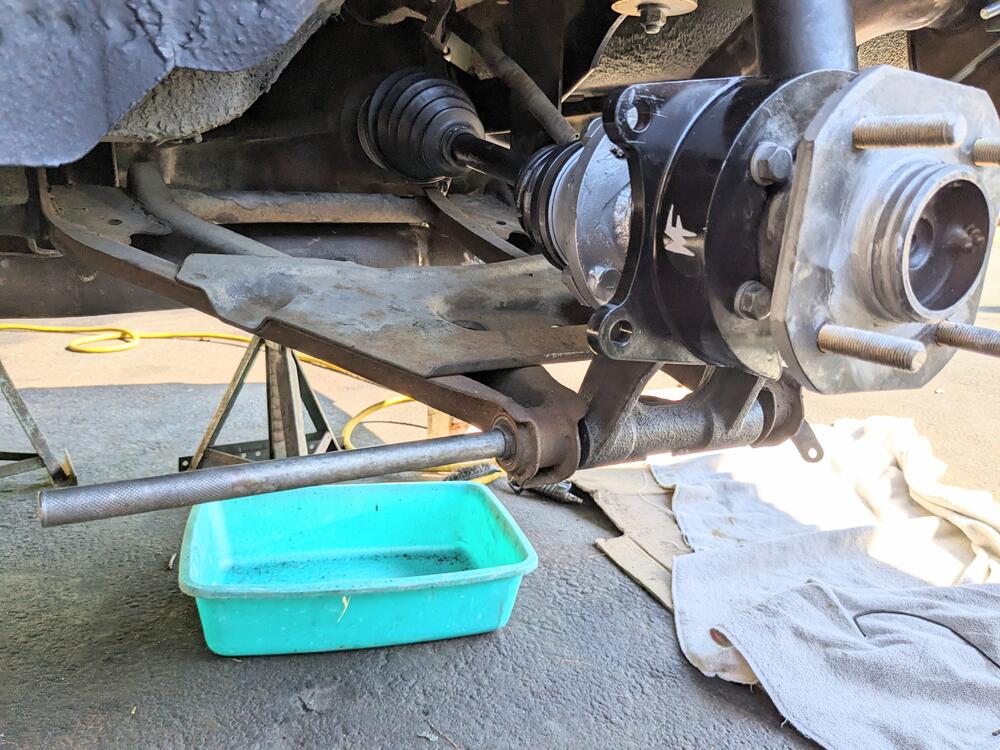
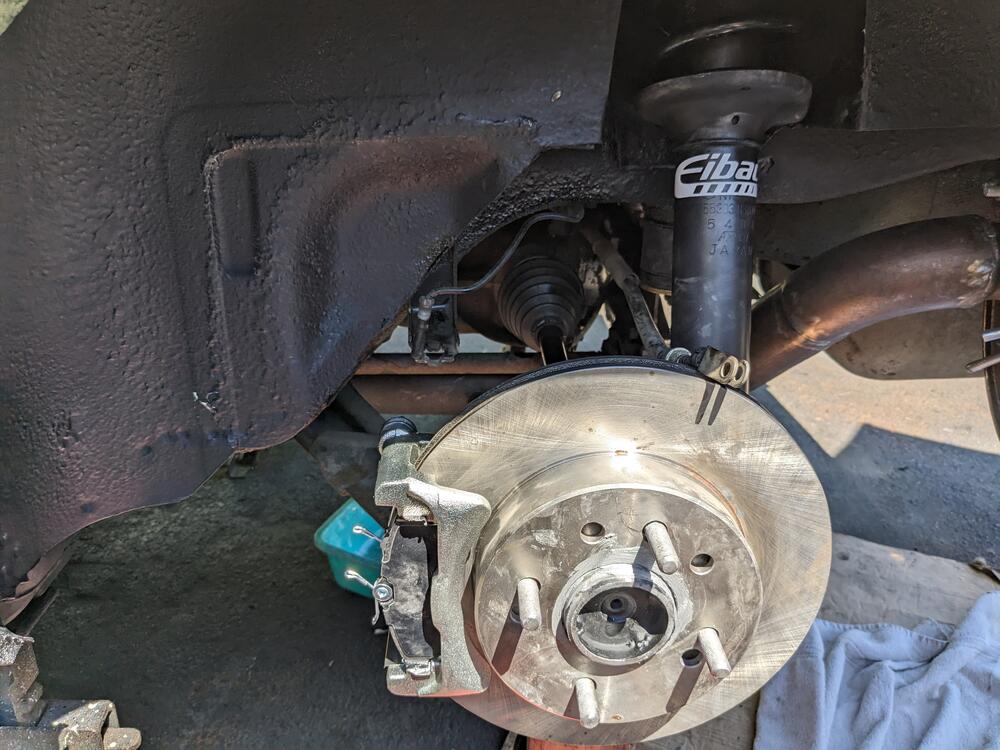
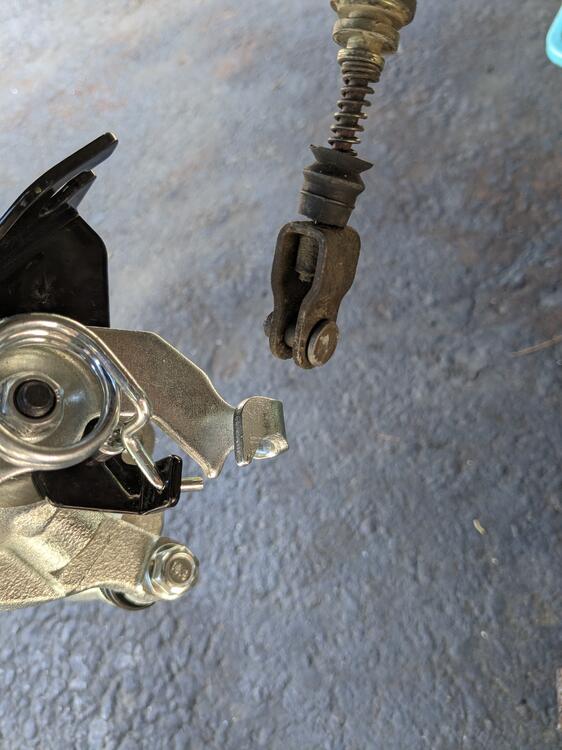
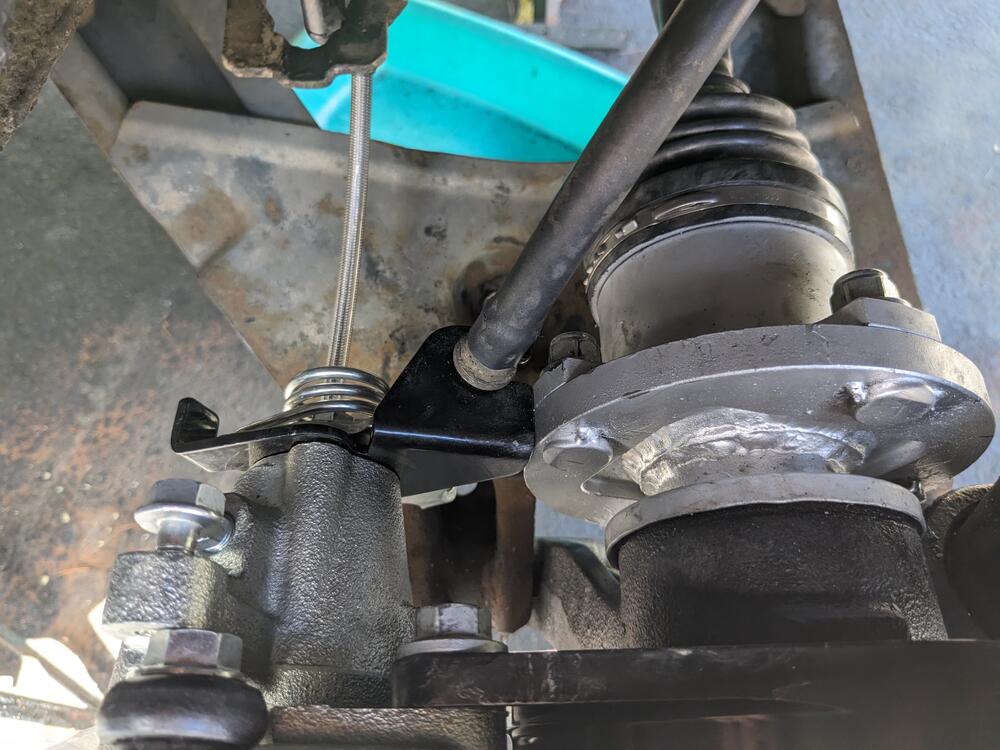
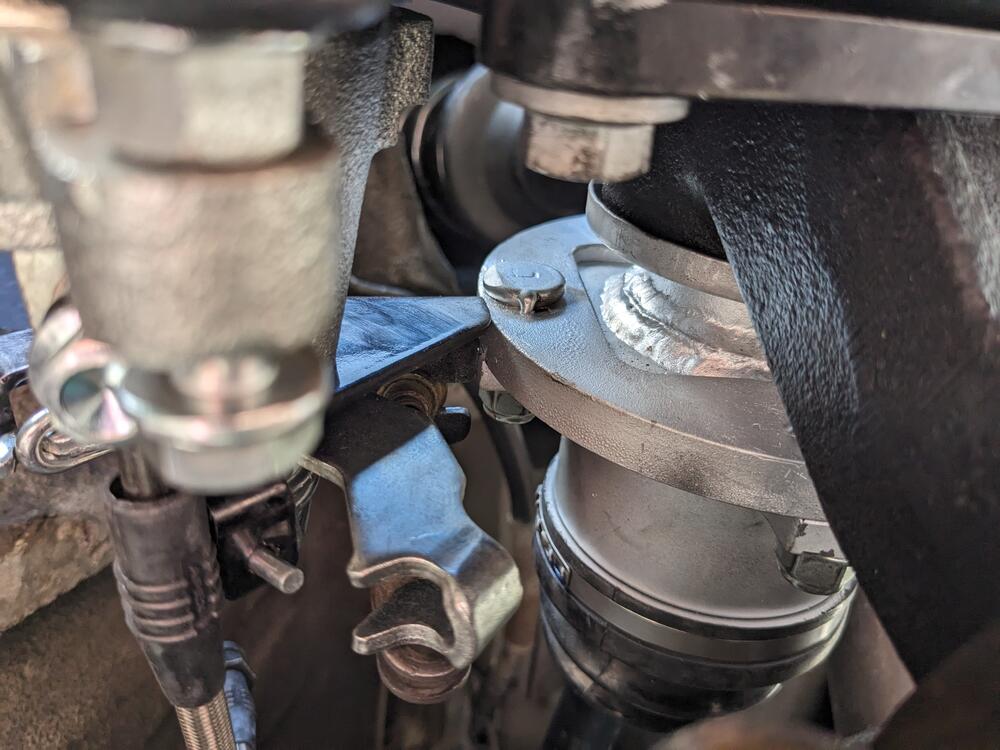
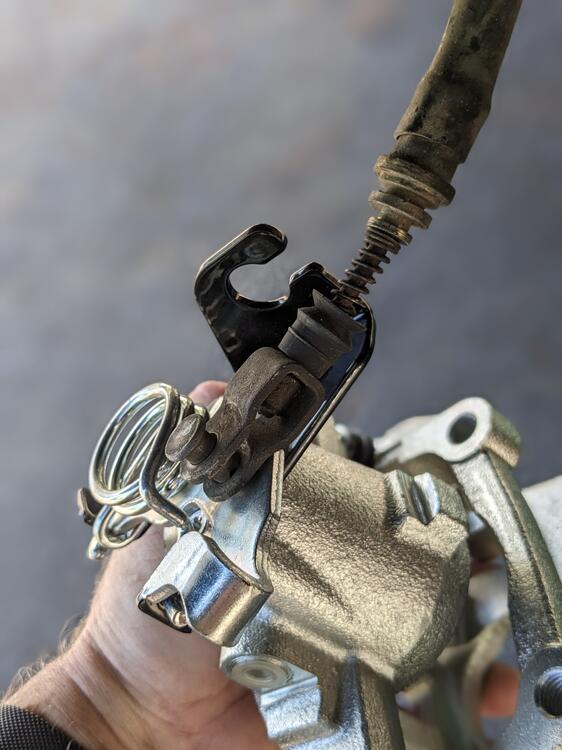
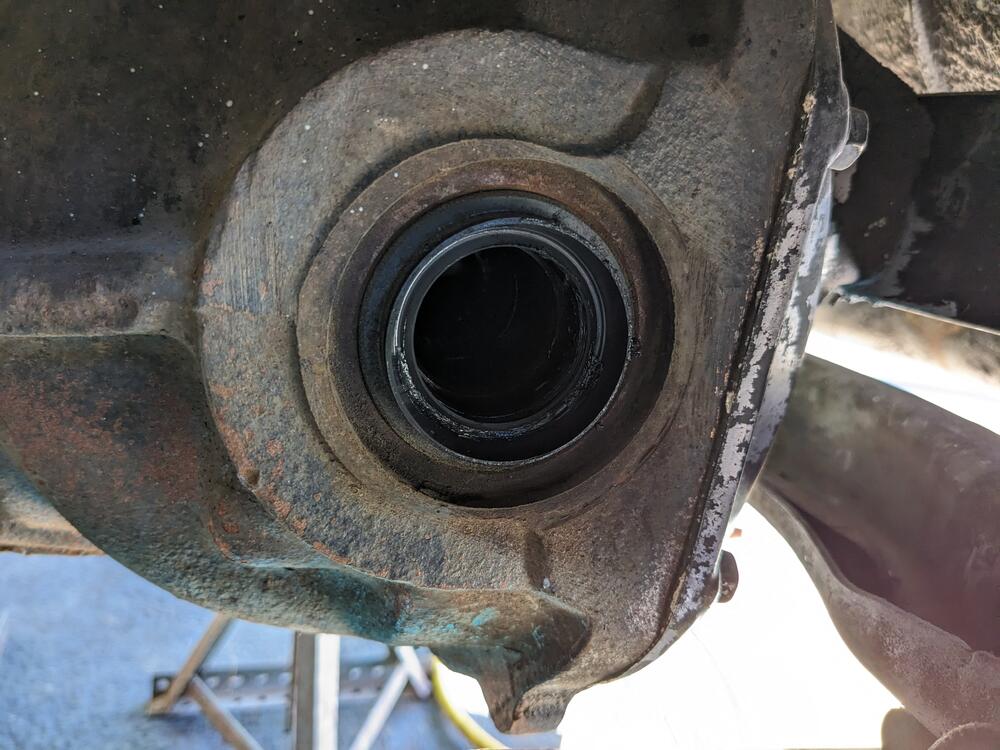
Yesterday I fitted the left axle ('87 300ZX T, #N18435) & strut assy. I found that the left axle had almost no play in the outer CV at full drop. I can't imagine it would work without binding using one of the flanges as intended, esp. w/ stock springs, since that would drop the hub even further. Left inner stub. They are the same length, just aftermarket has a shorter innermost spline section and deeper outer seal seat shoulder. left axle seal was also not leaking, so I'm just going ahead without replacement installing the strut assy - used my jack to lift the assy. in place, so I could secure the strut top plate in the tower once the top was secured, I could position the spindle hub & insert the spindle/bolt and clevis. Not fun. The elements do not readily align, so the shoulders on the spindle can catch on the bushing sleeve in the control arm. This side took several tries to get it in place. Spindle & axle in place With that done, I started on the brake install. (re-drilled) '88 300ZX T Rotor then (Mustang rear '05-2014) caliper hanger installed, all good so far... Then I found a couple issues. I had never checked the kit listing to see if the kit worked with modded setups - it doesn't mention whether it only works with stock setups & I didn't think to ask at the time. The eBrake bracket will not clear the CV flange. I'd be curious to see a pic of it in relationship to the stock U-Joint shaft flange, as it seems that the cable bracket would still end up pretty close to the rotating flange. Needs to swing inward I'd say at least 3/4" from here to get the upper caliper retaining bolt into the caliper slider pin. I'll have to cut & weld the bracket to make this work. Angle and offset relative to the actuating lever can't change too much or it will bind the cable, and/or just not operate as intended. I've emailed MilkFab to see if they have suggestions. This also seems to be an issue - Milkfab directions just say to attach the stock cable end to the lever. I could not see how the different designs could interface - now looking at the pics, I'm thinking he wants the clevis pin looped over just the outer ear of the lever. There are no comments in the instructions or photo documentation to assist in this, which would have been helpful. I'll work on this today.
-
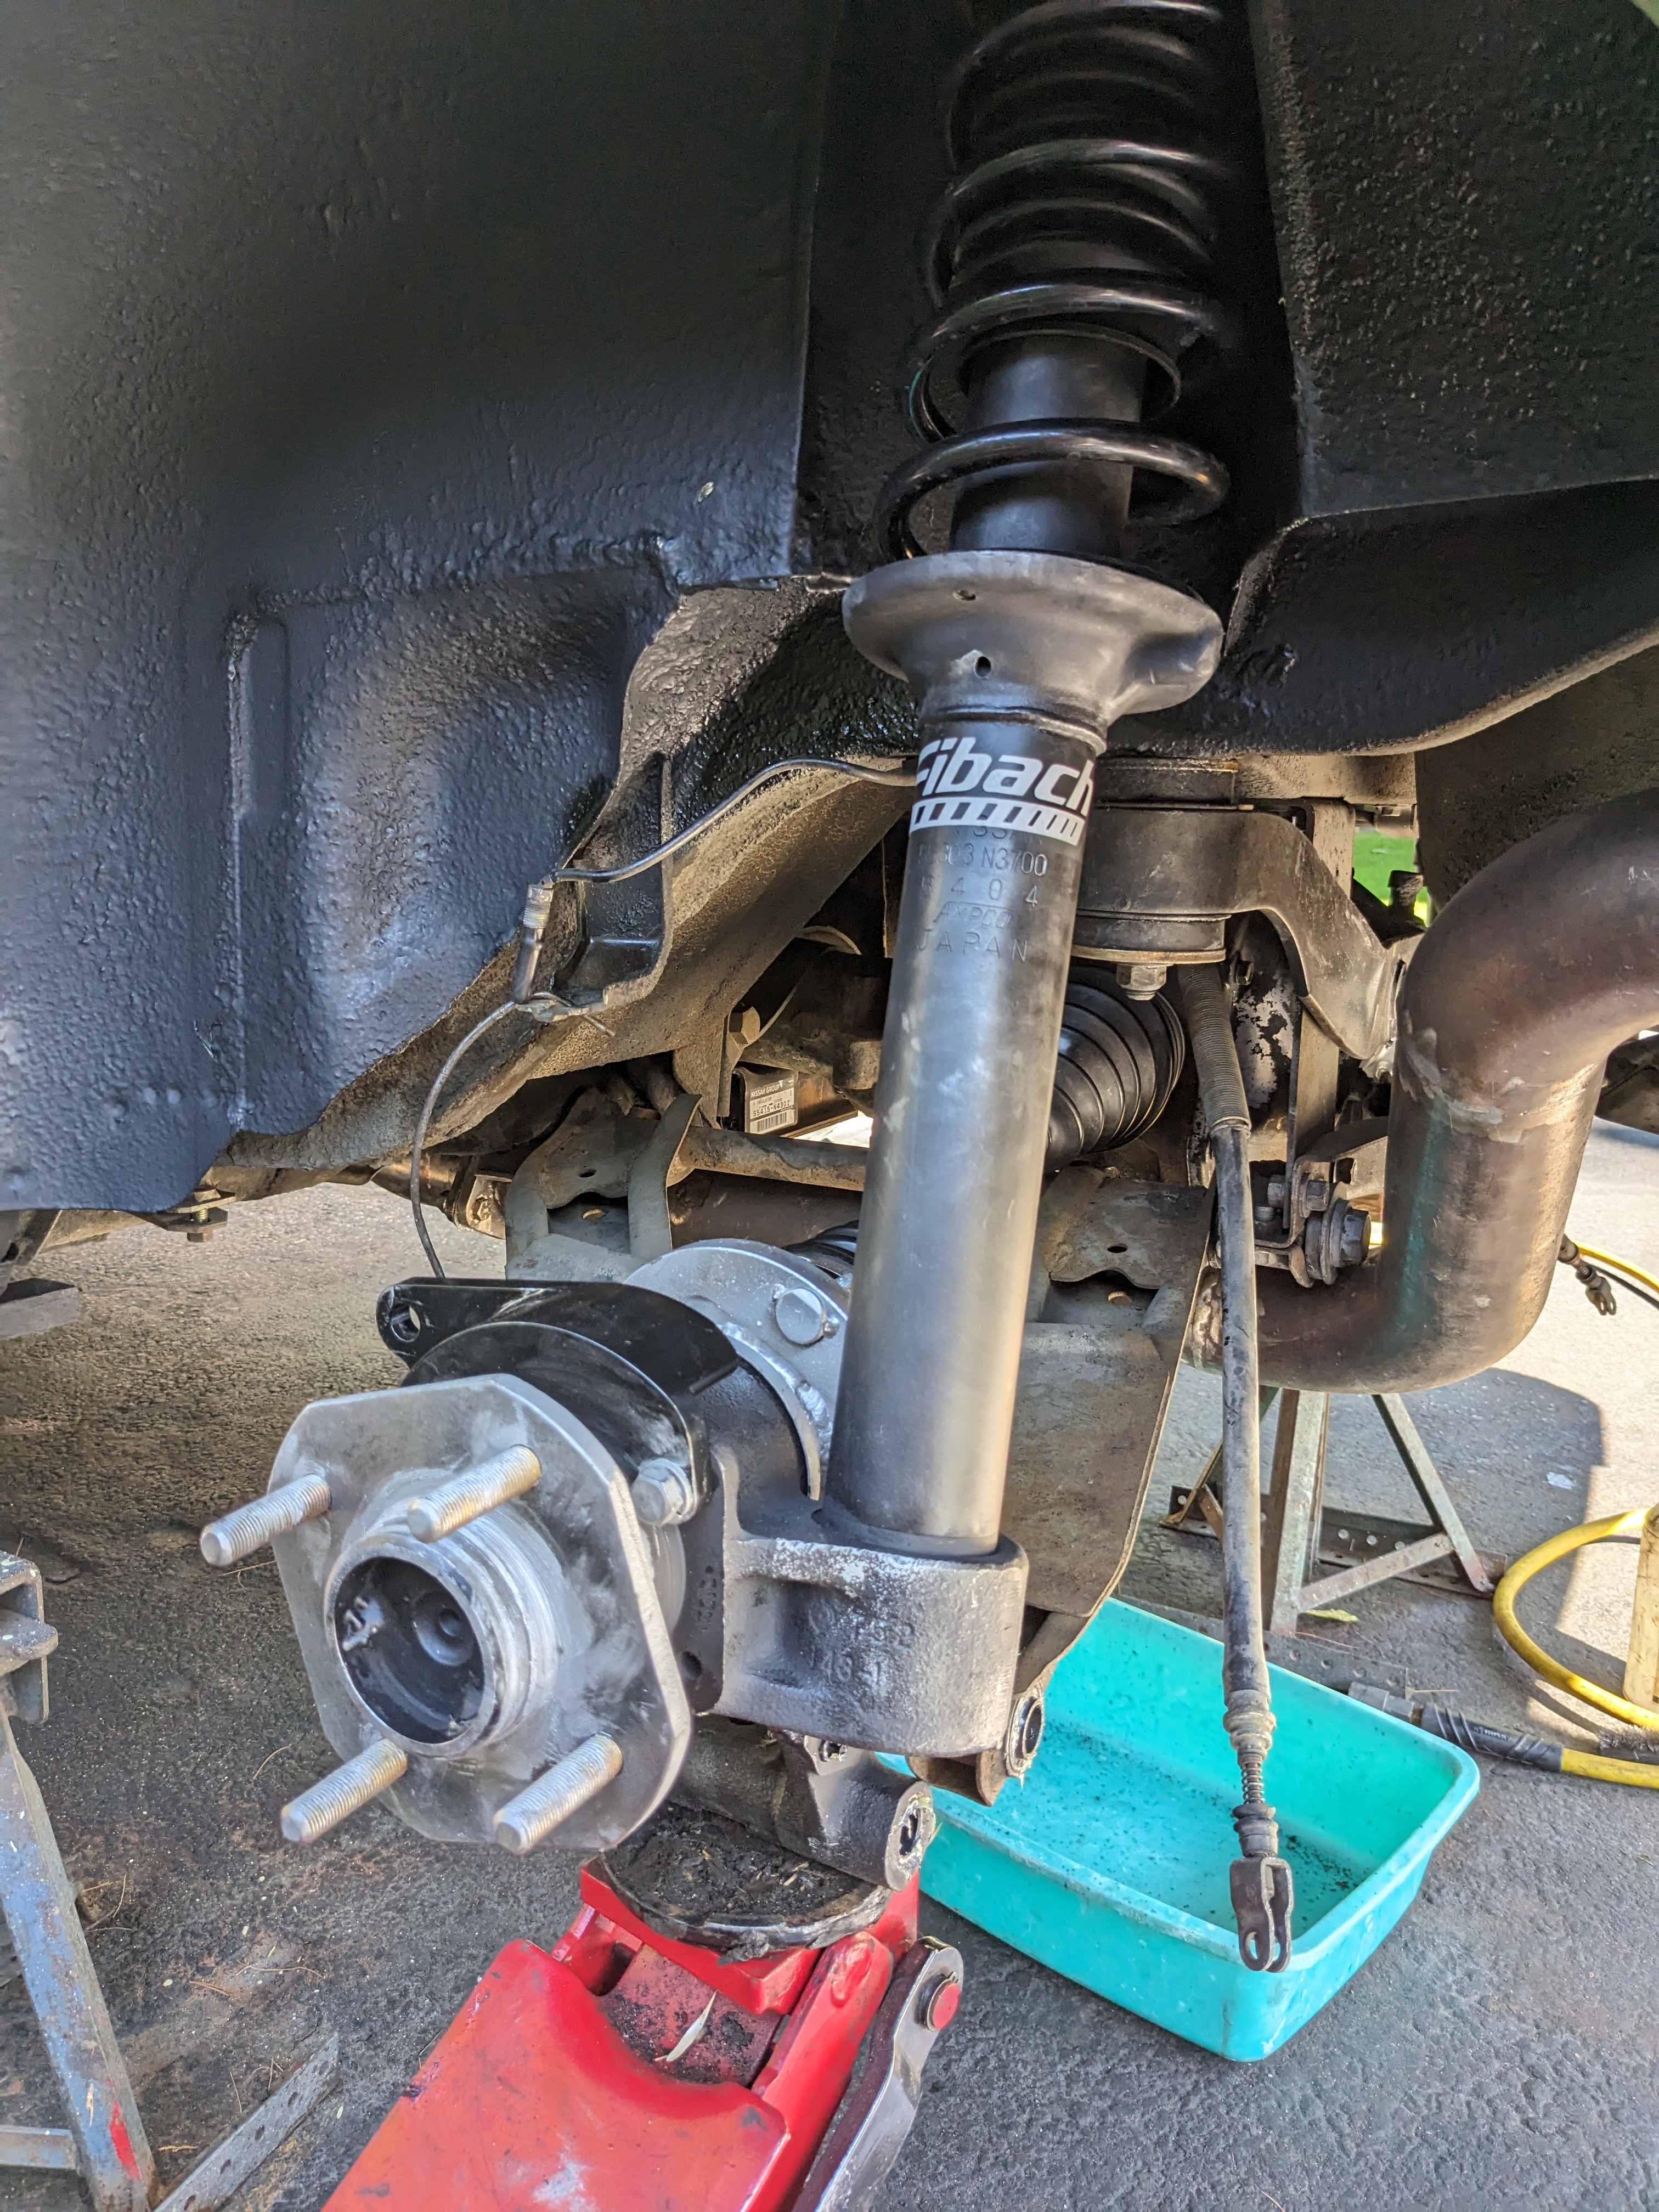
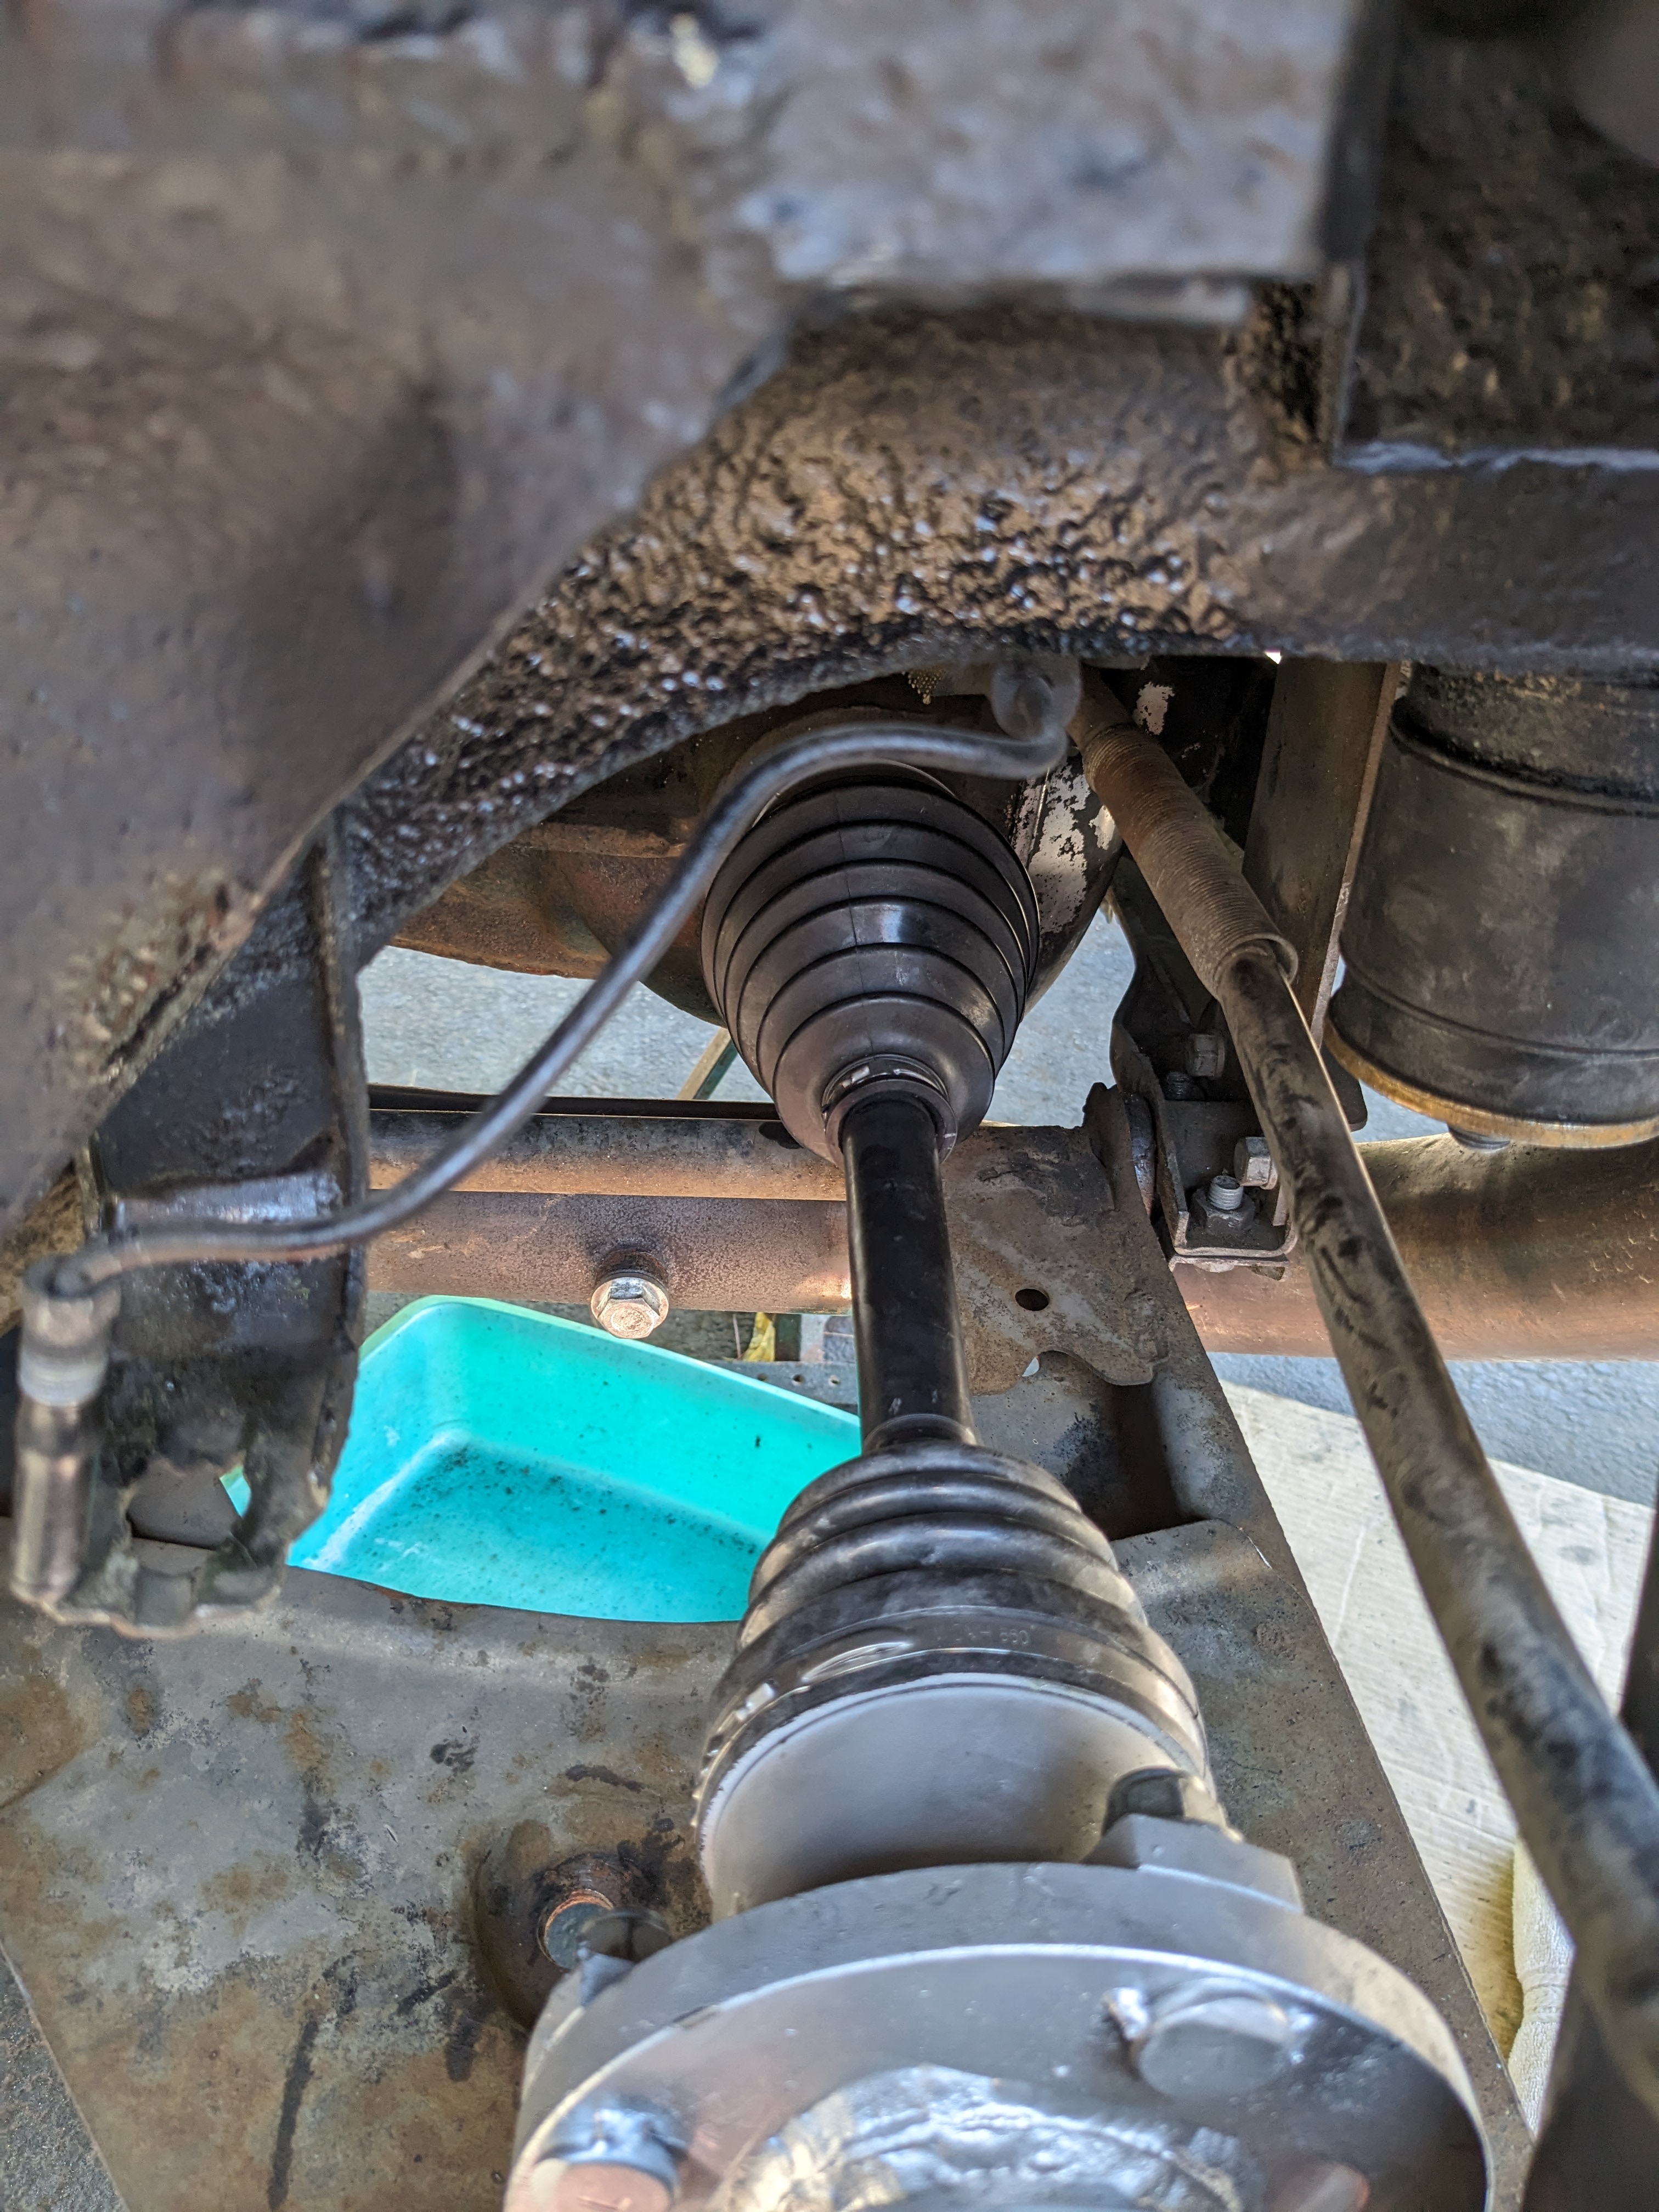
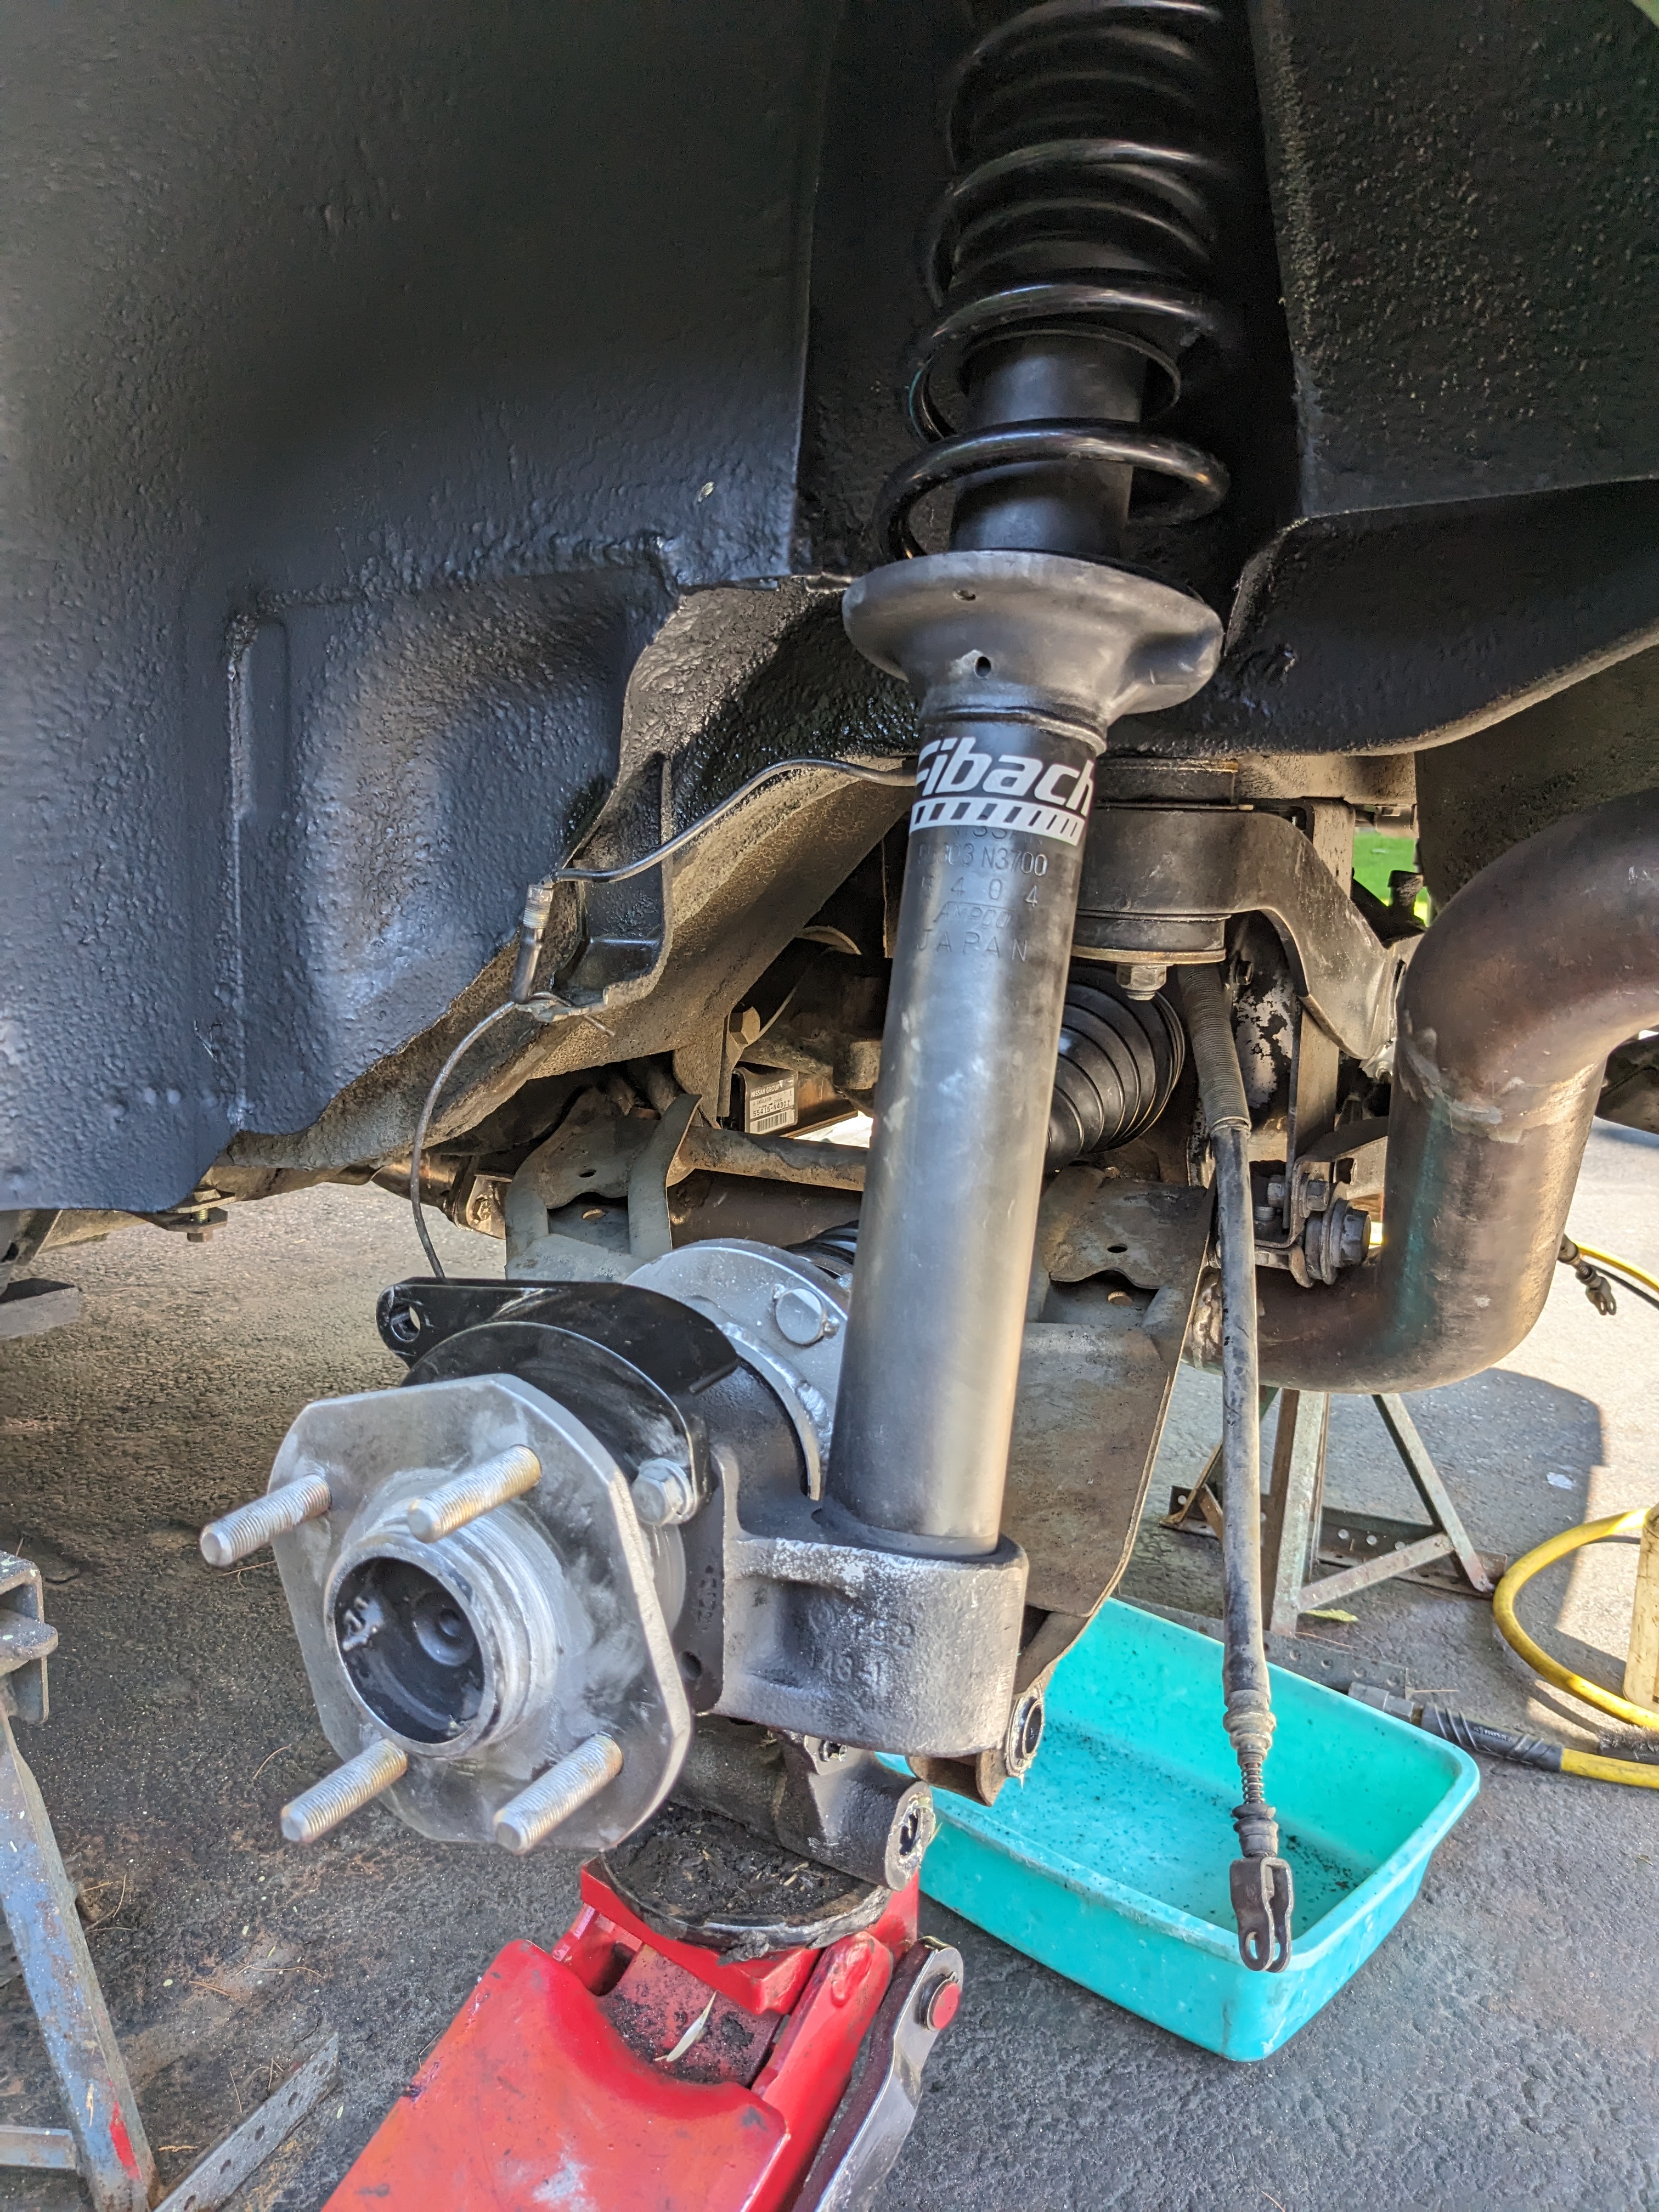
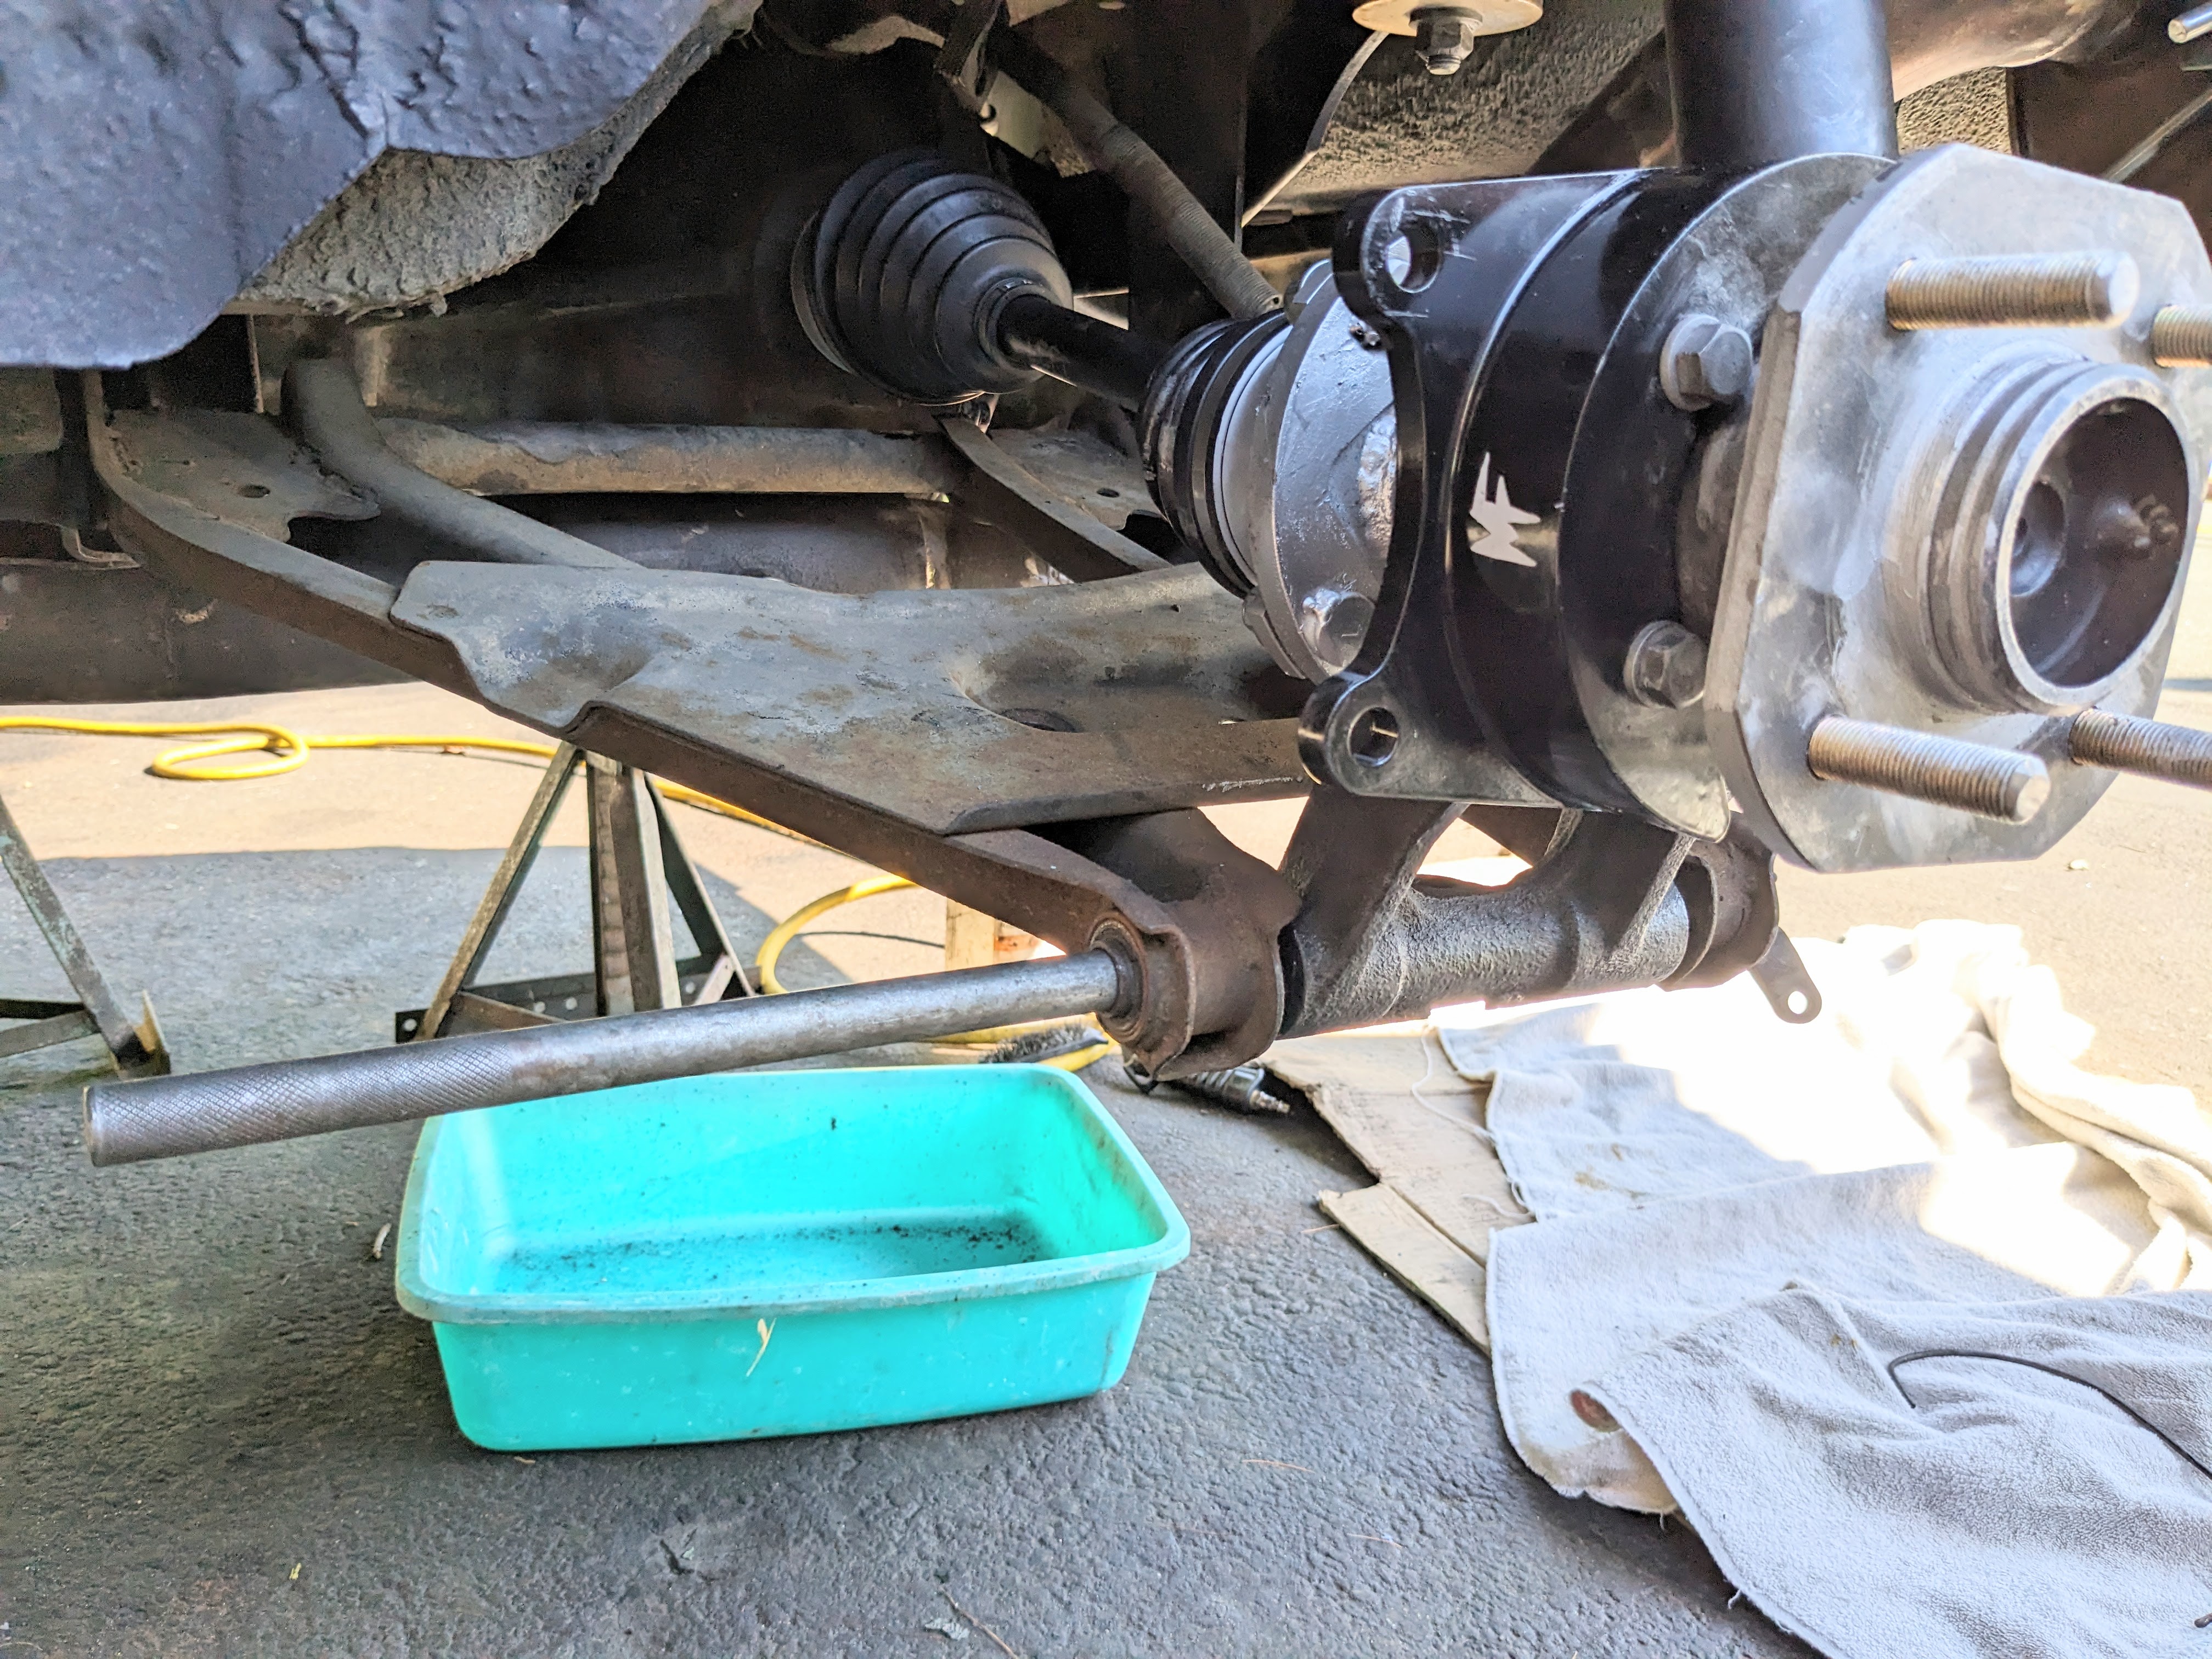
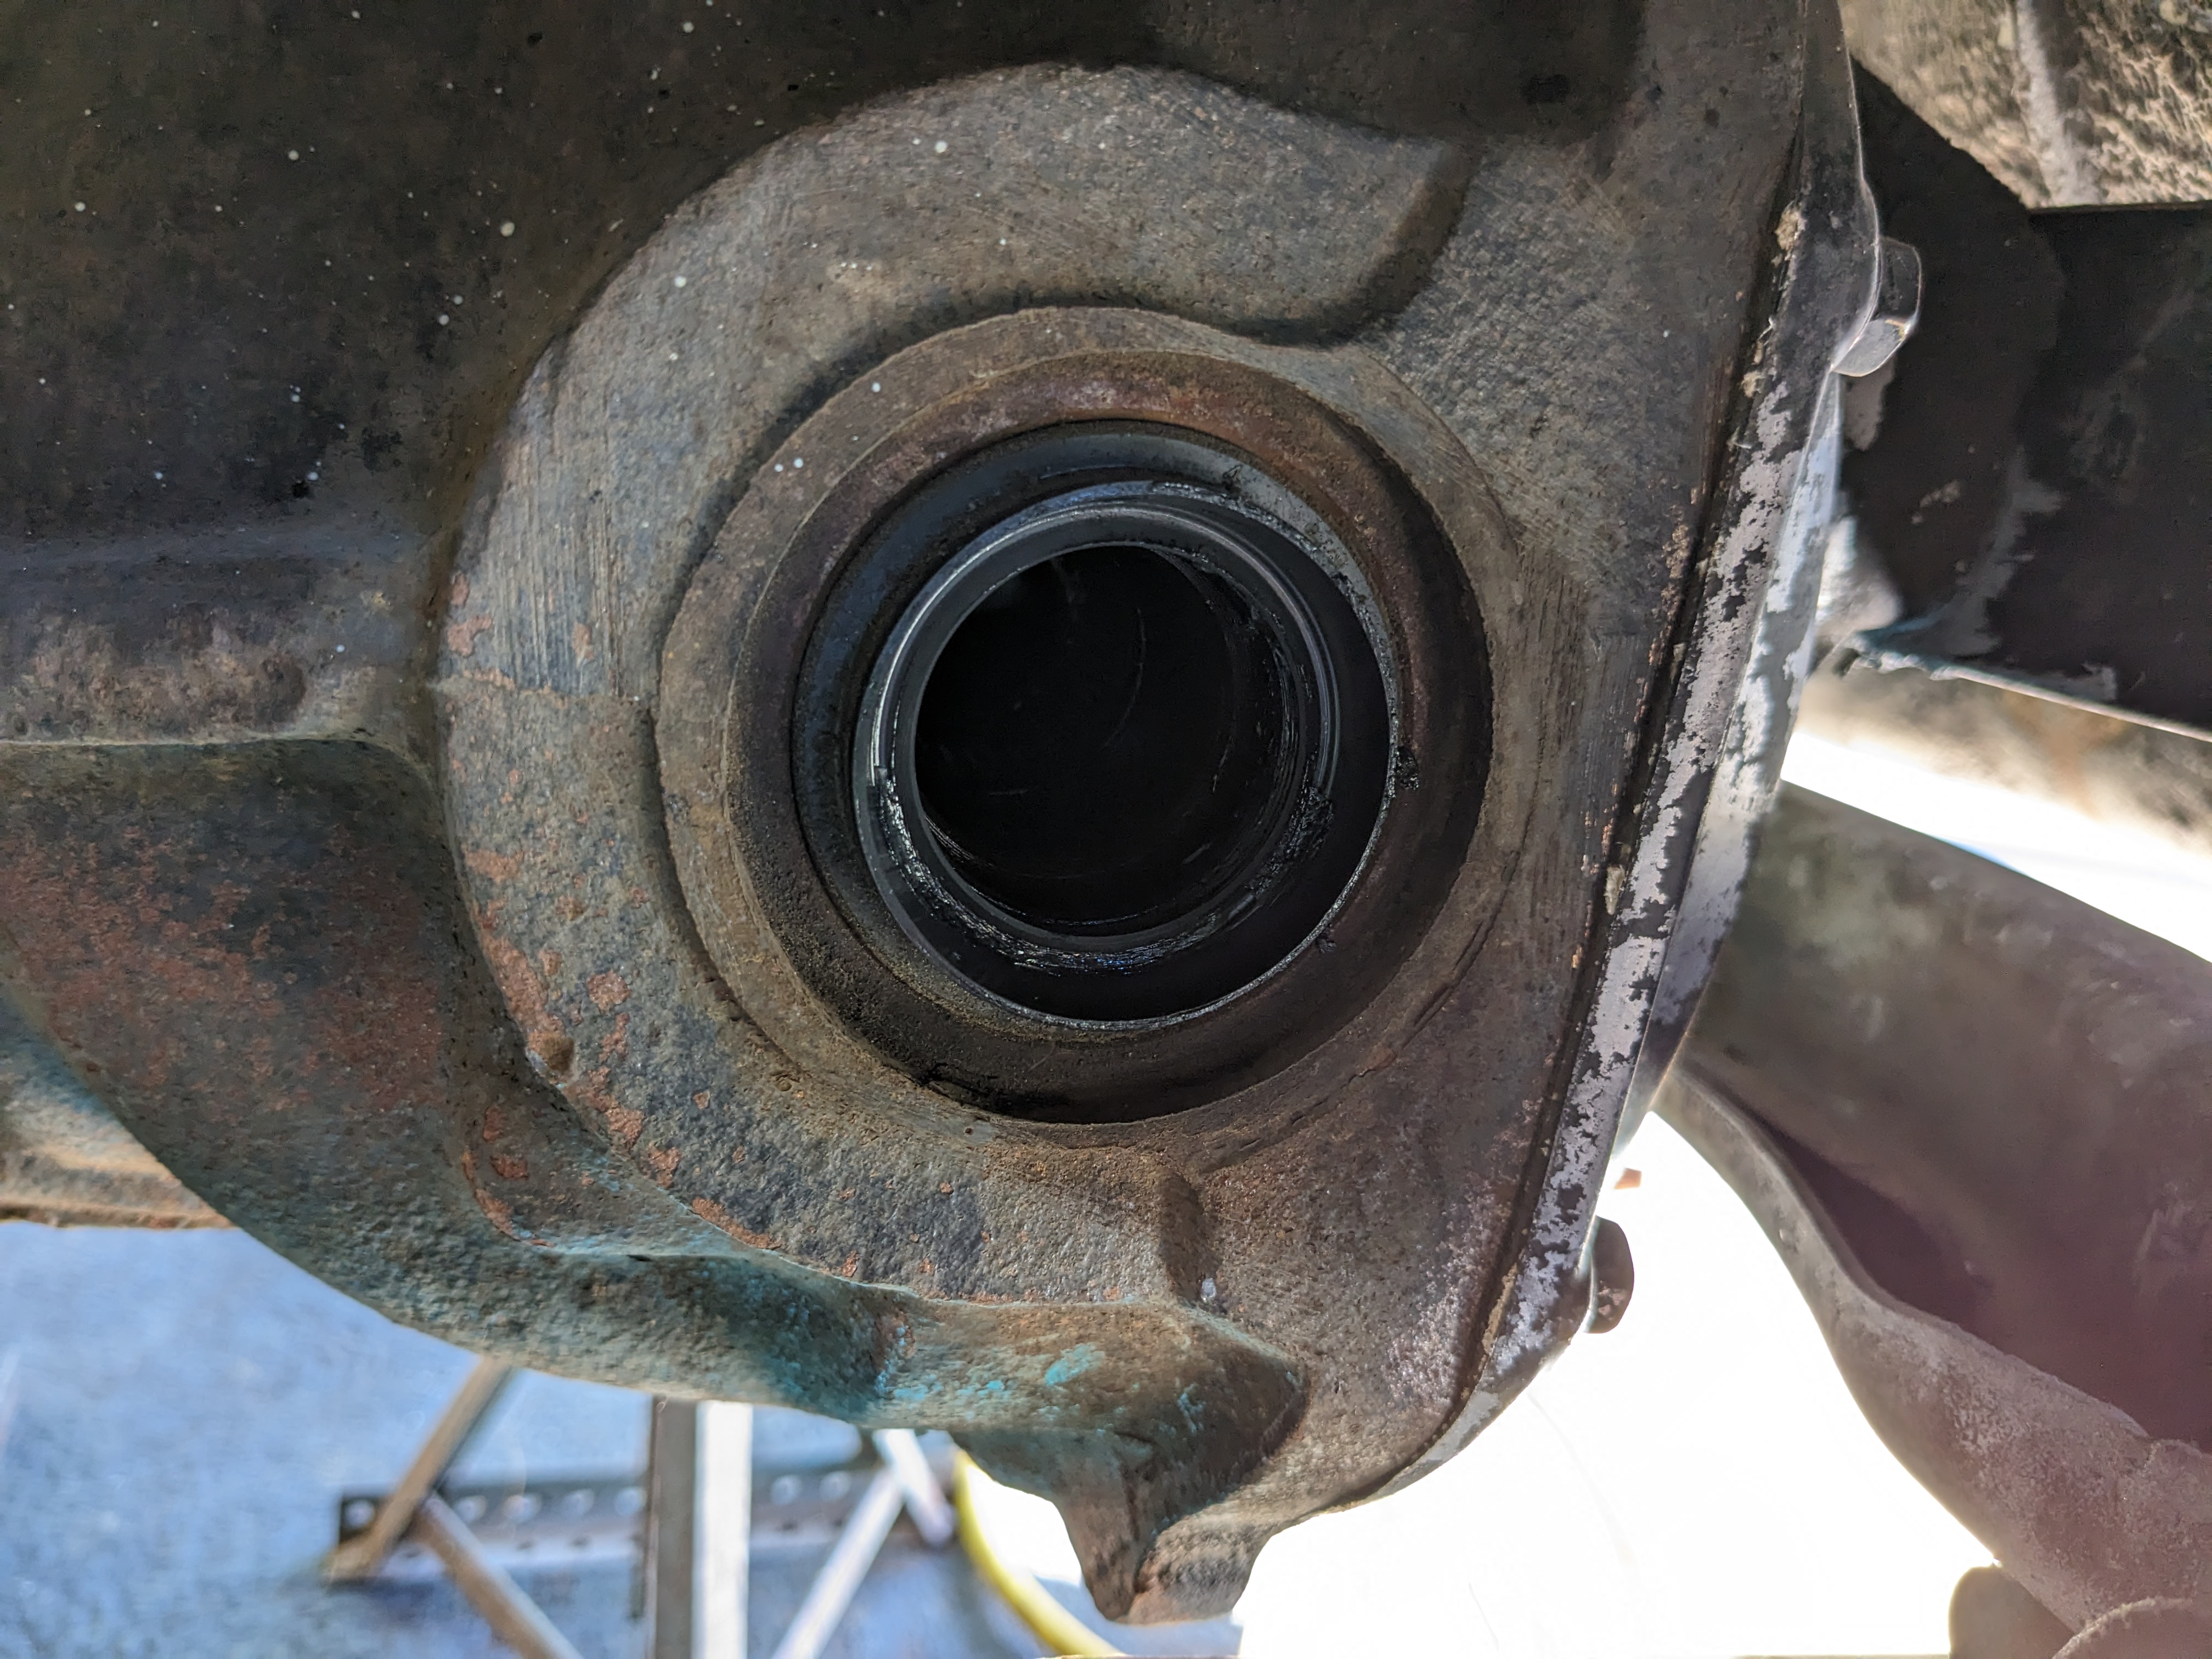
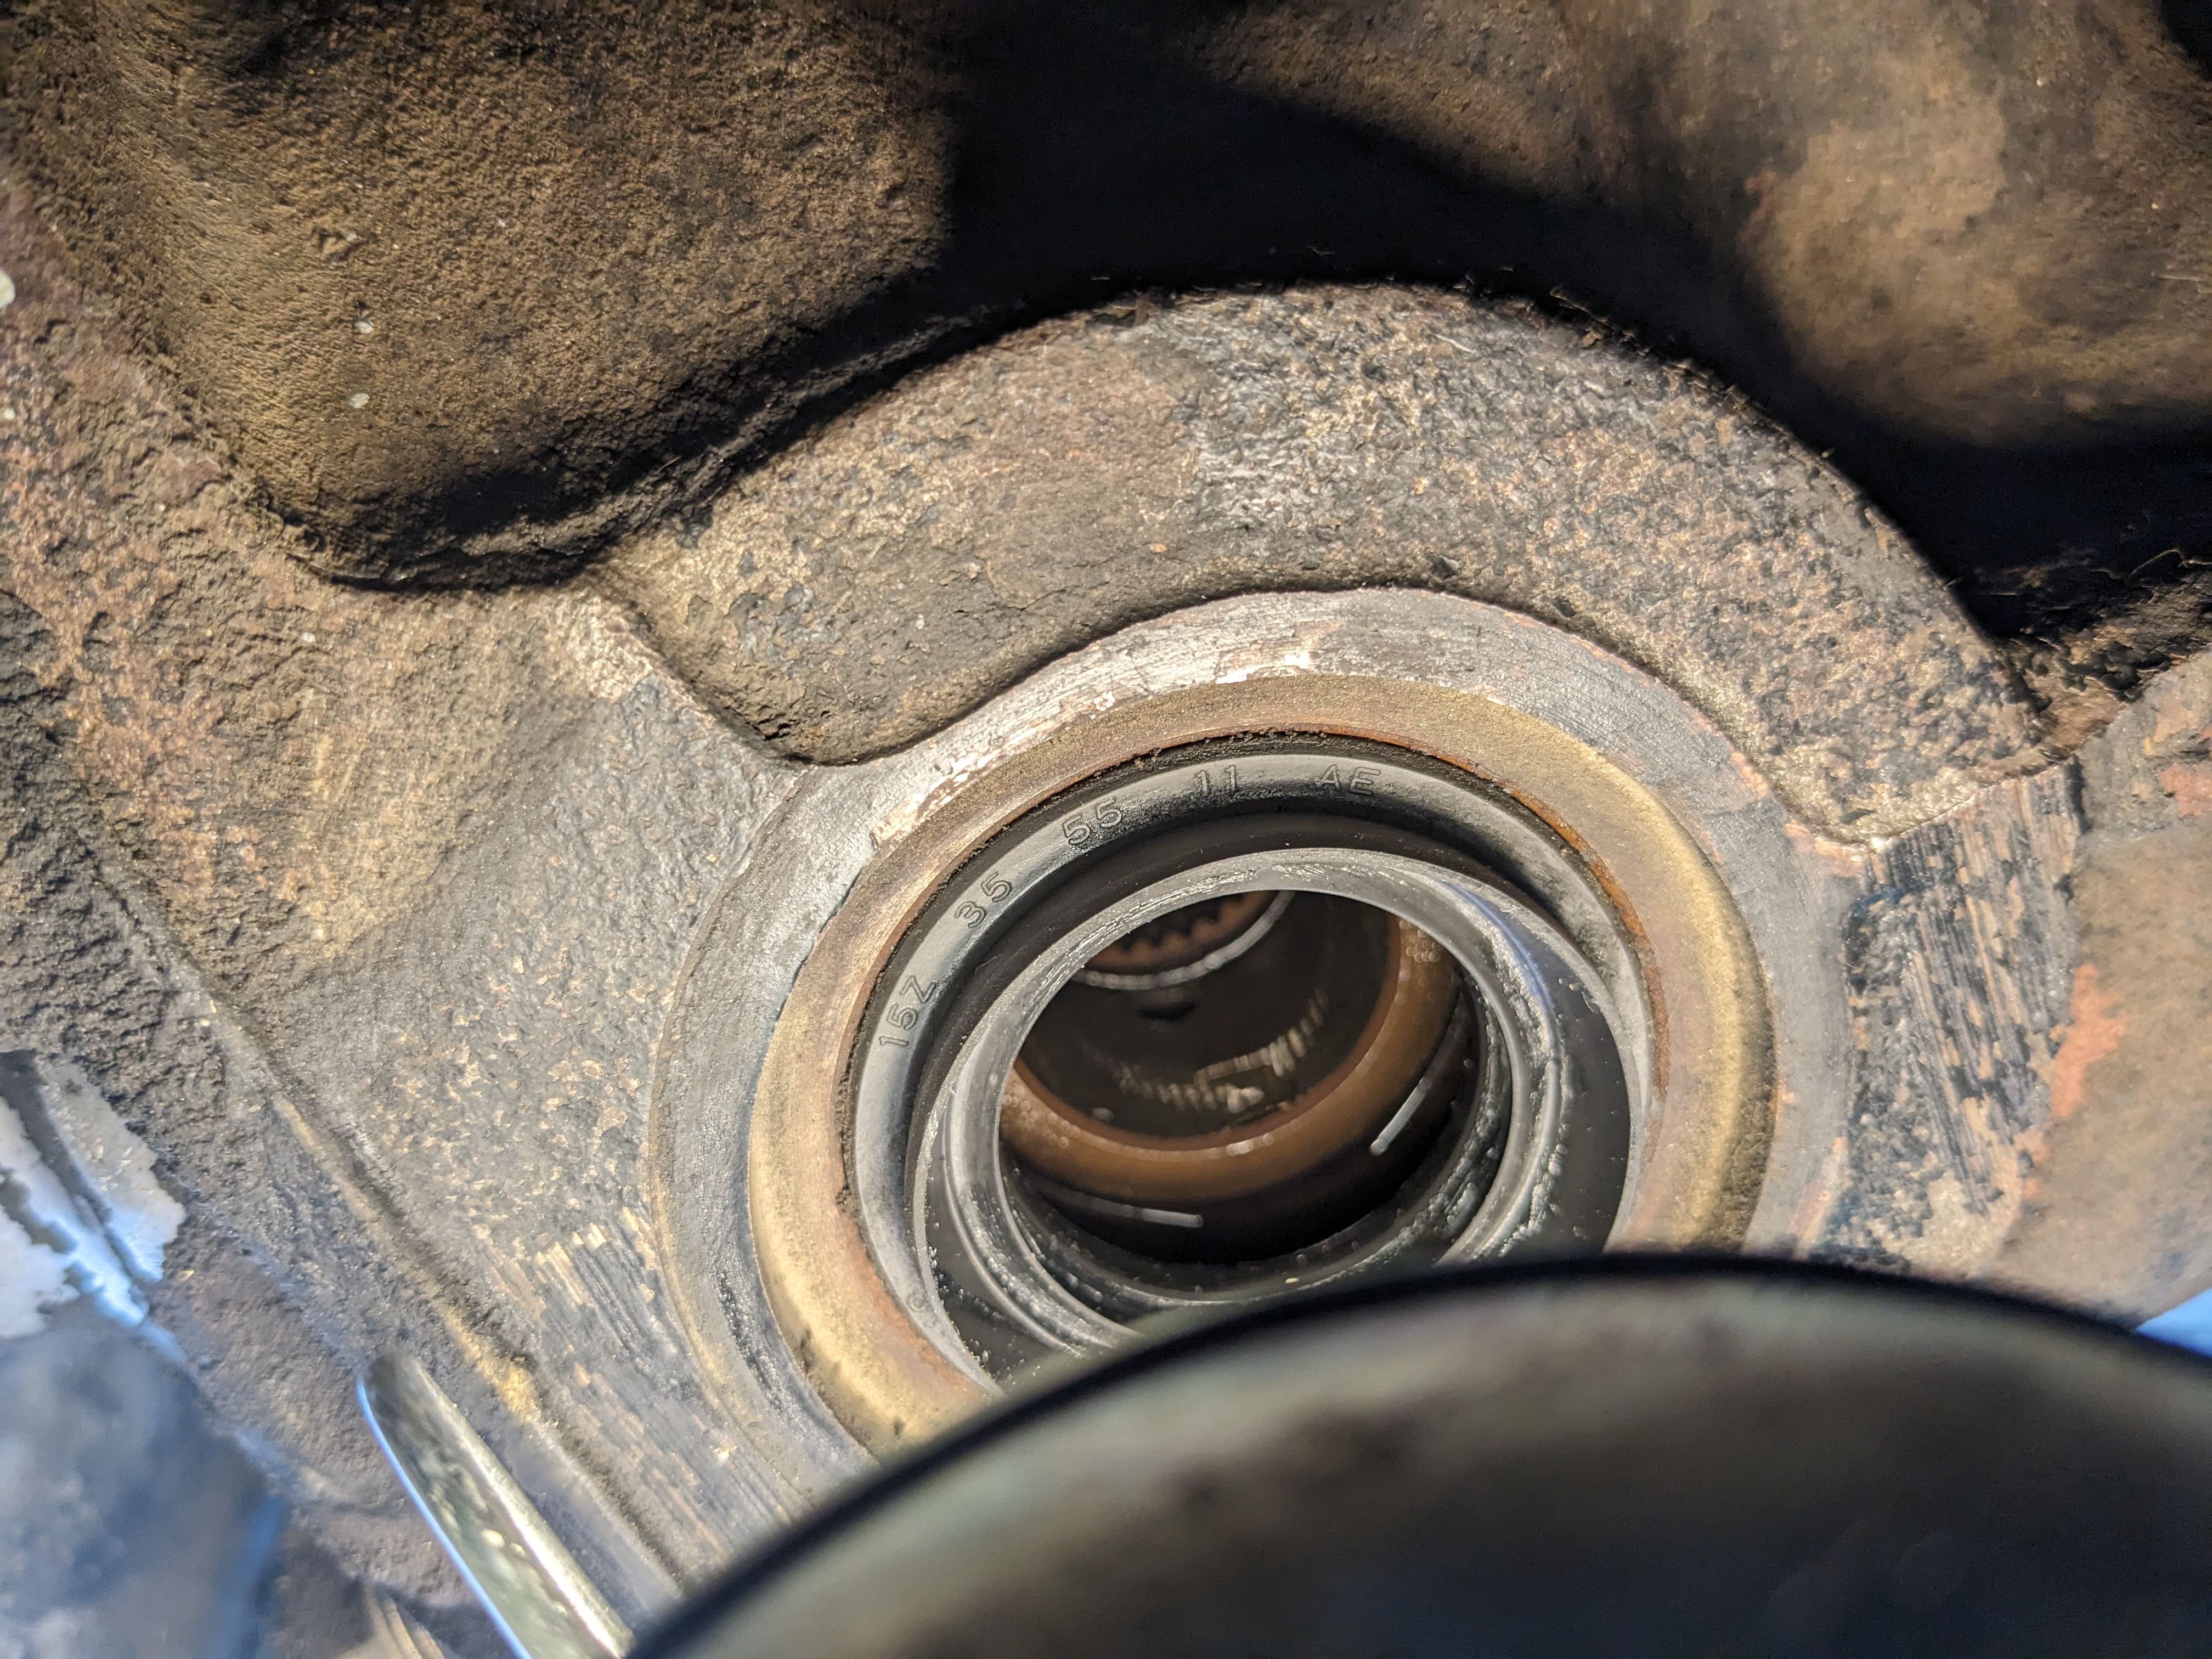
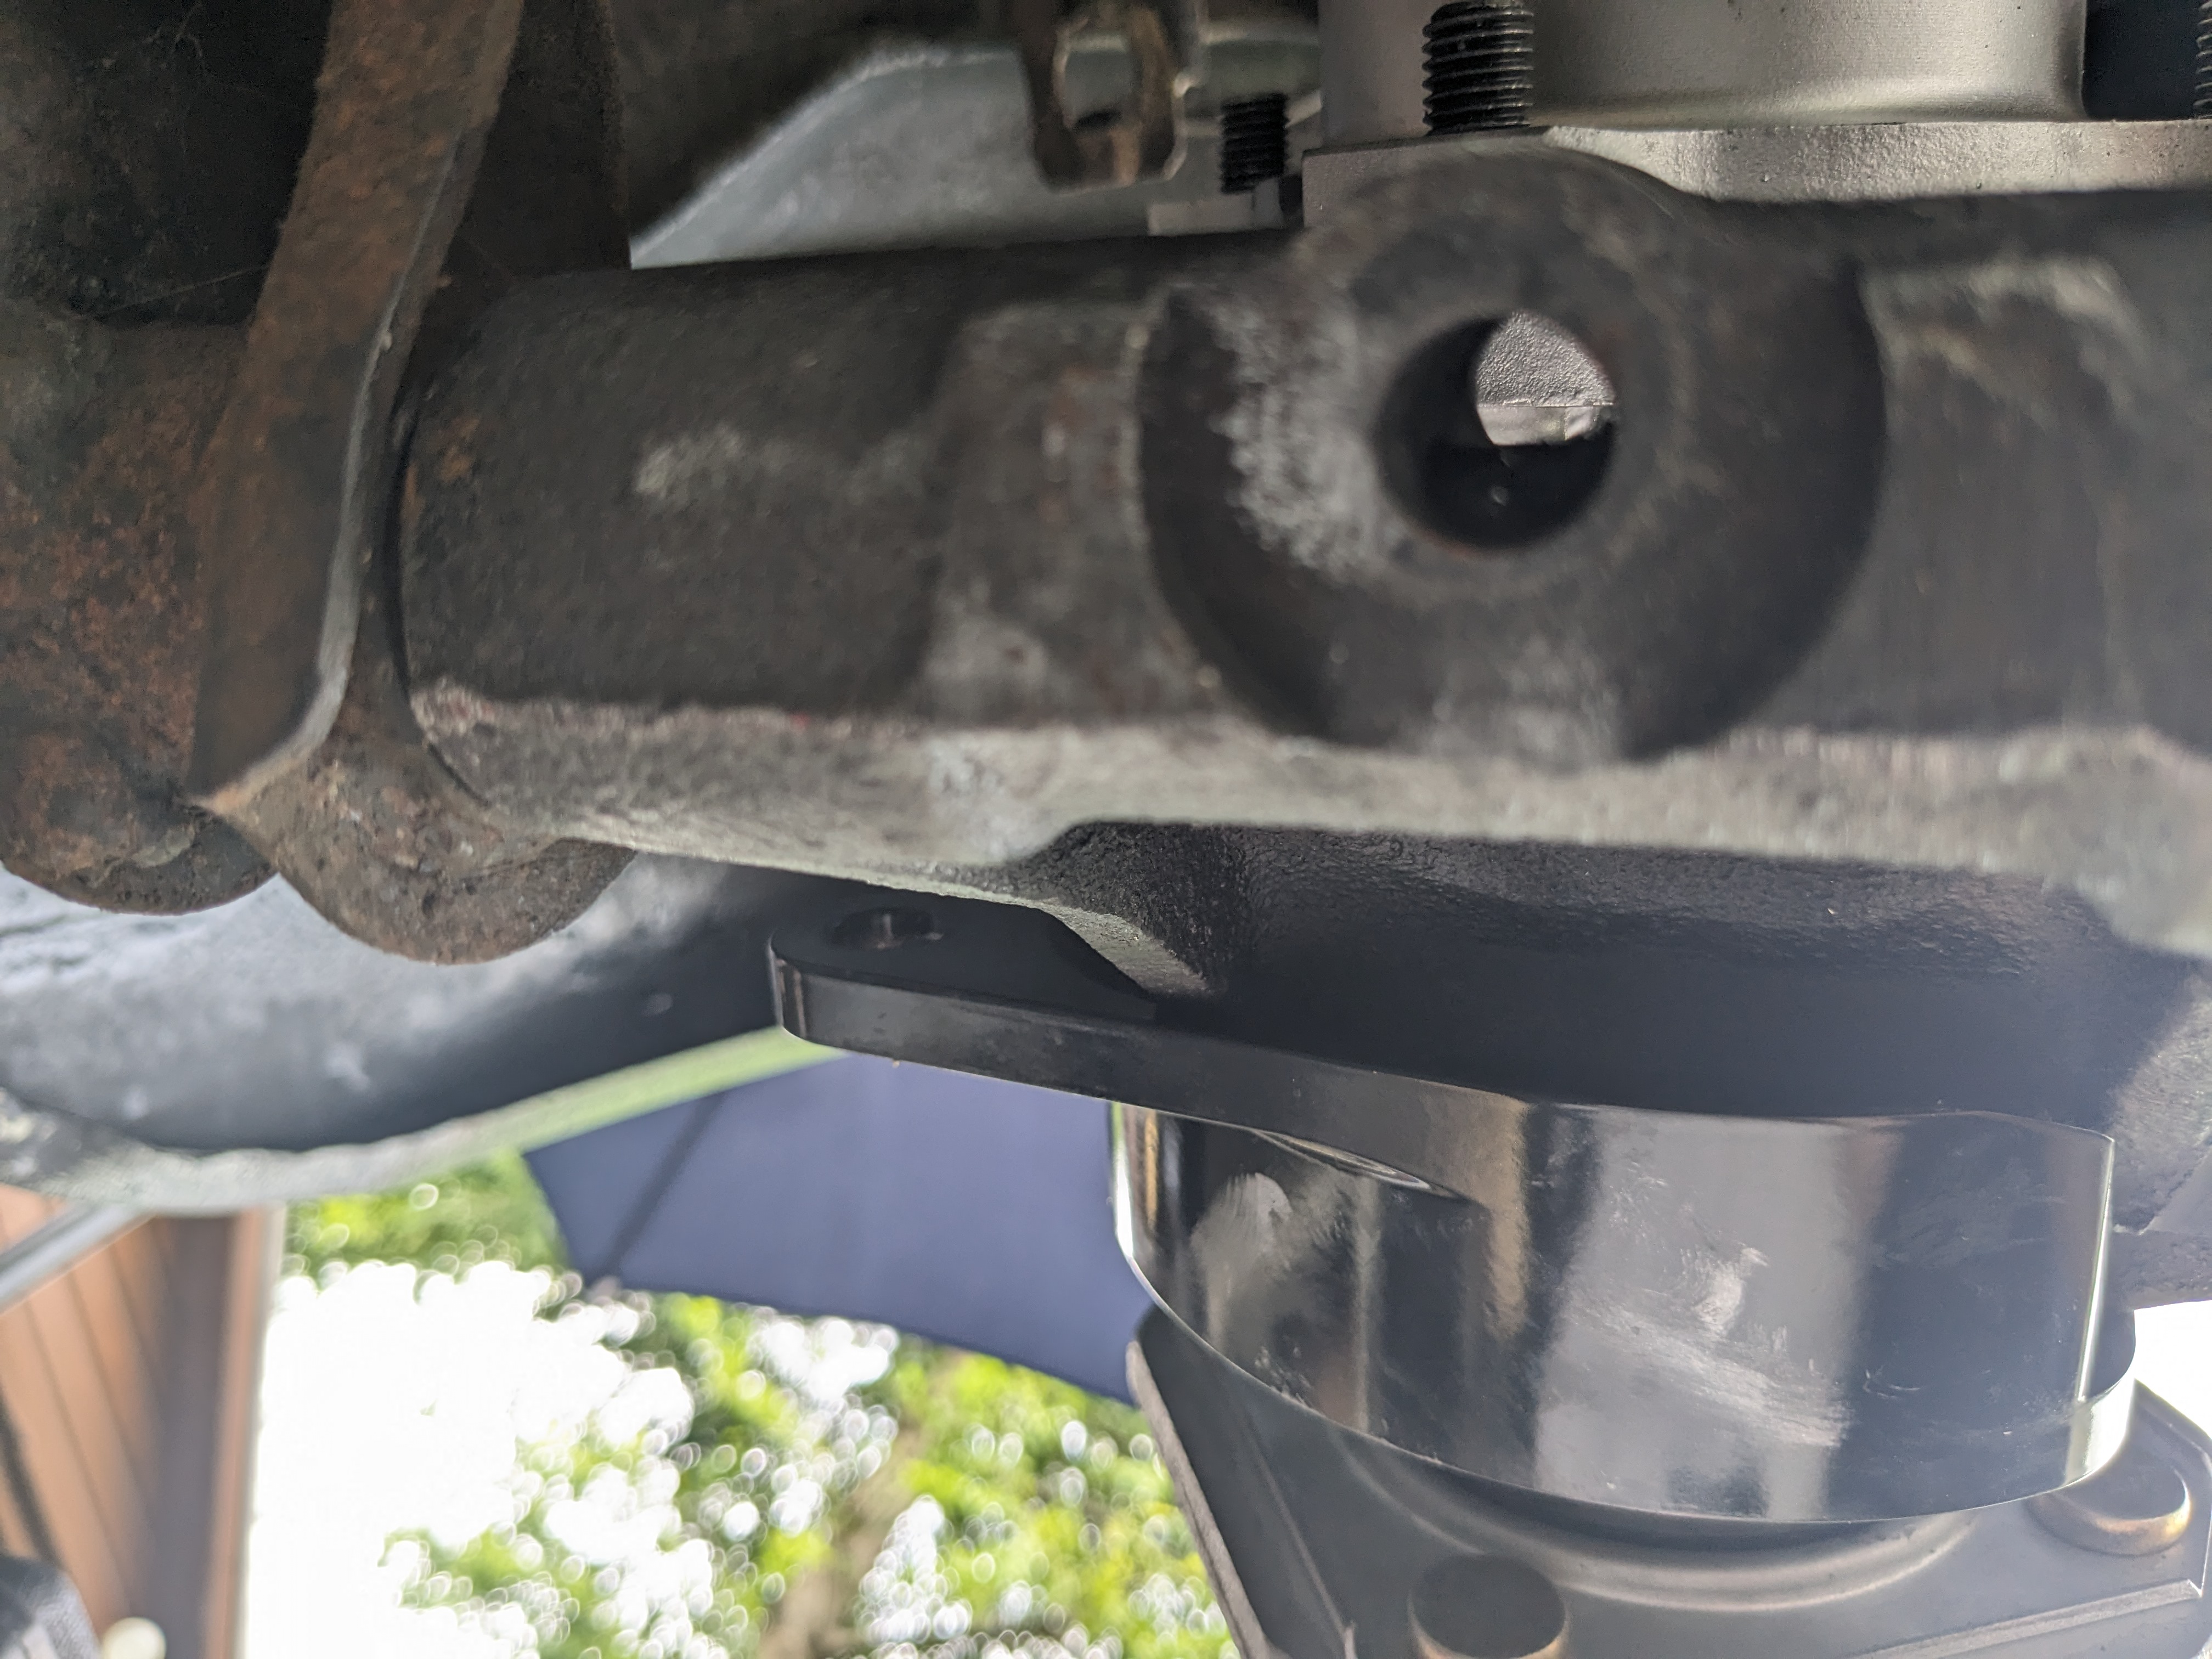
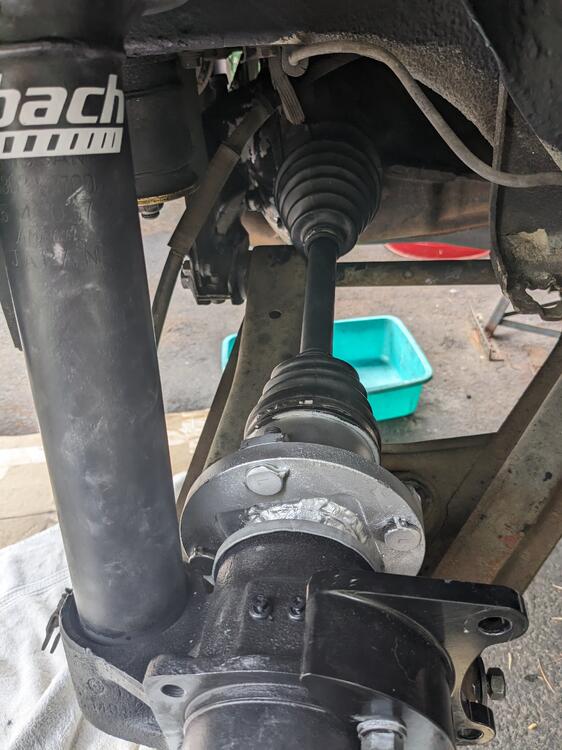
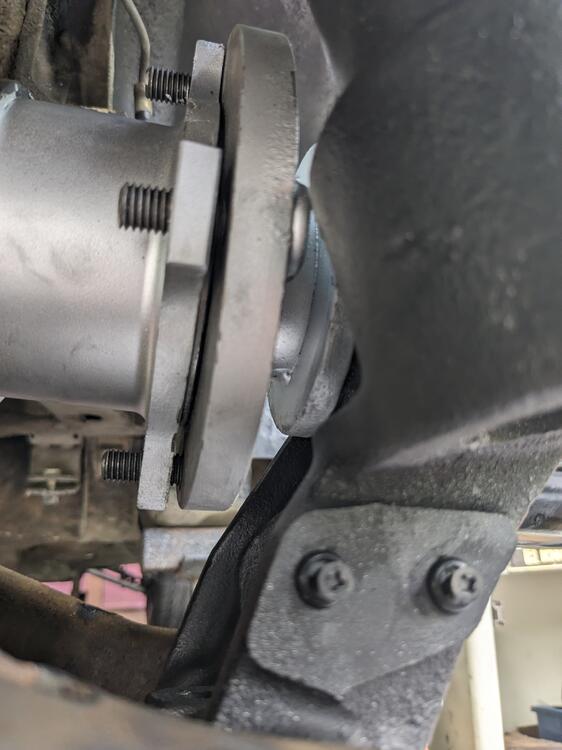
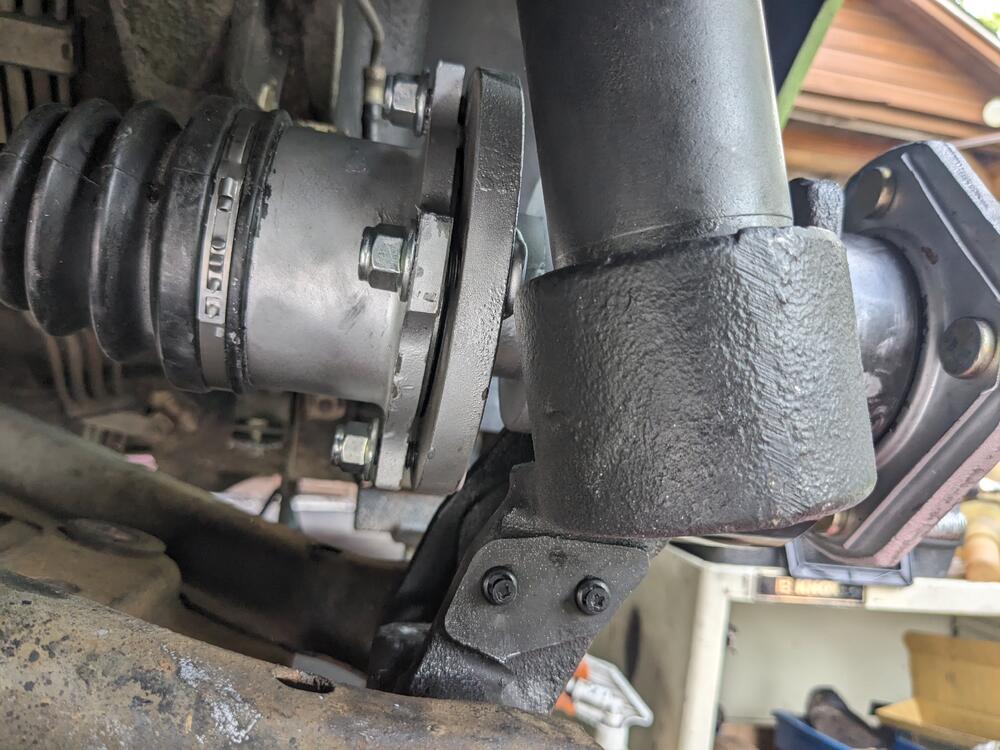
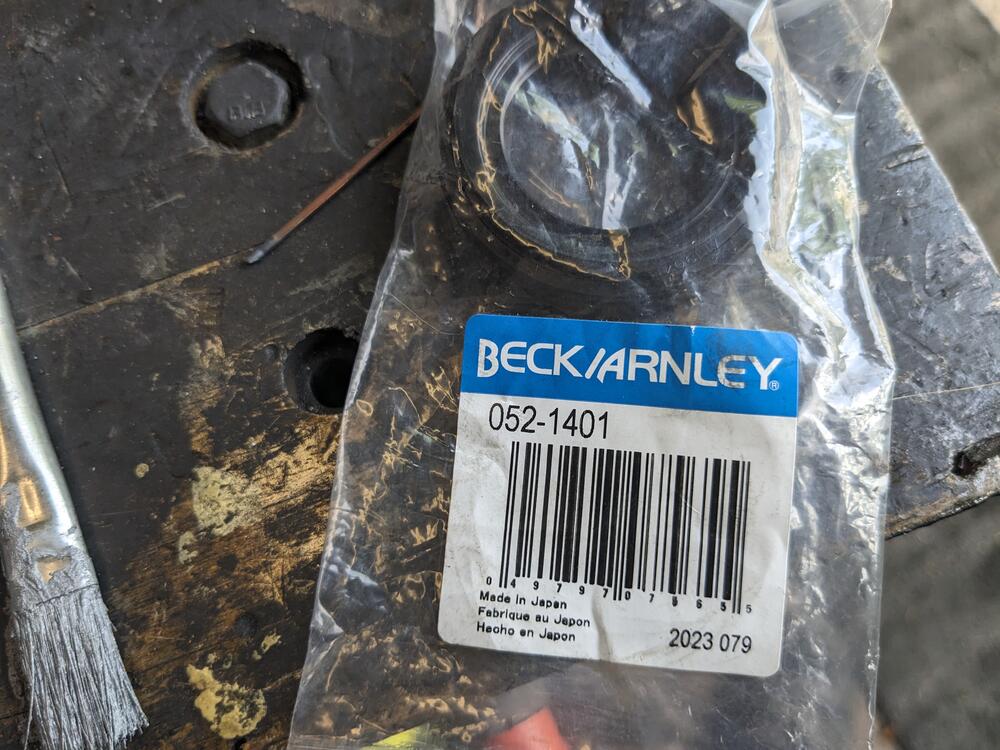
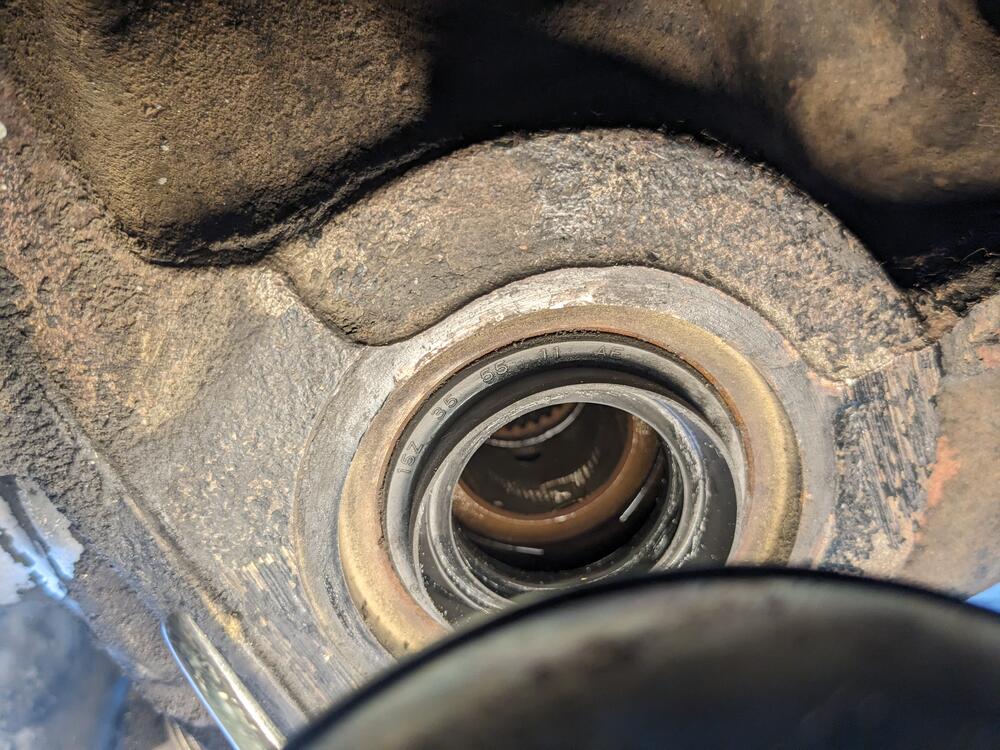
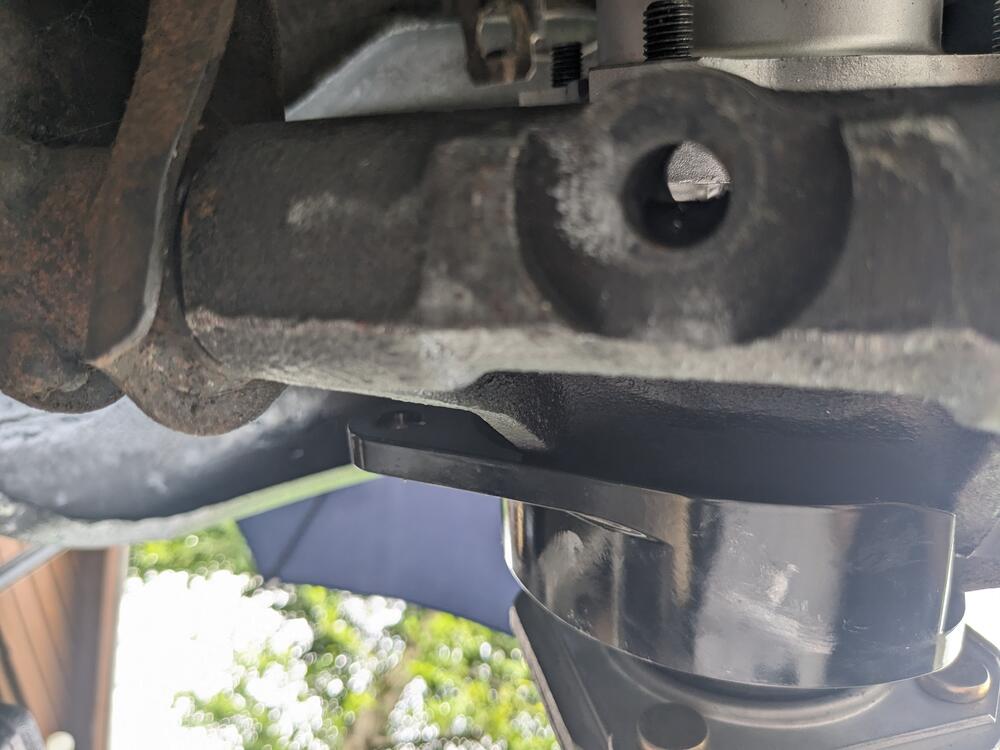
So.... I got some work done on the rear suspension & CV conversion. First, I started to assemble the rear struts only to find the spring was waaayy to short - then I figured out I put the rears on the front - I'm used to cars where the front spring is typ[ically longer than the rear, and I just assembled it that way. SO, I had to remove both front struts, remove the .002 springs & put the .001's on instead, then assemble the rears with the 002's. The fronts (Eibachs) are so short that the upper seat is loose at full drop. Didn't get many pics today, it was so f'ing hot I was dripping all over everything. Only got the right side in. Checked the right axle & stub against the 300ZX T right axle (#NI8442), overall the later axle is longer when fully extended. With it installed (with outer CV now at it's inner end of travel), I had about 1/8 - 3/16" slack between the flange & CV, so no bind will occur. I was going to change the axle seals in the diff, but the ones I got off RockAuto are the wrong dimensions - with the axle inner stub out, I got the numbers off the seal R15 35 55 11 The seal I have is clearly too small (when measured). I went back with the dimensions I now have off the seal & figured out the National 711070 matches the 35/55/11mm dimensions. I have no obvious leaks from the seals, but I really wanted to do them now. The way these axles are installed with studs on the flanges, the hub spindle bolt has to be removed to get the axle out right axle in the diff, located in the outer flange clearance at full drop clearance at normal ride height - not very scientific, and it's unclear form the pics, however there is much more play as the axle lifts getting the clevis pin back in was fun - I had to double-nut the spindle & work it back & forth on it's axis to get the pin to drop, then I also had to knock the spindle fore/aft to get it to fully seat in the housing
-
Youtube of exhaust note, during warmup
-
-
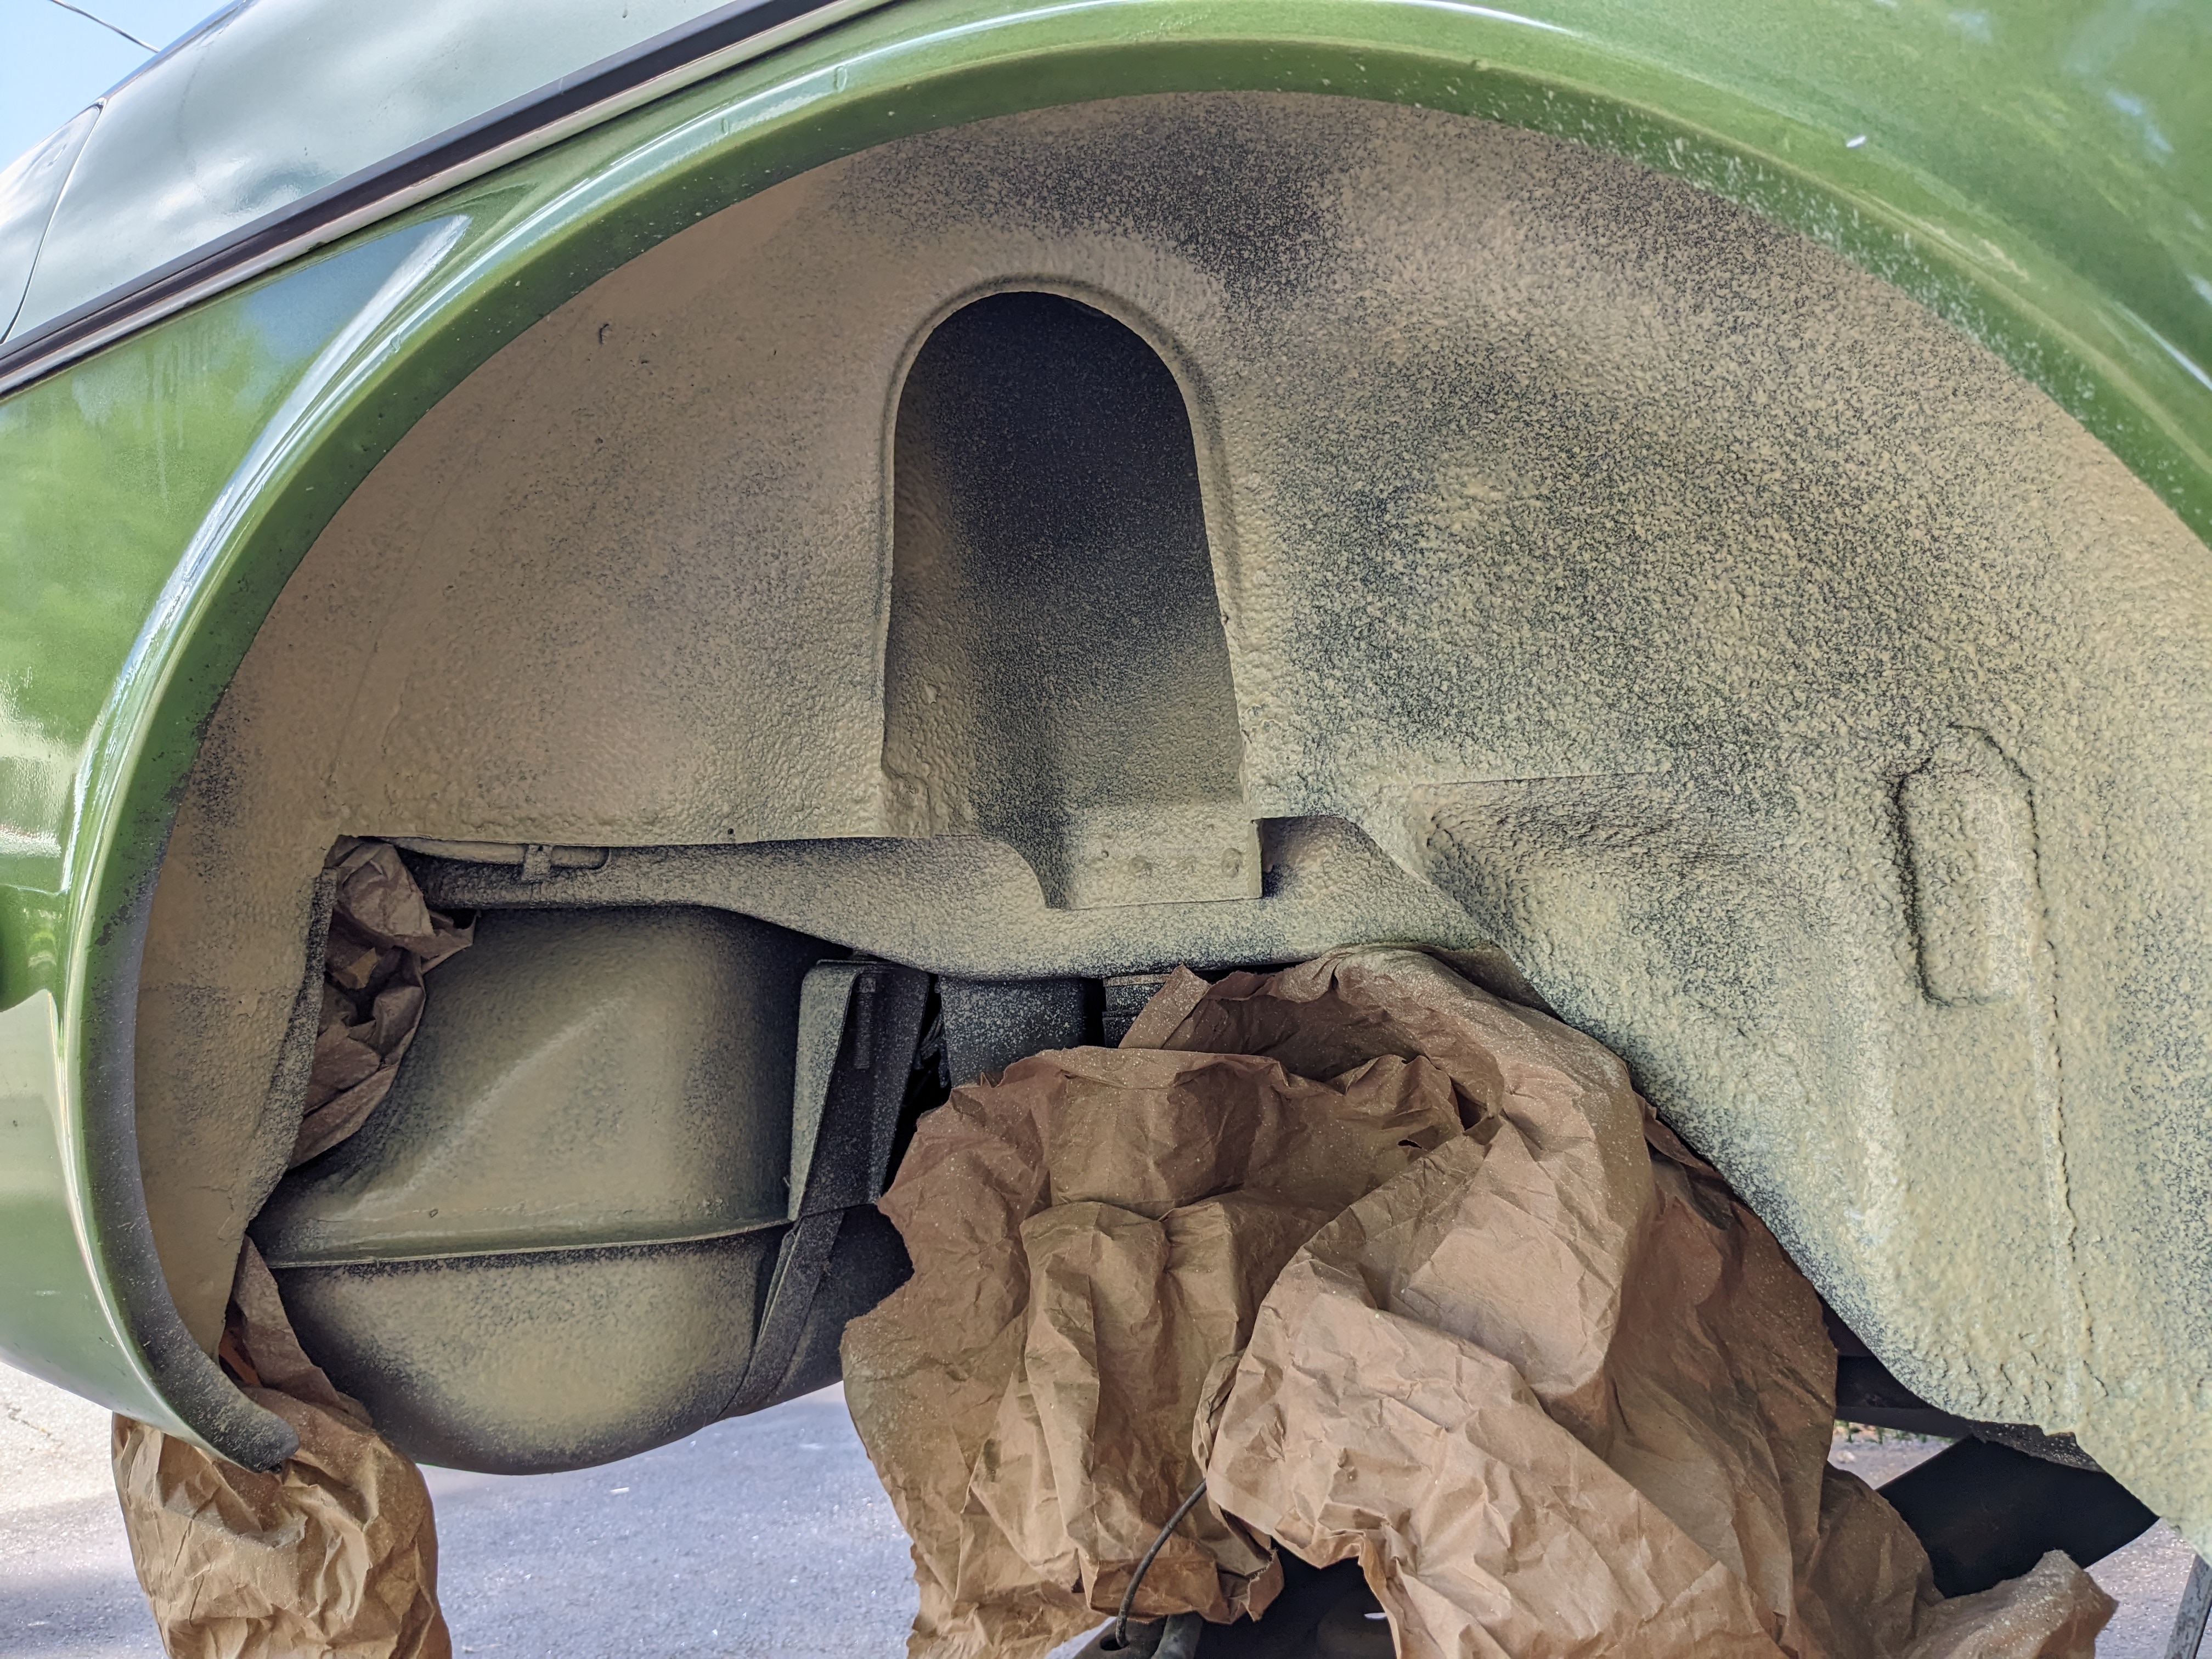
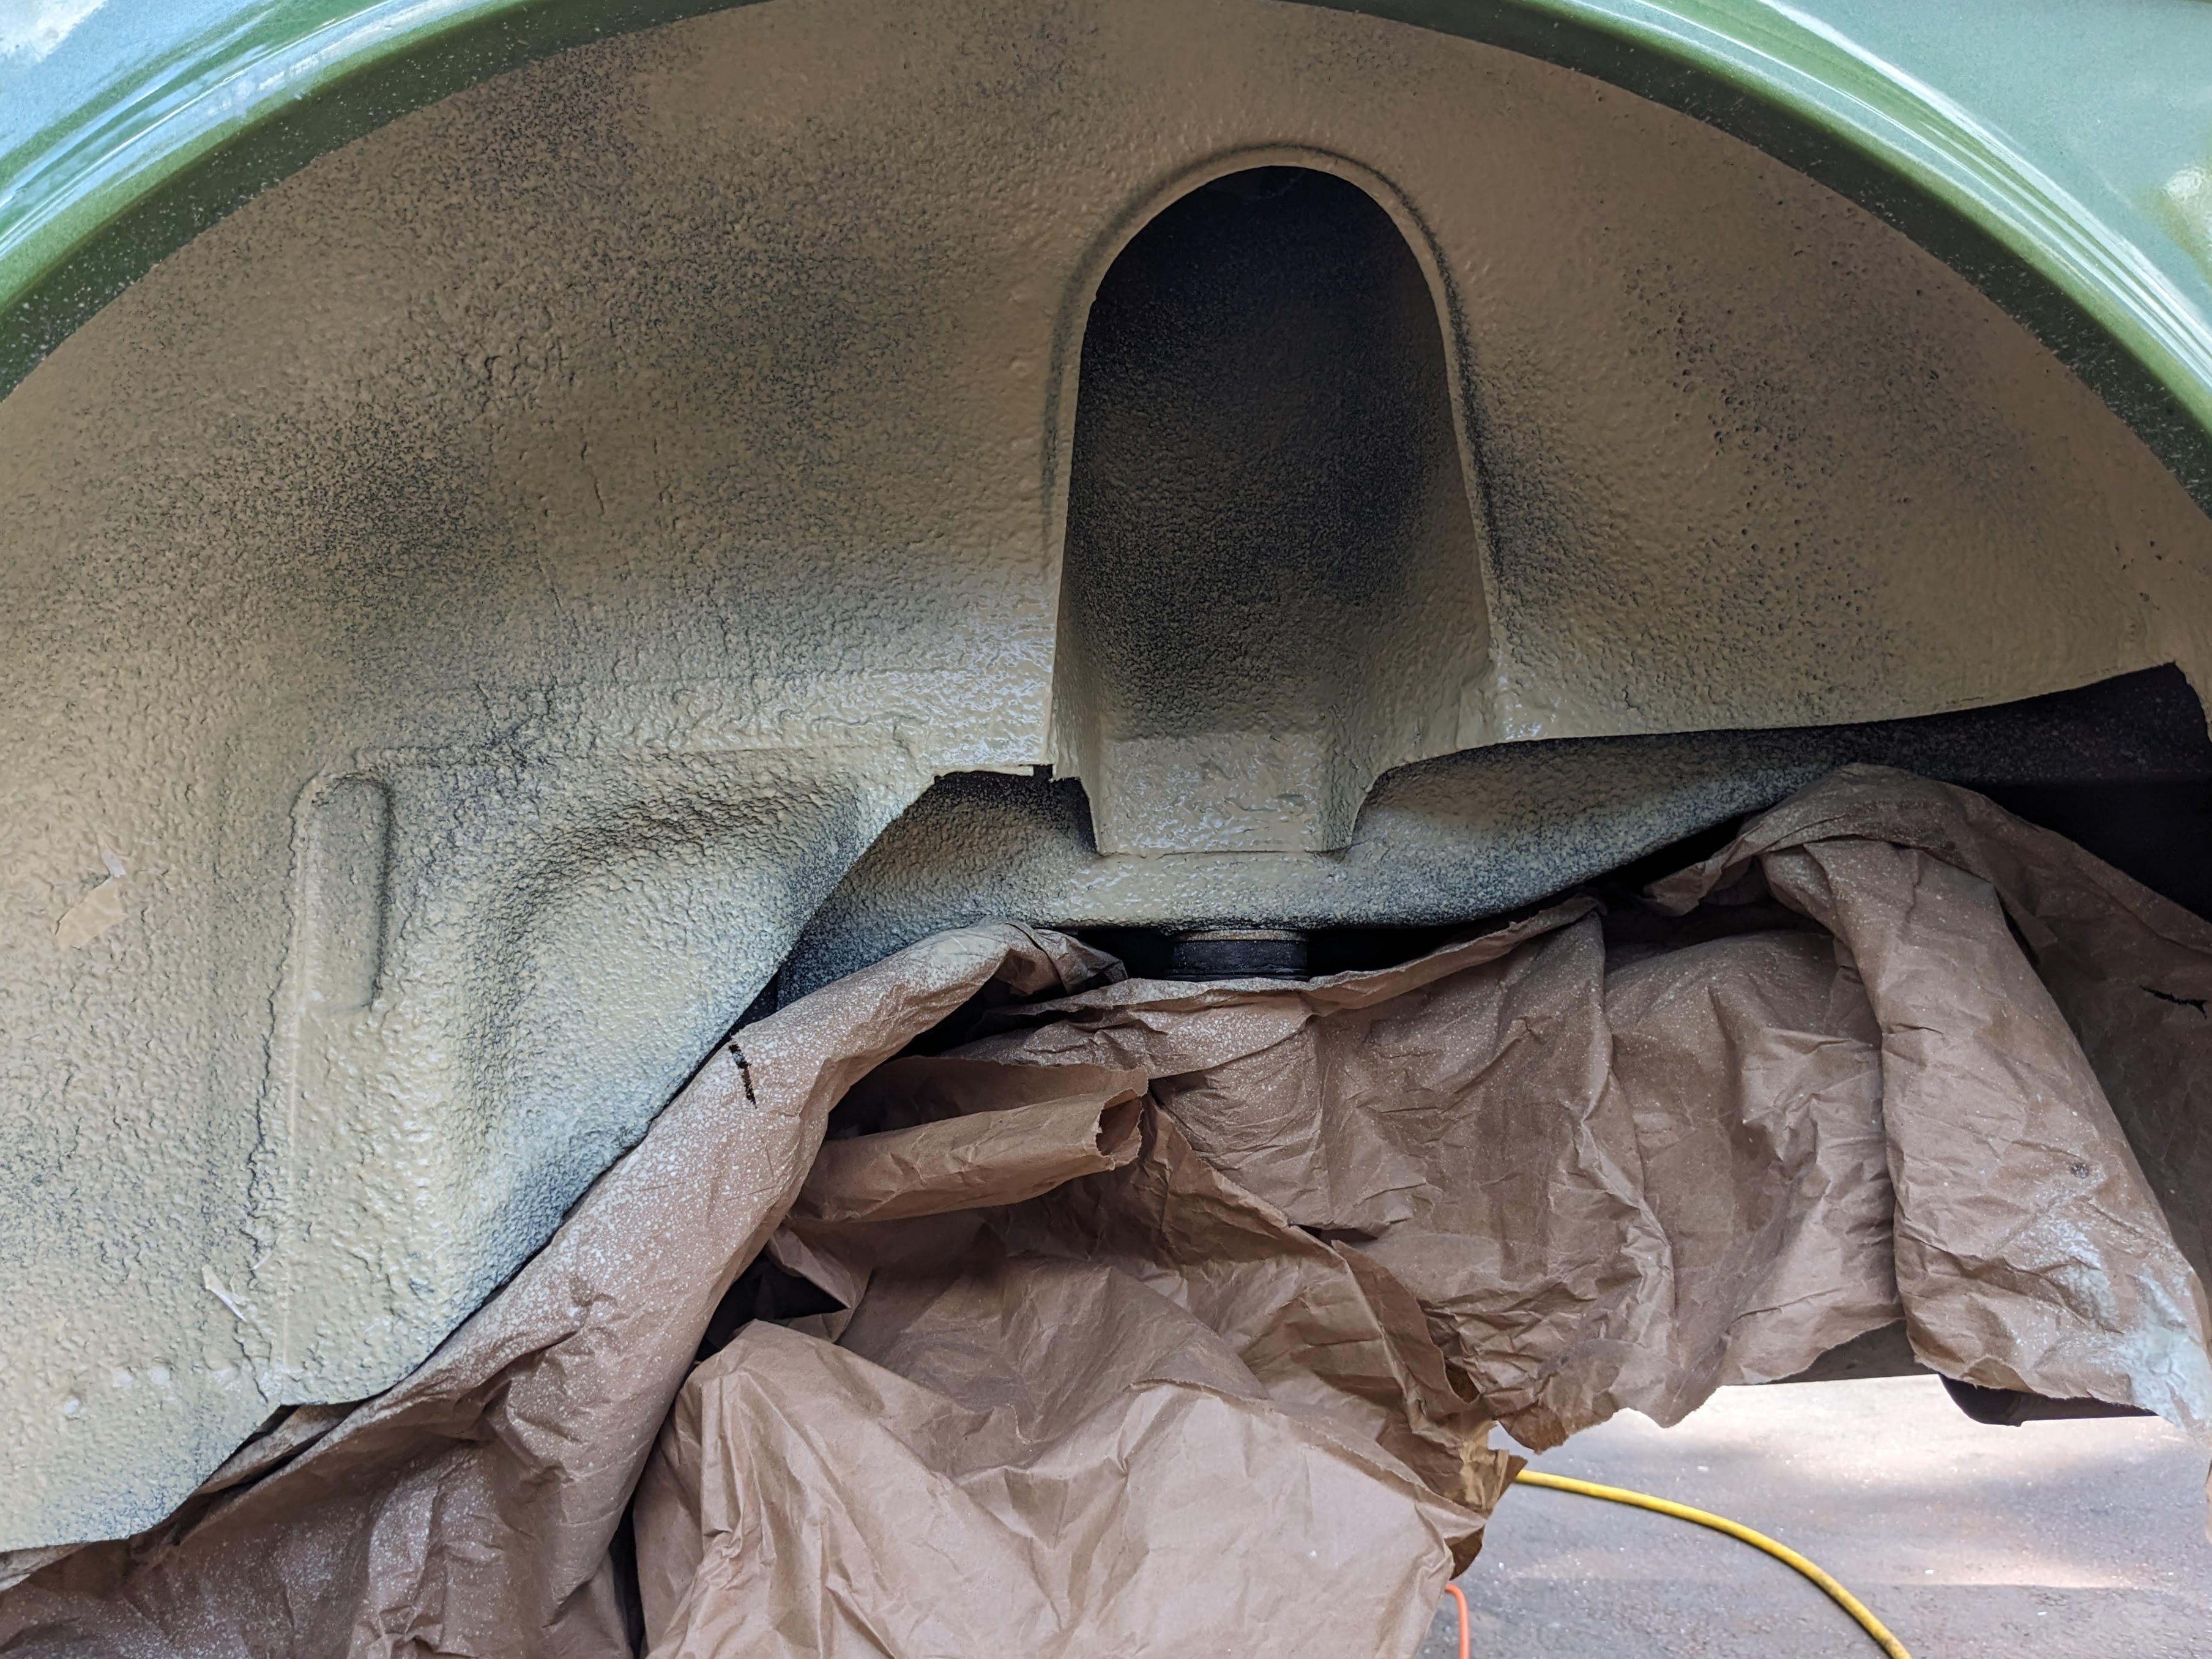
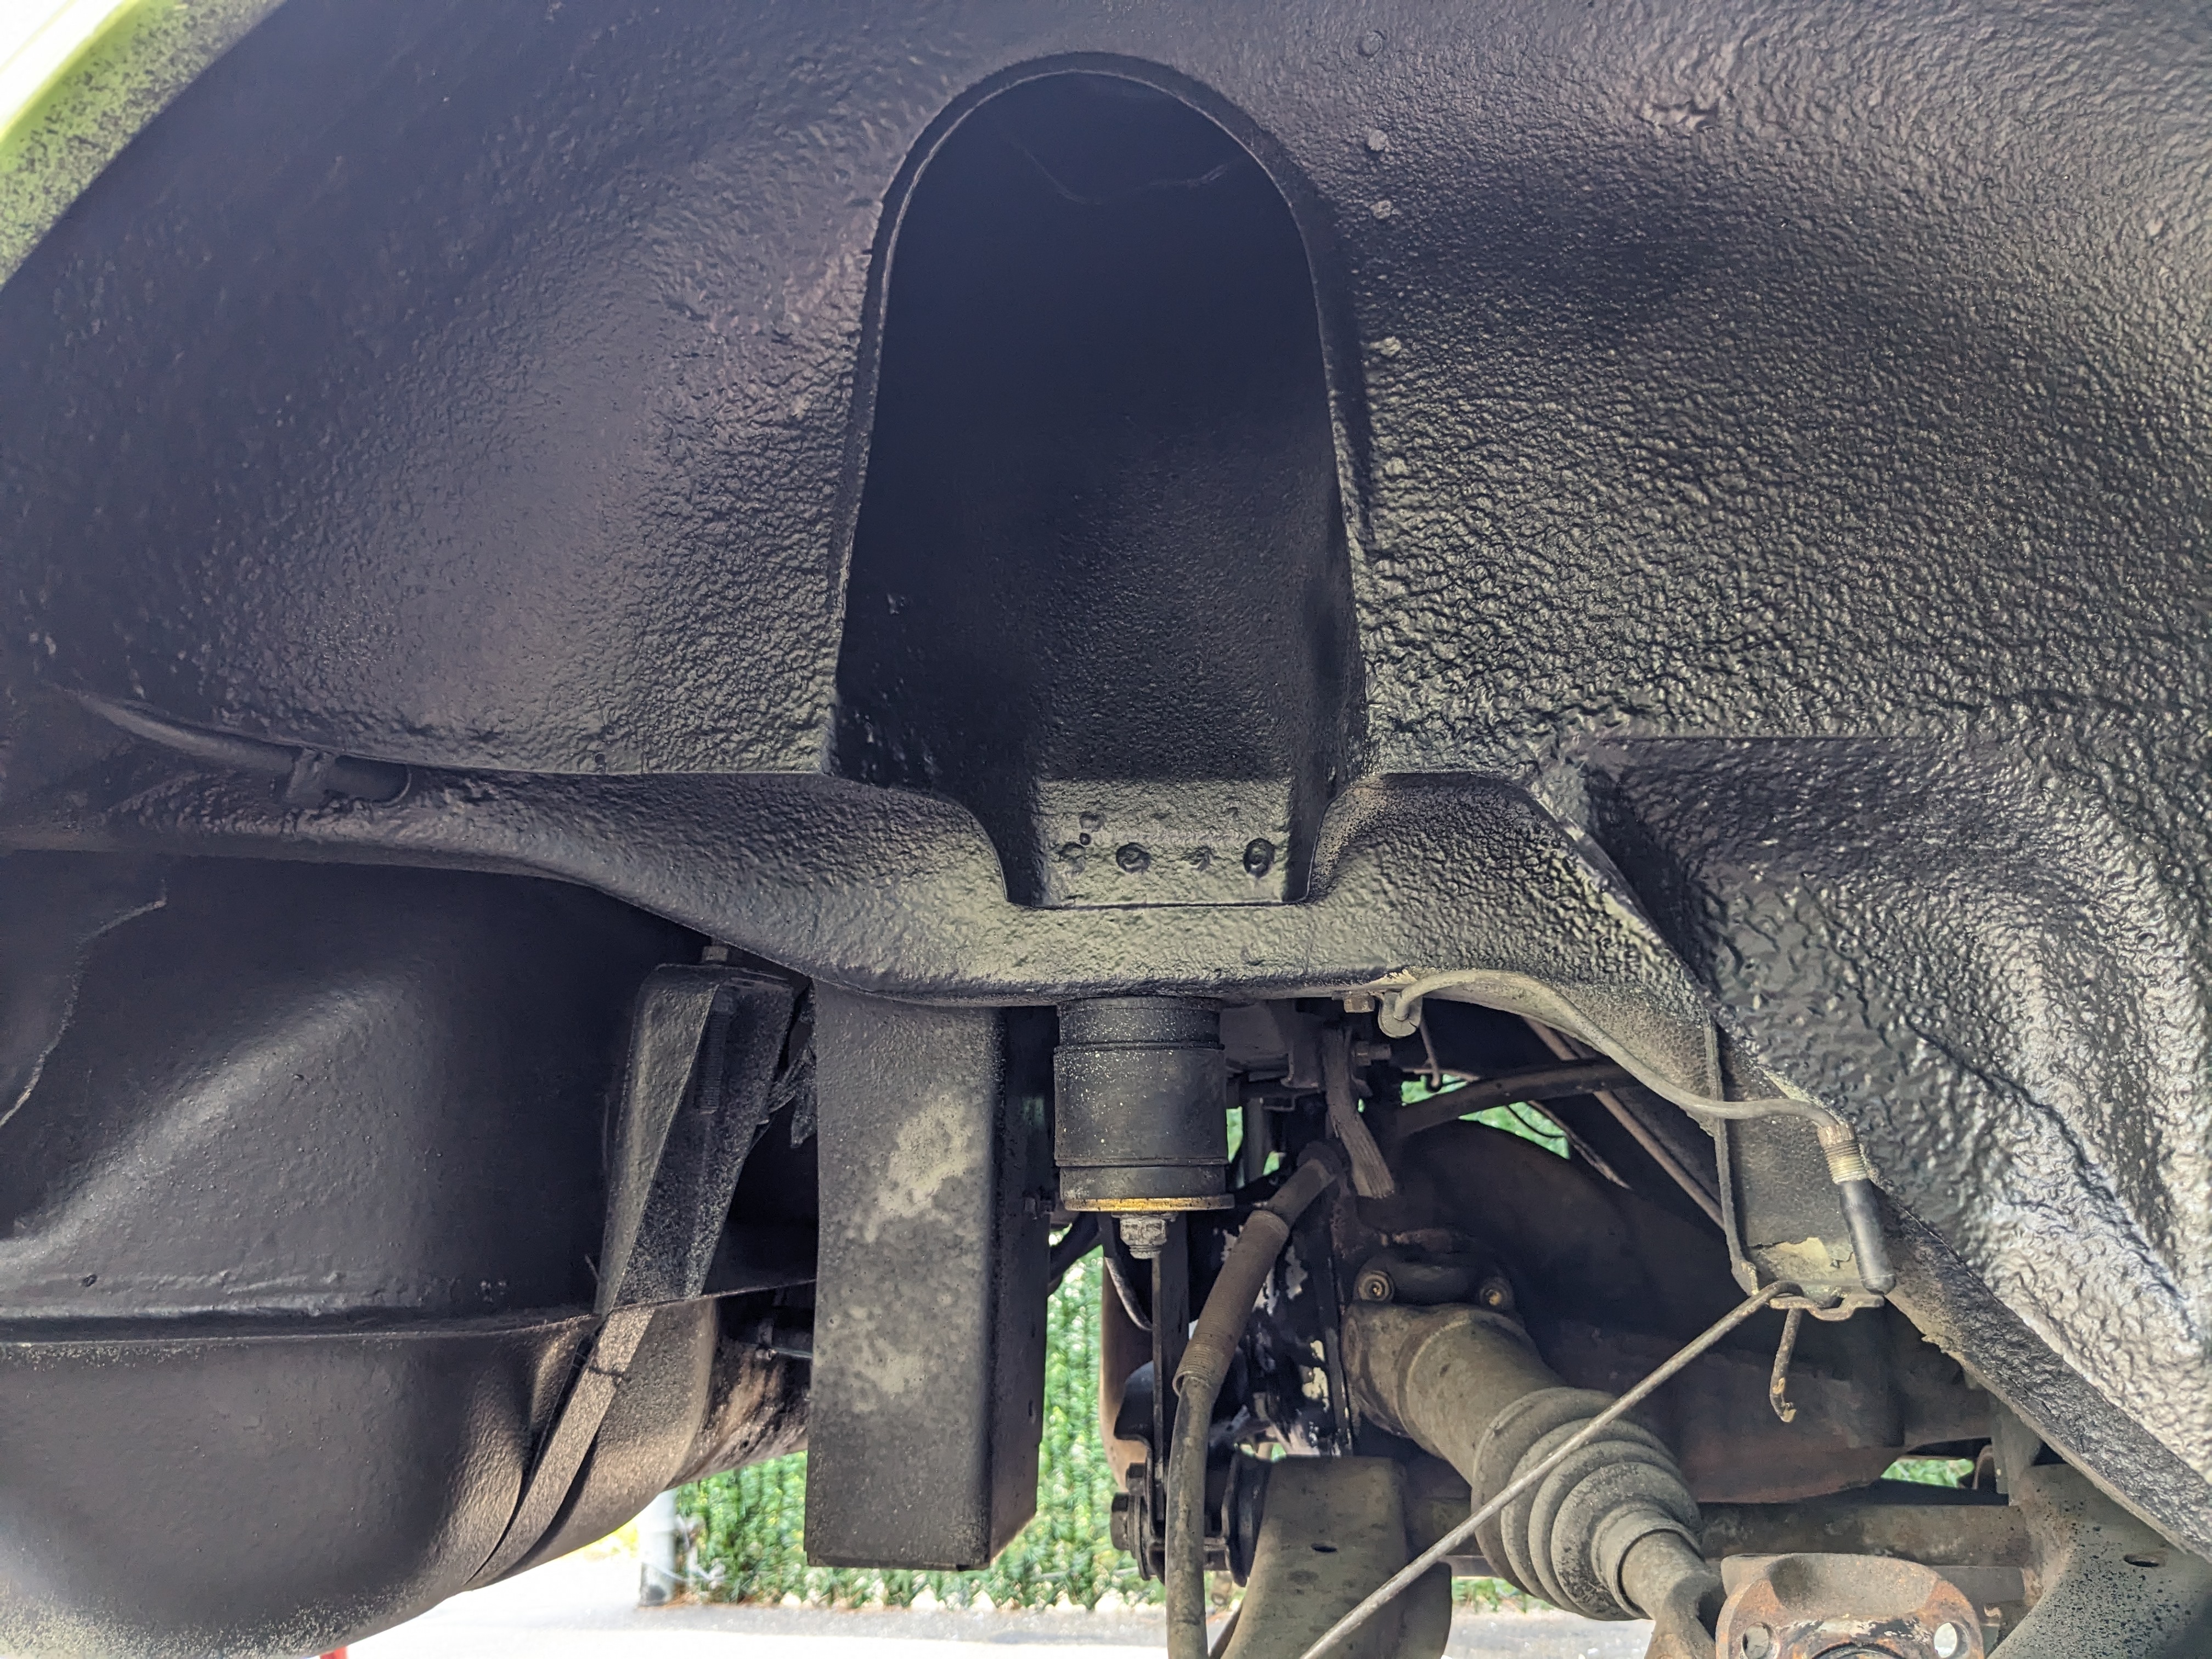
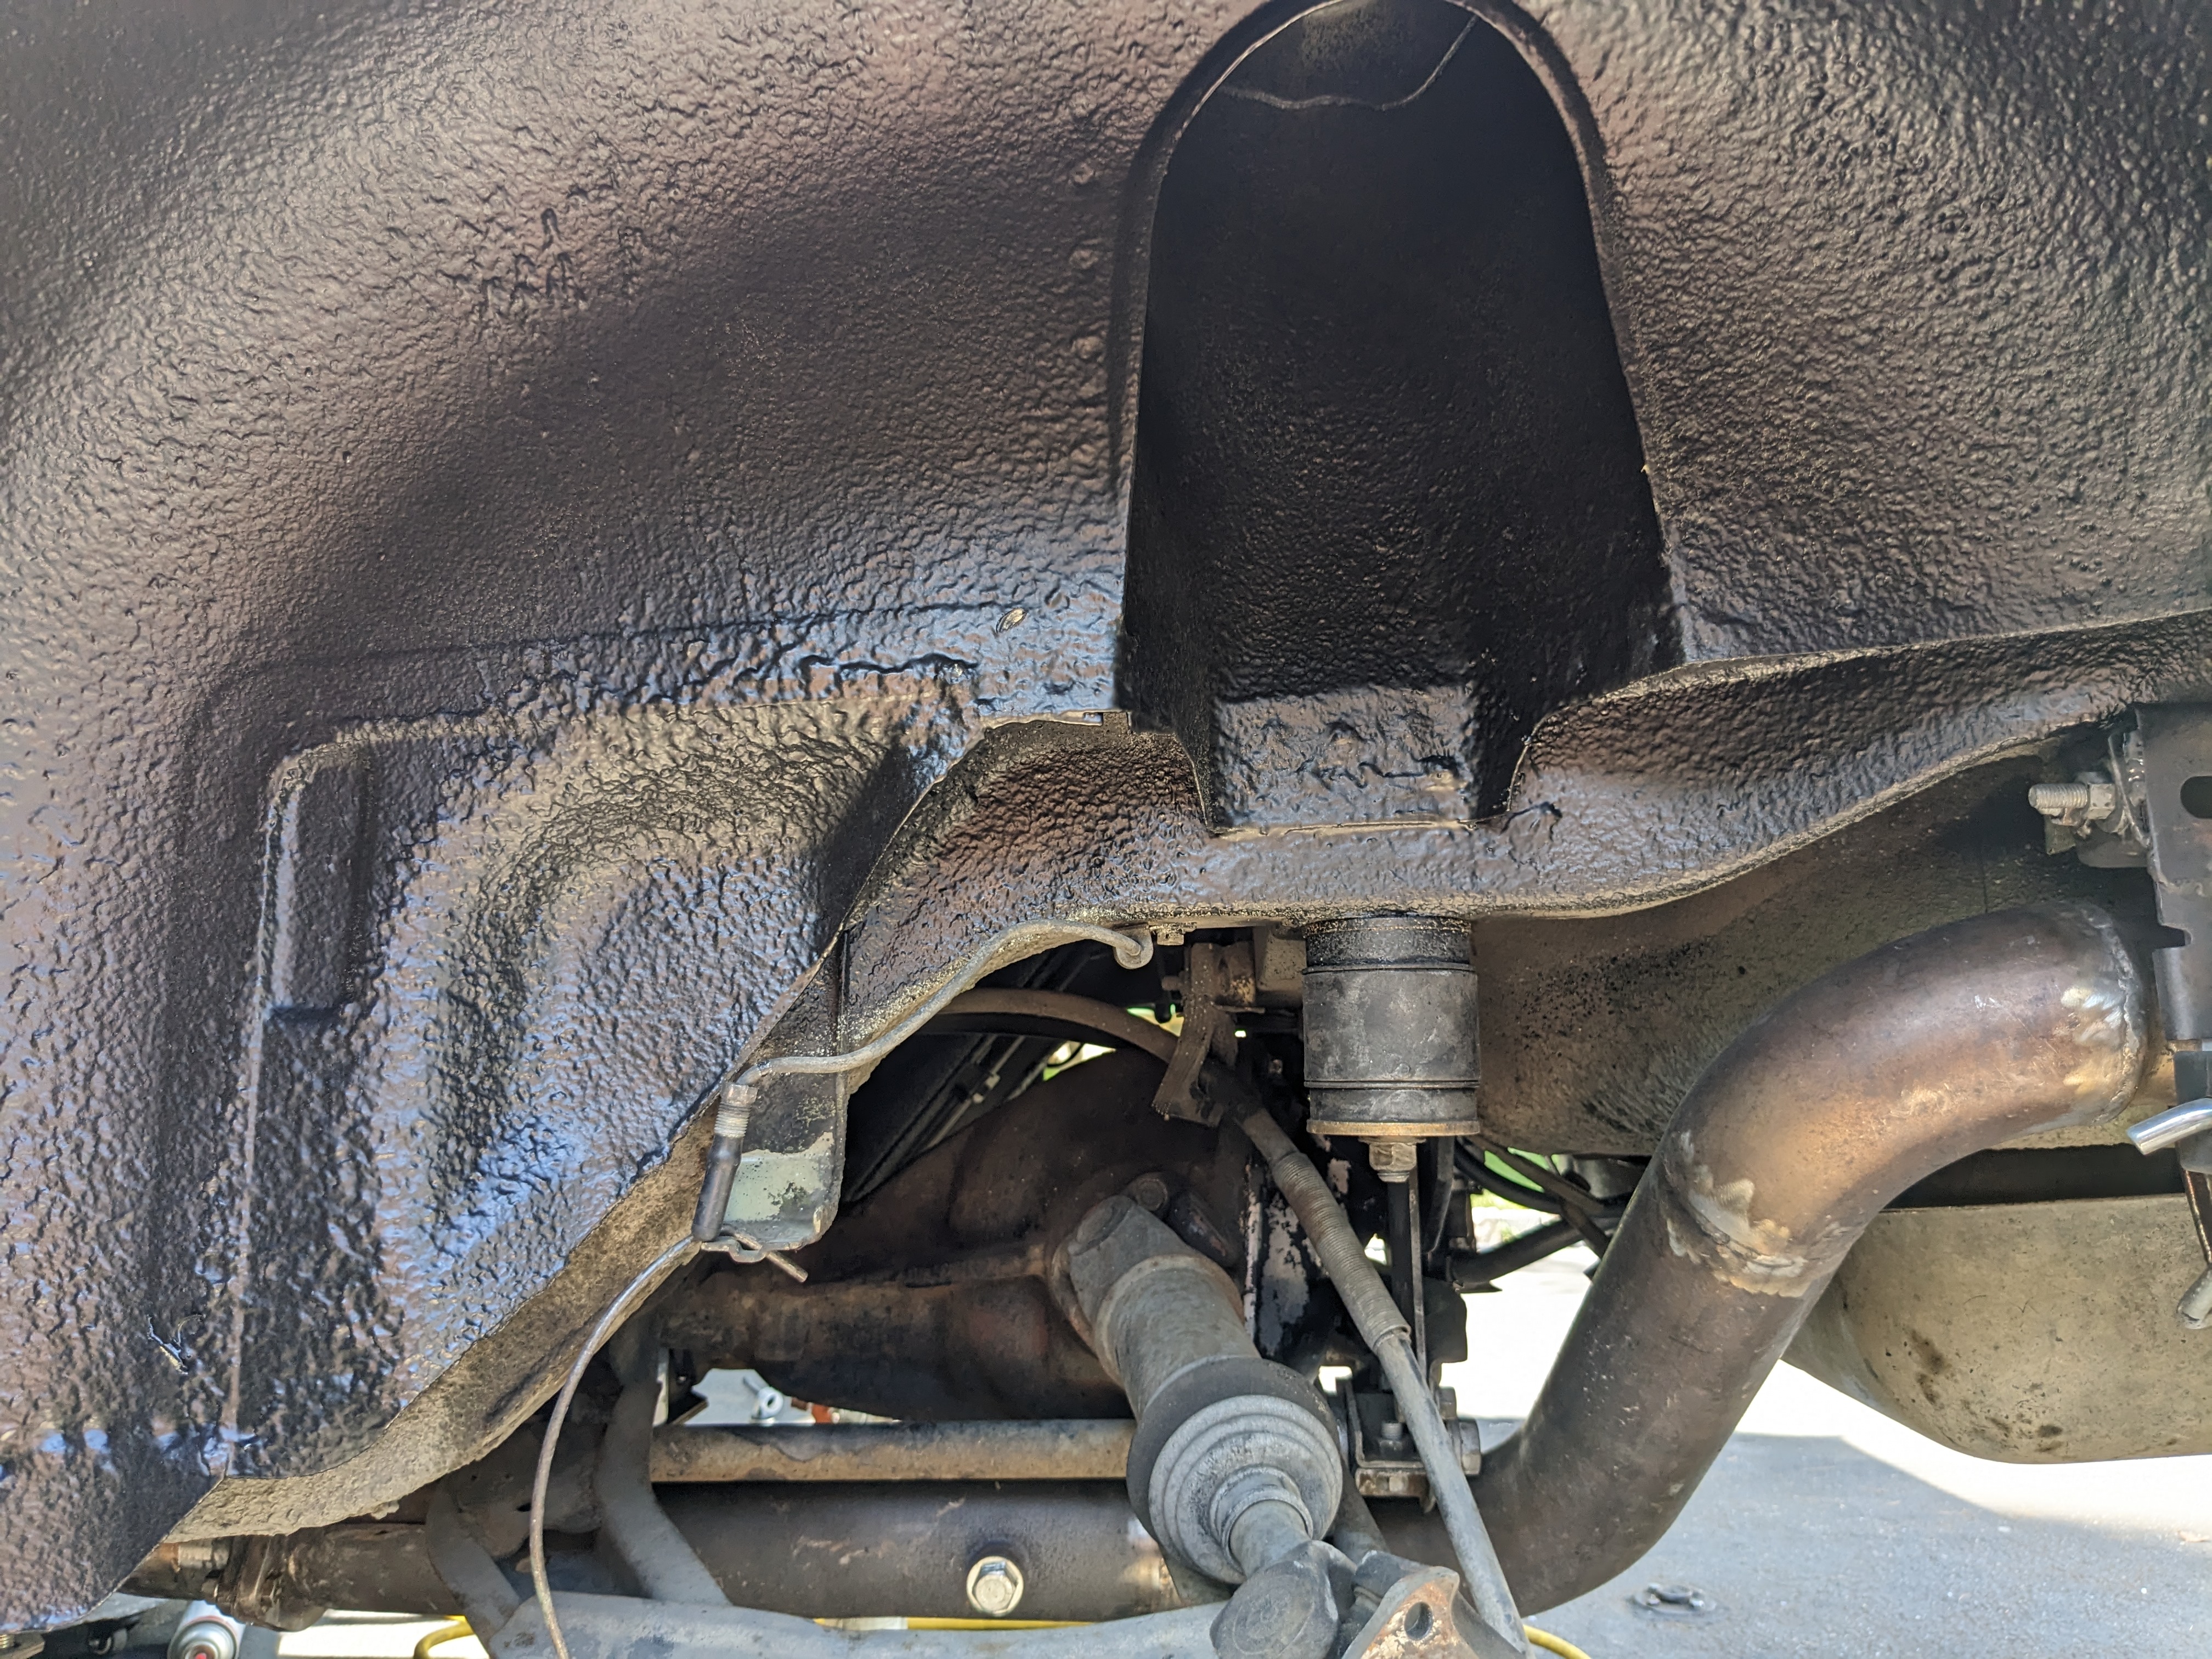
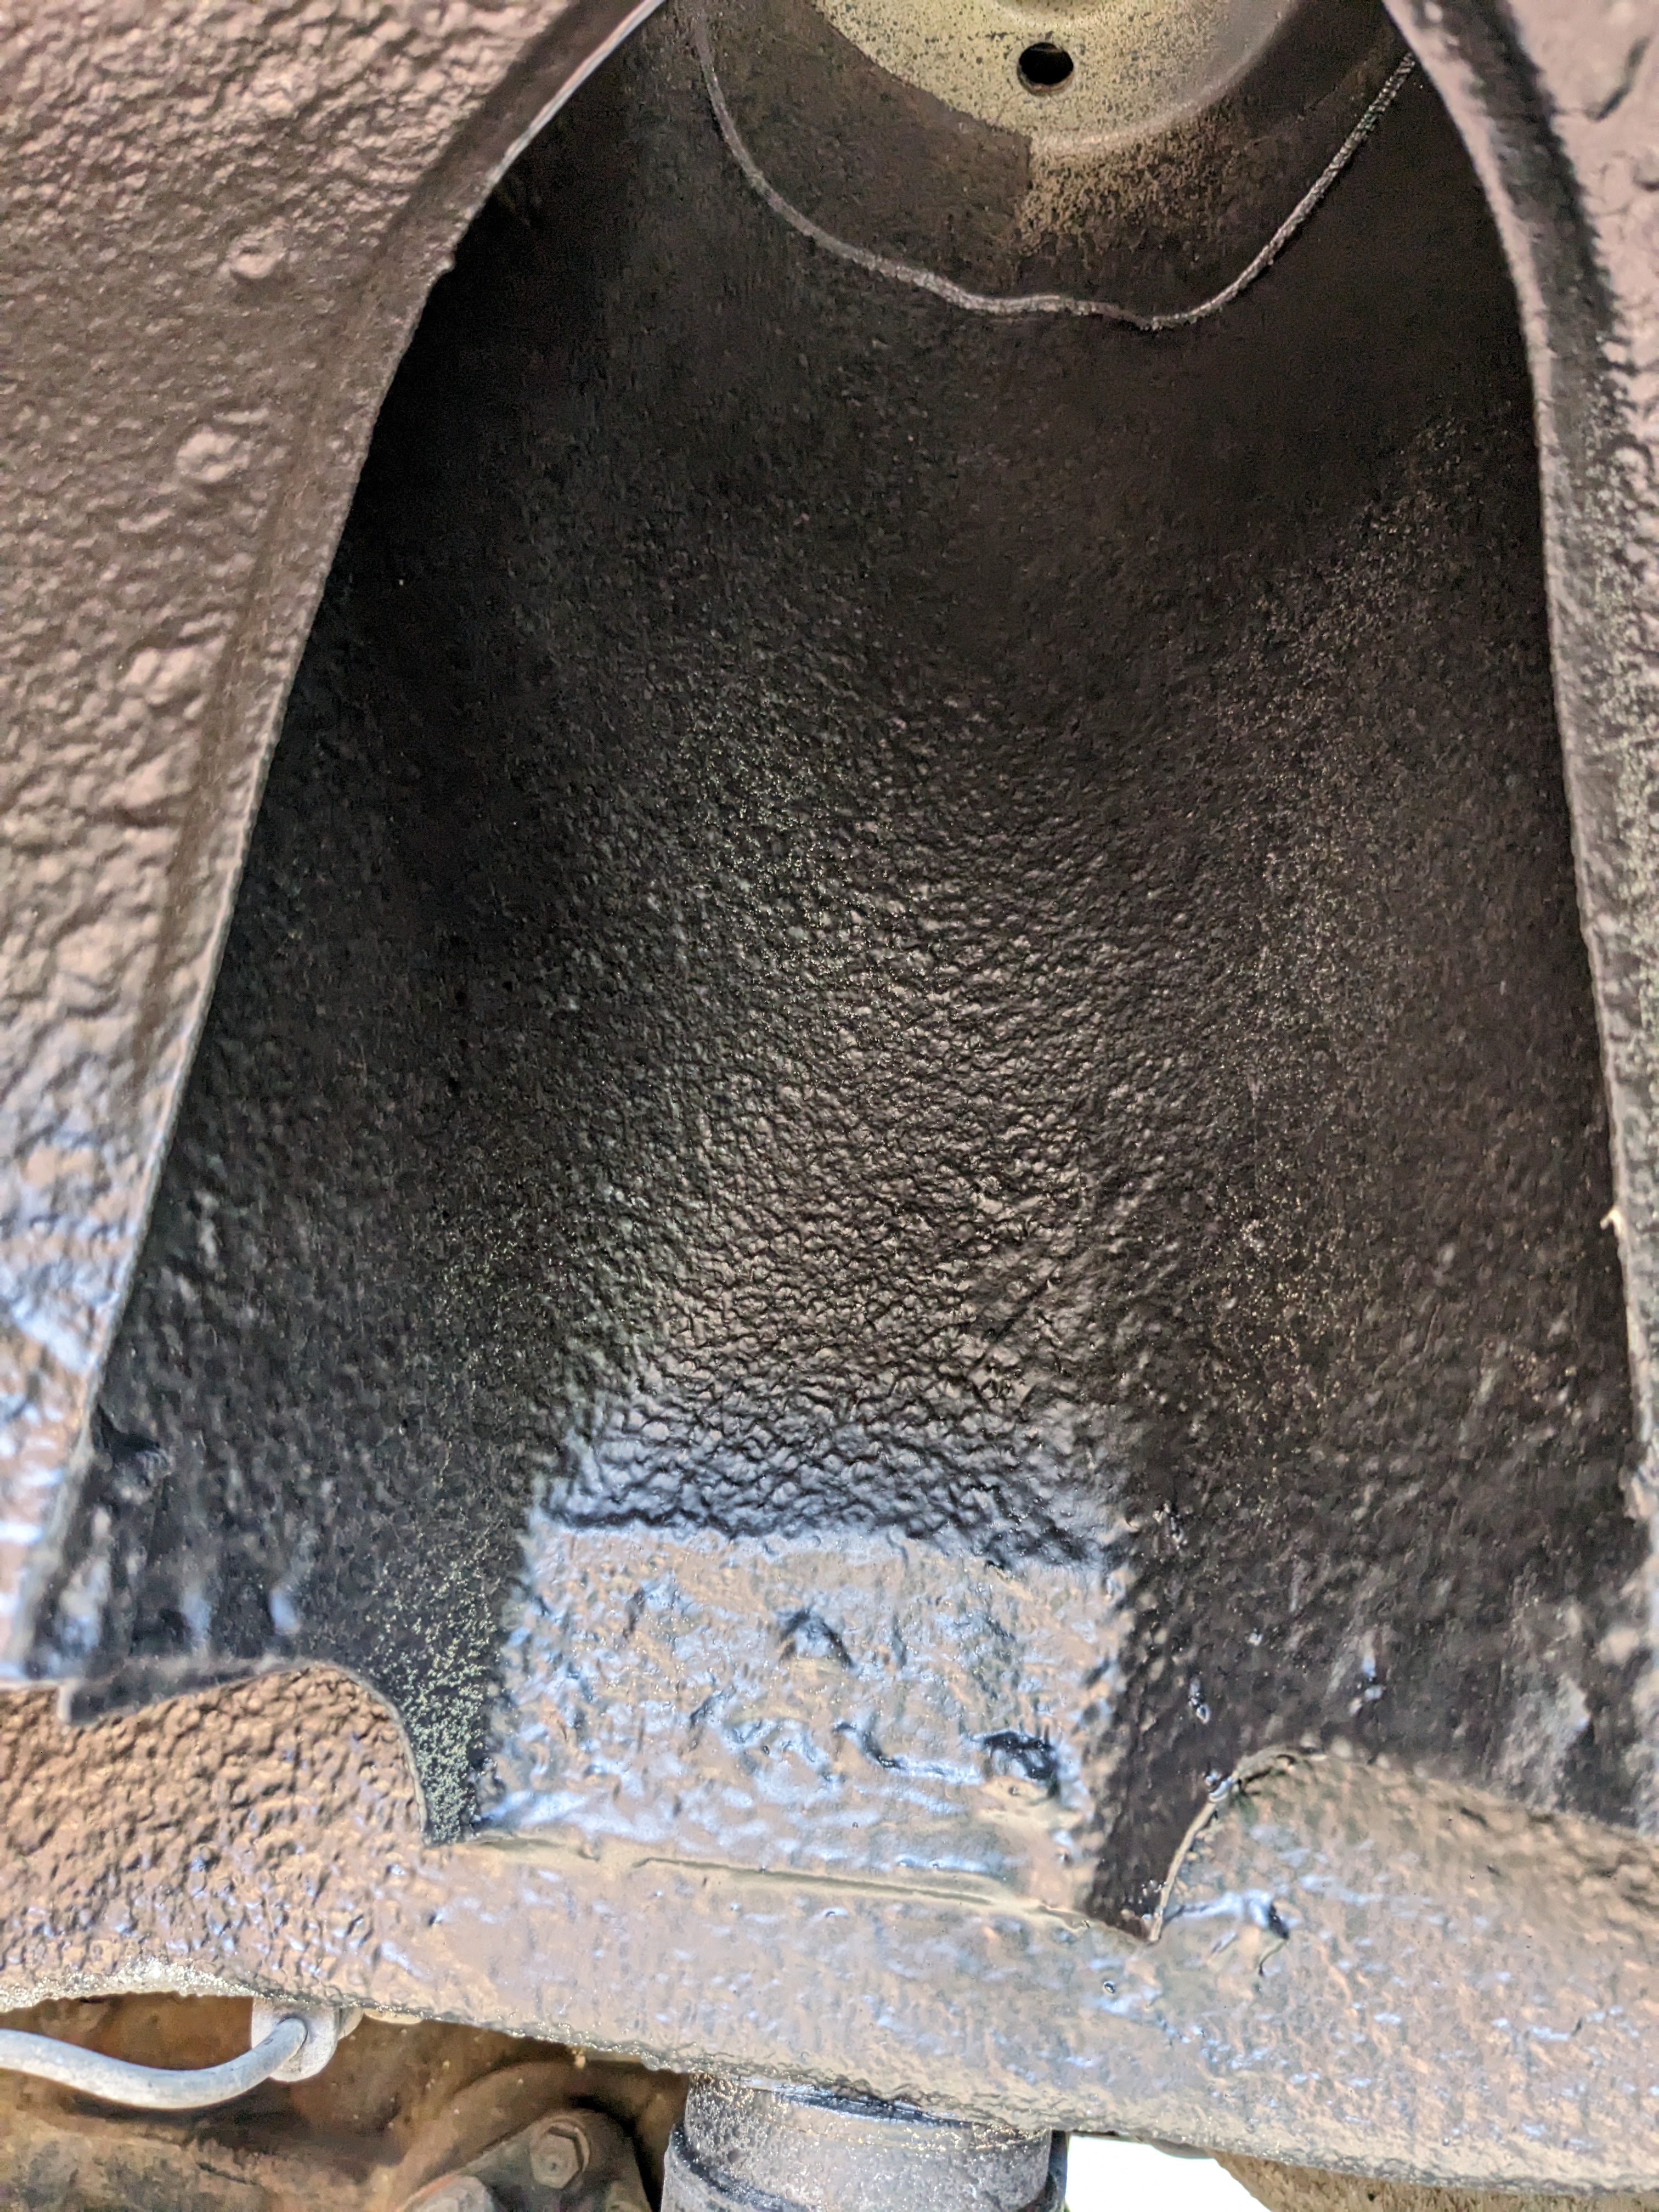
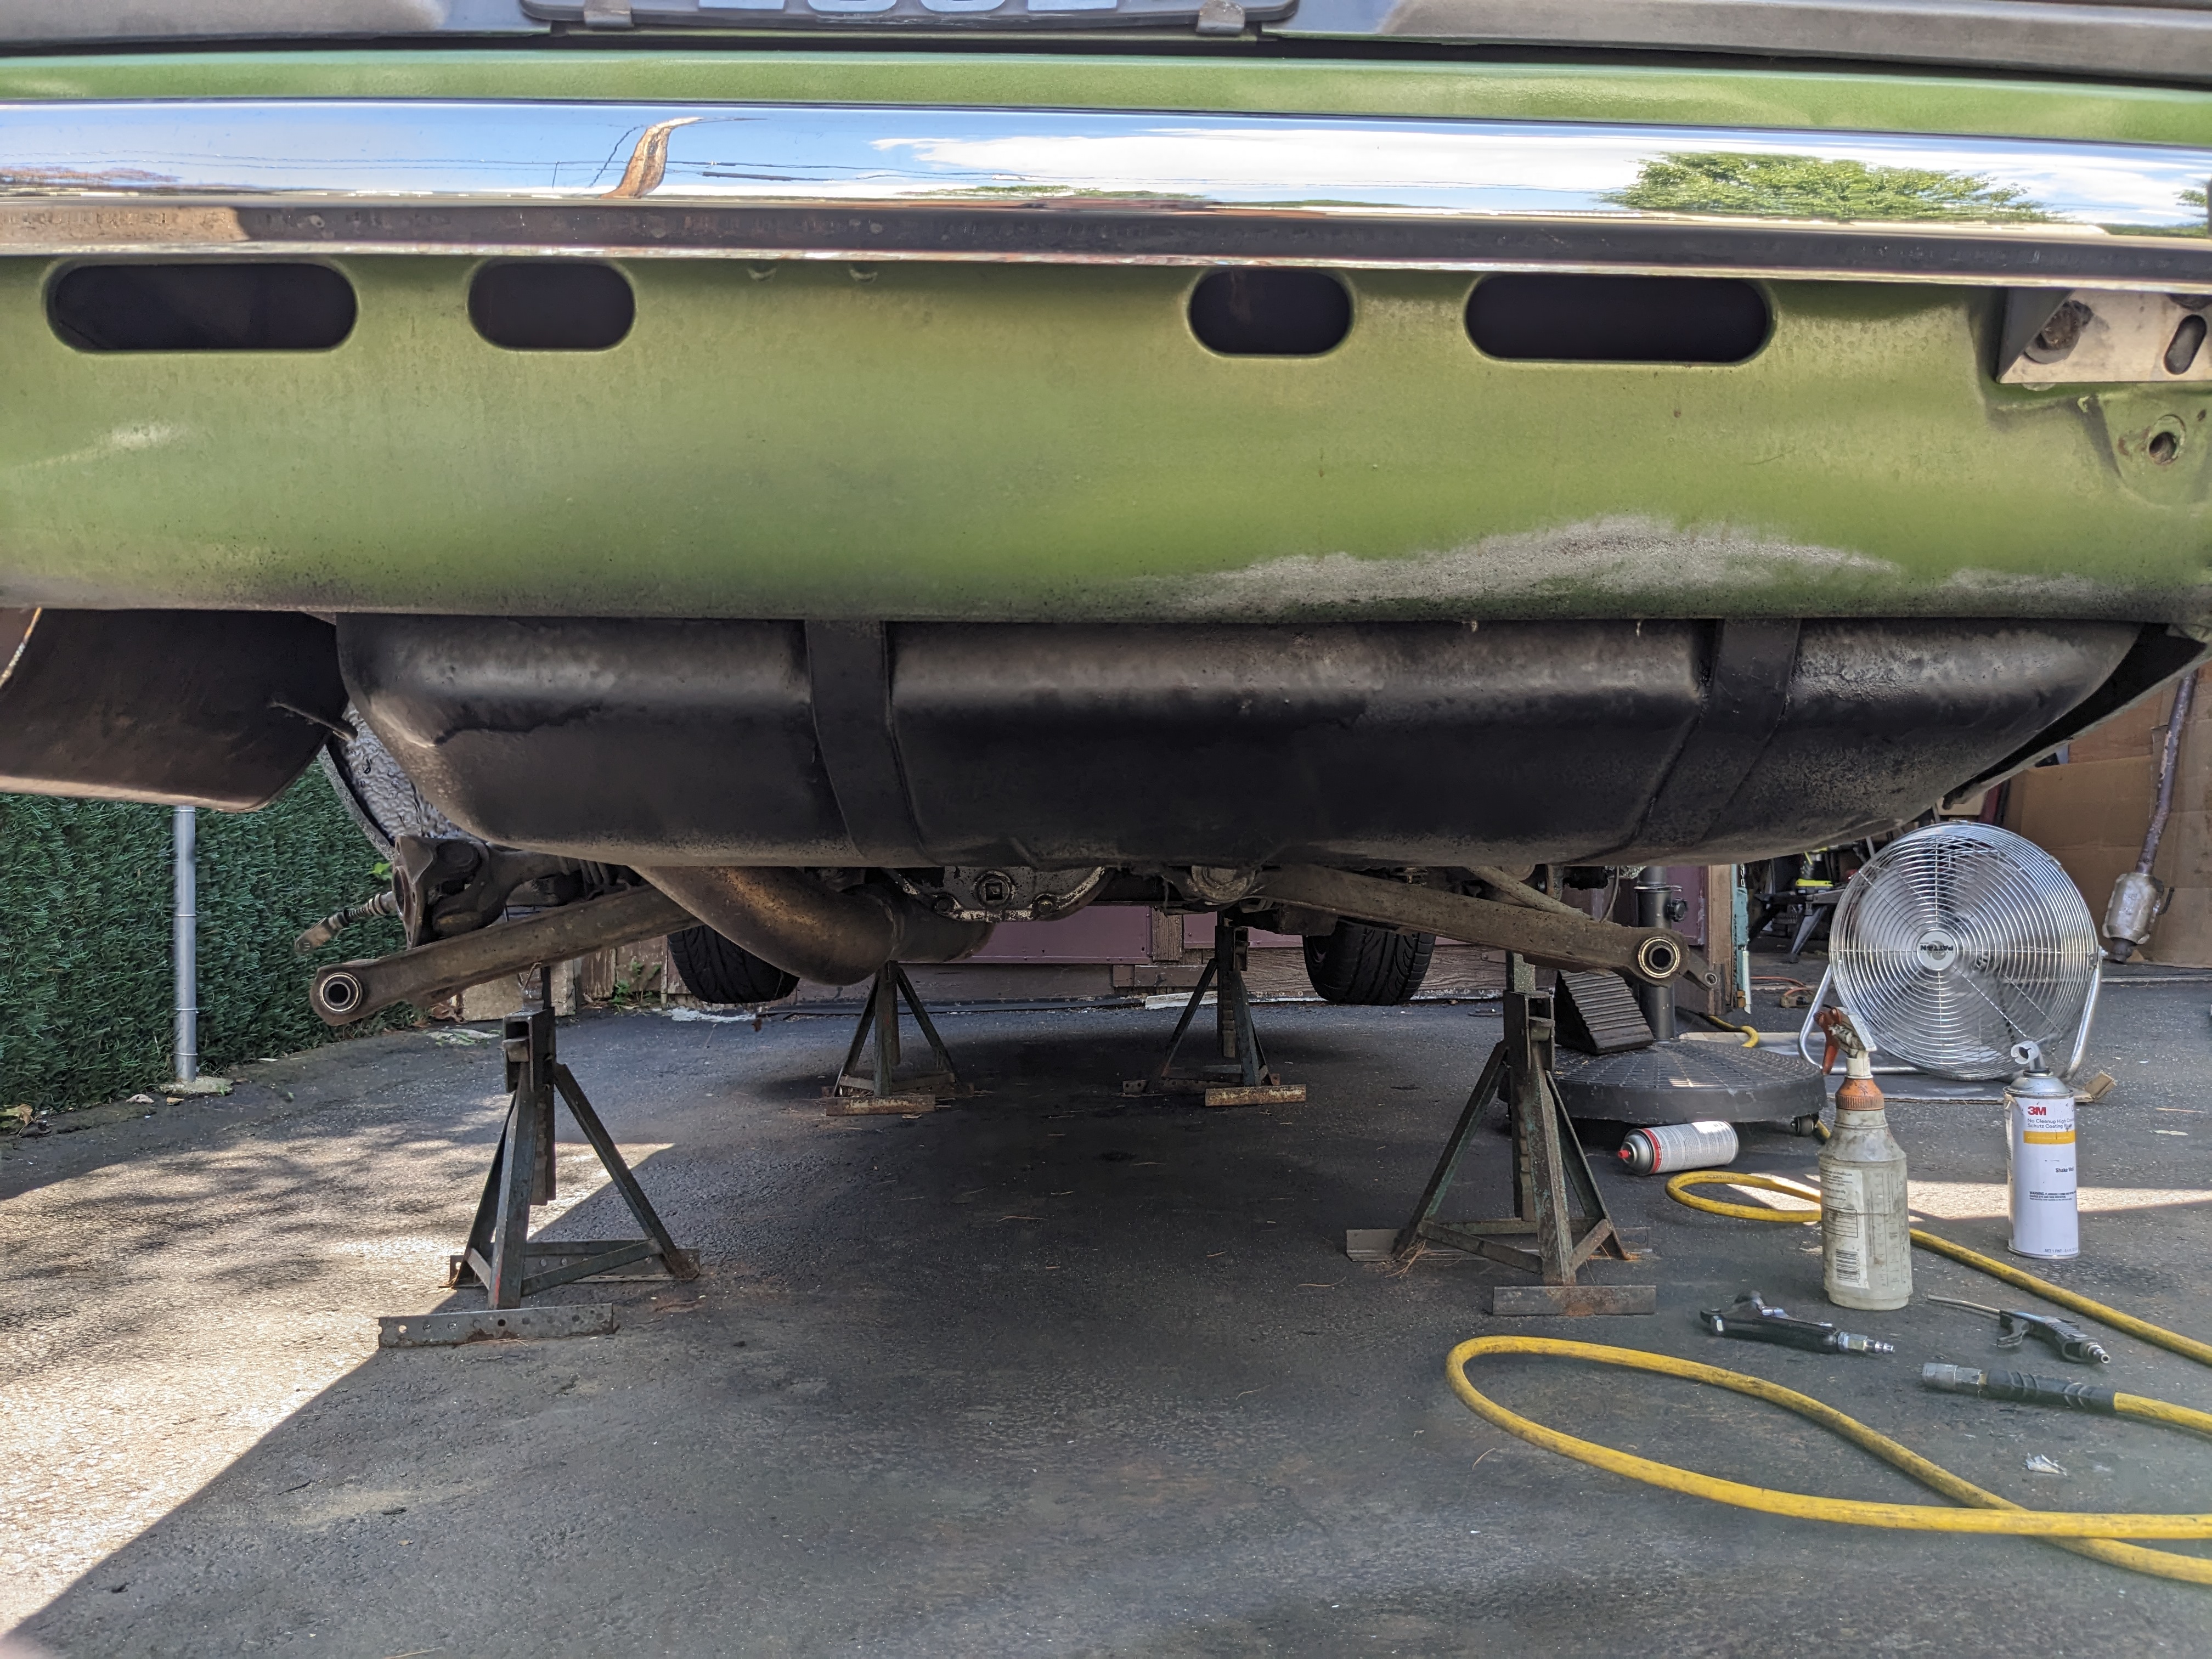
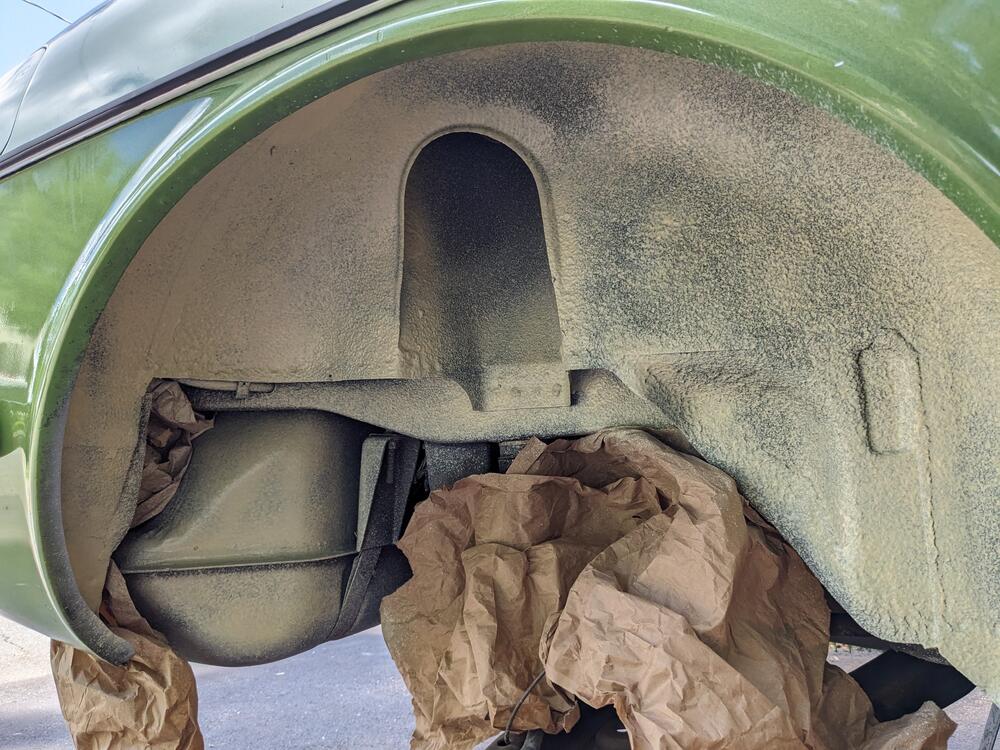
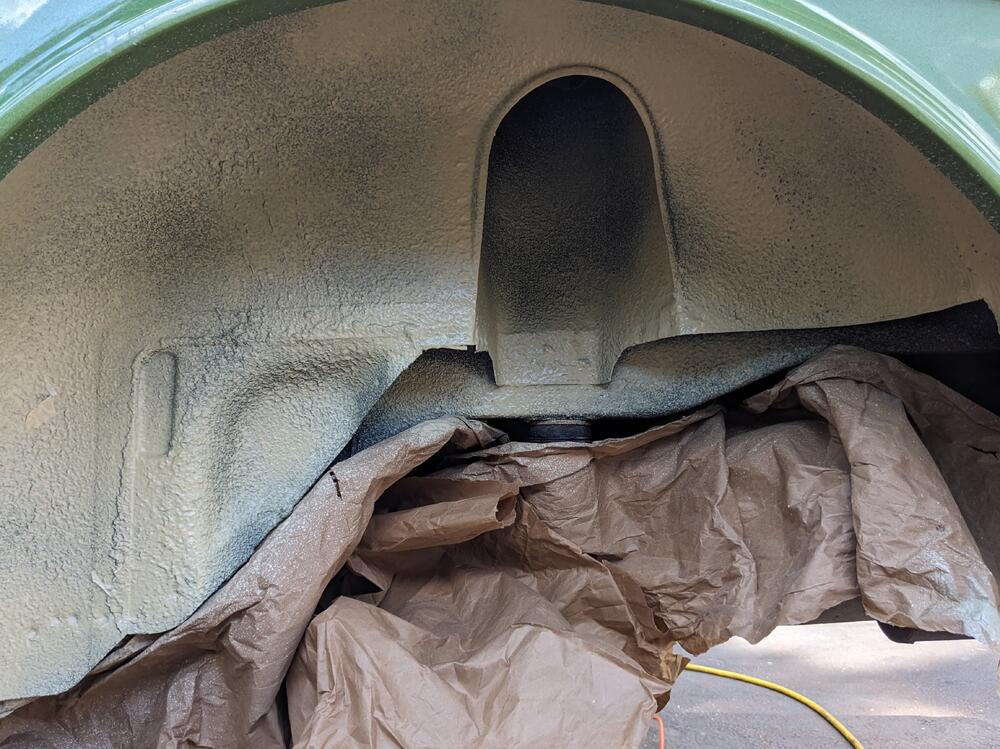
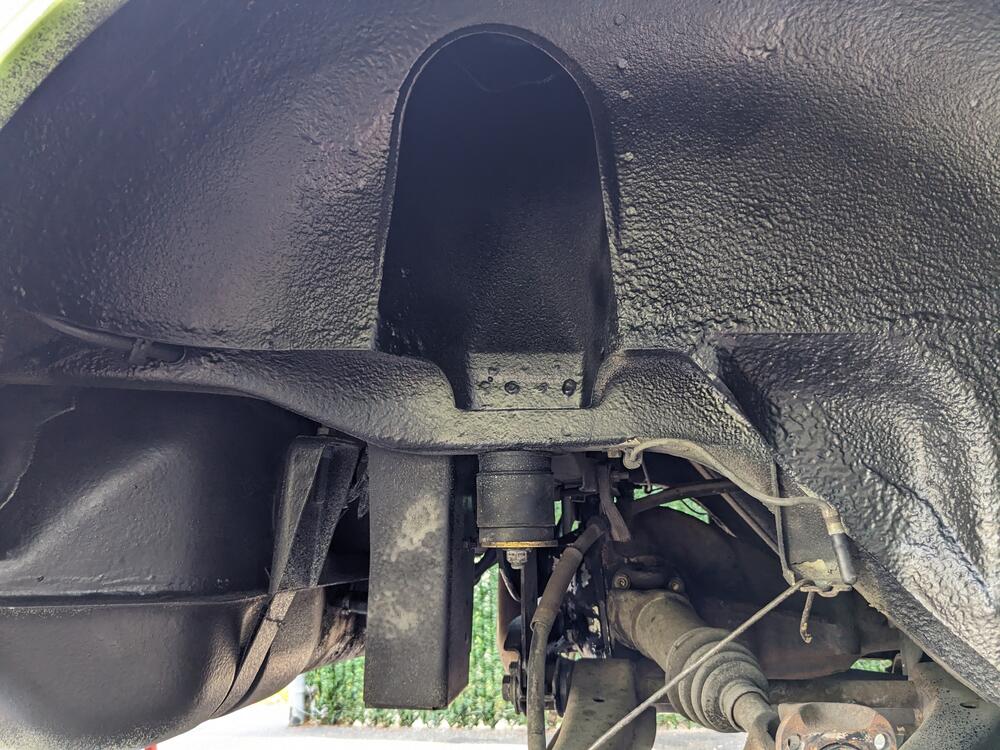
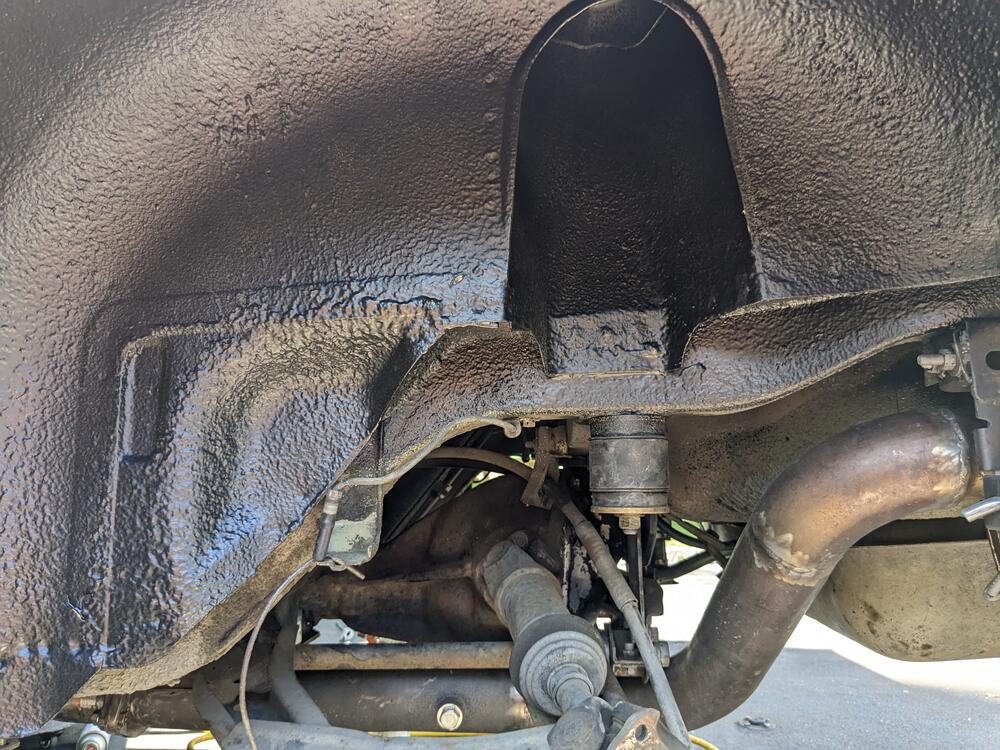
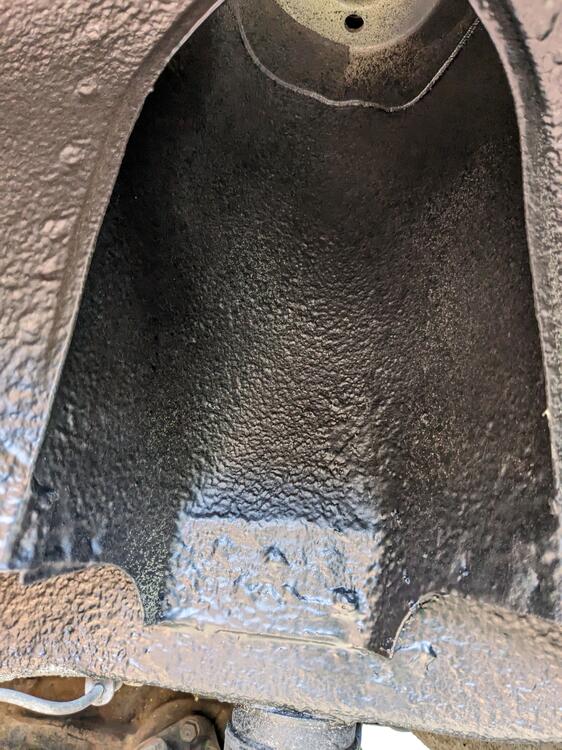
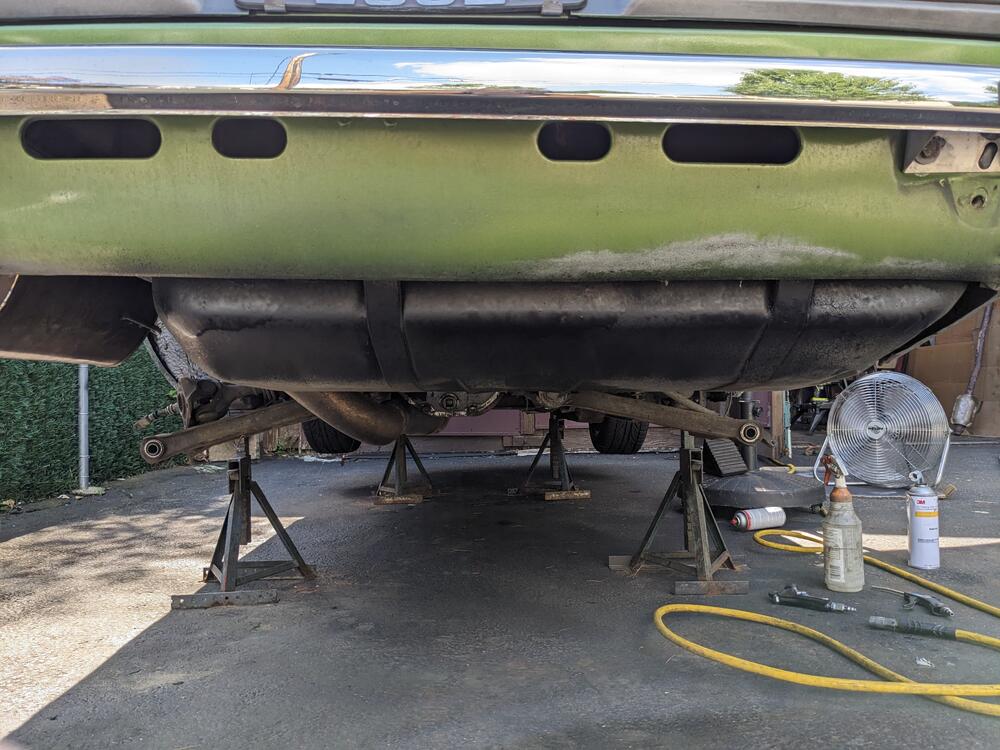
Still don't have the rear back together - I forgot I needed to clean (power washed, dried, rinsed with turps, wire brushed) & apply the 3M stone guard (1 can) & Undercoat (1 can) first Did the back off the Gas tank while I was at it
-
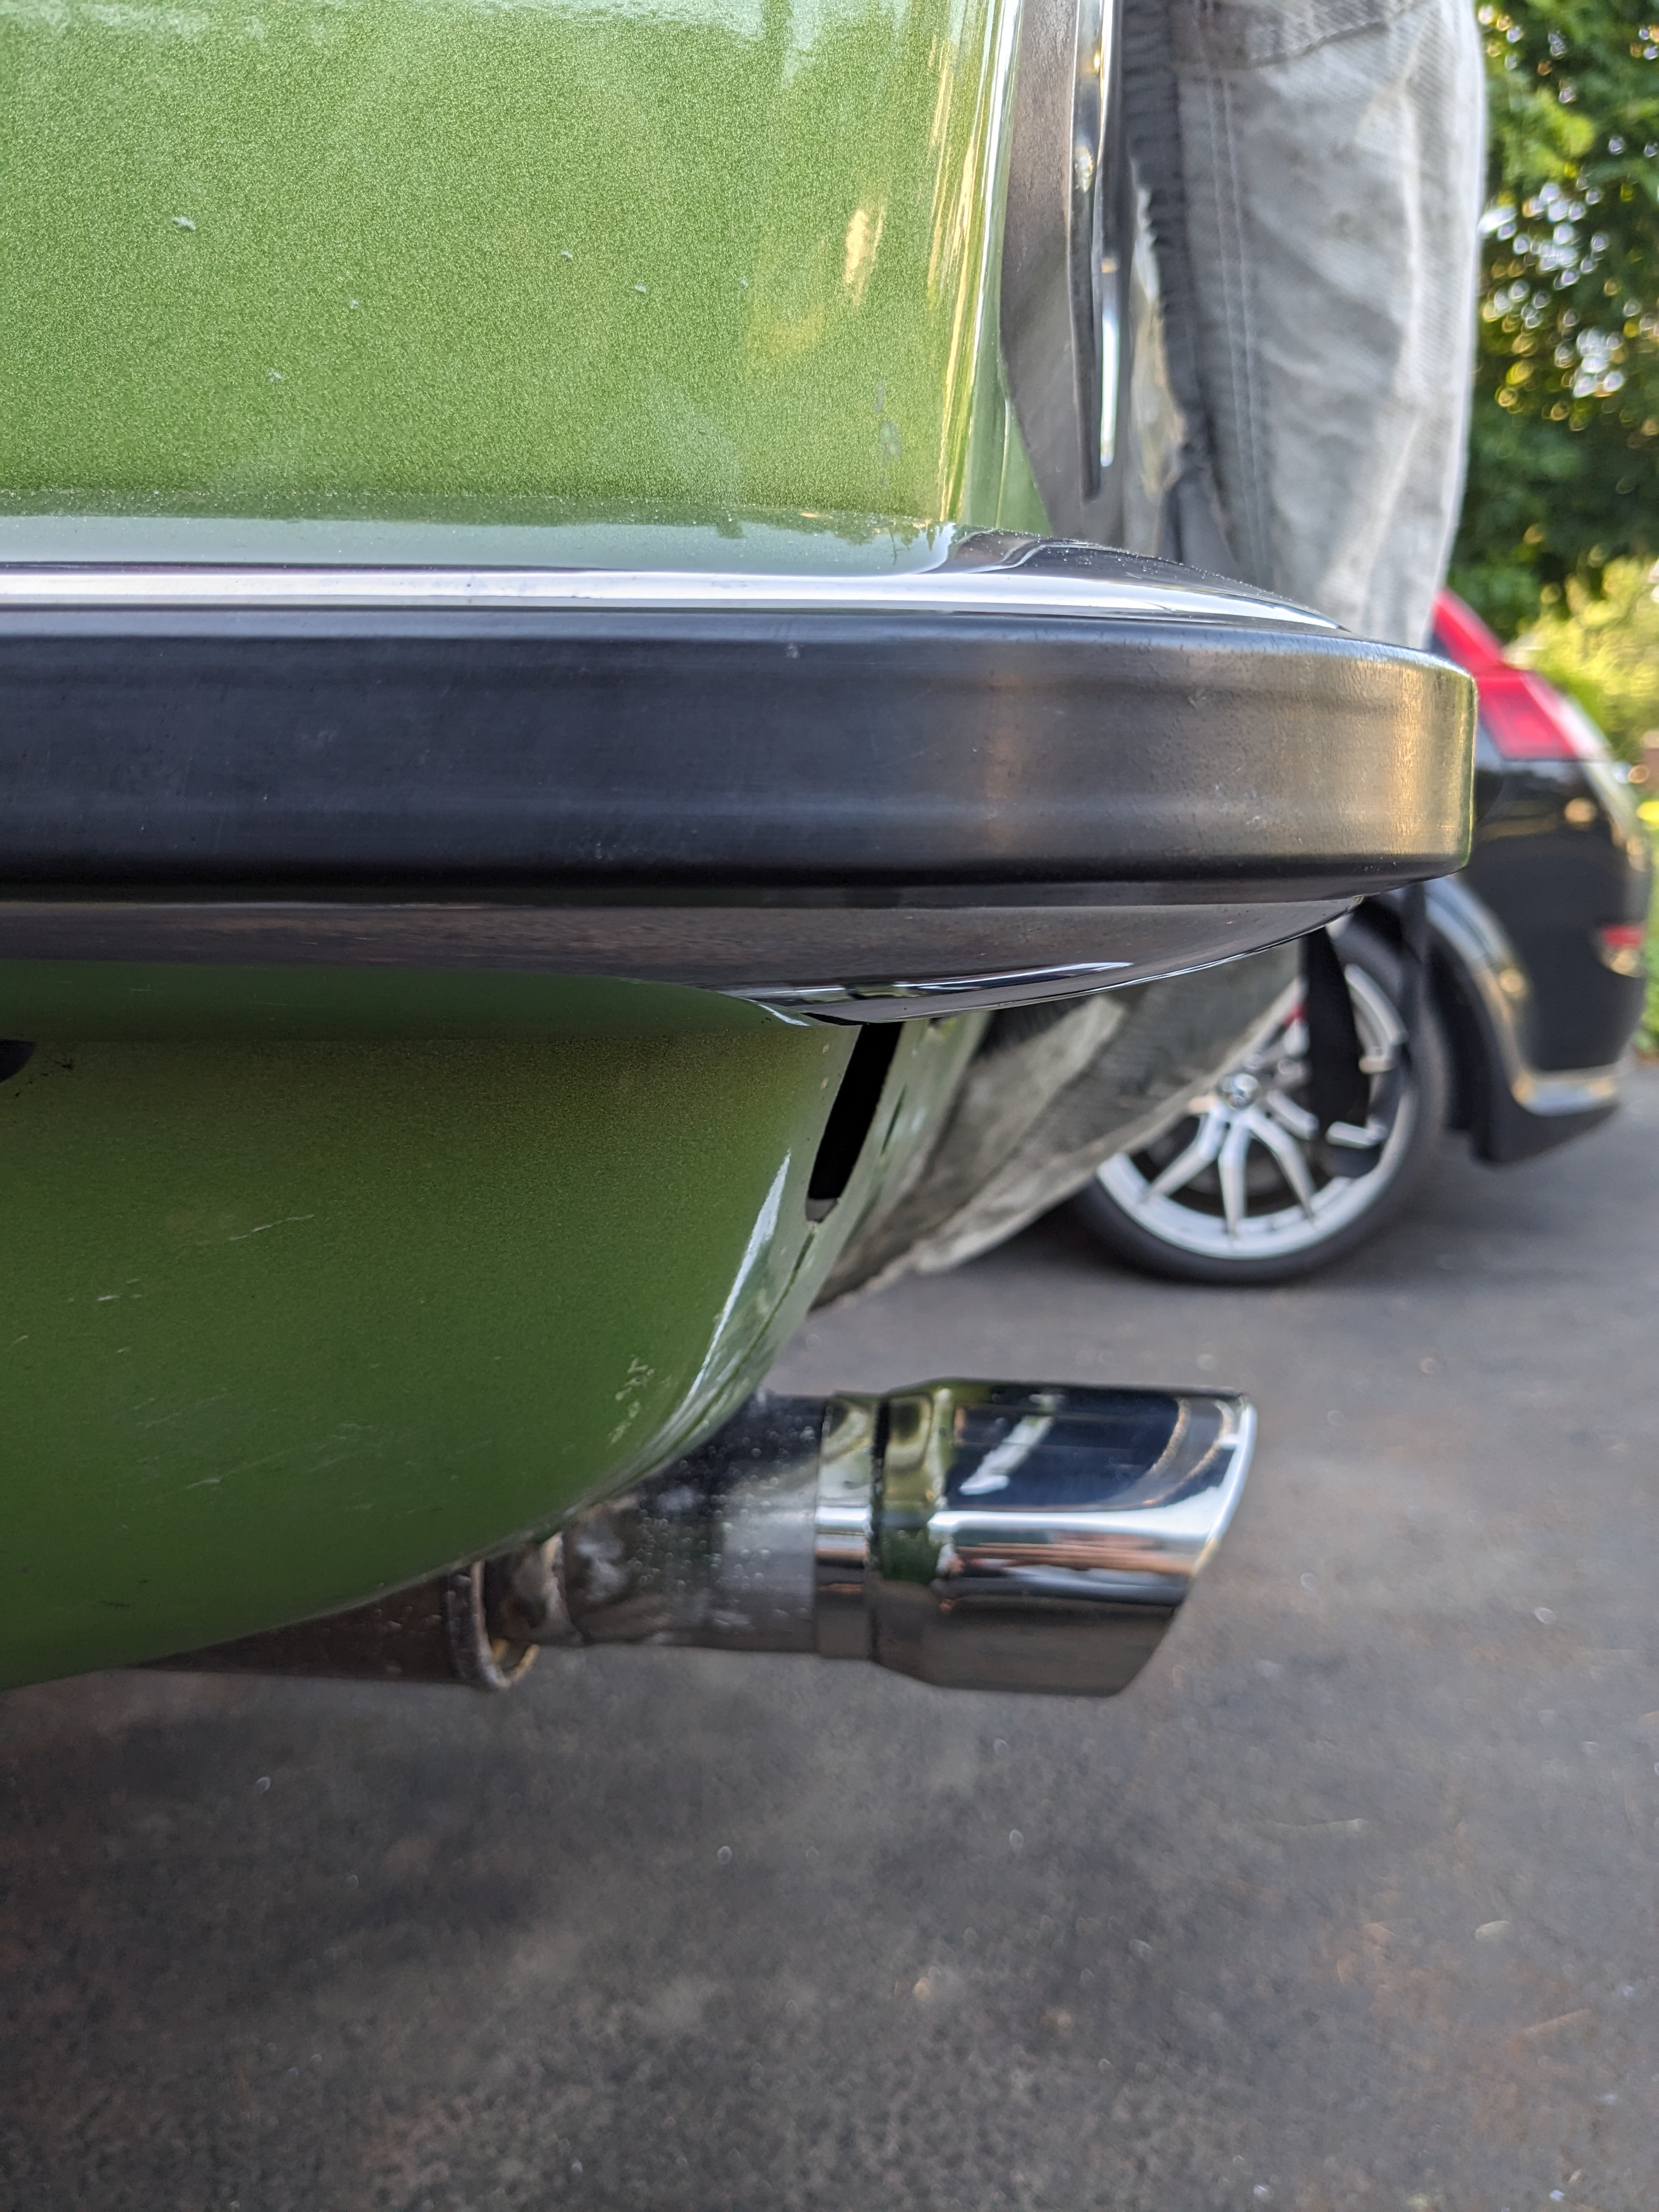
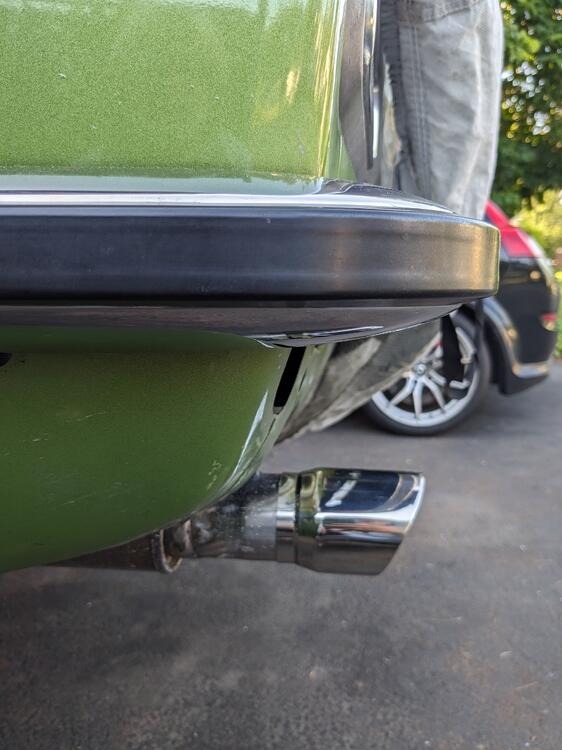
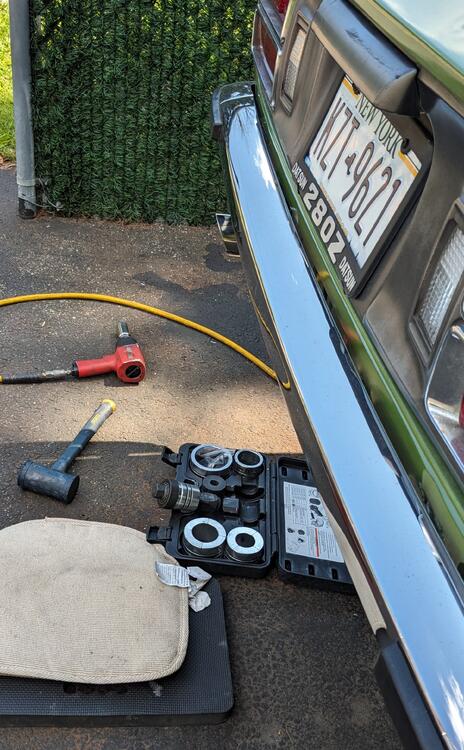
Expanded the tailpipe to get a tight fit for the tip, set it close to the bumper depth, to hopefully avoid exhaust discoloration of the taillamp
-
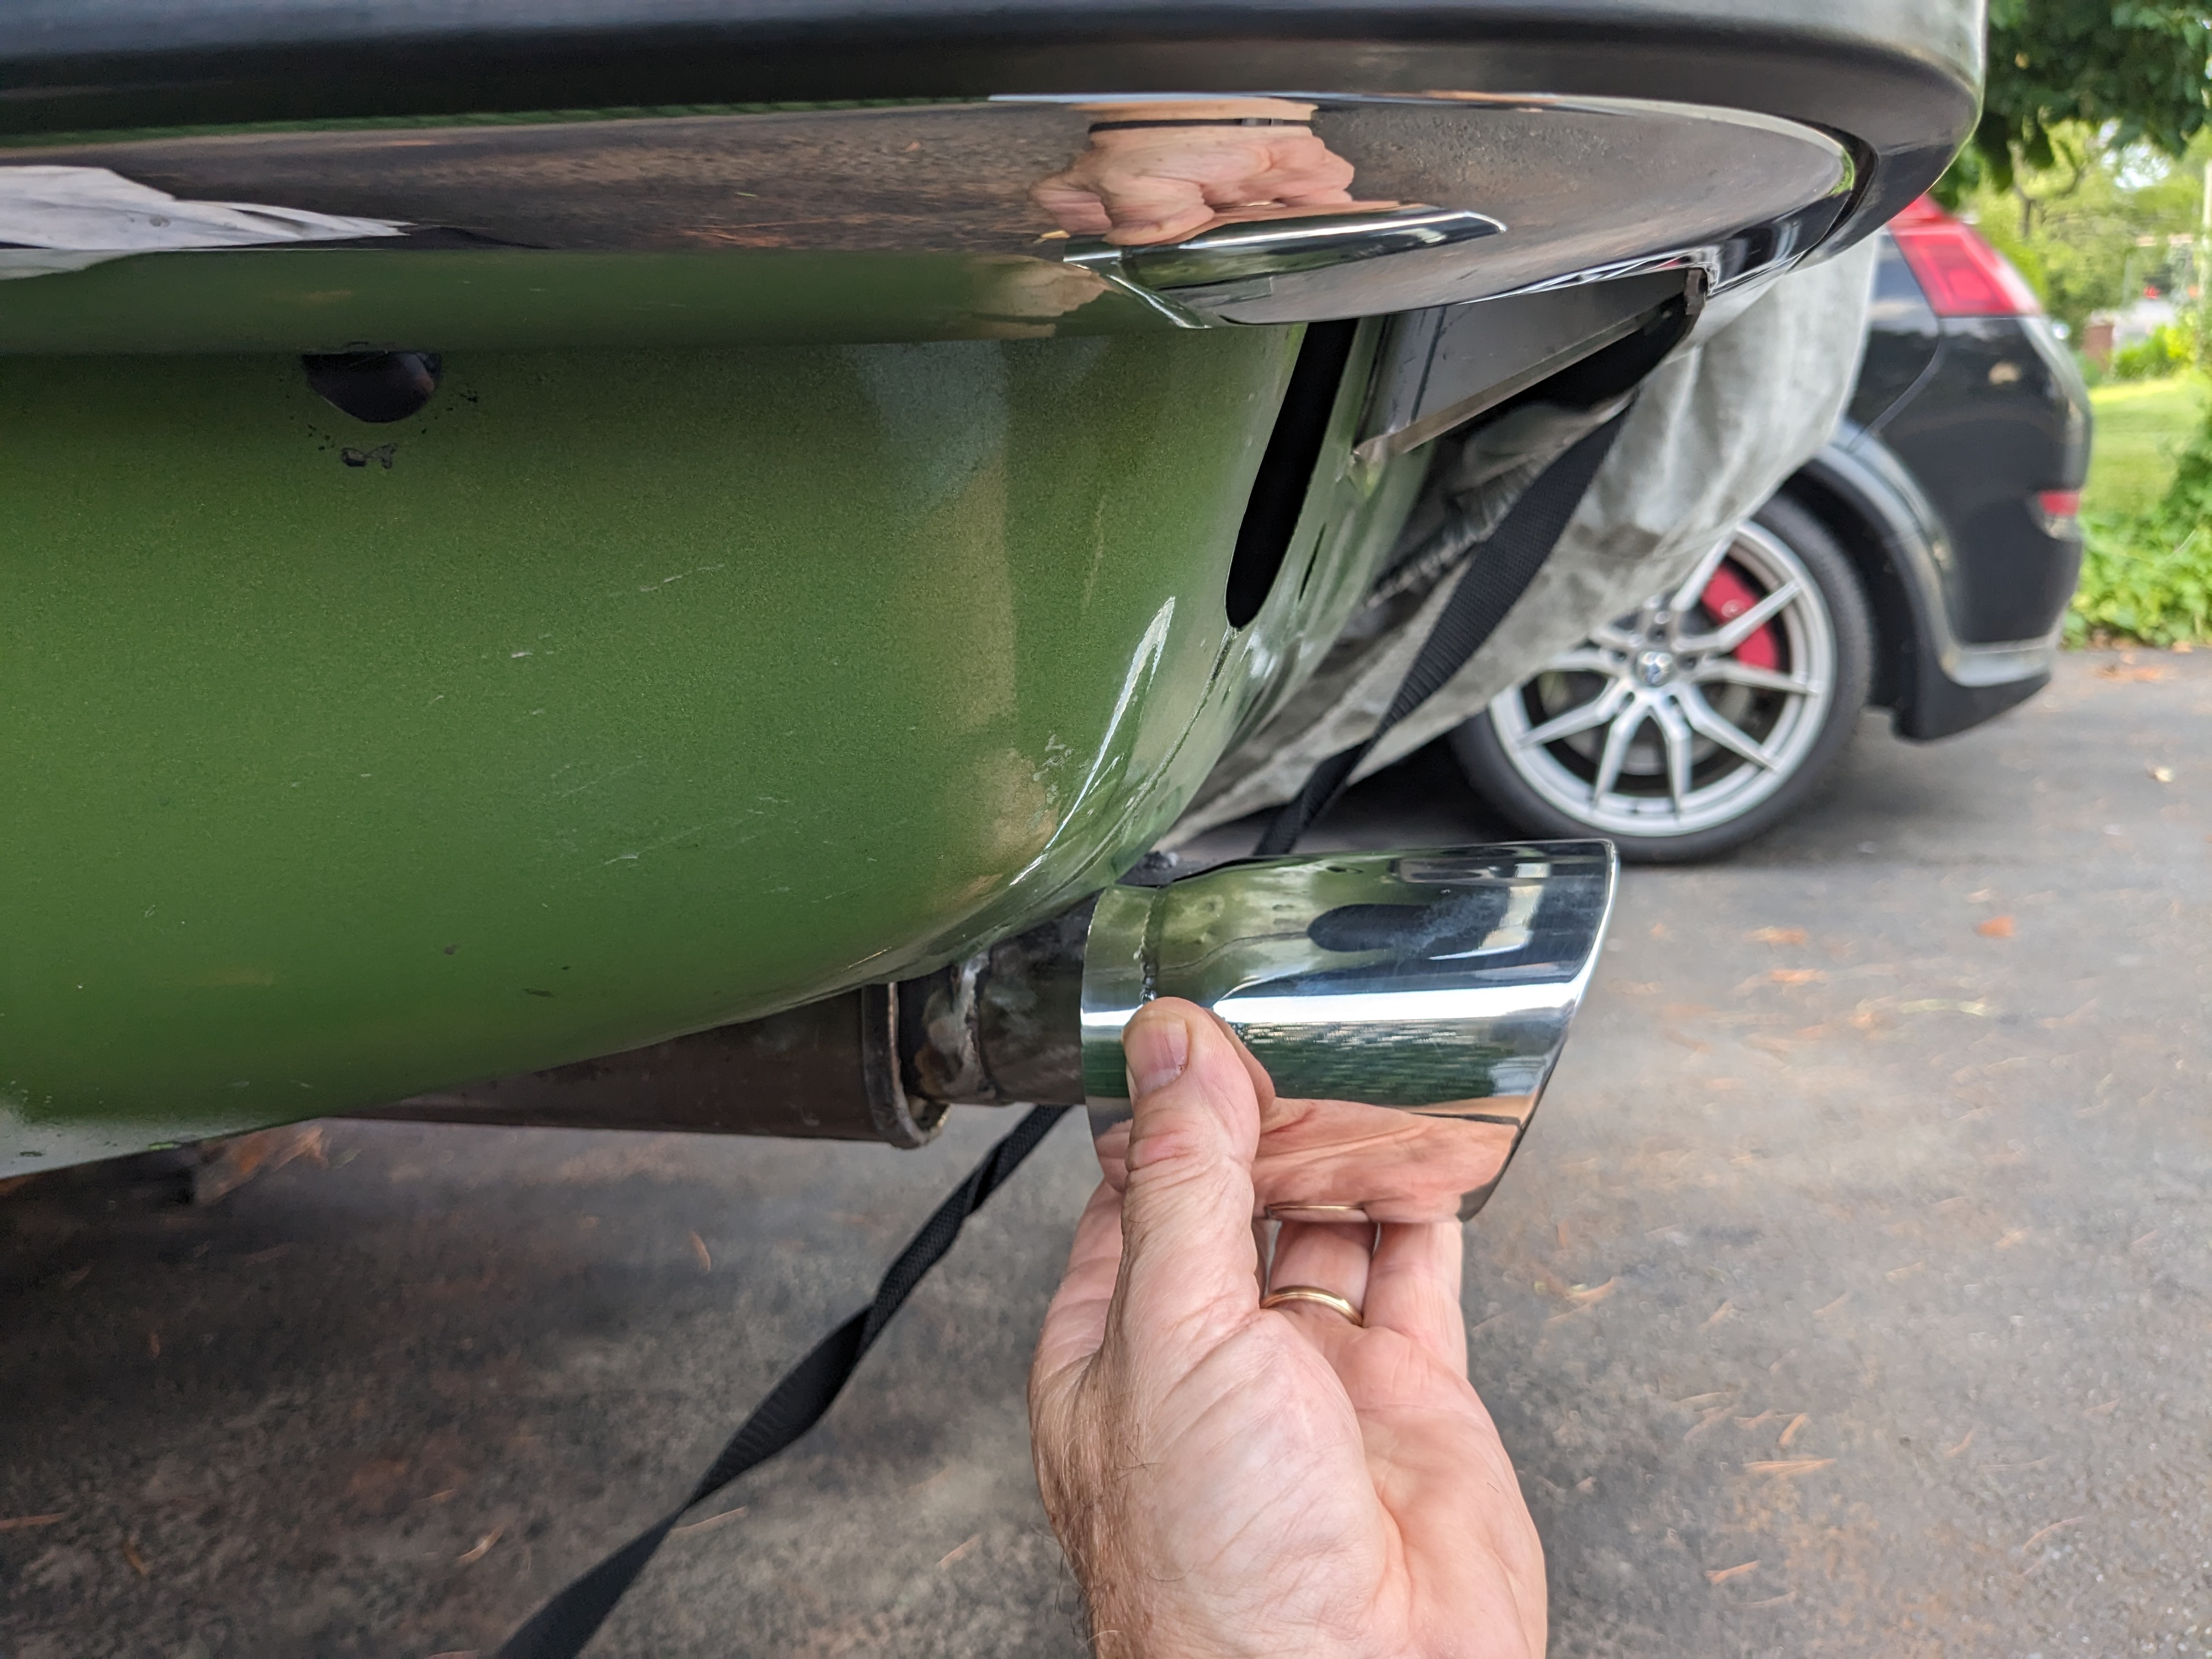
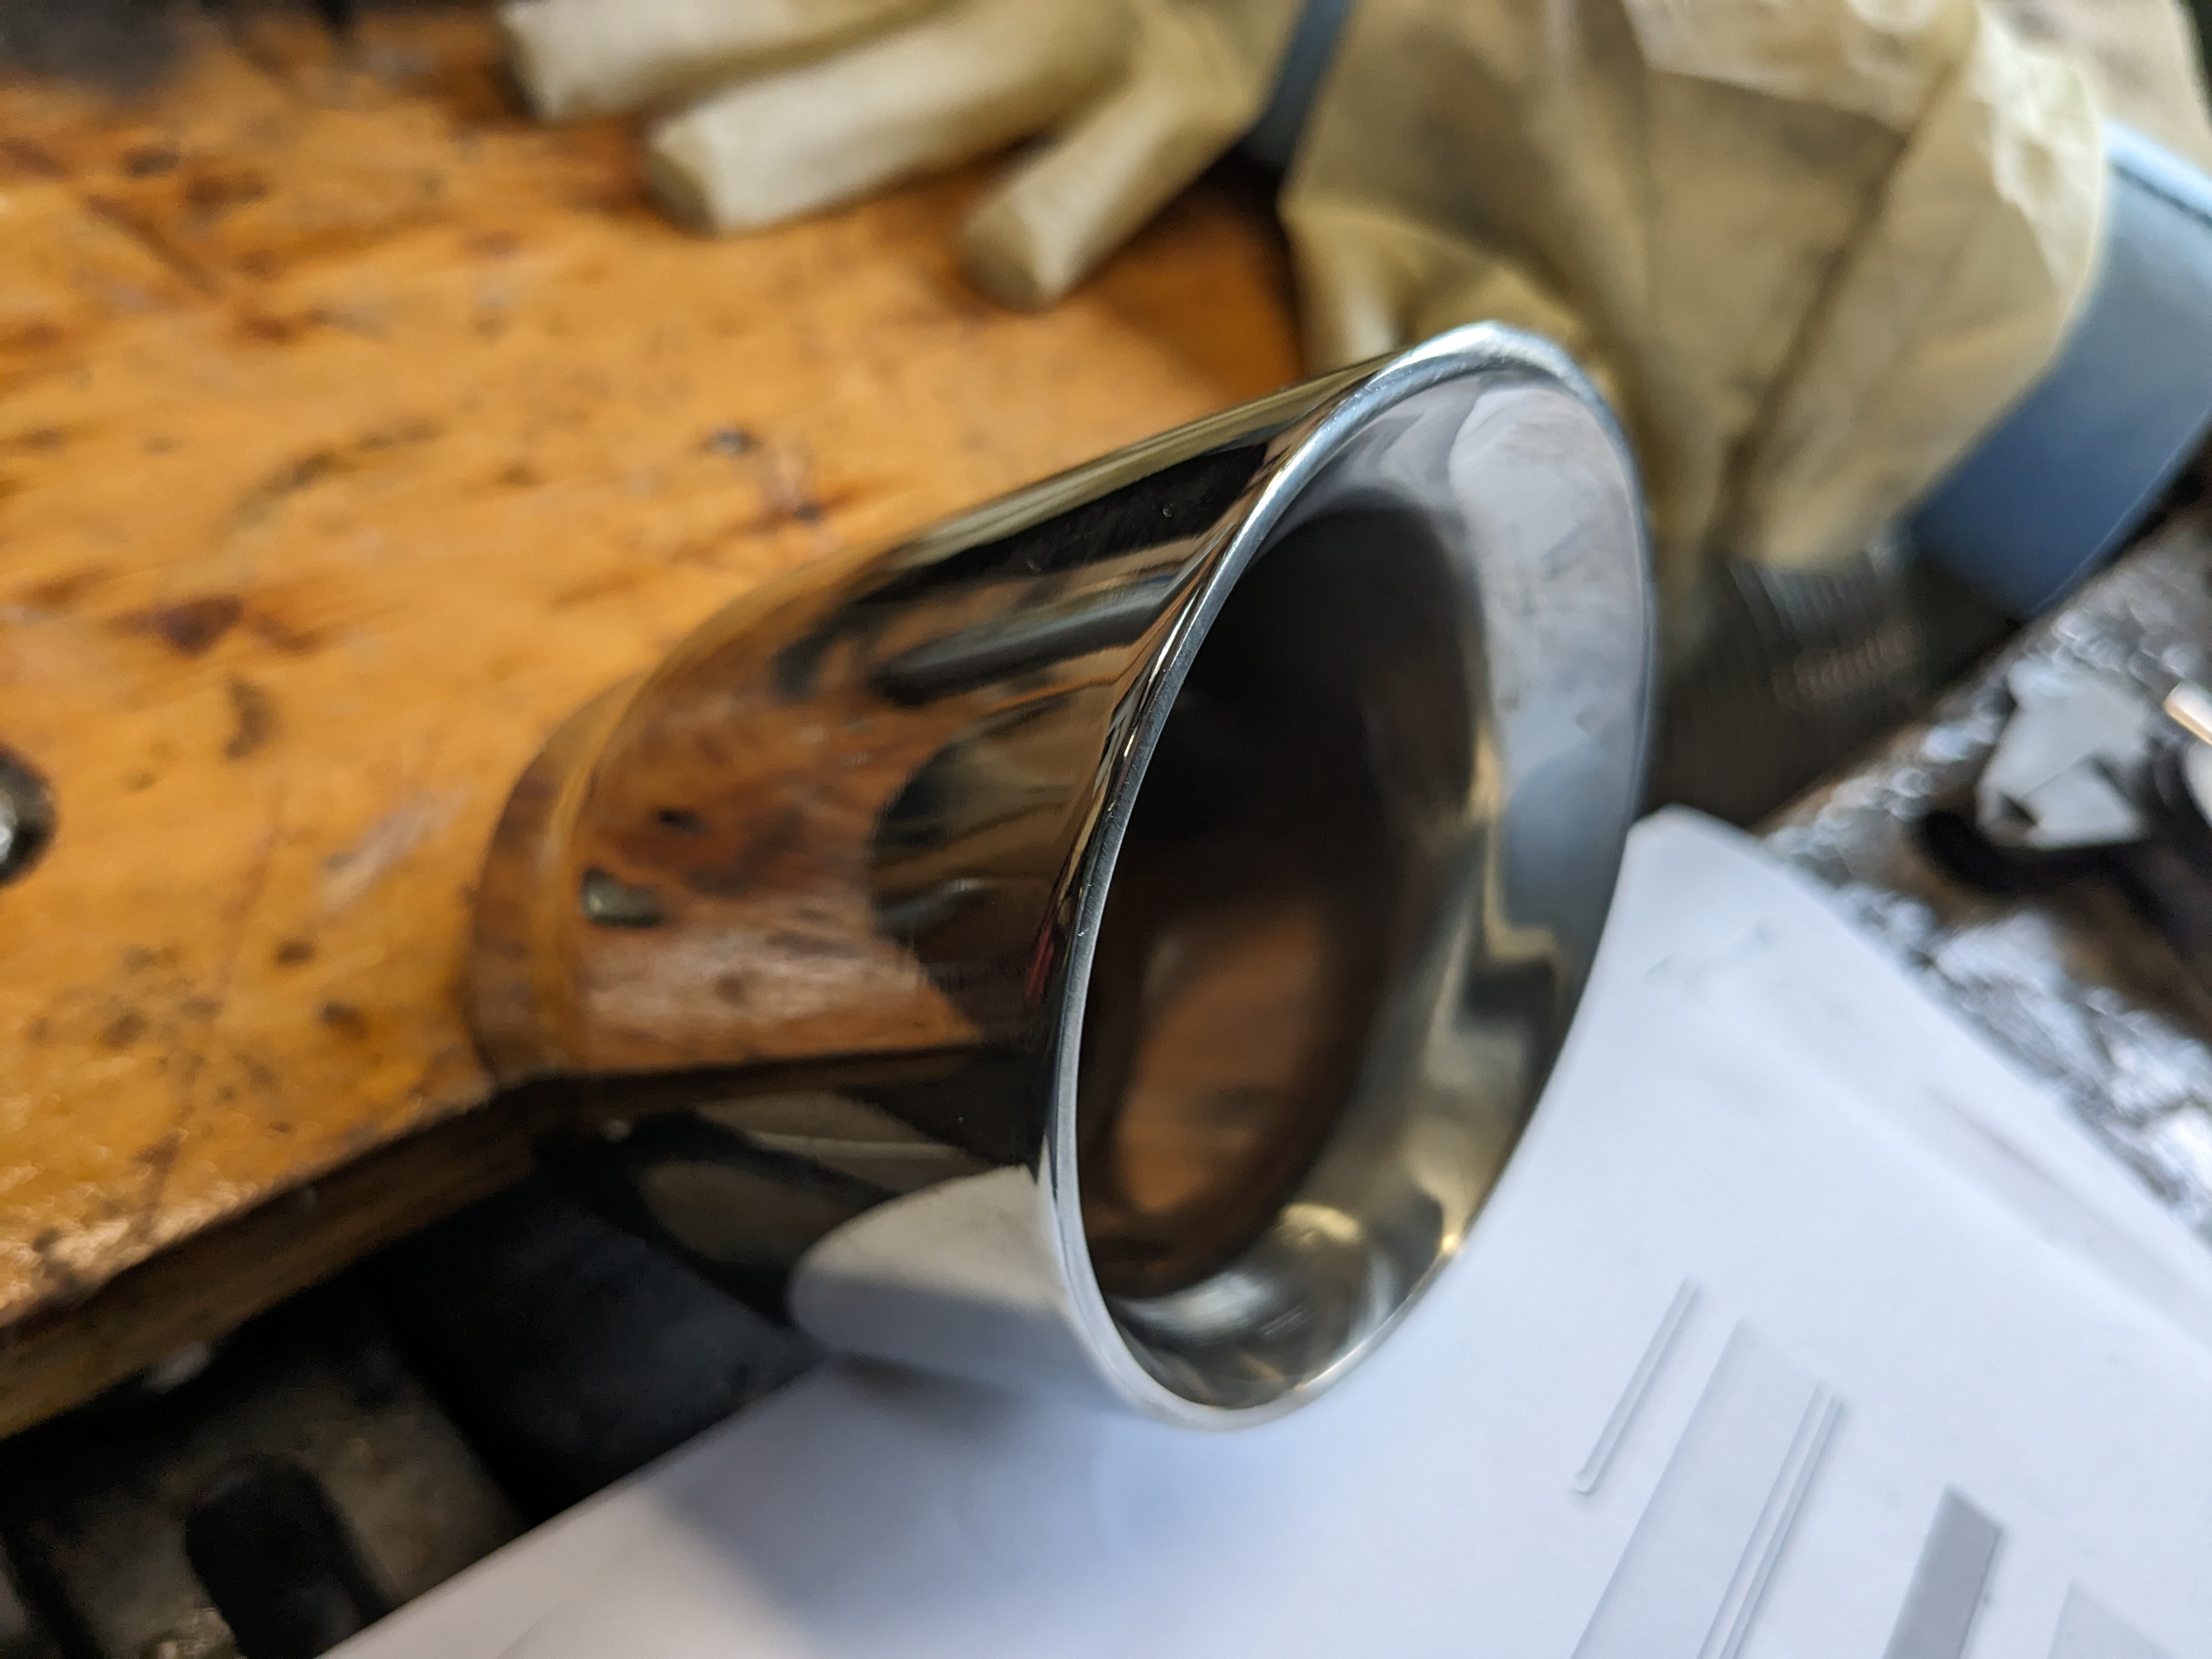
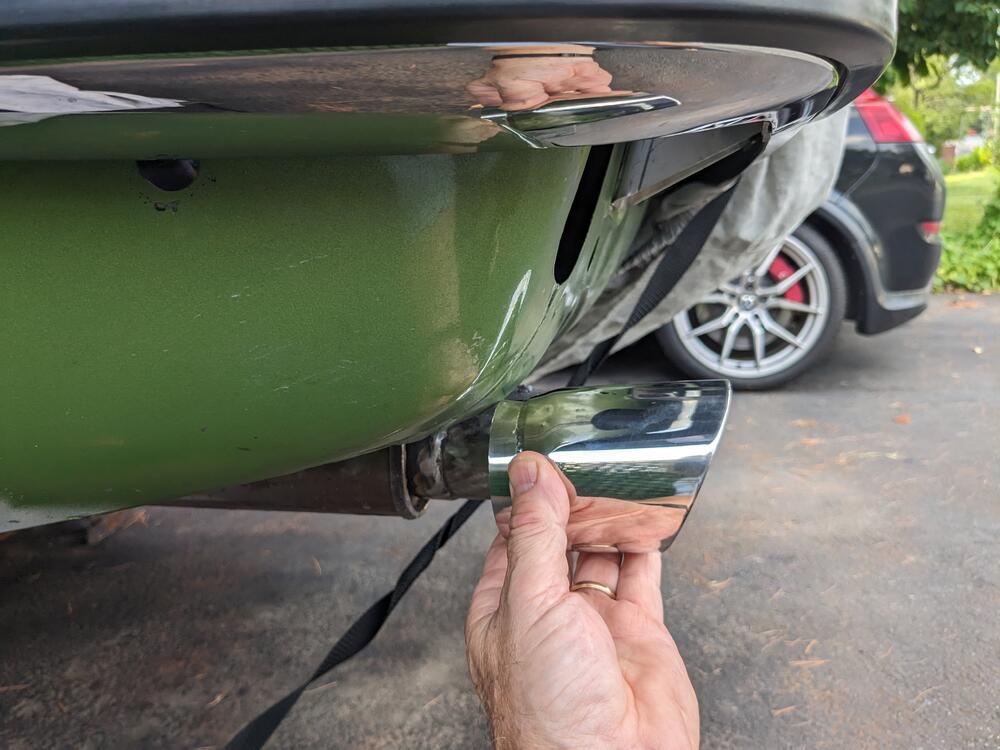
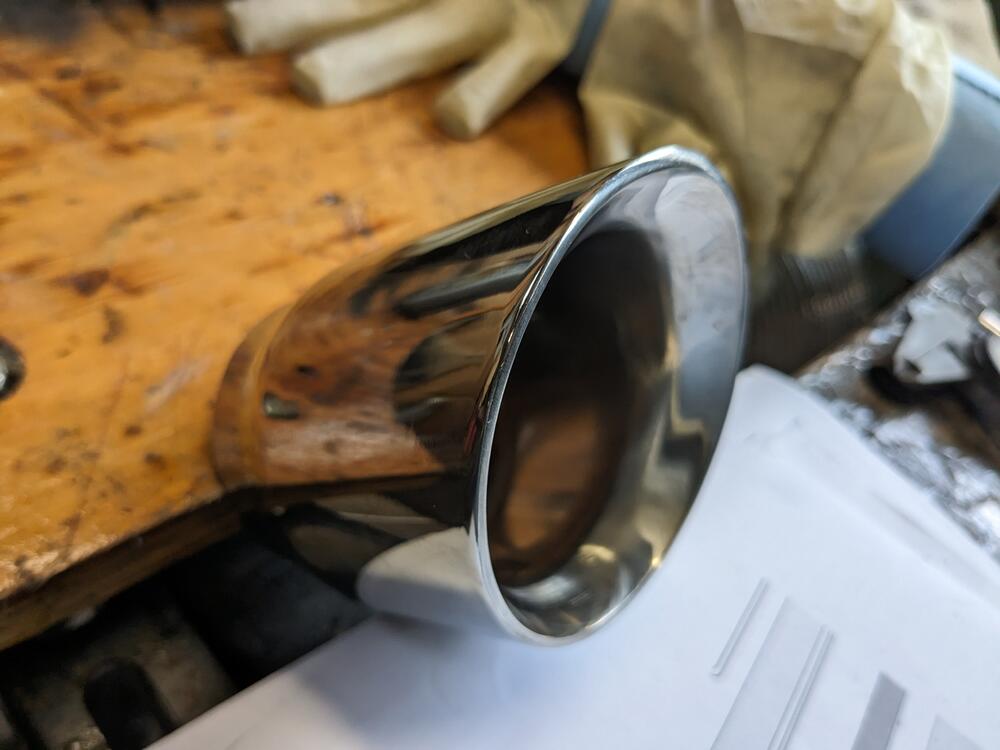
RedTail Perf. Exhaust tip finally arrived. Nicely constructed pieces. This particular transaction with the company was a PITA though. Anyway, to question would be how much to have it protrude relative to the skinny bumper install. Didn't have much luck finding pics online to refer to. I can cut a couple inches off the tailpipe & set it like this:
-
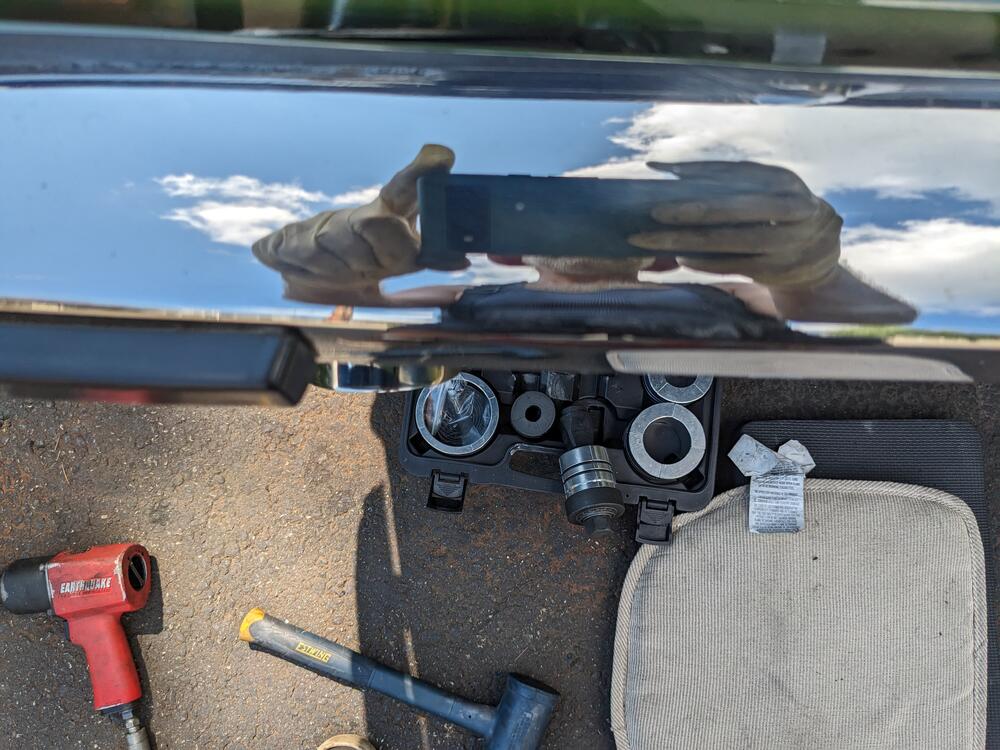
That's kinda what I figured - the energy required to tap the outer bearing race(by way of the flange) into the hub is far less than the load it will see in use. The inner bearing is pressed uniformly, the way I did it, so not an issue there.