w3wilkes
Community Member
-
Joined
-
Last visited
Everything posted by w3wilkes
-
@siteunseen Saw on the news that Alabama has had some dicey weather with massive tornados. Hope all is well!
-
@siteunseen Saw on the news that Alabama has had some dicey weather with massive tornados. Hope all is well!
-
-
I could swear I read that someone on these boards was looking for the welting?
-
Kind of a corny song but definitely funny. I have the album and also their Twisted Laurel album and really like them both. Wife hates both of them, what can I say?
-
The reason I mention about LED's is because of the way the headlights are wired from the factory. When I went to LED headlights I had to either use the included "anti-flicker" device that came with my LED headlights or put in the Headlight relay upgrade Harness sold by MSA which I've now done. I created a thread that describes the way Datsun wired the headlight circuit vs the way it's changed with the plug and play upgrade harness originally created by @Zs-ondabrain. Since the diagram doesn't show where the high beam indicator is in the circuit it may be that power goes through that connector the "wrong way" for an LED bulb. Here's a link to the thread;
-
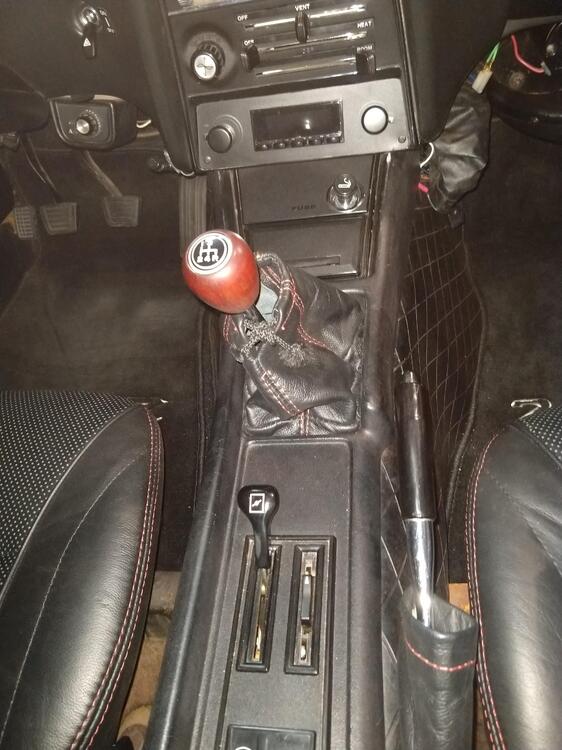
I went a little different route with my rocker switch. Since the hand throttle was removed I repurposed the slot.
-
You mentioned LED. They're the equivalent of a one-way valve and will only pass power in one direction. Any possibility it's a direction issue with the bulb? Can the connector wires be reversed?
-
Is this Ebay seller the "California Datsun" that I've seen warnings about on these forums? Since MSA no longer sells the rear speaker box for a 240Z I was thinking of buying this one. It looks like what MSA used to sell.
-
Didn't know the 260 was factory. My 73 electric pump was added by the dealer. I did my own on the 240.
-
The 240 and 260Z's came wired for electric fuel pump. If your car had the dealer installed electric pump they would have also added a couple of relays into the circuit that are documented in a separate tech bulletin that's somewhere on here. If your car never had the dealer installed pump the wires are there for an electric pump. I changed my 240 to electric pump and buil my own "tray" for the pump and then found the plug up in the console area that you jump across the 2 wires in the plug to activate the circuit, it is keyed to go live with the ignition switch in run. My current pump is pretty load when the car is off with the ignition switch in the run position and it kind of shifts down when it gets the loop pressurized so I wait for that sound shift before I crank. Probably 5 to 6 seconds max crank when cold with full choke and around freezing temps outside.
-
I have the 280ZX w/matchbox and have the same problem with the tach, mine seems to stall at about 3,400RPM but the engine runs great beyond there. Been that way for about 15 years so I pretty much just ignore it. I pretty much shift by sound anyway, more eye time on the road that way too.
-
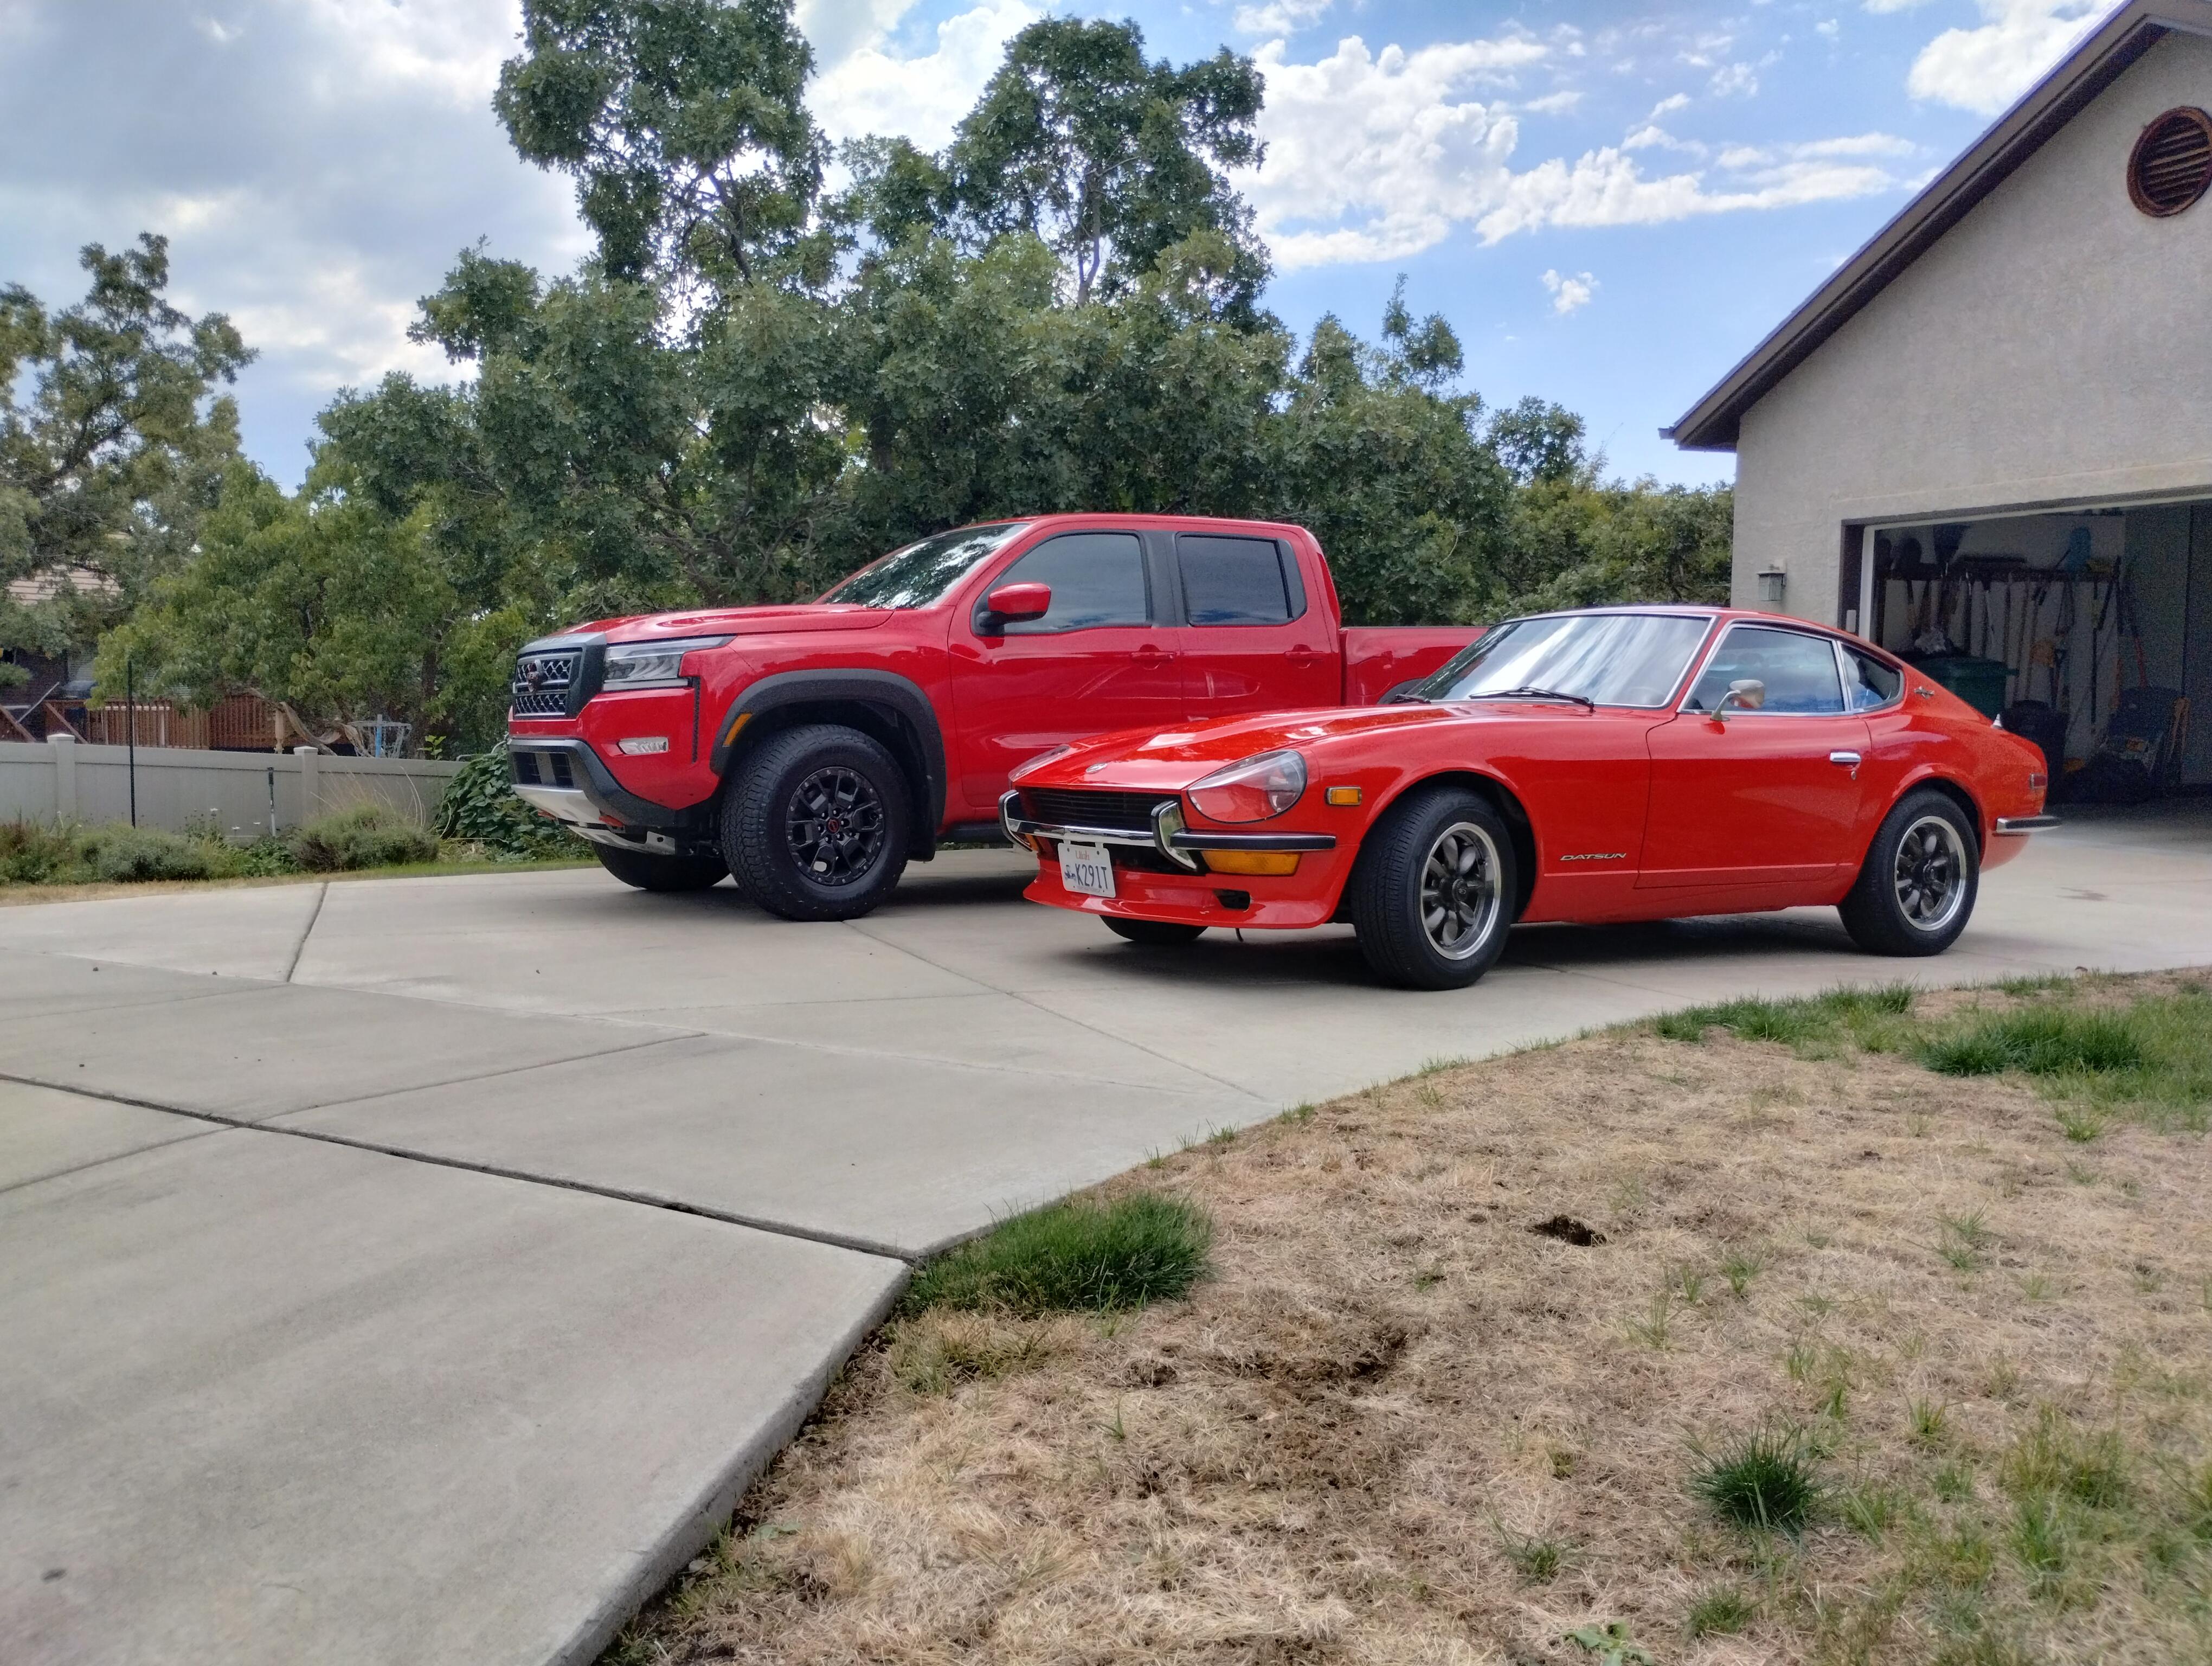
I joined the "club Frontier" forum and for my intro I said "here's my oldest and newest Nissans" with this picture. The Z got almost all the attention.

-
A few weeks ago I traded in my 2015 Pathfinder for a Frontier Pro-4X Crew Cab. There was a poster on the wall and I said "doesn't that go with my new truck?". They took down the poster and gave it to me.

-
Sorry, made perfectly good sense to me after 38 years working in computers. 😁
-
All my CD's have been ripped and I use Logitech Media Server (Open source and it's free) on my PC with Raspberry Pi 3b+ receivers (PiCorePlayer software that's free) connected to the stereo. Music is streamed over wifi, bit perfect, to the Pi and decoded using a hifiberry HAT DAC on the Pi 3b+. With a single server I can have any number of receivers either synced or playing separate streams simultaneously.
-
If you need to drive it somewhere... Shut off the engine, put it in 1st gear and start the engine with it in gear. Shifting is fairly easy, let off the gas a little and it should be easy to pull out of gear and as the RPM's drop you should be able to slide it into the next gear without grinding. When you need to stop put it in neutral and stop. Shut of the engine and repeat above to go again.
-
Along with the pads there's rubber strips between the tank and the metal straps that secure the tank. I think these strips and the pads effectively isolates the tank electrically from the body. I think that's why there's 2 wires (240Z) or 3 wires (280Z) for the fuel level sending unit.
-
I had a Murano before the Pathfinder and quite liked the Murano CVT. I put up with the Pathfinder for 7 years and in the last year I could feel an occasional "hitch" in the transmission. I took it in a couple of times and always got the same answer... No trouble found. Nissan knew these trannies were probably not up to the task of the Pathfinder since they'd extended the warrantee out to 7 years or 80K miles whichever comes first. Since I hit the 7 years earlier this year I traded it for the truck which has a real 9 speed tranny. Nissan has gone to a 9 speed tranny for the Pathfinder for 2022.
-
Replaced the 2015 Pathfinder before the CVT failed. Picked up this new Frontier truck that's a better match up with the Datsun.

-
The E12-92 will work identically to the E12-80 if you only connect up the "C" and "B" connection on the top of the module. The other connector is what controls the retard, without that connection it functions the same as the E12-80. I've been running a E12-92 for about 20 years now on my 240Z and it runs great.
-
So starting in 1973 in the USA the model (series) year and calendar year were the same. There were USA changes to the car in '74 where the bumpers changed, but it stayed a 260Z for that year. In the USA the '75 through '78 were all 280Z's?? Wonder how many changes went into the 280Z's (and zx's for that matter) where the model year didn't change. It seems to me that as @HS30-H probably believes that it's these USA car nonsense/shenanigans that led to the "series" connotation. I'm also guessing that the whole "series" thing originated in the USA.
-
@Carl Beck @HS30-H You two seem to be most knowledgeable about these cars. Now back to my question. Were there USA 240Z's registered as 1973 cars that didn't have flat tops and the beefed-up front bumper?
-
I've been a 240Z owner since July 1973. My current car is a 12/70 build registered as a '71. I don't think I'd heard the series "n" until maybe sometime in the 1990's. I was aware from the time I bought my current 240Z in 1990 that the "series 2" changes were implemented later in 1971 beginning, I believe, with serial number HLS30-021001 but I'm not sure what the build date was for that car, looking at zhome.com my guess is February 1971. One thing I'd be curious to know is if there are any stock round top/non beefed-up front bumper cars that were registered as a 1973? Or were the emissions/safety standards tightened up to the point that all 1973 cars had the flat top carbs and beefed-up front bumper? EDIT: @Carl Beck It's kind of like having a IZCC member # 2831 showing a join date of 2017. My guess is this is really the last time I updated my IZCC membership but the join date is probably really in the early 1990's.
-
I'd say Dodge Ram would be at the top of that list.