Patcon
 Subscriber
-
Joined
-
Last visited
Everything posted by Patcon
-
 I sort of like the polished look, but each to his own. Water jetting could be cool just for the ability to keep a more satin finish clean
 -
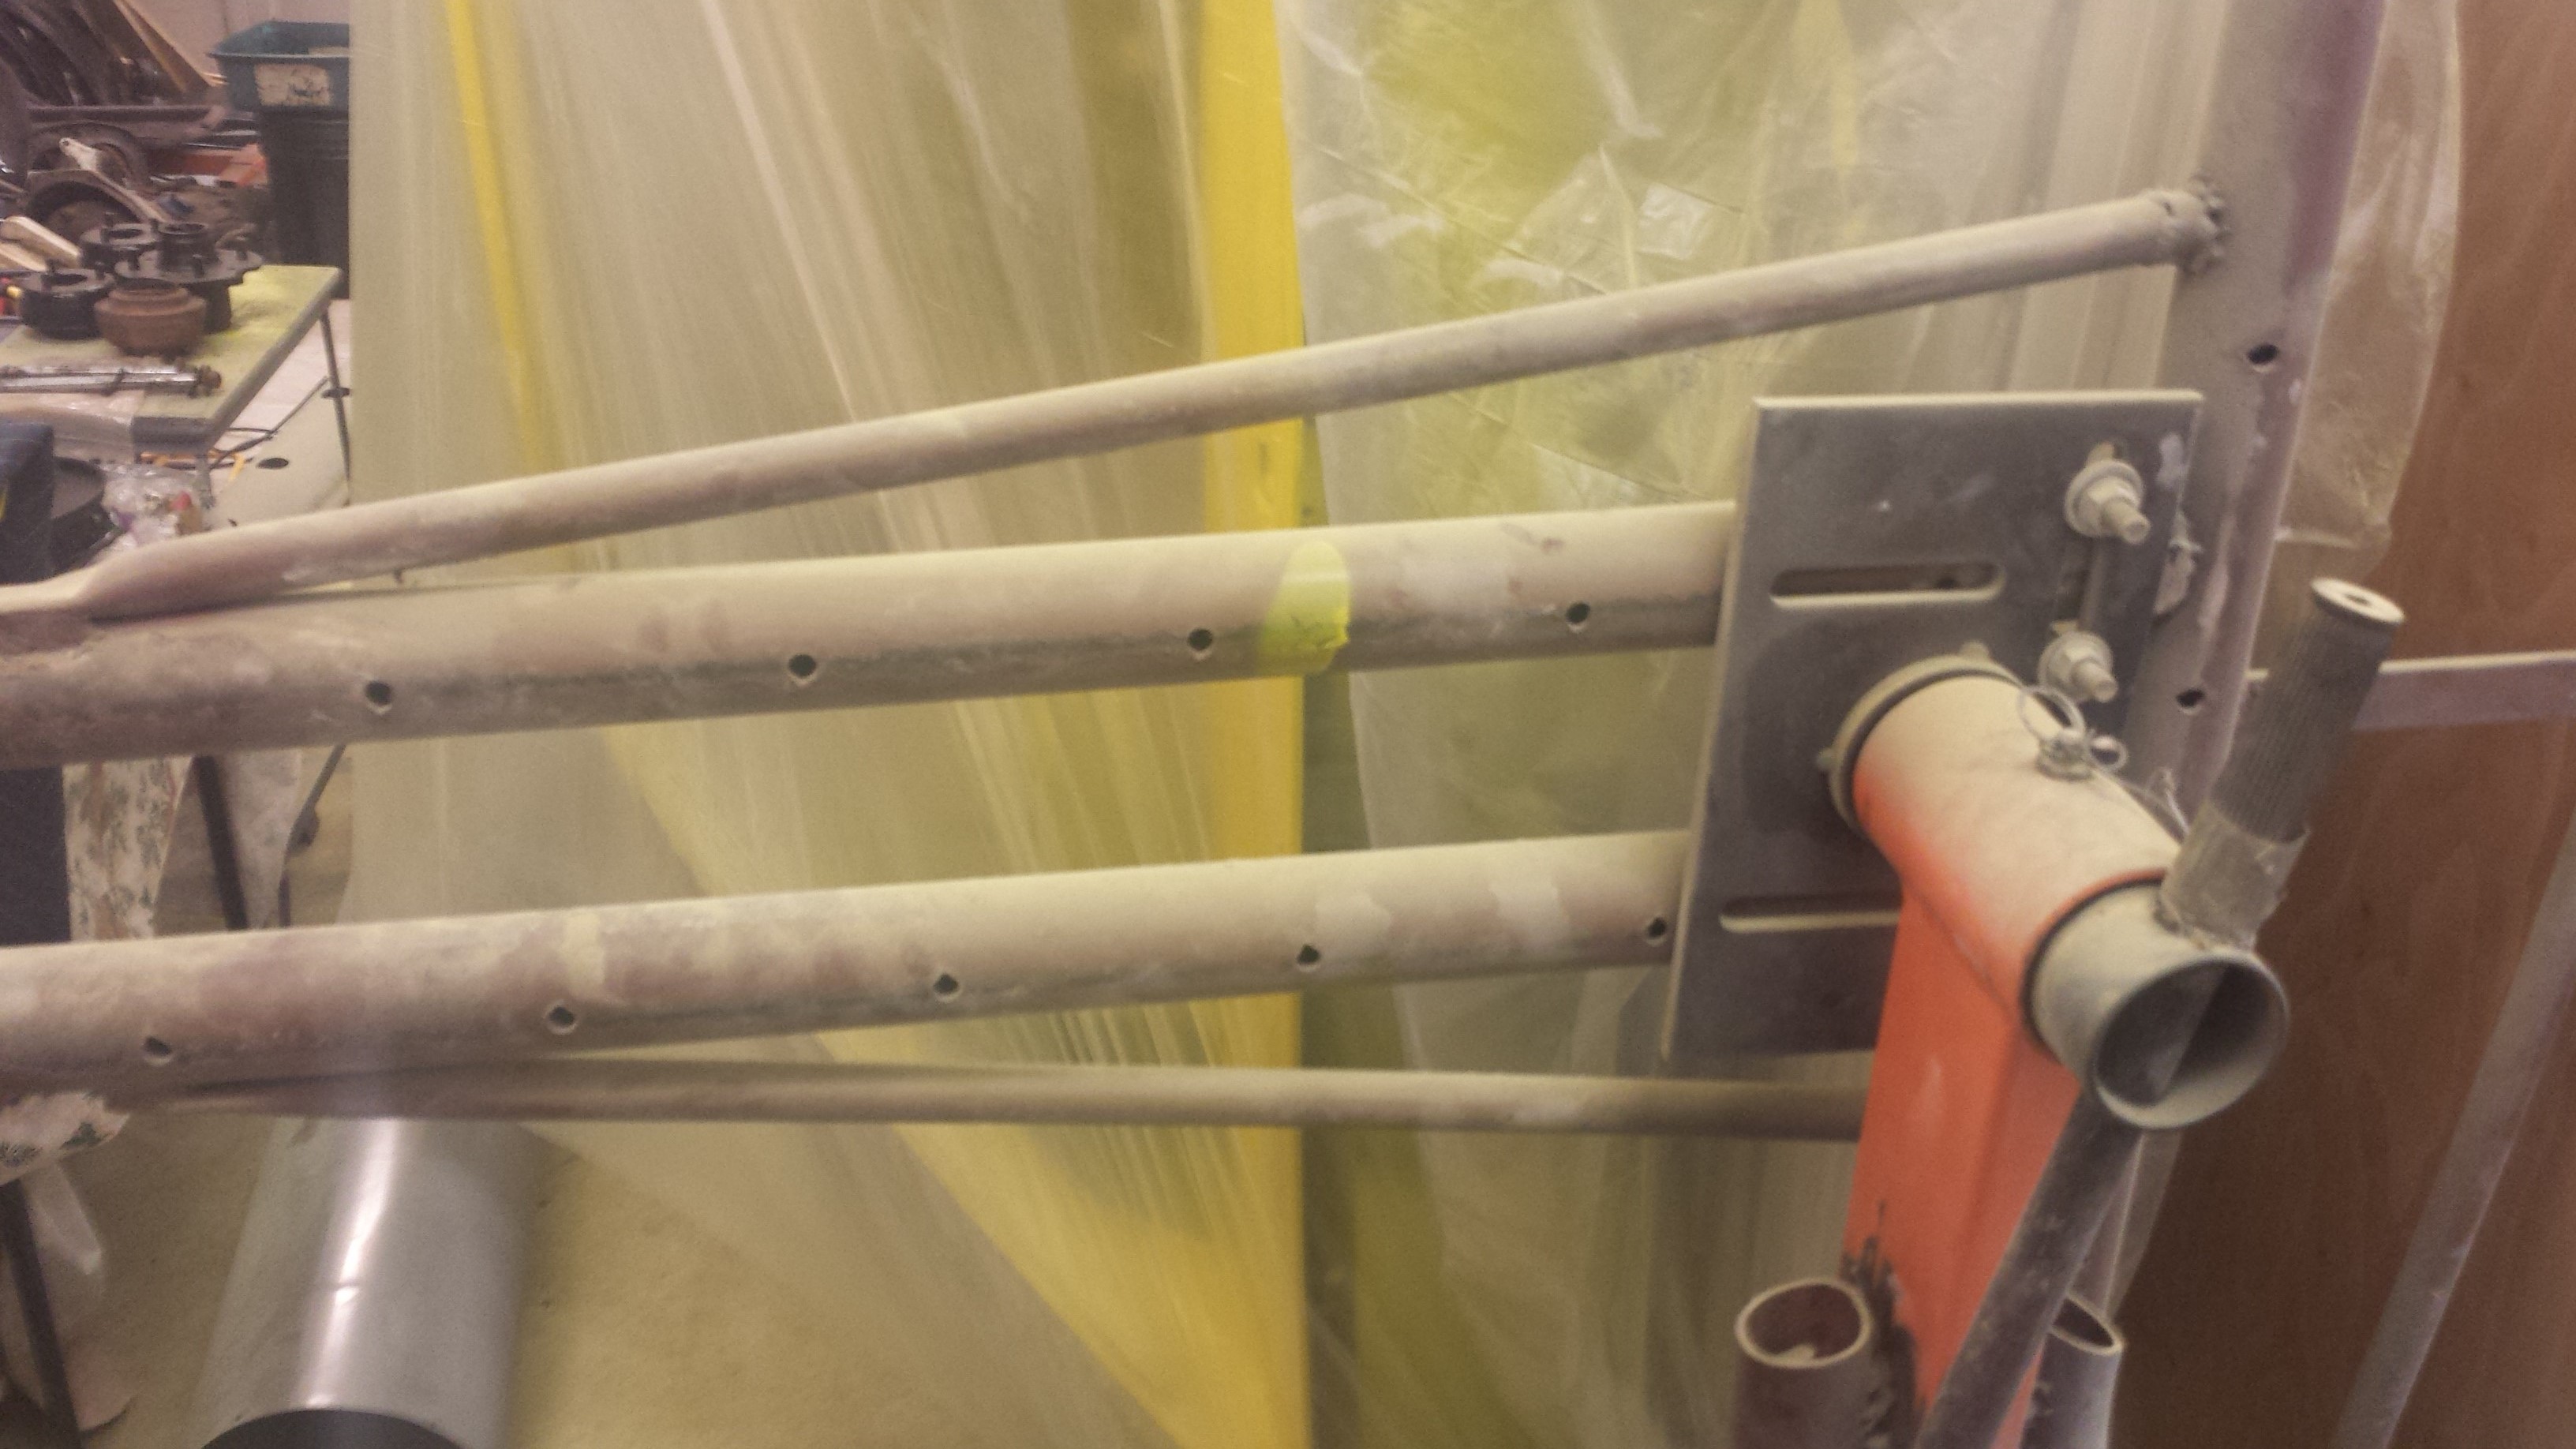
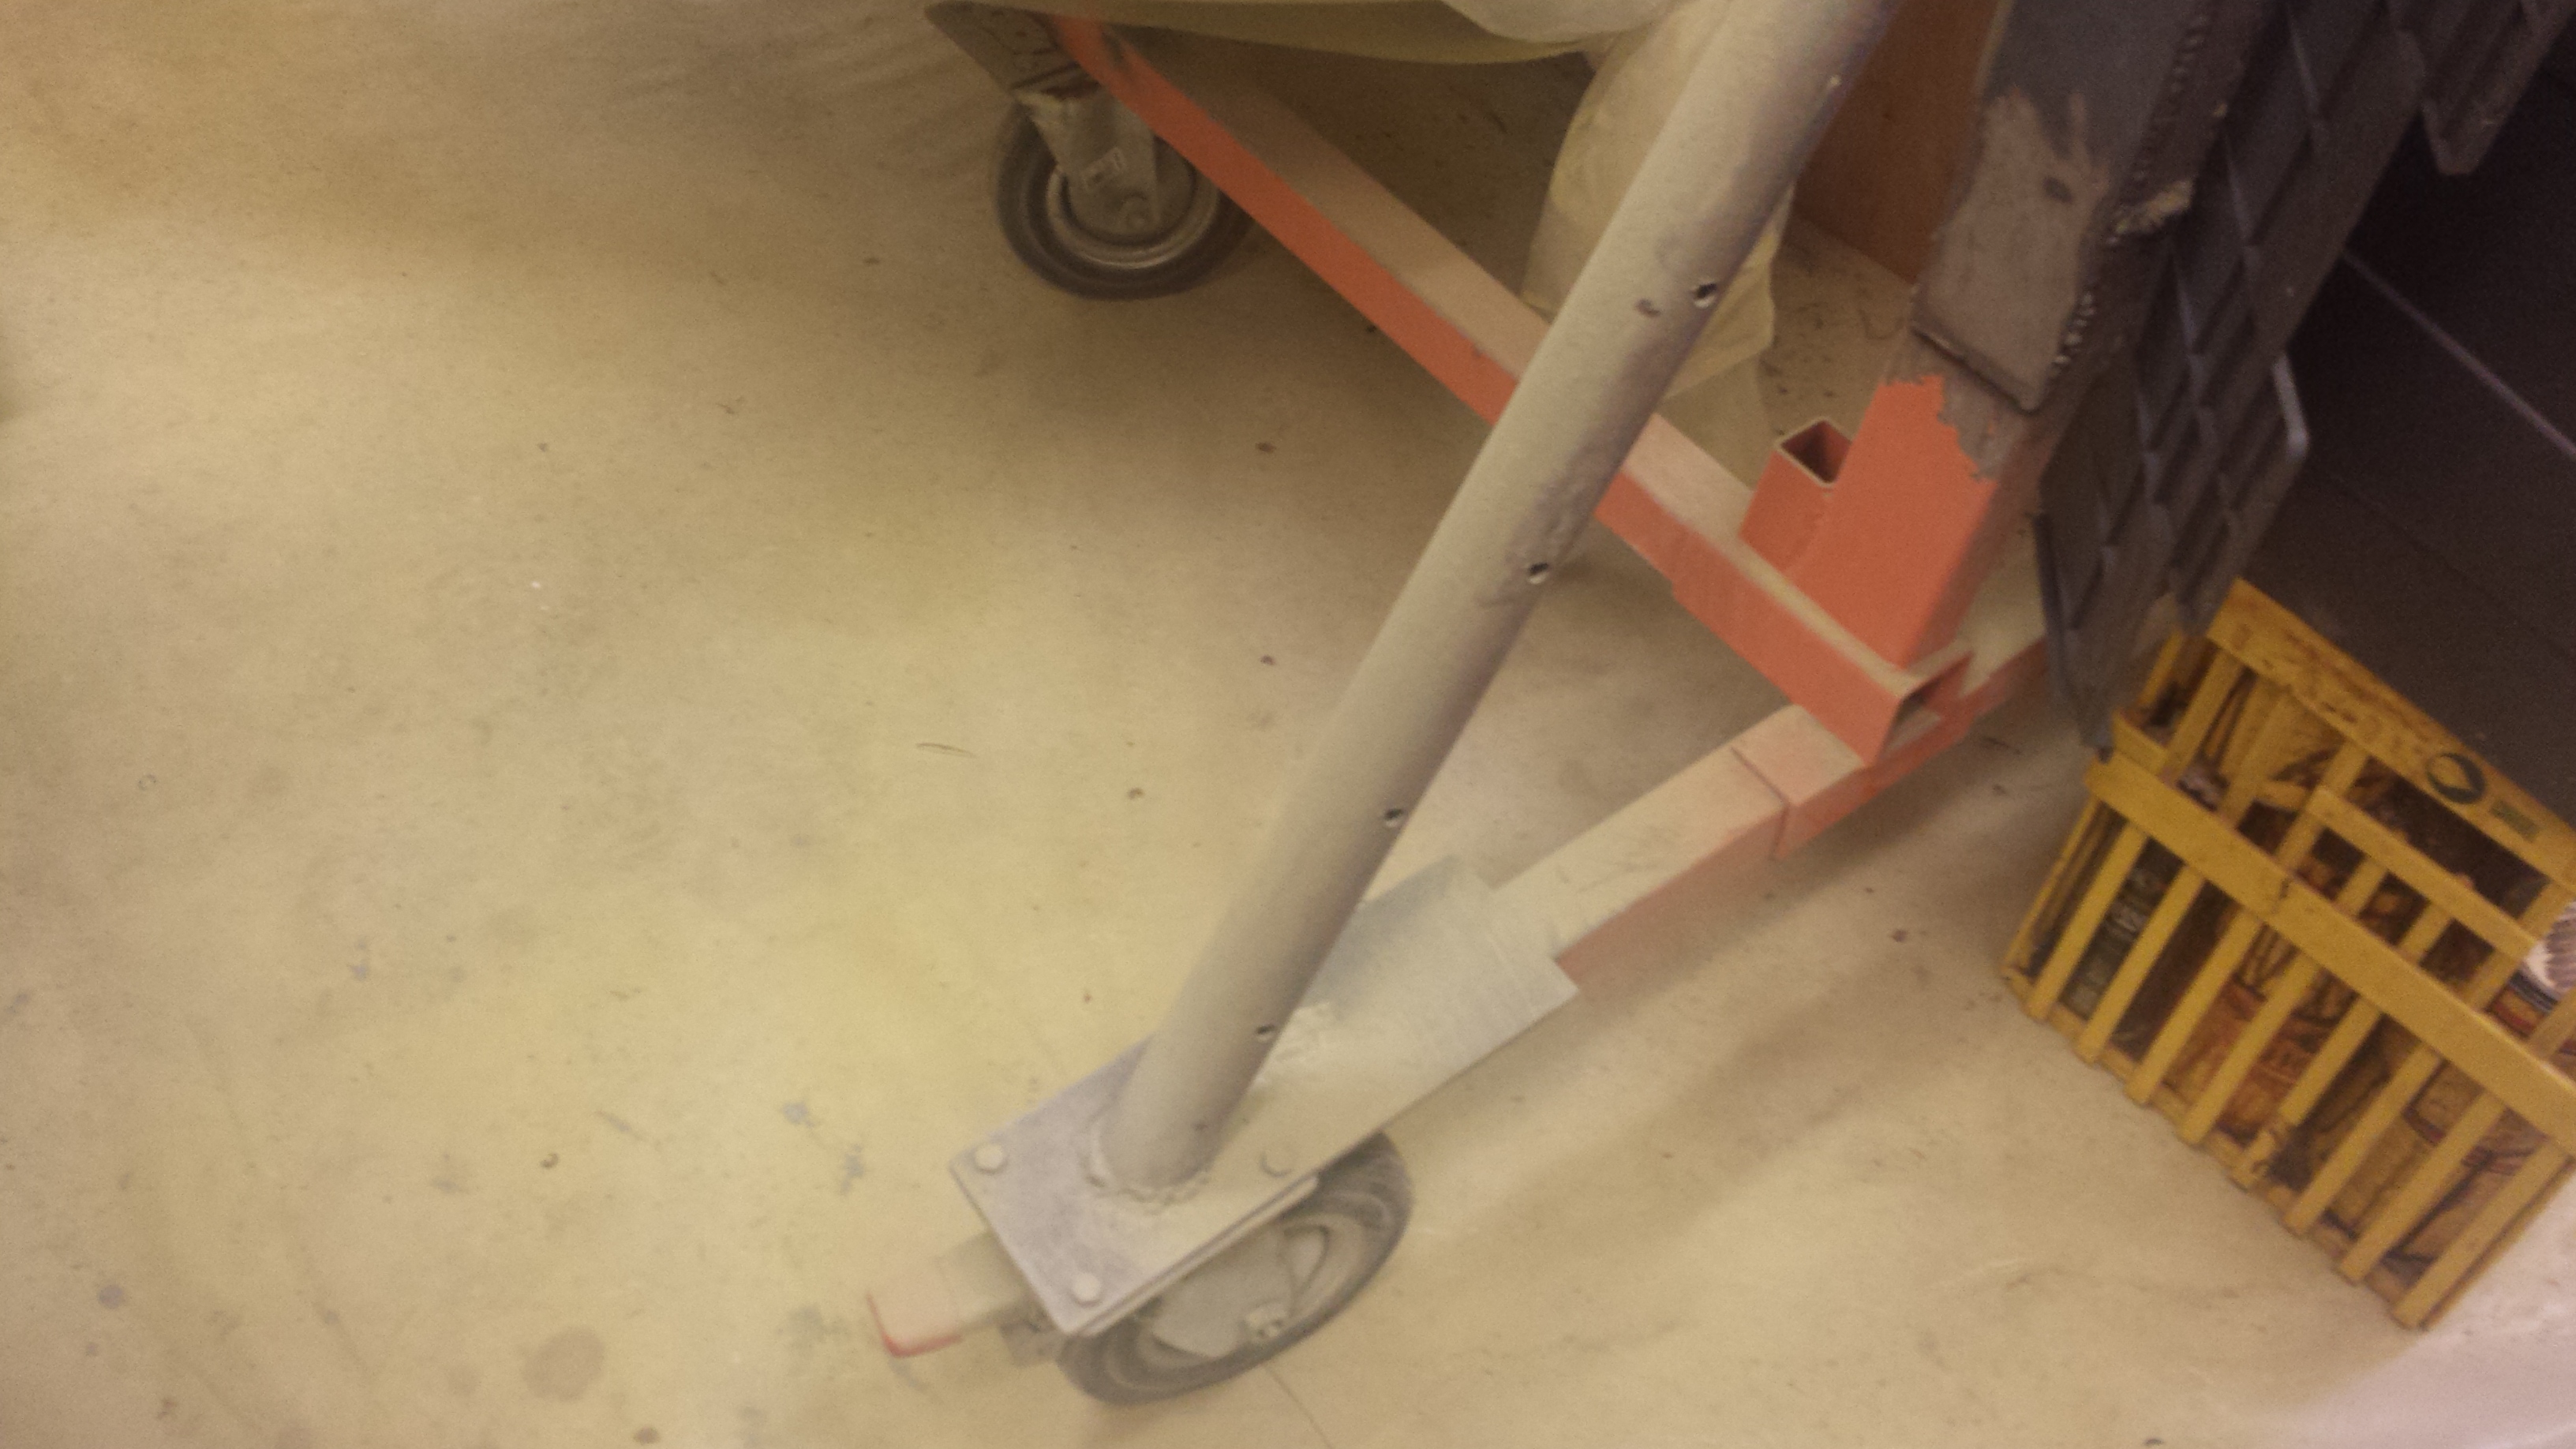
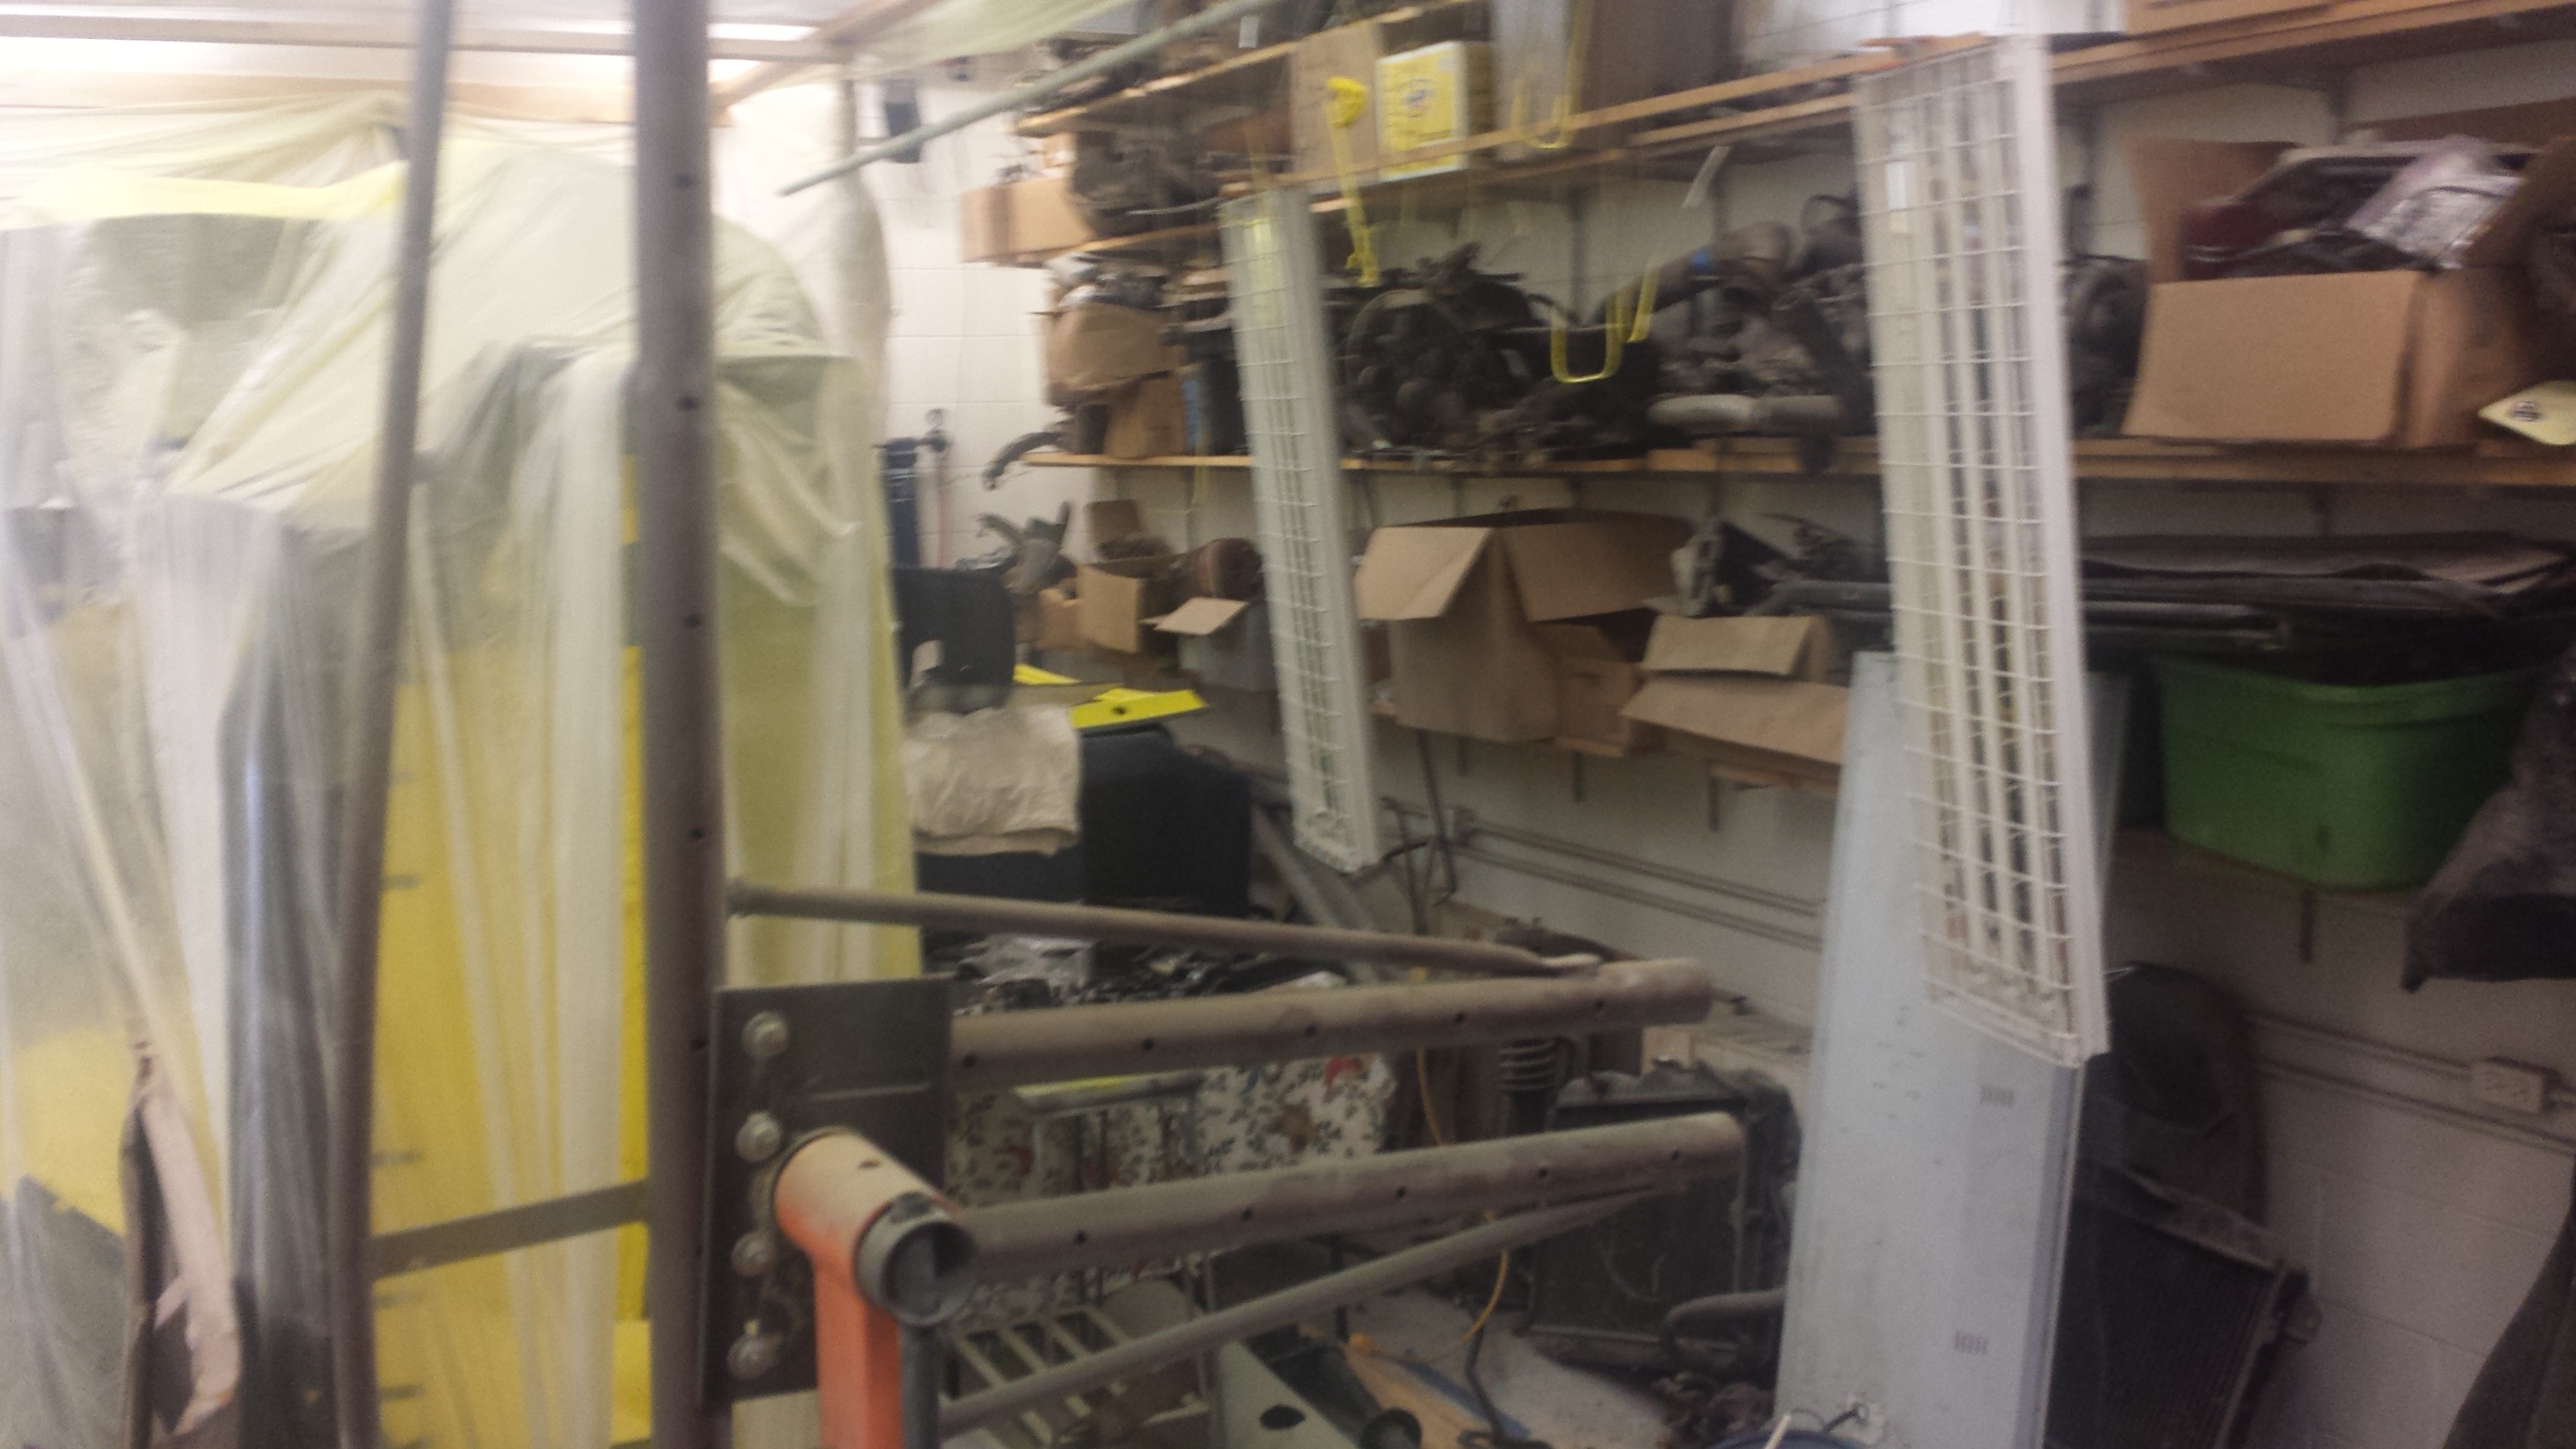
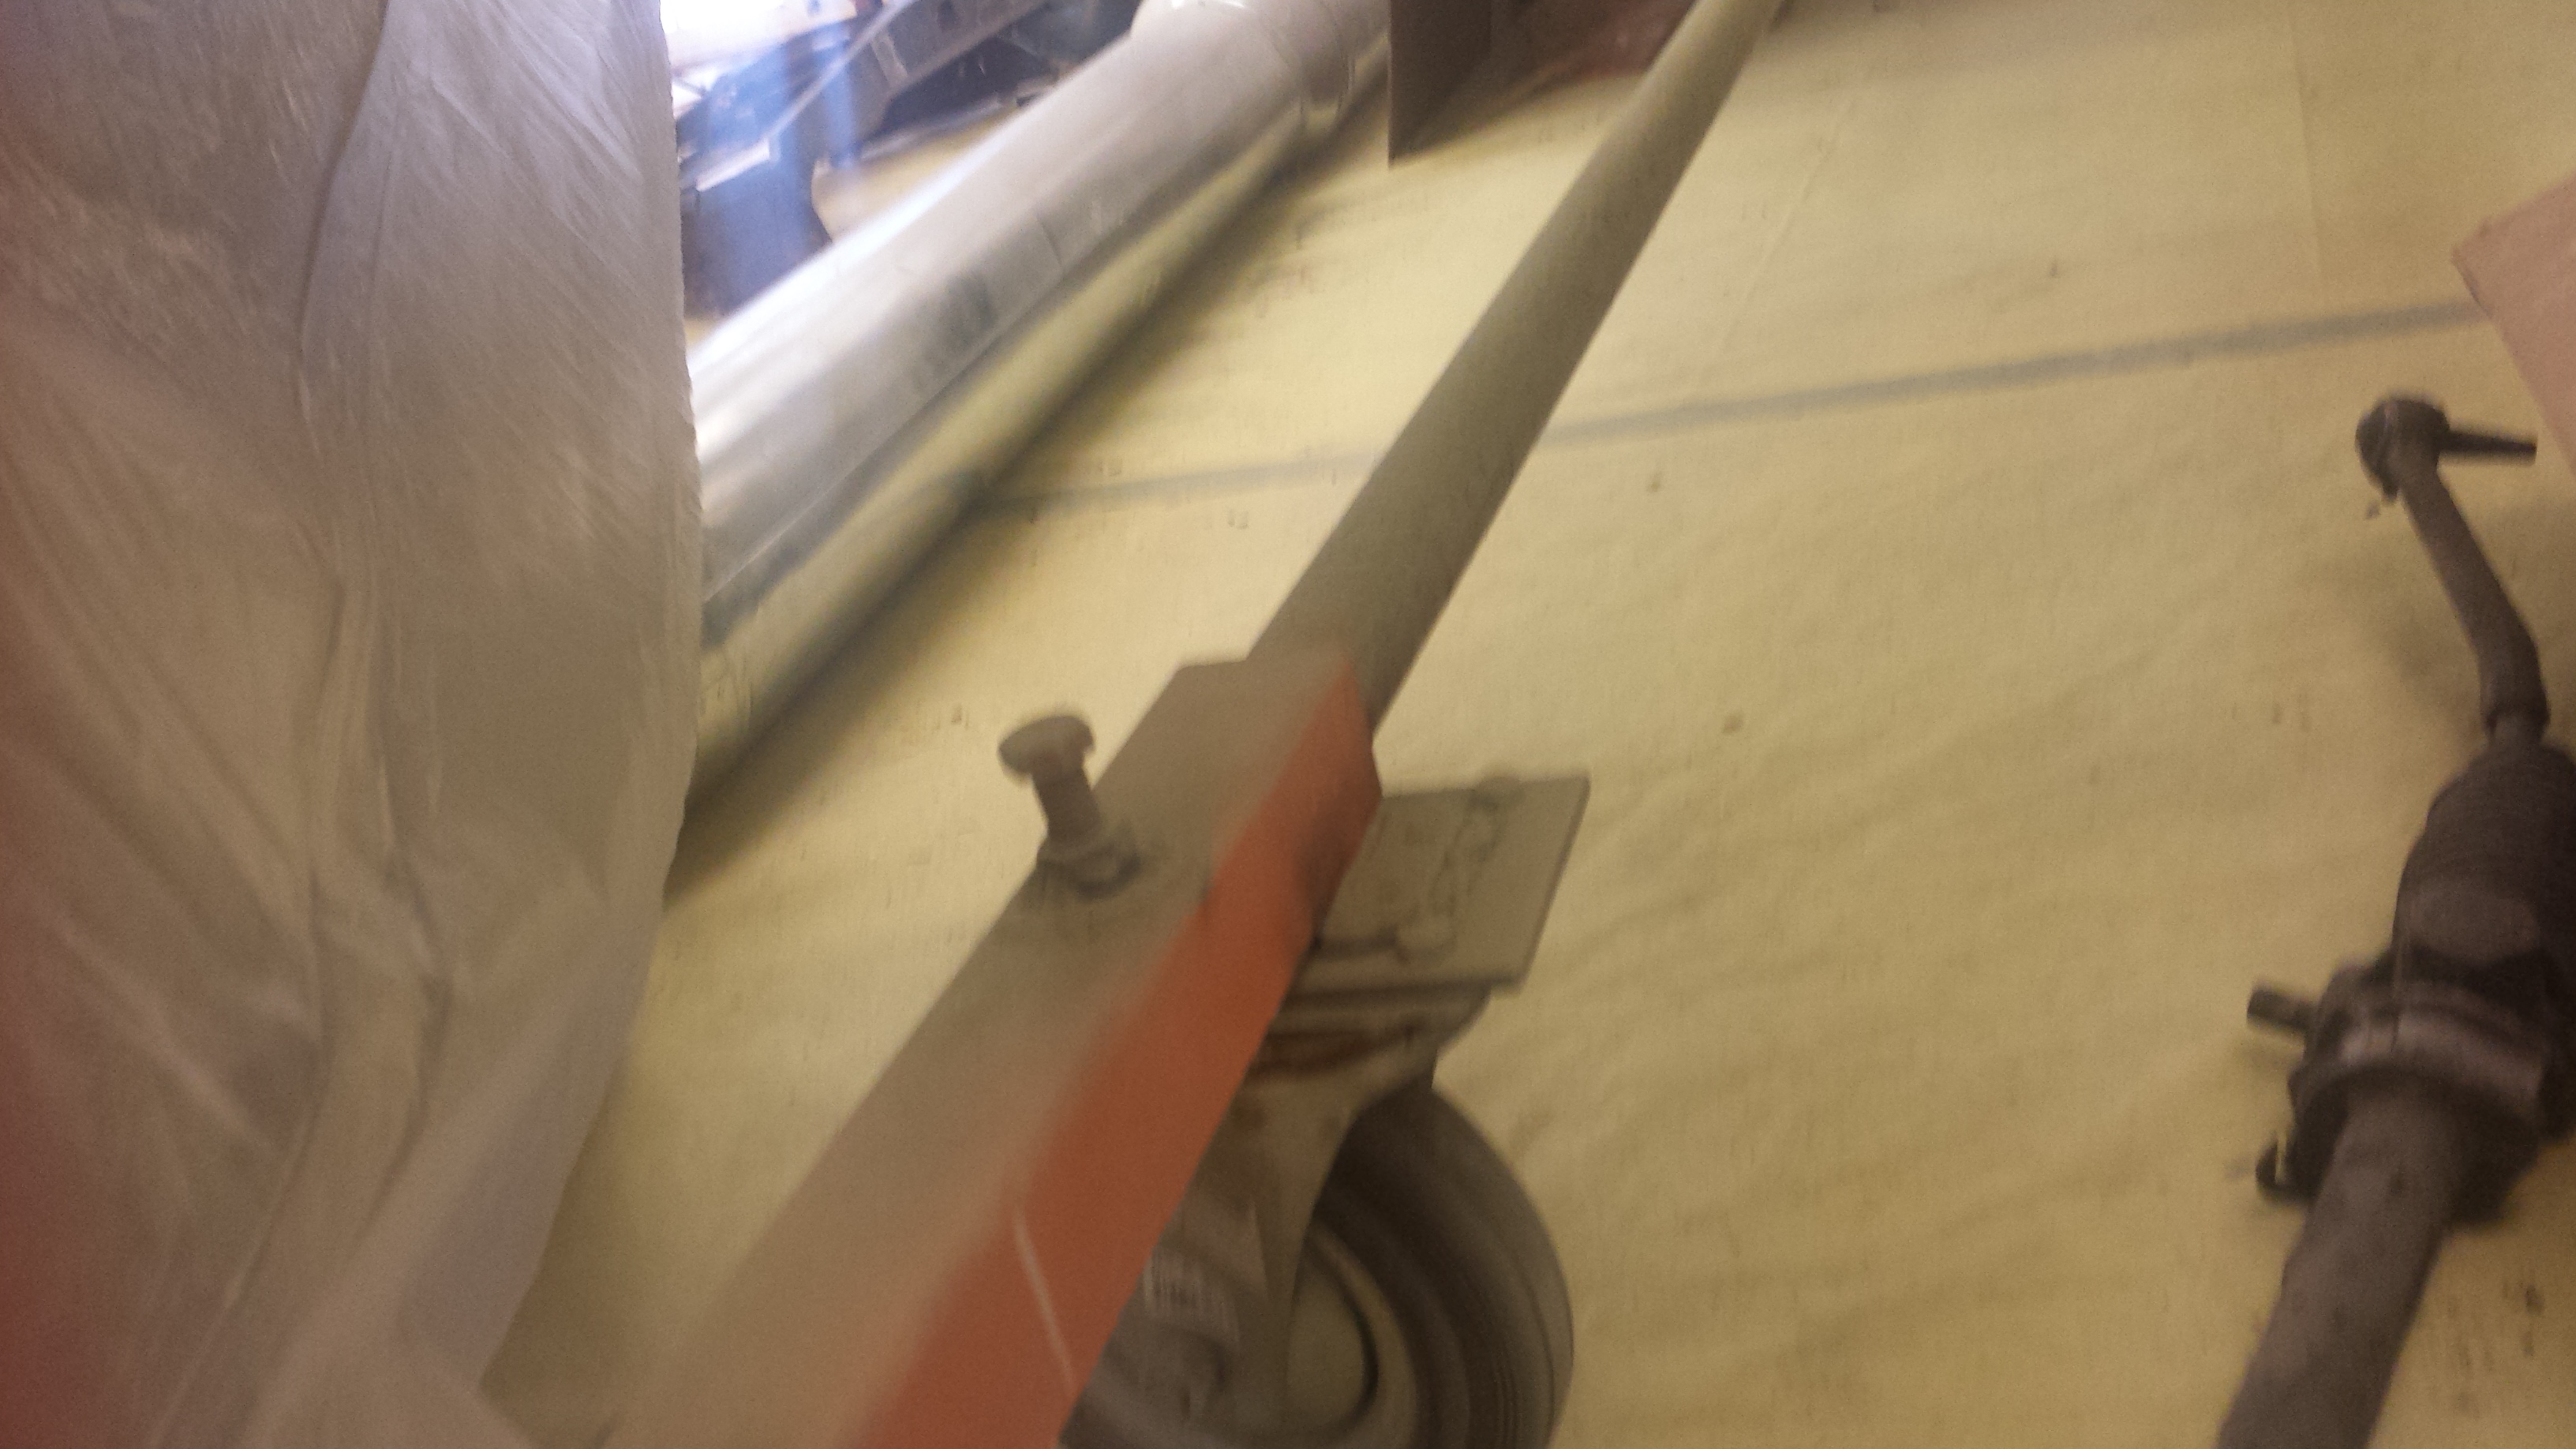
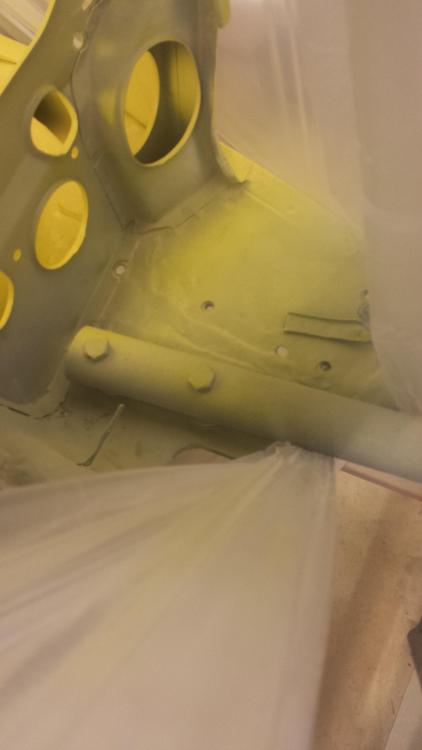
I built a rotisserie out of 2 harbor freight engine stands, large HF casters, some steel plate and an old trampoline frame. I priced some steel to build it from scratch but the steel was so expensive it wasn't practical. I added plates to make the stands wider and give me a place to mount the larger wheels You can also see where I extended the frames to make them taller so the car could rotate fully. The two vertical pipes that are on each end are held by u-bolts throught the engine stand. So the car can be raised or lowered to get it to the proper balance point. The car is turned sideways because the shop is full of stuff. The car is very neutral and can easily be spun with one hand. You can use the pin on the engine stand to hold the car in any orientation. When I go to set it down on it's wheels, I can loosen the u-bolts and slide it down until it is close to the ground I bolted through some pipes to where the bumpers mount. You could do something similar I ran a pipe from one stand to the other with a large bolt for a set screw so the stands are tied together , so they don't stress the chassis. I wasn't too worried about the car falling on me because a stripped Z is pretty light.


-
The shims may or may not be necessary for whoever buys the doors. If they need them they probably already have them. The shims are used to make the doors align properly and account for variations between the doors and body panels. I have had cars have one on each hinge, one on just one hinge and none. Seems to vary. My advice would be sell what you can, when you can
-
Are you sure the valve cover is chrome and not highly polished?
-
Cancer sucks! Best wishes and always question the doctors advise!
-
I do that a lot. The conversation is always interesting and intelligent and I win all the arguments. What's the down side? Oh yeah, that...

-
Actually the off center cup is the eccentric that goes against the lever. If the bolt is loose or the cup were to break somehow the pump would quit working. If the pump is working, unhook all the lines from the exit port. Check for flow, add one line back at a time checking for flow. When the flow stops, find the reason, there is the problem...
-
Looks good as always
-
$17,838, probably a bargain but still a little pricey for me. I can probably come up with cheaper horsepower...
-
There is an eccentric that runs the fuel pump. Is yours tightened and good. If you take the valve cover off you should be able to see the eccentric pump the fuel pump using a remote starter. Make sure the car won't start or it will make an oily mess.
-
Jai, before we get you too turned around. Let's try to pinpoint the leak, then we can come up with a good solution....
-
I would bend them down flat. I would be surprised if they break. If they do you can add onto them with compression fittings, even make the junction in the tunnel so it doesn't show. You could put a hose on a square cut line. The carb system is running very low pressure, with a good hose clamp it will work fine. You cut flare a bulb in, even better, much over that is unnecessary
-
Besides if the booster is bad your brakes won't feel any different...
-
I do not know of a source for the original small diameter brake booster. Maybe someone will chime in with one...that maybe why the one on your car is still there and bad. You can use the other sizes if you can't source one but the bolt patterns may be different or you could ship it to a company that rebuilds brake boosters. Call or email first to make sure they can source the parts.
-
I like that Chris! I could make a lot of cool stuff with that...in my spare time.
-
Stopped watching after the guy ran all over the seller. Seller was near his budget to start with but wanted to rip his head off to line his on pocket. I have no respect for a man like that. They could have both come away in a win-win, oh well...
-
I like those. They would look good on the right build. Prices?
- 16 replies
-
- 240
- 240z
- carbon fiber
- composite
-
Tagged with:
-
How long ago did I mention brake booster???? If the booster is bad the master cylinder is probably leaking too...
-
Jalexquijano You never answered my question about what happens if you try to rev the engine when sitting in traffic and the idle gets erratic. I still suspect too much fuel pressure or float levels. If it's a needle problem he will have a hard time finding someone to help get it right
-
You will find this is the easiest place to move your parts but most people here aren't interested in paying top dollar for parts. If they wanted to that they would already bought what is available on ebay. Even at fairly reasonable prices you aught to be able to get your money back and more. Also I hope you didn't cut the dash harness to get the fusebox out. I have seen those harnesses sell for good money...
-
I like the denim jacket idea. Find an embroidery shop and get a big image - Datsun logo, whole car - embroidered on the back
-
Ahhh... the eye of a professional
-
I saw that car on Ebay and almost posted a link. It's a nice looking car with some sensible upgrades
-
I hate that! Hopefully the wait won't be too long...
-
It was a good game. My wife and I are Clemson alumni and our oldest daughter is a freshman at Bama. It was a good game and Bama is a formidable team. The onside kick was the deal breaker but Clemson made little mistakes all night that you can't do against a team of Bama's caliber, sealing the edges, big plays and big kick return. Overall I was glad they represented well and congrats to a very good football team...