Leaderboard
-
conedodger
Free Member7Points12,513Posts -

Dave WM
Free Member3Points3,591Posts -
Namerow
Free Member2Points1,551Posts -
bluez
Free Member2Points165Posts


Popular Content
Showing content with the highest reputation on 06/05/2024 in all areas
-
Given the critically of the shock tower, and stresses of suspension, I’d go with plug welding the entire tower over butt welding the upper and lower pieces. Just my 2 cents..2 points
-
yes, its rather easy actually. just once you get the pin out make sure you pull the shifter up and out of the way, it will flop around some but no big deal. You want to avoid having it drop down and get in the way when pulling the trans back off the block. Do note the way the pin goes in, IIRC its inserted from the left side, and has a flat that needs to mate up on the trans housing when reinstalling. Oh and watch that circlip, it will jump out and get lost if you are not ready for it.2 points
-
just to clarify the ease part, IIRC after removing all the drive shaft stuff so you can clearly see the tunnel, use a trans jack to support and then remove the rear mount. lower the trans (best to have removed the rad or at least have someone keep an eye on it so as the engine tilts back you do not have a fan blade dig into the rad core), until you can clearly see the shifter pin. You will have enough room to get in there with a pick and remove the circlip, pull the pin, pull up from the inside of the car the shifter, and get it secured so it does not impede the rest of the work. installing a trans with the engine in is a hit or miss prob as far as the hassle of getting the input spline to align with the clutch plate. I like to use some long bolts with the heads cut off as guide pins (I cut slots in the top to allow for a screw driver to be use to remove the bolt once trans is fitted), one on the top and one on the bottom opposite side. This lets you get the trans clocked right and in the general position. from there it's a lot of wiggle, push, swear words, then pop it just goes in. Sometimes you get lucky and it just goes in and you wonder what everybody it talking about it being a PITA. A tip is to put the trans in gear before removing the shifter, this will allow you to twist the output shaft by hand while doing the wiggle/push motion. The idea being IF your spline is just off a hair it may help it align. In reality the guide pins should be sloppy enough to let you twist the entire trans, but if the input shaft is binding up on the clutch and not in the perfect position it may resist moving to align. Being in gear gives you a bit more control over the ablity to align the input shaft. another tip, when tightening the pressure plate make darn sure the clutch alignment tool is going in straight. I can droop a bit from the weight of the friction plate. You should try to aim for a neutral position between the up and down amount of play even with the tool installed. Make sure as you go the tool can be inserted and removed easy. I have done this a few times, like I said sometimes it just pops in so easy you wonder what is the big deal, other times not so much. last tip, make sure the alignment dowels are in place, these keep the trans input shaft perfectly centered, there are 2 diag mounted I cant recall if they go in the block or the trans housing. The fit OVER the bolts in enlarged holes, so the bolts go thru them.1 point
-
Agree. Those weld failure numbers appear to be premised on the joining of thick panels ('plate'), where lateral alignment of the joined edges isn't terribly critical. For thin automotive sheet metal, it will be difficult to achieve good panel alignment along the entire length of the seam. Even a brief segment with poor alignment will become the weak point that invites failure. There's also the potential for low-level burn-through, again resulting in weak point(s). Those published failure numbers are also premised on a steady separation load ('pull'). The weld in the shock tower will be taking variable loads (combination of spring load and shock absorber loads) that include the potential for big peaks if/when the spring bottoms out (the load curve will be high-amplitude and brief in duration, so quite demanding for the structure).1 point
-
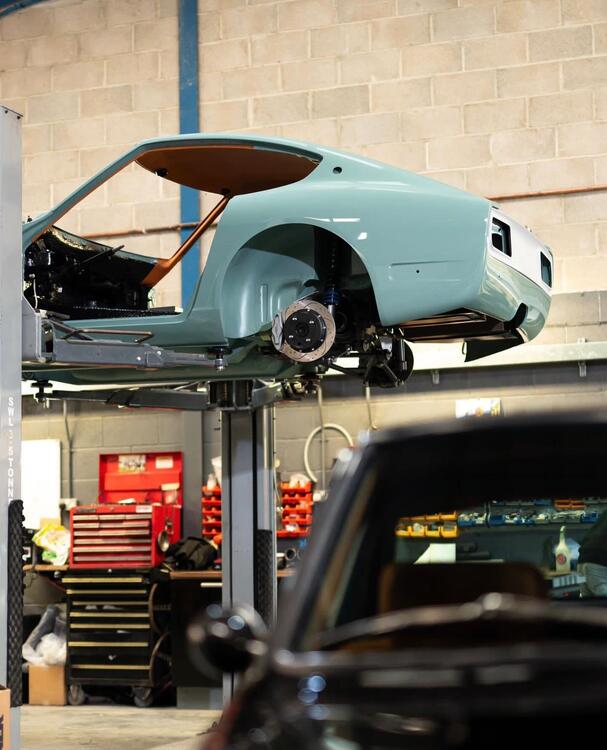
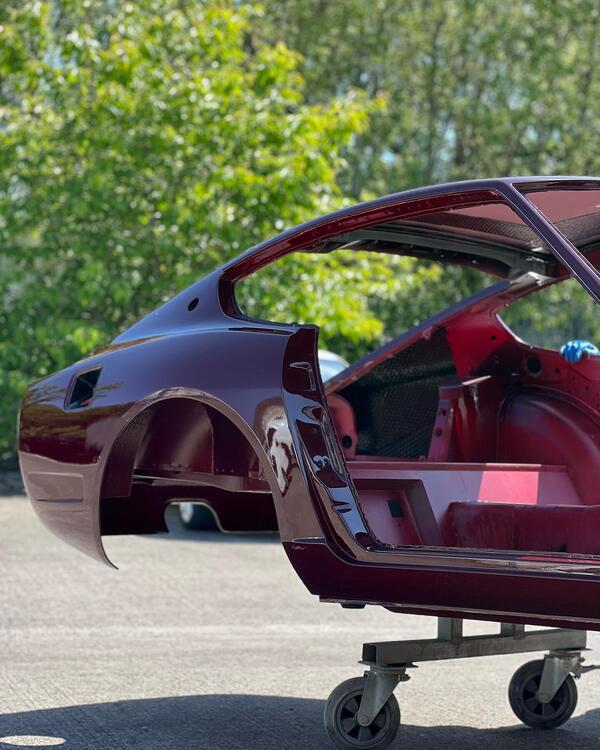
1 pointWas over in the UK last week playing with Astons and Spitfires. Went to MZR to have a look at getting a car built up. What a place, essentially they build a brand new 240Z with modern updates, think Singer Porsche but for 240Z. Amazing level of workmanship and quality, the full carbon body bonded onto the 240Z steel subframe is incredible. Henry Catchpole did a video that sums them up. Waiting list is over two years for a new build, so they must be doing something right! Here's some of the eye candy.
 1 point
 -
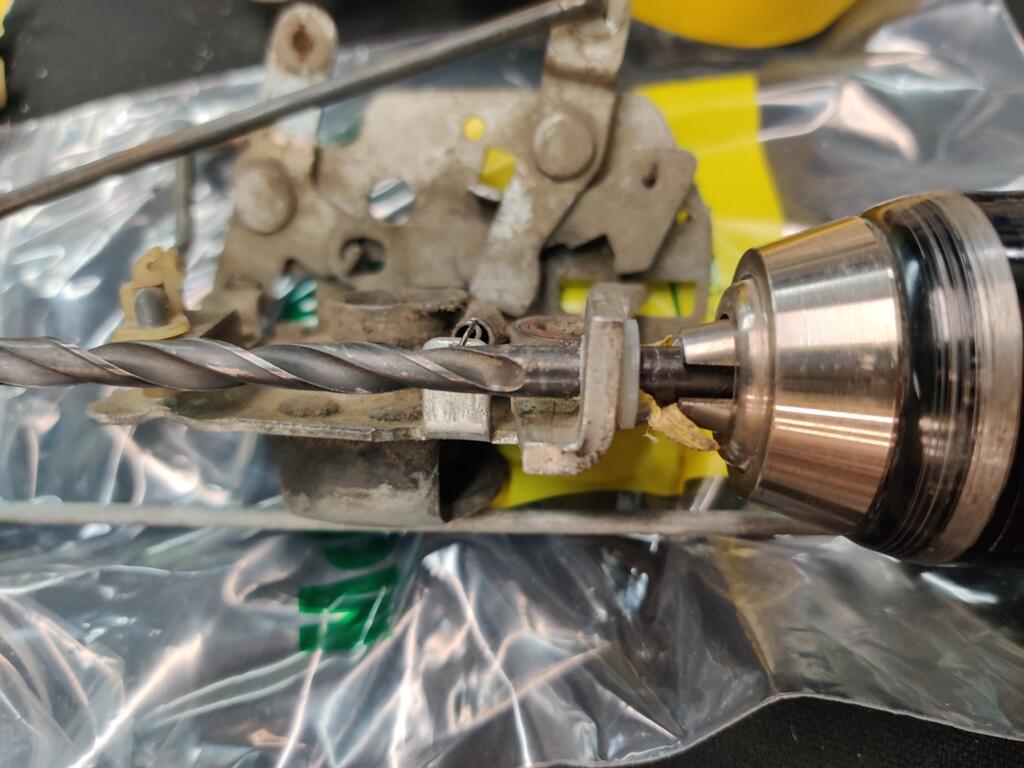
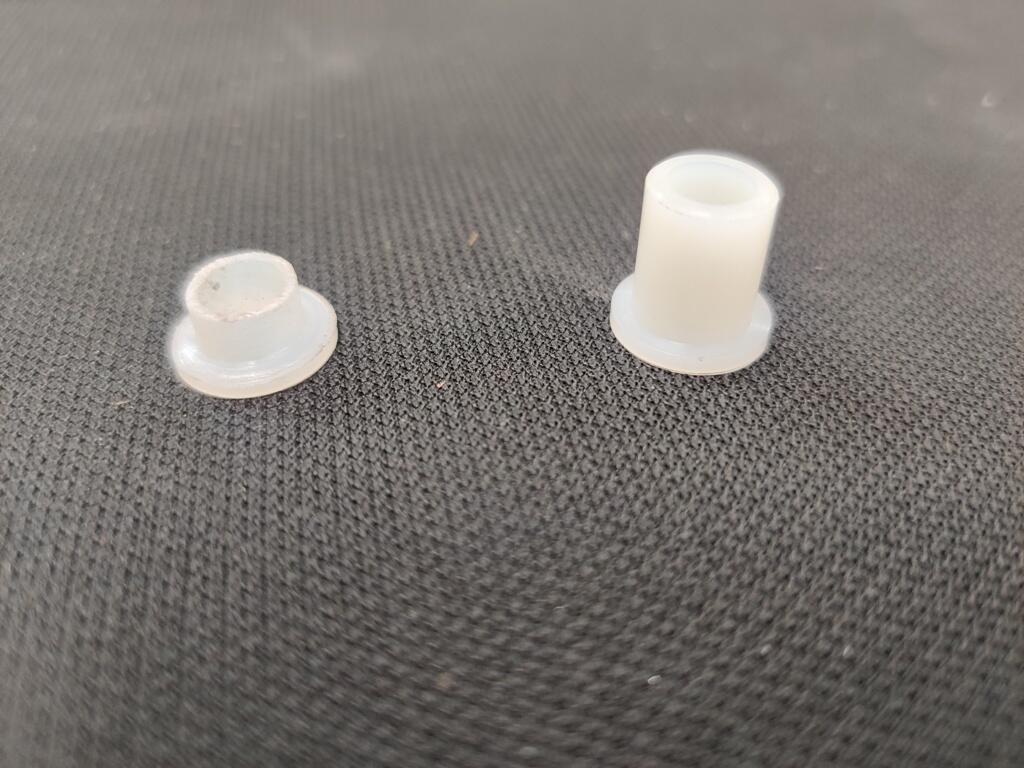
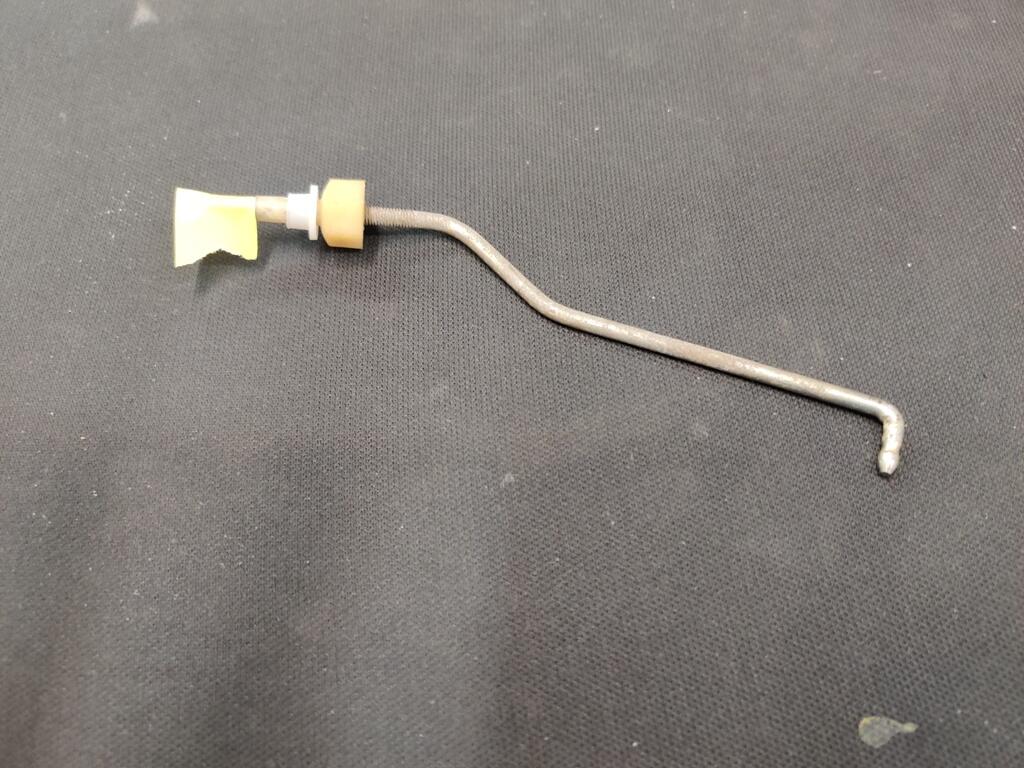
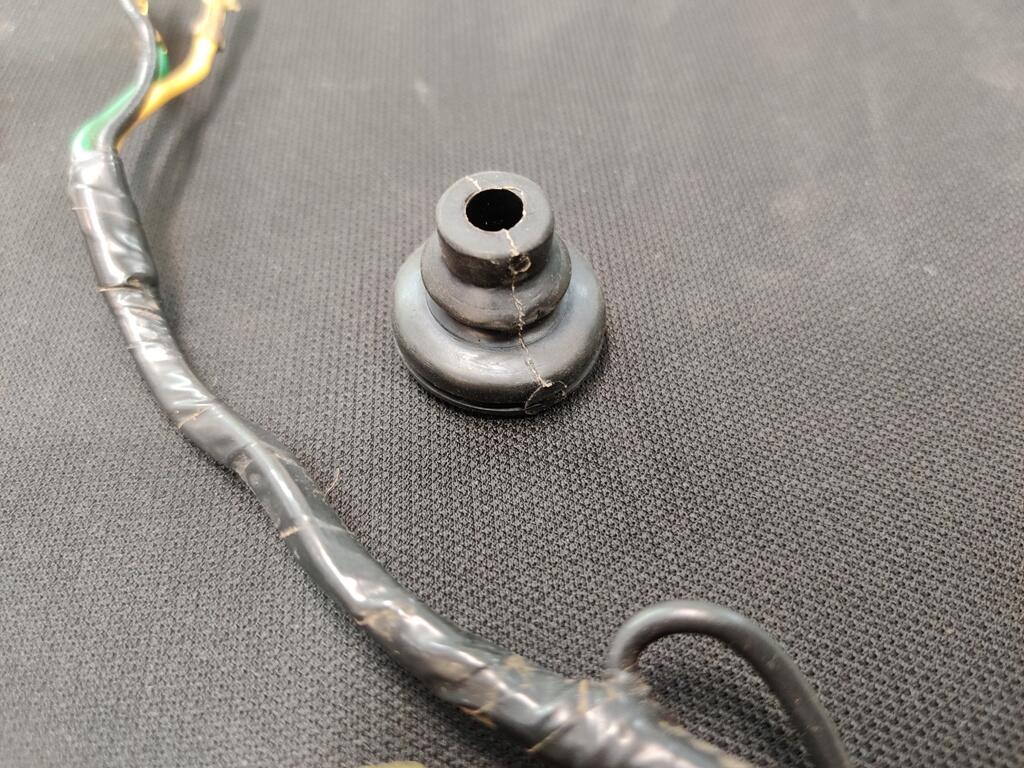
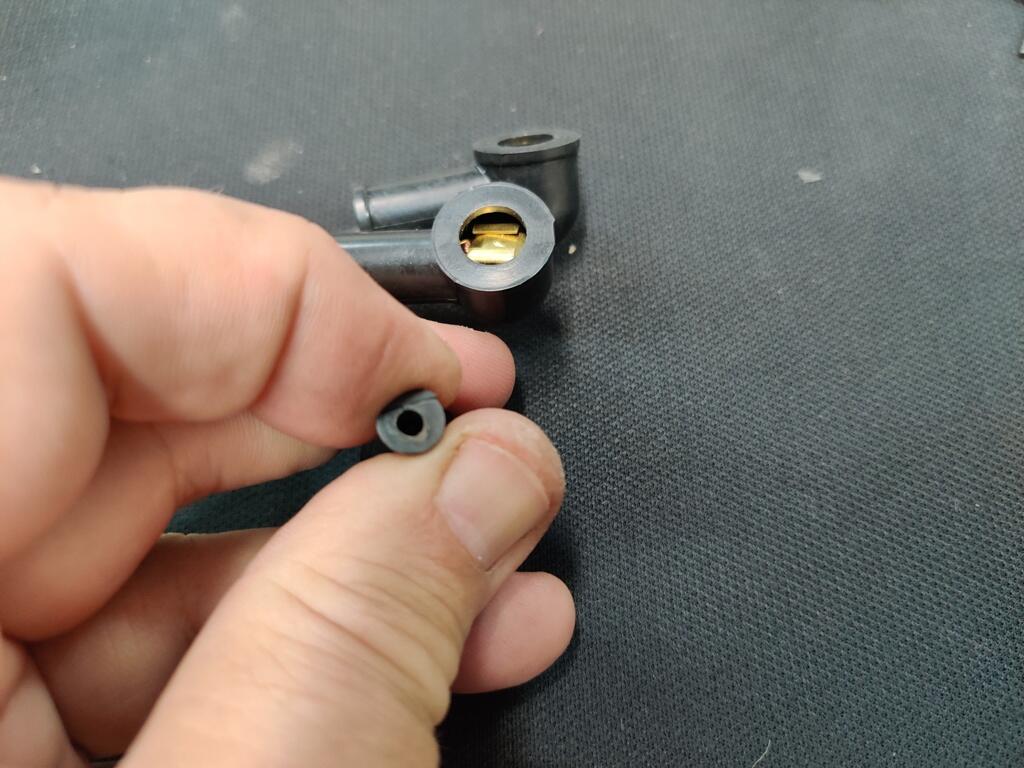
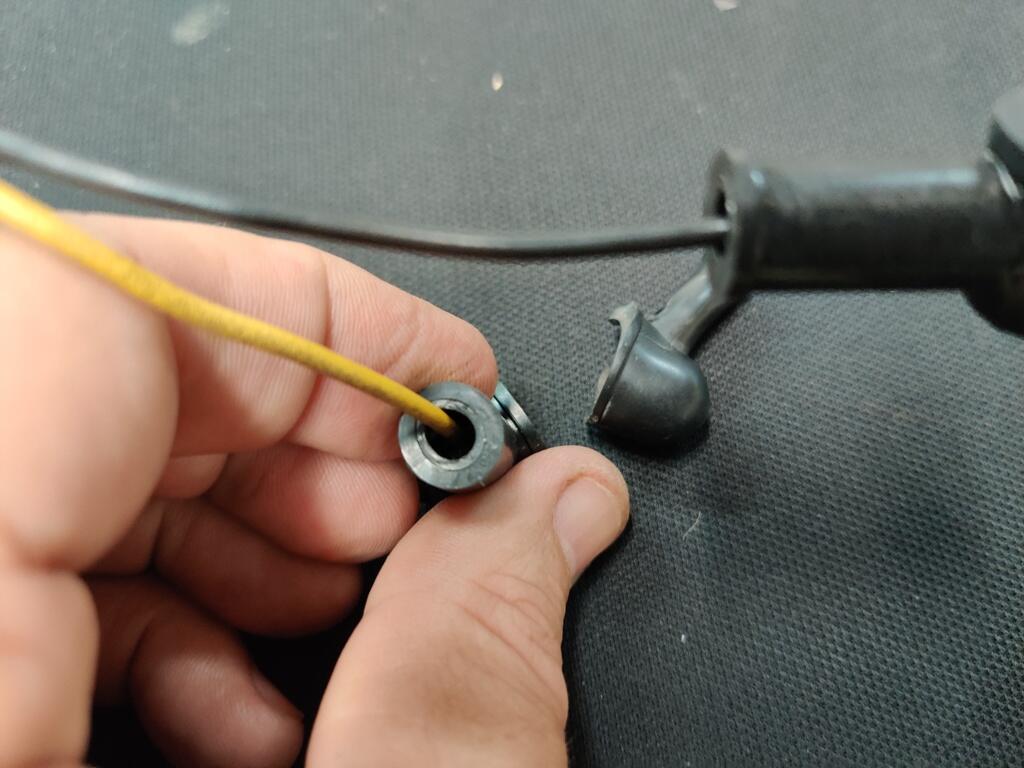
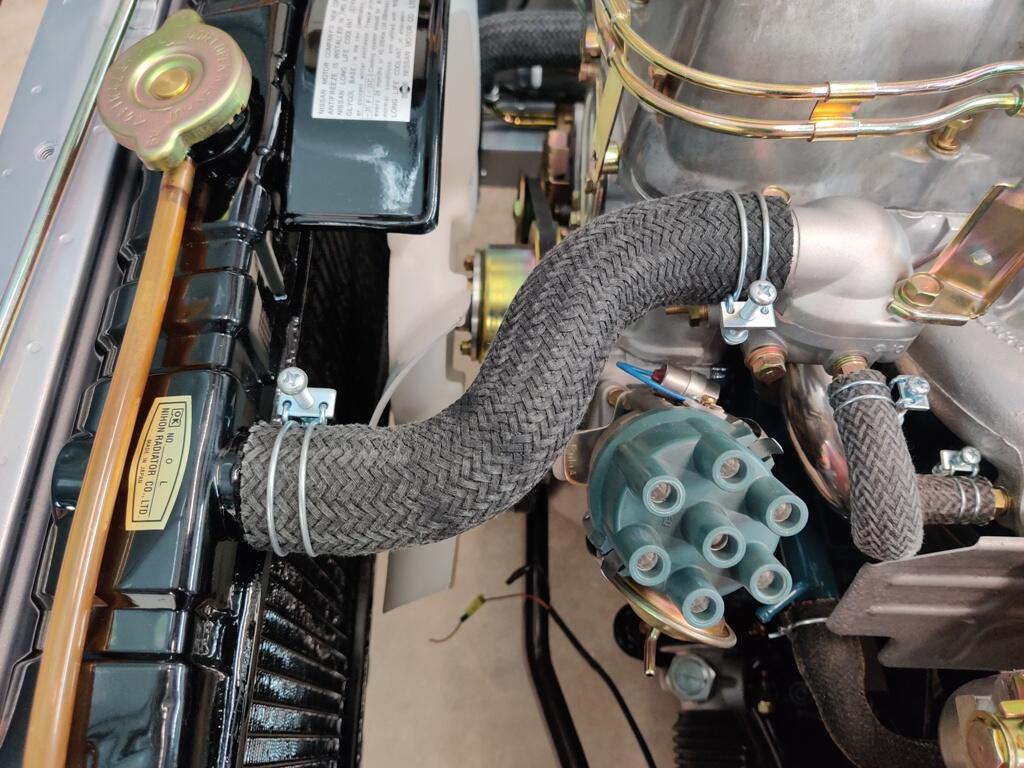
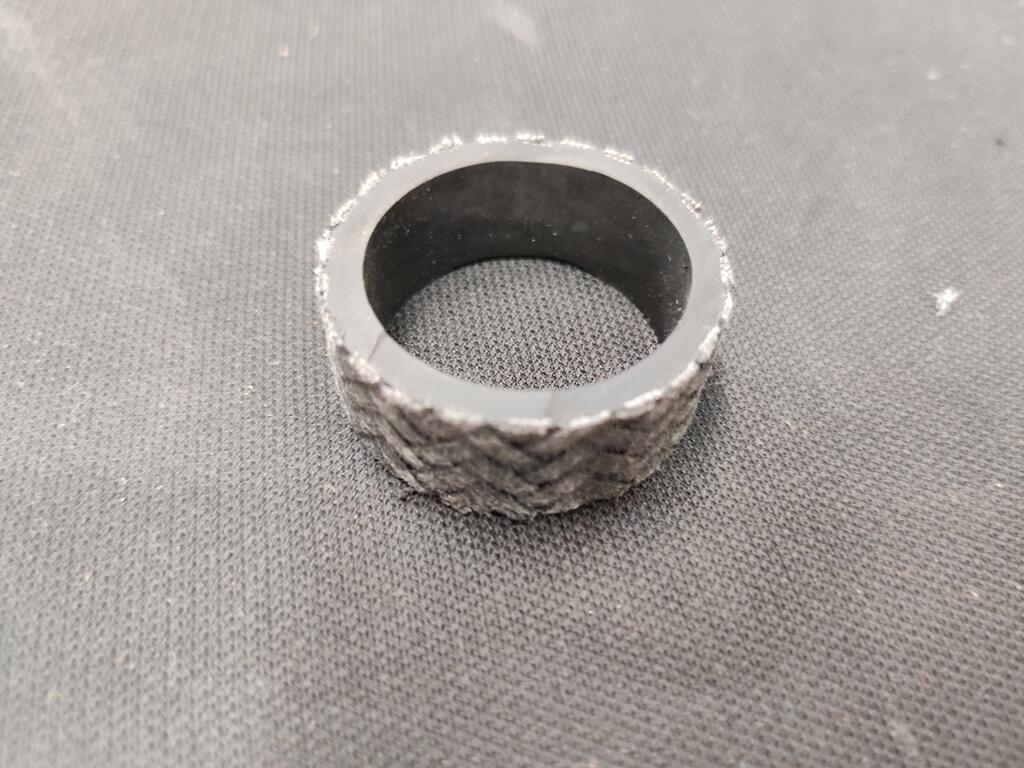
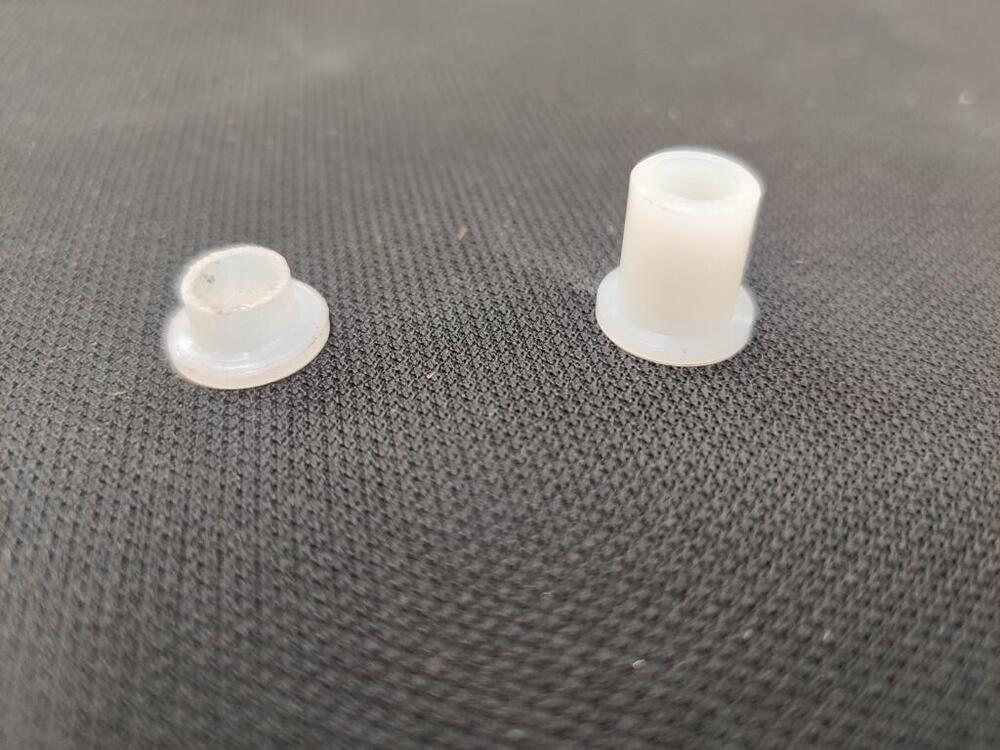
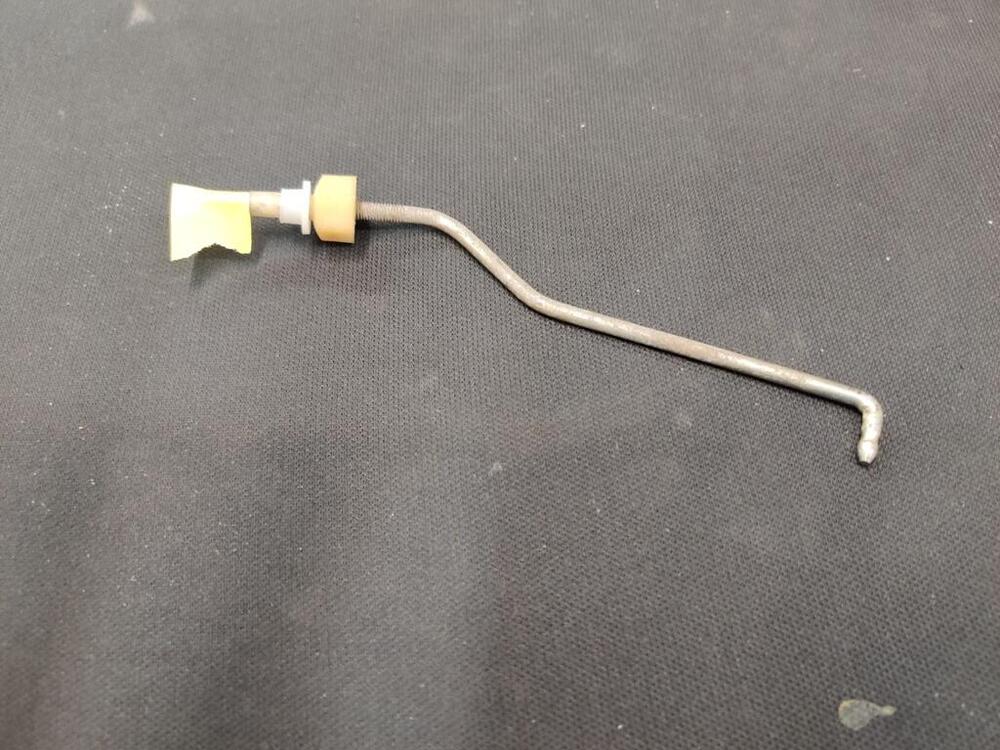
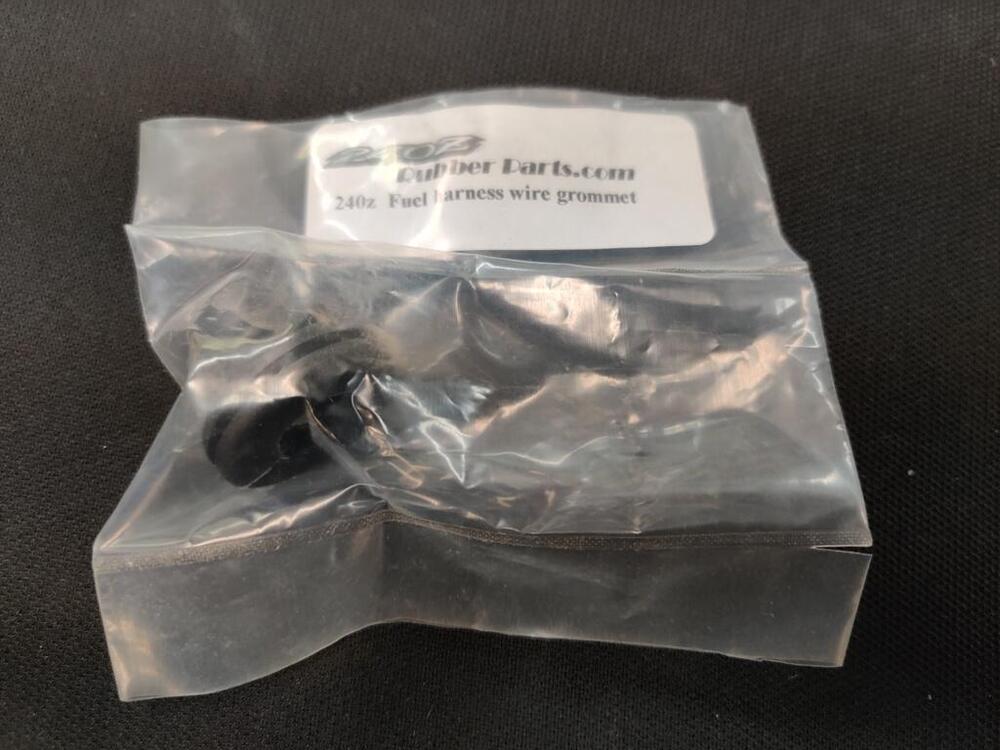
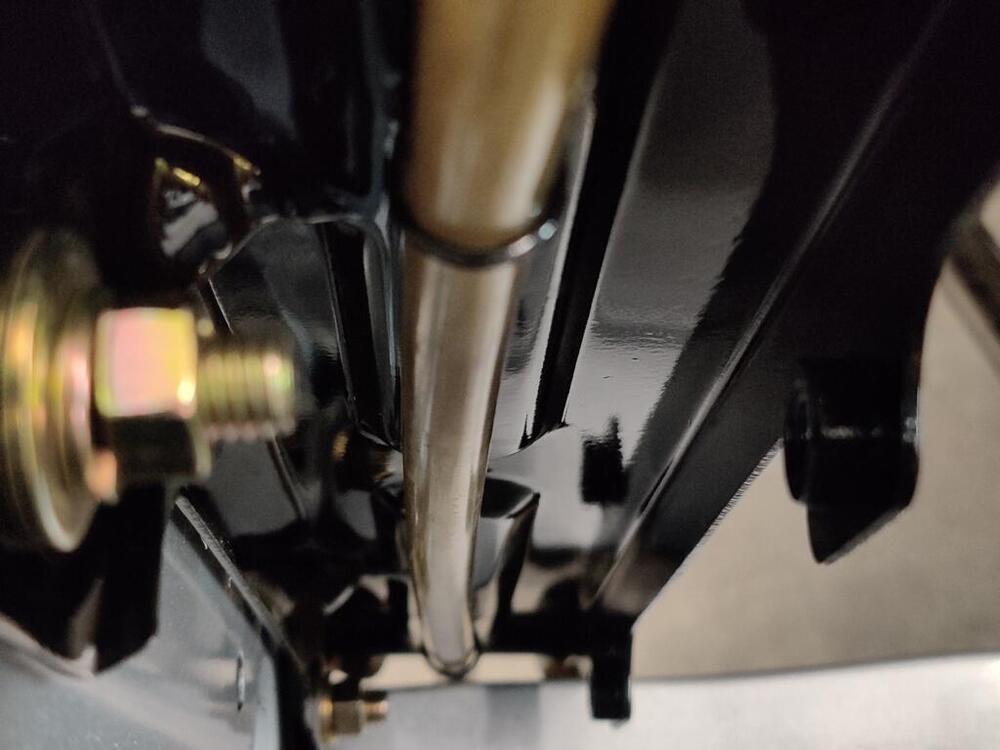
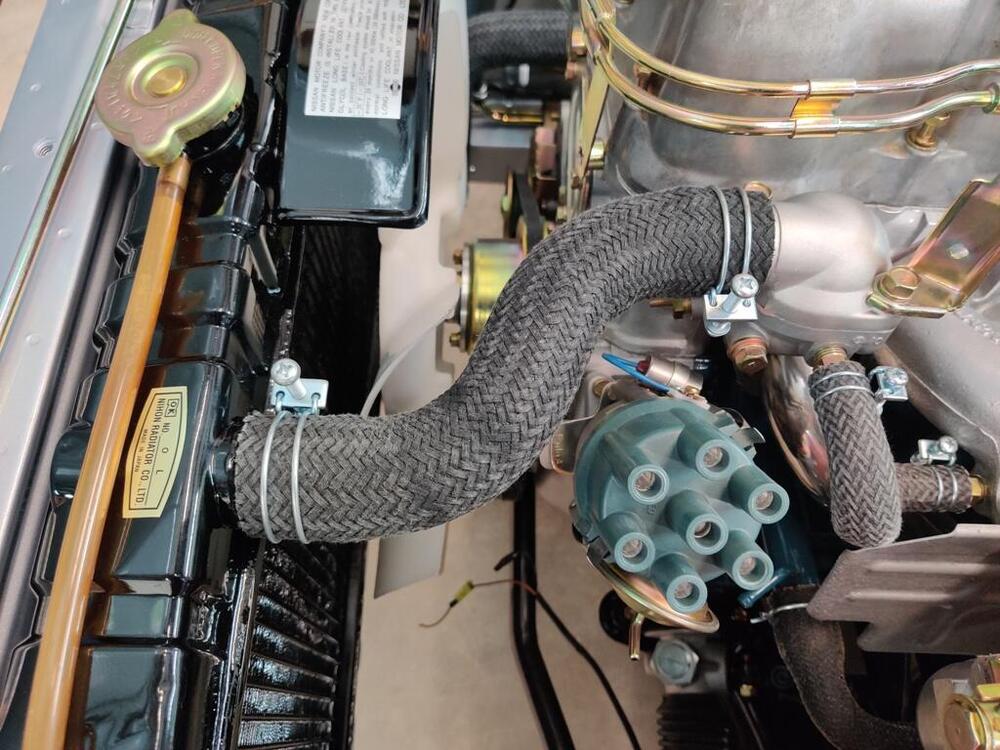
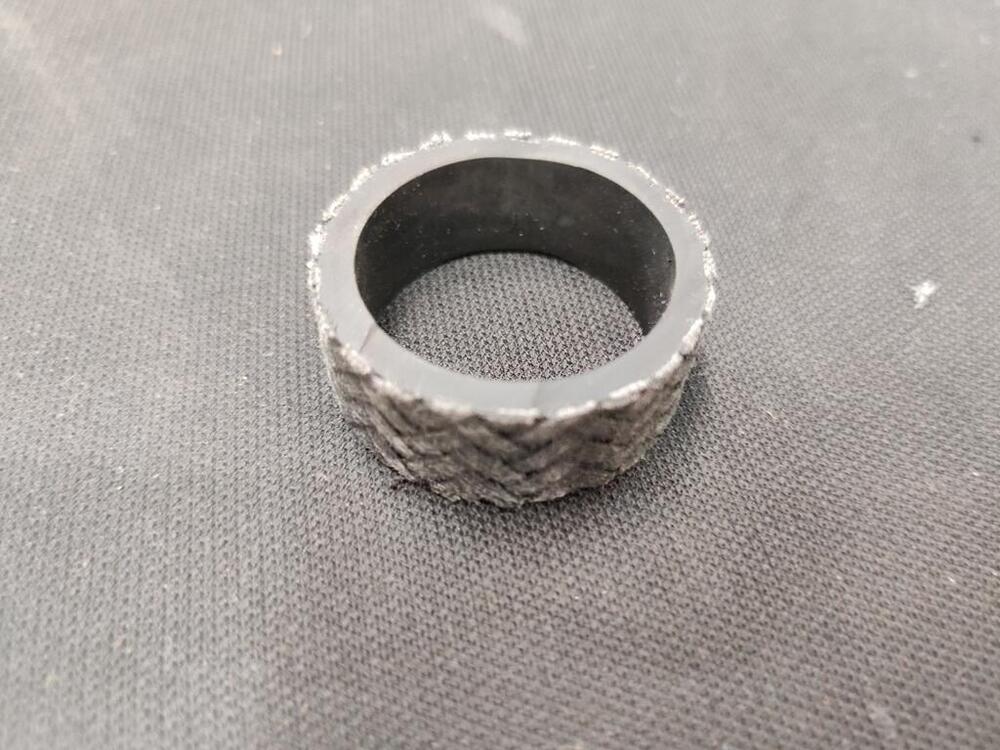
I finally ordered some little nylon bushings for the door handle linkage. I had to shorten the shaft portion and reduce the OD of the shaft portion also to get them to fit the opening in the door latch. I used bit in a drill with some tape around the bit to keep the bushing from spinning, and a hand file to remove material from the OD of the shaft until the bushings fit. After they fit, I used a piece of tape on the end of the linkage piece to keep it from falling into the door during installation of the linkage. Bushing as received next to a modified bushing: These aren't really necessary, but there were some there originally, so I put some in. With these linkages in place, I could finally open the doors using the new handles. One of the things I dislike about the 240Z is the sounds that it makes during opening and shutting of the doors. I like a solid sound instead of tinny, or "loose" vibrations. I am pleased with the results I achieved with the spray on sound deadening: Other recent work has included replacement of some rubber parts on the fuel sender harness: One issue I did not expect was that the new rubber covers for the terminals have a much larger opening for the wires. I got these from Banzai. I pumped them full of black silicone rubber to address this, but perhaps there are others available with a smaller hole in the end. I also installed the upper radiator hose and cleaned and reinstalled the original radiator overflow hose. The upper radiator hose was sourced from jdm-car-parts.com. I found that I had to trim some off of one end of the hose to get it to fit properly.


 1 point
 -
1 point
-
1 pointMZR offers three different models. The 'Sport Design' is simply a restored and upgraded/hot-rodded Z (albeit, done with industrial-grade processes and attention to detail). The exterior panels are OE and steel. The 'Evolution' and 'MZR 50th Anniversary' models use what MZR describes as "a lightweight carbon composite exoskeleton". It looks like this 'exoskeleton' consists of all of the external panels except for the roof (the rear quarter panels do not appear to be OE in shape). It looks like everything underneath is just a well-restored Z monocoque. The rear quarter panels and the rear-end panels would probably qualify as being 'bonded' to the steel structure. I suspect that the steel door shells and the steel hatch frame are retained, with carbon fibre outer panels bonded in place. If you were to purchase the steel versions of all of those exterior panels, it would cost ~ US$6,000 (plus shipping, duties, and taxes). In carbon fibre, they'd probably cost triple that amount (or more).1 point
-
1 point
-
1 pointI for one am glad that a company like MZR exists, and I can appreciate the work and effort they are putting into their offerings. It's also great to know that there's enough demand out there for them to keep at it.1 point
-
1 pointOh wow, I had the paint matched by a paint shop using the alternator bracket as a sample.1 point
-
I completely understand. Main point is/was you need a good fire extinguisher. There's a lot of combustibles in a small space, looking at your pictures.1 point
-
I was just on their site and they are now offering a stock looking Datsun 240Z face plate, wish they had that when I was buying from them. https://speedhut.com/gauge-applications/legacy-classic-street-rod/classic-led-tachometers/classic-led-standard-tachometers/4-1-2-classic-tachometer-8k-rpm-dash-mount-jdm-datsun-z-series/?dd-link=0kx6p31reeb1 point