Leaderboard
-
conedodger
Free Member6Points12,513Posts -
peng155
Free Member4Points215Posts -
jfa.series1
 Subscriber
 3Points2,733Posts
 -
bartsscooterservice
Free Member3Points1,900Posts


Popular Content
Showing content with the highest reputation on 05/23/2024 in Posts
-
4 pointsGent's Thanks for your input thus far... @psdeeno I think I''ll probably be following your line of thought... I'll get the car into running shape and re-evaluate my situation again... Most of what I have on my to-do list won't cost me very much in parts, and my time is obviously is gonna be free.. @grannyknot. thanks, retirement has been great so far, but than I've only been fully retired for only about a month... looking forward to summer, as I got a house paint project I need to get done... I have to admit part of the thrill of driving the Z was all of the looks I got driving around town... and it doesn't help that I have images of Sung Kang's fugu Z dancing around in my head... I swear that car is so dam sexy looking @jfa.series1... Thankks for the link to Carl's post... looking thru that thread and all of the names I recognized brings back good memories of the old timers from way back when....4 points
-
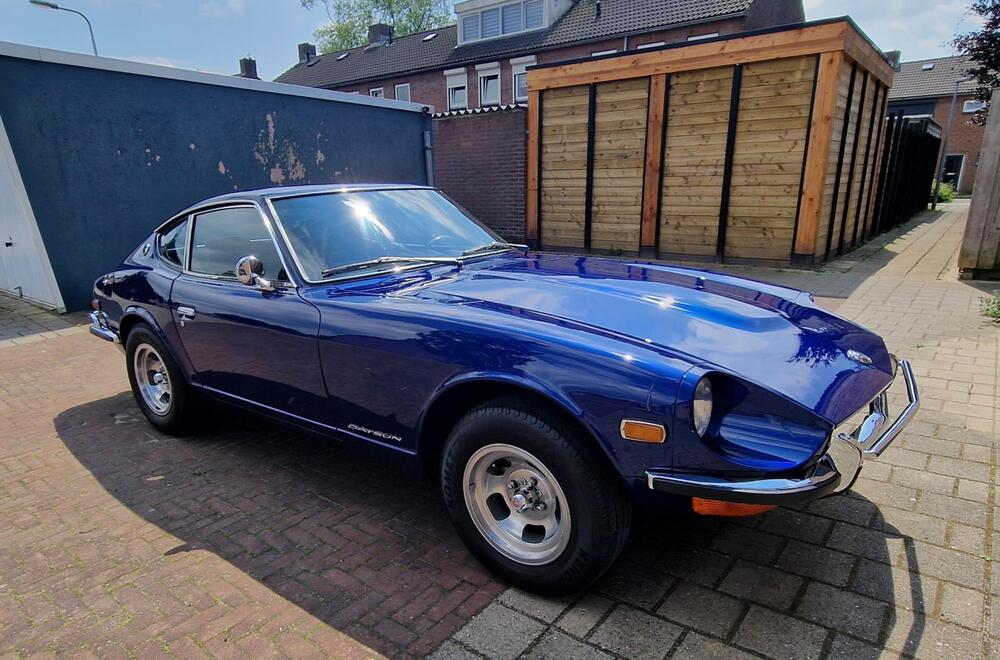
3 pointsI brought the z to a car detailer who polished it..it was full of swirls etc. Paint is 8 years old but wel maintained. Looks like new again he did a great job.
 3 points
 -
3 pointsHere's a good thread, slip on down to post #8 from Carl Beck for some great starting points.3 points
-
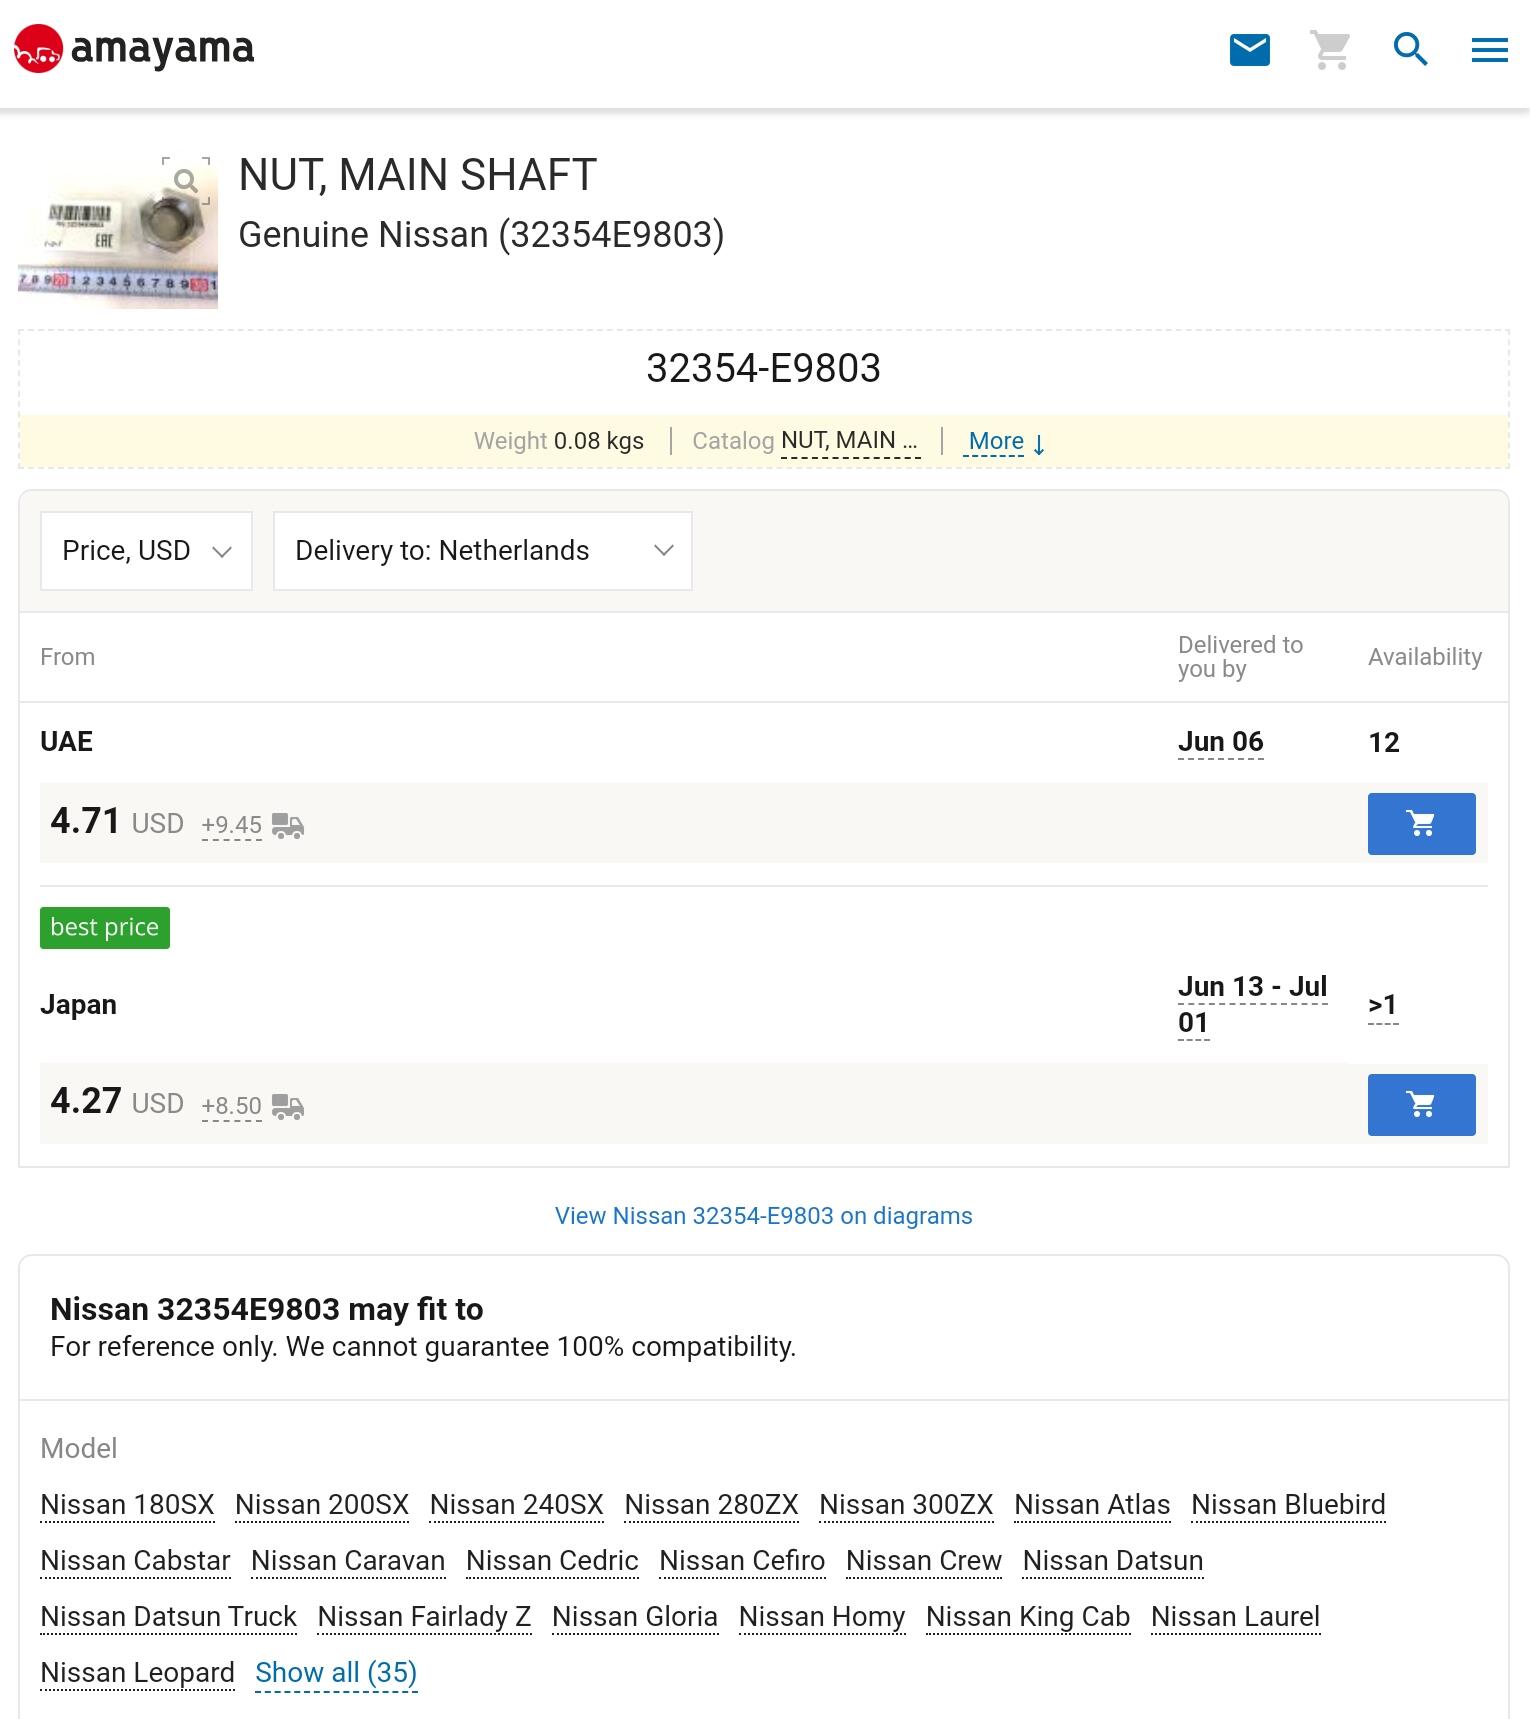
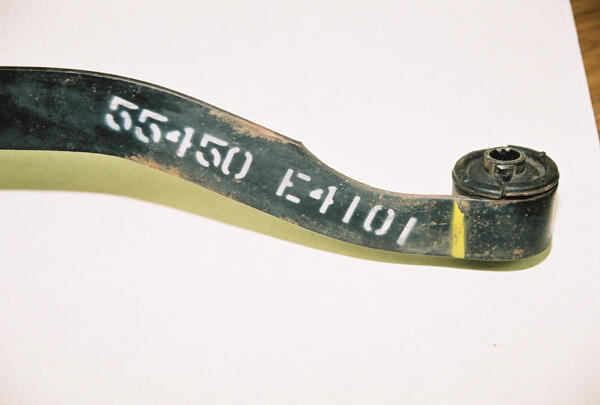
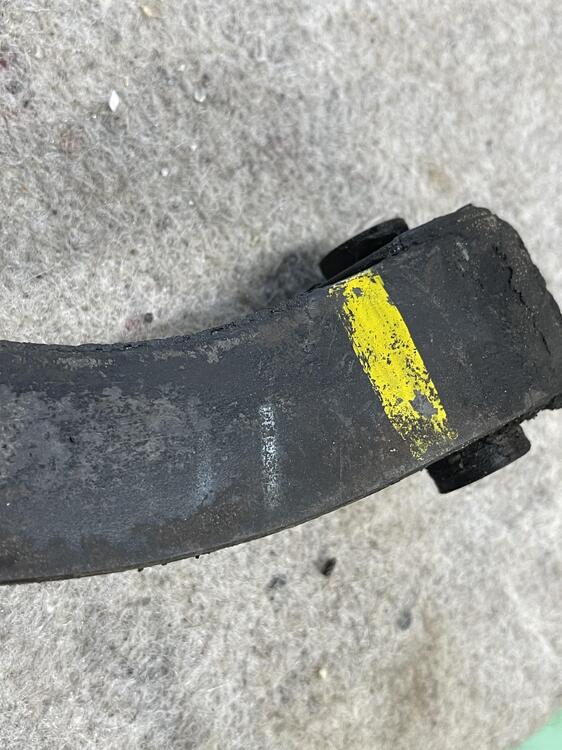
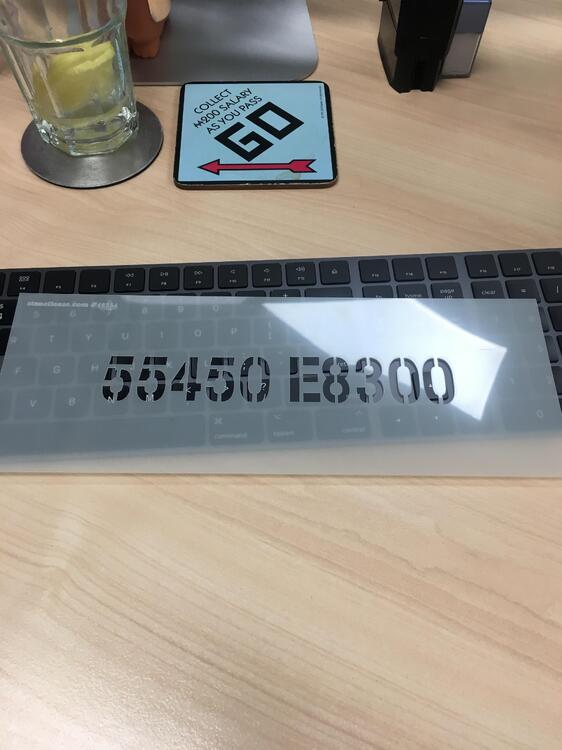
Ok, I can chime in on this one. Had the same issue with 26th and 27th. Z Car Depot sells two different part number stencils for the mustache bar. I bought them so that I could make a stencil for the correct number, and the correct number for HLS30-00051 IMO. 55450-E4101 https://zcardepot.com/collections/tools/products/mustache-differential-bar-part-number-stencil-r180-r200-240z-260z-280z?_pos=1&_sid=ccde6f856&_ss=r# Also, if you want to get real accurate, there is a 1/4" yellow stripe across the bar just to the right of the part number. It's not a brush stroke, it's sprayed on.
 3 points
 -
It's actually the right hand thread that is NLA. They changed when they started making the close ratio transmissions in the 280ZX. The LH Thead M27 x 1.0mm is used in a variety of models like the Urvan, Infiniti, 240ZX, 280ZX, 300ZX, 720 trucks etc. The RH Thread M27 x 1.0mm has been NLA for a very long time. Someone on this forum made some for other members a while back. You can re-use the original nut if you can open the indented section and remove it without to much trouble. When you rebuild and it lines up on the used section of the nut, you have a couple of options: 1. Machine 0,5mm of the nut face, then the nut will turn a furthe 180° or 2. Use 0,5mm shim. Any thickness will do as long as it is not 1, 2 or 3mm.
 2 points
 -
Not E4100? In the first Japanese market parts manual (pub. C-137) they list 55450-E4100 first for the S and D models, superseded by the E4101 at S30-00976. That would be around January 1970? S20-engined models first got the E4200, which was superseded with the E4201 at PS30-00103. I would imagine both supersessions were likely to be NVH-related improvements?2 points
-
2 pointsCongratulations on the retirement, hopefully I'm only a few years behind you. There is a list of things you should do to wake up your baby from its long rest, someone will be along shortly with a link no doubt. Once you start driving it I don't think you will want to sell it, there is no other car that I can think of in the $20-30,000 dollar category that is as much fun to drive than these Z's Good on you for keeping it.2 points
-
1 pointAll comes down to how much they charge to fix a 40plus year old tank versus buying a new one.1 point
-
1 pointGood opportunity to do a "will it run" pictorial. Let's see that fuel tank turpentine.1 point
-
Definitely e4101 on hls30-00051 as well. Careful scrapping of undercoating this time revealed the “brushed” yellow stripe and the “shadow of 01 just to the left. Thank you for the heads up 26th on the yellow stripe!
 1 point
 -
1 pointI recently replaced the rubber "refills" in my stock 240-Z wiper arms. The Trico 47-700 (7mm) were too loose. The 47-800 (8mm) were too tight. I took the 8mm rubber and used the 7mm stainless stiffeners and the combination fit perfectly. About $20.00 total.1 point
-
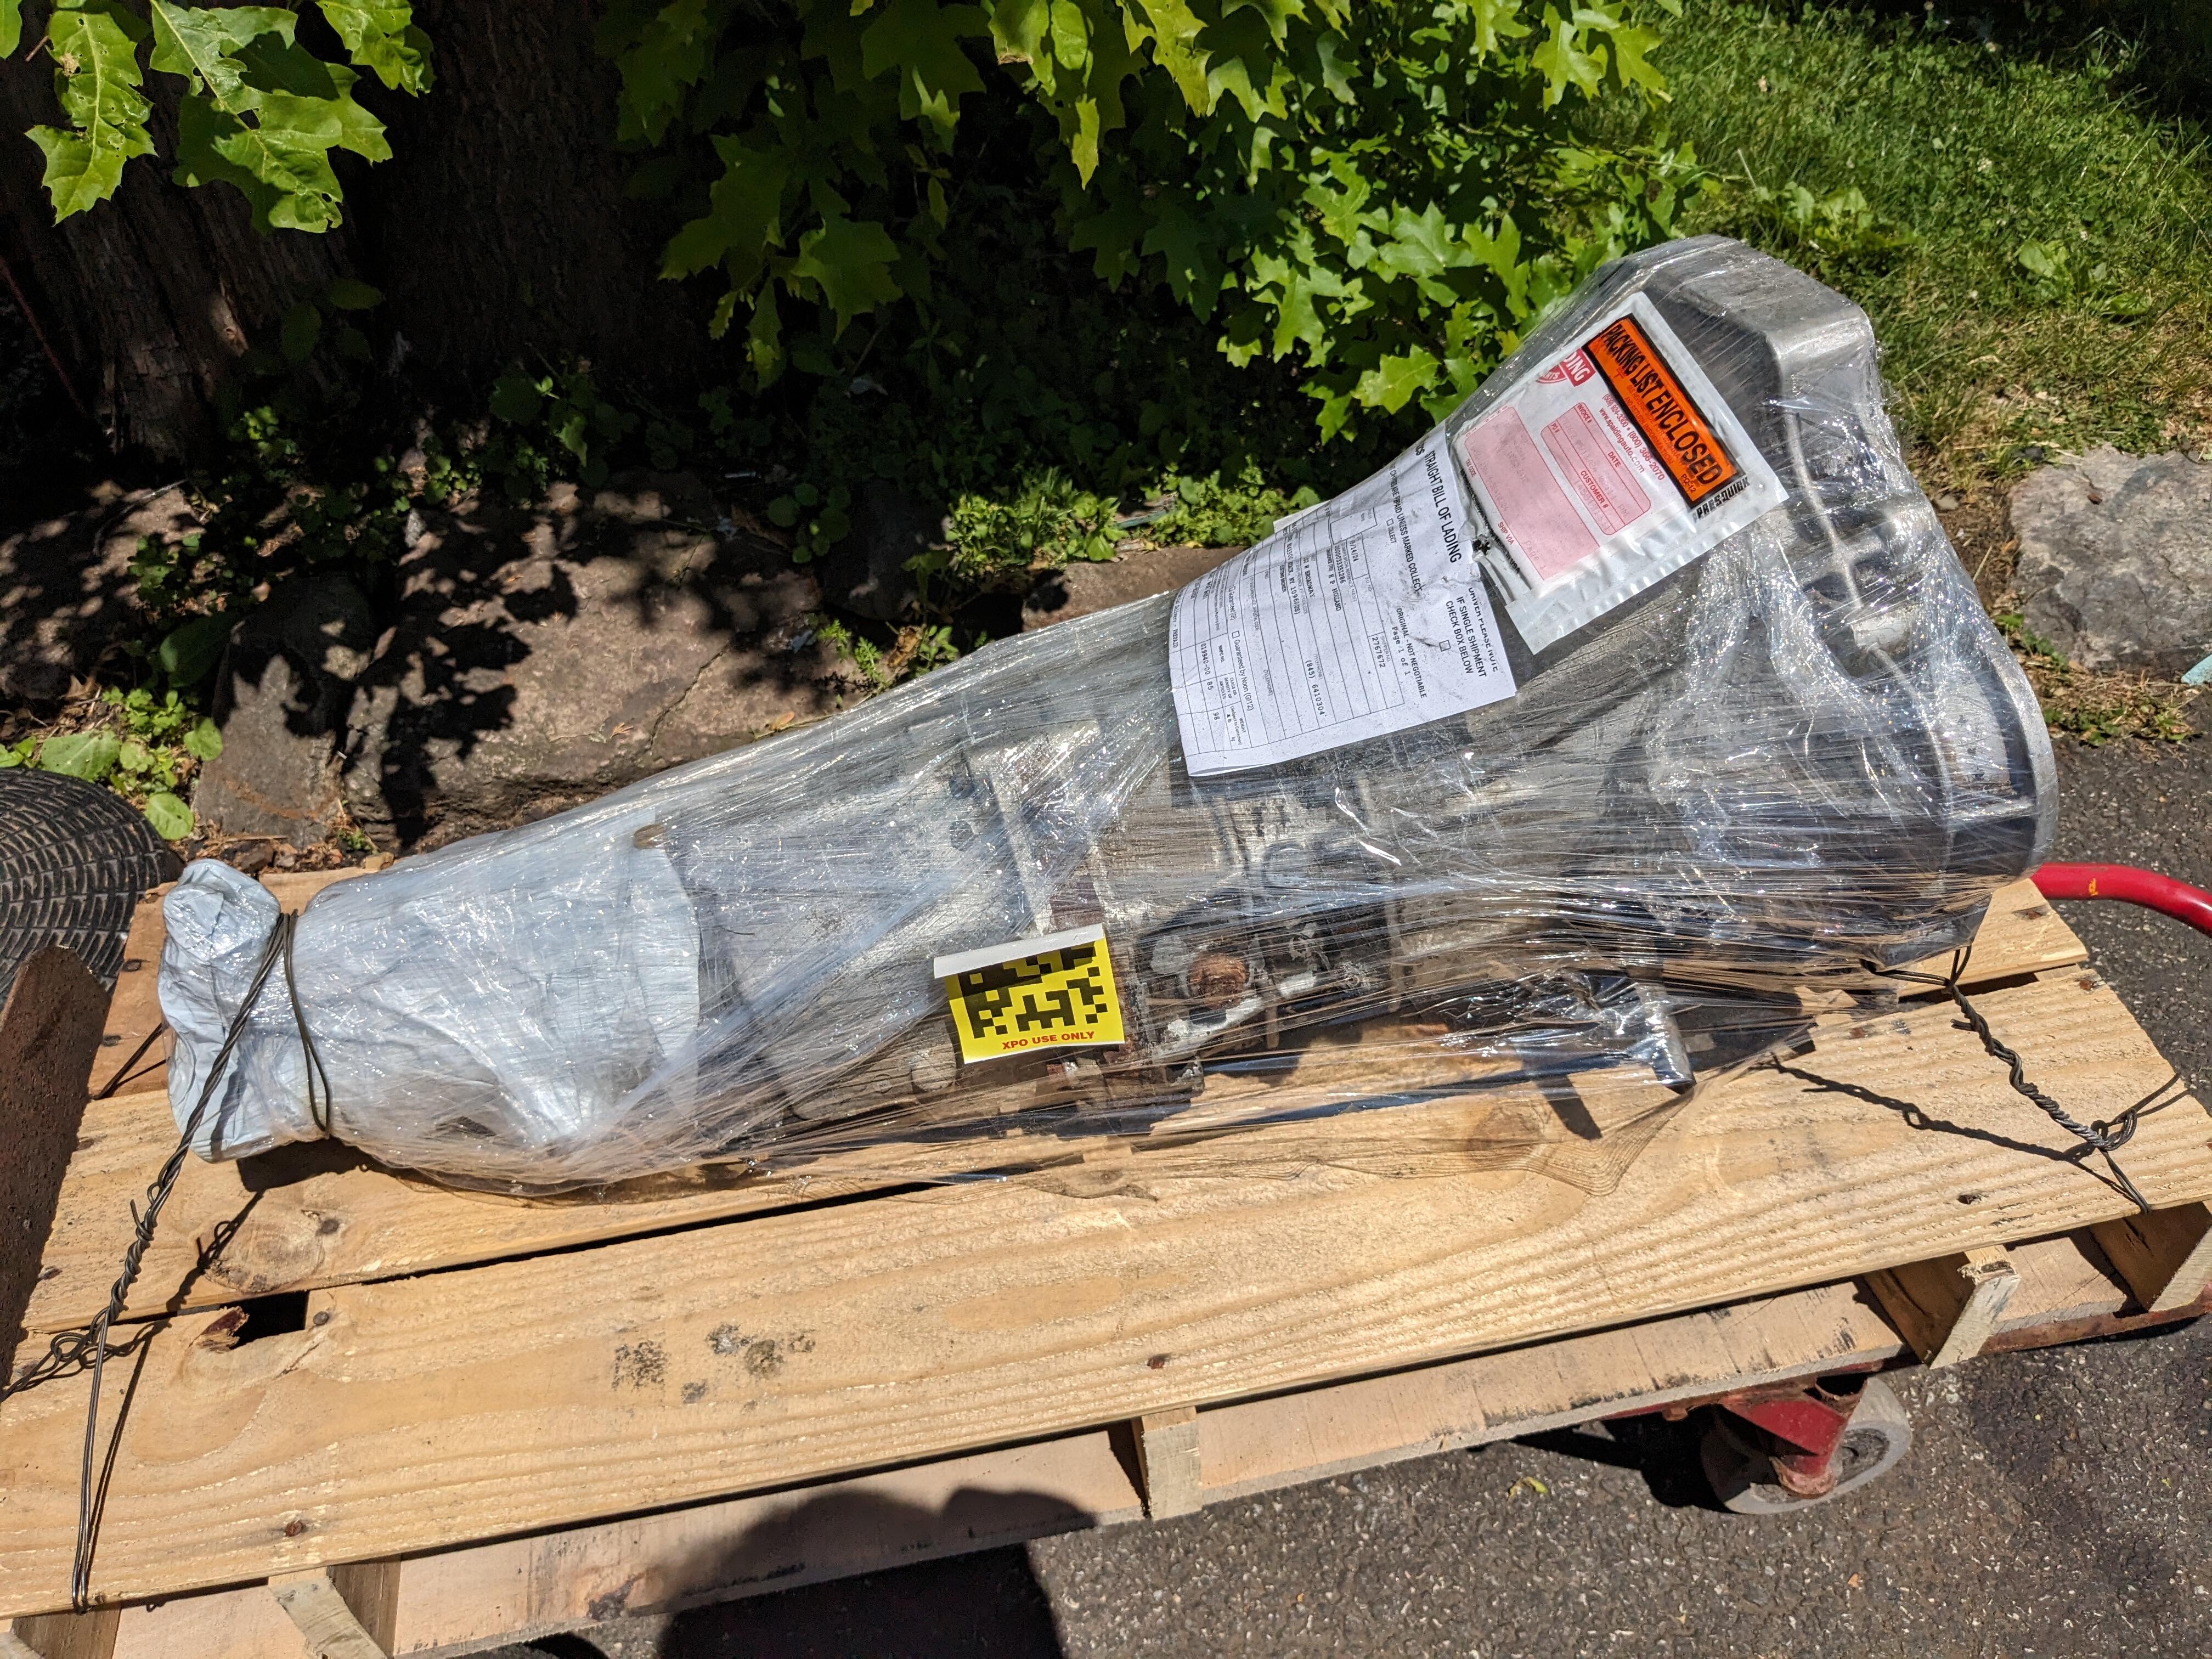
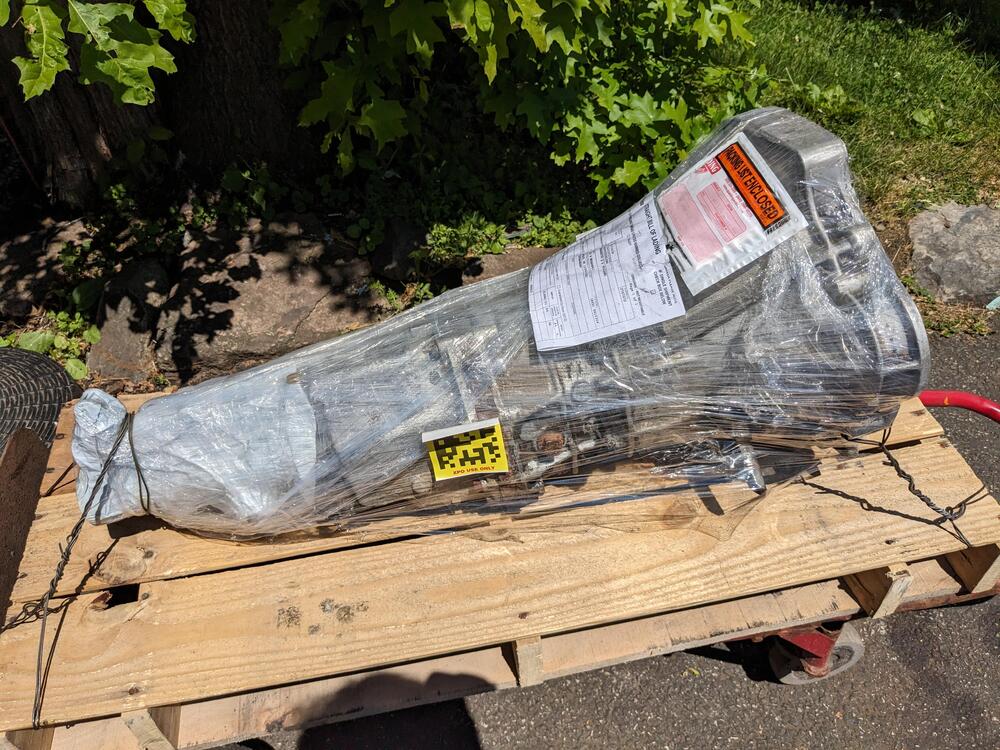
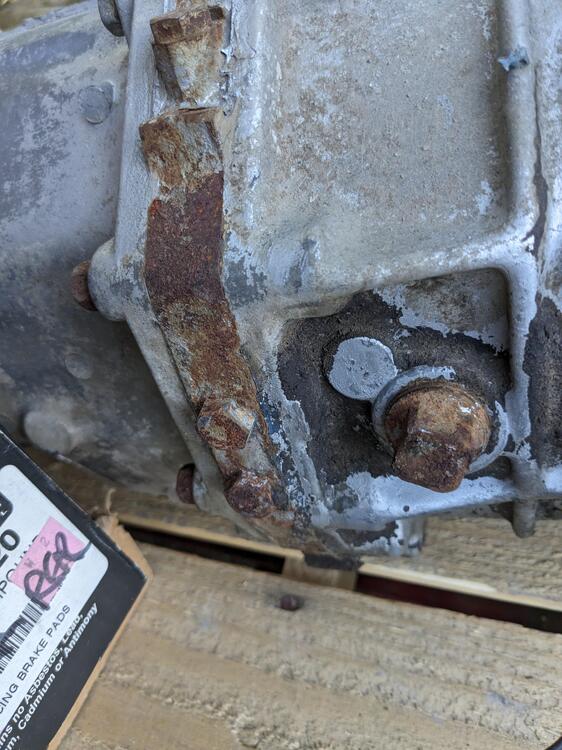
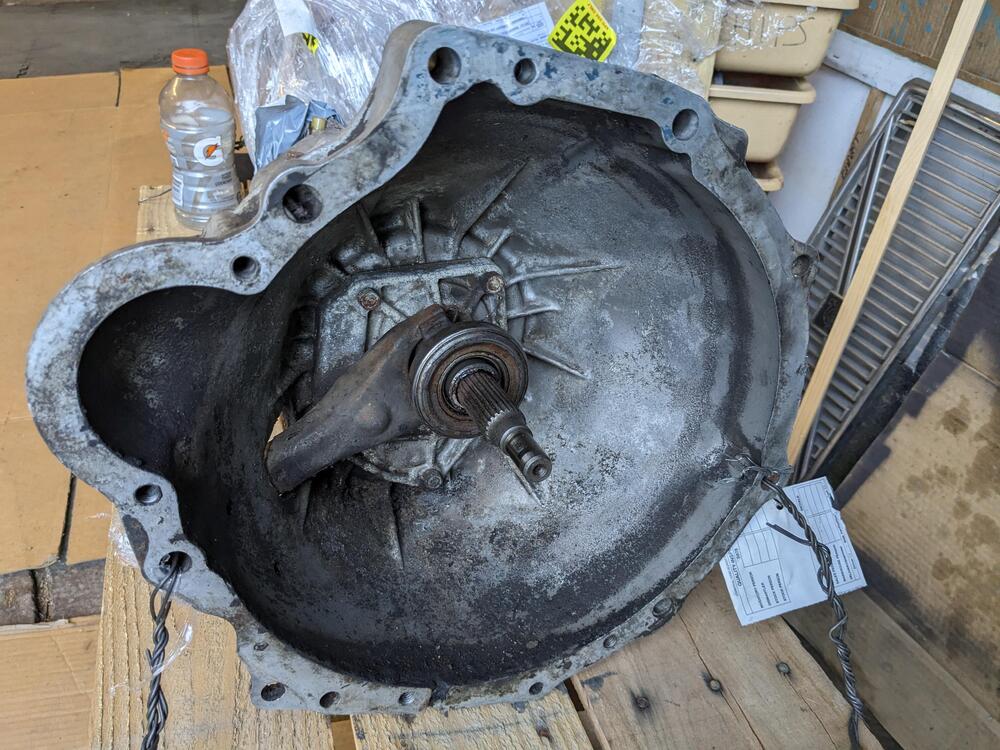
Transmission arrived today Looks like it's been apart at some point in it's life - looks like RTV on either side of the adaptor plate
 1 point
 -
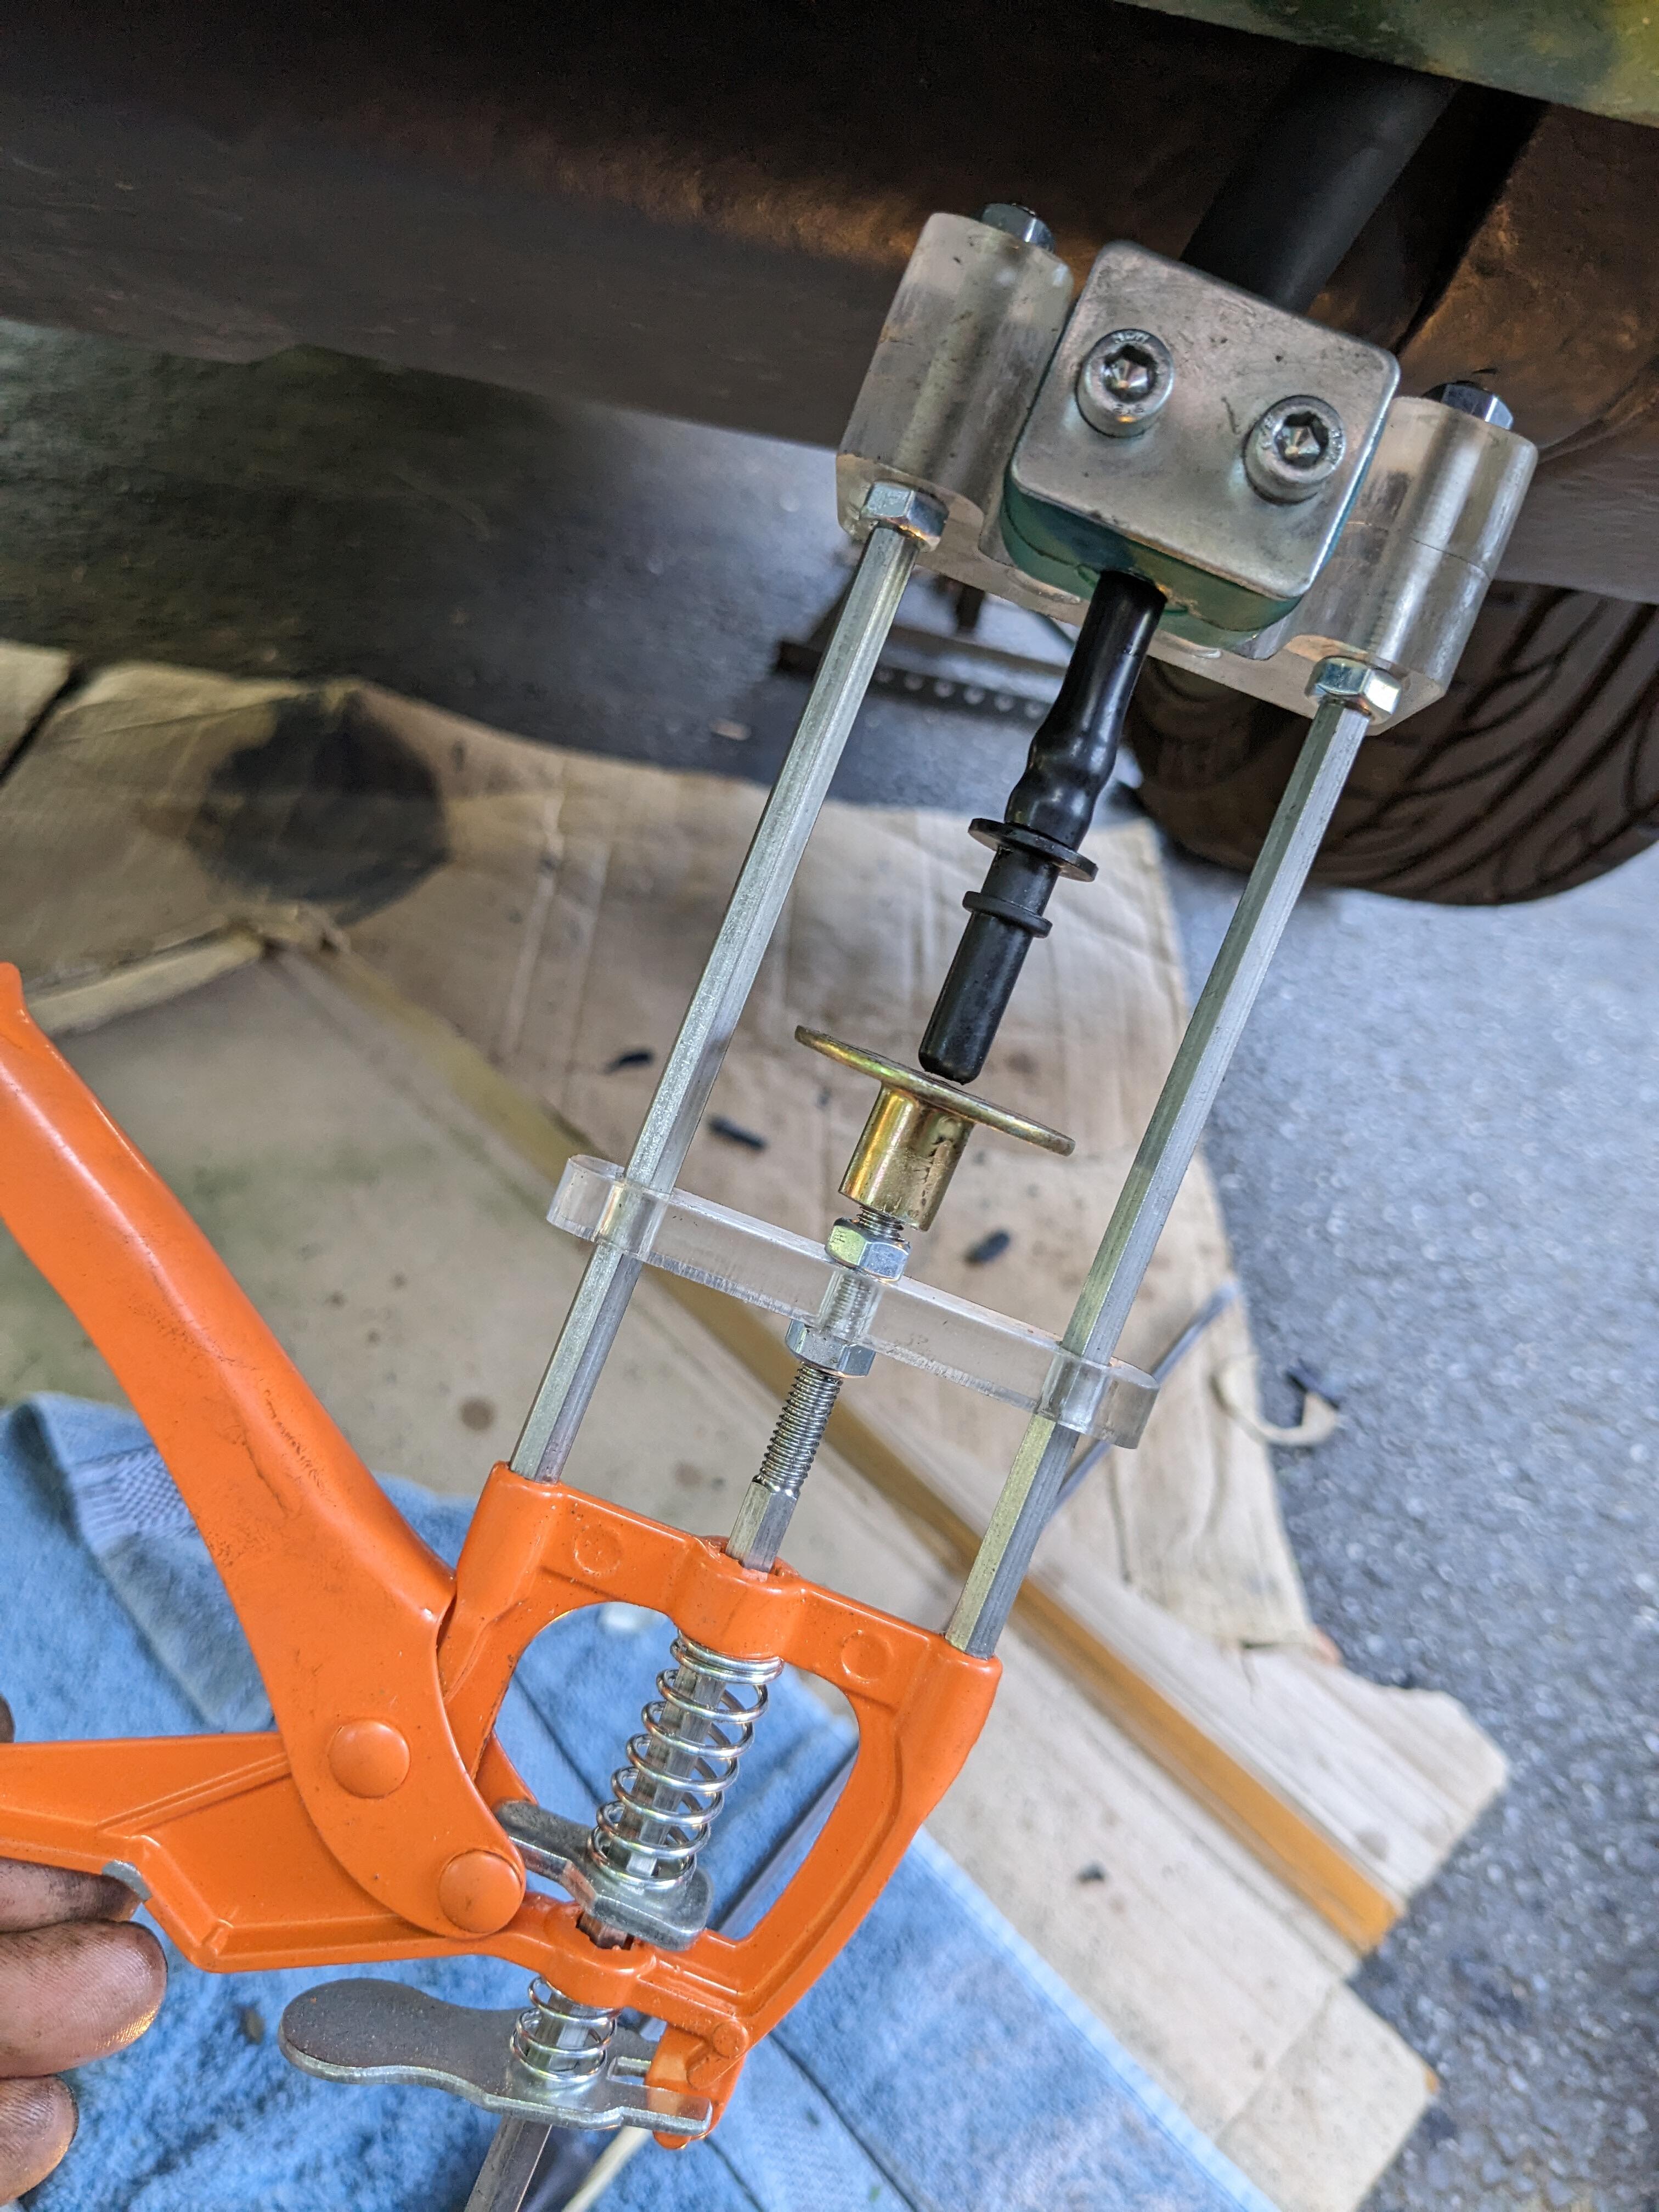
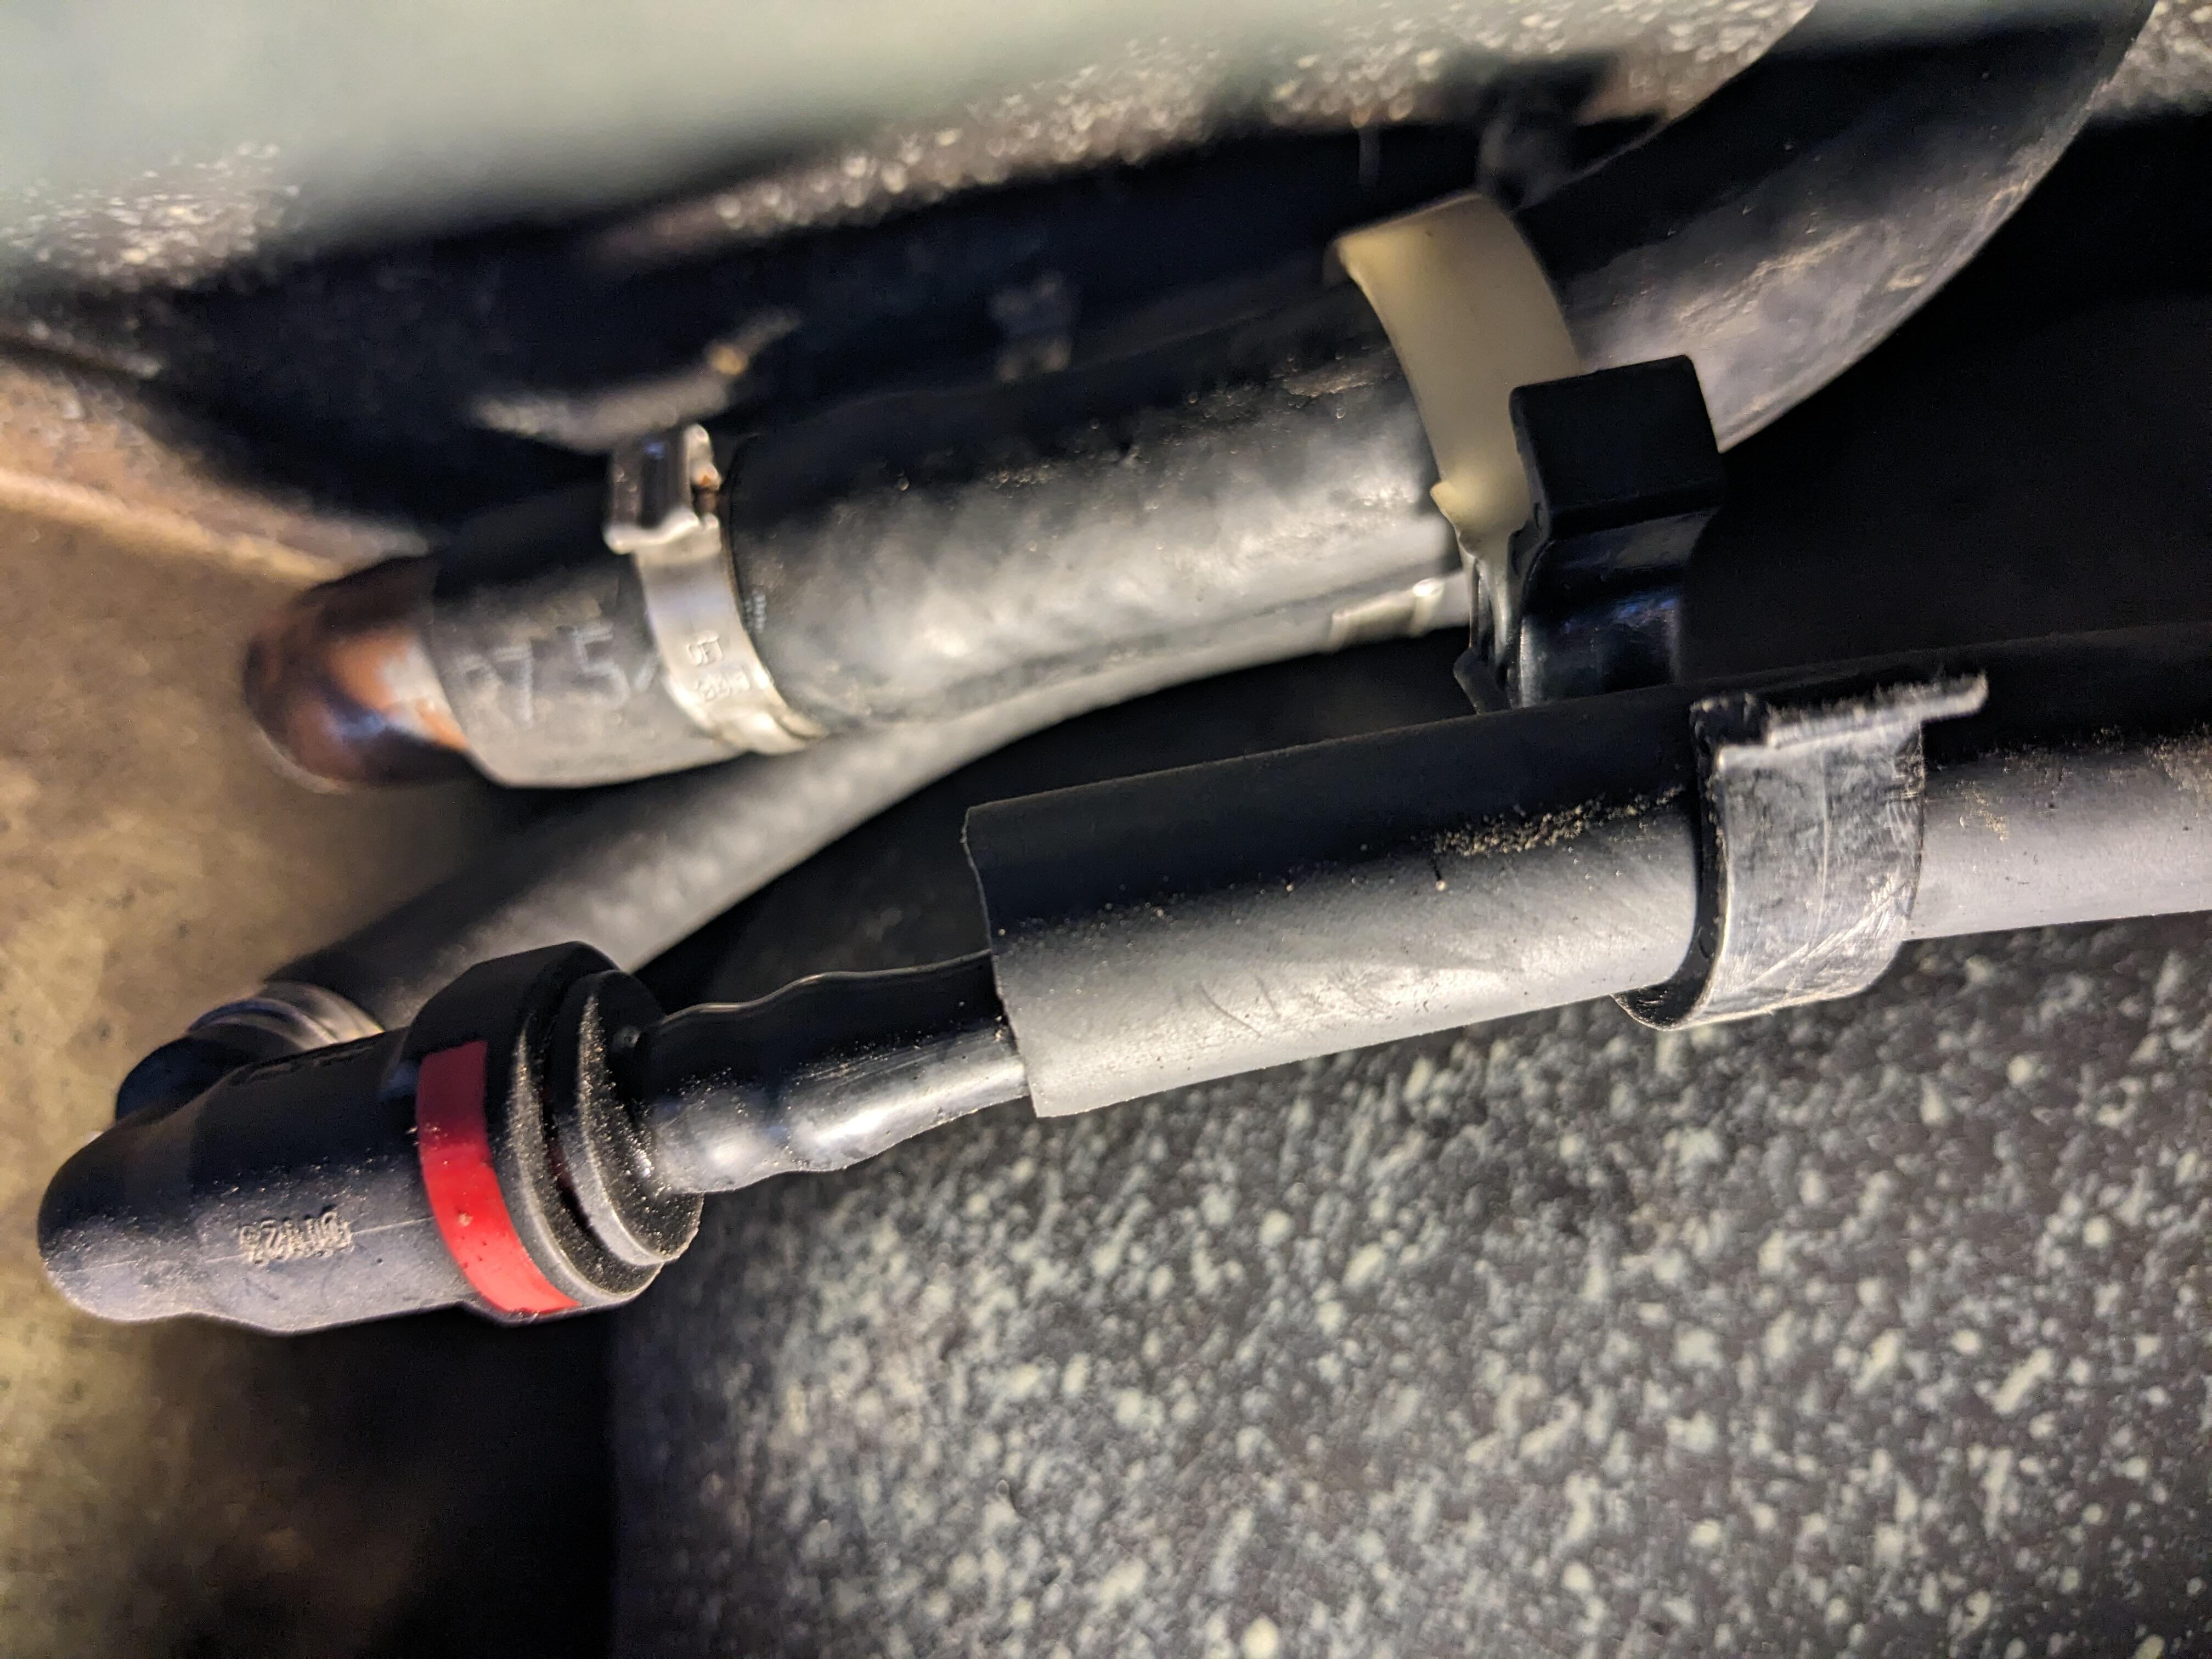
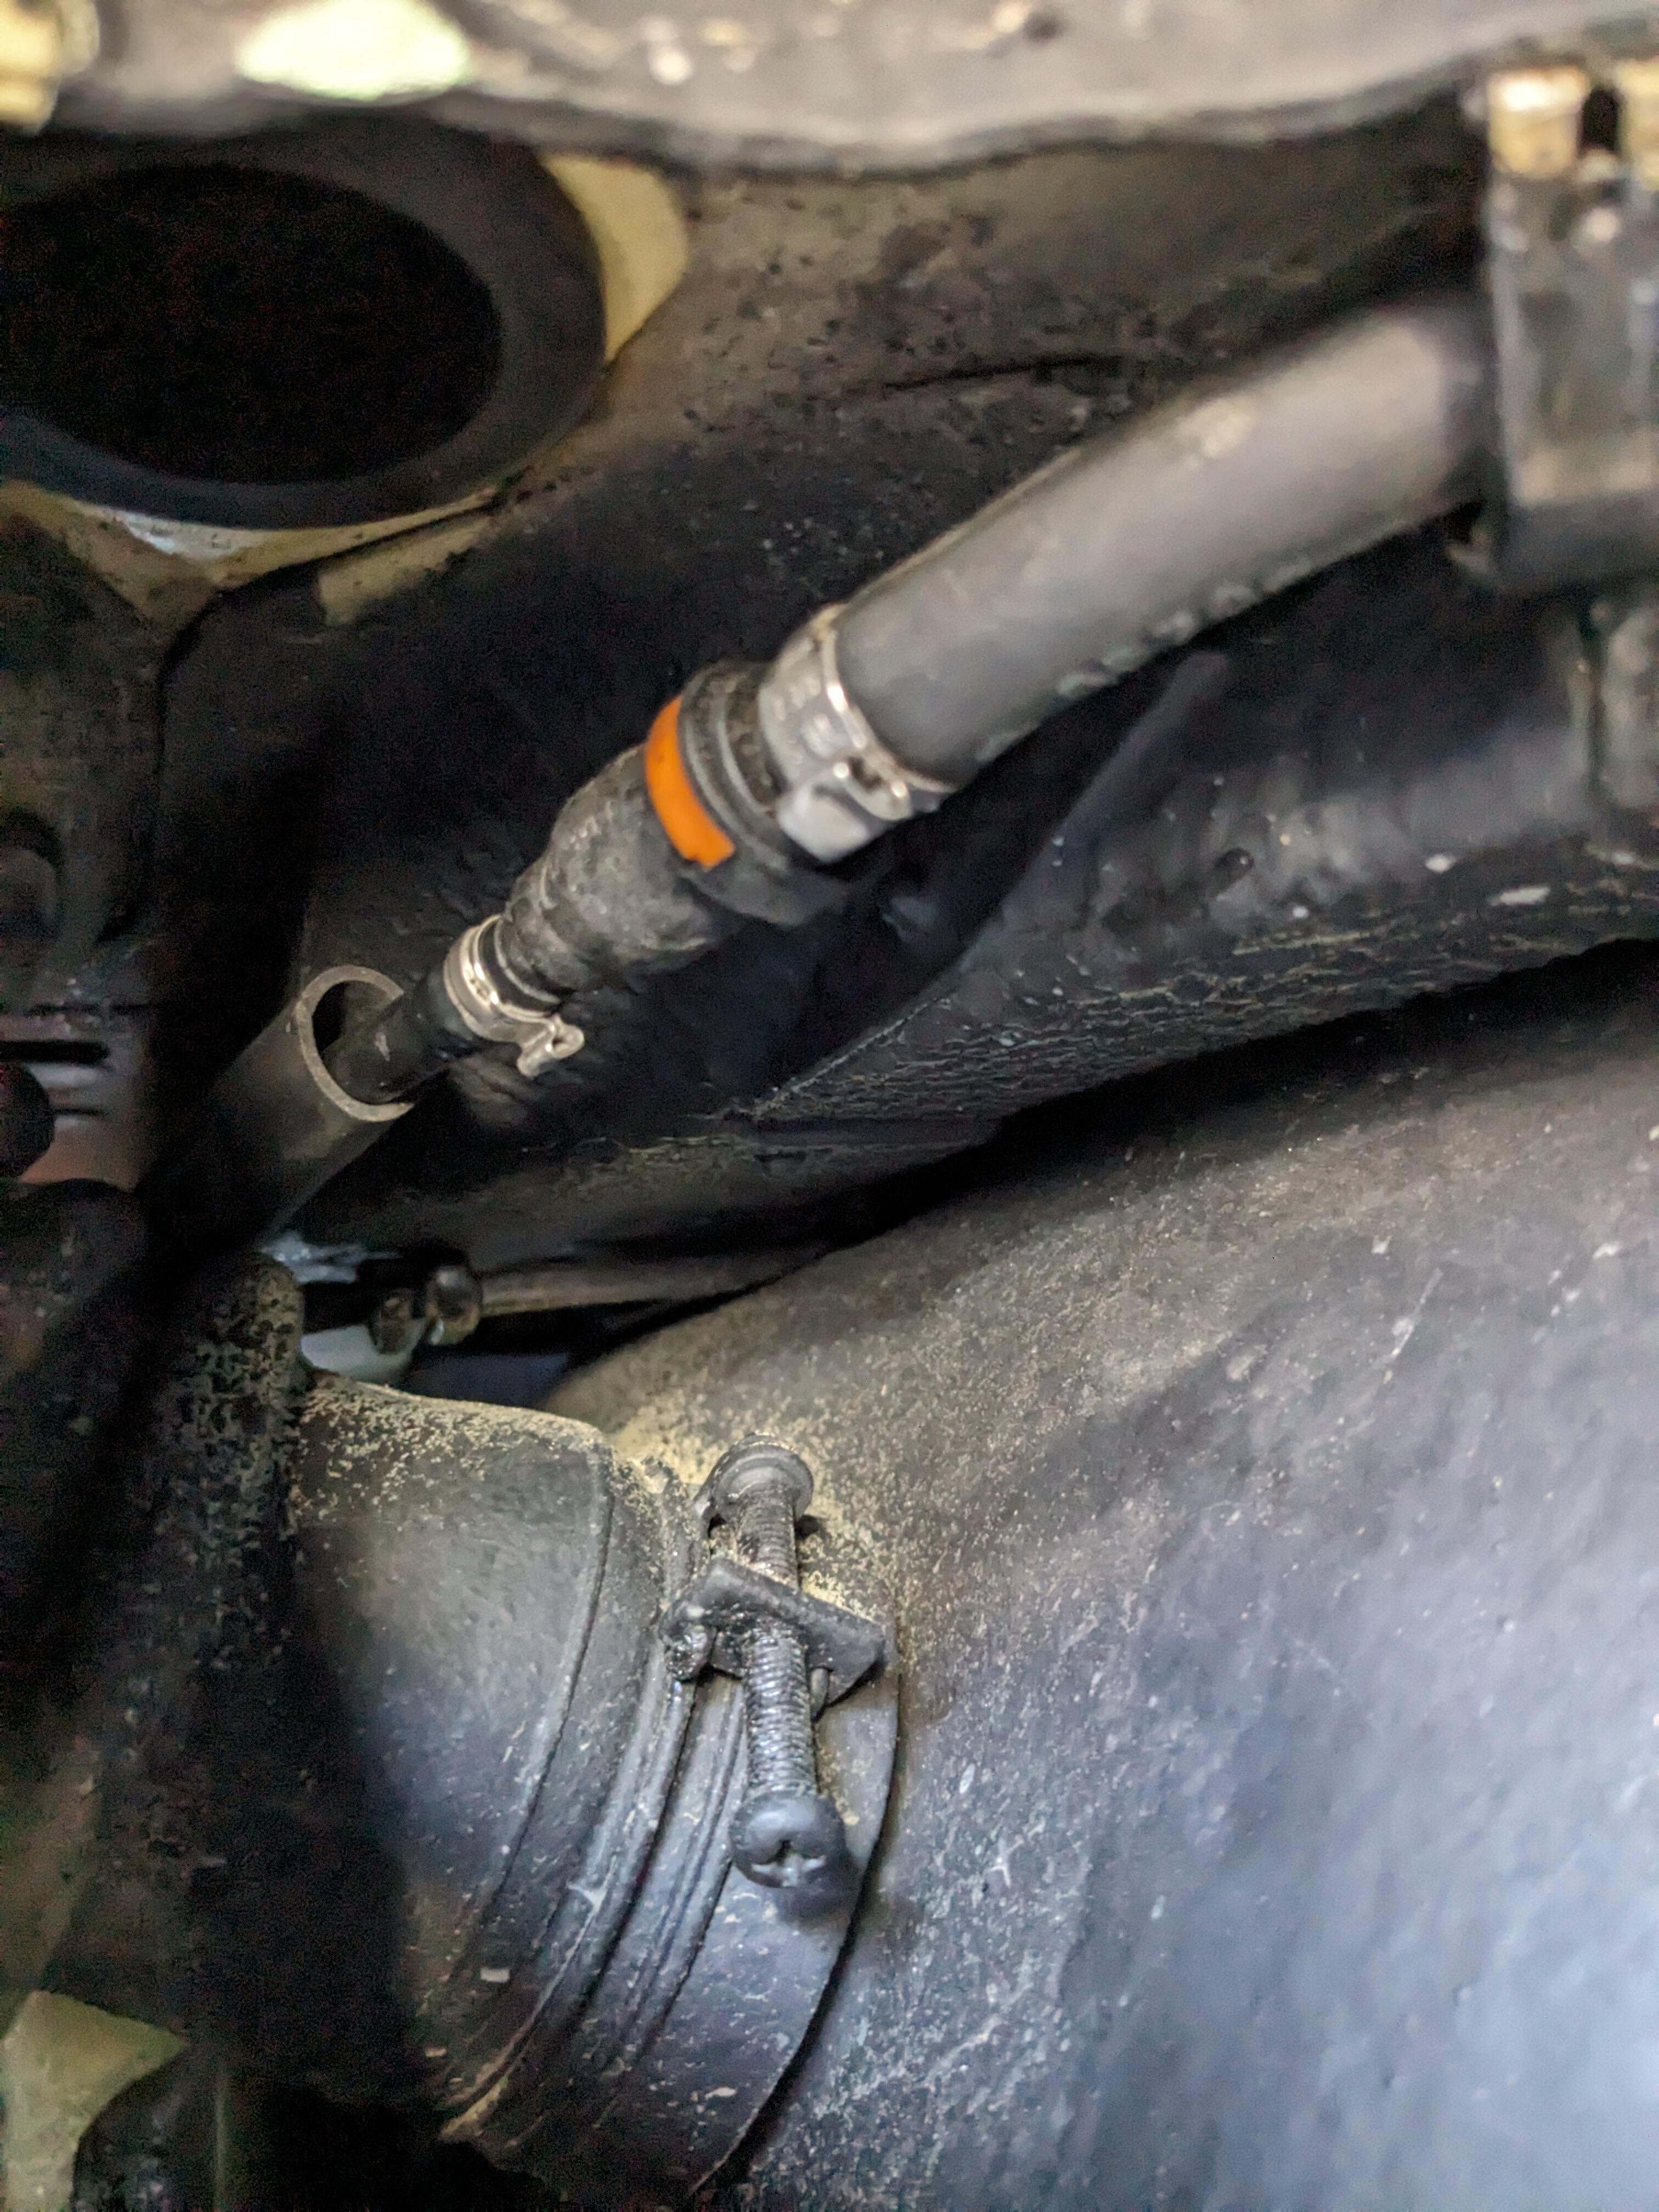
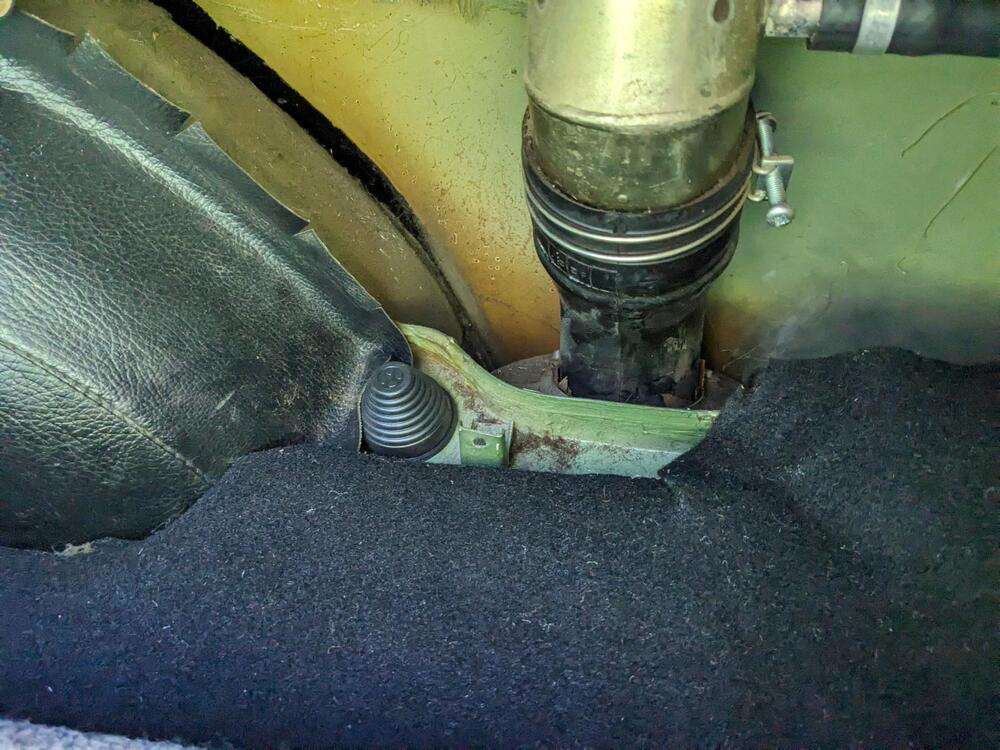
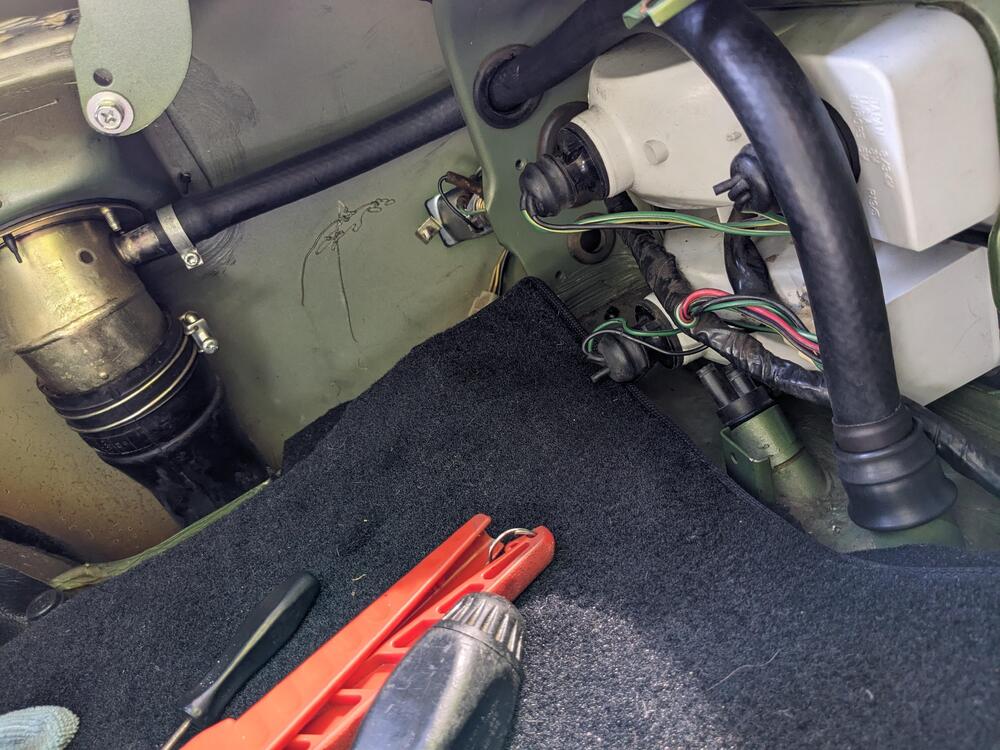
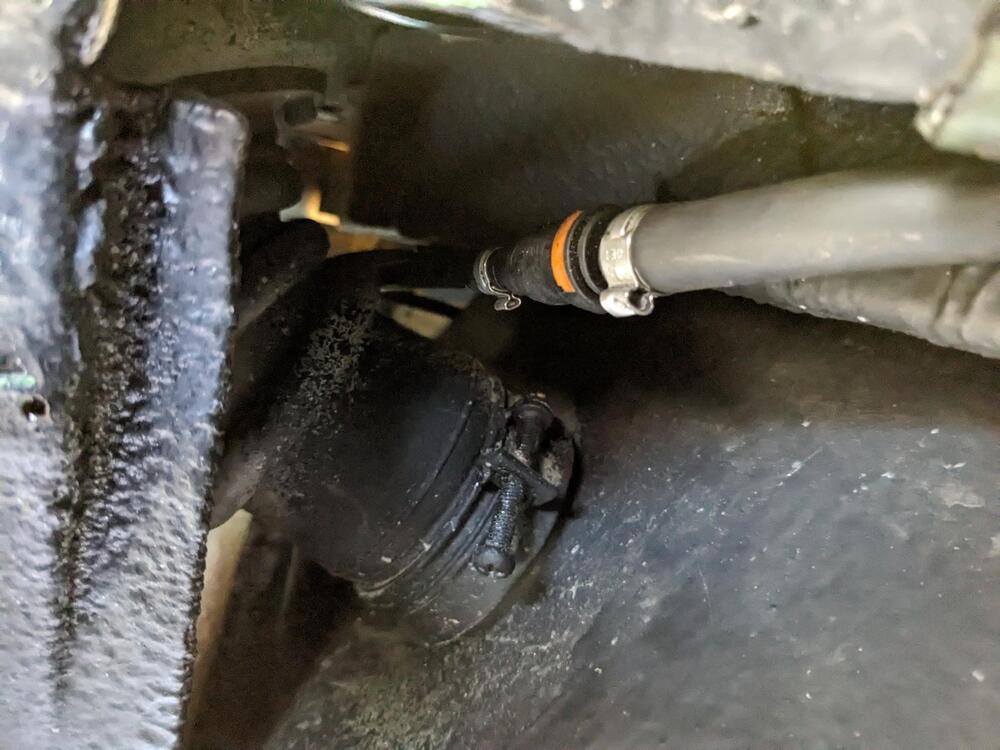
Back on the fuel vent lines today. The main reason for gas smell was that I used the incorrect grade line for the 1/4" vent hose into the cabin. Still, I decided that I like the minimal fuel hose into the cabin, so I ran a new single 5/8" SAE J30R7 reinforced hose from the U-bend on the tank to the filler neck. Added a heat shrink sleeve where it passes into the cabin, to make it snug in the grommet. Plugged the smaller vent pass thru. New vent line to charcoal canister is now run underneath, so I plugged the factory grommet at the forward end of the rail. Had to use a universal grommet, I couldn't find a Volvo one in my collection in the appropriate size. Cut the original vent hose where it comes through the frame rail and added a quick connect. Nitrile line goes from there to the tank. added EPDM sleeve Pressing male QC fitting at tank end of nitrile line Female 90º QC off tank is connected using a section of the original Z vent hose from inside the cabin . These fittings can be reached for disconnect from between the rear panel & gas tank, and thru the louvre vents in the rear panel on the 75.


 1 point
 -
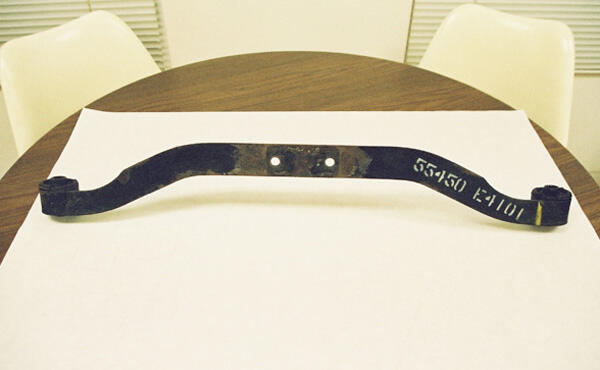
After seeing your pic I did some uncovering on mine. Did some cleaning to remove 54 yr old undercoating and found the p/n’. The rear differential assembly is the only thing I haven’t yet taken apart to clean.
 1 point
 -
1 pointDust it off, get it running, evaluate how much you enjoy owning and driving a 53 year old Datsun, and then decide if it's worth tossing more money at it to revitalize it. Consider the $20-30K you mentioned putting into it as an investment in driving/owning pleasure rather than future financial return.1 point
-
A friend of mine had a stencil made to reproduce that part no. on the rear moustache bar. I don't recall if HLS30 vs HS30's used a different part no. though. Here are some photos from a clean 73 model (HS30) we took apart a couple of years ago. https://photos.app.goo.gl/szJd62o9dARqLpWTA
 1 point