Leaderboard
-
conedodger
Free Member3Points12,513Posts -

Zed Head
Free Member3Points19,236Posts -
motorman7
 Subscriber
 3Points2,228Posts
 -

siteunseen
Free Member2Points15,115Posts


Popular Content
Showing content with the highest reputation on 11/18/2023 in all areas
-
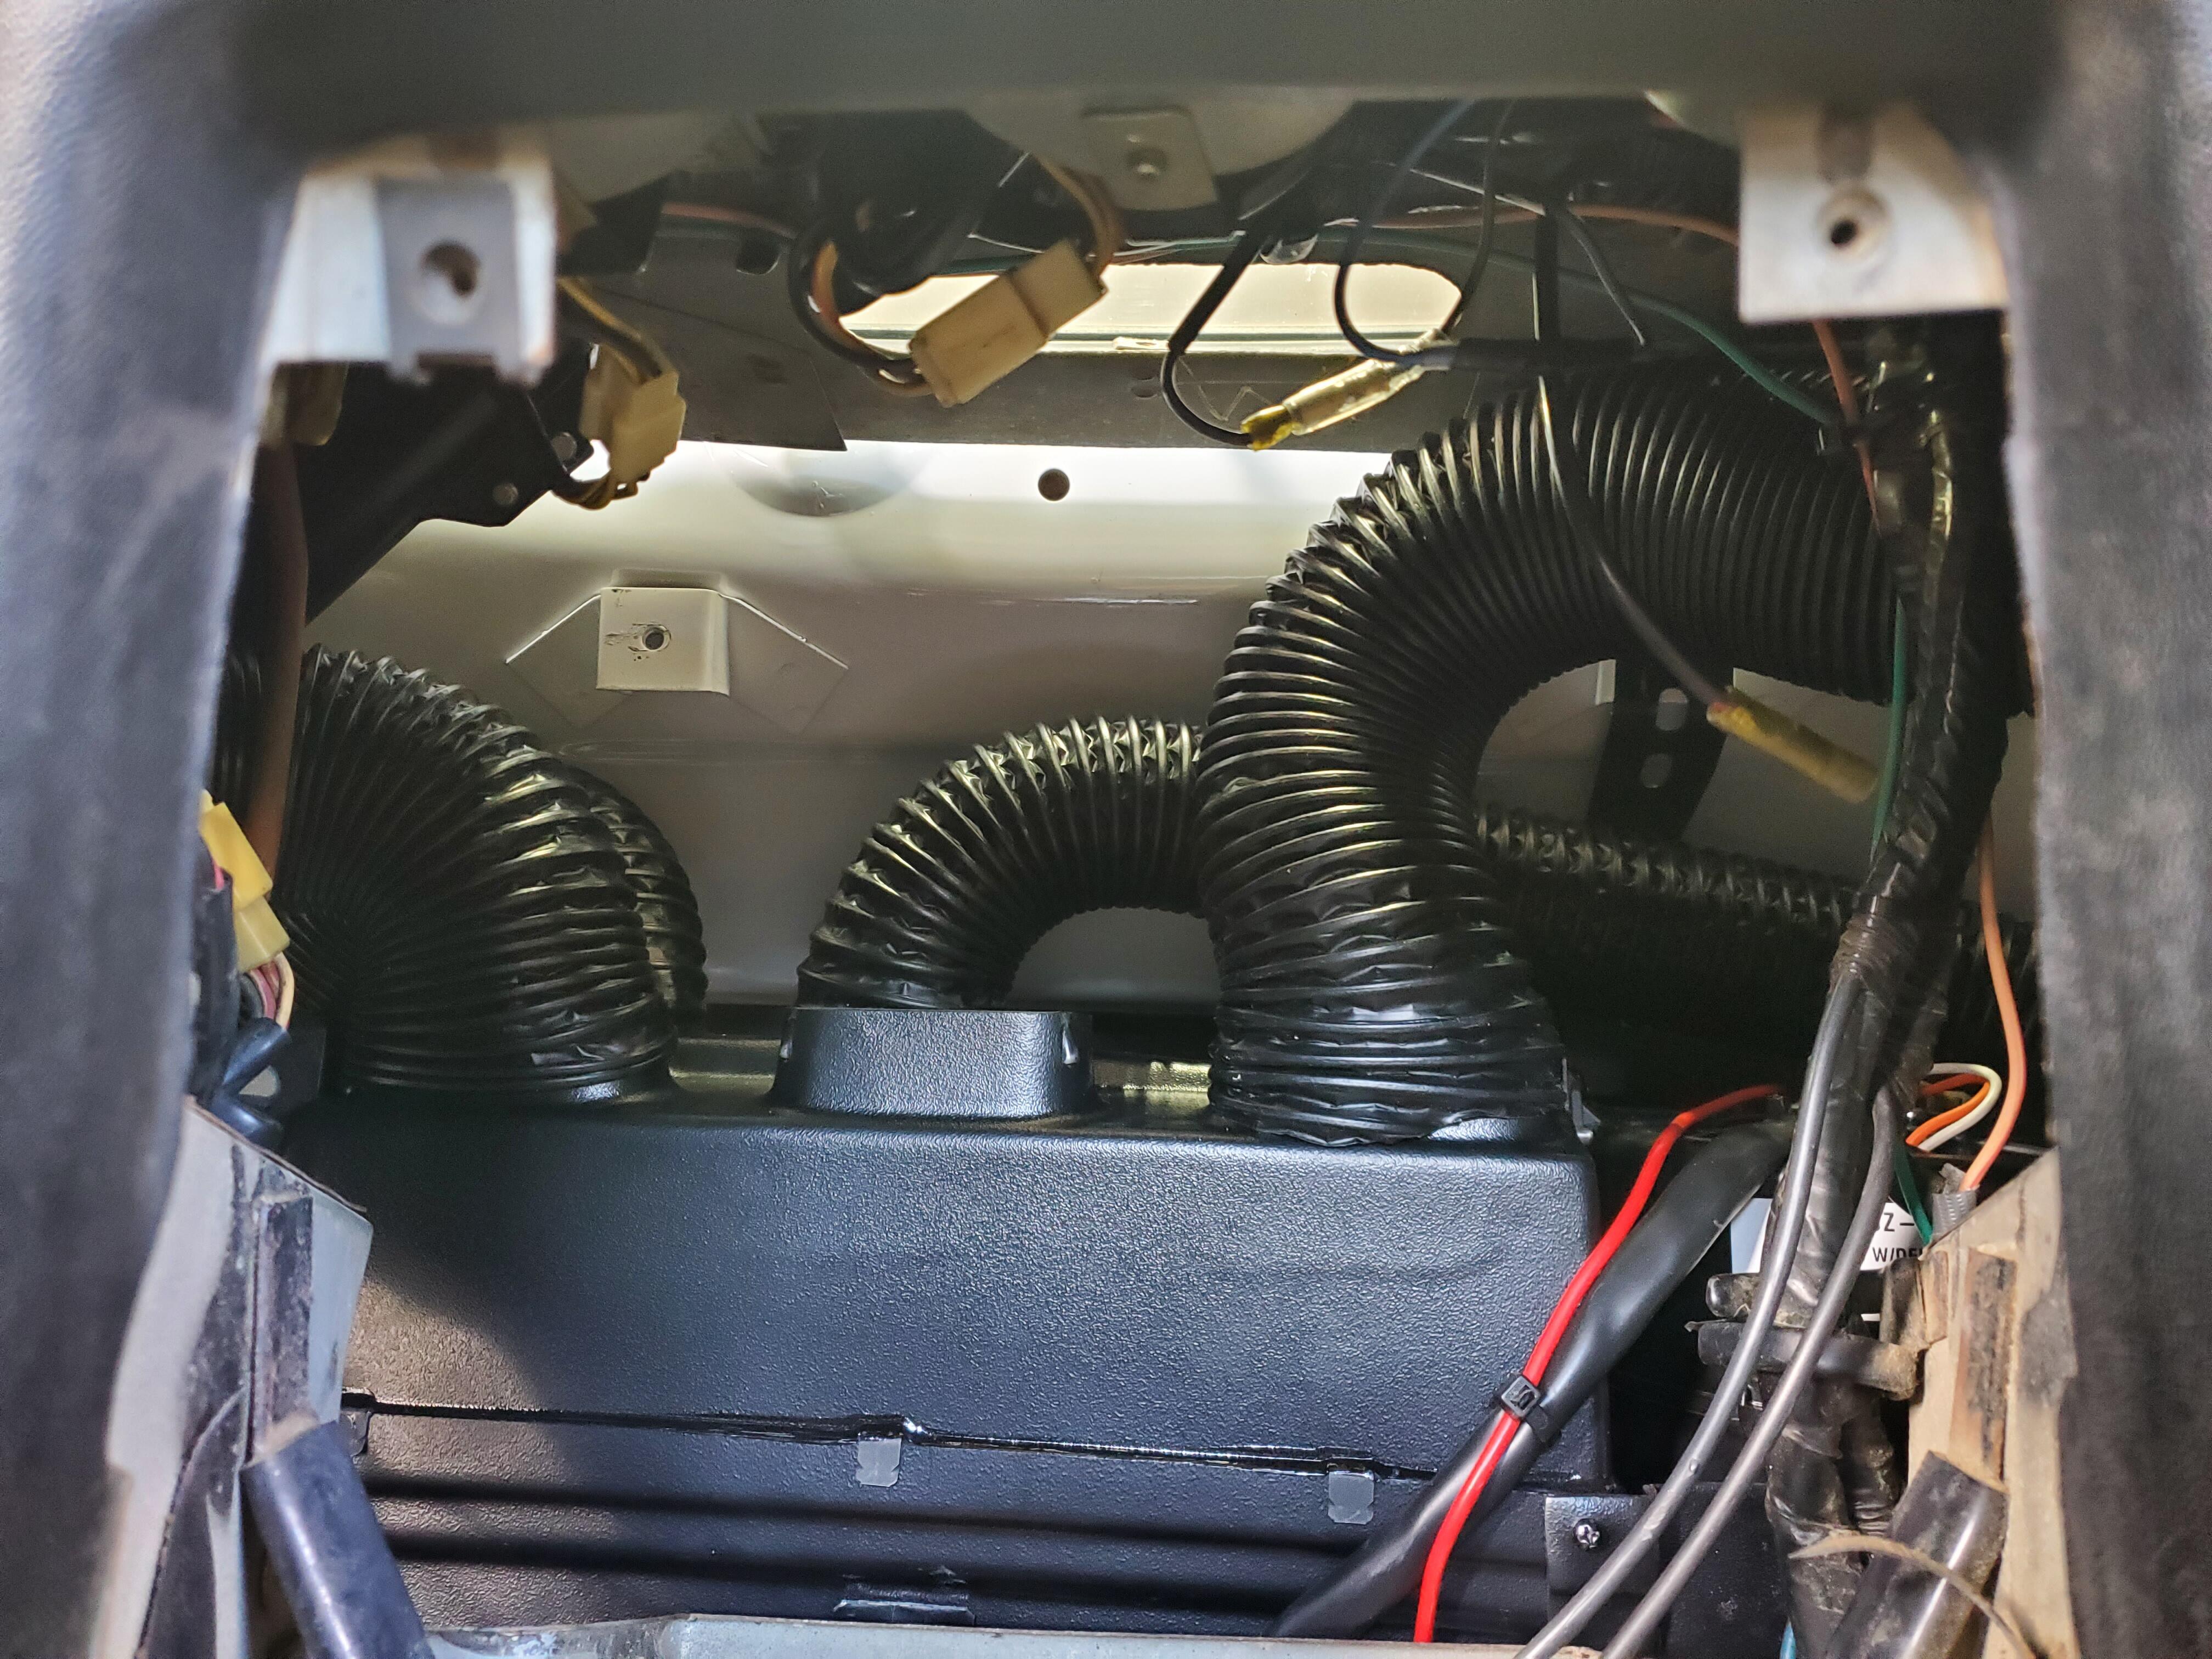
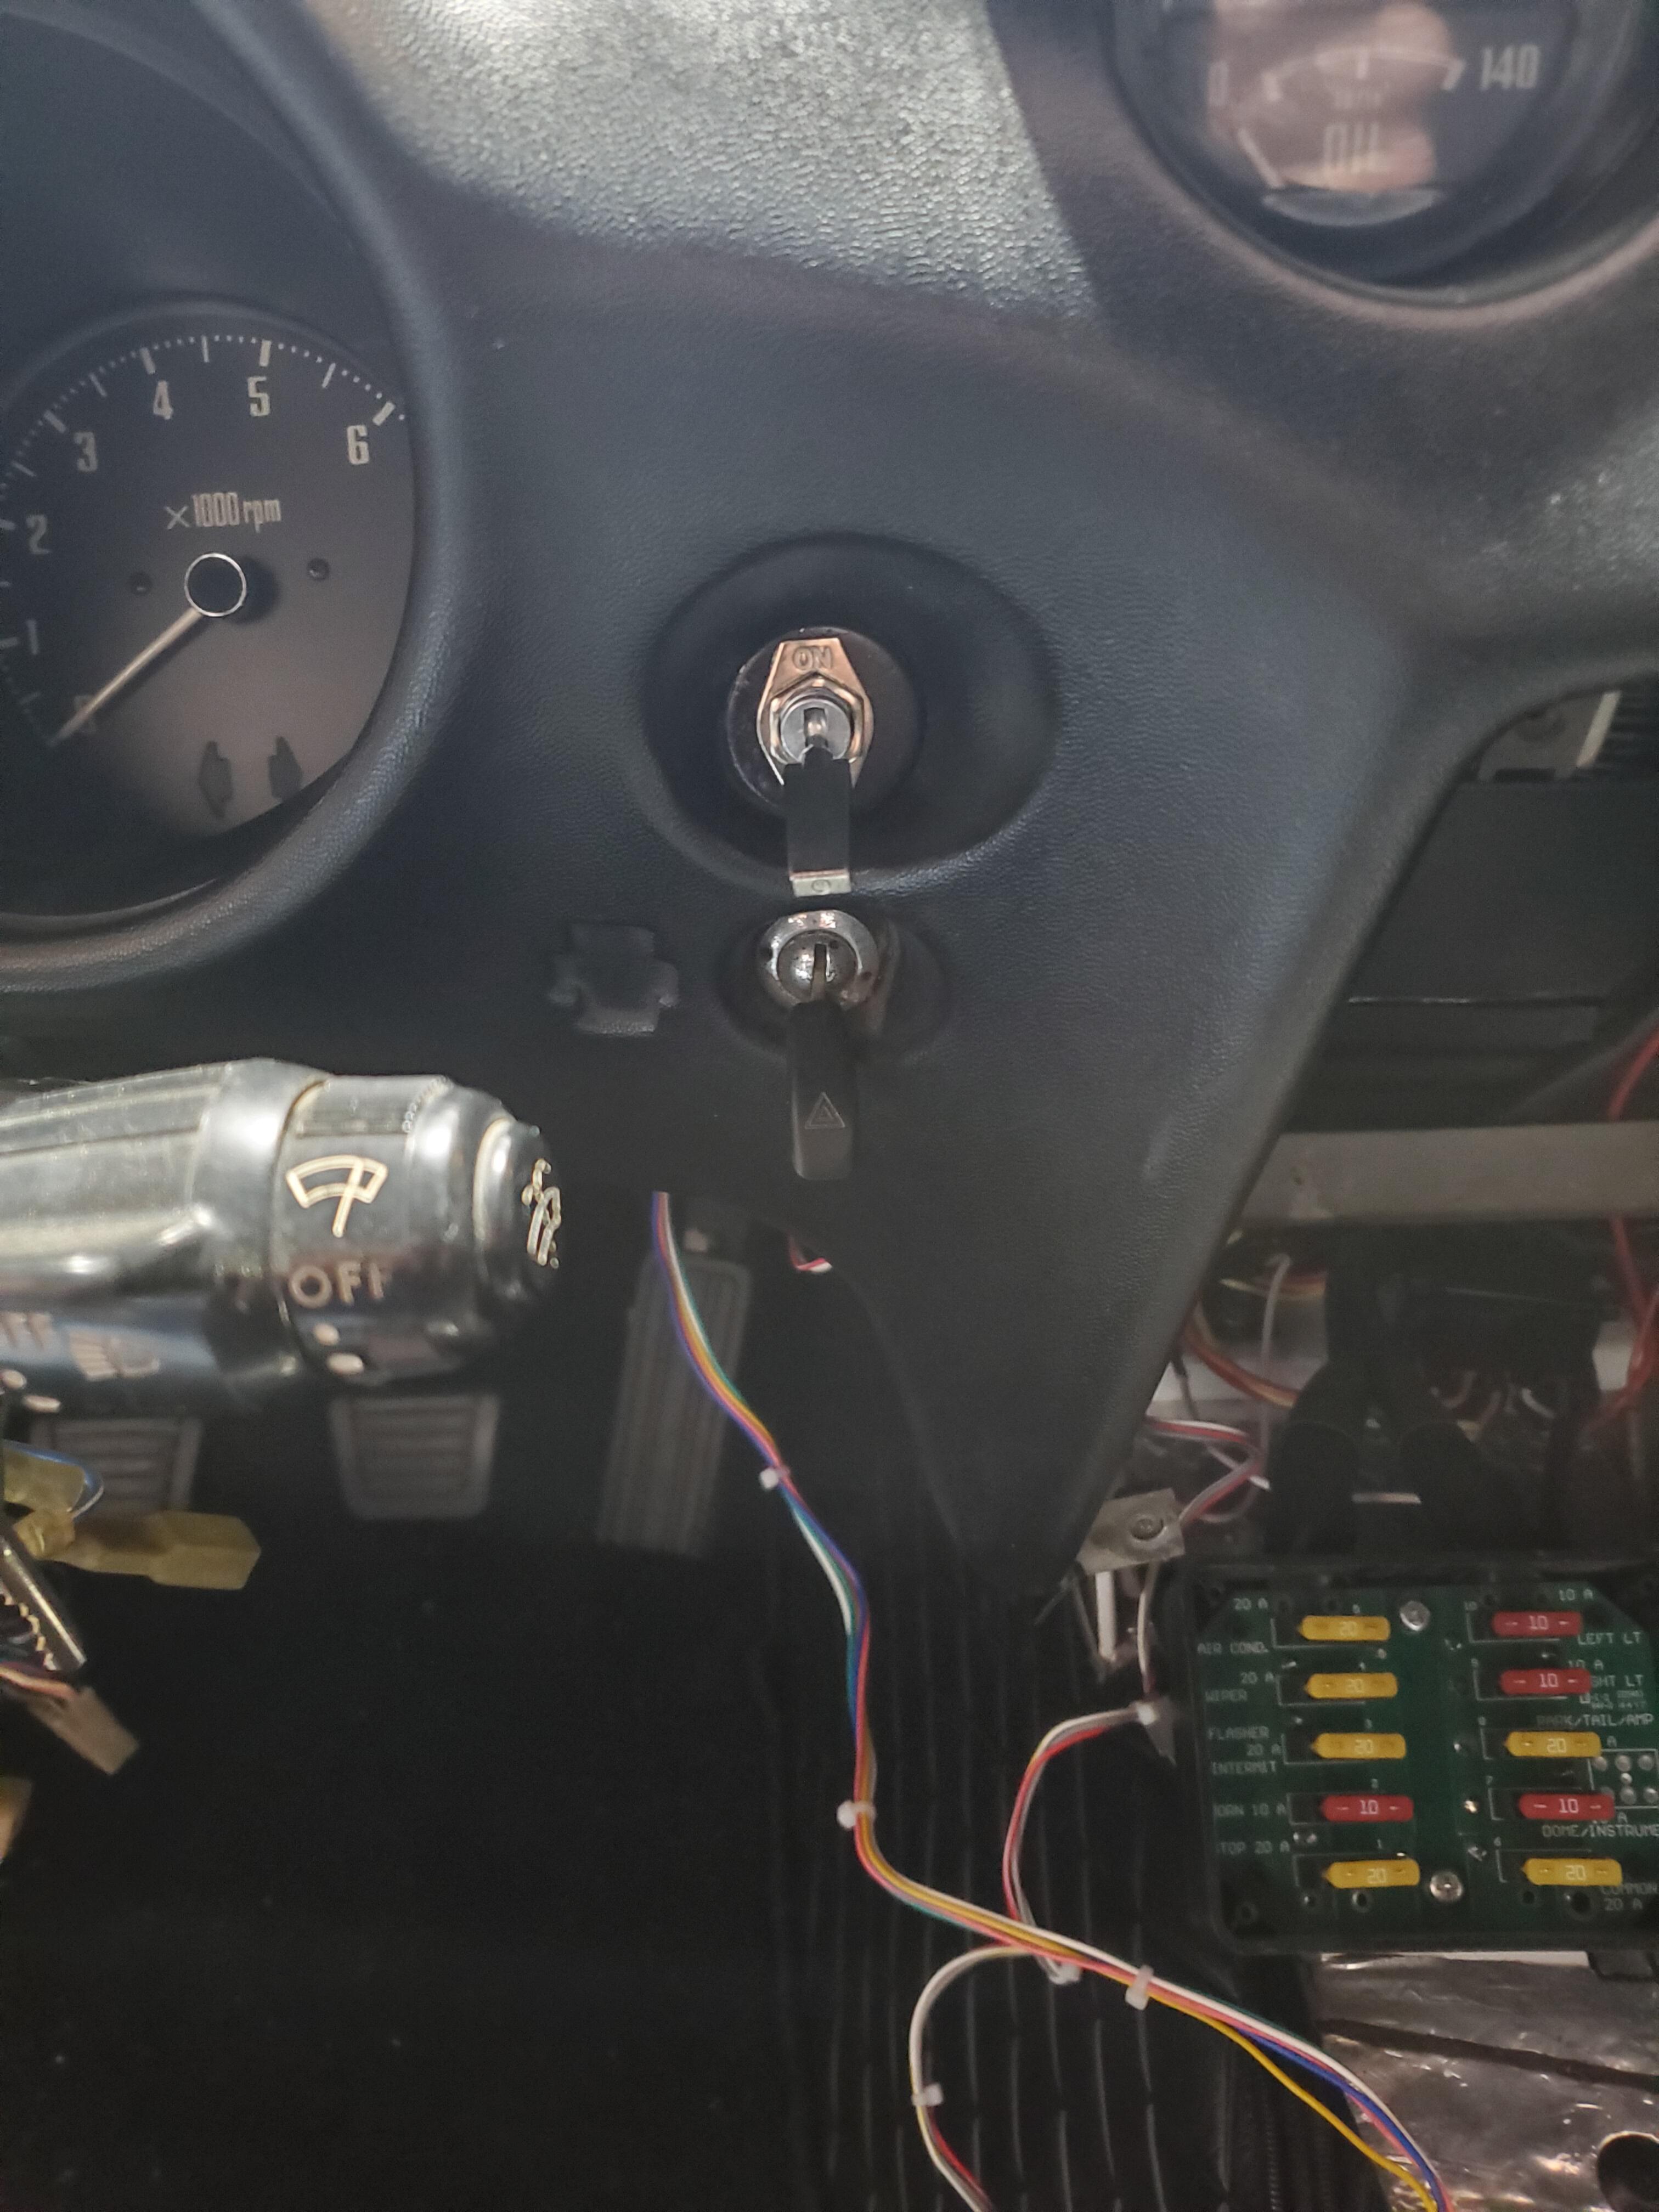
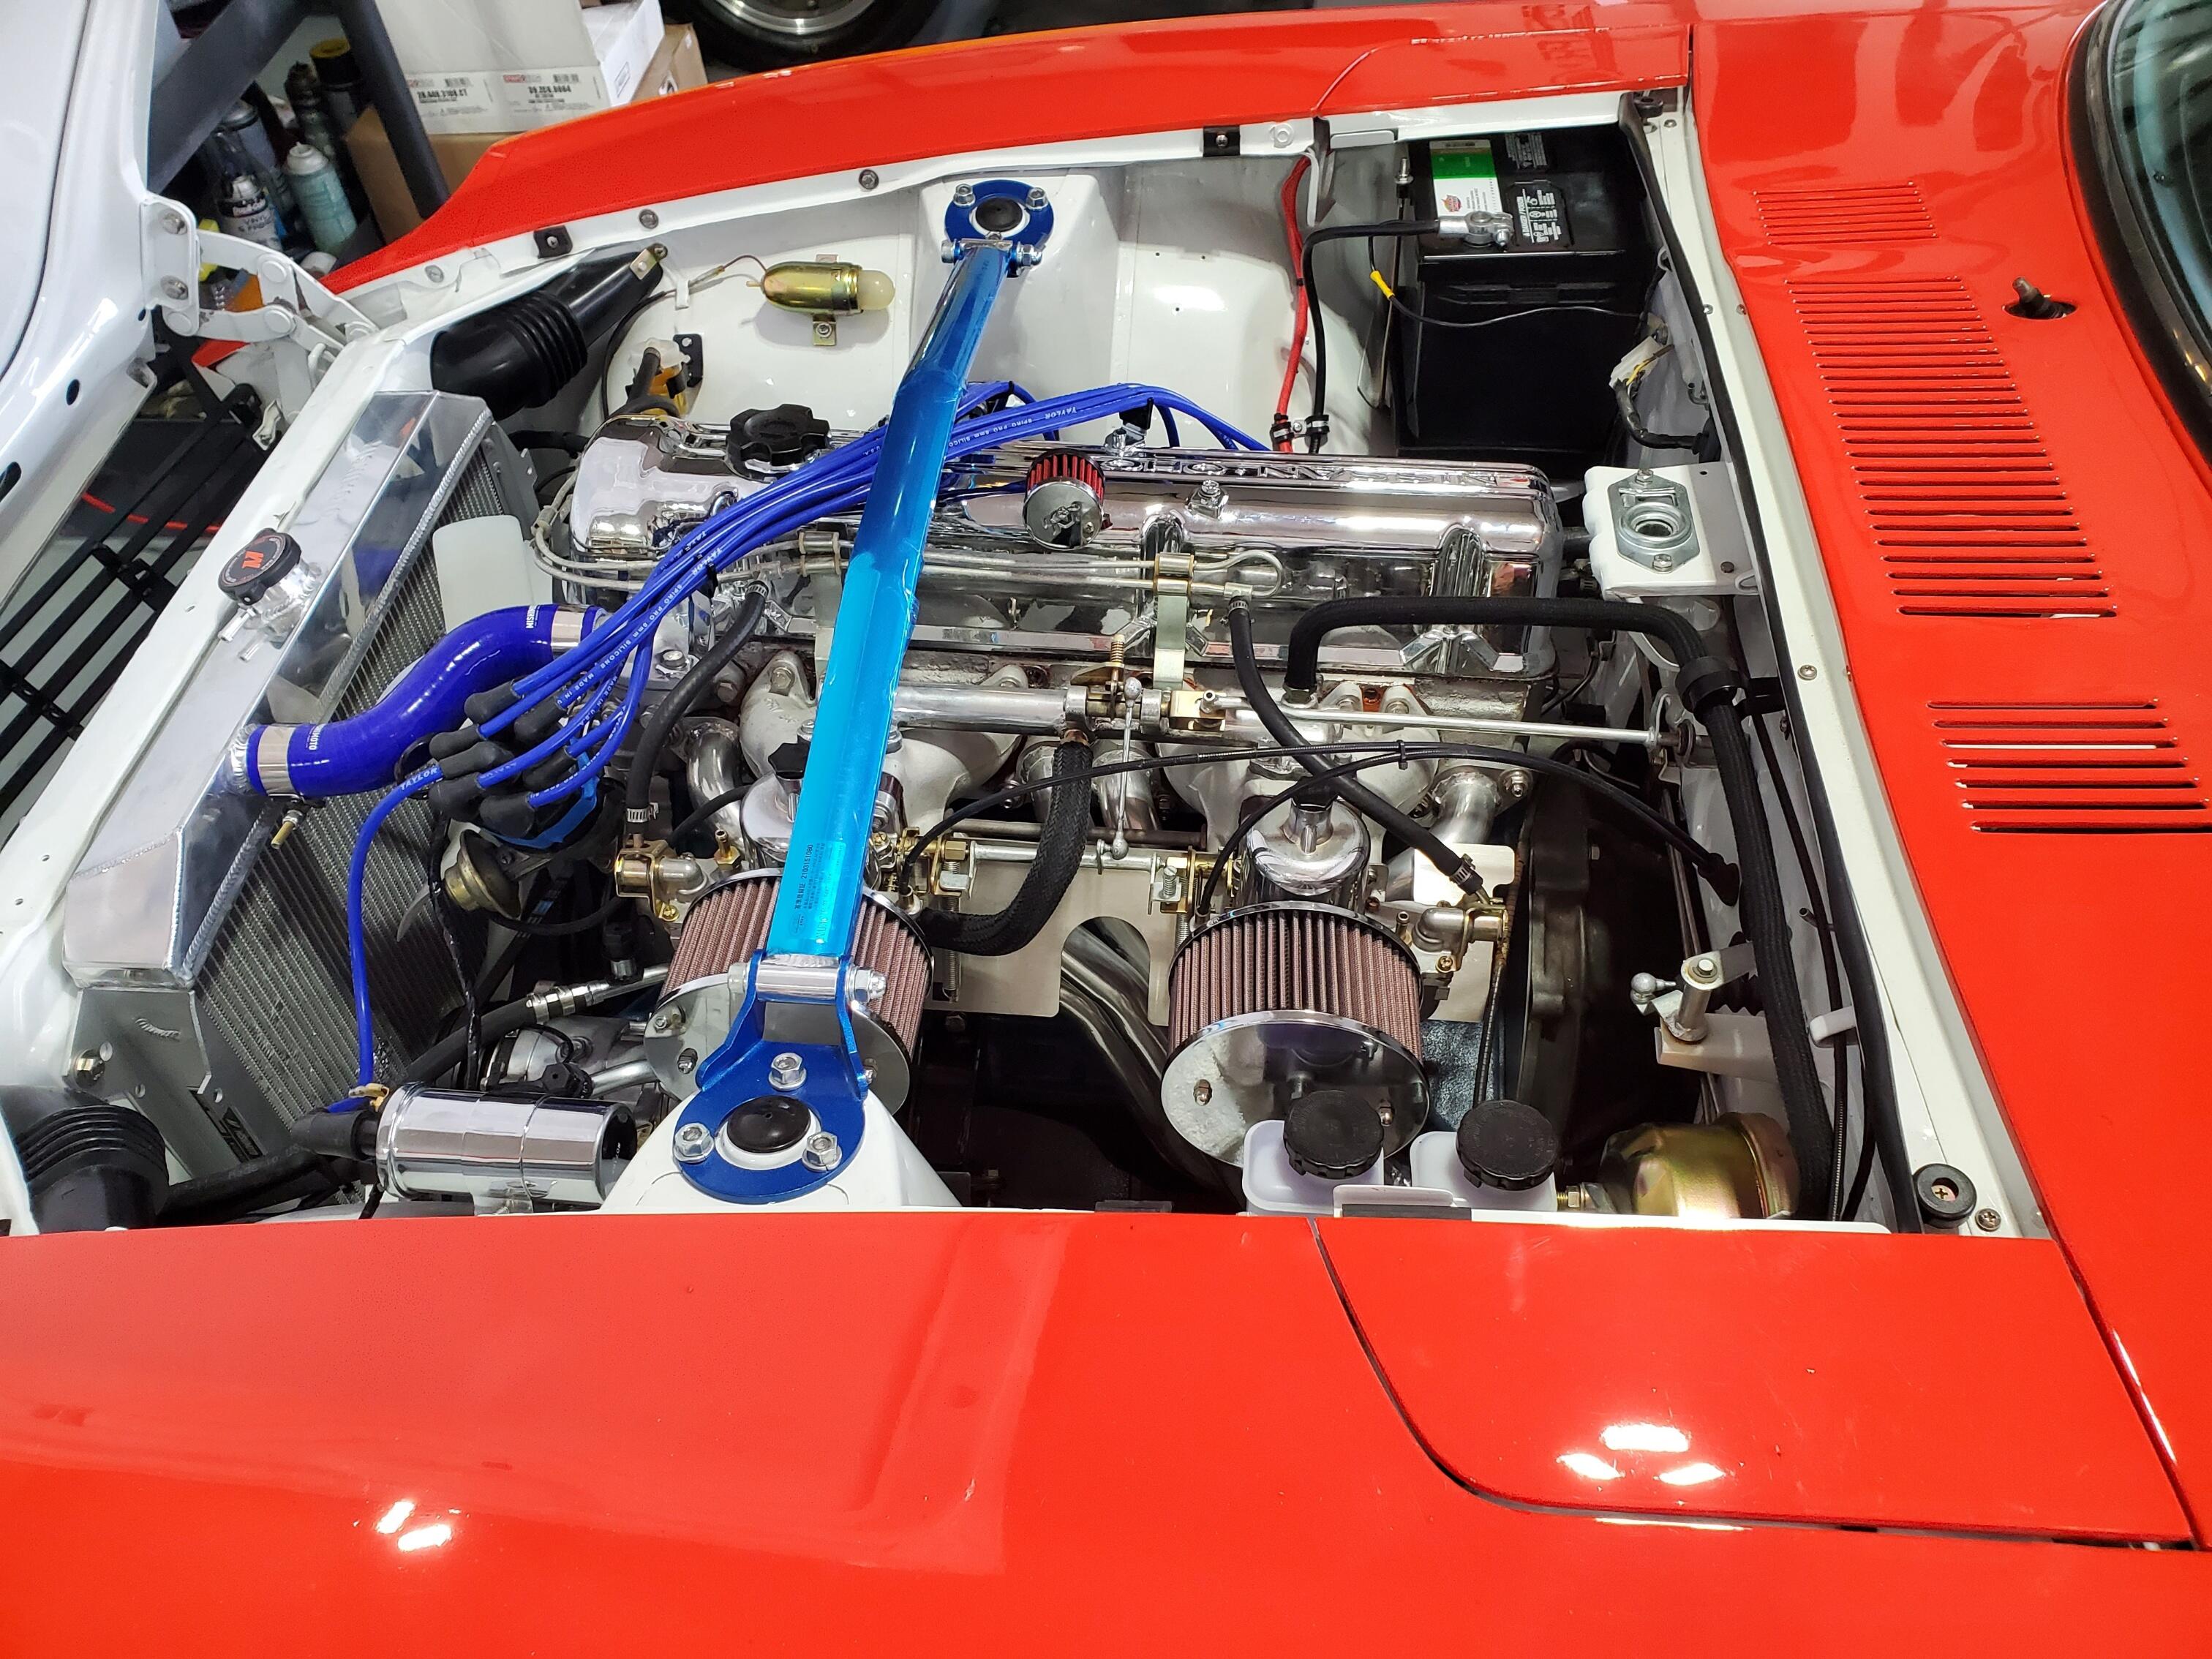
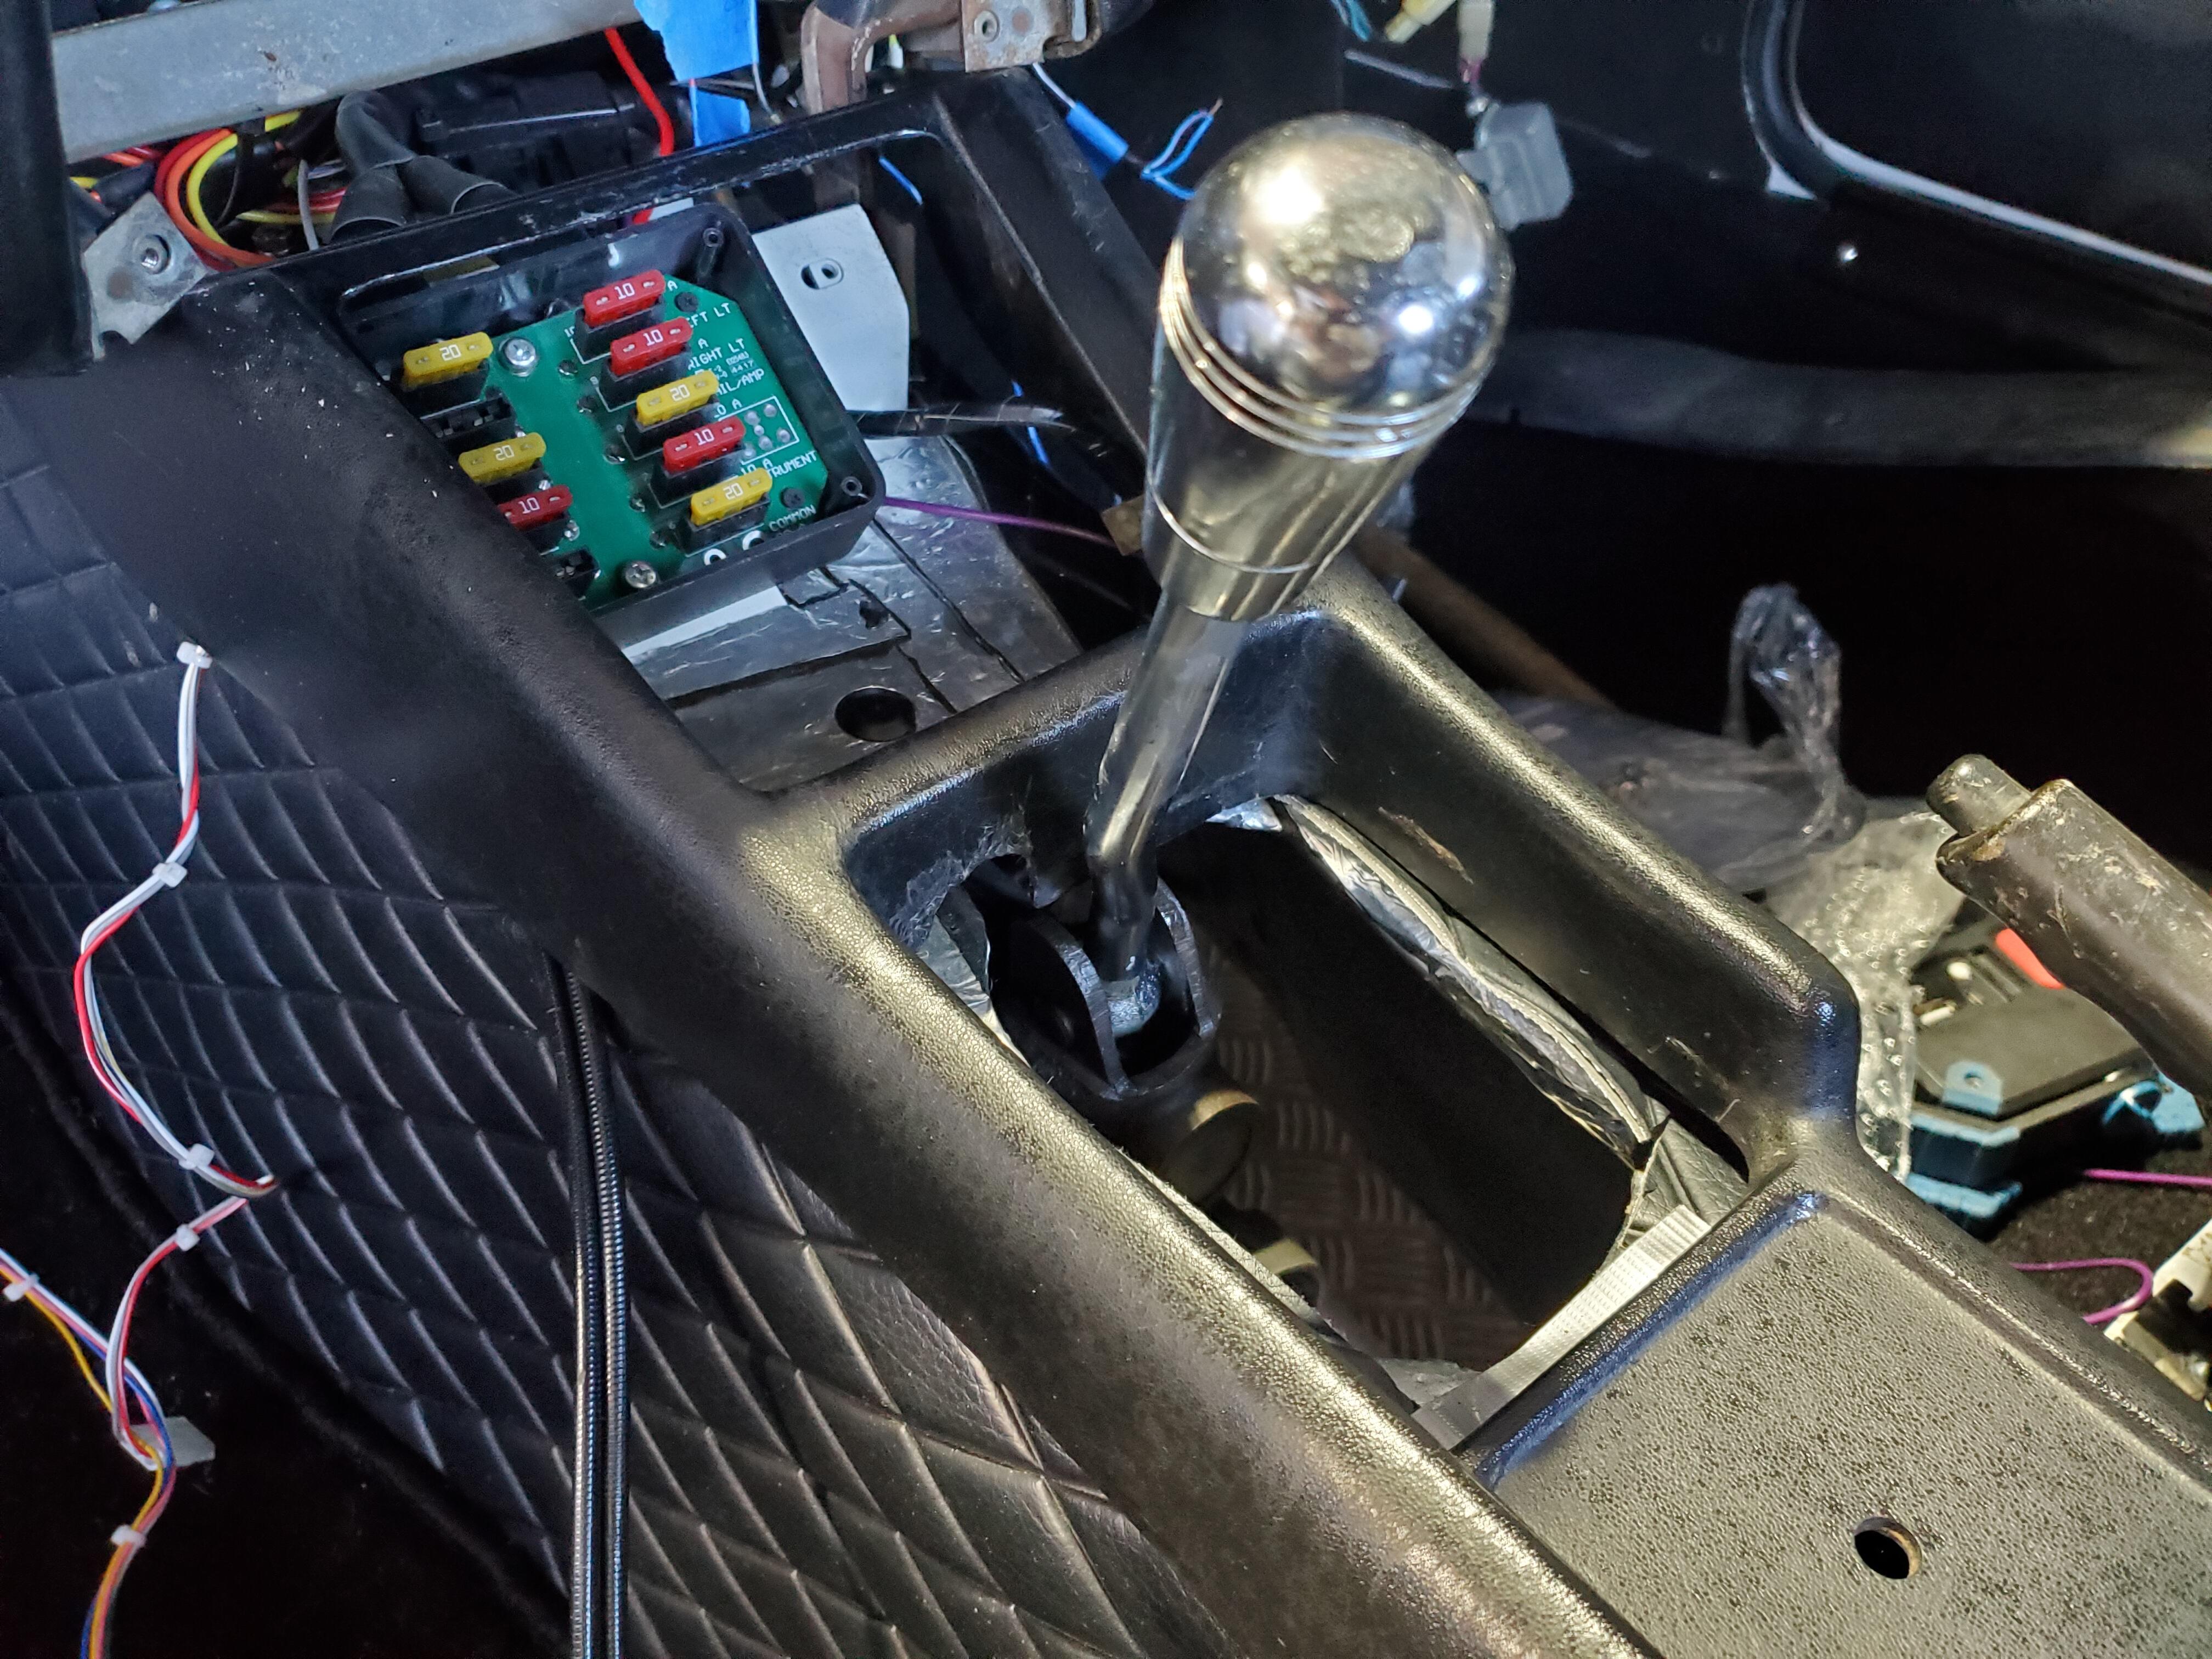
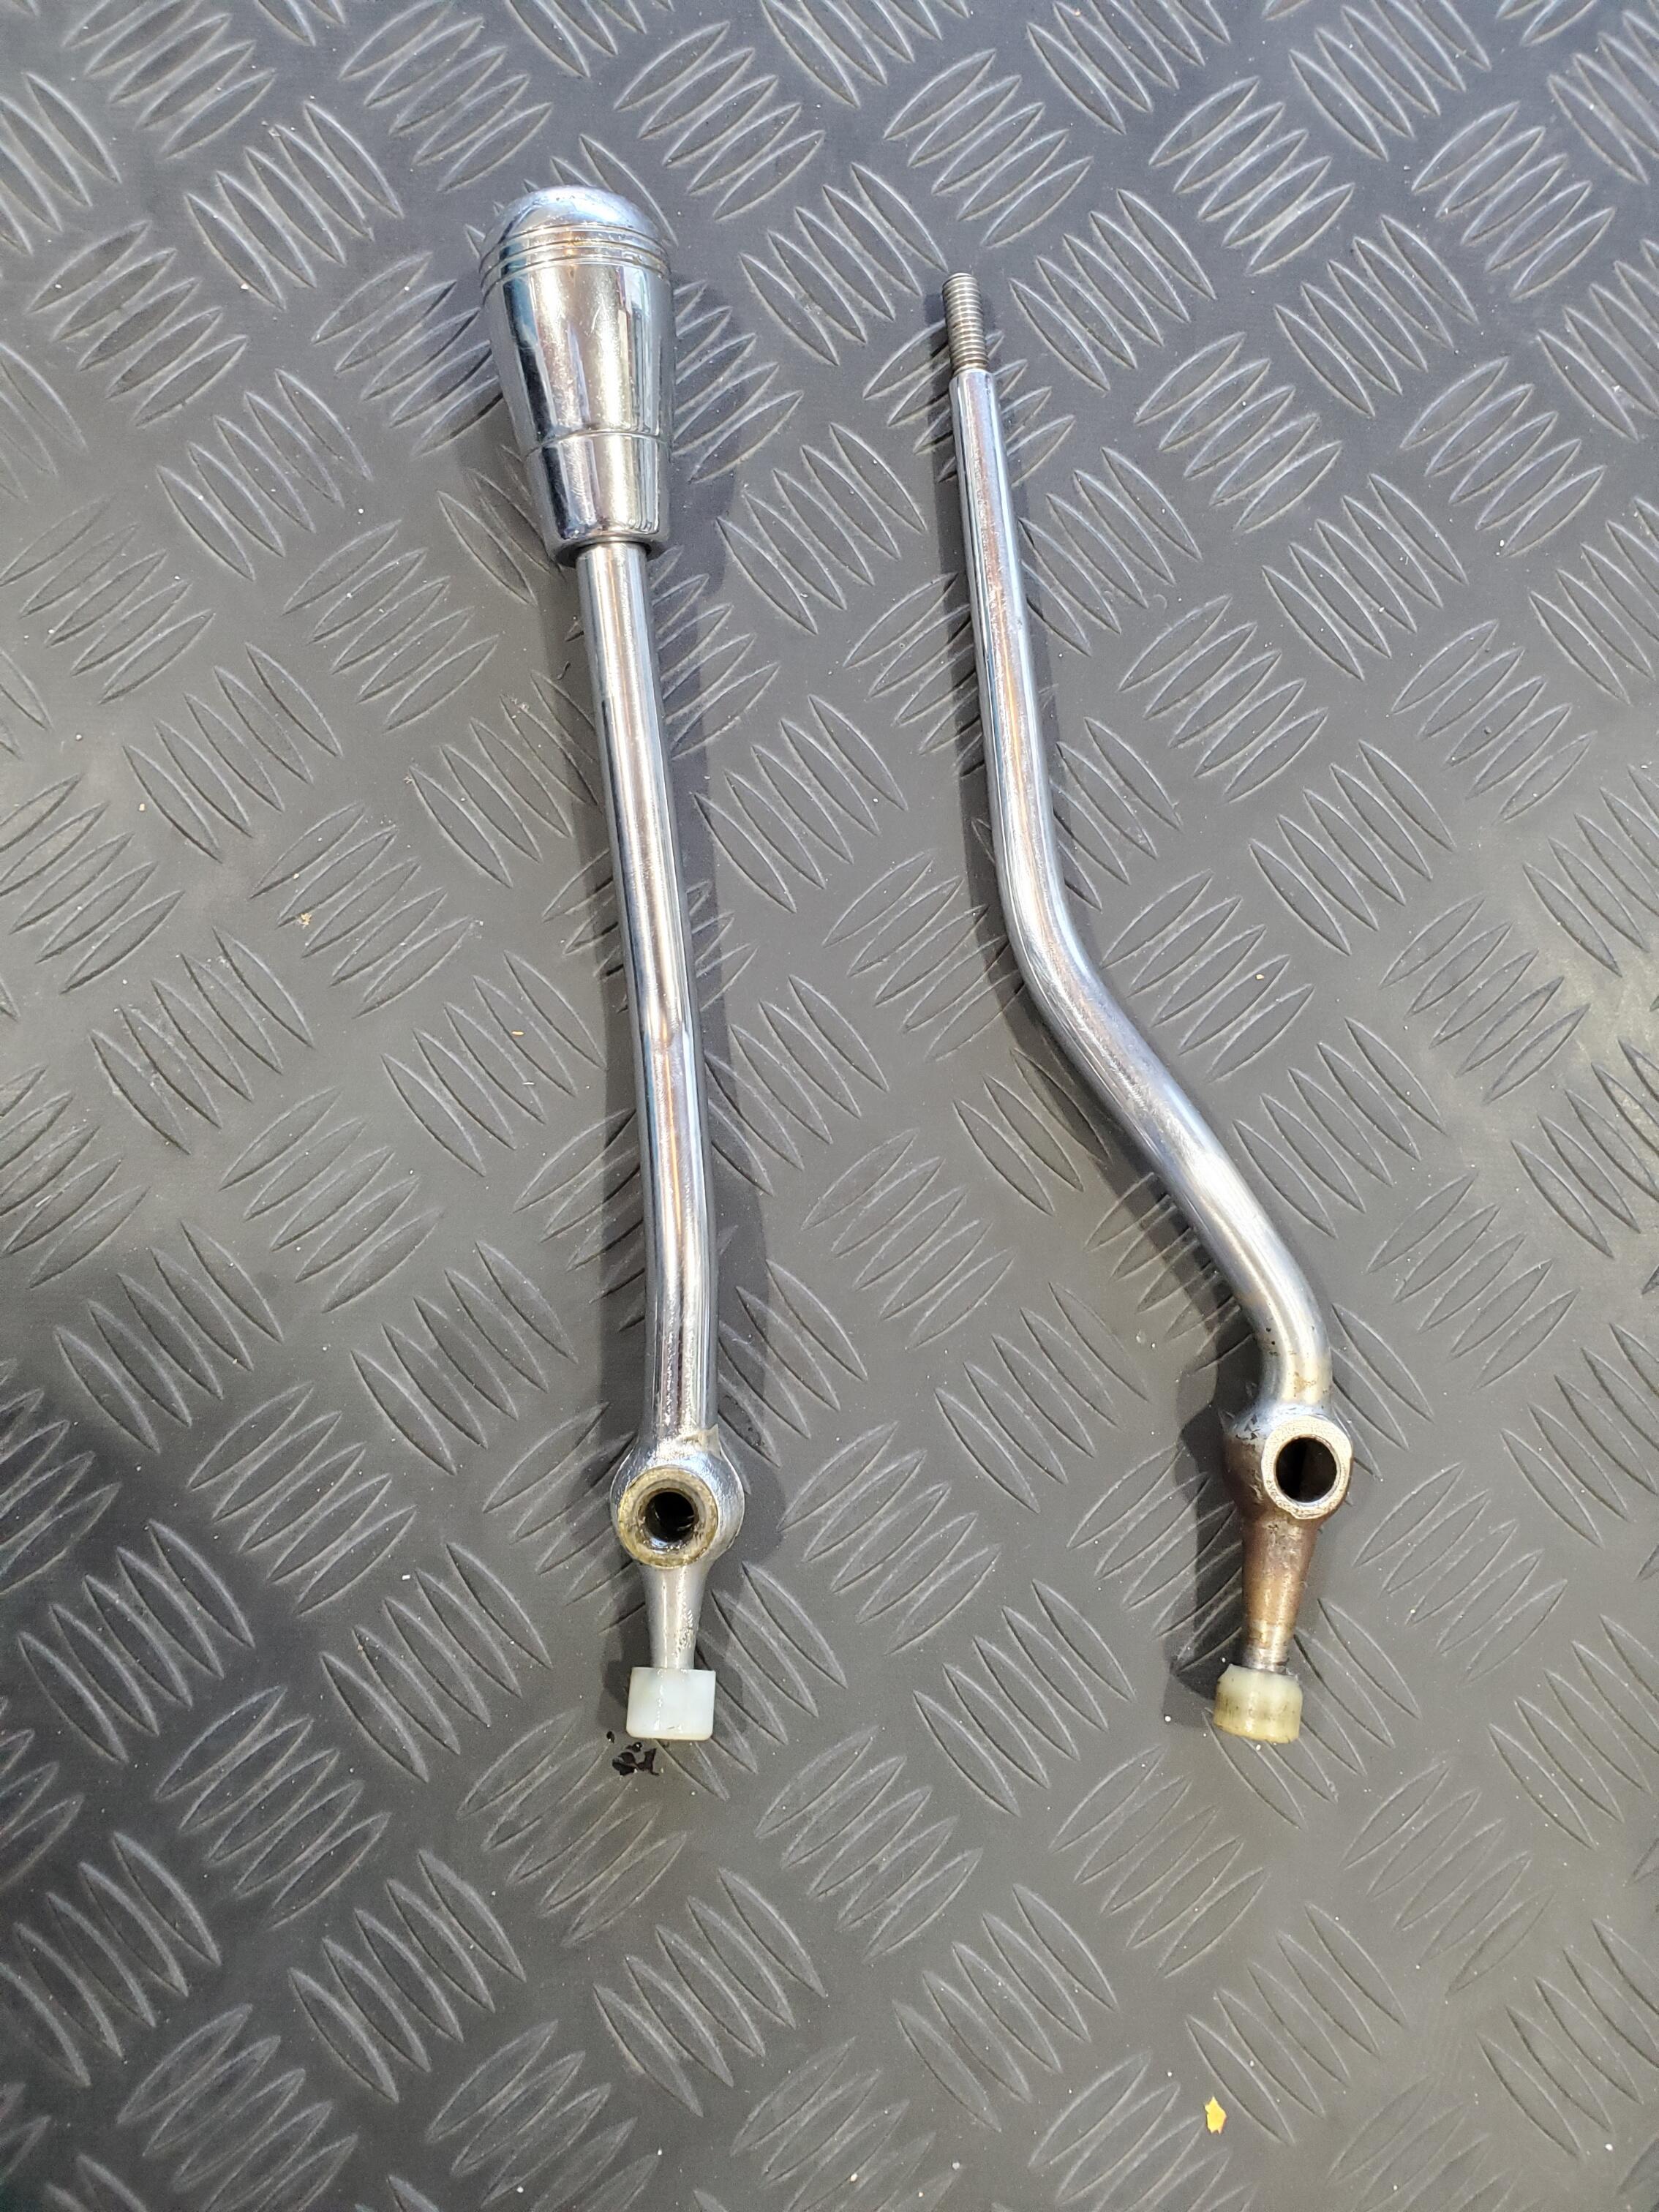
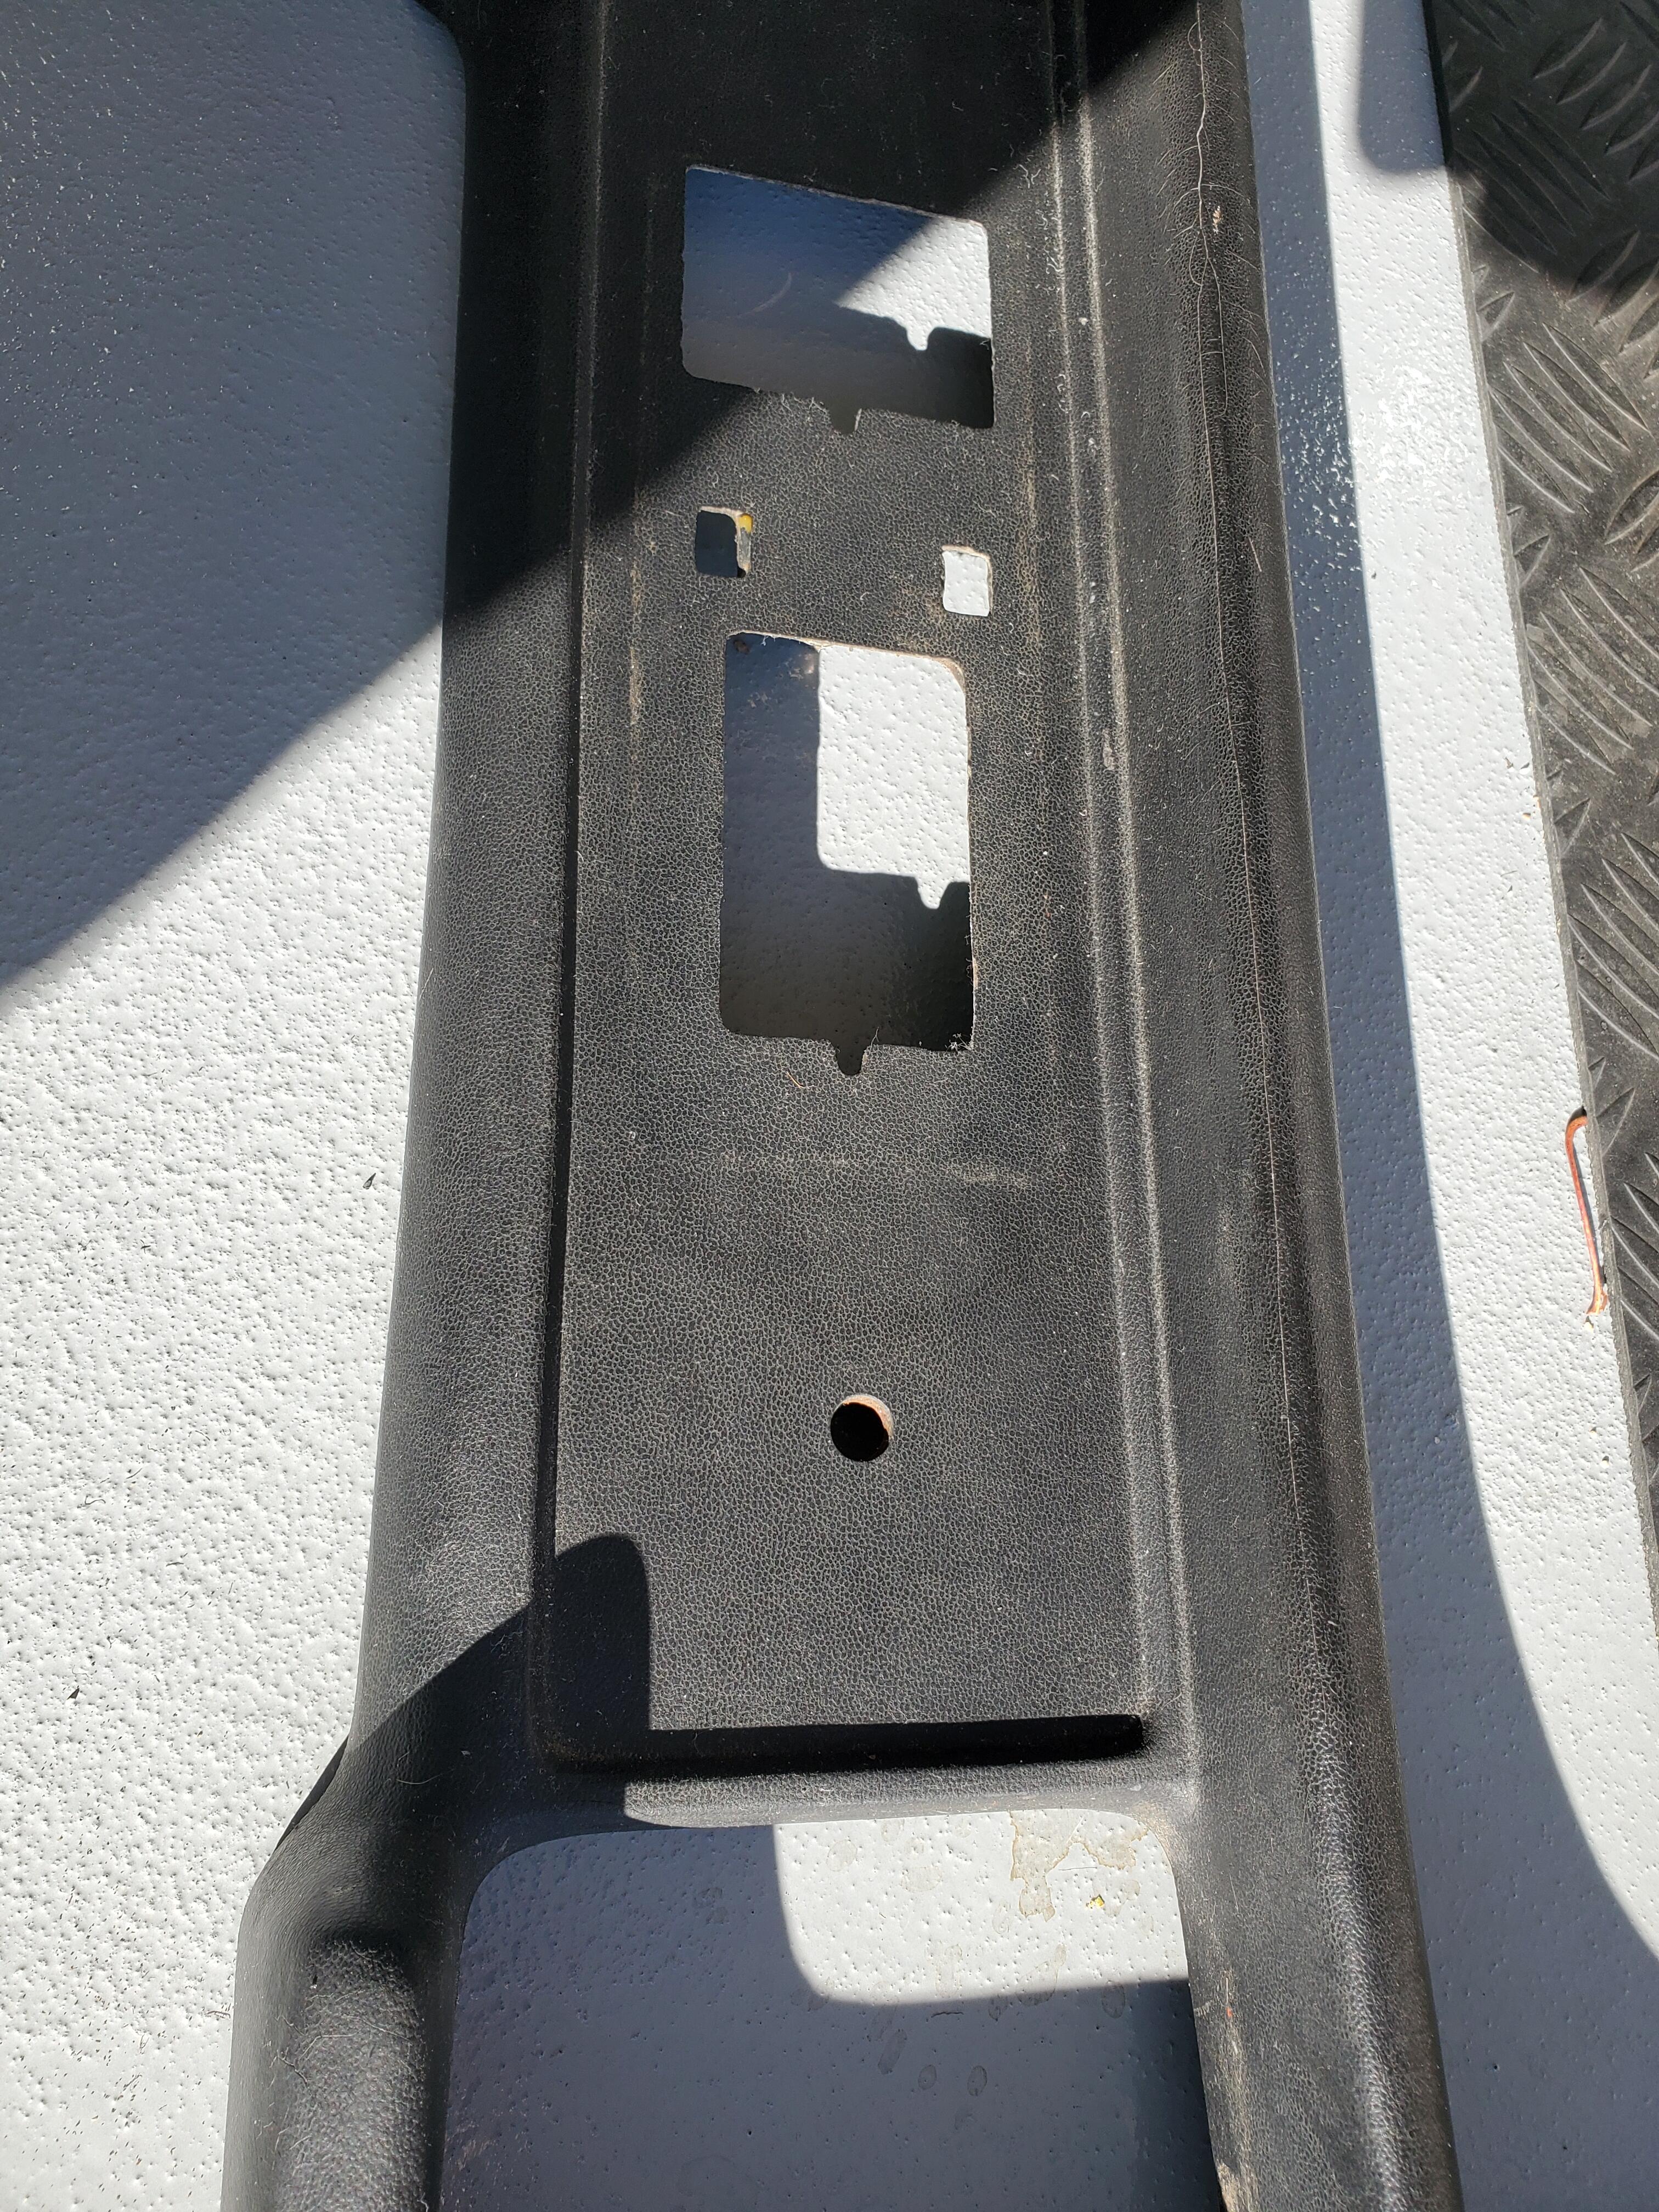
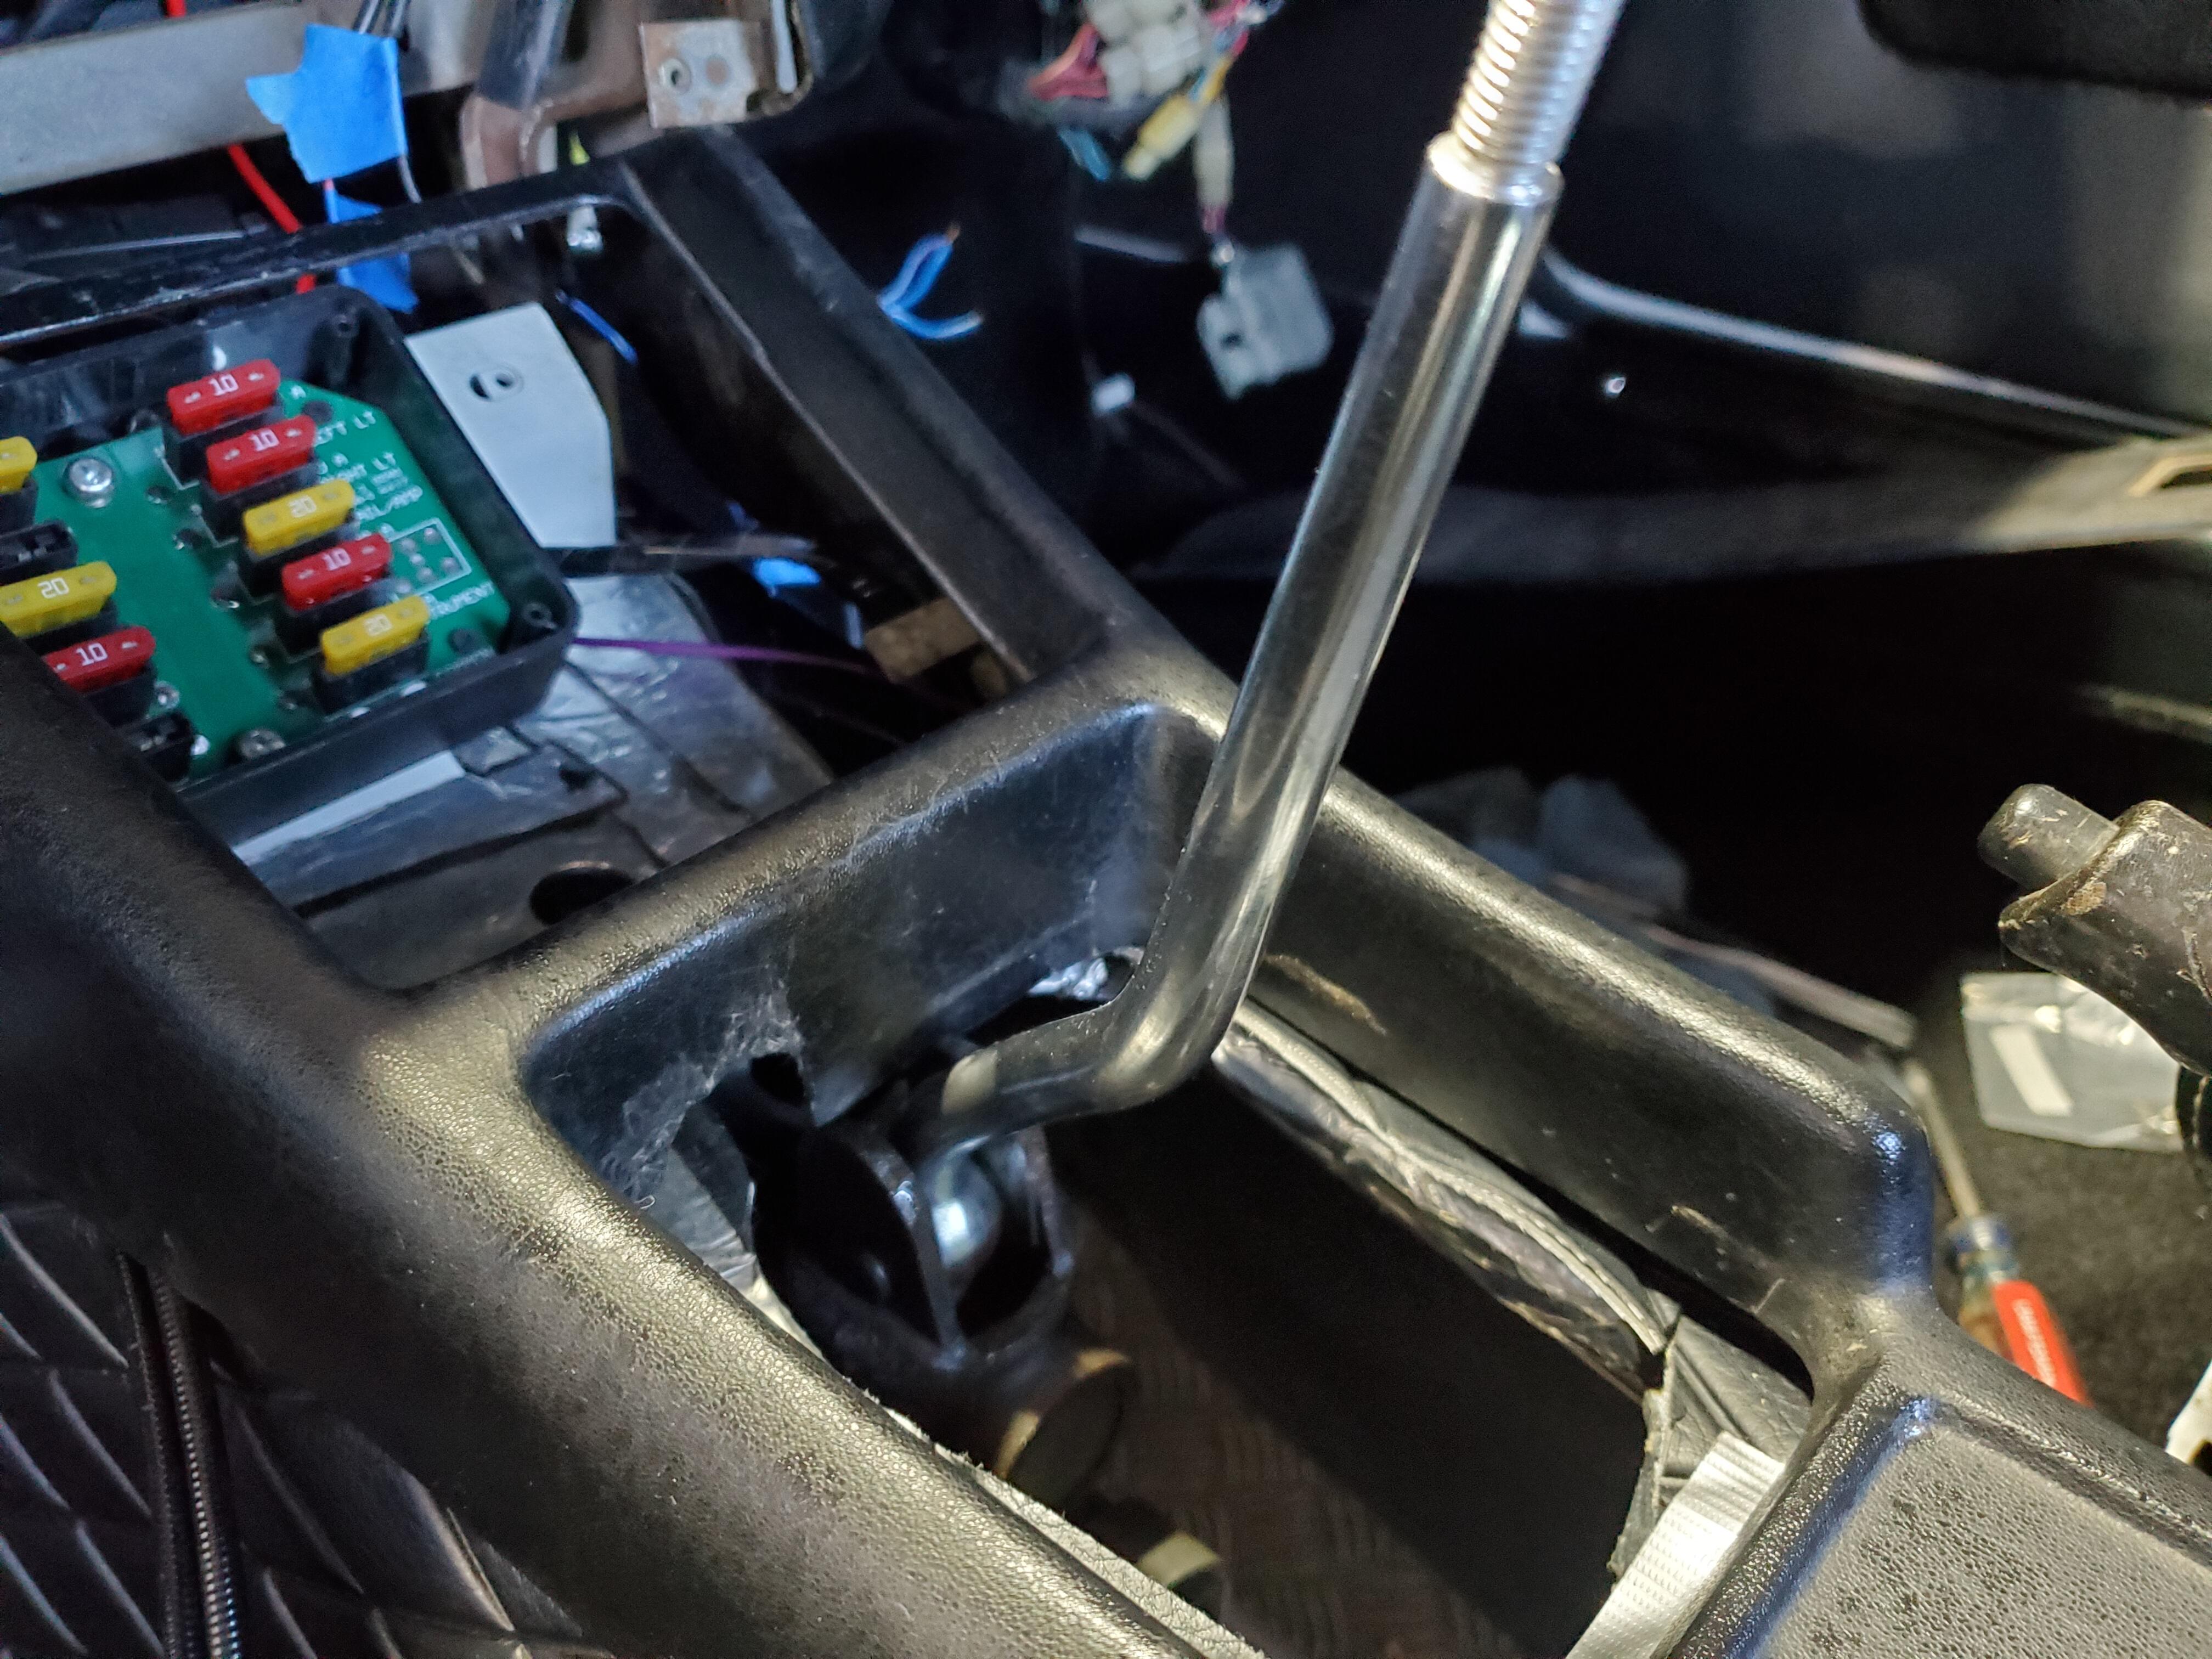
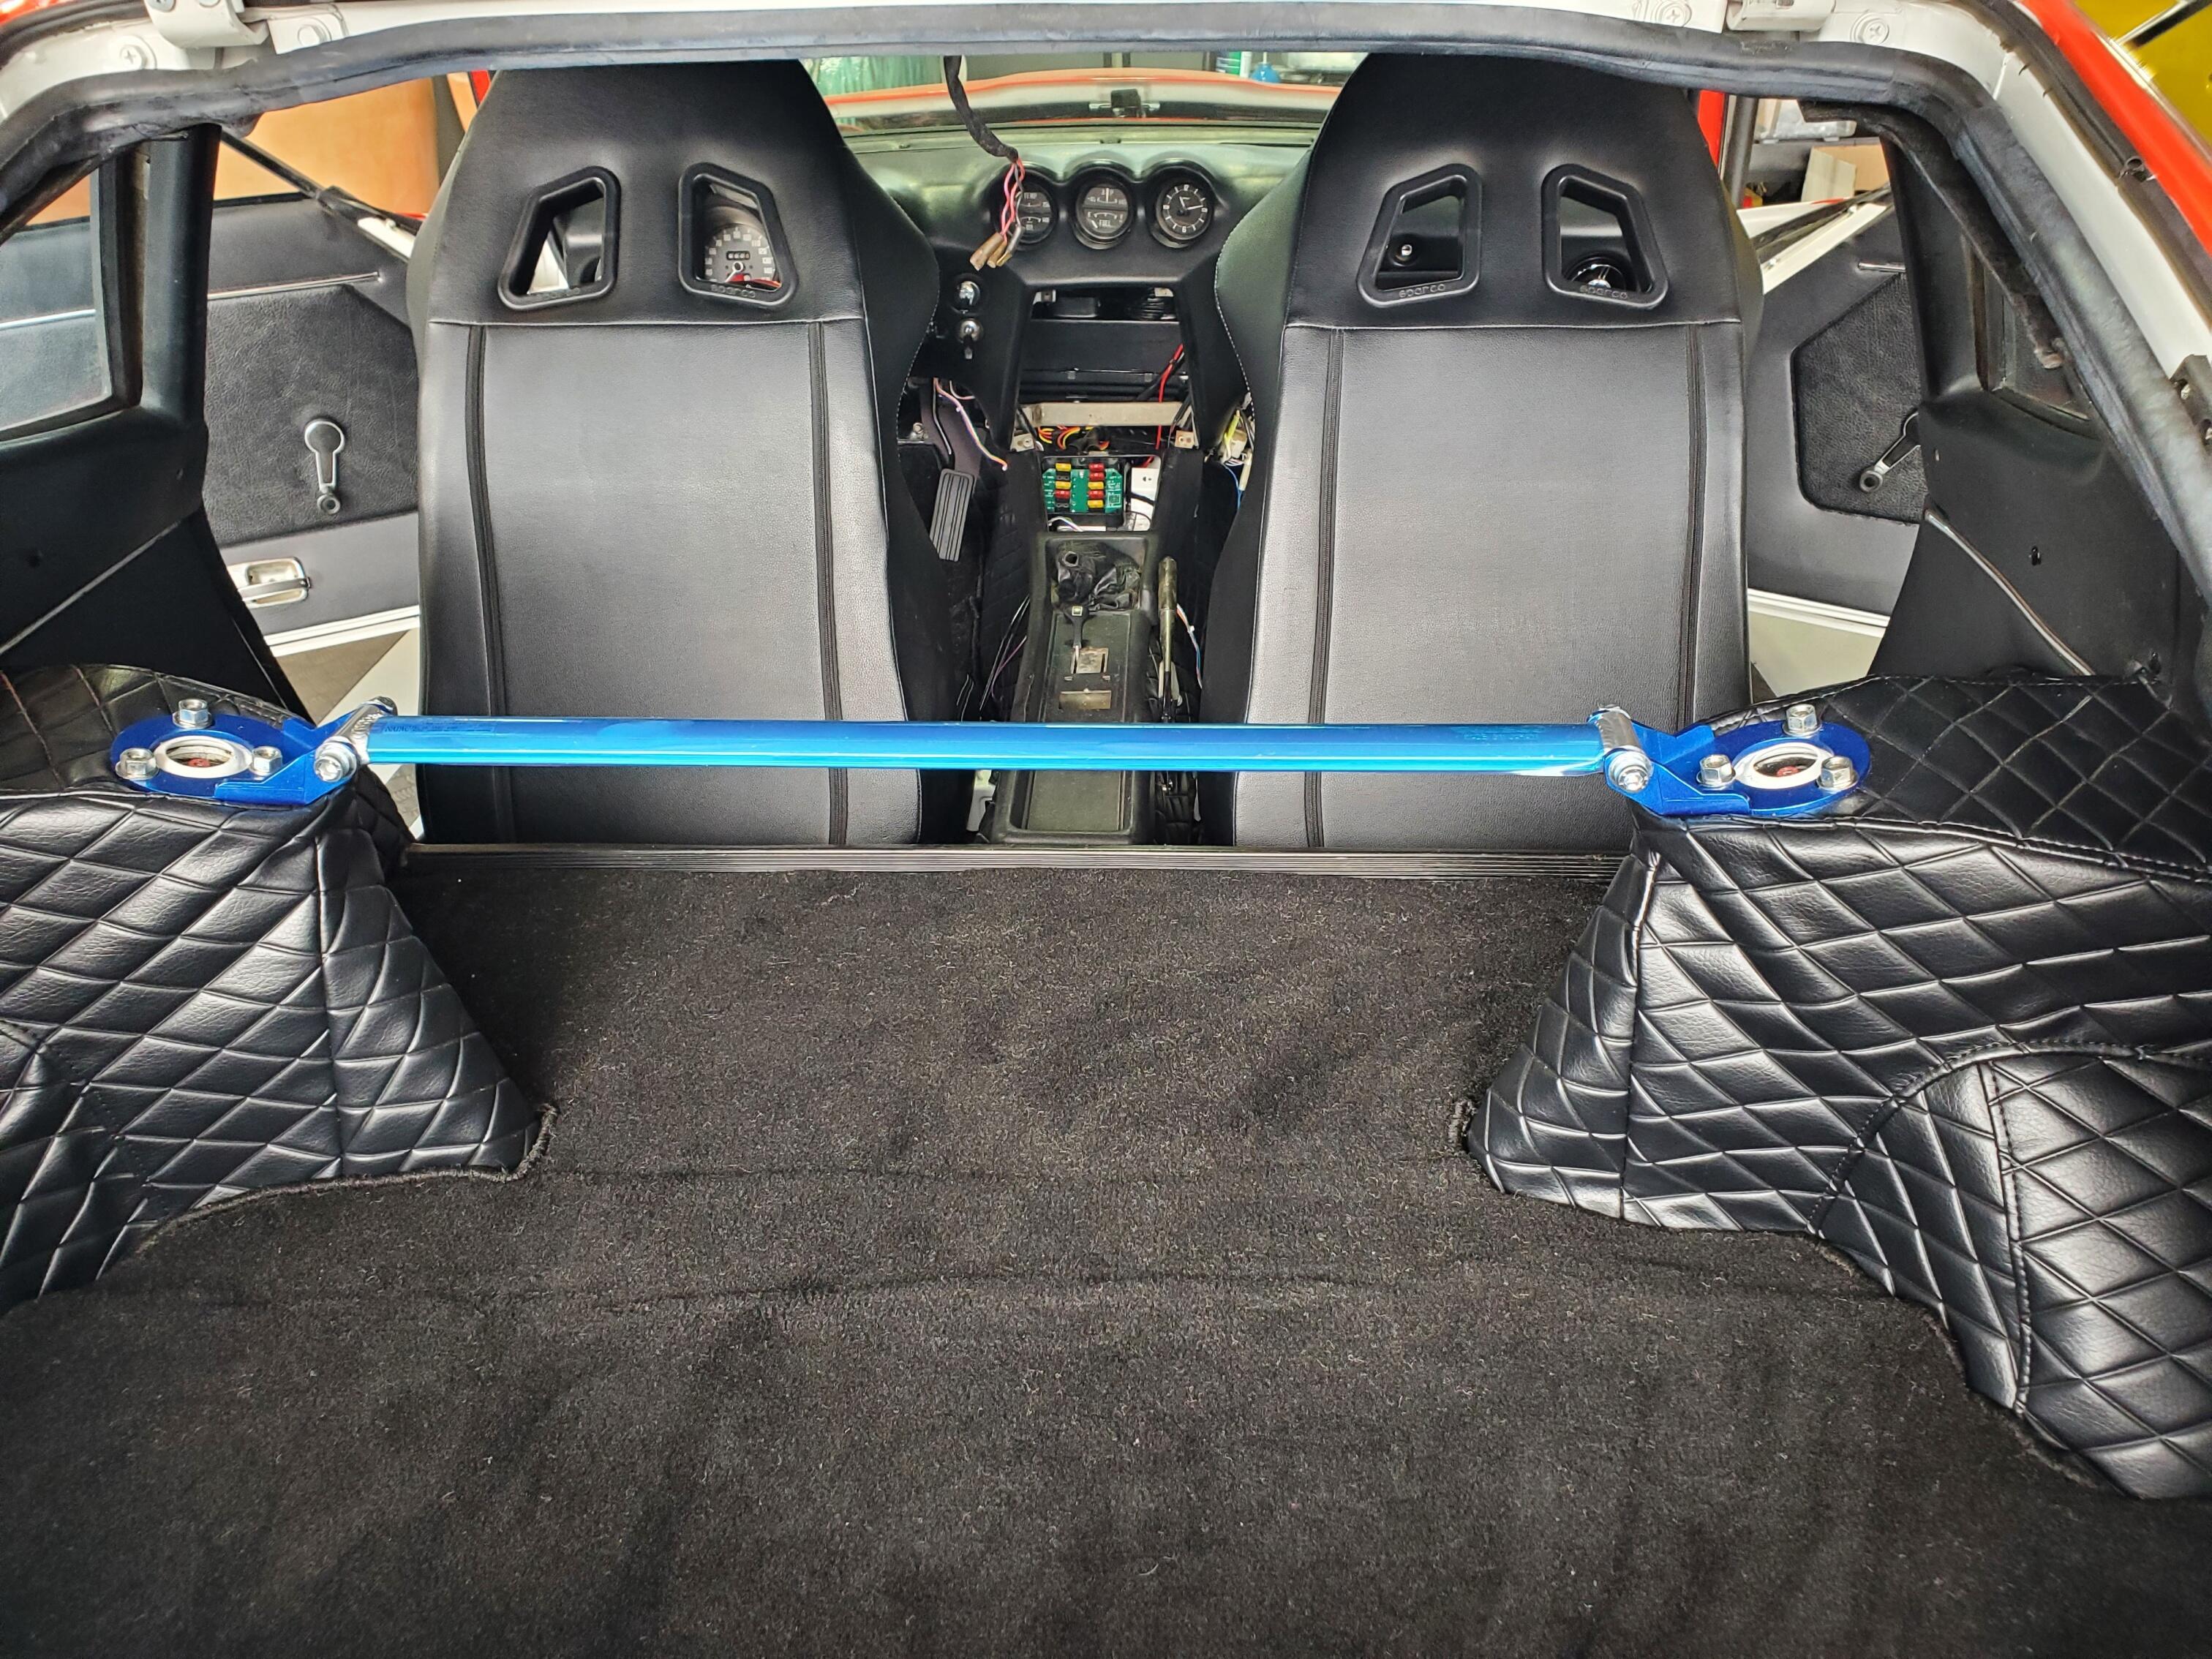
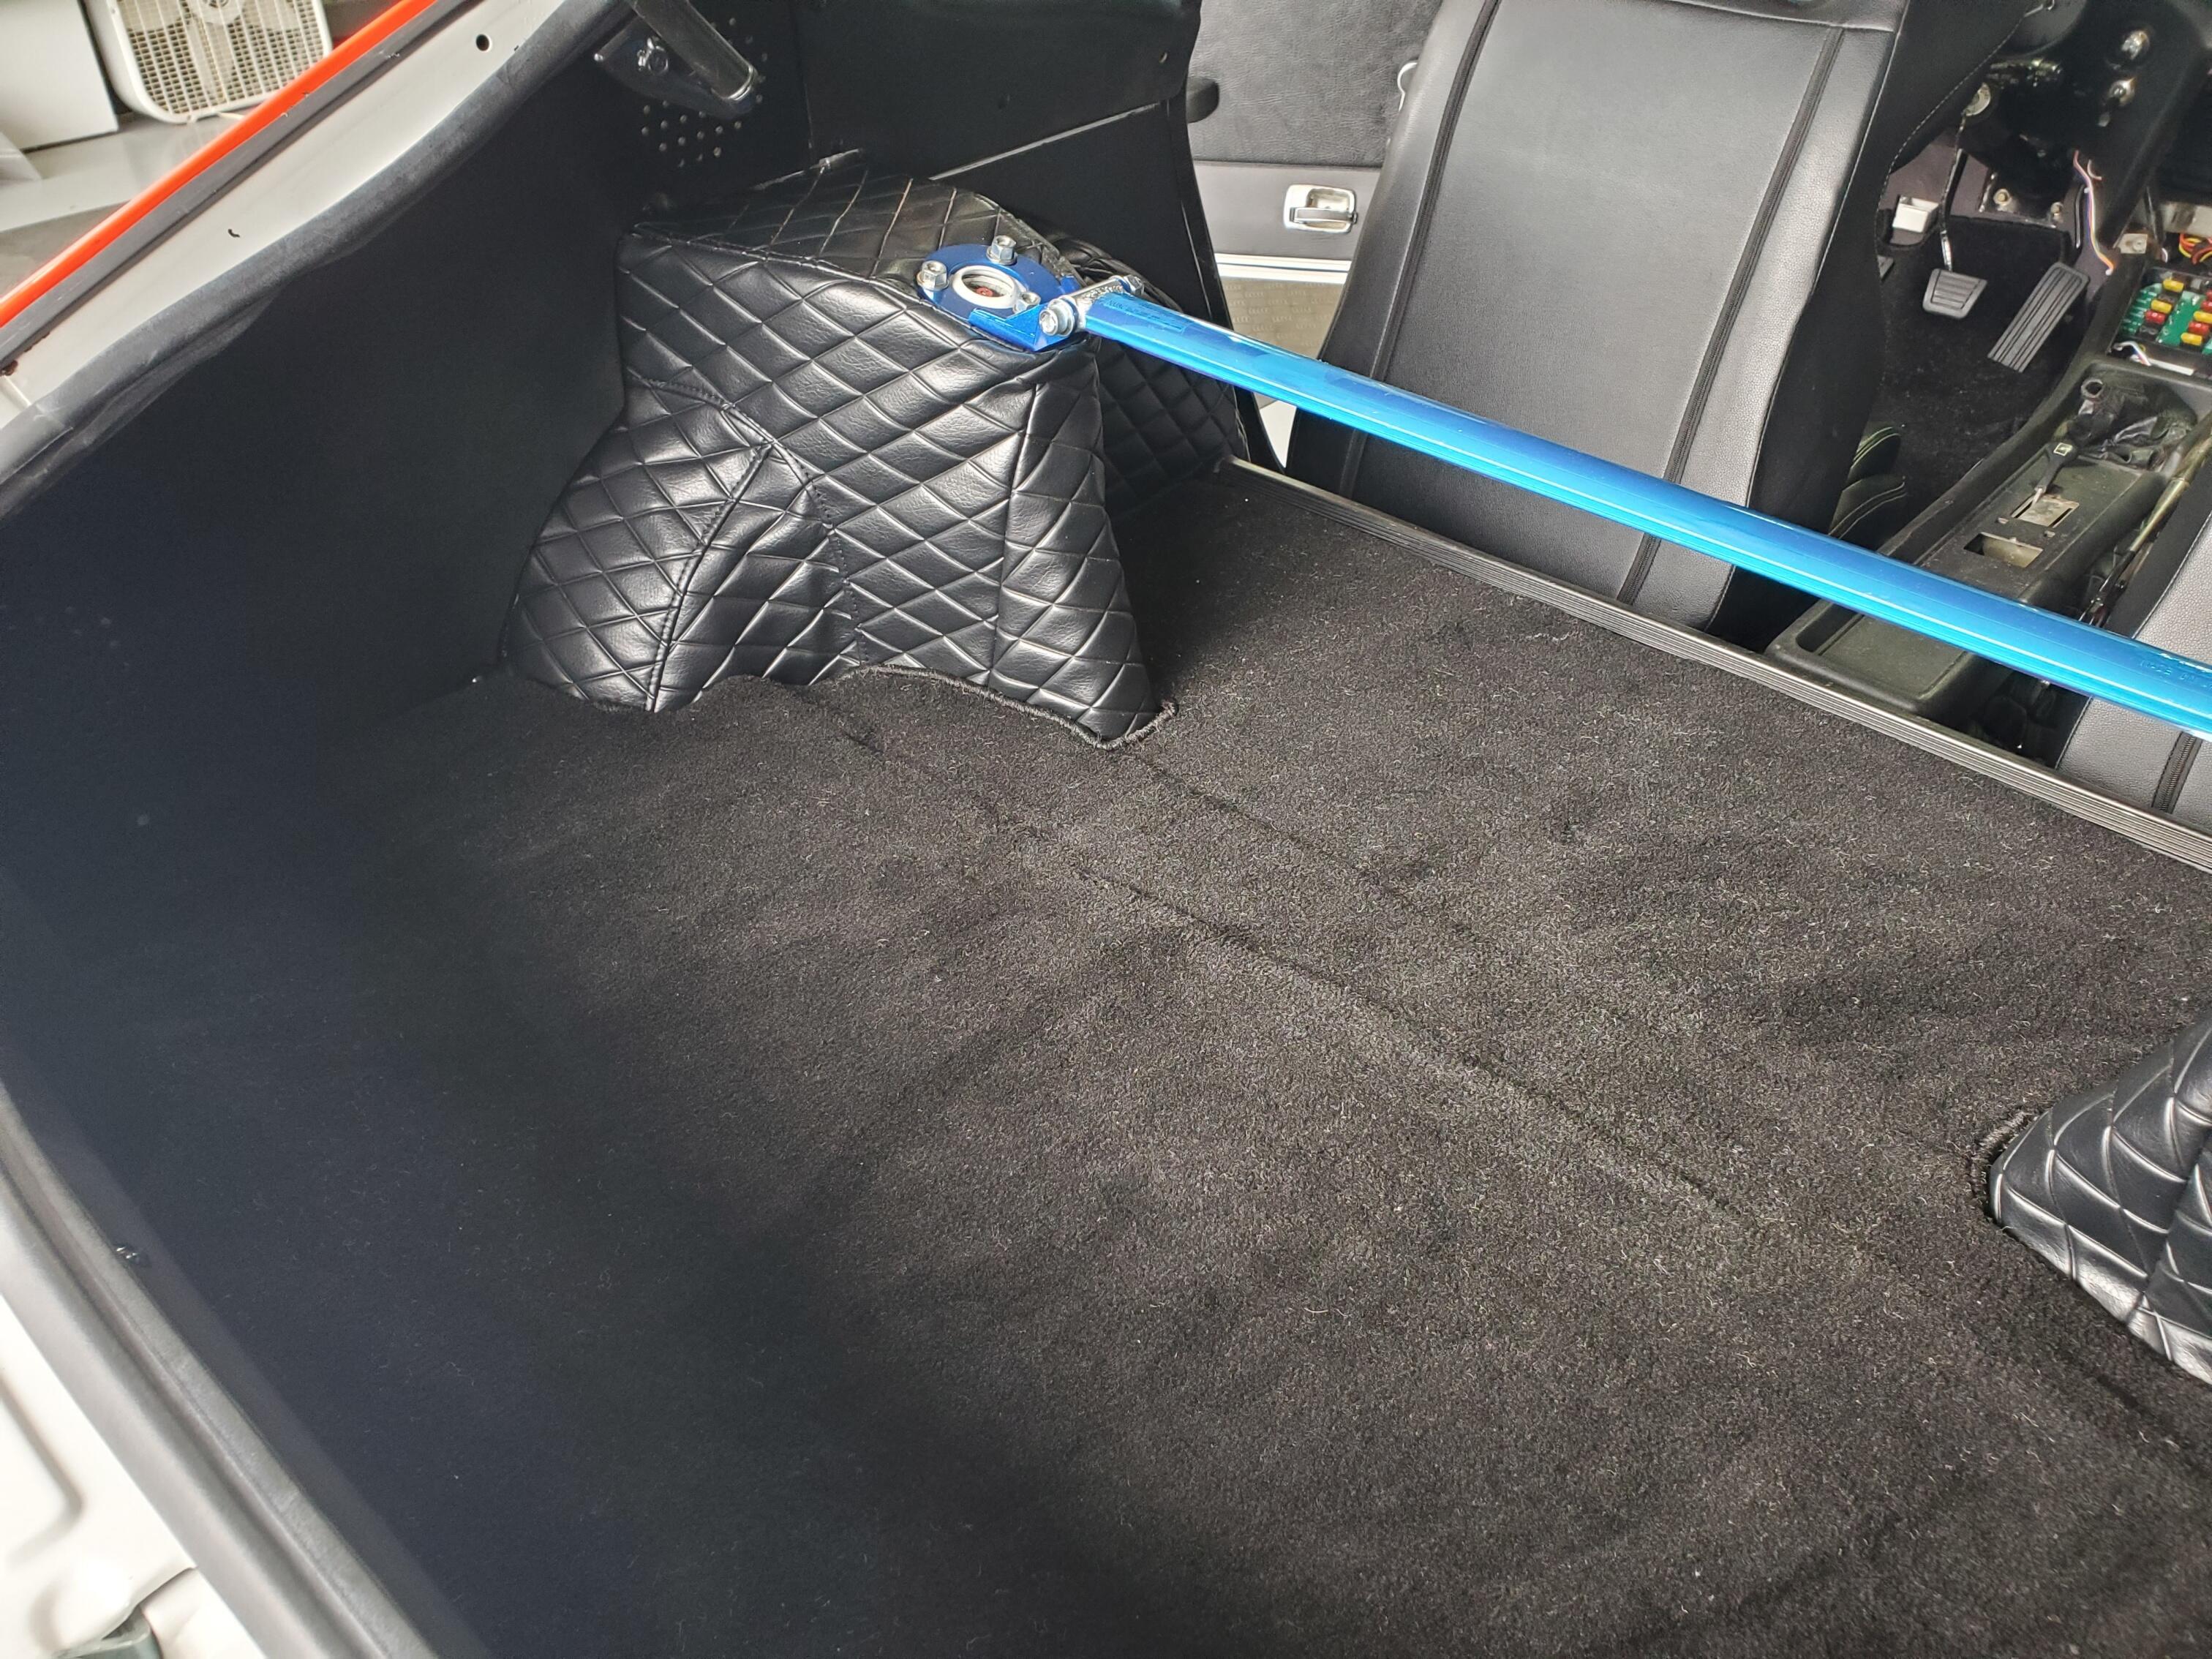
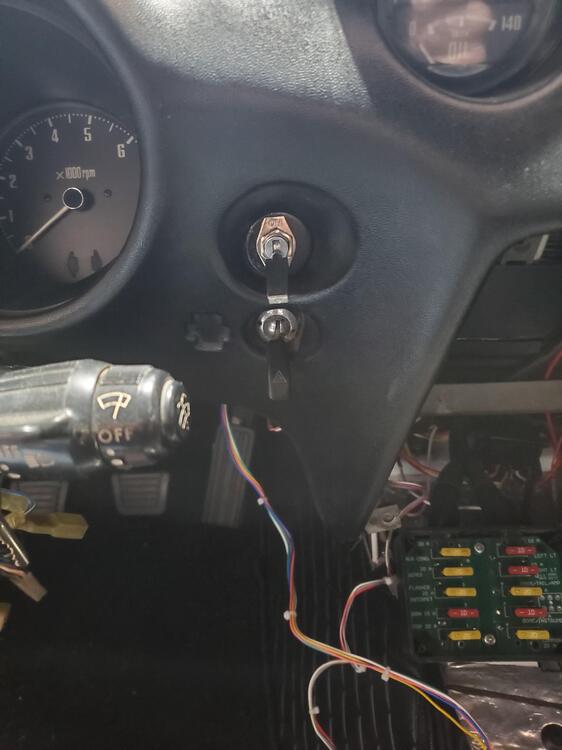
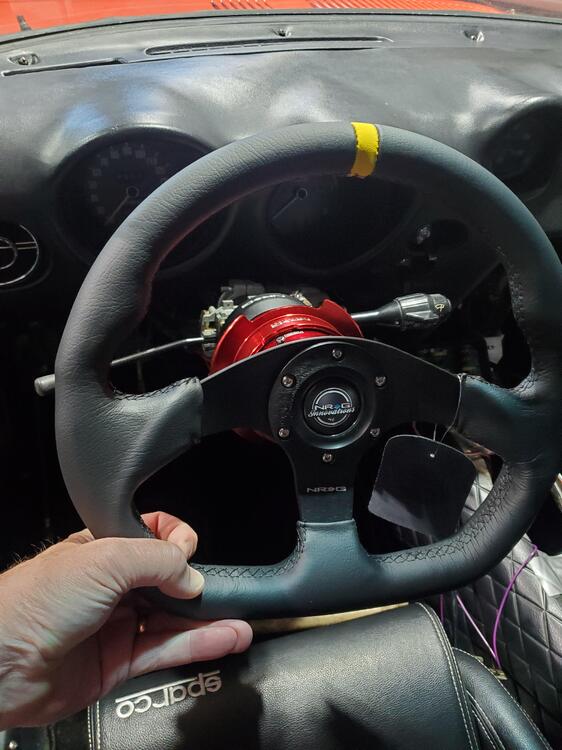
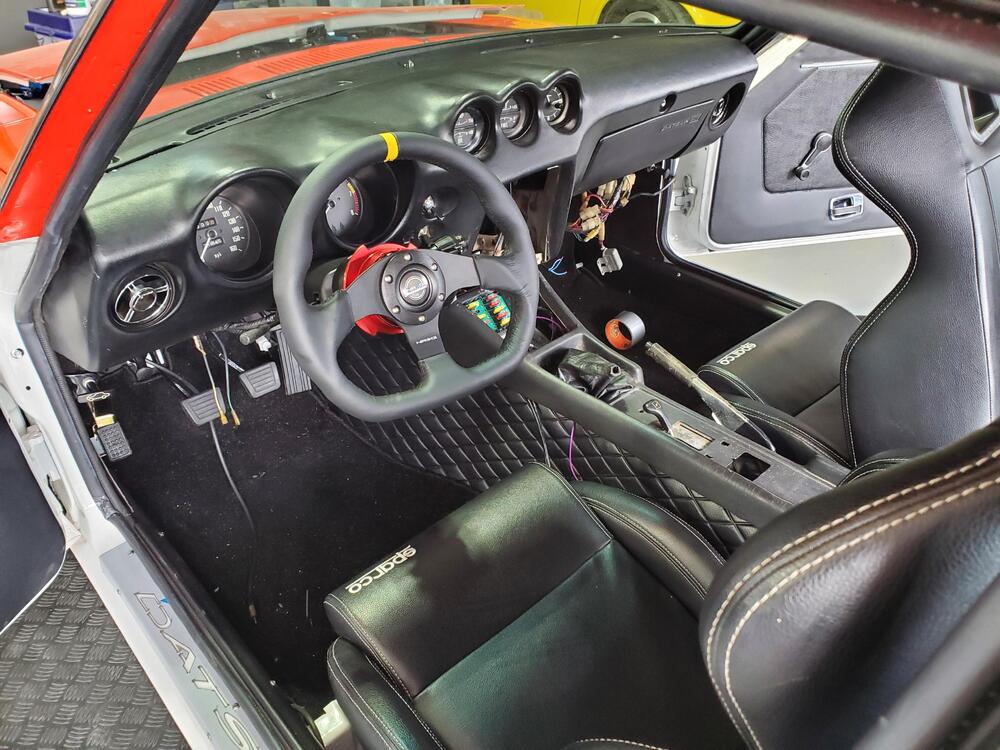
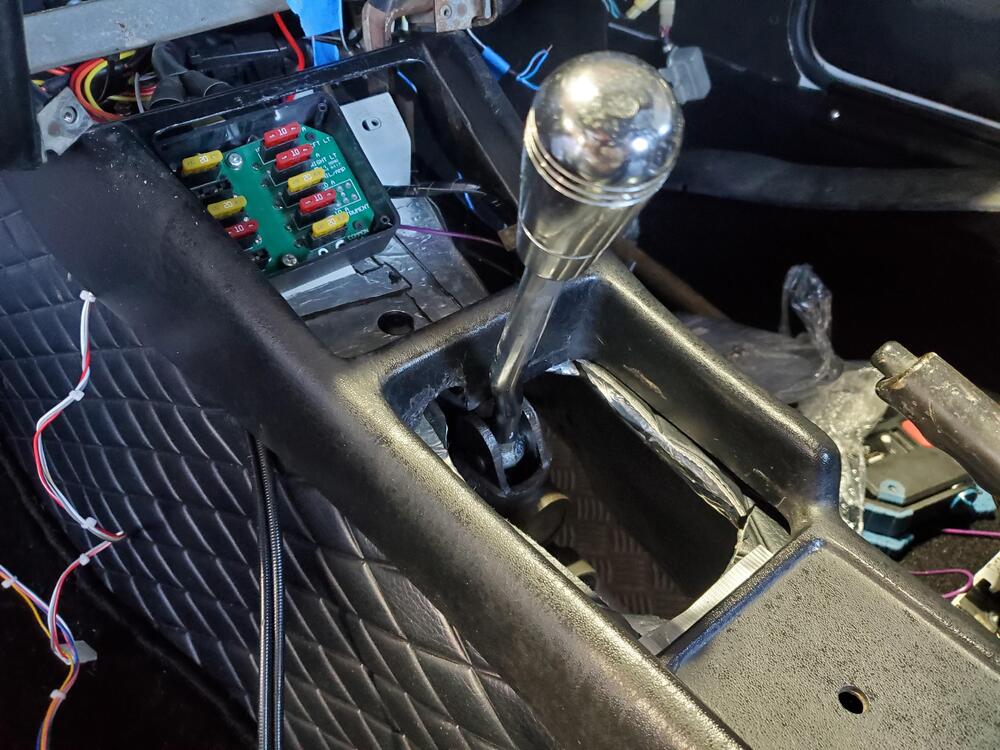
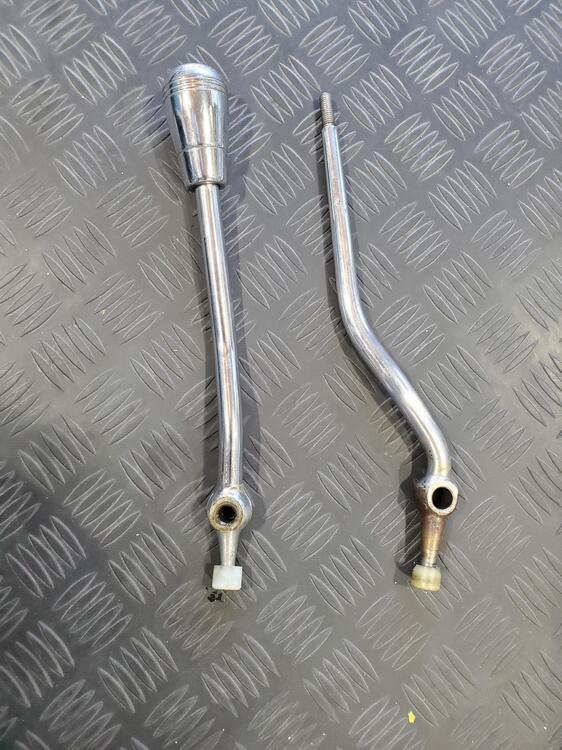
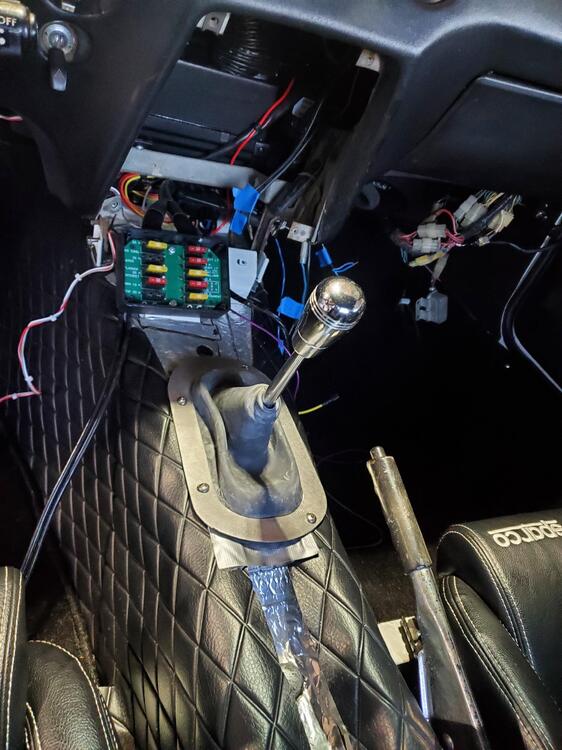
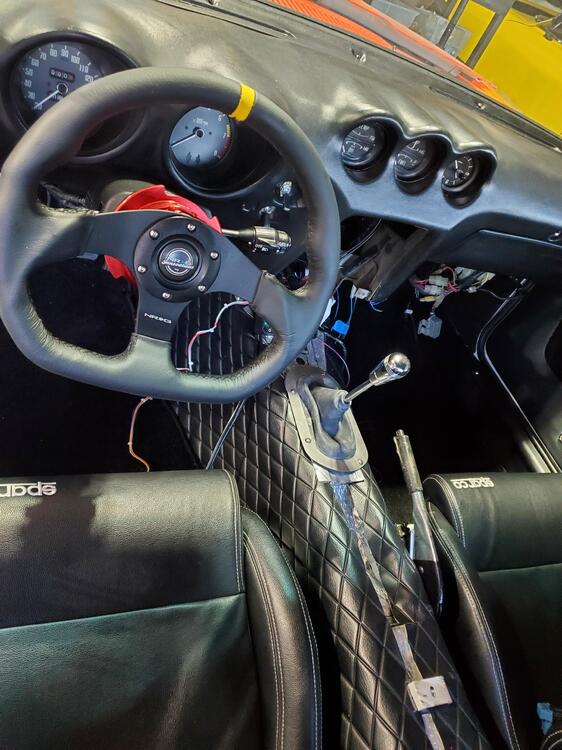
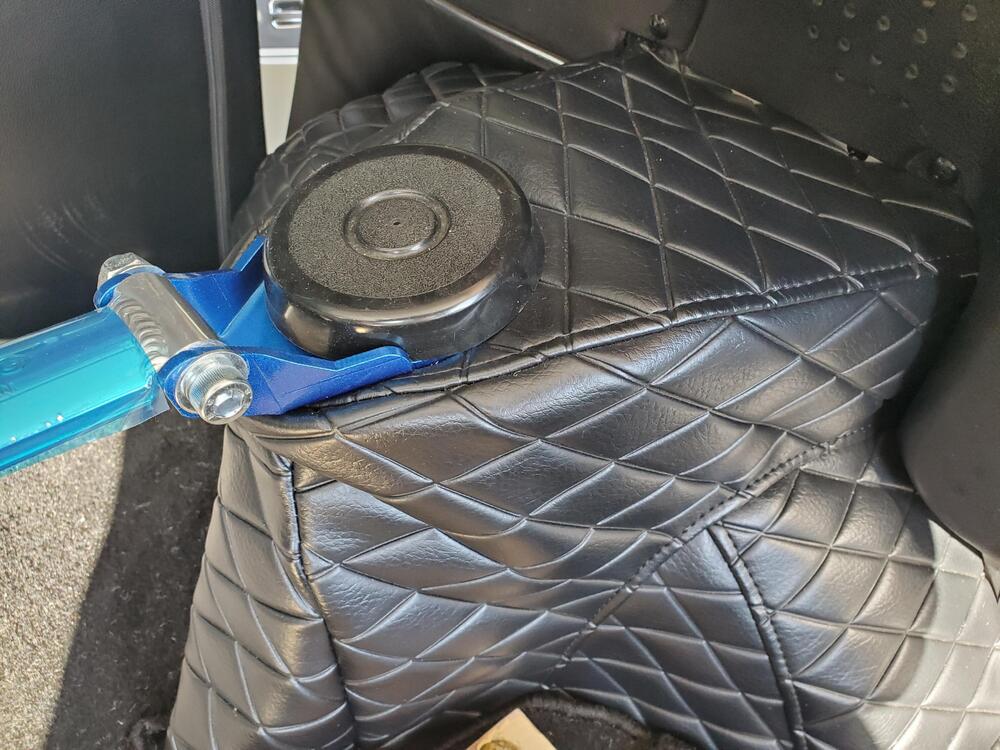
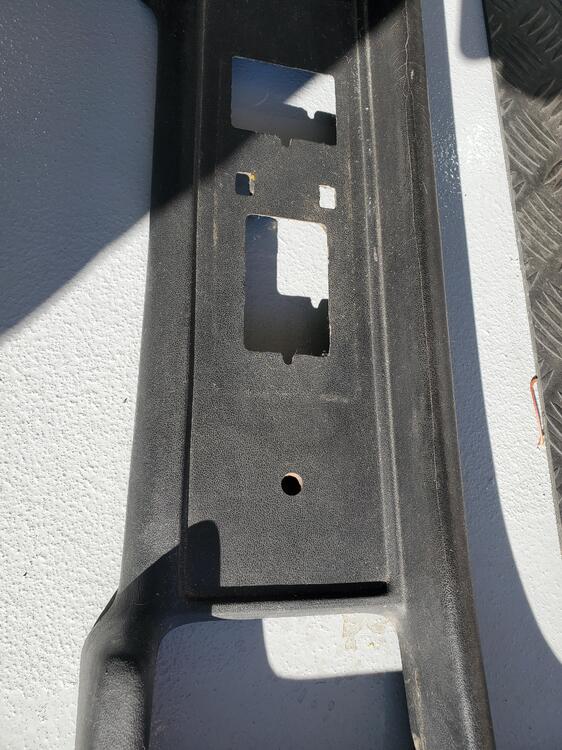
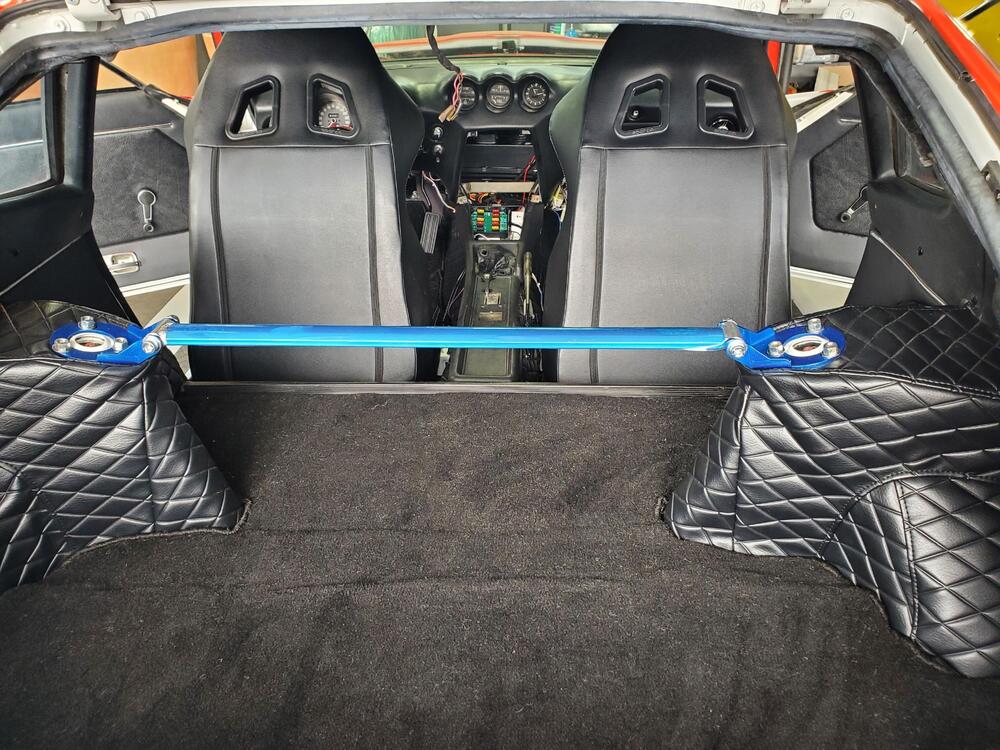
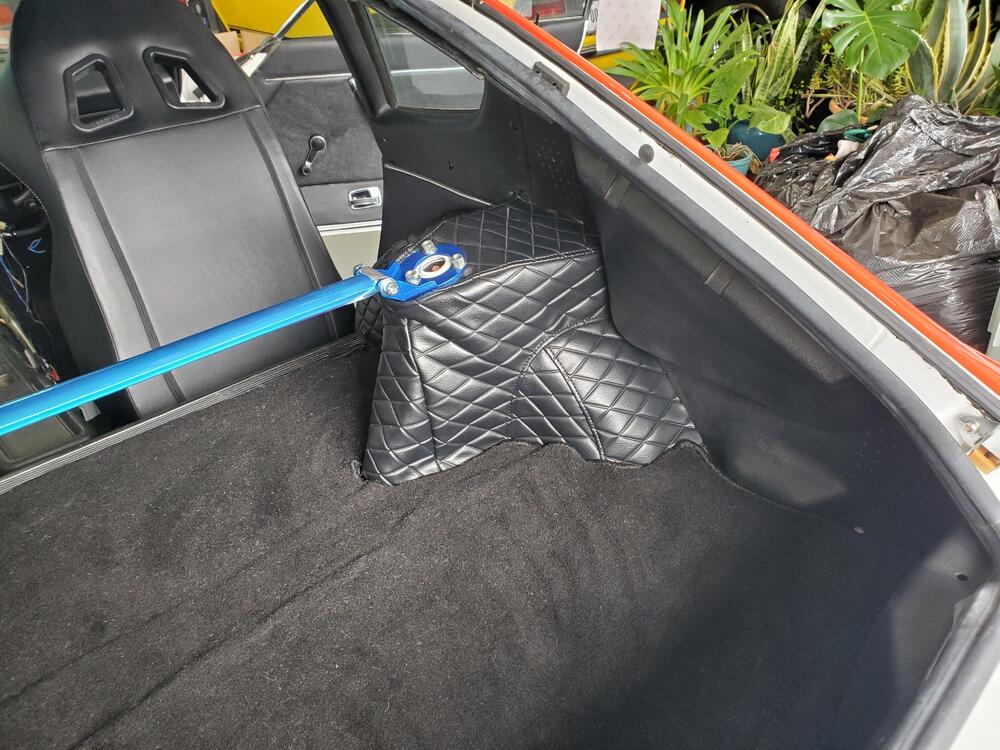
3 pointsHaven't posted in while but got a lot done. I installed the dash and hooked up the ducts from the VintageAir system. This was pretty easy. Vintage air sends two diameters of tubing with their kit. The smaller diameter hose is for the defrost ducts. Amazingly, the small diameter hose fits perfectly on to the stock defroster vents. A small S shaped section does the trick for the defrost attachment. The Outside vents are also pretty straight forward. I installed the larger ducting in the dash and left the hose long in the middle. After installing the dash, I trimmed the hose and connected it to the Evaporator unit two outside ports. The center port on the vintage air system is for the 'floor', however, I will fab something so that it can come out of the center panel. The lower switch in the front control panel gives you 4 options: Off, Vents, Floor and Vents+Floor. All electronically controlled. Very nice. So, AC mechanical system is now completely installed including a belt for the AC compressor. I will connect the final electrical when i install the panel. We will charge the system at a shop on a later date. Installed a fused switch for the fuel pump. This is right in front on the dash for easy access and operates nicely. Got the rear interior panels mostly installed. Panels were from a different car, so most of the holes lined up (versus purchased panels where half the holes do not line up). Installed a new removable steering wheel. This is actually pretty sweet and makes getting in and out of the car a bit easier with the flat bottom. Installed an offset stick for the 5 speed transmission. The straight stick will not work when connecting to the 5 speed. Both sticks shown in Neutral position. Final install pics are with offset shifter ,shown below. We started the engine up and she sounds great and very smooth. The clutch system bled nicely and operates well. Fluid was put in the transmission as well. Once I get the brakes ironed out she will be ready for a cruise around the block. My initial bleed did not go too well. I could not bleed the forward bowl on the Willwood master cylinder from the forward bleed port, so will have to investigate that. Center console has a hole forward of the choke lever. I will be installing a USB port in this position. Latest pics are below


 3 points
 -
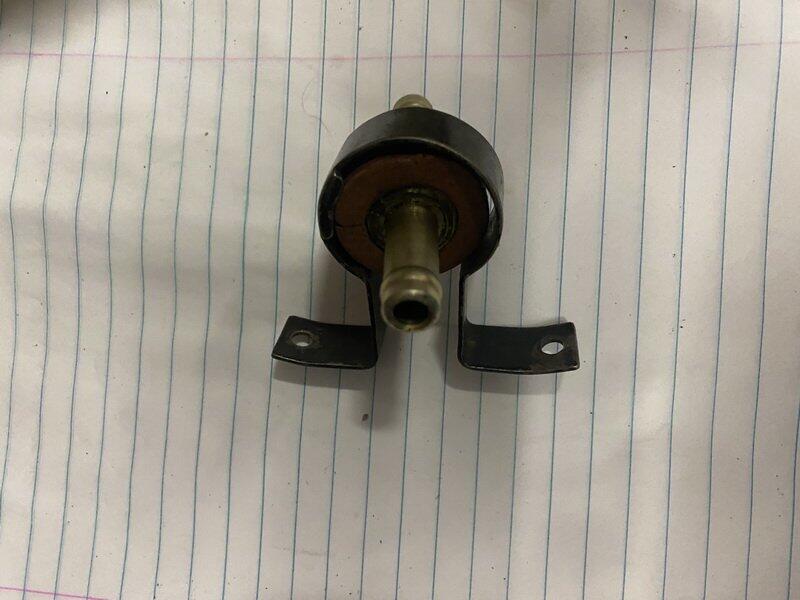
I'm removing my differential to install a LSD*. While at it, I was looking to see if I need to address anything else in this 49-year old car. I've seen detailed videos on rebuilding half shafts and was wondering what could possibly require rebuilding on them since there is so little movement this component needs to experience. The universal joints appear to be fine so far. *BTW: I decided to go with a KAAZ unit because I like their technical support, ability to adjust (although not easily) and I found a great price including shipping if I order them from a Japan-based vendor. Jeff1 point
-
1 point
-
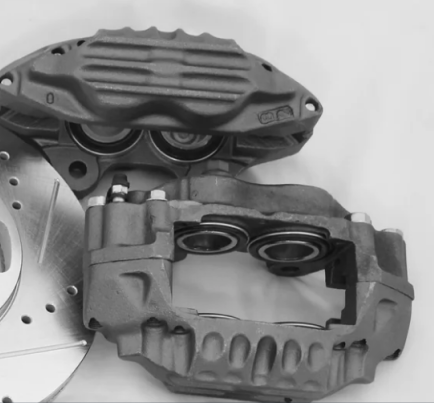
1 pointThe page you linked says the rotor only works with the Stage 4 kit. The Stage 4 kit page says that the calipers are huge. Can't tell what brand they are but that looks like the cause of your problem. Description - Stage 4 drilled, slotted and vented rotor. This rotor is zinc plated to prevent rusting. 10.8 inches in diameter. 22mm thickness. Only work with stage 4 front brake kit. https://www.silverminemotors.com/products/stage-4-front-big-brake-upgrade-kit-240z-260z-280z This brake kit comes with the following parts: 1. Enormous 4 piston calipers (43mm pistons)
 1 point
 -
I always have to watch out that my 240z is not going over the 6500rpm's! it wants to go over 7K! And yes the carbs should be around 2,5 turns out. Also check for air leaks and do a ignition timing check.1 point
-
Finally got a chance to get the car out today. Thanks for the suggestion. I tool it out and as it was getting up to 4K, it started to cut out and I pulled the choke. It did improve. Pulled over and move the fuel mixture another 1/2 of turn on each carb, and it was better. Took it home and check the plugs on cylinder #3 and #4 and they were a both the same, but a bit "white" so maybe still lean. I will take it another 1/2 a turn. Just don't remember the carbs being open 3 to 3.5 turns open....... Snow is coming this weekend, so doubt I get a chance to try it again until next week when it warms up........ Thanks for the advice , greatly appreciated.1 point
-
Yes - I always check the (meter) lead resistance first - I'm used to doing that for doing resistance checks on ground circuits. My leads are usually .1-.3ohm, depends whether I'm using the probe or clamp set.1 point
-
Cool. I think that would be interesting to compare against stock. Make sure you short your meter lead tips together and subtract that number from the injector resistance measurement. That shorted reading is lead resistance. For example... When I was measuring the injectors here today, I stuck both meter leads down into the injector connector and made connection to the blades in the JPT connector. I got 3.0 Ohms. Then trying not to move much, I shorted the tips of the leads together while also still connected to the JPT blades. I got 0.6 Ohms. In theory that 0.6 Ohms is lead resistance (plus crappy meter accuracy). Subtract the 0.6 from the 3.0 and I got 2.4 Ohms. The smaller the resistance you're trying to read, the more important it is to account for your lead resistance. Hoping this makes sense?1 point
-
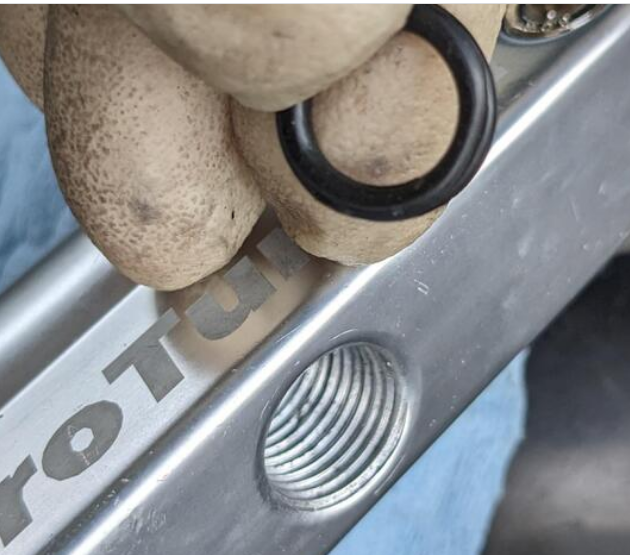
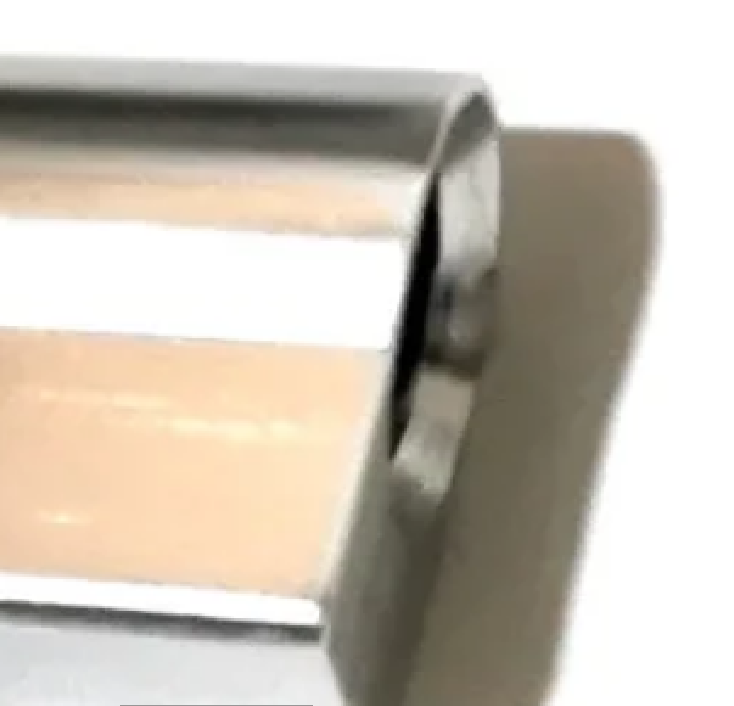
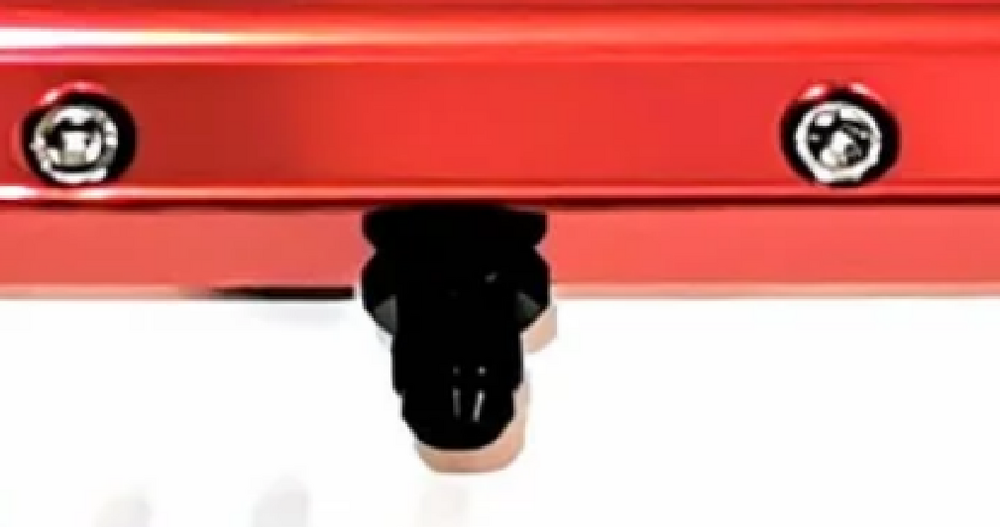
Not clear what you're saying, you showed a hole and an o-ring, and implied that hole was meant to be an ORB design. The Protrunerz site doesn't clearly say say it's an ORB hole. You're assuming it's an ORB hole. That's the part that needs defining. Looking at the ORB-8 at the end of the rail it's hard to imagine they'd forget to perform that operation on that hole. But, who knows, maybe that's what happened. I'm just here for the words... I did find some other images though that imply it's supposed to be ORB. But even they look a bit off. Seems like the fitting is not seated. Anyway, there are many ways. Carry on.
 1 point
 -
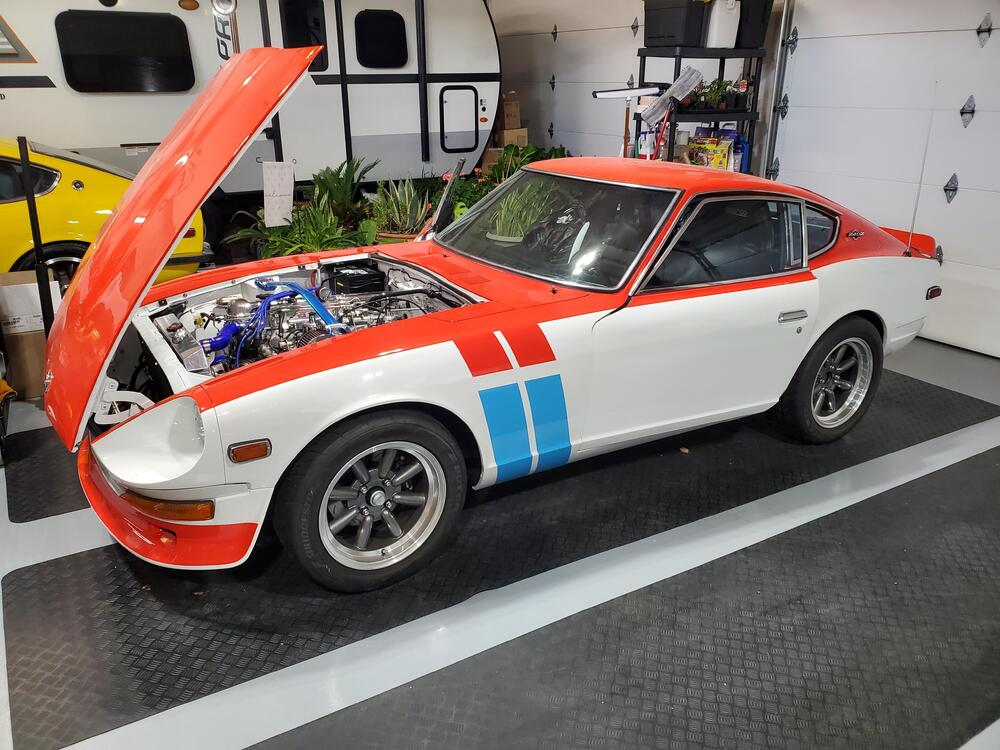
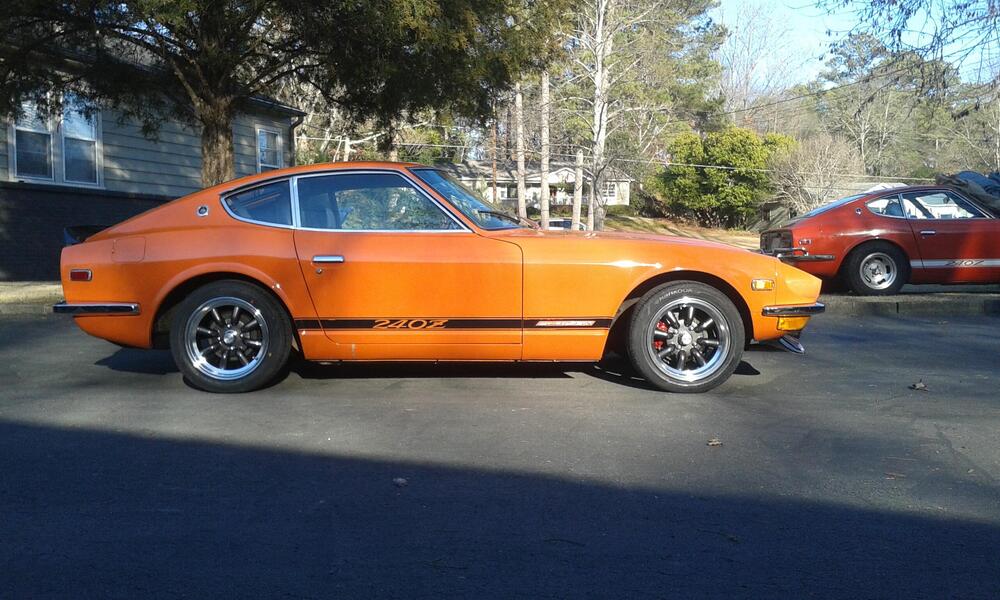
Wasn't sure if I added this somewhere on the site already. So, I'm adding this to my CZCC personal blog. Mike Gholson of the Classic Zcar Club knows wheel fitment is key to getting the look that makes his car stand out. Mike came to VTO Wheels because he knew our fitment and customer service is the best in the industry. The VTO Classic 8 GTR 16"x7" wheels gives Mike's Z car a stylish finish, while the deeper lip gives a much more desirable and understated aggressive look. This yellow beauty is sitting on stock struts with Tokico springs that lower the car 1 inch. The VTO's are 0mm offset and wrapped in 205/55-16 BFG G-Force Sport 2 sticky rubber. No rubbing issues are reported, and the ride is said to be smooth and free of vibration. Thank you for your support, and please let VTO help you find the perfect fit for your next project, whatever the year, make, or model may be. Don't know what offset or bolt pattern to run? With us fitment doesn't have to be a guess! We will send you a wheel to test your fitment so you know that when you place an order, the fit will be perfect. Shop VTO Wheels1 point
-
Run them through their range of motion and see how they feel. I had one from a parts car that had been rear-ended and it must have damaged the half shaft. It would bind in its travel. I took it apart but did not see any visible damage. On the u-joints, the factory joints have caps in the Zerk fitting holes. Remove cap, install Zerk, squirt grease. Check the seals.1 point
-
1 pointYou need to check both speedometer and odometer error. My '78 280Z riding on 225/50R16 tires (same OD as 195/70R14) shows about 10% fast on the speedometer, but the odometer is dead accurate. I once did a road trip and watched the odometer over 100 miles and compared it to the mile markers on the side of the highway. After 100 miles, it was within 0.2 miles. The S30 speedometers are notoriously optimistic, so you will never get both the speedo and odo to read accurately. You can change the speedometer drive gear in the trans, but before you do, get an accurate reading on the odometer using either GPS or mile markers.1 point
-
1 pointI've got that wheel and tire combo on my 240, 205/55 Hankook tires. I put the wide 5 speed out of a '79 ZX too. It's pretty accurate driving side by side with another car while talking back and forth on our phones. I have the r180 that's original to the car. Seems like I used the 4 speed speedo cog in the 5 speed transmission. I'll try and find that old thread where I asked about it later today. Those 15x7 fit perfect and look great. 16s rubbed in the fronts so they're on the 280.
 1 point
 -
1 pointI have these in mine. Cheap too. http://www.atlanticz.ca/zclub/techtips/shifterbushing/index.html1 point