Leaderboard
-
Mark Maras
Free Member5Points3,719Posts -

siteunseen
Free Member5Points15,115Posts -
.JPG.cfcada9cf1c1b502df3f5f2f2ca3ff36.JPG)
SteveJ
Free Member4Points9,646Posts -
HusseinHolland
Free Member4Points1,031Posts


Popular Content
Showing content with the highest reputation on 11/02/2023 in all areas
-
4 pointsMost of the methods I've seen tossed about can get the nozzle "close", but aren't great. It's really difficult to discern when the needle is rubbing against the nozzle. I made a special tool (surprised?) to re-establish the alignment nub positioning on the 3-screw roundtops as well as the flat-tops, but it also works great for nozzle positioning on the 4-screw round tops. That said, since you have a lathe, I think you could get close enough with something simpler. Make yourself a short "alignment needle". Should really have a picture, but I'll try to use just words: Chuck up a piece of 4mm dia (or larger) brass in your lathe and turn a 20mm length down to .125" diameter. Make it so it just barely fits into the suction piston hole like the needle does. Close tolerance fit, but not a press fit. Then continue to turn down a 10mm length down to .100" so it just barely fits into the nozzle hole. Make sure you do both of those operations without taking the piece out of the chuck. That will ensure that the two different diameters are concentric. Then.... cut it off and debur any kicked up areas if necessary. You should have a 20mm long piece of brass that is .125" at one end and .100" at the other end. This is your stubby alignment needle. Install the alignment needle into the suction piston. Loosen (really loose) the nozzle alignment nut. Put the suction piston (with alignment stub installed) into the carb body making sure the stub goes correctly into the nozzle hole. Install the round top cover and tighten the screws. Tighten the nozzle nut. The nozzle should now be aligned with the center of the suction piston, but you can verify the alignment by lifting the suction piston and letting it back down gently. If the needle is properly aligned, it will re-enter the hole in the nozzle smoothly without catching on the side of the hole. If the stub needle doesn't enter smoothly, it's because the nozzle position shifted a little bit when you tightened the lock nut. Repeat the loosening and re-tightening of the nozzle lock nut as necessary until the stub needle enters the hole properly without catching on the side of the hole. * Take the cover off and pull out the piston. Remove the alignment stub and install the real needle in it's place. When you put everything back together, the nozzle should be aligned with the center of the suction piston. Does that make sense? * And this is one of the reasons the typical methods of aligning the nozzle using a normal needle fails. The tapered lead in of the normal needle will always enter the hole even if the nozzle is misaligned. It may rub against the needle near the hilt, but you may never notice a small amount of interference.4 points
-
3 points
-
3 pointsIf I remember right I ran the mixture nuts all the way up and used the needle to center the jet...3 points
-
2 pointsA new tool huh? Would you make this girl a smaller guitar? About a violin size.2 points
-
2 pointsWhen centering the needles, screw the nozzles all the way up to the top. If the needle encounters resistance at closed throttle and you can't get it perfect, lower the nozzles to the running position (2 1/2 turns down) and it's likely they'll be fine.2 points
-
@jalexquijano Modified test plan. Perform the test as described above except don't unplug the plug wire from the cap. Remove the cap with the wires intact and measure the resistance from inside the cap to the positive electrode on the plug.2 points
-
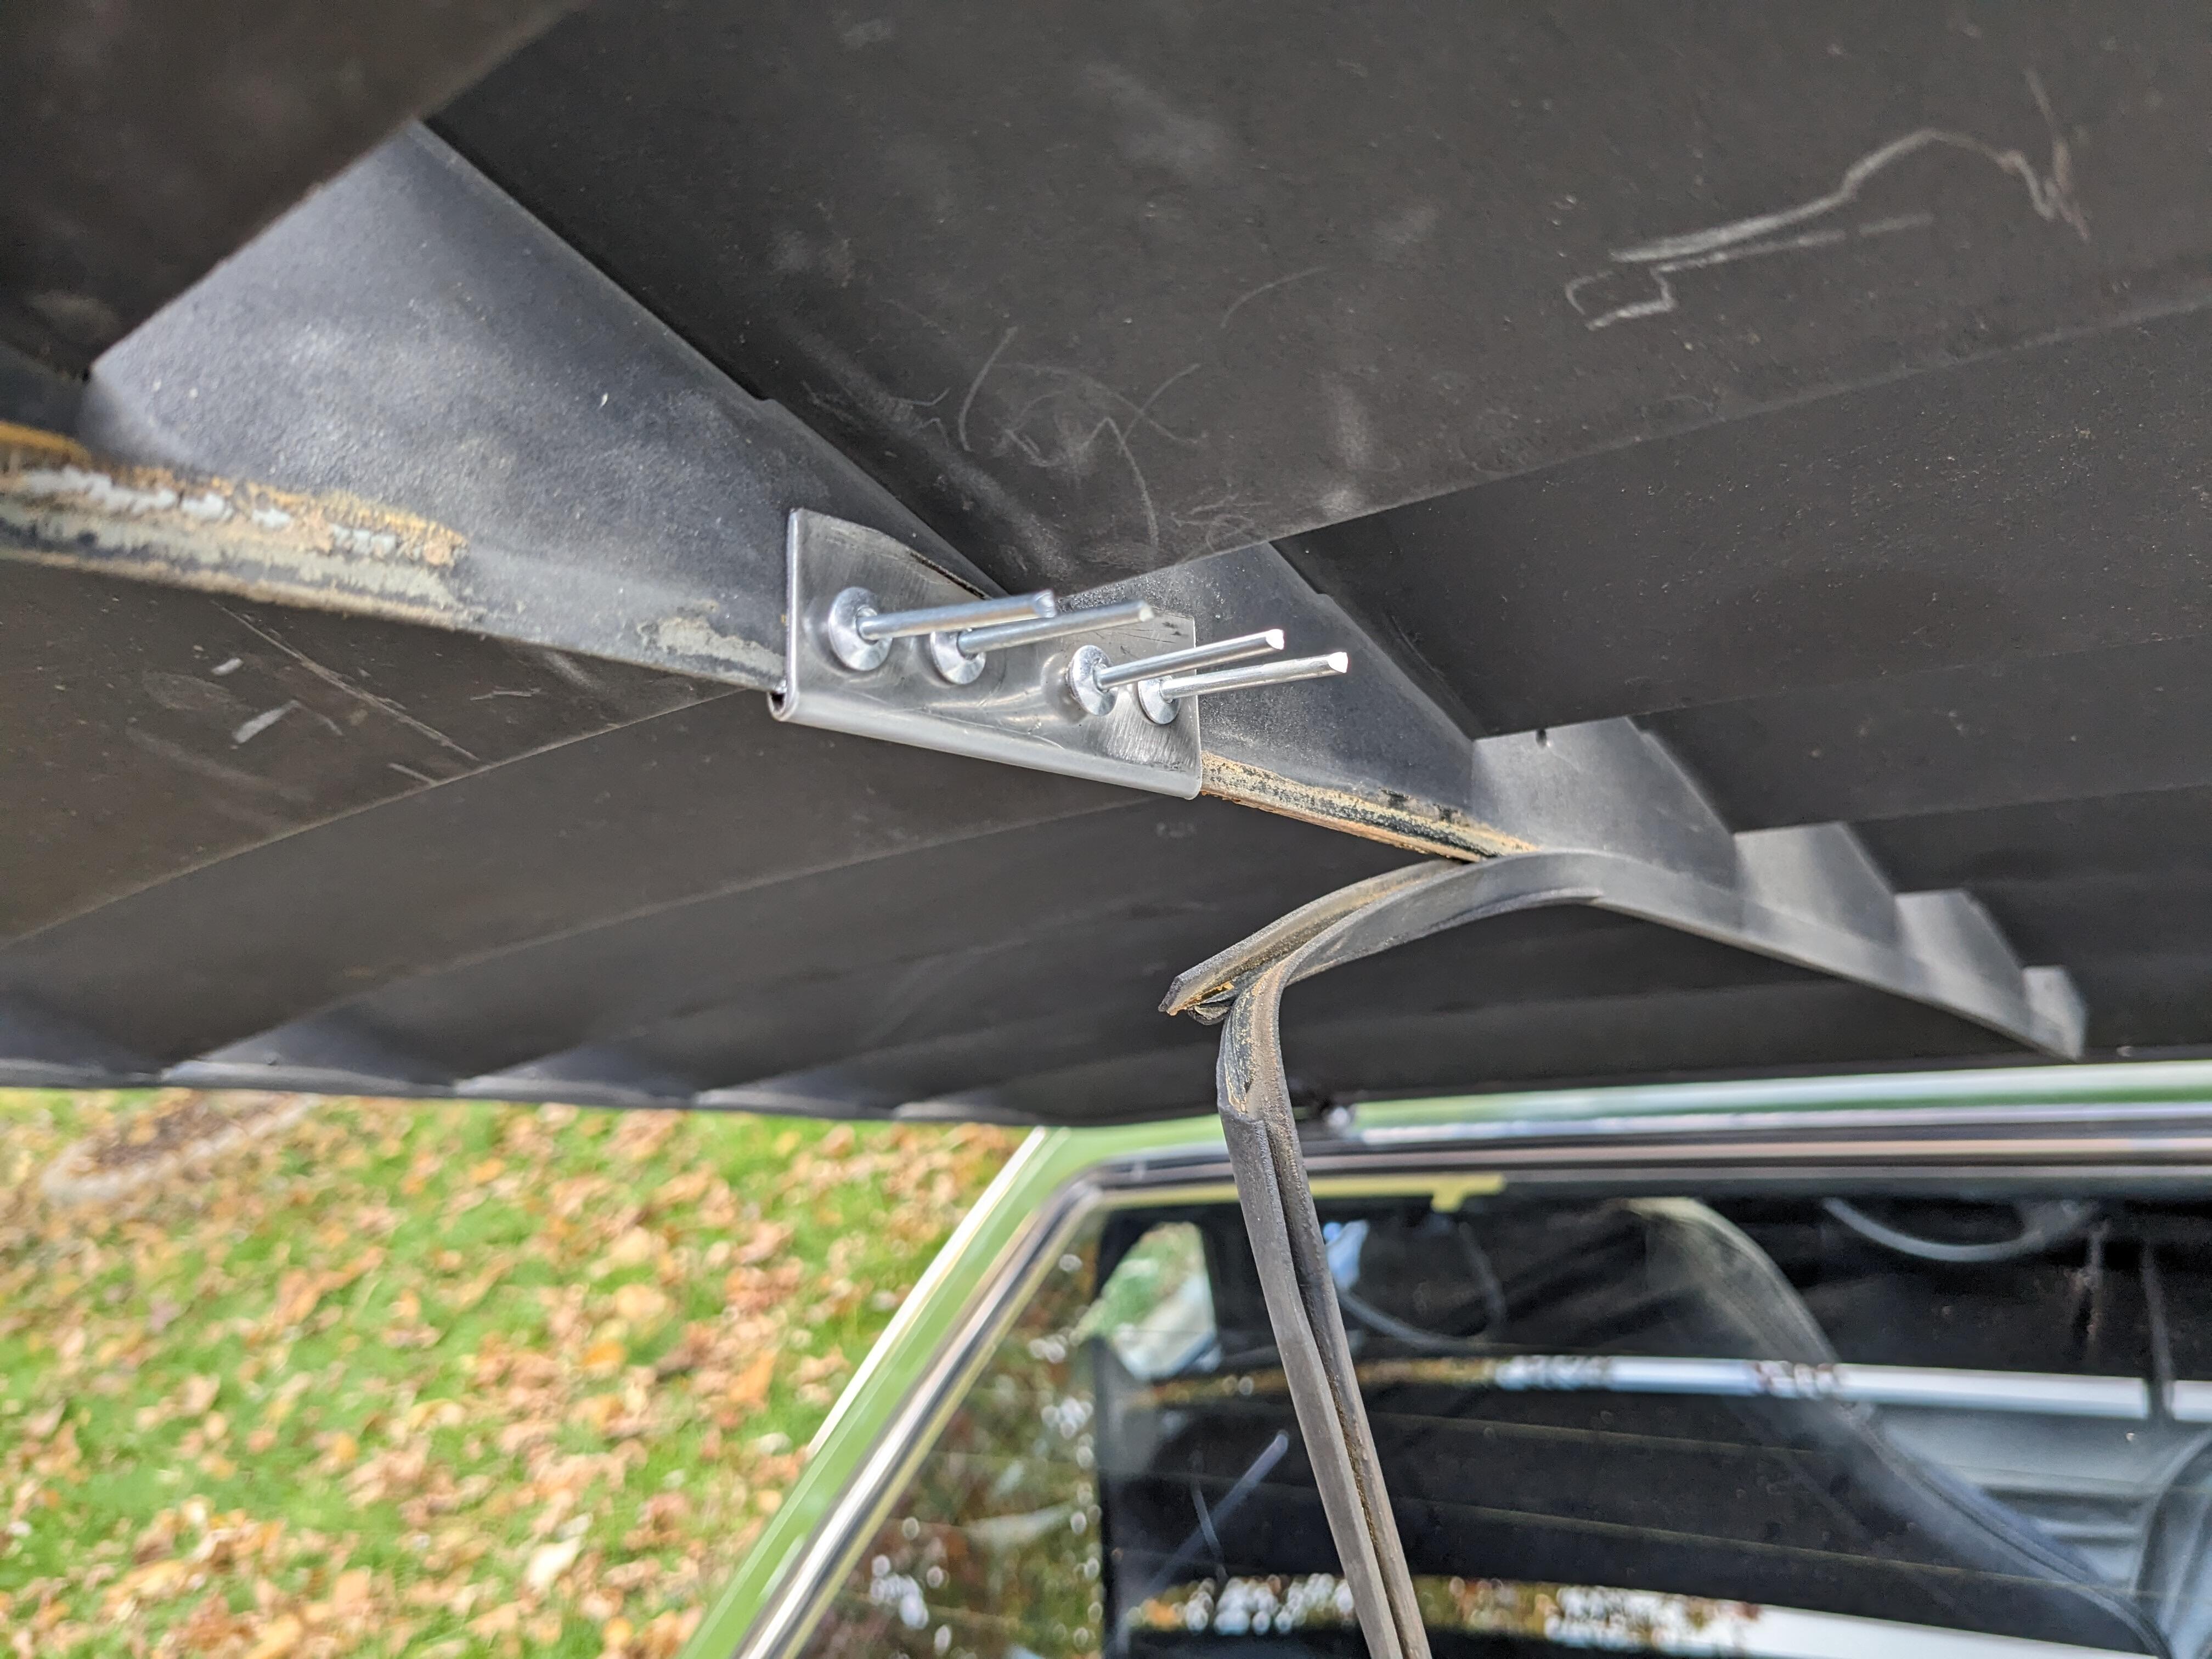
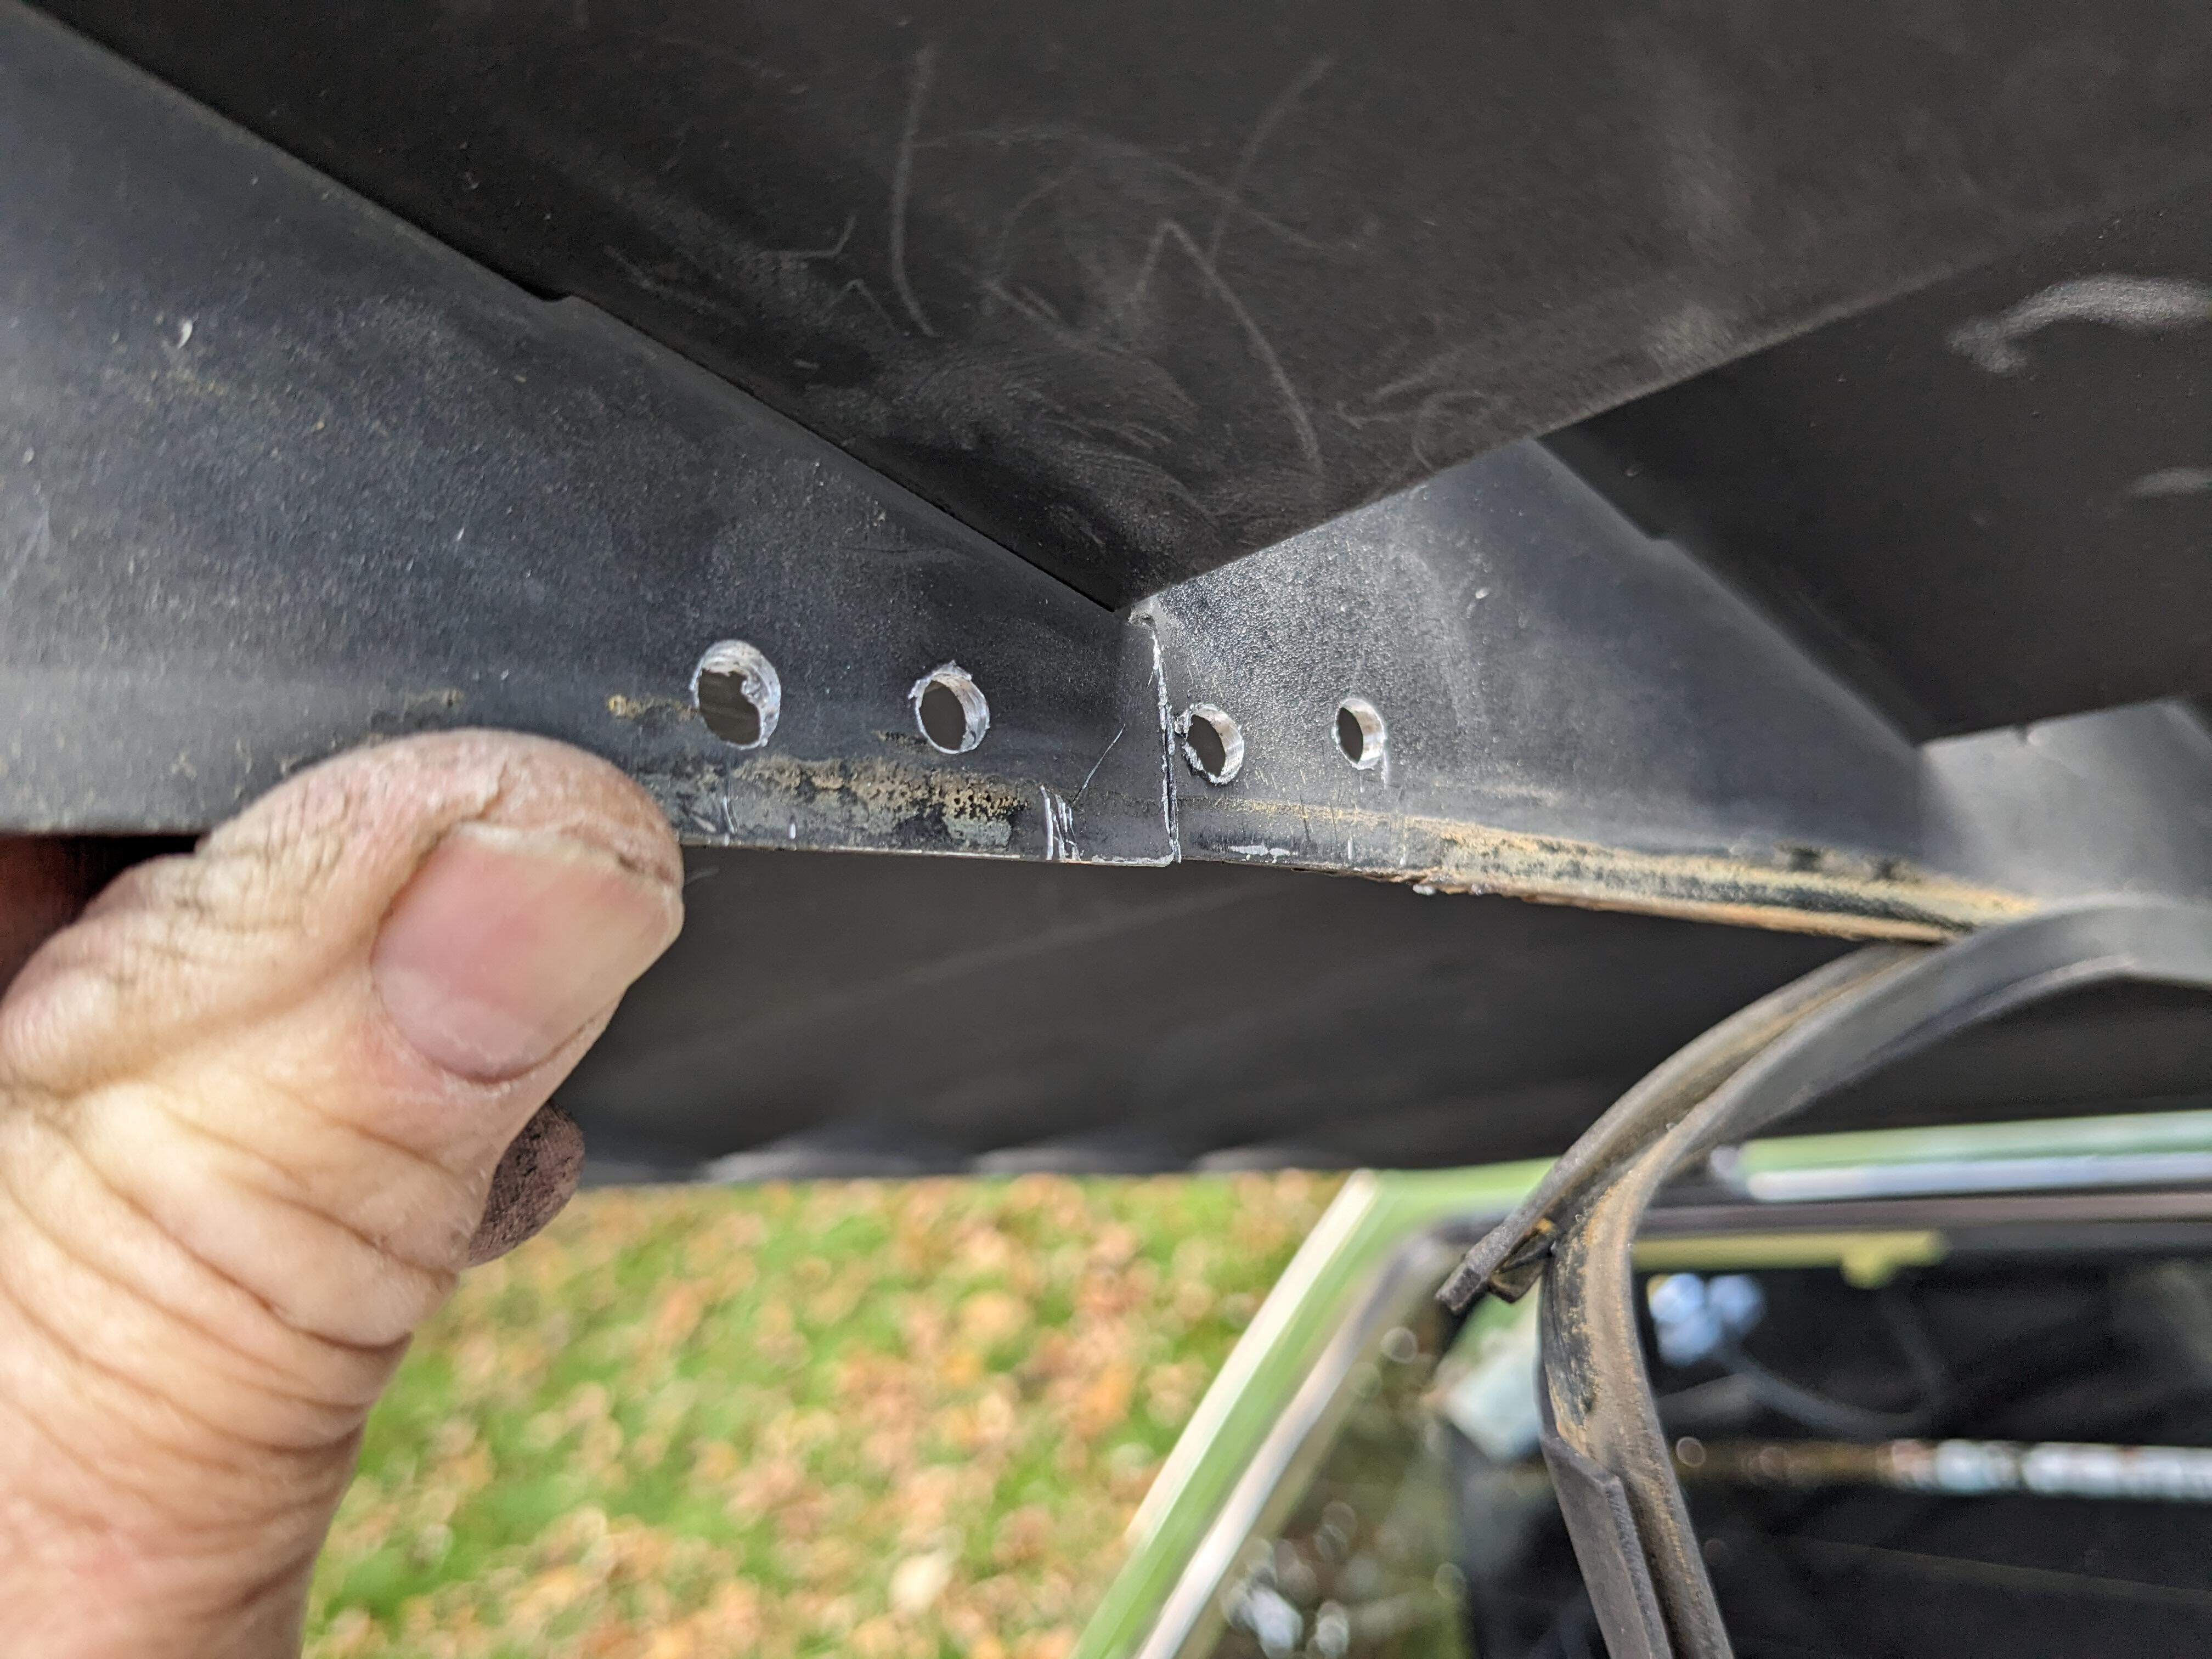
Now that the hatch doesn't need to be slammed shut, I fixed the broken louvre center rib. I made a SS plate U channel to bridge the fracture & riveted it in place. Added channel isolator afterwards to prevent further damage/scratching of the rear glass. One less annoying rattle to listen to. Overall, the car is now much more pleasant to drive. No exhaust fumes unless I drive with the windows open, then typically decel seems to suck them in. It is pretty loud in the cabin, much drivetrain noise coming through the tunnel & rear floor. I may have to add some additional padding behind the cargo hatches.

 2 points
 -
For perspective typical resistance per foot (305mm): Copper core wire: 1-6,500 ohms Inductive wire: 650-2,500 ohms Carbon core wire: 3,000-7,000 ohms Each lead is a slightly different length, so you will get variations but as Mark says - what we are looking for is numbers close in range.2 points
-
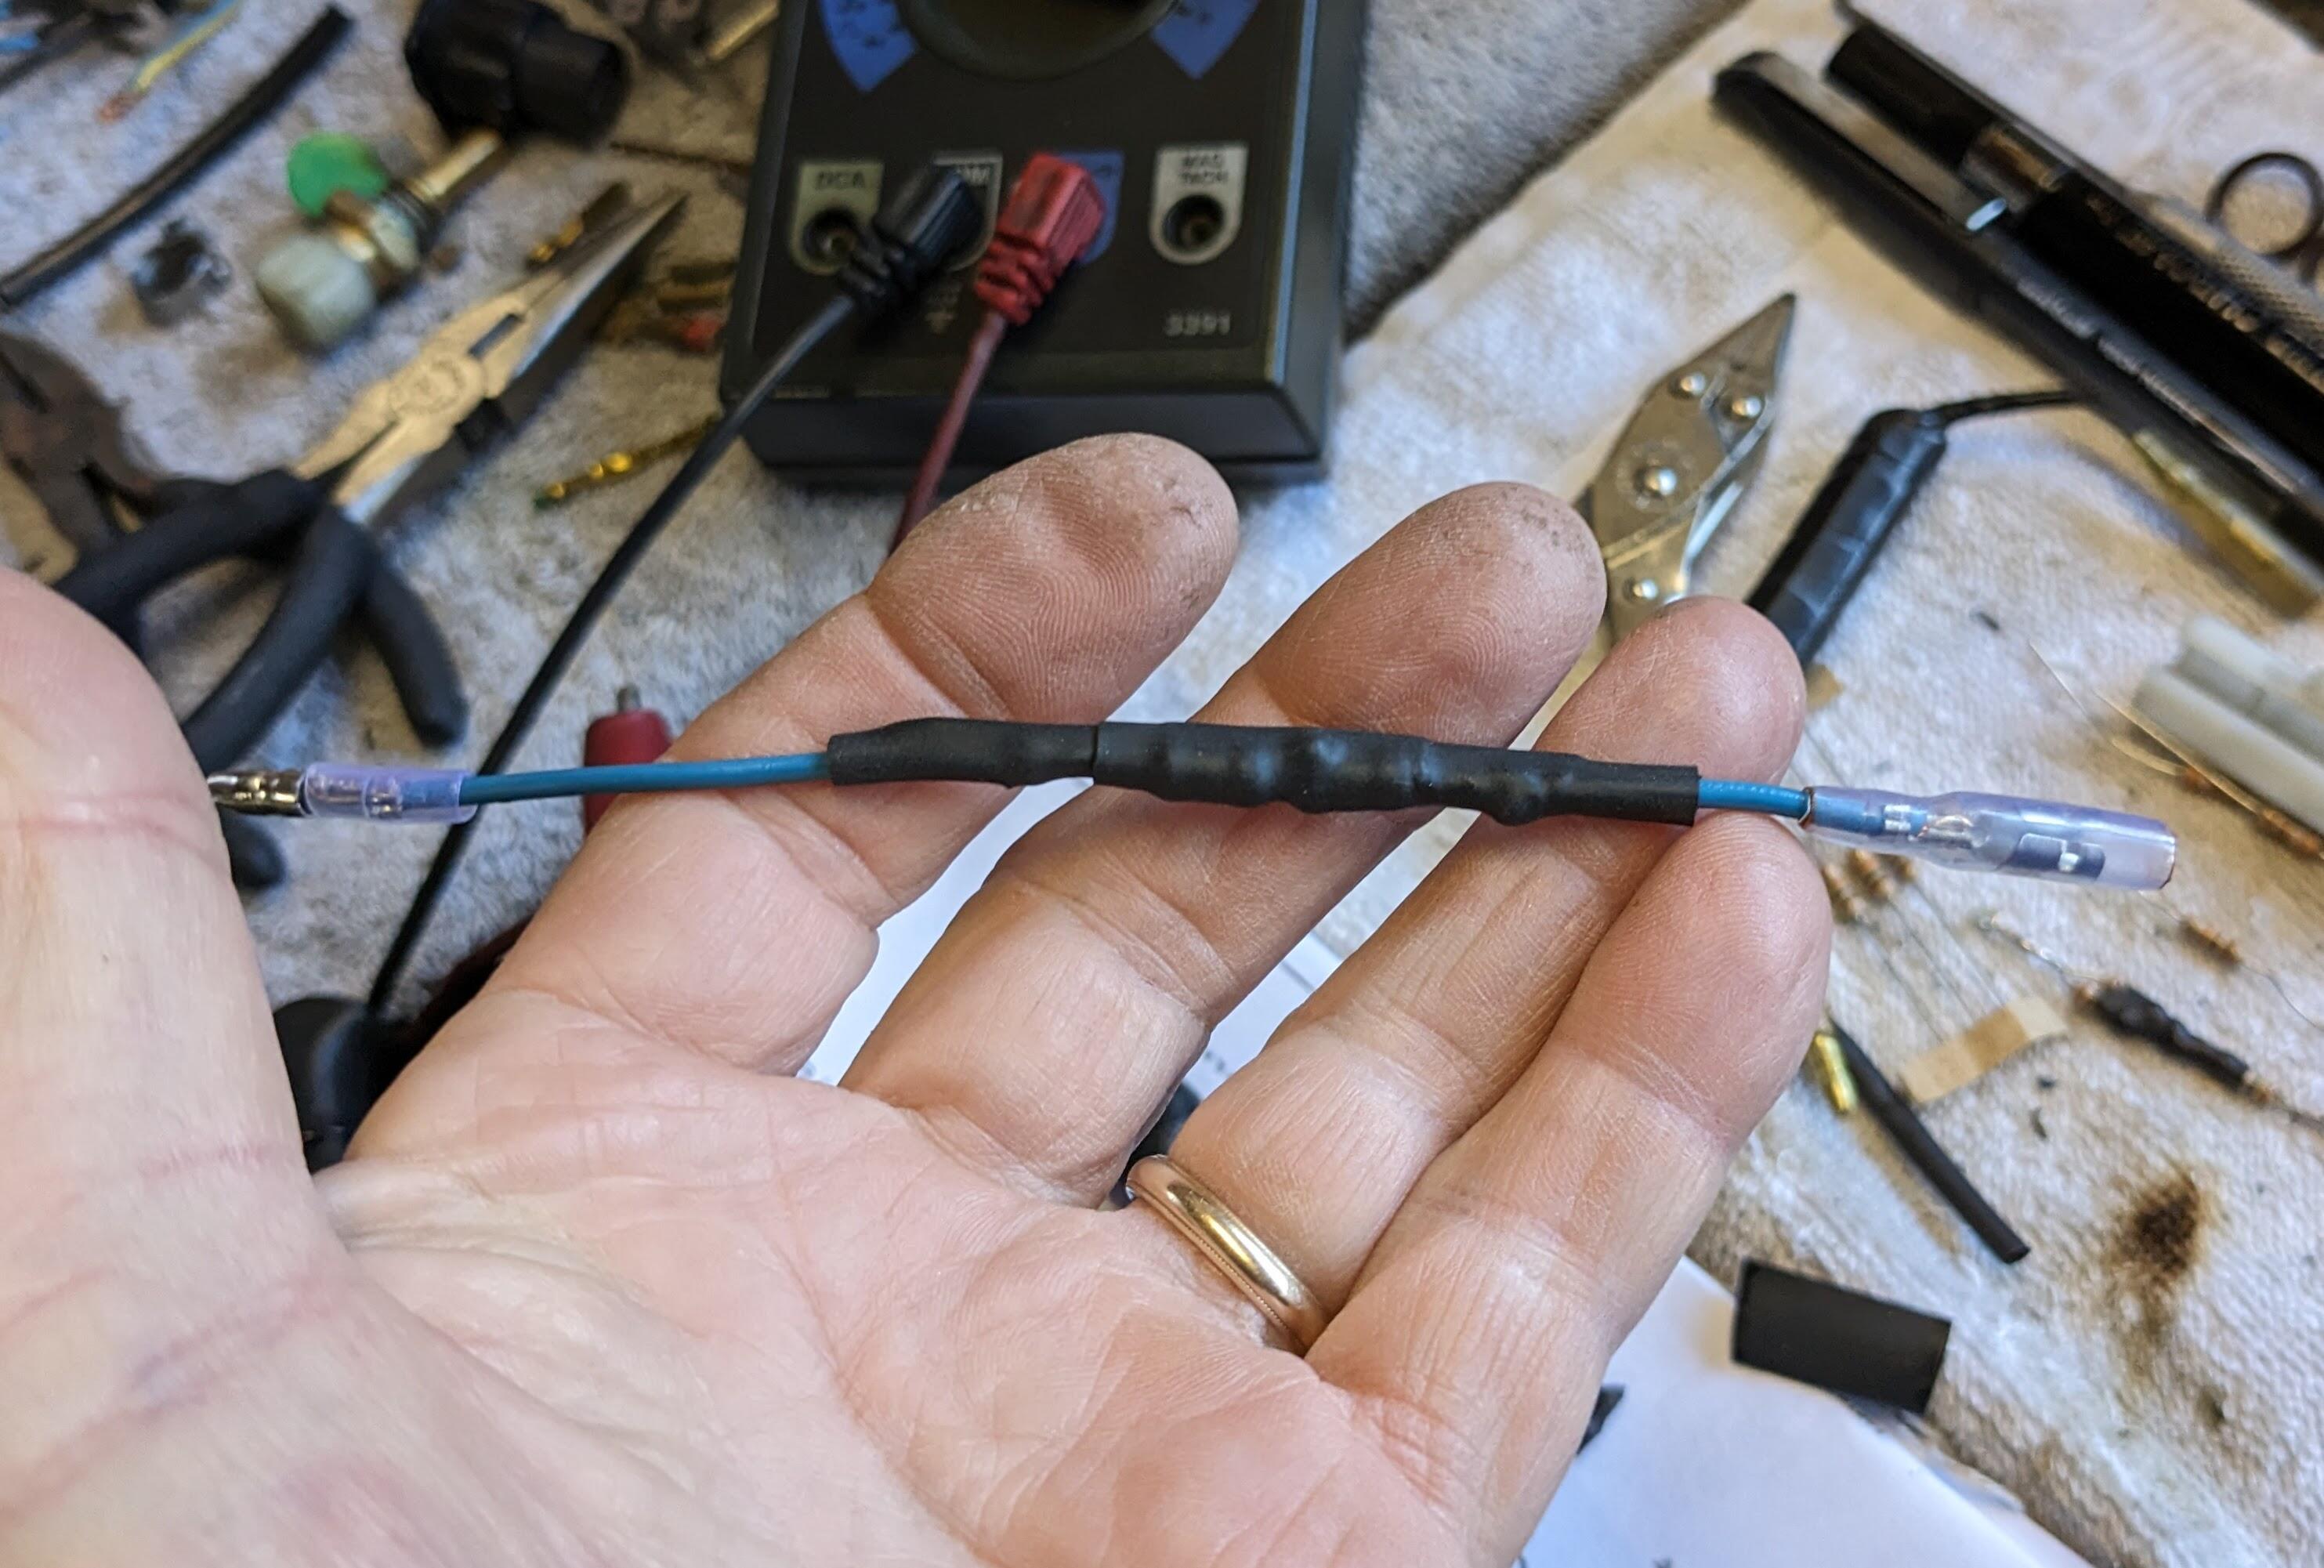
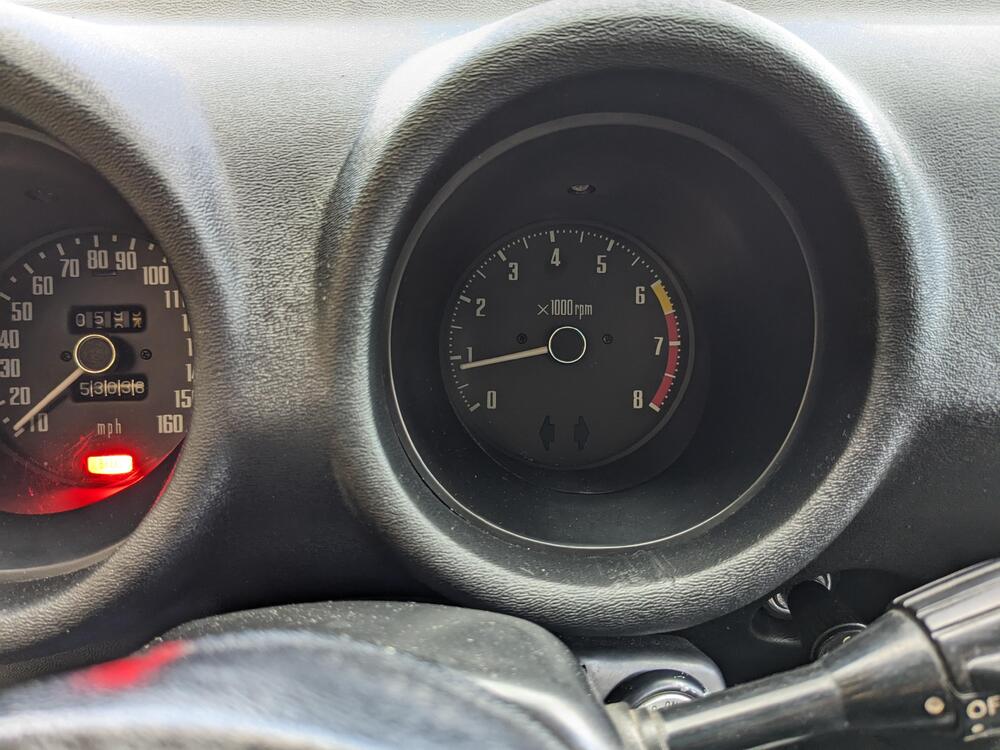
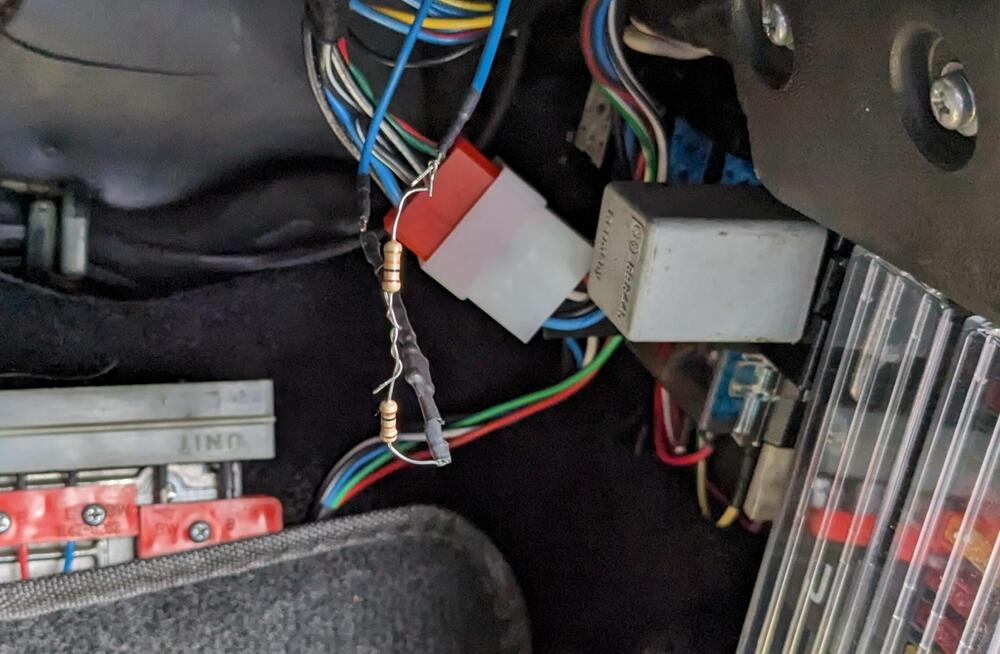
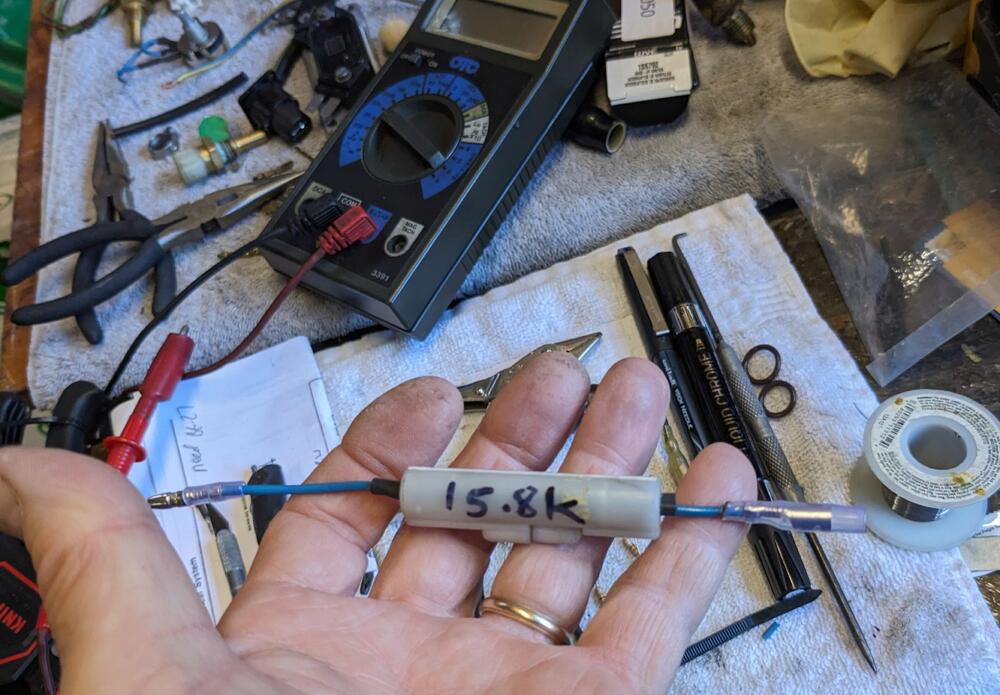
OK - so finally had the time & break in the weather to swap out the coil & module. I did first just plug in the HEI module with the stock coil & ballast, and as expected the tach functioned normally with the stock 2.2K ohm resistor. I swapped out the coil and ballast bridge, and tried the 5K ohm resistor bridge. Tach operated briefly, then dropped. I then added a 1K resistor in series with the 5K, and that was better, but tach was still erratic & dropped out after a bit. Added another 10K (9.8K actual, thought I was adding .5K ohm) and with that, the tach smoothed out, held normal idle rpm & revved freely in time with the engine. So, for me, 15800 ohms is the value required. I drove the car to work this evening for my parent-teacher conferences, and I have noticed that there is a noticeable 'jerkiness' on throttle tip-in that is not present with the stock ignition setup. Not sure why that would be, I'll have to see if it persists. I also have not swapped out the generic Standard Motor Part module for the geniune GM module, so it is possible that is the culprit I suppose. Used a 14.8K & 1K in series for the final resistor.

 2 points
 -
If the black wire is either OL or 47+ ohms to the other wires, that is a problem. The circuit operates by grounding the YG (on the switch) wire in low and high. That is for the relay in the motor to spin it in the correct direction. (The opposite direction is for the park function.) Then, the low speed wire (YB on the switch) is grounded in low. It should have low resistance to the black wire. (I would want it to be as close to zero as possible.) Next, the high speed wire (RL on the switch) is grounded in high. Again, it should have low resistance to the black wire. The reason for disconnecting the switch is to prevent confounding results. I have not tested a wiper motor separate from the car, so I didn't know if it could affect measurements. I have a couple of wiper switches that do not appear to the functioning properly. I may take one apart soon to make a video of it. That may shed some light on what is wrong with your switch.1 point
-
For the heat soak, you may want to try something like this: https://www.amazon.com/gp/product/B000E267JC1 point
-
First off, let's verify. Did you swap out the guts of the tach with a Volvo tach? 😉 Increasing the impedance in the tach circuit to get it to work is rather puzzling. I'm wondering if a diode in the circuit would accomplish the same thing. That would indicate there is a large voltage spike on coil discharge. The best way to verify would be to use an oscilloscope. (Thanks to @Captain Obvious for pointing me to videos on checking the ignition with a scope.) To be sure, check the coil wire and all of the plug wires to see if they are fully seated in the wells of the coil and distributor cap, especially the coil wire. I would try to run the car without the tach to see if the tip-in issue would go away. I'm thinking that could be more of a fuel pressure issue than ignition. I have seen something similar on a car I was working on that was too rich because of the FPR setup. It would bog on tip-in and catch quickly. I could see the AFR reading dancing at tip-in.1 point
-
Disconnecting the positive is okay. Disconnecting the negative is safer. The reason I said to remove the switch was to test the switch and only the switch. If you left the switch mounted in the car and connected, it is still interacting with the circuitry in the wiper motor. By taking the switch out of the car, you're only testing the switch.1 point
-
1 pointHahaha... I do drive in the wet.. but my sill aluminum strips are lying in my sellar (also known as the big pile of parts store!) So they don't get wet! I drove my 240z most in the winter as i really really don't want to restore a 300zxtt !! (A 240z restore IS MMUCH simpler!) As for the noise dampening of the strip under the door.. haha.. i hear my engine and (not really original) exhaust drowning out everything, so i'm not bothered by a little ambient noise.1 point
-
No, it's not. Ashtray should be in front of the shifter and it should have a wooden shift knob.1 point
-
@jalexquijano Thanks for the needle pics. It appears the needles are set to the same depth. I can't be sure about the float levels without some sort of measurement but they appear to be the same height😊. Let's assume, for now, that they're correct or close enough. Last year, when #4 was fouling, I had convinced myself that the problem was somewhere in the rotor, cap, wire, or plug connection because all parts were new and of good quality. Now the problem seems to have spread to 3 cylinders. One question. Are you using anti-seize on the plug threads? As I recall you have a multi-meter. Unplug the #1 plug wire from the plug and cap. Remove the #1 plug from the head and plug the wire into it. Measure the resistance from the cap end of the wire to the spark plug center electrode. Log it on paper and reassemble #1. Now go through the other cylinders and log those too. I can't tell you what they should be. What we're looking for is a glaring difference.1 point
-
1 point
-
Only if it wrong. If the float level is right then don't change it. I also agree, I still think there is a spark issue!1 point
-
1 pointMight be for wind/air/road noise blocking and/or wind/draft blocking.1 point
-
Nothing wrong with checking that front float. It seems to me it would have to be stuck in a very high position as to allow only a bit of fuel into the bowl. Lack of fuel or too much air in the front carb. = lean.1 point