Leaderboard
-
HusseinHolland
Free Member11Points1,031Posts -
.JPG.cfcada9cf1c1b502df3f5f2f2ca3ff36.JPG)
SteveJ
Free Member8Points9,683Posts -
zKars
 Subscriber
 5Points3,779Posts
 -
Terrapin Z
Subscriber3Points1,341Posts


Popular Content
Showing content with the highest reputation on 10/28/2023 in all areas
-
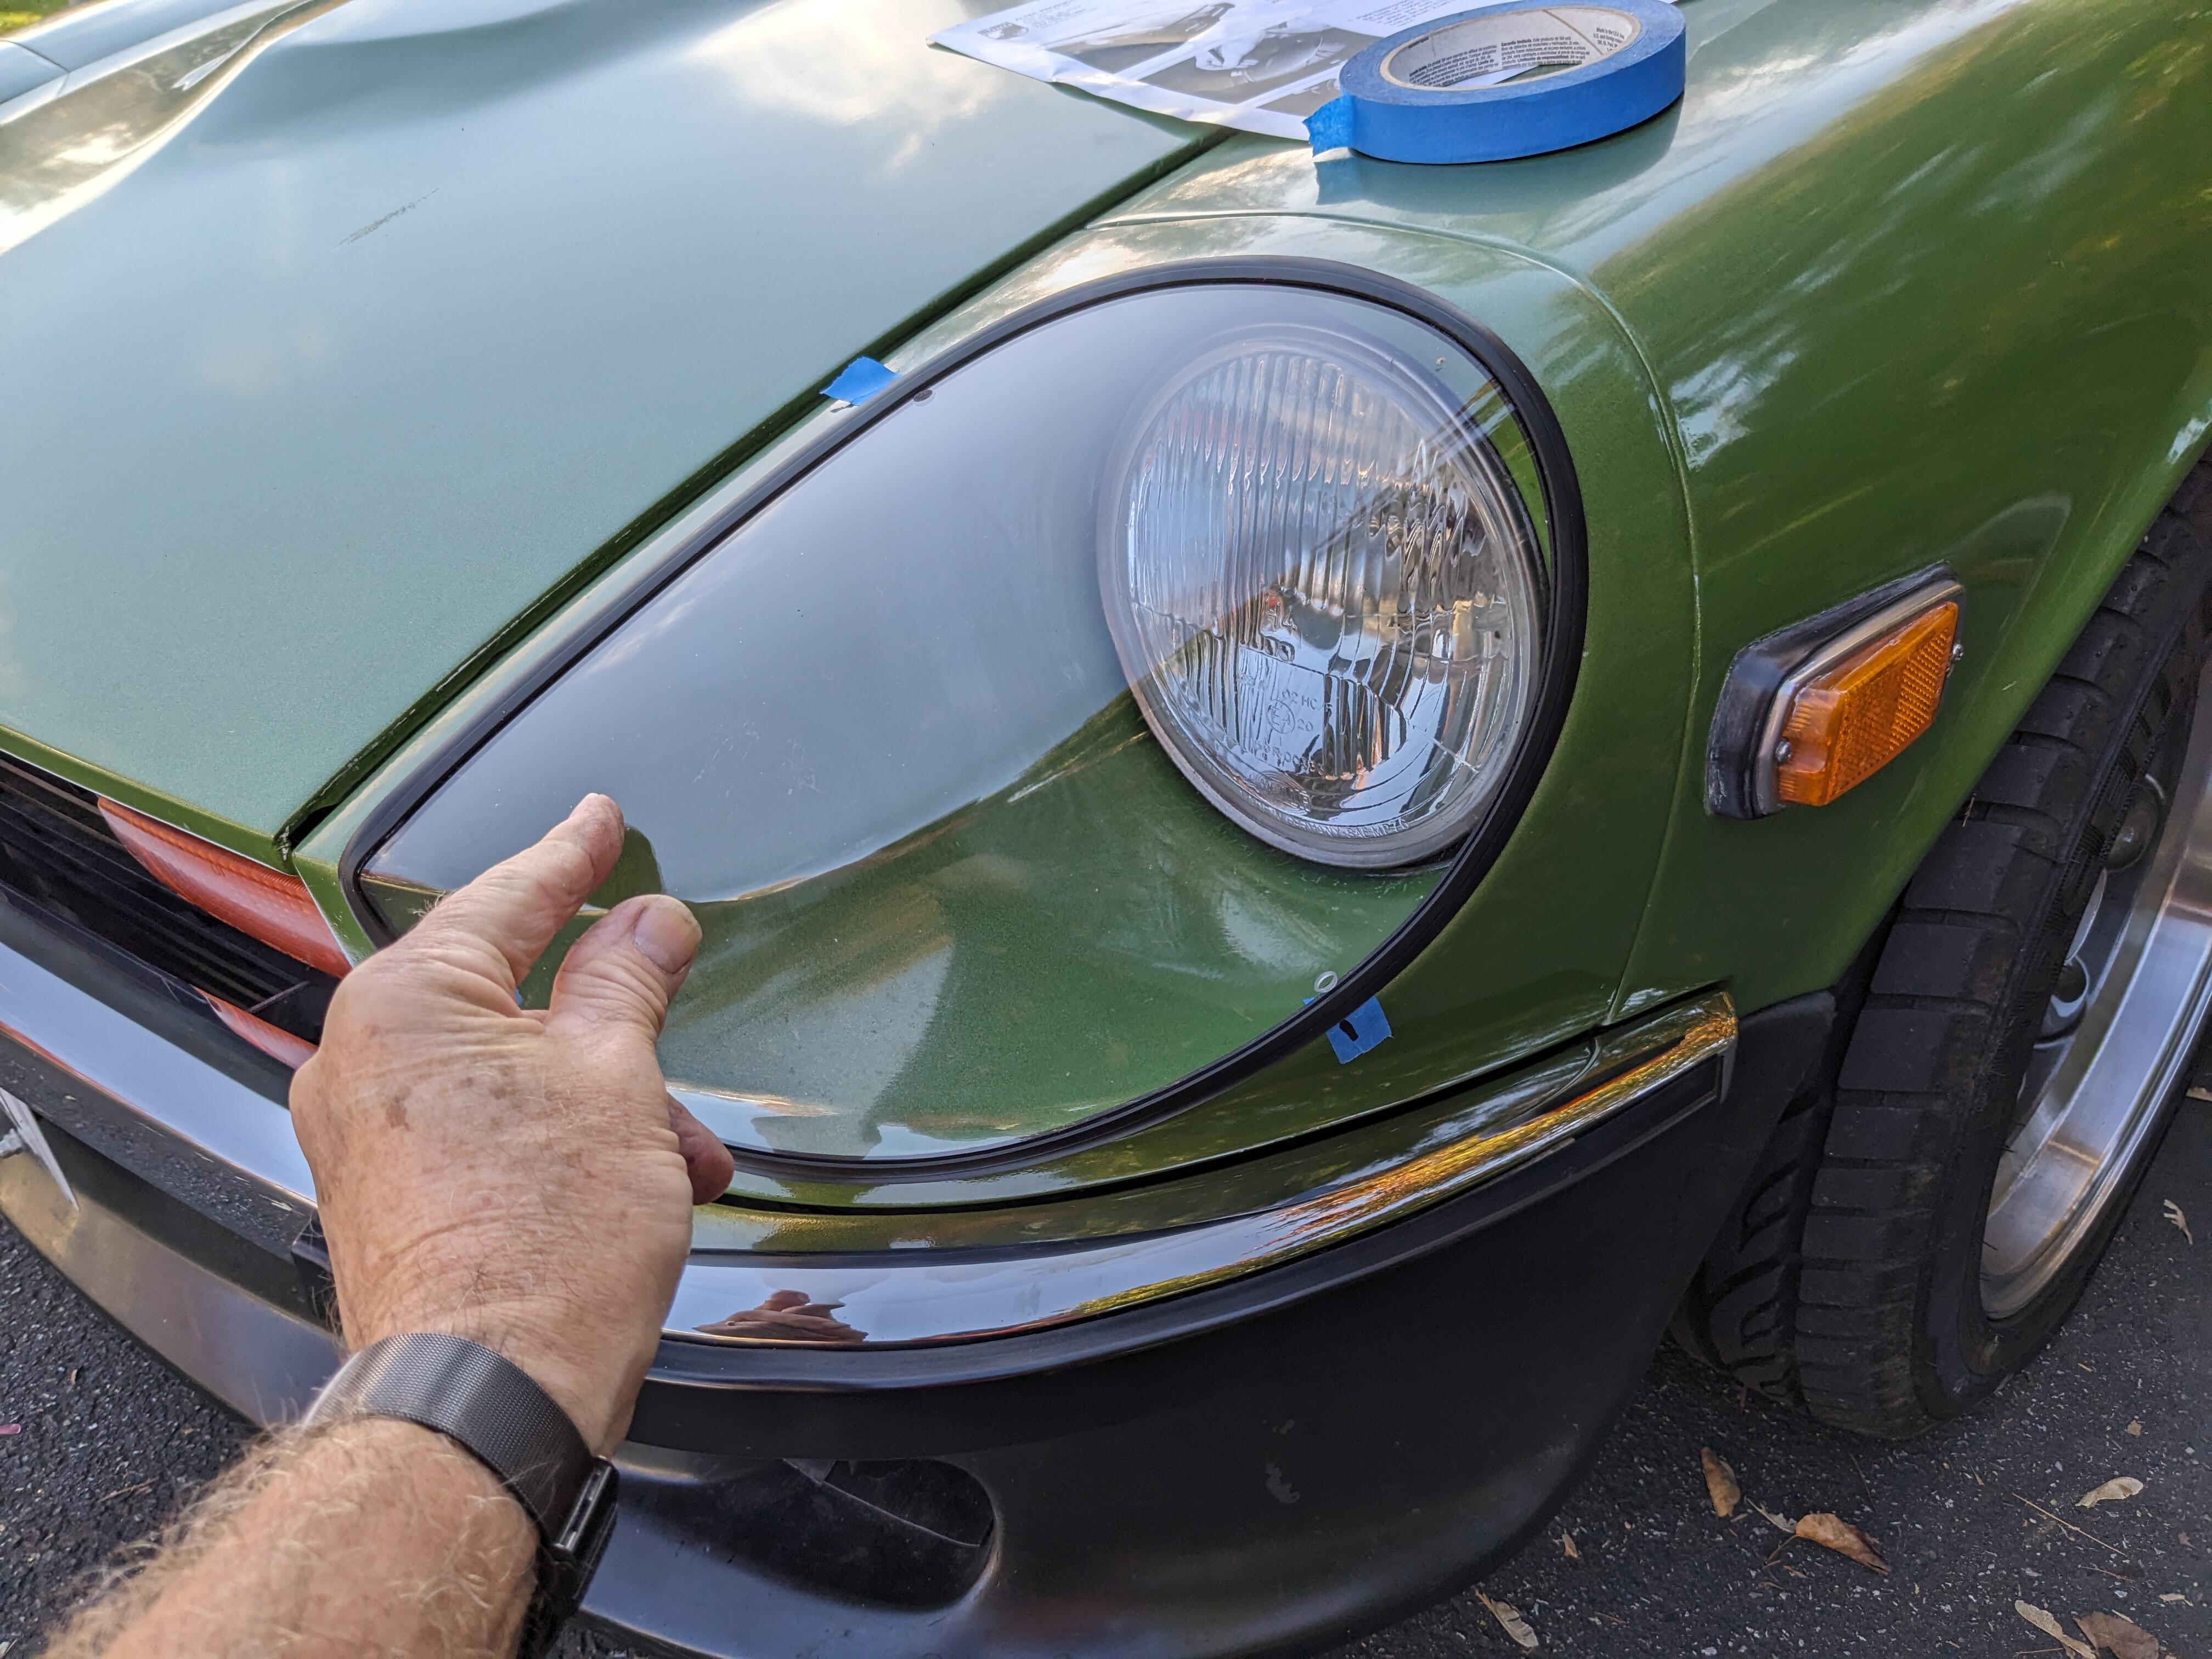
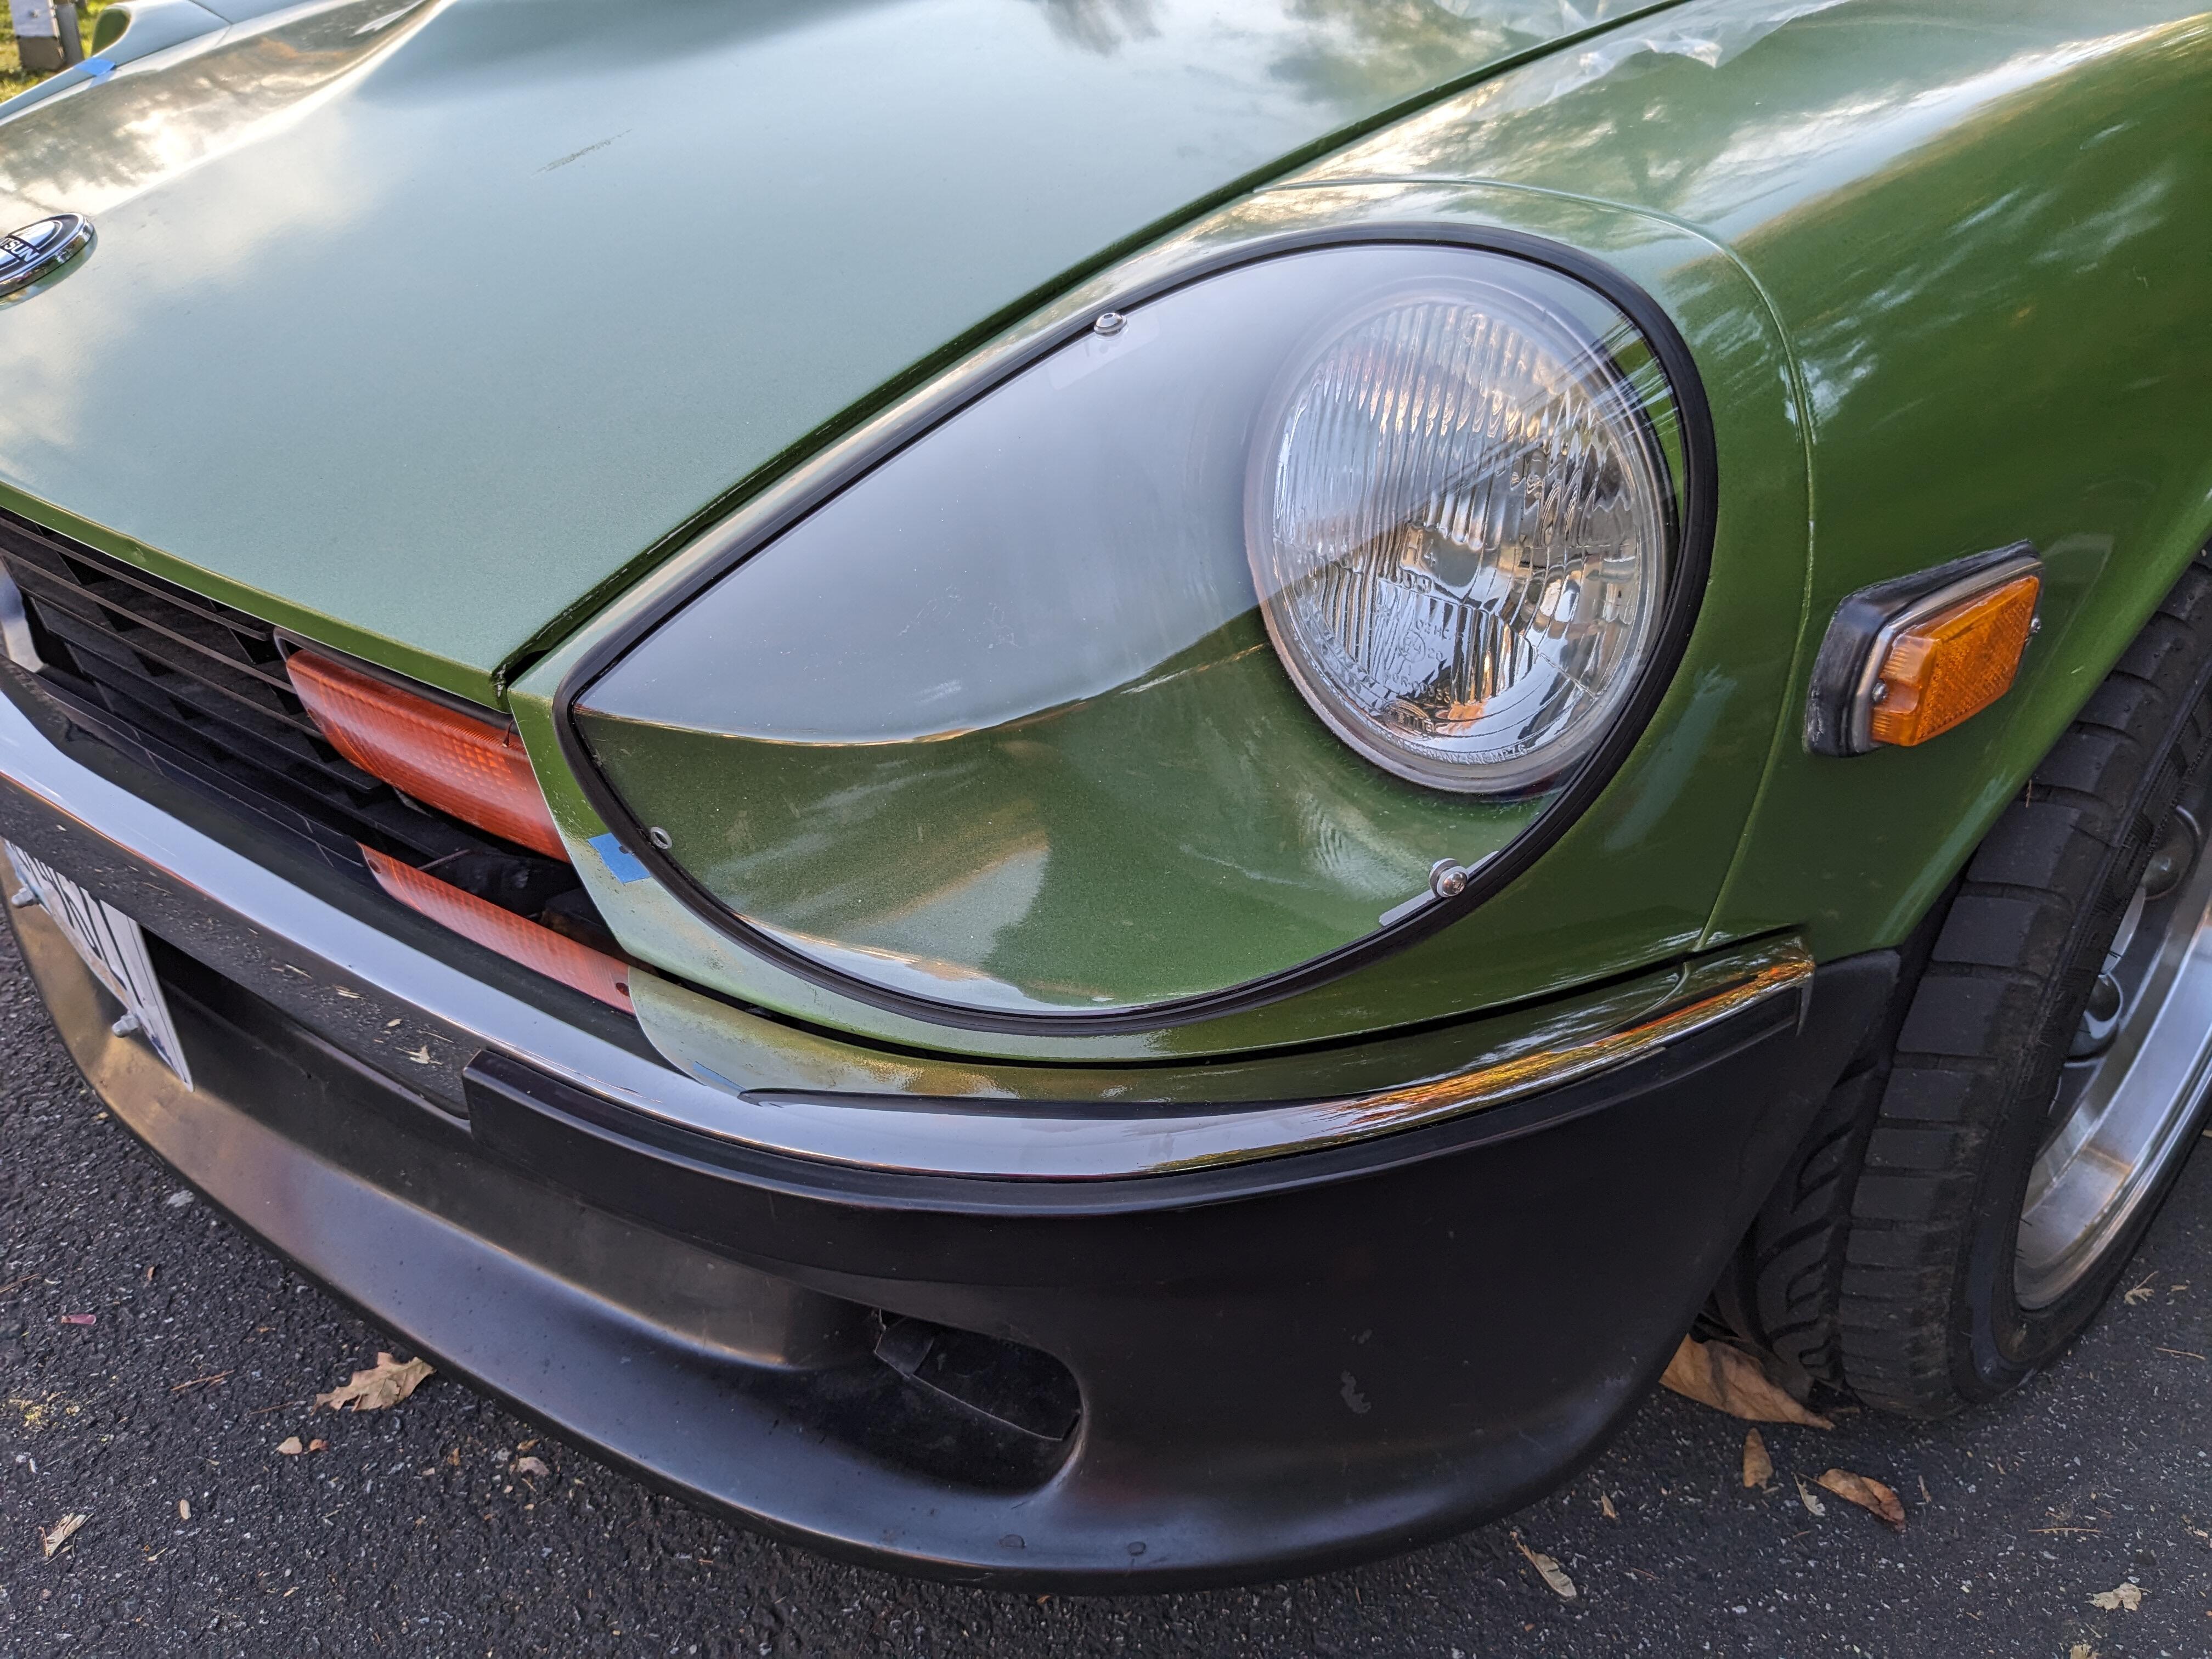
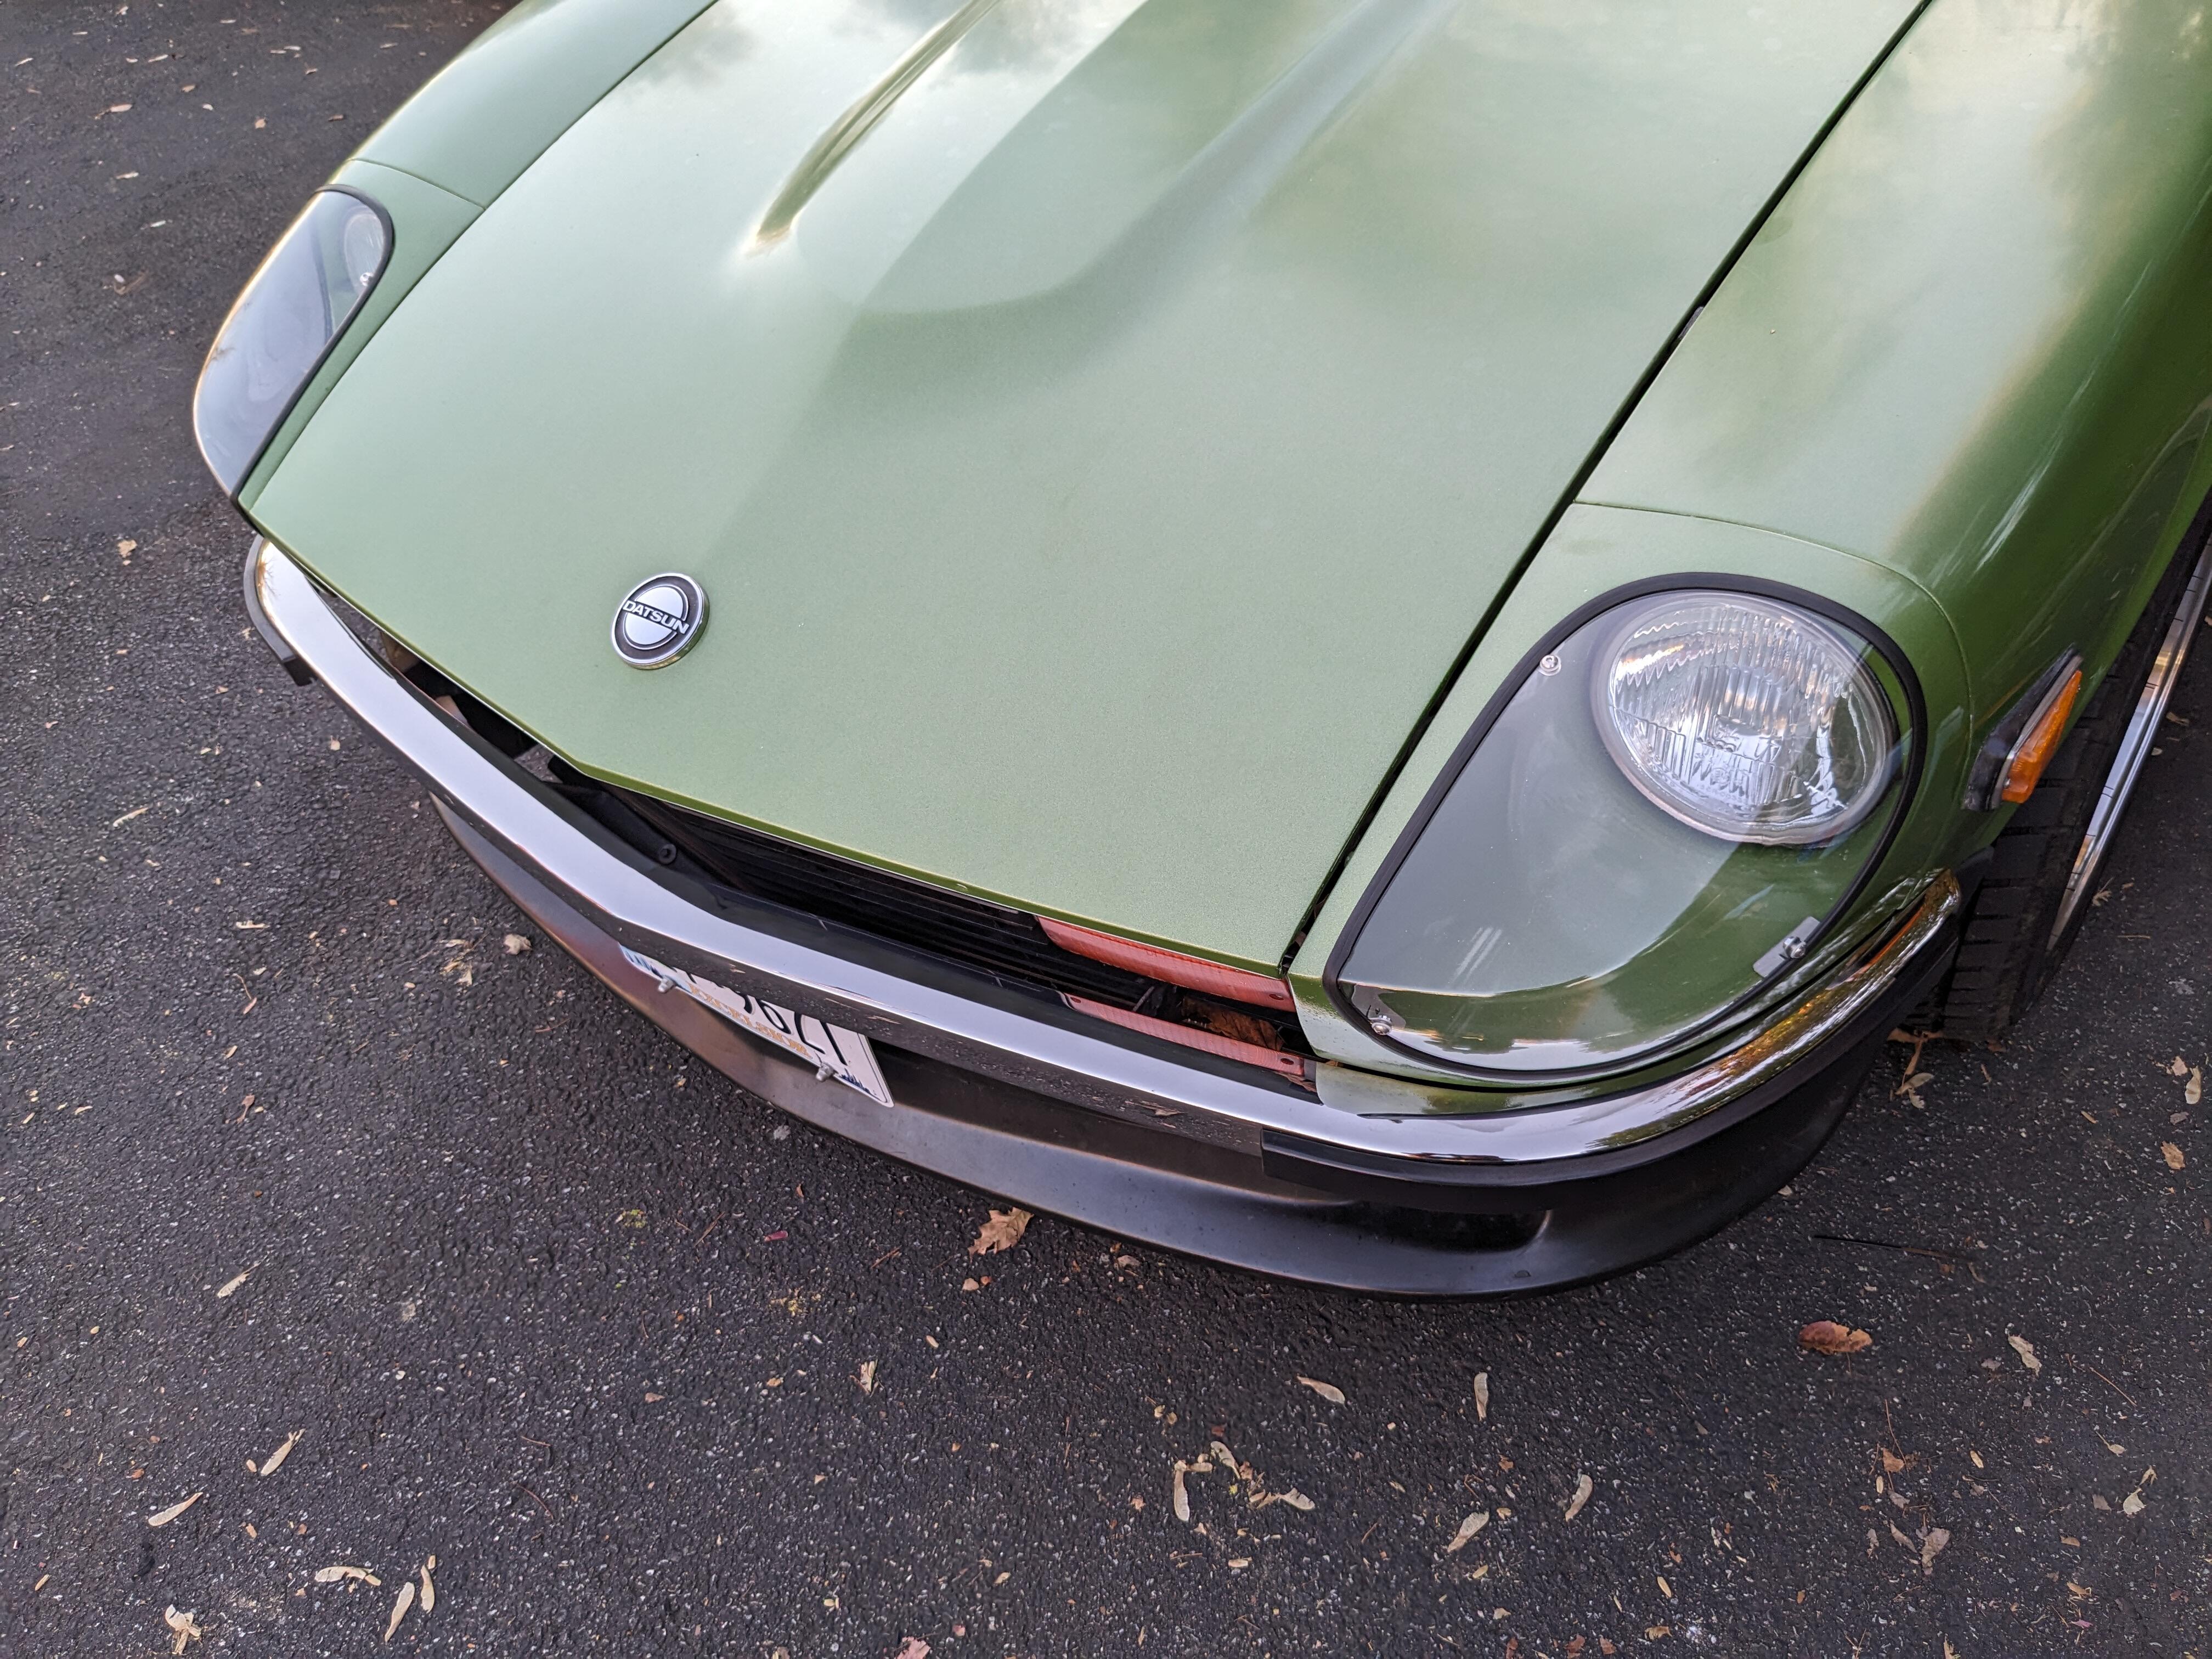
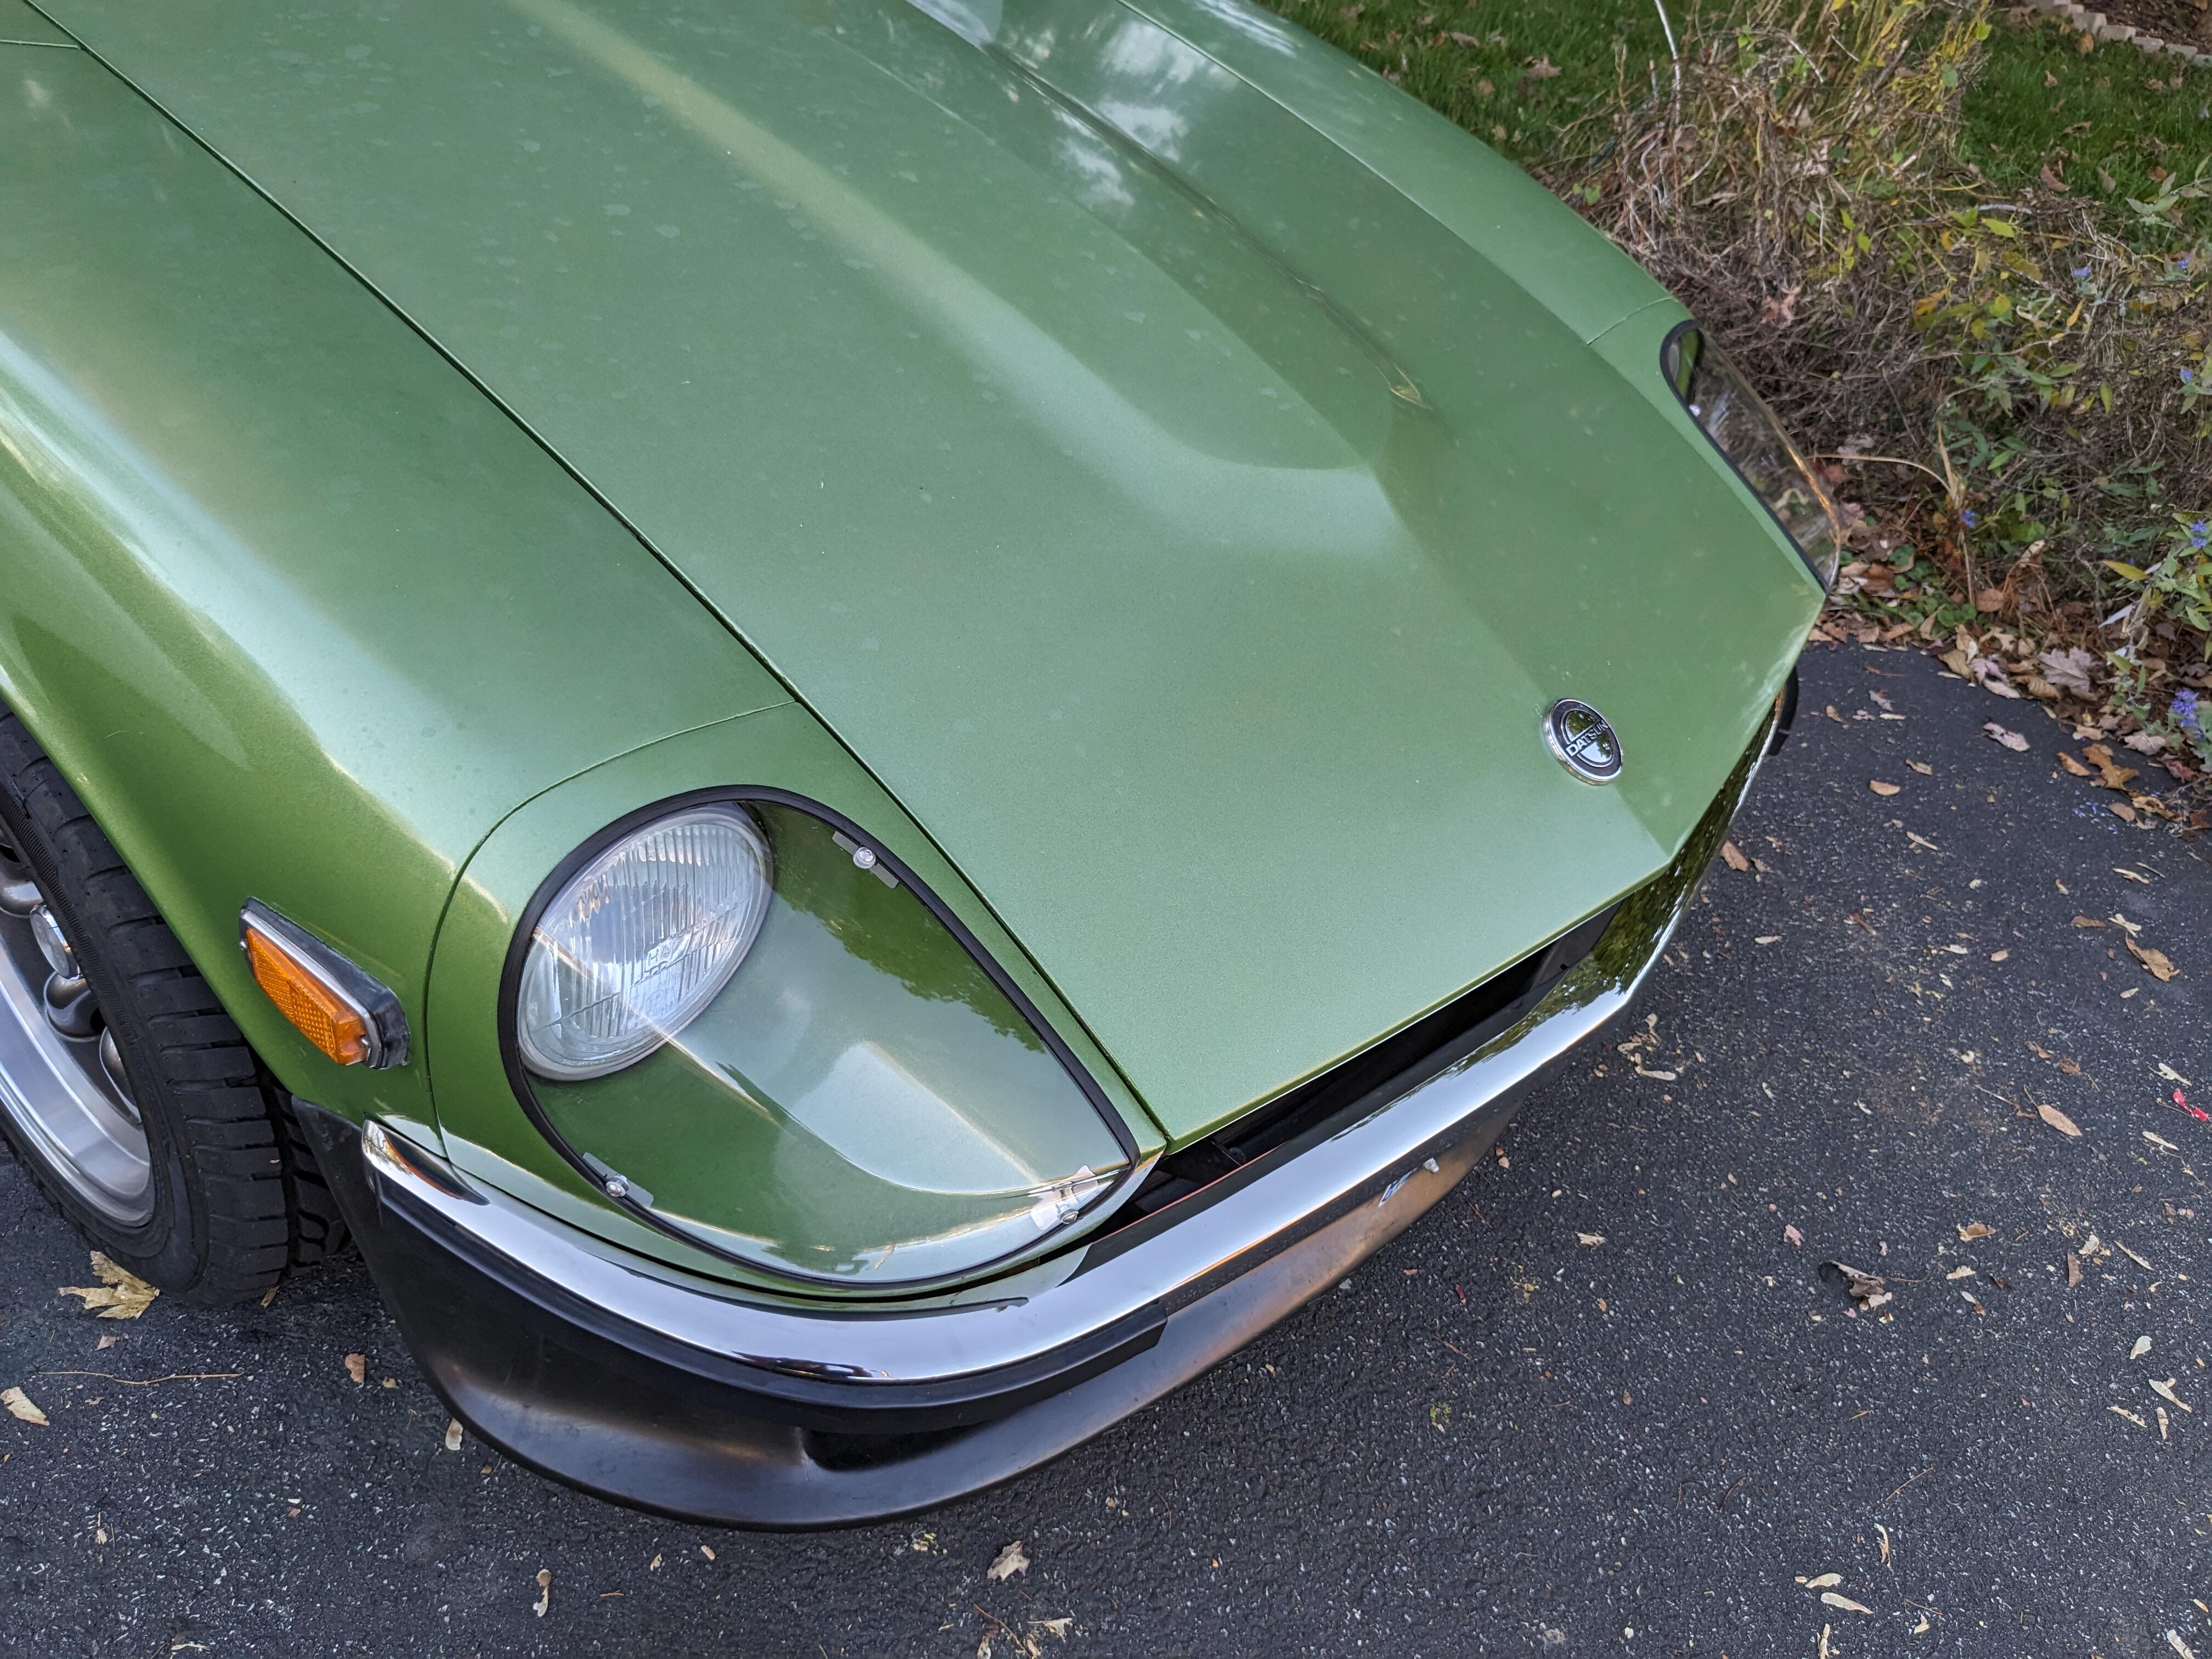
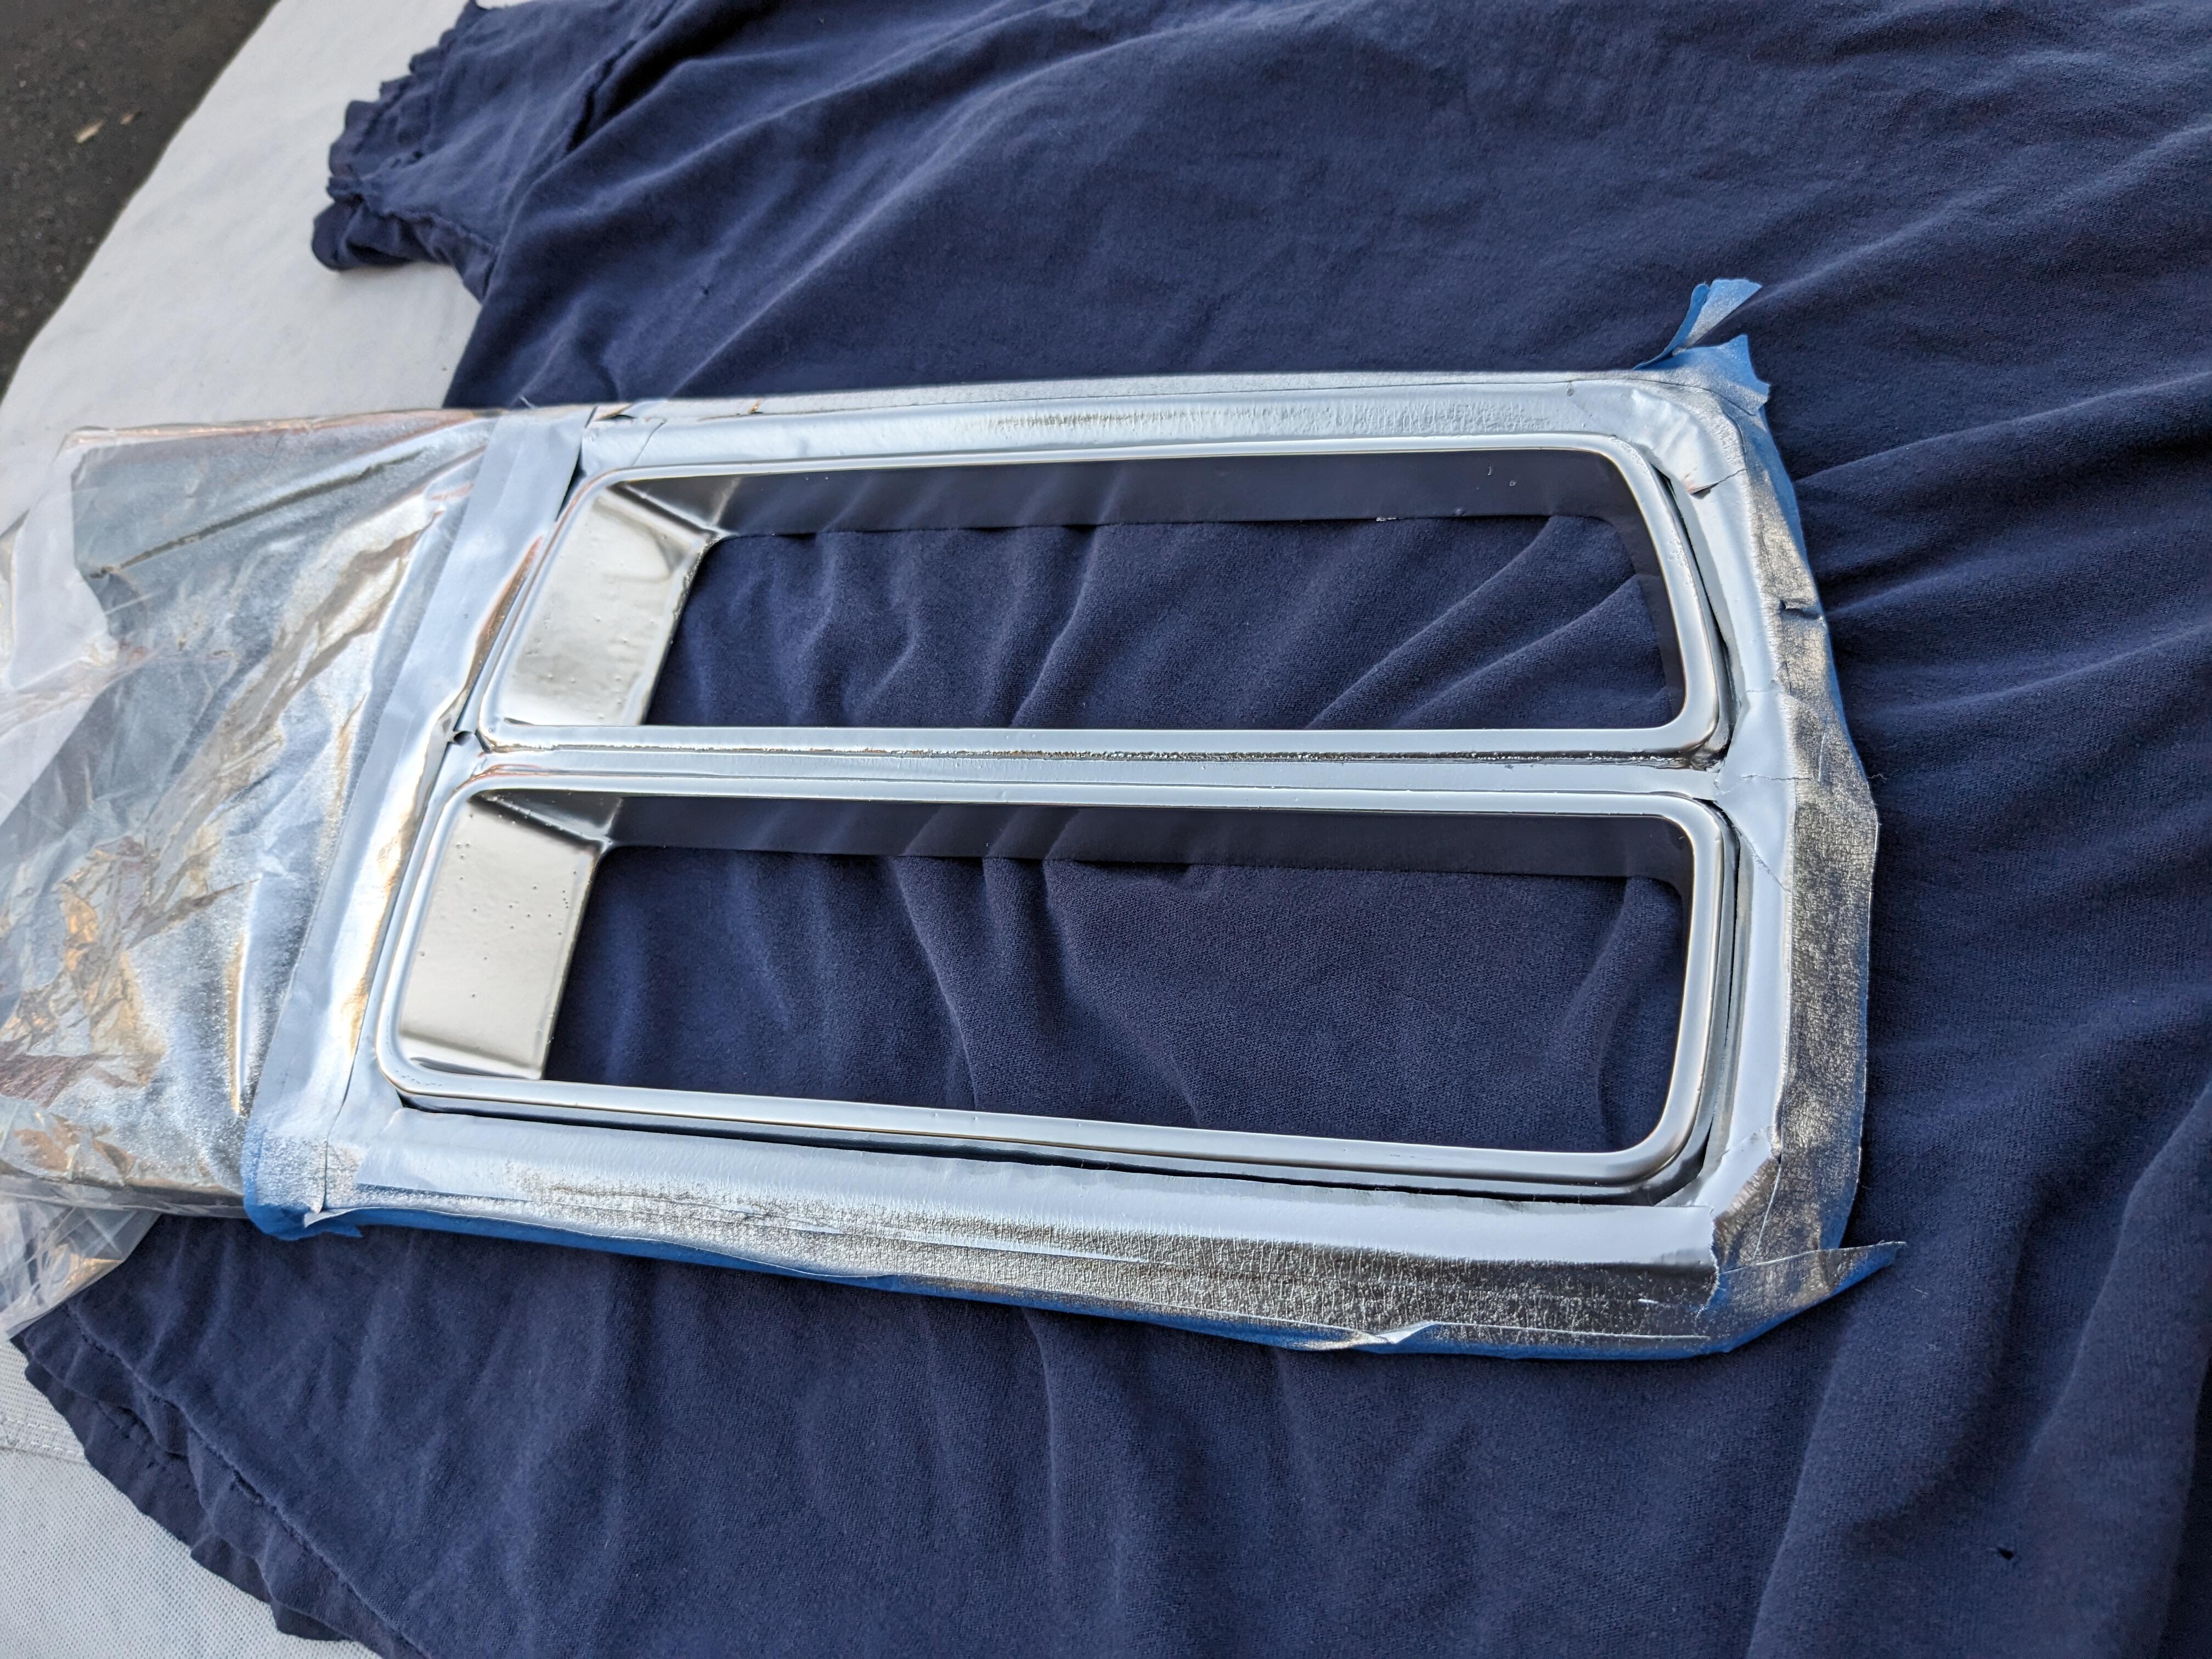
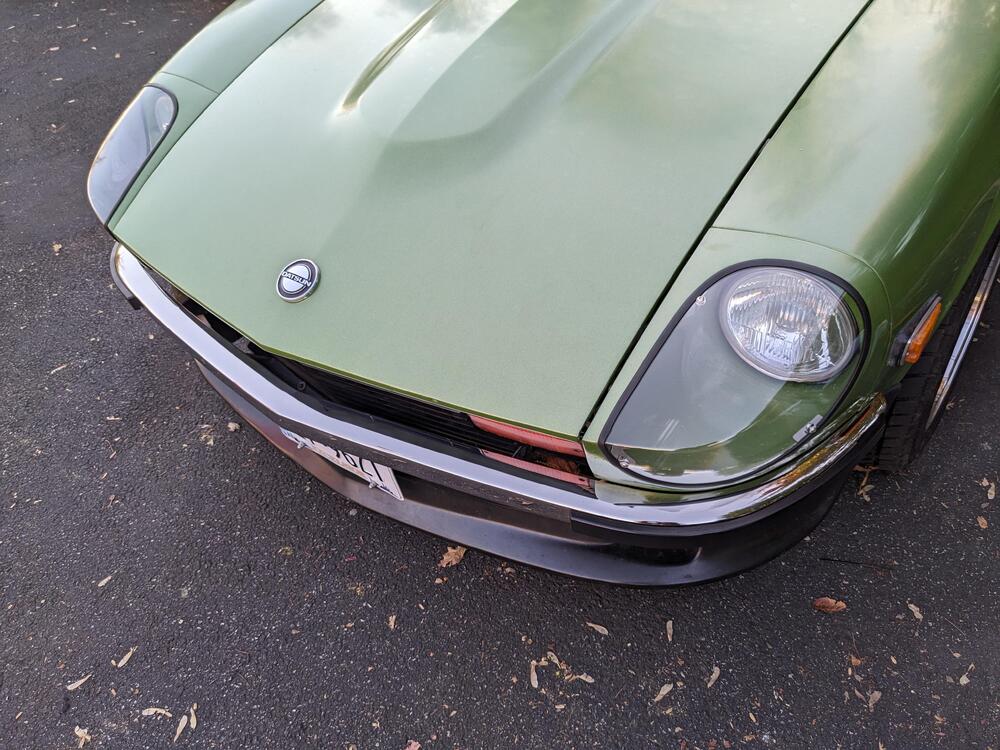
4 pointsNow that I have the H4's installed, I decided it was finally time to add the headlight covers I got from Motorsport Auto back in the Spring Probably going to paint the brackets, doubt I can stand looking at those


 4 points
 -
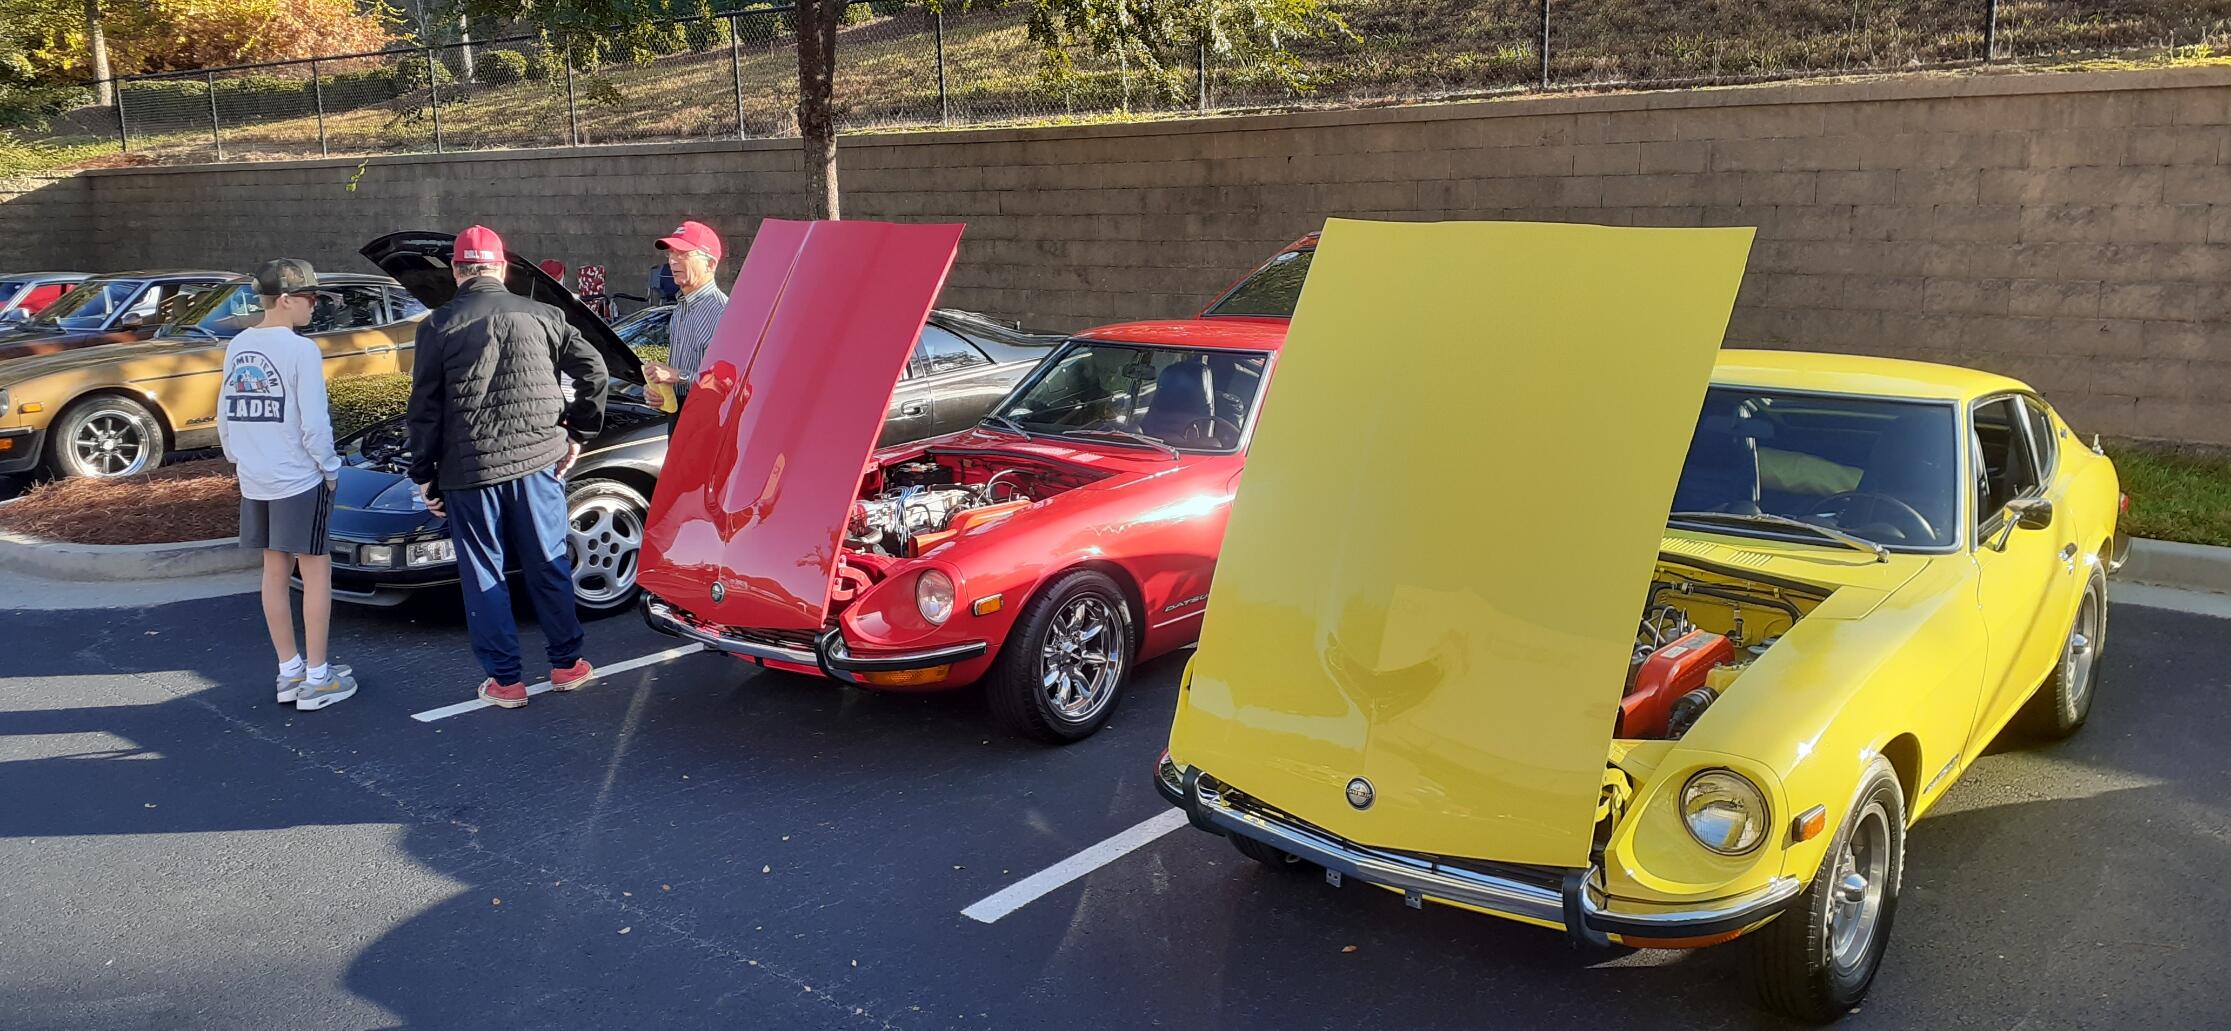
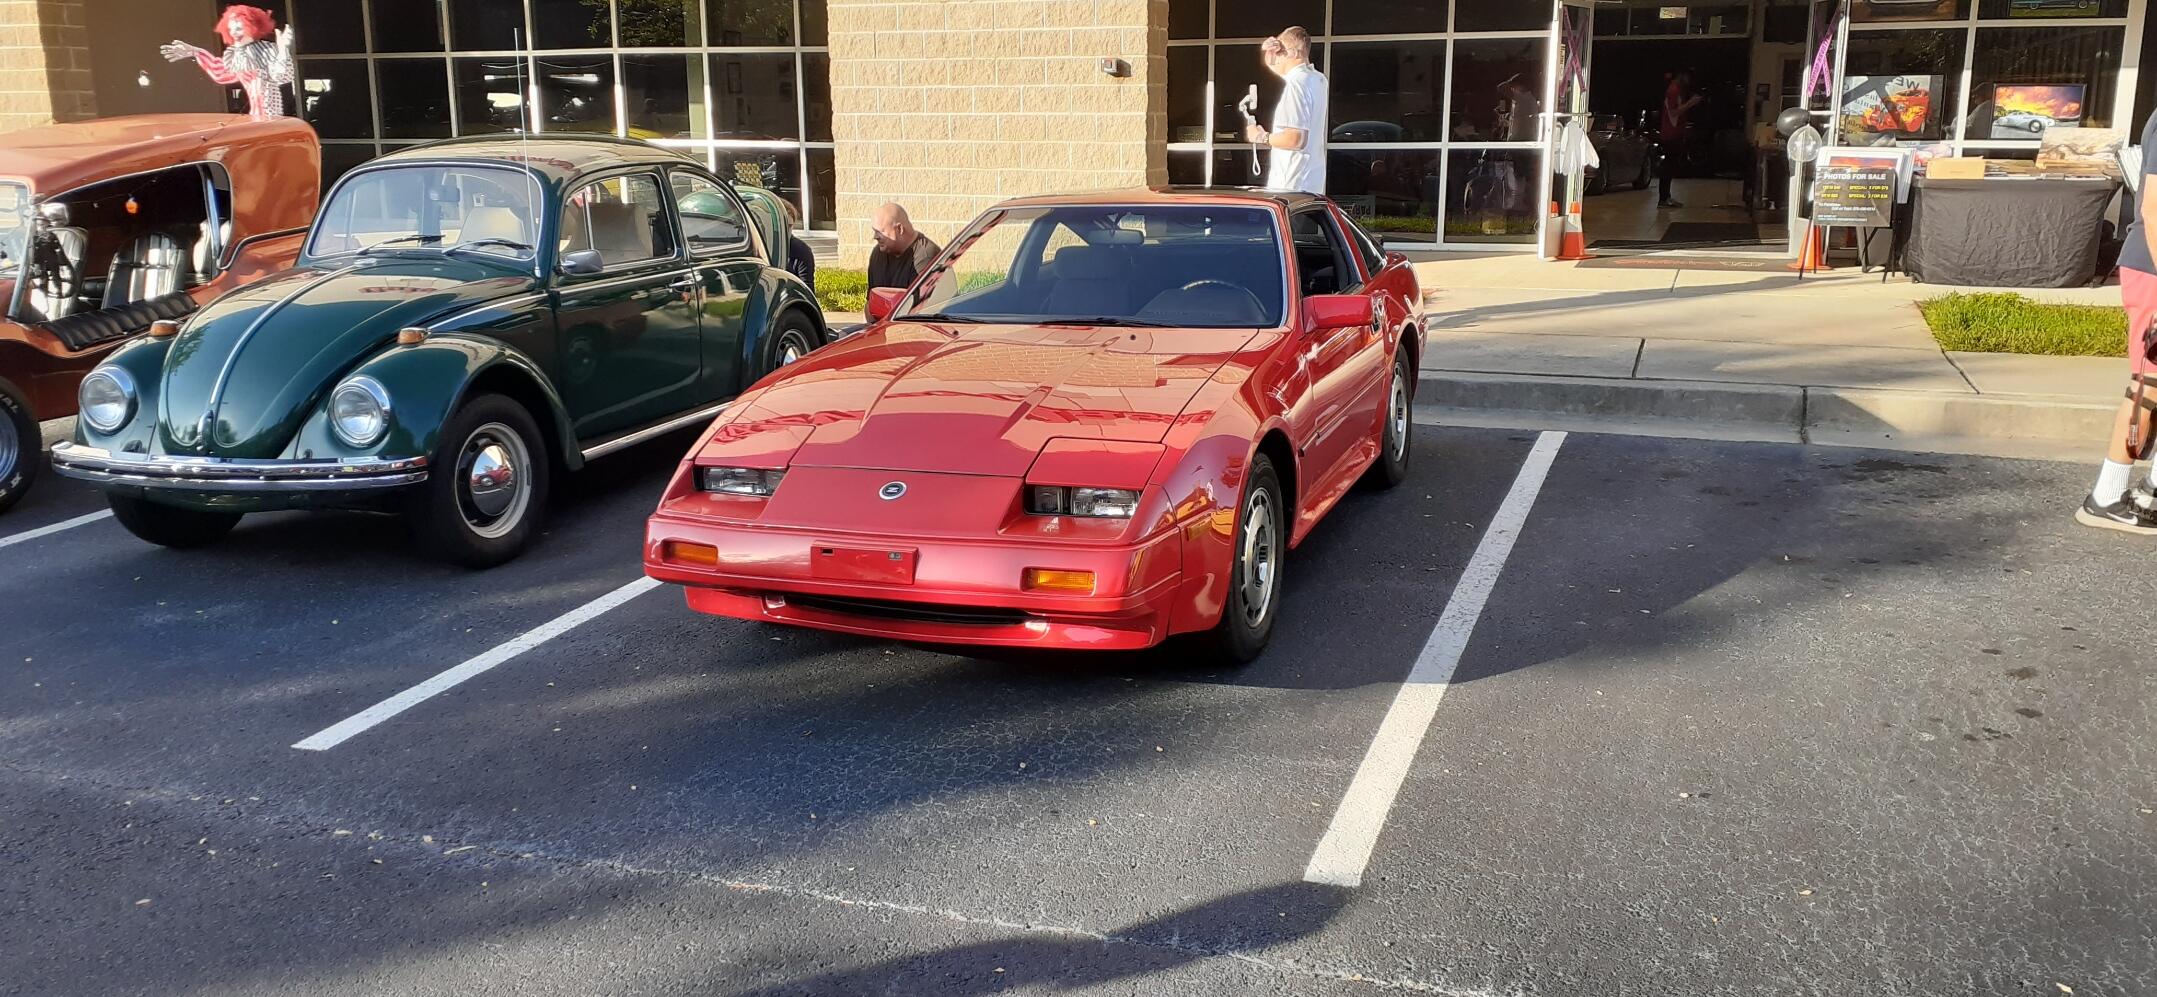
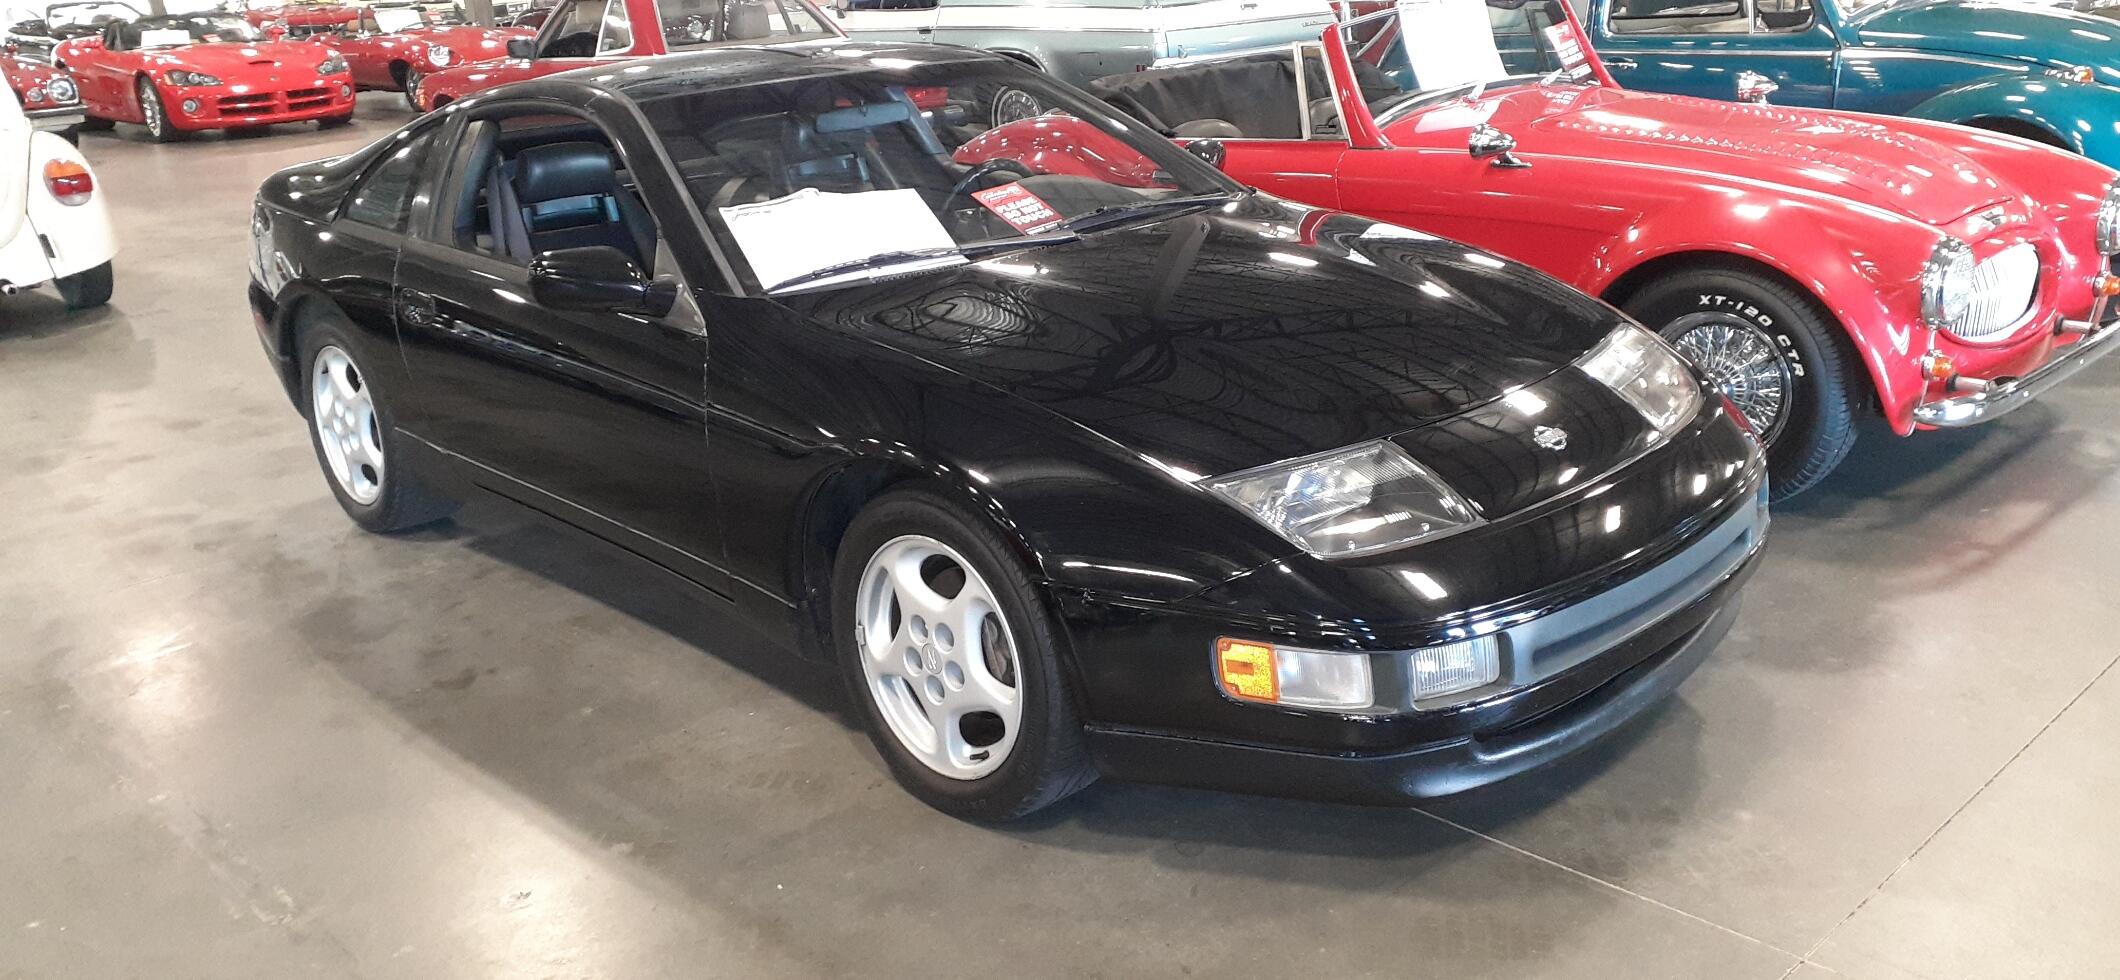
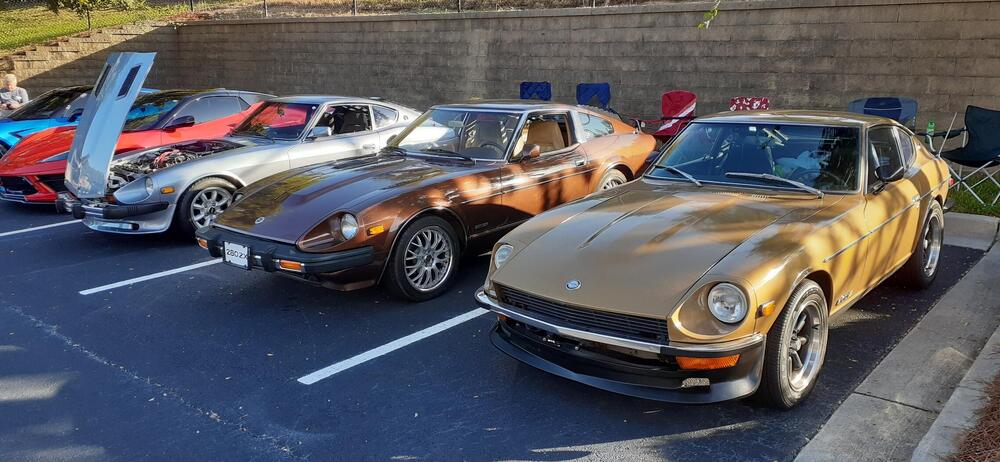
It was a gorgeous day for Trunk or Treat at Caffeine and Chrome. (If you have a Gateway Classic Cars near you, you might want to go to Caffeine and Chrome. There are 21 locations scattered across the US.) The wife passed out candy to kids, and I got to look at cars & chill. The weather is still warm (through Monday) around here, so it was an ideal day to go for a drive and hang out at a car show. I also ended up helping a Z friend. He said he was parking and felt the steering column become loose. He found a bolt on the floor and put it back in, but he said it still felt floppy. I looked at the car and found the other 3 bolts were barely on. Fortunately I had my travel tools with me, so I got the other 3 bolts nice and snug. There was an S130 & a Z32 on consignment there, too.


 4 points
 -
I be careful about referring to my wife’s hair as cat hair (or are you married to a cat?), but other than that, fantastic find!4 points
-
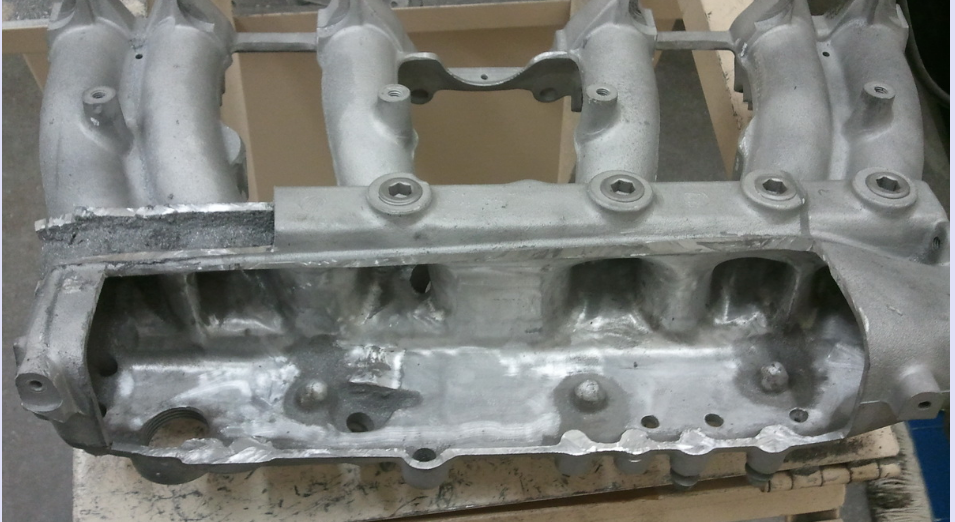
Shameless plug 😎: I have a few manifolds if you end up needing another one.3 points
-
2 points
-
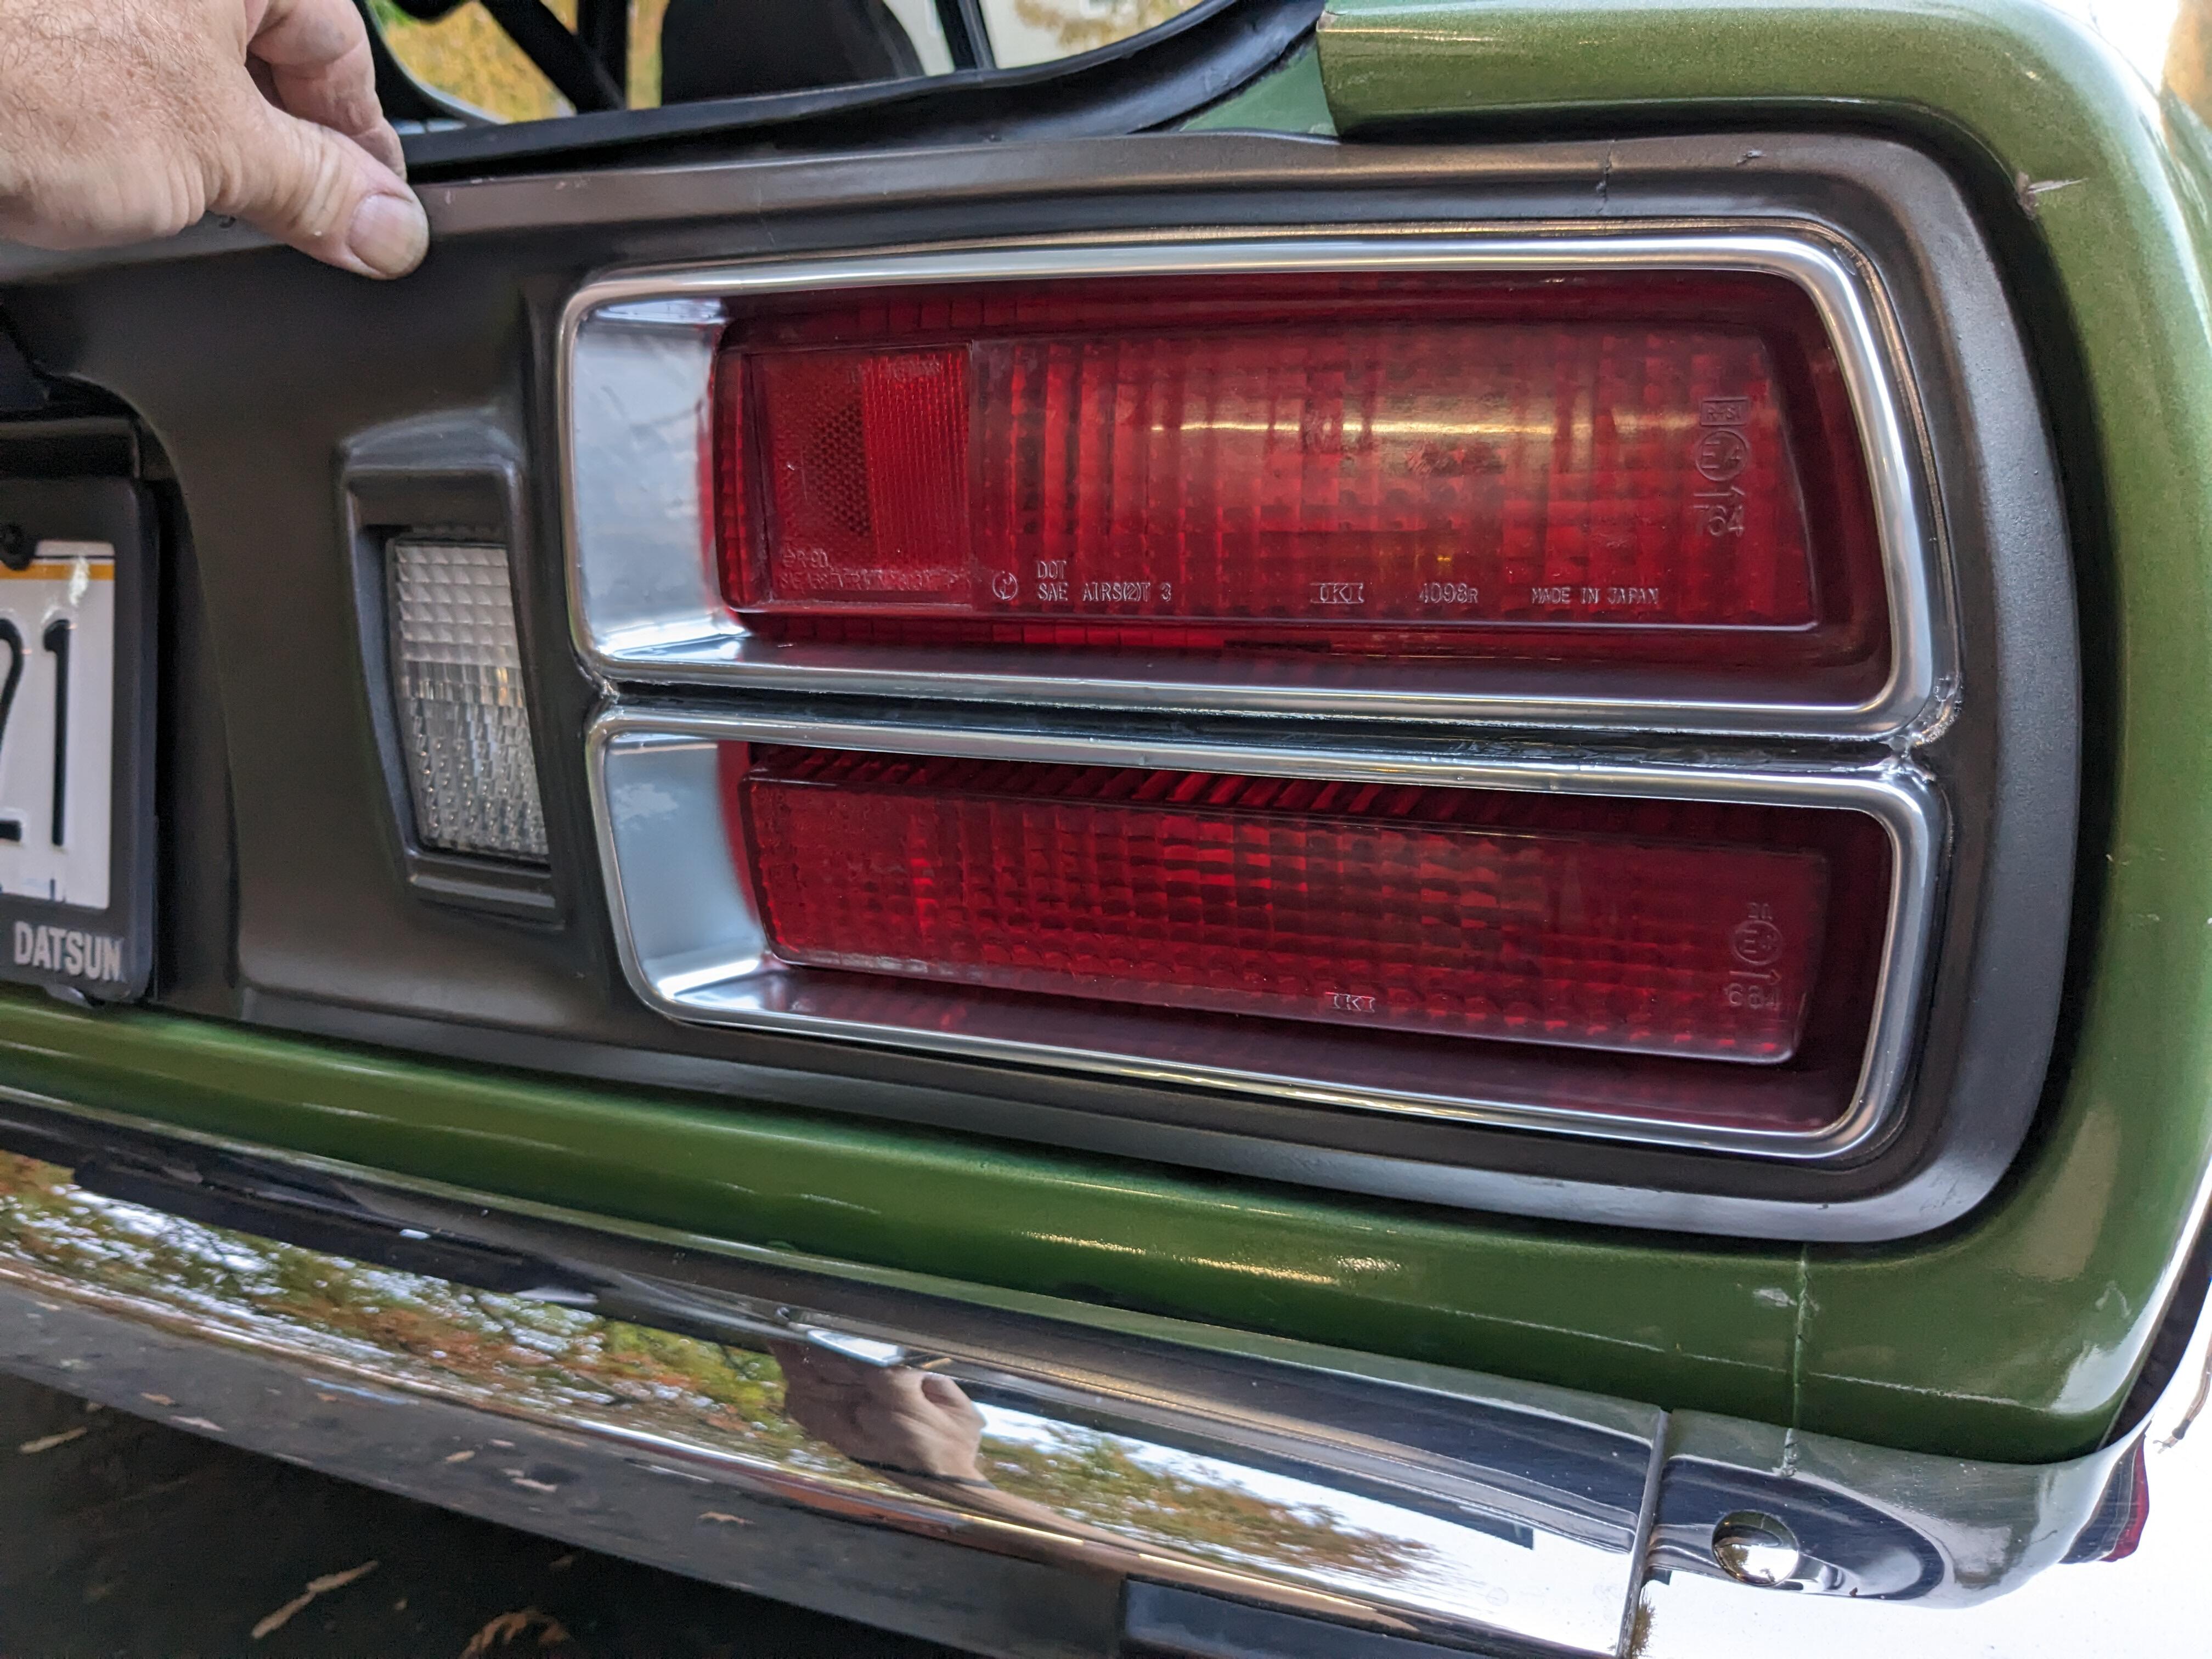
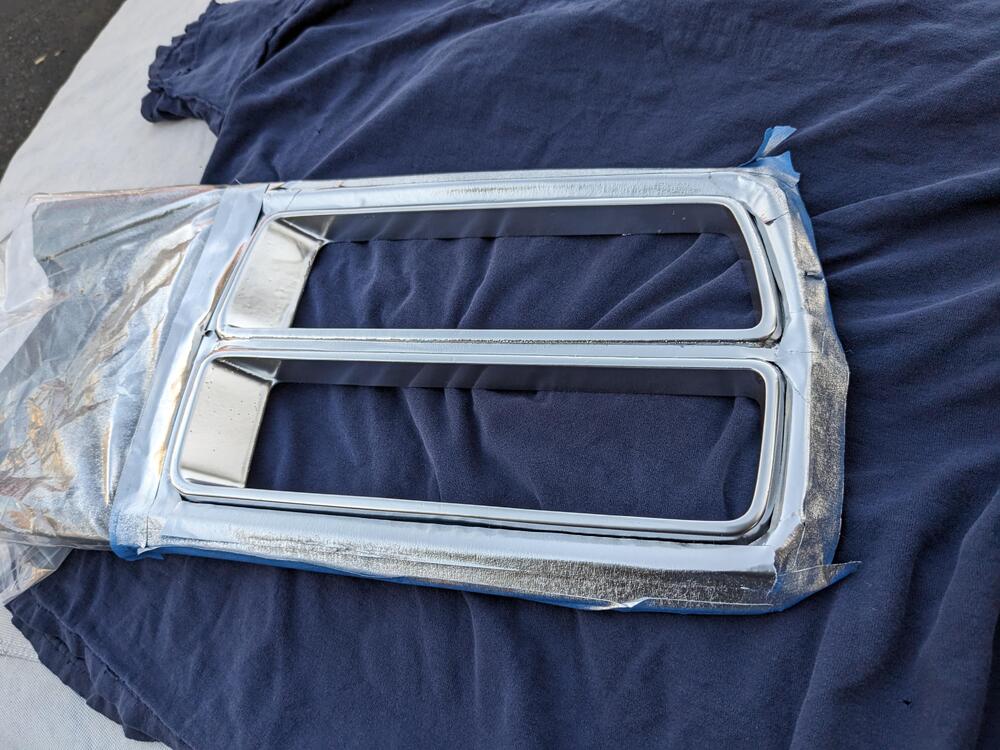
2 pointsThat's interesting - I'll have to take a look. I did have to redo the chrome - the center recess on them where the foil was peeling bothered me too much. I filled the recess yesterday's then sanded, masked & repainted the chrome today. It's still got imperfections, but better overall

 2 points
 -
I'd say that's less like a shameless plug and more like a helpful offer.2 points
-
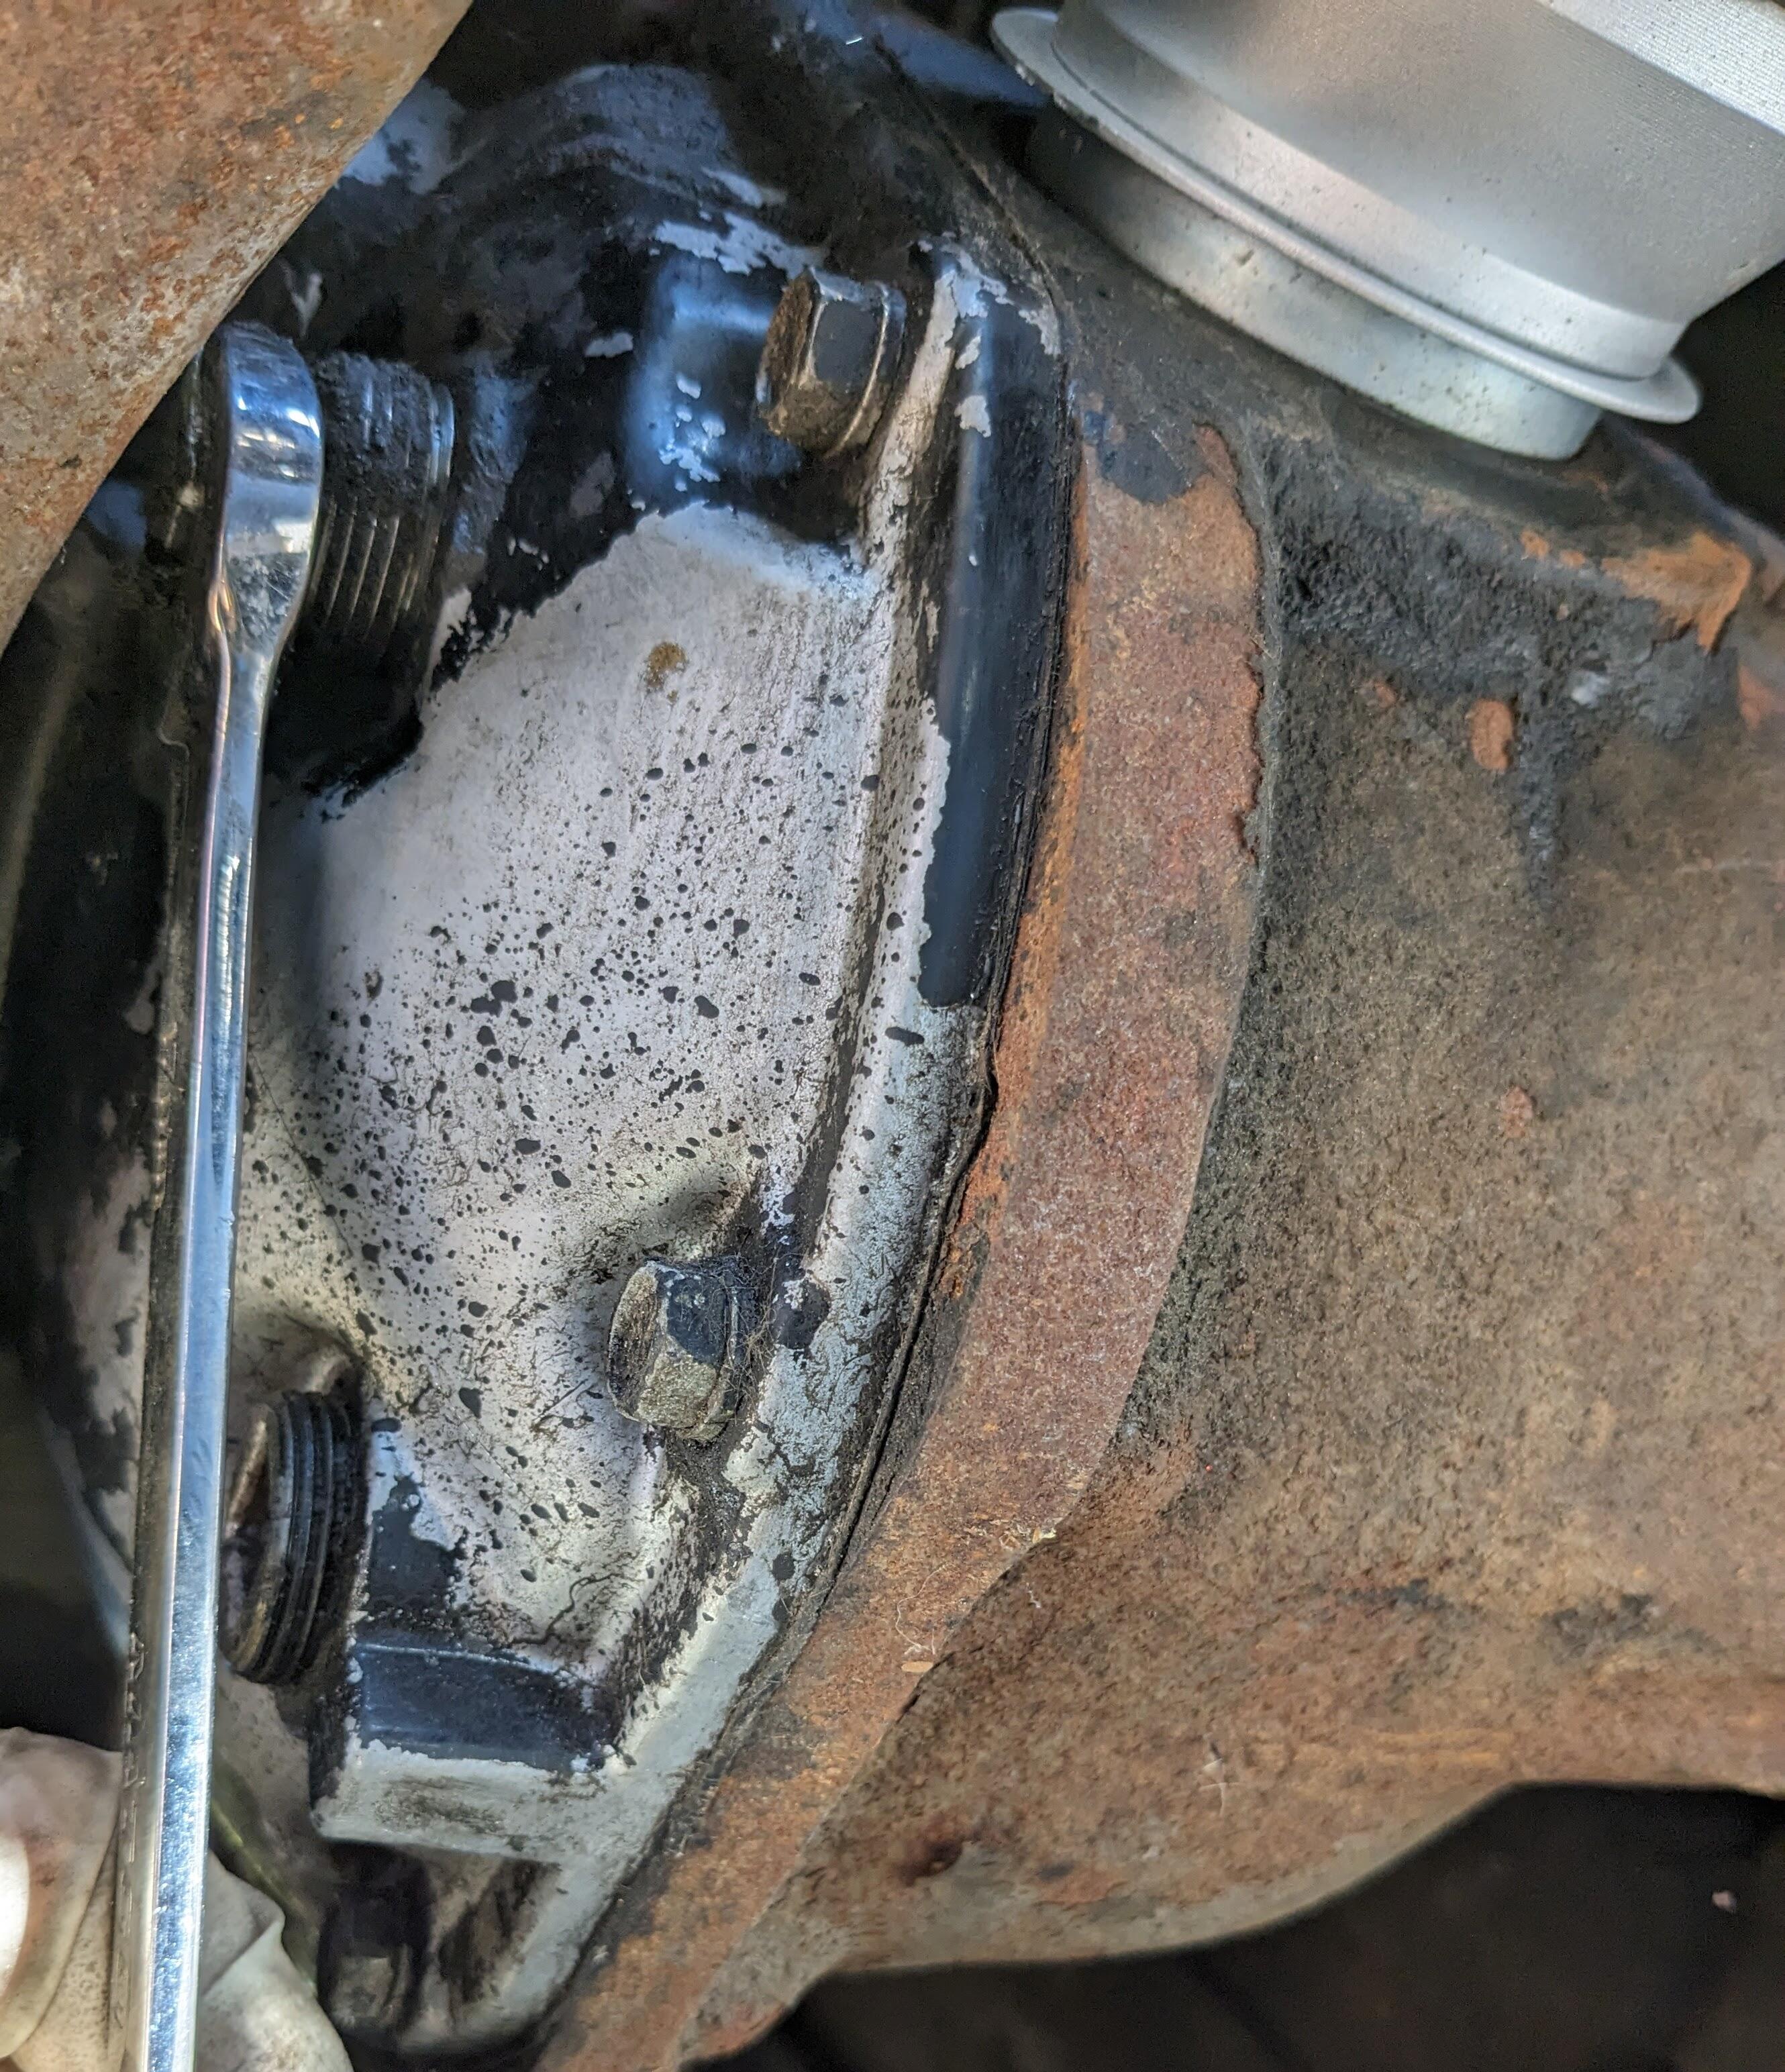
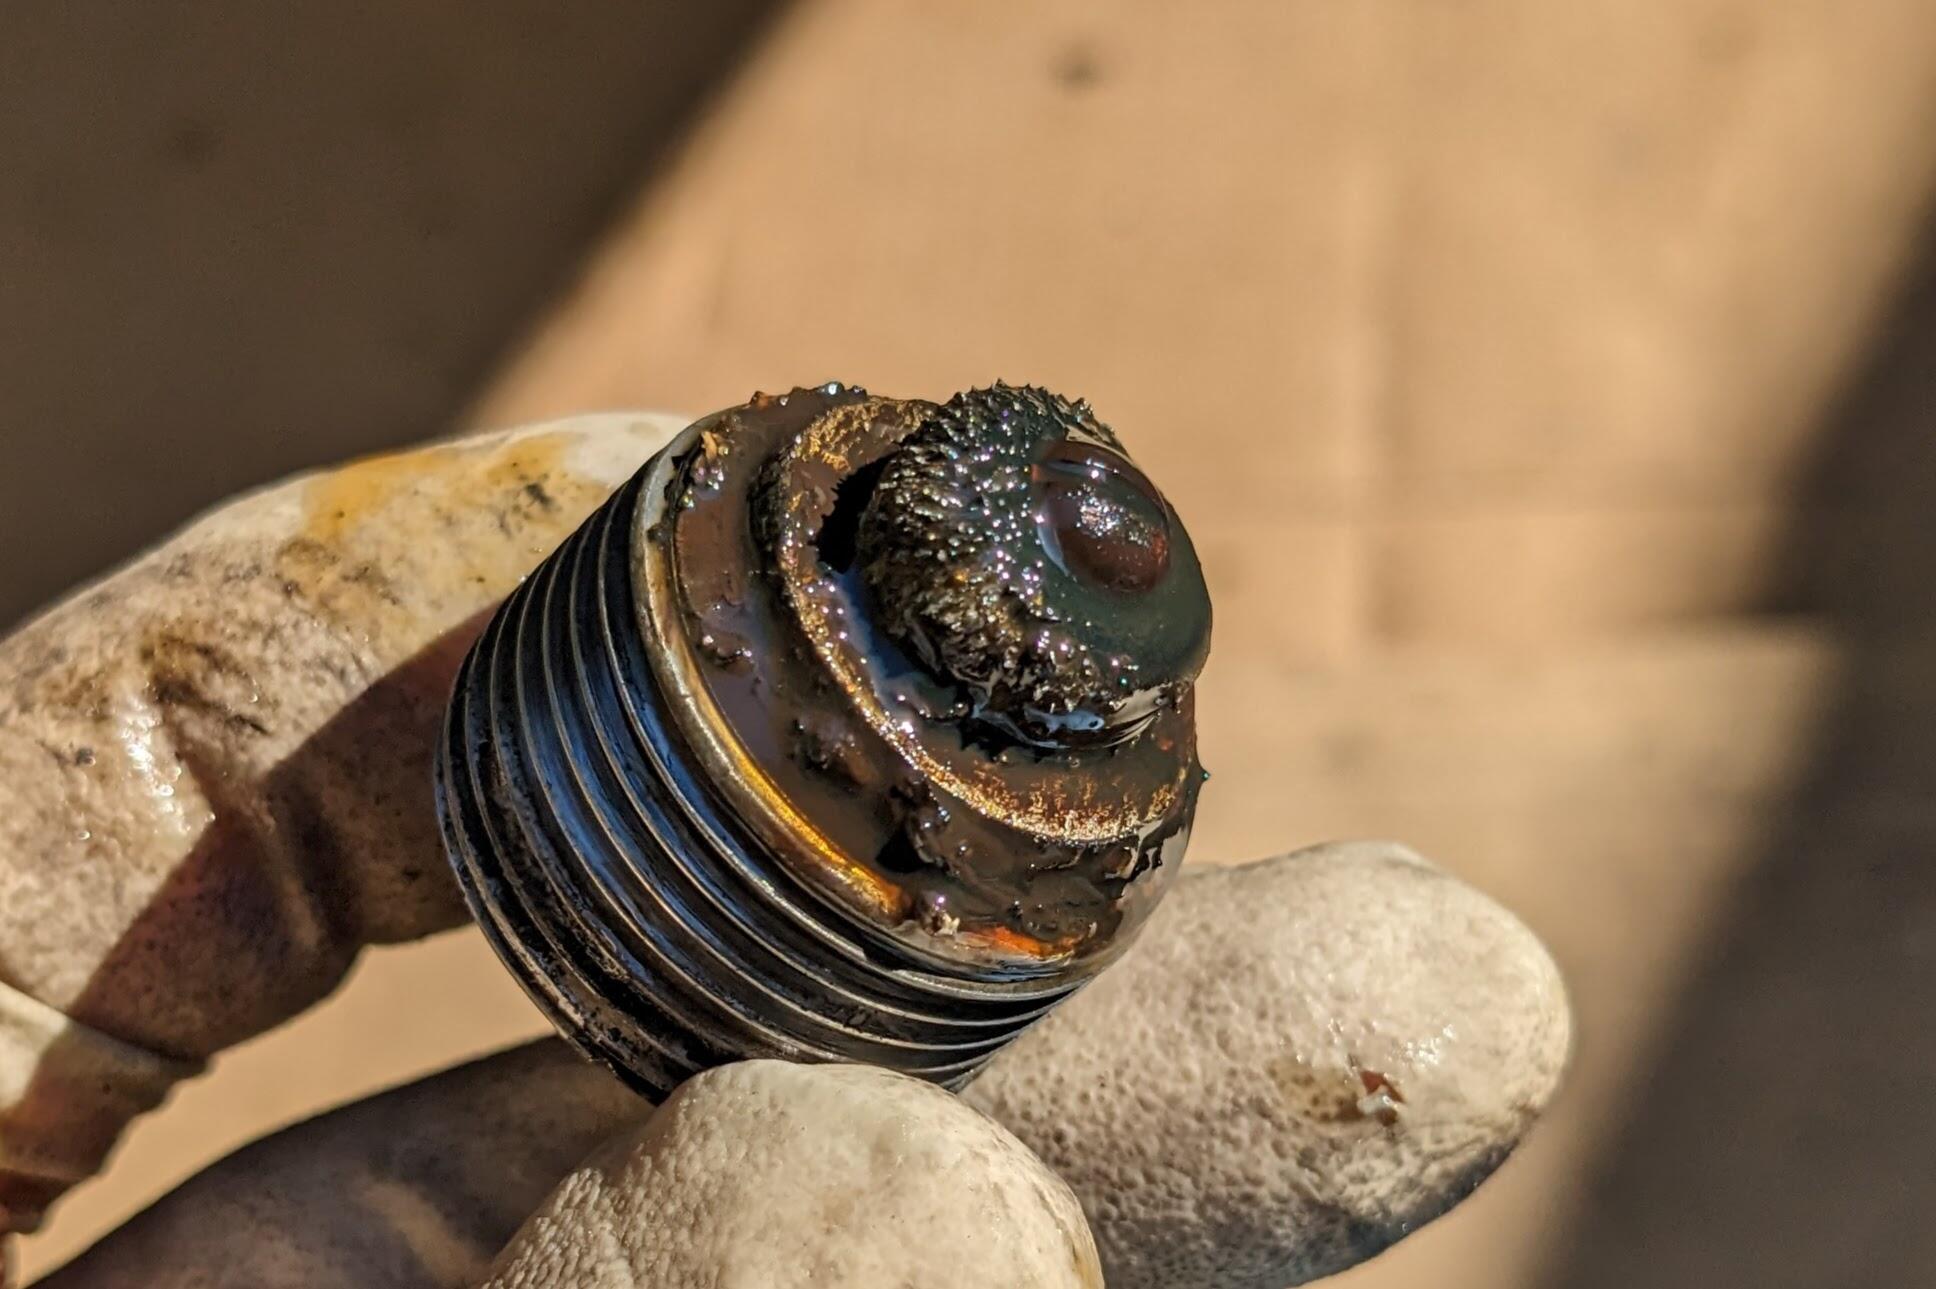
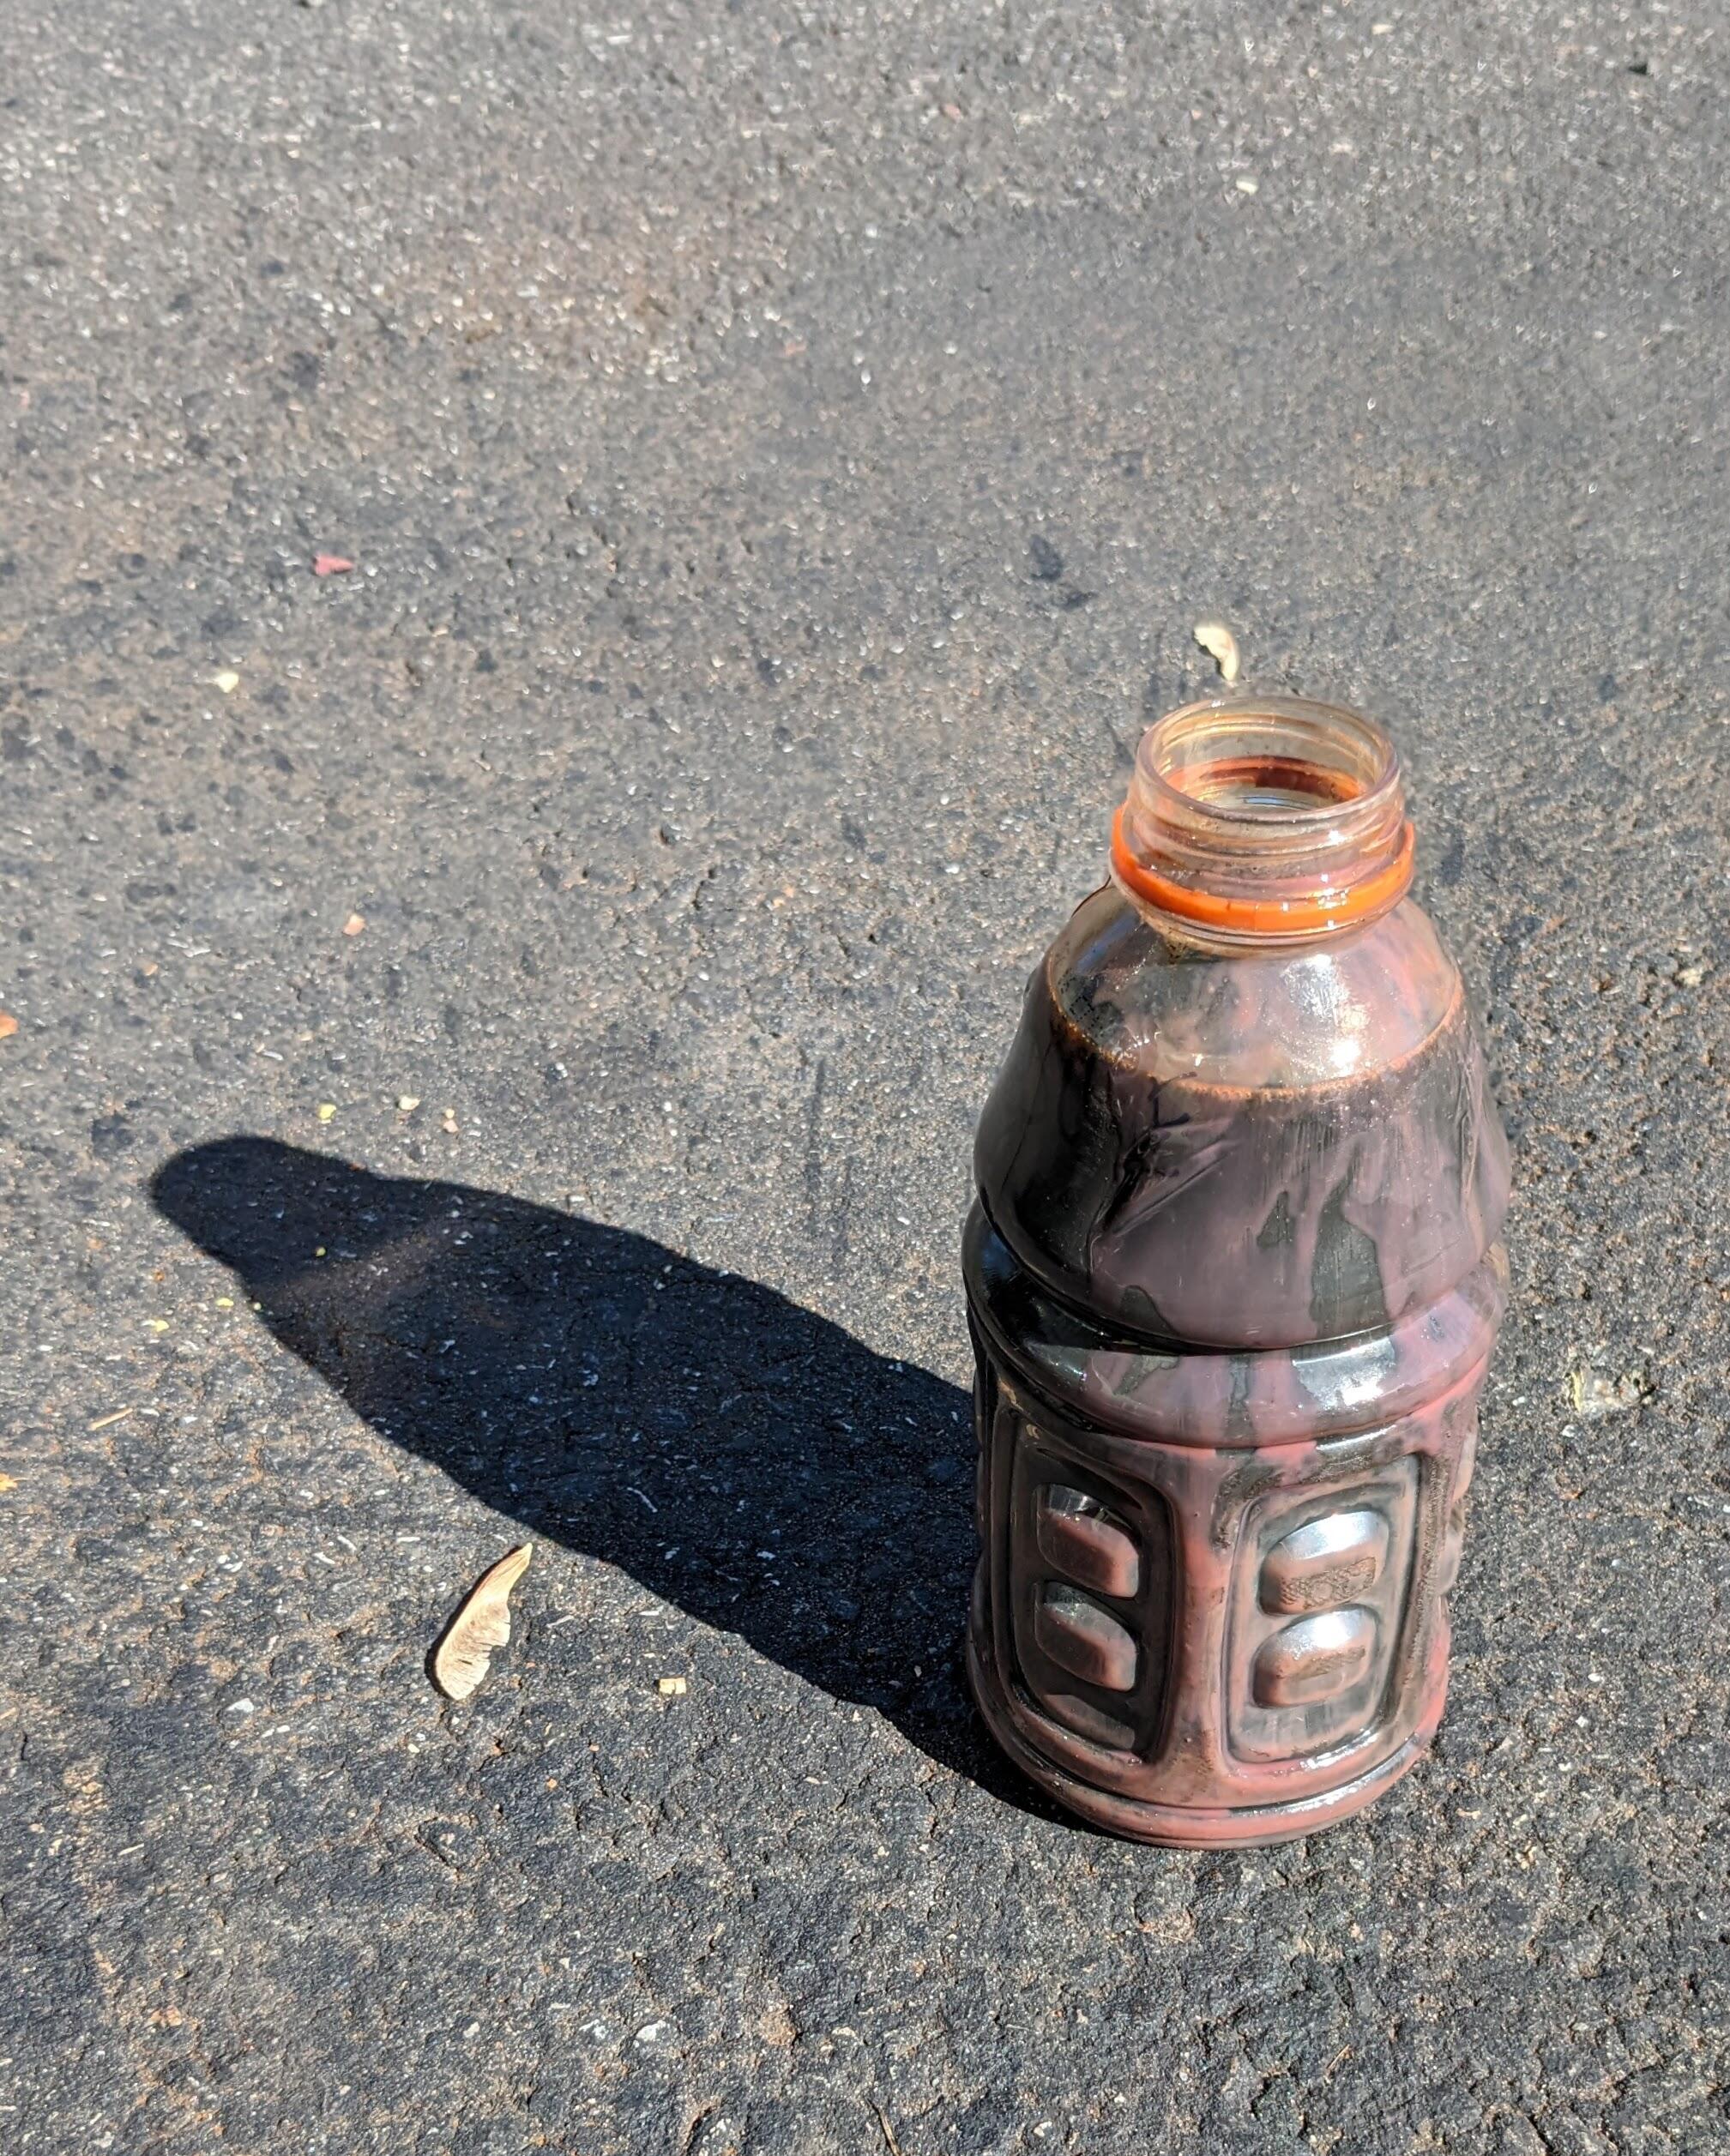
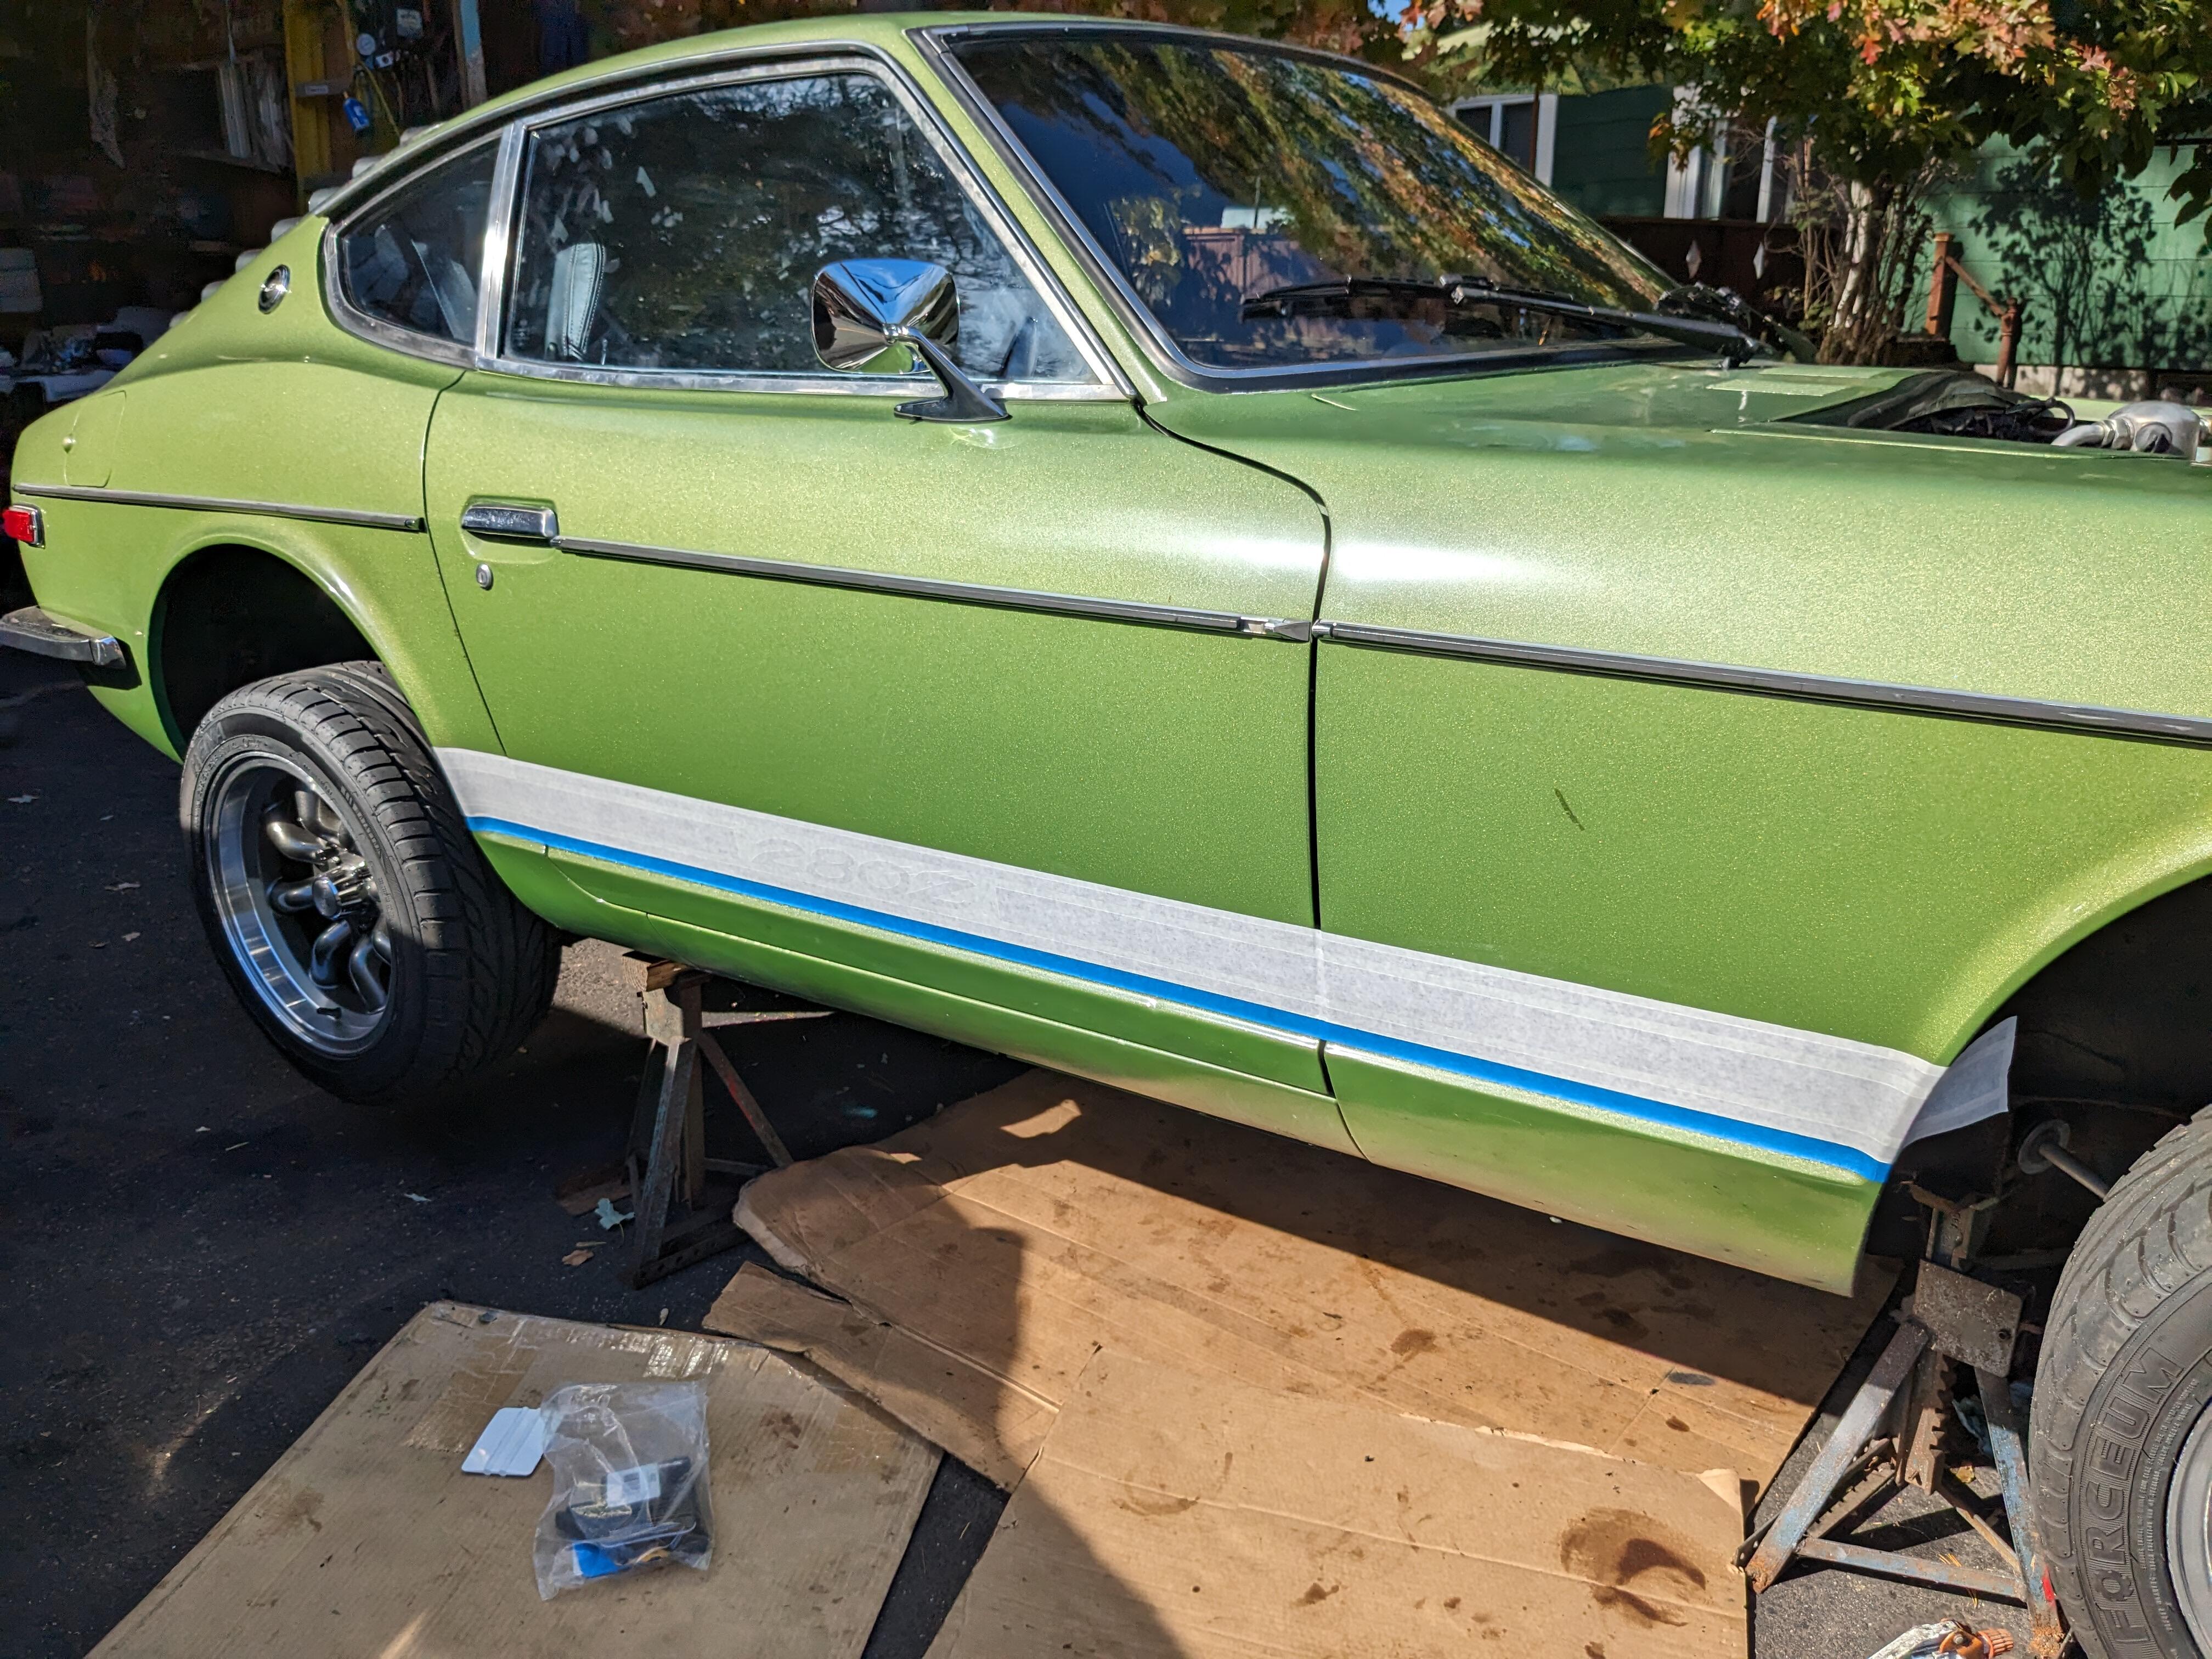
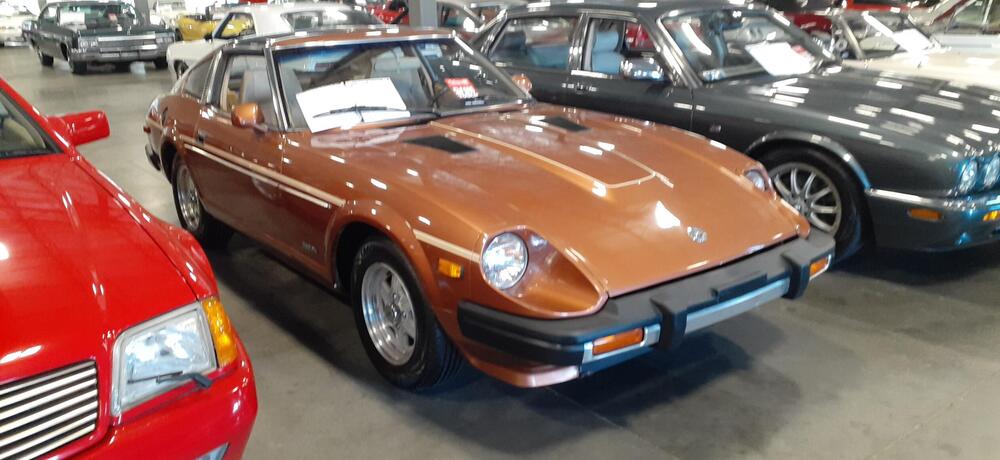
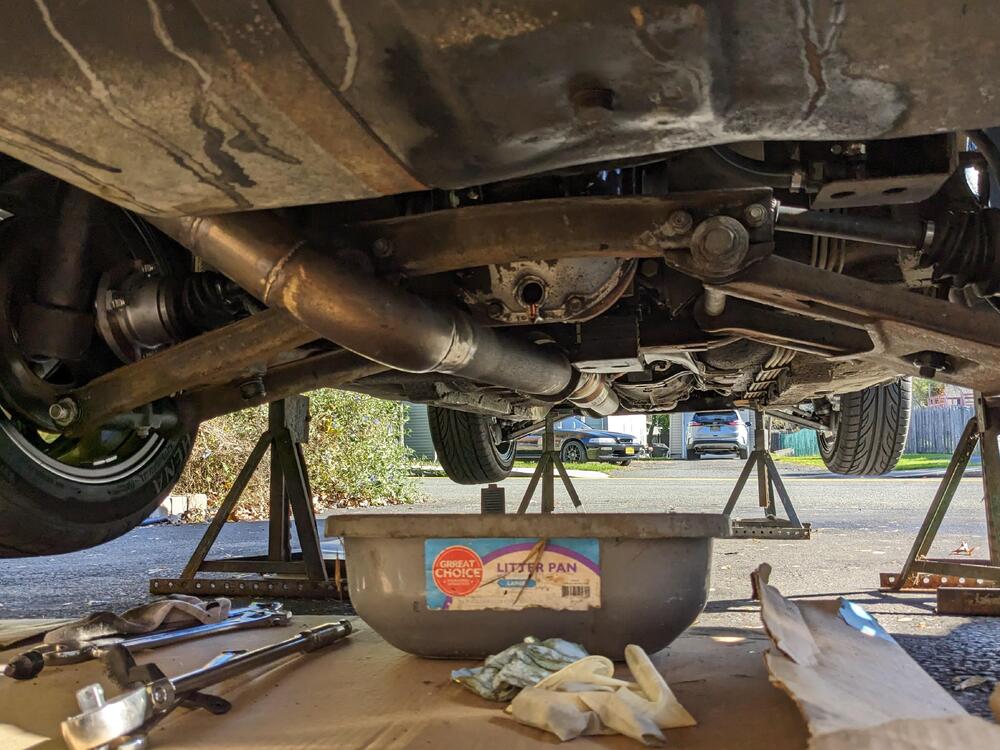
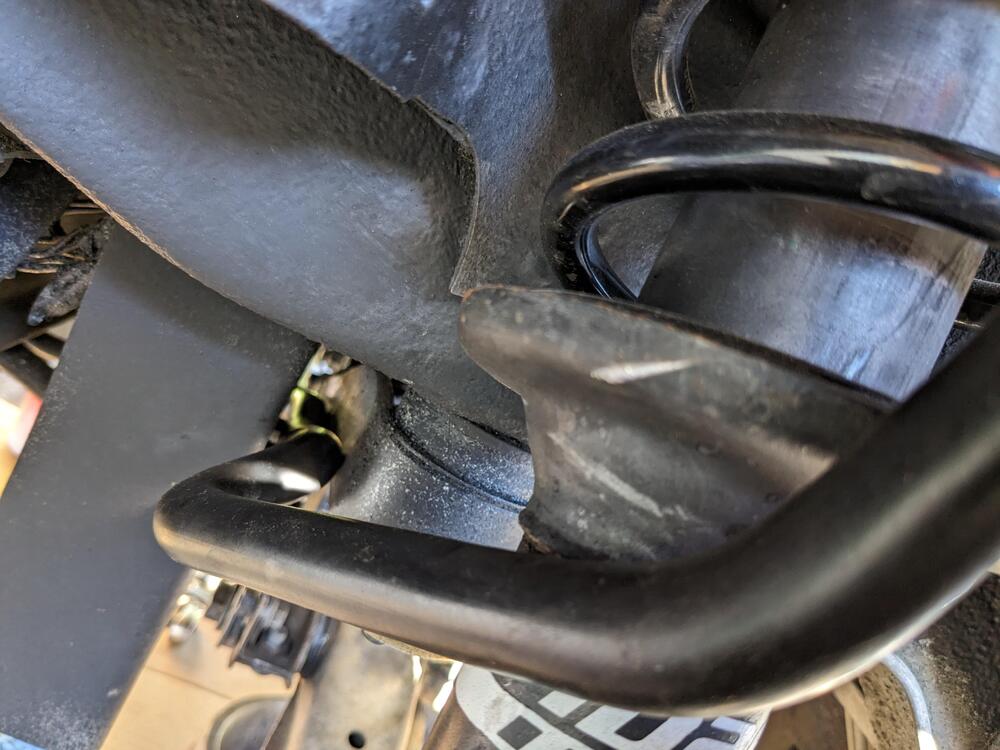
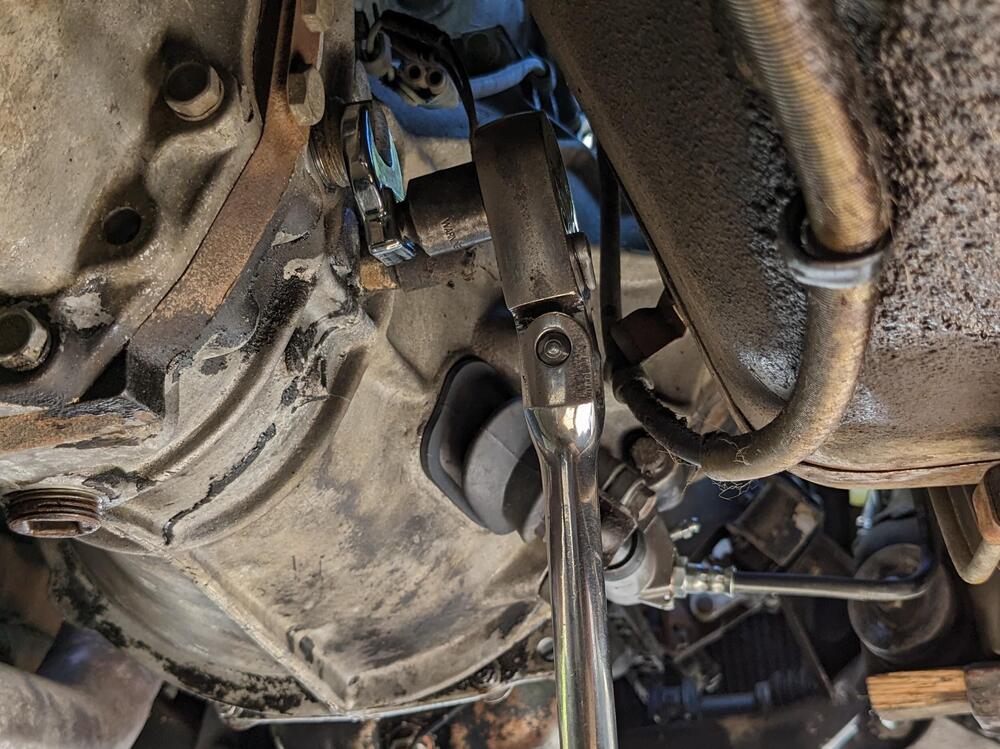
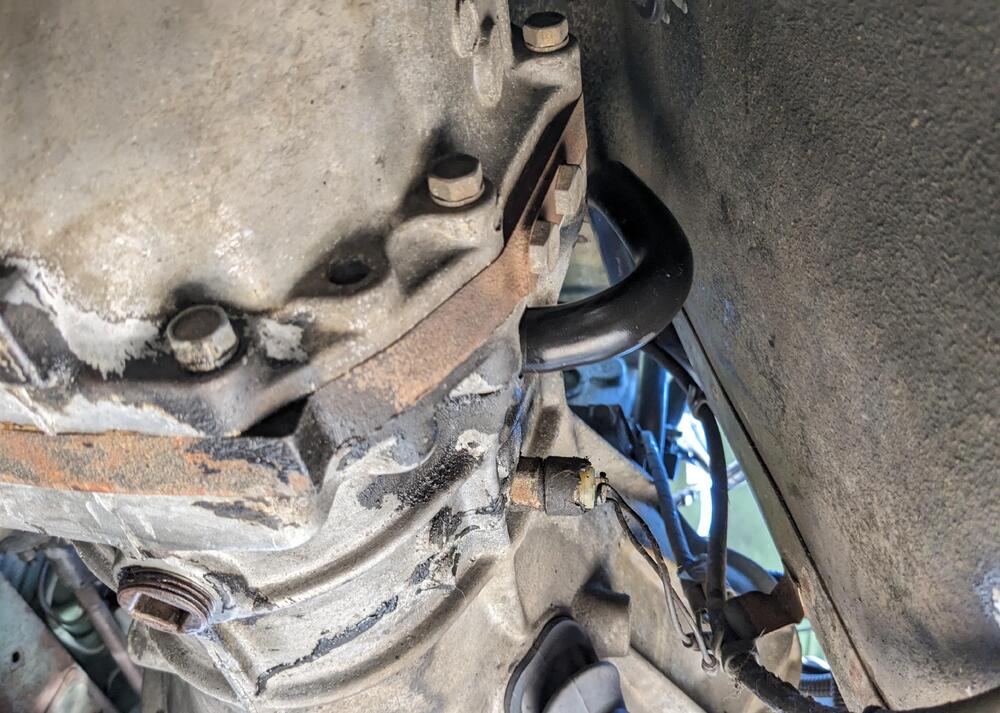
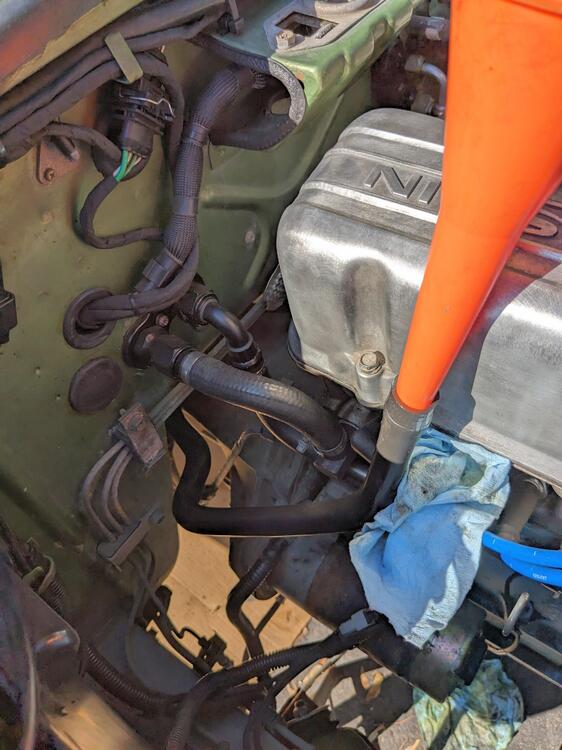
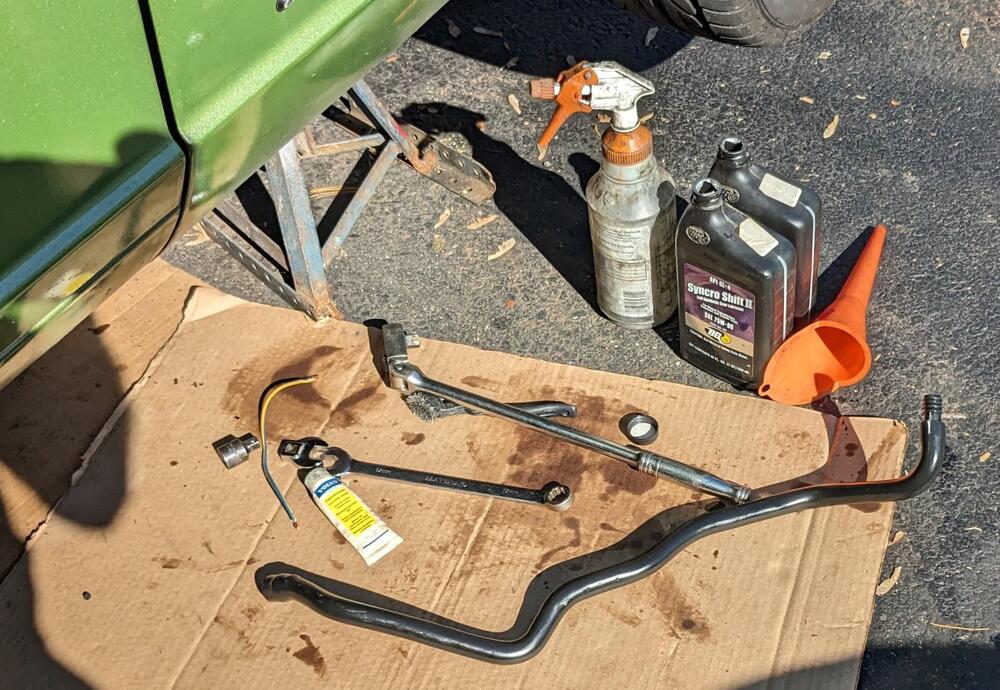
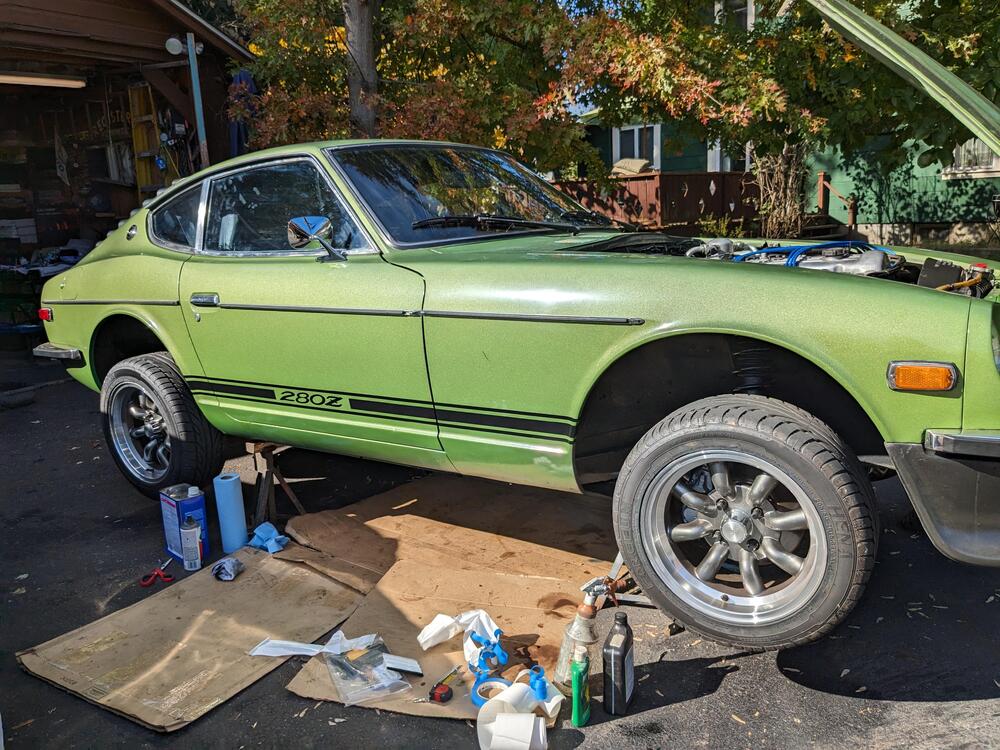
2 pointsI was nervous about doing this today - given the posts talking about difficulty of removing the plugs. I used a 17mm crow foot w/the 1/2 drive ratchet on the trans, 17mm wrench with another wrench hooked over it for leverage. Both came out without any real drama. diff drain - some metal particles I used my trusty transaxle fill tube- it's a crankcase breather hose from a 90's Volvo Diff took about 1.2 quarts (GL-5) before it started coming out the fill plug trans Trans took 2 quarts (Gl-4) - just started dripping out the fill plug with that only got one quart out of the trans Found that the reverse light switch is dead - easy to test since I had it in the air While I had the car in the air, and the temps are back in the 70º range, I got the side decals on.


 2 points
 -
Thanks. It looks like they shaped a slot instead of a circle. You might try compressed air if you have it. But, if you can see the backside of the slot, maybe six gobs of epoxy will seal things up for certain. SteelStik is good stuff. Quick, cheap, easy, rock hard when it cures. https://www.jbweld.com/product/steelstik-epoxy-putty-stick1 point
-
Now that you seem to have good spark, you may want to consider backing up to the basics. Valve adjustment, timing, then mixture/balance. Not sure what fuel you have there, but our current 87 octane is garbage. My car runs way better on premium (non ethanol).1 point
-
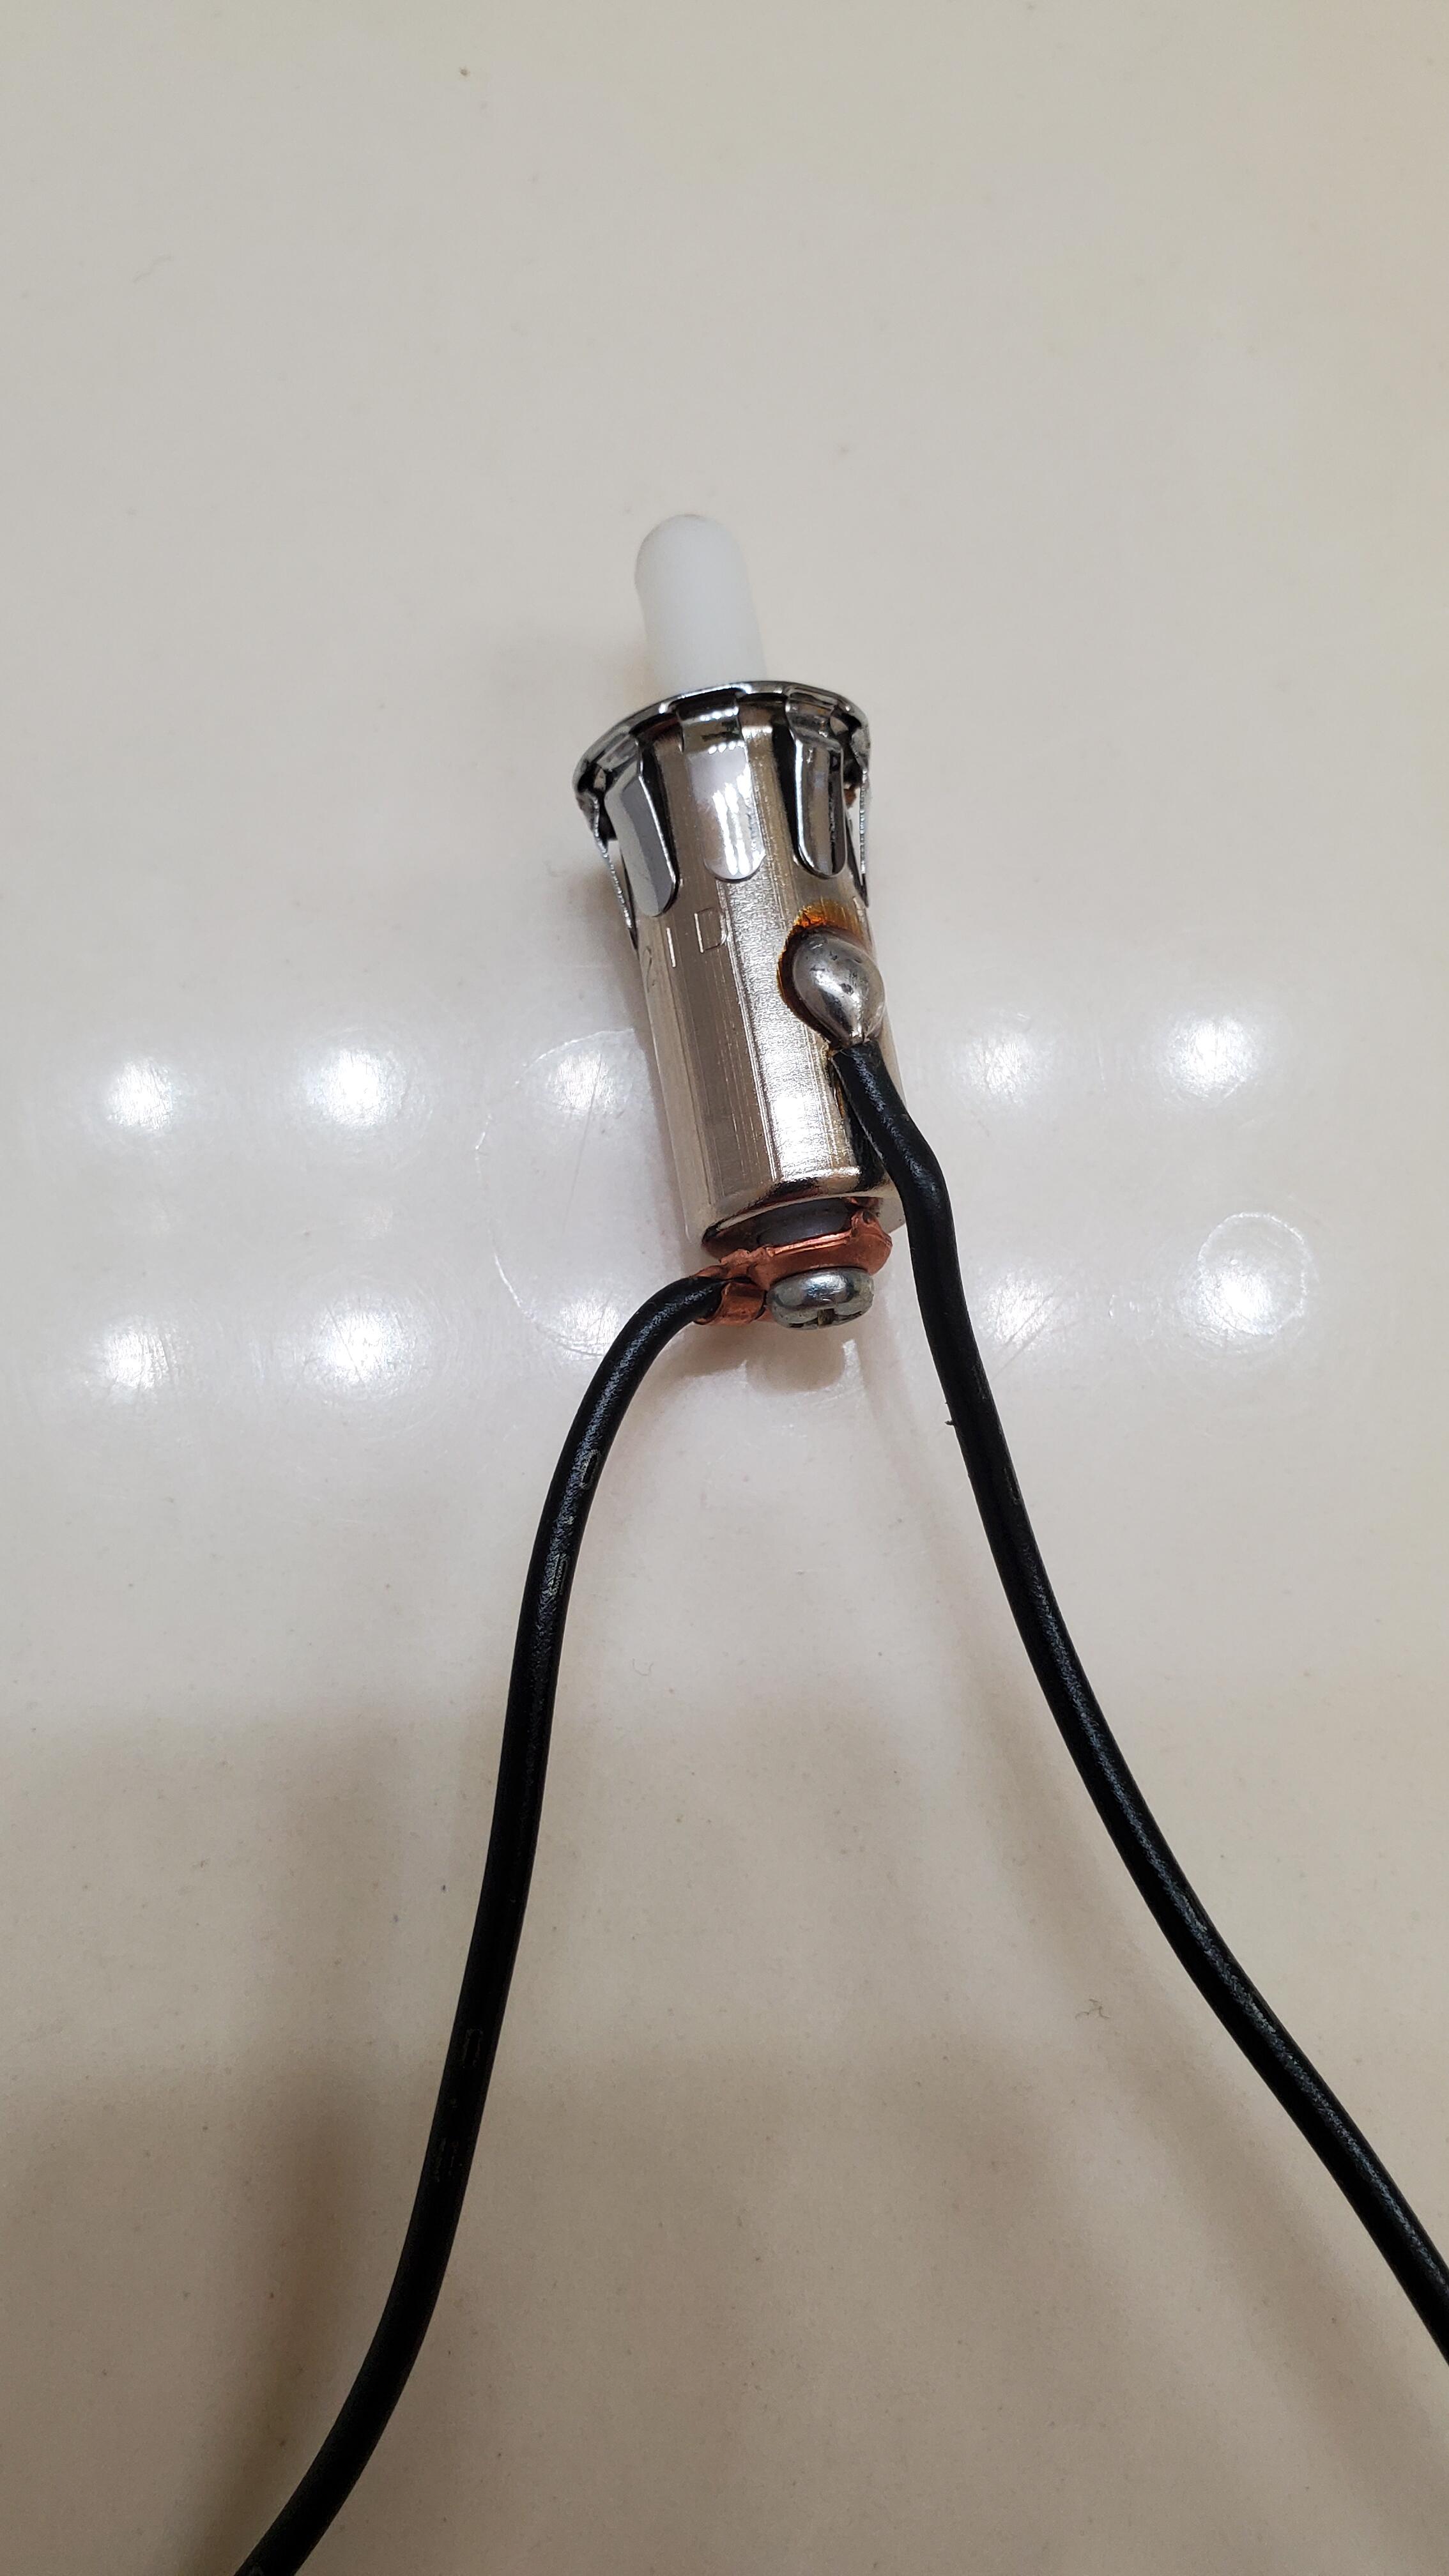
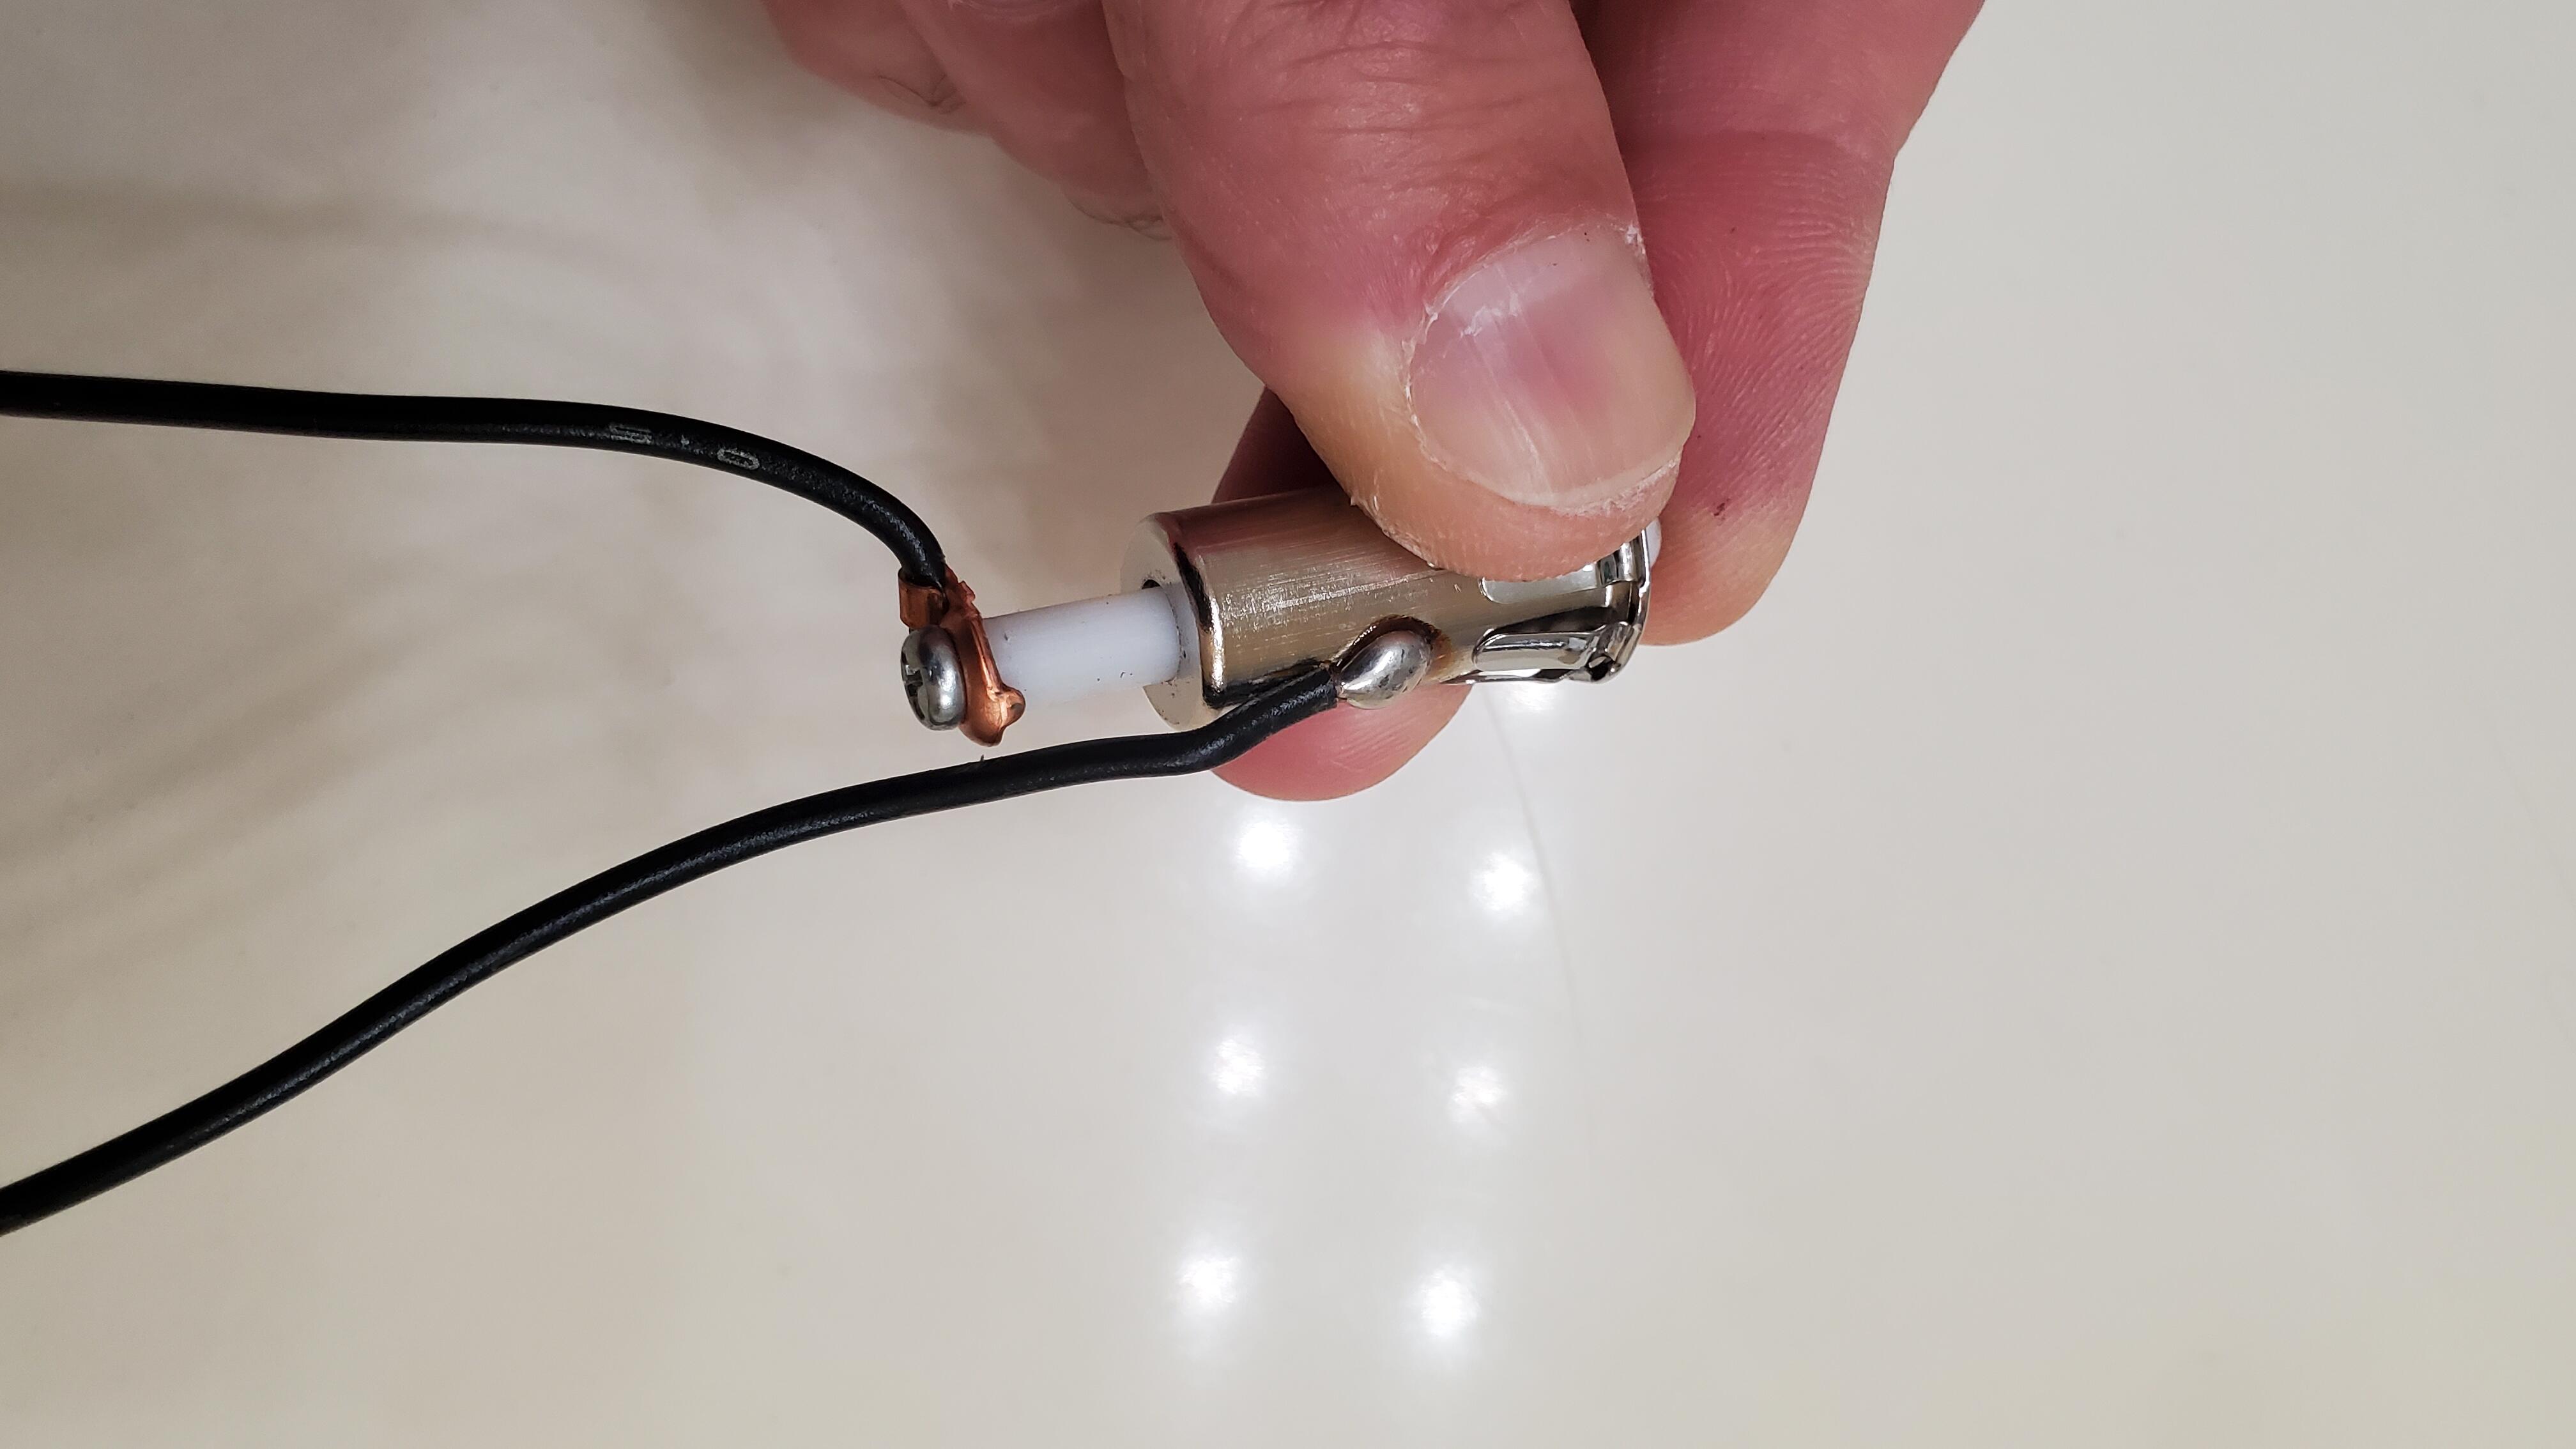
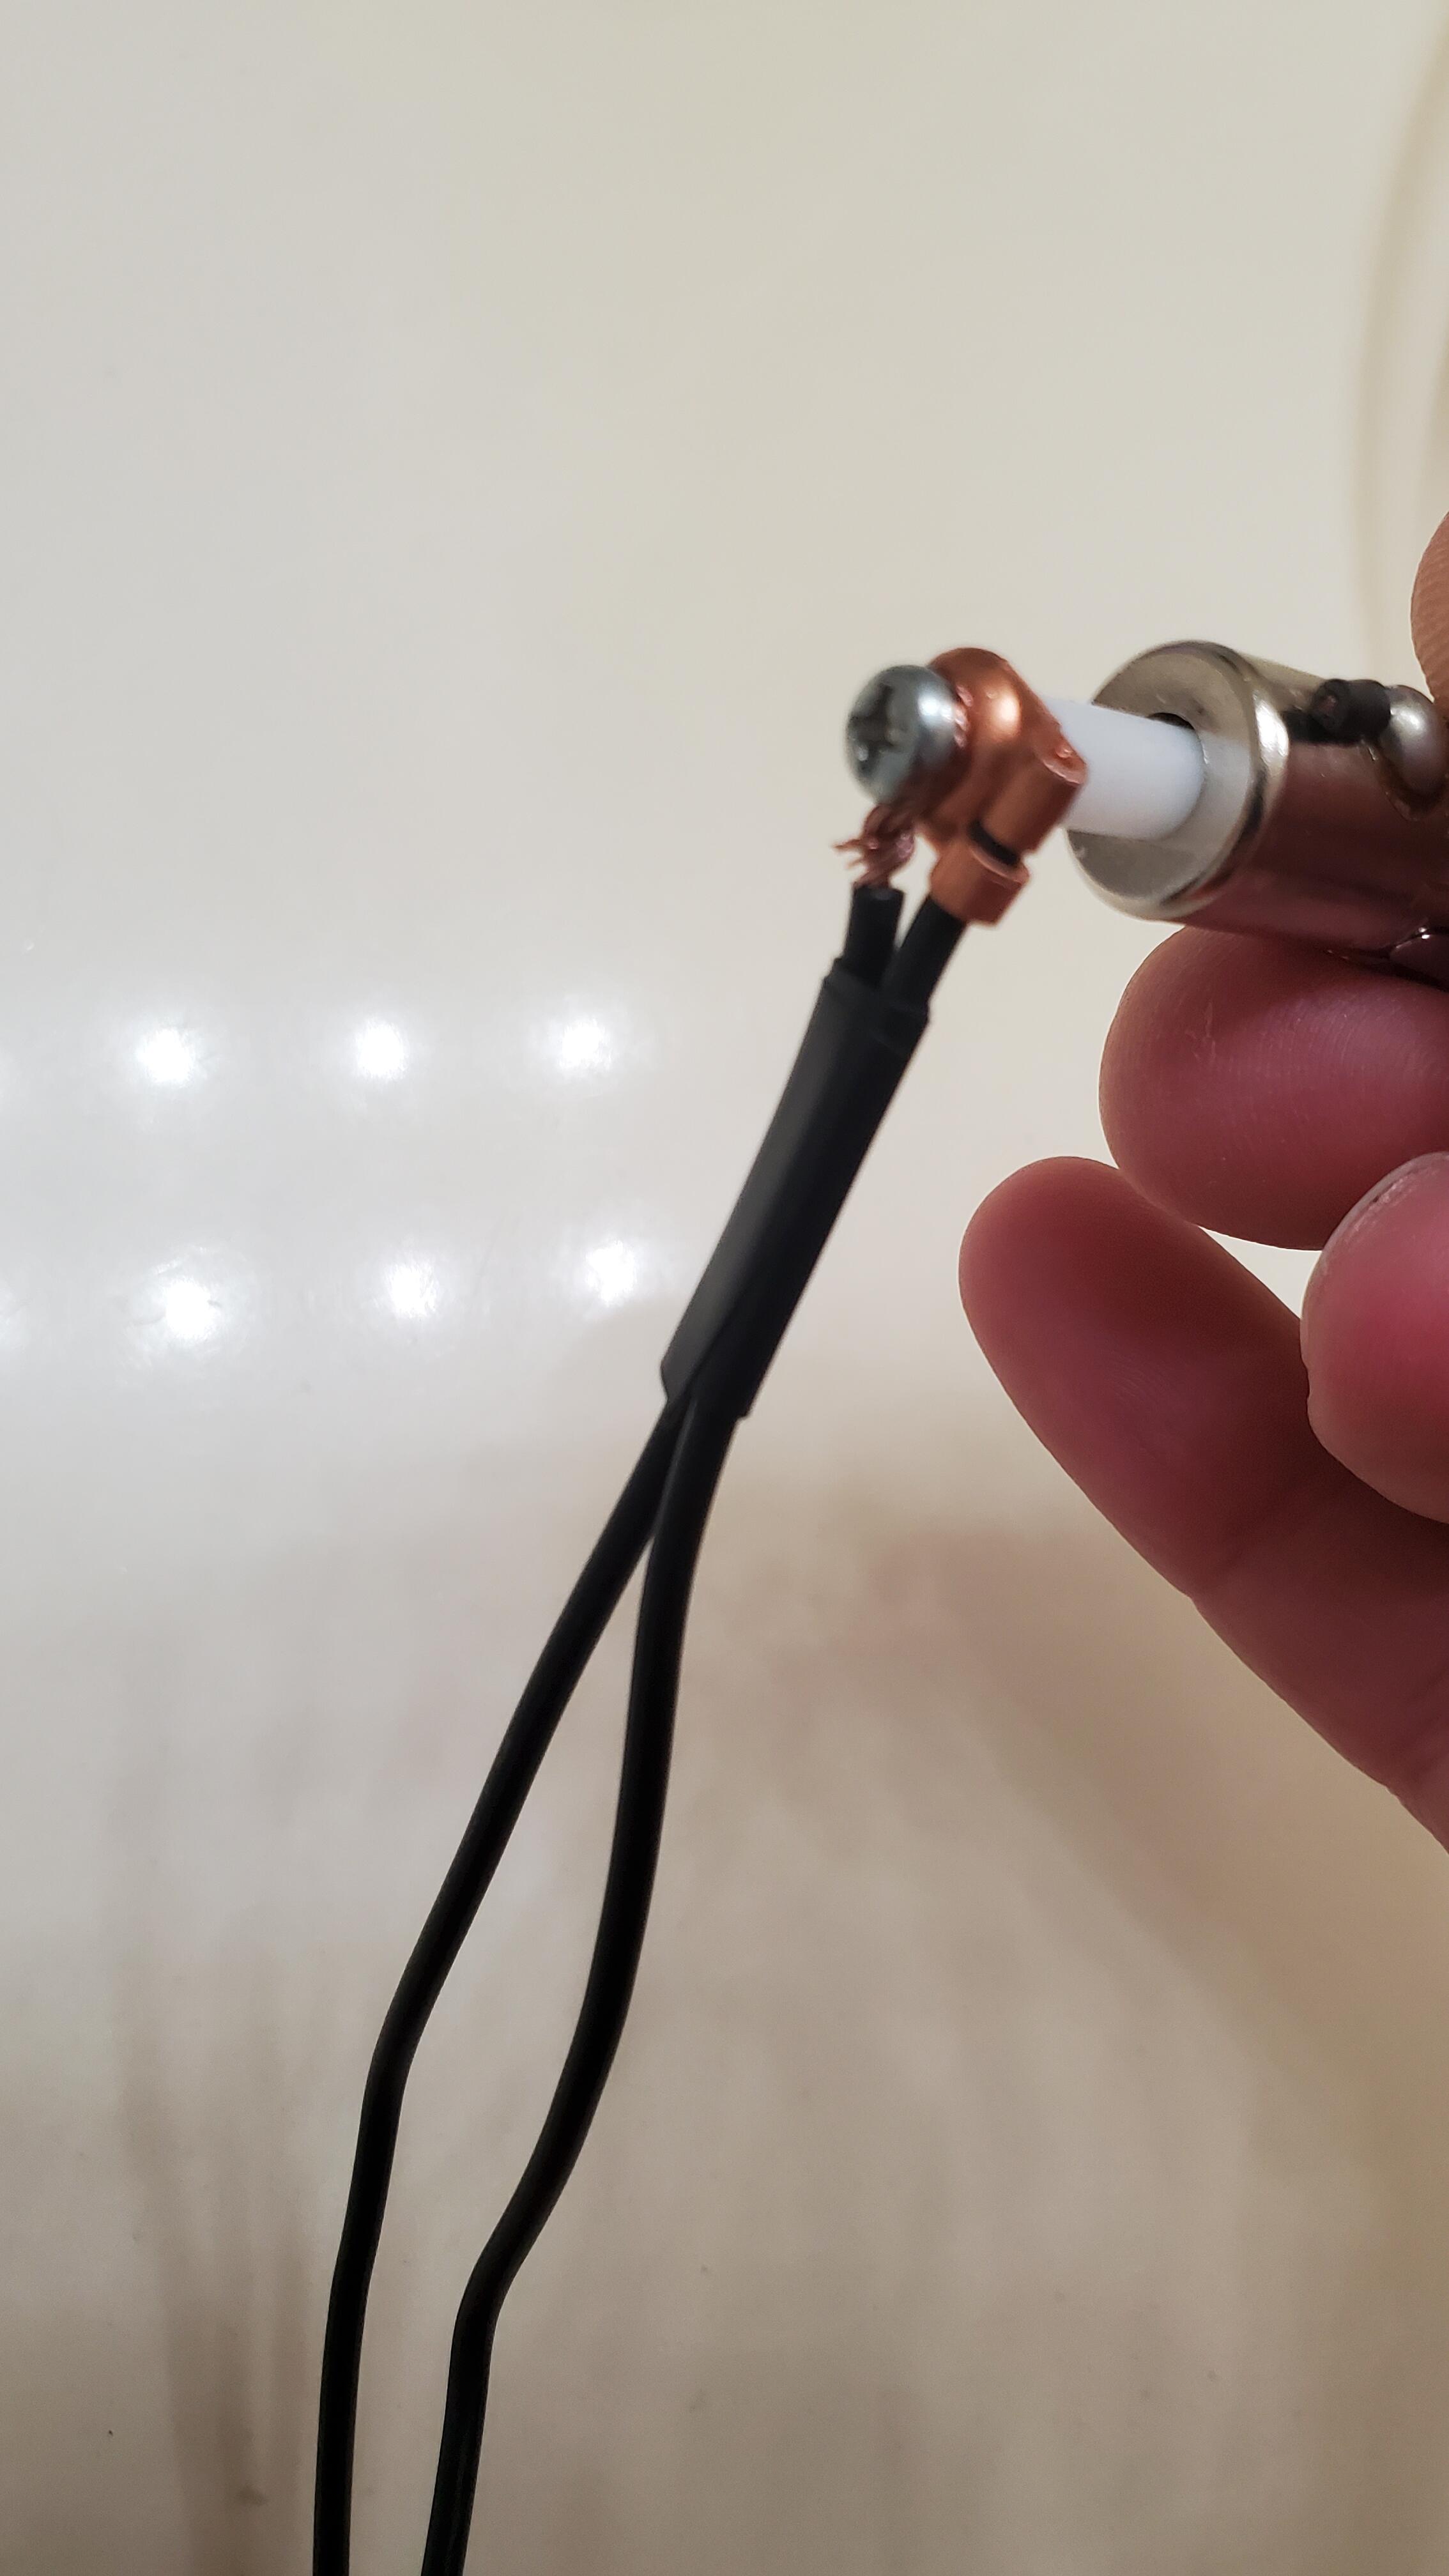
I would suggest putting an open barrel ring lug terminal on that wire. It will last longer. https://www.amazon.com/Terminal-Connerctor-Terminals-Connectors-Assortment/dp/B08GFJY4NY Even cheaper: https://www.amazon.com/Copper-Terminals-Connectors-Barrel-Electrical/dp/B0BN6335H71 point
-
Just wanted to finish up what I started. My issue was the new door switch the PO put in. To recap, it was a two wire and both wires were connected properly to the ground wires for the dome light and the buzzer circuit. What the issue was, and I can't understand how the PO didn't address this, was that these new door switches have one wire on constant ground. That was the wire he had connected to the buzzer. He had the switched ground luckily enough connected to the dome light. So all I did was change the second wire to switched All is right and the buzzer that is straight from hell works as it should!


 1 point
 -
Found a thread about a turbo ZX manifold. The ports seem to be right at the entrance of the runners. Seems like you should be able to see more in yours. https://www.zdriver.com/forums/280zx-s130-forums-77/my-turbo-plenum-32430/
 1 point
 -
1 point
-
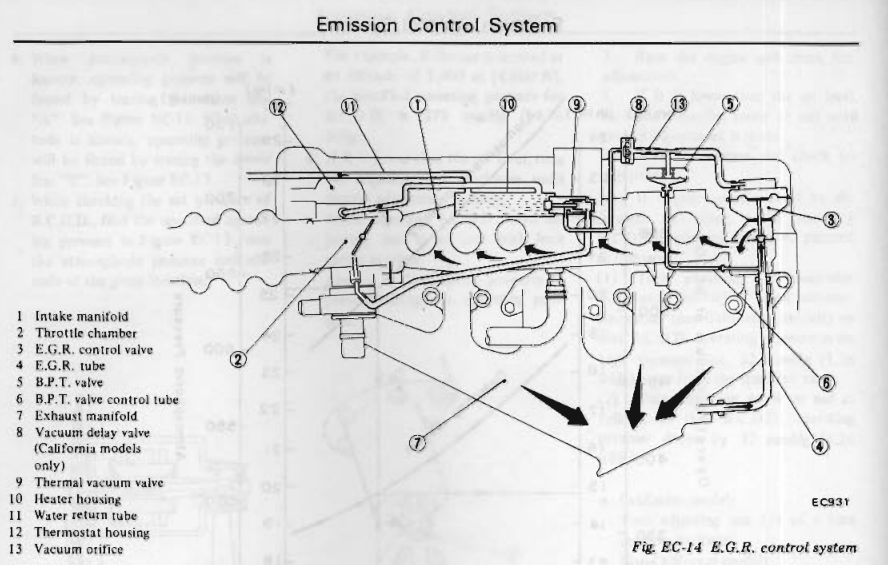
Might be that those aren't access points for the EGR ports but are actually core plugs. Screw-in instead of the typical press-in. I've never examined the inside of an intake runner to see where the exhaust gases are let in. Might tell you something. There has to be holes somewhere. I've seen them on my 2003 vehicle, a Ford. They're known to clog. The FSM is pretty vague with magical arrows. Edit - actually I think that the holes are in the plenum not the runners, I think I knew that but had forgotten. Harder to see. Which I still had my pile of parts to go play with. A borescope view would be fun.
 1 point
 -
1 point
-
Judging by one of your pics all that black soot around that jagged hole confirms exhaust is going through the egr tunnel. I had a golf ball size hole in my n47 from exhaust gas rot. If you don't have to deal with the state inspection I would highly, highly recommend going to an n42.1 point
-
Ill buy a new set of plugs and report instead of cleaning these ones.1 point
-
1 pointIve tried to measure and im pretty close to your measurements. Now I dont have a protractor, just some chopsticks and a square lol but my differential was about 20-21 degrees similar to yours. I'm sure the measurements you're taking are more accurate. when i put it up against my LH mirror its near identical in range but the older one doesnt move as easily so I'm sure if they were both new they would be exact.1 point
-
1 pointOne would think - 3rd is noisy, overall I'd say it is quieter, besides whatever is worn with 3rd gear.1 point
-
Try to find I believe a N42 manifold from a 75 model Z.1 point
-
Thanks for the tips... much appreciated. I'm going to dive in and give it some love. There's a shop in Pasadena (Miller's Sports and Imports) owned by a guy called Skip that works only on Datsuns. Planning to swing by there next week.1 point
-
I did order one like that - with a case, about $4. I'll wire it in the AFM pump switch circuit. As an aside, with the proper cranking speed back, the startup times hot or cold are very much improved.1 point
-
Don't hesitate to reach out to me if you need a hand. With enough notice I can drop in on a weekend to give an extra hand.1 point
-
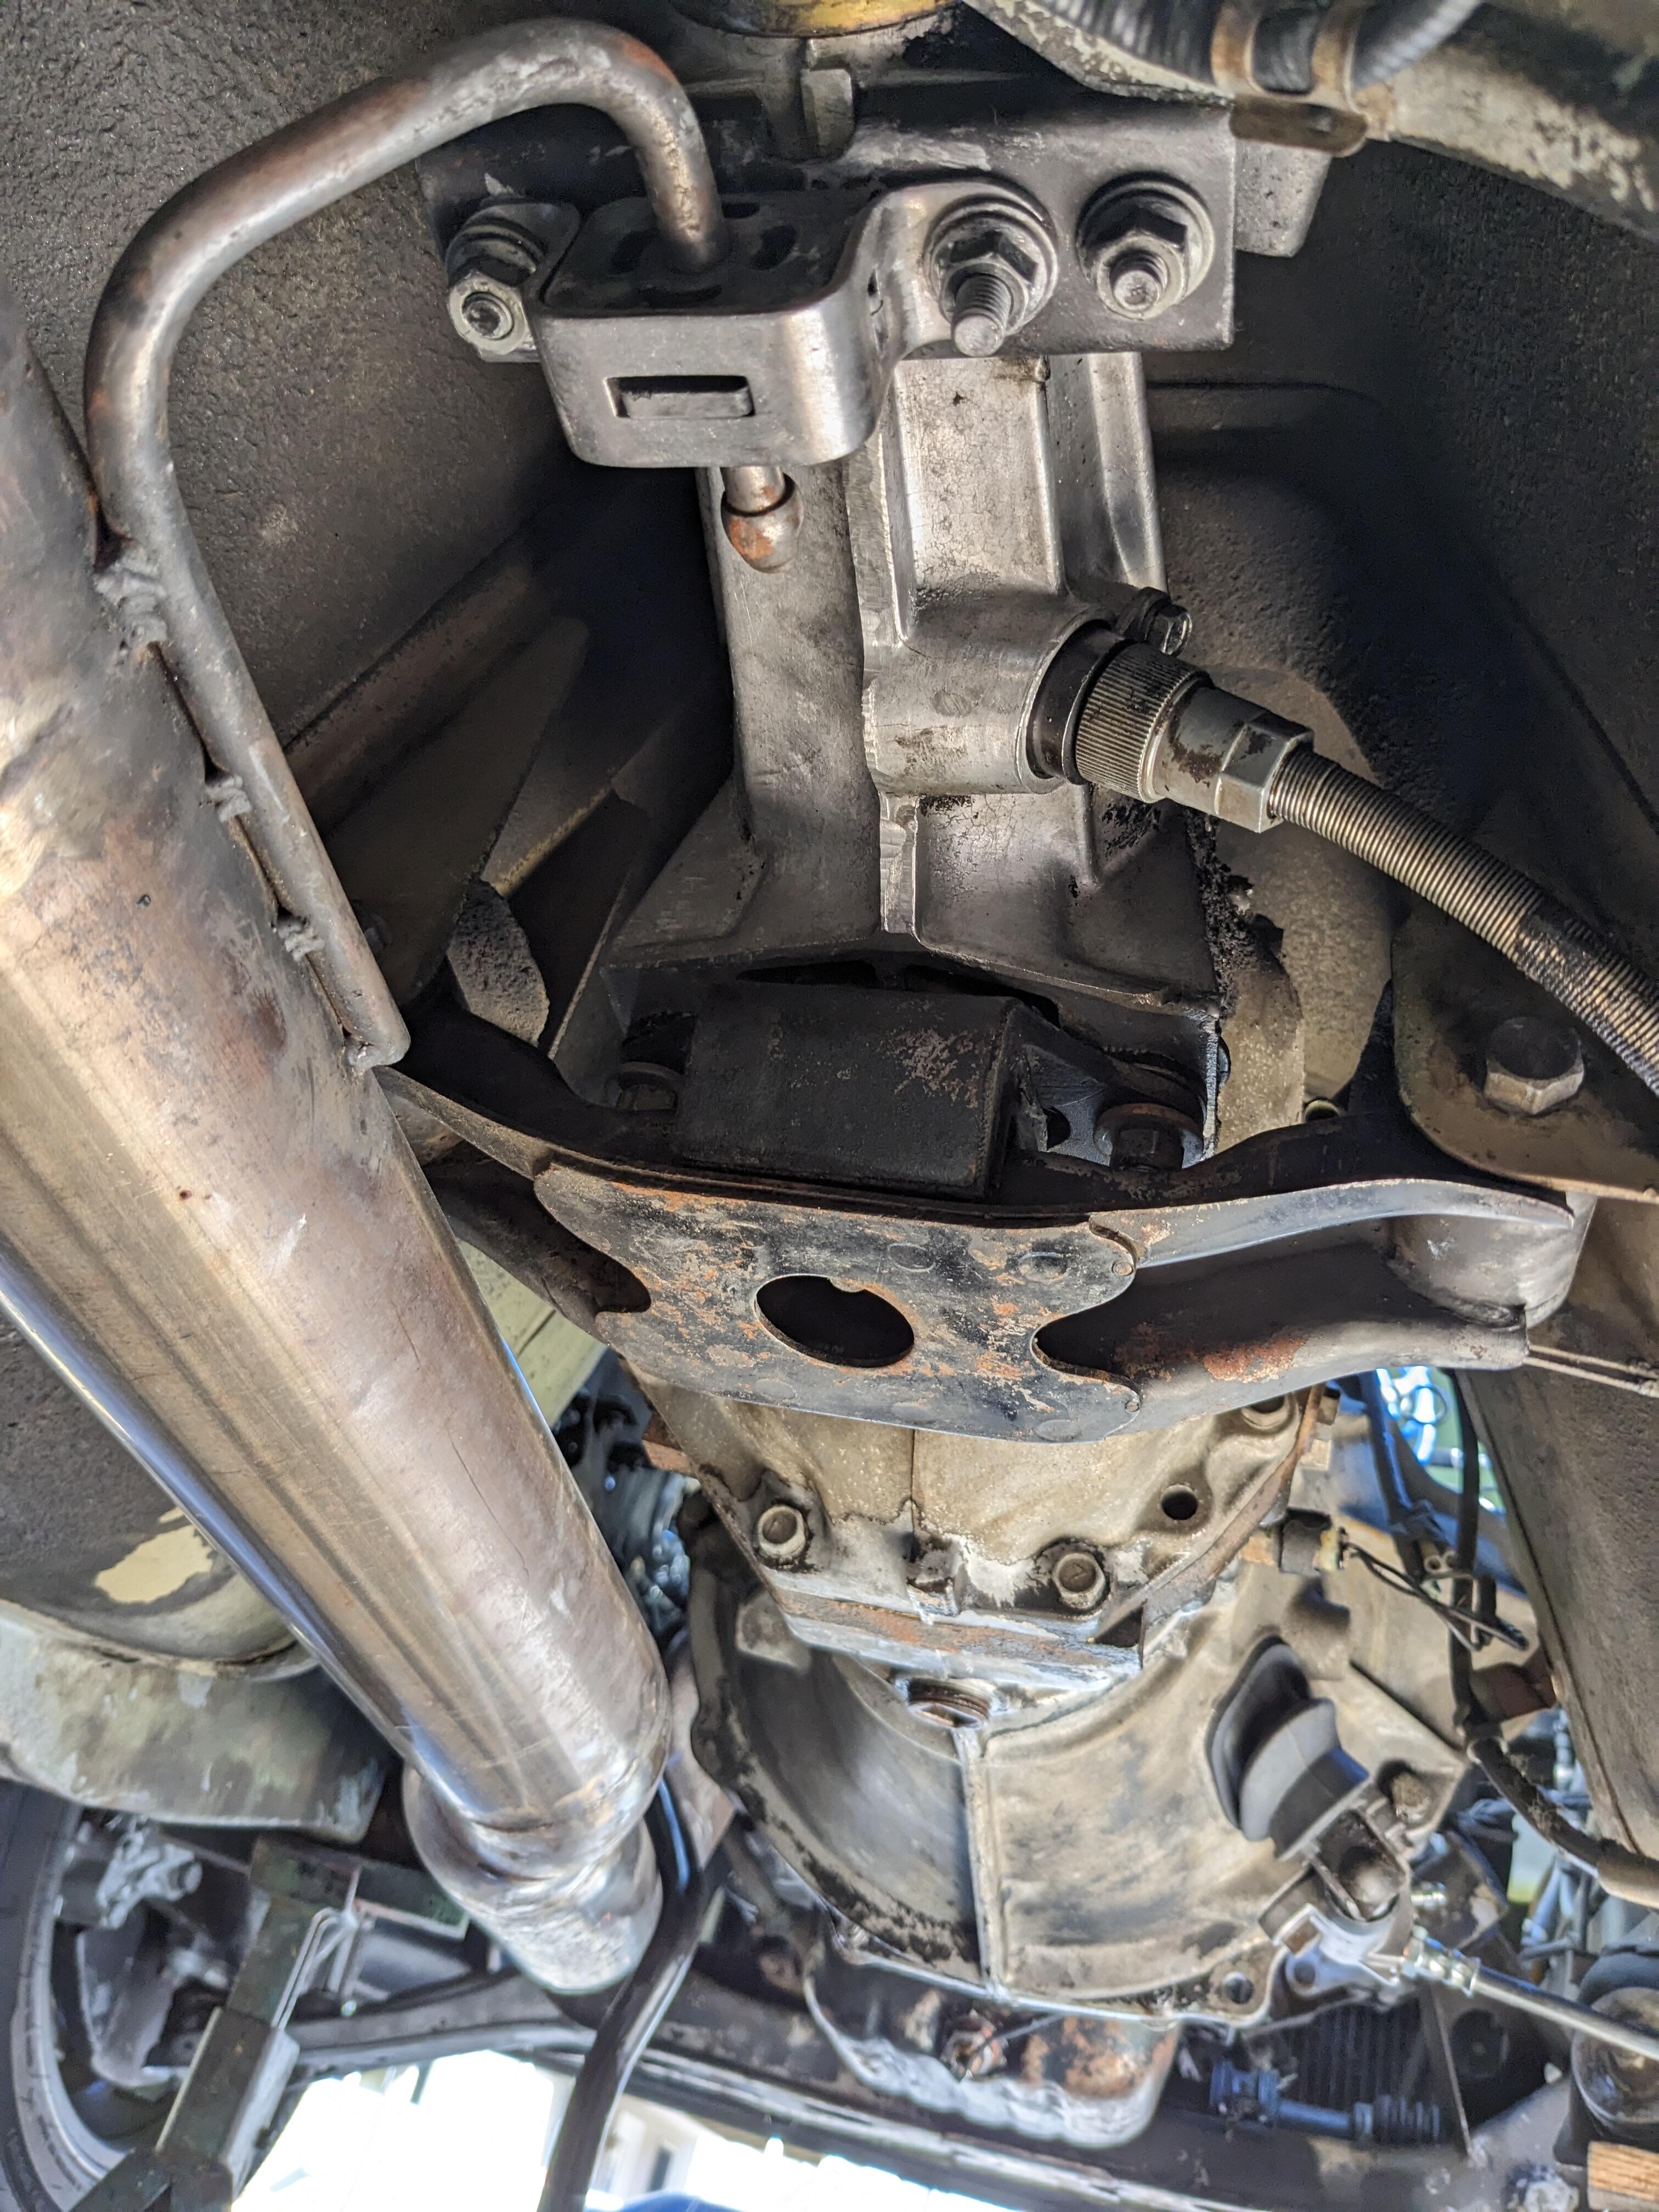
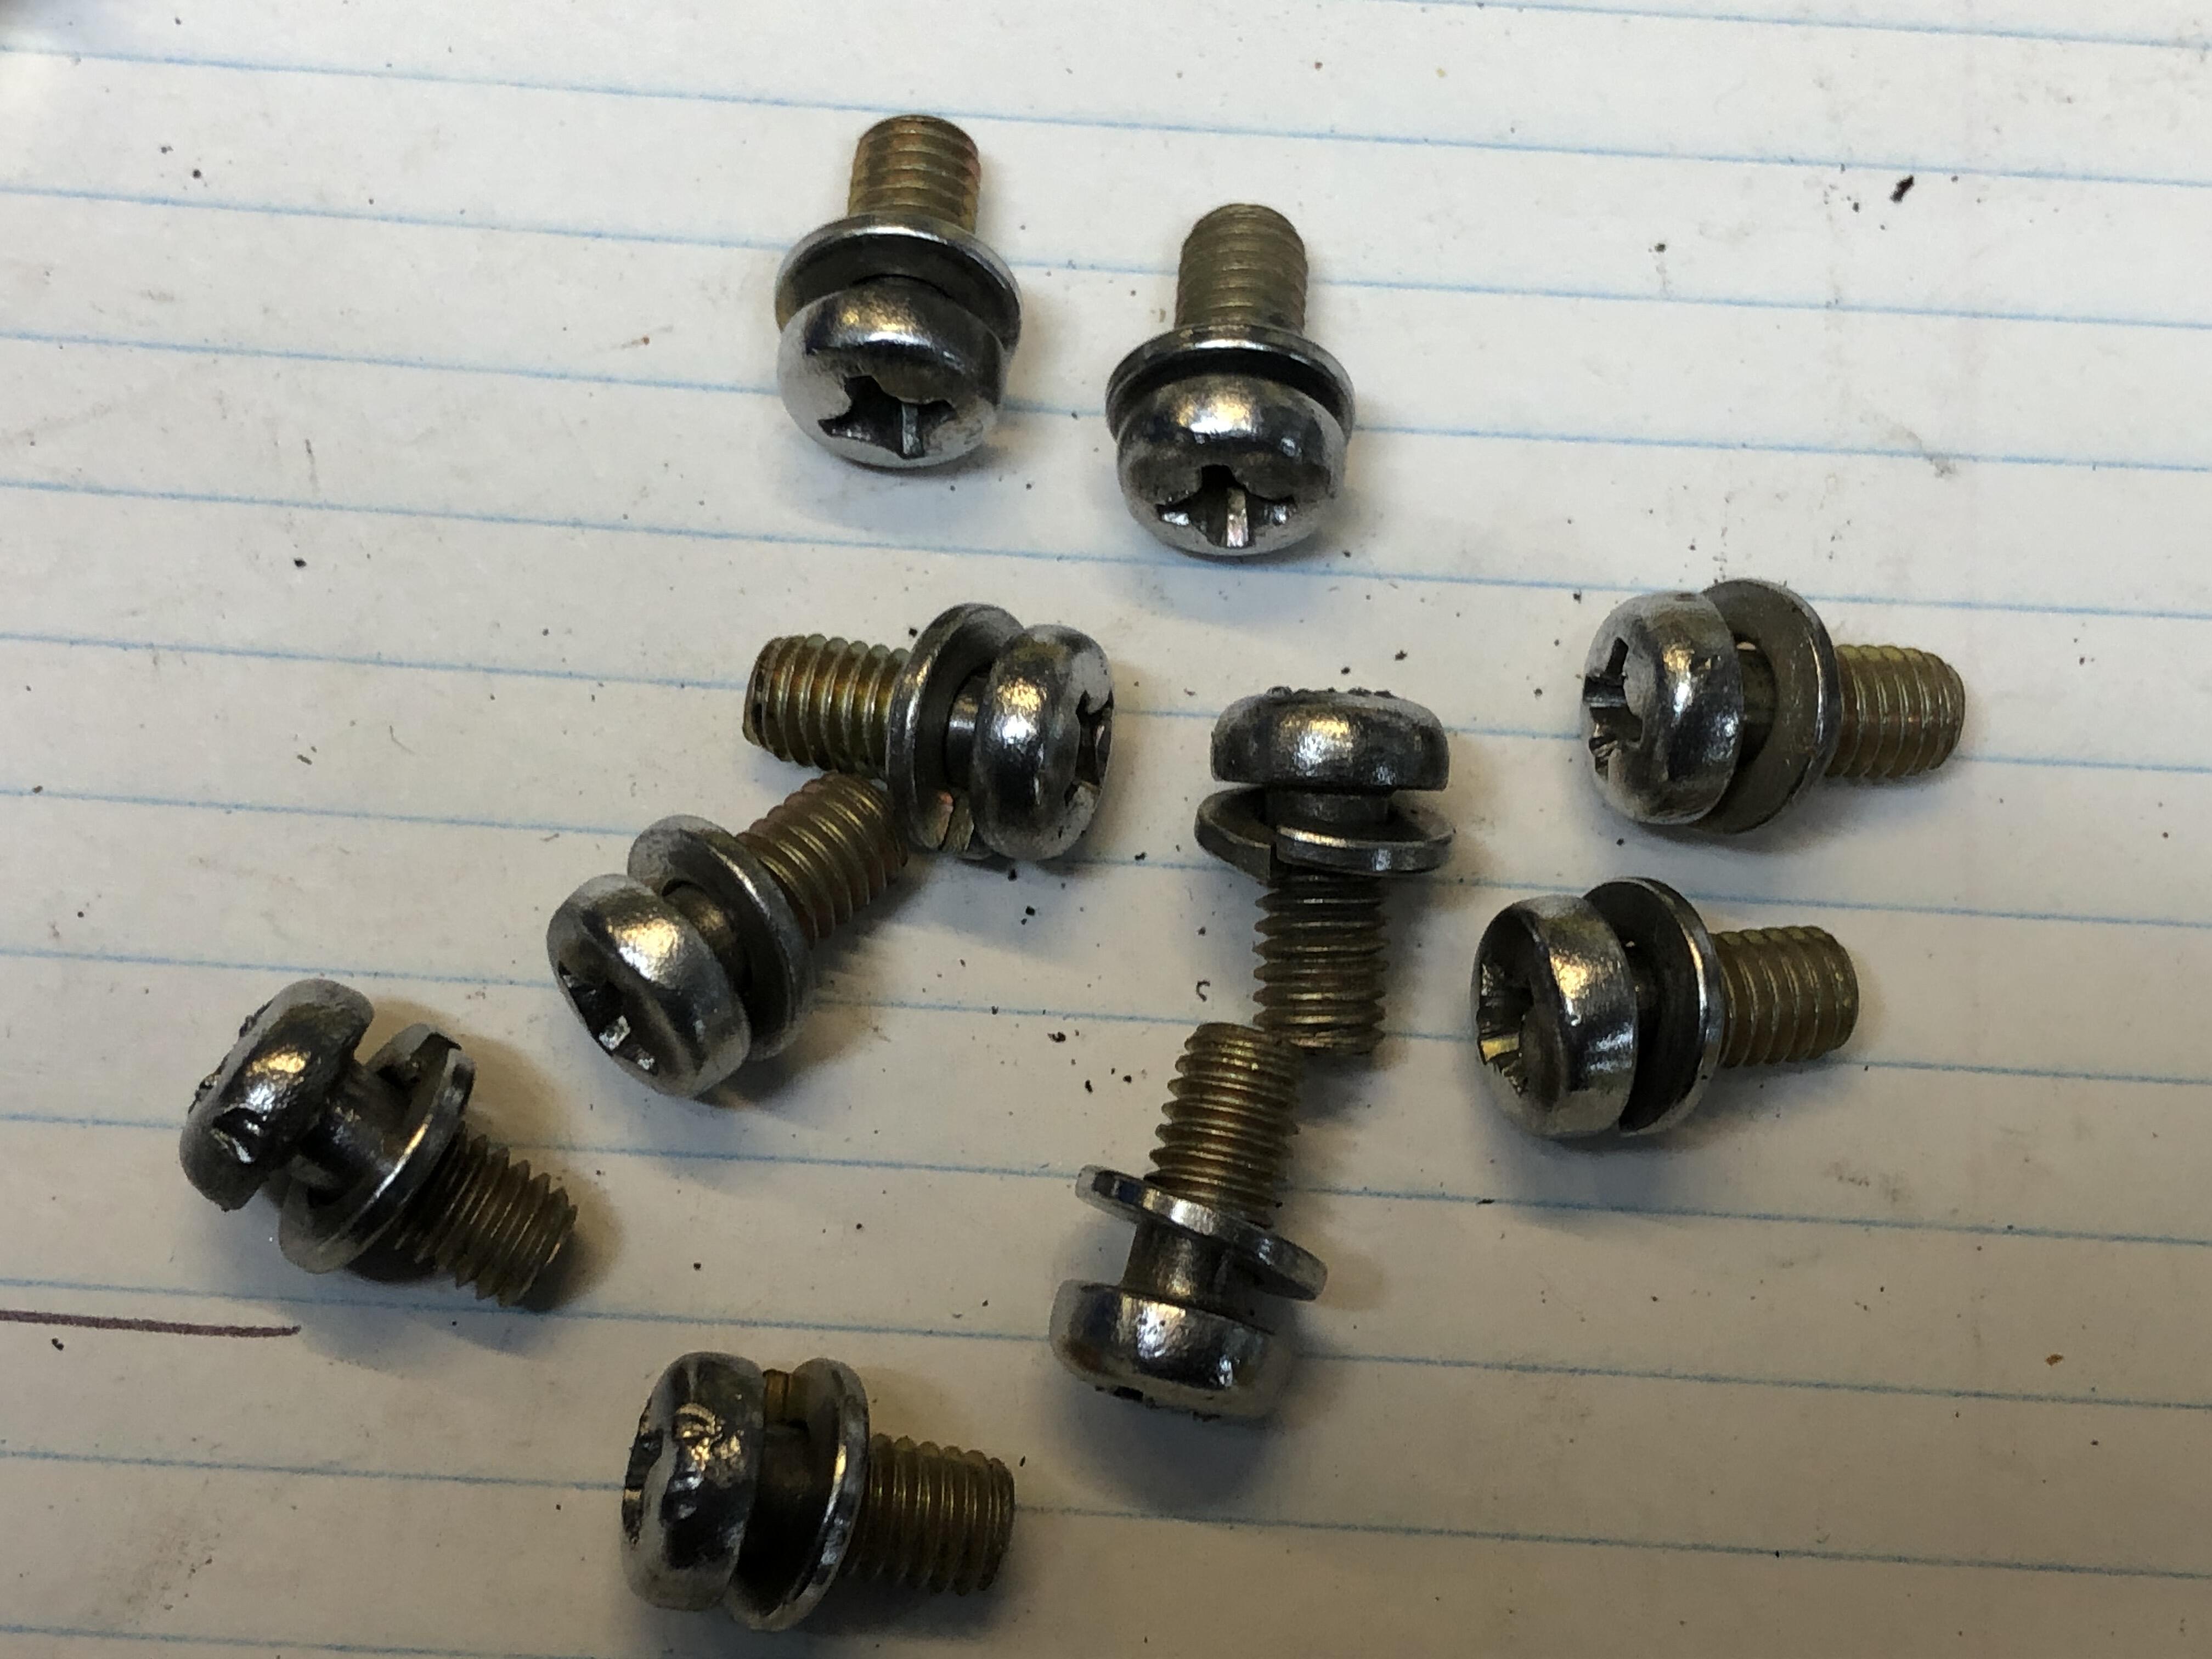
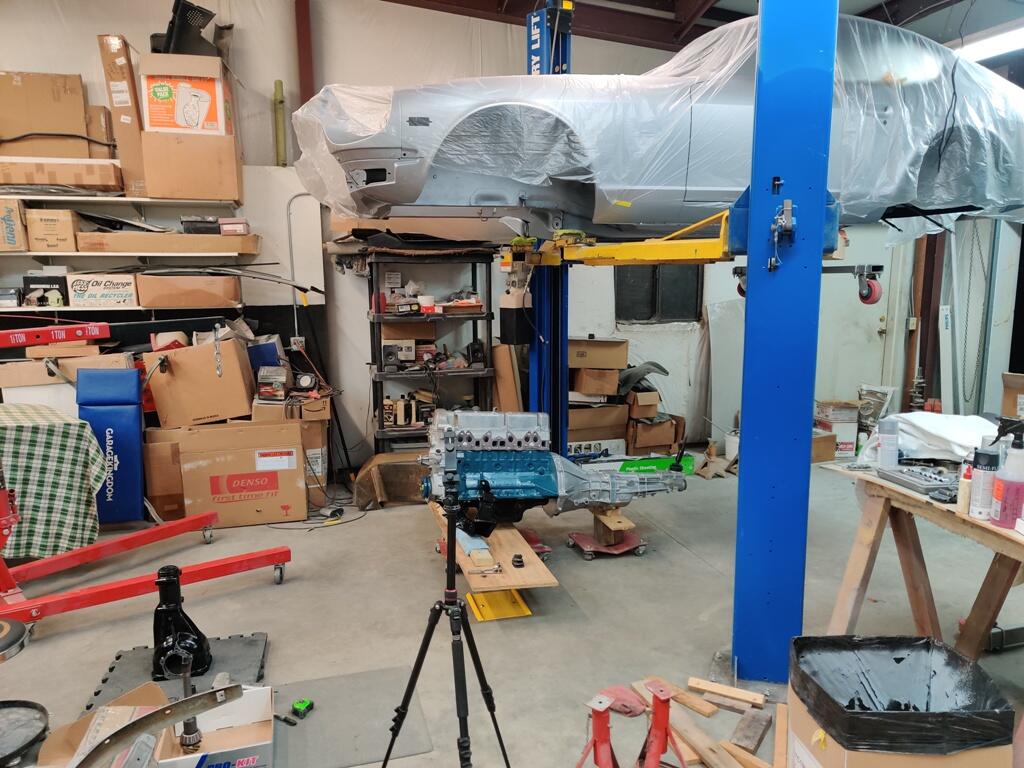
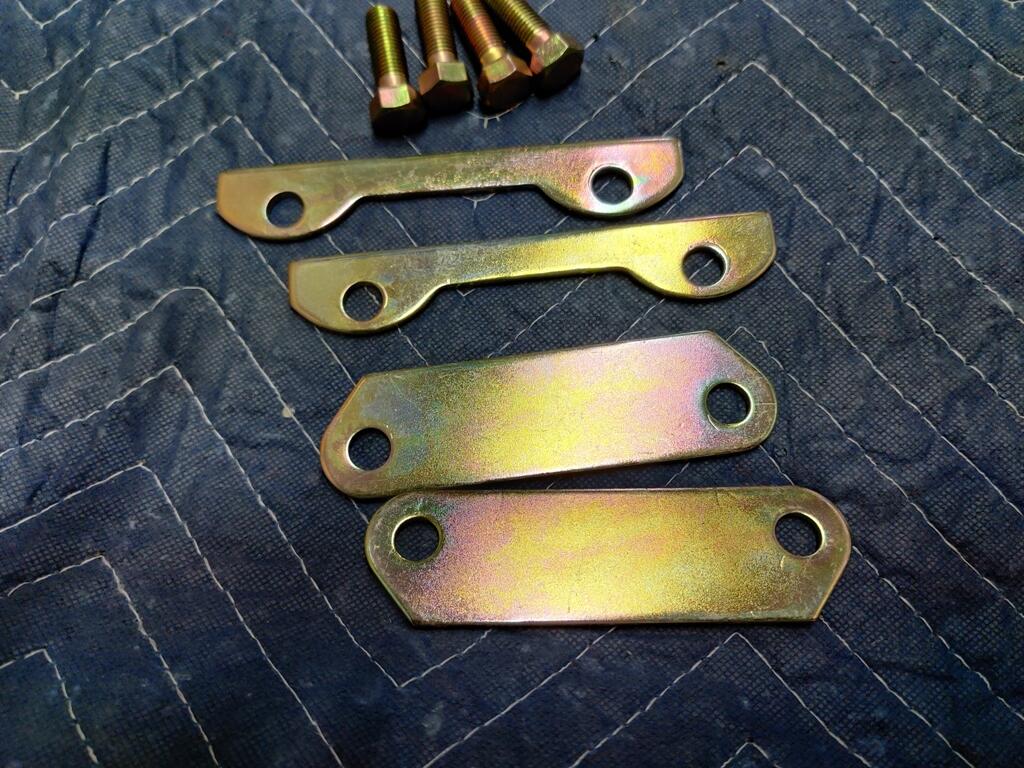
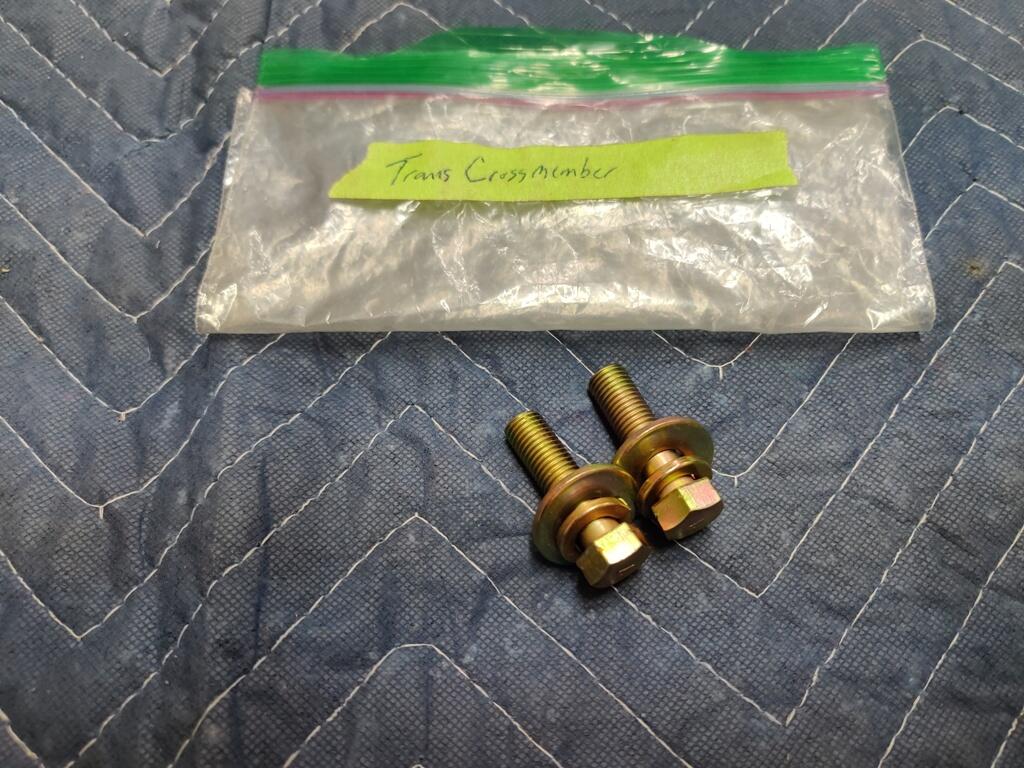
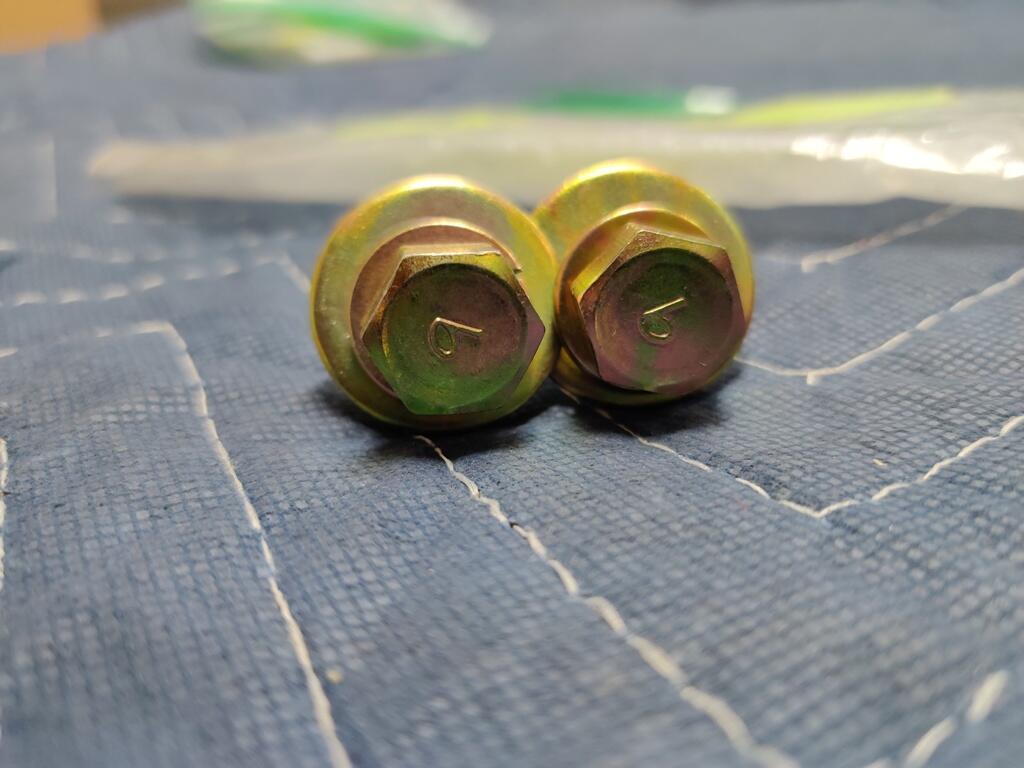
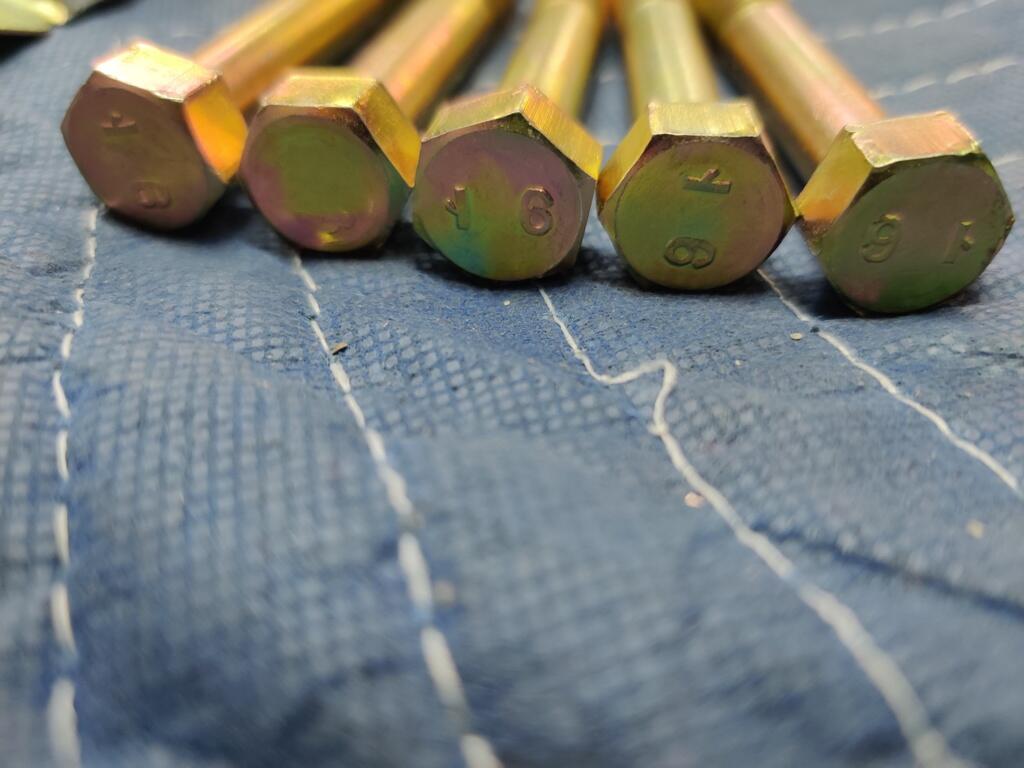
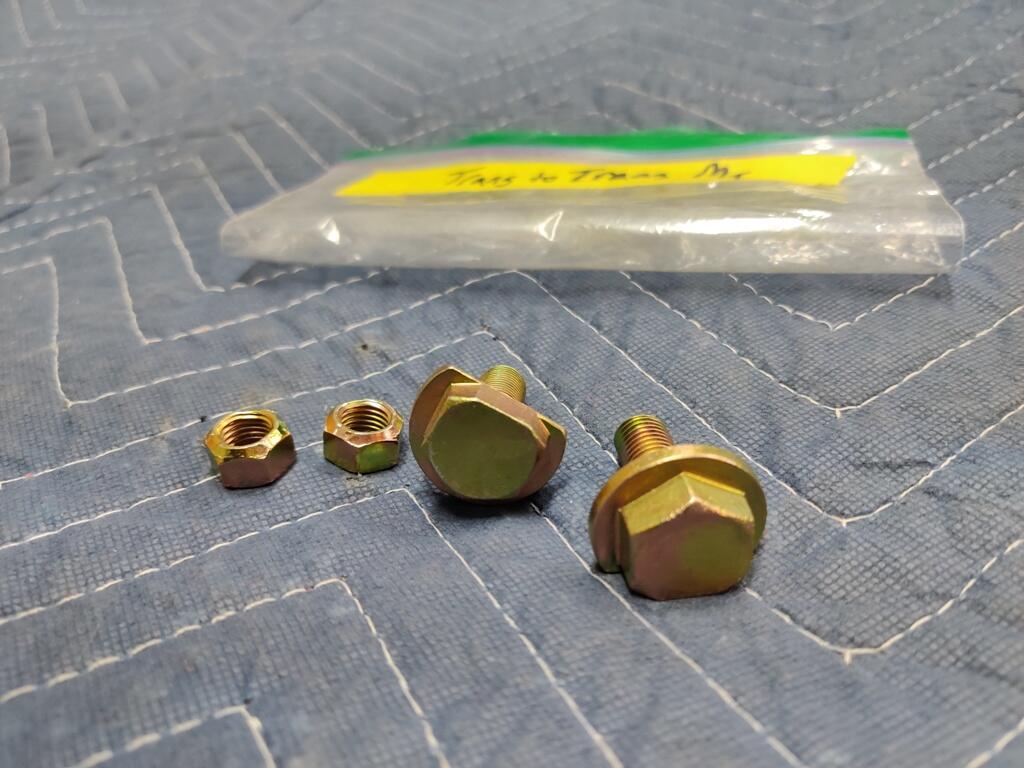
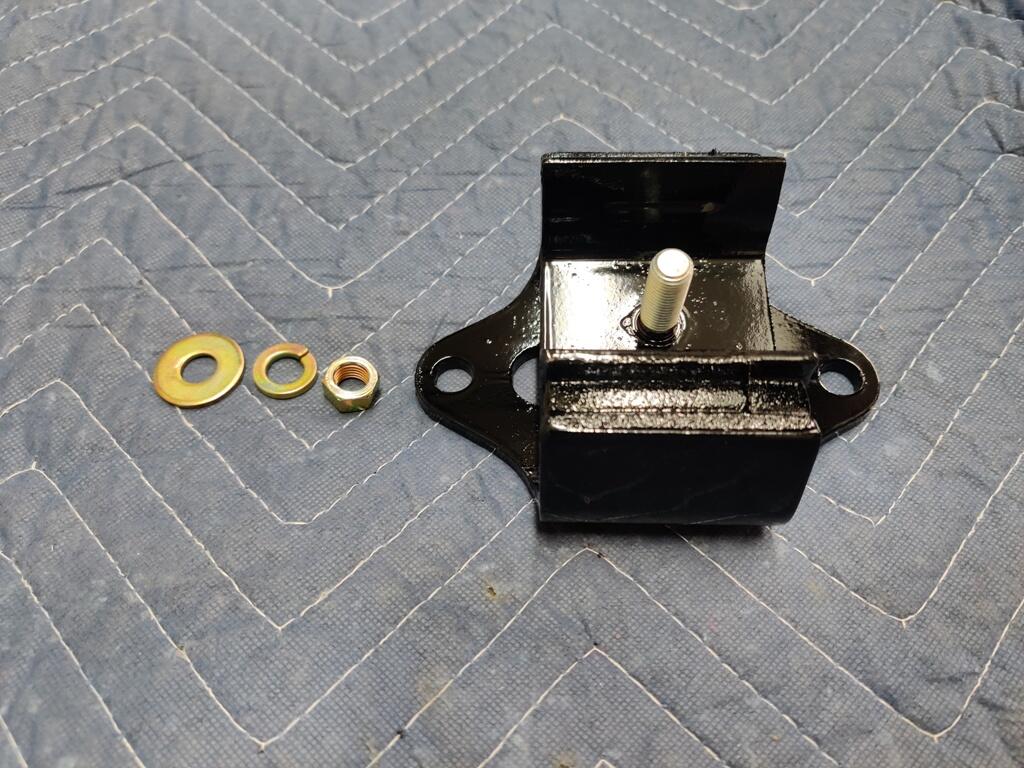
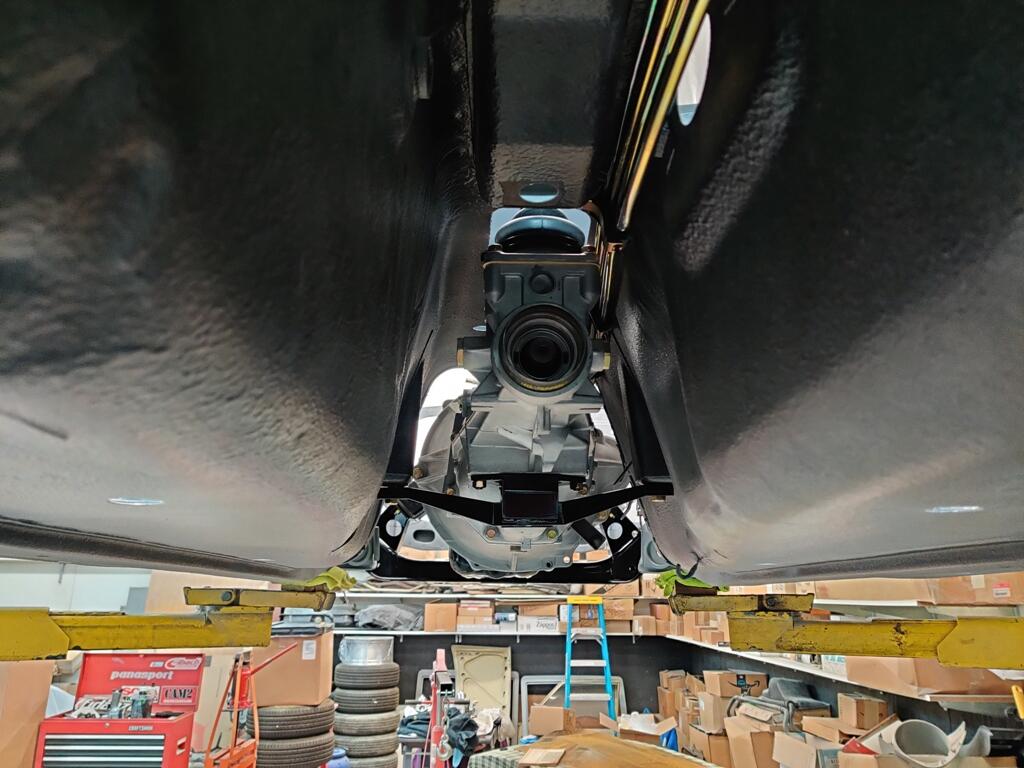
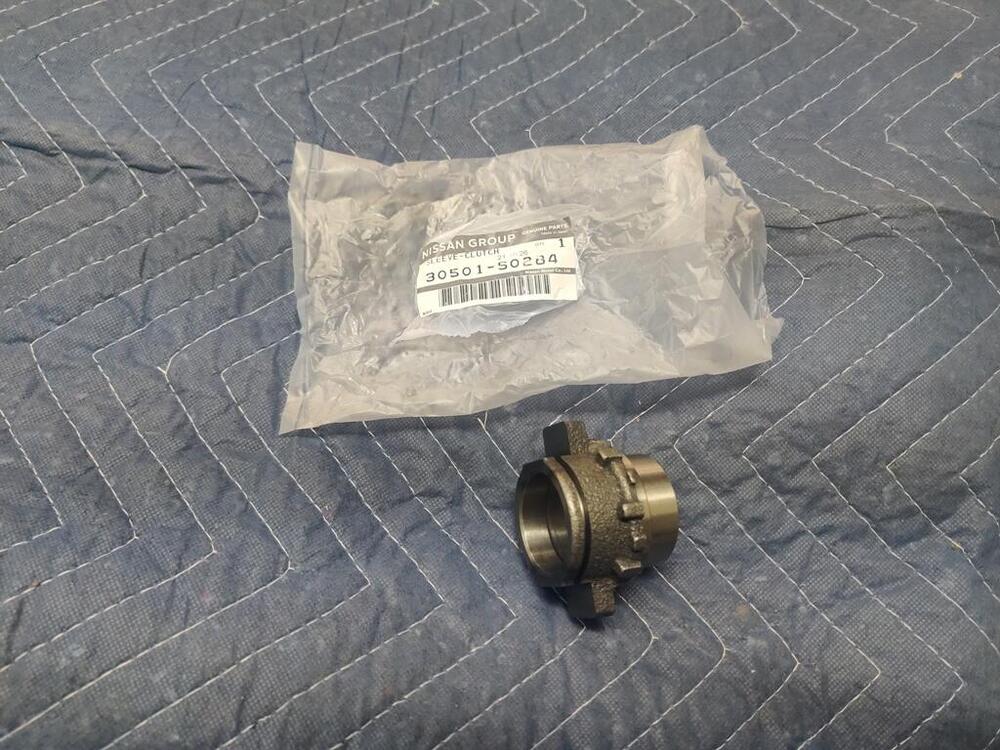
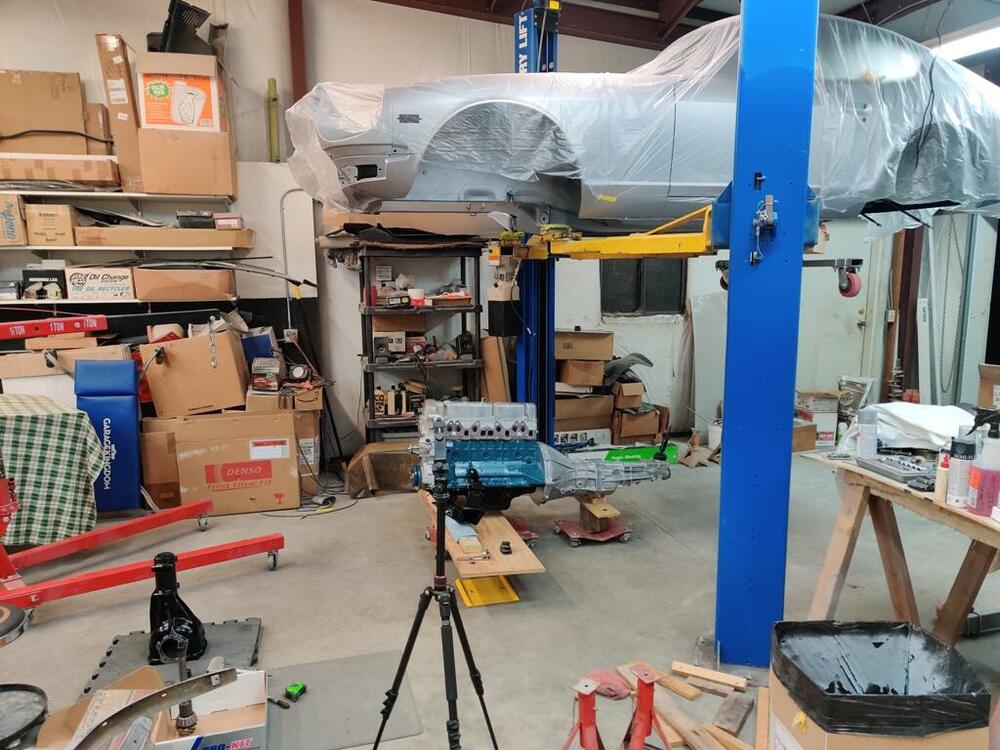
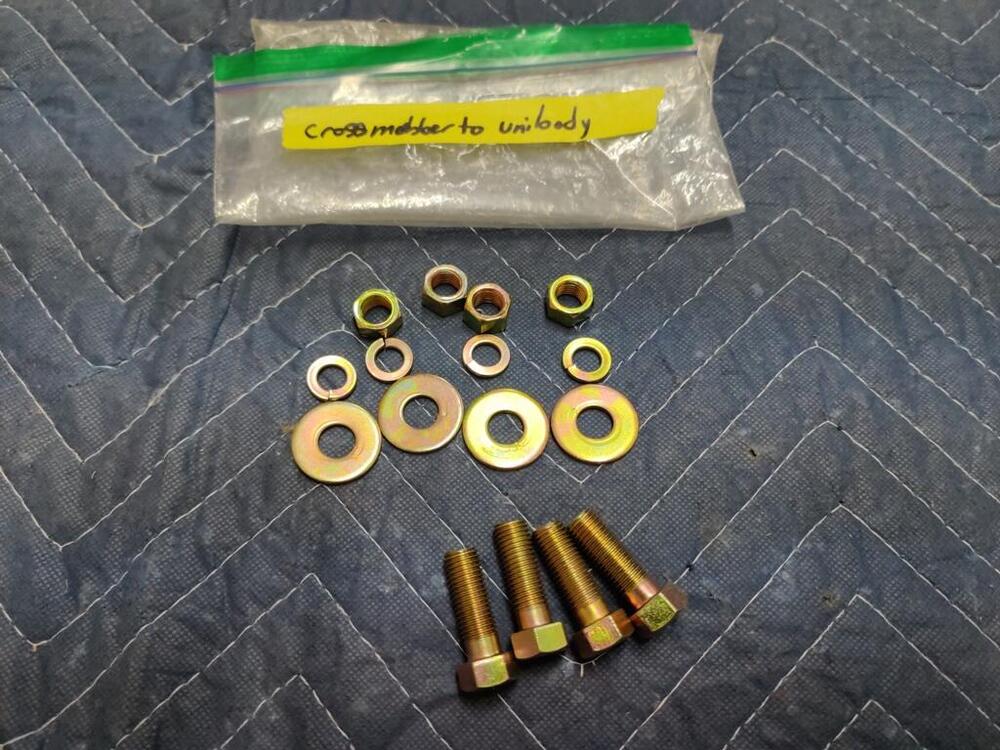
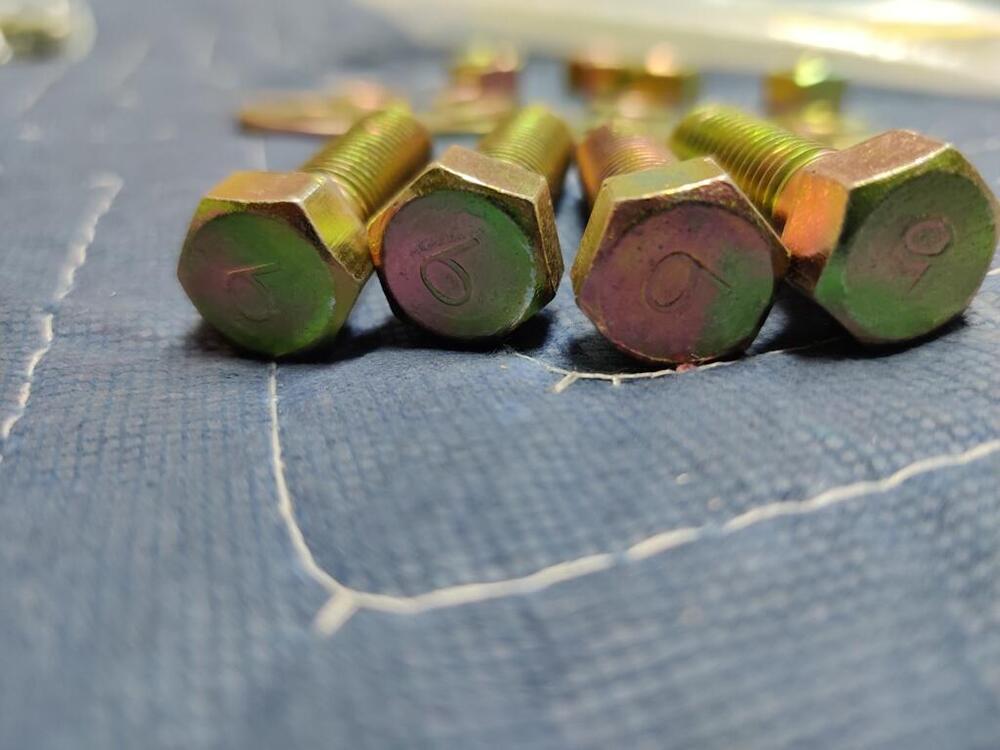
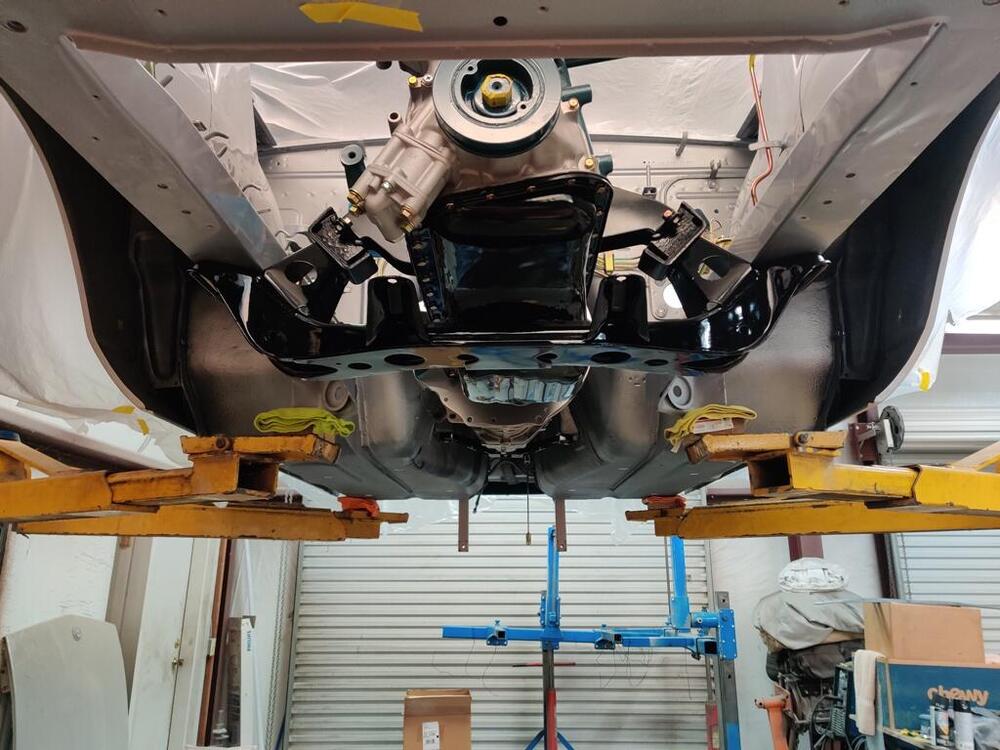
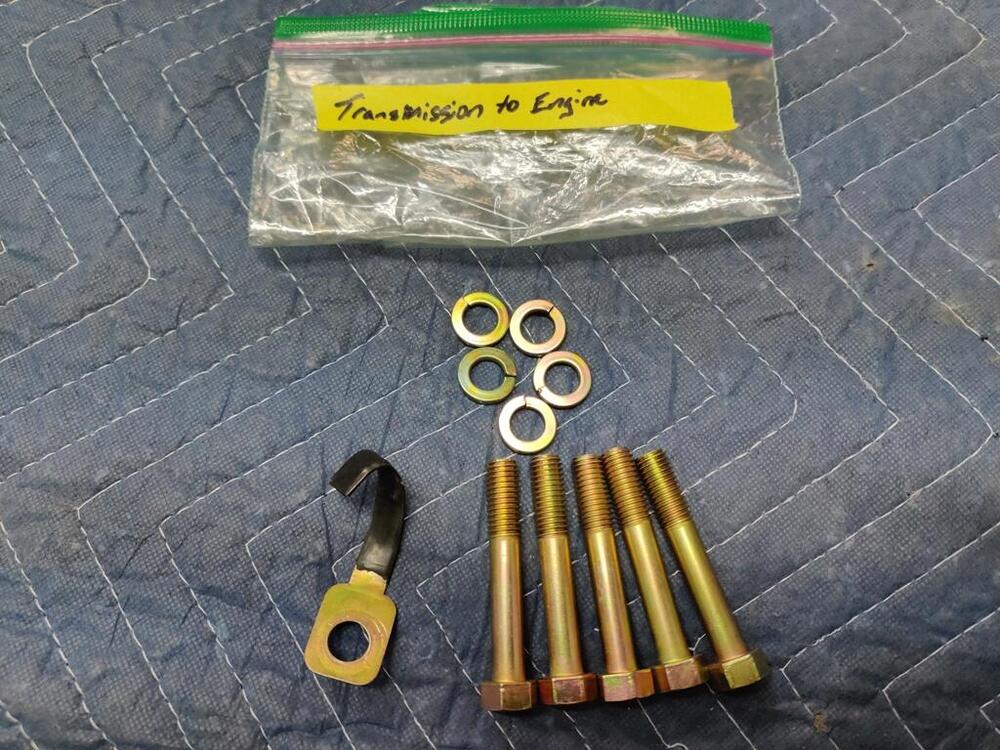
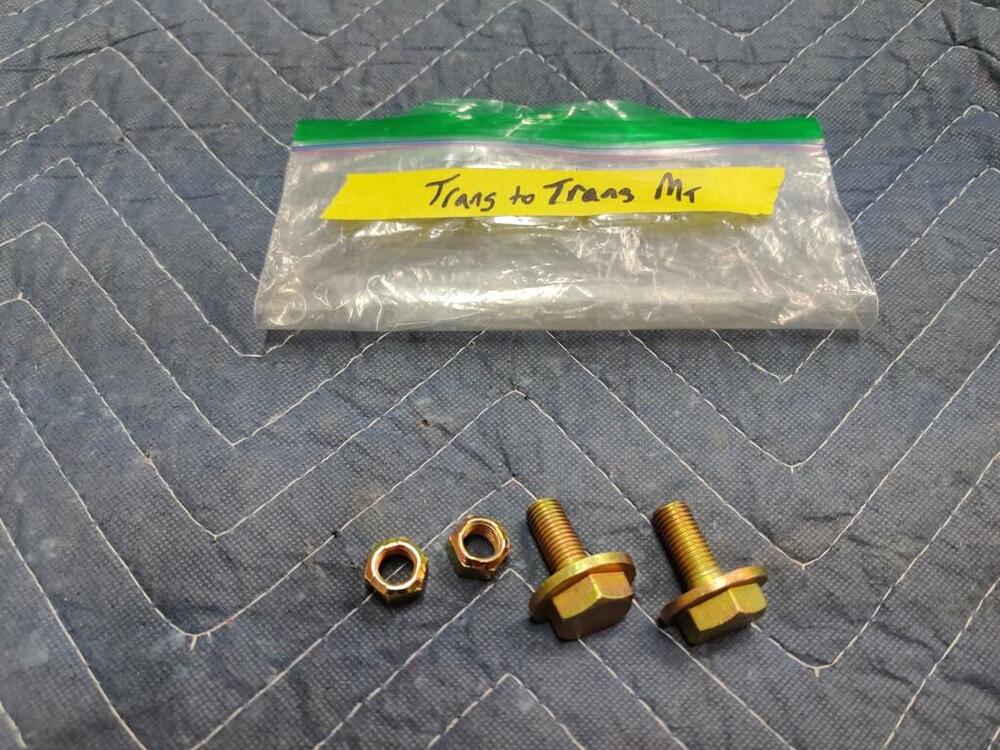
I was able to find the time to swing by a local Nissan dealer and pickup the throw out bearing collar I ordered last week. This is the short collar - correct for use with a 240z clutch assembly: re I got new springs for that collar and the clutch fork as well for good measure, and I ordered a speedometer drive gear assembly. The one I ordered has a red gear to match the 4.11 diff. gear ratio. The throw out bearing was the last thing keeping me from installing the engine and transmission in the car... so, I did that tonight! It was a bit tricky to maneuver everything. Engine and transmission are sitting on car dollies, with wood stacked to get sufficient height and stability for mating up with the car body coming down from above using my lift. Having the assembly on wheels was important for alignment with the car body. I shot some video, but it sucks. Those Youtube people have talent. I will explore editing them and see if I can salvage anything worth viewing. Front crossmember hardware: Transmission to engine and transmission mount hardware - one of the transmission to engine bolts is extra. It only requires 4: The engine is in!


 1 point
 -
1 point
-
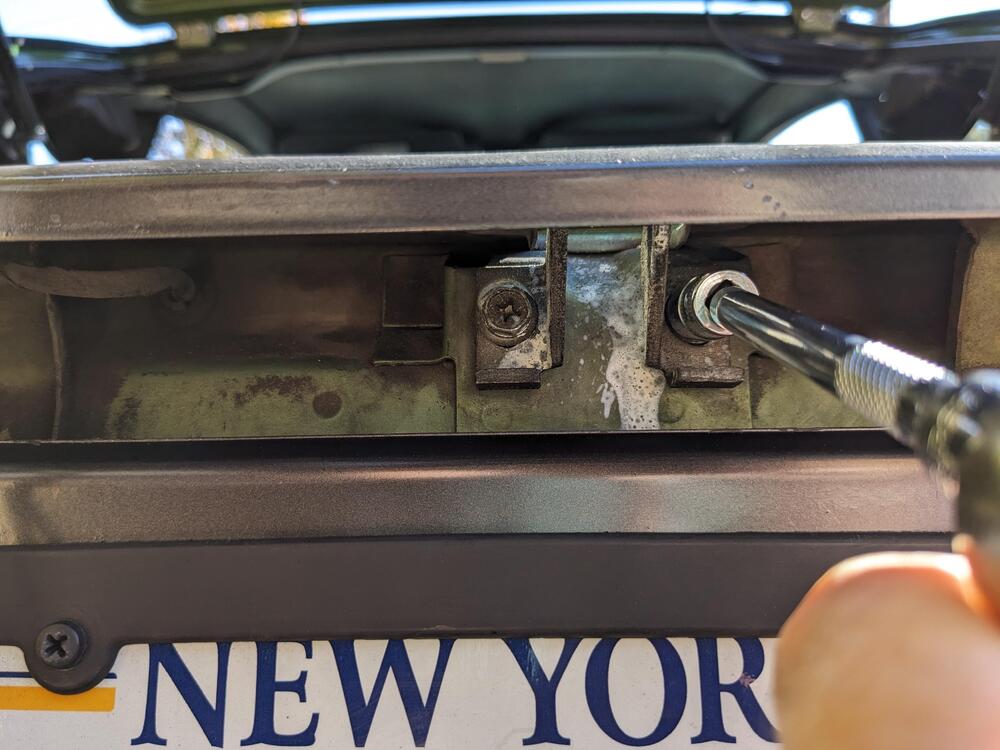
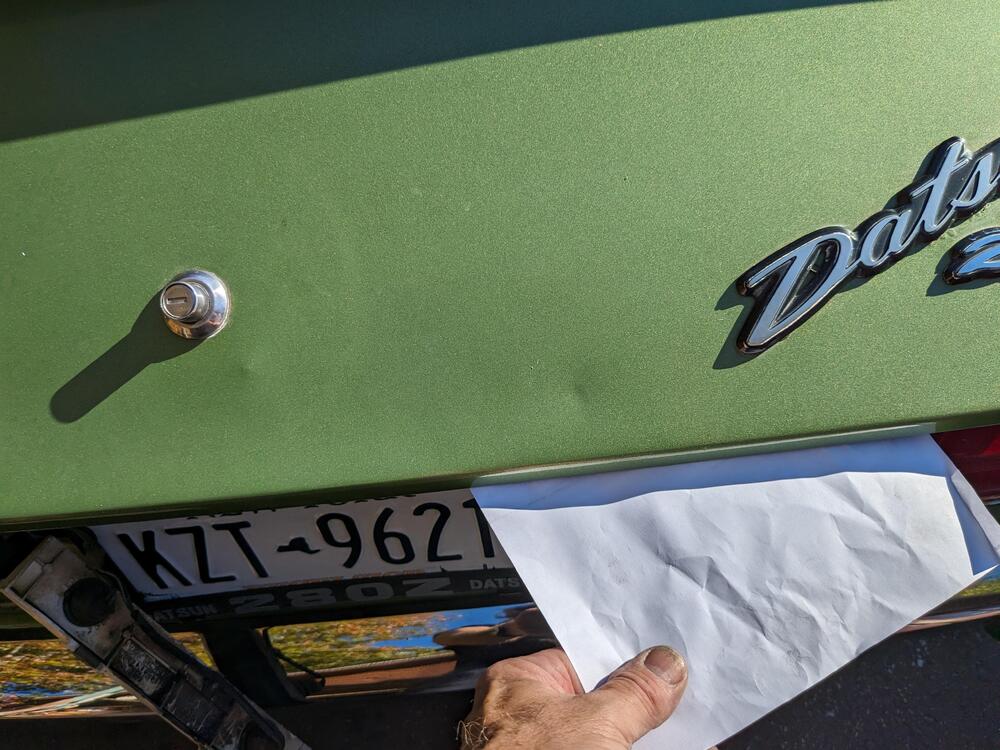
Followed grannyknot's directions - much better now, no more slamming required. I did have to make it a touch tighter than I wanted, to make sure the horizontal seal was snug against the hatch - don't want any fumes sucking in. Paper pull test to check
 1 point