Leaderboard
-
Patcon
 Subscriber
 4Points11,142Posts
 -
jfa.series1
Subscriber3Points2,733Posts -
HusseinHolland
Free Member3Points1,031Posts -
Captain Obvious
Free Member2Points10,081Posts


Popular Content
Showing content with the highest reputation on 10/11/2023 in all areas
-
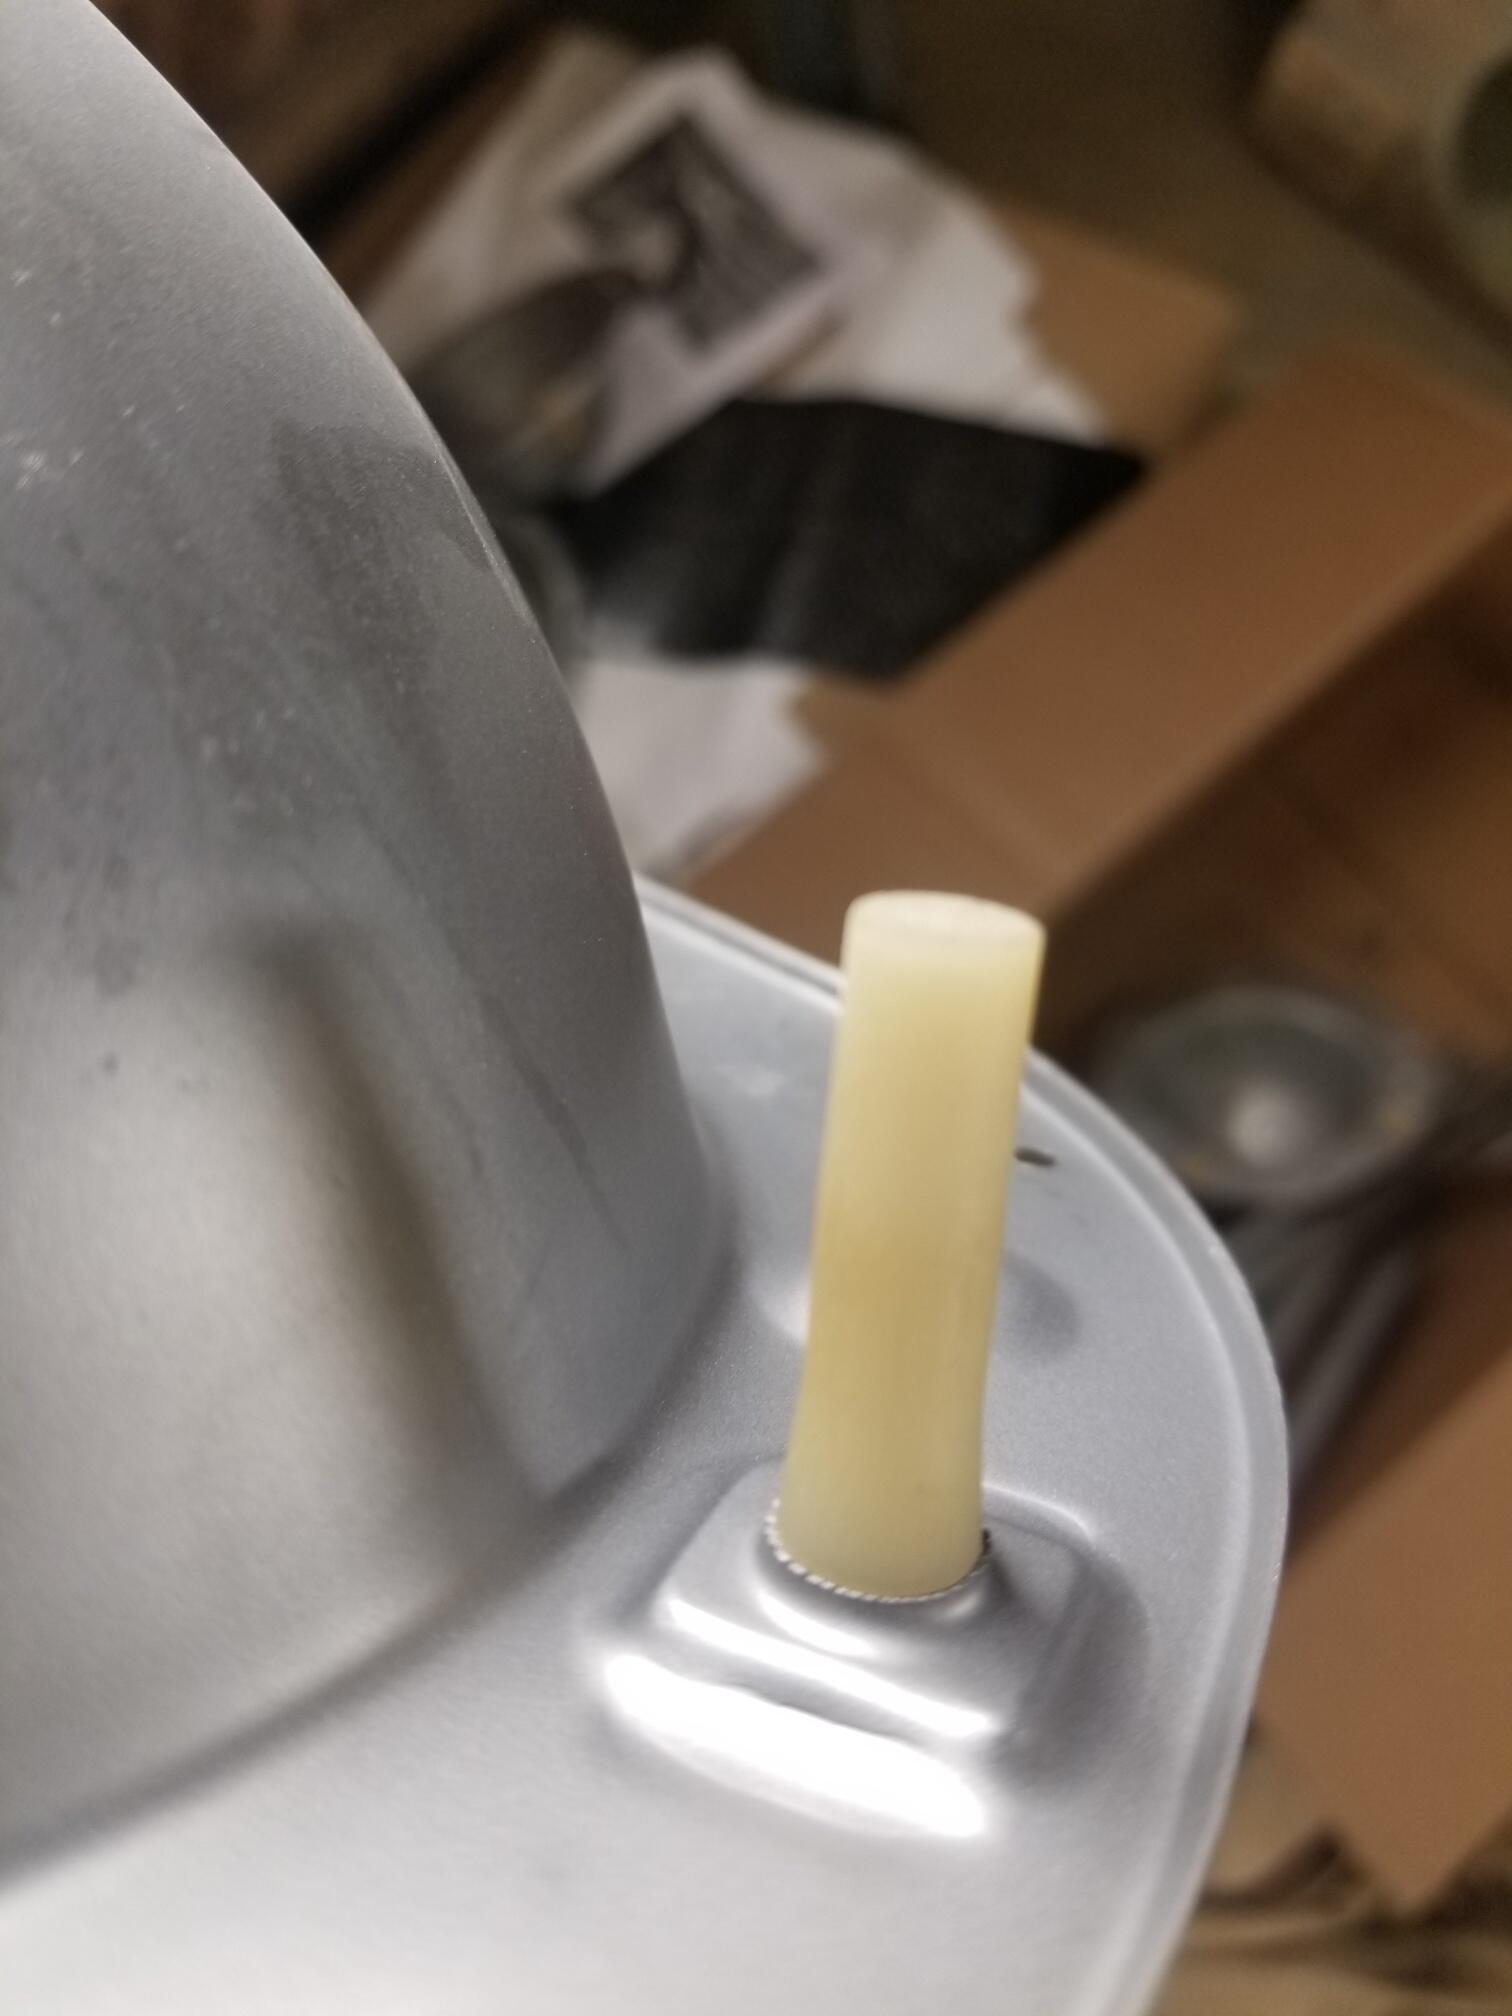
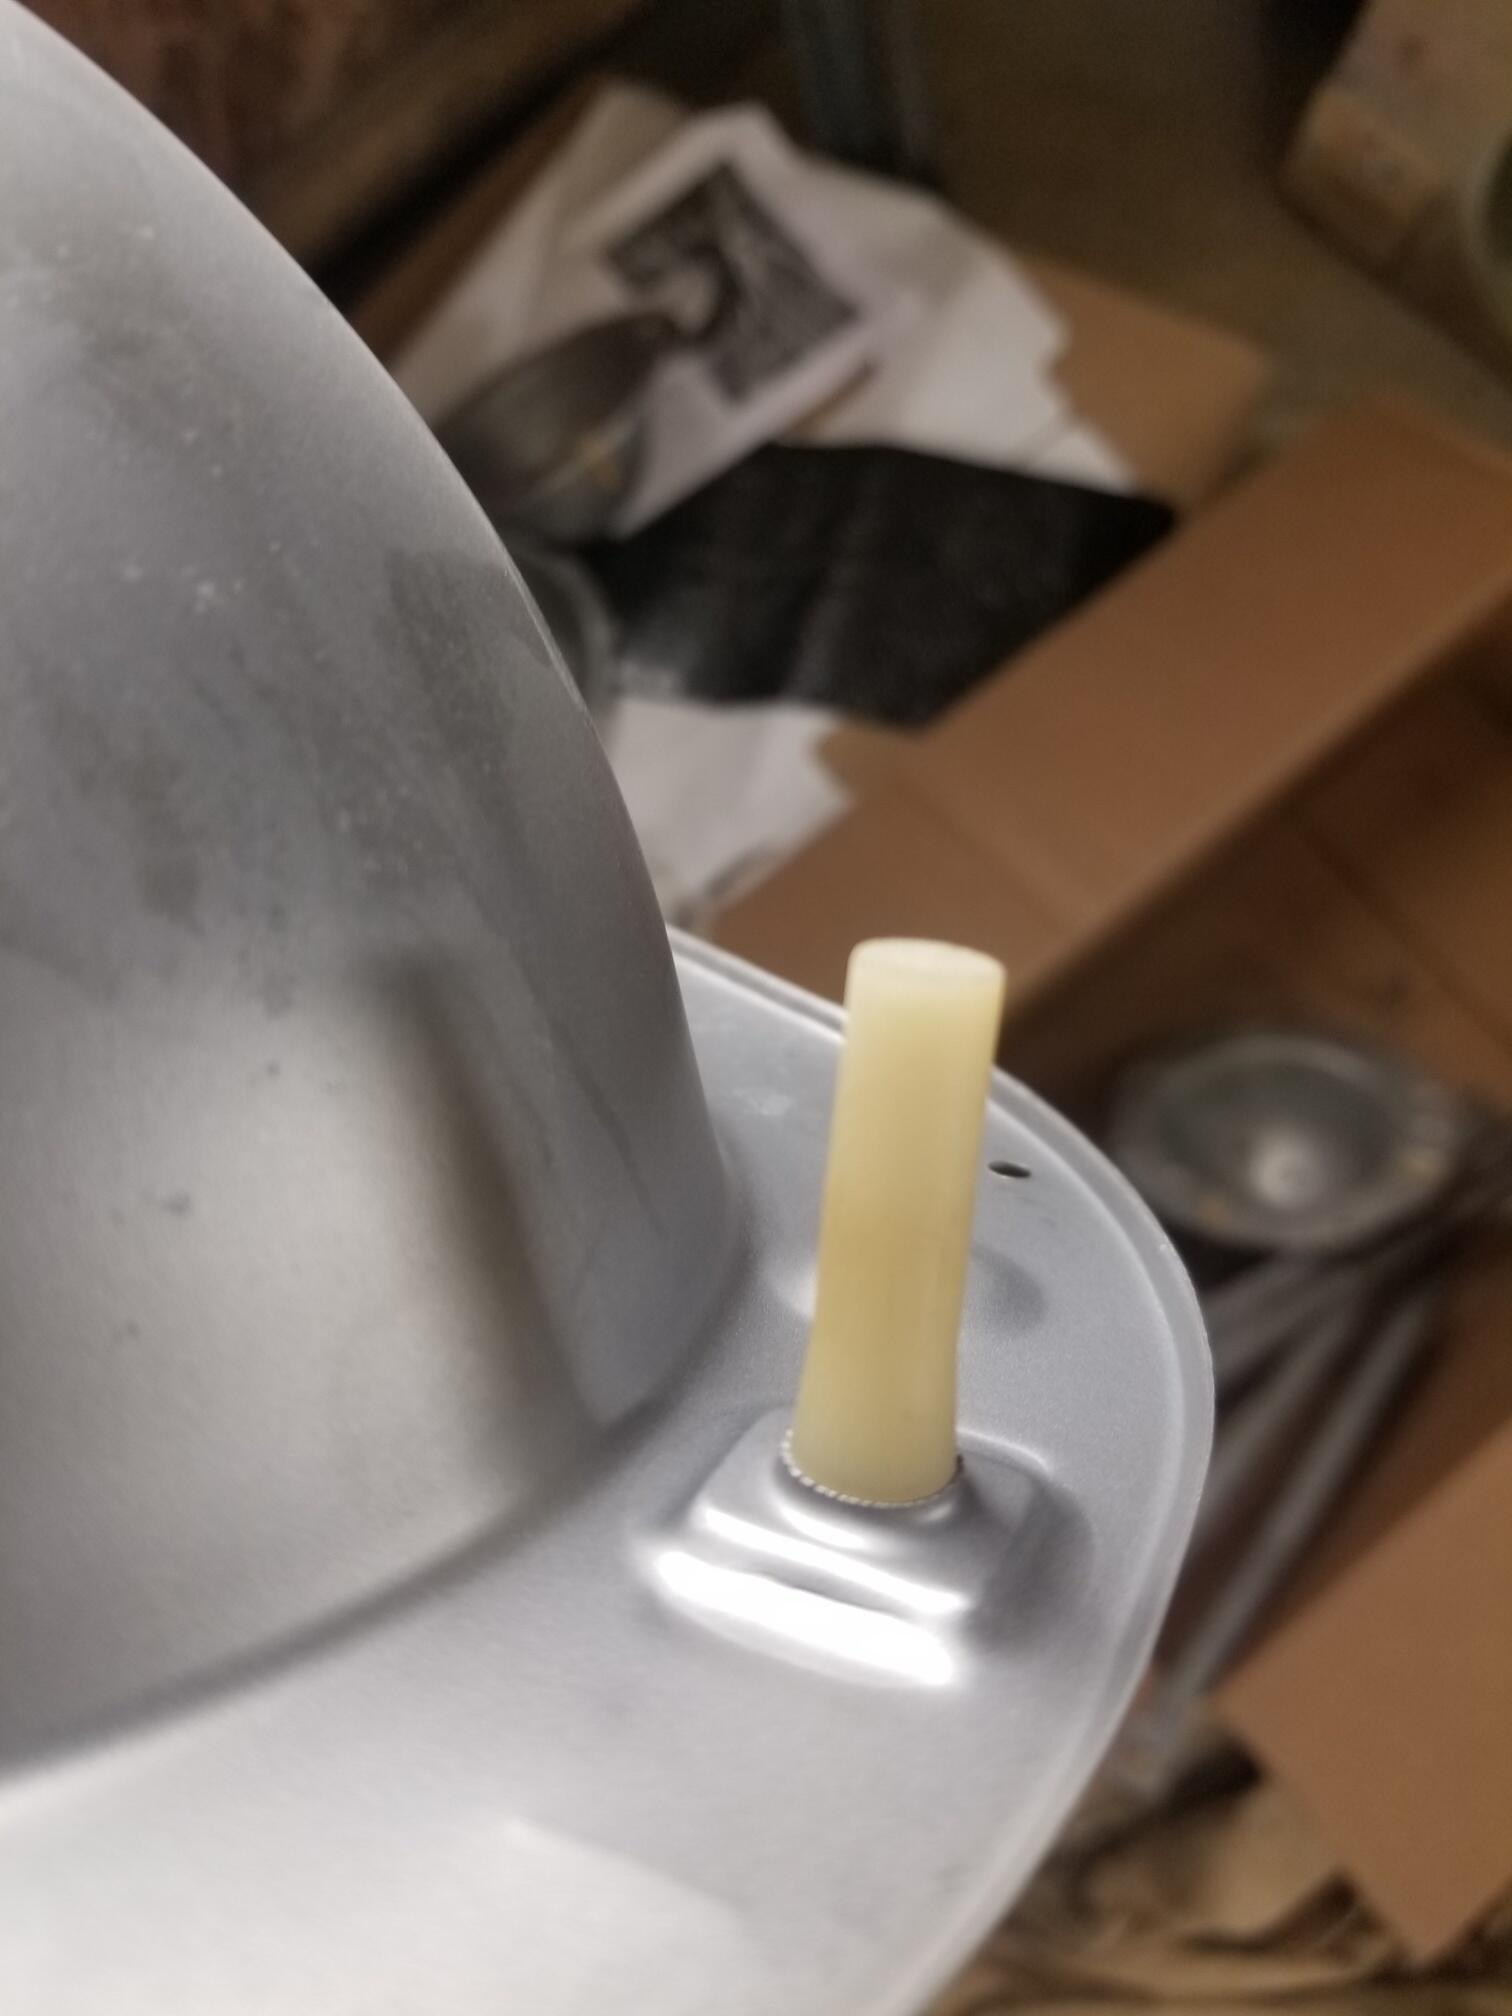
I did deal with the AC switch plate. I realized a rivnut would make the perfect shoulder nut Determined 14mm is the depth I need to seat the T/stat. Cut down a couple rivnuts until I got one that was right. Filed down the OD a touch re-threaded to 10x1, drilled out the cover plate to fit, notched the cap so I can tighten it down. should fit like this3 points
-
3 pointsAwesome work Charles. All the credit for the paint products selection goes to @CanTechZ who did all the testing to make this possible.3 points
-
2 pointsIt's the same one that is installed in the other thread. It's the VintageAir Gen II mini. The thing that I am really liking about it is the compact size and the electronic vent operation. No more rickety sliding levers and cables to install and adjust. I have not addressed the control panel yet, but will do my best to have it look like the original when I get to that point.2 points
-
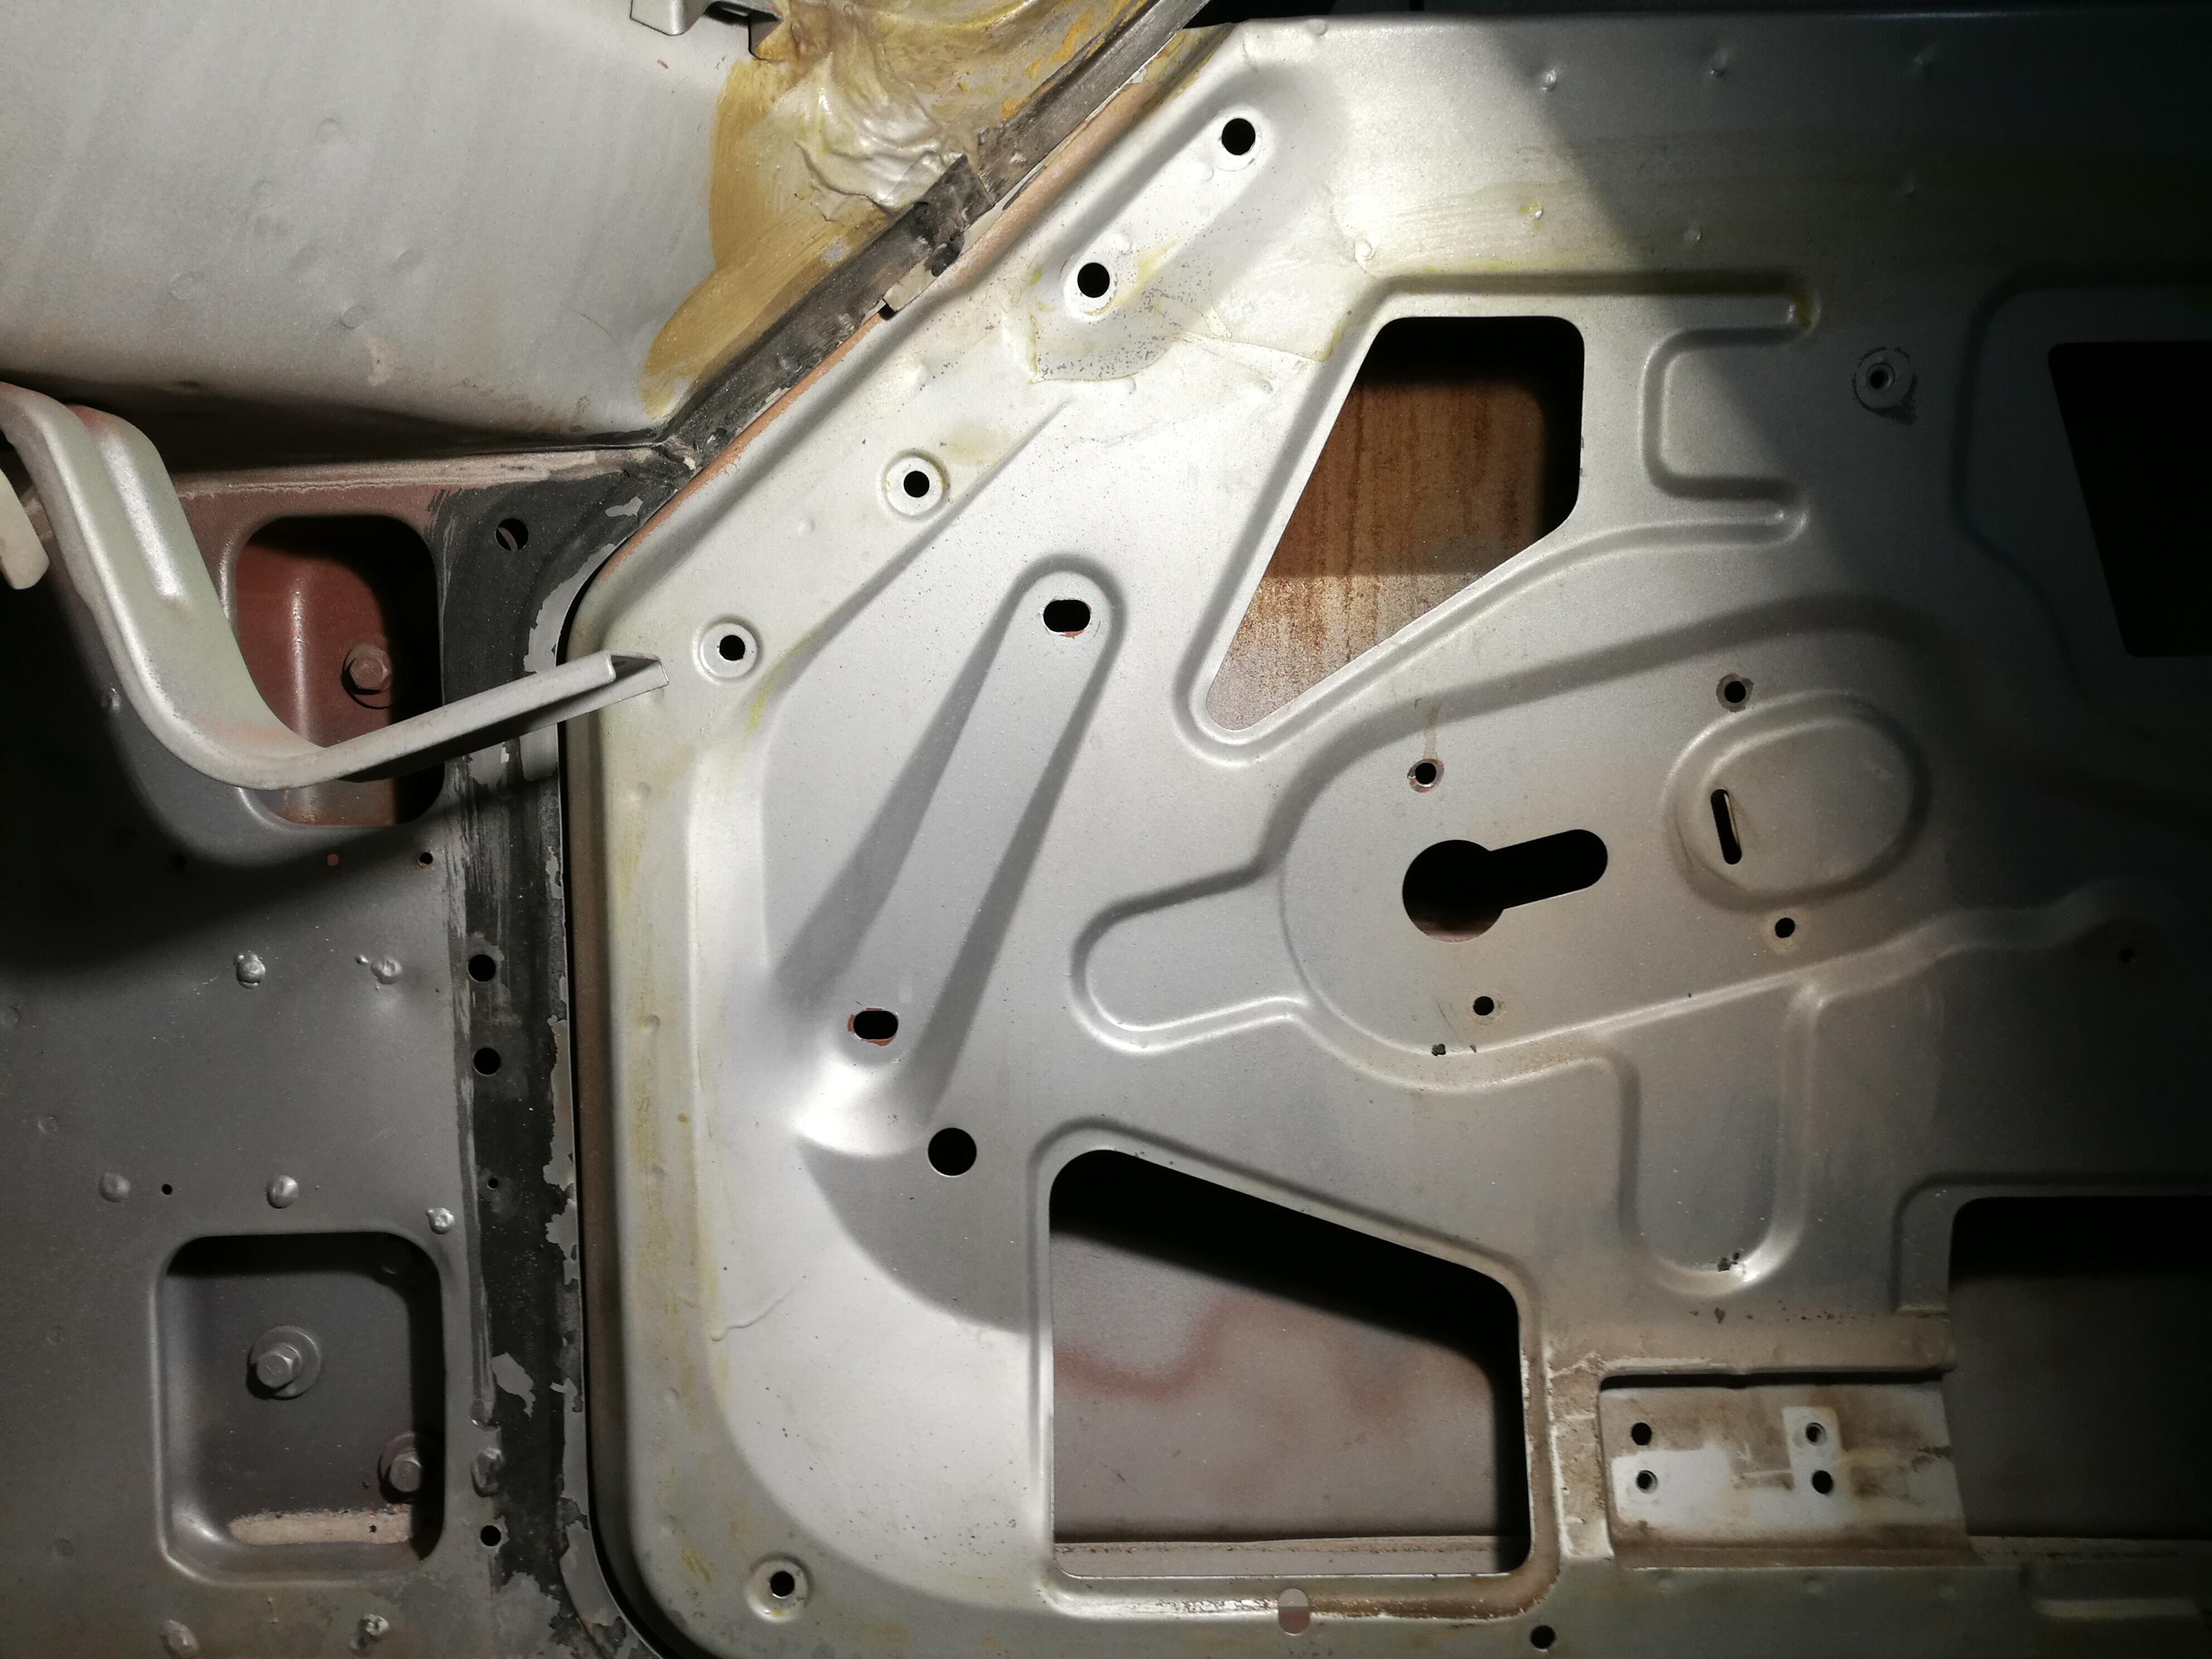
2 pointsThinking about it some more, I think this could work if you did it well. Some threaded aluminum rod screwed into the holes and loctited (red) in place. Then file flush and put in your new mounting holes. If you could cut the threads yourself on a lathe, you could make the threaded rod a tight class of thread fit which would make matters better. The new holes will be split about 50/50 between the old bolt hole and virgin material. I think red threadlock would work, at least for a proof of concept. and once you get the throttle body installed, it's not like anything will be able to move anymore. I'd give that a try over using a plastic 3D-printed adapter.2 points
-
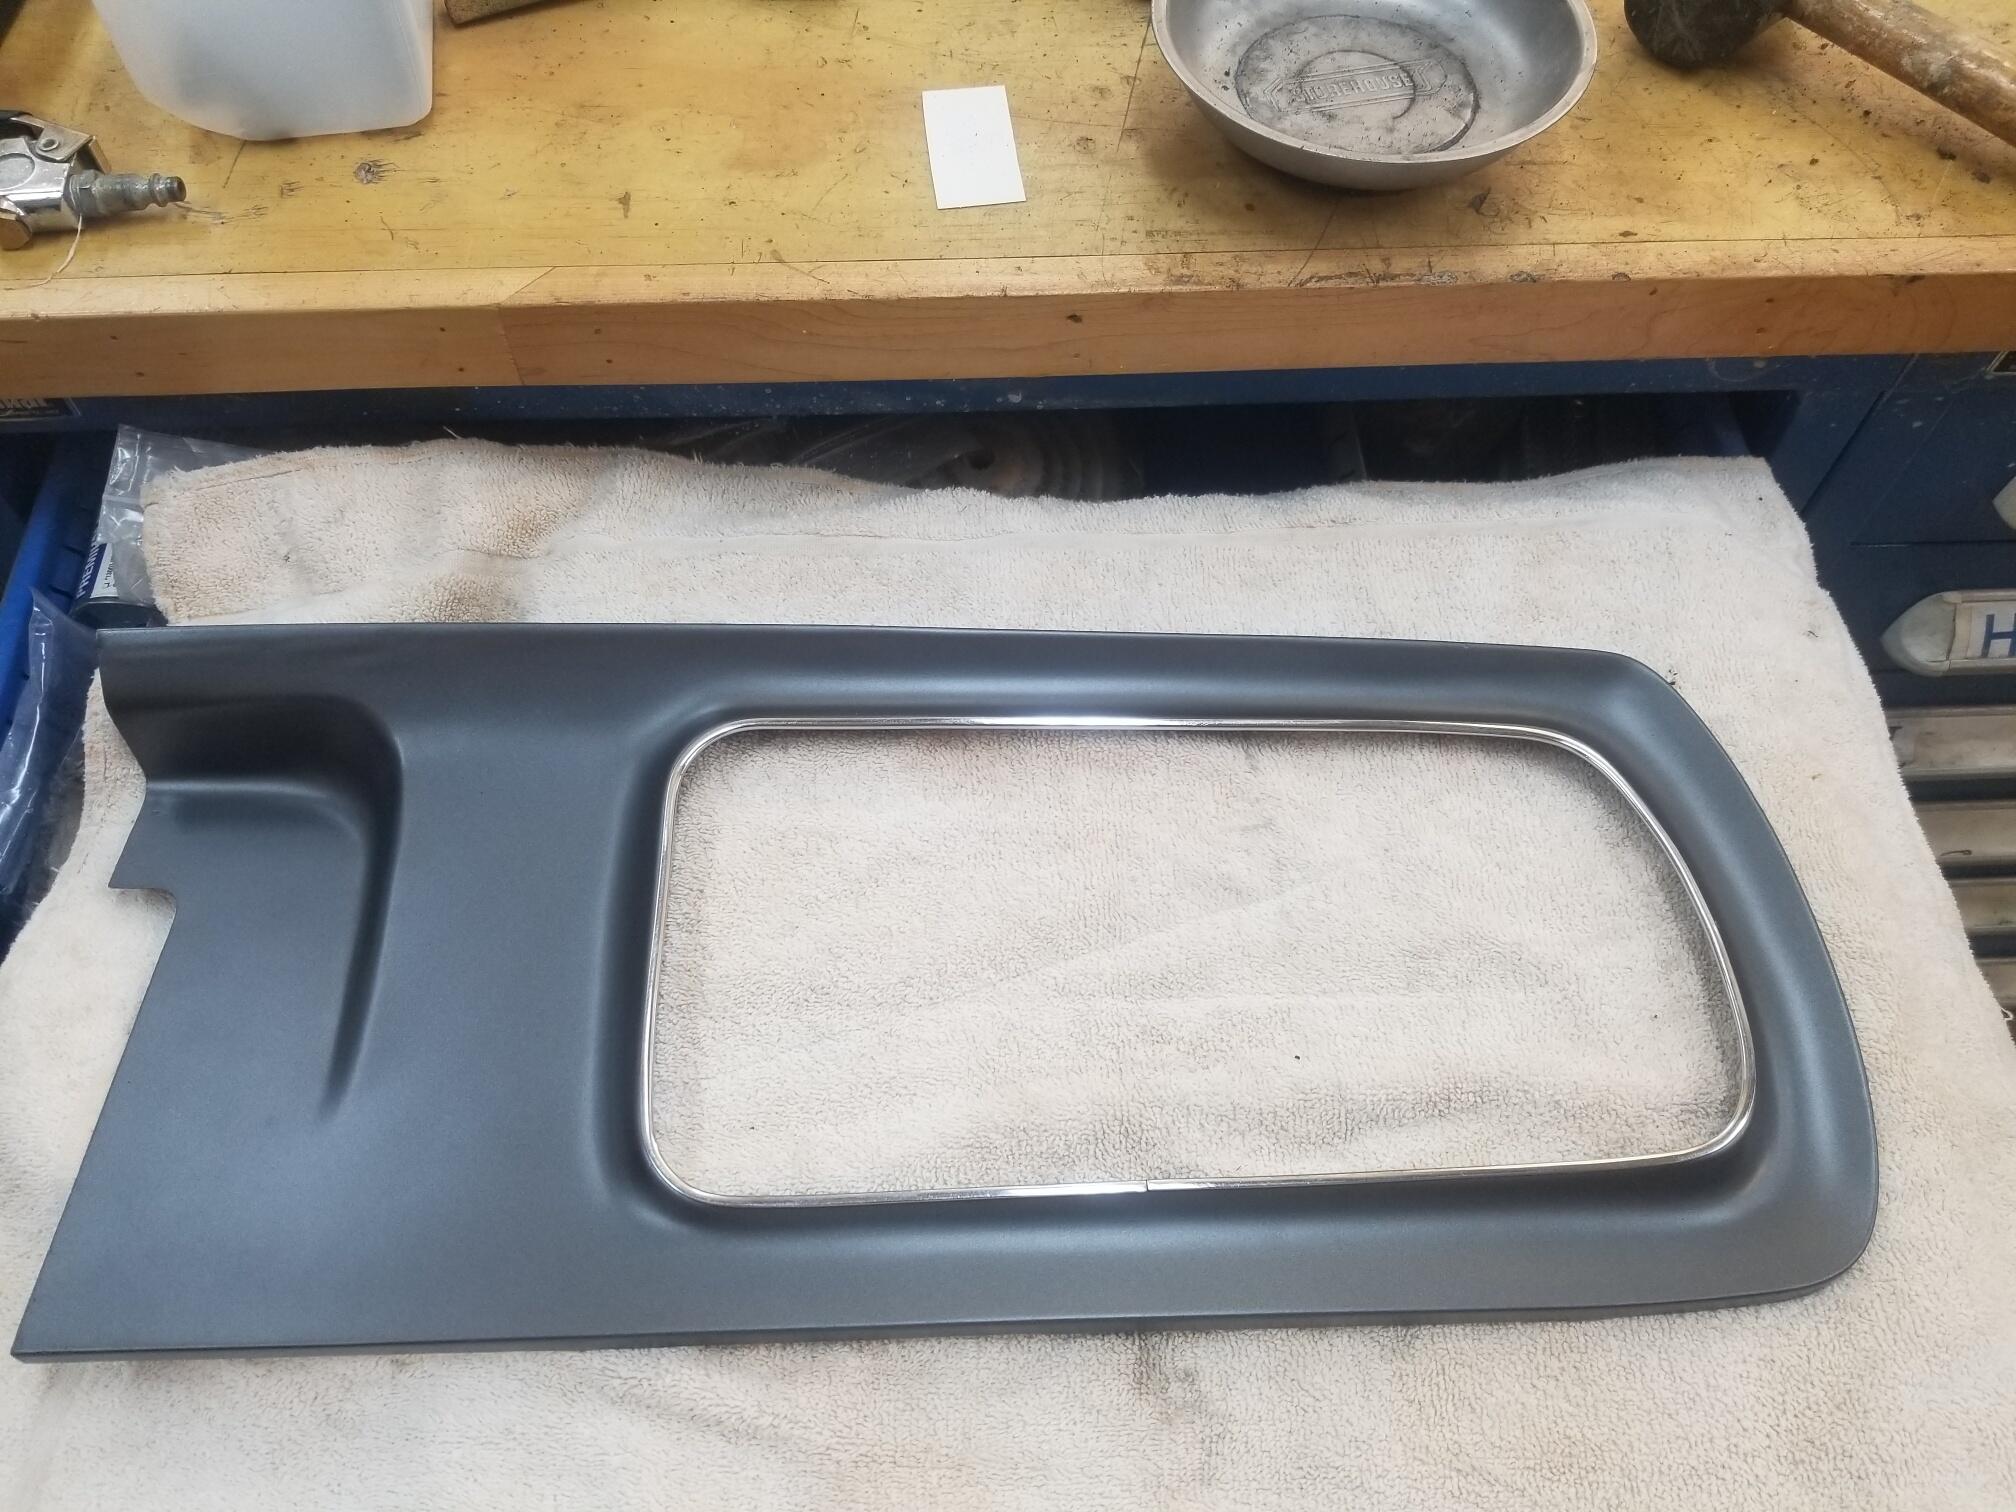
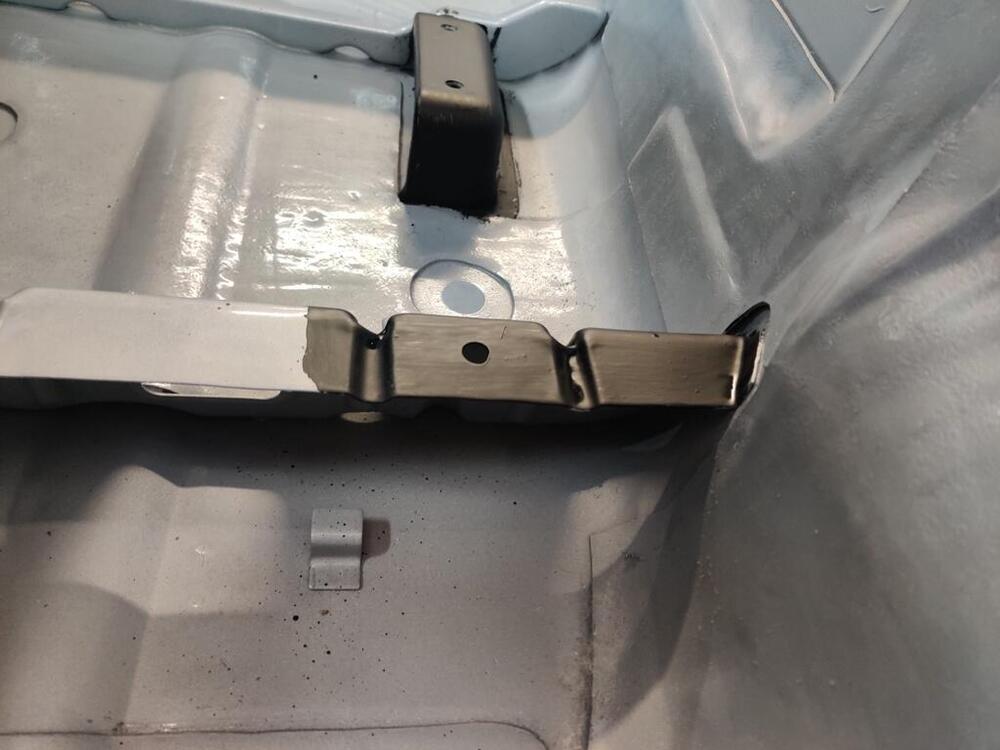
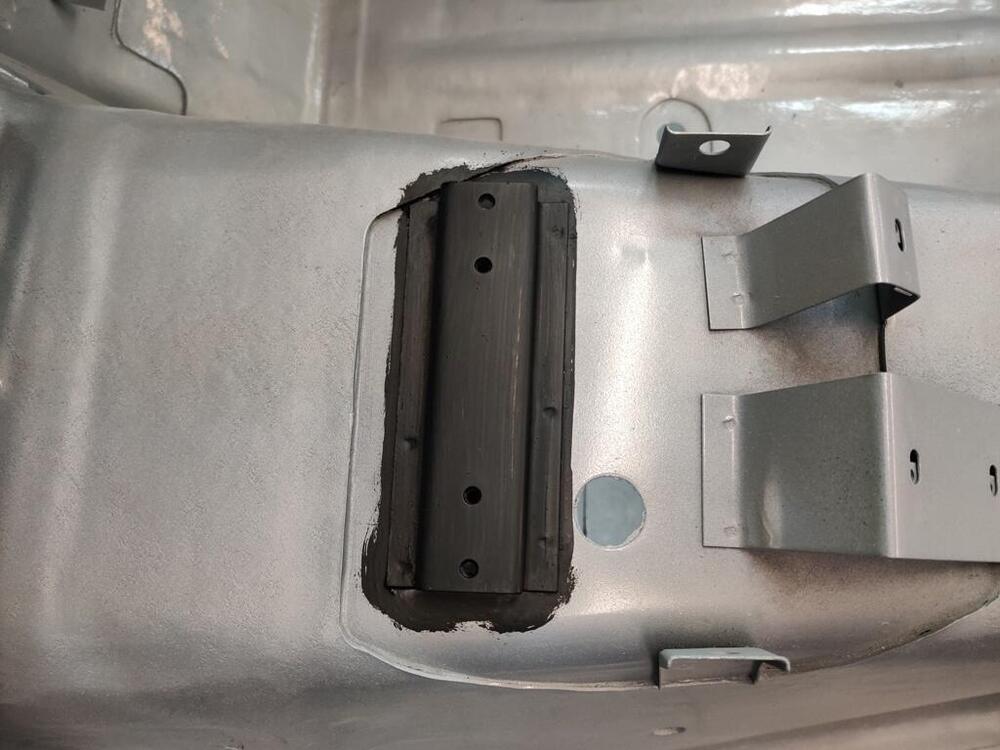
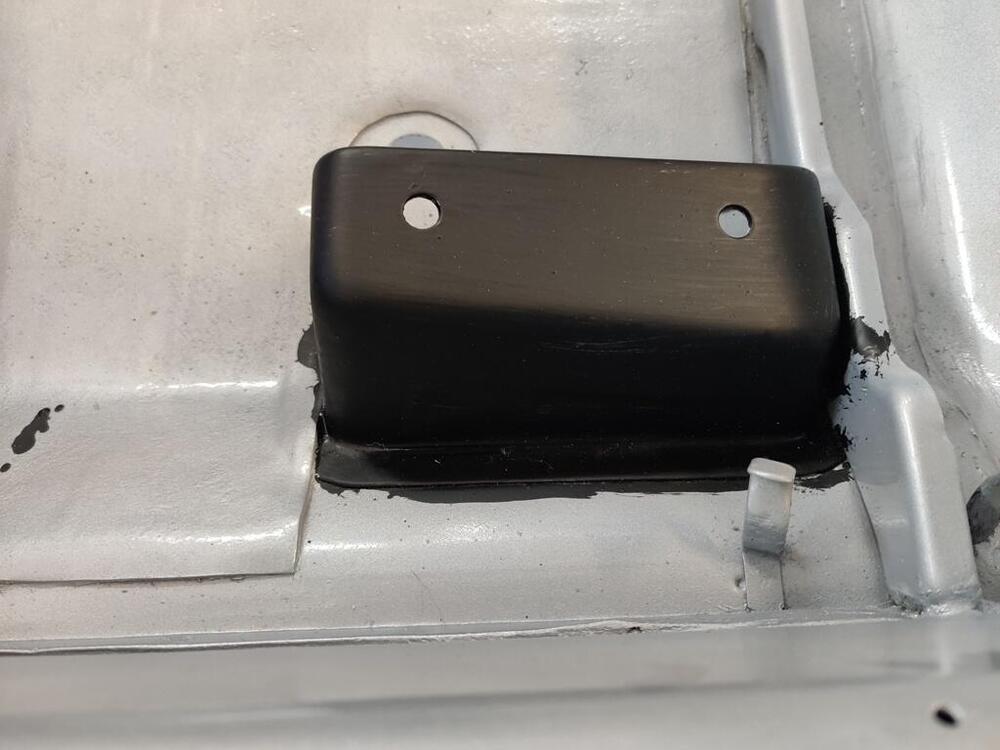
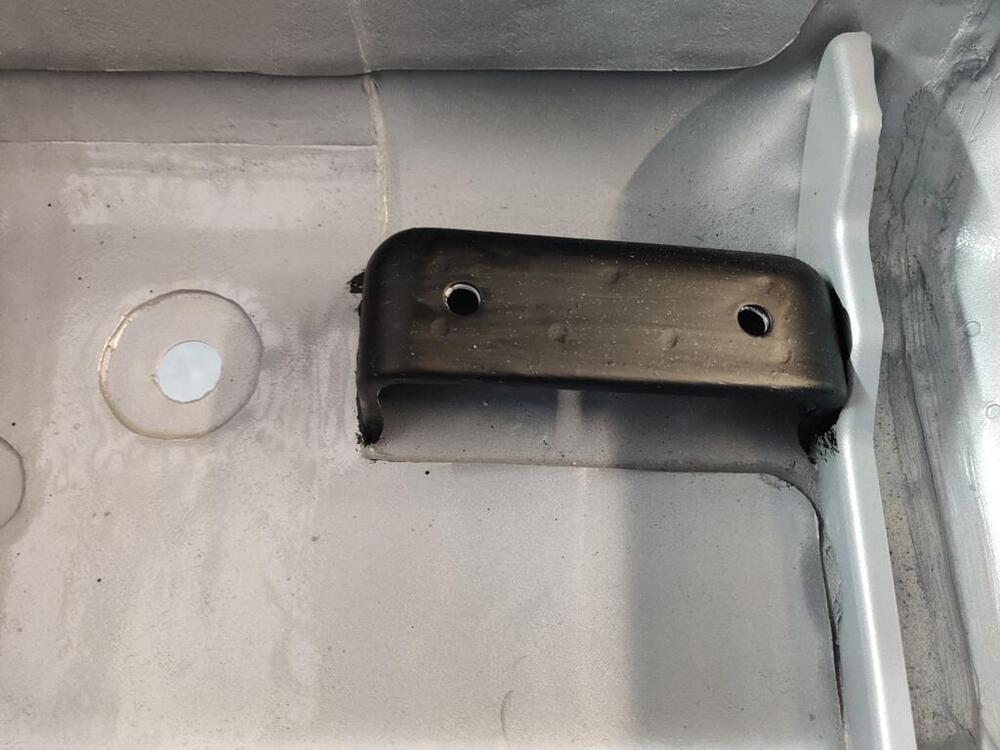
2 pointsI put the trim back on the rear finishers For the most part it went on by hand. I tapped it a little with a soft rubber mallet. Thanks so much to Jim for the excellent recipe! @jfa.series1


 2 points
 -
Thought this may make a good theoretical discussion. While I have far to little time to do the inordinately long list of jobs on my Z (and with school fees ramping up spare cash is drying up fast), I just can’t help think one day I really want to do a triple DU6 conversion!! Just imagine having the only z in the world with these puppies on!!! How cool would that look when you pop the bonnet!? It will need a LARGE balance tube to even out the pulses (which somewhat negates benefits of individual throttles). My only thought is that the best way to feed the vacuum signal to all carbs but without causing cross carb fuelling is to feed manifold vacuum in at the top of each dome. Just daydream engineering! ;)1 point
-
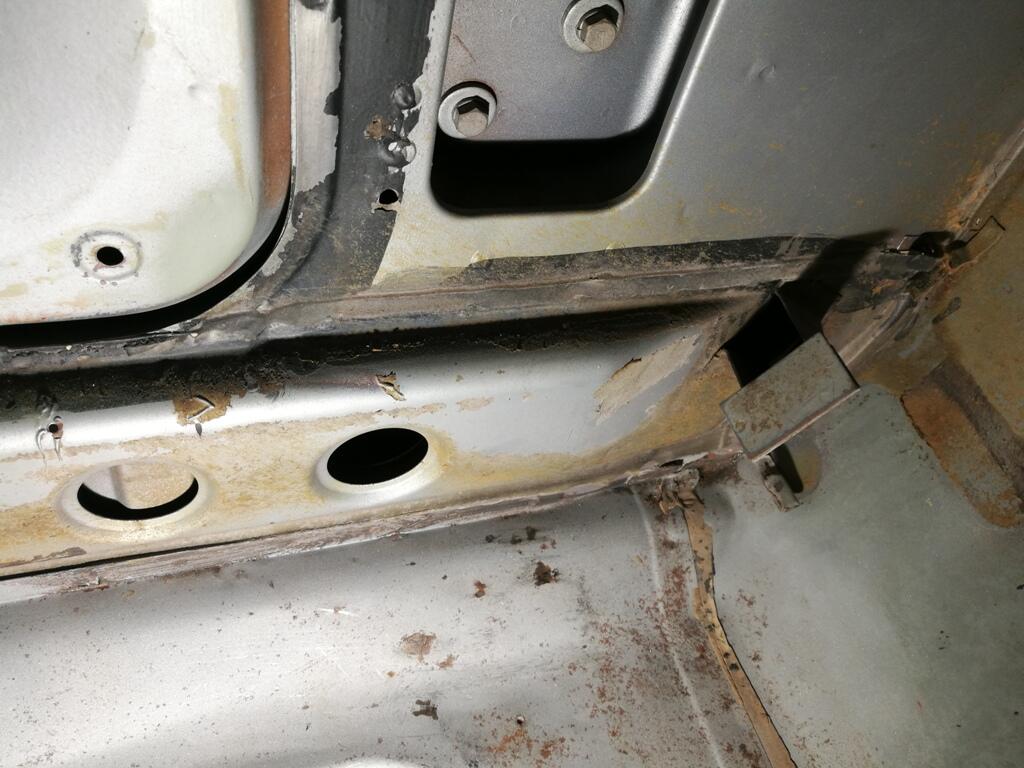
This probably has nothing to do with your current issue but I read the bcdd removal and wanted to ask if you plugged that little hole in the front of the throttle blade?1 point
-
I'd check the coolant temperature sensor resistance. Compare to the chart from previous. Check at the ECU connector.
 1 point
 -
1 pointI worked on the headlight buckets some more A little heat and the caps will come off Then I noticed that the buckets were different. The older ones with the caps and then I assume a newer style that the plastic adjuster thing is all one piece. I tried to get some of these out of the buckets but that wasn't going to happen with out destroying them!


 1 point
 -
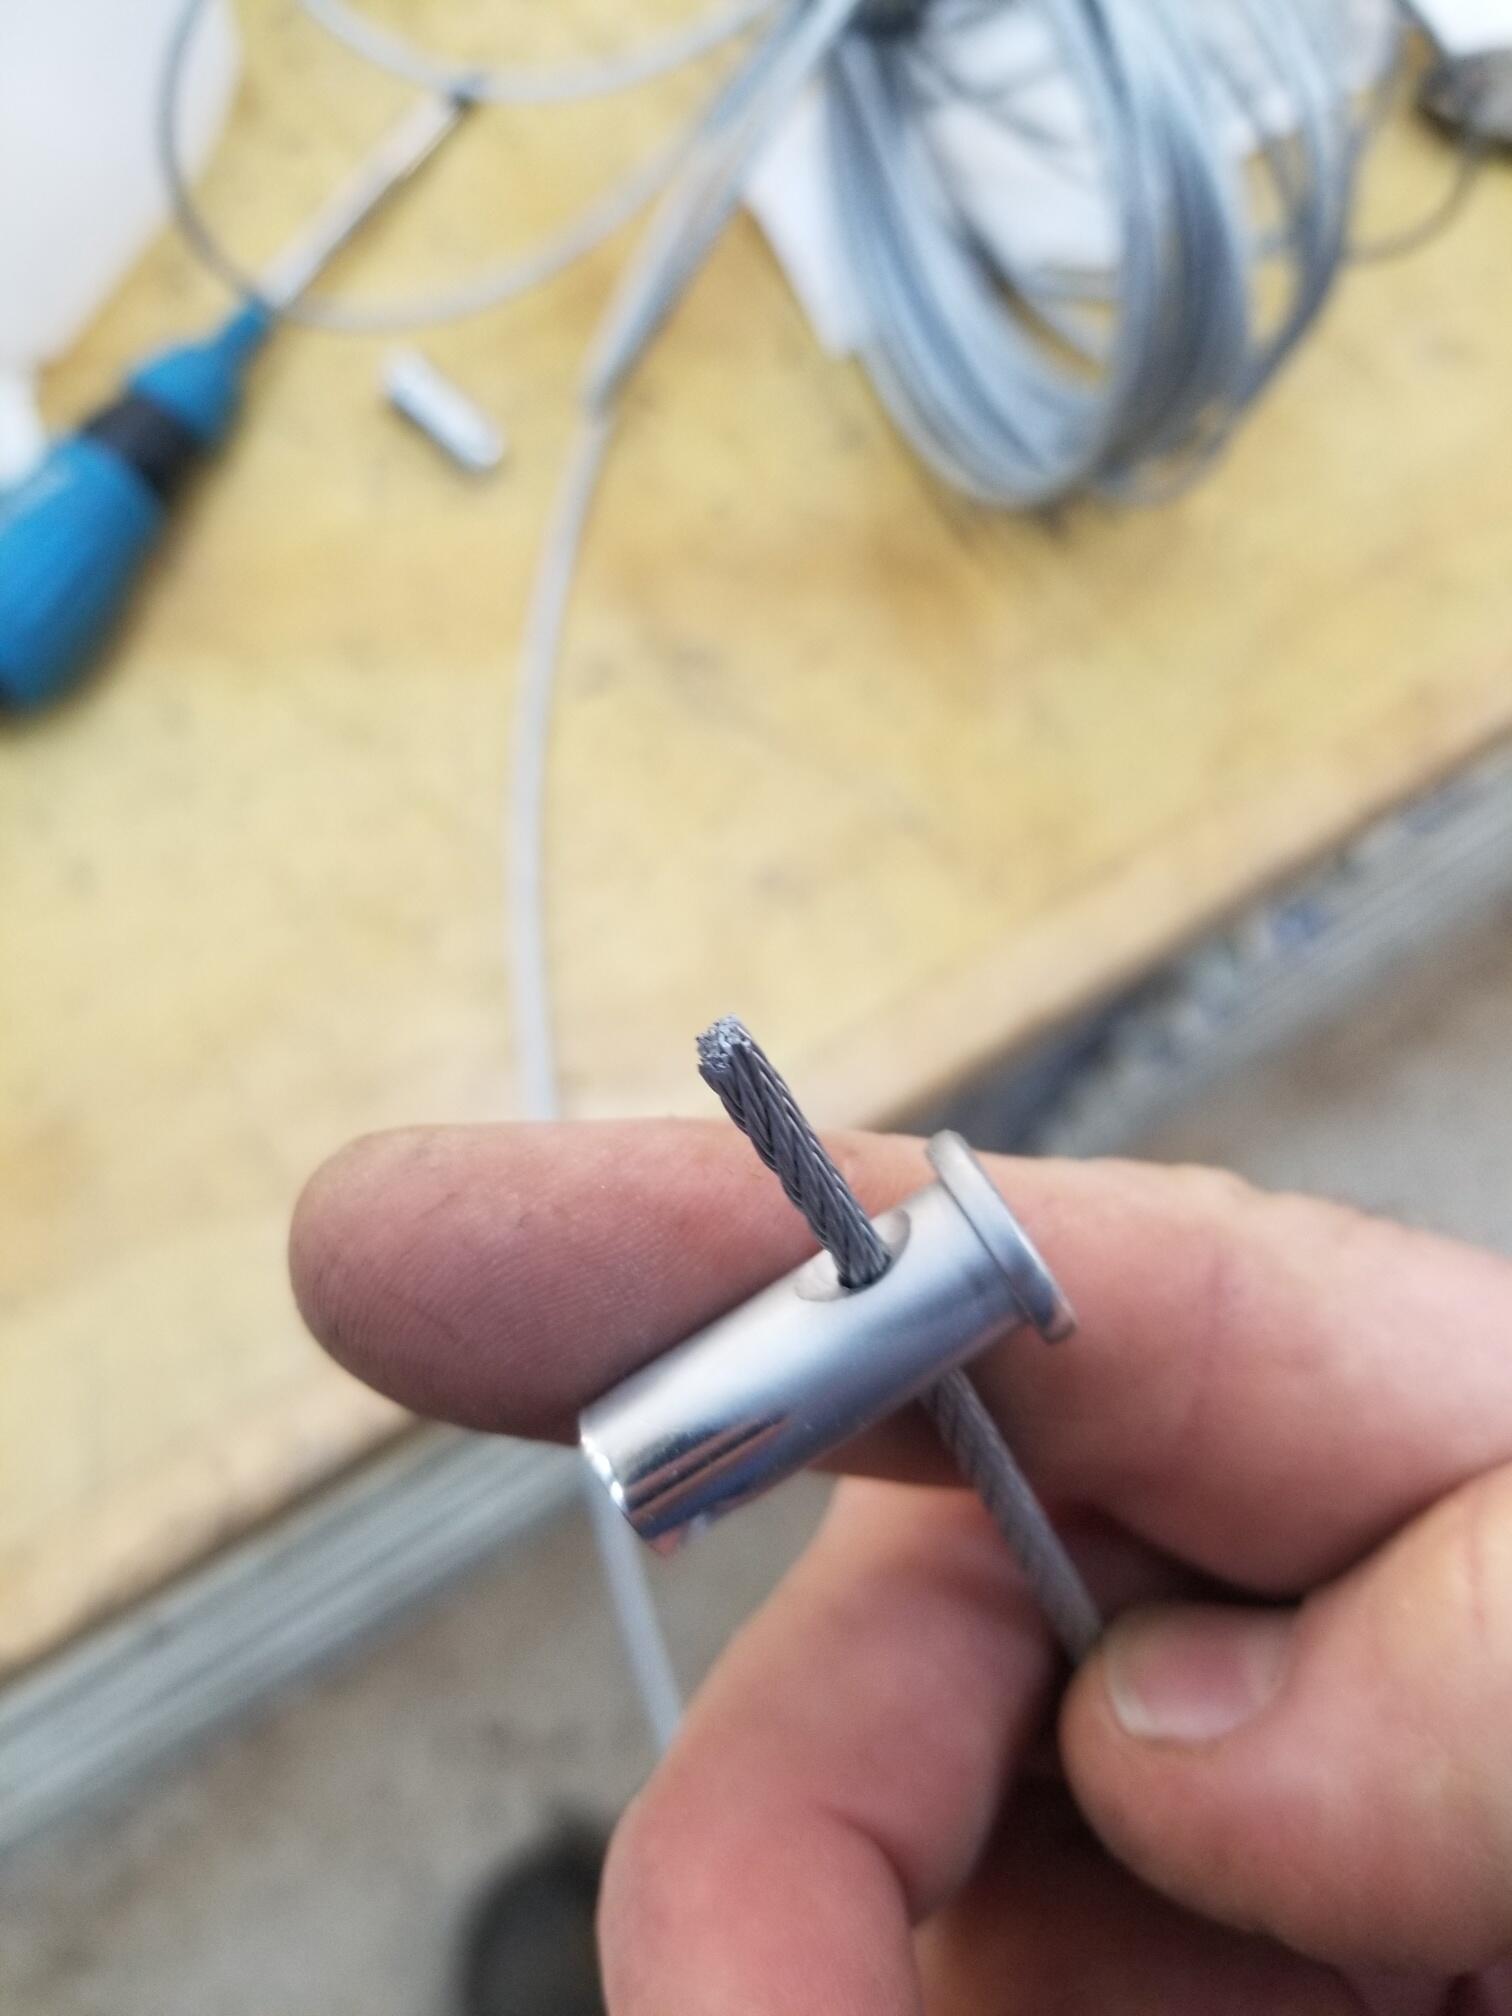
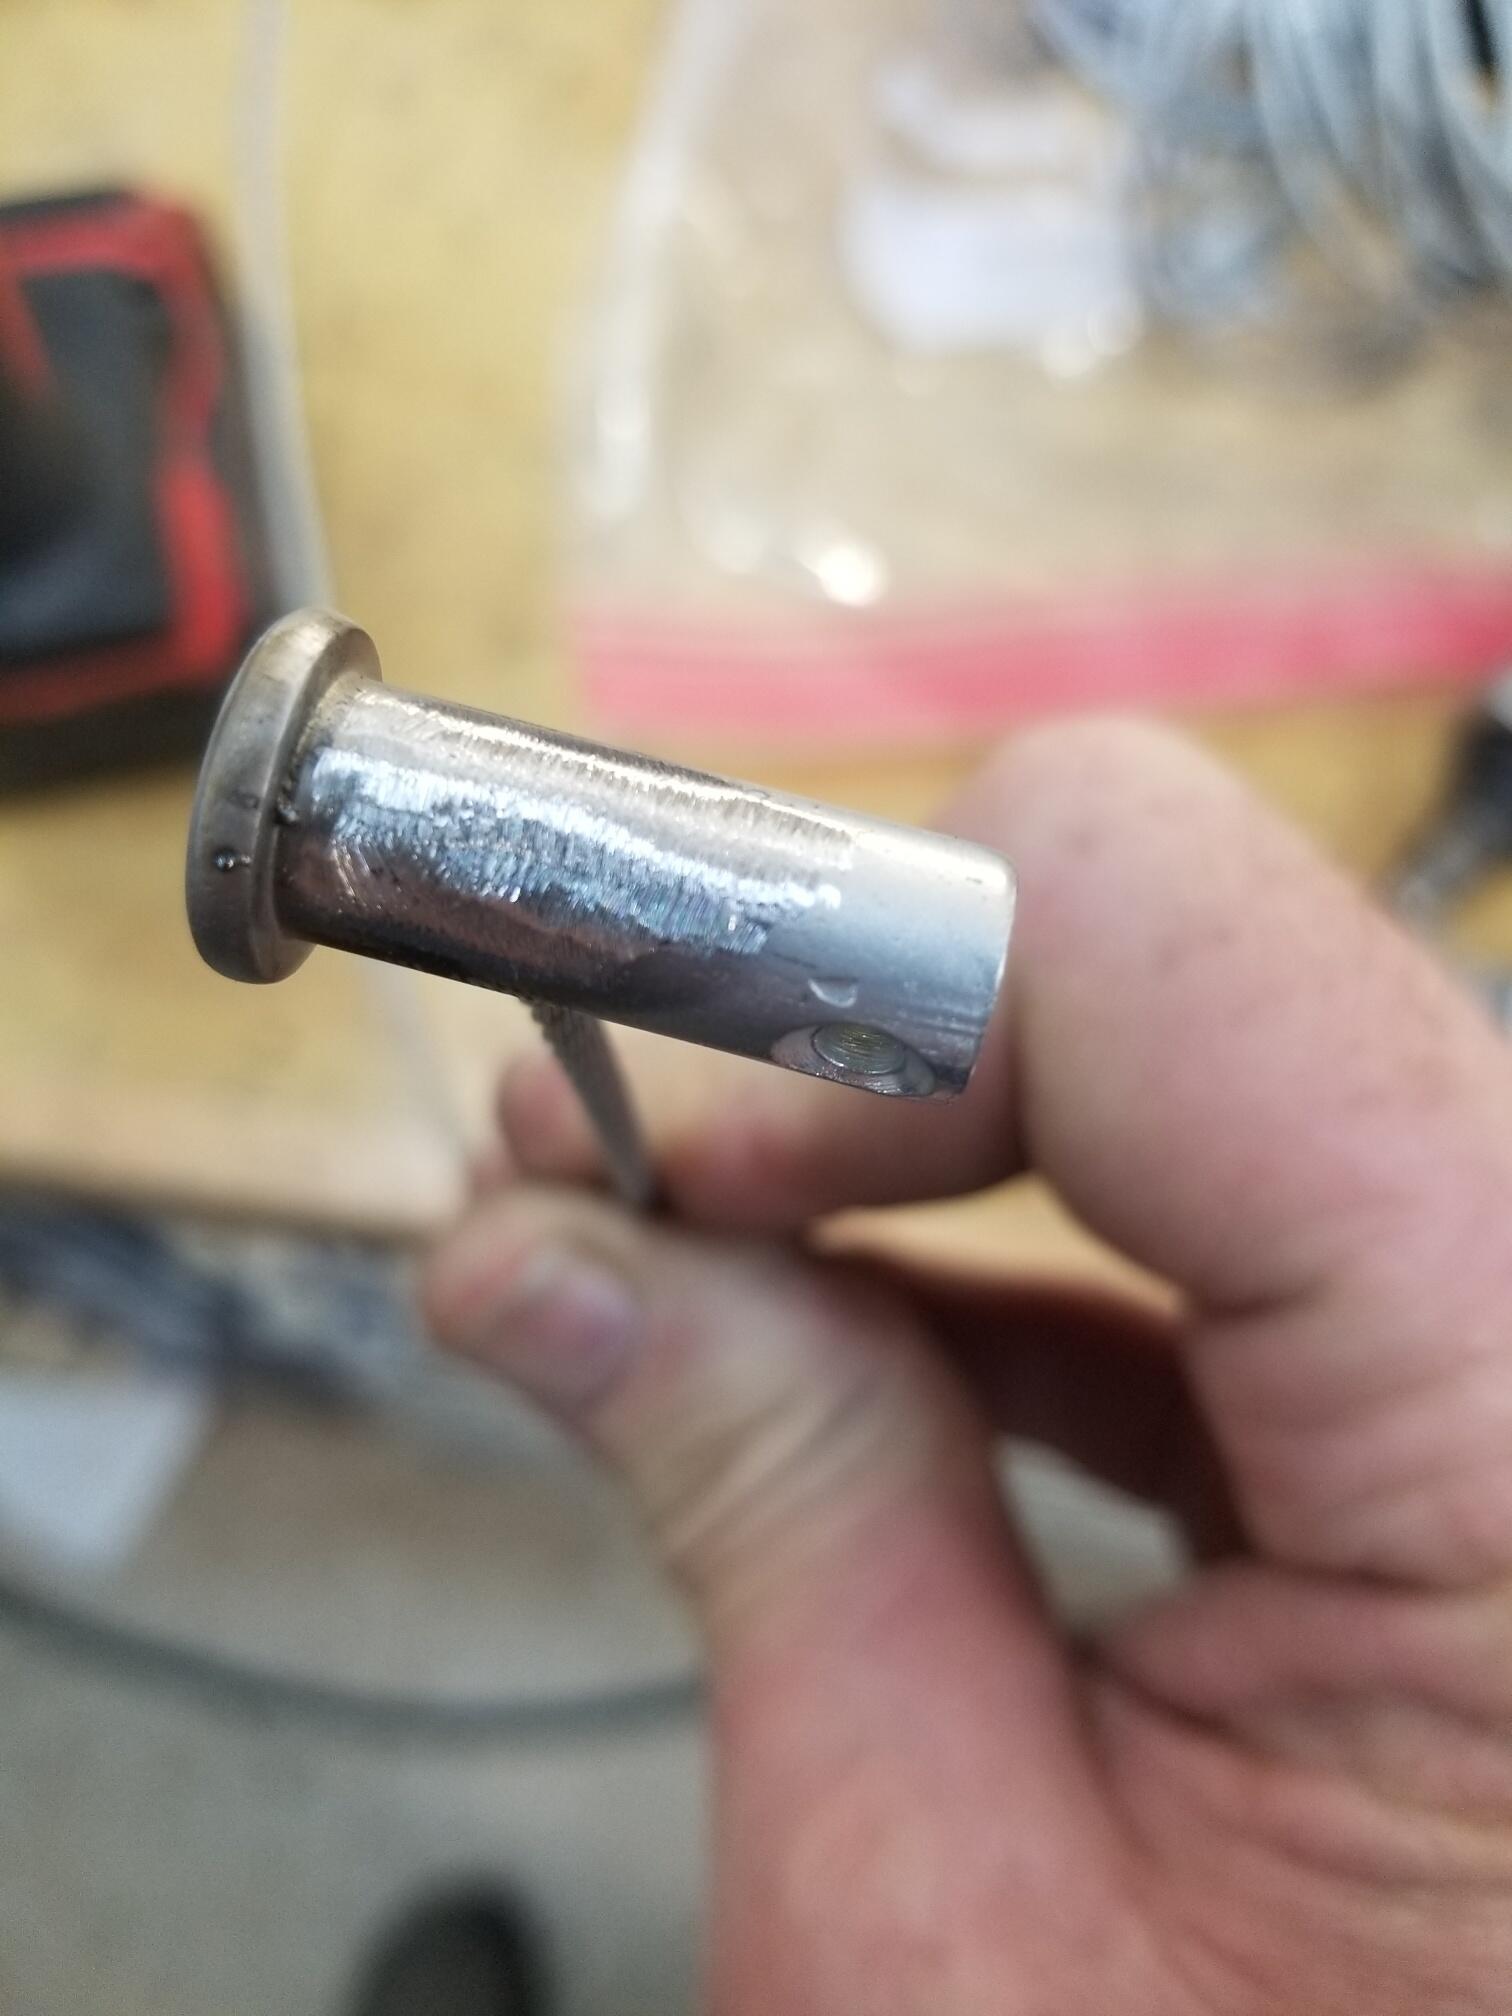
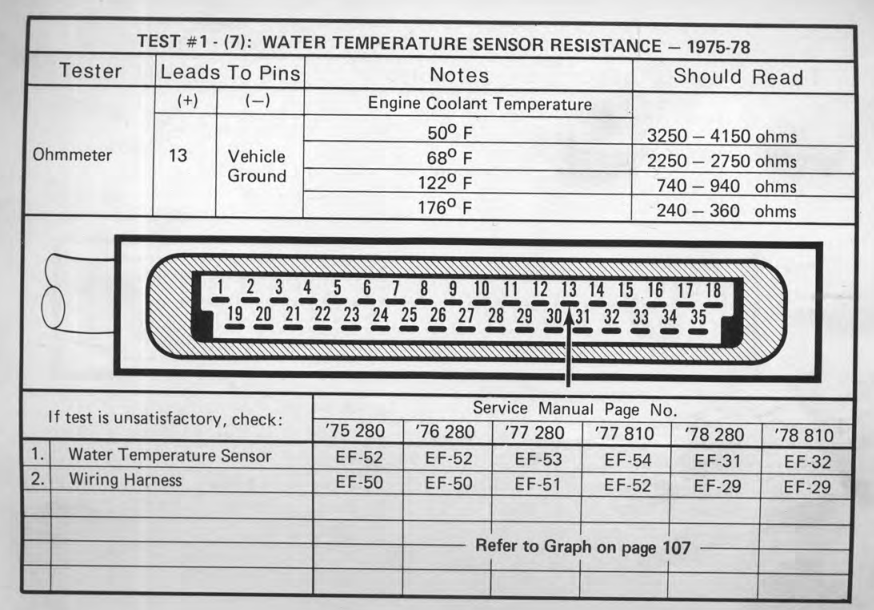
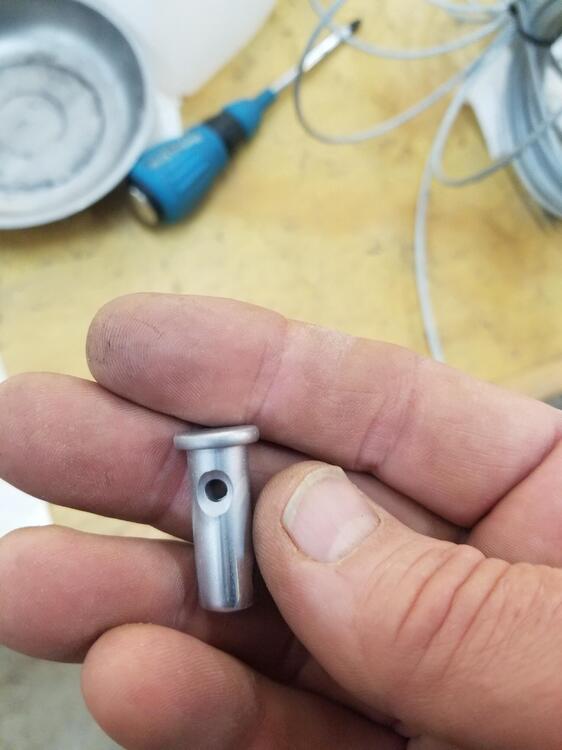
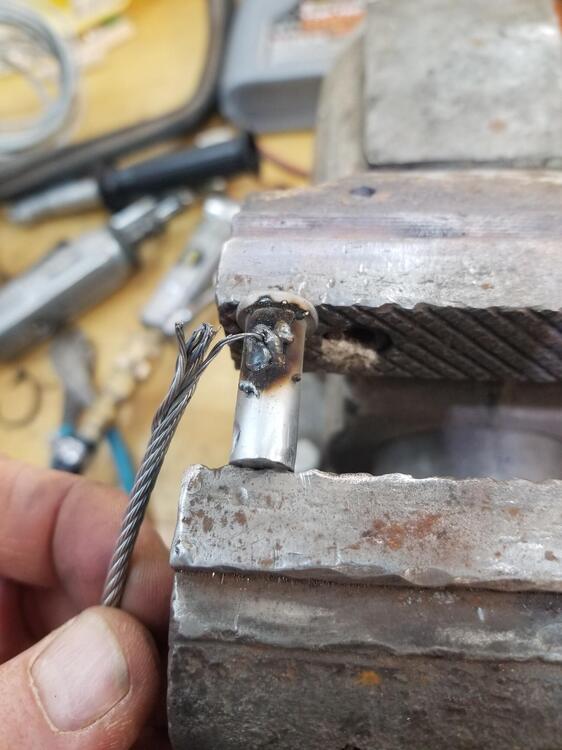
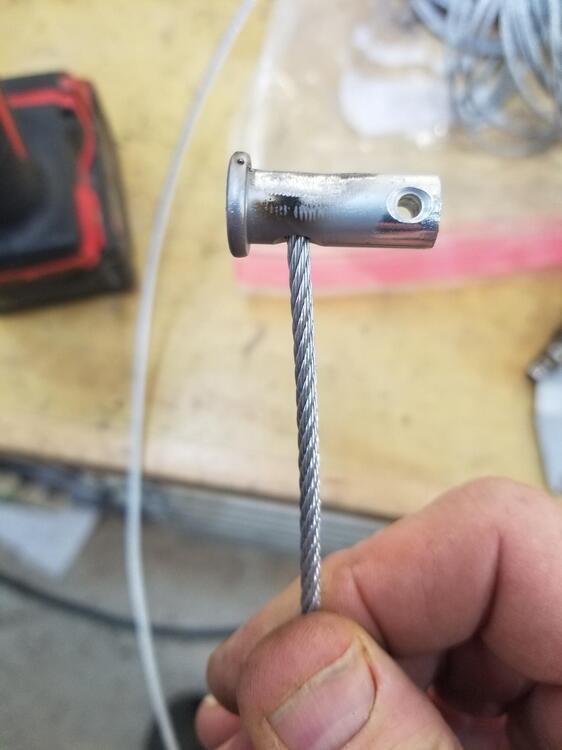
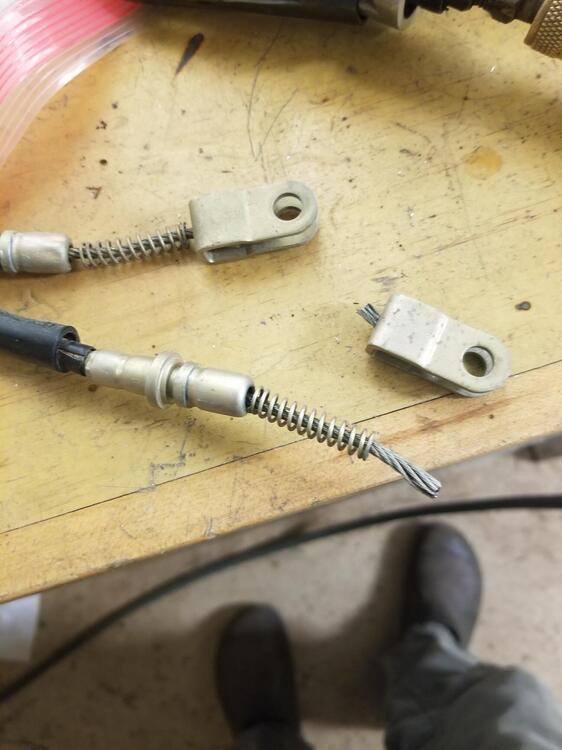
1 pointSo I started on the emergency brake cable redesign. I've been procrastinating on this So I pulled it back out of the car, which is a pain with the differential in place! Cut off the factory end Welded the pin When I welded the back side of the pin, I burned through the cable. So I had to redo it


 1 point
 -
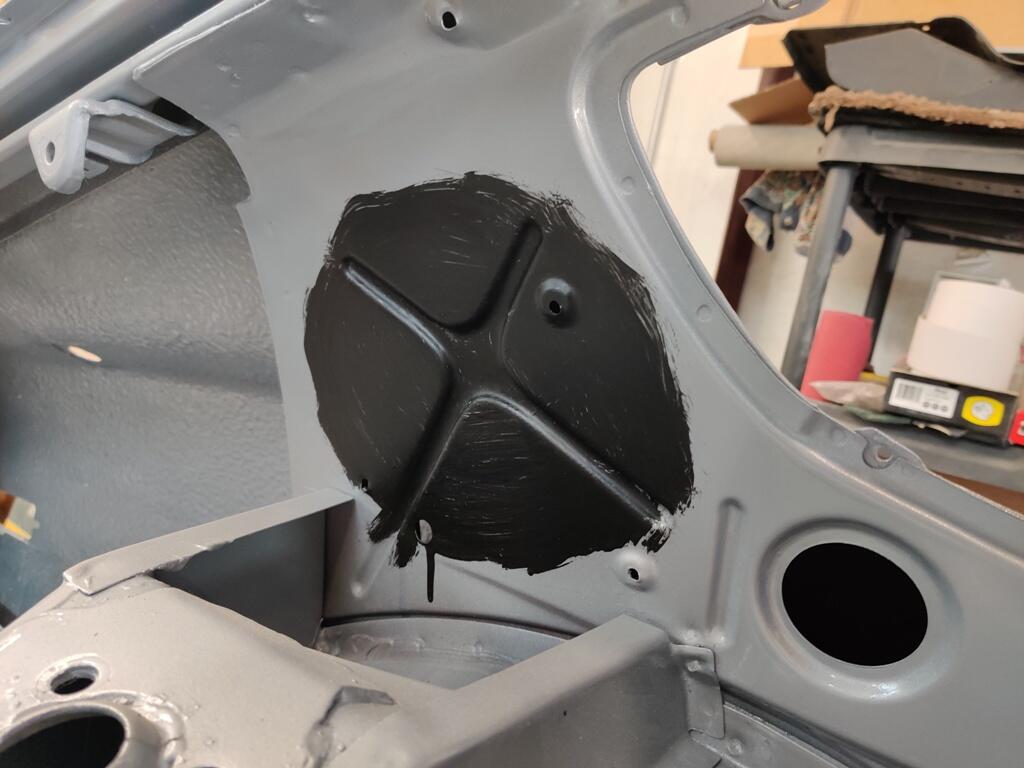
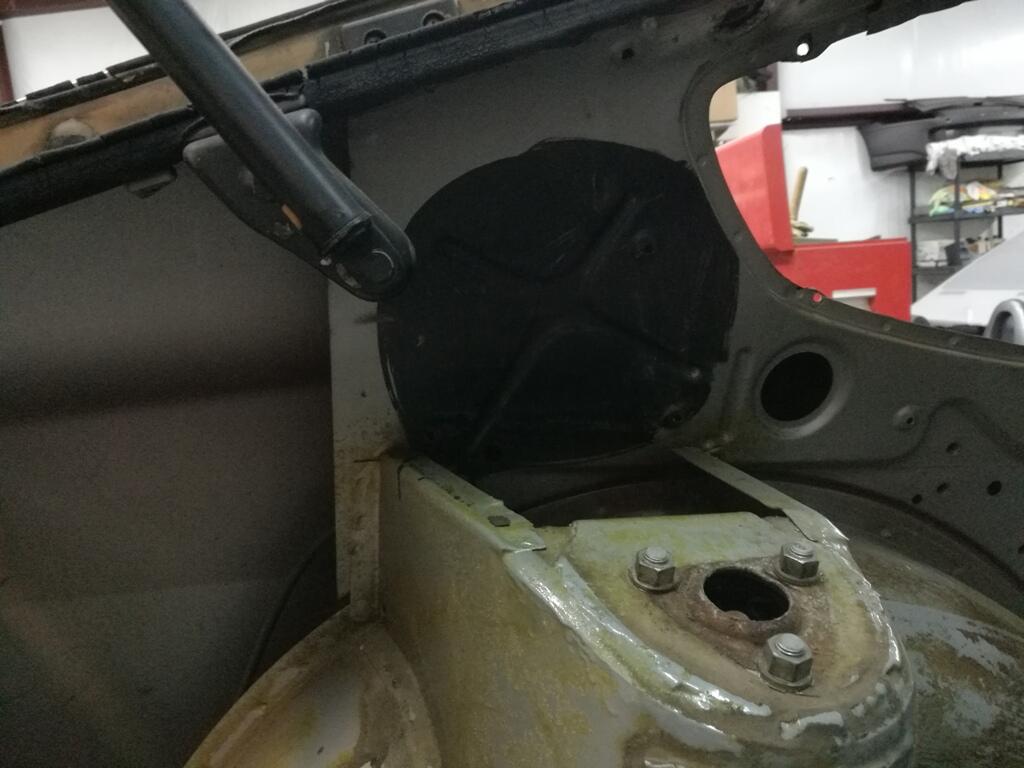
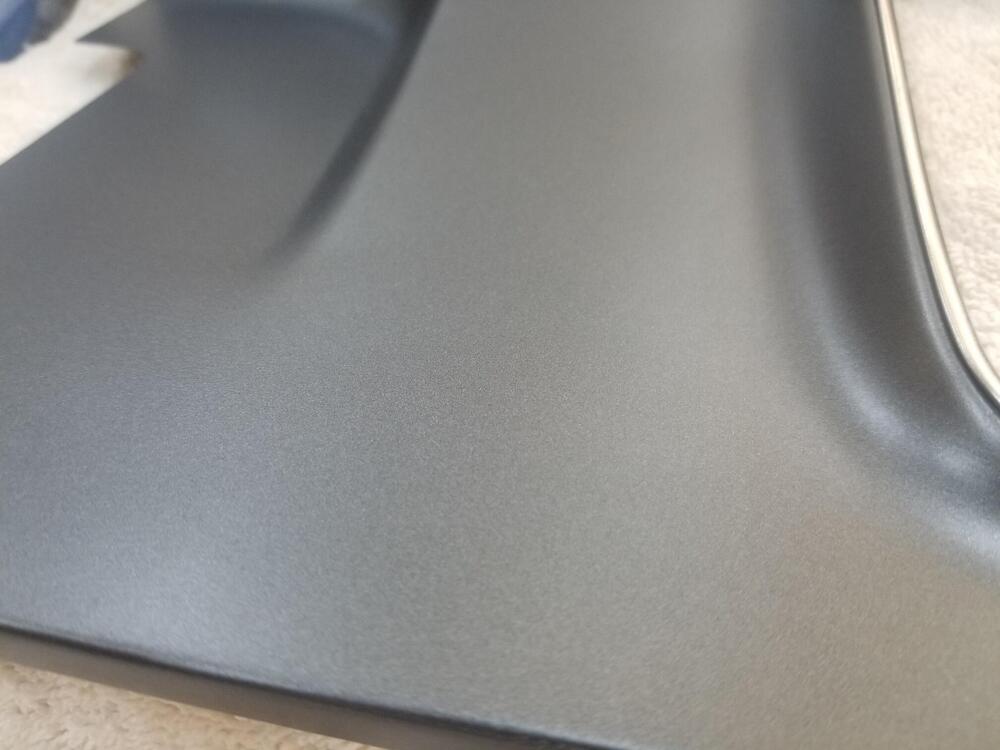
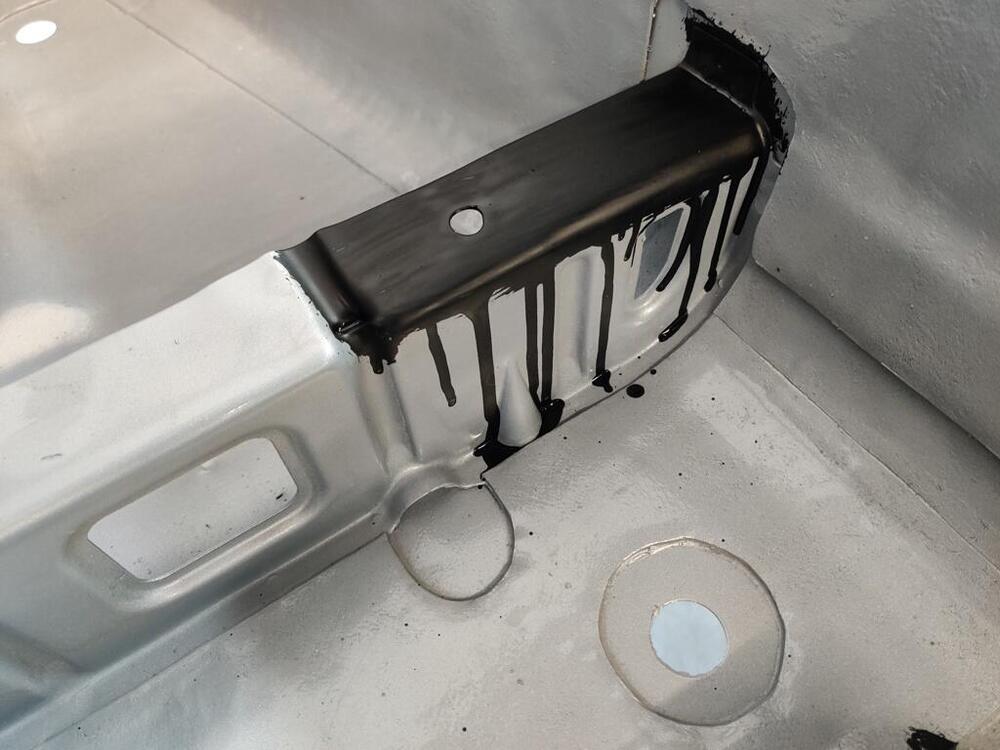
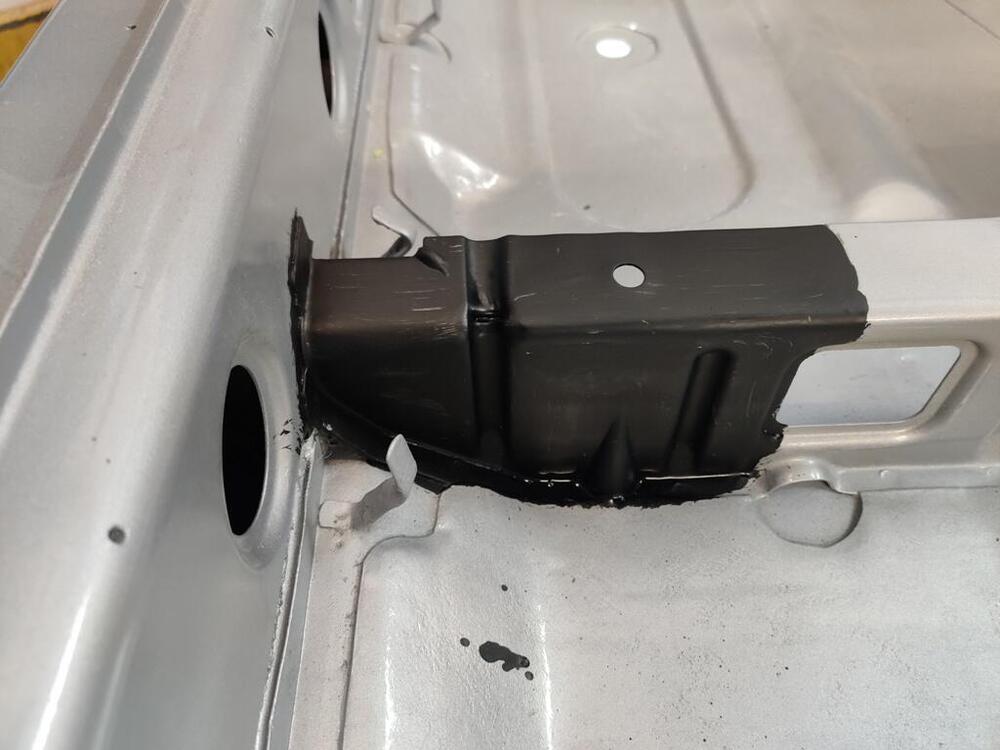
Thanks guys! I had some fun this week end with some Krylon flat black paint. I sprayed it into a small cup and then used a paint brush to attempt a similar look with the "black out": Whoops on the runs and drips - ha ha ha 😆 Here are my original reference pictures: It was fun attempting to replicate the original "black out"


 1 point
 -
The market has peaked... for now. Once we have an economy that people believe in, the prices will rise again. Personally, I wish the Z market would crash back about 15 years. I loved buying and selling S30's for parts. There is no such thing as a parts car anymore. Every seller thinks they have a future Barrett Jackson car when they really have a $500 parts car. This holds true for every classic sports car. When a Porsche 912 brings $45k, something is seriously wrong. You couldn't give a 912 away 15 years ago and it should still be that way.1 point
-
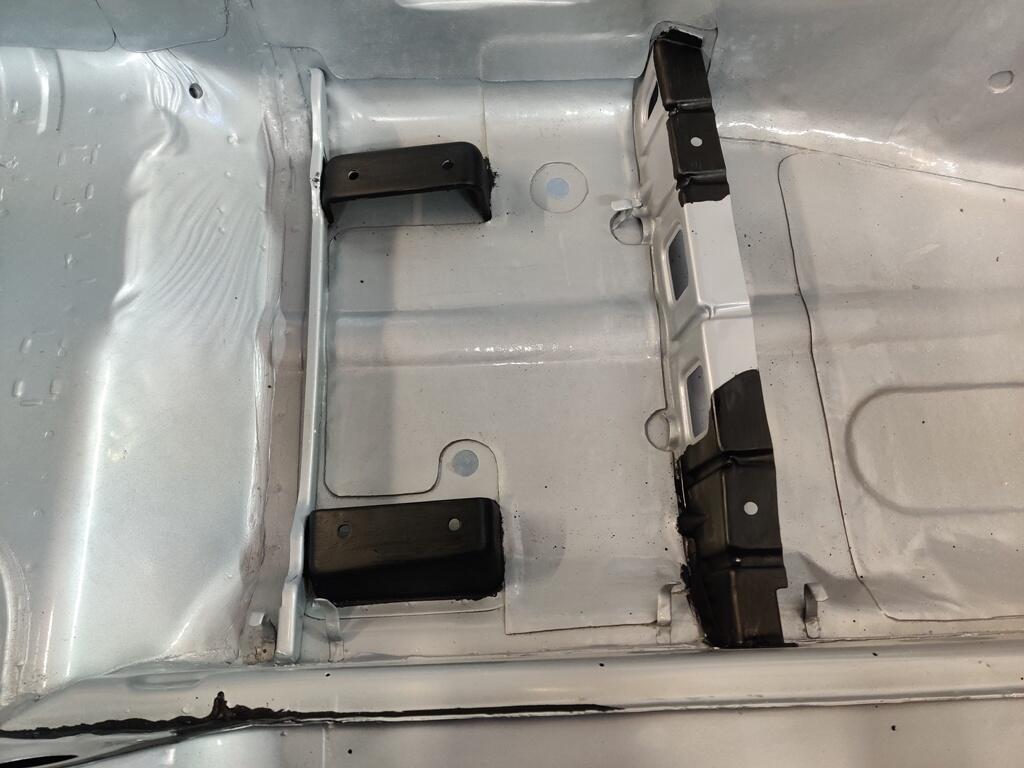
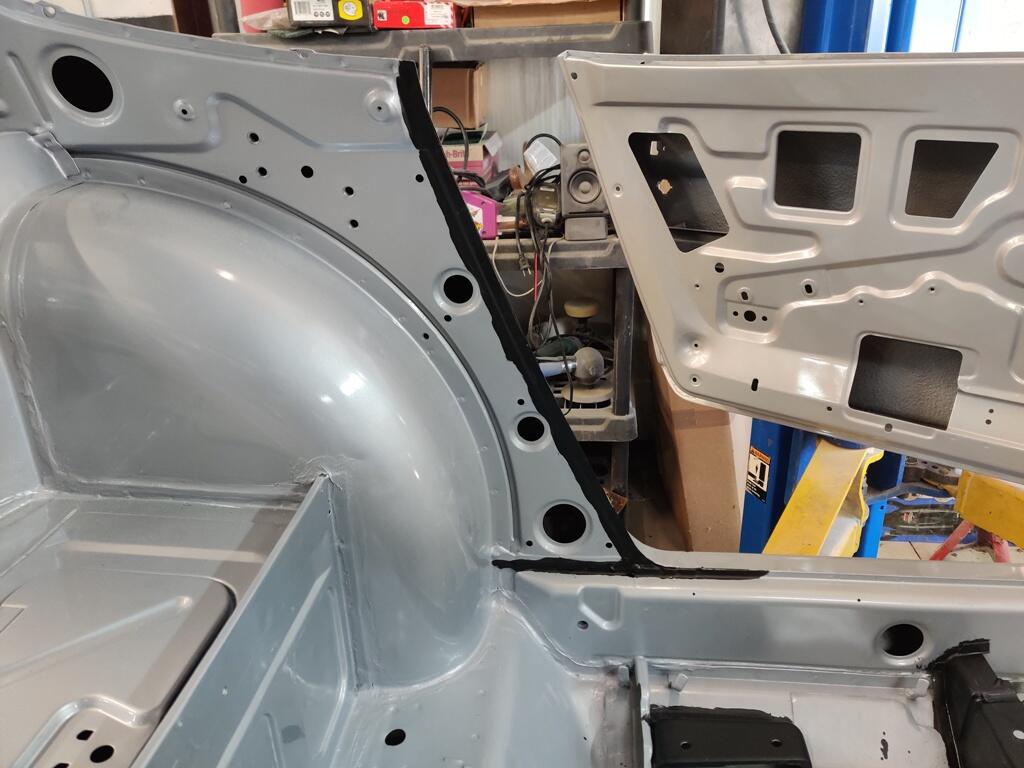
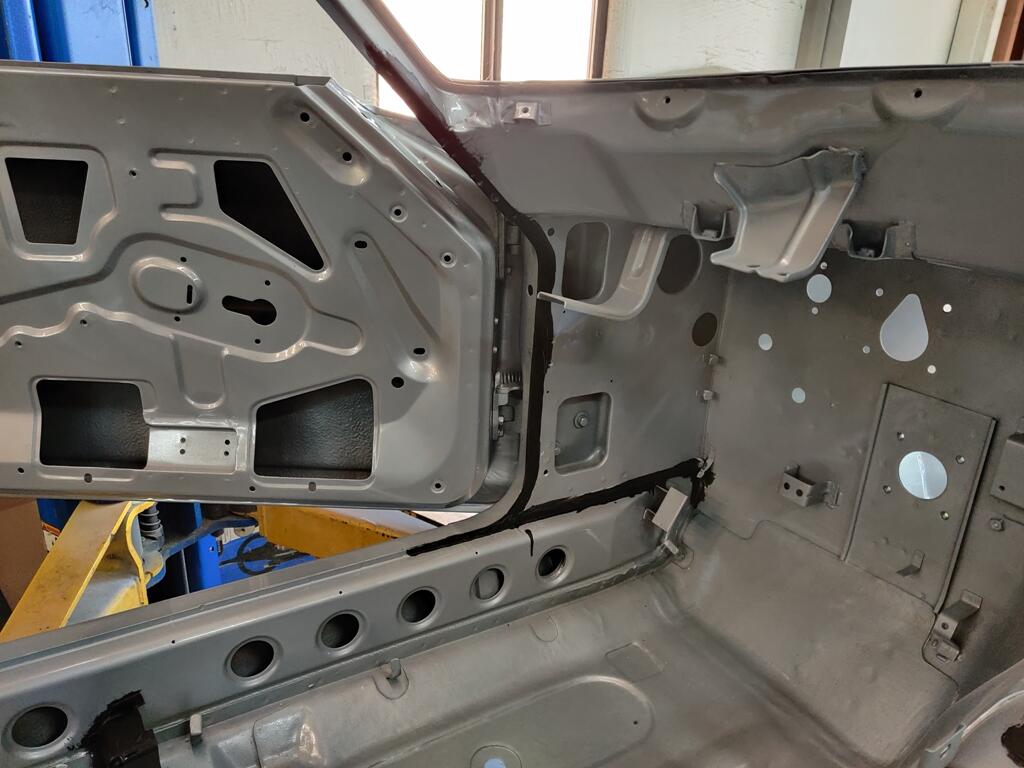
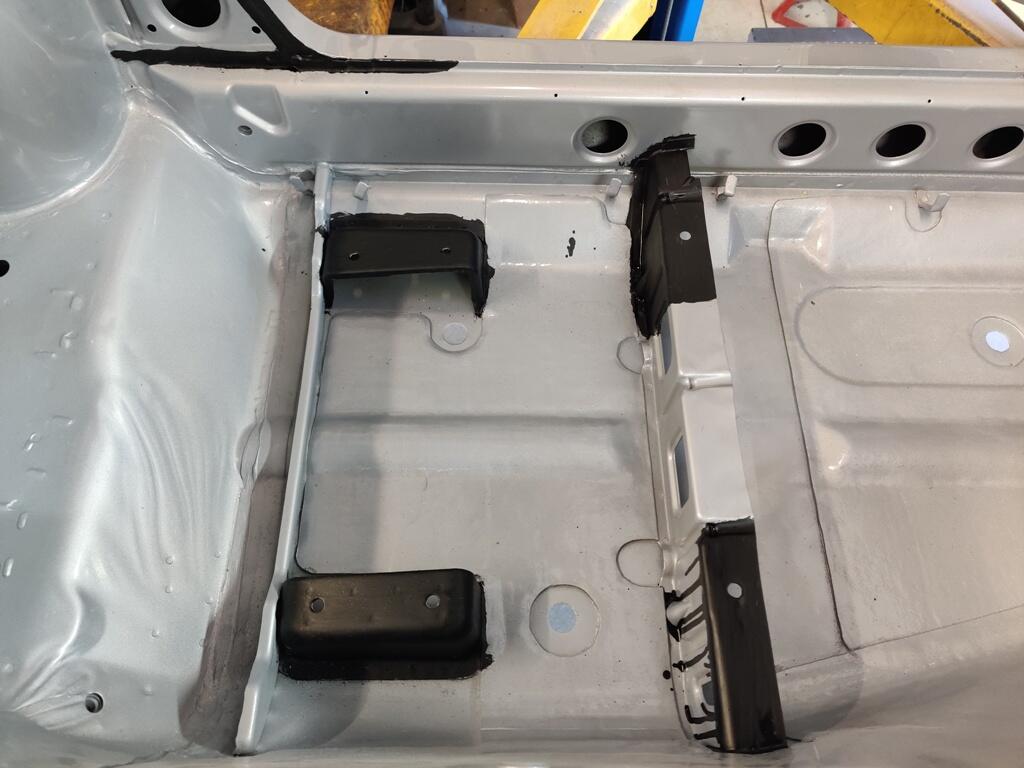
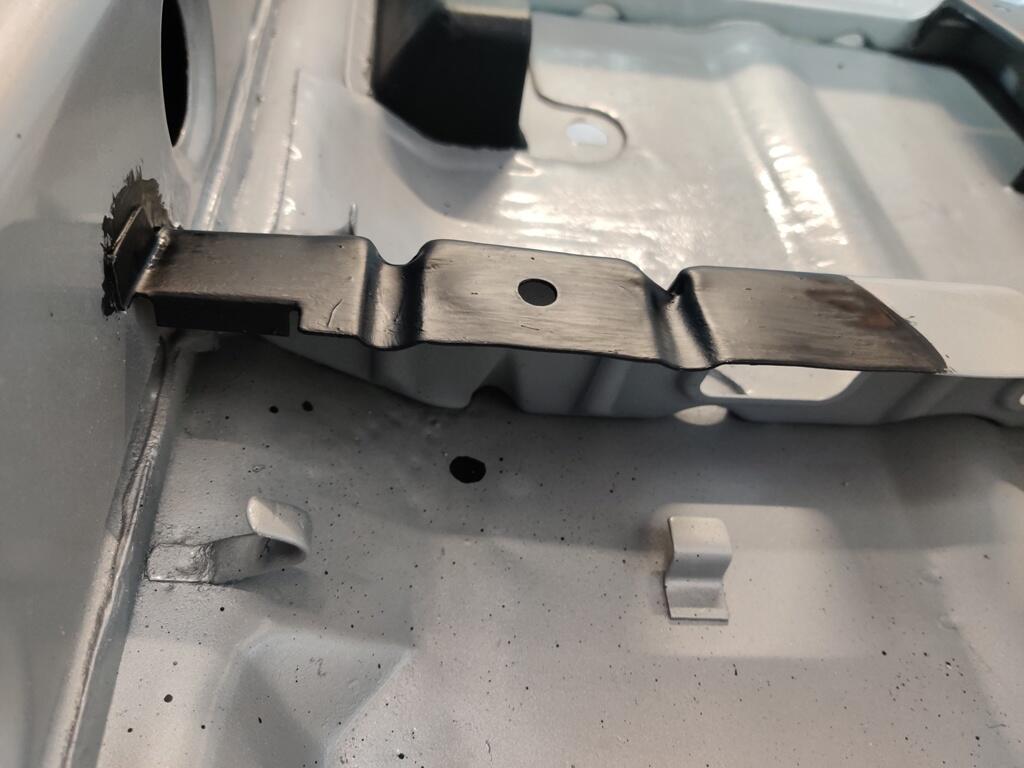
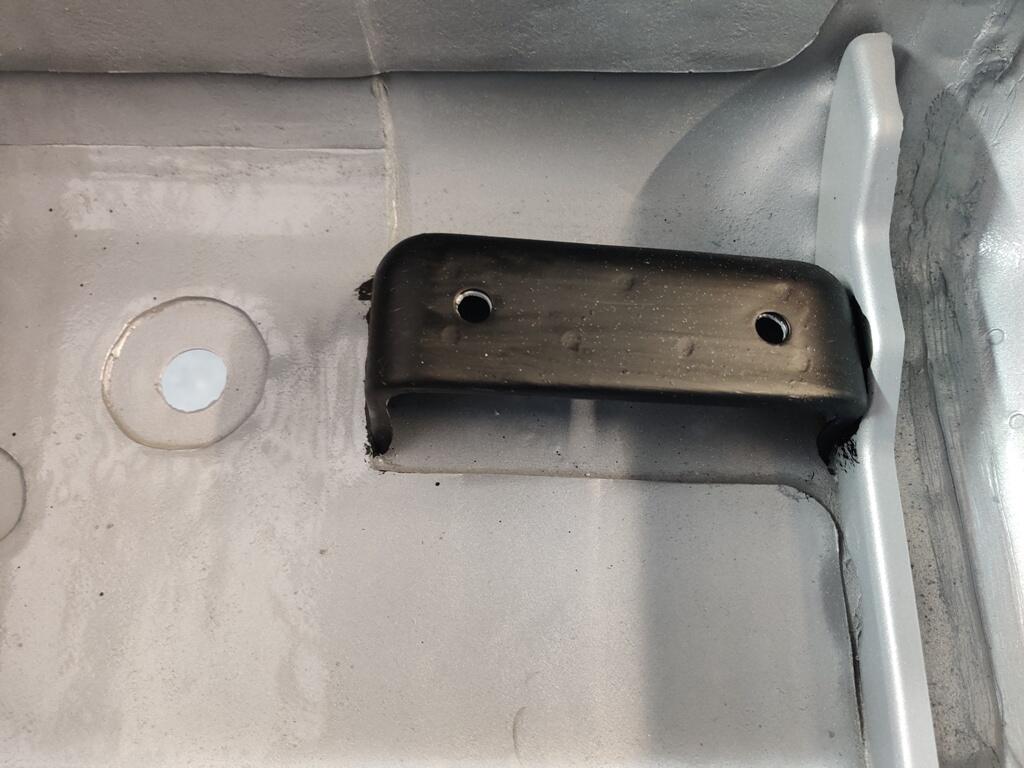
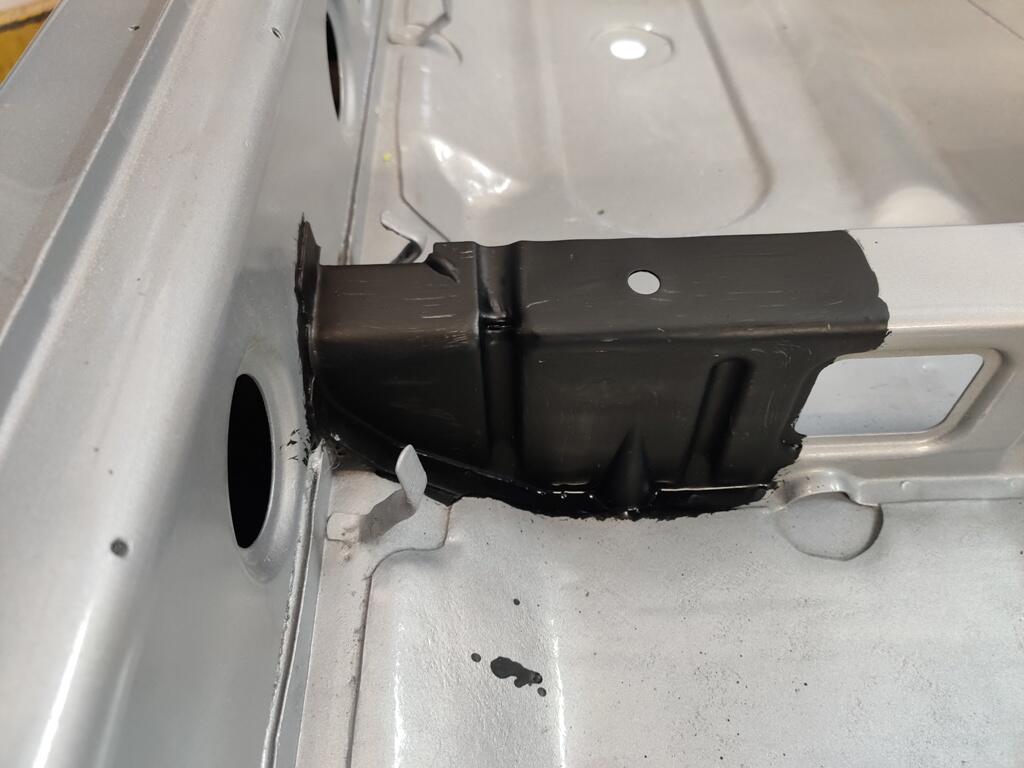
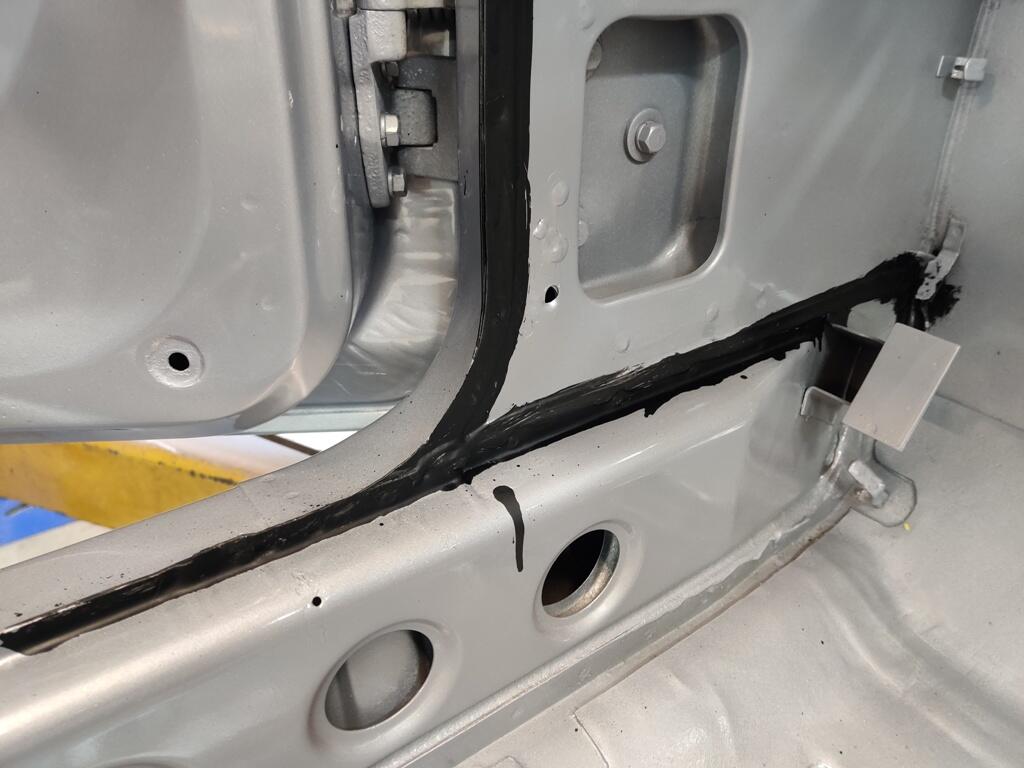
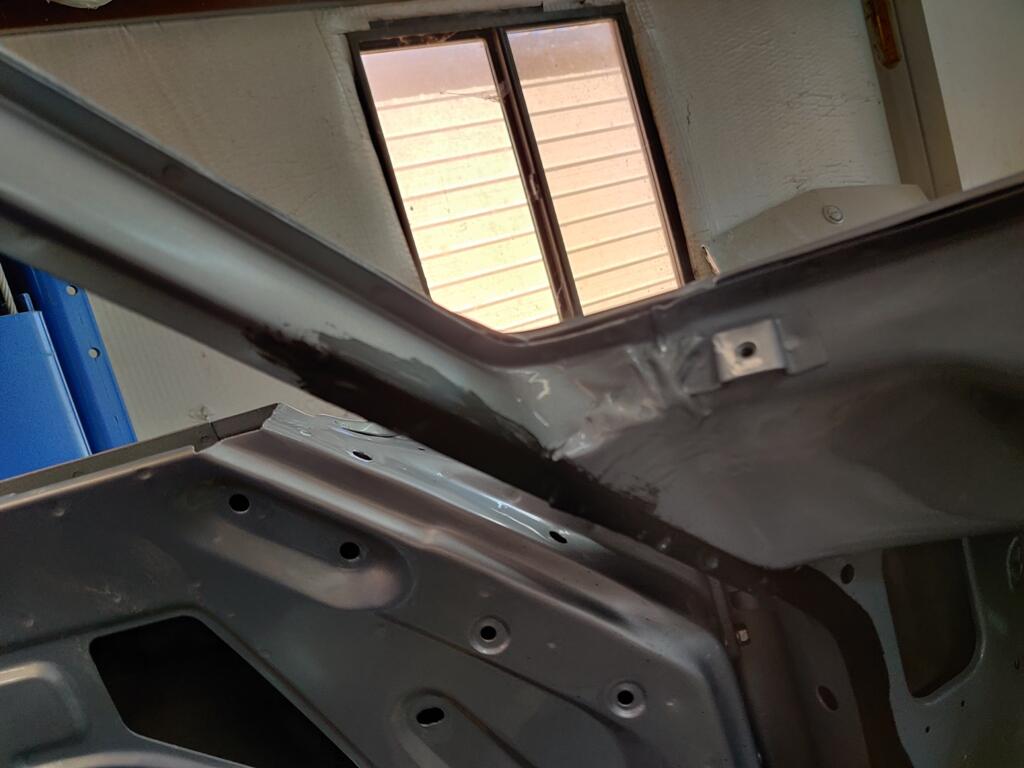
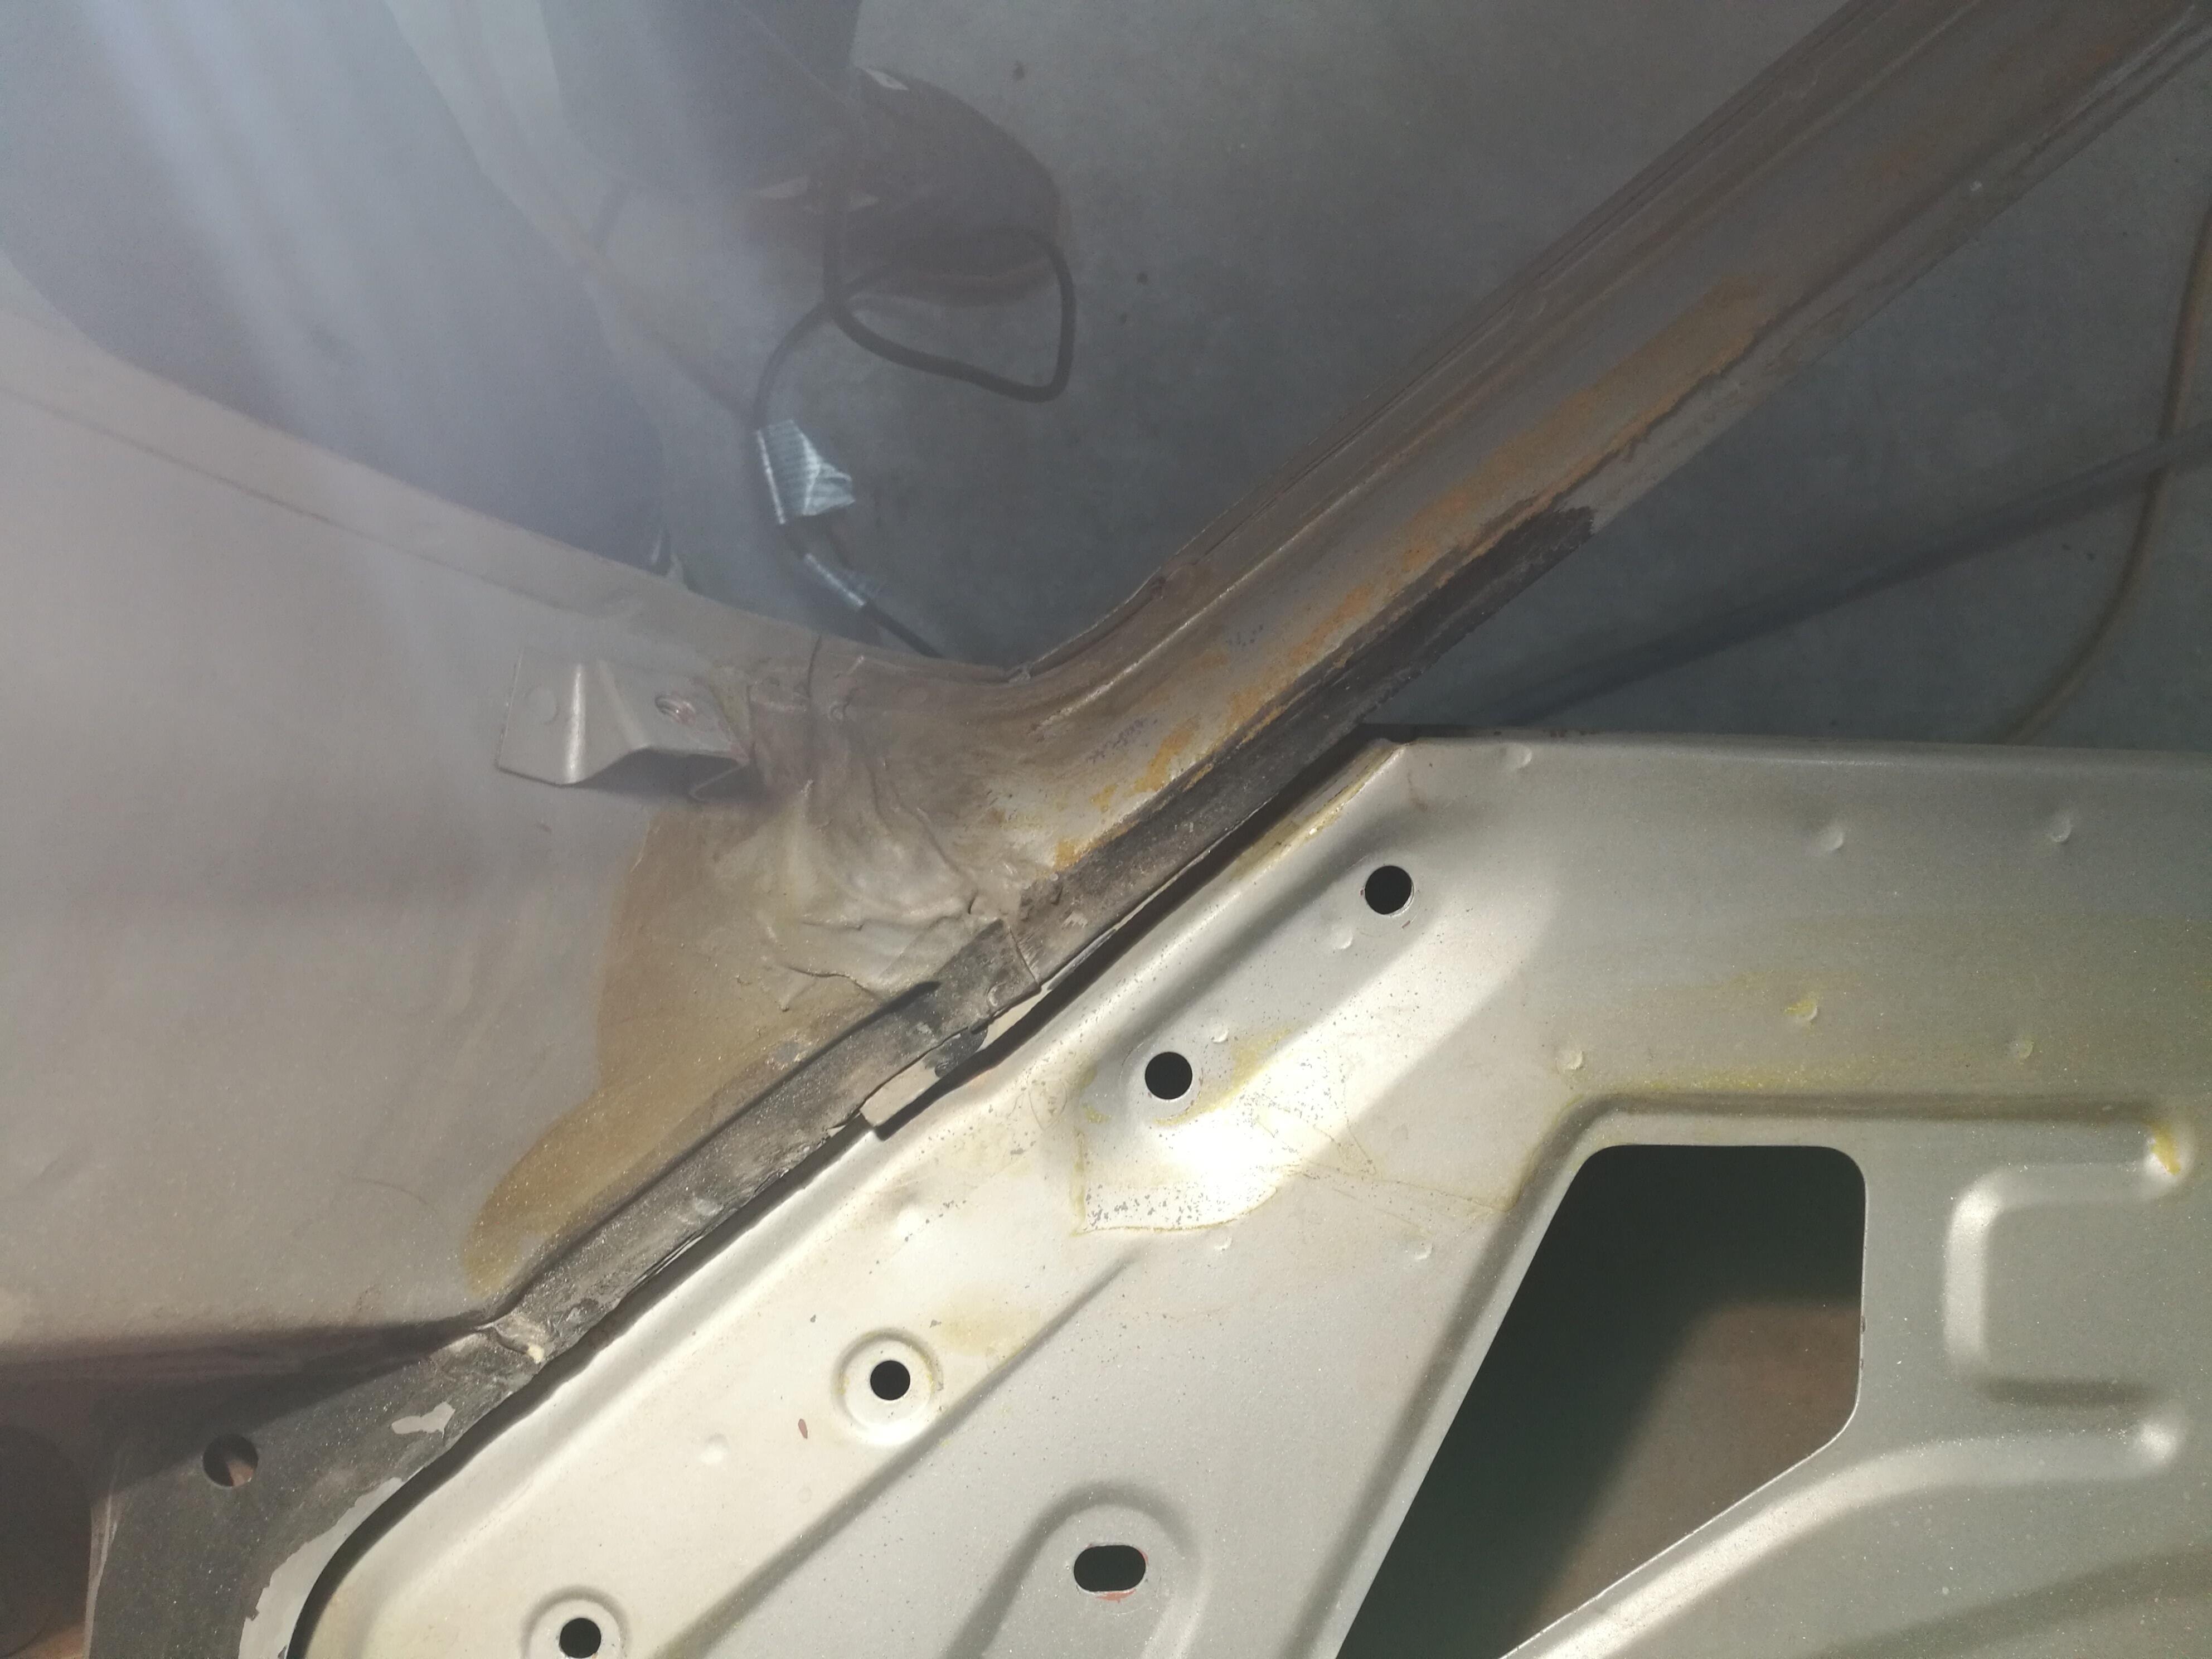
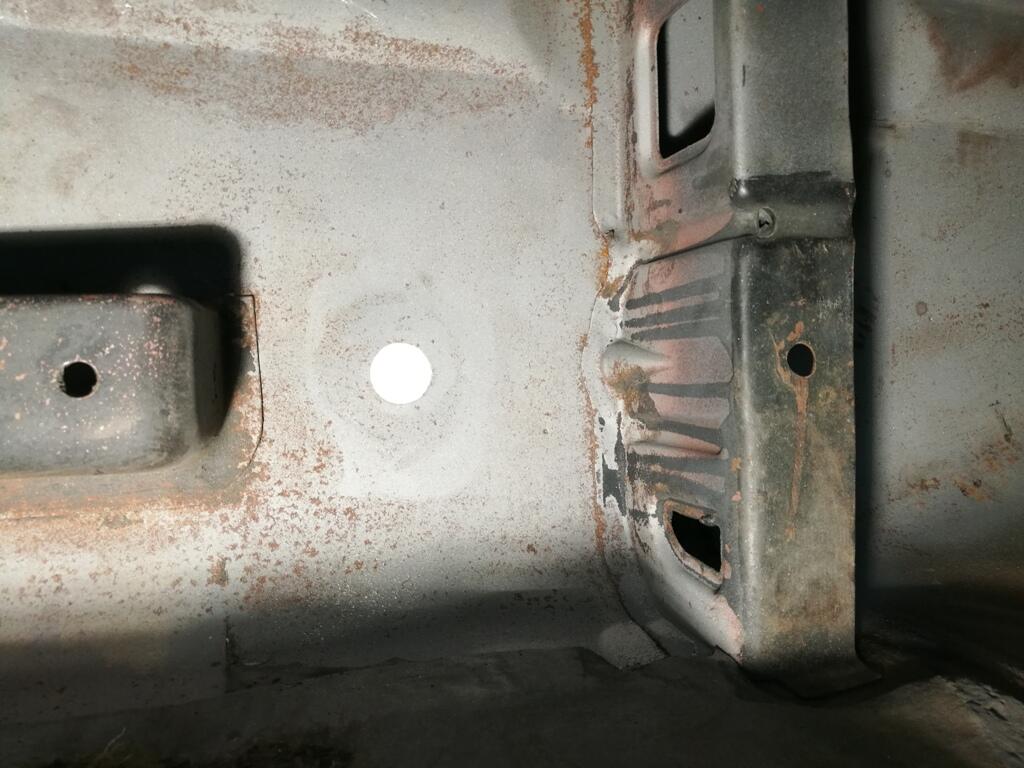
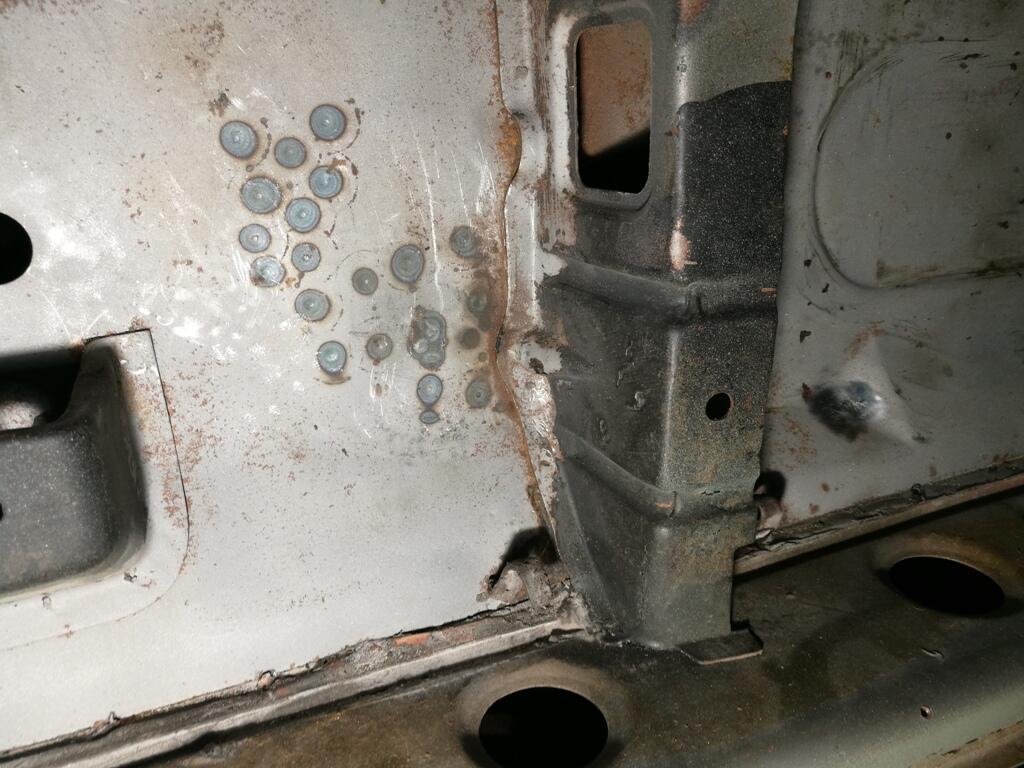
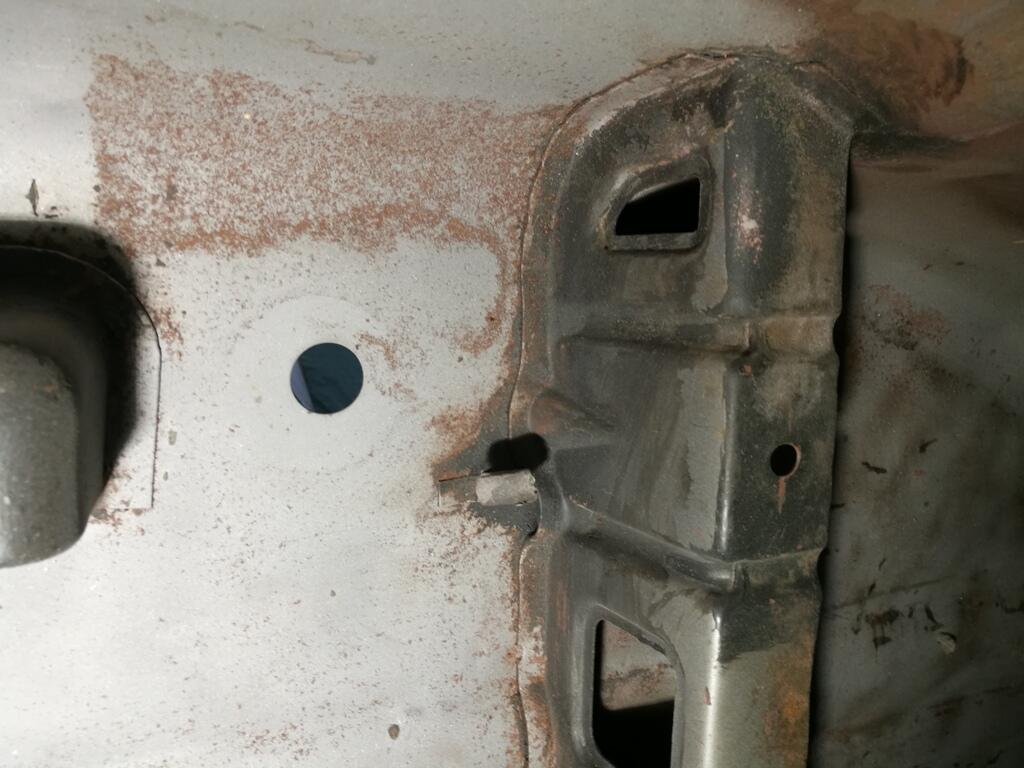
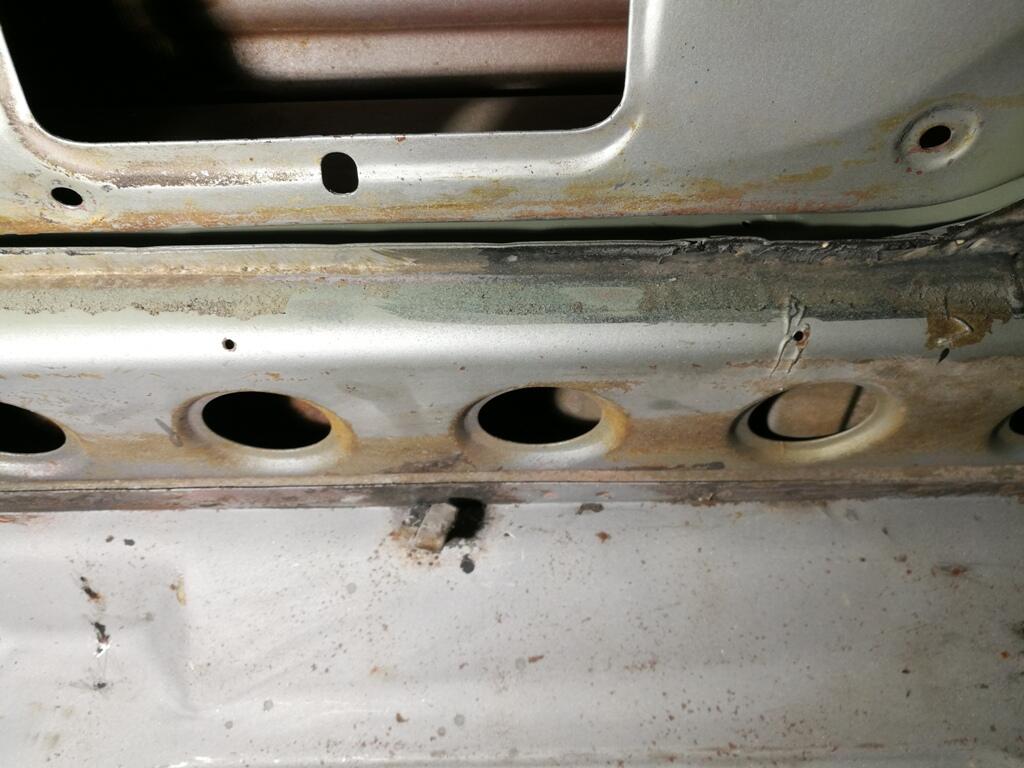
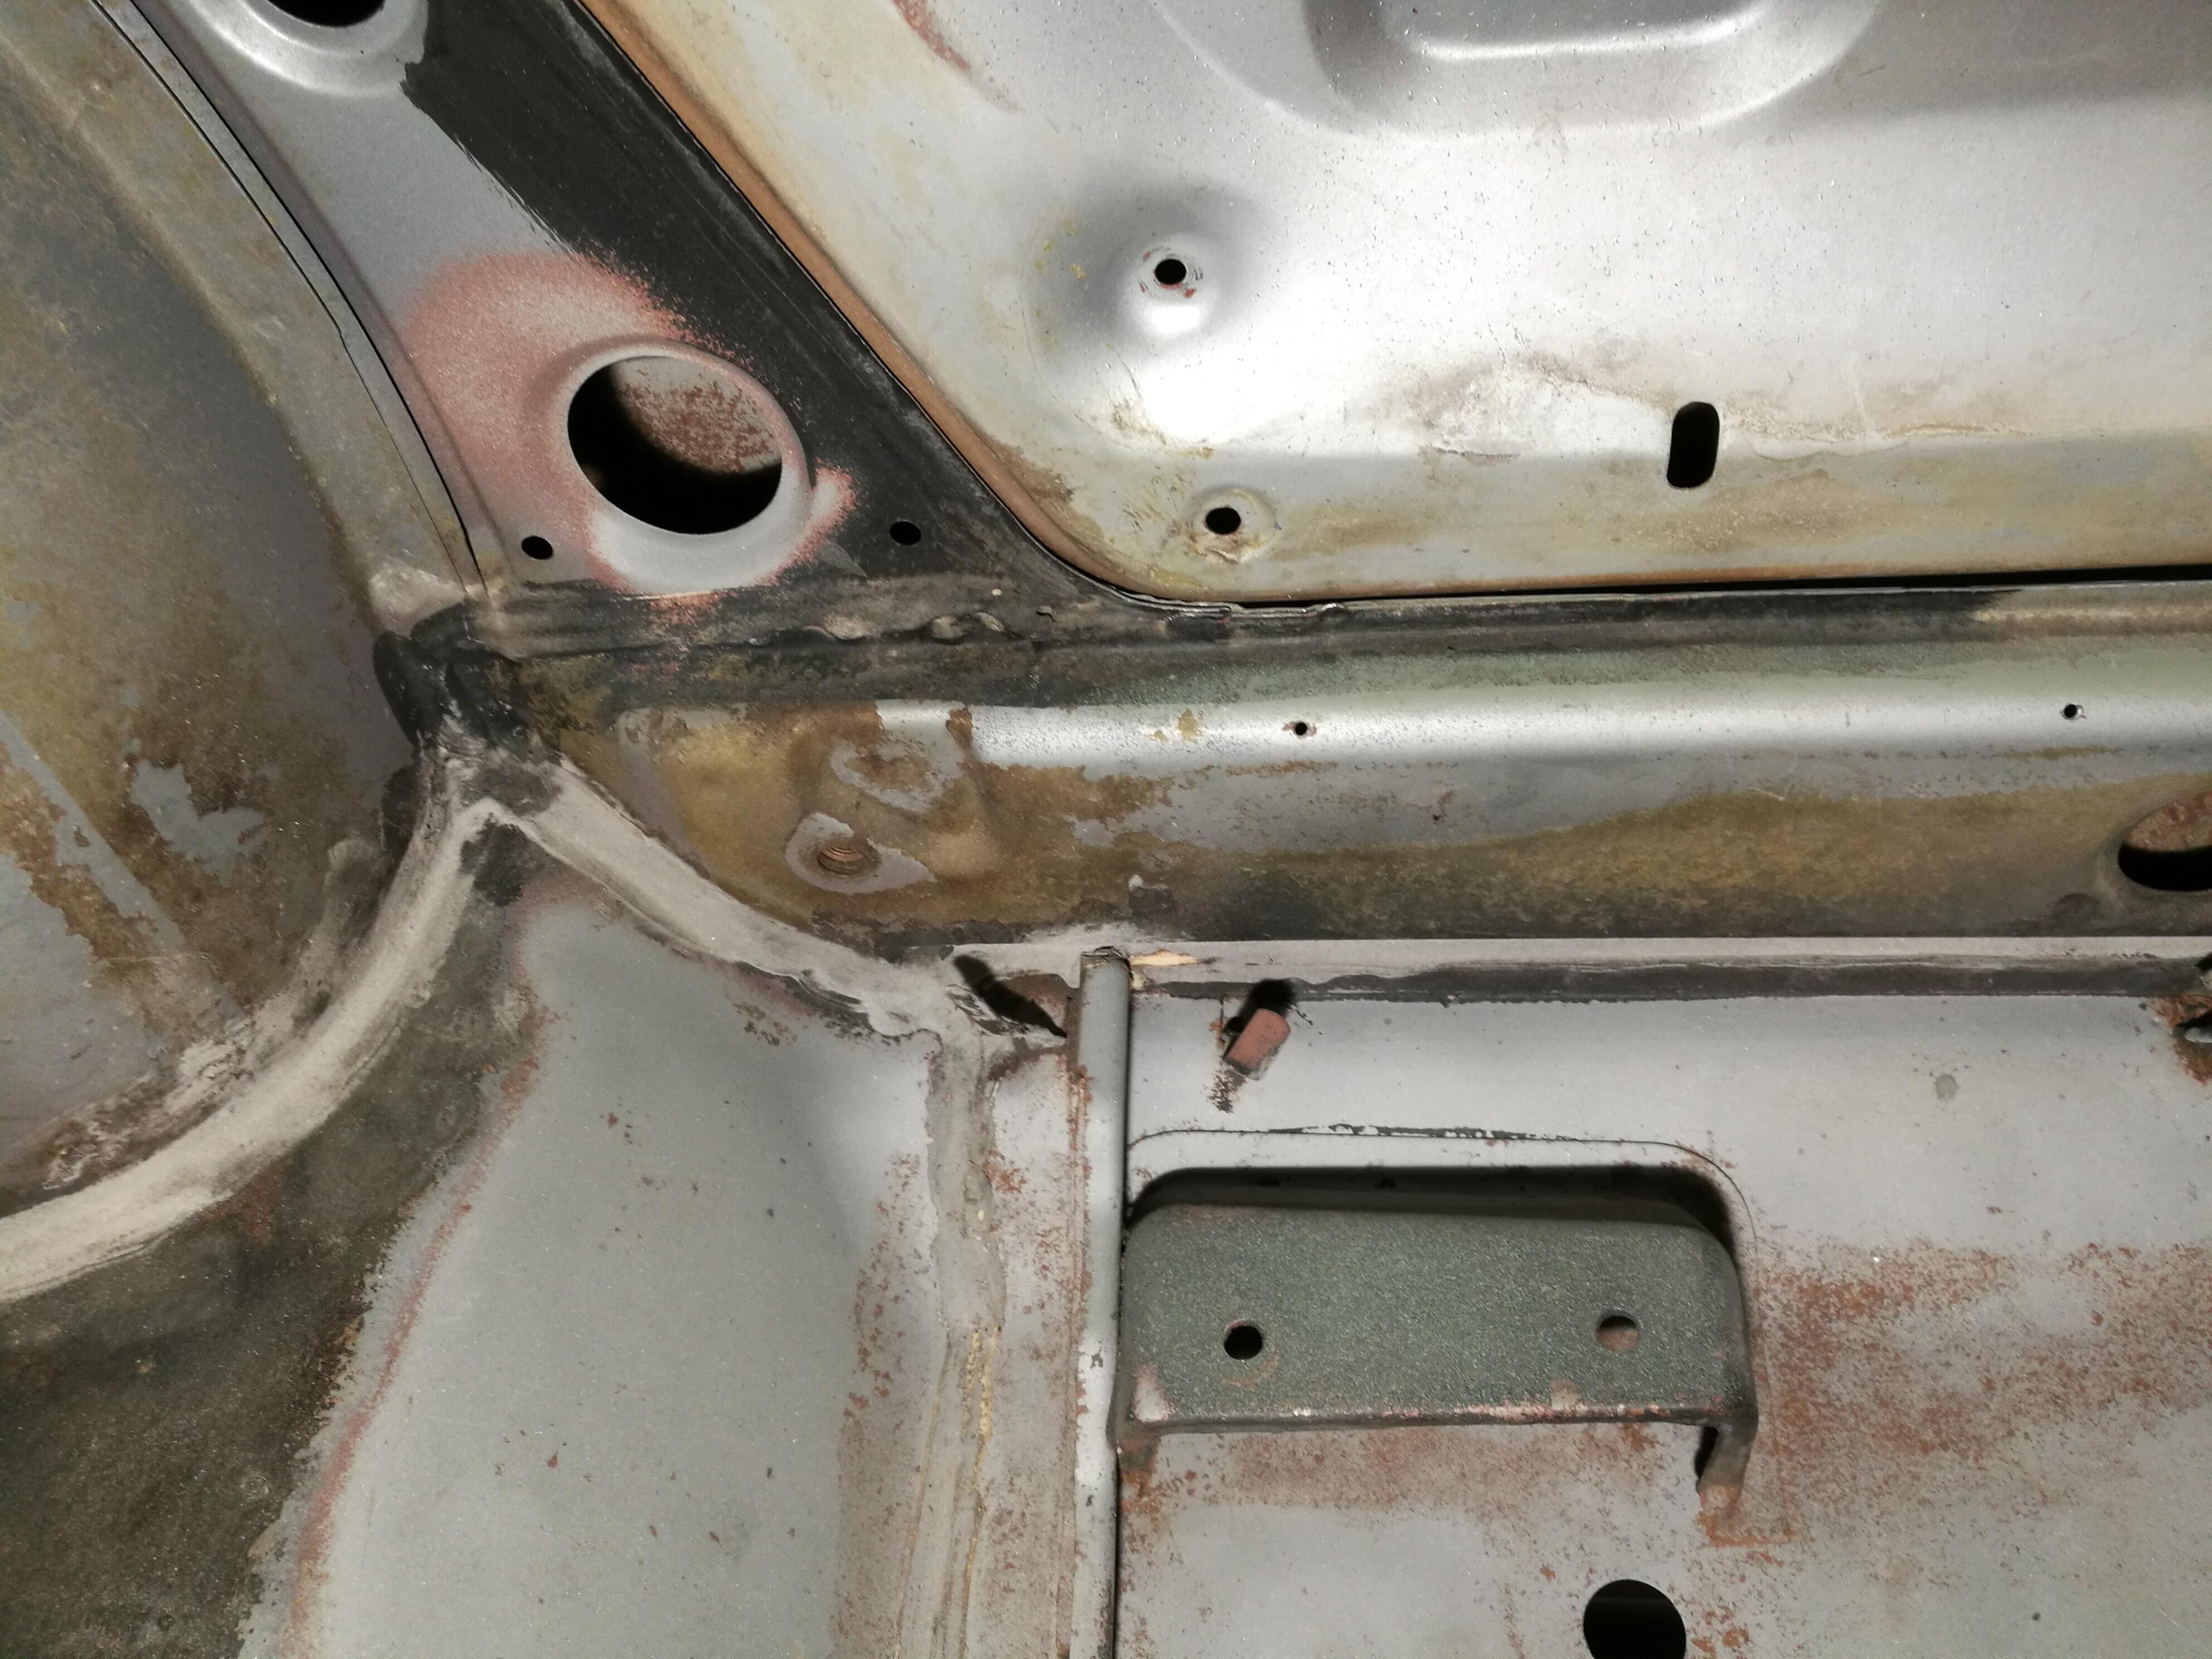
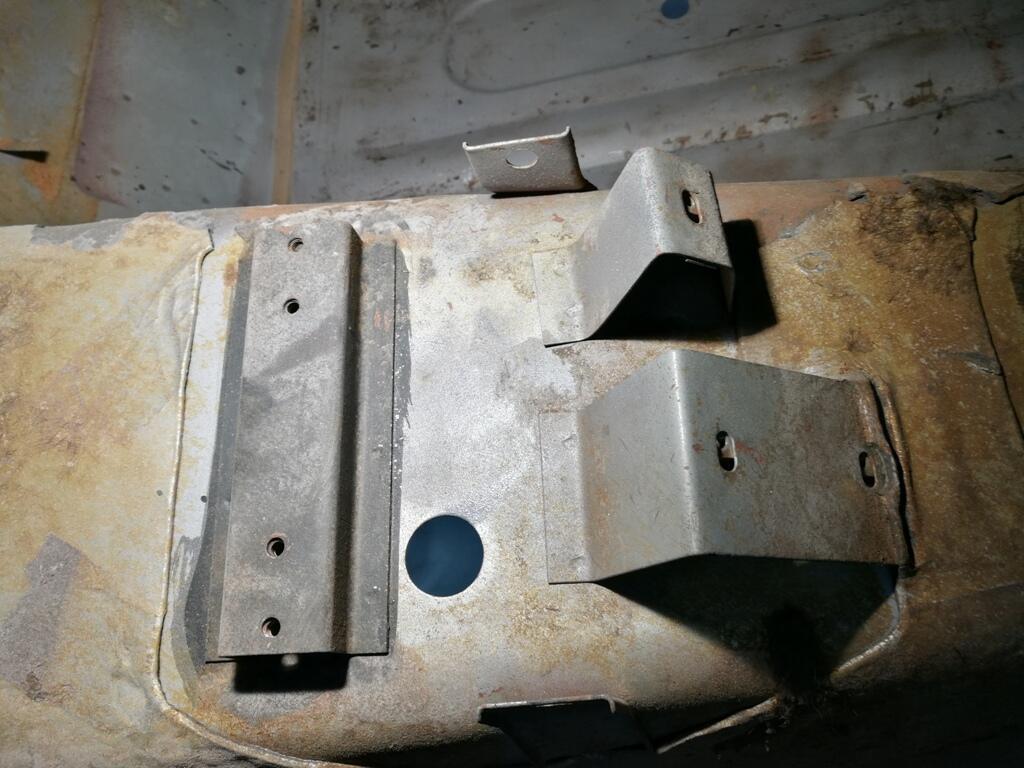
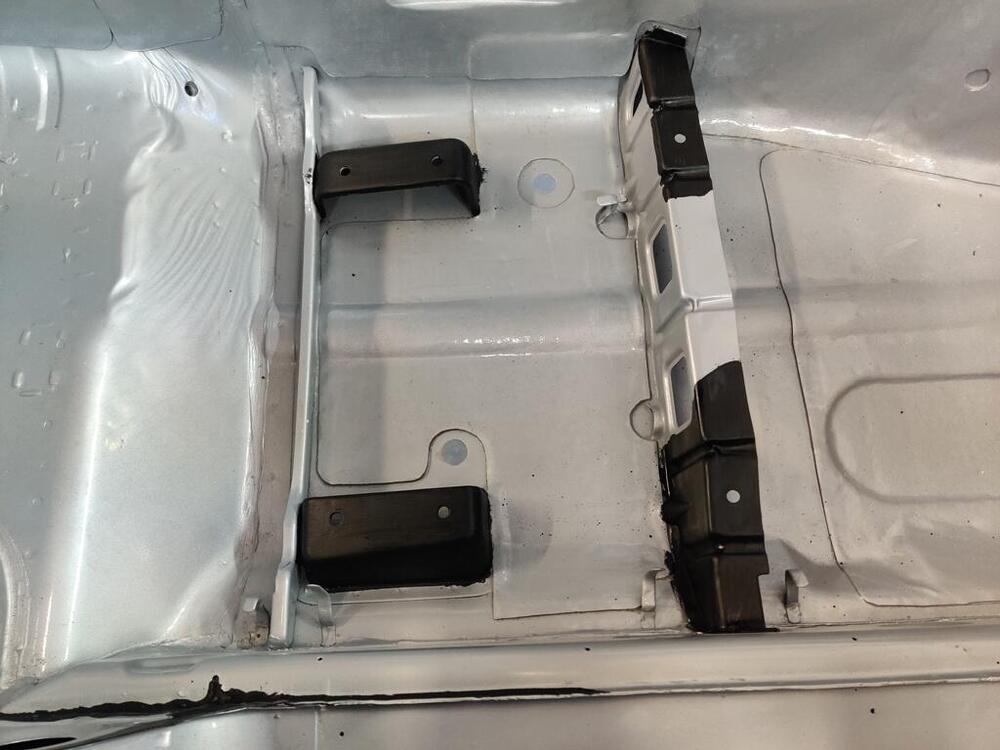
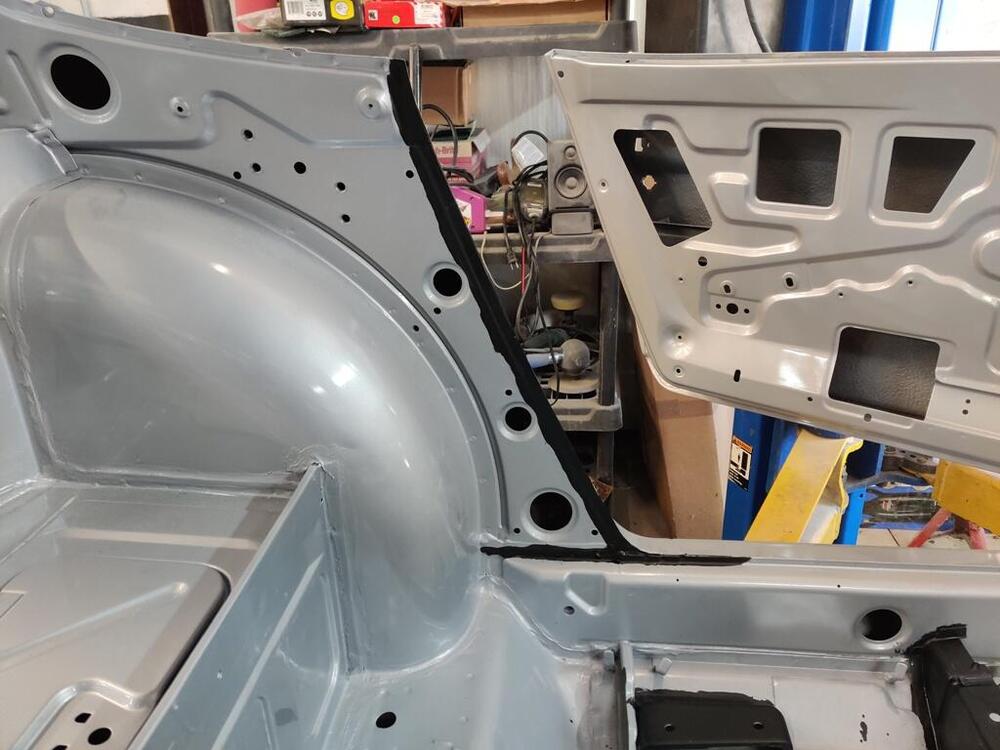
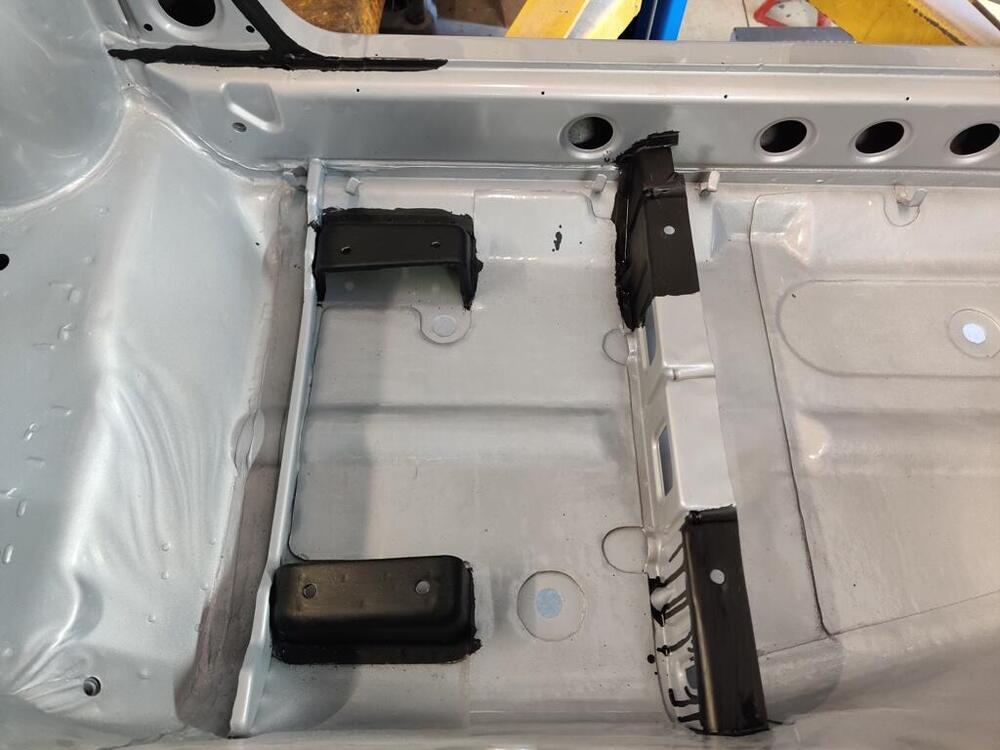
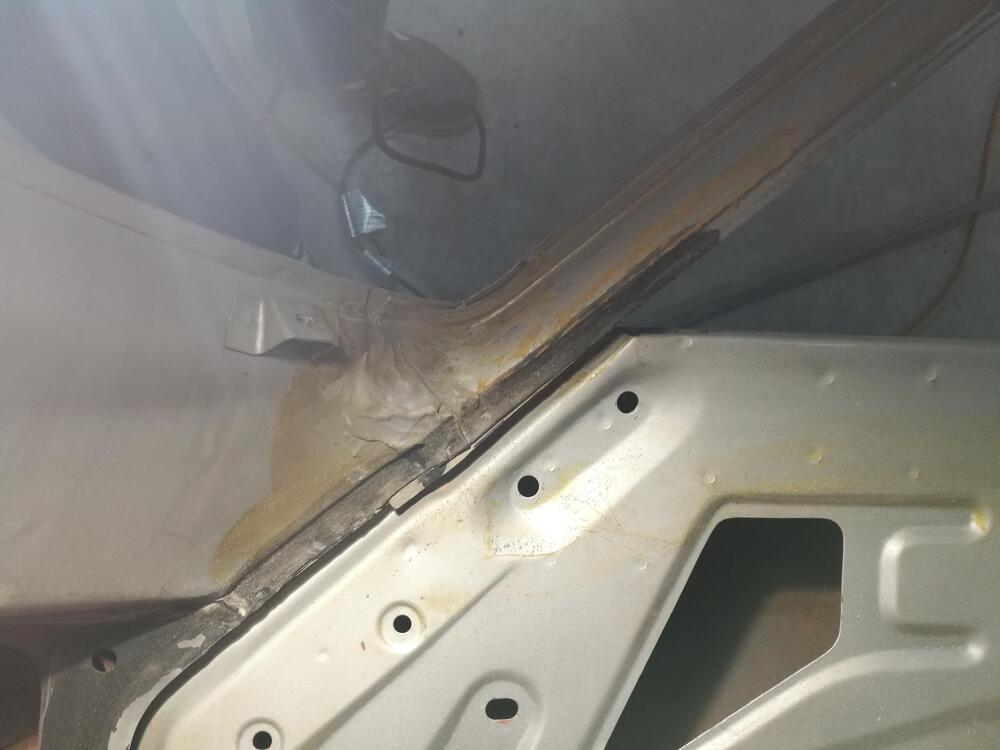
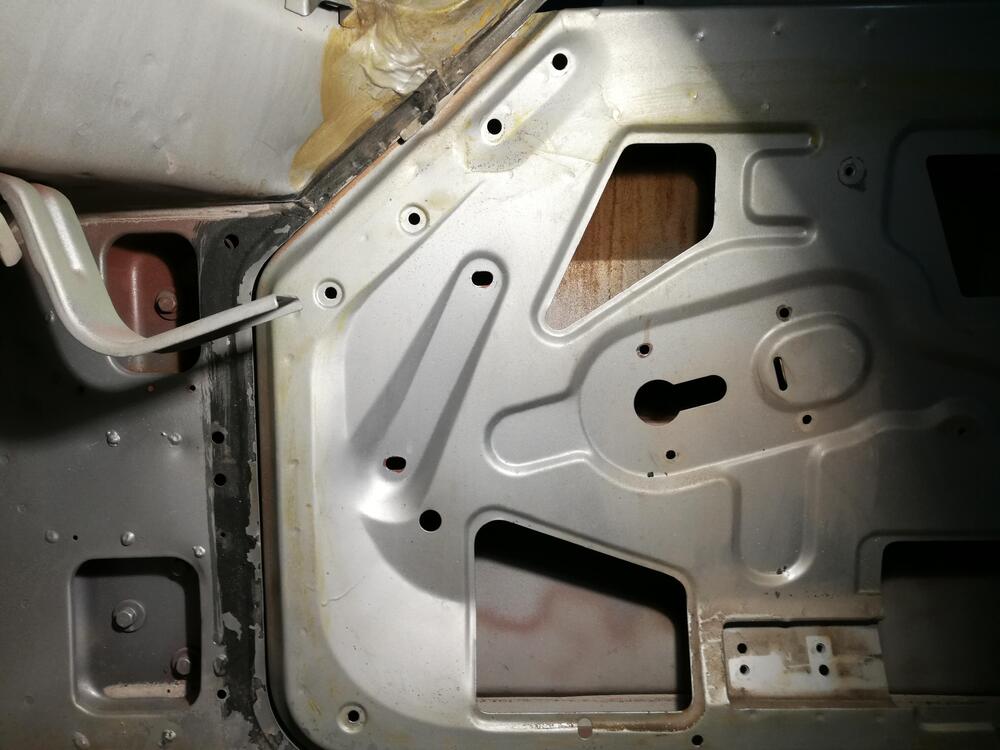
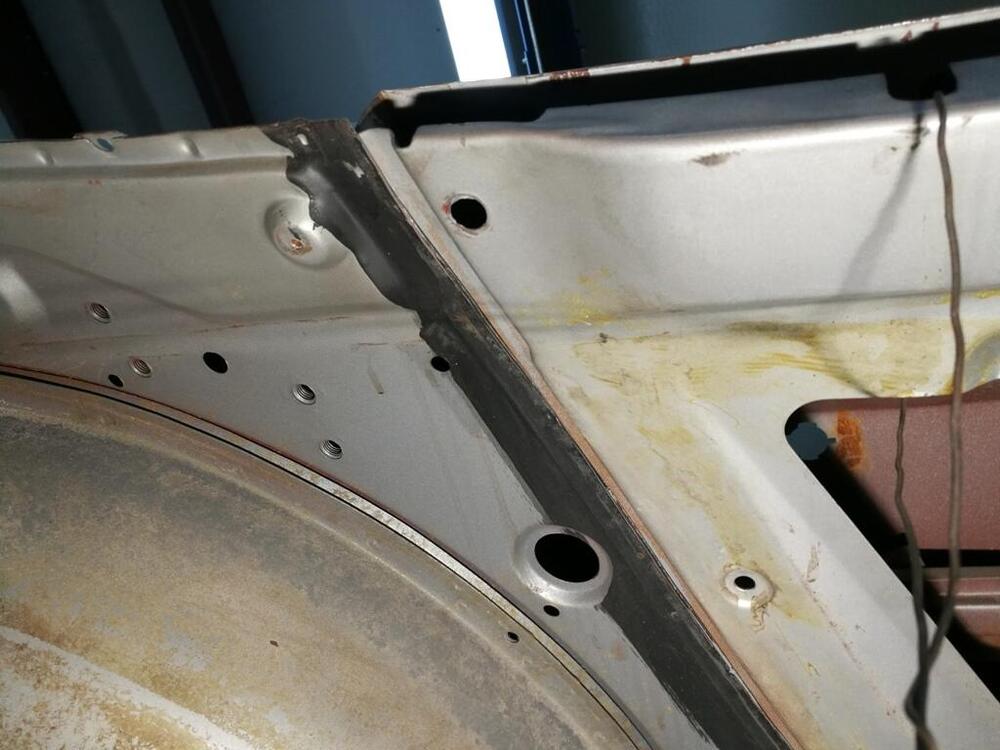
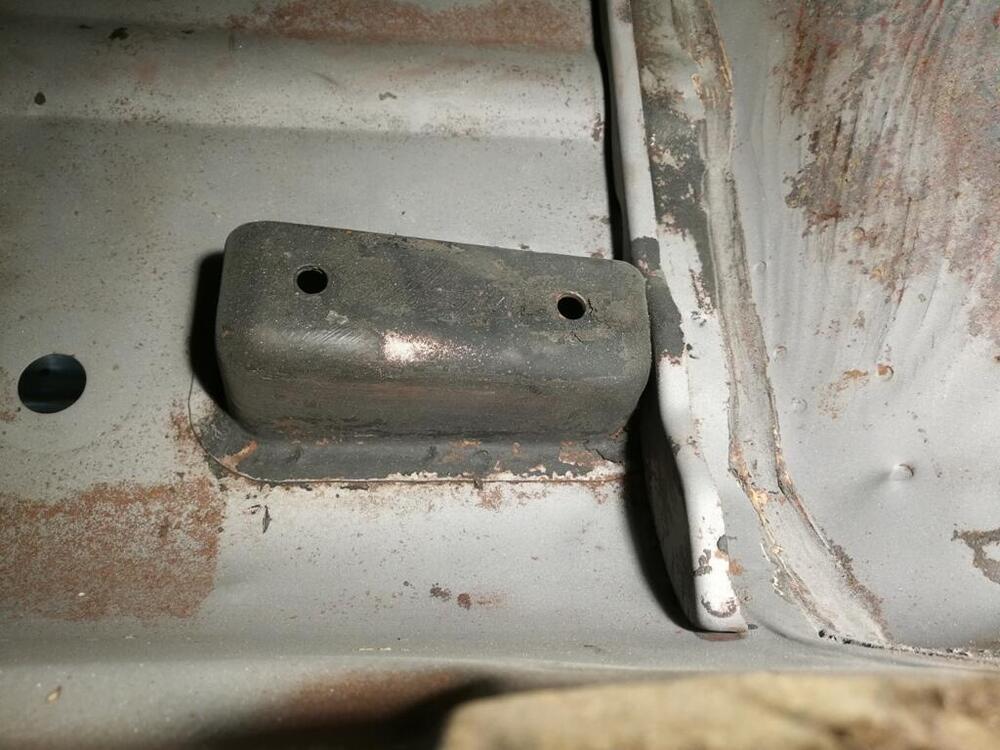
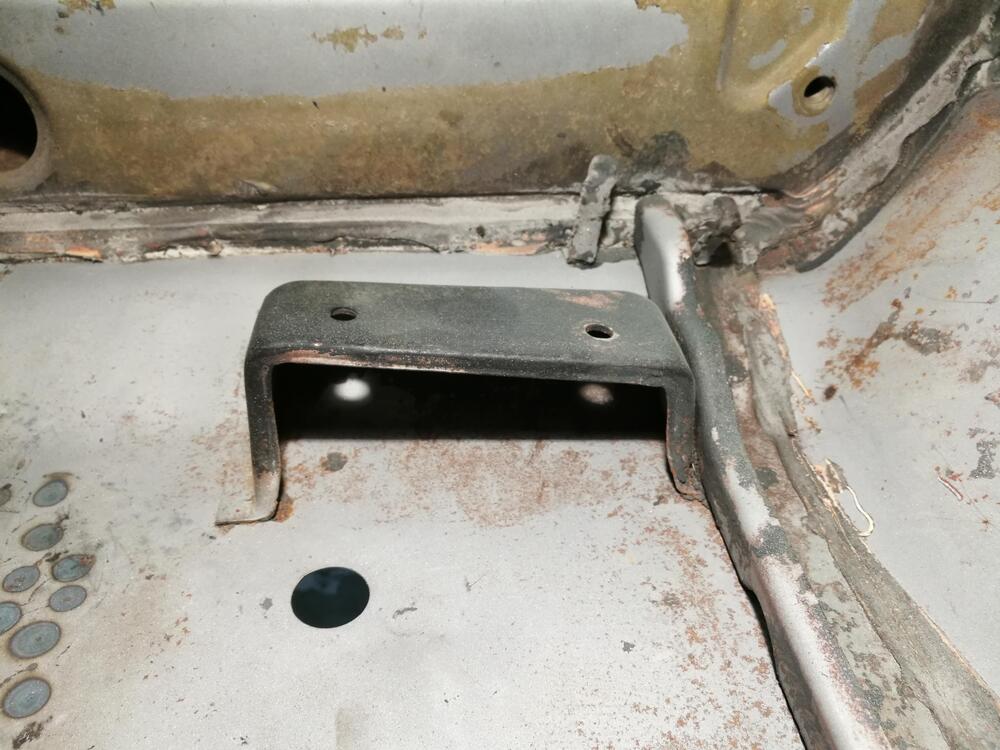
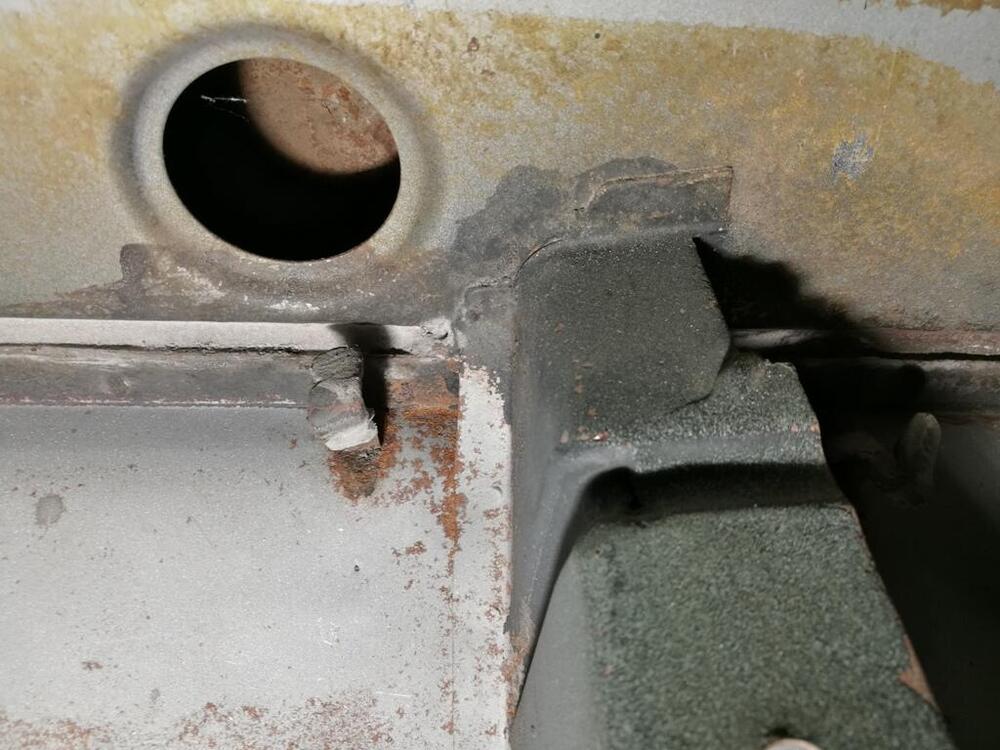
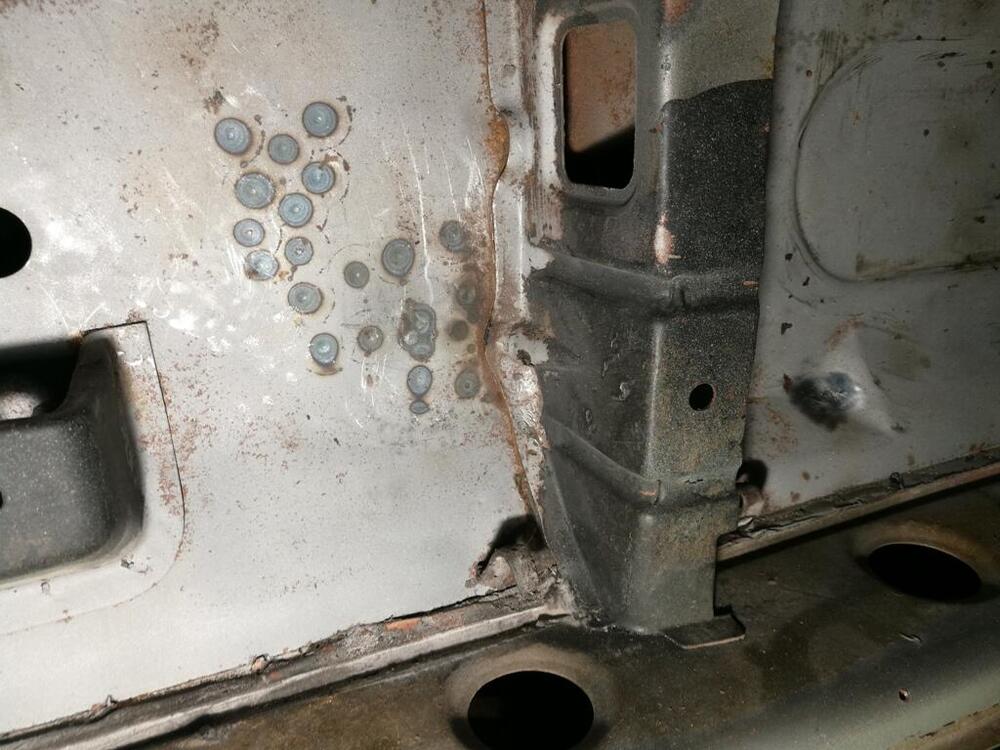
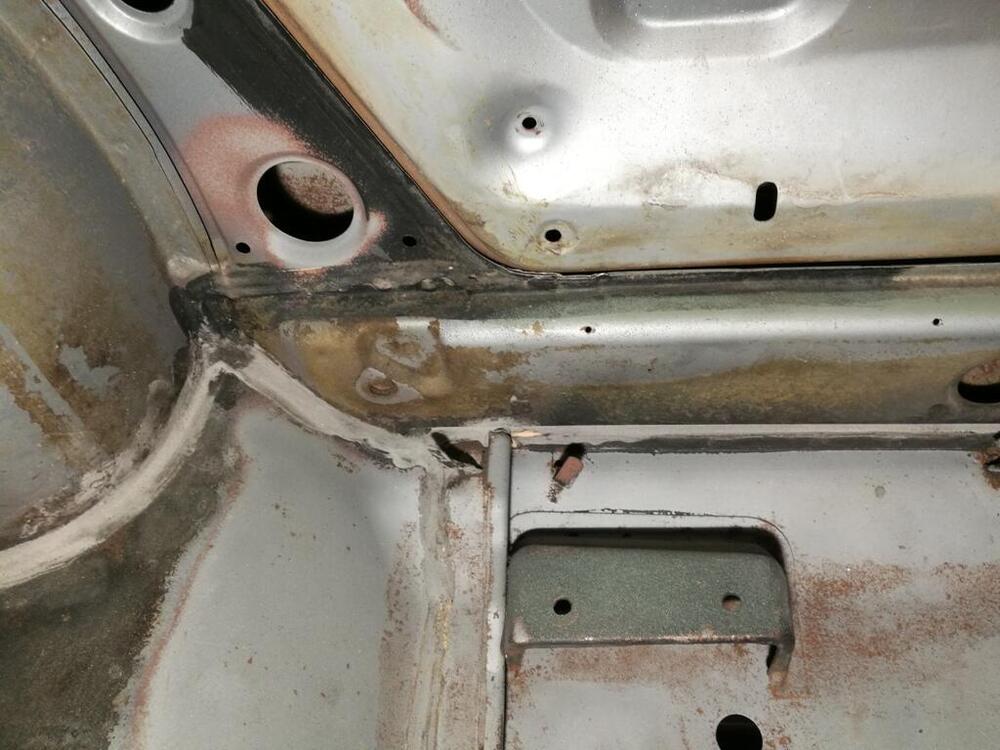
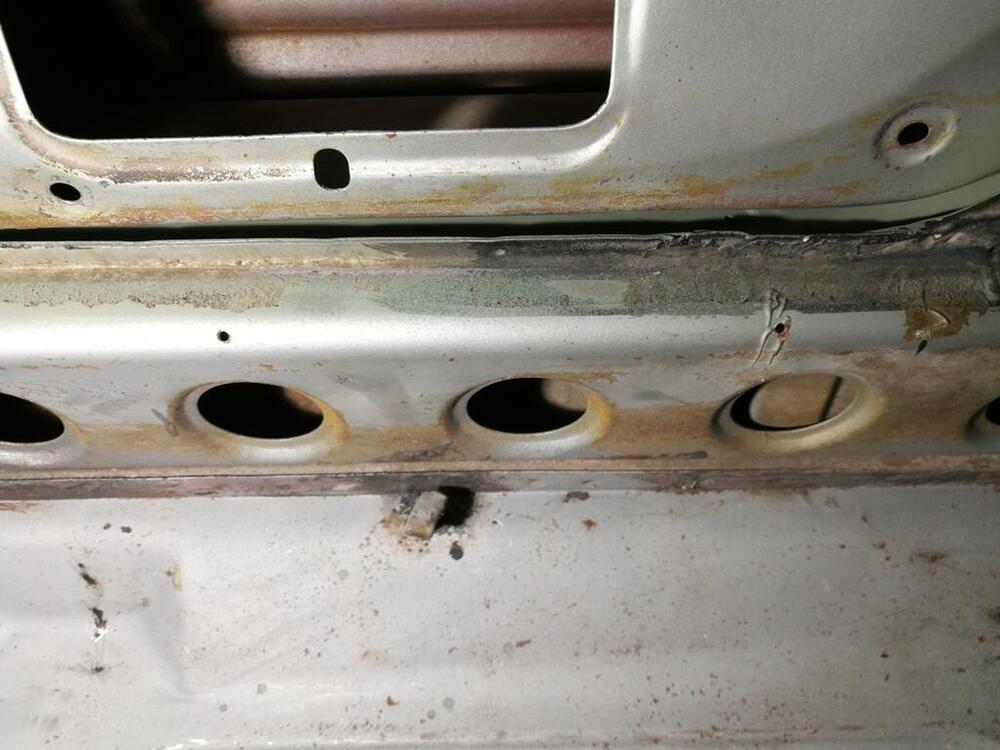
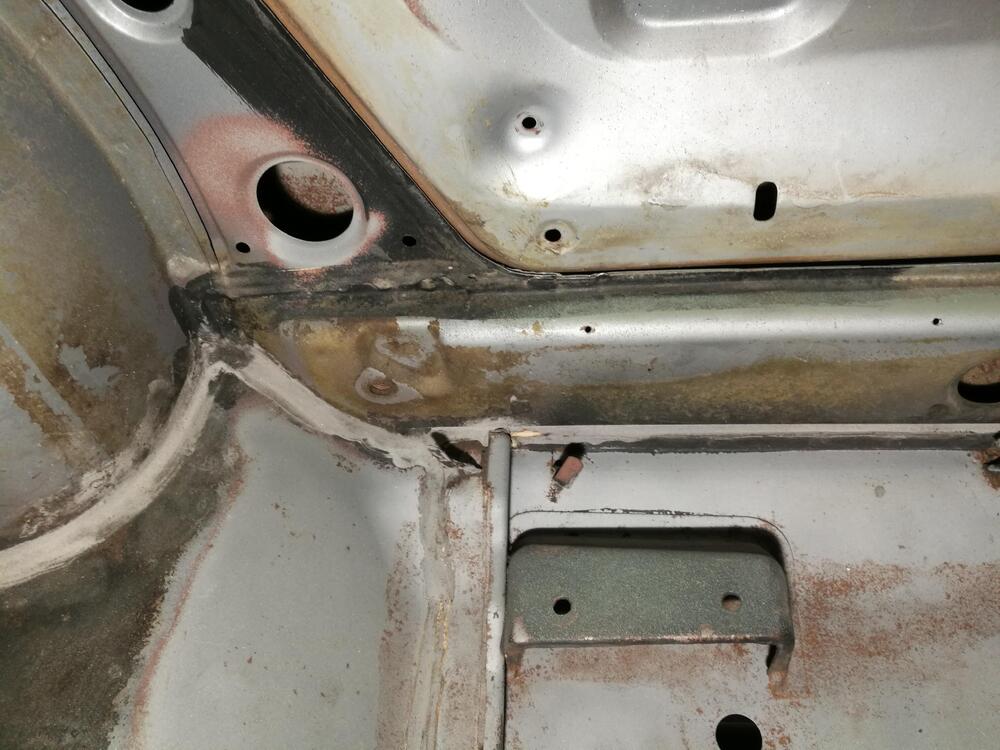
Thank you, it was indeed a bit of a hunt 🙂 I already started the assembly and it's so satisfying and fun. A few days ago i got a call from my Panelbeater that they finally got the chassis out of storage again and re-started work on it. This time with two people. Nice! Today i went over to have a look and discuss some next steps and details. Well the progress was much better than expected. First i was greeted by a more or less complete upper front end body. Here you see the two masters in charge of my project. They also proudly showed me their spot-welding machine when i asked how they weld some of the parts. I'm unfamiliar with spot welds but it is quite the machine 🙂 So what happened since my last visit? The right-hand floor pan and inner door sill has been completely replaced and the original seat rail mounts are in the proces of being reinstalled. The bodyshop claimed that some of the welds from the previous bodyshop were not so good so he ended up ripping out everything in order to get it done professionally and replace the self-made panels with the spare KFV Panels i had given them for "just-in-case" requirements like this. While it is extra work and cost, i absolutely approve what they do and i'm more than happy i switched to these guys. True masters of their craft. So the floor / Firewall / Front end section is more or less complete. except maybe for the RH outer side sill which is still under debate: On the LH the KVF lower outer side sill has been modified to fit (still needs some adjustments). What is left missing is the line in the door, which some of the previous owners thought was cool to "shave", so they have to hammer it back in. The roof skin (which was full of small hammer-dents due to a previous damage / repair) is meanwhile also repaired (i wasn't able to see it today, as it was in storage), so after they adjust and finalize all the small details, there are mainly three big tasks: - Fit the rollbar - Replace the LH Rear quarter (and inner wheel well) - Replace the roof skin. Of course there is also hours of detailed adjustments and a chassis-alignment scheduled, and primering of all uncoated surfaces to prevent rust. I have to bring them some parts in two weeks to proceed, until then i'm on a business trip and i really hope they keep up the pace until my return. There is also a new timeline due to various delays and another big (bentley) project, so the body should be ready in Q2 next year. Fingers crossed... Oh, and a bit off topic, but i also managed to find a NOS 240K-GT (Aka GC110 Kenmary skyline) Radiator and Hose at a very old radiator shop in switzerland, which will now be used in my mate Stefan's Datsun 240K-GT Restauration.1 point
-
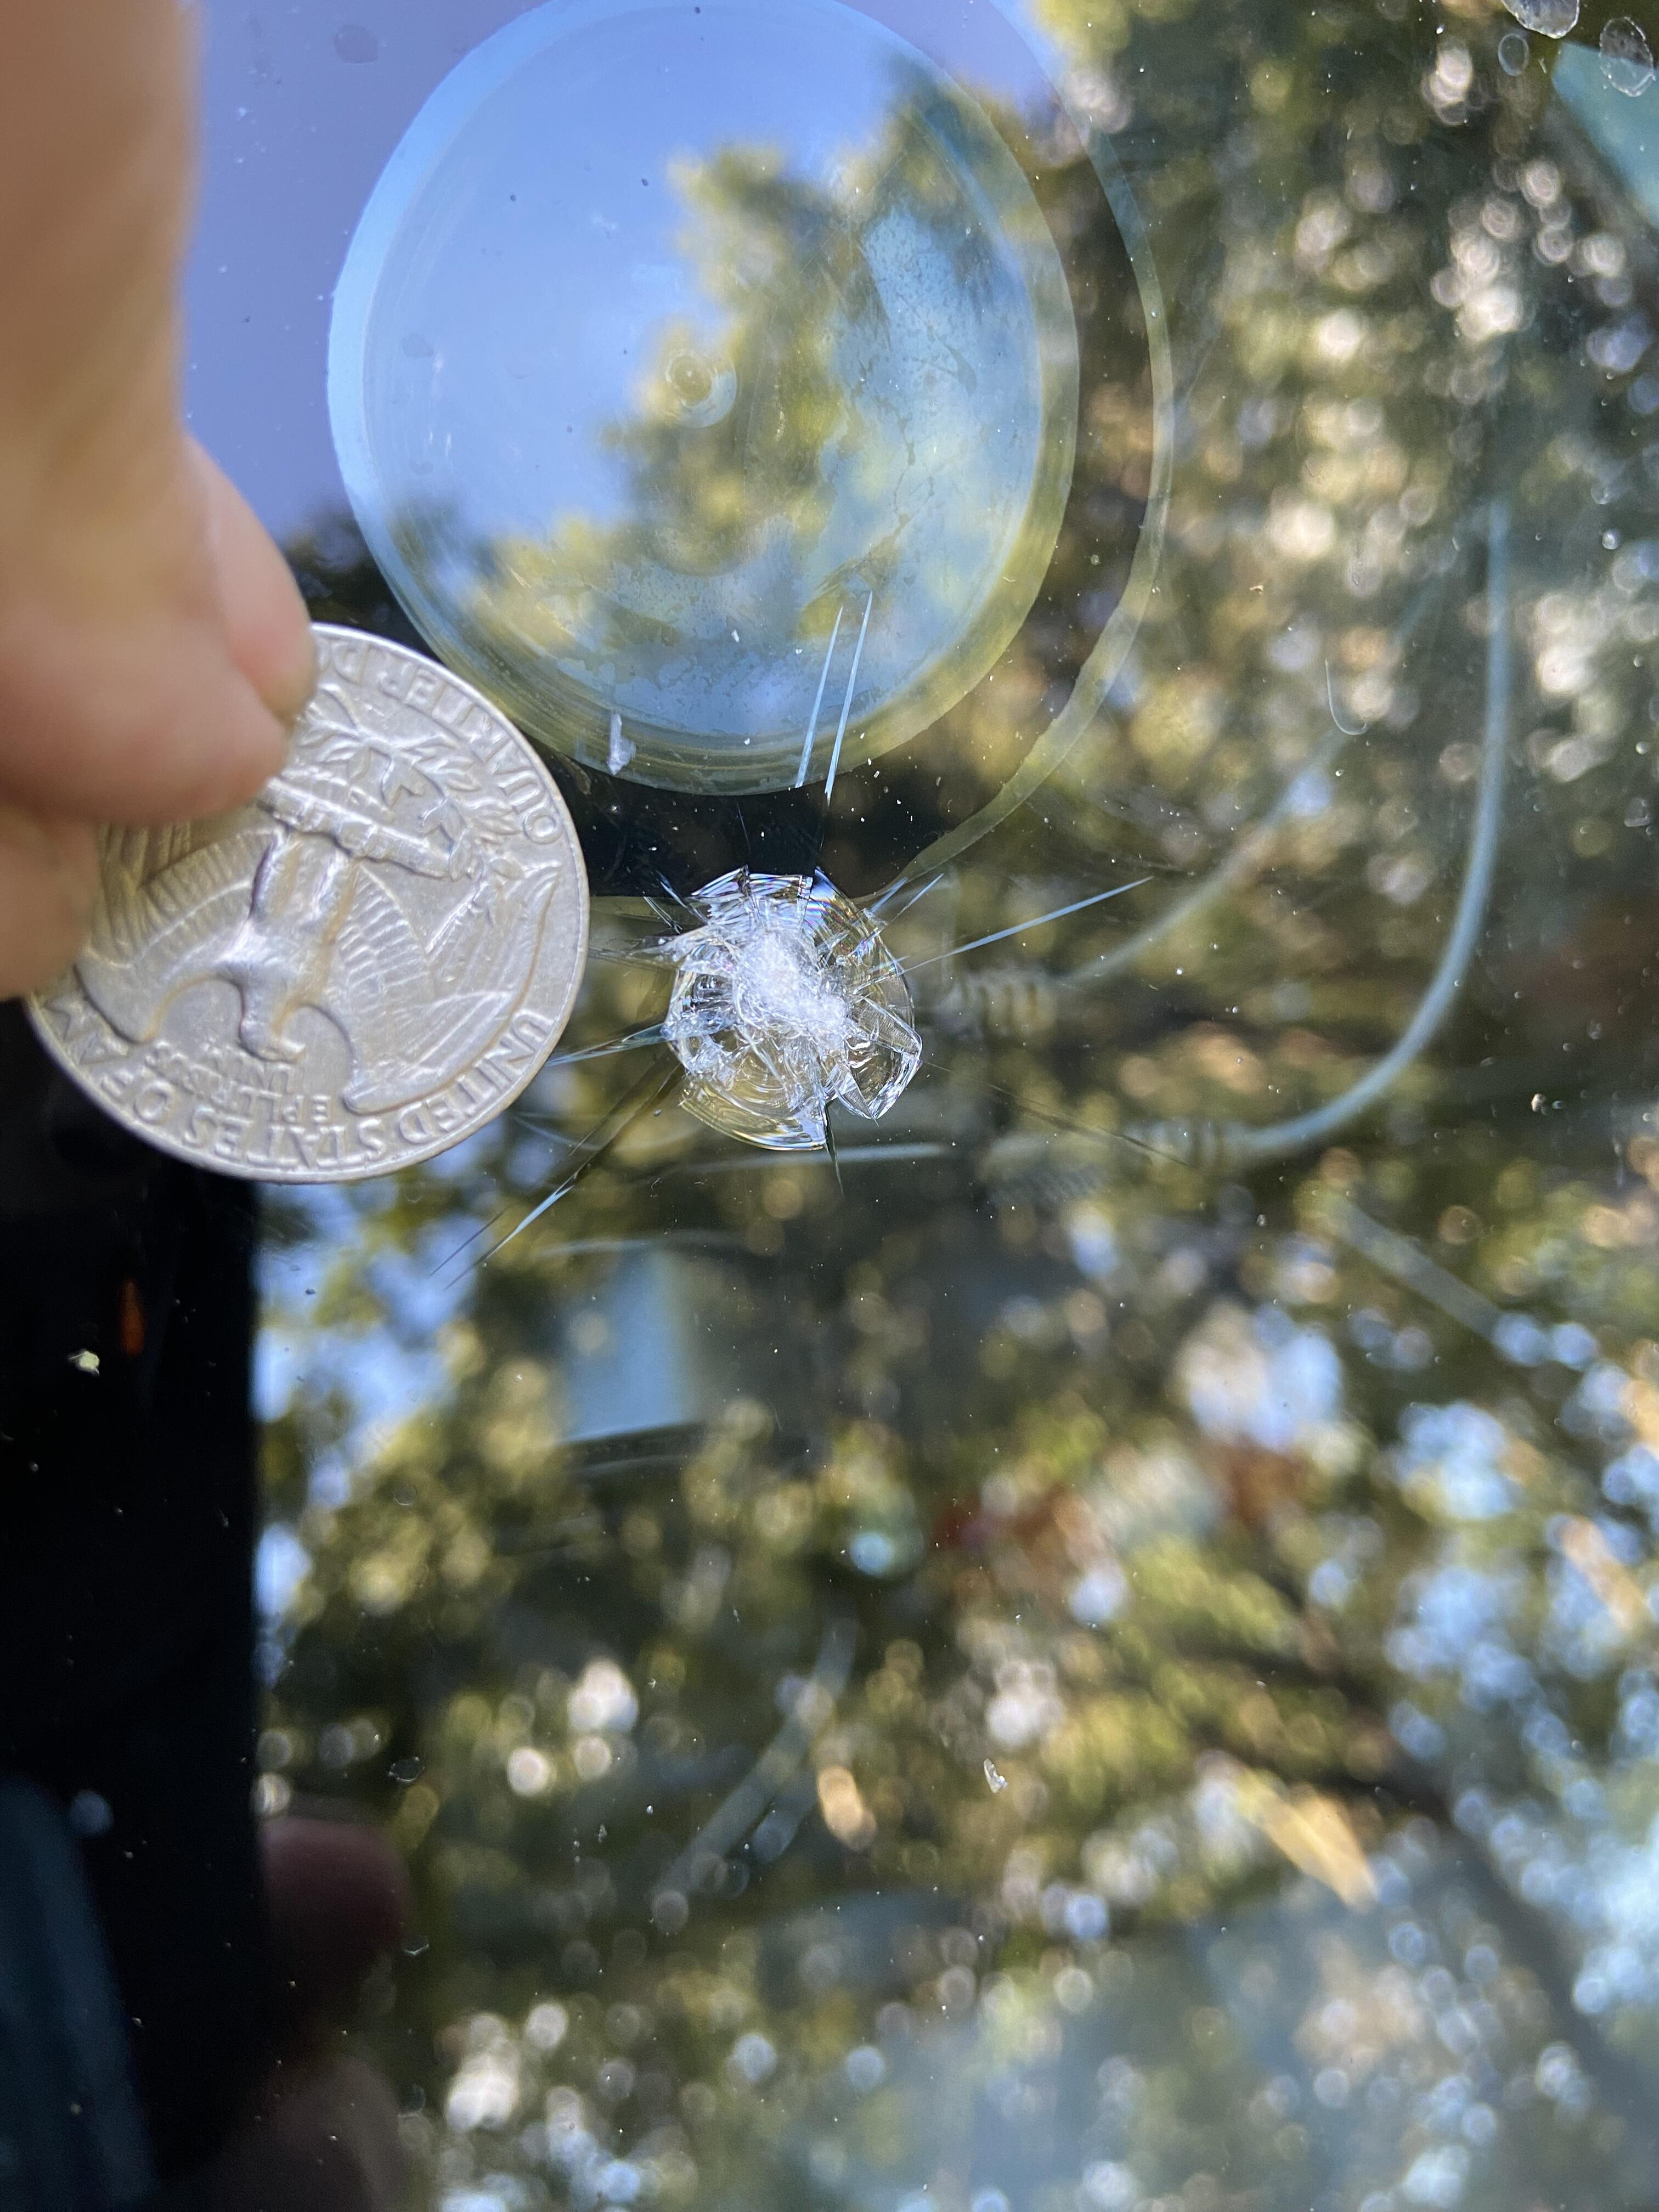
I've been very busy with work and have been quiet on this forum for while now, but I still read the posts and still glean important knowledge and laughs from all of you. To my pleasure my Z has run great over the past year without any issues, and as of late, been driving it about 3 to four days a week. It's turned out to be a good solid car. Today, while driving home, I caught nice rock on the windshield from oncoming traffic. I saw it coming and could do nothing.🥴 I'm hoping it's repairable so I'm taking it to a windshield repair place ASAP so it won't spread.
 0 points