Leaderboard
-
Captain Obvious
Free Member11Points10,081Posts -
zclocks
Free Member6Points311Posts -
Yarb
 Subscriber
 4Points1,935Posts
 -
conedodger
Free Member3Points12,513Posts


Popular Content
Showing content with the highest reputation on 09/05/2023 in Posts
-
6 pointsYou got to be a little more enthusiastic with the success. You're hiding that little note under all the pics! How about this: "Woo Hoo!!! MY CLOCK WORKS!!!" That's what I would do.6 points
-
3 pointsHey Yarb thanks, I really like helping when I can. I have been helped many times from this site and when I can pay back I do.3 points
-
3 points
-
I got the carbs, header and cylinder head off this afternoon, there was some muck in the oil passage just above the oil jet, not sure if it was enough to cause the problem but I'll take anything I can get. I don't believe there is a a blockage in the block anymore considering how free and easy that jet of oil came out in the video, I did it several times to be sure, it even hit the ceiling on one try and never got the drill above 1000 rpm. The cam is new, the cam towers are not, the towers have some wear on the tops of the bearings, didn't have time today start measuring but will tomorrow, it could be I'm losing the pressure on the cam bearings. Do they still make those towers? MVI_2351.MP42 points
-
And as for the mechanical gauge, I think you could put a couple wraps of teflon tape around the 1/8th-27NPT gauge and be OK enough for a test. It might seep a little at the joint, but not enough to affect the pressure reading. Just don't crank it down so much that you deform any metal on the threads. I would test fit one of your gauges and see if you get a couple good turns on the gauge before it starts to tighten up. If you get a couple turns, I think it will be fine for a temporary test.2 points
-
2 pointsKudos Ron for chiming in to help a fellow member. I personally took notice and appreciated your efforts. Nice job!2 points
-
Yeah, I wouldn't open up those oil restricter orifices at all. If everything is working as intended, there should be plenty of oil delivered to the cam lobes. Did you put a mechanical oil pressure gauge in the block and see what kind of oil pressure you're getting?2 points
-
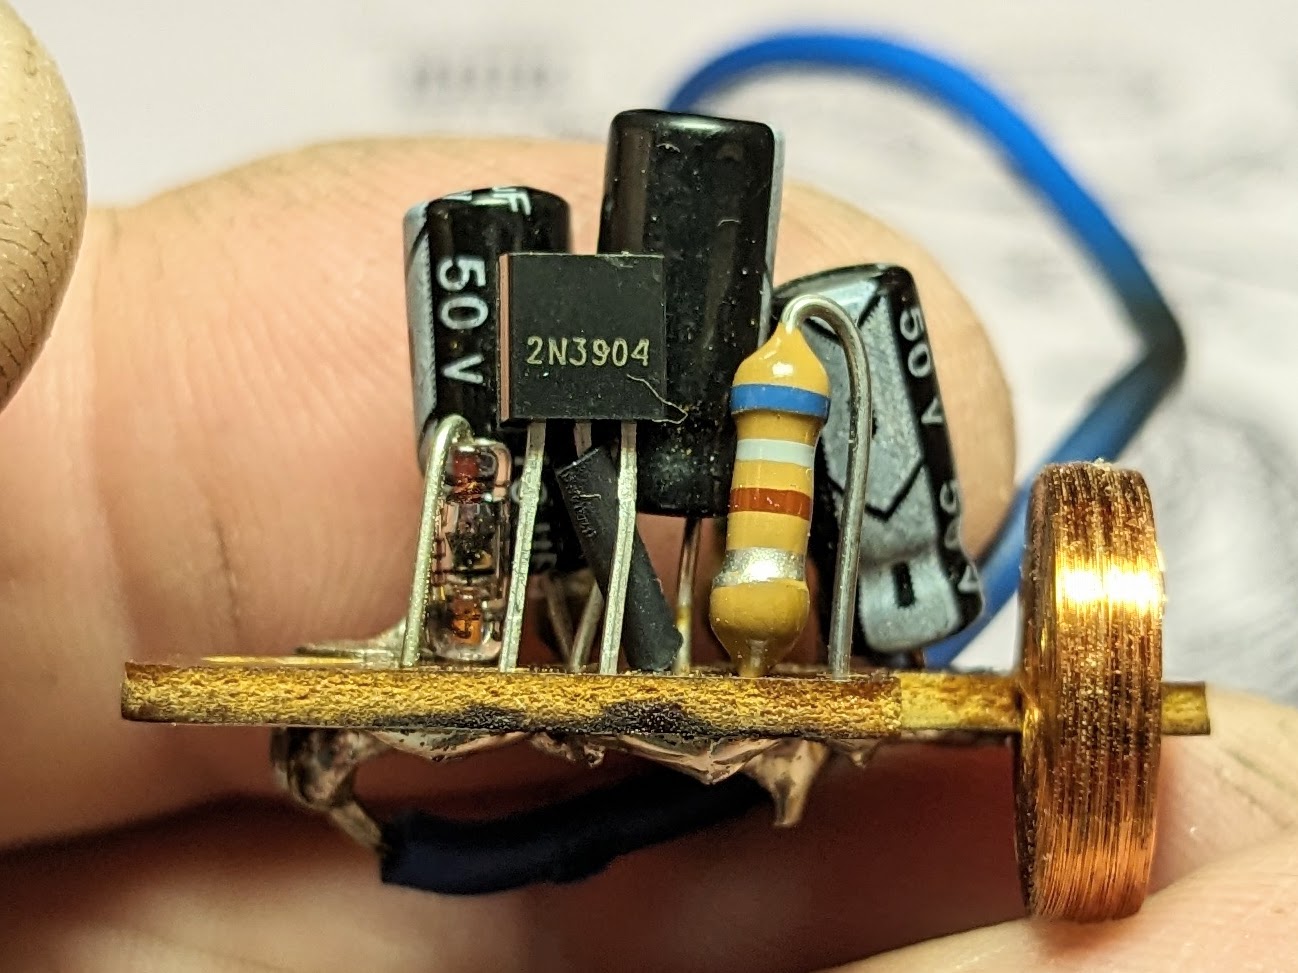
2 pointsThank you again for your invaluable input Ron. This is the 3rd resistor, next to the Transistor - looking up the 4 band, it appears to be 2M ohm, unless I'm reading the chart incorrectly Replaced the transistor (take 2) it's running now 🙂
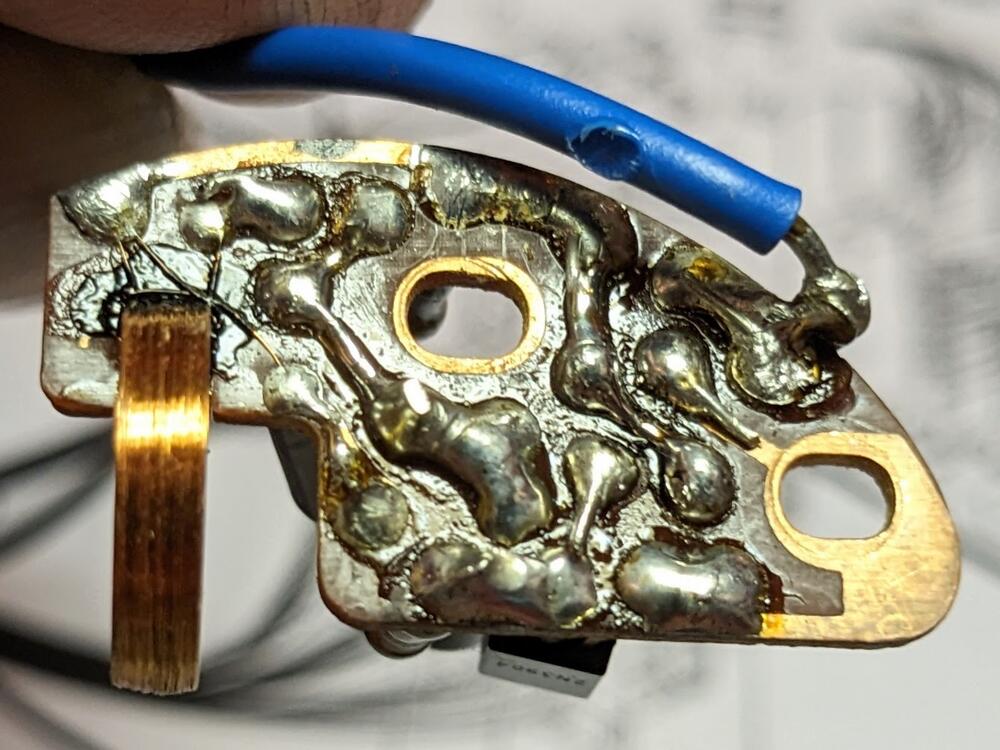

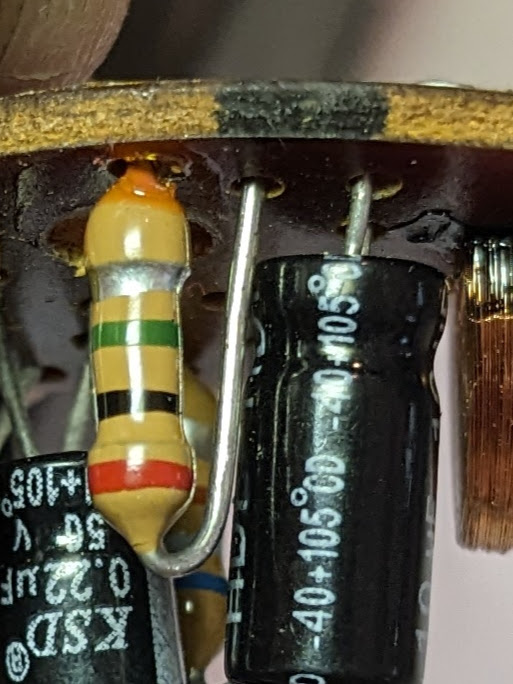 2 points
 -
Might as well fill in some of the blanks on the saga of the 240Z"G" on BaT. Here's a Google that has a bunch of links about The240ZGuild and one interesting story that I pulled out. People on BaT are getting upset that the history of the car is being discussed. But they're not going to buy the car. https://www.google.com/search?q=the240zguild https://zclub.net/community/index.php?threads/franklin-mint-1970-datsun-240z.25773/page-5 The BaT link again. It's an interesting discussion. Reminds me of California Datsun. There's money to be made on those old Z cars! https://bringatrailer.com/listing/1972-datsun-240z-287/#comments-anchor1 point
-
1 point
-
A BSPT male to NPT female adapter is pretty easy to find. I know McMasterCarr has them, and even Autometer has that part as well. https://www.autometer.com/1-8-npt-to-1-8-bspt-pressure.html?gad=1&gclid=CjwKCAjwo9unBhBTEiwAipC113yoh0IxbFAi4AbHjmRRP0yeHW3MdROua1aBNLXI9UrOlpXXf4pvgxoCdDAQAvD_BwE&gclsrc=aw.ds Even Amazon.ca has them next day delivery. Hunt for Autometer 22691 point
-
My recollection is that the high flow pump rotor is 40mm tall compared to stock 35mm.1 point
-
It would also help if we knew the exact tire size you have mounted, 15" is not enough info.1 point
-
1 point
-
Yes, because of the very small extension amount you're looking to achieve, it's inherently impossible to do that with an extension. The problem is the splined portion of the extendo one and the splined portion of the original shaft must share the same space, and that is impossible. So you're looking at a different solution. I'm not real keen on making a whole new shaft. I don't remember what is on the other end, but it might not be simple. I think I would try to "extending the existing shaft." Is there enough room to put in a short coupling collar? Or if not, a short piece of rod stock and weld the three parts back together. Or cut the original splined portion off completely and then make a new splined piece (like what you've already made) and slip it over the (now blunt) stub of the original shaft? Wouldn't stick out as far because you've cut some length off. Something like that.1 point
-
With the cost of rebuilding/repairing these engines this day and age, putting a “T” in the system and being able to monitor the oil pressure at the engine is a life saver IMO. It’s inexpensive and just a piece of mind.1 point
-
1 pointIf it turned even a little bit, I'd soak it in penetrating oil and then try tightening and loosening it. The back and forth motion will allow more penetrant to seep in.1 point
-
Ok, I see what you and Jonbill are saying now, never thought of the low end like that. I did a plastigage test on 3 conrod and 3 crank journals and the gap was bang on so I guess I'm looking at an obstruction in one of the passages. Thanks guys1 point
-
The oil jets (restrictors) are designed to maintain pressure to the lower end. It's a balance between top and bottom. If everything is to spec. it might be that the bottom end clearances are too loose and bleeding off the pressure. Maybe you're looking at the wrong parts. Maybe the low flow at the top is a sign of too much at the bottom. Could also be that you have a restriction from the jet to the spray bar. Through the head, in to the towers, and then to the bar. A new spray bar wouldn't fix that.1 point
-
1 point
-
1 pointRon - you’re a super good man! I love the fact that you are helping someone doing it for themselves even though you make money from repairing these. Few of you in the world fella, well done!1 point
-
It is most likely it is rubbing on your lower valence. There is a way you can adjust that valence. I can’t remember exactly how I did it, but it wasn’t rocket science and it was a quick fix. It only requires a minor adjustment to gain clearance and prevent the rub.1 point
-
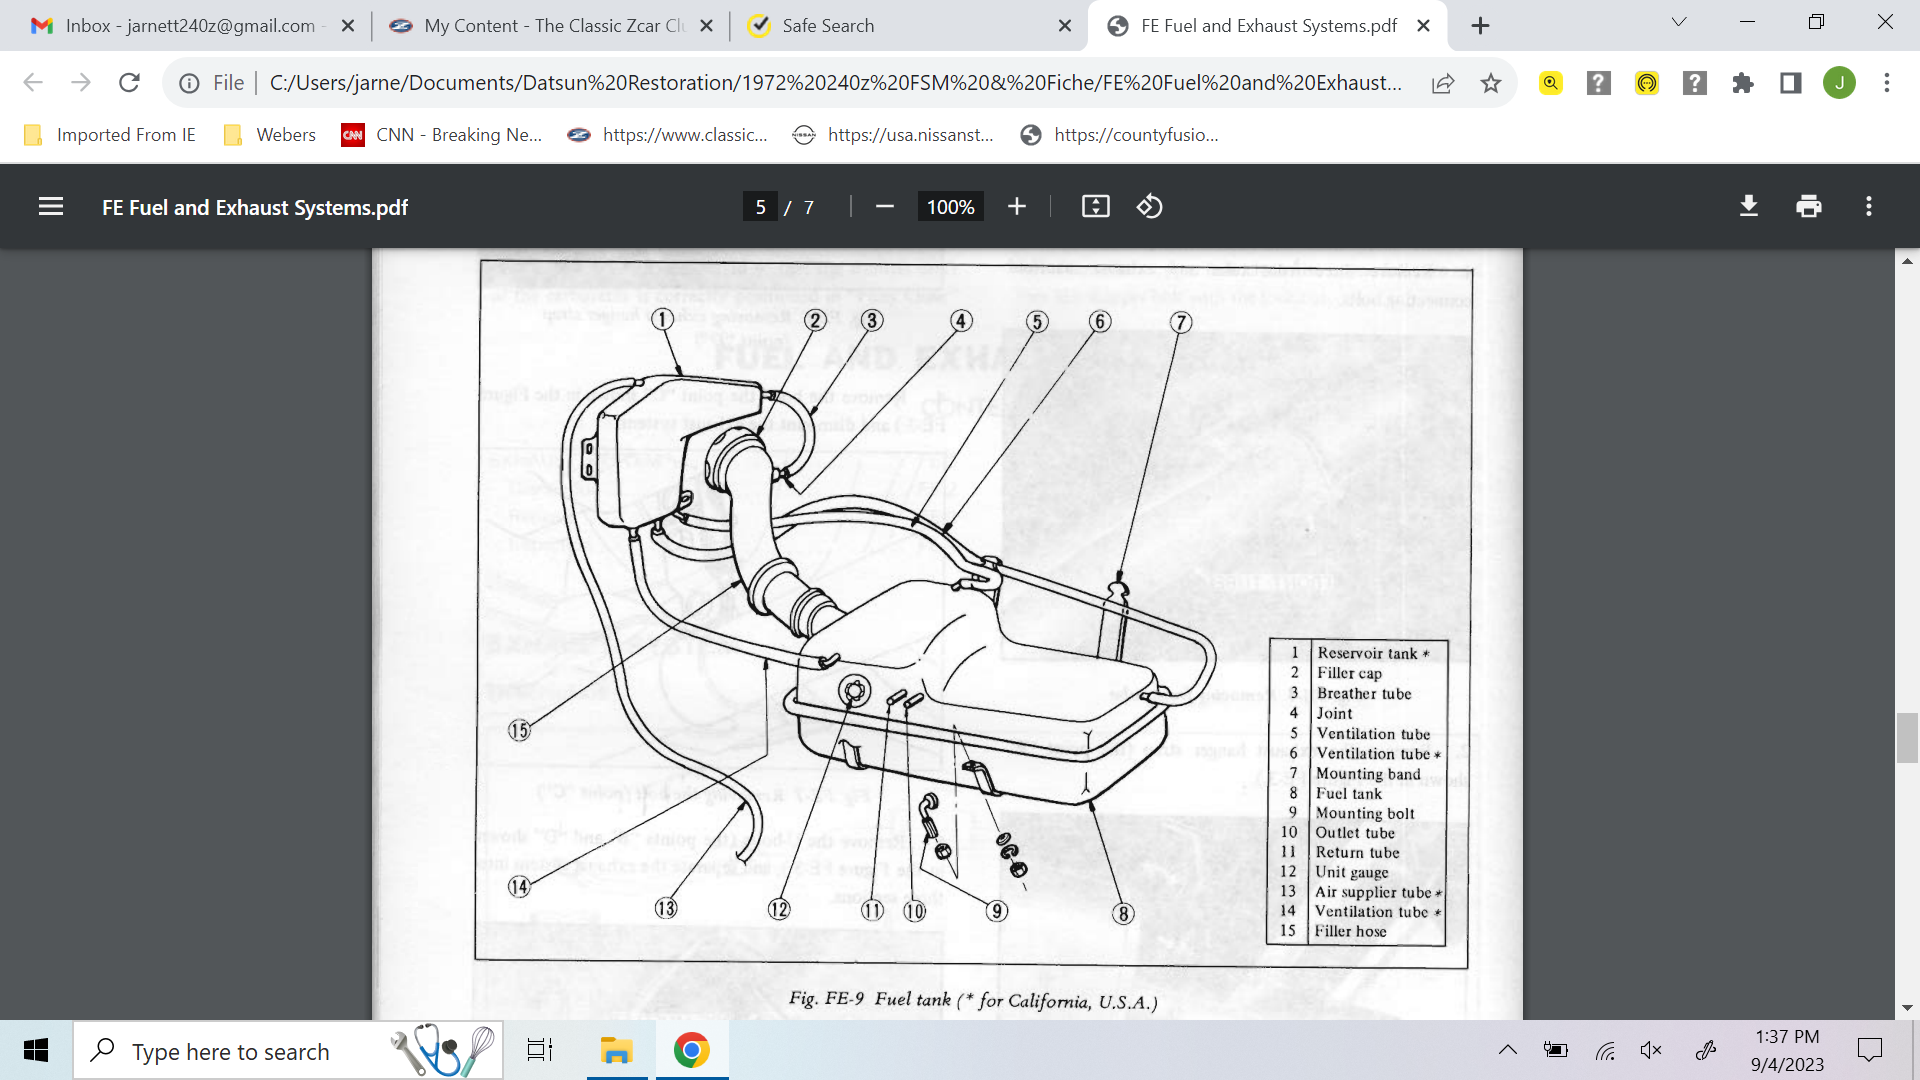
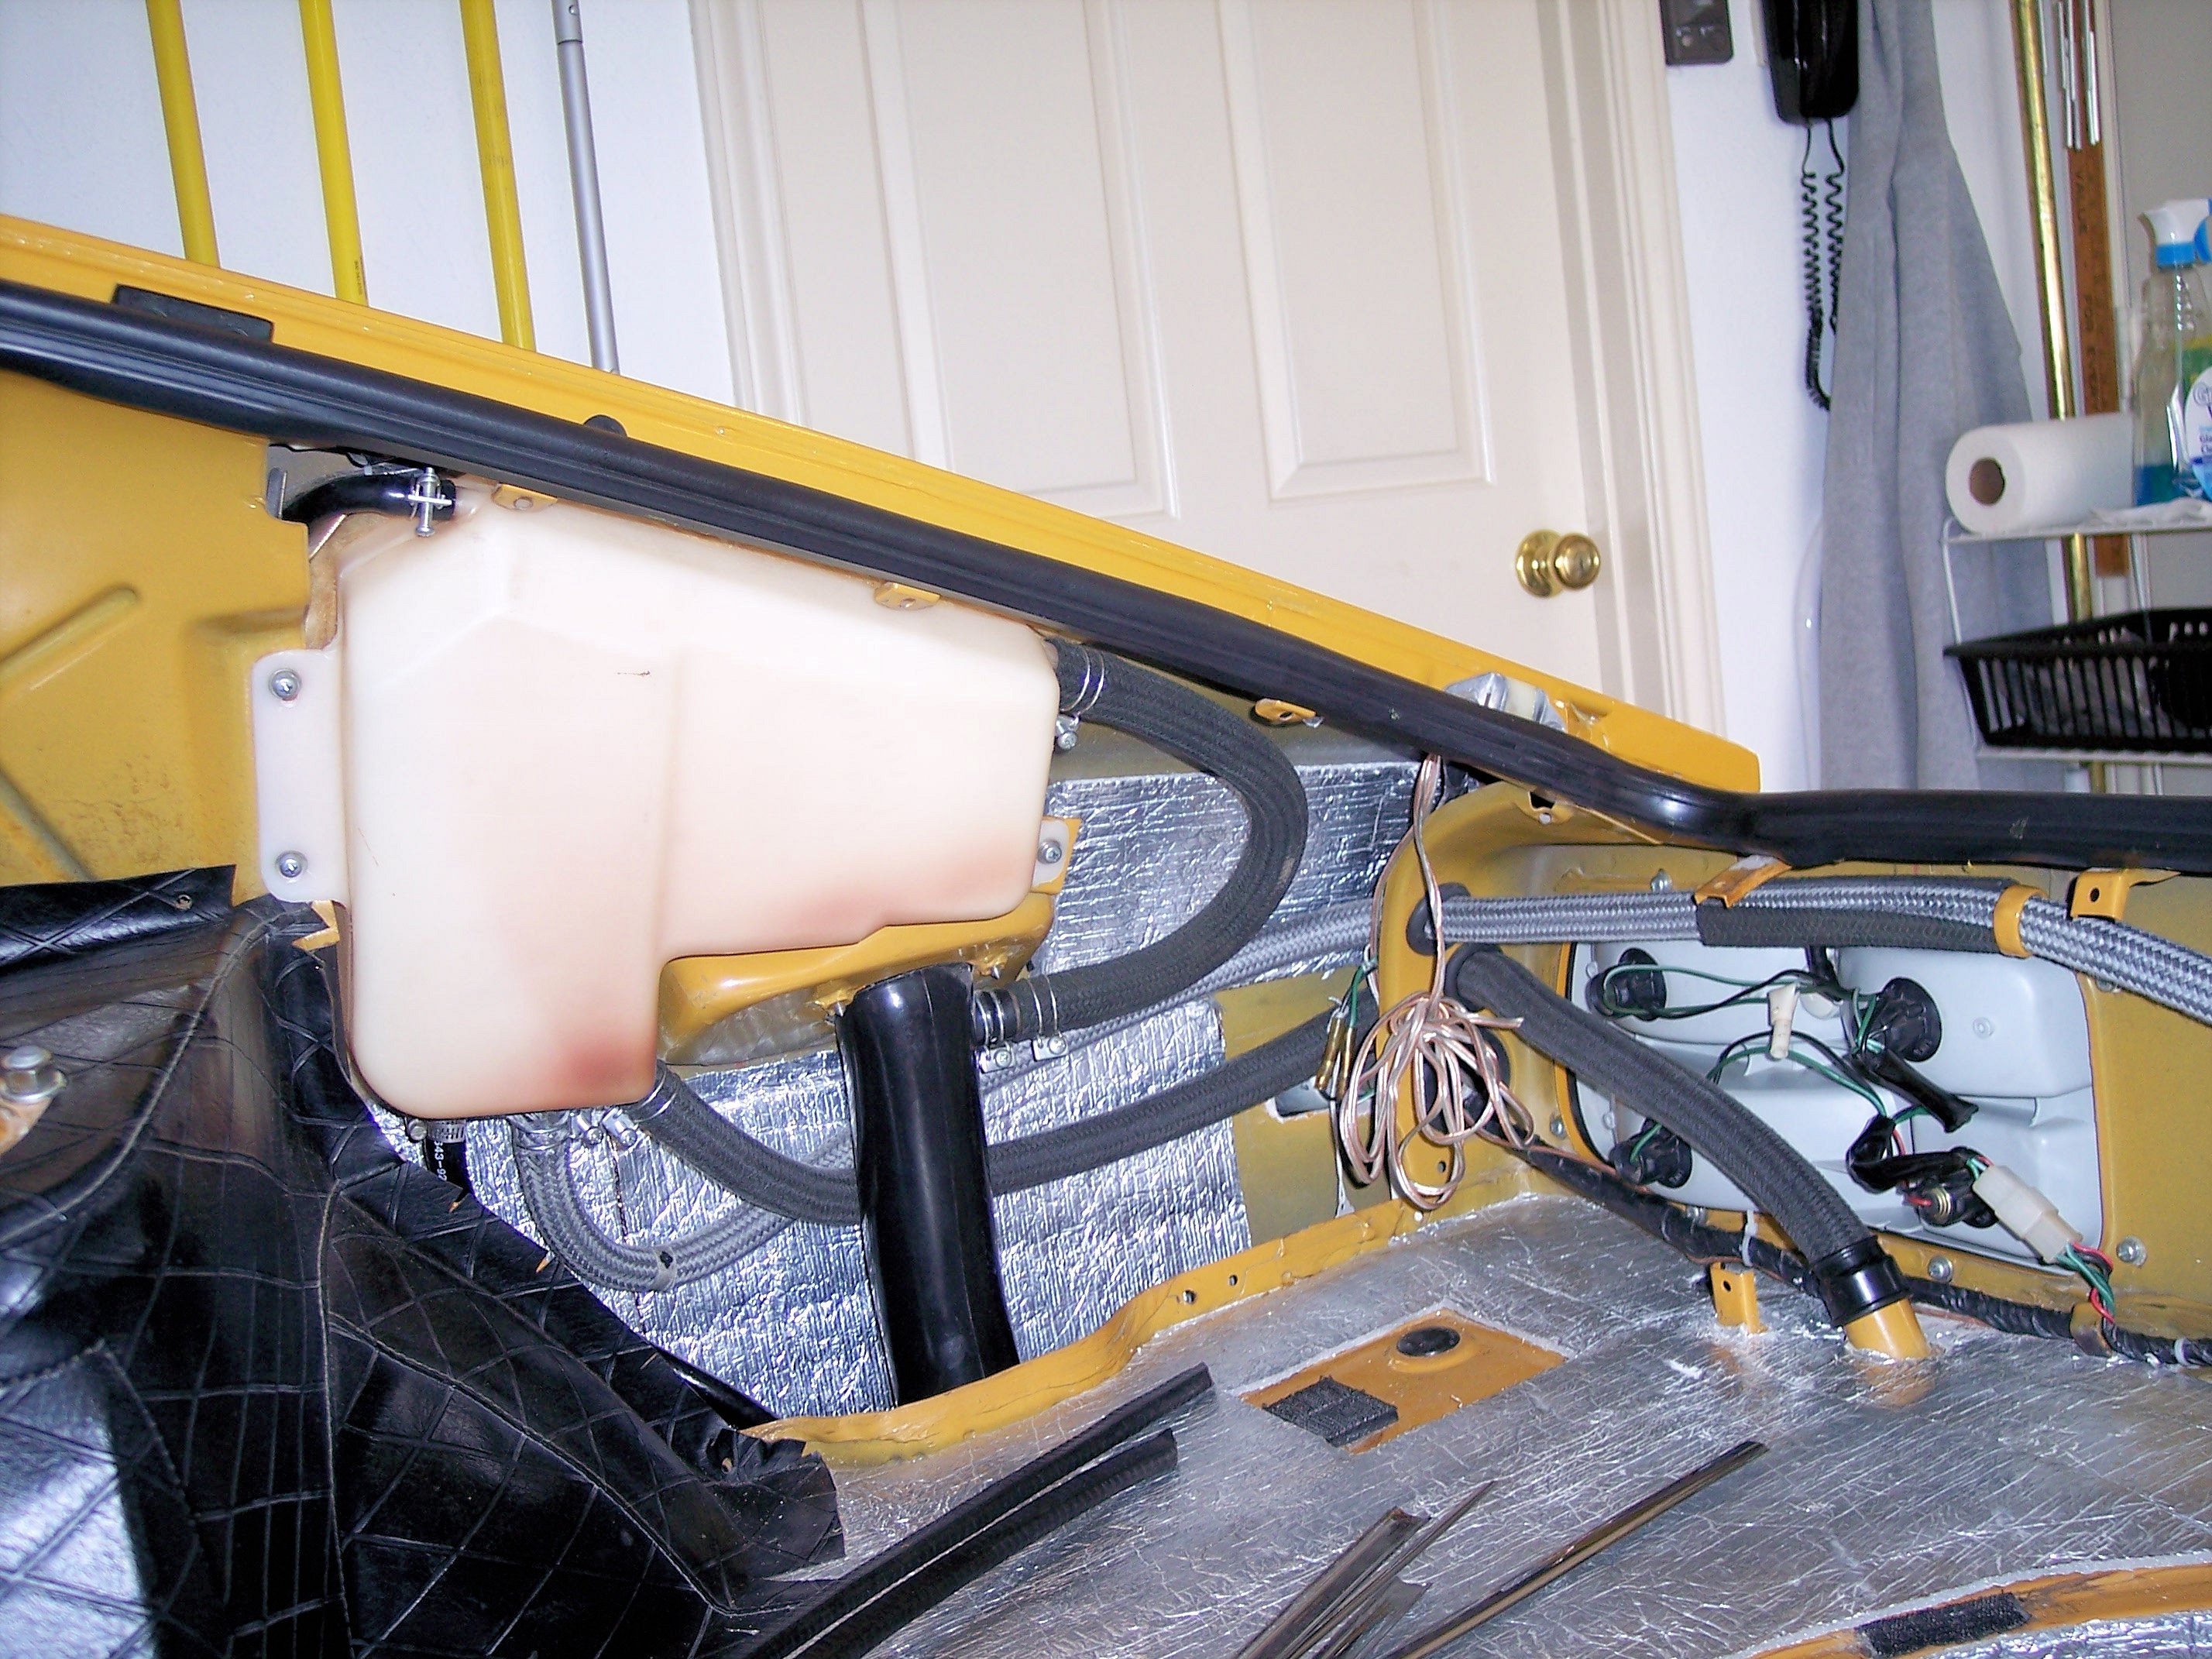
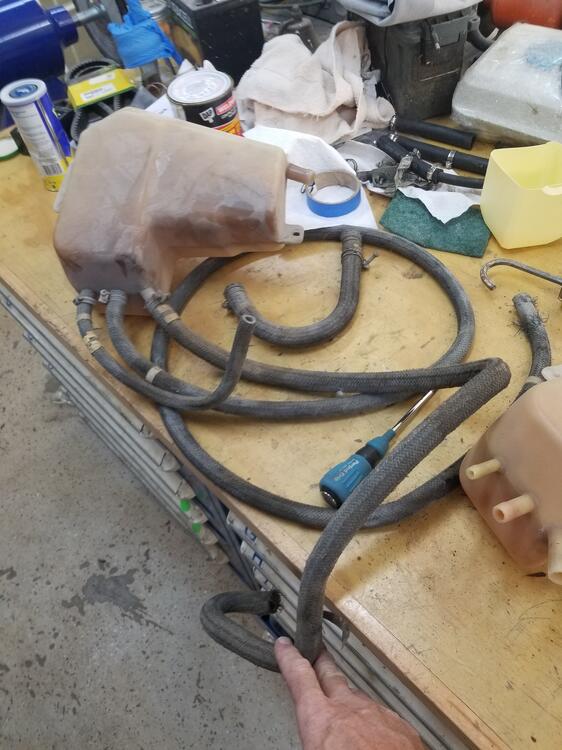
1 pointCharles, This may help in getting the lines routed. The small line at the top left does connect to the vapor line going to the engine bay.
 1 point
 -
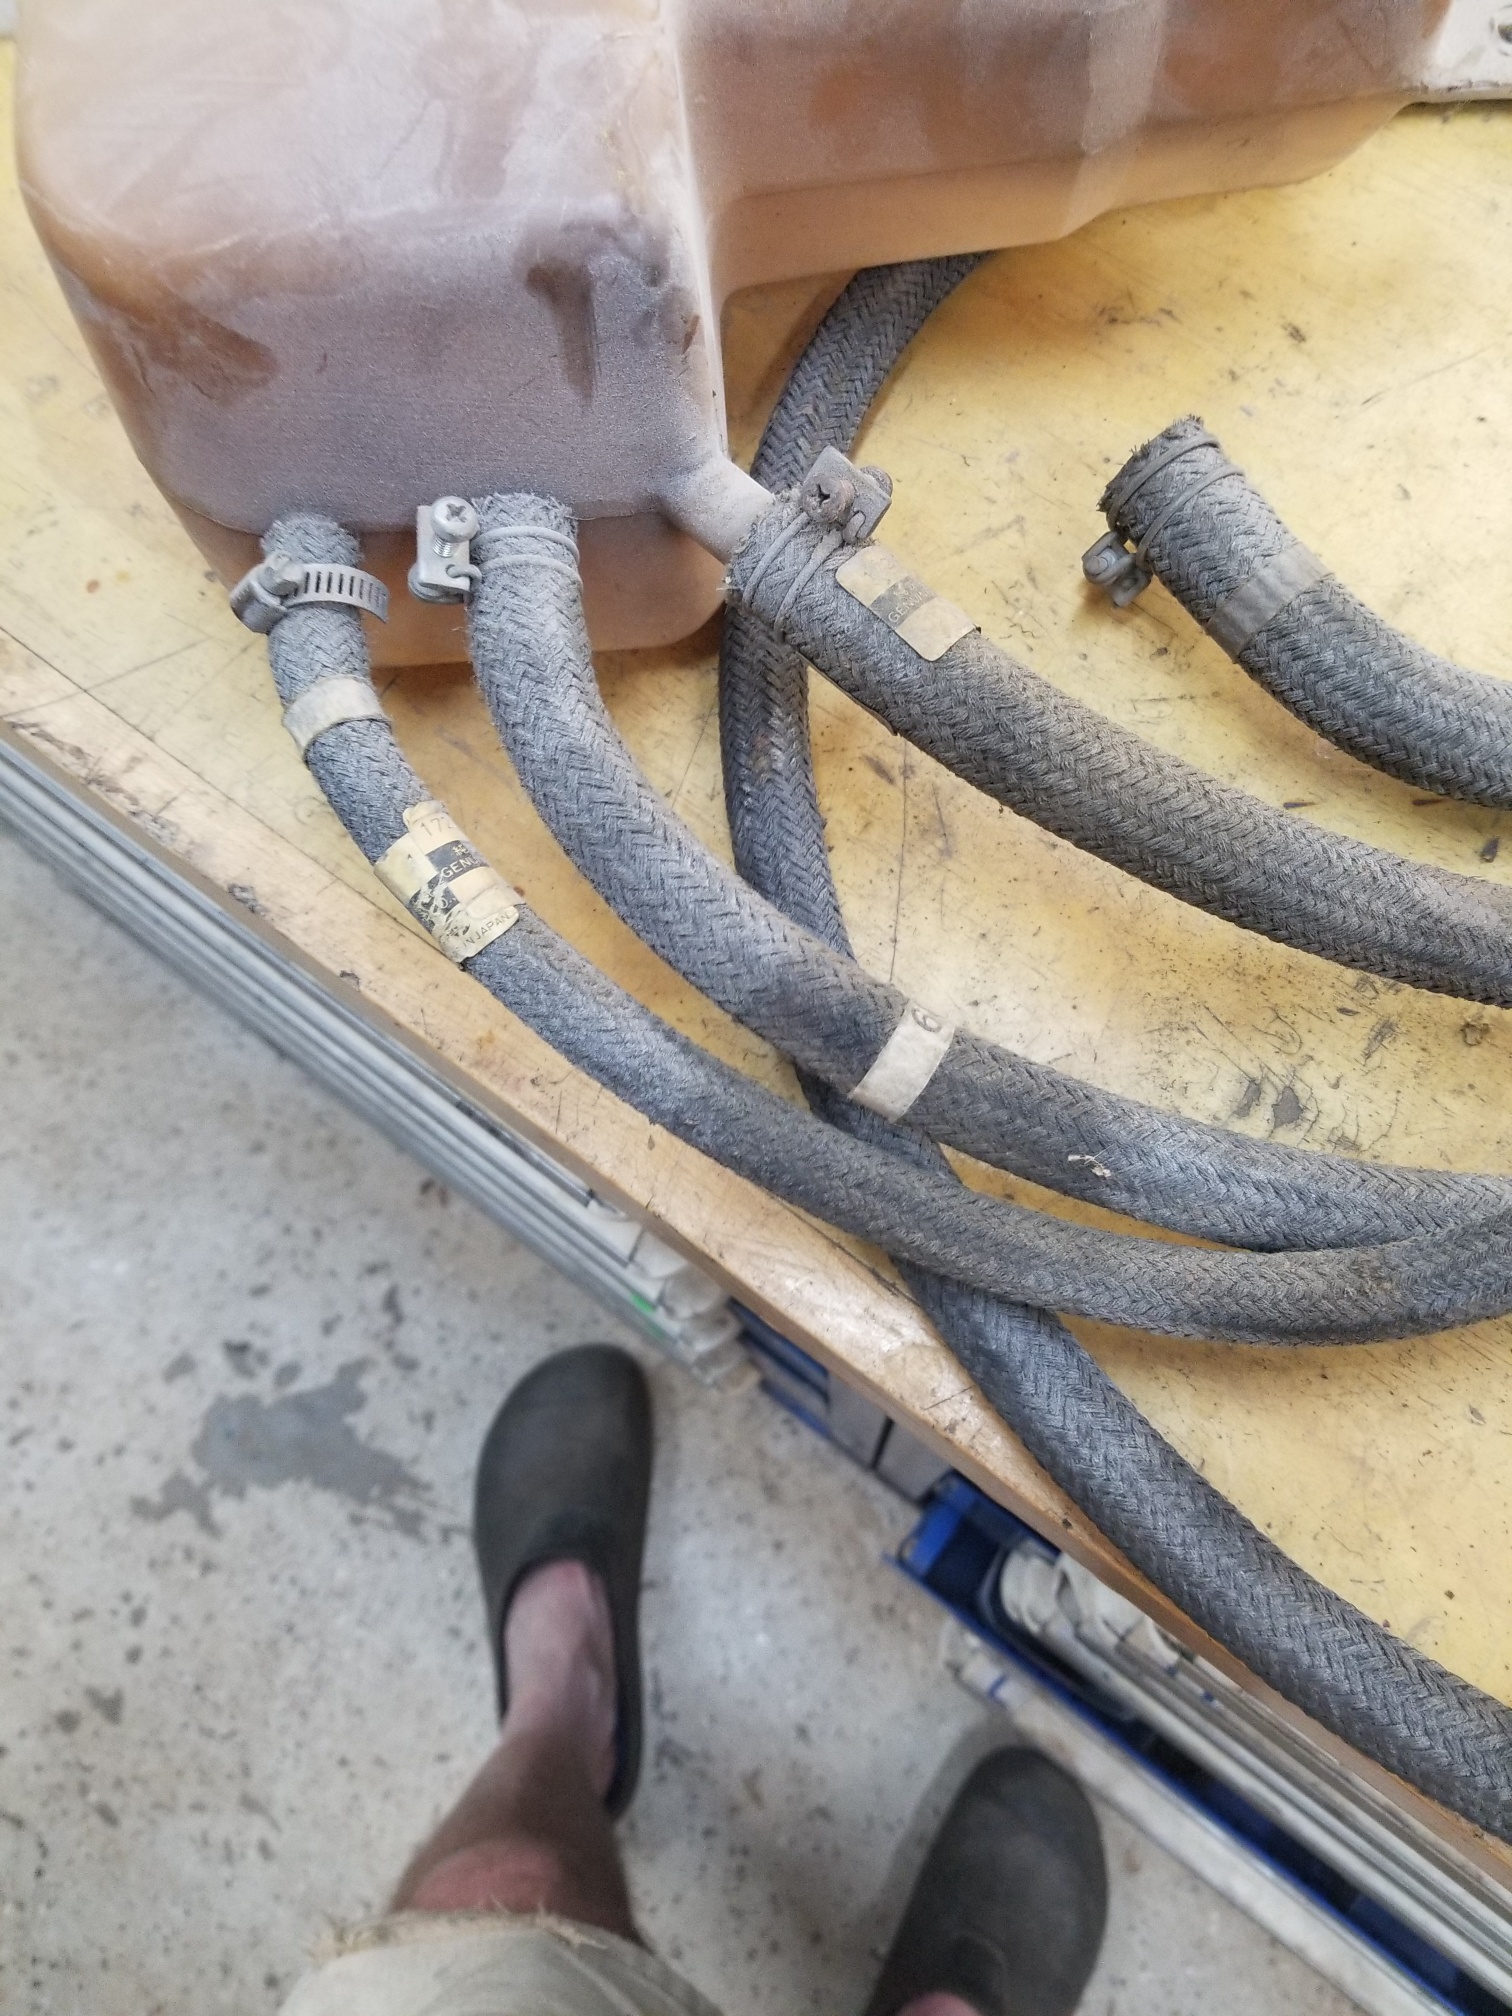
1 pointWell, I searched more. They have 9 & 11 mm, too. https://www.authenticclassics.com/SearchResults.asp?Search=cloth+braided+type+fuel+hose1 point
-
1 pointWorking on the fuel and vent tanks some more. I believe my fuel sender is bad so I ordered a cheap one off Ebay. We'll see how it looks. I bought a bunch of braided hose for the vent system but I let Cody use some of it for his car and now I don't appear to have enough. Trying to sort that out Where does the upper port on the left hand side (maybe 8mm hose) of the vapor tank go?? Does it just go through the floor and vent to the outside? Or does it connect to the vent line that goes to the front of the car? I think I know where the other lines go. I am looking for springs to work on the one molded hose. I may try to heat that in the oven to thermoset it... On the diagrams I have seen it seems to go through the floor and vent but if it connects to the vapor line to front of the car, it isn't shown right...

 1 point
 -
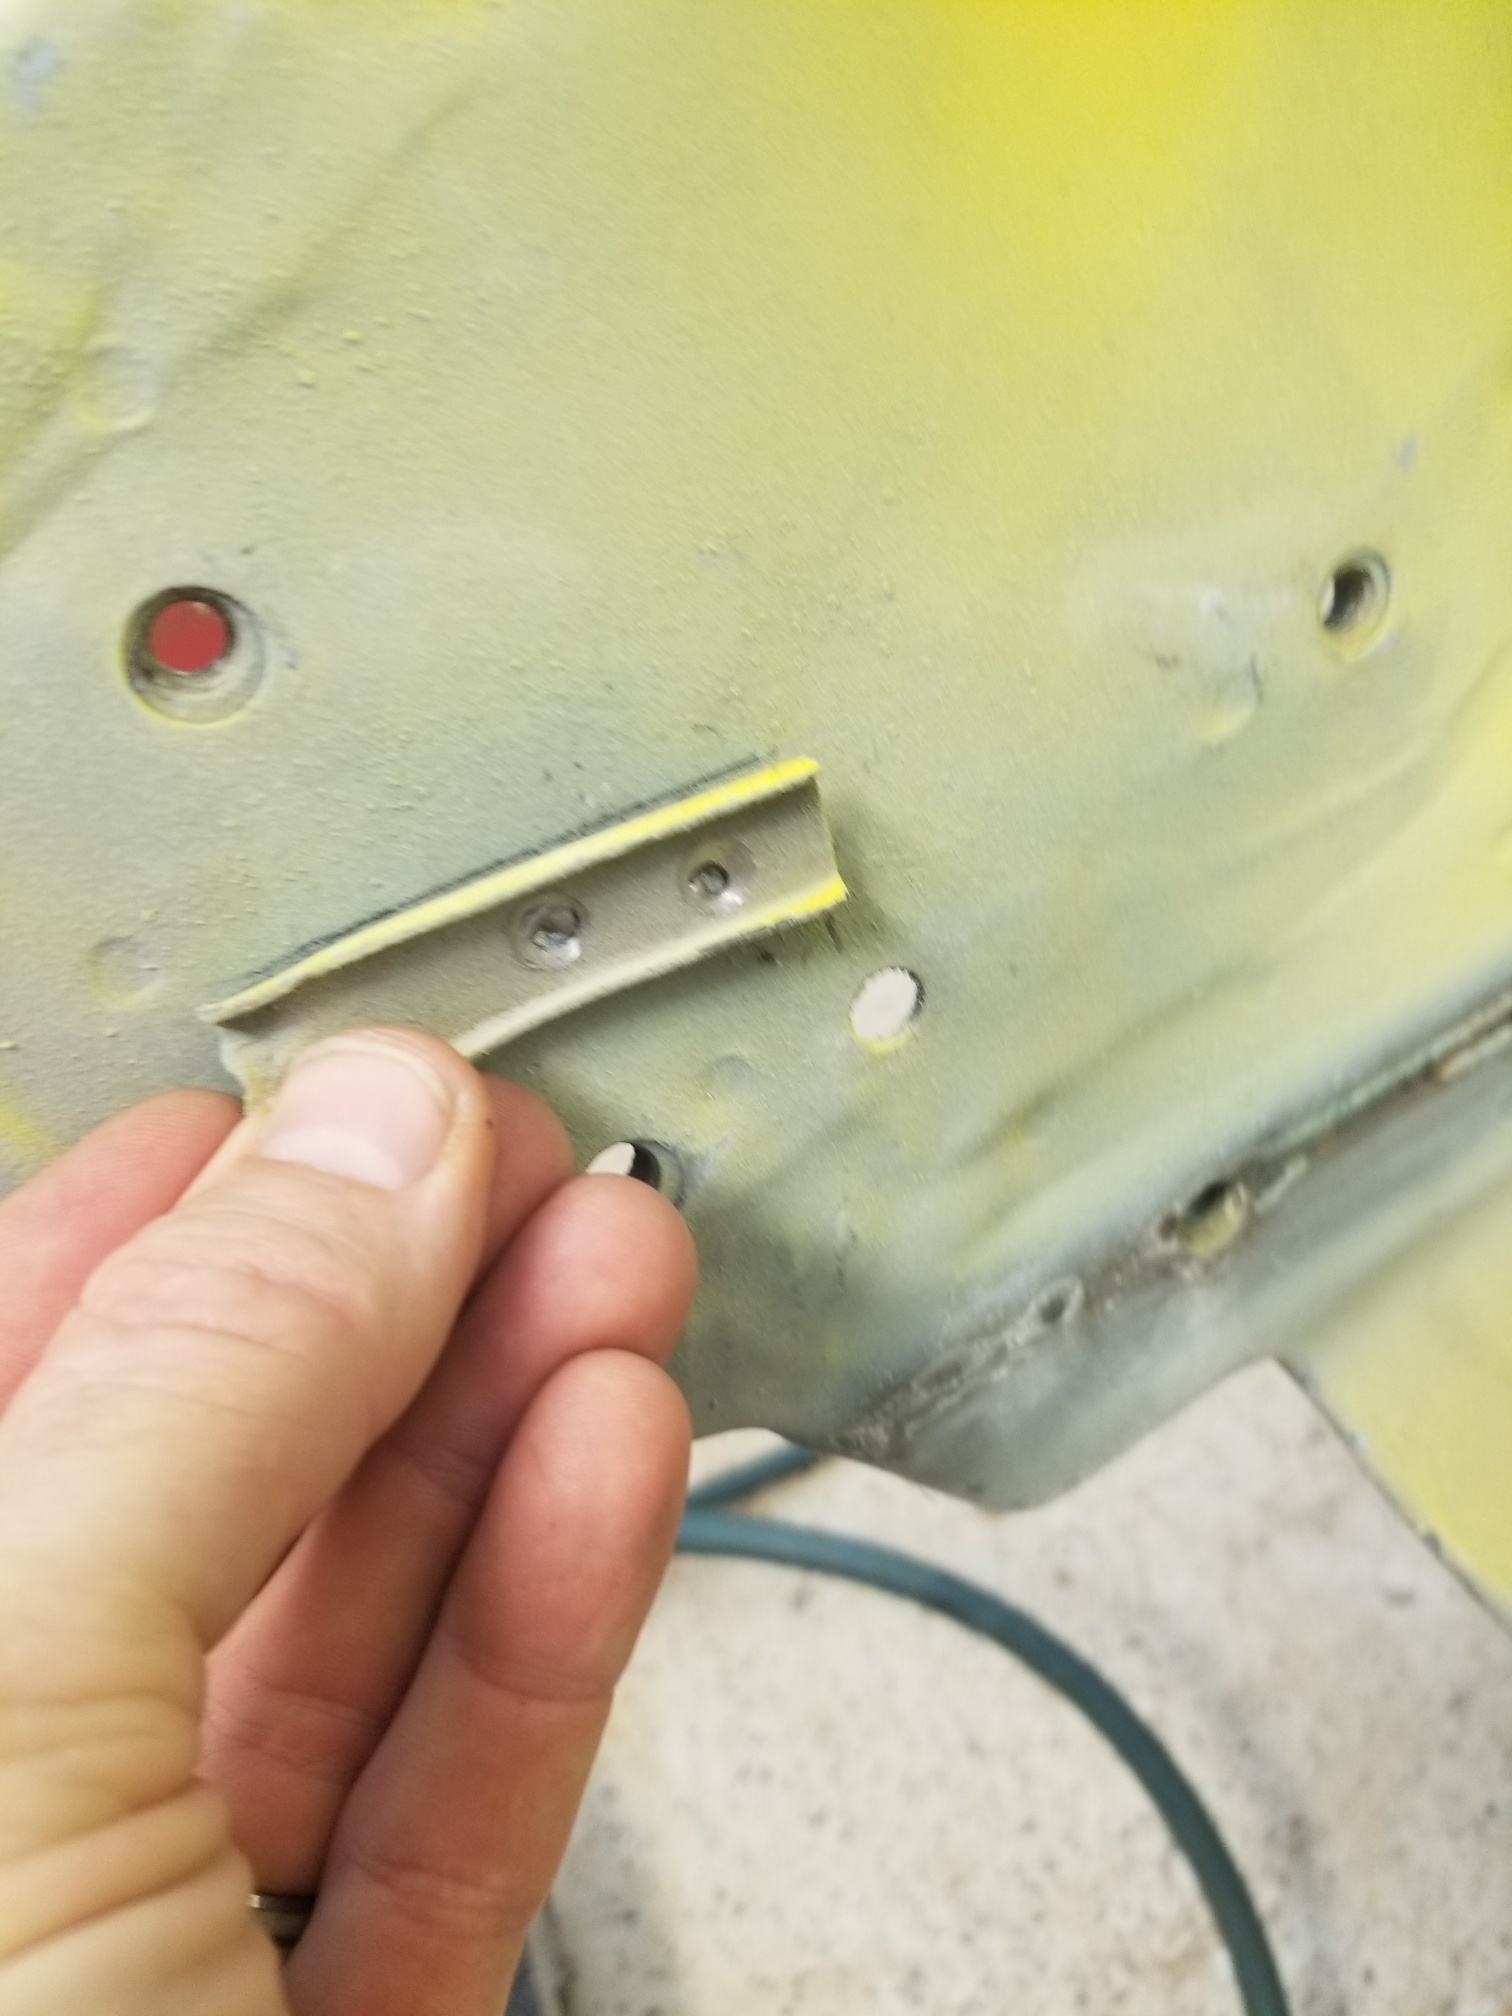
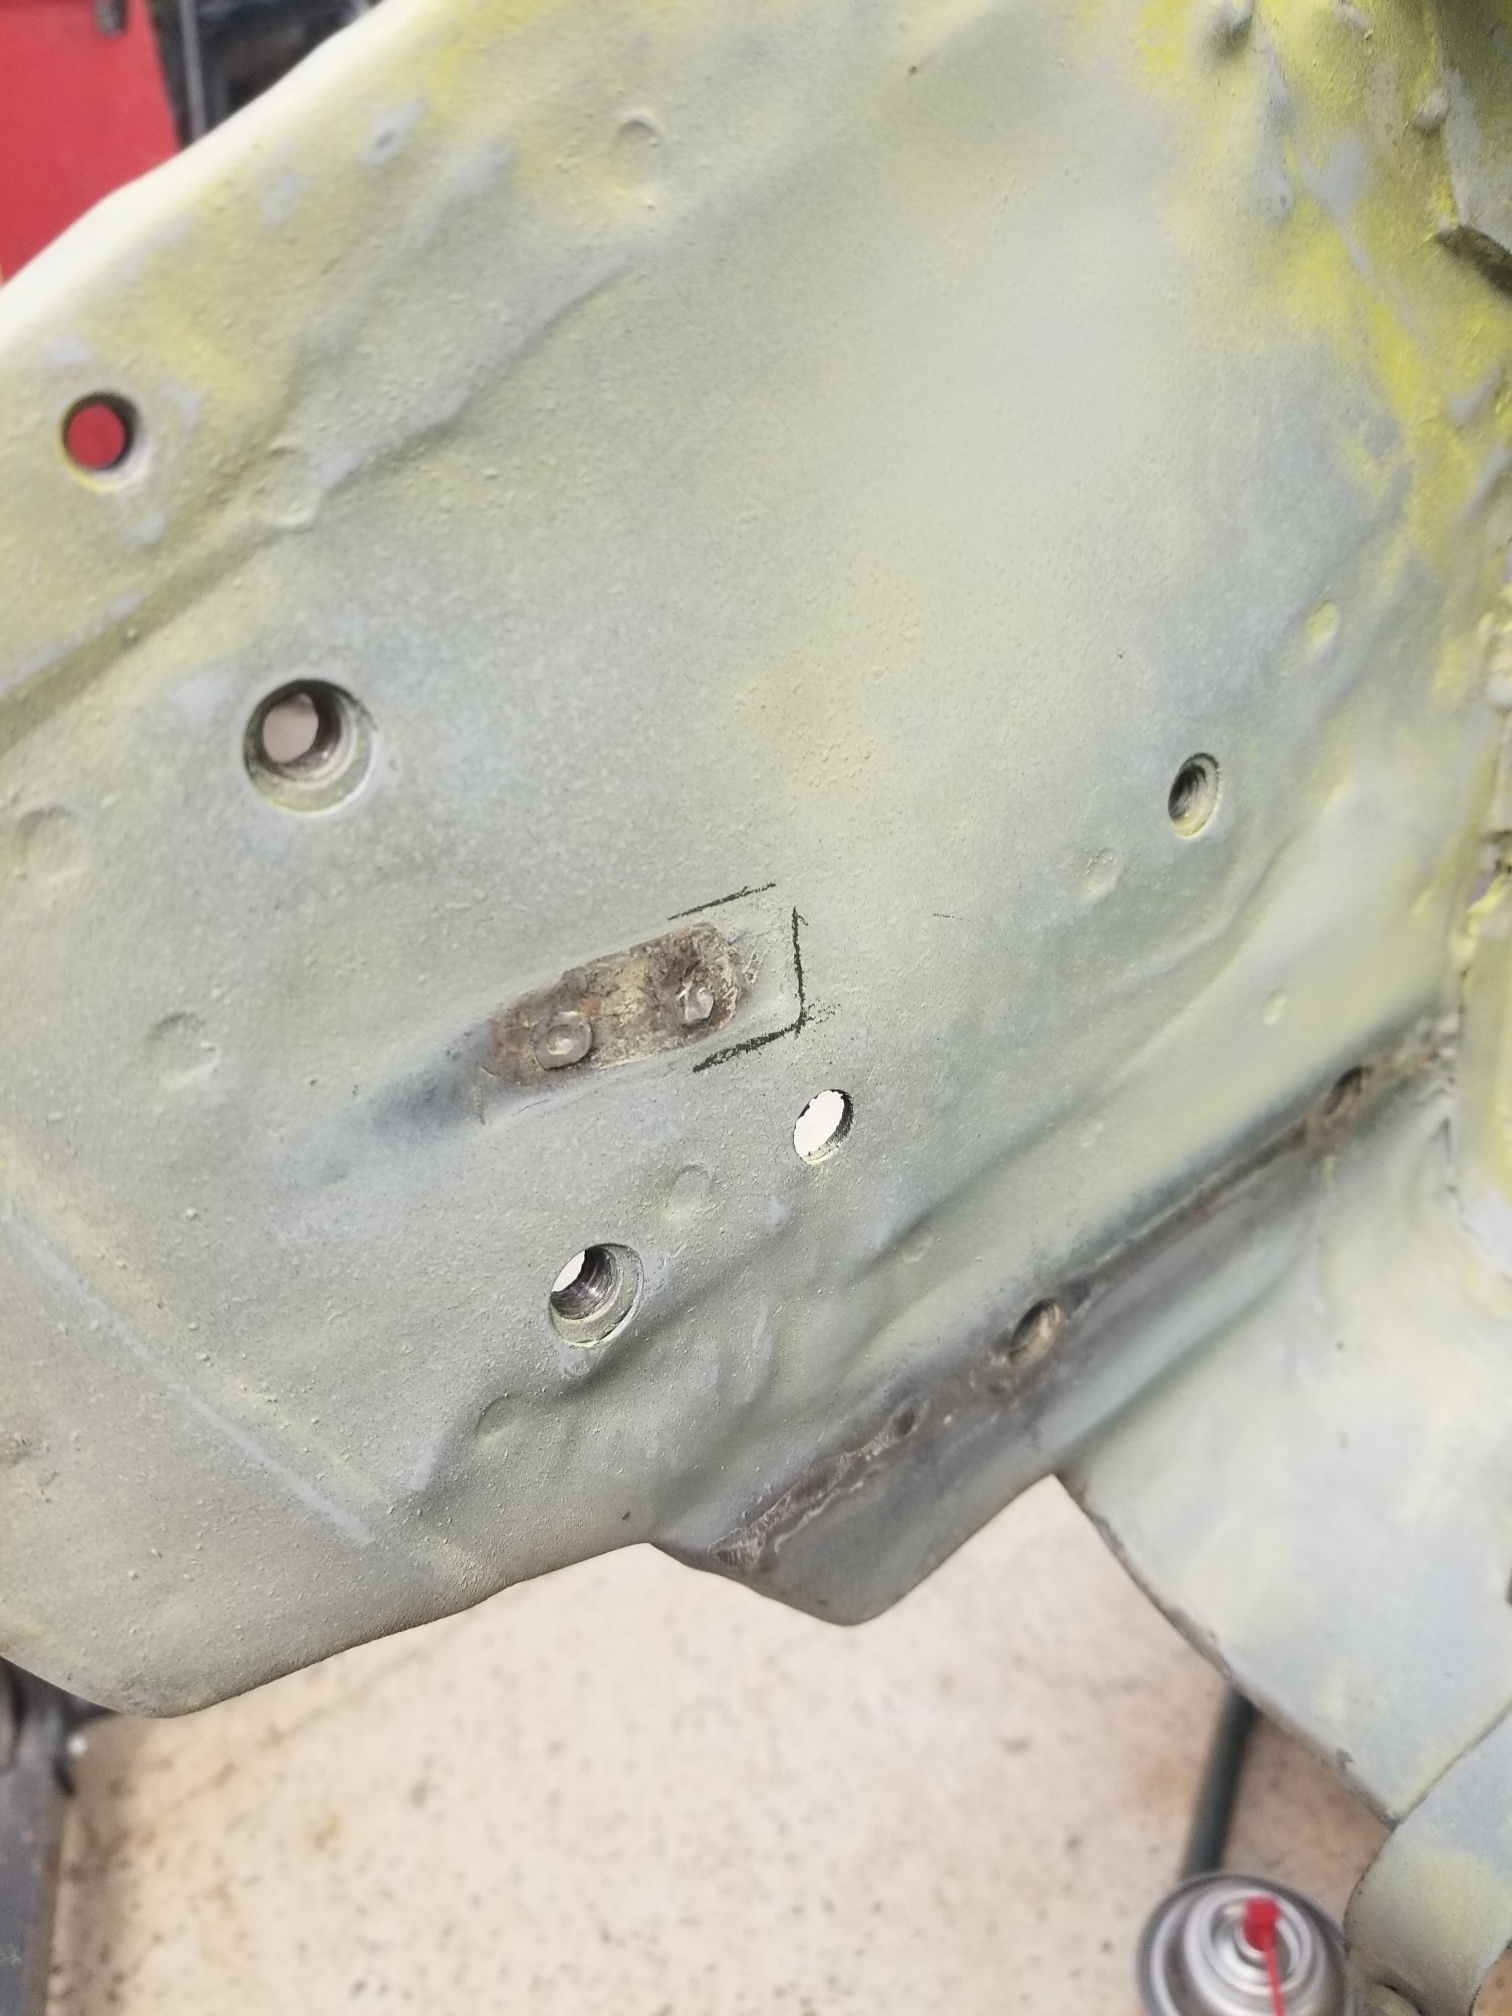
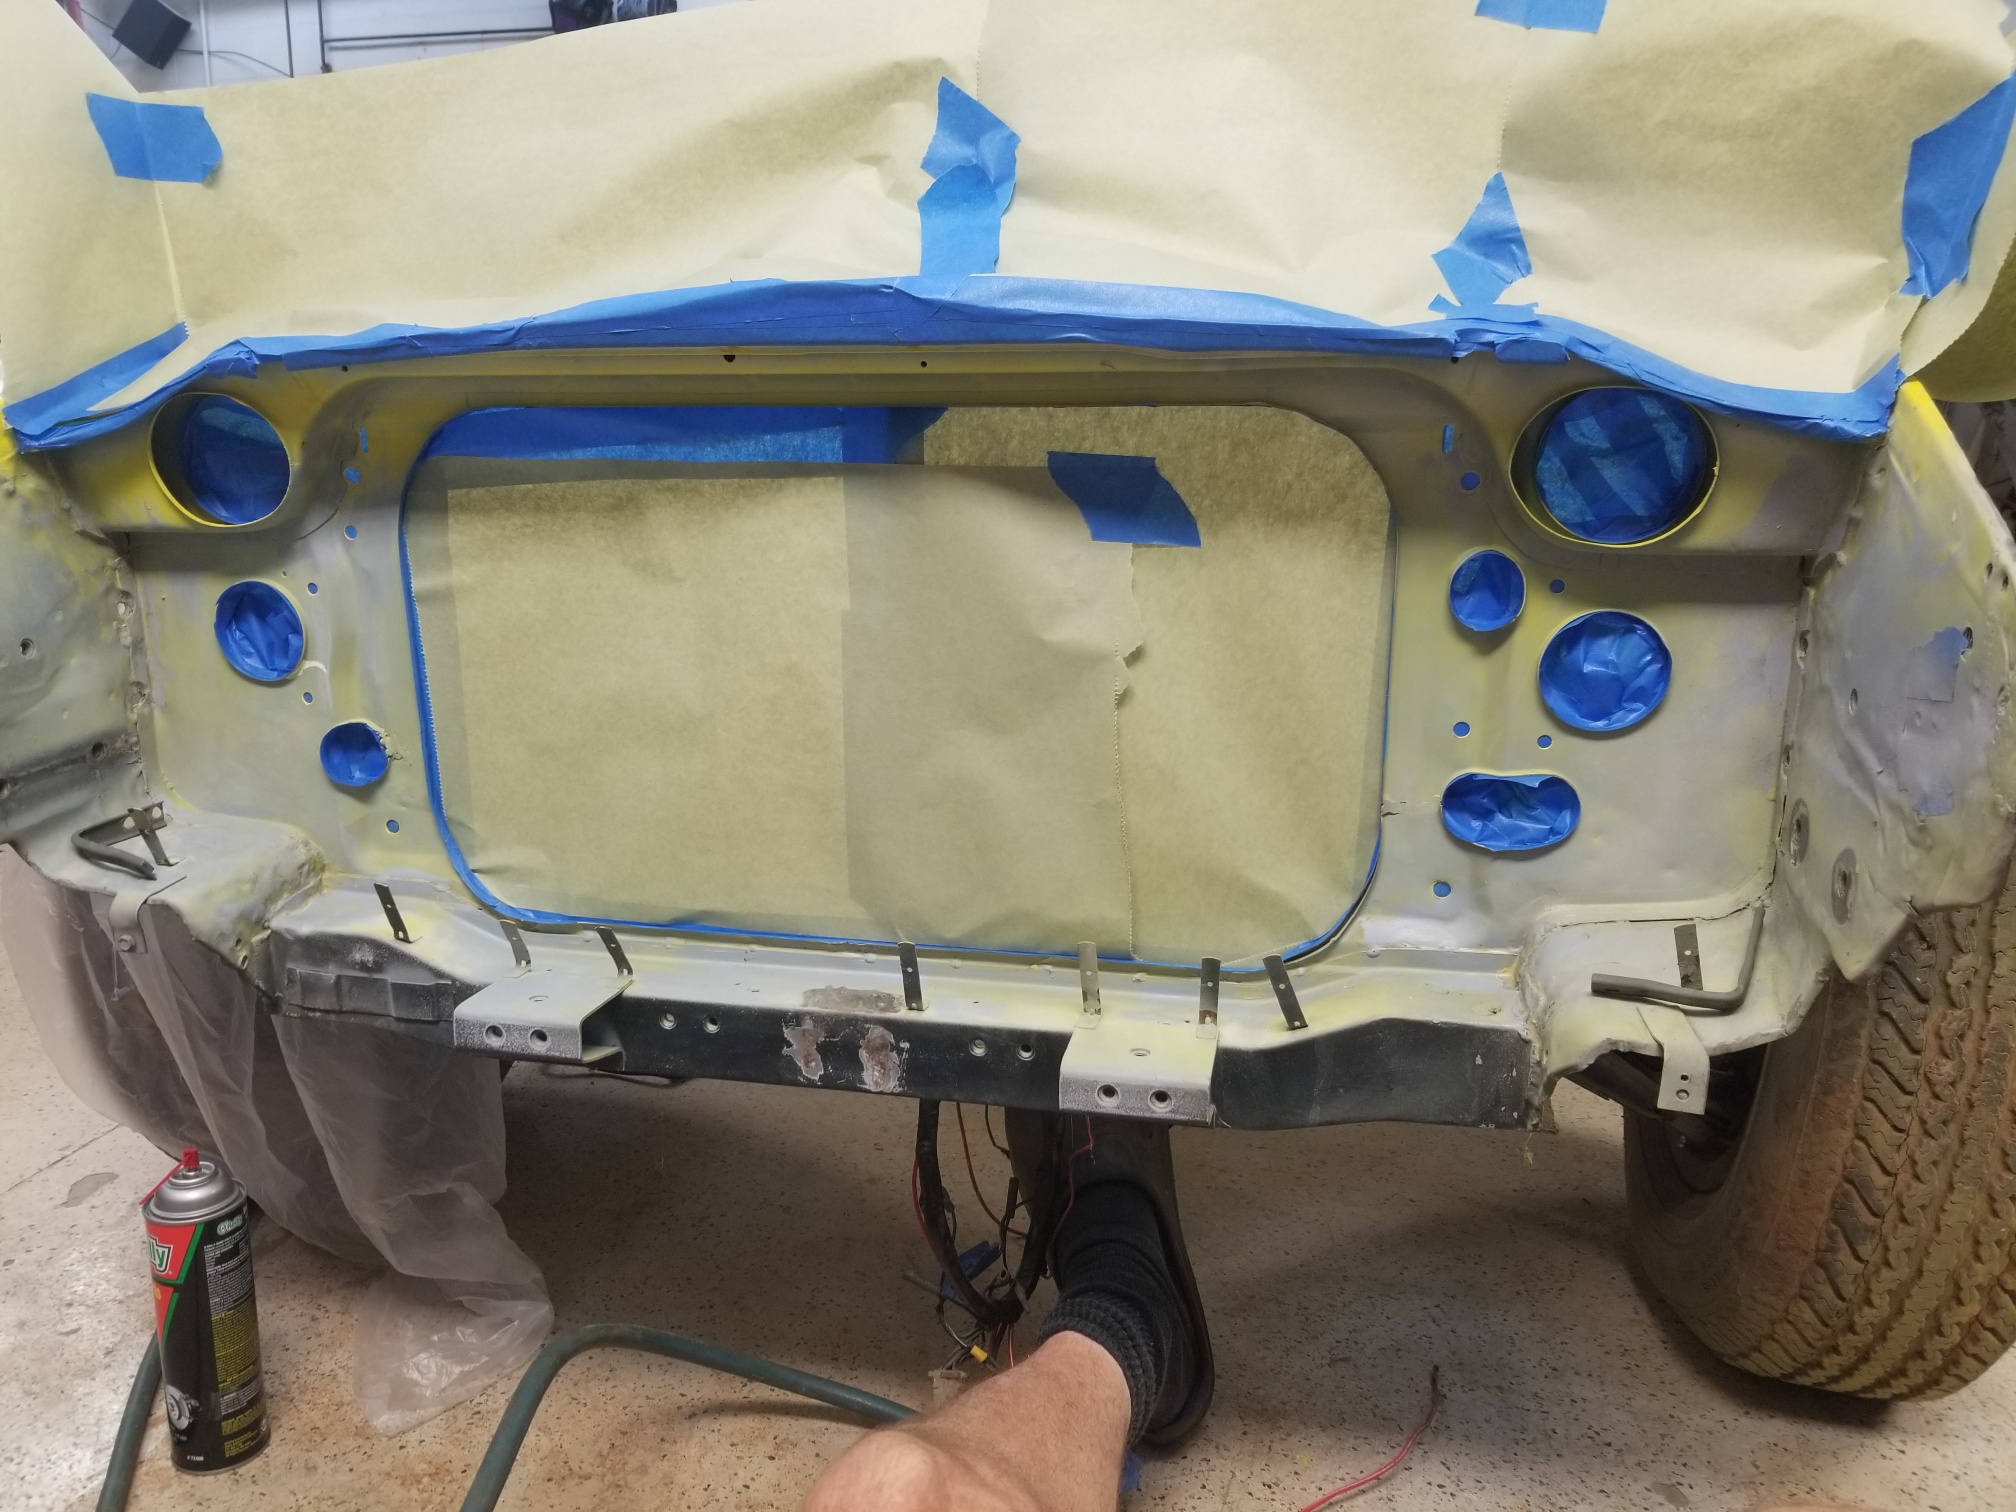
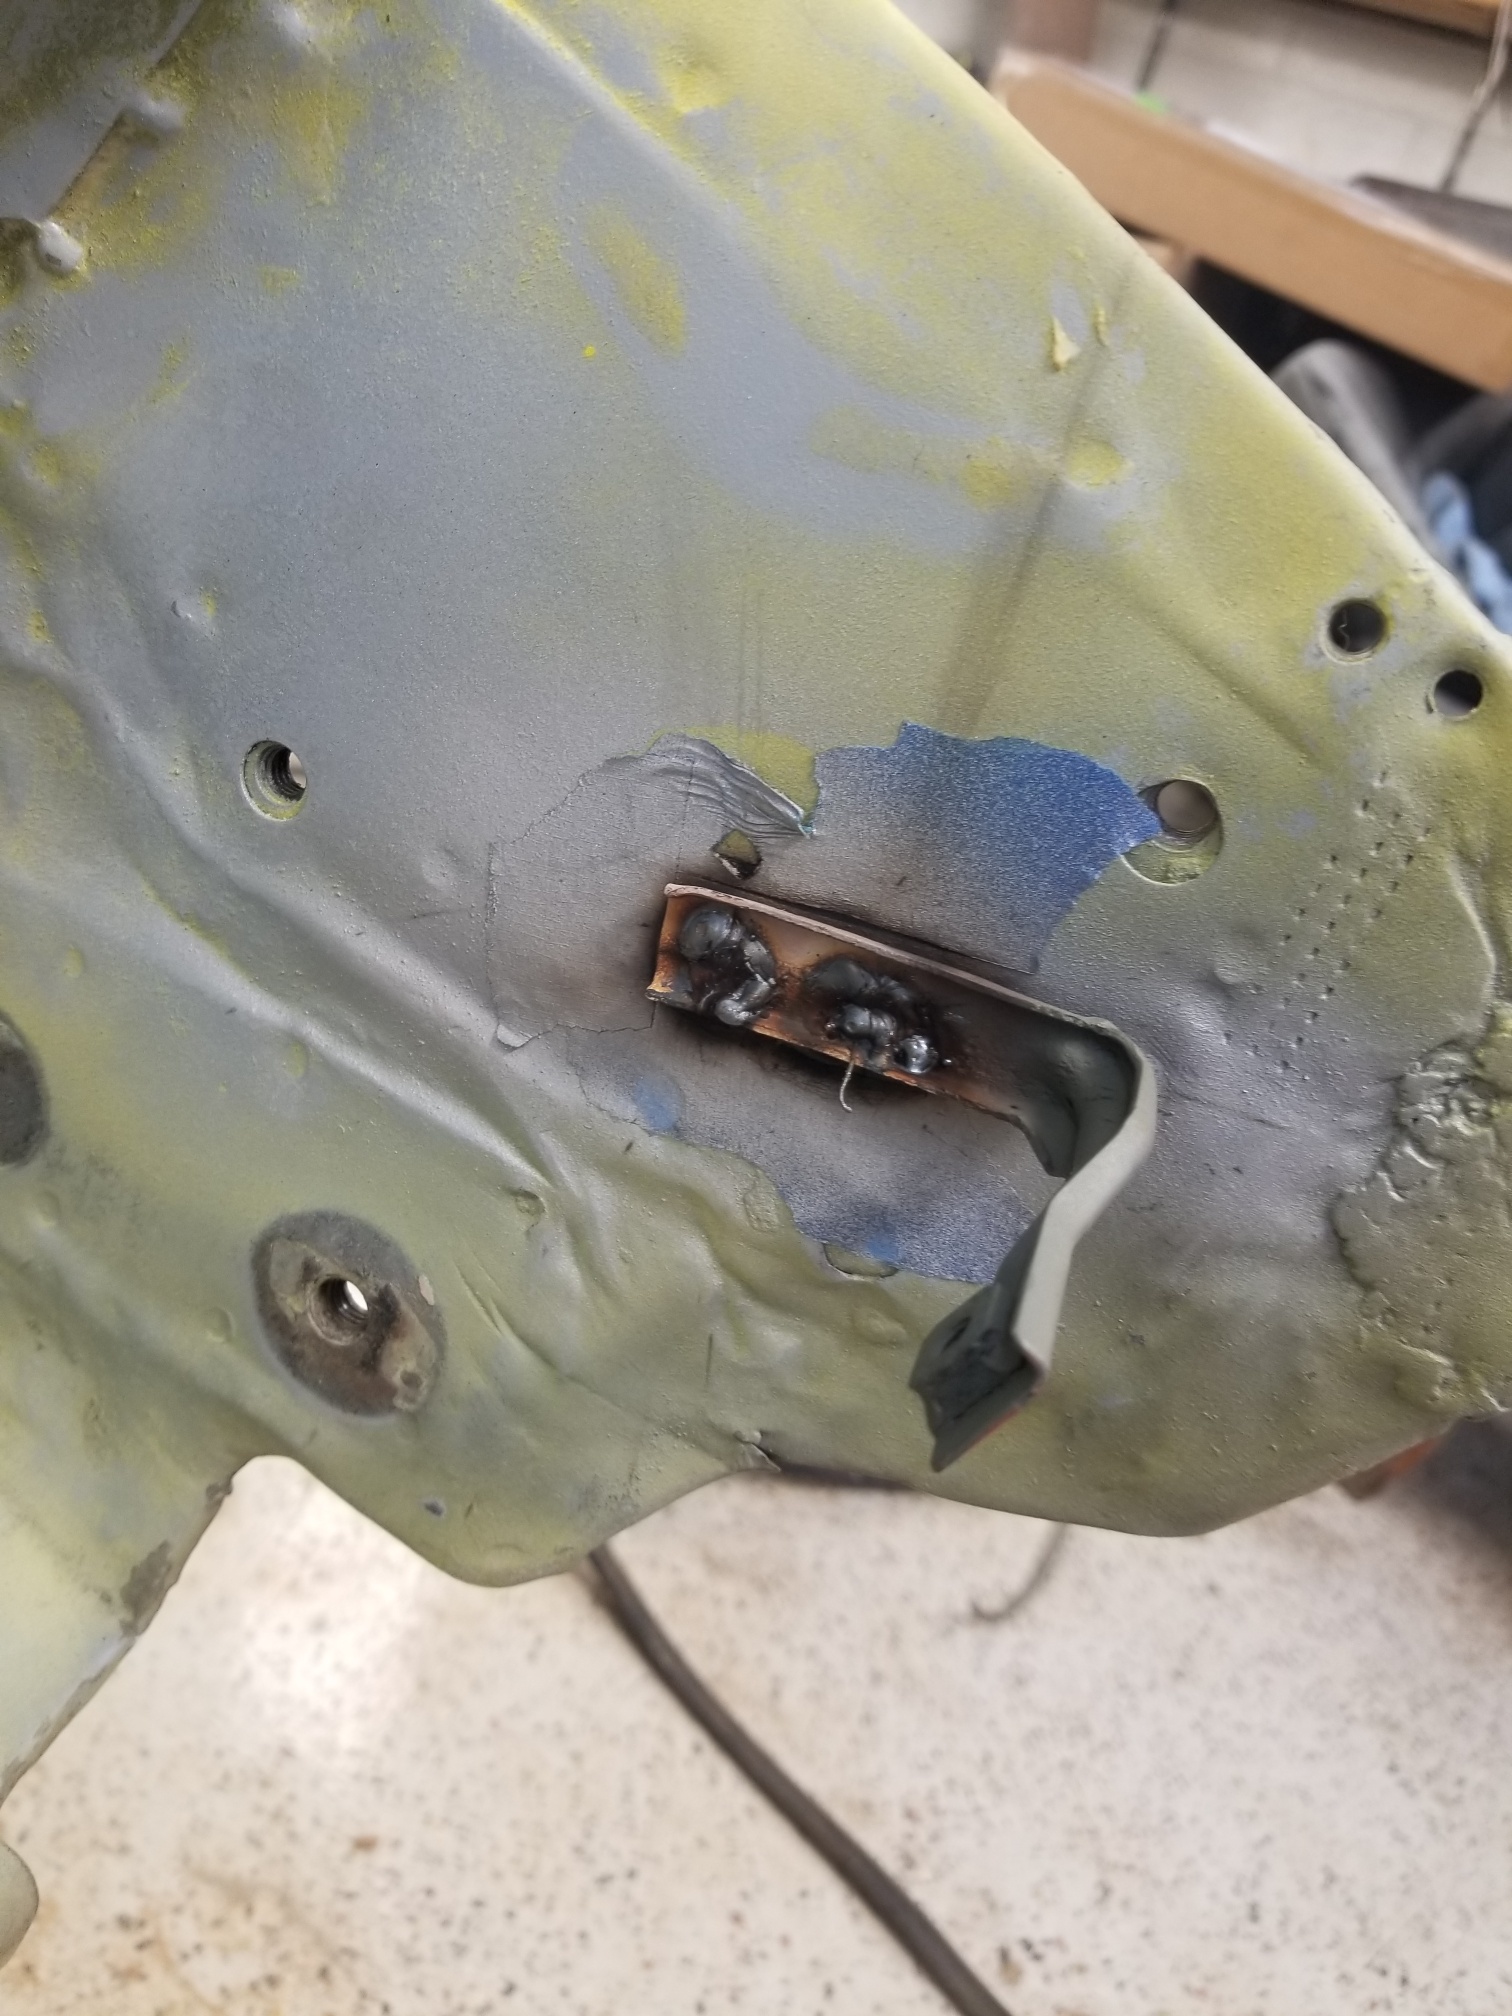
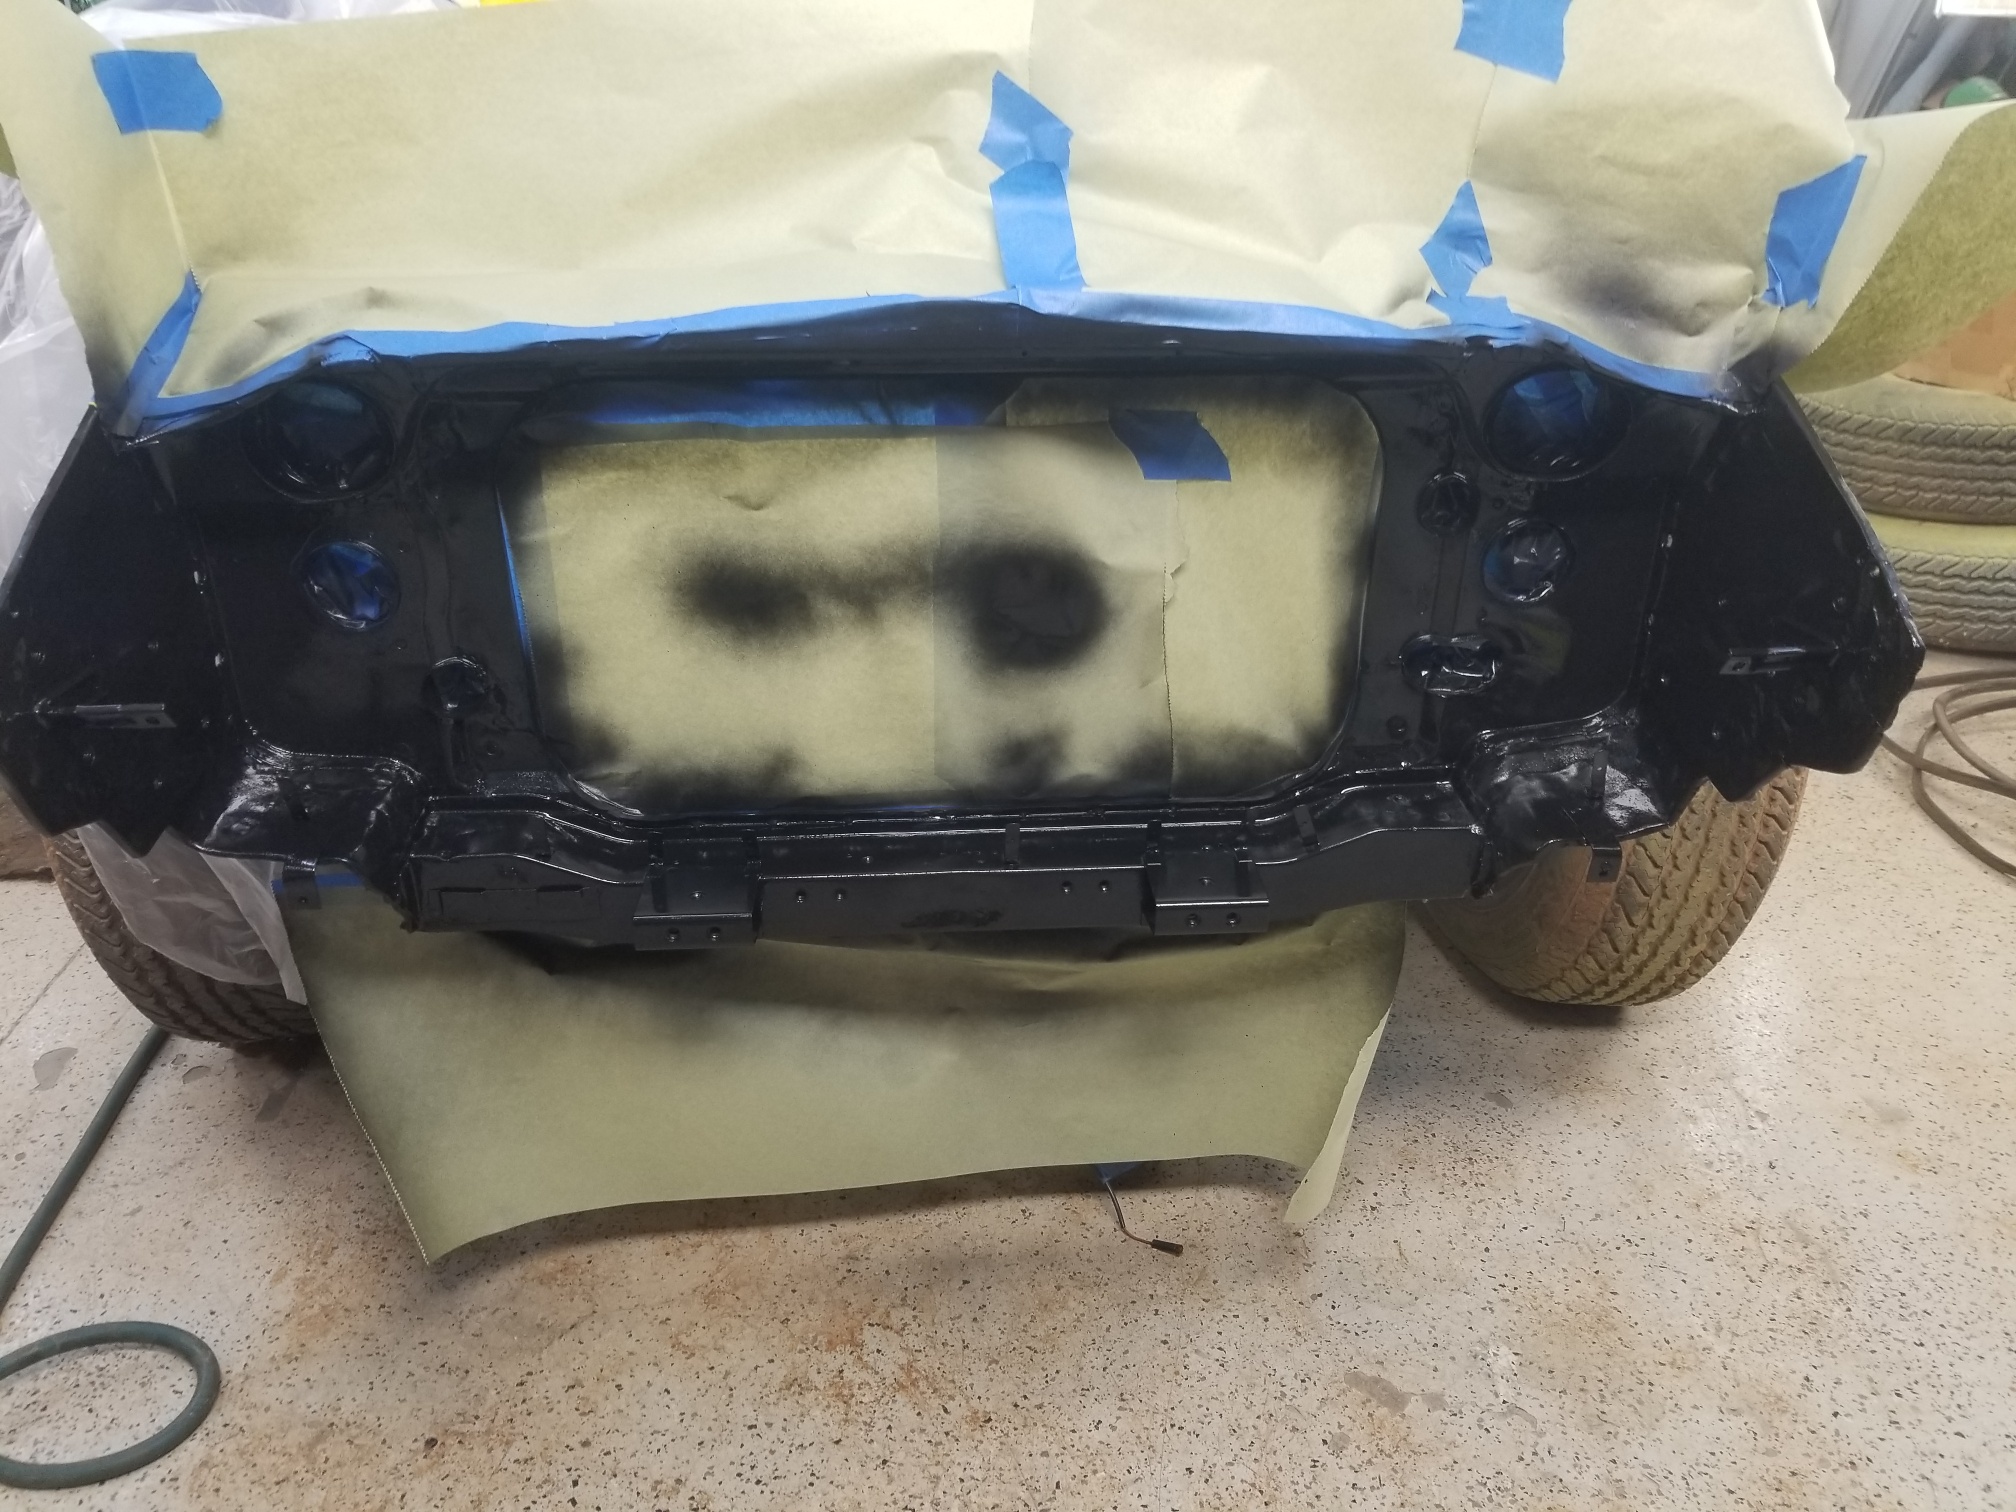
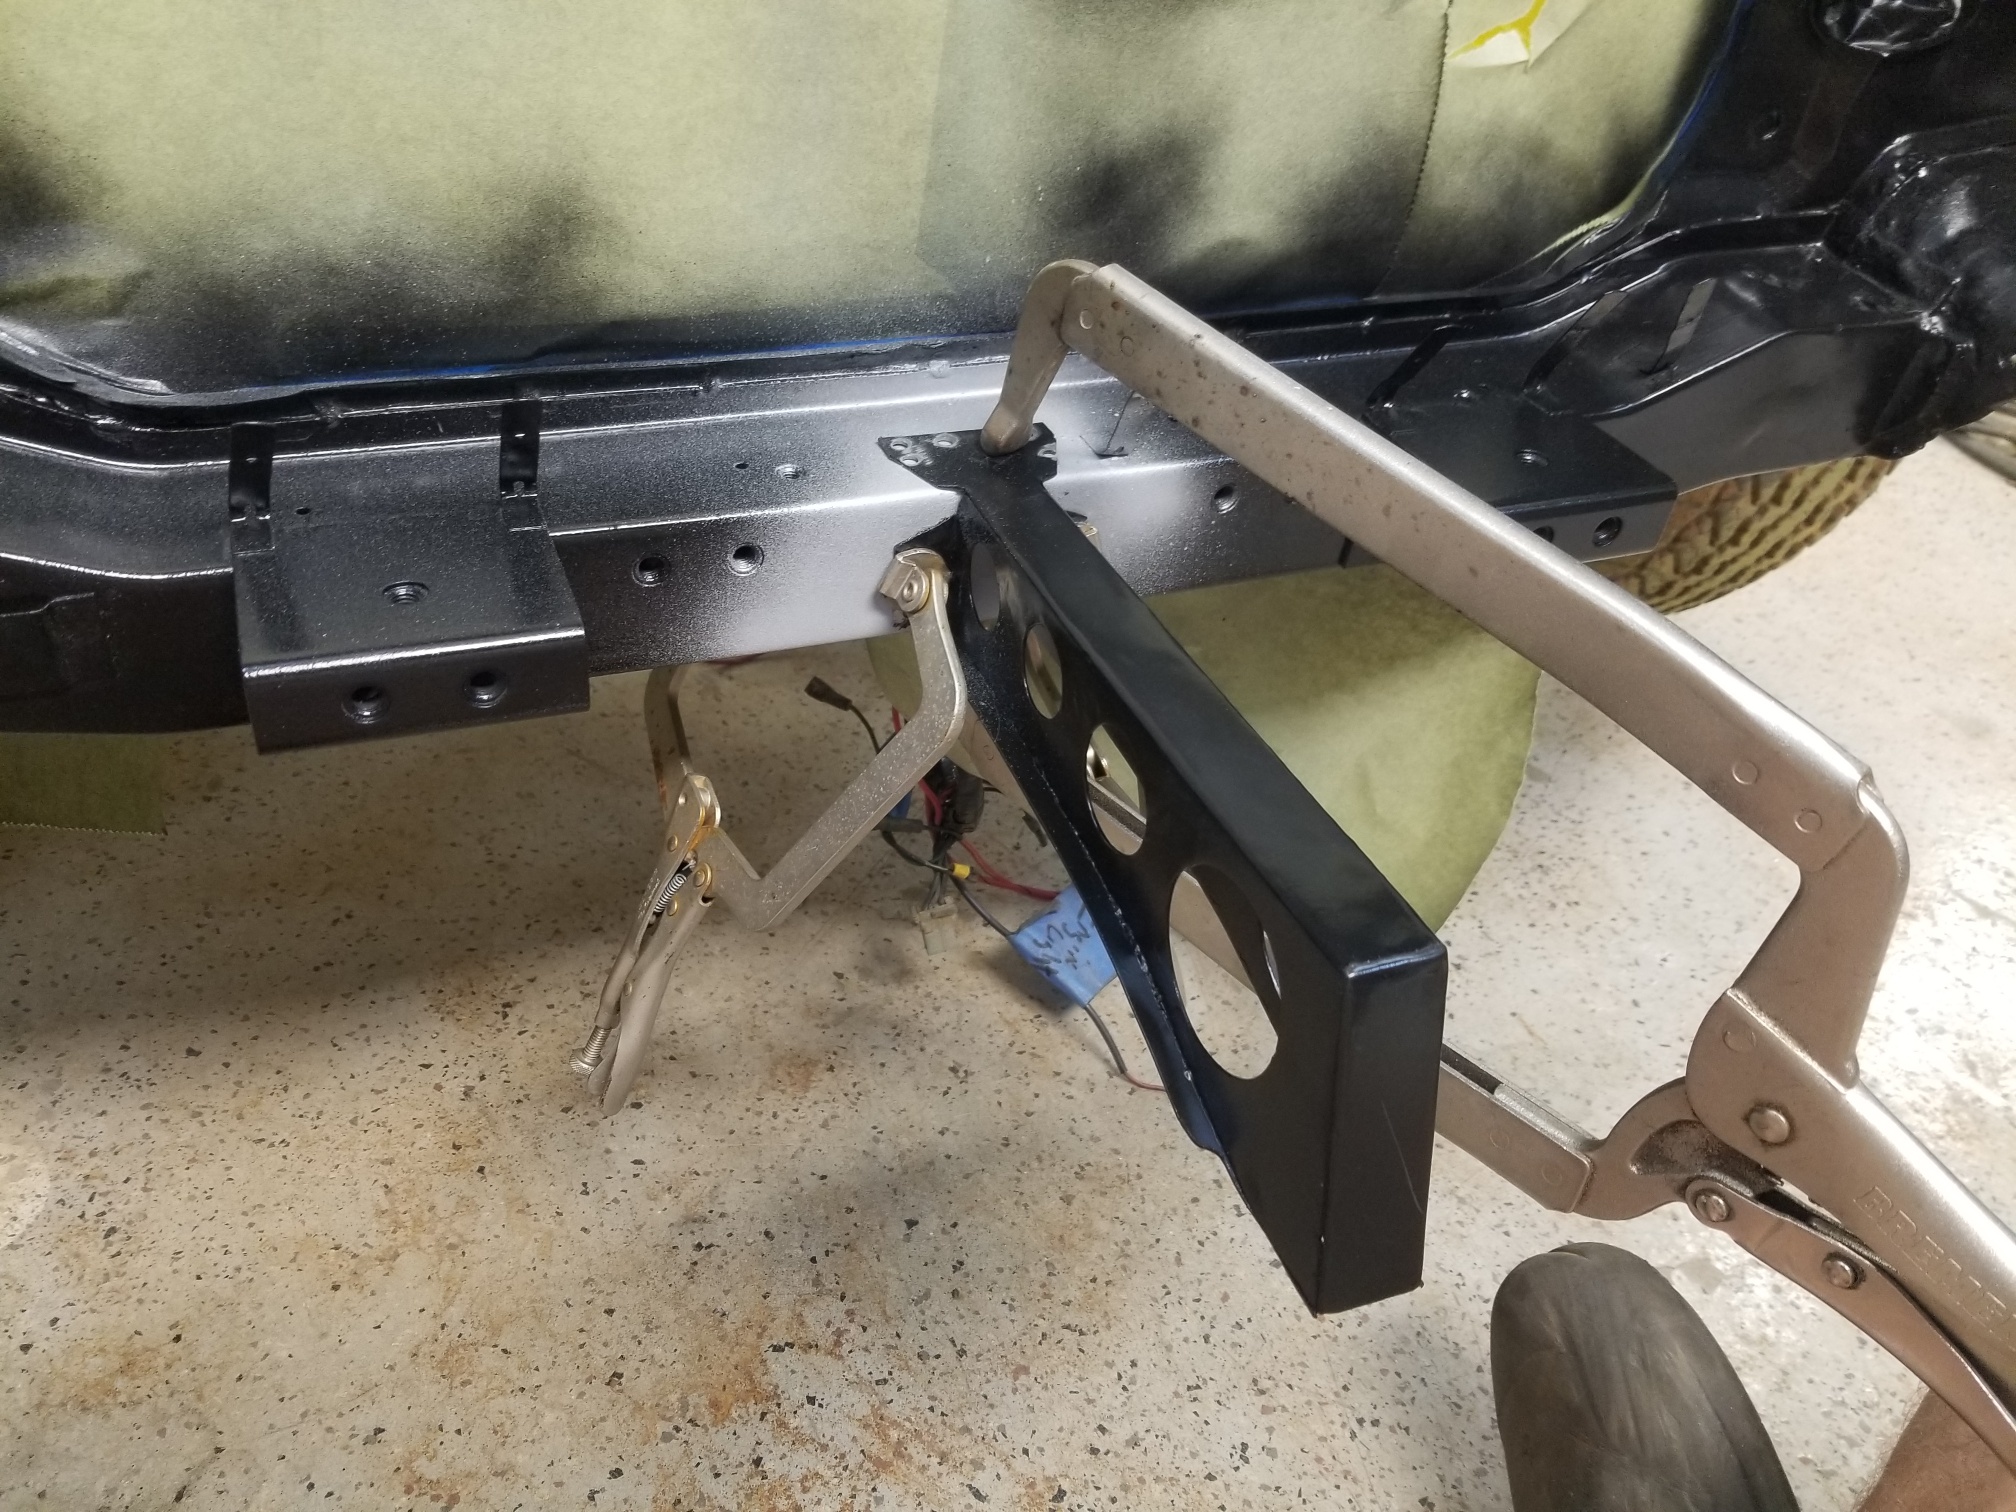
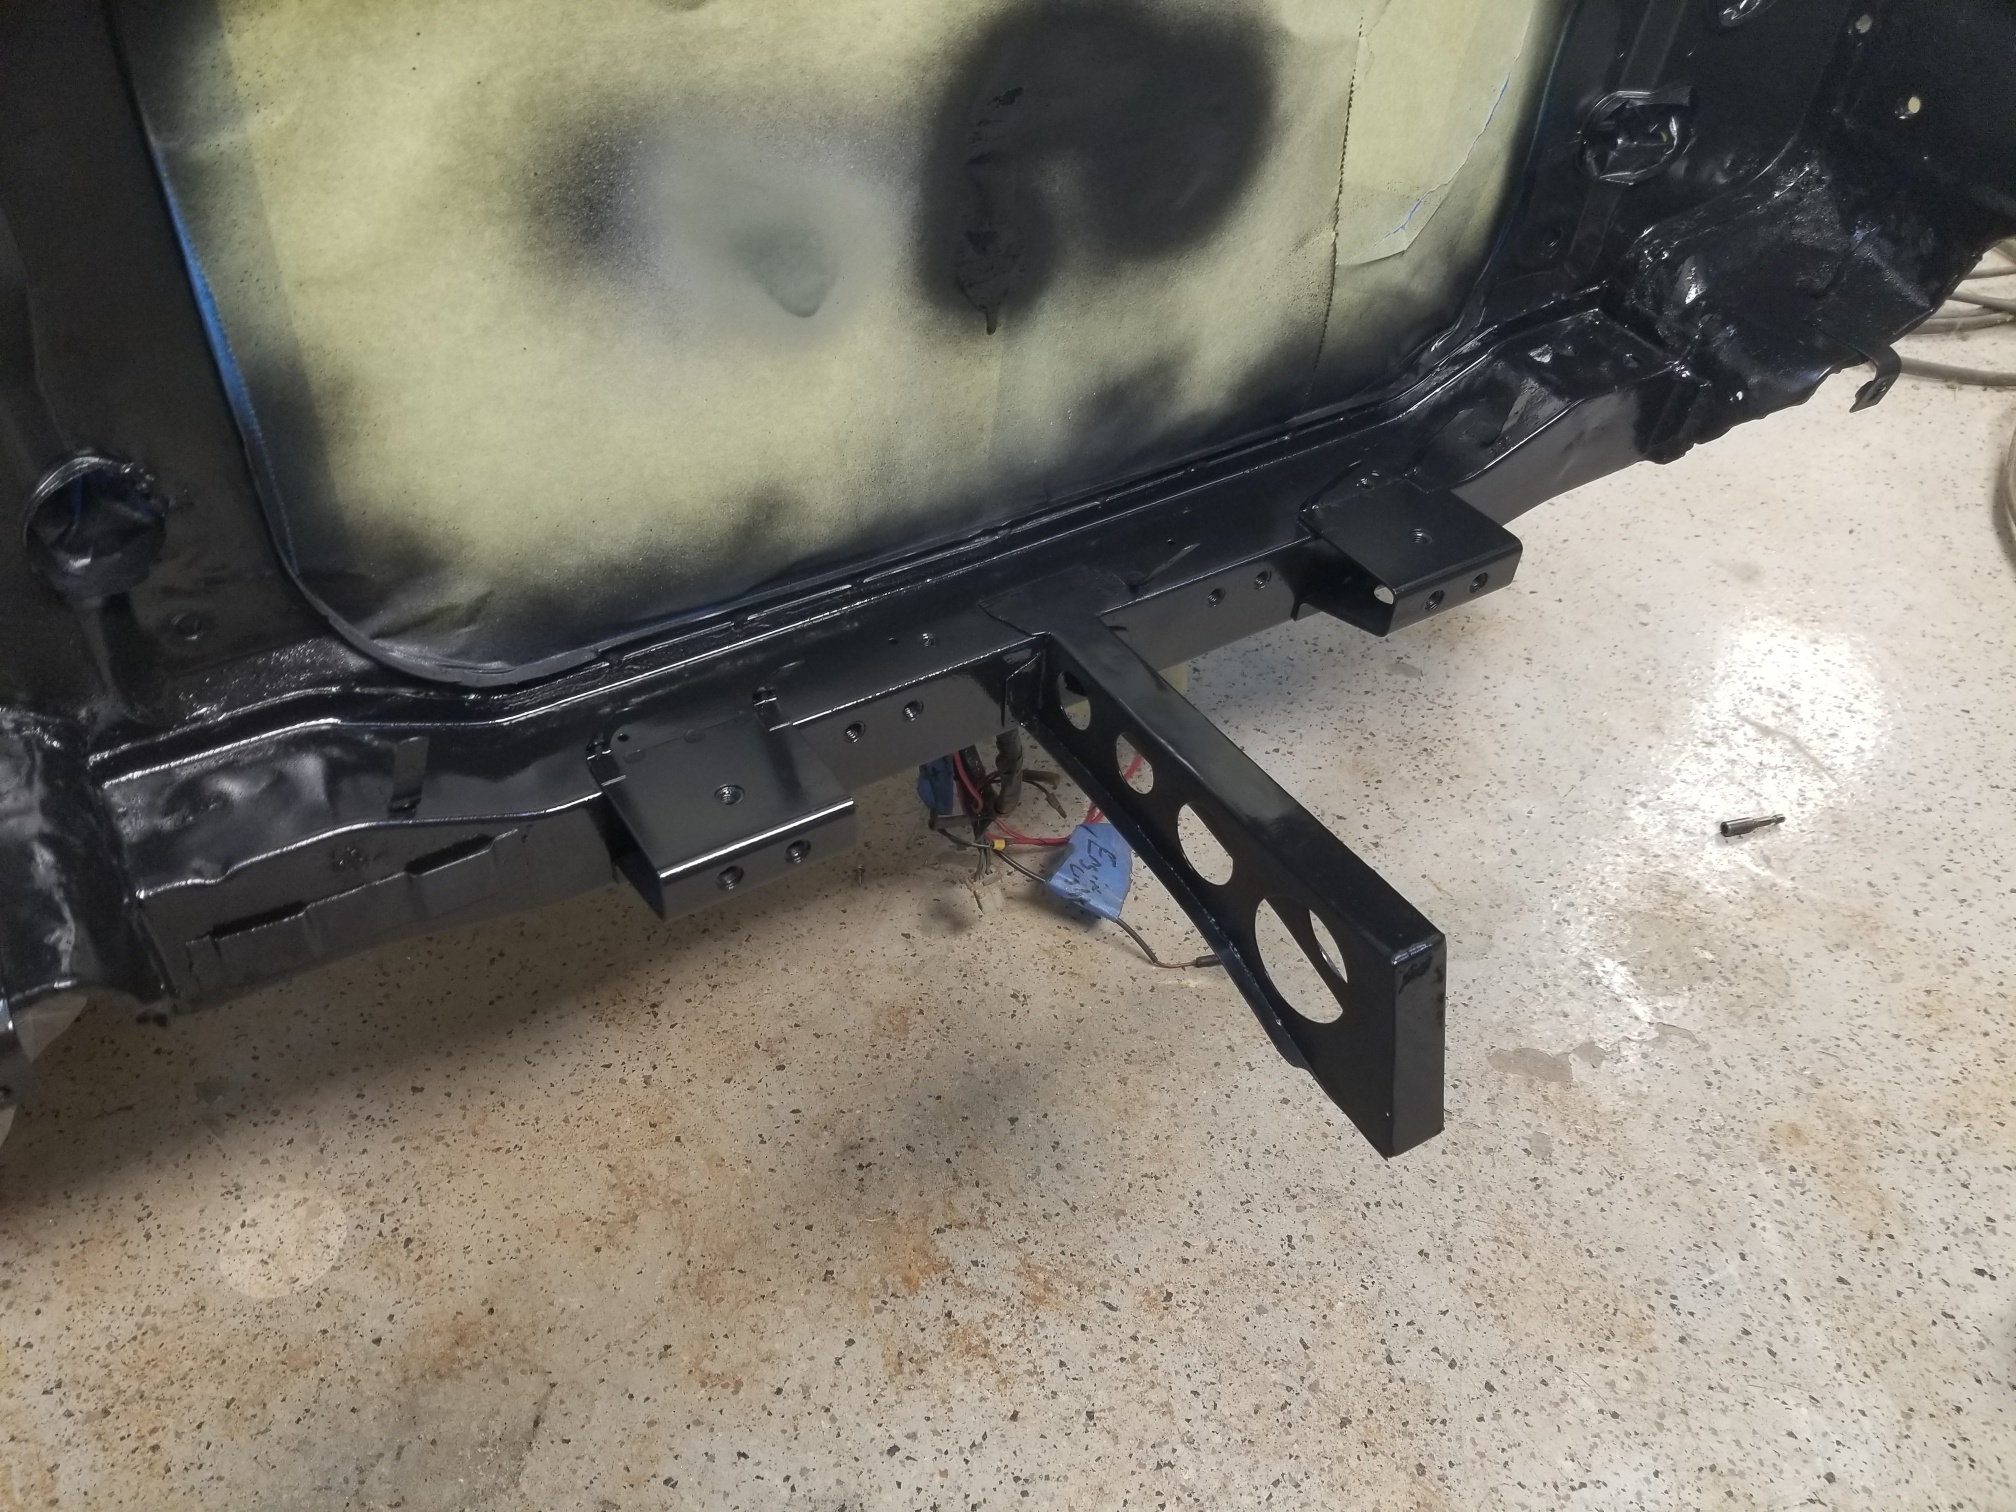
1 pointSo I worked on the radiator support some this week My grill brackets were either bent or broken off. So I took some off a parts car a while back. Marked around them with tape because the spot welds are in different places between the parts and the weld through primer would erase the pencil layout. Then I seam sealed around them. Taped the car up and sprayed it black. Then I primed and blacked my air dam support and welded it on today


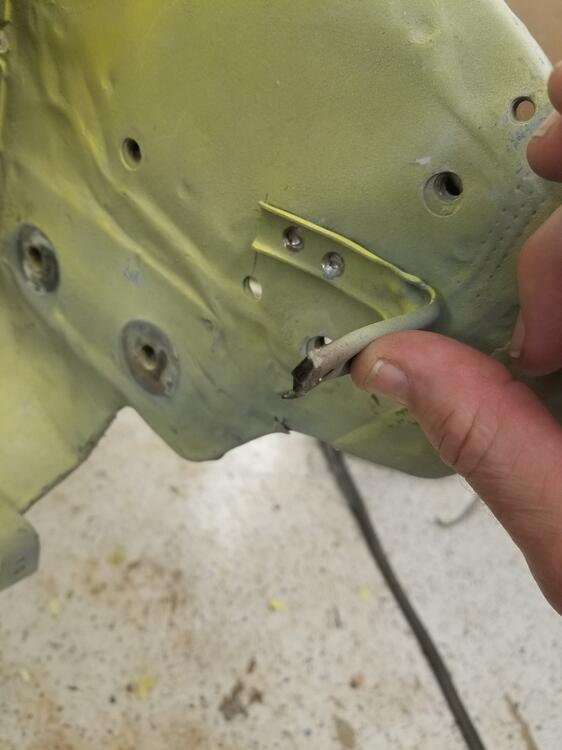
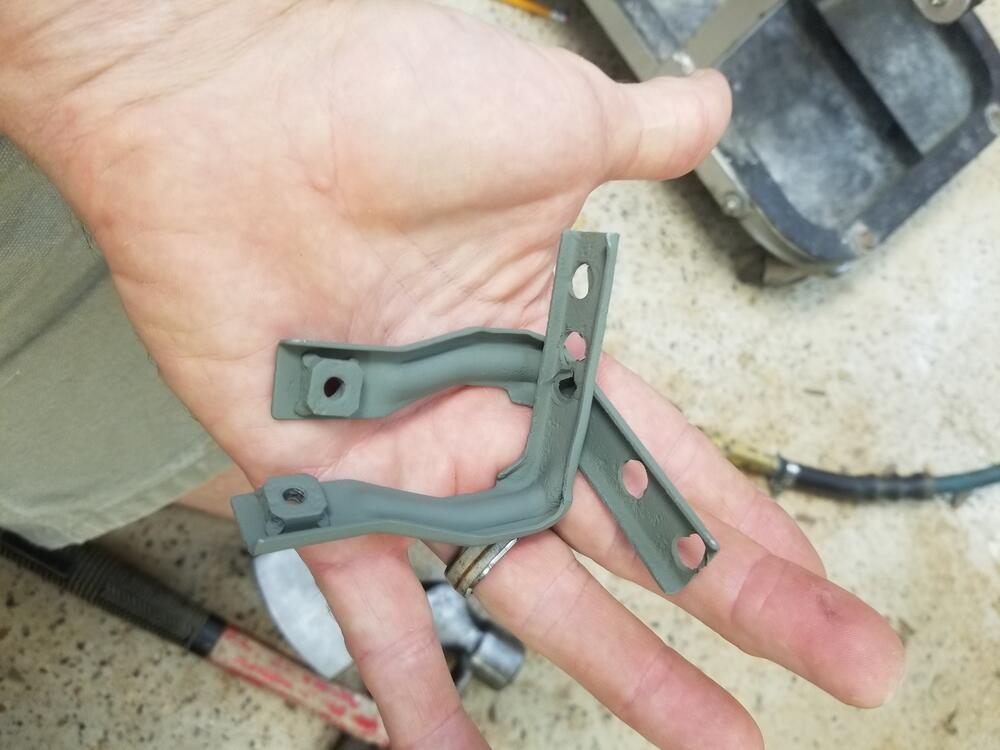

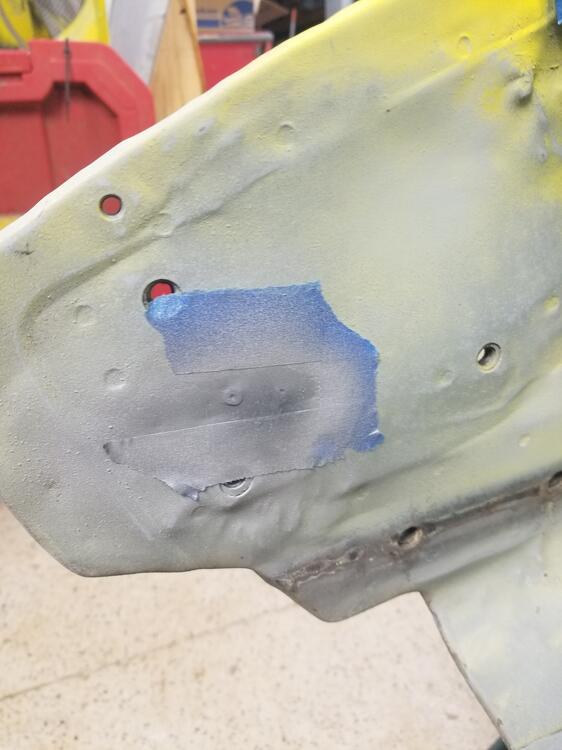

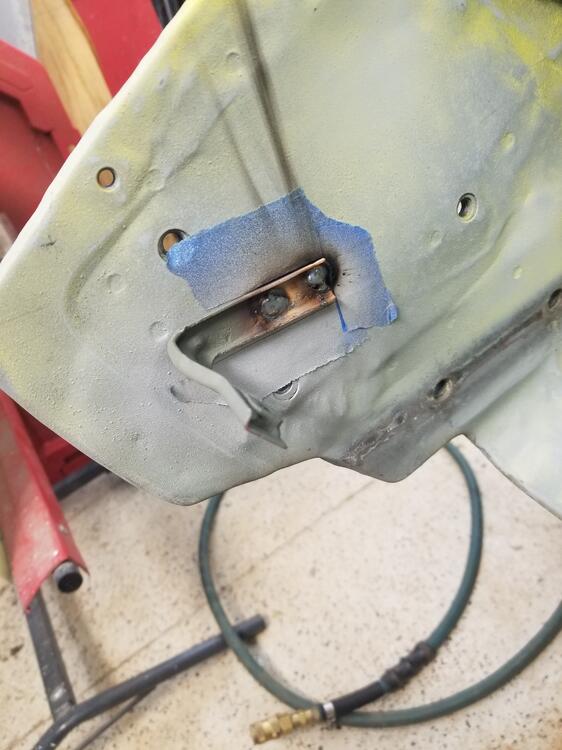
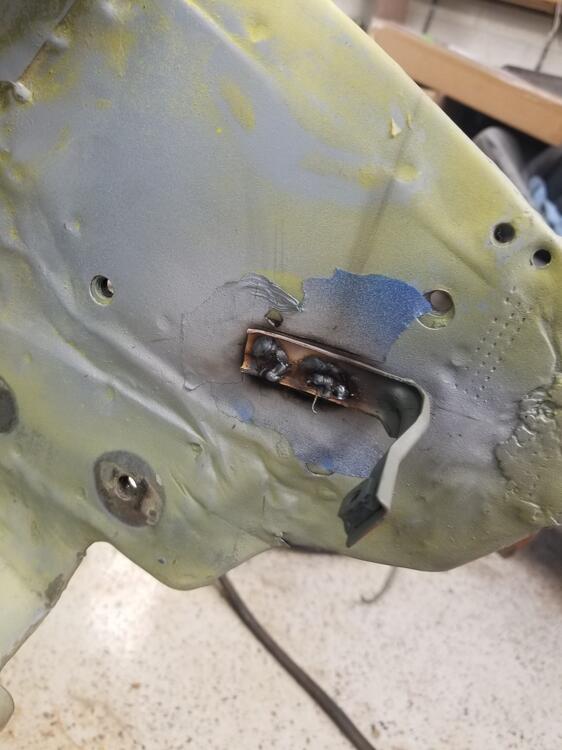


 1 point