Leaderboard
-
.JPG.cfcada9cf1c1b502df3f5f2f2ca3ff36.JPG)
SteveJ
Free Member9Points9,646Posts -

Paulytunes
 Subscriber
 6Points107Posts
 -
HusseinHolland
Free Member5Points1,031Posts -

Racer X
Free Member2Points1,877Posts


Popular Content
Showing content with the highest reputation on 08/06/2023 in all areas
-
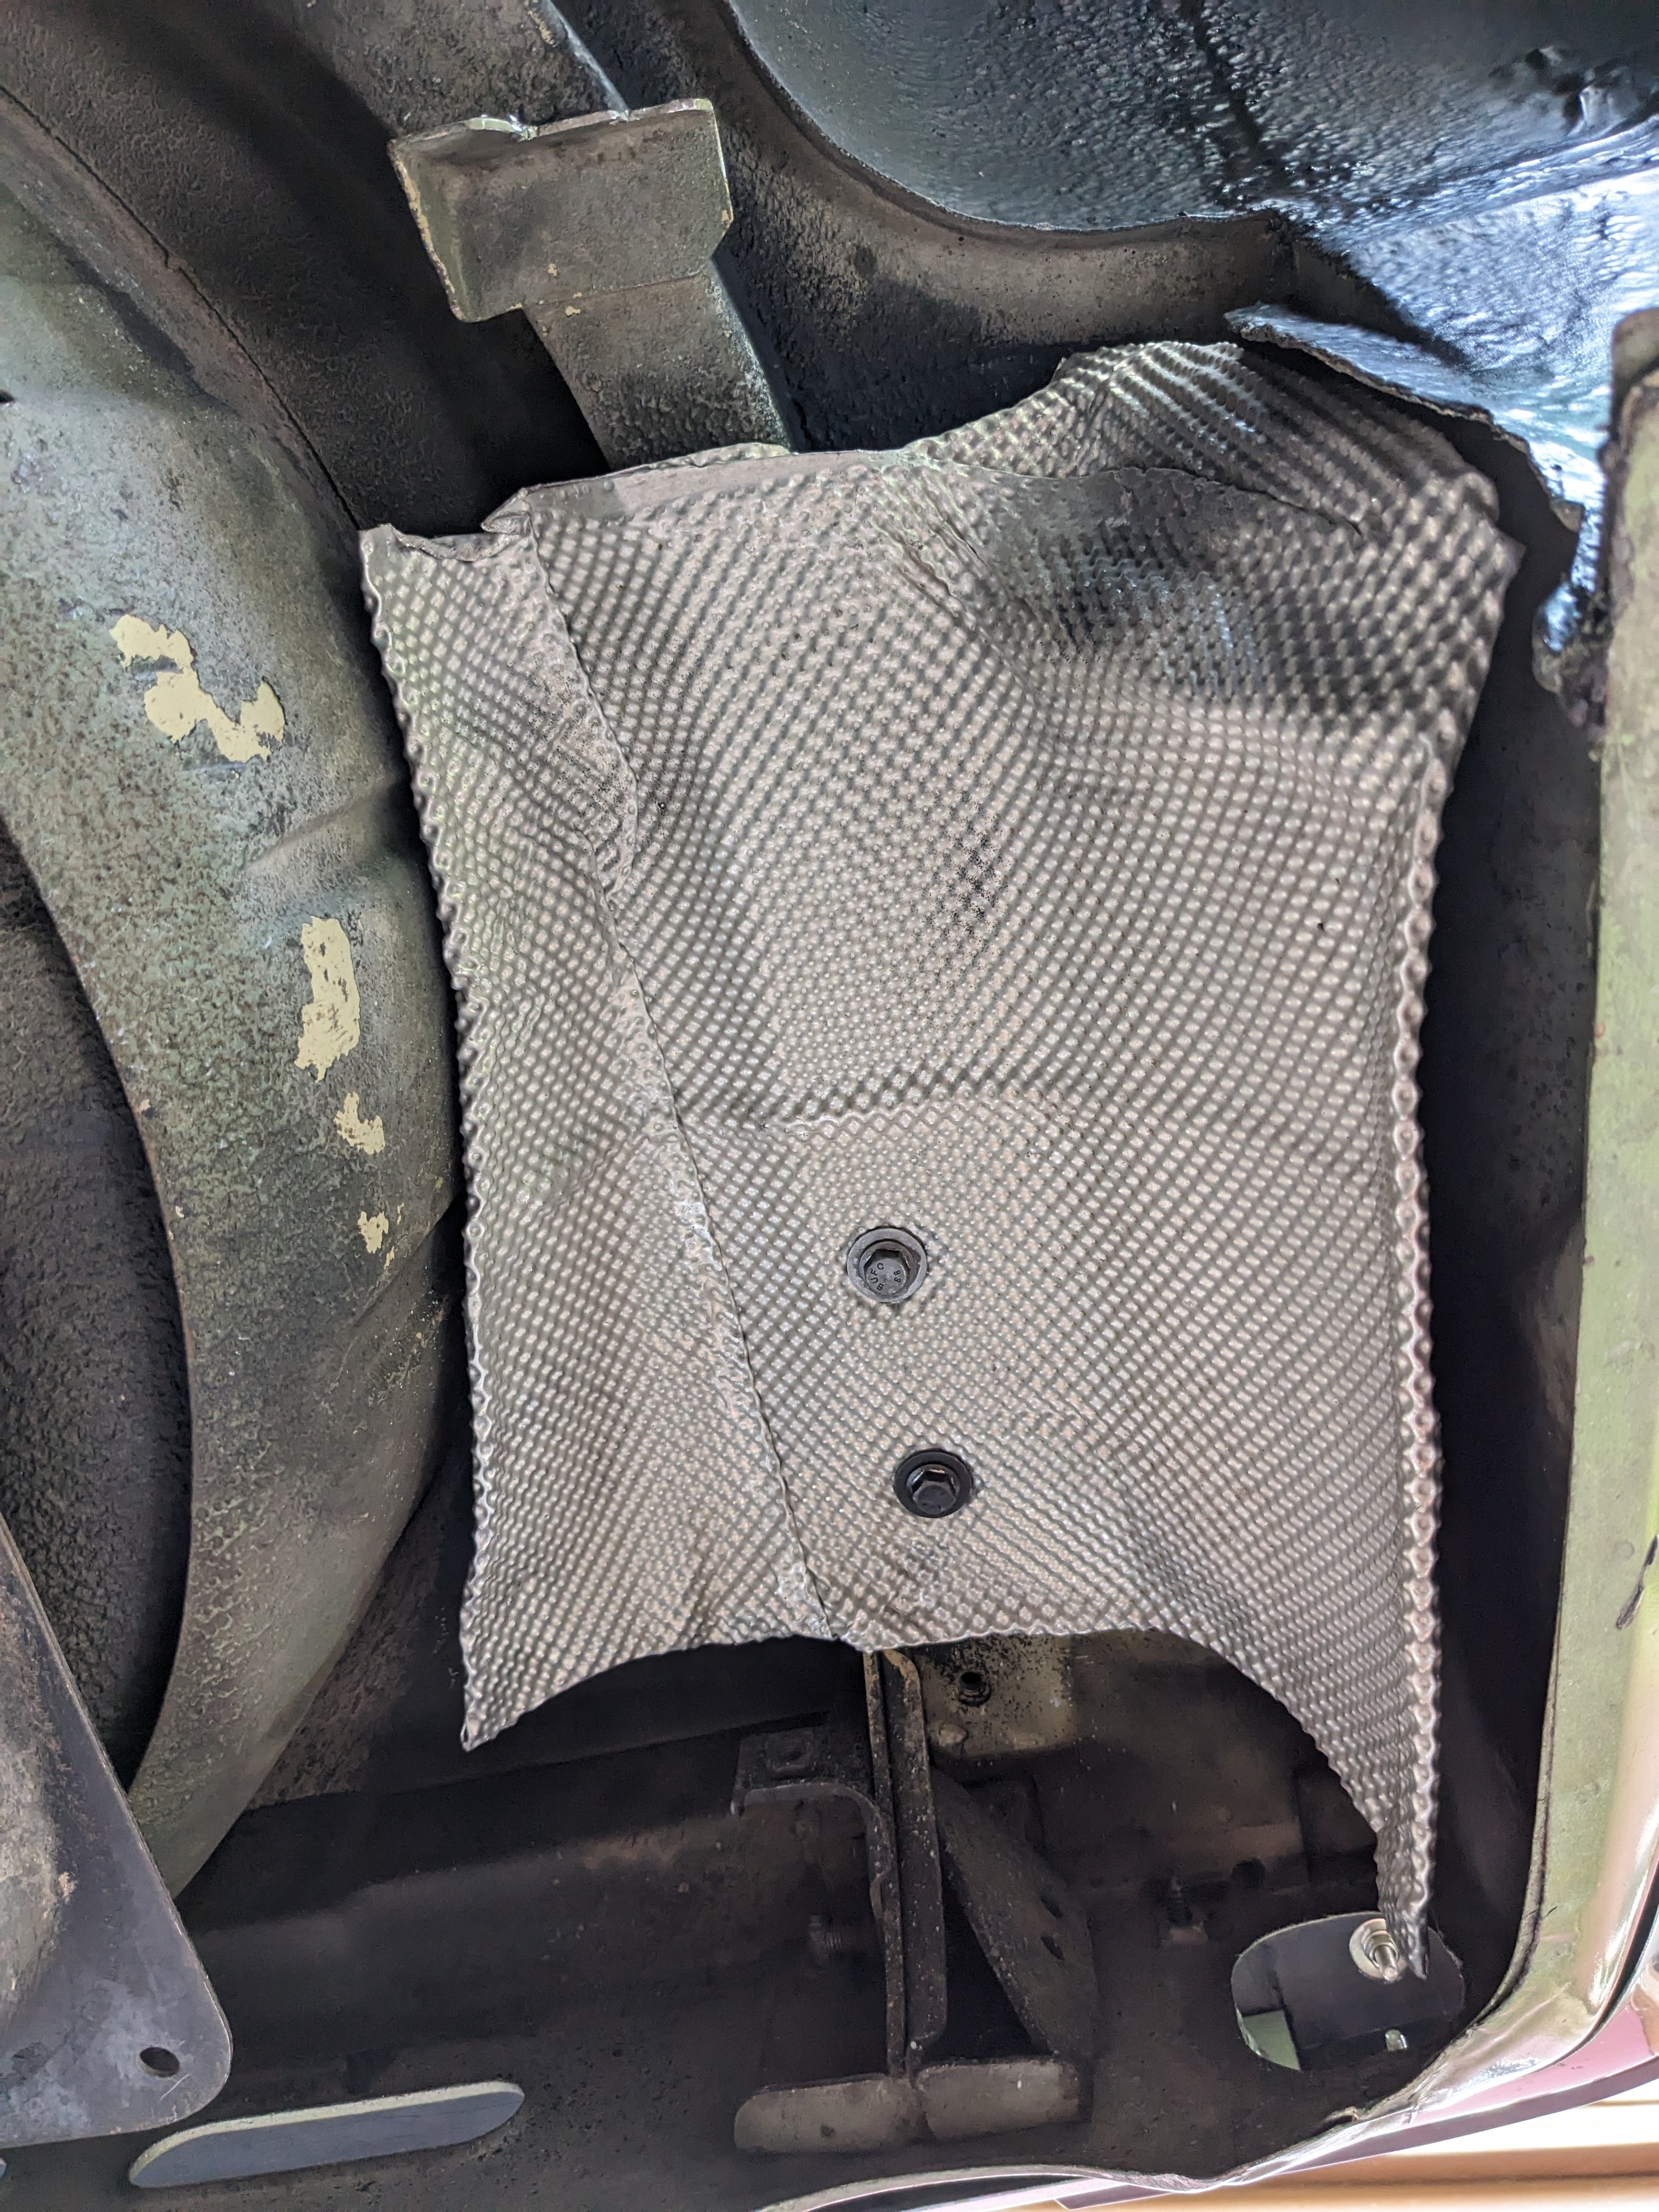
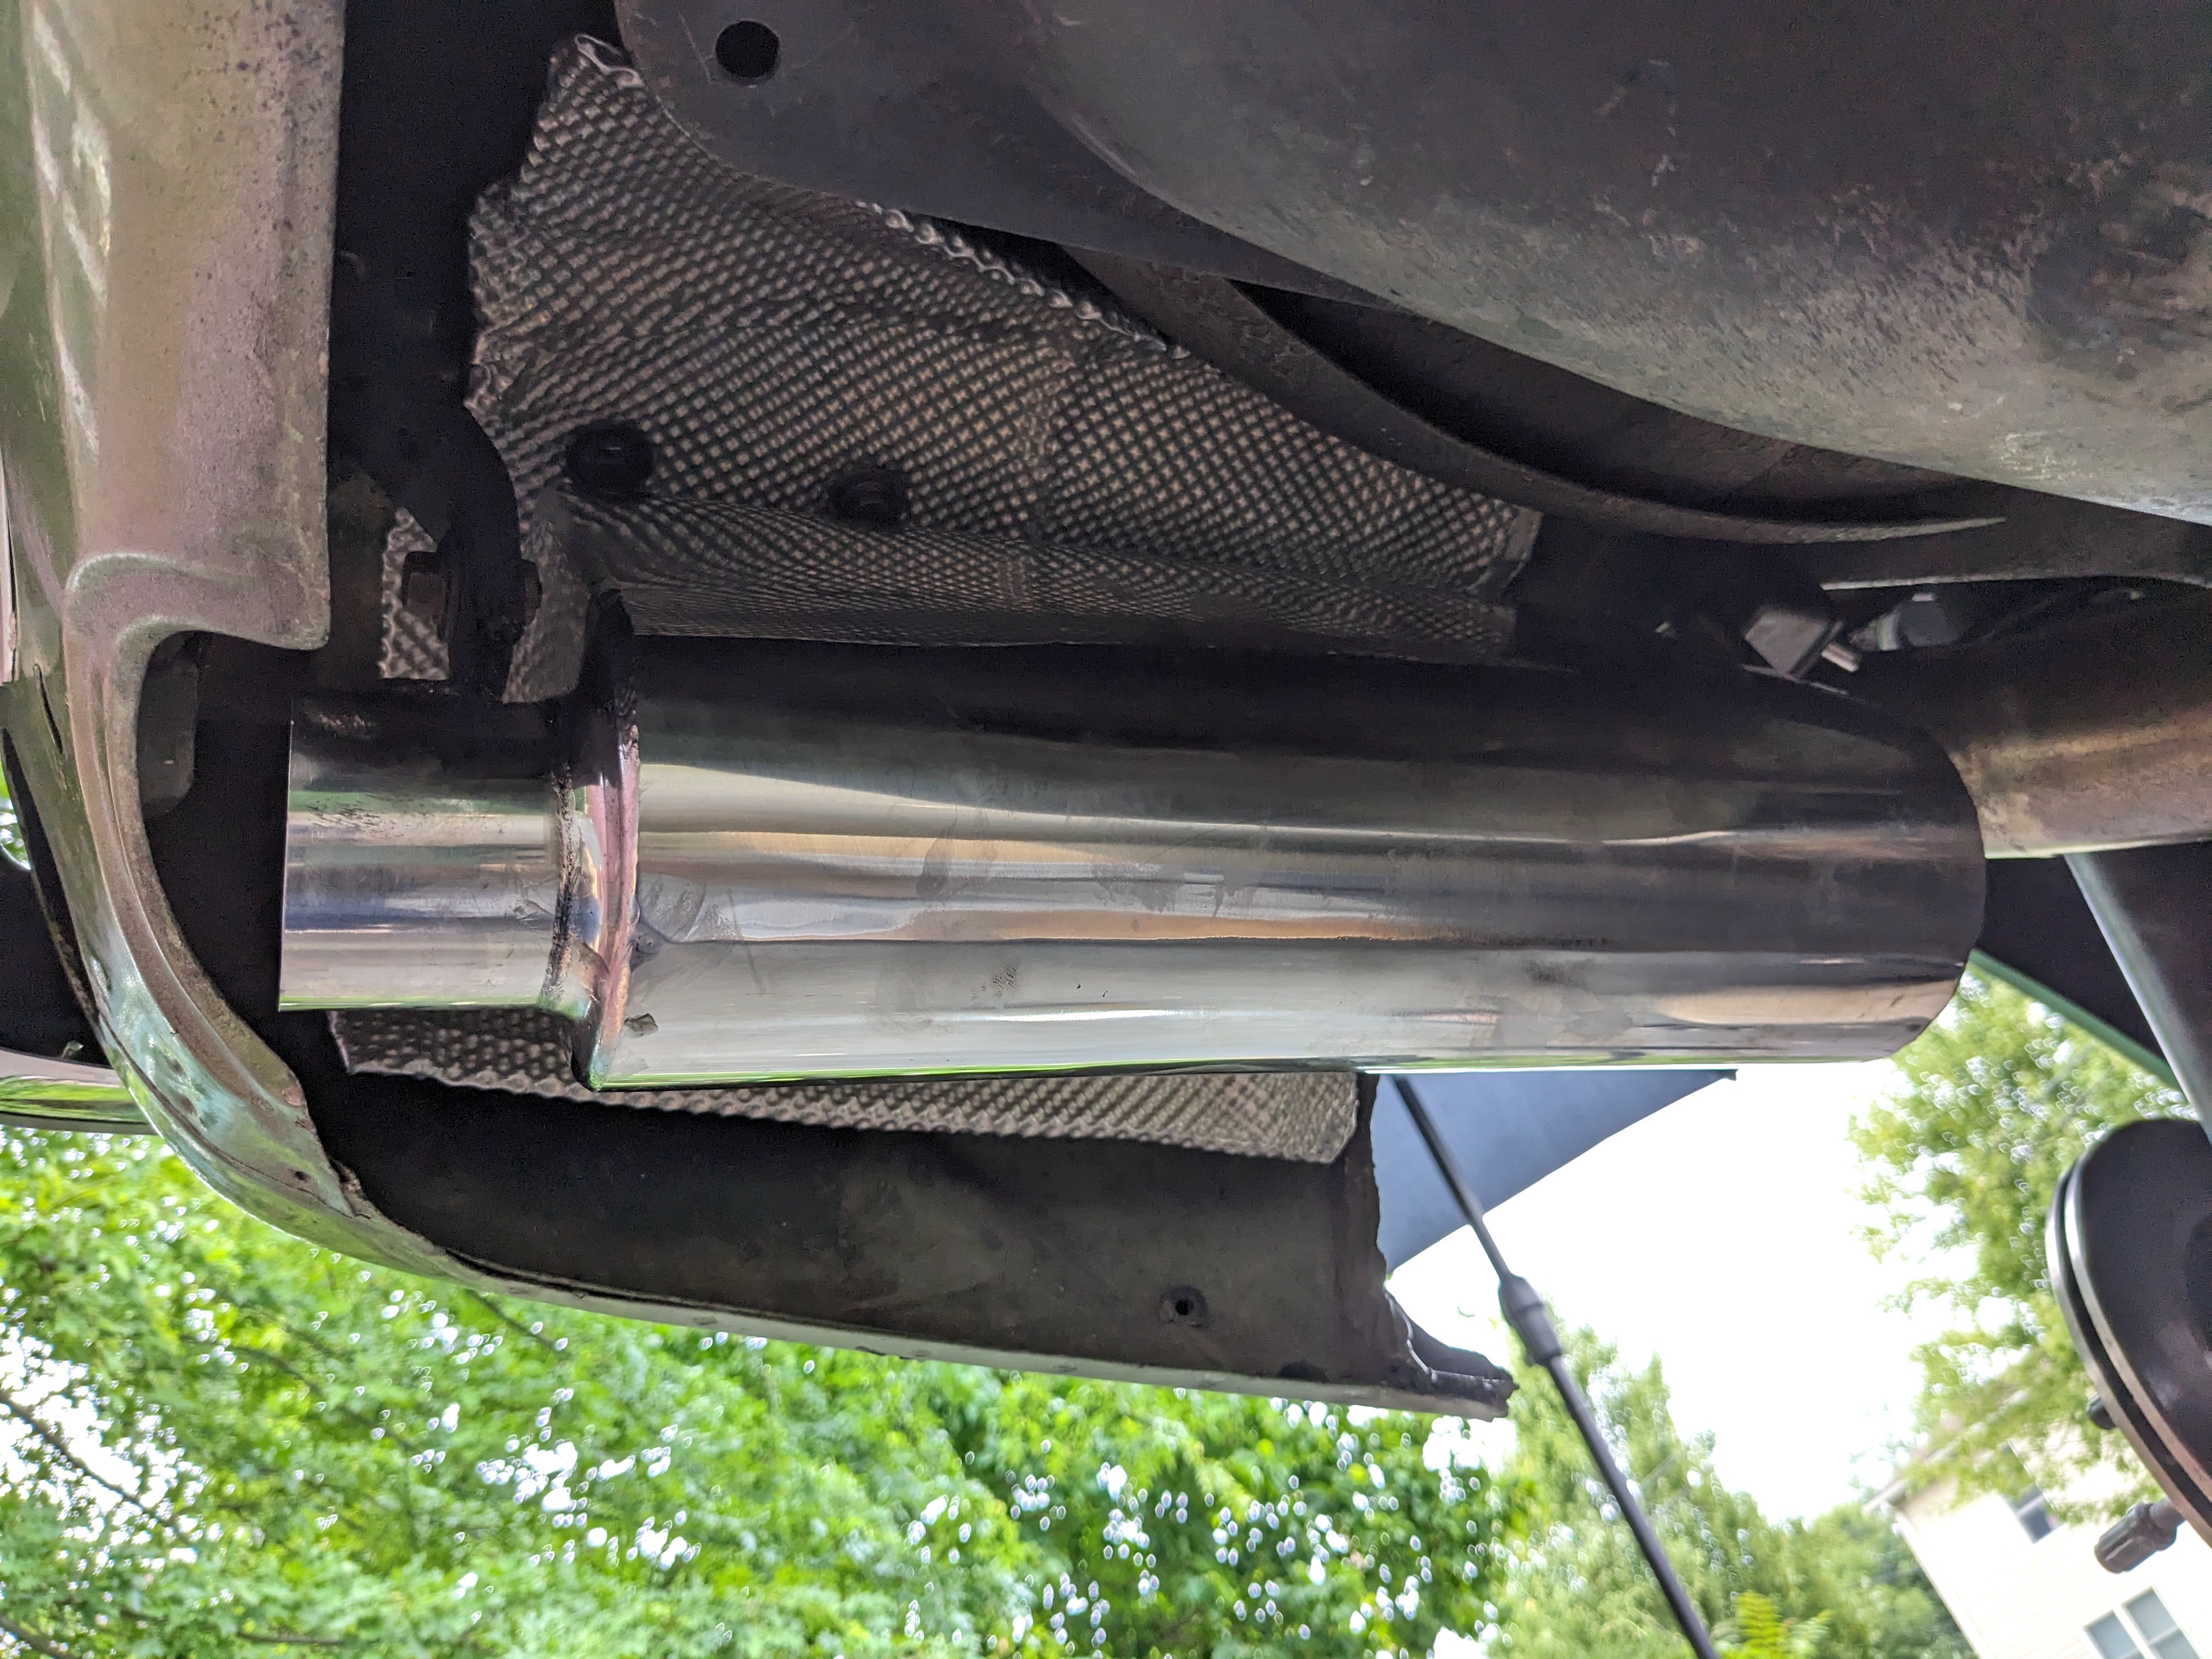
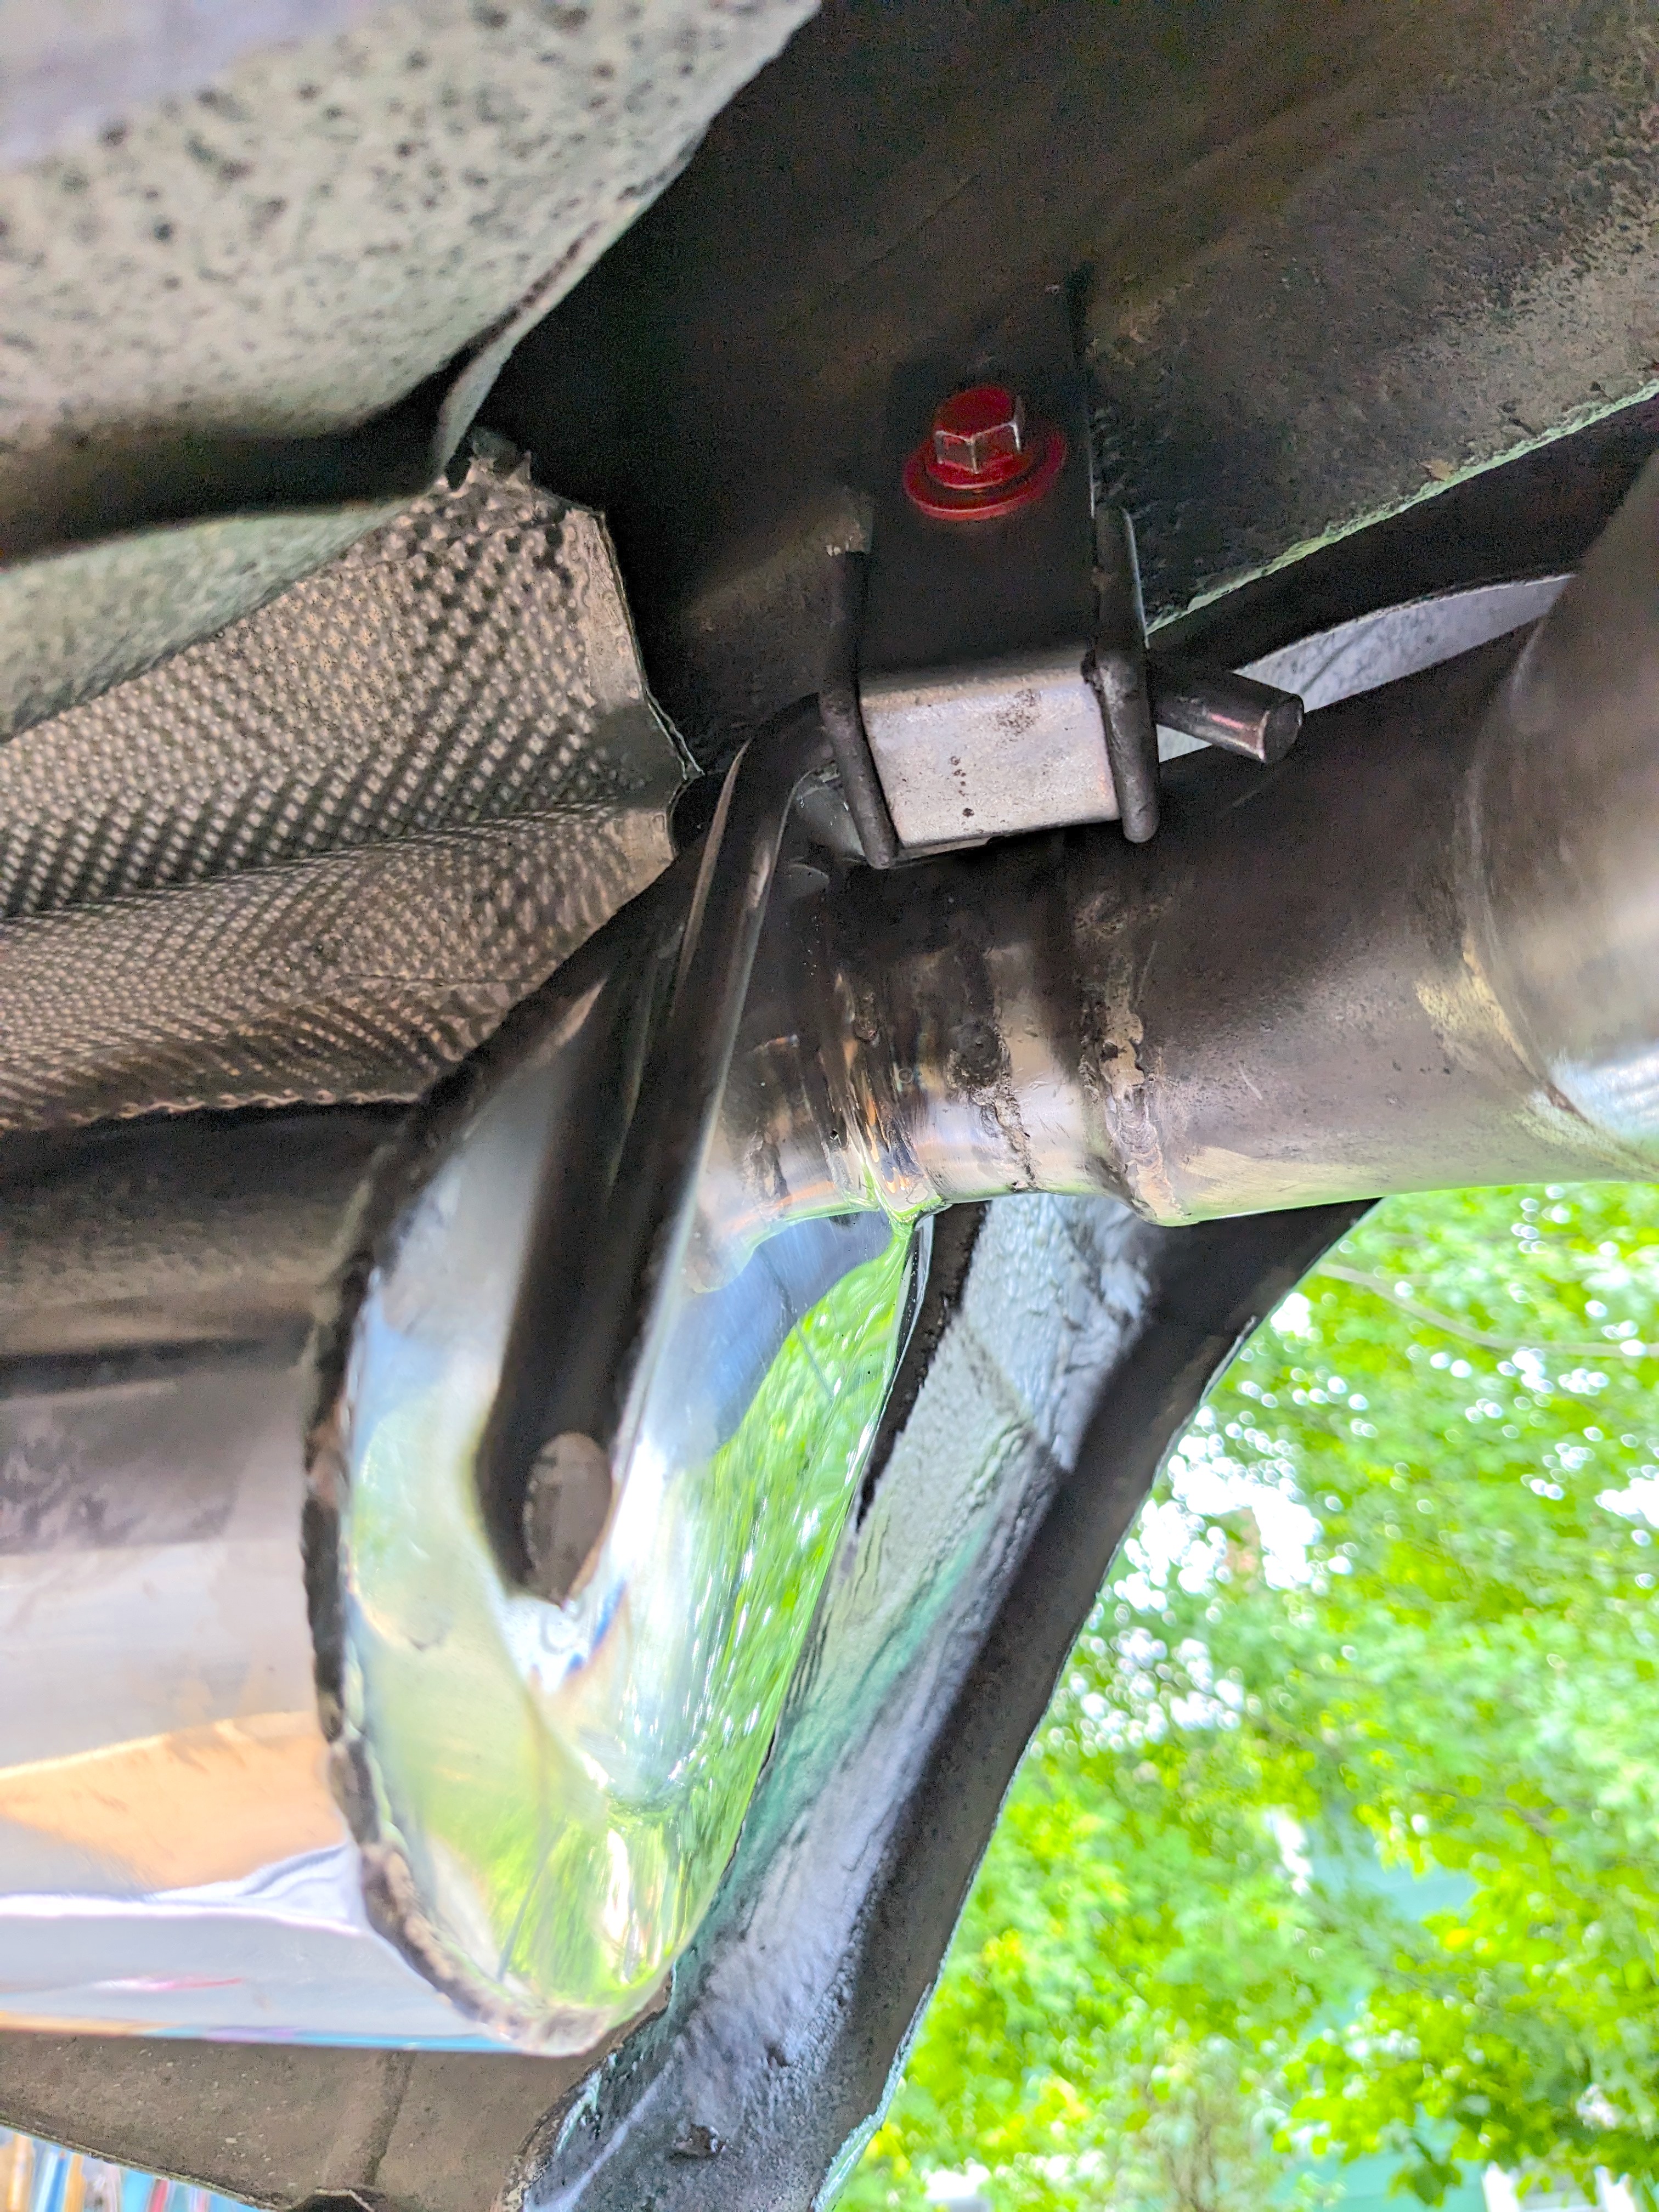
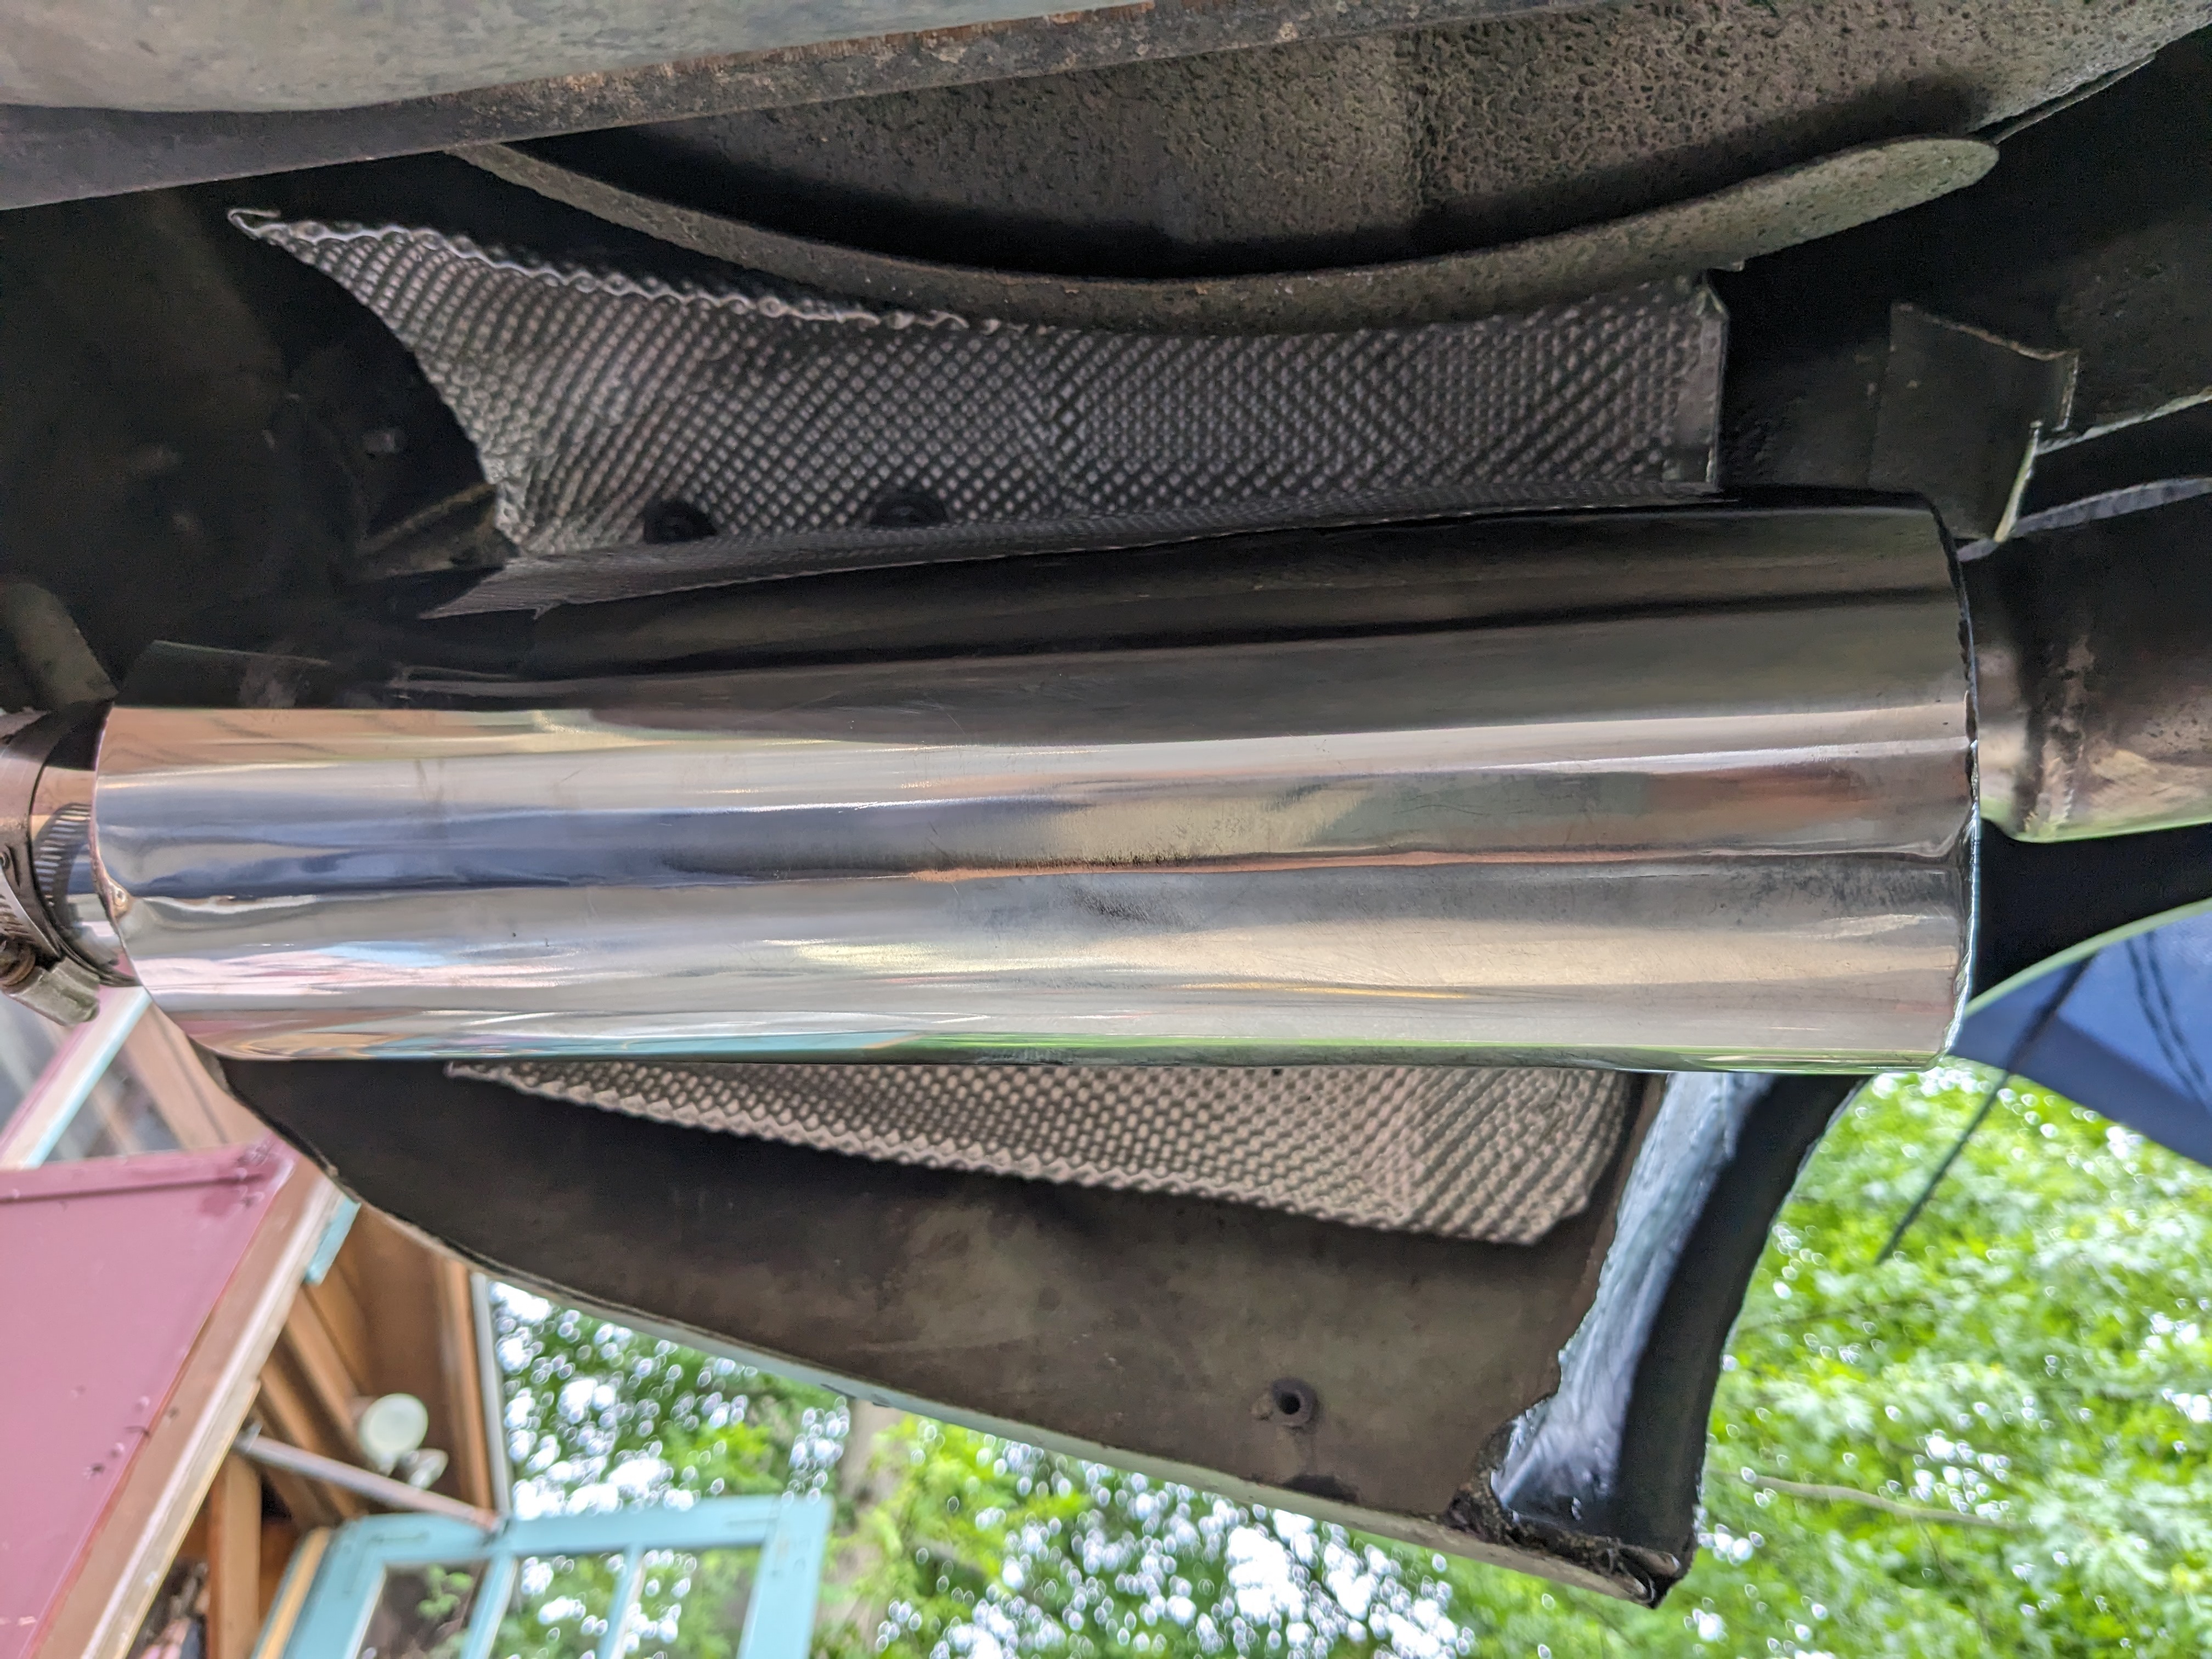
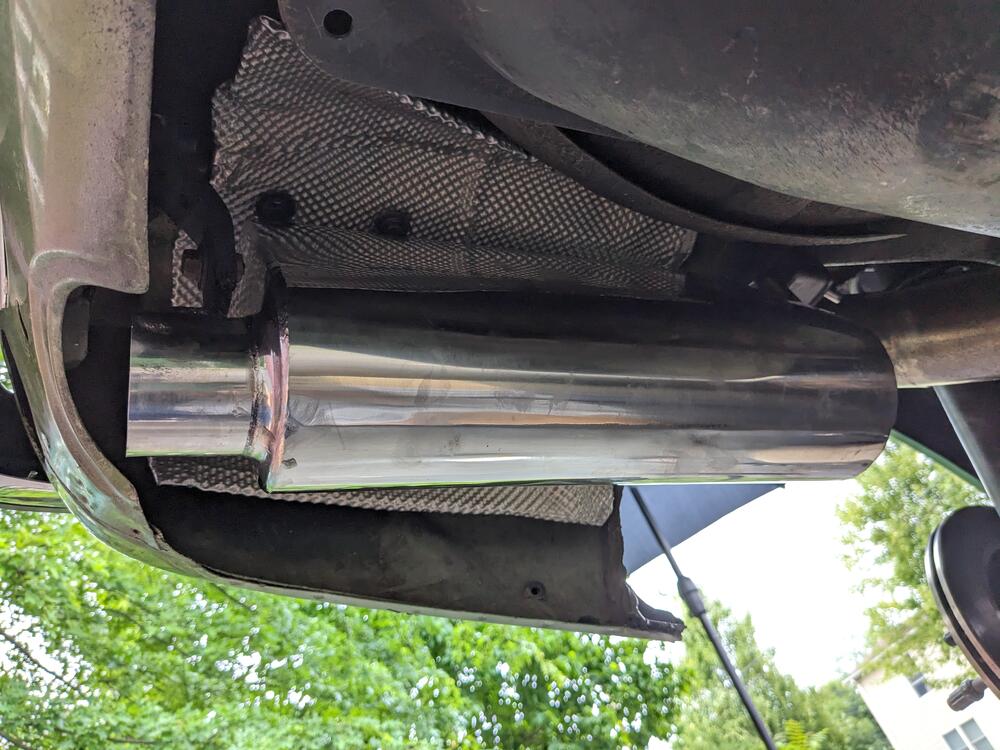
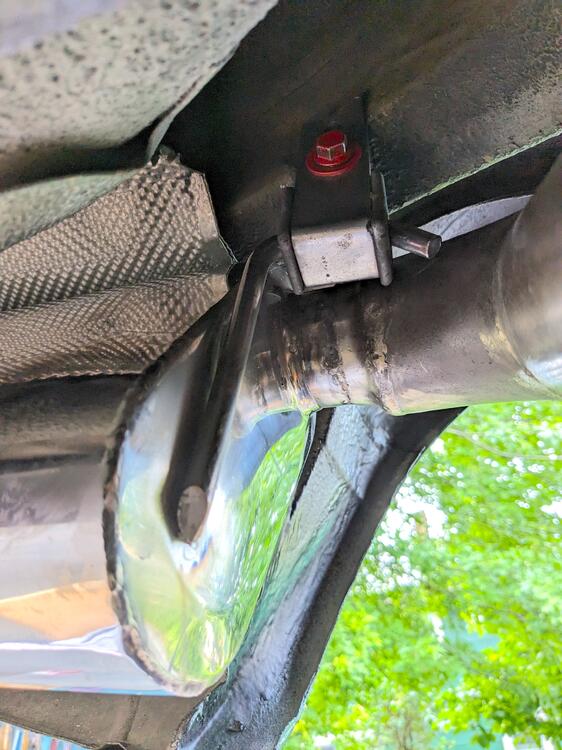
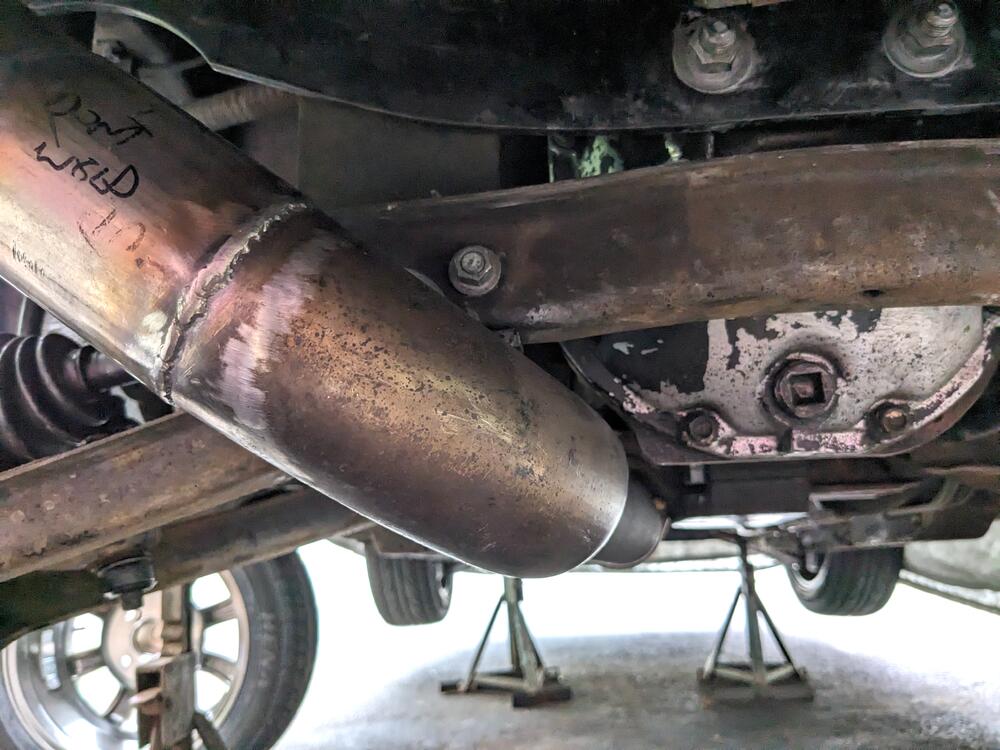
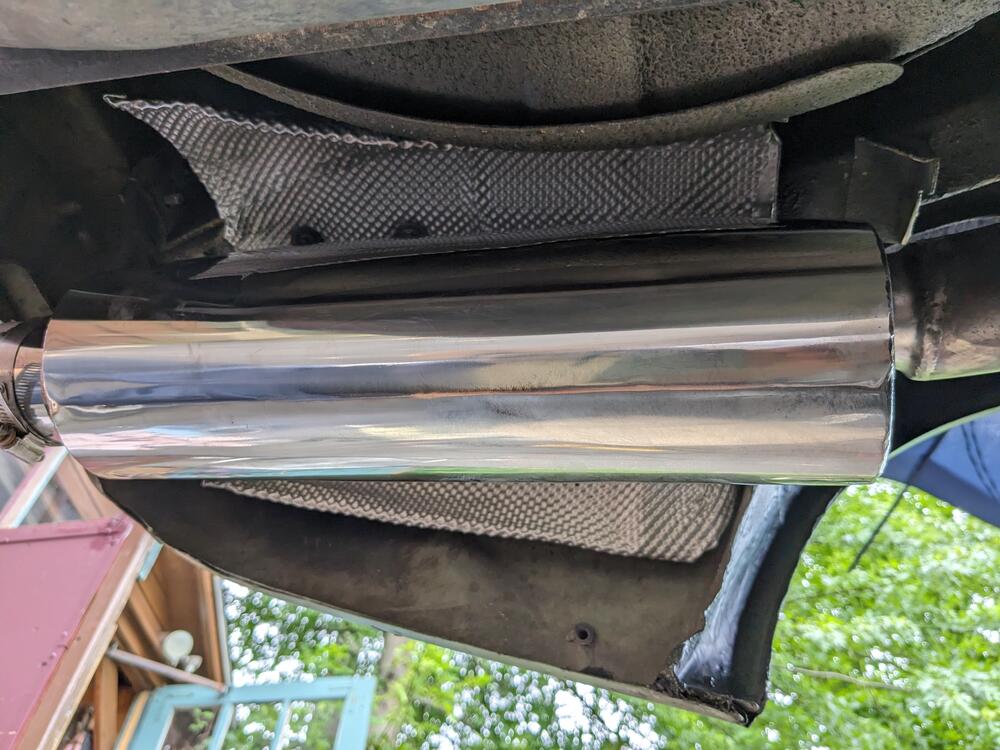
Made a heat shield to go above & around the muffler, since it is now set so close to the frame/floor. Bolted in place where the original bumper shock shield was attached forward muffler hanger gaps/clearance off the subframe is still good Just have to deal with the tailpipe now

 5 points
 -
4 pointsIt was formally announced last night. Tampa Sep 9-14 @Yarb and @Dave WM will be hosting all of us who are coming down. 😉4 points
-
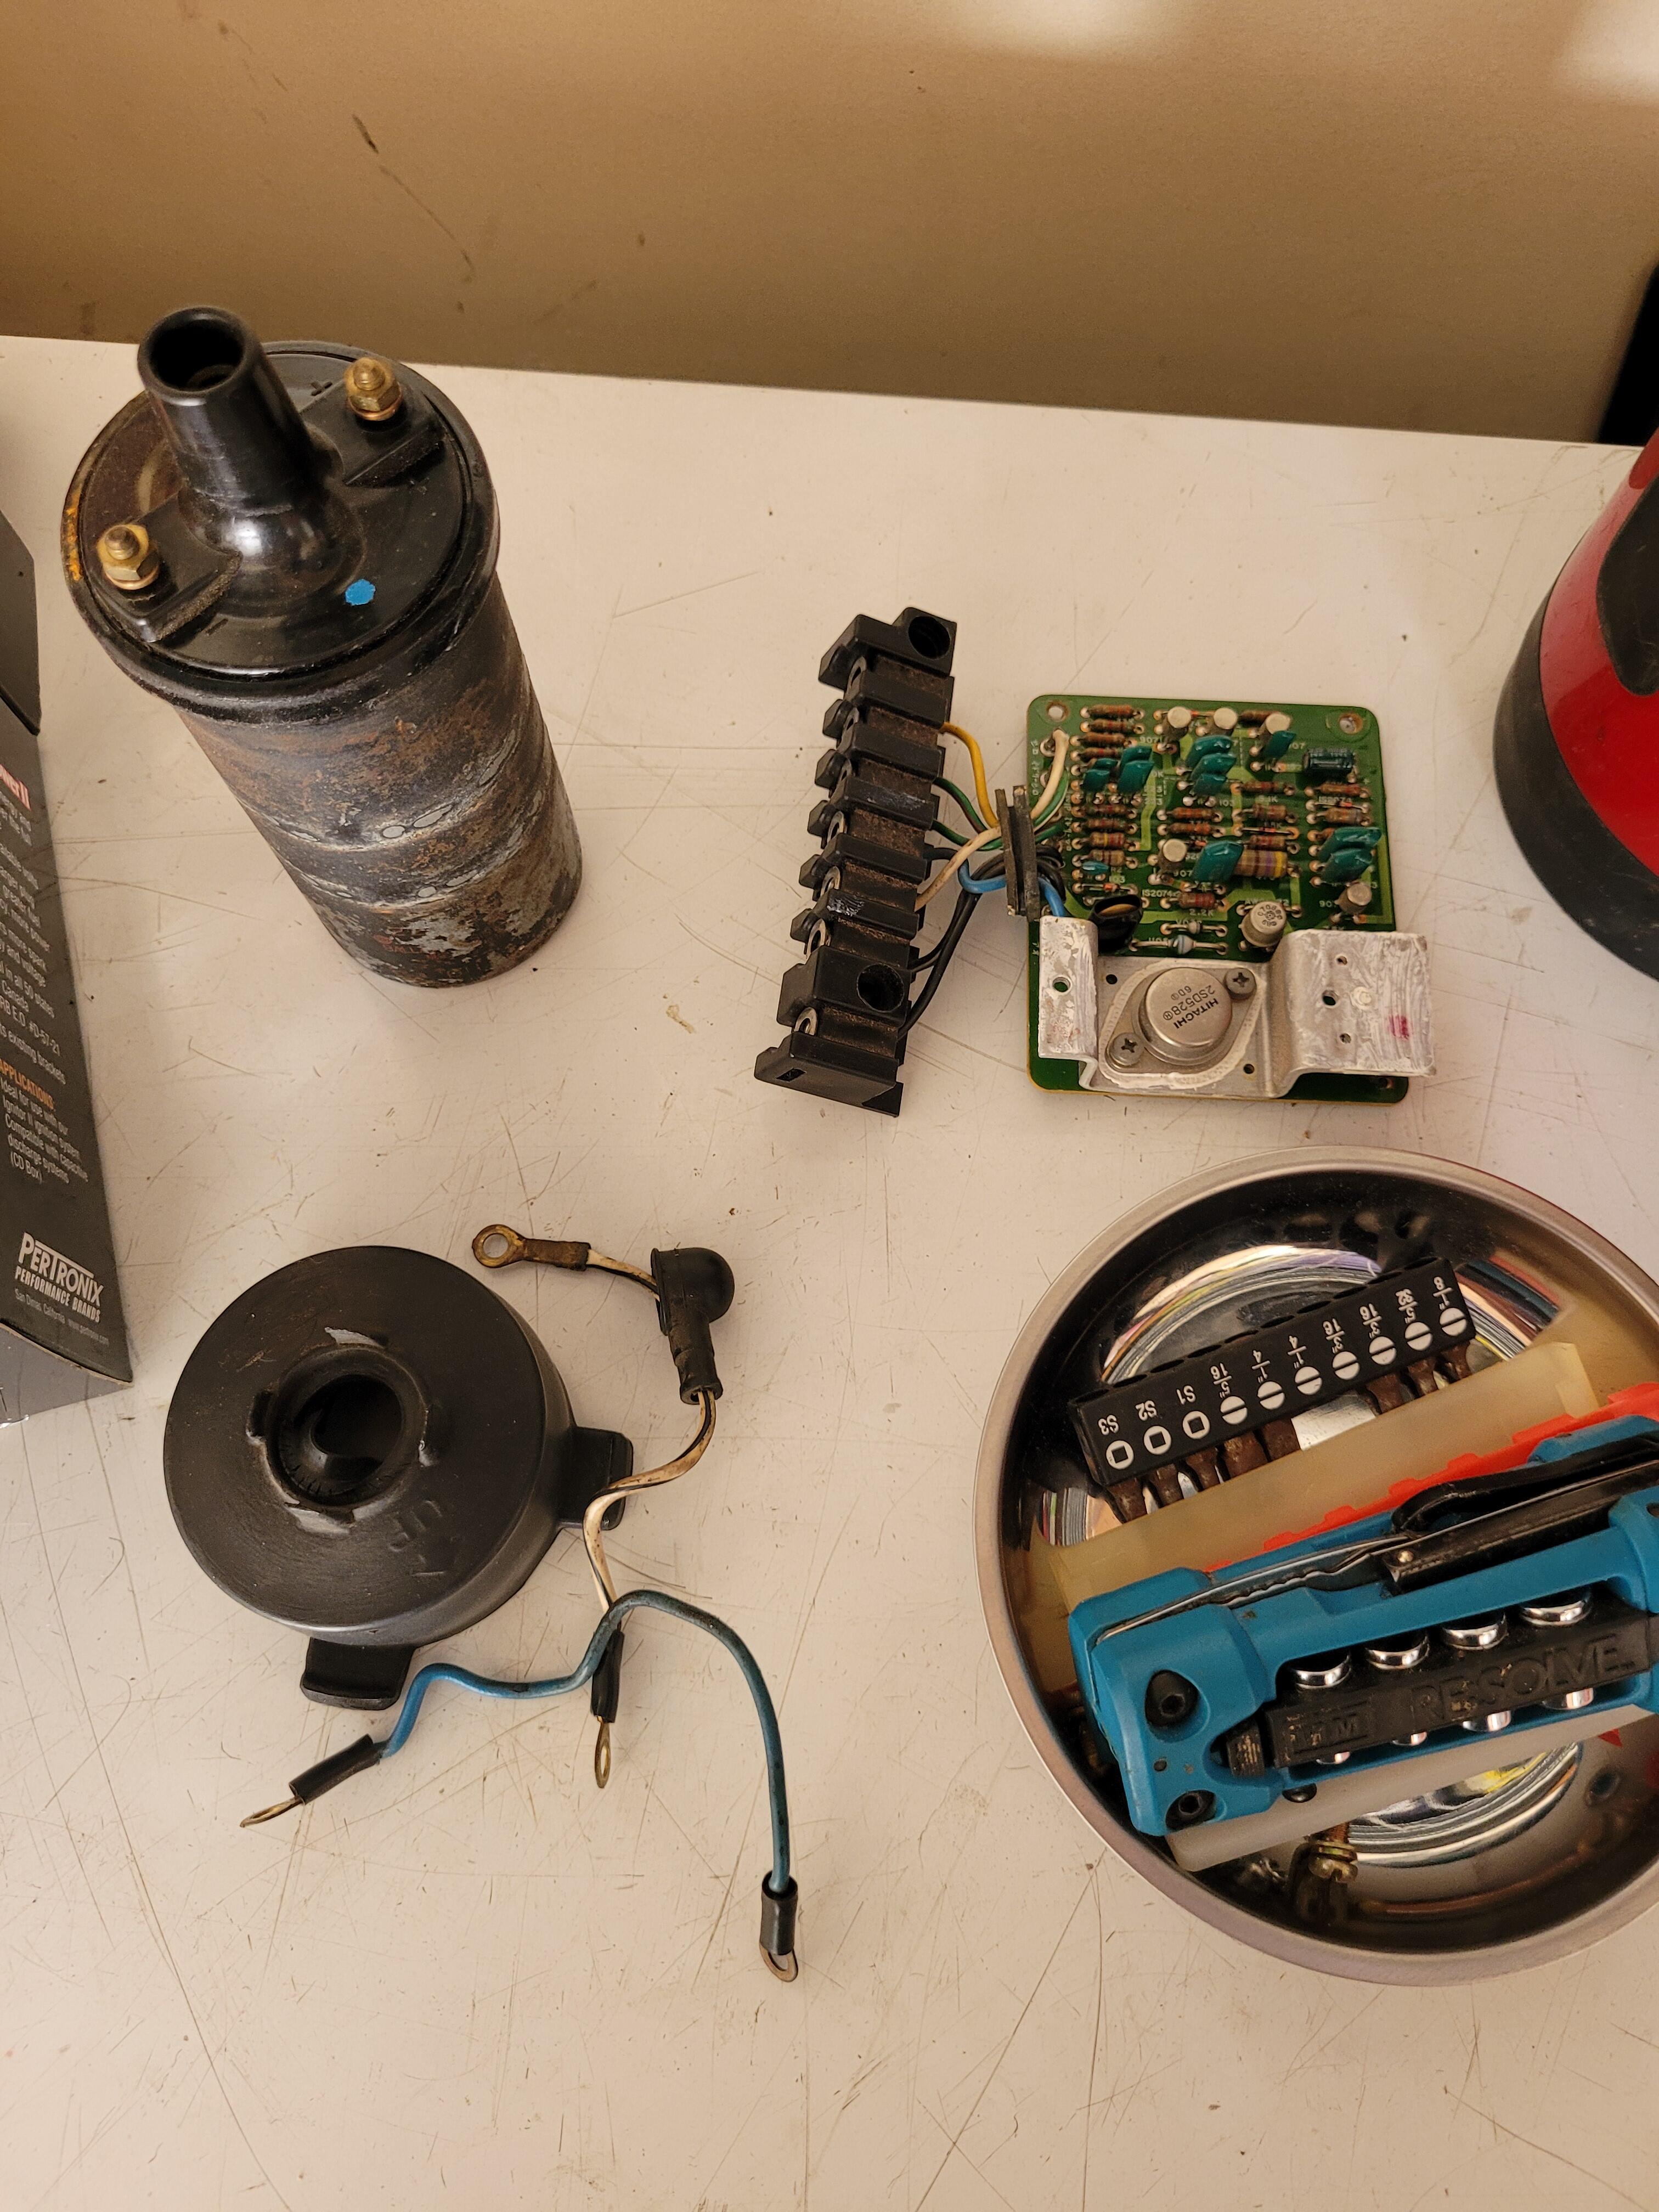
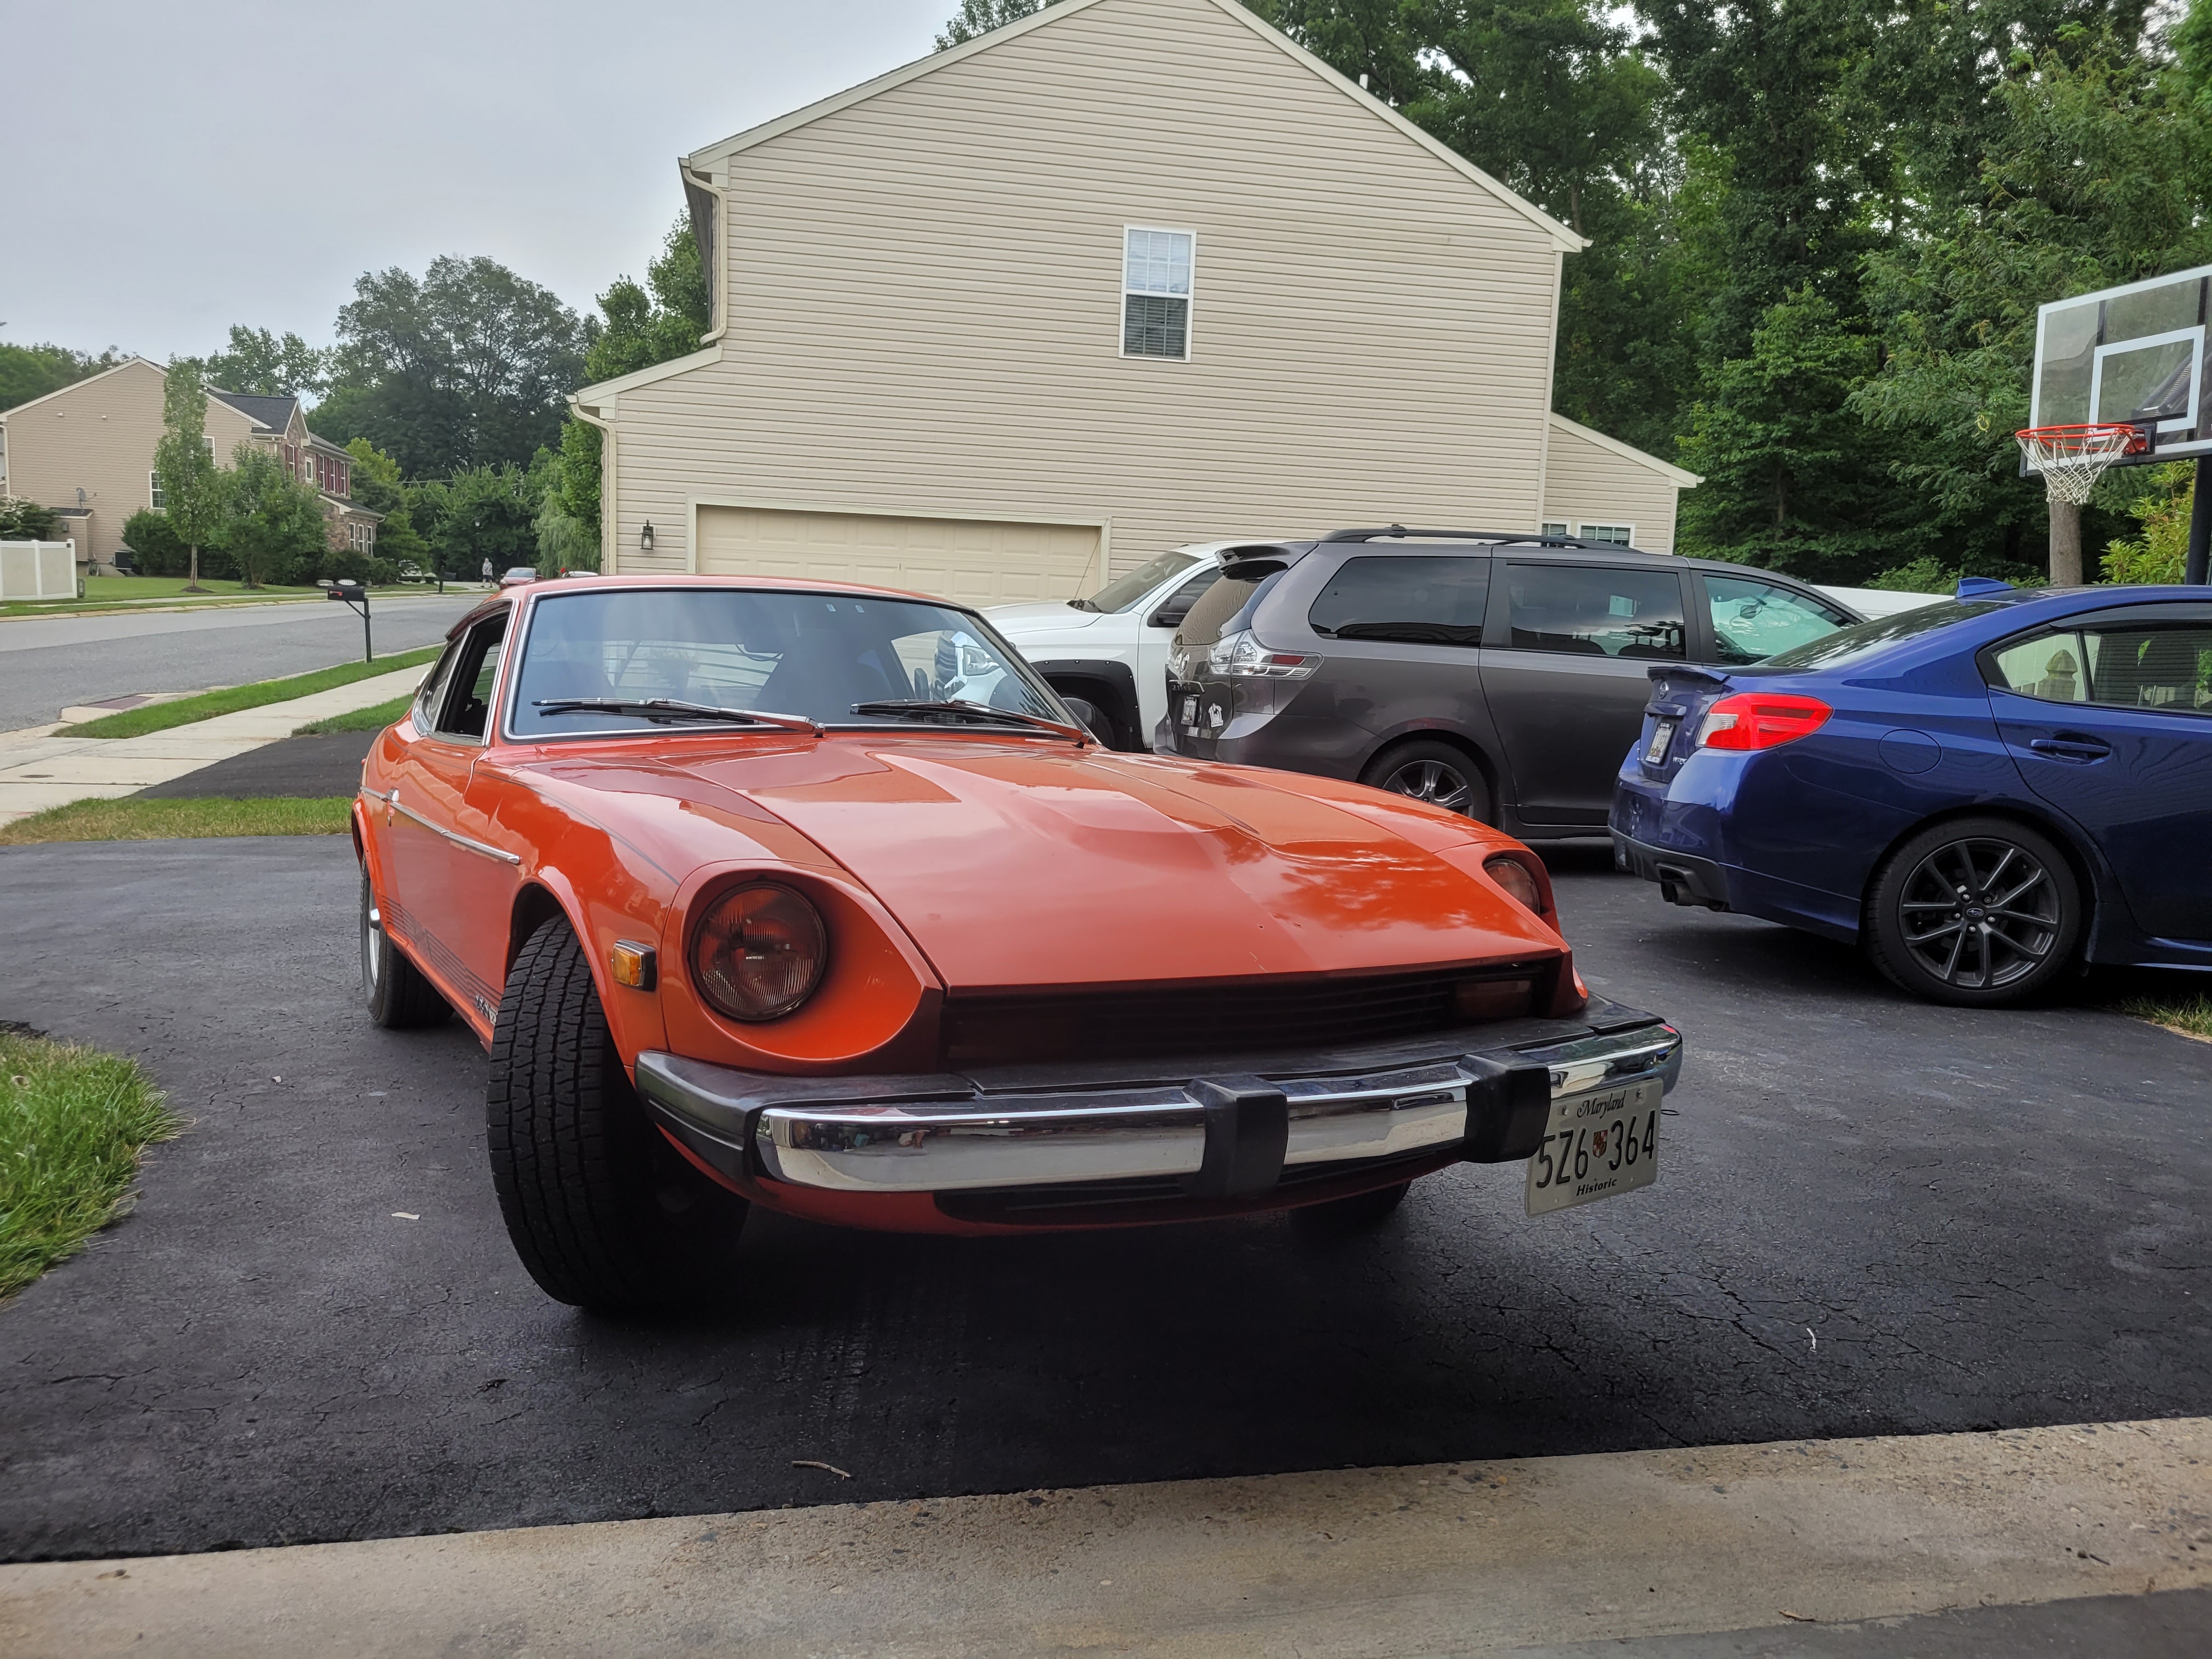
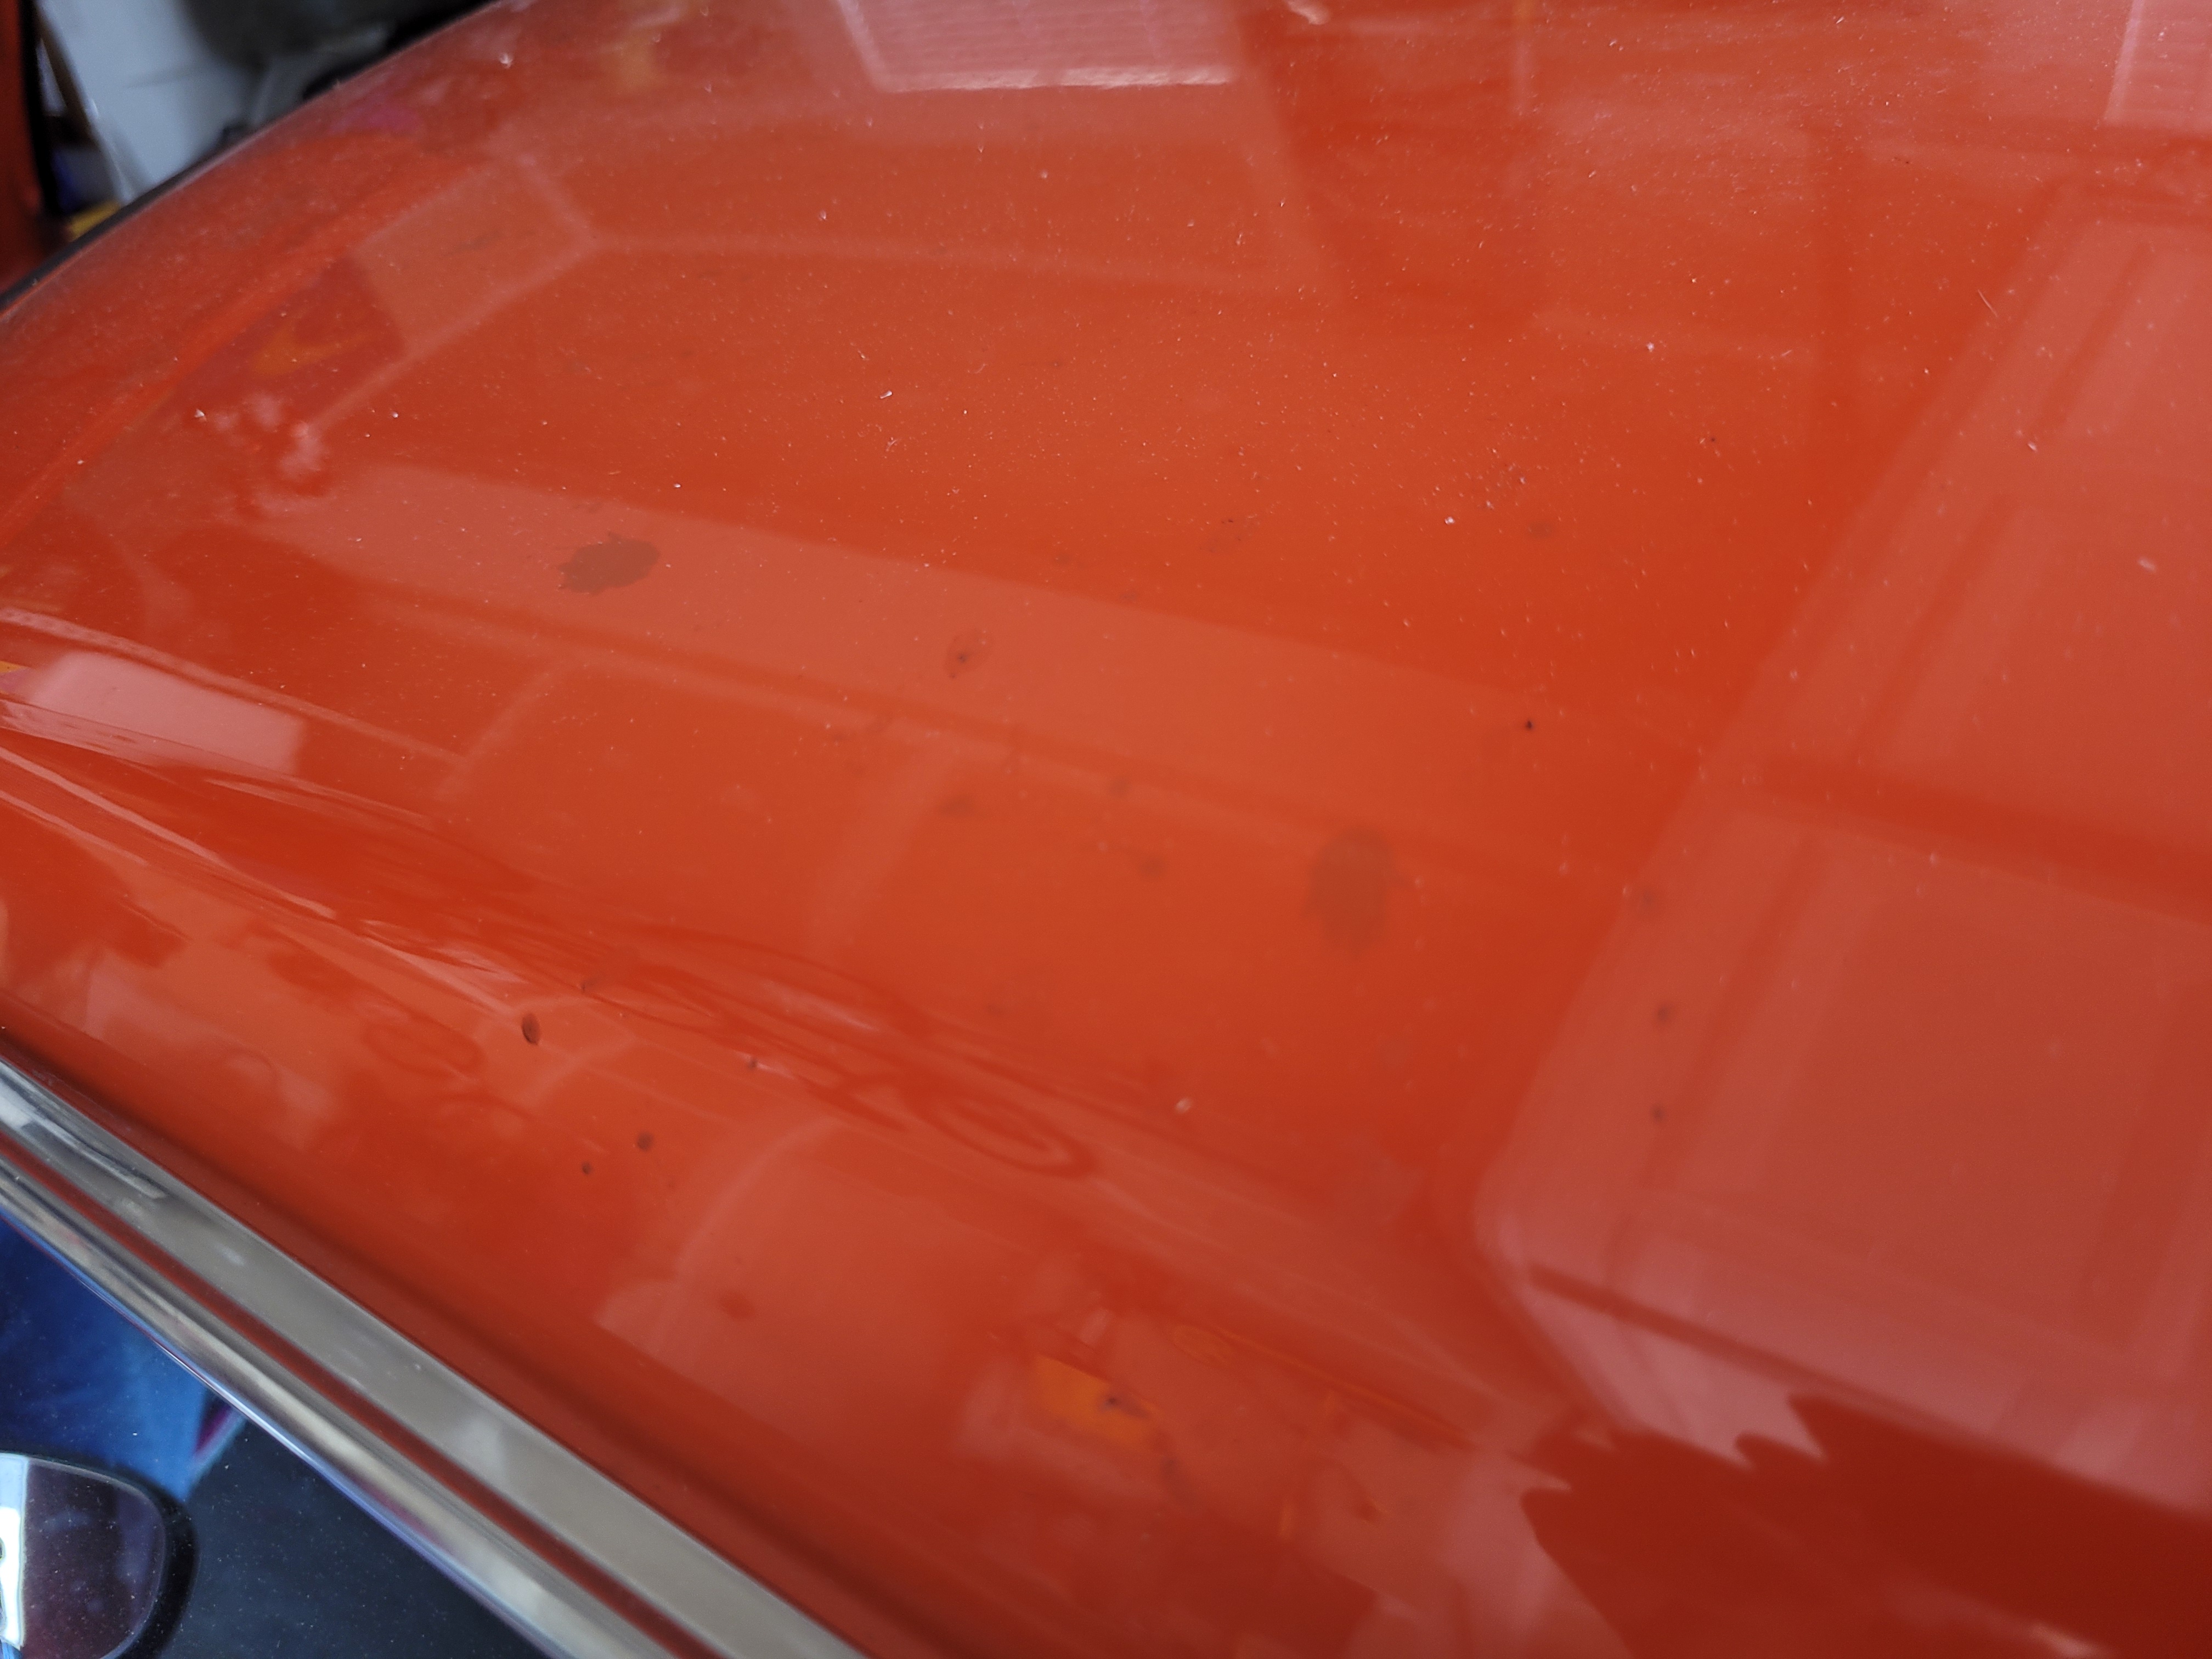
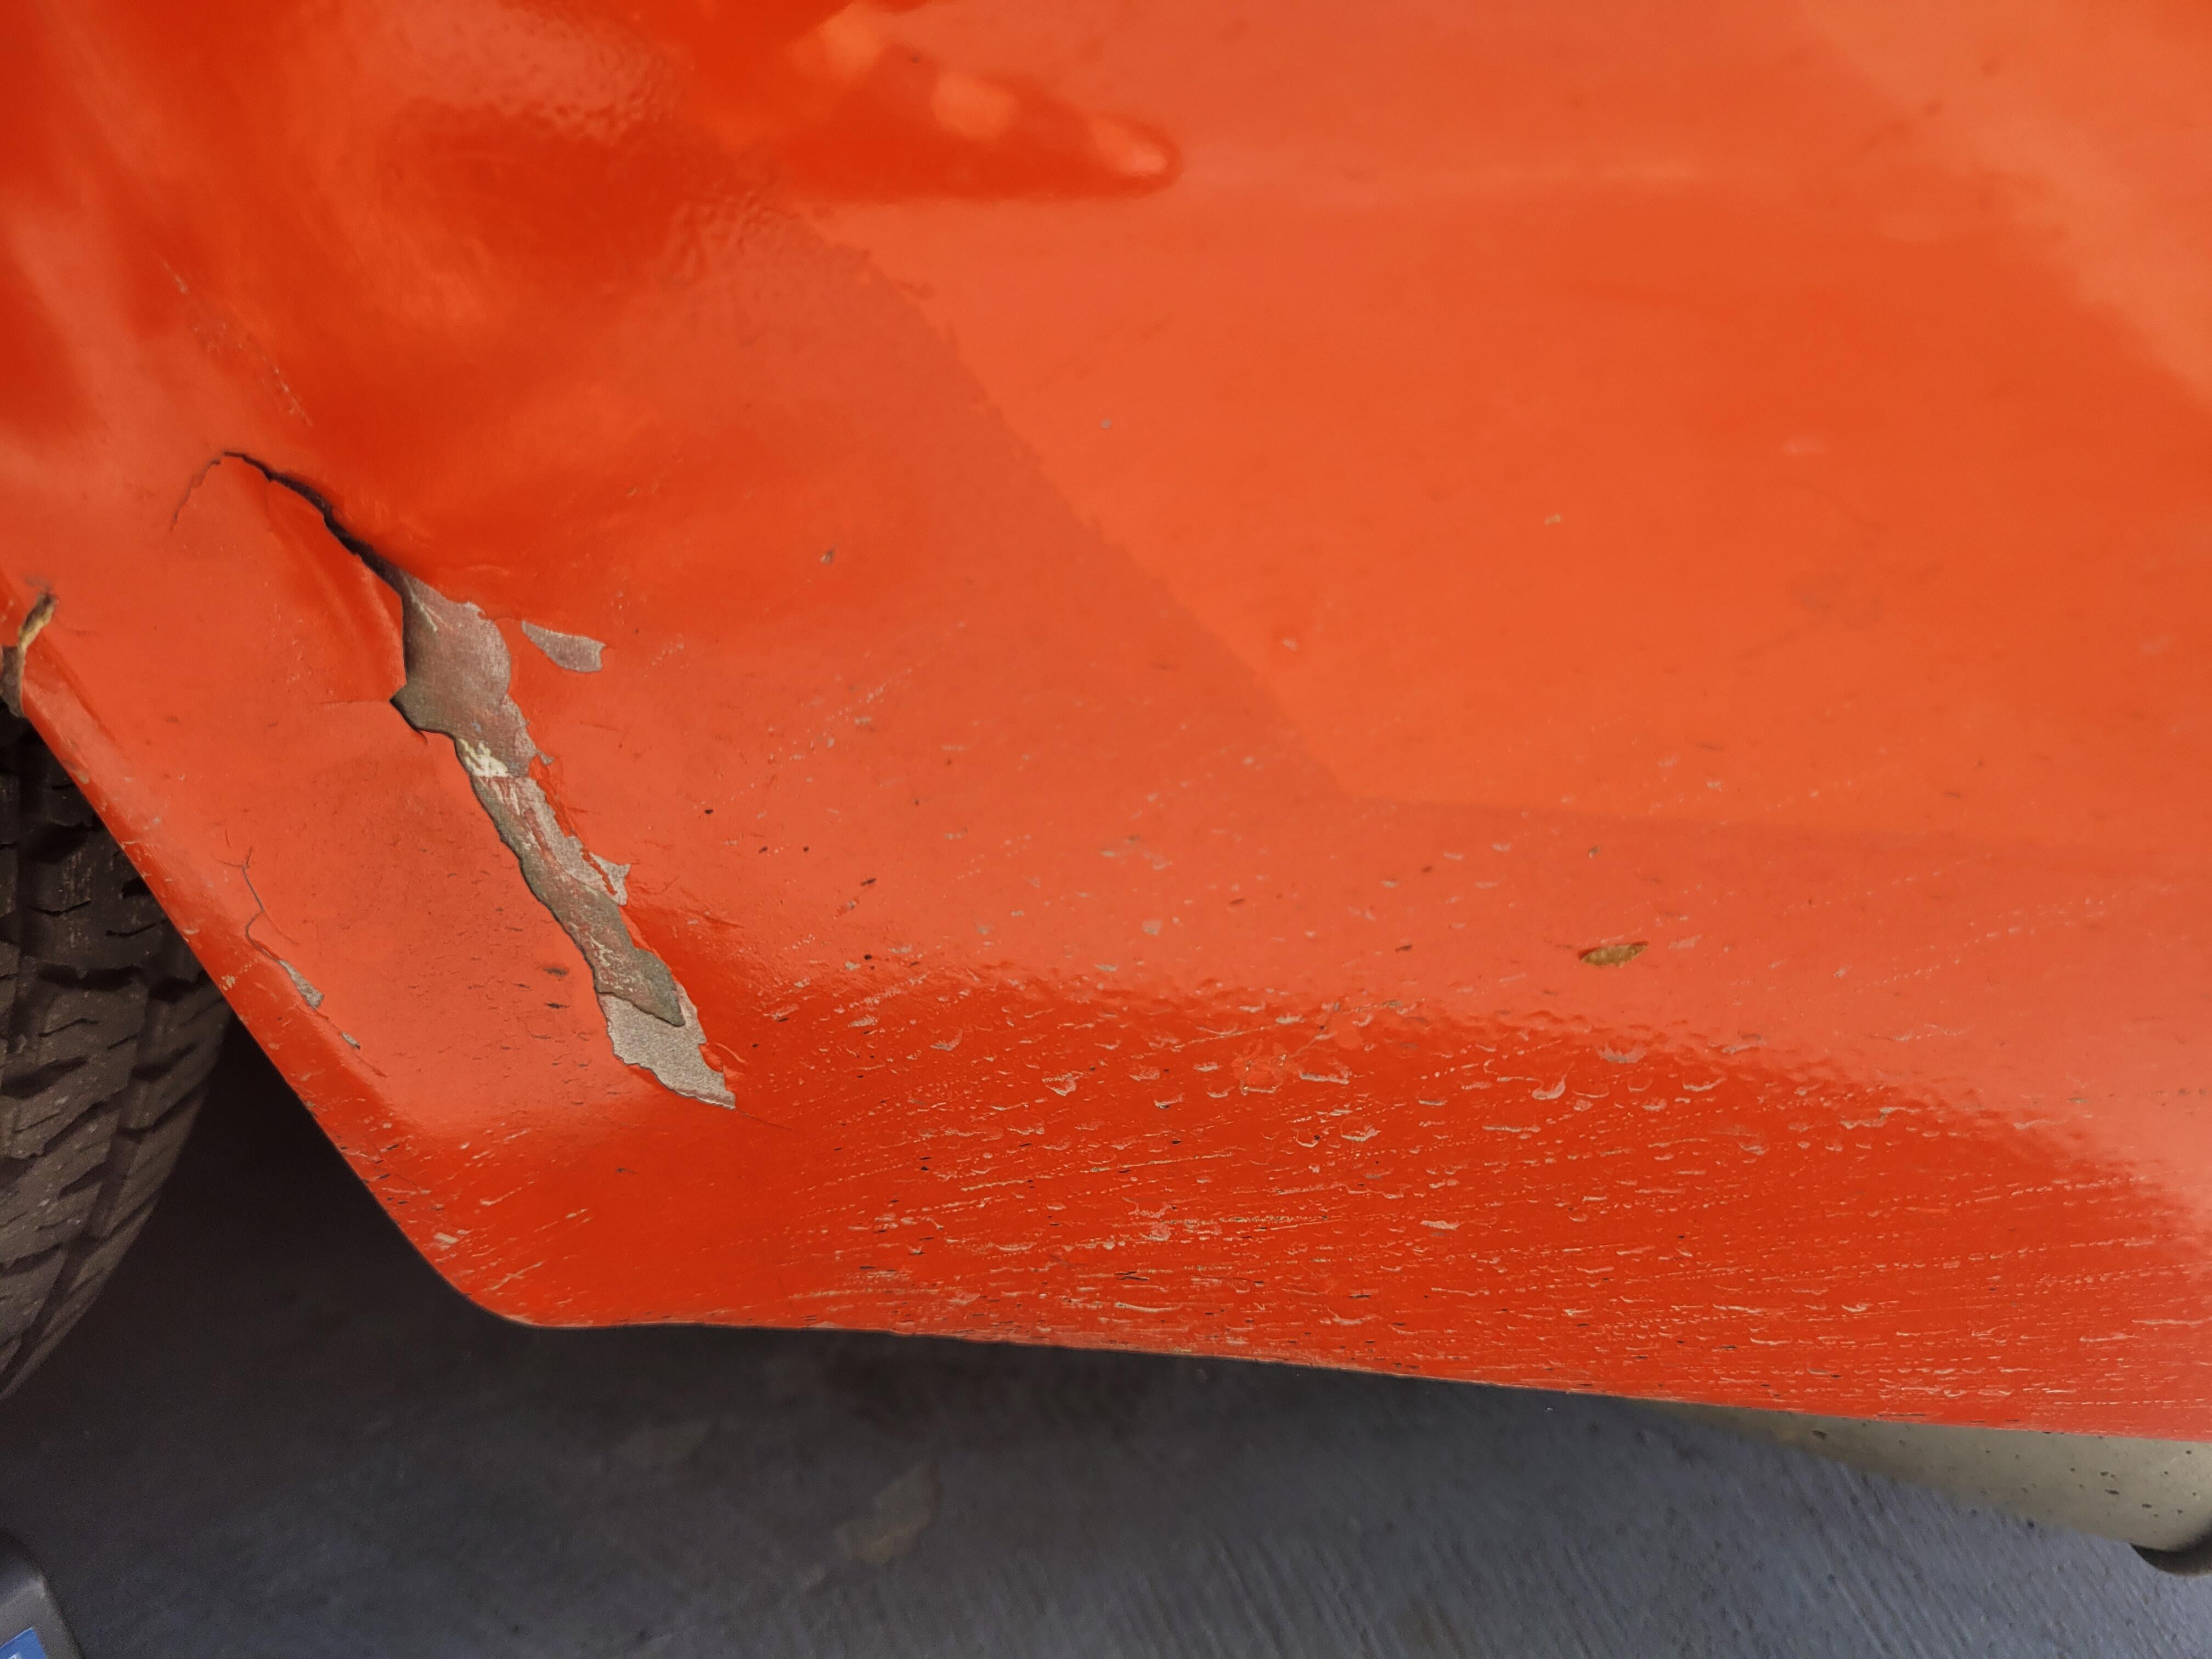
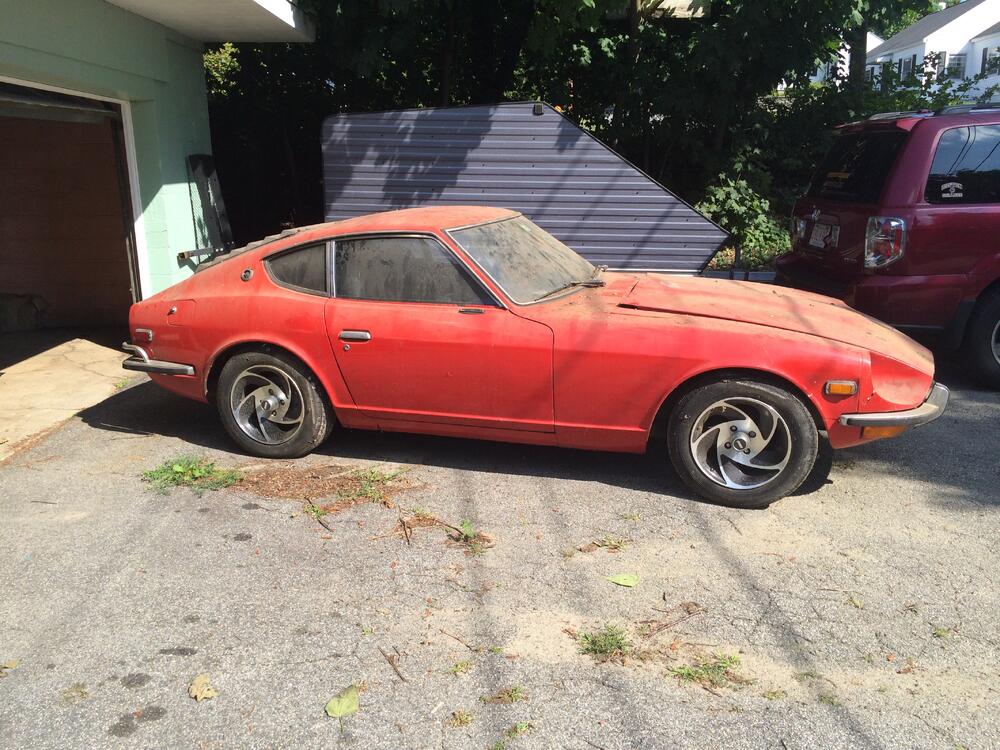
So today marked a huge milestone - I was able to fix my ongoing, intermittent hesitation and poor operation of my 280Z! Many thanks to a lot of help from my new friends on this forum and a lot of persistent troubleshooting and eventual replacement of suspect components. As it turned out, my ignition coil was bad - when I tested the resistance, I was getting high and inconsistent values. I also ended up swapping out the TIU with an HEI module. The final step was bypassing the resistor and connecting directly to the coil. Now the question is what to do with the replaced and not reinstalled parts? Maybe I will make a museum of my old car parts. What started as a joke, I saved the idler pulley bearing that self-destructed and destroyed my timing belt in my 1986 Toyota Camry back when I was a poor college student. I also saved a few of the broken lug nuts and stripped lug studs from my current WRX (don't get me started on these, it's an ongoing QC issue every time that swap my summer and winter wheels. I am convinced Subaru used low grade, crappy aluminum lug studs as a cost saving measure and failed to instruct their dealer technicians to not to use air wrenches when rotating the tires or they could strip out the lugs. Maybe I will finally be rid of this problem when I have replaced each and every one of the lug studs.). I have never had this problem with any other car, present company (2017 Sienna, 1976 280Z) included, as well as previous Subarus. Ugh. I also went on a few drives. The first was around the neighborhood with my son and daughter, who both seem to love the car and were overjoyed that I fixed it and Samus is in running condition again. The second was to Detail Garage to inquire about the current condition of the paint and what I can do to restore it, if anything. My main concerns are these spots and the few areas where the paint is cracking and peeling away. I initially thought maybe the spots were due to one of the PO's parking under a sappy tree and never bothering to clean it off. However, after some examination, it looks like the repaint job that the second owner performed may have been as described by the seller (3rd PO) as "not really a great job." The Detail Garage pros seem to think that the spotting may be a result of a chemical reaction that occurred during the repaint because the spots do not appear to be on the top surface of the paint. They also did not think the paint was as in dire condition as I originally thought, and suggested that I wash and wax it and it should come back considerably. A good waxing should also protect it from further damage until I repaint in the future. I'm probably preaching to the choir here, but when this car is running right, it is an awesome driving experience that has been lost with modern cars. I know it's not as fast as my WRX, or my previously owned 370Z, but driving the 280Z is a much more engaging experience. When you floor it, the 280Z responds and moves with a sense of urgency. The newer cars seem to accelerate too smoothly and you don't feel it. Maybe they are too insulated from the road? Bigger and heavier? The WRX looks like an SUV when parked next to the 280Z. What an experience behind the wheel of the 280Z. I can't wait to take Samus to a car show. The amount of attention I get when behind the wheel is pretty cool - I get a lot of thumbs up and stoplight conversations of people telling me how much they love the car or have a Z story/experience of their own. Ahh, the joys of owning a classic. I can't wait to get behind the wheel again, maybe tomorrow.


 4 points
 -
2 pointsHottest part of the year at the peak of hurricane season with the hotel being right at the USF campus. Nope, nope, and OHFN.2 points
-
I have a 2005 Legacy wagon, bought new. At around 80,000 miles I found a broken wheel lug stud on the right rear. I replaced it at didn’t think too much about it. That was the beginning of a series of broken lug studs, mostly on the right rear, but I did have a couple break in the other three positions. I do all my own maintenance and repair, and when the car needs tires I pull all the wheels, toss them in the pickup and take them to a tire shop. Power tools have never touched the lug nut on this, or any vehicle of mine. I asked in Subaru forums, and found dozens of other Subaru owners who were experiencing the same issue. I asked at the dealer, no one had an answer regarding the repeated failures. Subaru denied any problems, and offered no suggestions regarding why it was happening or how prevent the failures. At some point I tried cleaning the corrosion from the mating surfaces of the wheels and the hubs. Haven’t had a broken stud since. The car has 200,000 miles on it, and hasn’t had a broken wheel stud since. By the way, never heard of aluminum lug studs. The genuine Subaru lug studs and lug nuts I got from the local Subaru parts department have always been made from a high grade steel alloy, similar to tool steel. I doubt that aluminum would be a suitable material for a wheel stud, as the loads are too great. I have seen aluminum lug nuts, popular with the tuner crowd. They think that aluminum is lighter, so their “race prepped” grocery getter with excessive negative camber and slammed buckboard suspension can get to the grocery store faster. Again, I feel that aluminum is not a suitable material for critical fasteners like wheel attachments.2 points
-
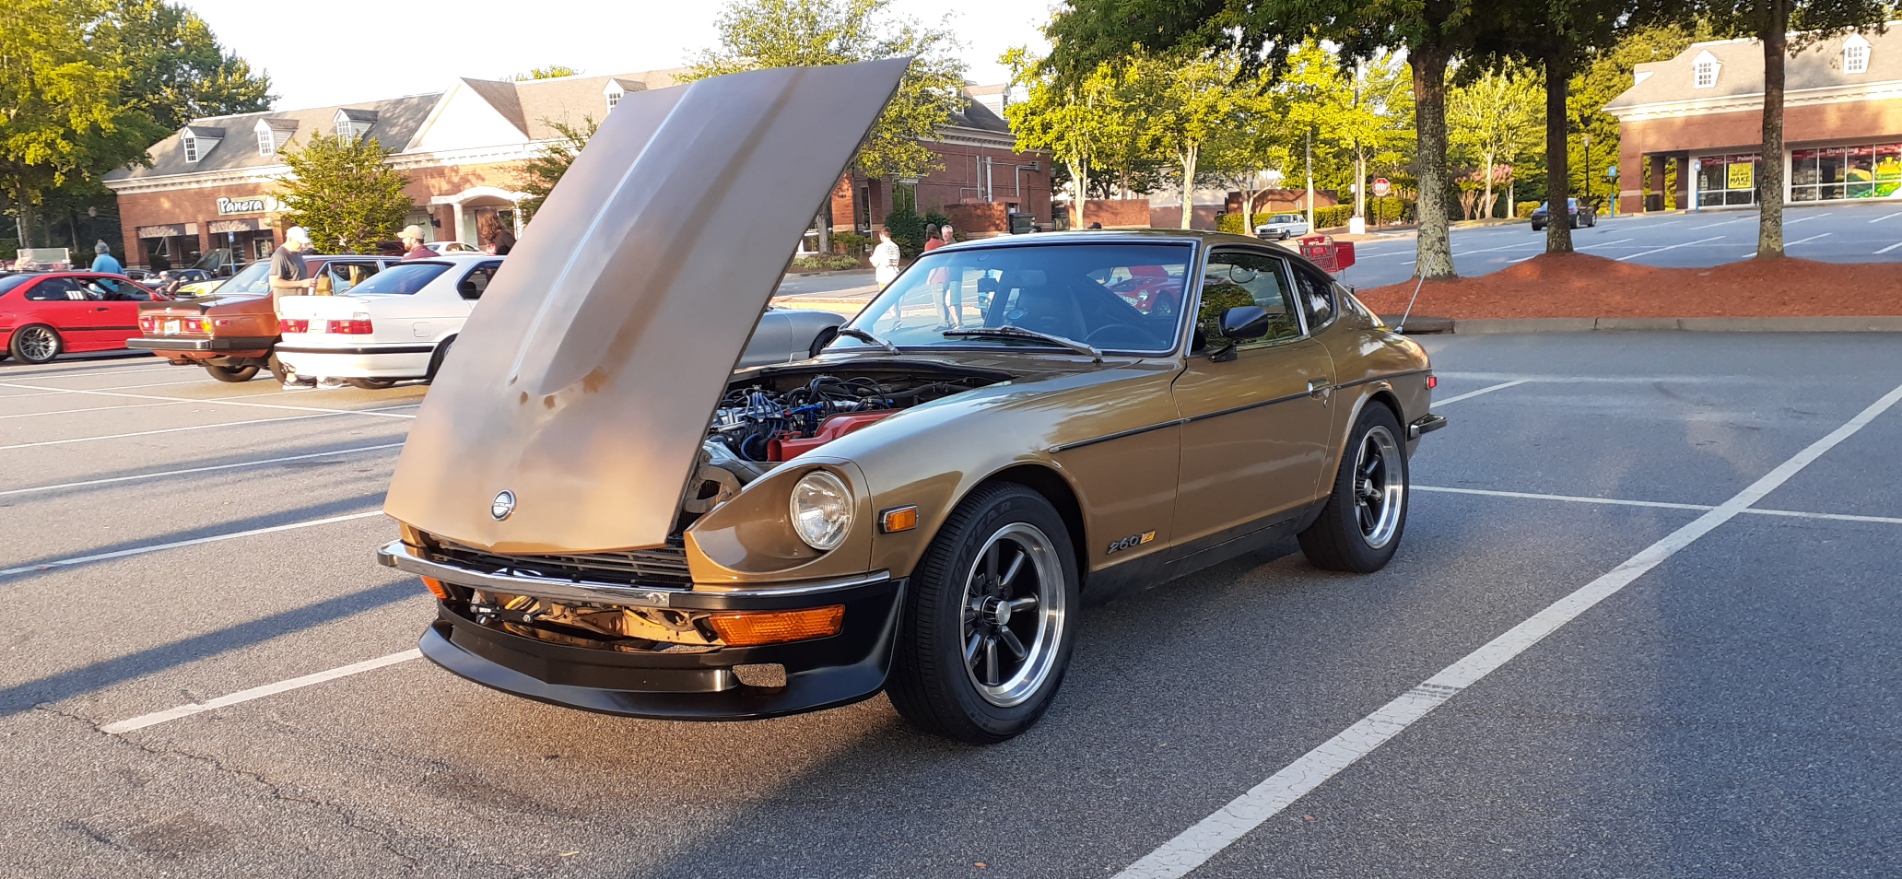
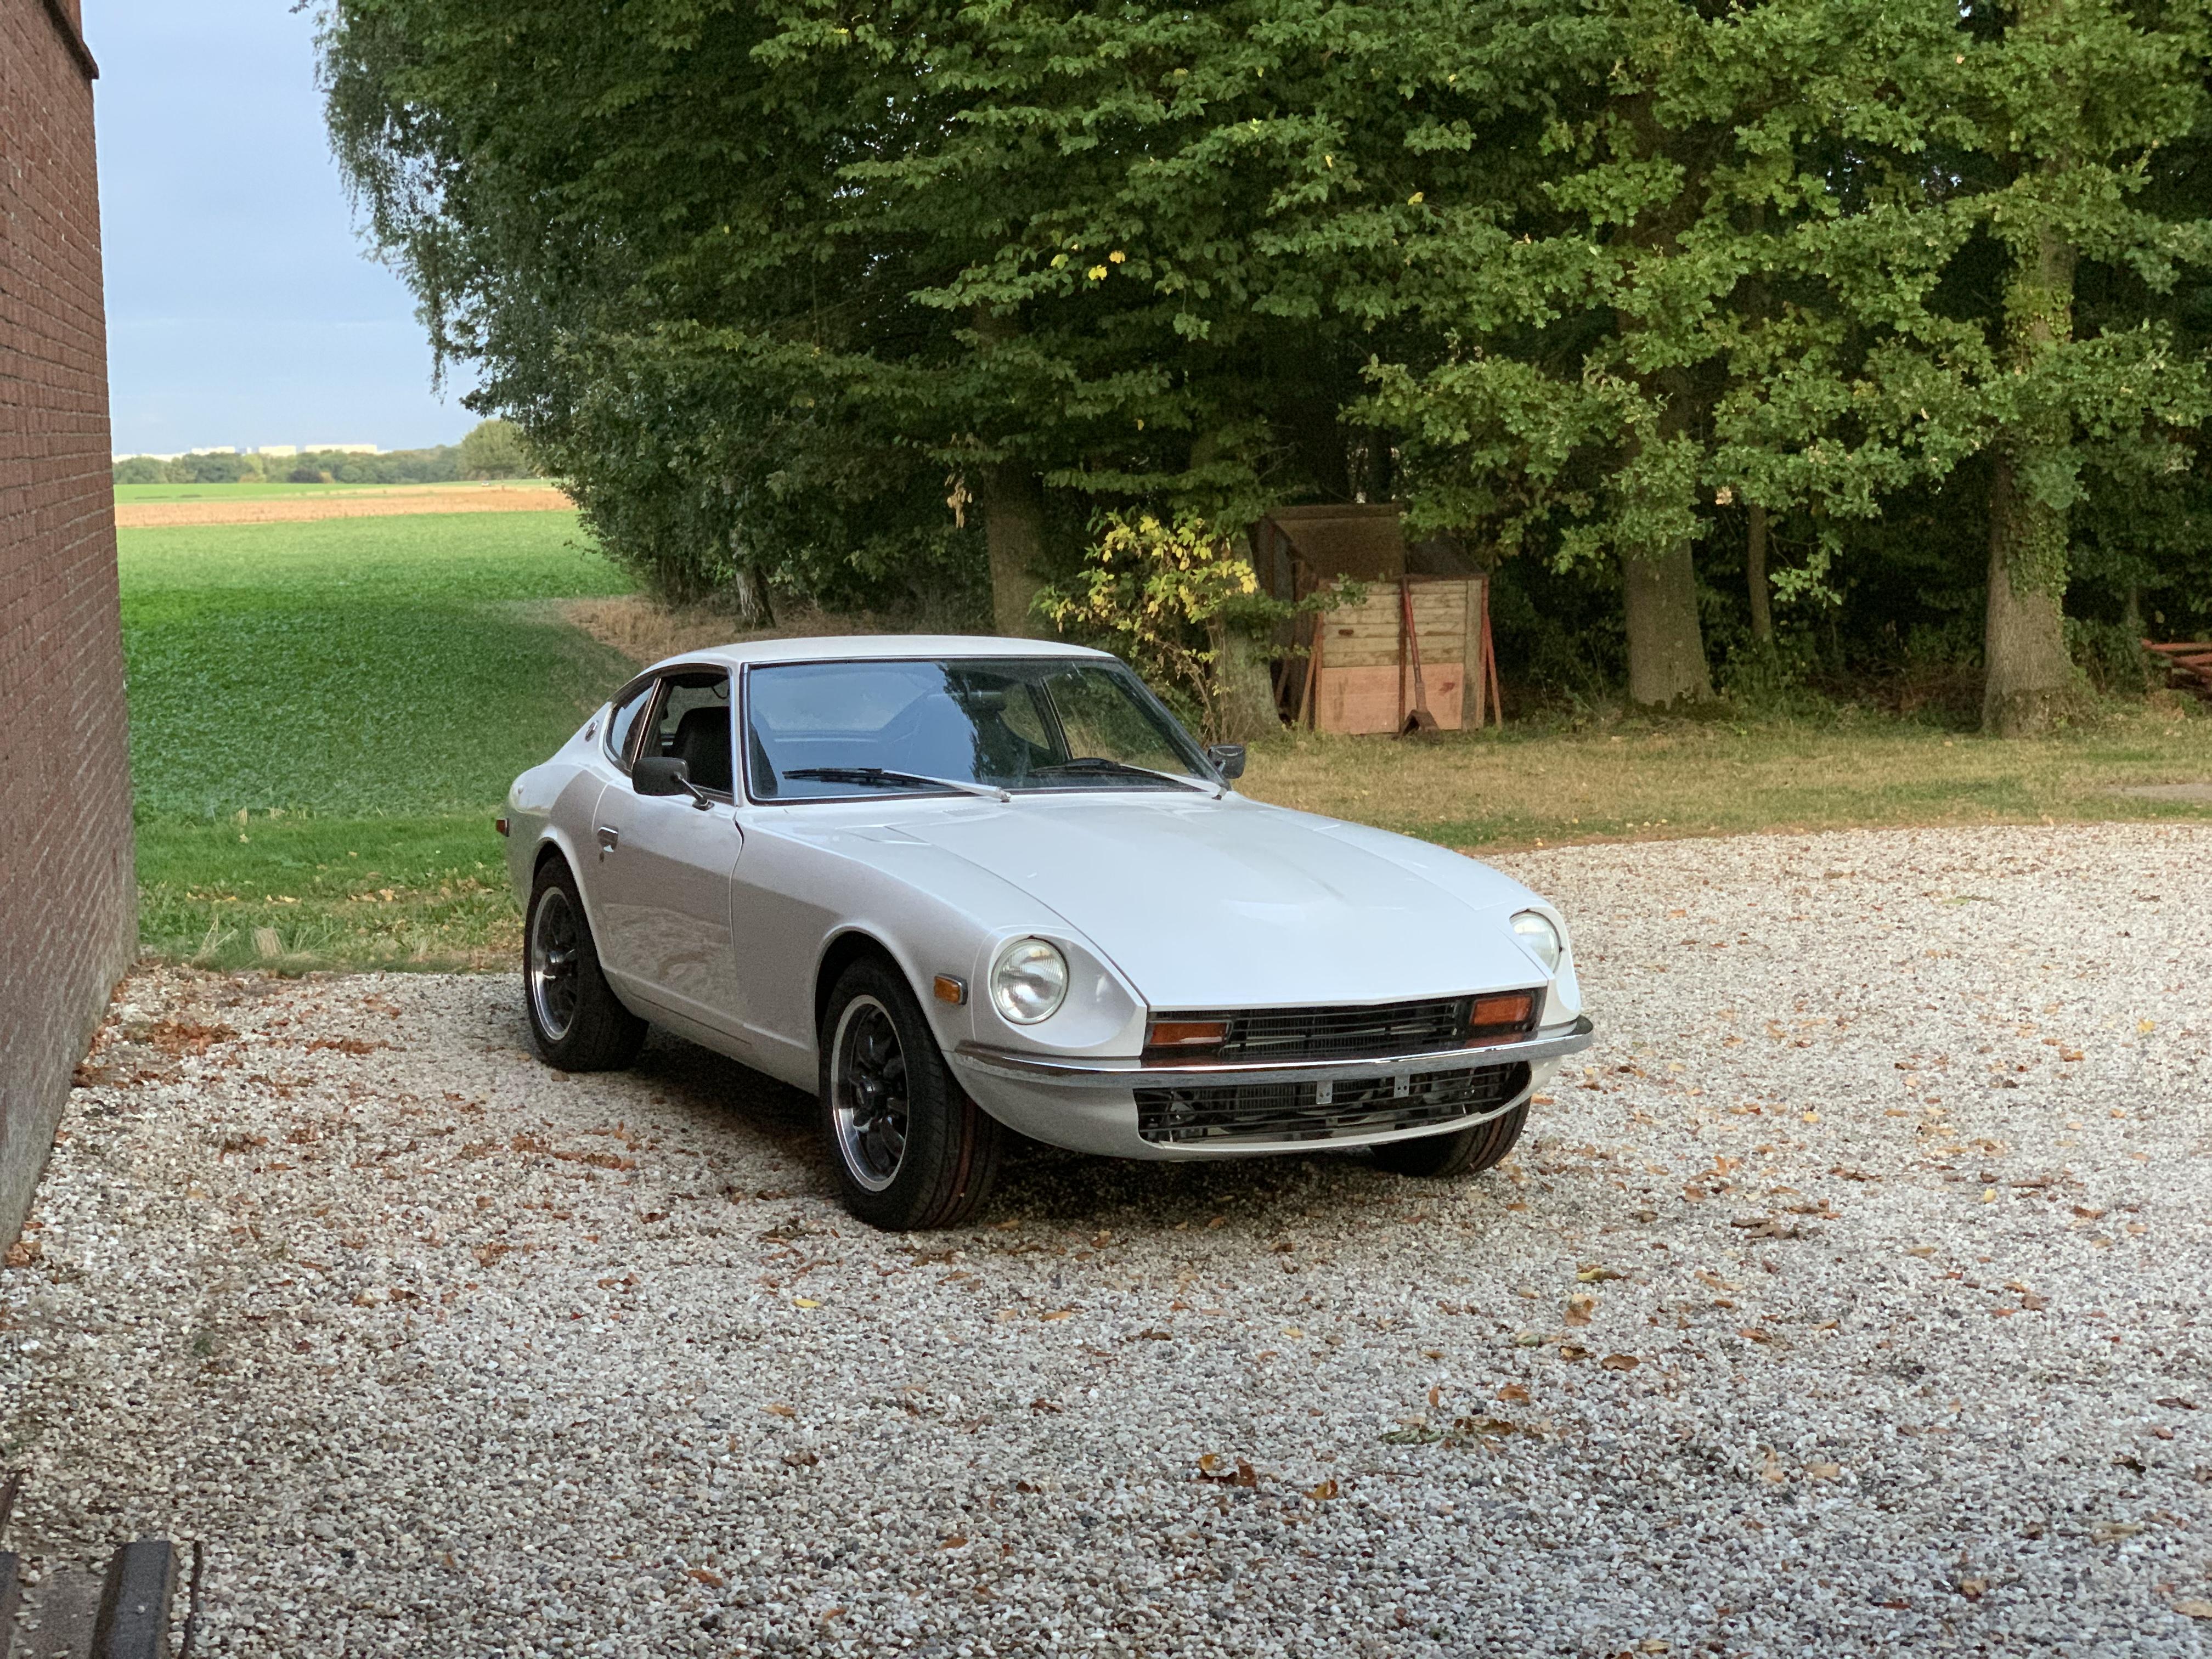
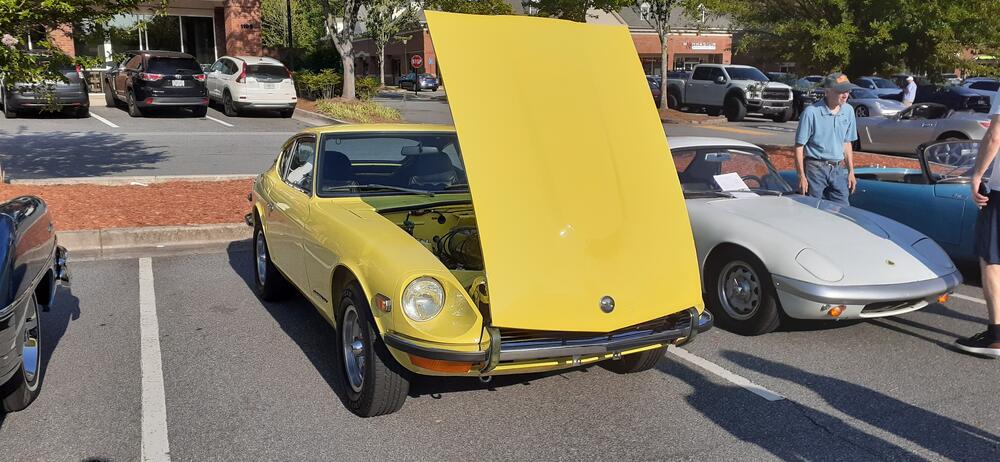
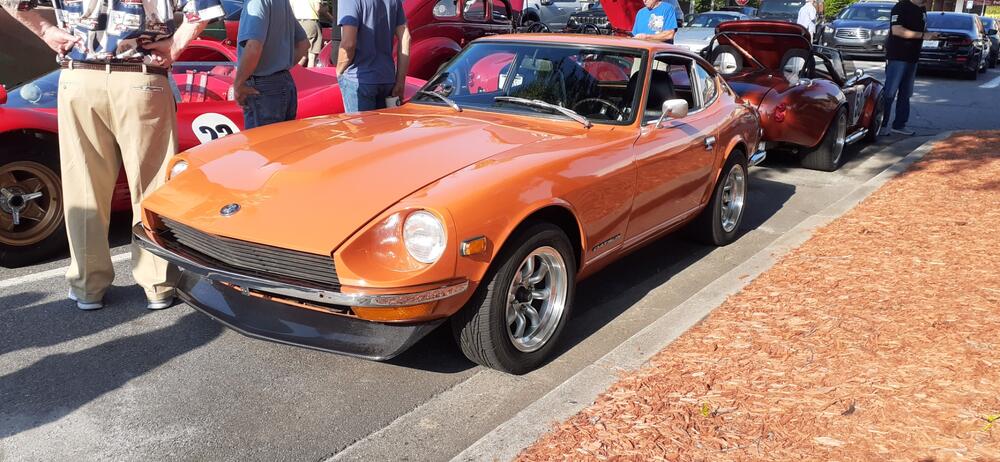
Not all Zs are in California for ZCON this week. I made sure I parked in the shade. Maybe I'll install AC next year.
 2 points
 -
2 pointsInspired by all those here that helped me resolve my issues with my Z and get her running normally again: https://www.youtube.com/watch?v=Vl_2uqYW6FM2 points
-
2 pointsPretty sure my 78 was a Hitachi am/fm with antenna switch above tuning knob.. Don’t remember ever seeing a cassette as an dealer option2 points
-
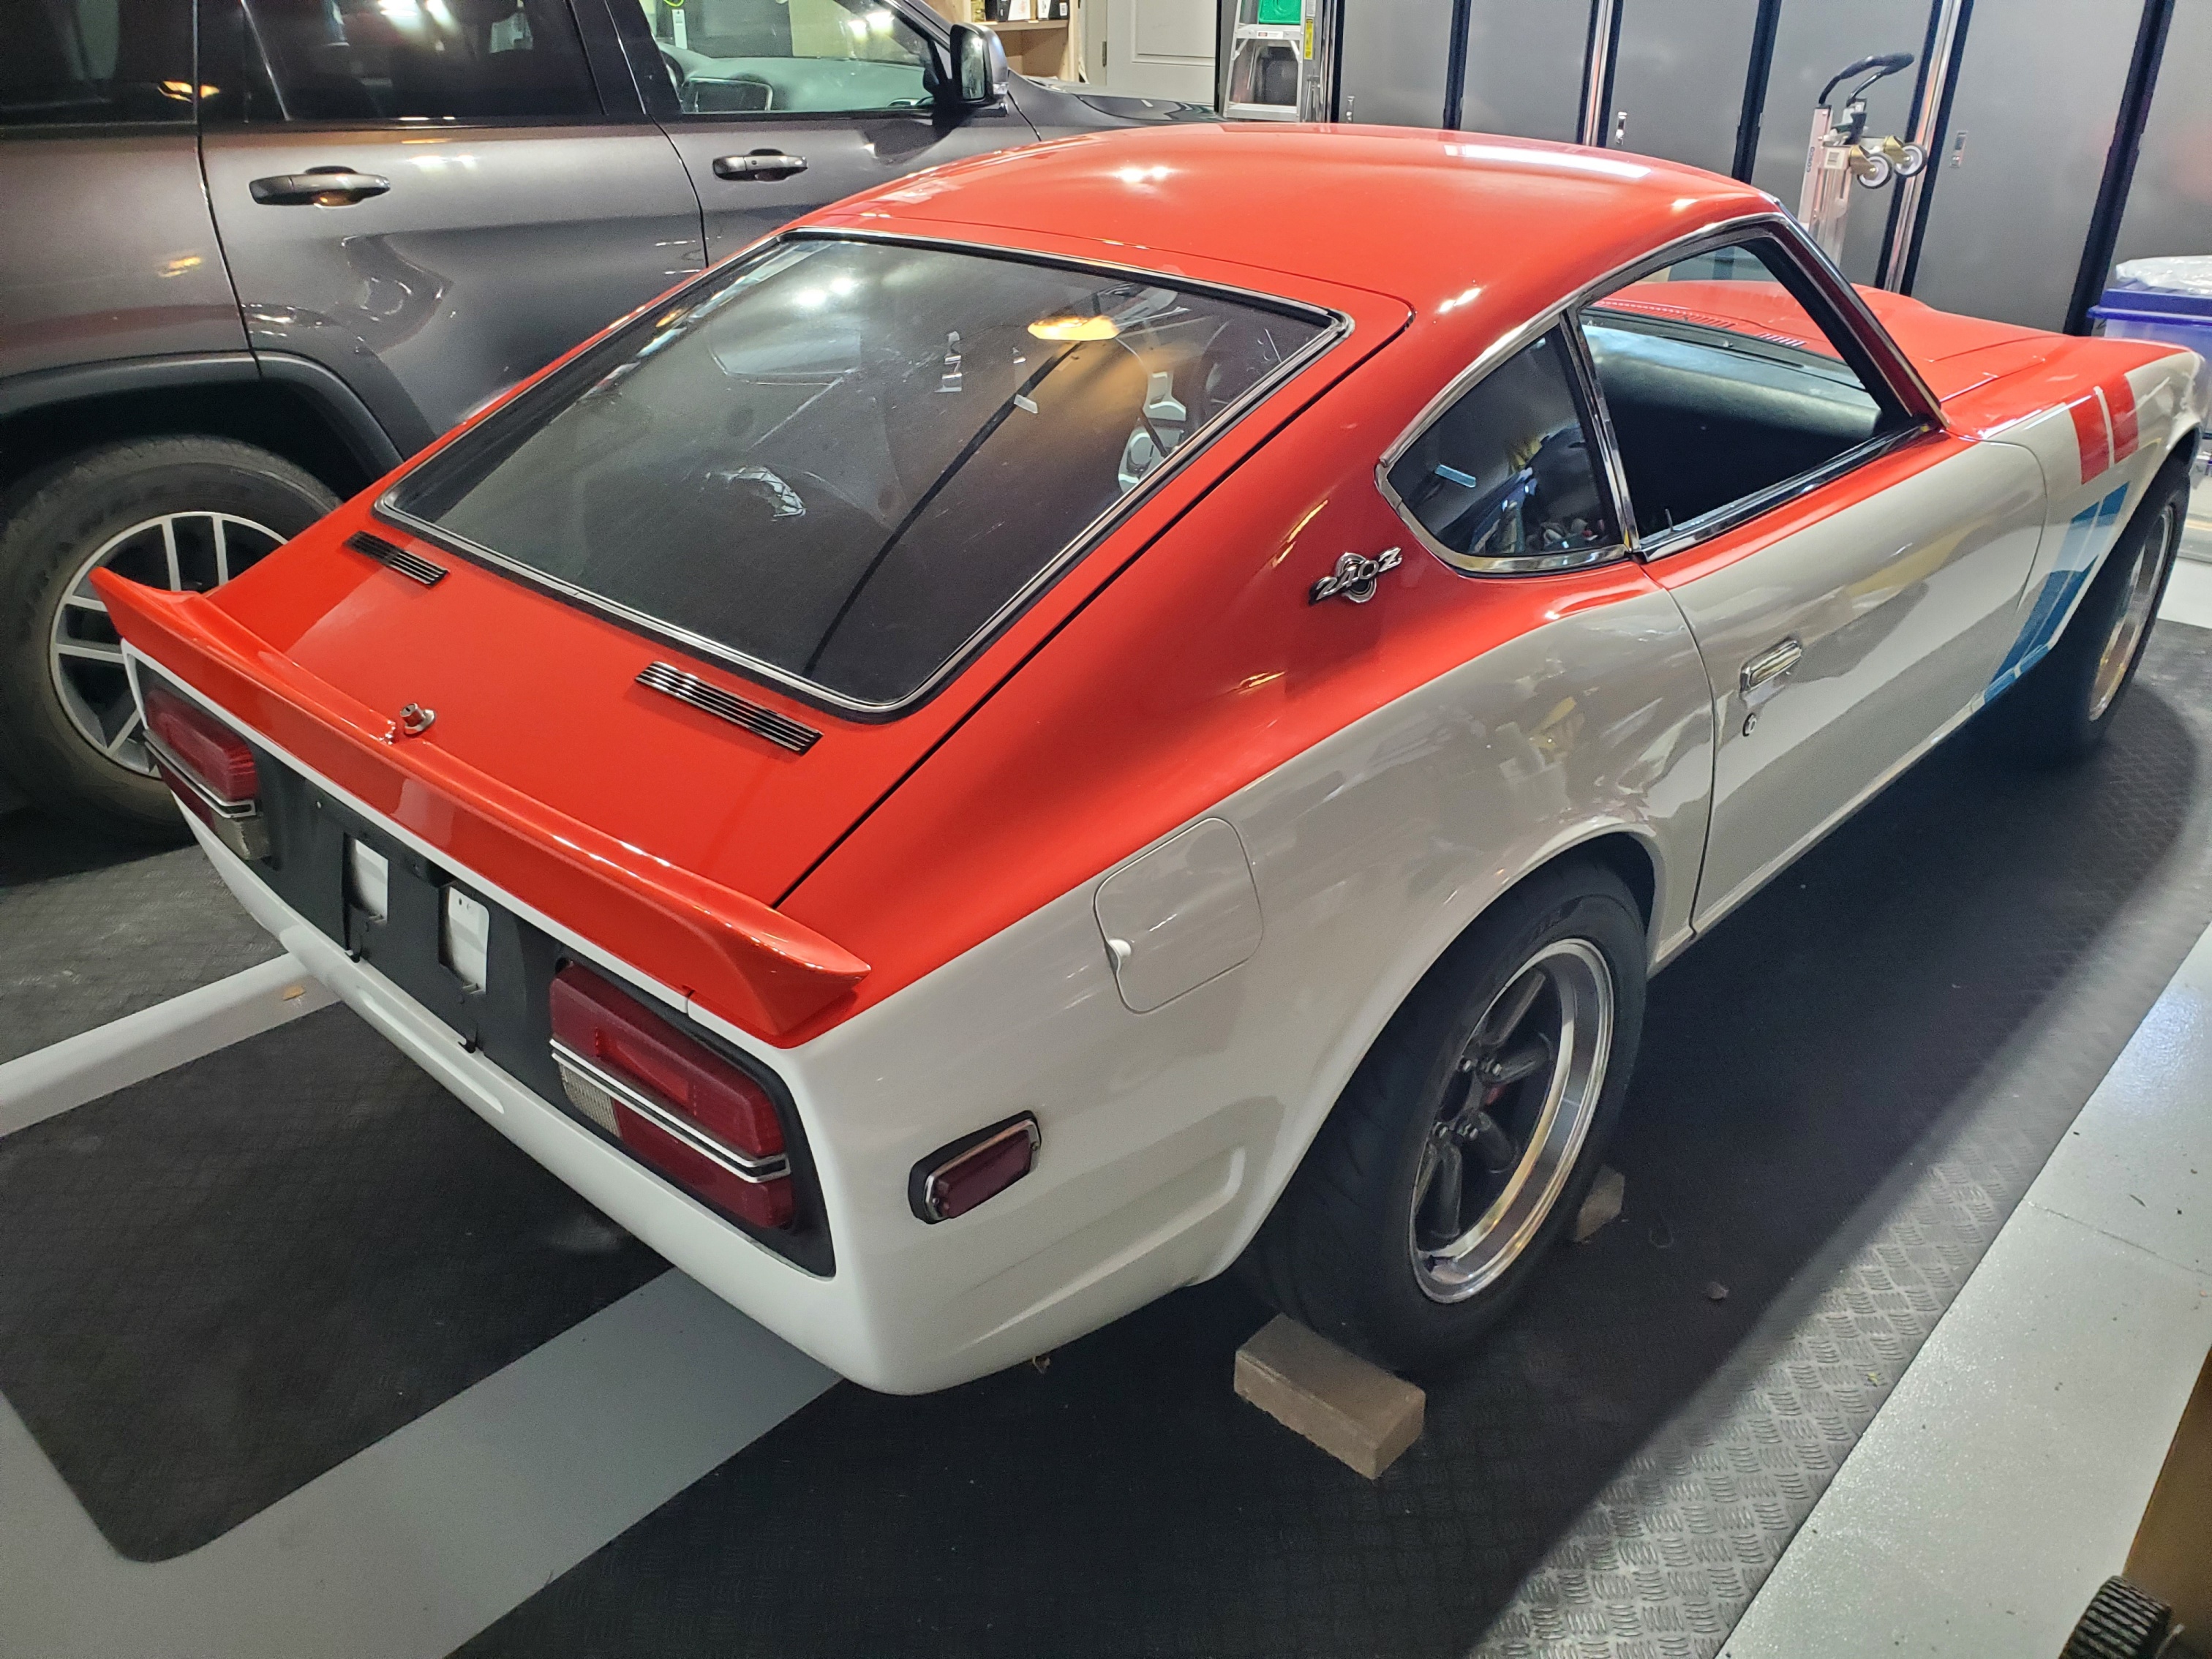
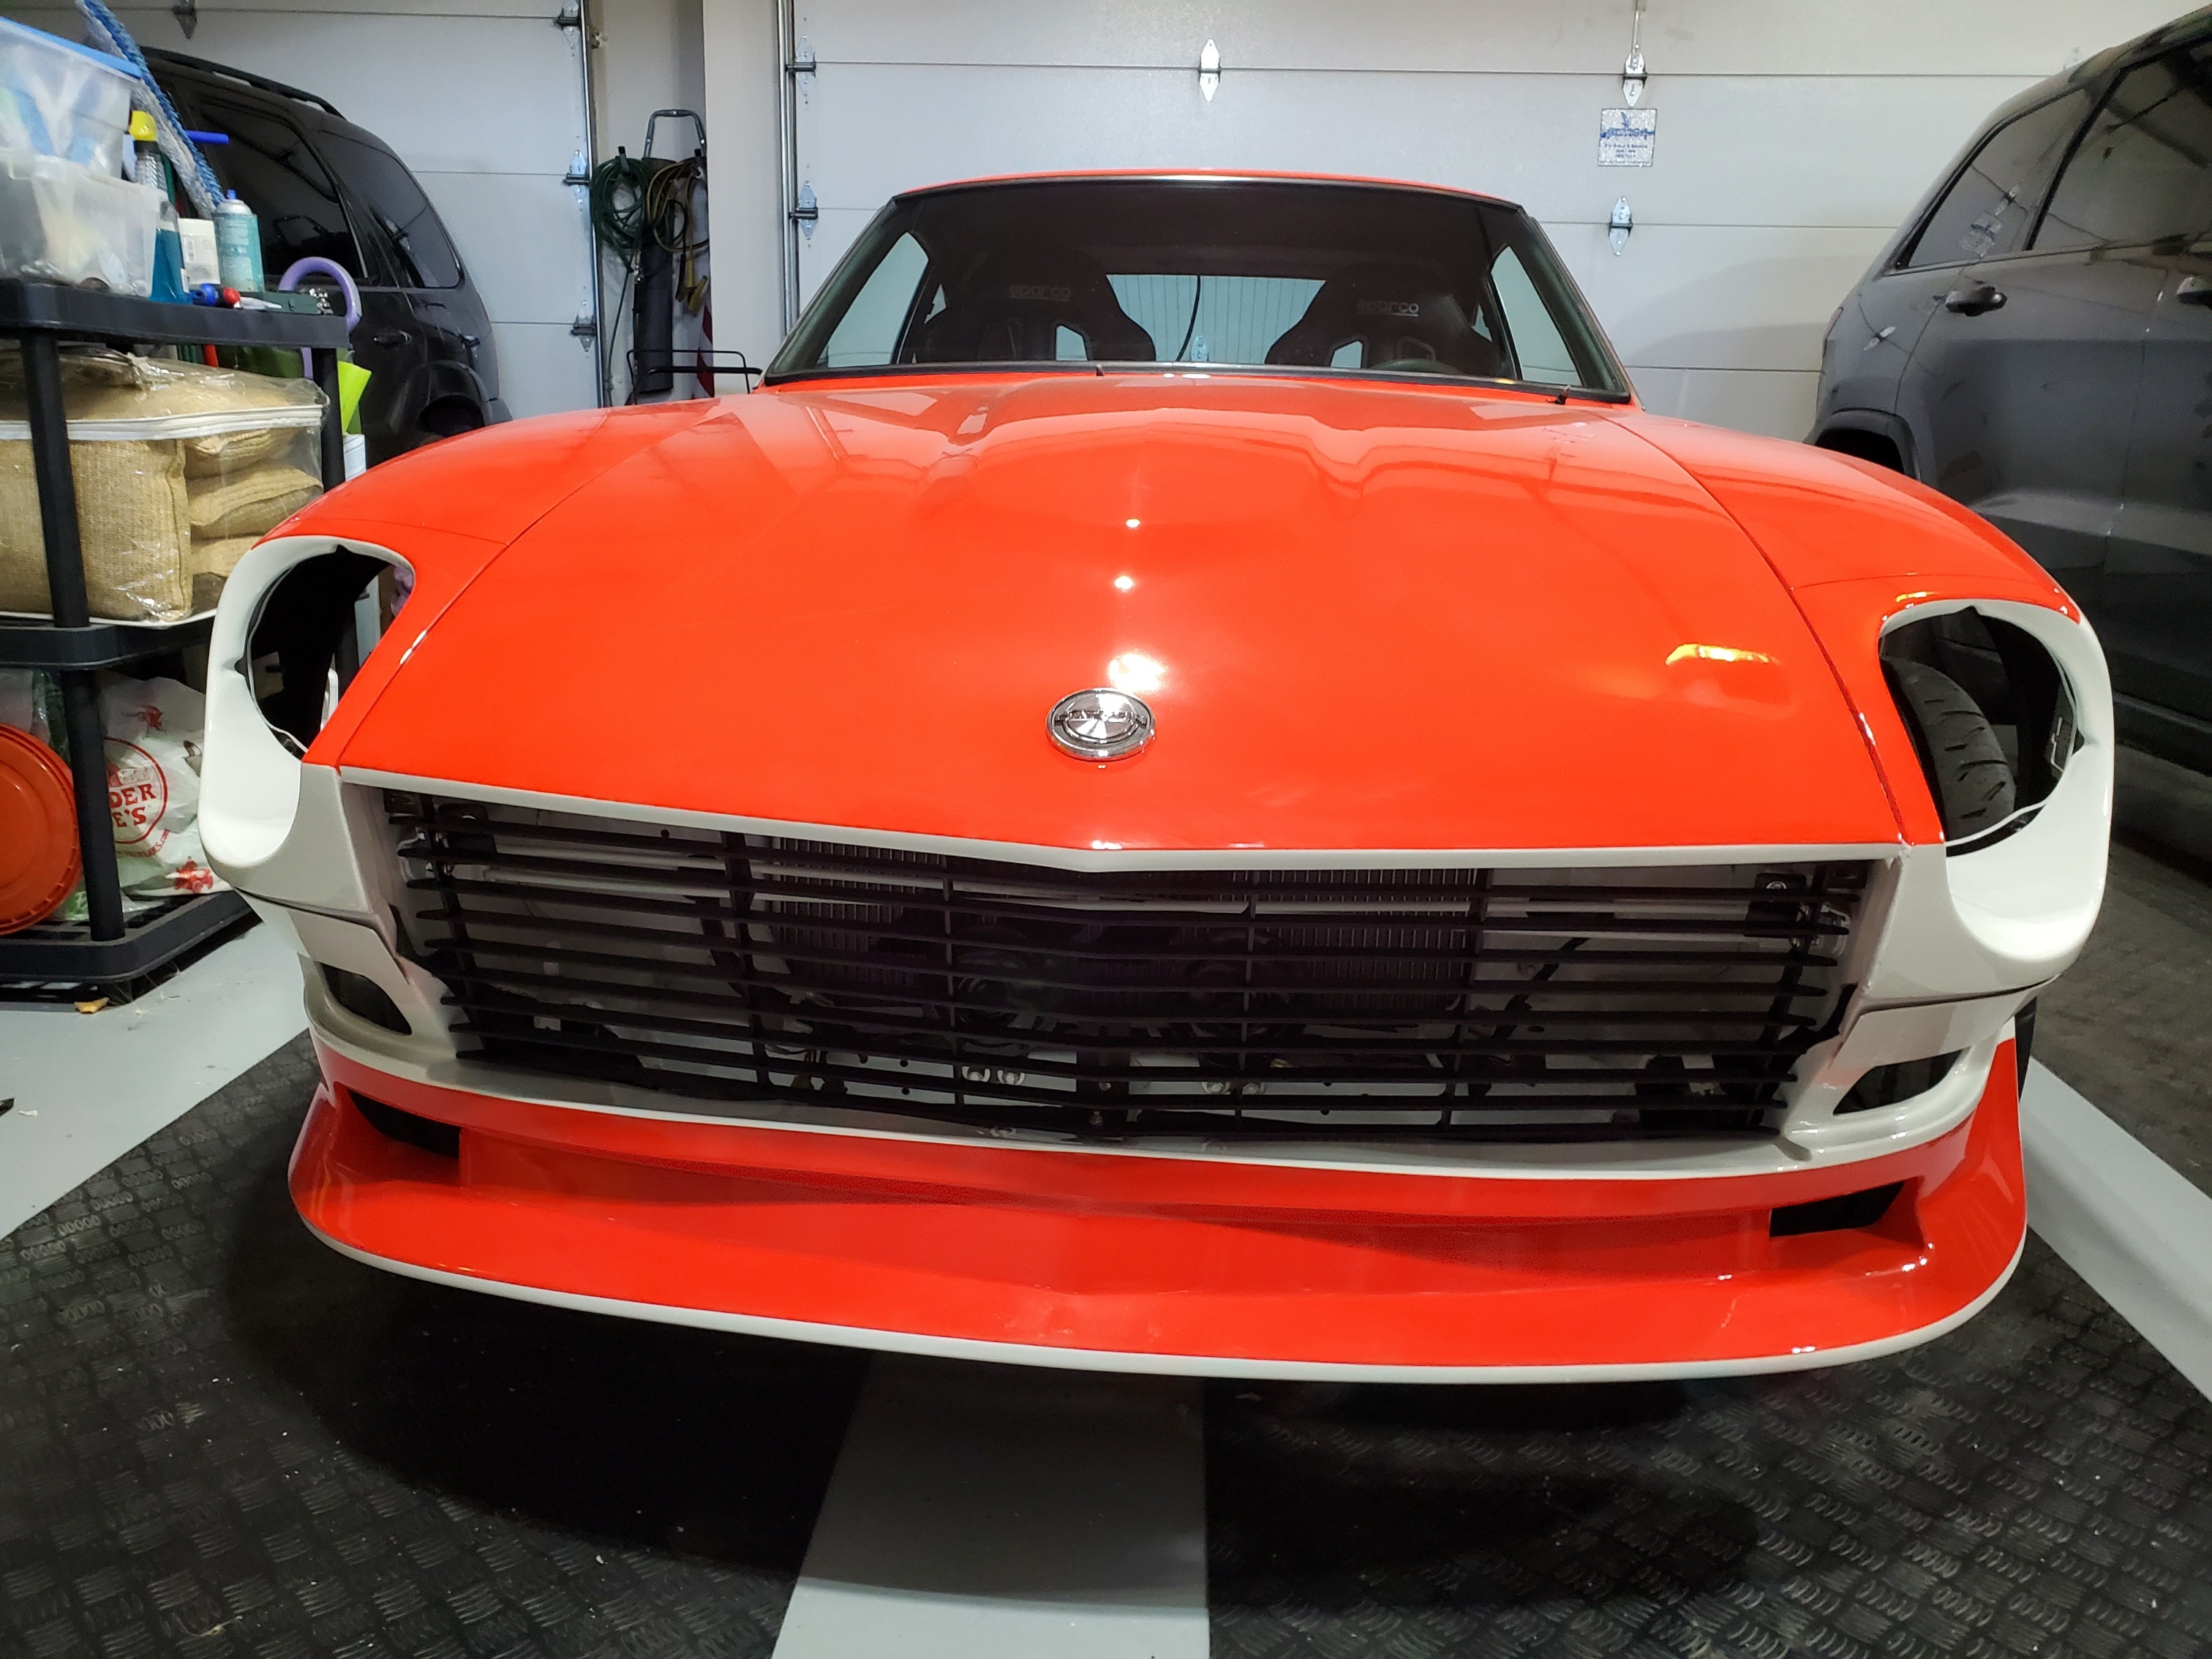
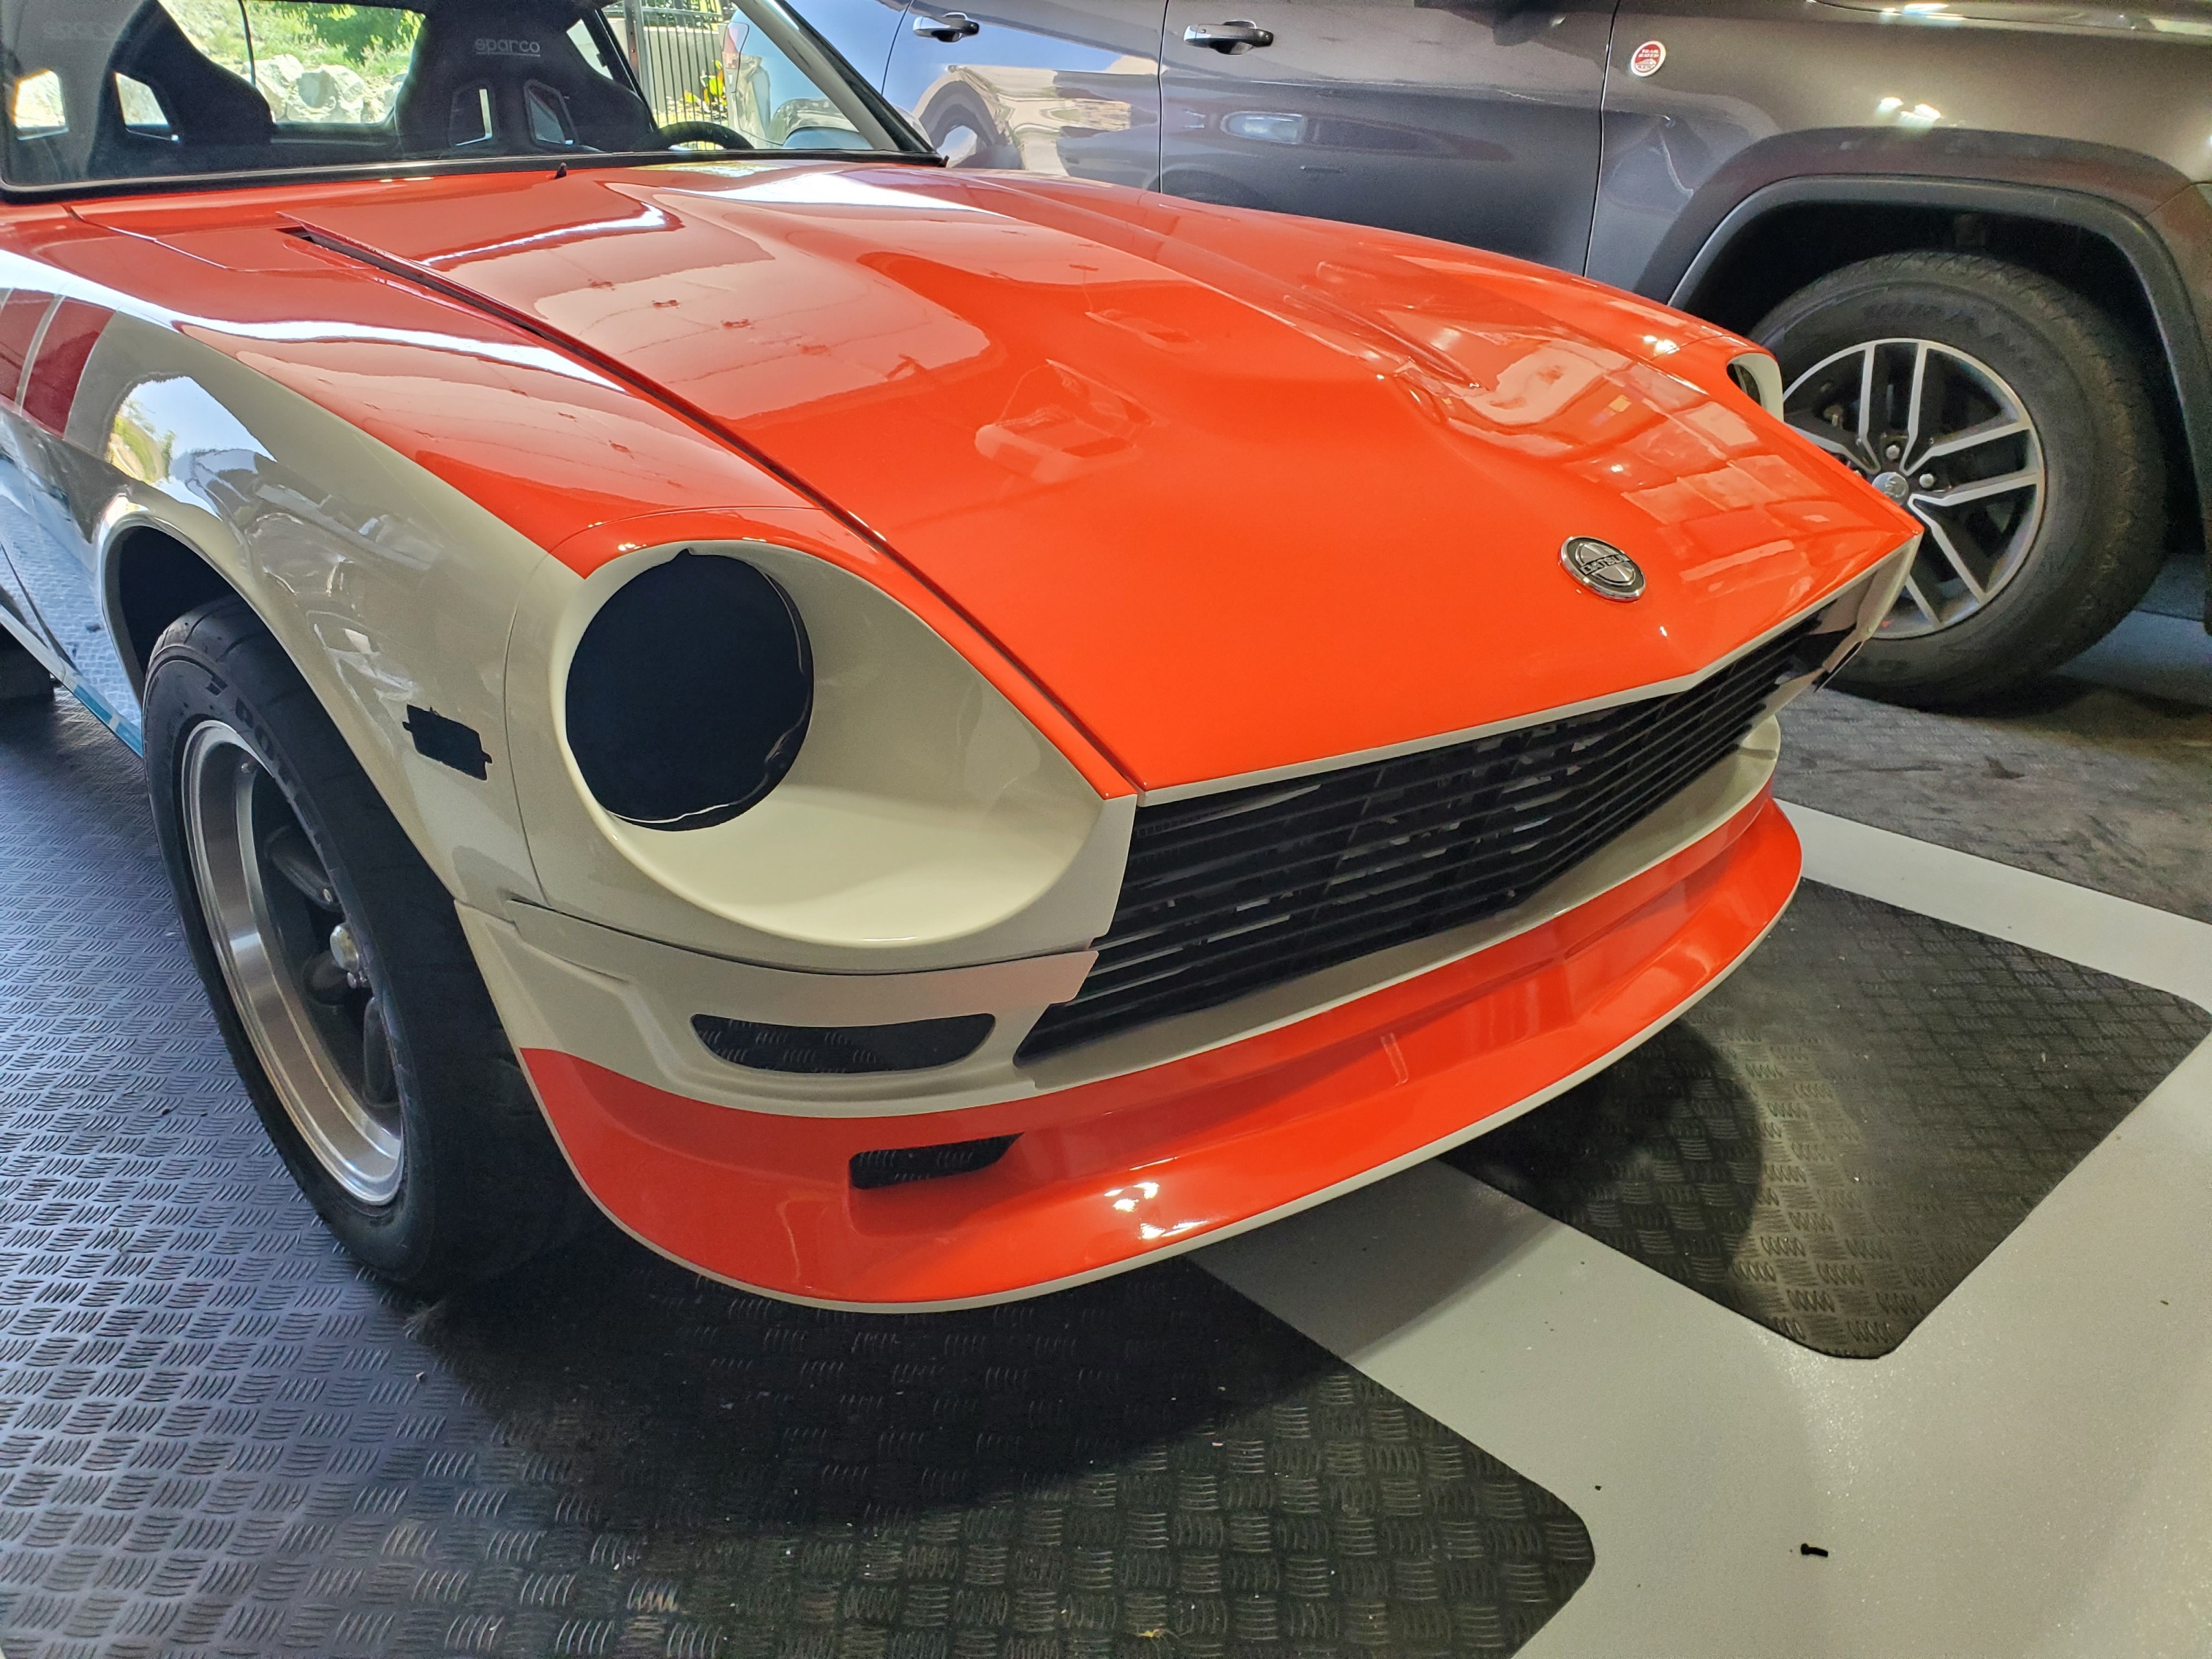
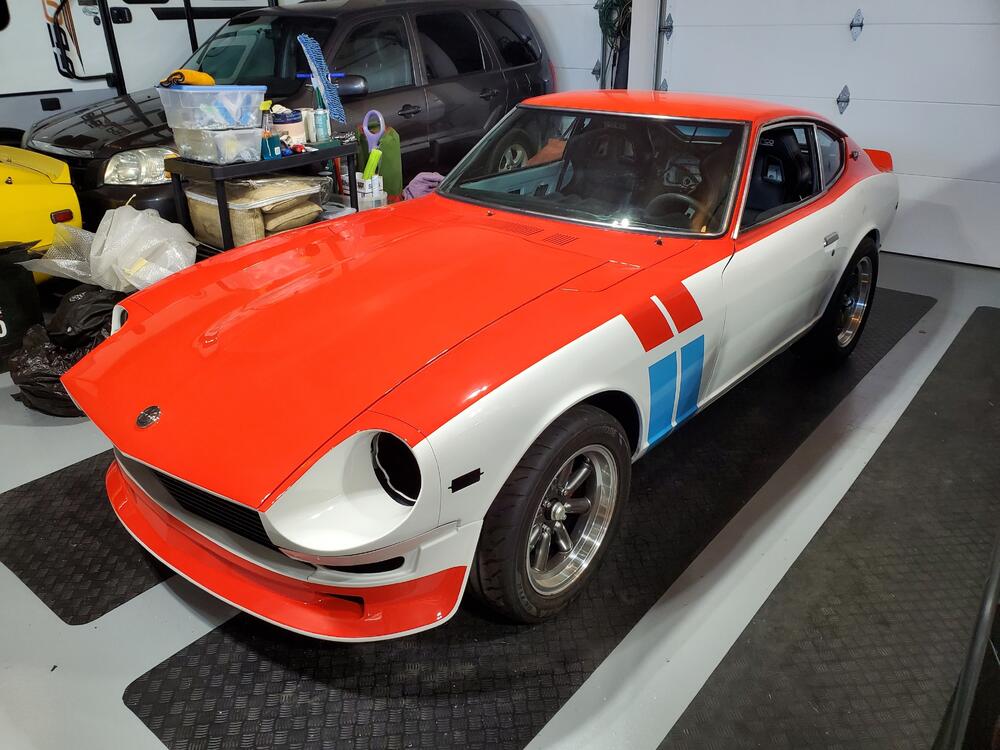
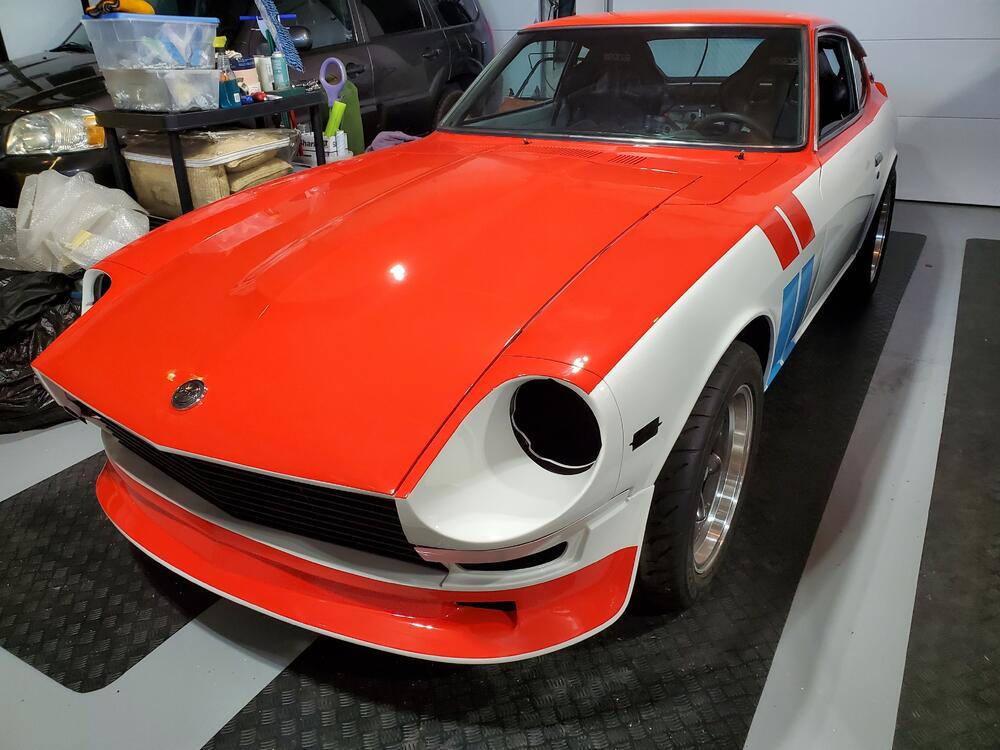
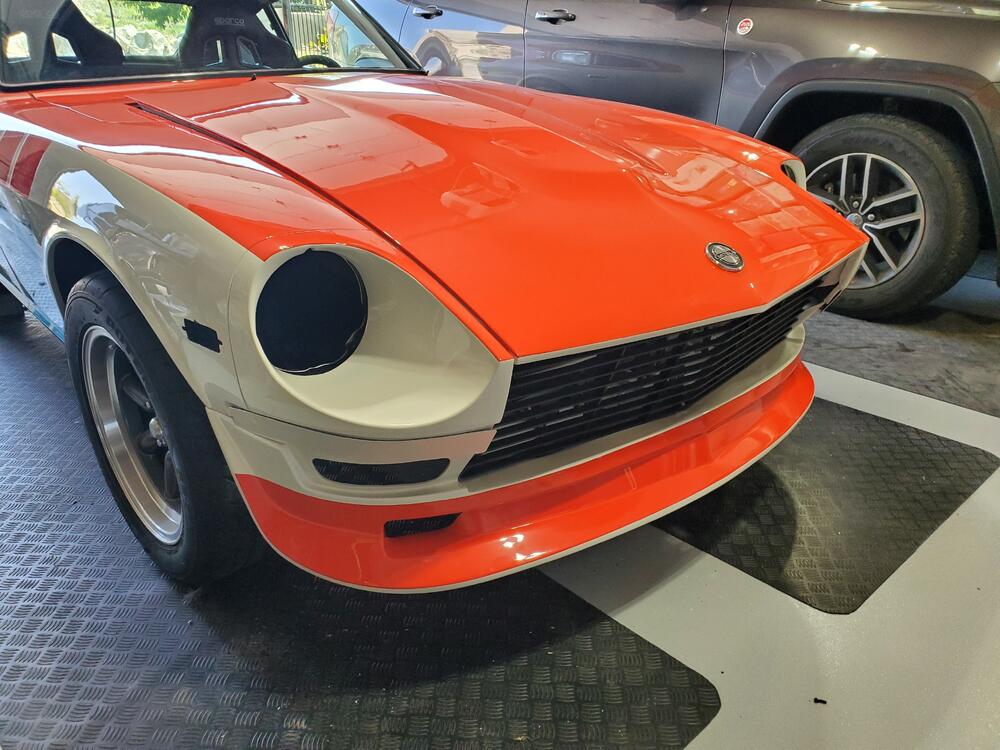
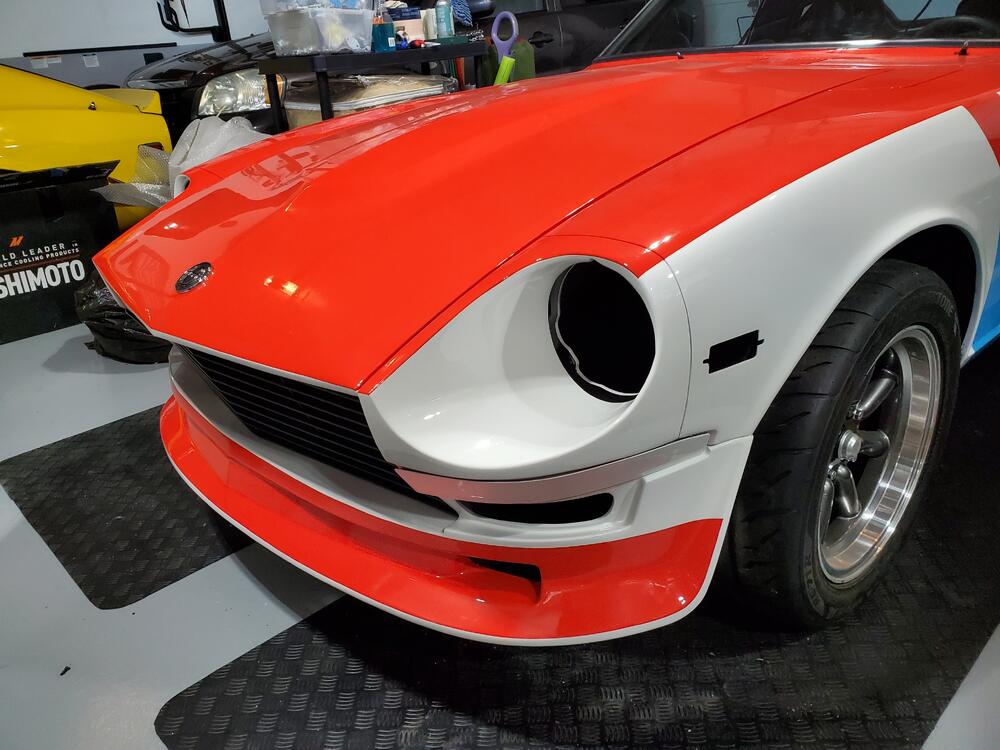
1 pointCar parts arrived, so I am now continuing the assembly. I installed the rear hatch vents, the spoiler and internal hatch cover. Installed the radiator and temporary install of hoses (clamps are a little on the large size and will need to be revisited). Also installed the front air dam, Skillard grill, and bumper deletes. I wish I could say that it all bolted together perfectly, but such was not the case. The rear spoiler was fairly simple as were the vents, however the front air dam and grill are a very close fit. The grill has about a half inch clearance from the body at the top, however, the air dam is line to line with the grill. Also, on the grill, the lower support in the center required some modification as the slot was not long enough to engage the support. I had to drill a hole a bit below the slot in order to get full support. Also, the grill comes stock with just 3 support points, 2 upper (one on each side) and 1 lower in the middle. There are two lower side mounts on the front clip that are not used as the grill has no features for these. These would be nice as they would help with alignment of the grill. Below are a few pics.

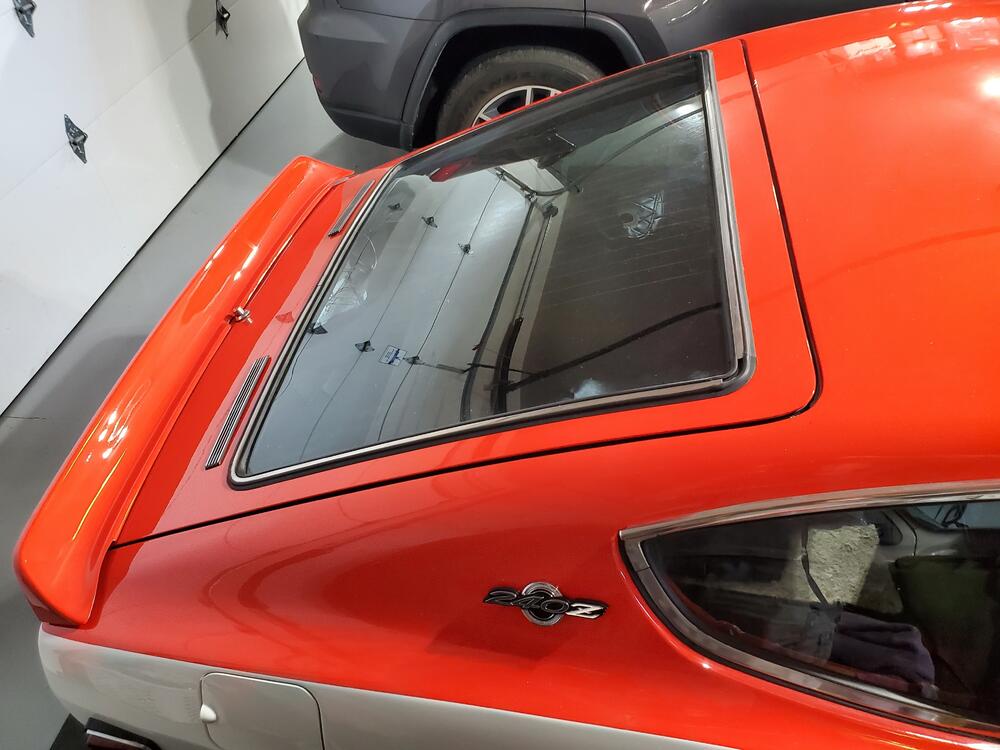
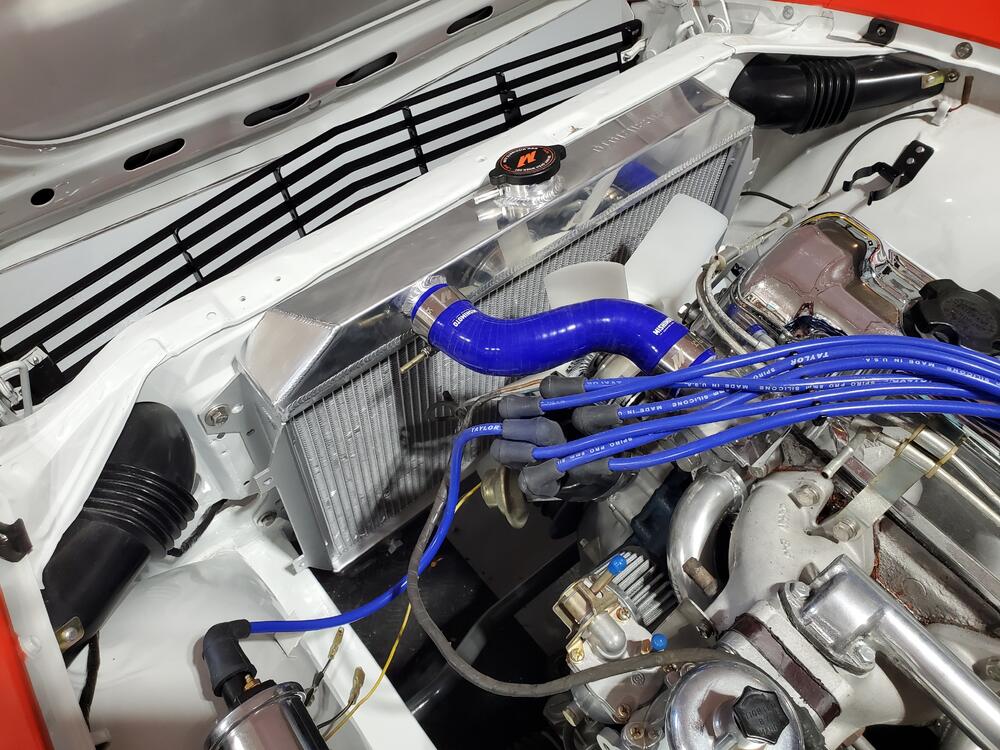
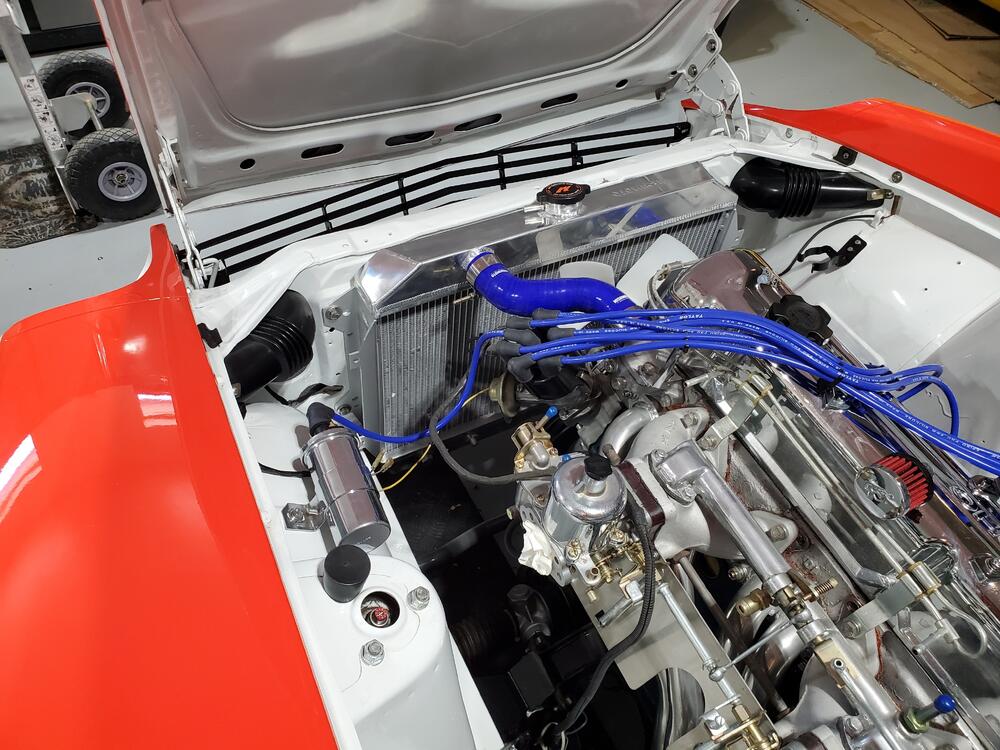

 1 point
 -
1 point
-
1 point
-
I would find a parallel flow condenser if you're going with R134a. This site has a wide variety including models with the drier mounted to the condenser. https://nostalgicac.com/parallel-flow-condensers.html1 point
-
Not sure if these help - my '71 was running a set of the "MSA lowering springs" from the 1980s in these pics, along with a set of Boge oil-filled cartridges. I remember liking the setup for general street usage - assuming the new "MSA lowering springs" are the similar to the 1980s version, I think they are a good option. I'm currently restoring that car, and I have installed a set of reproduction Euro springs that the online community had reproduced a long time ago with the KYB gas inserts. Depending on how that setup looks once I get the chassis fully loaded, if I can't get the stance I like I may consider going back to the MSA lowering springs rather than cut the Euro springs down.
 1 point
 -
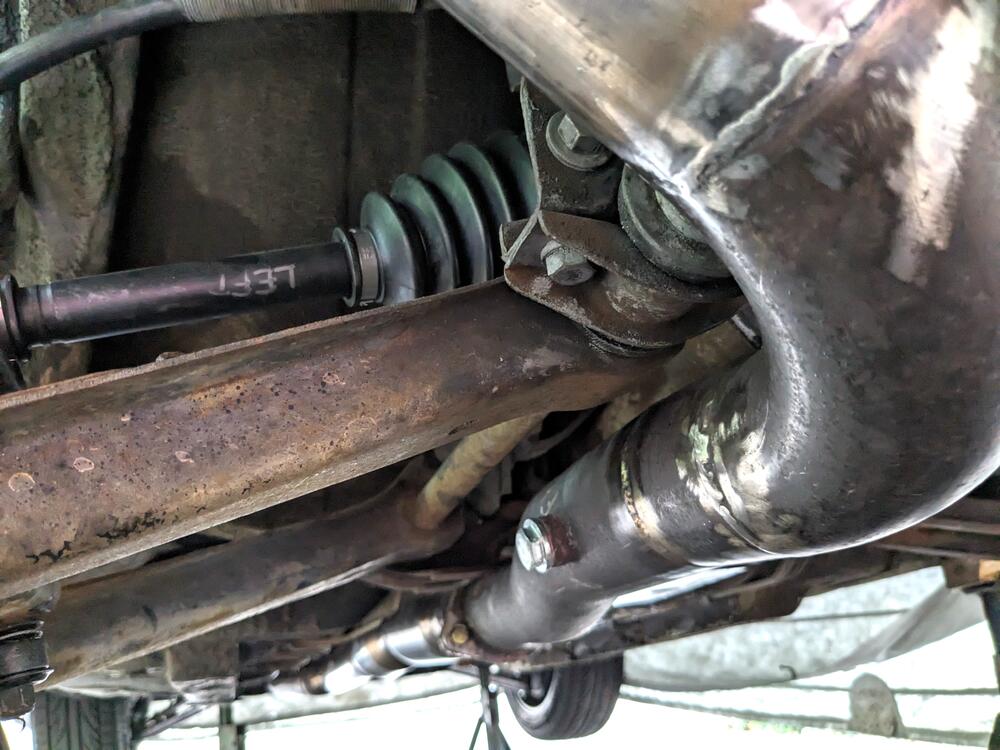
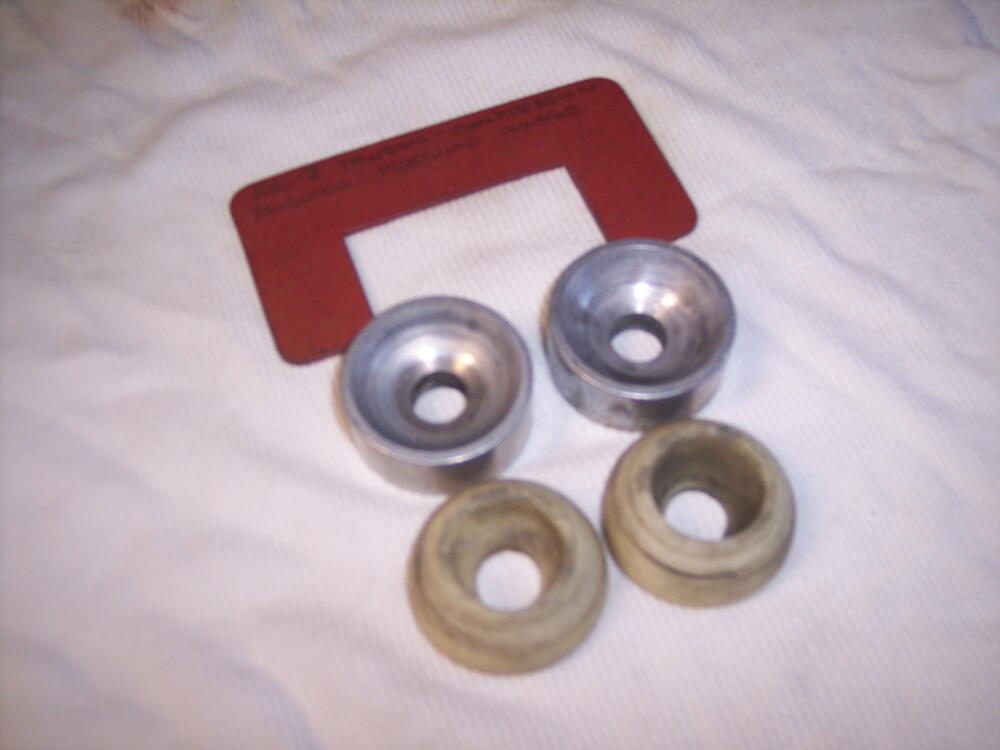
It's not increased tension (the rod is under compression during forward braking on the Z's), it's the side/bending load on the tip of the rod as the suspension moves that fatigues it. The kit is supposed to allow the rod end to move around the pivot plane of the mounting plate area. Looking at the parts in that picture it looks like the designer did not get the shape right on the combination of parts. It's meant to move but the pivot point is extended out by the thickness of the aluminum cup. And/or the hole in the aluminum cup is too small and the rod binds up as the angle changes, you can imagine it just by looking at the picture. Seems like a person could/should just open up that hole and it would work like it was meant to. Somebody messed up. If you ever have the front end apart and want to see what happens, leave the rod disconnected from the control arm and move it through the range of motion it would see while the suspension moves. And Delrin is a polyacetal (polyoxymethylene) not polyethylene. It's known for dimensional stability but apparently not so good under high loads. Could also be poor molding if it was injection molded. It's used often for small gears and things like that. Just some thoughts/observations/opinions. I broke a rod after installing PU bushings. Had a month or two of creaking and groaning over uneven ground to think about it before it popped.
 1 point
 -
Here's a version of that kit that I installed on my car somewhere around 48-50 years ago. Note that the pre-tension measuring gauge is made of fiberboard, not metal. I can't recall the source, but pretty sure it was not Nissan.
 1 point
 -
1 pointHi! I don’t know when. I want to know it too. Maybe somewhere in between from late 1970 to late 1971. Kats1 point
-
Soo. time for another update from the bodyshop. After the floor pans got prepared and made sure that everything fits: They got welded in and attached to the frame rails: Next then was the inner rocker panel: Along with the rear rocker extension the seatbelt mount and seat rails: And the rear section of the floor pansl. Looks really need. and completely differnt to the RH side, where we used the older type of floor pans and lots of homemade panels. What is missing now is the little factory reinforcement piece (see previous post from the bodyshop). and the outer rocker panel. there we currently have a little fitment problem and need to find out if it's the replacement panel or something else is misaligned, Overall i'm again very happy with the work and attention to detail. I always expect more progress when i go there and then i'm disapointed when i see it looks more or less the same than 1,5 weeks ago, but then i start to look and realize all the small details they had to fix, paint, adjust, test, modify, etc. And then i think about the time it took the previous bodyshop to do the same (in a less good result) on the other side and then i'm super happy again. Overall i'd say that already more than 1/4 of the work is done, and that in only roughly 5 weeks. so if the continue like this, it wil be definitely ready in fall. Nice1 point
-
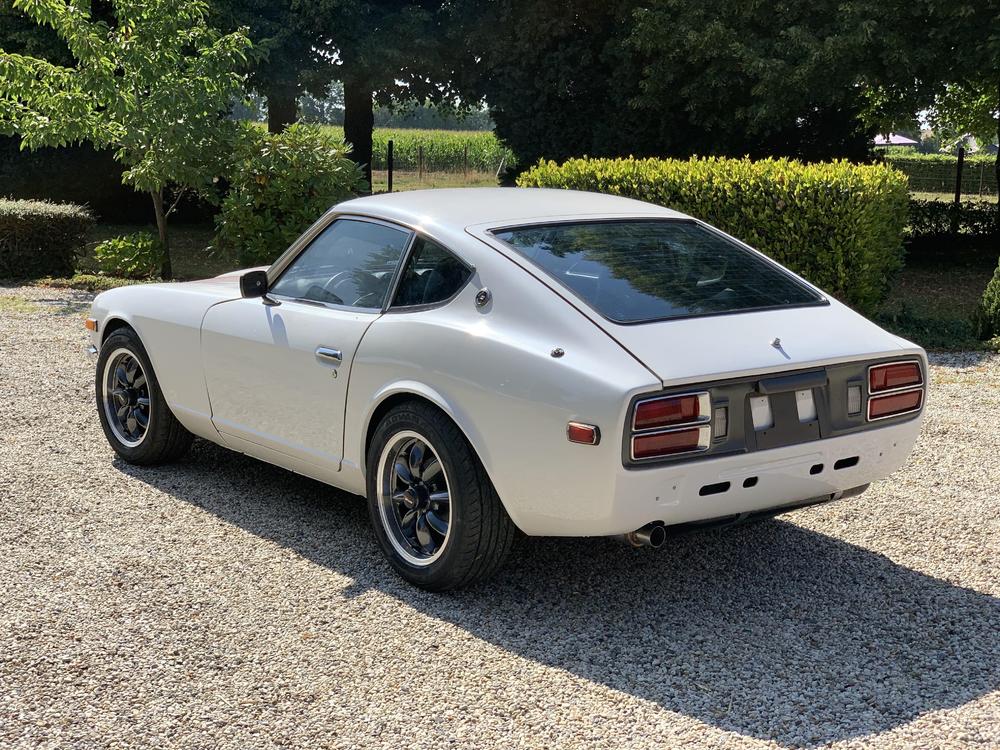
1 pointHey Wallflower? Is the car now finished or sold and busy with the next project? Let us know! 🙂 BTW.. the exhaust at the last pic.. you say you made the exhaust yourself. also the damper? what kind of damping material did you use in the damper?1 point
-
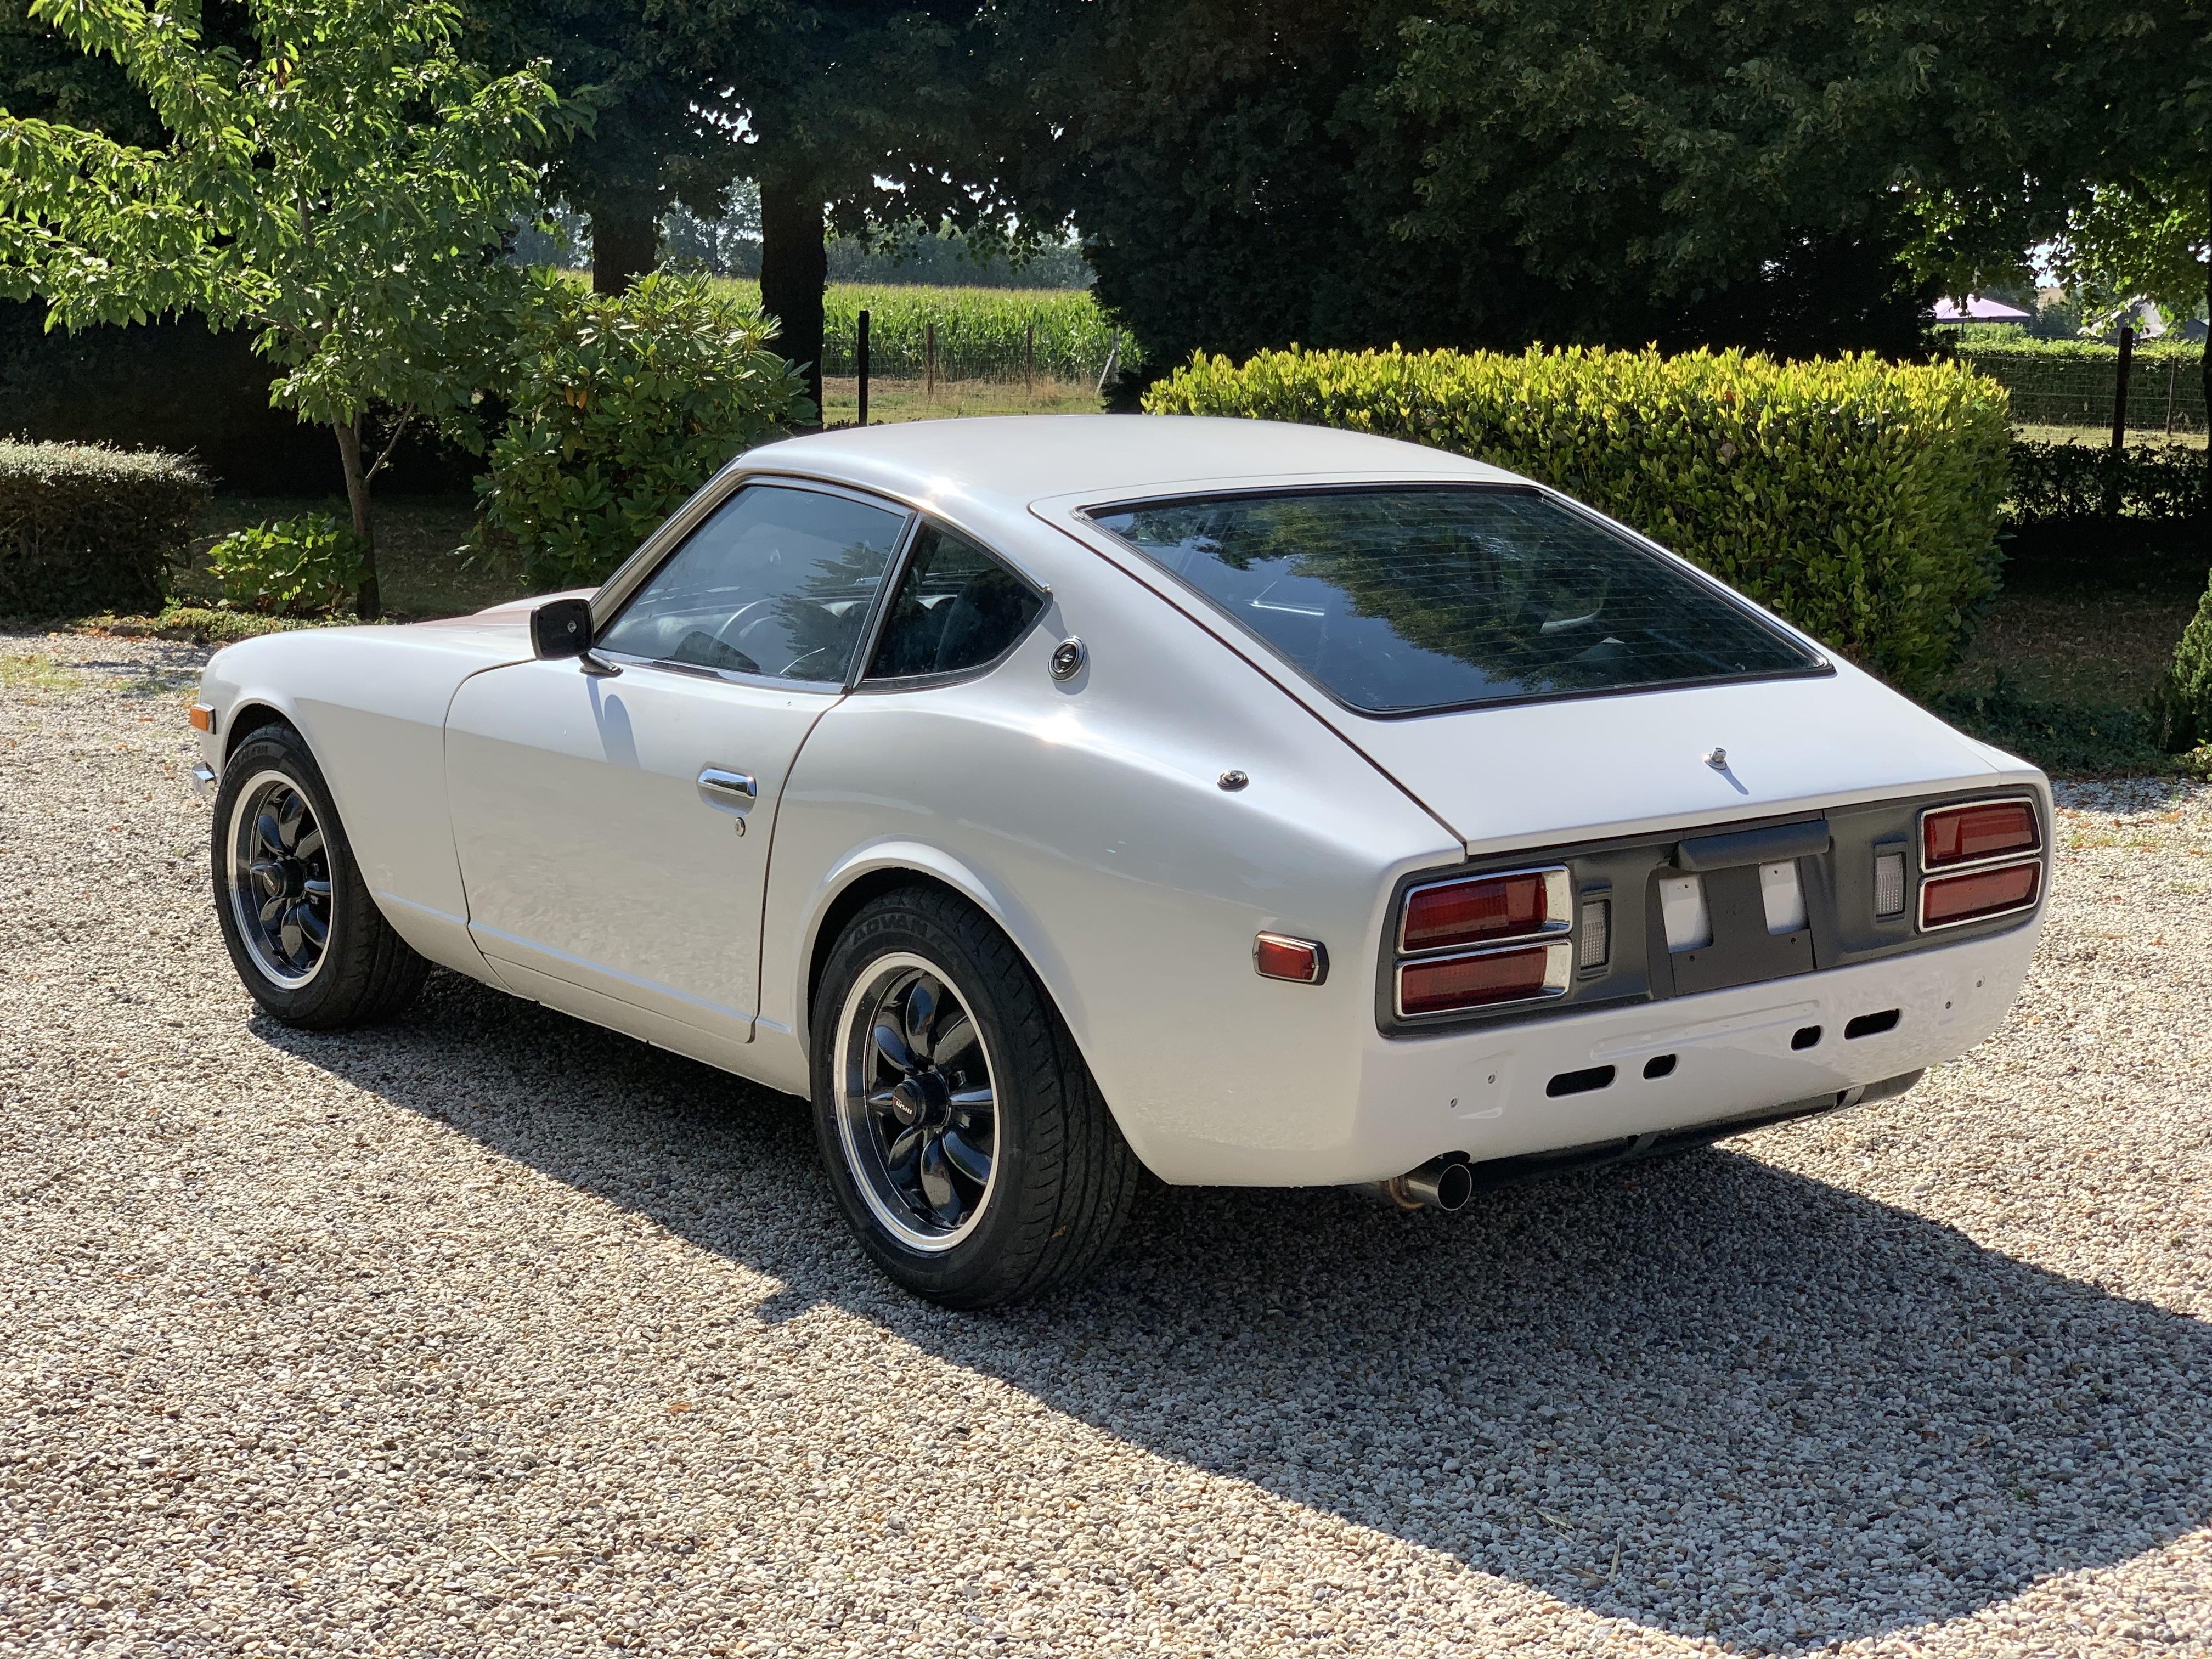
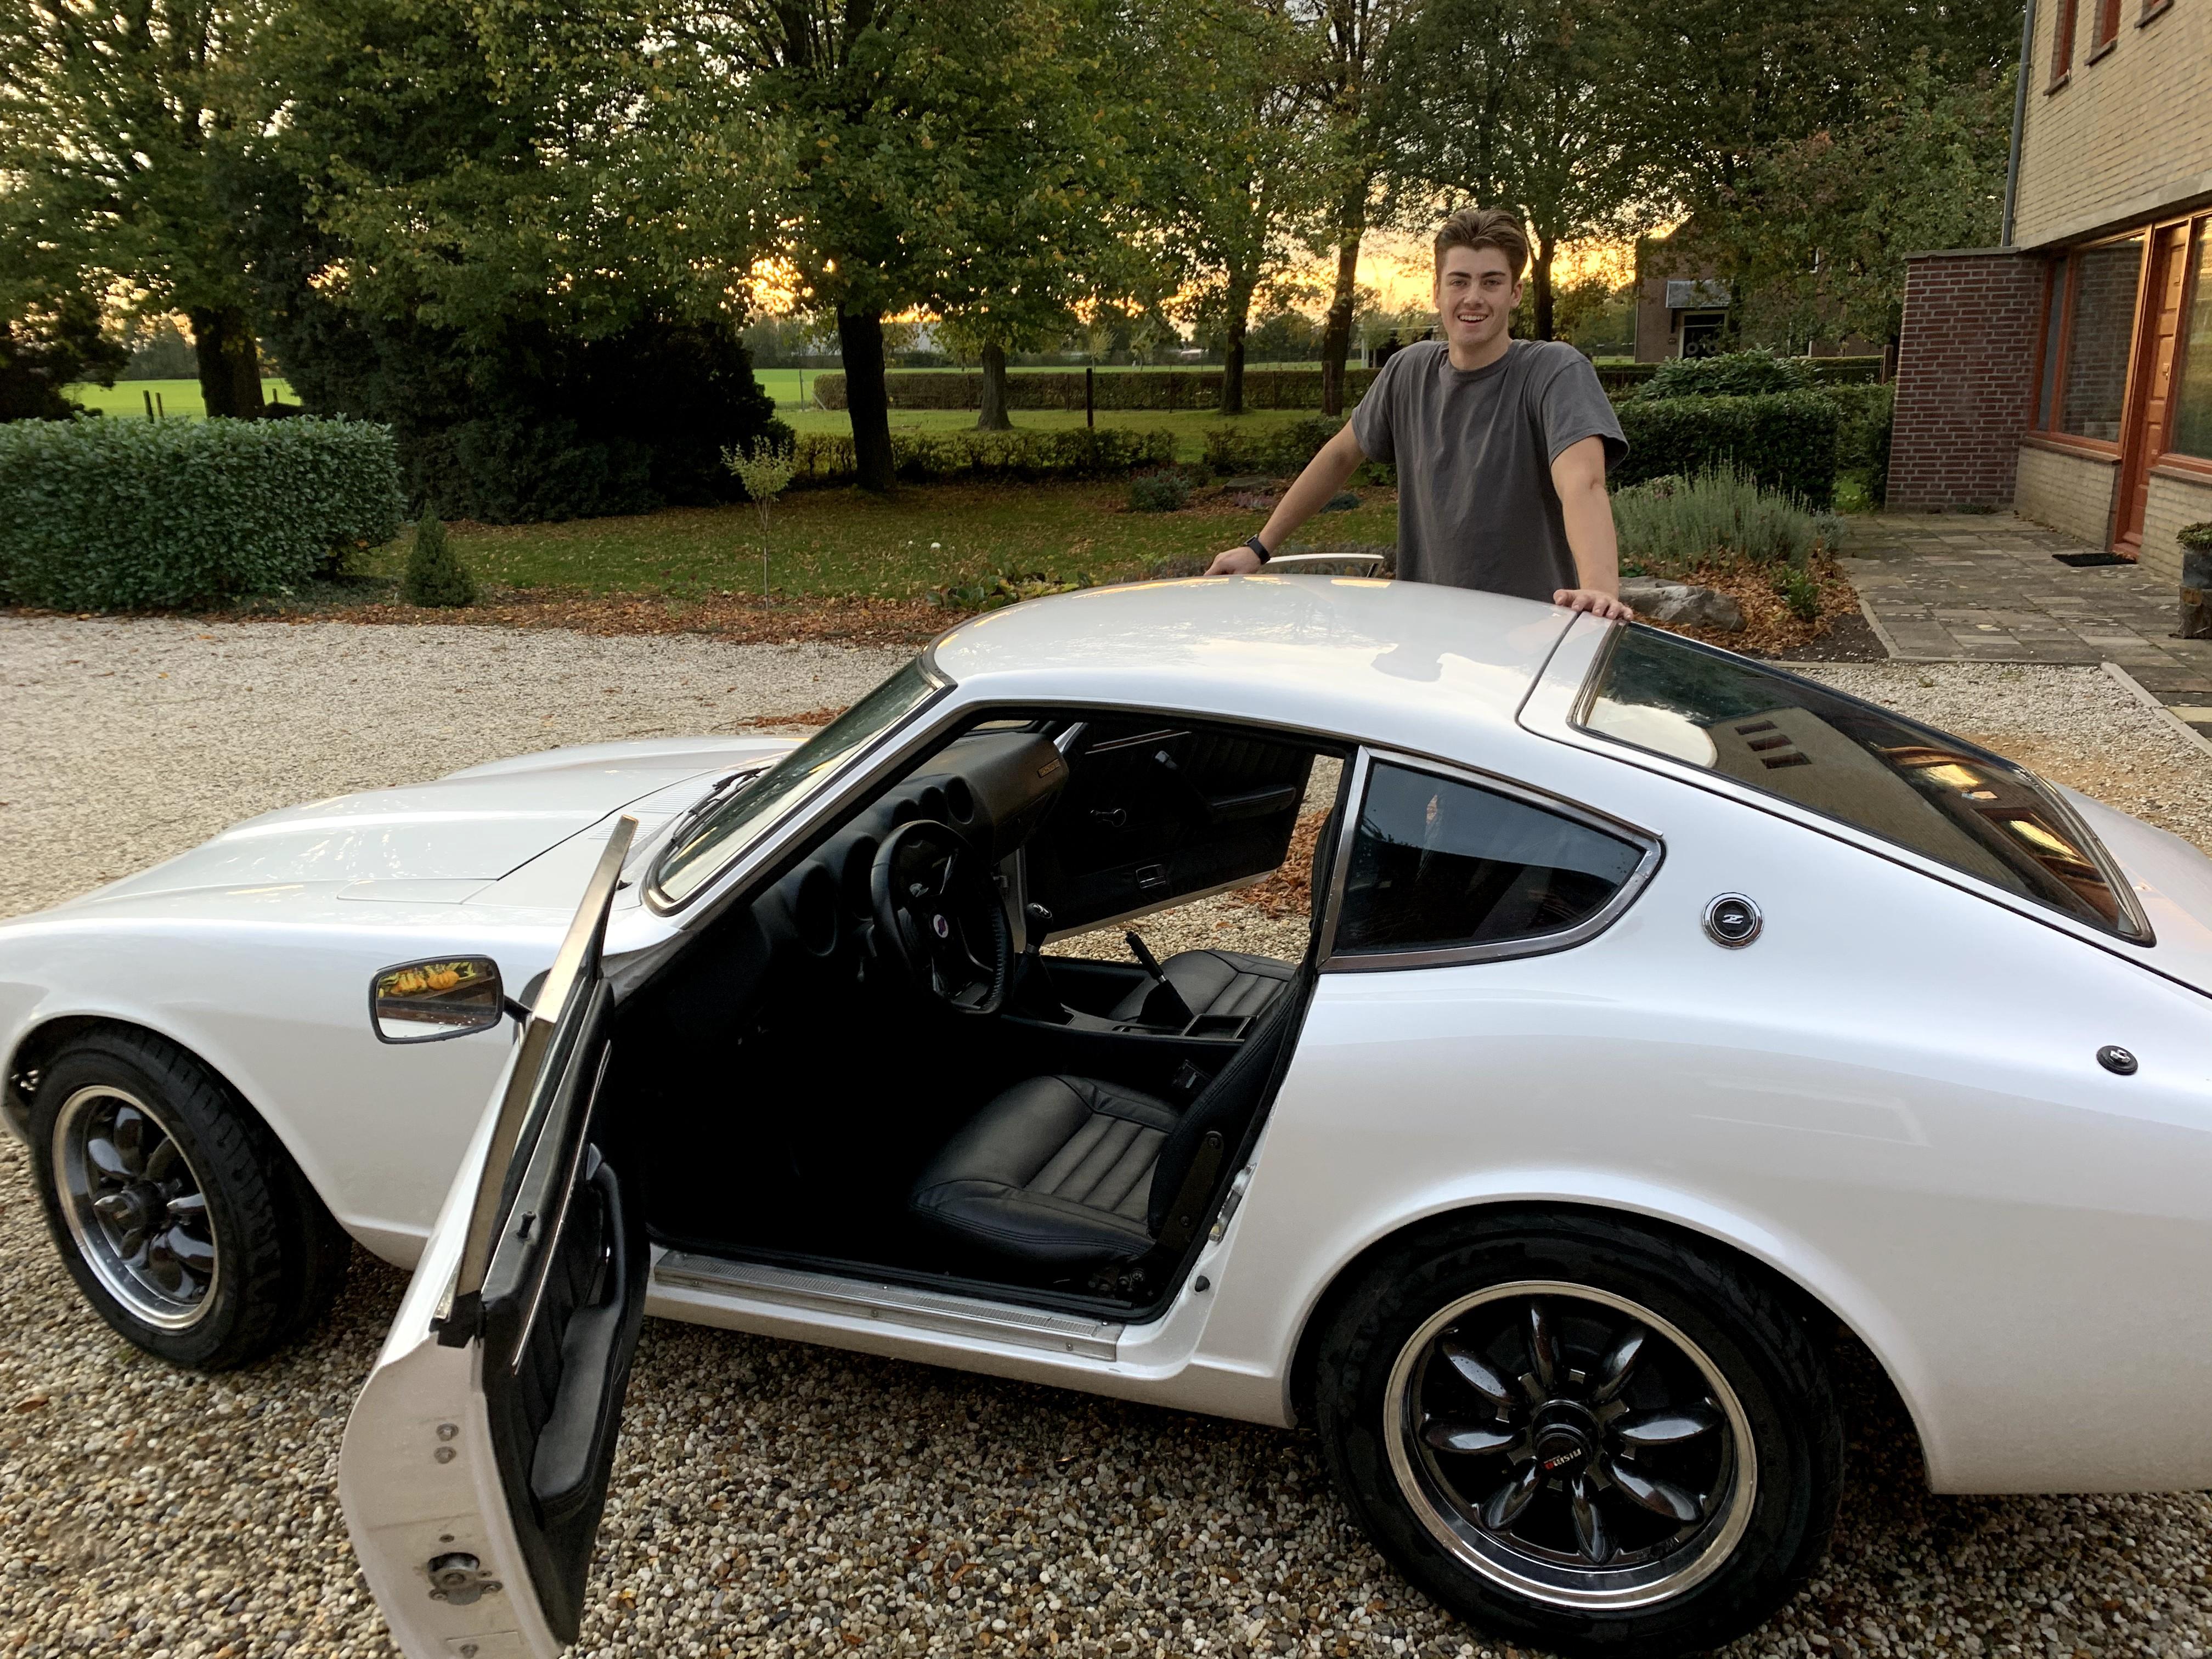
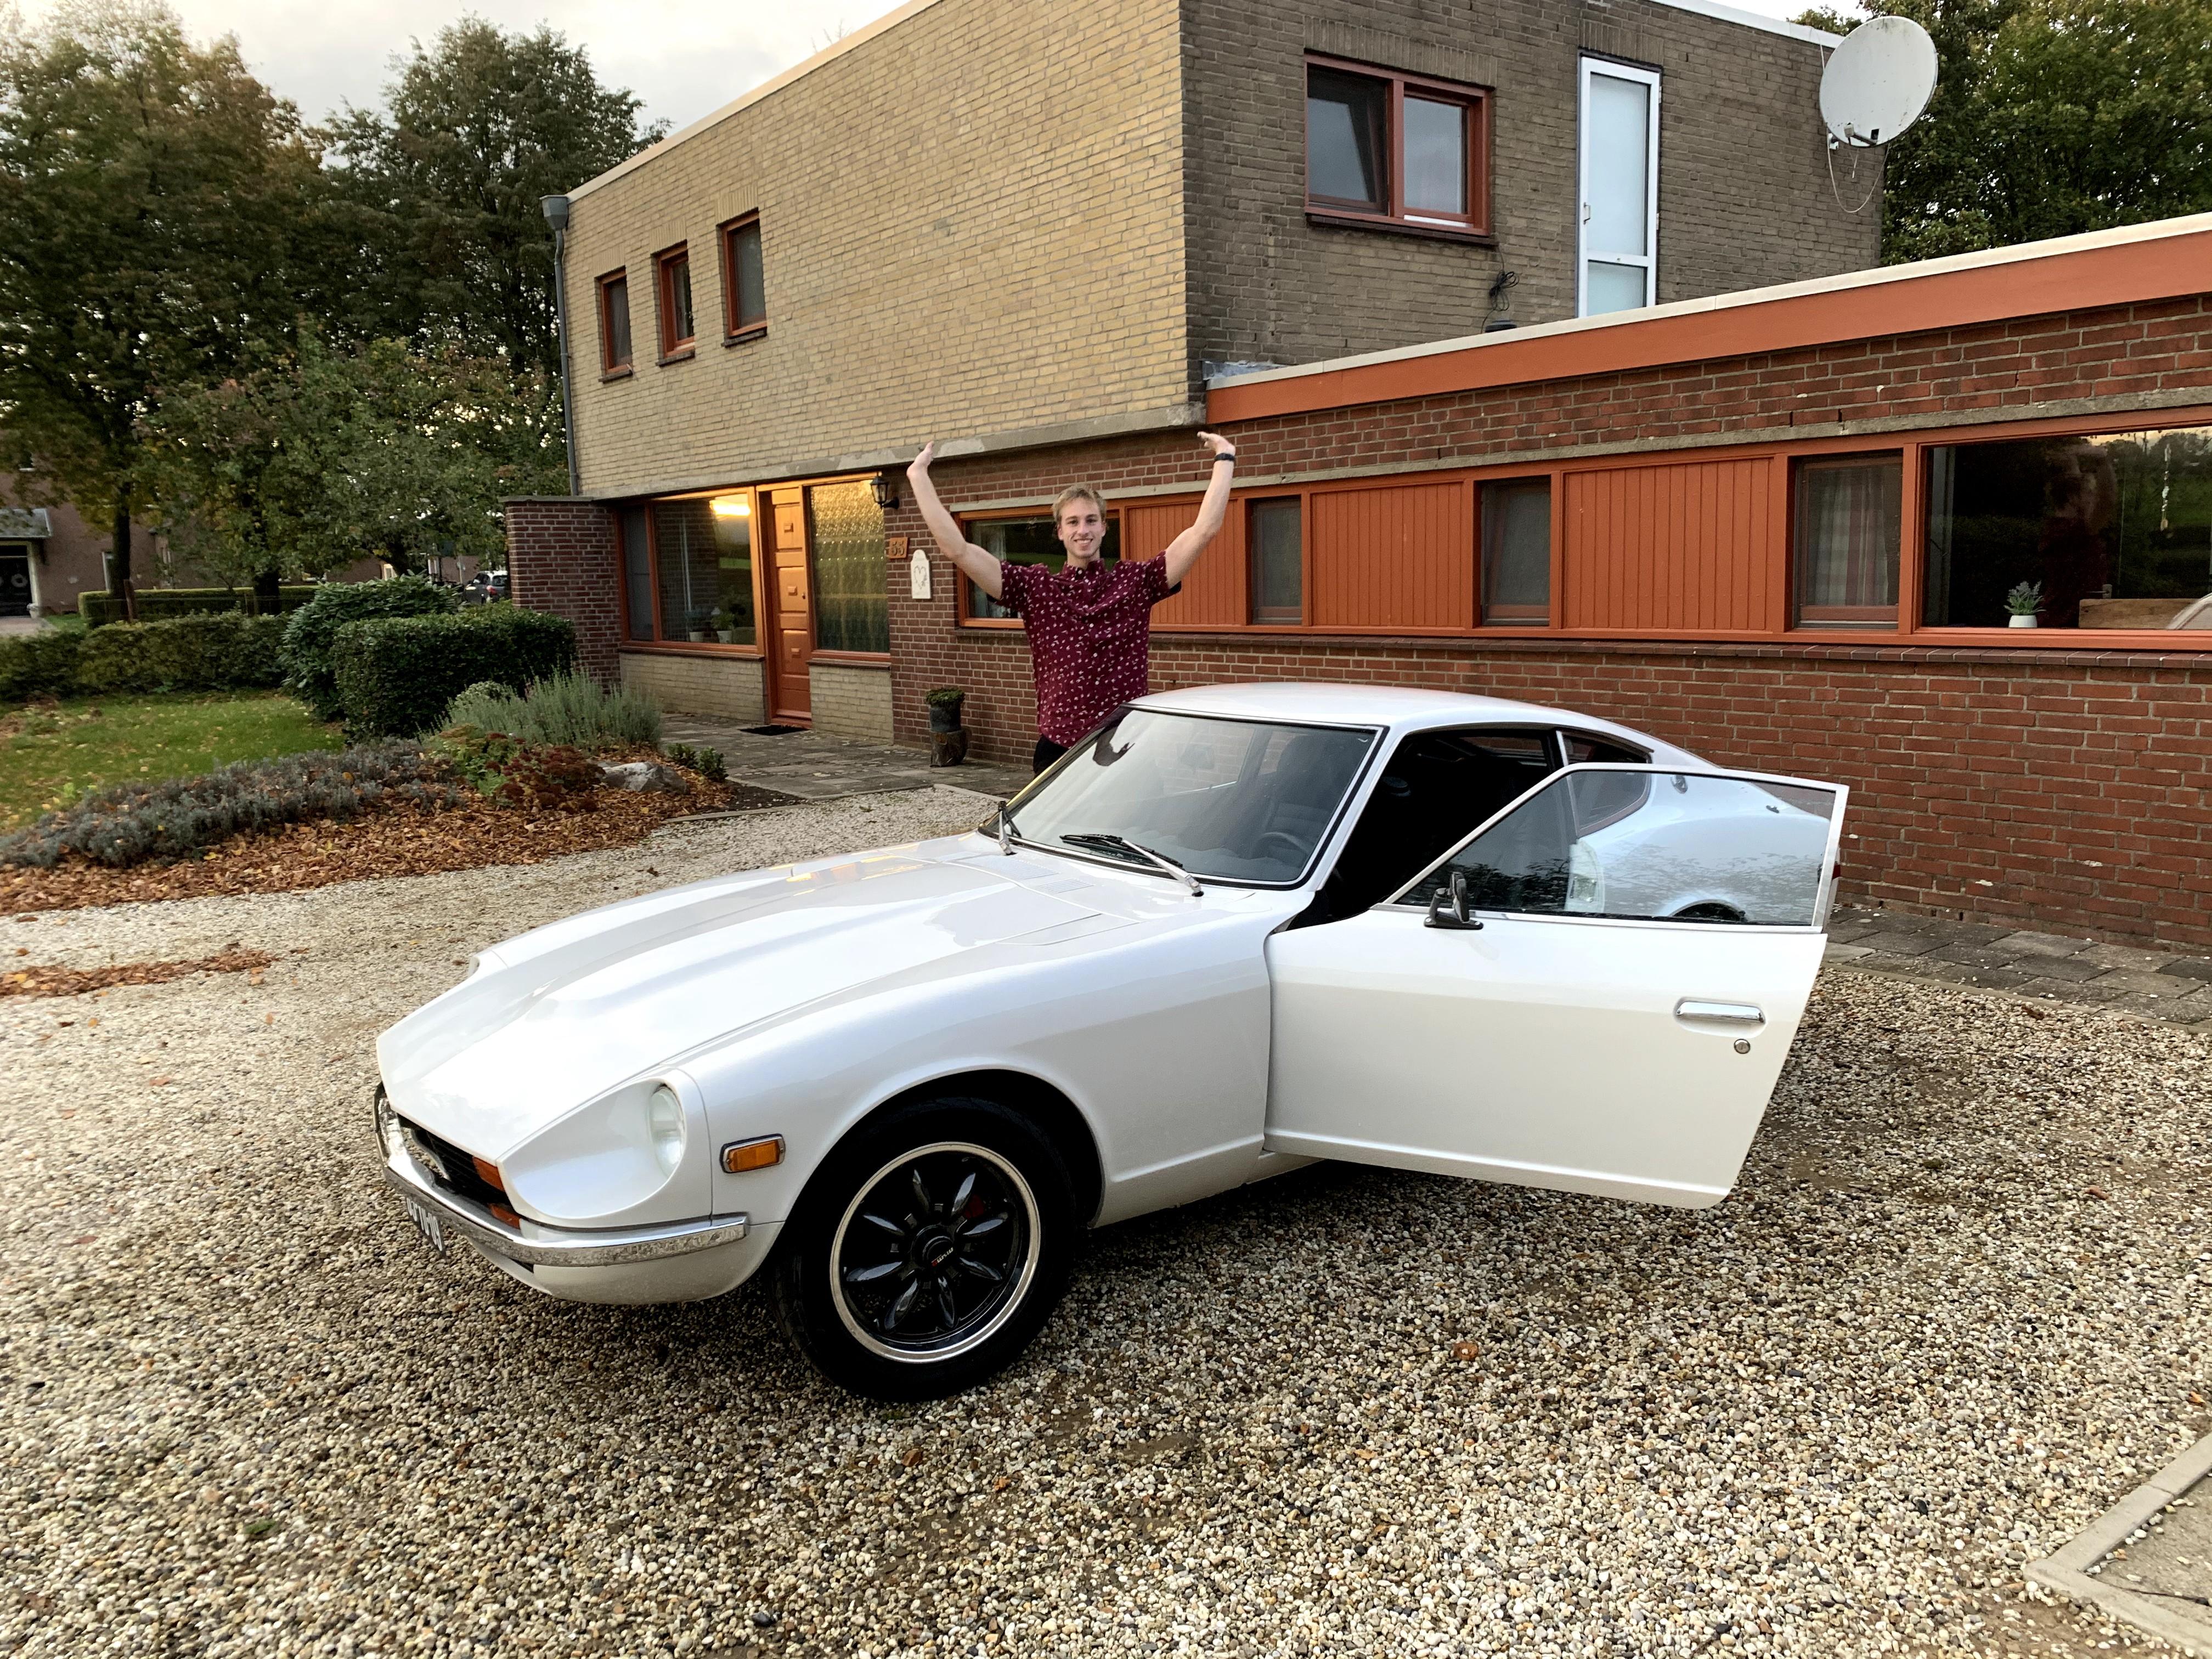
1 pointI'll skip to the most recent photos to show that we are very close...


 1 point