Leaderboard
-

dutchzcarguy
Free Member5Points2,677Posts -

SpeedRoo
Free Member4Points359Posts -
26th-Z
Free Member3Points5,264Posts -
Matthew Abate
Free Member2Points1,204Posts


Popular Content
Showing content with the highest reputation on 11/23/2022 in all areas
-
2 points
-
2 points
-
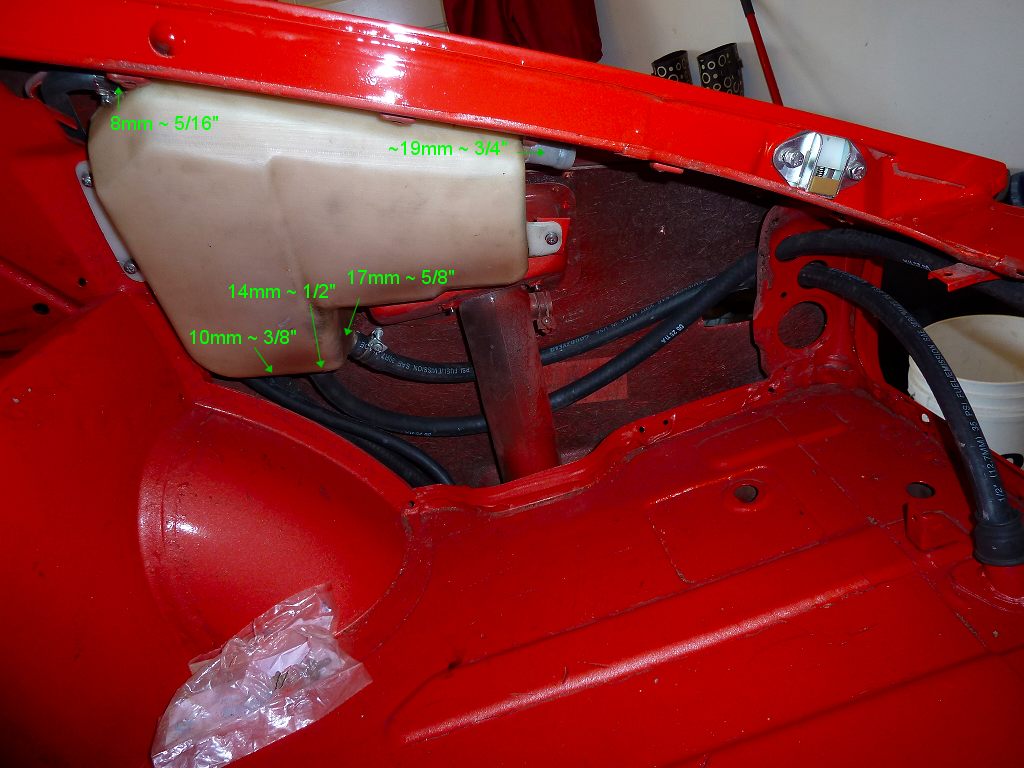
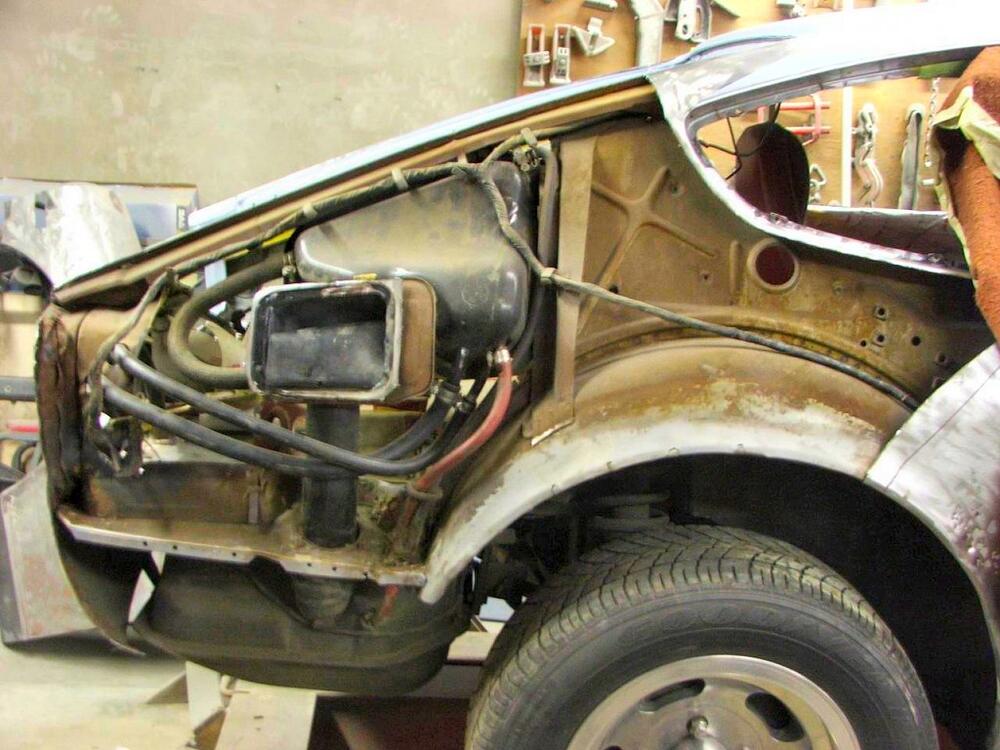
2 pointsI am so glad that I don't have to deal with this. The fuel vent tank is basically the difference between an early HLS30-U and an HLS30-UV. What a great picture the first one is! Notice that the vapor tank is metal - very rare. My cars are HLS30-U versions with the vapor return going to a T fitting on the filler hose. Kudos to all the information posted.2 points
-
2 pointsSorry I can't help you with the missing piece. That said, the shape looks simple enough to fabricate something out of frosted acrylic plexiglass. Besides, any original replacement would probably be pretty weathered and old enough to join AARP. If you go that route, I suggest switching to an LED bulb that will run cooler and disperse light better. My guess is that the original cover was ruined by the heat given off by the incandescent bulb over time.2 points
-
1 point
-
1 pointYes I need the headlight scoops, the ones on 03802 are metal for some reason and have tabs for perspex covers. Also after the Koito headlights, may fit the upgraded H4 Koitos. I like your idea for the Libres.1 point
-
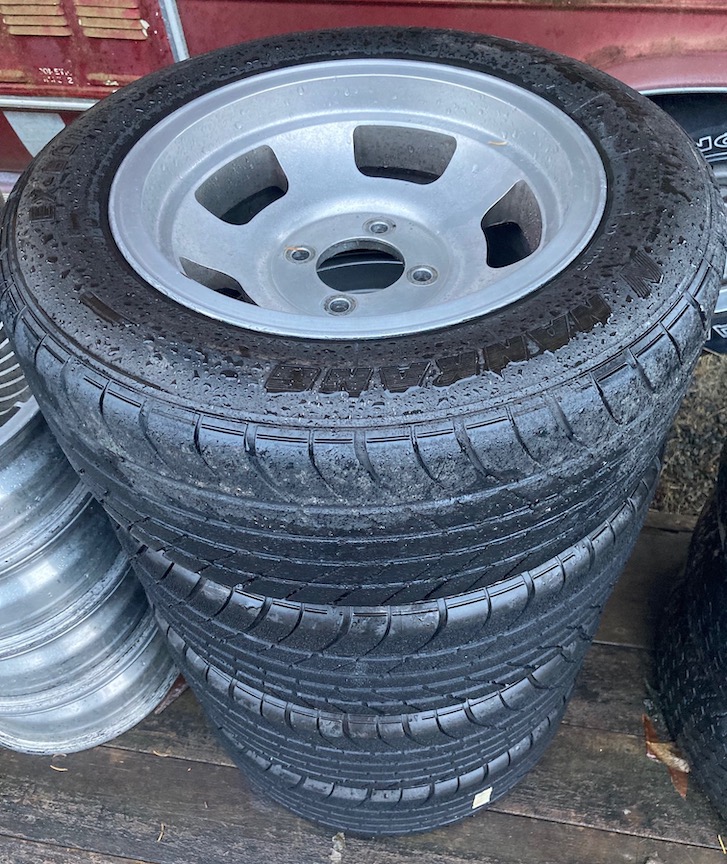
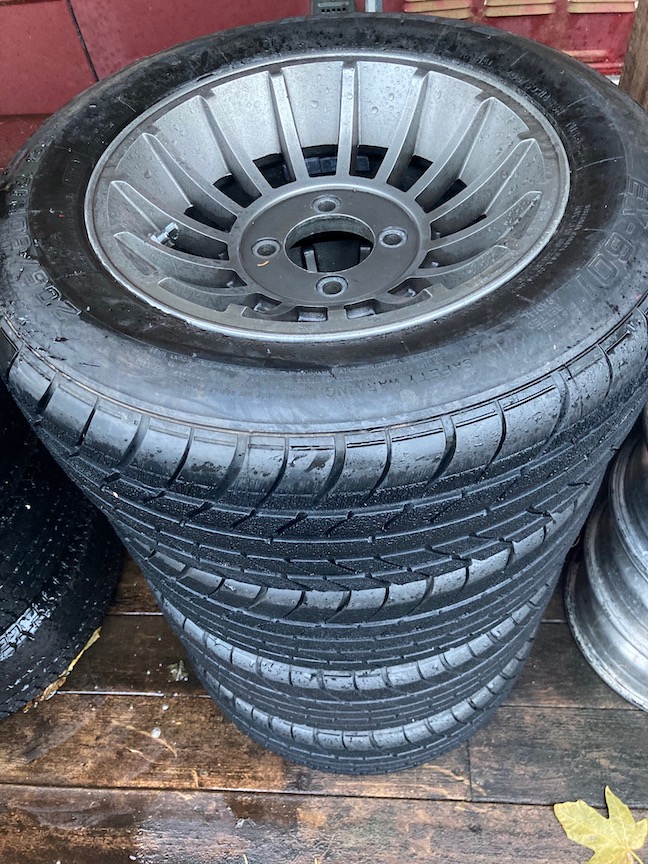
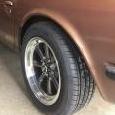
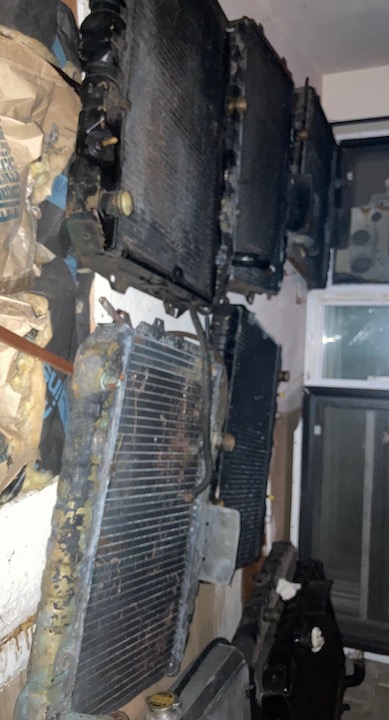
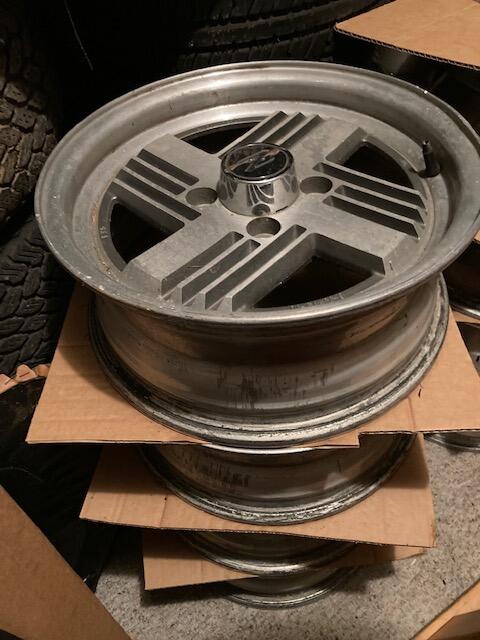
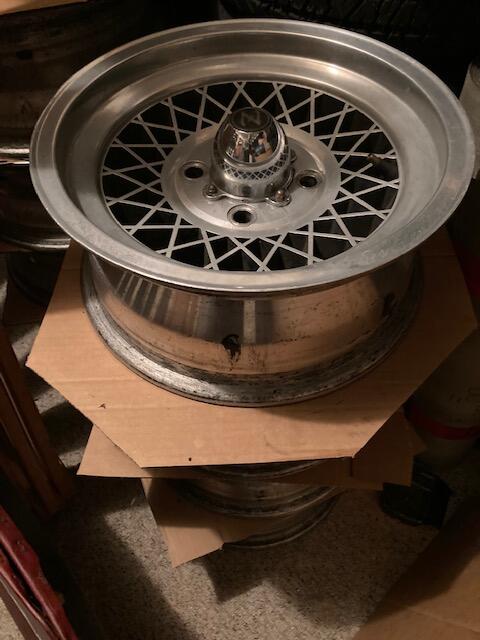
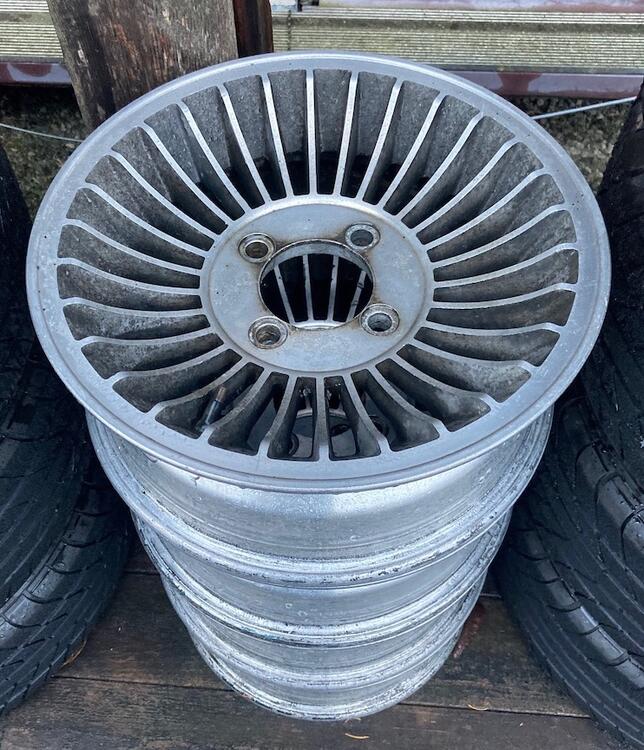
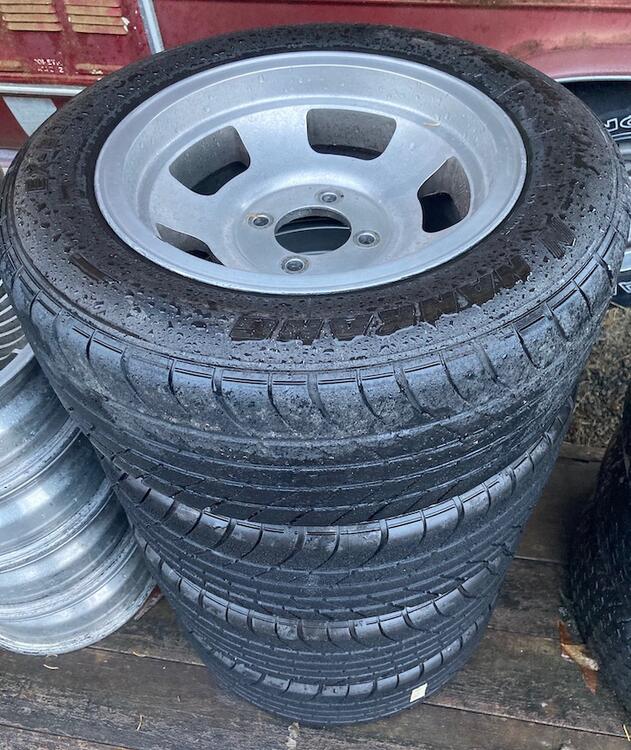
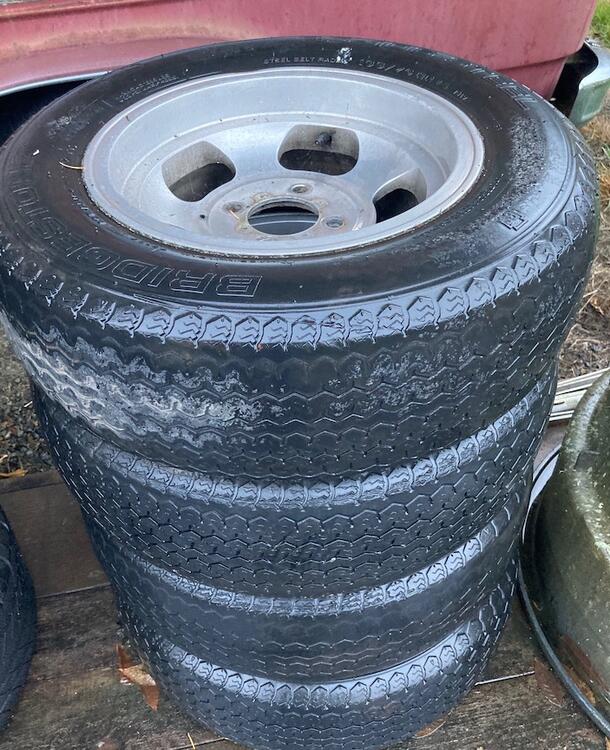
1 pointThanks @Terrapin Z I will take you up on the radiator for sure, I think I only have 2 slot mags in my stash but will check. Next storm on the coast I will be heading out that way to windsurf and will try and drop by and see all your goodies! I have the plastic fan but just needed the metal fan for display purposes!1 point
-
1 pointHey Roo, I have a few radiators, and one metal fan. I have heard the metal fans came apart during use. Nissan then switched to plastic. The metal is great for a show car, but if you are going to drive this car, then I suggest a plastic. JMO.... mine is not for sale. Lots of other parts if you need something. Including the plastic fan set up. I picked up a number of wheel sets from a BAT leftovers purchase that came my way. I have a few sets in my stash too. Being you are nearby, shipping would be nil.
 1 point
 -
1 pointI vote for the Libres painted the same color as the rear valance - gunmetal. You said you need an early steering wheel and 'headlights'? Do you mean FRP headlight scoops?1 point
-
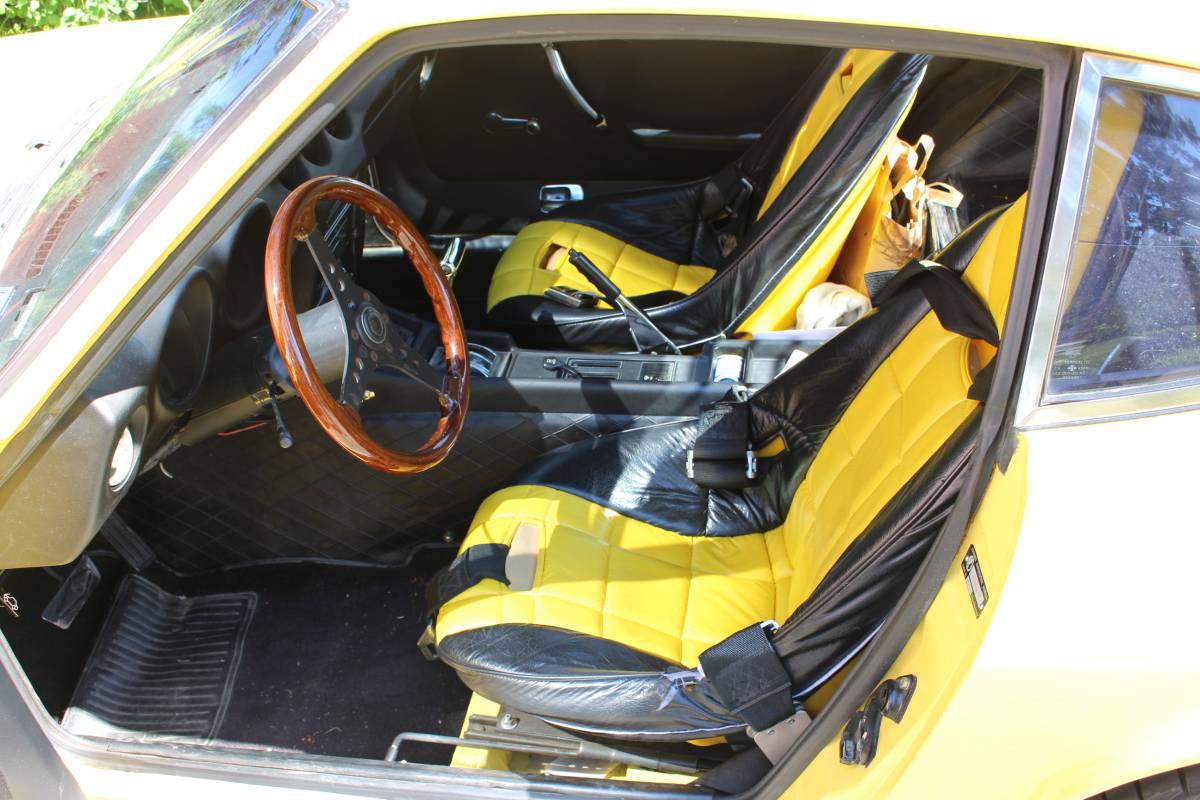
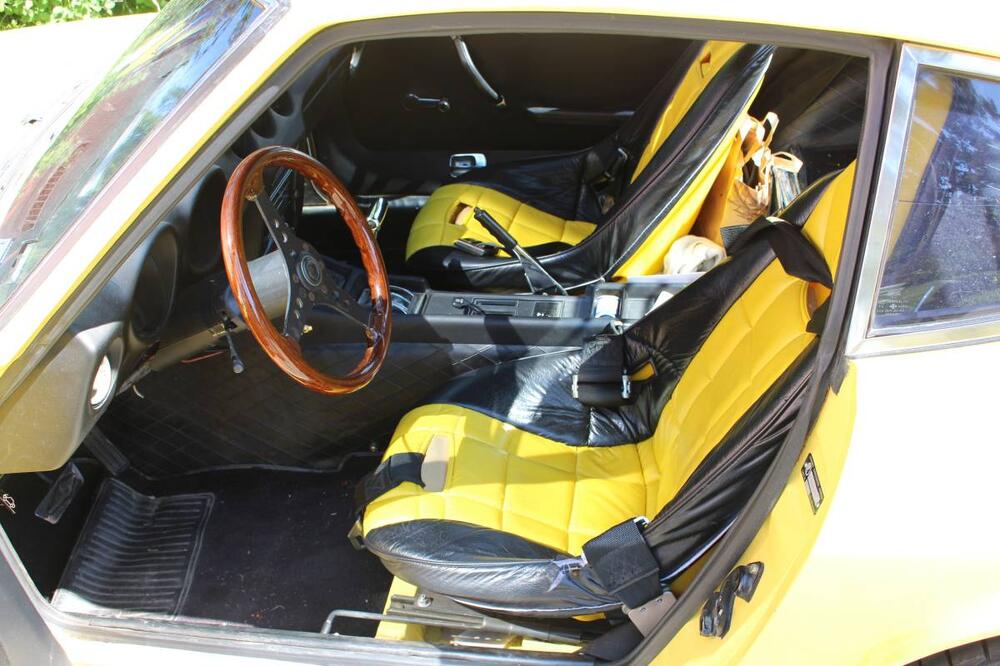
1 pointTurning to the interior I've had Chester and Herod make up a set of new carpets for it from their original patterns. I had a spare set of seats that came with "08802" so they will be getting new foam and covers; unfortunately there seems to be a six month wait for interior items from Distinctive Industries who made all the reproduction trim for the Vintage 240Z program. In the meantime I've taken out the console and fuse box to check all the wiring/connections and renew where necessary. I think I'll take out the A/C system as it's no longer connected up. In the meantime I've made a list of all the other bits I need. The spare brake booster and master cylinder are off for sleeving and rebuild. On the lookout for a metal fan and original radiator (hopefully @Terrapin Z has some in his stash). Also need an early steering wheel and headlights. Trying to bring "Twisty" back as close as possible to original but I realise having been repainted and with a replacement engine it wont be perfect.
 1 point
 -
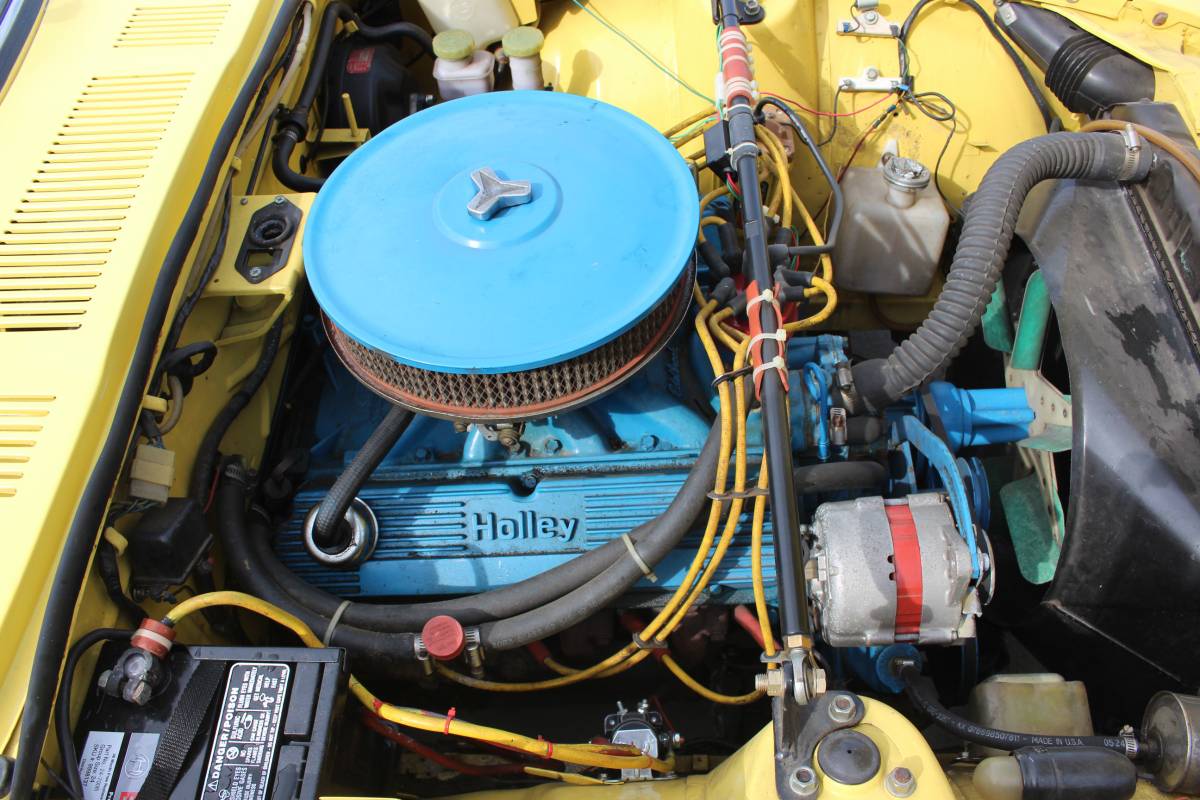
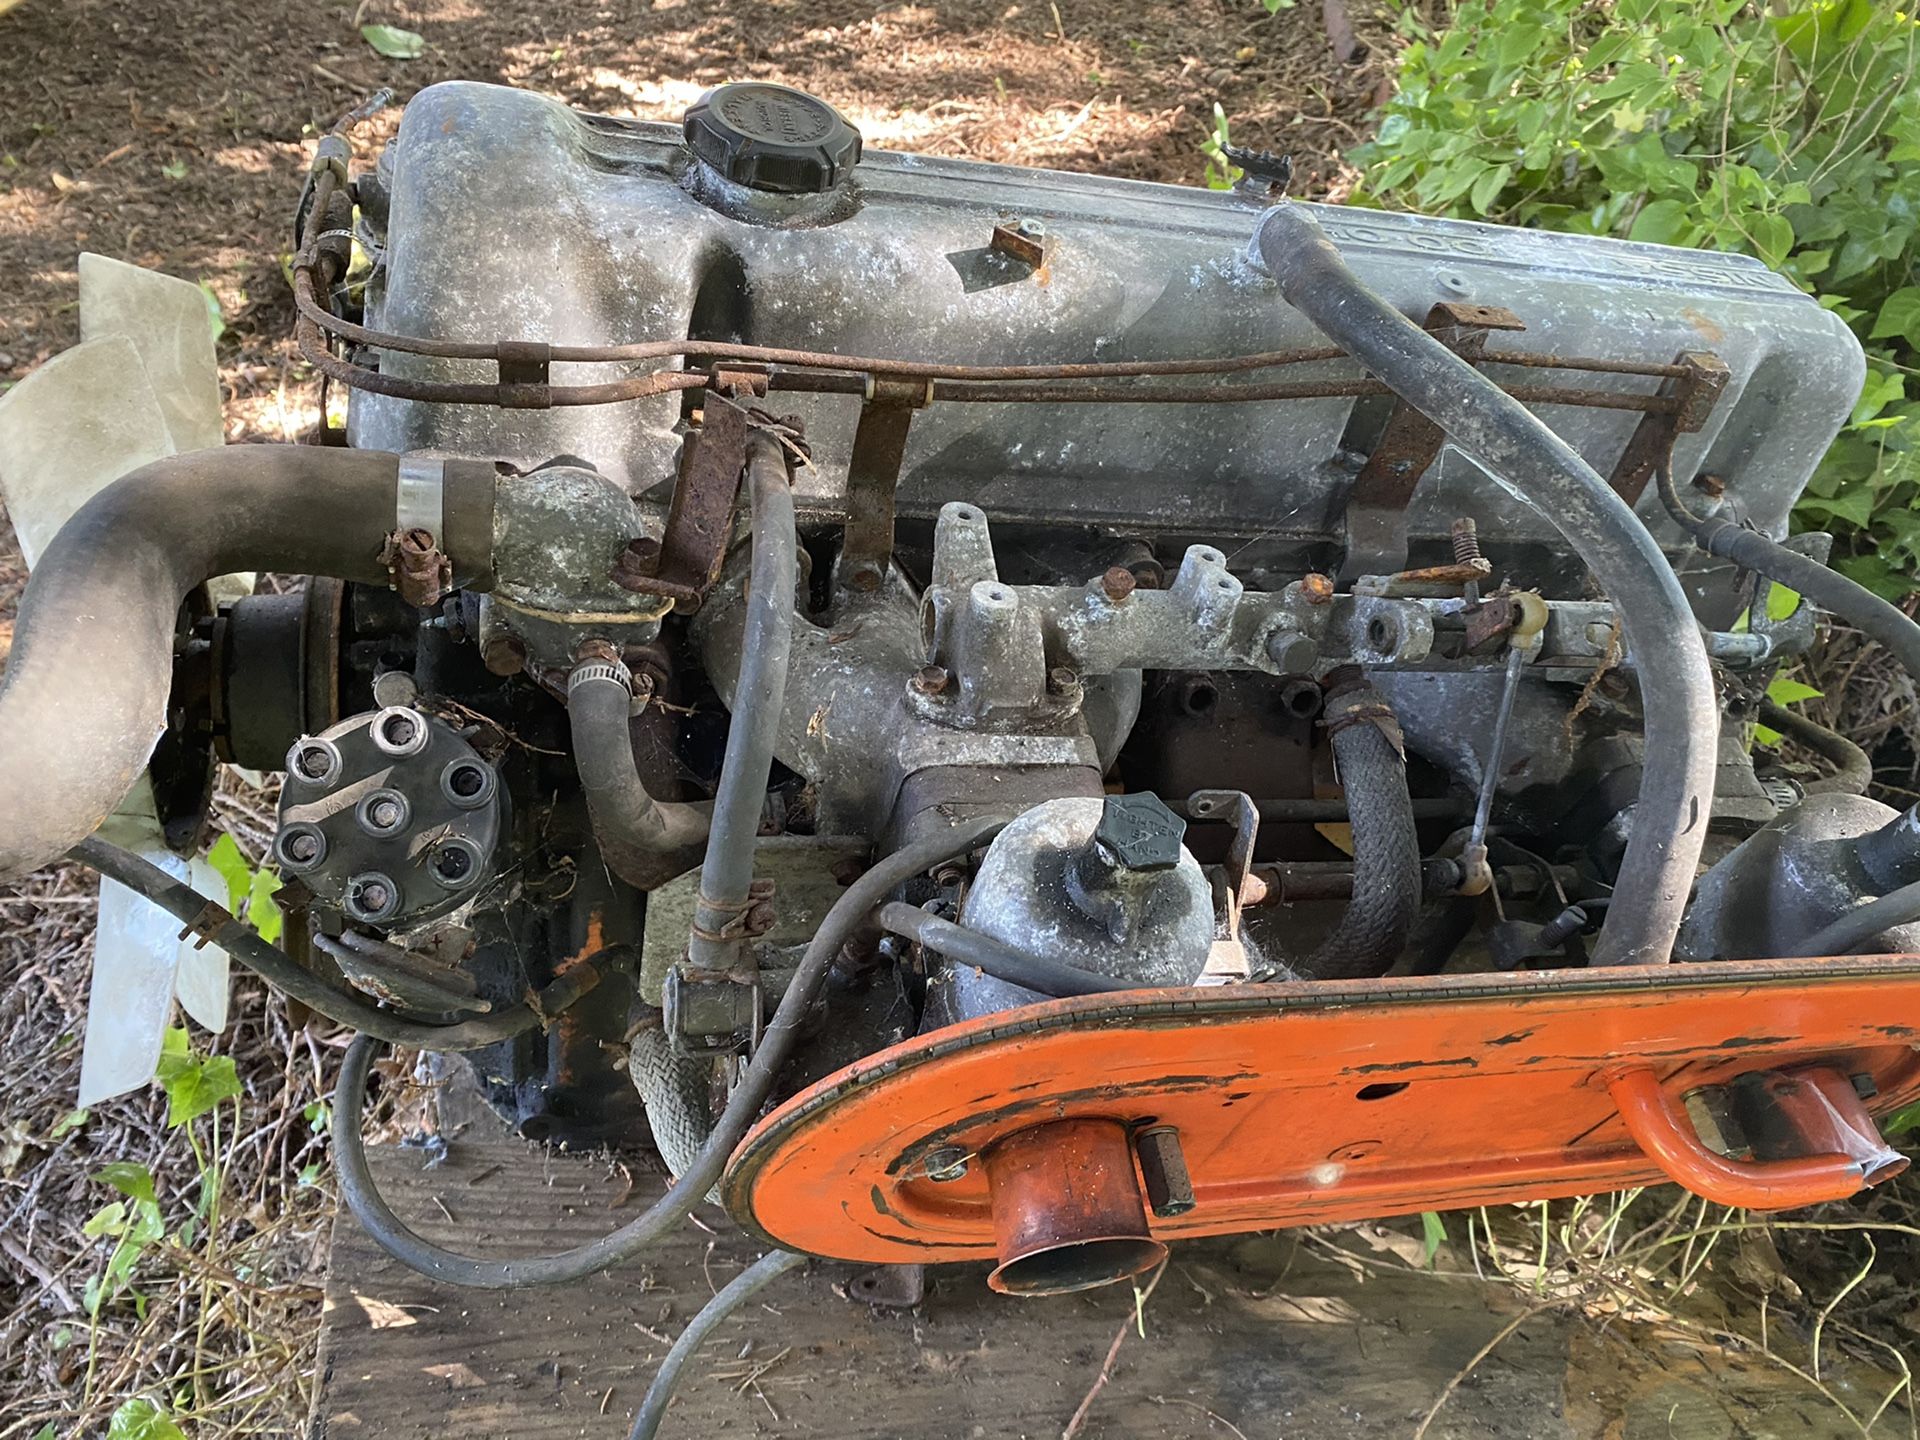
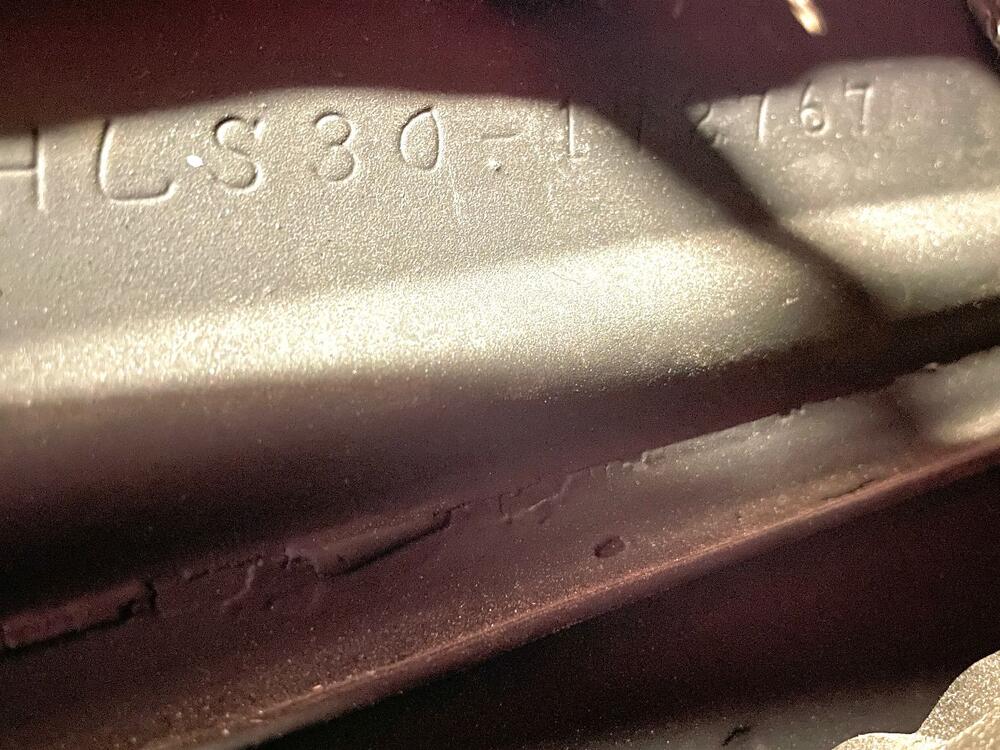
1 pointWith "Twisty" safely tucked up in a warm garage I've started the process of bringing it back to original. First up was finding the correct engine. After scanning various 240Z registries and poring over any 1970 240Z sold in the last few years, I determined a number range for the correct one I needed to source. From cars finished in May of 1970 I determined the range was from chassis number 03598 to 04605. My car, 03802, was in the first third to half of these. Engine numbers ranged from around 06000 to 07400. So that's what I was aiming for. It would be a 4 screw carb setup with an early "Nissan 2400 OHC" cam cover. Scanning back through internet ads for early 240Z engines I found one listed a couple of years ago on "OfferUp". Even better it was only about 4 hours away from me. It was available and wasn't seized, it still turned over by hand! A quick day trip up to Carnation, WA and it was mine. First major obstacle overcome. It will need a full rebuild but I have a NOS Nissan full gasket set, Datsun pistons, new factory rings and bearings all ready to go into it. First up will be be stripping it down, boiling the block, checking all tolerances and painting it the correct blue colour. Luckily I have a spare "monkey change" gearbox and R180 diff; a R200 had been fitted when the engine was swapped to the Ford 289. The block casting shows "0211" which translates to a February 11 1970 build. The engine number is "06517" so right in the correct range for a May 1970 240Z. Luck is with me so far!
 1 point
 -
Way back in my teens (early 80's) I installed a "slalom" cam in my 240. Super strong from 4k and up but everything else sucked. I was always adjusting timing/carb/idle and never found the sweet spot. I finally pulled it out and went back stock. Lesson learned. As Jarvo said, if its got a hot cam, best of luck, as a lot of variables must be addressed to get it right.1 point
-
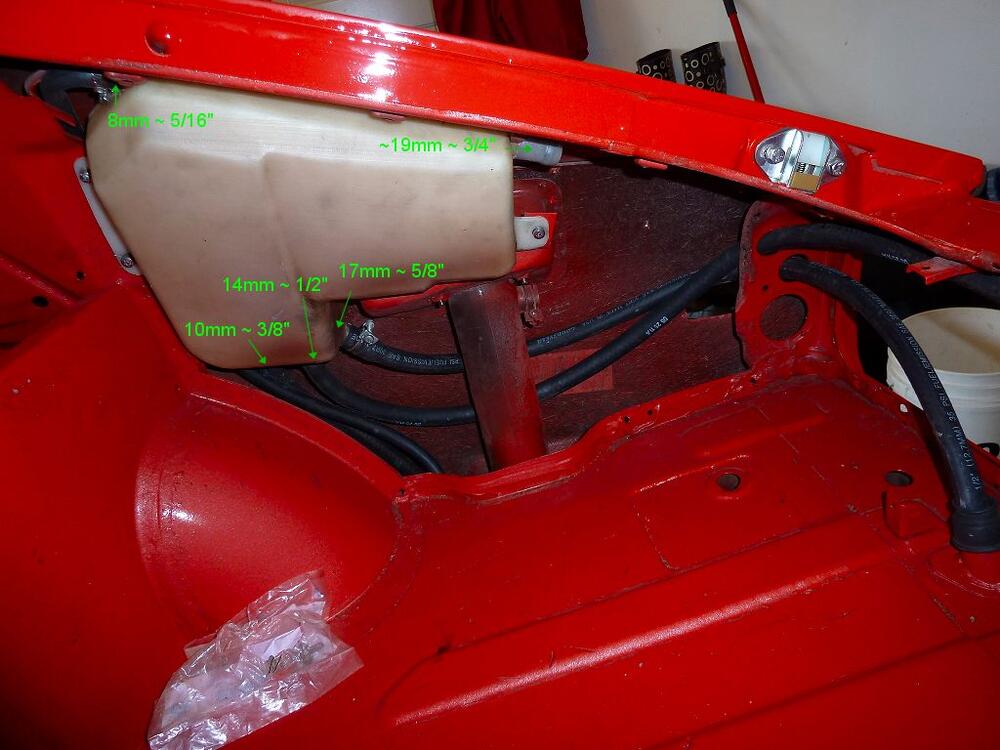
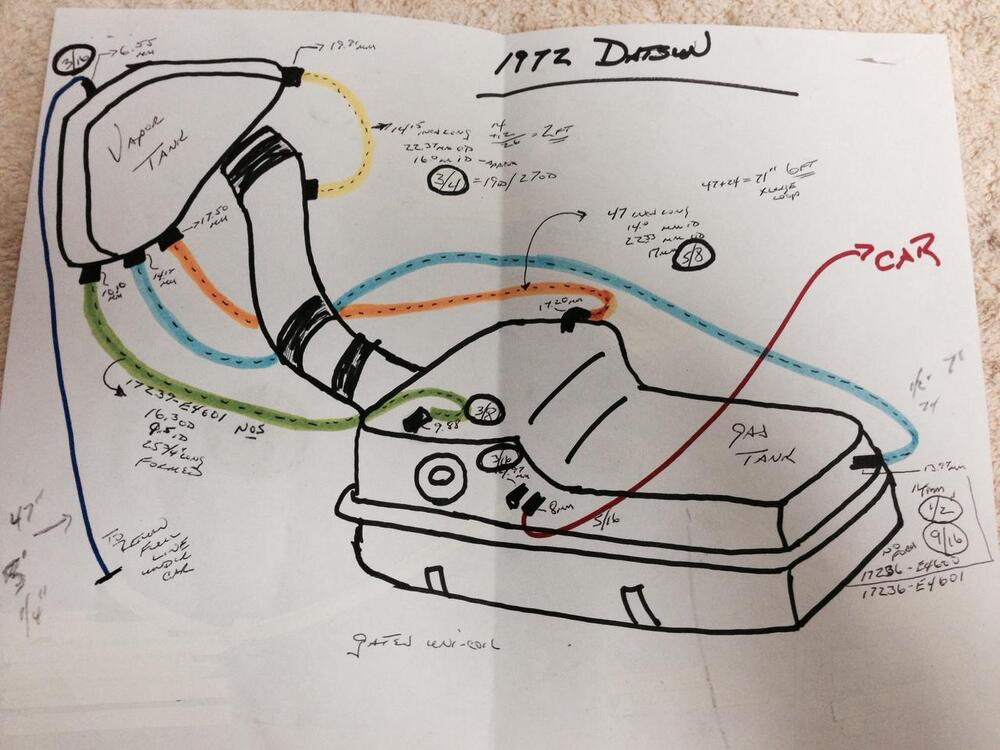
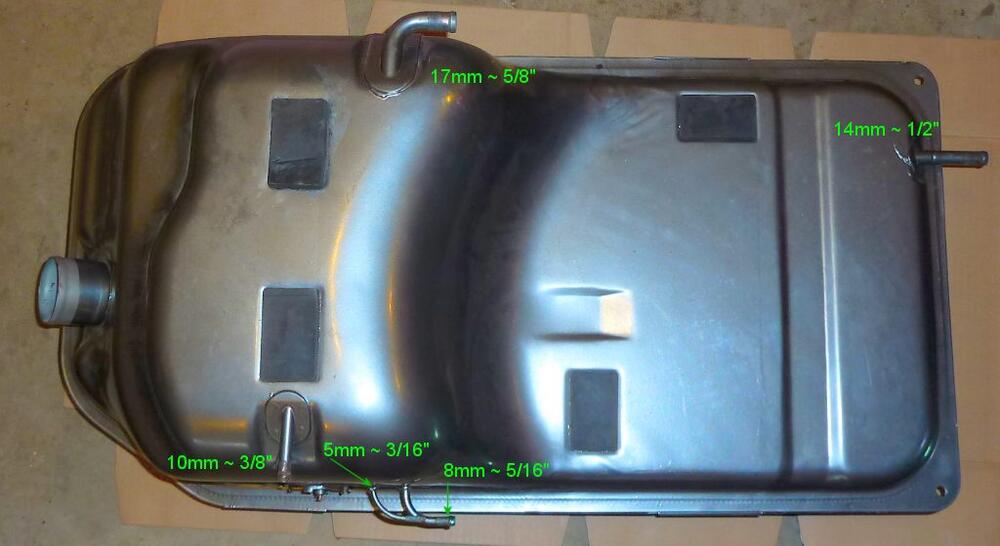
1 pointThese are mainly early 240z fuel tank bits, but wanted to share in this new thread. I take no credit for the photos, just some I've collected along the way. Fuel-1973 240z 1974 260z fuel system modifications.pdf
 1 point
 -
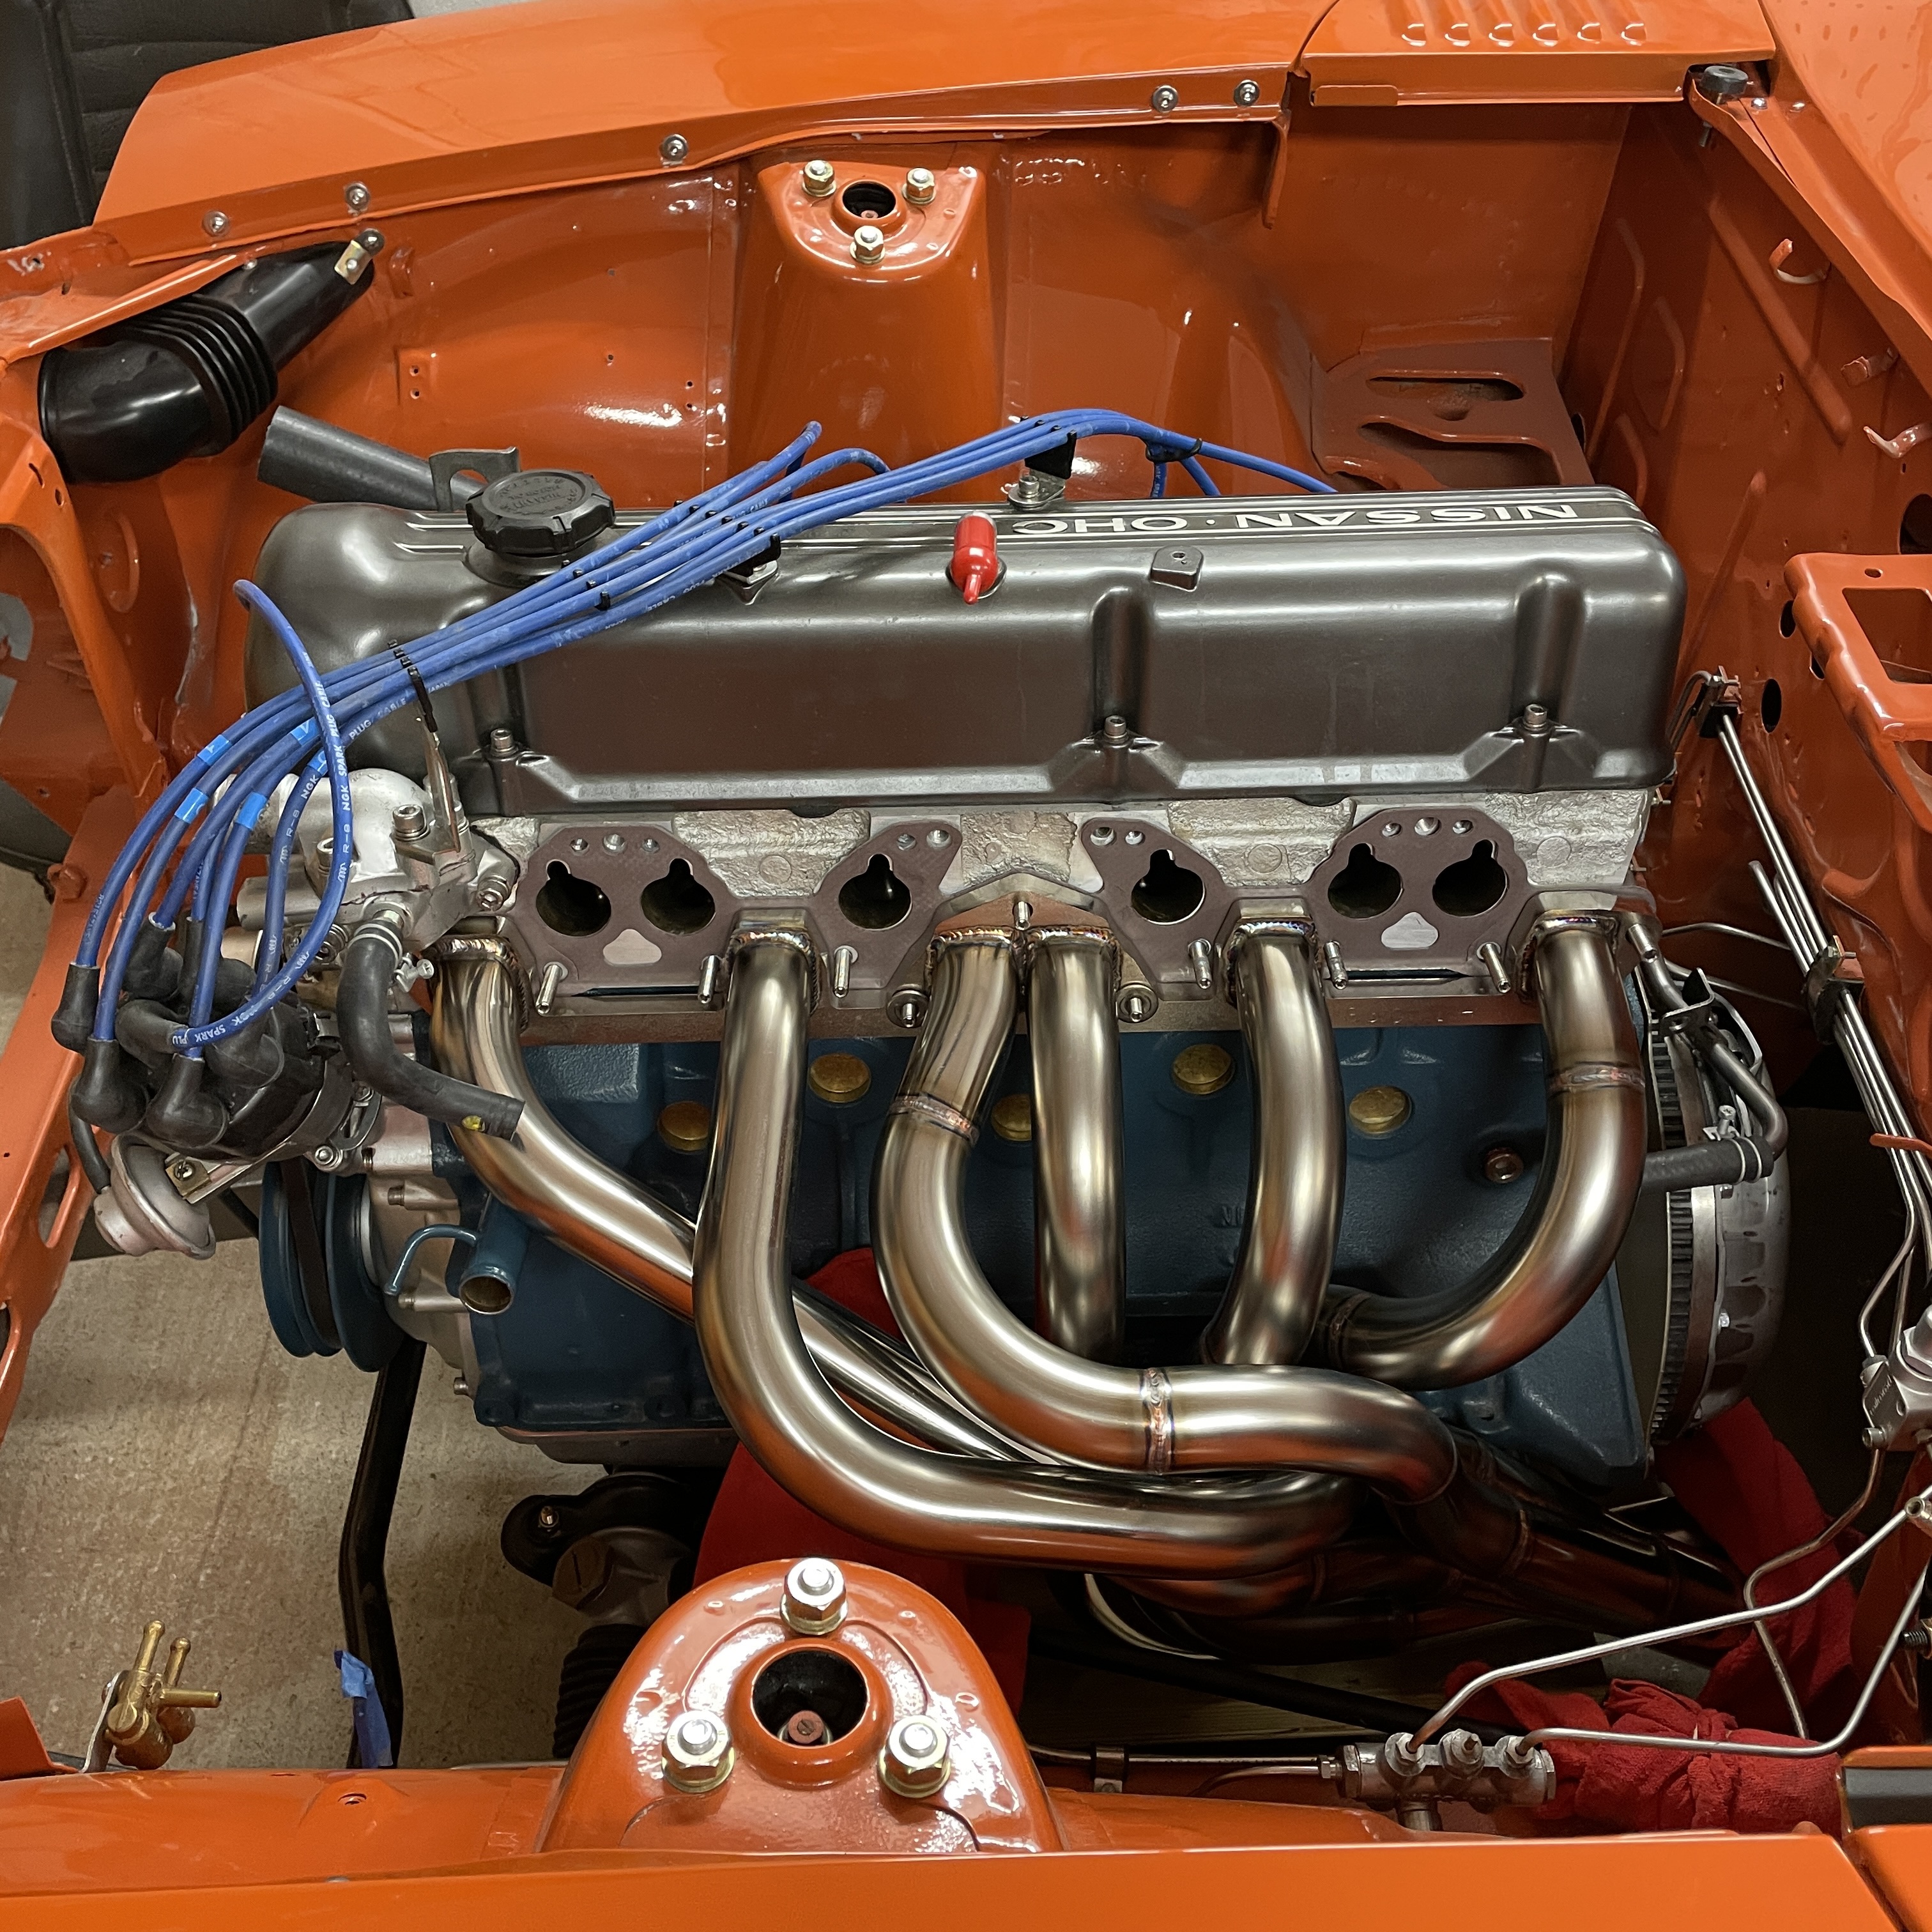
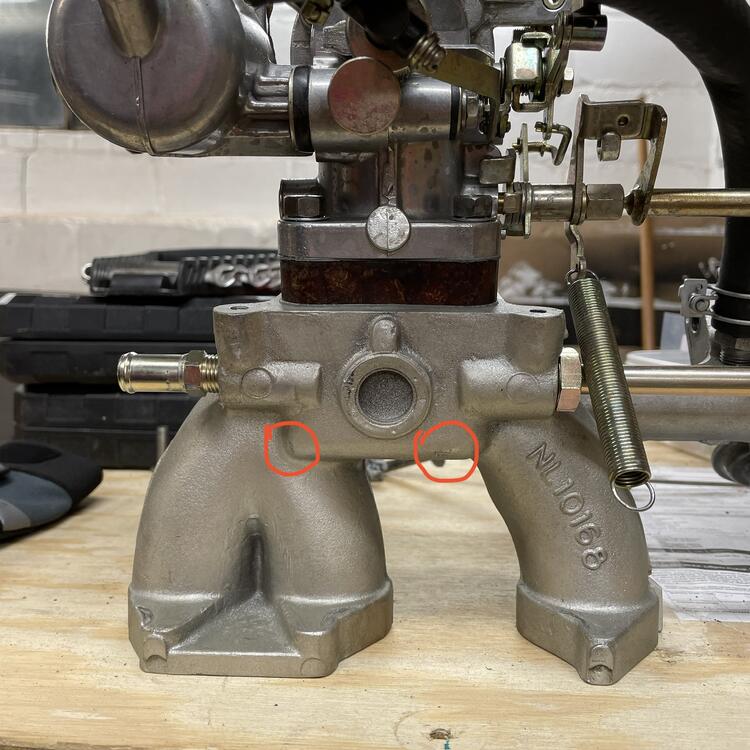
1 pointThere are studs (six I think?) that are shared to clamp both in the inlet and the exhaust manifold. They use a dedicated washer (Nissan called it a 'Yoke') that is thicker and wider than normal, and with a distinctive dish shape. They bridge the inlet and exhaust manifold flanges, using a single stud for clamping force. You should still have them if you took the engine apart? The usual problem with these 'Yoke' washers is that aftermarket inlet and exhaust manifolds sometimes have differing flange thicknesses. The solution is either to machine the flange thicknesses so that they match at the shared stud locations, or to machine/grind a step into the 'Yoke' washers on the manifold side. I've used the latter option successfully in the past but the former is undoubtedly a better solution. That's not ideal. Quite apart from the interference in fit, you'll get a lot of heat transfer from the exhaust manifold into the inlet manifold. Could lead to fuel percolation problems. A heat shield might help that, but with so little clearance you'll struggle to fit one. I would investigate the possibilities for moving your inlet manifold up slightly, and the exhaust manifold down. A little clearancing of stud holes and flanges might allow you a few mm of shuffle without too much in the way of port misalignment? Every little will help. You could certainly shave some material off the inlet manifold casting at the points you indicated too. The casting is fairly thick at those points. Spirit Garage 'tacoashi' looks great!1 point
-
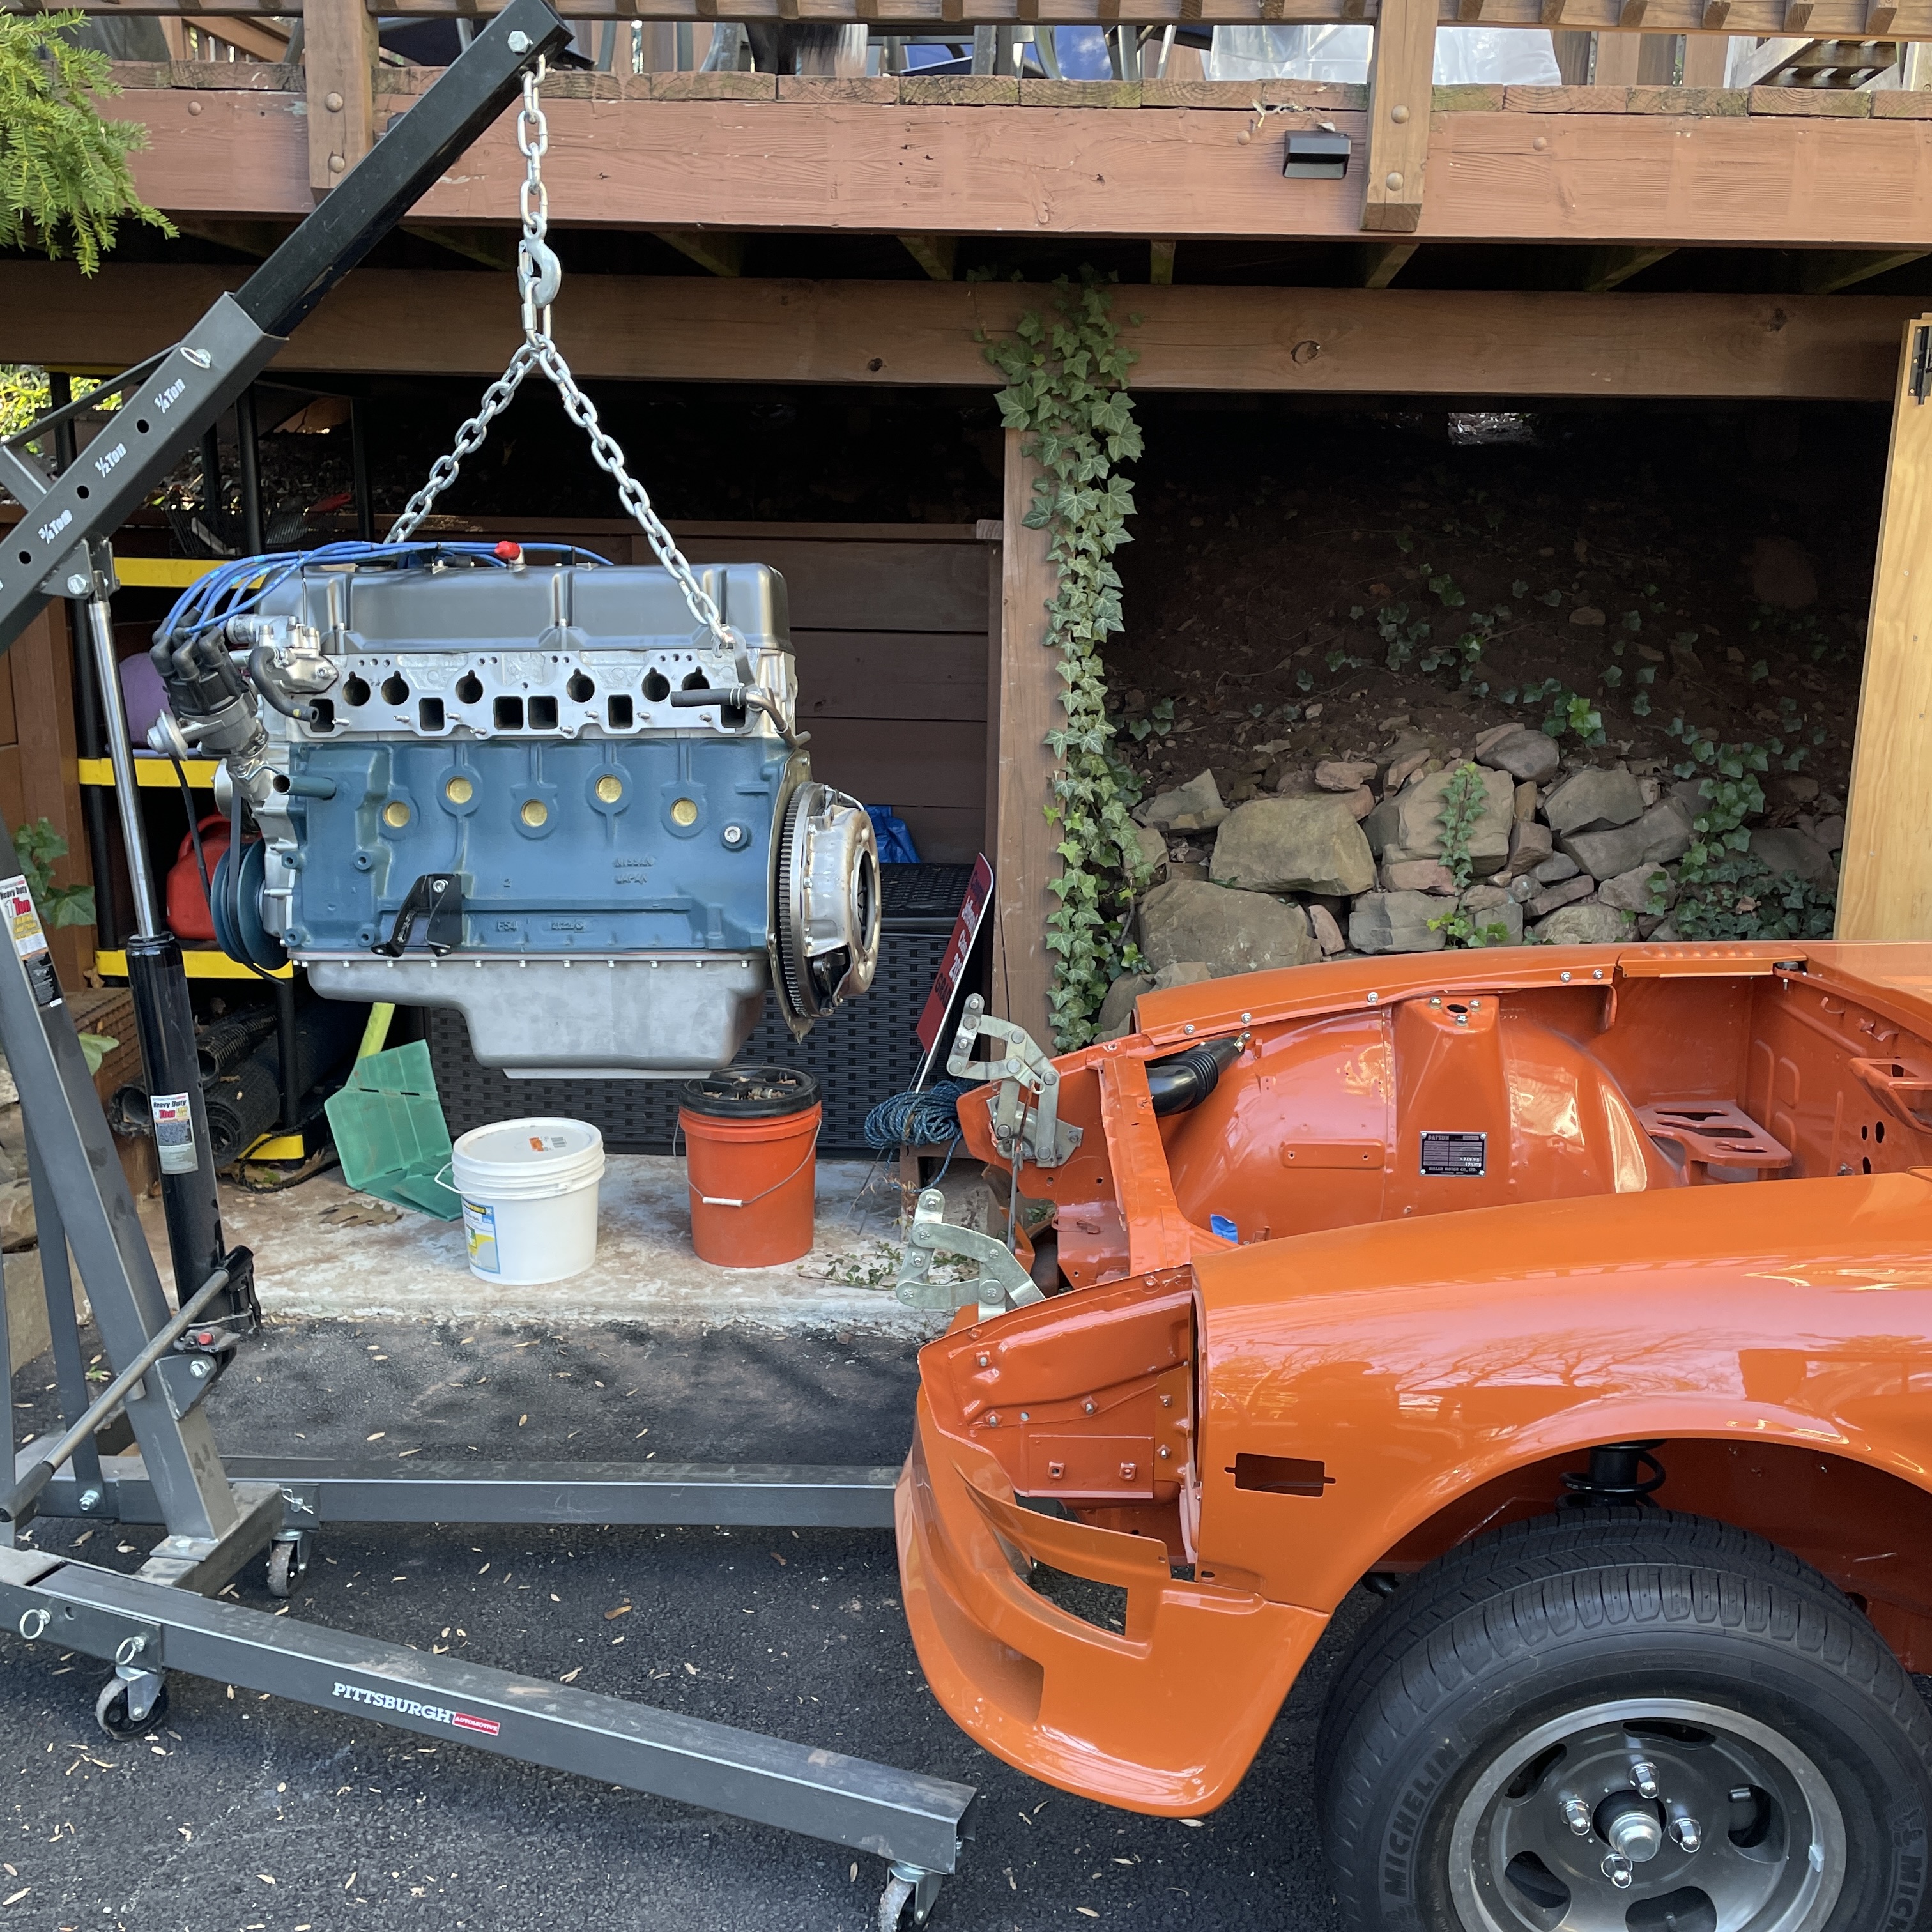
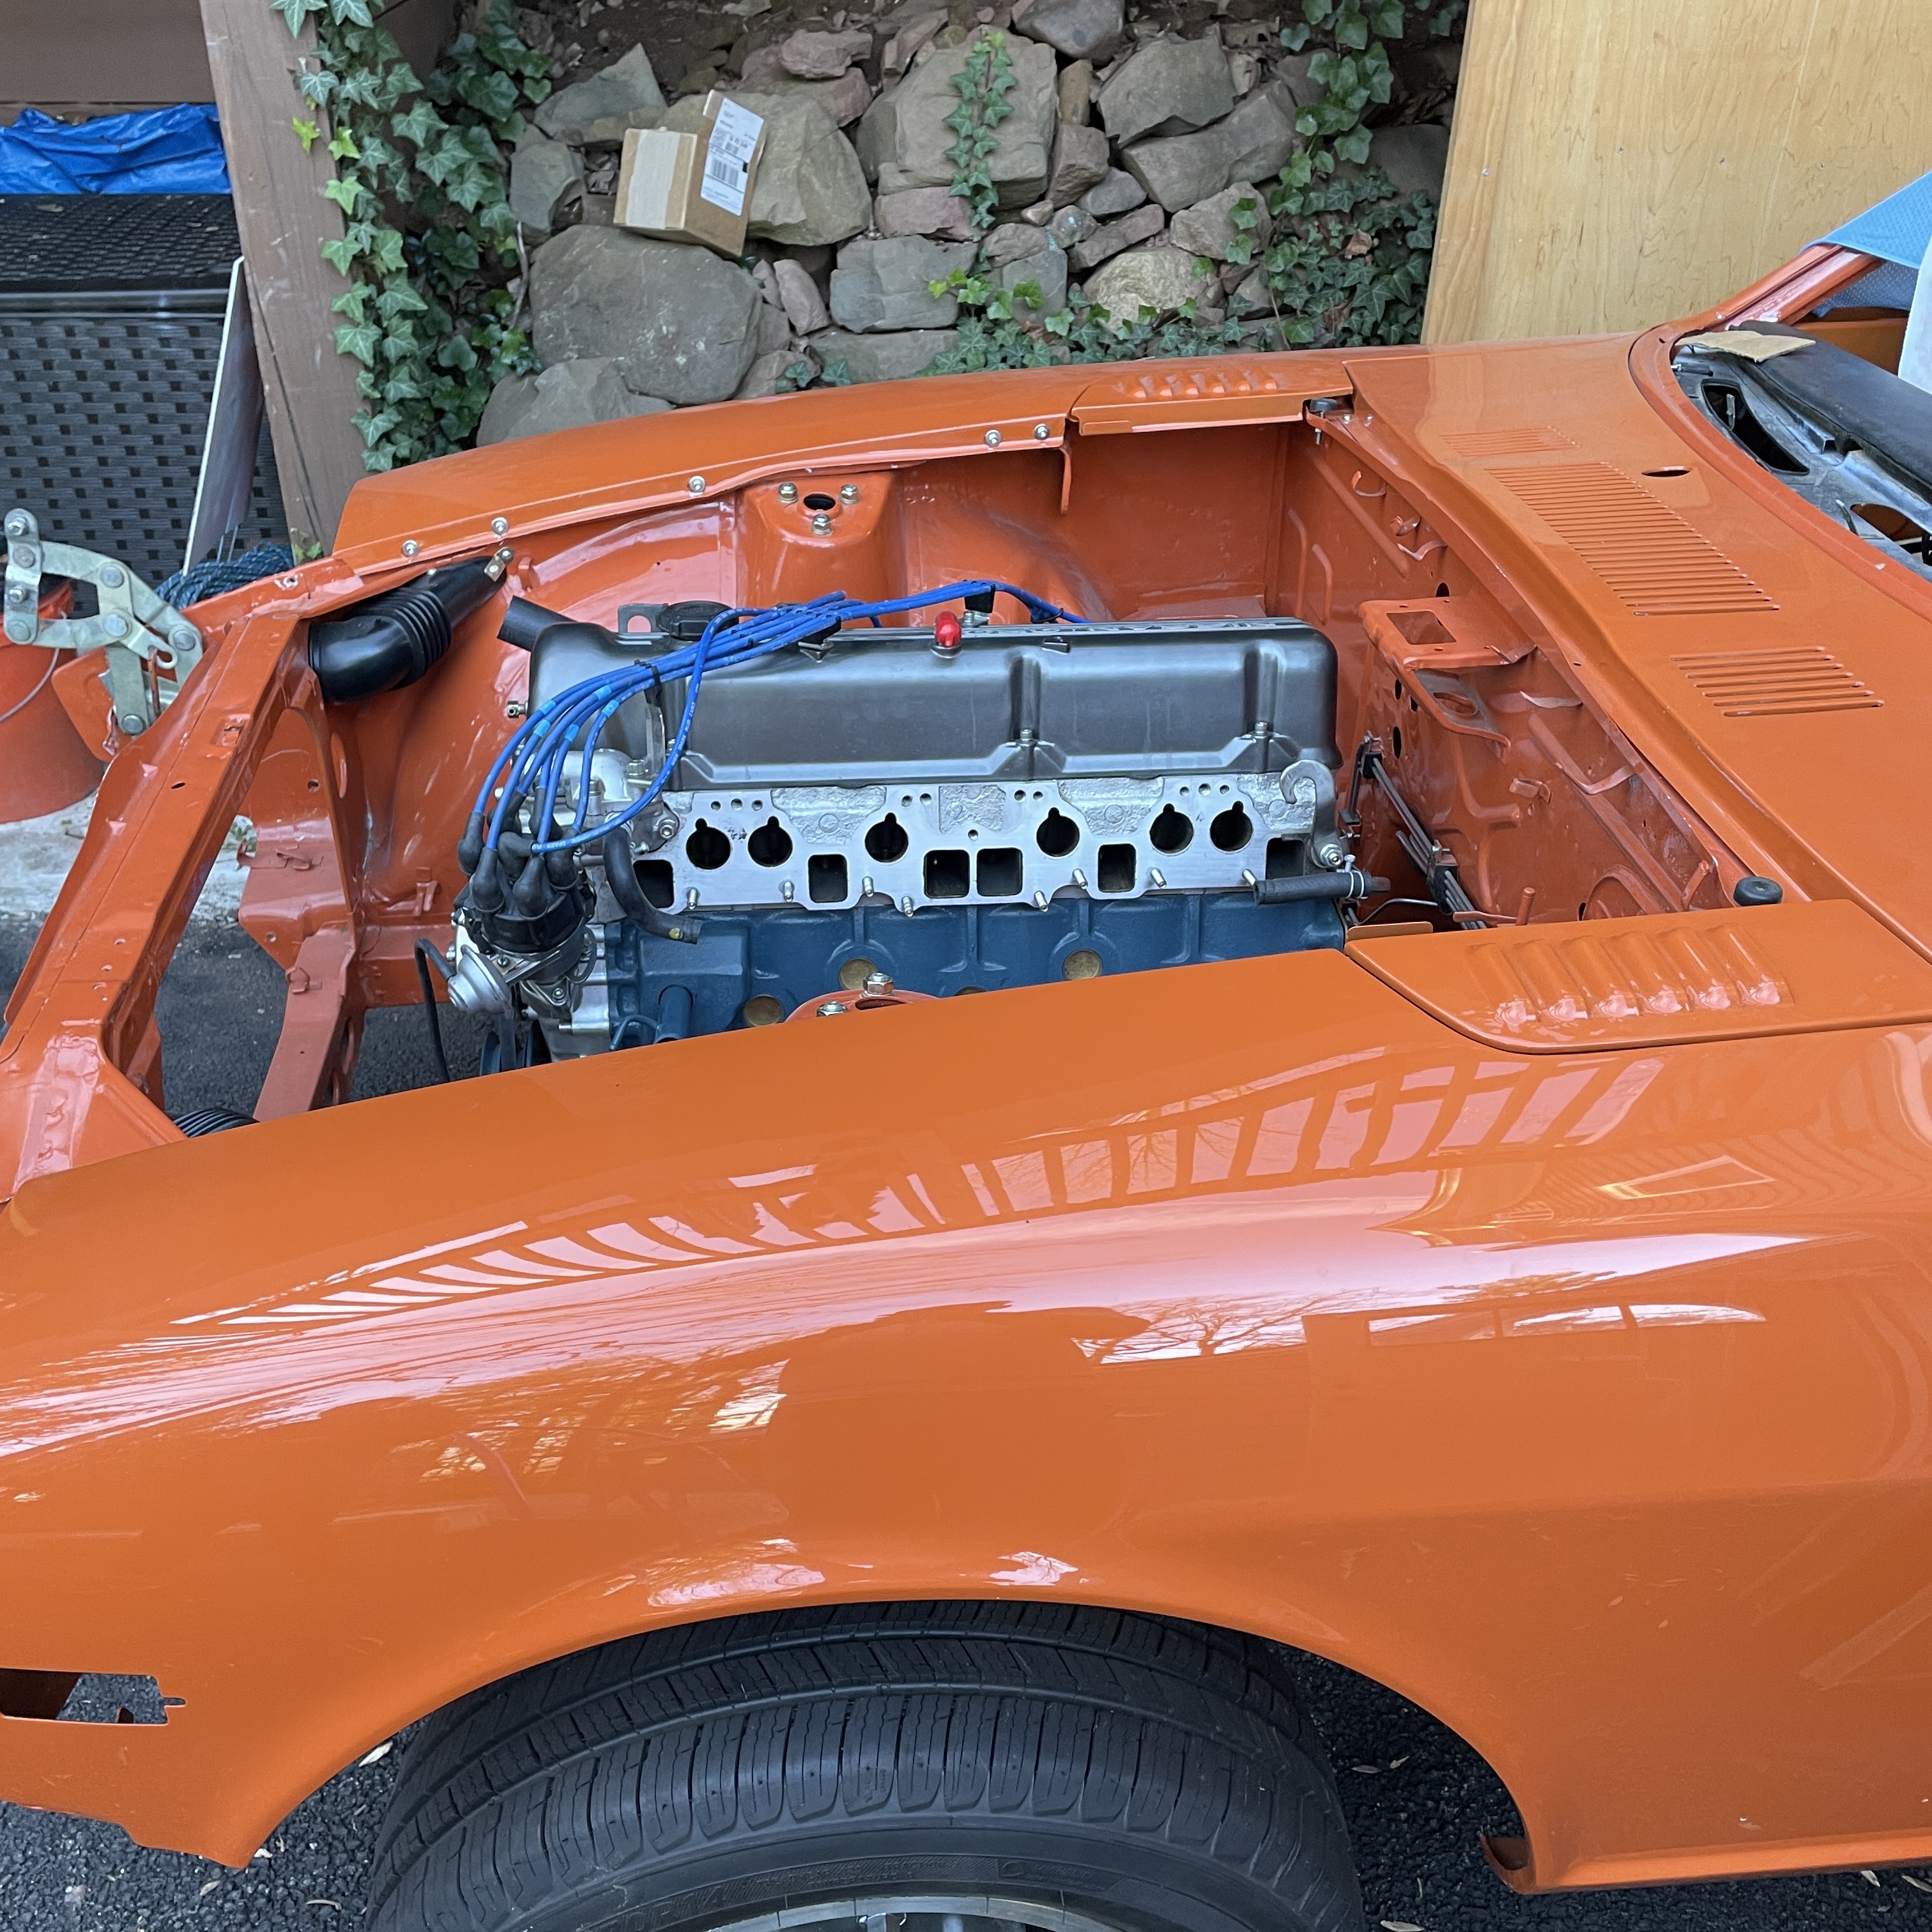
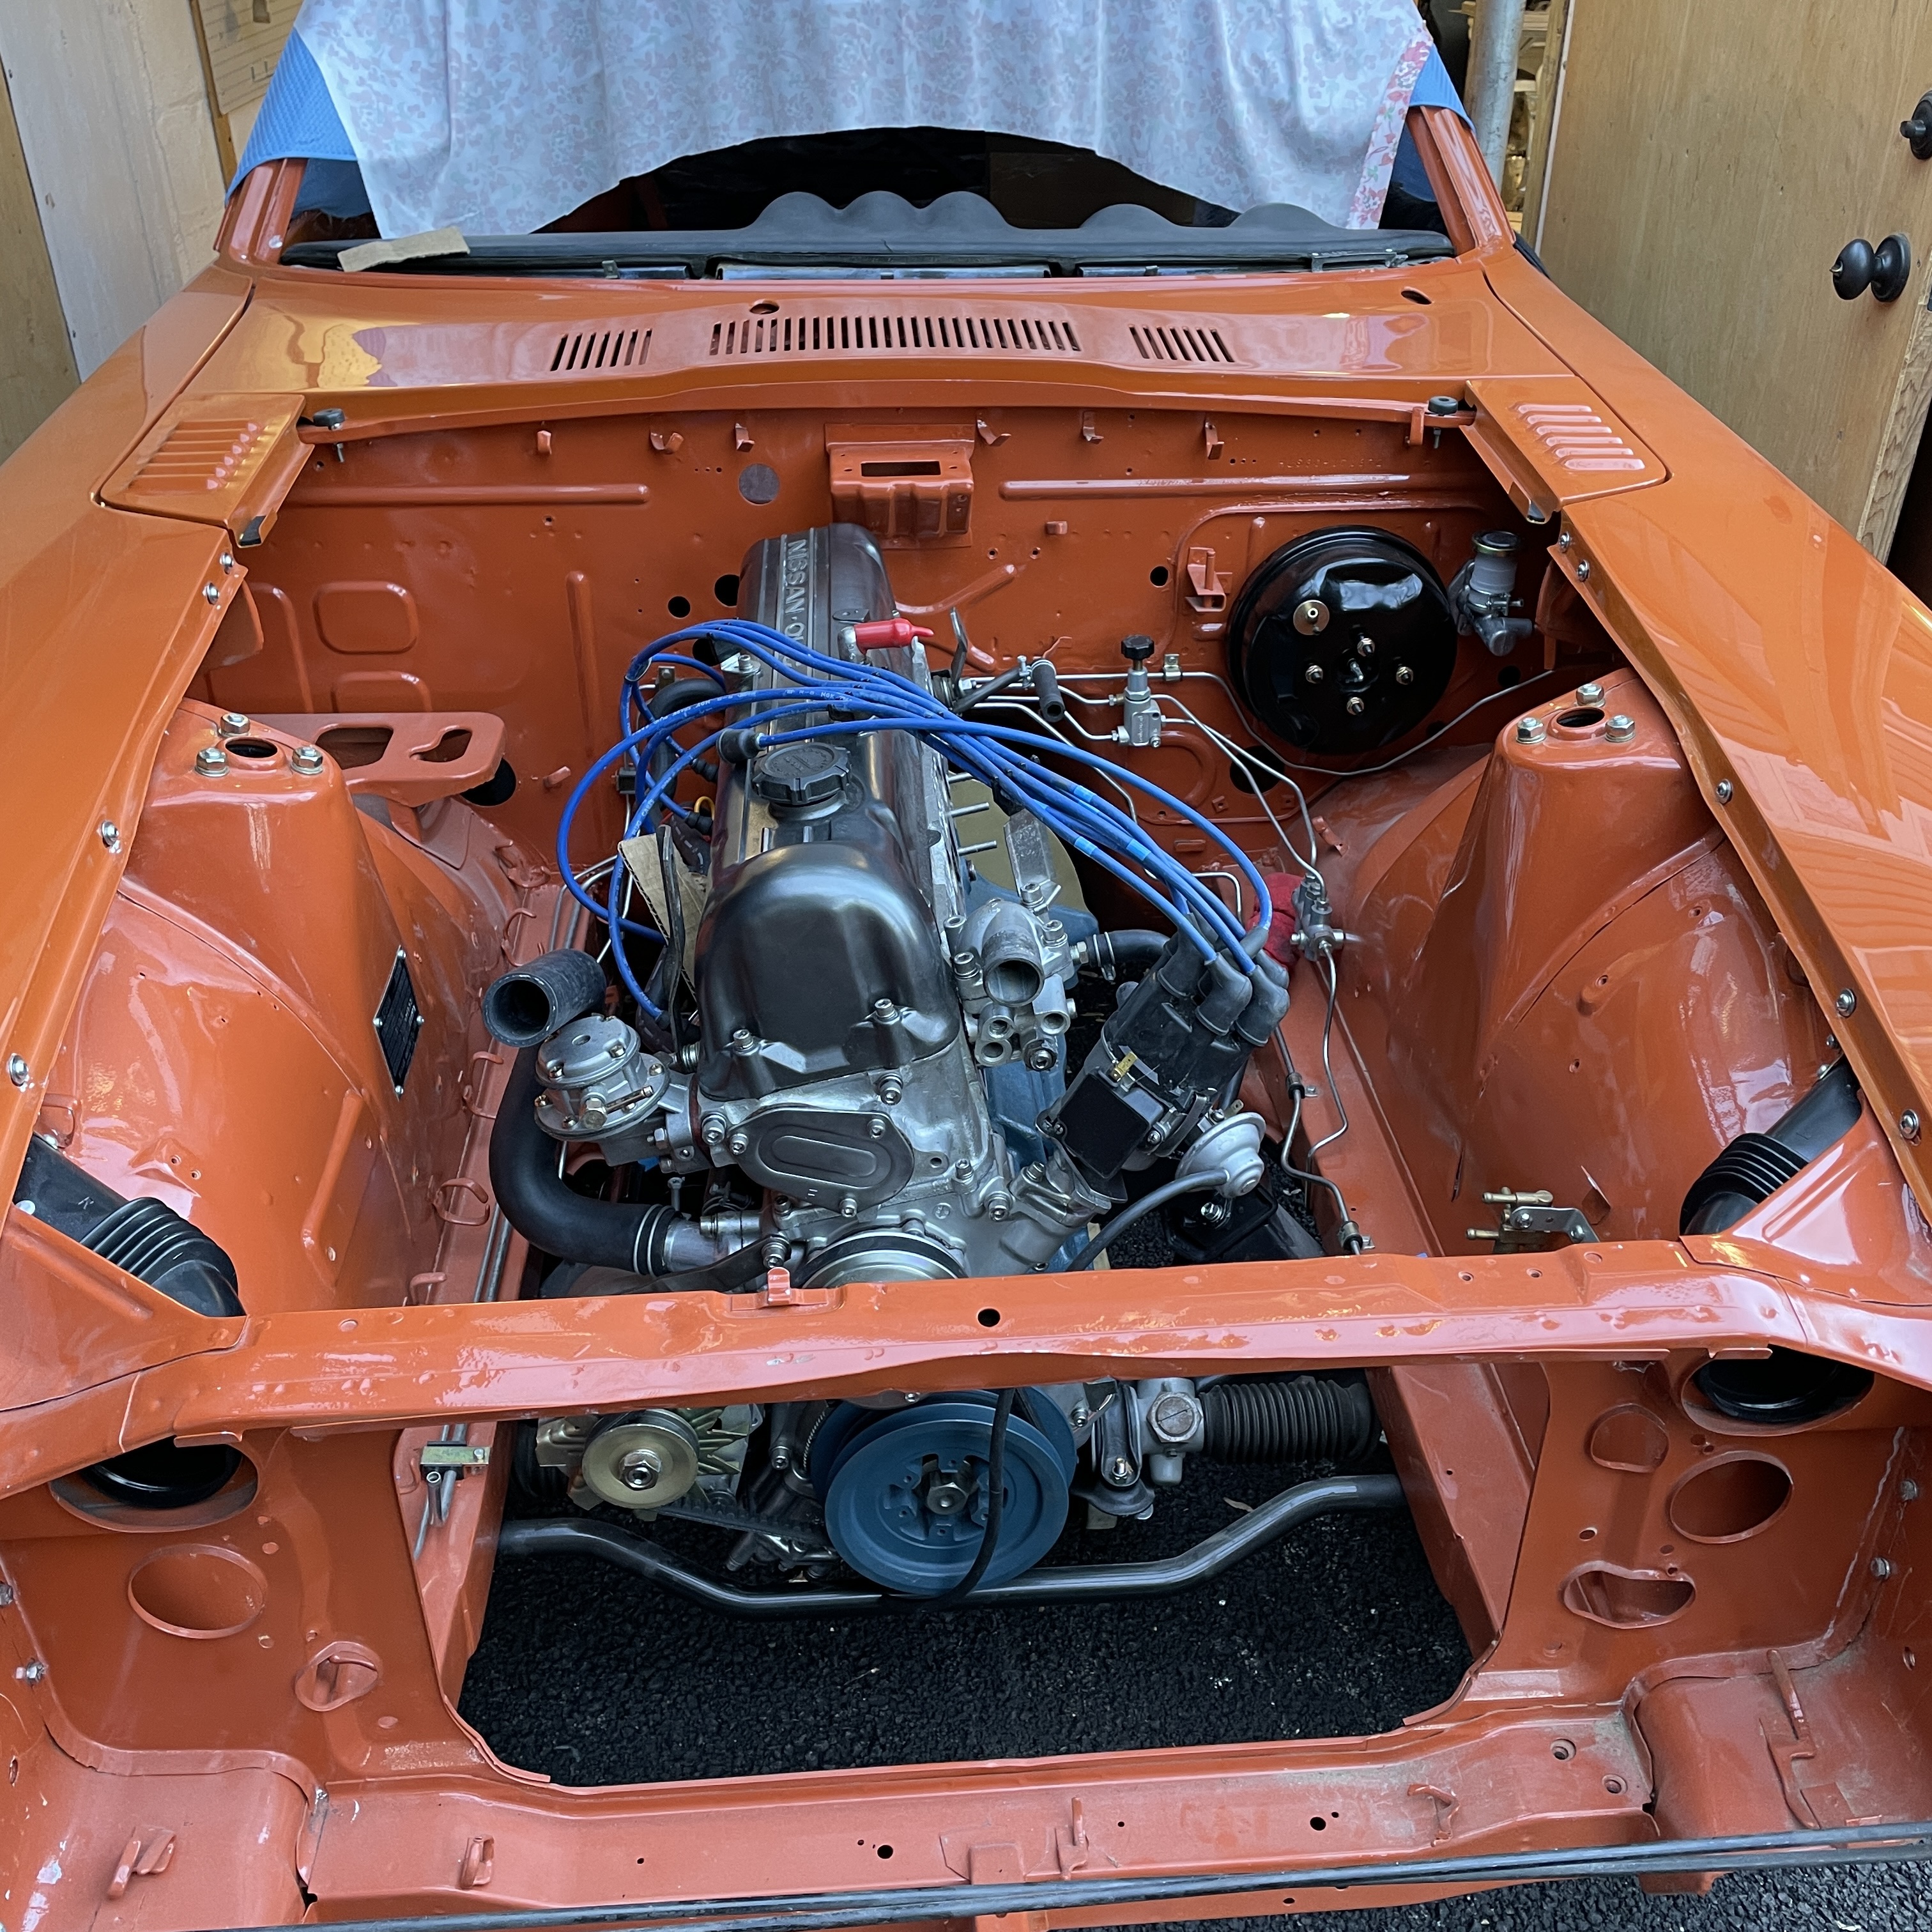
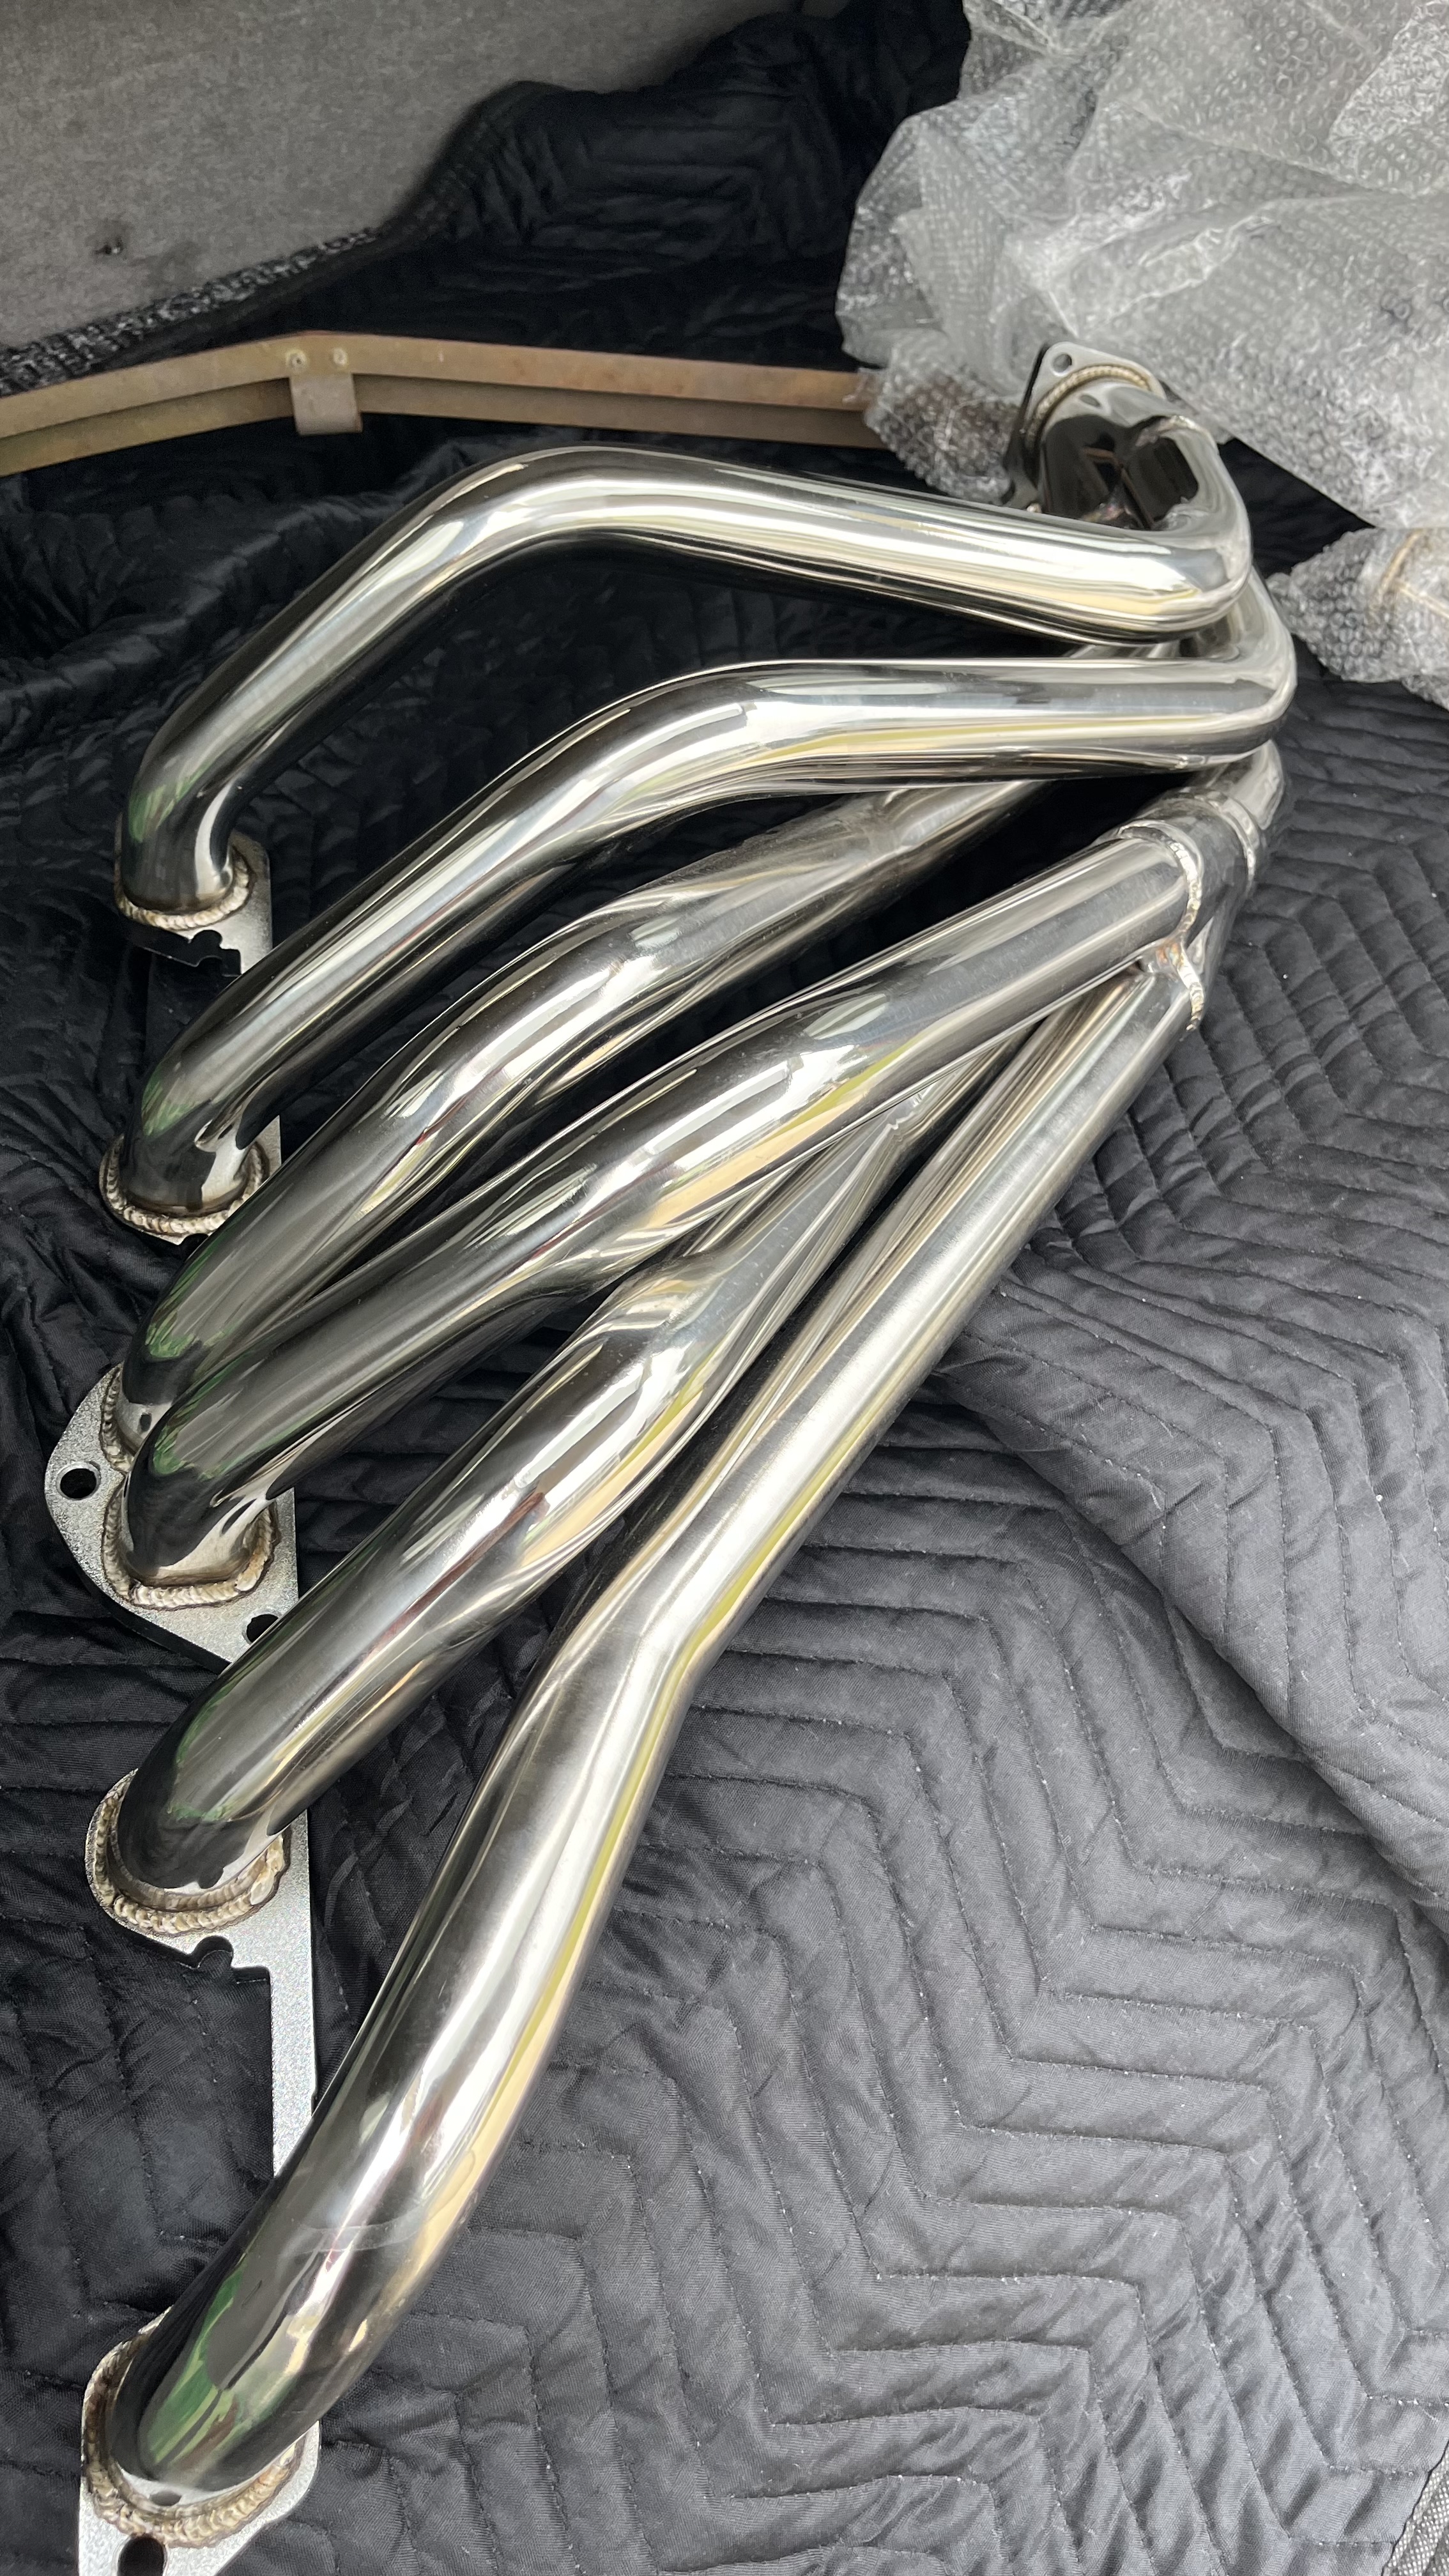
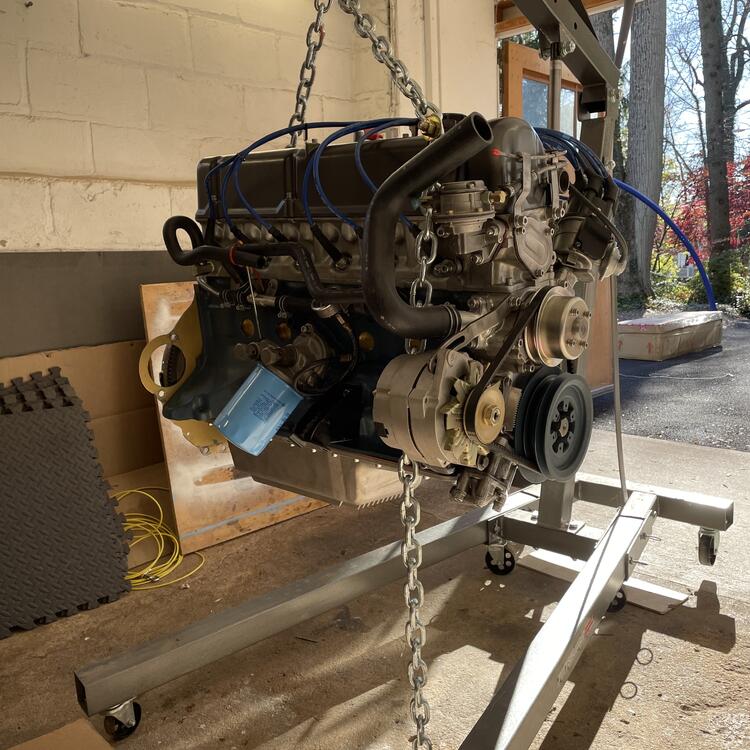
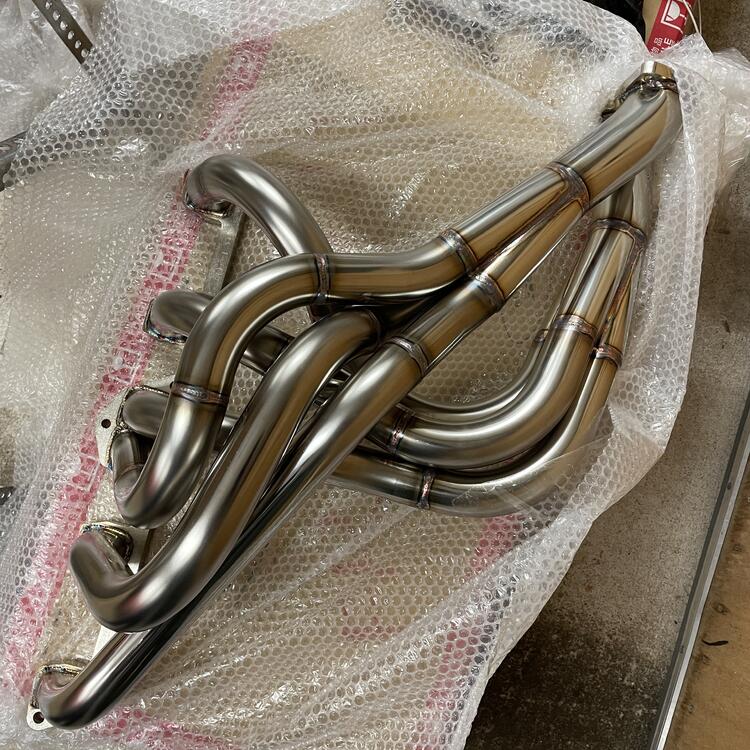
1 pointProgress! with a few snags… Here’s the engine on the hoist, ready to go. This is my engine builder, A.K.A. my dad, former sprint car crew, retired Air Force jet mechanic and crew chief, current fox-body mustang hot rodder, and now L-Series engine tuner. The engine went in like butter… after we realized we had two left side mounts on it and swapped the right side for the correct mount. That only wasted two hours. 👆🏻 This is my BEAUTIFUL, GORGEOUS, MESMERIZING left-hand drive header from Spirit Garage, courtesy of Jesse Streeter of Streeter Corporation. …and here it is in place. No steering clearance issues so far. The back of the engine is sitting high because the transmission isn’t ready and I have it in a support. —- Okay, so the snags… 1. There are many more studs than there are holes in the header. Eight to be exact. I’m not sure what I am supposed to do with those. Is there a part that I am forgetting that these studs would clamp down onto? I looked at the L24 exhaust manifold and it just has eight more bosses to use those studs. I looked at the headers made by others and they don’t have them. I don’t understand how you get a good seal without something using those. I’ve dug around online but haven’t seen this mentioned anywhere. Am I spacing something obvious? 2. I forgot to buy a clutch release sleeve for the transmission and the one in my 4-speed is too long. I’m not worried about figuring out which one fits and getting one (I think it’s one of the 225mm ones), but it does mean the transmission is either not going in this week or I’ll have to put it in temporarily until I have the sleeve. 3. The bottoms of my N36 intake manifolds are hitting the headers. The red circles in the photograph below show where I have contact. I am considering filing them until they have enough clearance, but I’m not sure what is in that spot and how thick that material is. I don’t want to puncture the water channel in there, or the air channel for that matter. I also have a set of E42 manifolds that I could use if these won’t work, but I don’t think they will have any better clearance from what I can tell so far.


 1 point
 -
1 pointI know where the very last 240Z is, but I'm not going to reveal its location, due to respect for the owner's privacy.
 1 point
 -
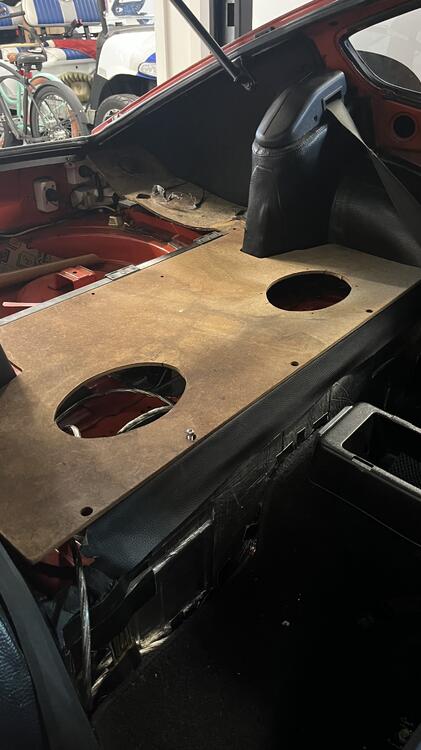
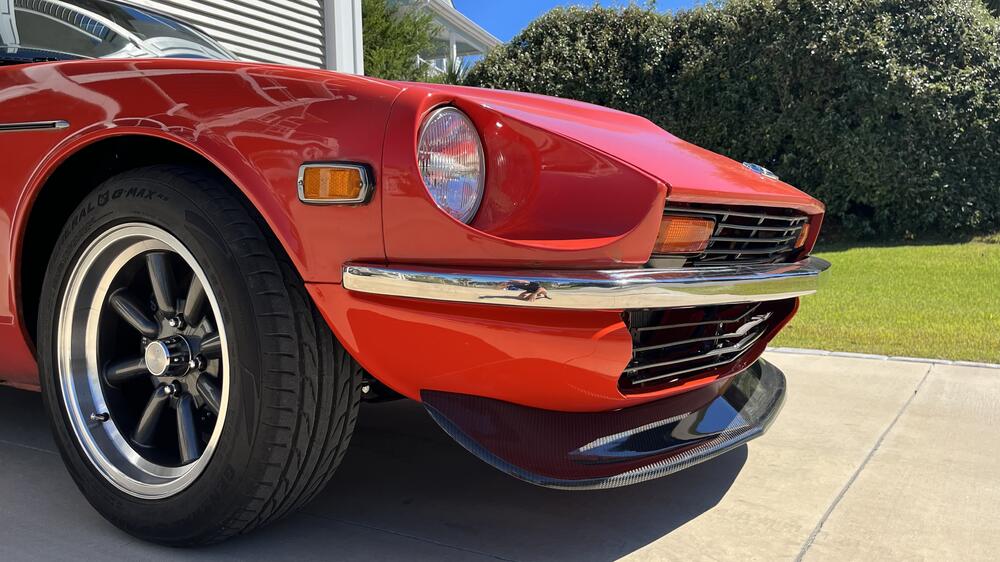
1 pointGents, I’ve been off the net that past month or so. Life, family, work and other issues have kept me away from my time in the garage with the Z. Currently sitting in the Paris airport waiting to return to the US. It’s been an 11 day trip and I’m ready to be home with the family and back to work in the garage. Here’s where I left off last time with the car. Working on the stereo speaker install, the work it a bit tedious because of my OCD. I bought some 6x9 speakers to build a box below the deck to improve the sound quality. I have a couple more days of work to do there. This is my extra deck, so I can always go back to OE look. My headers came in about a month ago from ZStory. They look great, very happy with the stuff he puts out. I had been waiting a long time for this last part of his system so that’s in the works too. Im taking it this week to get ceramic coated, for heat transfer mitigation. The car has been driving great, the more miles I put on it the more the kinks seems to be getting worked out. I have a couple issues to address. I also finished the from carbon fiber lip install. I like this much better that the xenon valance. I’ll post a few pics. 1. High Idle - car idles fine on start but after driving it around and coming to a stop the idle will hover around 1000-1100 RPM. In order to get it back down I have to pump the accelerator one time and then it returns to 800. Let me know if anyone has a clue why it does this but it’s pretty consistent. 2. I have a rattle on my right rear strut. I think I have the spacer loose from the shocks bouncing around there.. I’m not motivated right not to pull it out .and address it. 3. A small oil leak. Getting about 10 ml of fluid that appears to come from near the passenger side closer to transmission. I think it’s coming from the reverse switch but haven’t confirmed it. Got a new gaskets waiting to be installed.

 1 point
 -
1 pointOkay, quick update foreshadowing my thanksgiving week plans: That would be a crate containing one complete and test run 2.9 liter L-series Nissan engine, which arrived from AZ on Thursday morning.
 1 point