Leaderboard
-
.JPG.cfcada9cf1c1b502df3f5f2f2ca3ff36.JPG)
SteveJ
Free Member5Points9,646Posts -
Captain Obvious
Free Member4Points10,081Posts -
BoldUlysses
Free Member4Points344Posts -
S30Driver
Free Member4Points1,580Posts


Popular Content
Showing content with the highest reputation on 05/02/2022 in all areas
-
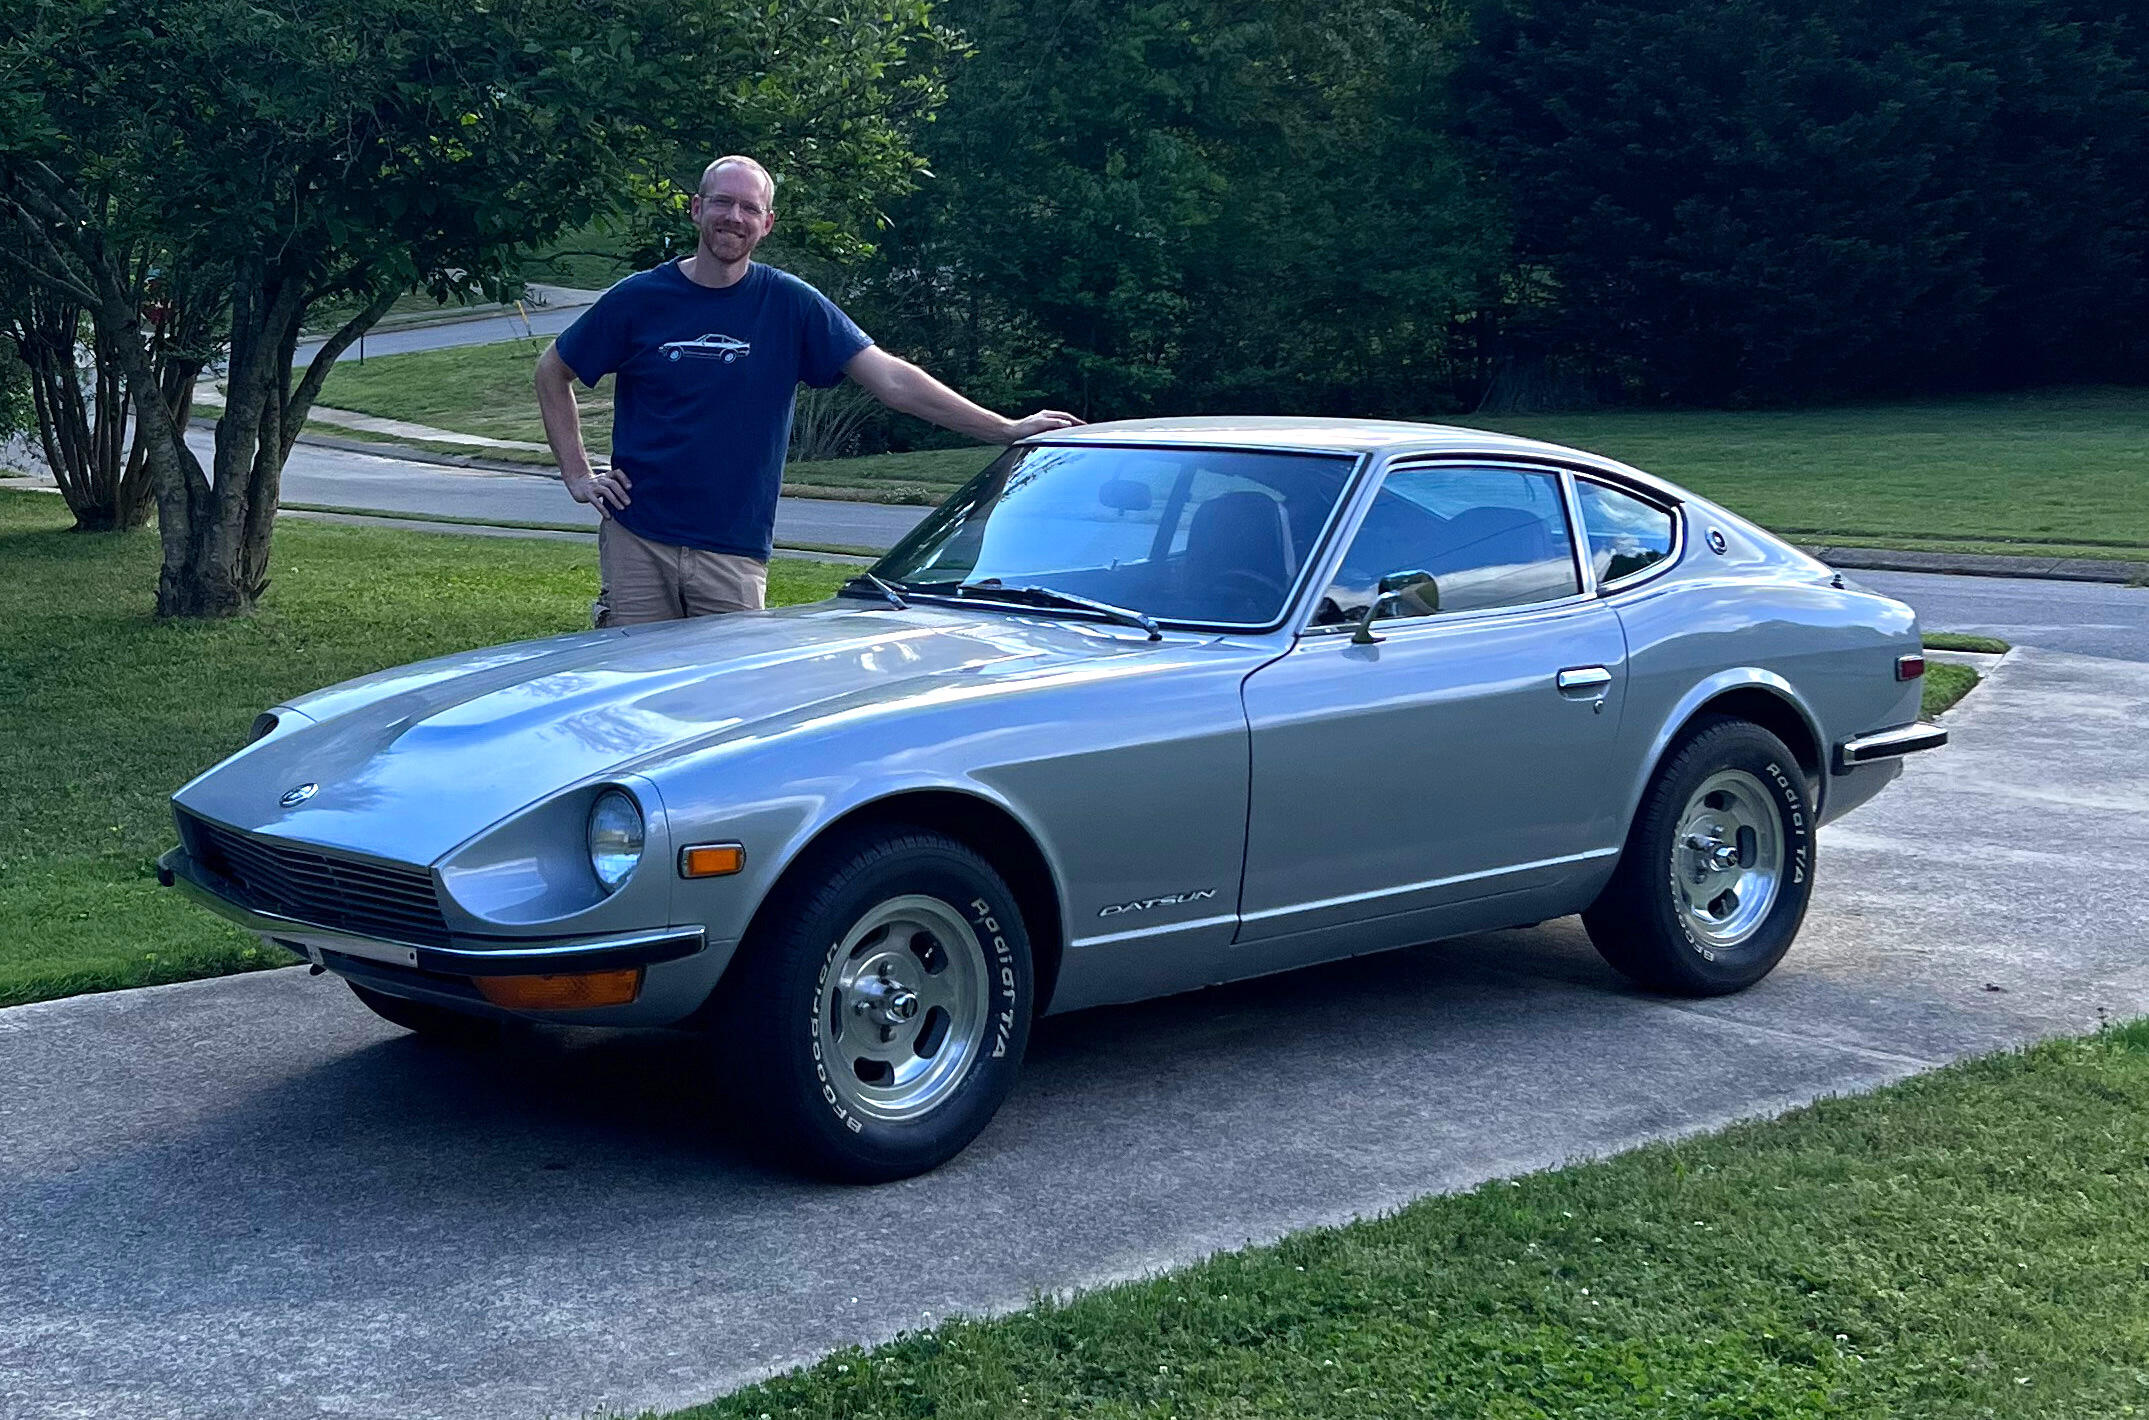
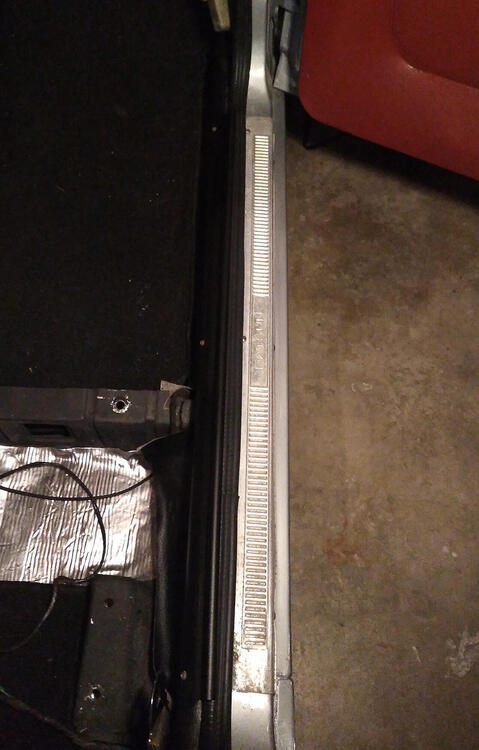
Some more progress, some with pics and some without: Seat belts bolted in. I have some M3 x 0.6 screws on order for the mechanism covers for the seats. Carpet-style dash cover added. The guy who was going to sell his crack-free dash backed out, so I'm going to have to go to Plan B (or C or D). New handbrake boot installed. Found the shift pattern emblem for the top of the shift knob, reattached. Realized I connected the wiper motor arm 180 degrees off (it's nice when the wipers go DOWN when activated), fixed. Driver's door adjusted. It took a really hard slam to shut before; it's better now, though still not as good as the passenger door, which is 100% PERFECT. Need a bit more love. Inner and outer door sills on (thread here) I did my best to clean the outers, but they still have some "patina." I'm OK with it for now. Still working through some electrical issues, as detailed in this thread. Drove it around the neighborhood last night, and it's like a different car compared to when I first got it back on the road in mid-2020: Then, it could barely make it up the (shallow) hill in front of the house, and it was misfiring all over the place, no brakes, etc etc. Now, it brakes and turns very well, and has only some slight misfiring when warmed up, all of which I'm hoping to dial out when the Colortune arrives and I get it timed perfectly. And once I get all the lighting operational, it will be fully road-worthy. So excited. Finally persuaded my wife to take a pic of me with the car. Here's your intrepid scribe next to the car that will have been in the family for a full 50 years come October:
 3 points
 -
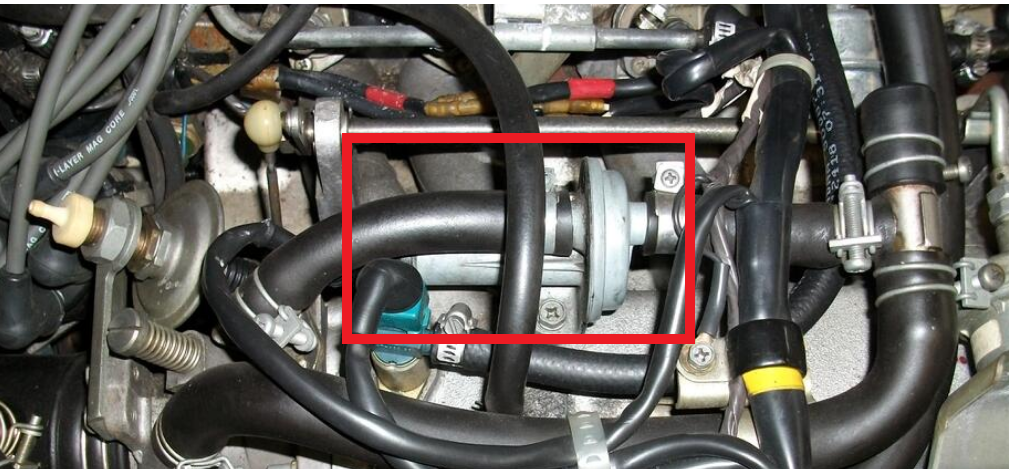
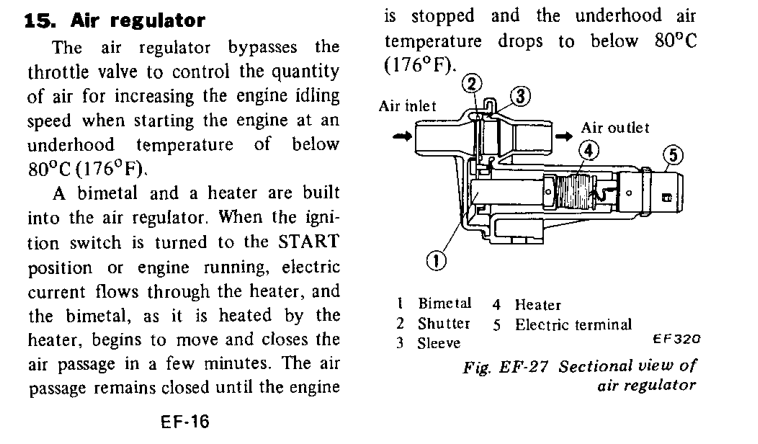
Actually (sorry) the auxiliary air regulator (AAR) is what keeps idle speed up until the engine warms up a bit. Pretty common for them to be stuck open or closed and/or not have power to the heating element. There are several threads on the forum about them.
 3 points
 -
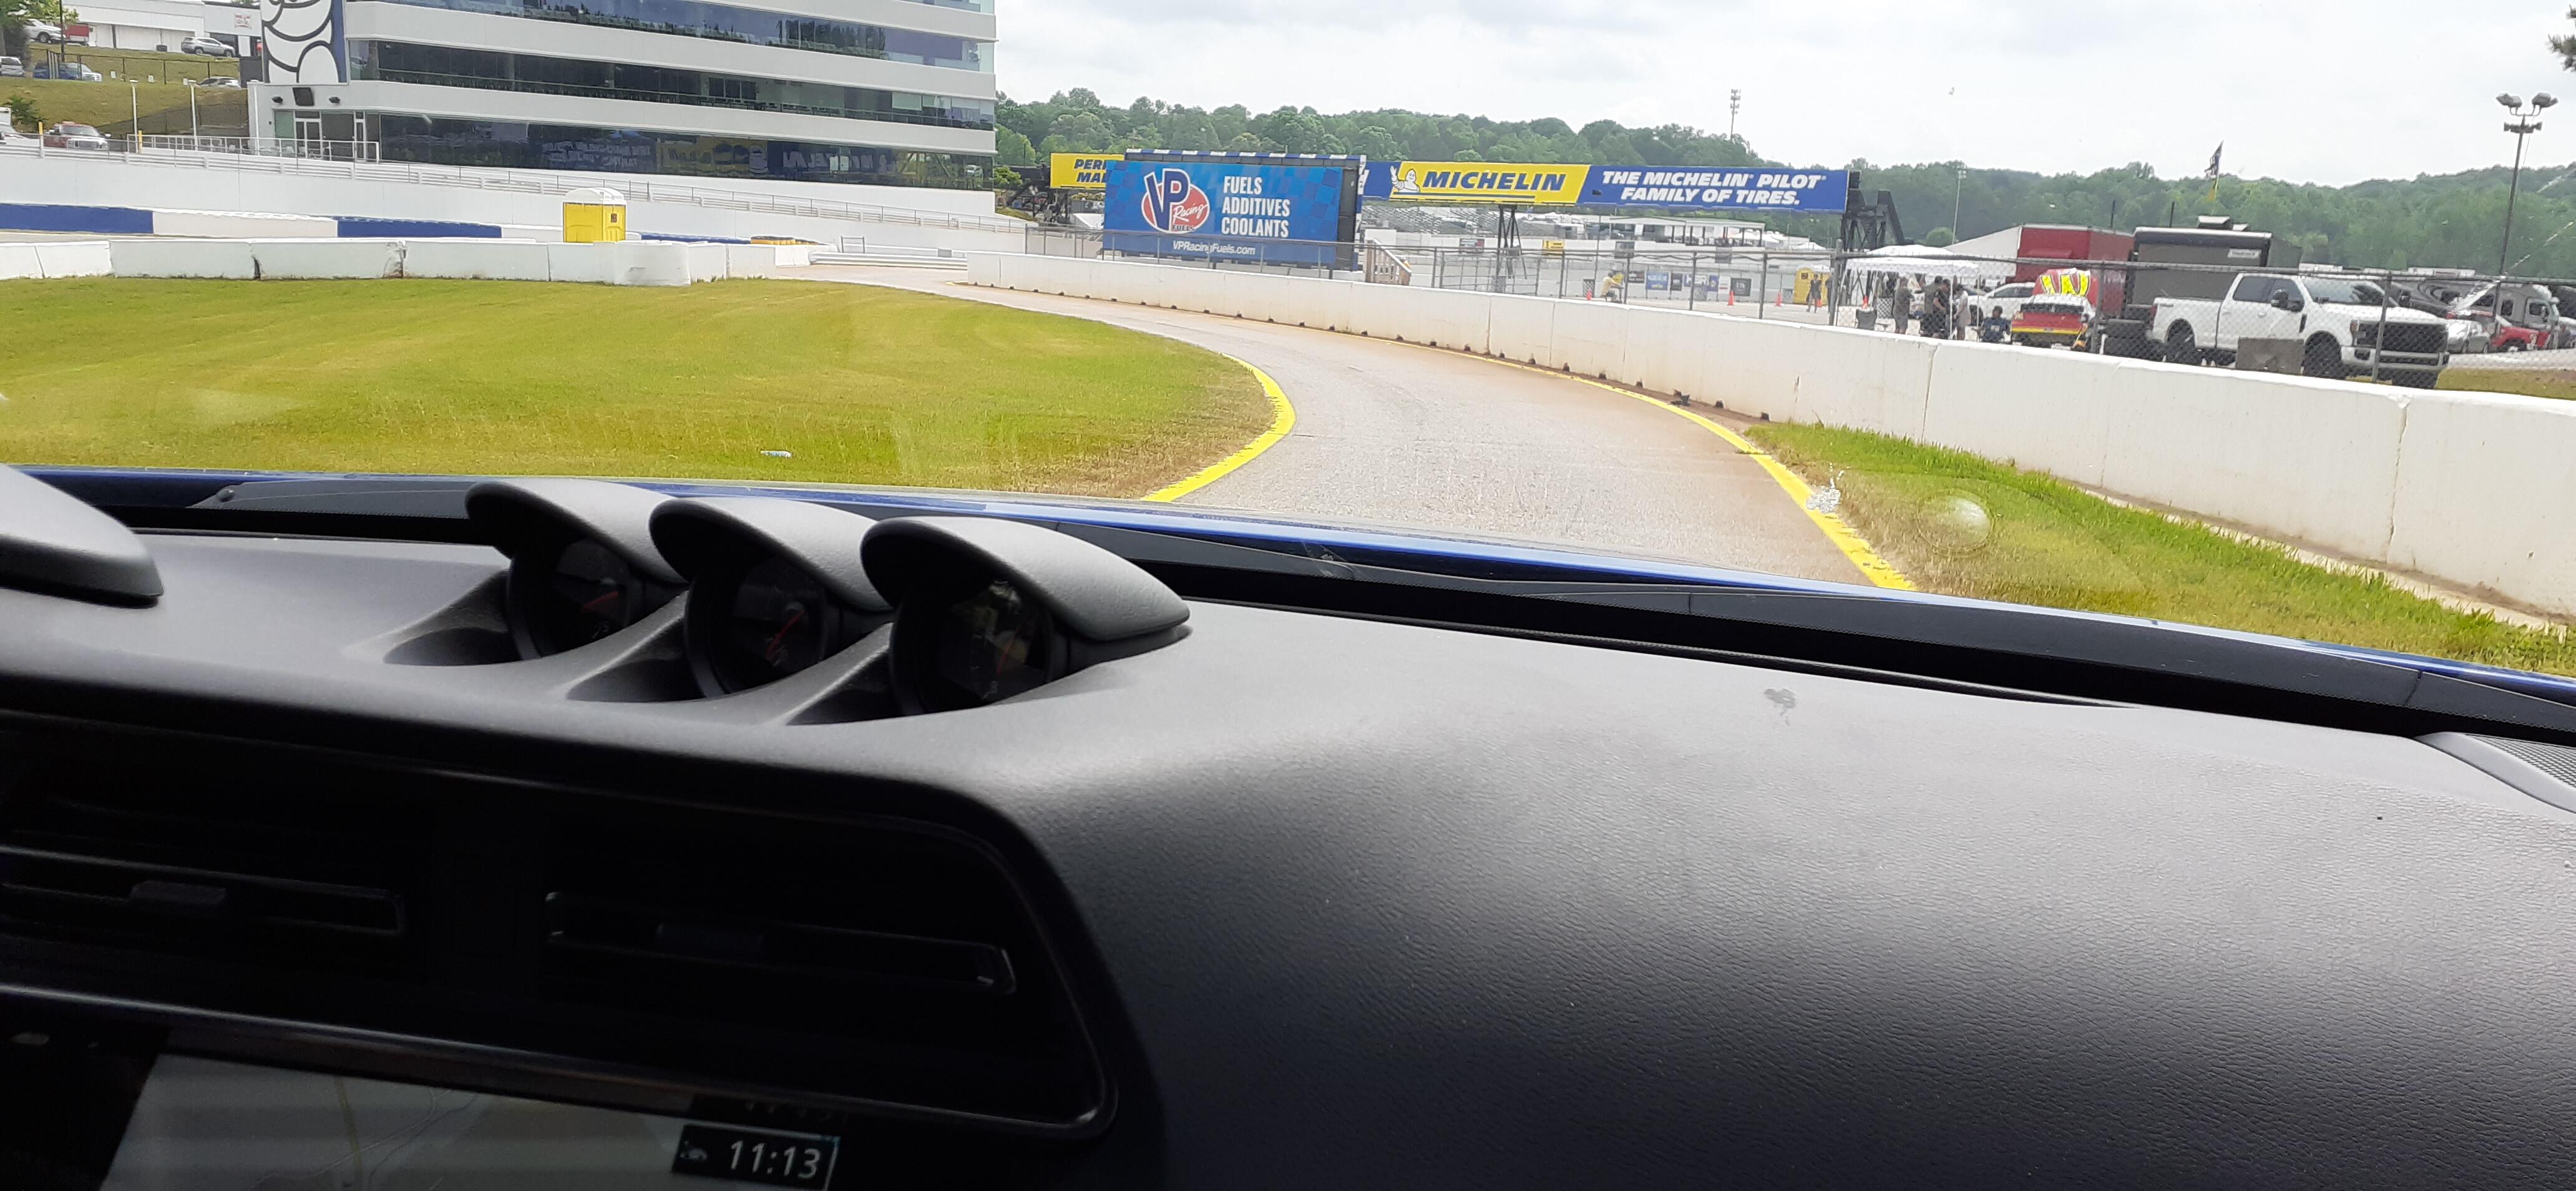
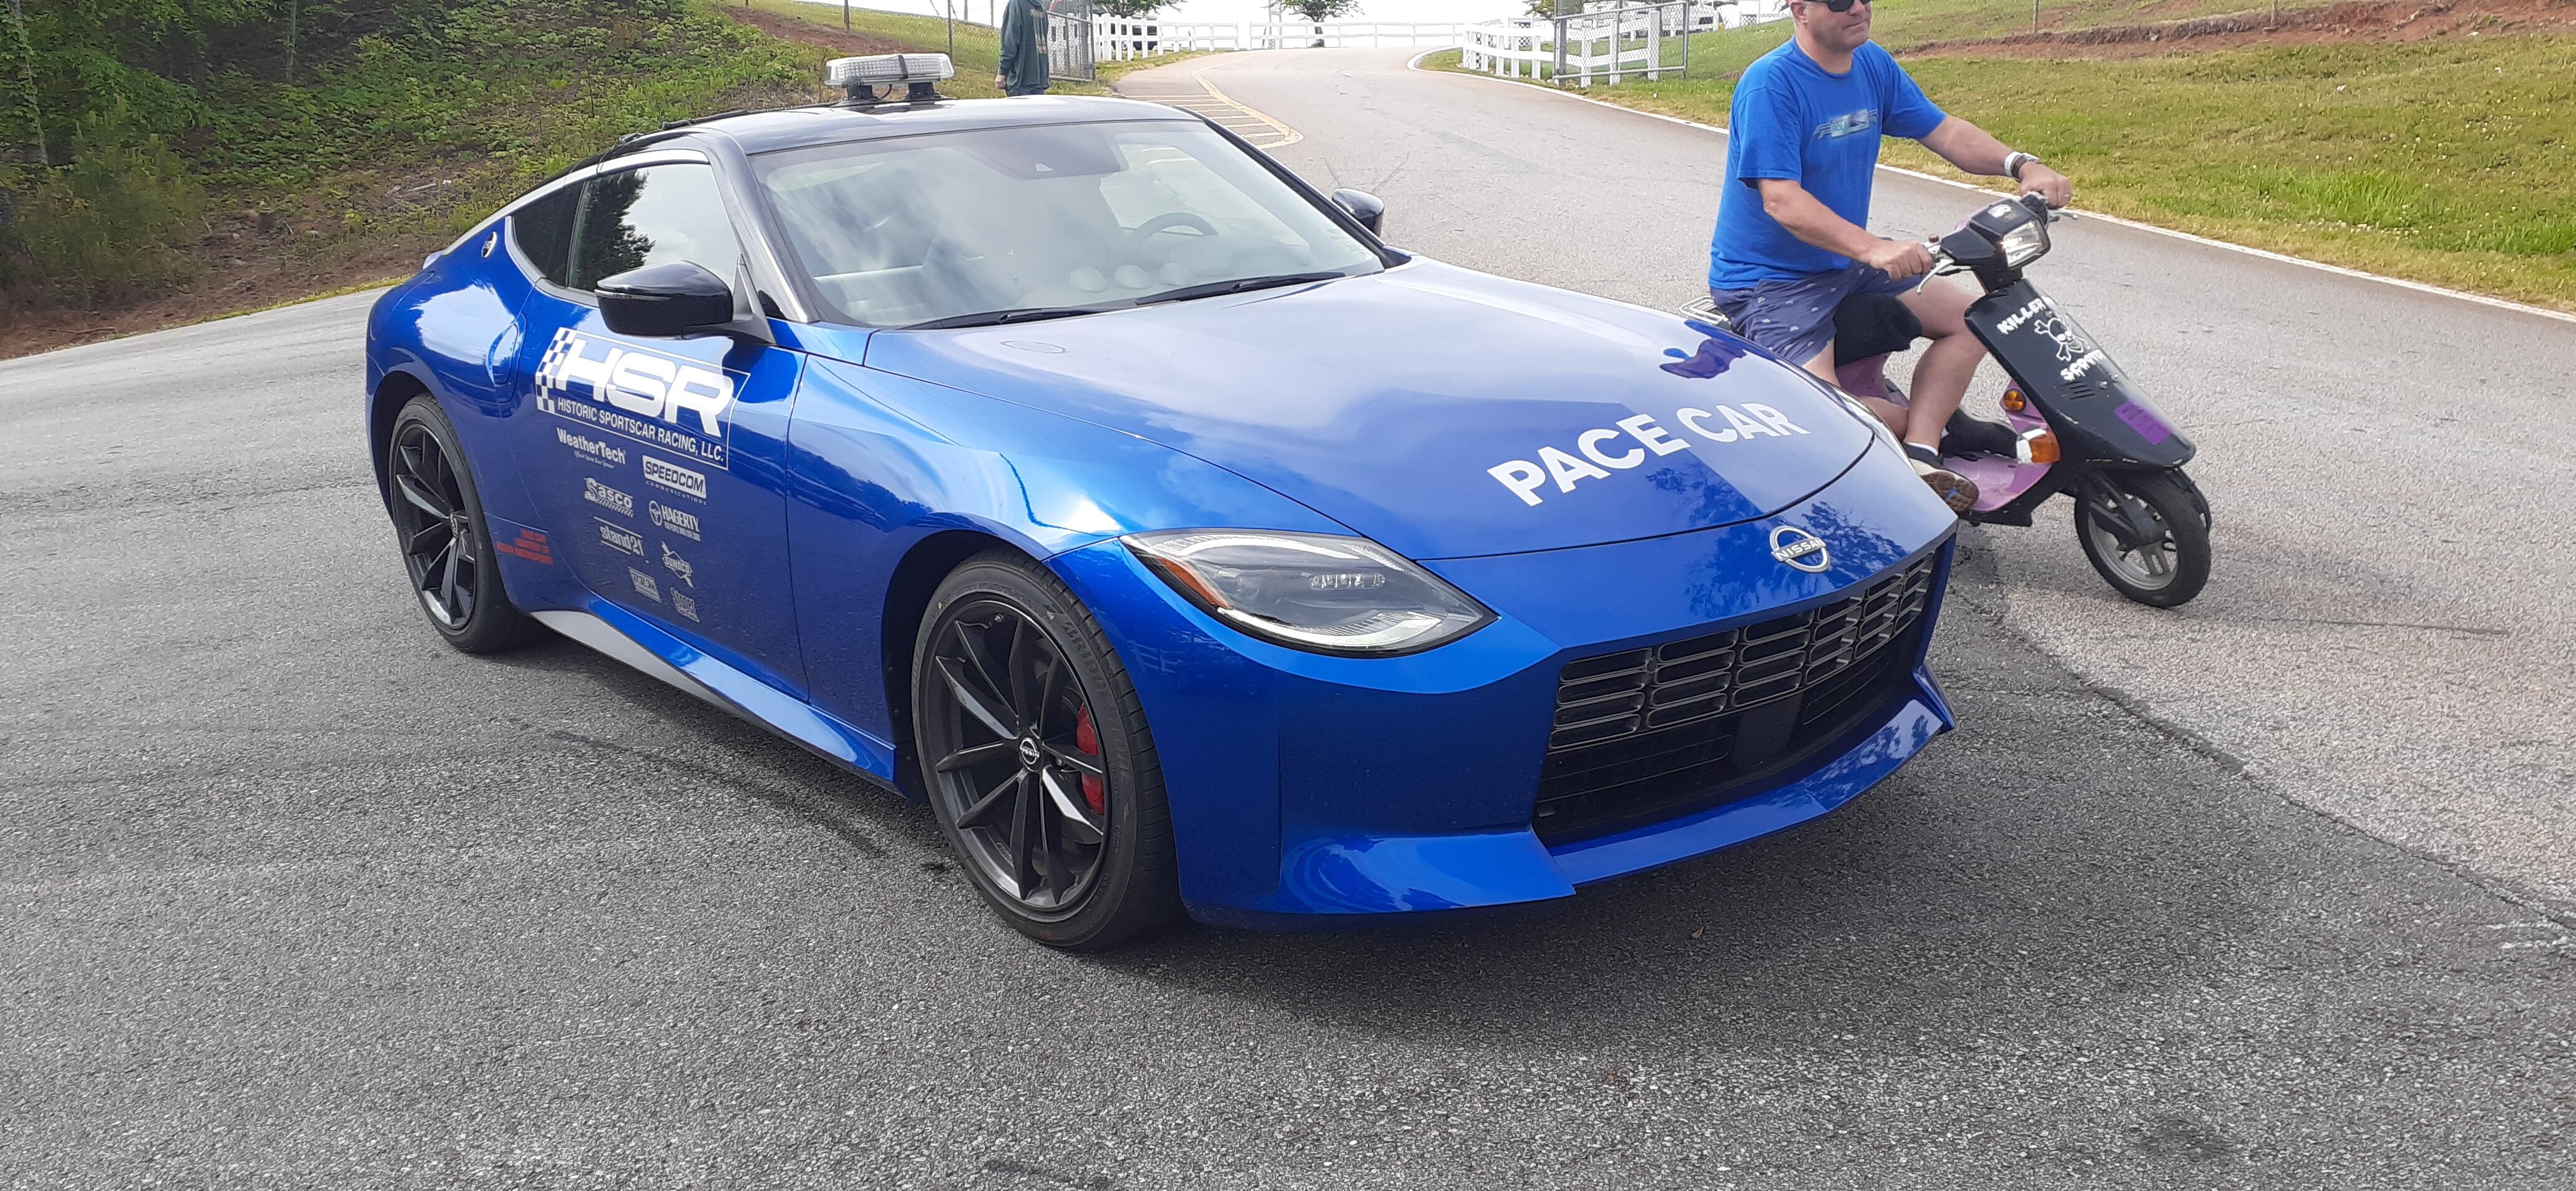
2 pointsI had a chance to ride shotgun during the parade laps at the Mitty today. I think the HSR pace car driver is enjoying the gig.

 2 points
 -
The cold start valve is not likely to be the problem. It only operates for a very short time to assist with startup, then the thermotime switch shuts it off. More than likely if the idle is low when cold, then improves and the rpm's come up once warmed up, you have a vacuum leak somewhere that is being sealed up after some heat gets in the engine and things expand. An example would be the oil pan.2 points
-
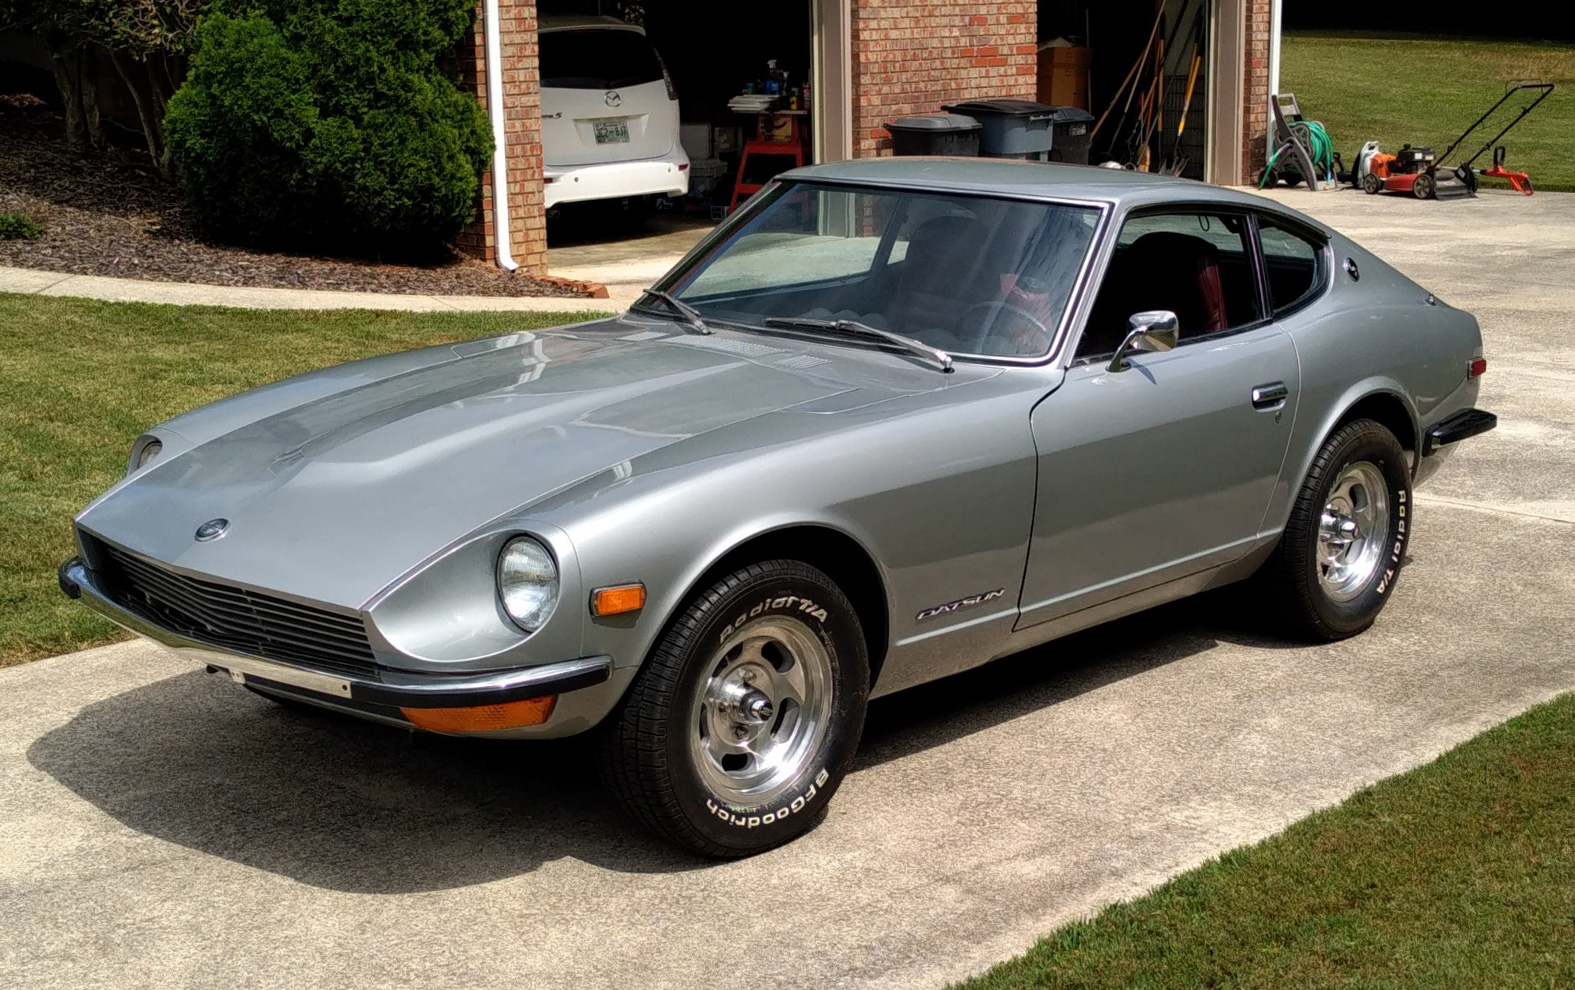
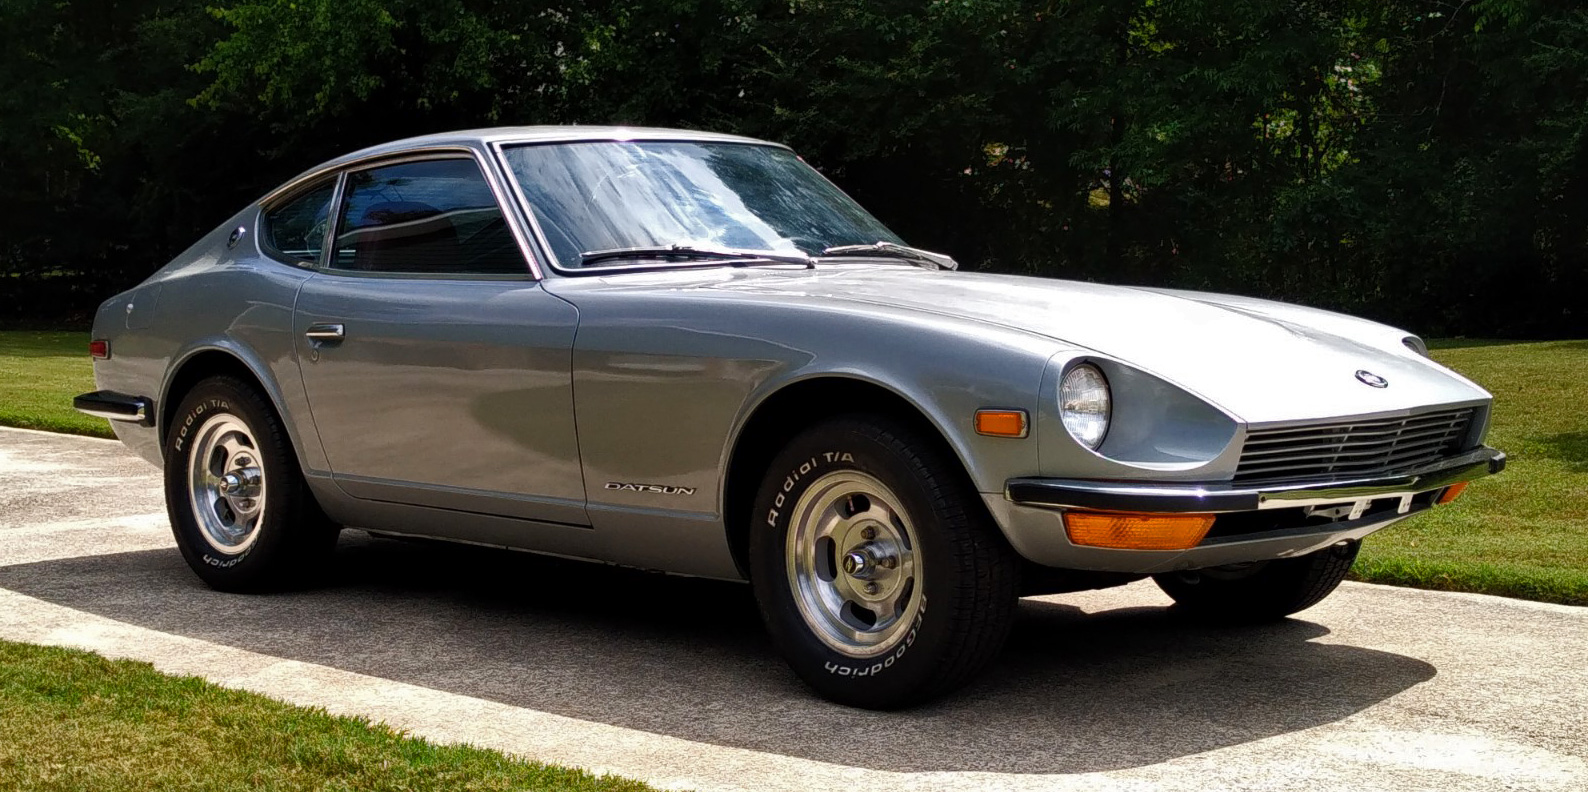
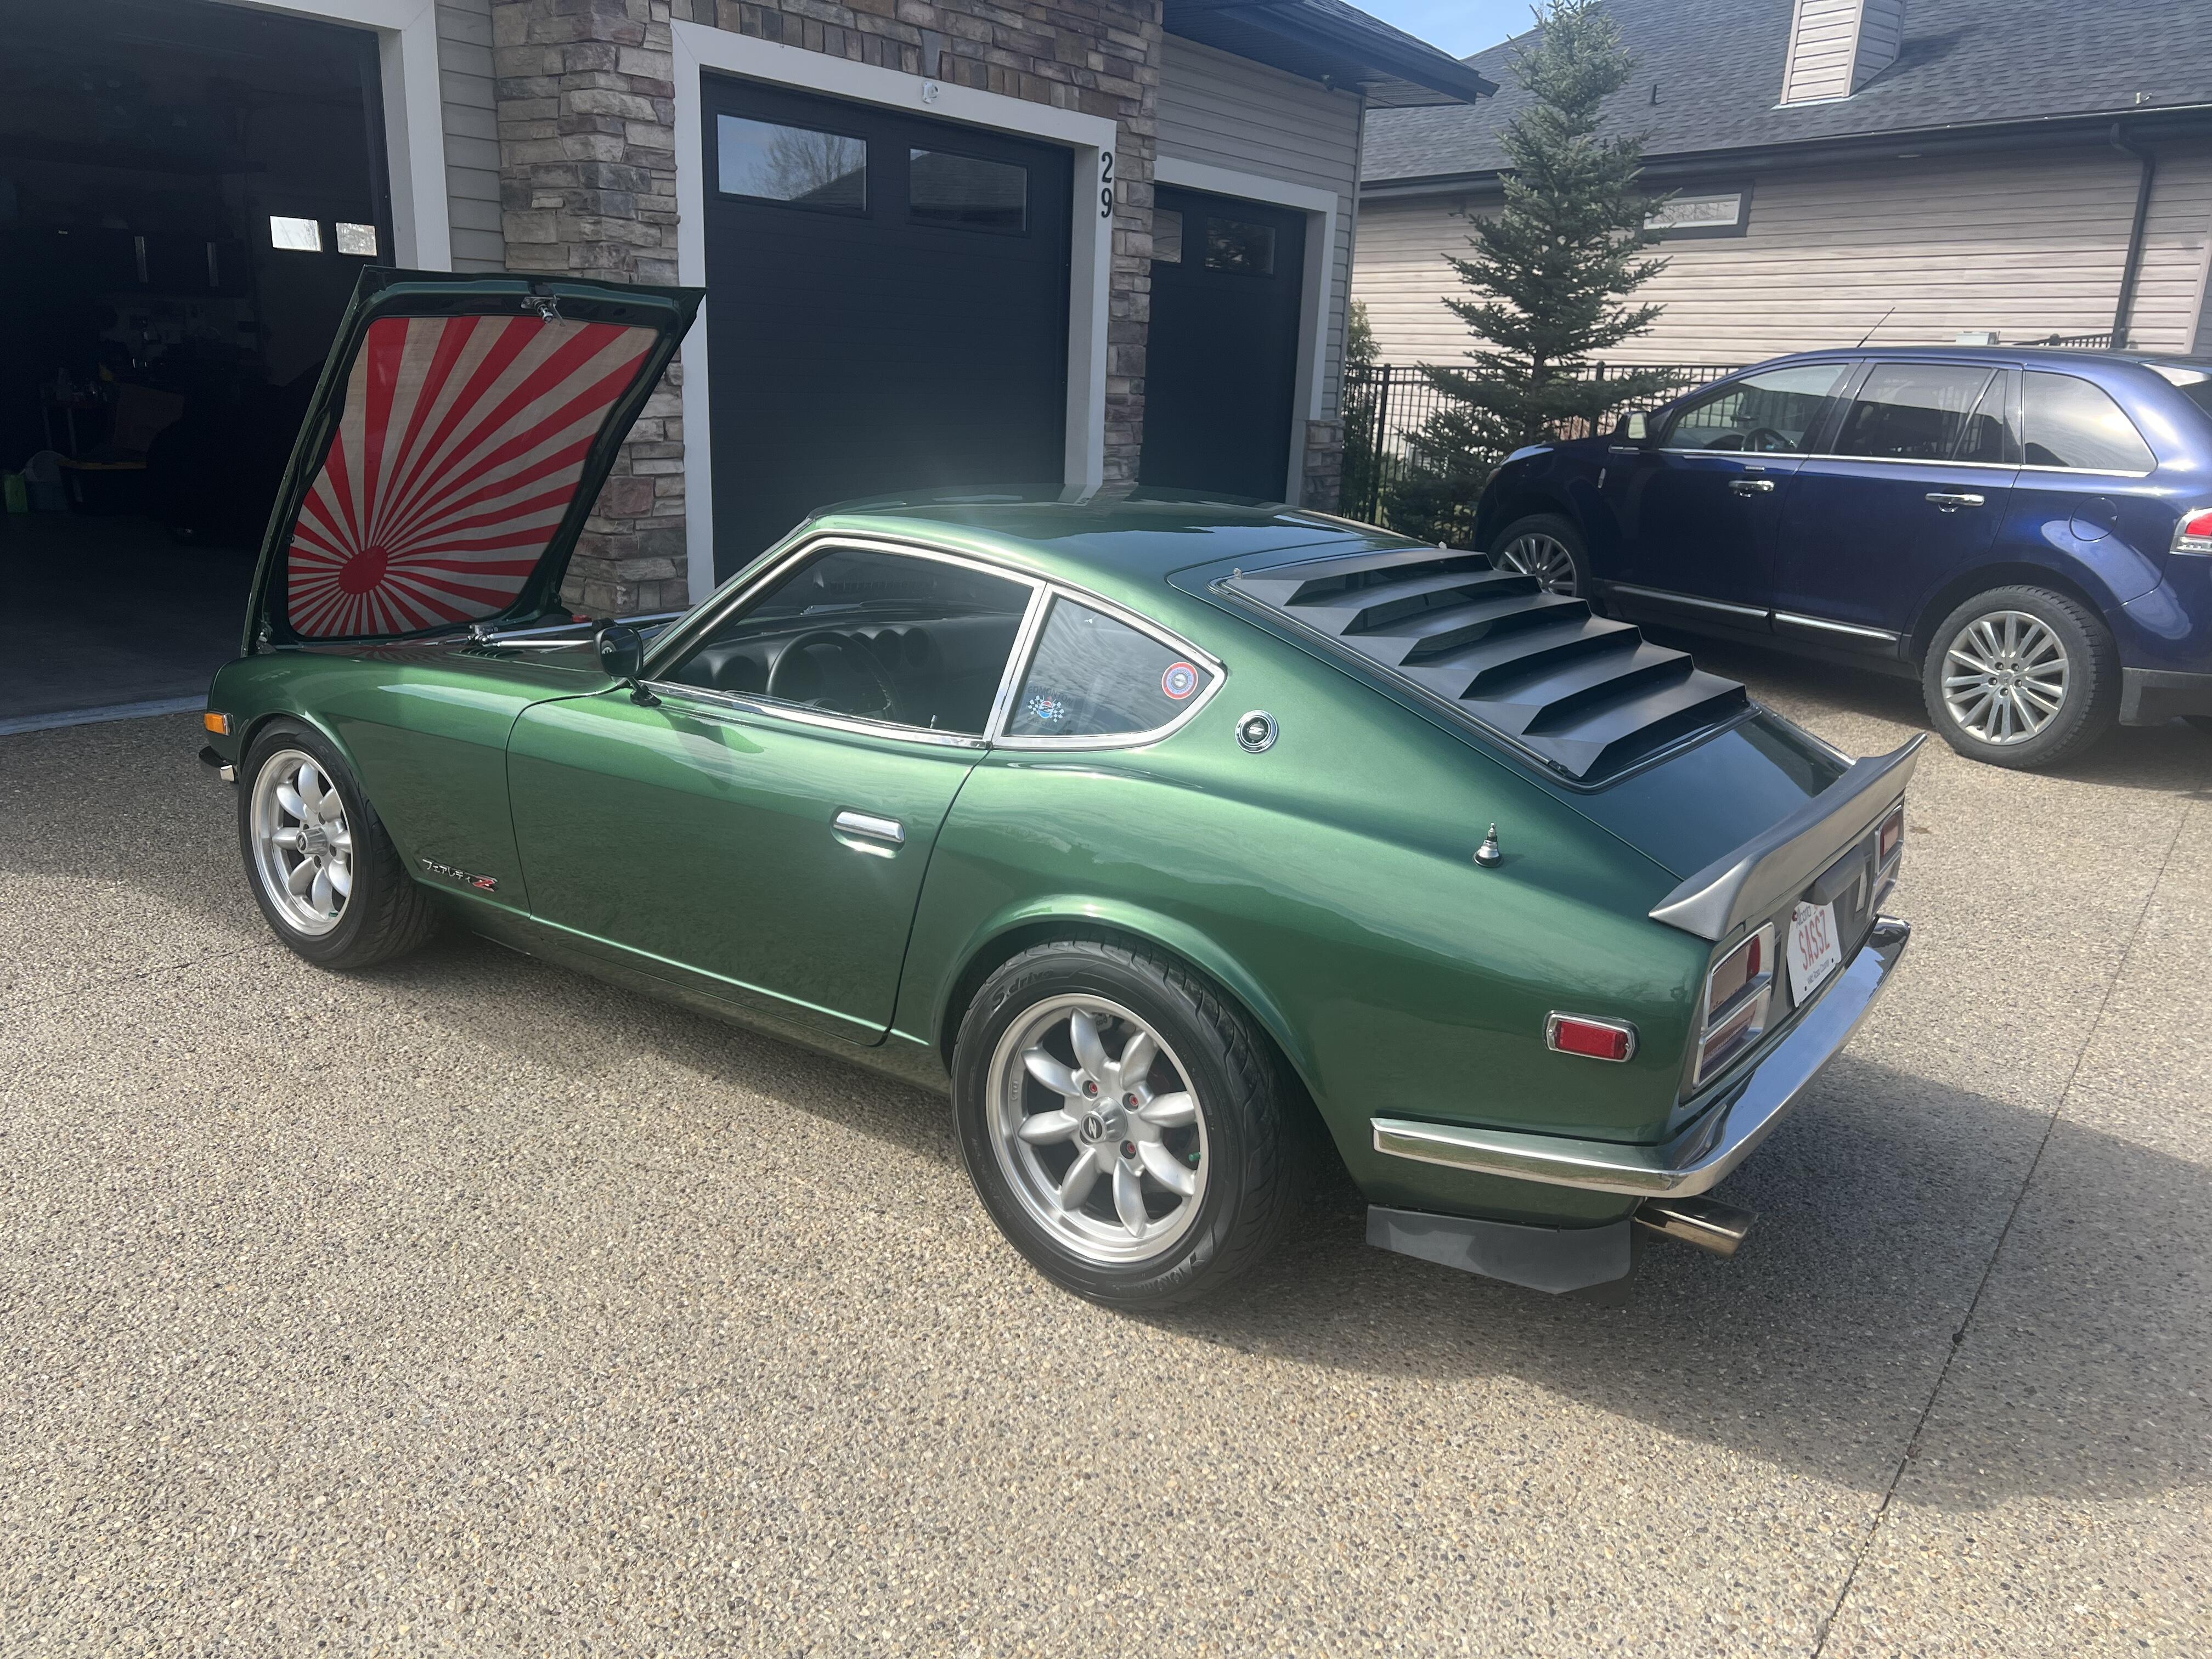
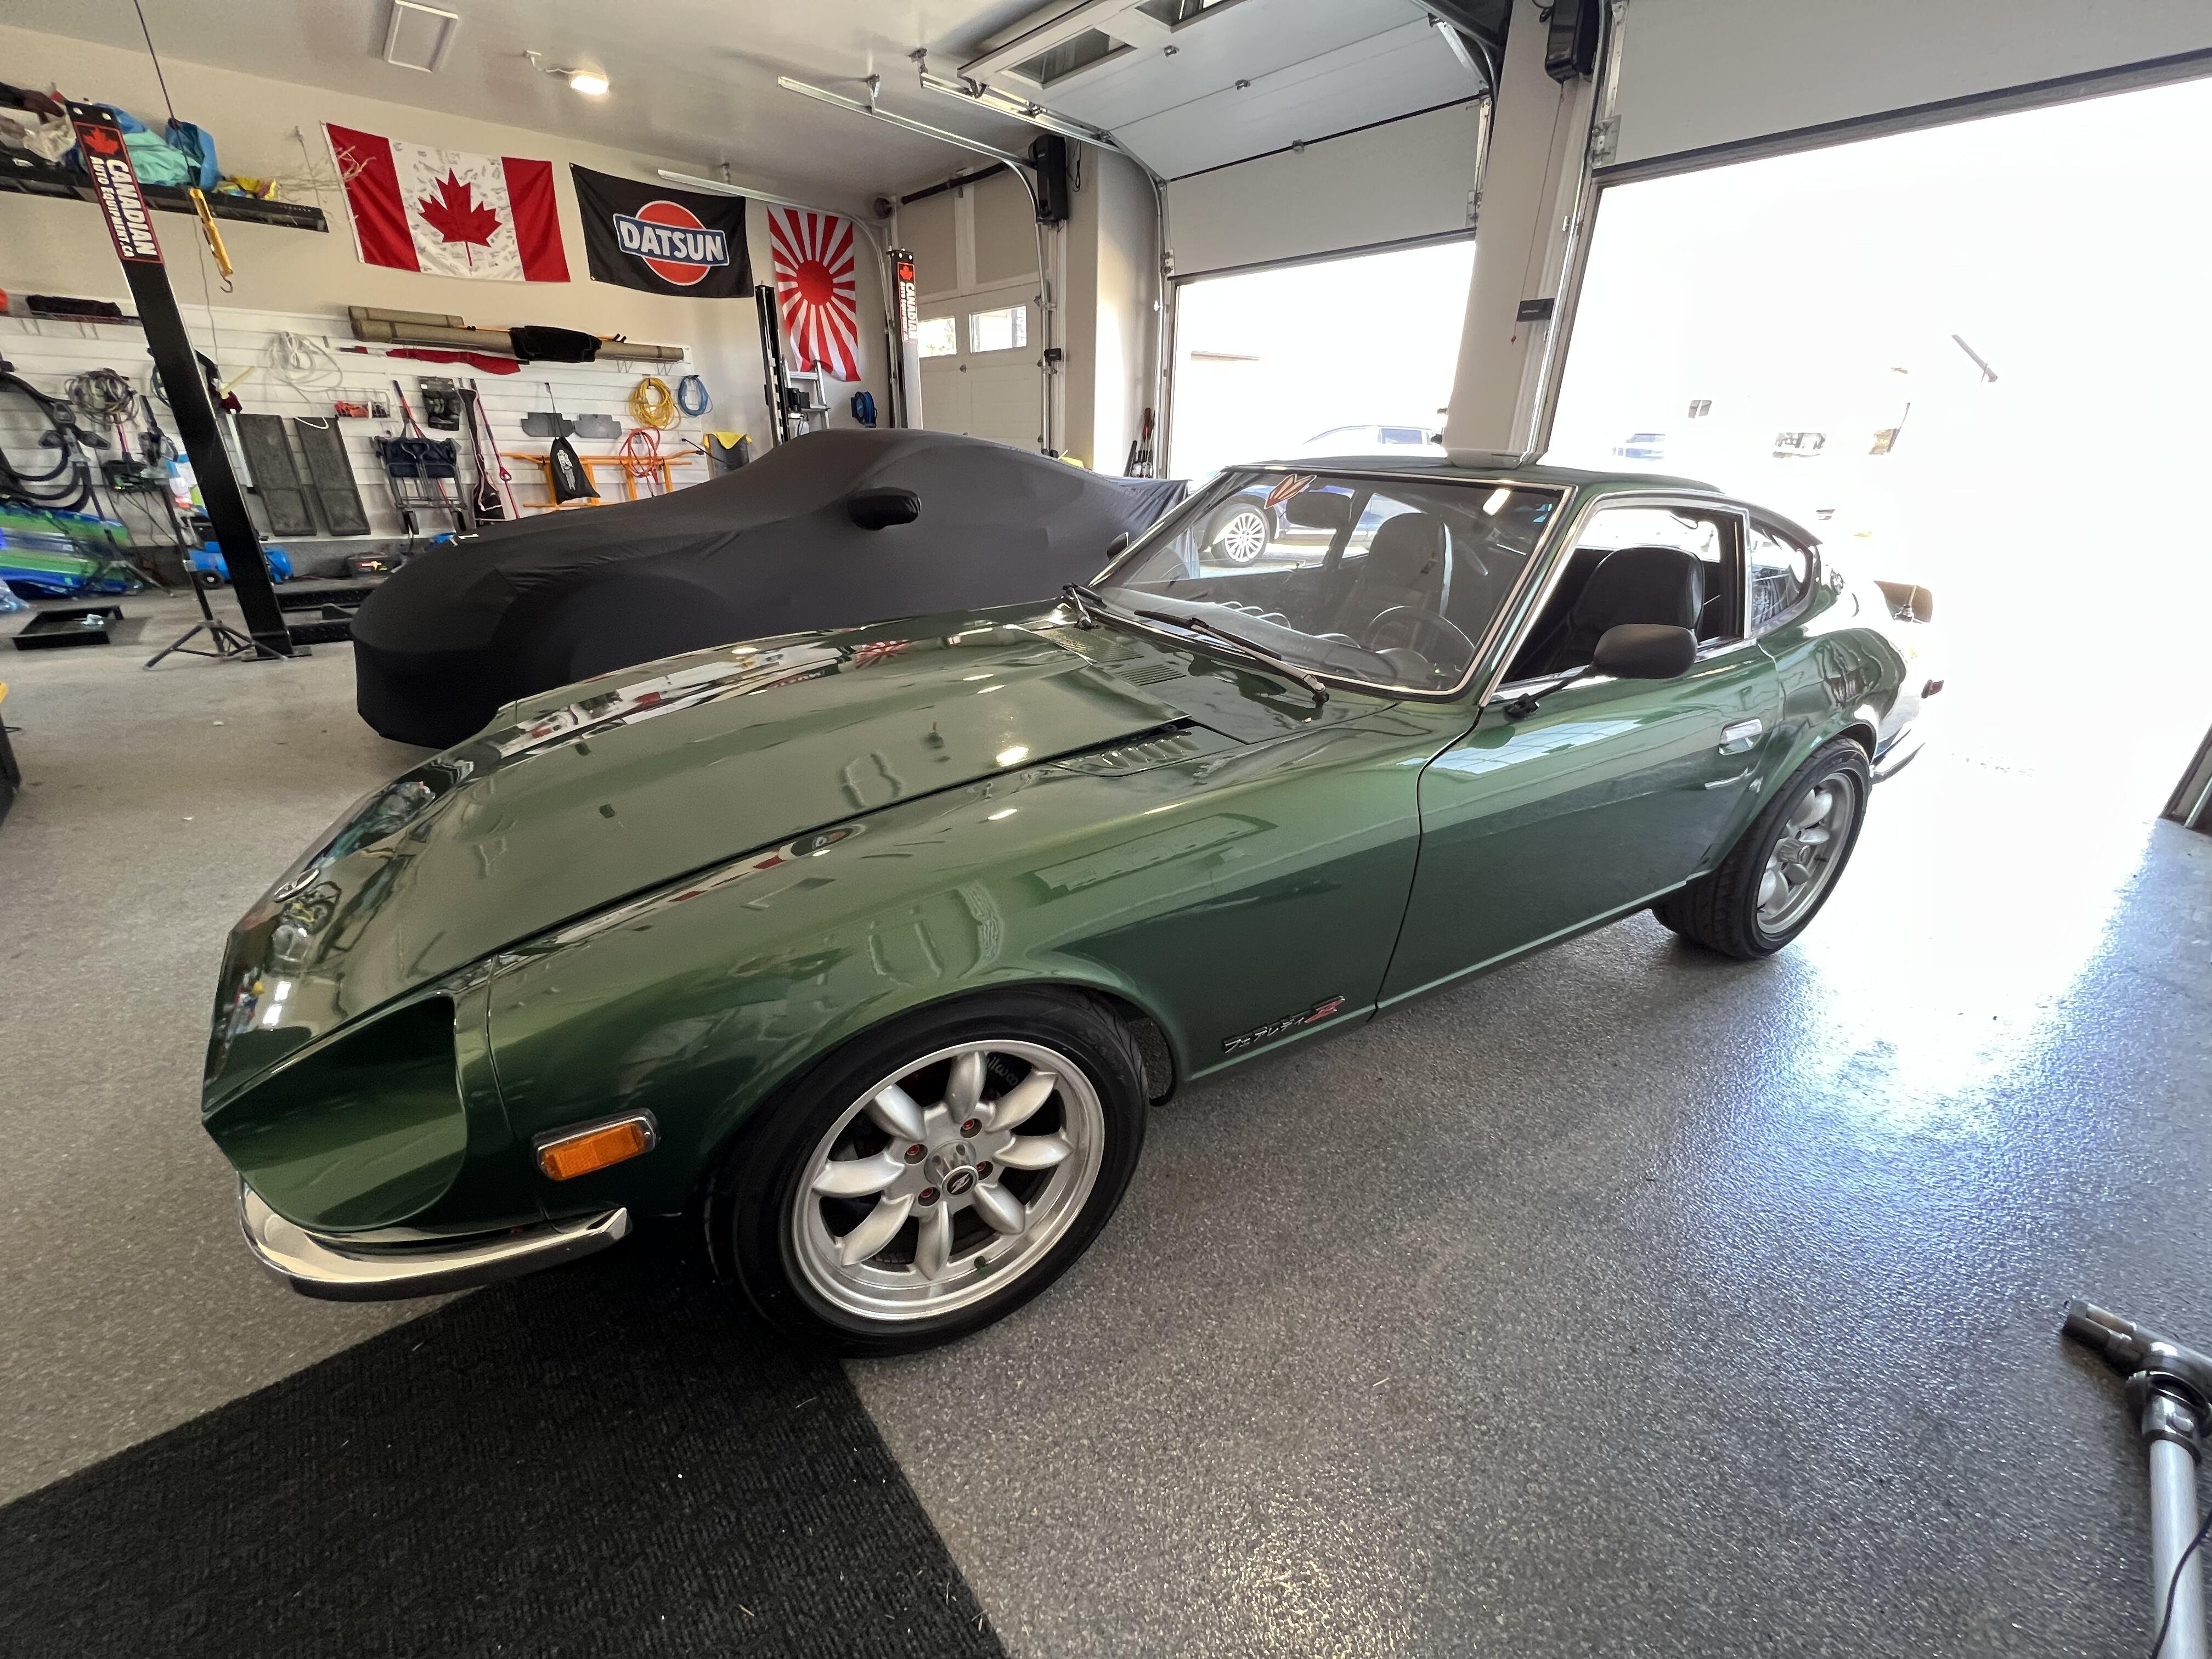
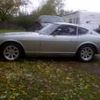
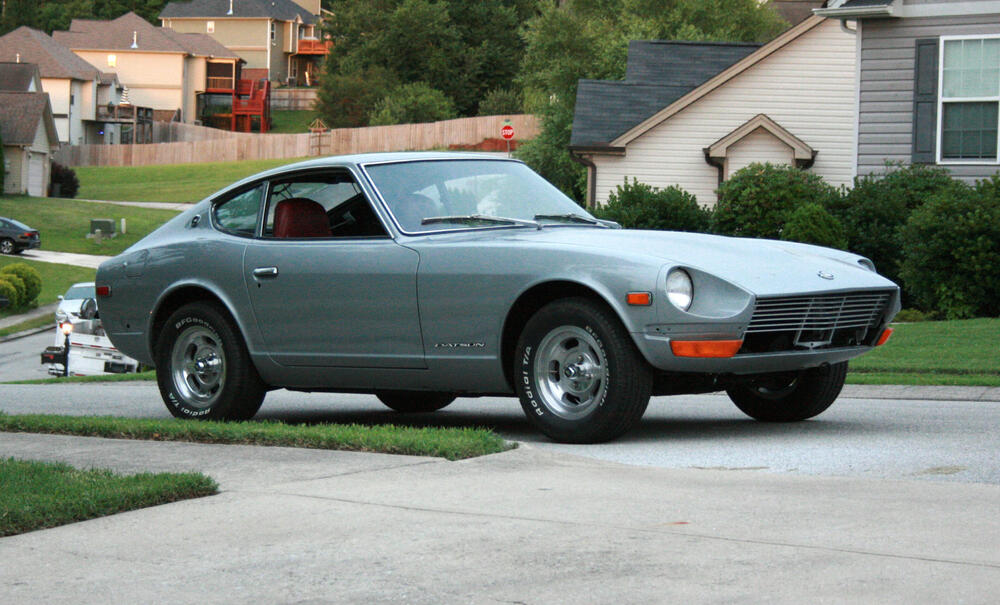
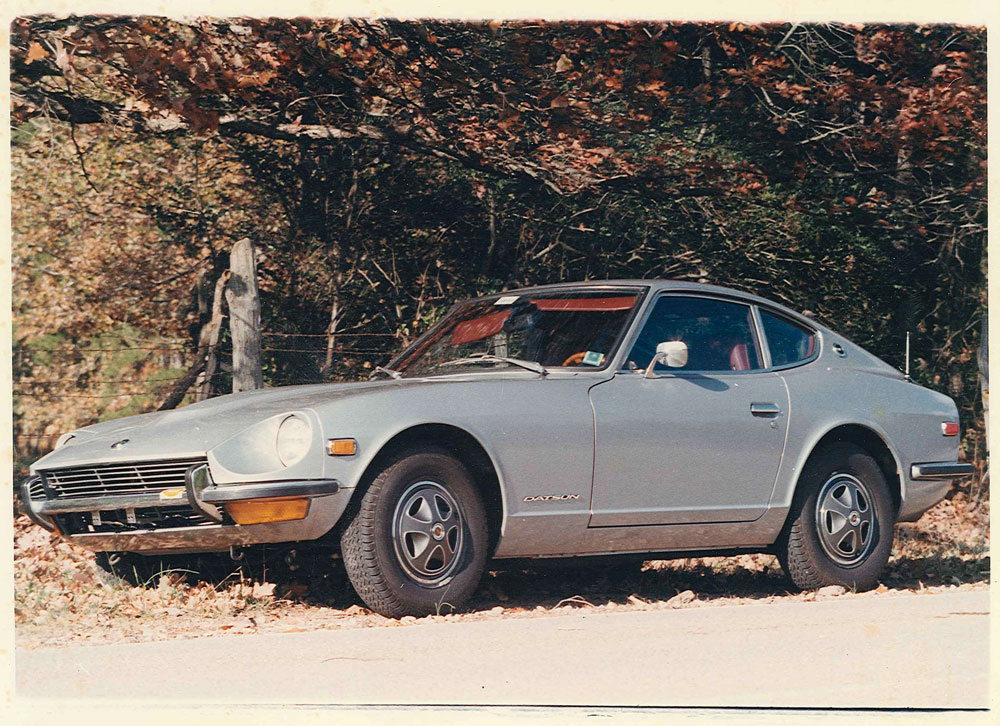
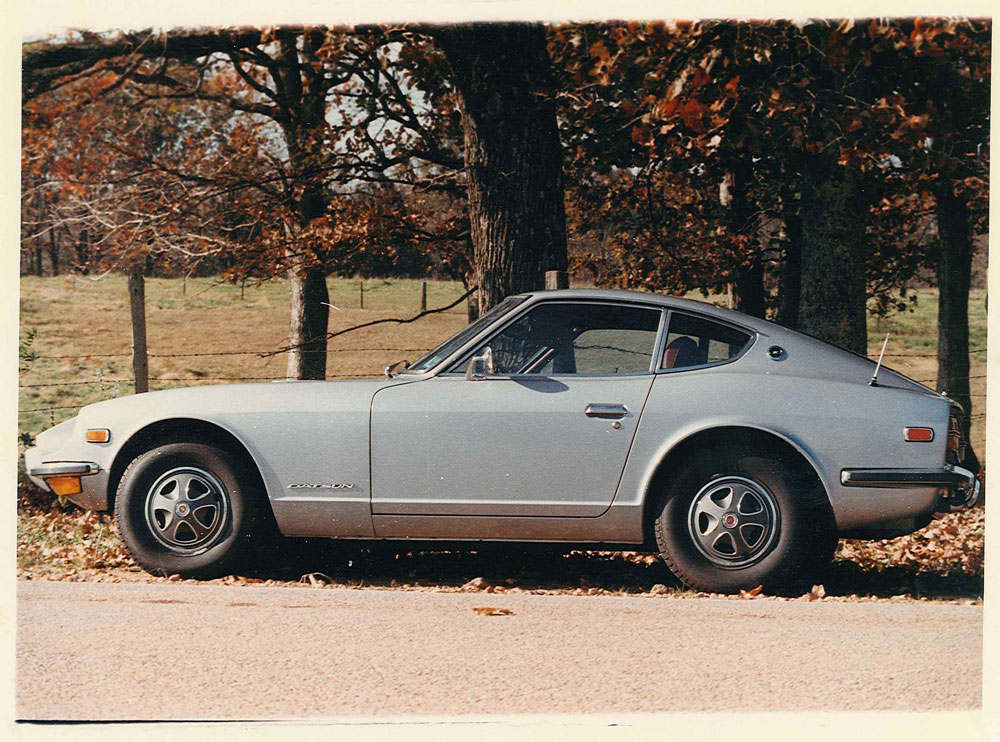
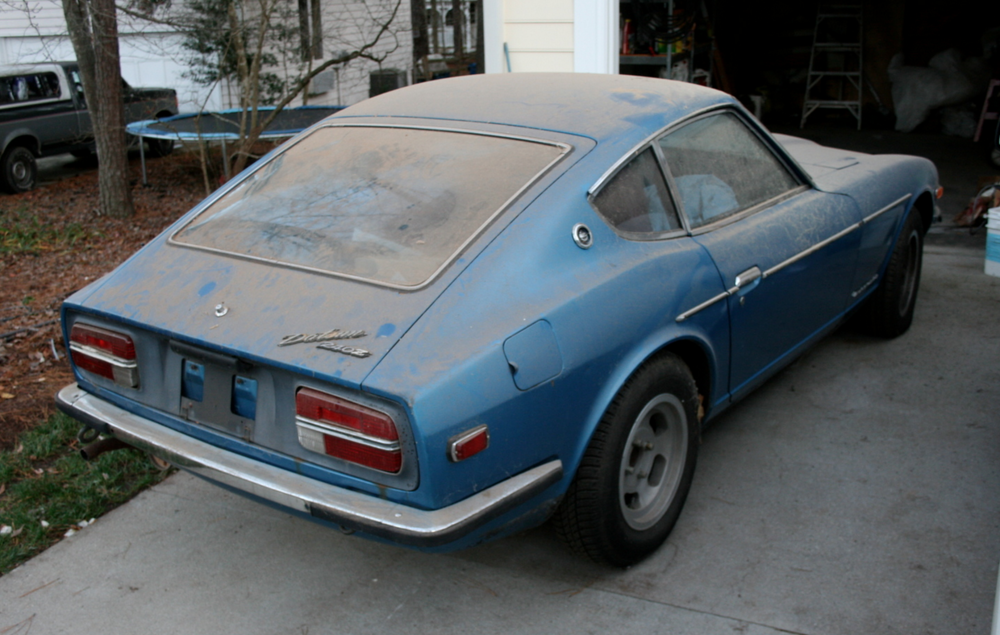
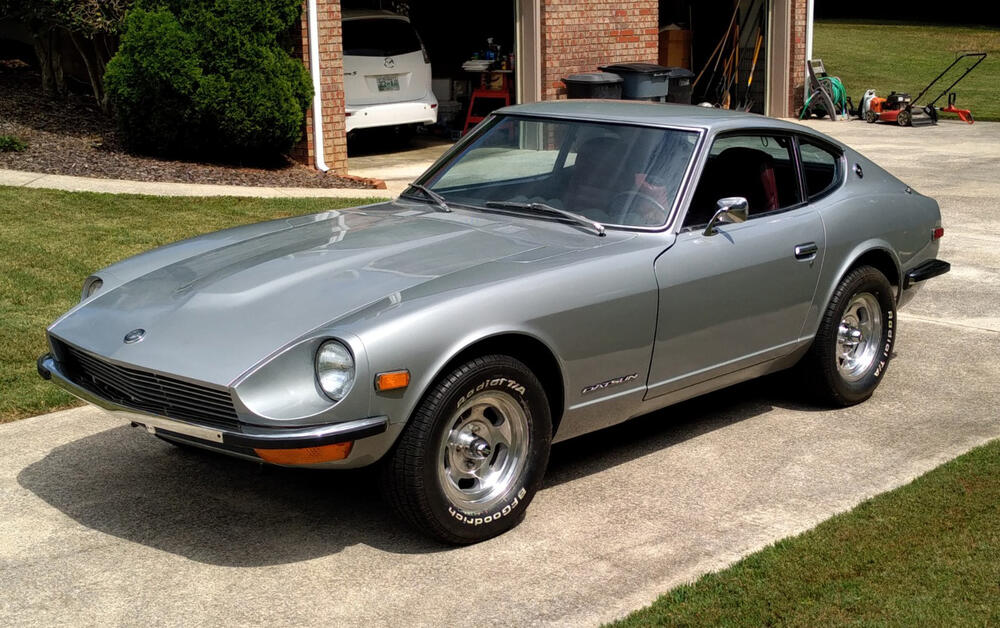
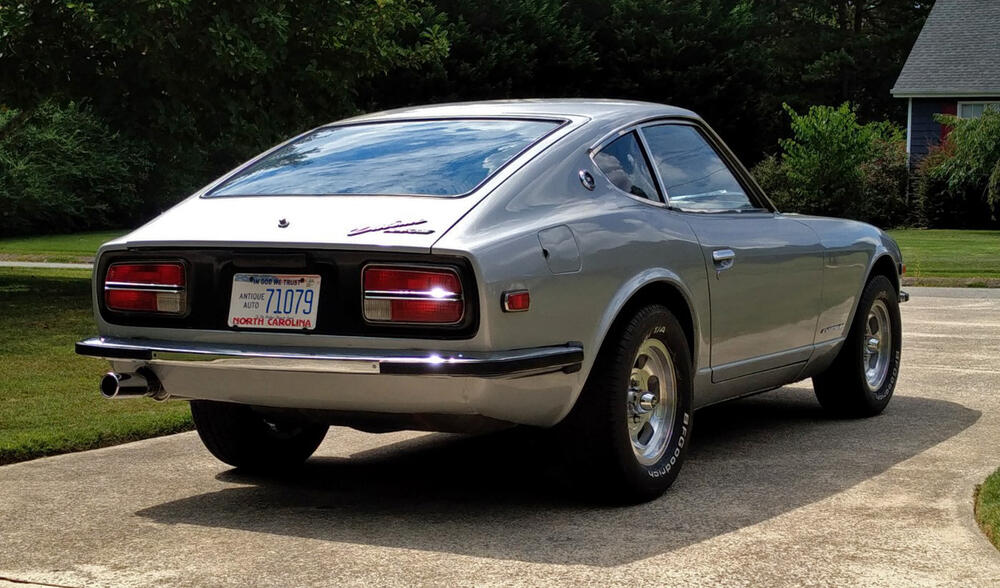
Hi guys. I figured I should start a build thread in here. The actual restoration is very close to being complete, but this seems like a good place to document a few things and perhaps ask little questions so I don't clutter up the main subforums with little inquiries when I can't find the answer. Anyway, this is about 93069, which my dad bought new in October of 1972 from Cardinal Motors in Jacksonville, NC. He was 21 years old at the time and just starting his senior year at NC State. The car's block number is 118555 and it has a built date of 07/72 (right around the brake system crossover). Original color: 901 Silver over red vinyl, dealer-installed factory air. Here are a couple of pictures my dad took in November of 1972, one month after he bought it: My dad had it repainted blue in the late '70s. My mom has always liked blue cars, so it's possible she had a hand in choosing the color. It seems rub strips were installed at that time also. I obviously remember the car all growing up. It was my dad's daily driver, and my brothers and I crammed into the back of it on more than one occasion, legs dangling behind the front seats, lying on our backs in under the hatch glass, watching the trees flick by overhead. Very unsafe, but it was a different time. The car deteriorated over the years. Battery acid ate a hole in the inner fender well and firewall, water seeped down and rusted out the passenger side floor pan. Rust started to pop up other places also, like the rocker panels and the trunk sill. My dad had the engine rebuilt in the '90s, and the carbs refurbished by the original owner of ZTherapy around the same time. I still have his "Just SU Carbs" and "240Z Tuneup" videos on VHS. Pretty nice viewing. I've always been into cars, but was never wild about the Z, which always felt weird because everyone I talked to said it was an incredibly cool car. Maybe familiarity just breeds contempt (or indifference in this case)? Who knows. Regardless, I got into wrenching about 20 years ago and have had a long succession of project cars (FB RX-7s, mk3 Supra, Type 85 Audi, various BMWs, etc), but found it hard to muster the motivation to start restoring the Z. Finally, about 10 years ago, I was at a point in my life where I had a place of my own with a 2-car garage and wanted to start bringing the Z back into focus. This was its state then: Pretty much a "barn find" in my parents' own garage. Dusty, rusty, mismatched tires, etc. I had chucked the bumper overriders years ago and managed to talk my dad into buying a set of slotted mags since he kept losing hubcaps. It hadn't run in 6+ years at that point. Back in 2005, I was driving it and the battery wasn't properly secured. It slipped off the its pedestal and impacted the oil filter, creating a nice gash (and minor fire, which I beat out). I was young and stupid and continued driving, trying to make it to the nearest auto parts store for a filter in spite of the fact that I likely had marginal oil pressure. The moment the engine started acting funny I parked it and walked the remaining 1/2 mile to CarQuest for an oil filter. I put it on and drove it home, but was scared that I had permanently damaged something, so I just let it sit. Fast forward to 2011, Stage 1 of the restoration was determining if it would run properly or if the engine needed a rebuild. I replaced all the consumables on the engine, had the carbs rebuilt (again) by ZTherapy and drained and resealed the fuel tank. Got everything hooked back up and after a few hiccups...it started and ran just fine. That was a relief. Stage 2 had to wait a few more years. I moved for work about 6 hours further away from my parents (they had been 1.5 hours away before), and took the Z with me. In early 2014, I partially disassembled the car, removing the engine and some other key bits. The next spurt of motivation came in 2016, when I finally got my garage organized and finished stripping the car down. In 2017, my dad came with a trailer and took the car back to his house to have the body restored. He took it to a local body shop to have the rust repaired and the car repainted its original 901 Silver. The body shop did an OK job. I wish I had been local in order to supervise the work more closely, since they cut a few corners, especially in the engine bay. Long story short, the car returned back to me for reassembly on Labor Day 2019. I was initially pretty intimidated by the task at hand, but started chipping away at it and it started coming together. I finally got it started again a little over a year ago so it could move under its own power to our new (local) home. Since then, reassembly has continued in fits and starts, but this is where it stands now: Still quite a lot to do, especially as regards the interior, but I've been pleased with the progress so far. Thanks for reading and stay tuned. -Matt


 1 point
 -
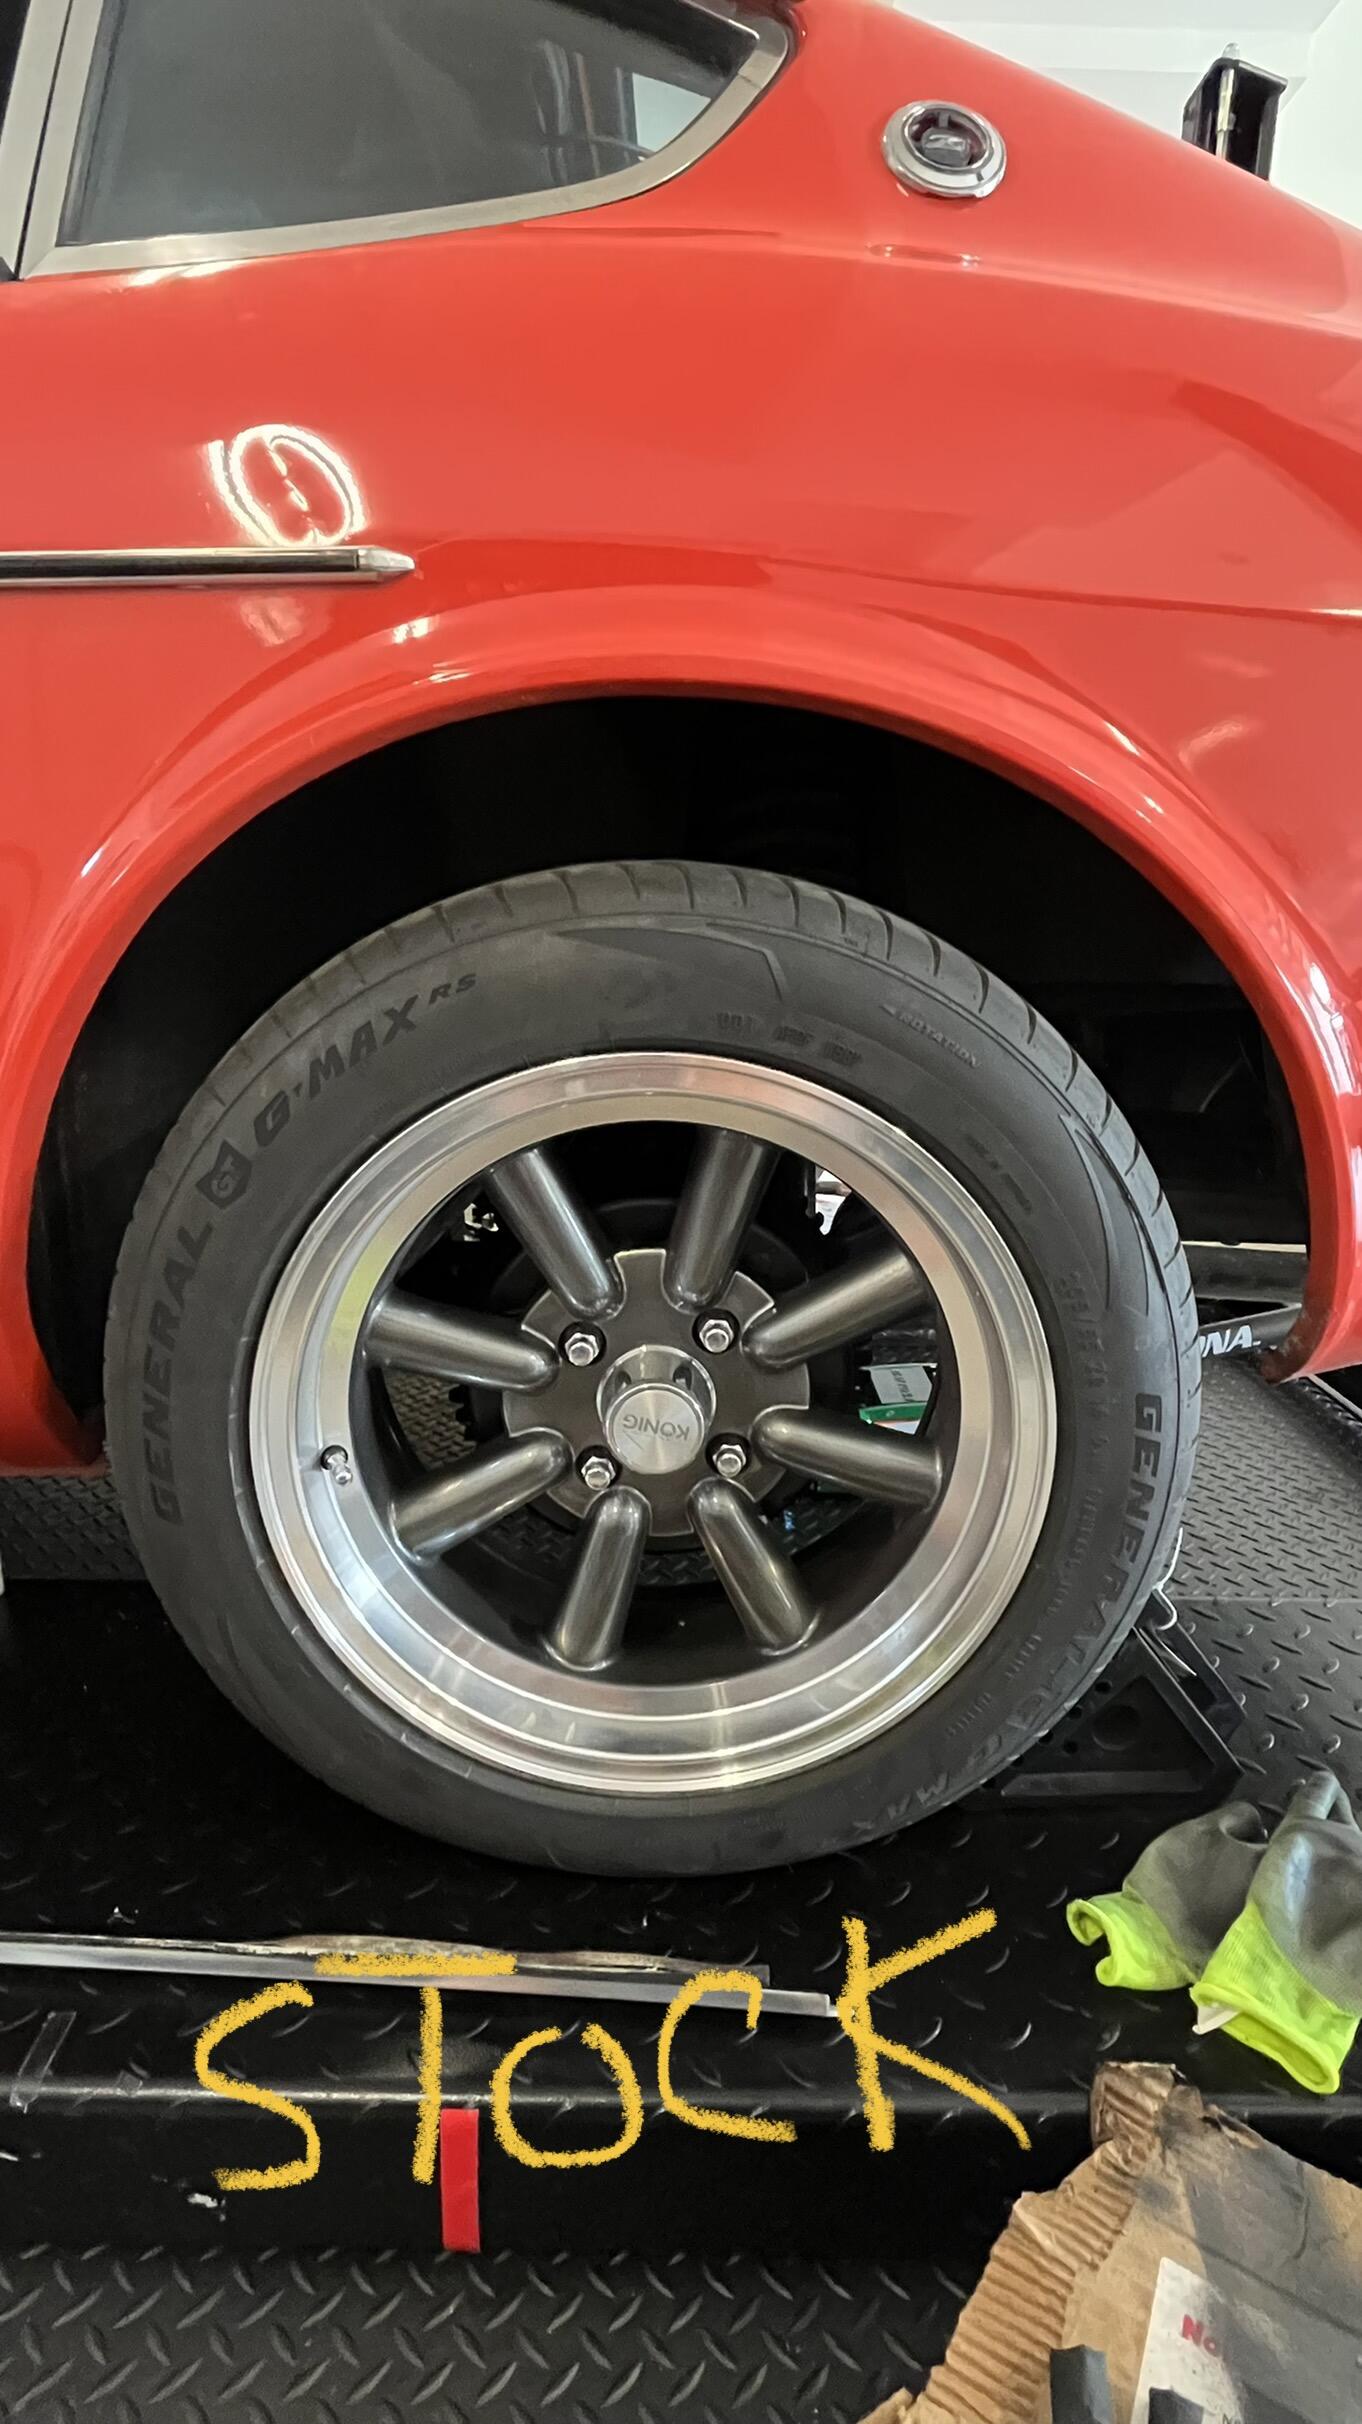
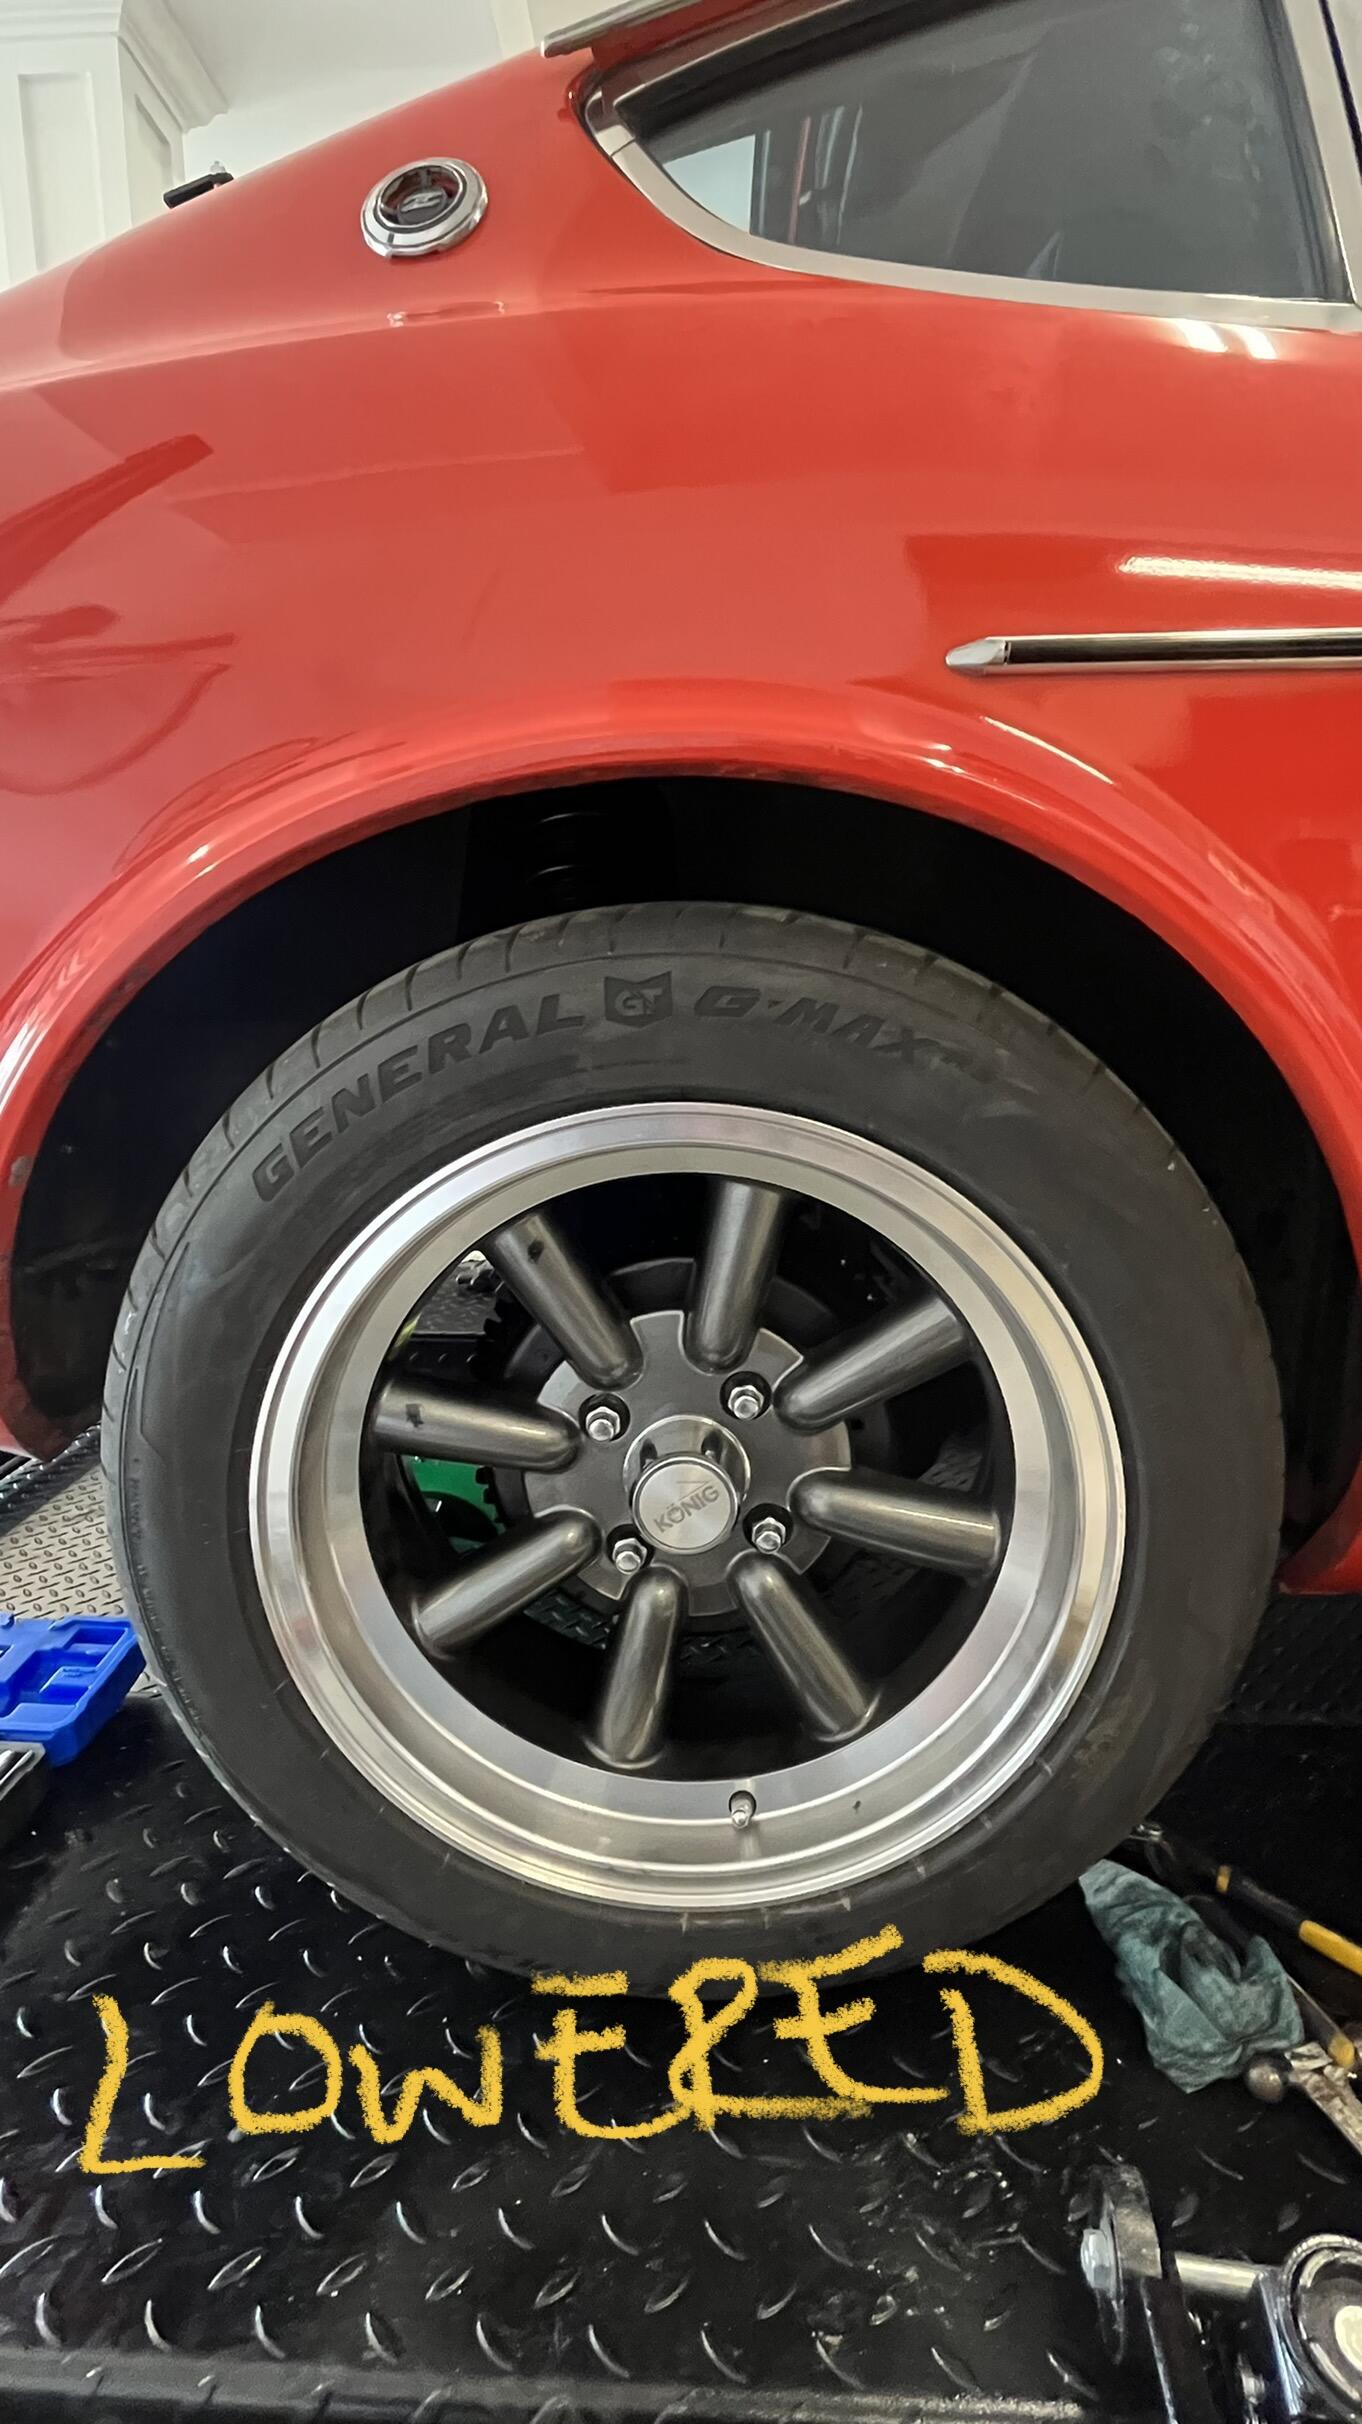
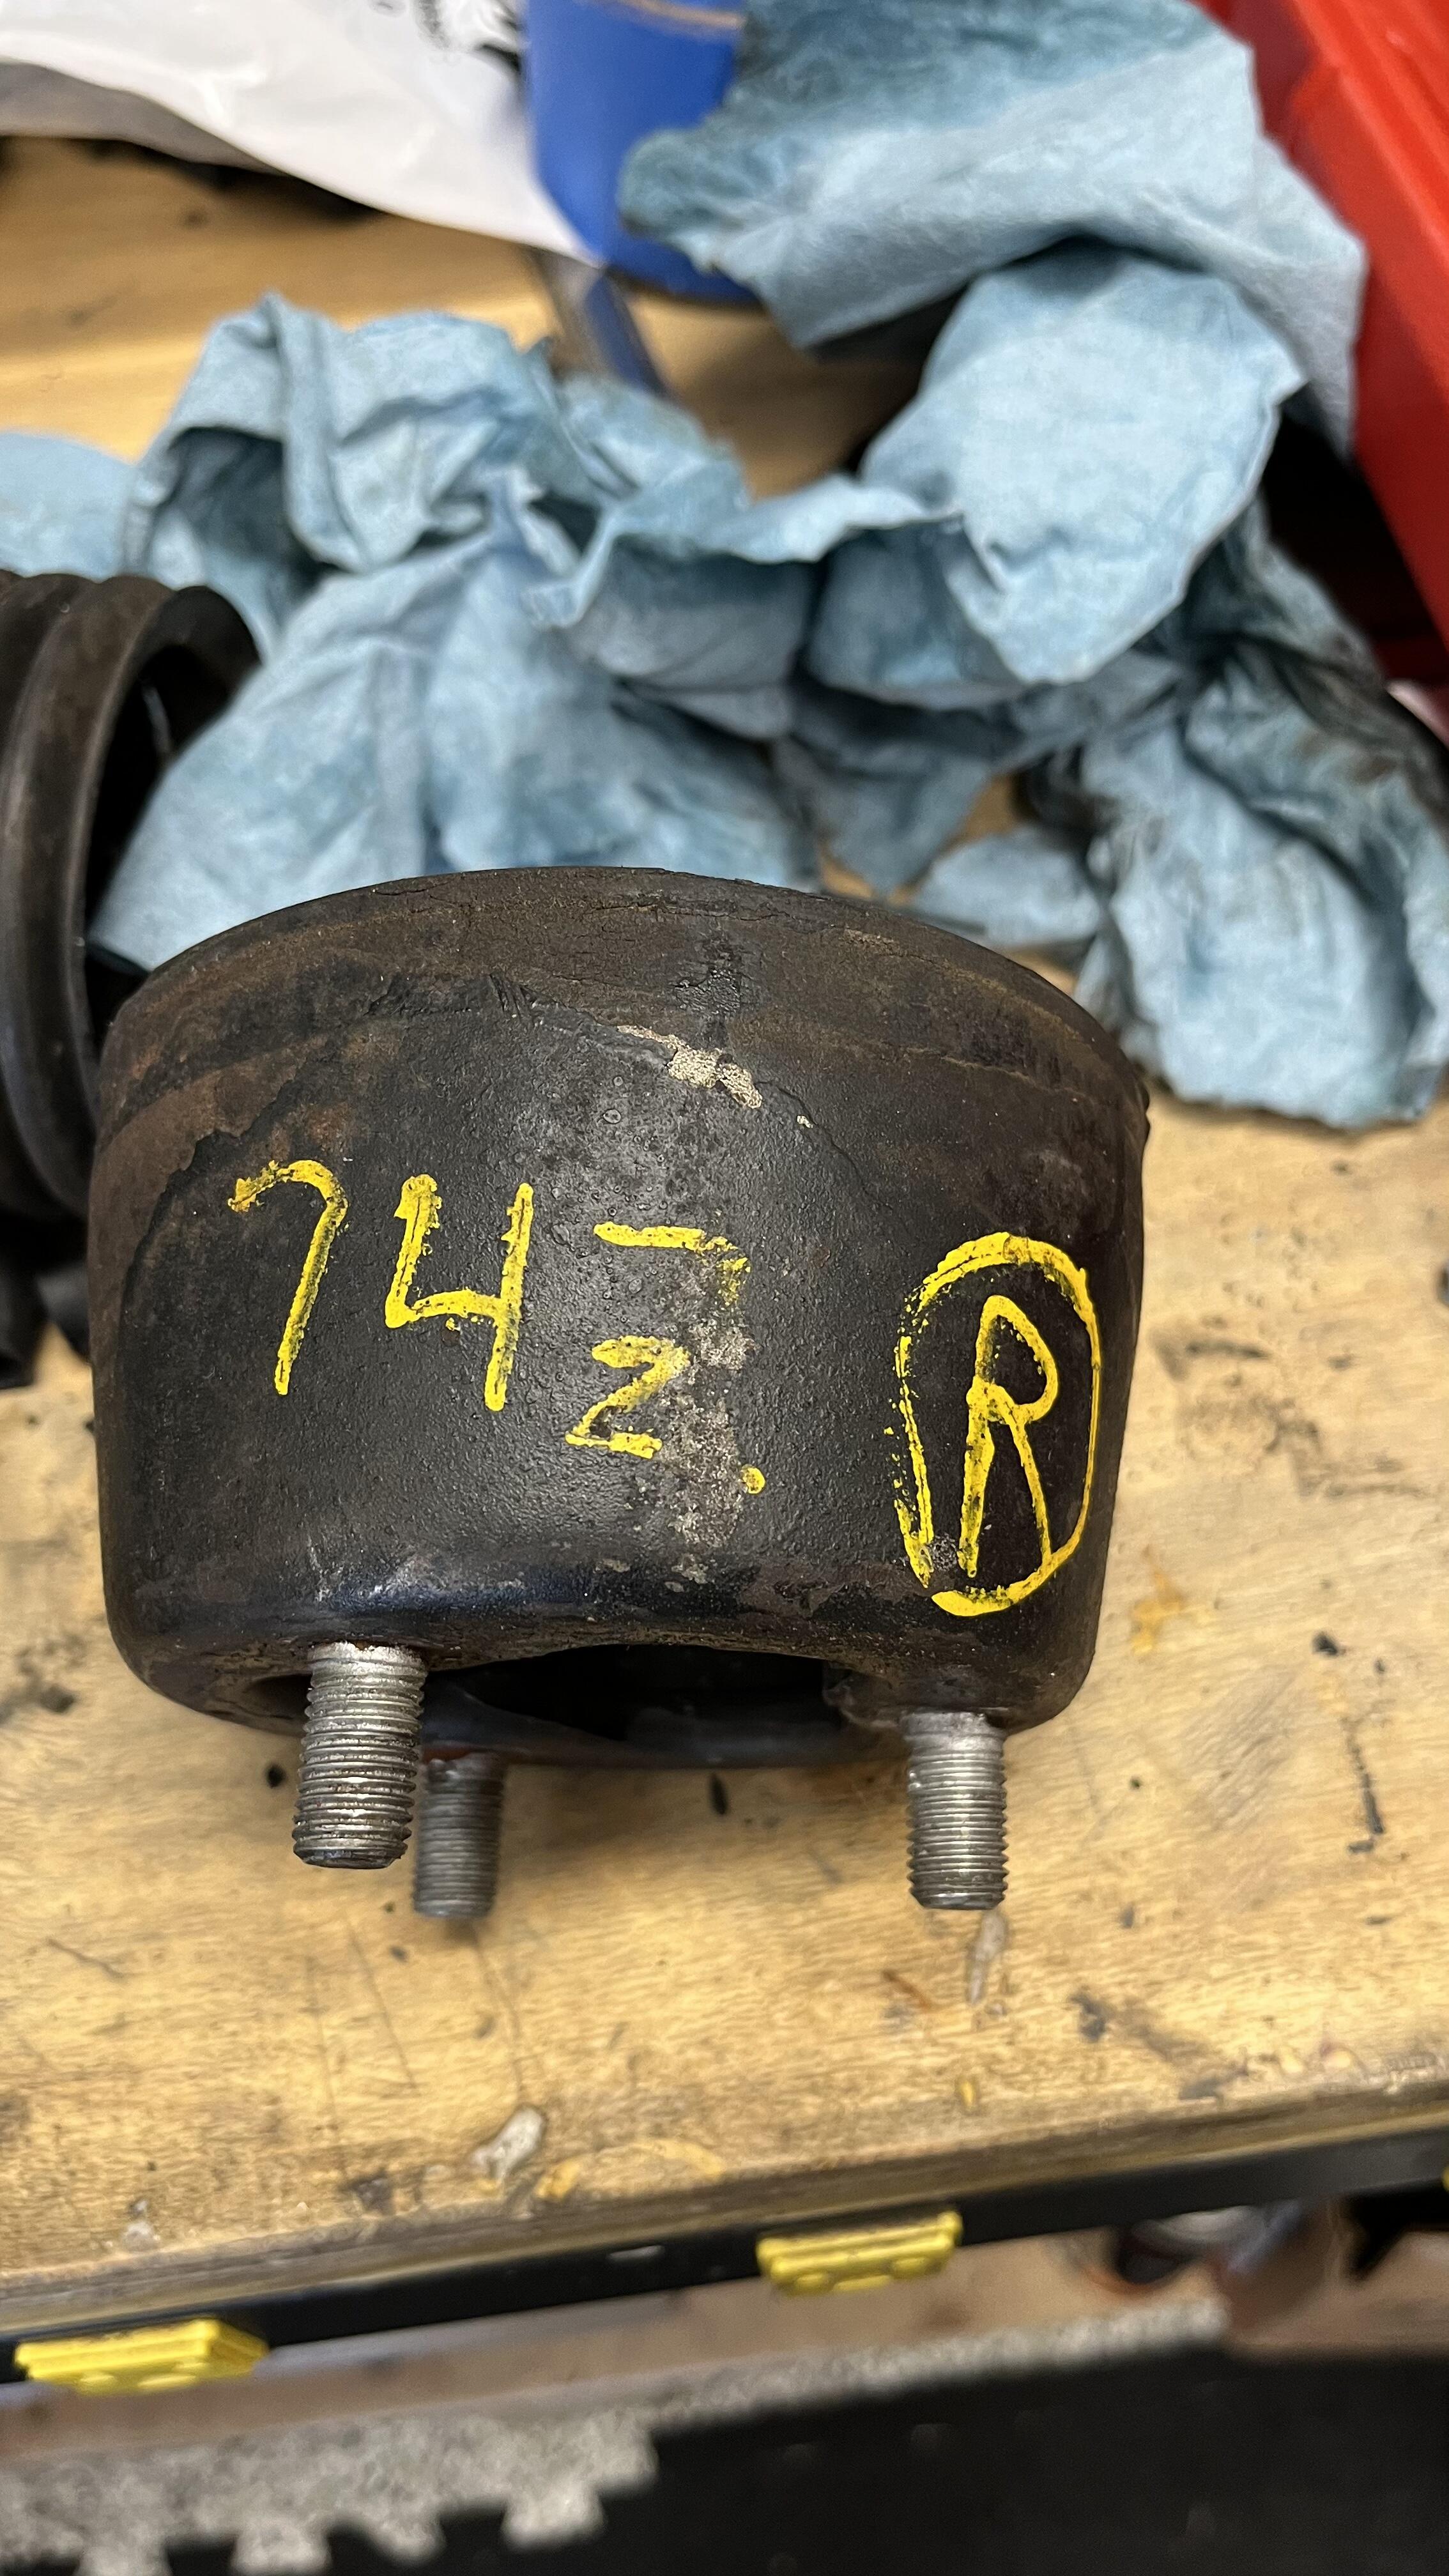
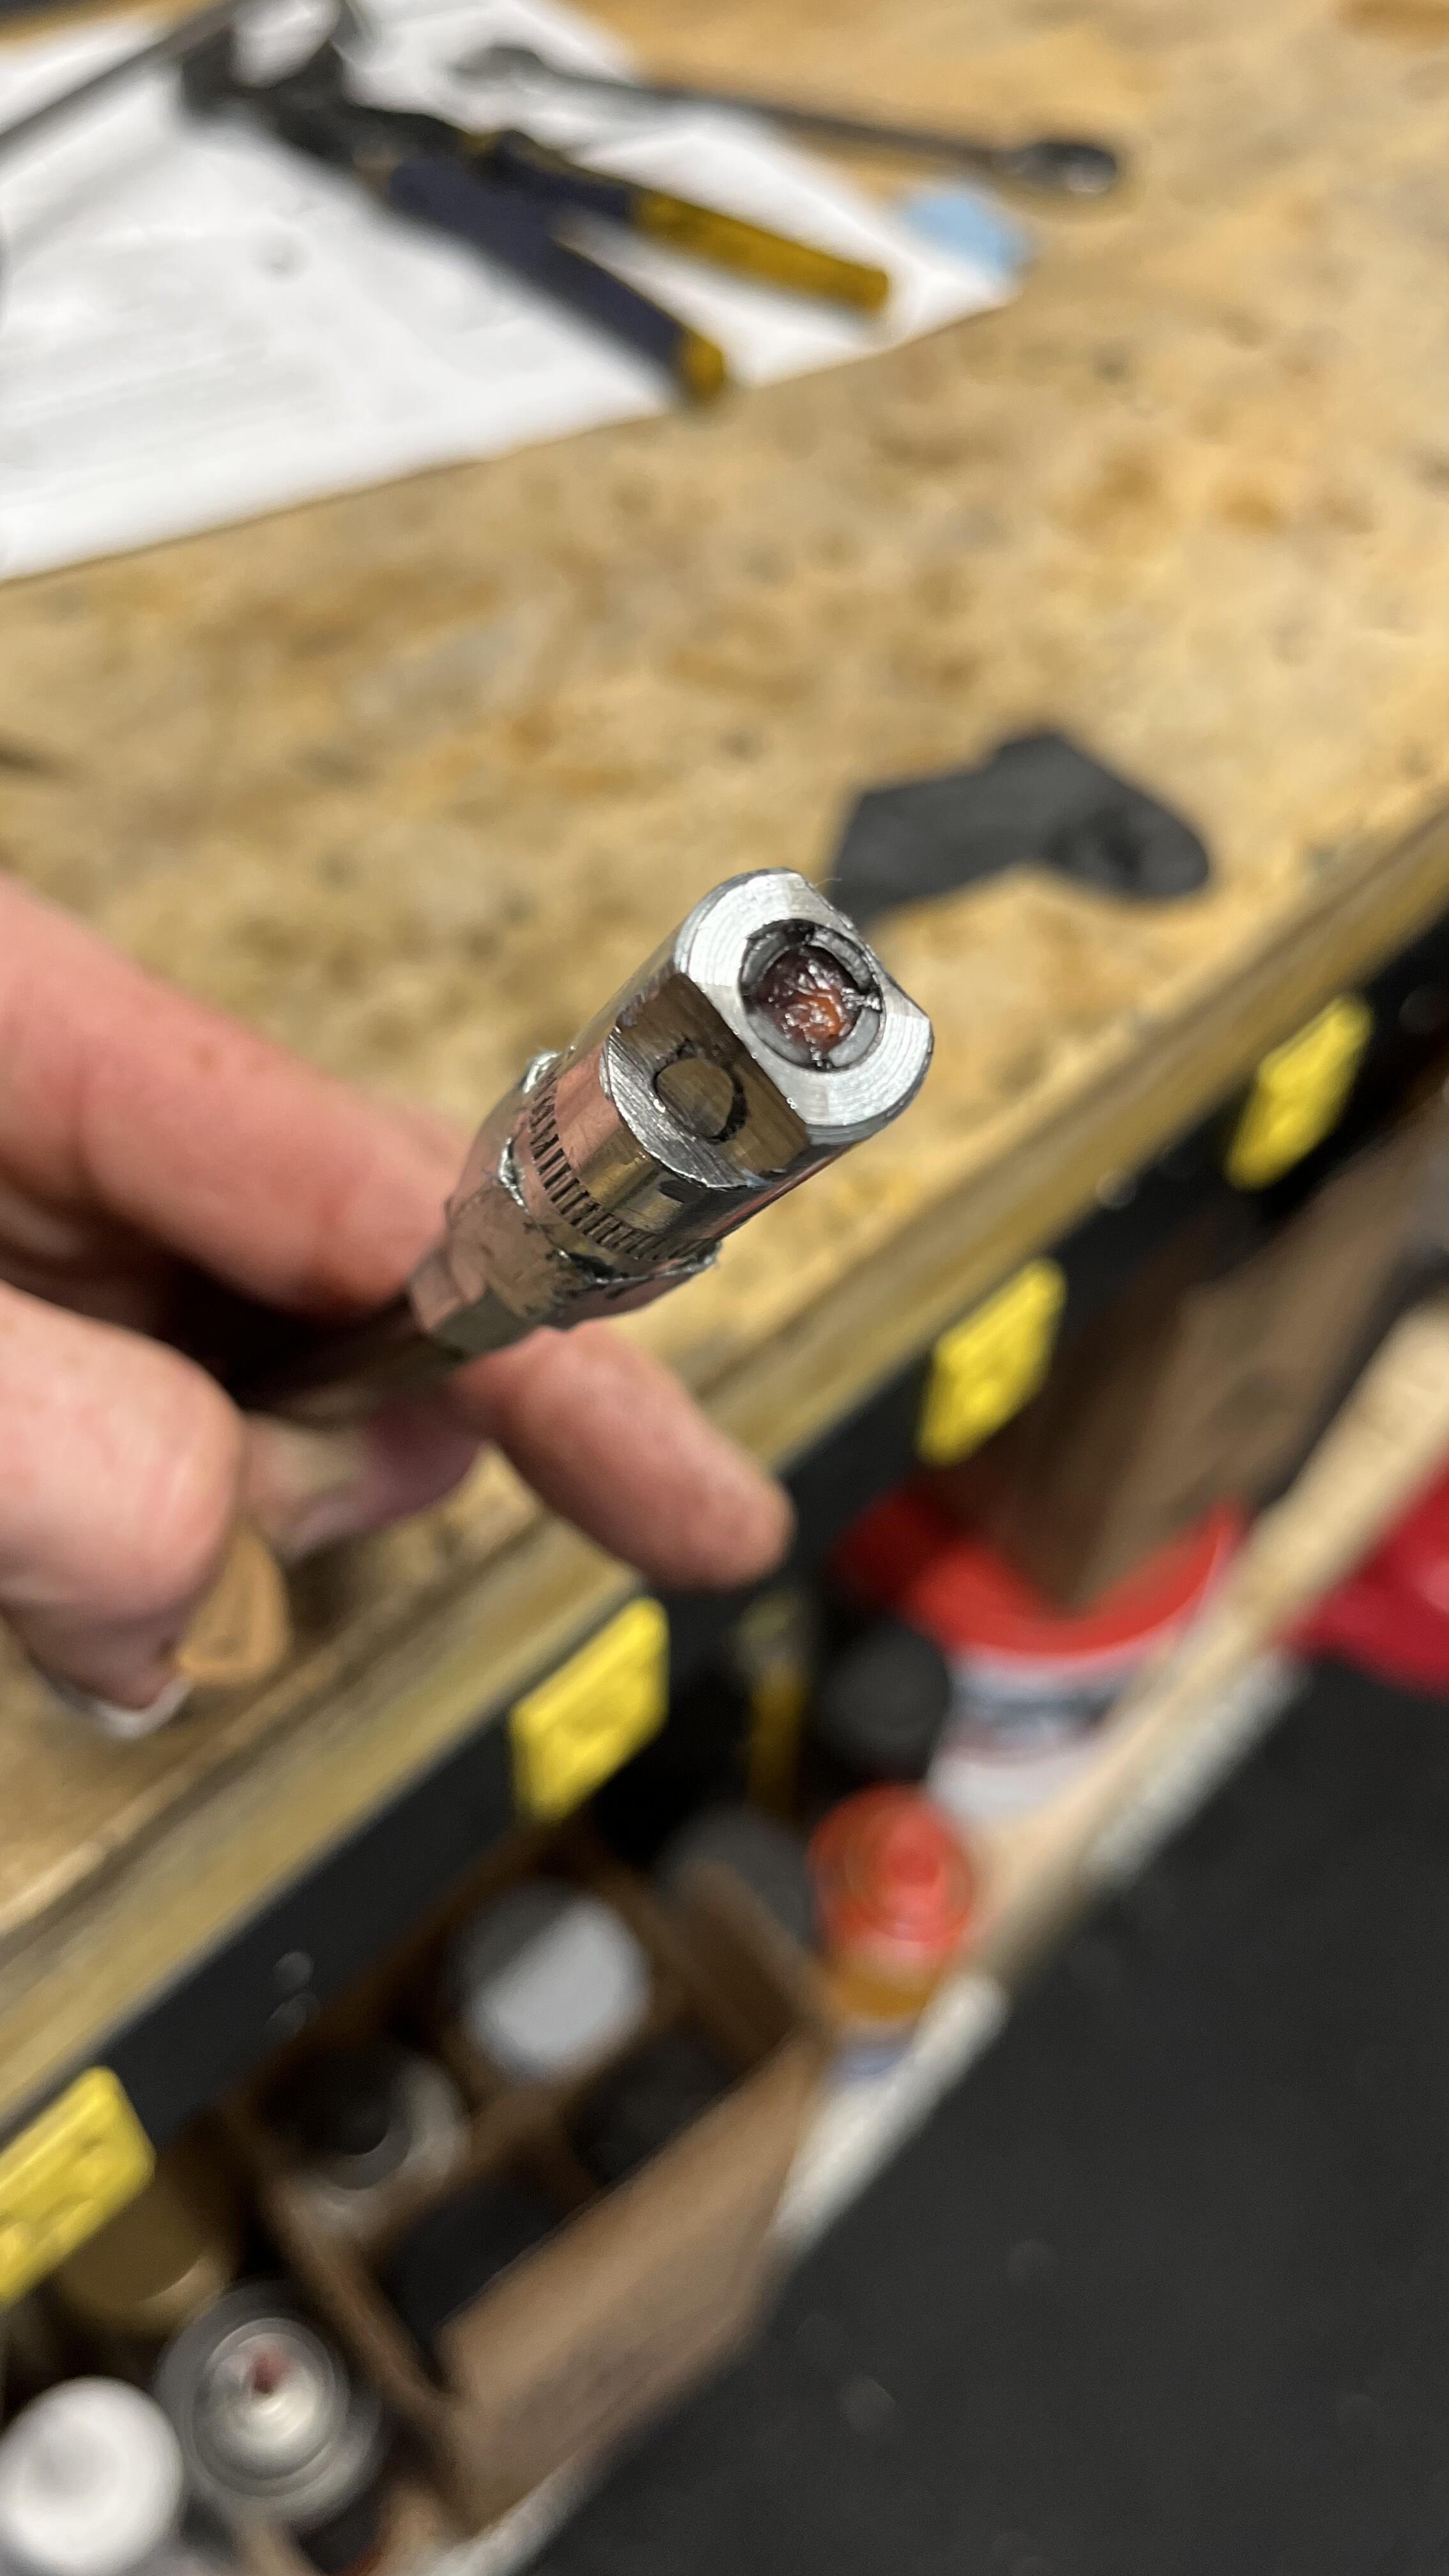
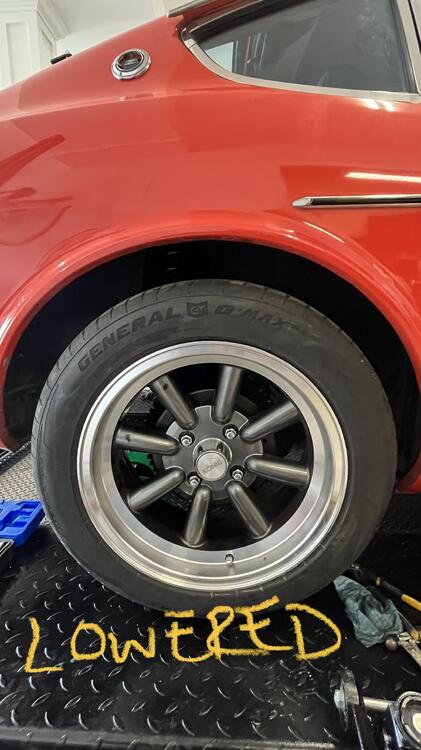
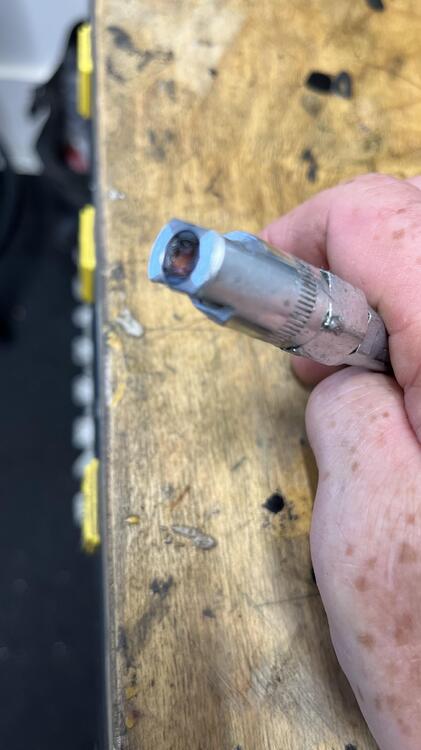
1 pointSo removing the rear spring was uneventful. No helmet required. I got one side compete today. When I pulled the old spring and shock off I found an insulator from 260z. The only reason I know that it is because it has yellow writing on from what would be a salvage yard and said “74z. R” see pic. Height difference seems to be about 1 1/4” lower. Looks better, another 1/2” would have been perfect. I have Eibach springs, and a 240z insulator. See pics below. I think once the car rolls a bit it will sit lower. It just came off a jack so the wheels are still canted inwards. Also got the half shafts greased up used the Captain Obvious “grind” method. Thanks CO!


 1 point
 -
1 point
-
Be careful unplugging it. I'd check for power first. It should have power when the engine is running. Like the fuel pump.
 1 point
 -
1 point
-
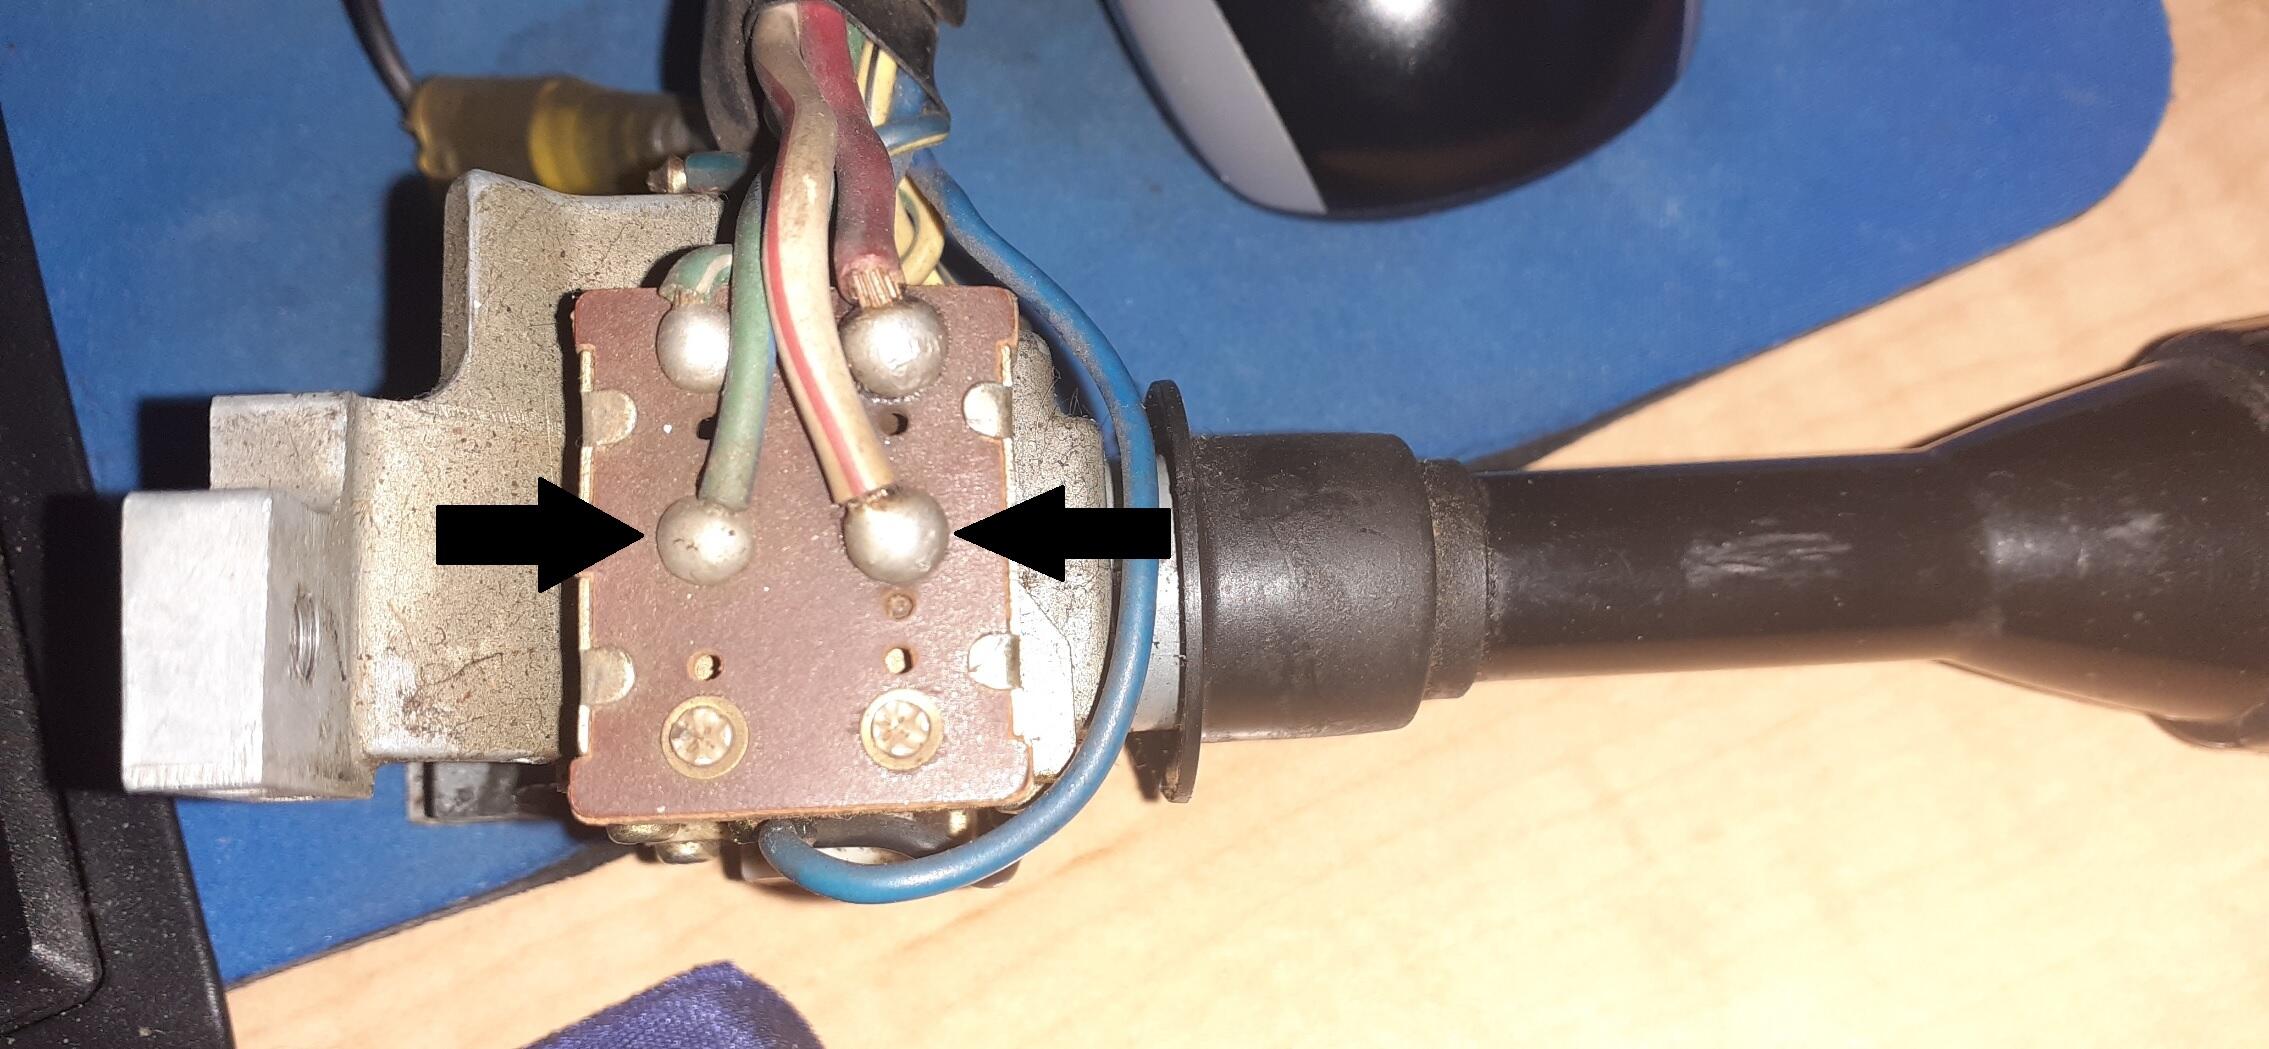
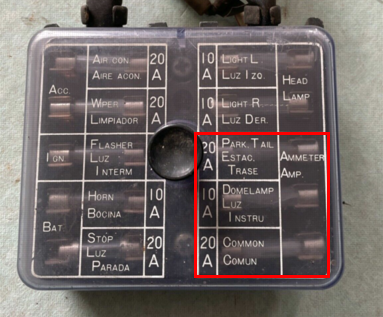
Do you have voltage to ground at the middle fuse on the right? (Touch the positive probe of the meter to each side of the fuse to make sure you don't have a bad fuse.) No on voltage at the fuse? Do you have a good ammeter installed? Stop and fix before proceeding. (A disconnected or bad ammeter would cause both parking lights and headlights to fail.) Yes on voltage at the fuse? Check for voltage to ground at the headlight switch at the arrows. (See picture below.) No voltage at green/blue - Bad connection between fuse box and switch. No voltage at white/red - Bad connection between ammeter and switch Let's get that working, and then we can focus on the brake lights and turn signals.
 1 point
 -
1 pointThis will be my second solution if grinding the fitting doesn’t work. Good advice on the good search. I can see the conversation now! “Who was googling “grinding nipples, or greasing nipples”. I have a 15 year old, so it’s no out of the realm of possible. Sent from my iPhone using Tapatalk1 point
-
1 point
-
1 pointI have old faded brain cells with a mental picture of a ground down tip on a grease gun in order to be able to fit into the small opening on the half shafts. In other words... Many moons ago I think I modified a grease gun to be able to get in there. I don't think I have that gun anymore though to confirm.1 point
-
I am 6'5" and couldn't own a 350 or 370Z My 240Z gives me ample leg and head room in stock form.1 point
-
The white/red wire that is loose should power the fuses boxed below. It should mount to a stud on the bottom side of the fuse box. (This explains your parking lights.) If you know how to use a multimeter (voltage and resistance testing), I can give you some diagnostics for the headlights. The brake light & rear turn signals could be the turn signal switch. Again, if you know how to use a multimeter, I can give you some diagnostics.
 1 point
 -
1 pointPaul ... let me look at the ones in my garage, and i'll report back with pictures. Probably tomorrow. What about shipping? Jim21 point
-
1 pointDid you replace the u-joints in the shafts? If so, there is a correct way to orient them to allow for proper access to the zerk.1 point
-
The 6-pin connector doesn't look properly seated. You may want to take it apart and put it back together again. That could fix your running lights. For the headlights, there should be a black wire going from the turn signal switch over to the ground on the right side of the steering column. I didn't see that one. For the turn signals/brake lights, go here: https://fiddlingwithzcars.wordpress.com/2013/01/20/hazard-switch-brake-light-turn-signal-circuit-analysis/1 point
-
It's certainly quite a change from, say, five years ago. At that time, only high-skill restorers were able to deal comfortably with the body rot (in complex areas) that plagues so many fifty-year-old Z's. It's still not a trivial task, but at least the availability of these panels means that high-level metal fab skills aren't so important. I'm surprised that it took this long for someone to recognize the profit potential of the Z repair panel market (served so marginally beforehand by the likes of Tabco) -- huge production numbers, significant rust issues, economical price-to-buy, attractive design, strong owner base. They seem to have timed the market quite nicely. I suppose that the profitability for KF lies in locating their production in a low-labor-cost country like Colombia. Plus, they had a complete playbook already in place, c/o their original business of servicing another popular rust pig, the VW Kombi van.1 point
-
1 point
-
1 pointJust to clarify why it won't work, the AAR is an air bypass to the throttle blade, which affects (increases) idle speed when the engine is cold, but ALL air going to the engine must pass throught the AFM or it cannot set the fuel mix correctly. That little filter will pull air from atmosphere that cannot pass through the AFM.1 point
-
1 pointThat won't work right. The AFM won't know about the air being supplied by the AAR and you'll run lean until the AAR closes.1 point