Leaderboard
-
Patcon
 Subscriber
 5Points11,142Posts
 -
Captain Obvious
Free Member5Points10,081Posts -

heyitsrama
Free Member2Points1,185Posts -
qz16
Free Member2Points147Posts


Popular Content
Showing content with the highest reputation on 10/02/2021 in all areas
-
2 pointsYeah, I don't think injection can necessarily beat well tuned carbs, but its a damn site easier to tune injection well.2 points
-
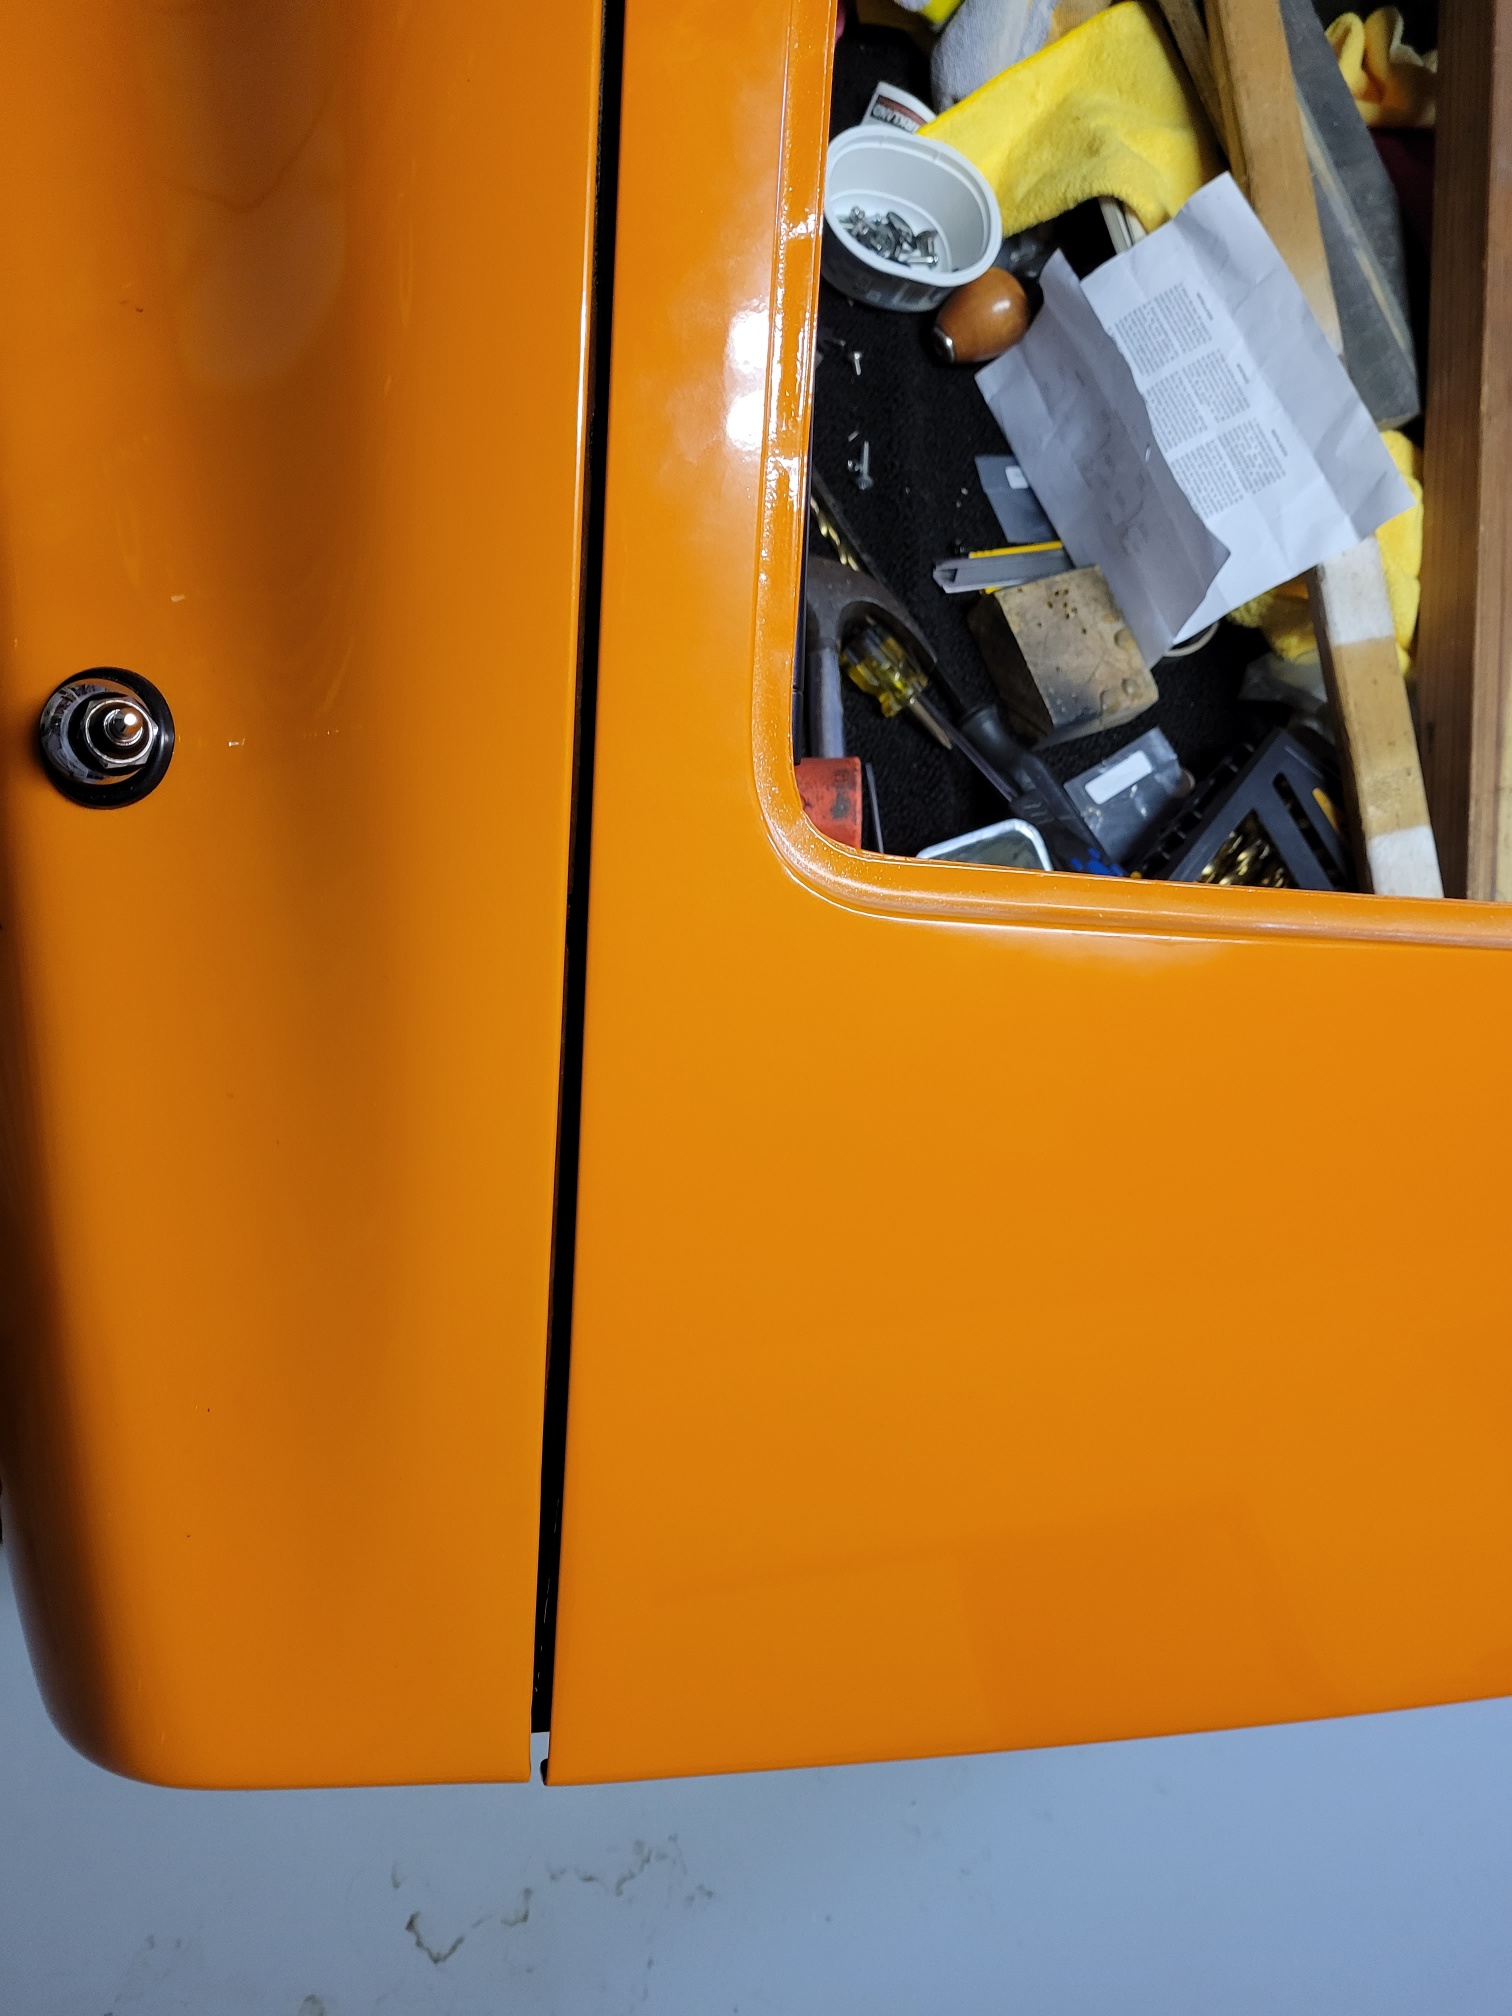
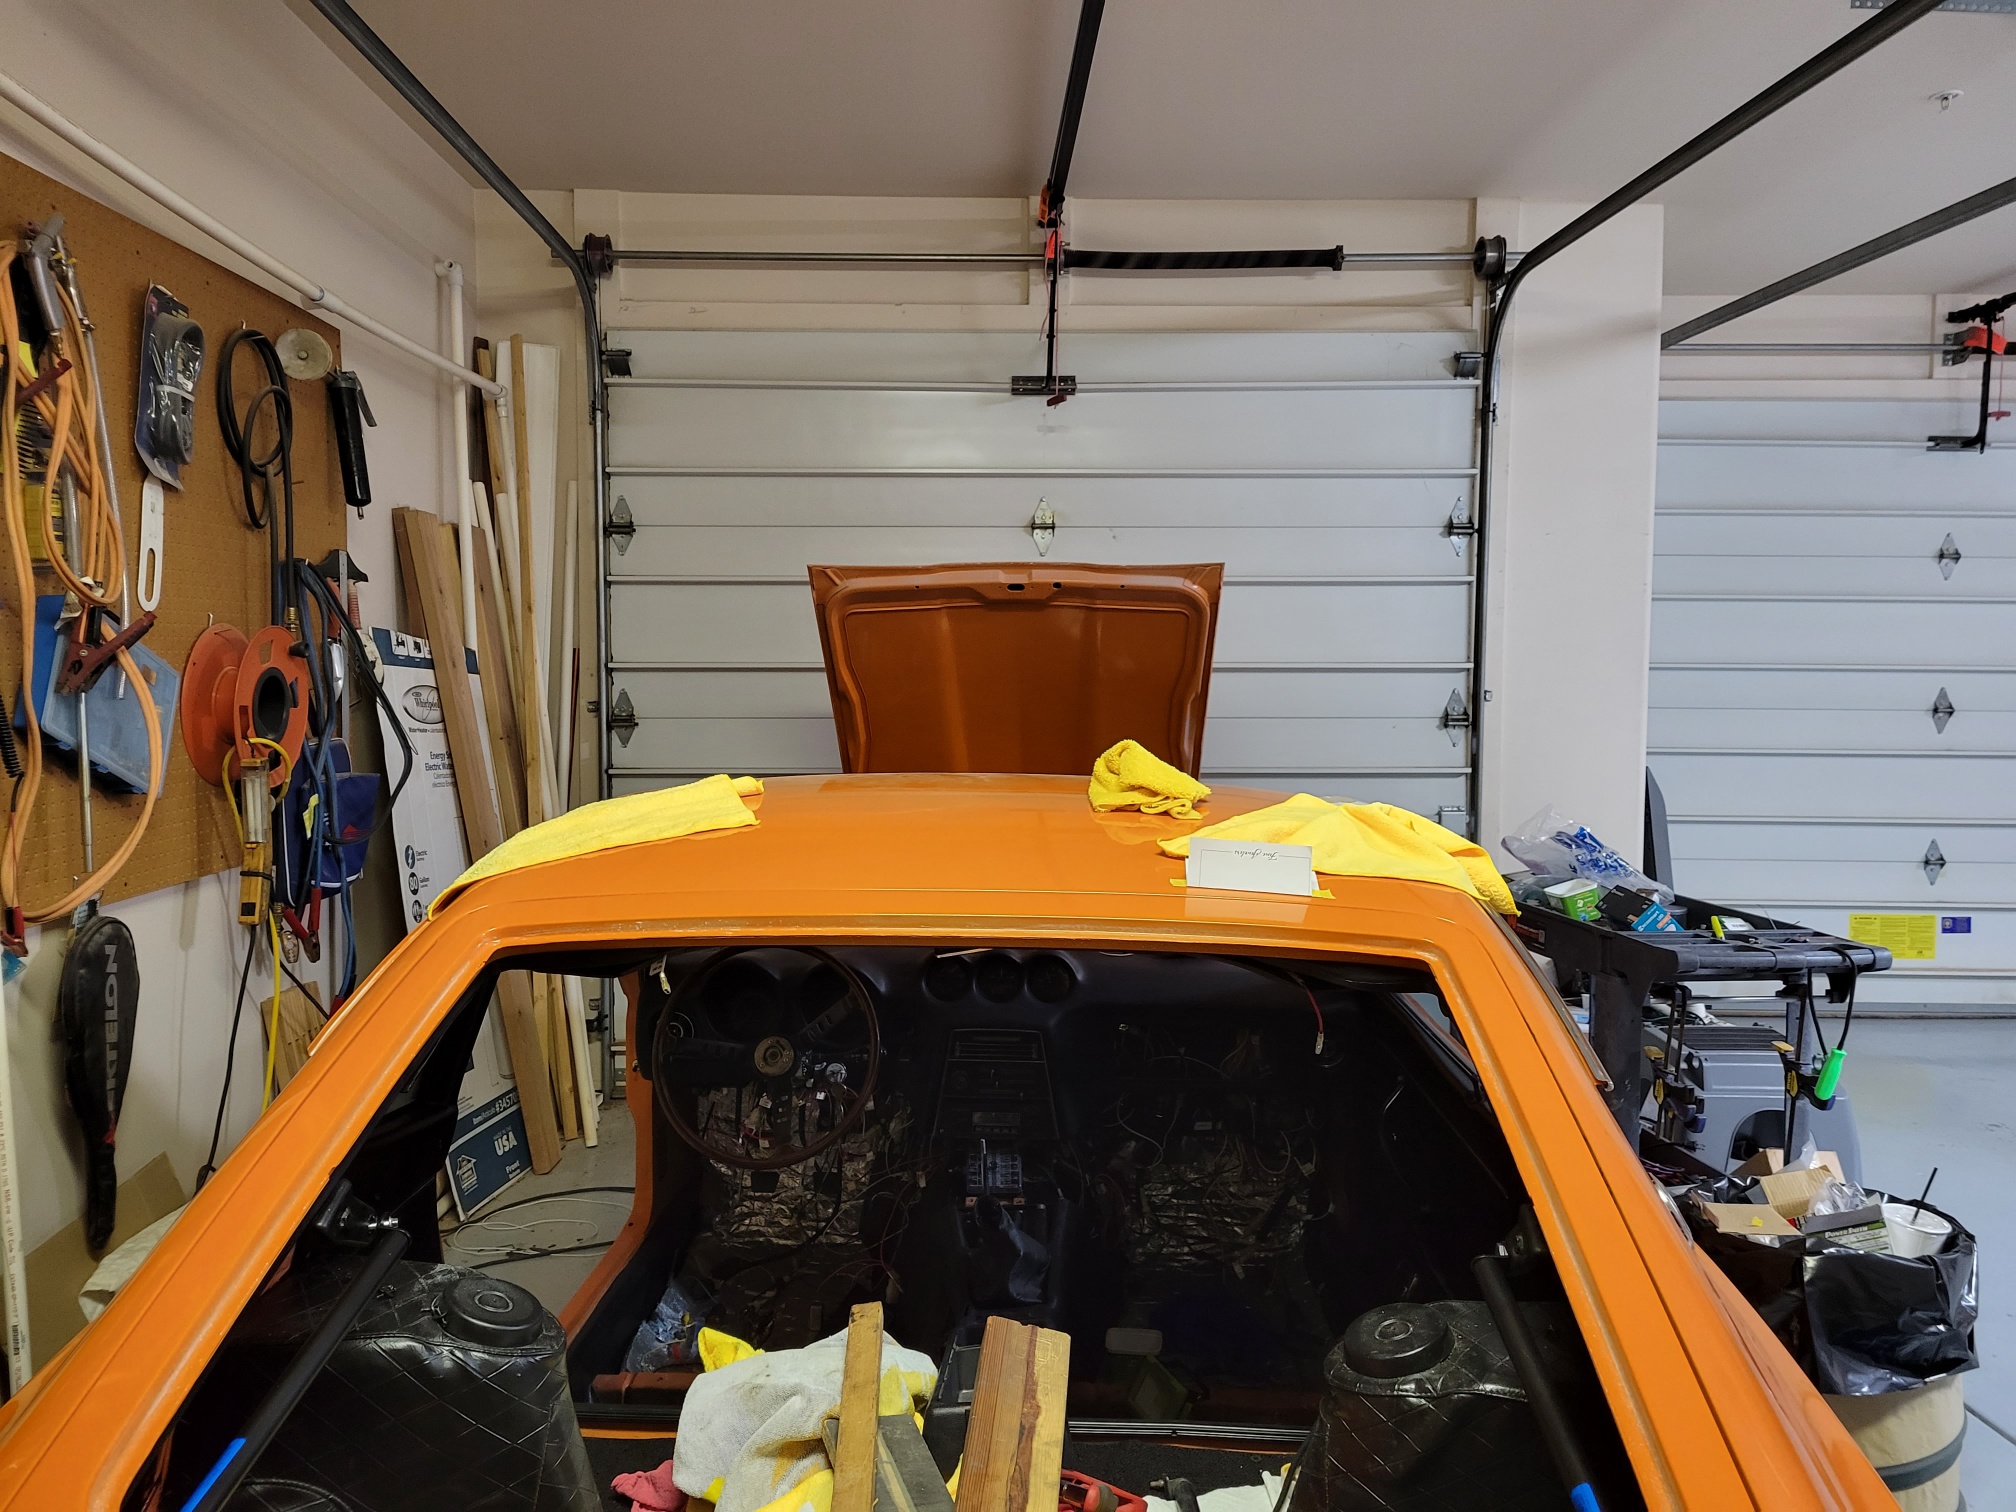
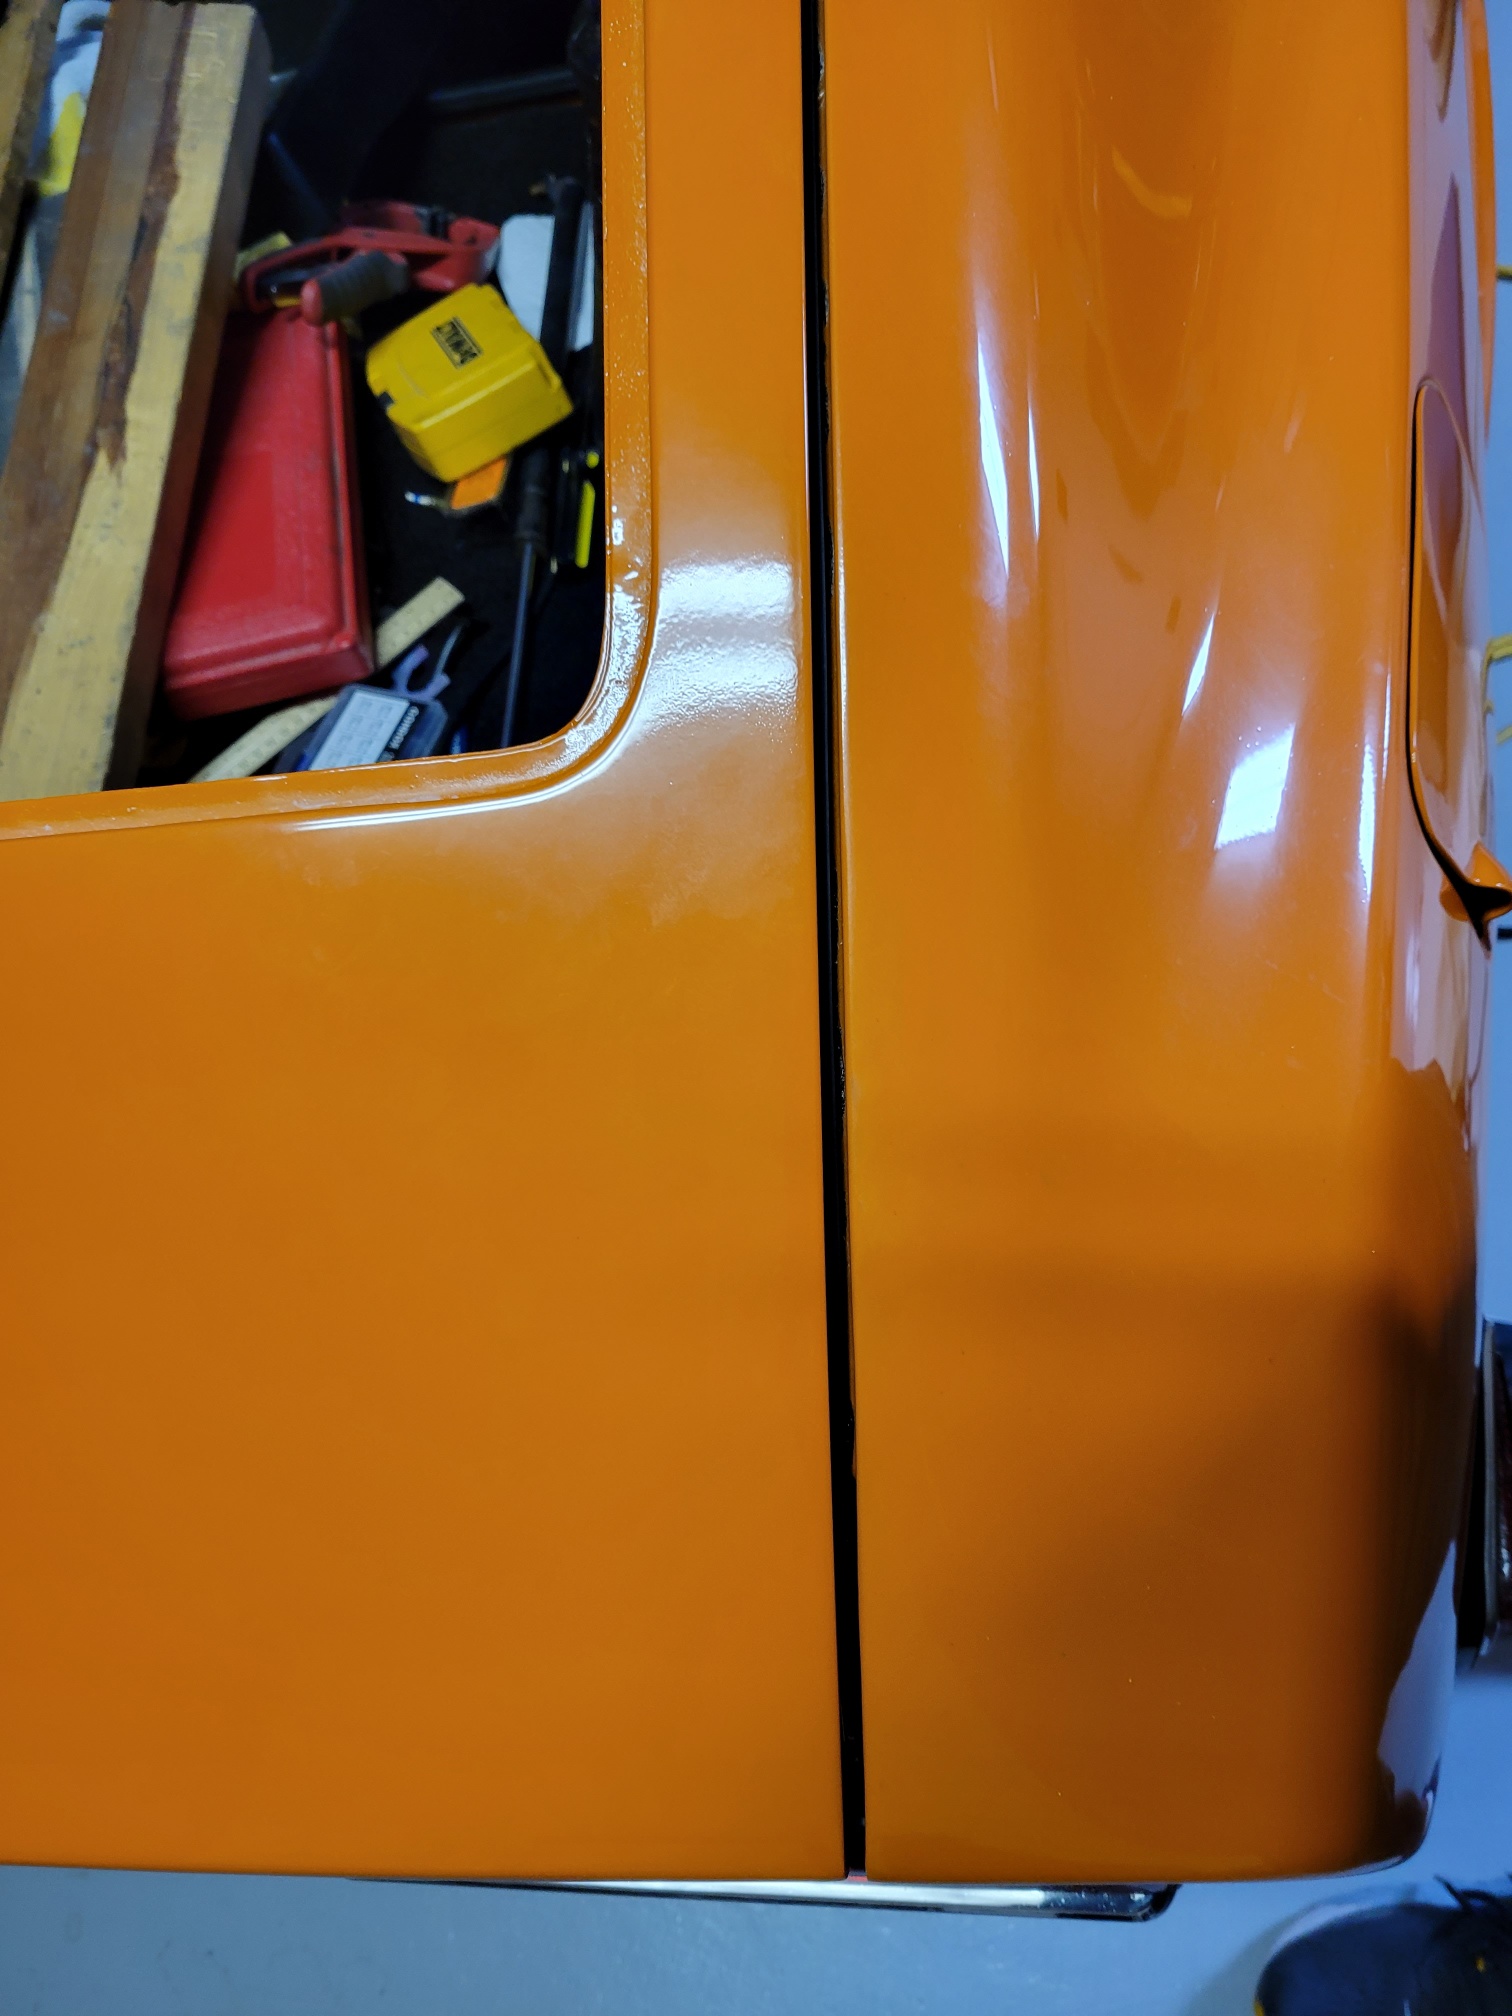
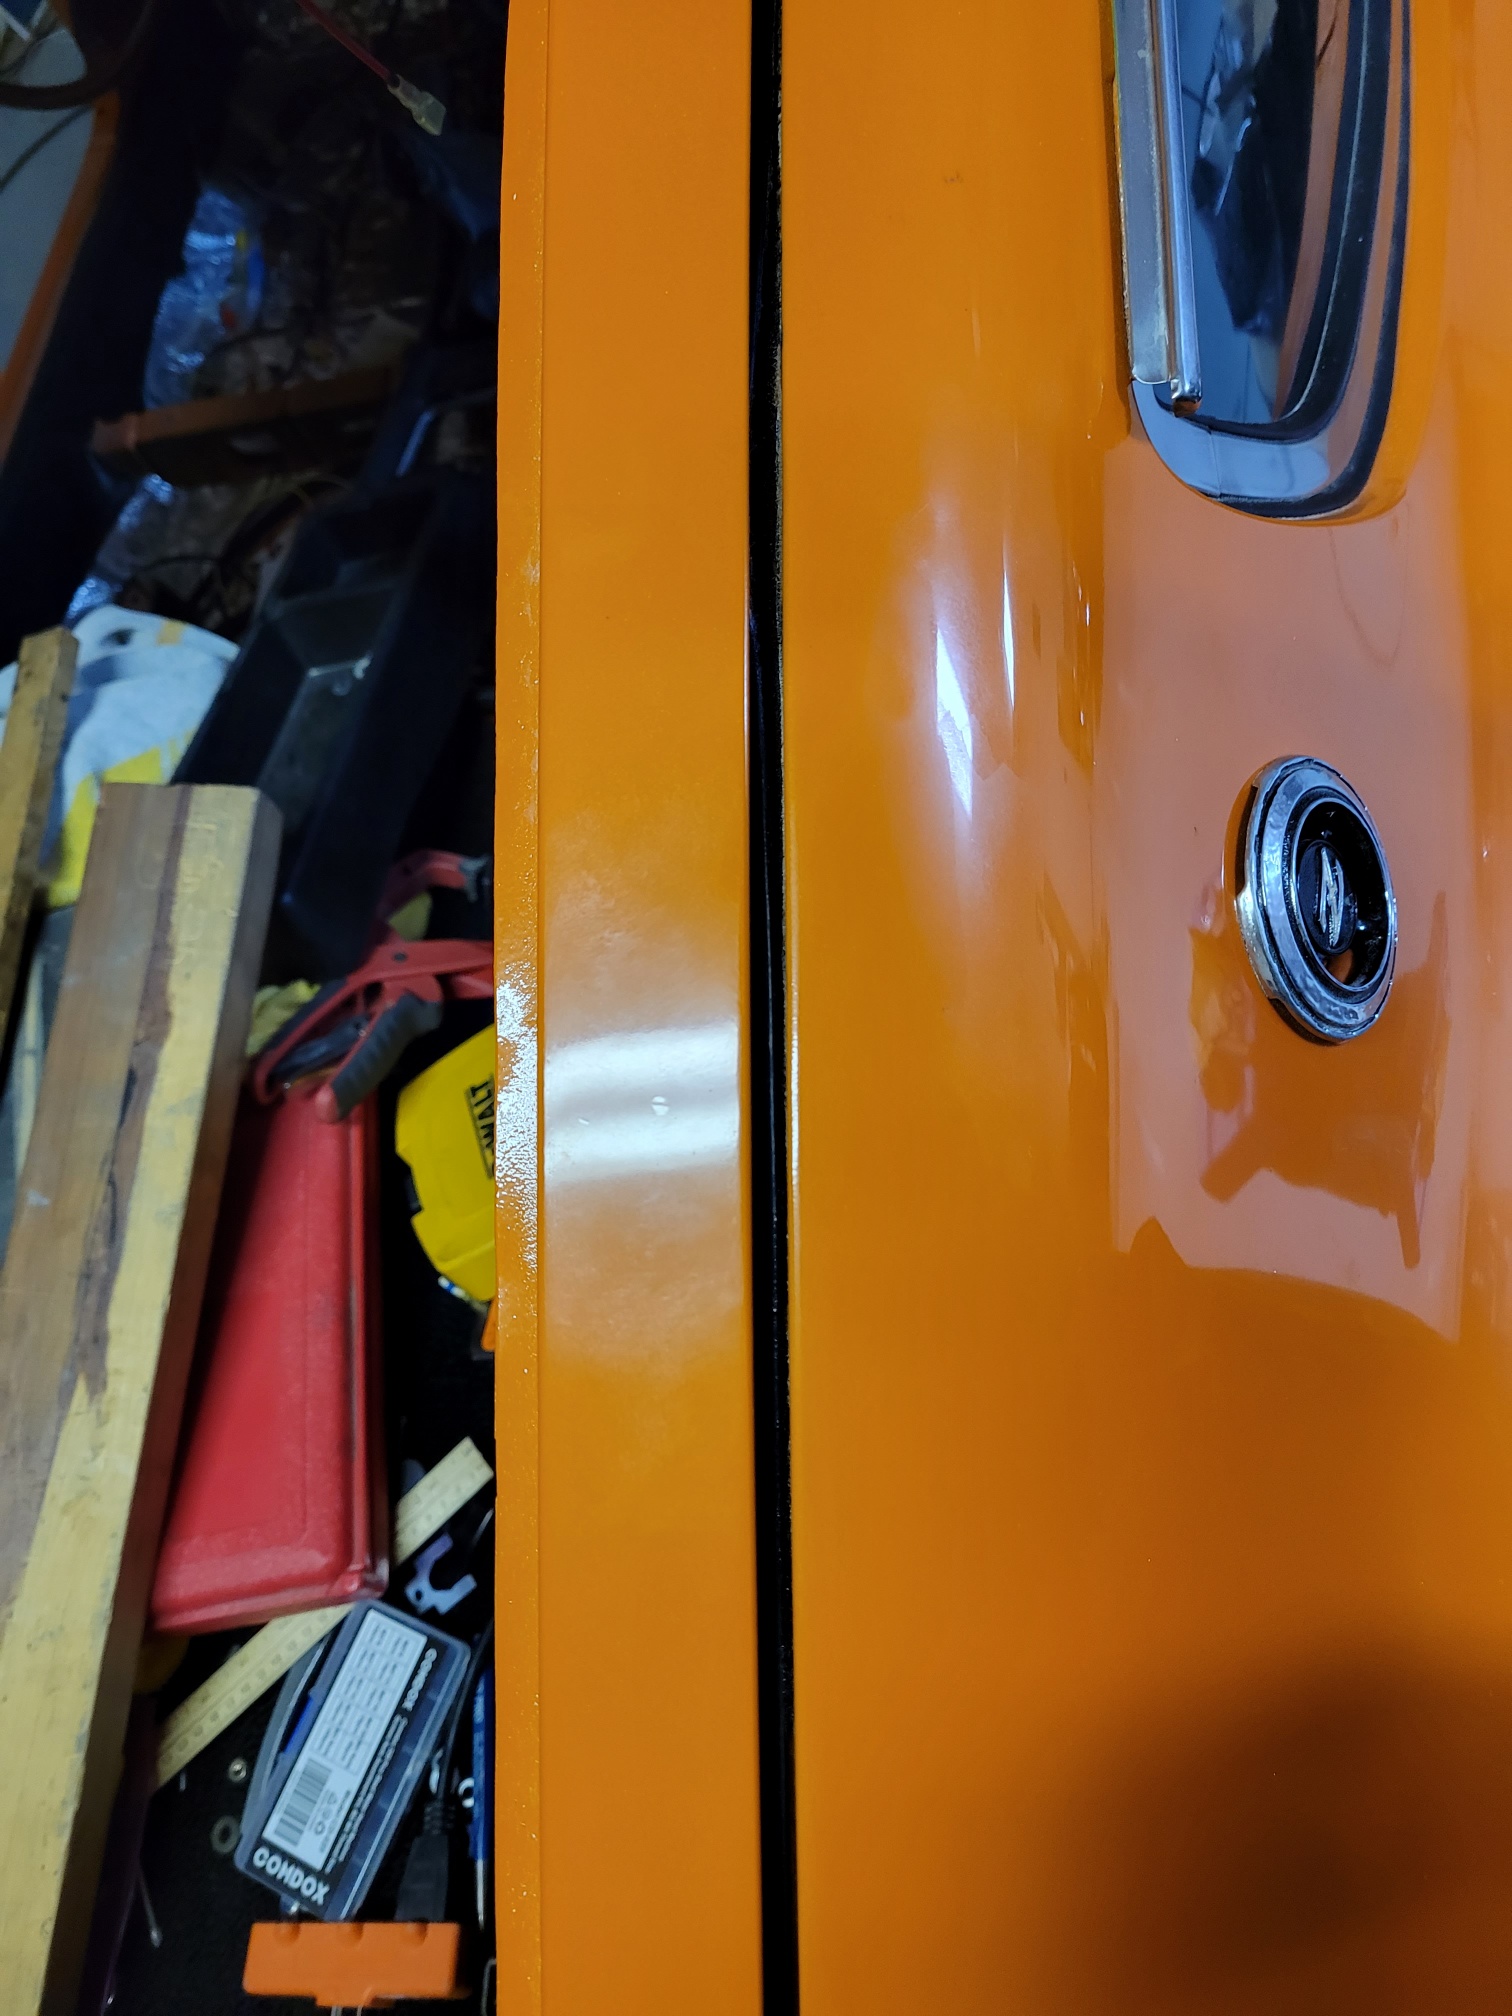
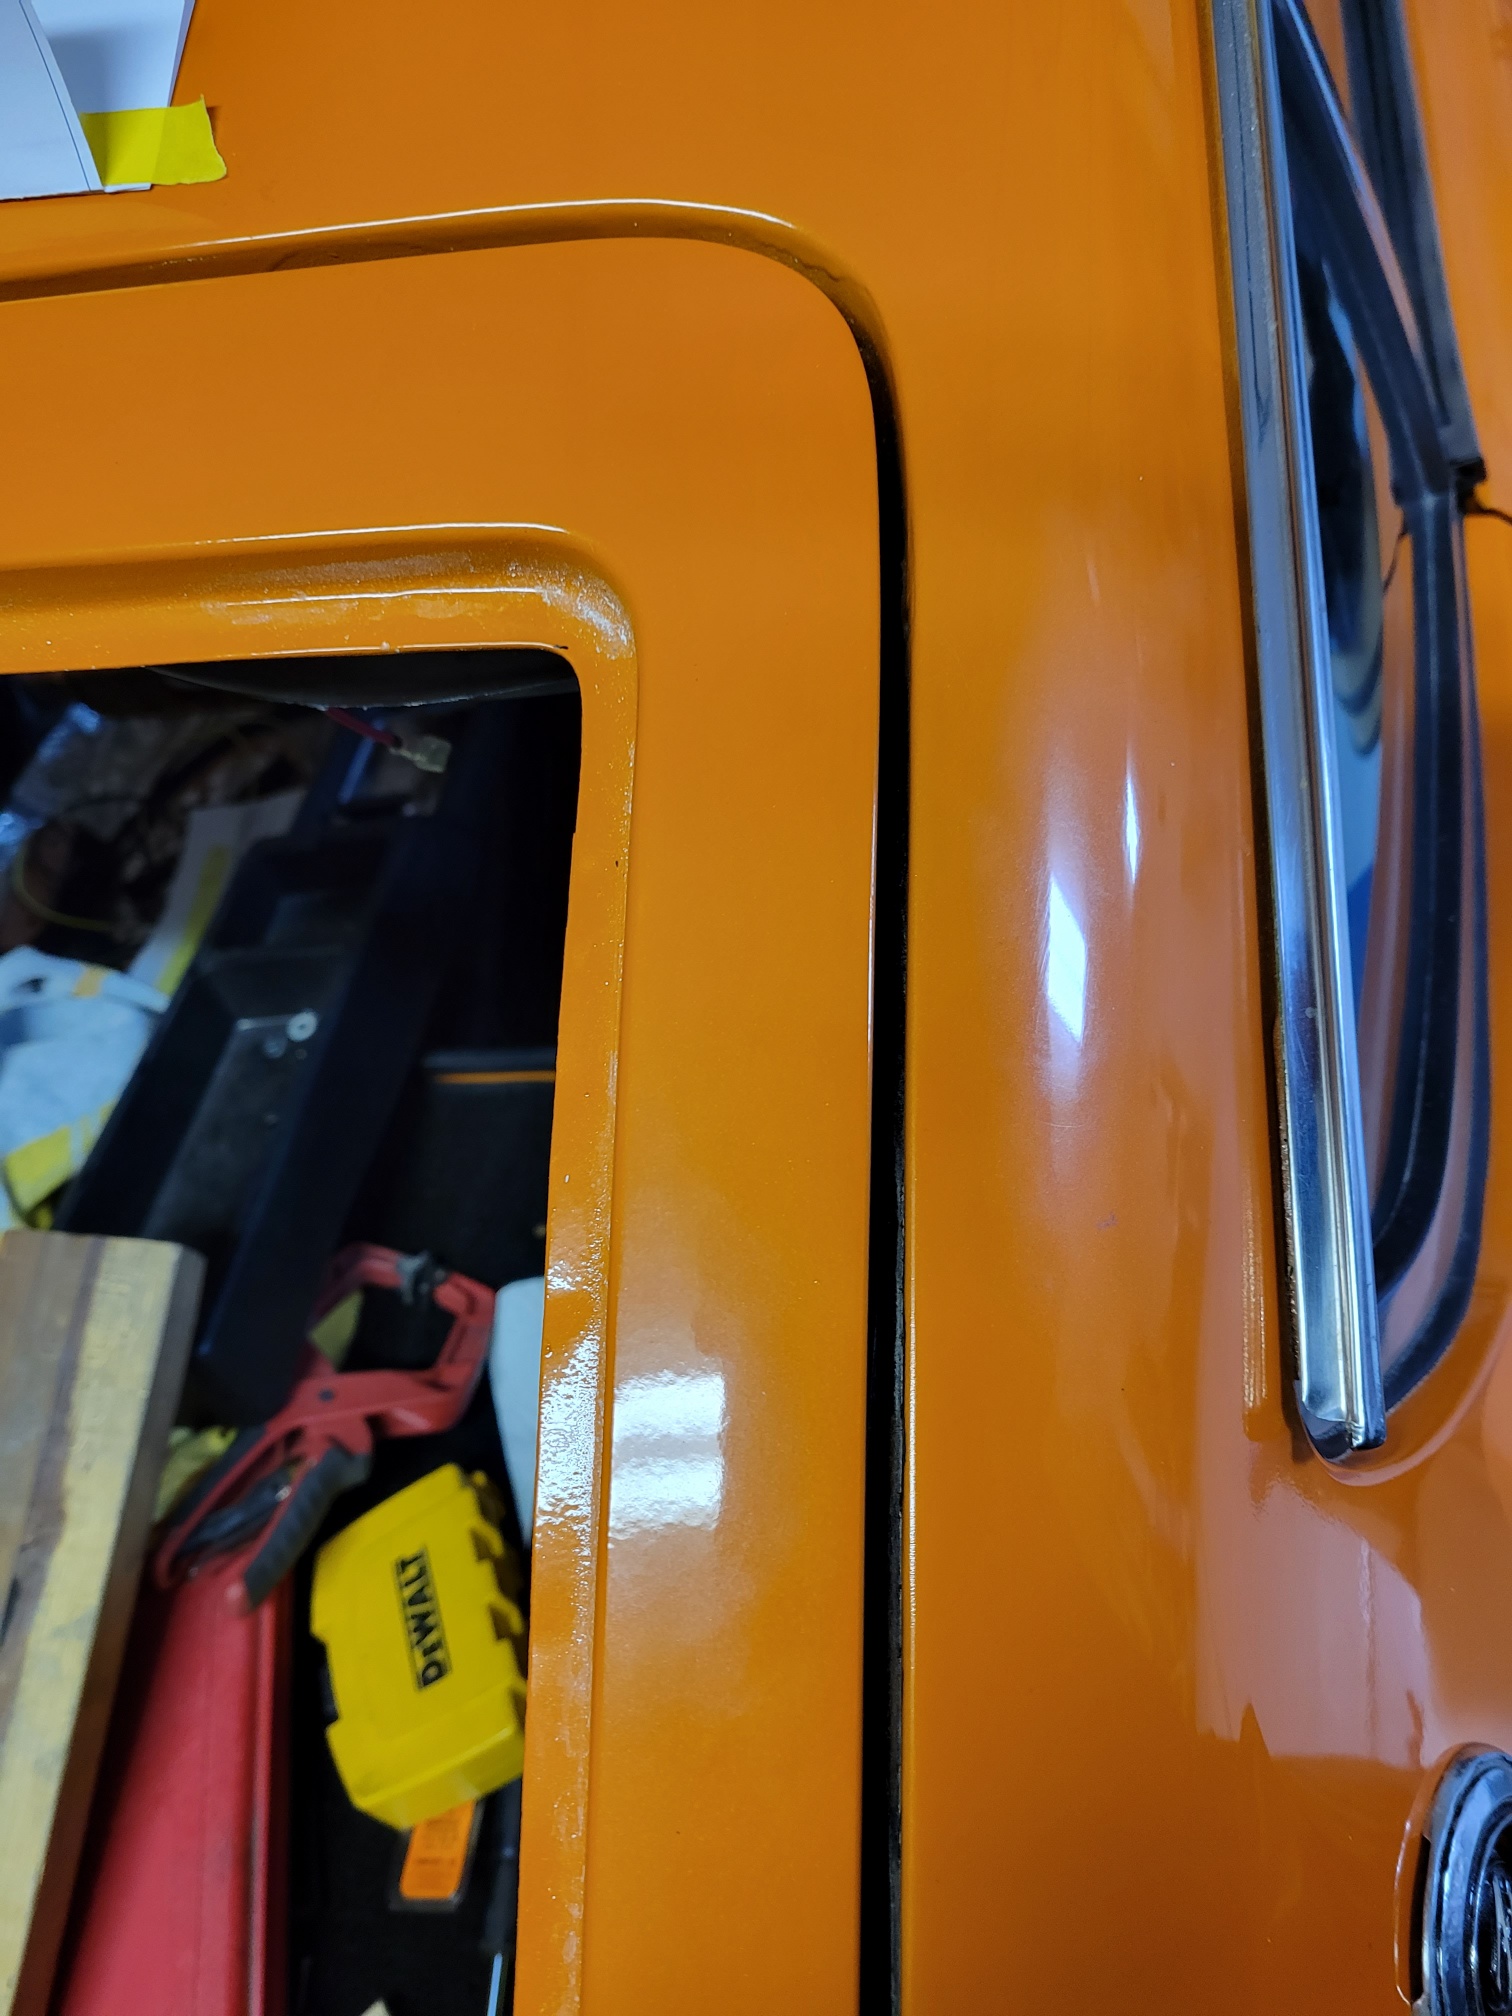
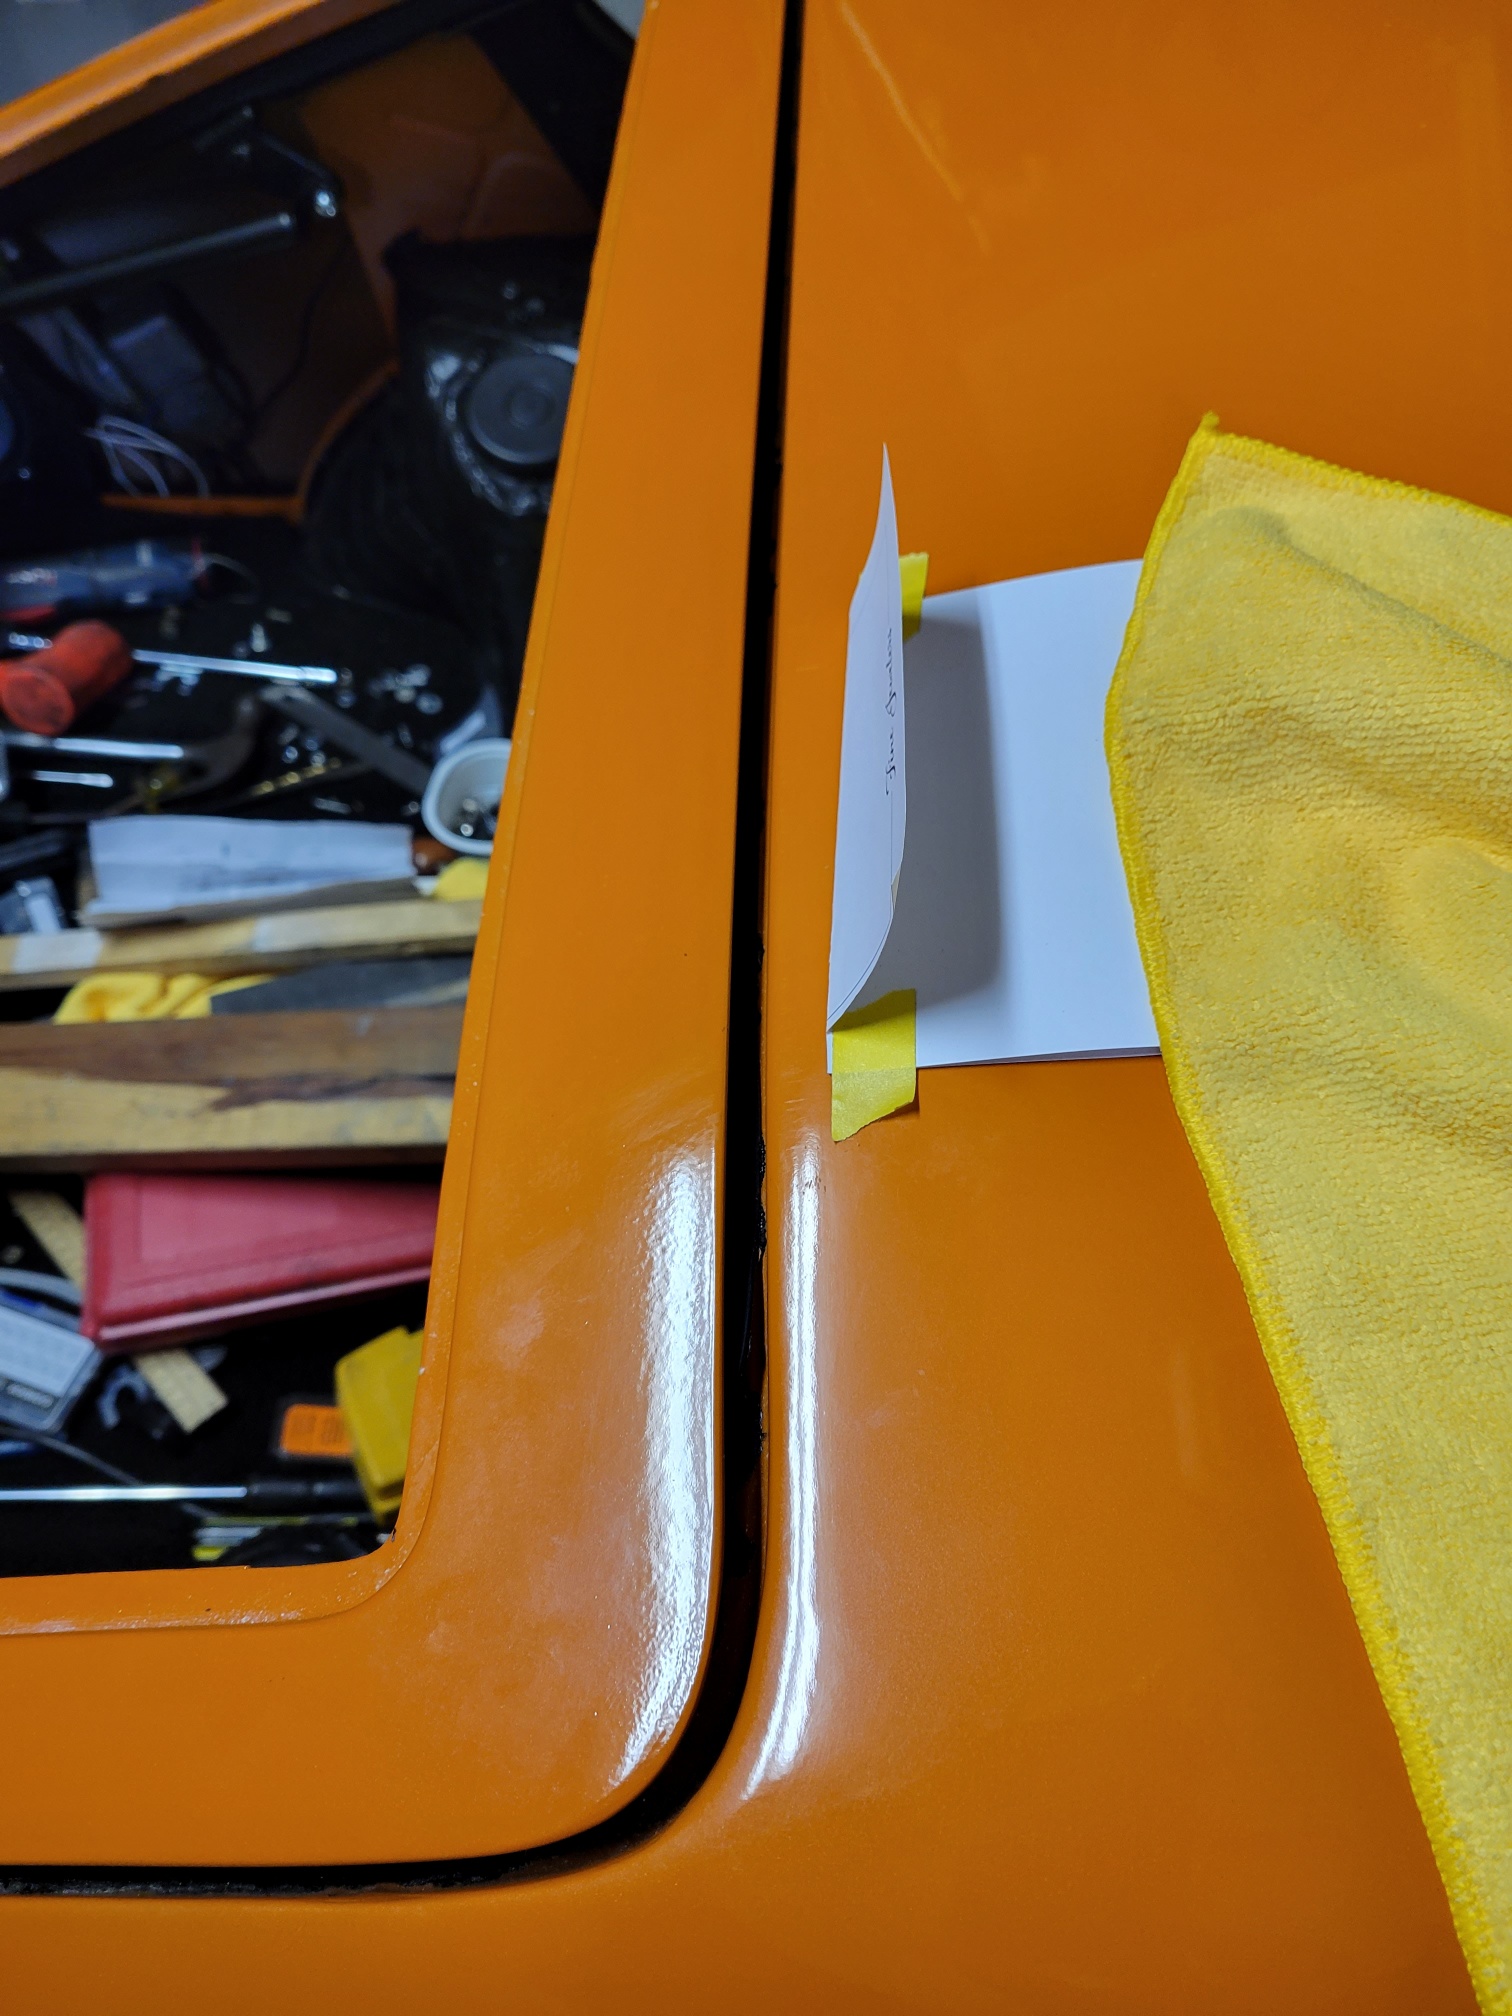
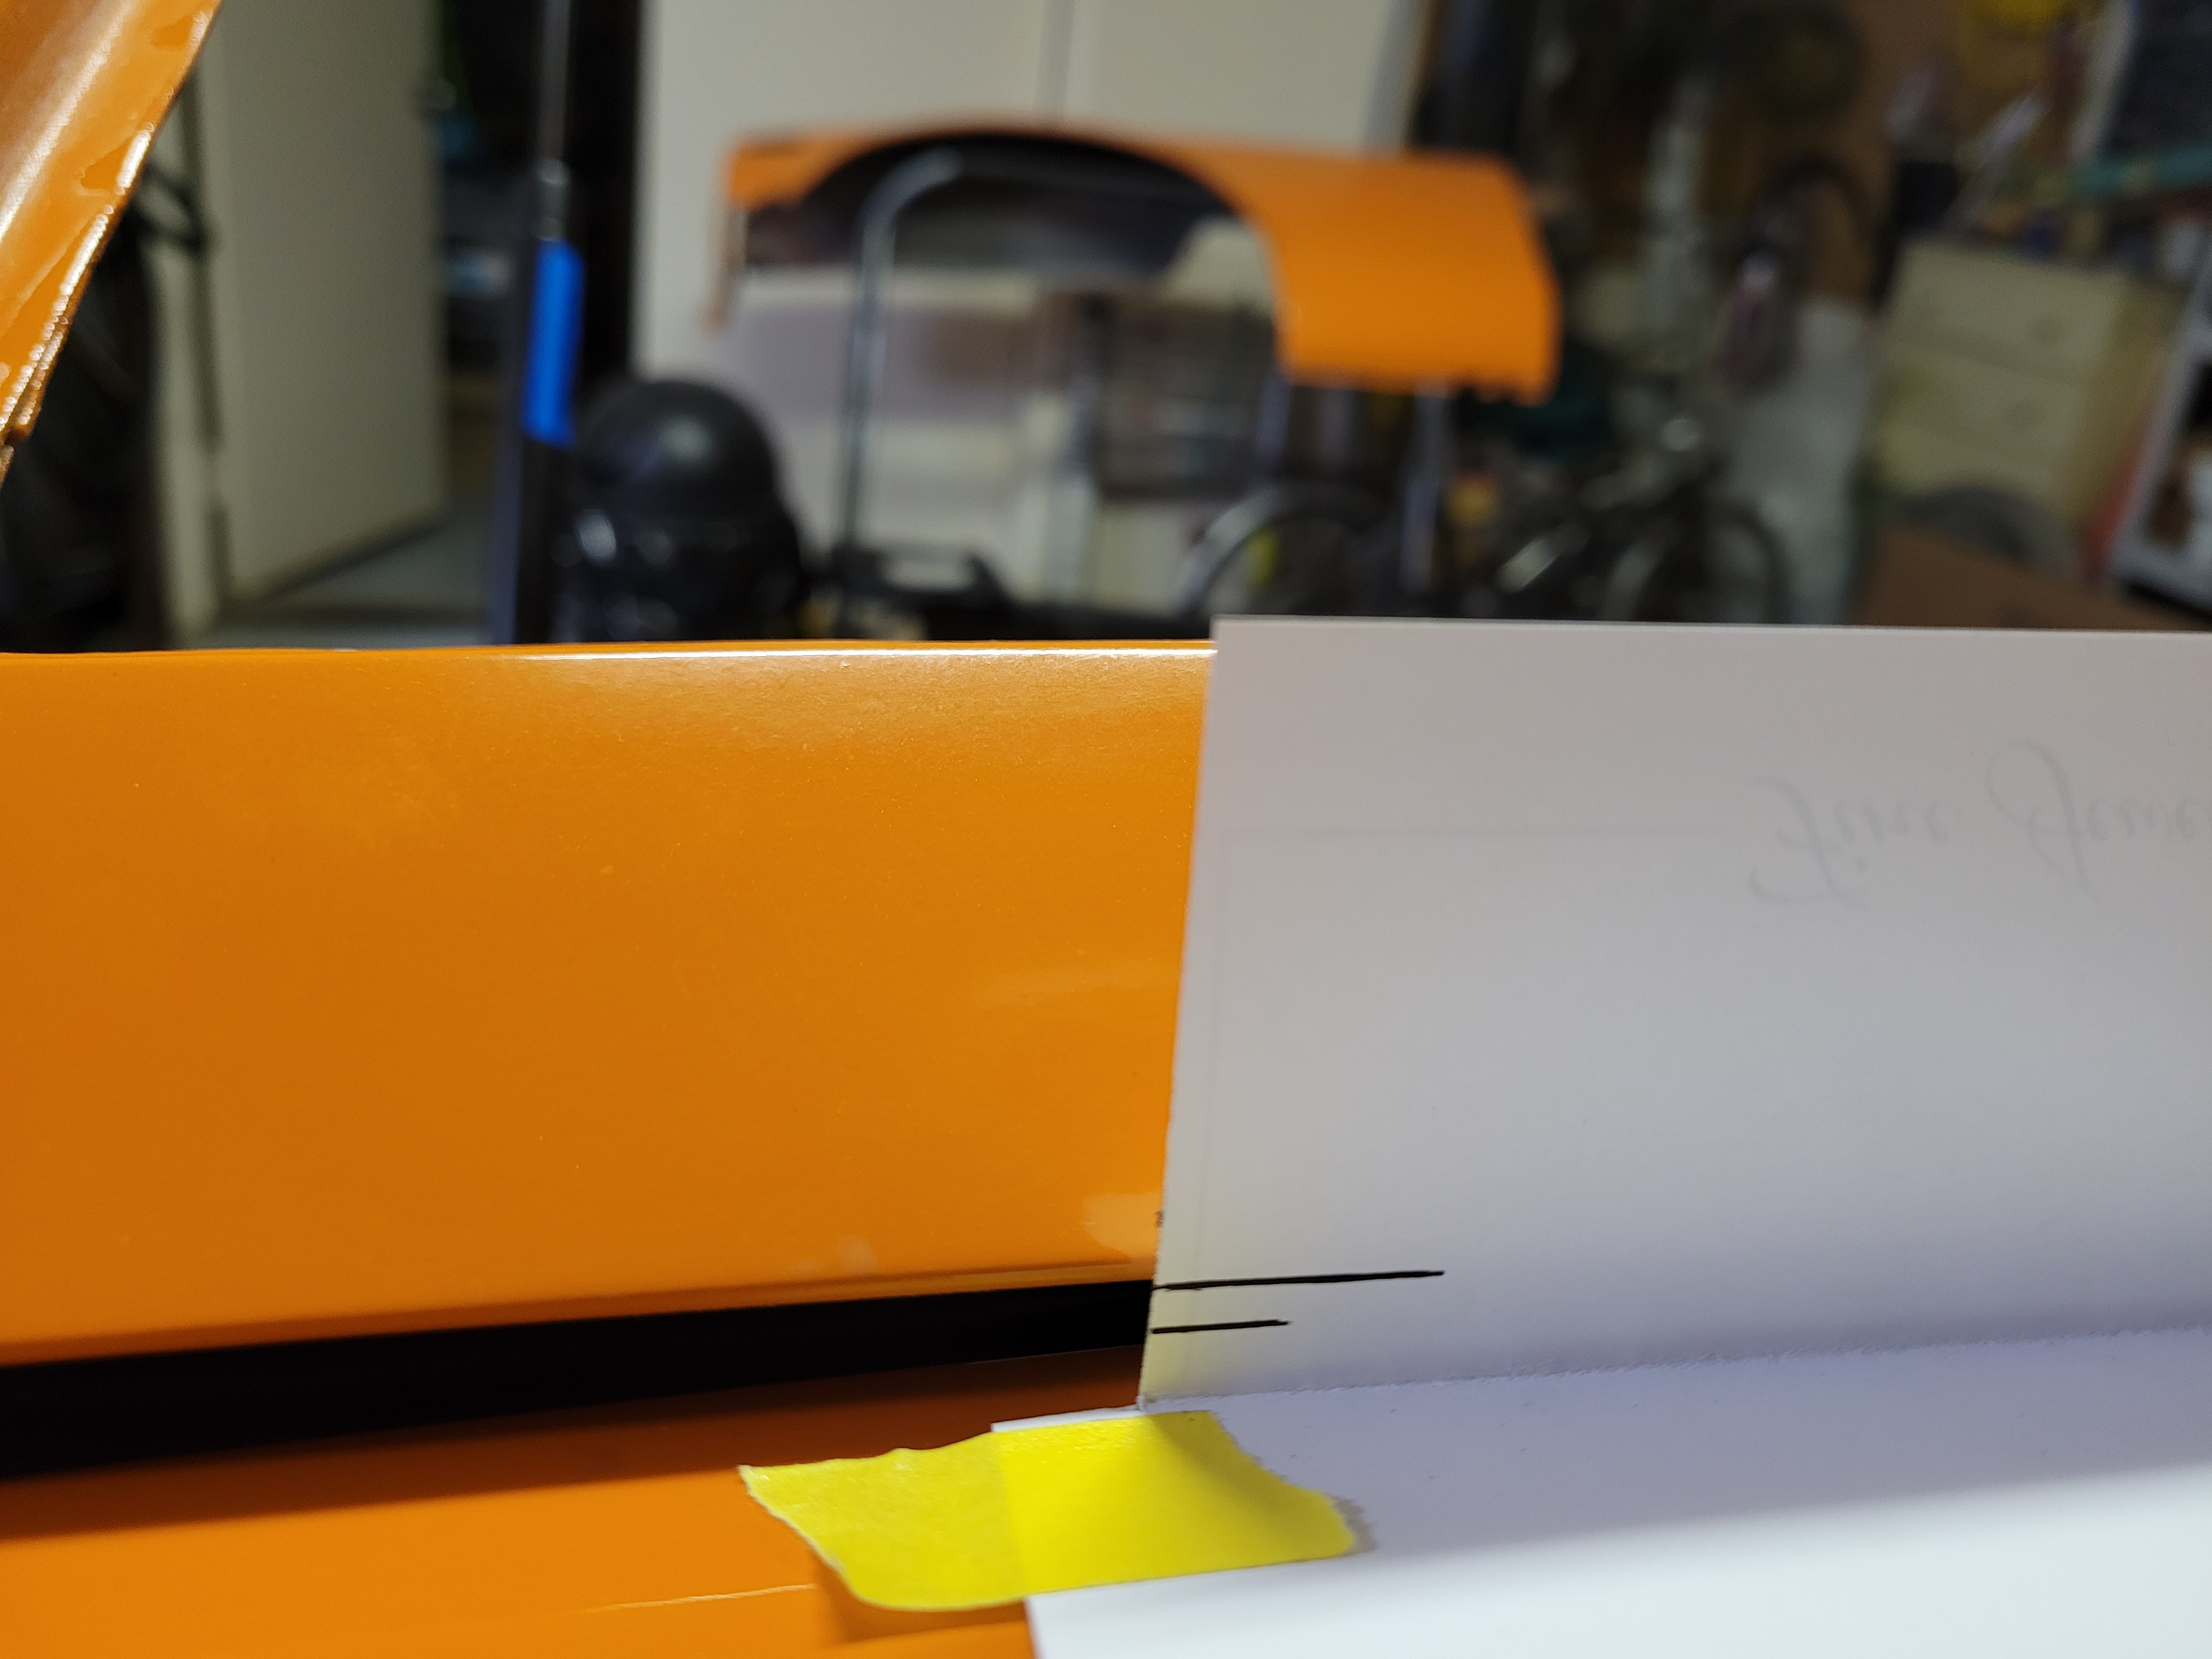
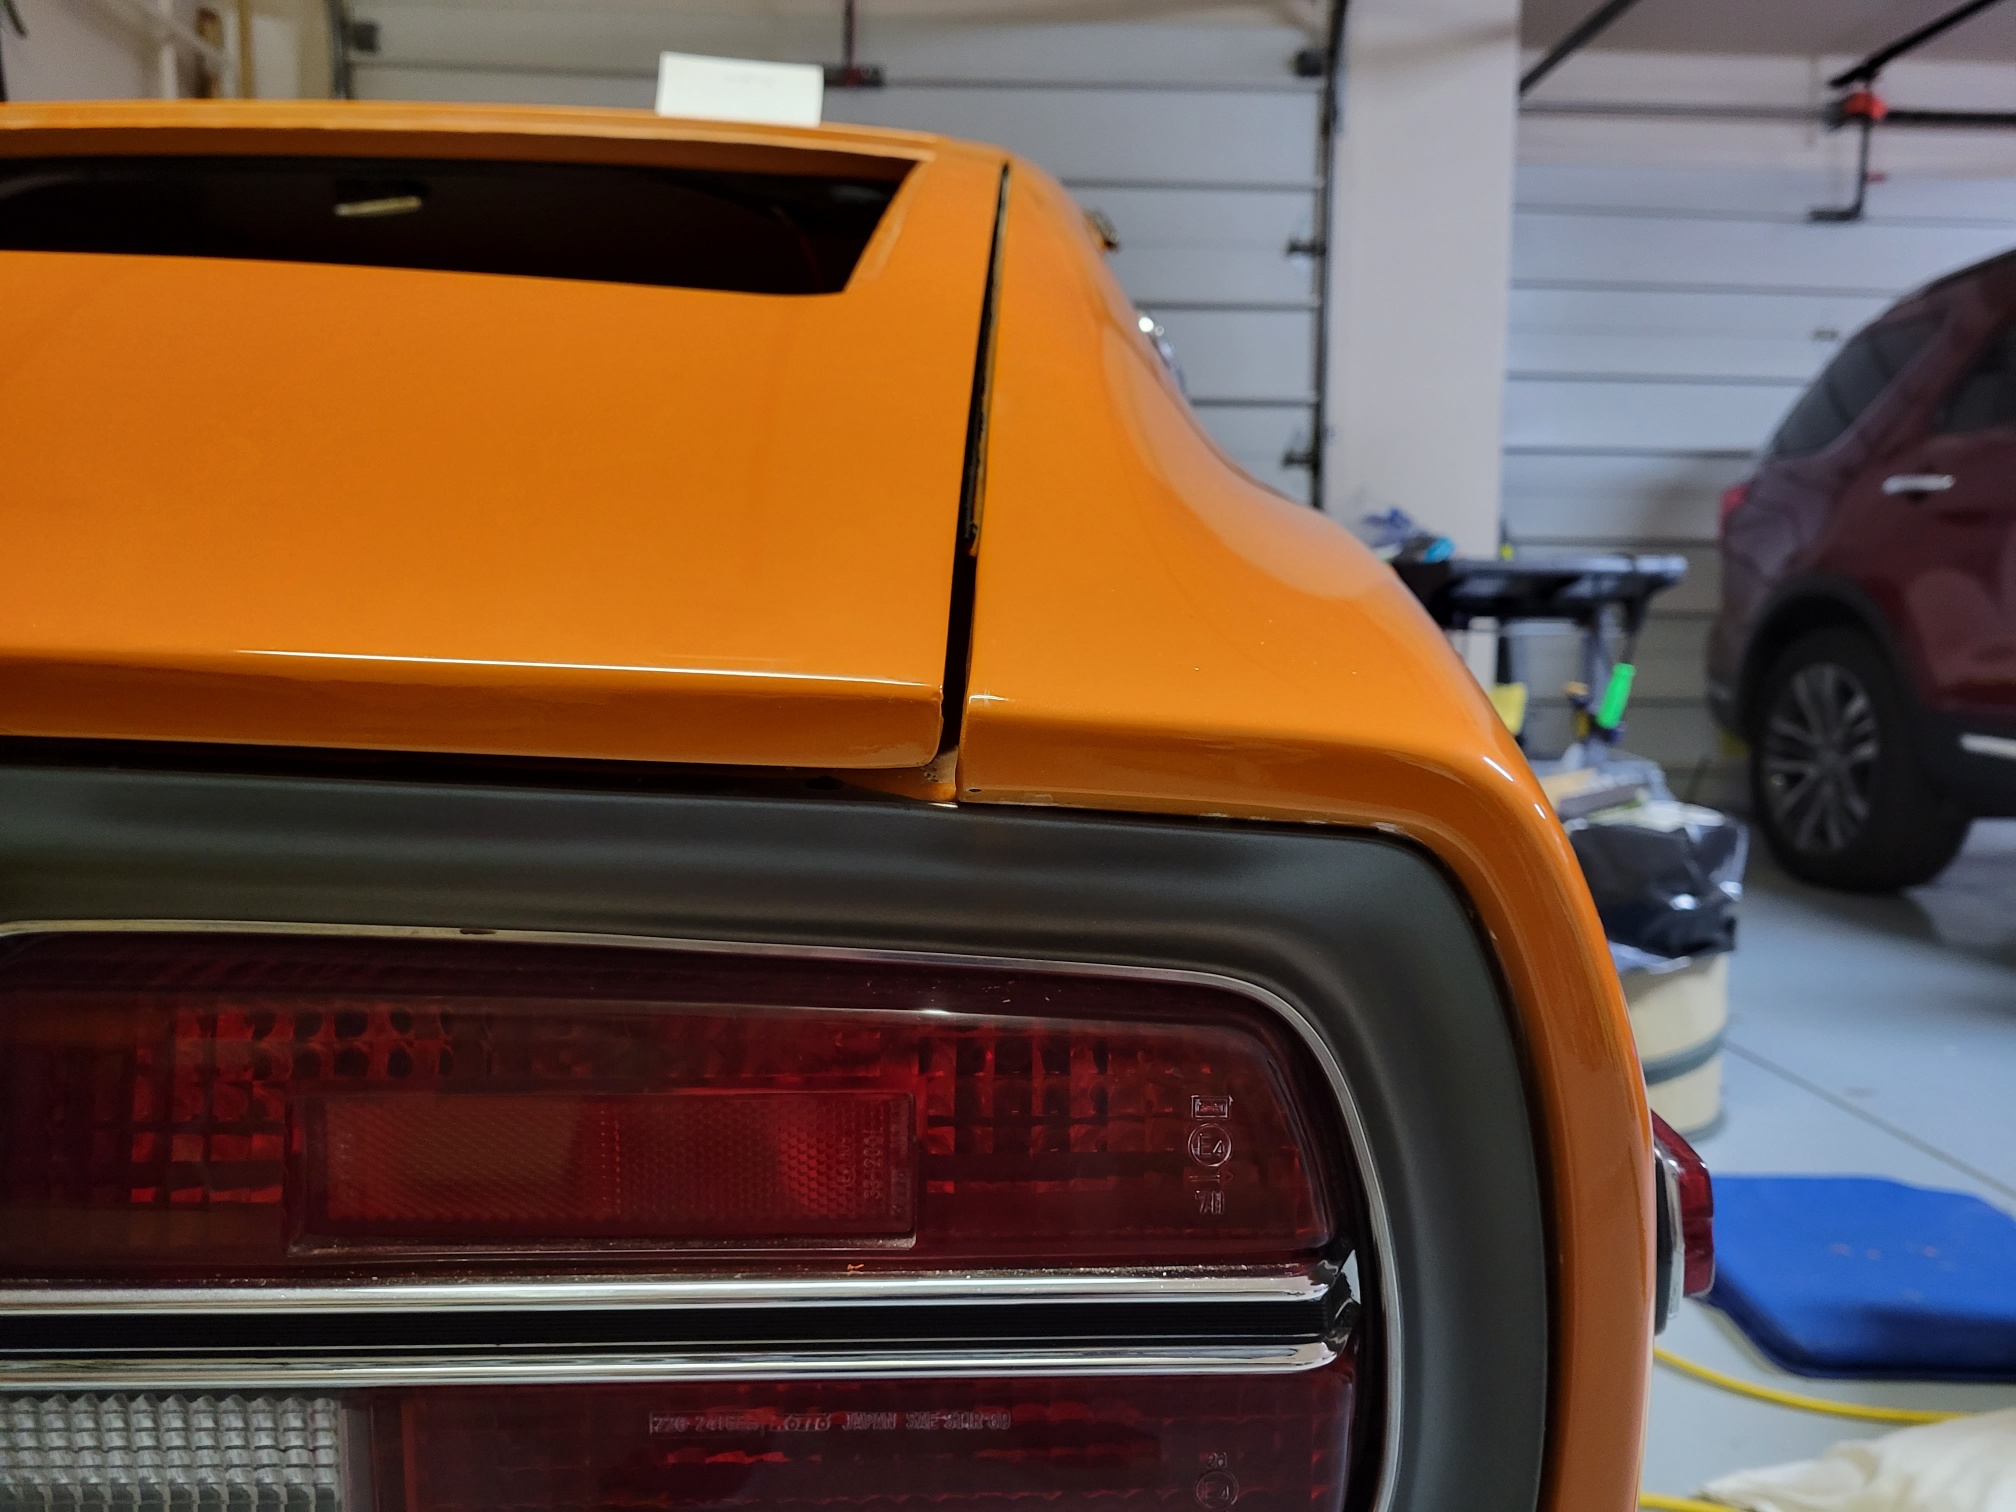
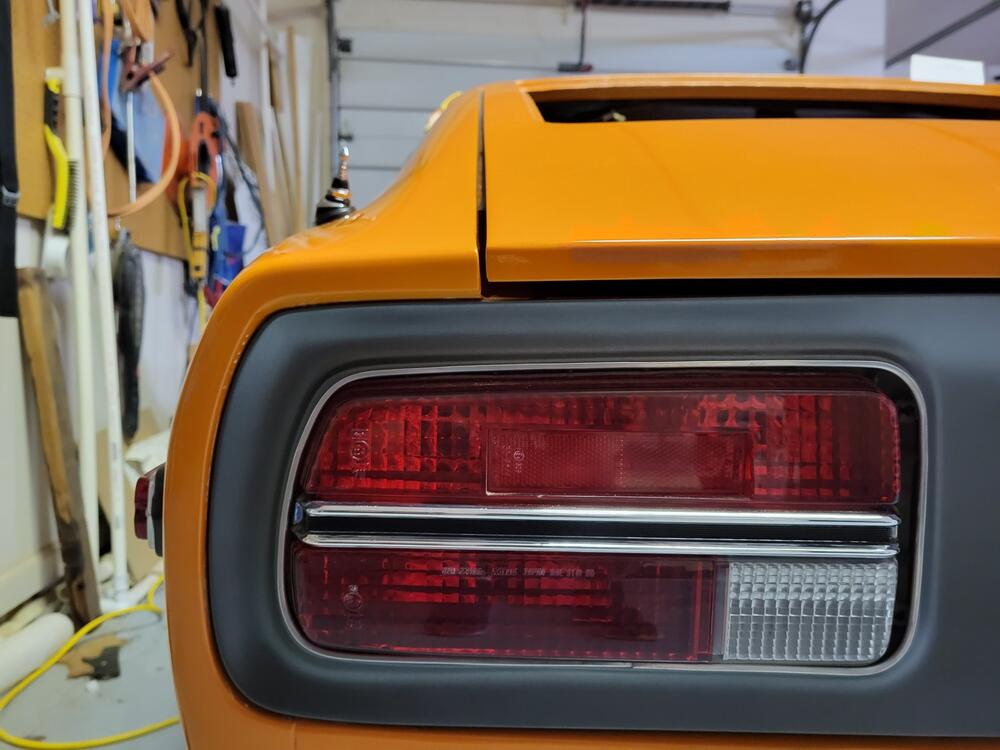
2 points2nd Strut It took a while to get the parts for the 2nd strut . I did not realize that the body mount was spot welded and the strut bracket was screwed to it. CS was able to source the body mount – thank you. Installation of the 2nd strut confirmed that the strut forces the hatch vertically upward, and provided the extra clearance that was required to protect the body. The image below shows the 2nd strut loosely installed. vertical rise hatch corner Earlier in this post I had a similar picture. In it I had lifted the hatch right corner by hand to show the maximum vertical rise that I thought would be possible. I did not move the paper with the lines on it. This latest image below, shows where the hatch right corner sits in its open resting position with the 2nd strut installed. Patcon - I was wrong about there being vertical movement in the hatch hinge. My comment made it seem as if there was slop in the hinge. My hinges are new, and they have little to no slop in the hinge. As you know, on a 240z there was originally only one strut to help raise the hatch. As you press upon the bottom of the hatch to close it you begin to overcome the 88 lbs. of force of the strut. As you push down on the bottom of the hatch; the top of the hatch, at the roofline reacts, in the opposite direction. The left side has nowhere to move as the strut is already forcing the hatch up, the length of the strut being the limiting factor. The harder you push the hatch to close it the higher the force becomes at the top of the hatch on the right side. This force causes the right side of the hatch to appear to rise, but it is actually causing the hinge to rotate on its hinge pin and in fact it creates vertical movement at the right corner. Eventually I think you create enough downward force on the bottom of the hatch to overwhelm the left side strut and the hatch rotates downward to the closed position. For whatever reason I need a little more clearance (probably earlier in the cycle) to clear the roofline. Putting the 2nd strut in on the right side seems to provide that extra lift. Below are the results after installation of the 2nd strut and aligning the hatch. Left Top Corner Right Top corner Right Middle Gap Left Middle Gap Right Bottom Corner Left Bottom Corner Hatch Top Left Gap Hatch Top Right Gap Hatch Roofline Hatch Lip Corners I am not satisfied with my work on the quarter edge corner or the hatch edge corners. I guess it just got past me at the time. I'll do better next time. As far as the the body line not matching. I think I will be able to address this with a striker adjustment and hopefully some help from installation of the glass compressing the new weather stripping.


 2 points
 -
2 pointsI would expect ITBs to surpass all carbs. Fuel injection is almost always superior to carbs if tuned properly2 points
-
2 points
-
2 points@lcord, just a heads up some members had issues with the replacement booster they got from their local parts store. I sent mine out to Power Brake Exchange in San Jose California to be rebuilt, if you go that route, have them powder coat it too, it will come back to you mint.2 points
-
Not only that but I can set up a fuel table to fuel at different levels across a myriad of throttle positions and refine that fueling based on O2 feedback. Fire right up when cold and idle perfectly without any choke. Anecdotally, I would think if carbs were superior then somebody, anybody would still be installing them on new cars... Now, don't get me wrong, I like carbs. I have SU's and may run some triple webers, but if I get an opportunity to got ITB's, I will and not look back1 point
-
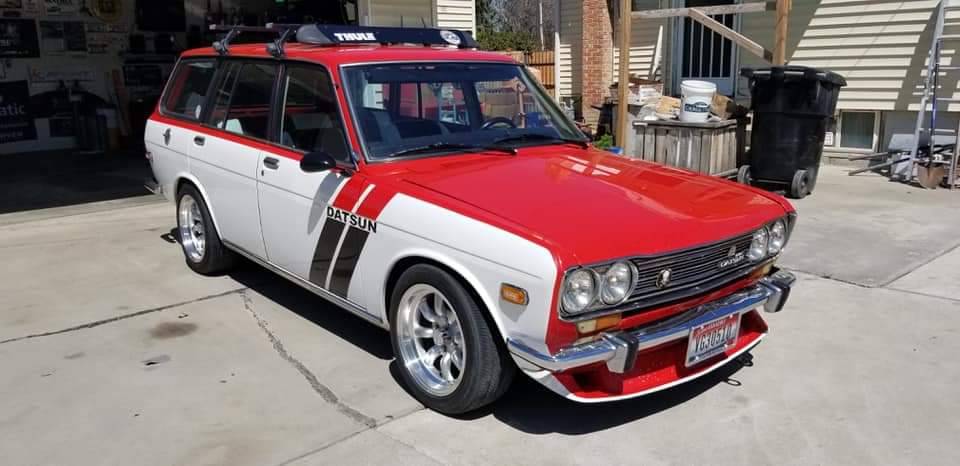
Based on what I can see from the photos, it sold at a fair price. It might have pulled $15K on just the right day, but that rarely arrives on time. The floors need to be replaced. Maybe the front frame rails, too. The interior has been rode hard and hung up wet. Dash is really bad. Door cards are incorrect. Seats look shot. The sunroof is unfortunate. Most Z buyers don't want this and it's hard to restore the roof to as-new condition without grafting in a completely new panel from a donor car. We also don't know whether there may be collision damage lurking in the dark areas. The only offsetting feature that I can see the set of first-gen wheel covers. And even they need restoring.1 point
-
the oers are far better than itbs having had a rebello engine on oers no contest1 point
-
Lot's of jetting in DCOE style carbs. Somebody really familiar with DCOE's might get the jetting pretty close first try but I would try it. Much less getting them balanced on a break in run. The nice thing about SU's is their simplicity. Mixture is easy to fatten up or lean out. I will violate religious protocol and say I'm not sure how critical a continuous break in run is. I have broken in a number of engines and never had a failure due to the break in period. These engines are incredibly tough...1 point
-
1 pointForget all that stuff I wrote here. It's wrong. Oh, and by the way... The ground side of the voltmeter and the ground side for the fuel gauge are already connected inside the gauge assembly. So when you say "you're connecting the fuel gauge ground"... I'm not really sure what you mean by that. In other words, there is no fuel gauge ground accessible outside of the assembly. There is the fuel lever sending unit connection, but no ground. So if I had to shoot from the hip here, I would guess you're connecting the wrong wires somehow.1 point
-
1 pointThat wiggle is caused by the temperature/voltage compensation circuit built into the fuel gauge portion of the meter. But that said... the wiggle should not be happening, so let's explore a little. It looks like a source impedance issue where the amount of current you're pulling from your source is dragging the supply voltage down. The question is "But why?" How many wires are you connecting on the gauge? Two for the voltmeter, and a third when you bring the fuel gauge into the picture?1 point
-
1 point
-
1 point
-
1 point
-
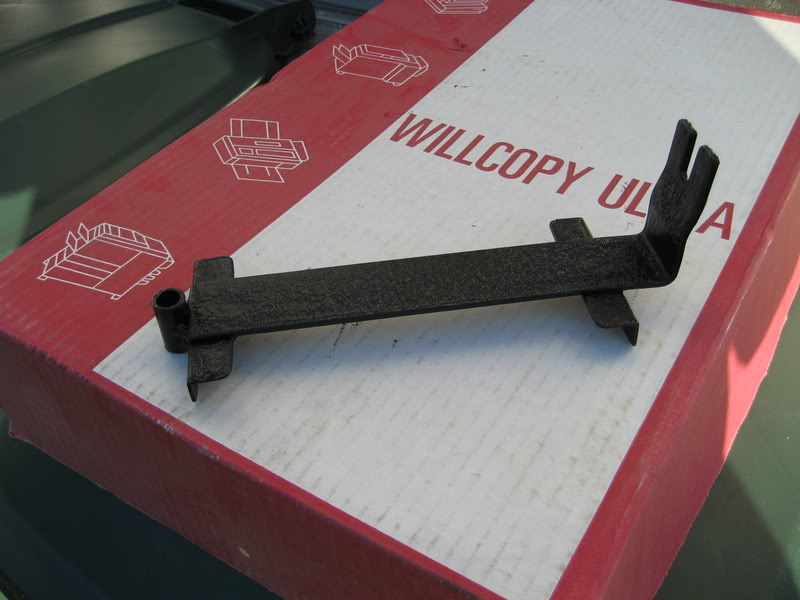
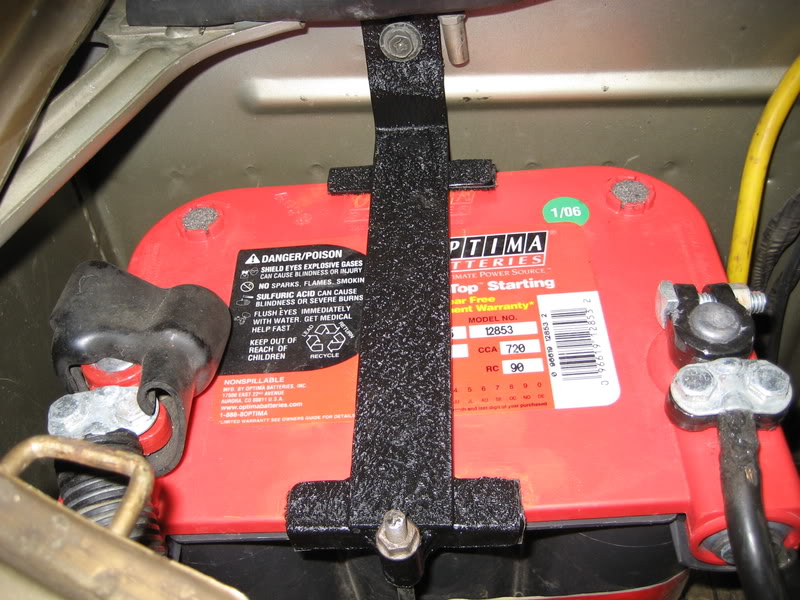
1 pointNice find! I made my own for both of my Z's with Optima batteries which are about the same height as your battery. I think I have about $20 in steel for both and for the most part, I only used basic tools, though I did have to put a few welds on them. I even posted a dimensioned drawing on here 15 years or so ago.
 1 point
 -
1 point
-
1 pointI have had it happen but I agree it's probably very rare. I still tend to do it. I use the copper anti seize. Haven't had a spark issue yet. Is an interesting anecdote though.1 point