


Leaderboard
.JPG.cfcada9cf1c1b502df3f5f2f2ca3ff36.JPG)


Popular Content
Showing content with the highest reputation on 08/27/2021 in Posts
-
6 pointsGreat progress today on engine bay prep. Here’s the drivers side frame rail before...in between...and after. I used Eastwood’s 2k epoxy primer (thanks for the tip Jim) Sent from my iPhone using Tapatalk6 points
-
5 pointsI’ve been watching the development of this head since the guy first started posting about it on Hybrid Z. Fascinating, and something I would have if I won the lottery or inherited a huge sum of money. But, *sigh*, I am but an average guy with an upper middle class income. Things like this are only a dream.5 points
-
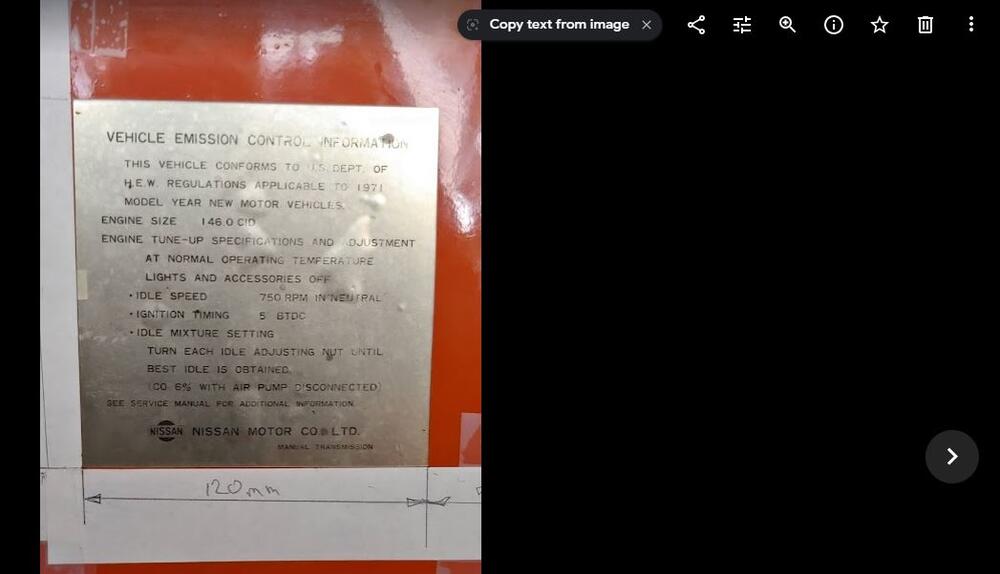
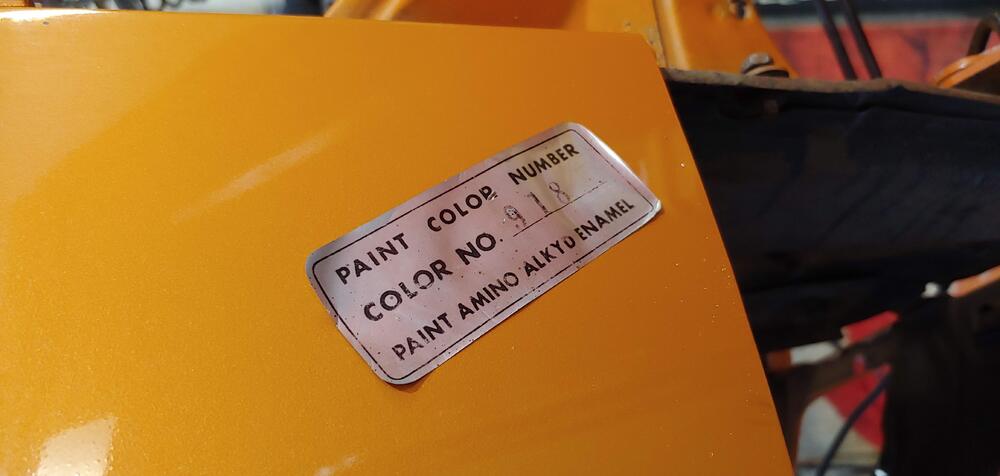
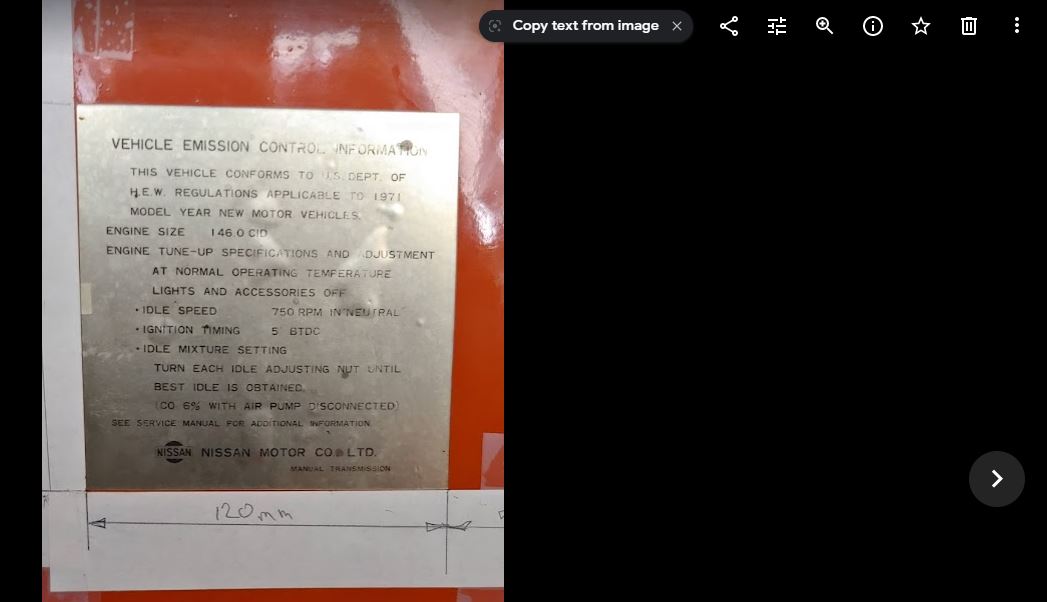
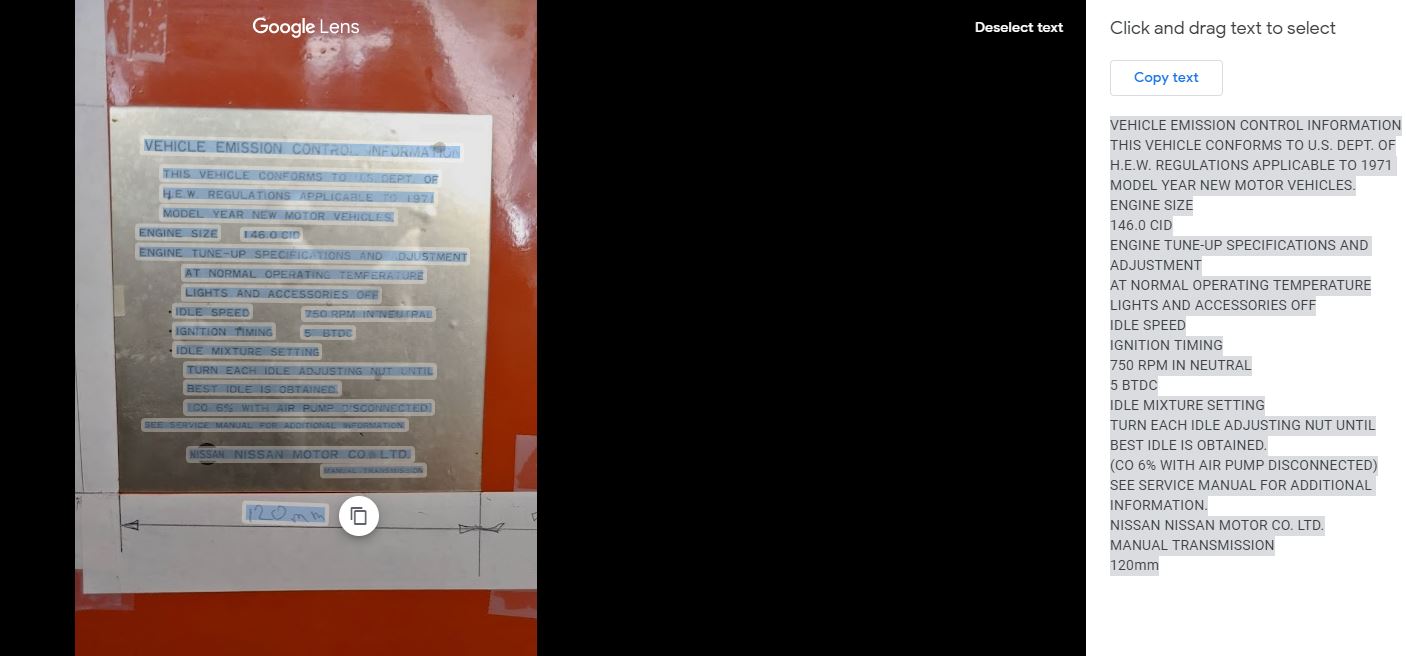
3 points3 points3 pointsI could afford it, but then I'd have to sleep in the damn car after the wife figured out how much I spent on it.3 points3 points2 pointsYou can thank my brother, who educated me on fusible links 26 years ago.2 points2 pointsWhile reviewing the pictures I took of my decals on my computer using Google Photos, I noticed a button on the screen reading "Copy text from image". It's only there if the picture has text. So I clicked the button and found that it uses Google Lens to select and copy the image text to your clipboard. I was very surprised at how well it worked on an image that had glare on it. I will have to learn what else Google Lens can do. This would be very useful to extract the text if you were creating your own decals.
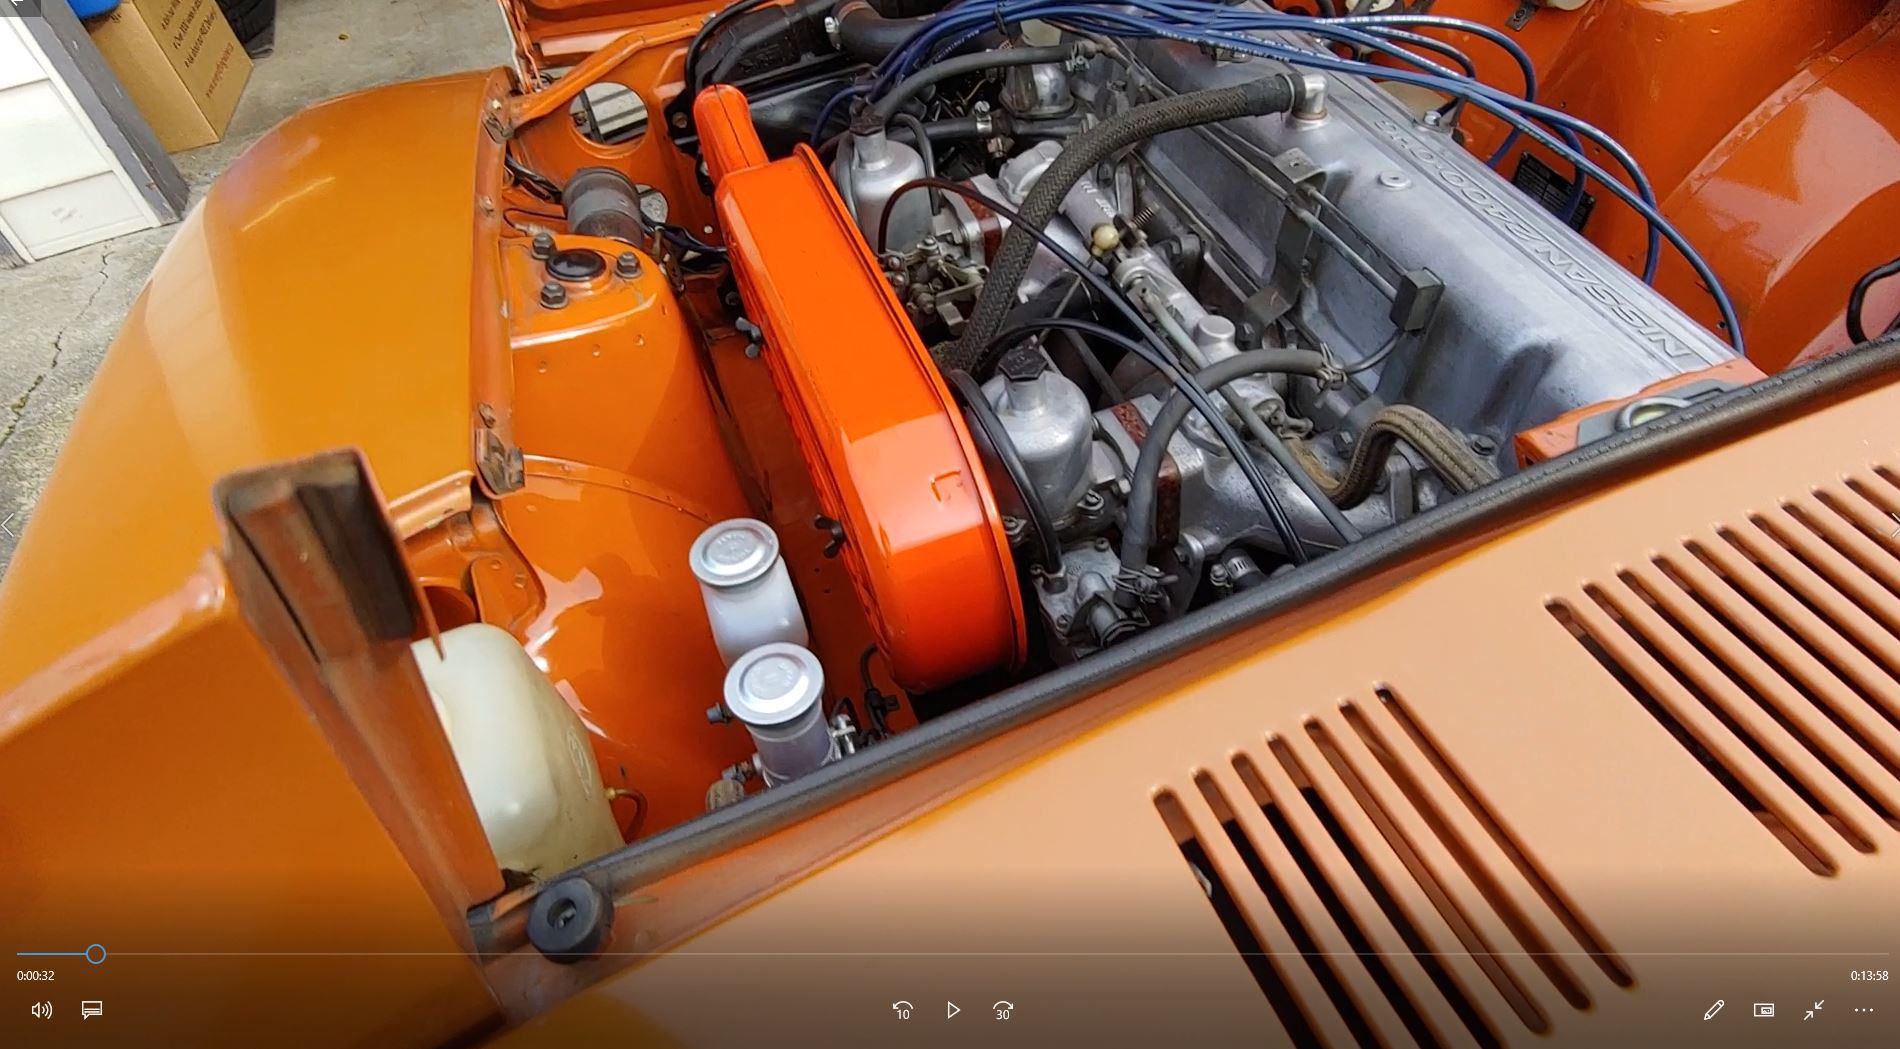
 2 points2 pointsMy 7/70 looks to have similar clearance to the shock tower as yours but my Brake M/C has the bleeders on the opposite side. Here are a couple of captures from a video I did of my car before I took it apart for the resto I currently working on.
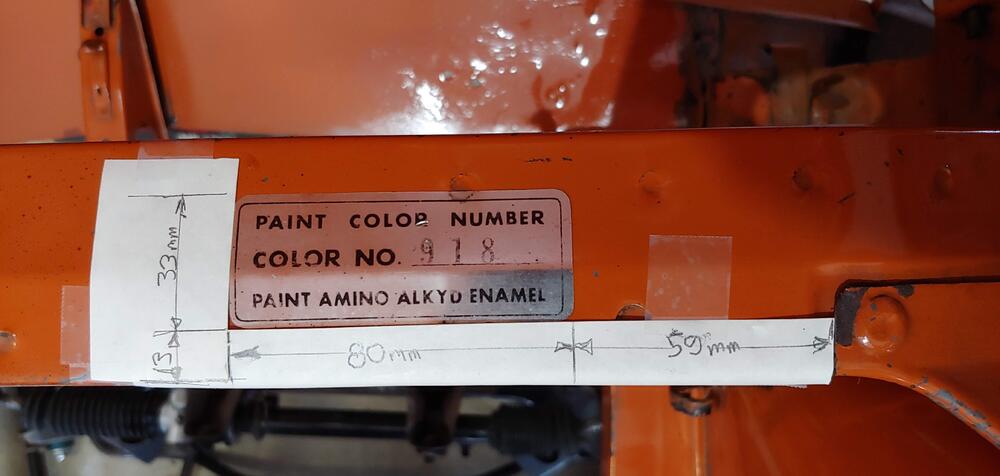
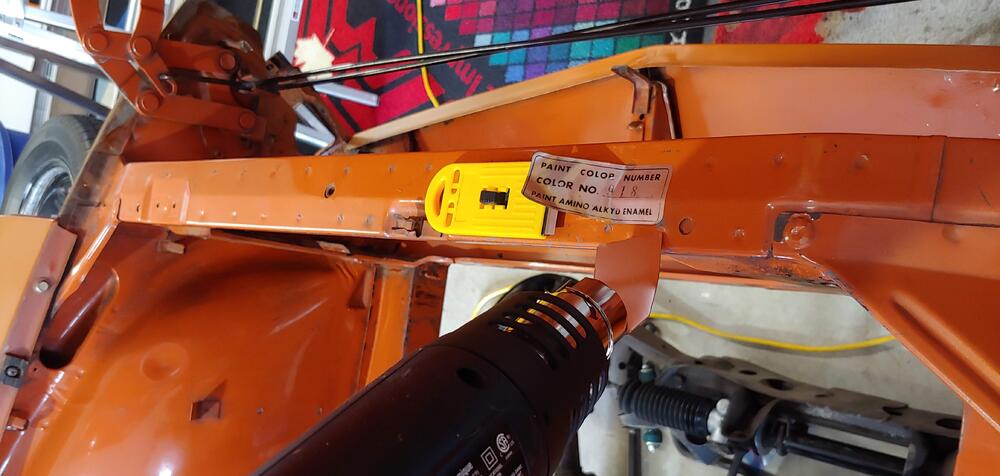
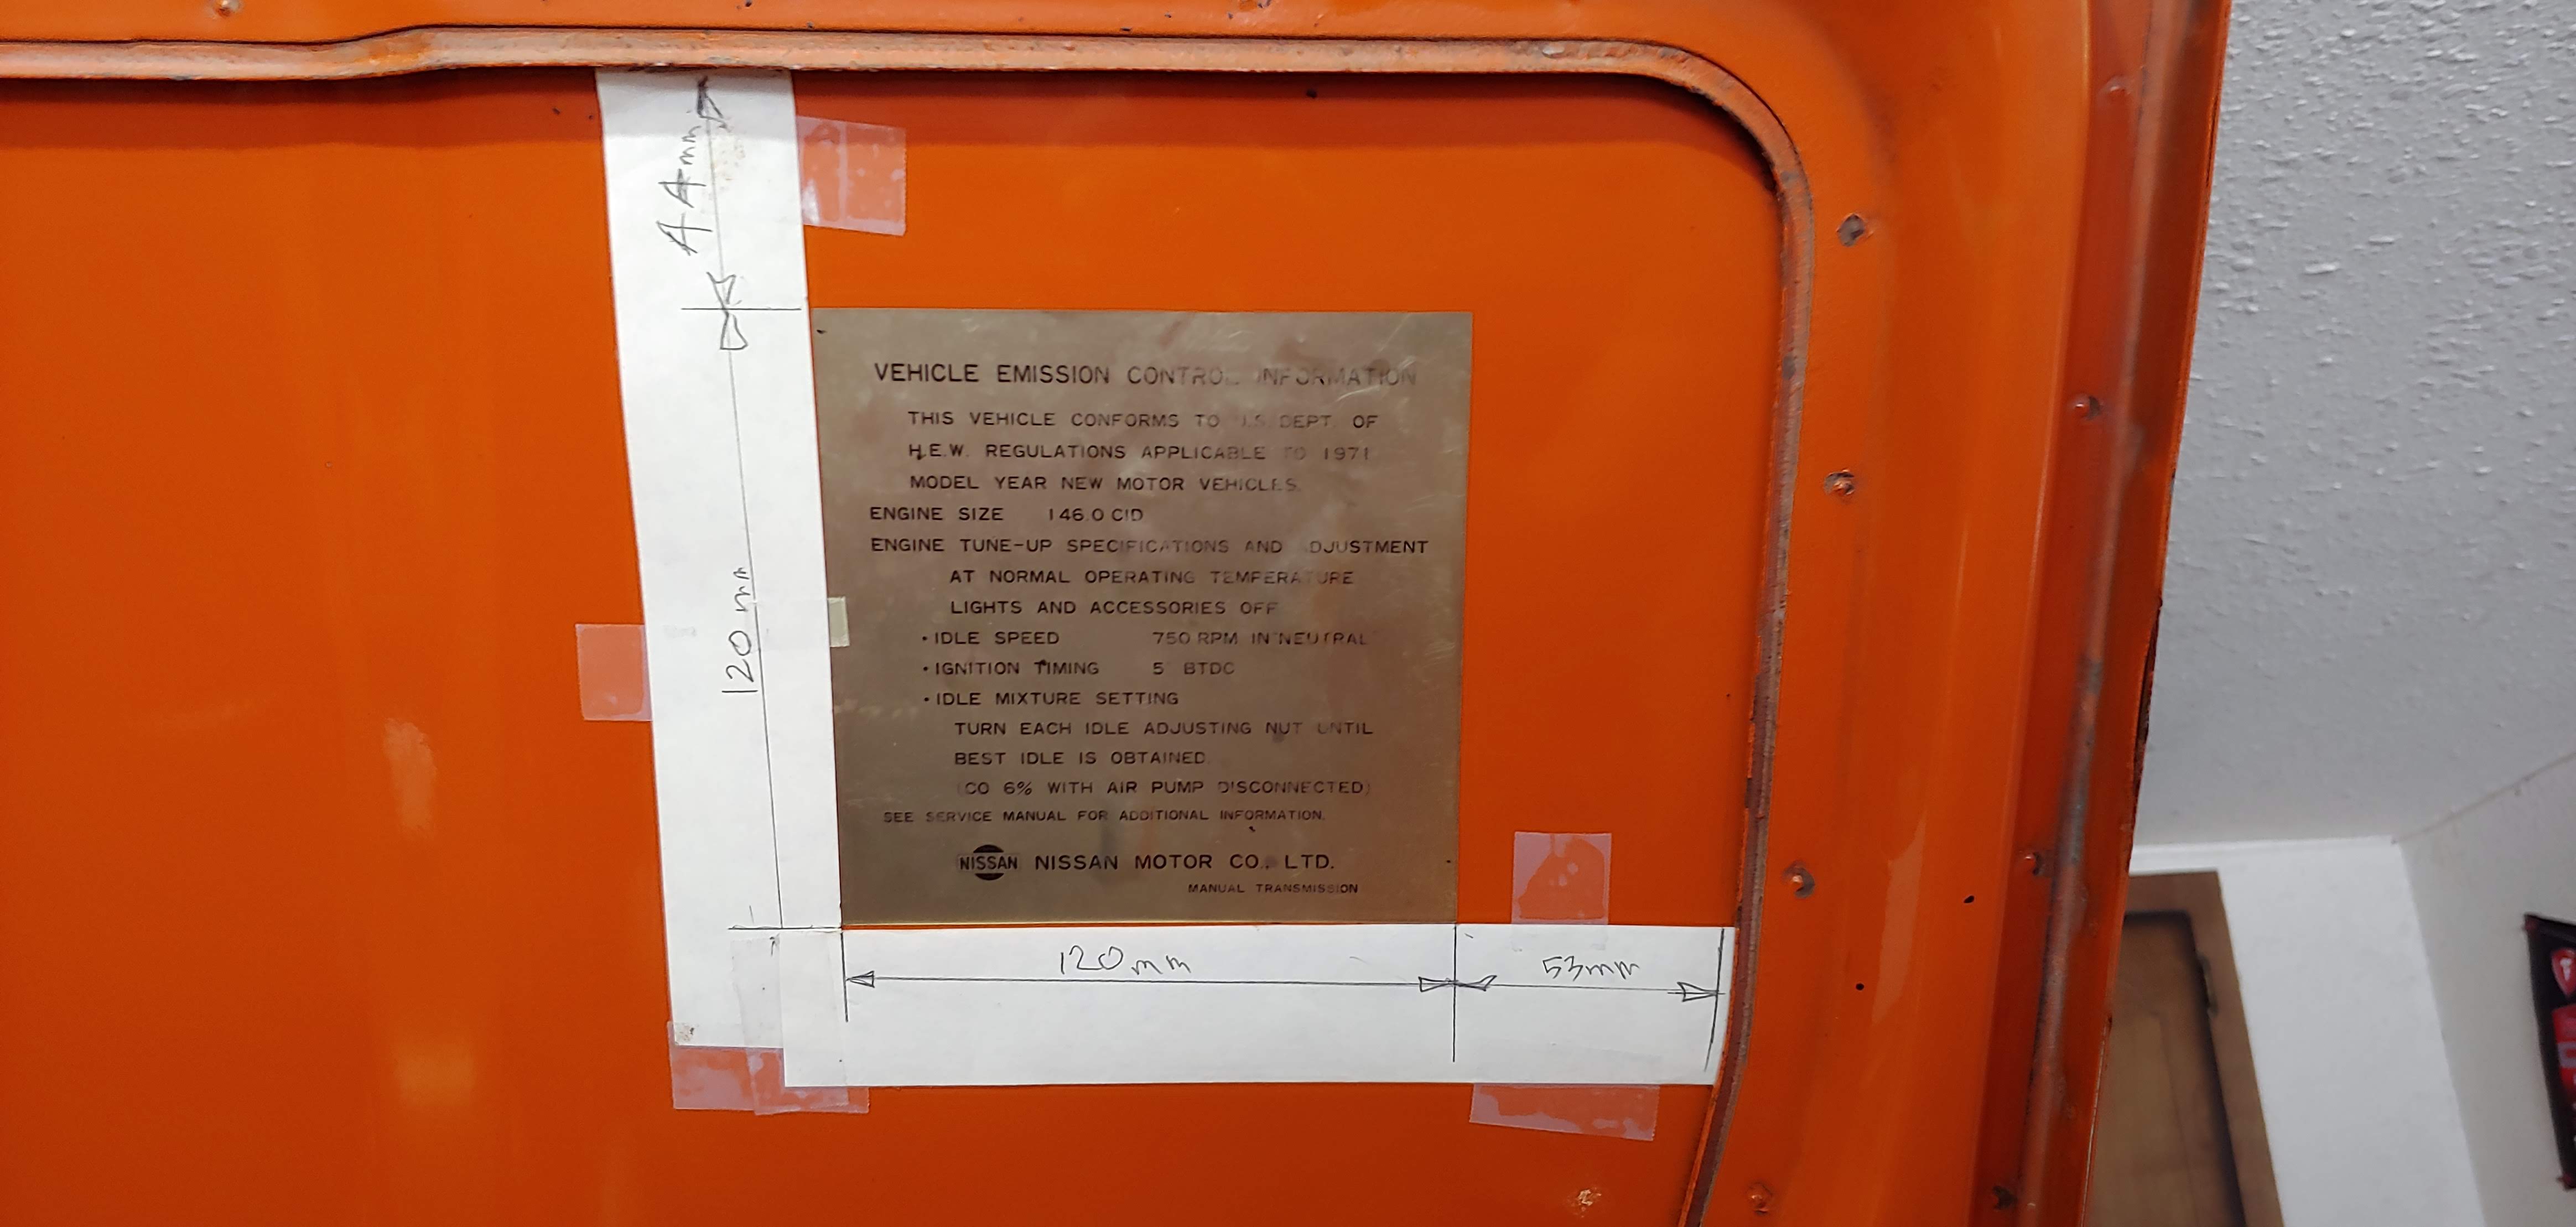
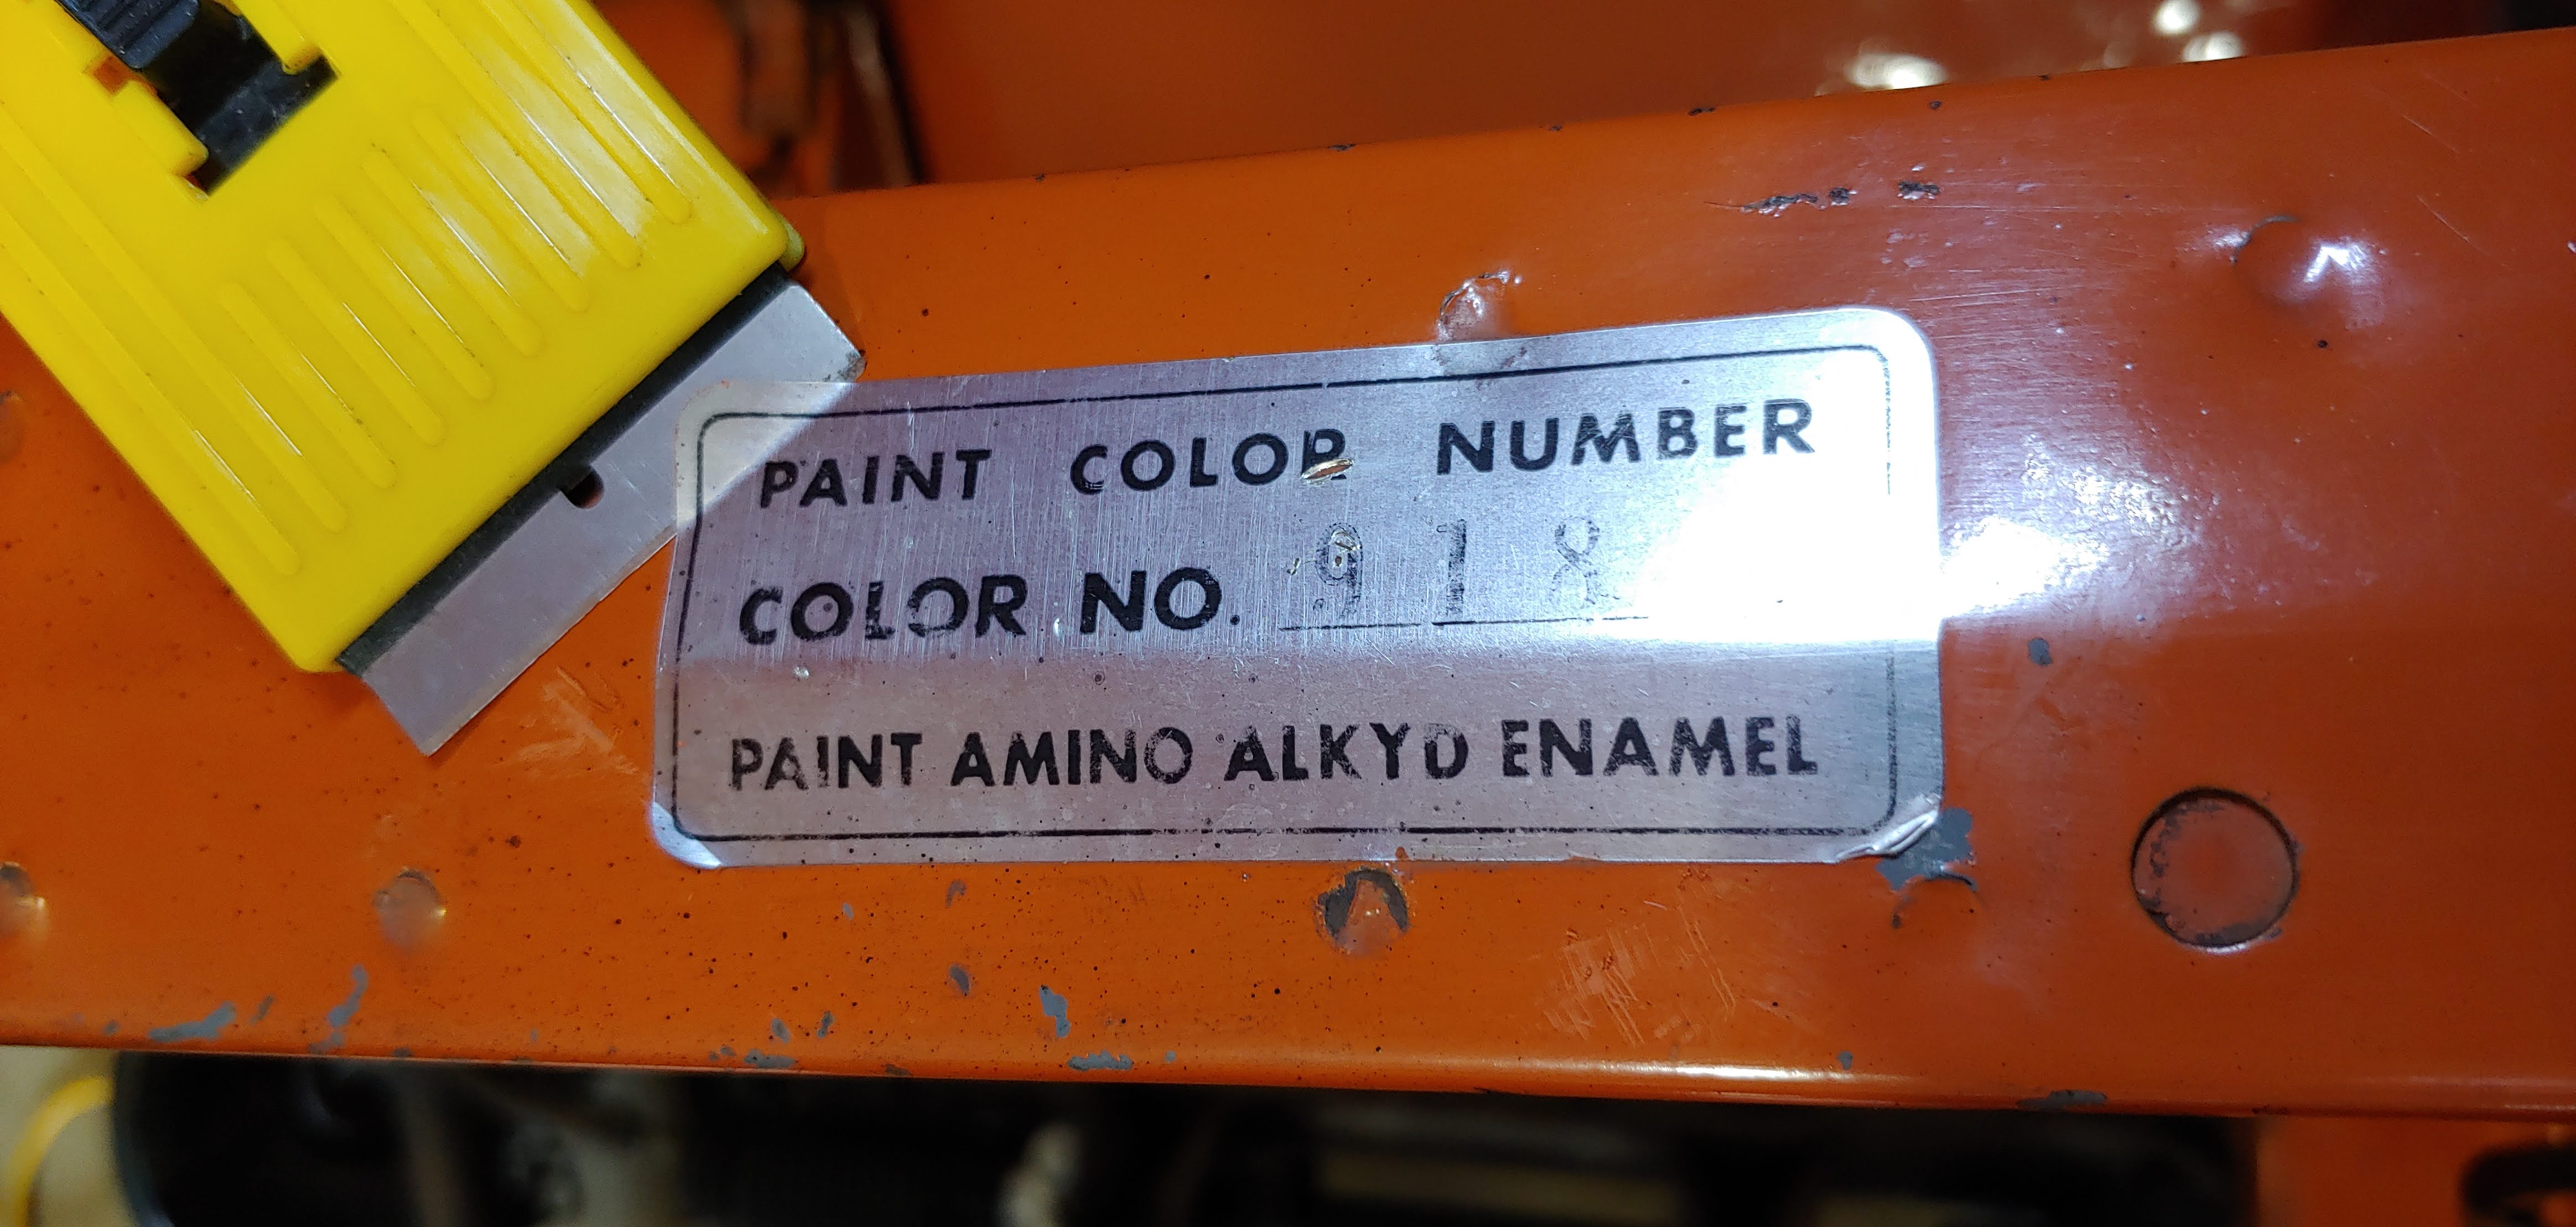
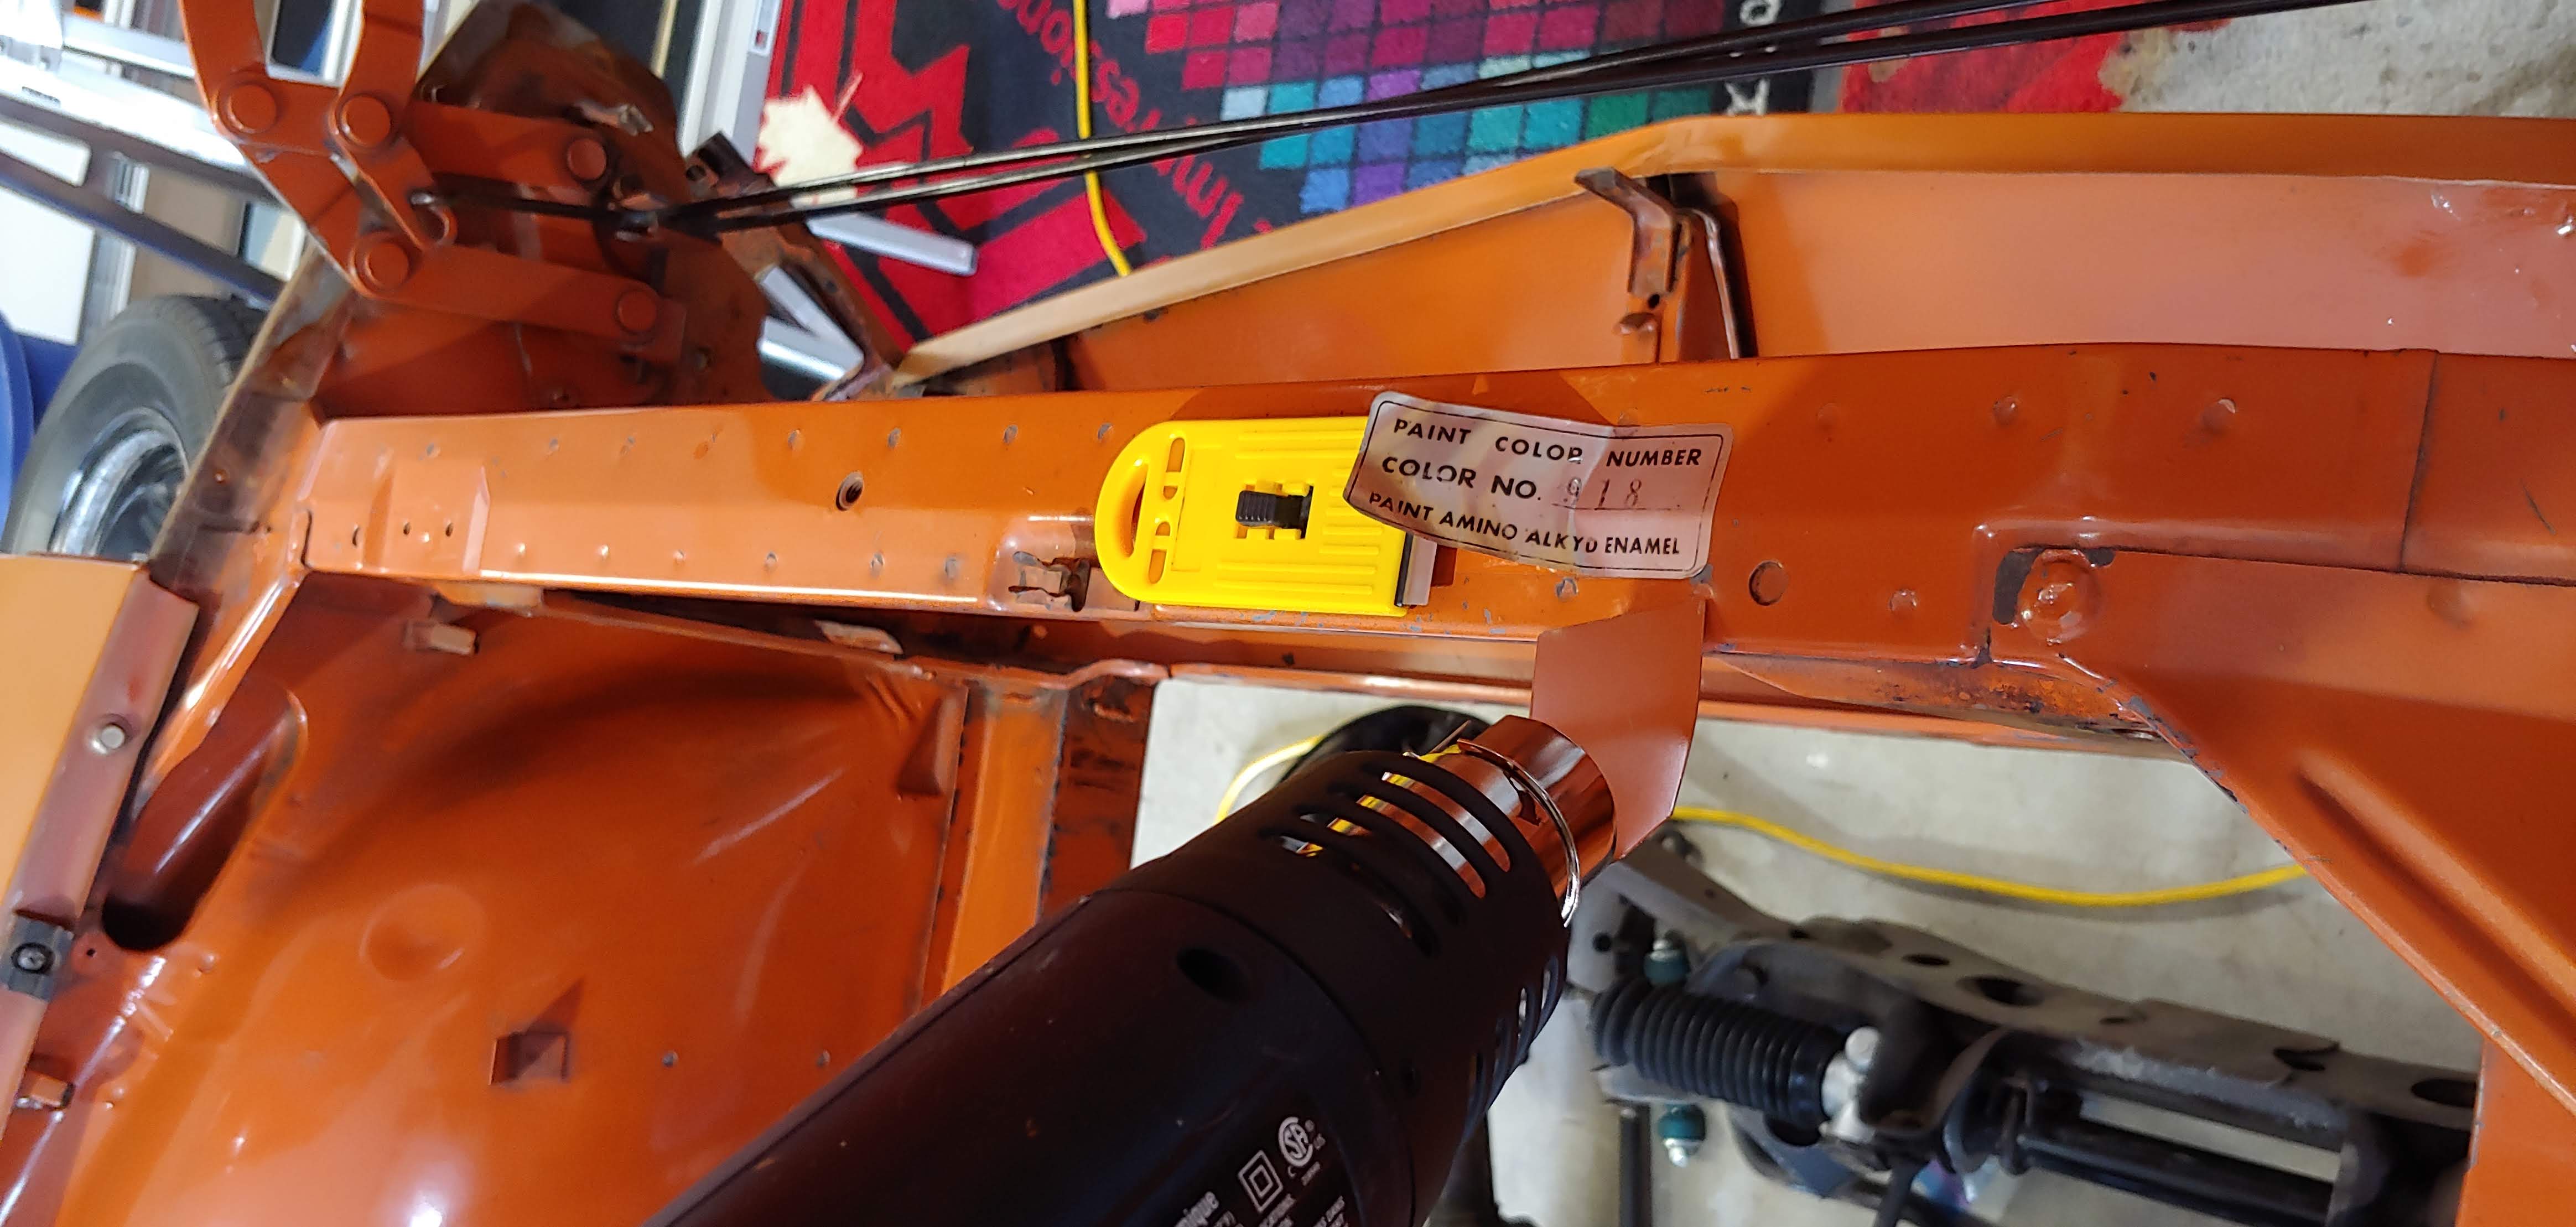
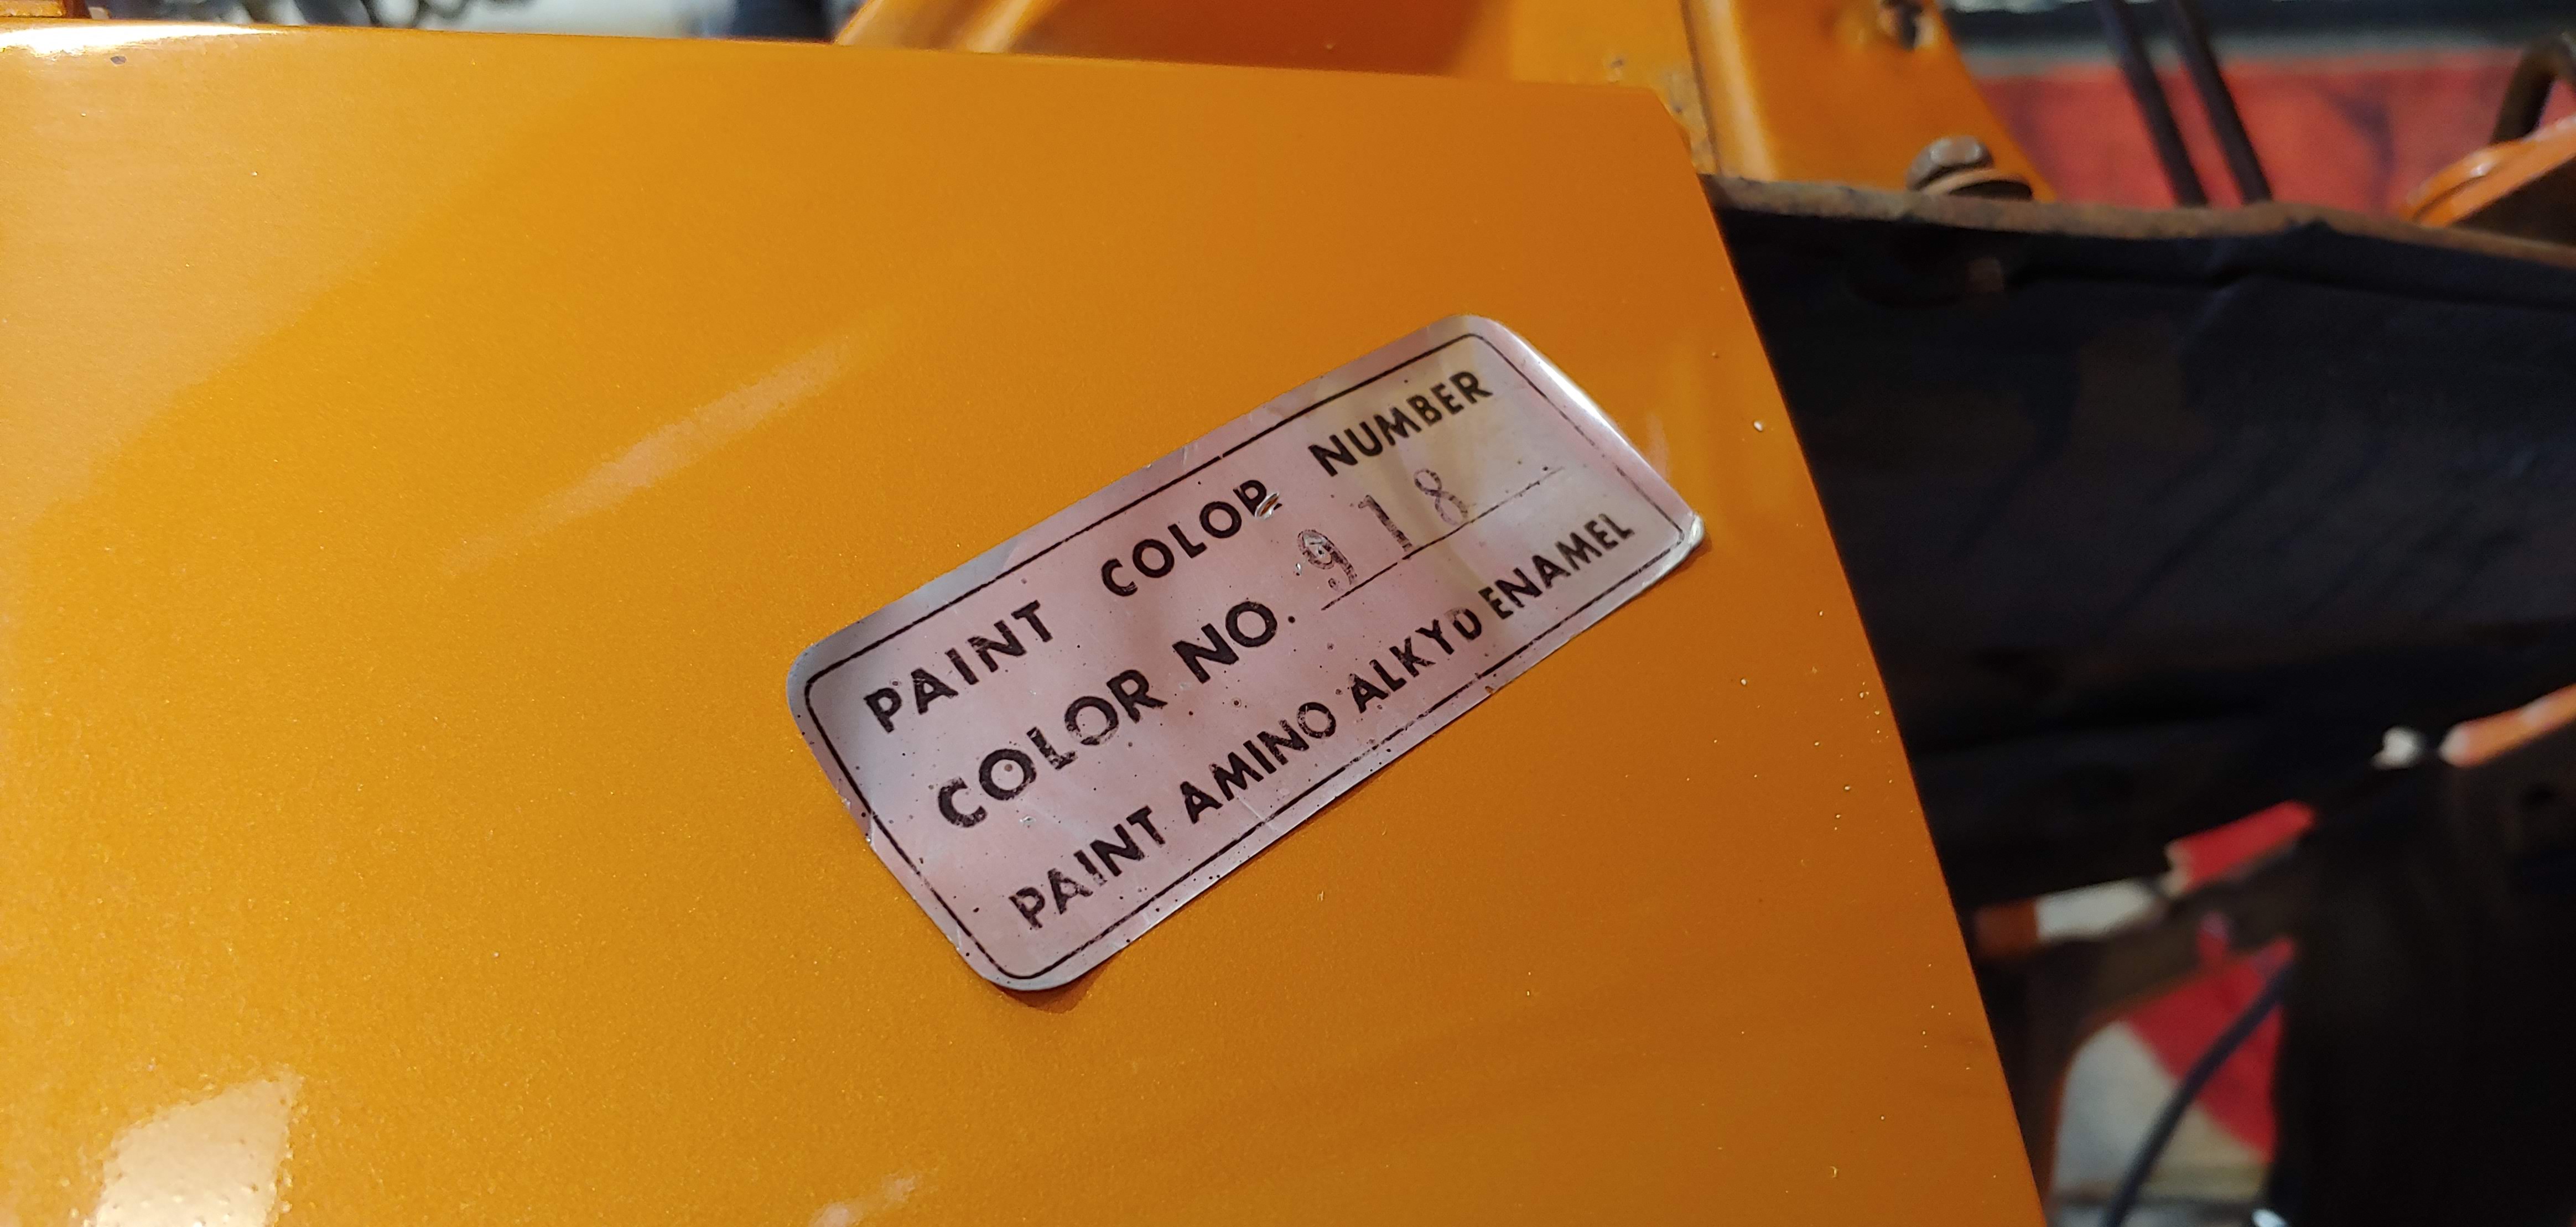
 2 points2 points2 points2 points2 pointsToday I started removing decals in the engine bay. The emissions decal under the hood and the paint code decal from the upper rad support. So far I have removed the paint code decal successfully in one piece. Has anyone reused these decals, I was surprised that this first one came off so good. Before I started I took a couple of pics to document the size and original position. To remove the paint code decal I used a razor blade and a heat gun (on low). First lightly heating the whole decal and then carefully using the razor blade to lift one corner. Then applied more heat and used the blade to continue lifting until I could hold the corner by hand to apply light tension and use the blade to aid in lifting. I stopped every few minutes to re heat and in about a half hour it was off. Hopefully the emissions decal will come off this nice as well. Even if I don't end up using them, they will be good for reference.
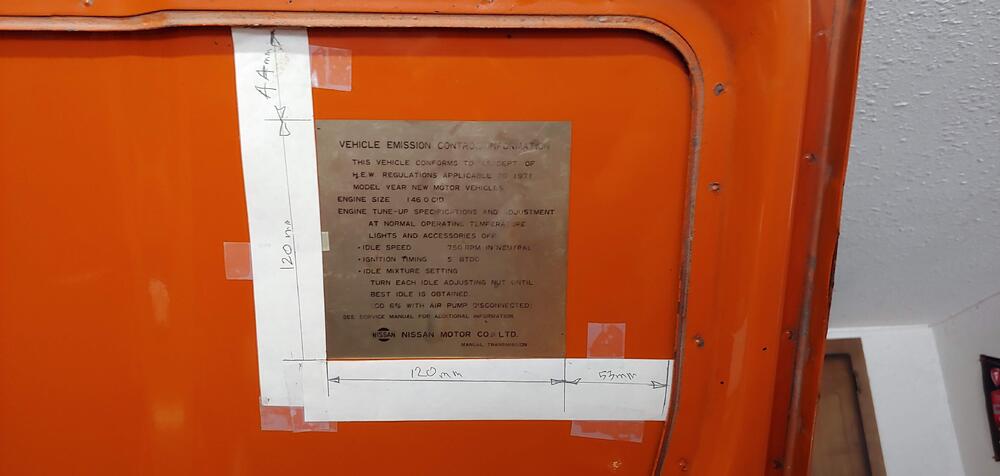

 2 points1 pointhttps://www.msn.com/en-ca/autos/enthusiasts/the-datsunworks-kn20-head-brings-dohc-to-the-240z/ar-AANMlZl?li=AAggFp0 Good thing I sold the car, or I would already have ordered this!1 point1 pointSame reason, you can have air in the master cylinder that gets 'stuck' in there rather than passing into the lines and ultimately to the corners of the car. I ran into this with in replaced all my brake components a few months back. After bleeding the master cylinder I was able to get enough pressure to then bleed the corners and all was good.1 point1 pointJust a quick follow up in case someone is in the same position. I WAS able to drop the tranny without removing the header. I filed down the ear on the transmission to give a bit more room, and then ground a bit more of it off once it was out of the car. This will provide a bit more space upon installation.1 point1 point1 point1 pointThe nice thing about living together with my woman, as opposed to getting married is that she has her income, and I have mine. We cover our joint expenses together, then do as we wish with what is leftover. We agreed 25 years ago when we entered into this partnership that we would do it this way, because the number one thing couples fight over is money. It must be working, as it has been 25 years and we have never argued about money or expenses. Other things that we have disagreed about have always been trivial, and we wonder if the choice we have made about our financial situation has something to do with it.1 point1 point1 pointI be danged! So i am looking closer at my M.C. that came with the car. Image is on other side near fender wall. Looks like you can switch screws and bleed valves to opposite sides? Doesnt it? this would 100% fix my issue. Looking at images of other MC my doesnt look right. The fluid holding compartment, the rear is usually a straight tube. If i cant switch valves around i will buy a new MC and see.
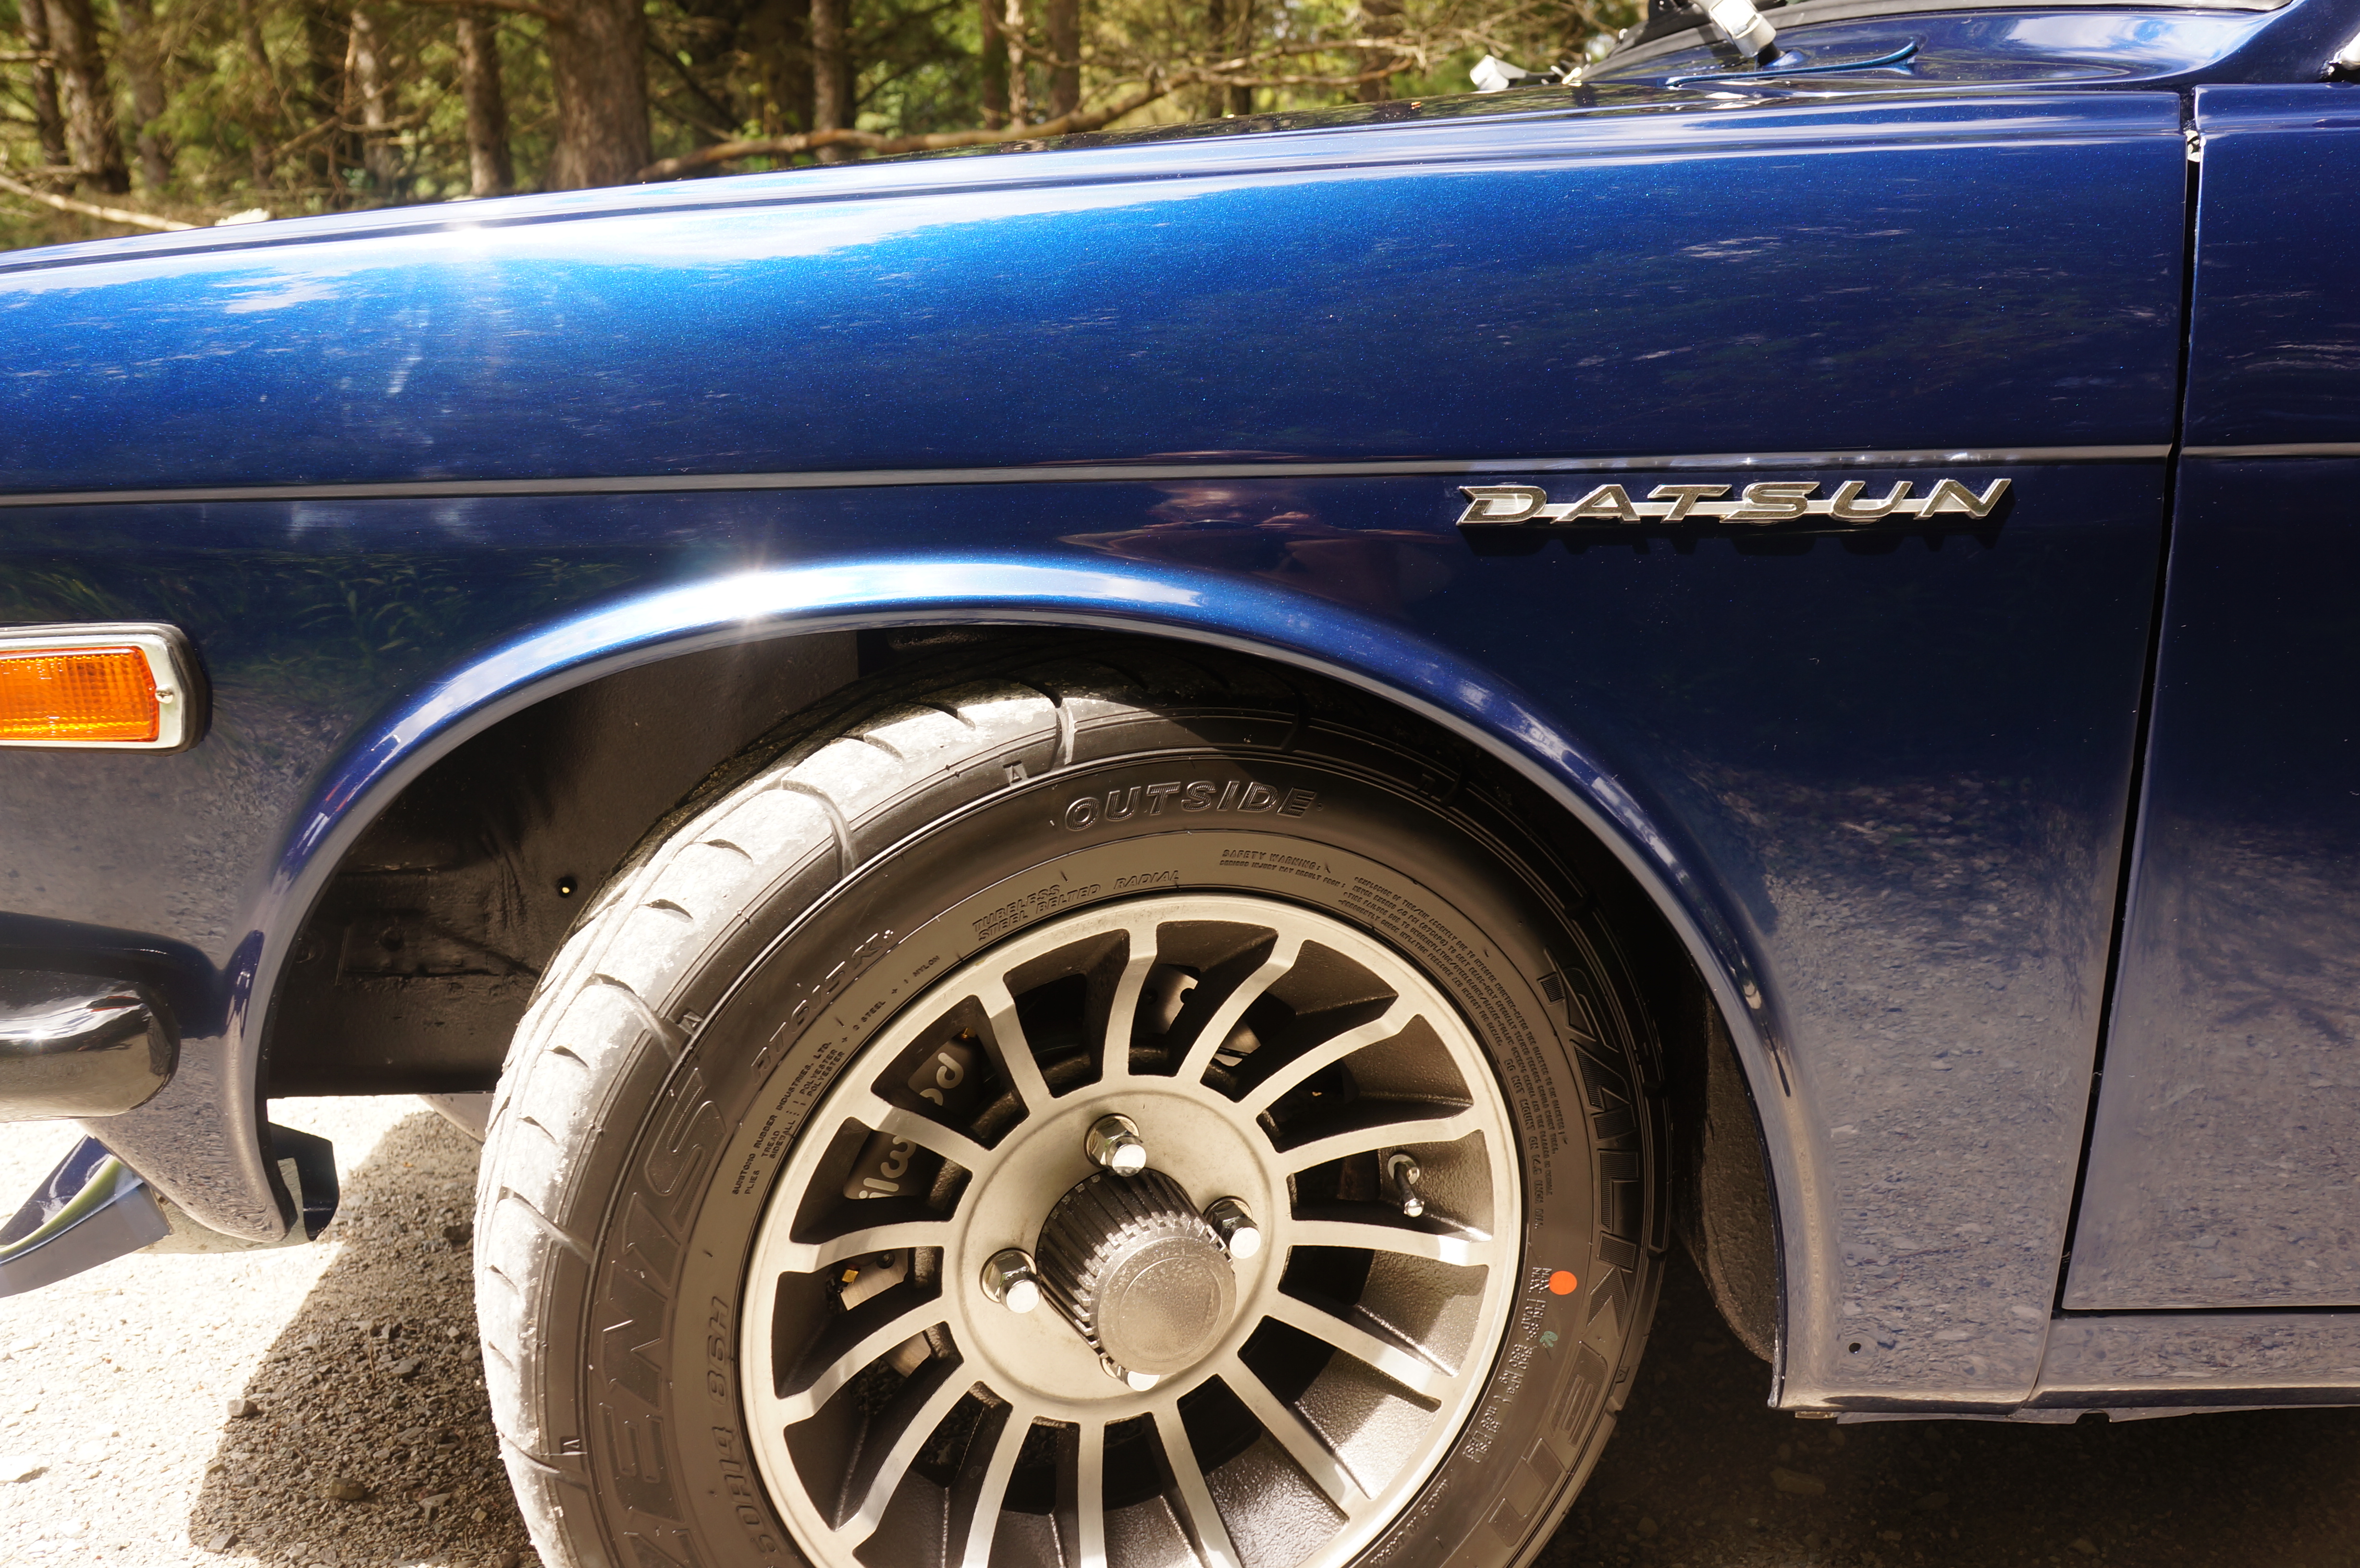
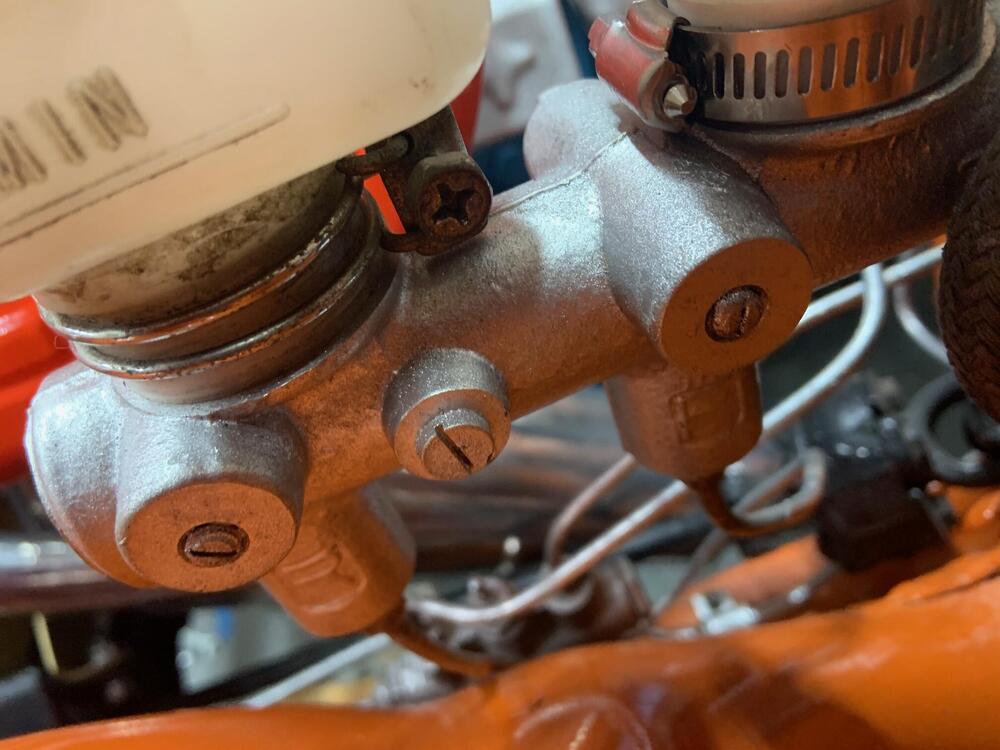 1 point1 pointYesterday I spent a little time to pick up a lot of the tools that were collecting around the car. Today I decided to address the horn issue. I bought some Hella horns, and I took off the first stock horn. After I unplugged it, I noticed the accumulation of 30+ years of dirt and corrosion. I took a wire brush to clean the electrical contacts and tested the horn. It worked just fine. So I put it back in the car. I pressed the horn button a couple of times, and the horn still worked. Okay, so the horn relay is good, too. I unbolted the other horn, and it fell right into my hand after I removed the second bolt. It wasn't even hooked to its wire. D'oh! It's probably been like that for over 28 years. I cleaned the electrical contacts and bolted it back in. After a couple of presses on the horn button, the second horn came to life. Okay, I have spare horns, and tomorrow, I'll take delivery of a spare horn relay. With the horn in working order, I took off the lug nuts and loaded the tires into the station wagon. Tomorrow the wife will take the tires to the tire store where they will be replaced with some Falken Azenis RT615K+ tires, 195/60R14. Yes, I found a performance type tire that will fit on the old Iron Cross wheel. So the old girl rests quietly waiting for the night.
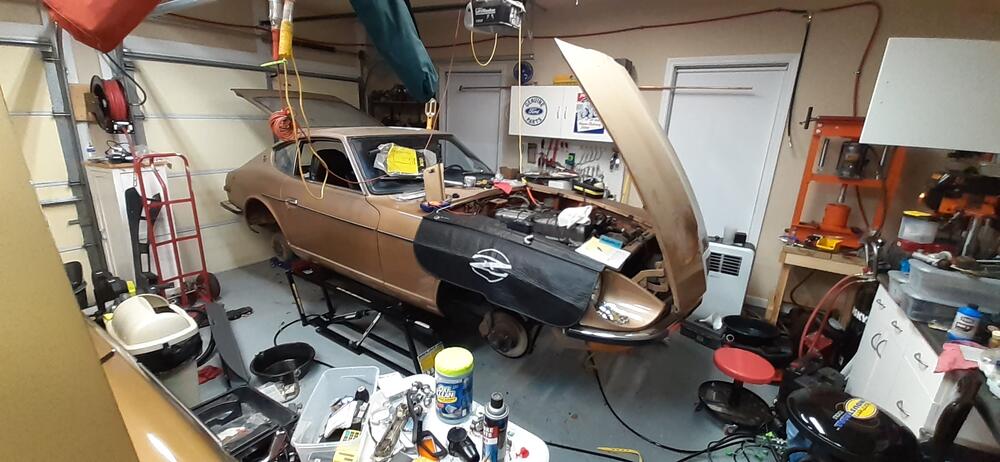 1 point1 pointThe cylinder head has always been the primary bottleneck for power. It is nice its available1 point1 pointBut the nice thing is that it's available. Z Car Garage was seeing 350 RWHP and was still planning on tuning some more. That's what a lot of guys are getting with forced induction.1 point1 pointHappy to report that the emissions decal also came off with no damage.
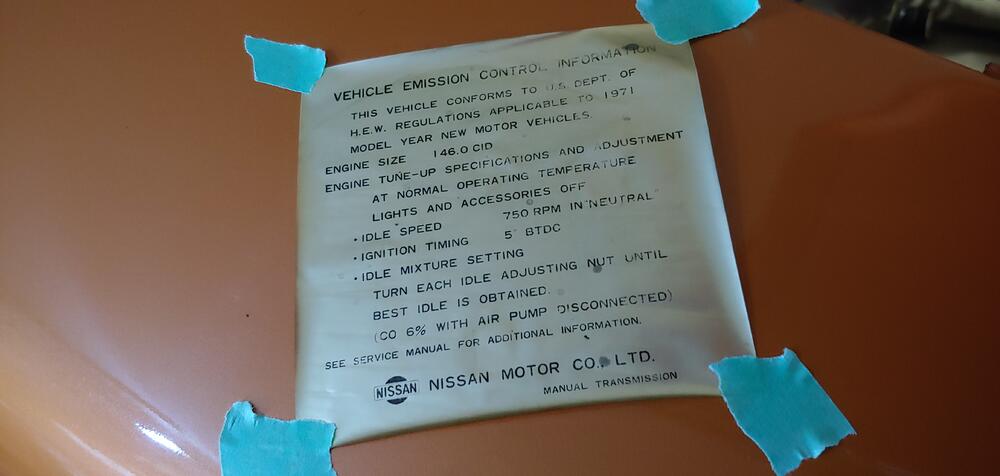 1 point1 pointSounds like your L wire is not providing power to the windings. Check for voltage at the L wire with the key on. A good alternator with no L power will not charge. Actually with an external alternator, it's the F terminal. No F power, No F'ing charging. Check inside the plug with the key on. sometimes the connection canget loose too, so if you find power make usre it's a solid connection to the F terminal. Check your grounds also. The alternator case should have a ground through the monuts but it also has a dedicated ground wire. No ground no charge.
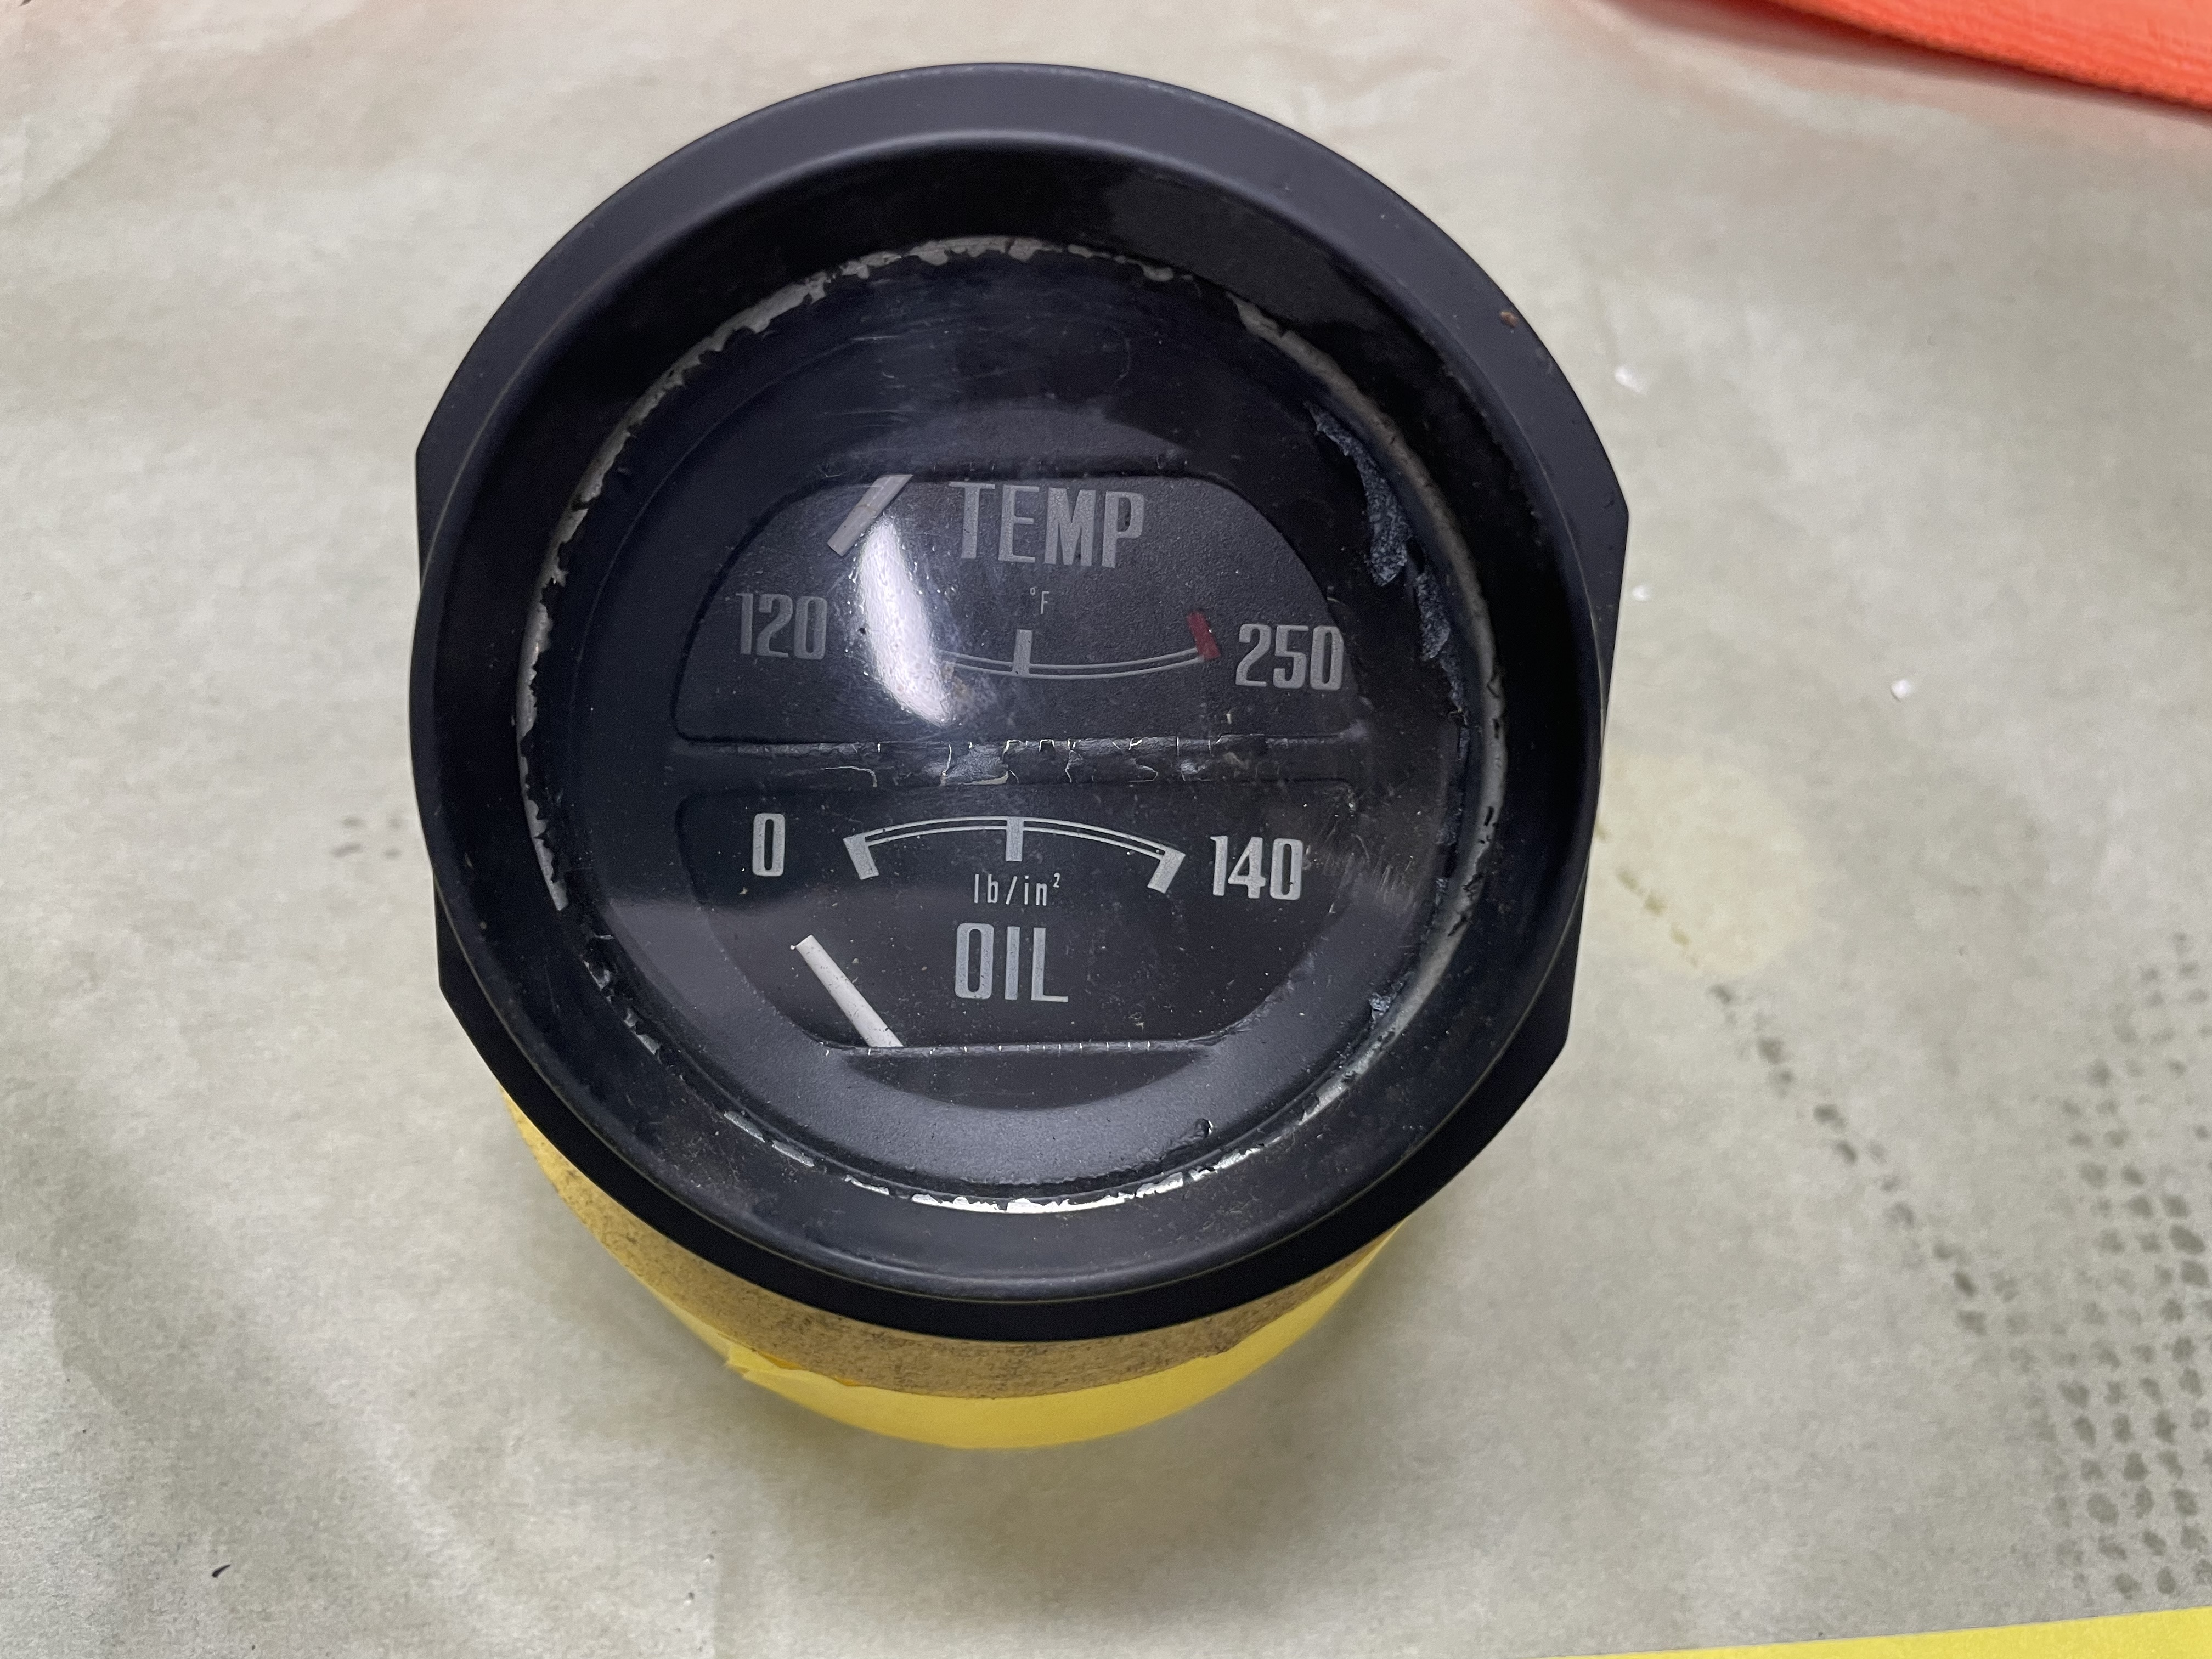
 1 point1 pointIt's a lottery purchase for sure. I'd love to have the disposable income to buy that and have a 8000+ RPM engine built.1 point1 point1 pointCenter gauge restoration complete. Each gauge was stripped down, cleaned, repaired as needed, and painted before reassembly. The dash frame was also completely stripped down and prepped for reassembly.


 1 point1 pointUnfortunately you picked the wrong time to be CDO. (I prefer having the letters in alphabetical order.) 😉1 point


Important Information
By using this site, you agree to our Privacy Policy and Guidelines. We have placed cookies on your device to help make this website better. You can adjust your cookie settings, otherwise we'll assume you're okay to continue.