Leaderboard
-
Terrapin Z
 Subscriber
 3Points1,333Posts
 -
grannyknot
Free Member2Points5,158Posts -
240ZBUILTBYME
Free Member2Points237Posts -

Zed Head
Free Member2Points19,238Posts


Popular Content
Showing content with the highest reputation on 10/22/2020 in all areas
-
2 pointsThe Flukes have a $15 fuse inside to teach you to pay attention to your leads and settings. You get about 8 fries to breakeven point.2 points
-
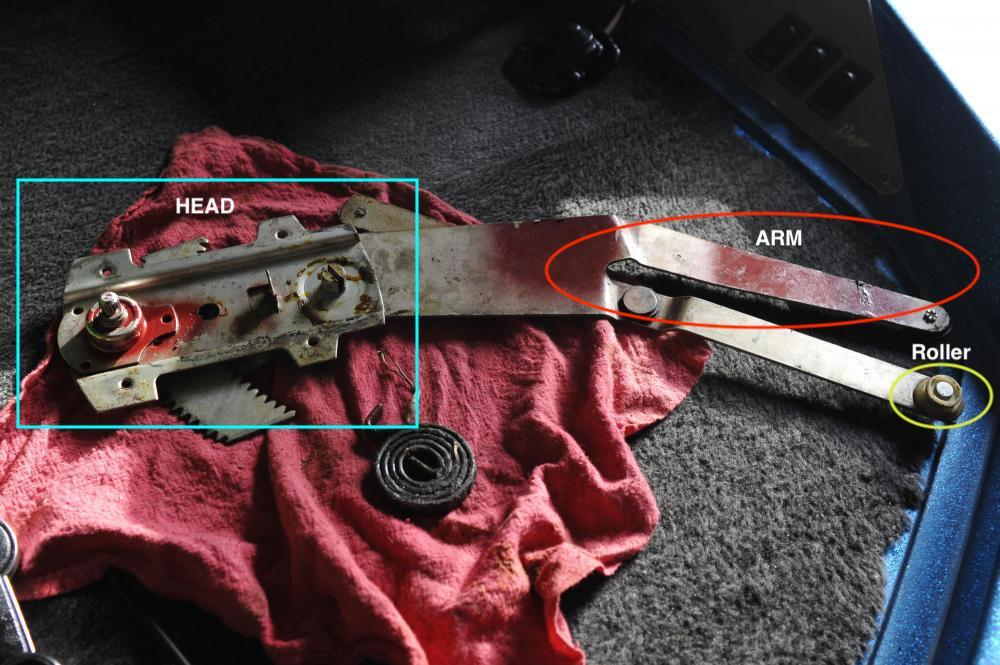
1 pointSee you will be an expert in no time. This is not an easy thing to explain in words. You can look up some You Tube vids on replacing a regulator to help. The FSM has some info to if you don't have one there are downloads on this forum and some other web sites too like http://www.xenonzcar.com To get the spring back wound I disengaged the head and spin it way down, put the spring on and the push against the tension to get it back up to the gear and use the crank to get the gears engaged. You should be able to see where the spring was in the wear marks so you get it on the right way. The red circle marked 'arm" looks like it is bent in this pic. perhaps when you brut forced the handle. This needs to be straightened out if it is bent, it might just be the pic angle. ??? The rollers have that washer behind them like I mentioned earlier. hopefully yours are all intact. They tear and make it hard to roll the window up or down. I have seen some repair kits on eBay for these recently. If you need them. I am not sure you can get this back in right without taking the window out. You could try it. Normally the regulator goes in first with most of the screws in place then the window is tilted into the door and slid back and forth to get it on the guides. I usually get the top two in first then add the small lower one in last The small green one in your pic ^. Then crank it all the way up into the closed position helping it up, and then tighten down the guides. Roll it up and down a few times making any adjustments as needed. Kind of a pain but you can get it with some patients.
 1 point
 -
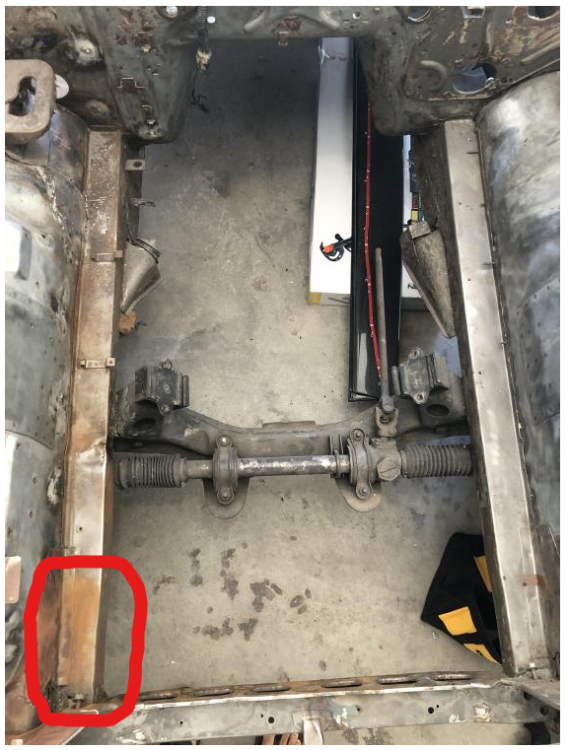
1 pointZeddFindings rails are very good. I have installed a set on my car. However, they do not incorporate the slight bow near the radiator and this did cause some small mods to be made. See the pic of what area I'm talking about.
 1 point
 -
1 pointWot he said!!! [emoji115][emoji115] ^^ It won’t be fuelling as the other plugs fed by the same carb are fine. Also all your plugs except the oily one look too lean to me (but that means nothing as it could be that you just have a lean idle but good on WOT). Having said that, a lean idle is a hot one and will cause you other issues not related to this. I am of the very strong opinion that you have oil coming down your valves or past a point on your head gasket. Once my” professionally” rebuilt head by a UK “specialist” came off, we found that one of the head bolts was not put in properly and oil was going down the bolt, feeding oil nicely into 3&4. Do you get any blue smoke out of your exhaust? On my engine I found that if I let it idle for a while then blip the throttle, I got a lovely puff of blue. Typically that is head related not ring related. Check your valve clearances, check the torque on your head bolts and look to the valve seals / guides as a potential cause. Look at the plug on no. 4 in this pic compared to the rest!! Then look top right from no.4 and you will see the oil around the offending head bolt hole.1 point
-
1 pointI had to learn all about the inside of both doors when I had the car painted. Every thing came out and was cleaned and repaired. Getting them back in line wasn't too hard but I did have to fiddle with it for a while. There are some plastic washers behind the regulator rollers that get damaged and can bind up as well, making it hard to roll up or down. You might need a small mirror to see all of them while in the door. Those mirrors do look like the rally mirrors. You can see a few sets on eBay here https://www.ebay.com/sch/i.html?_from=R40&_trksid=p2047675.m570.l1313&_nkw=240z+rally+mirror&_sacat=0 there might be a stamped 40202 under the pivot part (some bay pic's show that too) Looks like they had a seal and bracket that went inside the door. Were yours just sheet metal screwed on the the shell? The stock mirror is still available from Nissan and also had a bracket inside the door. We await your update....off to work now.1 point
-
1 pointI think.. someone bought a new engine (with the message: no oil in this one) and installed the cover of the replaced engine and now the new engine's cover was obsolete.. and has that sticker still on. Aitoku is a firm that deals in engines probably? btw. my 1979 280zx has also a yellow flaky valvecover, it's still original.. nothing done to it yet.. (if you ask me these were coated with some blank paint)1 point
-
1 pointNo worries mike just amazing to see what a looked after and loved car can look like after over 40 years. After you’re done it will see out it’s next 40 years easily. Thanks for your feedback on the videos mike, appreciate it. Please do comment on the videos with any advice you have for me, great to know experienced z enthusiasts such as yourself are watching and ready to guide this padawan learner.... ryan1 point
-
And here is the total progress for the week, it’s not much but it’s something. First frame completed for the chassis jig, this will bolt into the front sub frame holes, still need to add some angle for the bolt points. (Hope @ConVerTT is proud his design is being replicated across the globe) This took me about 1.5 - 2 hours. It’s the second time I’ve welded and the first time I’ve done any metal fabrication on my own. My main goal was to keep it square. Had to cut out and reweld a few times due to welding/tacking in the wrong sequence which pulled the frame out of square. What I learnt was: - tack on opposing sides so they pull against each other as they cool - weld the fillet weld t joins before you weld the flare bevel welds (where the beveled corner meets the cut edge on a t join) -when welding the flare bevel weld work mainly on the bevel corner edge and work back into the straight edge occasionally or you blow holes. Also lay flare bevel welds flat so they are facing up, so the molten metal falls into the gap. Not sure if this all makes sense, it does in my head... - tack the whole frame together before you do any full welds Came out square! I’m stoked, next few frames should go heaps quicker. Ryan1 point
-
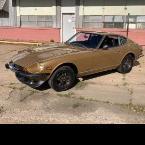
1 pointAlmost sounds like you may have over turned the drive gear in relation to the driven gear in the regulator. Once those separate the spring makes it a little hard to reengage. As 7tooZ said pulling up on the glass while turning the crank might work. But if you disengaged the gears you might have to disassemble the whole thing and re-set it all from scratch. It is a little challenging but it might be the best option. I'm just not sure if you (a) separated the gears, or (b) if you did, can get them back in line while still in the door. I really can't tell much from the pic's But if the handle can spin without moving the window the gear might be separated. IMHO Again like 7tooZ says not the end of the world, it can be fixed. The 240Z did not have a passenger mirror, is this an add on of some sort? or a 280Z?1 point
-
The heat shield under the EFI intake are 8x1.25. There are no M8x1.5 threads anywhere on a Z. The four SU heat shield bolts are M6x1.0. 3x0.5 4x0.7 5x0.8 6x1.0 8x1.25 10x1.5 on the block 10x1.25 any suspension 12x1.25 and a few 14mx1.5, M16x1.5,. 20x1.5, 22x1.5 for good measure A few oddball SAE. Seat belt bolts, ;hood bumpers, door lock buttons, blah blah blah And stupid tiny choke knob that are M2.5 or something silly1 point
-
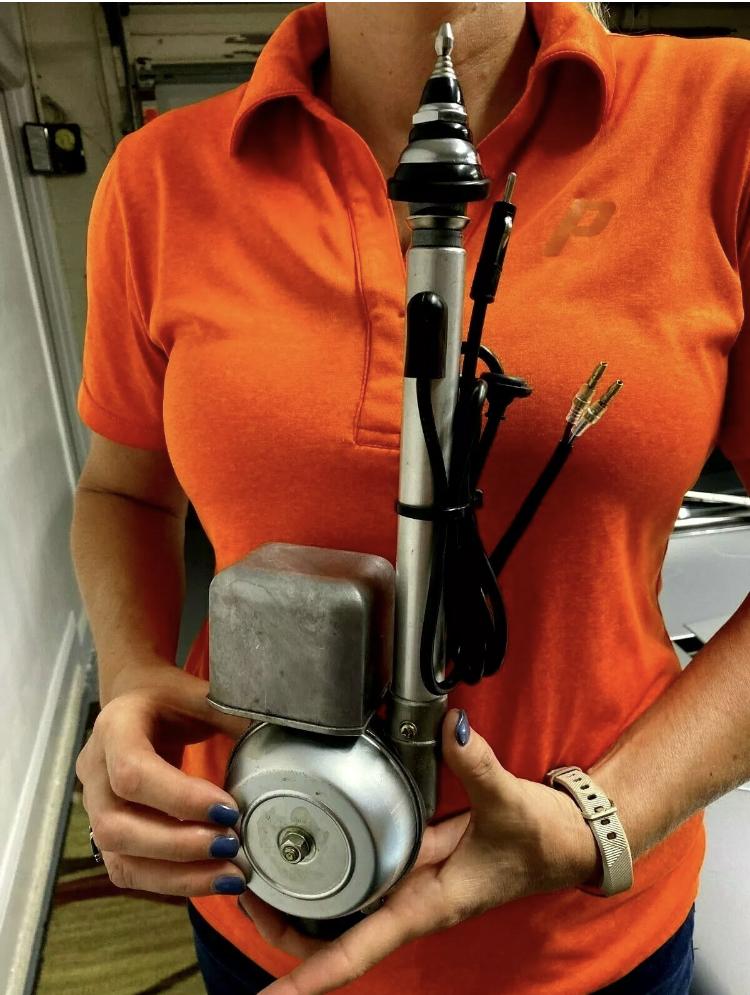
1 pointBut then there is the other school of thought that says buying a $30 unit is better because if you fry it it's no great loss. I have a couple cheap units as well as a Fluke 177. I use the Fluke mostly for ohms testing/measuring.1 point
-
Poor guy, he didn't get enough attention when he was young.1 point
-
1 pointMike, When you get close to needing a fuel pump, let me know. I have a rebuilt one with all new internals. I have one more rebuild kit so I would like to have your old one, or I can just sell you the kit. Dan1 point
-
1 point
-
1 pointThanks Ryan, I appreciate the kind words. Mechanically most components are in good shape, so it will mainly be a clean and re-assemble effort. I do have a few oil leaks to deal with and the fuel pump will need to be replaced. I will have to do lots of plating and source a few parts, like a mirror and shock tower vinyl, but most parts are reusable with a little elbow grease and some painting. I am lucky that my car has been kept mostly stock for it's whole life and retains virtually all of it's original parts. It is fortunate that most hard to find items, like the dash, console, early radio are in good to very good condition. Also electrically speaking my car has very few issues, mostly good except for the very intermittently working clock. I have really enjoyed the videos you have been posting in your build thread and seeing the progress. Cheers, Mike1 point