


Leaderboard
-
five&dime
Free Member4Points1,046Posts -
jfa.series1
 Subscriber
 4Points2,733Posts
 -
Patcon
Subscriber4Points11,142Posts -

Zed Head
Free Member3Points19,236Posts


Popular Content
Showing content with the highest reputation on 03/10/2020 in all areas
-
In todays market that is no longer a parts car4 points
-
3 pointsTook the skyline over to my dad's (Diseazd) for a family photo. Missing from the photo is my Z31, his Z32 300zx and his NSX. Was definitely too bright out but it was the only time we had.3 points
-
The tires have tread. Might be 200 - $400 right there, depending on date. Drums, disc brakes and rotors. Engine. It could sit in a garage and be dream fodder.3 points
-
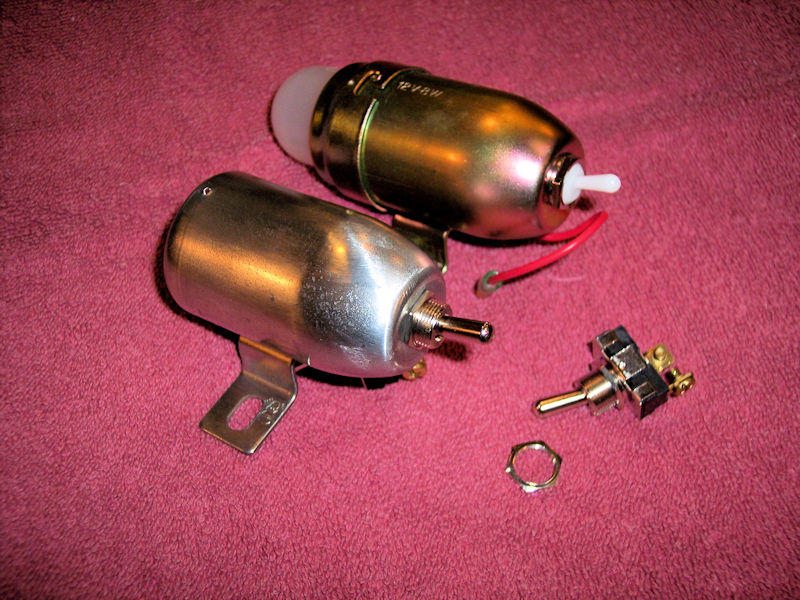
3 pointsI think we have a winner! Here is the new switch installed in a light body, pictured with a NOS unit for comparison. No interference inside when installing the switch. The bat (toggle) is larger and the bushing extends further out of the body. The exposed bushing length can be adjusted as there is a hex nut inside the body for that purpose and one outside to lock it in place. I plan to have the hex nuts yellow zinc plated and will paint one of the switches to more closely resemble OE. Stay tuned to this station for continuing updates.
 3 points
 -
2 pointsThe purpose of firing the spark before TDC is to get max cylinder pressure at the optimum point - I believe I read that the maths works out at about 22 deg ATDC is the optimum point. If combustion was instant, then 22 ATDC would be the spark timing, but combustion takes time and so the ignition is started at the appropriate time before hand. Since the speed of combustion is reasonably constant, as engine speed goes up, you have to start ignition earlier. I.e as the engine goes faster, you need more degrees of rotation for the time it take for combustion to reach its peak at 22 ATDC. So that's why the advance curve is set to give about 15-20 advance at idle and 30-35 at 3000 rpm. The question then is, why not keep advancing the ignition timing after that? The speed of combustion is still pretty constant and the engine is getting faster.... And I think the answer is something to do with by the time you're igniting at much more than 35 BTDC, the amount of cylinder pressure you've developed while the piston is still rising becomes significant and a problem (detonation) , so you have to compromise and accept that peak pressure must come increasingly after 22 ATDC as the engine speeds go up beyond that.2 points
-
2 pointsThe grease used was general purpose wheel bearing grease from Canadian Tire. Lucas Red "n" Tacky or Wurth SIG 3000 are good to have in your garage. Just make sure all moving parts are sliding smoothly, especially the vac advance parts. Also ensure the two springs are in good shape. Some rust and fail.2 points
-
2 pointsJSM.....They all are a joy to drive....the silver and green cars have Stroker 3.1 Motors.....hard not to climb into one of those when I need a little lift!2 points
-
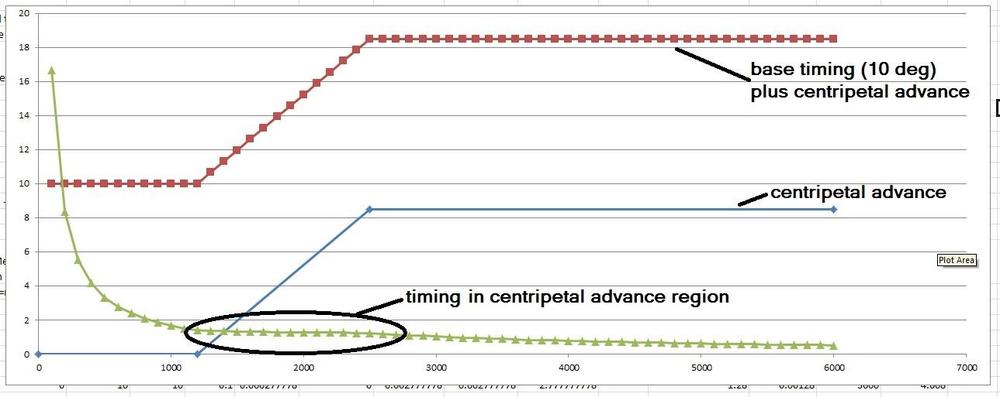
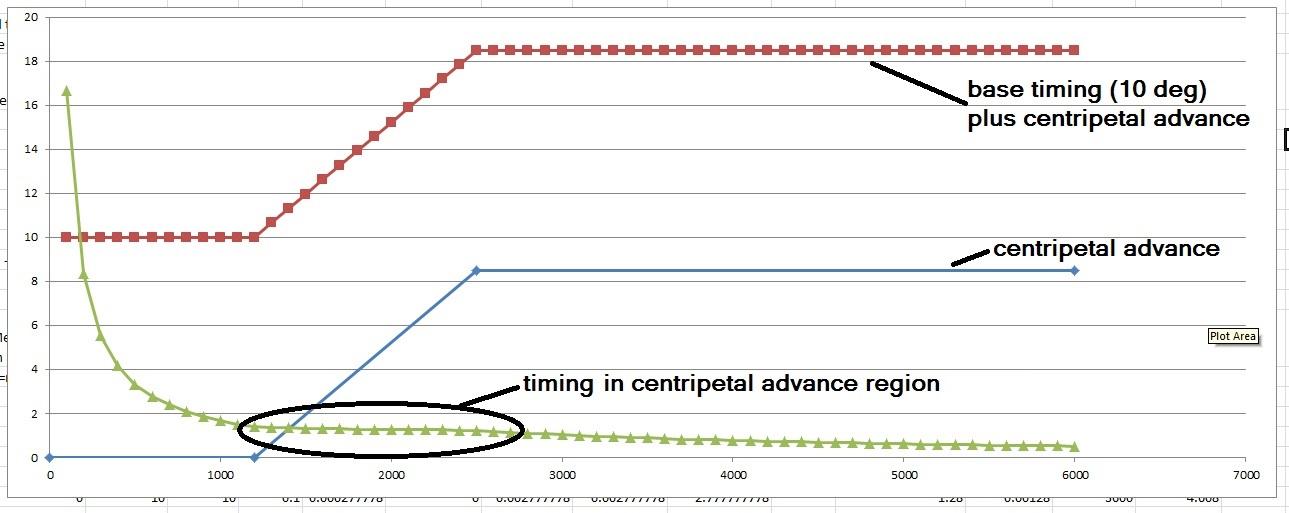
So the recent chatter about timing and distributers has me thinking. The stock distributors include a mechanical (centripetal) advance function and the spec varied some over the years, but as an example here's the spec for 77: 0 degrees at 600 distributor RPM (1200 RPM at the crank) 8.5 degrees at 1250 distributor RPM (2500 crank) There should be no mechanical advance below 1200 RPM, then start ramping up to a max of 8.5 degrees by the time you reach 2500 RPM. Once above 2500 RPM the mechanical advance is topped out and holds at 8.5 degrees all the way up to redline. Specs like this are given in degrees because that's what can be measured and that's what you can see with a timing light. But if you convert the timing specs from the angular domain (degrees) over to the time domain (seconds), it looks like this: At 1200 RPM, the engine is spinning at 20 rotations per second. At 20 rotations per second, each rotation takes 50 milliseconds. If each rotation takes 50 milliseconds, each degree of rotation (out of 360) takes 139 microseconds. So at 1200 RPM, the 10 degrees of base advance provide about 1.4 ms of advance. Doing similar math, if the engine is spinning at 2500 RPM, then each degree of rotation takes 67 microseconds. The 18.5 degrees of advance (10 base + 8.5 centripetal) provides about 1.23 ms. If you go through all the math and plot the results, you come up with something like the following. Notice that the advance value where the centripetal advance is active is relatively flat, but then the advance falls off above that once the mechanical advance has topped out: Studying the numbers, I come up with a relatively constant average of about 1.2- 1.4 milliseconds of advance in the centripetal advance region. So my question is.... Why didn't they continue to advance the centripetal timing above 2500 RPM? Is that just a limitation of the mechanical functioning of the distributor? They just couldn't get the springs, weights, slots, etc to swing a wider range all the way up to redline? Isn't necessary for some reason? Or wished they could have, but just couldn't come up with a cheap enough way to do it?
 1 point
 -
1 point
-
I raced my Z at Thunderhill Raceway, and found a bunch of stuff that i need to iron out before the next track day.... 1. clutch chatter when taking off from a stop 2. Temperature switch does not turn on as advertised.....(fans never turned on) 3. Apparently the Temp Gauge / Oil pressure reading indicates an increase in both.... if i turn on my headlights or the fans kick on. Maybe grounding issue? 4. Alignment + tire balance to get rid of a shimmy. 5. maybe make a towbar for easier / more comfortable drives out to the track....1 point
-
1 point
-
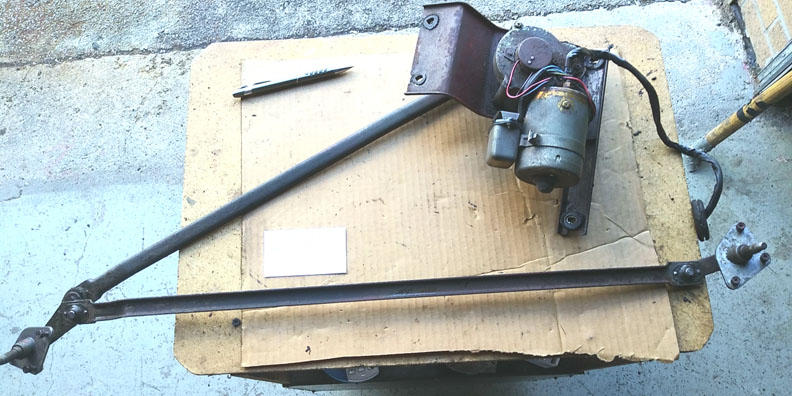
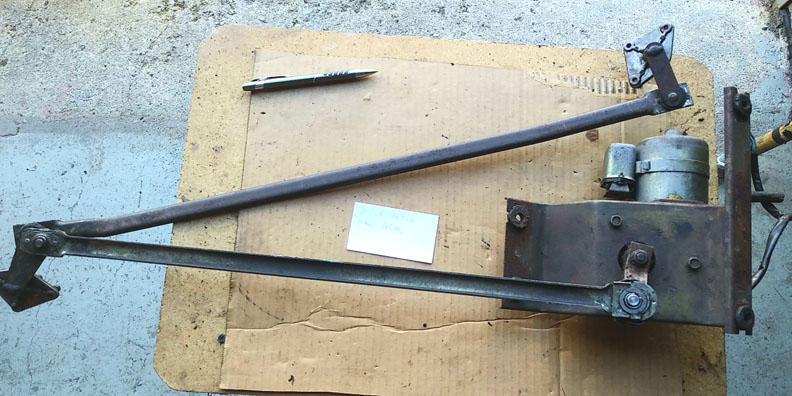
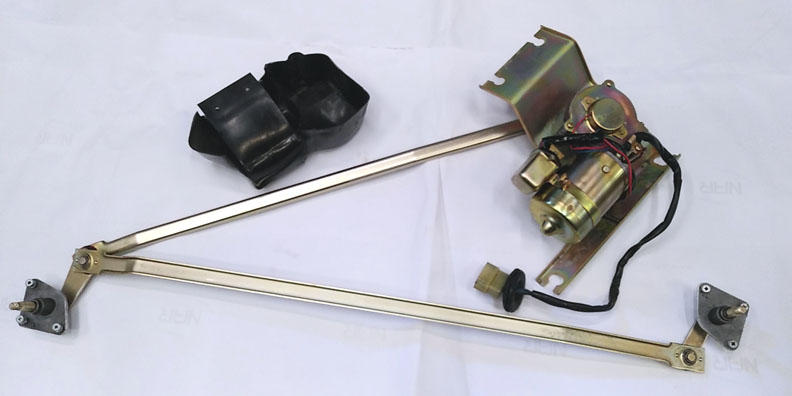
I'm slowly assembling things back together after grouping old parts re-plated, one of them is this early wiper motor. It might be an overkill since it is hidden under the cowl, but most importantly, it still works!

 1 point
 -
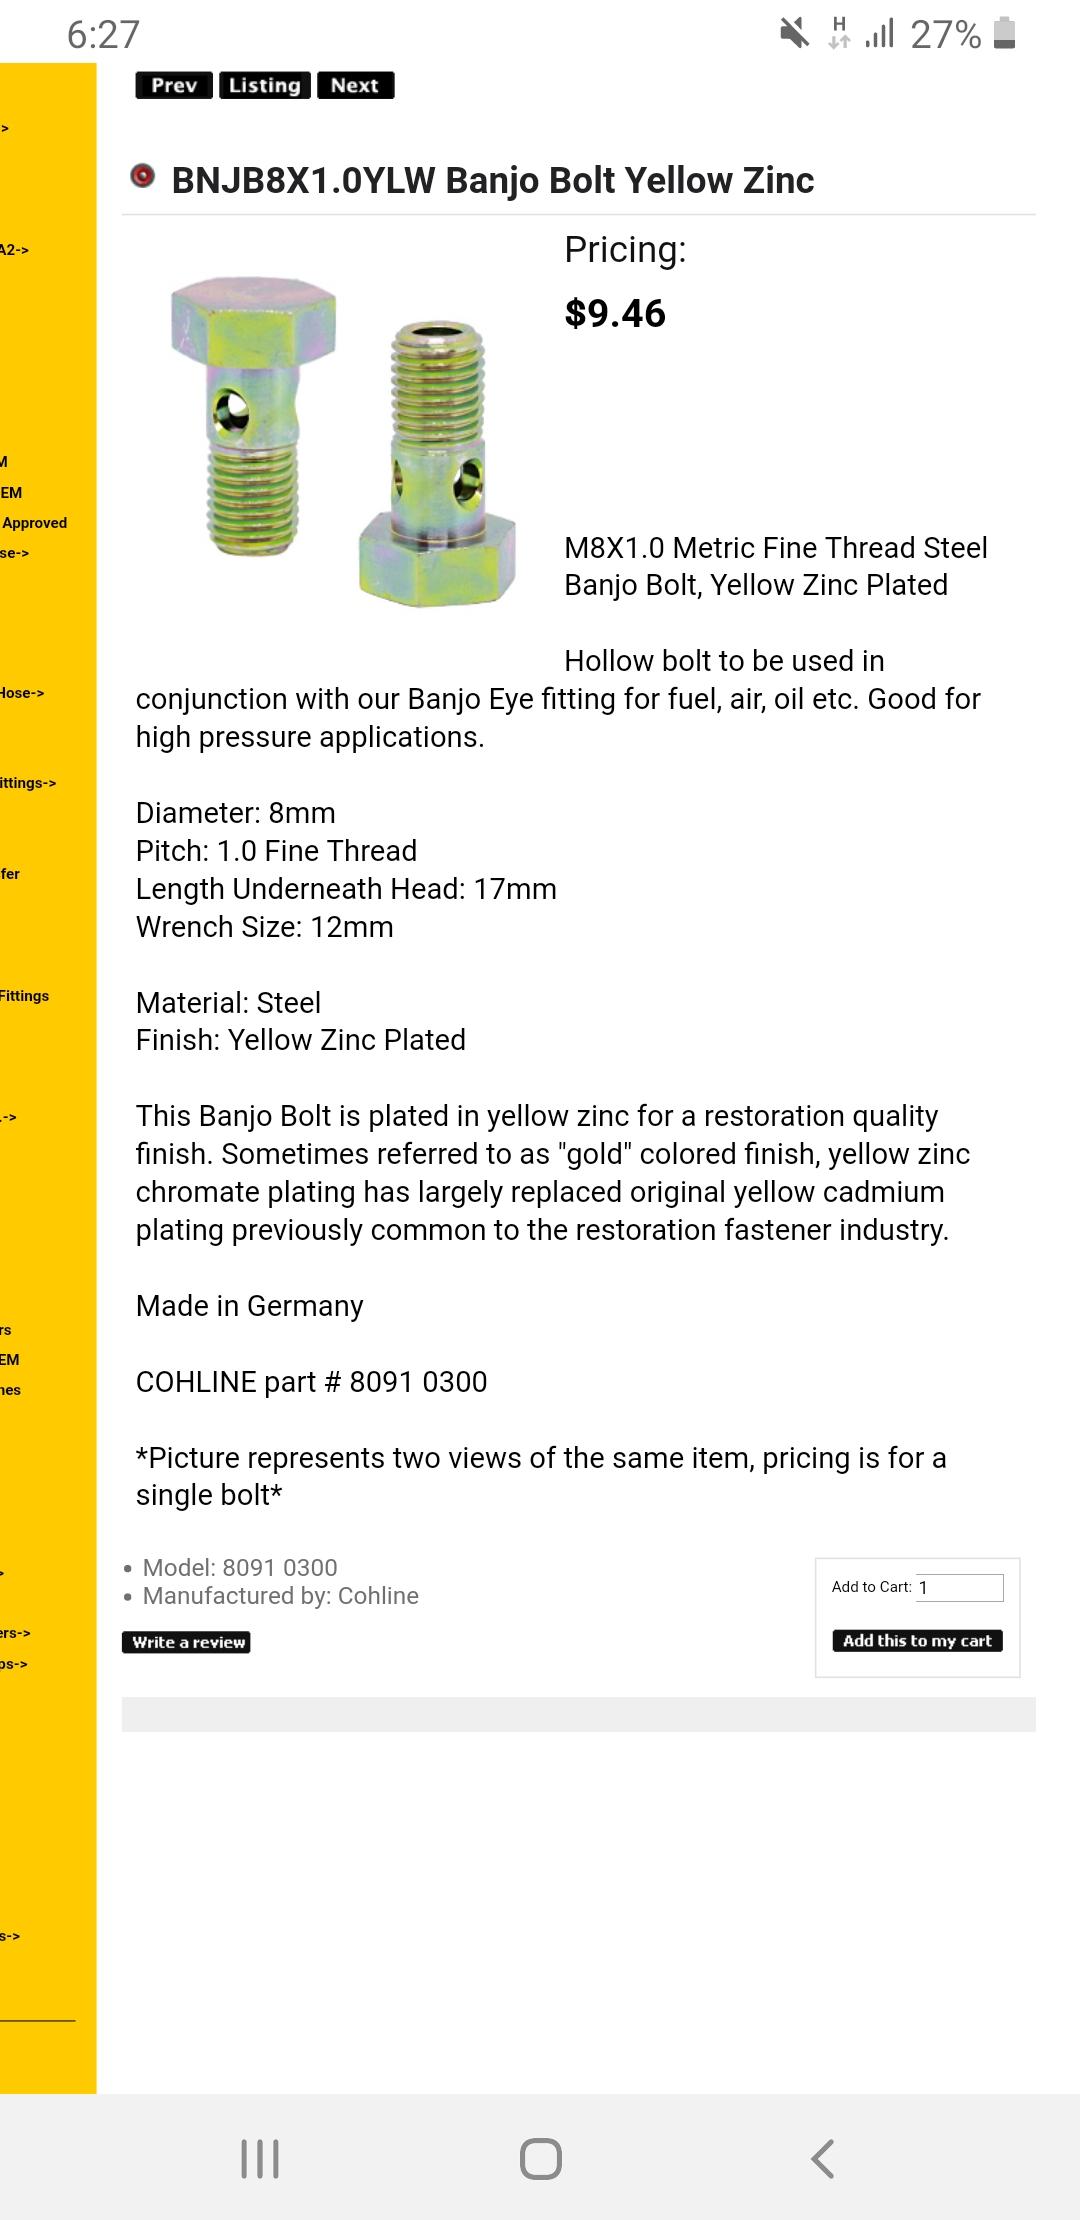
I guess these will work: Are the drain plugs measurement M8 X 1? Fine thread?
 1 point
 -
1 pointI've refreshed many with success. If you have a few for parts to choose from then you are in a good place to take the best from all to make one good unit. As you have already disassembled some, you are 1/2 way there.1 point
-
1 pointYou got to be willing to turn off automation as soon as the jet does something unexpected. Happens to me all the time. The MCAS system is faulty and late reaction by aircrew can put the aircraft in an unrecoverable attitude. Boeing screwed up by only putting one instrument that feed the MCAS. Should be redundant and they took the cheap route. Lastly they failed to inform the buyers how the system works. Sent from my iPhone using Tapatalk1 point
-
1 pointHere's what I bought: https://www.ebay.com/itm/25-M8-1-25-Flange-Exhaust-LockNut-Copper-Plated-12mm-Hex/400360273199?hash=item5d3754f52f:g:HJQAAOSwLwBafPRS Copper plated, distorted thread, and they have a force spreading flange on them so you don't need a washer (just like stock). I bought a bag of 25 because I needed them for the broken cam motor and I should have enough left over for my F54/P79 project.1 point
-
1 pointMy was cracked too. Will try and find a replacement. I fly the 757 but would have no concerns flying the Max. It’s a concern if you don’t know how to fly like many 3 world carriers. They rely on automation too much and can’t handle the machine without it when things go wrong. I flew for 25 years without an autopilot it’s no big deal. Rule #1 push down....houses get bigger, pull up....houses get smaller. Sent from my iPhone using Tapatalk1 point
-
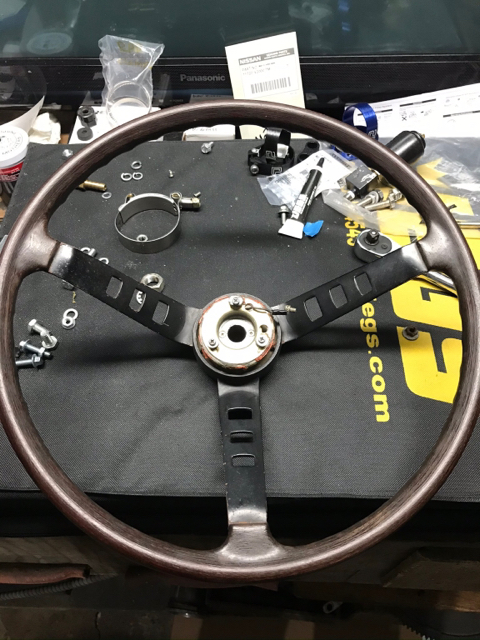
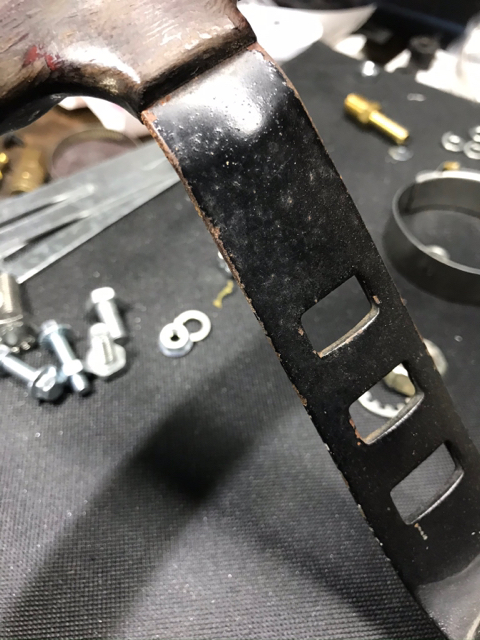
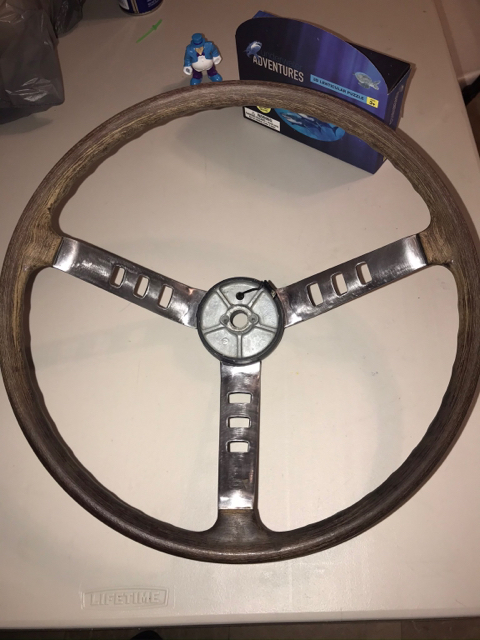
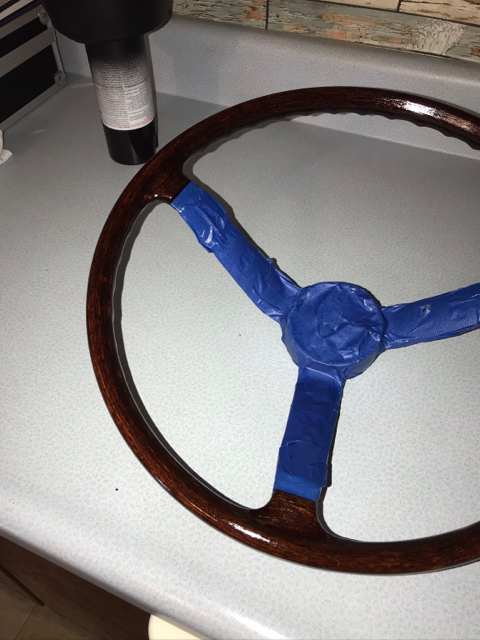
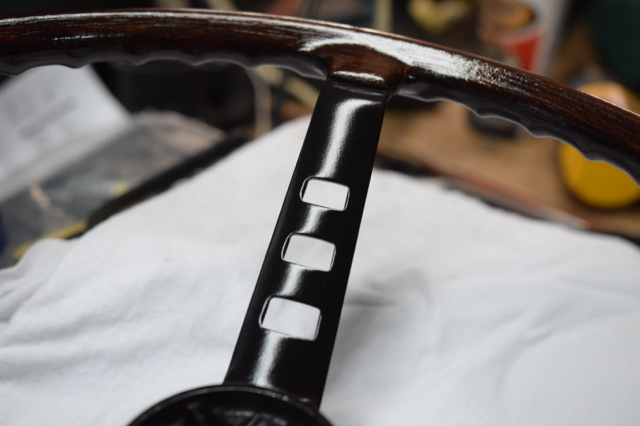
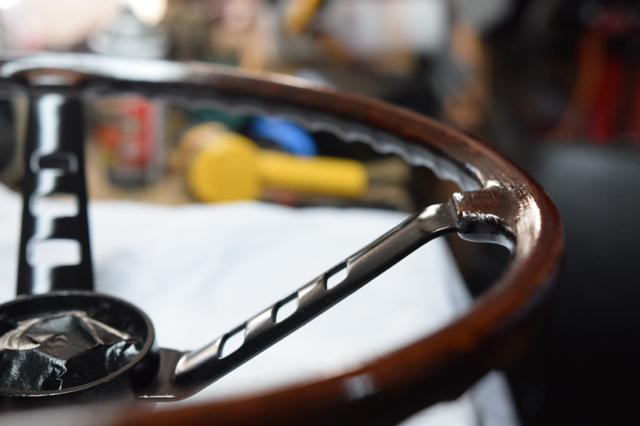
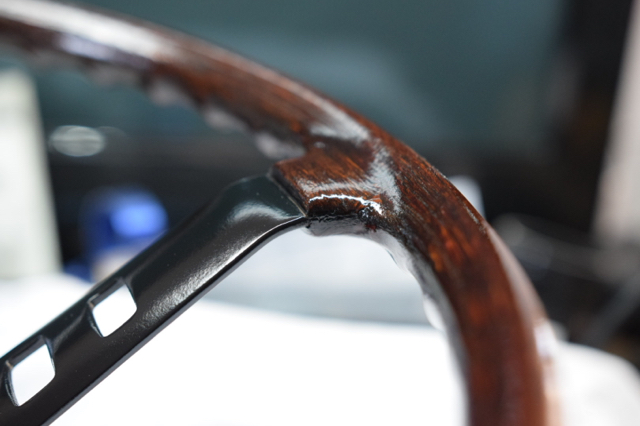
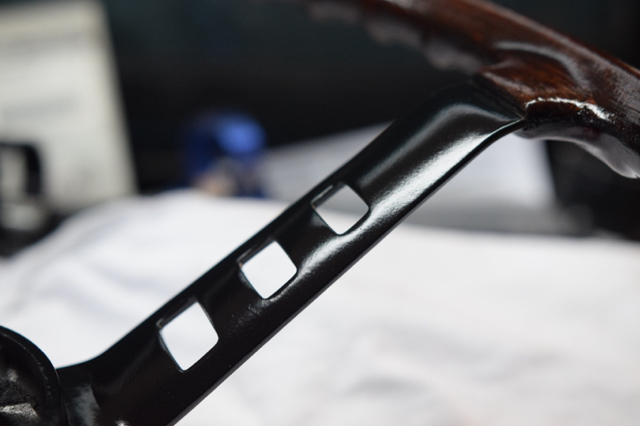
1 pointI went thru this frustrating exercise years ago. With no one around to assist I found it impossible to both get the assembly pushed back into the body and get the screws in place to lock it down. My solution was to create "extra hands" with a ratcheting tie-down strap. I installed a large hook in the base plate of the garage wall and positioned the car with the rear towards the hook. A length of stout rope was attached to the hook. One end of the strap was attached to the rope, the strap passed into the car via the open hatch, around the front of the quarter window and back to the rope for a second attachment. The rope allowed for a shallow angle for the strap. Gentle ratcheting pulled the window into position and held it in place to get the screws installed. Loosen the strap, re-position the car, and repeat for the second window. Thankfully, no pictures exist of this particular McGyver moment. ?1 pointPretty same process so many other have done 1st - Green Scotch‑Brite Scrub till you don’t see the nasty brown soapy water. 2nd - Stained Red oak 2 coats. Minwax 70040444 Wood Finish Penetrating Stain. 2 light coats and waited 2 days before adding Varnish. 3rd - spar varnish spray - 4 coats maybe 5 Minwax 33250000 Helmsman Spar Urethane Aerosol, 11.5 ounce, Gloss Waited 3 days for it to cure before moving to the center section. 4 - Black semi gloss 3 coats Let it sit a day before removing tape and tee shirt protecting the varnish. Sent from my iPad using Classic Zcar Club mobile
 1 point


Important Information
By using this site, you agree to our Privacy Policy and Guidelines. We have placed cookies on your device to help make this website better. You can adjust your cookie settings, otherwise we'll assume you're okay to continue.