Leaderboard
-
grannyknot
Free Member4Points5,158Posts -

kats
Free Member3Points2,215Posts -

240260280
Free Member3Points4,442Posts -
nix240z
Free Member3Points468Posts


Popular Content
Showing content with the highest reputation on 12/14/2018 in all areas
-
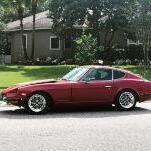
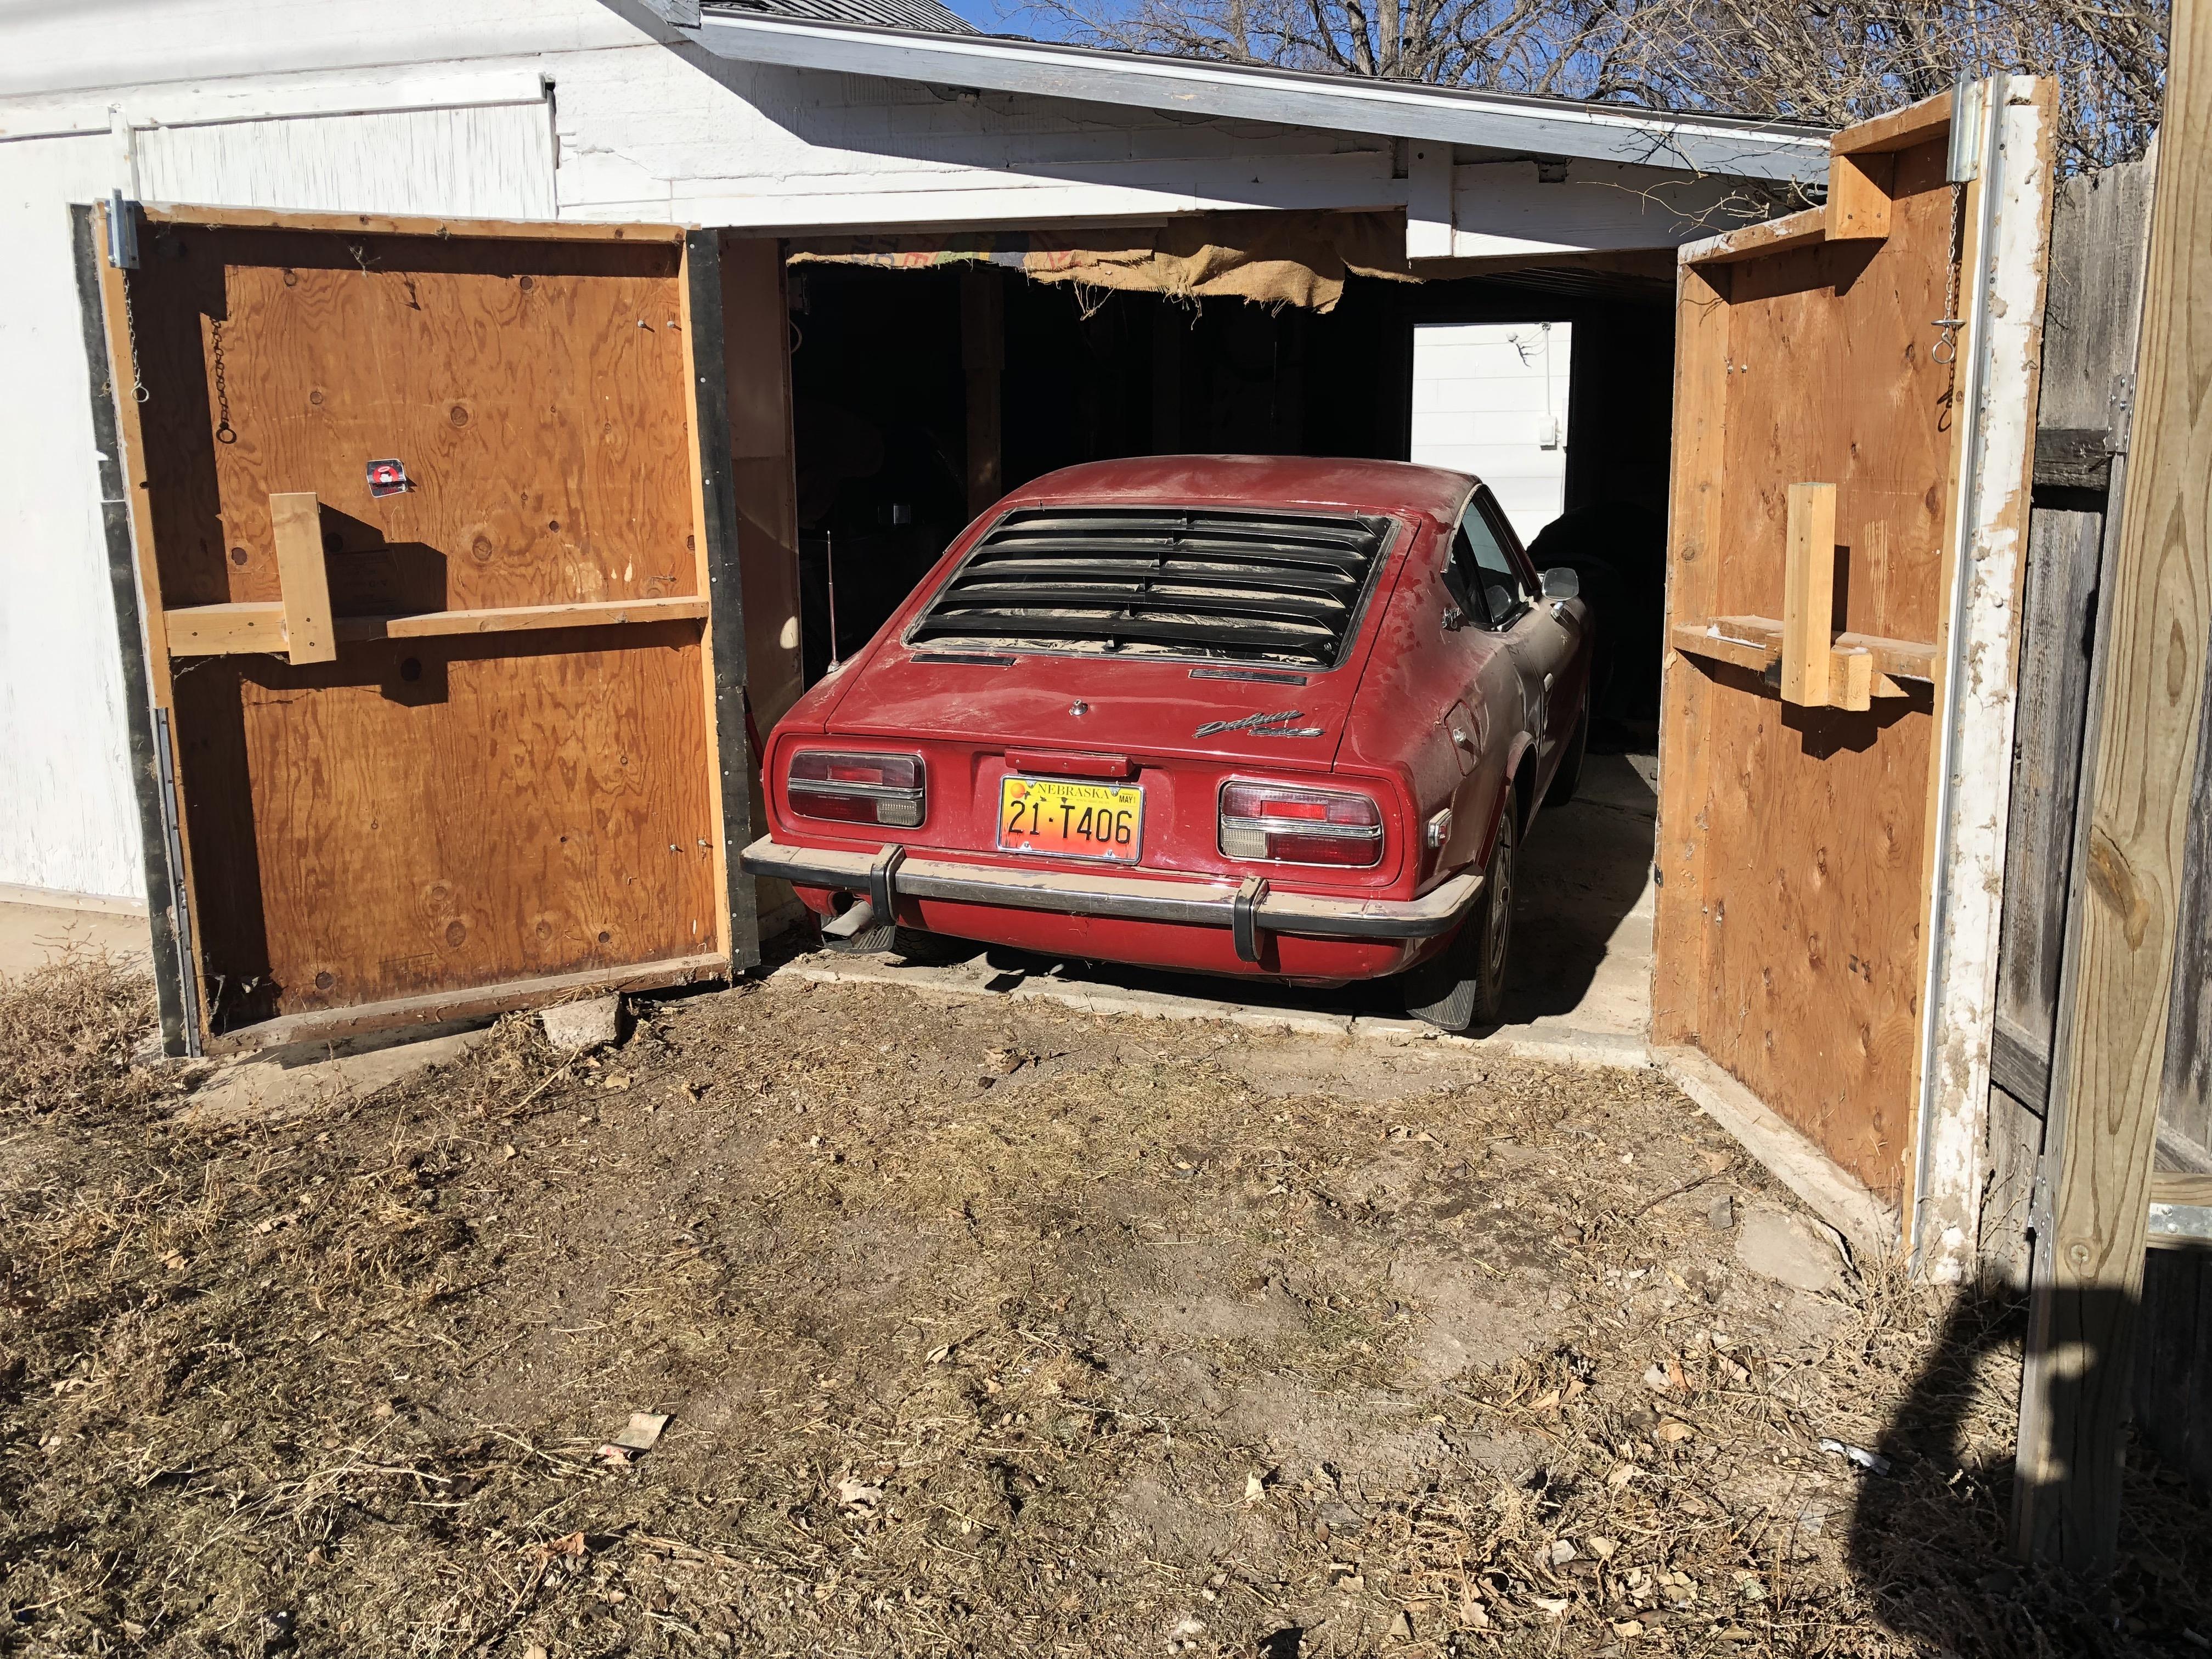
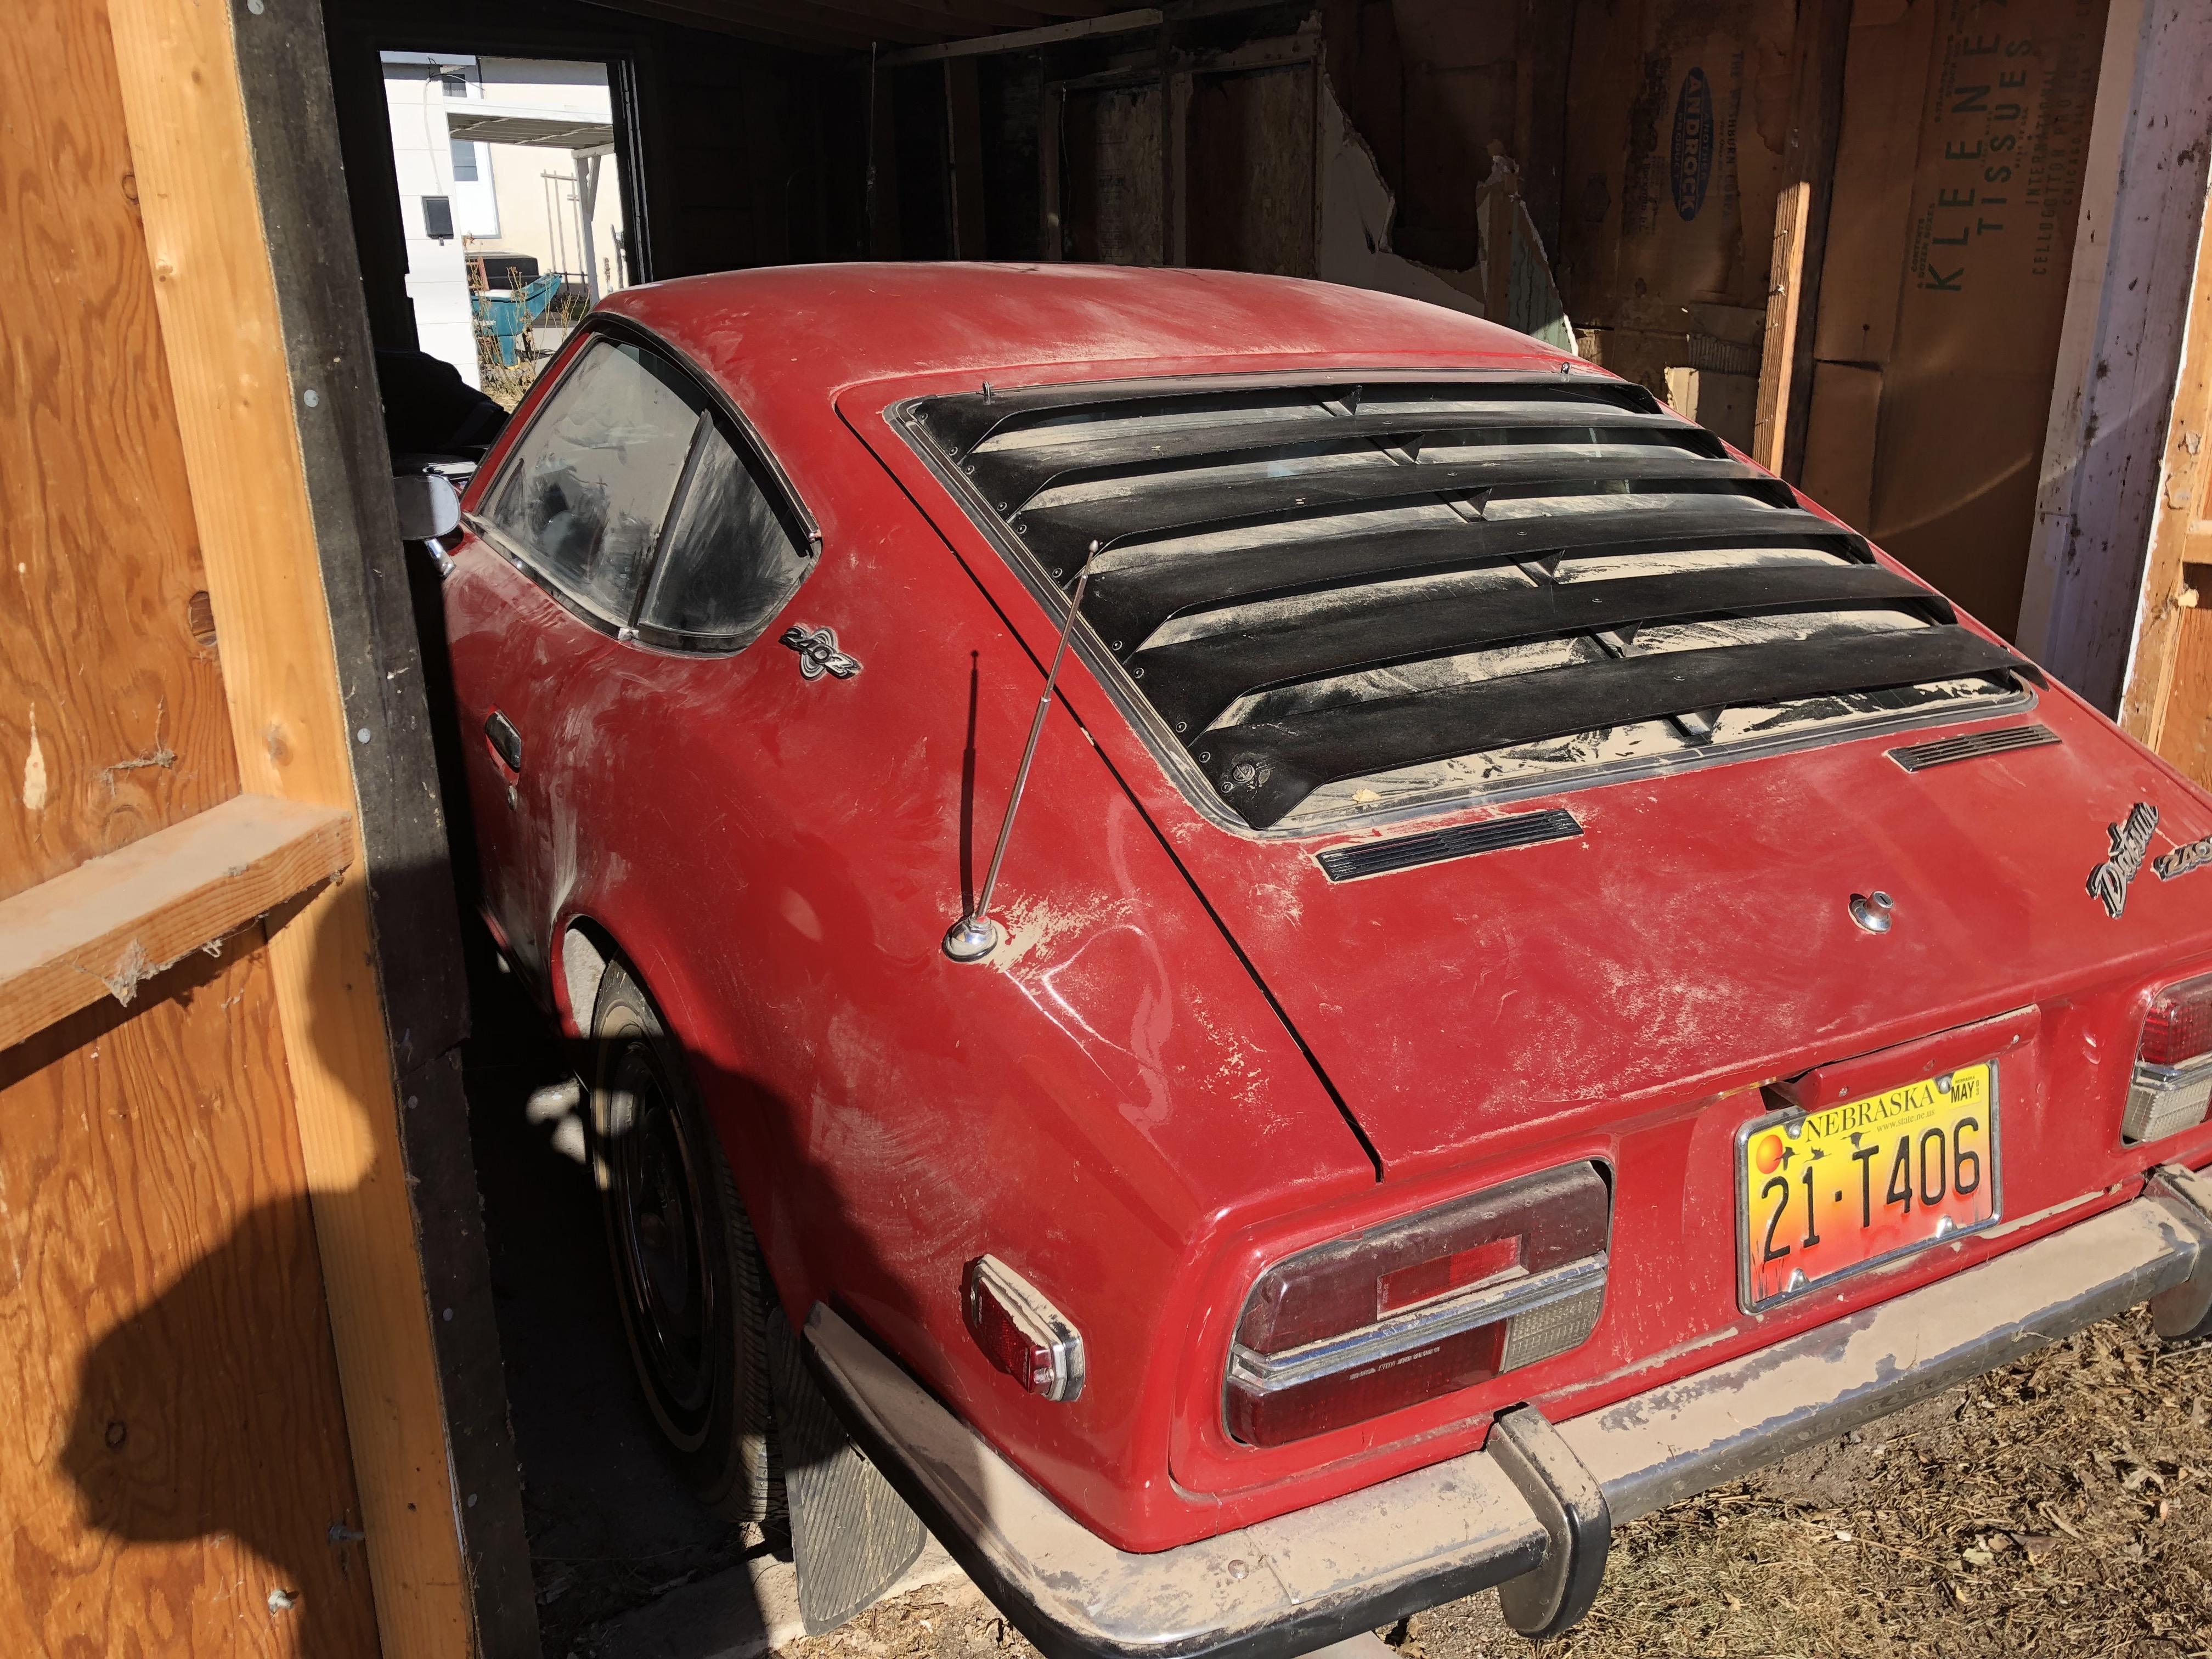
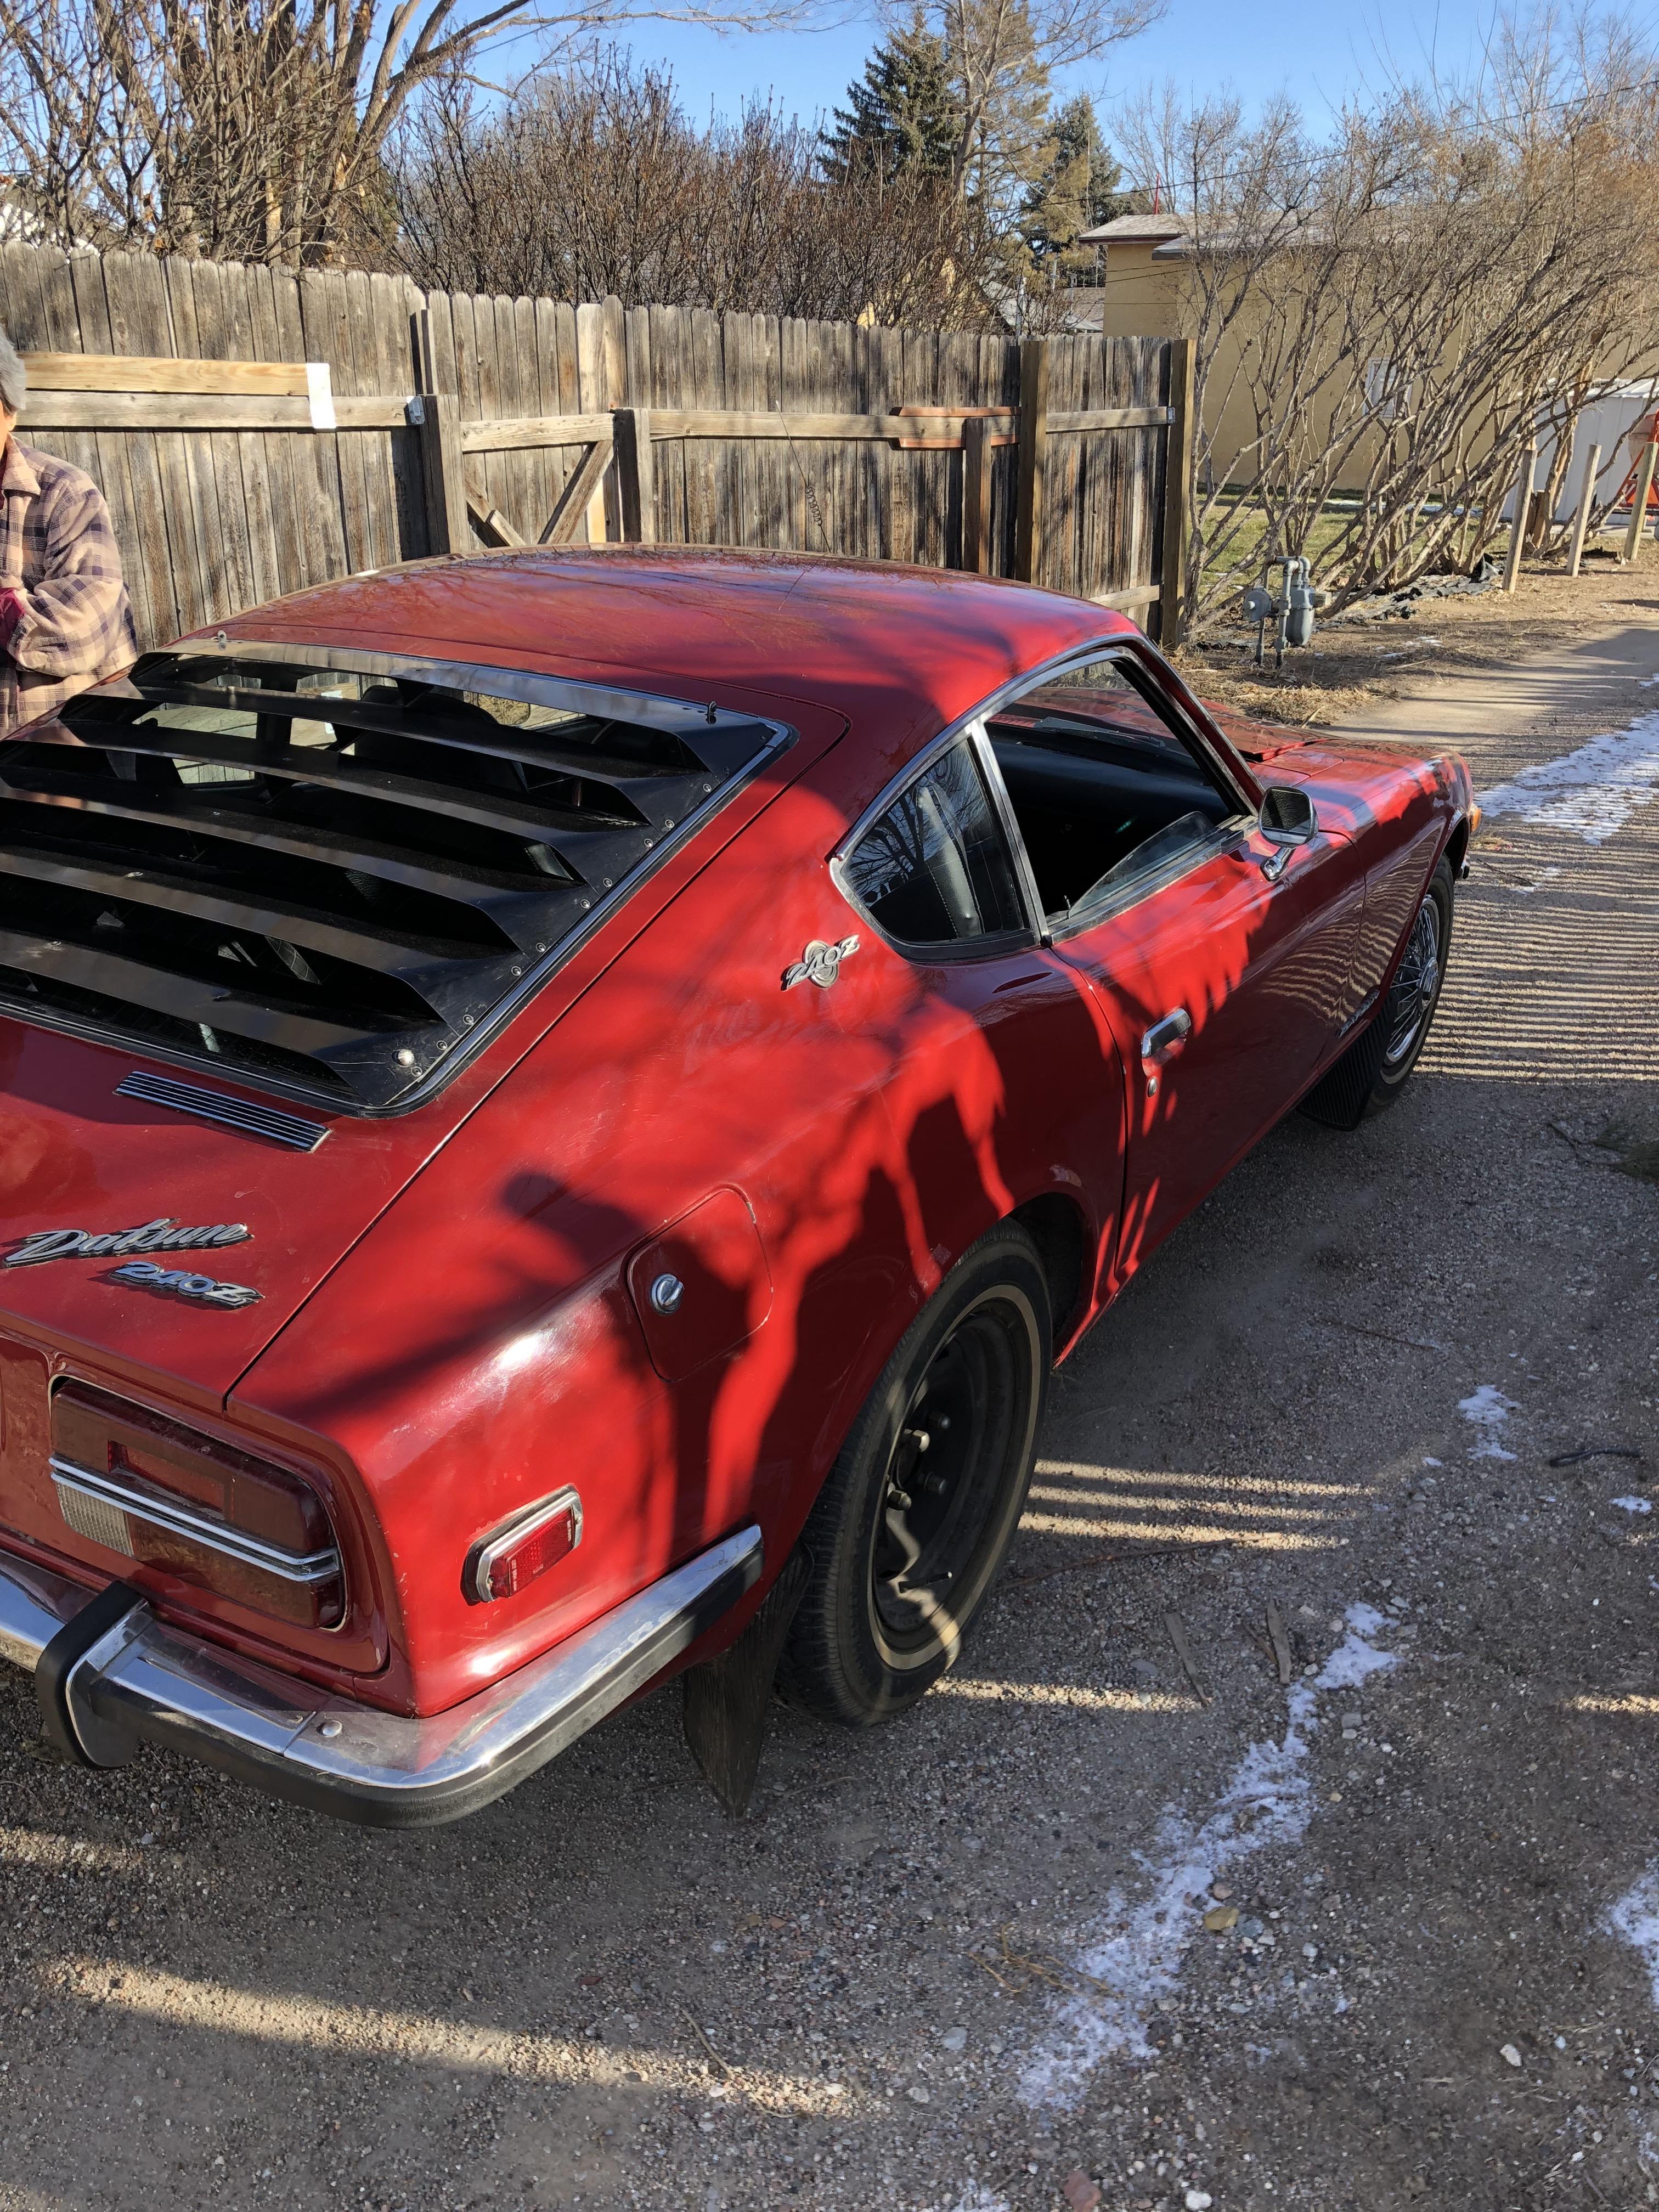
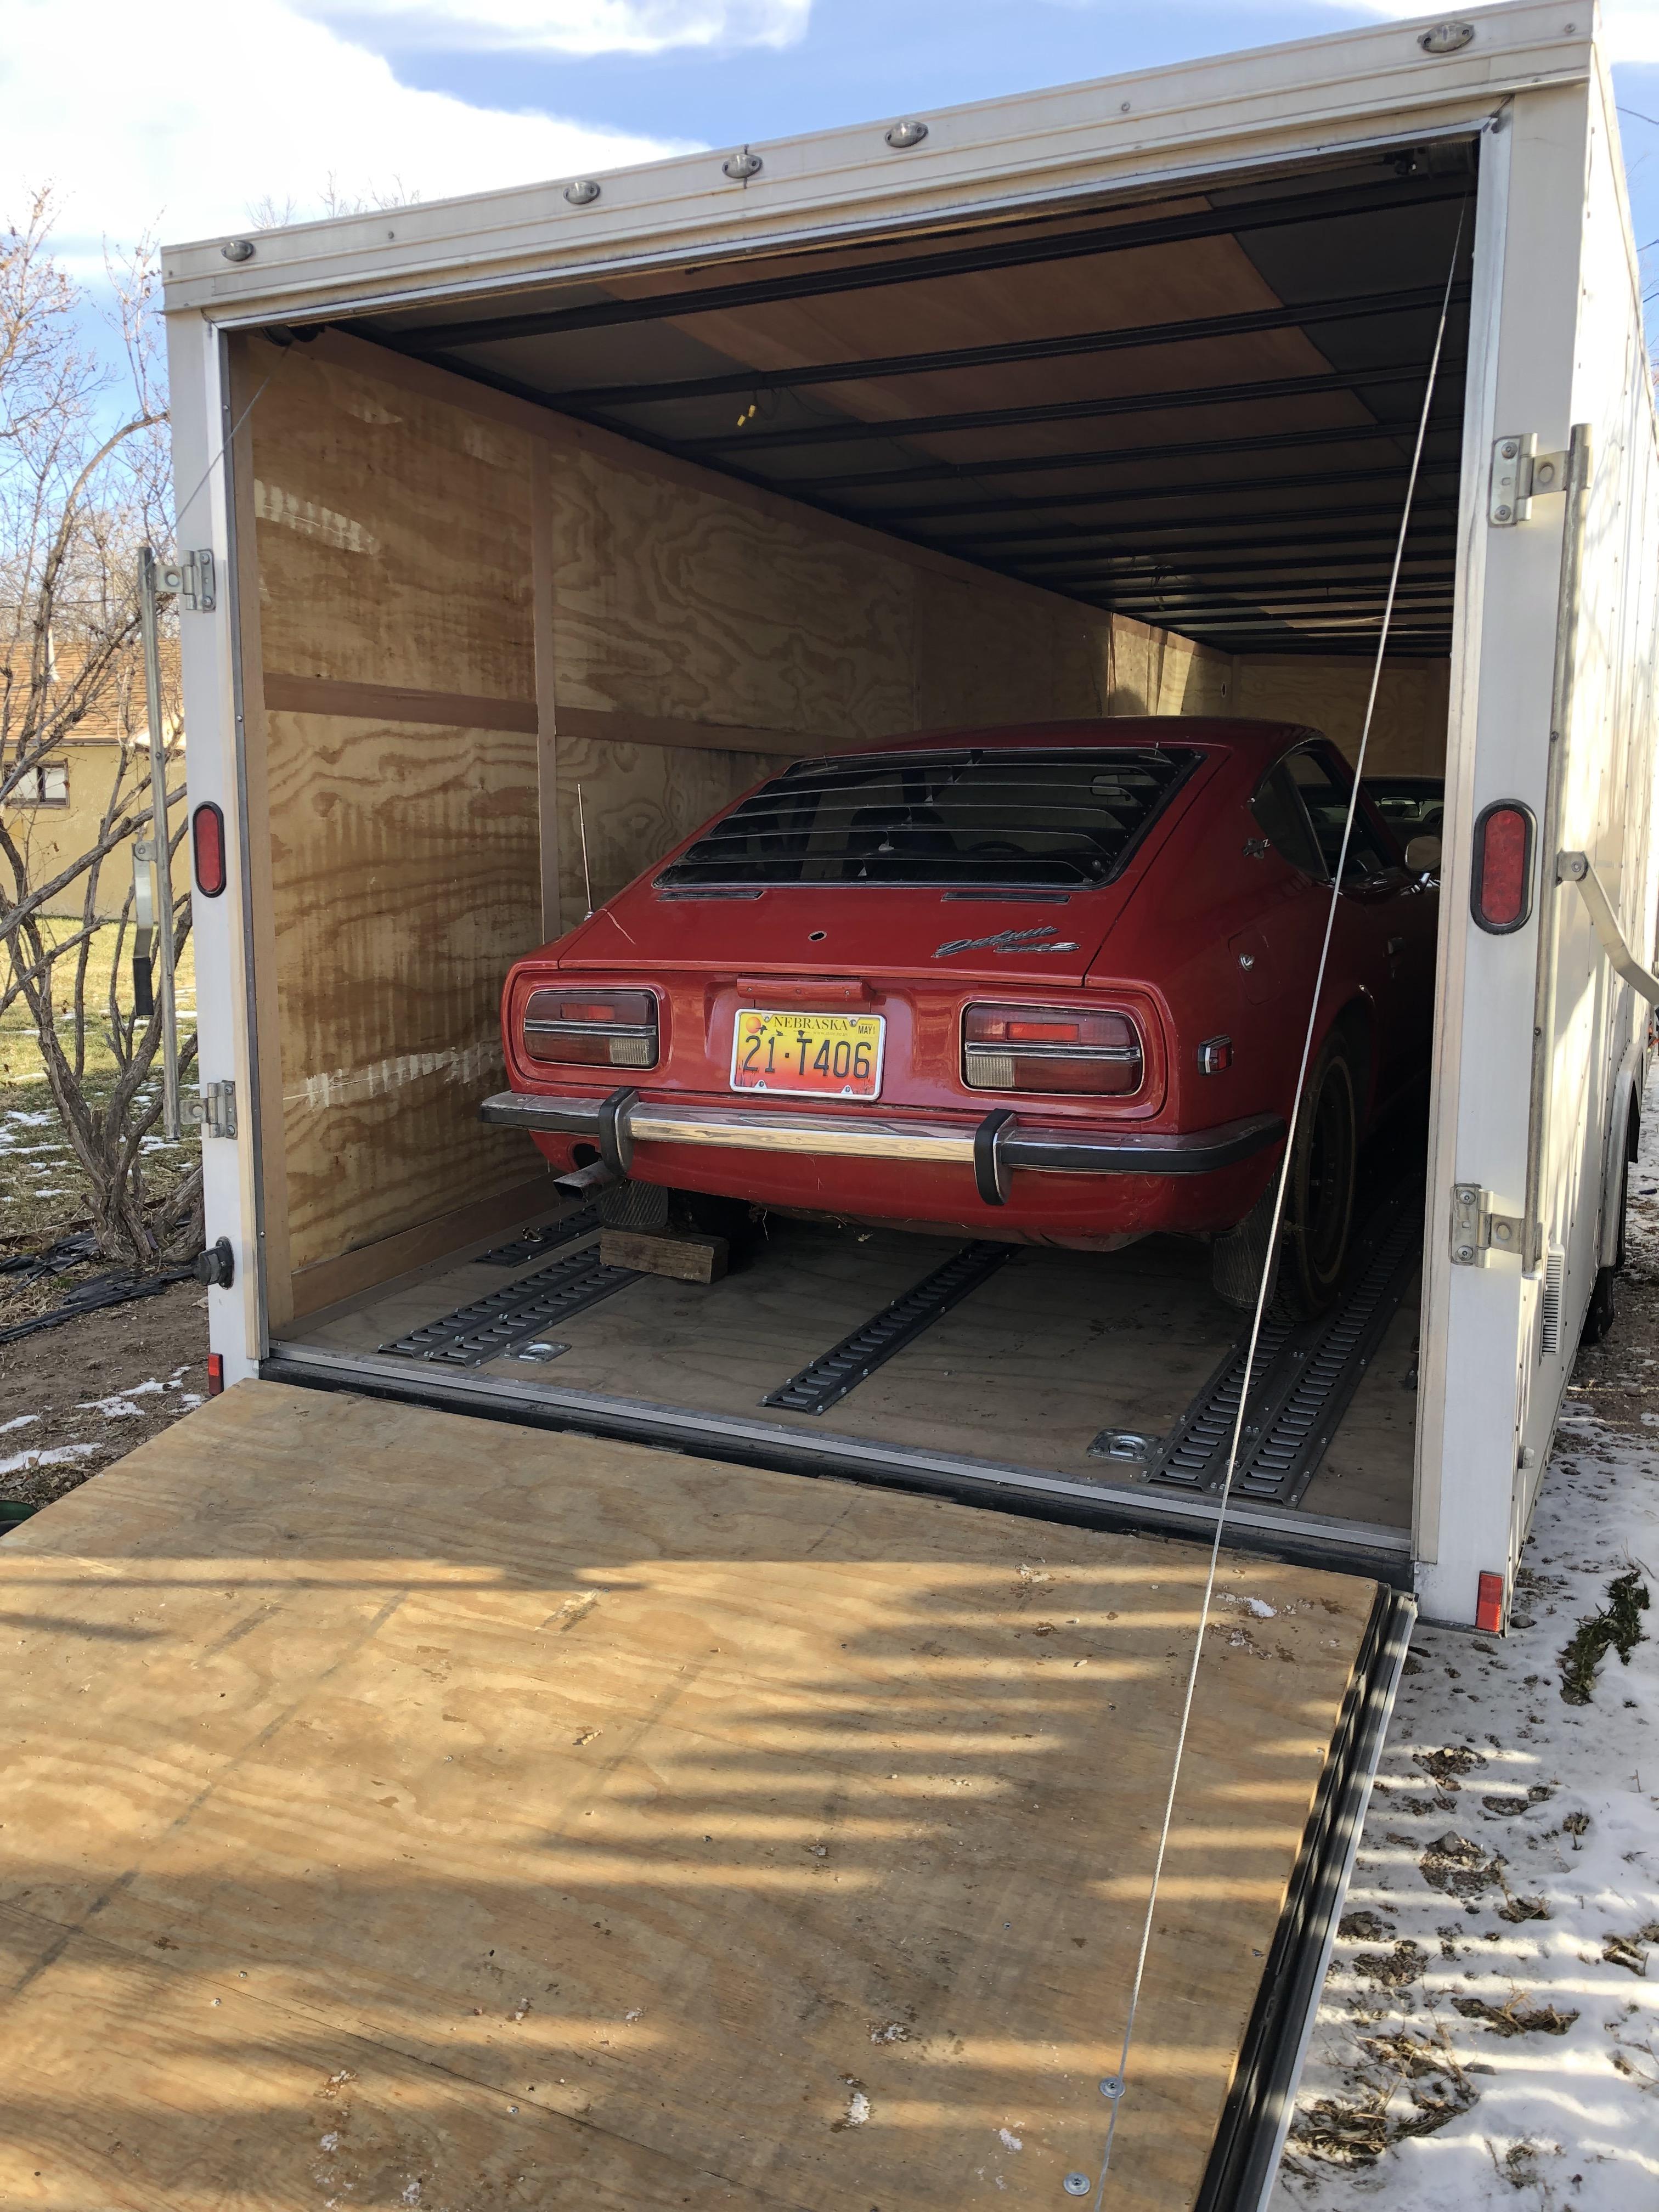
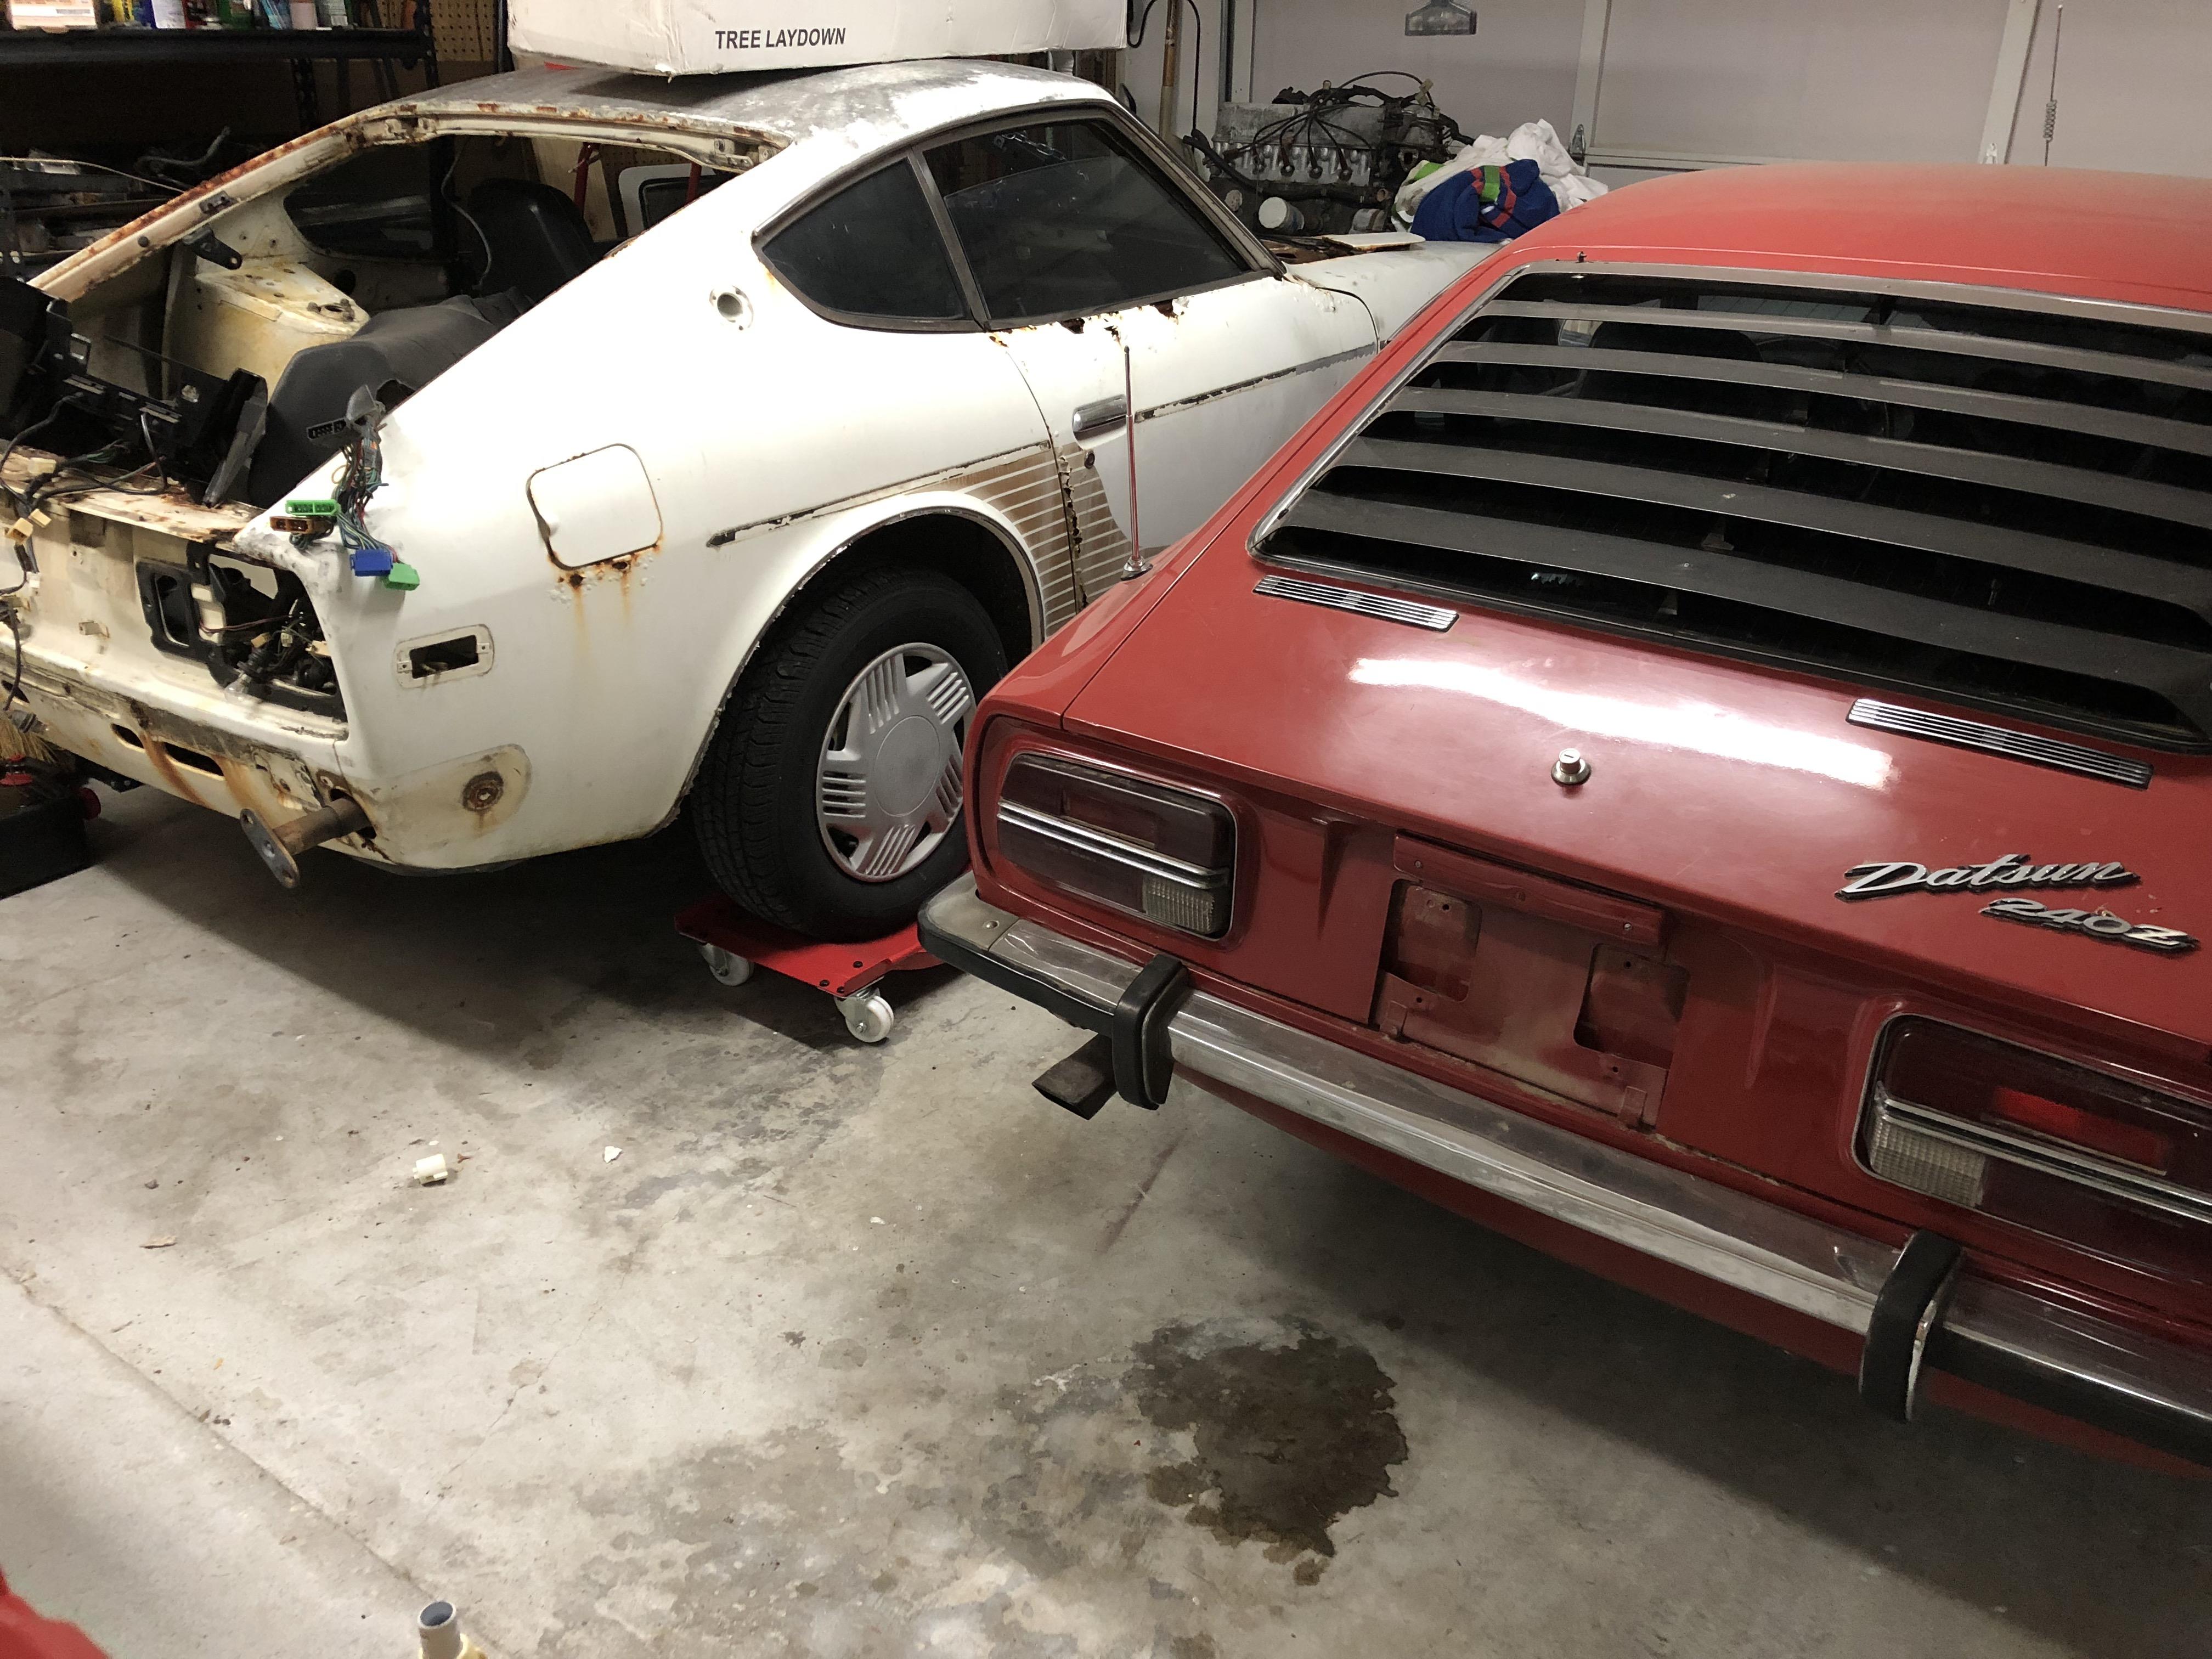
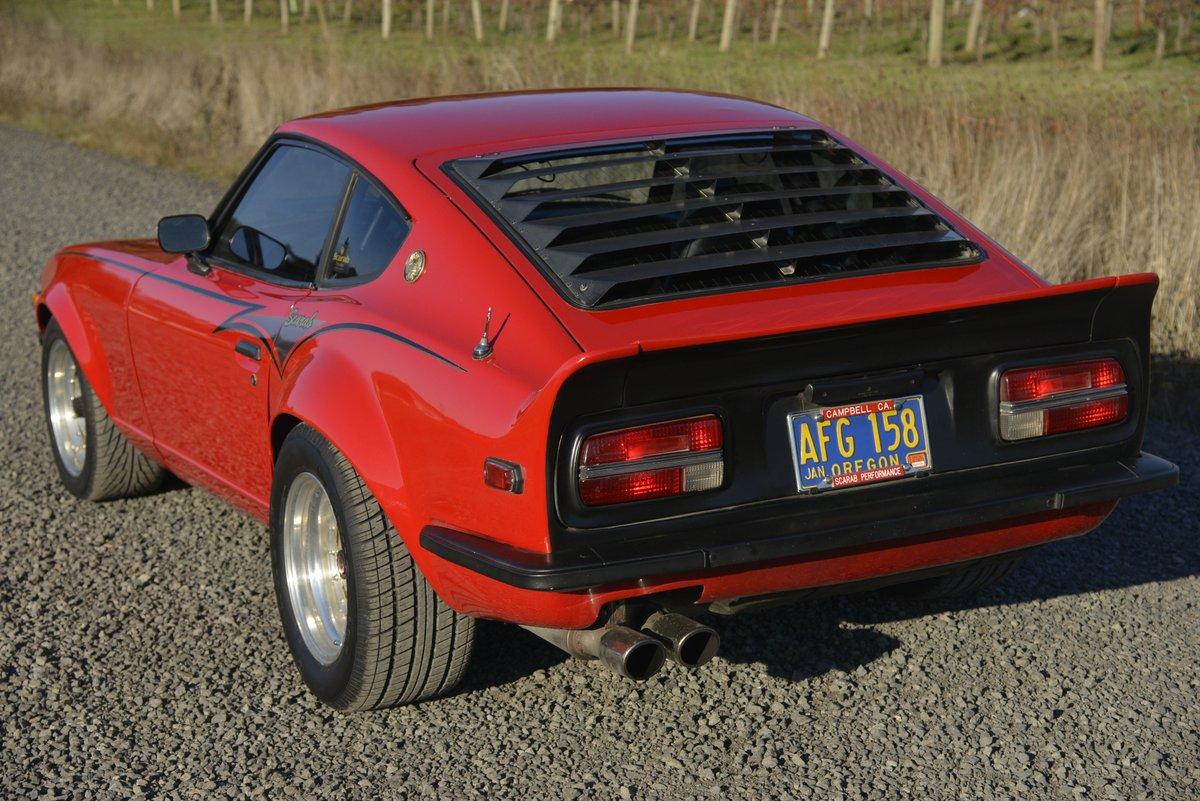
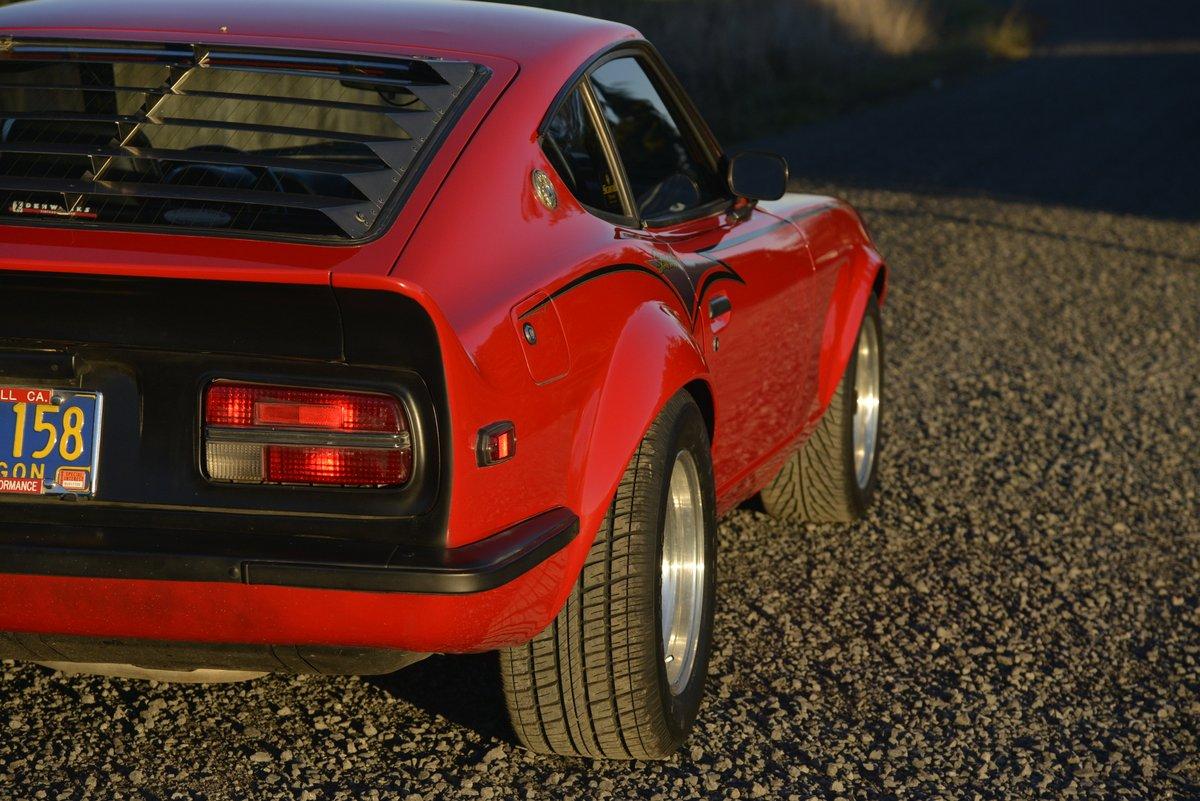
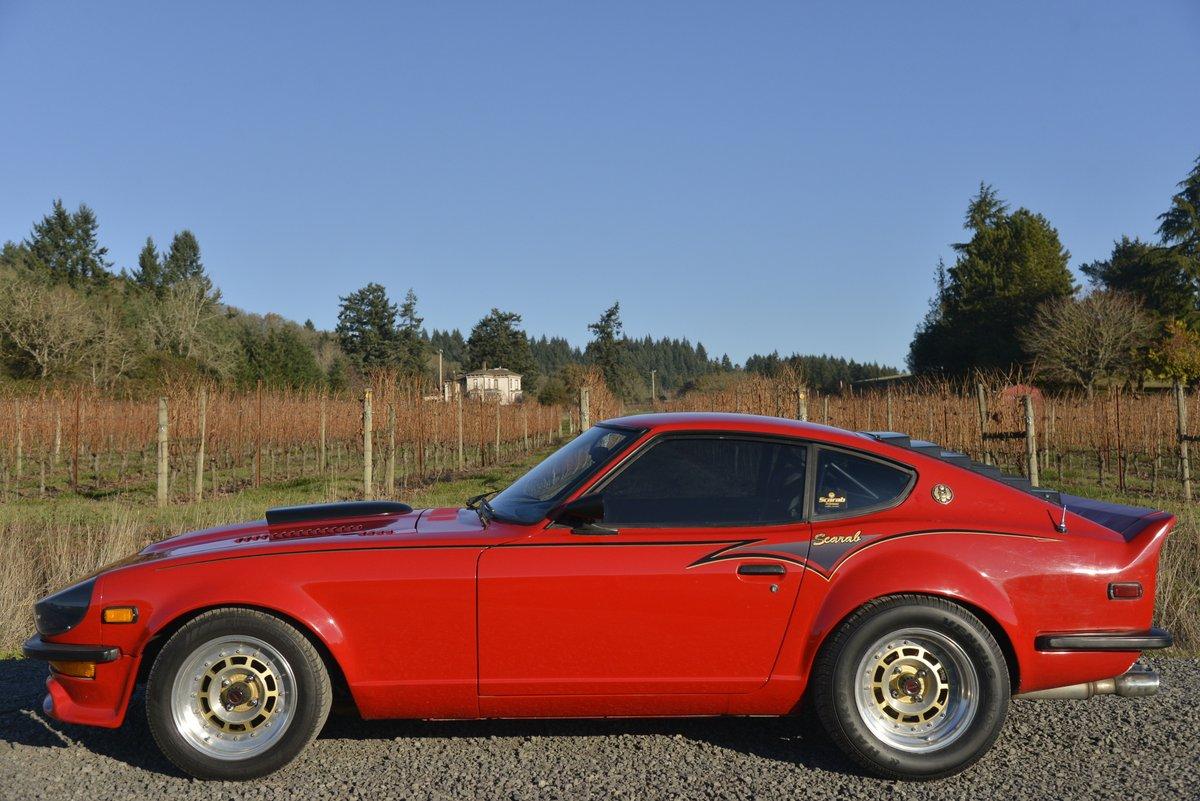
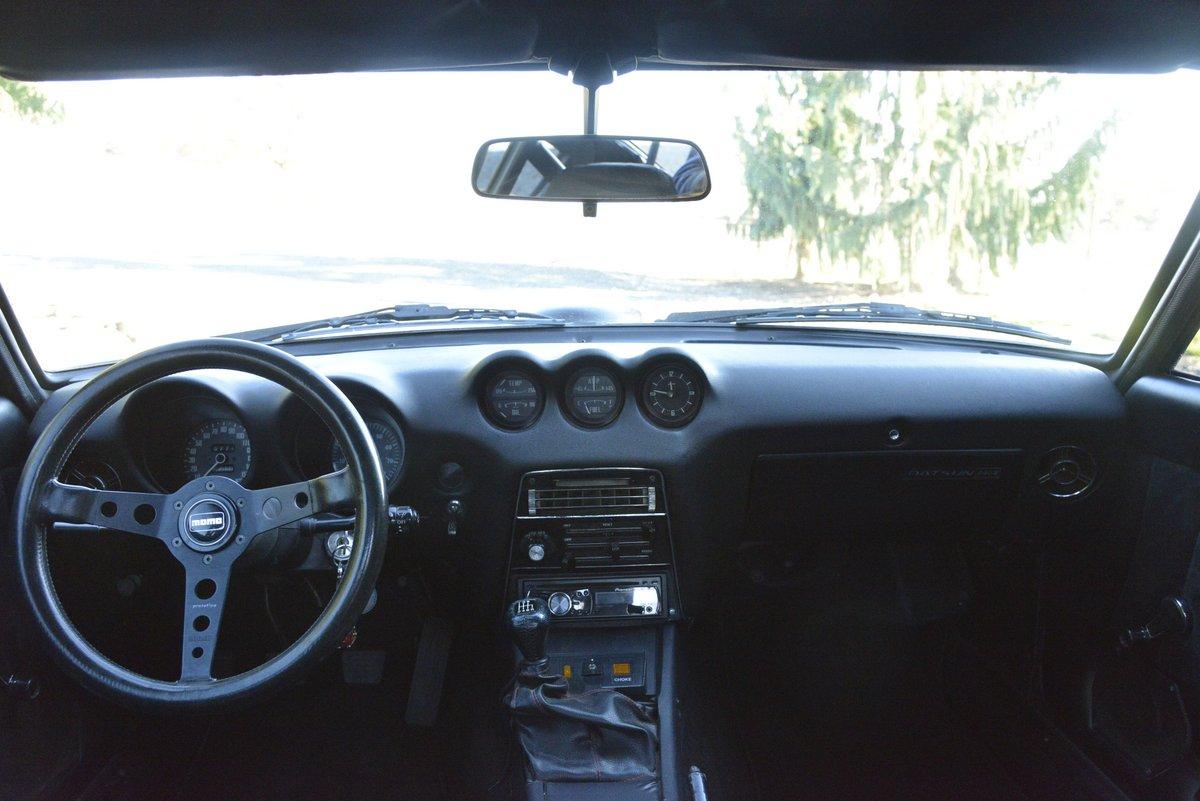
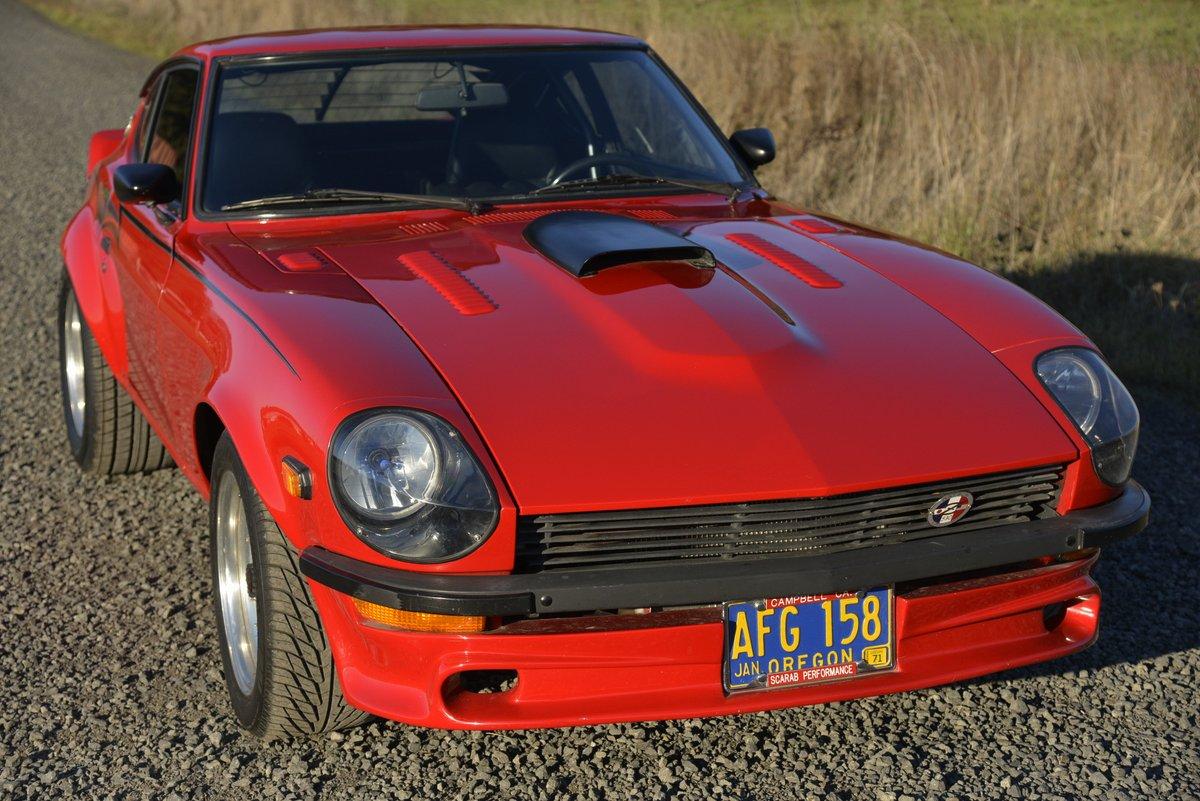
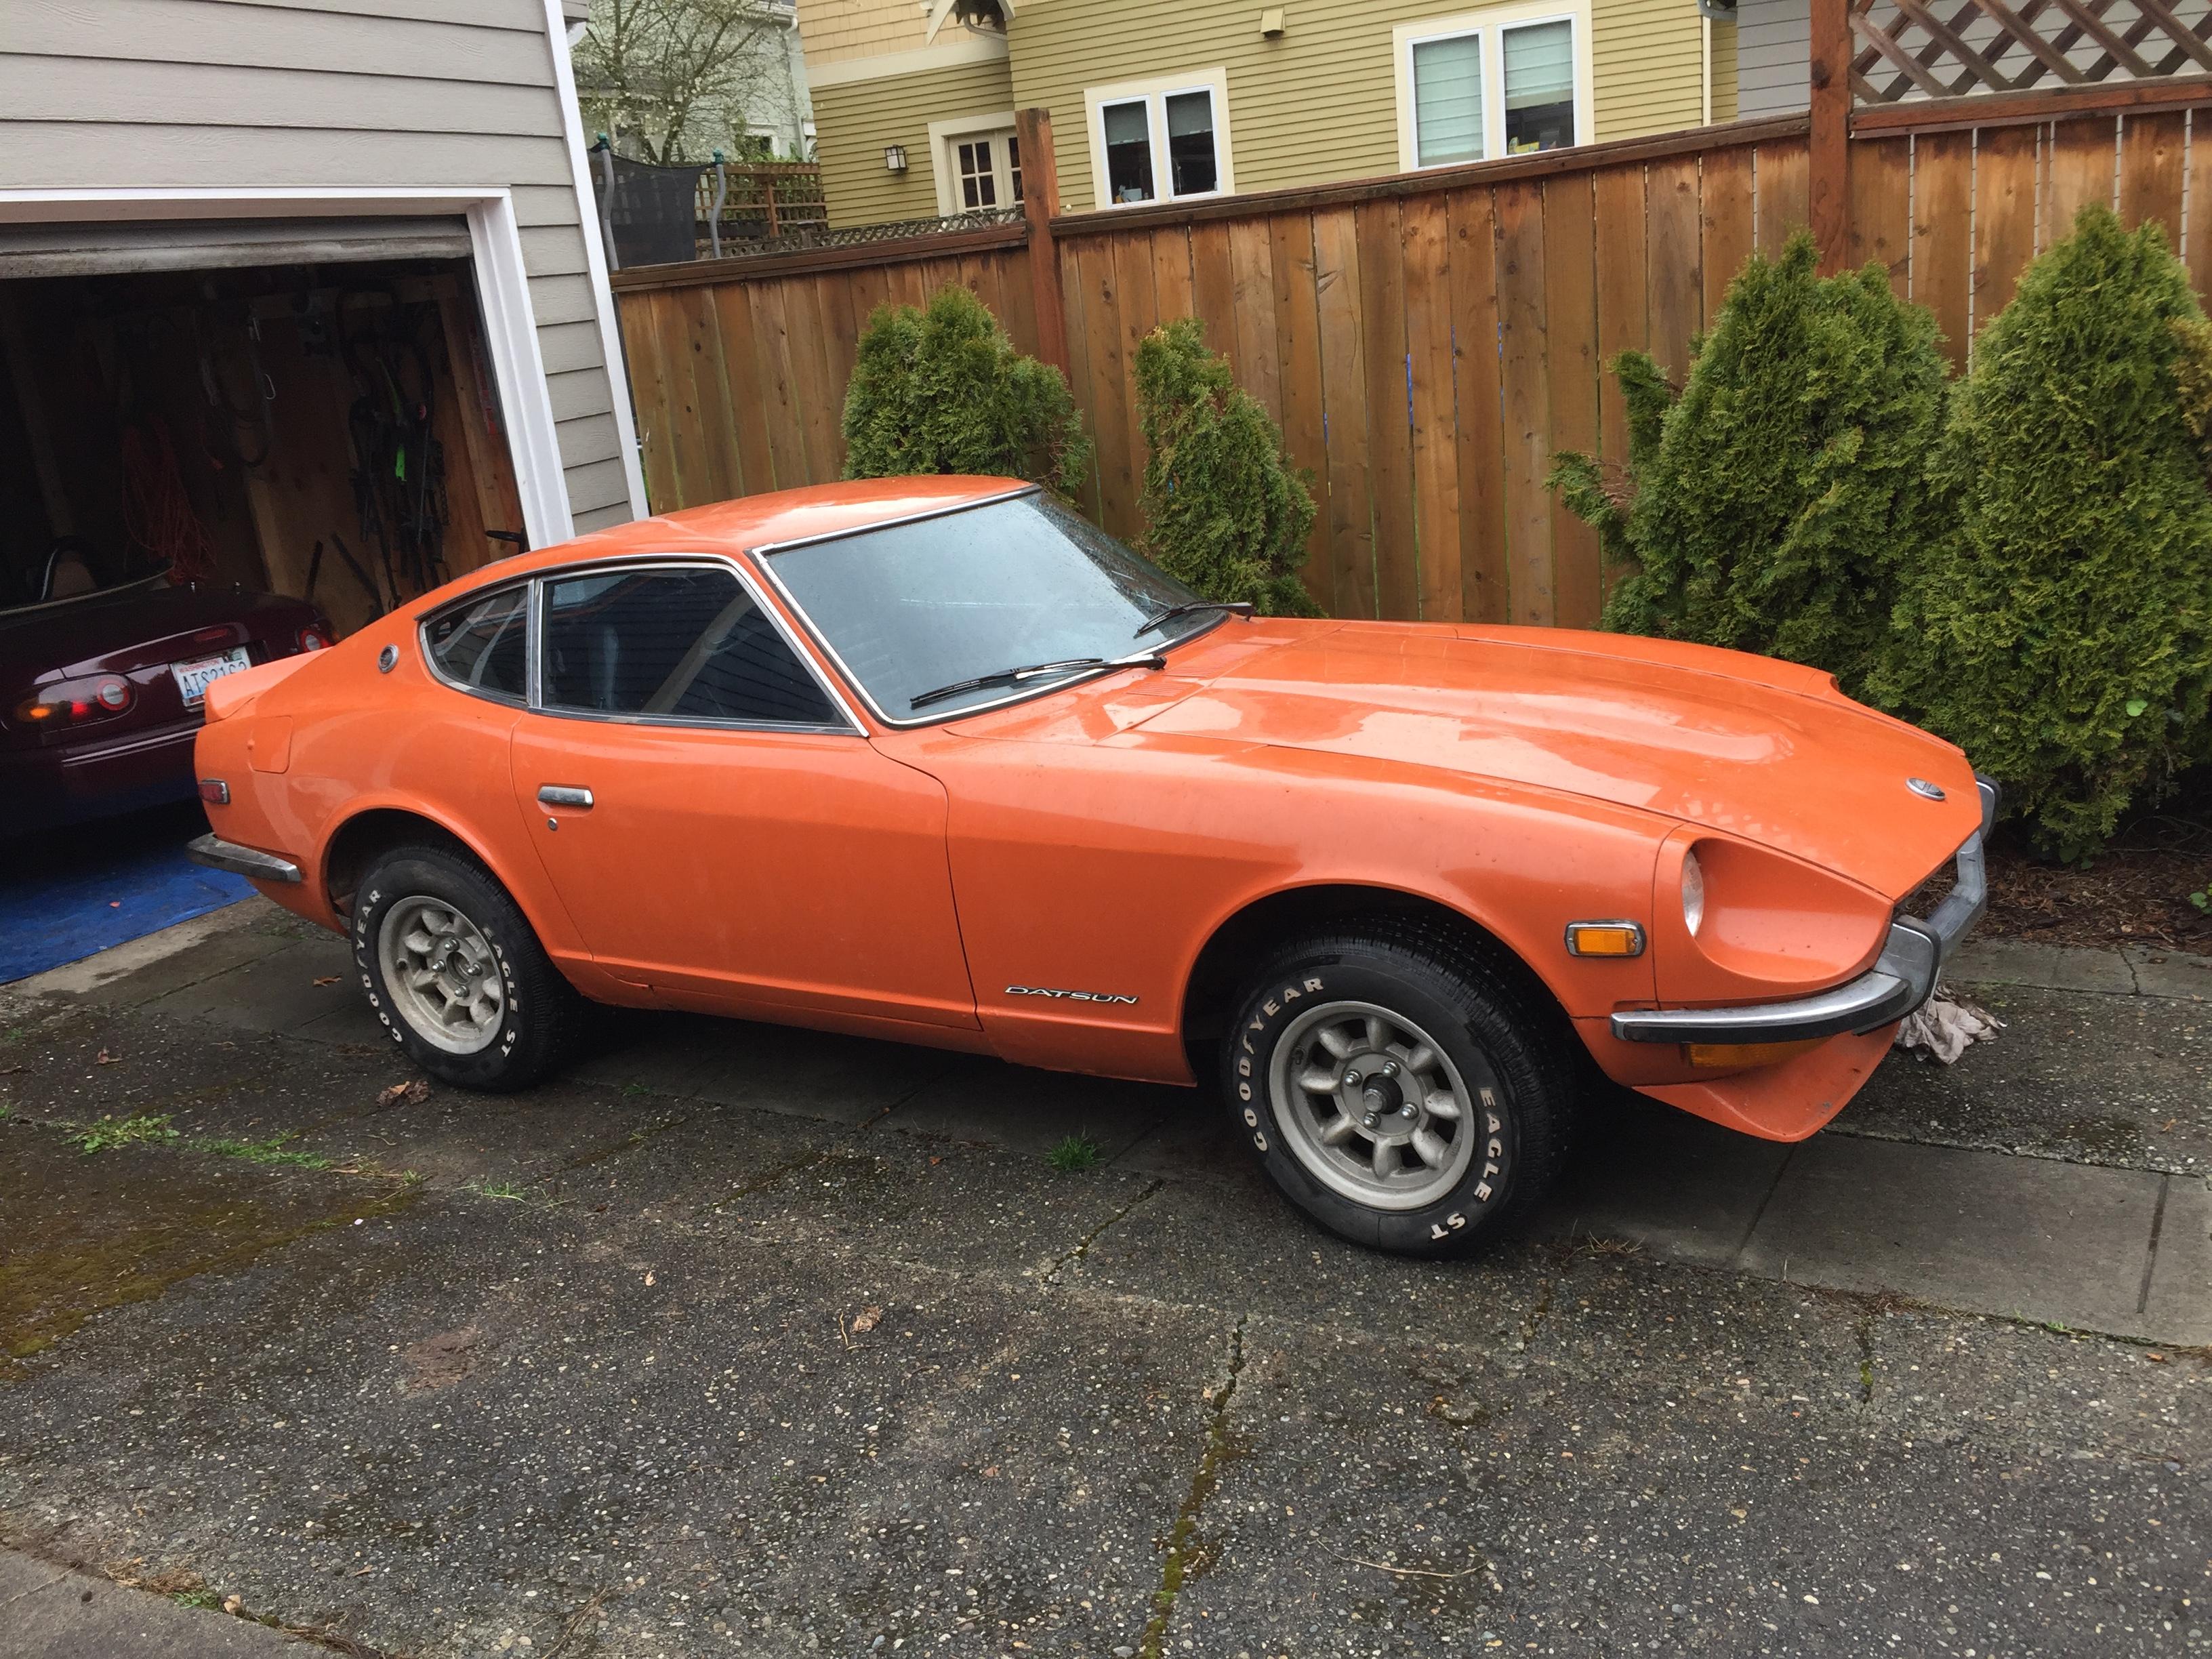
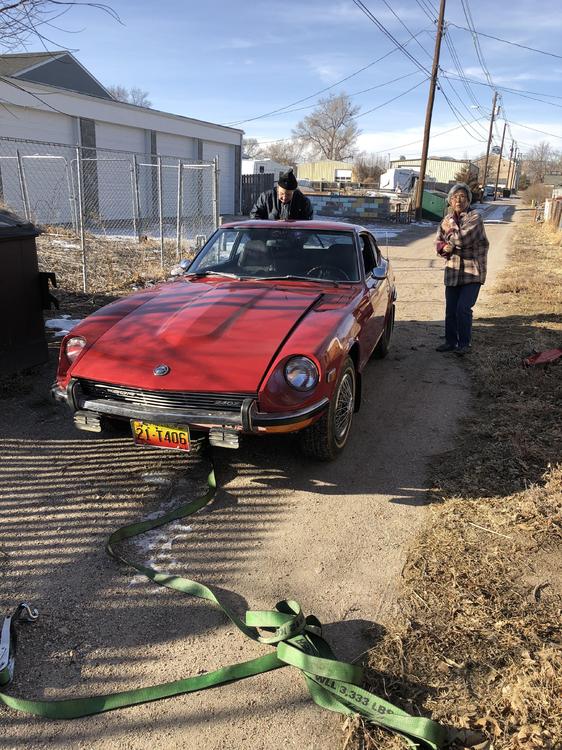
Thanks to everyone for all the advice and assistance. The car just got delivered yesterday and everything went super smooth. My Datsun shared the 1800 mile journey with a Mclaren 570s bound for Sarasota- so it was in good company. Here are some pics of the move and it sitting safely in my garage.


 2 points
 -
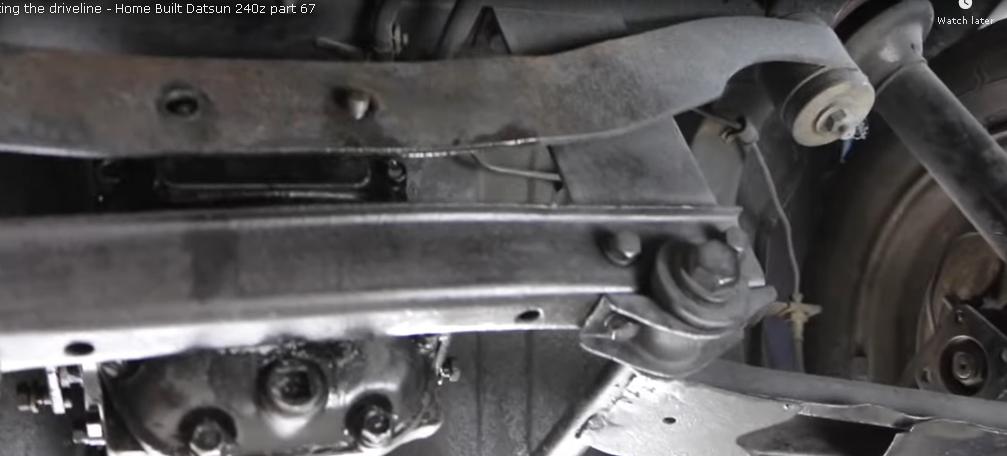
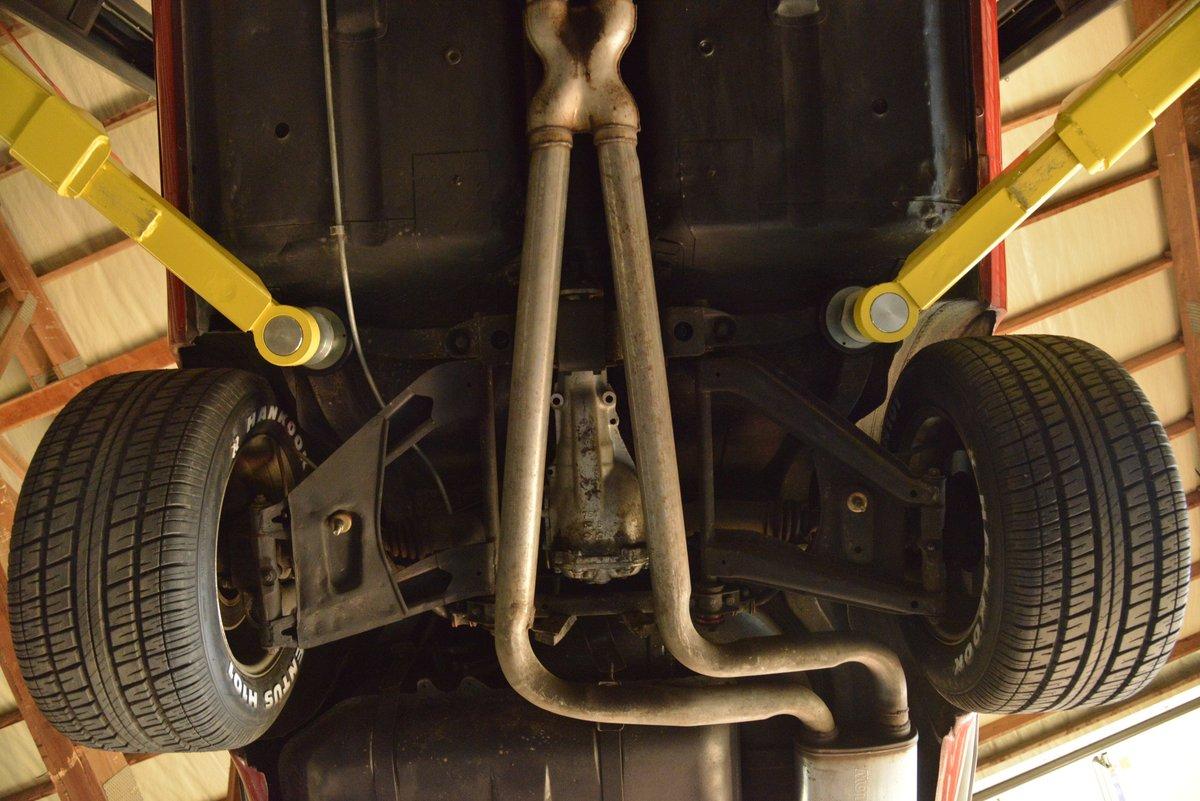
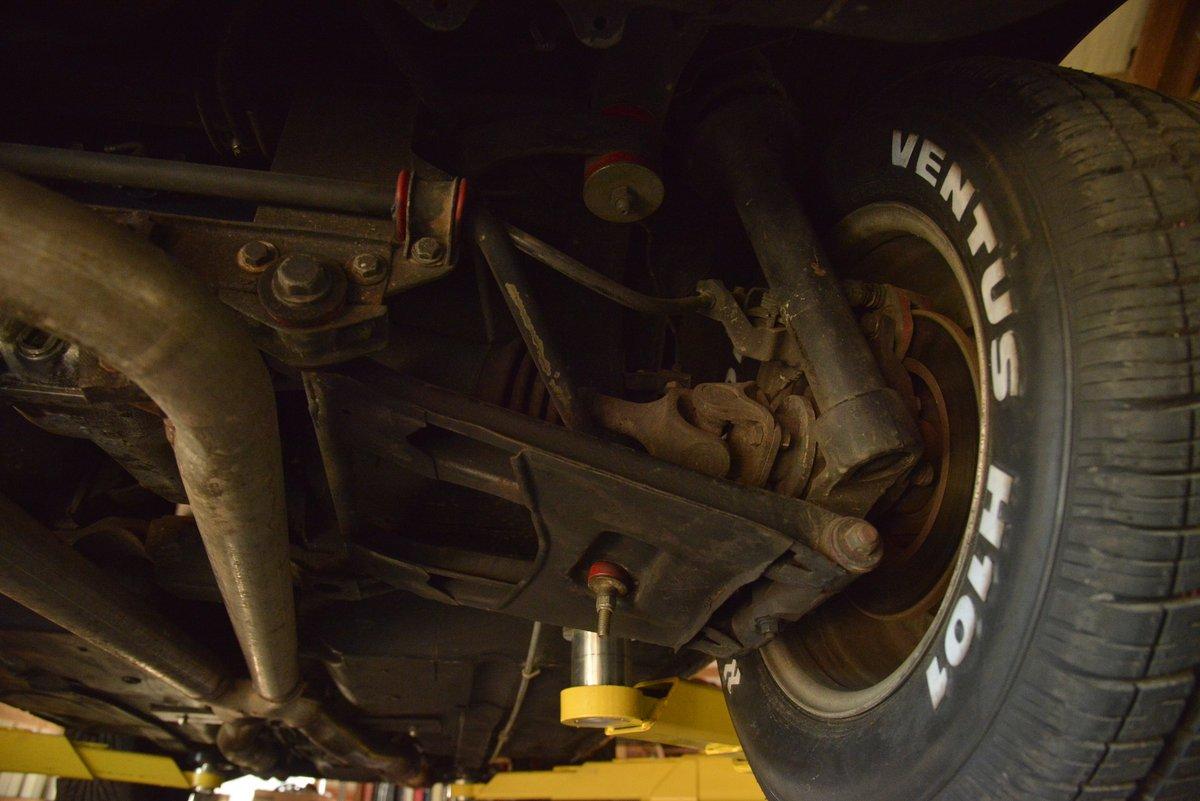
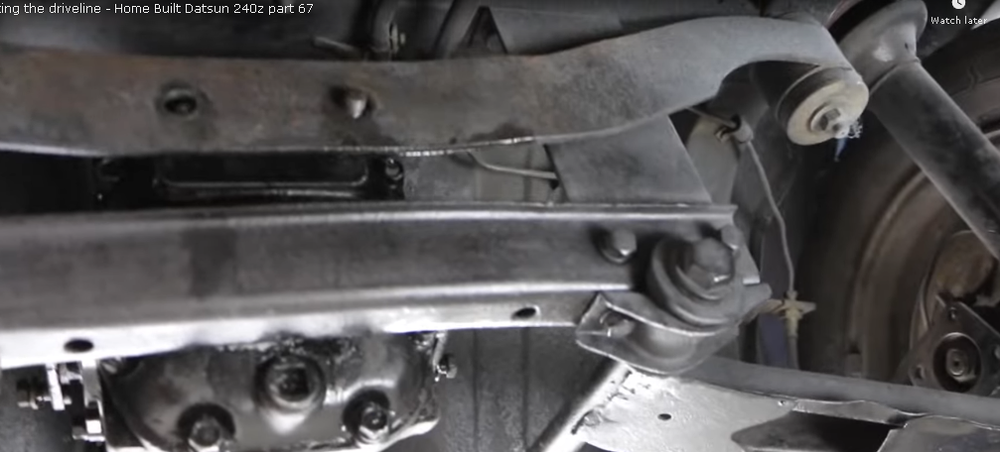
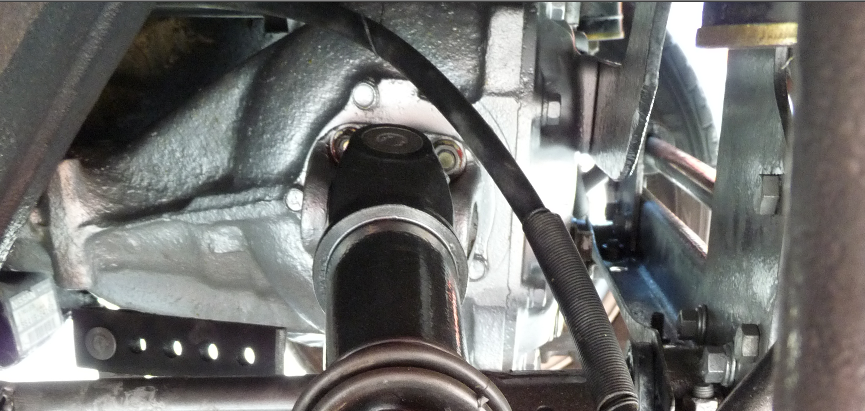
2 pointsCommon restoration niggle: Moustache Bar needs to be flipped. Welcome to the club! This will push the differential forward and provide clearance at the rear cross bracket.
 2 points
 -
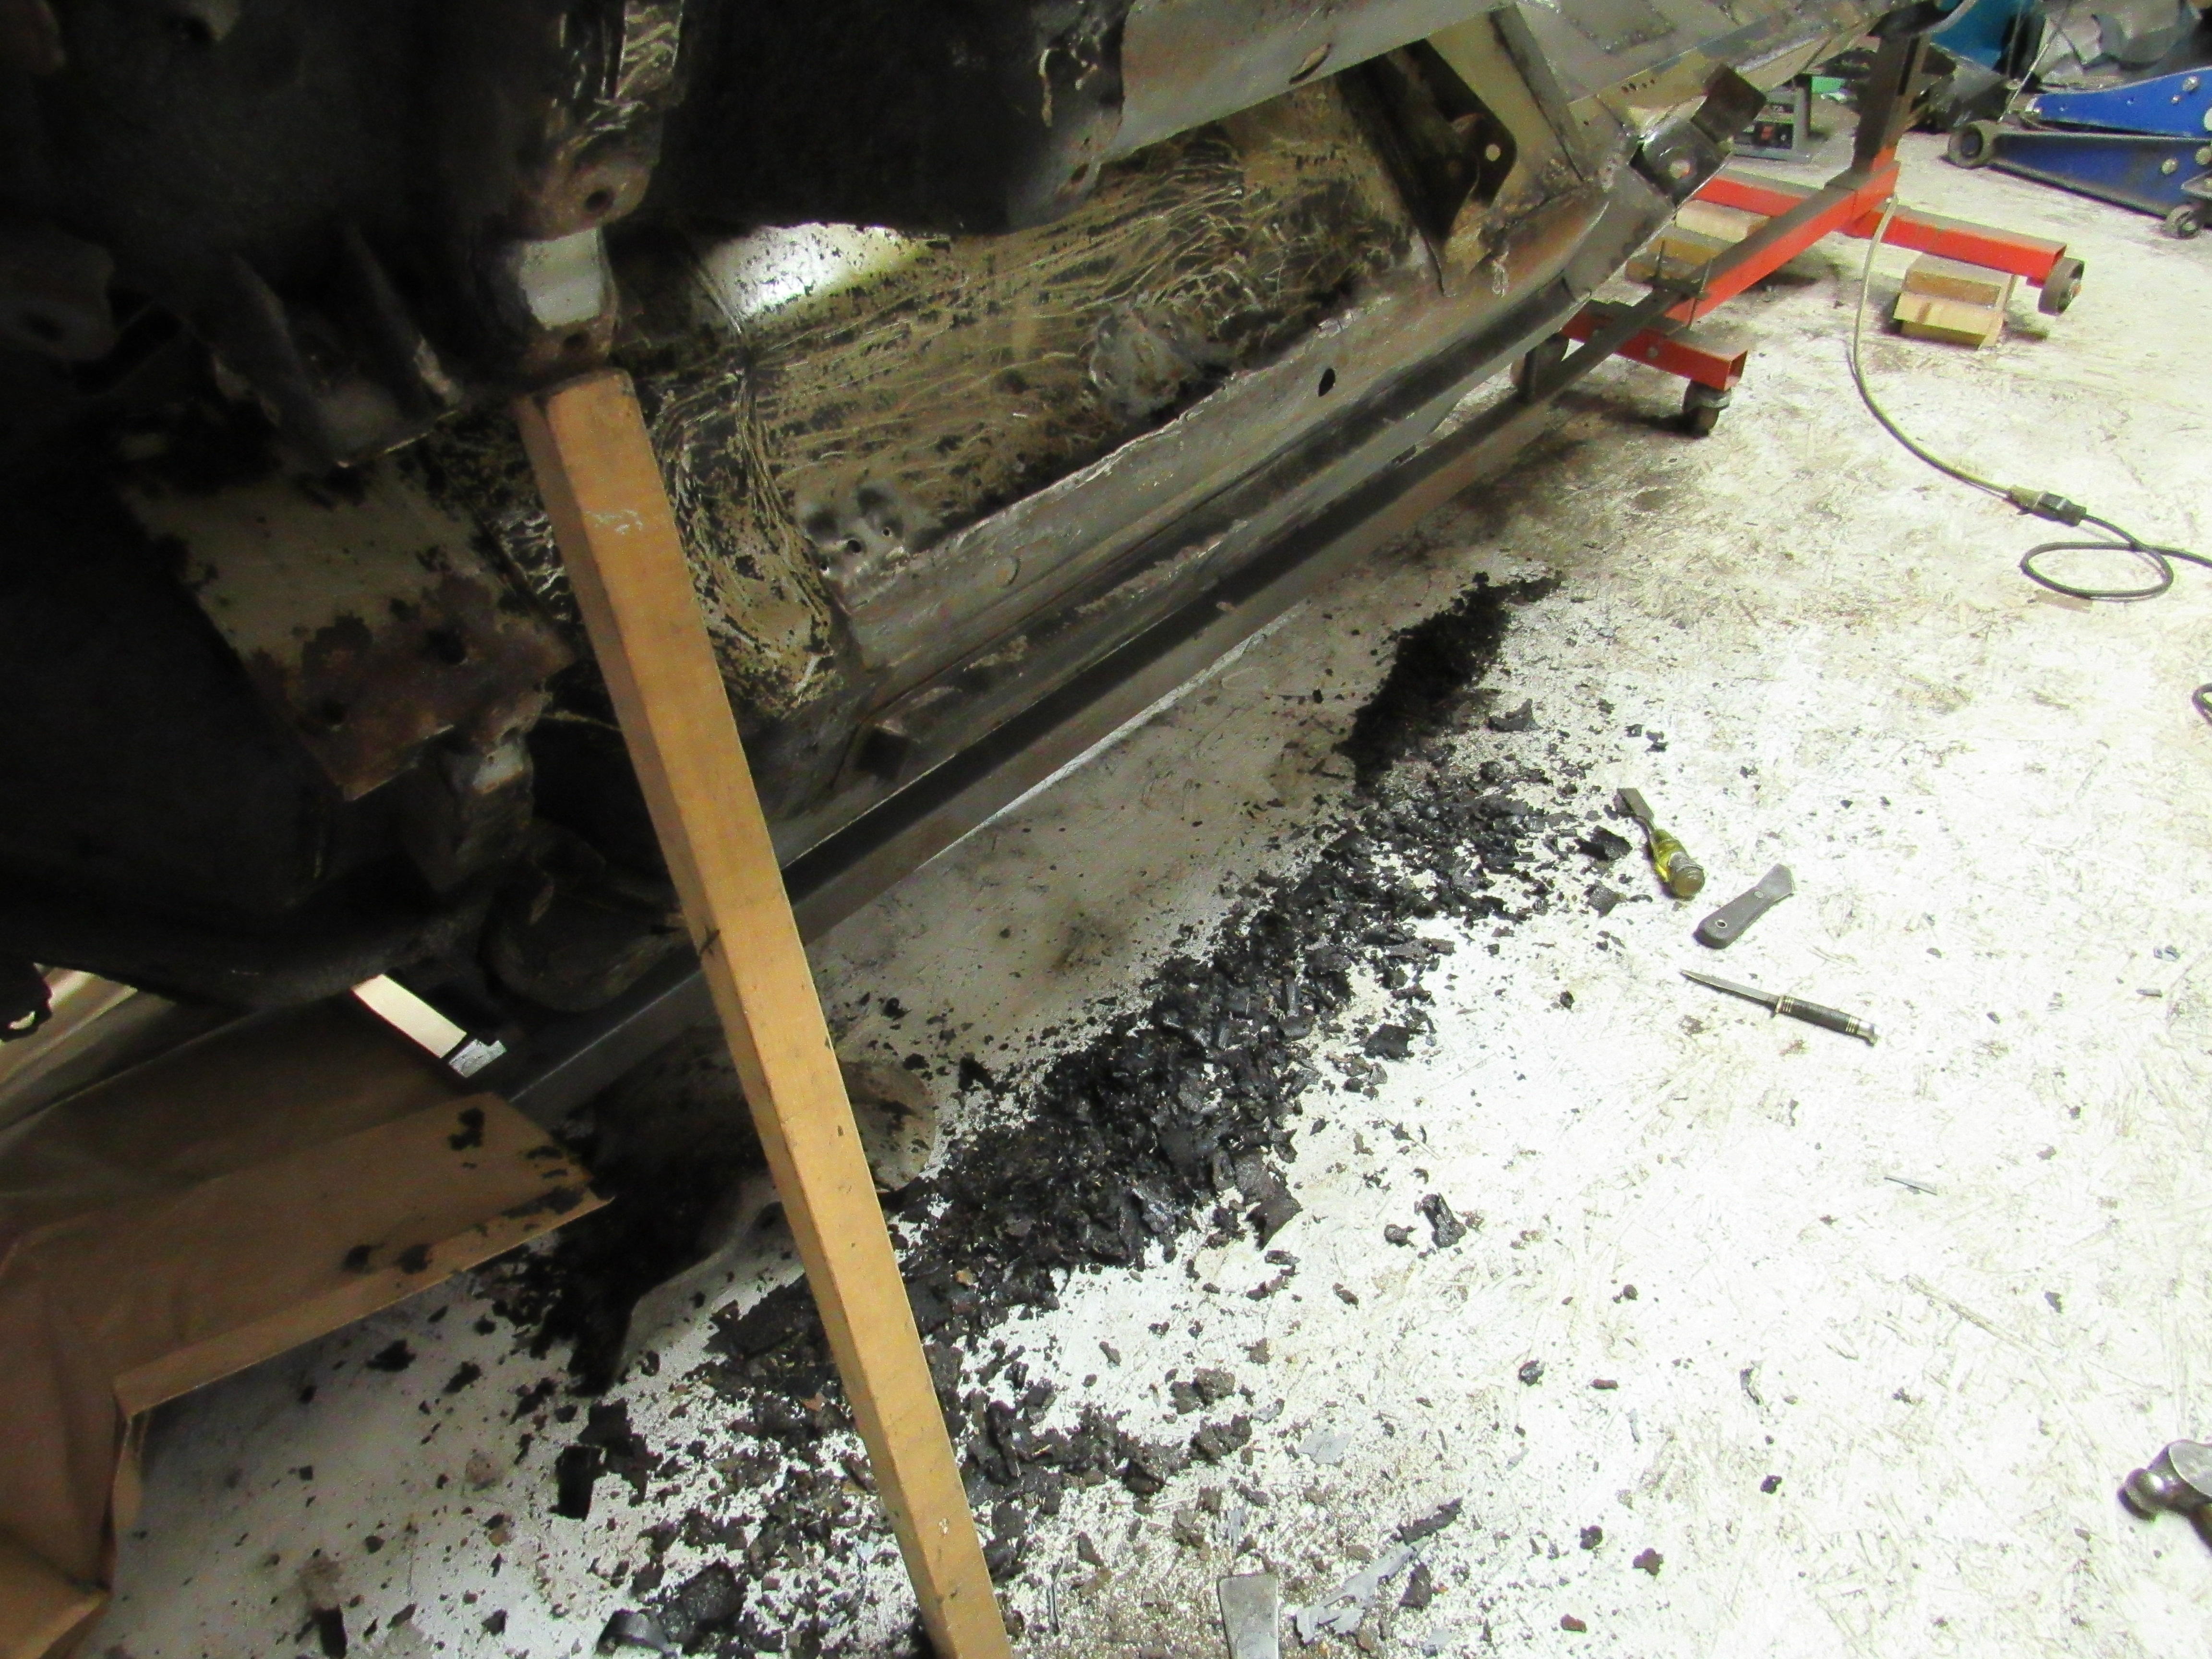
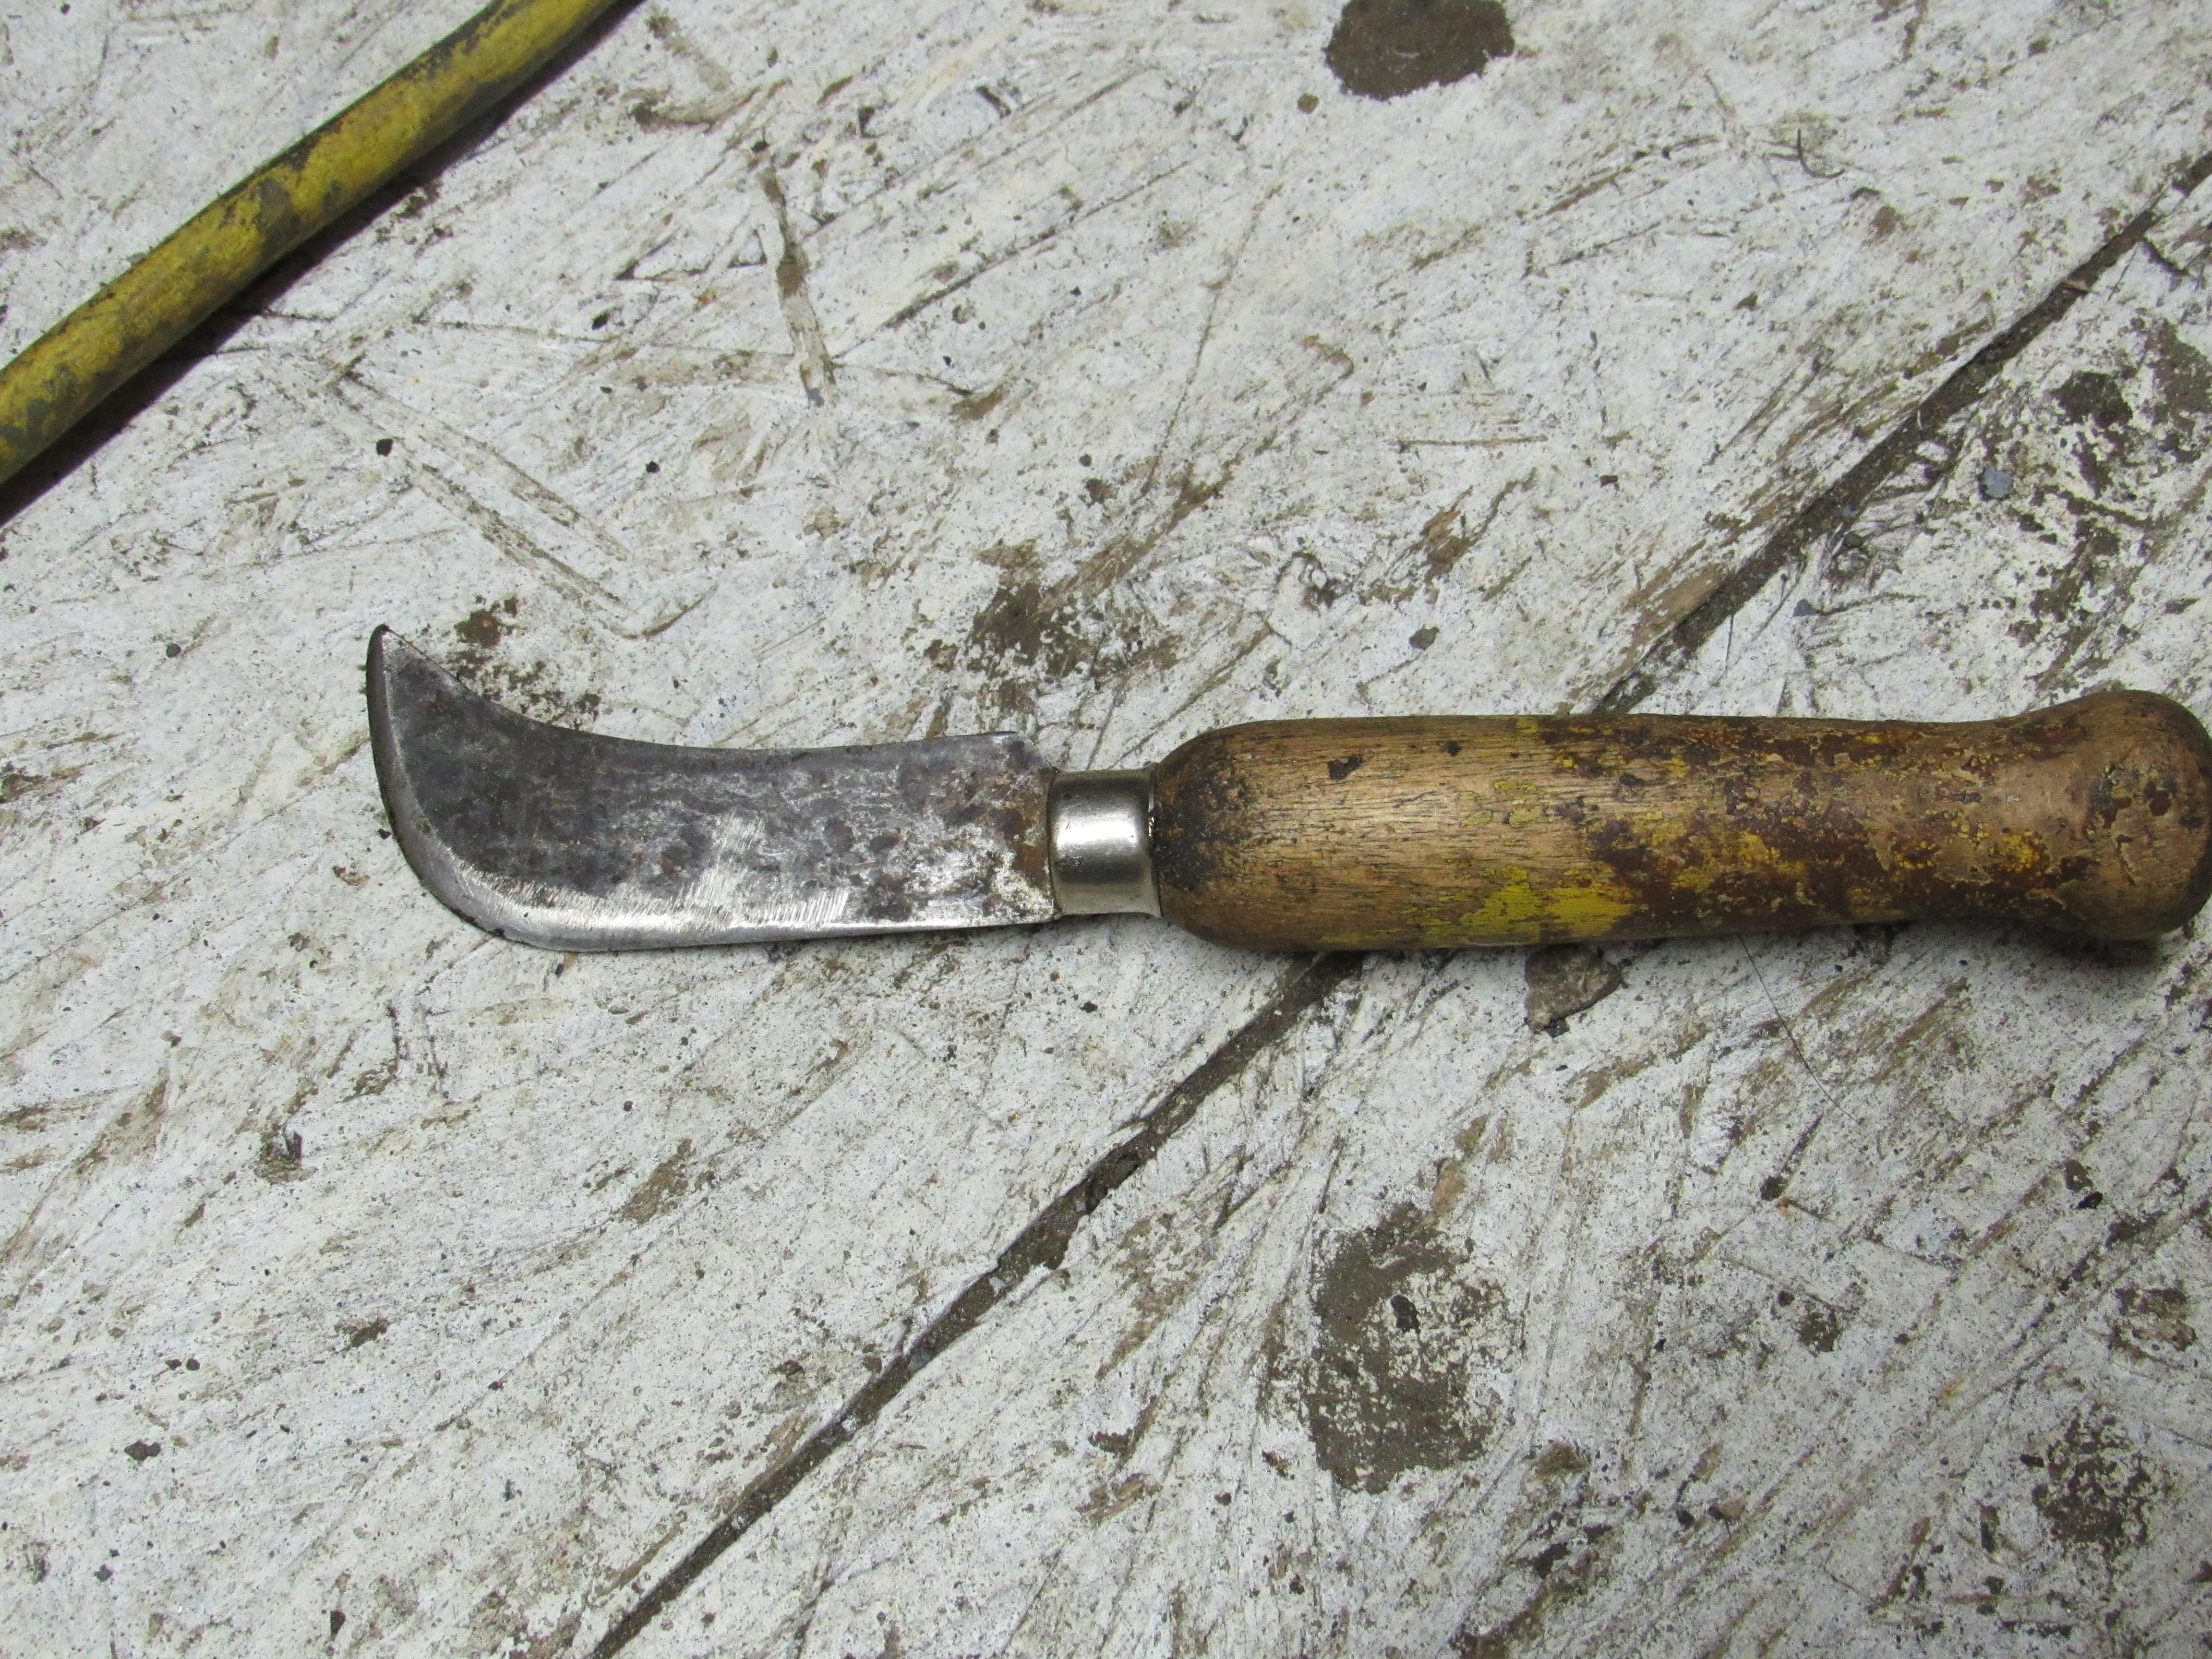
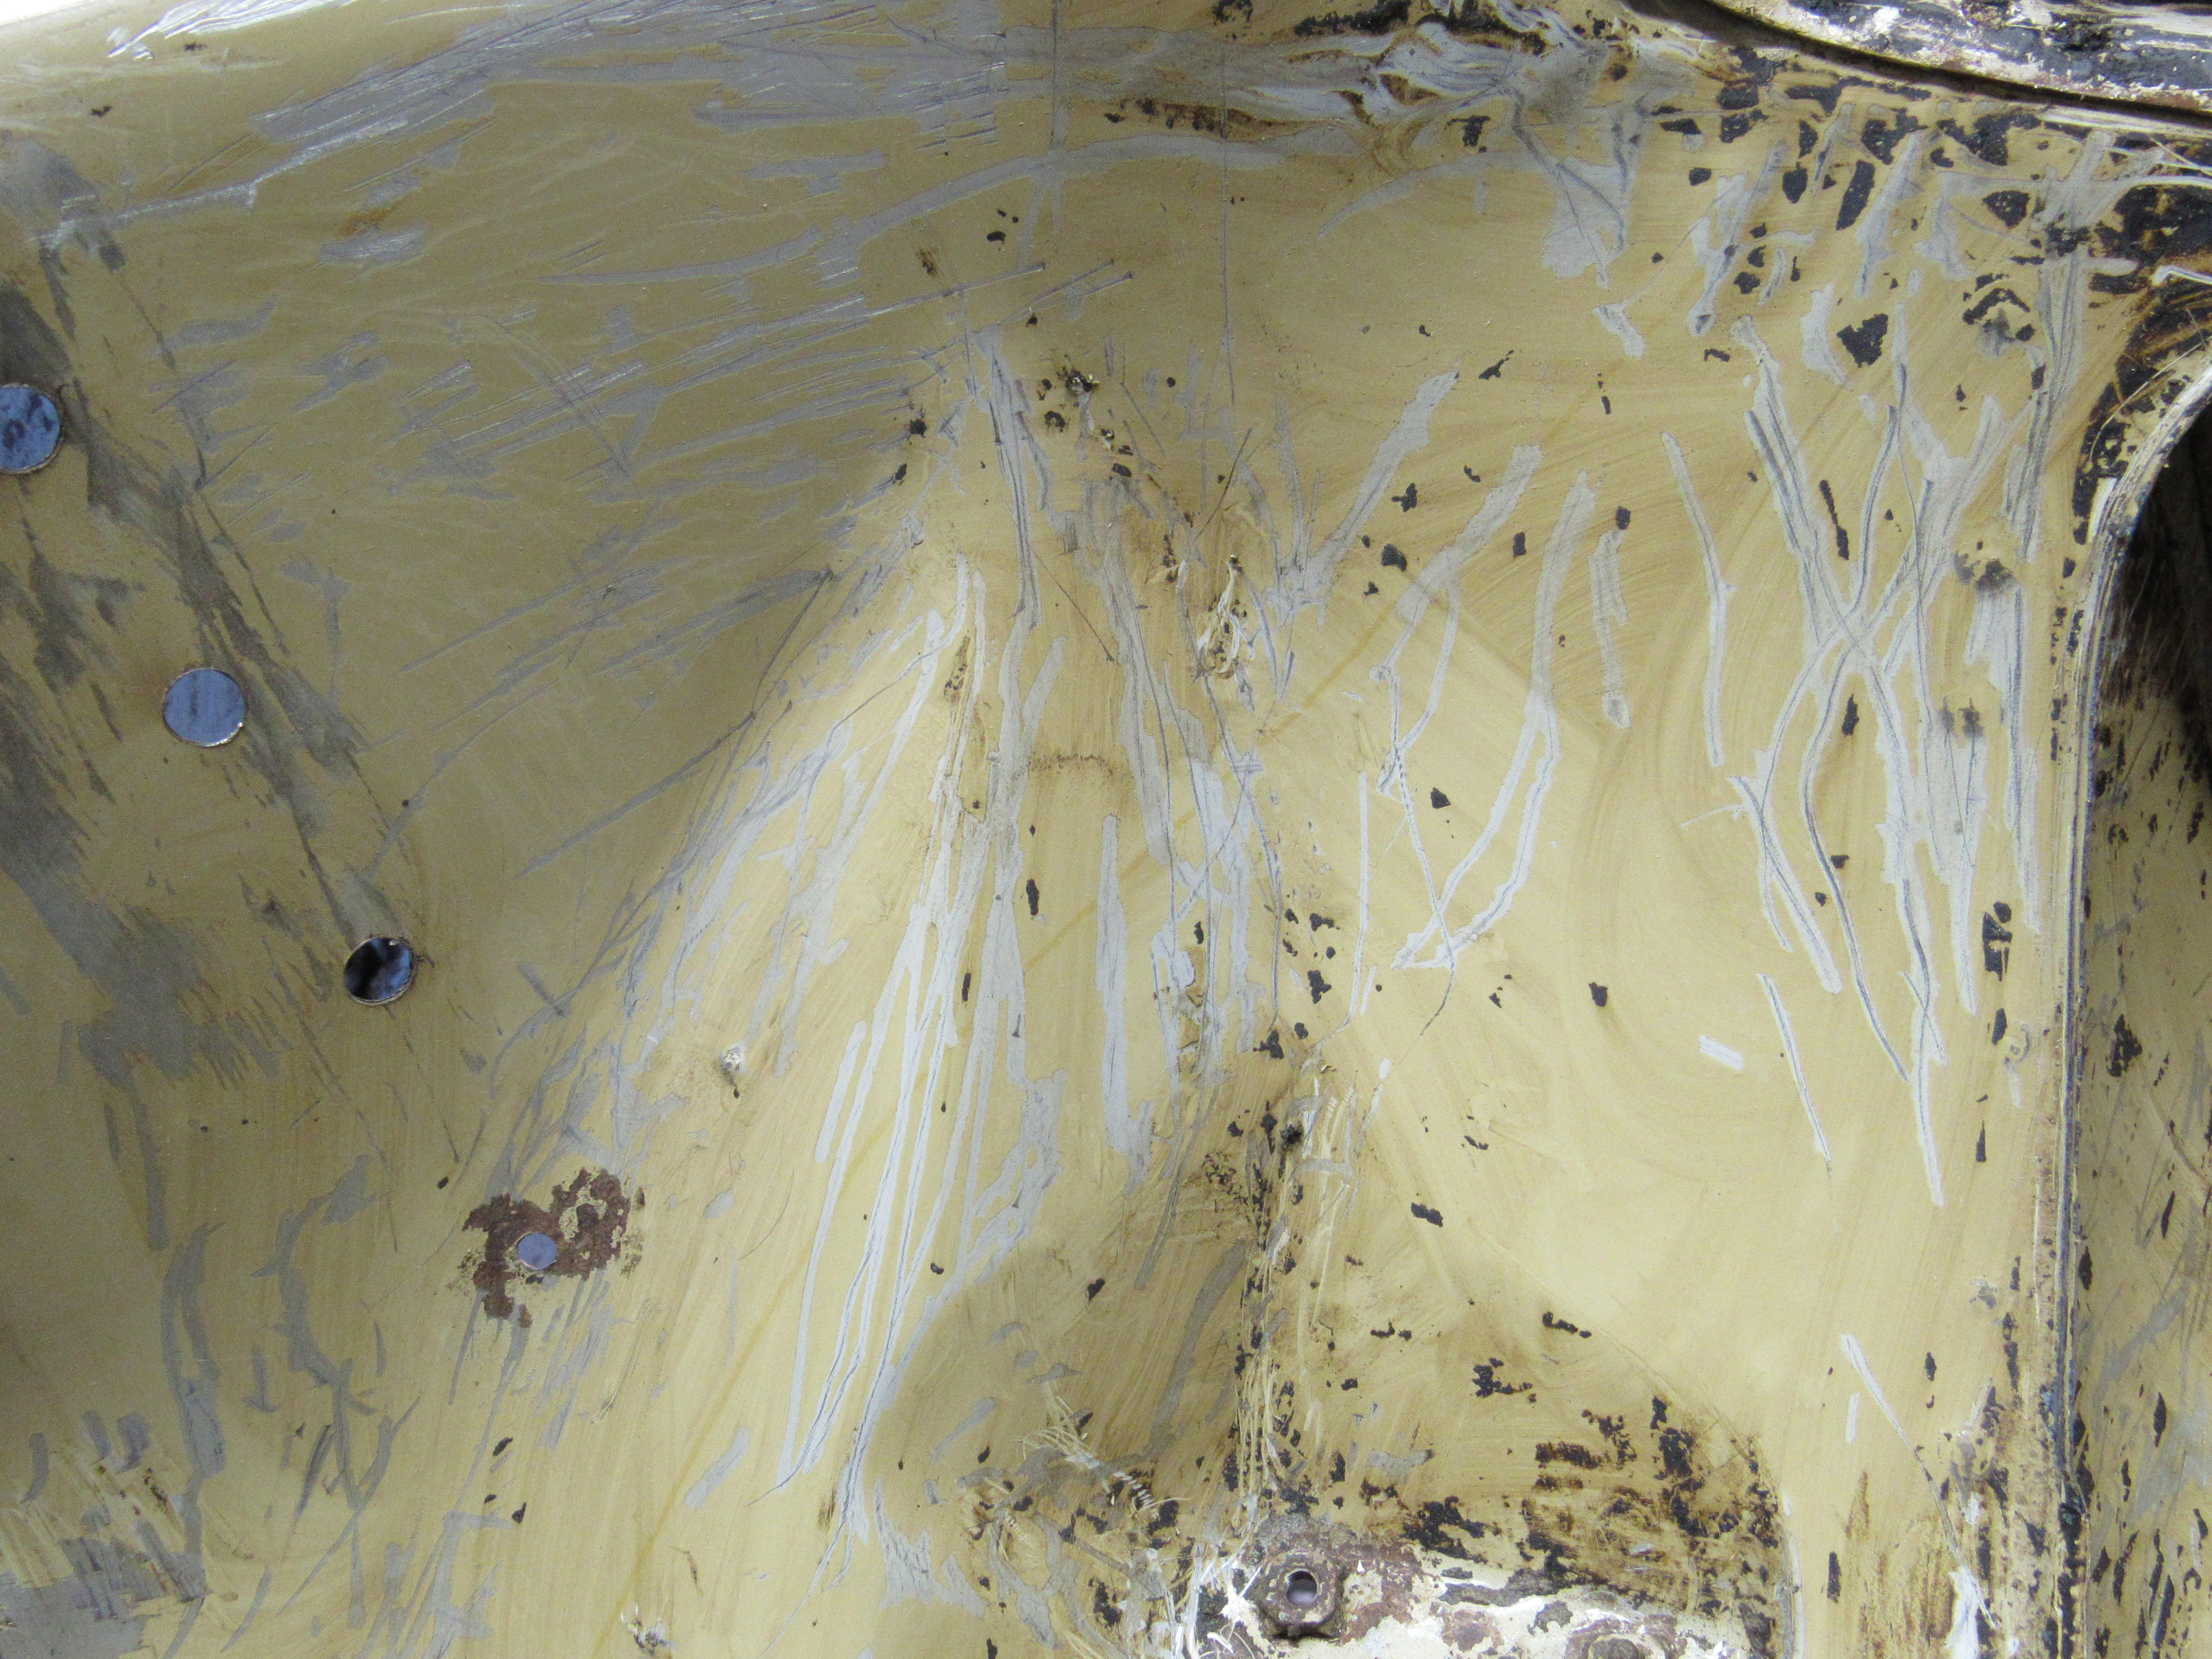
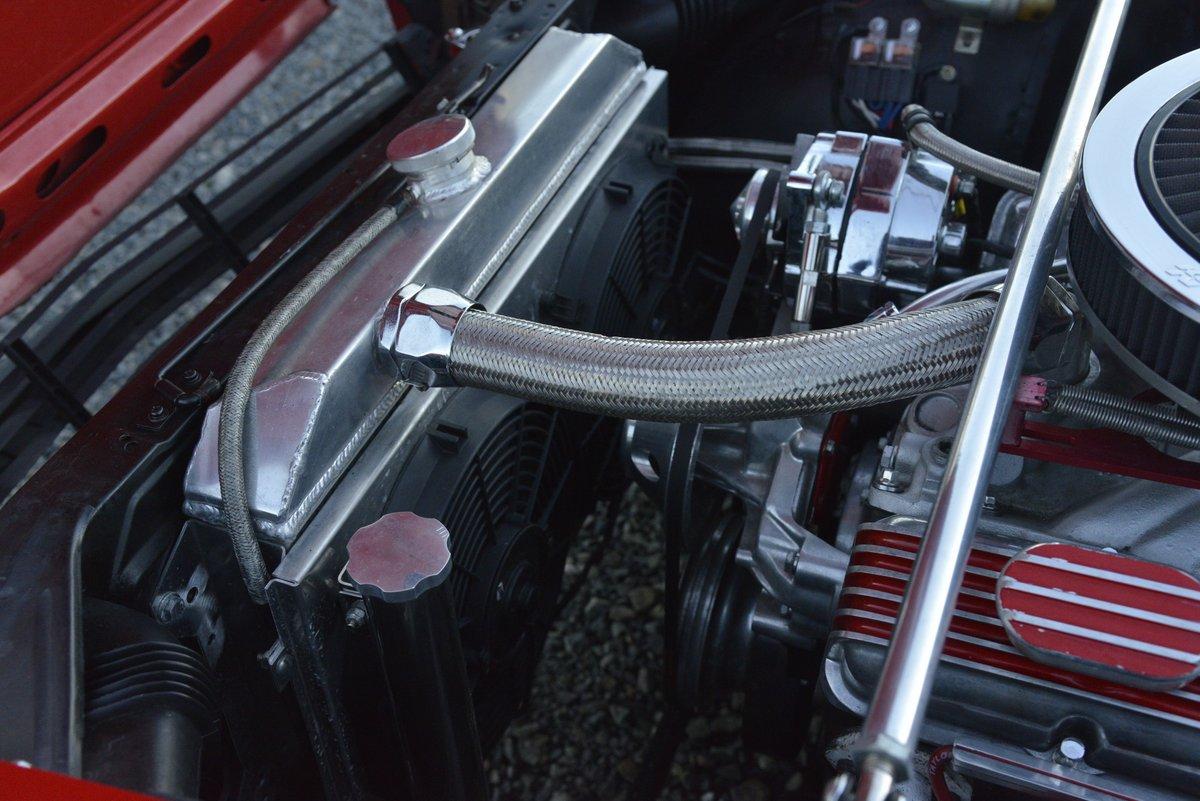
The 280 is up on the rotisserie now, cleaning up some of the previous guys welding work, only about 1/3rd into the undercoat scraping Underneath the crud is a cream coloured coating and bare metal underneath that, can anyone tell me exactly what that is, 2k primer, single primer, paint? The last pic is a scraper I made out of an old carpet knife, I sharpened the outer edge as well as the inner and it allows you to get into most of the curves and crevices, wish I had thought of this years ago.


 2 points
 -
2 pointsI used that 2k primer on the 240z and it was excellent, went on smoothly with no hicups. It has been about 2 1/2 years now since the car was painted and no problems.2 points
-
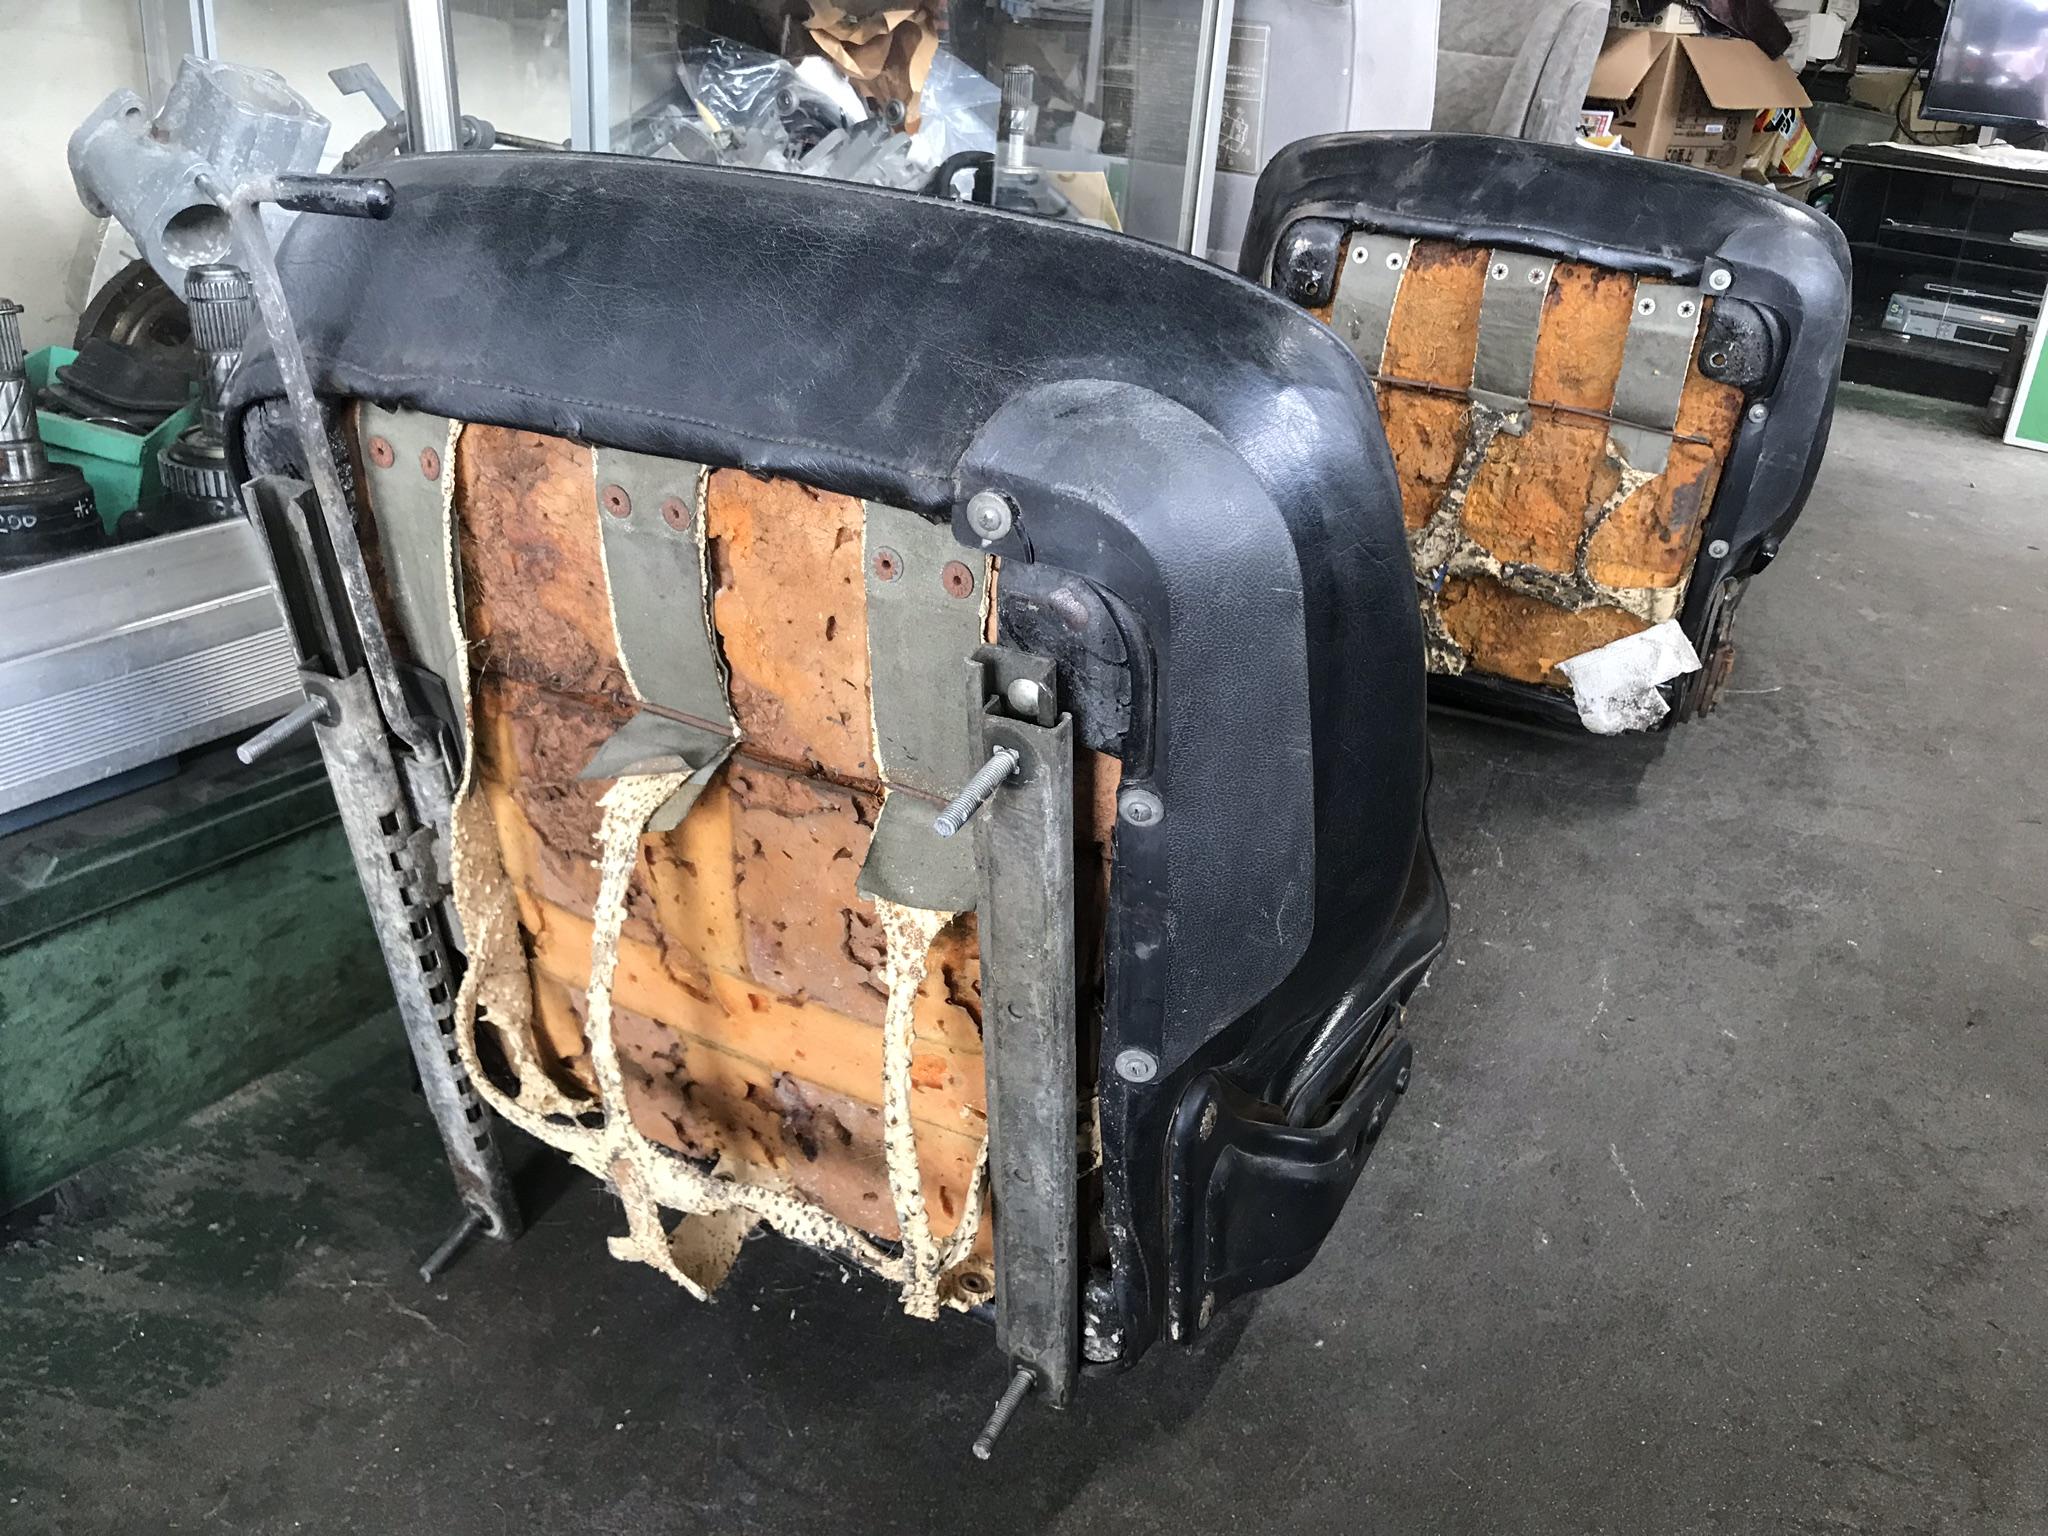
2 pointsHi Chris! Good question, Mike is correct, The balck seat doesn’t have original , I just bought the screws and the washers in my town ( like a home depo ) . My blue seat has the originals, but the washer was plated , I like gold finish but it is not the original finish. Here is an answer, you can see originals . The two really bad shape early seats have a silver screw and a silver washer. The detail can tell you they are not obtainable nowadays, the shape of the head of the screw is something different, and the washer looks a little bit thicker than currently available at a home depo . And in March or April 1971 ? A set of new seat belts and hook were applied,I guess that time was a change of the seat too , the seat bottom would have lost the guards and , the seat back lost the hook which transferred to the body side interior trim . And I assume the change of the seat back would be made at this point , “ fat seat back “ replaced by “ narrow ( slim ) seat back “ . It is going to be interesting that everyone look into the seat bottom frame , if you find the holes for the guard , is it March or April 1971 or later ? By the way , an early seat back has a hole for the seat belt hook , the hole can be seen both side right and left for the efficiency of the production. I will check my seat bottom frame if it has holes for the guard both left and right. Kats
 2 points
 -
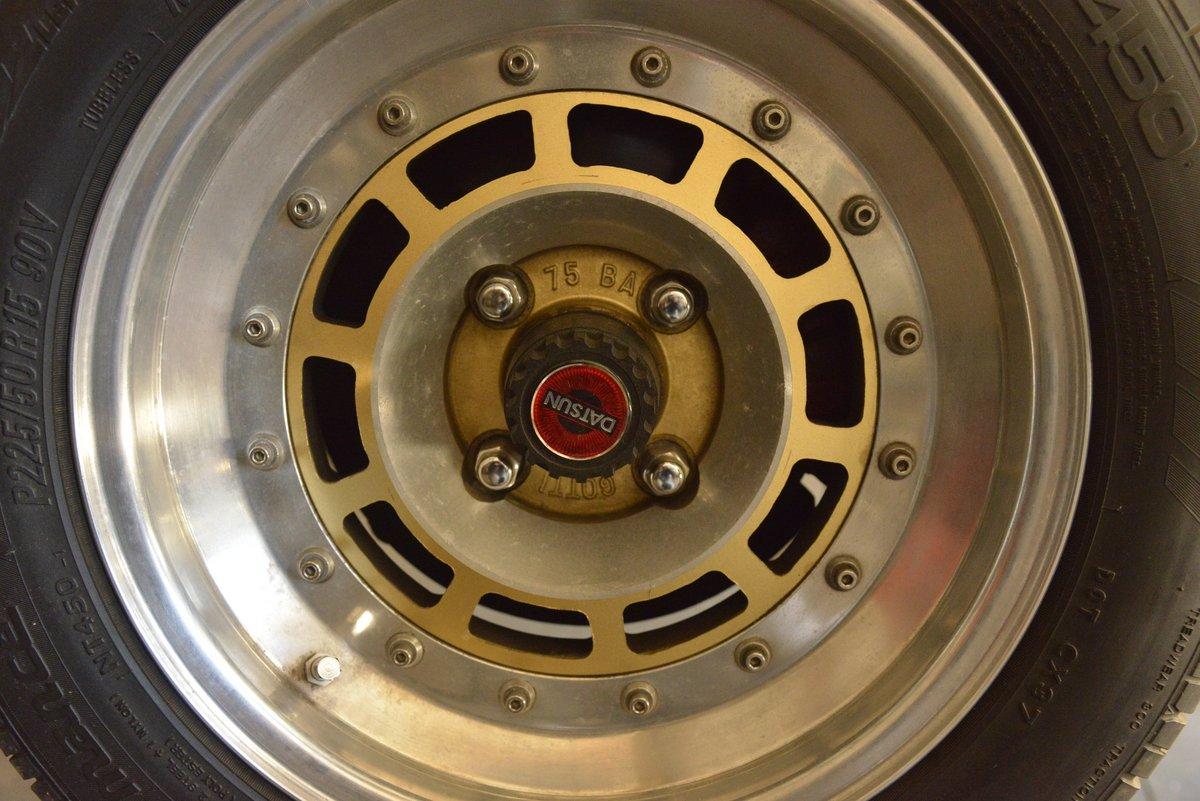
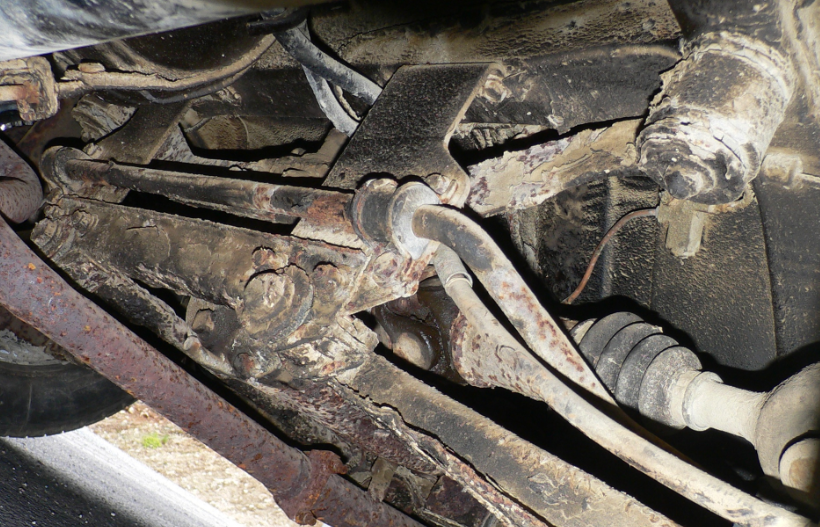
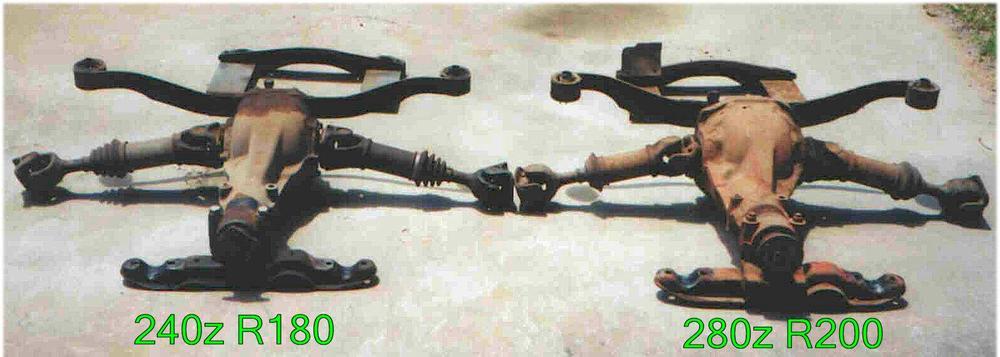
1 pointThe bolts on the side flange area are an R180. Plus you can tell by the cover. The picture that 246 grabbed from your video, in post #349, shows an R180 cover. R200's didn't show up in the Z's until 1975.
 1 point
 -
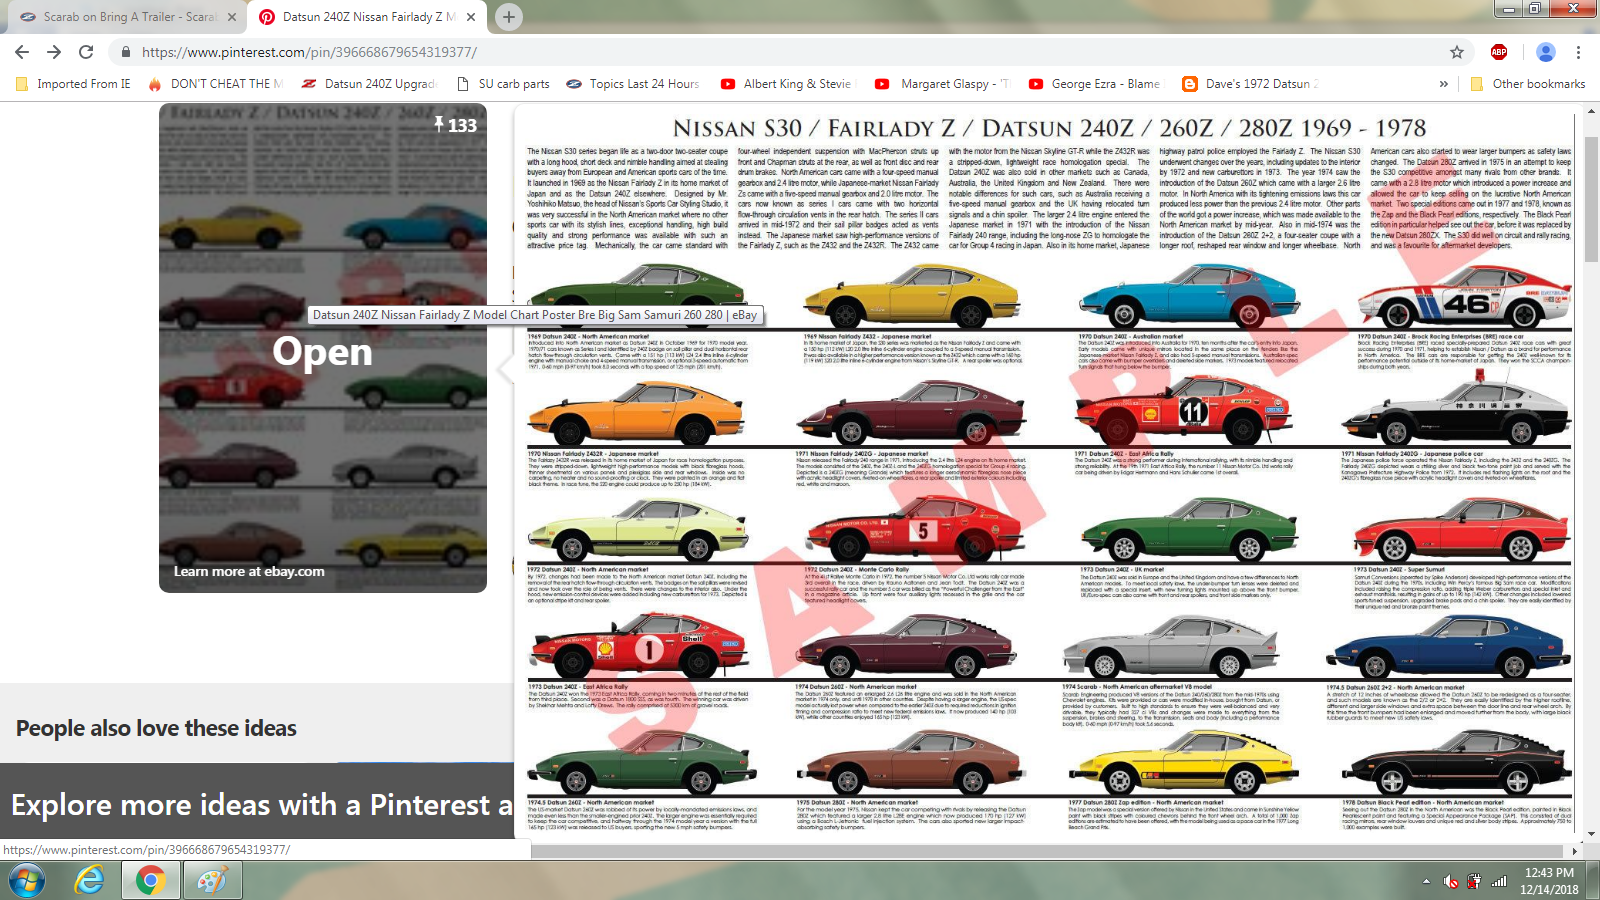
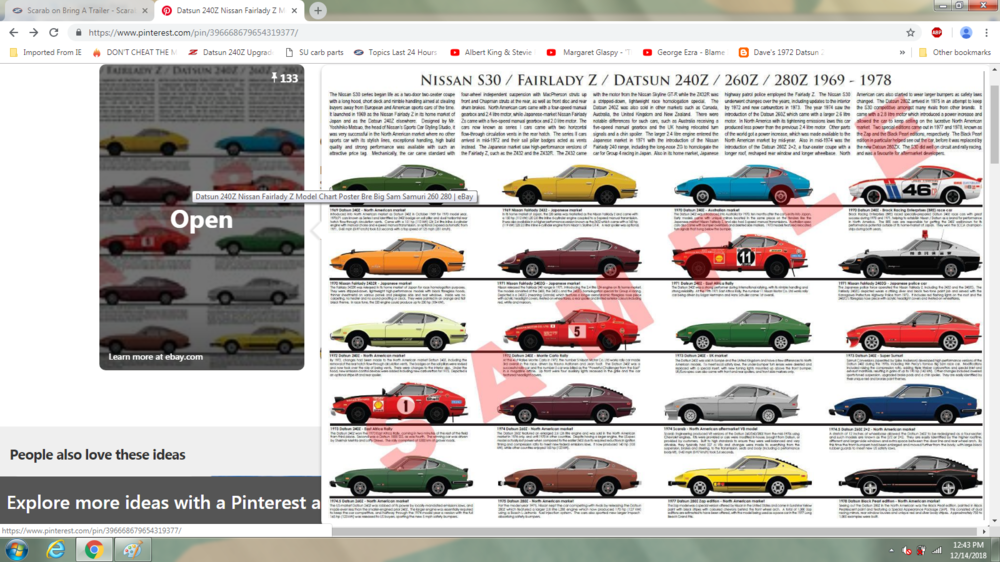
1 point$25 for 19x13 https://www.uniquecarposters.com/datsun-240z-and-nissan-fairlady-z-car-model-chart-1 point
-
1 pointIt's out there! I'll find it somehow. Almost as cool as the coffee cup Jim and Jim gave me for Christmas.
 1 point
 -
1 point
-
That looks sooooooo familiar! That is single stage primer I believe. It’s under everything.1 point
-
1 pointAdding a relay to the starter is not a bad idea, it does increase the life span of the ignition switch.1 point
-
Hi Jim, I am really excited about working on these, believe it or not. Being a mechanical engineer by profession I really like all of the mechanisms, bushings, springs, etc. I have been actuating and cycling some of the mechanisms prior to disassembly just to nail down each function. I was actually pretty impressed with how smoothly the choke mechanism operated and how easy it was to remove the floats. Also, it was fairly clean inside, for the most part as you can see in the pics. It really helps to have the extra sets, that way I can be selective about the parts that I use for the primary set when the parts are re-zinced. I should have spares of most parts which will be nice. Also, having a completed carb will make the re-assembly go a bit faster. The key will be having everything organized and making sure all the parts operate well. For the Choke vacuum breakers, I am hoping that there are two good ones out of the four. I will hook up my vacuum pump and check them out here soon.1 point
-
1 pointI think the confusion may be due to the bigger R200 differential needing the moustache bar flipped like yours:
 1 point
 -
1 point
-
VIN: S30-67902 '72 as of this posting: Undergoing restoration in Seattle, WA (USA)
 1 point
 -
1 pointupdate: I located some thicker style washers and will recheck screw size when I get the washers. The washer is a m5 and looking at Kats pictures and the size of the seat guard holes, the screw looks like a #8 x 3/4. I used a 9/64 drill bit for the new holes.1 point
-
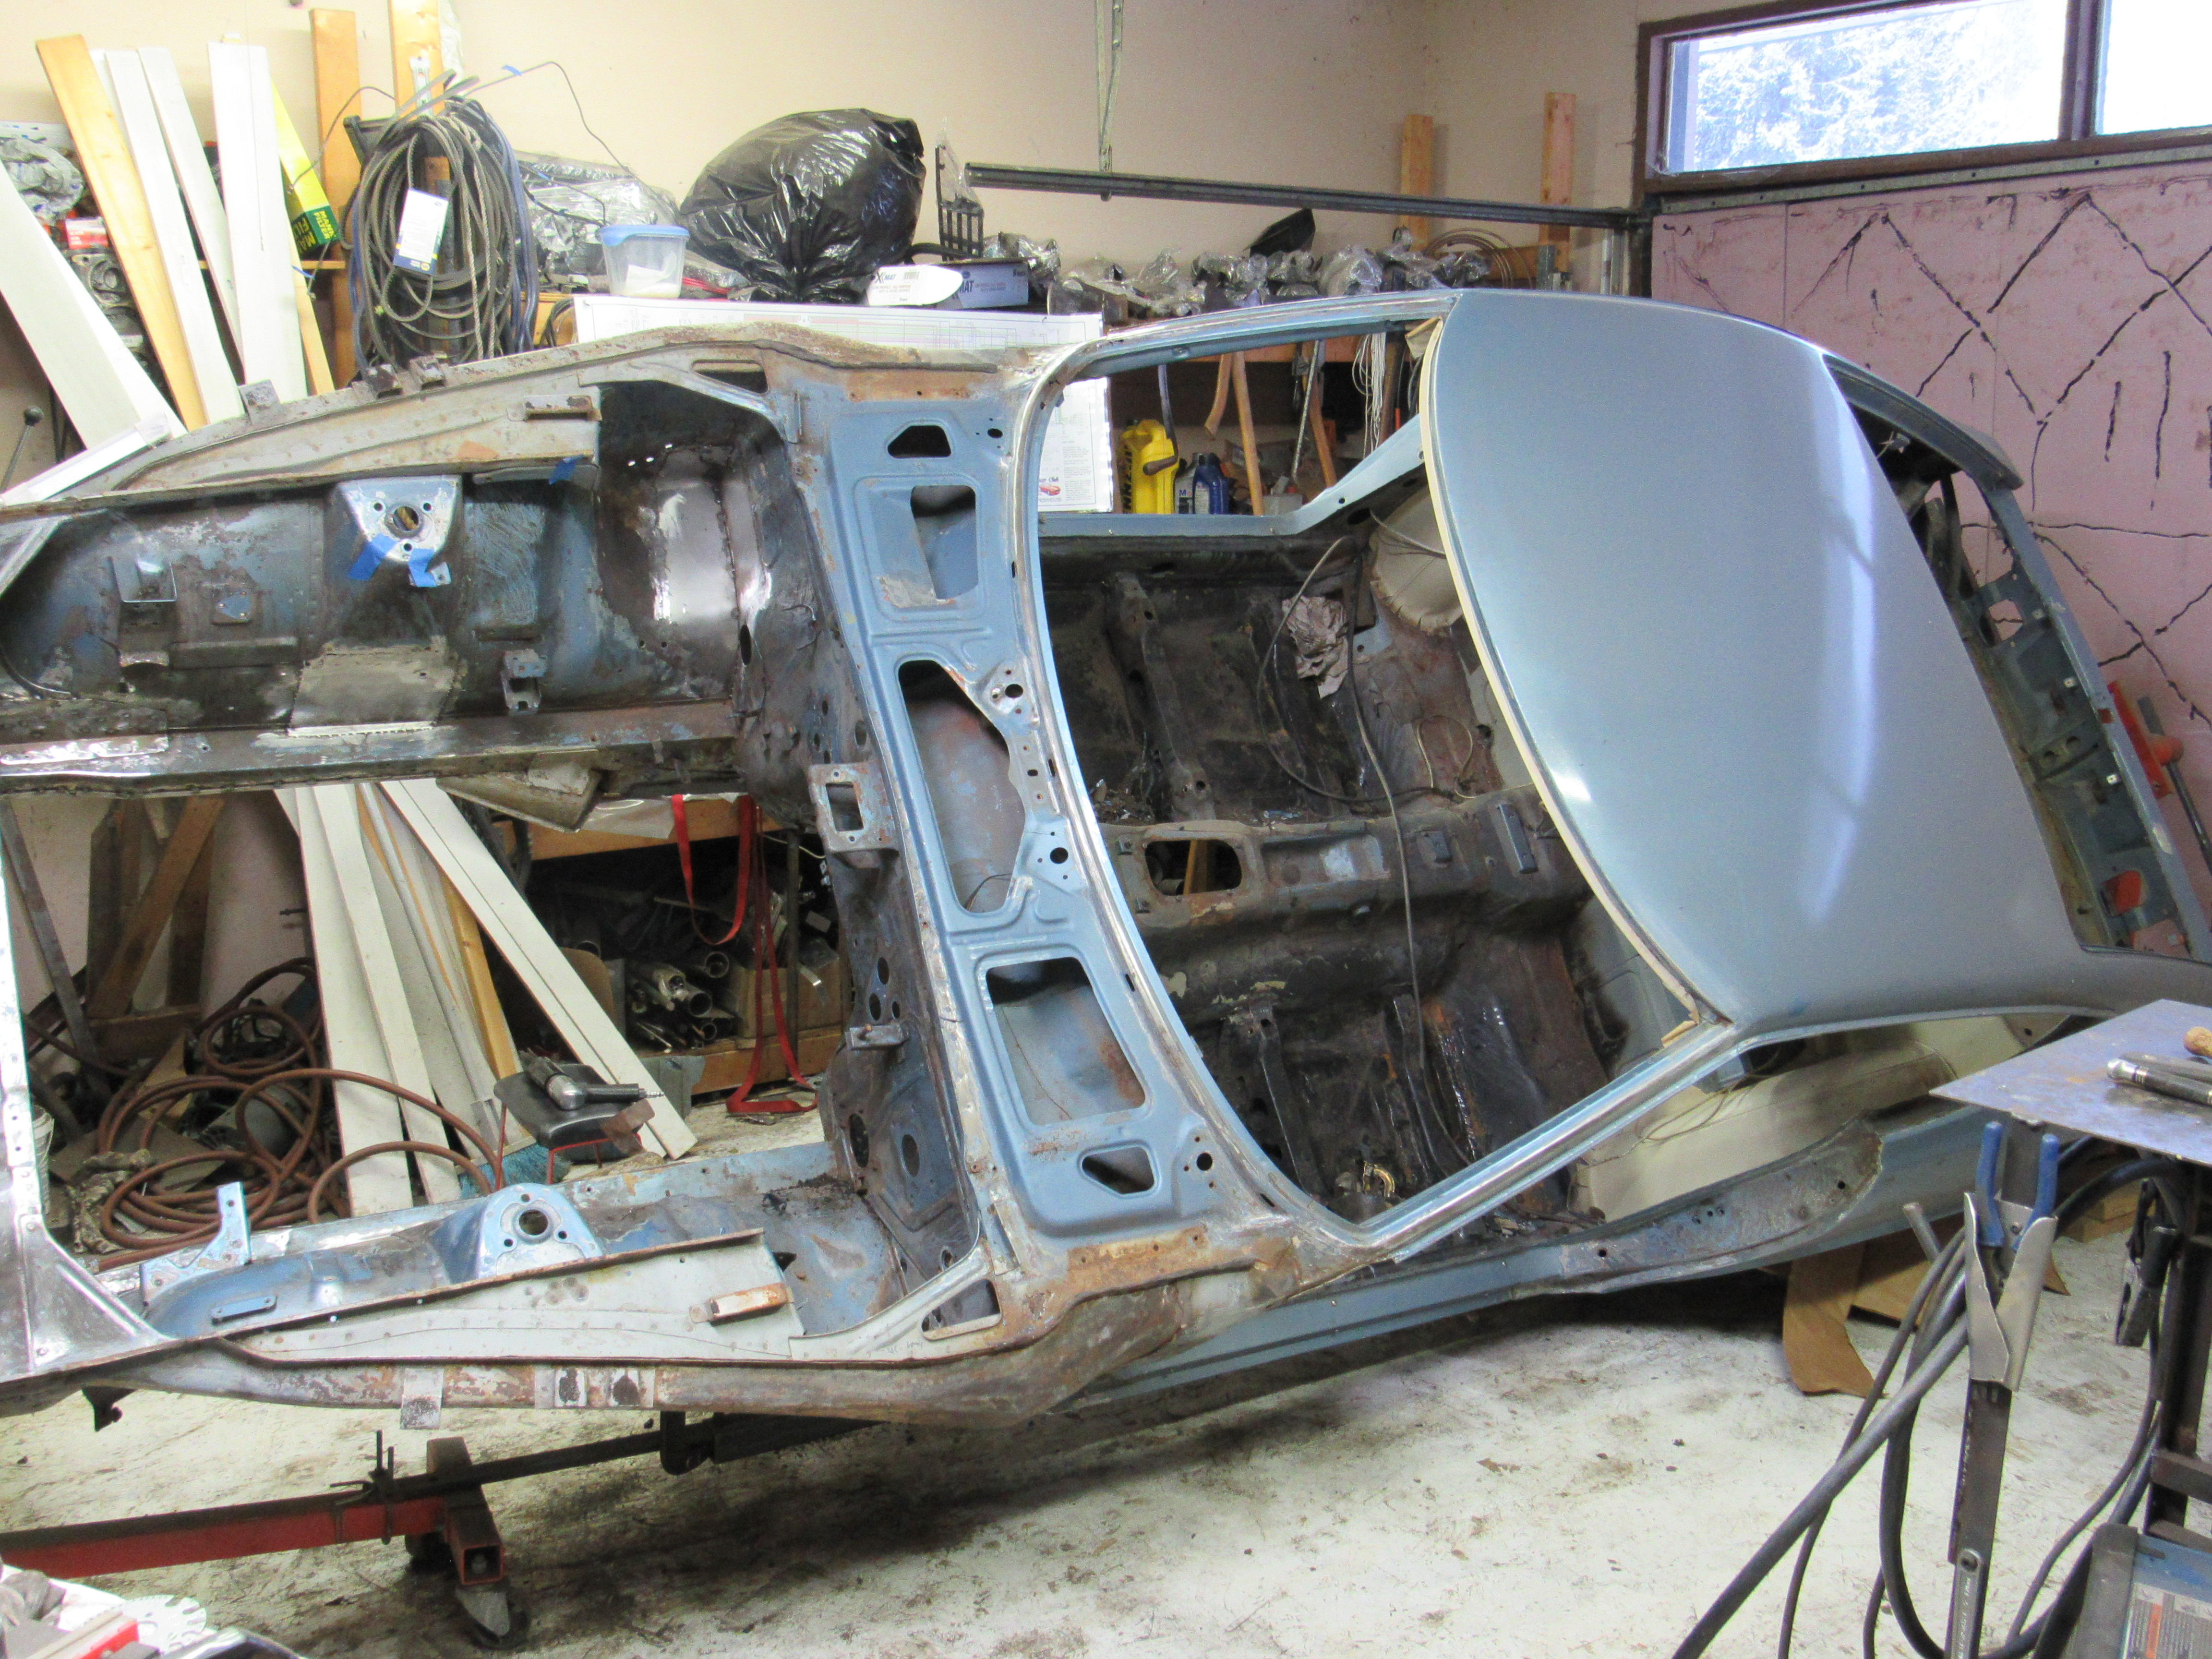
1 pointHeading into my Christmas leave block with the military, so time to get serious! I will be working on the remaining original panels and doors, getting them down to bare steel and ready for repairs. After that I have some work to do on the front clip, prepping the old bumper shock mounts (where the rotisserie was mounted) for primer and installing the gas shock mod for the hood! Looking forward to having the front end done and all the panels ready for primer for the new year. Then let the blocking and bodywork begin!1 point
-
1 pointSets will be available after the first of the year at a cost of $200 per set plus shipping. I have spent a lot of time and money on this project. I don't have the original screws or washers that came with the seat covers. I will be able to figure out the washer size and I will need some measurements of screw. I know they will fit the early style 70-71 seats and you will need to drill your own holes in the seat frame.1 point
-
1 point
-
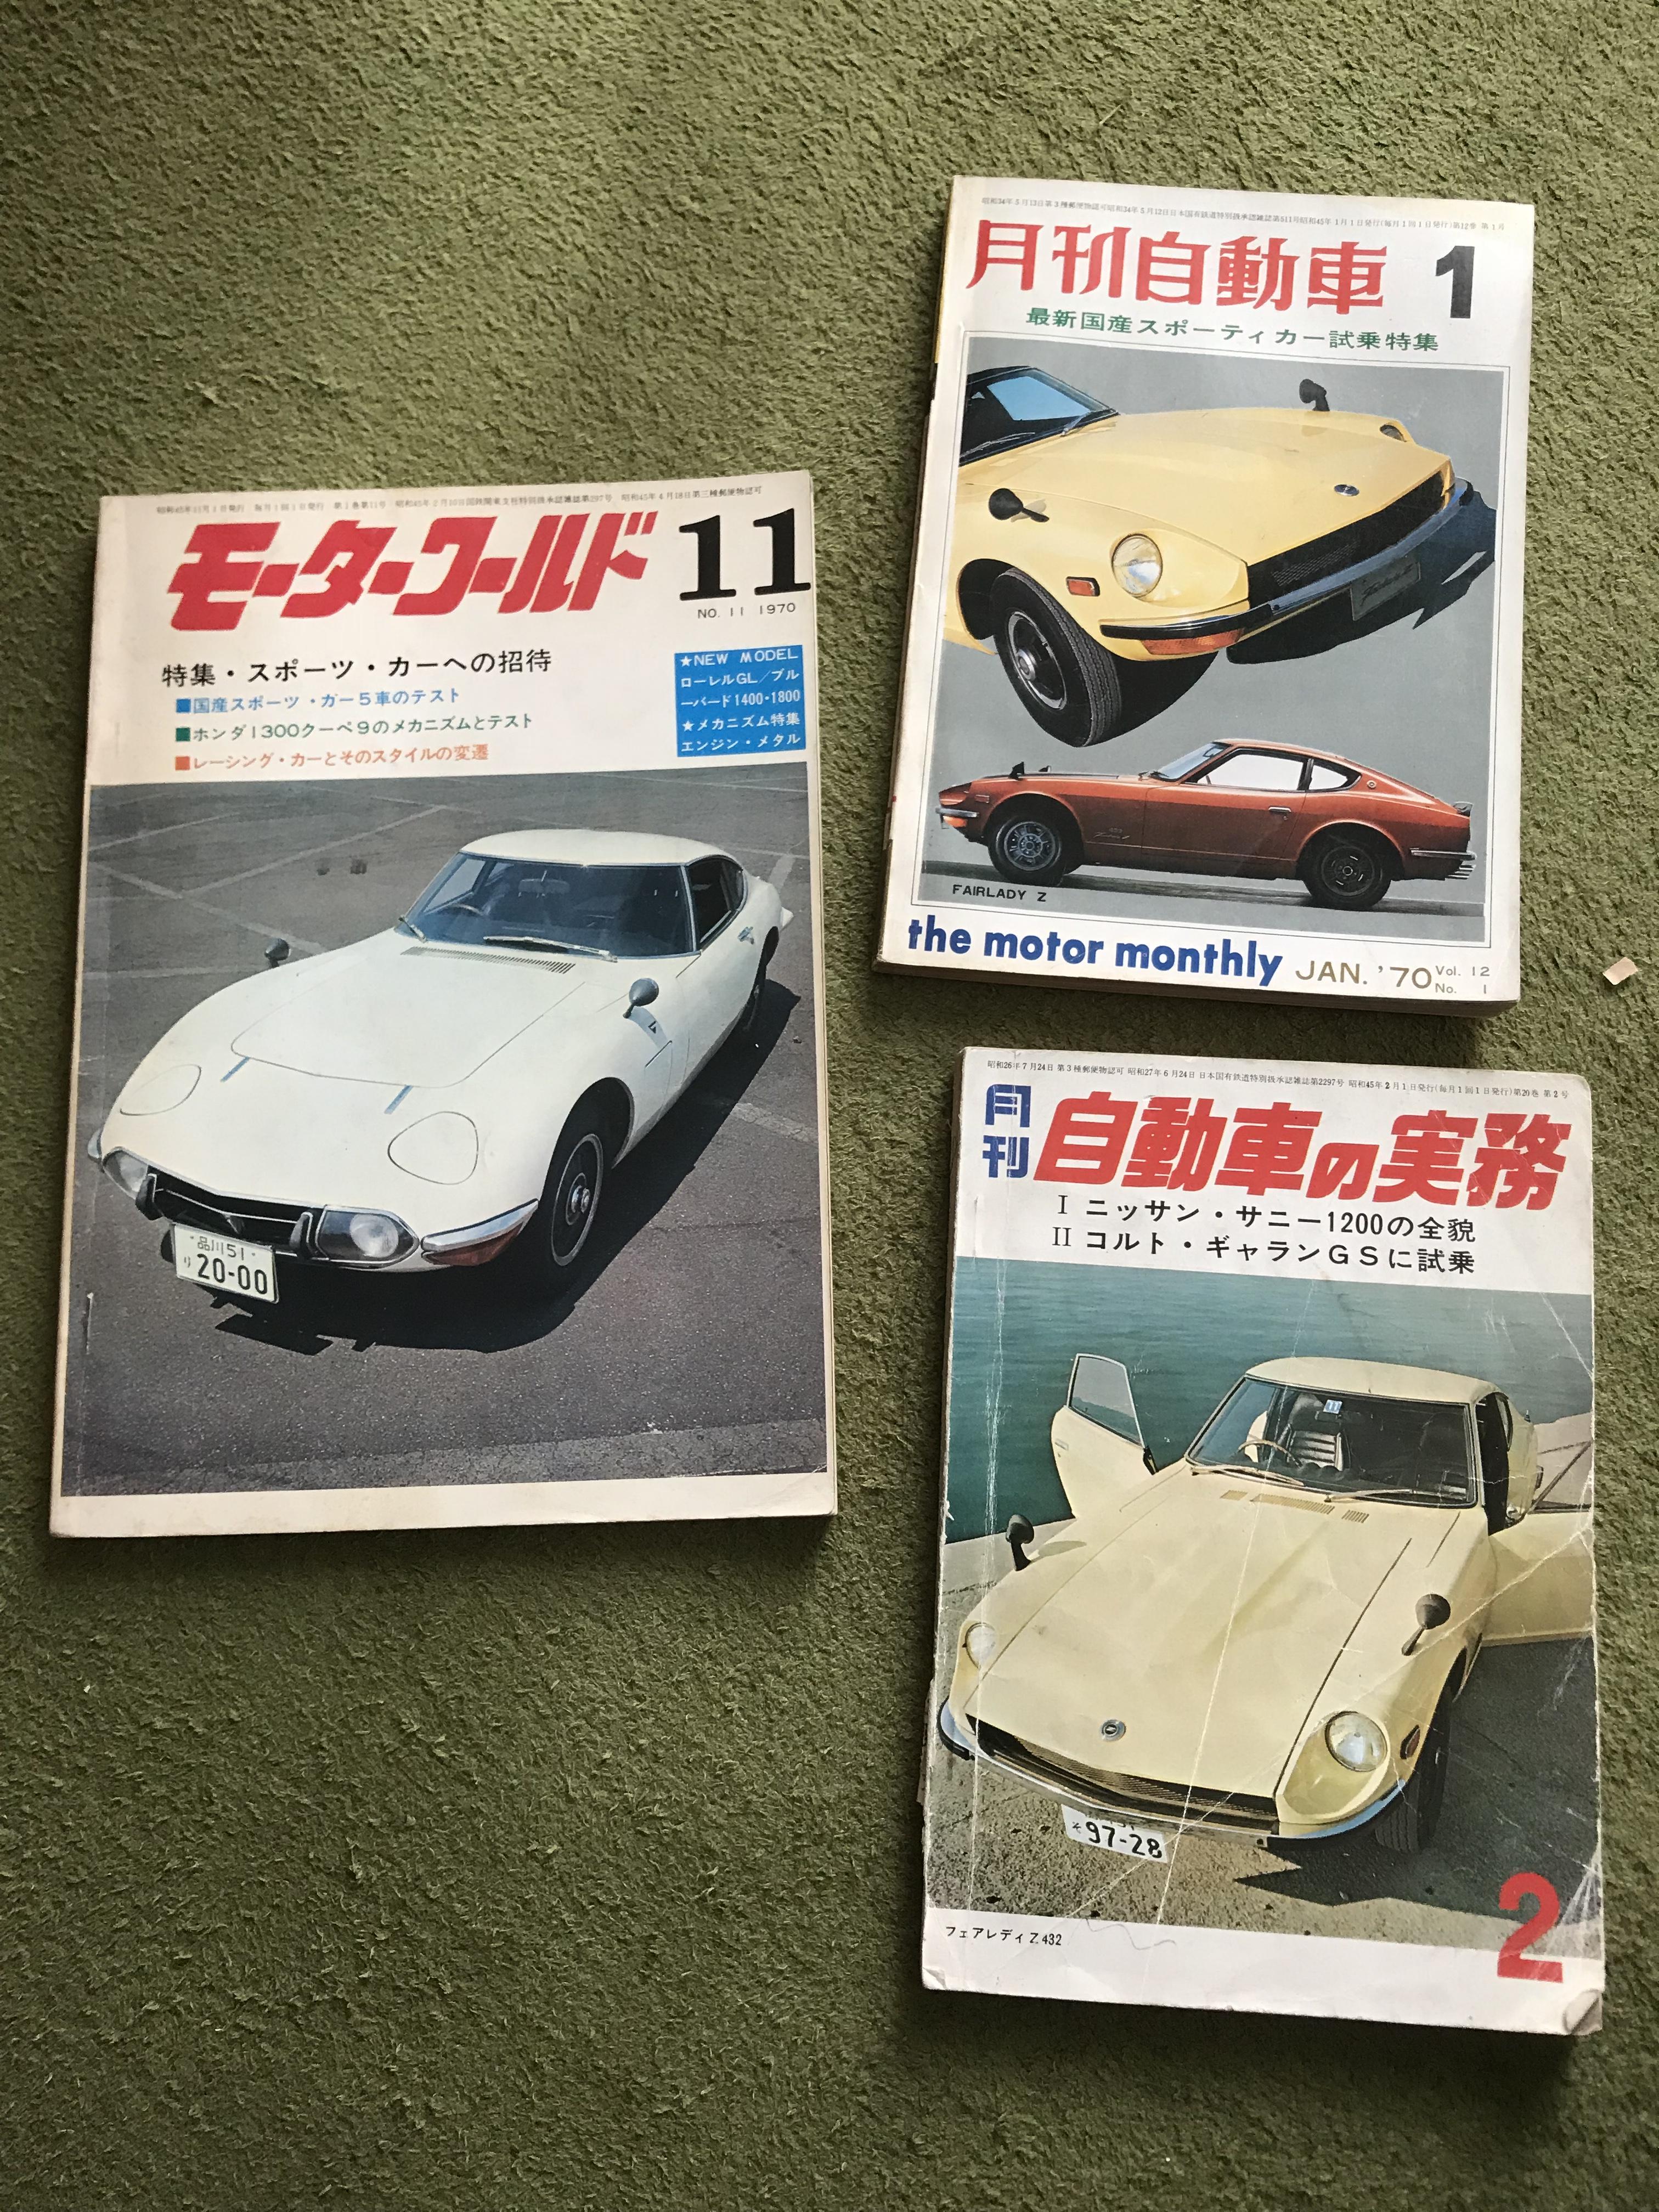
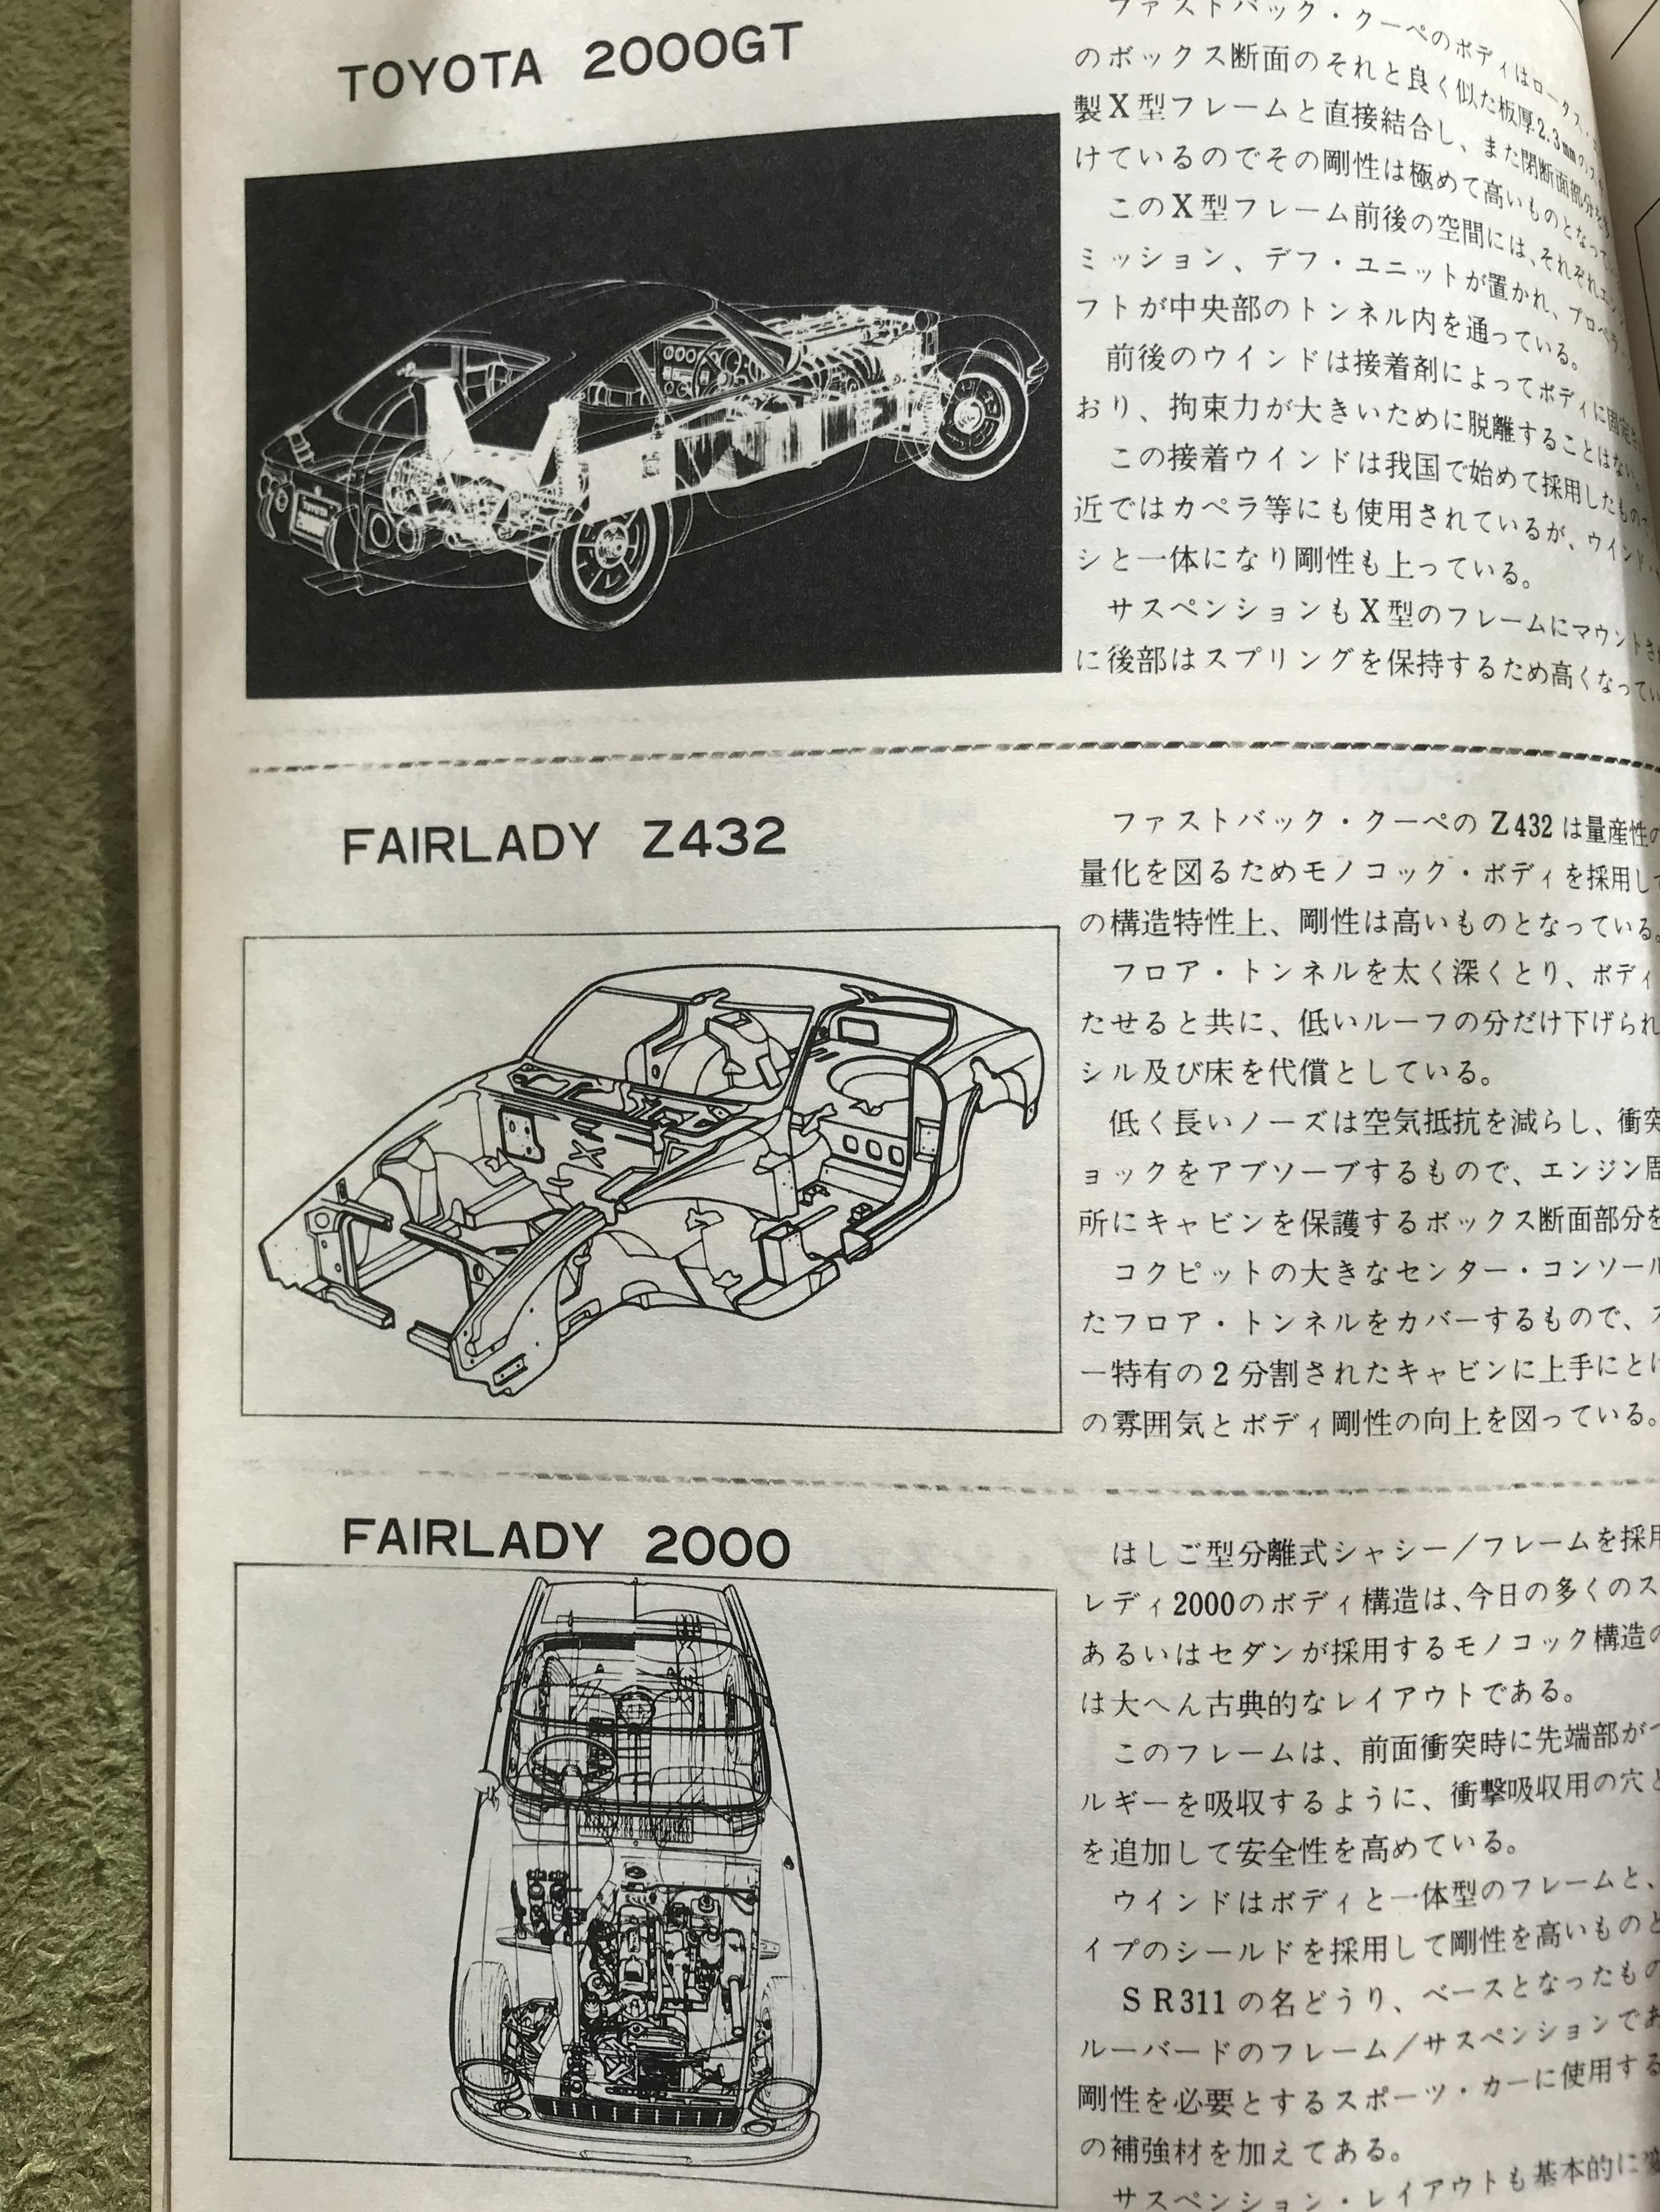
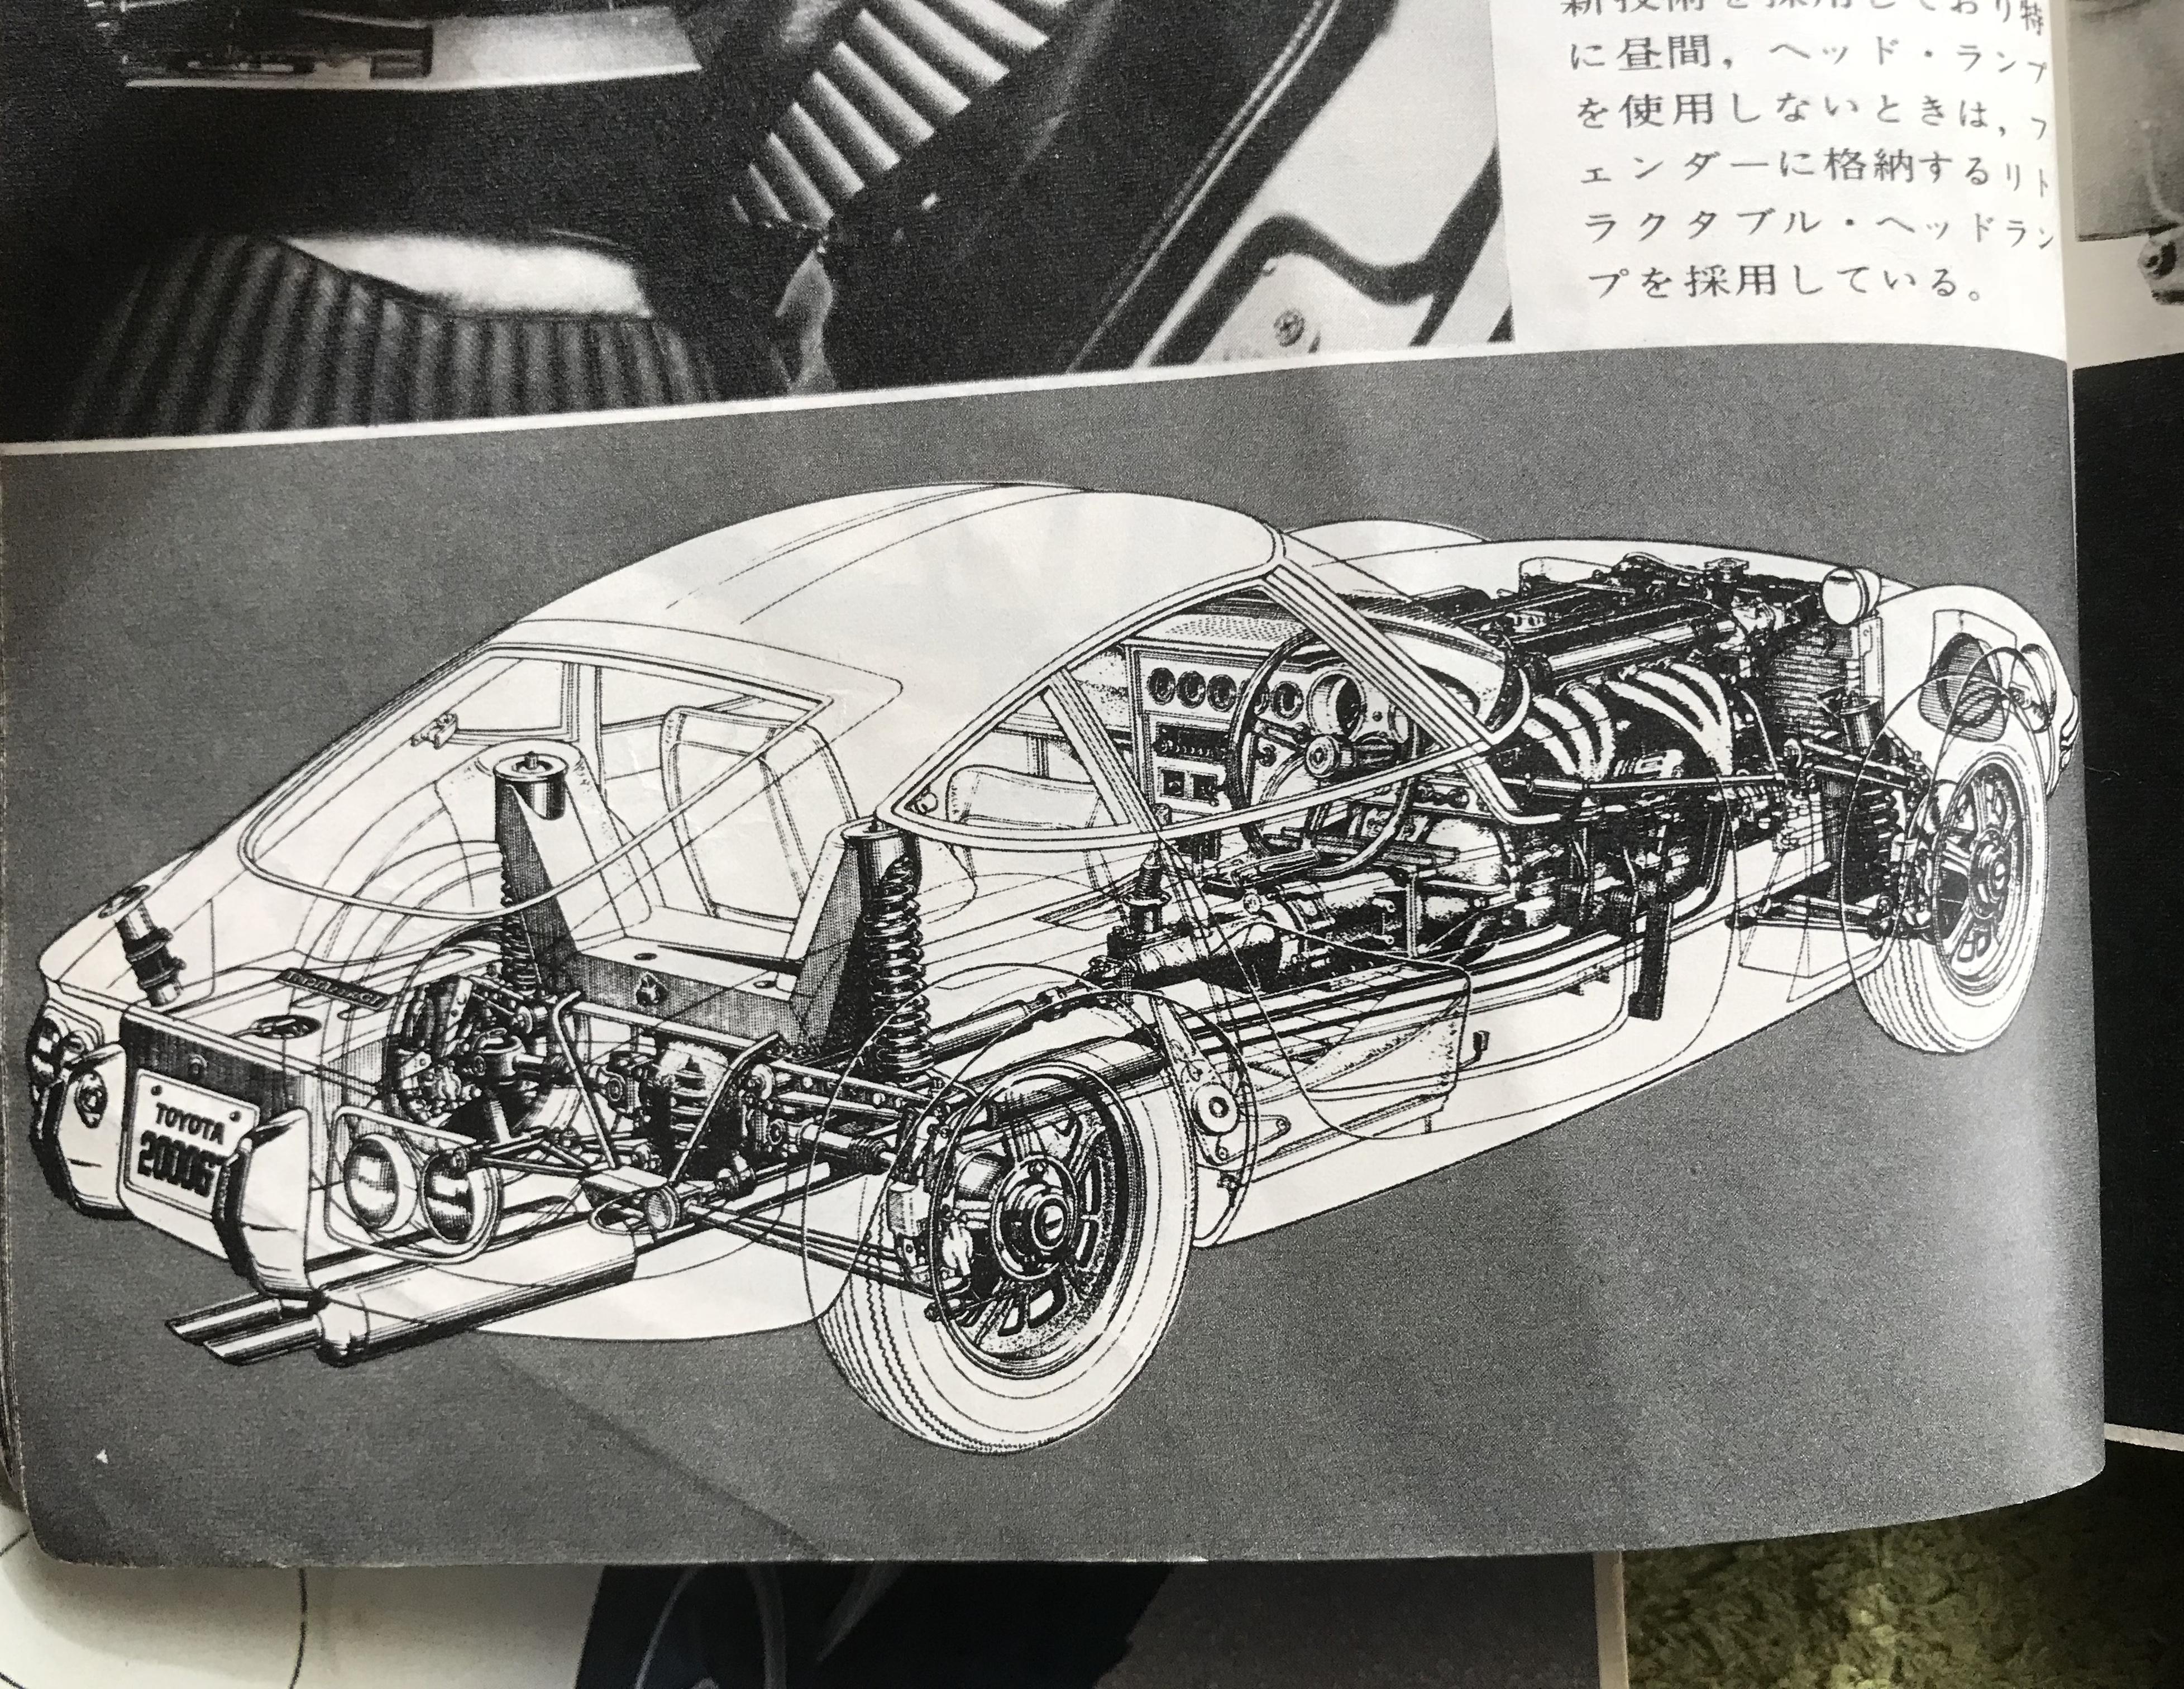
1 pointThank you bartsscooterservice, I think S30 was modern in many ways , unibody is one of them . Thanks Alan , yes S30 was a huge quantity model , Nissan Shatai reached 6000 S30 cars per month in April 1972 ! While Toyota 2000 GT was 30 cars per month , big difference. Unibody is good for less weight, for example Z432 is 1040 kg , ( S20 Engine 199kg ) , Toyota 2000GT 1145 kg ( 3M Engine 209 kg ) . Courtesy モーターワールド Nov 1970 , 自動車の実務 Feb 1970 , 月間自動車 Jan 1970 . Kats


 1 point
 -
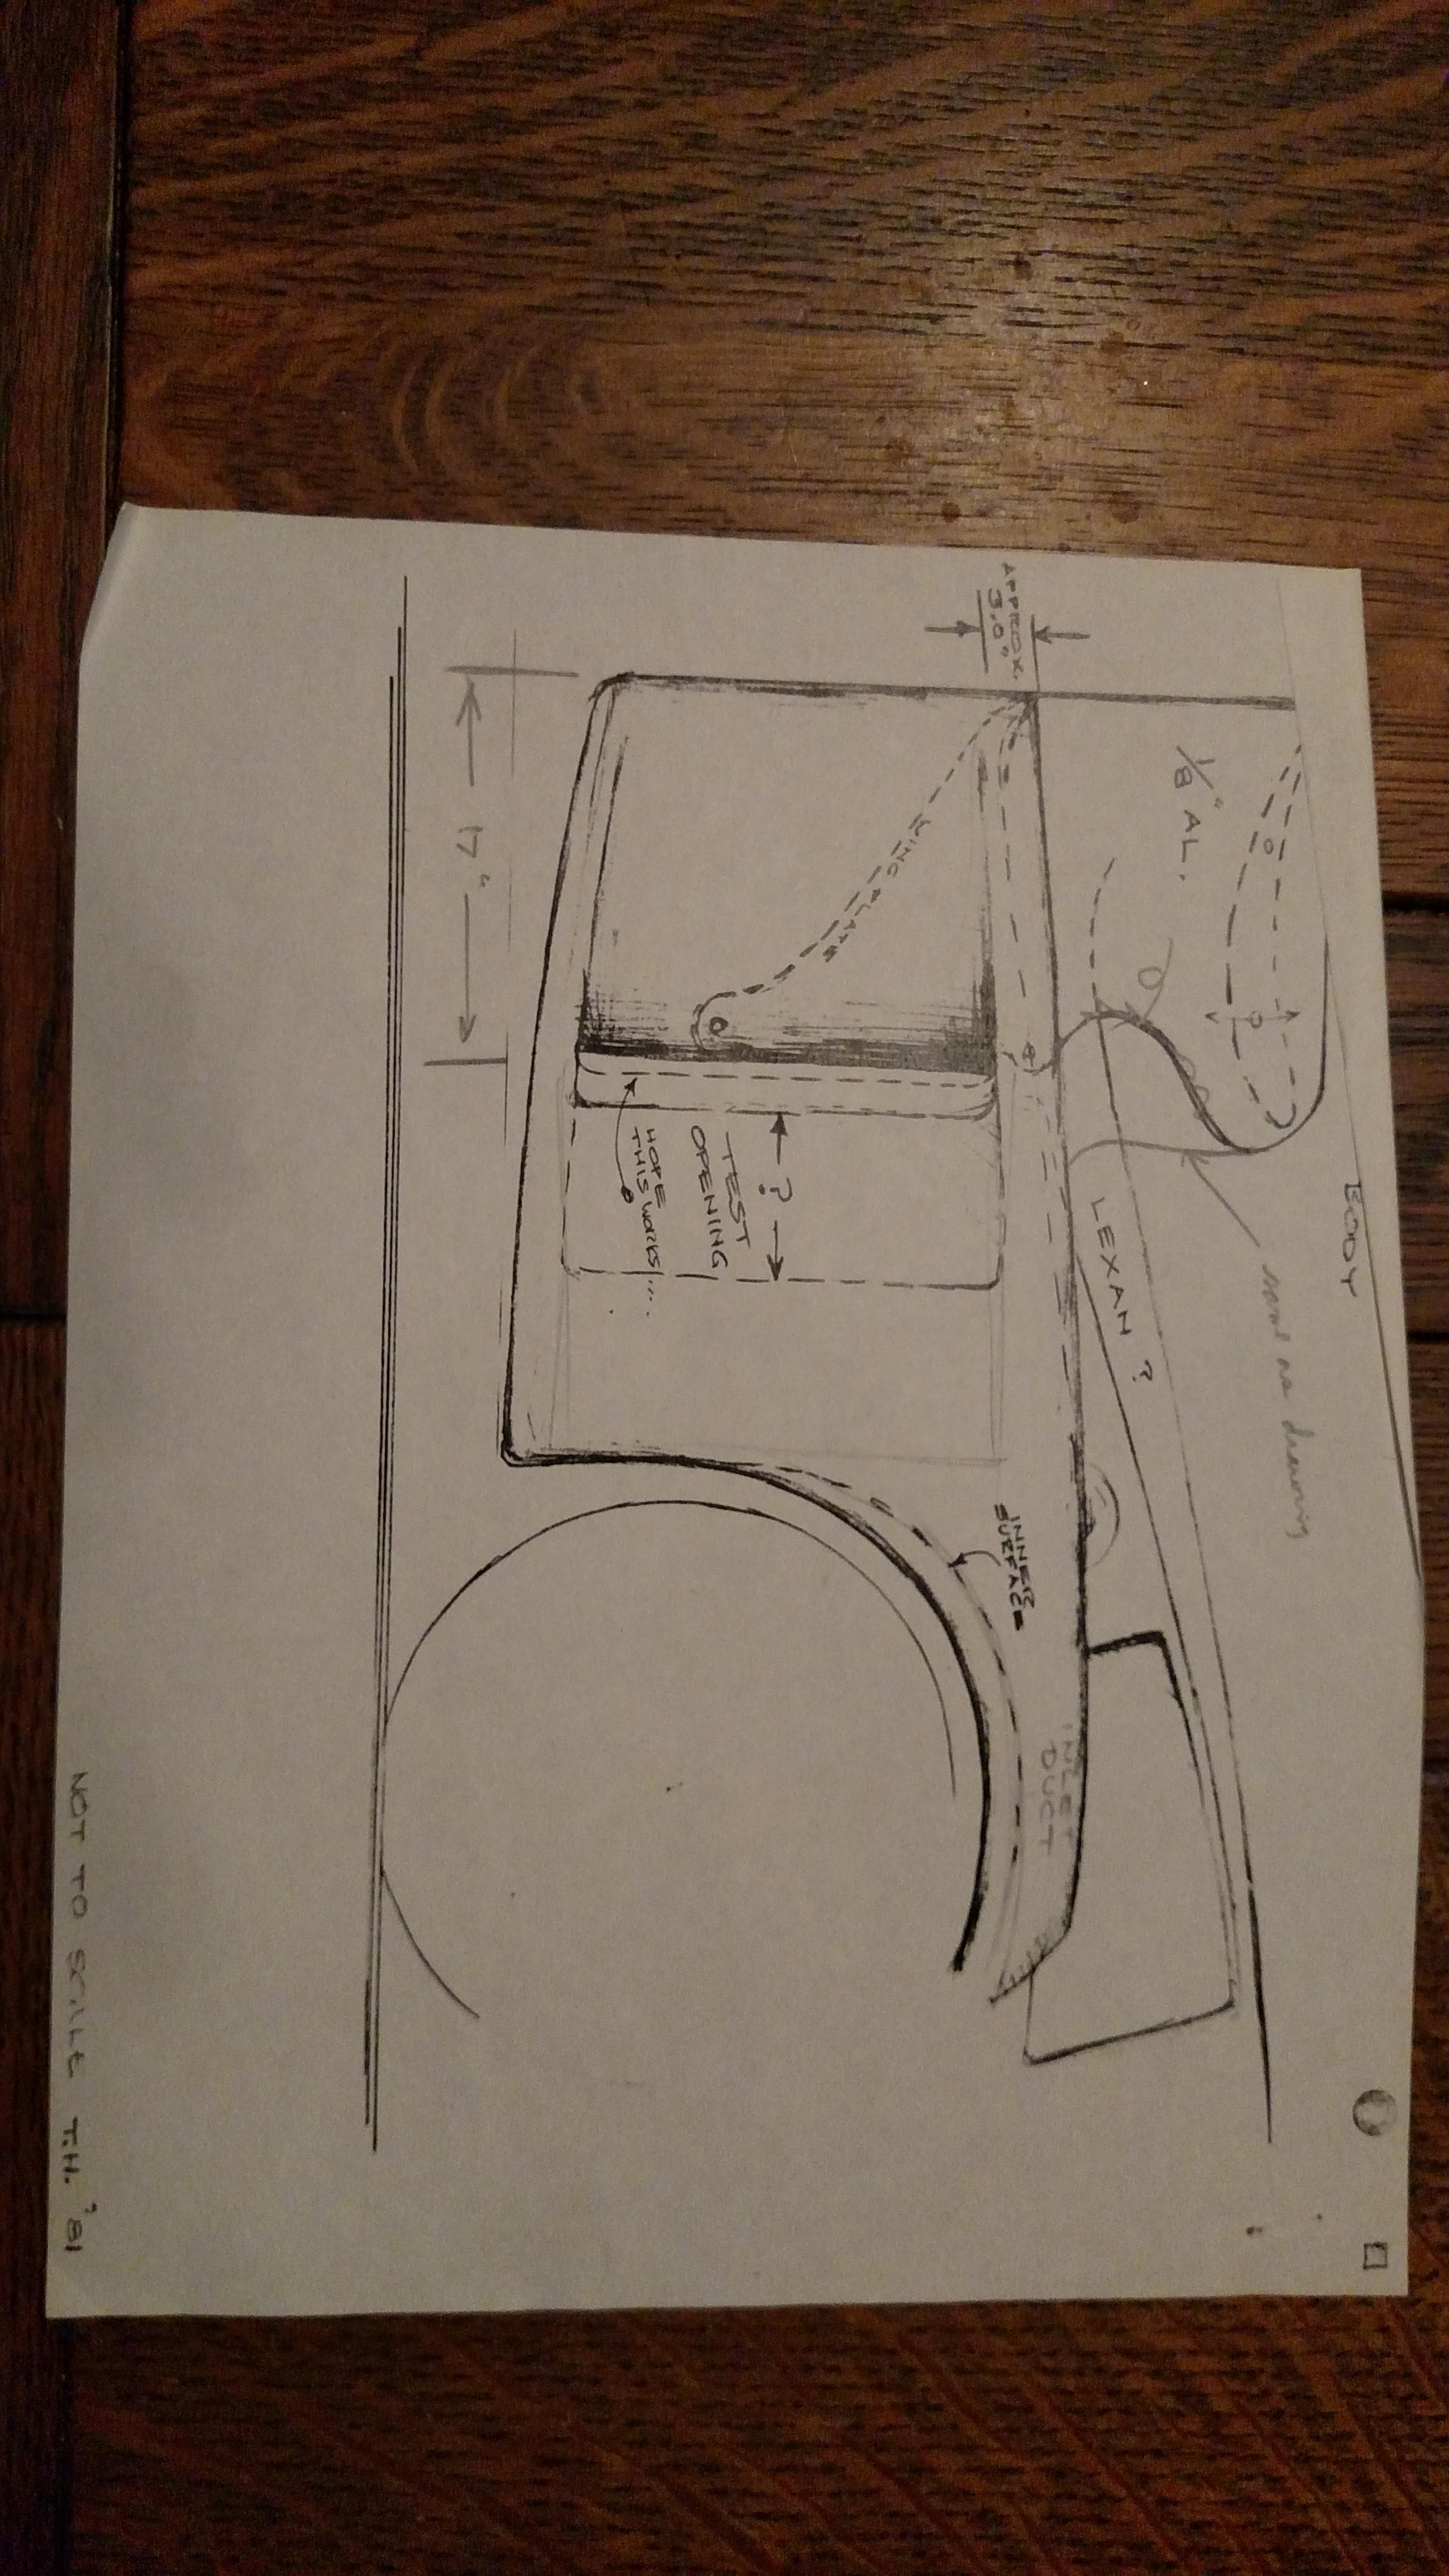
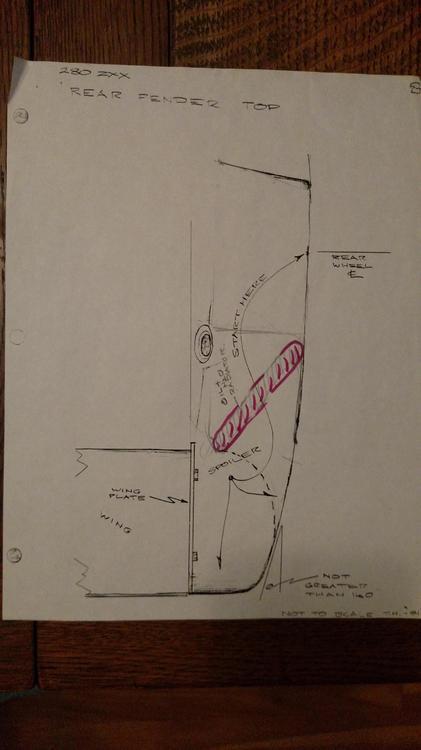
Perhaps this will help you understand what they were trying to do without the aid of a wind tunnel....
 1 point