Leaderboard
-
JDMjunkies.ch
Free Member2Points637Posts -
Patcon
 Subscriber
 1Points11,142Posts
 -
HaZmatt
Free Member1Points566Posts -
joe newsom
Free Member1Points231Posts


Popular Content
Showing content with the highest reputation on 01/26/2018 in all areas
-
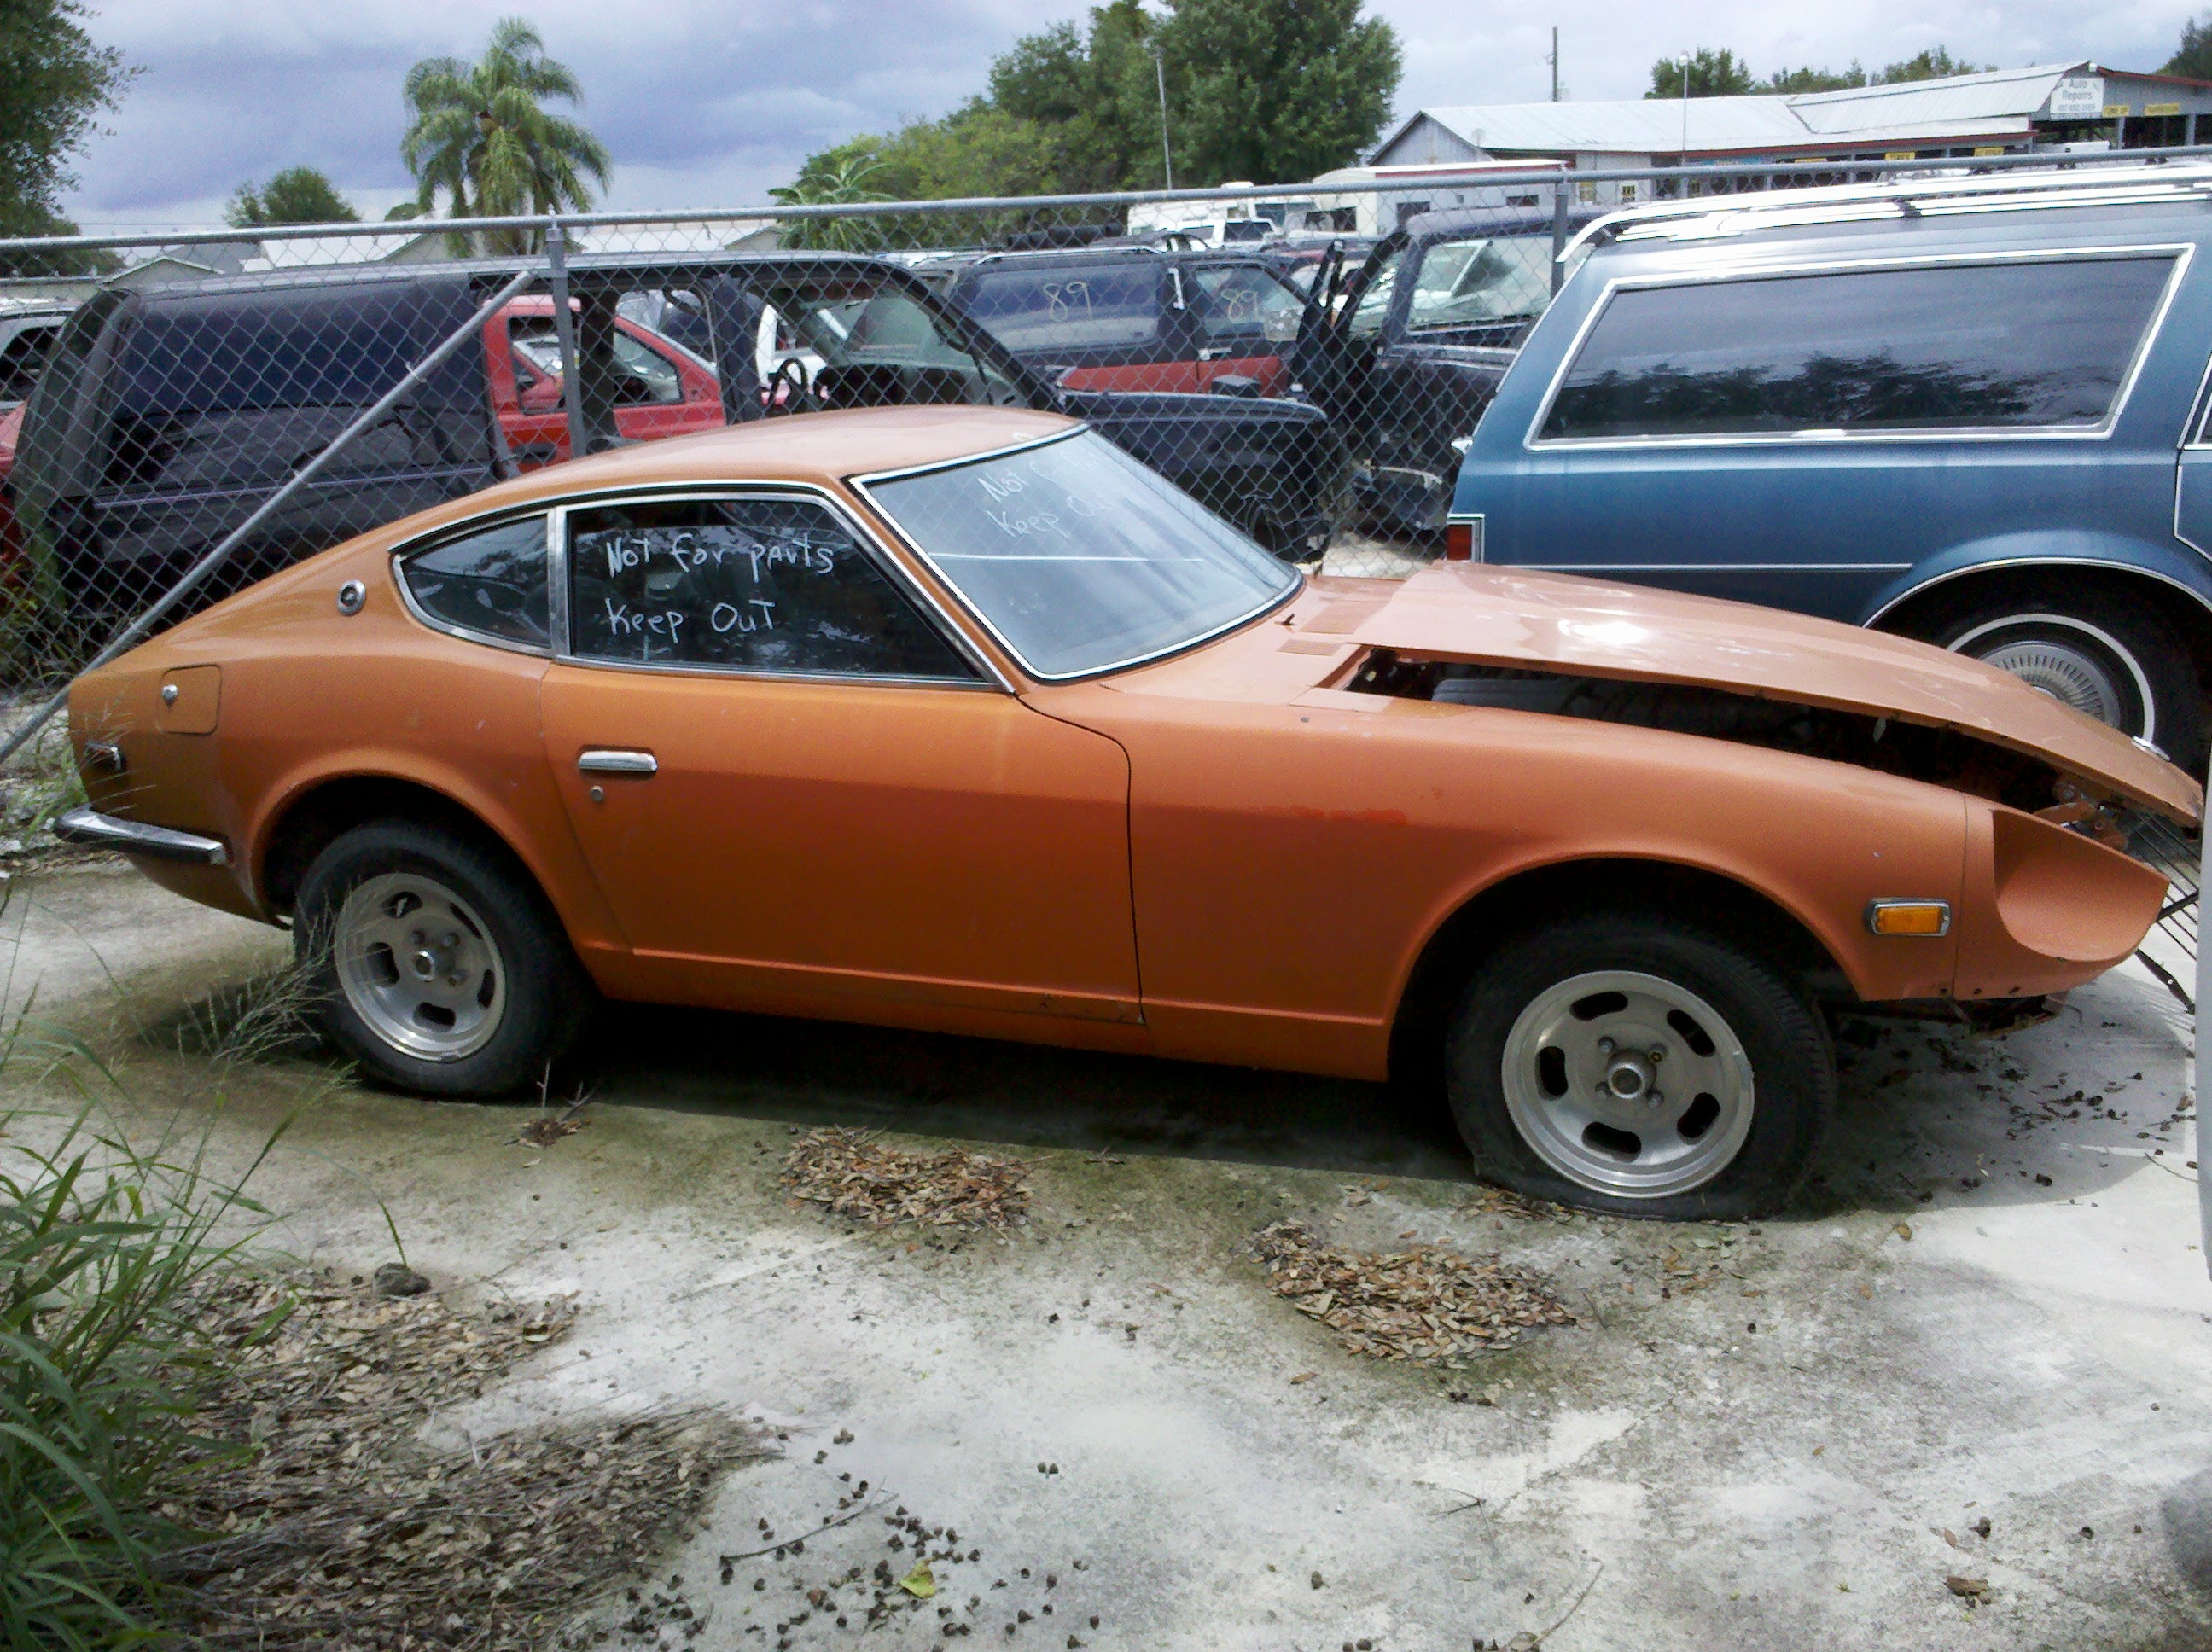
Some guys have all the LUCK! RATS! I found this one in St.Cloud Florida and the guy said the only way he could sell me the entire car was only if he cut it in half. I was able to salvage the main harness and a few interior pieces. It was involved in a drug bust and they were not allowed to re-title the car. The harness was the only thing that has allowed me to put mine back together.
 1 point
 -
Got the 175's machined down to 170. Popped one in last night...should be all good to go!.....well...in a couple months once I get everything else done on the car and it's warm/dry enough.1 point
-
1 pointMine doesnt have those components. I adjusted the TVS (just with mounting screws), didnt take the cover off to manipulate the contacts, all fine now. Whats interesting, is that the TVS is no where near the original position before I even touched it a couple weeks ago. So hopefully this chapter has come to a conclusion. A bad distributor, which was in itself an argues side story being that it came with a bad module, but at least it didnt take long to troubleshoot. I really appreciate all you guys help, I really needed it, and I know more now than I ever thought about how a 280ZX operates, which honestly was just as valuable as fixing the car.1 point
-
1 pointHazmatt's car sold for way less than he paid to restore it... Buyer's always win in those situations. Especially on a well documented build like his!1 point
-
1 pointNix - 240ZRUBBERPARTS.COM as we all know makes a lot of reproduction rubber parts for our restoration projects. He is just finishing up on a replacement part for the original 70-73 antenna. He has the ability to make the ball (two halves) for the antenna where it comes through the body. I was also wanting to see if there is any interest in reproducing the body gasket for the factory sport mirrors. I am taking a poll to see if there is enough interest in these parts to warrant reproduction. Interest in ball as shown below: Interest in sport mirror gasket reproduction: Interest in sport mirror gasket:1 point
-
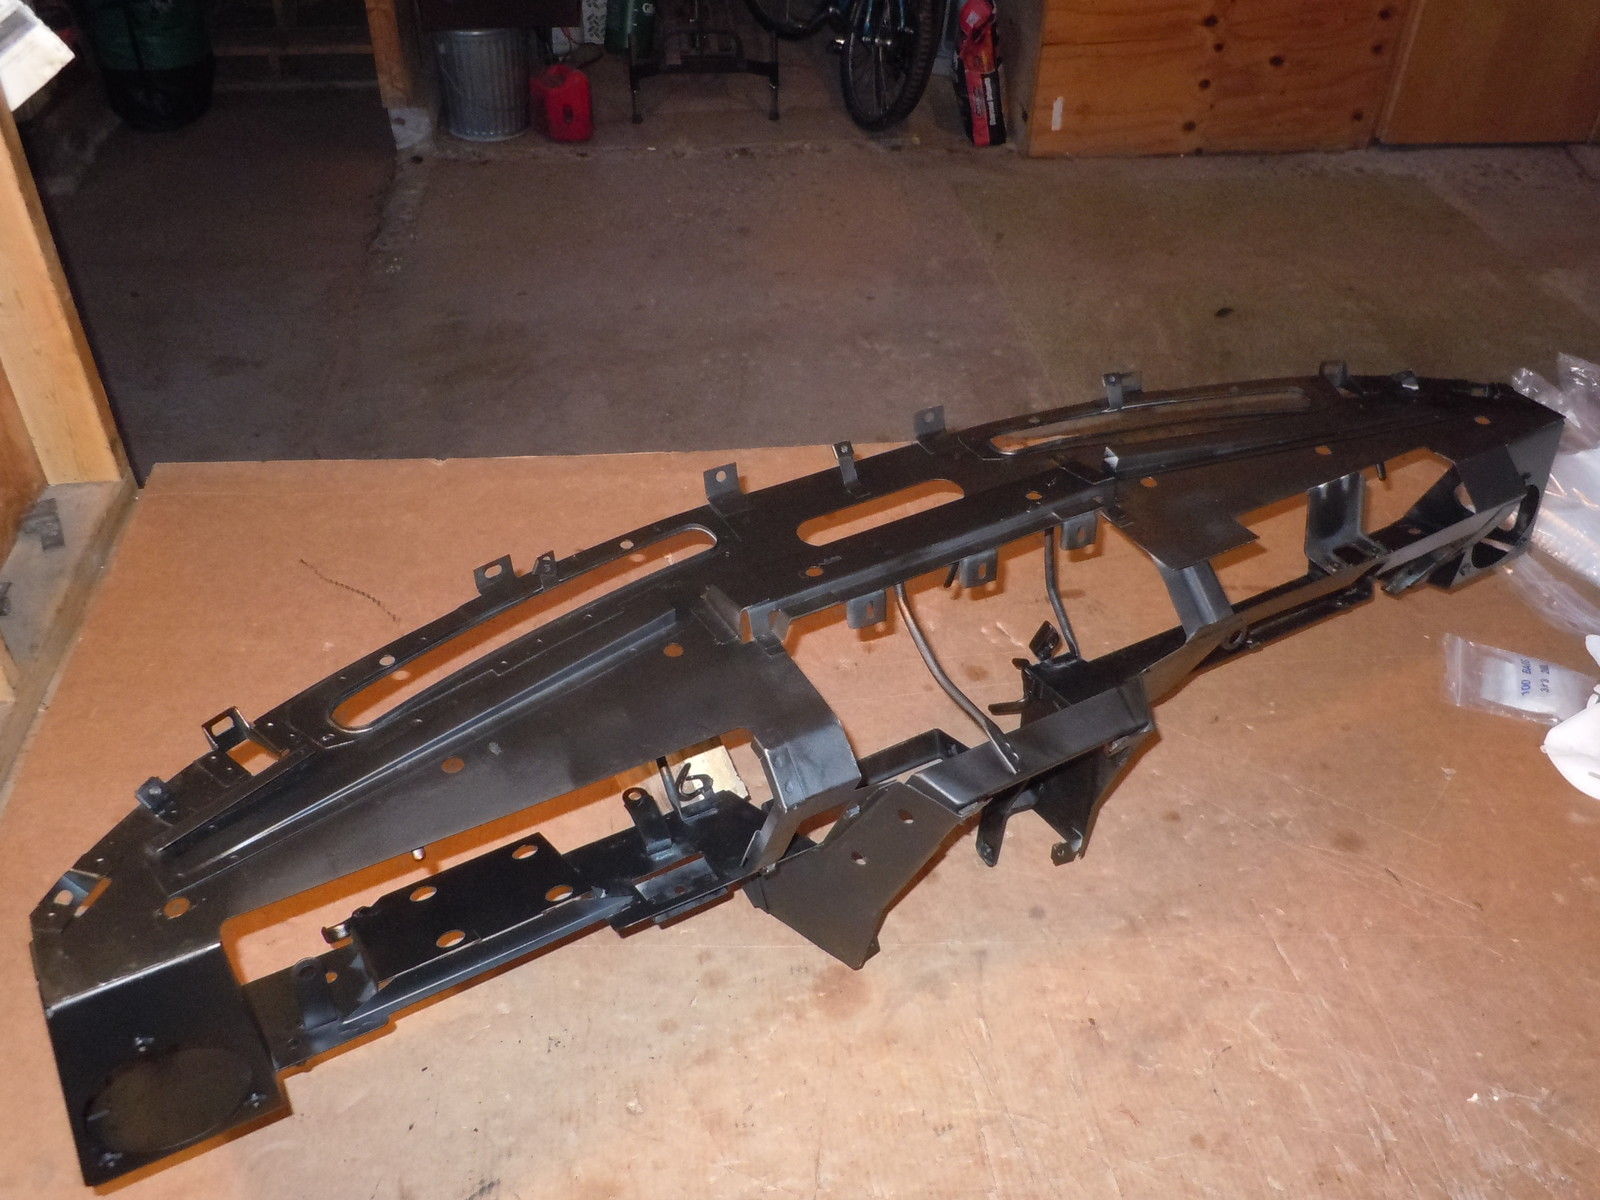
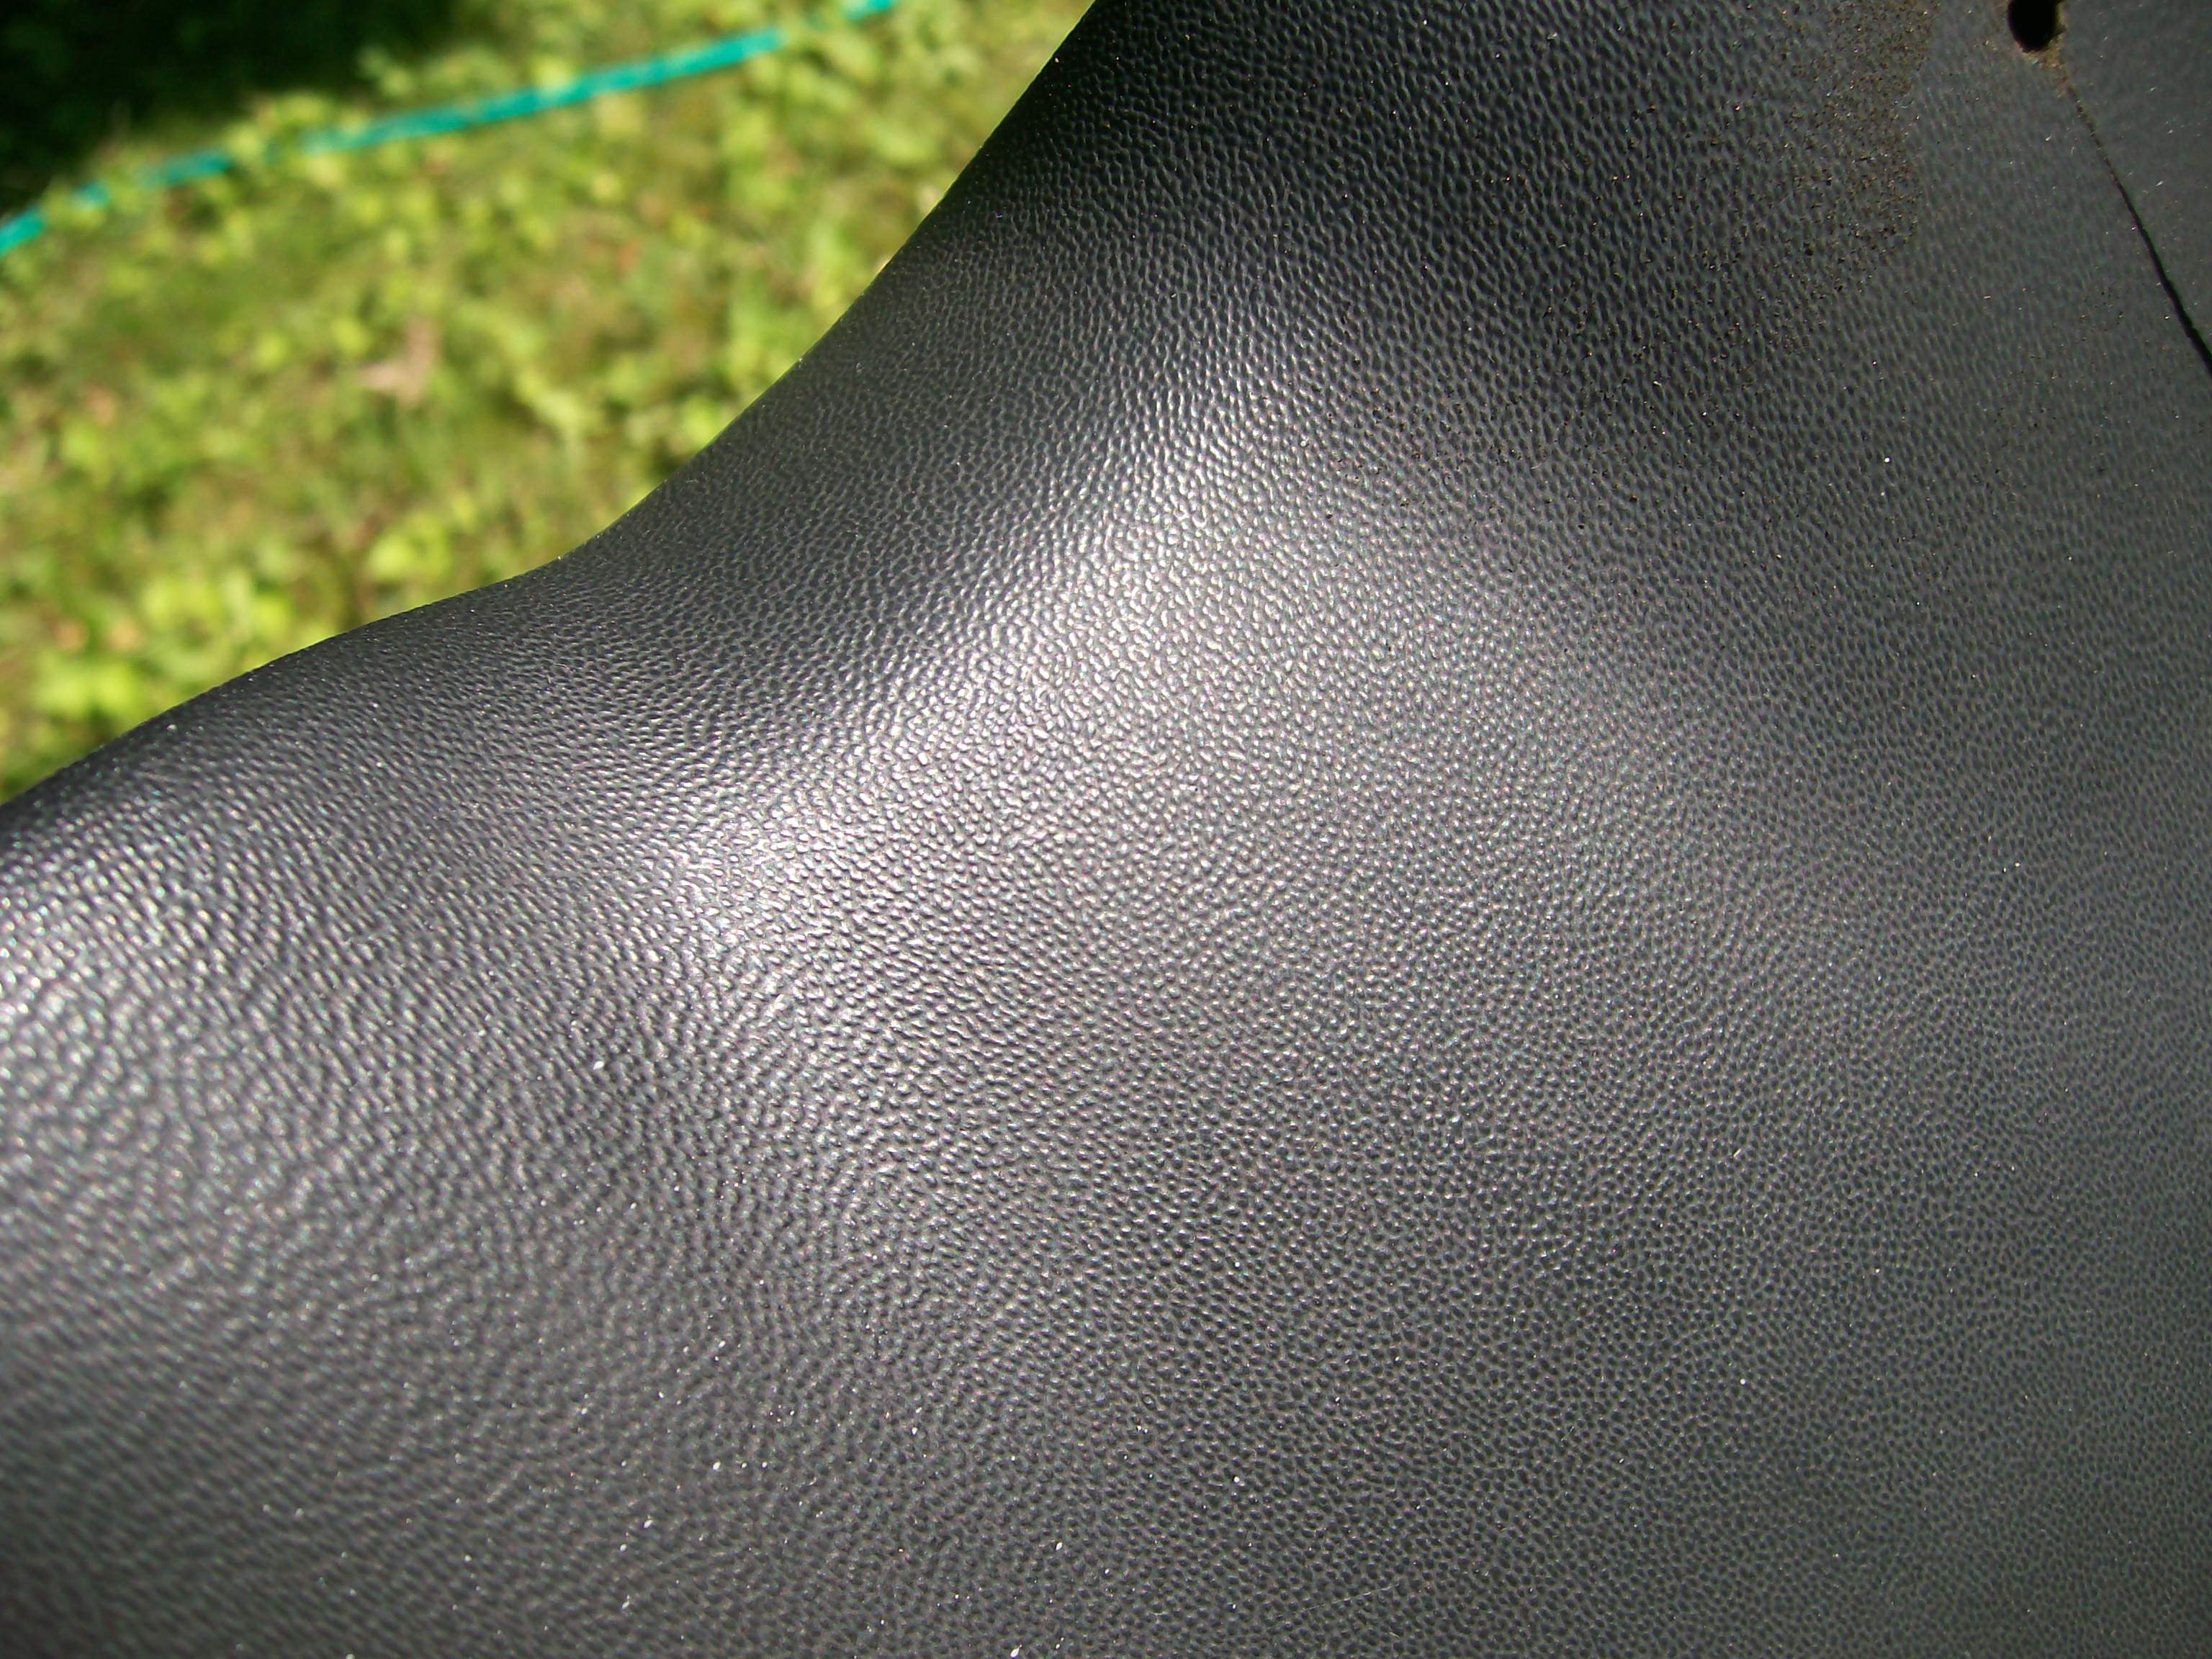
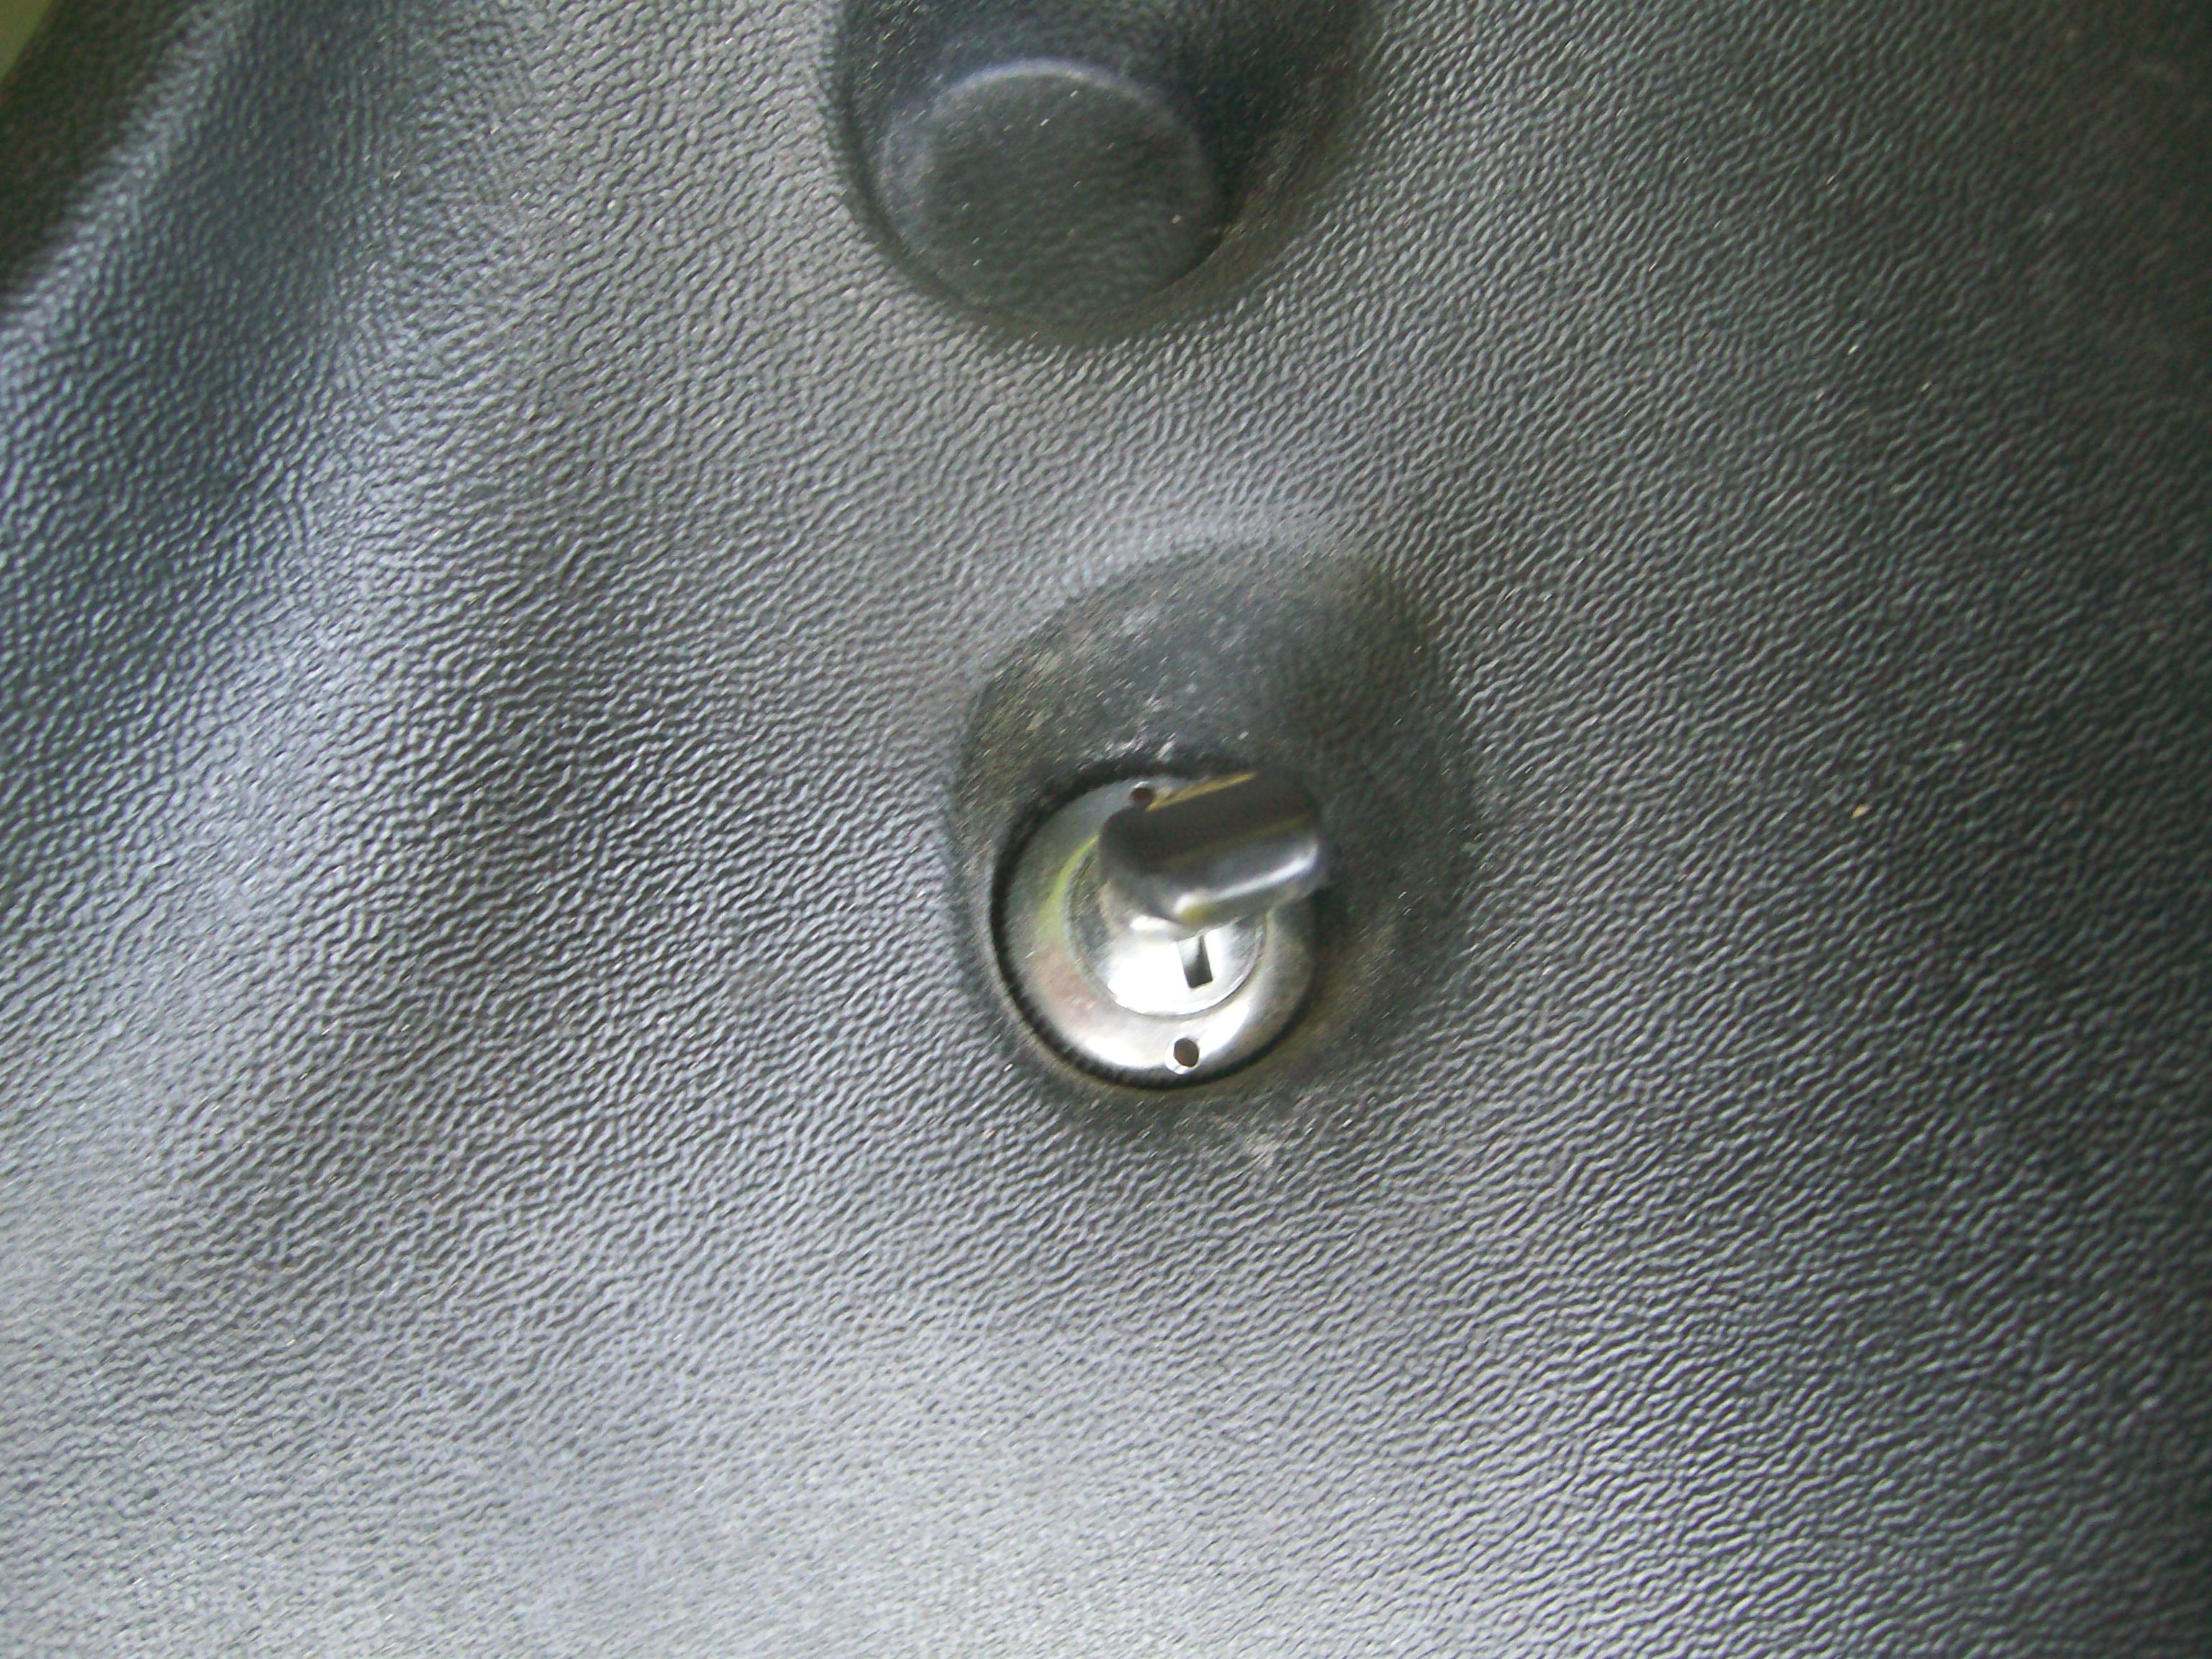
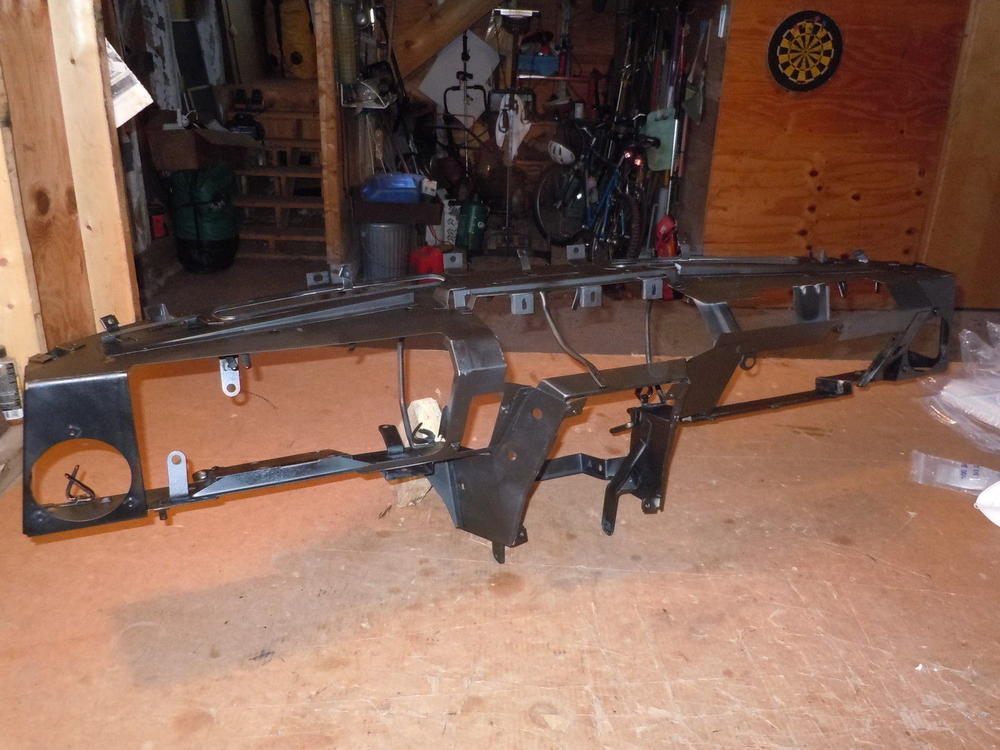
1 pointJust my luck that this new parts offering comes along after I'd finished restoring my 70 Z's dashcap. . I hope it all comes about. The Just Dashes route is just too pricey for many Z restorers (esp. those of us who live north of the US border). To help those of you who may be considering this new dash-restore option, here's a pixcture that another member posted several years ago of the bare frame ((sorry - I don't have a record of who the poster was, so can't give credit)... And here are a couple of close-ups of the texture of the OE vinyl covering. It's a version of what's known in the trade as 'haircell'. These are photos of the dash from my 70 Z (as confirmed by the surface crack that's visible in the first photo )...


 1 point
 -
Absolutely. Same with tabco. Don't want to offend anybody and i'm happy These parts exist too. The other parts helped me a lot with the build, even if they needed to be modified a bit it still better than making them from scratch if you cannot do it by yourself.1 point
-
1 pointYes, it did. Sent from my [device_name] using http://Classic Zcar Club mobile1 point
-
1 pointWhere you going with this? Did I rub a sore spot Because you like them and I don’t? Blondes or brunettes right ? My opinion is the fender mirrrors are in the way compared to US mounted door mirrors. If it’s not to you great. I have zero issues if you like them on the fender.1 point
-
1 pointYou're welcome. Glad they were usable. Pics would be great. Personally, I enjoy knowing that some of the collection (hoarded parts) will live on in another's Z.1 point
-
1 point
-
1 pointIt really didn’t work that well. The tube was too thin and bent. These tools were designed for a spindle that is not seized. Mine may have been severely seized not sure. I think the idea is good. Just the materials used were cheep. I still had to use a torch/hack saw / air hammer/ sledgehammer/ lots of swearing/ 1 can PB Blaster penetrating oil. Several long bolts and chisels. Then literally all day I have negotiated with zcar depot to return the tool for credit since I have rebuilt 80% of my car with them. So sorry it is no longer available . Maybe their source of these tools will be annoyed and start using thicker material :/ Sent from my iPhone using Classic Zcar Club mobile1 point
-
Woohow! Another one of these little long-term projects finally completed. I failed several attempts to paint the ignition-switch surrounding ring and the Turn signal switch stalk by myself. The paint would be so easy to scratch off (with fingernails) afterwards that it would immetiately look terrible once you touch it with anything hard. So after i realized i suck at painting, i decided to hand it over to René, the paint wizard at Autolackprofis which i know from the Honda-scene back in the days and is one of the most recognized paintshops in (and outside) switzerland. He's also in charge of painting the car once it's ready (if he isn't retired by then :P) The result is stunning. We decided to go for an industrial grade paint which is stronger and more scratch resistant compared to normal car paint. Perfect So first in installed the painted ignition switch surrounding ring back to the switch: Then started to re-assemble the turn signal switch (See previous steps here) First installed the wire back completely with the switch contacts and the plastic spacer: Added dielectric grease to all the contacts to make sure they will operate smoothly and contact well for a long time: At the bottom end in added the little contact back to the spring and added dielectric grease as well. Added the switch plastic housing and the inside mechanism back to the stalk and measured. Unpressed: Infinite Ohms (no connection) Switch pressed: Zero Ohms (Short). That's what the switch does. if you press it it will short the 12V applied to it to the chassis-ground. So it works perfectly (Always check before doing next steps, you will hate yourself for not doing so if you figure out once it's installed) Install the stalk back to the switch assembly. Since i wasn't able to find a similar bolt used in the the original assembly, i just took a zinc plated nail in the same dimensions, cut it off and made it fit After that it's time to get the wires back together. Don't forget to add the heat shrinking tube before you solder... Soldered wires back together and heat shrinking tube is shrunk to the original shape: And secured using the small little clamp: Think it ended up really well. checked all the functions and everything works, feels solid and looks great... and definitely much cleaner compared to the original dusty switch, which was completely covered in old dirty grease. I'm super happy to have completed another little project that took my quite some time1 point
-
Sold. Off to her new owner!1 point
-
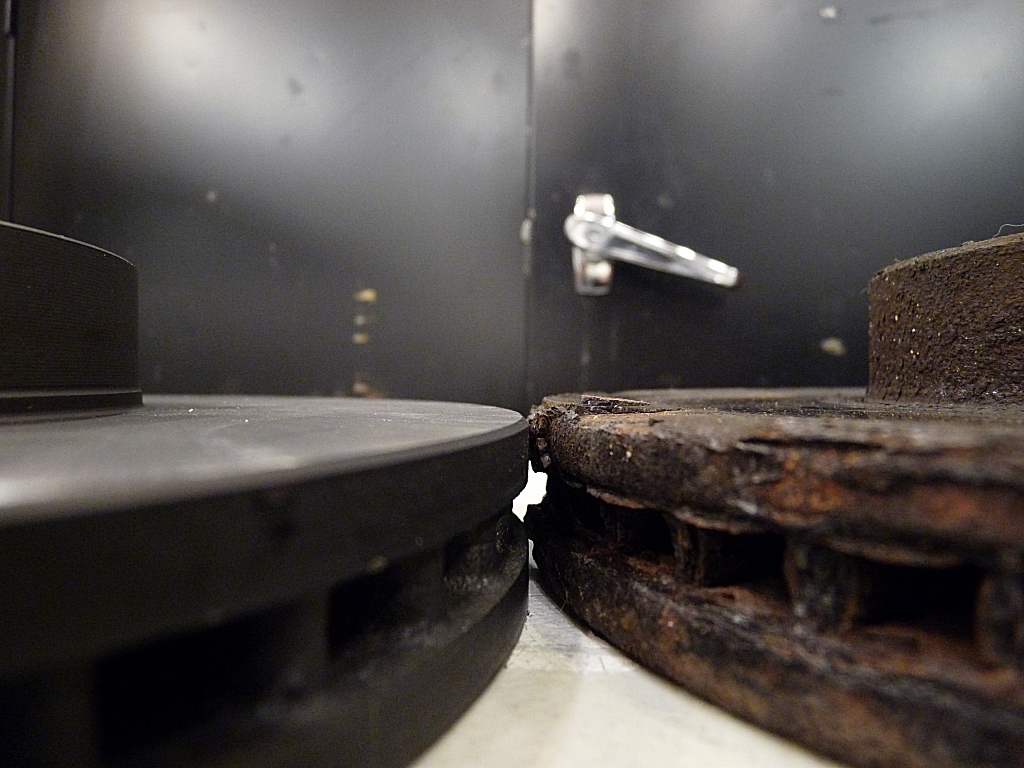
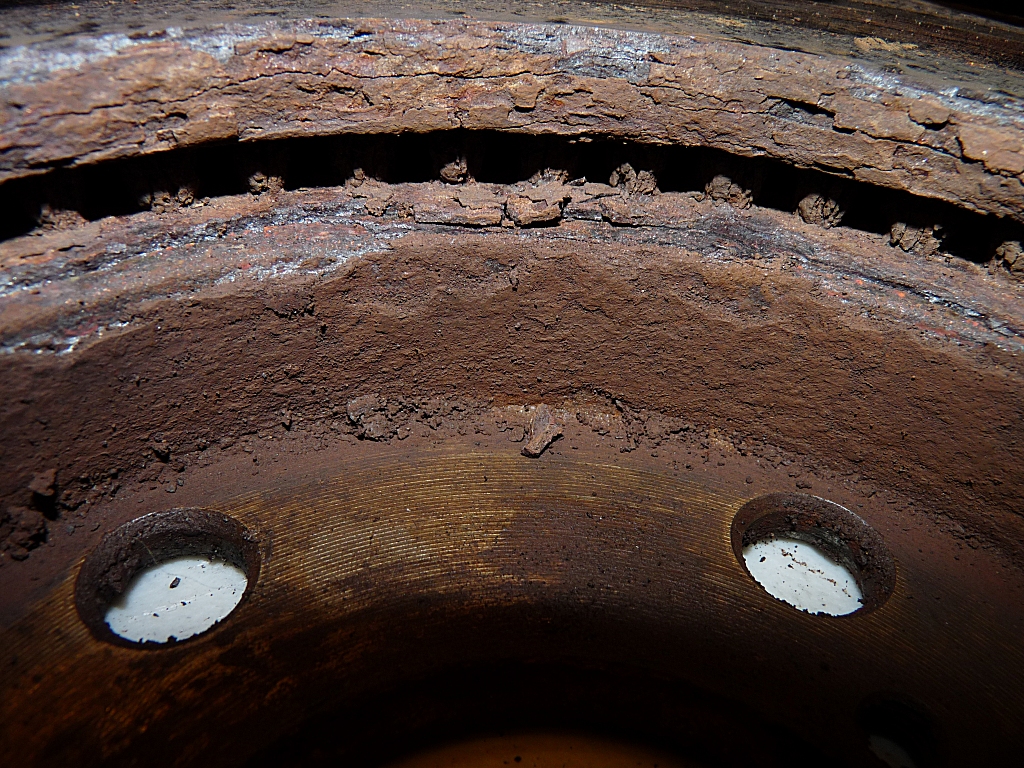
0 pointsTry not to cringe at the Premium Napa Metal from China. Yes it is a rotor...not the rusted hull of the titanic. Neat thing is that the rust makes the rotor thicker over time so it will always exceed the minimum wear thickness.


 0 points