Leaderboard


 Subscriber

Popular Content
Showing content with the highest reputation on 11/28/2017 in all areas
-
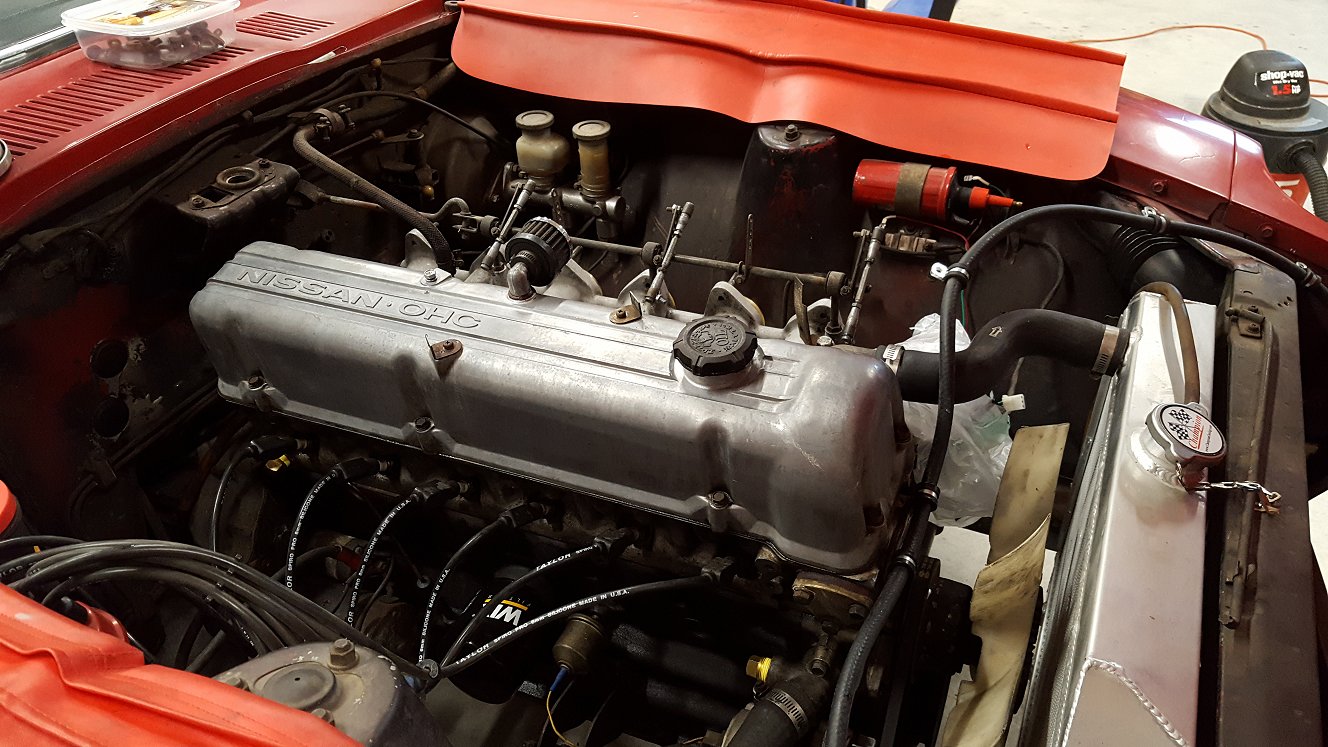
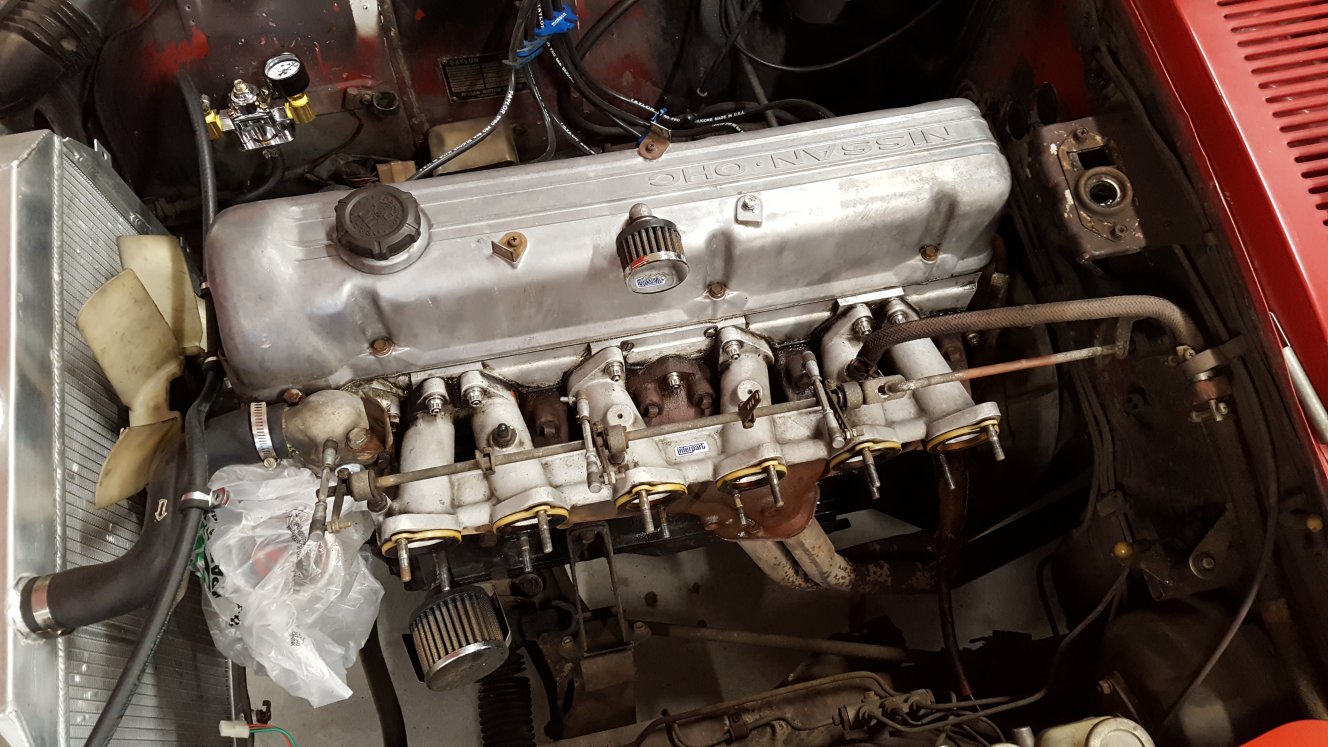
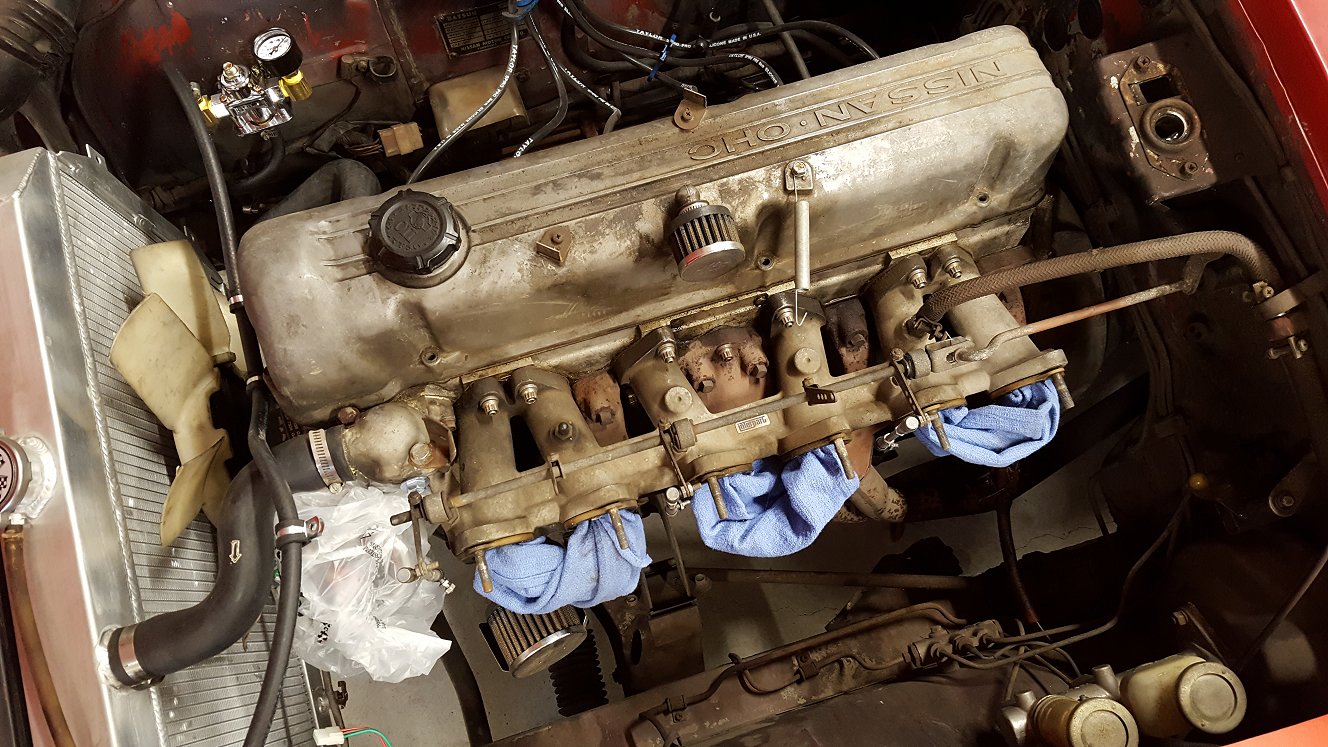
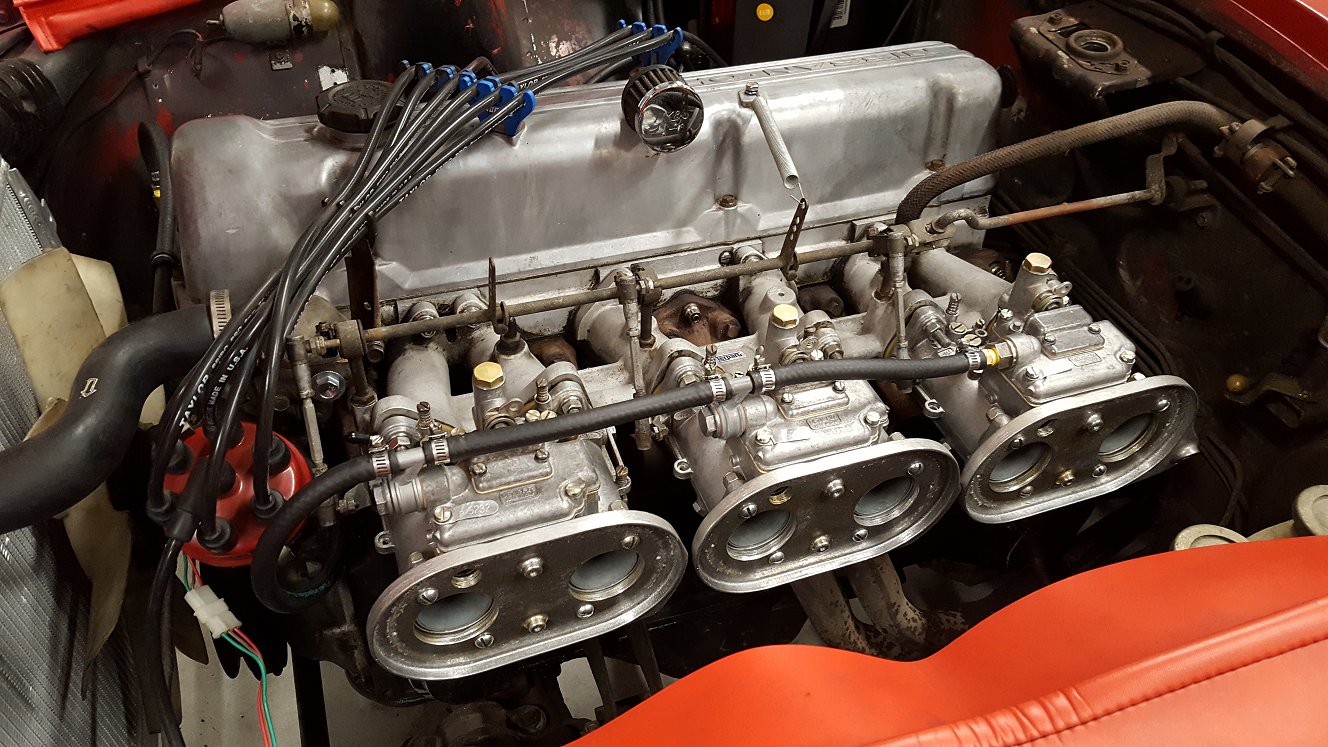
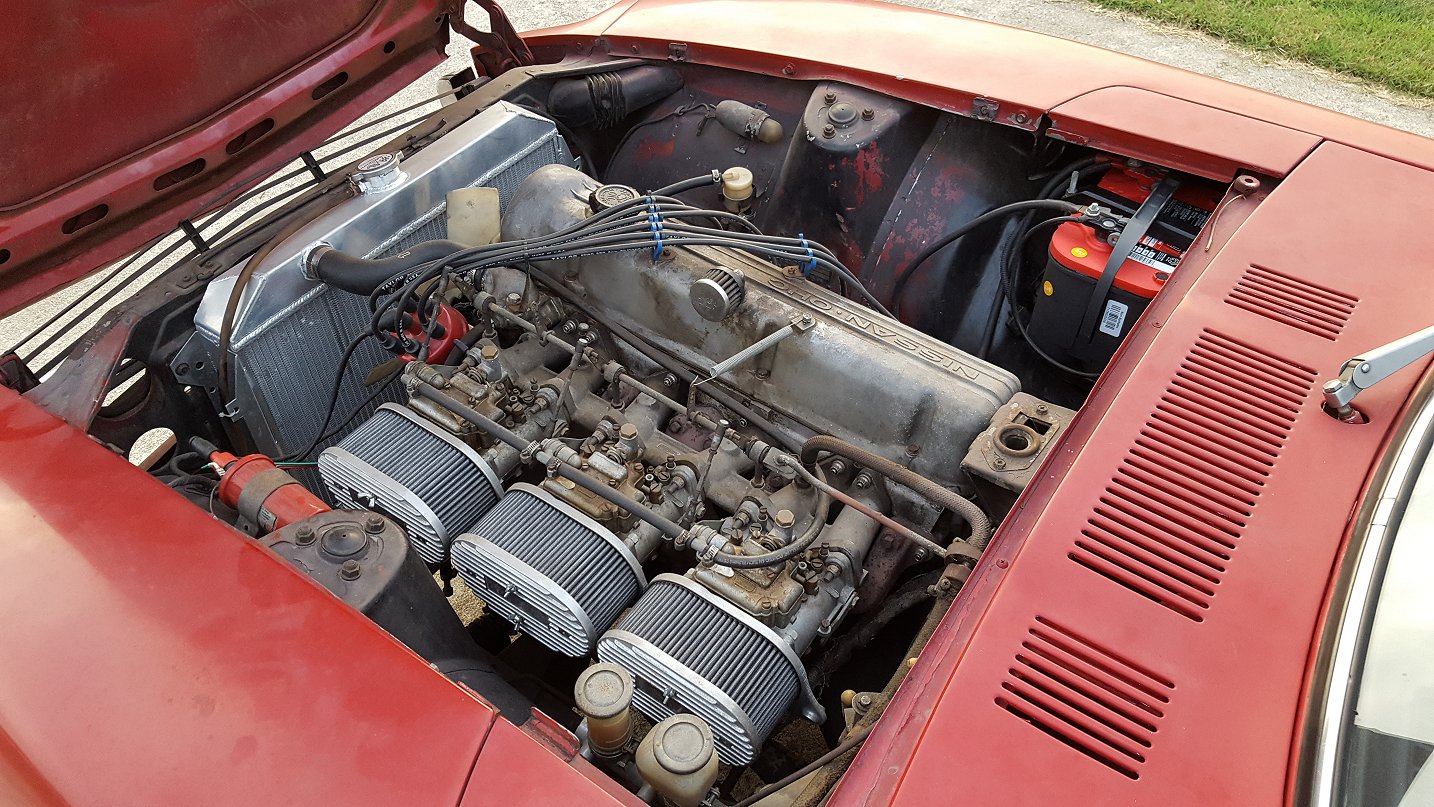
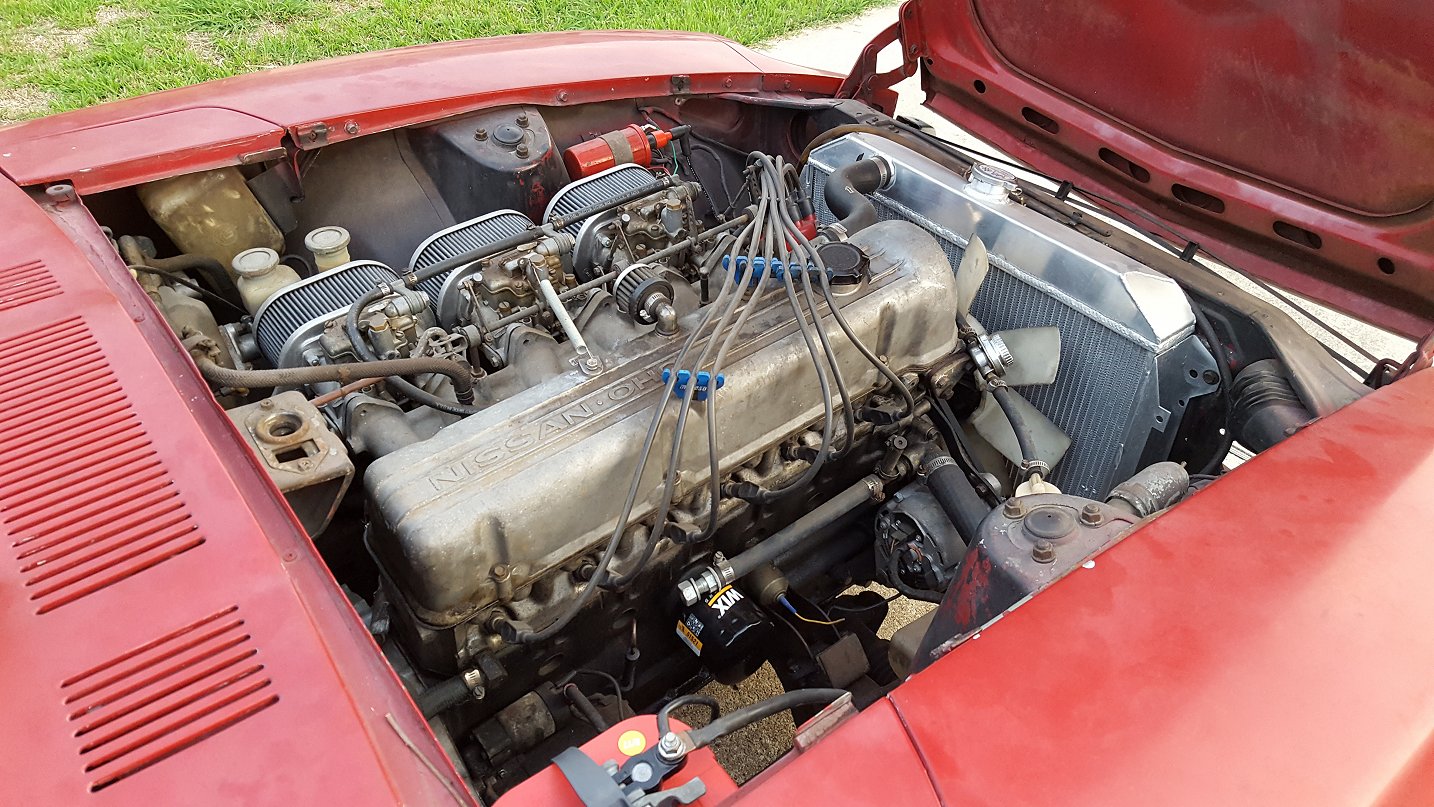
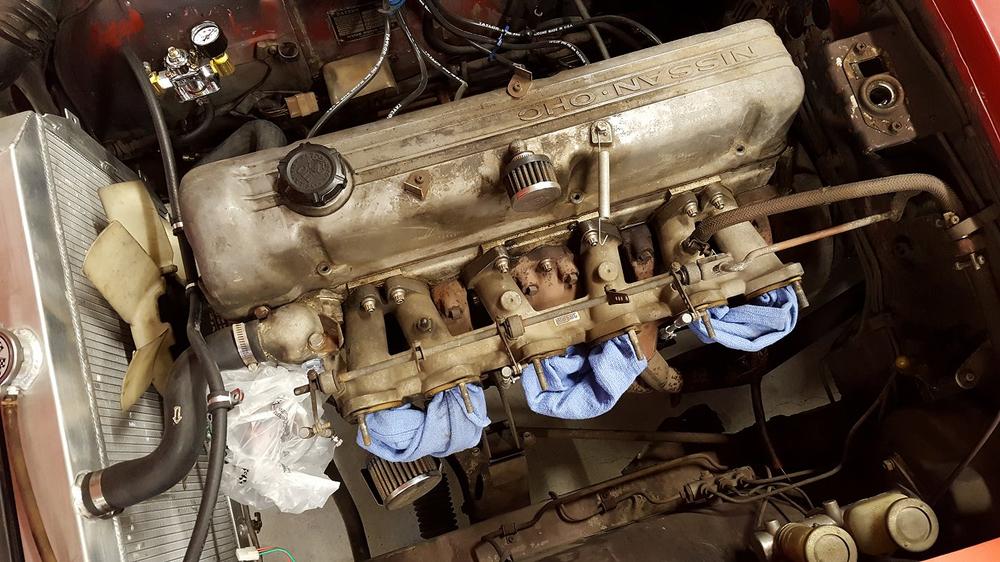
Before I set about reinstalling the carbs I took some time to clean up the intake and valve cover. Since the carbs looked so good there was no way they were going on the filthy engine. Some Castrol Super Clean and elbow grease helped clean things up. Eventually I will clean up the entire engine bay but for now it already looks a lot better! Next went the carbs along with some new stainless fasteners. They were originally held on with lock-nuts but since it is hard to get a wrench on them I opted for stainless split-lock washers and nuts. Another change I made was the fuel line routing. Dellorto and Weber carbs cannot share their fuel fittings so I bought an adapter for carb #3 that allowed the fuel to enter at carb #1 instead of carb #3. It should provide several benefits in addition to looking better than the previous setup. With a turn of the key to let the fuel bowls fill up and the system pressurize I checked everything for leaks. All looked good so I turned the engine over and after a several revolutions it fired up! With some small adjustments it settled in to an idle around 1100 rpm. I still need to get them sync'd and make some more adjustments but I was thrilled to hear it run again.


 2 points
 -
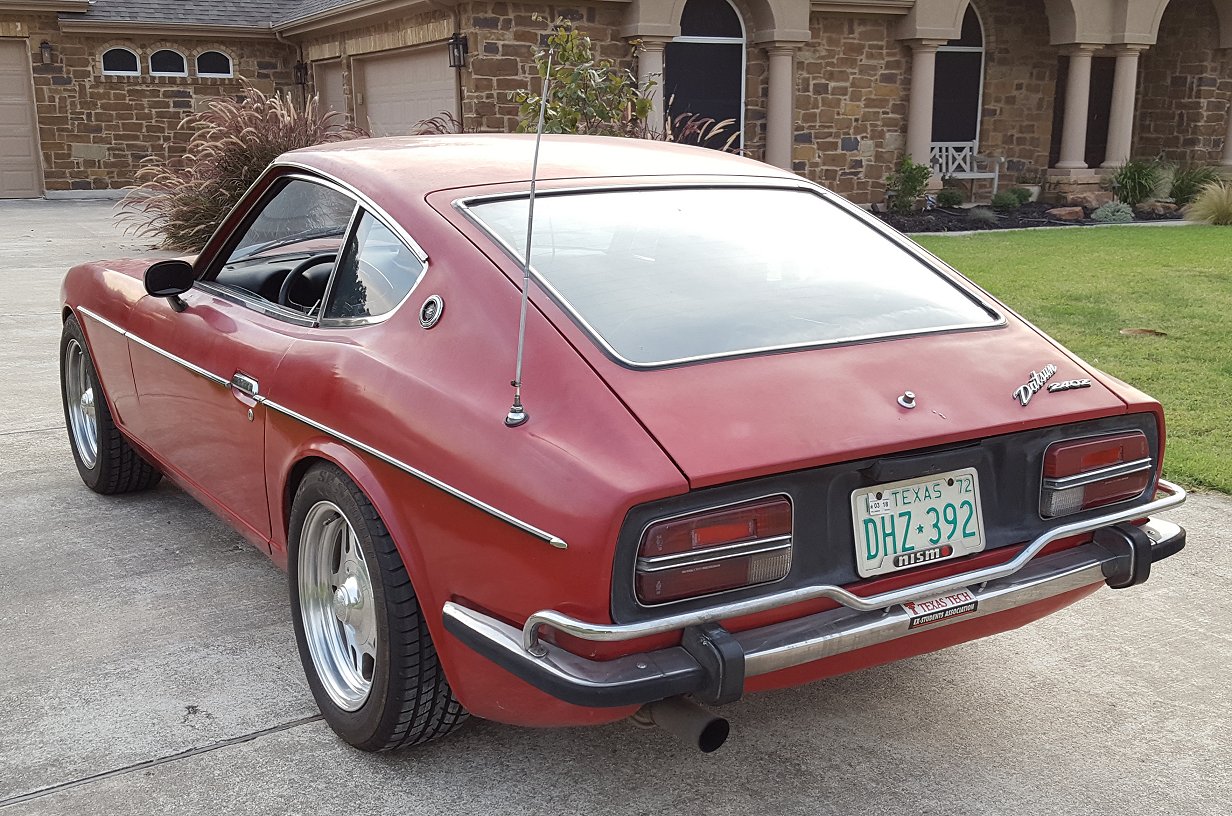
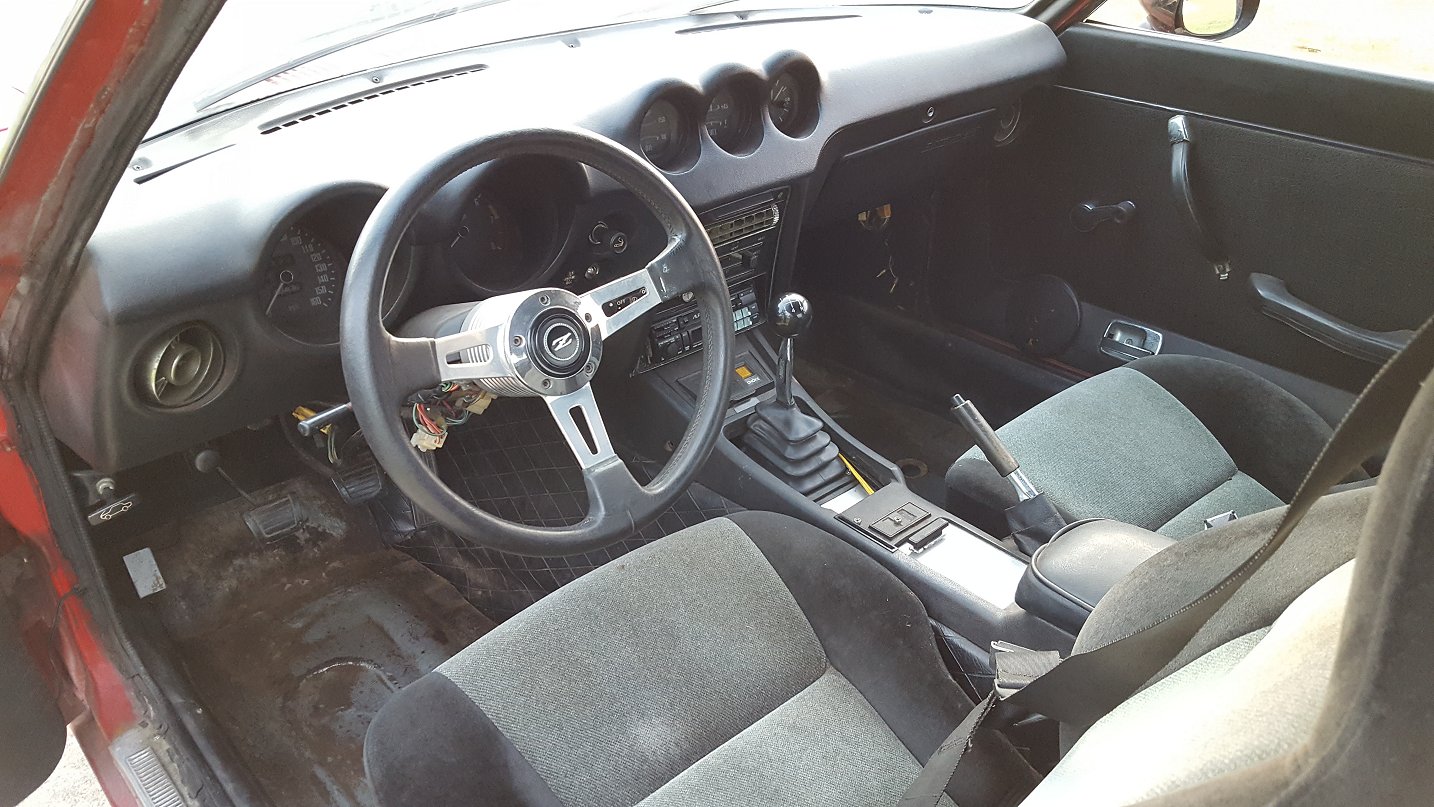
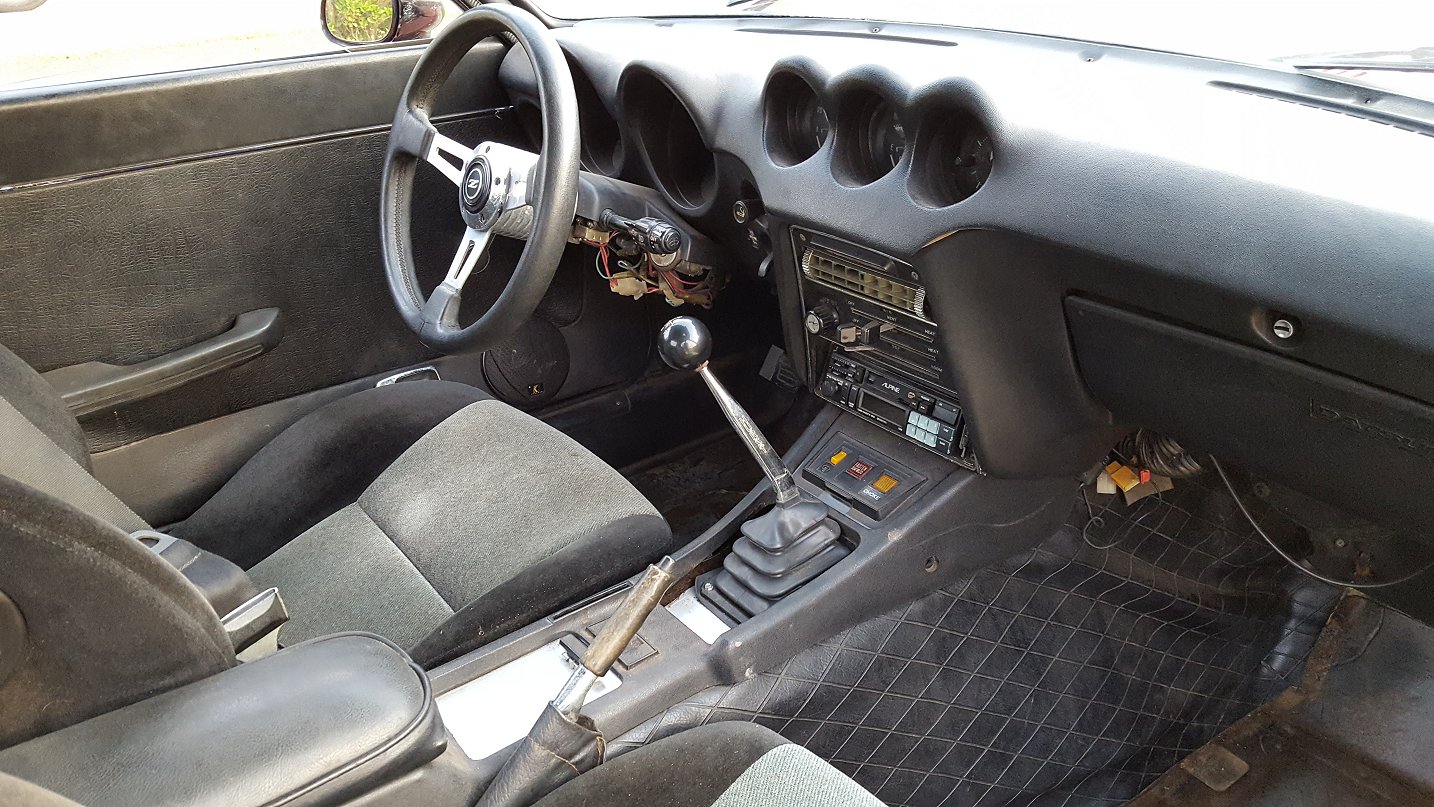
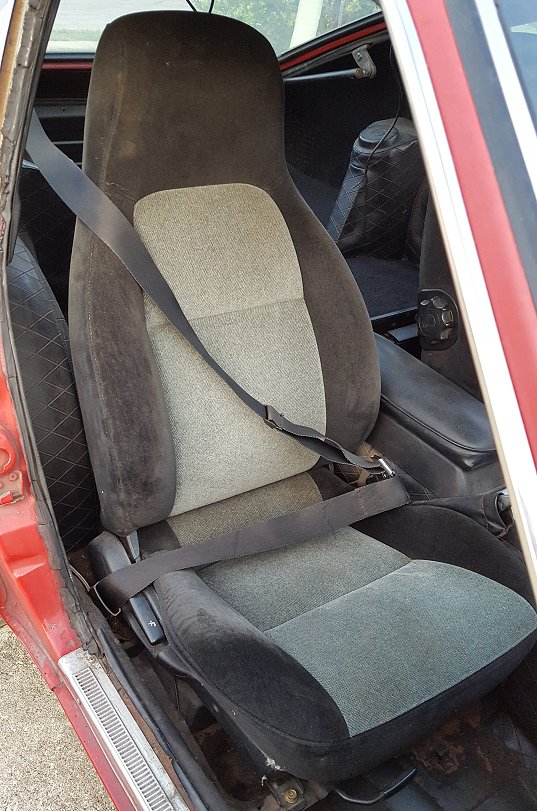
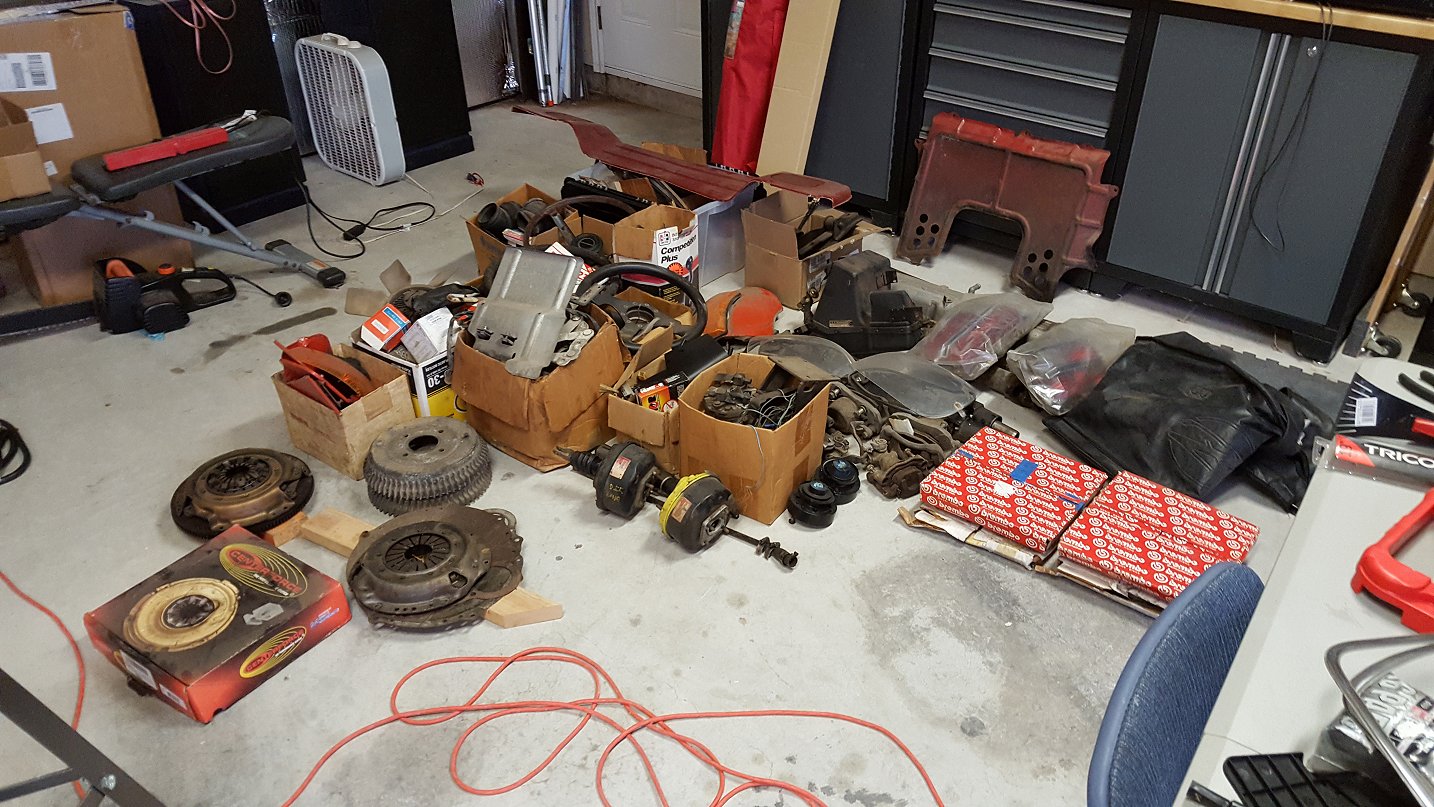
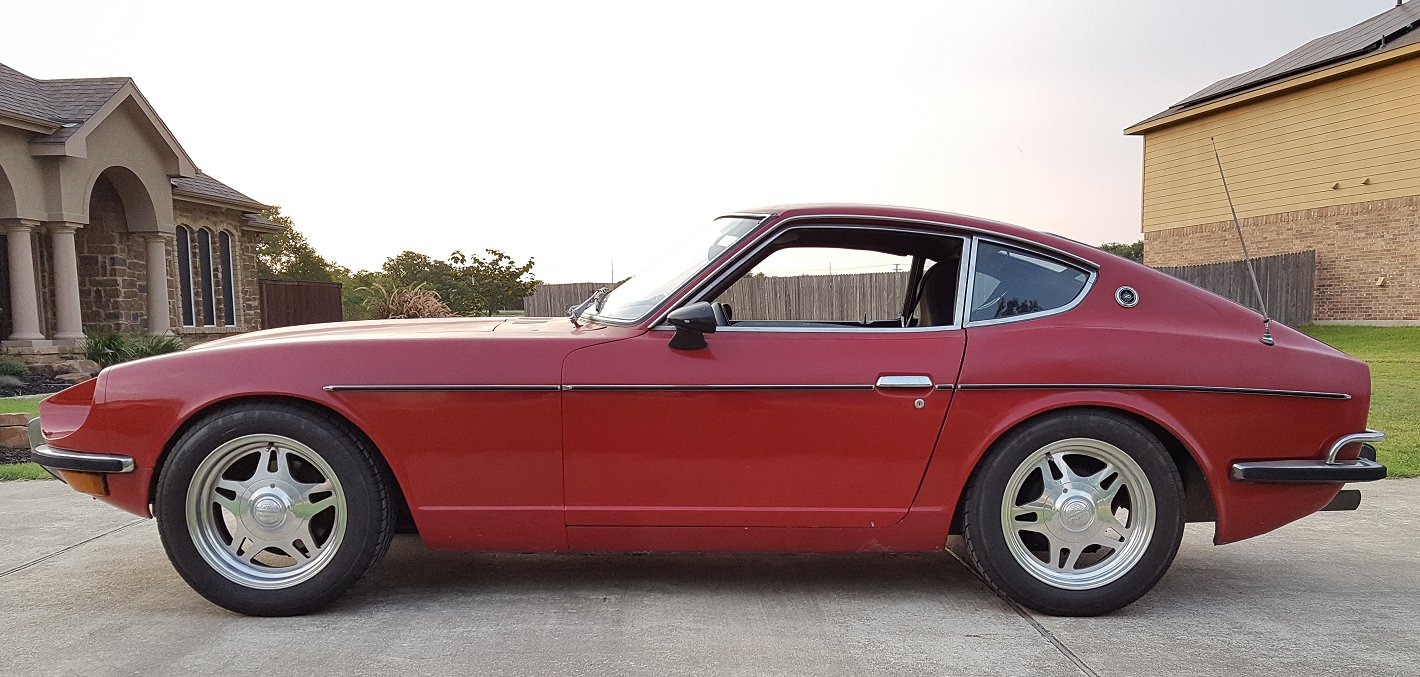
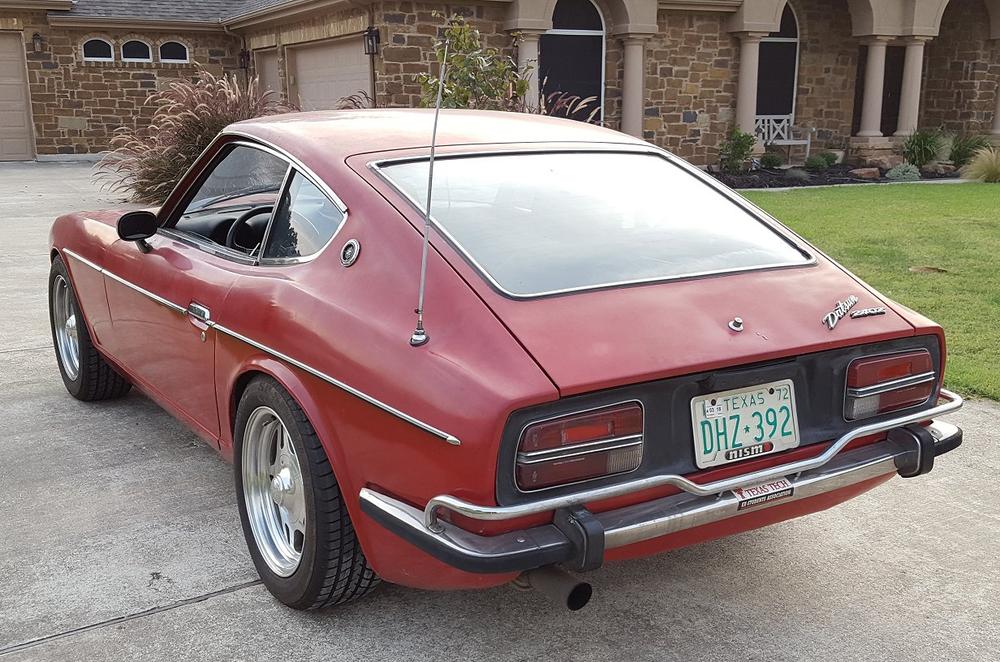
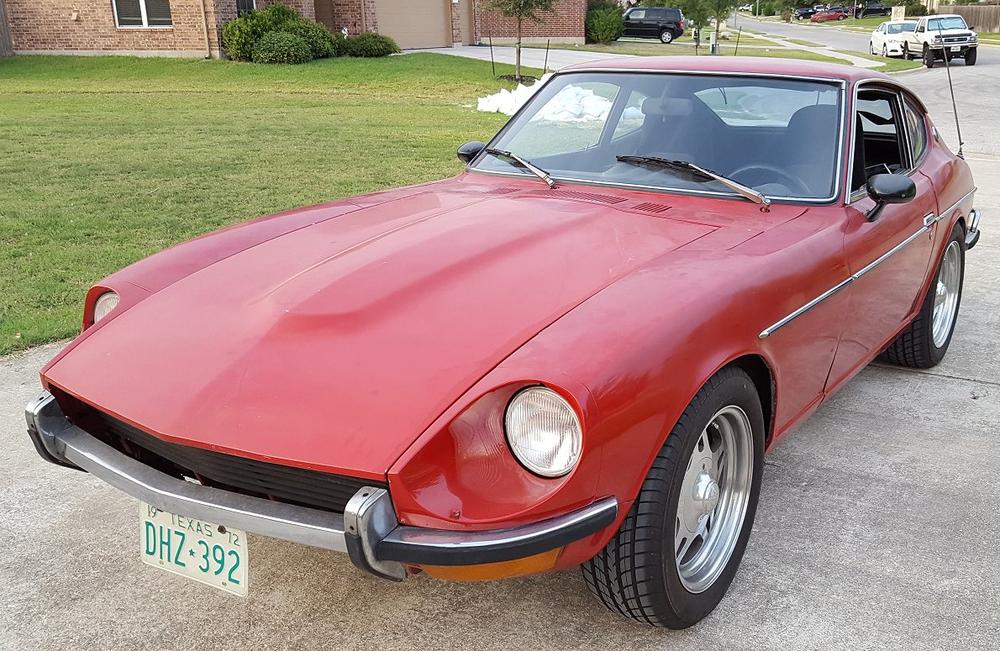
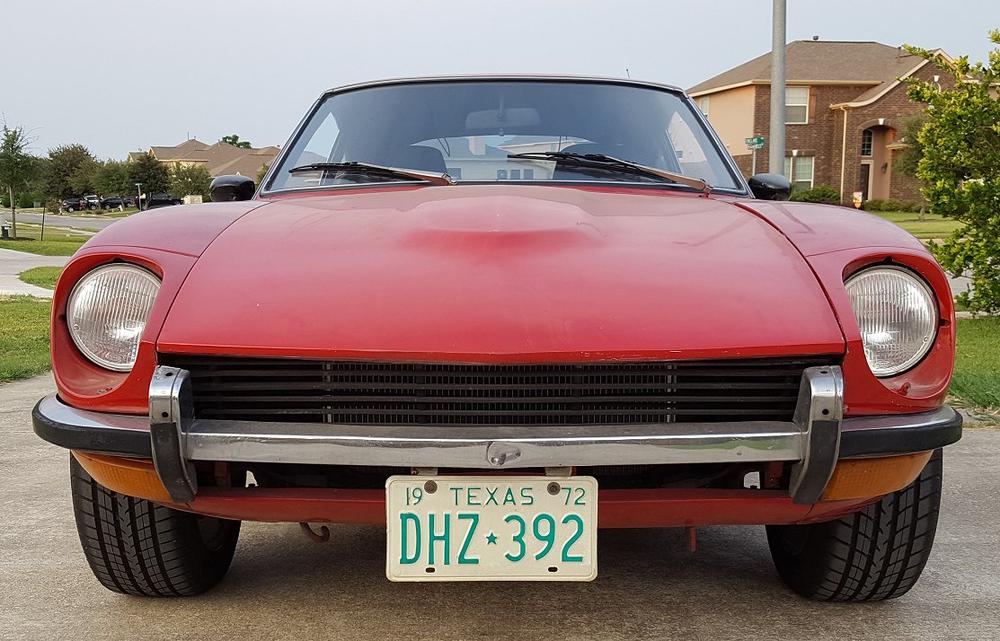
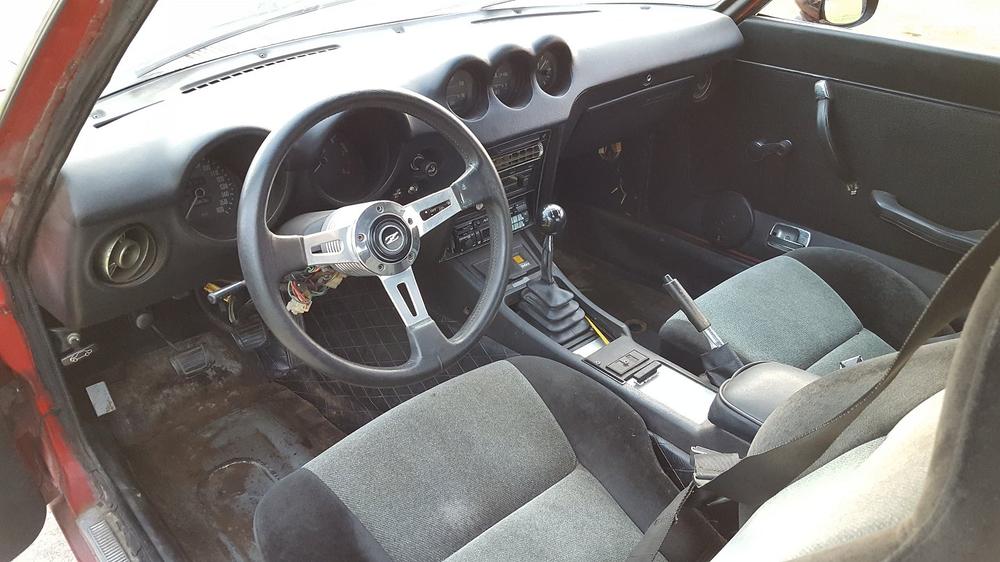
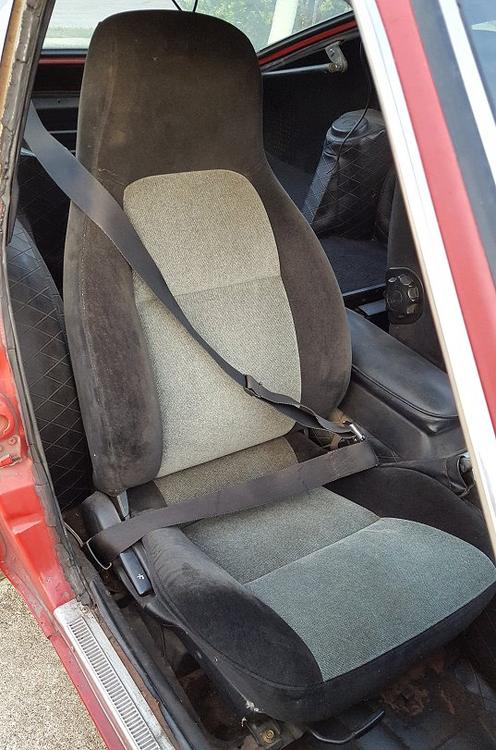
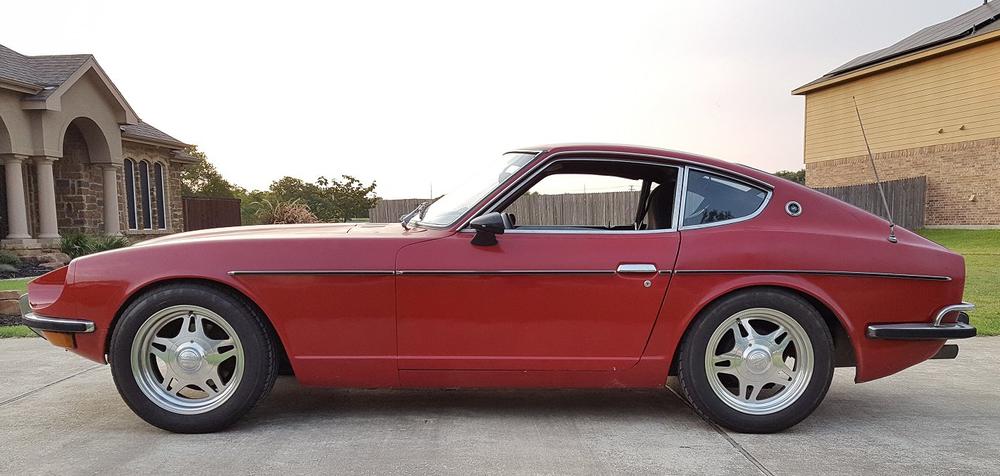
I am back! After selling my series-1 240z on August 21st I picked up my new 240z yesterday September 11th. To be honest, I did not think I would be in another Z so quickly but my friend Mike Cooper, who never sells anything asked if I would be interested in buying his red 240z. He needed the room more than anything and had owned the car since December of 2000. I had seen the car many years ago parked in the corner of his garage but never saw it up close. After a trip to look at it and another trip to drive it, I knew it was the one for me. When I sold the series-1 Z I had a goal of taking the money and getting my shop air conditioned before getting another car. The next car would be a classic Z I could modify and not affect the value. It could be a 240, 260, or 280 as I wanted to do triple Webers, springs, sway bars, different seats, etc. Mike's car already had all of this and more. The highlights include a 1mm over '78 2.8L engine w/an E88 head, triple Dellorto carbs, '83 280zx Turbo 5spd w/Hurst shift and custom shift handle, '85 Turbo differential w/Precision LSD, Susp. Techniques springs, front & rear sway bars, and seats from a Mitsubishi Eclipse. The car is a 1/72 build and is number 65,283. As you can see in the pictures it needs a deep cleaning, the paint needs a careful cut & polish, and there are lots of little things that need to be addressed, mainly just items that need to be replaced due to age. The car was originally silver with a red interior and one day it may return to that color scheme. For now, it will be tinkered with and driven alot! When I first saw the shifter handle I thought I thought it looked a little ridiculous but I can testify it is totally functional. It puts the shift knob right where you want it and the throws are short and precise. I will keep this post going as I make updates and repairs. I look forward to showing it to everyone at local events in Austin and at Atlanta in October 2018! And it came with a few parts too! Believe it or not 99% of what you see was packed in the car when I picked it up. Who needs an SUV?


 1 point
 -
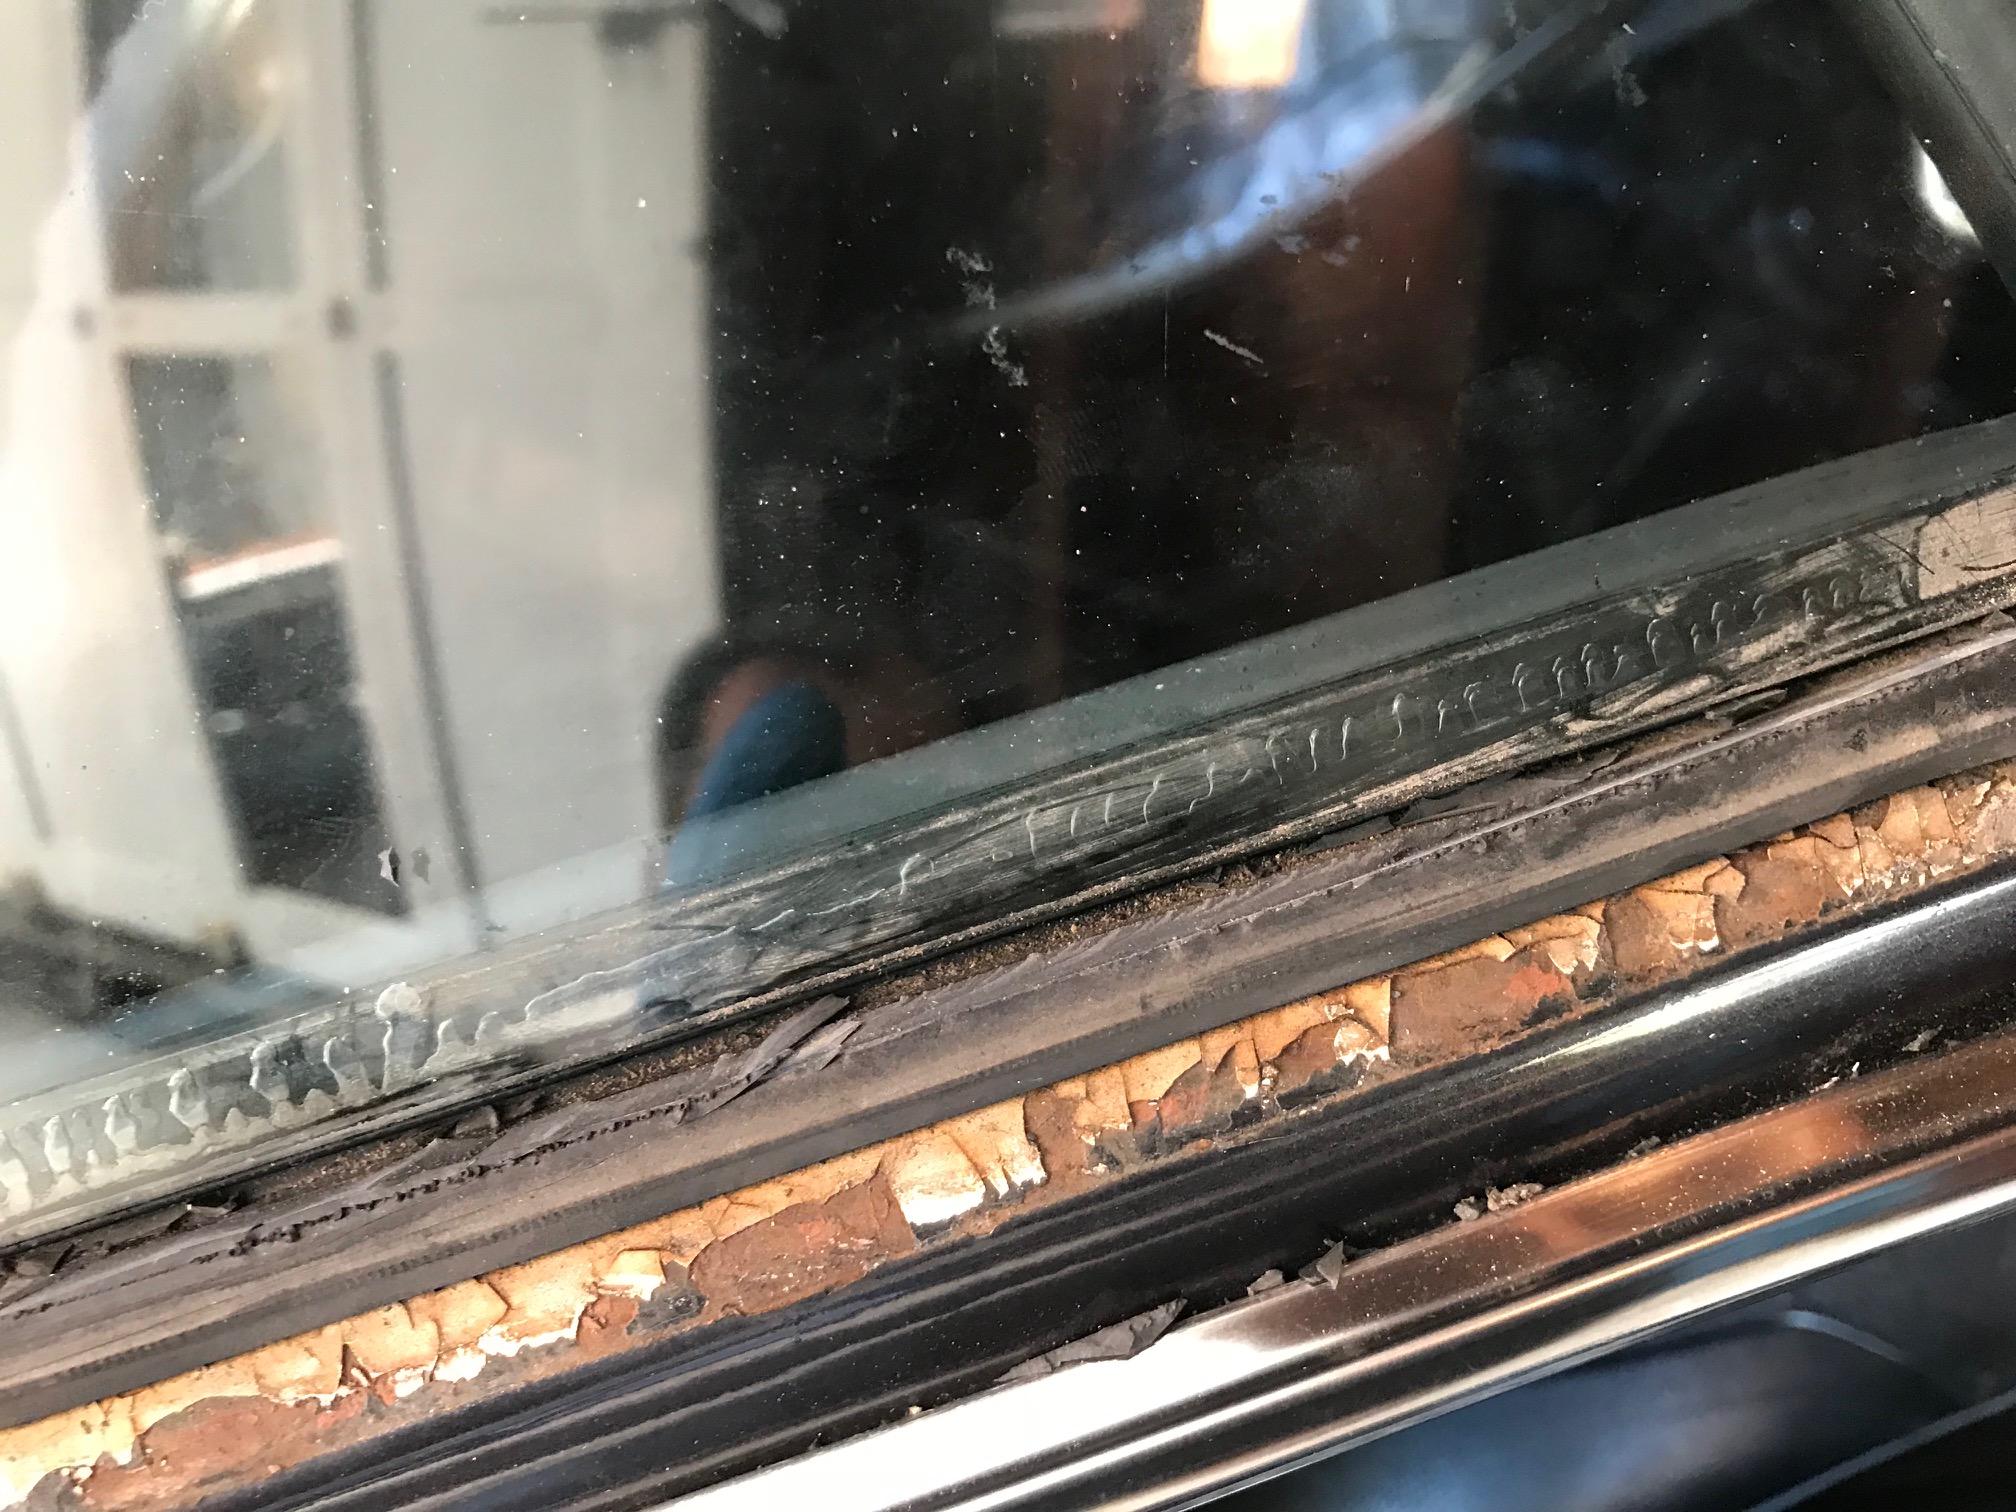
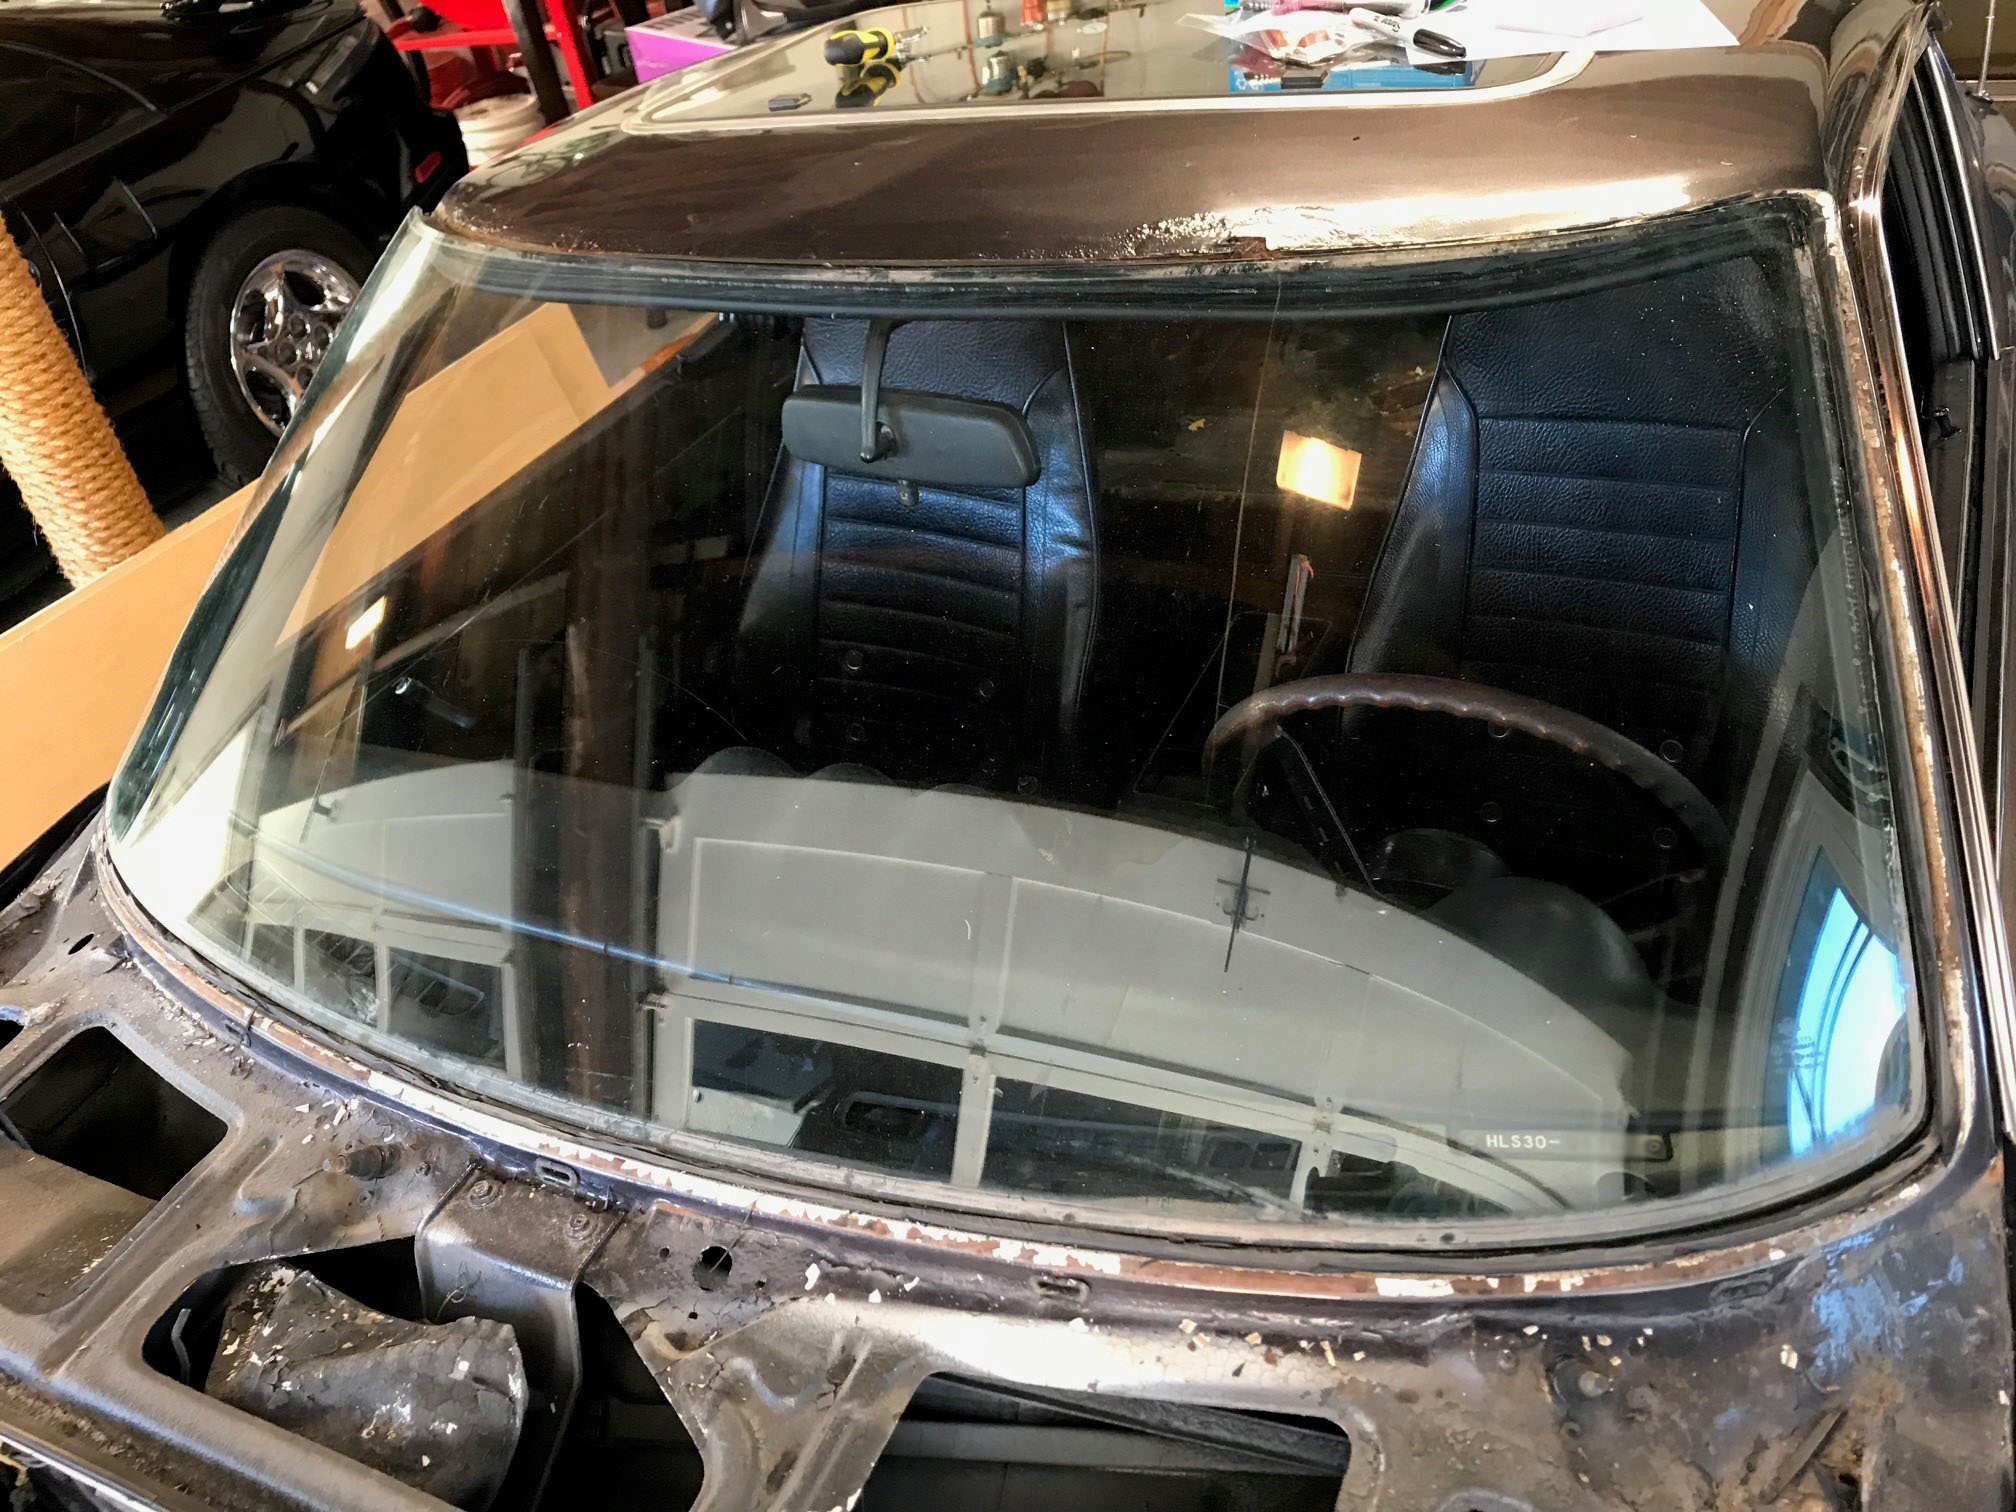
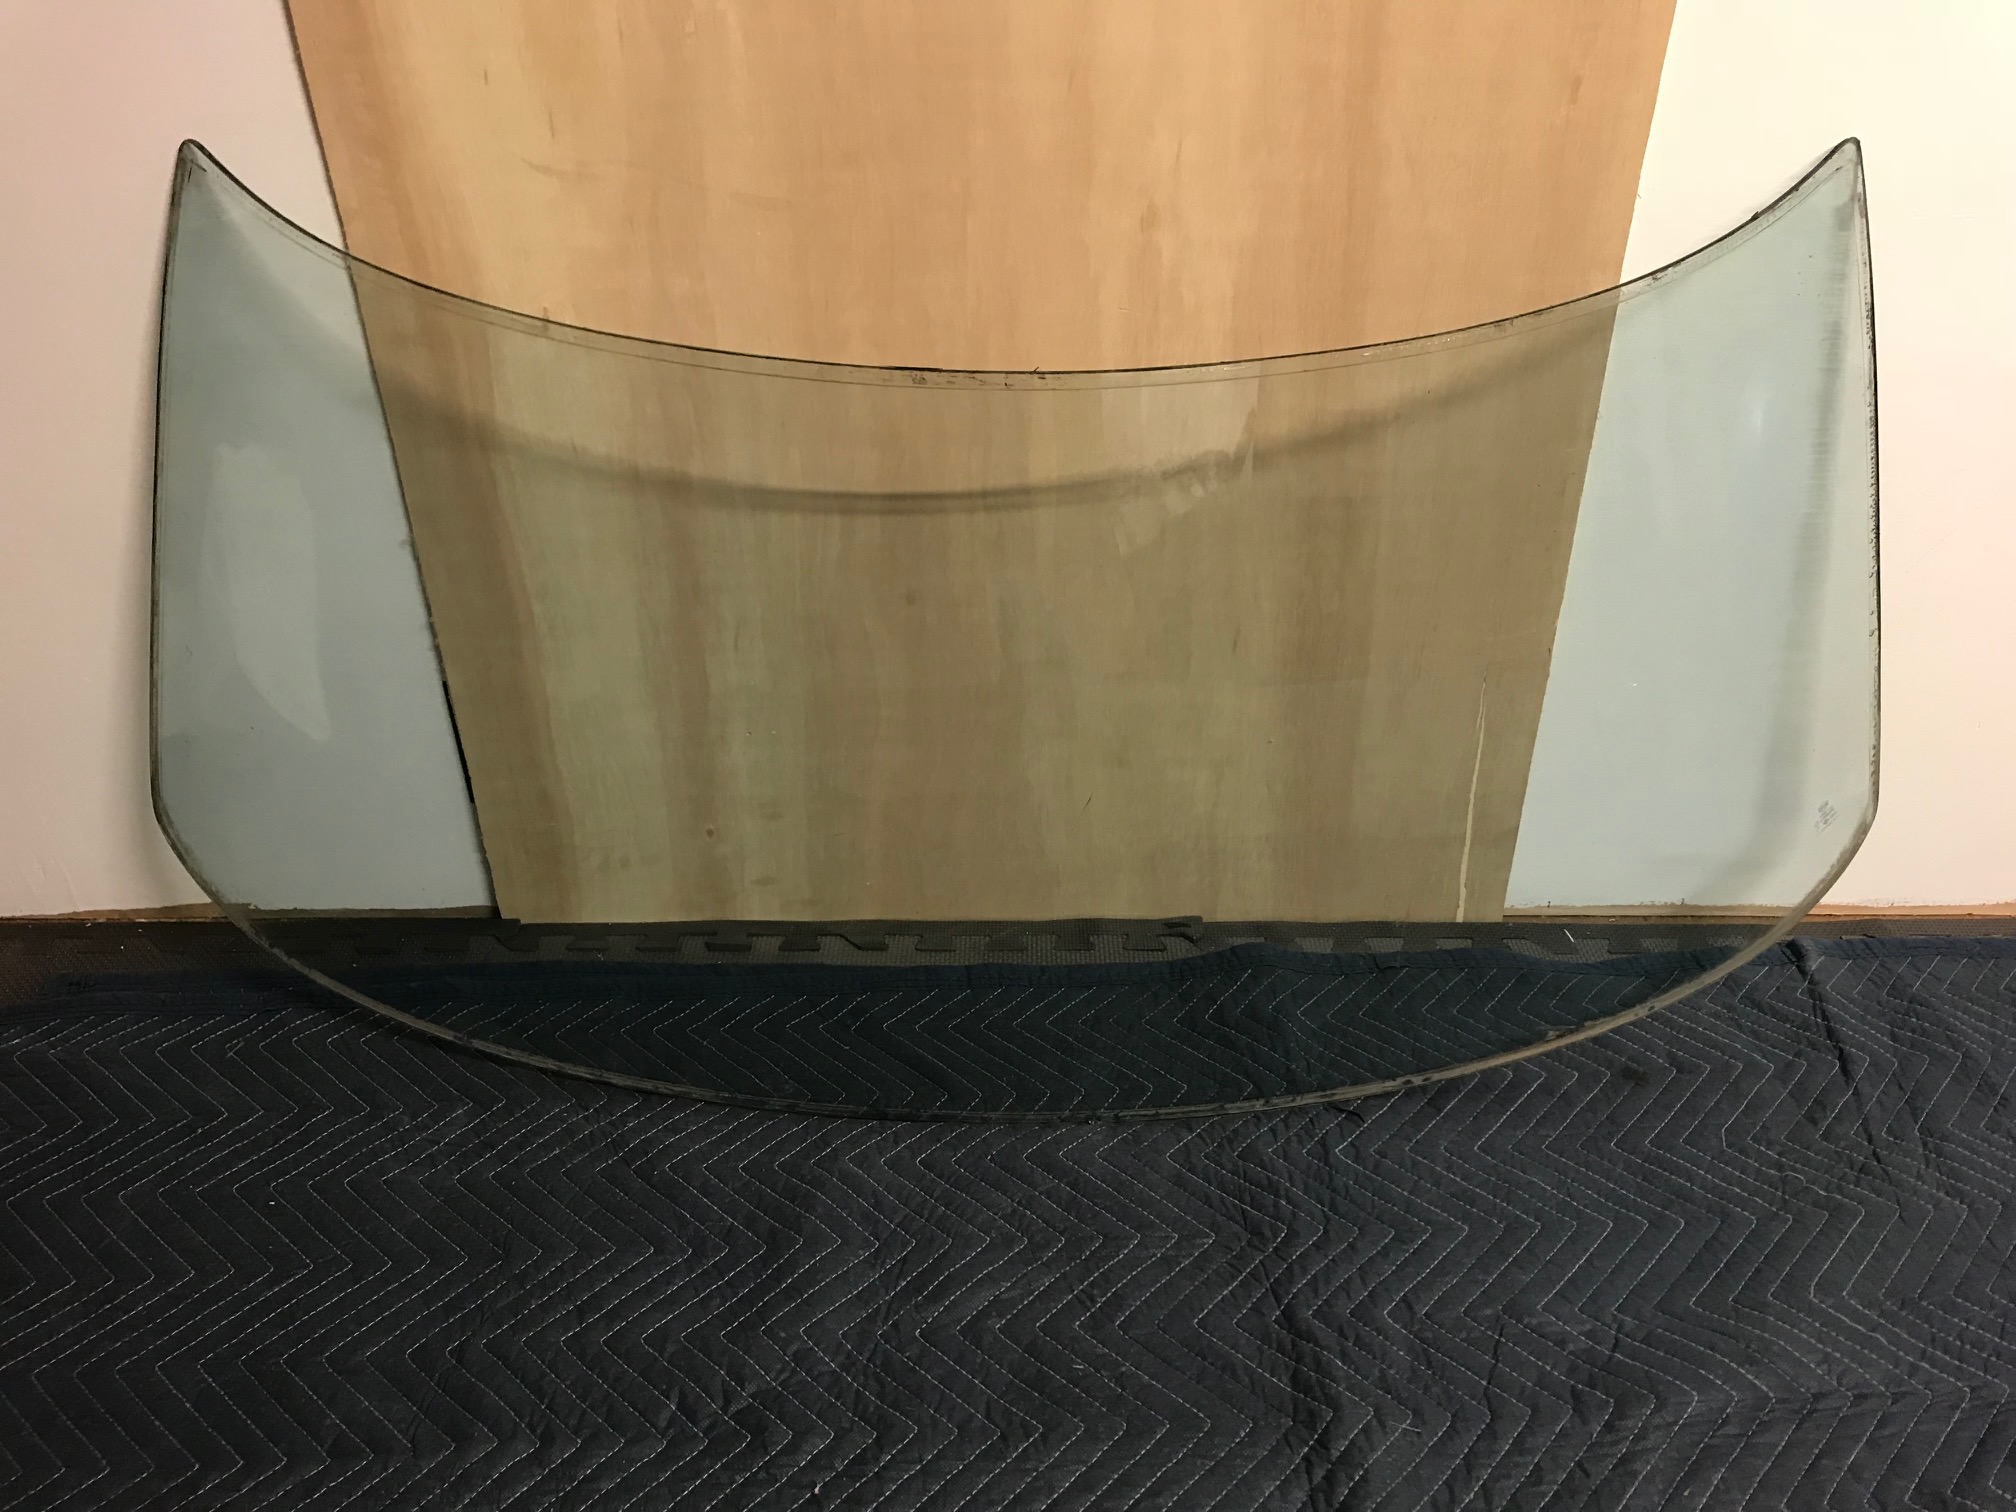
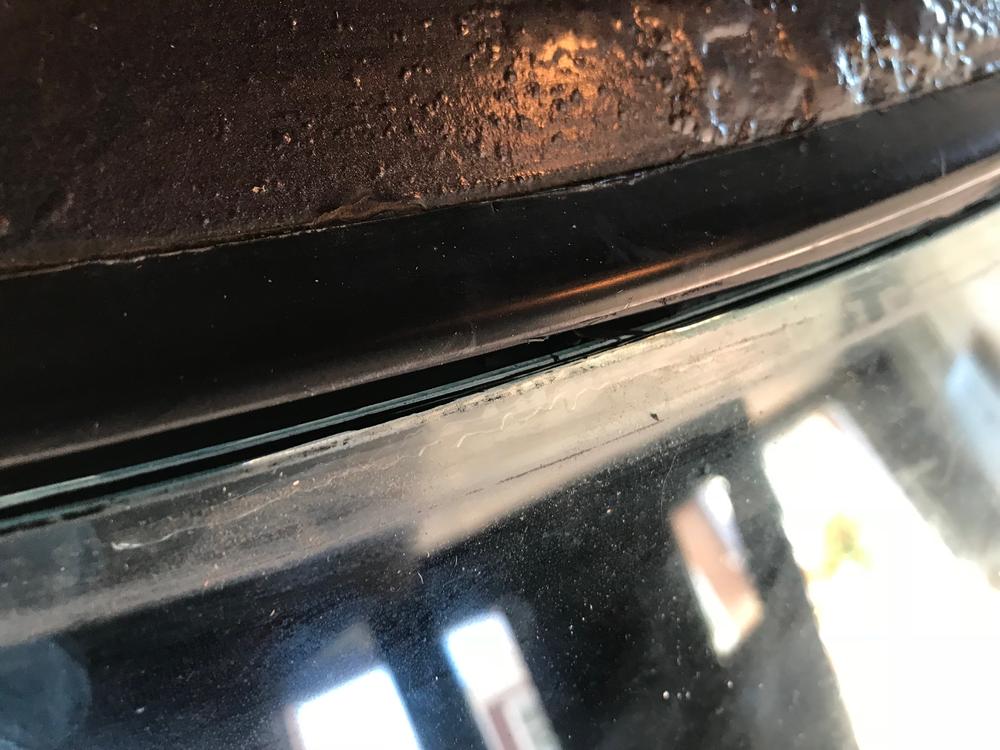
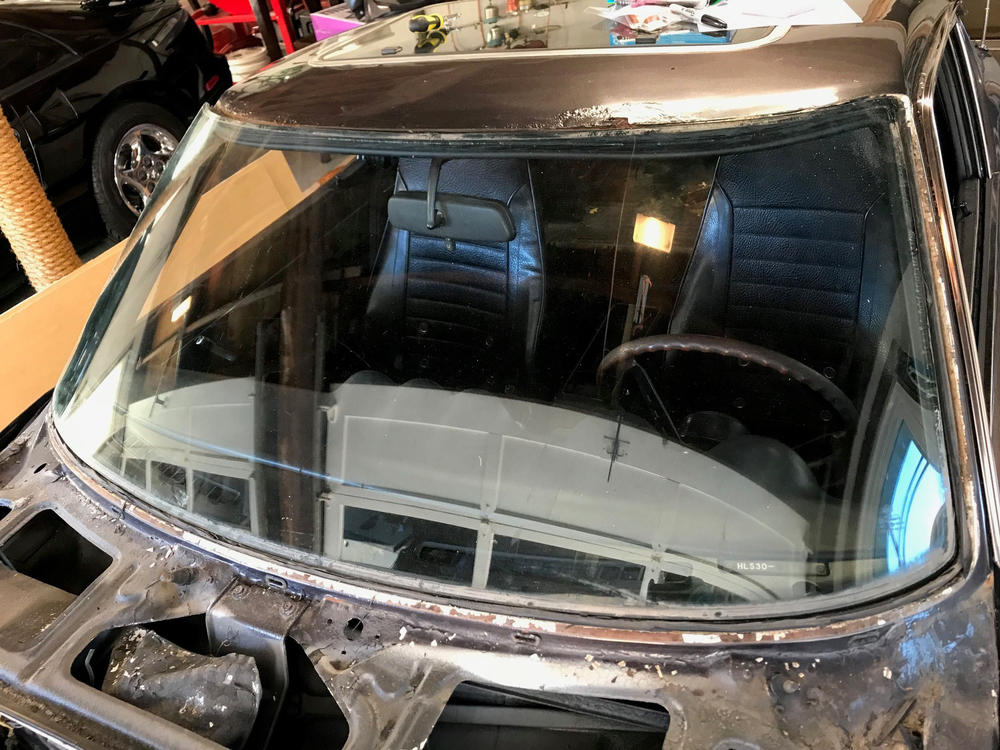
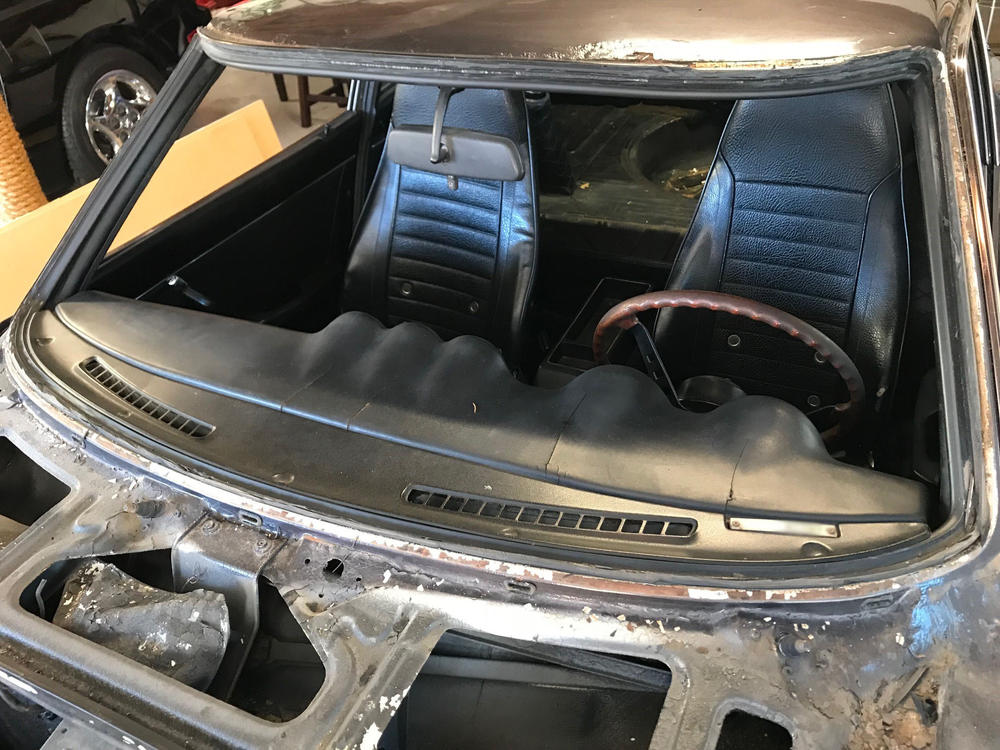
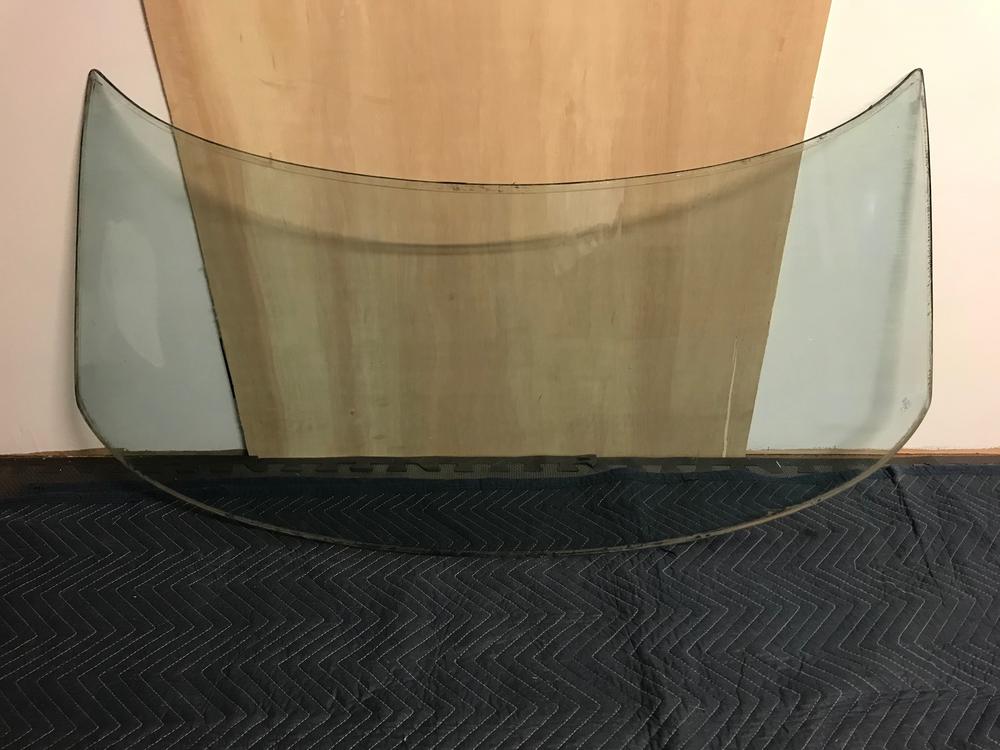
Successfully removed my '72 240Z windshield this afternoon! I saw several horror stories and videos of them cracking - but thanks to @gnosez for the advice! I did not have stainless trim to remove, but that is the first step. This also assumes you do not want to retain the rubber seal. Mine was shot so not worth saving. Tools you need: 1. Straight edge razor tool (not a box cutter) 2. Your two hands. 3. Blanket From the outside of the vehicle, I started on the driver side upper corner and with a straight razor blade (not a box cutter rather a tool that exposes the entire edge of the blade) began gently cutting the rubber seal away until the edge of the glass was exposed. Once I found the edge of the glass, I was able to run the razor down into the rubber along the edge of the glass. Gently cutting and pulling the rubber material away. The corners are the thickest material. You can also push the blade edge towards the roof or cowl to trim the rubber sideways if it will not cut free in some areas. This is not difficult to do, but it is time consuming. DO NOT rush it and take your time. Do not put any sort of pressure on the glass with the blade. It took me about 2 hours. Once the entire edge of the glass is exposed and rubber material is cut away, put a blanket on the cowl and ensure all tools are removed from the work area. Begin GENTLY pushing the windshield from inside the car. I started in the upper middle area just behind the rear view mirror and gave it several small nudges. Do not push hard. Four or five small gentle nudges. I then moved to the left side and then the right side. I repeated this cycle about four or five times and the glass eventually let free of the rubber seal. Do not rush to push it out. Get out of the car and then remove the rubber molding from the upper left and right corners and check the entire edge because you do not want it to catch. Once that is free you can lift the glass out. I was able to lift it by myself, but you may want someone to help you. Put it in a safe location and grab a celebratory cigar! Note: In my final picture that is not a crack in the glass - it is a mark in the wood behind it. Good luck to all!


 1 point
 -
1 pointHahaha!! Chuck, I was waiting for that! I knew that would strike a chord with you!1 point
-
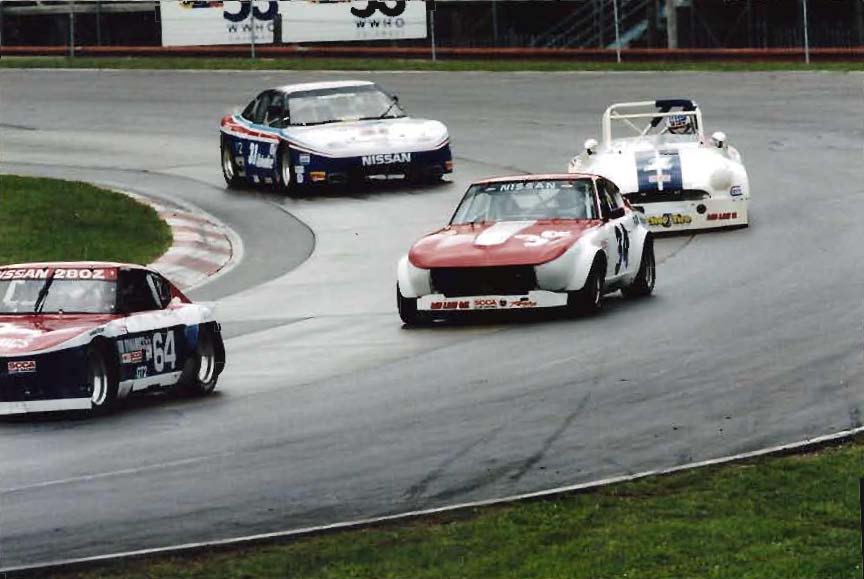
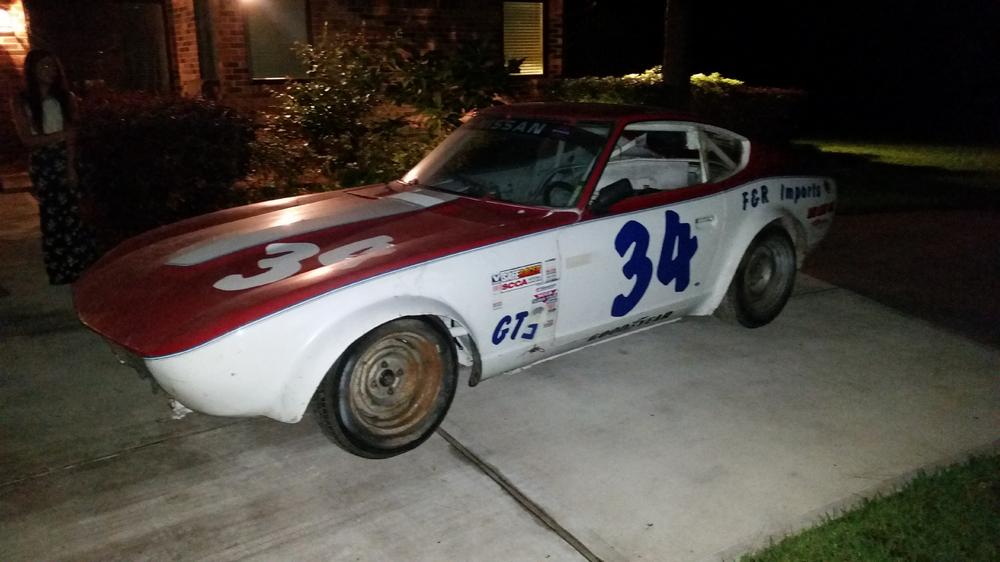
Bought this and bringing it back to life. Don't have much history on it. Born a Datsun dealer, Breyley's Datsun sponsored race car that raced with Bob Sharp and Walt Maas 3-11-1974 at US Champions Road Atlanta [CP] Car 11 Jim Bennett, http://wsrp.wz.cz/natus1974.html but it also had some TV time in 1999 with Tom Patton.
 1 point
 -
1 pointAre you serious??? You think it's ok to swap VINS on a Mopar? You obviously know nothing about the Mopar world. The cars that have their VINs swapped are blacklisted. They're listed in databases all over the world. There are discussions about this all the time on the Mopar boards when someone new comes in and talks about swapping VINs. Go over to moparts.com or forum.e-bodies.org and ask what they think about swapping VINs on a 69 Charger R/T 440/4-speed. Chuck1 point
-
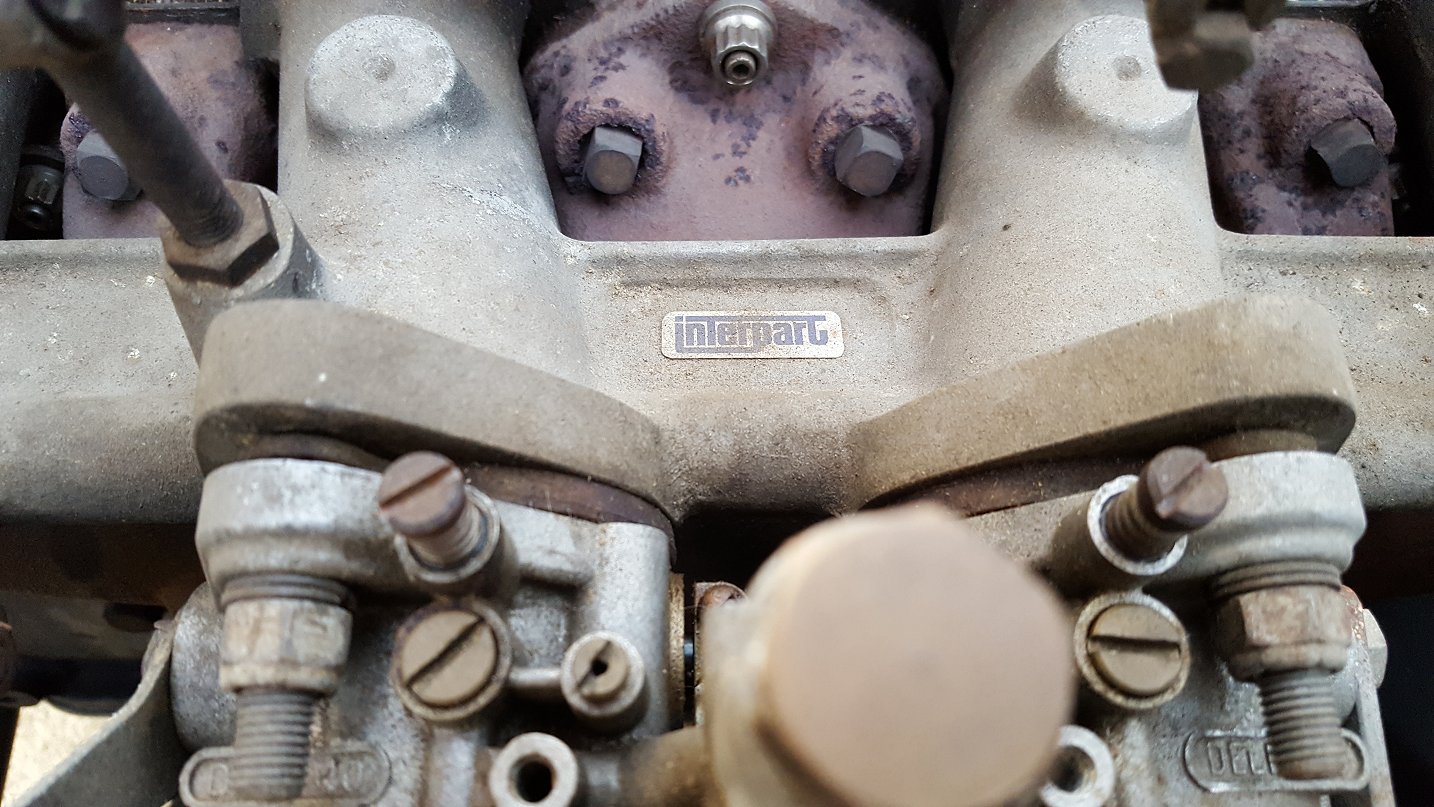
I always put a dab of Medium Strength Loctite ( 242 Blue ) on any small bolts like that. Don't use the High strength or Stud Lock. You may never get the bolt out in one piece again.1 point
-
1 pointNo surprise. Water in the brake fluid would cause total havoc in there. Steel caps, springs and shuttle piston, aluminum case. Everyone get out there and flush your brake fluid, now! Okay, soon, like before next spring.1 point
-
1 pointWhat counts here is the offset between the mount holes and that stud. As you will notice, that spacing looks identical With the early diffs farther forward than the later ones by an inch or so, this offset must be reflected in this spacing. But what you see in the picture, and I see as well when I check my part examples, is that these two have the same spacing.... Ignore the fact that the two blues and two red line spacings appear to not be same. The close up has significant paralax. Notice the stud orientation between the two. So what's up? How can they be? Well if you turn one around, since the center stud has to stay in the same place on the car, the diff mount holes magically move to required position It is my opinion, that if you just rotate a new mount 180 and put it in, it will fit on a (here we go..., deep breath...) a series 1 car. You could also just reverse the moustache bar so it puts the dff back and use a new insulation in its correct orientation, like, (dare I? sure...) on like a series 2 car.
 1 point
 -
1 pointSPRINGS... so that's what all that rust was, when I took my brake warning unit apart there was a lot rust and brown mayonnaise stuff, I thought the rust was from the piston but it seems now it was what used to be springs. Well then ZH I concede, sorry for confusing the thread. That illustration BR-14 clearly shows them.1 point
-
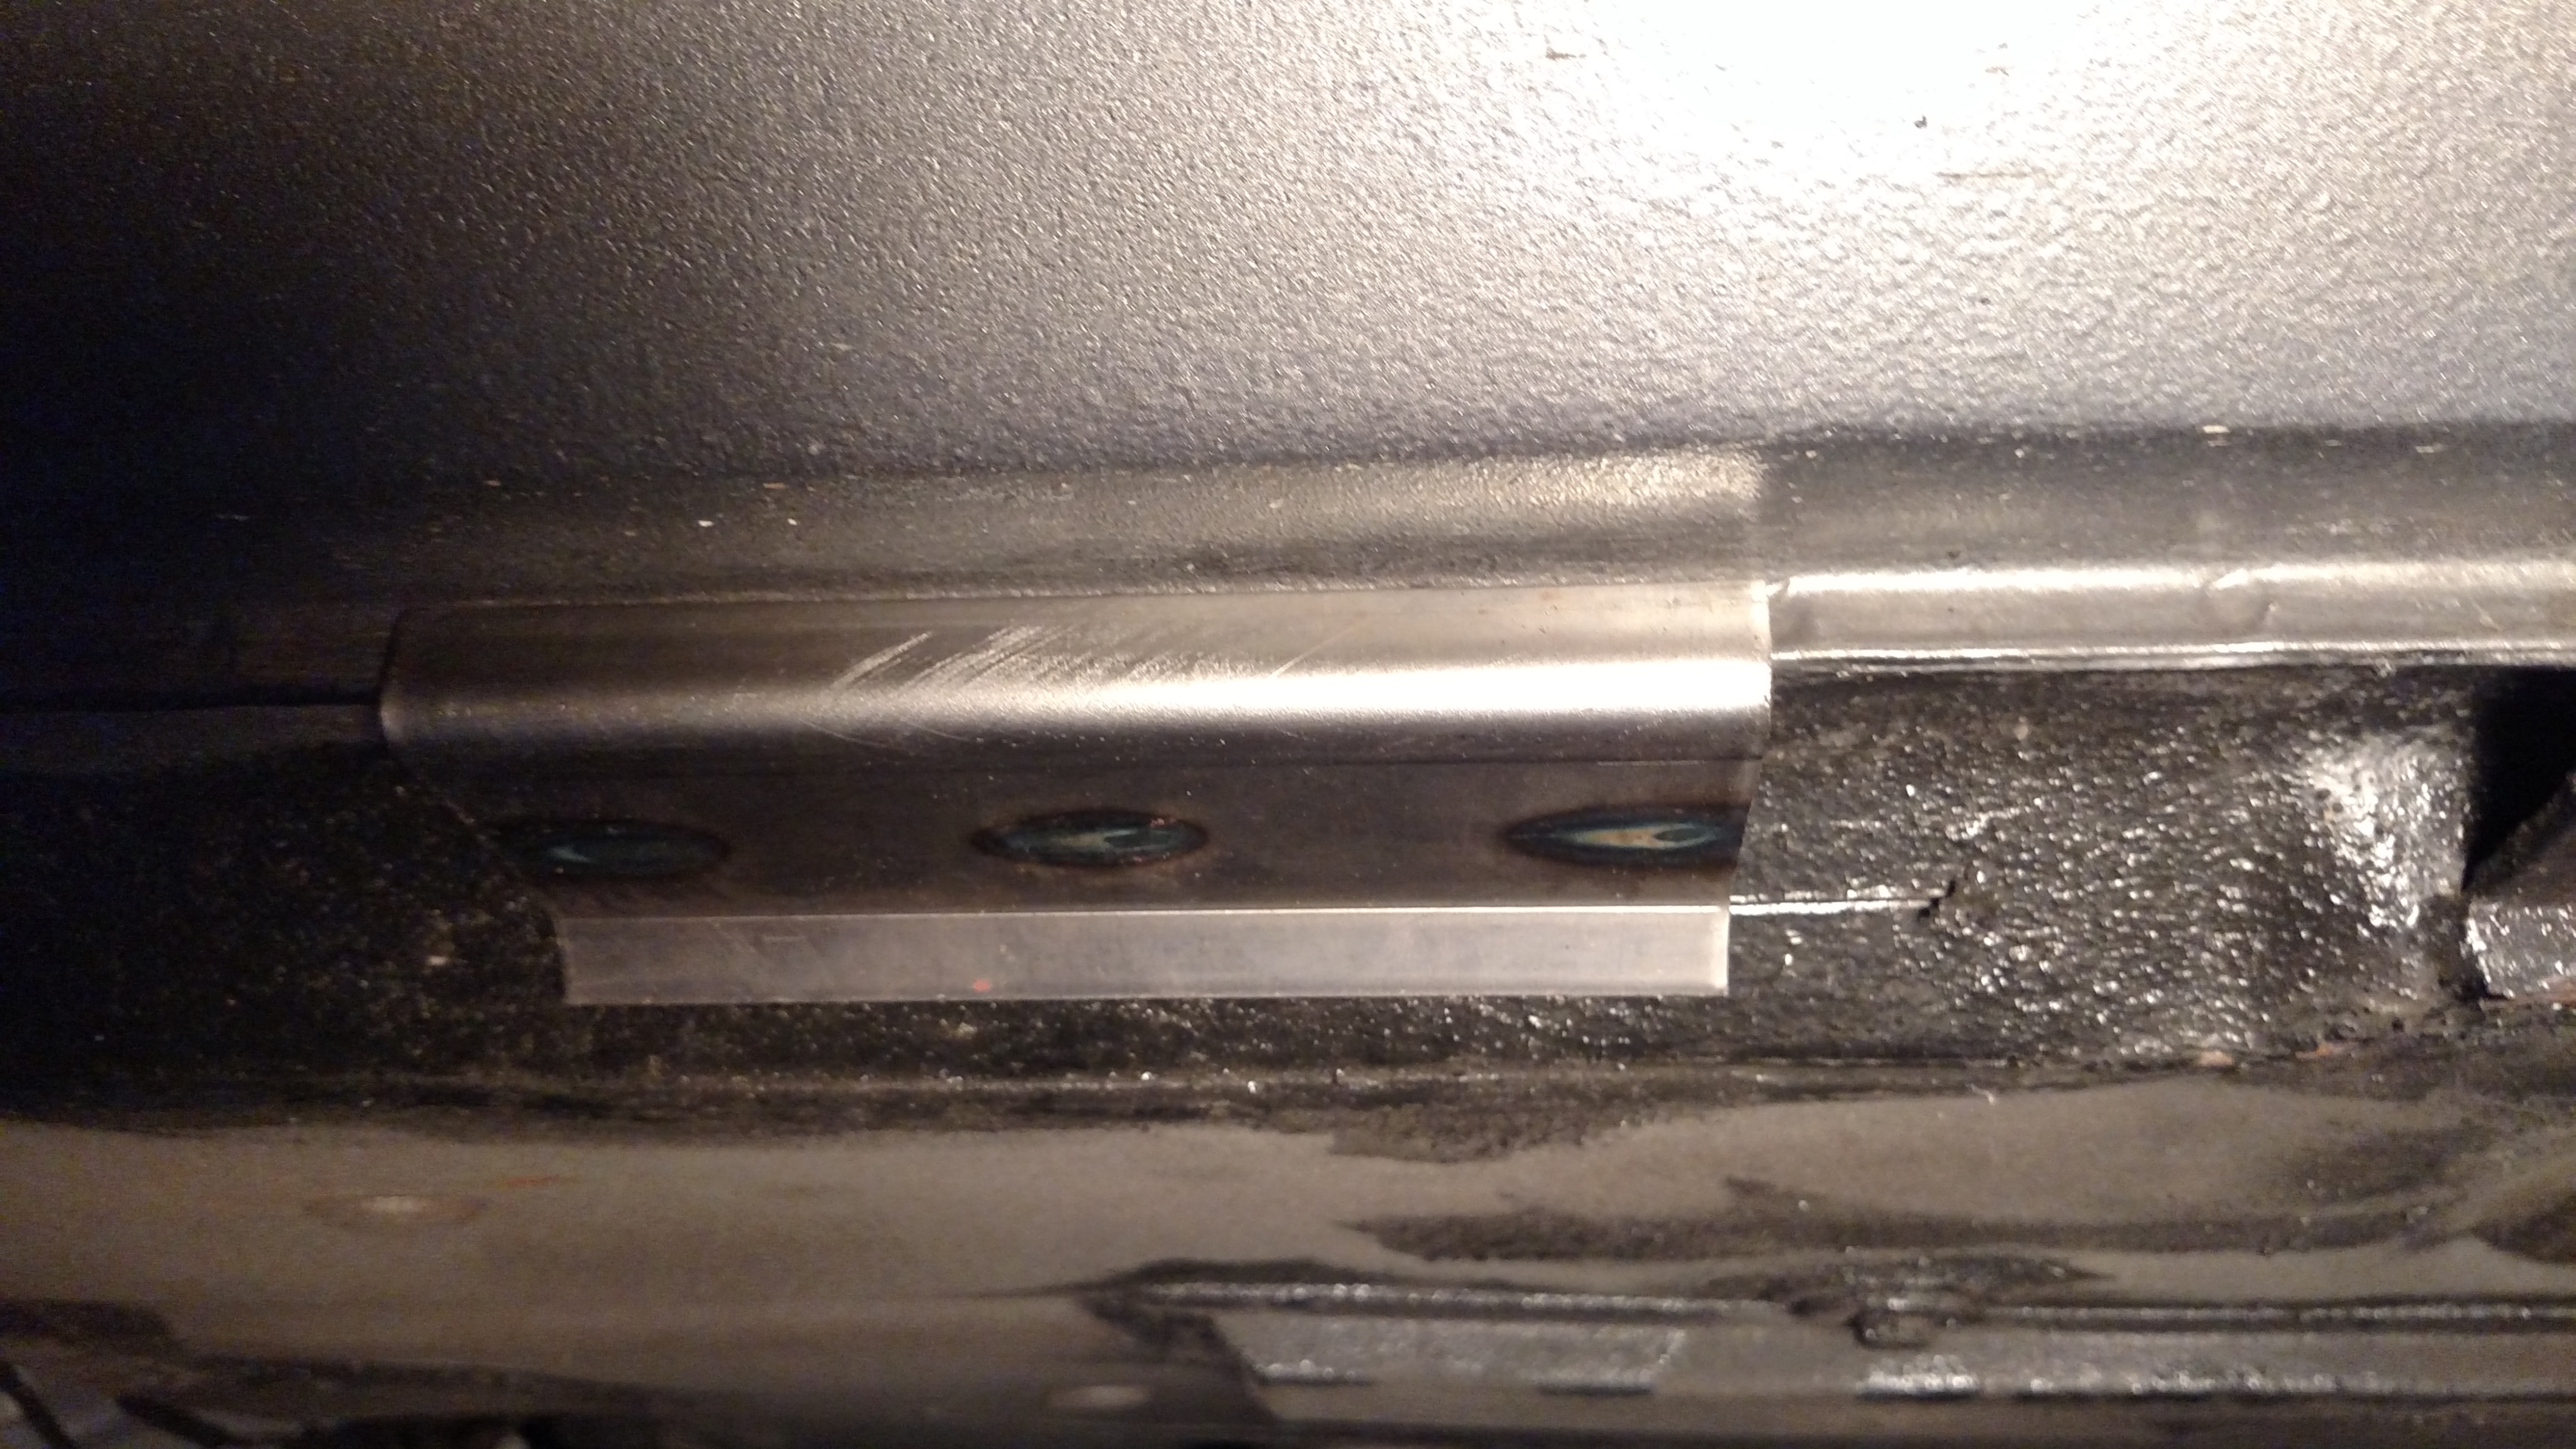
Captain, my Captain...sometimes I worry about you. There is only one way to install these which is to take the "L" lip of the plate and place it along side the rocker lip as shown in the picture attached. The 45 degree angled other side sits against the floor. You can attach more than one per side and we recently made a 30 inch version for a guy with a homemade convertible 280Z. We have sold over 200 sets for owners of 240, 260 and 280s and none have been returned due to fitment issues. The one in the picture is being held on with a rare earth magnet.
 1 point
 -
1 pointOnce again, I find it hard to take you seriously. Take another peep at posts nos. 5, 15, 17, 21, 24, 27, 29 and 35 of this thread for starters. Don't make me quote them all. And that's without listing up every post from our new friend 'tzagi1', who is beyond satire. He even mentioned old Russian trucks at one point, which made the tin foil on my head quiver a little. Putinbot? Nah, he's too funny to be Russian. But here's a real zinger from yourself: "Considering how many parts can get replaced during a restoration, it seems kind of limiting to make a small piece of firewall metal so important. If a person cuts that rectangle of metal out of a car and installs it in another car, which car is the legitimate one?" That was from post no.68. A rhetorical question? Satire? Not clear from where I'm sitting. One minute you're condoning the practice, and the next you're against it. My impression is that you might have woken up and smelled the coffee around the second page of the thread. Hard to tell though. You're clear now though, right?1 point
-
1 pointDude, now I know you're trolling... Let's get back to the original question. Should this guy be concerned if the sheriff and the appraiser told him to ignore the frame VIN? If he has paperwork to back this up, he may be fine. But, I would definitely look at making the papers match the registration as much as possible. Even if it's to make the selling process work out better in the end. I know I wouldn't buy a car that has a different frame VIN.1 point
-
1 pointFirst I want to hear your explanation of how you can "swap a body" on these cars. Swap a body and you've effectively swapped a car.1 point
-
1 pointThe answer to your first question is 'Part Number One'. It's the unibody/monocoque/bodyshell, and it carries a unique identity. You cannot "swap a body" on these cars. Nissan did not supply 'Body In White' un-numbered replacement bodyshells for these cars, so if you substitute one for another then you have - effectively - another car altogether. Parts from two - or more - cars can become one, but two unique identities cannot become one. I notice people like yourself are not asking why the car in question ended up like it did. We are talking about two cars in the mix here. One car donated an engine bay tag, door jamb tag and dash tag (what happened to their original bodyshell?) and one car donated its bodyshell (what happened to its engine bay tag, door jamb tag, dash tag and any identity-related paperwork?). "As long as one does not lie" is not going to cut it here. The car itself - as it stands - is a lie.1 point
-
1 pointIt’s great, but use a rag. My phone doesn’t recognize my fingerprints now. Sent from my iPhone using Classic Zcar Club mobile1 point
-
1 pointWhat's all this 'museum or driven' stuff got to do with anything? What has quantities built got to do with it either? You're missing The Big Point here. There are several reasons why car manufacturers issue individual cars with their own unique chassis/car number and 'identity', but the main one is to comply with (international) laws. These unique identities are not transferable. But we all know what goes on. If it is done *professionally* (cough....) enough that it is all but undetectable, then so be it. That stuff happens, but it is not supposed to. What beggars belief is somebody blithely talking about an example of fraudulent activity (as a victim of it, no less) on an open forum, and apparently not even getting what the car represents. He has a car which has had the identity of another loosely pinned on it, and half of the people replying to this thread don't appear to think he has a problem. My understanding of the situation is that he has documents which show he owns an engine bay tag, a door jamb tag and a dash tag. They are attached to a car body that he doesn't legally own, even if it is in his possession. For those not so hot on their arithmetic, that's TWO sets of unique identities that have been separated from their original homes. And why? The usual answer is that it was for nefarious reasons. I'm surprised that members of a marque and model specialist 'club' forum would condone such activity, either directly or indirectly. As far as I am aware, such practices are illegal in the majority of civilised countries. Here in the UK and Europe, if such a car was inspected and discovered by a member of the Police force, by a customs official, by a vehicle licensing agency, a licensed engineer or independent assessor, it would be impounded. If no legitimate paperwork for the part of the vehicle with the biggest claim to a unique identity ('Part Number One' - the unibody) could be produced then the vehicle would be crushed and a fraud investigation would follow. Anybody who unwittingly purchased such a car would drop it like a hot stone, and would be seeking recourse and legal advice. The 'nothing special' / 'not historically important' part of your post just doesn't stack up. Each and every firewall-engraved identity unique. None of us has the moral or legal right to play god with these cars and remix identities at our convenience. It's nothing to do with value, model rarity or historic significance. And all this is quite apart from whatever happened further back up the trail, which often turns out to be theft or fraud, and has a victim...1 point
-
A lot of the links above are all from the same factory in the Far East. Not saying there’s anything wrong but they all recommend spring rates that no decent suspension specialist would, along with ‘dampers’ to suit.1 point
-
That worked great. My console has been out so long I don't remember why the passenger's side has outward sections? One big one by the e-brake handle and another smaller one to the right of the shift rod. The choke knob holds the driver's side down nice and snug but the passenger's side is a little loose. I will look tomorrow in the brightness of daylight and look for a screw hole I may have missed. I have 3 screws in the rear section and the two on the sides by the radio. Having the console back after a year or so is sorta weird feeling but it looks good. Very happy with it. Thanks again Jarvo for the picture of those wires. I'm going for a long drive in the morning. I got tired of pussyfooting it and got close to redline today and nothing flew apart so I'm gonna call it a successful rebuild. Thanks for everybody's help!1 point
-
1 pointHhmmmmm...I may have to change the title to the thread. The car is a 10/71 build on the door tag and registration says it is a 1972 model year.1 point