Leaderboard
-

siteunseen
Free Member4Points15,115Posts -

Diseazd
Free Member4Points3,362Posts -
grannyknot
Free Member2Points5,158Posts -

Zup
Free Member2Points1,163Posts


Popular Content
Showing content with the highest reputation on 03/13/2017 in Posts
-
4 points
-
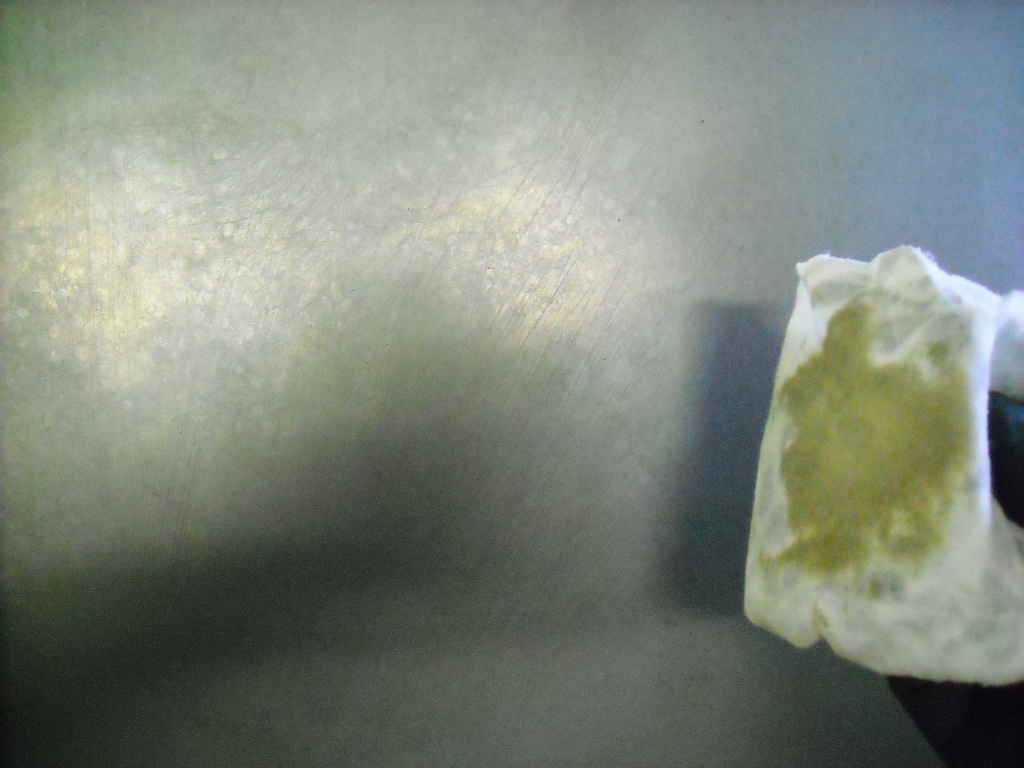
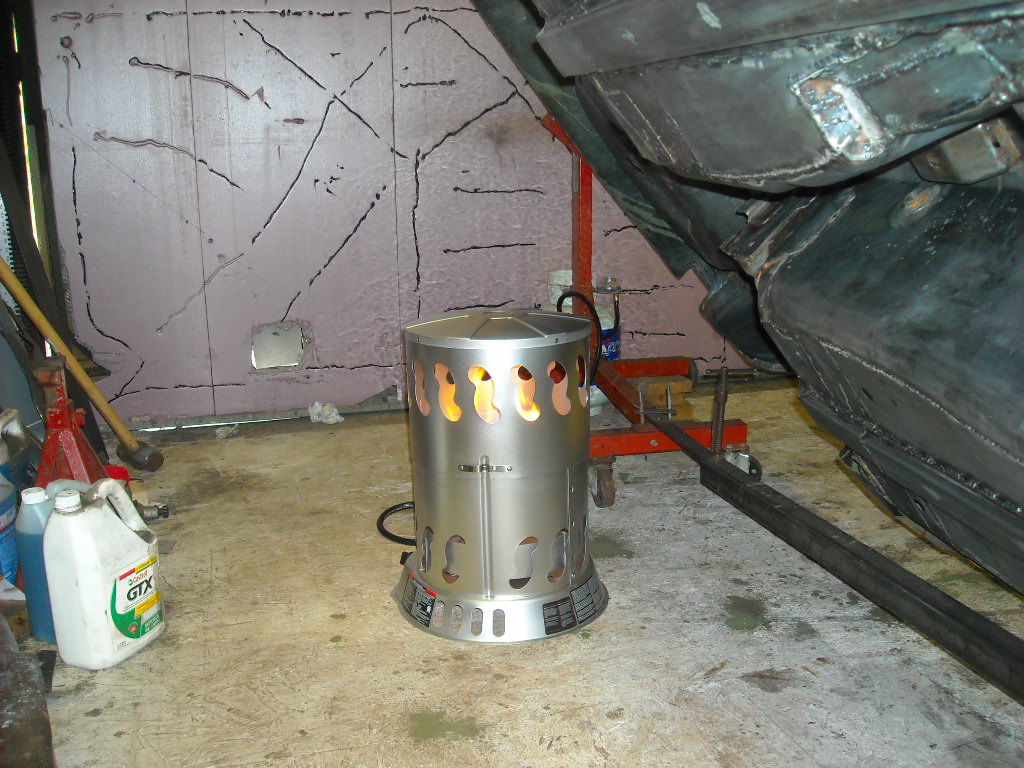
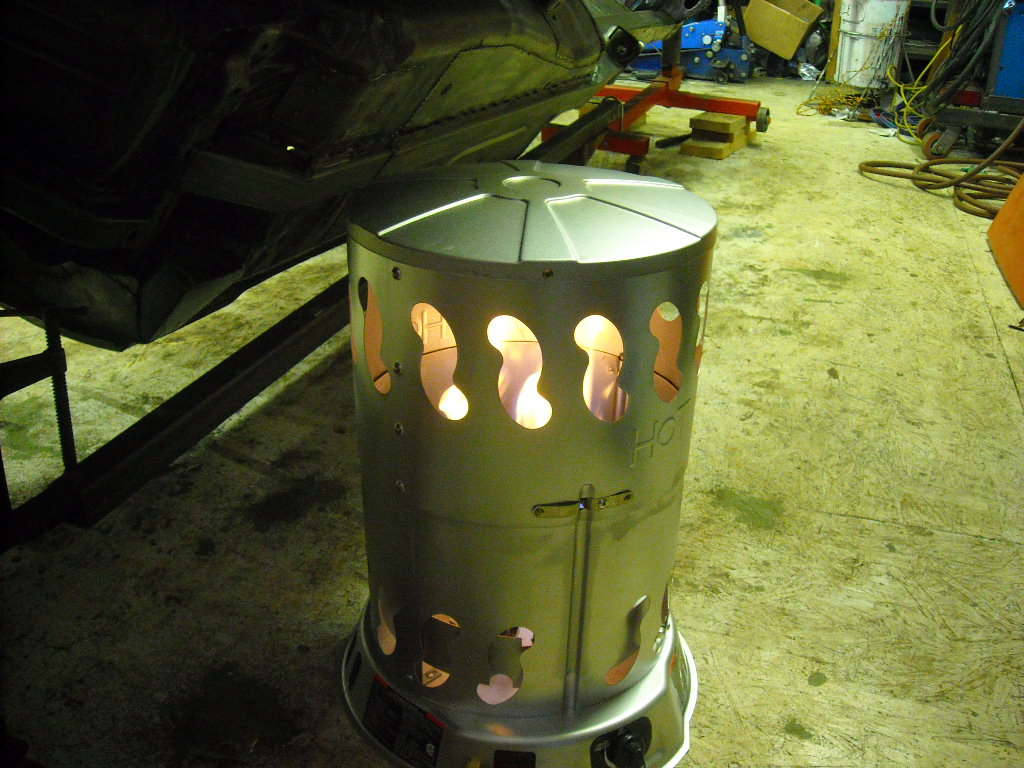
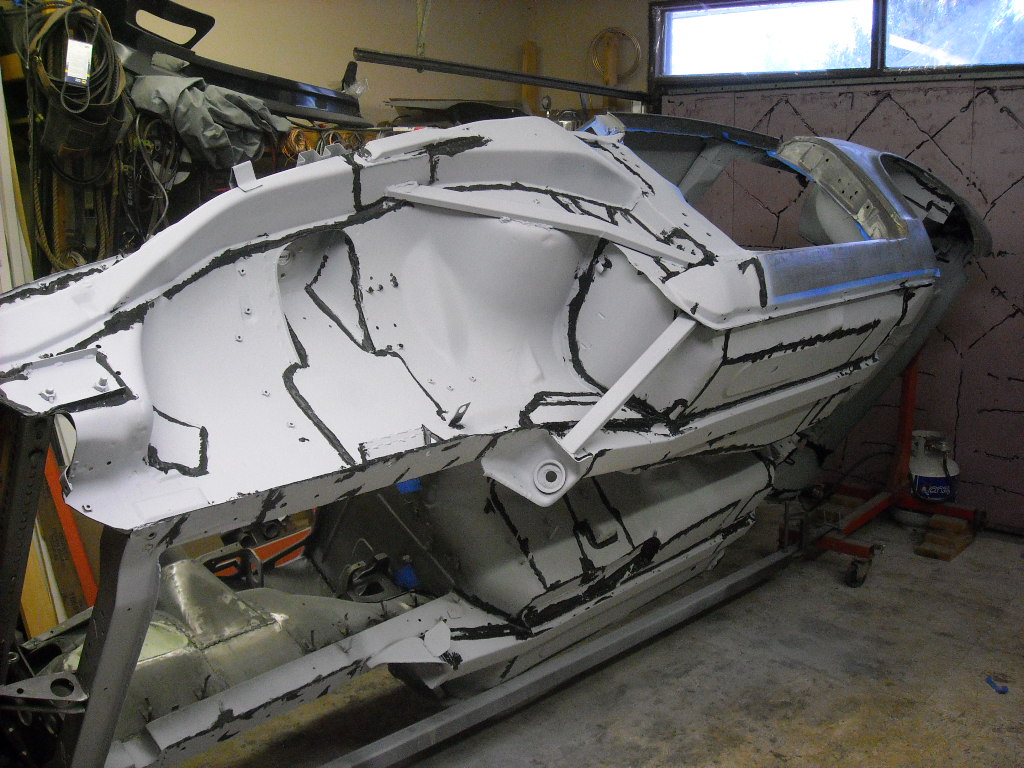
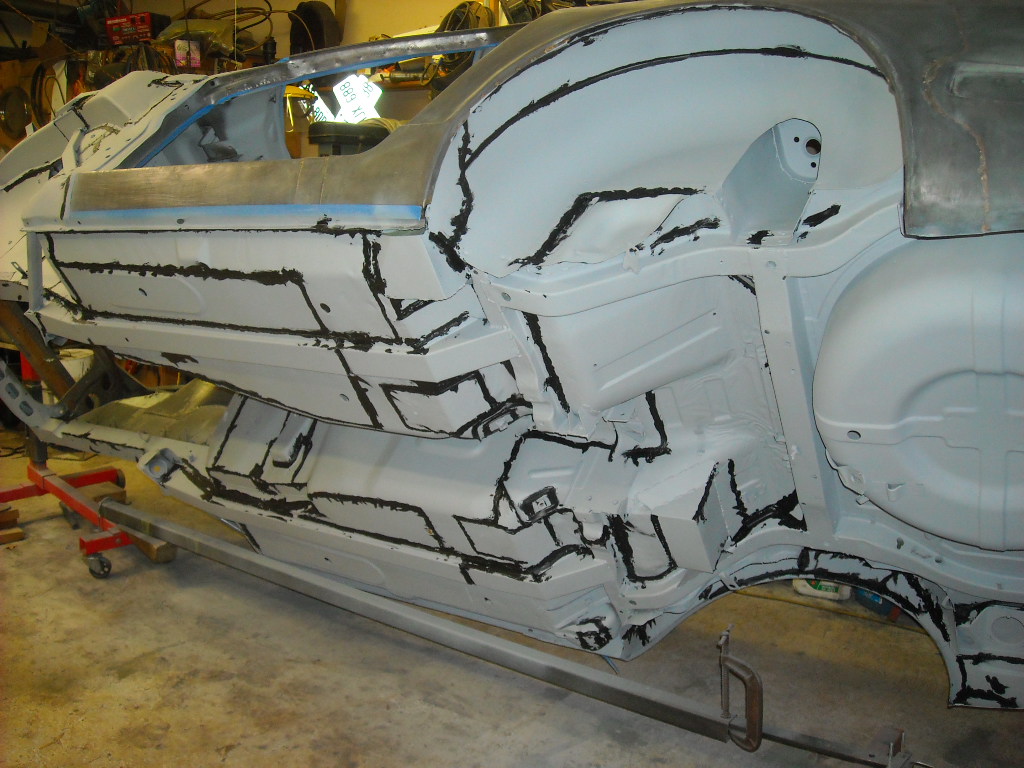
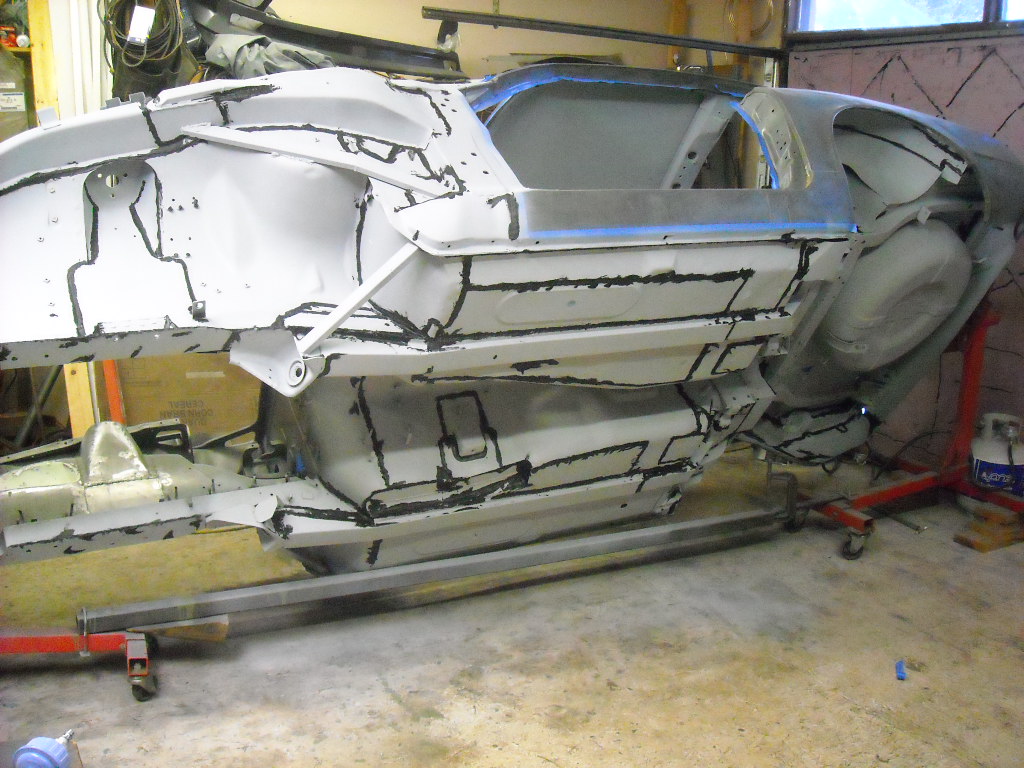
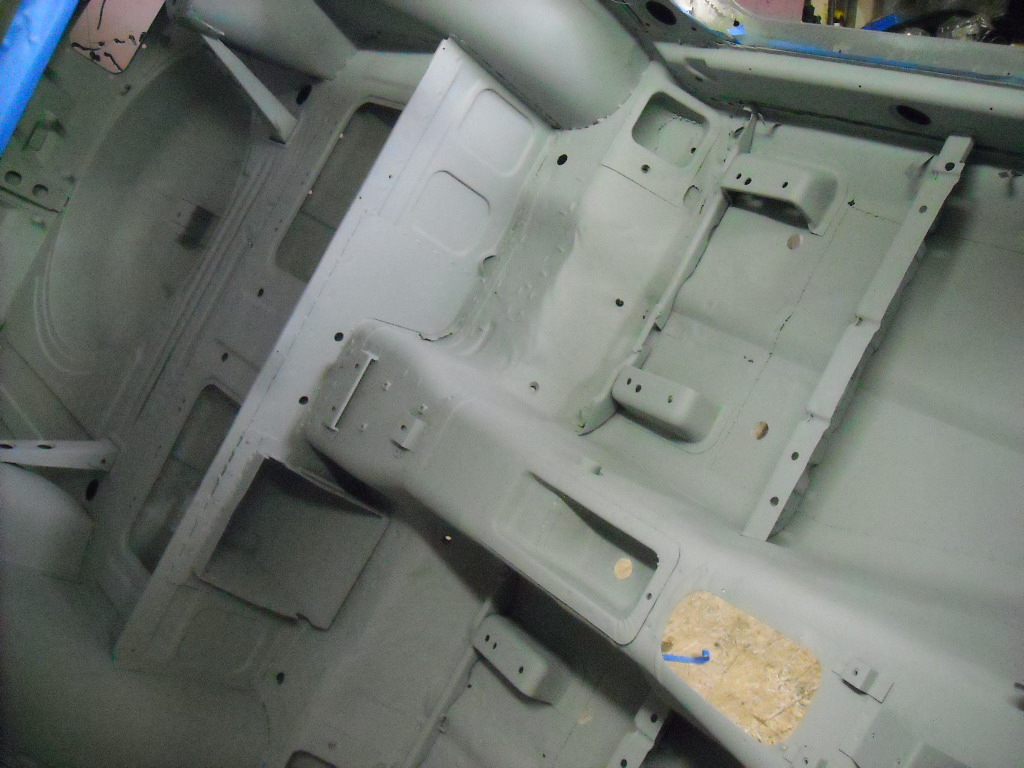
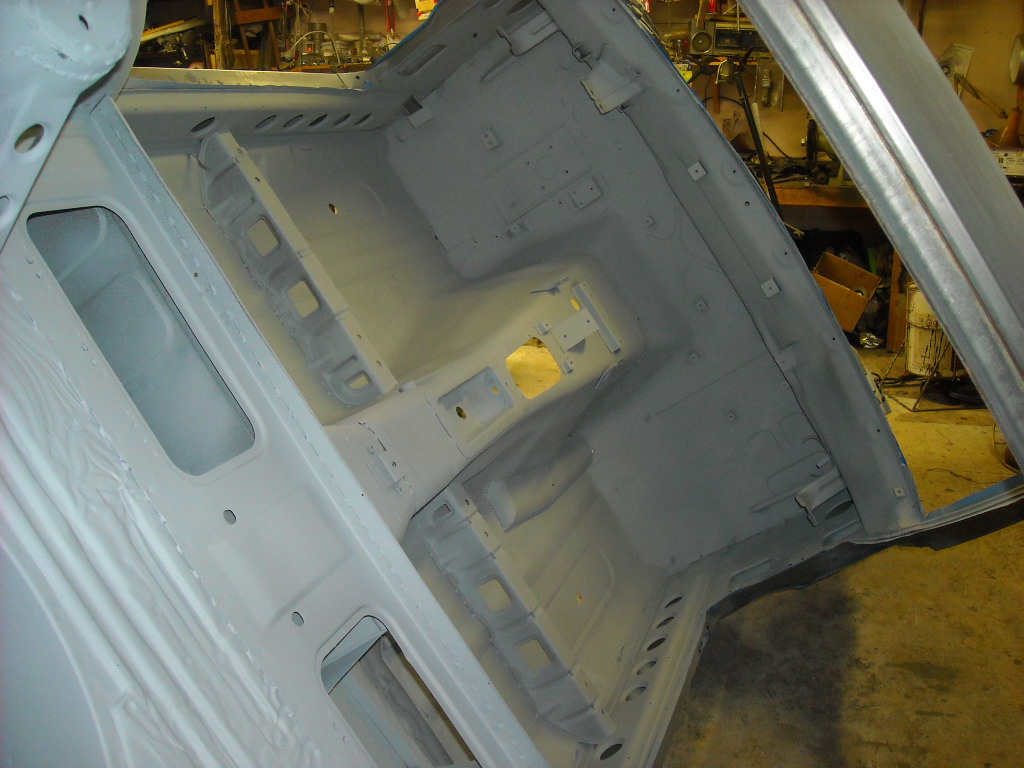
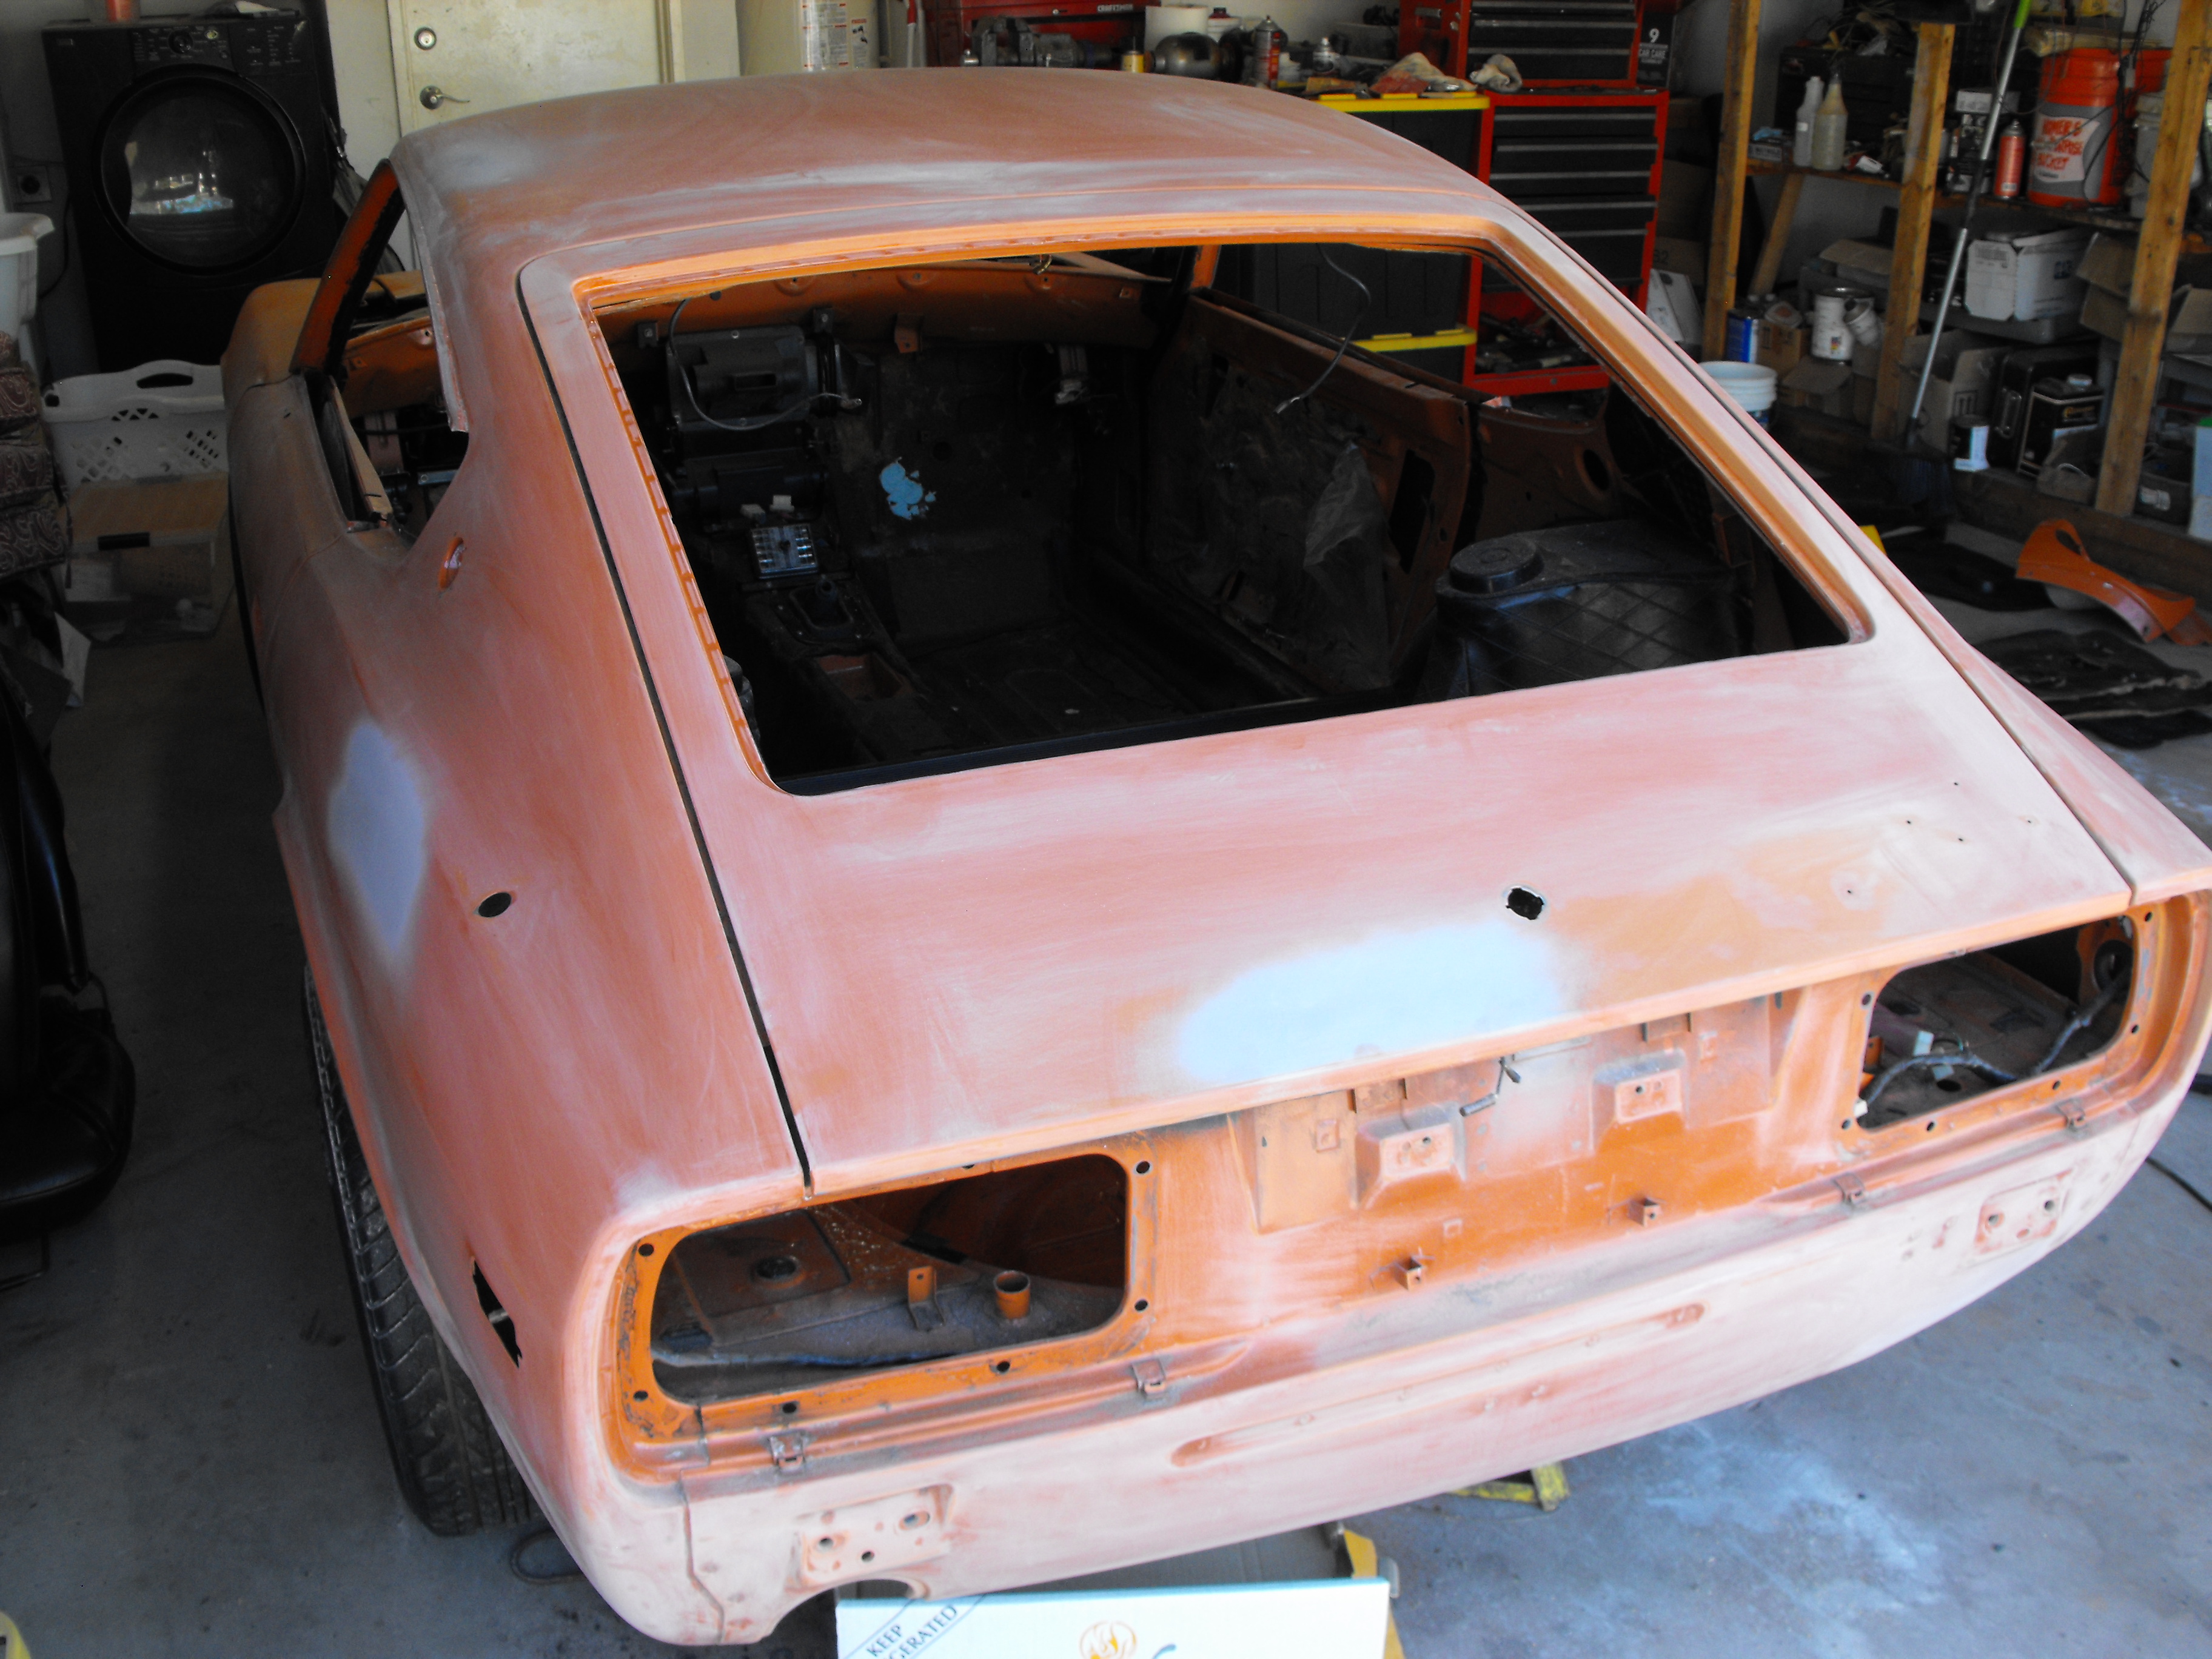
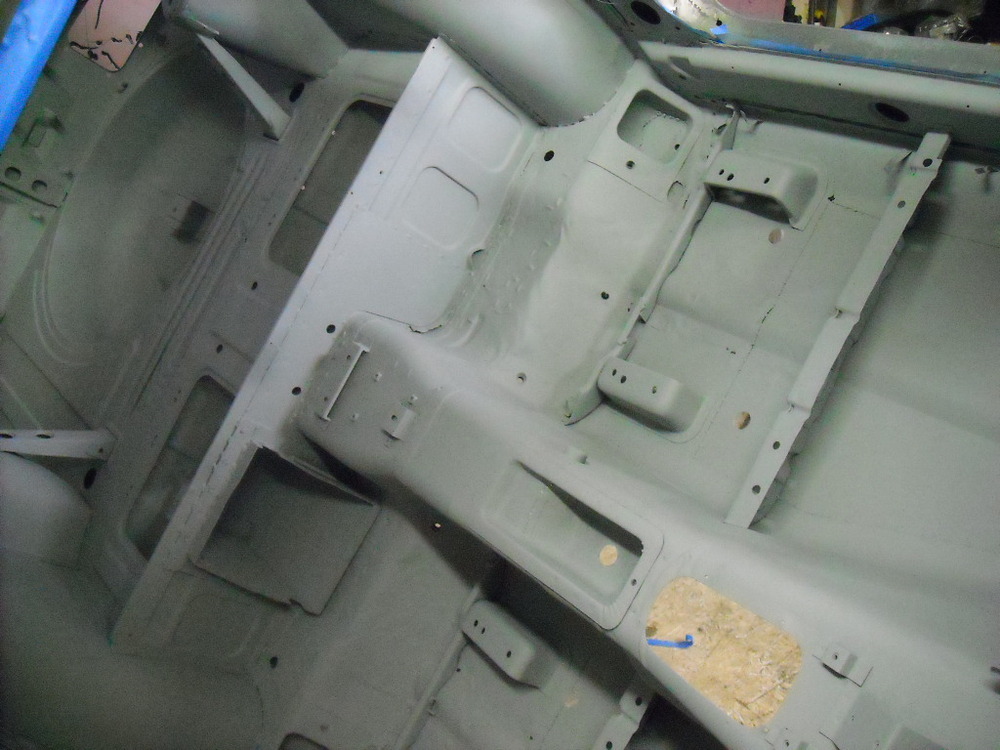
Haven't posted much lately as I have a deadline to meet, my painter Jody says I have to get the car up to him by this coming weekend or he will have to bring in a 4 month mustang job so I'm pushing a bit. Washed the car down with wax & grease remover before sanding then thought I would also try my favorite all around cleaner Methyl Hydrate, as you can see they both target very different types of contamination. This is W&G remover, the area was cleaned with a fresh cloth a 2nd and 3rd time until the W&G remover cloth came away clean.Then with Methyl hydrate, Then the car was sanded down with 80 grit and washed again with W&G remover. The temps dropped just before I was ready to start spraying the primer so had to go pick up an 80,000 btu heater to warm up the cold end of the shop, only a $100 on sale so not too bad, and this sucker pumps out the heat, shut down all the heaters before spraying. So, 2 coats of direct to metal epoxy primer then let it cure for about an hour and started the seam sealing. Now I know this looks like one of those funky German art cars from the 80's but it couldn't be helped. Tomorrow I'll finish the seam sealing on the interior then get the 2 coats of single stage urethane paint on the bottom and interior. Jody is going to do the rest of the car in base/clear but I wanted the bottom and interior done before it leaves my shop.


 2 points
 -
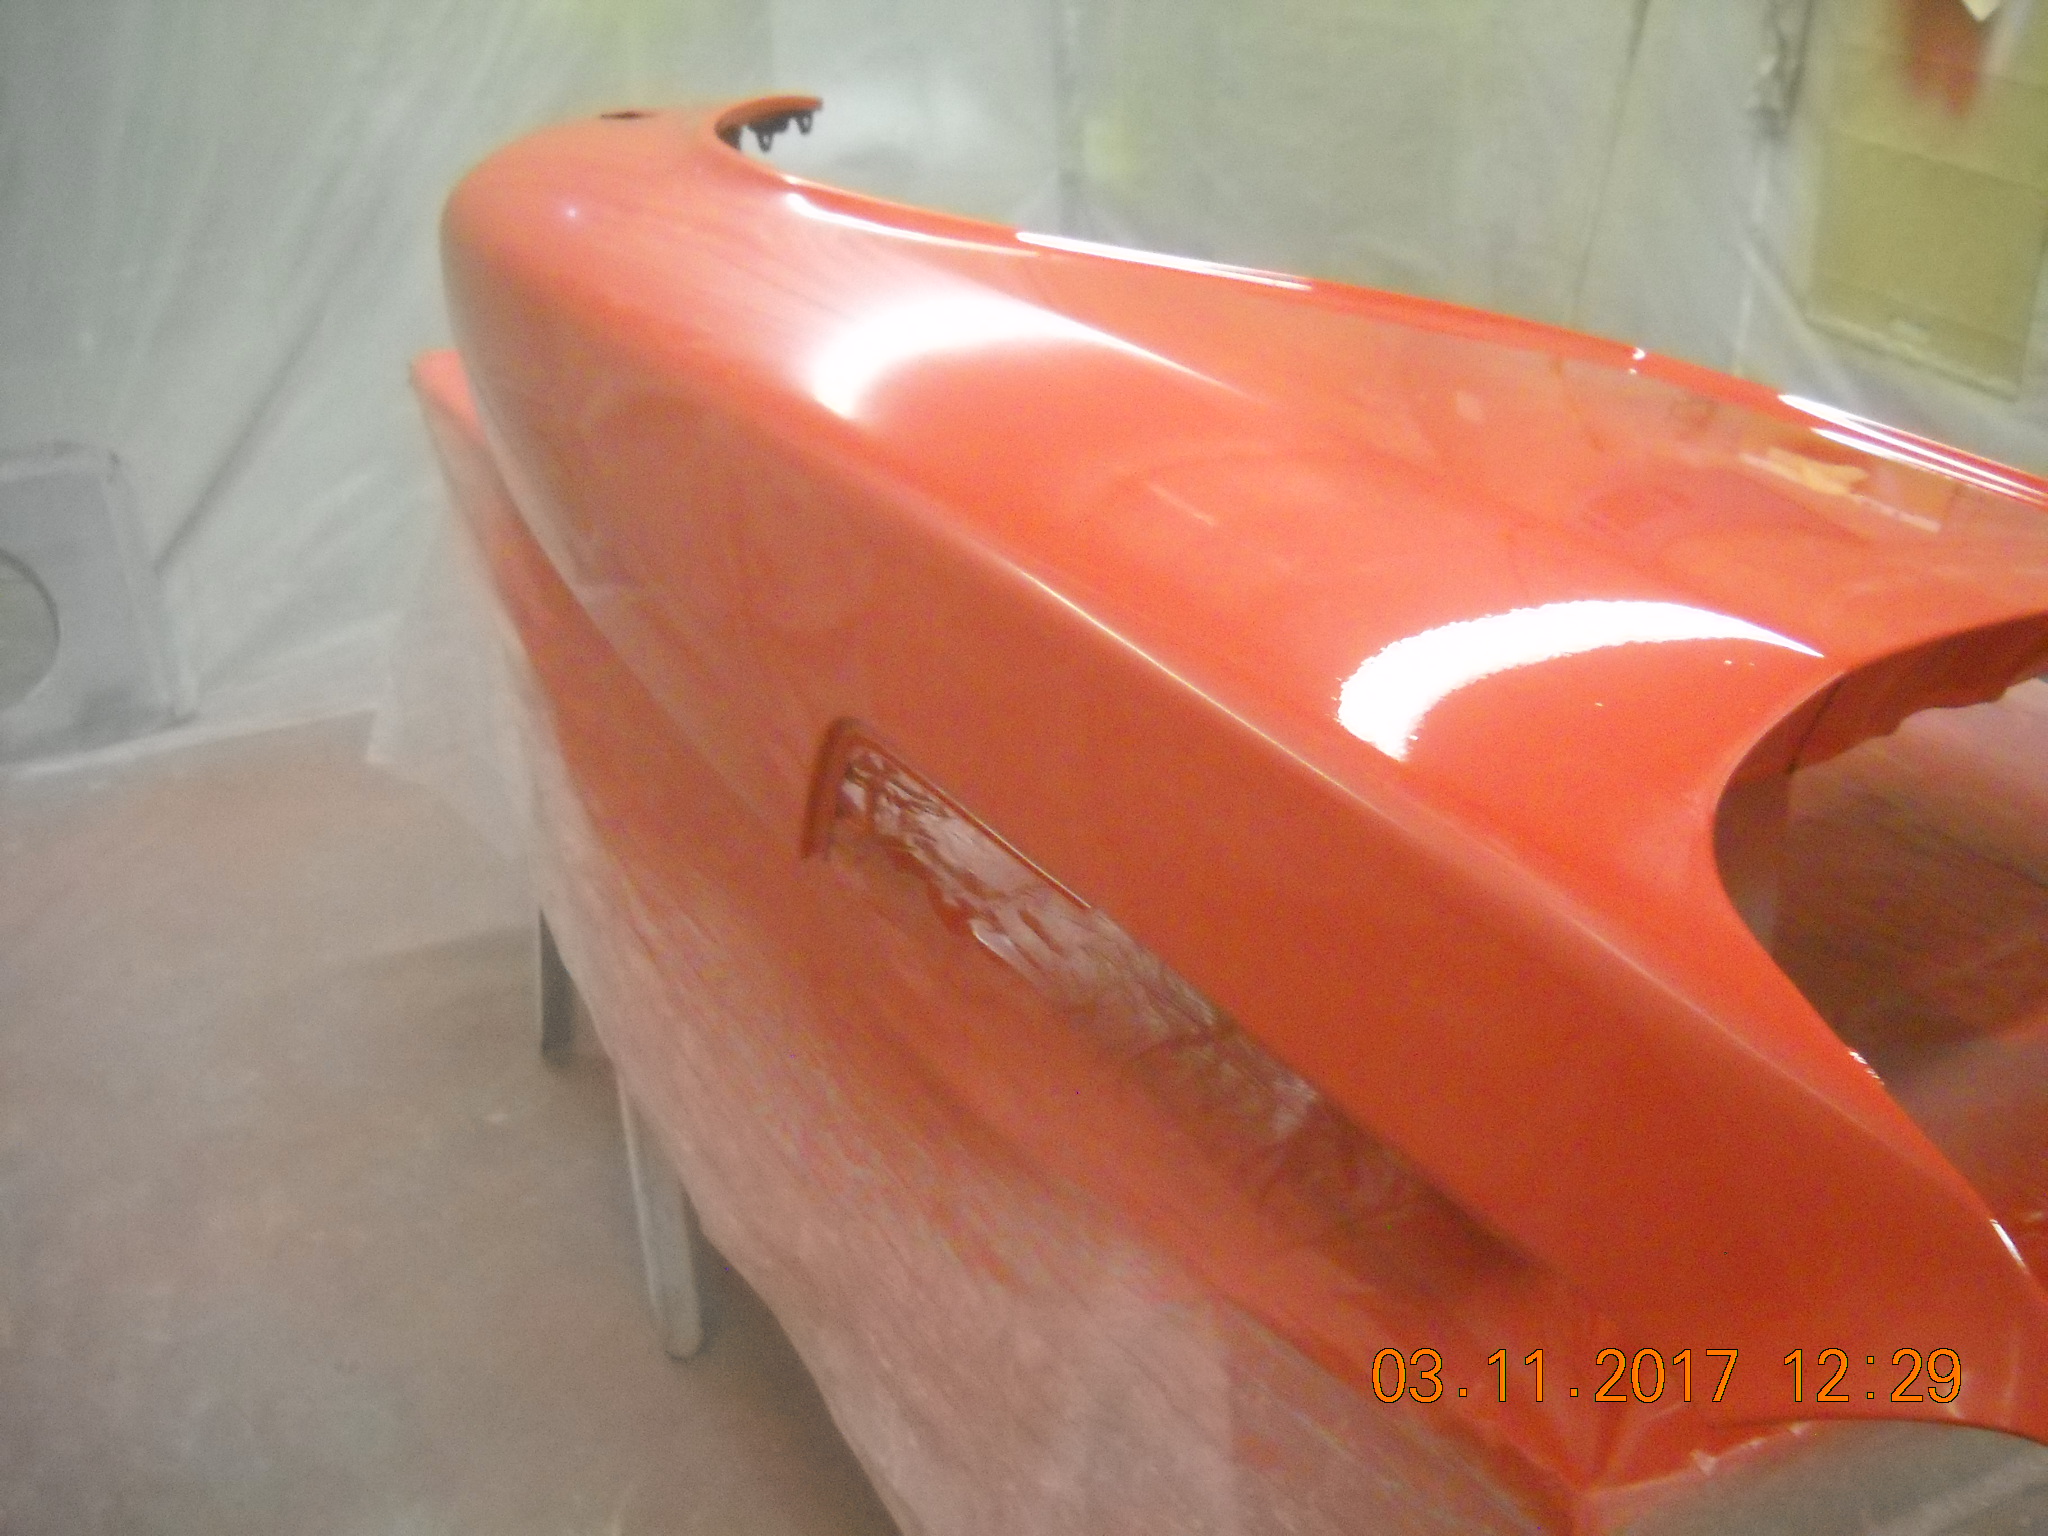
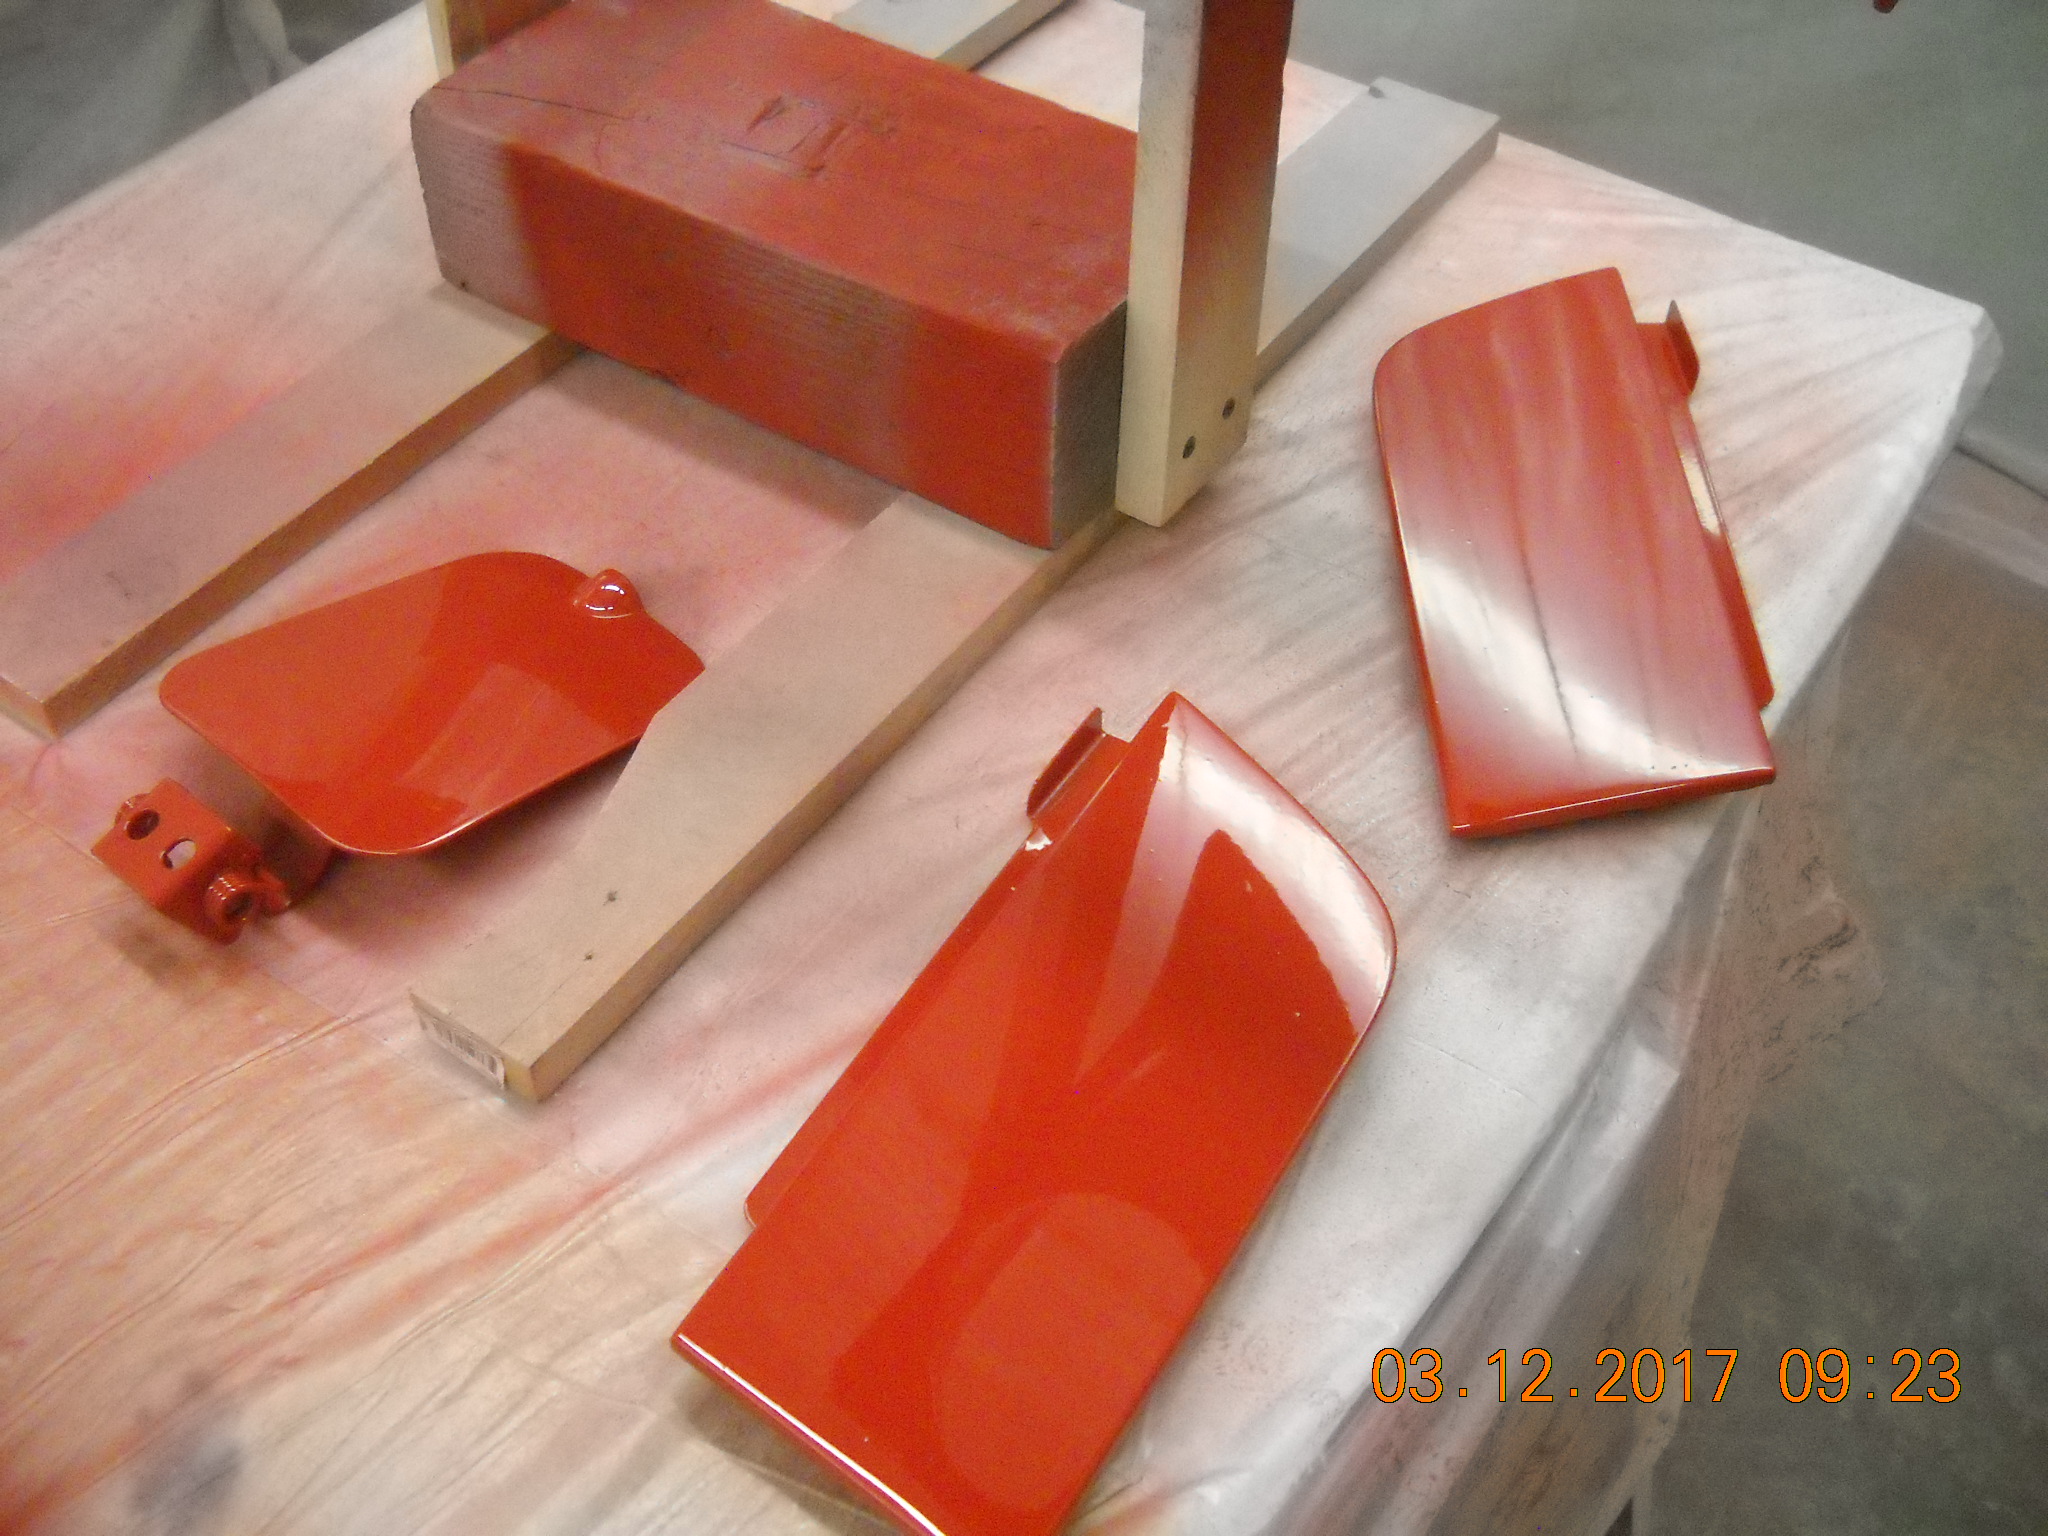
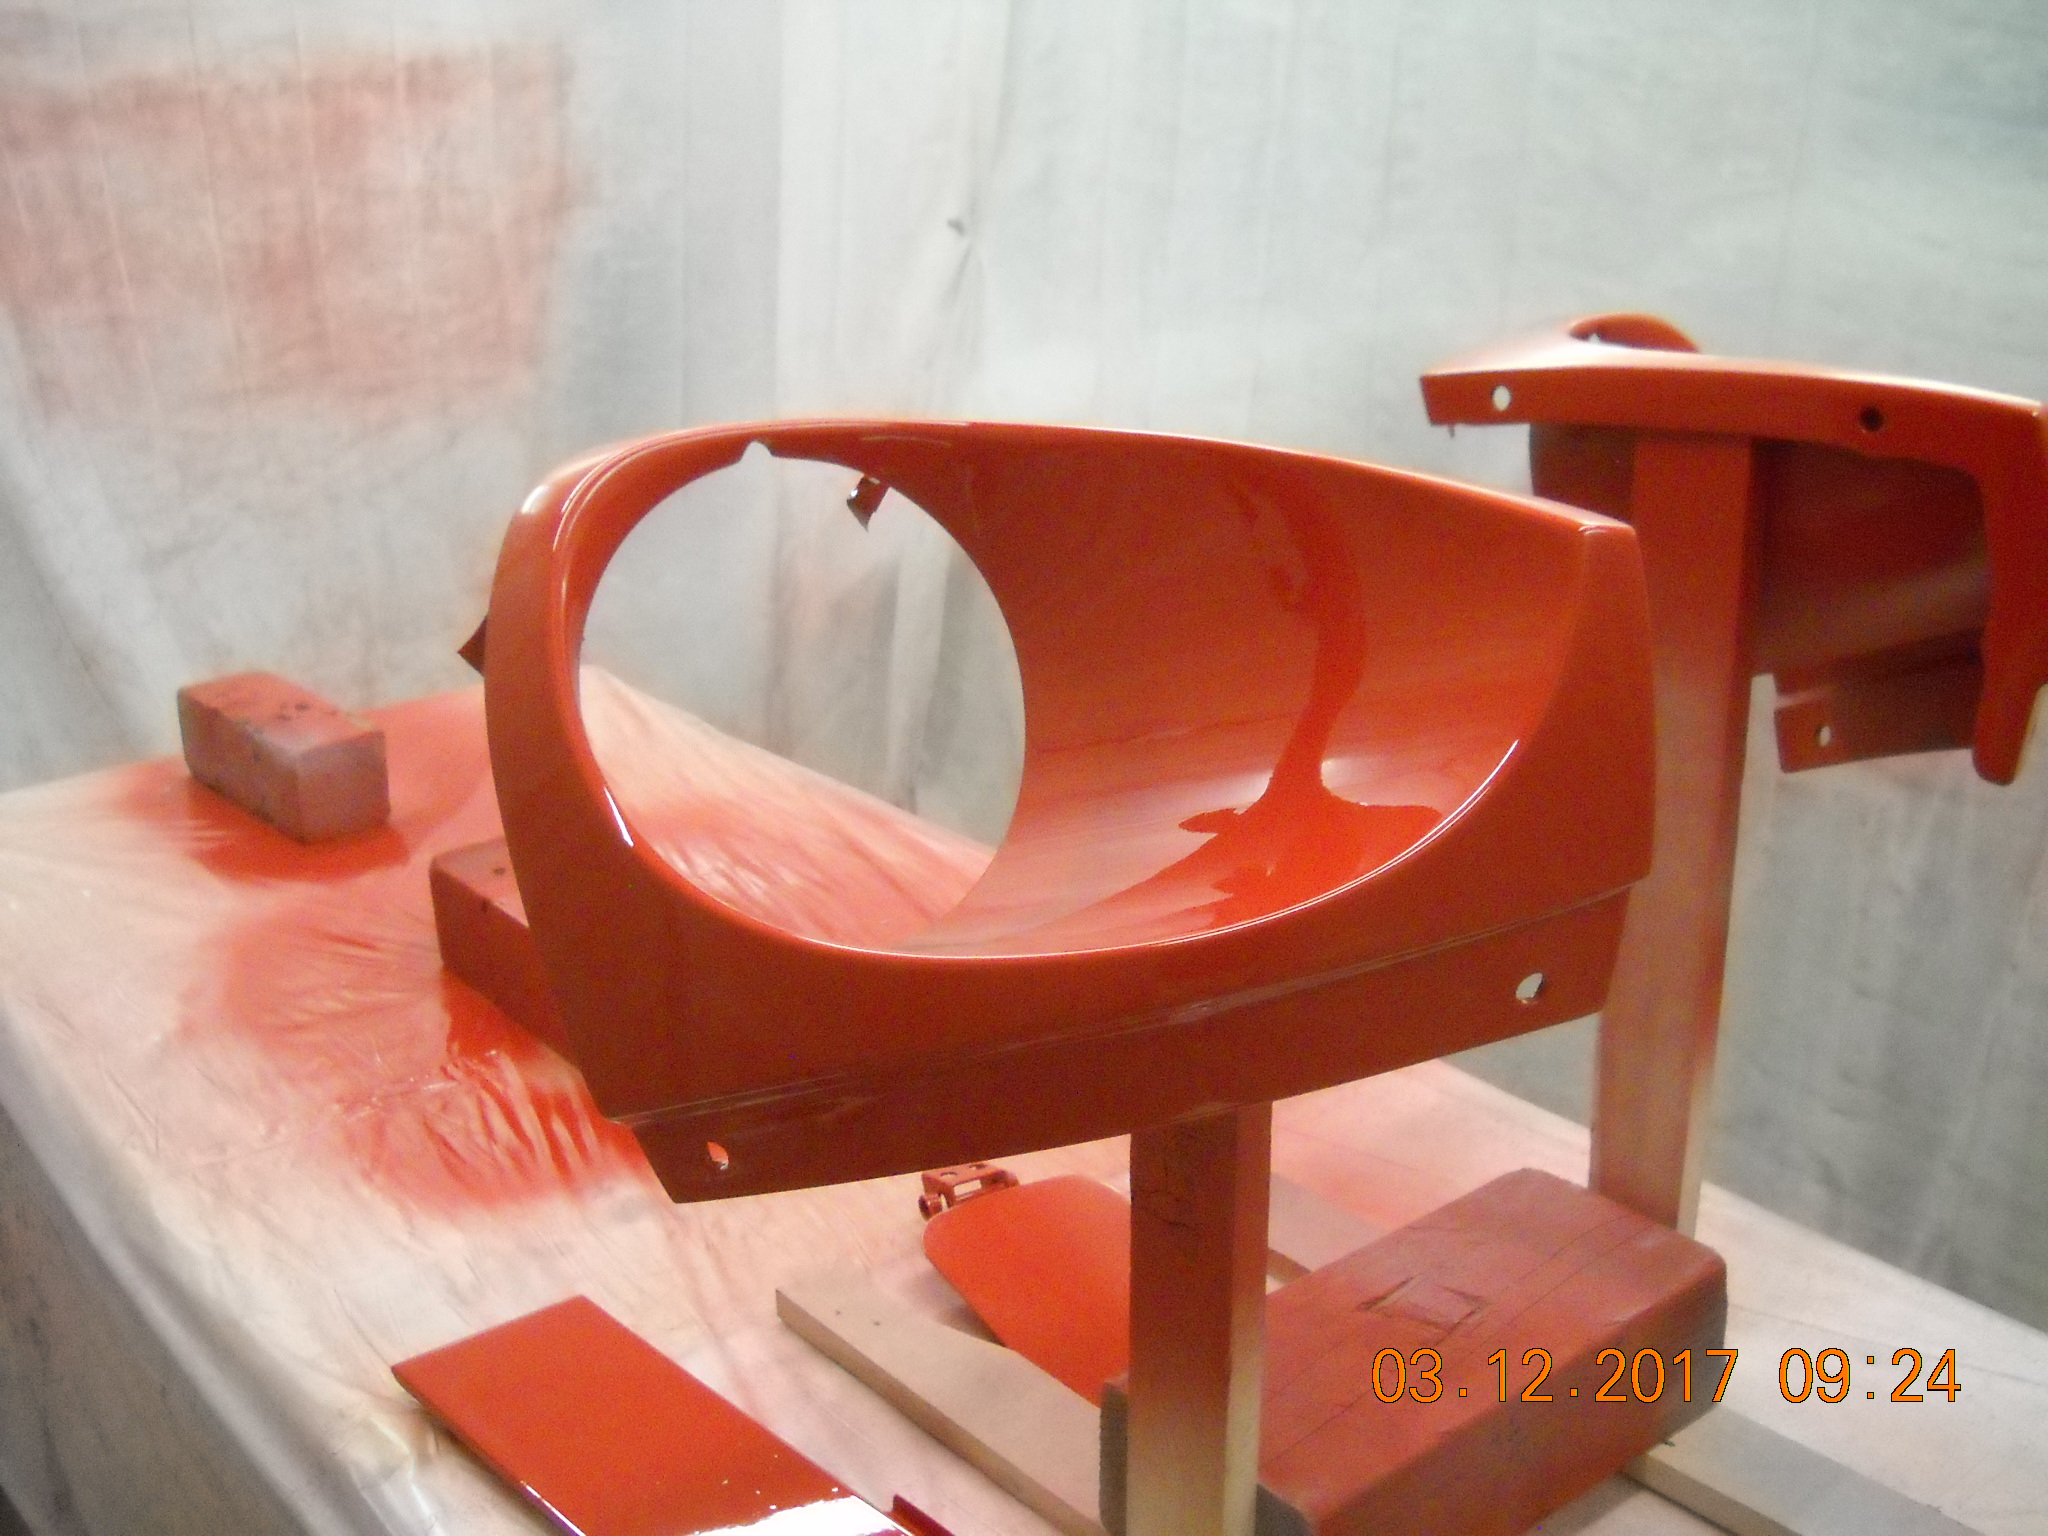
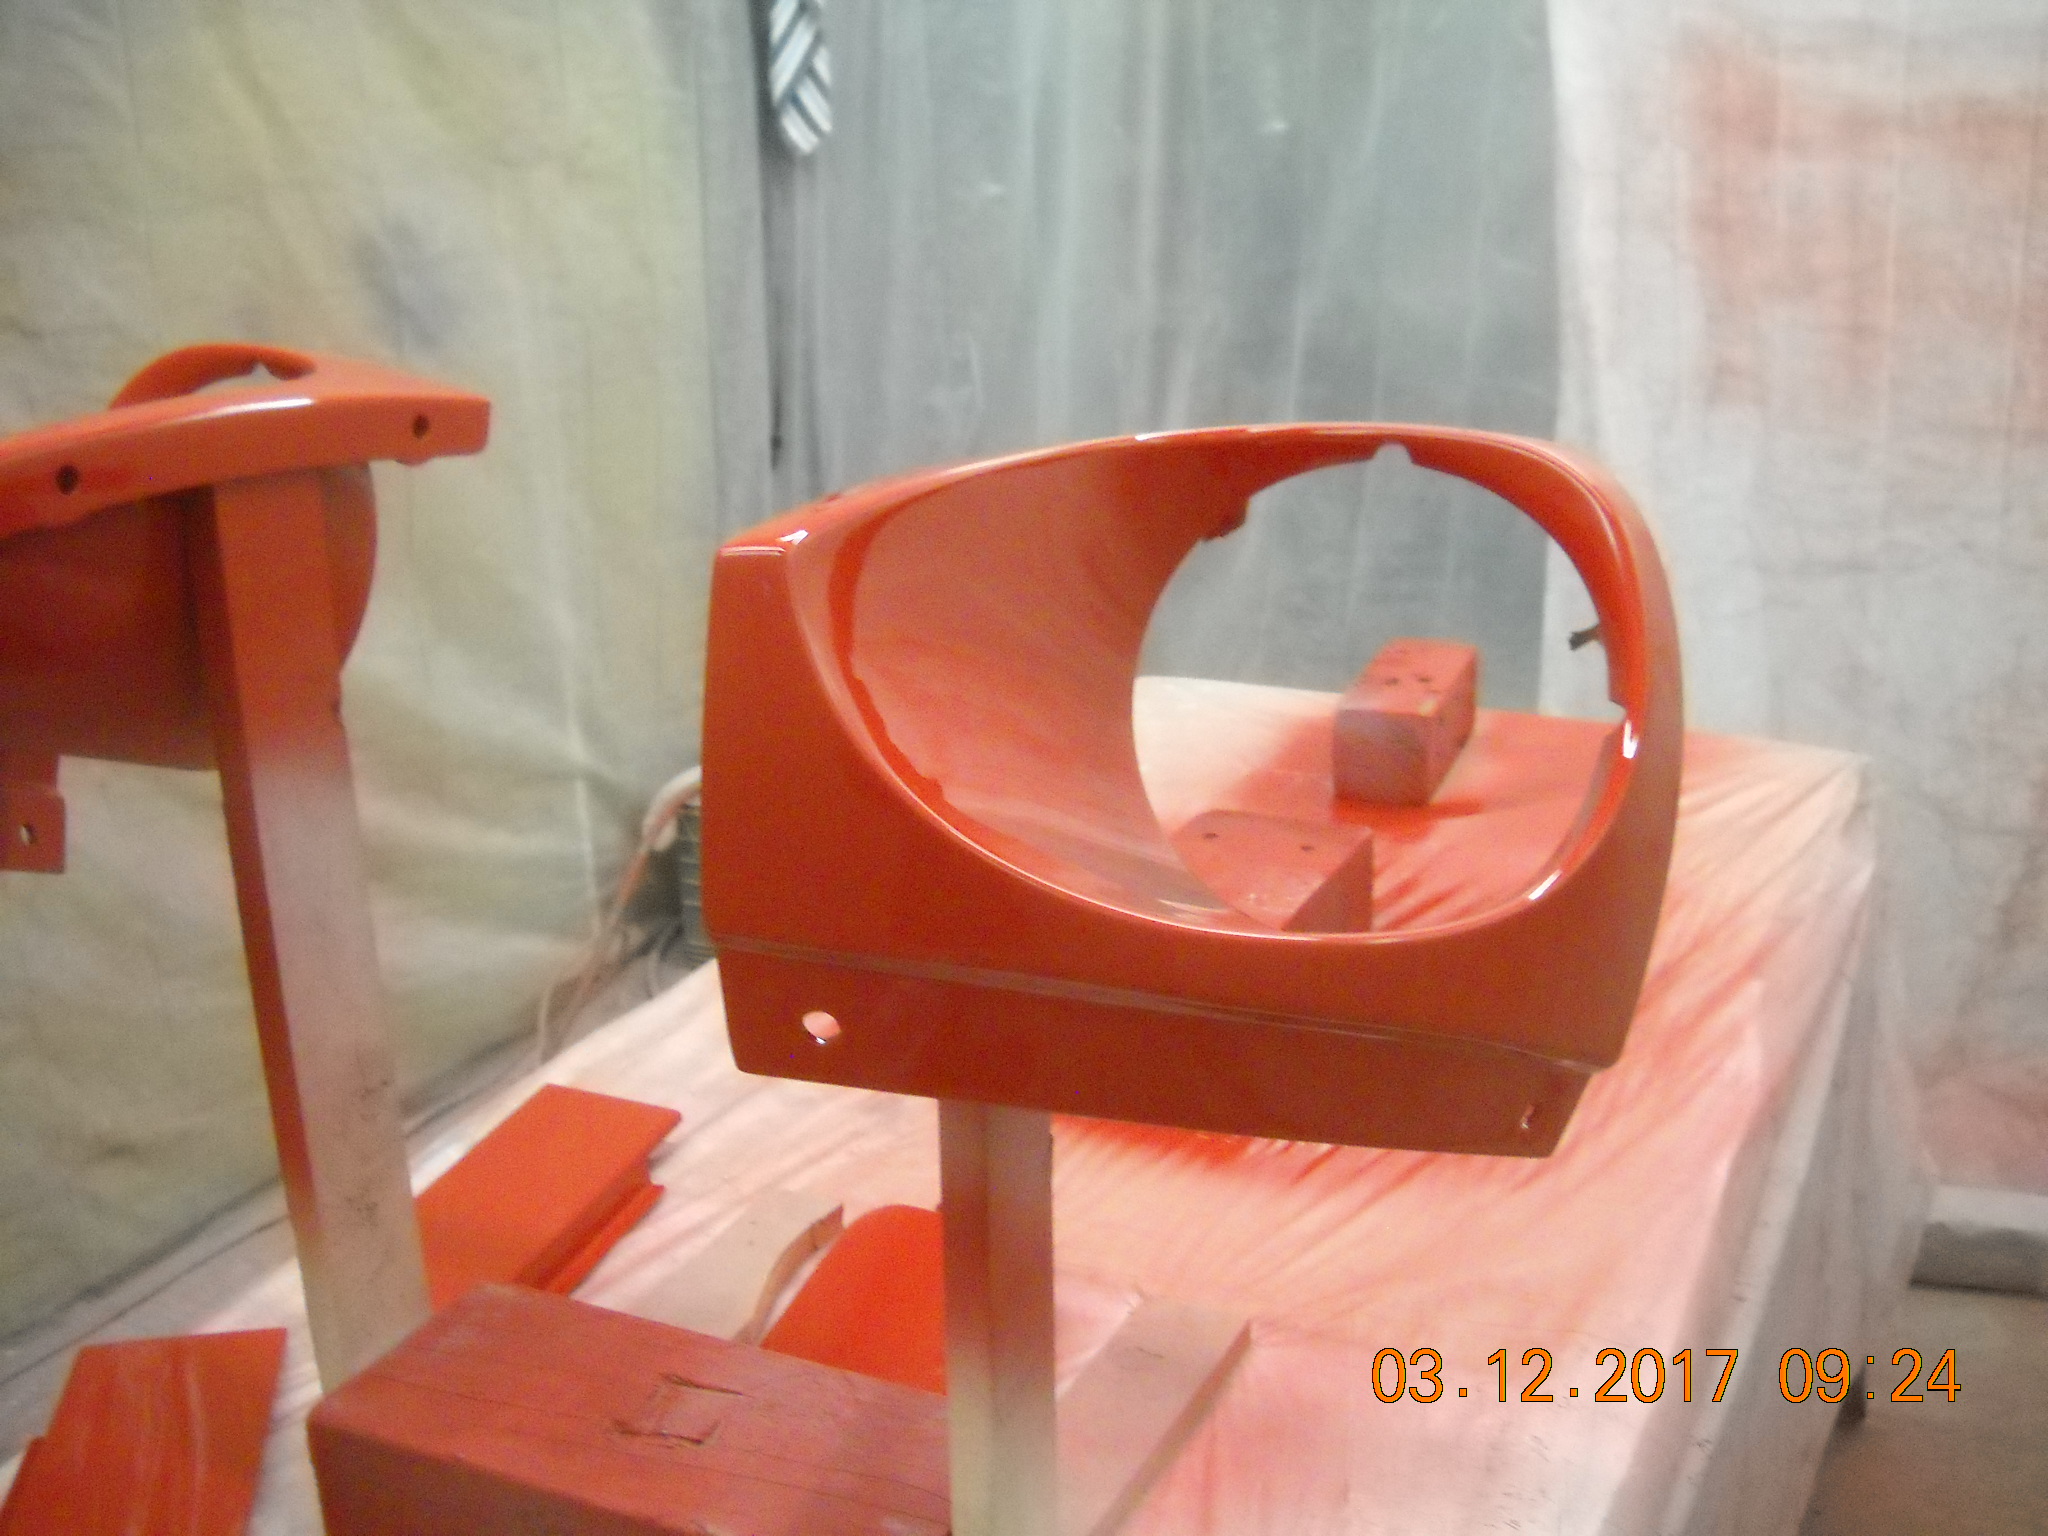
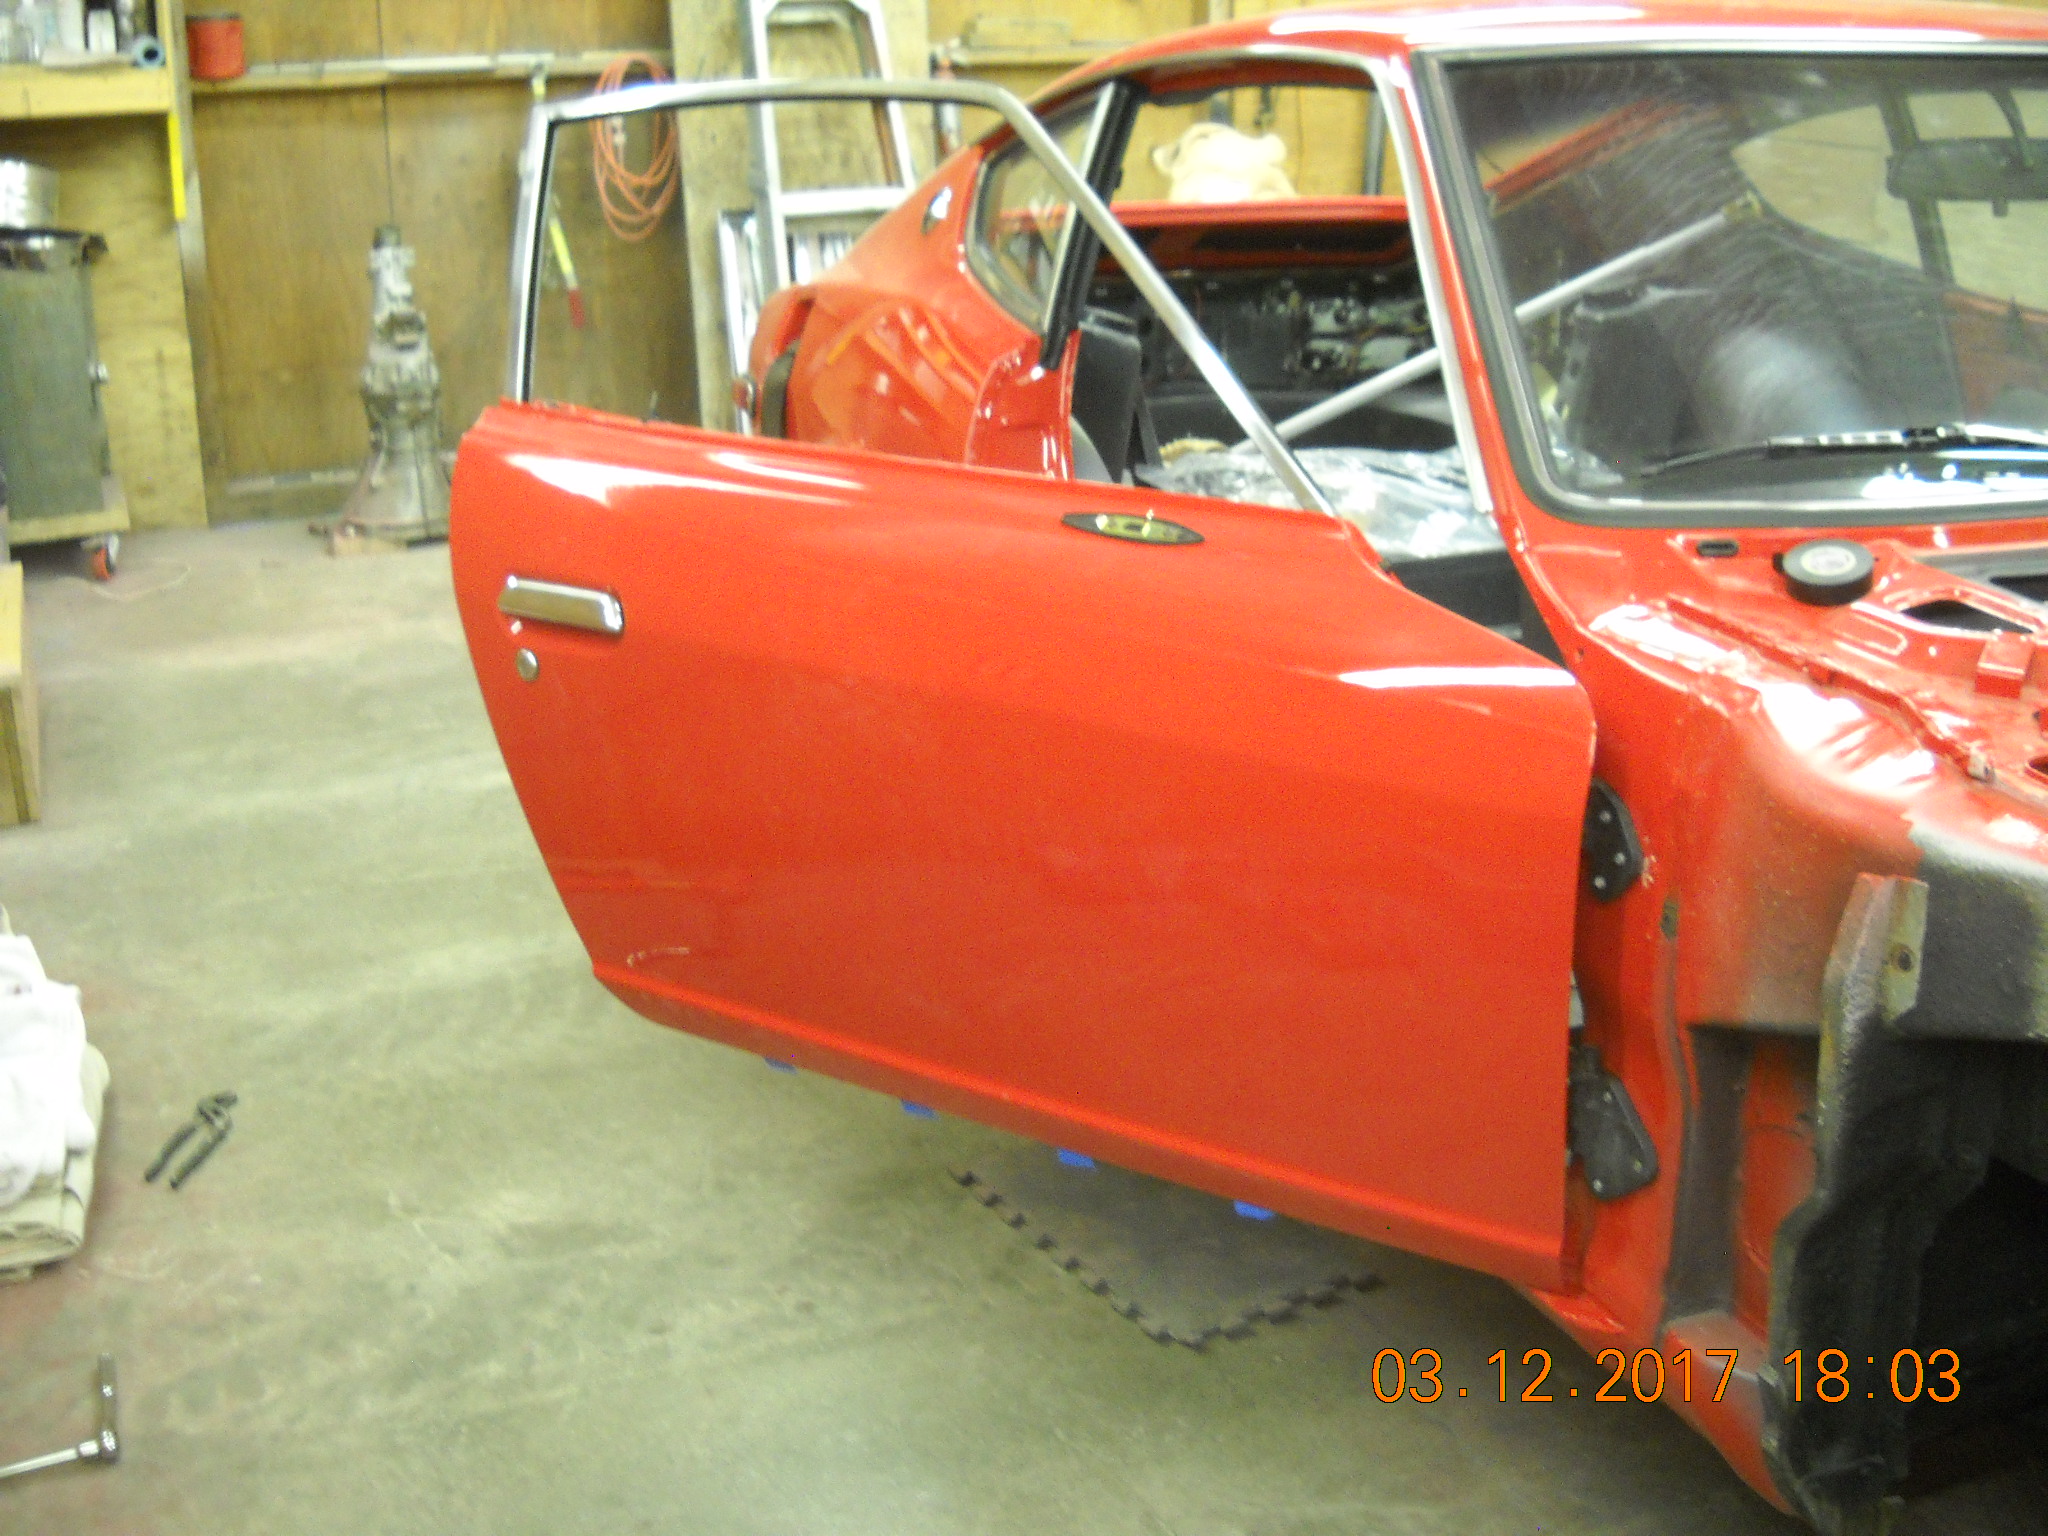
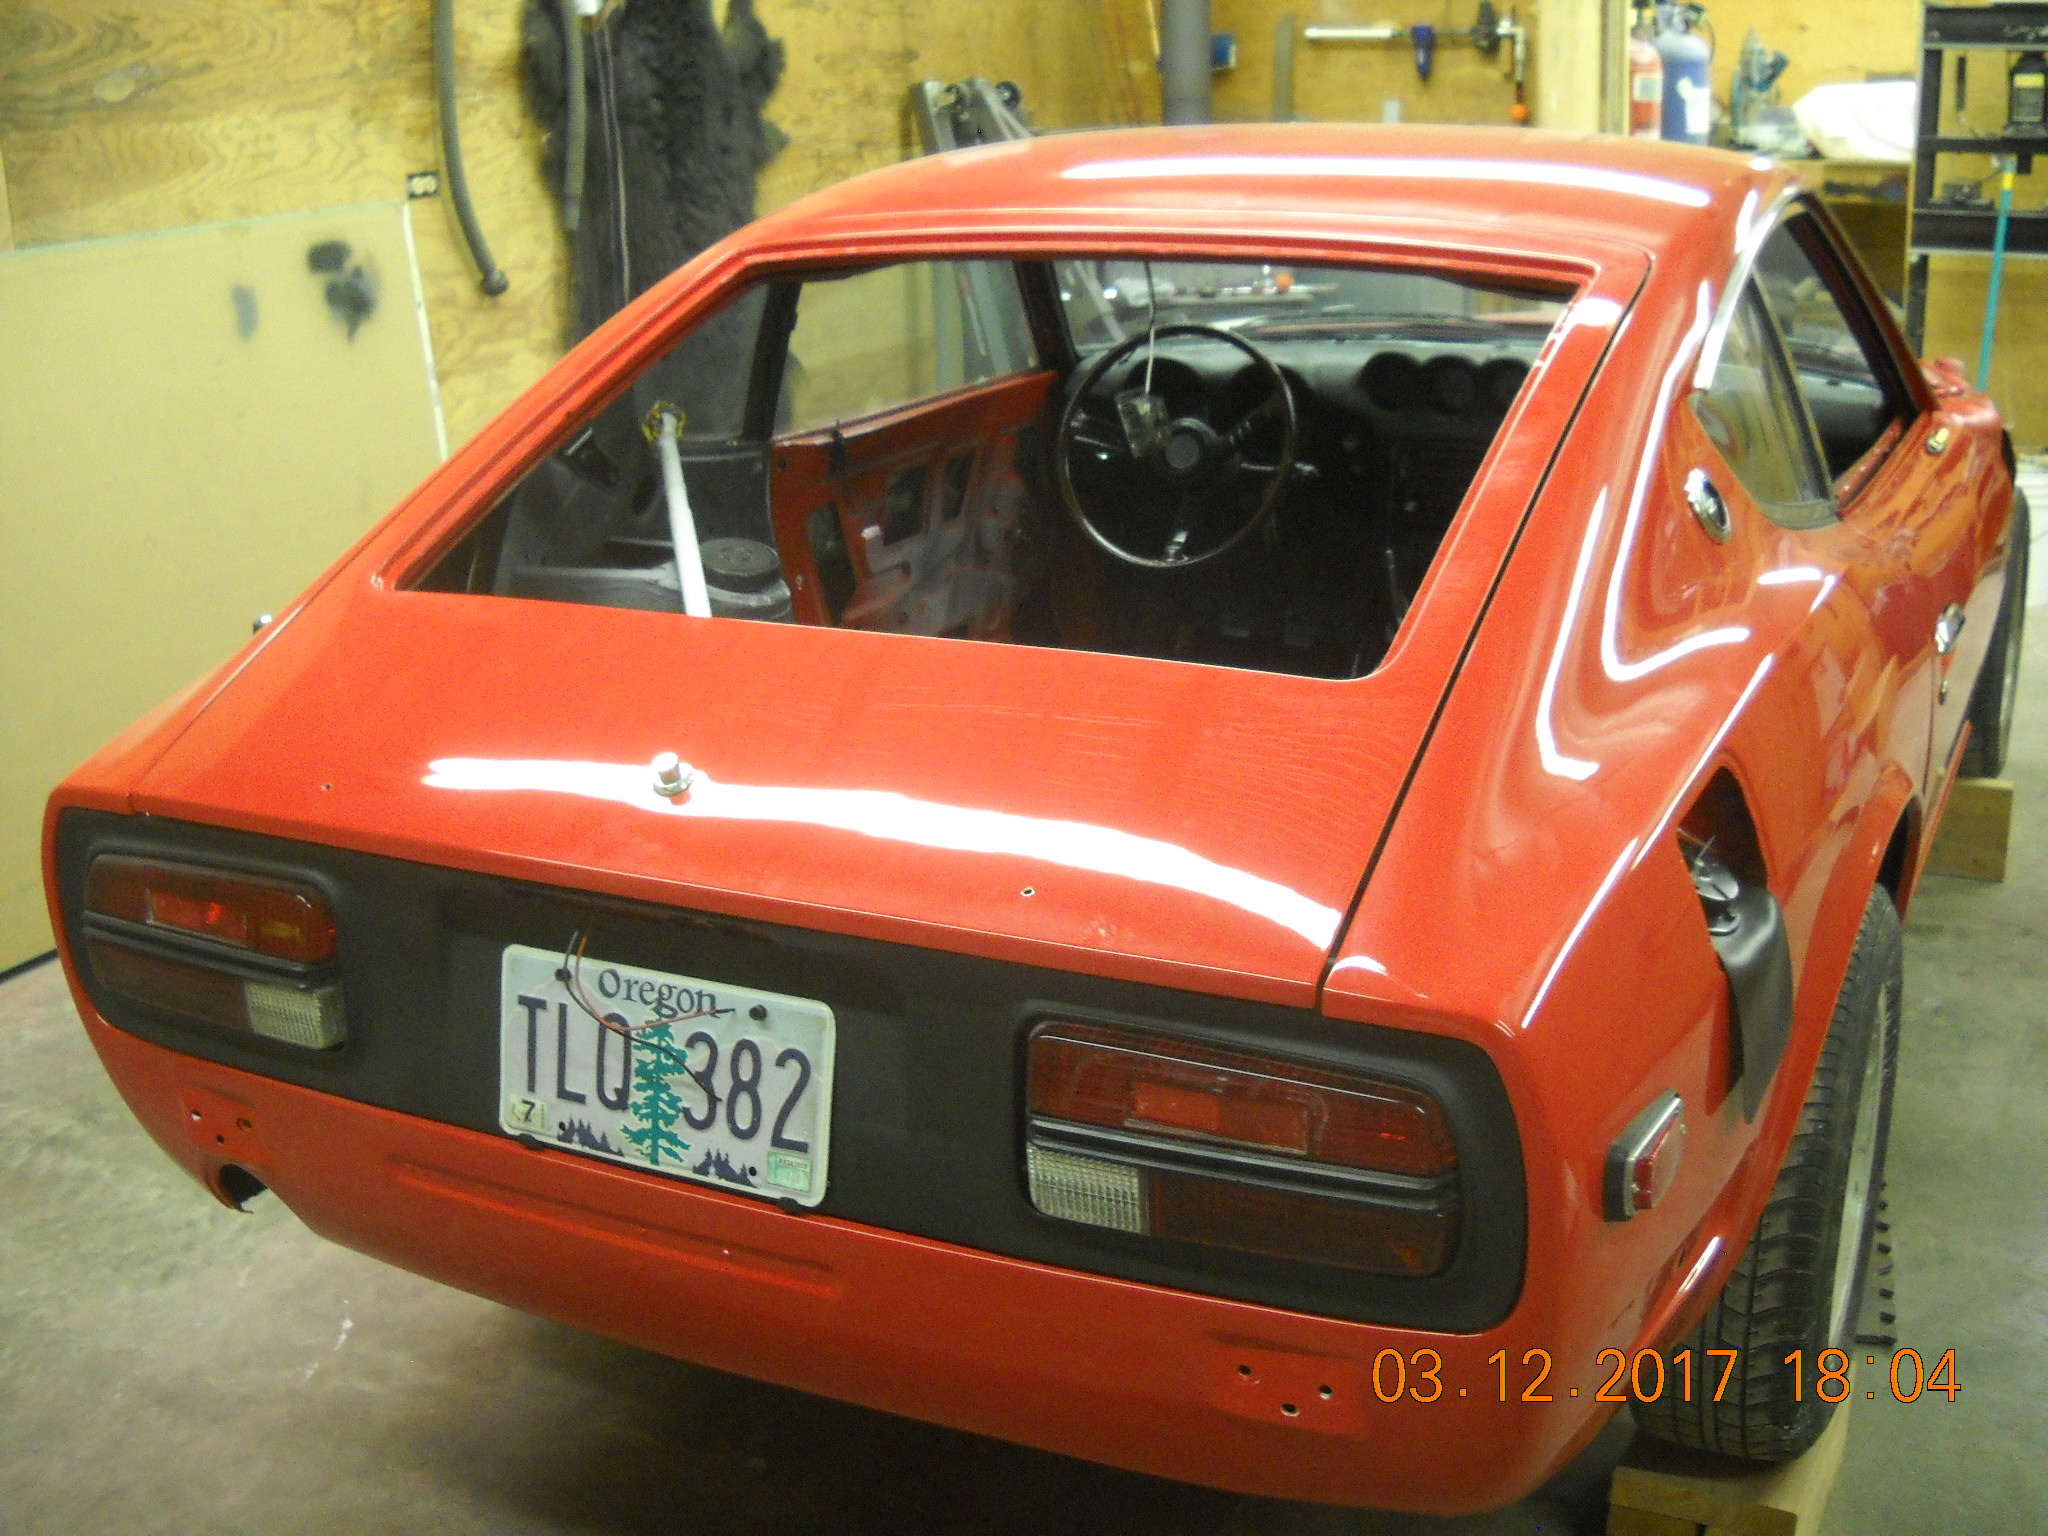
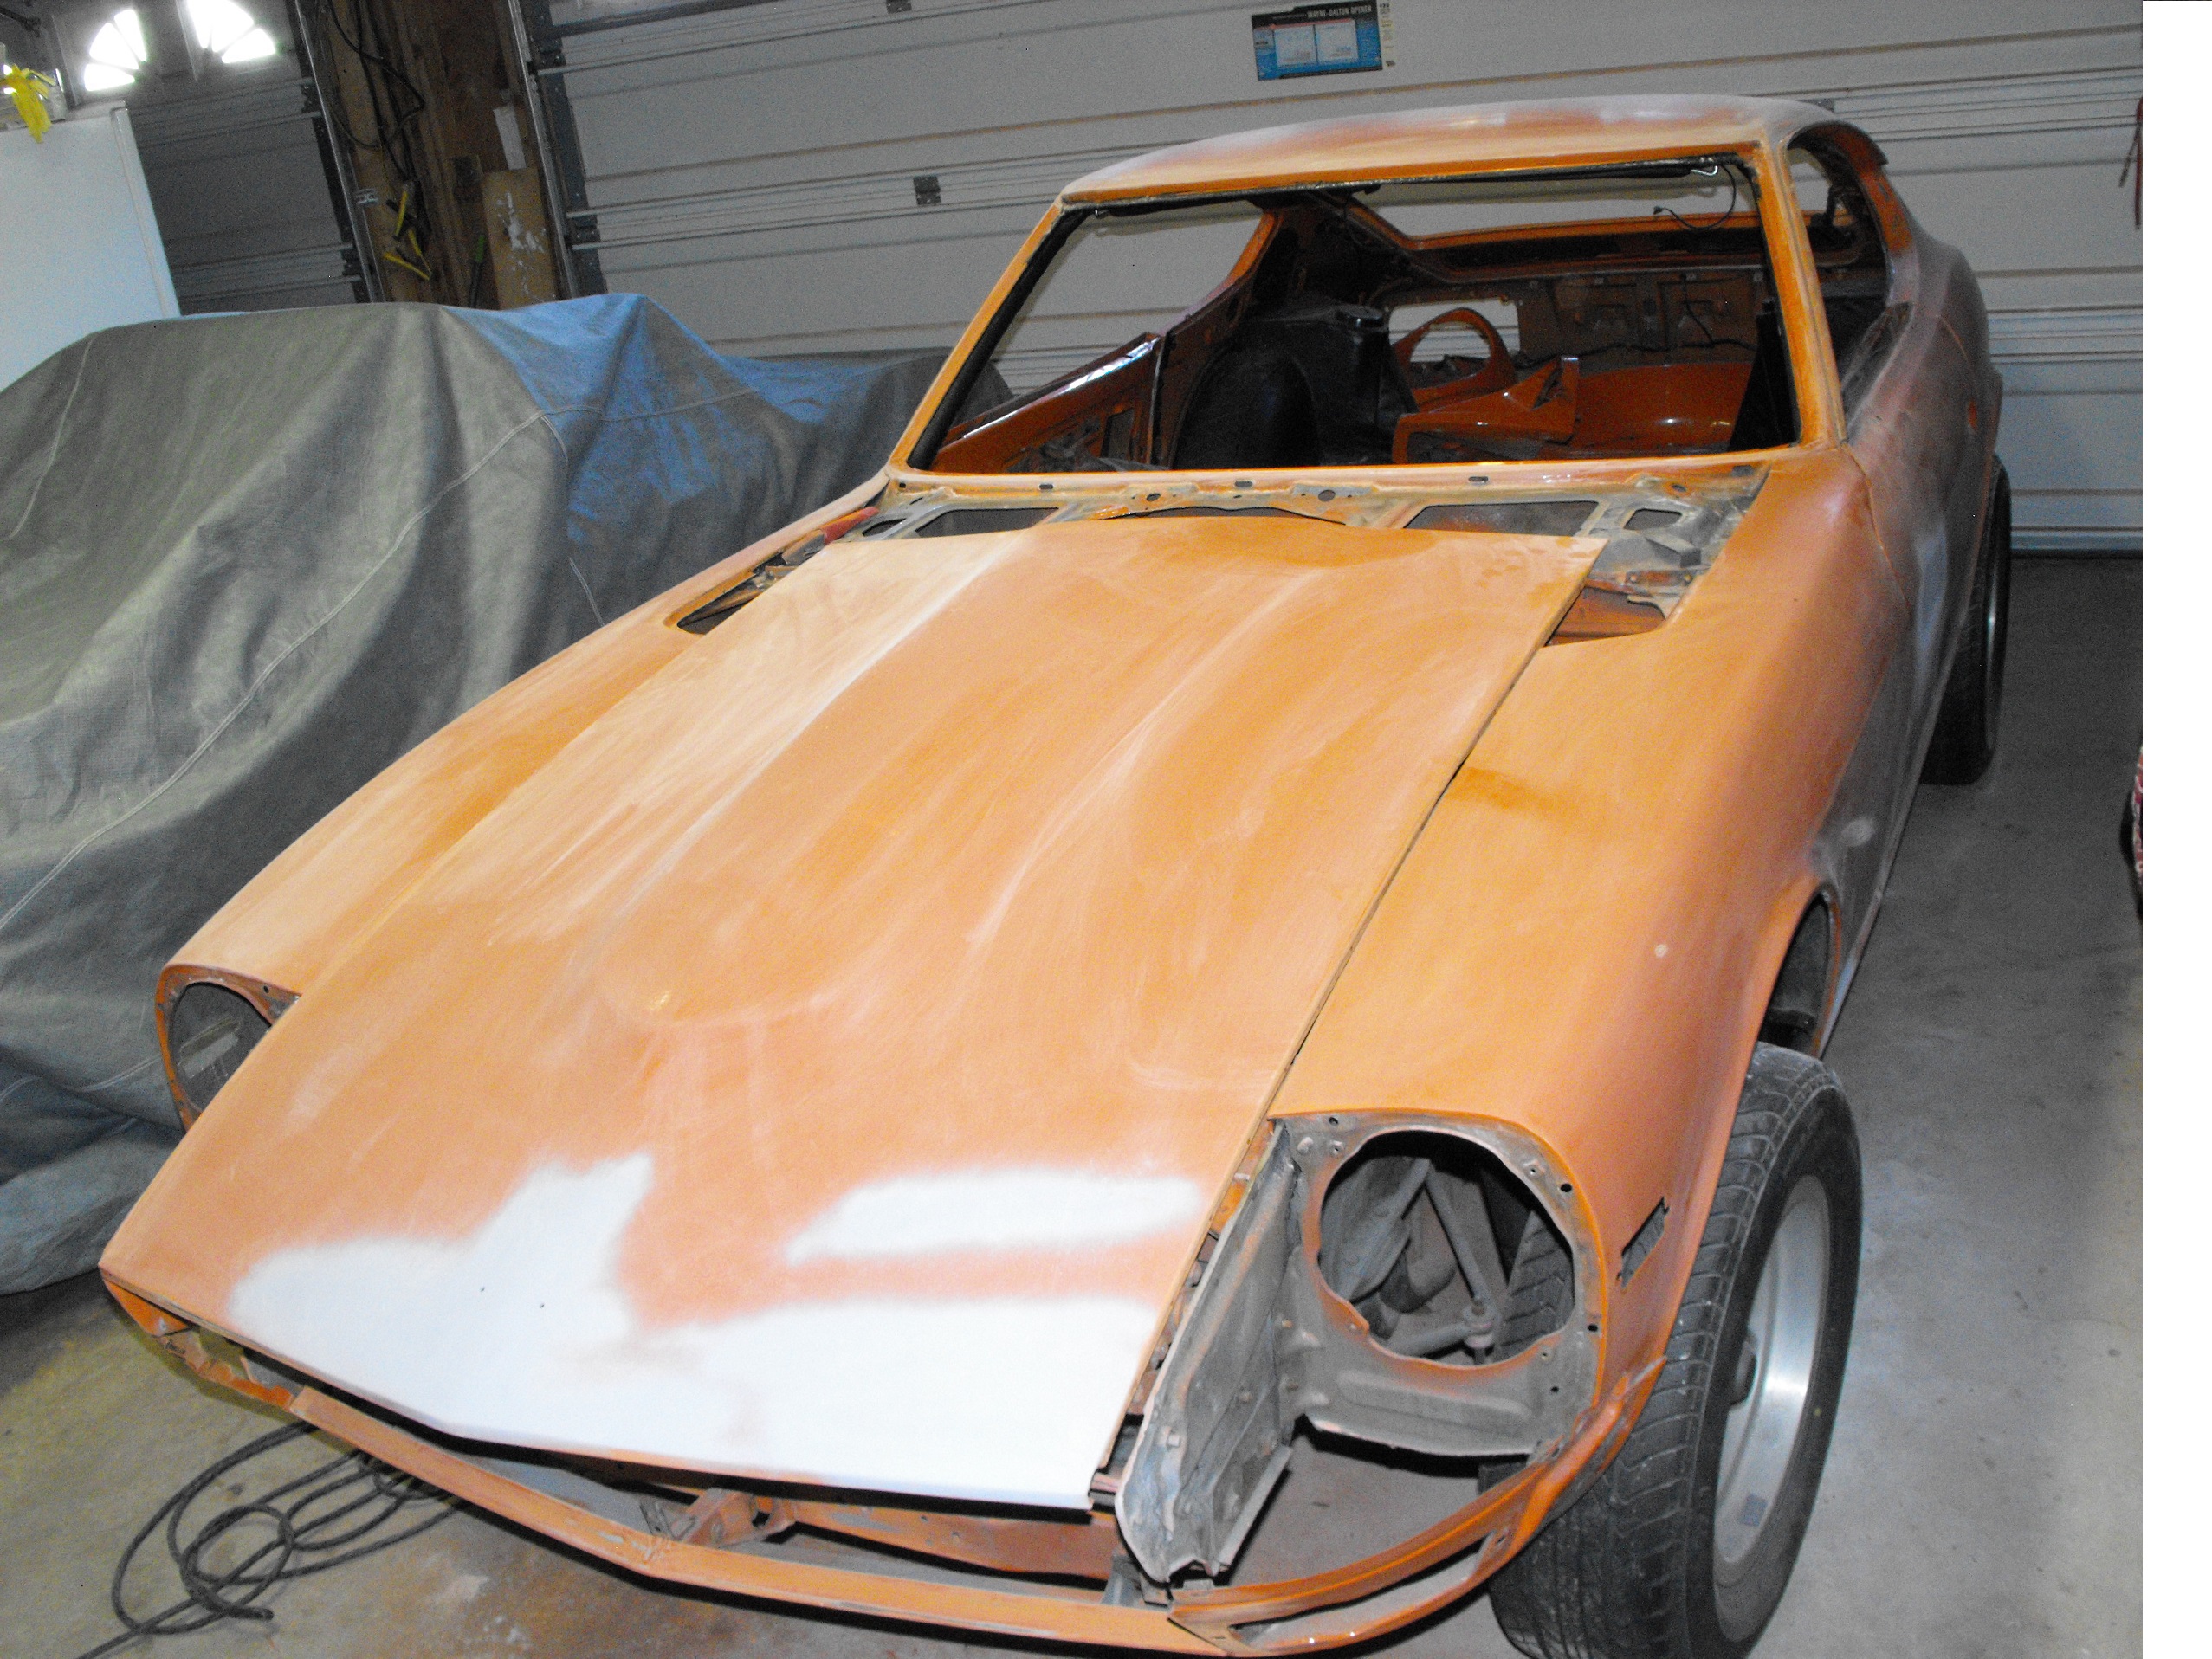
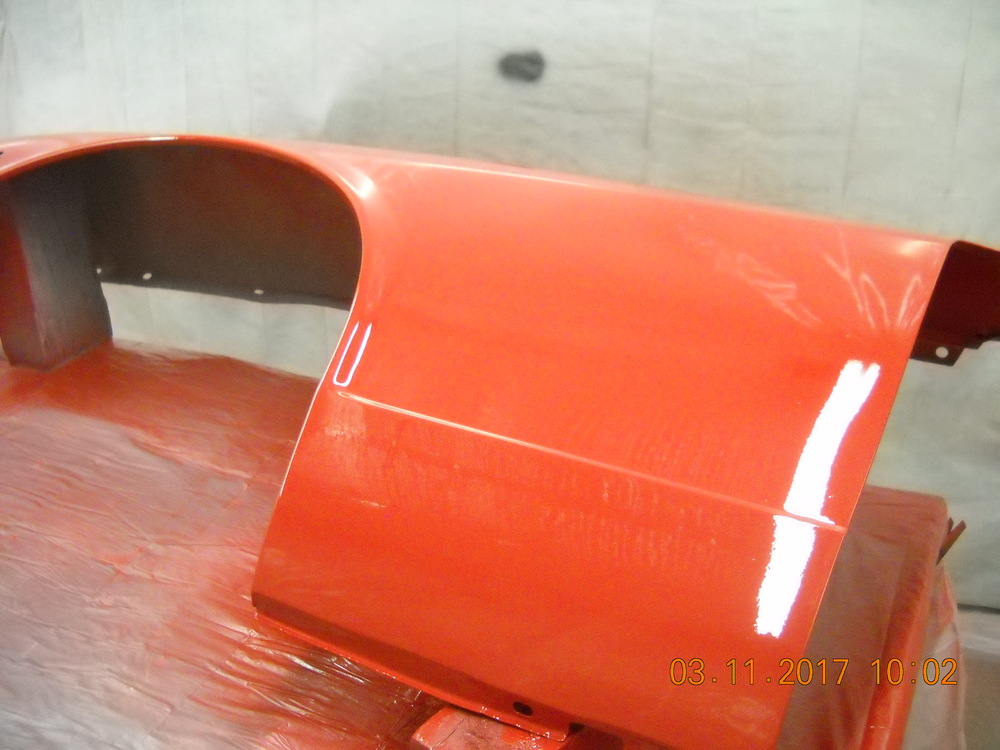
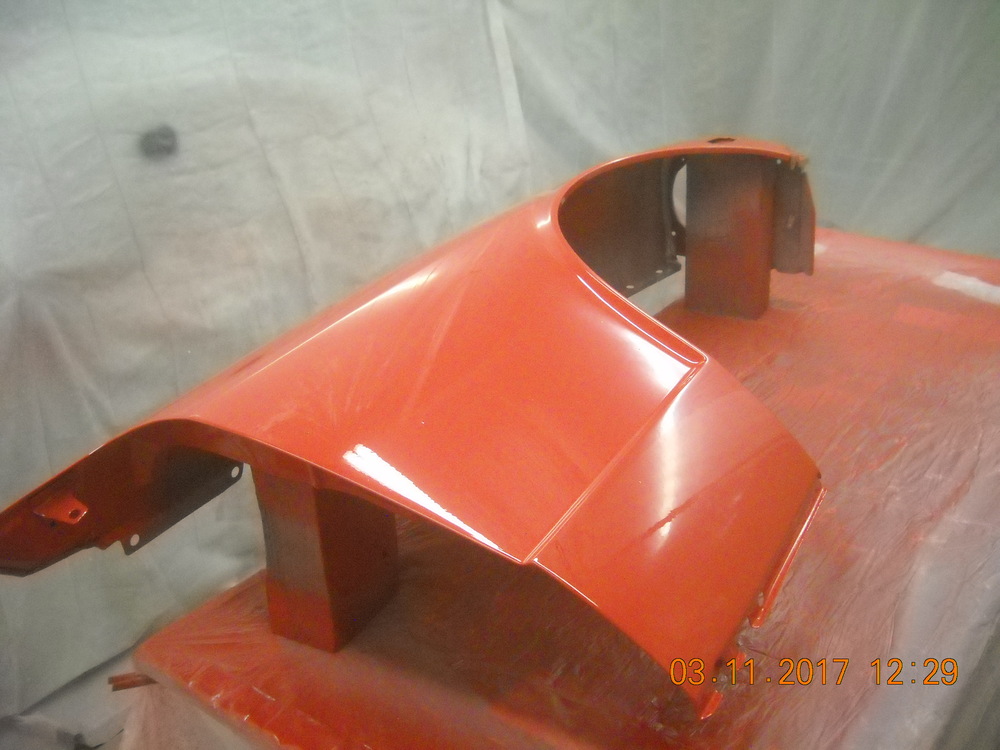
2 pointsWarm weather is coming so ive been concentrating on paint before the bugs come back. As of today, all i have left to paint is the cowl and air dam. Ordered a MSA exhaust system today, hoping to have the pig running by the end of next week. Im waiting to put the front end on until the engine is done so i dont scratch the fenders. Here are a few pics lf fender rf fender inspection covers and gas filler headlight scoops also got the passenger side door (3rd one) painted and hung today. it lines up very nice. glass will go in tomorrow and the rear hatch installed


 2 points
 -
2 pointsHappy Birthday Mr. Raspberry Jam Man! I'm wishing you many more to come, for sure Mark!2 points
-
2 pointsYou're the Man! The young at heart man. Wishing you many more and if you are like your Dad there will be. Congratulations Mark. You still look at the boobies I bet!2 points
-
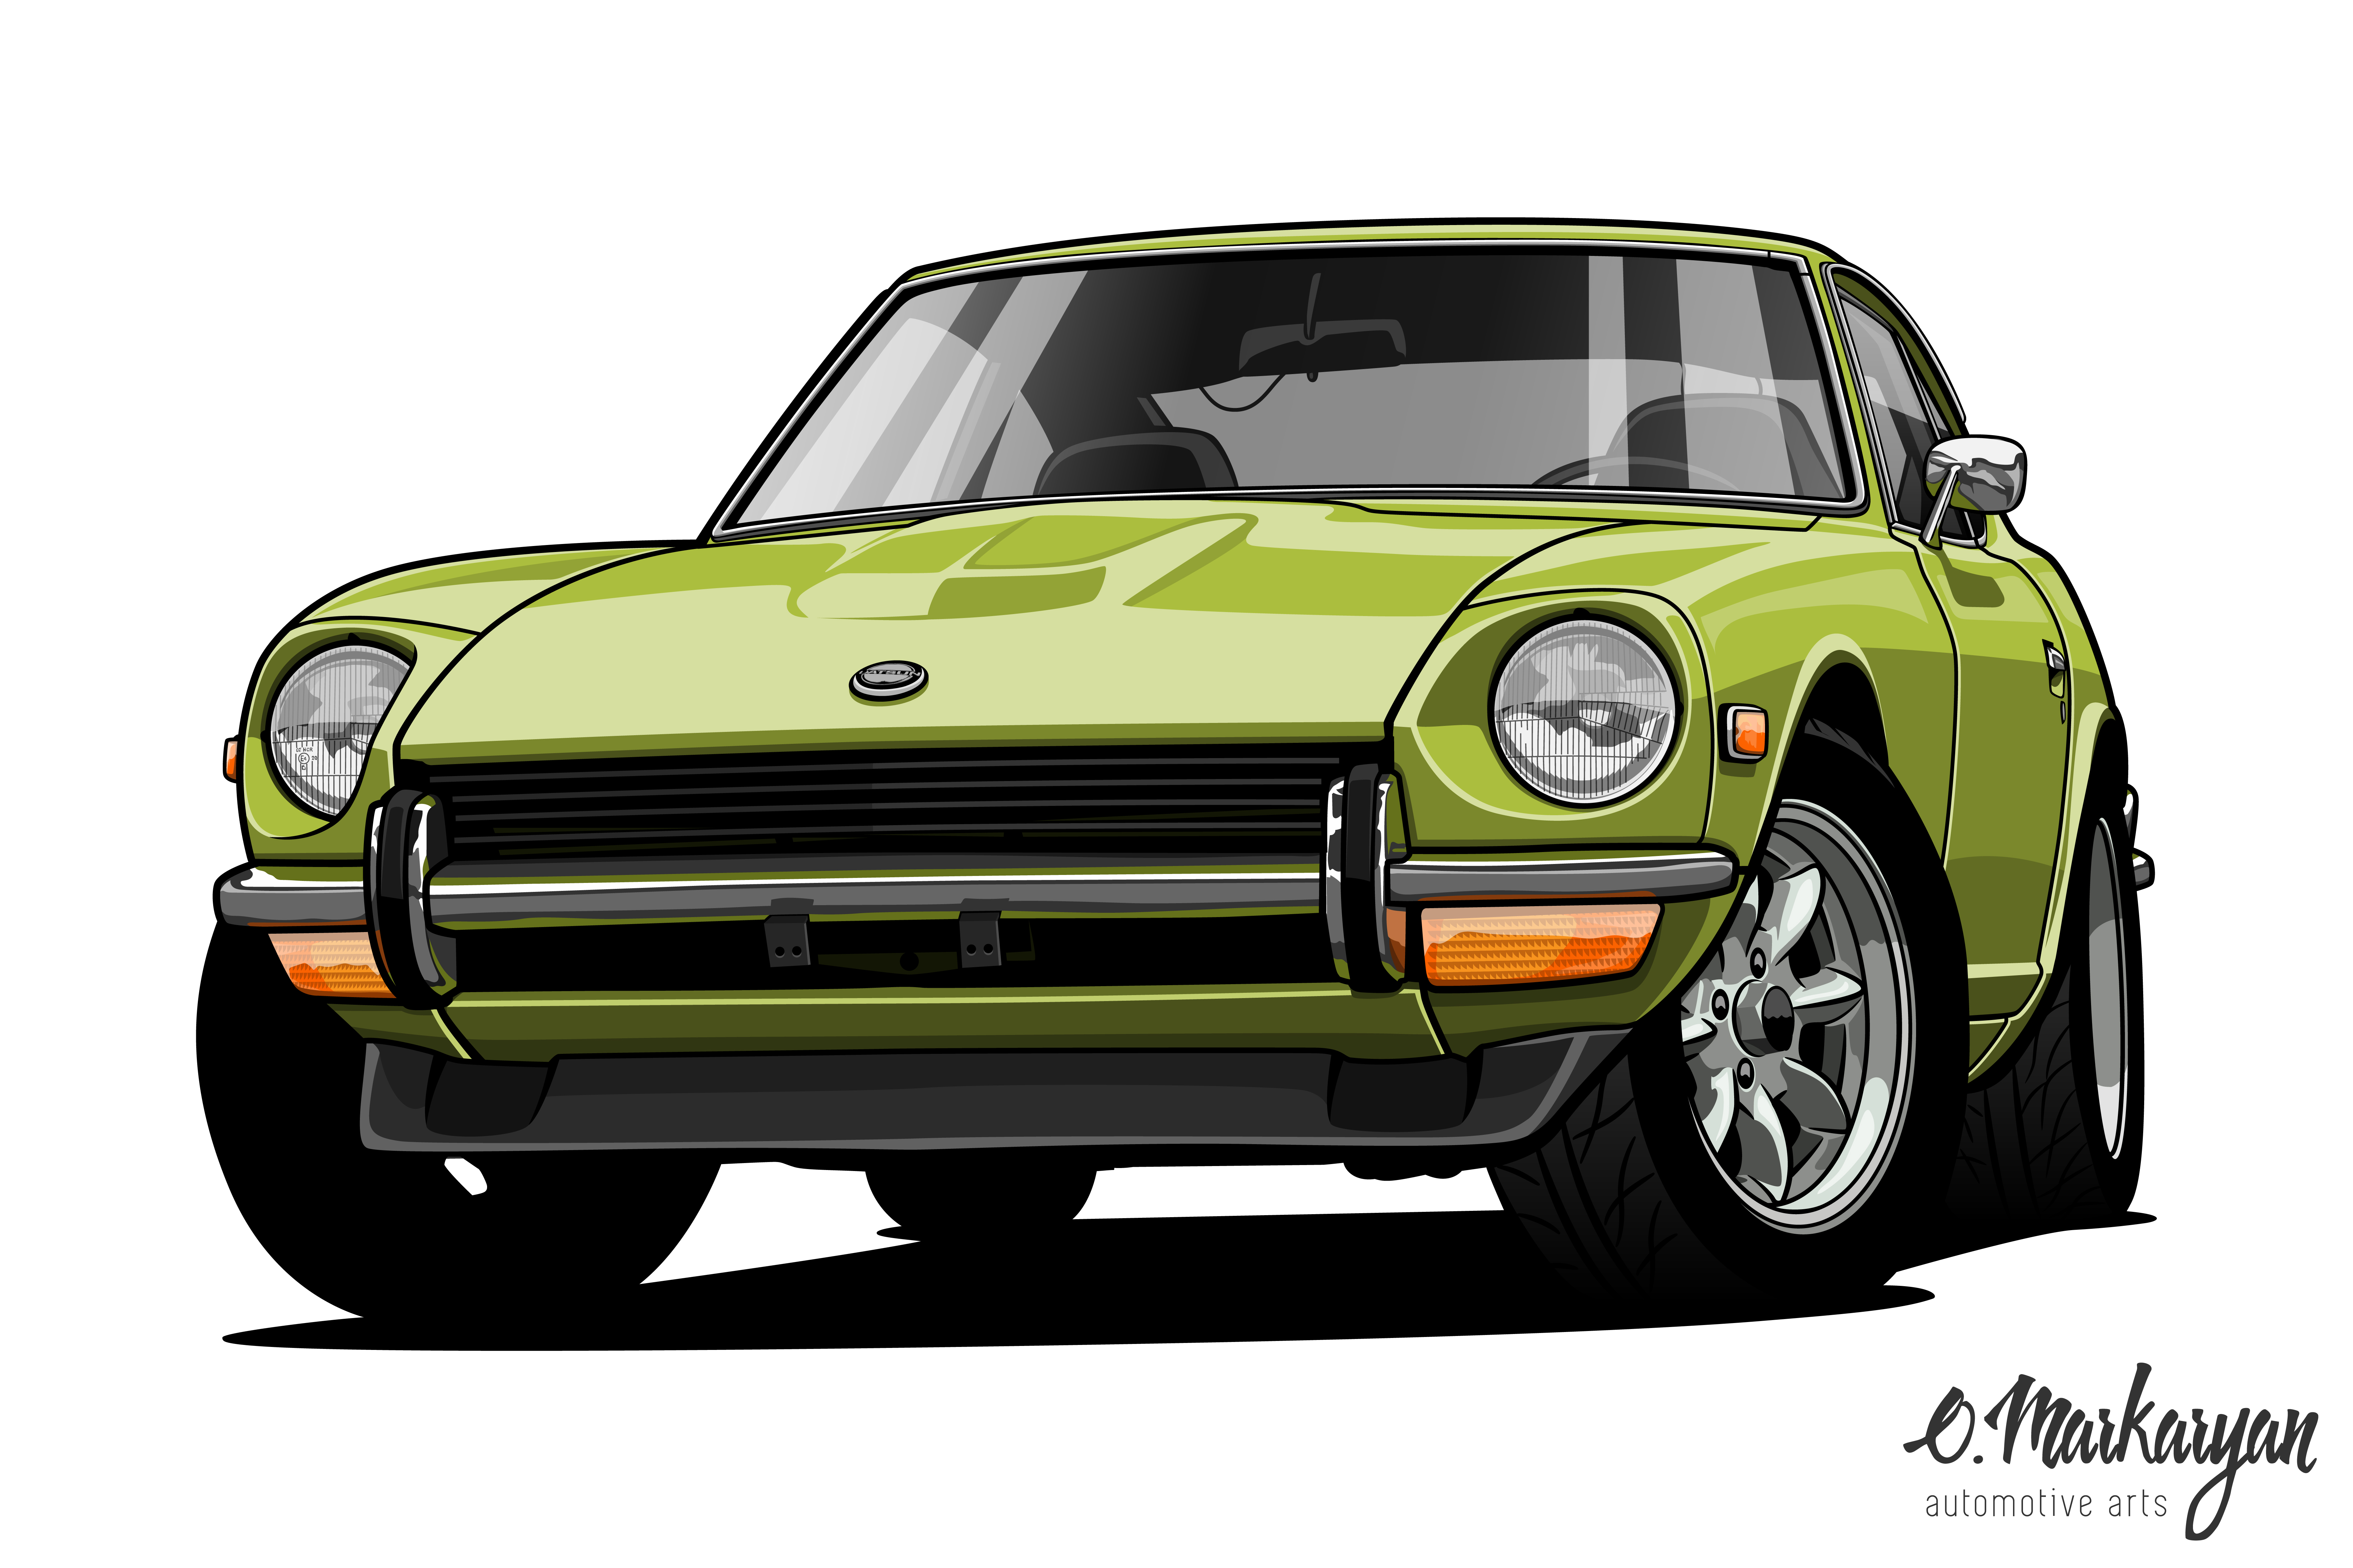
This stripe kit is what was left over from another project. I wanted to see how they looked on mine. I plan to remove these and get longer ones that go further down to the side body line. I plan to use the approximately same color. Although I might have someone photoshop some different colors.
 2 points
 -
1 pointI wonder if the concours guys know. Seems like they should. Maybe it's been overlooked over the years and awards will need to be returned for improper bushing orientation.1 point
-
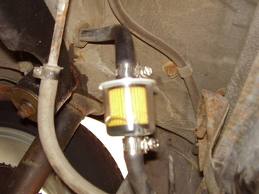
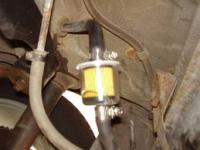
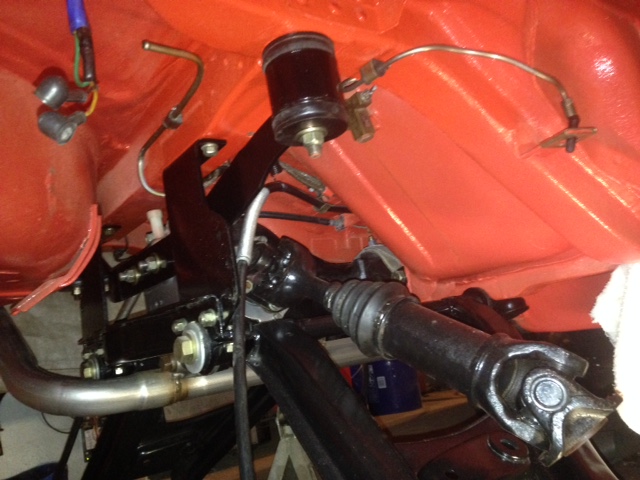
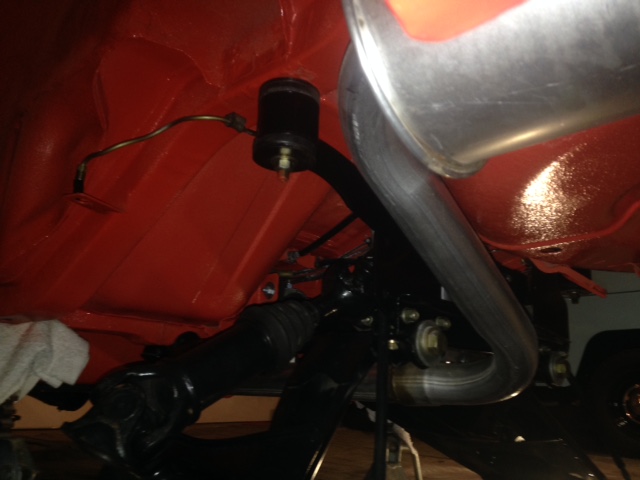
When I first bought my 280 I dropped the tank and coated it, waste of time as it wasn't rusty. The fix was adding a potentiometer in the CTS wires to the ECU. Mine would spit and sputter up to 2,500 RPMs then clear up and pull like it should. The way I figured that out was pinching the return line to the tank to build up higher fuel pressure making it richer, negating the lean signal to the ECU. http://atlanticz.ca/zclub/techtips/tempsensorpot/index.html Before you go through all the trouble put in a clear filter coming out of the tank before the the fuel pump, you can see rusty particles if they are in there. EDIT: the pic below is my 240's filter. http://atlanticz.ca/zclub/techtips/fuel/g3filter/index.htm
 1 point
 -
Yeah, a few weeks ago i was browsing the internet for some usable parts for my transmission restauration when i found this ebay seller from Thailand. Usually i'm not a big fan of Cheap Asian stuff. Only real deal Japanese OEM or Aftermarket. However when i found these parts and they seemed to be either Japanese-made or high-quality but for a good price, i thought i'd give it a go. so here's what i got: Transmission / Clutch fork rubber boot. Made by Thailand company Turtlerubber / SPI-Goodrubber: Firewall grommet. Unknown brand, but i assume the same as above: Niles (Japan) Reverse light switch. Niles is the original Supplier of nissan so i guess it's an Original part: Unknown brand Speedo cable: Unknown brand Side marker (front) lamps: DENSO (japan) Horn's, 66dB: New-Era (Japan, Aftermarket supplier) Voltage regulator: Not sure how all the parts fit and if they will end up in the car, but they were cheap and looked nice so i thought i buy them in a package deal. Looking good so far More parts coming soon1 point
-
The easiest solution would be to CNC plasma cut a "stop sign" shaped hole into 1/4" thick steel and weld it to a 6" long 3/4" pipe with a 3/4" flange nut on top. The whole thing would take very little time to make and cost less than $10 in materials. Once set up, they could be made in bulk and sold for $20 or so. Is there really a market for them? If so, I can look into it. I have access to everything I need.1 point
-
OE pumps had a check valve built in at the outlet. I recently replaced my airtex unit, do not know if the skinny after market pumps came with one, I assume so but cant say for sure. when I was chasing fuel pressure leak down I noticed it was all over the place. Sometime it would hold for days, other times it would leak in minutes. The thing is there is not a lot of fuel to start with, can't compress a liquid anyway, so pressure would have to be maintained in the rubber fuel lines I presume. That being said it would not take a lot of leakage for the pressure to drop. My guess is between the check valve and all the injectors and lets not forget heat (latent engine heat increasing pressure in the lines, regulator bleeds it off, then everything cools down and pressure it gone). So after chasing pressure holding for weeks I finally decided the best course of action is to simply go out and drive it. I thing regular driving putting lots of miles on the car is the best thing you can do to make it run right.1 point
-
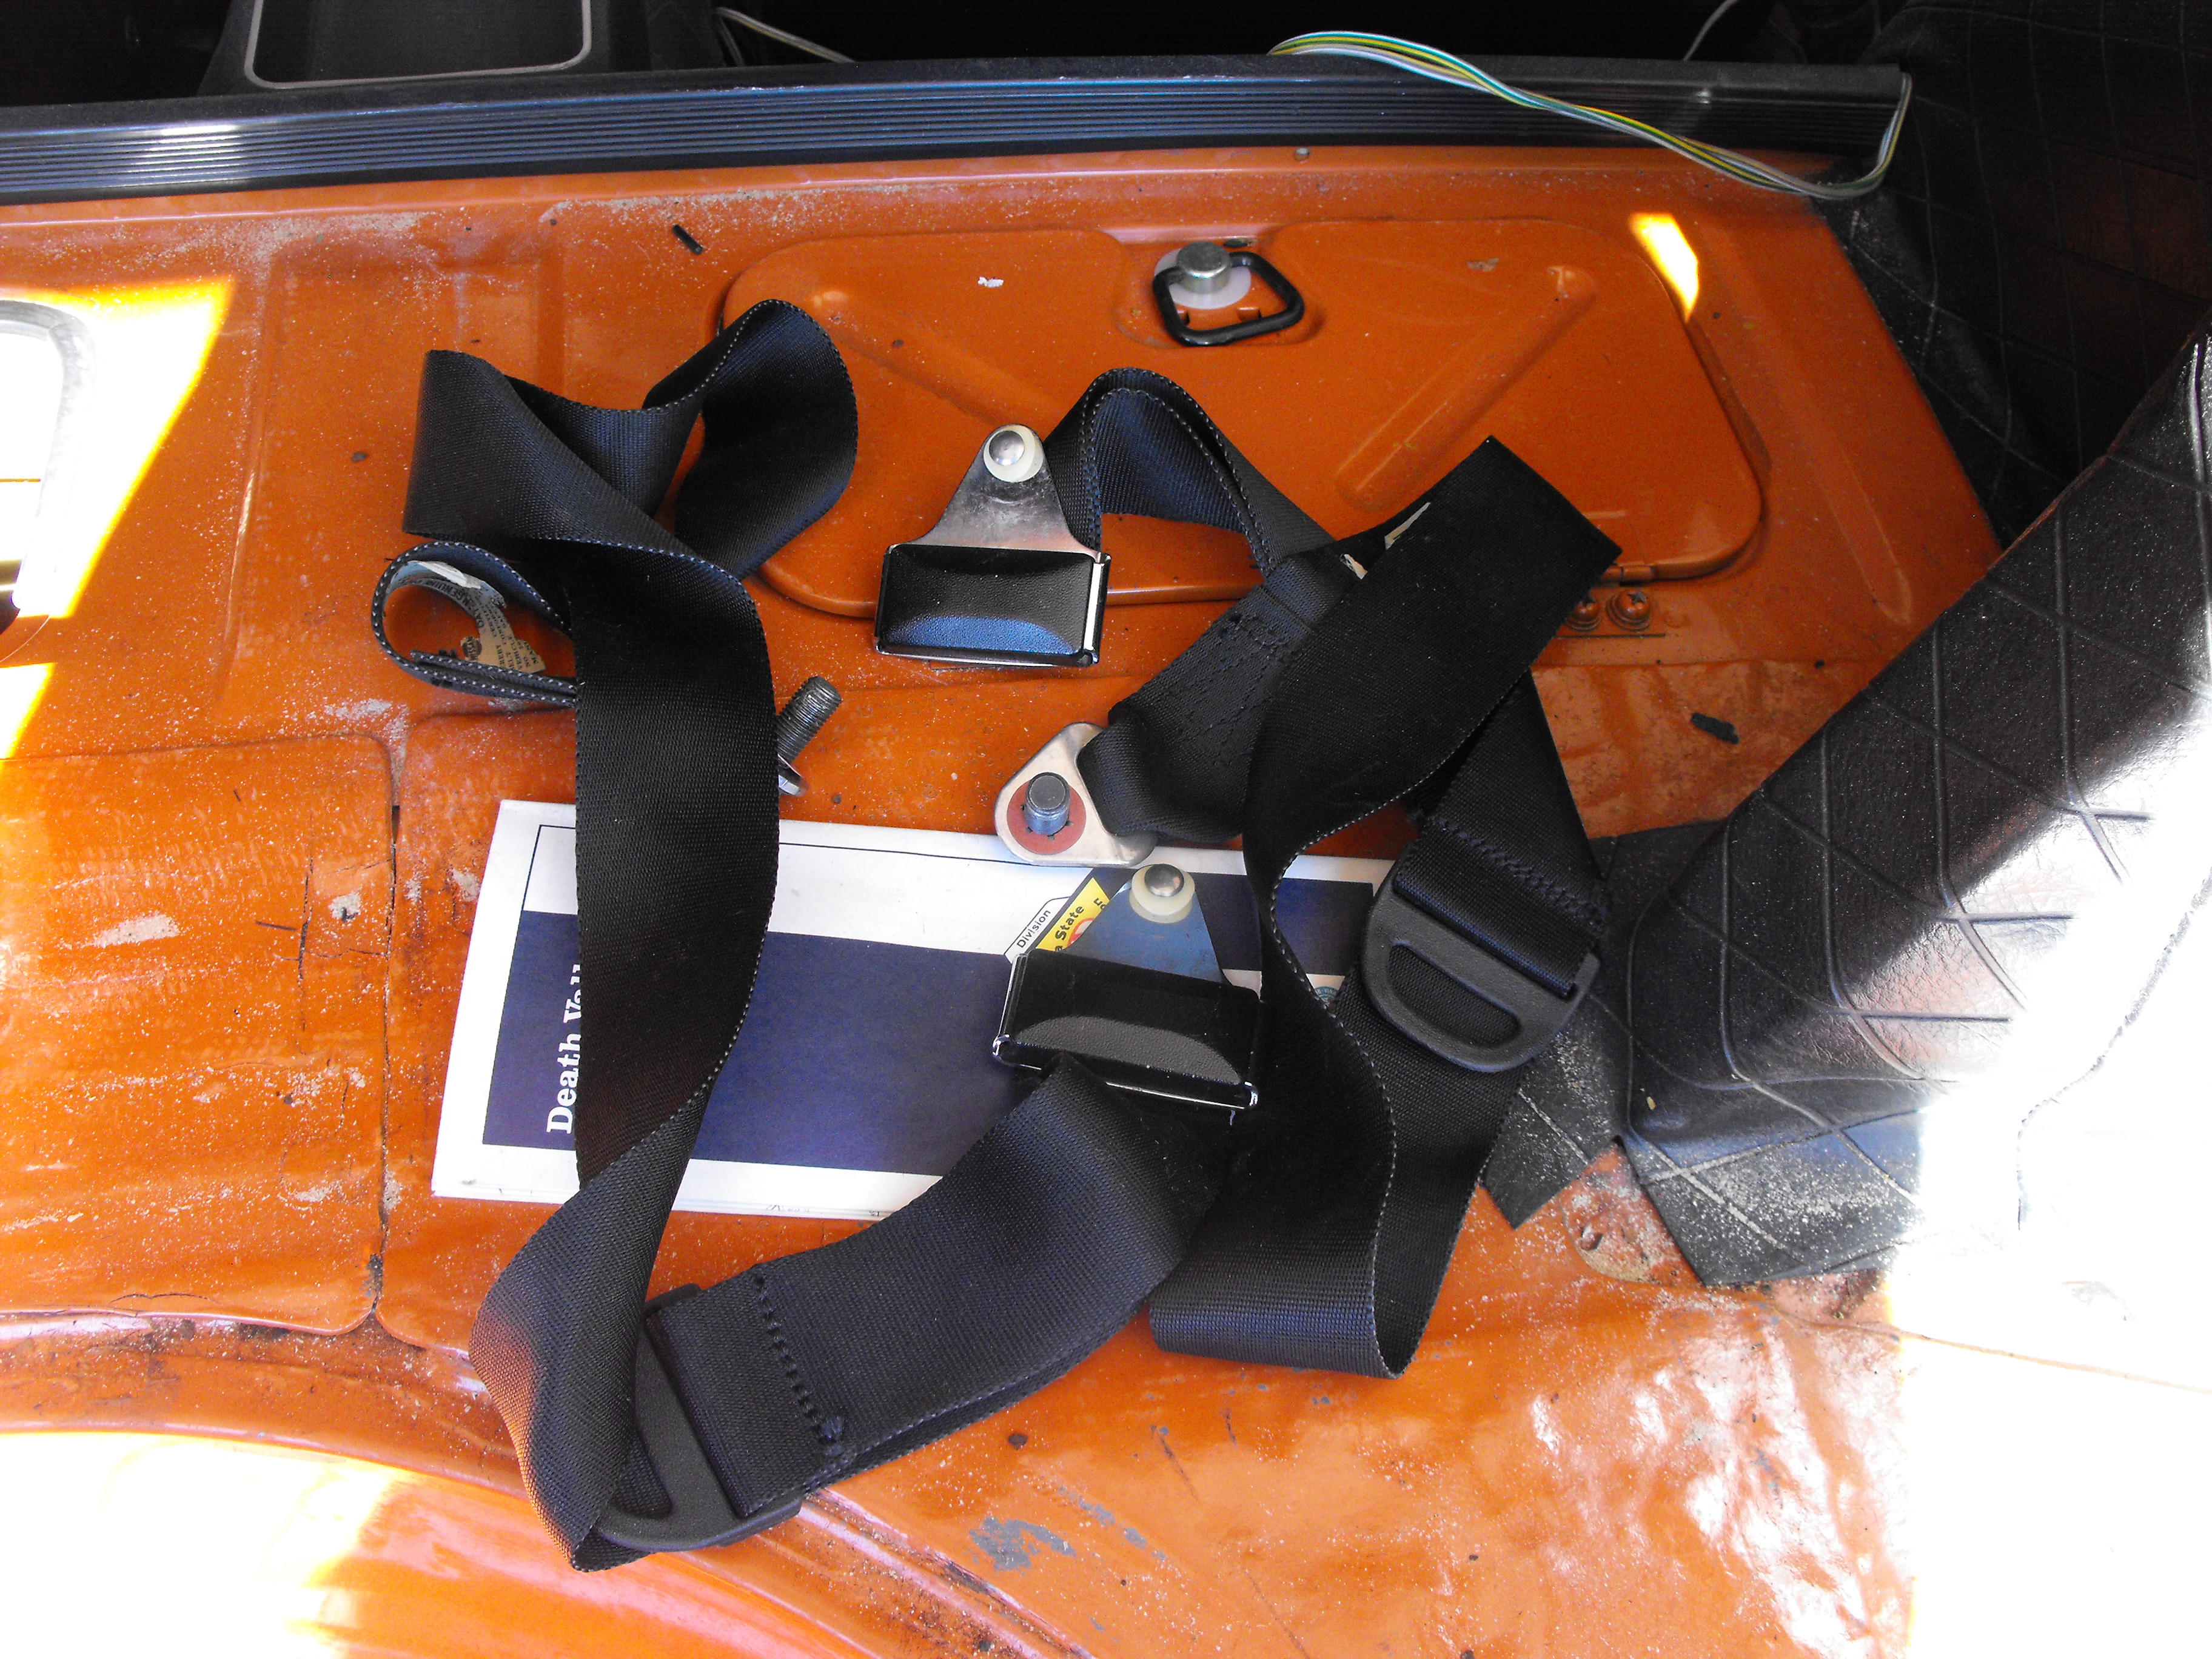
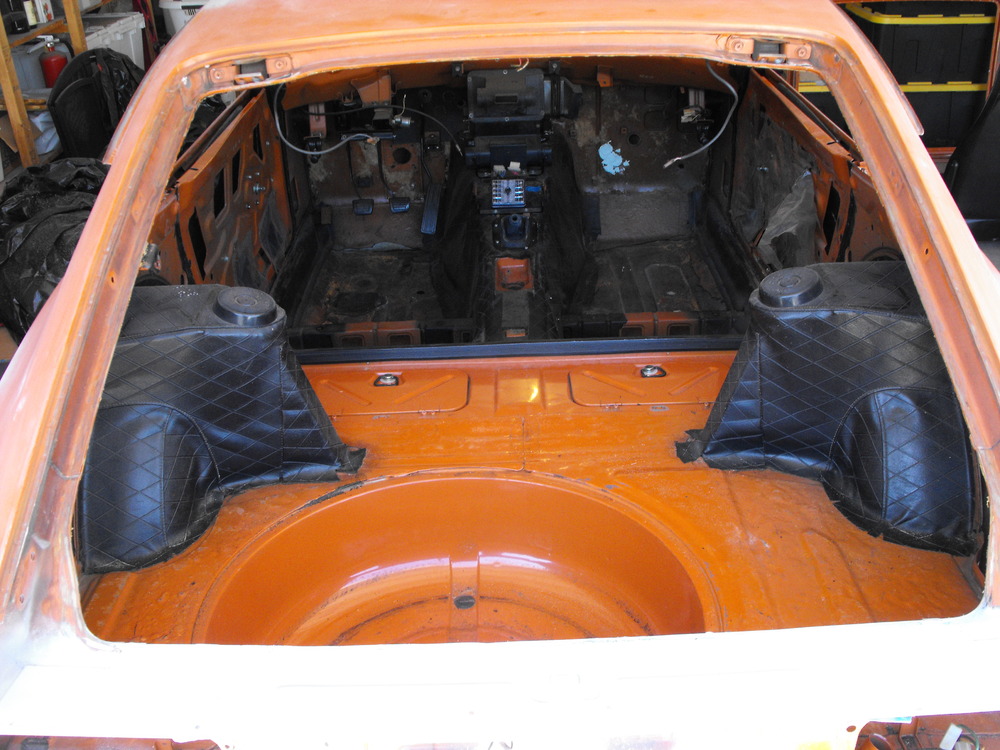
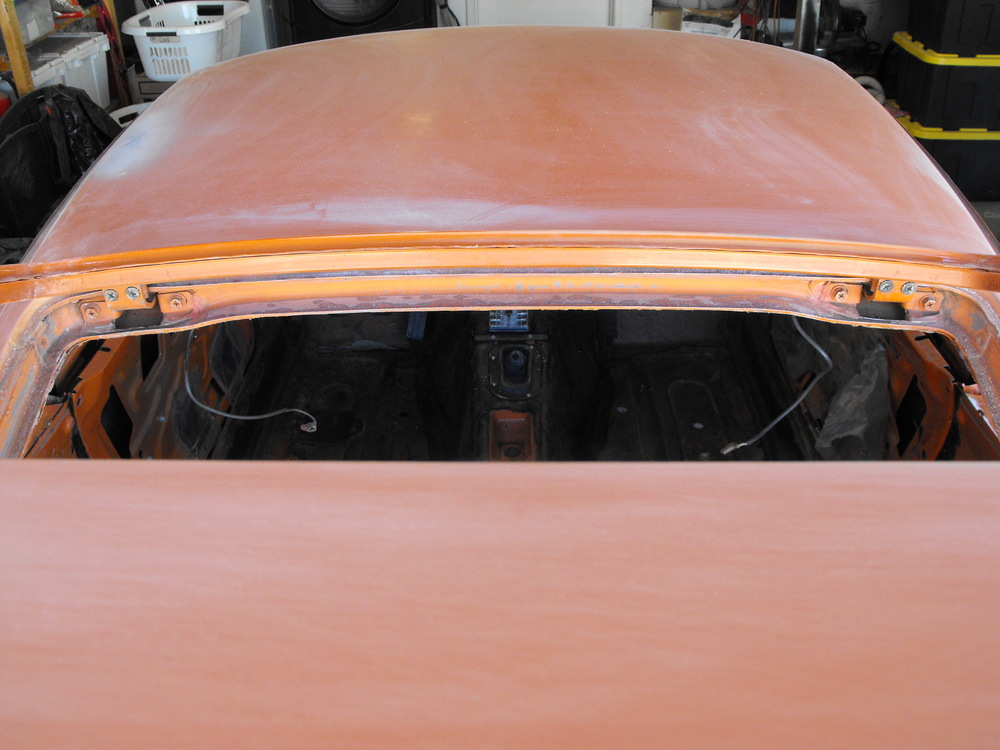
1 pointFound a nice little surprise in one of the two rear tool boxes. Those look like brand new shoulder harnesses. Very nice and in perfect condition. I am looking forward to installing them when the time comes. I removed the front windshield and rear hatch glass. The front windshield rubber was a challenge. It had some weird black sealant on it that did not dry but remained wet. It was like some gummy tar like substance that would not dissolve with lacquer thinner (my 'go to' solvent). Fortunately the 'Ultra Clean' surface cleaner that I use before painting was able to dissolve it, finally. I think I went through twenty pieces of paper towel trying to clean it off the paint, my hands, tools, etc before I got the correct solvent. I also took the seats, firewall insulation and center console out and will just leave the vinyl in. I will make sure to have the vinyl covered during the painting process as it is in great condition. I removed the rear hatch in order to access the upper hatch area where the weather stripping goes. I had to clean off all of the old weather stripping glue. The best way to clean that off is with the wire wheel on the end of my drill. After that I sanded the area to remove the wire wheel scratches. I pretty much have all of the dings and dents fixed on the body and will do just a bit more detail sanding in the engine area. Also a few loose items to sand (Head light buckets, windshield wiper cowl, fuel door and access covers) and then I will be ready to send the car to the paint shop. Very exciting as we are getting close to being ready to deliver this to the paint shop.


 1 point
 -
1 point
-
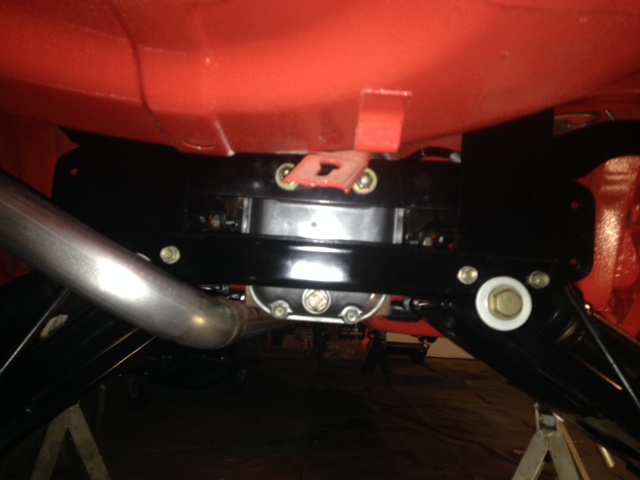
Actually had a few hours free to work on my Z. I waxed the rear suspension parts and began to put it back together including the new rear hangers with mounting points for installation of sway bar. I am still waiting for the new springs then rear upgrade will be complete, then will start on the front suspension.
 1 point
 -
1 point
-
Here is what the redneck in me would do if I was in your situation again, Guy: 1. Weld two 6mm bolts to a piece of steel with a cutout to go around the shaft of the strut. 2. Mark where the bolts strike the top of the gland nut and drill two holes in the gland nut. 3. Apply a lot of brake fluid along the threads. 4. Heat the strut tube with a map gas torch. 5. While hot, apply more brake fluid along the threads. 6. Use the redneck wrench. Of course, when I tackle the 240Z, I'm going to try Jim's socket trick after applying brake fluid to the threads on the struts for several days in advance.1 point
-
If this old 911 rust bucket sold for $29K, surely this Series I 240Z should sell for at least $2k, what do you think? http://bringatrailer.com/listing/1967-porsche-911-coupe-3/1 point
-
1 point
-
Once again I thank you TZ for the input. This Z is my first attempt at an auto resto project. What can I say, I'm 65 and it was on my bucket list! I am amazed at the amount of info available on this site from its members and their willingness to help. Thanks to all of you.1 point