


Leaderboard
-
conedodger
Free Member8Points12,513Posts -
Jehannum
Free Member3Points128Posts -
moelk
Free Member2Points661Posts -
240260280z
Free Member2Points5,426Posts


Popular Content
Showing content with the highest reputation on 12/15/2016 in all areas
-
3 pointsI'm about to wrap up what is (for me) a fairly exciting project on my 240Z, and I thought it would be nice to share, as it's not something I see discussed here very often. The goal: retain AM radio function in my Series 1.5 (5/71, so series 1 drivetrain and dash, but no hatch vents) 240z, while being able to pair with my phone and stream music over bluetooth. My materials: a class D one-board amp (bought from a guy who calls them "Shiznit", hence "U_Shiznit" in the wiring diagram), 50Wx2, a handful of relays, a line-level bluetooth board, two Match M5X speakers, and a spare speaker bracket from another 240z. My modifications: I created a switched output from the Hitachi TM-1081ZB by soldering an additional wire (I chose purple, to differentiate from the existing harness colors) to the switch side of the L10 choke coil (the Hitachi service manual is available online), and then running that out the bottom of the deck through the remaining open hole. The drawbacks: Limited to 5.25" speakers that fit in the stock hatch locations, I'm not going to win any sound quality or SPL competitions. I also had to crack open my AM unit to add the switched 12V, which can be nerve wracking. Honestly, my Z is pretty loud (2.5" exhaust, triple webers, rumbly cam), so the goal is really just to have intelligible audio in a stealthy package. Wiring diagram: Pre-relay testing configuration: So far, I've only mocked up the connections, but I'm running the wires soon (the entire thing should fit under the lid of the driver's side storage bin) for final installation.3 points
-
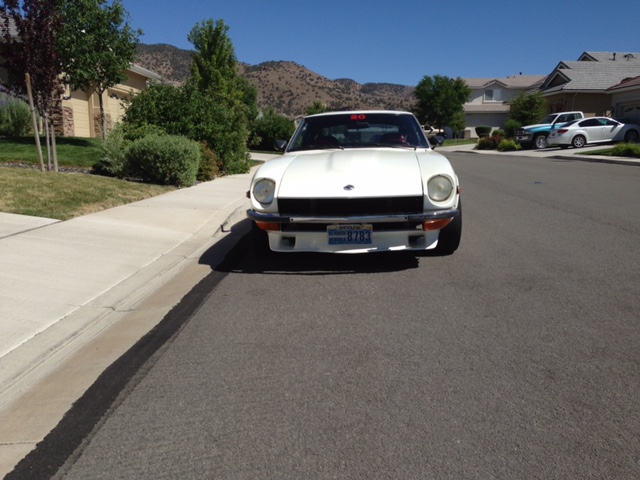
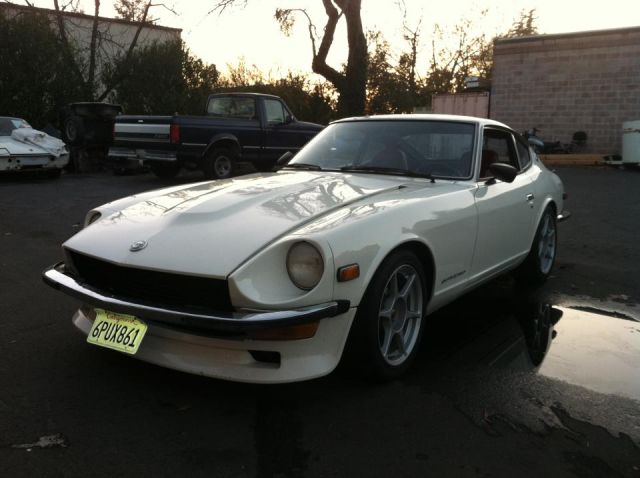
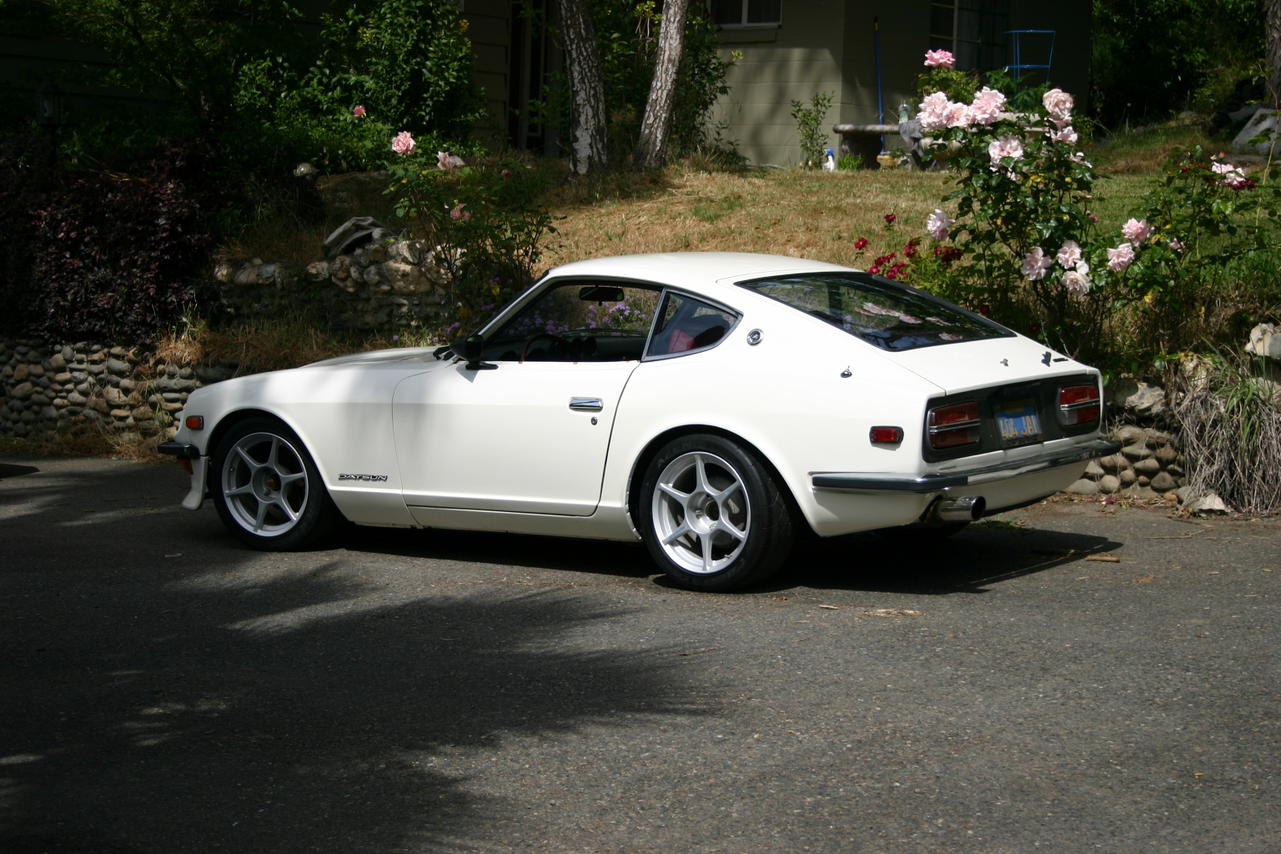
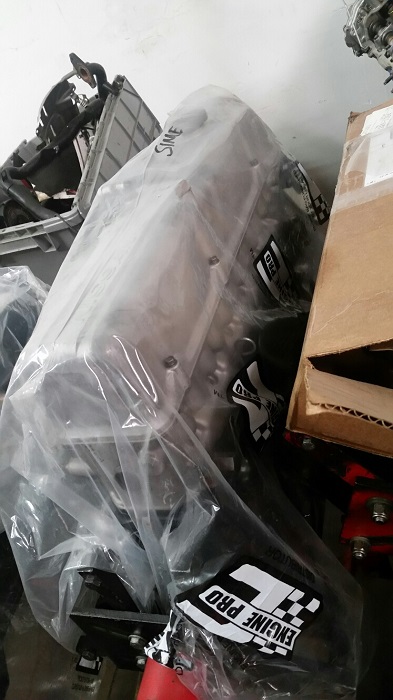
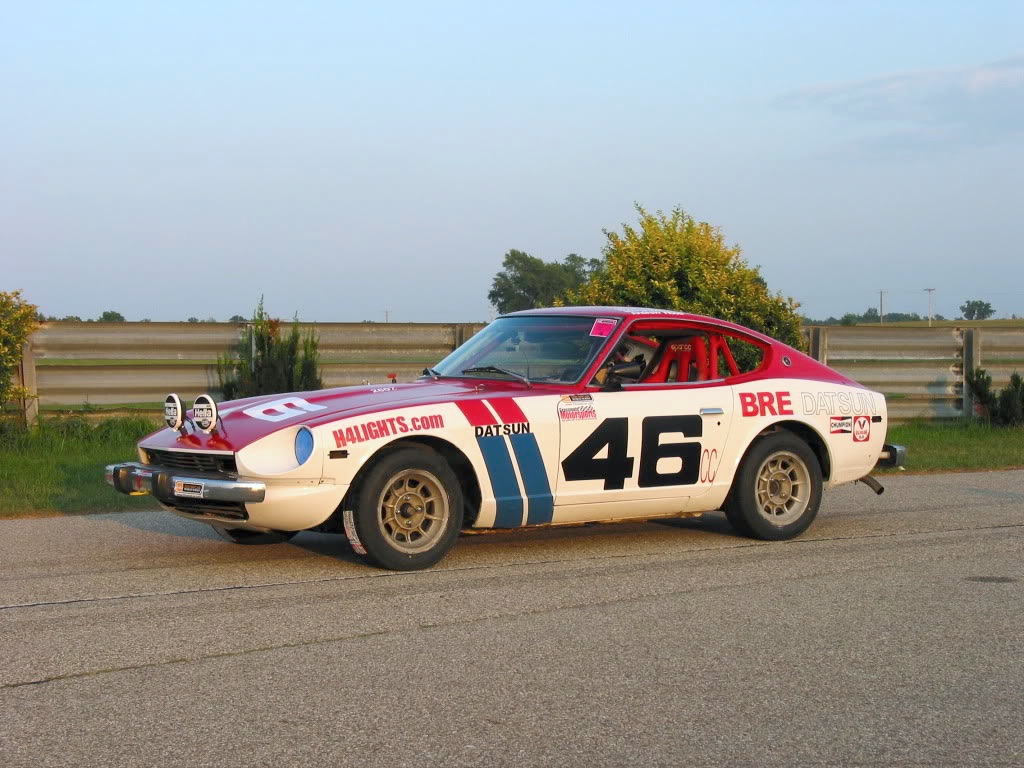
2 pointsIt's time to start the project thread to inform the world and conversely have the world inform me on the installation of my Rebello 3.0 liter stroker motor. I approached Dave a year ago about a year ago with a nebulous idea of what I wanted. I told him I want Torque and horsepower, but not at the expense of driveability. I want my wife, who already loves the way the car looks, to also be willing to get in and ride. Dave suggested his 3.0 liter stroker offering. I had an L28ET block to use, and the rods for that combination are L24. So Dave provided the rods and used my block and crank. But what head? I had two on hand. One, the turbo head from my block, would have resulted in two low of a CR. So that was put up for sale and sold in a few minutes. The other head, a B.C. Gerolomy modified E31 was chosen. This head has big valves, and porting and polishing from back in the day.. B. C. Gerolomy was the go-to guy for cylinder heads when Datsun was tearing up the tracks and the Z car was new. The CR for this head is in the 11:1 range. But this is "static" CR. The biggest problem static CR causes is the starter having to overcome the CR to get the engine turning and started. Some modification was necessary though. Because we are going to be fuel injecting this motor! The plan is to use a non-EGR L28 intake, which has been extrude honed and a TWM throttle body which I had on the shelf. Megasquirt will provide the brains and ill be using crank fired ignition and blocking off the distributor hole. Coil-on-plug using GM coils. Pill be picking up the motor within the week or two. Daves in California, I'm in Nevada so there has to be some coordination. The engine is done though. Here is the car this engine will power. The BRE Spook is the current configuration.

 2 points
 -
1 pointThe 2400cc Valve Covers came on all North American 240Z from Oct. 69 to about Mid 1970. Around July -The change over to the NISSAN OHC's started with the introduction of the A/T equipped models. Not sure when the change over was complete but less than 10,000 had the 2400cc Valve covers. So most likely correct on 240Z's with VIN's below HLS30 10000 - without the A/T.1 point
-
Mike, i work in Berkeley, so my plan is to stay an extra day and return through Antioch.1 point
-
1 point
-
Diseazed recognized it without the landscape edging spoiler!1 point
-
Post #208, first picture. Loosen hose clamps (turn screw counterclockwise), pry off hose, stick something in hole, put hose back on, tighten hose clamps (turn screw clockwise). I was going to also suggest Vise Grips if there is a longer section of hose that you can clamp. As a test. http://www.irwin.com/tools/locking-tools/the-original-long-nose-locking-pliers-with-wire-cutter1 point
-
Site, you don't really have to plug the carb intake holes, you could leave them open with no problems, makes the job 50% easier.1 point
-
It's minor surgery!!!! Go ahead and try it....1 point
-
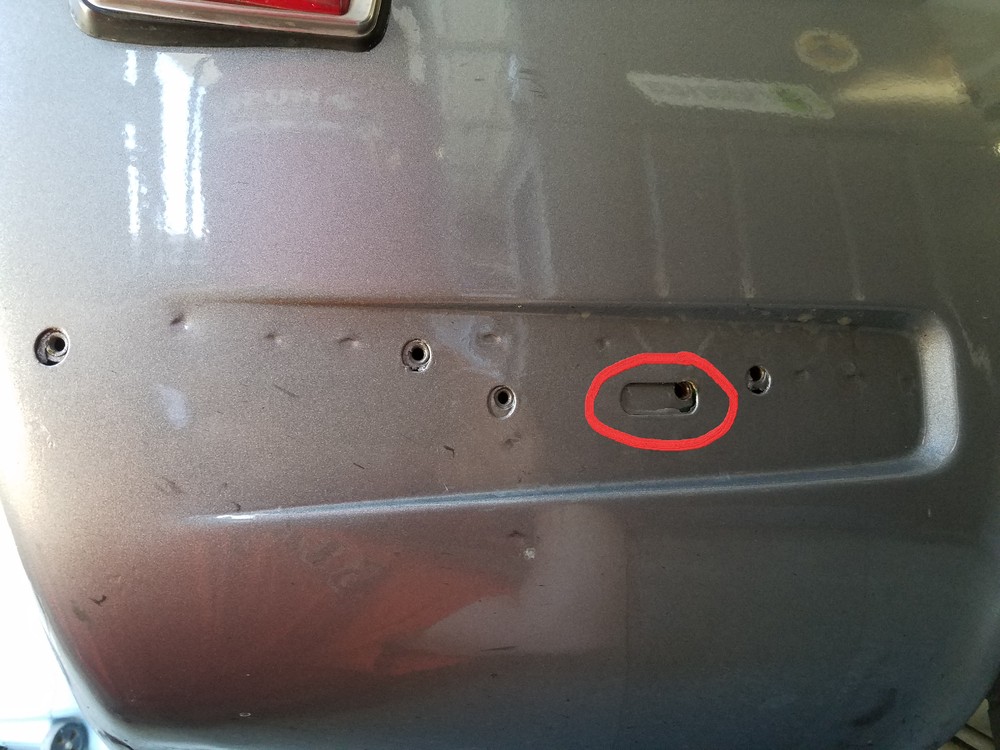
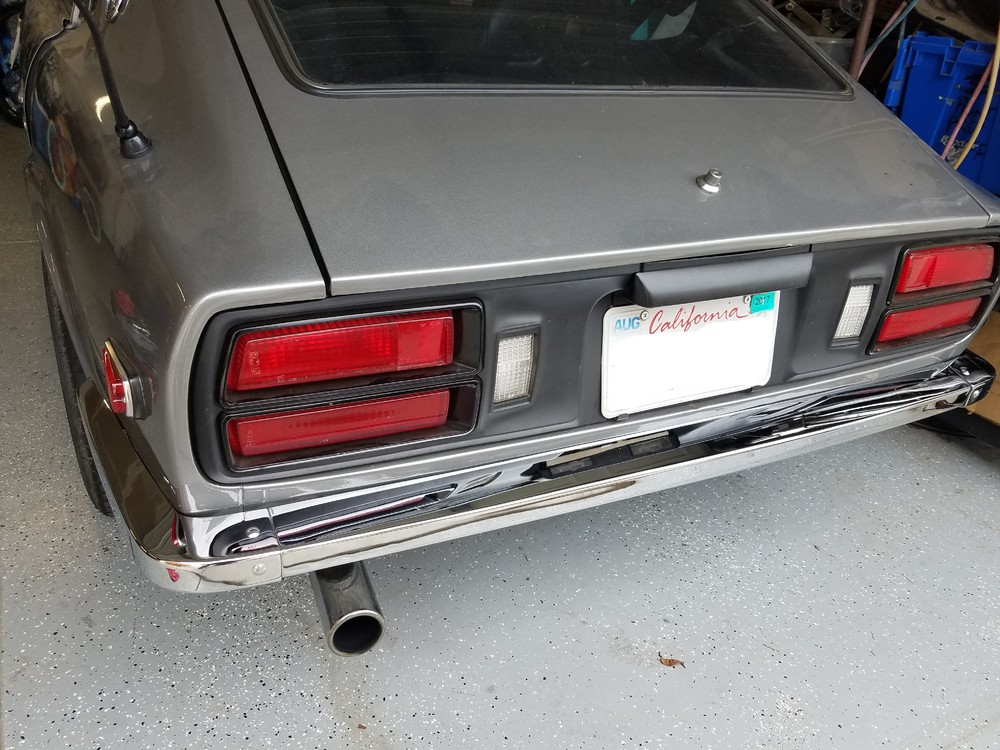
Nice work Jason. Looks good and fits well. The 240Z bumpers should work better on the 260Z because they have the side recesses for the bumper like the 240Z. The 280Z rear quarter doesn't have them which then pushes the bumper out a bit. Chas1 point
-
1 pointRear bumper brackets also worked on the early 260z! Actually i think they fit better than the front. Slight modification: The fenders on the early 260z look like they are the same as a 240z but have some square nuts tack welded to the inside of the fender. I drilled these out and used the regular mounting hardware for the Z store bumpers and everything bolted right up
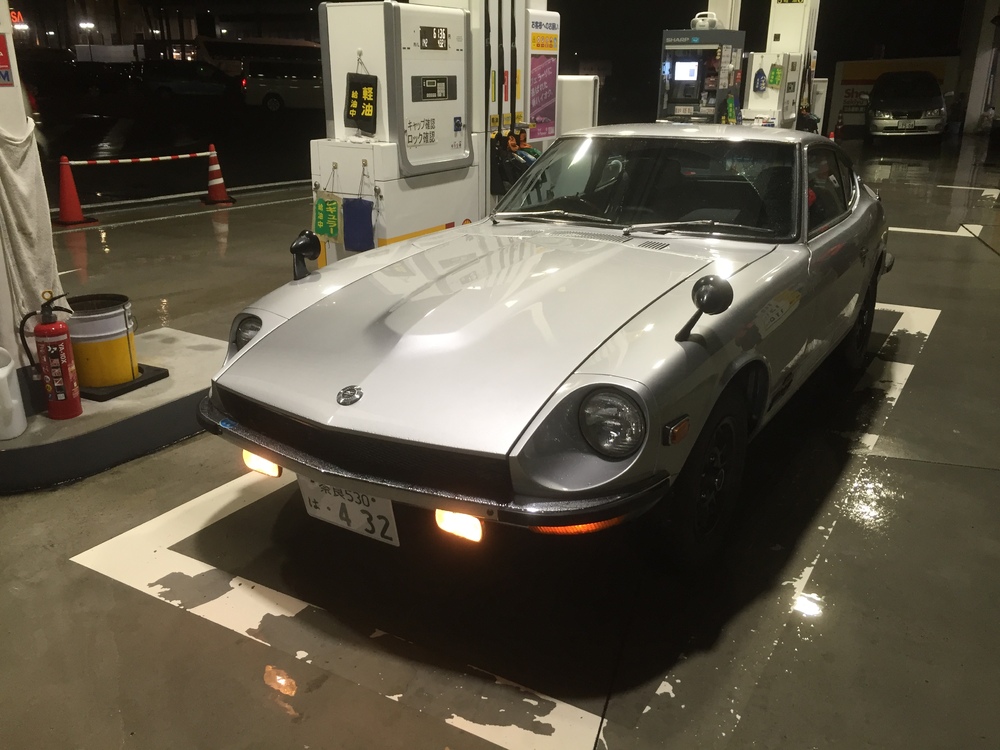
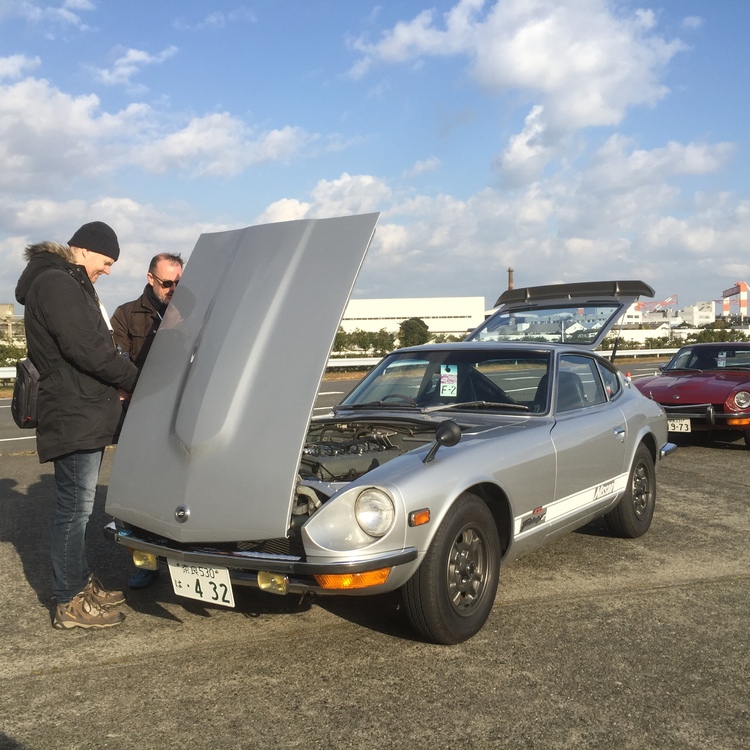
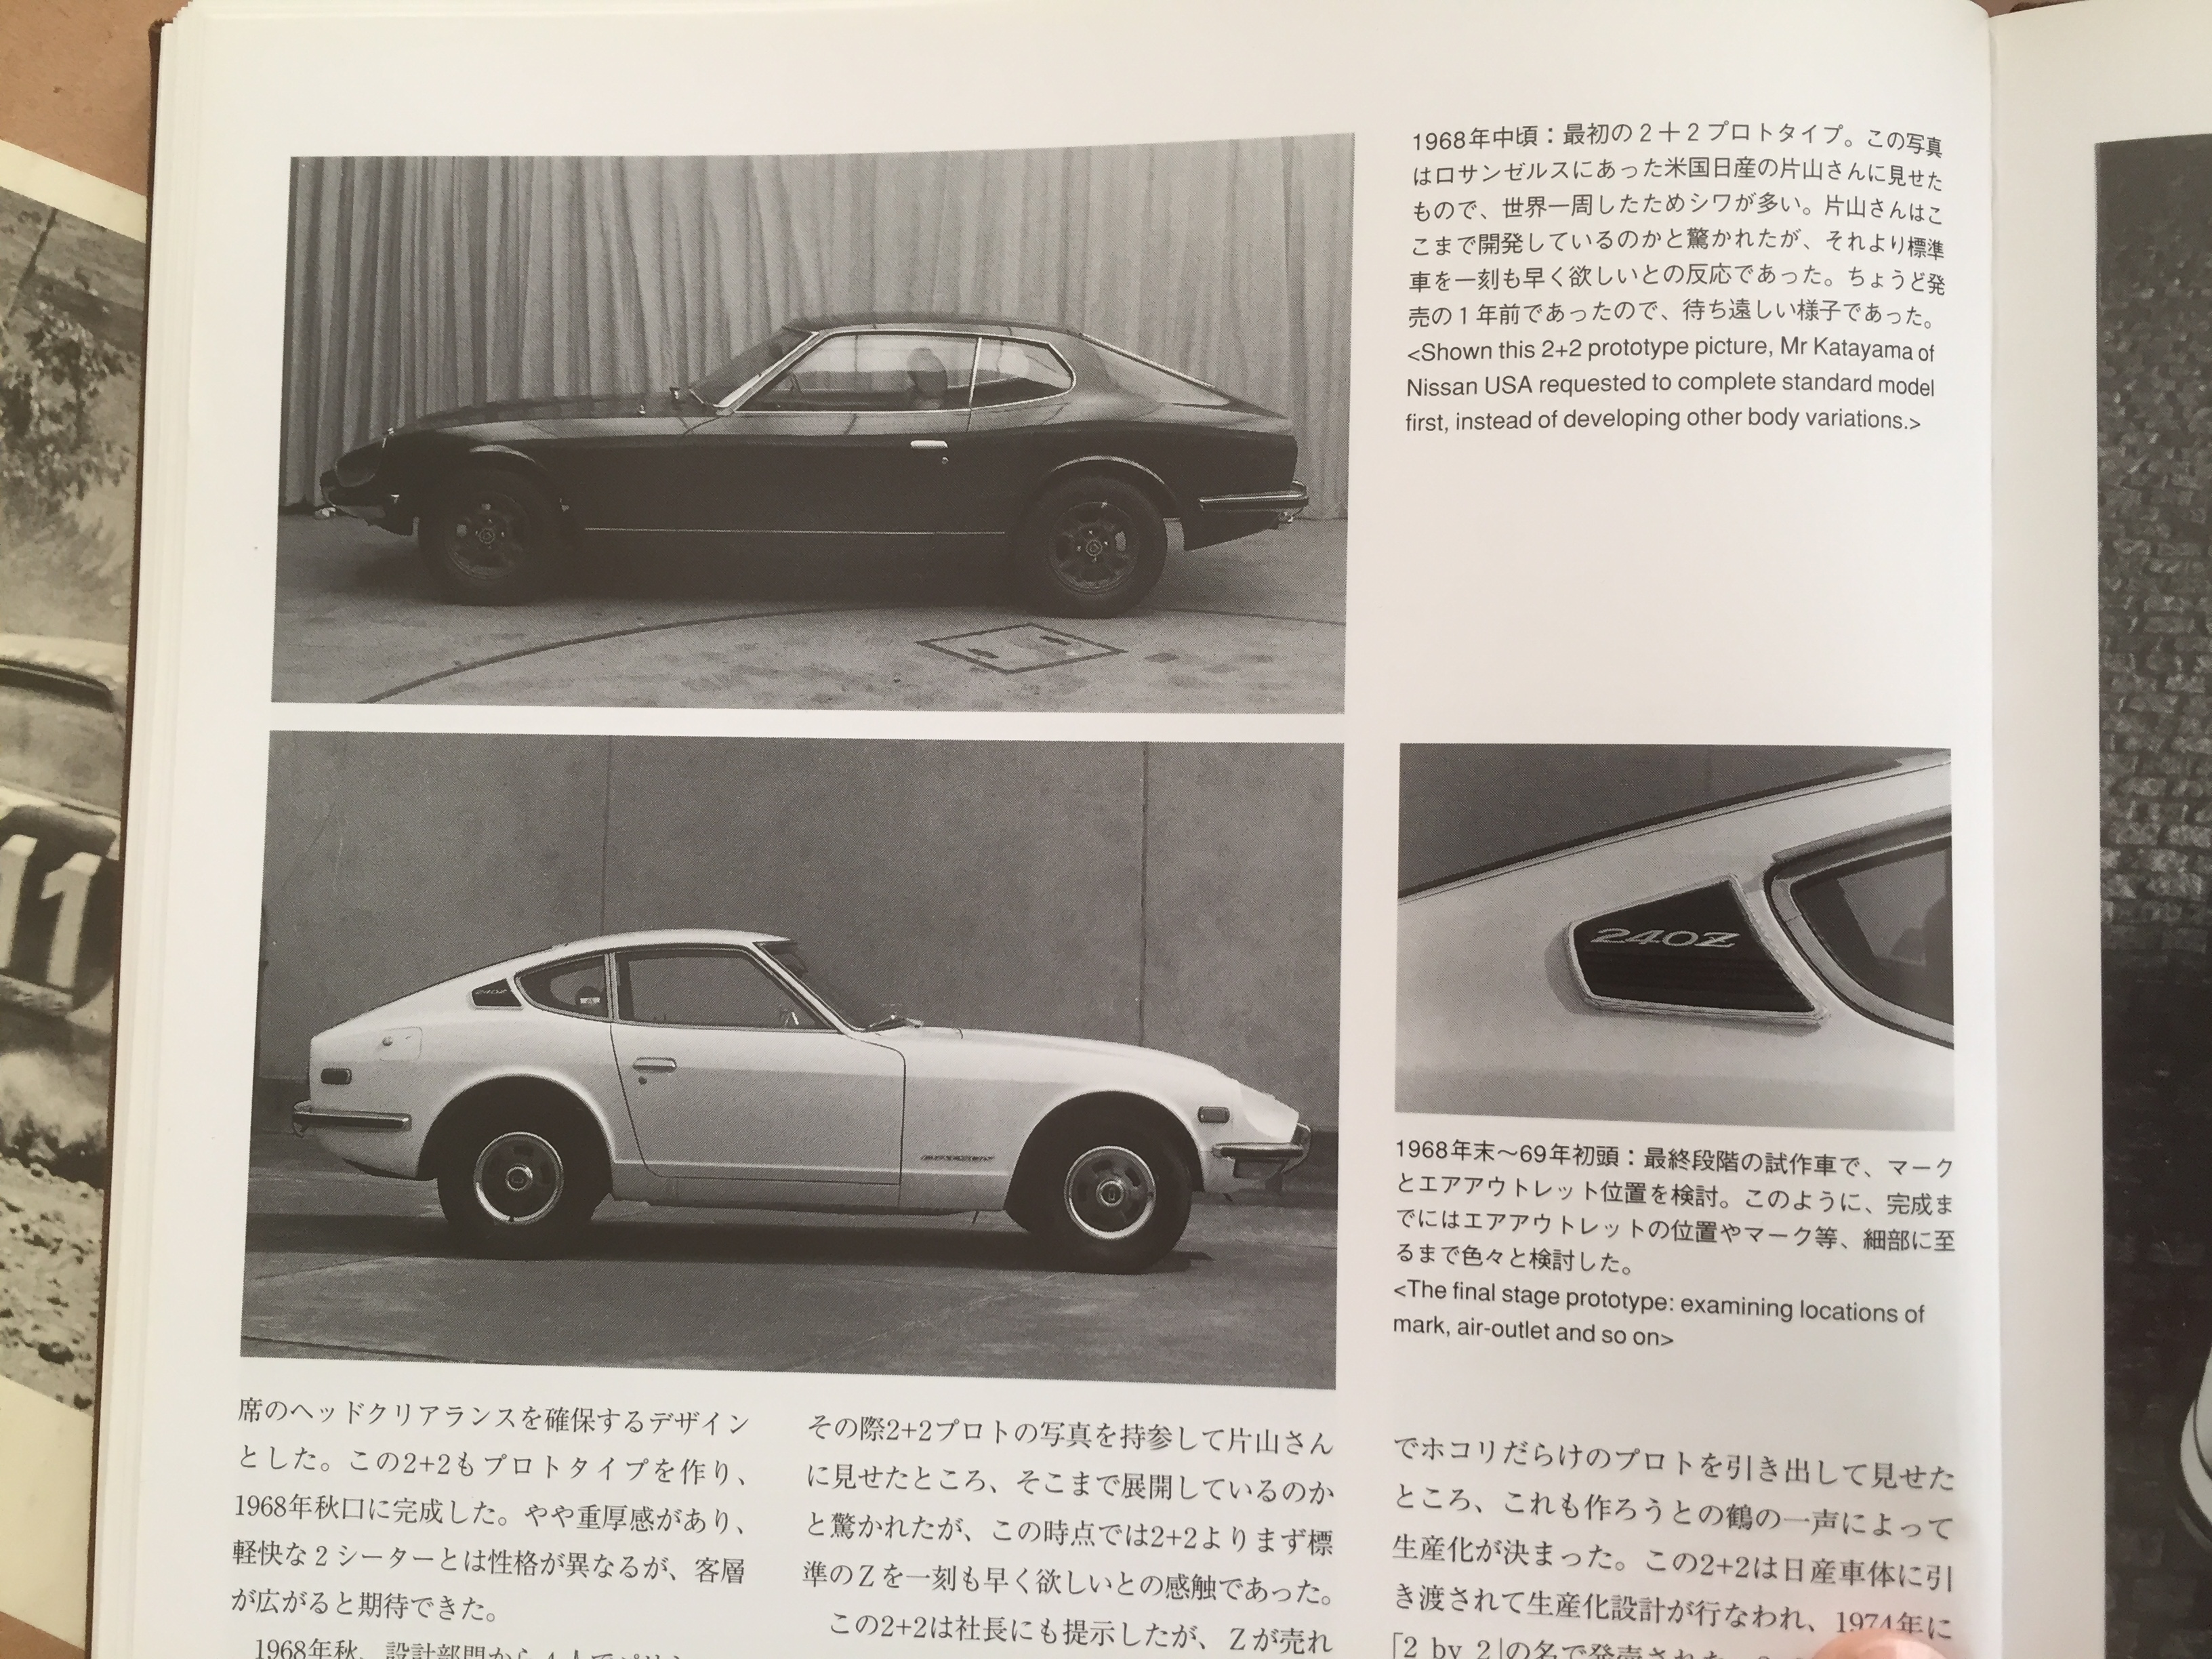
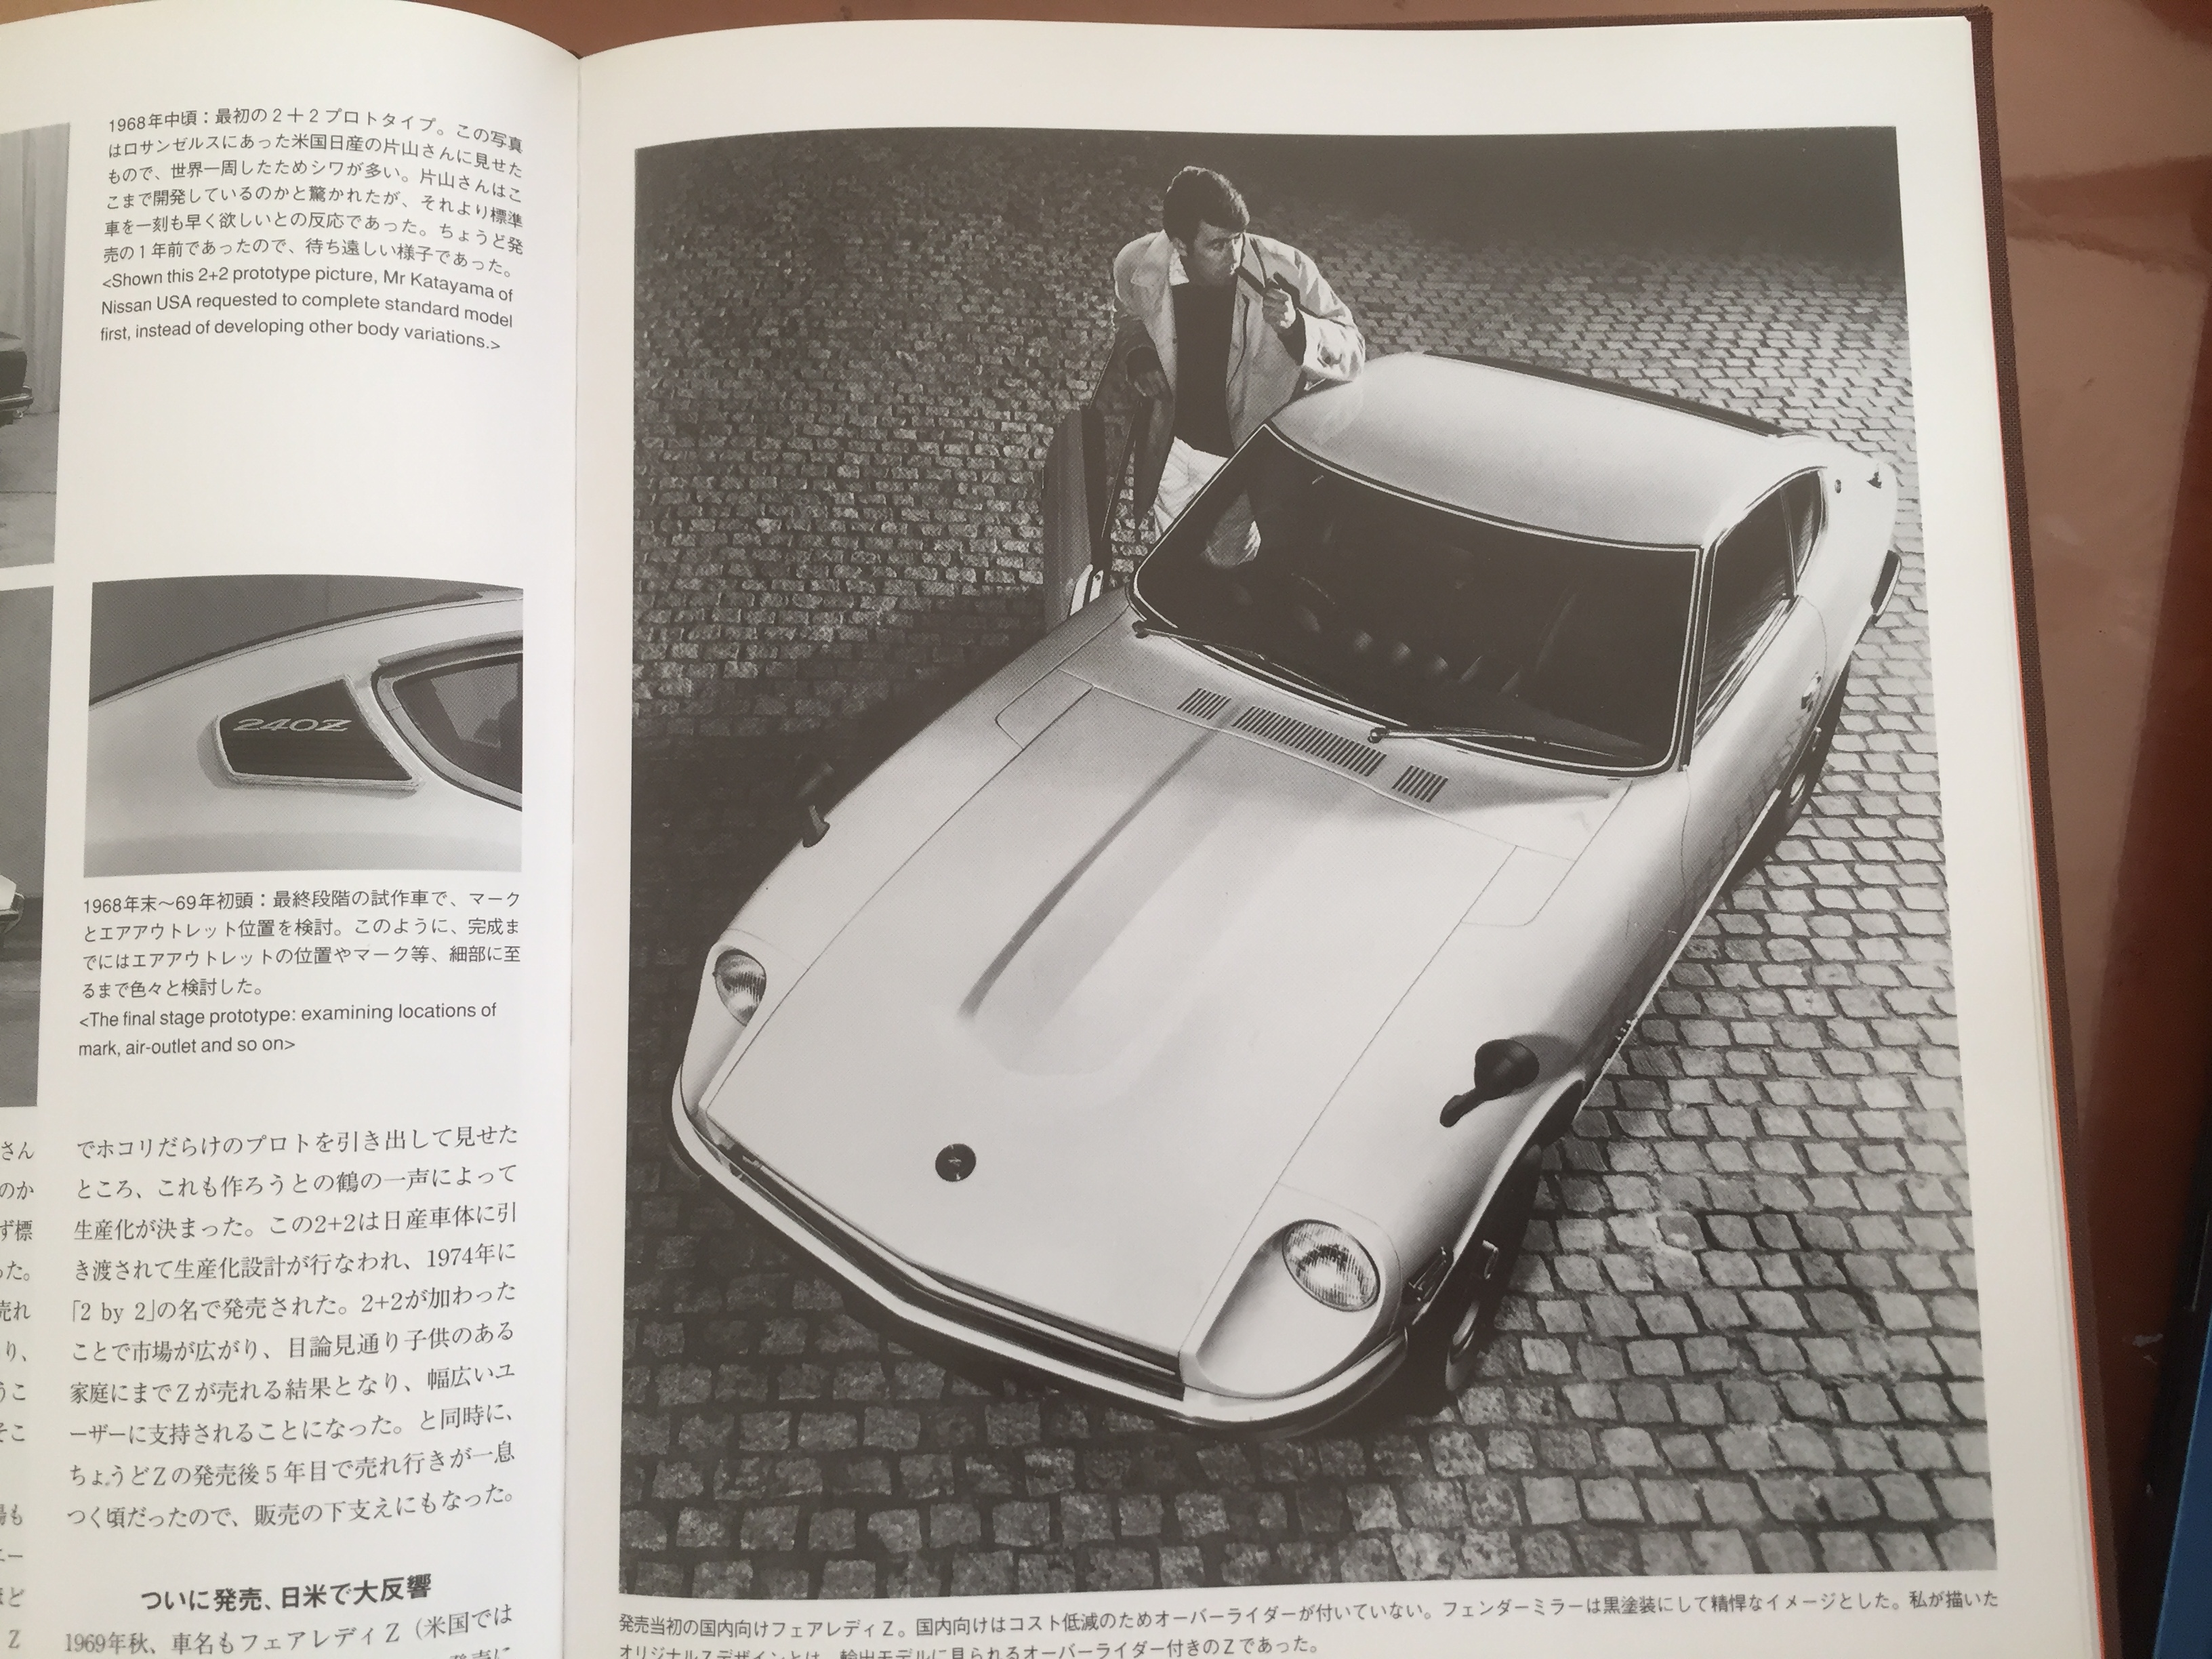
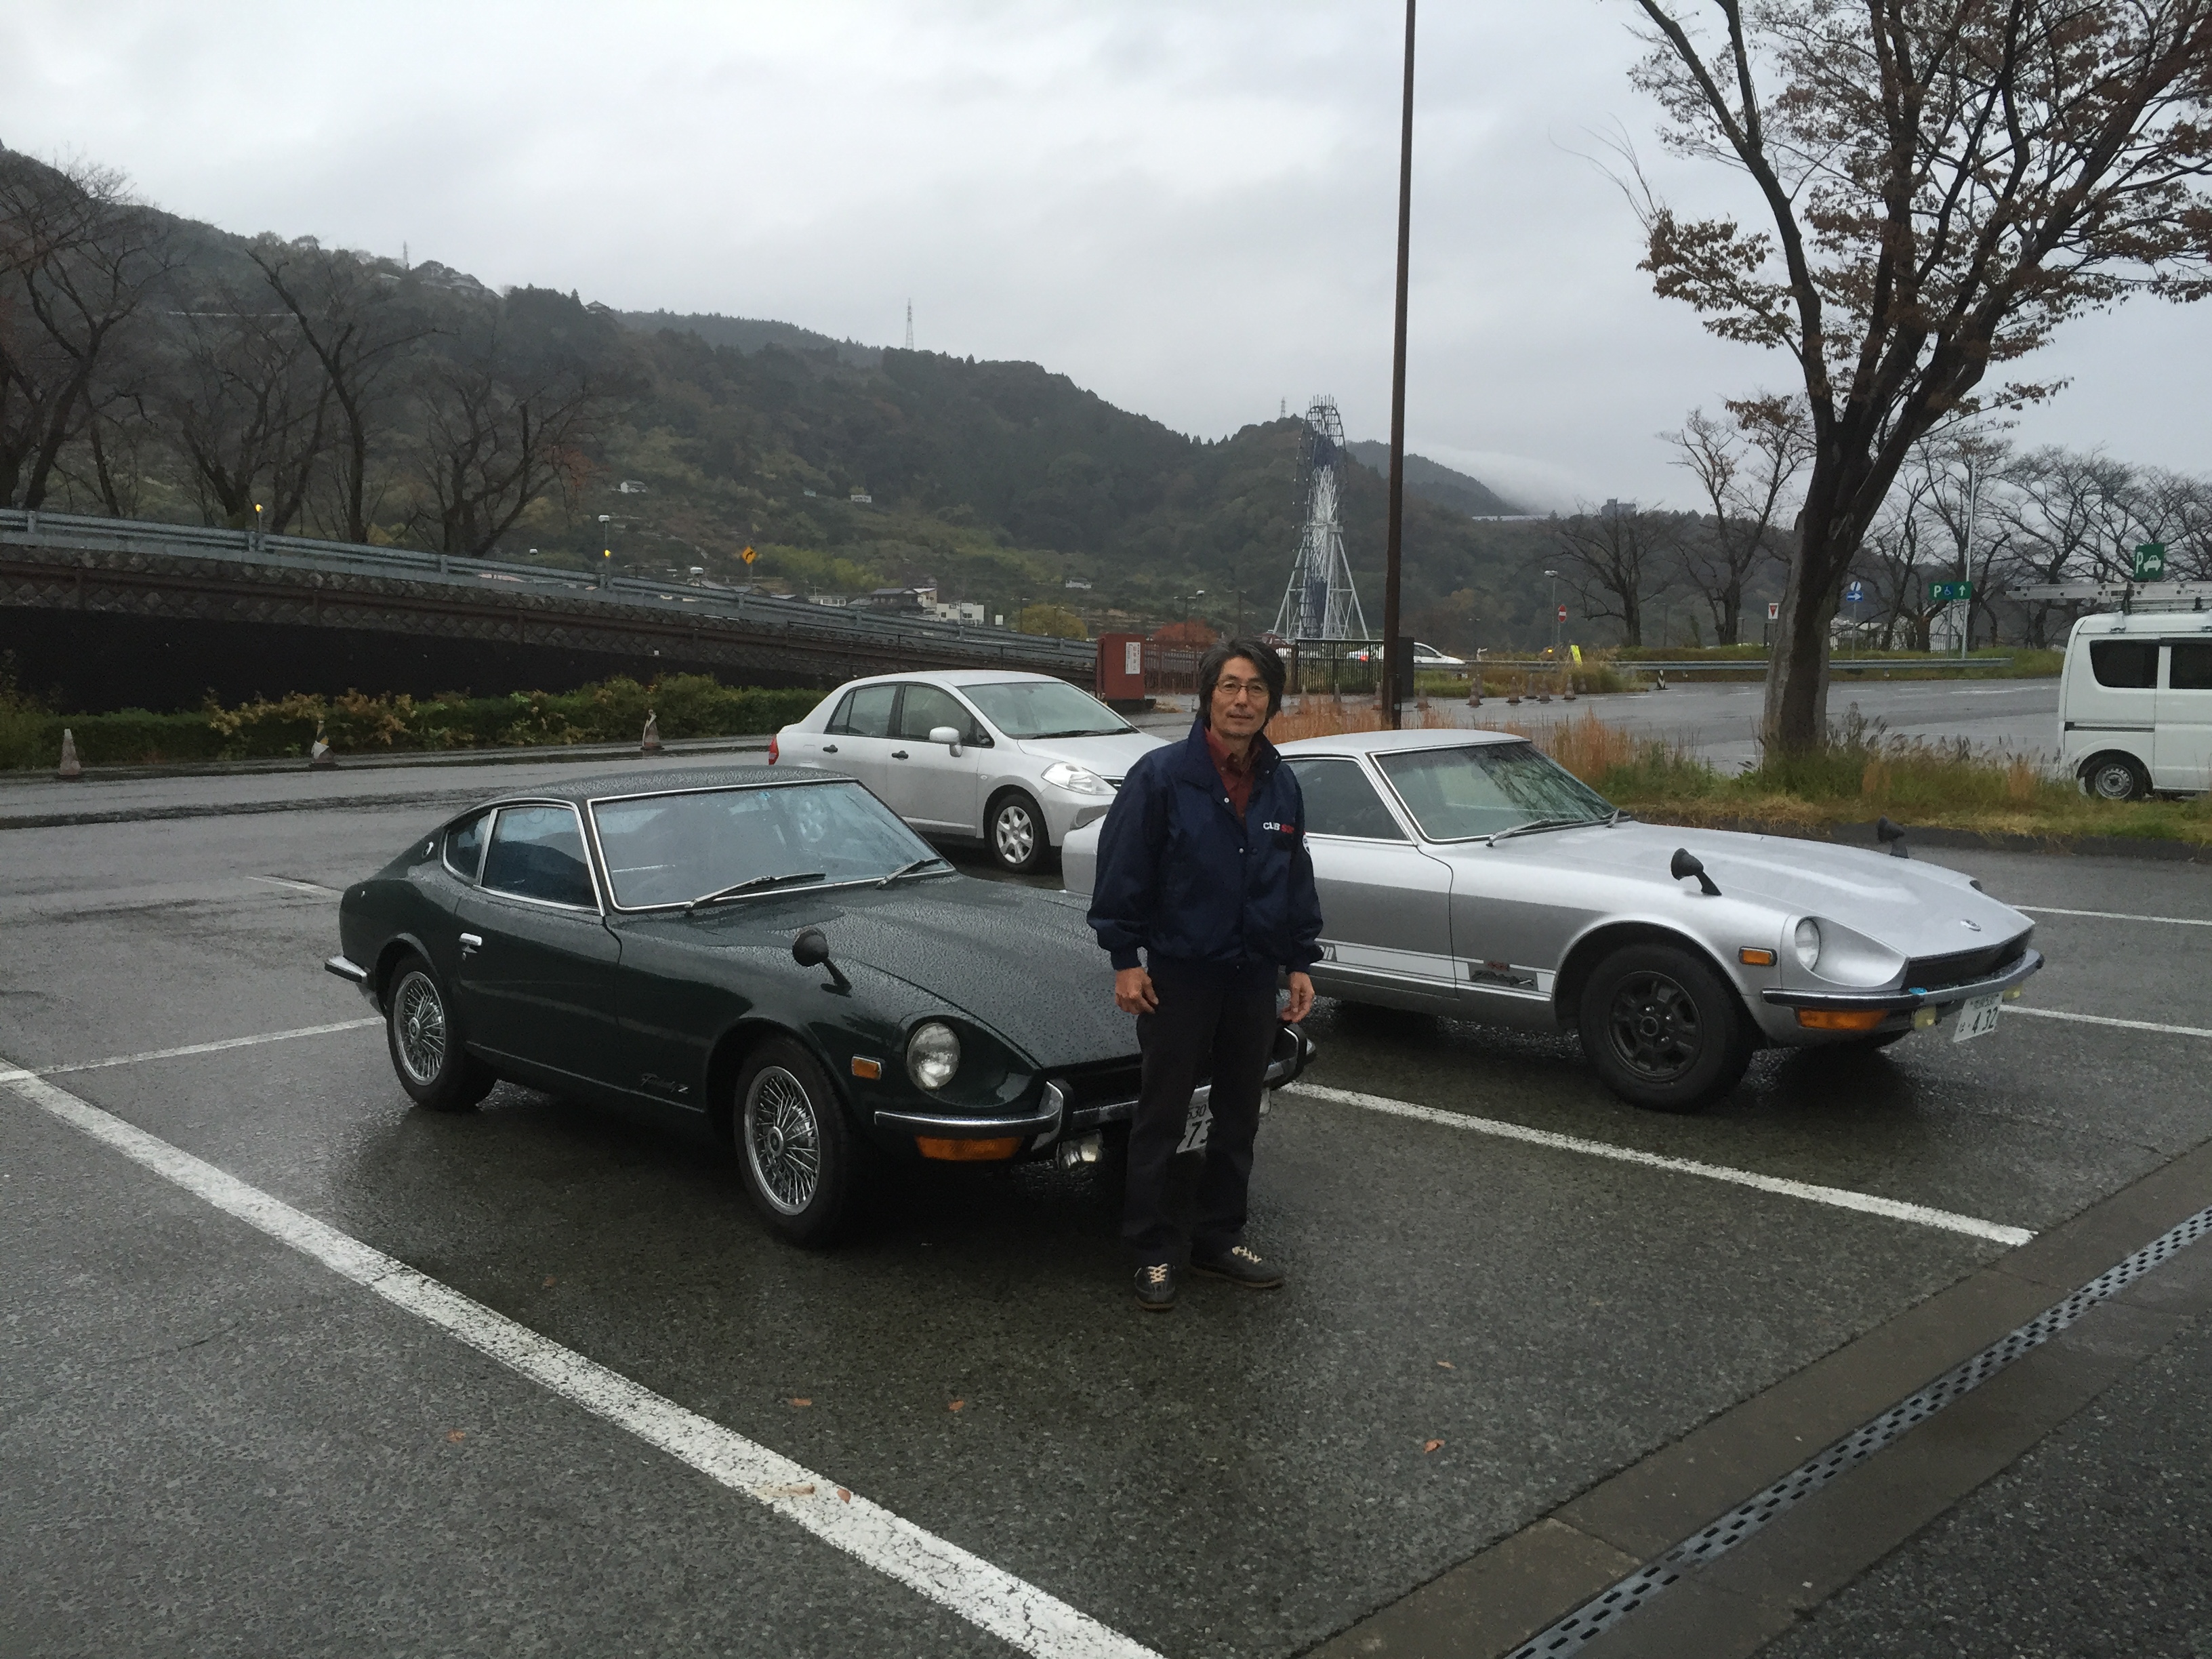
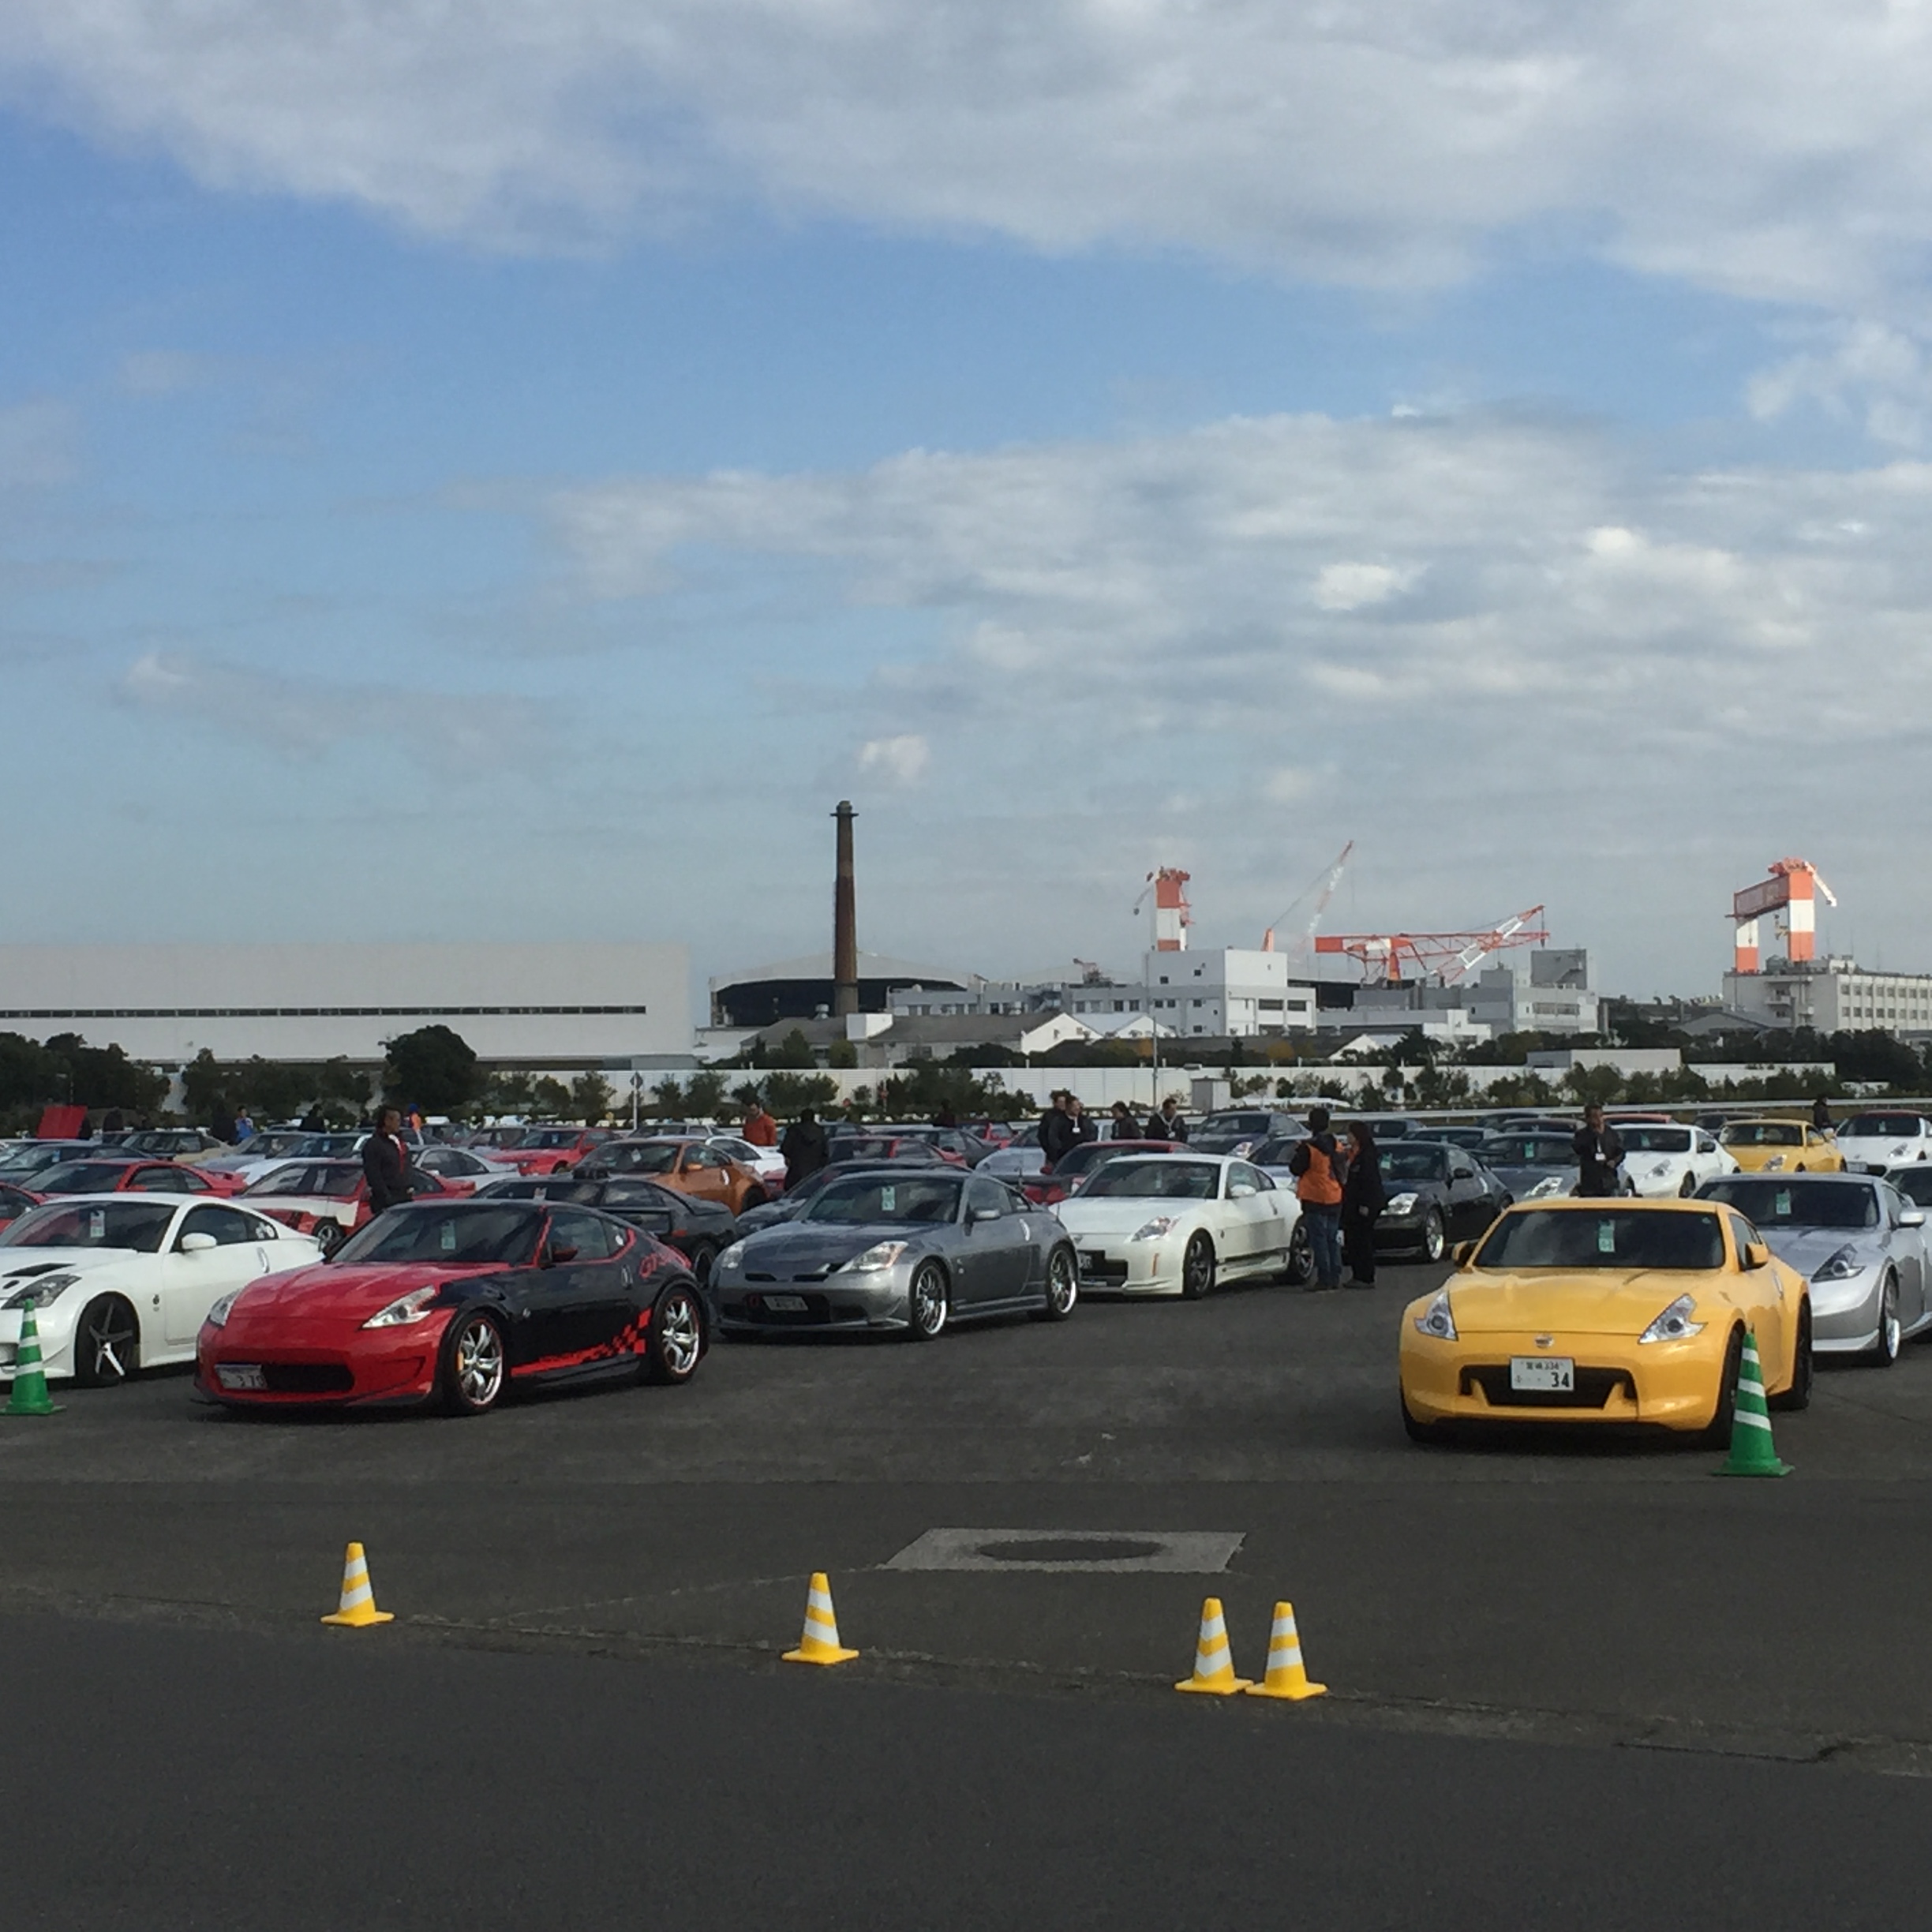
 1 point1 pointBetter photos: http://www.fantasyjunction.com/cars/1907-Nissan-Fairlady Z 432-2.0 Liter Inline DOHC 6-Cylinder1 point1 pointYes, not only is it NOT a Z432-R but it has a few un-correct items.1 point1 point1 pointOne for sale in USA https://www.hemmings.com/classifieds/dealer/nissan/fairlady-z/1873845.html No engine photos????1 point1 pointHi Kats! Very interesting to see a 432R for sale. Please keep us informed what price it brings! //Andreas1 point1 pointZcar fiesta at Oppama factory I spent wonderful time with so many Zcar owners .Total 900miles driving was pretty happy , but on the way home was in a heavy rain, my Z432 likes rain... Mr. Matsuo is doing well , he said he and some design teem members made a world round trip just after finishing S30 styling ( it was late 1968) . Nissan gave this prize to designers who's work became production model. The trip for visiting world's famous motor show. That was a special treatment , Mr. Matsuo was not for sure that his request was accepted or not, because usually a few motor shows were considered . But he made a bid, he requested Paris , London, Frankfurt, Milano, Newyork and the last one was Los Angels. His request was accepted! Mr.Matsuo met Mr.K in LA , he showed a photo of 2+2 prototype to Mr.K , Mr.K was amaized about it but he was told "forget about making 2+2 for now , I want the 2 seater as soon as possible! " Kats PS The green S30 and the gentleman next to it is Mr. Kawashima, he rebuilt transmission for my Z432.
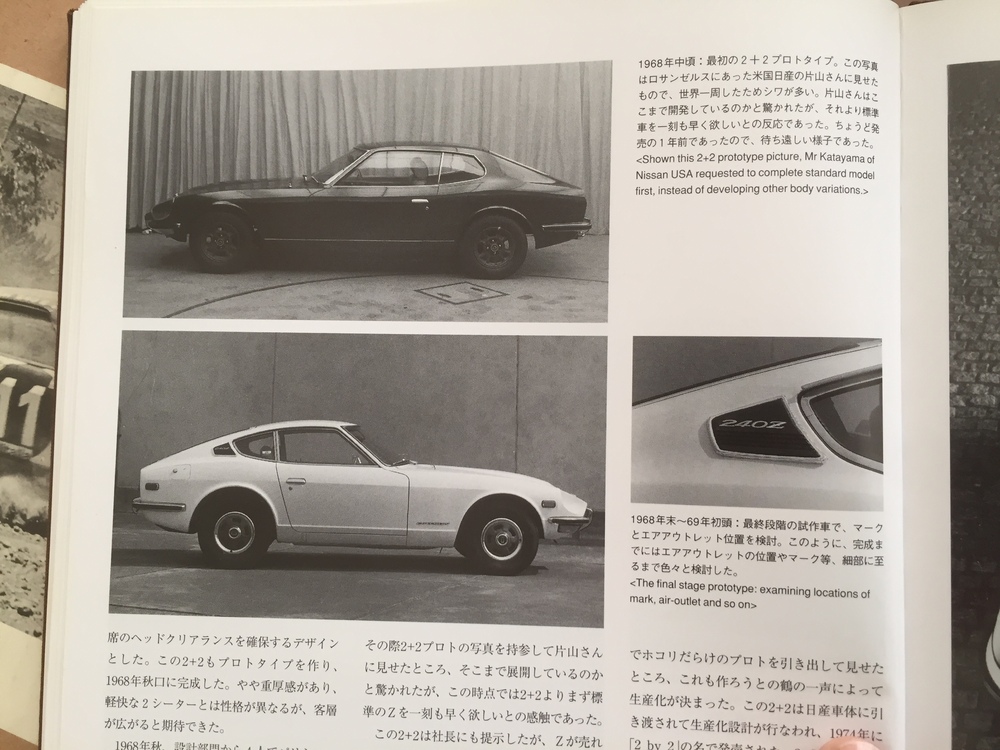


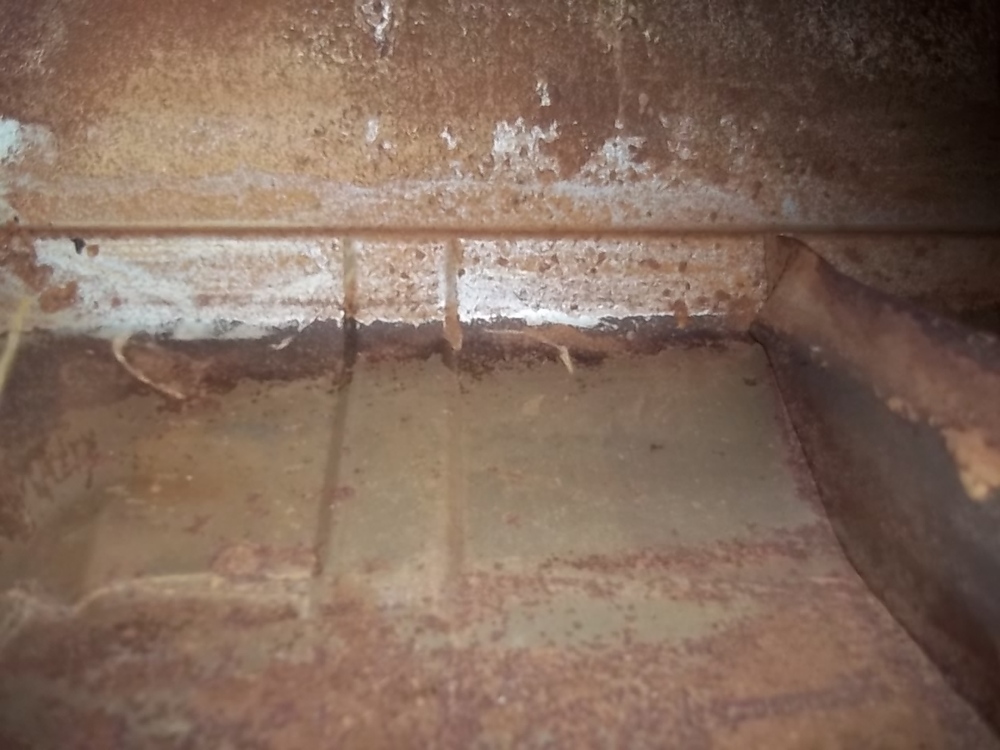
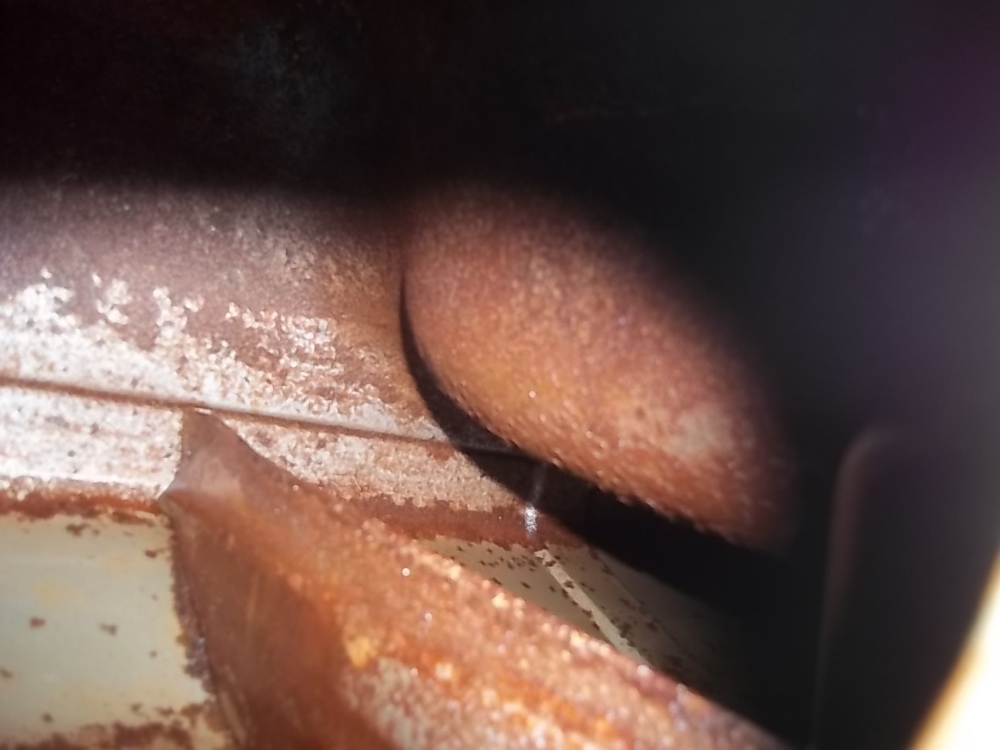
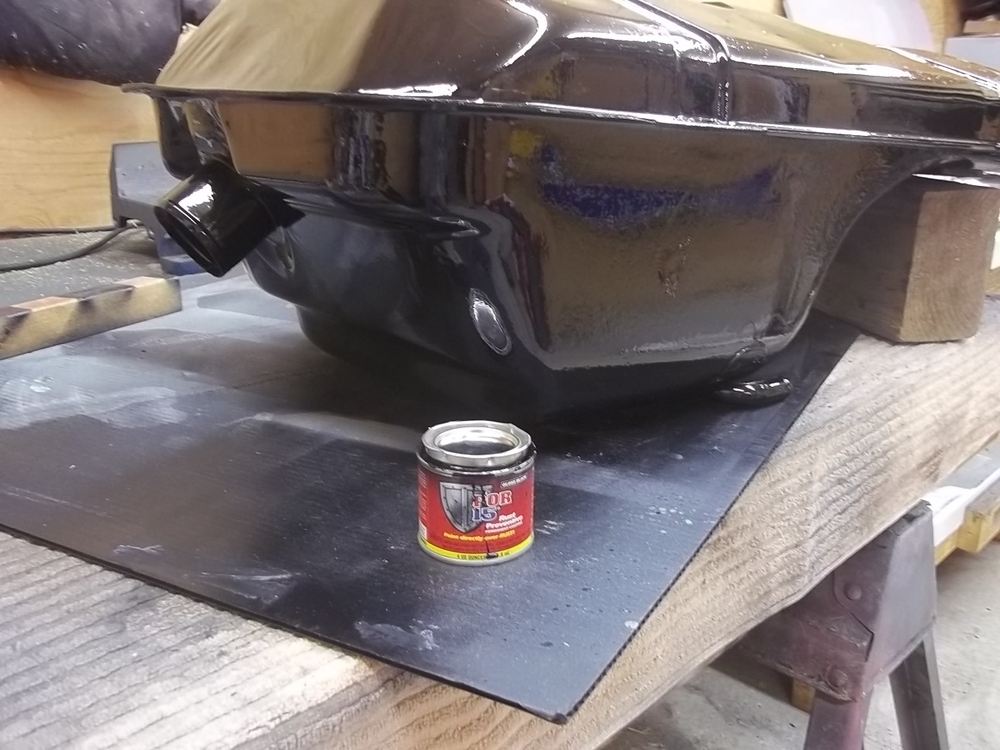
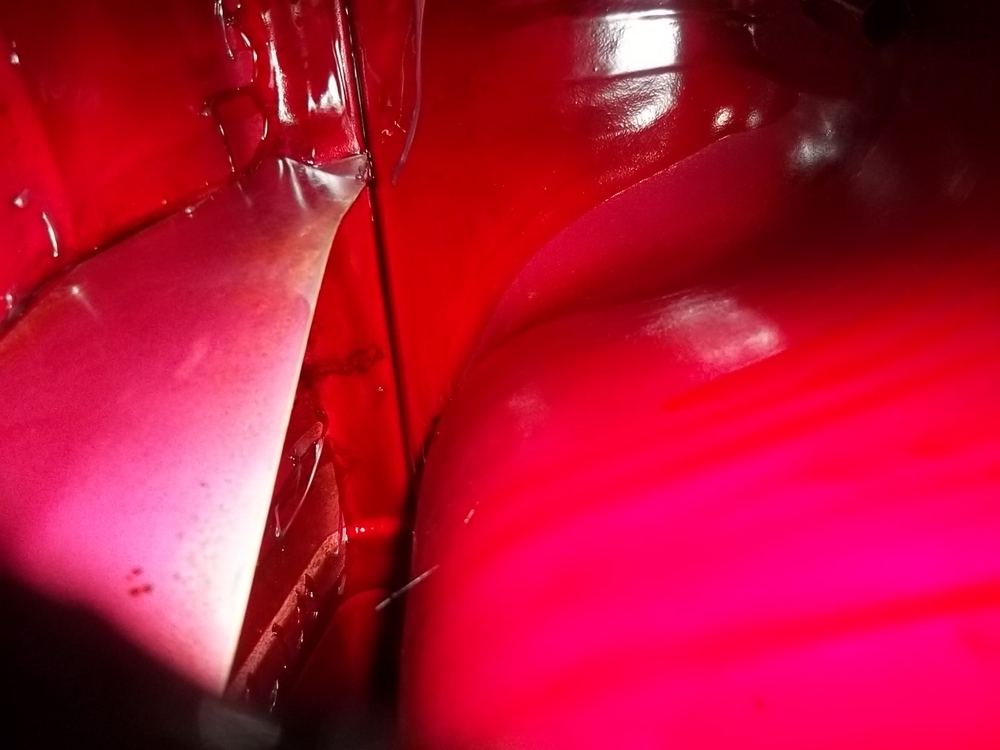
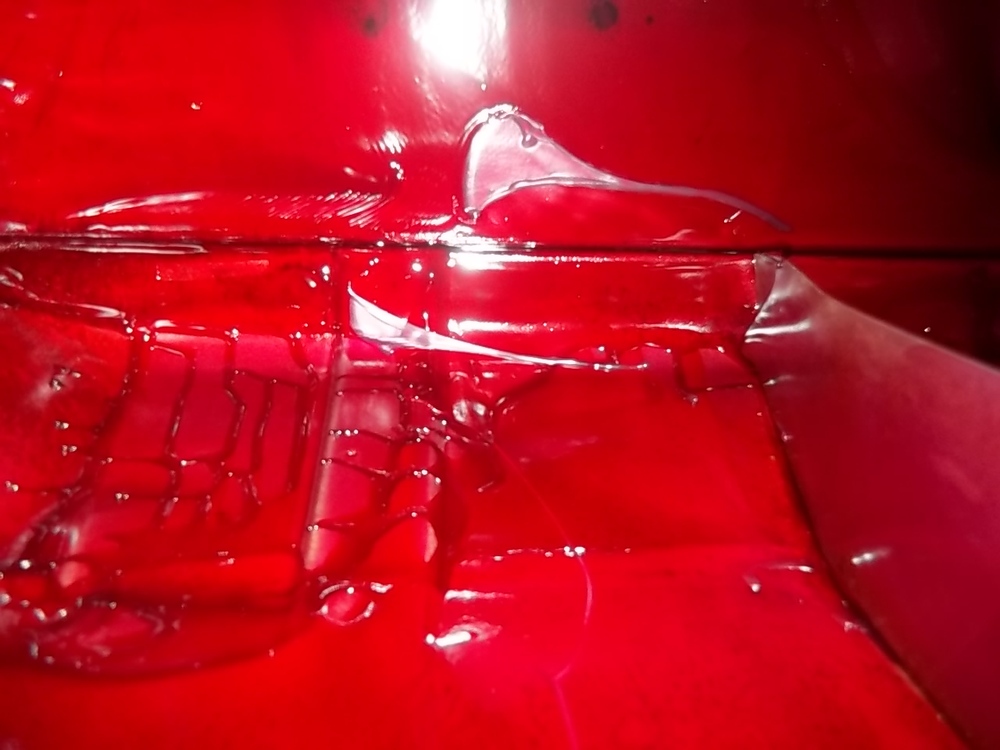
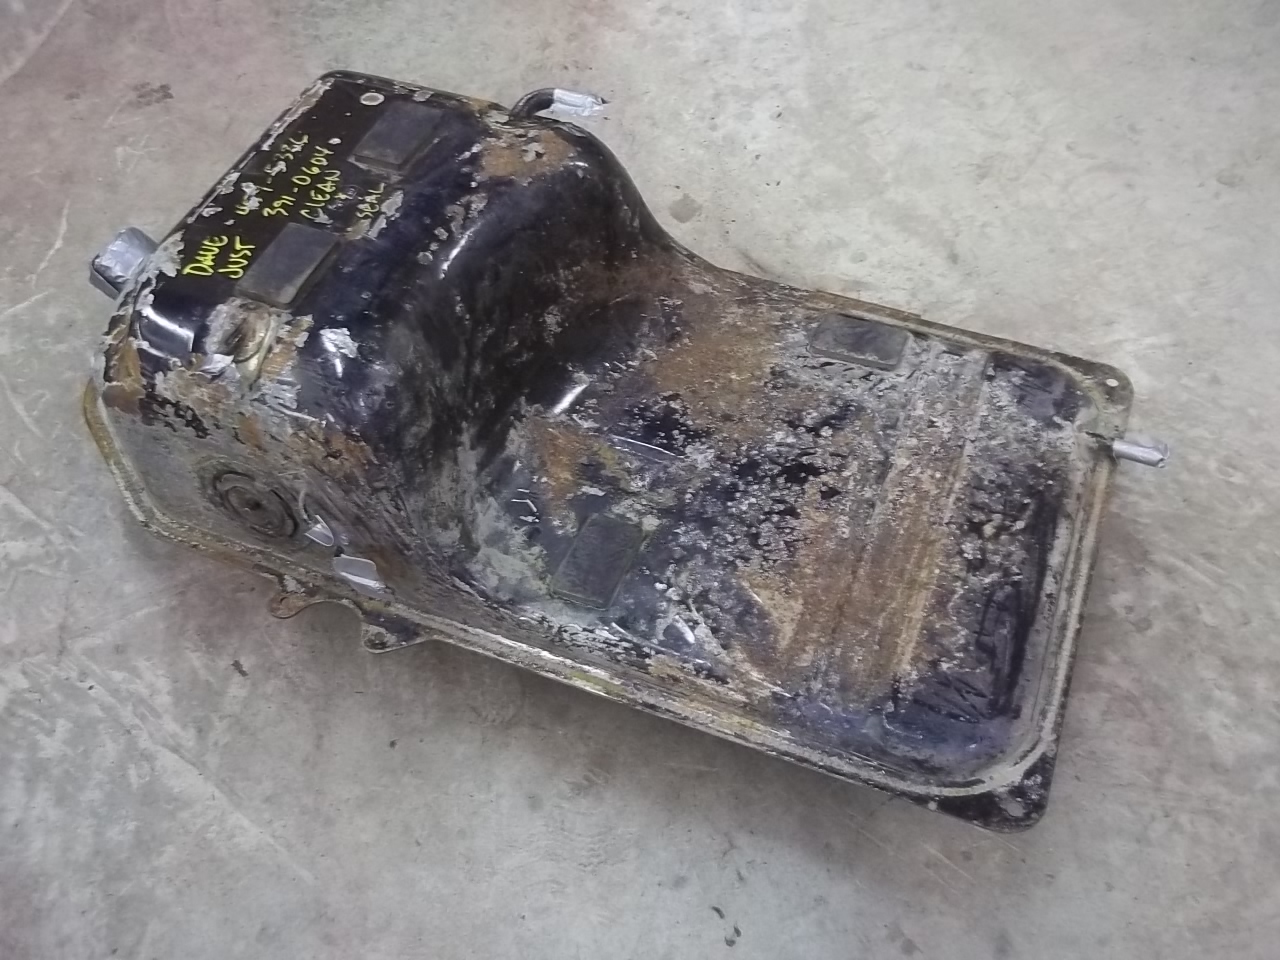
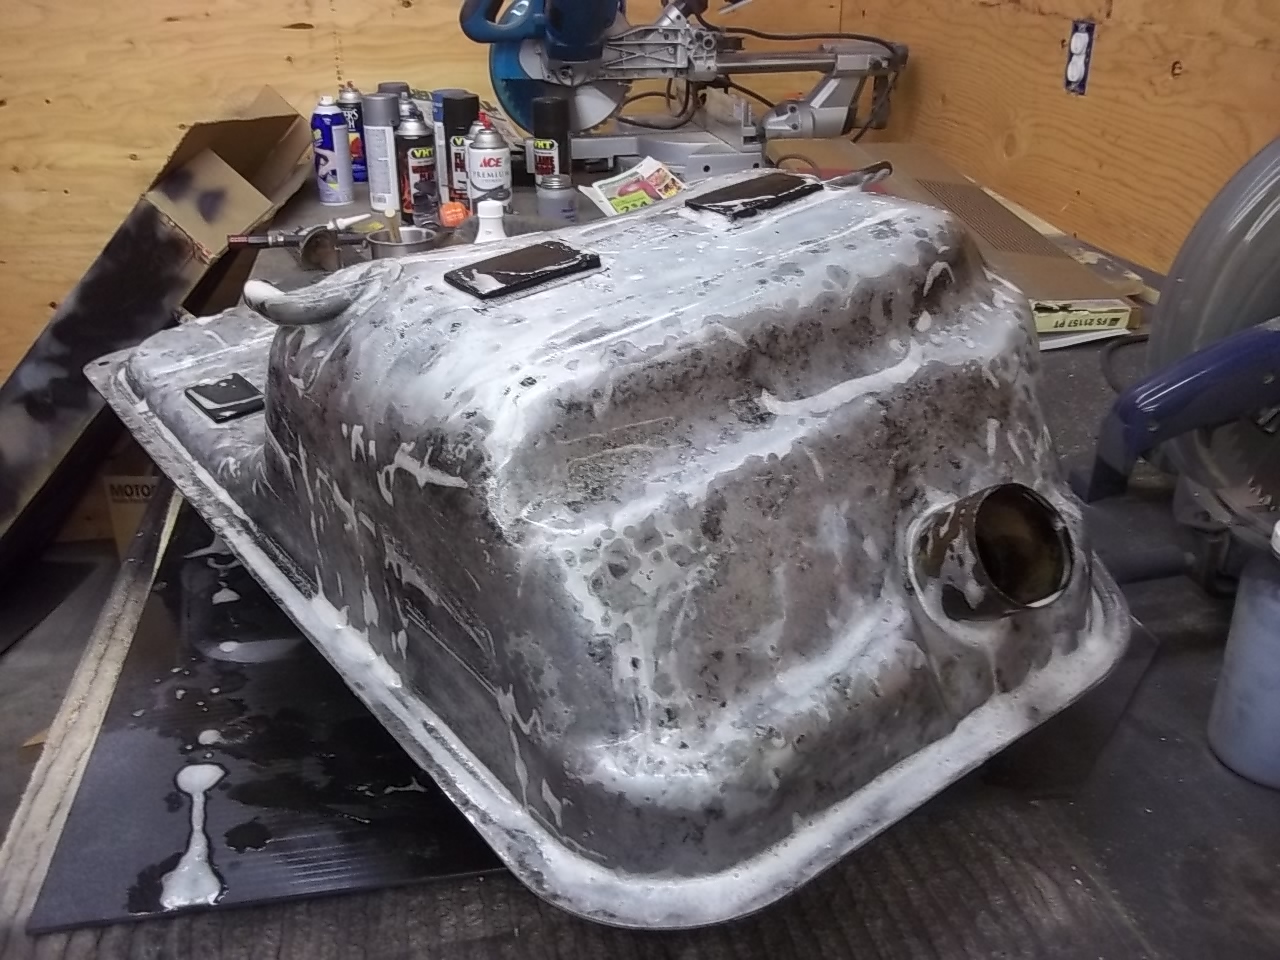
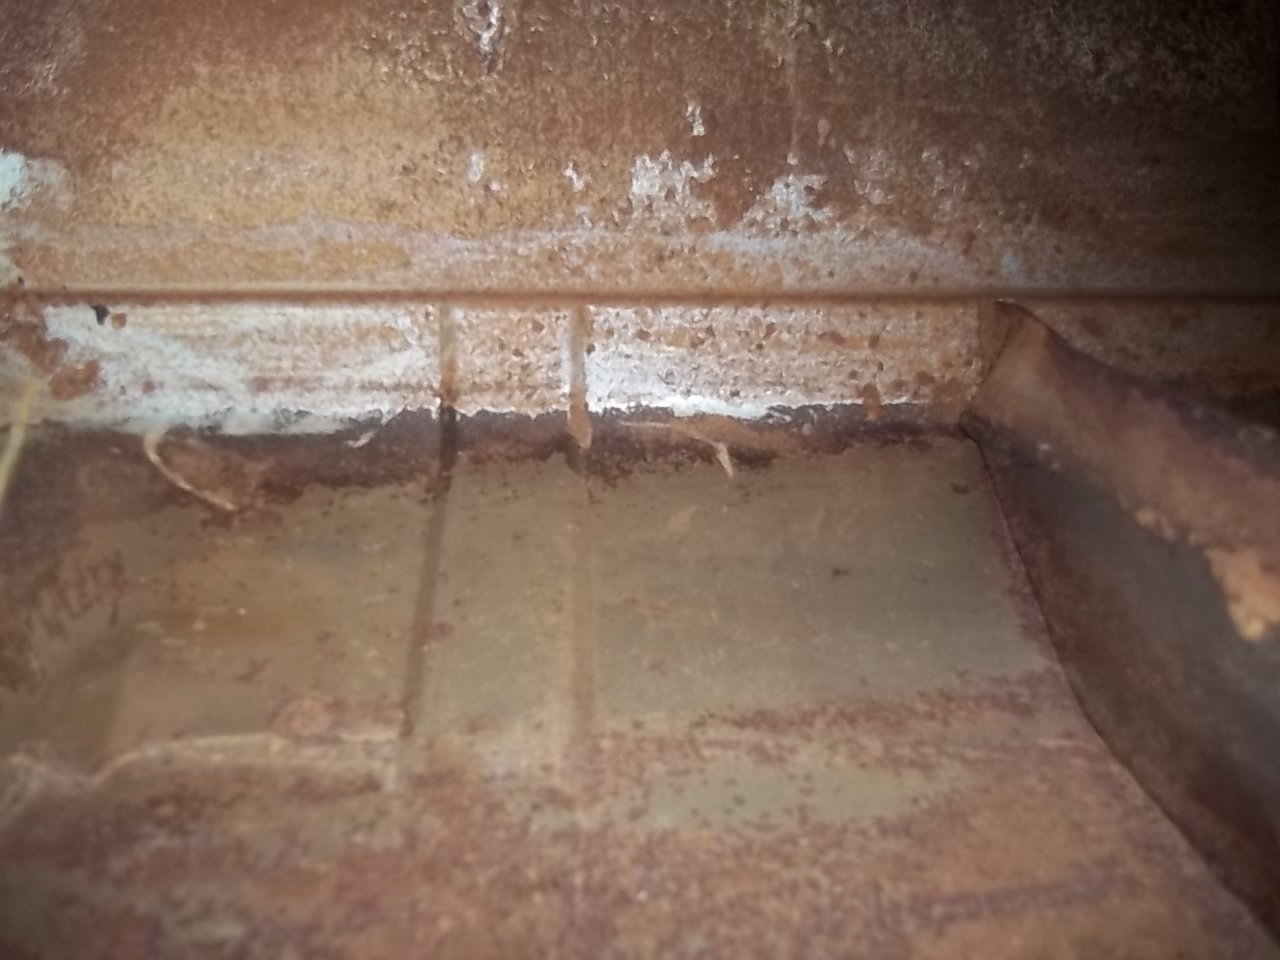
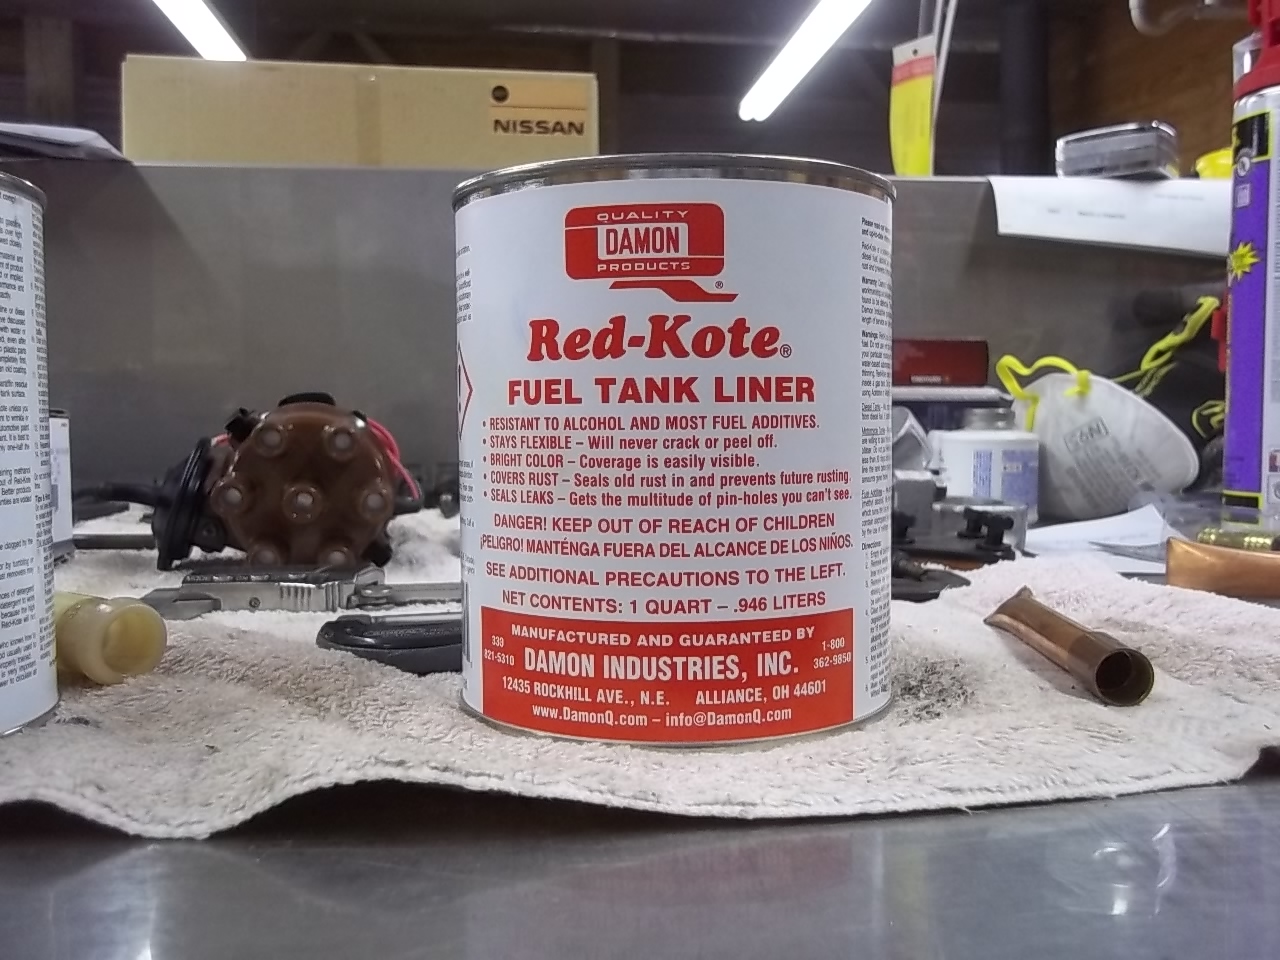
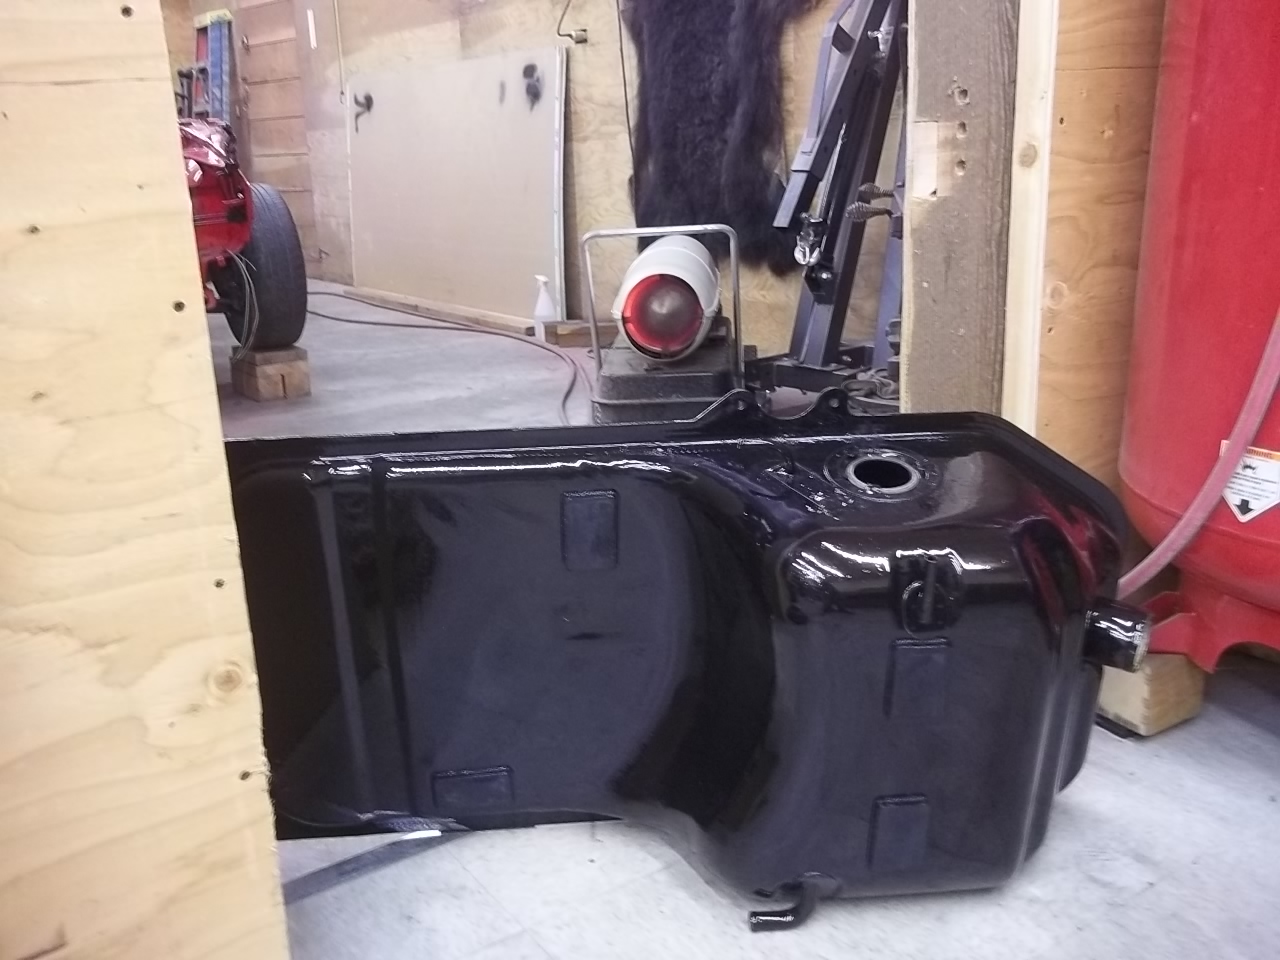
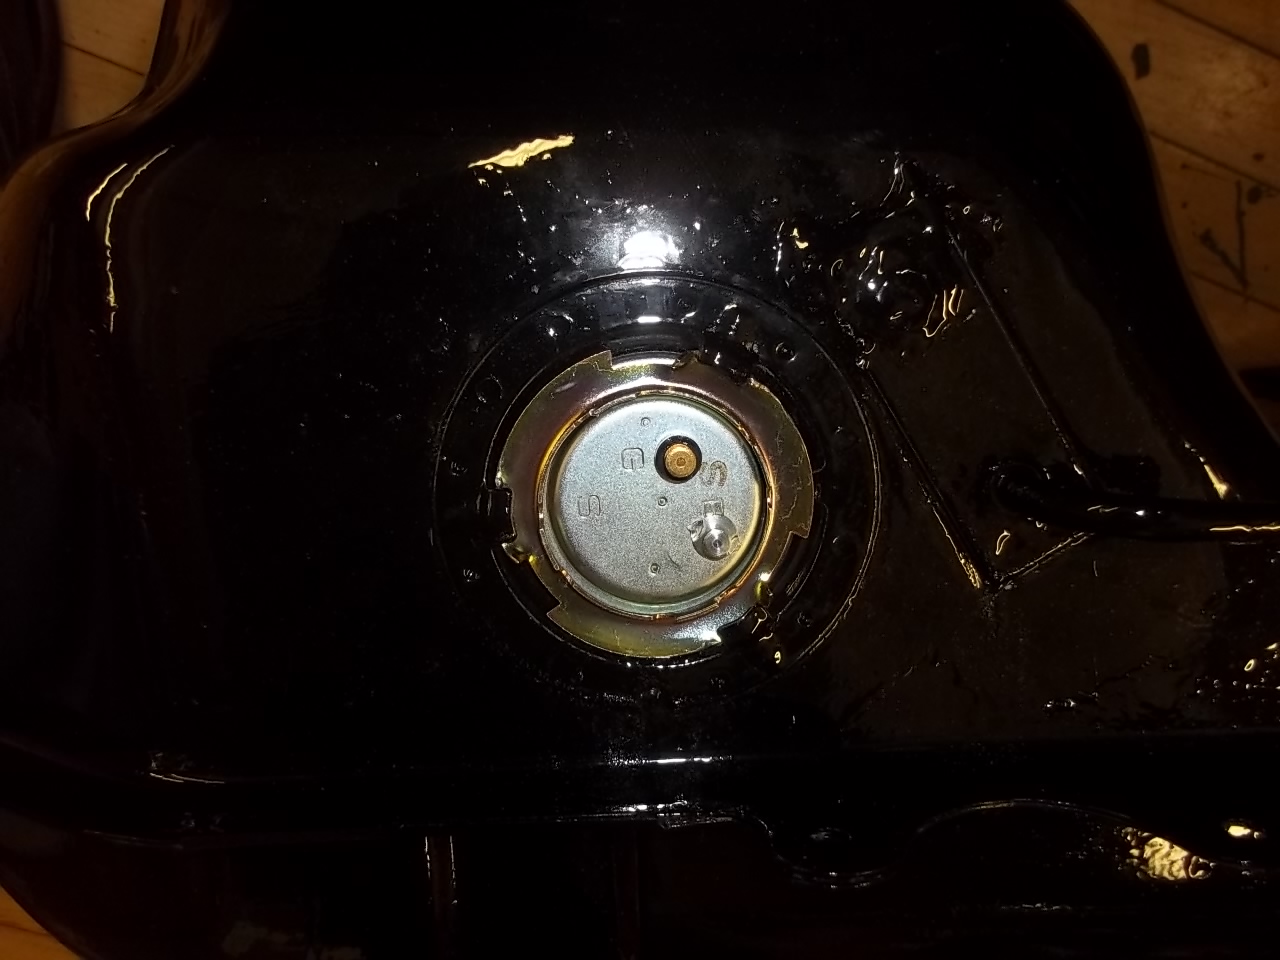
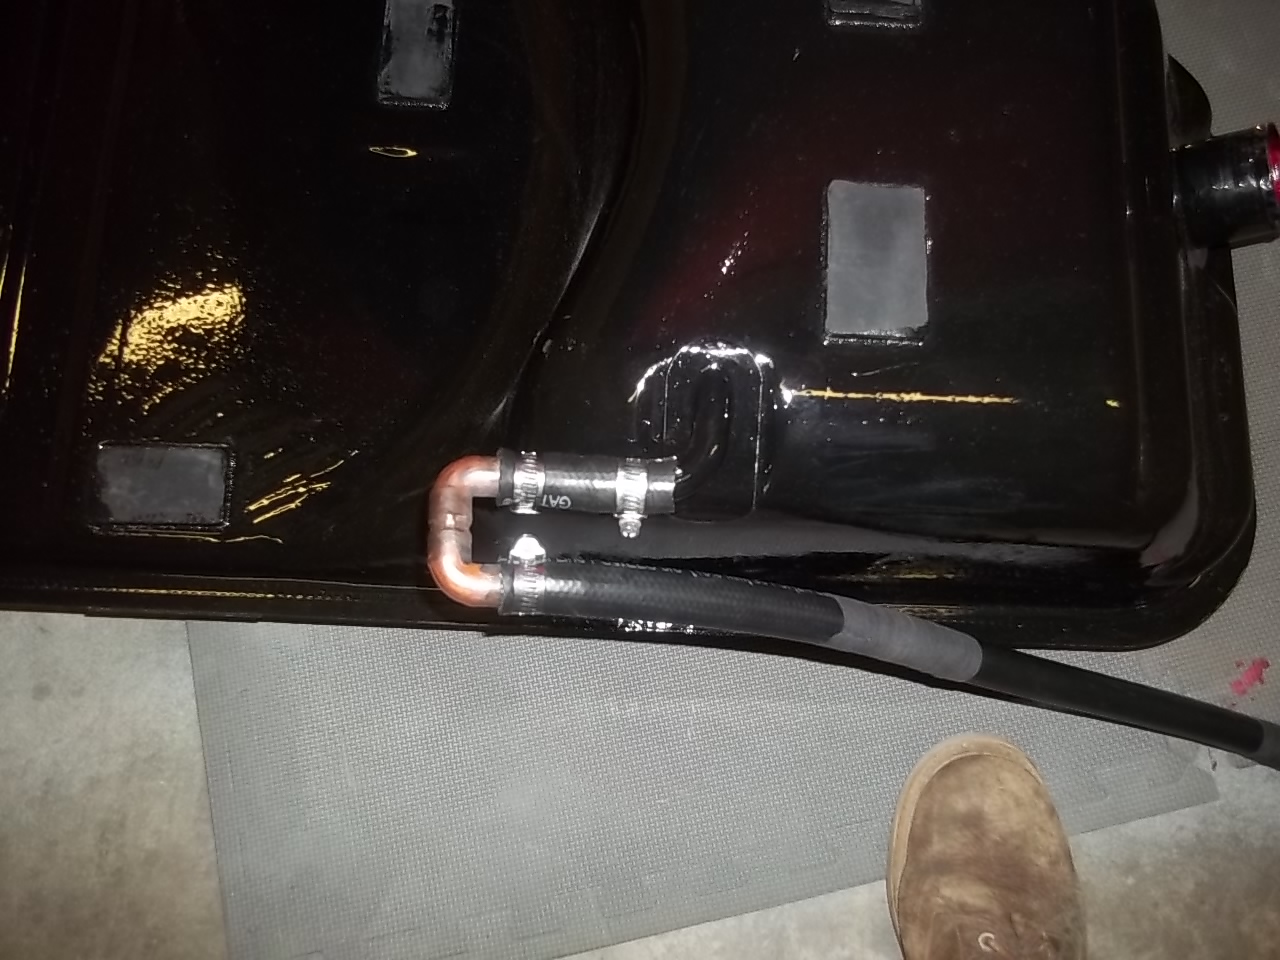
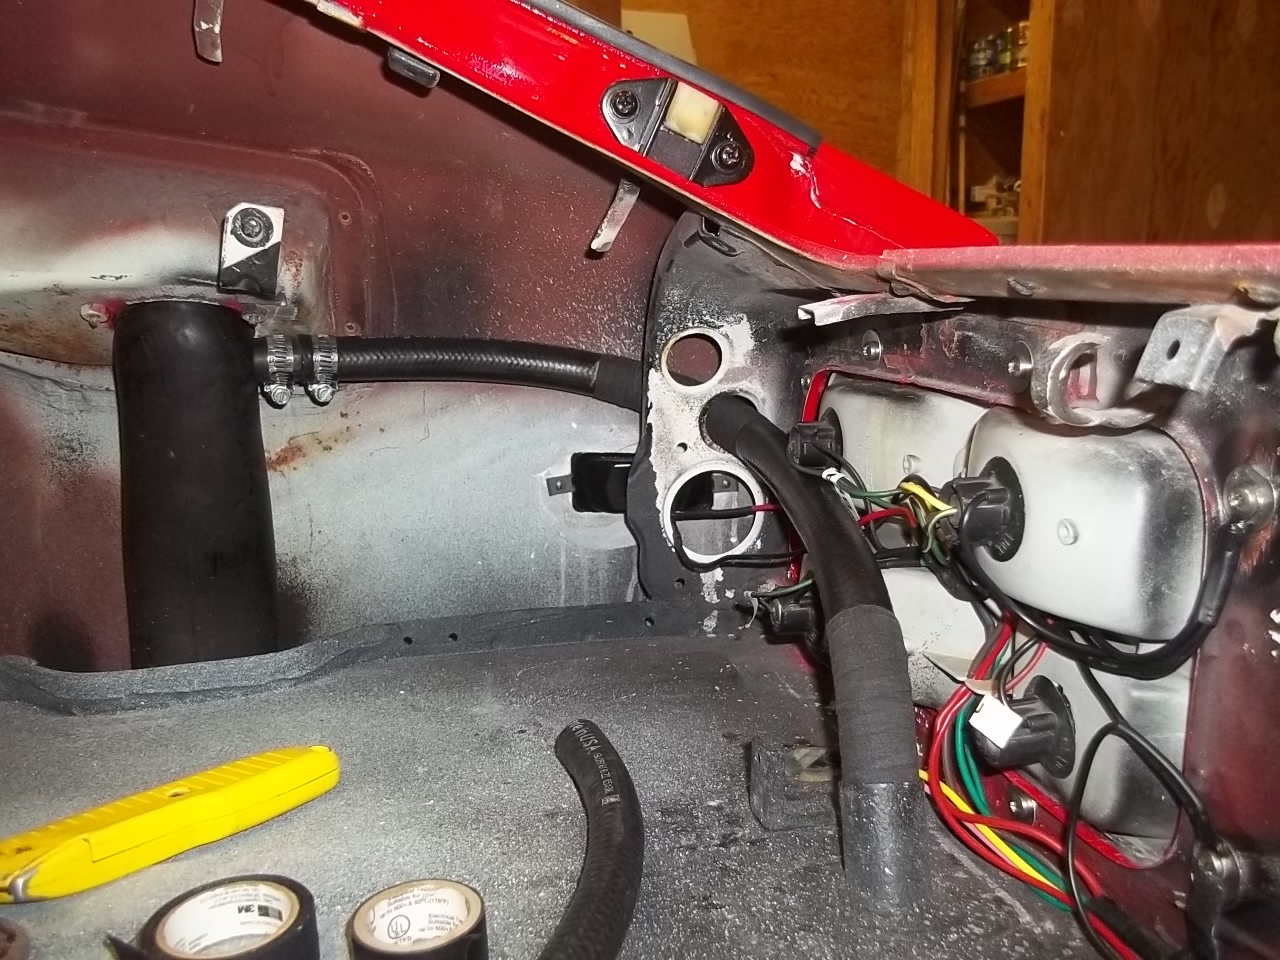
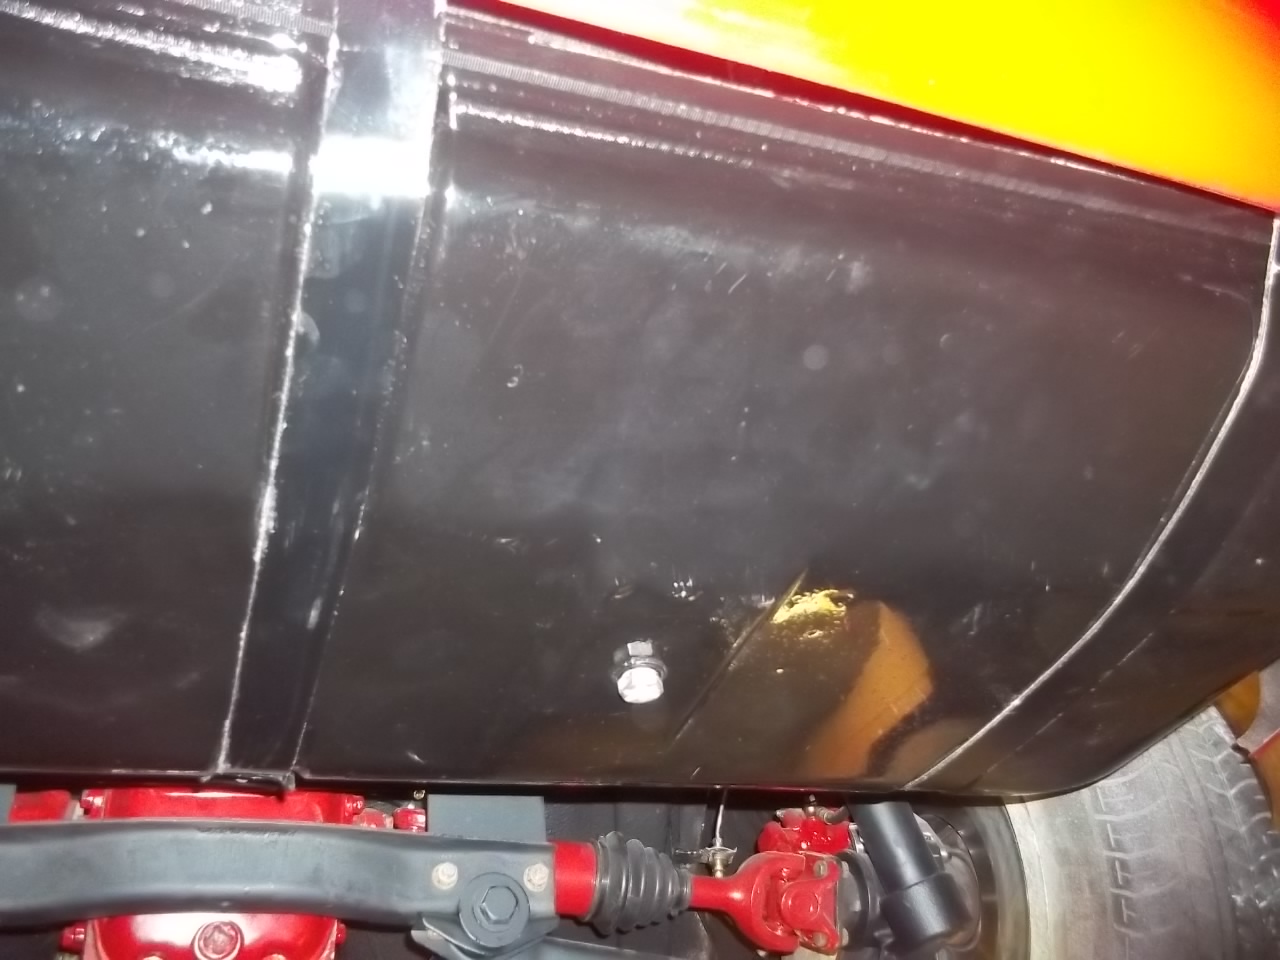
 1 point1 pointso, after 7 weeks of waiting for my gas tank, i just showed up at the guys shop. he hadnt touched it. oh well. here are some pics of before and after i got it cleaned, coated and installed in 2 days outside cleaned and ready for paint inside before cleaning after cleaning with 50-50 mix muratic acid and water outside painted with por-15. i only had a small can, so i got 2 coats on the top, and 1 on the bottom. drying the tank before sealing the inside. you have to have the tank 100% dry or the sealer wont stick i found this sealer at oreilley parts. $32 a quart. the directions say 1 quart will do up to a 12 gallon tank. i bought 2 and dumped 1 1/2 in the tank just to be sure of a thorough coating. after draining the extra, i ended up with 1 full quart extra. here is after coating and letting dry over-night. if you cant smell any fumes, its dry enough to install new sending unit and vent tube. the vent tube is the one that goes up to the filler neck. all the others are now plugged finally done


 1 pointBlue, After reading your thread again and again I have new leads for my issues with my Mikuni's . Not sure if Mikunis have an inspection plug for the progression holes, but thats where I need to look next since my engine falls on it's face over 1500 rpm just sitting in the garage. I should have inspected them while I had the carbs off- they maybe clogged.1 point1 point


Important Information
By using this site, you agree to our Privacy Policy and Guidelines. We have placed cookies on your device to help make this website better. You can adjust your cookie settings, otherwise we'll assume you're okay to continue.