Leaderboard
-
Mark Maras
Free Member2Points3,719Posts -
240260280z
Free Member2Points5,426Posts -
dmorales-bello
Free Member2Points627Posts -
Namerow
Free Member2Points1,551Posts


Popular Content
Showing content with the highest reputation on 08/16/2016 in all areas
-
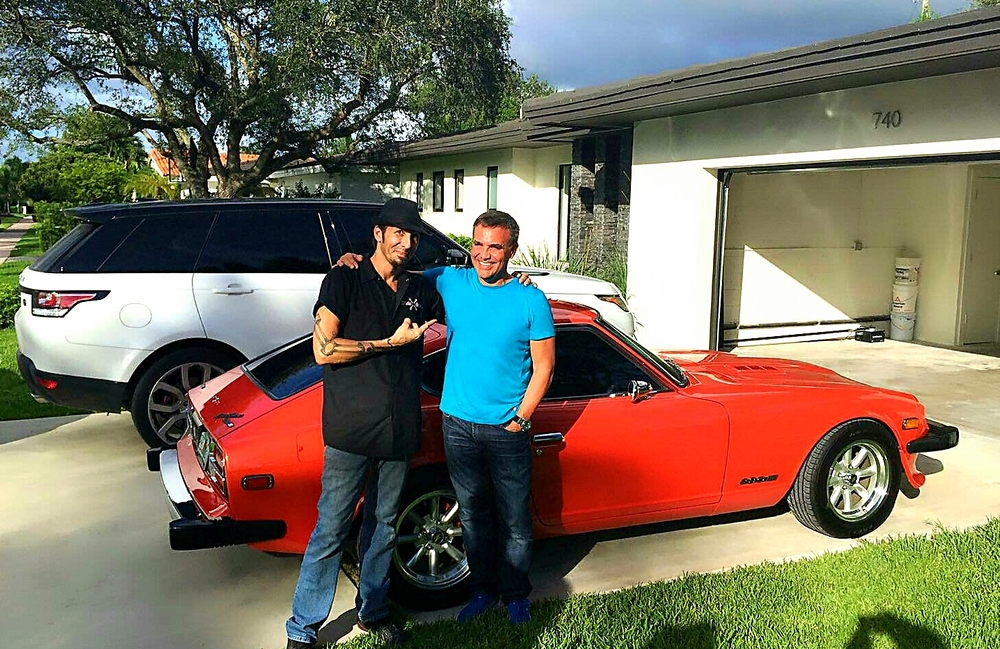
2 pointsCurious event yesterday. I was asked by my paint/body man to show my 280Z to a "friend" of his. I accepted and they showed up at my house at 3pm. The "friend" was Slick Humphries of the Discovery Channel's "Highway to Sell" series and owner of Slick's Garage. He's been a s30 fan forever (turns out his first car was 260Z and owns a similar car at this time) and wants to feature a Z project on his show. My 280Z is already "done" but he would like to use it on the show nonetheless. He mentioned what all of us already know: classic lines, iconic Japanese car, reliability, relatively low cost to own and restore, etc. and emphasized that interest for our cars is peaking and he wants to run that wave. Let's see if anything comes out of this and I'll keep you guys posted.
 2 points
 -
2 pointsWell, third time's a charm, it seems. After two lengthy and unsuccessful adventures with a DIY electrolyte set-up, I finally spent the money and bought the Caswell chemicals. It took me almost full day to create a new set-up... I created all-new baths (distilled water, muriatic acid, MEK solvent, Caswell electrolyte, Caswell blue chromate & Caswell yellow chromate). Every container was wiped down with alcohol before use, to make sure and manufacturing residue, fingerprints, etc. were gone. I also replaced my wire wheel (brass) with a new one, just in case the old one had acquired any kind of contamination. The acid bath was mixed at 1 part acid to 4 parts distilled water Electrolye and chromate baths were created according to the directions on the Caswell packaging (I didn't buy their manual).and added new ones for the electrolyte and the two phosphates) I used a fresh, single hoop of Moss-Boss zinc foil I added 1/2 teaspoon of Caswell's brightener liquid before getting started No heating used for the acid bath, nor for the two chromate dips My detergent bath consisted of a 4-qt crock pot full of distilled water, to which I added 400ml of liquid ammonia and a shot of dish detergent. I kept this at about 100 degrees F. Parts were scrubbed with a toothbrush, then rinsed off in a distilled water bath. The electrolyte bath was kept heated at between 100 - 110 degrees F during plating, with constant agitation using an aquarium bubbler. I pre-heat the solution with a hot water tank heating element, then remove the heater before I start plating. I started at 110 degrees. The temp dropped to about 100 degrees over the plating period. Plating current was set based on 140mA per sq.in. of part surface. I ran the part for 20 minutes, turning it 90 degrees at the 10-minute mark. I wasn't actually ready to get started with my first part (a brake line clip from the engine compartment) until about 3:00 Sunday afternoon. The part looked good coming out of the zinc plating step -- full coverage, dull light grey, no burning, no visible edge or corner effects. It got a quick swish in a distilled water bath, then into the blue chromate for a 60 s. dip. After that, it went directly (no rinse) into the yellow chromate dip for a 15s dip. Then a quick rinse with tap water. Then a 1 min. blast with a blow drier (running on HI heat). I can't tell you what a relief it was to see the part emerge like this... I'll post some pictures of my set-up later, along with some additional comments about settings and running multiple parts. I haven't tried any large items yet, so that remains an unknown.
 2 points
 -
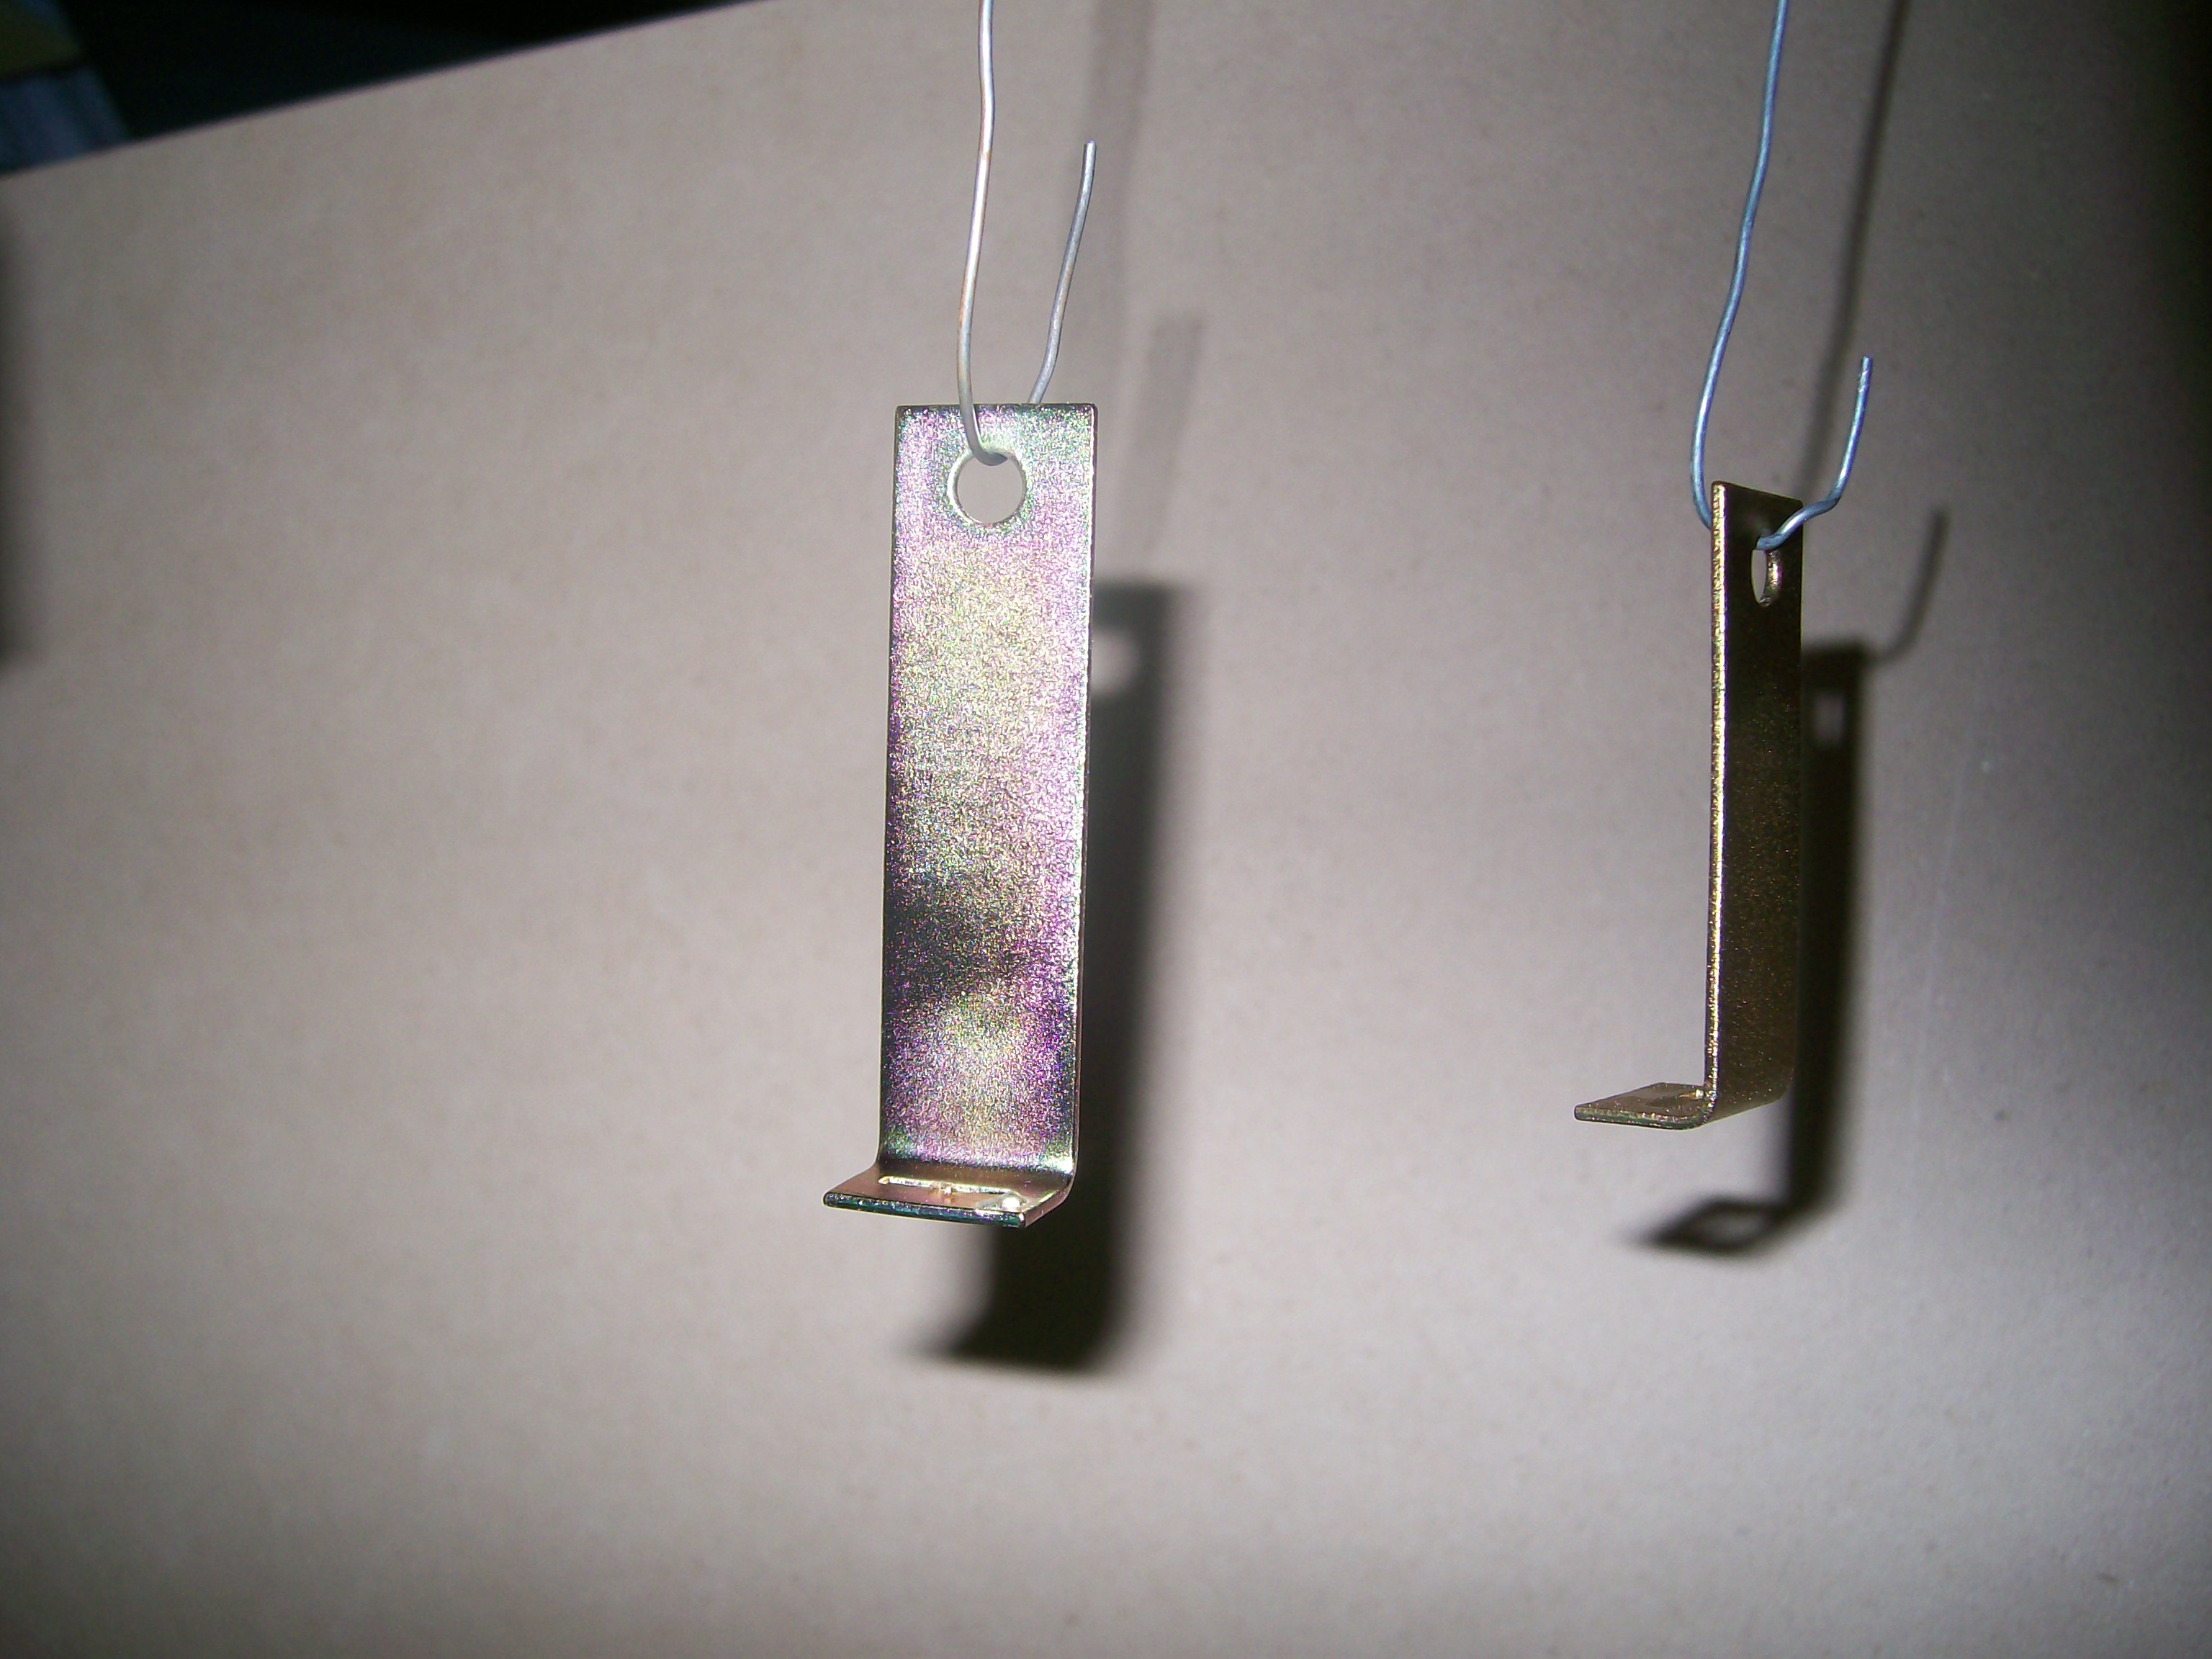
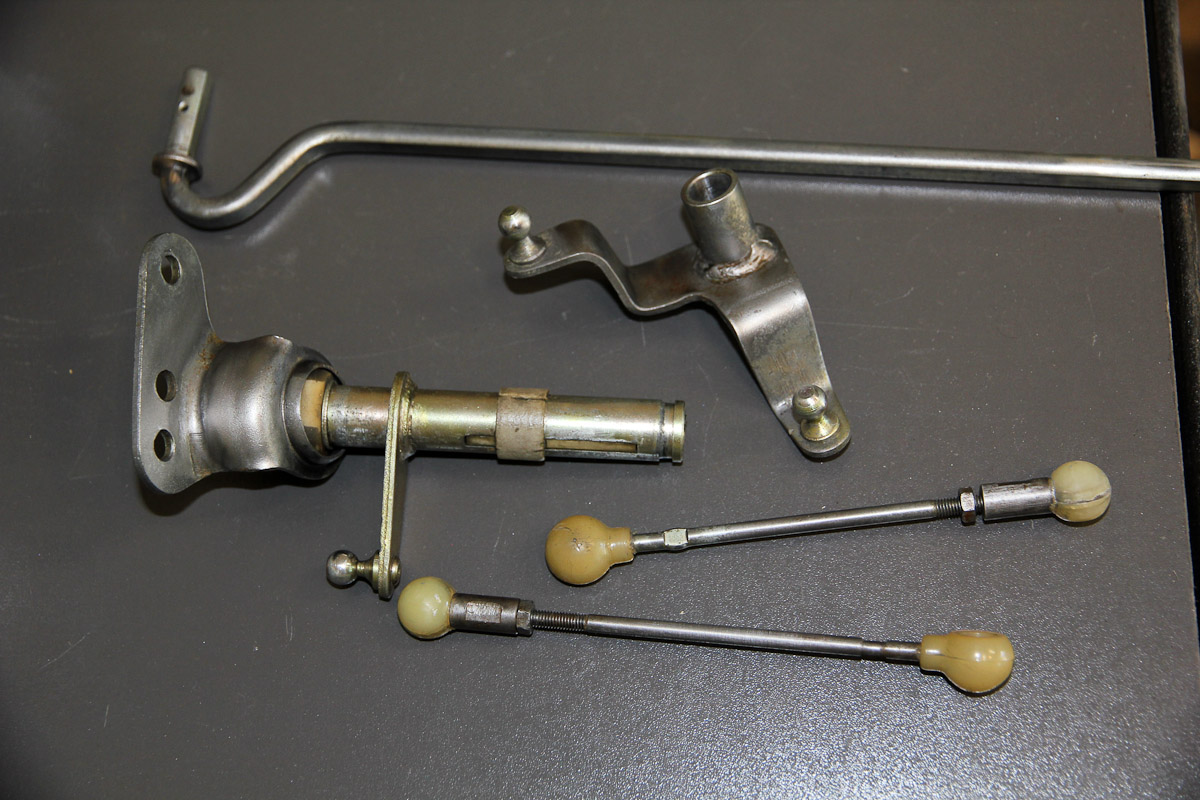
Hi All, I'm starting this thread to share a few early S30 1969 parts that I know for certain as well as some unknown parts that came with the car. I need your help to identify. I am in KATS mode1 point
-
1 point
-
1 pointNope. But if, there was excessive blow by caused by poor piston ring sealing and if the PCV valve was plugged it would be possible to build enough pressure in the pan to move the dipstick out to relieve the excess pressure. No oil pressure in the pan, just air turbulence from the crank, the bottom side of the pistons and ring leakage.1 point
-
Let me rephrase that statement- WE figured it out- thanks for the help guys. So if someone was to ask me to help do this I would say - Forget all the wires but the two black and whites and the green and white( this is if eliminating ballast and automatic thermo relay) Get your ohm meter and find the black and white and green white that has continuity. Take that black and white and put it on the positive terminal of the coil. Take the other black and white and solder it to the green and white . Done . What I did wrong! Disconnected everything and started from scratch . BUT I also looked for 12 volt source with all wired disconnected . When I did find 12 volts wire I used it for positive coil . I should have used the other black and white. Hope all this makes sense Sent from my iPhone using Classic Zcar Club1 point
-
Steve. Don't forget to check the Piston to Valve clearance with lightweight checking springs. You need at least .090" clearance. The Intake valve is usually the one that can cause interference, as it's opening BTDC as the piston is nearing TDC.The .035" off the head reduces the Piston to Valve clearance.1 point
-
1 pointIt may be just the ISP is down. The company is servage and they are terrible. I plan to open a new site this fall. Probably Mainland Chinese Hackers. They hit our corporate website back in 2001.1 point
-
1 pointI'll host it for @Blue for no fees... as long as he can still get to his data. (or he could be working on it)1 point
-
****ing NBC $^!#-head mother****ing douchebags. I wanted to watch the womens 400 m and I accidentally opened a site that reported the winner already. Those money-grubbing bastards should have their dicks cut off if they haven't shriveled up to nothing already.1 point
-
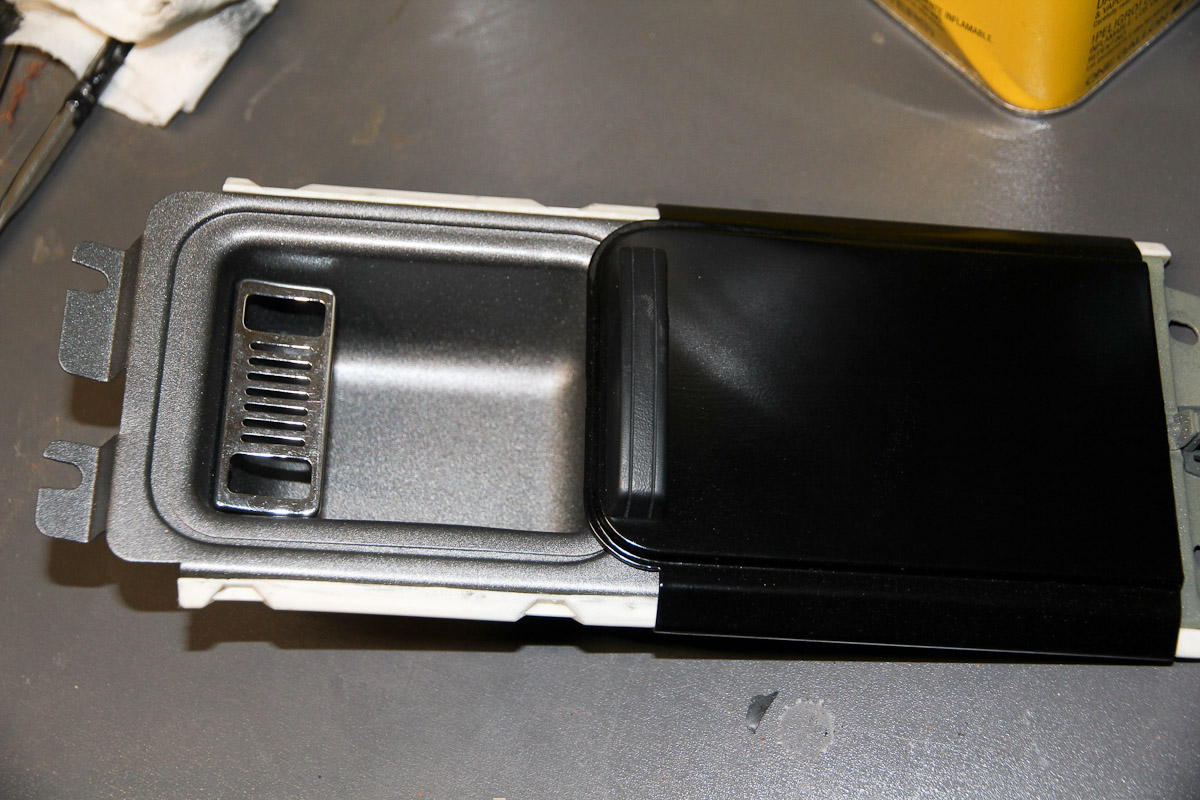
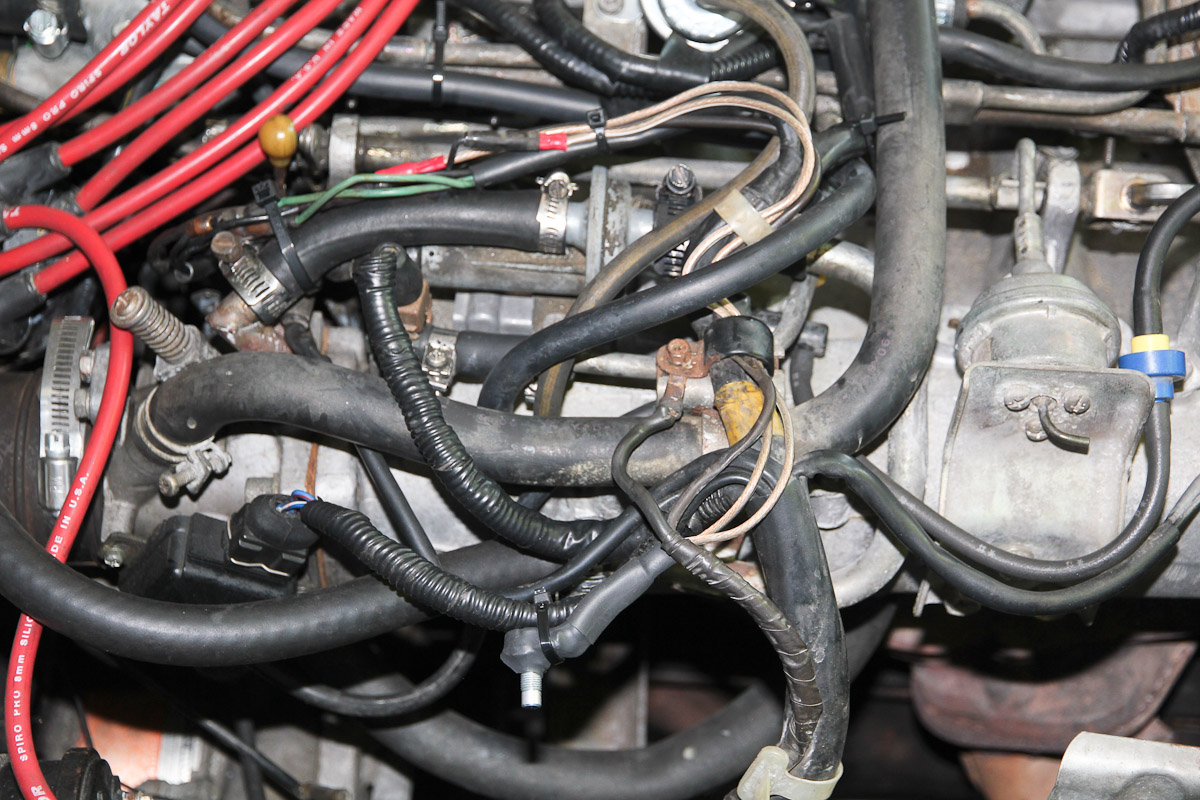
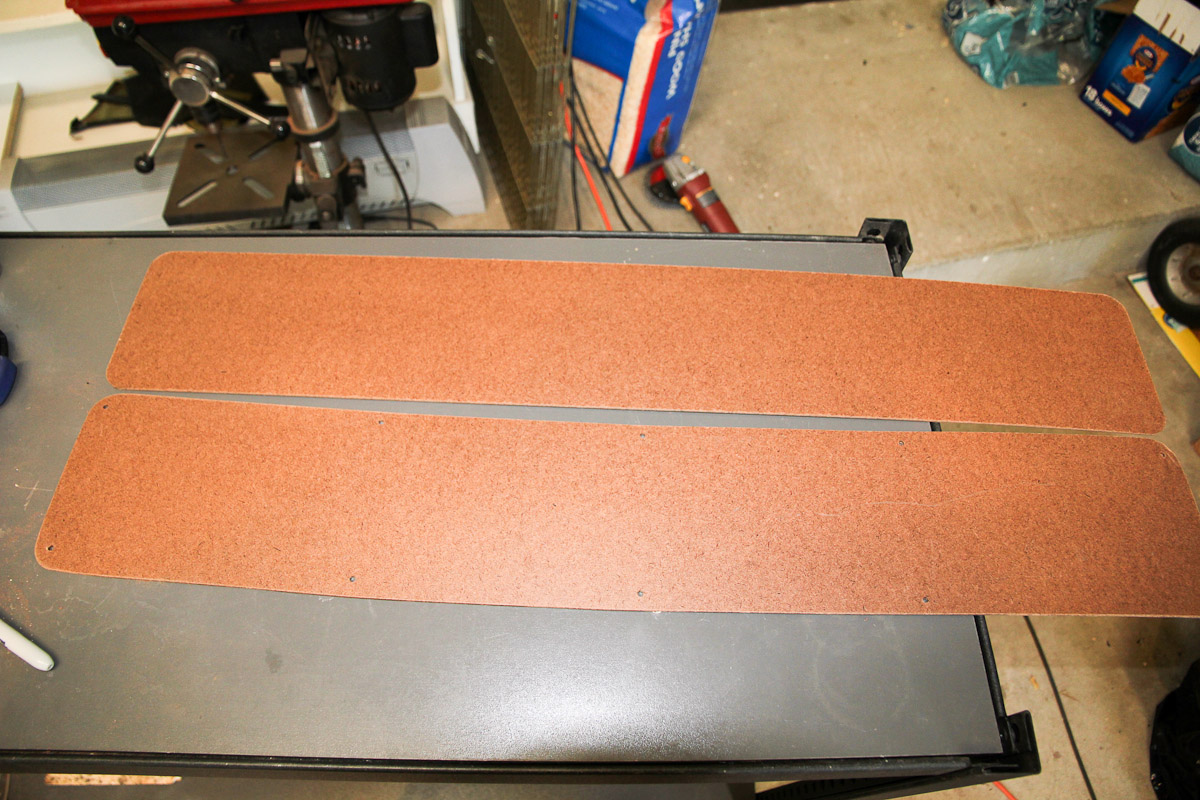
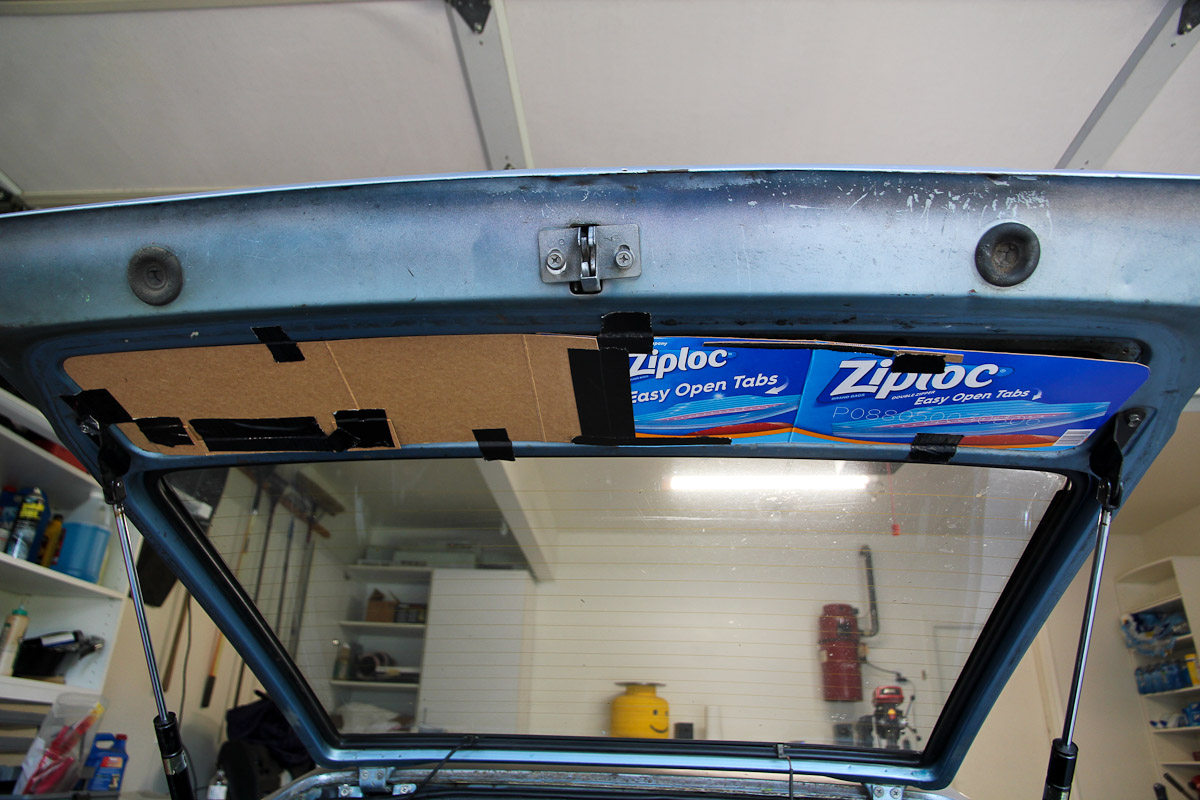
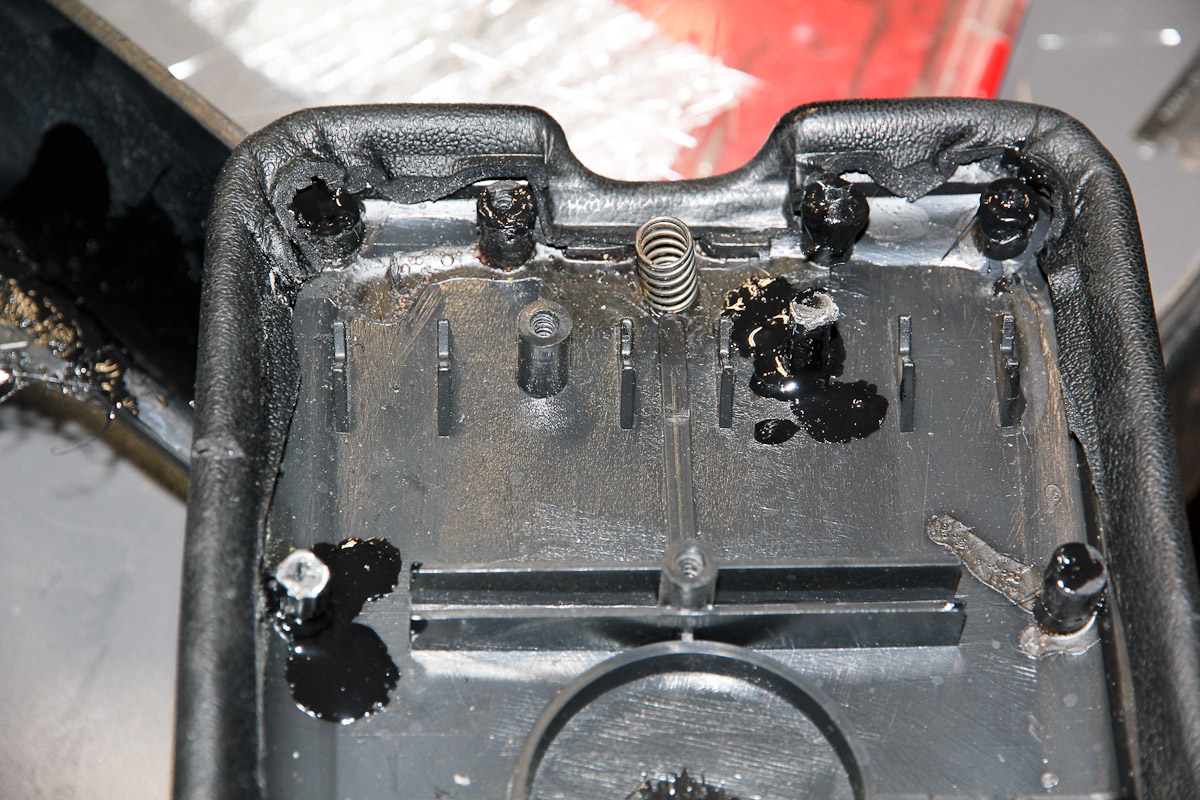
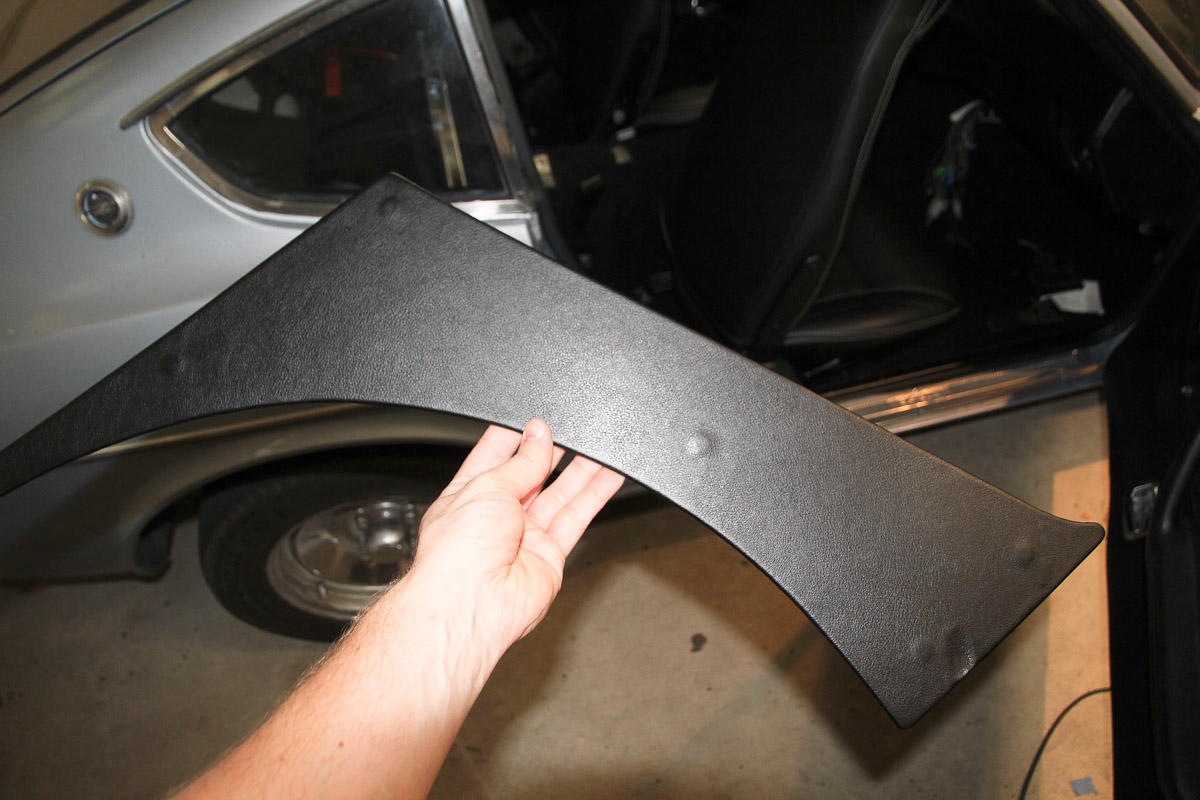
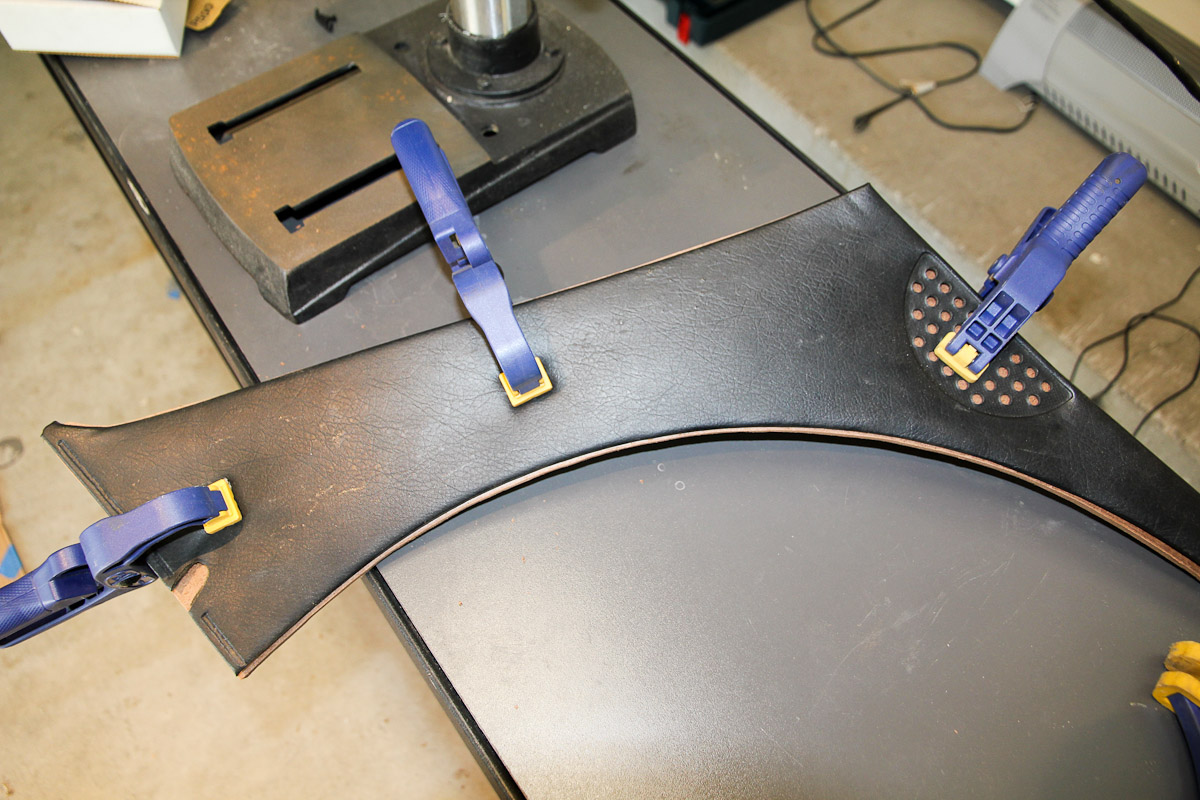
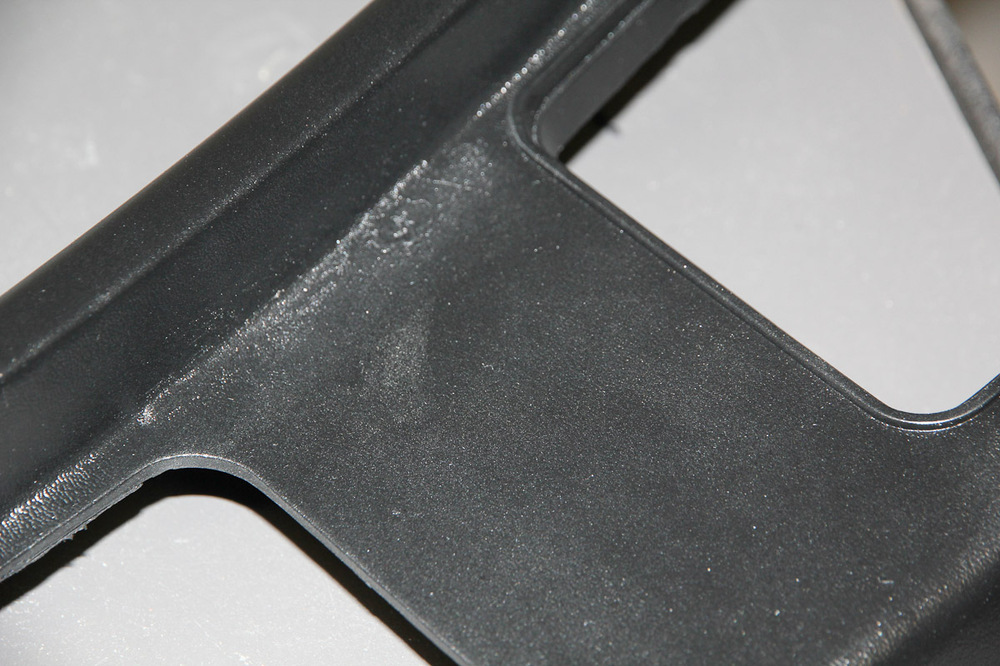
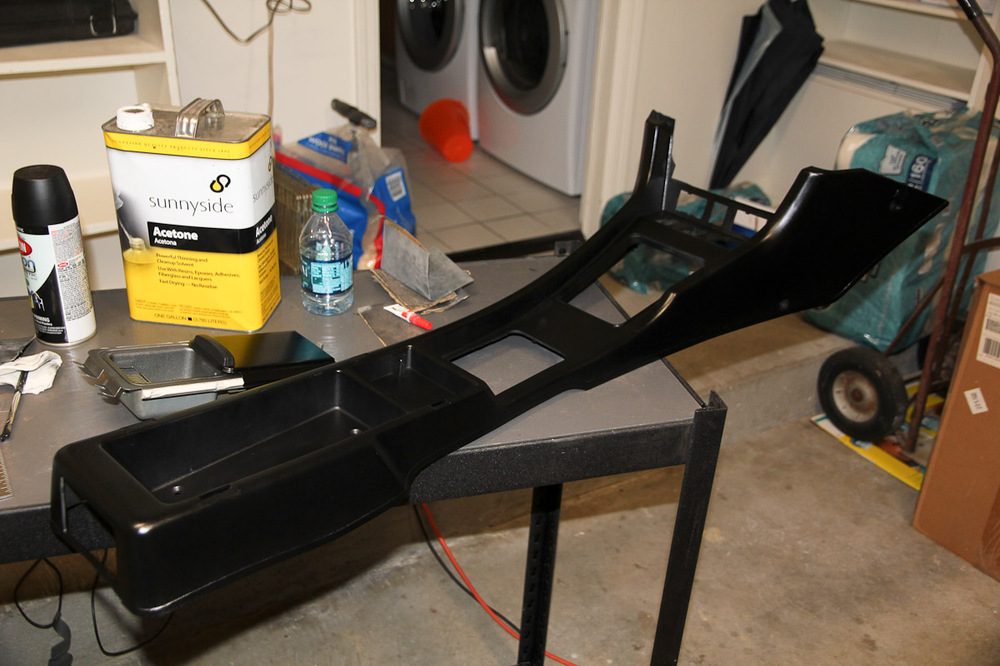
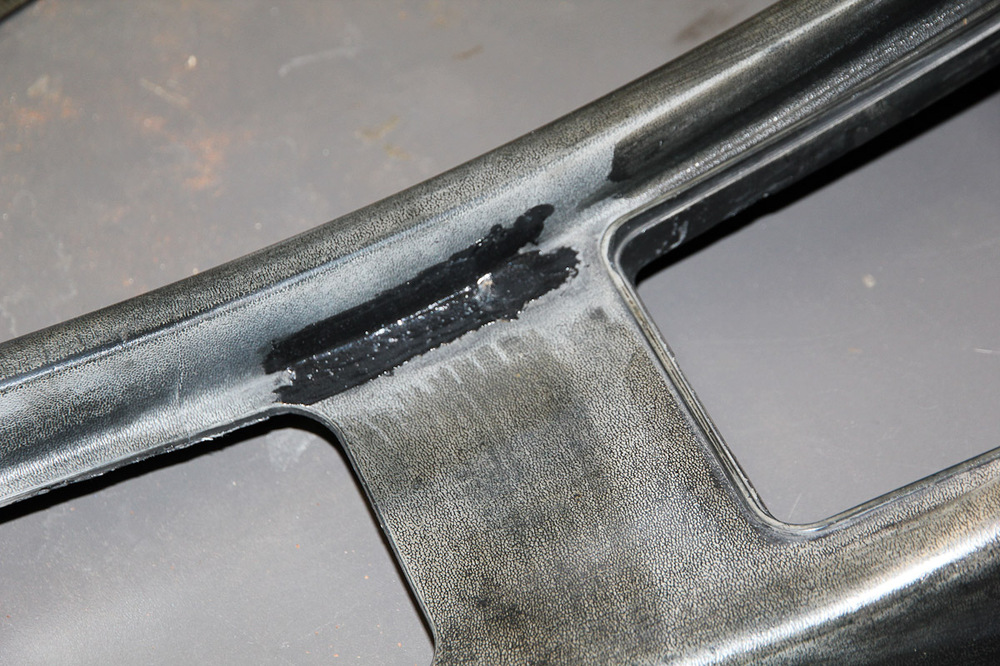
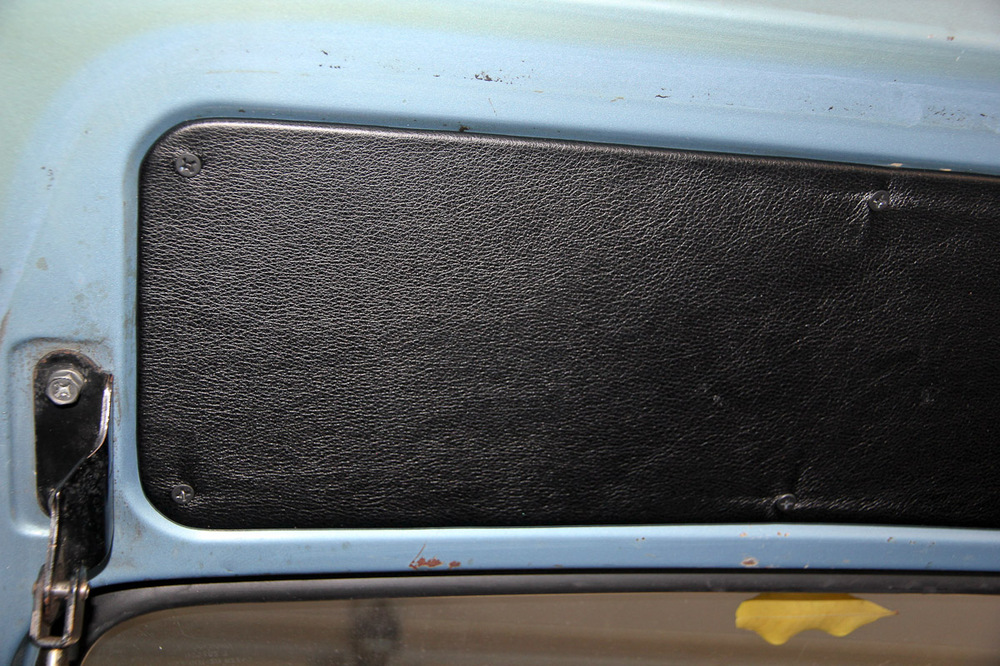
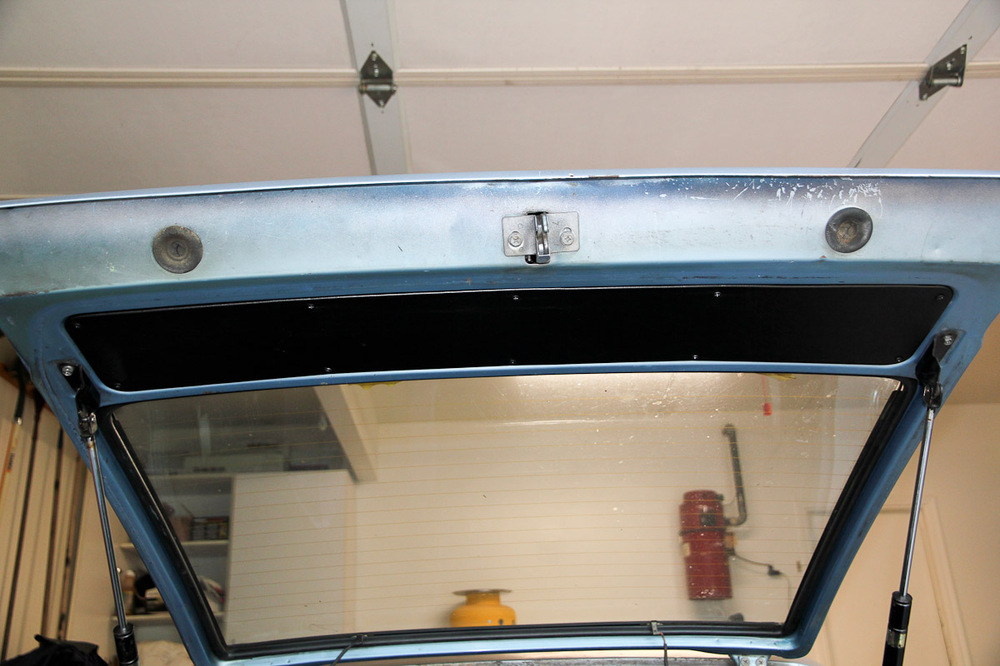
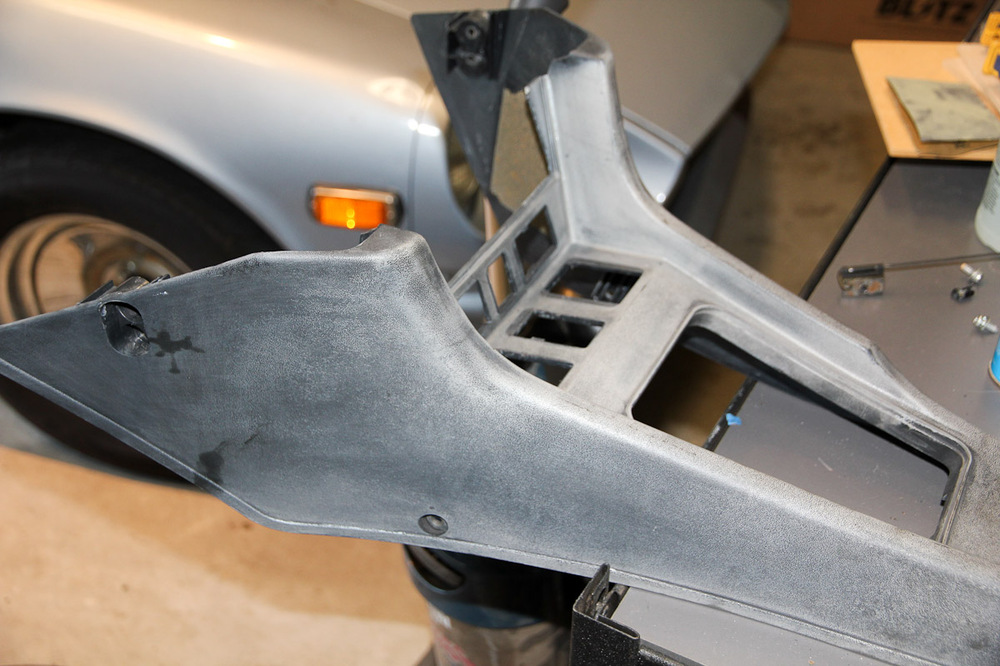
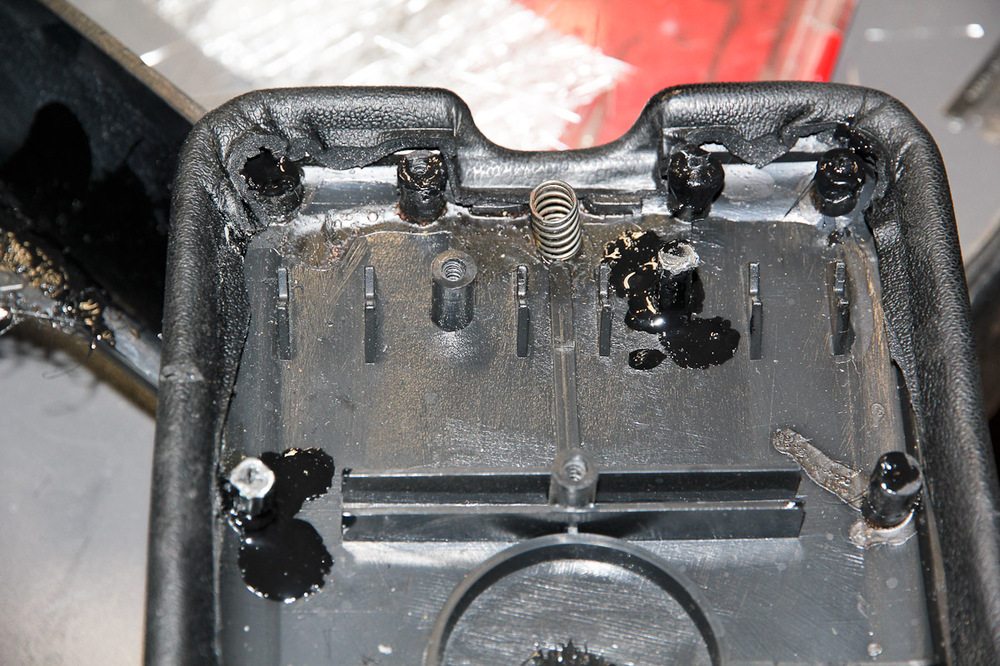
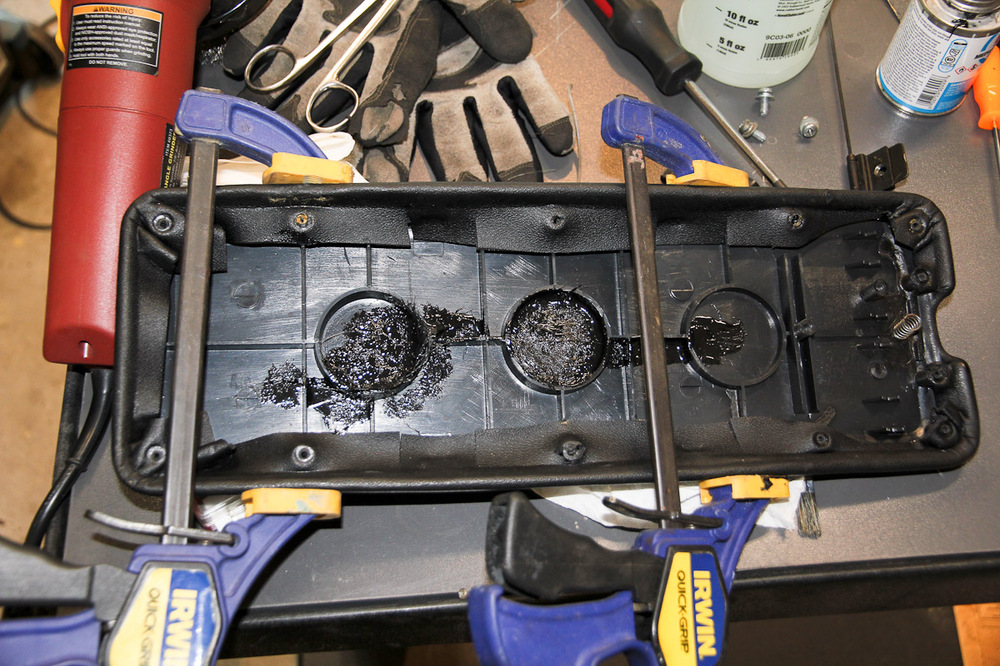
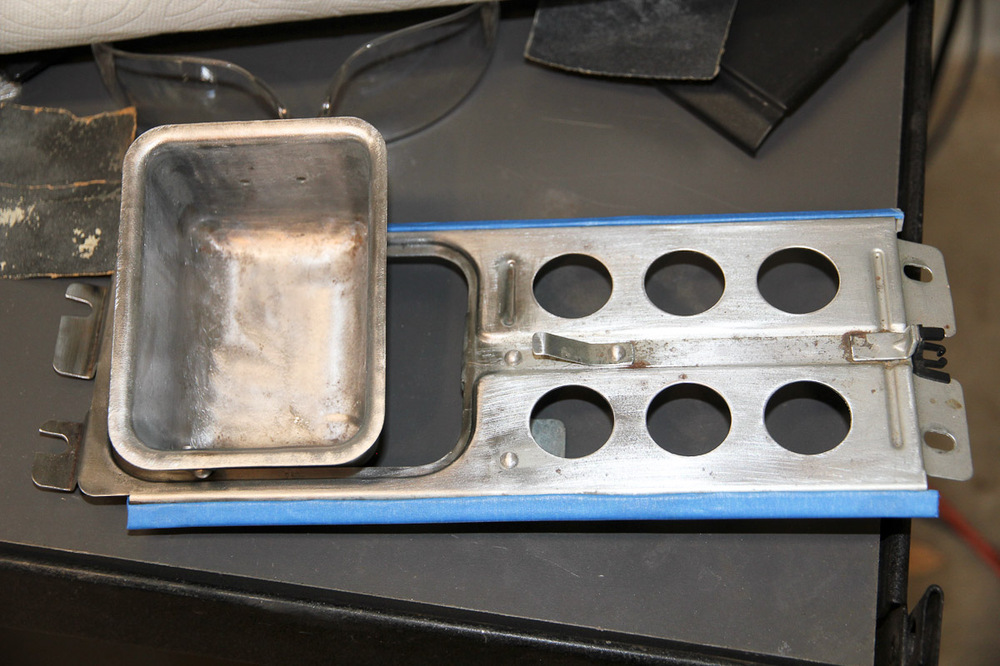
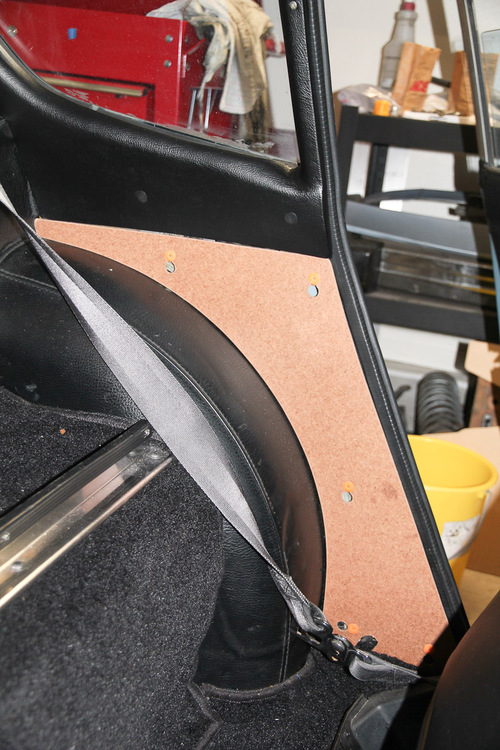
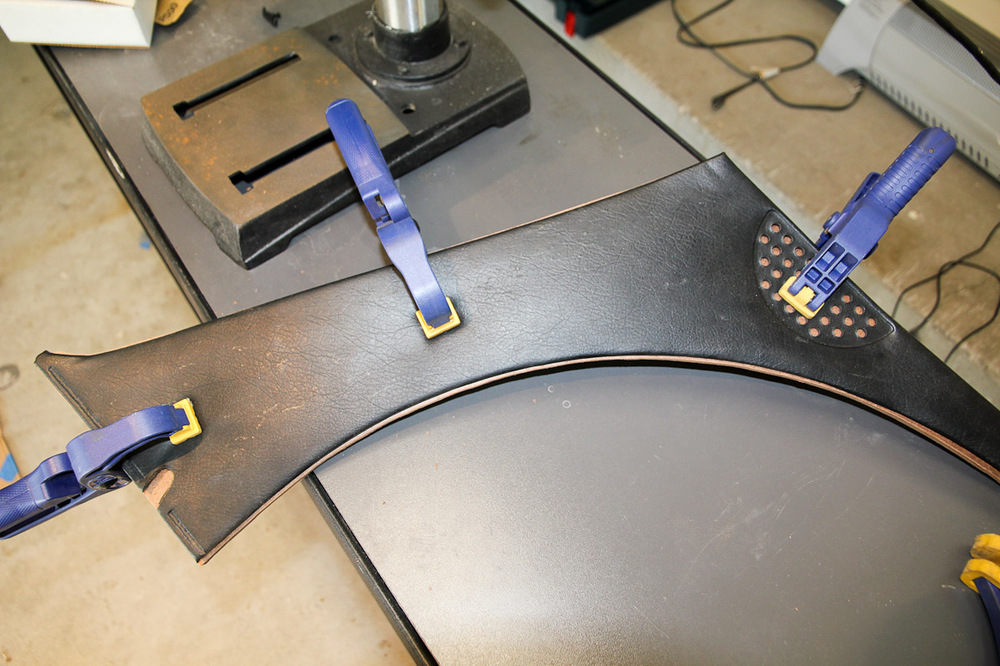
Been kind of a while without an update. Mostly dealing with some little things here and there whenever I can find some time. The throttle linkage had been giving me minor problems for a while, so I cleaned, straightened, spray painted, lubricated and adjusted everything and it's much better. Flushed the cooling system and added the coolant temp potentiometer. Also made a few interior bits. The B-pillar/dog leg pieces and the hatch finisher had all but disintegrated over the years. I always think I take plenty of photographs while I'm working on this stuff and then find out later that I usually don't even get a good before and after, so take my word for it that they were in rough shape The dog legs took two tries; the first go around I used the old one as a template without removing the vinyl since I didn't want the whole thing crumbling. That didn't fit well enough, so I made another pair (no vinyl on the old one this time) that fit significantly better. The hatch piece actually took three tries. The first one wound up on the roadside somewhere between home and the office when I left it on the back window. The second one went in the trash, because it turned out that that piece isn't the simple rectangle that I thought it was. Third time's a charm! Everything was covered in the same vinyl that I used for the scuff plates, which is the closest to the original stuff I could find at Joann's. And then the center console. The one I have is pretty well beat up -- aside from being dirty, it had some bad paint on it, the armrest was broken, ashtray rusty, etc. -- but I don't really want to spend my limited budget on a new one right now if I can get it to Good Enough, so that's what I did. The ashtray I cleaned up as best as I could with a wheel and sandpaper, then sprayed it with the wheel paint I used for the tail light panels. The sliding cover got a coat of Rustoleum. The armrest was cracked along the middle, so that was glued and fiberglassed together. Someone covered it in the past with some foam rubber, which I left, but the studs for the screws had all been split open or broken off. Those were glued back together. I also stumbled upon a way to replace ones that were missing entirely: acid shop brushes dipped in ABS cement and cut to length. The rest of the console got a thorough cleaning to remove as much of the old paint as possible. I glued/glassed some cracks back together and tried to fill in the choke slot, which was only a modest success. I sprayed the whole thing with Krylon Fusion and am hoping it holds up alright. It looks decent (and way better than it did), so if it lasts for a year (or even until I can do the dash) then that's good enough.


 1 point
 -
1 pointI wonder why they decided on a beetle as their namesake/brand image? Fast doesn't come to mind when I think of a June bug.1 point
-
Here in the deep south a lot of people carry and make counter offers...1 point
-
No doubt. My kids all drive older cars because they like my free labor. Deep down, I still like want to see points in my dist. and carbs on the manifold. I suppose I could bring myself up to date a little, because, after all, "I'm a man. I can change, if I have to, I guess. "1 point