


Leaderboard
-
Captain Obvious
Free Member6Points10,081Posts -
Mark Maras
Free Member3Points3,719Posts -
Jeff G 78
Free Member2Points3,007Posts -
gwri8
Free Member2Points1,385Posts


Popular Content
Showing content with the highest reputation on 04/16/2016 in Posts
-
2 points
-
2 pointsBe Safe, I'd hate to have to drive all the way up there to claim your stuff!2 points
-
1 pointI wrote a whole thing about modules then realized that it's creating strong spark. If you're seeing two different spark qualities, it kind of implies a cap and/or wire problem. The spark has to get from the coil wire, through the cap button, down the rotor metal, across the gap to the wire electrode, etc. Maybe measure resistance along that path.1 point
-
1 pointGot tired of waiting for the nut, so went ahead and removed it. Used a punch to flatten out the stake, Nut came off CCW easy. gear puller on the gear worked out easy as well. Now on to the reverse idler, boy oh boy what a pita that was, broke my 1st circlip tool on the snap ring, got out a bigger one this time with fittings that would just barely fit the holes, well then that one broke leaving the tooth in the hole of the circlip. Finally I got some old big long nose pliers, custom ground the tip so I did not have to use the holes, and bingo got it. a little DNA left behind for good measure!! Video soon.1 point
-
1 pointSounds like a plan.....alcohol makes everything better Cliff.....think I'll start myself!1 point
-
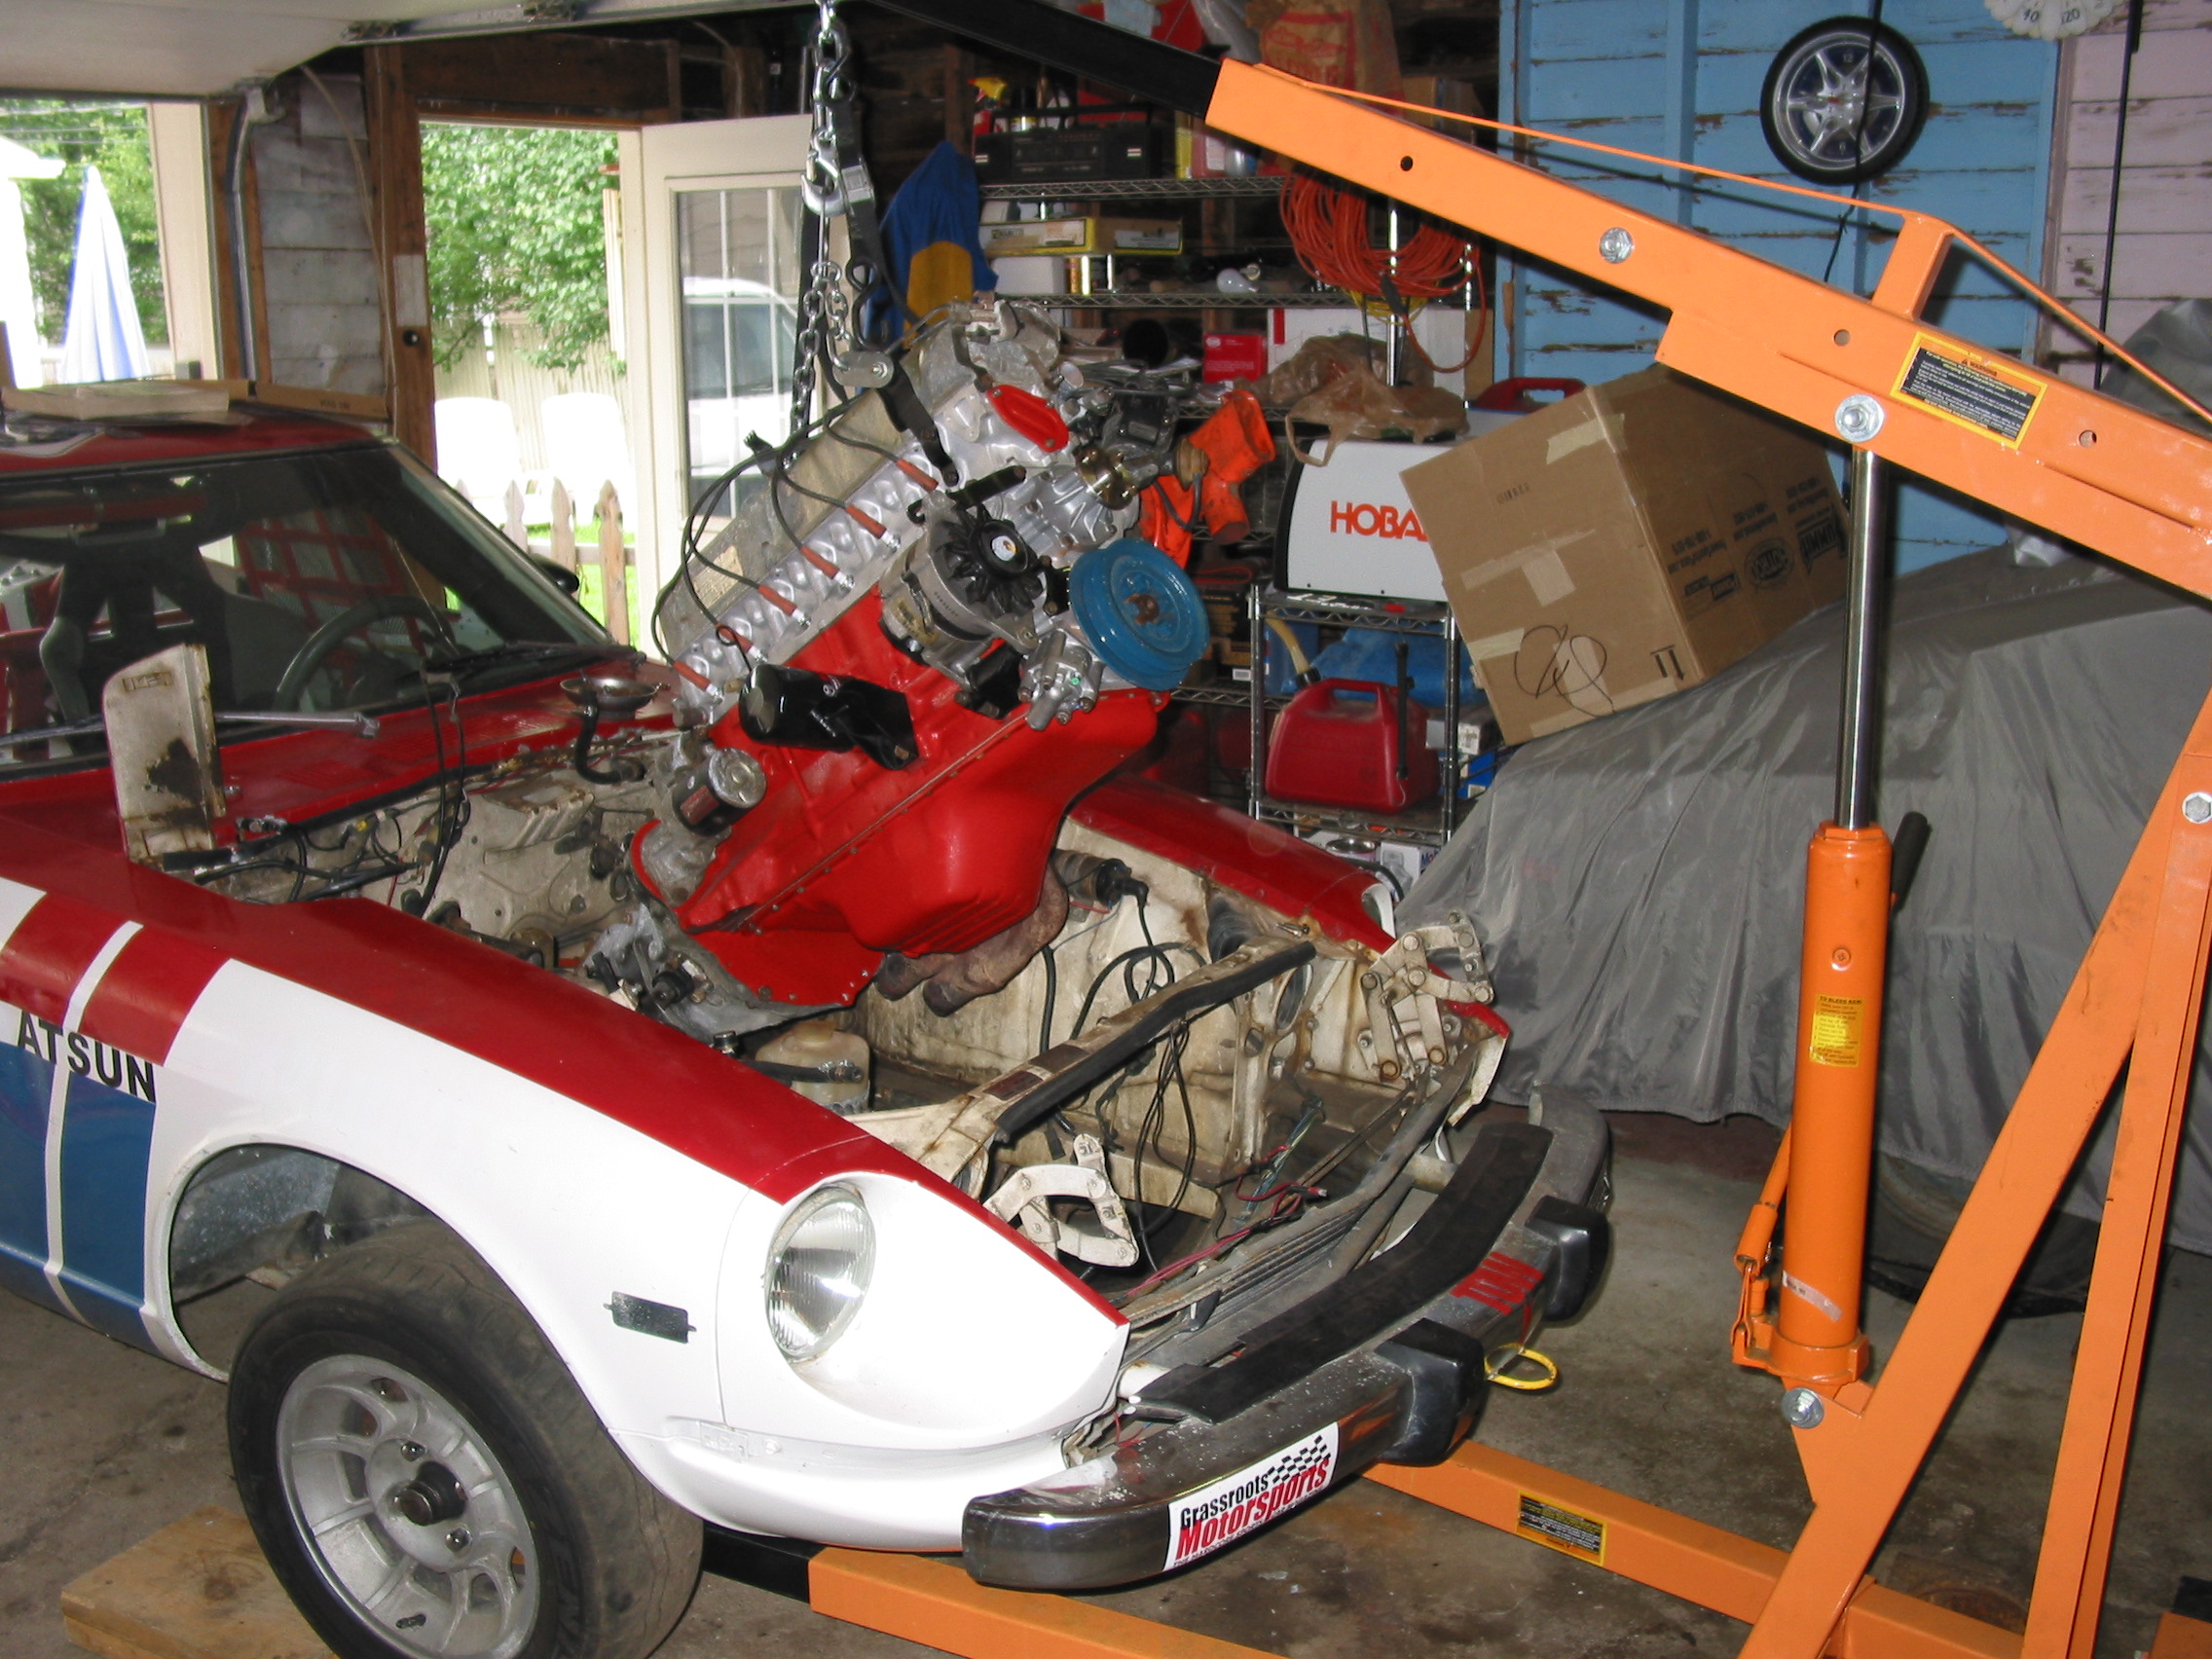
1 pointwhen you "cheat" the load leveler to the front w/the chains, make sure you can still get the engine fairly level to start with - if the tranny is hanging down too low you have to lift it way high to get it over the front rad support and into the bay. i had to "cheat" my hoist and drill some extra holes to get more stick out of it - not exactly kosher for full load from a structural standpoint, but my math confirmed the engine wasn't anywhere near the limits of my hoist and it worked out just fine. be sure to sweep the floor well around where you'll be moving the hoist around - any debris caught in the casters can cause sudden stops or bumps that set the engine swinging. not a huge deal if you have a helper to hold the tranny tail while your moving, but makes for unnecessary excitement when you're alone. also have some wood wedges handy (as in, right next to the front wheels of the car so you can reach w/your foot when you need 'em) to chock the hoist casters so it doesn't walk on you while you walk around to adjust the load leveler and guide it into the hole, or when you go round to pull your rope sling up through the tranny tunnel. you may want to make an extension out of some pipe to operate the hydraulic release valve on your hoist so you can have one hand on the motor and be on the side of the bay looking/watching as you lower it down. kinda hard to see what's going on from behind the motor. the 3 "danger points" i found were top of rad support - impact w/tranny tail front bumper - impact w/hydraulic piston on hoist firewall - impact w/tranny tail once you get past those points it's pretty easy if you just take your time.1 point
-
1 point
-
Don't get me wrong. I wasn't espousing the advantages of the Bosch EFI. I was just saying that at this time, mine seems to be working just fine and I don't need to go poking that nest. I got higher priority stuff to work on. To each his own.1 point
-
Our continued apologies. We are still not sure why they decided to do that with no warning. It wasn't a fun situation for sure. We weren't able to get authorization for the street closure in 2015, but never expected the authorities to do what they did, since many of those parking spaces in front of our shop are used on a daily basis. Neither did they have a problem with it for any of the 3 other years we've had the smaller event, when we didn't get the authorization to close the street. This is part of why Greg went searching for a new place, and has invested in such a big venue as Anaheim Stadium for the 21st Annual Show, the New Z-Bash, where parking spaces won't be an issue.1 point
-
1 pointWell DUH! The car was obviously in Australia where everything is upside down.1 point
-
My pleasure. I were running carbs, I'd run as set of flattops. Detractors aside. I'm running the EFI though and it's working fine so I just have no real reason to change it out. I've always been curious though as to which would be a better performer and better for fuel economy.1 point
-
1 point1 point1 pointThe first time I tried it, I couldn't get the engine over the rad. support. No choice but to pull the wheels and put it on a jack. Next time was the most primitive. Hung the engine from the garage rafters with a 1 ton cable jack and rolled the car forward as I dropped the engine into the bay and forward a little bit more as it aligned with the trans. input shaft. Put a few bolts in the bellhousing, Then it went up on four jackstands to finish the job. My point is there is no wrong way to do it. Even if you run into problems there are many options available. When you boil it down either the engine has to go down and back or the car has to come up and forward. I like the sling for the trans rear. I've used a small floor jack on a creeper to support the rear when dropping and sliding the engine and trans. into position. Makes it easy to lift it into place and hold it.1 point1 pointHey Cliff. Yes, run the crank most of the way one way and then level it with the chains. That will allow it to get more angle before running out of travel. The engine needs to be very steep to clear the tunnel.
 1 pointI'll never know what happened to them, but I'm 99% sure they weren't there when the starter went on the car. It's all been degreased, tidied up, regreased, and put back together now (with screws this time!), so that's over and done with. And since I took the day off work, it seemed like as good a time as any to finally take the car out. First time it's gone farther than just around town. Has some rough spots, but it's kind of fun to drive!
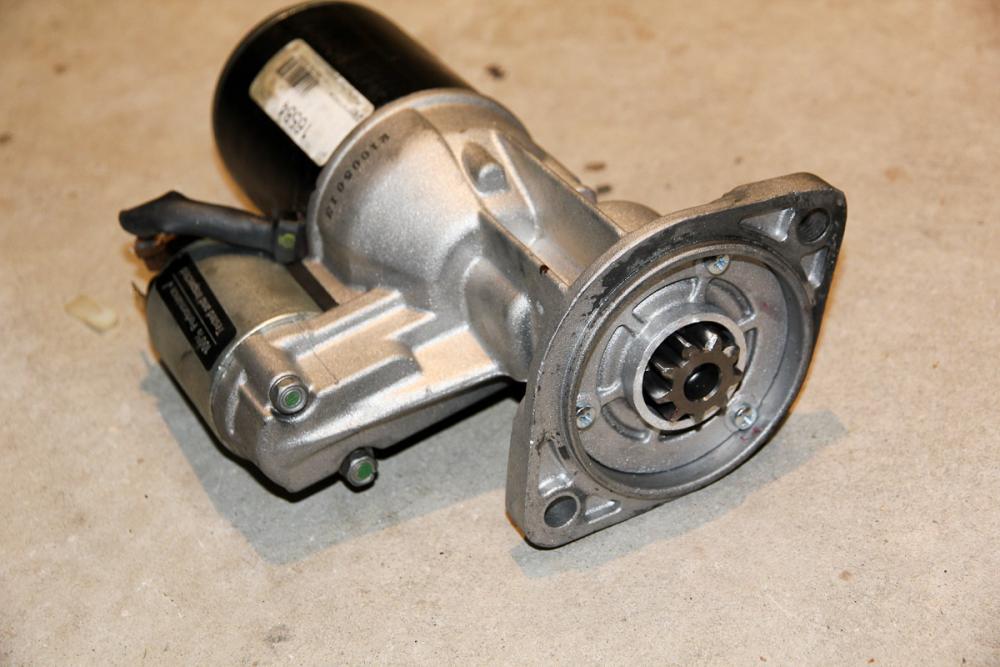
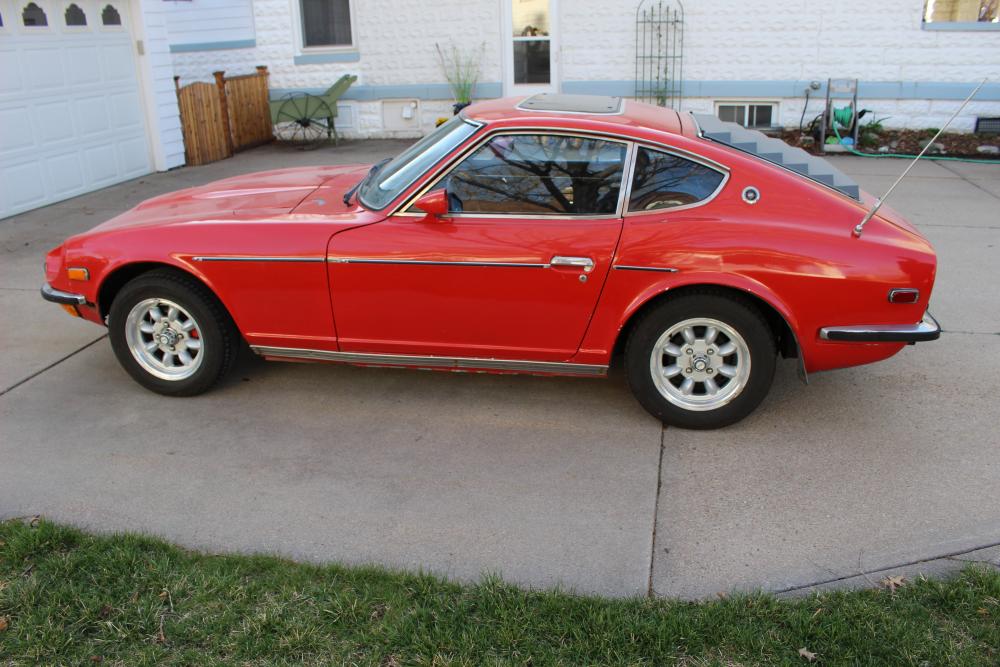
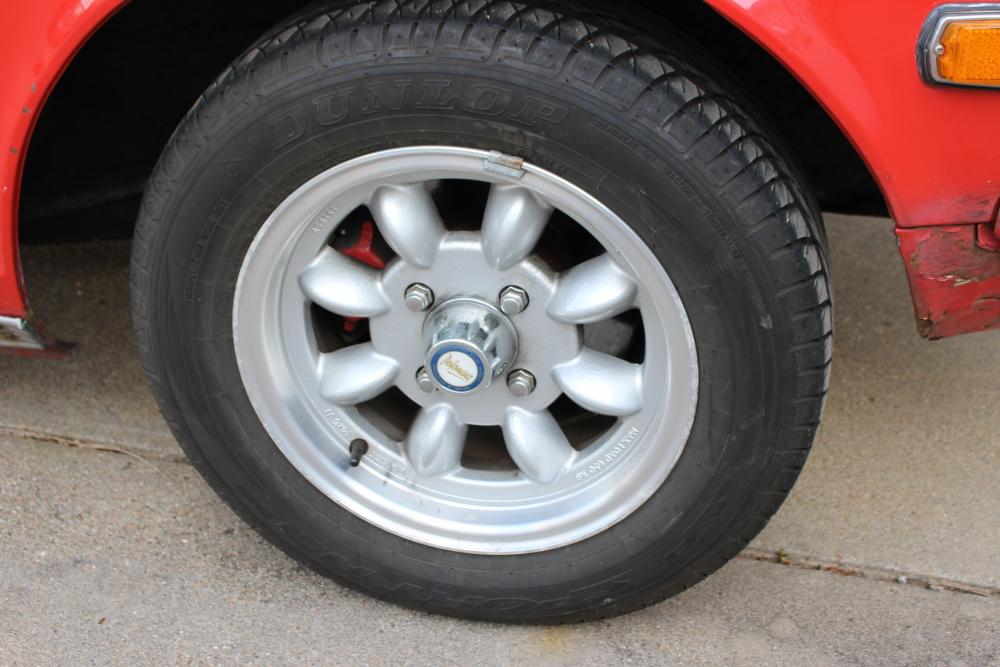
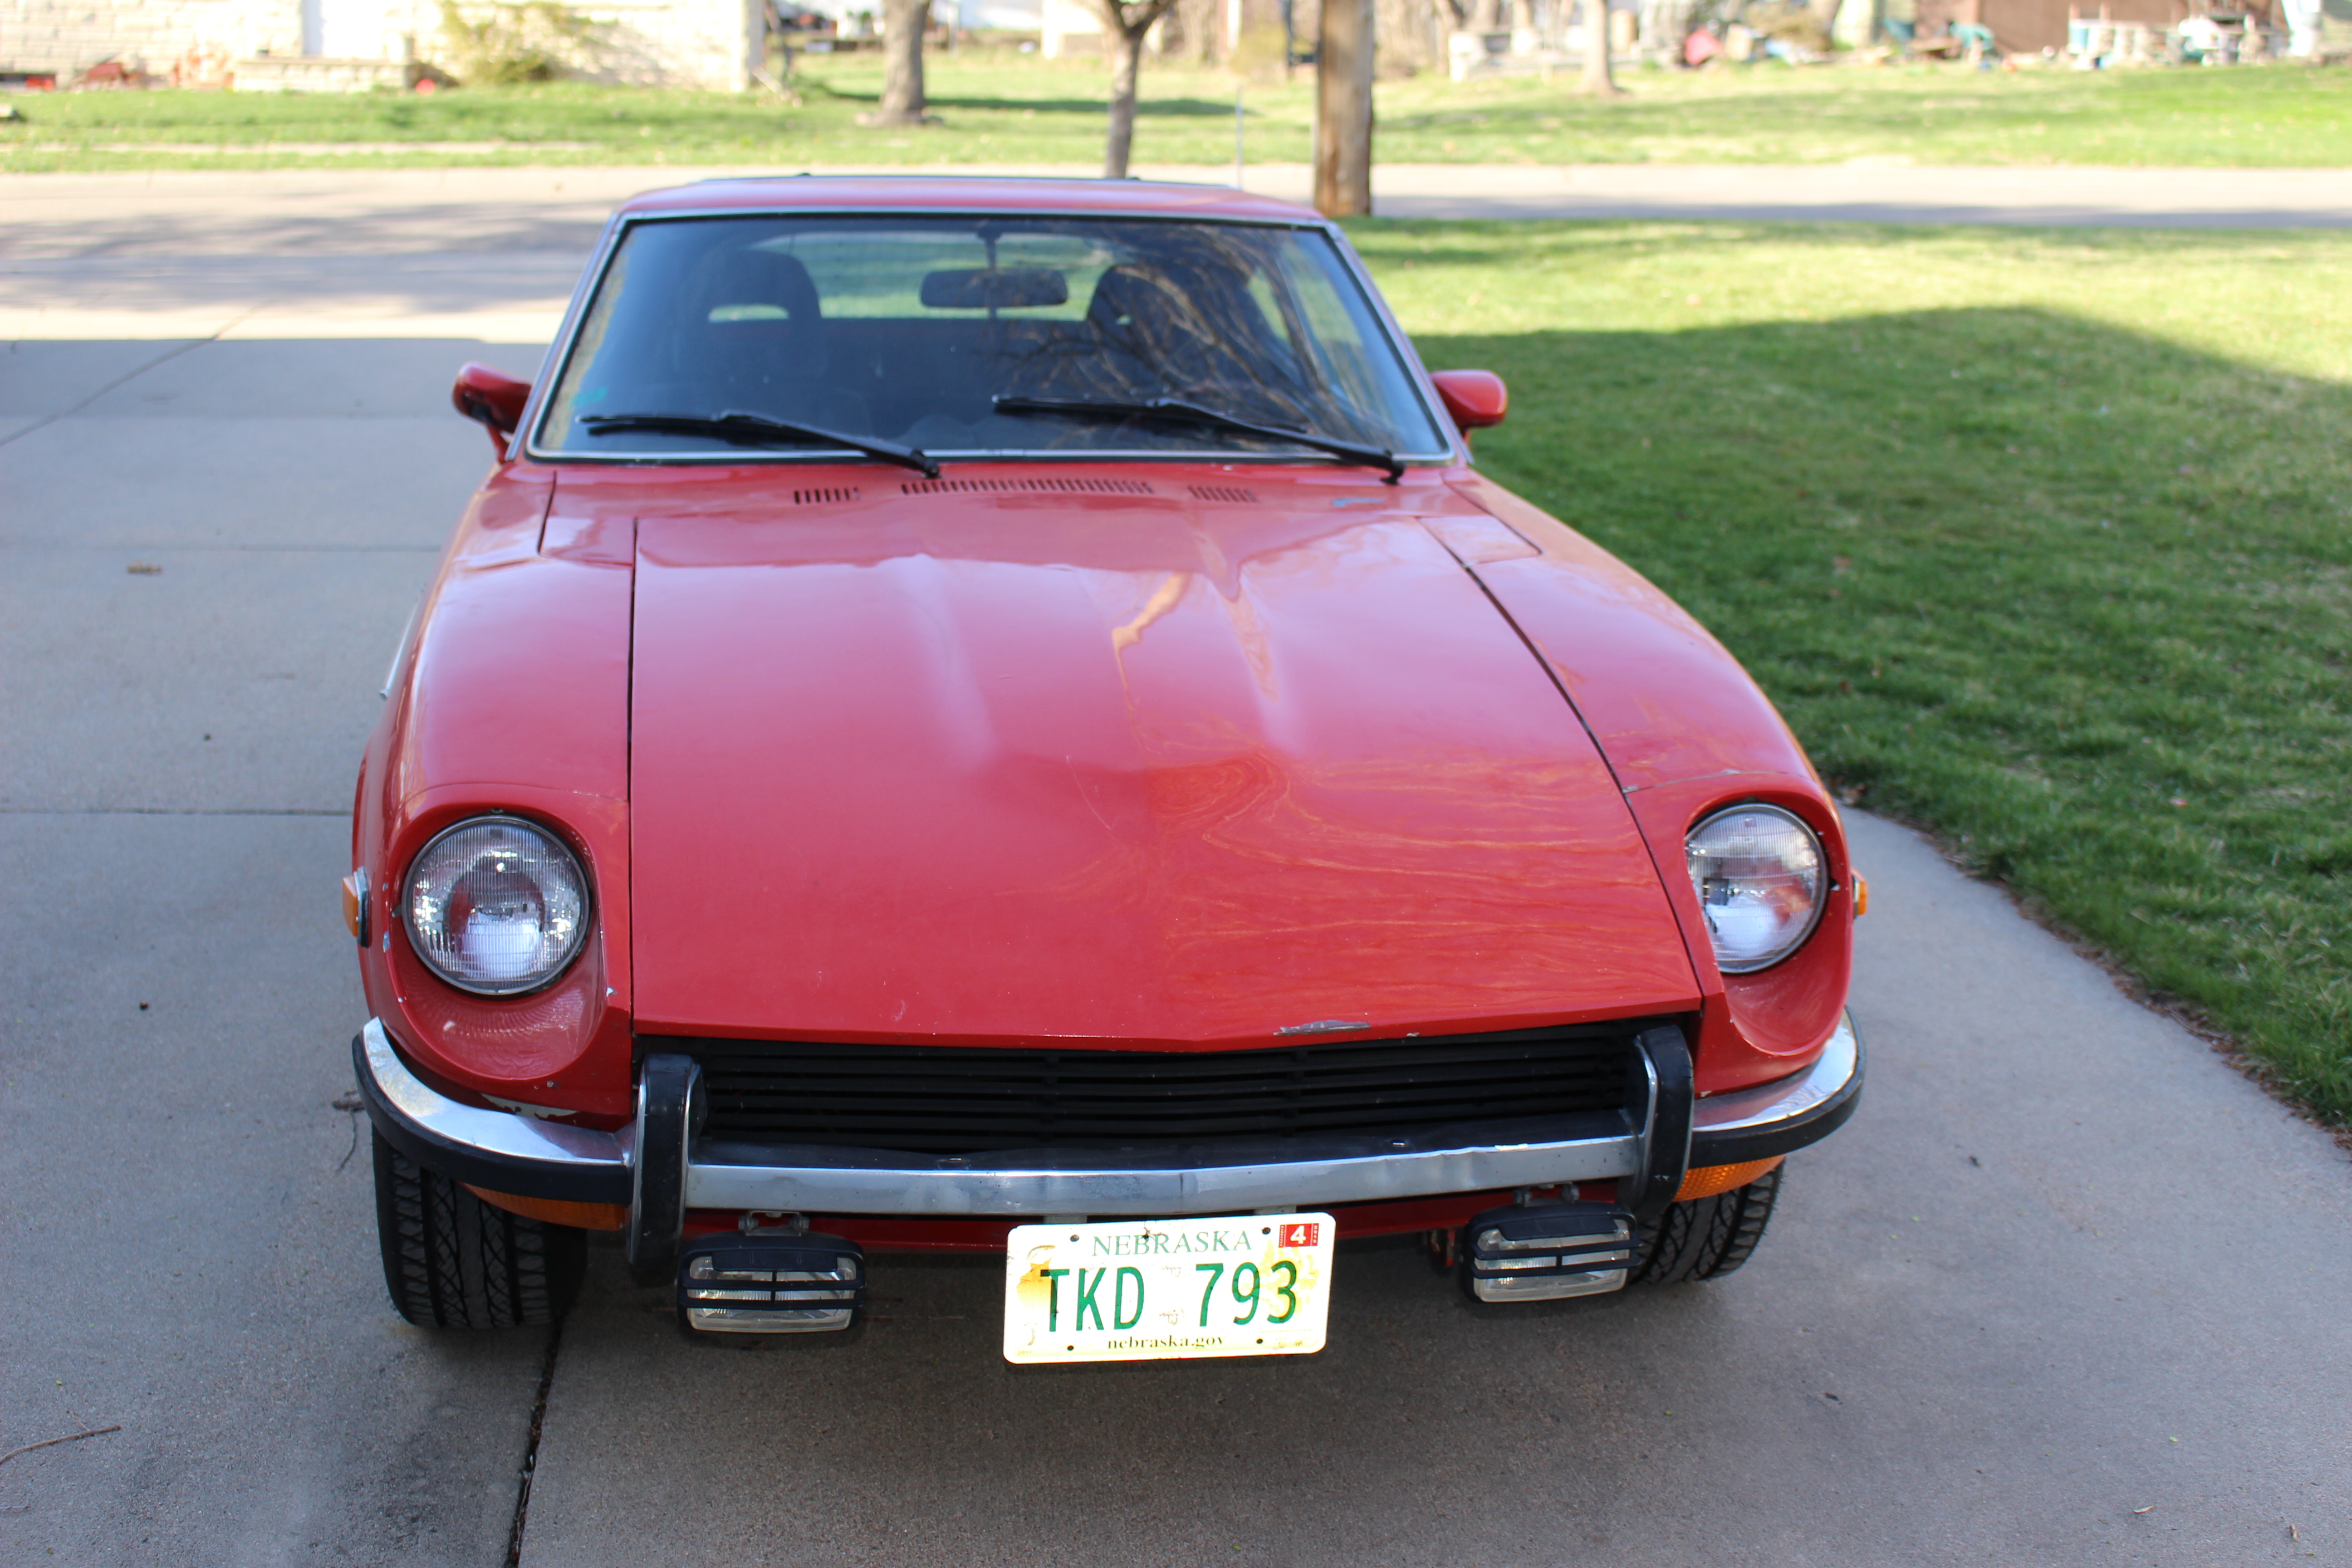
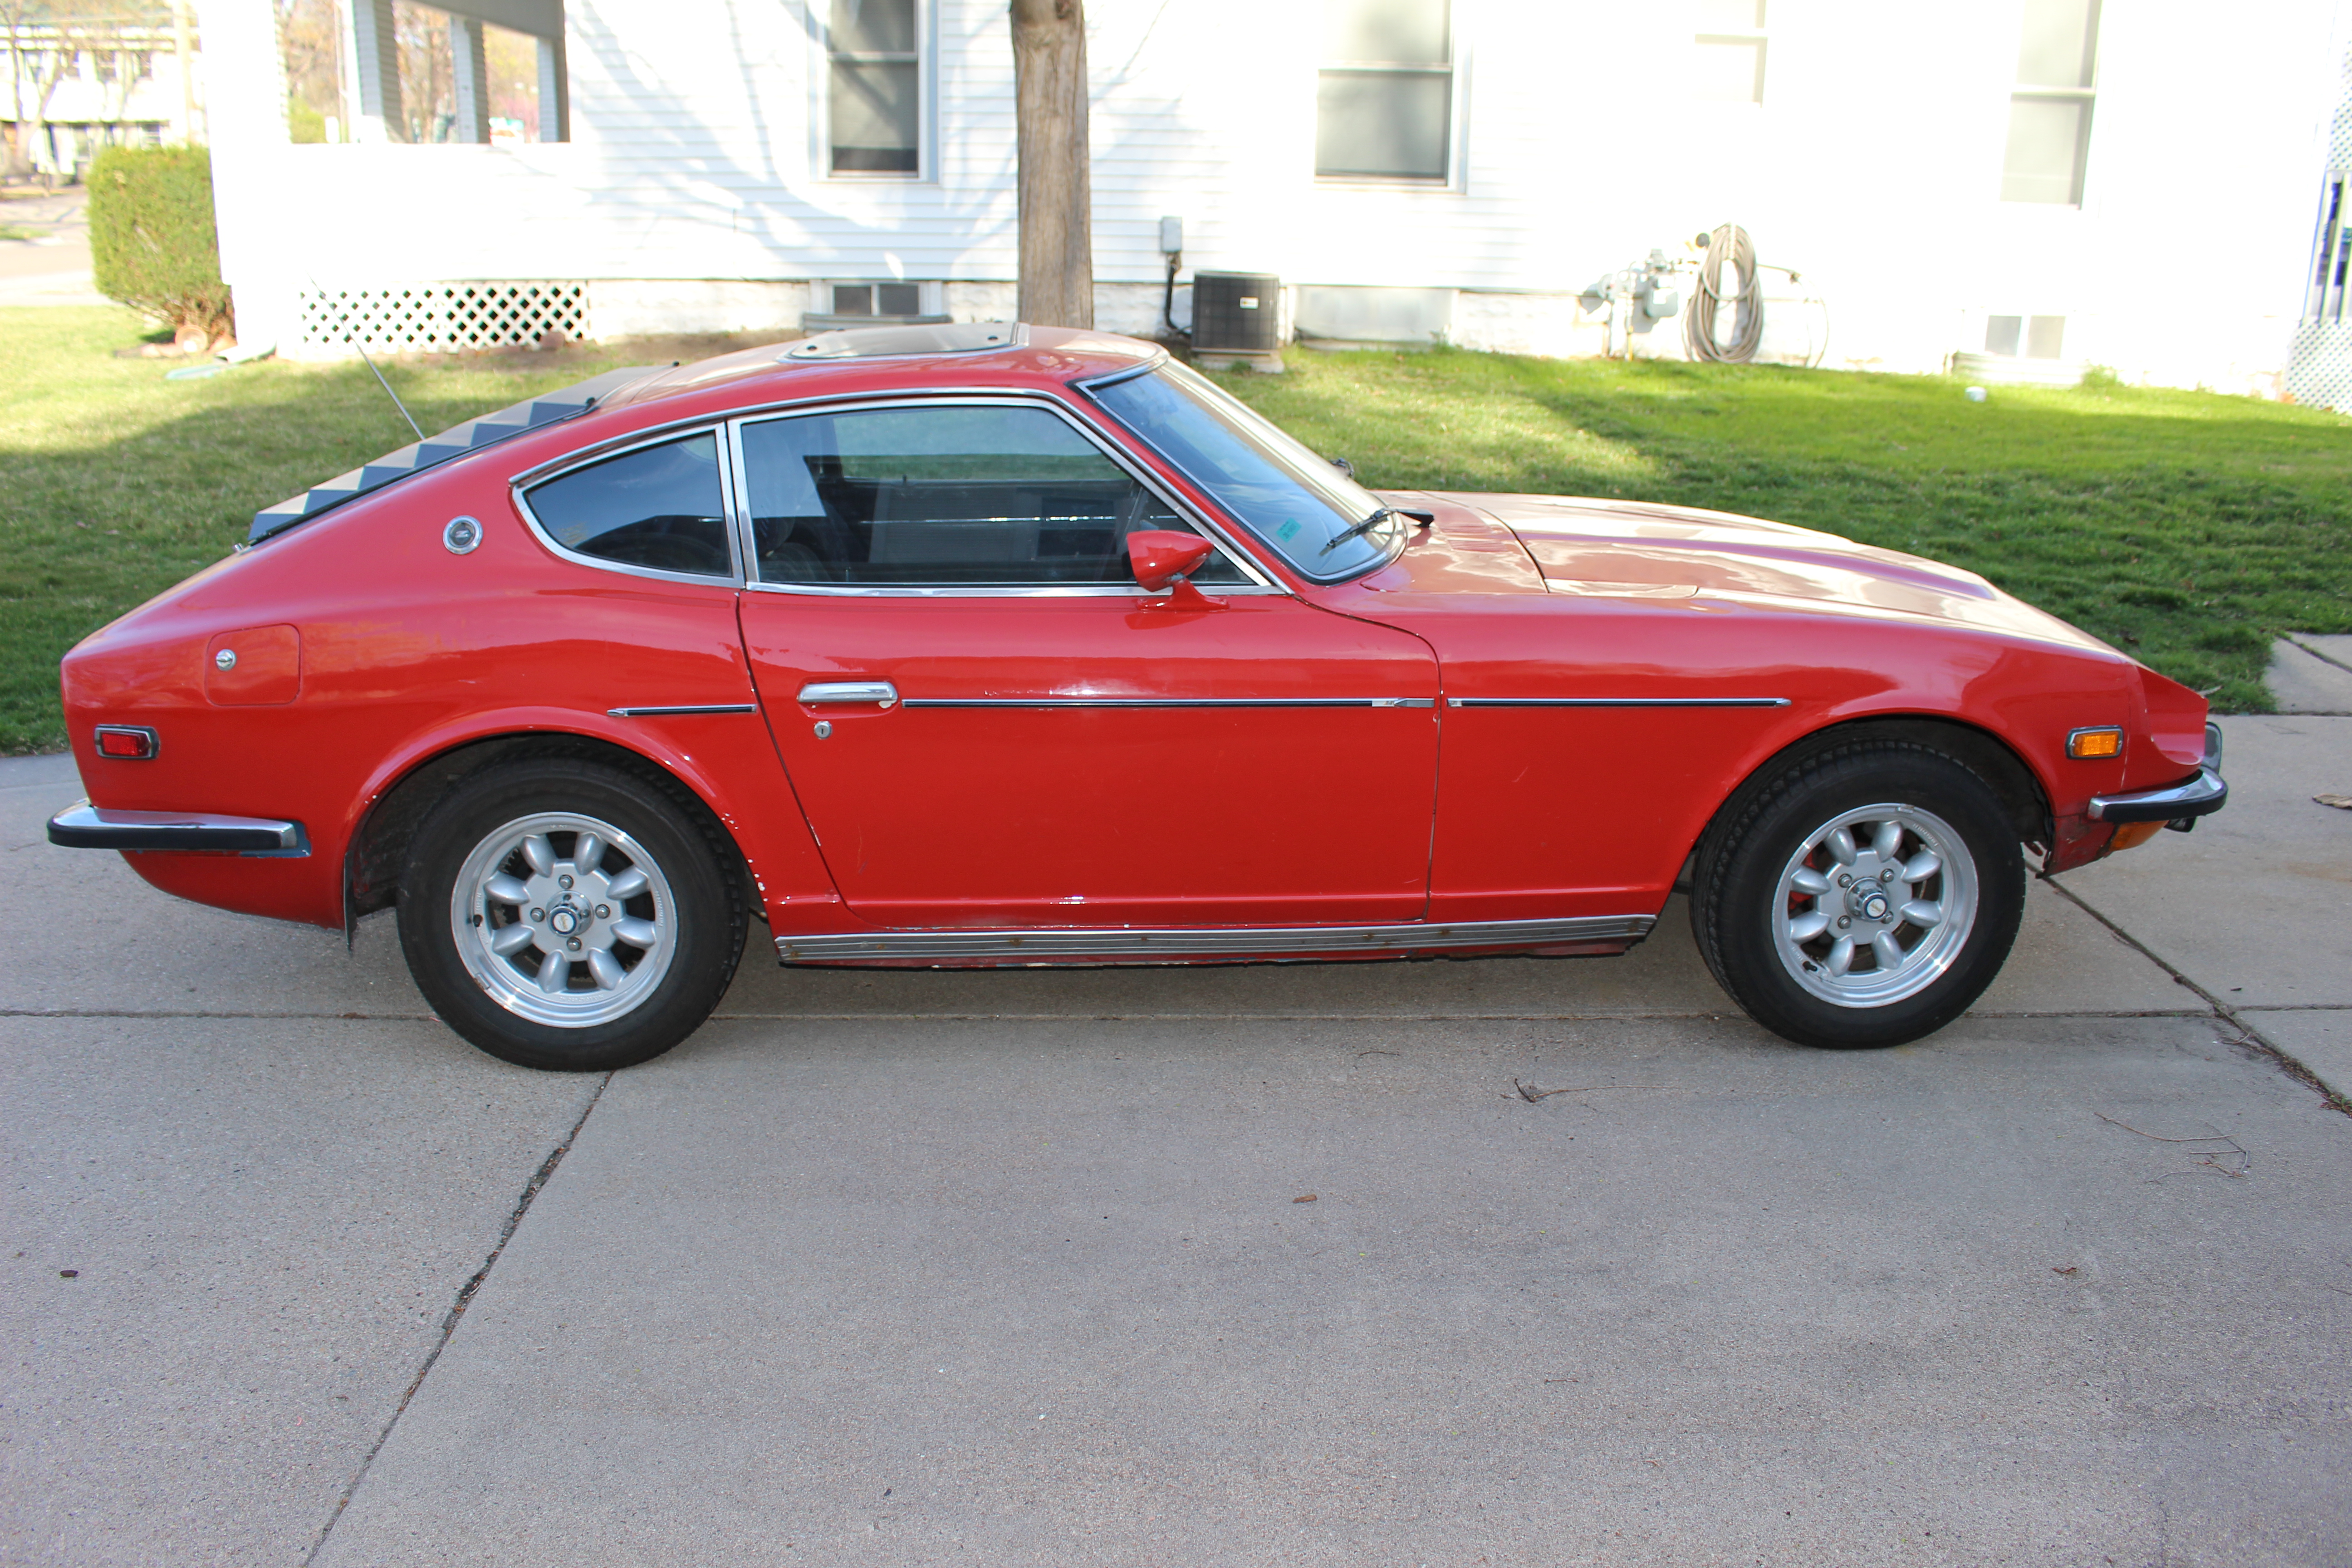
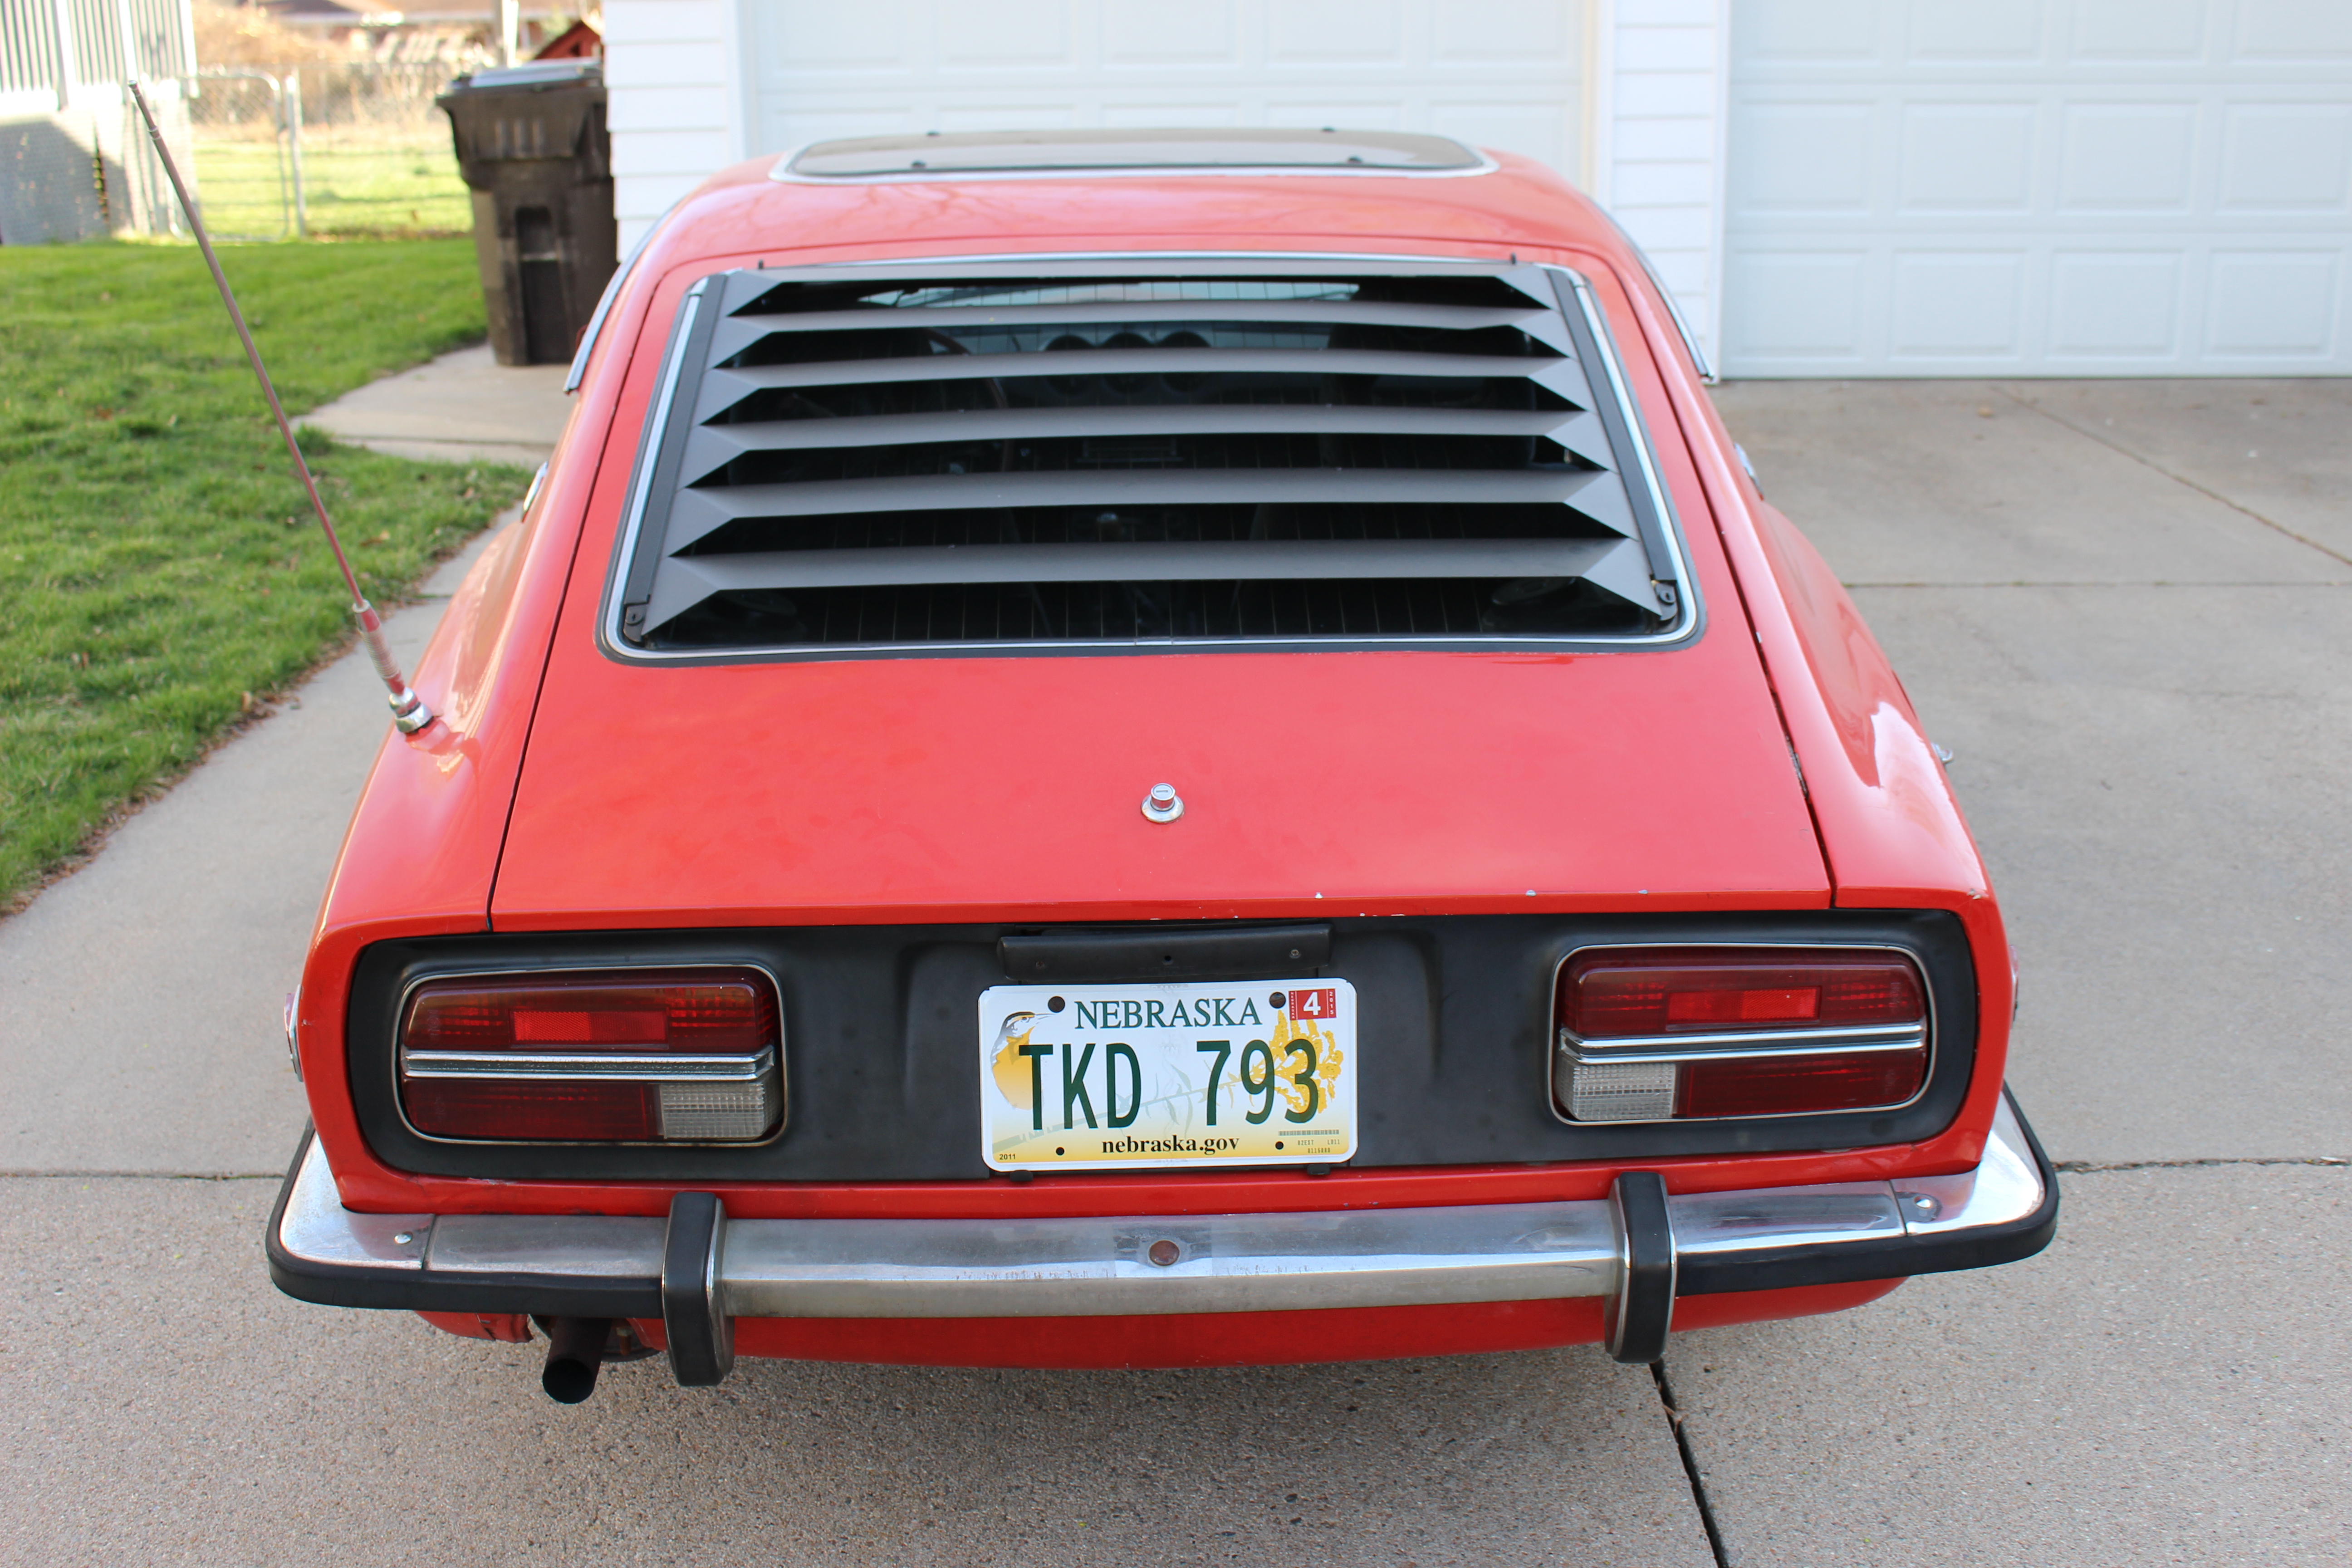
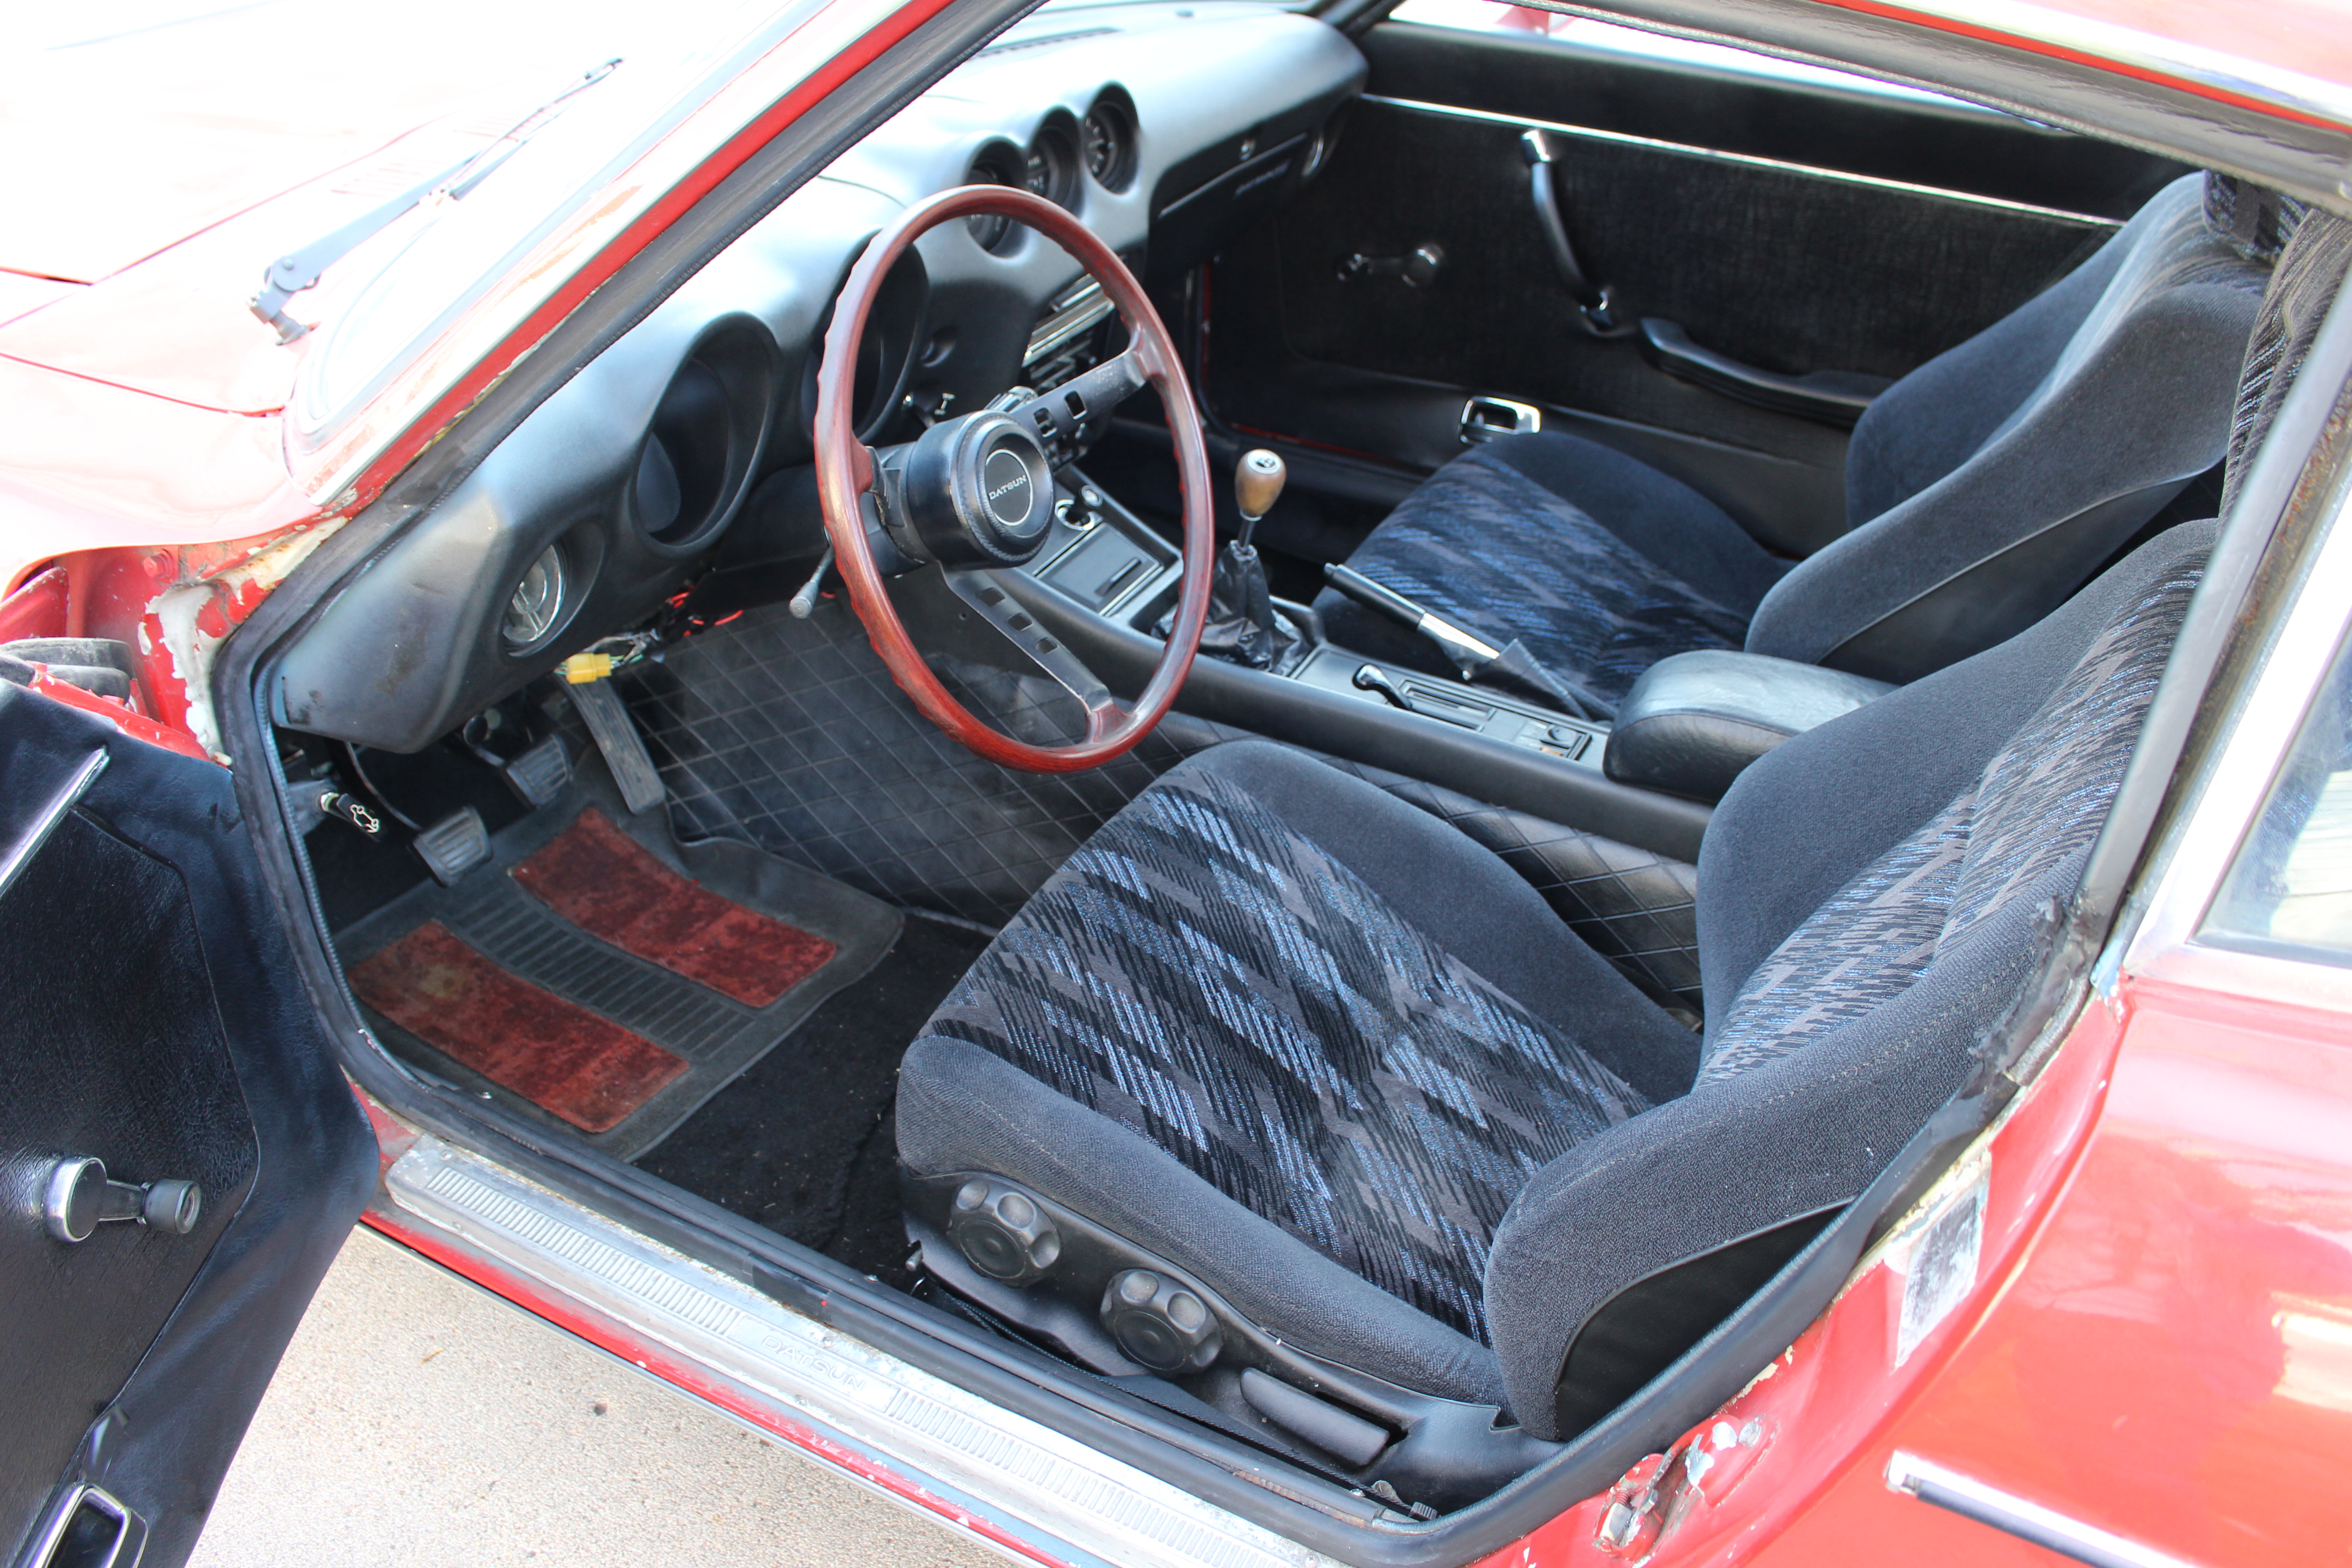
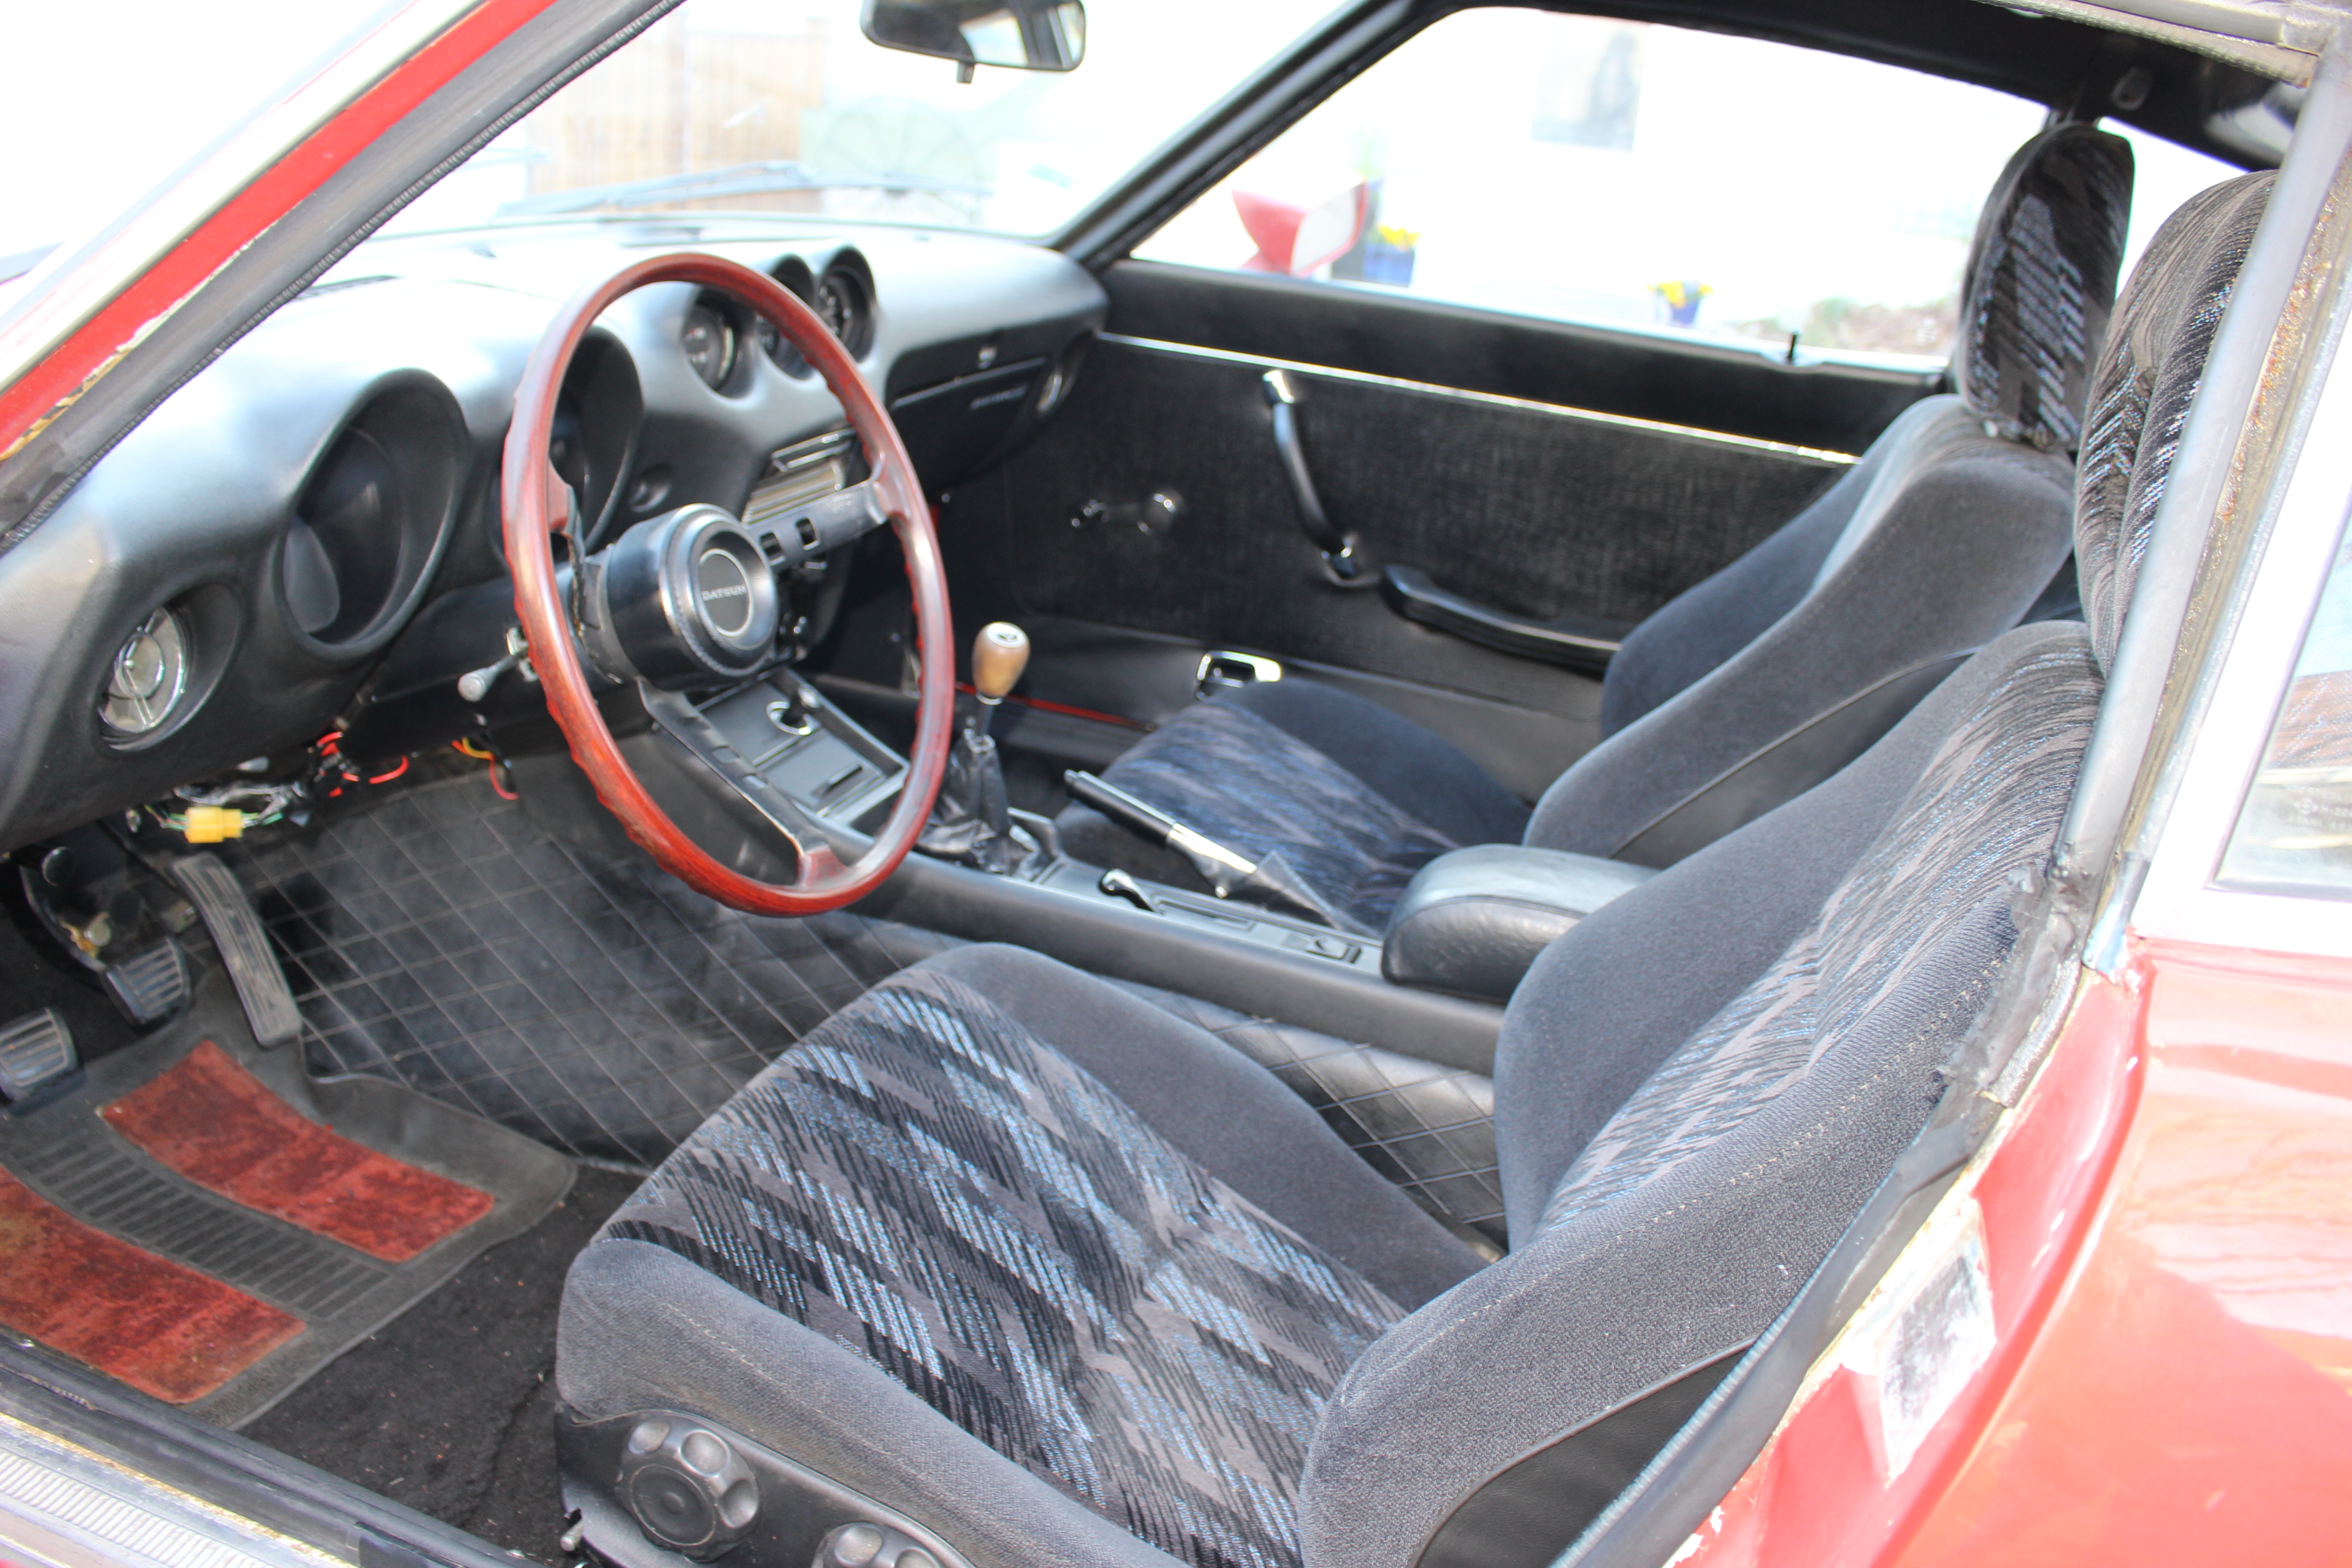
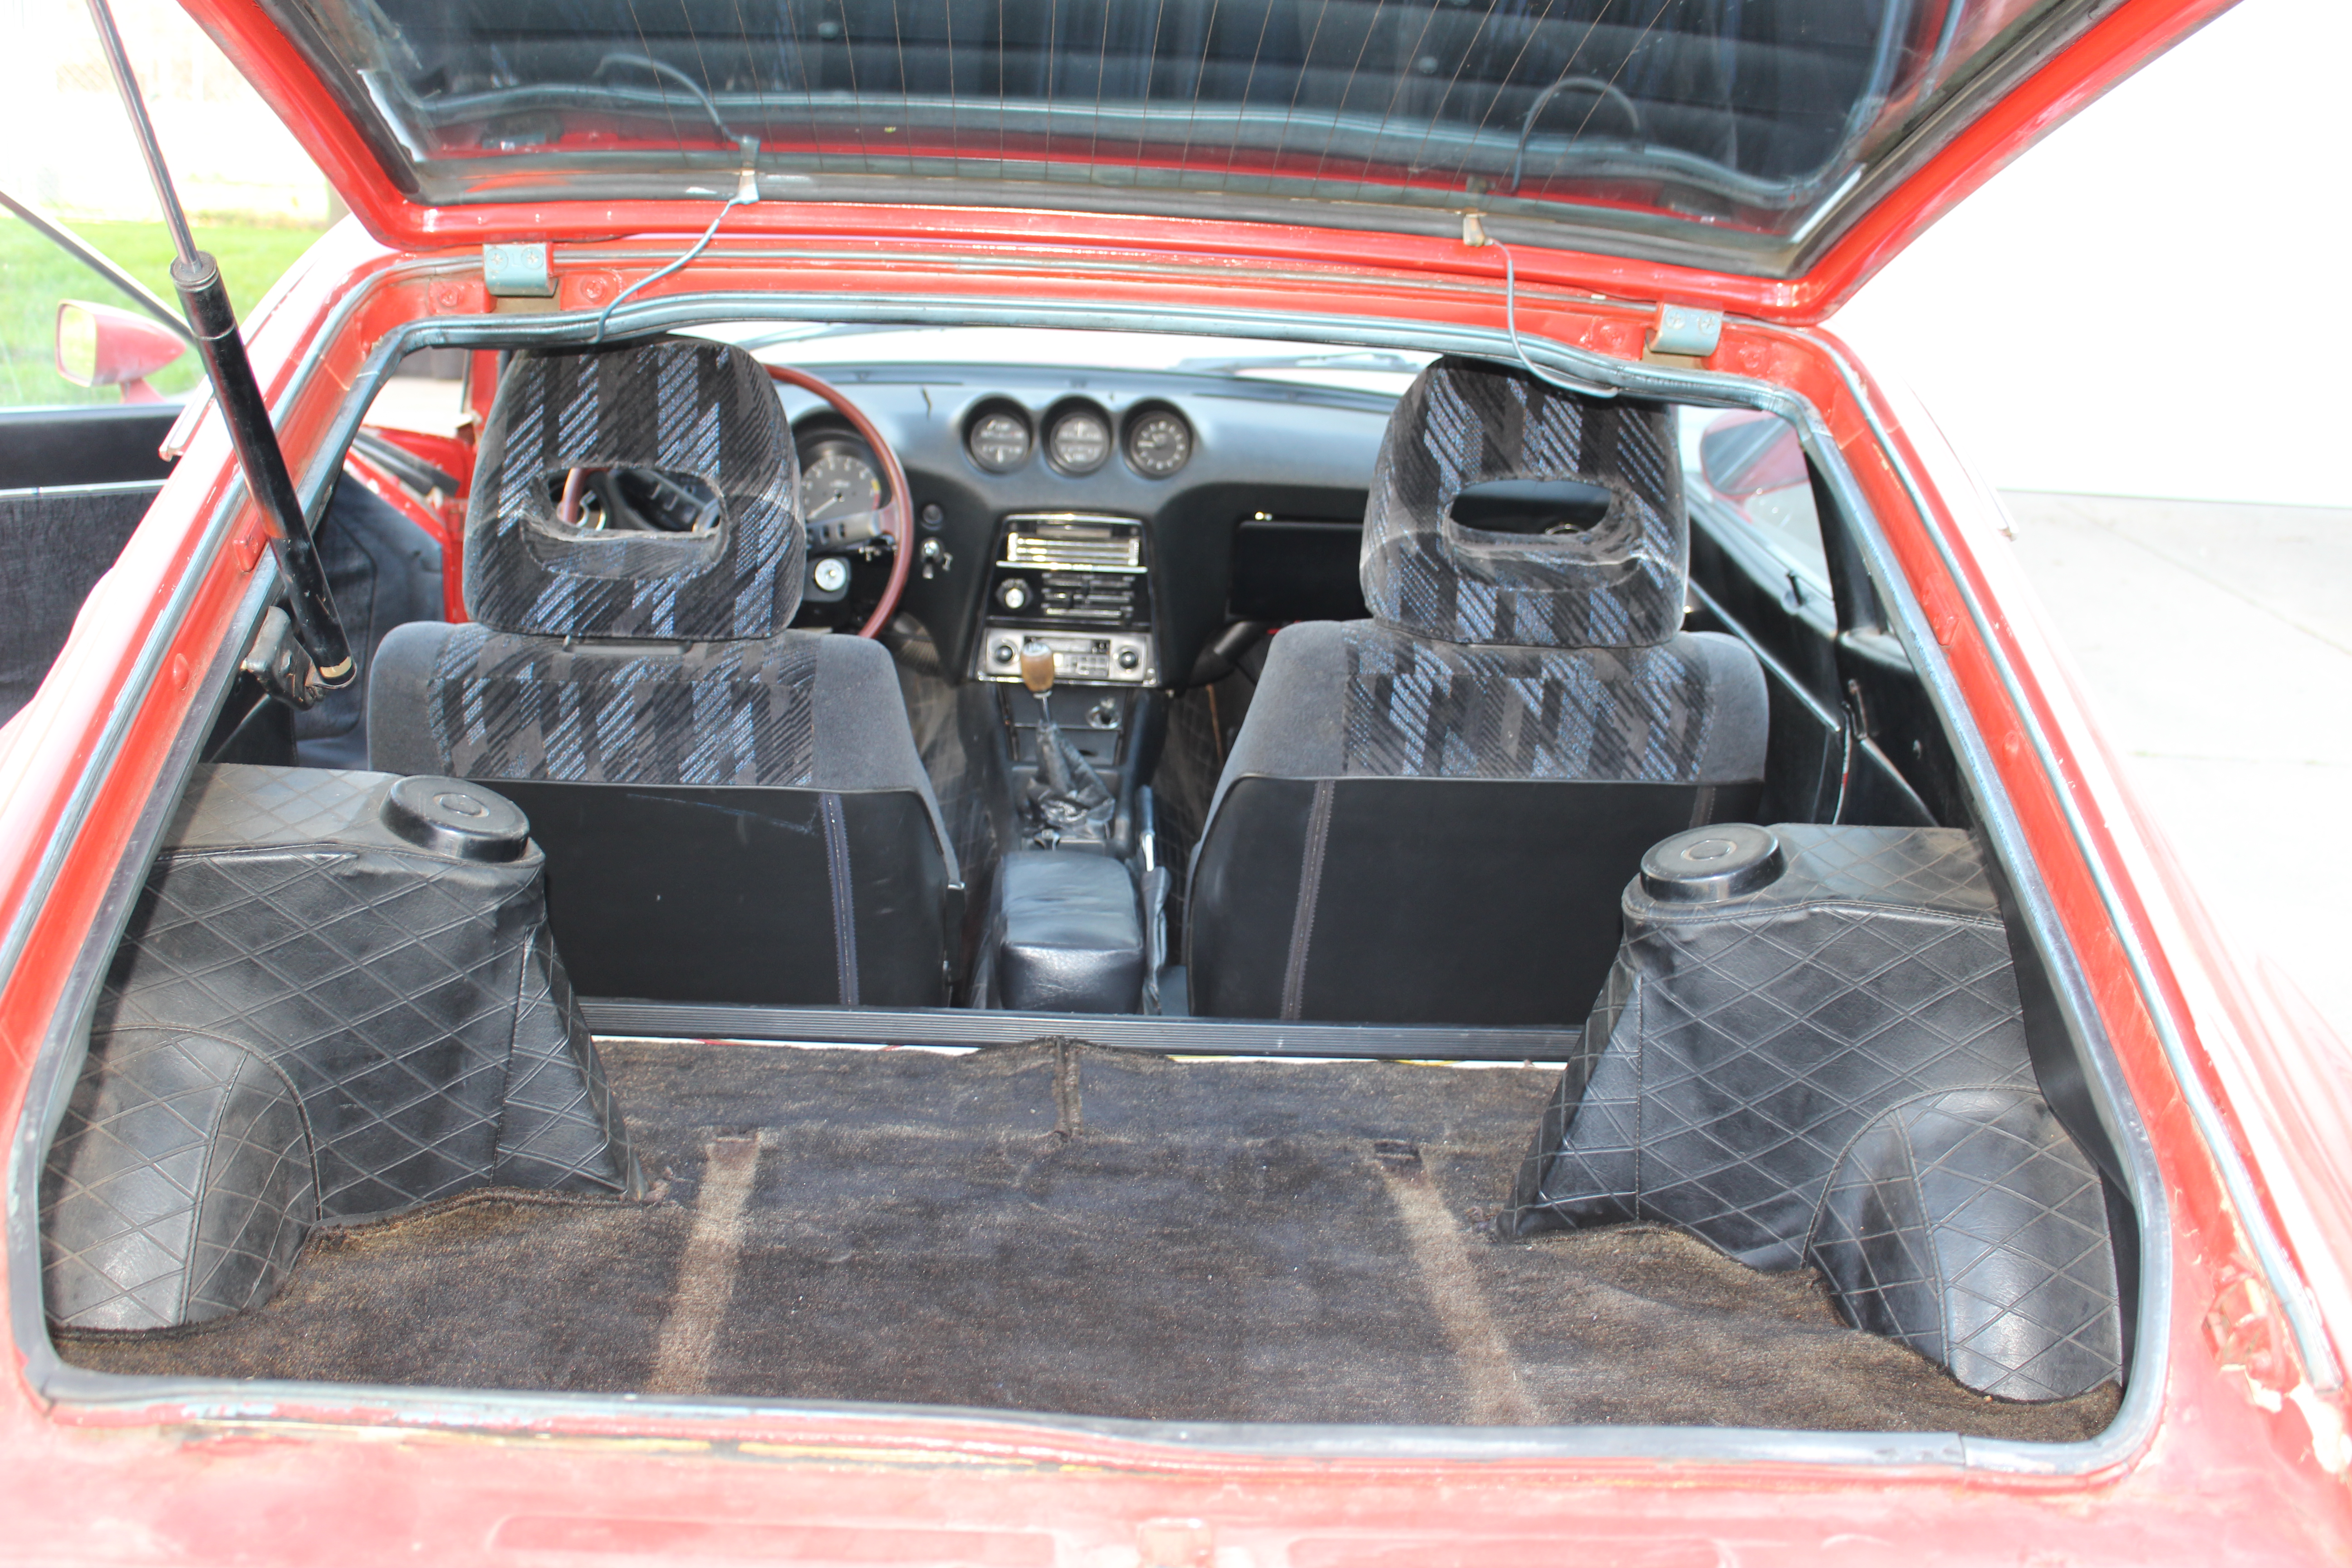
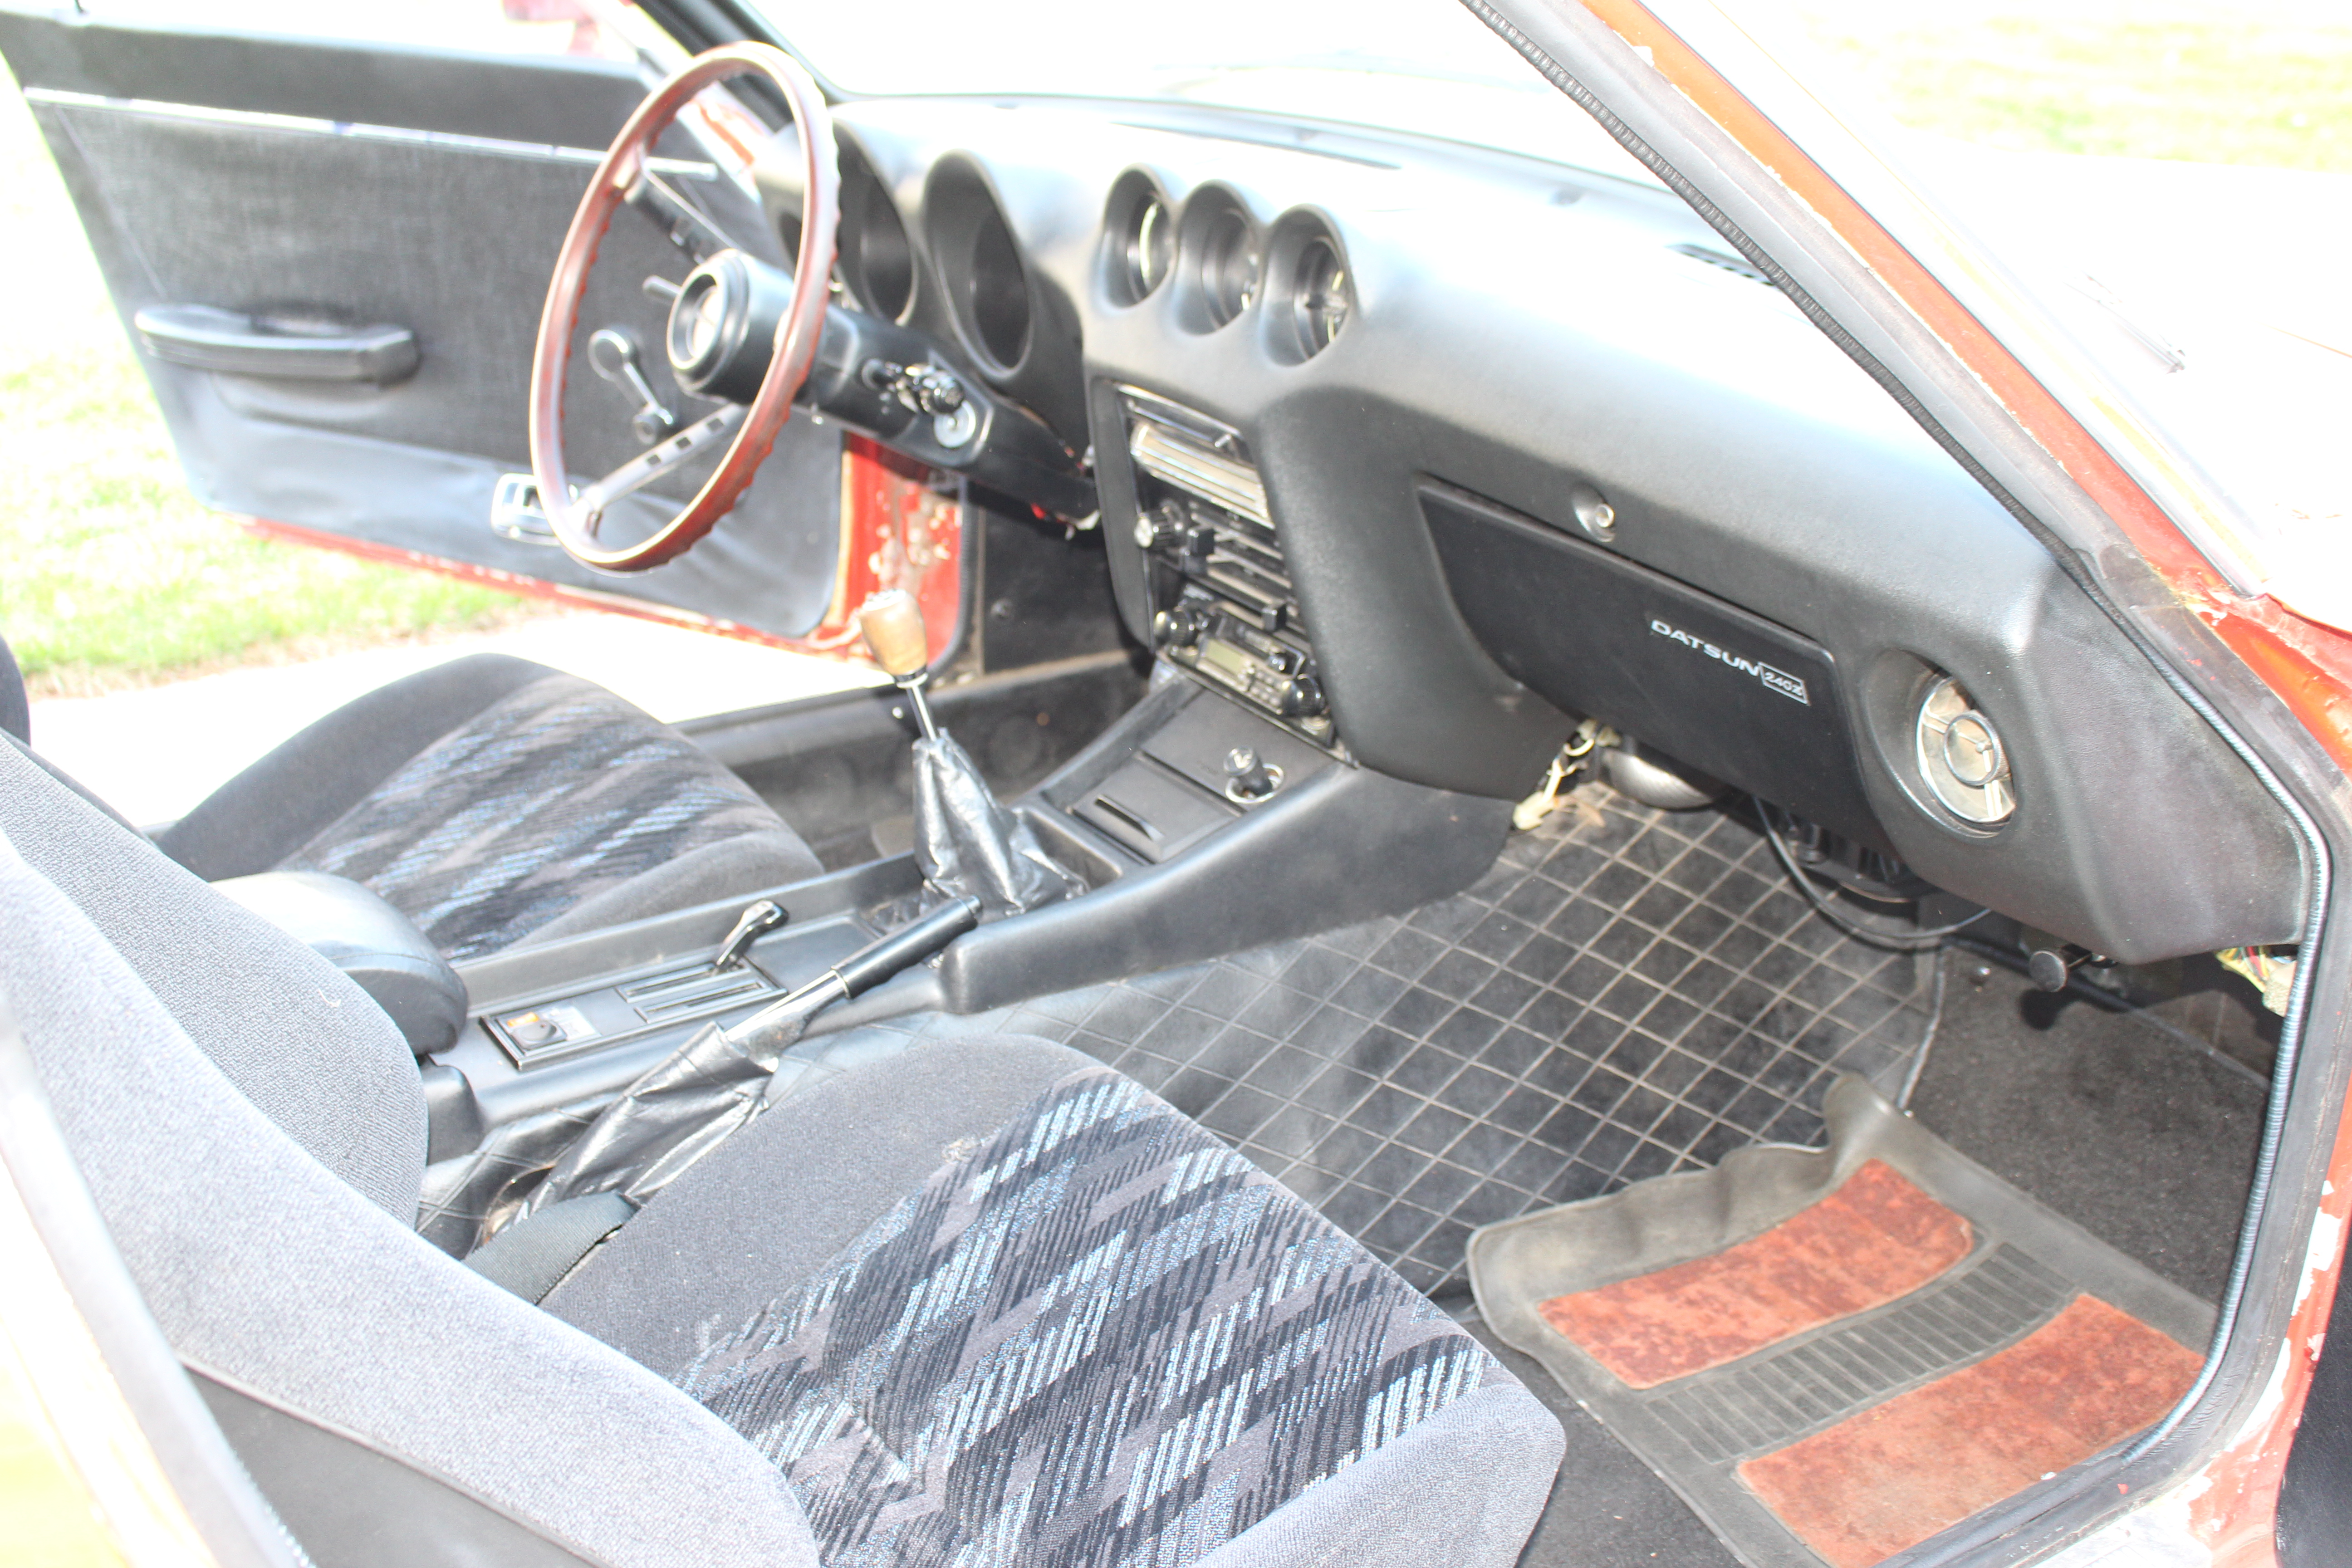
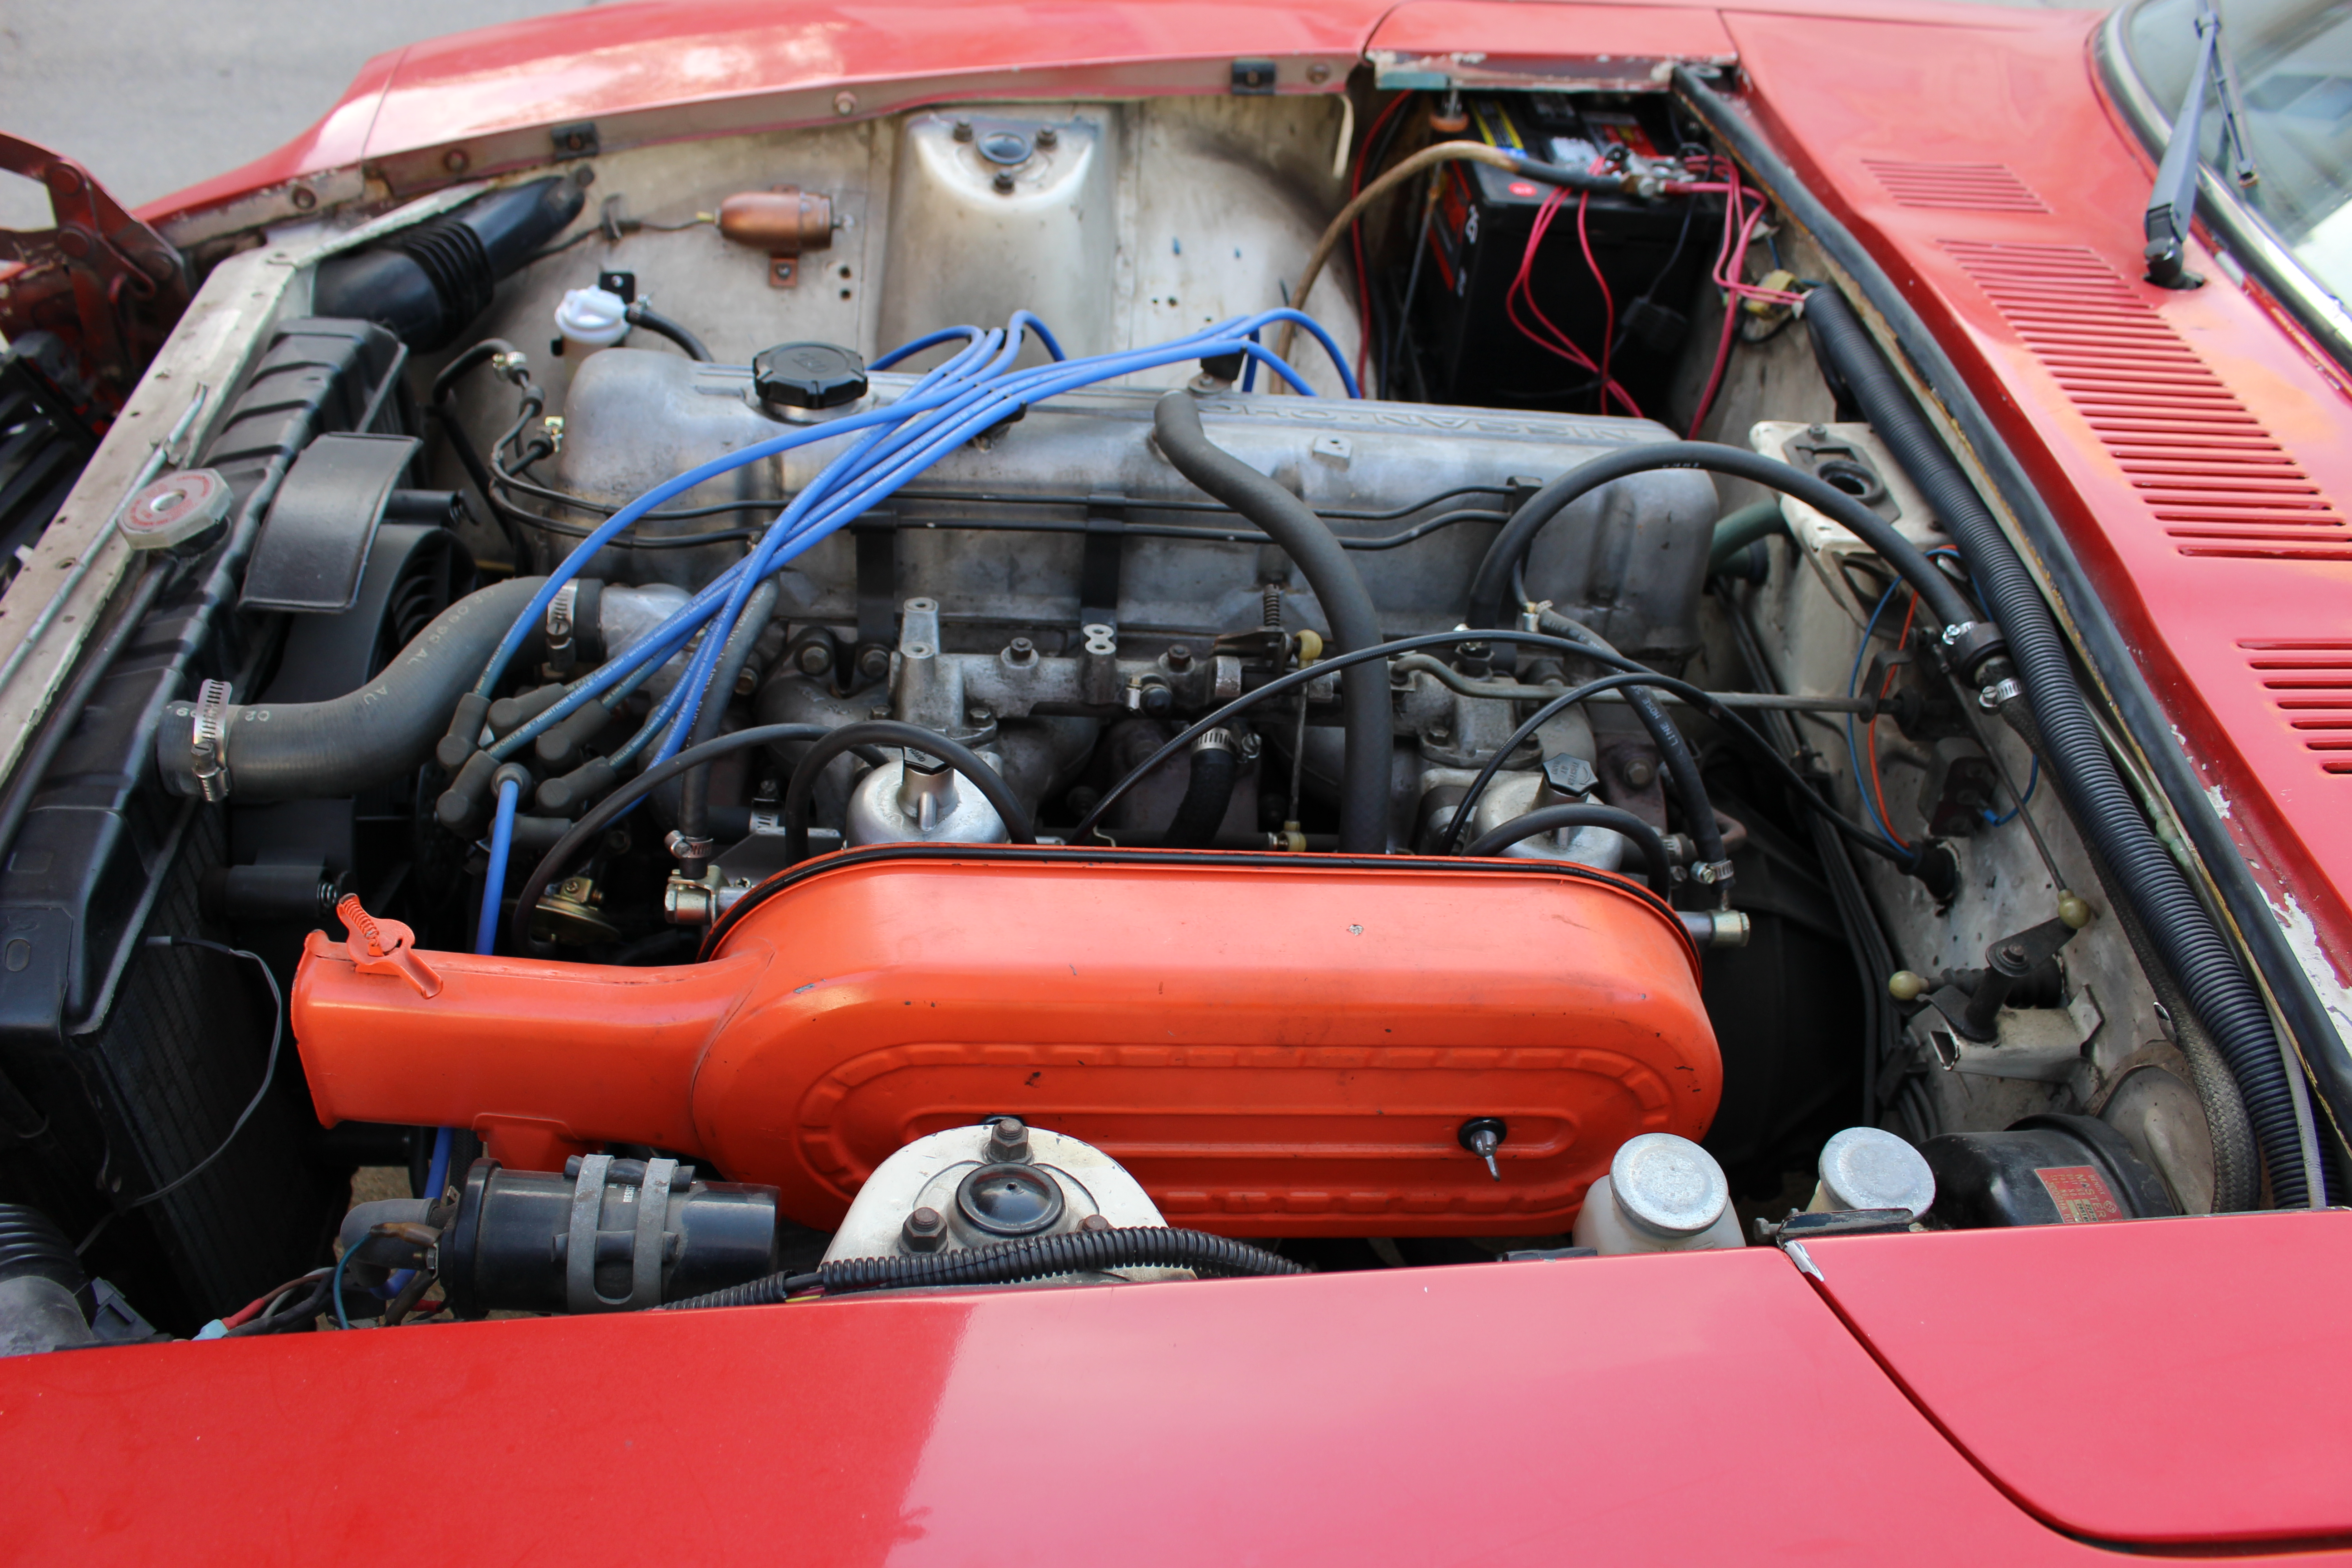
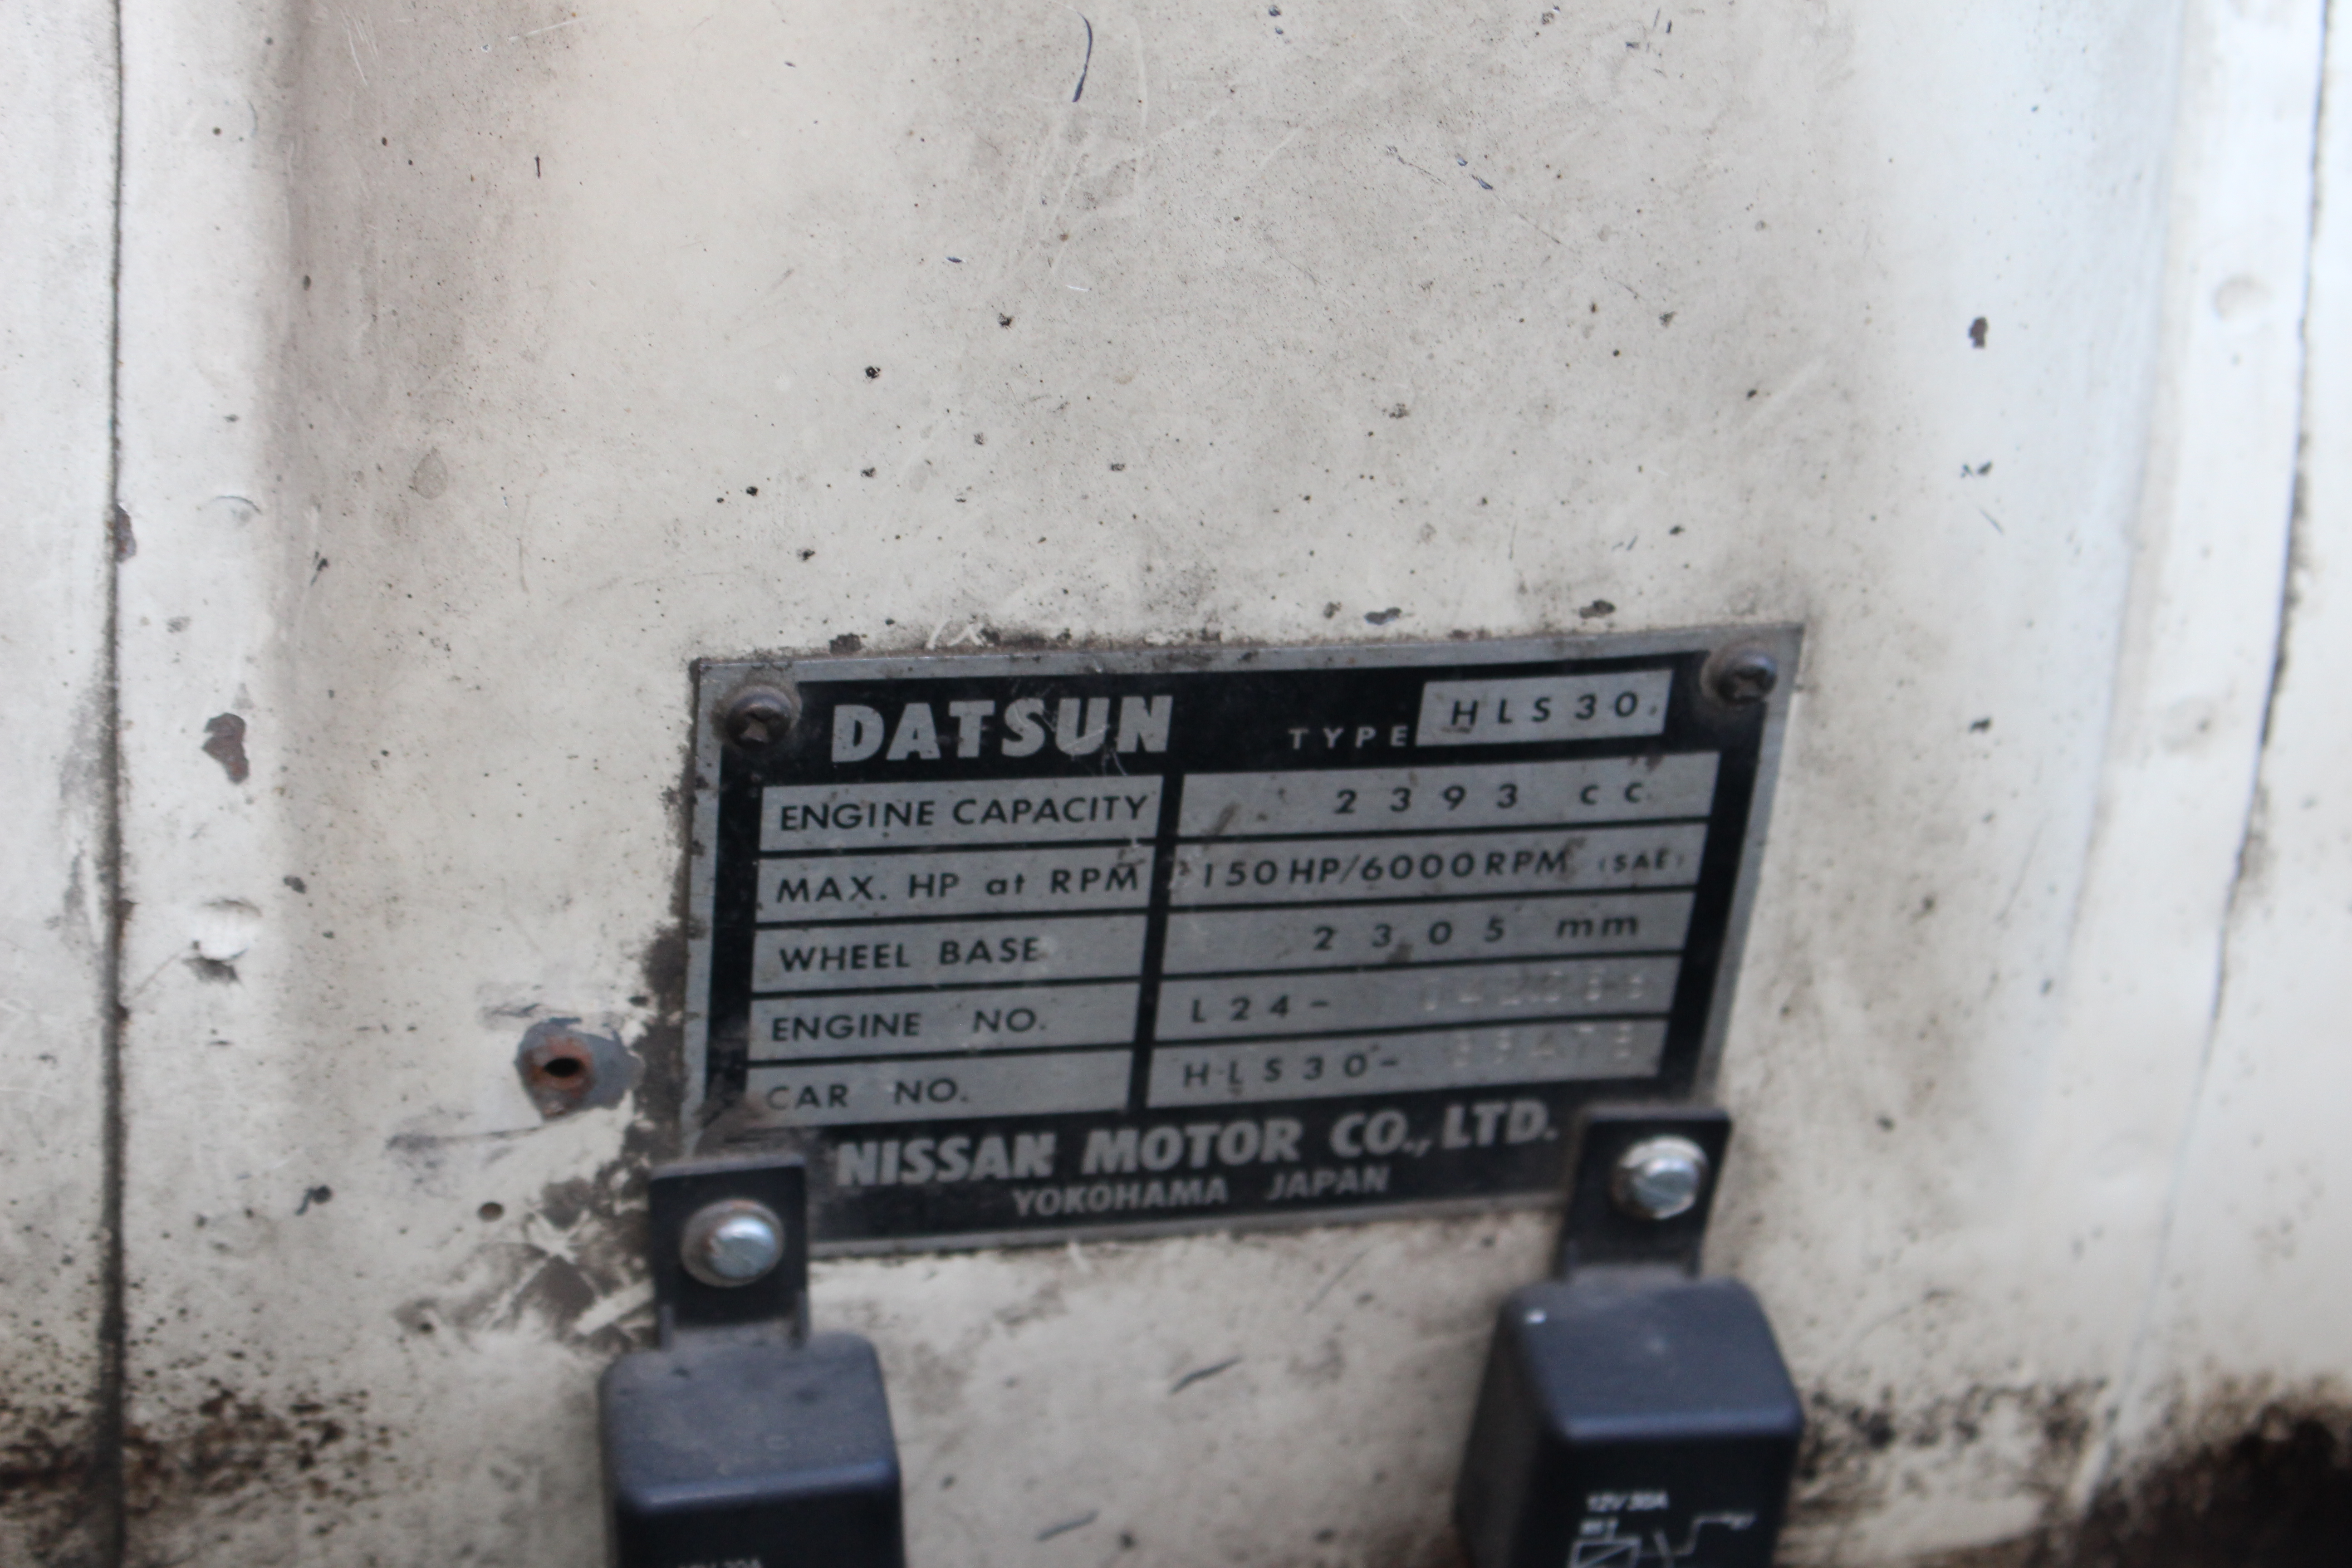
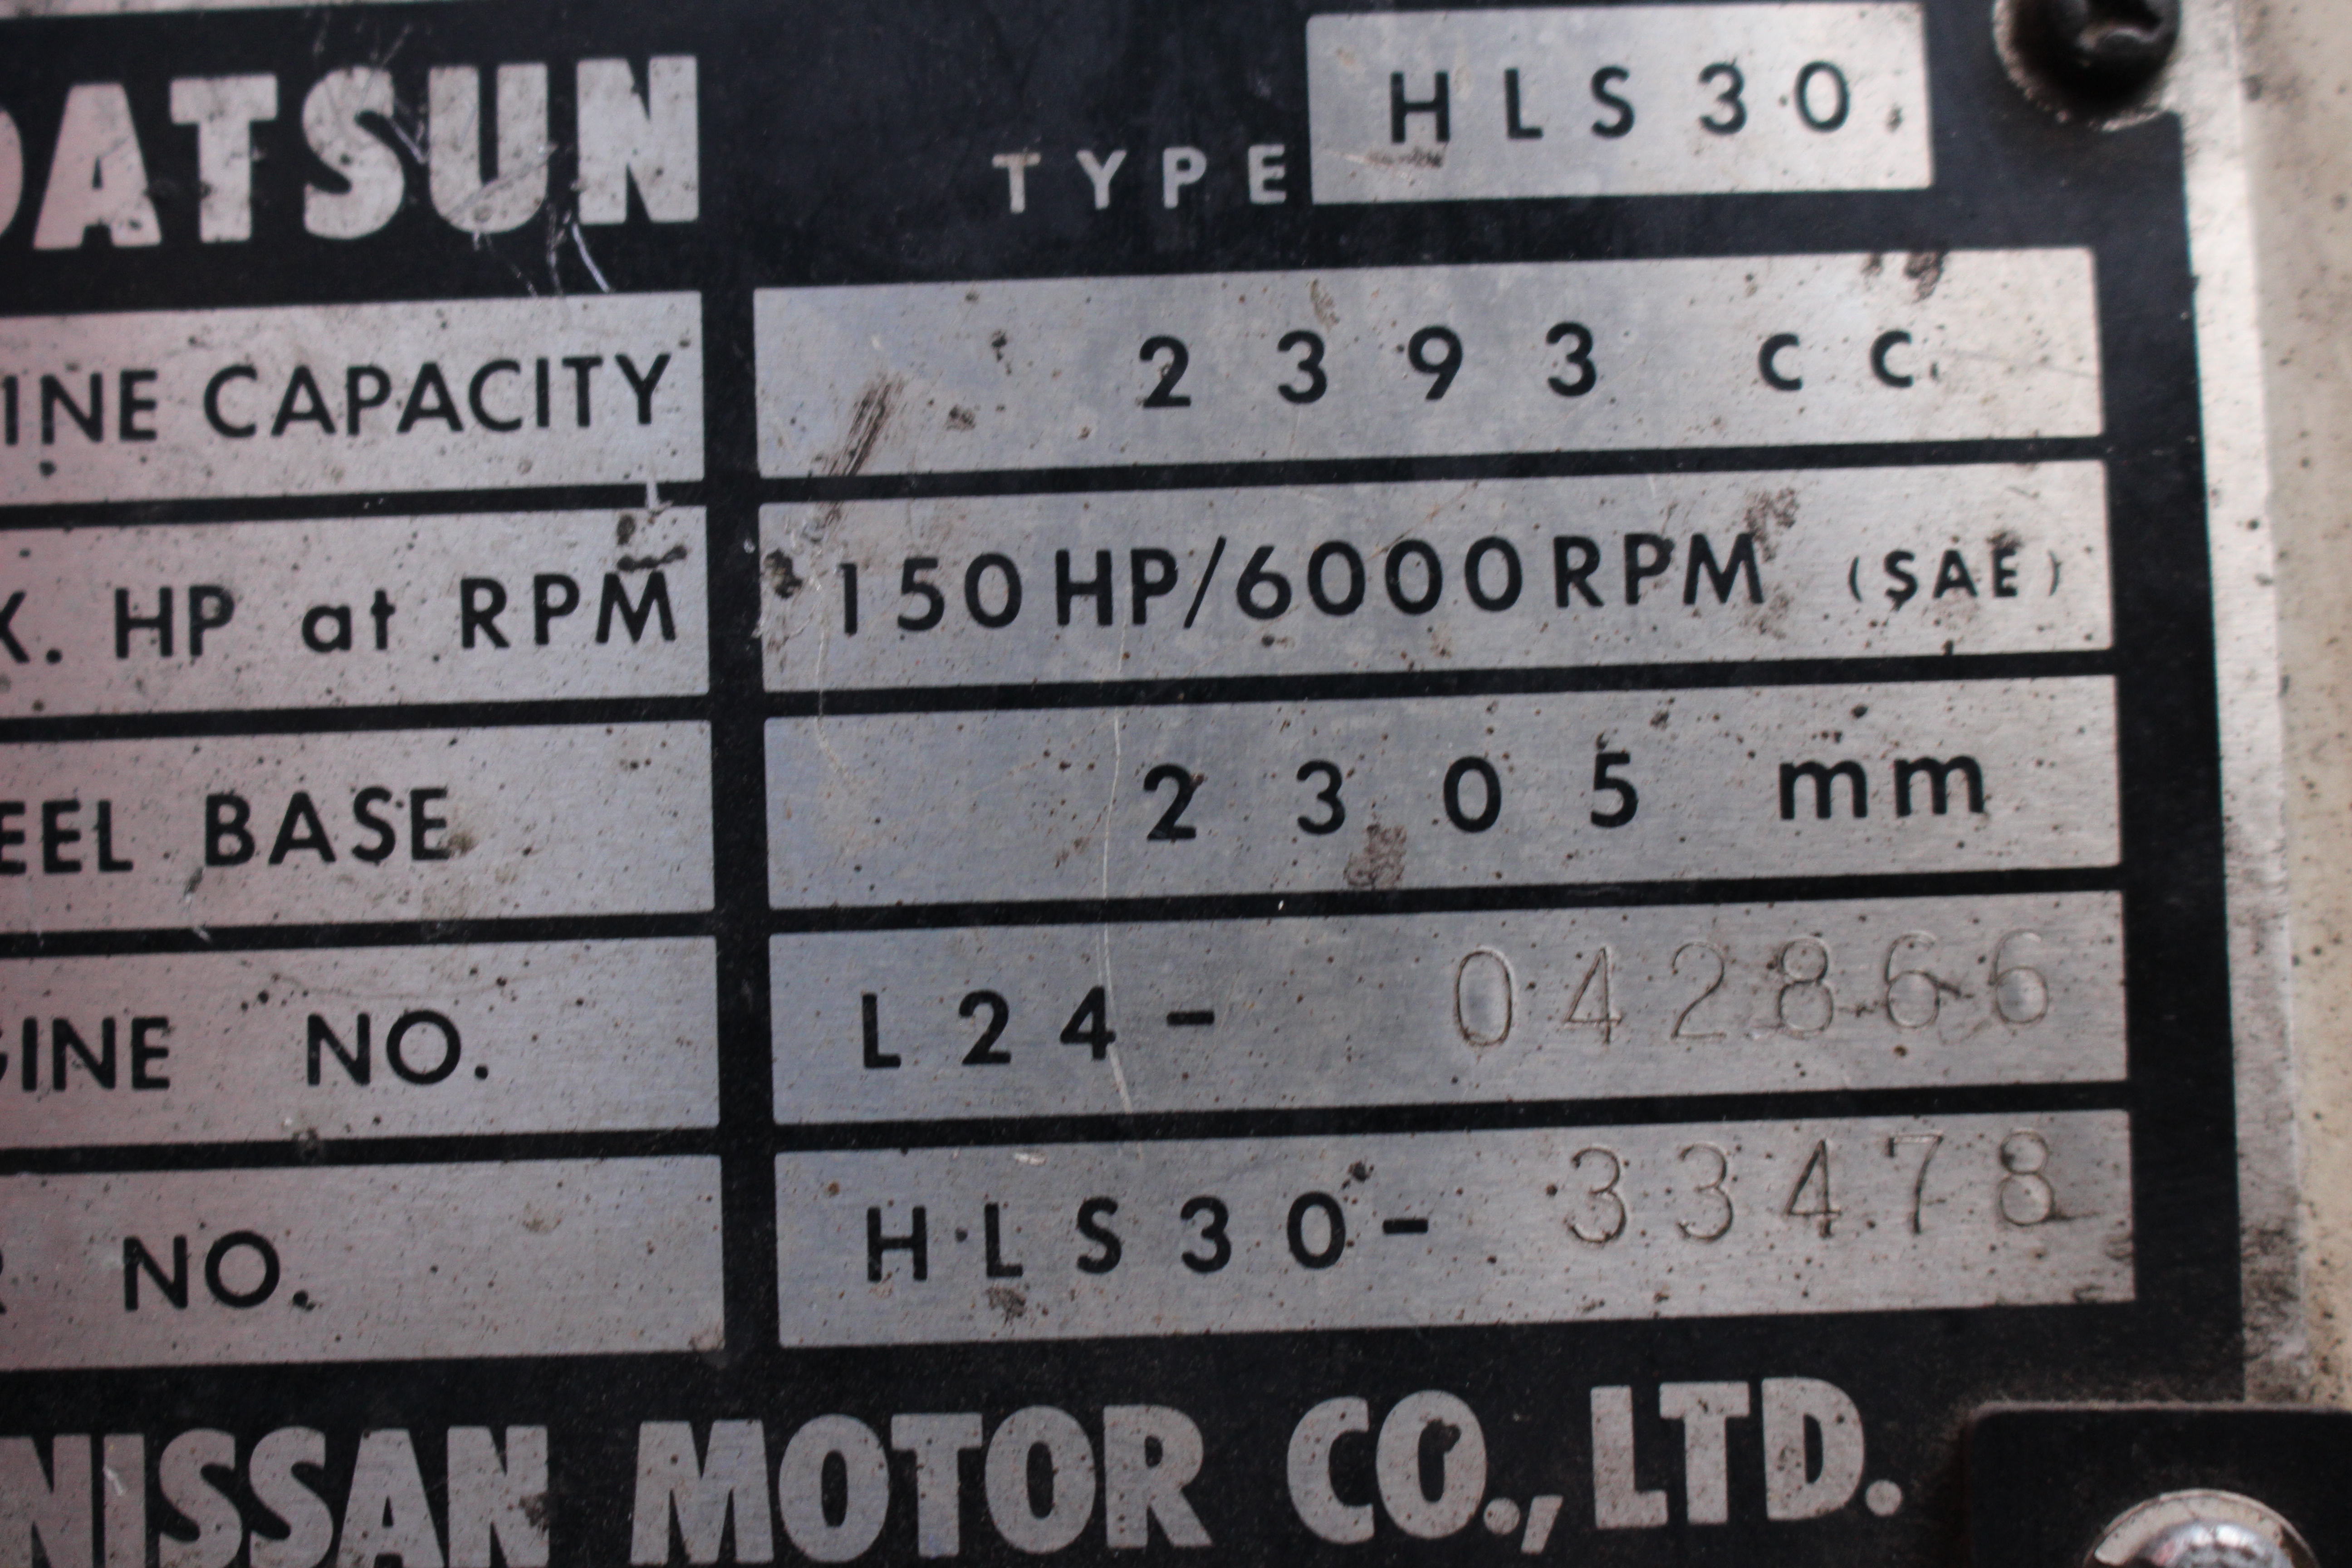
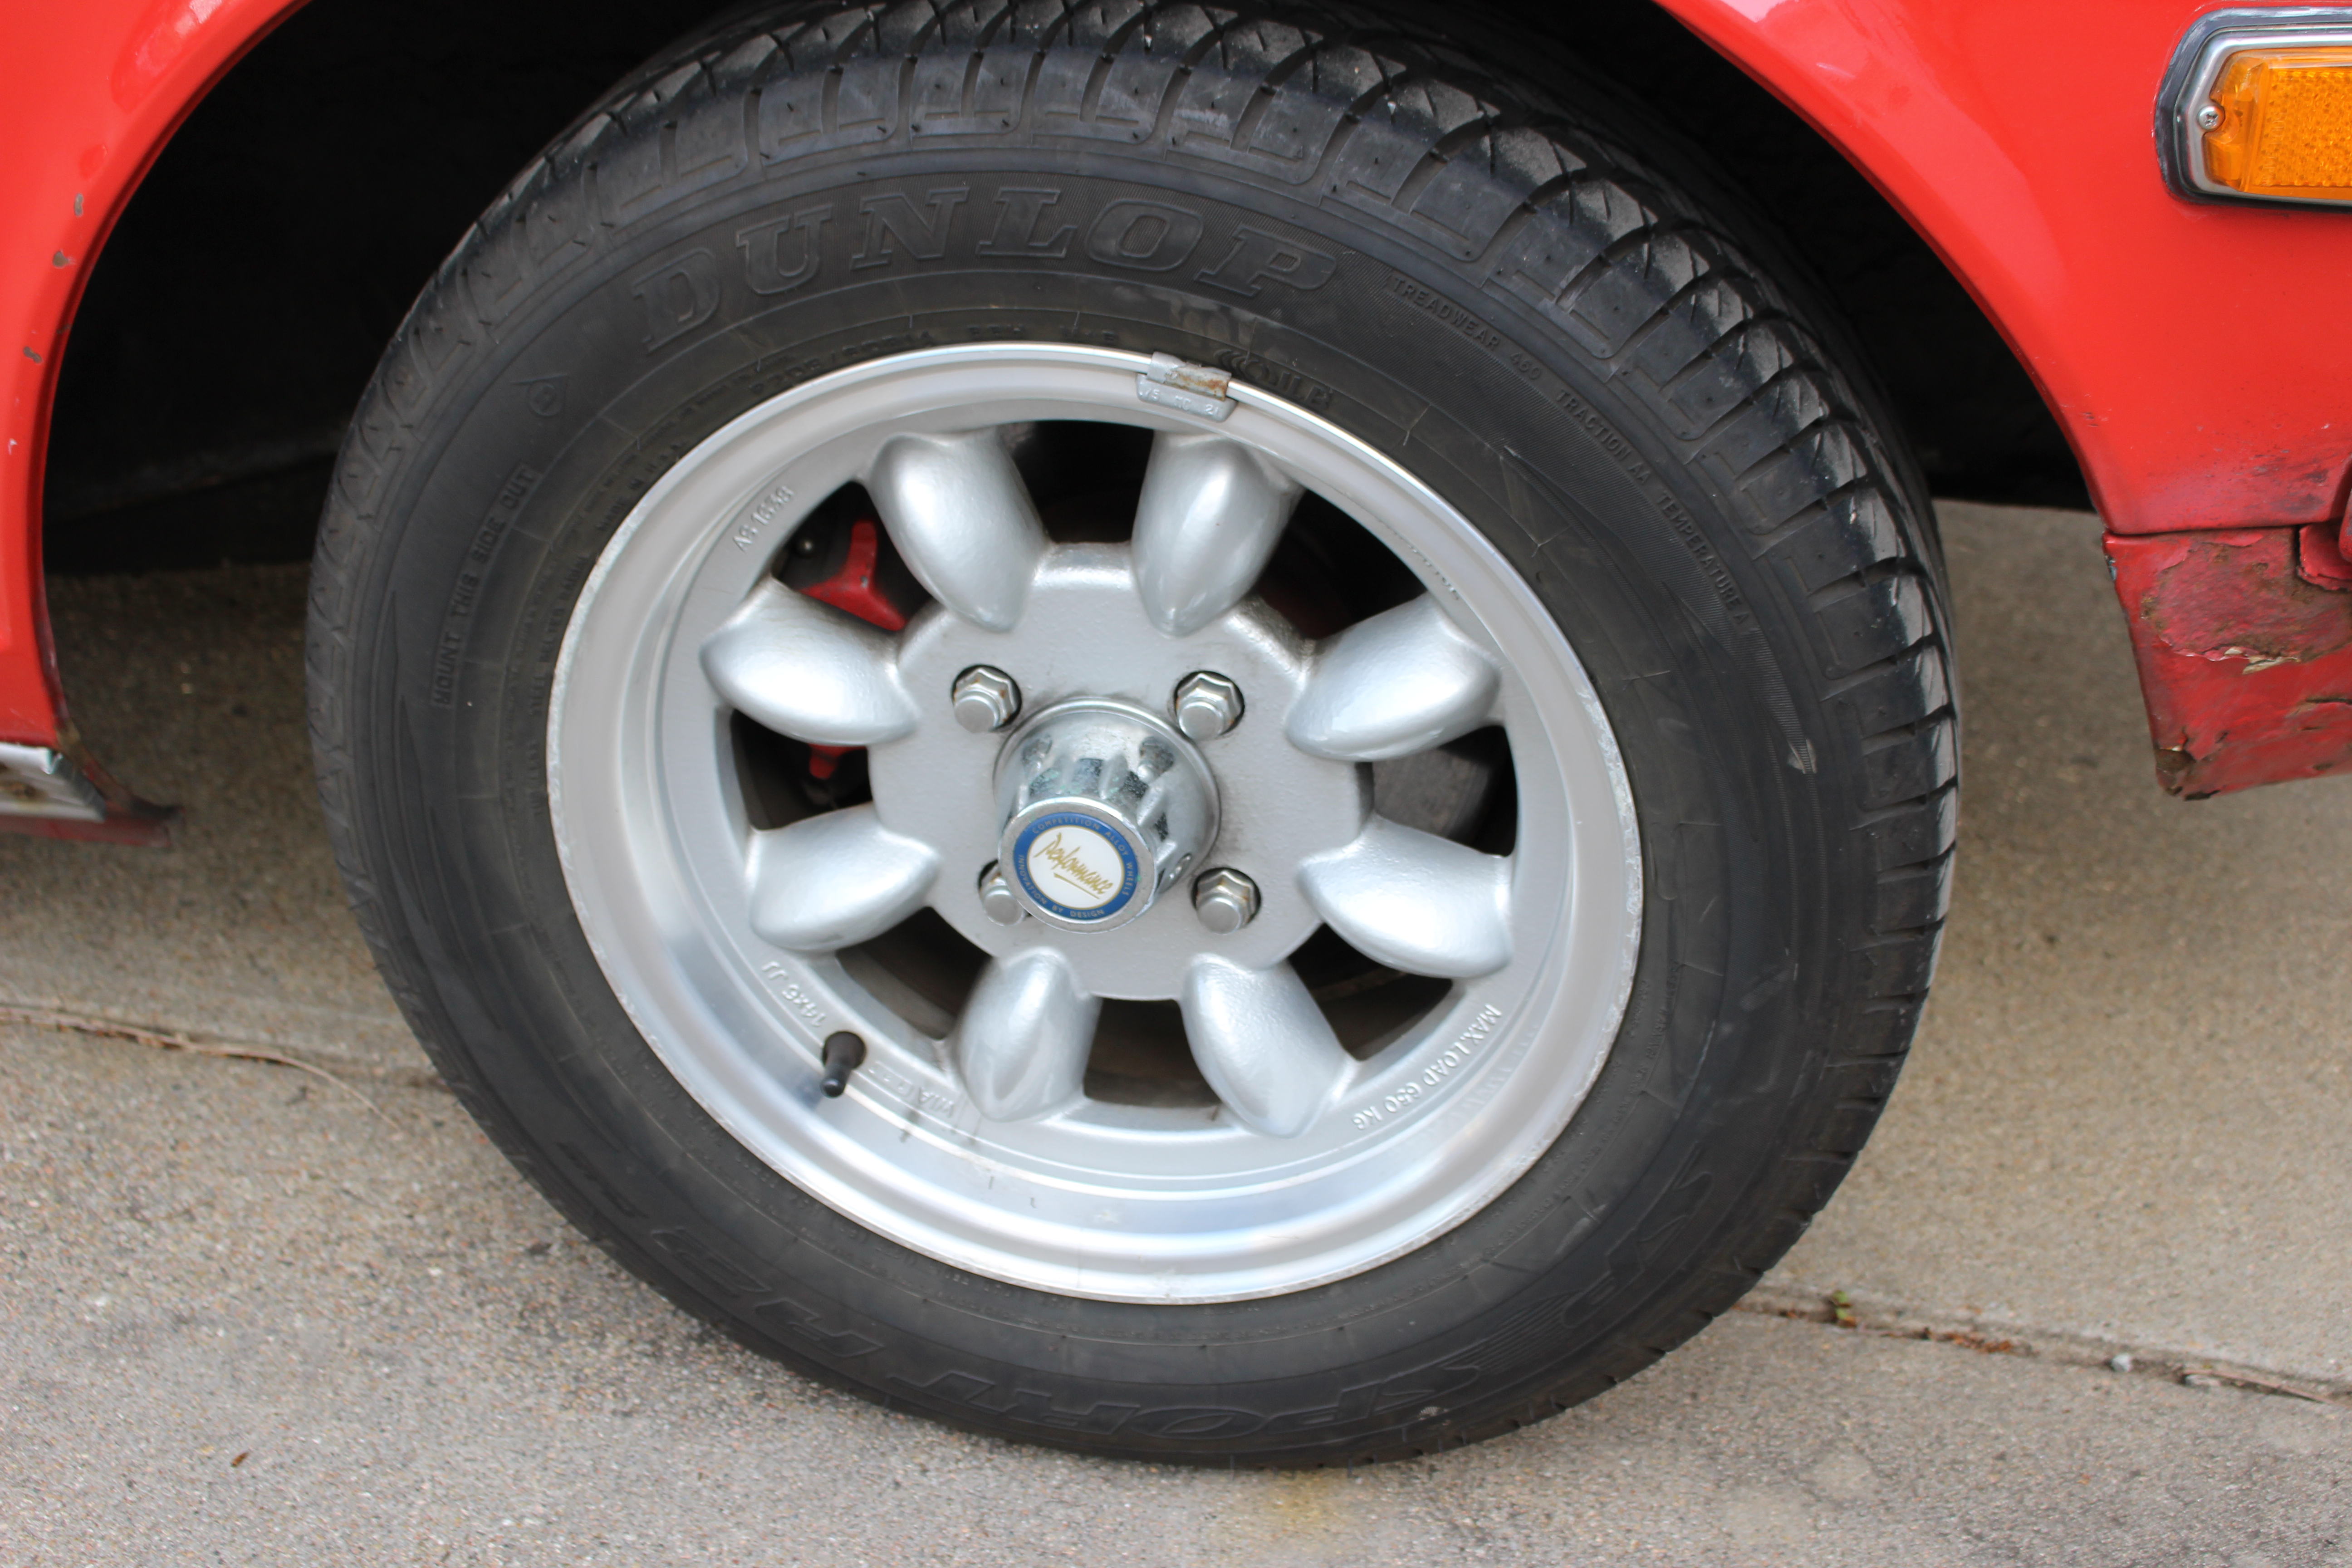
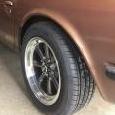
 1 point1 pointI had to drop my motor in with the hoist on the right side of the car. Tried to go at it from the front, but the two legs of the hoist hit the lower control arms of the front suspension.1 pointYou have a great car from what I can see in the engine bay, it looks to be an unmolested and original ride. Touchdown! You may want to check the oil level in the carbs if you haven't already. I use the 3 in 1 Blue 20 weight. Any hardware store will have it and it only takes a teaspoon or so.1 point1 point1971 Datsun 240Z in good condition. Car was originally white, the previous owner had it painted red and a sunroof installed. The odometer reading has rolled over from 100,000 to 10,355. So the mileage is 110,355. The tire and wheels are in good shape. There are two cracks on the top of the dash. Seats are not original. Pertronix Ignitor installed in distributor and Magacore spark plug wires, new (larger) alternator. Factory manual included. Located in Lincoln, Nebraska. Was driven daily up until about 5 years ago, when it became a weekend car. Asking $6,000. azcarfan@gmail.com


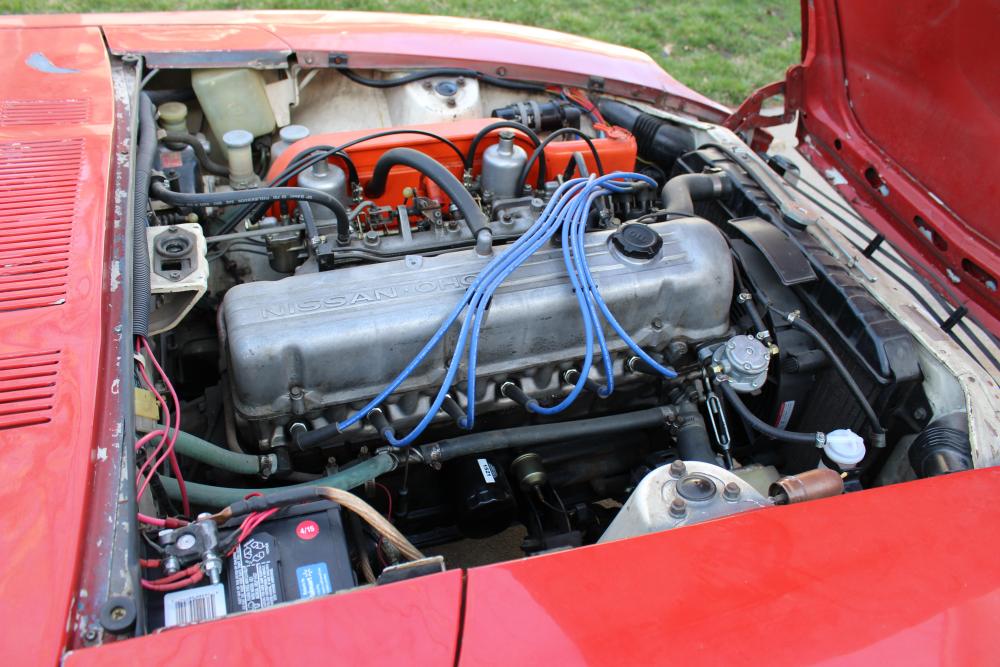

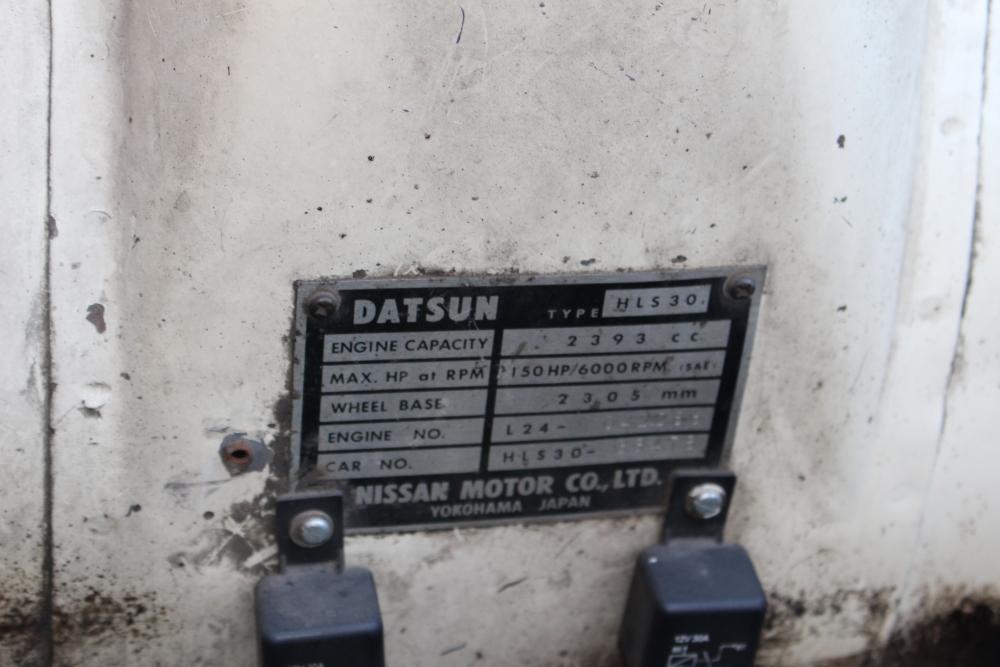
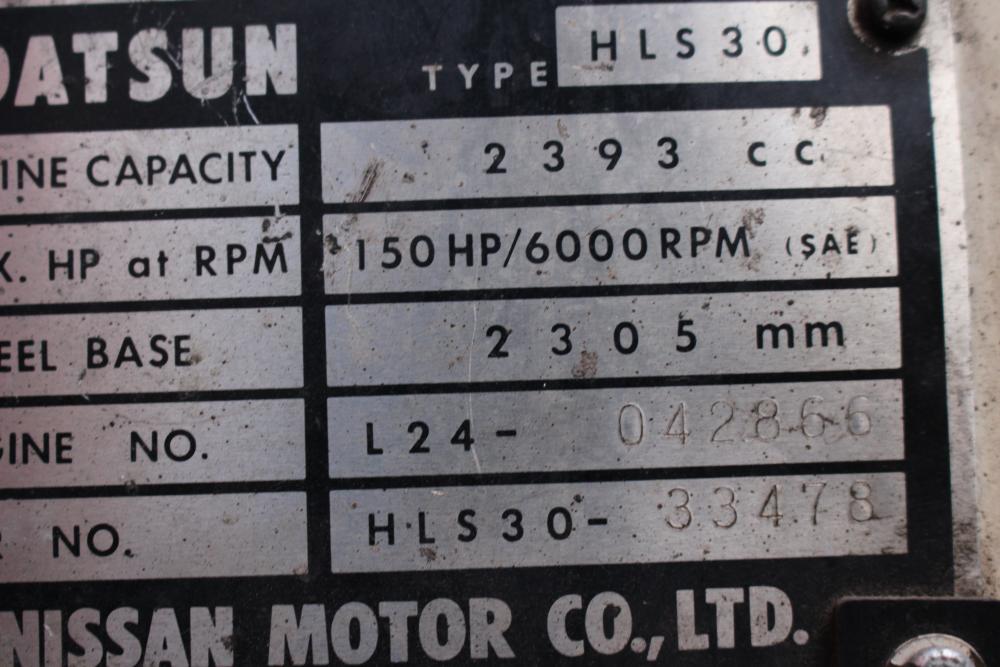
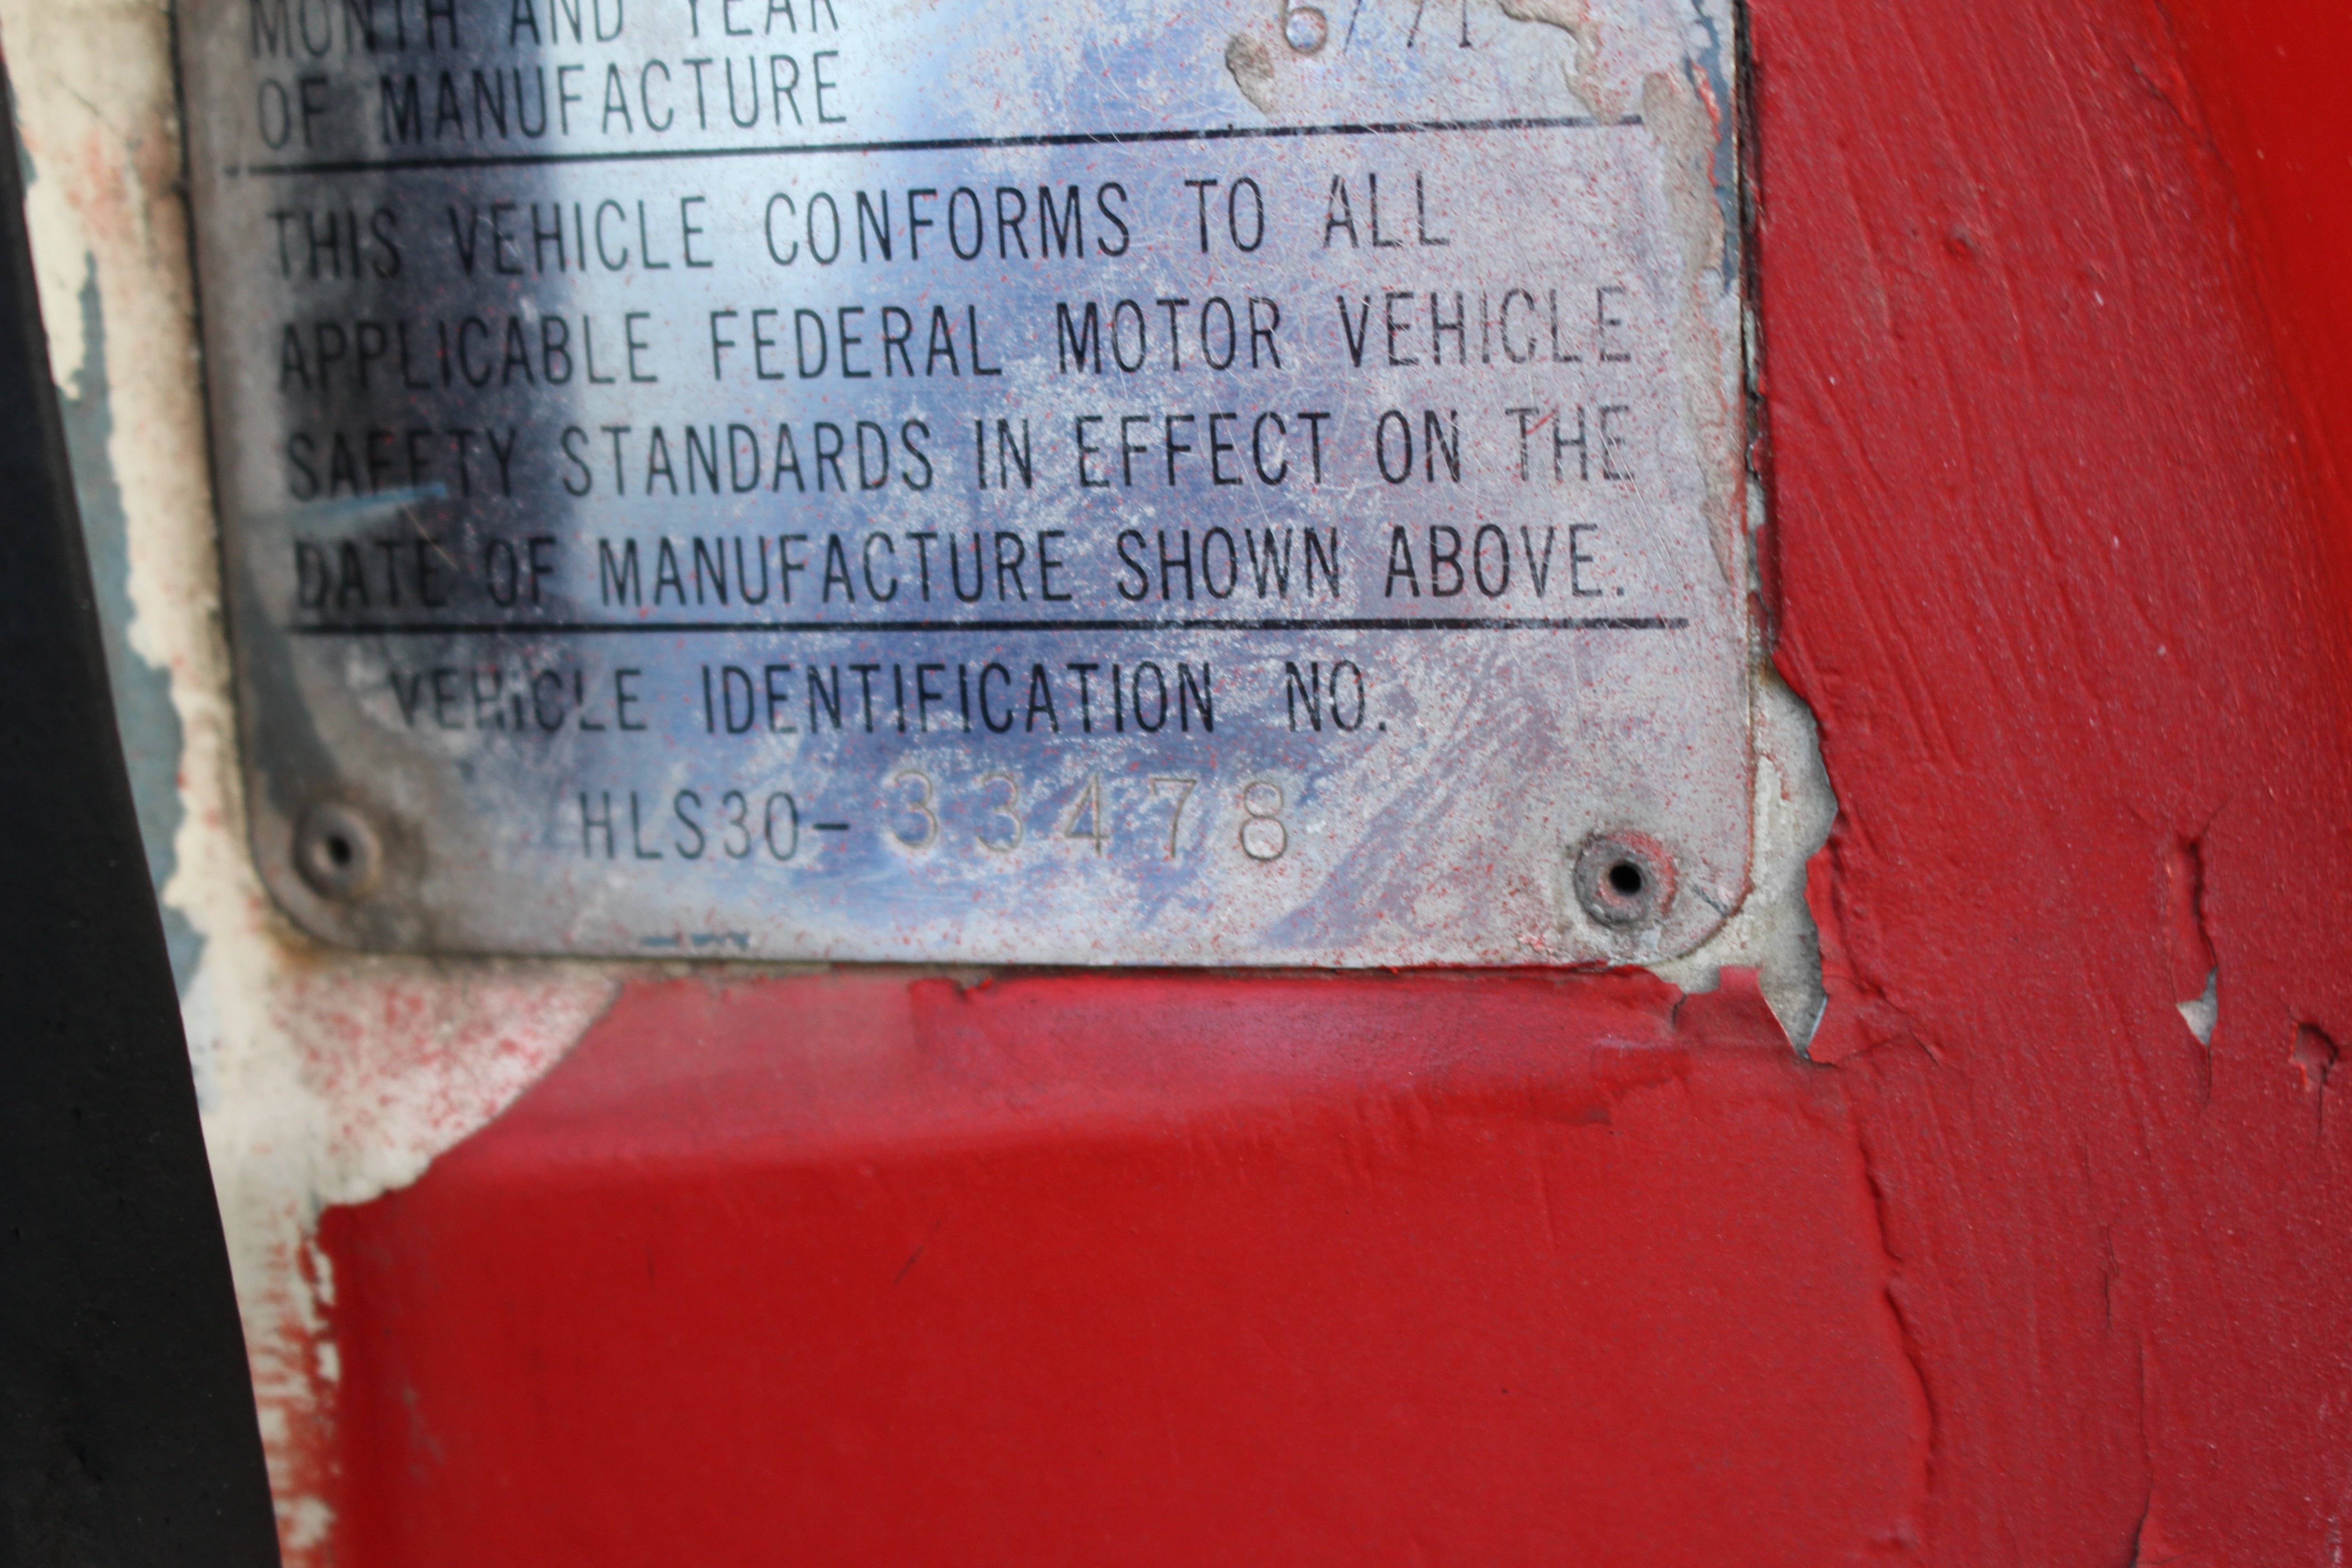
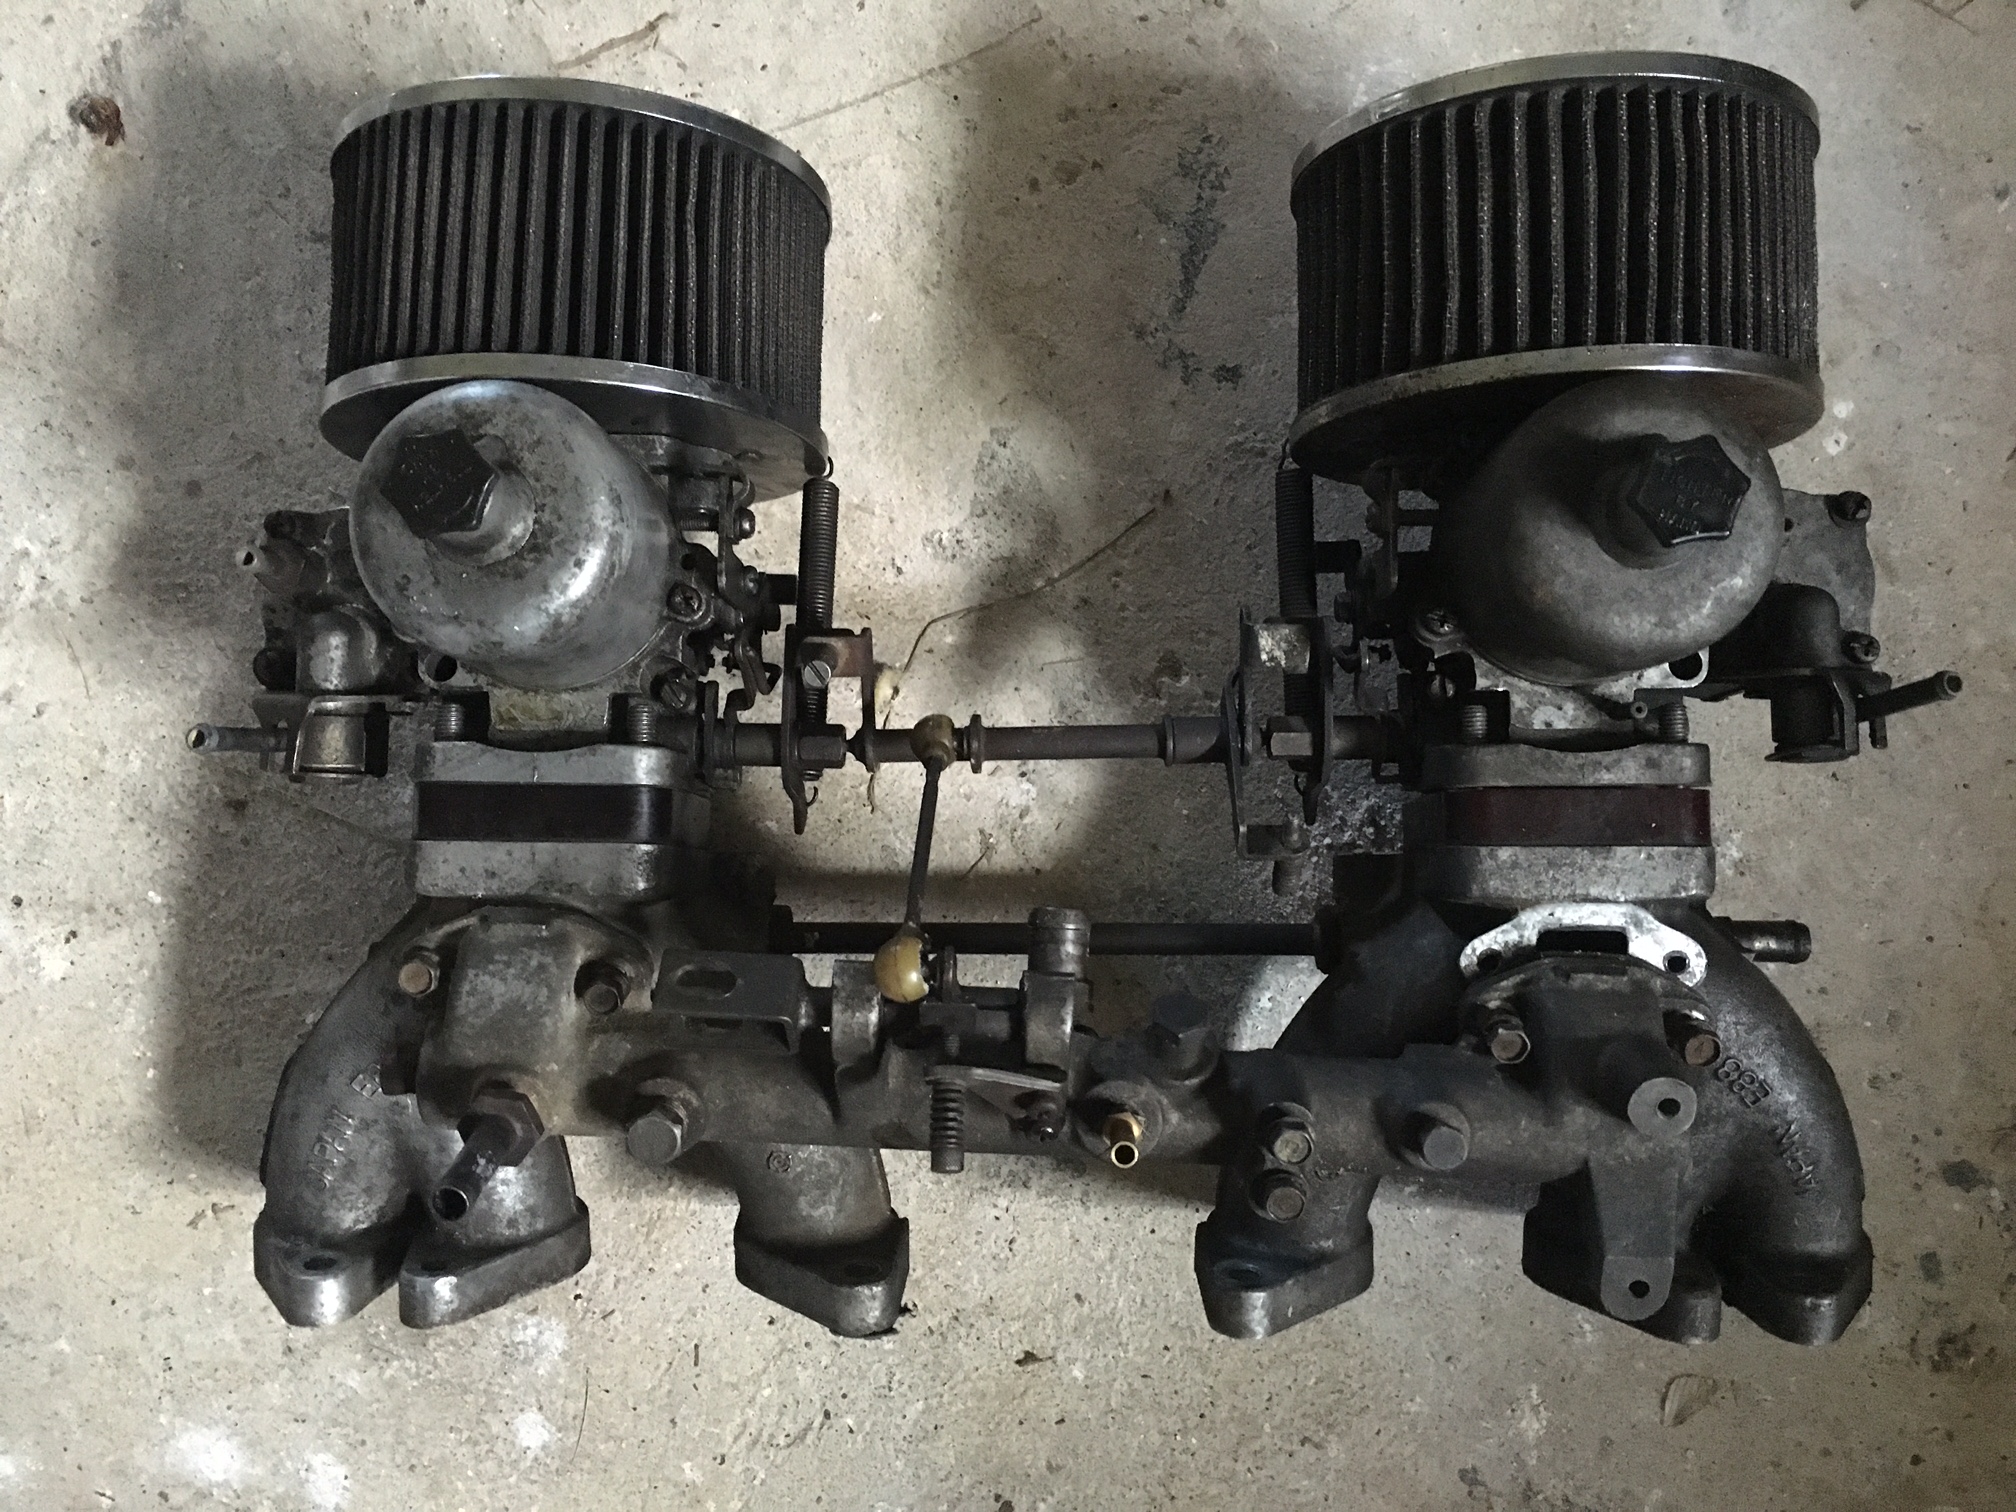
 1 pointWhat is your build date? If it came into existence June 1972 or after, it probably had flat top SUs. (according to info at Ztherapy) That may explain the previous mechanic's decision to change the carbs. Very few "orig" Zs that had flat tops still run them. BTW, it was a good decision depending on what you ended up with. I'm still curious. TZ's carb set-up above looks to be correct for pre-June 72s back to mid 71 and as complete as most people want them. You'll notice the balance tube between the carbs has a few plugs and unused bolt holes. Virtually everything that is missing is non critical and was emissions related. Those are, I believe, the ones the Cap'n are describing. Probably a bit more coolant plumbing than the early 4-screw carbs but good carbs none the less. If you're going back to SUs I (we) highly recommend getting the DVD "Just SUs" from Ztherapy. You'll never trust your carbs to a mechanic again and you'll have more knowledge about SUs than most "experts". Anyone want to correct or add any additional info?1 pointKira, I see you have a couple of posts going at once. Here is a pic of the 3 screw carbs I picked up off a 280ZX that had grenaded the motor. I believe these are the correct carbs for a 72. Perhaps someone here could verify that. E88 manifolds look to have a small cavern into the carbs for the coolant. the insulators have the two extra holes for coolant, as CO stated above. The PO told me his car was running fine until a rod came out of the side of the block to say hello. (his phrase) They look to be all there but I would recommend they be gone through and cleaned up before running them. They at least need new gaskets, oil, etc. Again other members can chime in and verify these as being 72 and complete. TZ
 1 pointIf you're really really looking for stock, then the 72's were unique to that year. They included water passages into the carb bodies that did not exist on previous versions. And different intake manifolds to match. If your heart is not set on factory proper, then you have other year options with some simple mods.1 pointHi Kira I'm curious what is wrong with your SUs? I'm assuming they're 3 screw, round tops or do you have something else on it? DGV Webers?1 pointSorry, just sold my last set of SU's that were refurbished. Not sure when I'll get another set of decent cores to rebuild, but I'll keep you in mind and let ya know. Here's some pictures of my prior work. For someone who is adventurous, SU carbs are really very simple to rebuild. zTherepy sells a great rebuild kit. http://jarvas240z.blogspot.com/2015/10/240z-round-top-carburetor-kit-for-sale.html1 pointCan yours be rebuilt? My friend has owned and raced Zs (using SU carbs) since 1971. He can rebuild them if you're interested. You can email him (Jeff Lucas) here: jlucas@kuhncom.net Chuck1 pointUsed carbs are hit or miss. Ztherapy is the best play for a solid set of carbs. Rebuilt, rebushed, no vacuum leaks... Reasonable price, I guess that depends on your expectations, varies a lot...1 point1 pointIf you're thinking of selling I'm sure you will find many people interested locally. Do you have any pictures? I'd be interested1 point


Important Information
By using this site, you agree to our Privacy Policy and Guidelines. We have placed cookies on your device to help make this website better. You can adjust your cookie settings, otherwise we'll assume you're okay to continue.