Leaderboard
-
Patcon
 Subscriber
 5Points11,136Posts
 -
240260280z
Free Member3Points5,426Posts -
Mark Maras
Free Member3Points3,719Posts -
Redwing
Free Member3Points747Posts


Popular Content
Showing content with the highest reputation on 10/25/2015 in all areas
-
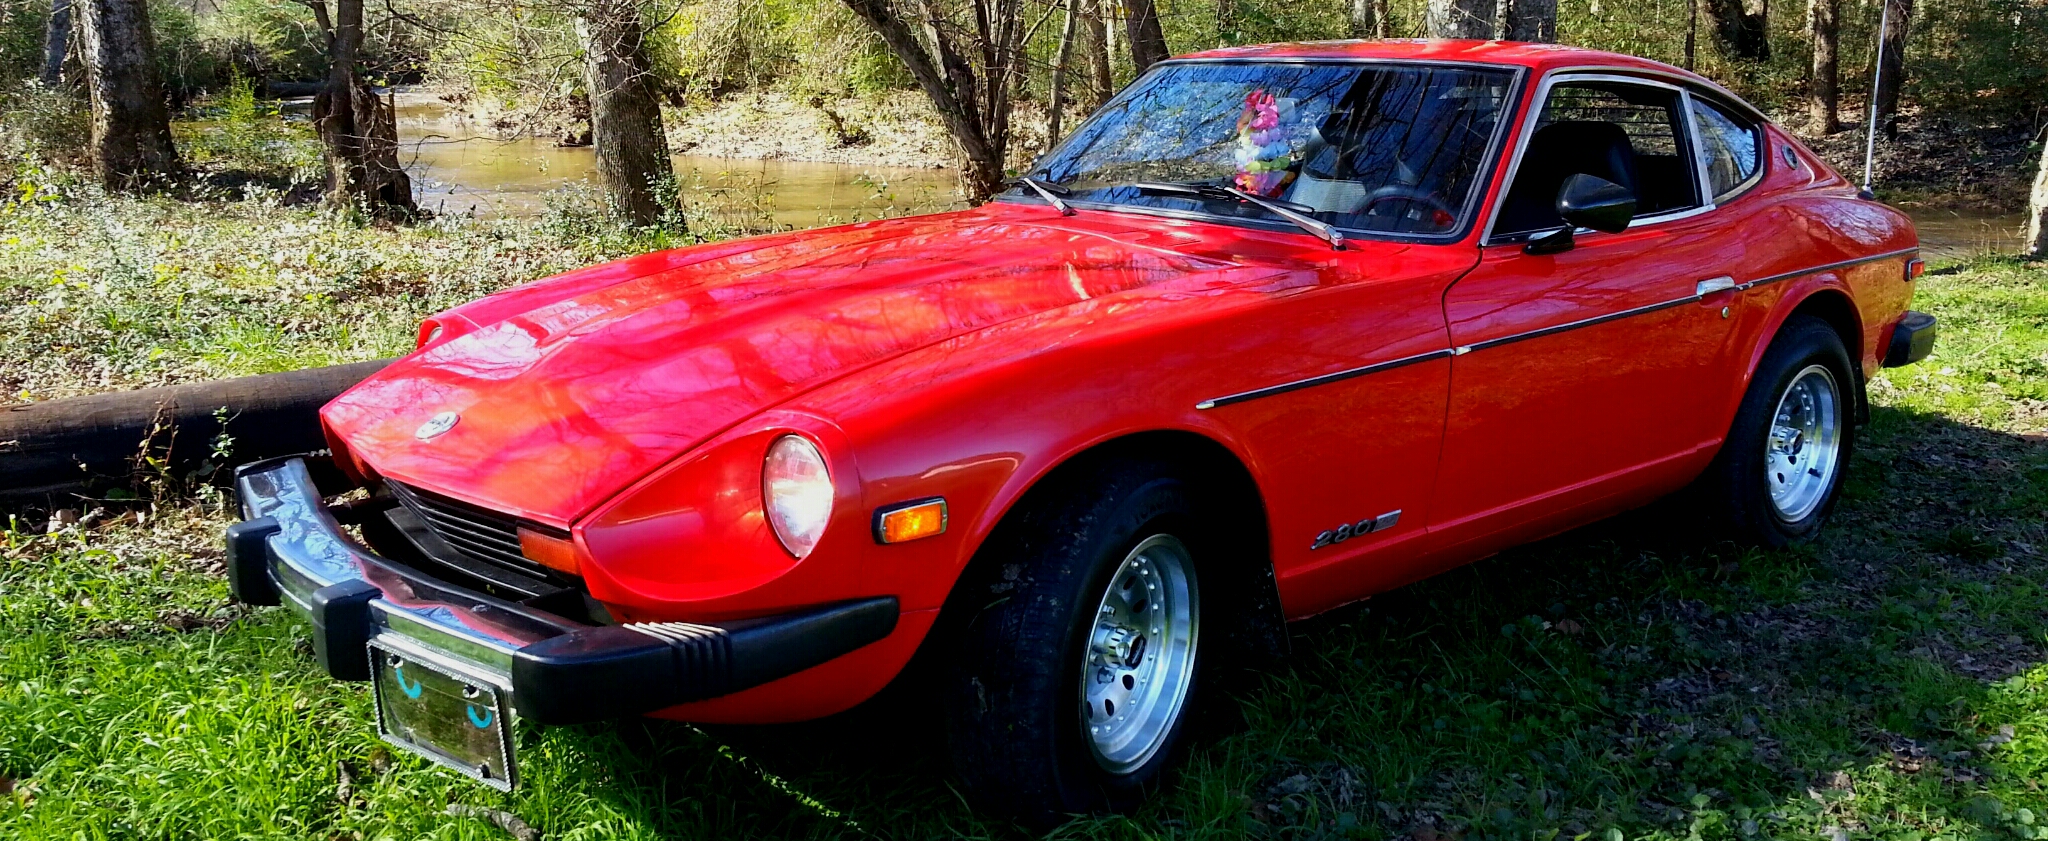
2 pointsOh my goodness. I had a most exhilarating ride with RedBird yesterday! The ungodly time spent from 6/15 until now, vanished in a microsecond. I HAVE MY BABY BACK! Oh she is sooooo sweet! People were looking at me oddly, wondering why I was in the grocery store with a non-removeable $^!# eating grin on my face. My jaws hurt today. But I'm anxious to get to church, and then off to a promised casual drive in the local mountains. RedBird will be as happy as I am! I have some photos, but I apologize, they are mostly of my kissing my dear Redwing goodbye. I would have posted them yesterday, but the Internet in our area was down. I do hope that Redwing will still have a life, but if not, at least she will give life, like an organ transplant, to other Z's in need. I will miss her and the memories. But off now to start new memories with the Lady RedBird. Onward..... Again thanking all who had a hands on part in RedBird's recovery, AND to all the rest for being the BEST back up crew with advice and parts. I am so amazed at each of you, all of you are dear to my heart. This would not have happened without YOU. Rats, time to go, time is short. Will add photos later today. Sorry. Still grinning, Jai2 points
-
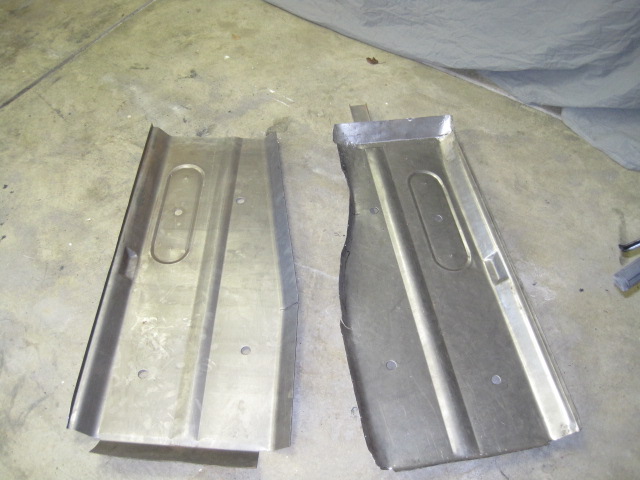
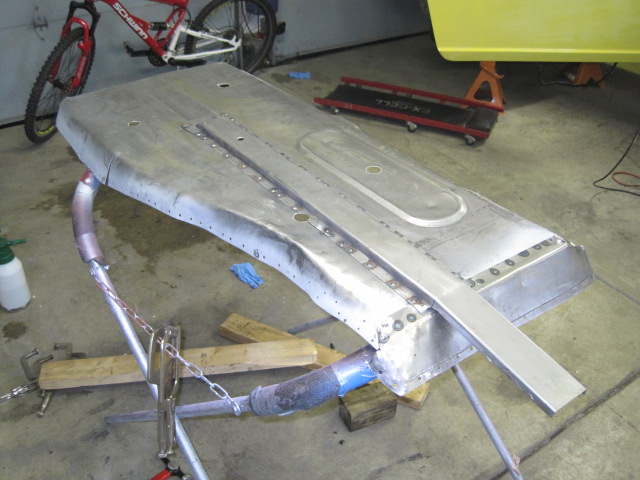
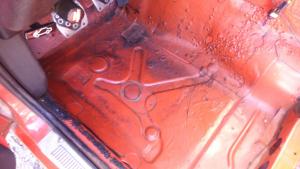
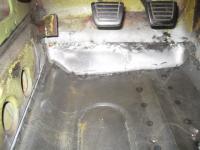
2 pointsI used a small air powered body saw and a die grinder with a cut off wheel. Take zip screws and screw the floor pan where you want it. cut a section so the old panel and the new panel are cut at the same time. Butt weld that section then work around the panel skipping from side to side and end to end. This also allowed me to take a hammer and dolly and work the edges of the pan so they matched the transmission tunnel shape. After a little grinding and some primer the repair is invisible.2 points
-
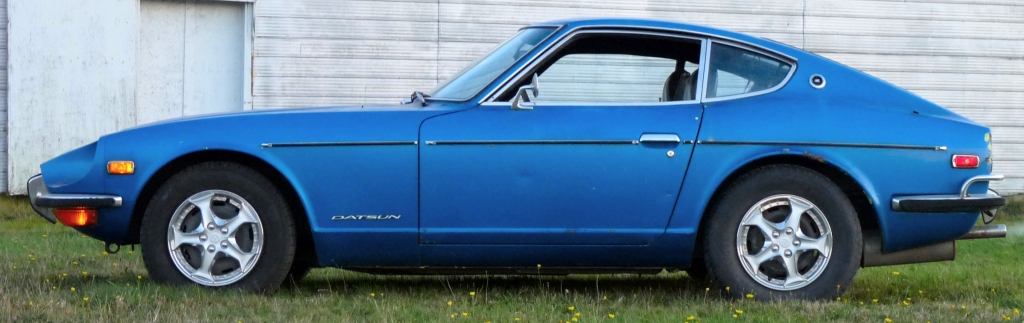
went for a drive in Blue 77 today,,, towed by a tractor to get it out of the way for a sewage basin.... fun house upgrades..2 points
-
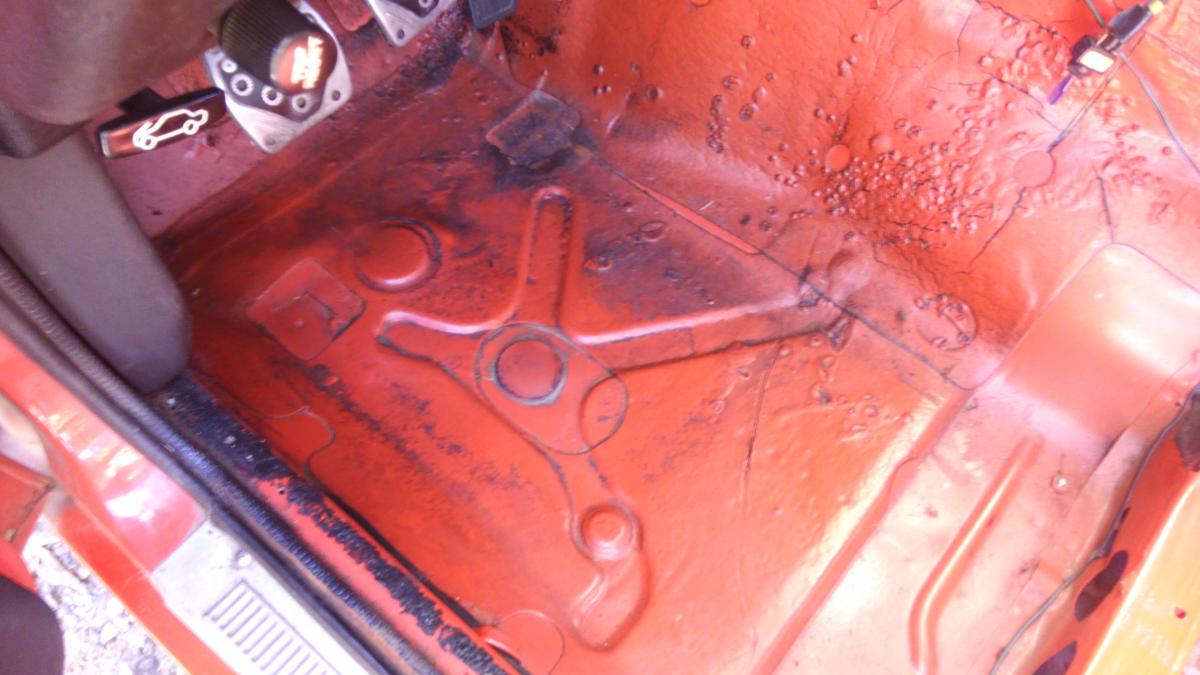
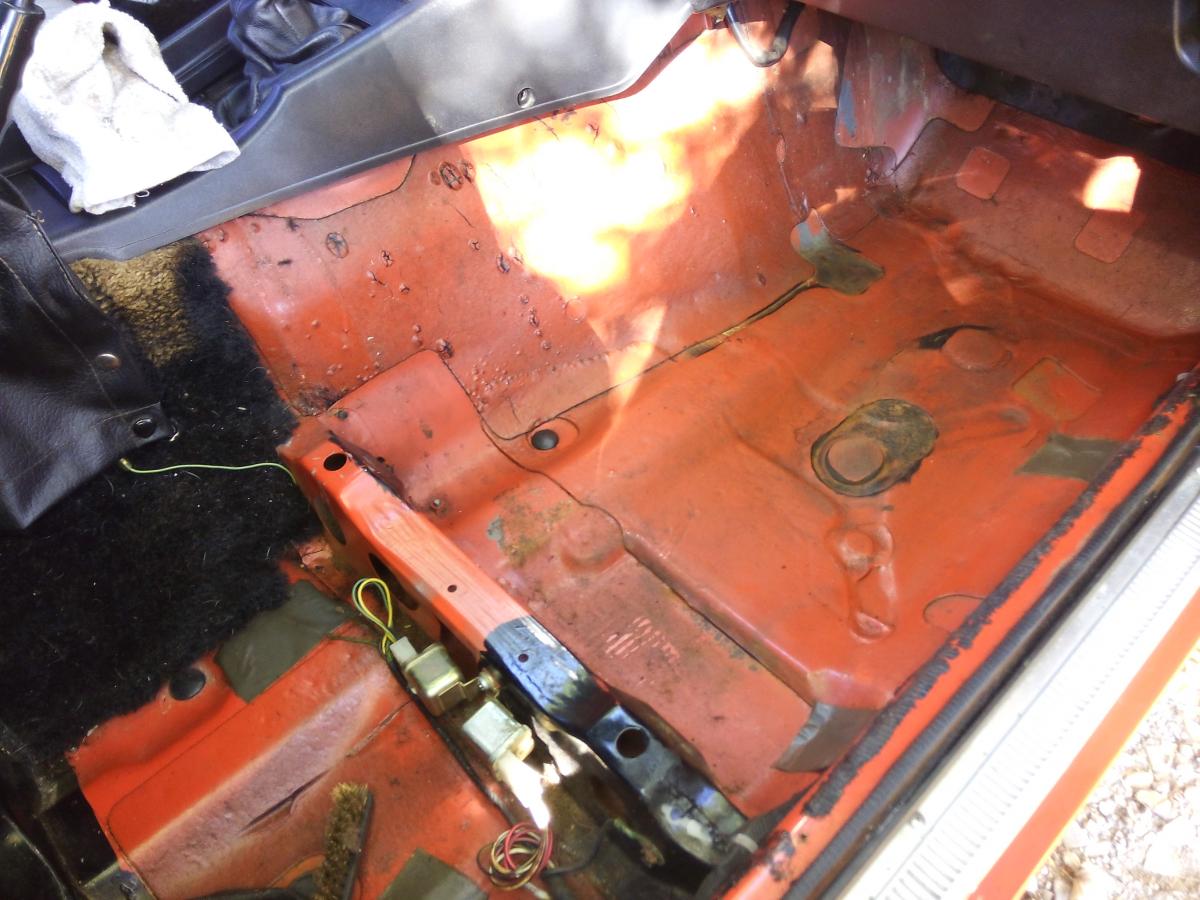
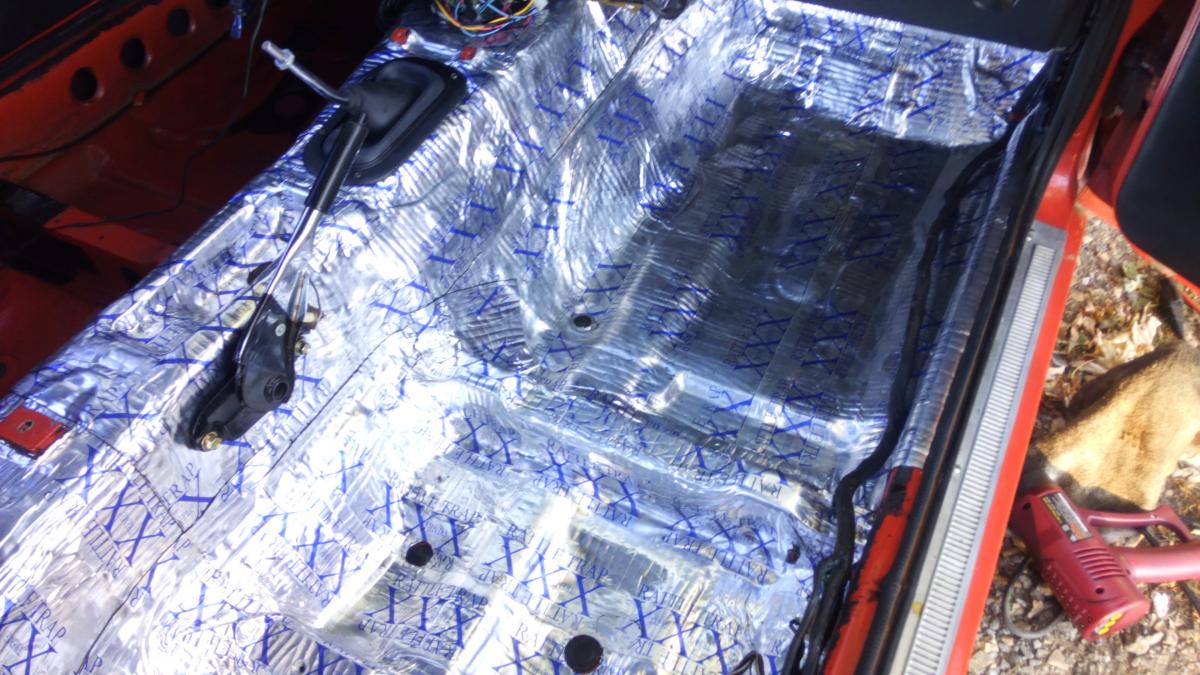
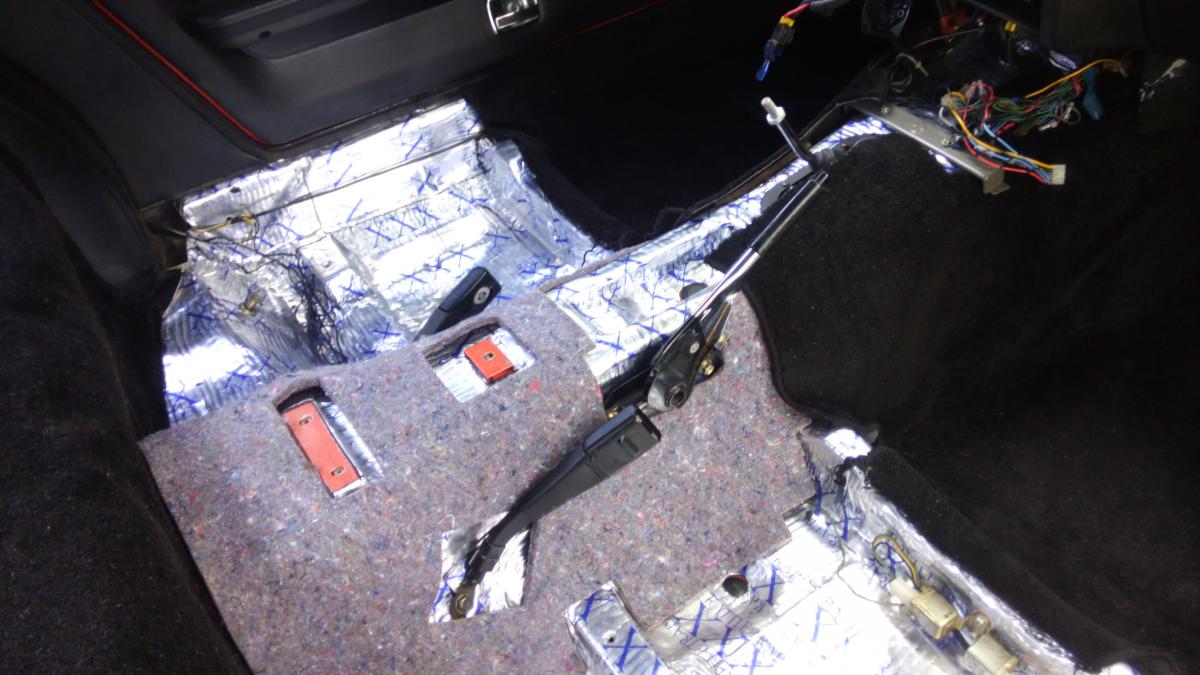
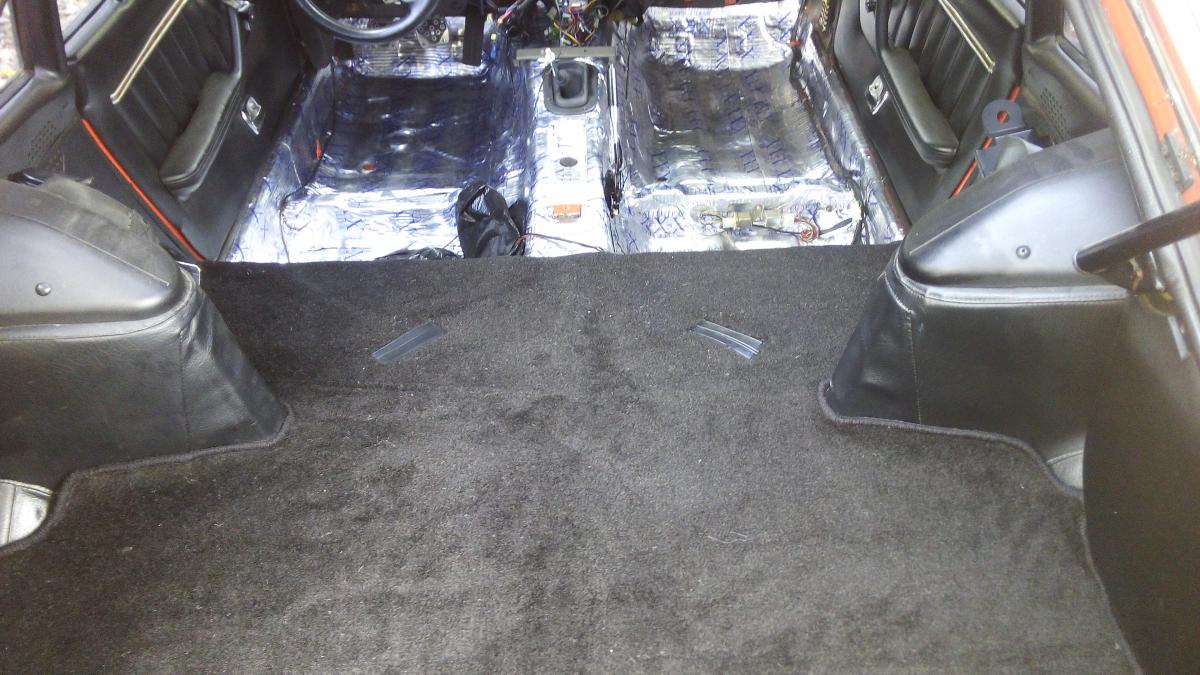
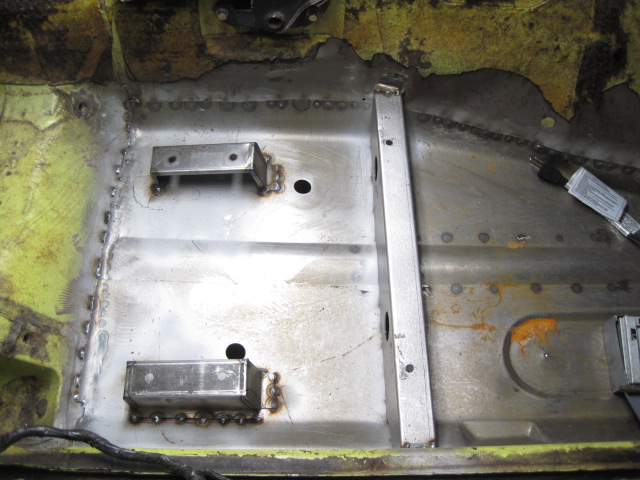
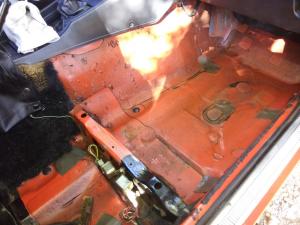
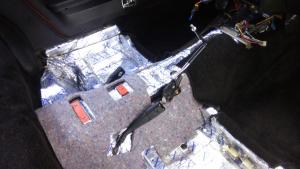
1 pointFinally made some time over the last 2 weeks, and took advantage of the last of the near 80 degree weather to get going on the interior refresh of my 77 280z. Took out the seats, carpet & under padding, revealing the floors have still survived in very nice shape - only a little surface rust in a few of the low areas. Wire brushed the surface rust, cleaned the entire floor with marine clean, and applied POR to the needed areas. Decided that while I was replacing the carpet, to install Fatmat sound deadening. The weather cooperated to get this installed until last Thursday which is when I completed it. The warmer it is outside, the better it likes it. Also invested in a heat gun which came in handy for some areas. A tedious job to get it all installed, much measuring & cutting, and you &cant work with too large an area at a time. I used around 41 Sq Ft to do the entire floor & tunnel area to the rear deck bulkhead. I have about 8 or 9 sq ft left over from the 50 ft roll & will probably need another 10 sq ft to complete the rear deck area. The carpet kit was purchased from Chester & Herod Vintage Auto Carpet, and am in the process of completing that installation. Mainly trimming in the console area & where the seat belt retractor bolts down. Ended up re-using my original underpadding which was in great shape. The new jute underpadding looked to be of fairly low quality and not enough supplied. The new carpet makes my parking brake boot look shabby - will have to get a new one! Now its on to installing the beautiful Interior Innovations leather seat kits & the seat heaters as soon as my hog ring stuff arrives....

 1 point
 -
1 point"Couldn't help but notice the two relays under the passenger seat. One is for the brake light, but what is the other one for? My 01/77' only has the brake light relay." Greg - I think the 2nd relay if for the seat belt interlock. Charles - I will report back on the effect of the fatmat when I have the rest of the interior in & can drive the car again - hope it cuts down a little on the road noise & maybe some of the tunnel heat. Cliff - The number on my invoice shows 801, no number is on the carpet. I was specific that mine was a late 77 model, 6/77 coupe. Thanks for the kind words guys....1 point
-
1 pointPhilip - I talked to a few folks today (at our ZClub swap meet) about the tires for ZCon showing - there were two opinions: 1. If the car does not have the correct size Bridgestones original equipment, the car would lose 1 point per tire. 2. If the car has new tires of the correct size - ie 175 HR14's, then no points deducted (ie does not matter if they are old Bridgestones). Not much help, I know. Anyone else on the forum have any thoughts?1 point
-
1 pointNice work Jim. I would think in Arkansas everyone would have hog-rings.1 point
-
1 pointFind a vendor in your area that supplies media to the local blasters. I know my guy locally and he has products like Amber blast in multiple grits. That guy will be the best resource for finding the right media for your project and equipment. Just remember even with a booth the dust goes every where, sort of like drywall dust. Let us know how it goes...1 point
-
1 pointI've found when dealing with a bureaucracy (DMV) tell them what they want to hear. Everything works out just fine when you don't make their day difficult with details.1 point
-
1 pointI would pull the front fenders so you can look for rust at the inside bottom where they collect mud also the front of the rockers can have holes too. I would remove everything from the engine bay. The lines can be unbolted and pulled to middle so the engine bay can be painted. Don't disassemble more than you have to. Take the straightest path to a nice driveable car...1 point
-
IMO No need to remove the carbs. The problem is in the floats & valves as Patcon said. Properly operating f. valves should be able to handle 4 psi. Remove the float covers & dash pot domes. Don't bend the needles. Clean everything up, fix the float & valve problem, check mixture needle height, operate the choke & ensure the nozzles are moving down & up, set the mixture screws (nozzle height) 2 1/2 turns down & do a drop test on the pistons (dash pots). It should run at this point in time.1 point
-
1 pointwell thanks to you all. i finally figured this out. the door tag, (which i thought was rivited on) was actually held on with screws which had been covered with some kind of epoxy. if any of you has the car to which these tags belong, let me know and ill send them to you.1 point
-
1 pointCudos Steve and everyone else involved. Jai I hope you have a great time!1 point
-
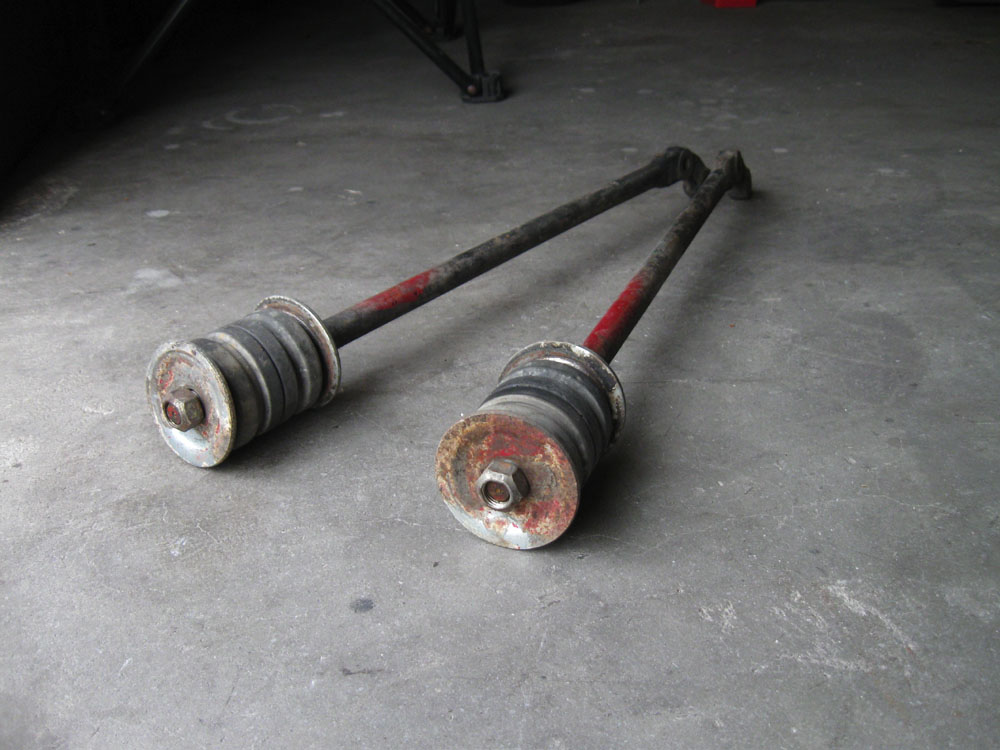
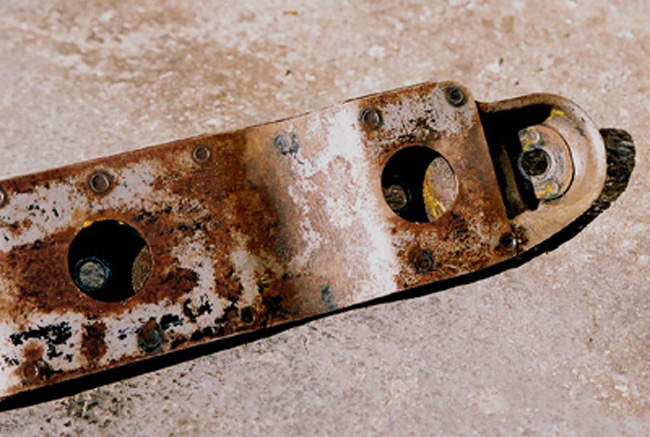
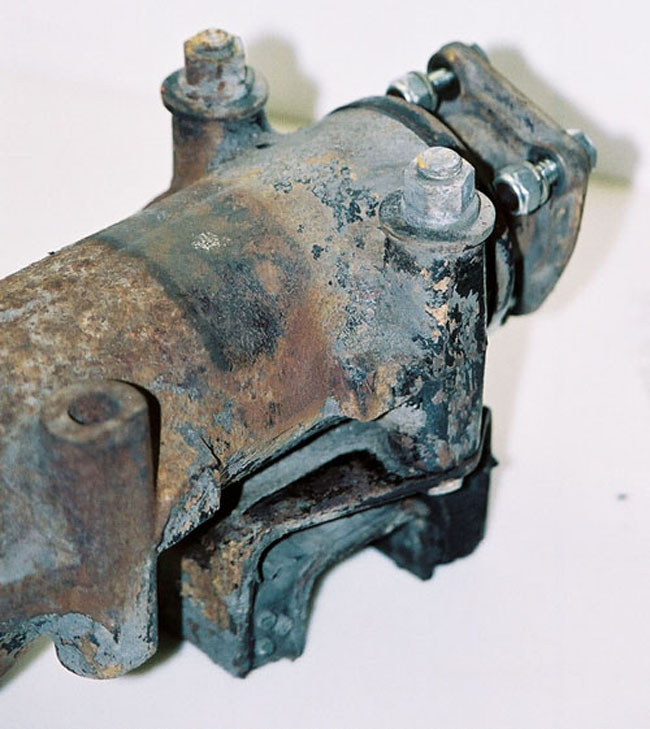
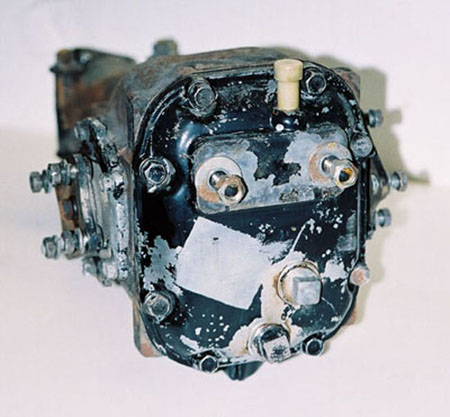
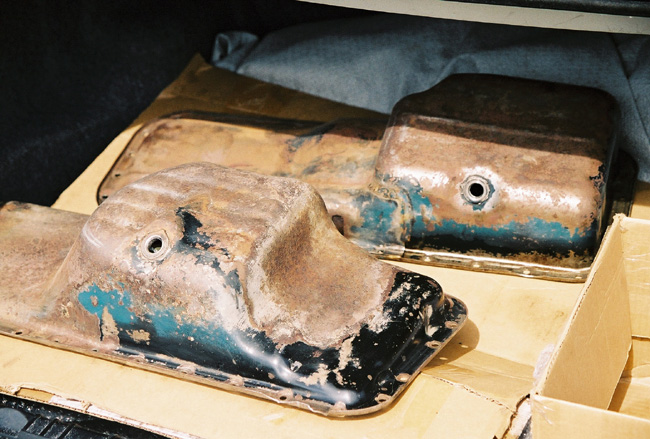
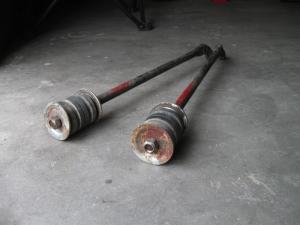
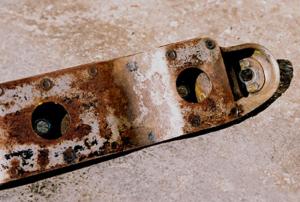
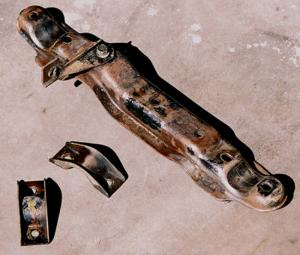
Hey! I found some more pictures. Here are the front suspension compression rods I was talking about. I also have yellow paint on the transmission brace bolts and differential mounts. The yellow paint was applied to indicate correct installation and torque. You made me giggle with your overspray, comment, Dan. Who the hell is ever going to know?!!?!! Here is my best oil pan overspray picture...both styles!

 1 point
 -
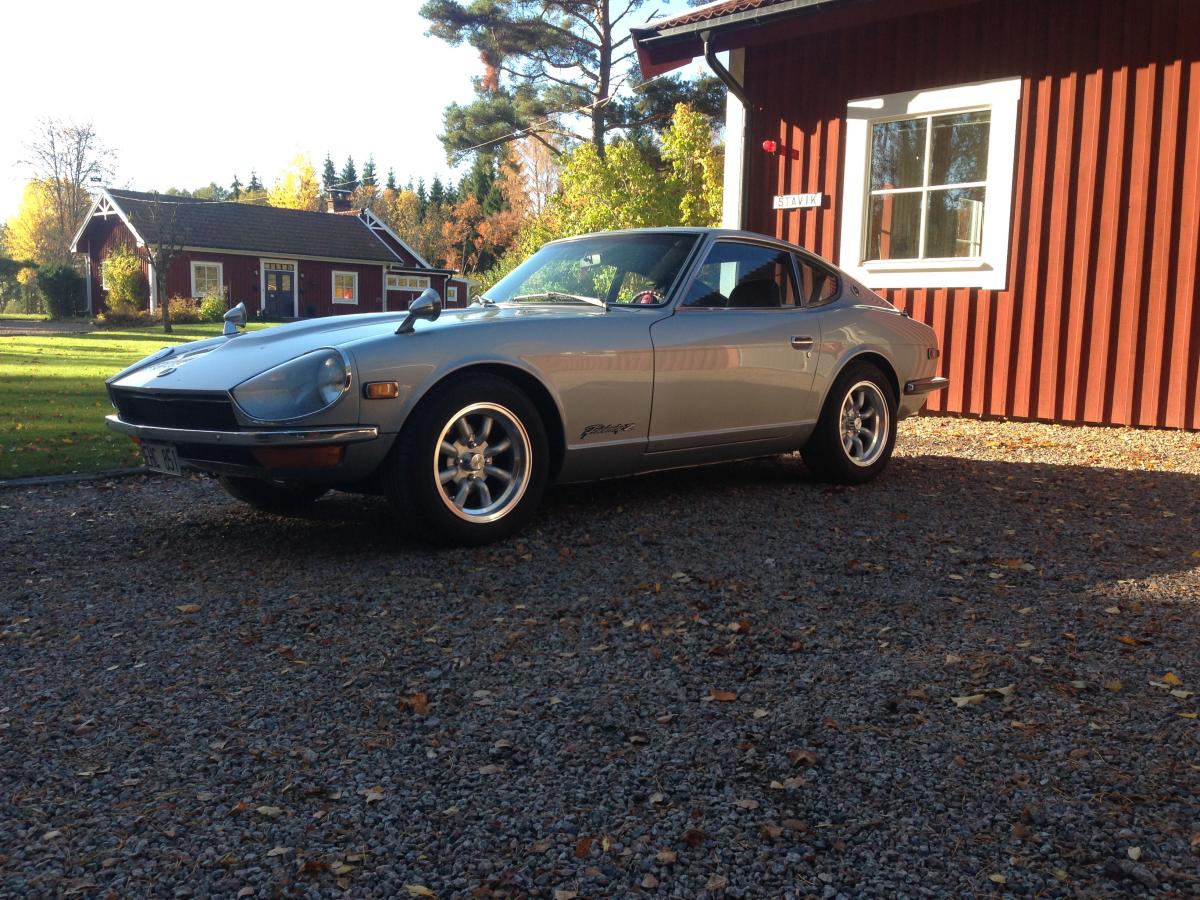
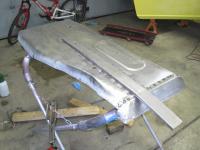
Last drive for this season. Winter is coming. No its time to go triples. Hope the car will run as good as it did on the su carbs!
 1 point
 -
1 pointSteve, Far out, you really did a great job explaining yesterday's events. I took many photos, I will post some this afternoon. I really need to get to the grocery store for chicken food. Must go early, the hens will start an uprising if I don't. Besides, RedBird awaits me, after the best repair job ever. I do not want her to wait, plus I am just as anxious as she is! Many thanks to Steve, Greg, Tony, and Tim for their hands on repairs. Plus many thanks to each of you that have offered information, and sent needed parts. One of the best things I have ever done was to join CZCC. Great friendship offered, as well as the continued assistance with my 280Z. It would never have been done without each of you!1 point
-
1 pointI read your update, interesting story. Some pics would have been nice, but I got a good mental image from your description.1 point
-
1 point
-
1 pointWell, we got out to Jai's house again. To describe what went on is pretty lengthy, so I posted it over at my blog. If you're ready for a long, leisurely read, here it is: https://fiddlingwithzcars.wordpress.com/2015/10/24/friday-at-jais/.1 point
-
Steve, I'm very happy that you have finally seen the light!! I know you would have regretted this forever. Also, before you go for the Kameari intake, take a look at the one from Harada. I purchased a new one from eBay and couldn't be happier. The throttle rod is almost double the size of the standard Cannon setup and even bigger than the upgraded one you installed. Also it comes with an integral return spring and I was able to eliminate the 2 long external springs I had been using. Now my idle returns to normal EVERY time without having to kick the accelerator. Finally, the rod ends are an integral part of the design (not threaded like the Cannon) and they use teflon bushings for really smooth and flawless operation. As I recall it was also less expensive than the Kameari. Take a look here: http://www.ebay.com/itm/Datsun-240Z-260z-280z-Harada-Intake-manifold-for-triple-Mikuni-Webers-/281834634194?hash=item419ea73bd2:g:bY0AAOSw14xWJ1HZ&vxp=mtr I did spend some time smoothing out some of the casting marks as well as polishing up the insides of the runners and finally had it powder coated. I am very happy with the results and would never go back to the Cannon. Hope all is well with you and the family. Mike.1 point
-
1 pointTook the day off and got the Z running and moved from the Z barn to my house. Finally registered and insured too 7AM Waking up


 1 point
 -
1 pointFloor pan replacement is not an easy job. I think the above statement of close to 40 hours for a DIY'er is a good estimate. If you think the floor pans are going drop right in and fit right-guess again. The pans will have to be worked to follow the contour of tunnel. Plus, depending on the amount of rust, you might have to add to the panels because they seem to come up short of material on the front of the panel for severe rust. Now we also have the rails to content with. And unless you can rotate the car upside down, you will be welding on your back for a lot of this. Oh yeah, did we talk about seat rails yet? Can you save the old ones? Well you will have to remove them and clean them up to reweld to the floor. Or buy new ones and cold work them into place and tets fit seats and remove seats. I can see why an experienced shop would either not want to do this work or charge big$$$ They don't make much money and it's hard work. Not trying to scare you or persuade you as much as make you aware of what you could be in for


 1 point