CanTechZ
Free Member
-
Joined
-
Last visited
Everything posted by CanTechZ
-
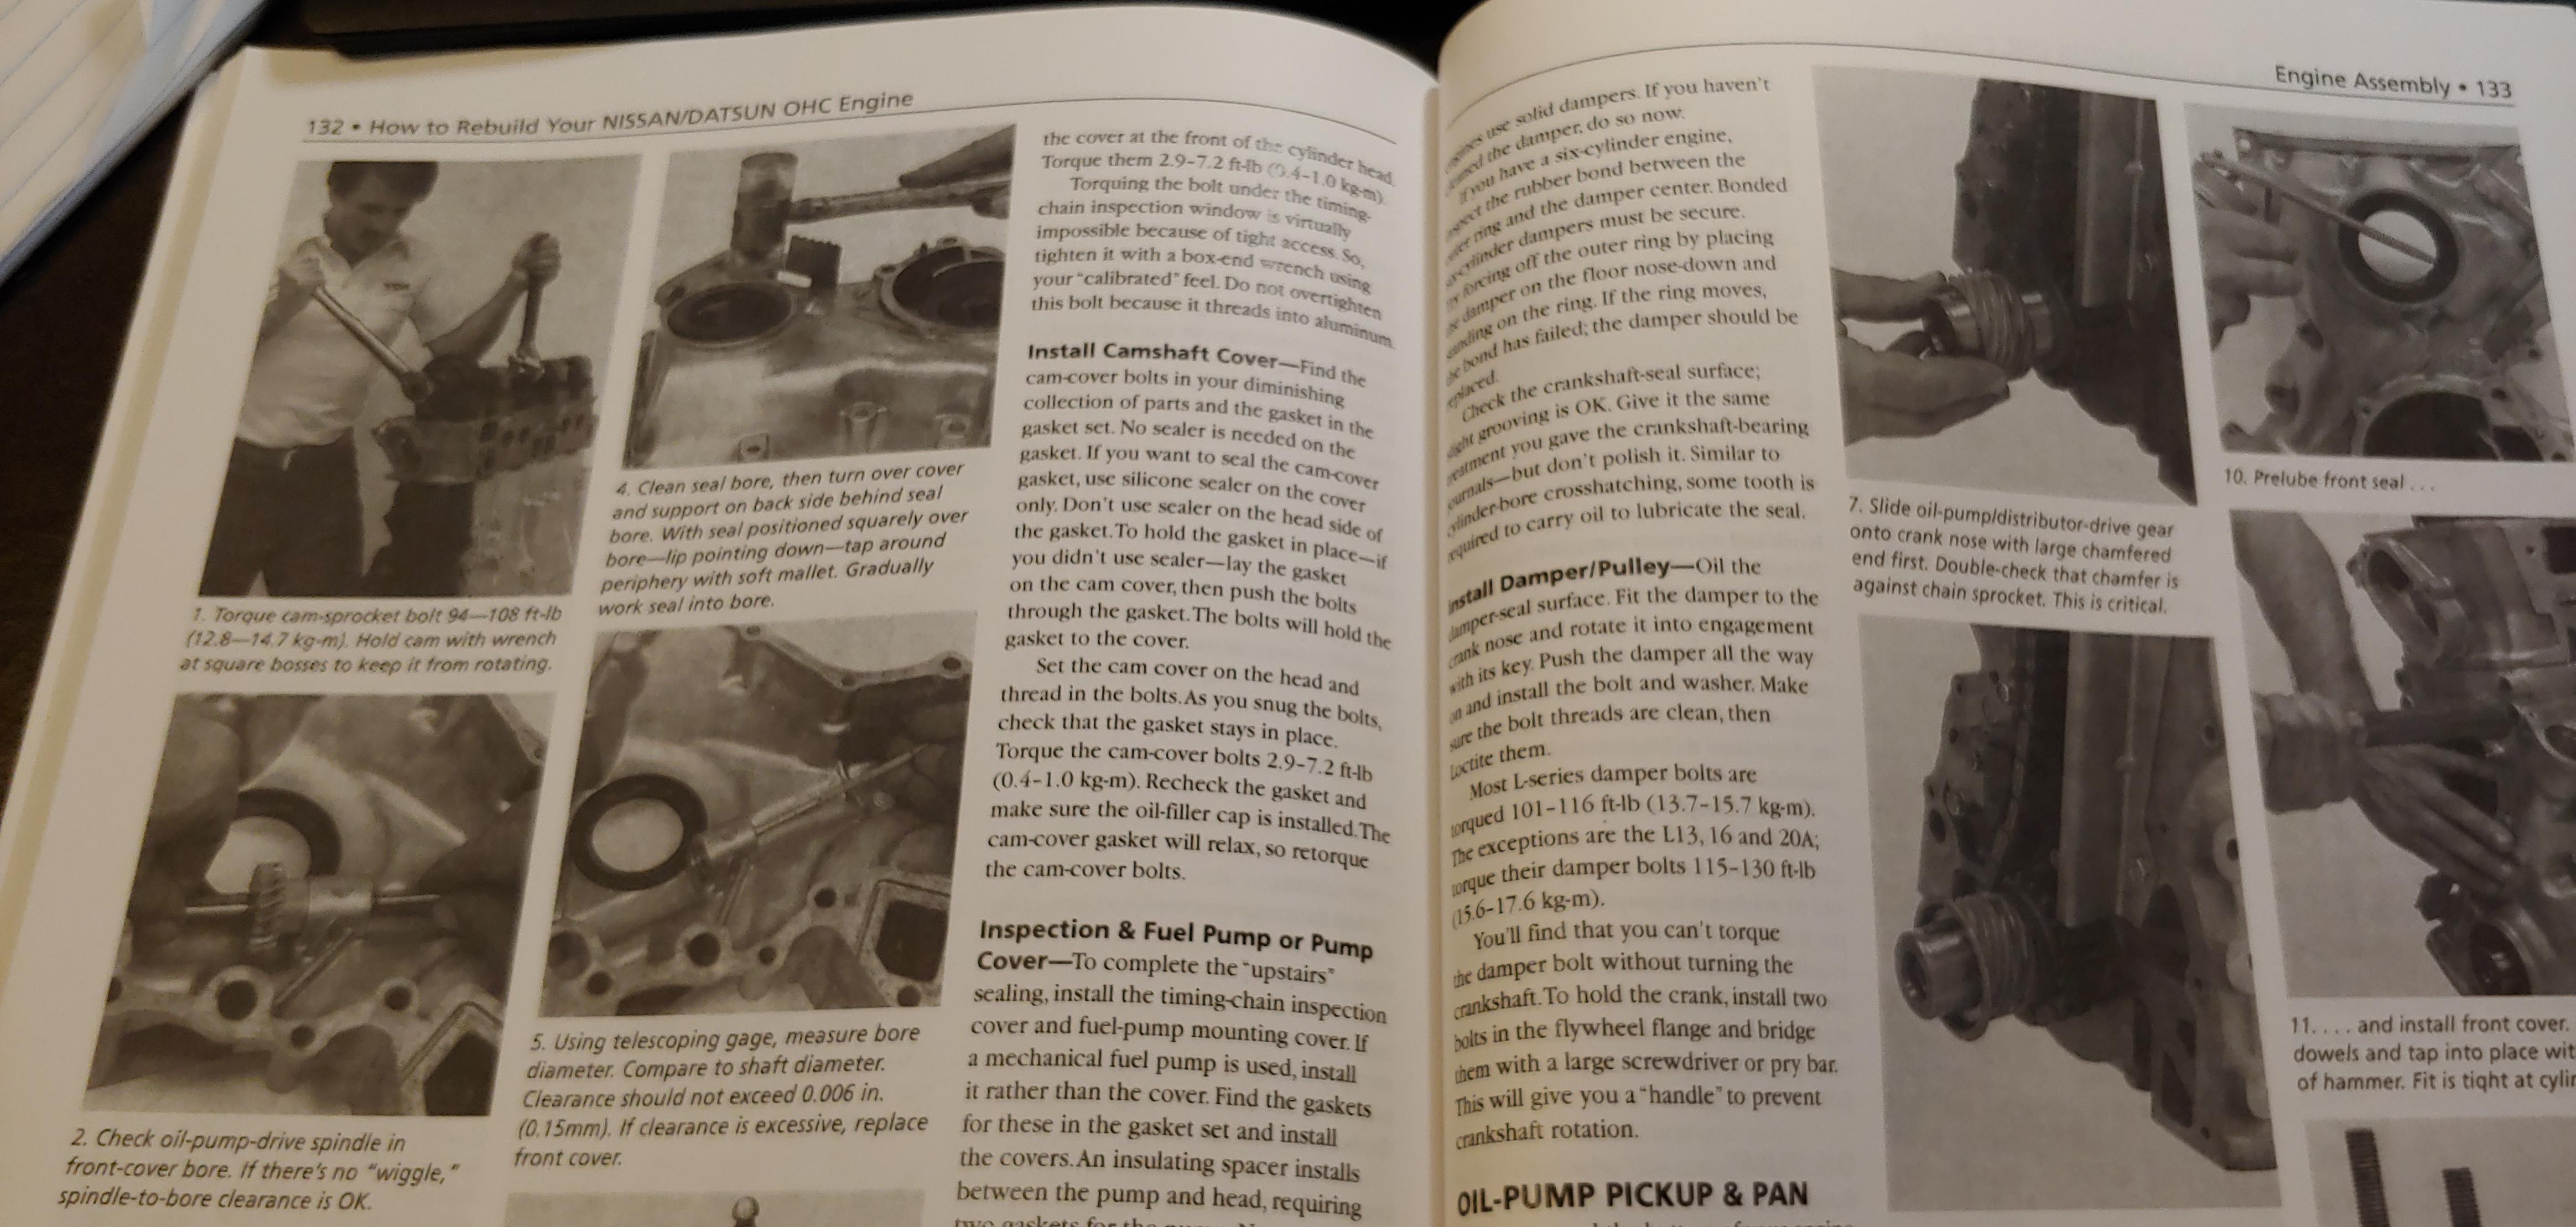
 @Wally You should consider getting a copy of Tom Monroe's book, How To Rebuild Your Nissan & Datsun OHC Engine, if you don't already have it. Lot's of detailed assembly instructions and pictures. https://www.amazon.com/Rebuild-Nissan-Datsun-Engine-Publisher/dp/B004X9A0OA
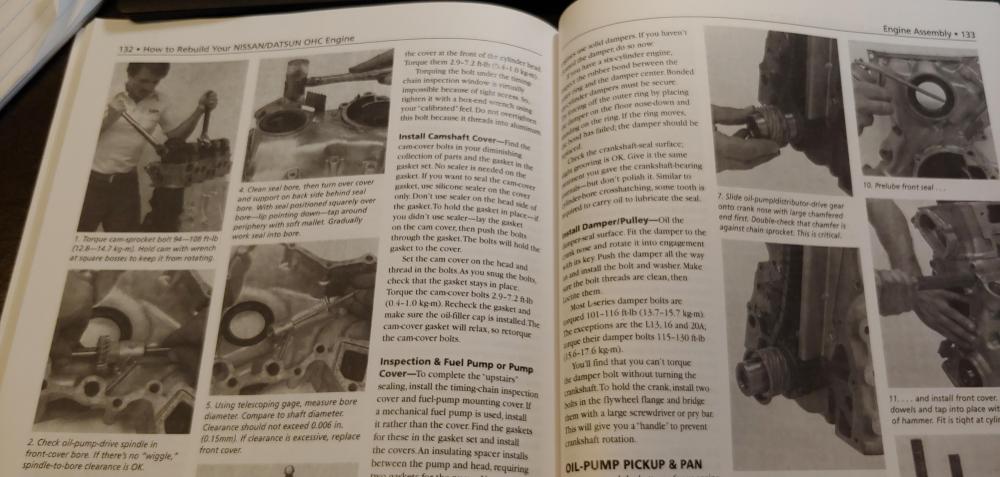
-
If your old seal was rubber on the outside it still would have a metal case under the rubber. For aluminum housings it is standard practice to use rubber covered seals due to the fact that aluminum has a higher thermal expansion rate than steel. The rubber covering comes into play to help ensure that a press fit is not lost and also prevents fretting corrosion between the seal OD and aluminum housing seal bore.
-
That makes sense, looks like the image in the '78 FSM is might be wrong. Is it 1978 that the change to the sloping floor in the rear deck was made? Maybe the "reversed" type bracket is to accommodate that. Just guessing, I have no experience with 280Z's.
-
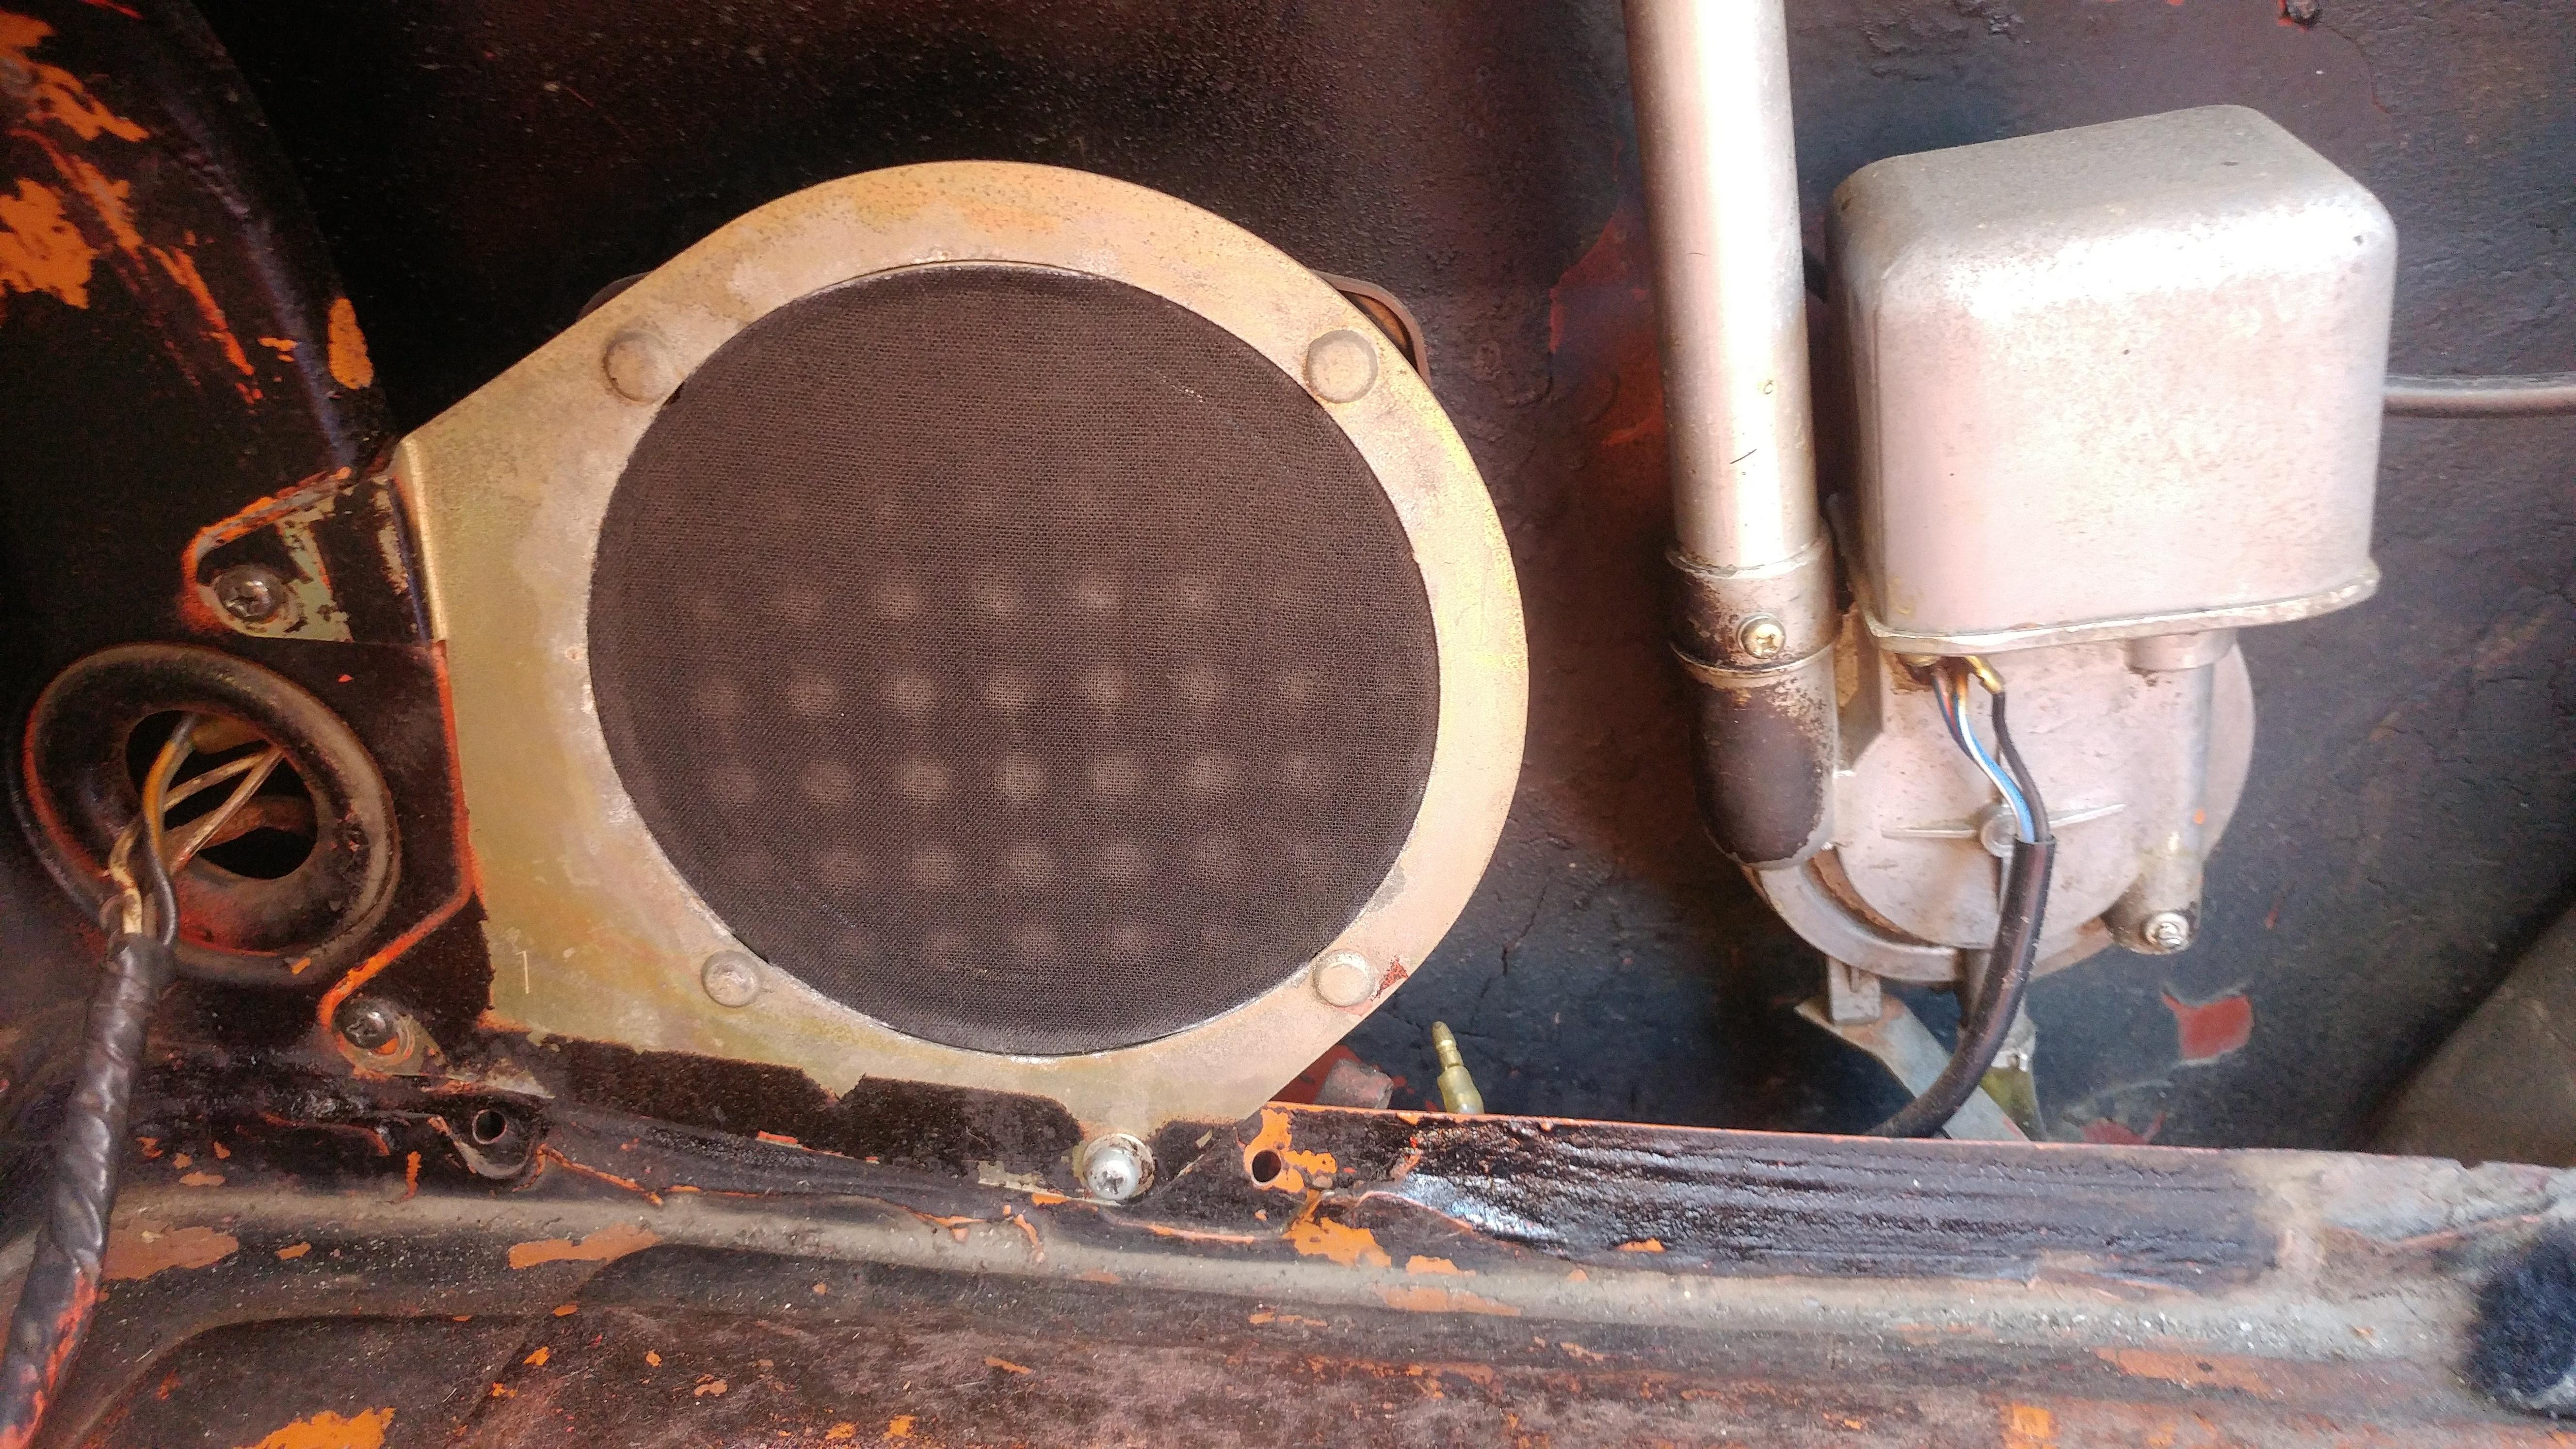
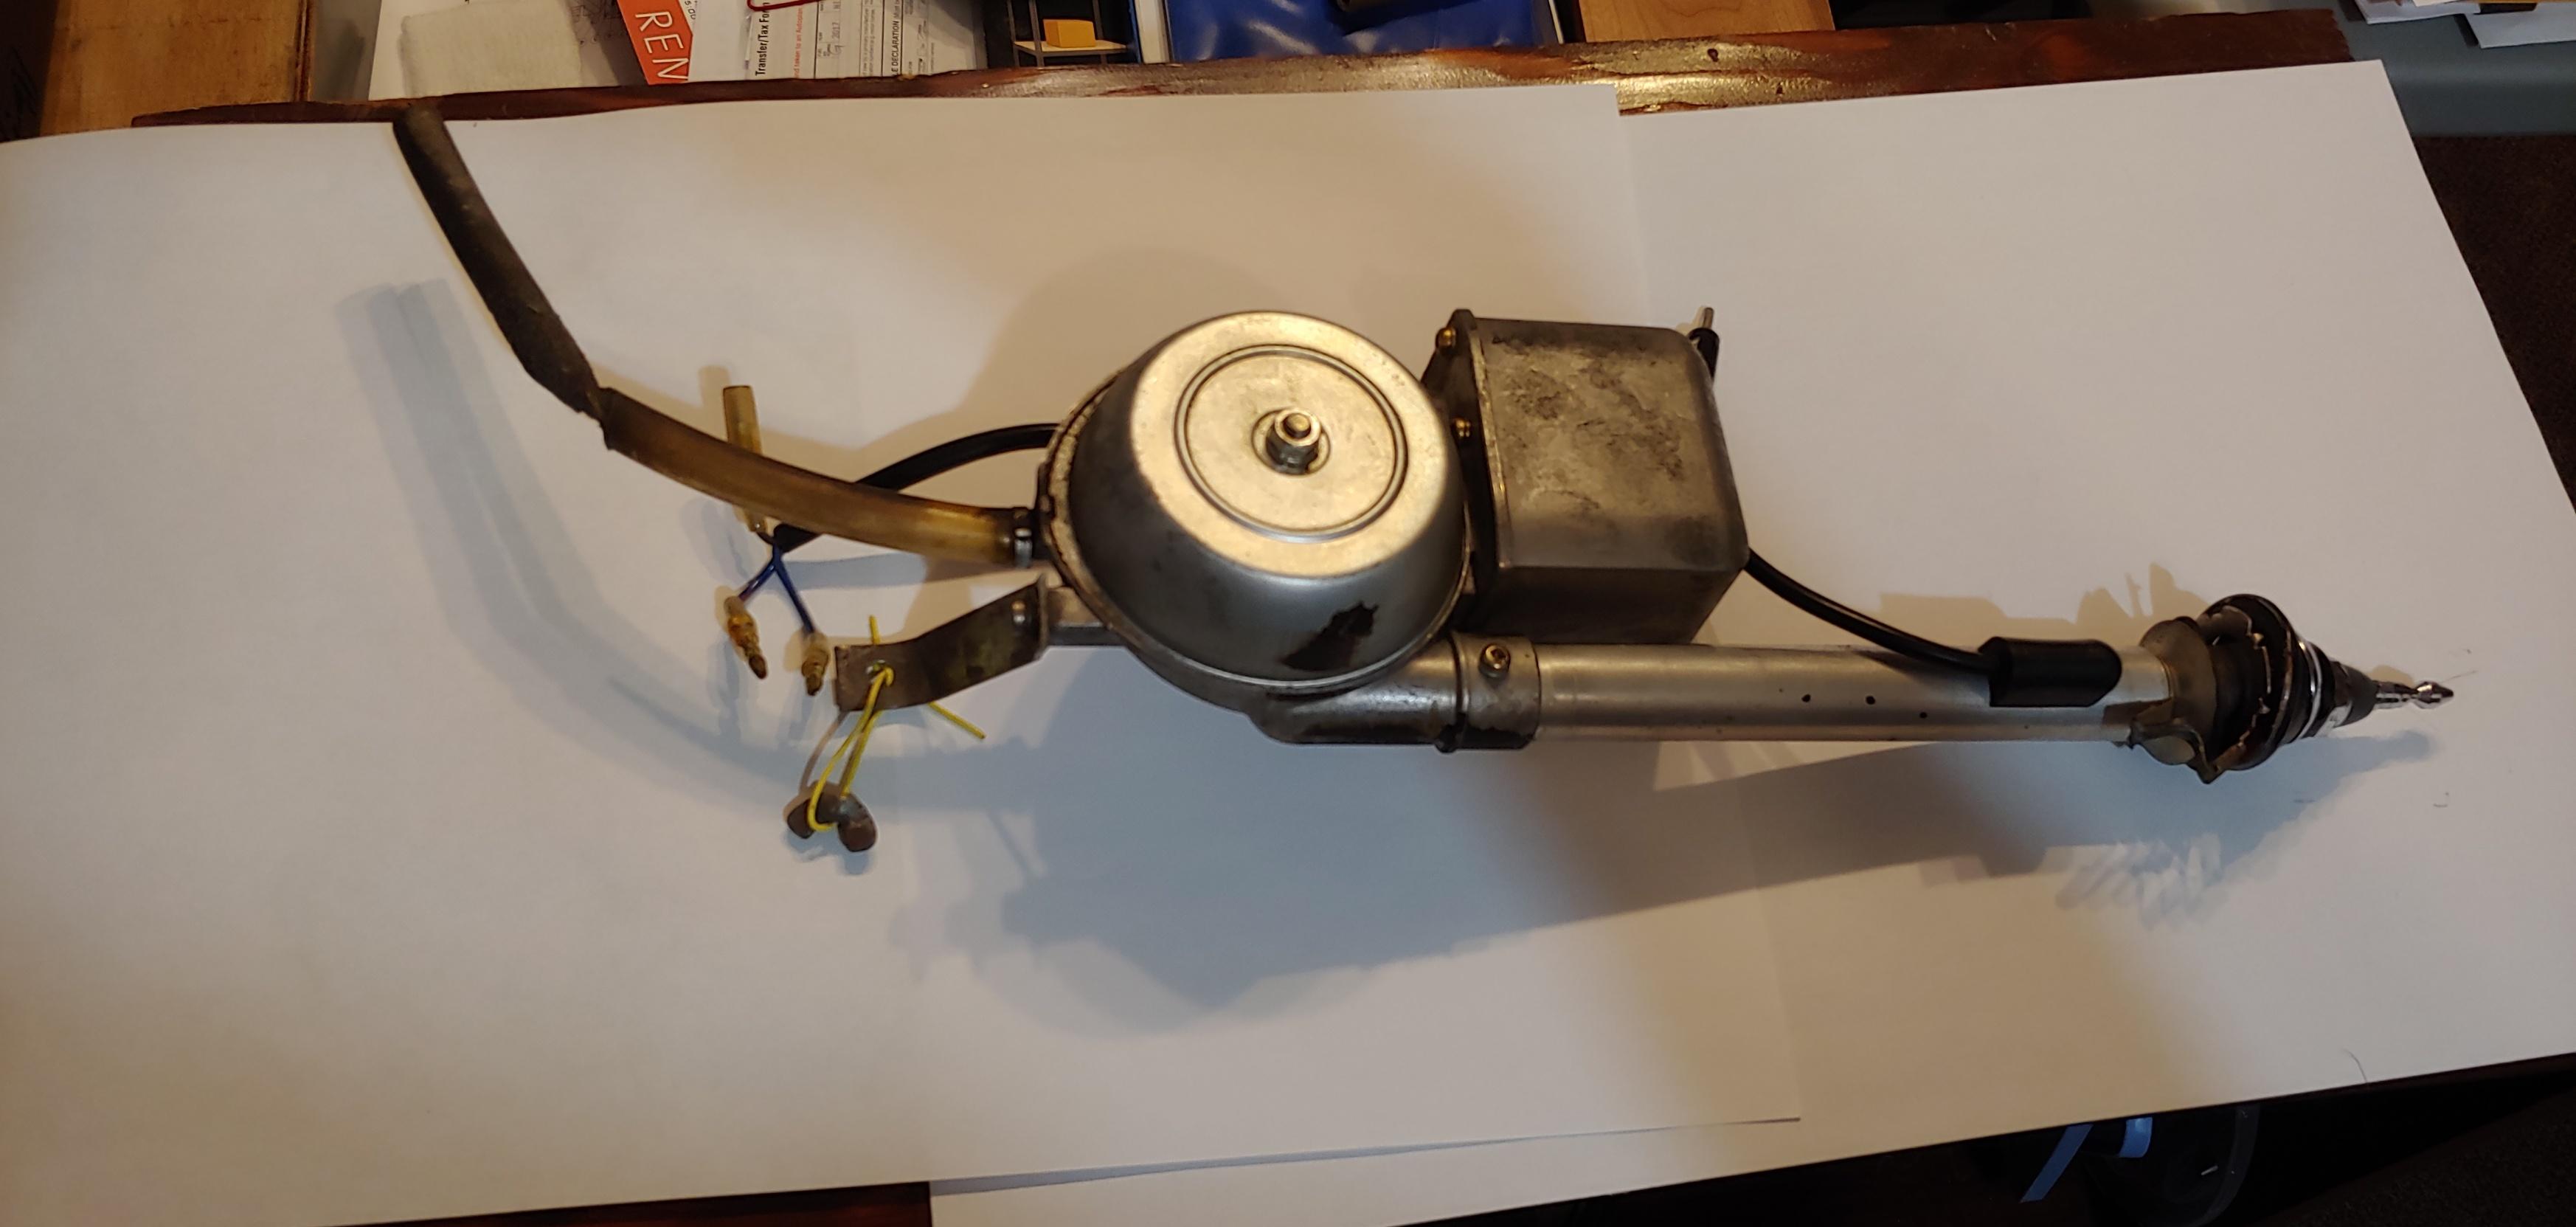
It looks to me that the bracket on your antenna is upside down, if you flip it it will look like the images from your '78 FSM. The Nissan parts book shows part number 27350-N3600 for up to 07/75 and they only had one mounting screw on both the antenna and the mounting bracket. Part number 27350-N4250 & 27350-N4232 start 08/75 and are not backwards compatible, so I would assume that is when the change to two screw mounting, like yours , started. Here is a picture of what mine looks like, it has a small single screw bracket that uses a wing nut to attaches to stud on the body. There a two types of single screw mounting brackets, mine has the earlier thin type. Here is a good discussion about re-building antennas with lots of good pictures, mostly earlier than yours:


-
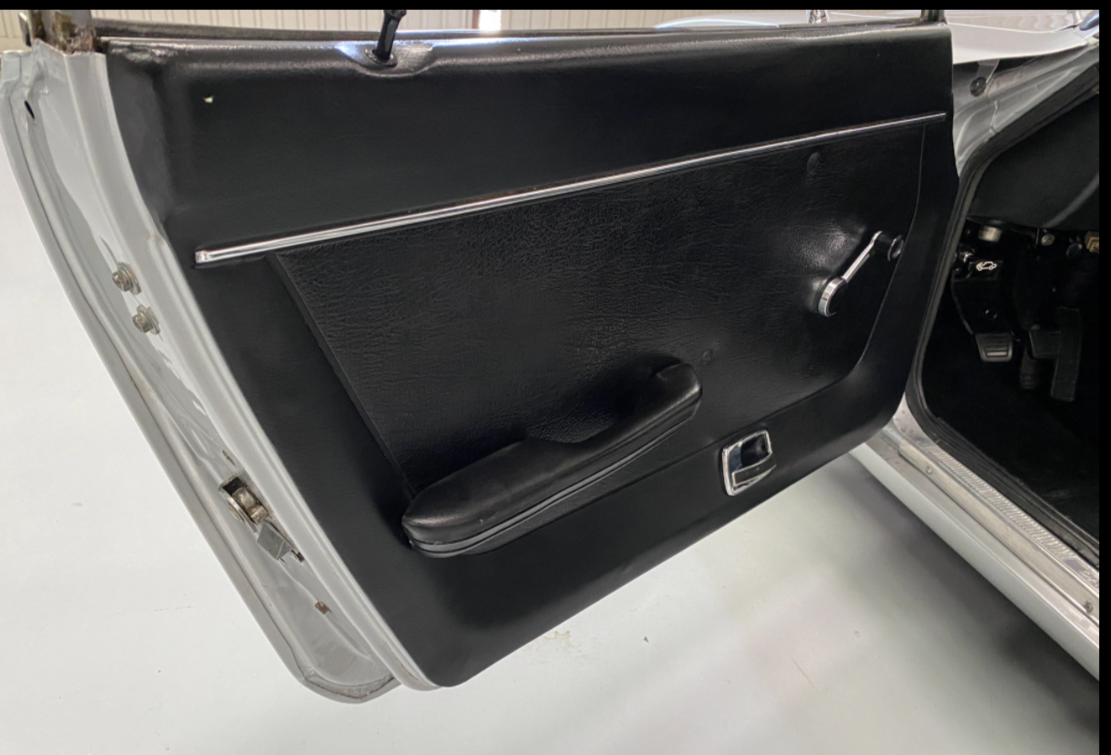
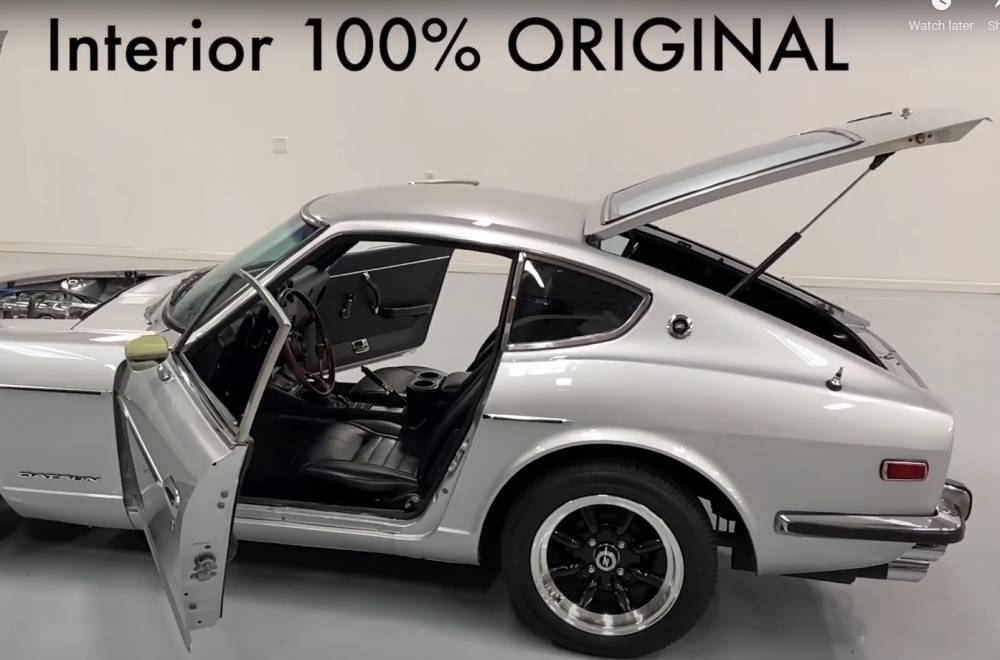
I notice two plugs on the drivers side door panel where a grab handle would be. I know that earlier cars only have a grab handle on the passenger side and no holes or plugs on the drivers side. Is this another '73 240Z thing? In the walk around video the selling dealer claims "Interior100% original"

-
-
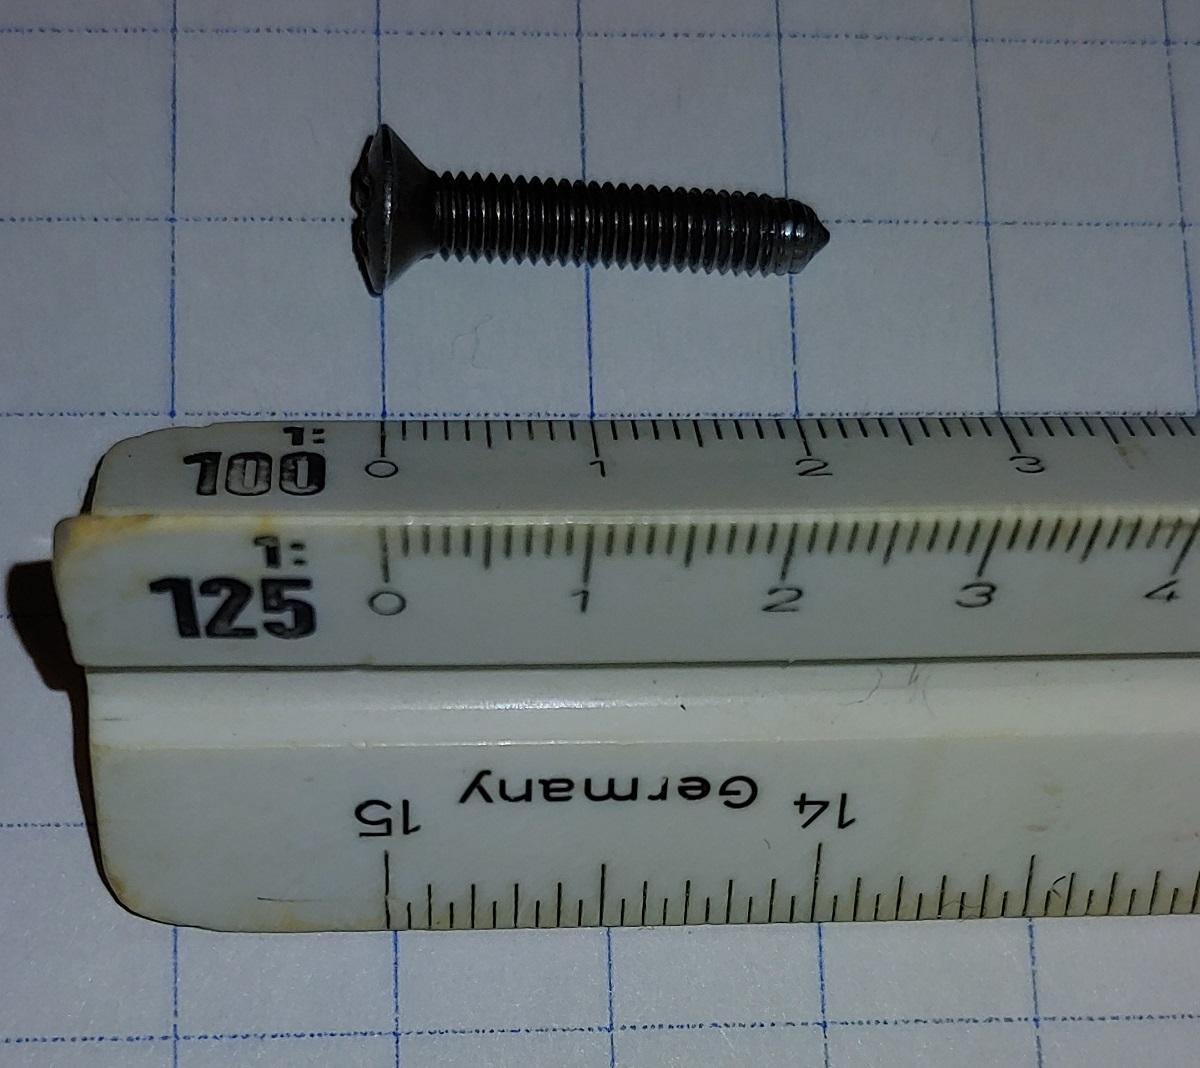
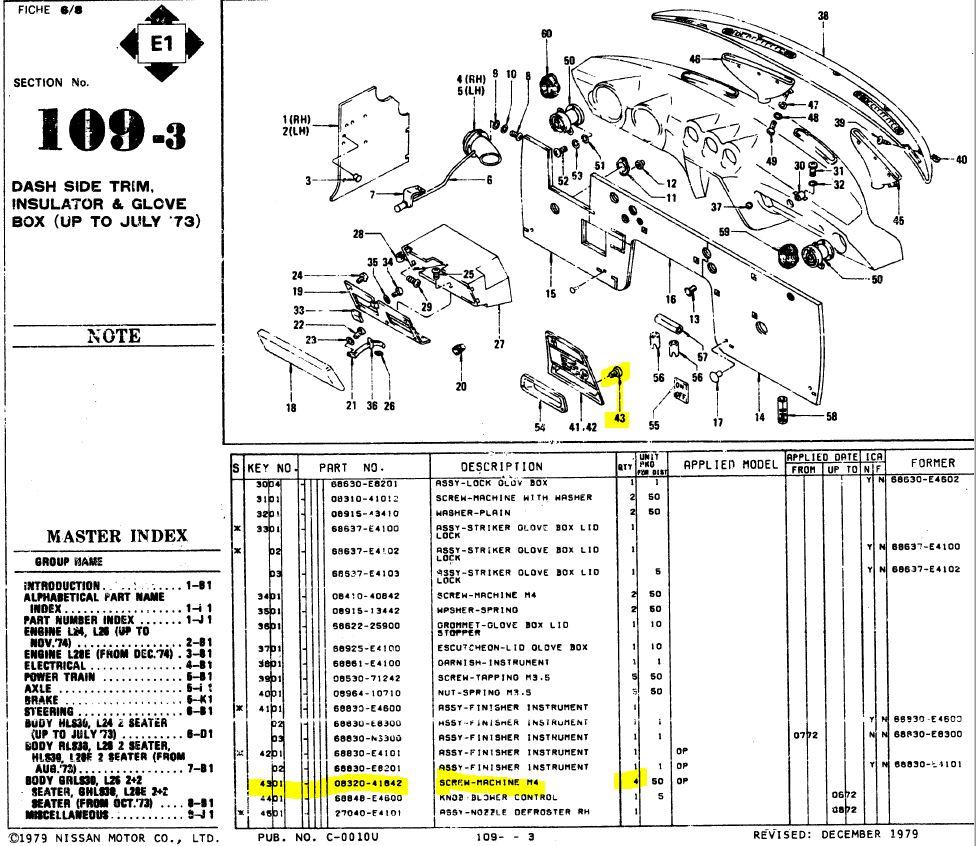
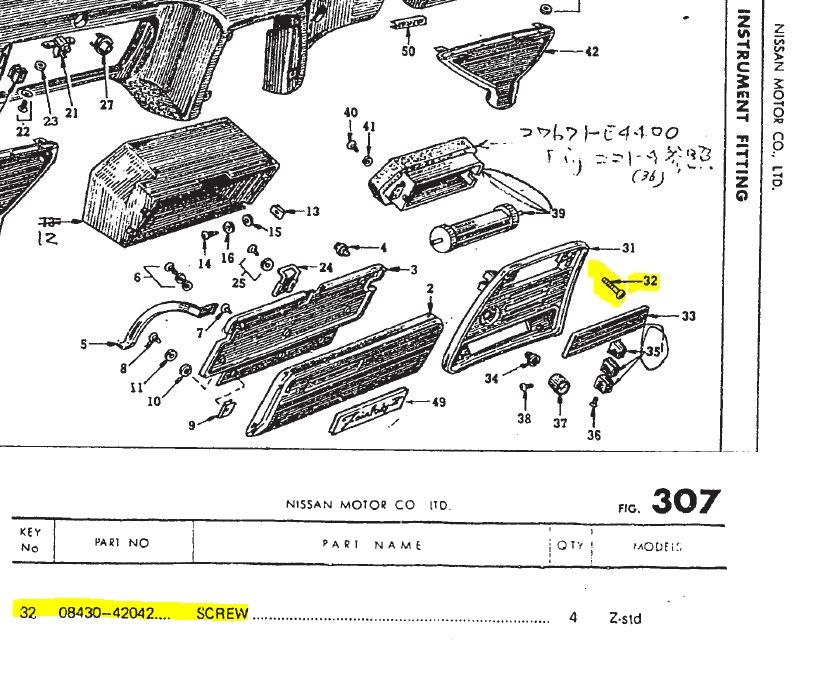
Thought I'd use the heater panel screw as an example to use the NES ten digit part number system to decode and compare to one of the screws from my 7/70 car. From the US Nissan parts book (1979) the part number is 08320-41842 and decodes as follows: 08320-41842 SCREW-MACHINE M4 08 = standardize hardware prefix 32 = Machine Screw, Flat head 04 = 4mm diameter (M4) 18 = 18mm length 4 = Phosphoric acid coated (Black) 2 = filler to complete ten digits When I look at my screw it has an oval head and was a bit longer, here's a picture, So I had a look in the 1973 JDM Nissan parts book and found a different 10 digit part number, 0843-42042 and decodes as follows: 08430-42042 SCREW-MACHINE M4 08 = standardize hardware prefix 43 = Pointed Machine Screw, Oval head 04 = 4mm diameter (M4) 20 = 20mm length 4 = Phosphoric acid coated (Black) 2 = filler to complete ten digits This describes mine exactly, unfortunately I am missing one. What screw type do others have, oval like mine or true flat head? Here are images from the US and JDM parts books. The illustrations are much better in the JDM version.


-
I don't have a list, but this might help for most of the fasteners. Nissan used a system that fully described the fasteners within there unique part numbers. If you don't have a copy of the the parts microfiche CD that is available for purchase in downloads, you can find the Nissan part number for the fasteners you are looking for here: http://www.carpartsmanual.com/datsun/Z-1969-1978 Here is a discussion about how to decode the fastener information from the part number, hopefully it might help you, My car is currently disassembled so I might be able to help with specific fasteners if you are unable to find the information on your own. Cheers, Mike
-
You could also use a planetary gear torque multiplier. Most can be used to tighten and loosen. Be sure not to exceed the rated input torque. Thirty years later I still remember the loud bang when I was helping to tighten a large taper hub fastener on a tire shredder to 2000 ft-lbs and we blew up the torque multiplier using a long handled breaker bar on the input.
-
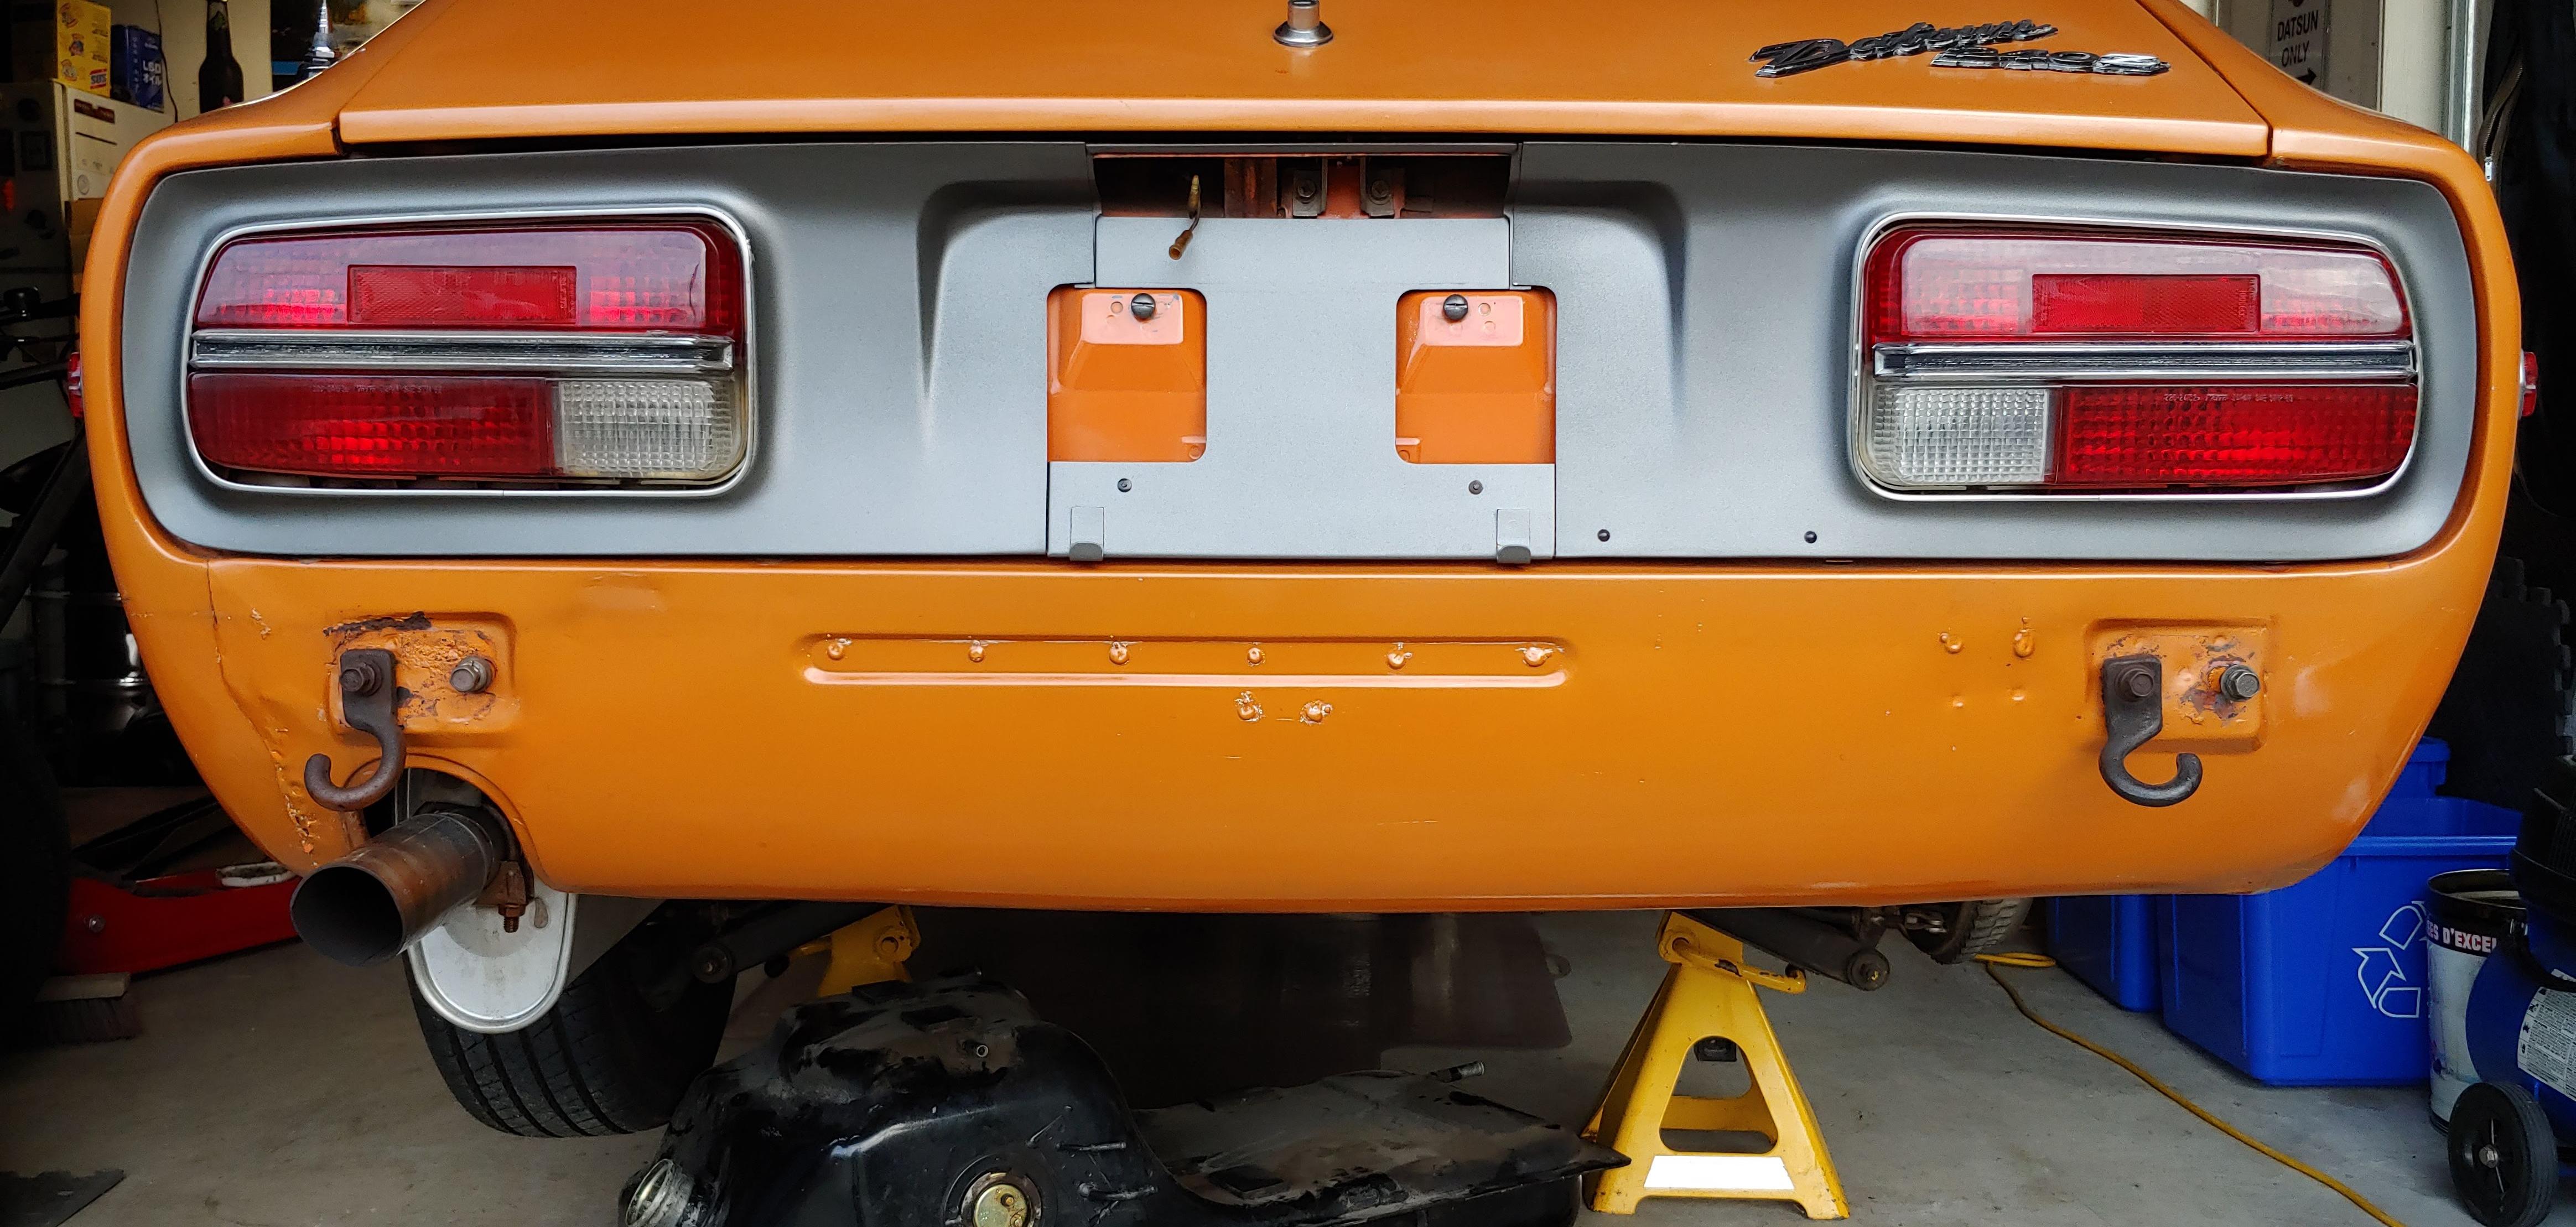
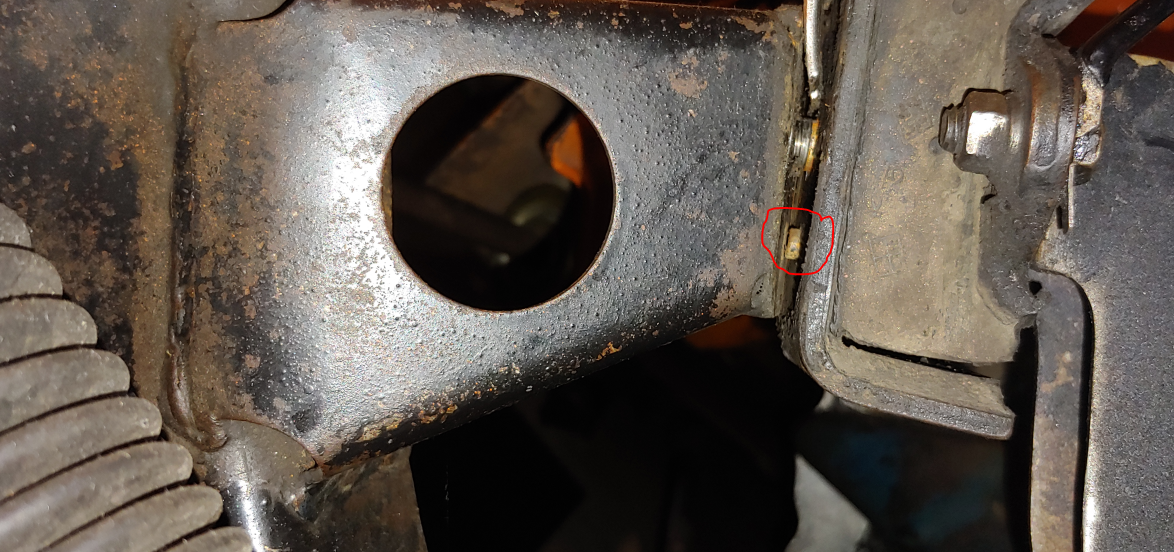
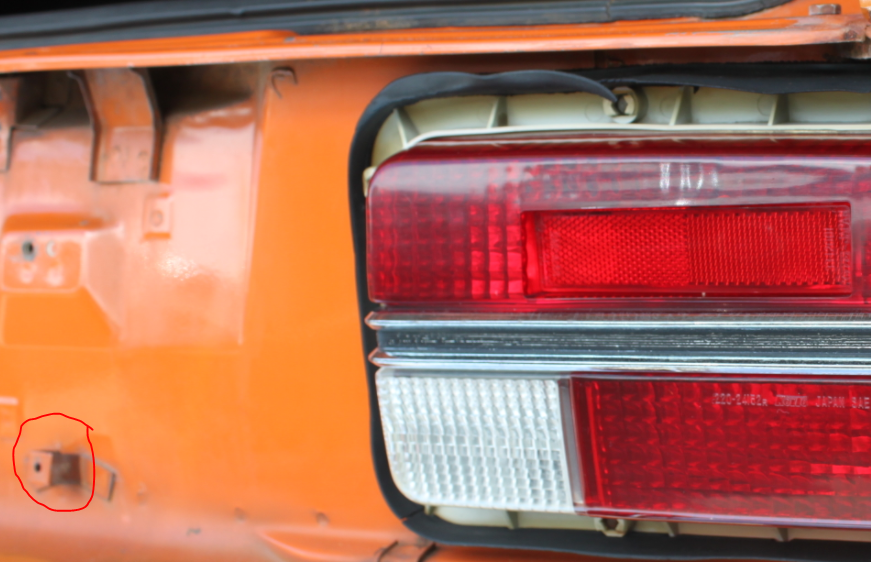
My car (7/70) uses 8 of the small rivets, the last two go in the circled area below, no threads. Here are my finishers before I removed them.

-
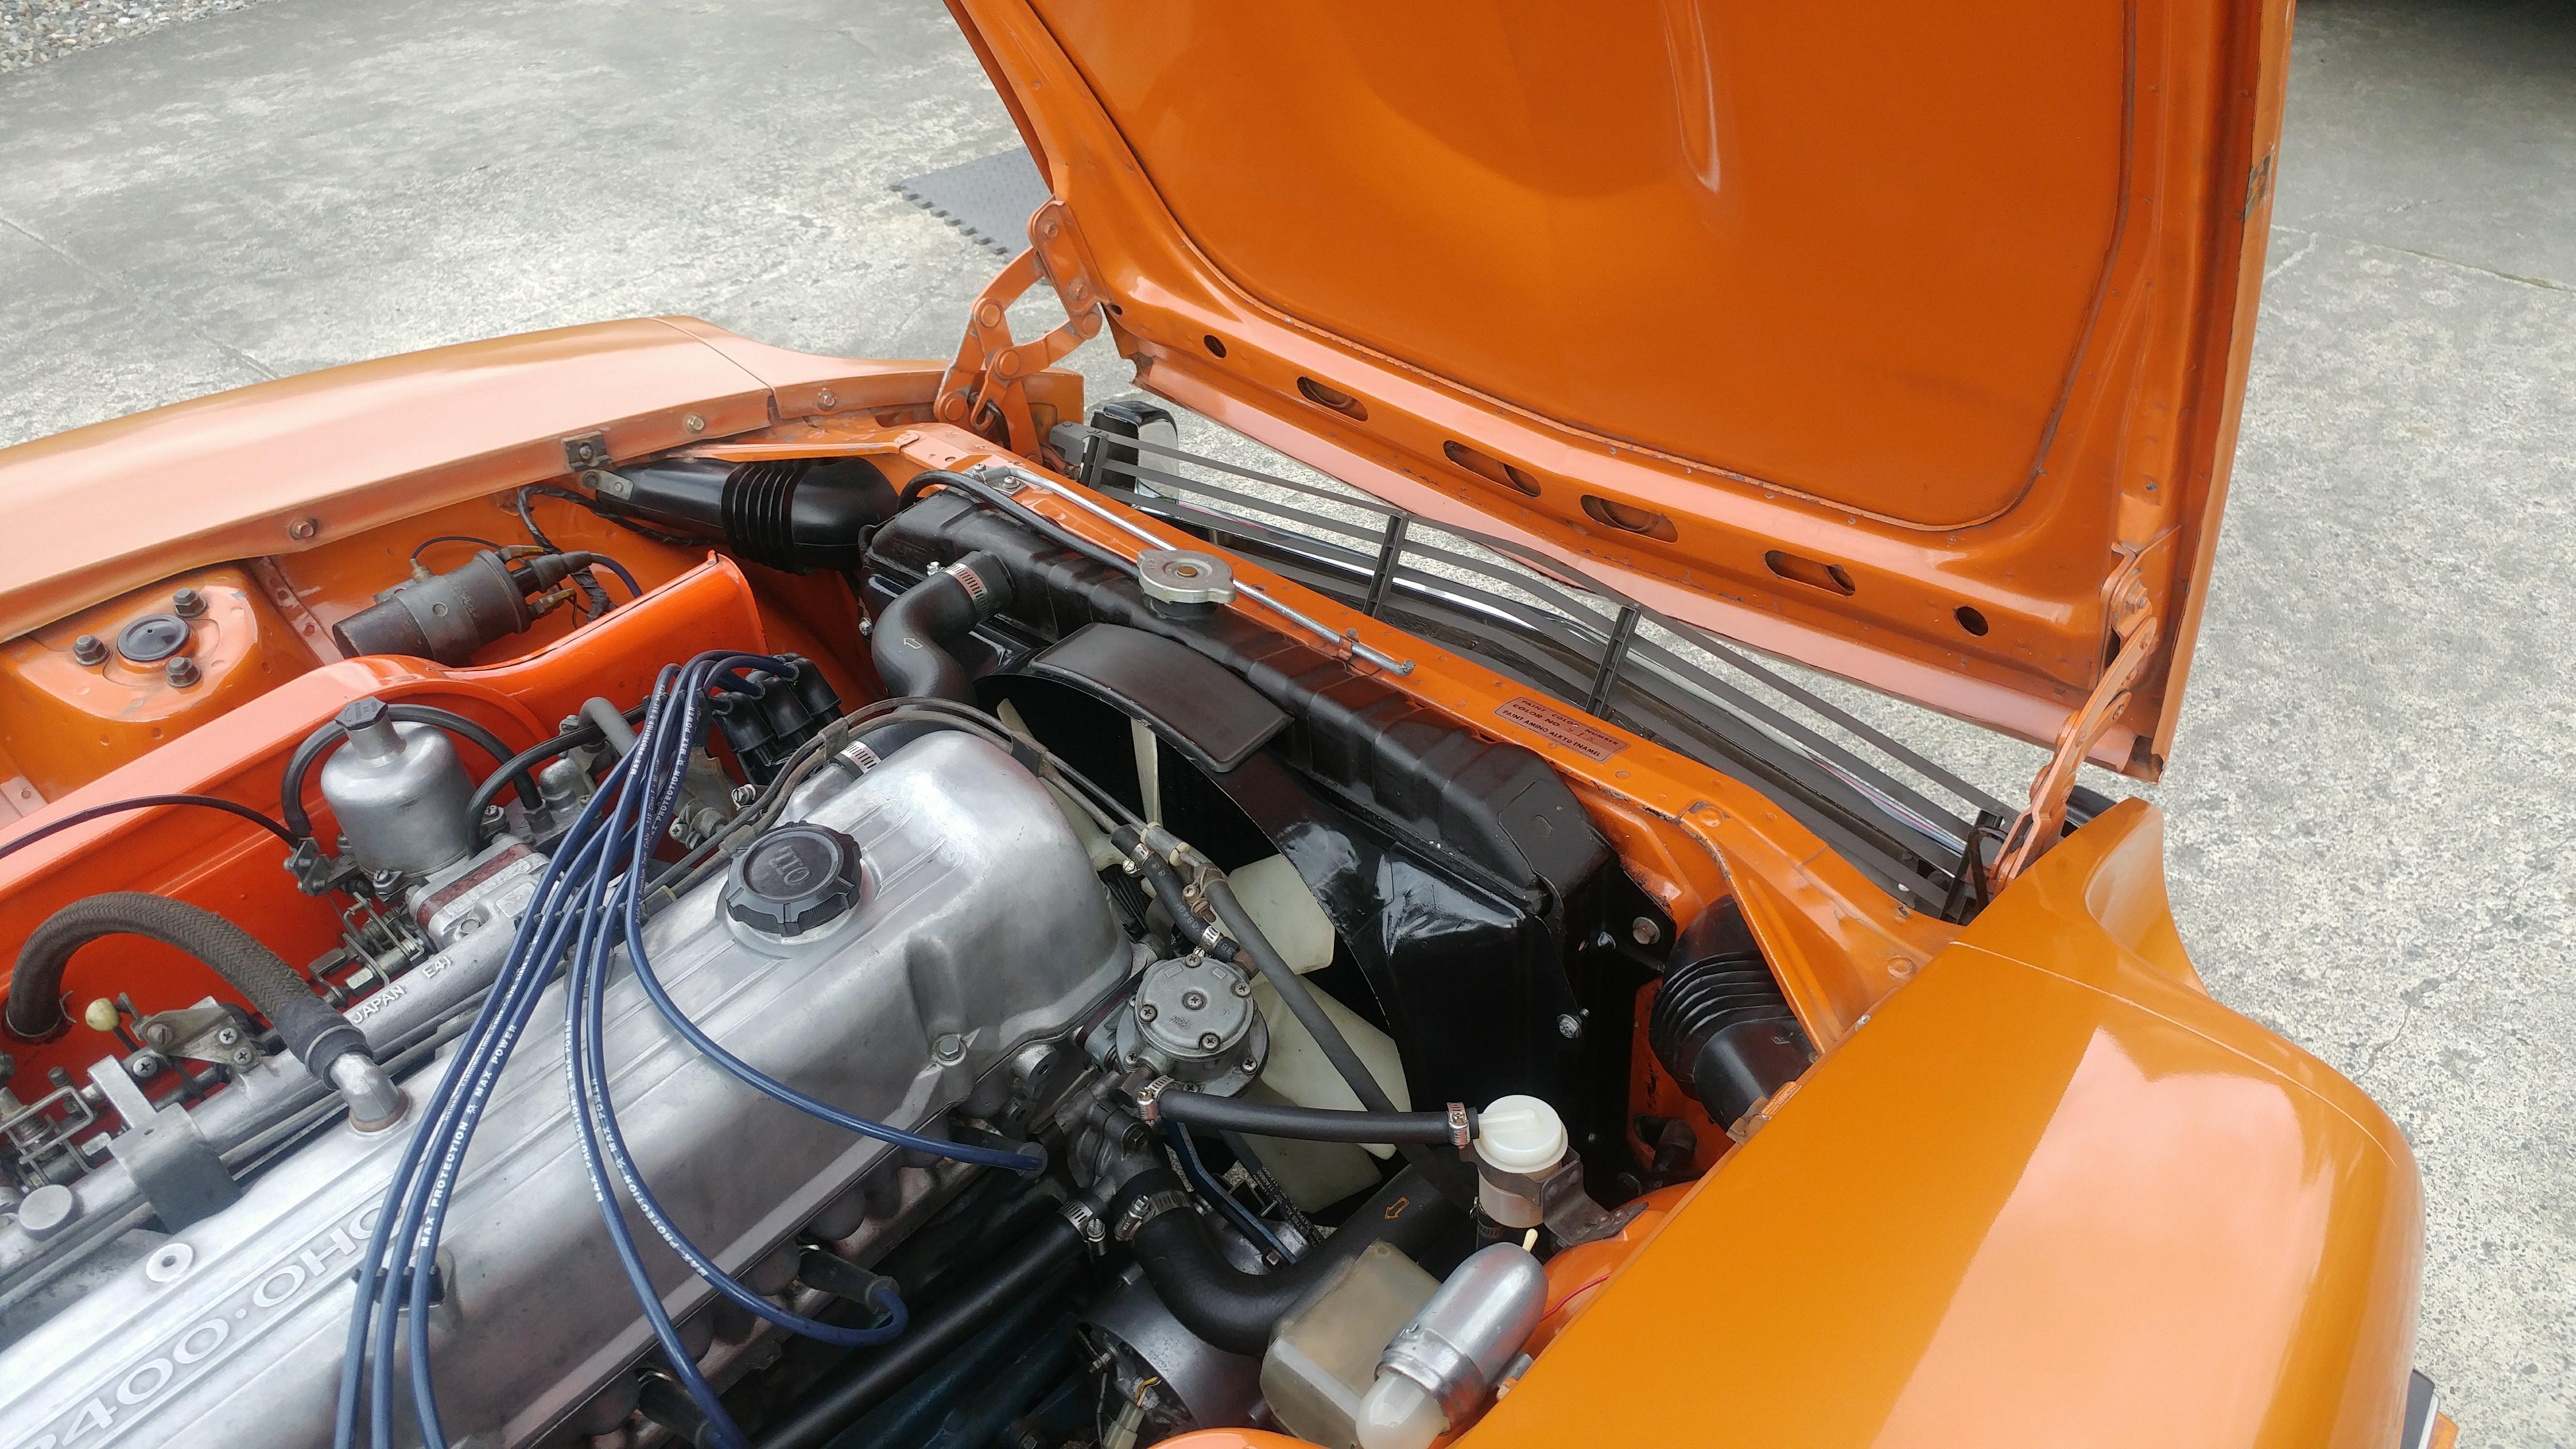
Yes, does sound a bit strange but we do get some hot weather in the summer and I was having some over heating issues, especially on the hills in the interior. Another funny thing is that I have a block heater for those extra cold winter mornings. One extreme to the other.
-
If the radiator is out you can hang the shroud over the fan and then install the rad with the hand guard in place. Here is a picture of my 7/70 car with the same shroud.

-
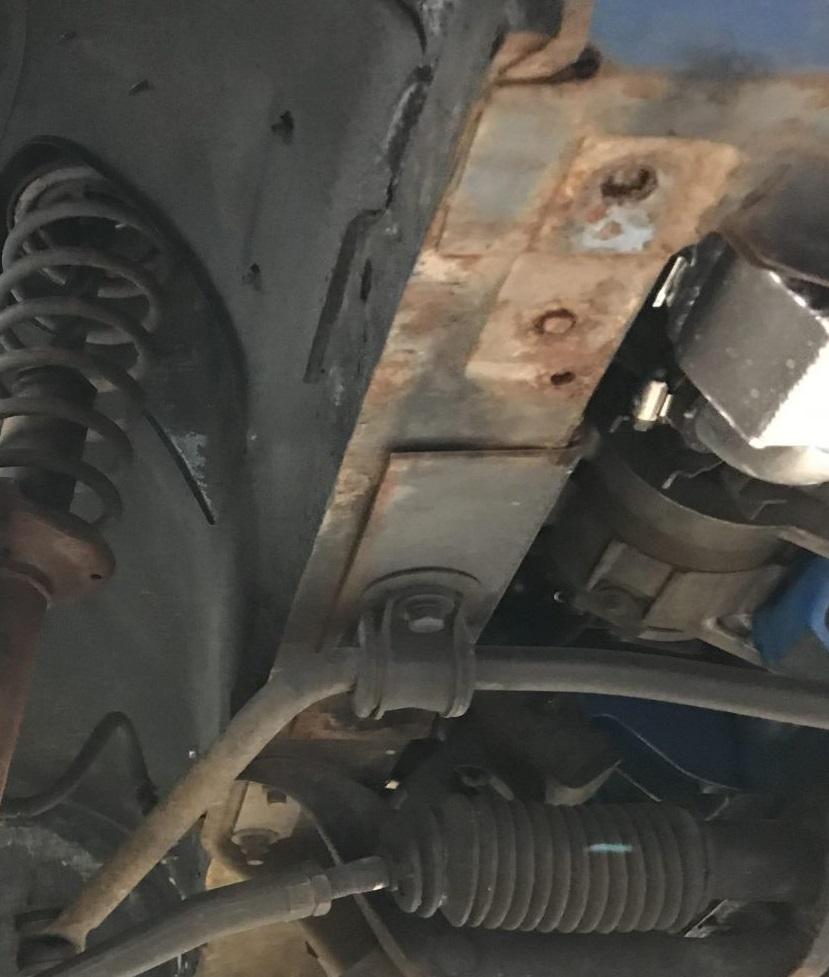
The seller seems to be down playing the rust in this area. Here is a quote from the seller: "@Glenn240, I really appreciate your information!! I learned something new. I crawled under the car and measure the front sway bar and it measured it at 1.95cm or say ~3/4″ sway bar. I am not sure why the L-bracket was mounted. The areas fore/after have aged and have a little surface rust, but nothing structural. It appears to me that it has been there for a long long time as the area has all equally aged. I took photos and can submit if you wish." Here are a couple of snippets from the sellers pics. The car does look nice from the top.


-
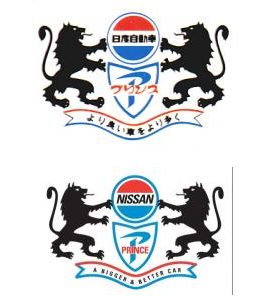
You're welcome, a google image search for " Datsun Griffin" gets quite a few more emblem examples
-
https://www.classiczcars.com/forums/topic/34398-prince-emblem/?do=findComment&comment=306157 Source @26th-Z
-
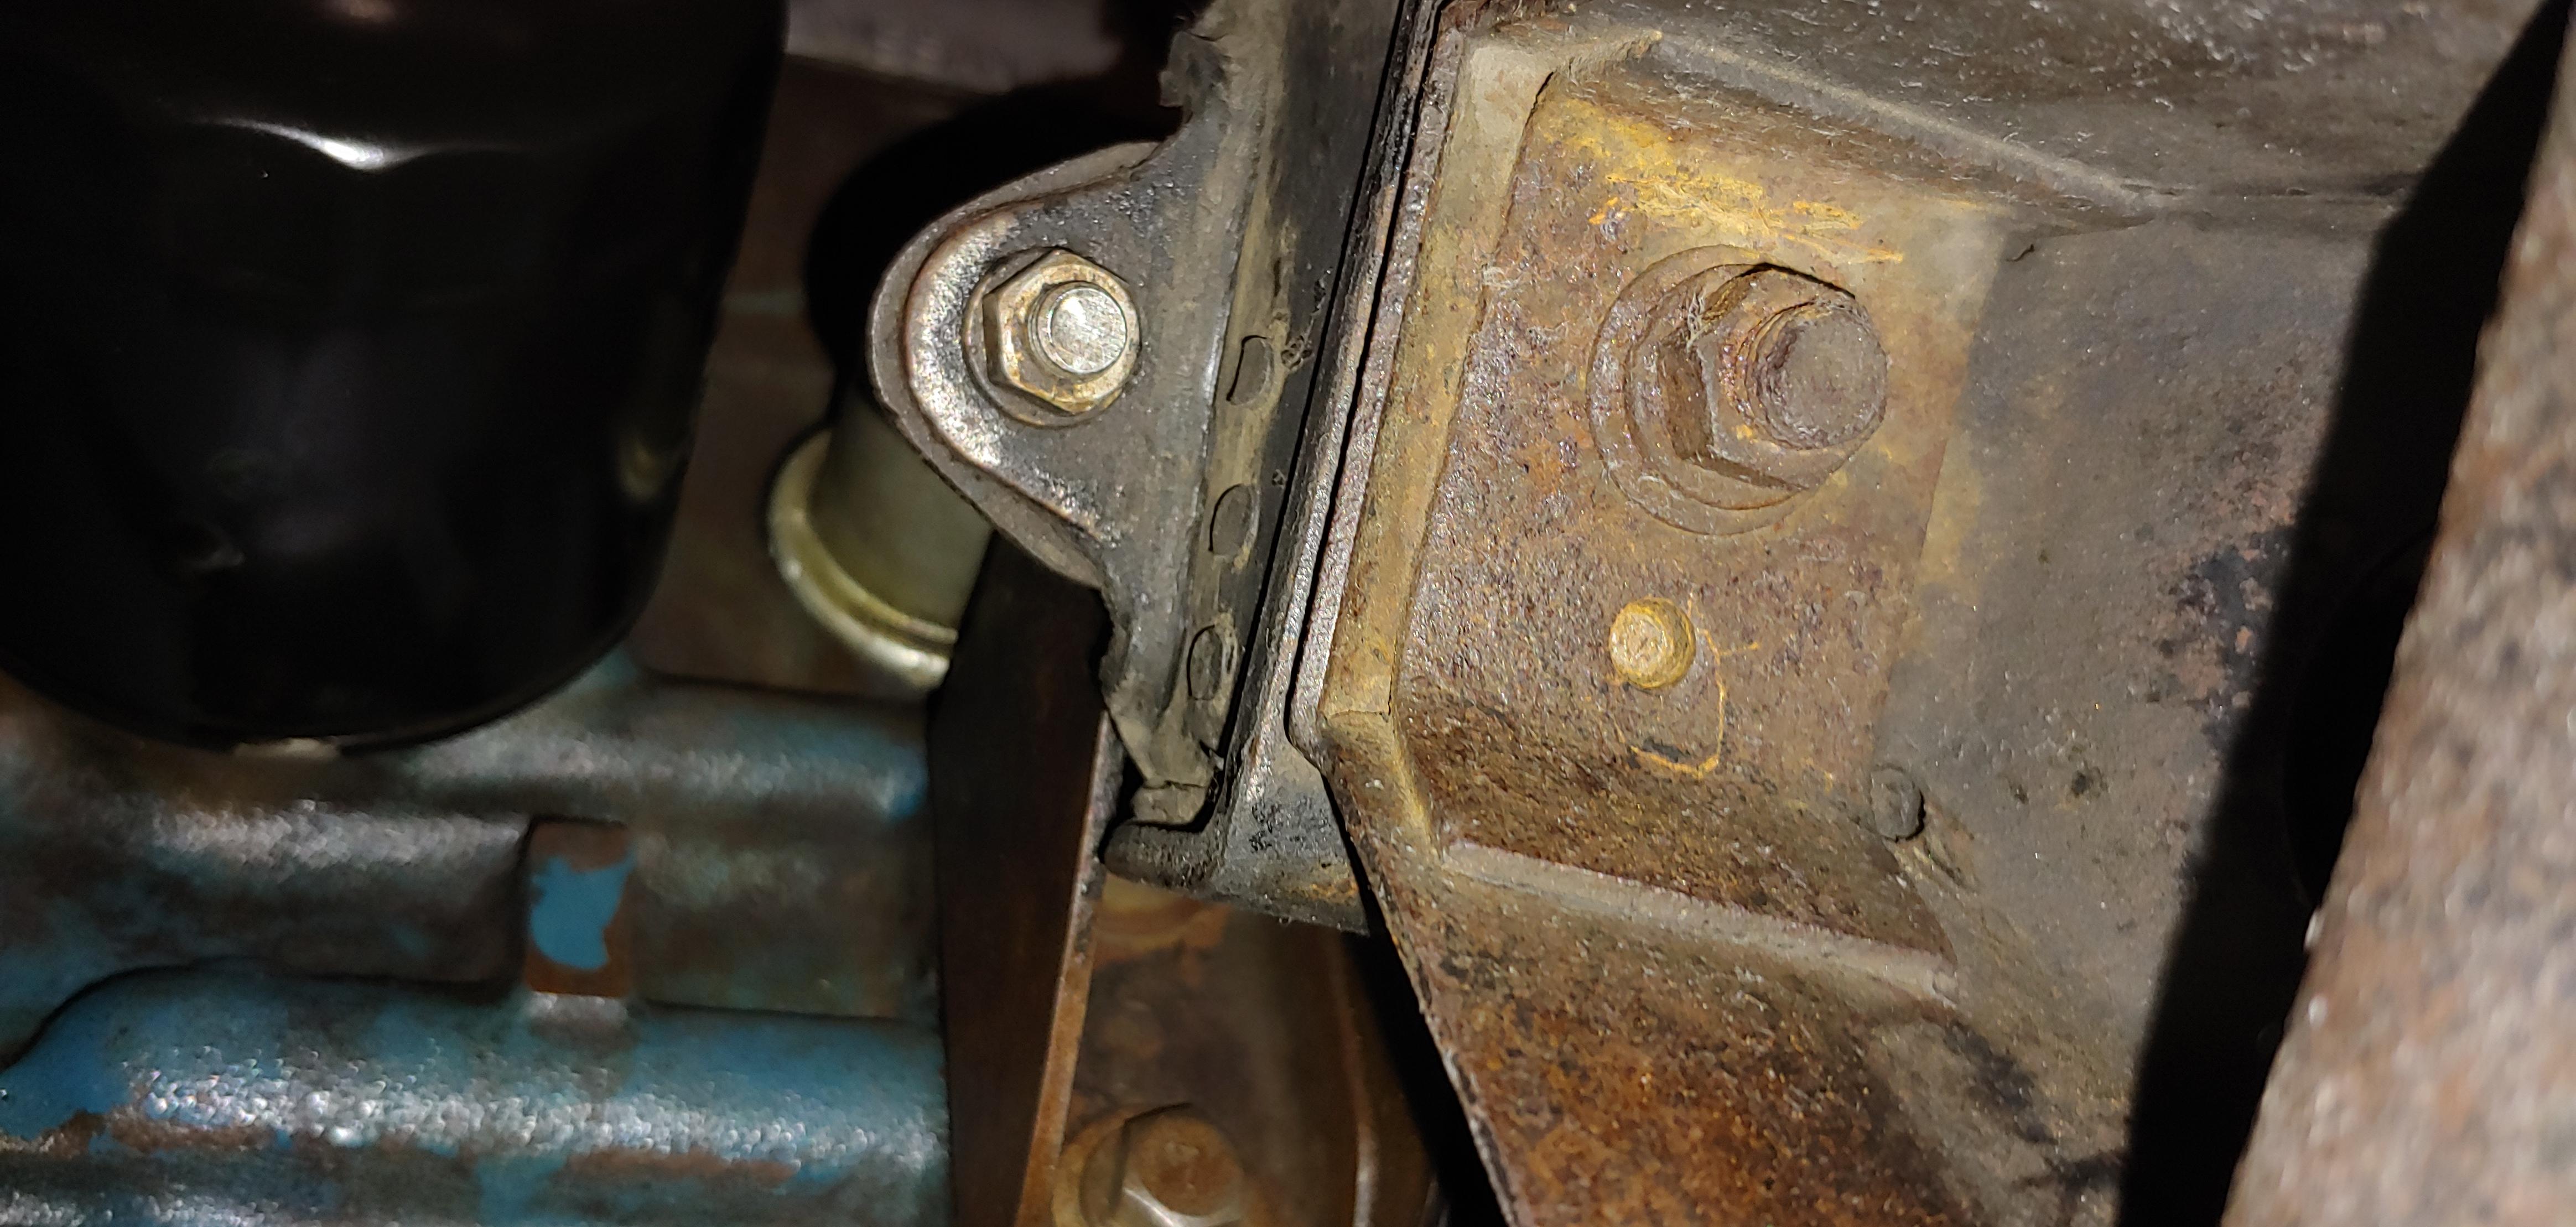
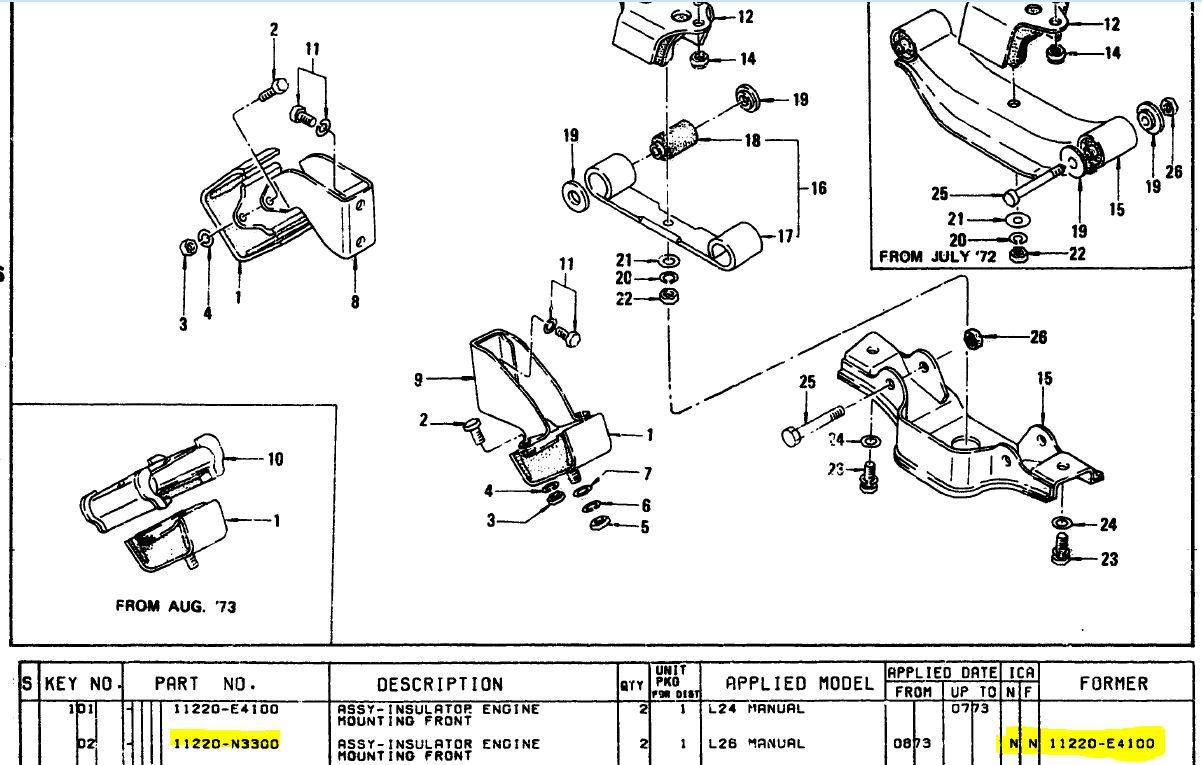
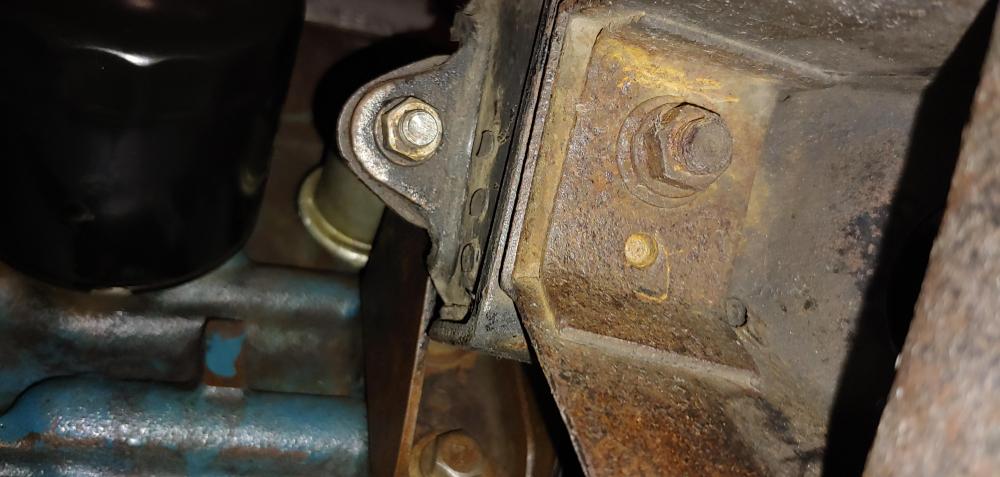
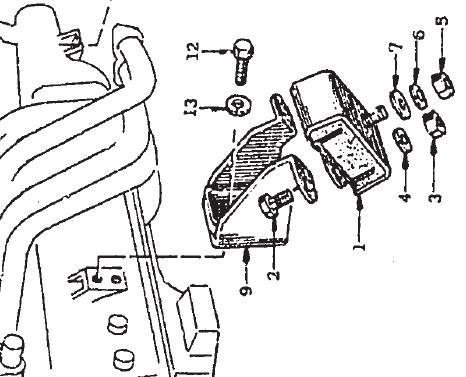
Here's a little more to add to the confusion. I'm starting to think that the 11220-E4100 mounts don't have the dowel pin. When I check my 7/70 car, I can't feel anything protruding thru the hole in the bracket on the crossmember. I will be pulling my engine, hopefully soon, and will report back. Edit >>>> Looks like i was incorrect there definitely is a dowel pin, see the last pic where I loosened the mount and pried the mount up a little. The pin is short but it is there. Here is an image from the JDM parts book of 11220-E4100 and It doesn't seem to show a dowel pin.

-
Just for clarity, I was trying to show that 11220-E4100 would be the correct prior to 08/73. And that 11220-E3300 is for 08/73 forward and is not backwards compatible. @z8987 has a 1970 car show, so he would need to use the 11220-E4100 mount to avoid grinding the dowel pin (based on what I have read on this site). I just checked the parts book and can confirm that the front crossmember, which has the brackets that these mounts mate with, also shows a new part number also effective from 08/73. Strangely there is no mention of compatibility issues. It would be interesting to get measurements of the dowel pin location (center to center of mount hole to dowel pin hole) on the older and newer crossmembers. Has anyone been able to purchase the 11220-E4100 mounts from Nissan, or do they now only have 11220-E3300 available?

-
Here is some info about interchangeability of part number 11220-N3300 from the Nissan parts book: The "N" in the ICA columns means not interchangeable. Here is an explanation of the columns from the Datsun 521 pickup parts book.

-
With the shortage of S30's on BAT, this might be interesting to watch, it's the 50th anniversary edition : https://bringatrailer.com/listing/2020-nissan-370z/

-
Thanks for clarifying, makes sense now. Cheers
-
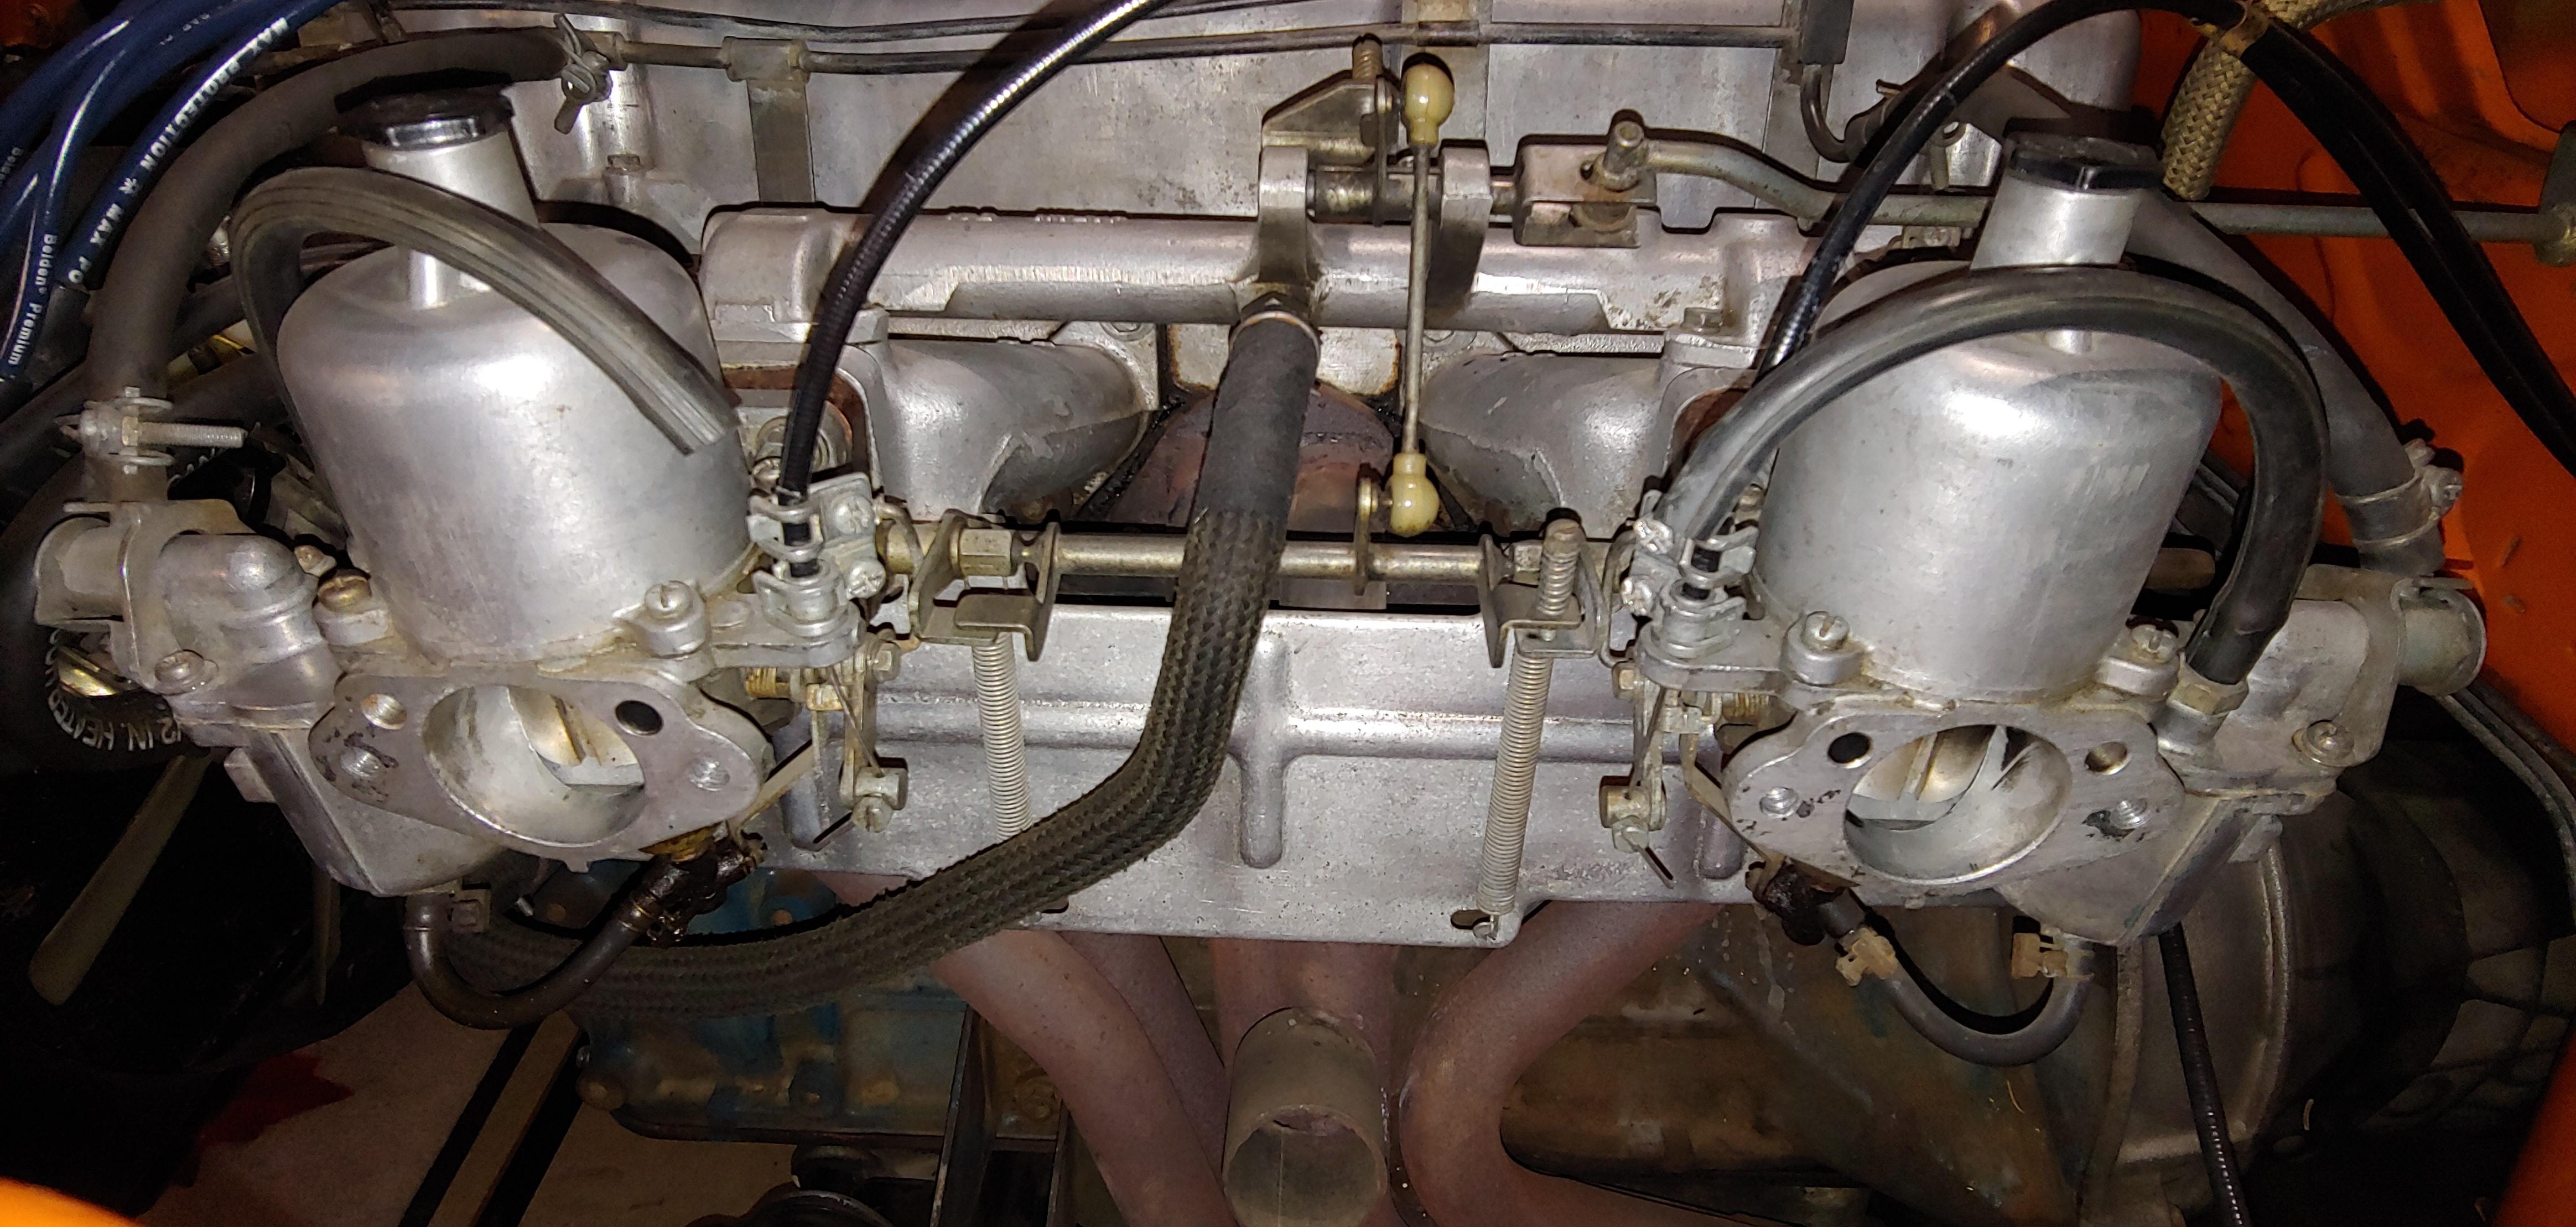
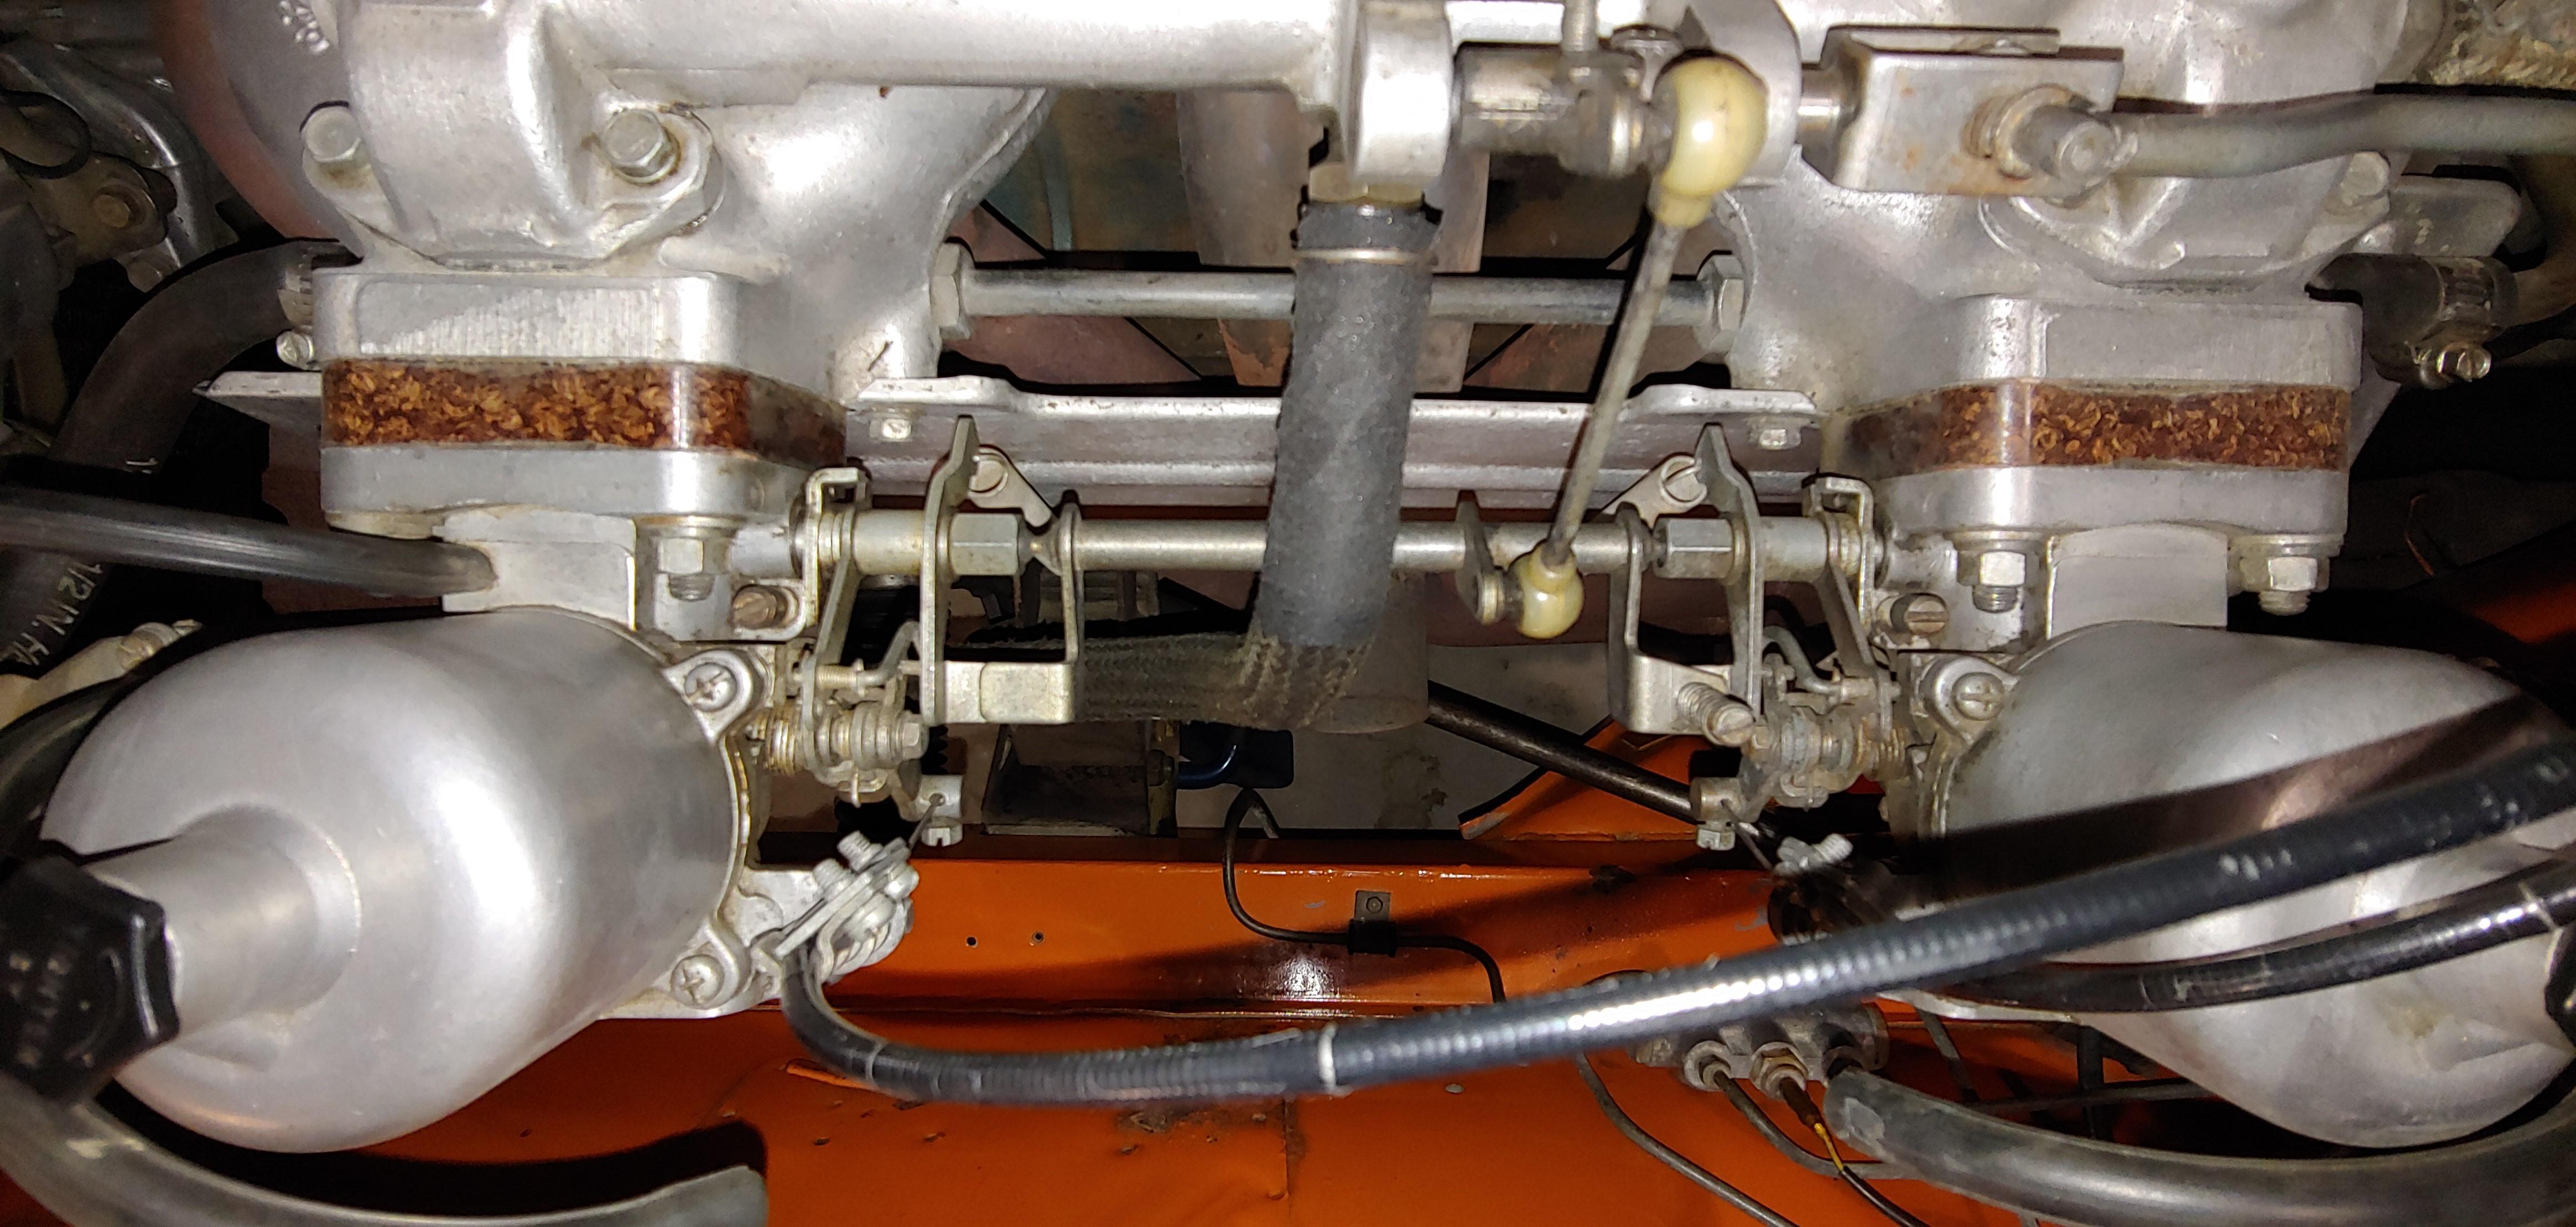
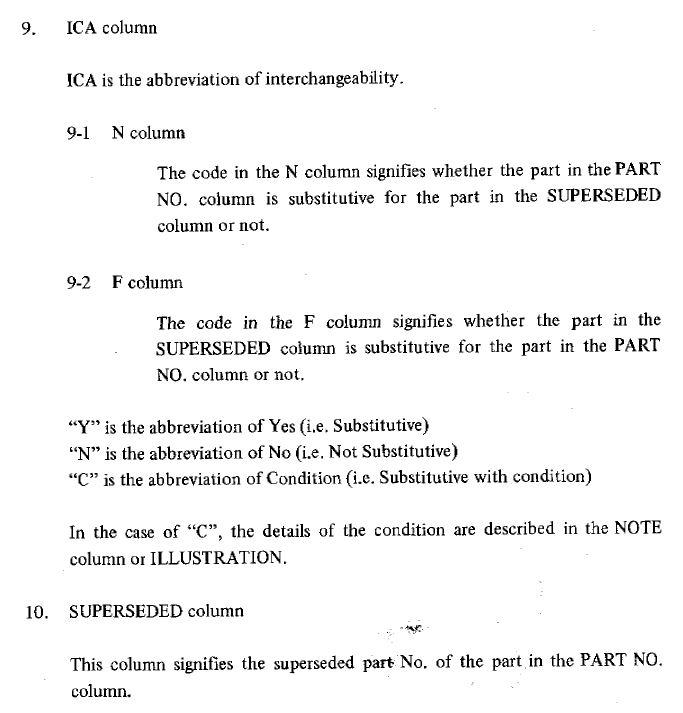
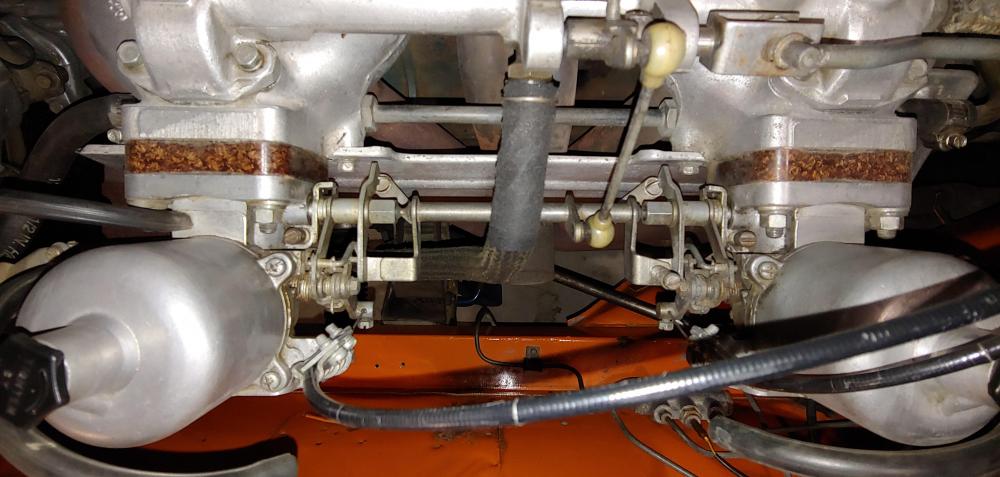
@w3wilkeshere are a few pics of my 1970 Canadian spec (HLS30UN). It has a similar linkage part to the OP but without the screw hole. @dutchzcarguy What year is your Euro spec car. I see it has the E41 balance tube, but it has an E88 Intake and some of the fitting spots on top of the balance tube are drilled & tapped for extra fittings, unlike mine. Just curious.

-
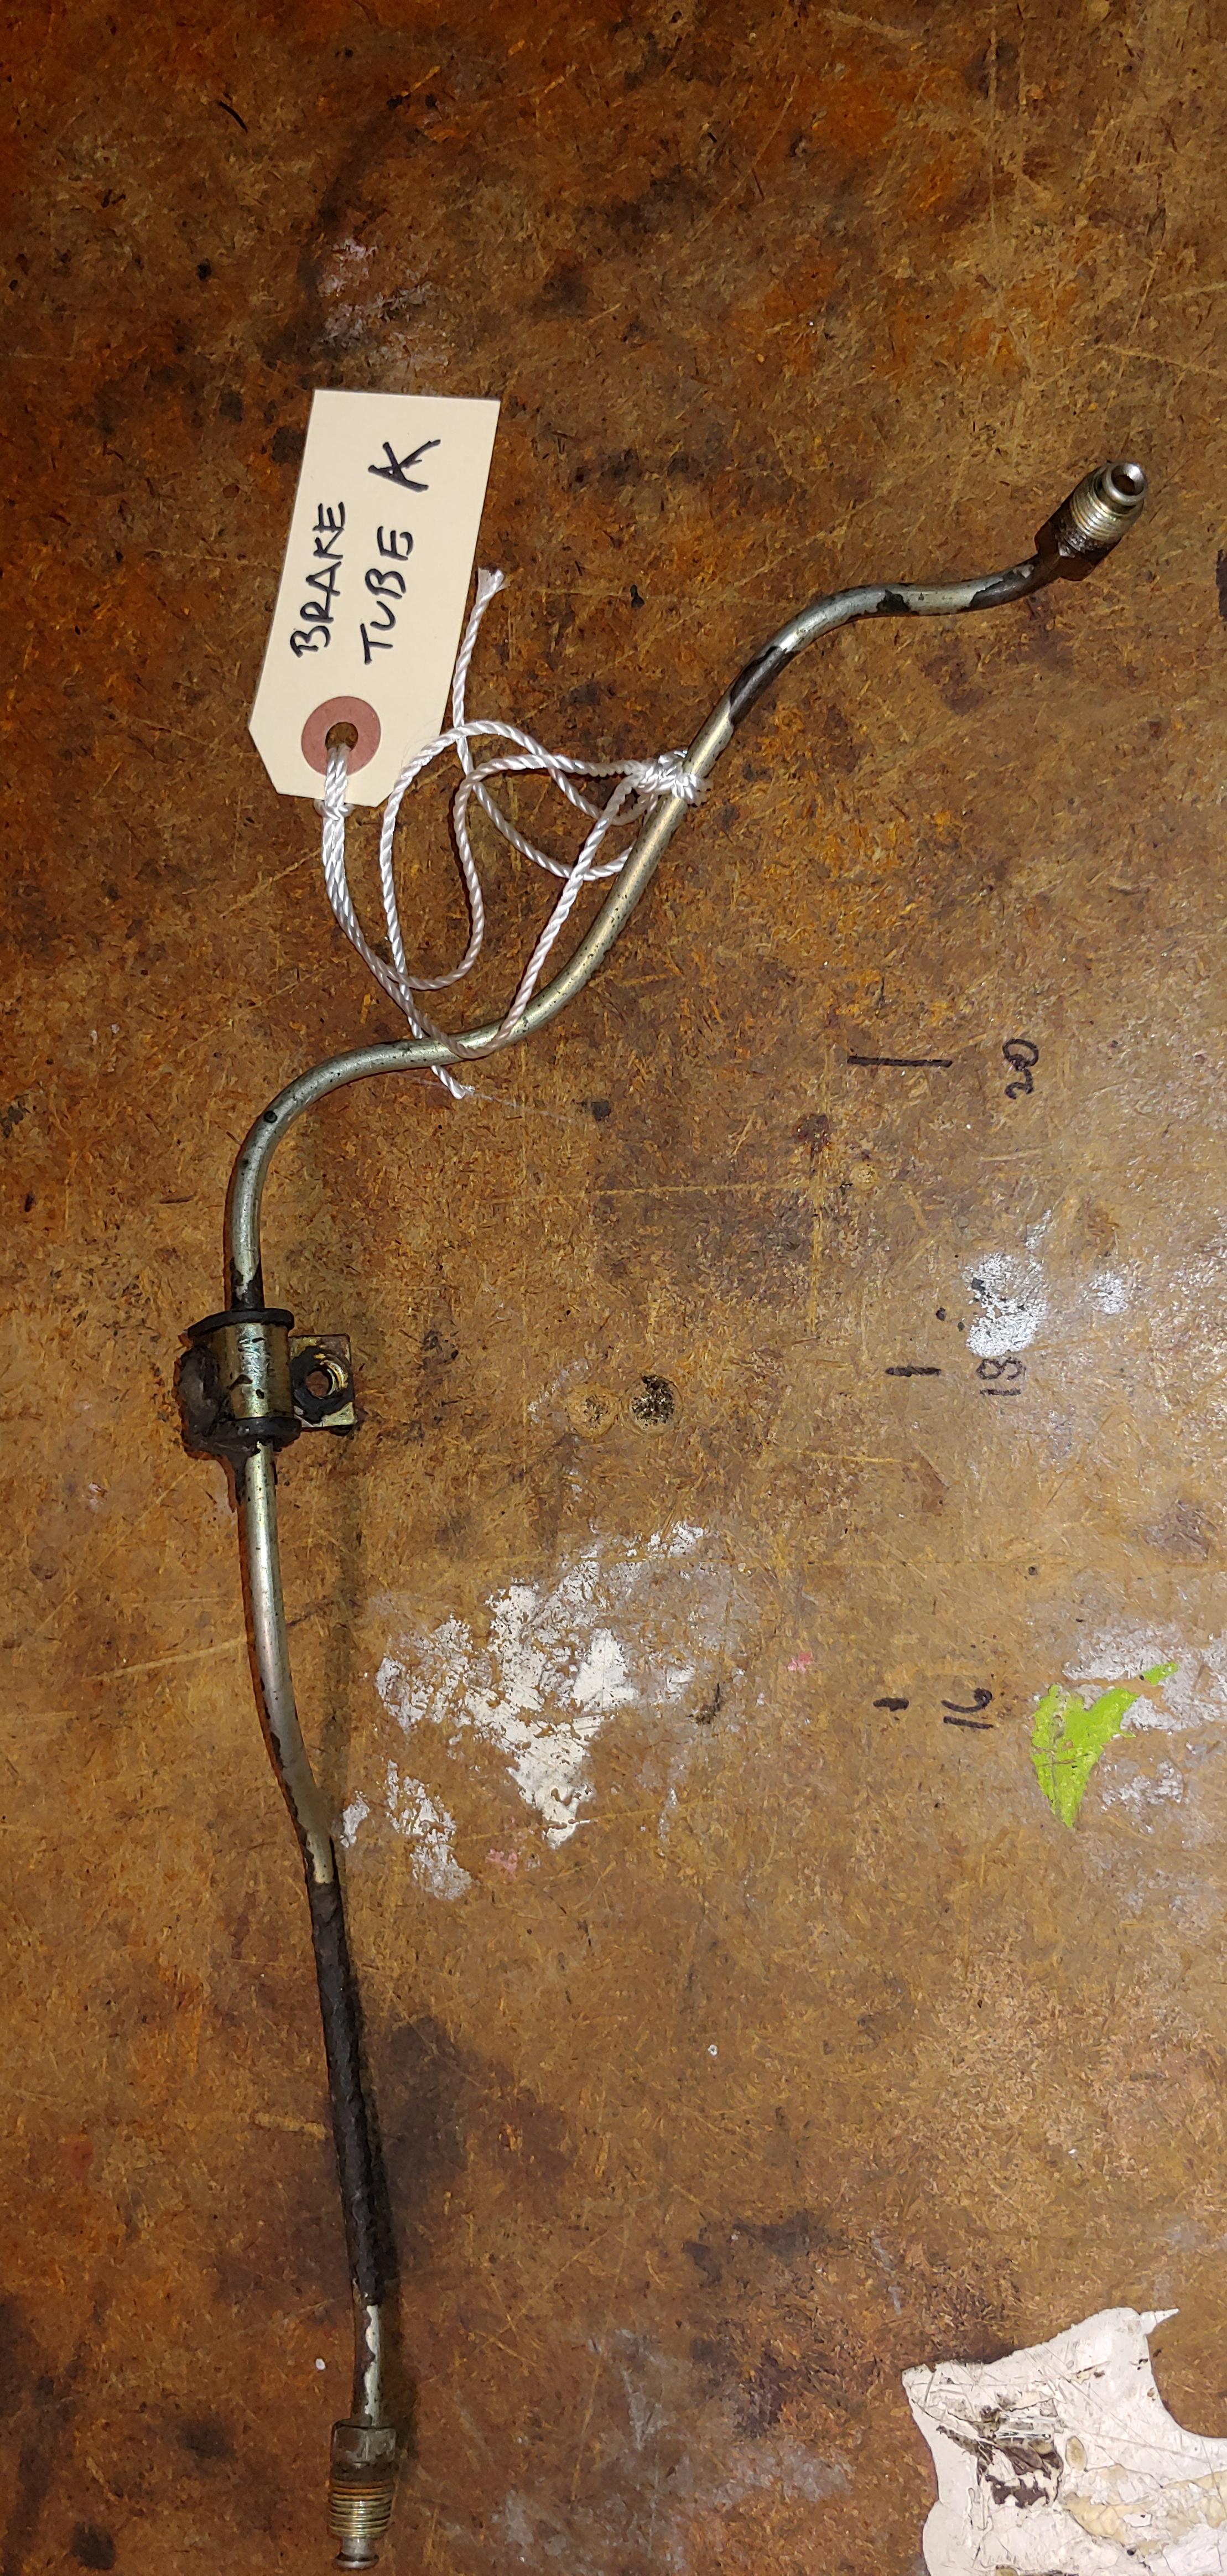
I agree with @grannyknot and @jfa.series1 that the brake tubes originally were yellow cad or zinc plated. Here is a picture of one of the original tubes that I have recently removed from my 7/70 car. They were covered with under coating and as I scrape it off there is lots of evidence of yellow colored plating.

-
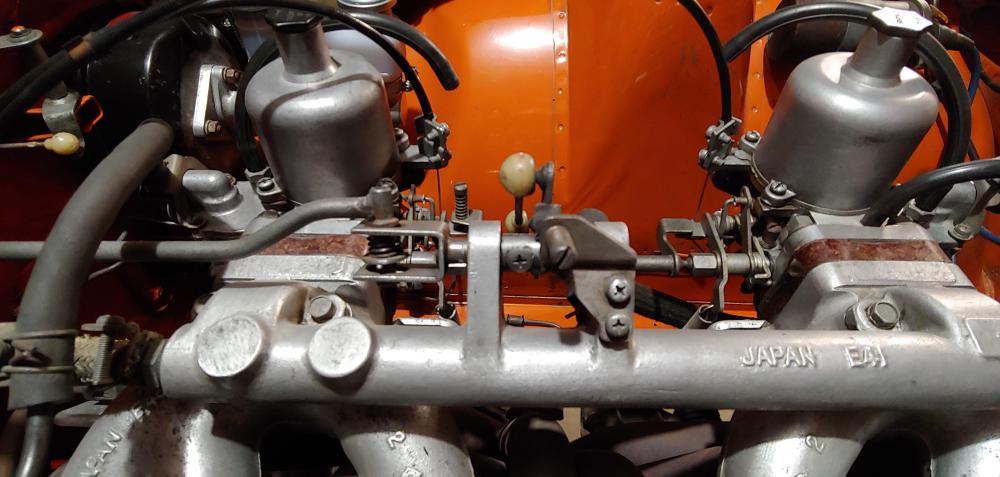
 Sorry no, I don't have access to AutoCad. I exported it to .dwg from the 3D cad software that I use, Solid Edge. I used an export setting of 1:1 and the sheet size is 36" wide x 72" long. The drawing has a few dimensions so that you can confirm that when printed it is to the correct scale.
- 9 comments
- 1 review
-
-

- 1
-
-
I do plan to make templates for that area and the rear floor as well, but I can't commit to a time yet. Cheers, Mike
- 9 comments
- 1 review
-
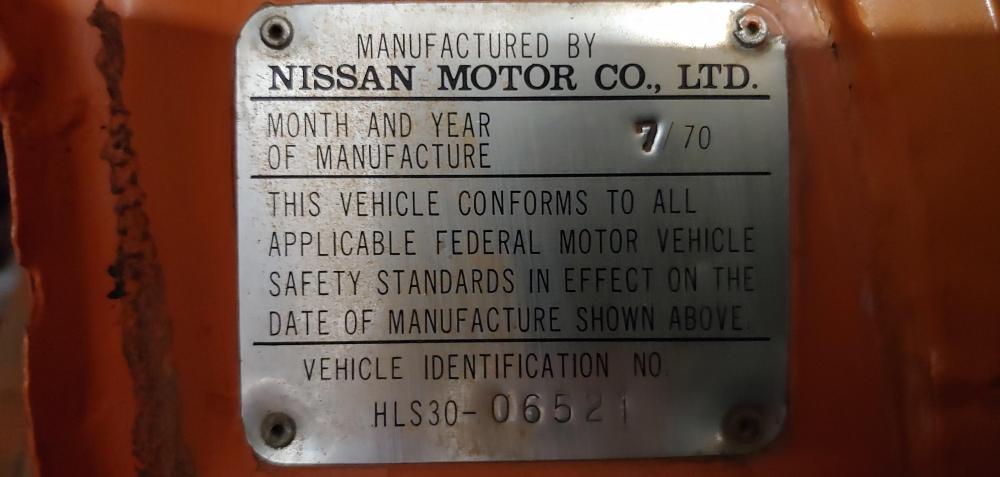
Here is what the stamped 7 looks like, from my 7/70