
Patcon
Supporting Member
-
Joined
-
Last visited
Everything posted by Patcon
-
Glad you're well! Was just thinking about you the other day...
-
All of that pricing looks pretty weak. The last car looks like it was an especially good deal. Nice wheels, clean interior, fairly straight. Needs paint but could be enjoyed as is...
-
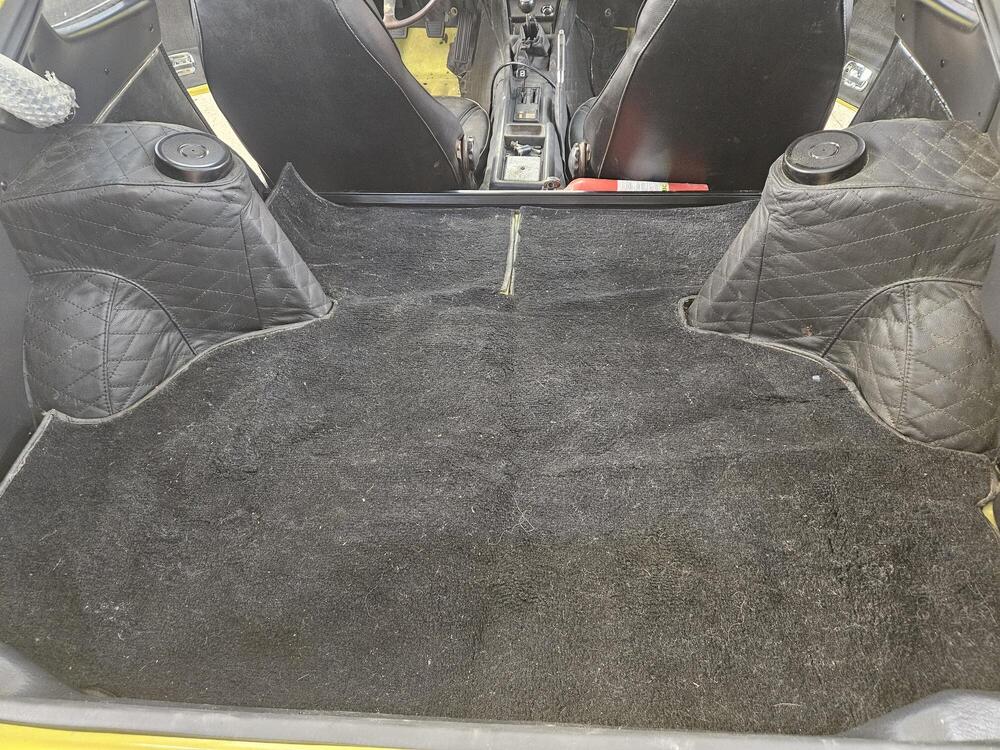
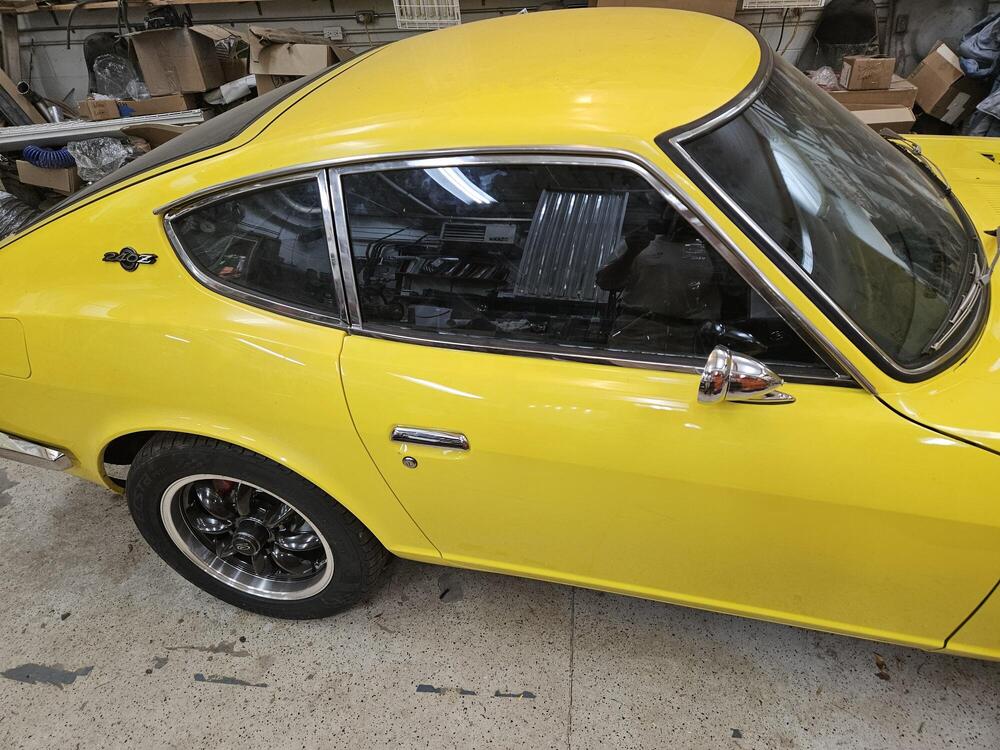
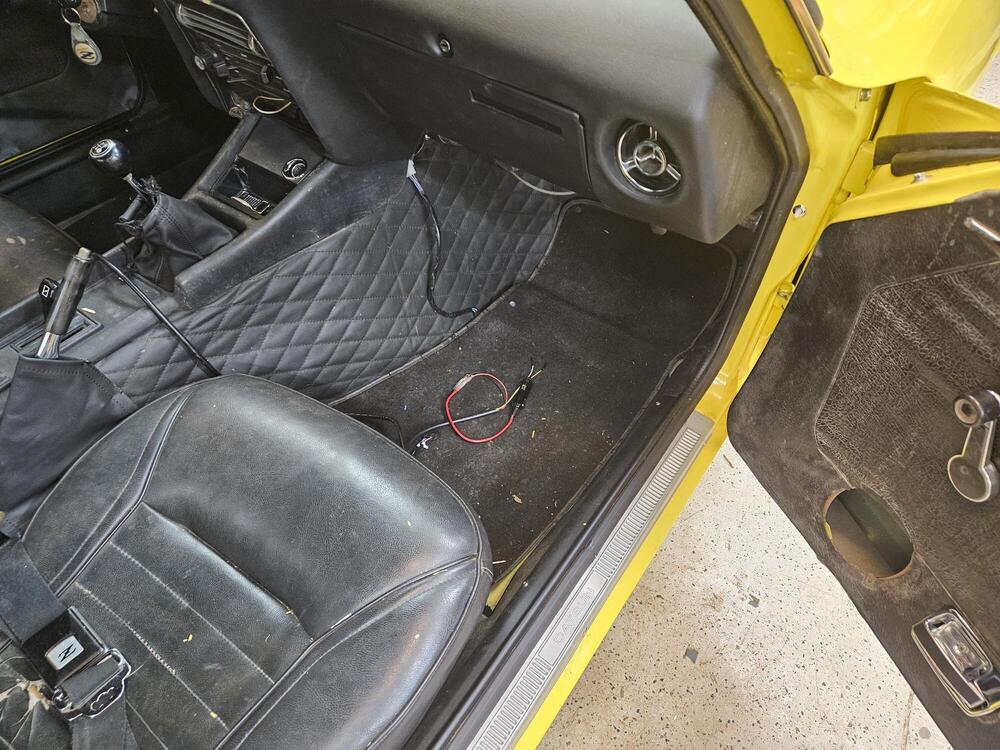
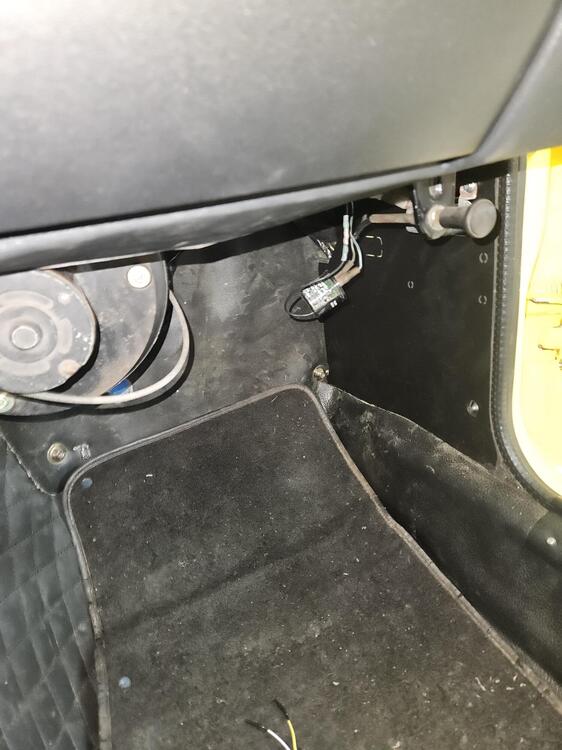
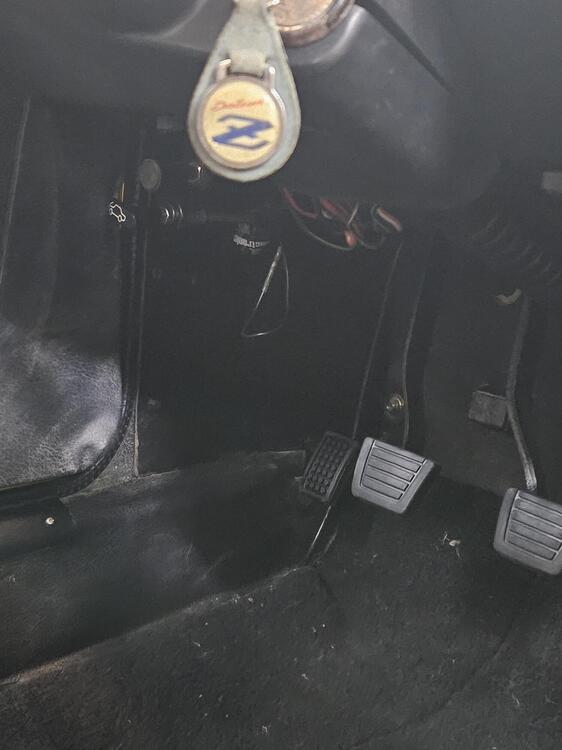
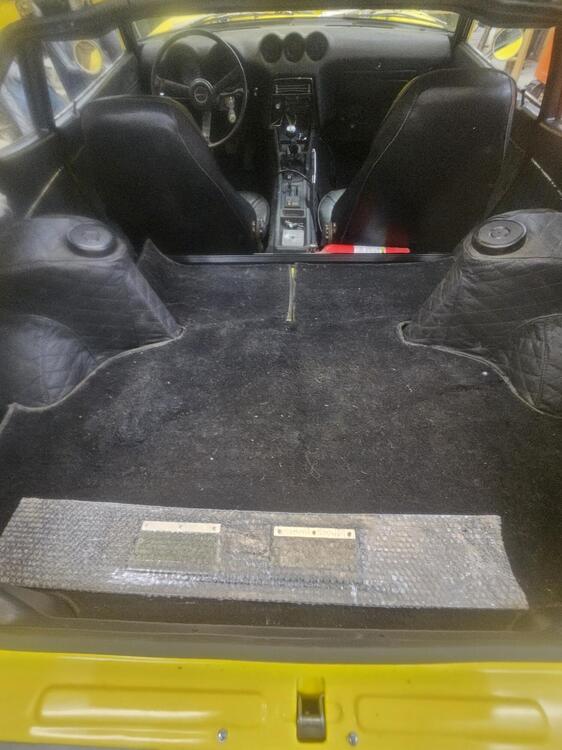
Threw a piece of carpet I had in the hatch and some floor mat pieces Toe kick panels in place Hatch panel waiting on pins Drip rail trim on. I had to use a rubber mallet. It chipped some of the paint off going on but no chips are visible. Excessive paint build up there is not your friend!
-
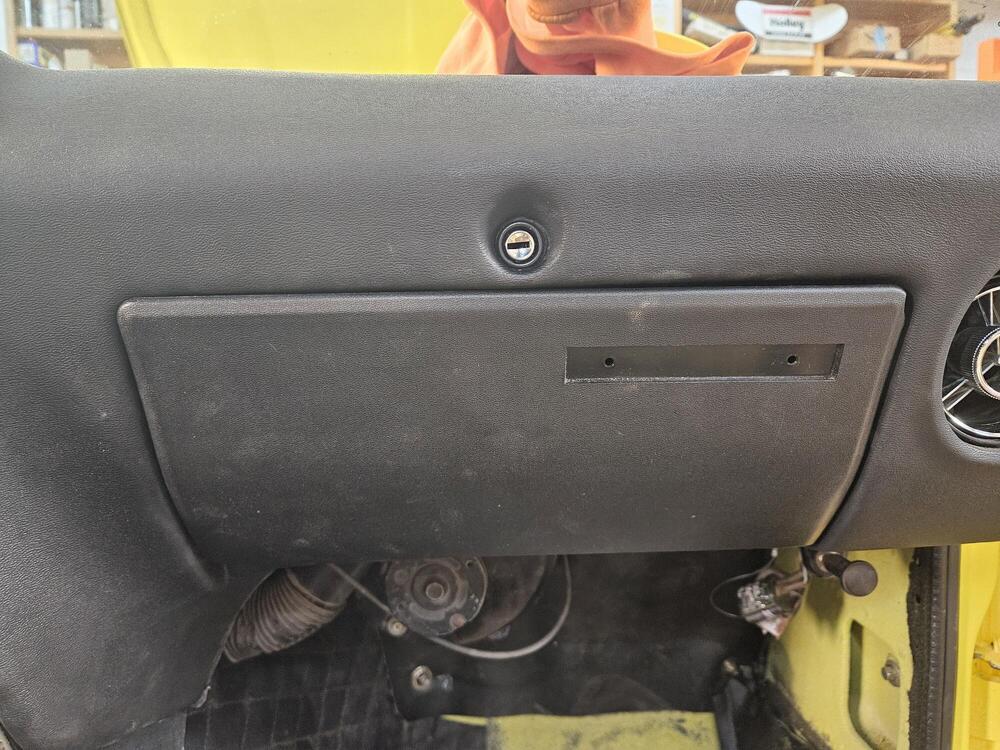
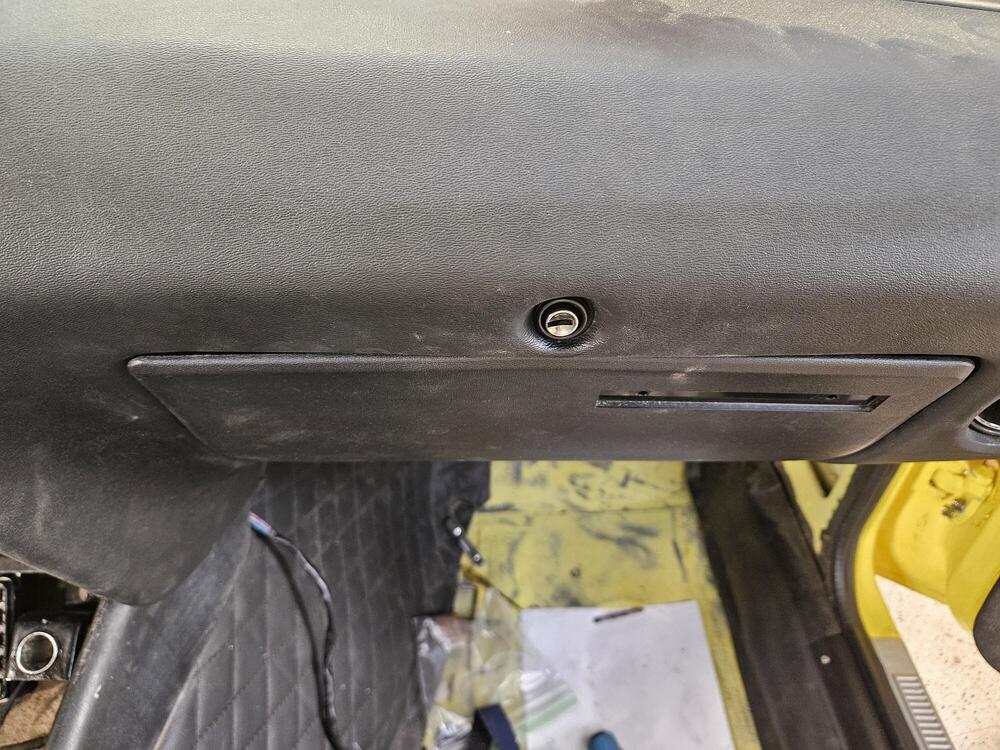
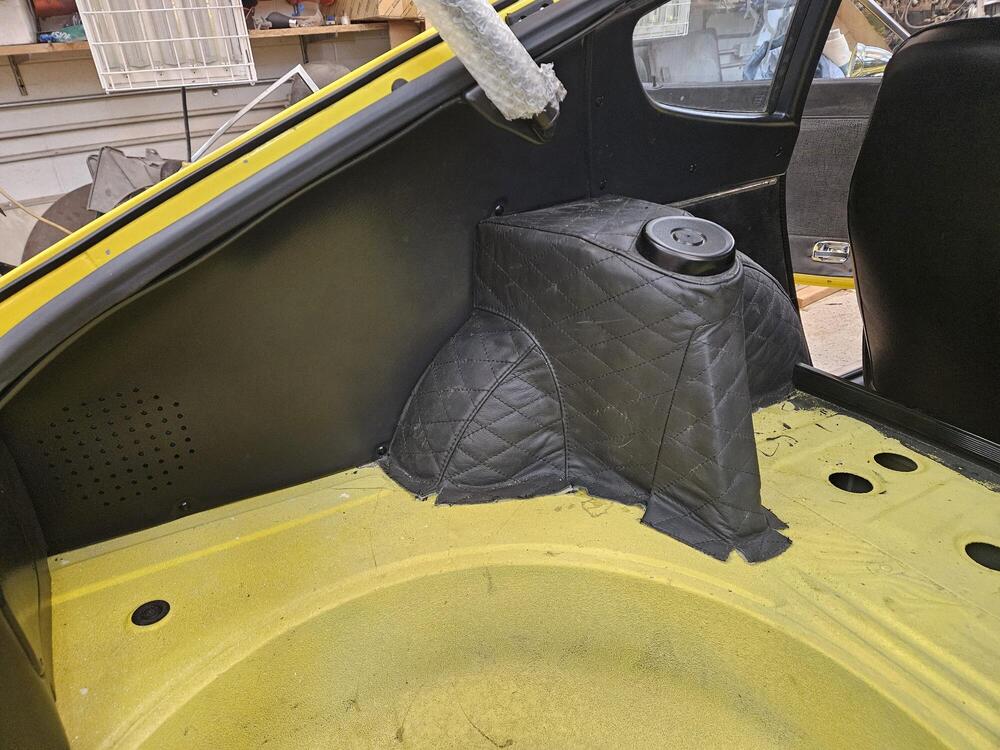
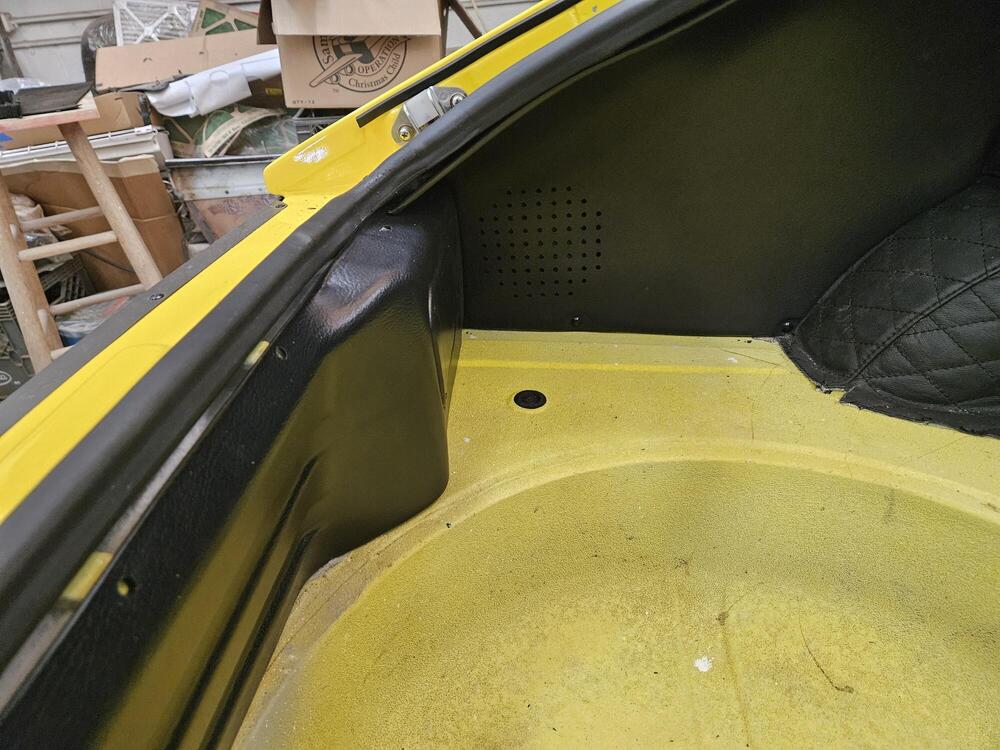
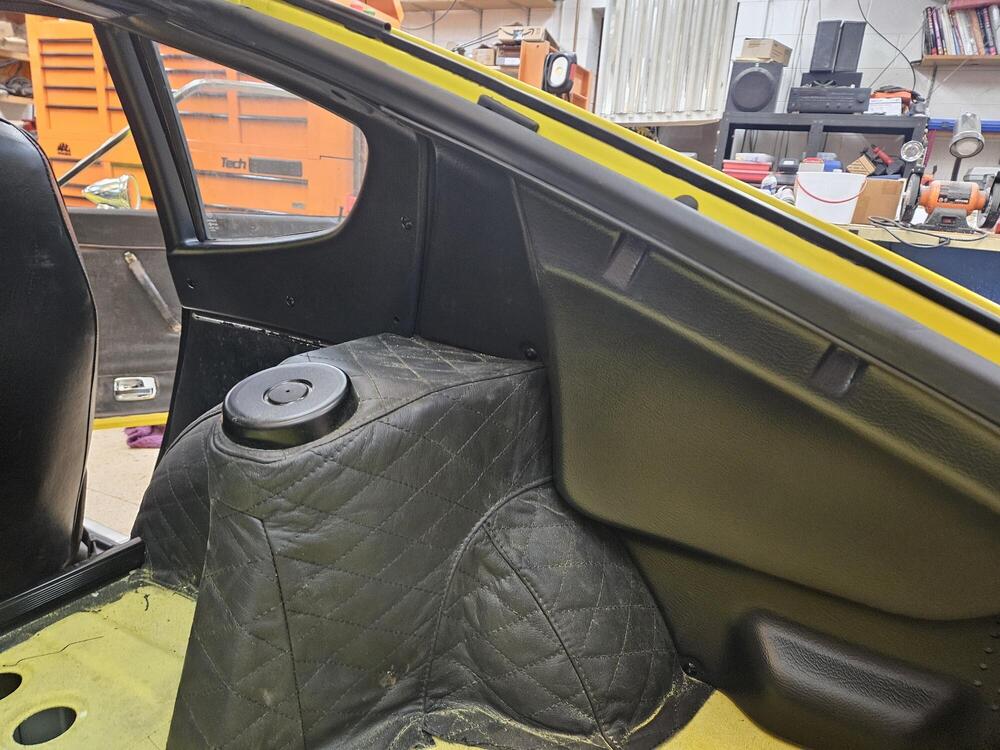
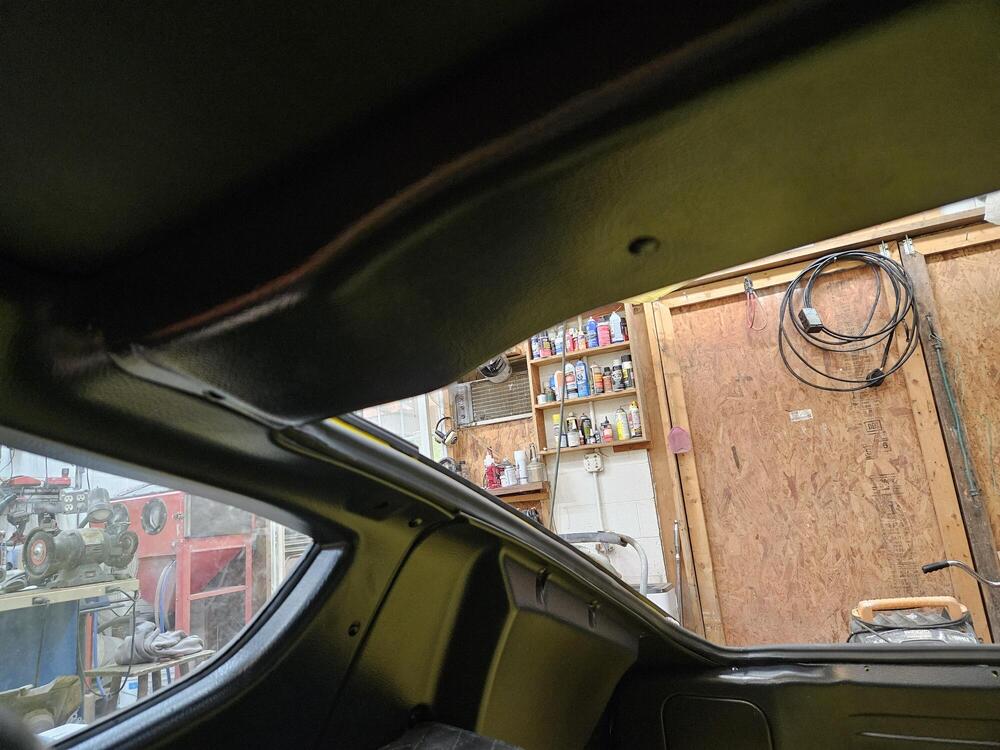
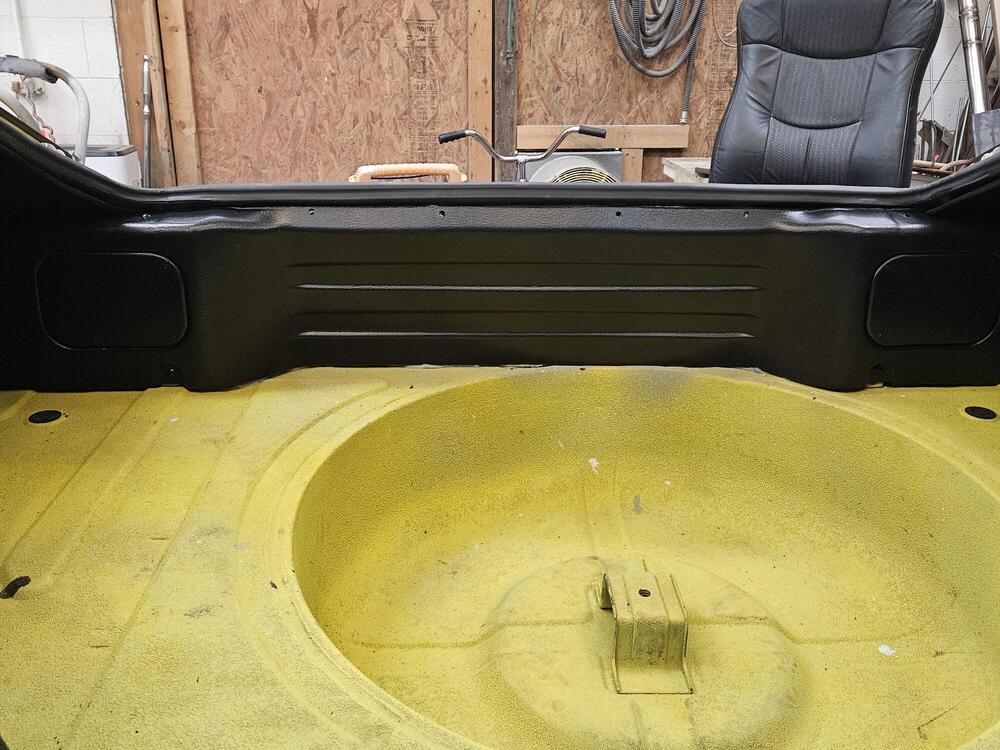
Here is the glove box door installed. It has a chip in the upper corner and I will replace it in the future. It is also not exactly adjusted correctly. It would be nice to come up with a solution to keep these doors from warping from the glove box light. I have four all with the same warpage. Make a metal brace inside of the door? I will restore the badge and install it later. For now I have a place for registration and the lug nut lock adapter Rear interior panels Because of the thickness of the panels some of the pins aren't long enough to hold. If I was going to do it again, I would probably thin the panels in selective areas. I used a die grinder with a 2 inch Rolok to trim them and I could have thinned them at the mounting points to make them fit a little better. It is nice the repops are available but I think a nice set of factory panels would actually be superior. They are stiffer and just fit more precisely overall. Although they are fragile. The leather on the strut towers also makes the panels a little tighter. The leather and padding is significantly thicker than the OE vinyl would have been. I ran out of pins, so not everything is installed. The interior pins are really kind of expensive. Especially if you have to push them out and lose the center pins...
-
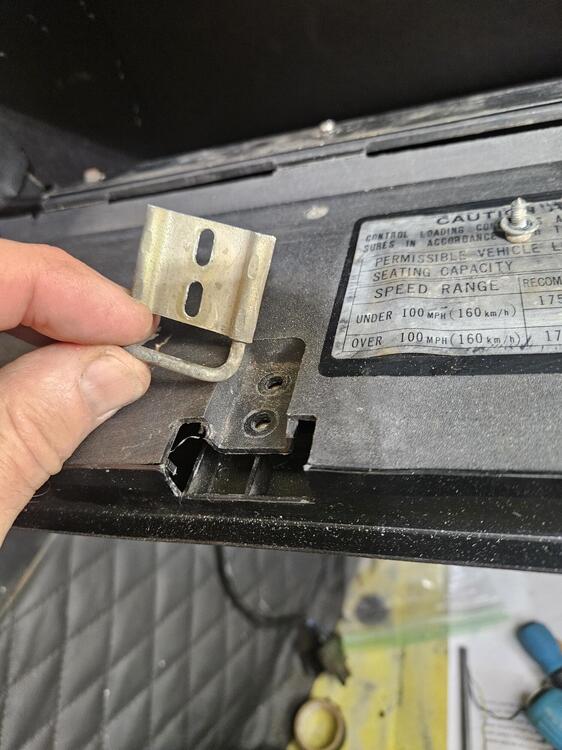
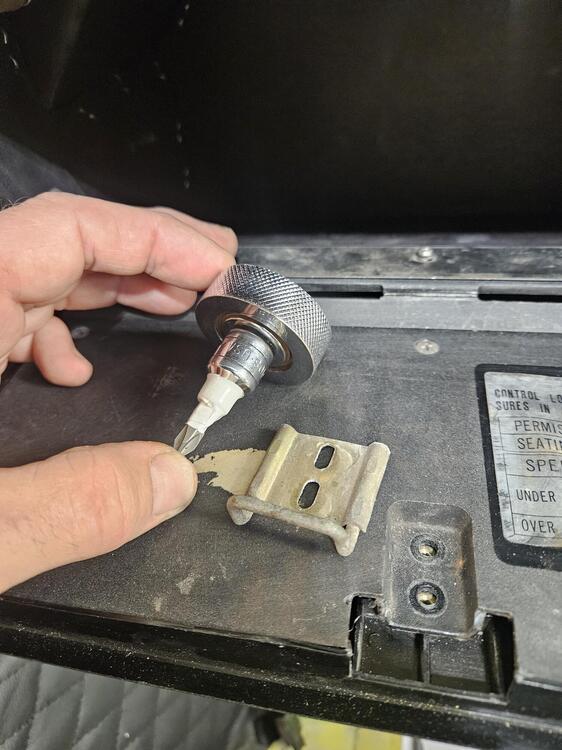
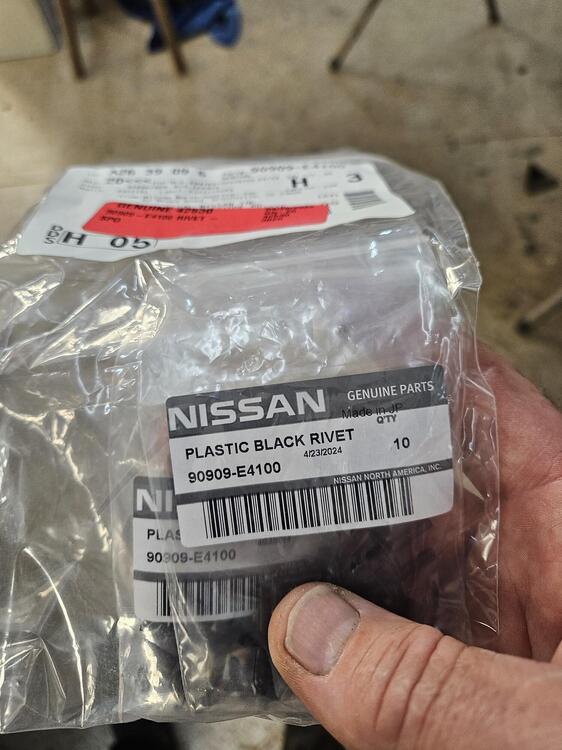
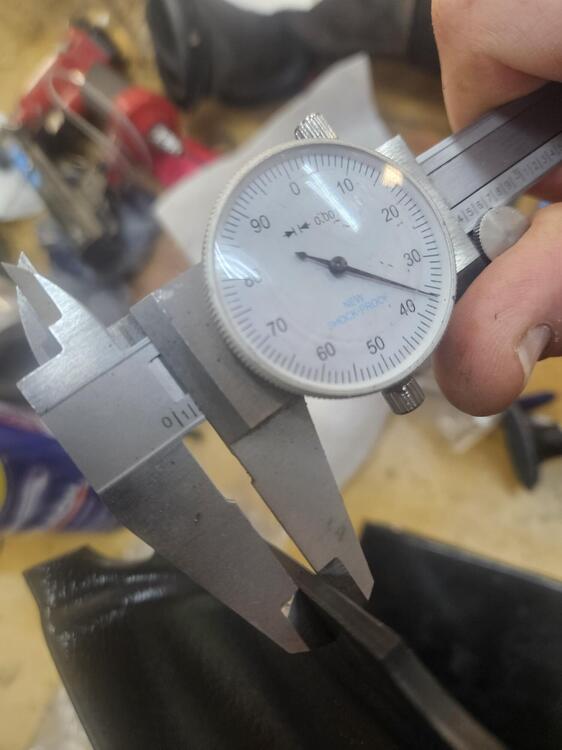
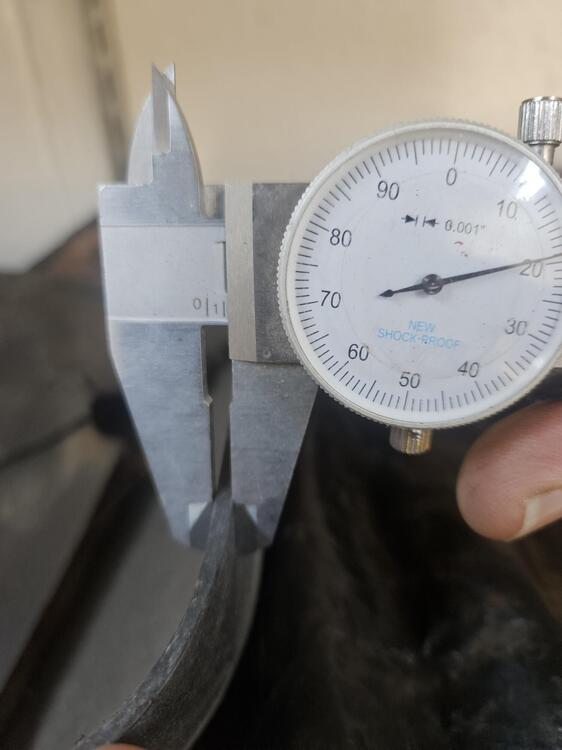
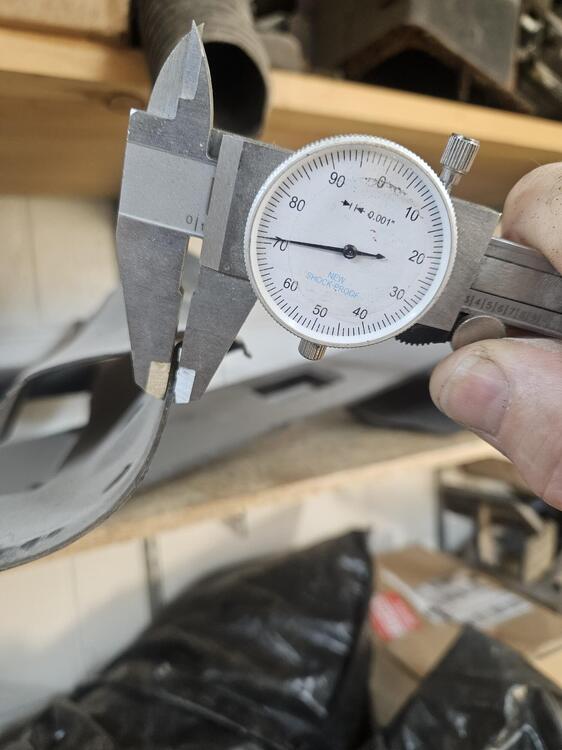
So I have been working on the interior hatch panels. I have the Resurrected Classics kit for the Early cars The panels look good and are solid but much thicker than stock. The new panels are softer than stock too. The original panels are very stiff and brittle New panel thickness Old panel thickness Panel pin part number I also worked on the glove box some. I had to order some screws from BelMetric. I need to shim the lock down some and the stock screws are not long enough. I also needed some screws for the heater panel. I put a junky panel I had in it for now until I get a better one on hand. The strike on the glove box is slotted which makes it adjustable A bit in a 1/4" socket and a thumb ratchet makes the work around the box much easier
-
I am using the reproduction panels and the ones I have are significantly thicker than factory panels. I having to trim on them to get them installed. I need to post this in my build thread
-
What panels are you using?
-
-
I thought about suggesting that but it seems so challenging to even get the simple things done, I didn't want to complicate things. I have done a similar mod in the past and found that even though the gauge showed almost no pressure at idle it was actually about 30 pounds
-
The nissan oil gauges tend to display low. That is ok. They naturally increase the pressure when you rev them.
-
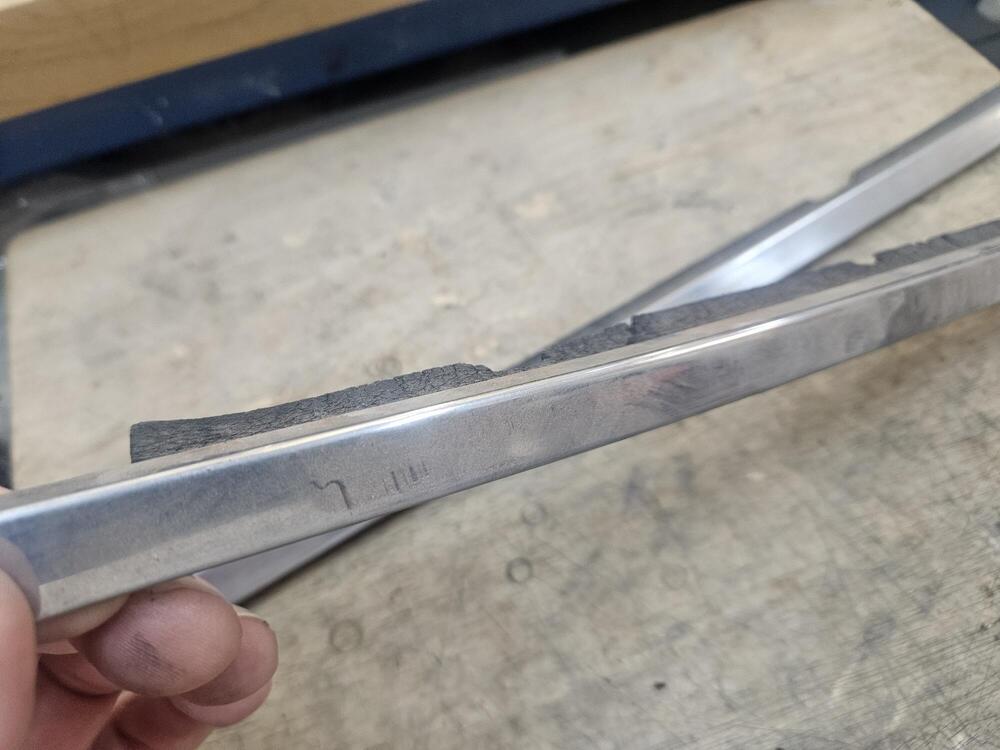
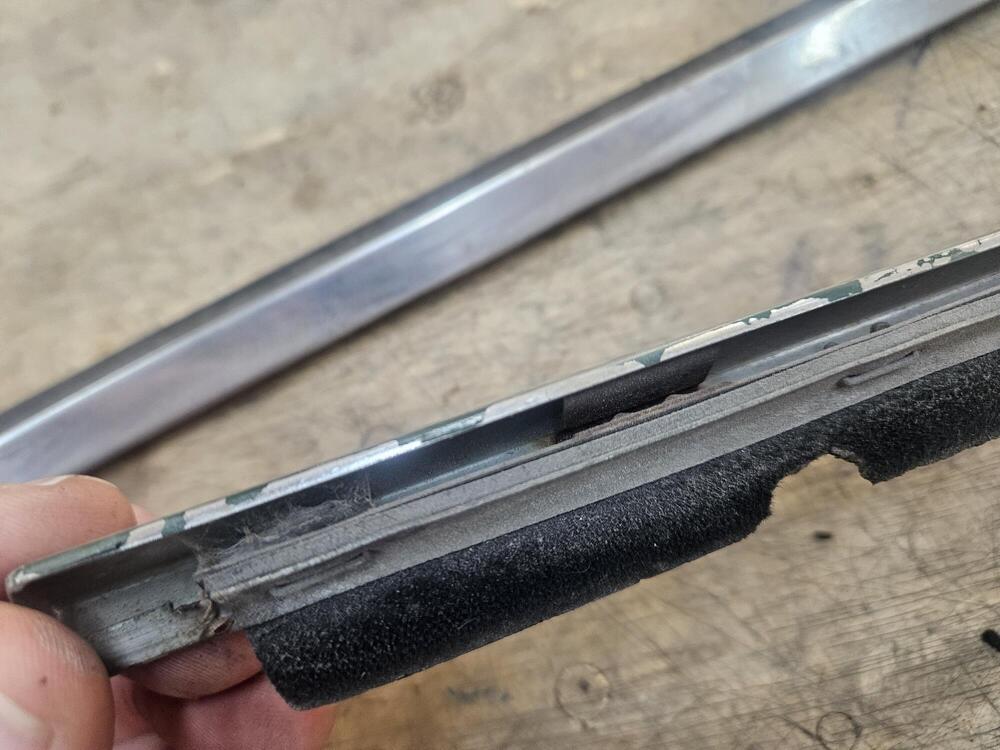
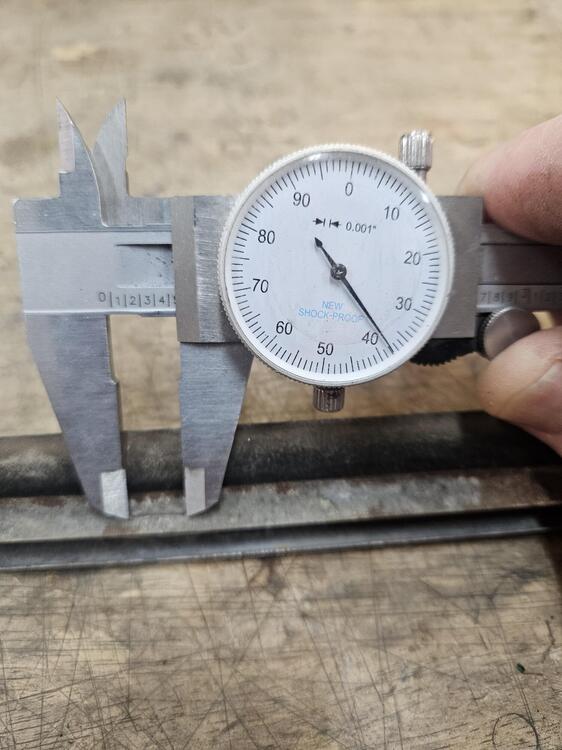
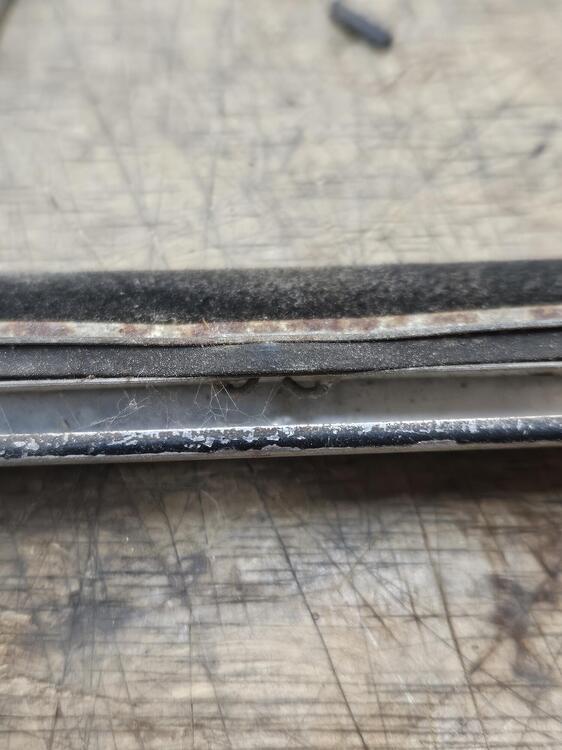
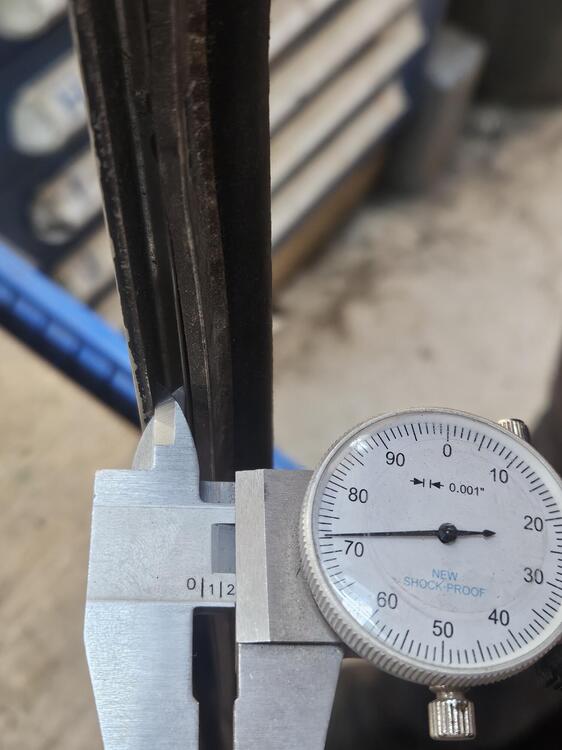
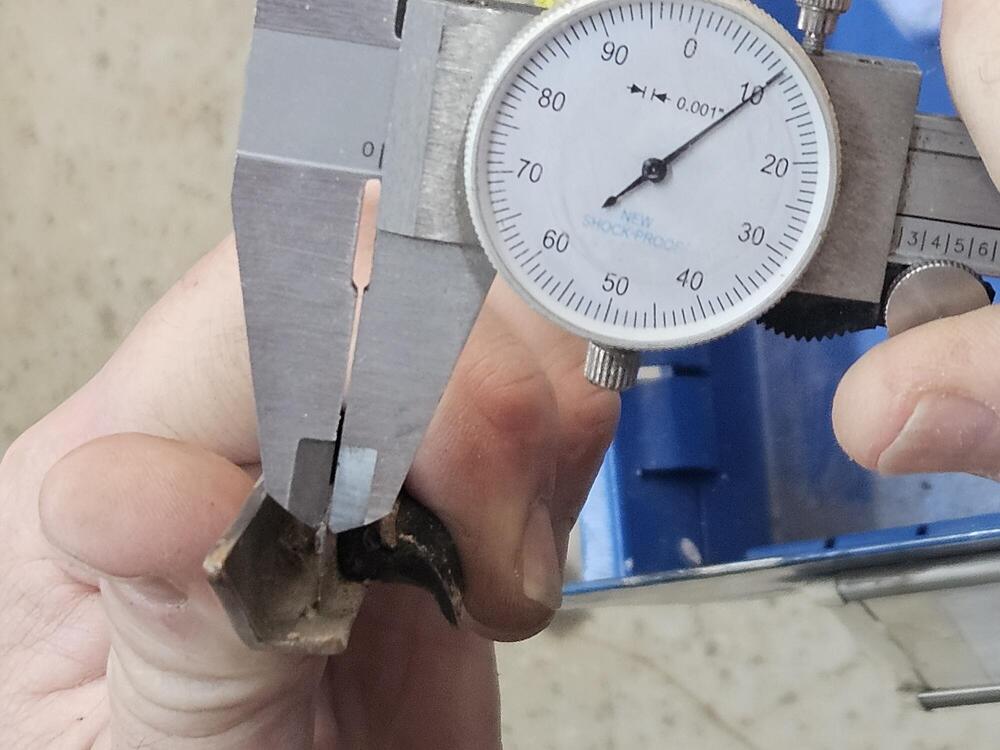
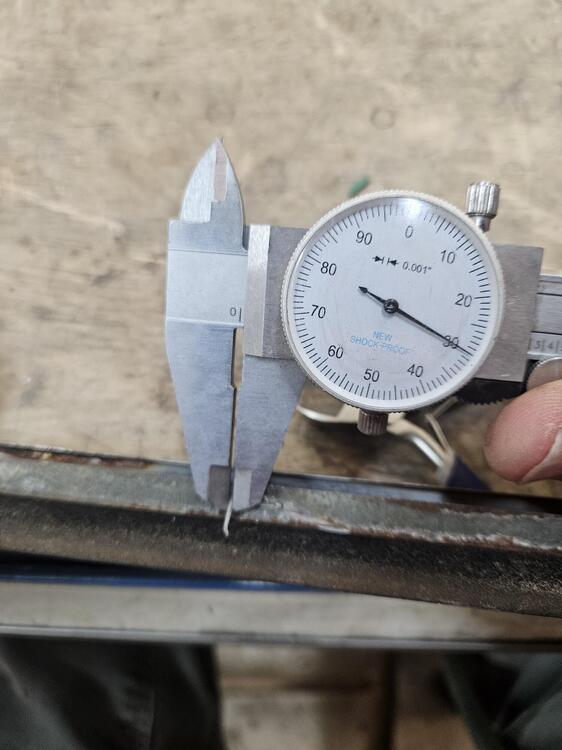
So I have been looking for a stapler to use on the window trim to attach the rubber squeegee to the trim. It might be usable to attach the fuzzy strip to the top of the door card too. I have dimensions of the trim to set parameters. An air plier stapler is probably similar to what they used originally. https://www.google.com/search?q=air+plier+stapler&client=firefox-b-1-d&hs=AJkp&sca_esv=35f533f402643216&udm=2&biw=1536&bih=678&sxsrf=ANbL-n6OrZvsn2u-hVBNFYO7b7LYAhbp4g%3A1776729595533&ei=-73maeegIJmzptQP0pKagAQ&ved=0ahUKEwinip3D0f2TAxWZmYkEHVKJBkAQ4dUDCBI&uact=5&oq=air+plier+stapler&gs_lp=Egtnd3Mtd2l6LWltZyIRYWlyIHBsaWVyIHN0YXBsZXIyBBAAGB4yBhAAGAUYHjIGEAAYCBgeSKQZUJsFWK0RcAF4AJABAJgBXKABjwWqAQE5uAEDyAEA-AEBmAIJoALGBcICBhAAGAcYHsICChAAGIAEGIoFGEPCAgUQABiABMICCBAAGAgYBxgewgIIEAAYBRgHGB6YAwCIBgGSBwE5oAfwI7IHATm4B8YFwgcDMi05yAcmgAgB&sclient=gws-wiz-img I have talked to several stapler vendors and haven't come up with anything yet. I was hoping somebody might have some original information on how this was done in the 70's @HS30-H @kats Maybe another member affiliated with the S30 group might know... Most of these types of staplers are designed to staple cardboard. The upgrade to thin stainless seems to be an issue. They can be expensive but if I could find a proper one it would make repairing these strips really easy and factory appropriate This throat dimension seems to be the biggest problem. One vendor I spoke to needed 7/8" for the stapler he would recommend. While I barely have 0.020" I have done these by had using wire and folding them over but it's a slow process with mixed results. I have to do four of them for Cody's wagon Any help or direction appreciated.
-
-
15k showing though
-
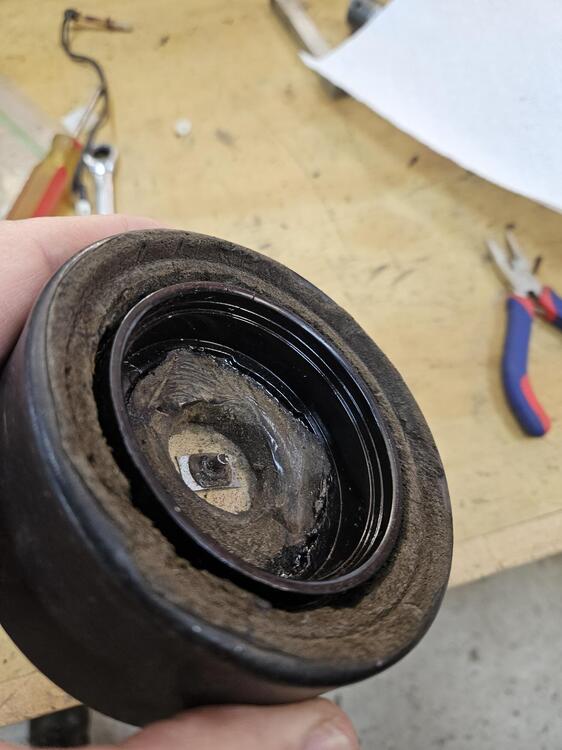
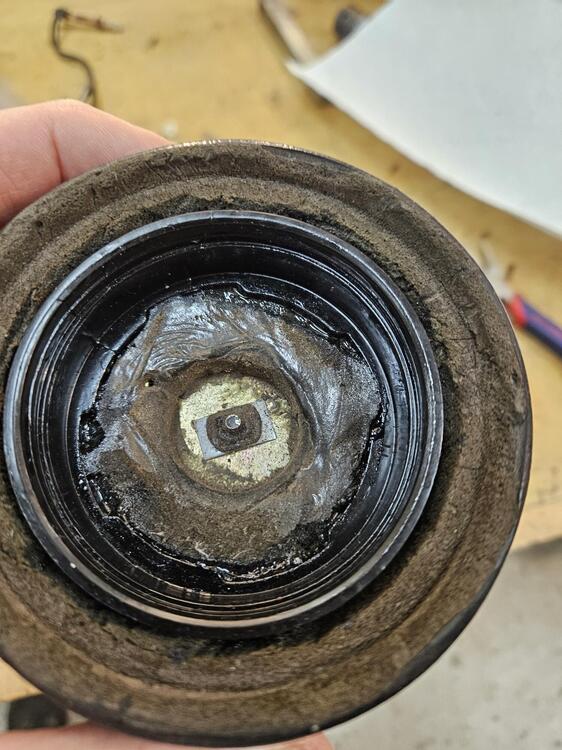
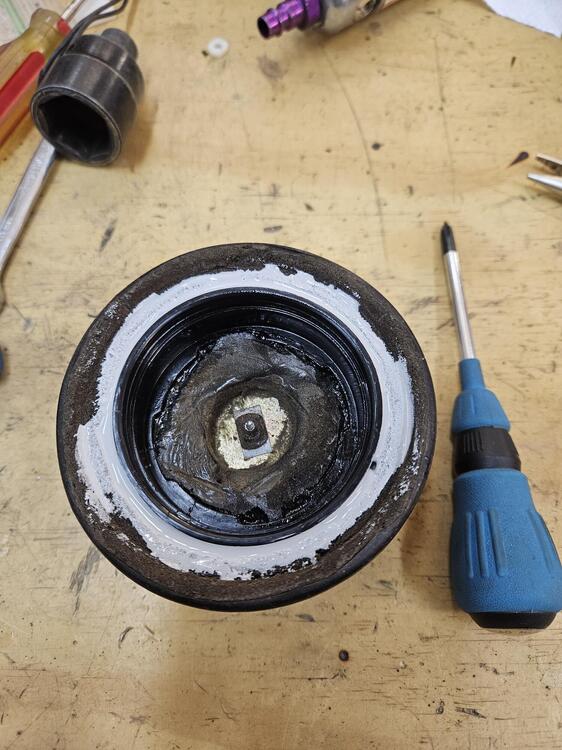
Since Cody finished getting my horns working, I wanted to get a horn pad fixed. I had one that had a cracked inner ring. I had made a metal band to go around it but I didn't really like how it worked. Steve Nixon at 240zrubberparts molds a replacement inner ring part. I cleaned out the horn and epoxied the new ring into the horn. I really only used epoxy on the bottom portion. This left a gap around the outside of the new ring to the foam of the horn pad. I ordered some SIKA self leveling joint sealant. It's available at Home Depot or you can get it from Amazon I set the horn pad down on a level surface and filled the joint. It's best to put some in and let it rest for 15 minutes or so. Then add some more. It will keep settling until the joint is fully filled. I wiped off the excess and let it cure. This is the finished product. Very solid!!
-
I tried to convince a friend to add a build thread for that very reason but I was "Obviously" unsuccessful
-
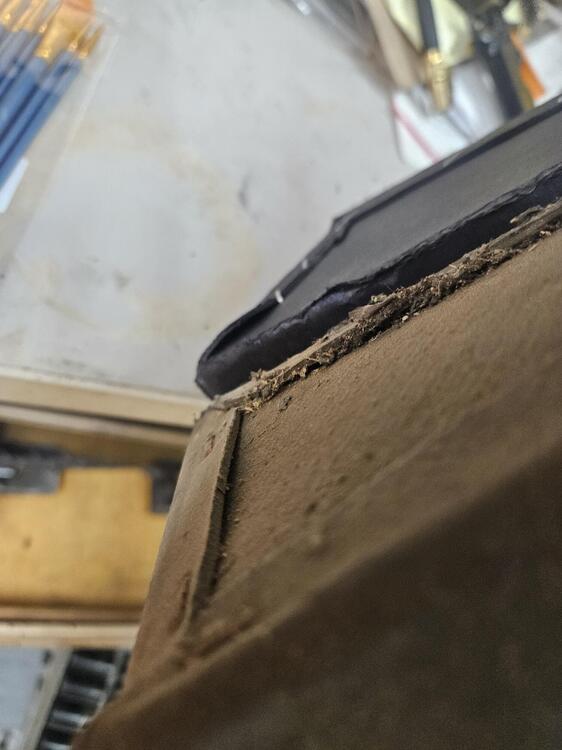
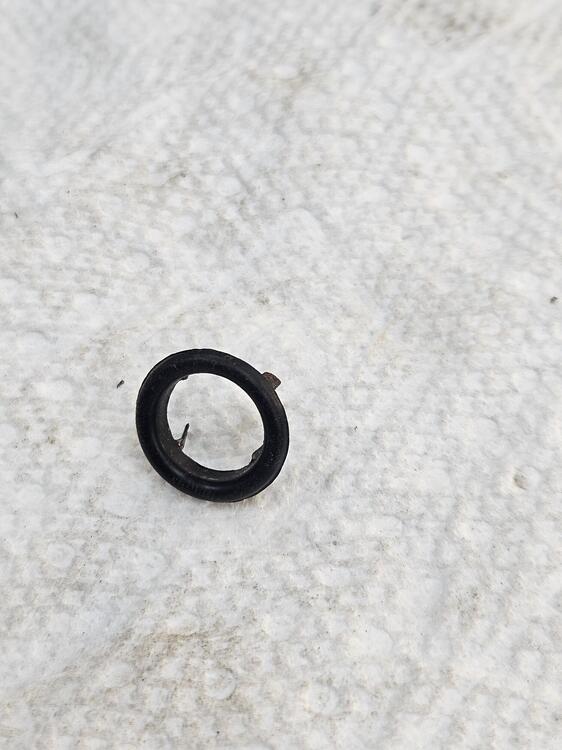
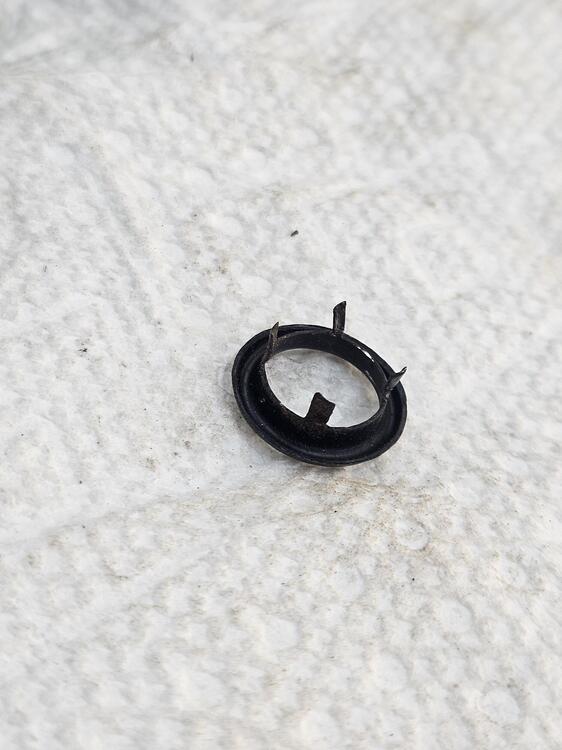
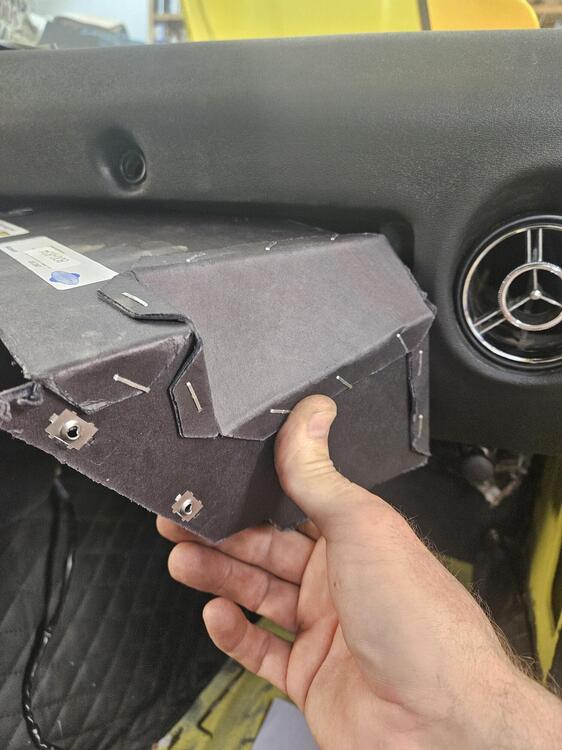
I also got the glove box in place today. I took the heater fan out but that wasn't going to work. So the new glove box was a little larger than an old glove box I had. That little extra doesn't help. So you sort of have to just shove it in and hope you don't destroy it. I put the left hand side into the dash opening and kept pushing it in and compressing it until the right hand side cleared the opening. I may revisit this in the future but it's in for now. Also there is a little finial that goes around the button for the glove box lock. I've never noticed it before. I wonder if I threw the other one away with the old remnants of the cracked up dash... I got this one off a spare dash
-
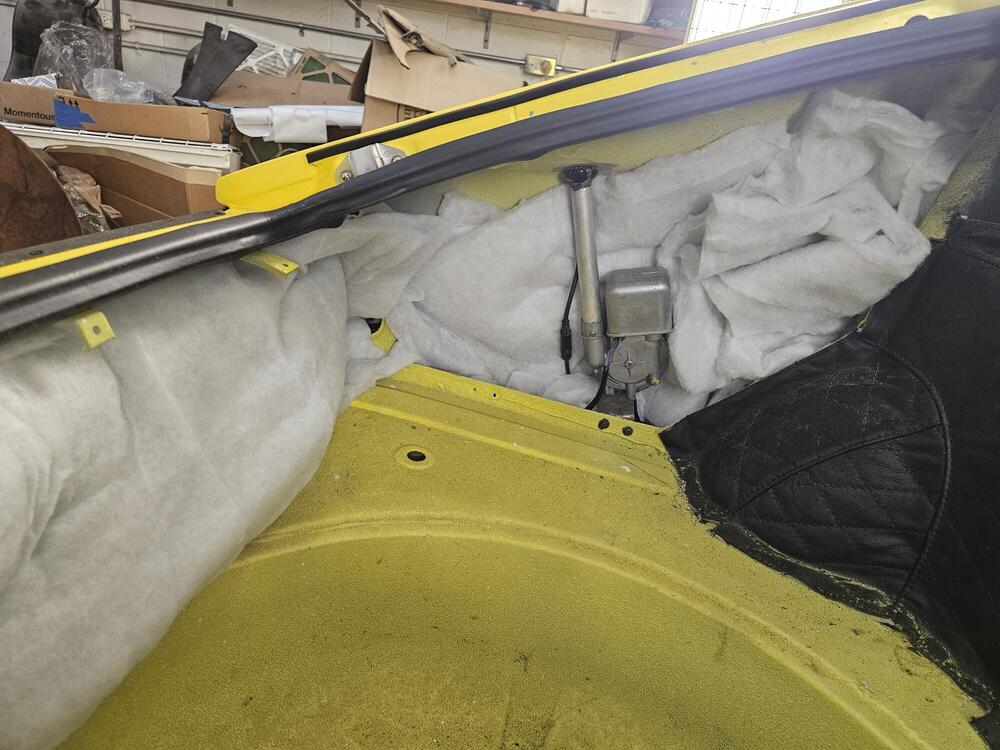
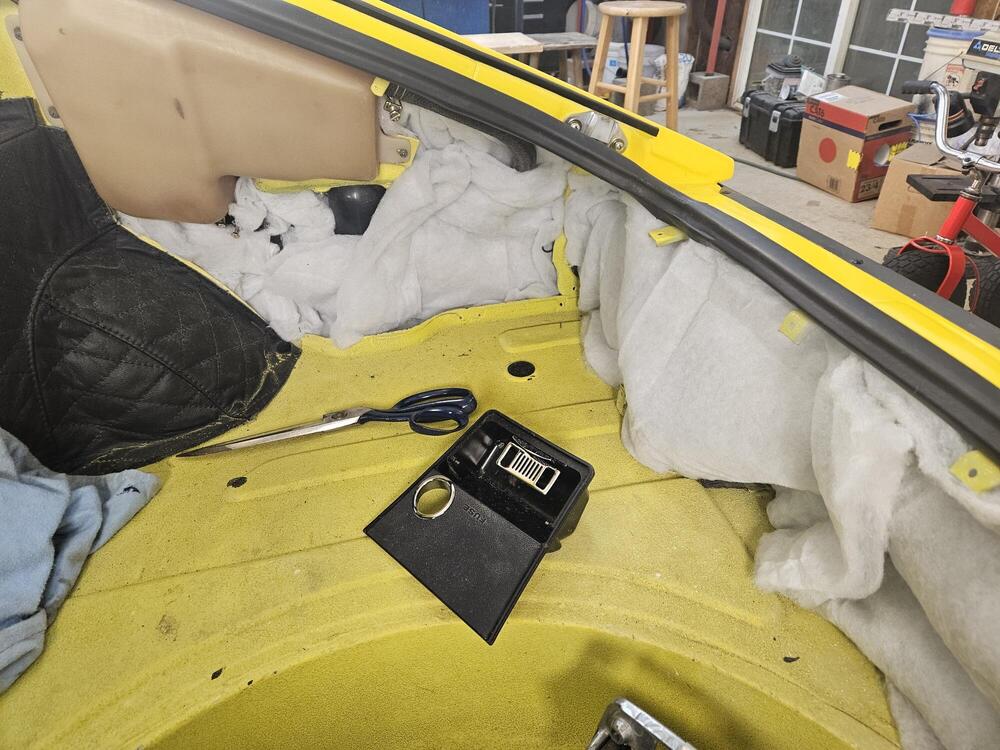
Of course I found the first glove box lock in the car today... I added some sound batting in the back of the car behind the interior panels
-
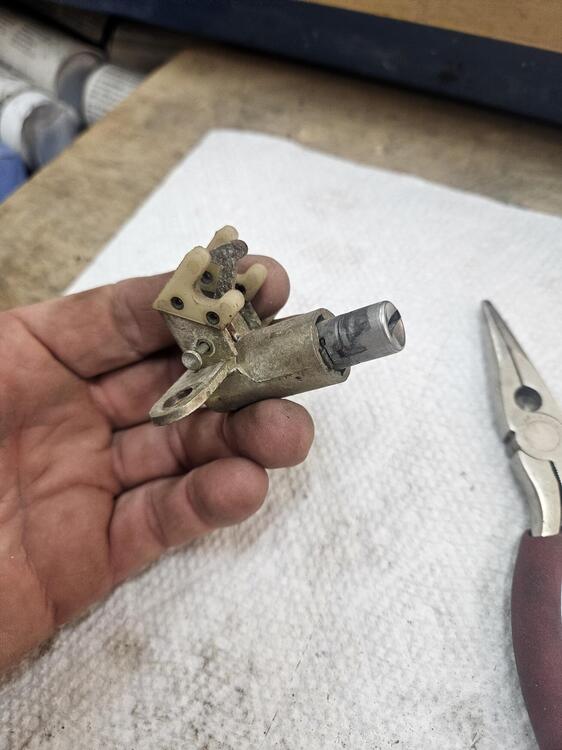
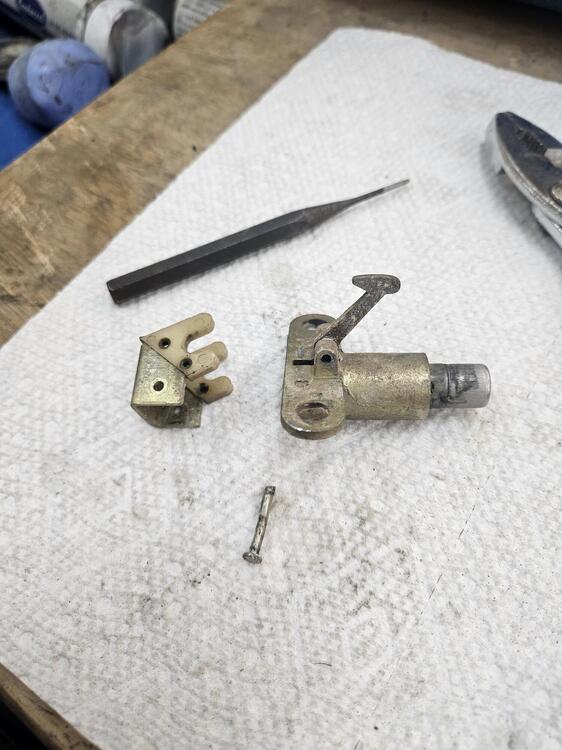
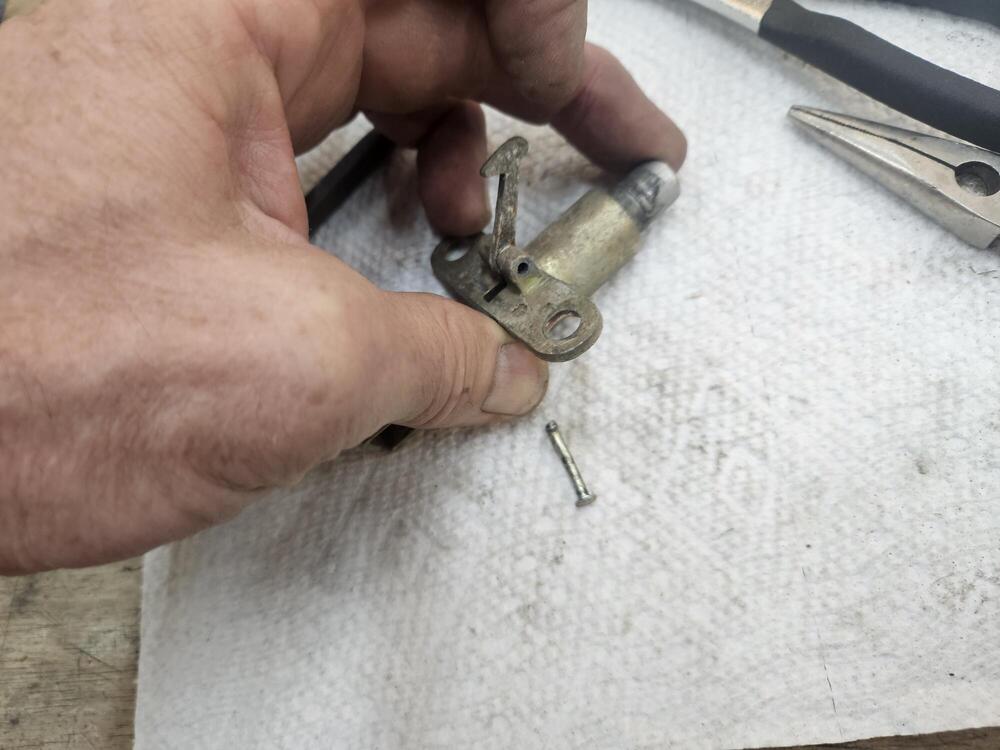
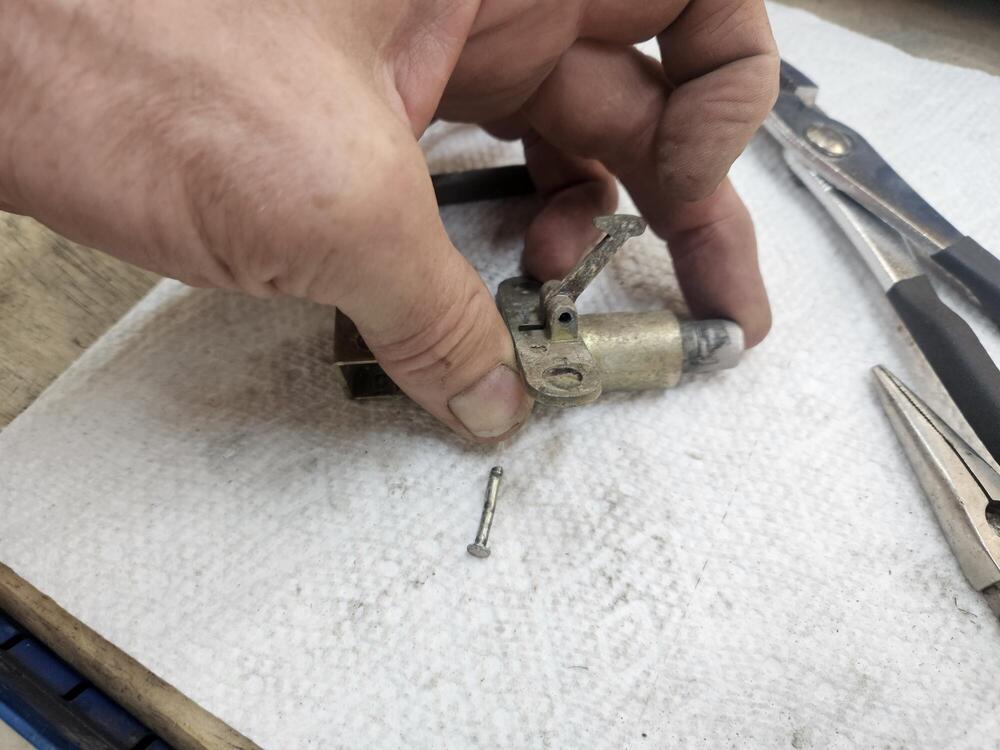
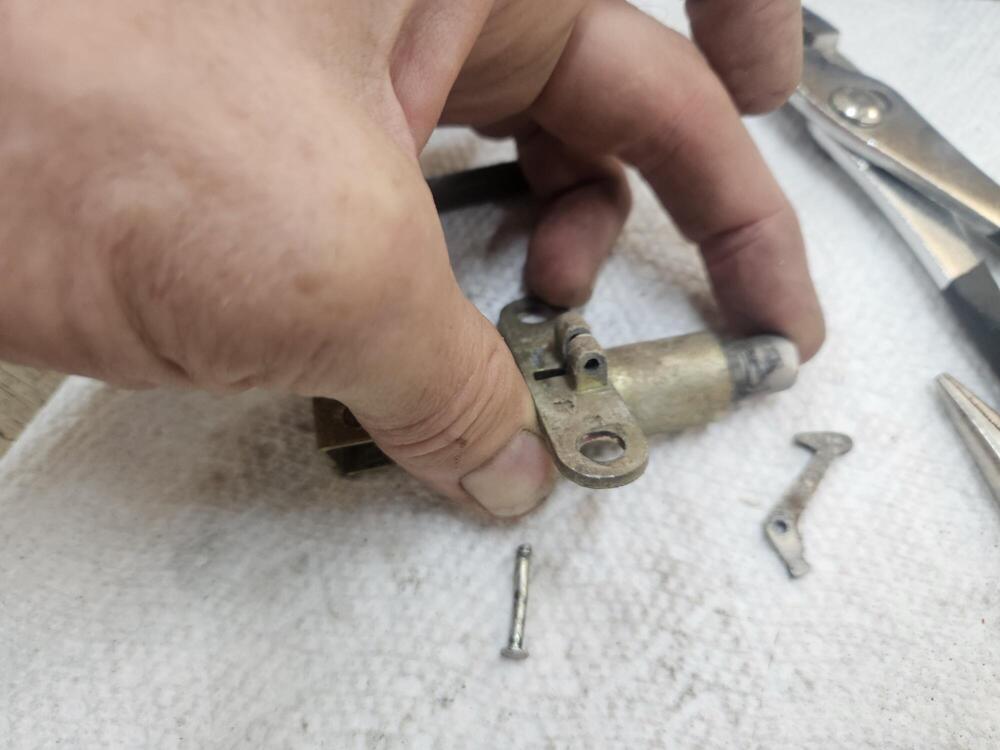
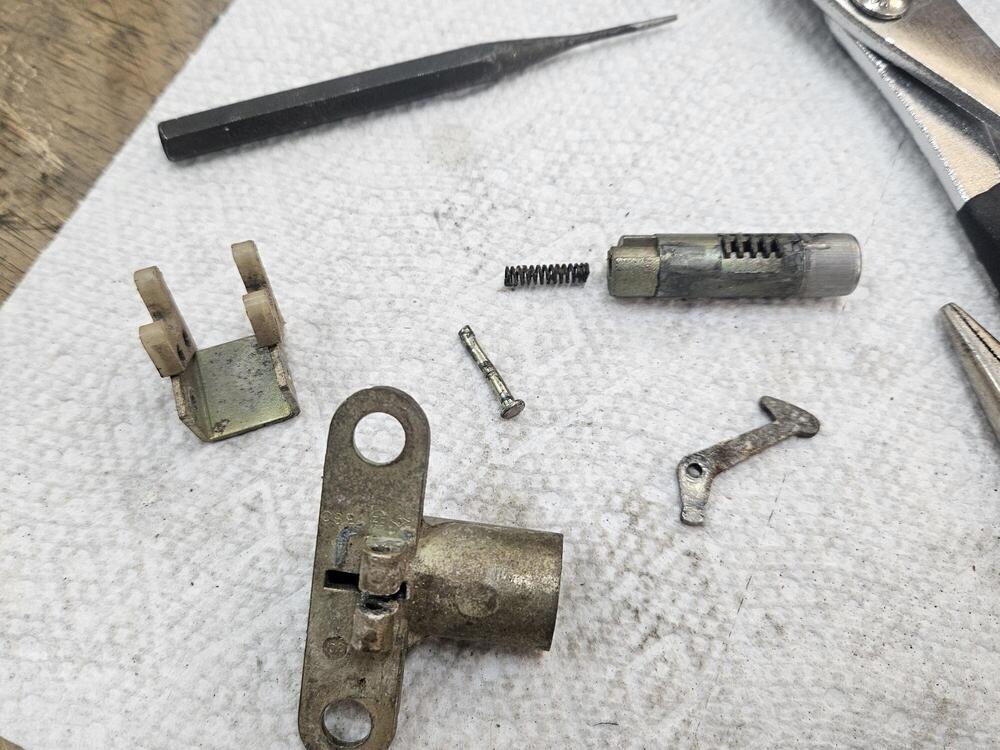
I rekeyed a glove box lock a while back but couldn't locate it. So I dug through my stuff and found another lock that would take the key I'm using and rekeyed it Grind the end of the pin off and drive it out. You have to press it in a little to get the hook out and the same for reassembly
-
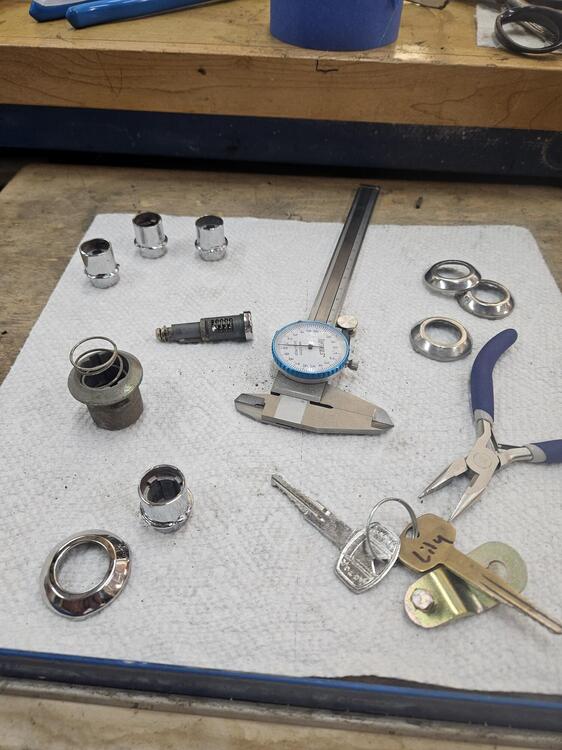
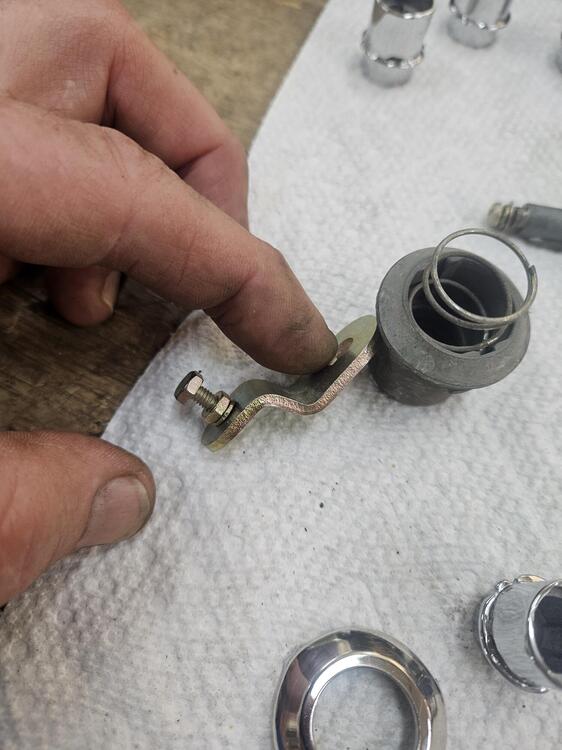
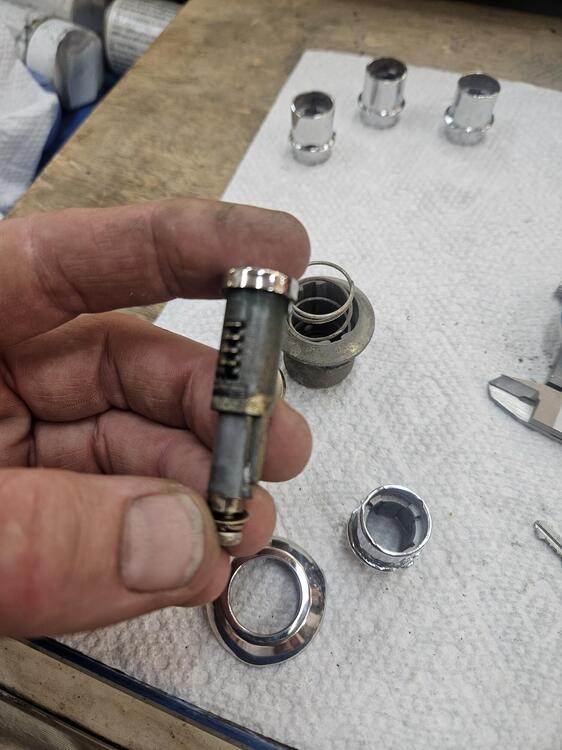
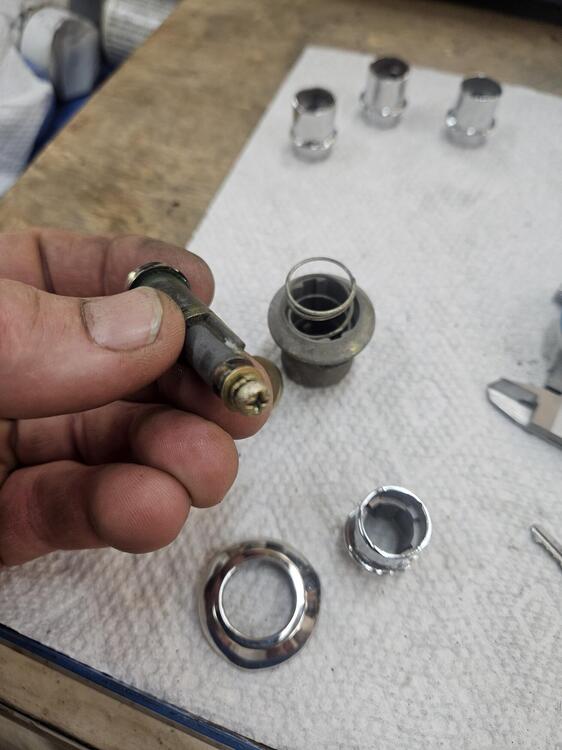
I assembled a hatch lock the other day. I had four thimbles chrome plated and I picked the best looking one. This arm is assembled incorrectly. I believe I had to move the bolt to the other side to work correctly The larger chrome cover has ears that hold the assembly together
-
That was my thought. The switch would prevent running the compressor when the air flow was blocked off with the damper
-
I would think anything much above 10:1 as too high and a good cam would help with dynamic compression
-
You can see that part in your rusty picture. It has the large nut welded to it and the perimeter flange is turned towards the outside. Yours appears to have a hole rusted through it. So I would assume most of it is toast...
-
The large nut is the seat belt, I believe. I was going to suggest KF Vintage https://kfvintagejdm.com/shop/datsun/inner-rocker-seat-belt-reinforcement-right-side-datsun-240z/ I believe this is the other part but you may have to contact them https://kfvintagejdm.com/shop/datsun/dogleg-lower-inner-repair-panel-right-side-12in/
-
So I have more info on those two wires. They connect to a microswitch on the intake for the HVAC system. If I flip the control there behind the blower fan. It closes the switch... Maybe something to do with the AC install??
-
Where are you?