Patcon
 Subscriber
-
Joined
-
Last visited
Everything posted by Patcon
-
 Yeah, I like that Turbo 930
 -
So factory operation of the JDM tail light?? Reverse is reverse Turn signal is turn signal and flashers Both upper red lamps are parking lights? Only one upper red lamp is brake light? Maybe the outboard one?
-
My suspicion is the lighter plate is for the very early cars. The later iterations were heavier
-
Can anyone post up a JDM or Euro version of the wiring diagram for the tail lights to identify wire colors? @kats @jonbill @HS30-H
-
I do not believe that information is available. The Marti report came about when Ford was going to dispose of all the build sheets from that era. Somebody aquired them and saved them. When you get a marti report they are finding the proper build sheet and providing the info, for a fee. IIRC
-
Yes, which strut is that? Front or rear? In the front is a bearing about 40mm OD in the rear is a hard rubber disc with the same dimensions
-
Yeah, I wondered if you had. I don't spend much time there
-
If it were mine, I would call Rich... @motorman7
-
Would be nice to have more details on your EFI upgrade. Maybe a separate thread...
-
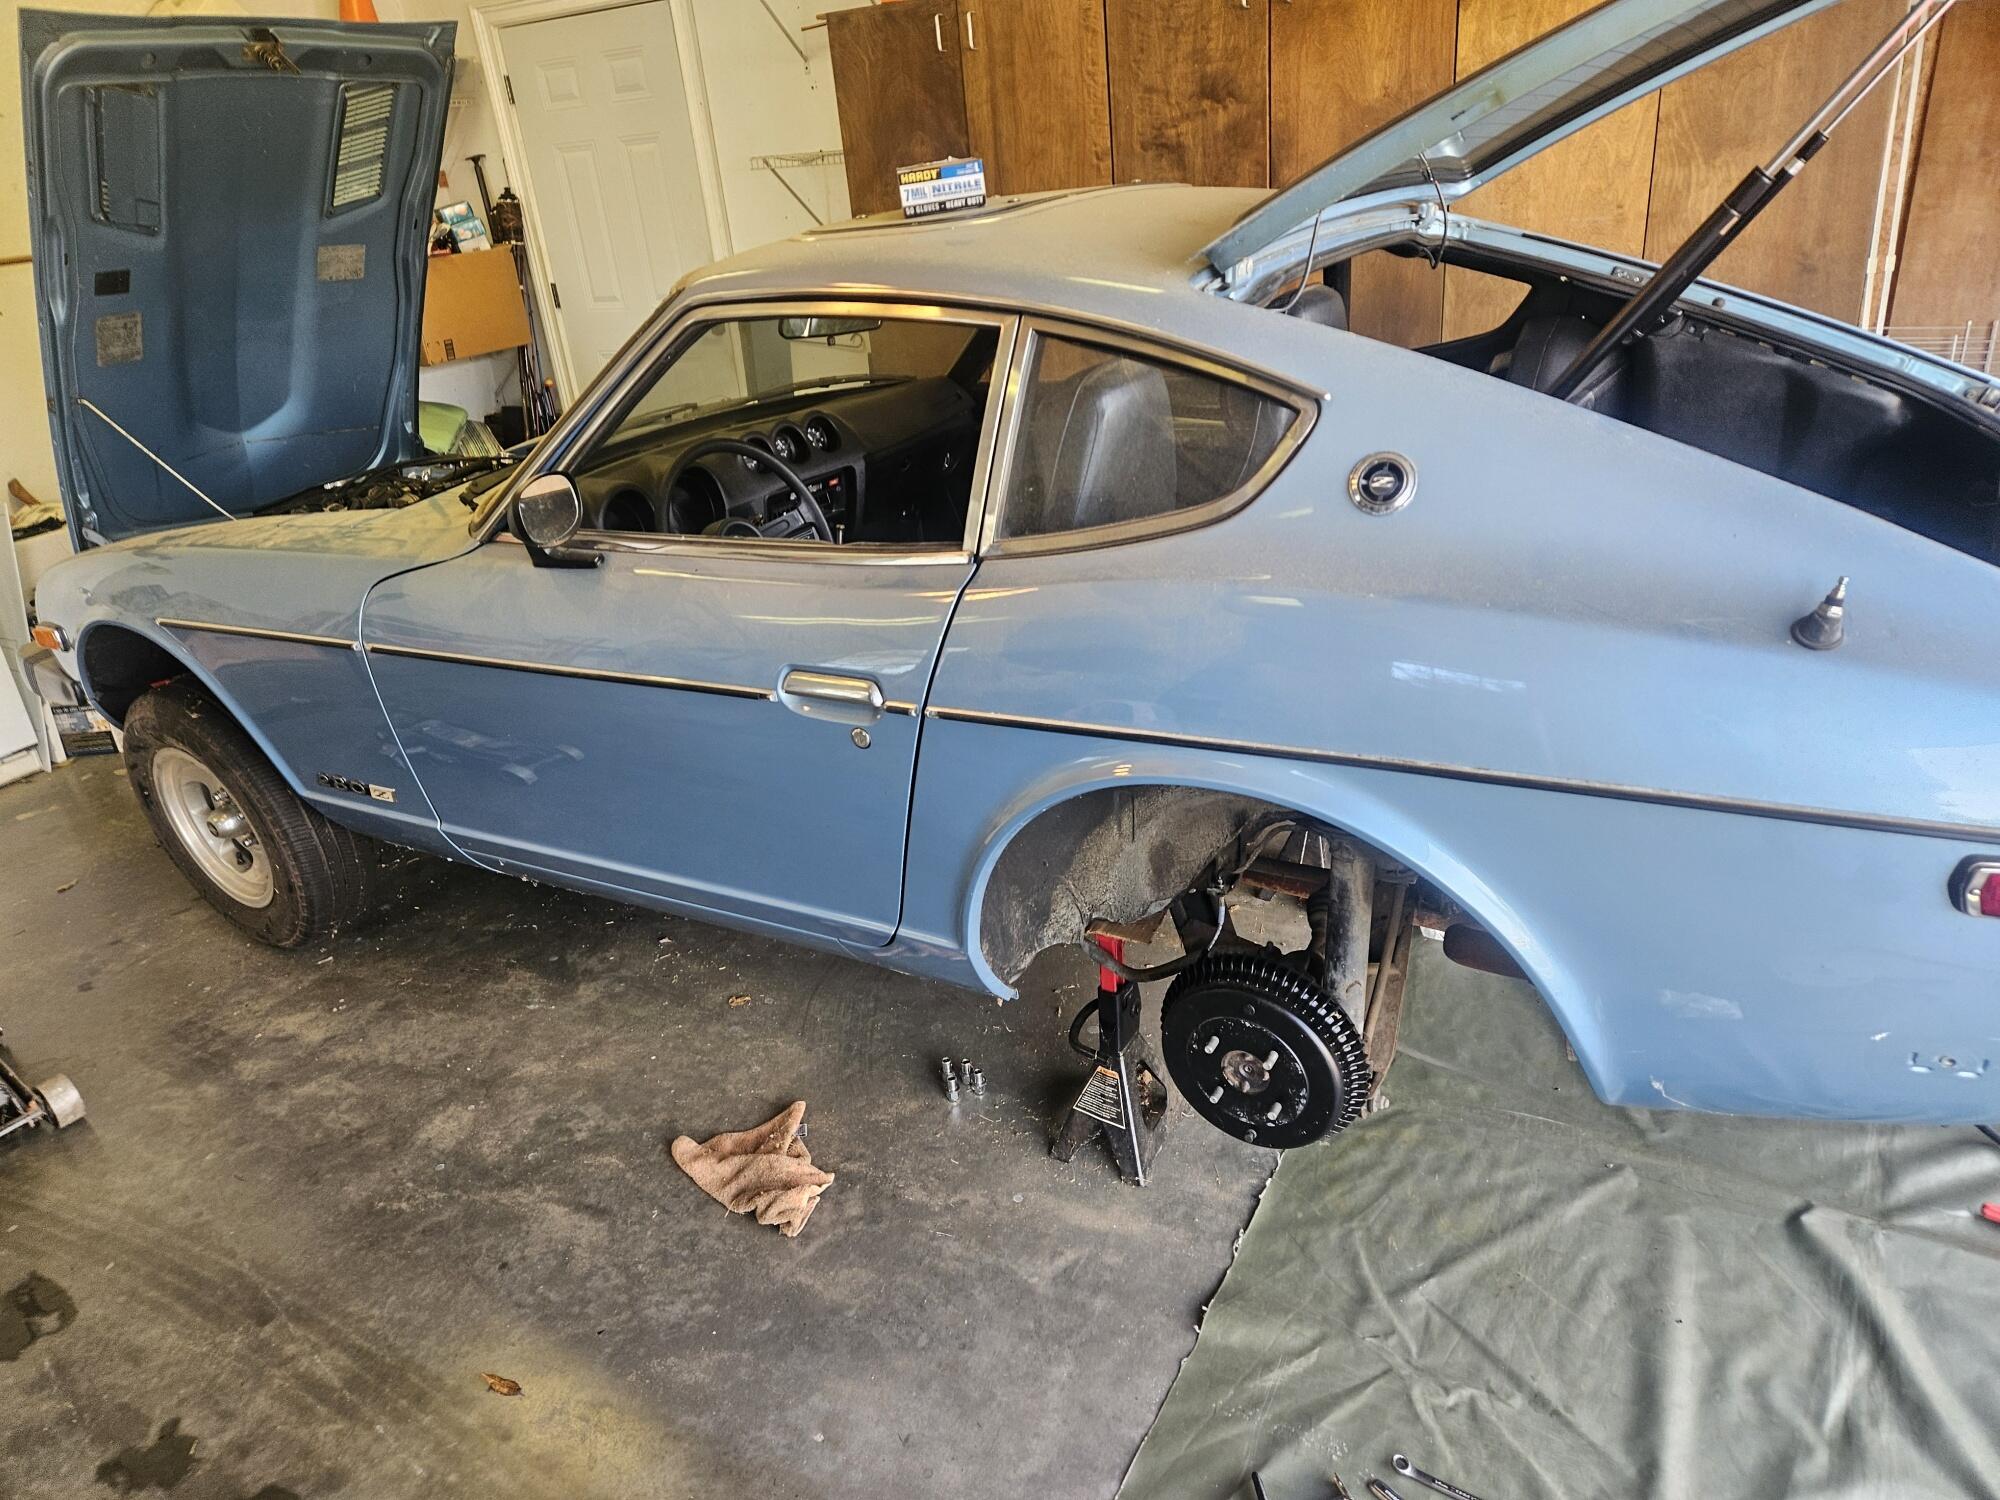
So we worked on the 280z some more yesterday. Put the restored tank back in it and added some fuel. Fuel pressure came up after cranking but wouldn't come up in the "On" position. Cranked up first time. Bolted some wheels on and went for a quick spin!! 20250613_194943.mp4Don't know how to add a video...??

-
So wheel bearings were too tight??
-
So I just did these seals on a manual transmission. The large Oring seal seals the drive body to the transmission case. I'm not sure the little top hat seal would seal anything out. The small square sided seal goes inside the speedometer gear drive body. It seals the speedometer cog shaft. If this seal gets hard or goes bad, liquid leaks up into the cable housing until it finds a way out. Usually a crack in the speedo cable housing. I replaced mine and the floor under the car has stayed dry. I will have to check the fluid levels again soon to make sure it's still full but I believe those two seals are the solution
-
Lost on me but if its a horror movie, life is scary enough...;)
-
But with a cool car! ;)
-
Thanks John! It is nice to start thinking about plates and car insurance after all this time! Sixteen years... 😮
-
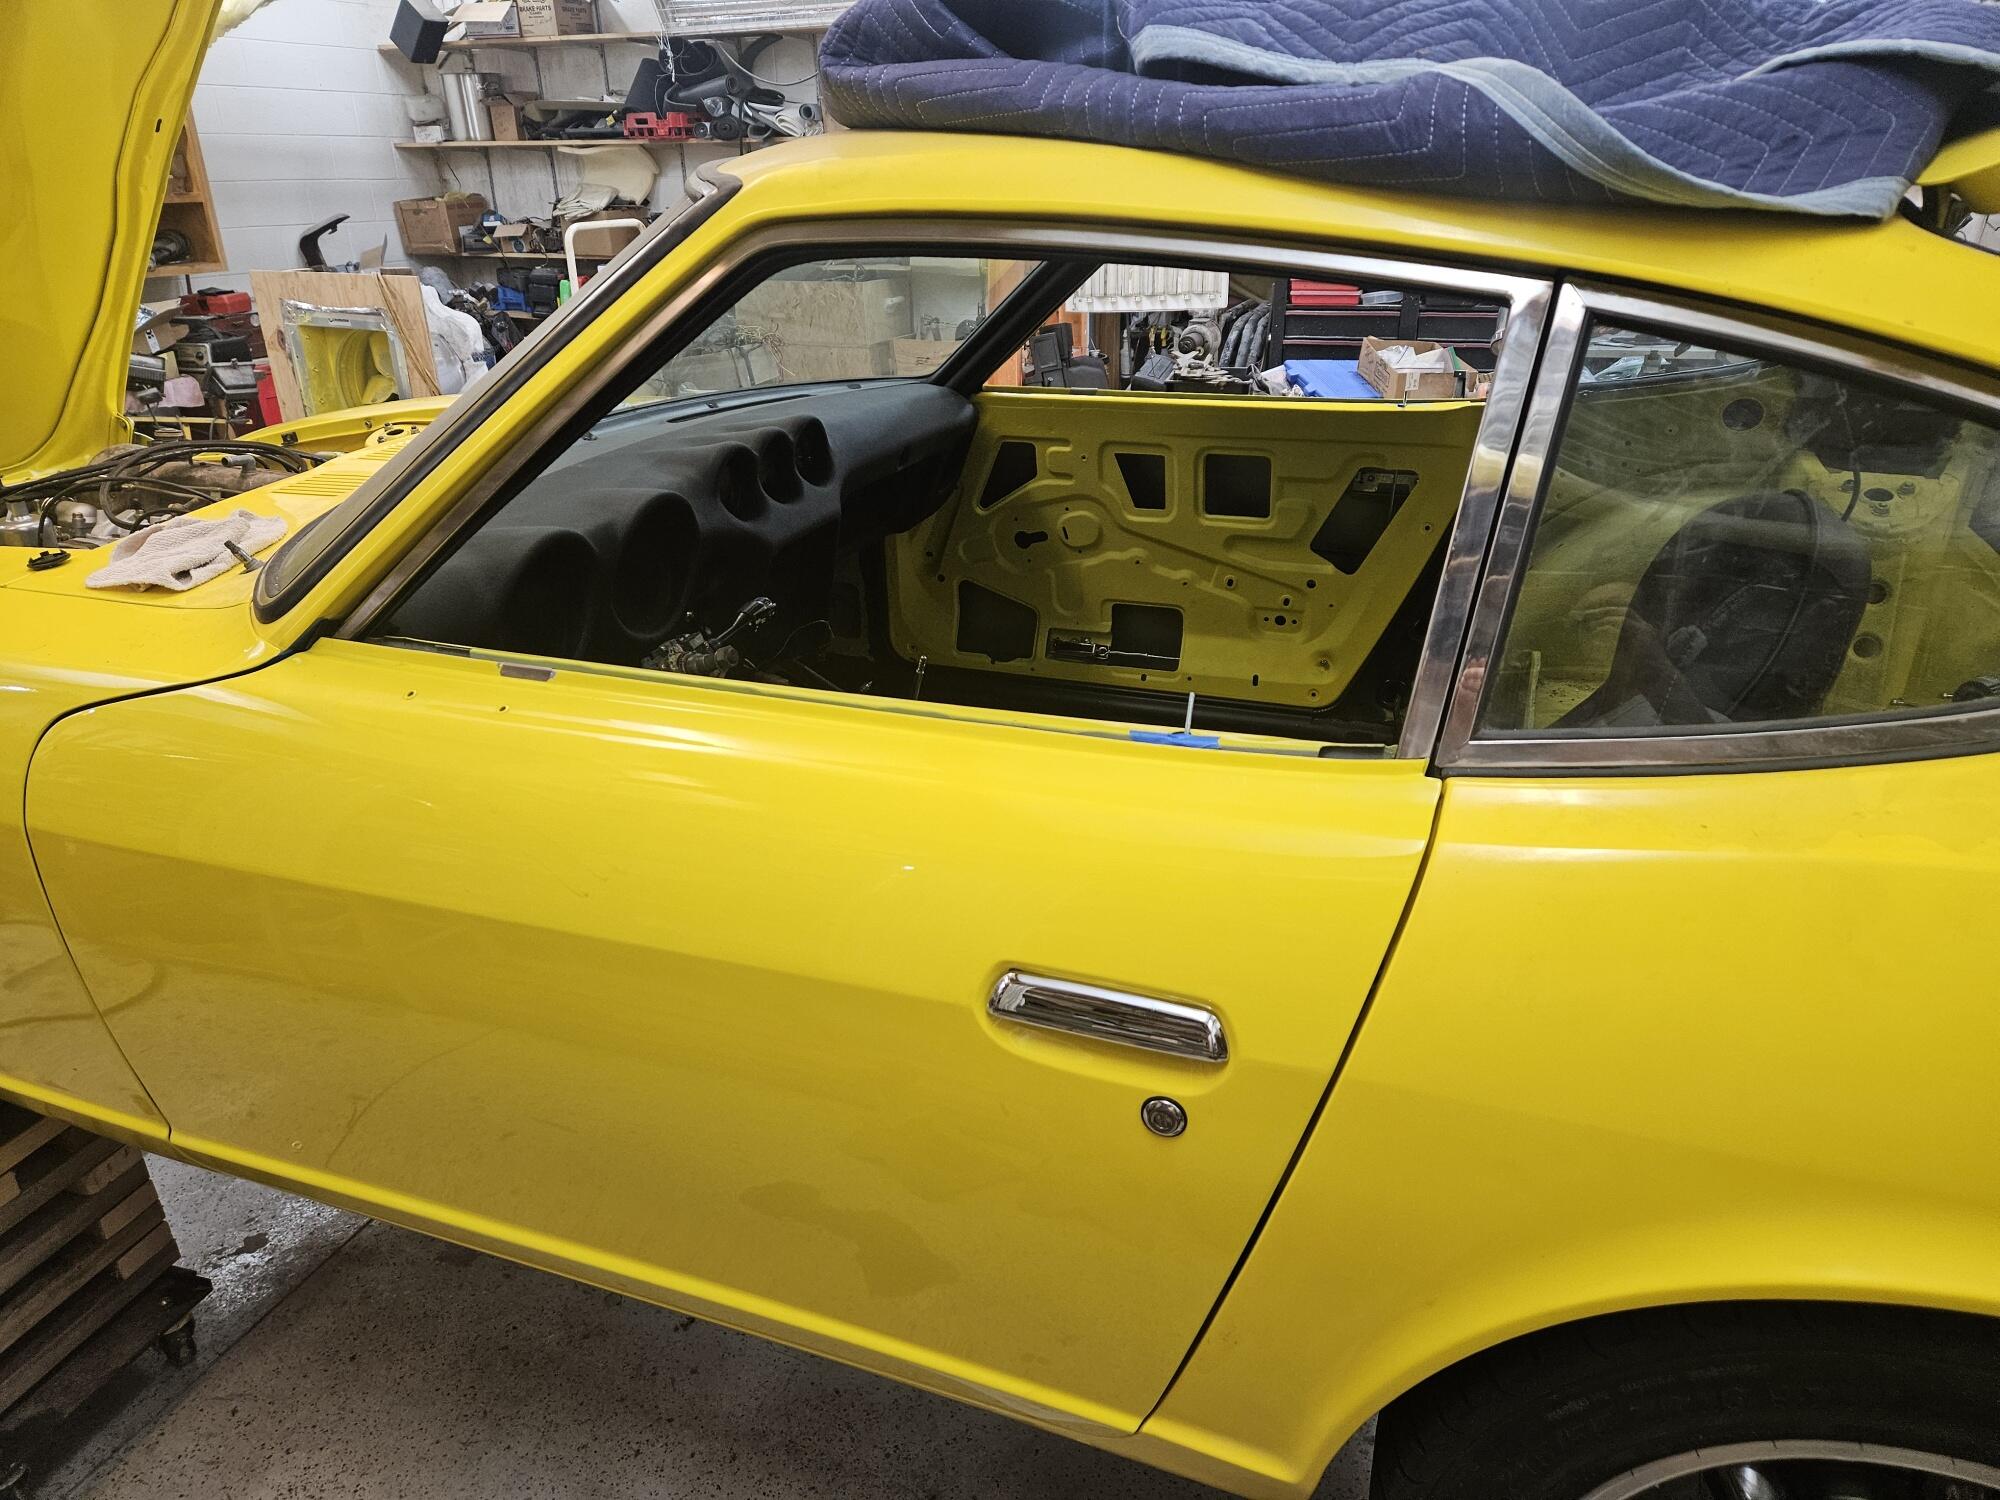
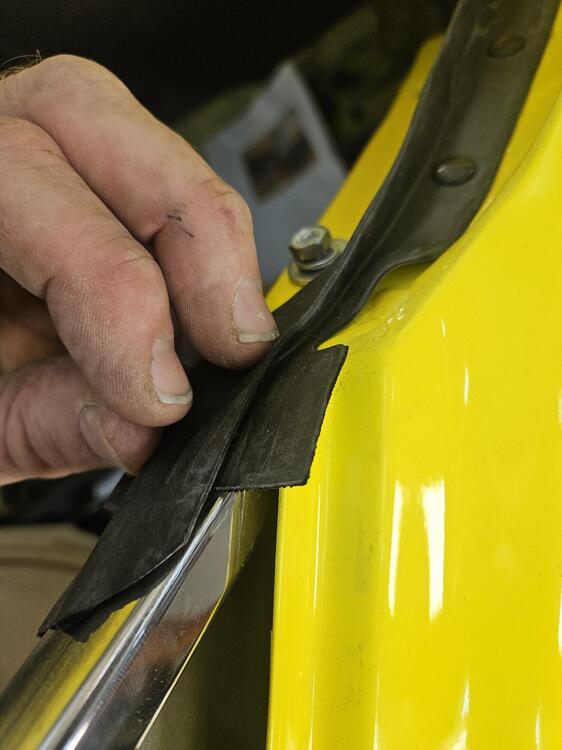
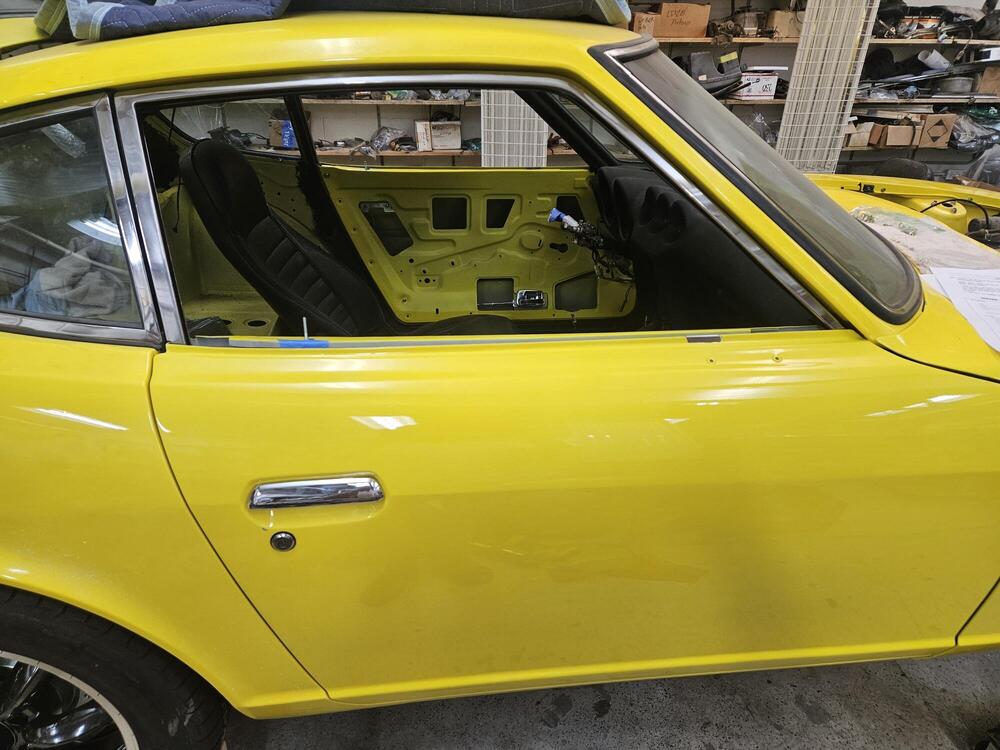
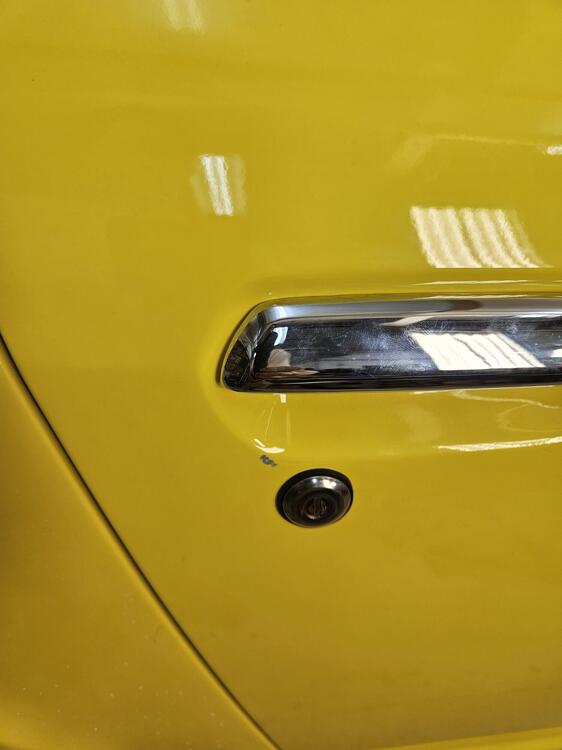
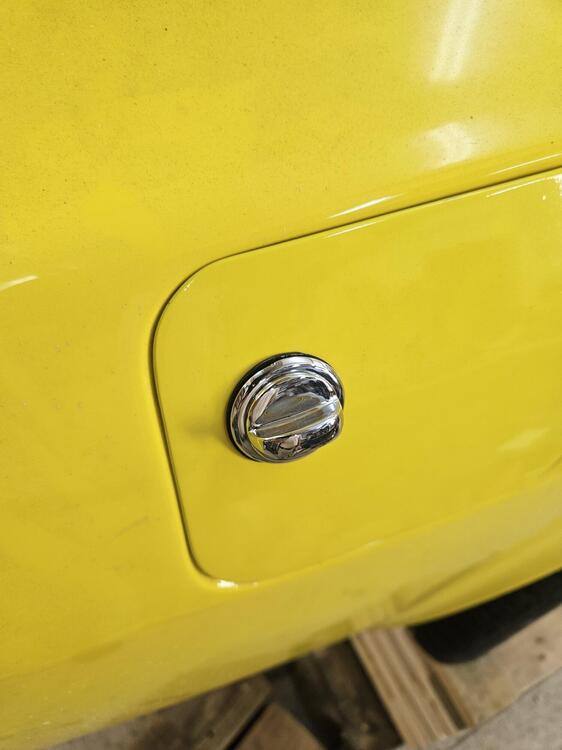
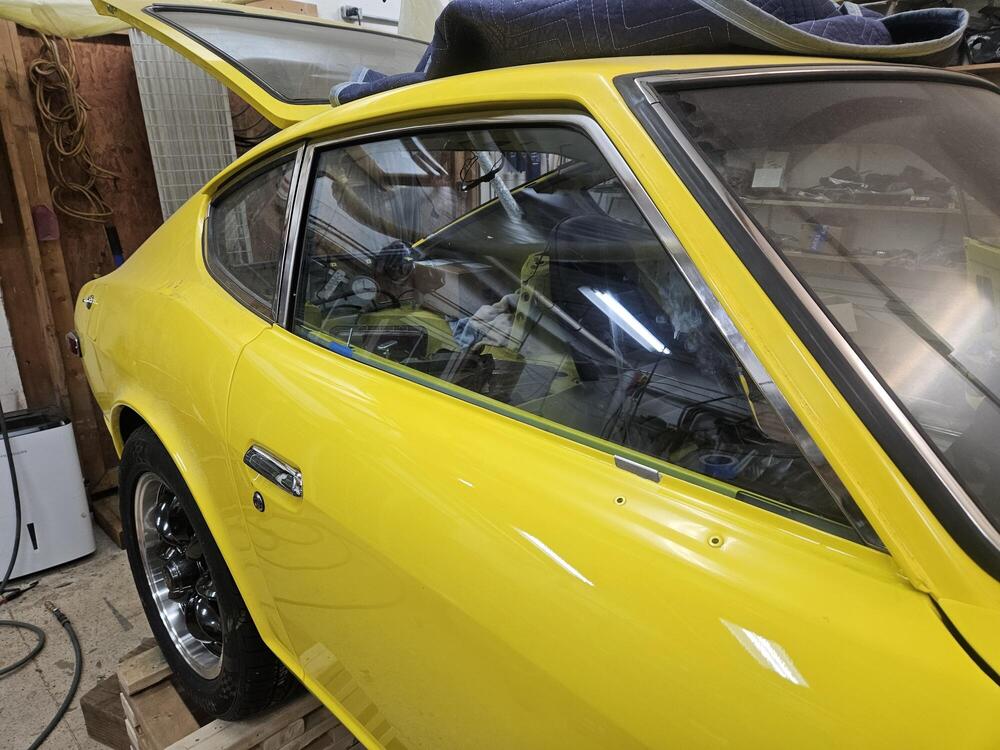
Back in the shop this weekend I need some help with this seal. How is it supposed to fit to the door?? I got the door locks in the doors,. Although I damaged the paint on the passenger door. Window frames are in and all the internal mechanism is in. I got the window regulators in yesterday. Freshly plated fuel door latch I got the door glass in today after church I will work on door sweeps next weekend, hopefully. Maybe mirrors too


-
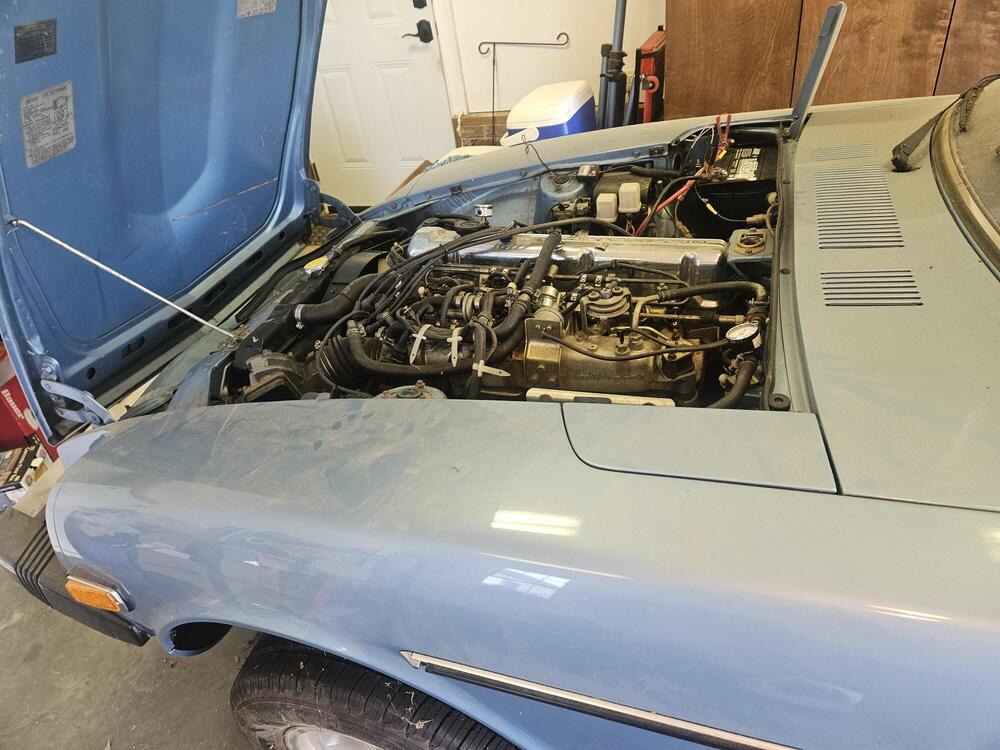
I bought a new Aisin water pump off Amazon recently
-
Very creative! Have you tried it to see how well it holds fluid?
-
The integral lower turn signals are too low to meet regs at the time. So the left and right valance have impressions but no holes and the signals are moved to the bumper
-
Yes, normal for areas of Europe, possibly all of Europe
-
I only have one of the anomalies; the other four are outer shells for the hatch buttons
-
I would think if the OD's on the pistons are similar and both brake port holes are open at rest it would probably work...
-
My daughter identified it using a Google function. Pretty cool... It's a Mopar antenna nut, not mine
-
Cody's in Florida so I think he's safe. I just don't want to ship it back and then realize it's mine. But I don't recall any part like that
-
Most calipers I've worked couldn't be collapsed by hand and my hands are pretty strong. Have the calipers been rebuilt?