
jfa.series1
Supporting Member
-
Joined
-
Last visited
Everything posted by jfa.series1
-
I have the Wesco Roadster Retractable belts installed in my Series 1. The retractor unit is installed at the shoulder belt mount point above the quarter window, easy to operate and very comfortable. I used the OE bolts for the install, no need for a hardware kit. If you decide on these, get the 11" rigid sleeve.
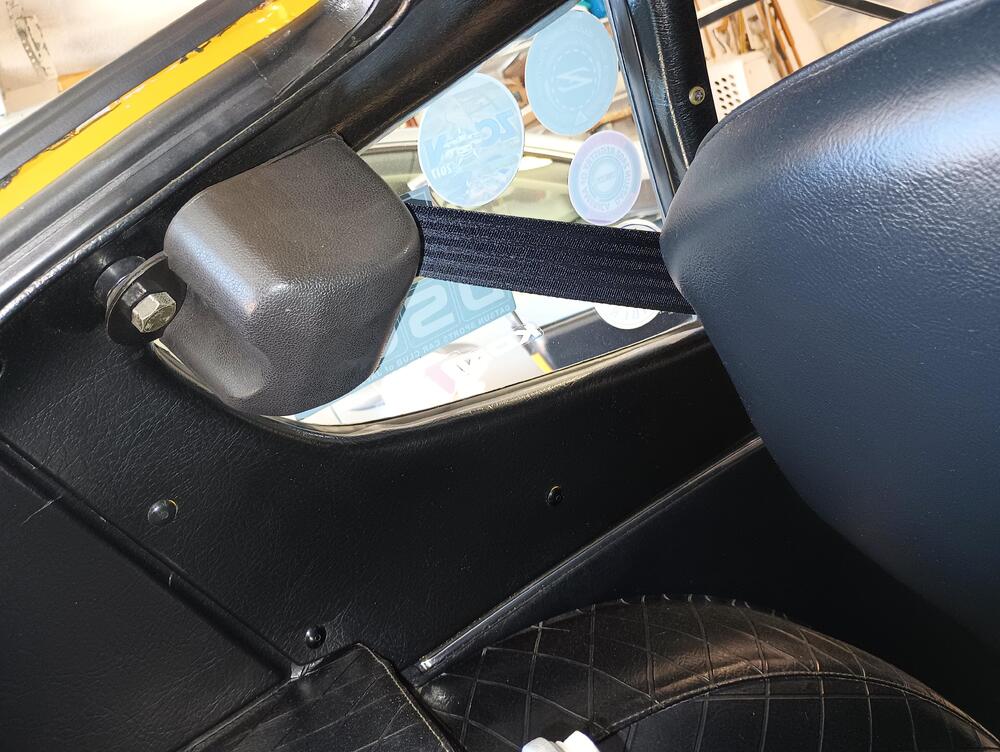
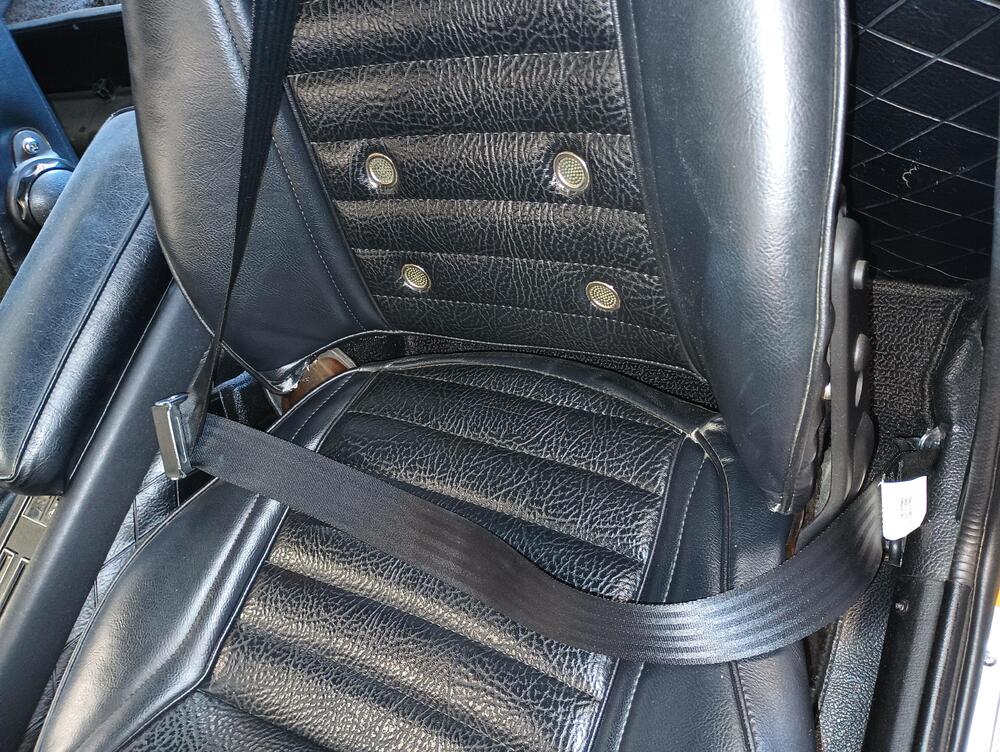
-
Here are some pics of a OE license light. Compare yours and how it is assembled to see if there is anything different. The OE light has a rubber gasket between the two pieces, light should only be visible thru the two lenses that face down towards the license plate. Hope this helps.


-
We hit the big 100k miles yesterday. I was able to get before and after pics but I was on a busy tollway headed to a club meet-up at the time of the rollover so I could not capture the all 9's or all 0's. I know, poor planning on my part! One more month and we celebrate our 55th anniversary together.
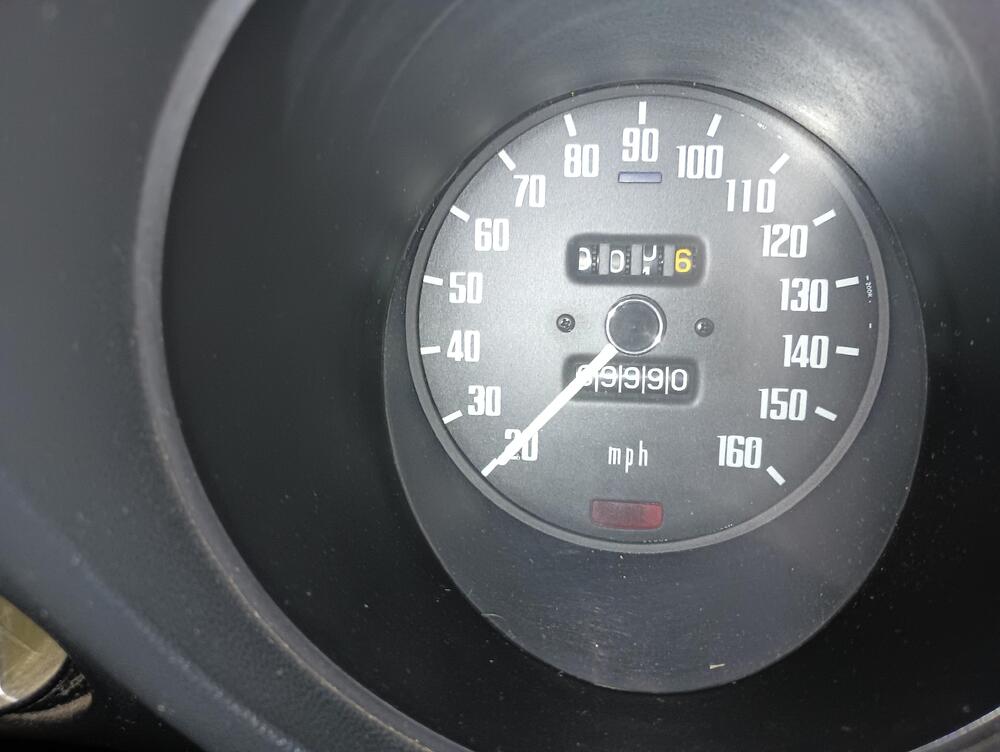
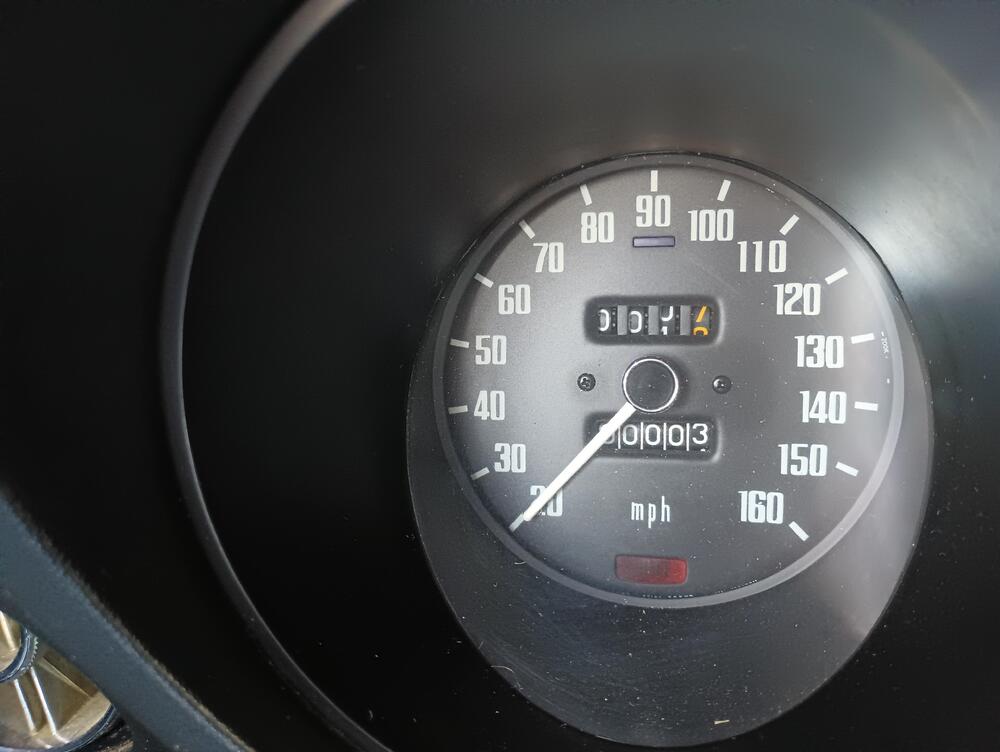
-
What an amazing restoration! I only wish I had this much reference material available when I redid my car 15 years ago (not that I could have approached this level of quality). I see what appears to be light reflected on the spokes of the steering wheel, suggesting the finsh is a semi-gloss or gloss. The original finish on the spokes and hub was a non-reflective satin black.
-
The Right/Left placement of the wiper arms is coded on the arms. "LA487R" AND "55R" are for the Right side, the one with "55L" is a Left side arm.
-
-
-
-
-
-
-
First and foremost, WELCOME TO THE GROUP!!! Stick around long enough and you will find us a positive and supportive bunch, probably the best on the web. If your heart is set on a 240Z, expect to pay a premium price for a solid and well-sorted car. The one in your link seems to be very well done. Any 240Z under $15k is likely to be a project car to some degree and may require a serious commitment to complete it. If you are open to other model S30's, look into the more available 280Z's.
-
Here's a diagram that you can use to bench check the functions of your switch as a starting point. This chart is correct for all S30's.

-
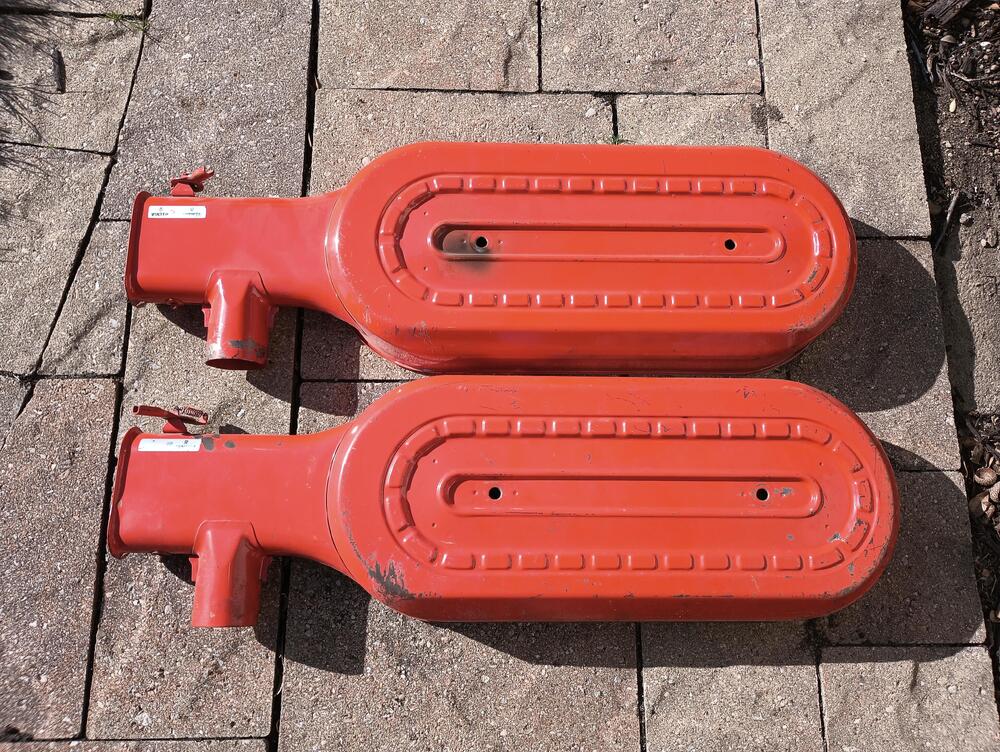
FWIW, my 12/70 car came from the factory with 4-screw carbs, heat riser, and flapper airbox installed.
-
-
@Patcon Charles, this style is a match for mine - original to my car. Pretty sure the heat riser was added several months prior to our builds. Jim
-
I have a couple of nice ones, will get a shipping box and get one out to you.
-
I may have something for you, will check later today.
-
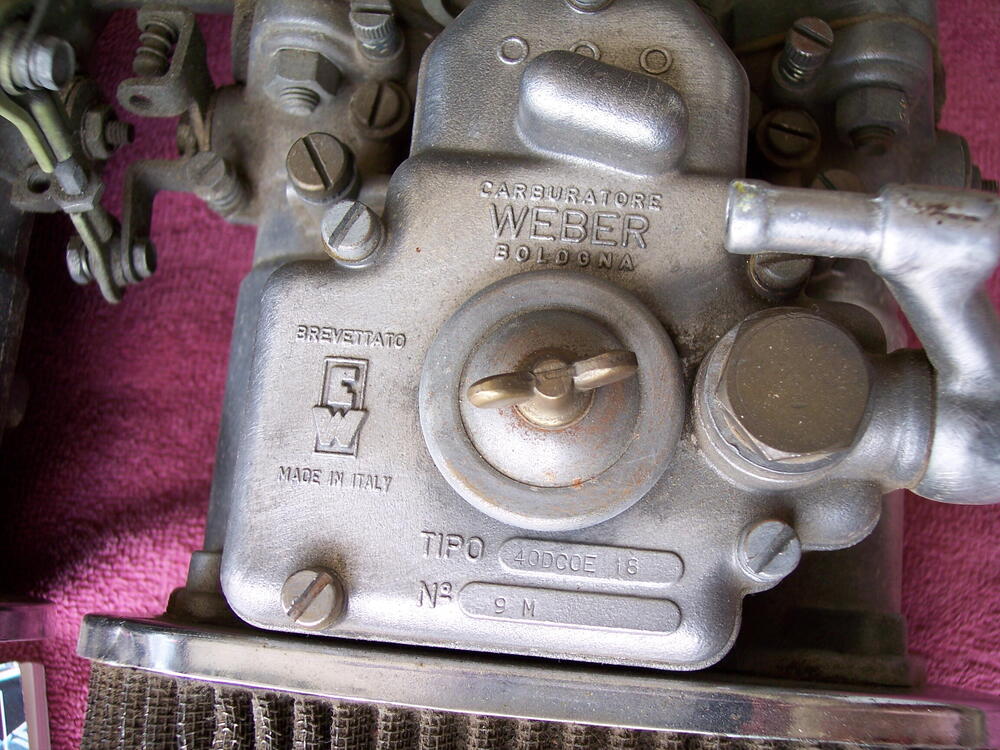
I'm not saying your carbs are not Webers but there seems to be a lot of details missing from the casting covers. To the best of my knowlege, even the Webers from Spain have small details and state "MADE IN SPAIN".
-
Yep, I went with the OER F309 blades for a perfect fit with the original equipment twin-rib frames. They are not cheap at $18/ea. OERF309 - 1970-81 GM, Mopar; Windshield Wiper Blade Insert;...OER reproduction of the original Trico-style 43-180 windshield wiper blade refill set for a wide variety of vehicle applications. Each blade insert is manufactured for perfect fit, function and period
-
The front insulators are the same for all S30's - 54320-E4100, same units for the rear 240's and 260's. Rear insulators changed for the 280Z's - 54320-N3701. The E4100's are still available new at Nissan.
-
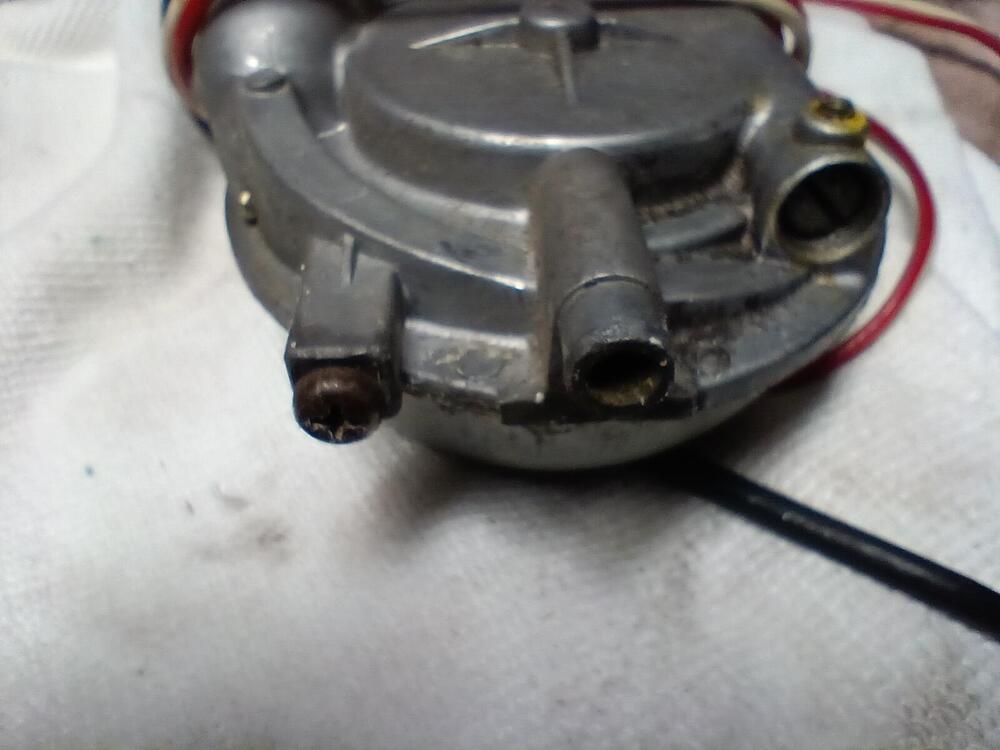
Charles, I'll try my best to describe the mounting process. You will need a "L" shaped bracket strip to secure the foot/motor of the antenna to the body. The small leg of the "L" attaches to the antenna via the screw near the drain port - see the pic, screw on the left. The long leg of the bracket attaches to the car body just inside the fender well cavity. Feel along inside and below the pinch weld and locate a threaded stub bolt shank. That is the mount for the bracket. The factory used a wingnut to secure the bracket to the stub bolt. This is the ground point for the motor so it is important that the threads on the stub bolt are clean. Run the drain tube thru a grommet in the hole at the bottom of the cavity. Hope this helps. Jim
-
Hmmmm... not shown on the fiche and not on my ride.
-
-
I've been using a set of FIAMM air horns for about 50 years, very Euro and VERY loud!!! 😲