jfa.series1
Supporting Member
-
Joined
-
Last visited
Everything posted by jfa.series1
-
The later model console and the shift rod visible in the pic says the car no longer has its original F4W71A 4-speed transmission. This might explain the choke cable change. Some details: the transmission change moved the shift rod forward, that does not play well with the OE console. The PO elected to change the console to work better with the shift rod and it is likely the OE choke cables mount did not fit well with the later console.
-
I second the vote for the 4-screw carbs for all the reasons cited by the Captain, that's how my car is equipped. If you go this route and find you do not have the E46 manifold setup, I have a complete pair with the balance tube (stripped) and the connecting coolant tube. PM me if there is an interest.
-
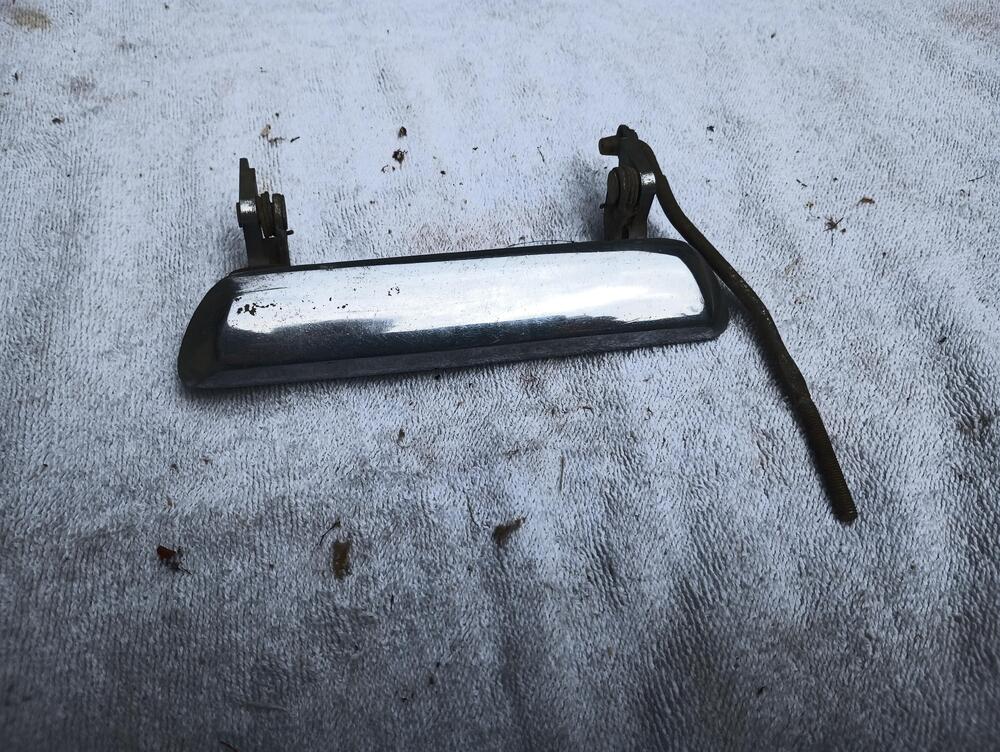
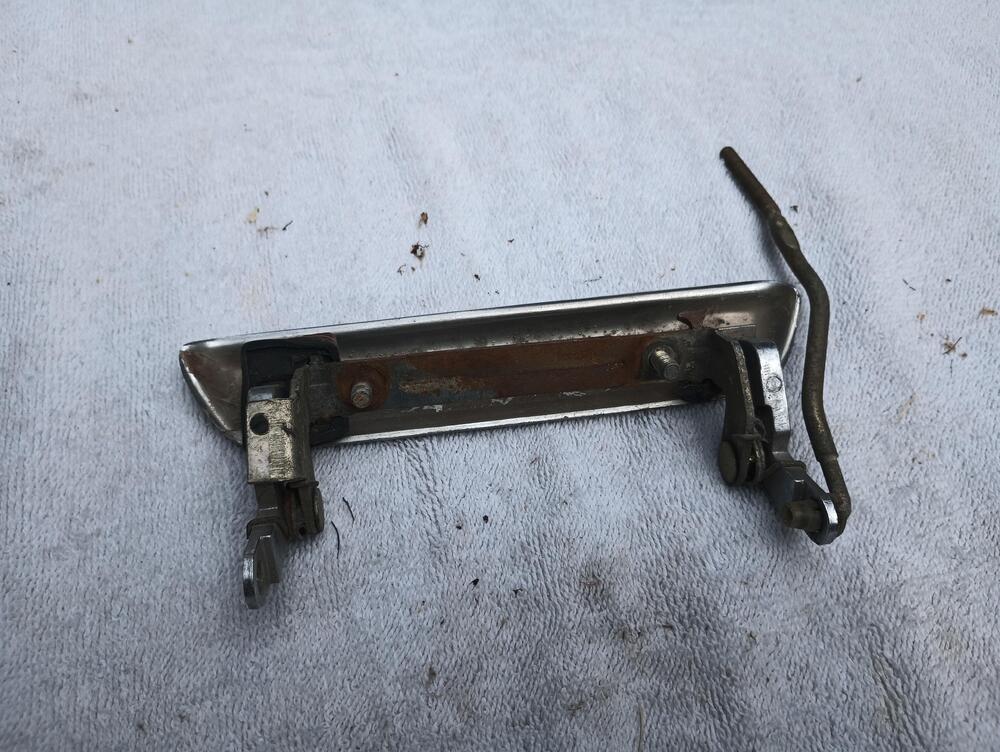
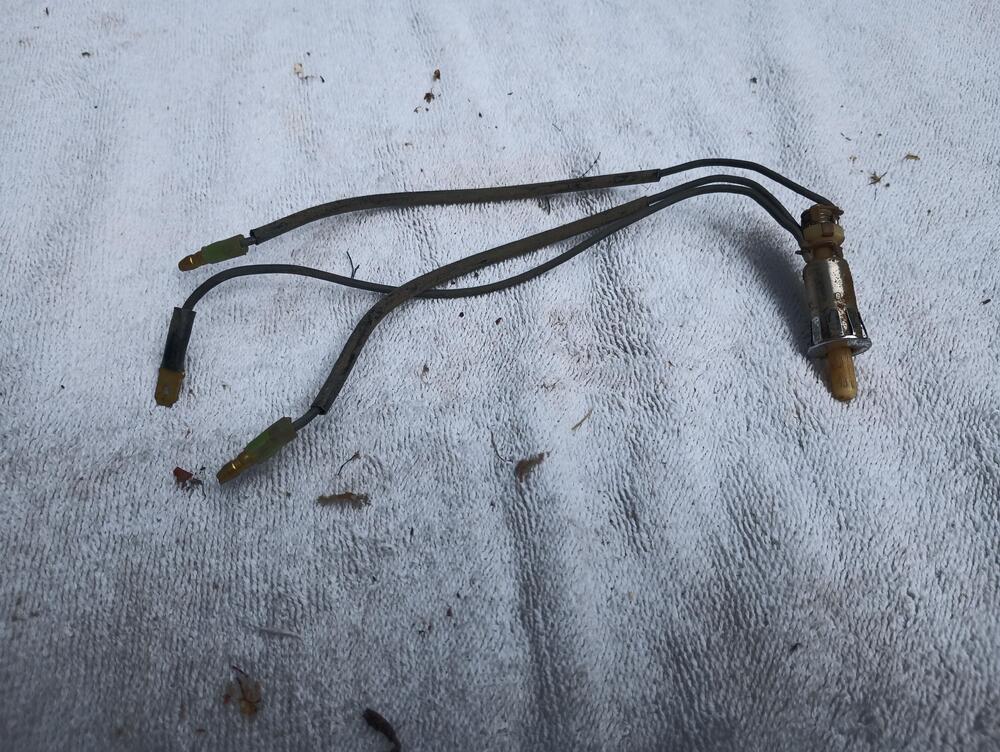
DOOR HANDLE A-PILLAR SWITCH - GOOD SPRING
-
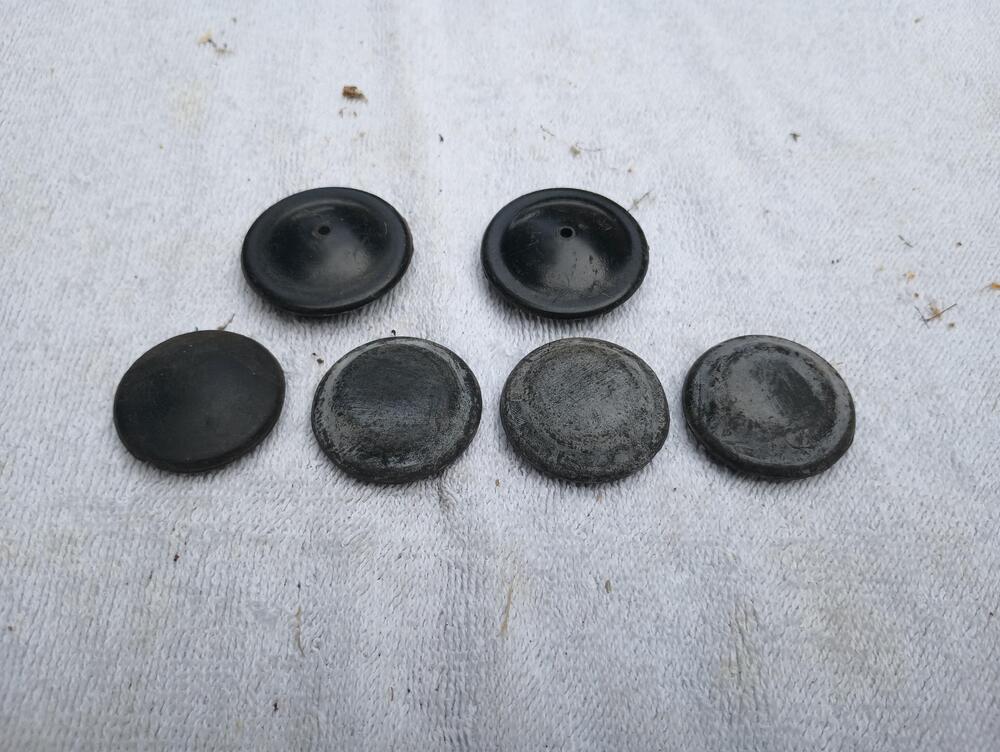
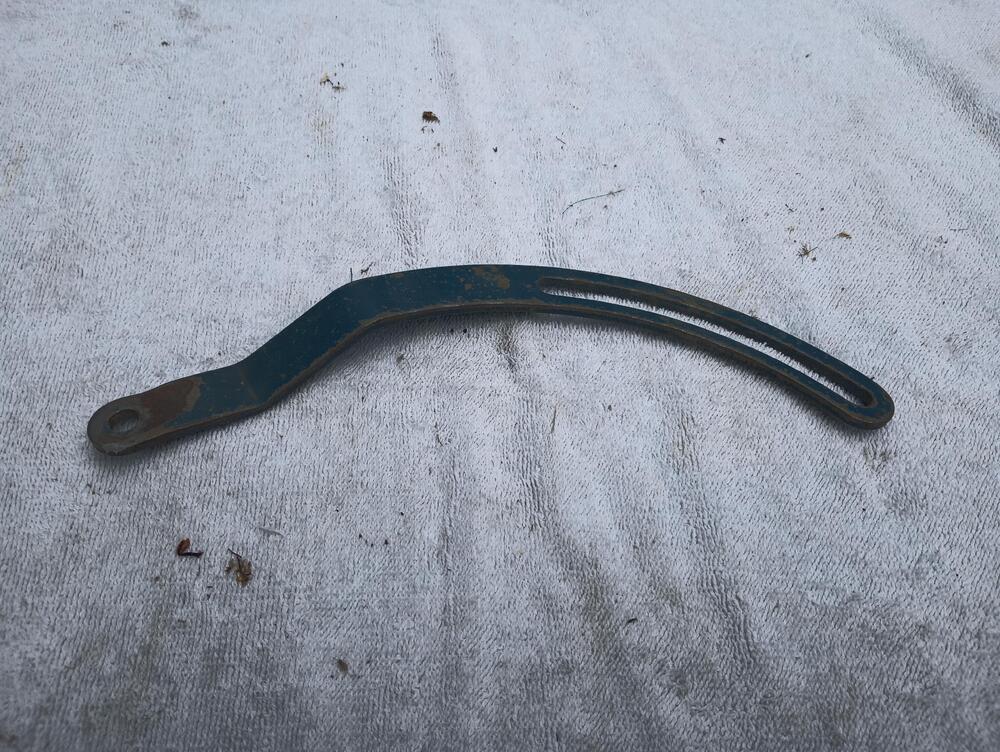
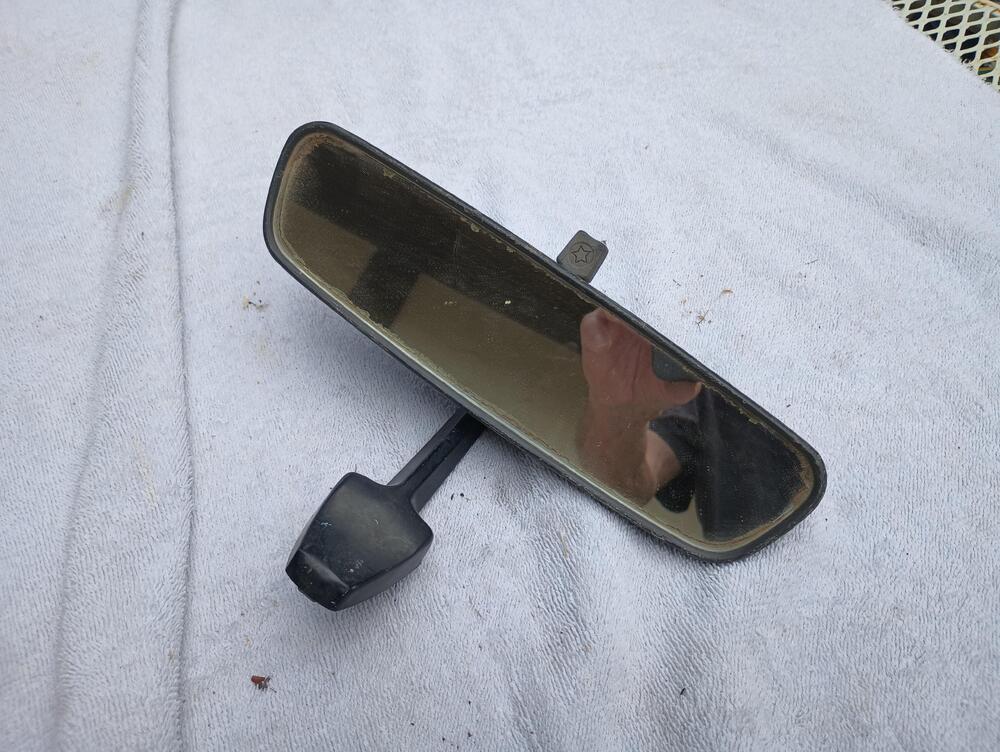
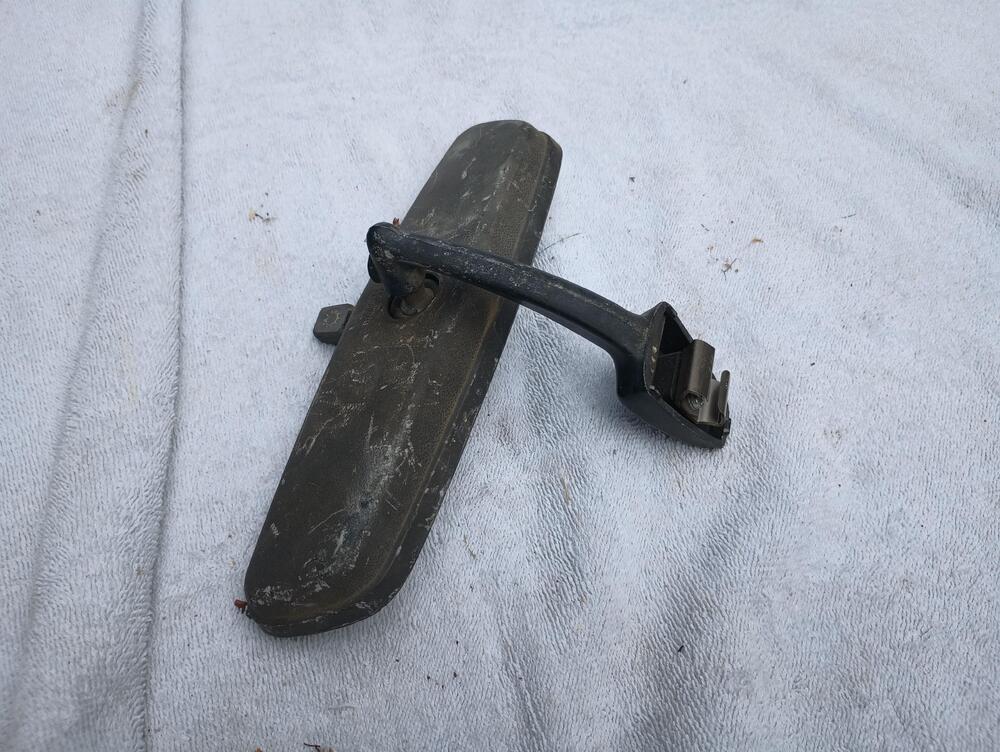
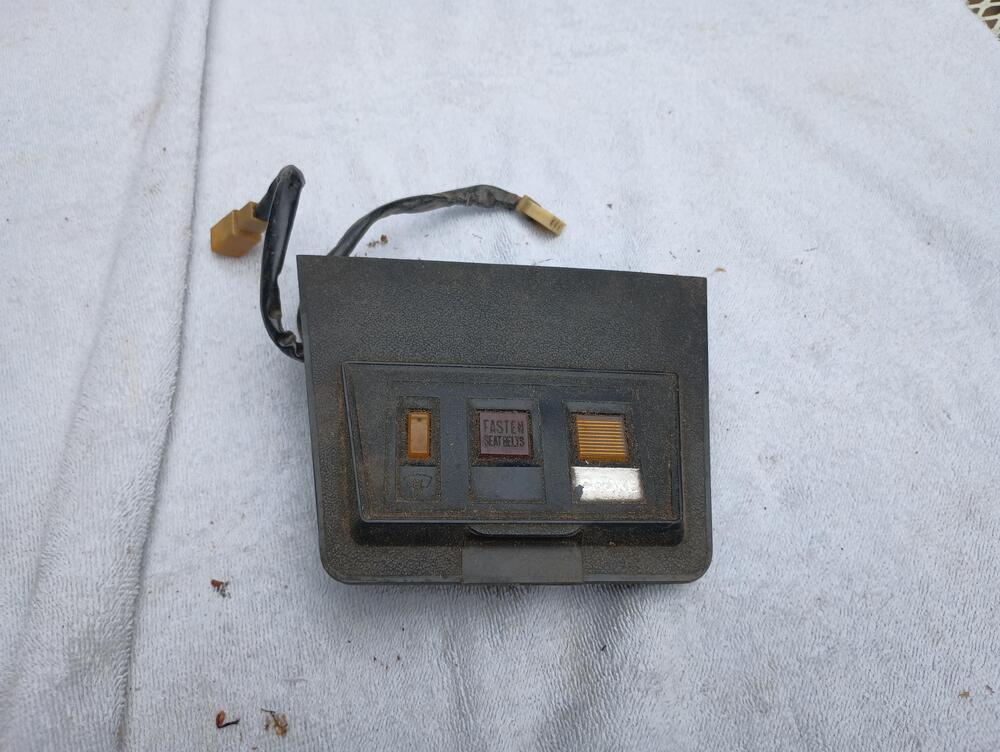
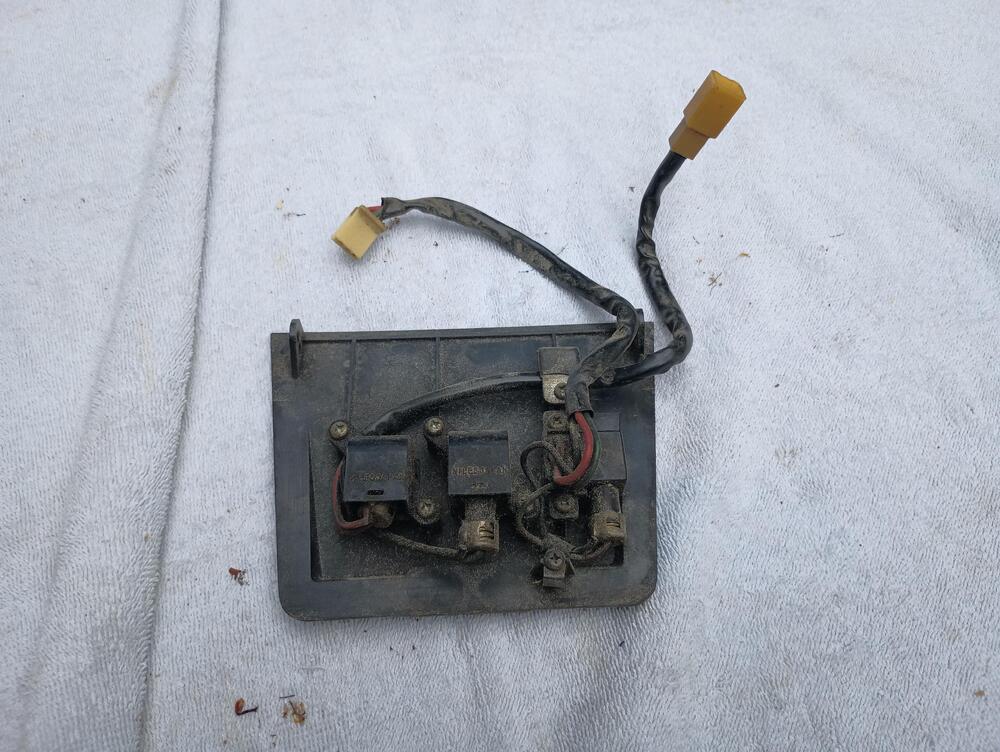
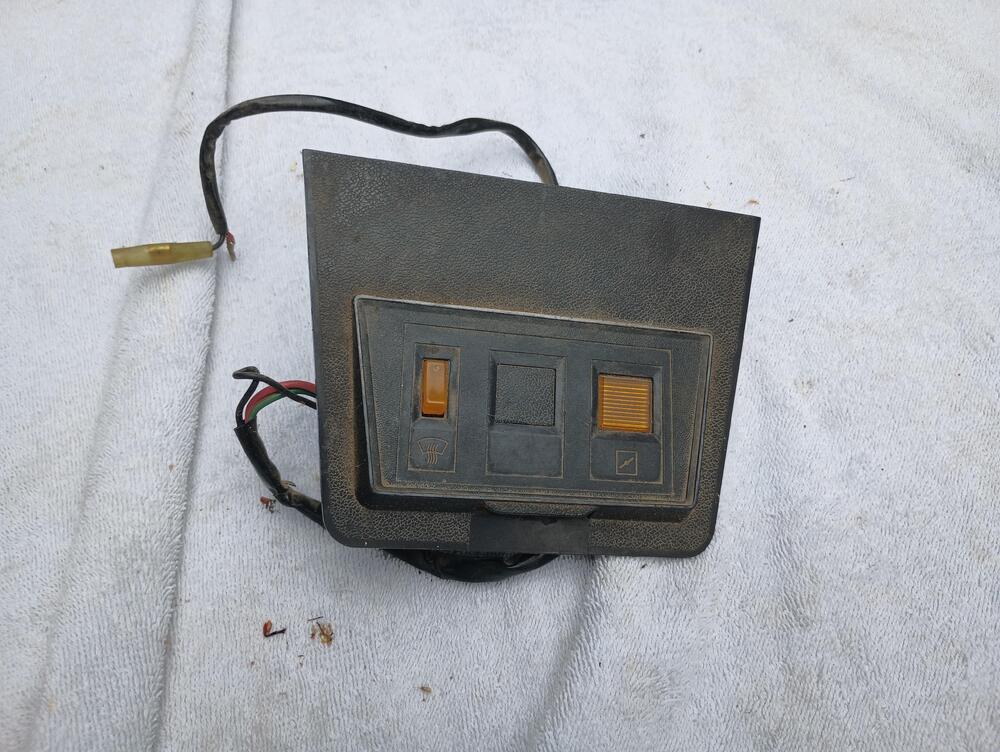
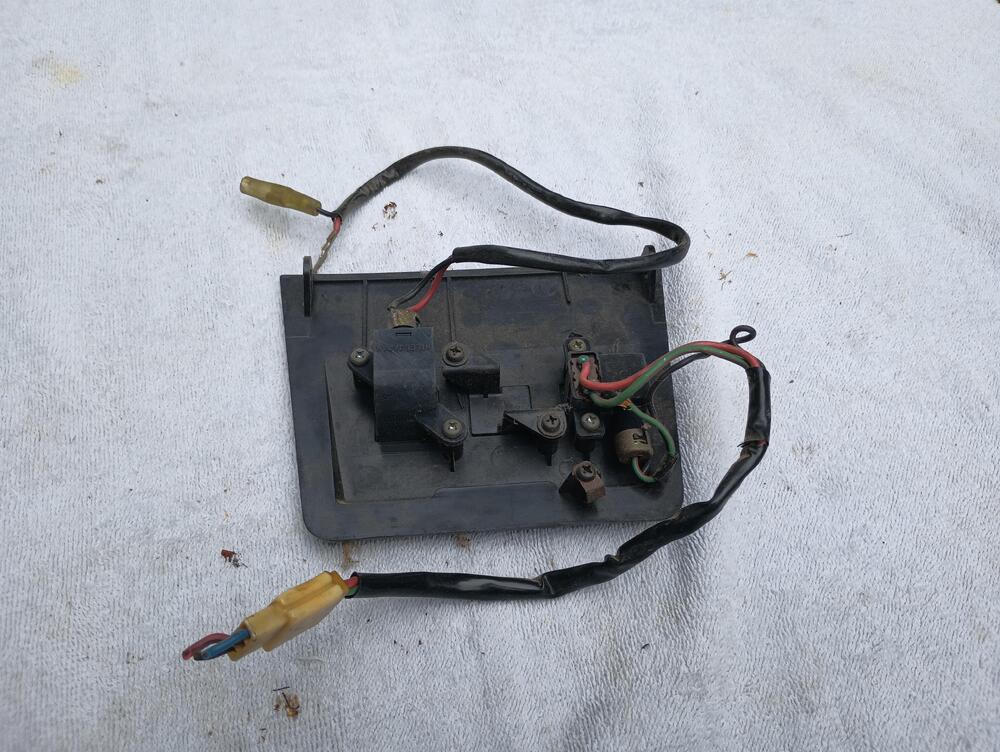
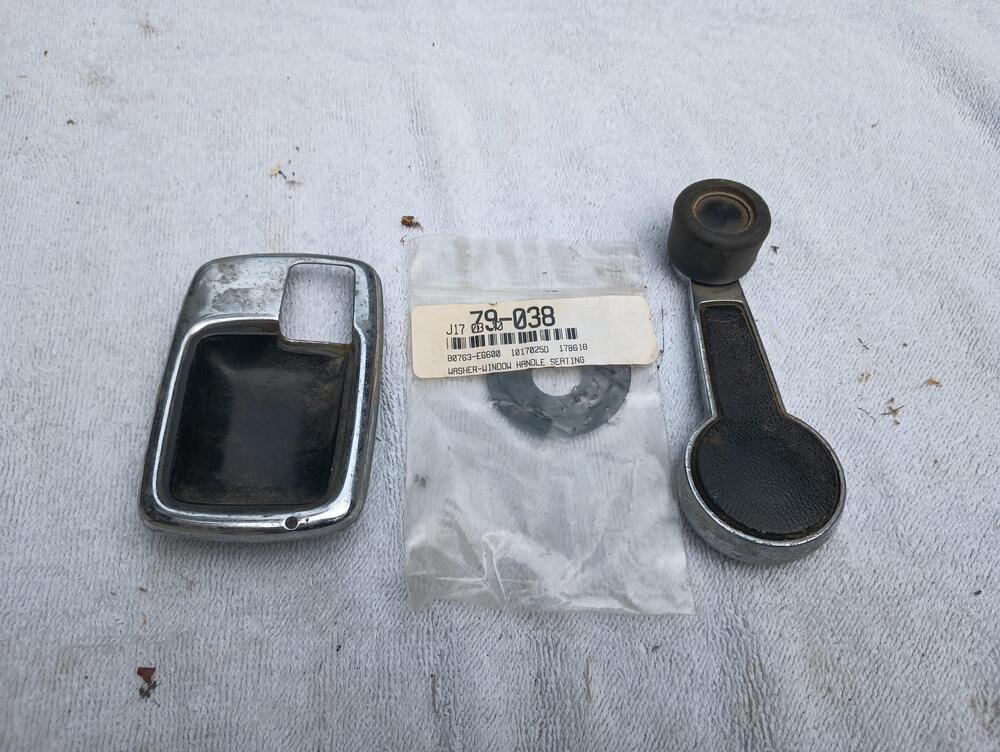
STRUT CAPS & GROMMETS ALTERNATOR BRACKET MIRROR CONSOLE PANEL CONSOLE PANEL LIGHTER REOSTAT BLOWER SWITCH HORN PAD I WASHER MOTOR
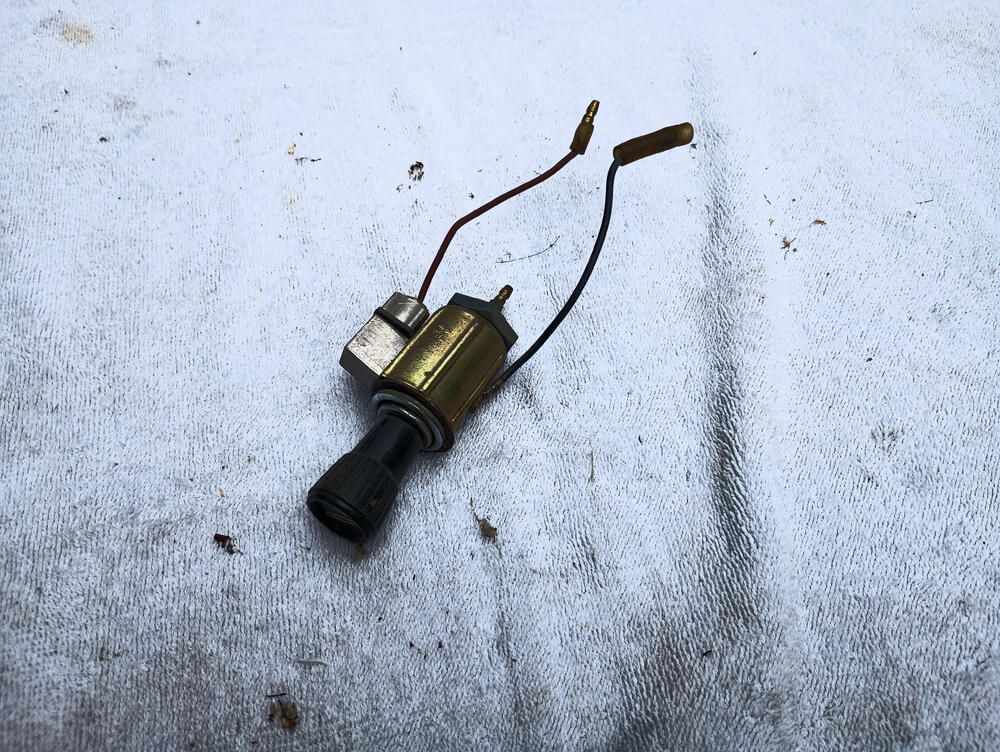
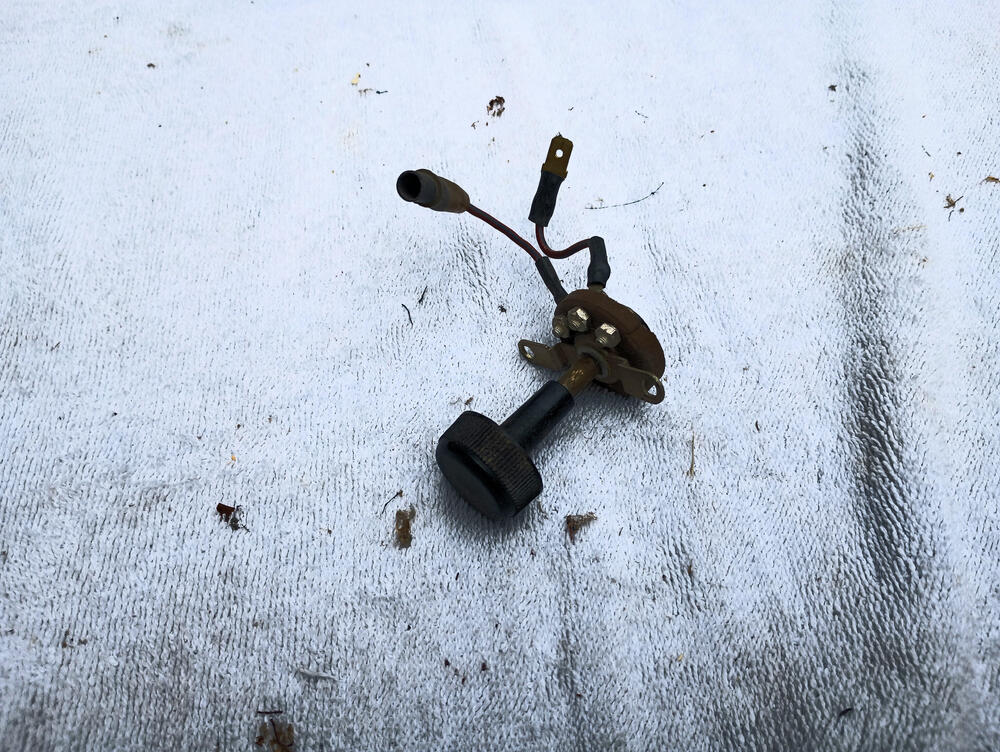
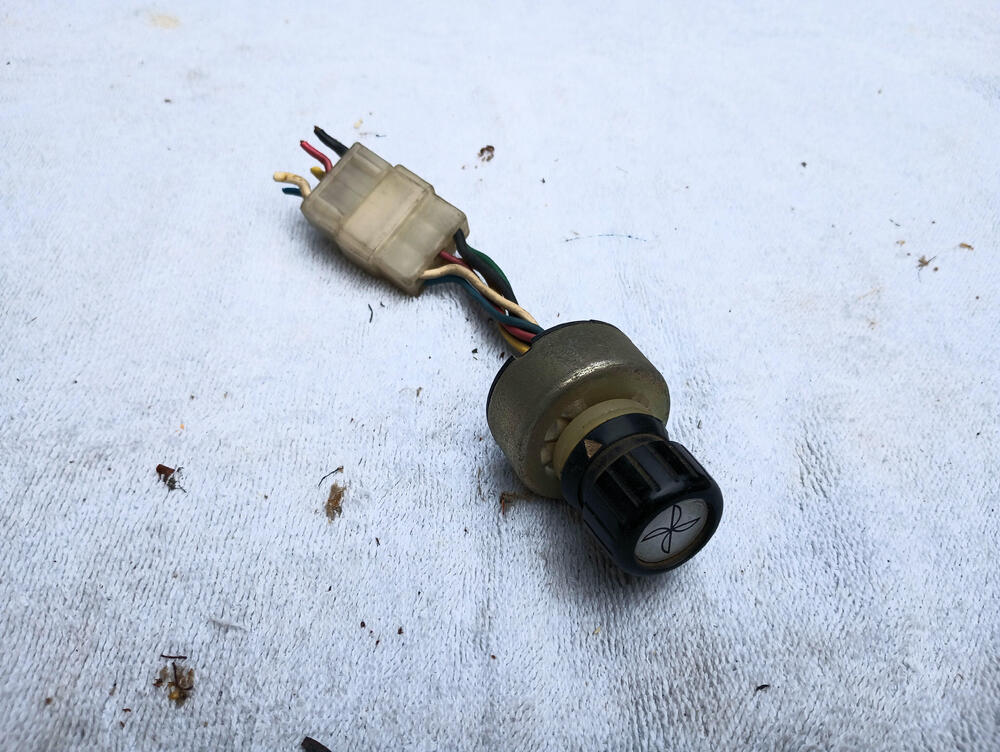
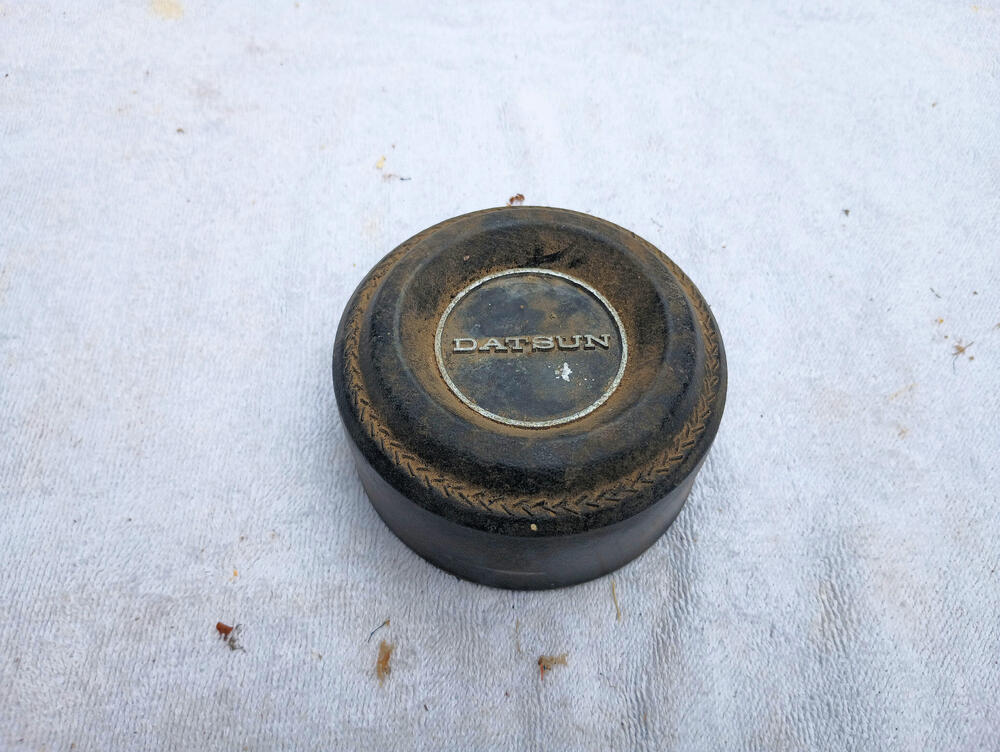
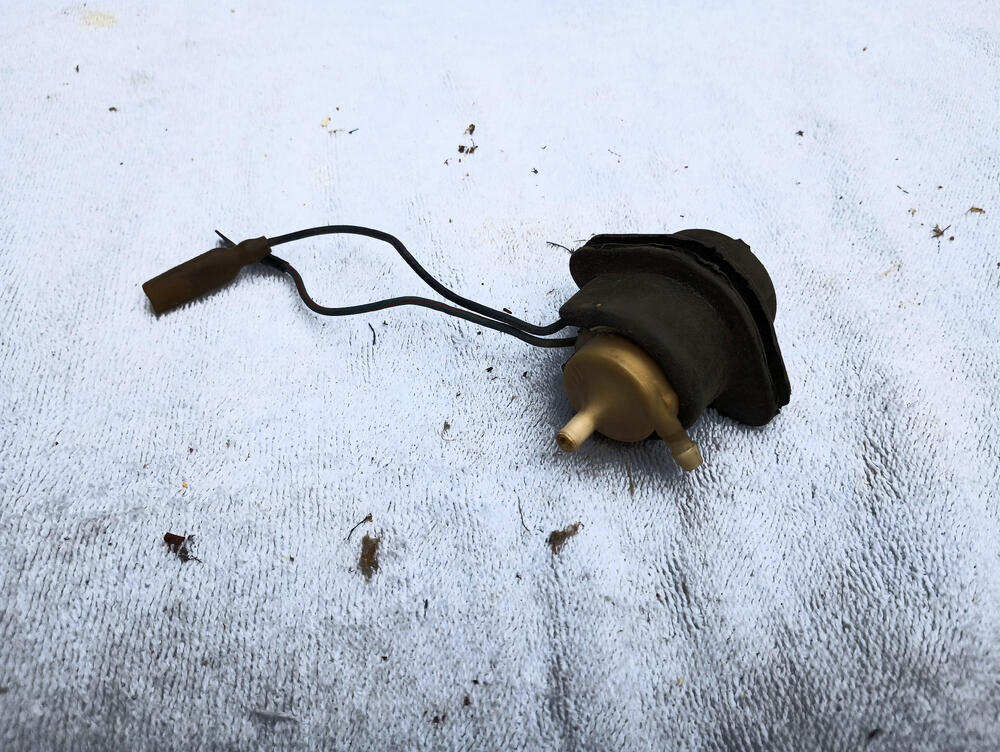
-
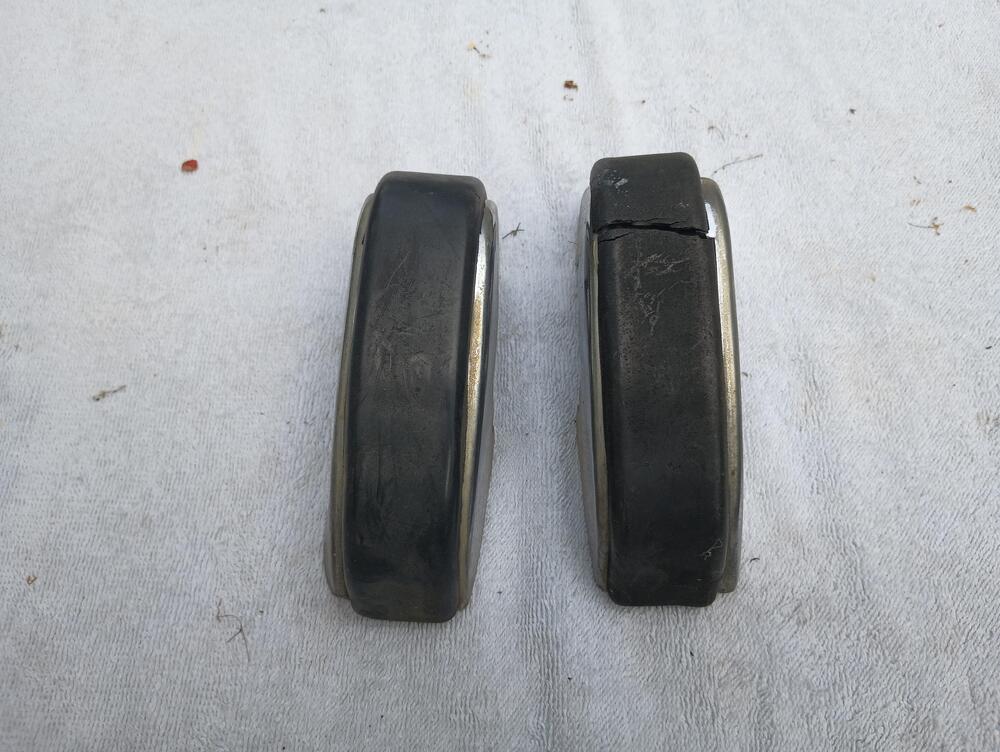
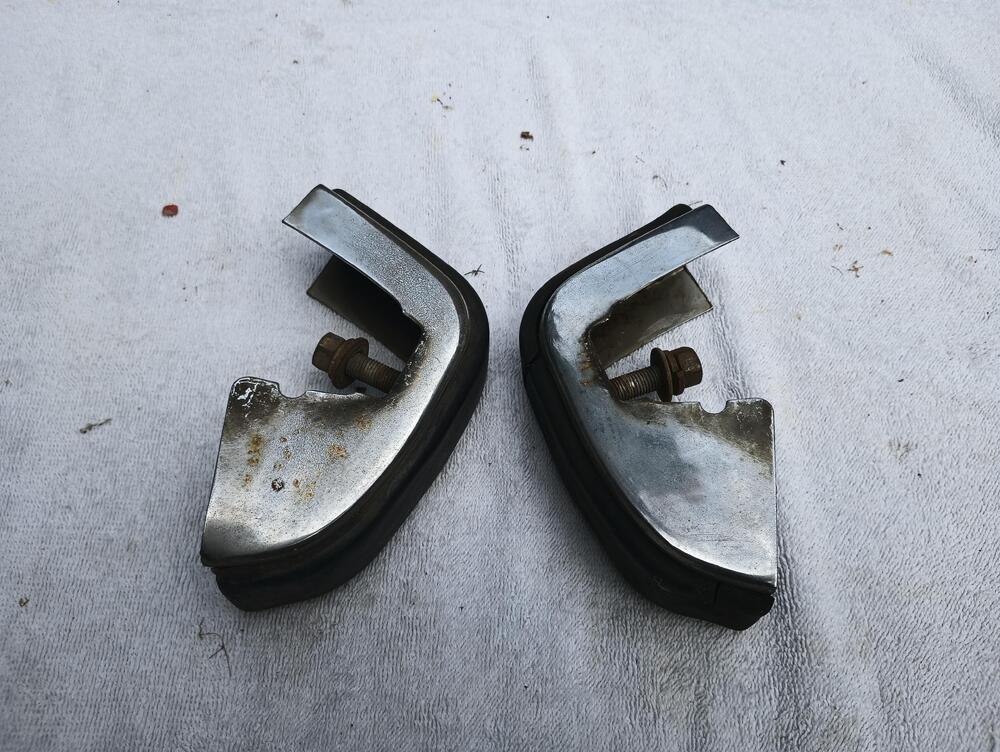
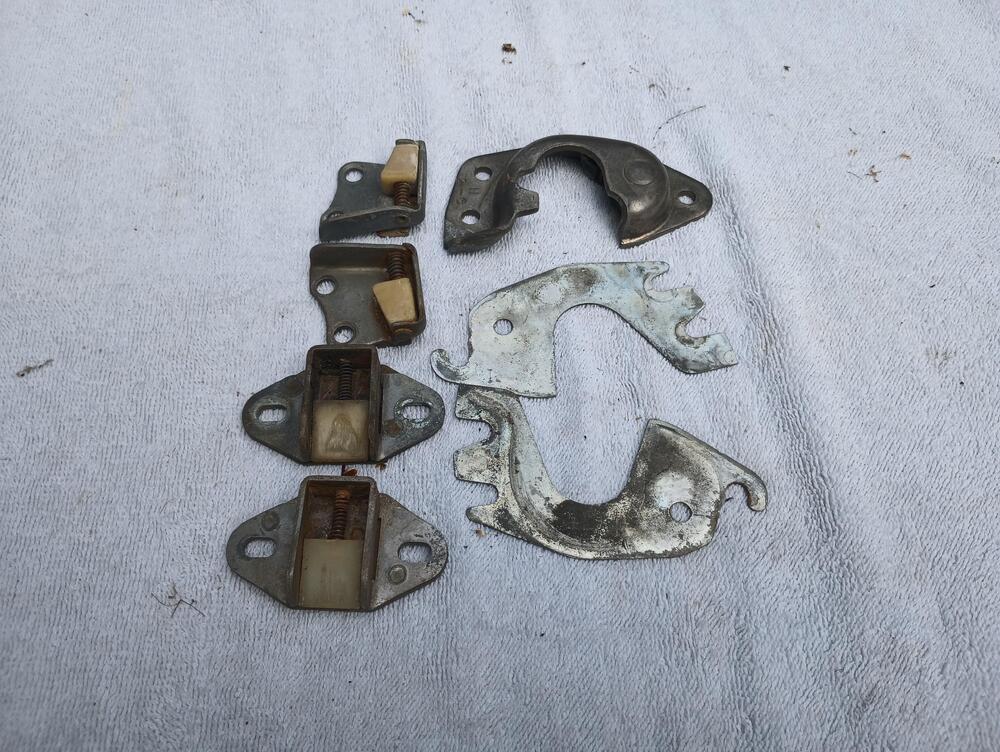
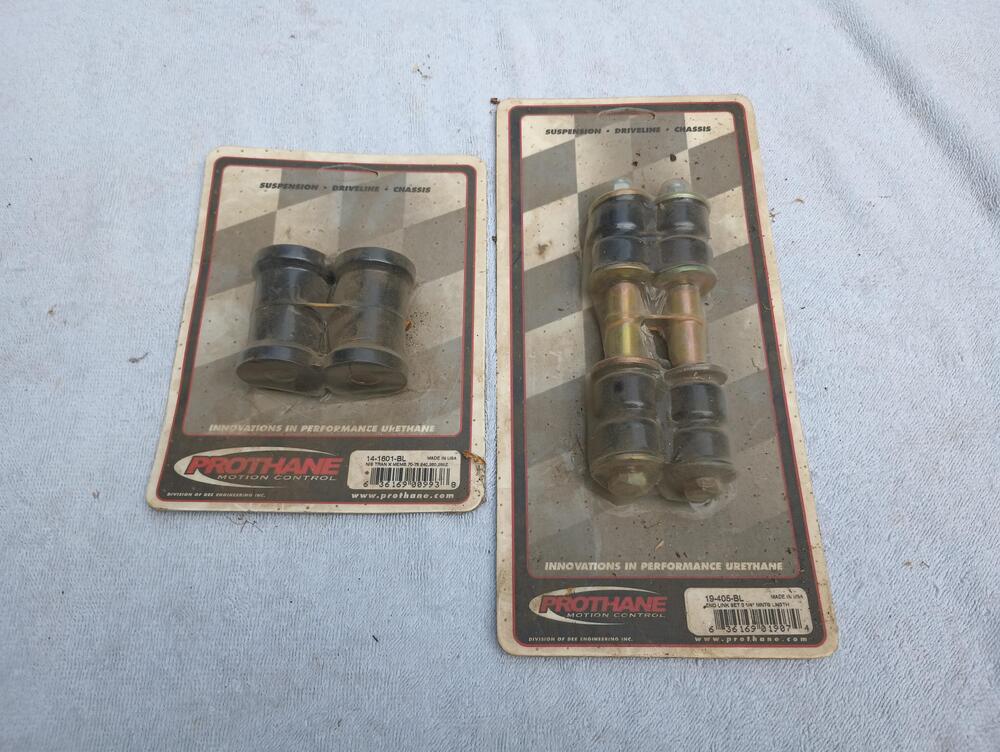
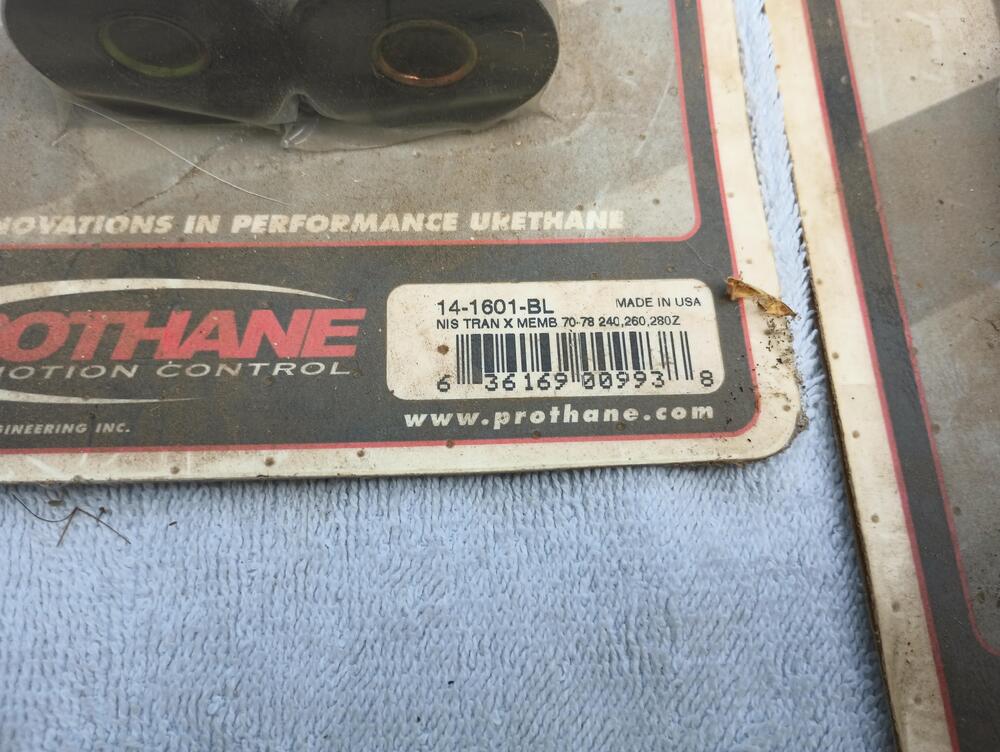
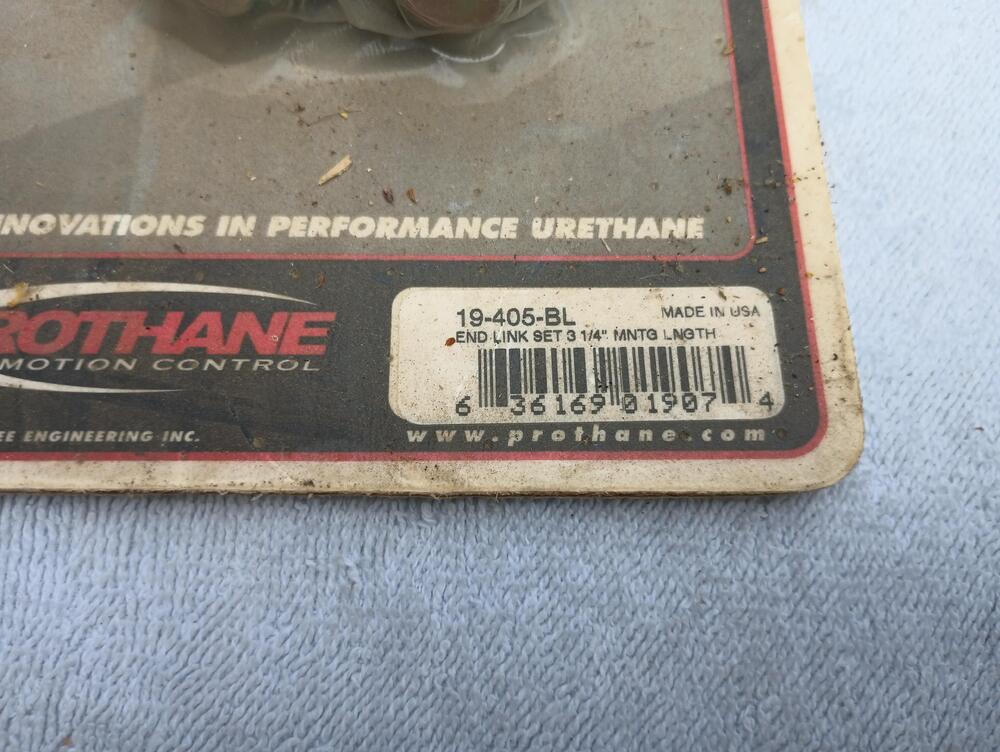
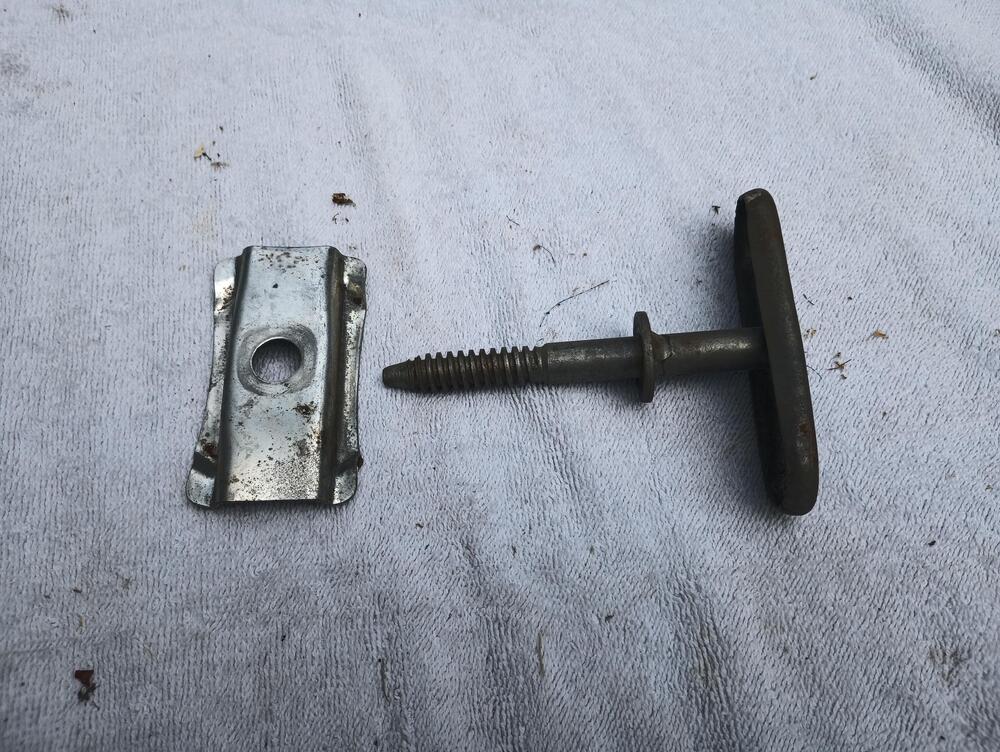
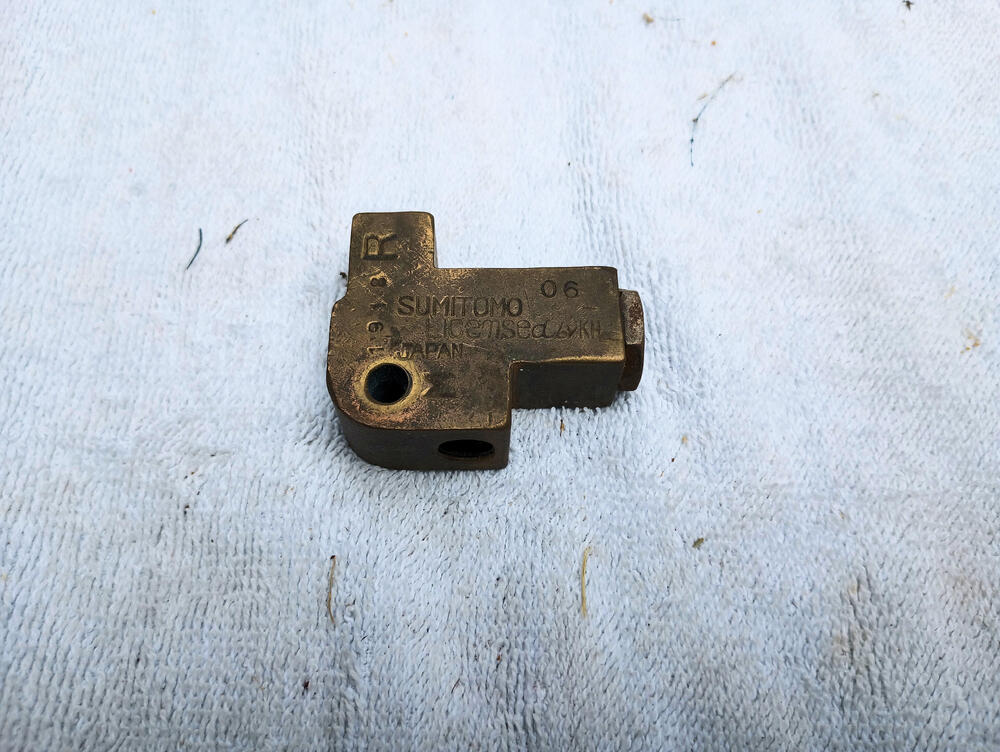
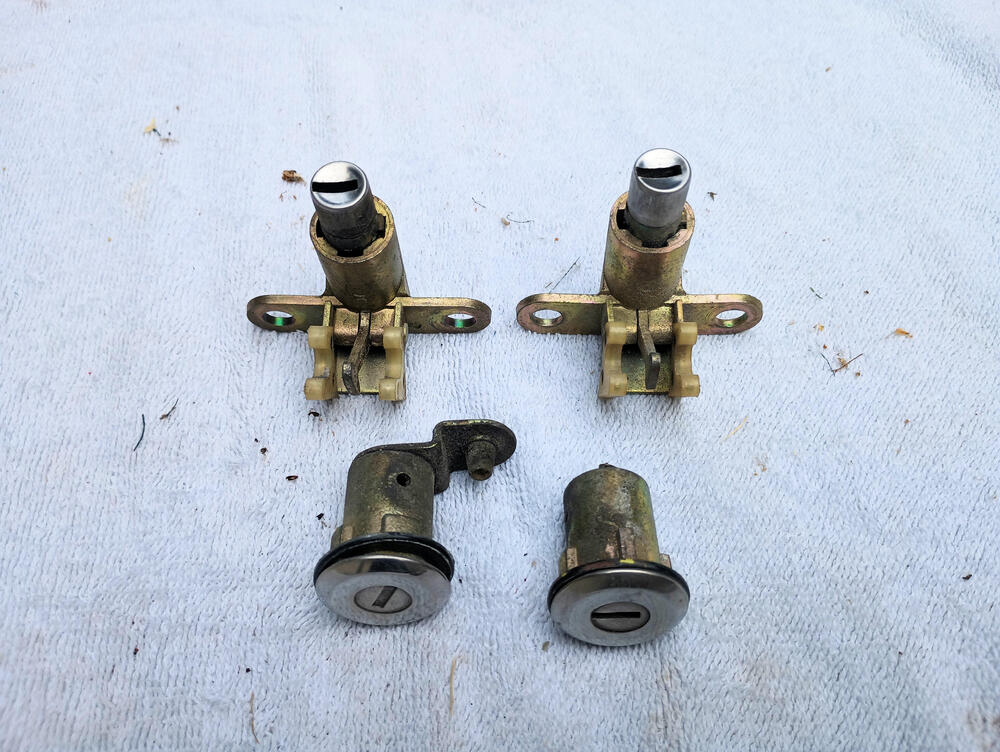
EMBLEMS BUMPERETTES DOOR/HATCH HARDWARE PROTHANE BUSHINGS SPARE TIRE HOLD DOWN DOOR PARTS PROPORTIONING VALVE LOCKS
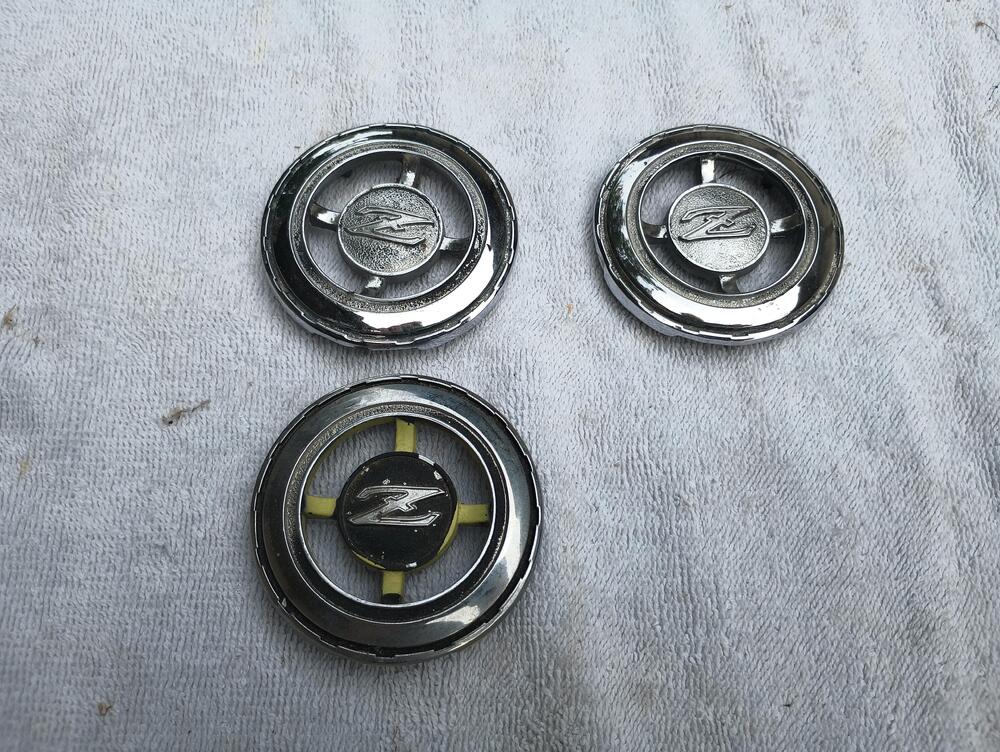
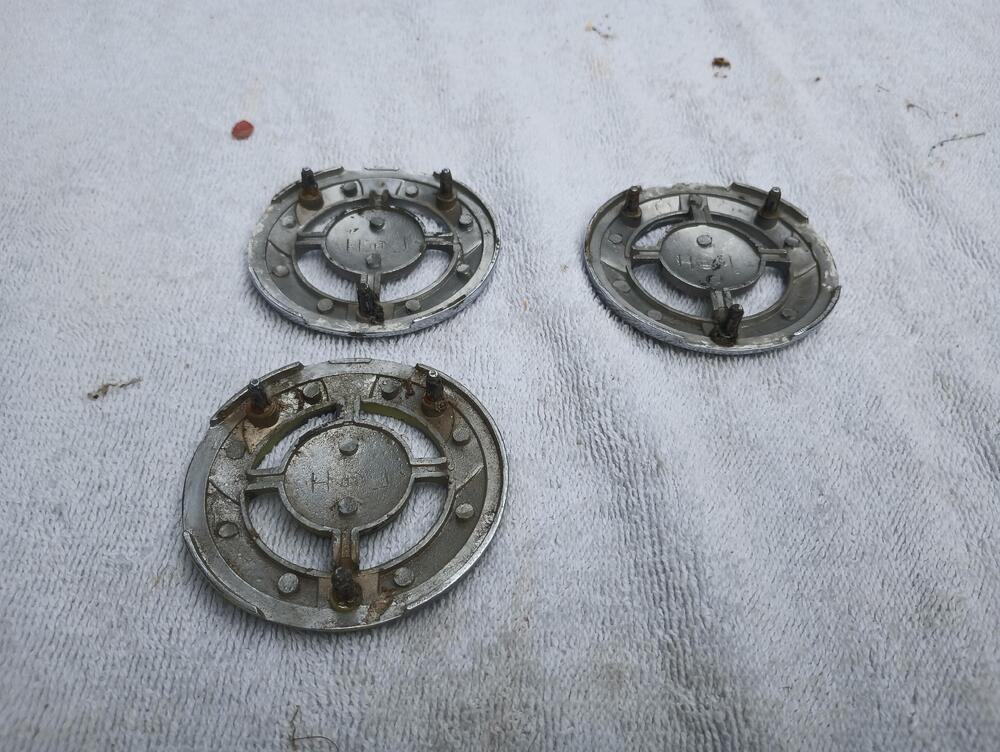
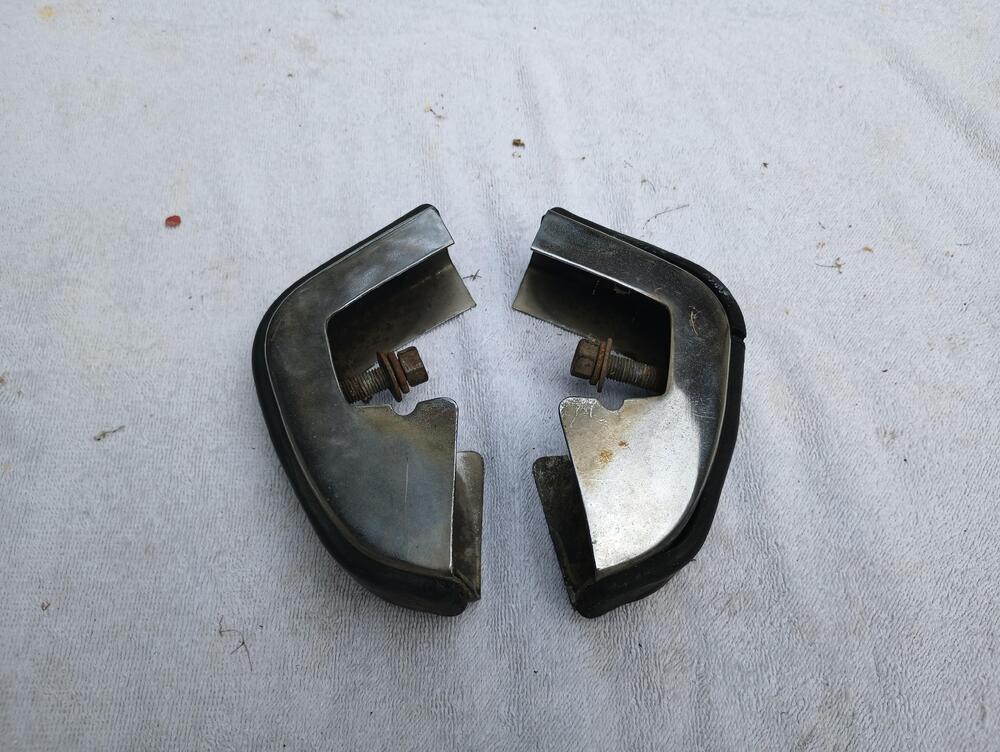
-
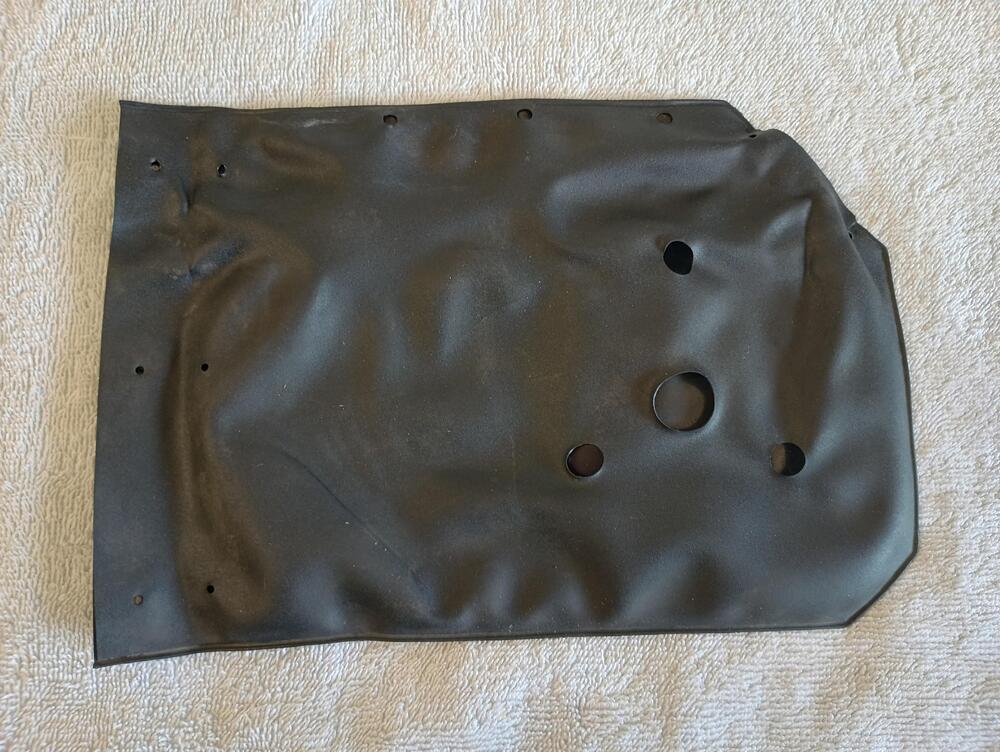
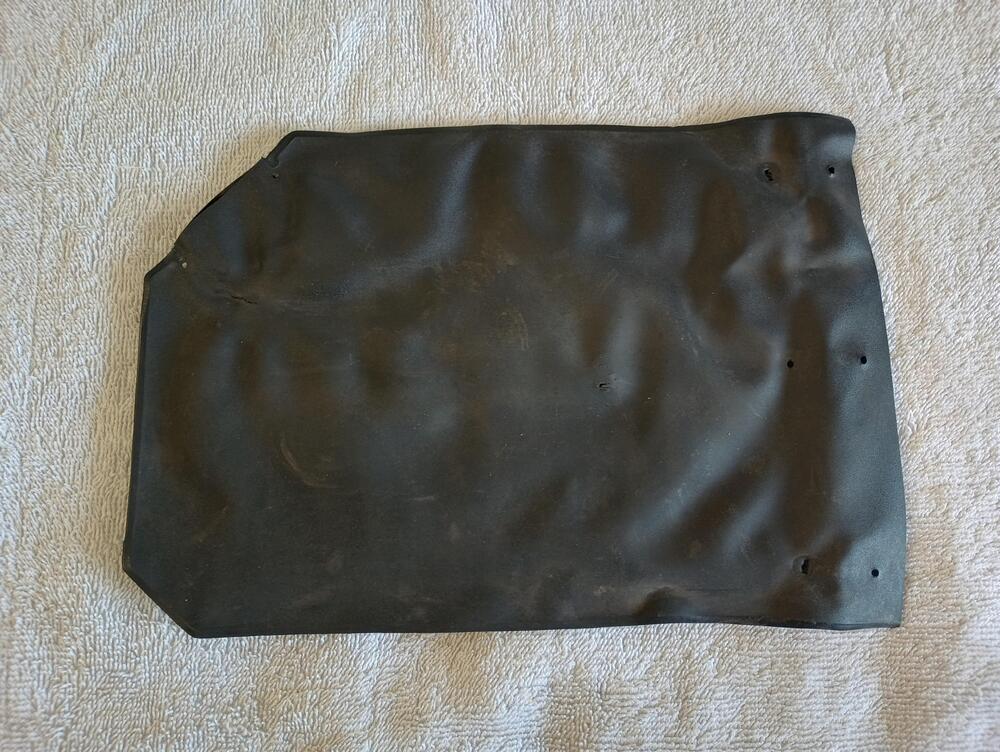
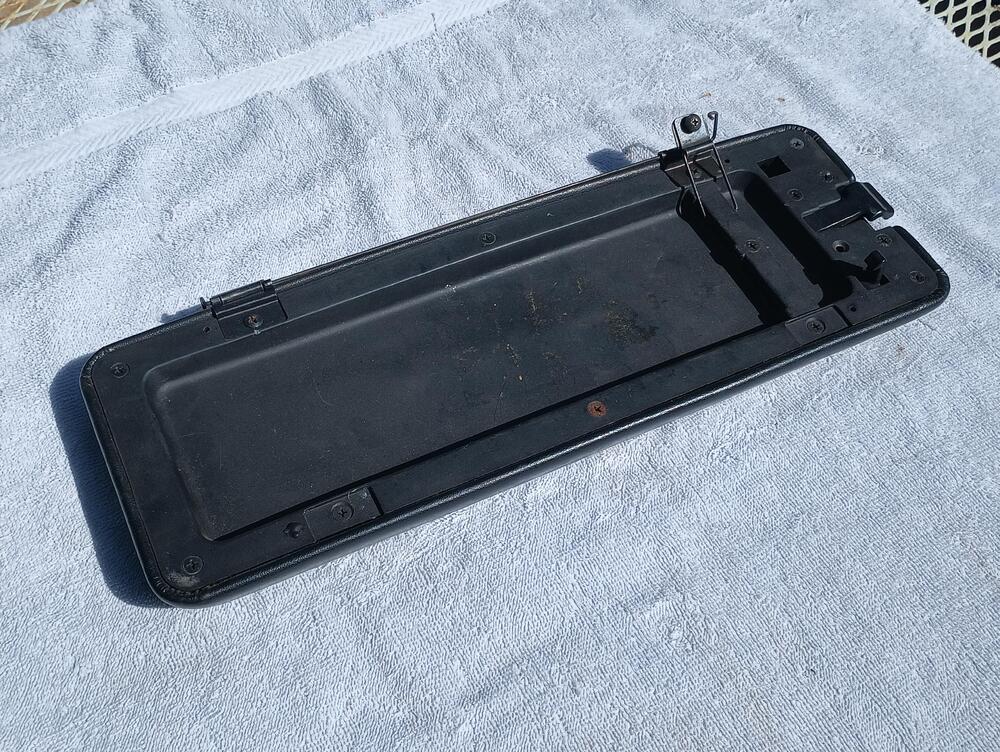
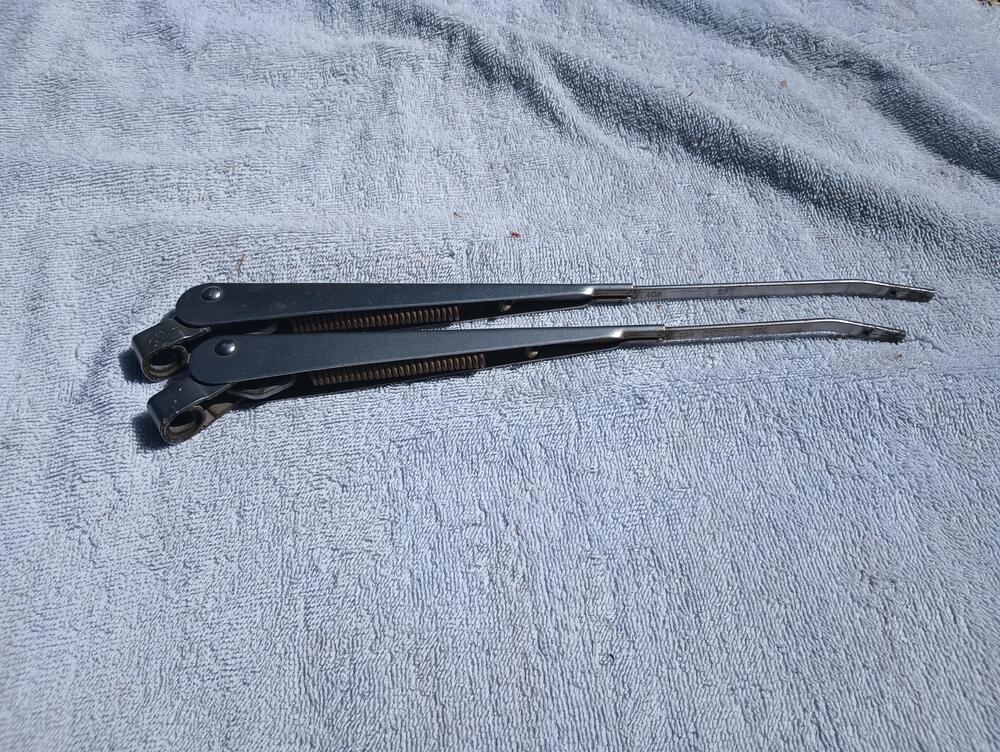
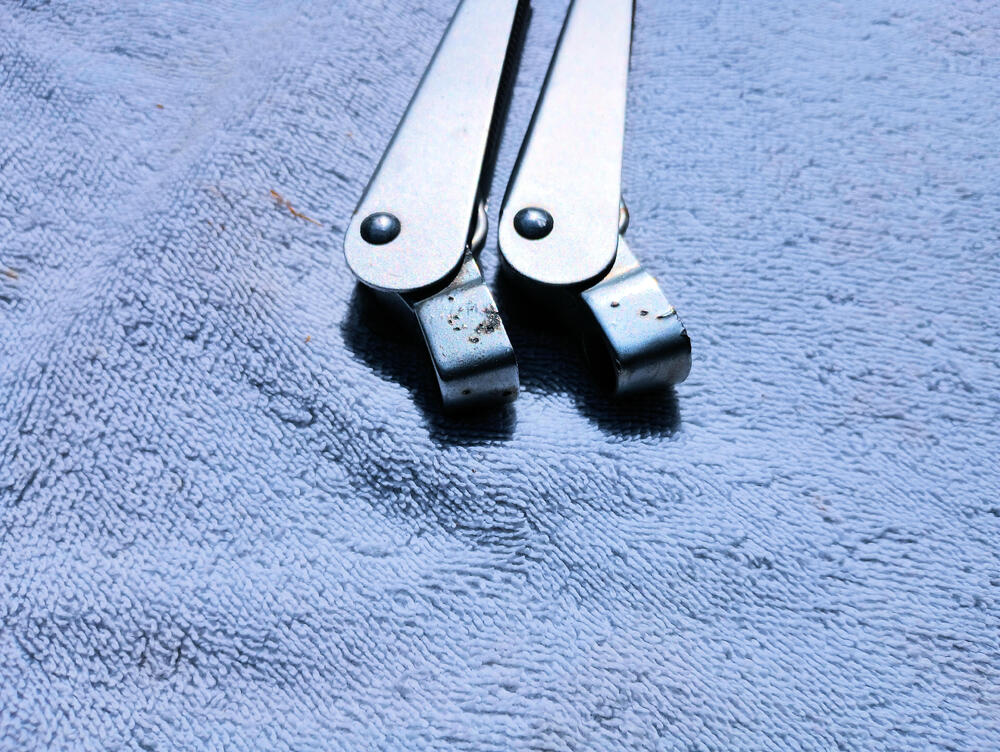
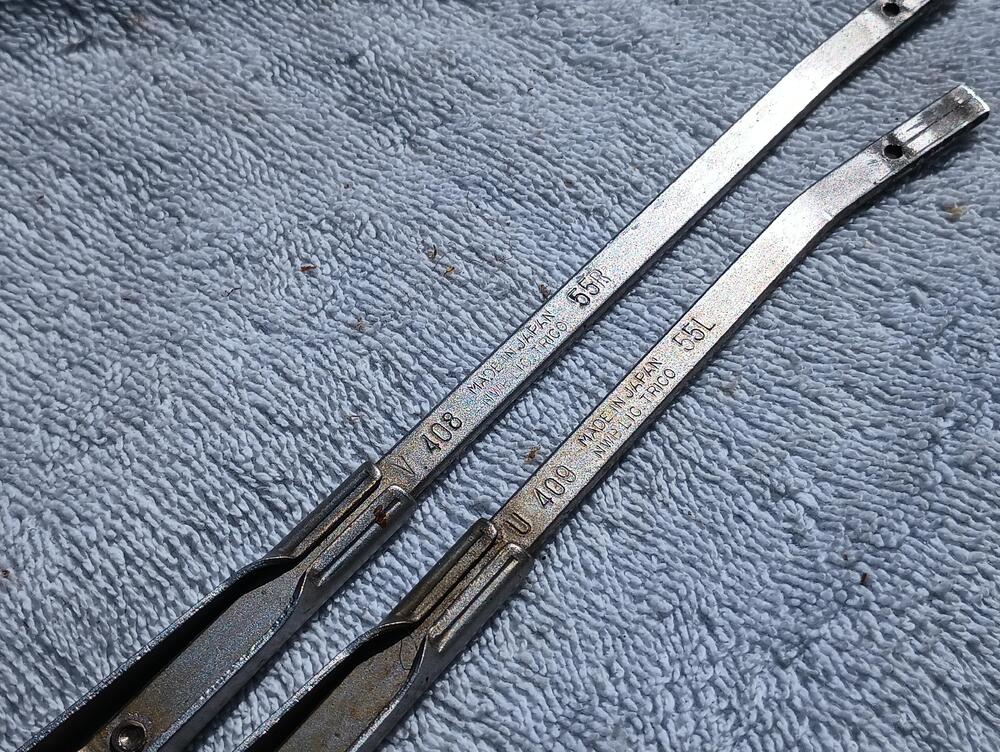
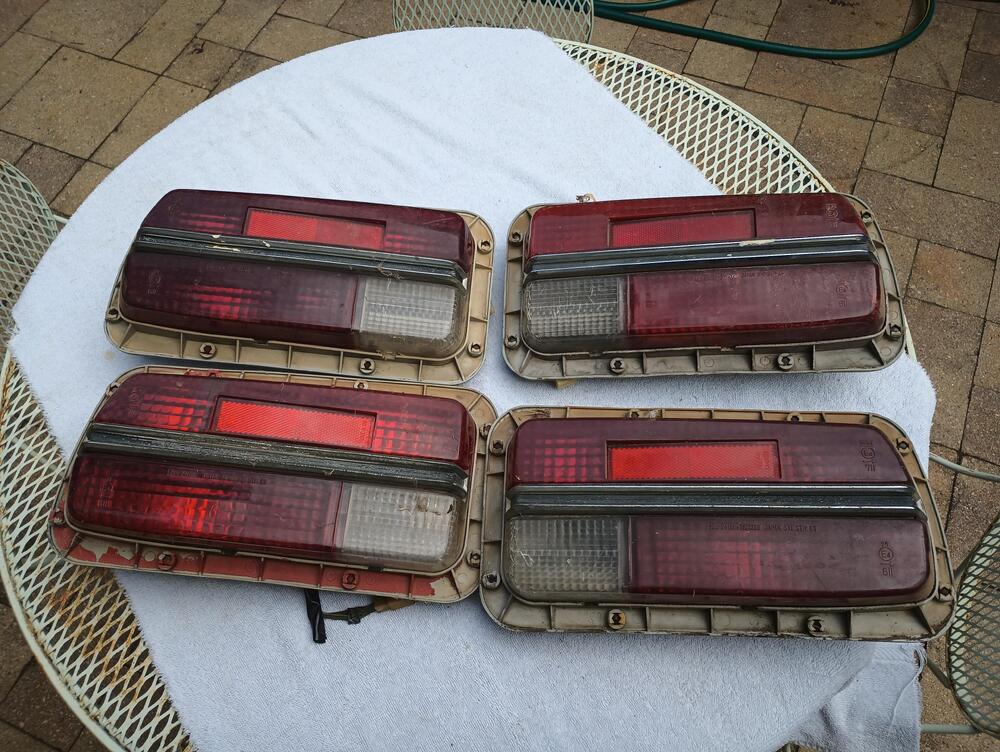
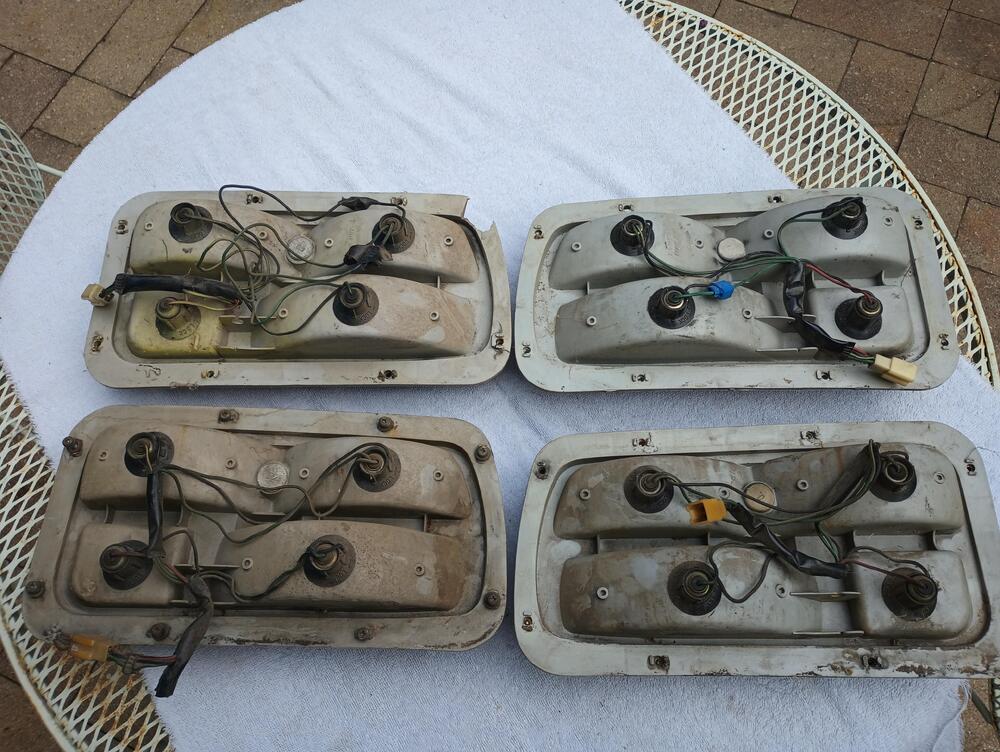
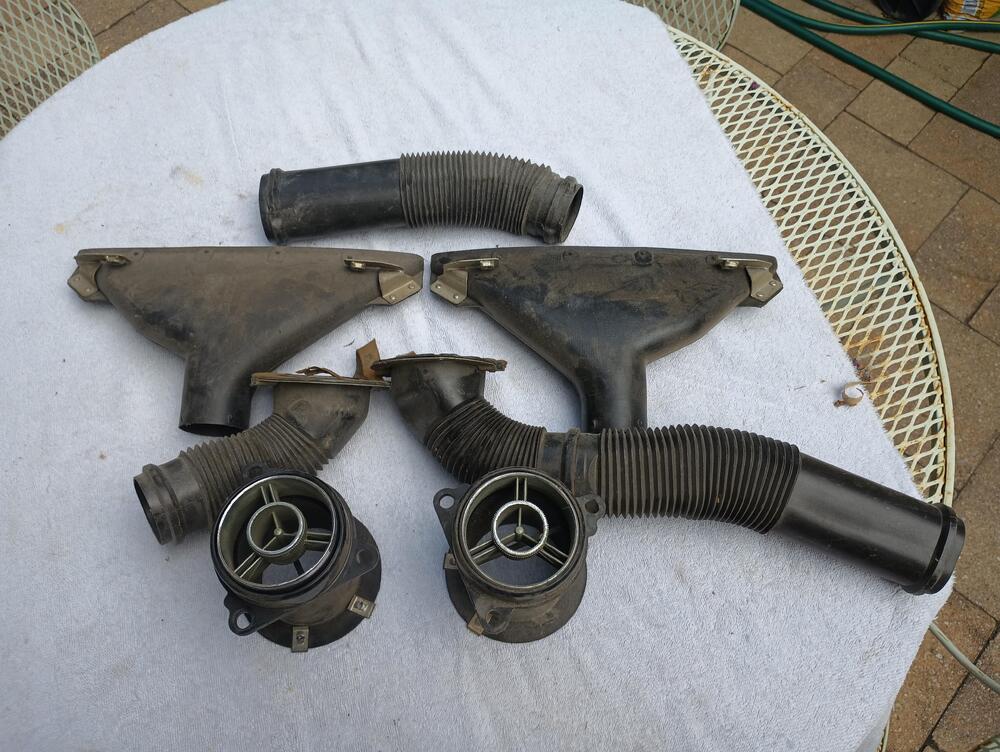
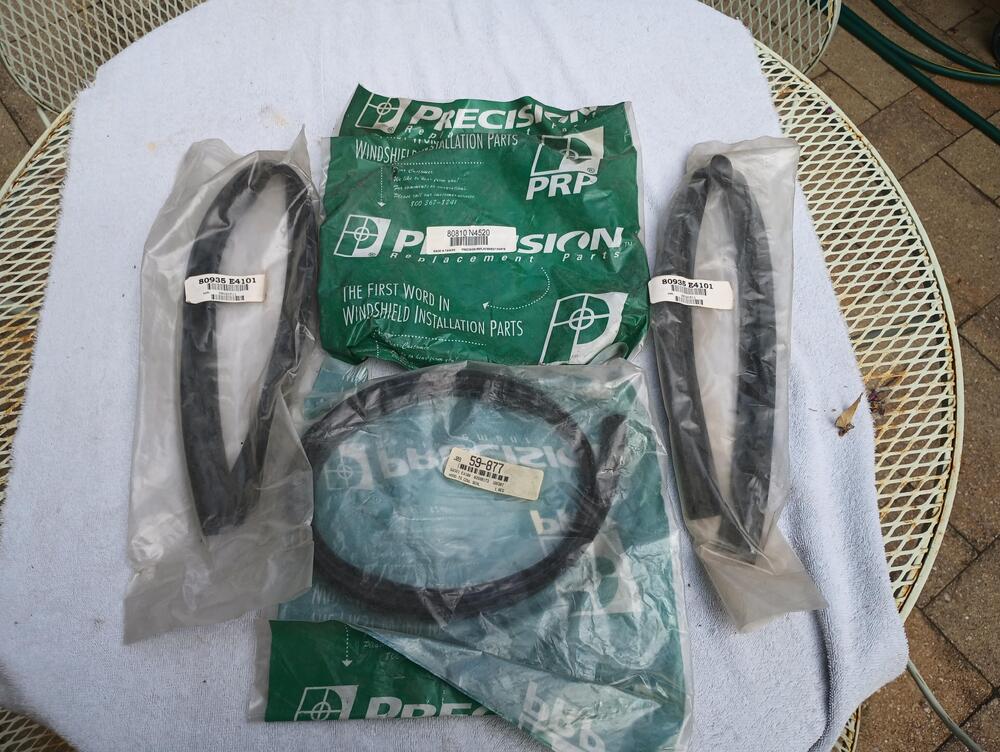
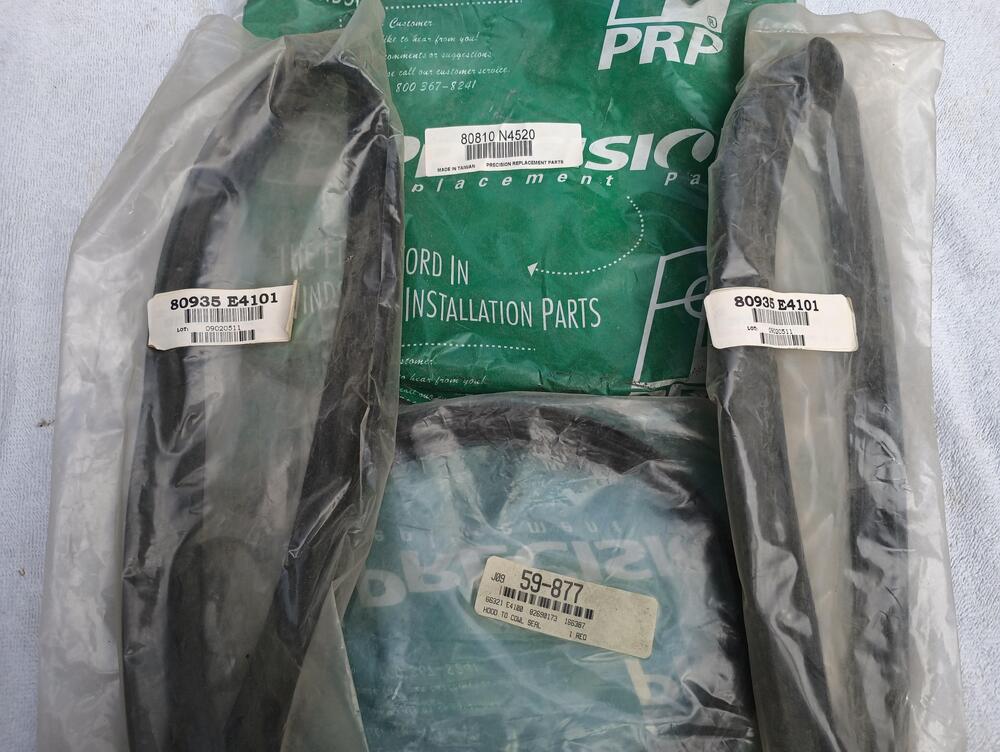
I was recently given some parts left over from a ’72 240Z build project. The owner was downsizing and did not want the parts to end up in the trash. Since the parts cost me nothing, I am making them available to fellow forum members, also at no cost other than shipping. I will add parts to this thread as I can get through them. RULES OF ENGAGEMENT The parts are free, the shipping is not! No guarantees of operability. No international shipping. Claim a part on this thread so that others can see it is NLA. Shipping details will be handled via PM. Payment for shipping will be PayPal Friends and Family (no fees) or Venmo. WIPER MOTOR BAG WINDOW REGULATOR - RH SEAT RAILS - L/R CONSOLE LID - NOT 240Z WIPER ARMS - L/R, SPLINES VISIBLE TWO SETS OF TAIL LIGHTS DUCTING PRP WEATHERSTRIP - P/N VISIBLE
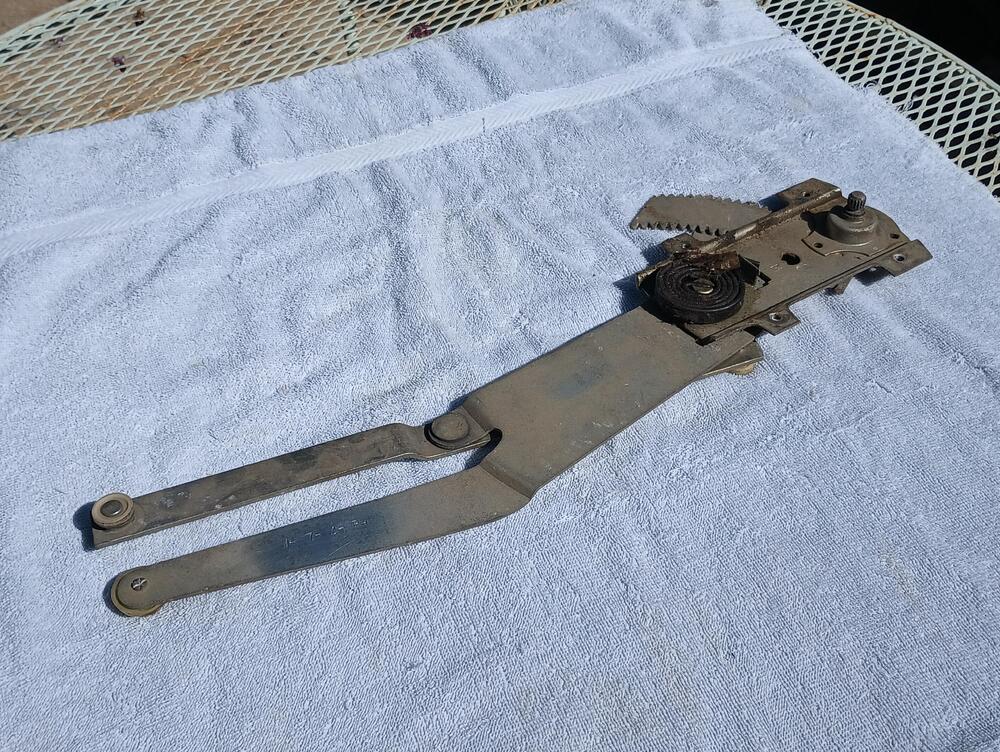
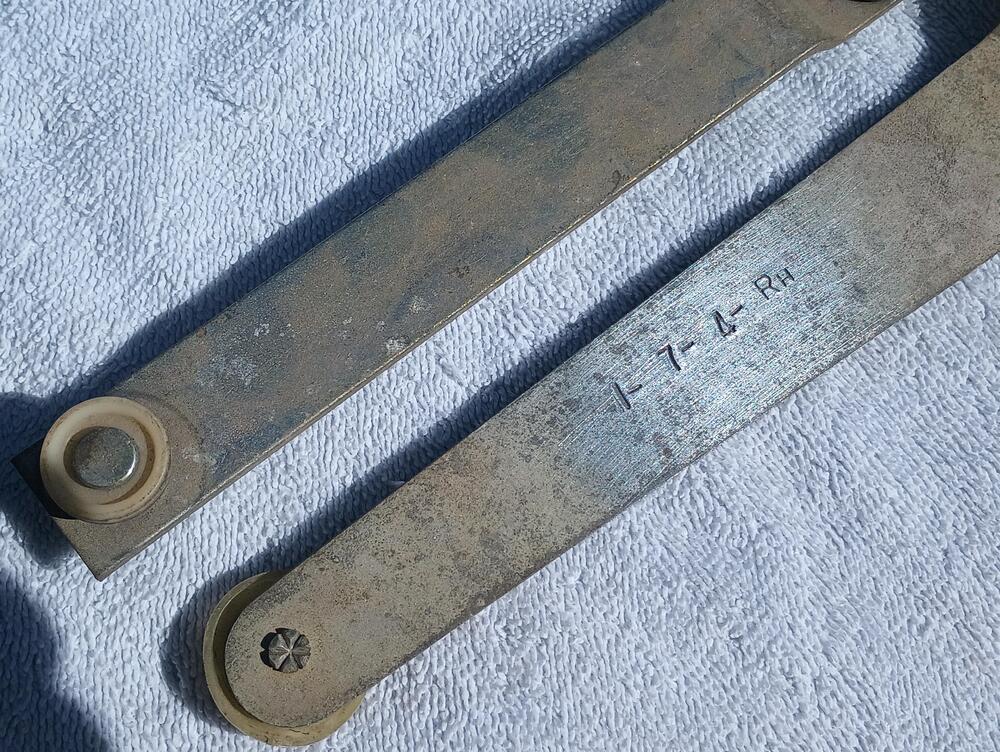
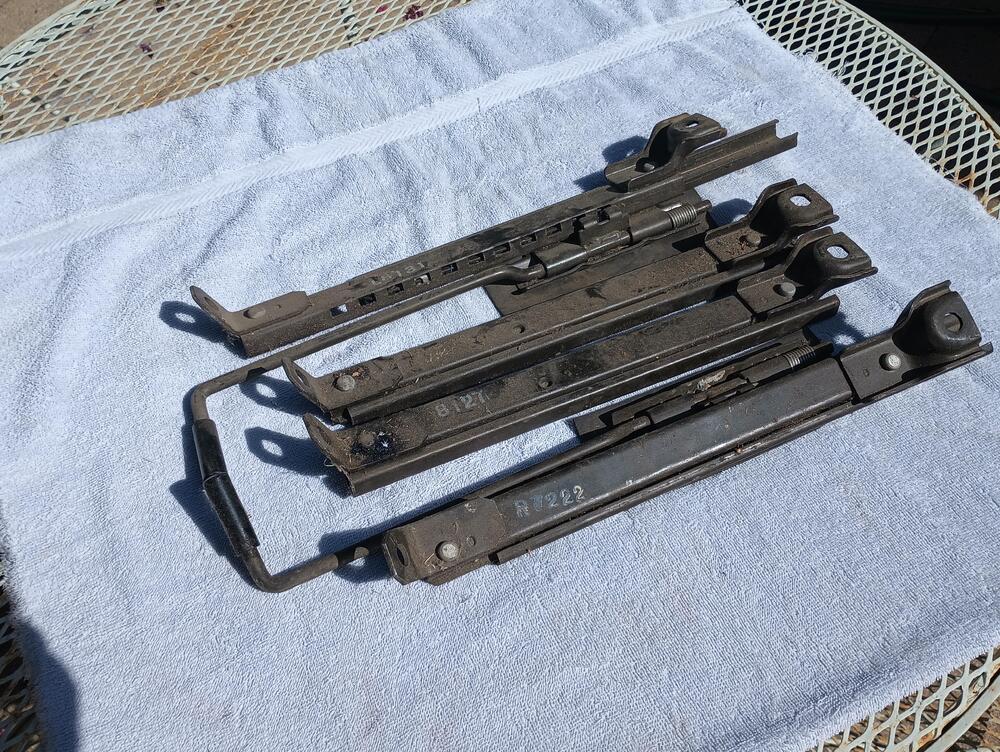
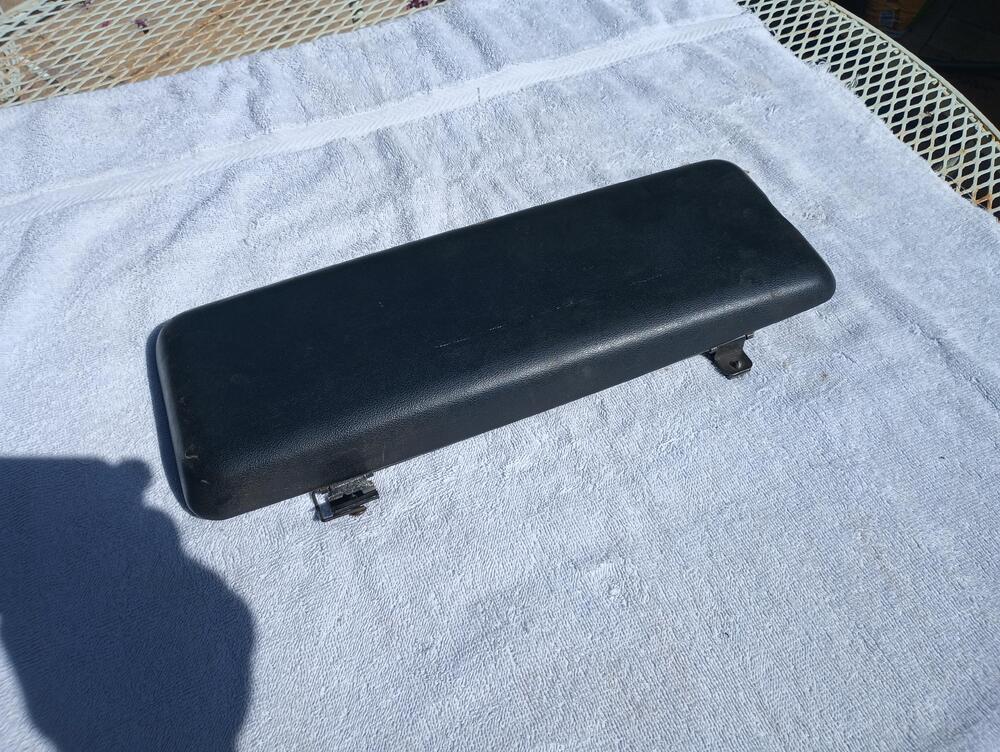
-
The cover for the spare should fit sngly on the body lip surrounding the tire well. Nissan provided hook and loop fasteners to secure it in place. My OE spare tire is long gone, replaced with a 185/70 tire that fits in the well and still allows the cover to fit flush. Is it possible you are placing the spare in upside down? I presume you are using the OE steel wheel as am I.
-
No rubber pad on my gas pedal stop.
-
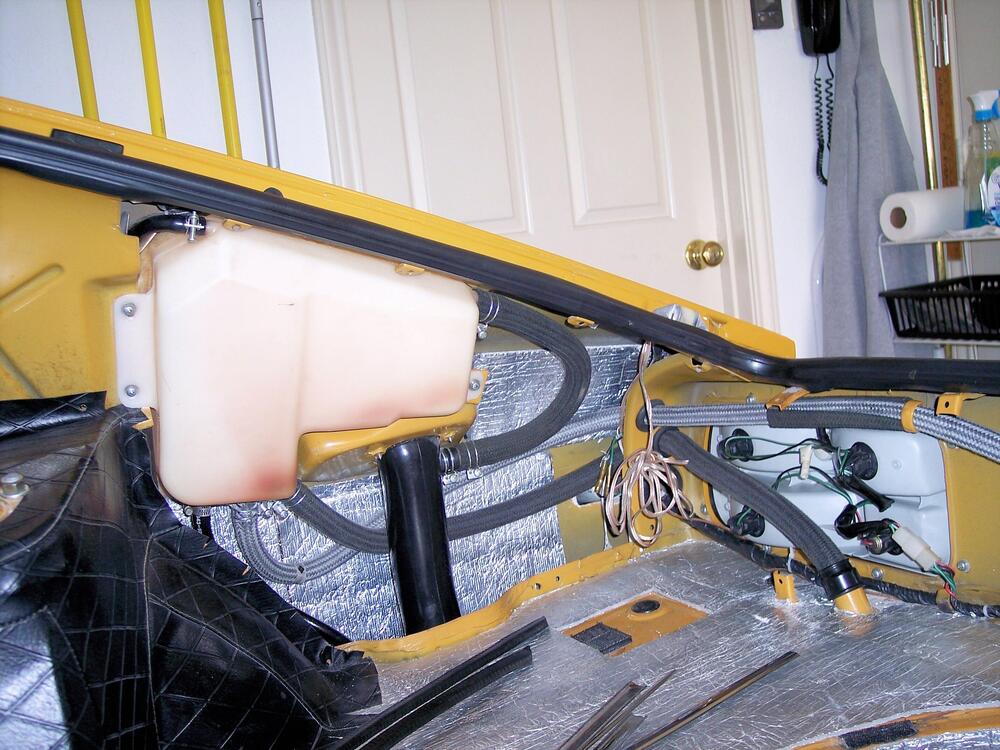
If you are running the fuel vapor container there are several hoses that usually need replacing. The primary ones are two large ones from the fuel tank that come up thru the deck. One deck point is shown here, note the rubber collar that seals it. The other deck point is by the left taillight, not shown. When I refurbed my car 15 years ago I was fortunate to get Nissan OE hoses but sadly they are now NLA. There are threads on this forum about substitute materials. The two large hoses pass thru a support bracket with grommets to protect against chaffing. There are also two small lines on the vapor container, one high and one low. One is connected to the hard lne that runs to the flow guide valve in the engine bay, the other is connected to the fuel tank.
-
Maybe https://junkyardjenny.com/
-
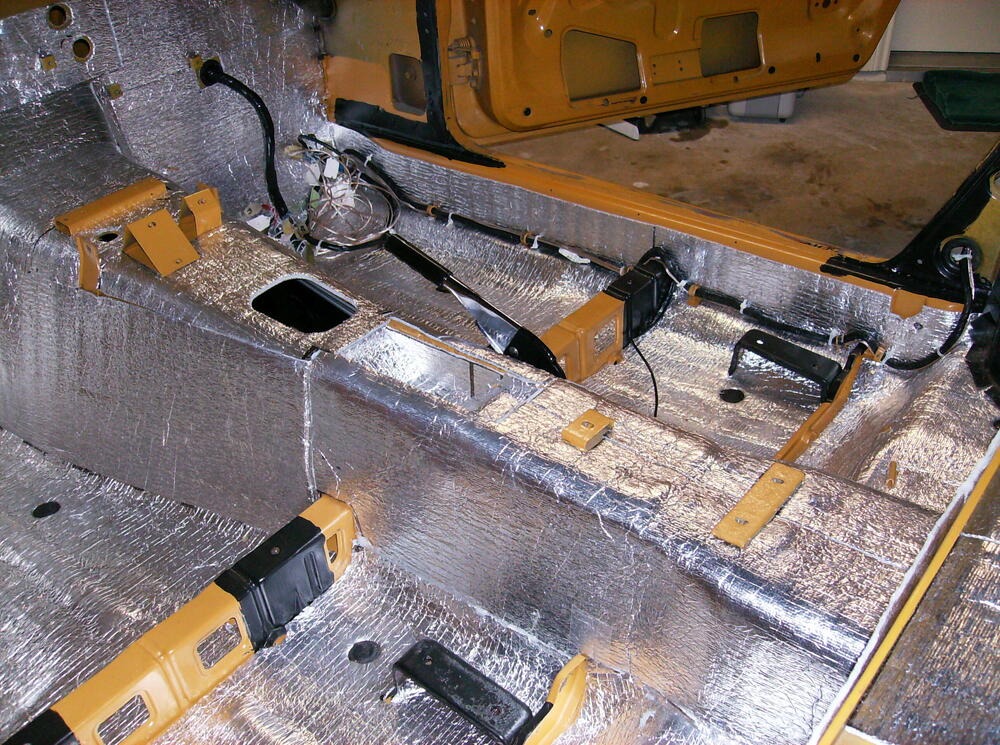
This might help you with the routing. Yes, along the inside roclker, over the seat supports, and into the dogleg panel. It will be covered by the vinyl along the rocker. Your interior dogleg panel has a notch to acomodate the wiring.
-
95 and sunny here in the Dallas area. 🥵 I just sent Rick a Google Drive link with some current pics. Cliff really knows how to put pressure on a guy! 😉
-
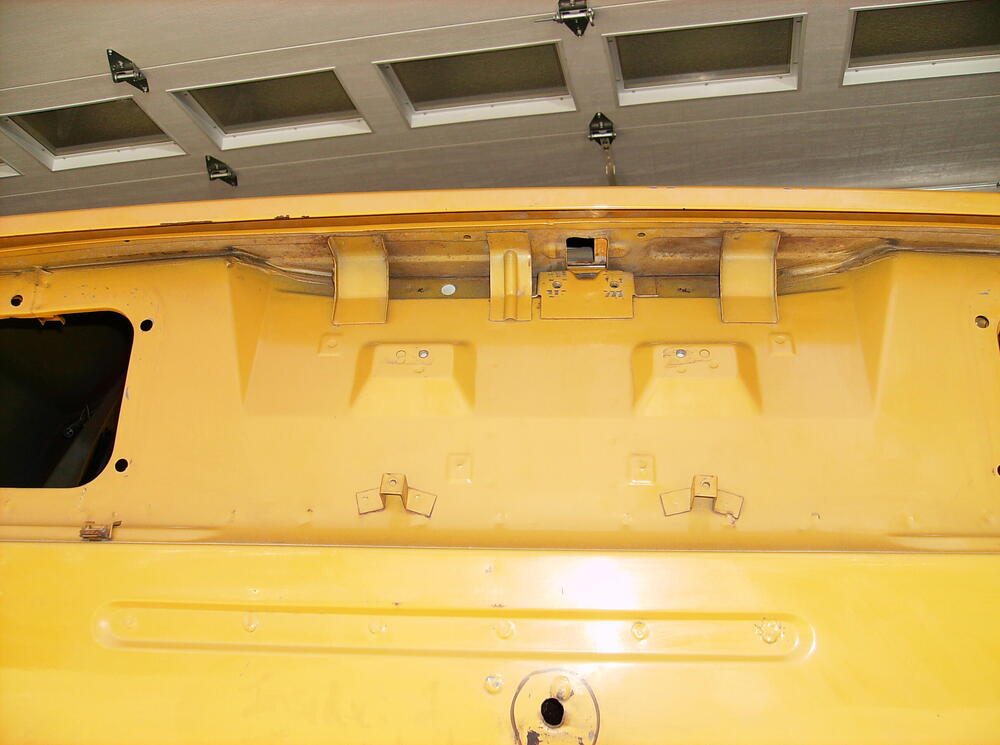
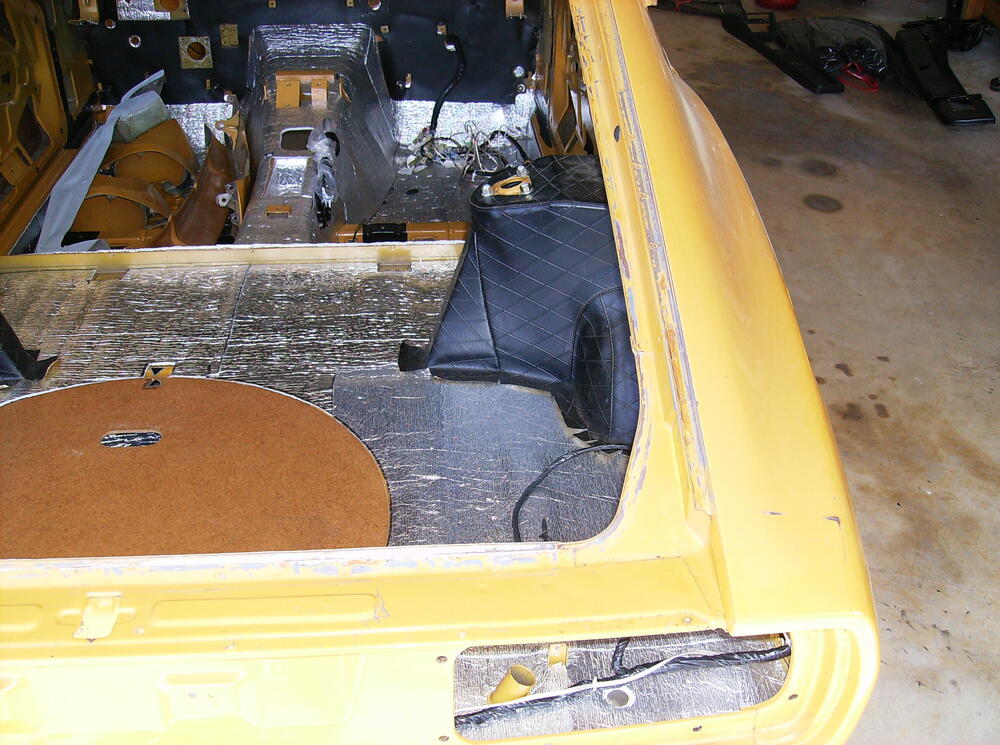
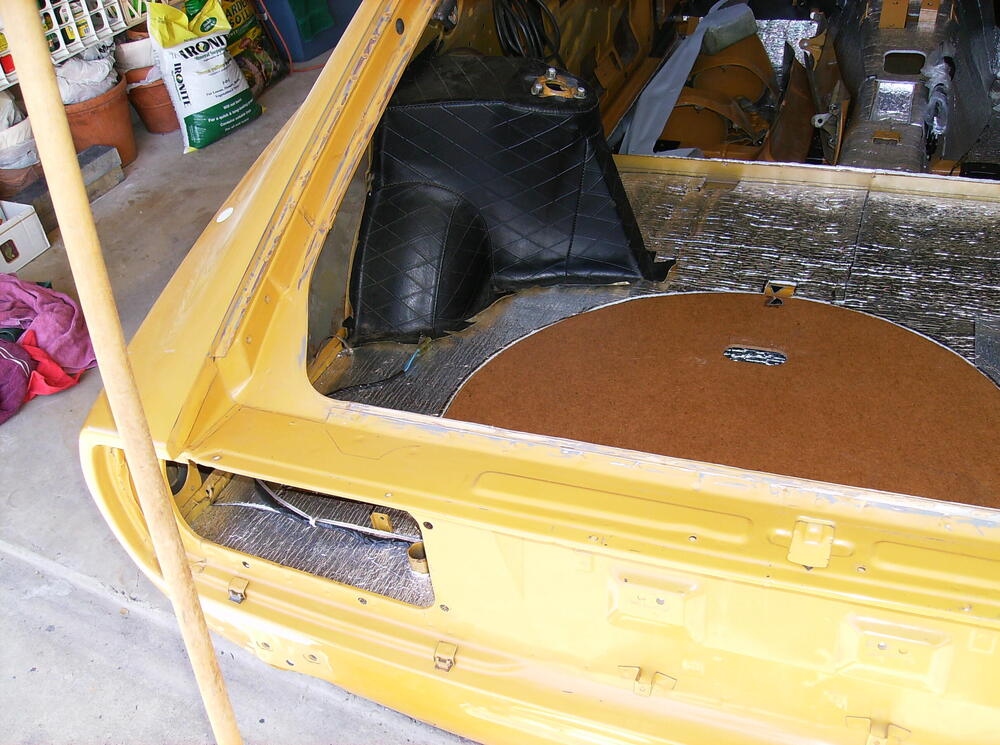
A few pics of my undamaged 12/70 car prior to getting painted. Fair ly high-res, should be good for zoom-in for detail. @conedodger should we be sending pics directly to Rick?
-
FWIW, I have always used 3-IN-ONE oil for my dashpots, in the years before my resto and later in my rejuvenated Z Therapy units. Great response in all operating situations.
-
... Lets hope the trend can extend to Nissan globally. Official U.S. NewsroomNissan U.S. Hits 12 Consecutive Months of Dealer Retail S...Nissan is capping off fiscal year 2025 (April 1–March 31), emerging as the fastest-growing mainstream automotive brand in the U.S. over the past 12 months and delivering 12 consecutive months of deale
-
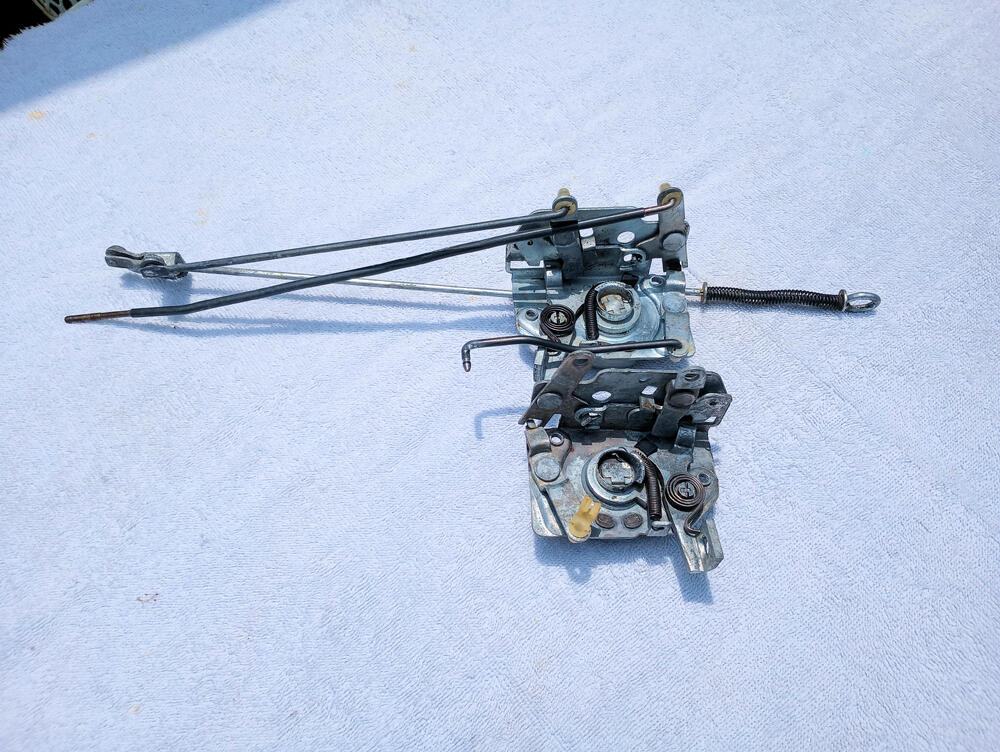
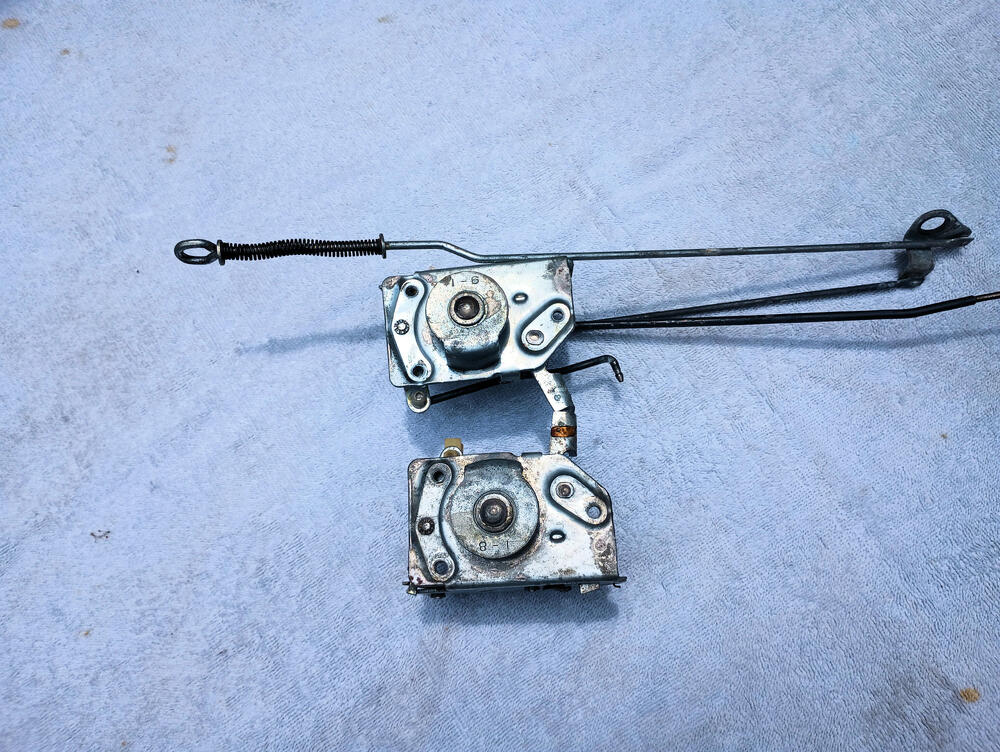
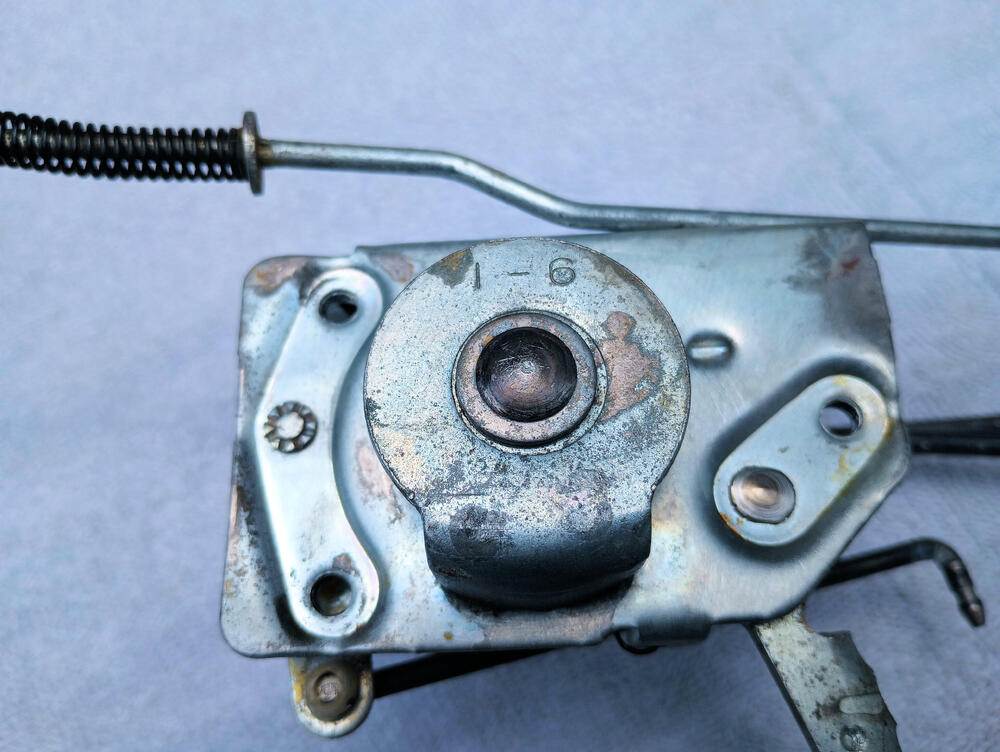
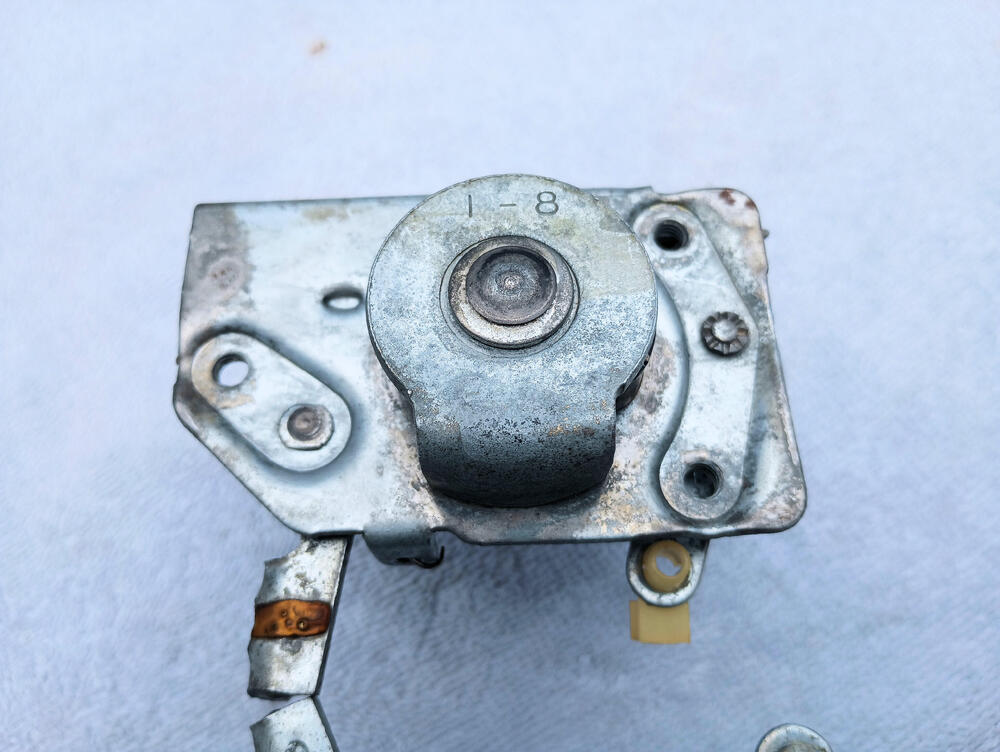
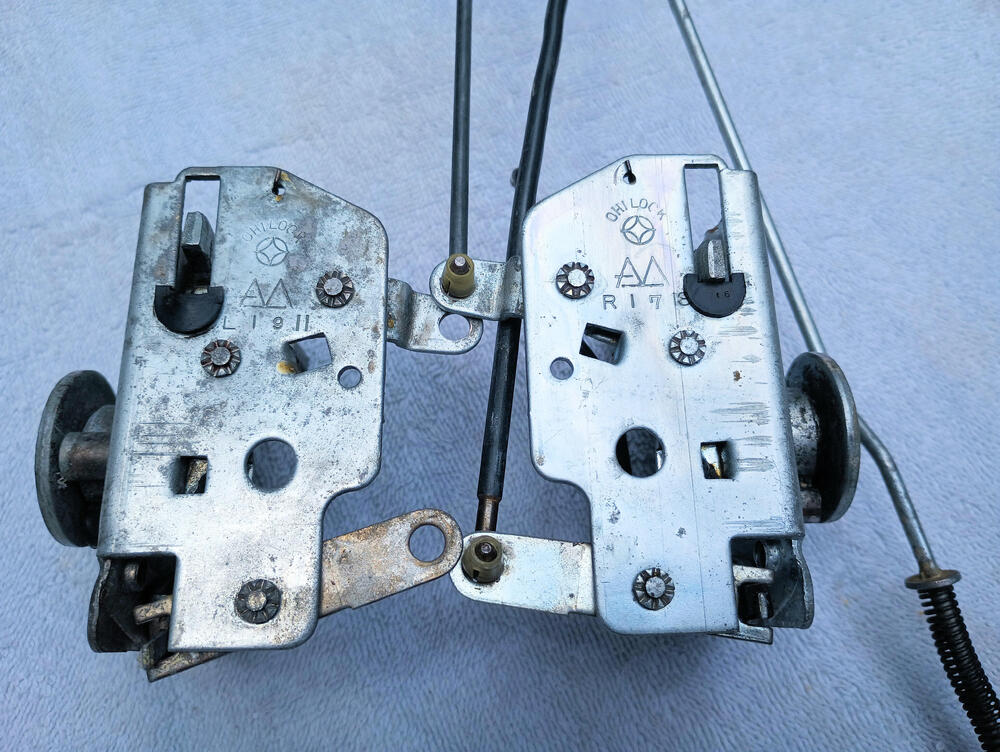
L/R set of door locks, right side includes the control rods. Date codes 1-6 and 1-8. No rust, smooth operation. $150, includes standard domestic shipping. Payment via PayPal or Venmo. PM if interested, thanks.
-
You might check that your hatch is well snugged down and that the inner hatch gasket is providing good support, both points to ensure the hatch is not moving about when underway. My spoiler looks to be noticeably closer to the body than as is yours in the picture. Mine is typically about 2-3mm spaced in the front, about 5-6mm at the rear, no rubbing against the paint. BTW, Great lookng car!
-
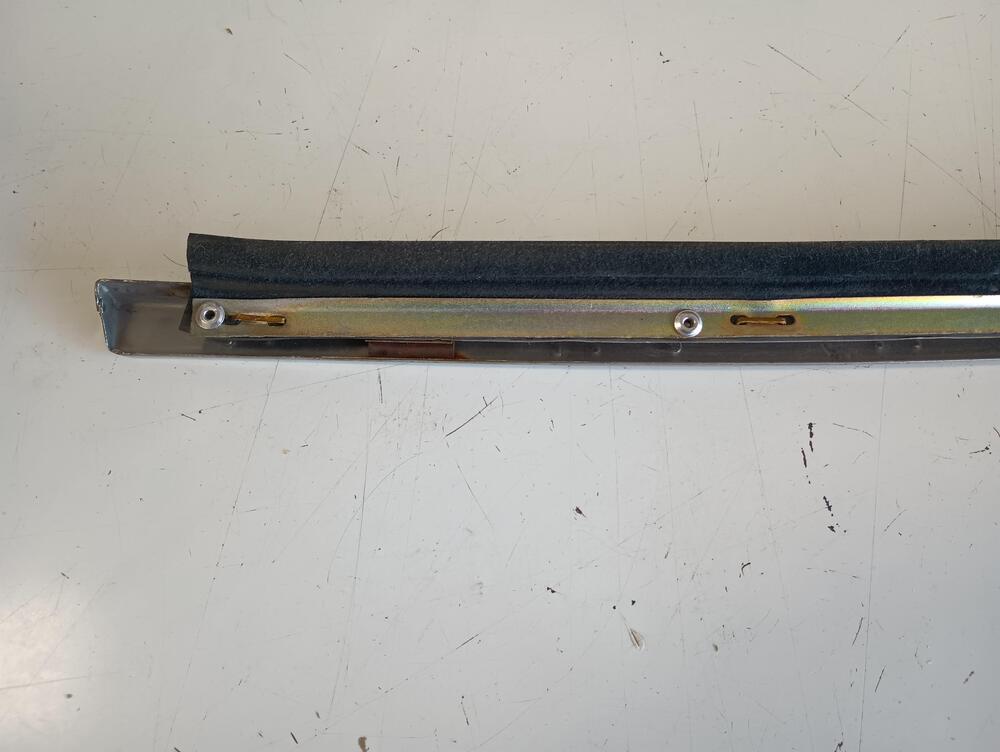
My approach is pretty much straightforward: I use 1/8" aluminum pop rivets instead of staples. The rivets are spread about 4 - 4 1/2" apart except at the front end. To avoid denting the belt molding when drilling the hole, insert a flat surface such as a putty knife to stop the drill bit. Installing the fuzzy strips on the top of the door card is similar, no need to use a flat surface. I did pick out all the fuzzy hairs from under the under the pop rivet head to ensure it was seated as deep as possible. Here's some pics of the belt molding. I did this about 12 years ago, purchased complete repro belt molding assemblies from Black Dragon but did not like the metal molding so I removed the squeegee strips and installed them on my own moldings. That's why you see staples securing the metal reinforcing strip to the rubber sqeegee in these pics. These staples do not go thru to the molding. Sometimes the bottom of the pop rivet has to be slightly trimmed to get clearance to fit the molding on the door. If so, a Dremel with a cutoff wheel is a good approach. Hope this helps you with your project.
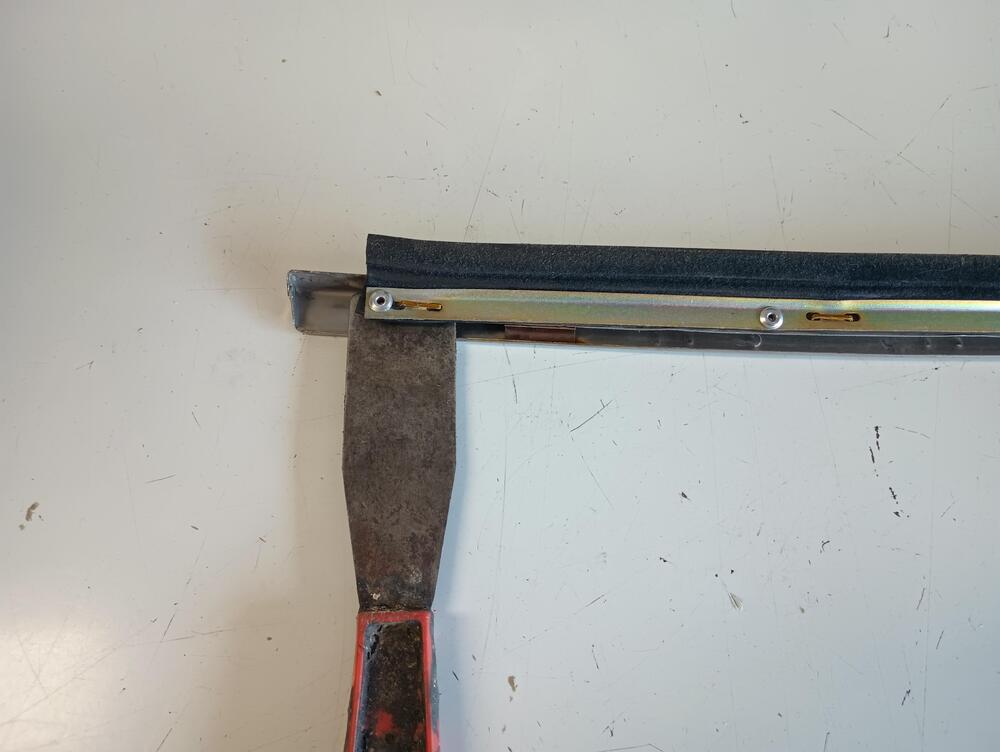
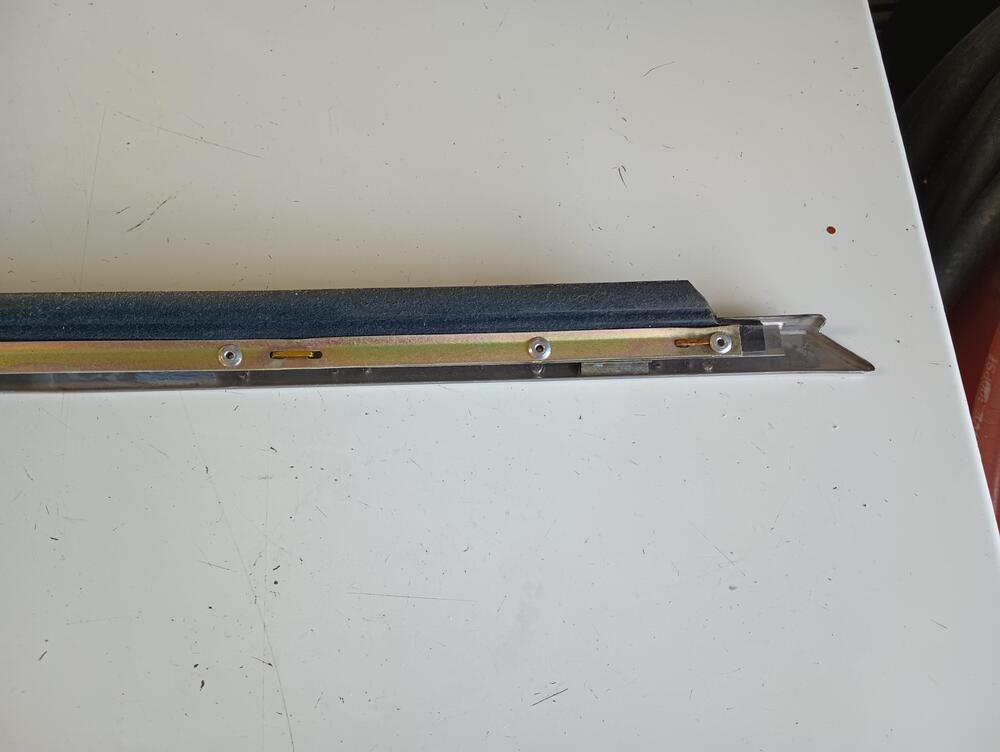
-
Charles, If you don't find a good stapler solution, I have an alternative method for both installs that has worked well for me. Jim
-
Thanks for posting the video. Viewing time is time well spent! This is an unbelievingly cost-effective upgrade.
-
@SteveJ Thaks for the correction, I was not used to looking at a shopping site this way. Are these LED's plug and play with our stock wiring?
-
Steve, Your Koito link comes up NLA.
-
@Namerow Most excellent comments as always, especially your collection of other owners methods! It was 25 years ago that I dismanteled my car for its resto work so my mind is a bit fuzzy on the particulars from that time but I did mark the liner as a replacement item. 10 years later when I actually did get back underway on the project, I picked up an excellent repro from good old Black Dragon for $20. It was so rigid that there was no way it was ever going to flex enough to go in from the front so a rear entry was mandated.
-
Yep, in from the rear. My experience was removal of the fan should provide adequate clearance.
-
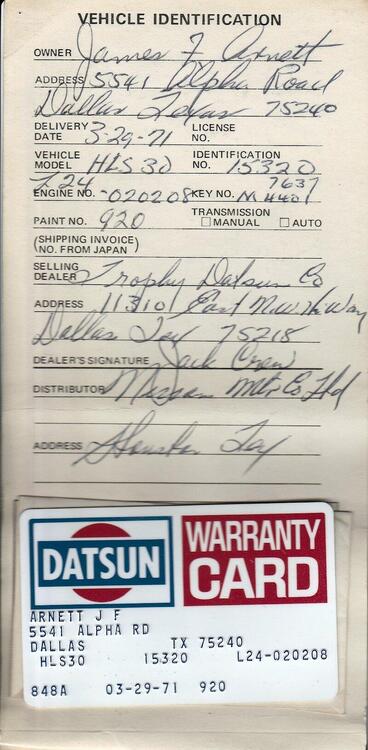
55 years in the rear view mirror, what a great ride it has been.