Leaderboard
-

CanTechZ
Free Member3Points1,316Posts -
chaseincats
Free Member2Points1,069Posts -
Parman
 Subscriber
 2Points100Posts
 -

siteunseen
Free Member1Points15,175Posts


Popular Content
Showing content with the highest reputation on 06/12/2025 in all areas
-
2 pointsGang - I'm also in a classic British car restoration forum and they had a really cool thread idea that I wanted to bring here: Did you buy your Datsun brand new and you still own it to this day? If so, please post the oldest photo of you & your car in this thread, and maybe write a little story about what prompted you to buy it at the time! * Also welcome in this thread are stories & photos from Z owners where another family member (parent, grandparent, etc) bought the car new and it has stayed in the family until present day Looking forward to reading your story! I know @jfa.series1 has one!2 points
-
I used the two prong electronic flashers for a while after converting to LEDs. I found that some of them had spotty performance. After that I switched to 3 prong flashers and grounded the third prong. That has provided reliable performance for years.1 point
-
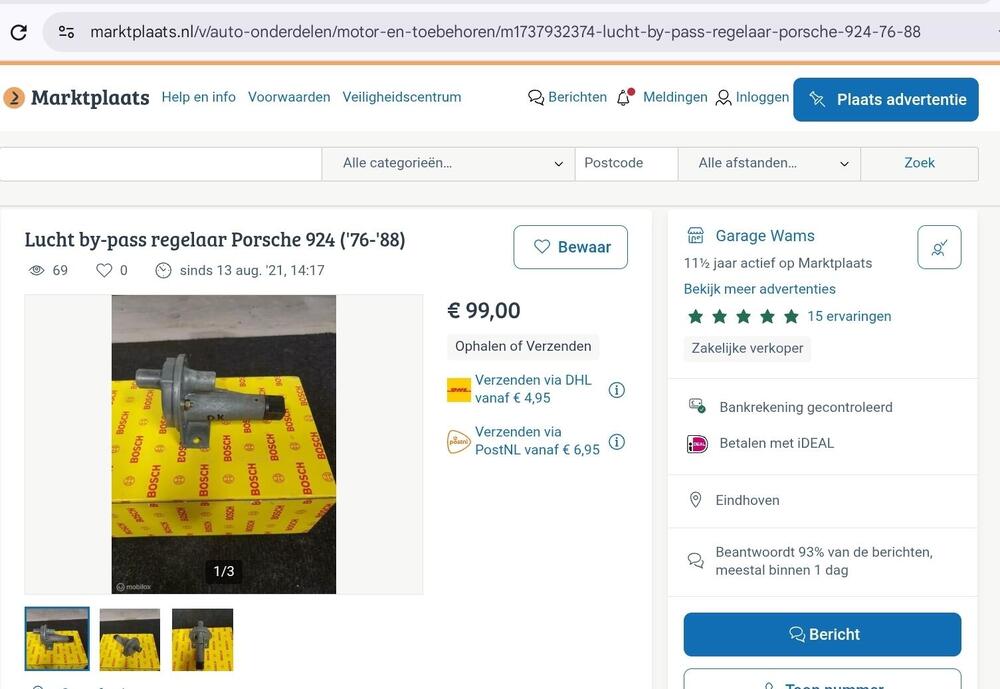
1 pointIf someone is looking for an original Bosch version of the 280Z auxilary air valve here is one in NOS condition. Its for a 1976 Porsche 924, but it's a very similar system. Marktplaats≥ Lucht by-pass regelaar Porsche 924 ('76-'88) — Motor en...Lucht by-pass regelaar Porsche 924 ('76-'88)Lucht by-pass regelaar Porsche 924-Porsche 924, 2.0liter-Voor koude start regeling (lucht)-Bosch-Getest en
 1 point
 -
1 pointThey definitely were. Did that cause the brakes pads to tighten on the rotors? There was some brake dust everywhere. I ended up doing 3 things at once, flushing the brake fluid. Disassembled the calipers, and repack and set the wheel bearings correctly. The wheel bearings heating up may have caused air in the brake fluid to expand and tighten the brakes, I don't know. I just finished it off by adjusting the pedal to the floorboard distance, it was 7", now it's 8". Same with the clutch pedal, it was an inch off. Then set the master-vac push rod length to 3.5mm below the flange surface. I had backed everything off while 15 miles away trying to get home, not knowing what was going on. Things are looking good now.1 point
-
1 pointSo I just did these seals on a manual transmission. The large Oring seal seals the drive body to the transmission case. I'm not sure the little top hat seal would seal anything out. The small square sided seal goes inside the speedometer gear drive body. It seals the speedometer cog shaft. If this seal gets hard or goes bad, liquid leaks up into the cable housing until it finds a way out. Usually a crack in the speedo cable housing. I replaced mine and the floor under the car has stayed dry. I will have to check the fluid levels again soon to make sure it's still full but I believe those two seals are the solution1 point
-
1 pointThis has the same part number. #51 in the microfiche. Datsun Z Transmission Case & Fit...Datsun Z Transmission Case & Fitting (Automatic-3N71B) (F...1 point
-
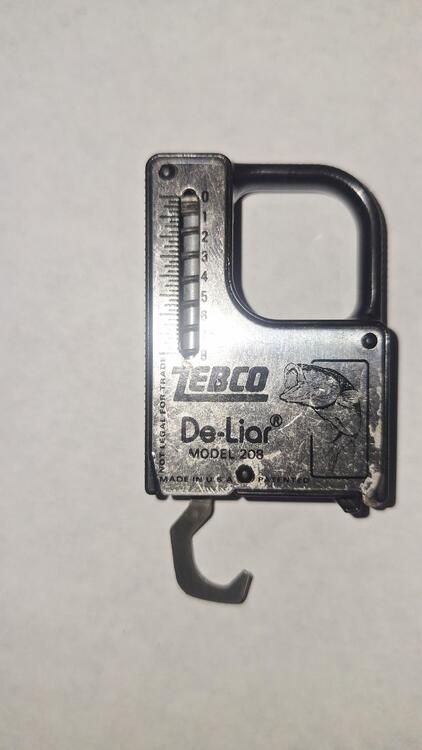
1 pointI drove it about 15 miles to the car show, never touched the brakes, just used the E-brake. Front wheels were heated up some. Got home and they were both about 170-180°. I took apart the calipers, they seemed okay. Very hard to remove a couple of the pistons. Oiled them up and reassembled. Checked the wheel bearing rotation starting torque with my fish de-liar. They were both way too tight. Replaced the grease in the wheel bearings with fresh grease and torqued them correctly this time. Went for a drive, problem solved. Wow, fun car!
 1 point
 -
Looks like I never finished this thread. I replaced the front yoke and took the propeller shaft to a local shop for balancing. It was there opinion that the shop that did the shortening of the prop shaft did not balance it. When I went to install the shaft into the transmission, the "slop" (the amount I could push the yoke radially) was a lot. As an estimate from looking, I'd say I could move the yoke in any direction about .020". So, that is about a mm of movement radially. It might have been a bit more than that. So, I decided to replace the bushing that is in the tail shaft of the transmission. Looking back on it, I think the bushing developed wear because of the driveshaft being out of balance for the first 500 or so miles I put on the car. I think that the bushing was sacrificial - meaning made of softer material than the yoke. Anyway, after putting the new bushing in (removal and reinstallation of the transmission was required), the new yoke was tight (no discernable movement at all radially). With everything back together, the vibration that caused me to start this thread is gone!1 point
-
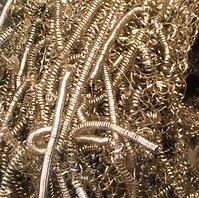
You've got to be kidding!!! Five minutes after wearing that, my wrist would look like this:
 1 point
 -
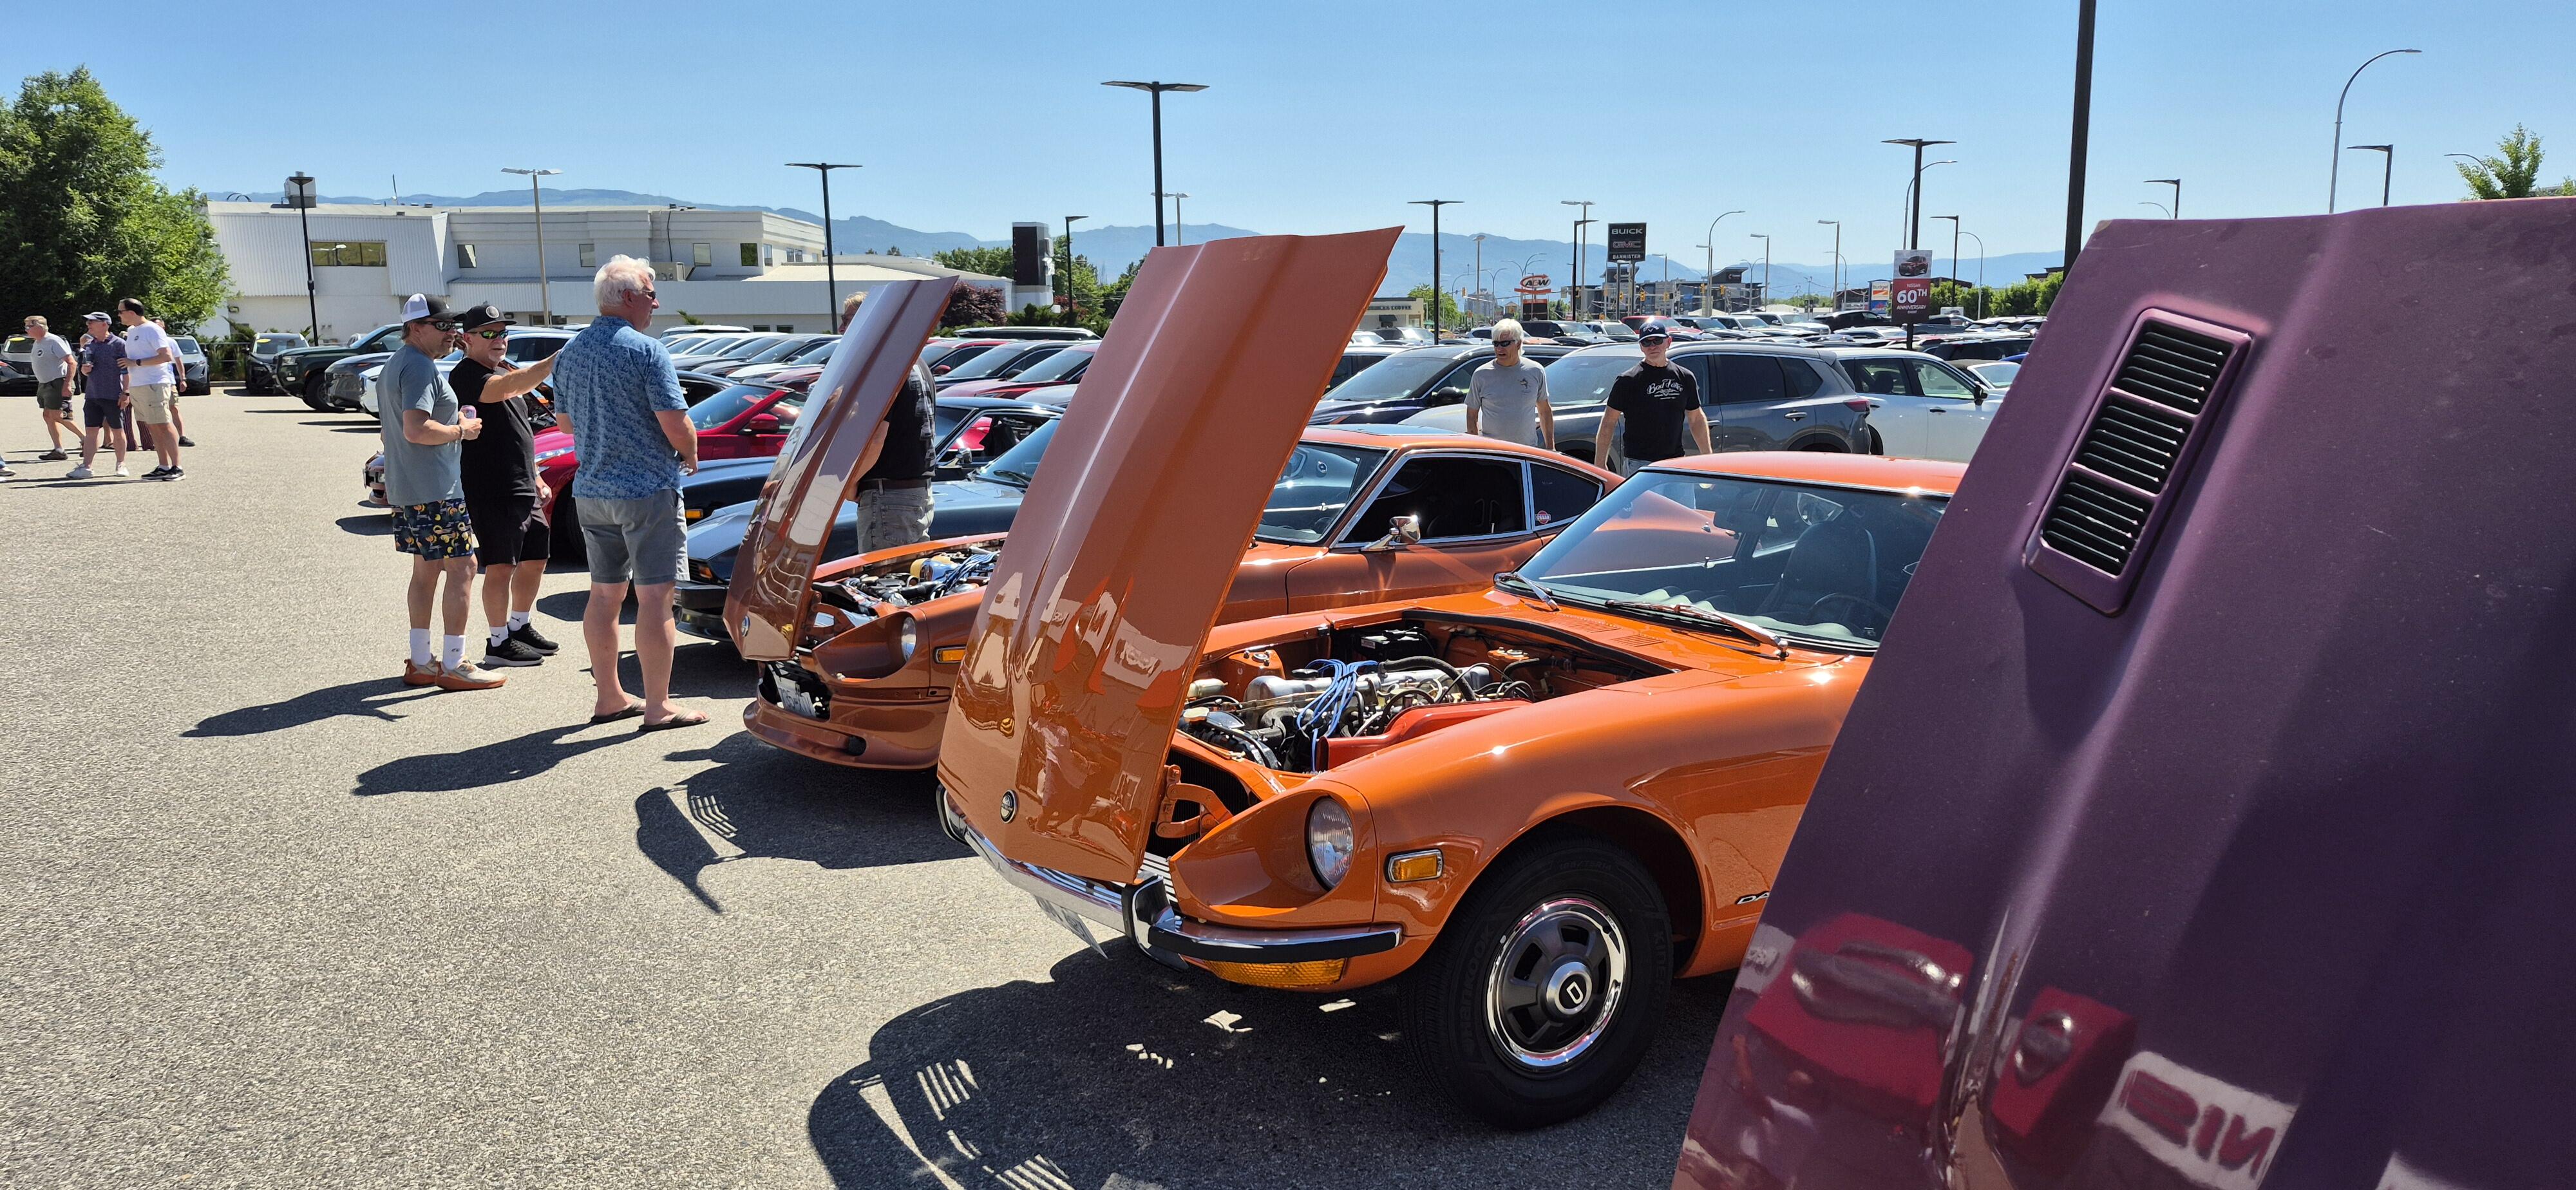
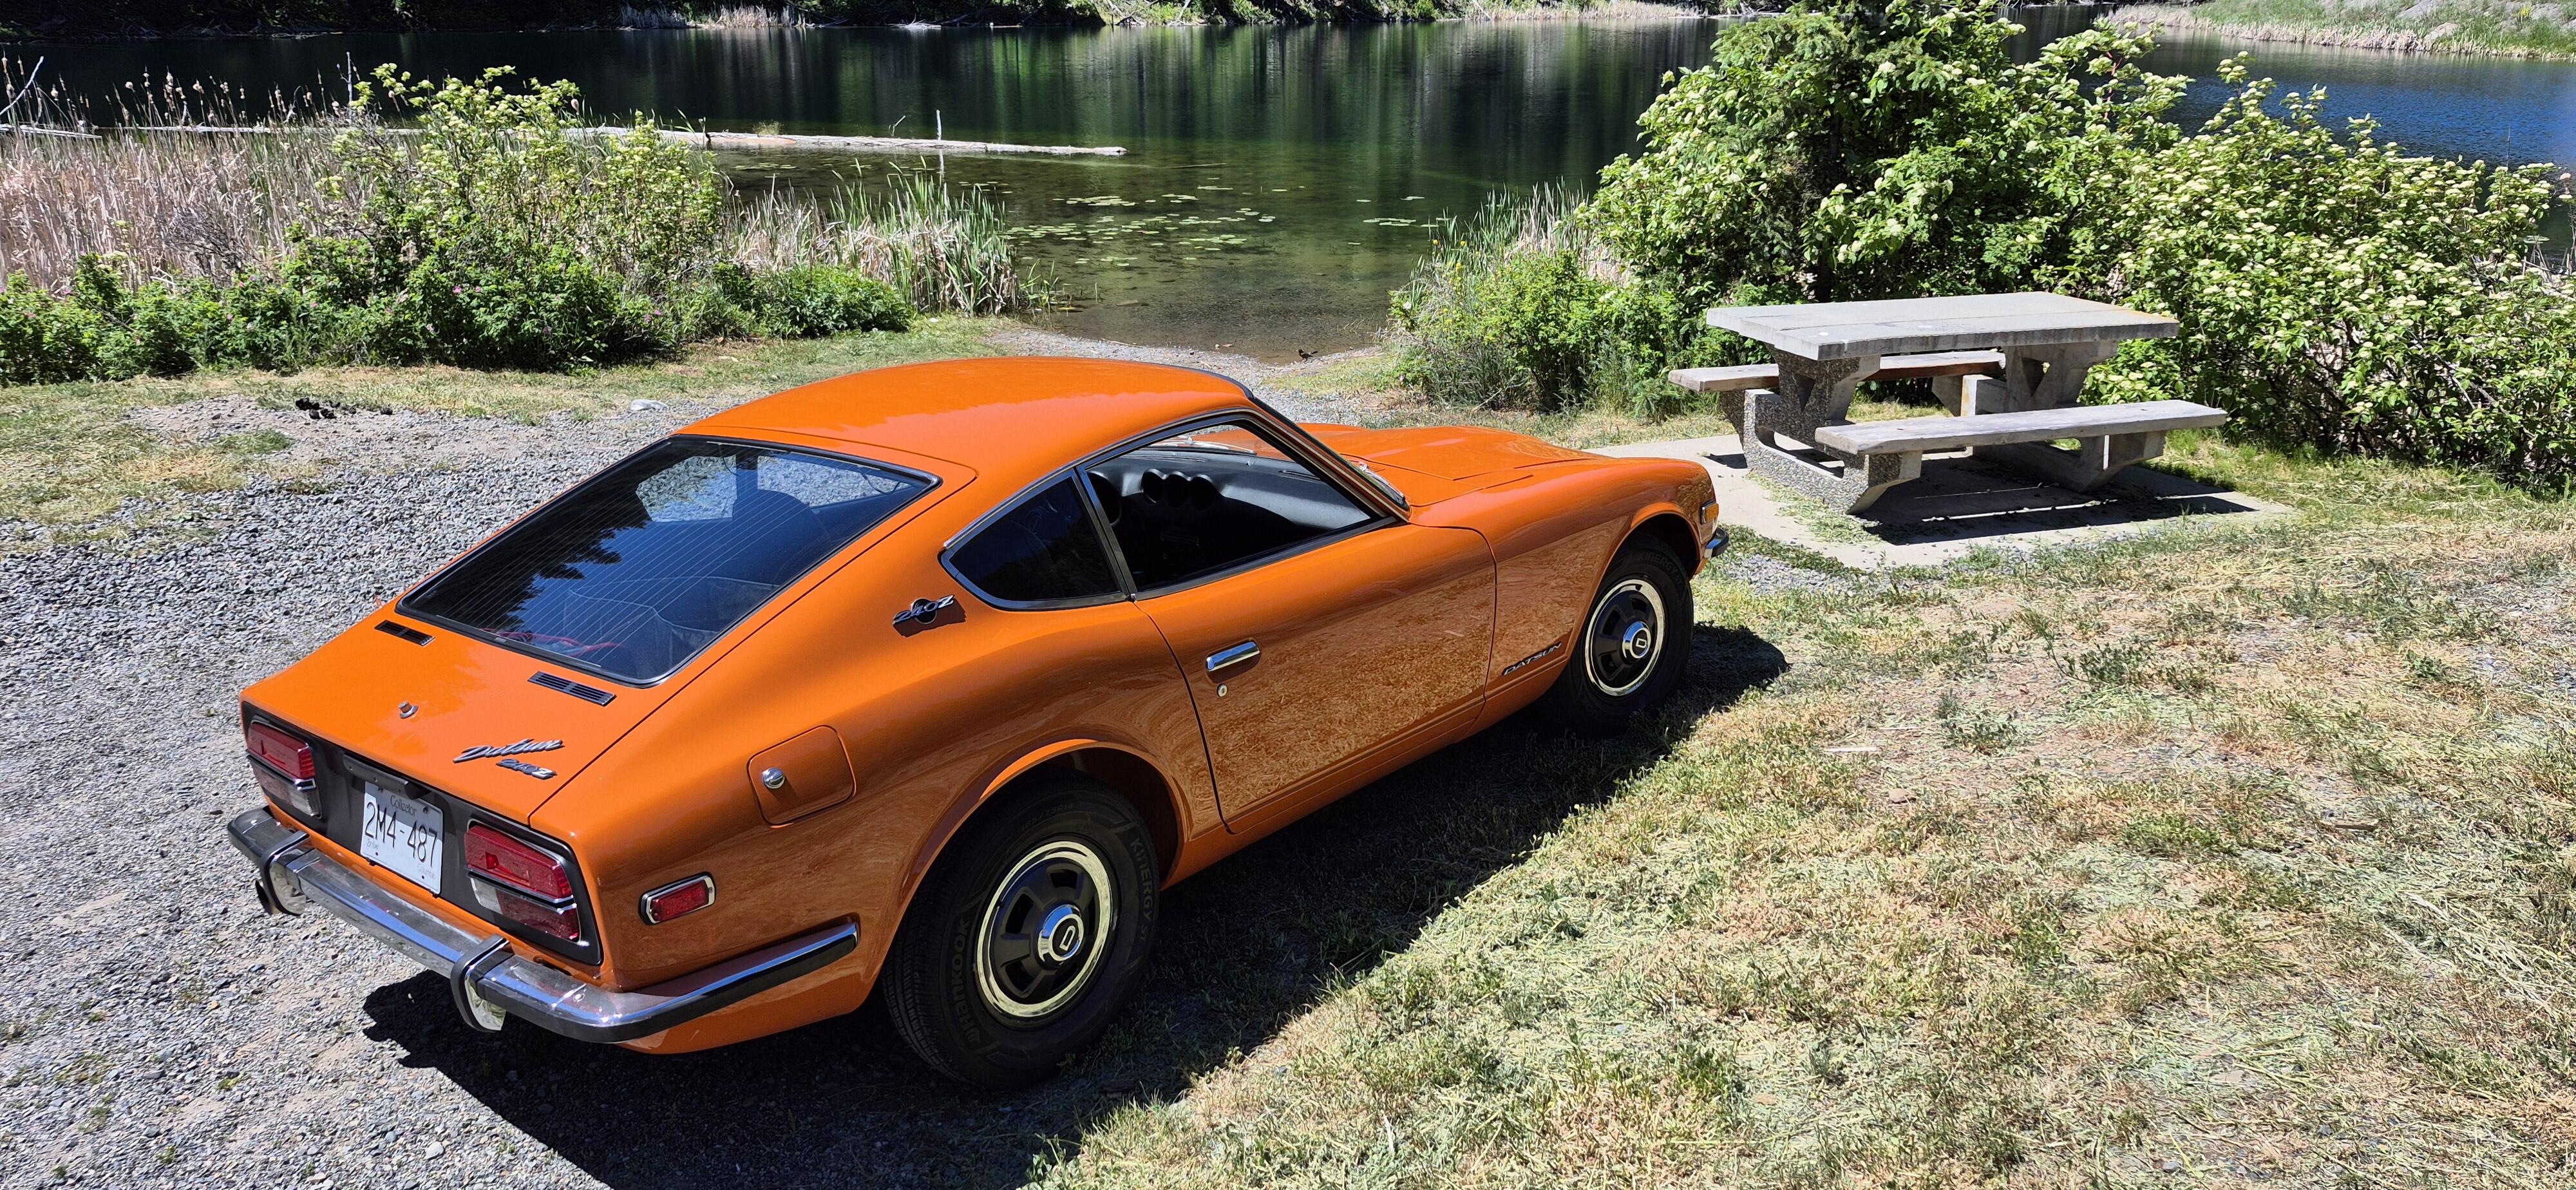
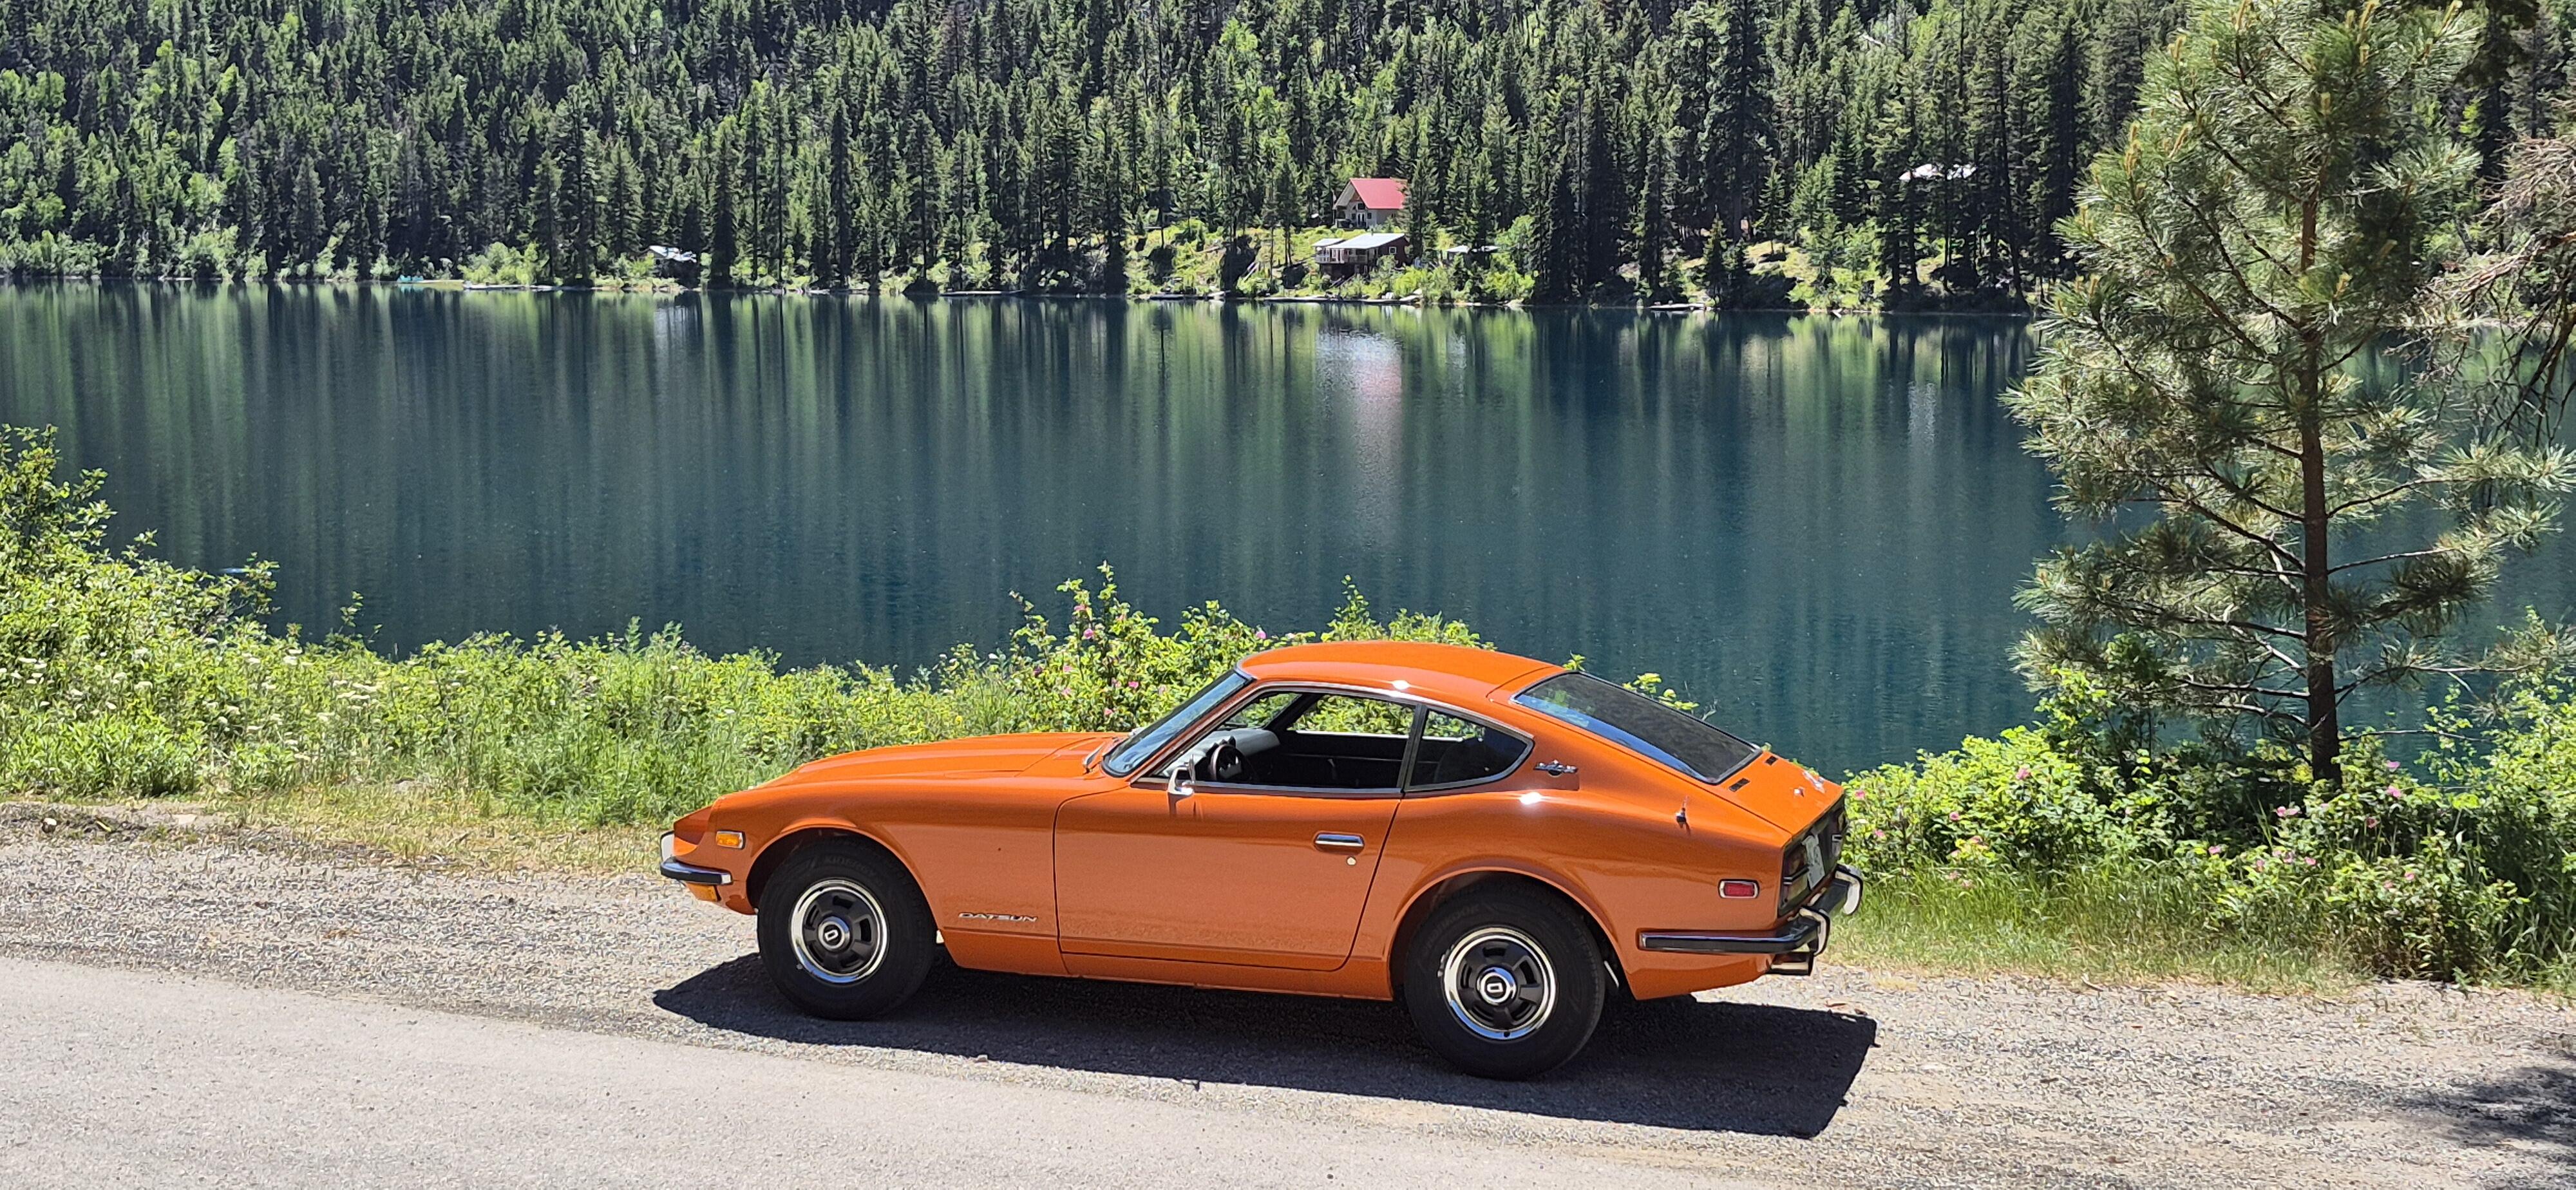
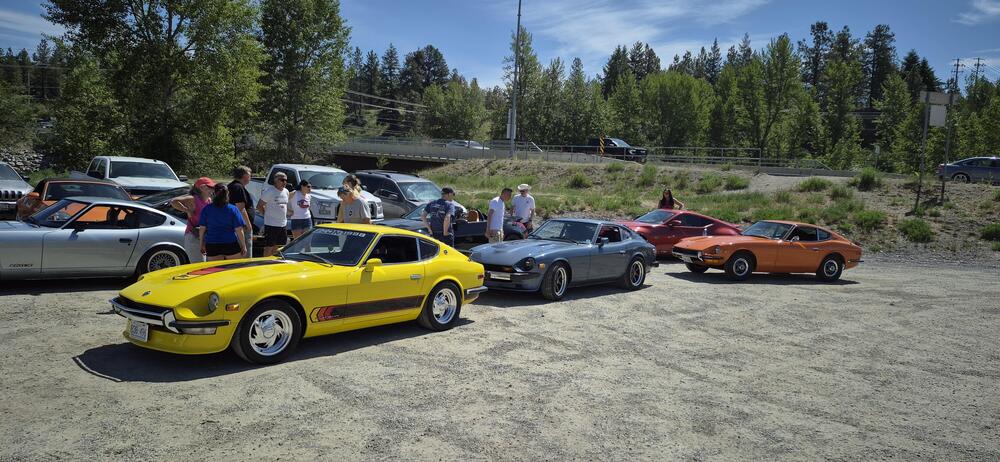
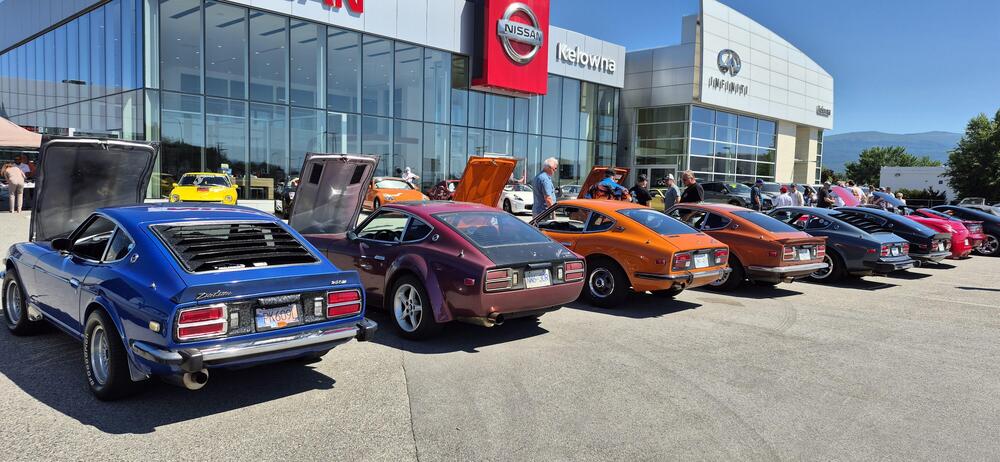
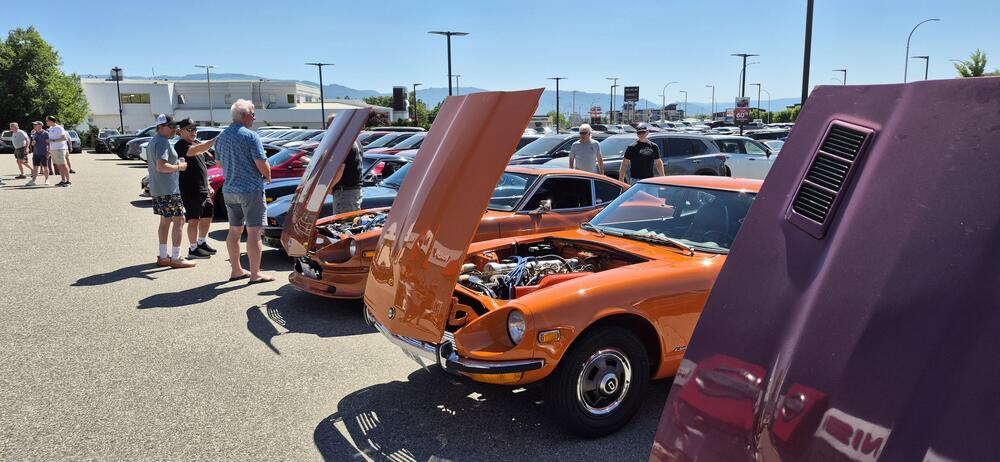
Went on my first road trip of the year with my BC Z club friends. About a dozen of us left from the Vancouver area, I joined from Chilliwack and we made our way to the BC Okanagan. Our original plan was to take the Coquihalla Highway to Kelowna, but a large sinkhole closed that route. We ended up taking the more scenic Hope-Princton Highway. For me it was a 436 mile (700km) return trip. My1970 Zed performed flawlessly, even in high mountain terrain and temperatures in the mid 30's C, (93 F), Our first stop was in Princton, for fuel, and to meet up with a few more Z club members. Here's a pic of a few of us in Princton. Our end destination was Kelowna, where Kelowna Nissan generously us hosted for a welcome event. They put on a great BBQ and offered up some Nissan swag. With other club members that met up with us along the way, there was close to twenty Zeds. The Zed to the left of me is fellow forum member @Chickenman, with his 1976 280Z. Thanks Richard, for the "way home" route ideas. The next morning, quite a few had decided to stay an extra day and enjoy the awesome wineries in the surrounding area. I and others, make the trek back, with most taking the faster, more direct Coquihalla route, as sink hole repairs had been made. I like to take the road less travelled, so I did a solo drive on a longer but more scenic route. This route included highway 5A from Merritt to Princton, that runs beside a seemingly endless series of beautiful lakes. Another bonus was that I was almost the only car on the road, with that route. 🙂 All in all, it was a great weekend. I'm looking forward to the next road trip.😎


 1 point
 -
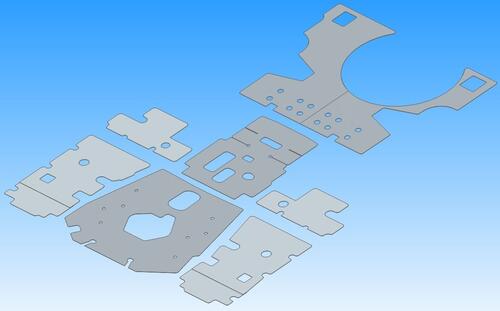 Templates for the tar mats (floor insulators) for the front floor and under seat areas of a 1970 240Z in PDF and DWG formats. The dimensions were taken from my July '70 car. I measured these as accurately as I could and printed verification templates on a wide format printer to check fit. Transmission tunnel and rear deck templates have now been added, this now a complete set.Free1 point
 -
 Templates and a 3D model (.stp format) for a 240Z glove box. the main formed body and flat sides were checked against disassembled and flattened original parts and are quite accurate. The smaller formed corner parts are not as accurate. Also included is a 1:1 scan of a tracing for the two formed corner parts, these parts were only roughly modelled and did not flatten exactly the same as the actual parts.Free1 point