Leaderboard
-

Zed Head
Free Member6Points19,235Posts -
Richie G
Free Member6Points254Posts -
conedodger
Free Member5Points12,513Posts -

siteunseen
Free Member3Points15,115Posts


Popular Content
Showing content with the highest reputation on 09/04/2024 in all areas
-
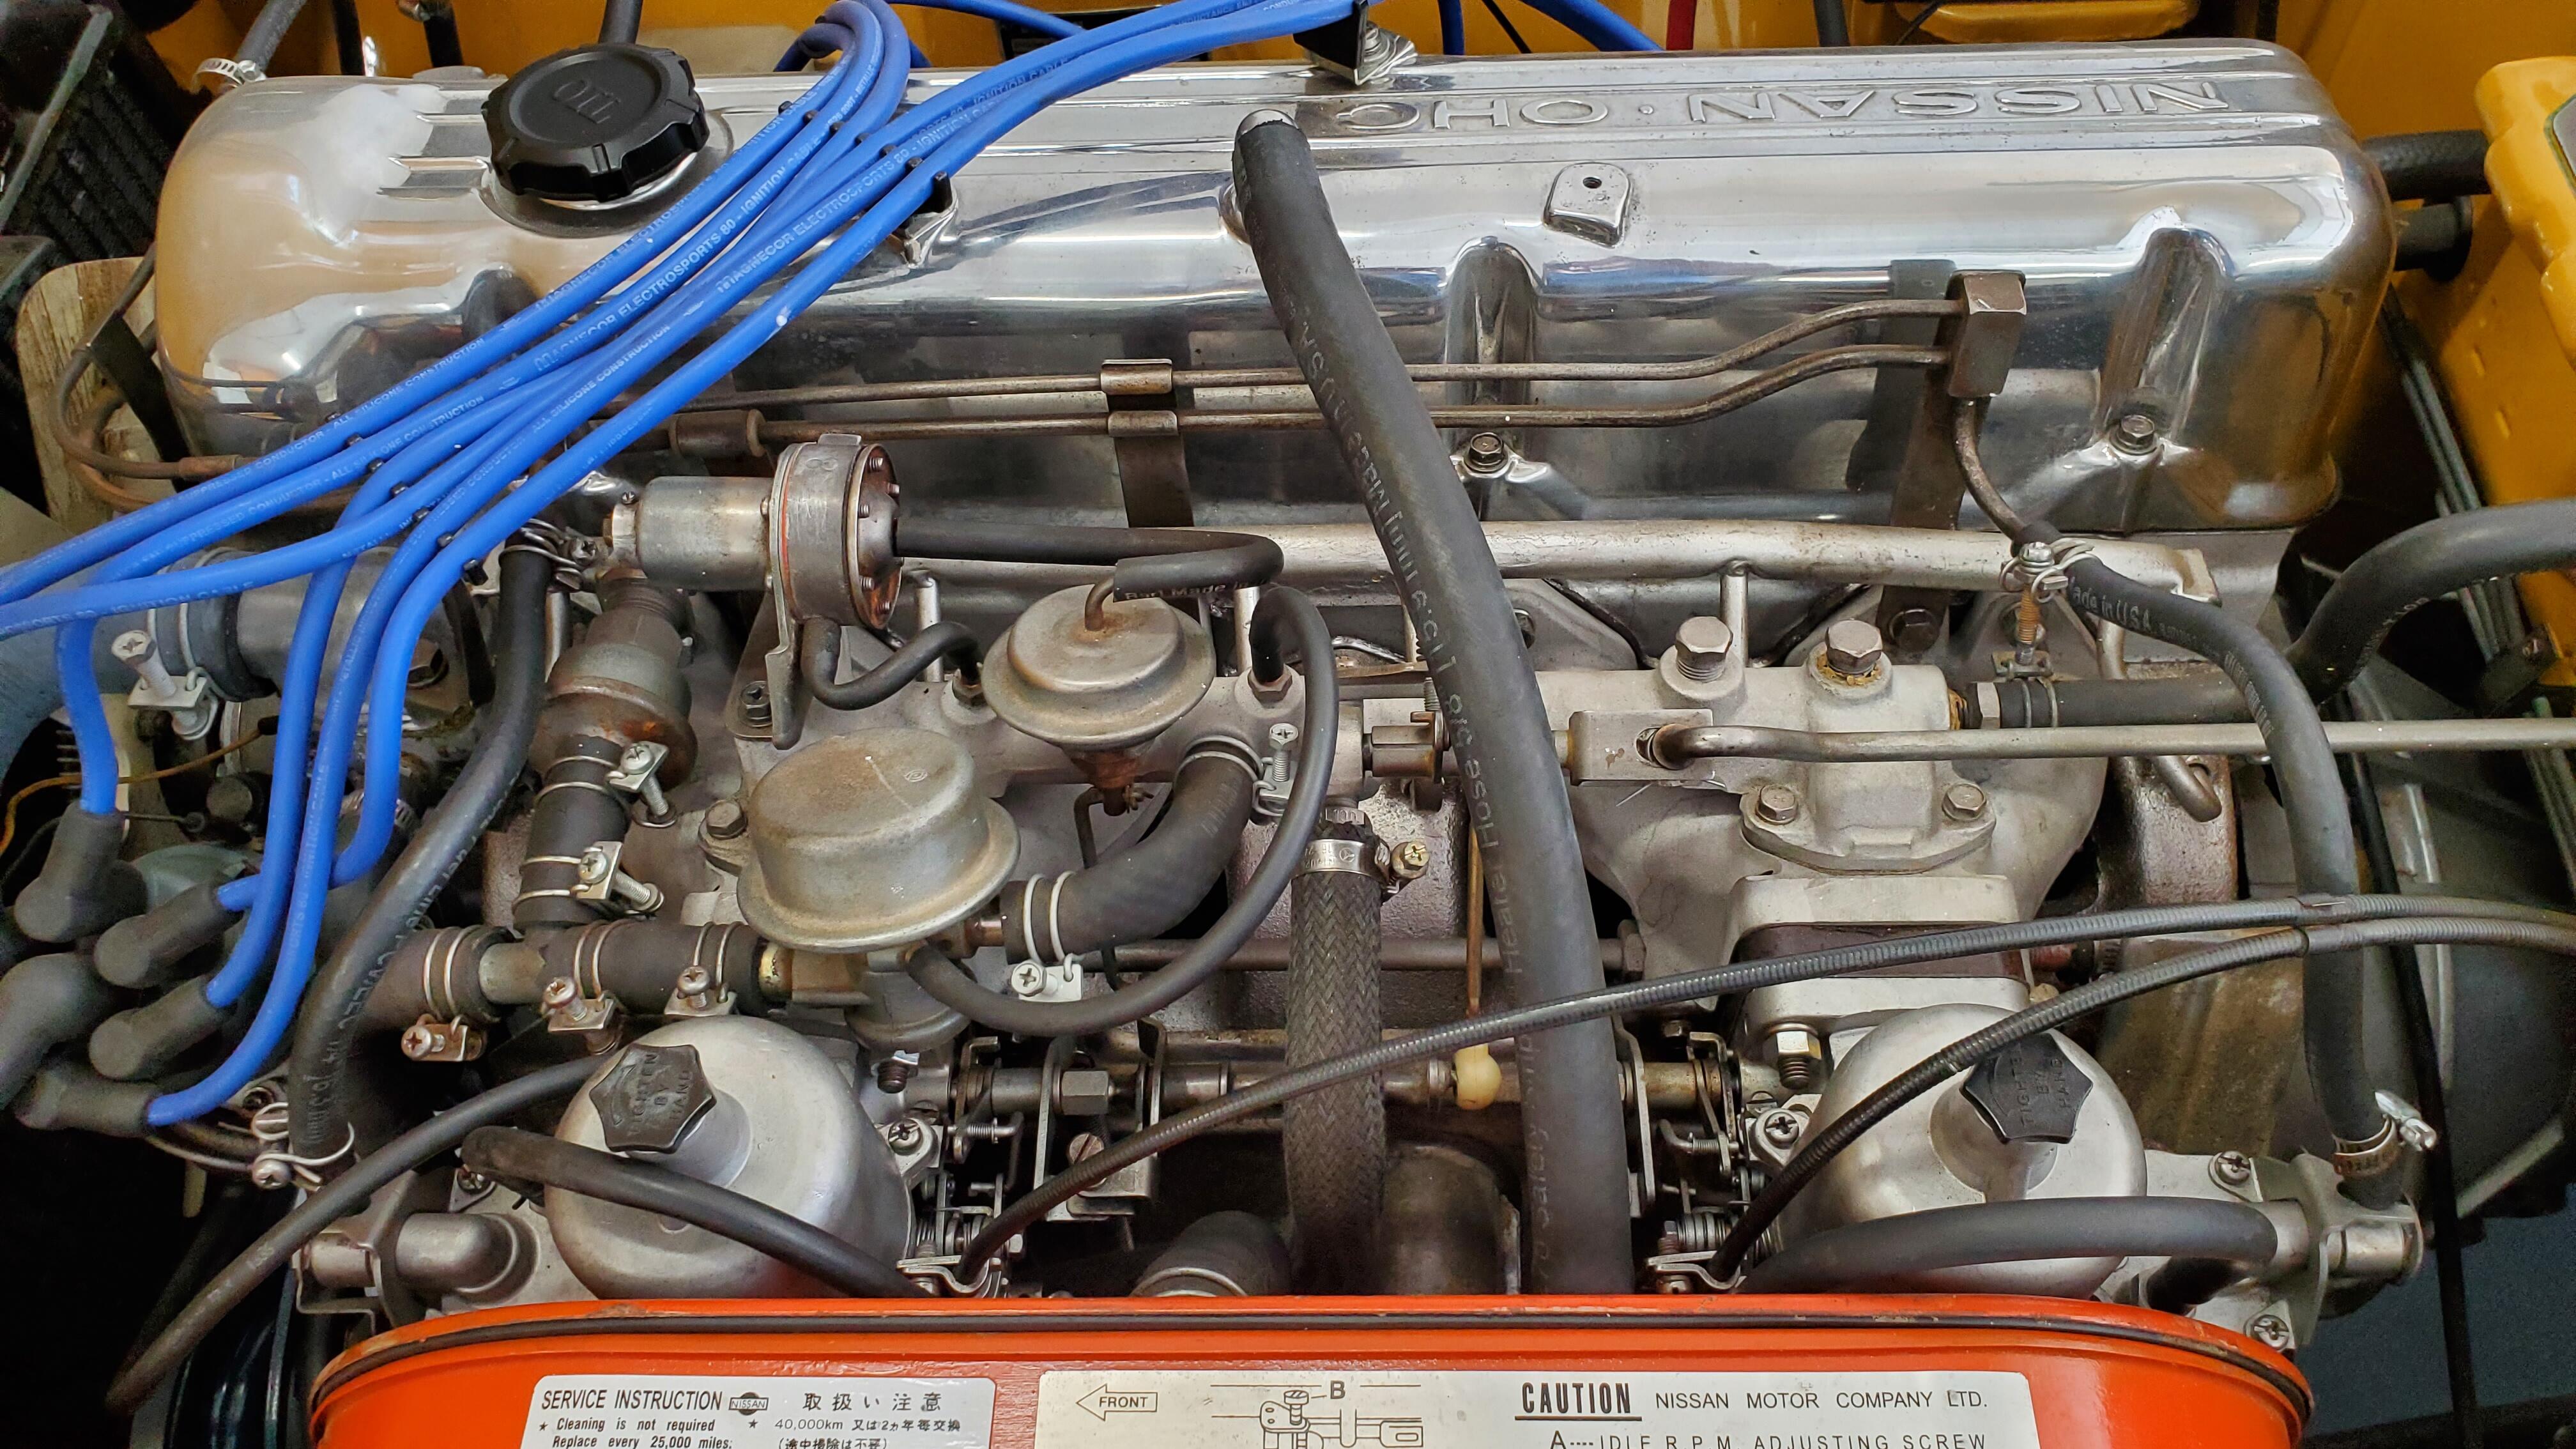
6 pointsWell, everything is back and Ive attempted to balance the carbs. I think i did it right from all the reading Ive done. i madse sure to balance the airflow in each carb, then tested the mixture by slightly lifting the piston in each. Idle was pretty much un changed after I got them where It felty ok. i didnt have an impedence trype rpm reader was relying on the gauge and the sound of the engine. It feels around 850 from what i can tell. I'll have a friend come by and double check my work lol. One thing i did was go back and find the "before" pic and compare it to my new after. I'm pretty proud of theprogress Ive made as a newbie and 1st time owner. My work is probably not perfect but I continue to advance it little by little. Before, first pic from buying it after with all the changes / eliminations I really want to thank everyone for all the help these past two years. I couldn't have gotten this far without the community. Next up is getting the seats redone and back in so i can test drive it.

 6 points
 -
3 pointsHere's some past cover leaks threads. You might read over them and learn something helpful. I know you need to diagram and label the bolts on the water pump and the cover. It's a big mis match of depths and sizes. I recommend using the original fasteners. These after market kits aren't machined as well. And aluminum to steel which is the cover calls for special applications such as lock washer then flat washer under the bolts. https://www.google.com/search?q=front+cover+leaking+classiczcars.com+&client=ms-android-americamovil-us-revc&sca_esv=d0b2727f85f62fcc&source=android-home&source=hp&ei=QHHXZta6FYOyptQPzf7ViAo&oq=front+cover+leaking+classiczcars.com+&gs_lp=EhFtb2JpbGUtZ3dzLXdpei1ocCIlZnJvbnQgY292ZXIgbGVha2luZyBjbGFzc2ljemNhcnMuY29tIDIFECEYoAEyBRAhGKABMgUQIRigATIFECEYoAEyBRAhGKsCMgUQIRirAjIFECEYqwJIkmlQL1i7XHAAeACQAQCYAZkRoAHhSqoBETAuNi42LjQuNi0xLjEuMS4xuAEDyAEA-AEBmAIUoAK5UcICDhAuGIAEGLEDGNEDGMcBwgILEAAYgAQYsQMYgwHCAgUQABiABMICDhAuGIAEGMcBGI4FGK8BwgIREC4YgAQYsQMYgwEYxwEYrwHCAggQABiABBixA8ICCxAuGIAEGLEDGIMBwgIFEC4YgATCAgYQABgWGB7CAggQABgWGB4YD8ICCxAAGIAEGIYDGIoFwgIFECEYnwWYAwCSBxAwLjIuMTAuNC42LTEuMi4xoAfMdQ&sclient=mobile-gws-wiz-hp3 points
-
1 pointYes. Get the engine to true TDC and mark it both pully and distributor. Please don't leave the oil pump attached. You'll have to realign the distributor spindle with the crank gear regardless. This is a lot of work to repair a small leak that's not under pressure so I recommend that you get another head gasket. You'll only use the front bit as a new gasket for the front cover - and discard the rear - so you don't need to go crazy with the type, cost, availability. Remove the front cover and clean all the mating surfaces scrupulously. Cut the head gasket at the block / head junction with a very sharp instrument - careful with the underside of the aluminum head. You want it cut very cleanly & tight against the block. Use that piece as a pattern when cutting the front off the new head gasket but make it just a hair longer on both sides to be sure. And make sure the cut is SQUARE. Clean the face of the block and underside of the head scrupulously. Use Acetone or lacquer thinner on lint free cloth or towel to remove oil and residue on ALL the mating surfaces. Especially underside of head and block where they meet. Check your new mini head gasket for fit and adjust if necessary. Prepare your gaskets (new head mini gasket, right and left front cover gaskets) by THINLY coating them with fuel and oil resistant gasket maker. I recommend the "pinch method" - latex gloves, put a dab of gasket maker on index finger, pinch with thumb and rub a bit, pinch the gasket between your fingers to cover both sides with a thin coating as even as you can get. Then add bit more to that corner between the head and block - make sure the new head gasket seam is sealed when you place your new gasket piece in place. (That's most likely where your current leak is coming from.) The top corners of the cover need your attention. When you put the front cover in place don't tighten all the front bolts first while you're doing it. You want a good seal between the head and front cover and the only clamp is from those two small bolts on top. Snug the front cover in place by alternating pressure on the block face and head underside to pull the cover into that corner made by the block and head. Snug each direction a bit while the cover can still move slightly so you're sure you get a good clamp to the head. Then you can put everything else together. I've noticed that most L engine oil pans have been mis-torqued and the metal is deformed around many or all bolt holes. I pound them back down level with the mating surface and use the same pinch method to apply gasket maker. (Ya, I've tried doing them dry but,,,) (I've done this by trying to leave the head gasket front in place and also have been on the receiving end of someone else leaving the head gasket front in place and trying to re-seal it after pulling the front cover... After all that work, I prefer a method that's more likely to maintain a good seal. That's why I now replace with a clean, dry section of gasket. I use the pinch method for gasket maker on gaskets because I've seen way too much silicone squeezed off gaskets and into places it should never be. Lastly, these engines weren't built for modern oils (synthetics) which don't have the necessary polymers to plug up the minute gaps. So they need all the help they can get...)1 point
-
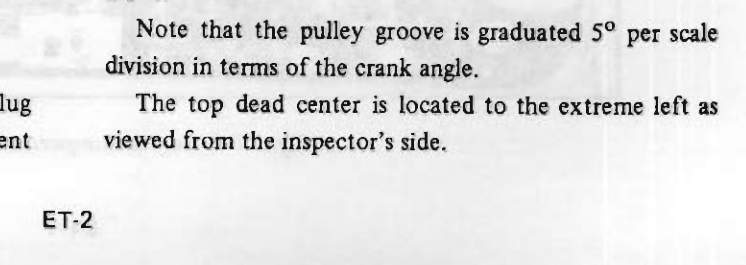
1 pointWait.... If this pic was taken before the crank was rotated to TDC, then there is nothing to be gleaned from it with regard to valve timing. Who cares where the cam timing marks are if the engine isn't at TDC?1 point
-
1 pointI think that your cam timing might be off by a tooth. If you're careful you can get it right without removing the front cover. You'll need a chain holding tool. Not sure how it would get off a tooth except for previous misassembly or radical chain wear. Also, I think that you can get a really close estimate of TDC using the damper key keyway in the crankshaft. The keyway should be aligned with the top of the block. Since you have the damper off it should be doable. Don't forget that the engine is tilted so up and down are askew. All timing events are relative to the crankshaft and its pistons.1 point
-
1 pointYeah based on the pics you found, I think my damper is OK. I've been using the bolt loosely threaded onto the nose of the crank to turn the engine clockwise only, not the cam sprocket. I found my old rinky-dink fuel pump; going to put that on and see if it makes a difference with the fuel pressure issue. I didn't replace that pump with my rebuilt OEM one because it broke, but because I like the look of the OEM one more. So the pump above is still functional. So, to recap, I'm chasing two issues: Car dies after 15-20 minutes and won't start Very poor running (hunting idle, backfiring under light load, etc) The car ran like garbage when I installed the auxiliary tank over the weekend, but it didn't actually die on me, even after running for 20+ minutes. So that means either 1) I've got a restriction in the fuel delivery or 2) the fuel pump output is marginal. Maybe both. Going to try to eliminate 2) by installing the old pump and see if it runs better.
 1 point
 -
1 pointIt was fun looking around at the different dampers out there on the internet. Seems like your damper is fine. I'd rotate the engine around twice by hand and put that bottom/left side mark on the pointer. Then see how the cam sprocket lines up. If you use the cam sprocket to turn the engine make sure that you turn it backward before checking your marks. So that the slack is removed from the tight side of the chain. That might explain some of the discrepancy in your notch and groove. Ideally, everything is assembled and the engine is turned clockwise via the crankshaft bolt, or the fan belt, looking at it from the front, to keep the tight side of the chain tight. Assume that the TDC/zero mark is the farthest to the left, looking from the front.
 1 point
 -
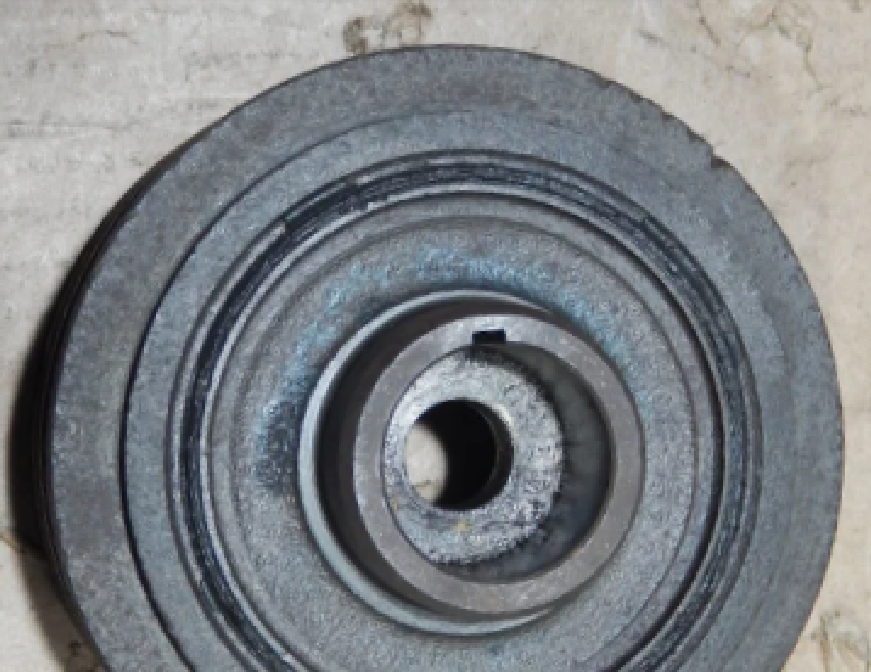
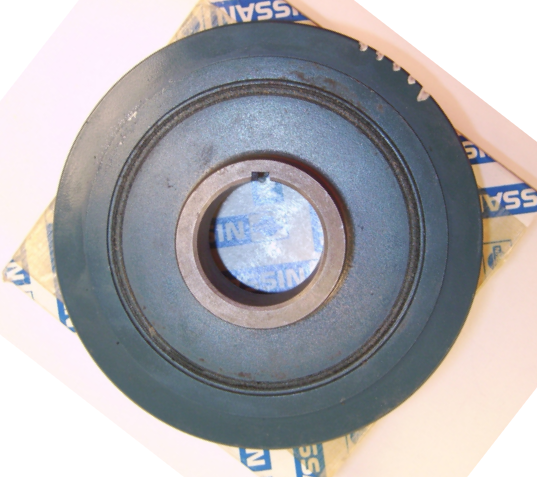
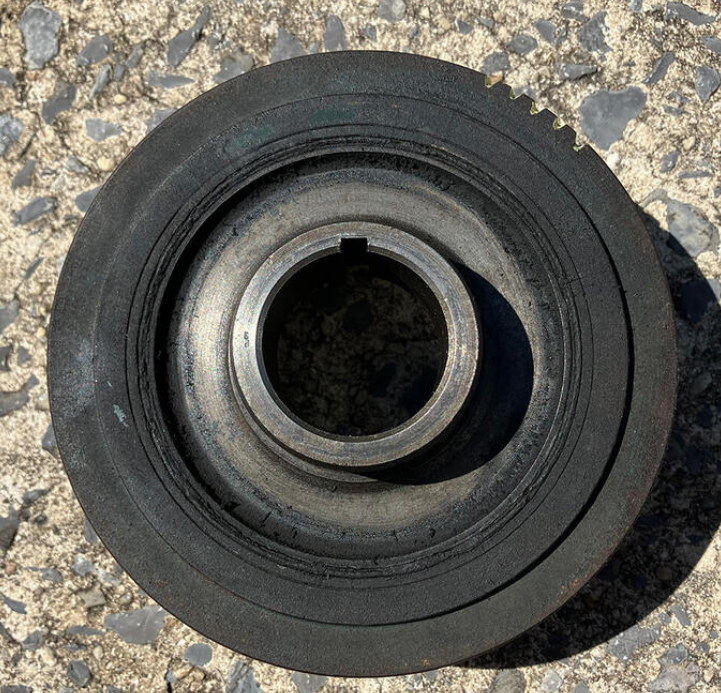
1 pointI found another that doesn't say Euro. It looks about the same. Not sure what's going on here. I'd probably take the time to verify TDC and mark it on the damper pulley. Then use a dial-back light to set timing. https://maseraticompound.com/products/datsun-240z-main-crank-shaft-pulley-with-extra-ac-belt-pulley
 1 point
 -
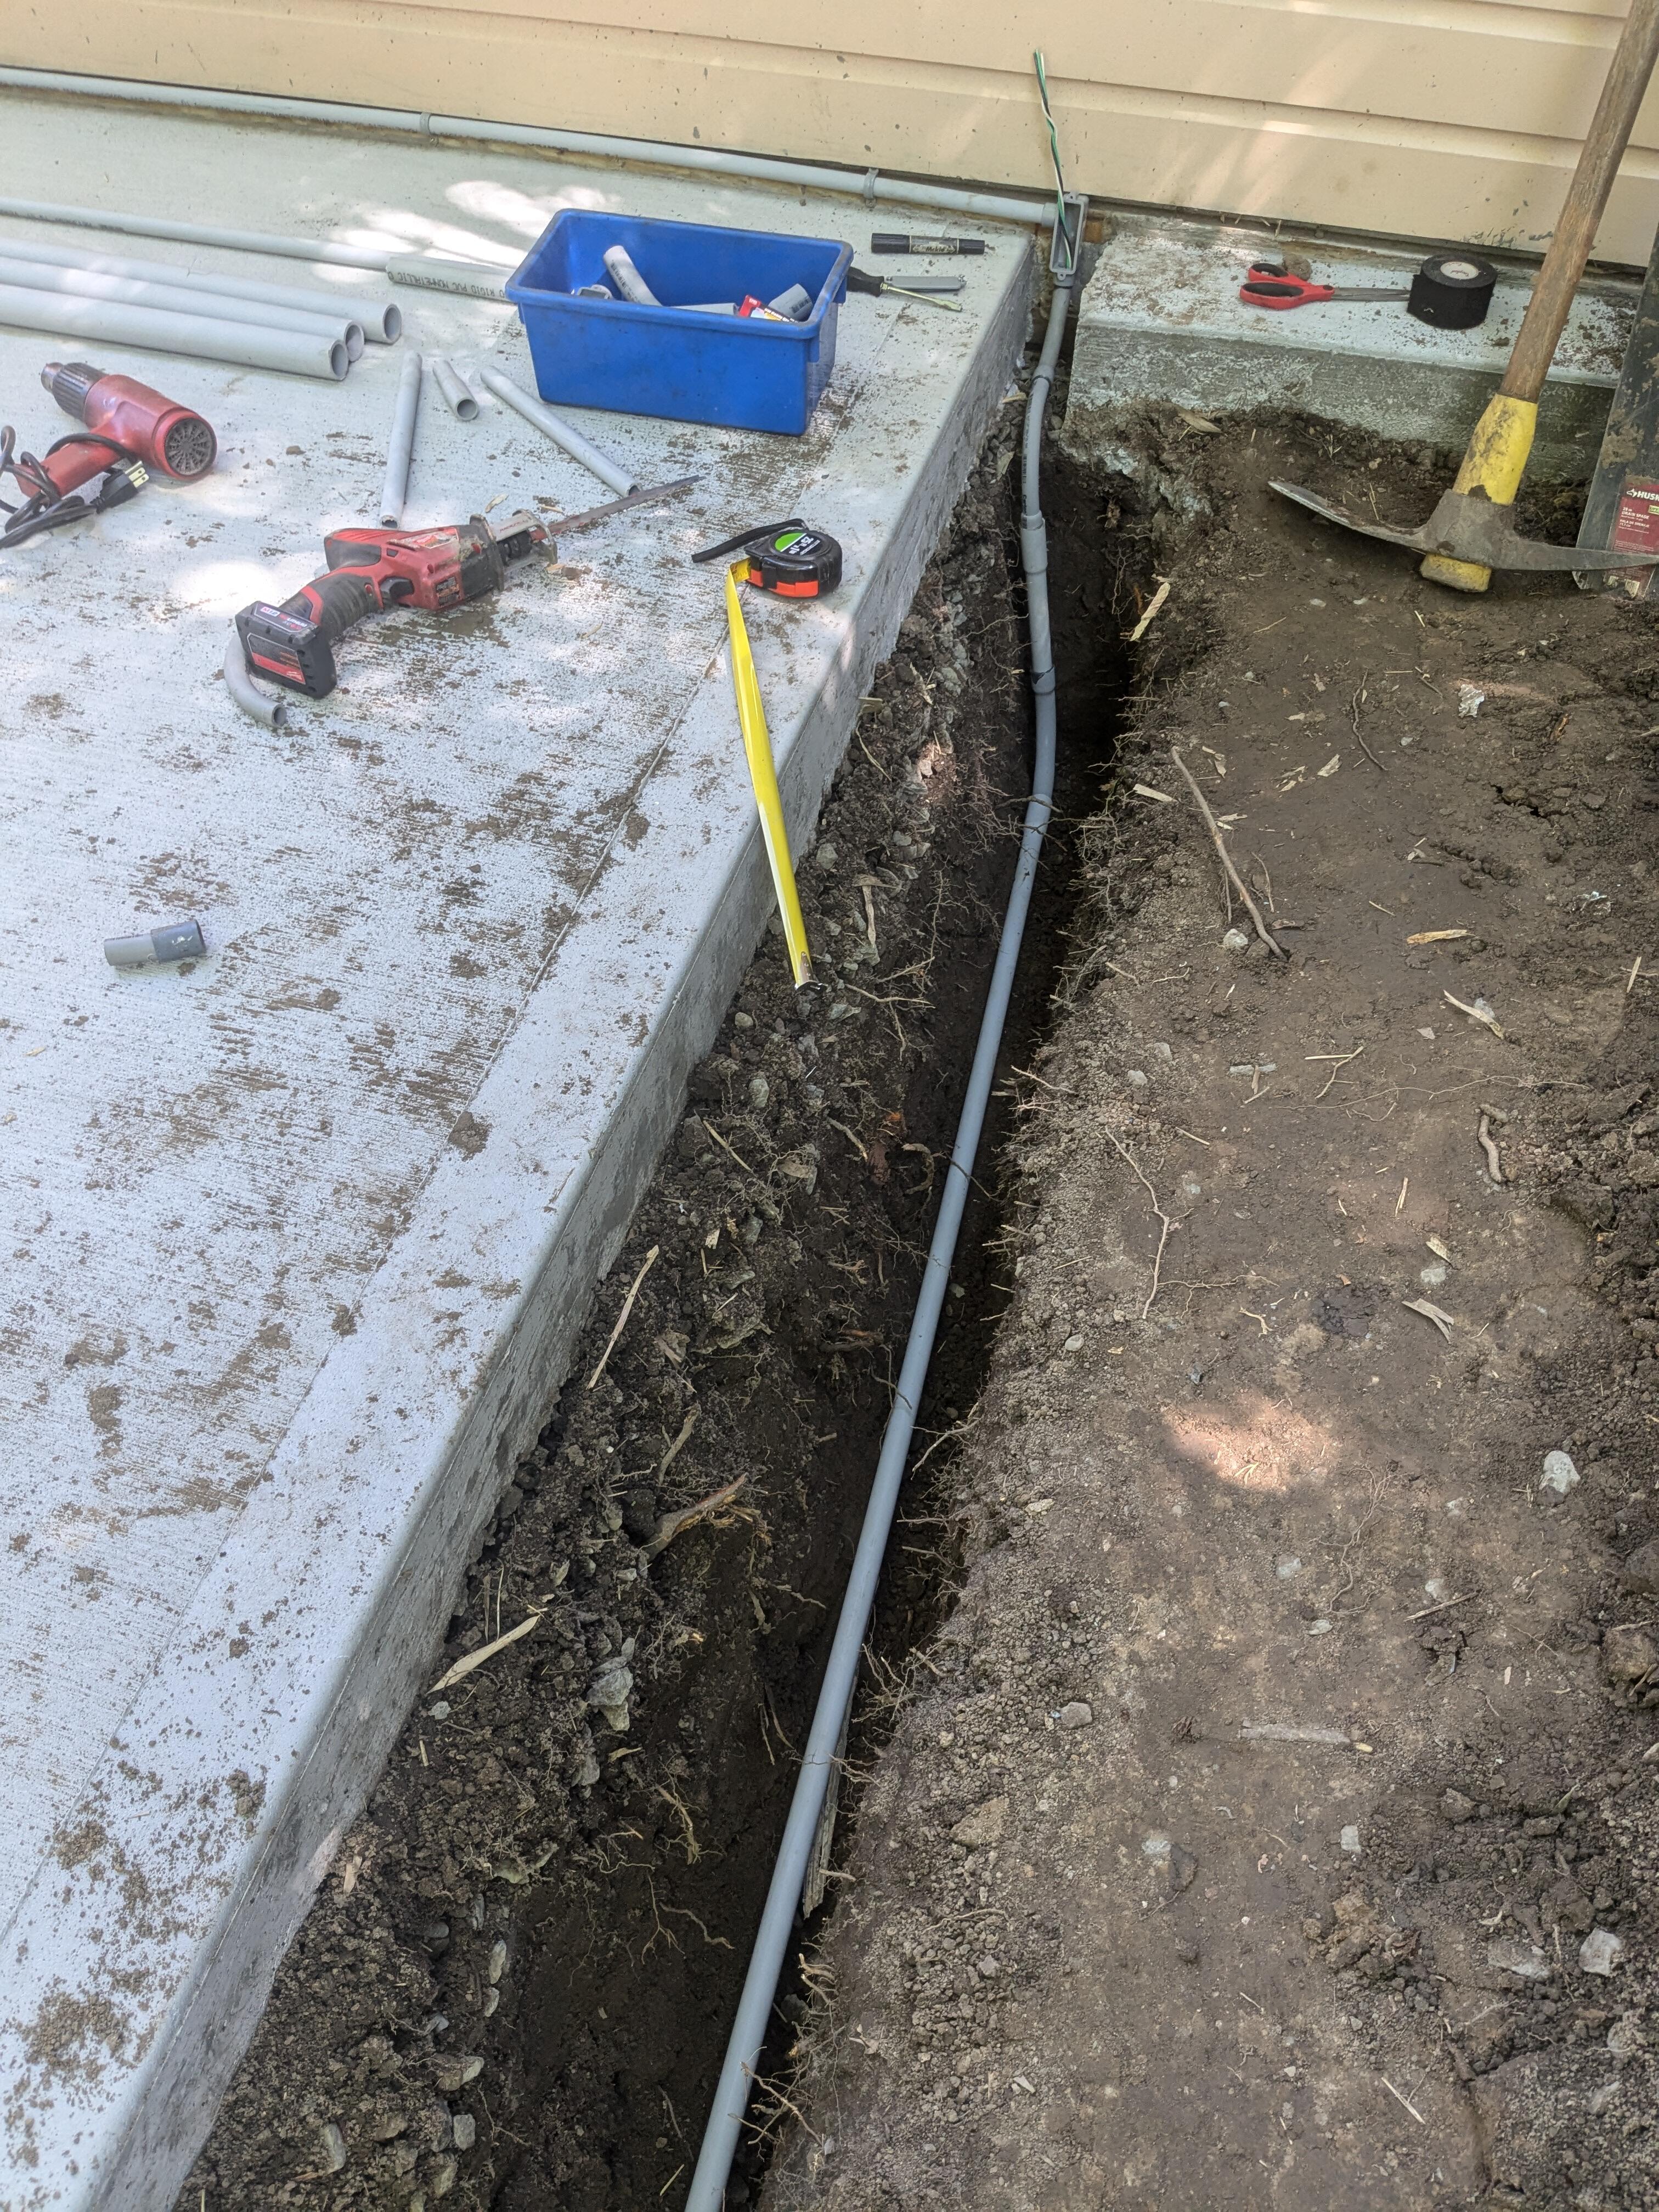
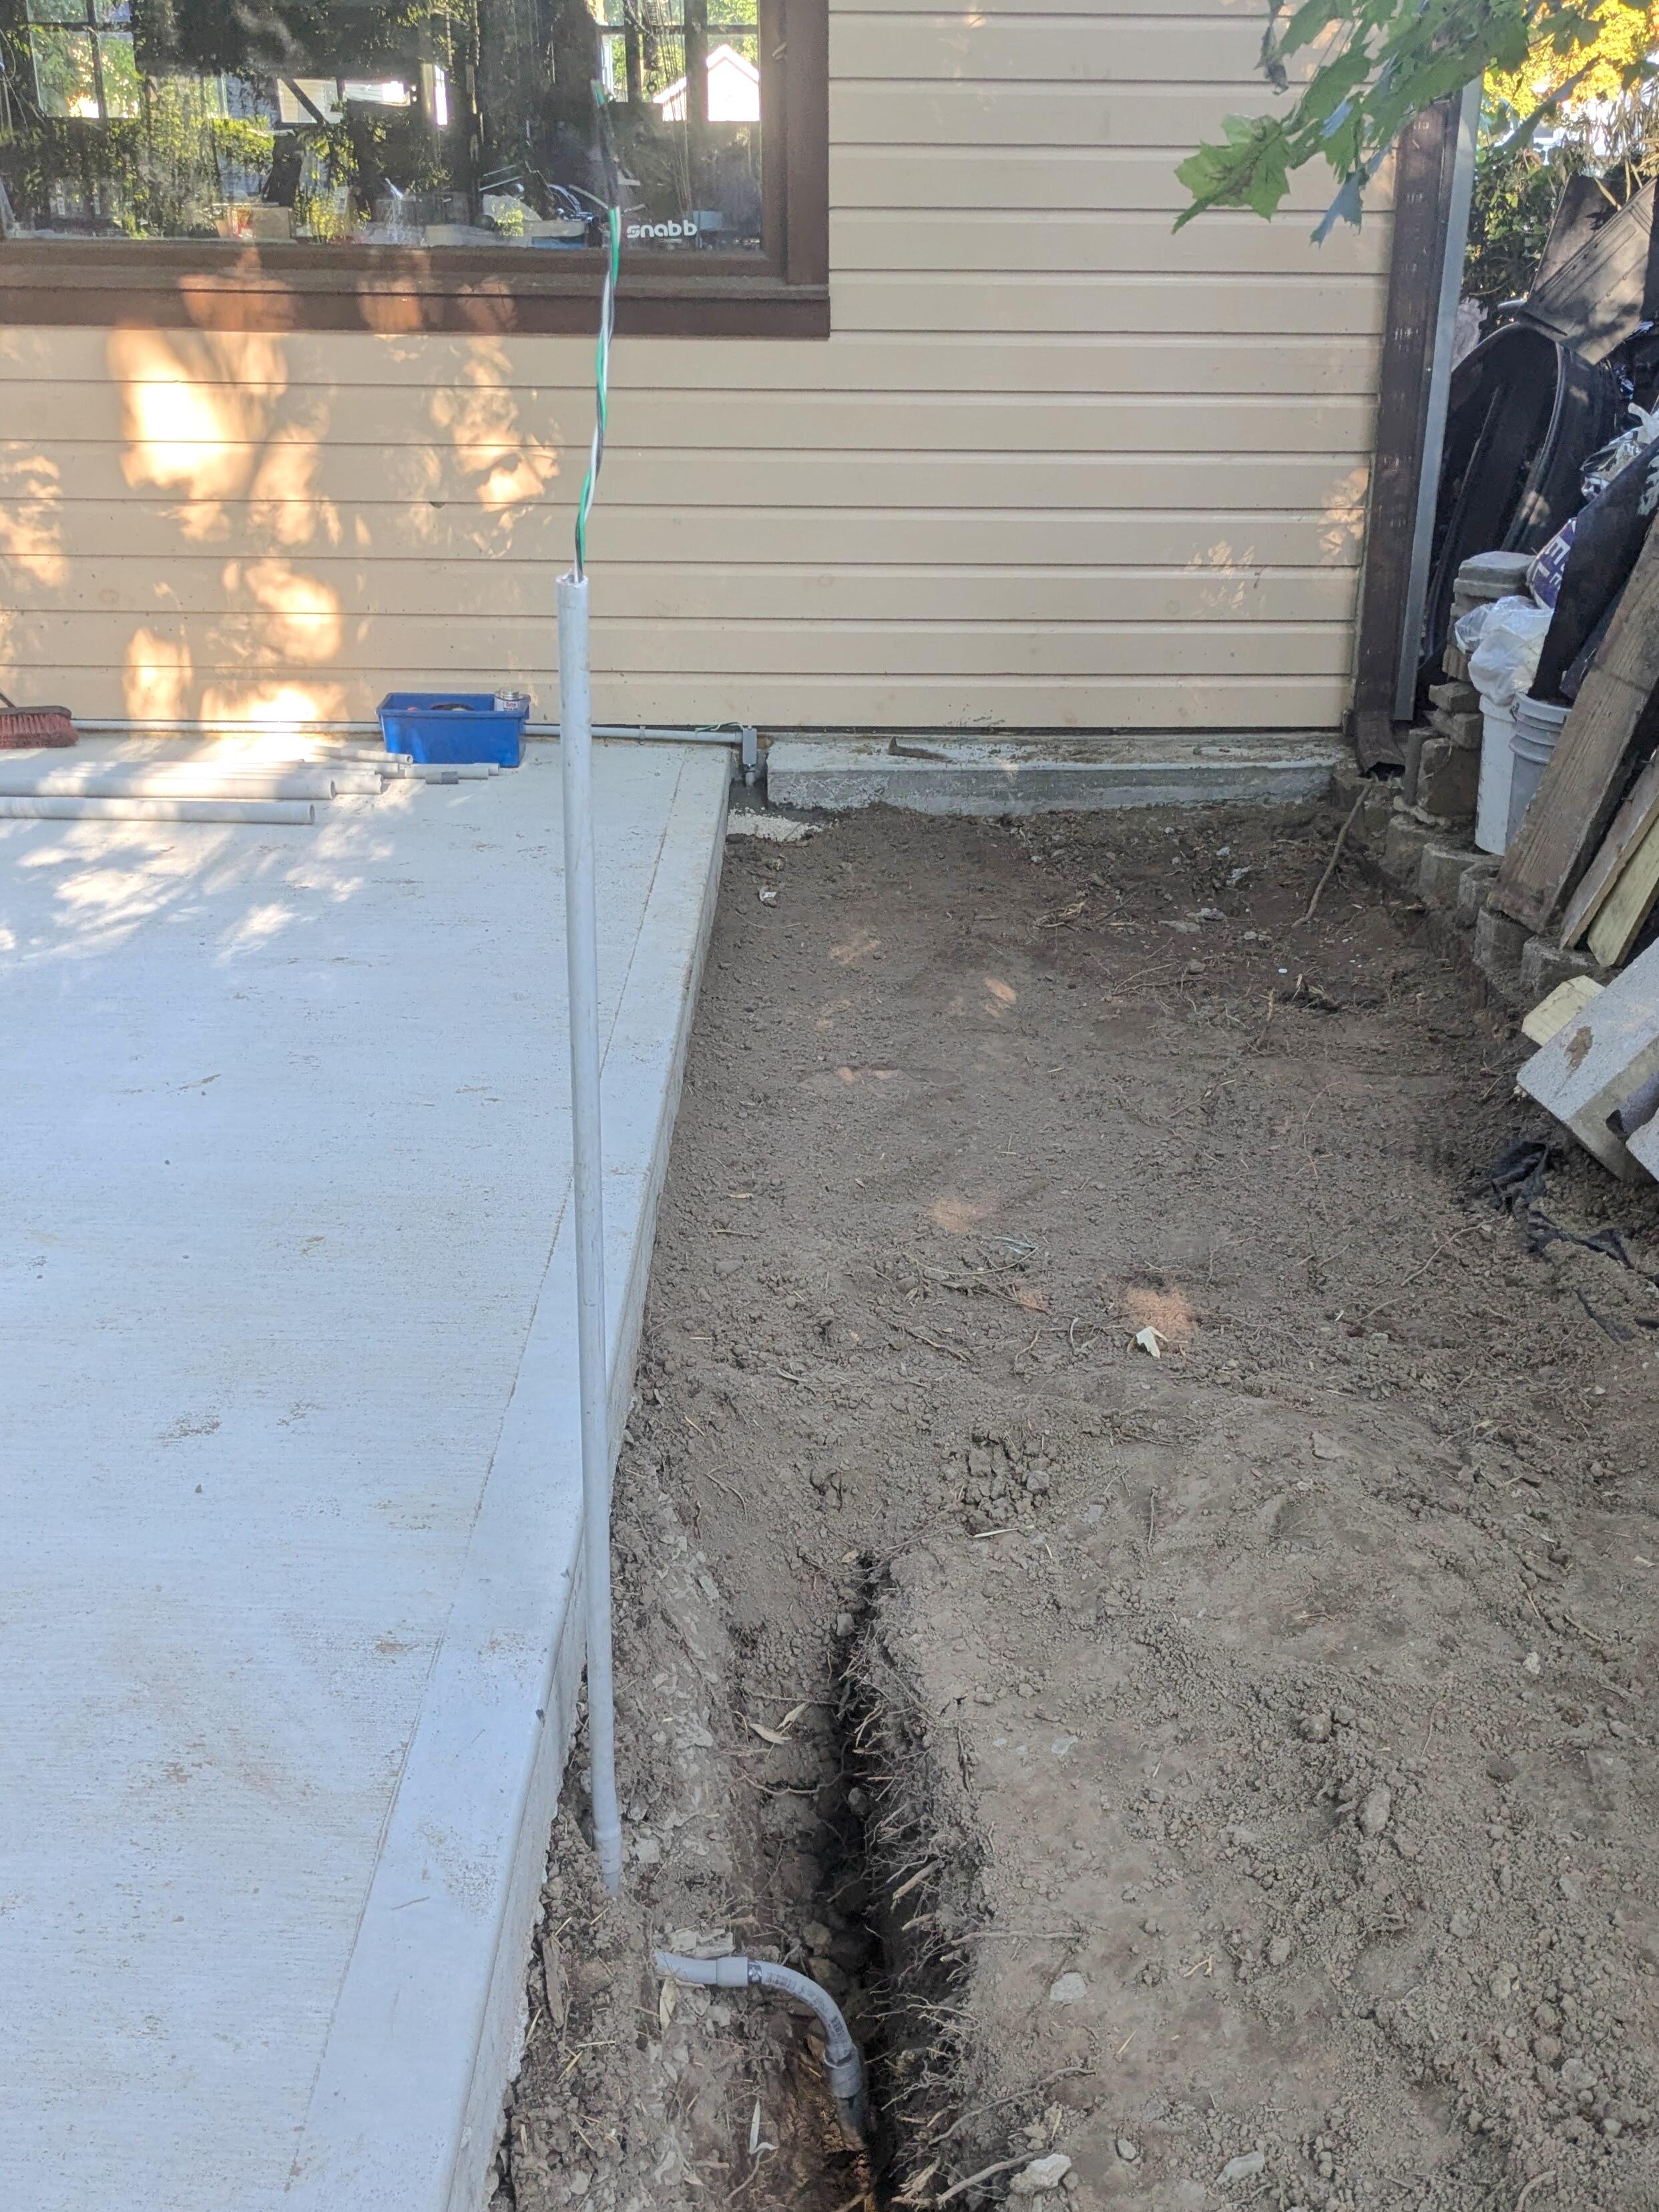
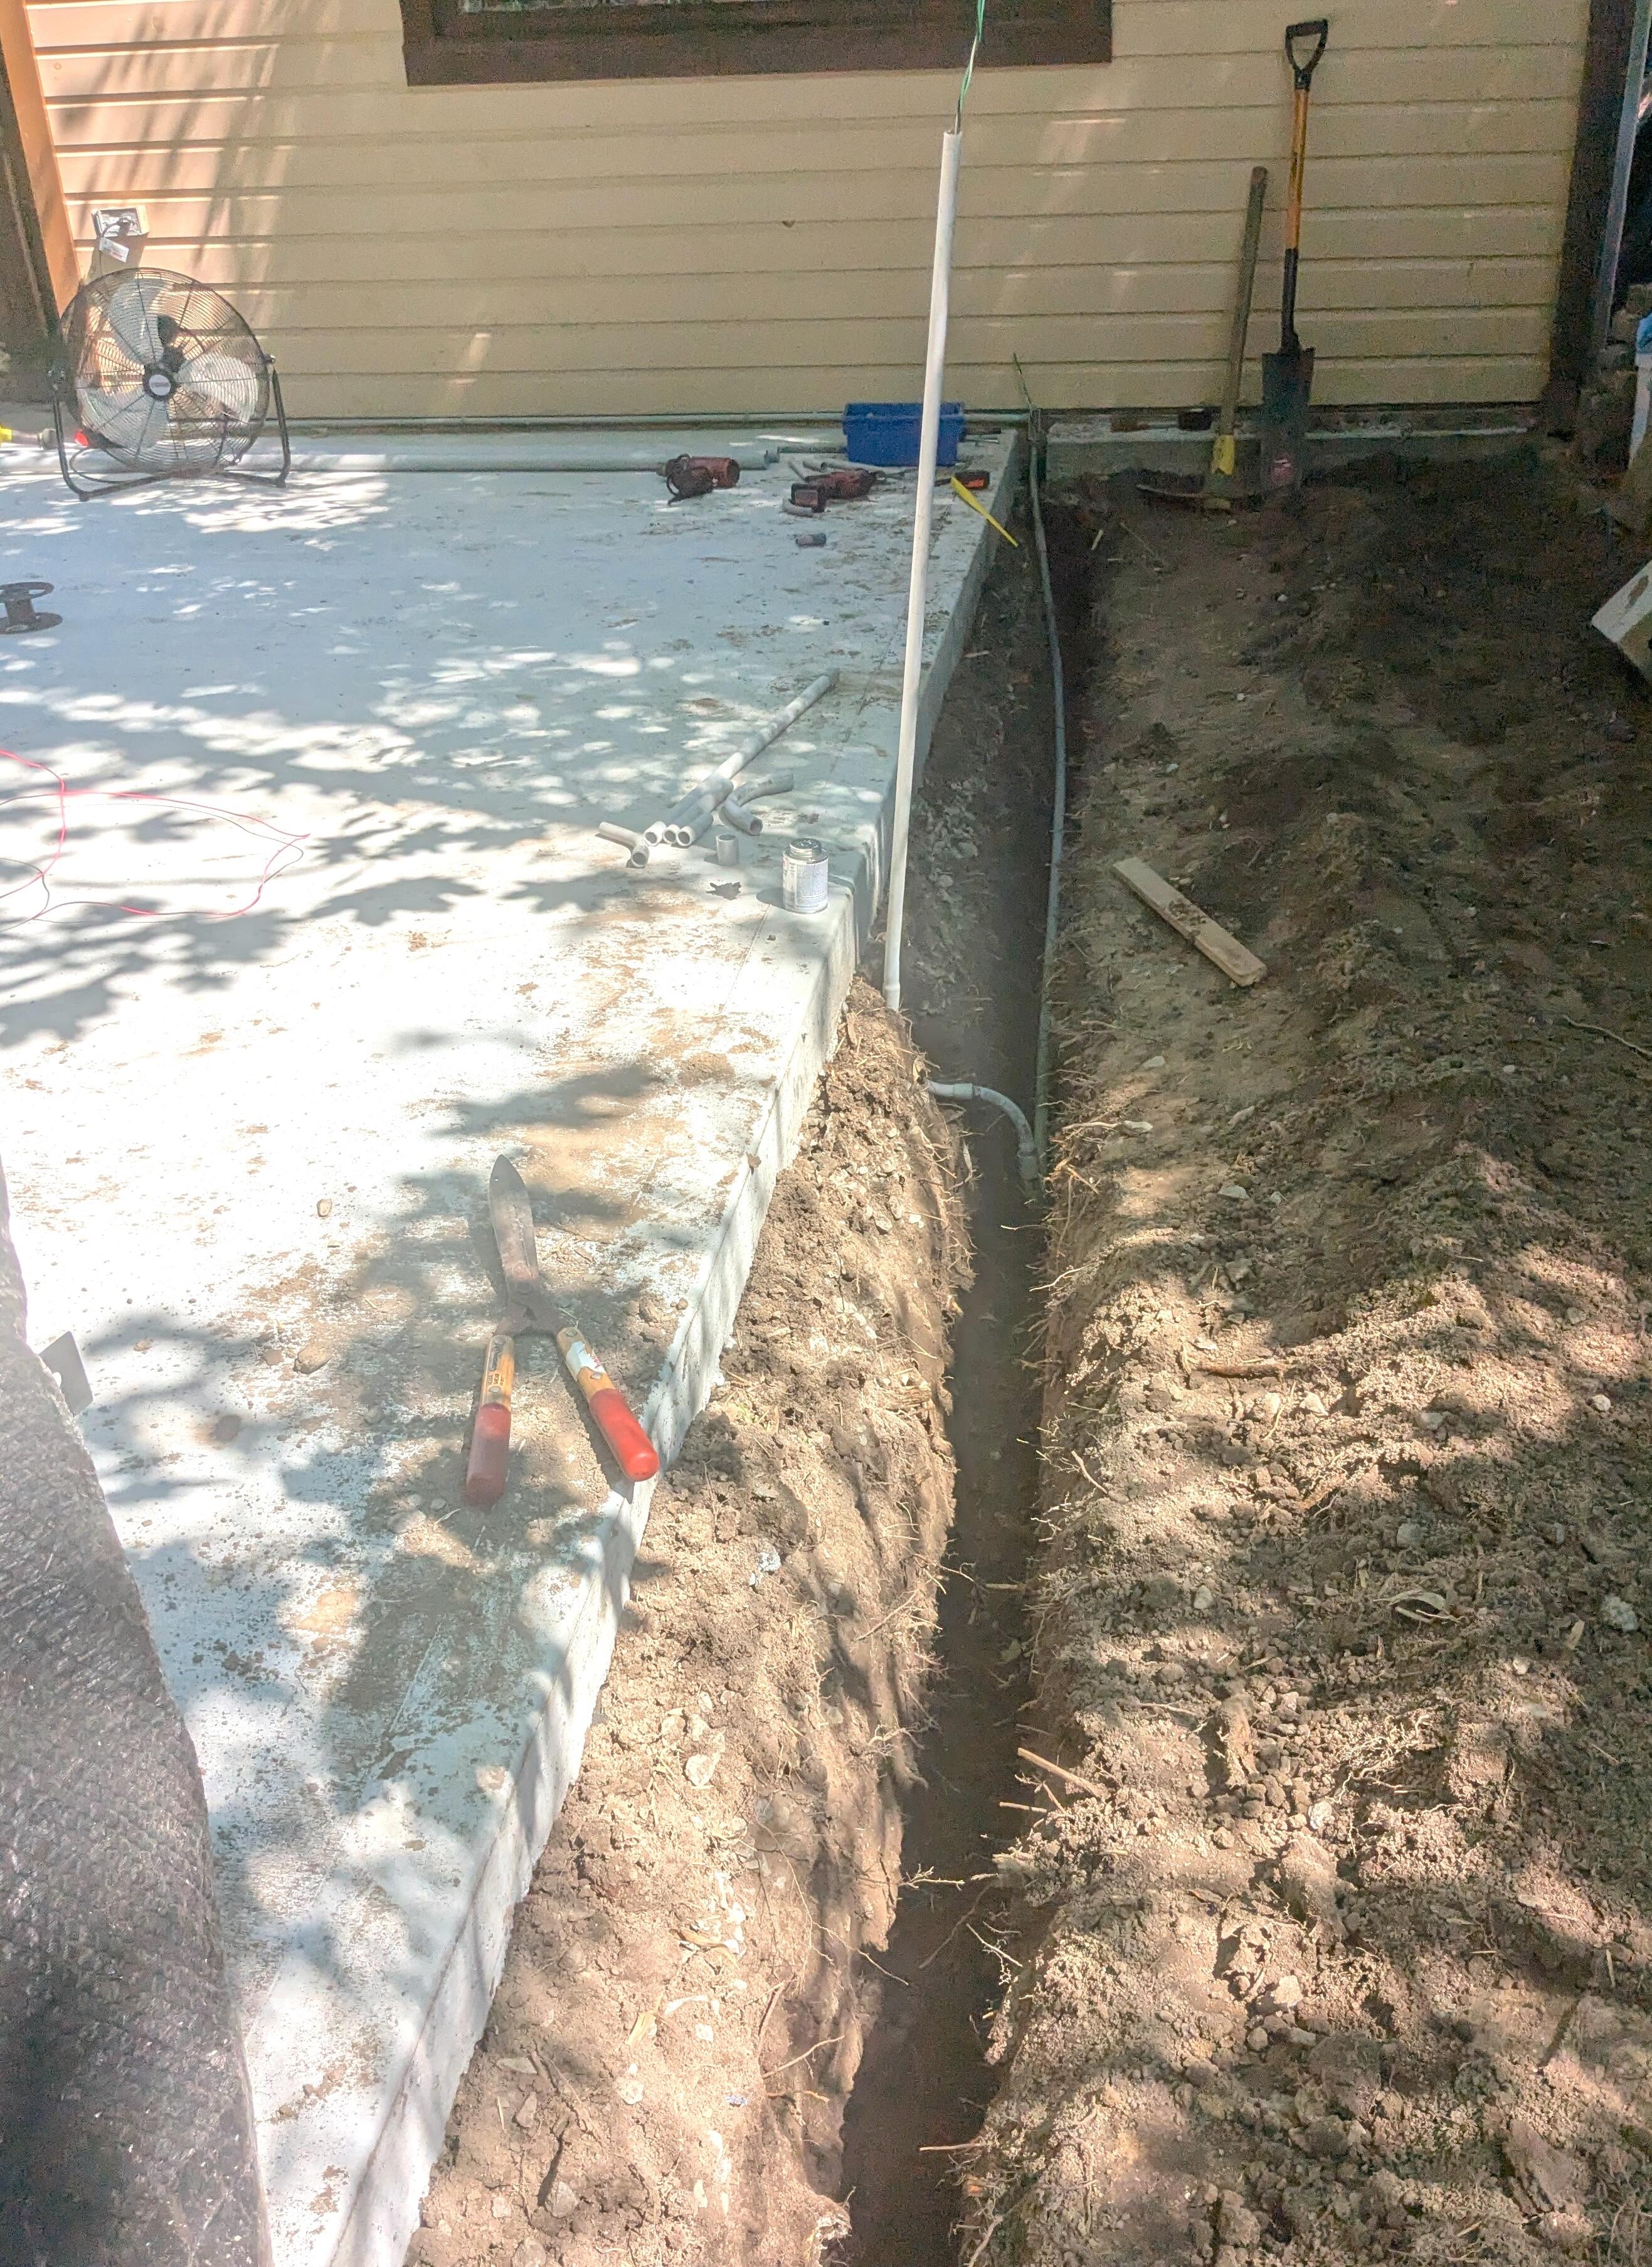
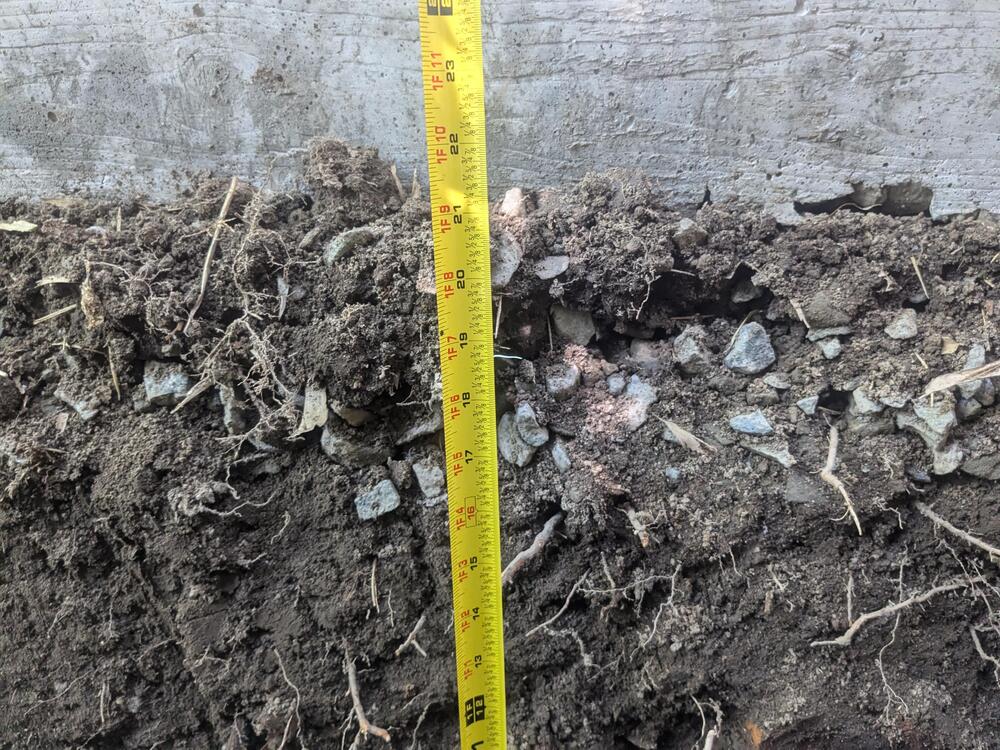
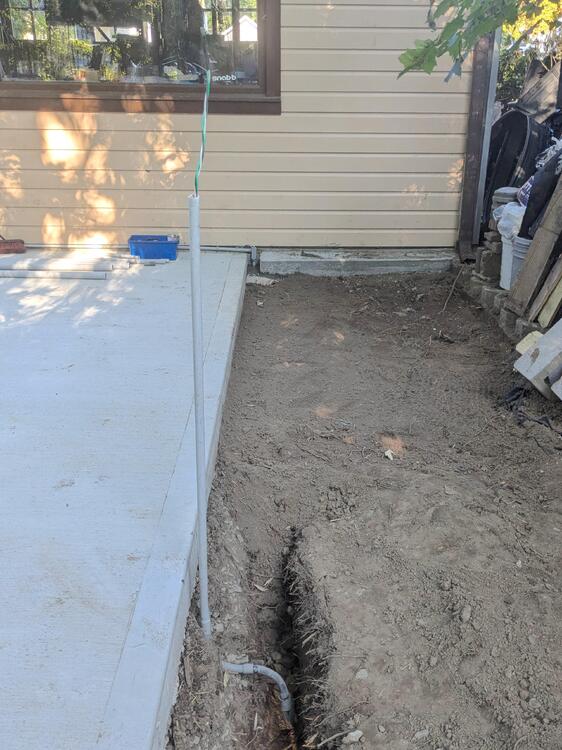
Worked on running conduit & 12/2 for the receptacles. Dug a 18" deep 20' trench along the South side for it. Still have to dig a trench along the West side

 1 point
 -
1 pointI found an ad for a "Euro" damper and it looks like yours. Don't know how it's different from State-side. I'll look a little more. https://datnissparts.com/x-euro-crankshaft-damper-pulley-harmonic-balancer-240z-260z-280z-510-all-l-engines-12303-e4100/ Spun the picture in Paint 3D. Yours
 1 point
 -
1 point
-
That does sound like the 280Z strut. The strut towers in the body of the 280Z are taller than the 240Z's. I've never heard of anyone doing that swap, seems like there would be very little suspension travel and the springs would be designed for more wight. The back end would be higher. If you look closer you might find more modifications. Cut springs maybe. The shocks might be fully compressed already. I'd guess that you'd be better off resintalling the 240Z suspension. Here's a link to the parts page. Not much interchange. p.s. you can tell an R200 from an R180 by the rectangular block of metal under the drain plug on the cover. https://www.carpartsmanual.com/datsun/Z-1969-1978/axle/rear-suspension Borrowed this from a recent BaT listing.
 1 point
 -
1 point30 amp receptacle? (The seller is installing a roof mounted air conditioning unit on their Z.) Keith1 point
-
Yeah - at least the upper balustrade(?) has rotted away, probably more. We are going back in about month to look it over.1 point
-
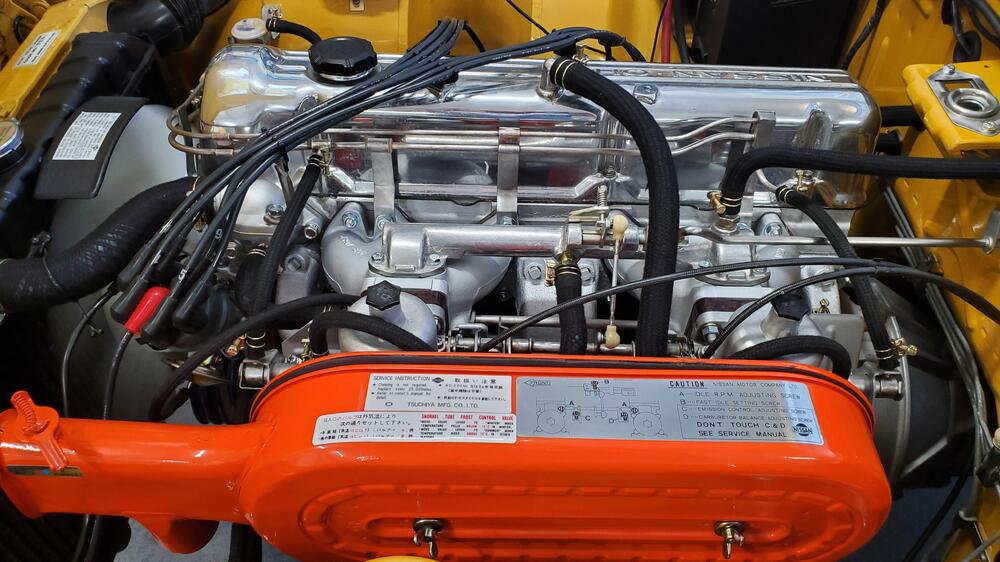
1 pointWith a Unisyn and a few youtube videos, you can tune them yourself with great results. I once swapped a set of SU's mid-race and tuned them in the pits. The whole job including removing the carbs from a red-hot engine, installing a new pair, tuning/synchronizing them, and buttoning up the choke cables and airbox took under 30 minutes. The problem ended up not being the carbs at all, but it ruled them out. The actual tuning took less than five minutes. For videos, search University Motors John Twist SU. He has a great series of British SU rebuild and tuning videos. The Hitachi SU's are similar enough that the tuning is the same.1 point