


Leaderboard
-
conedodger
Free Member12Points12,513Posts -

kats
Free Member8Points2,215Posts -
Captain Obvious
Free Member8Points10,081Posts -
BoldUlysses
Free Member3Points344Posts


Popular Content
Showing content with the highest reputation on 08/25/2024 in all areas
-
3 pointsOK, so another data point that lines up. So unless someone else comes up with something better, I'm going with what we got. @SteveE, It was your pics that turned the corner for me. I had some 70 calipers here that were "0" year and a 78 pair that were "8", but I just couldn't believe it was that simple. Then when you posted your pics of your 8/72 build calipers that were all "2", it seemed that it WAS that simple. Thanks again!3 points
-
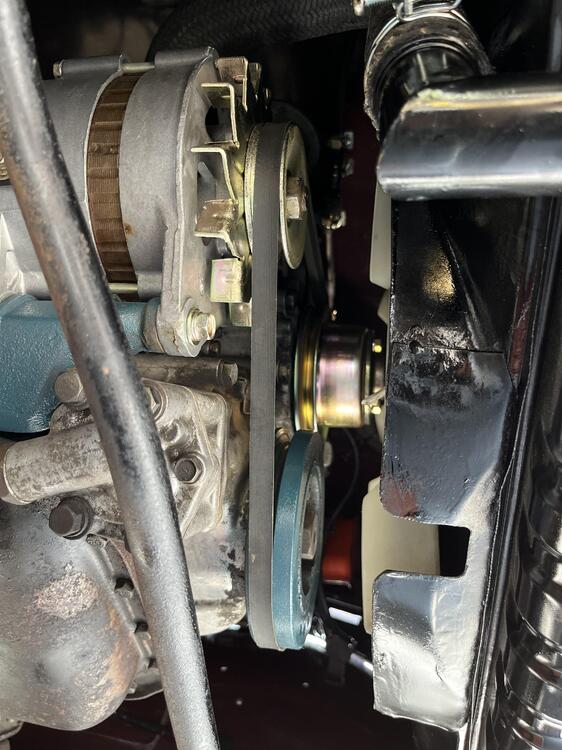
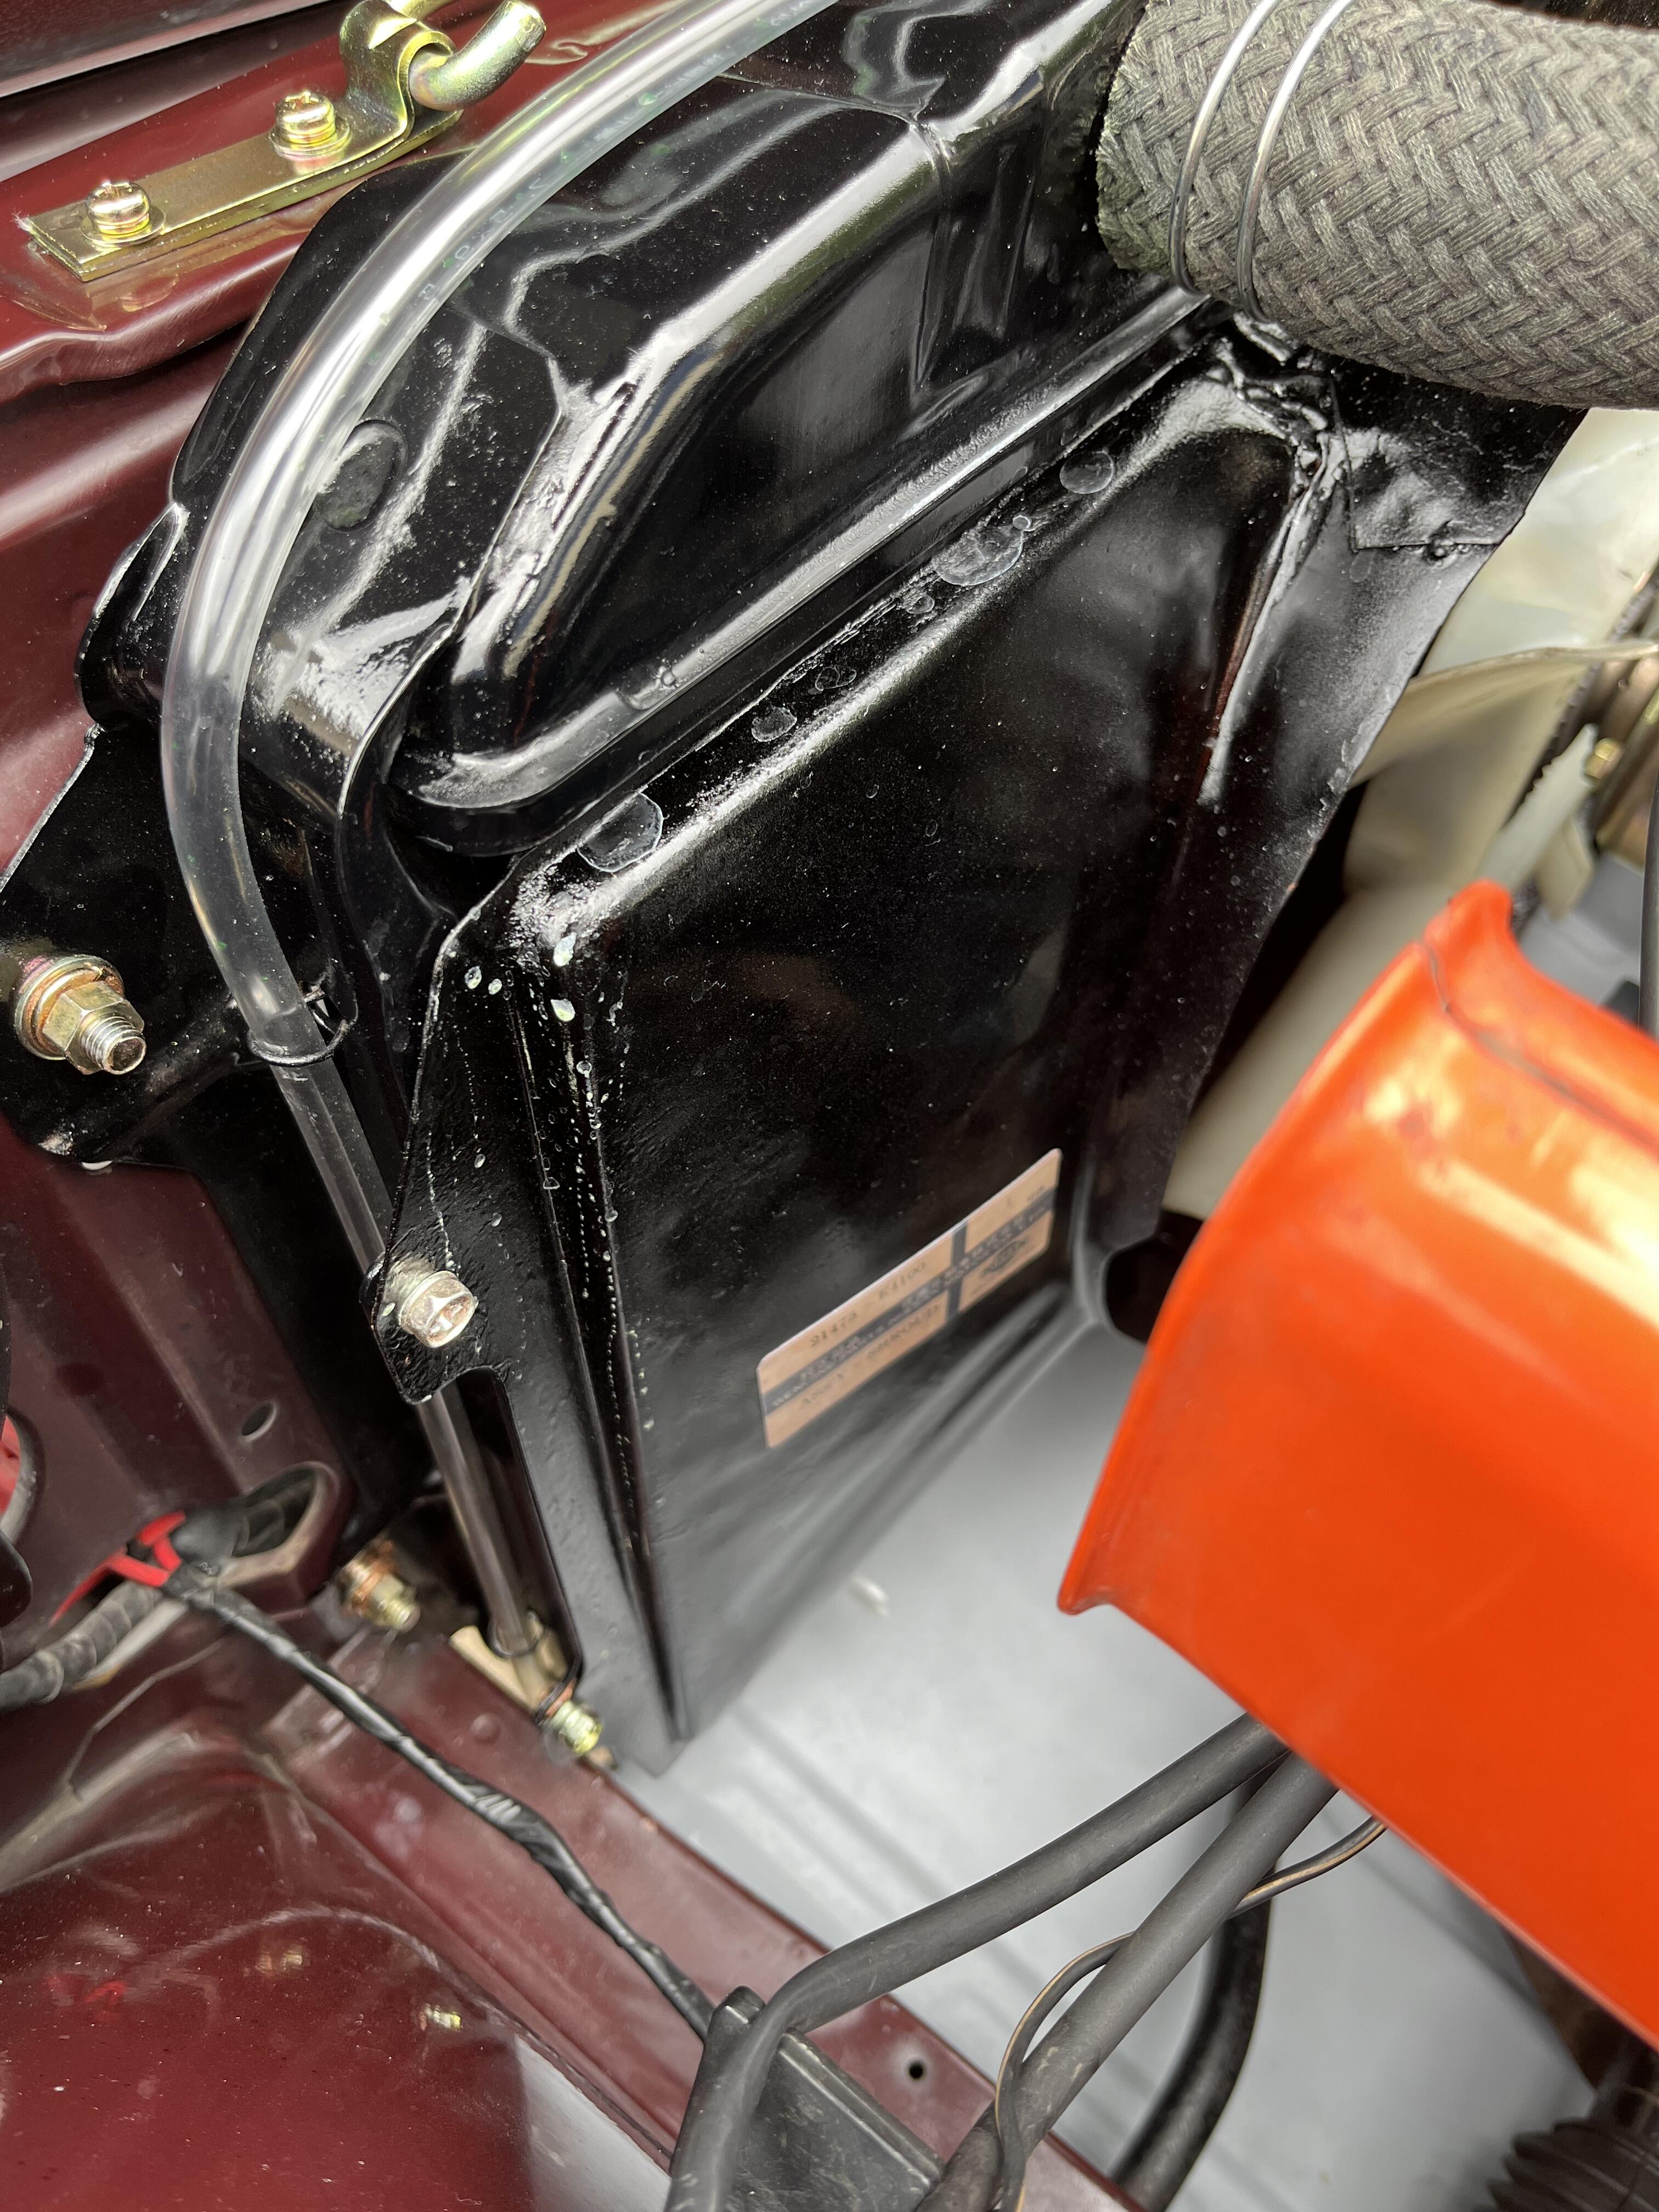
3 pointsFinally I put a parts number decal on the metal radiator shroud. The decal is my laptop reproduction. Kats


 3 points
 -
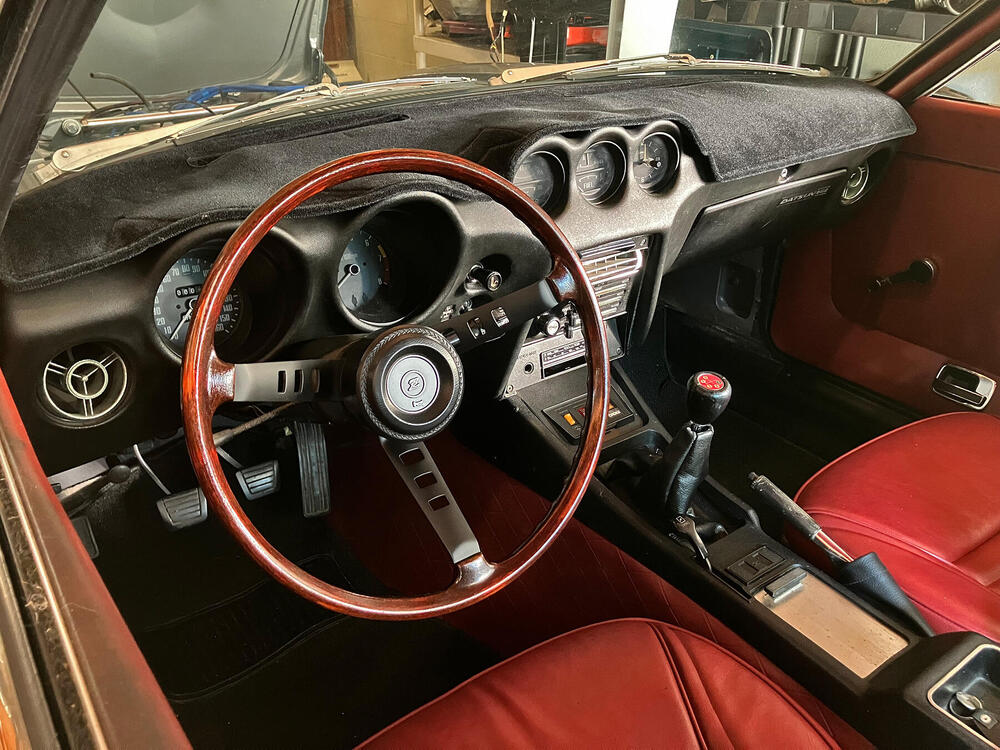
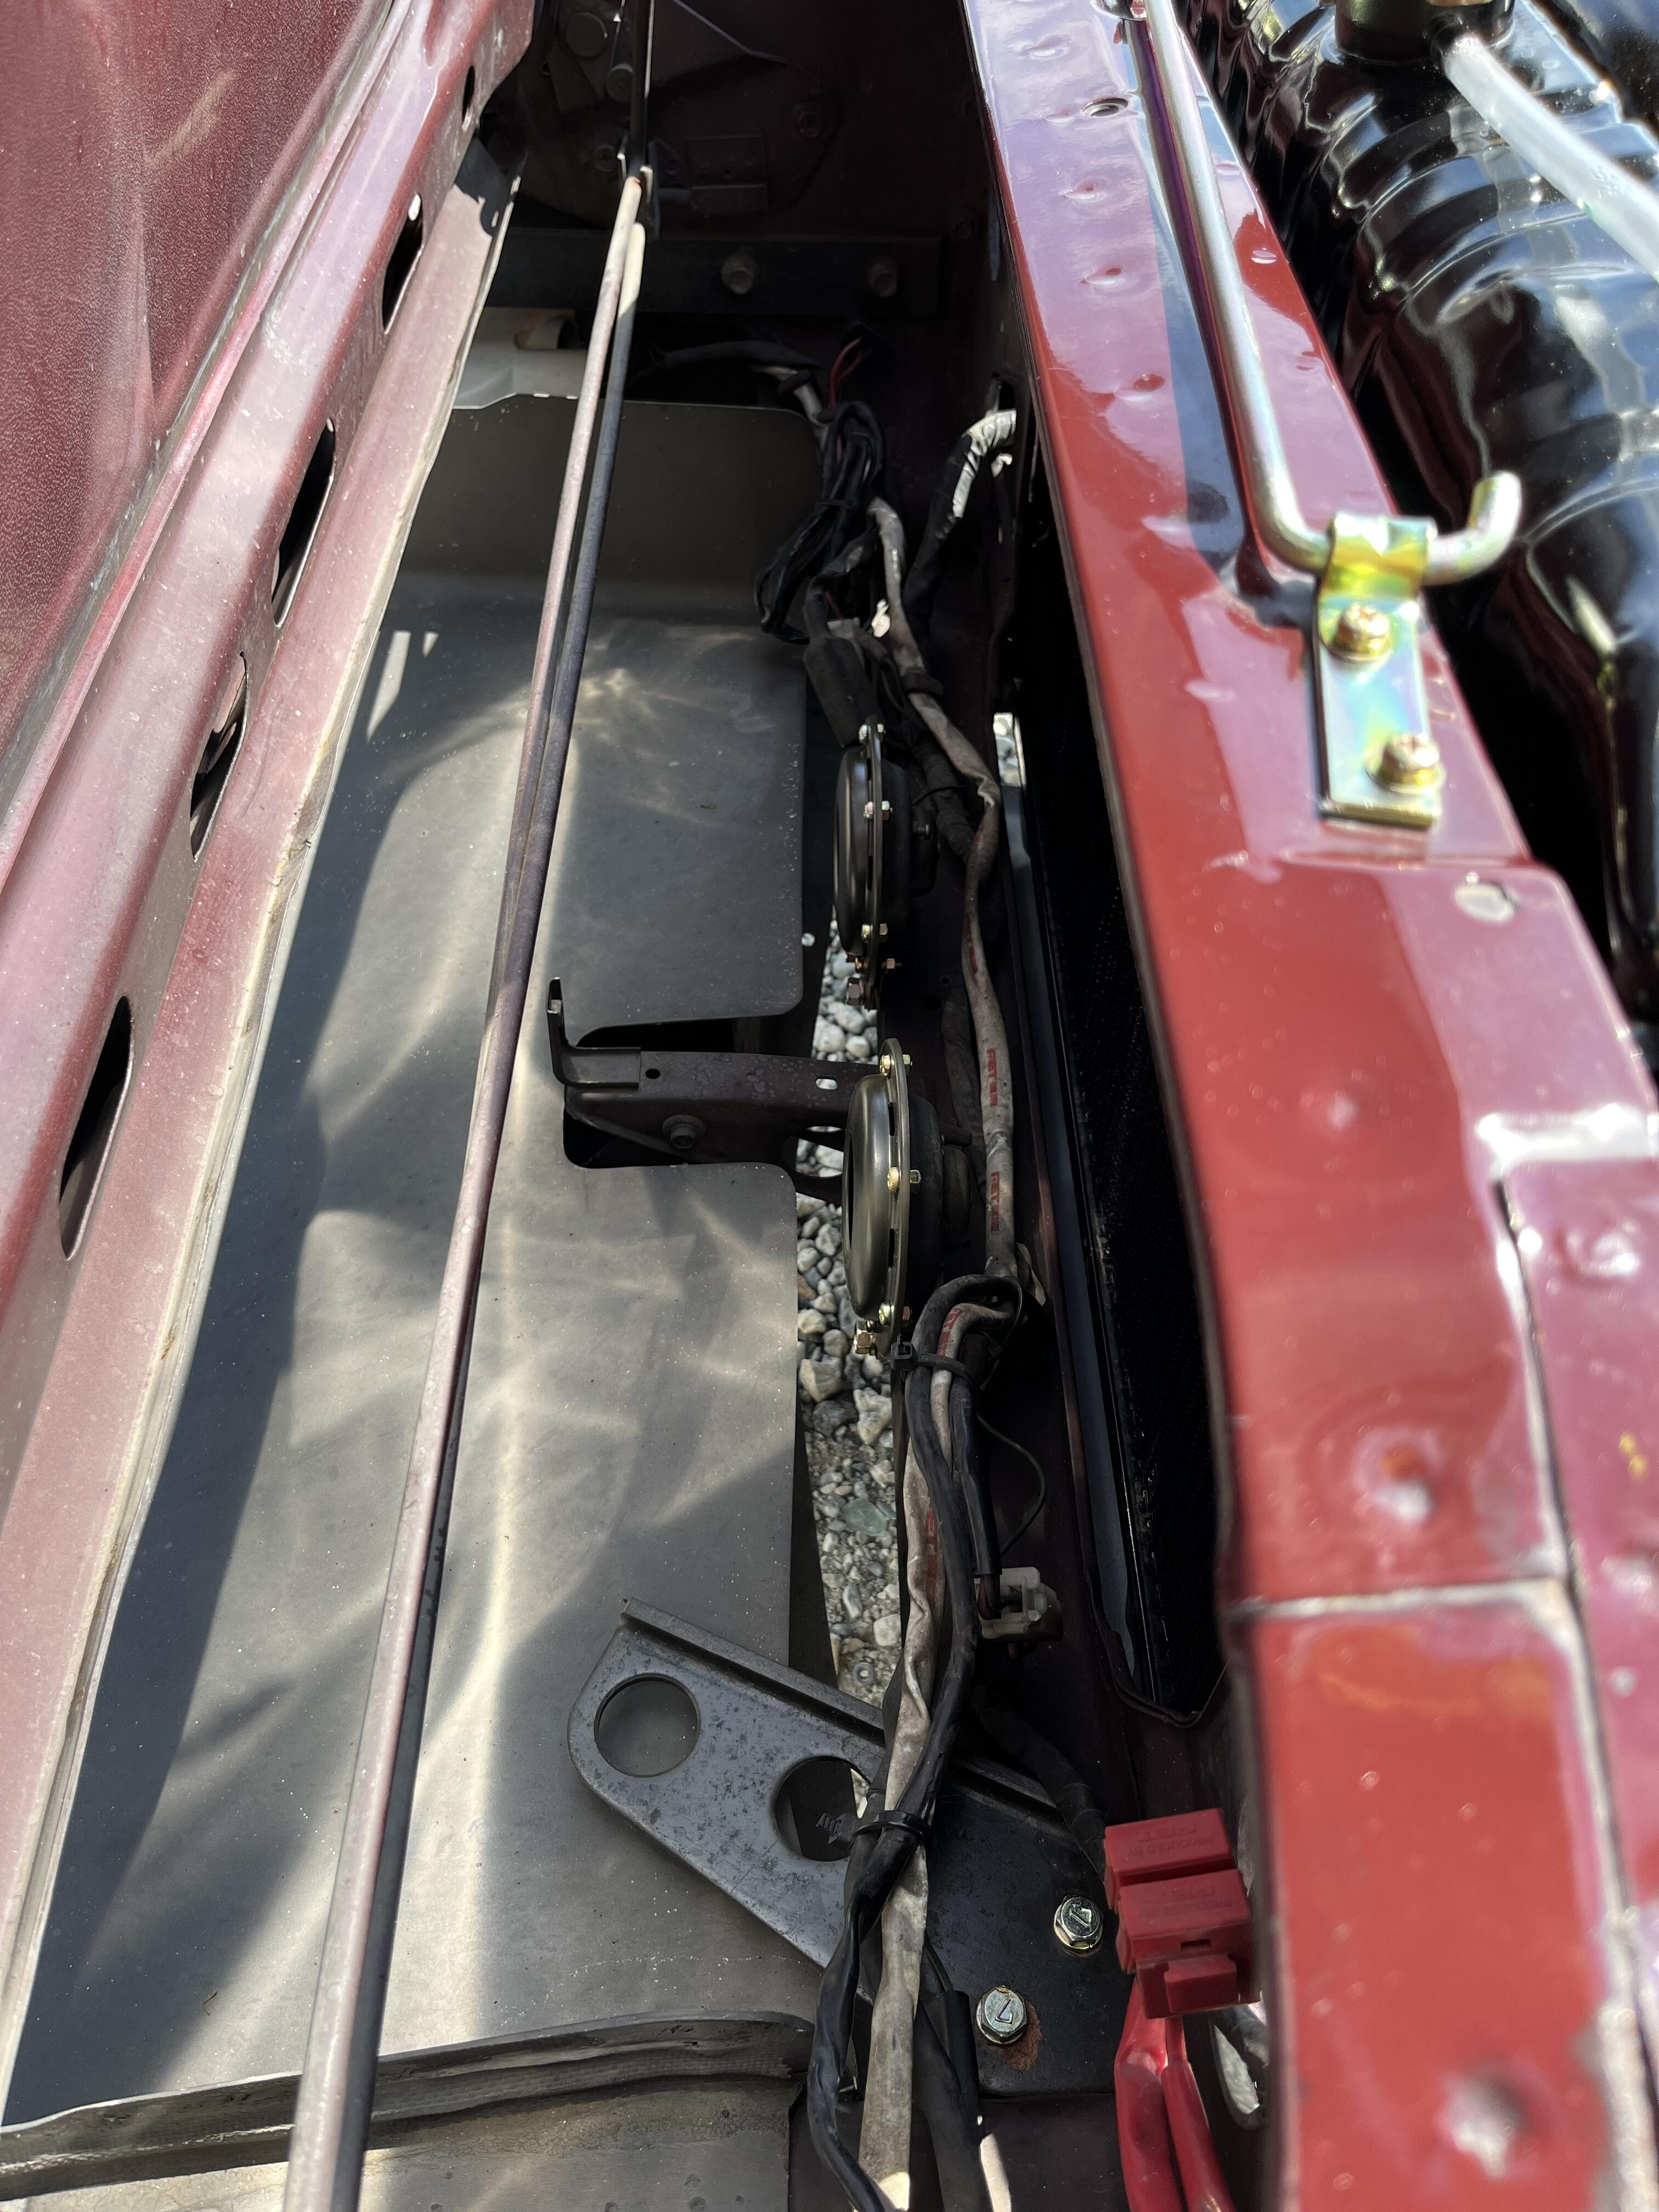
Got it running again. It took a LOT of cranking; those 2 inline filters took a while to fill. I installed the fuel pressure gauge on the rear carb line, like you guys suggested. Registered 3 psi at idle, which I think is OK. Now that the float bowls are full, I'm going to try to baseline the fuel level in the jets using the micrometer technique. Wish me luck, haha. Side note: My dad did a great job refinishing the steering wheel. It took a LOT of elbow grease.

 3 points
 -
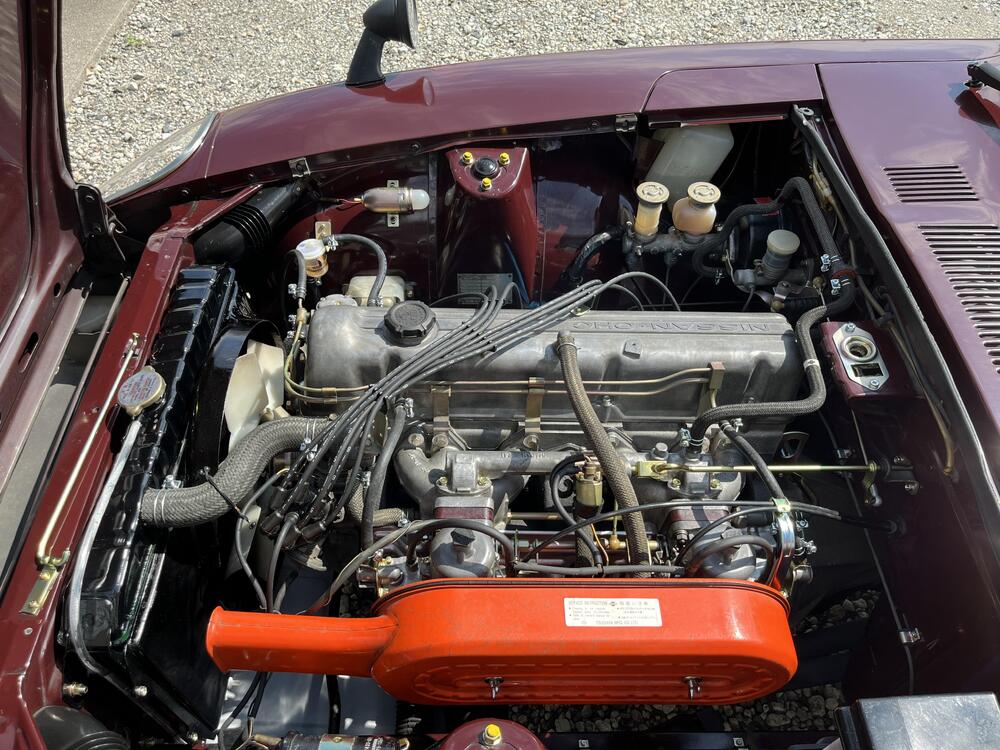
3 pointsI have finished my ZG engine bay cosmetic refresh project. I am quite happy with the results, even though it looked very un professional outcome. Please enjoy pictures! Kats


 3 points
 -
2 pointsi know there has been previous description of the wet-set method, but I don't have time to hunt now. But here's a couple pics that should make the process clear. This was done with the bowl off the car, but it can be done just as easily with the carb and bowl in-situ. Clear tube off the nipple at the bottom of the bowl: I find it helpful to put a sharpie line on the bowl to help with accuracy. You can see the fuel level in the tube right at the 20mm line:

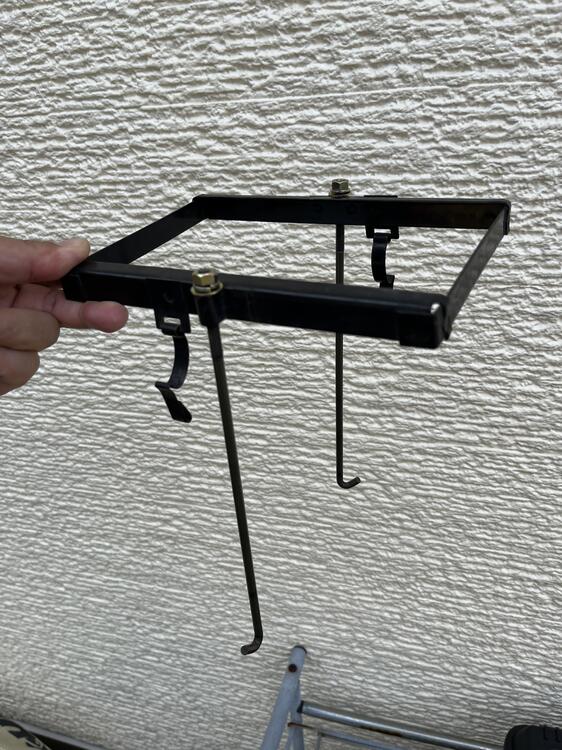
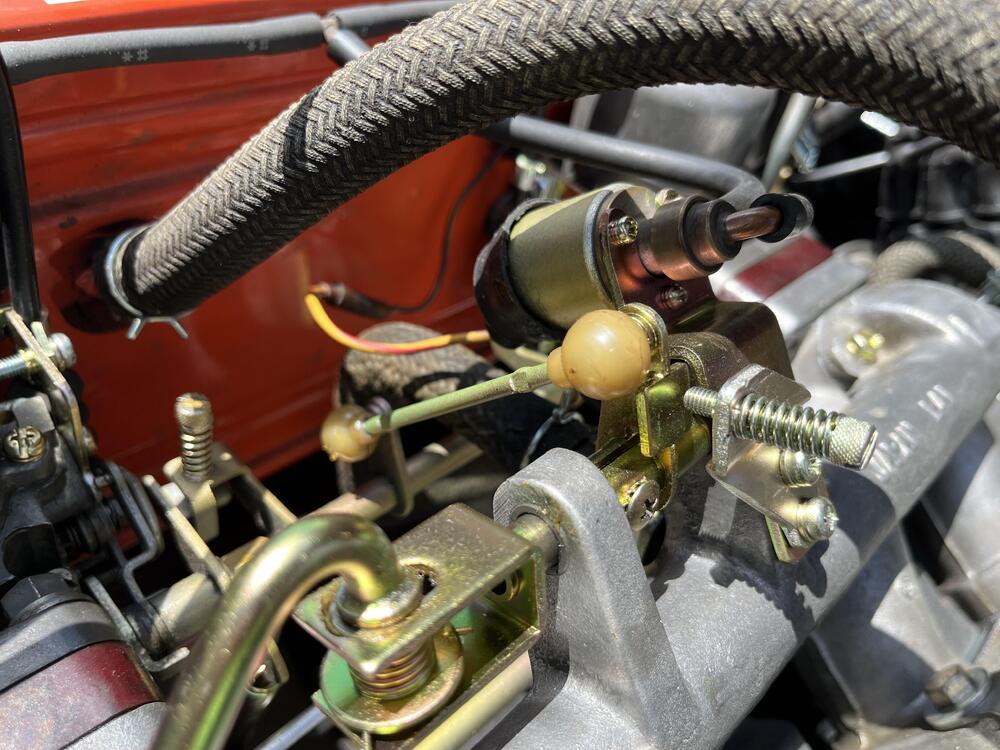
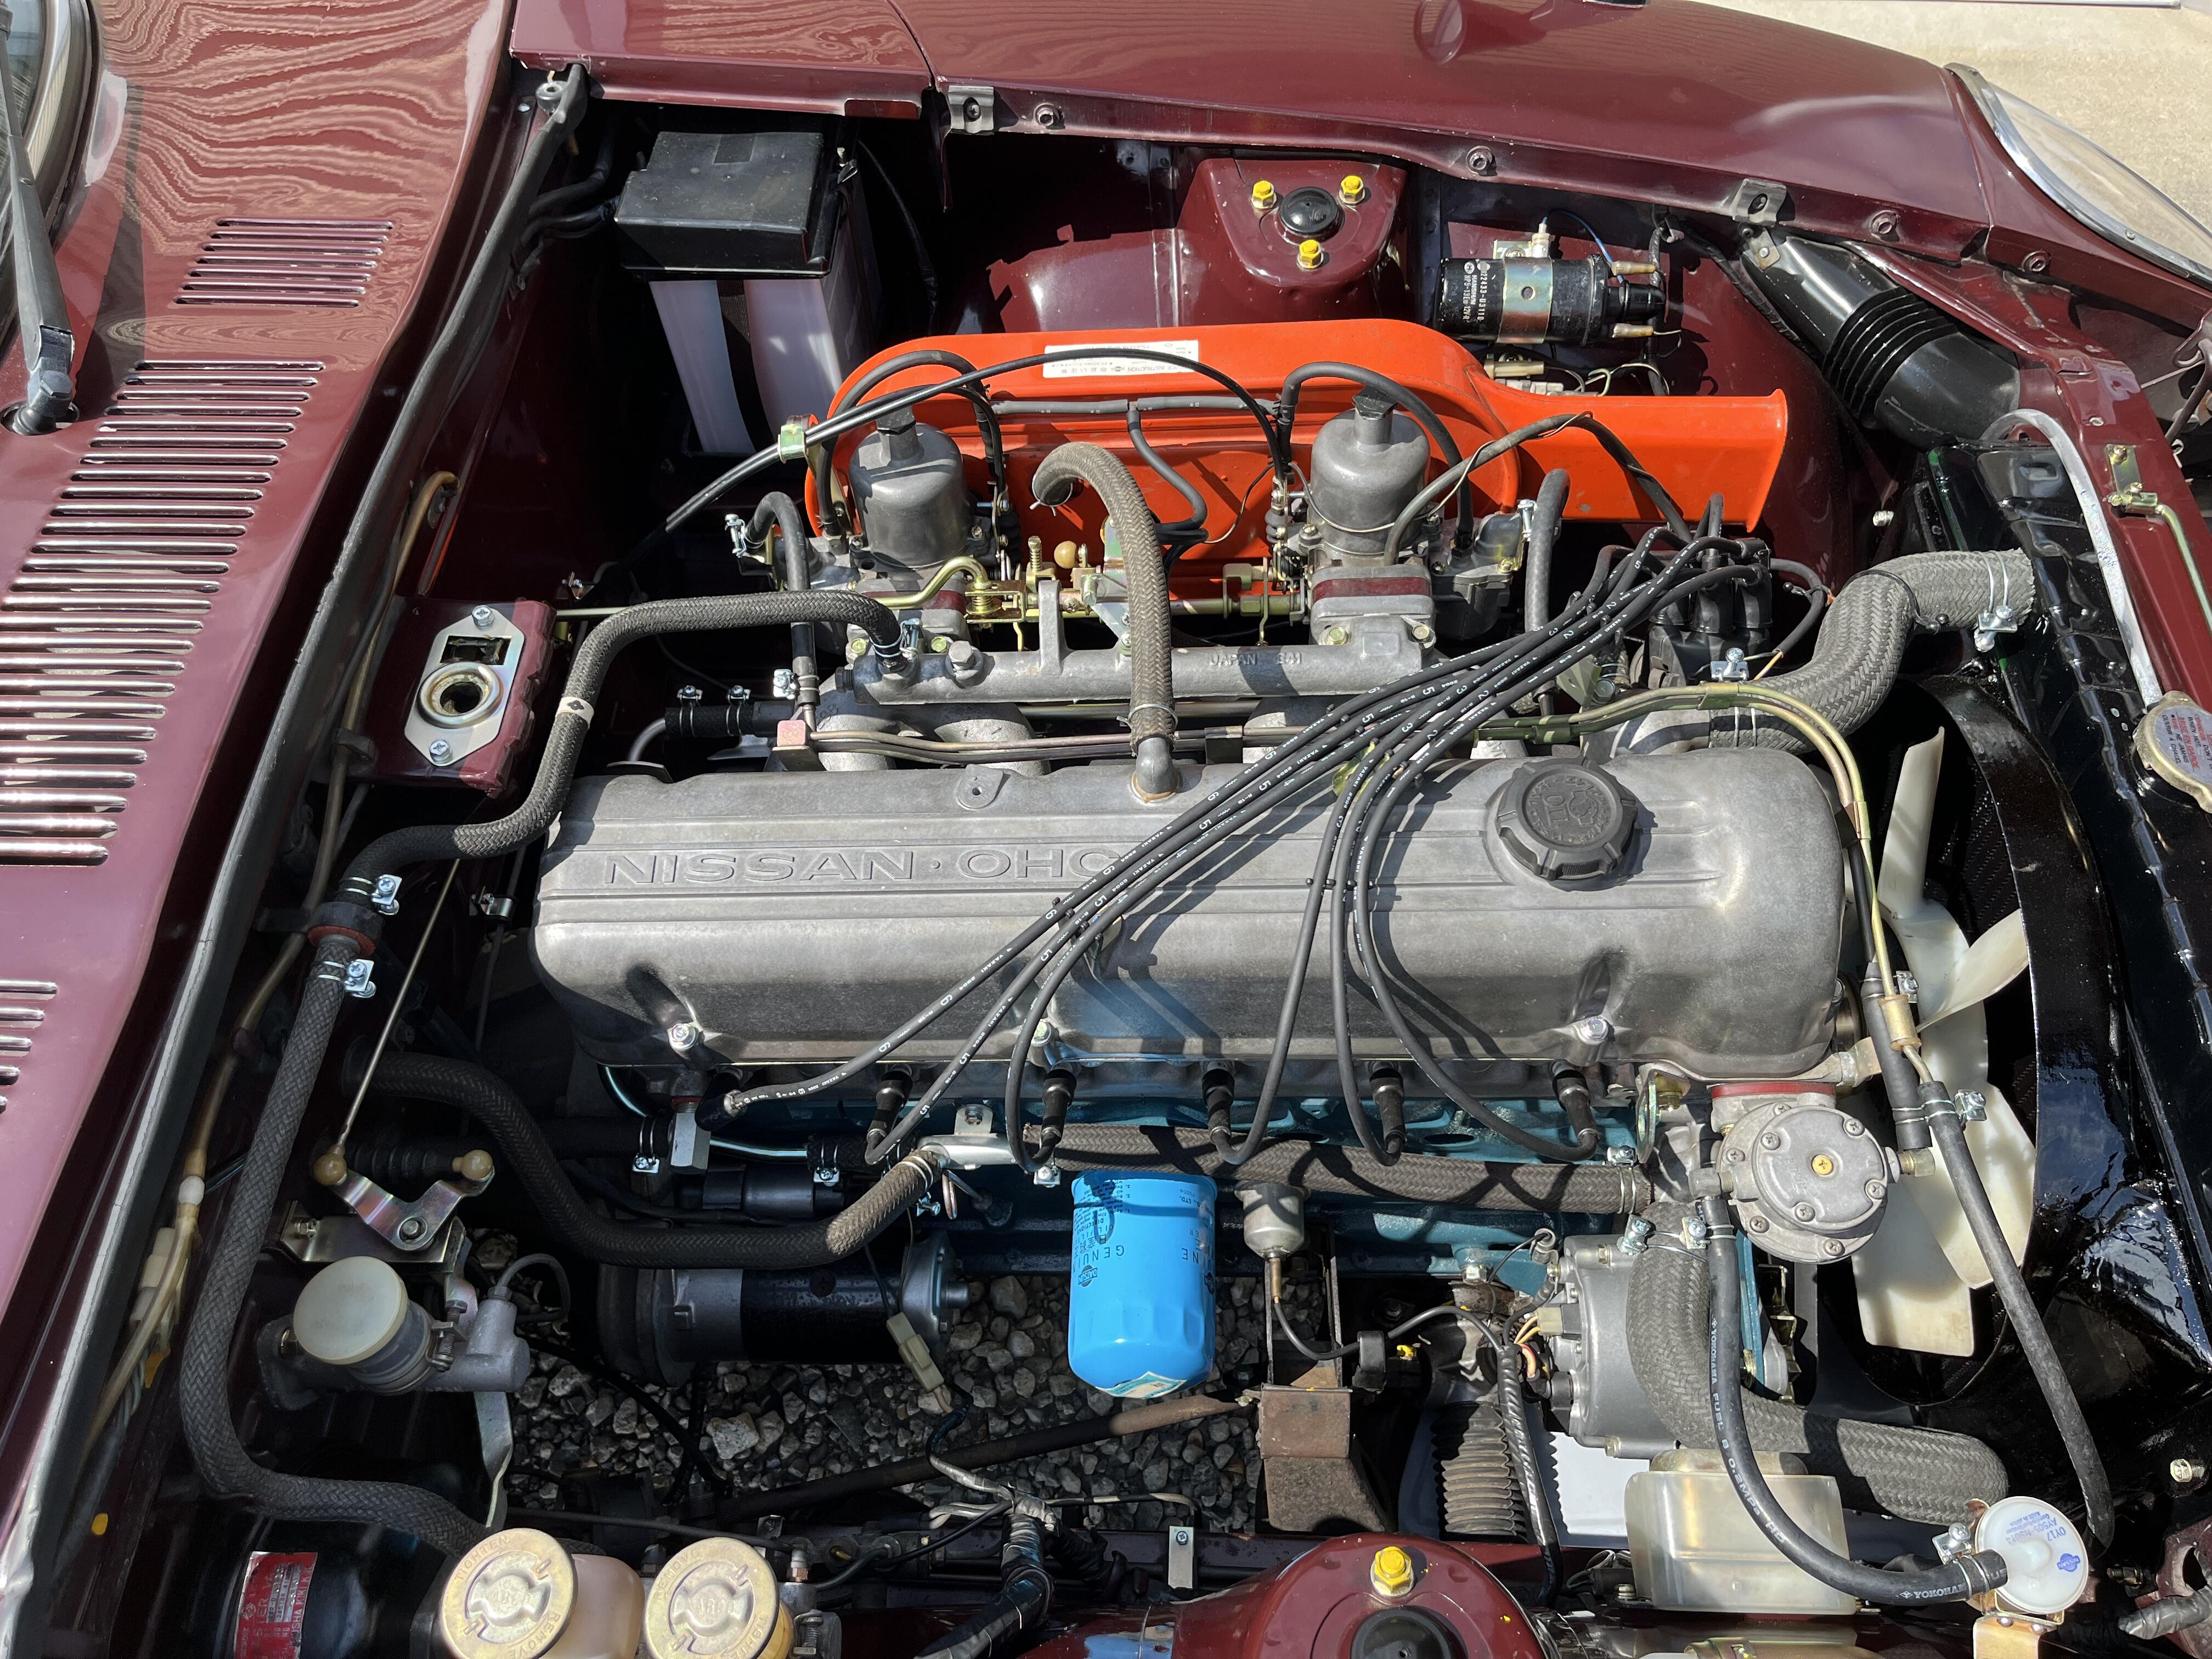
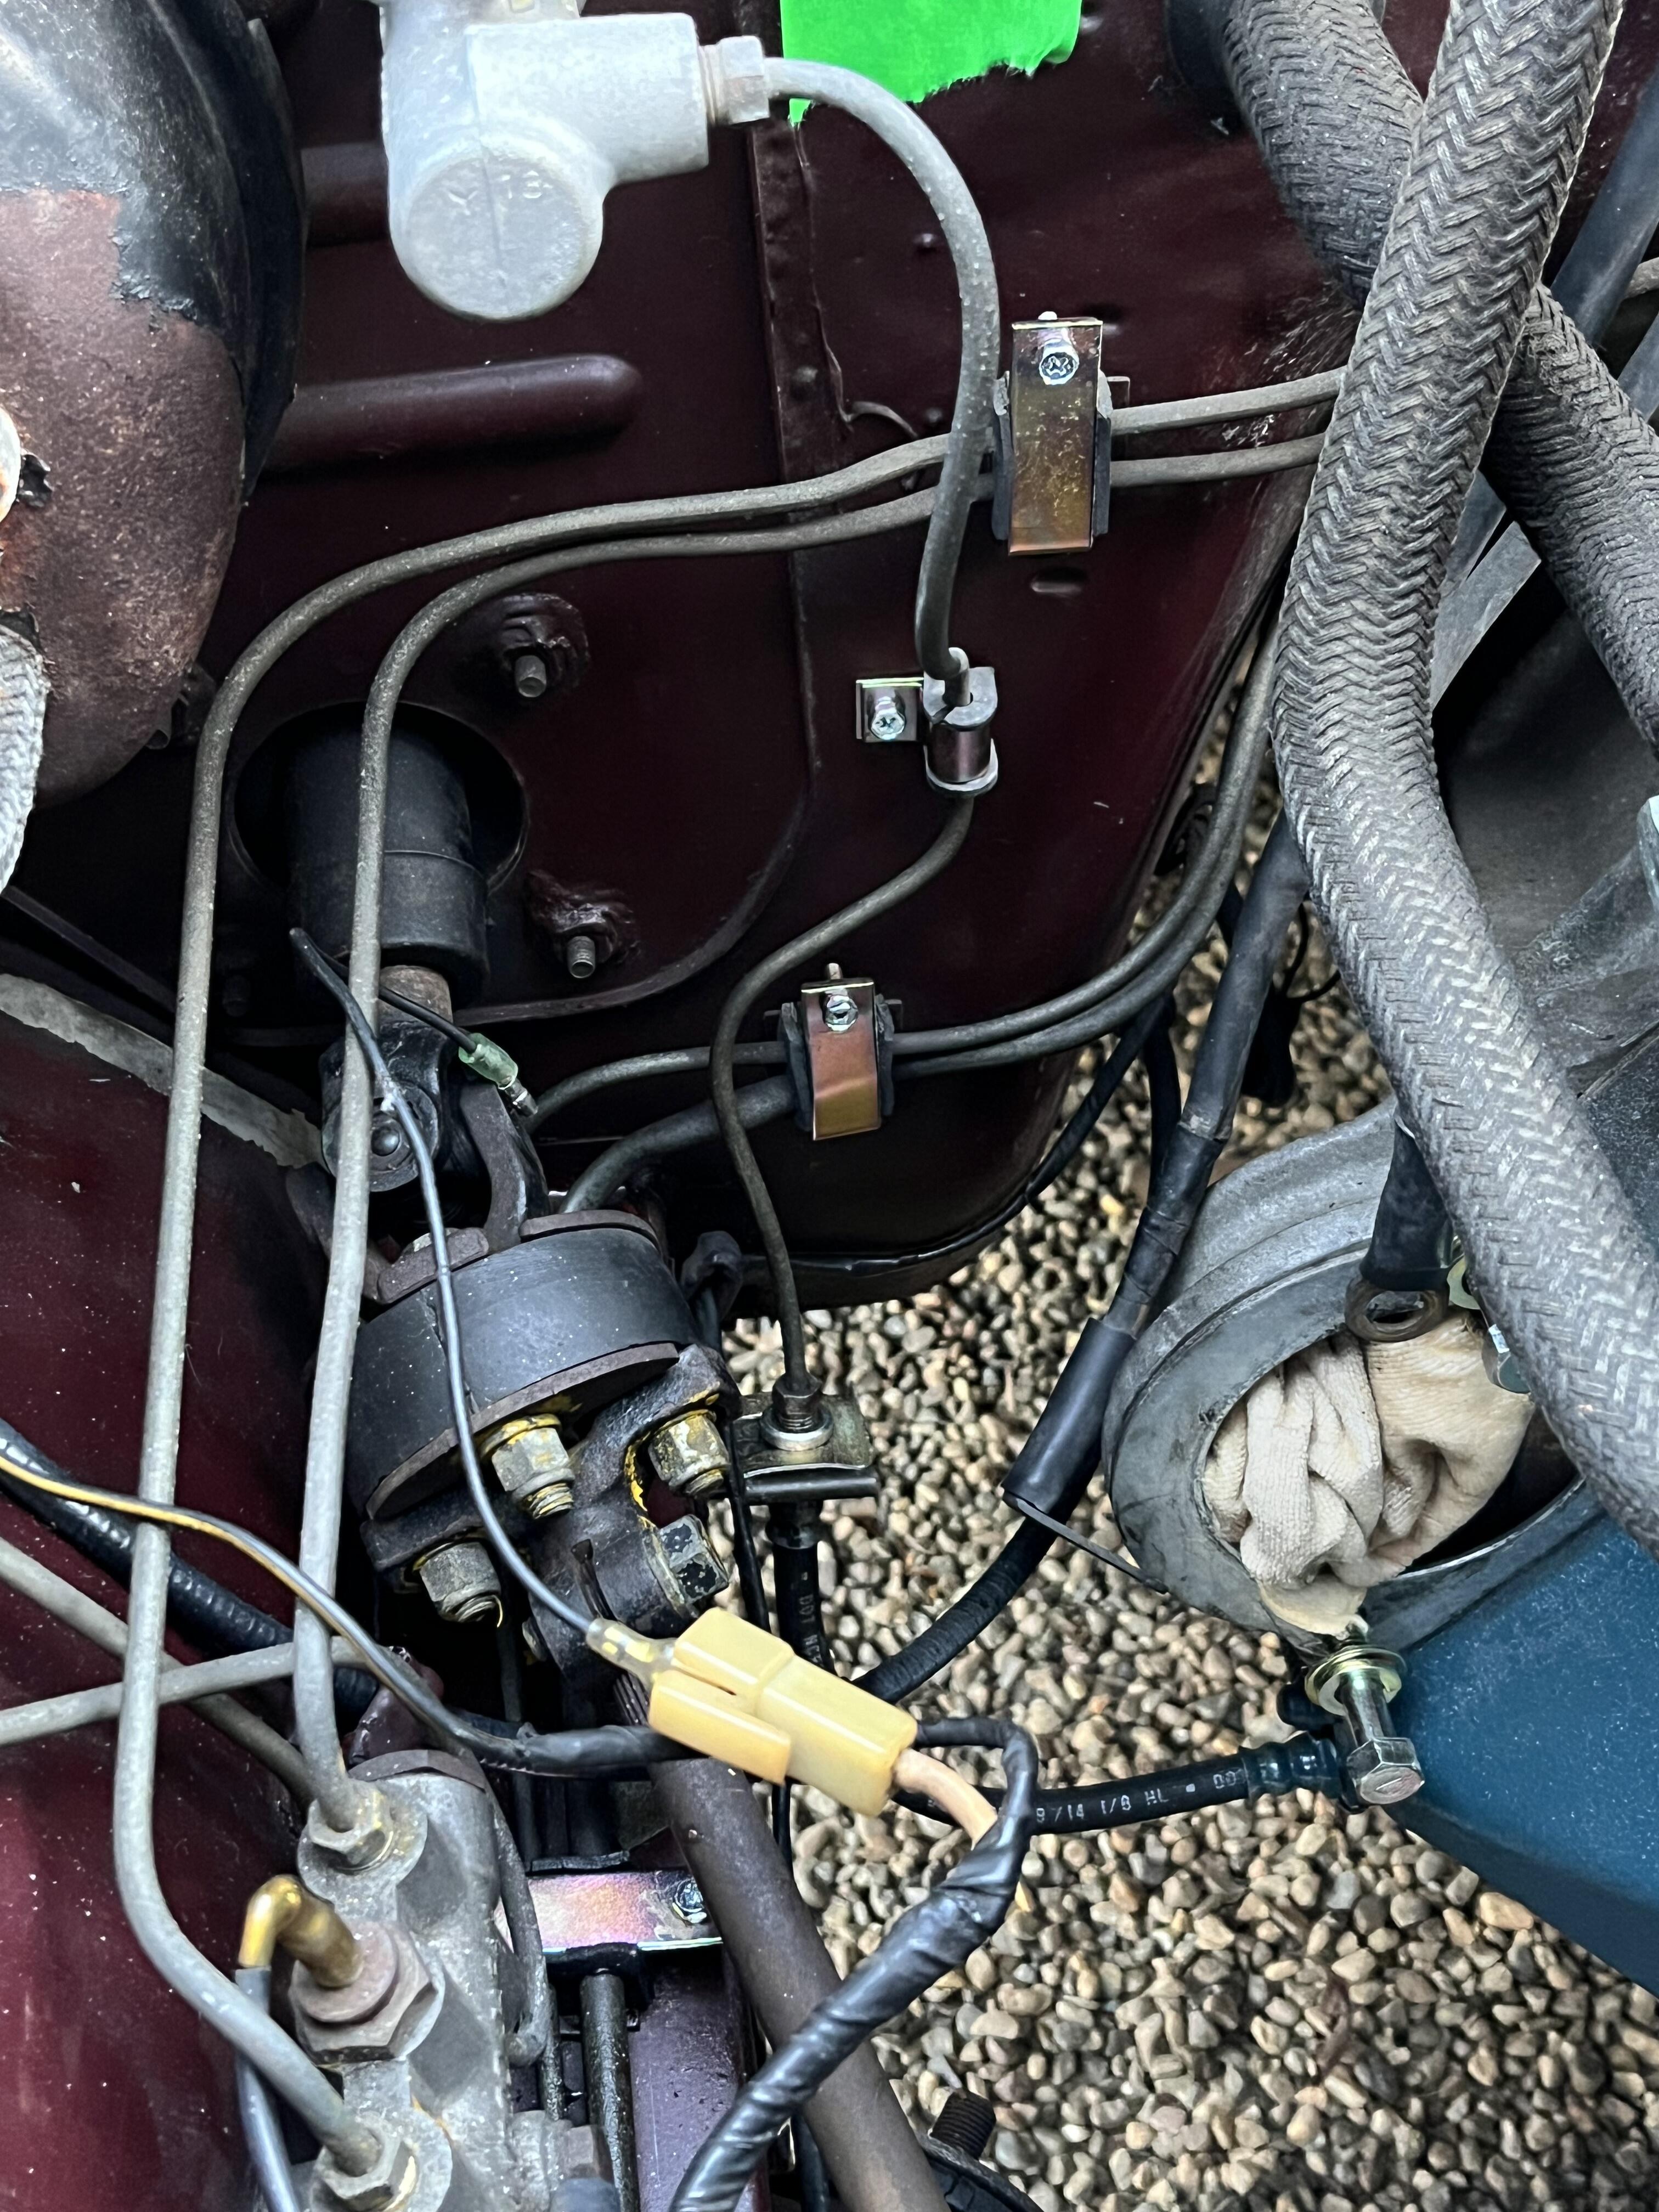
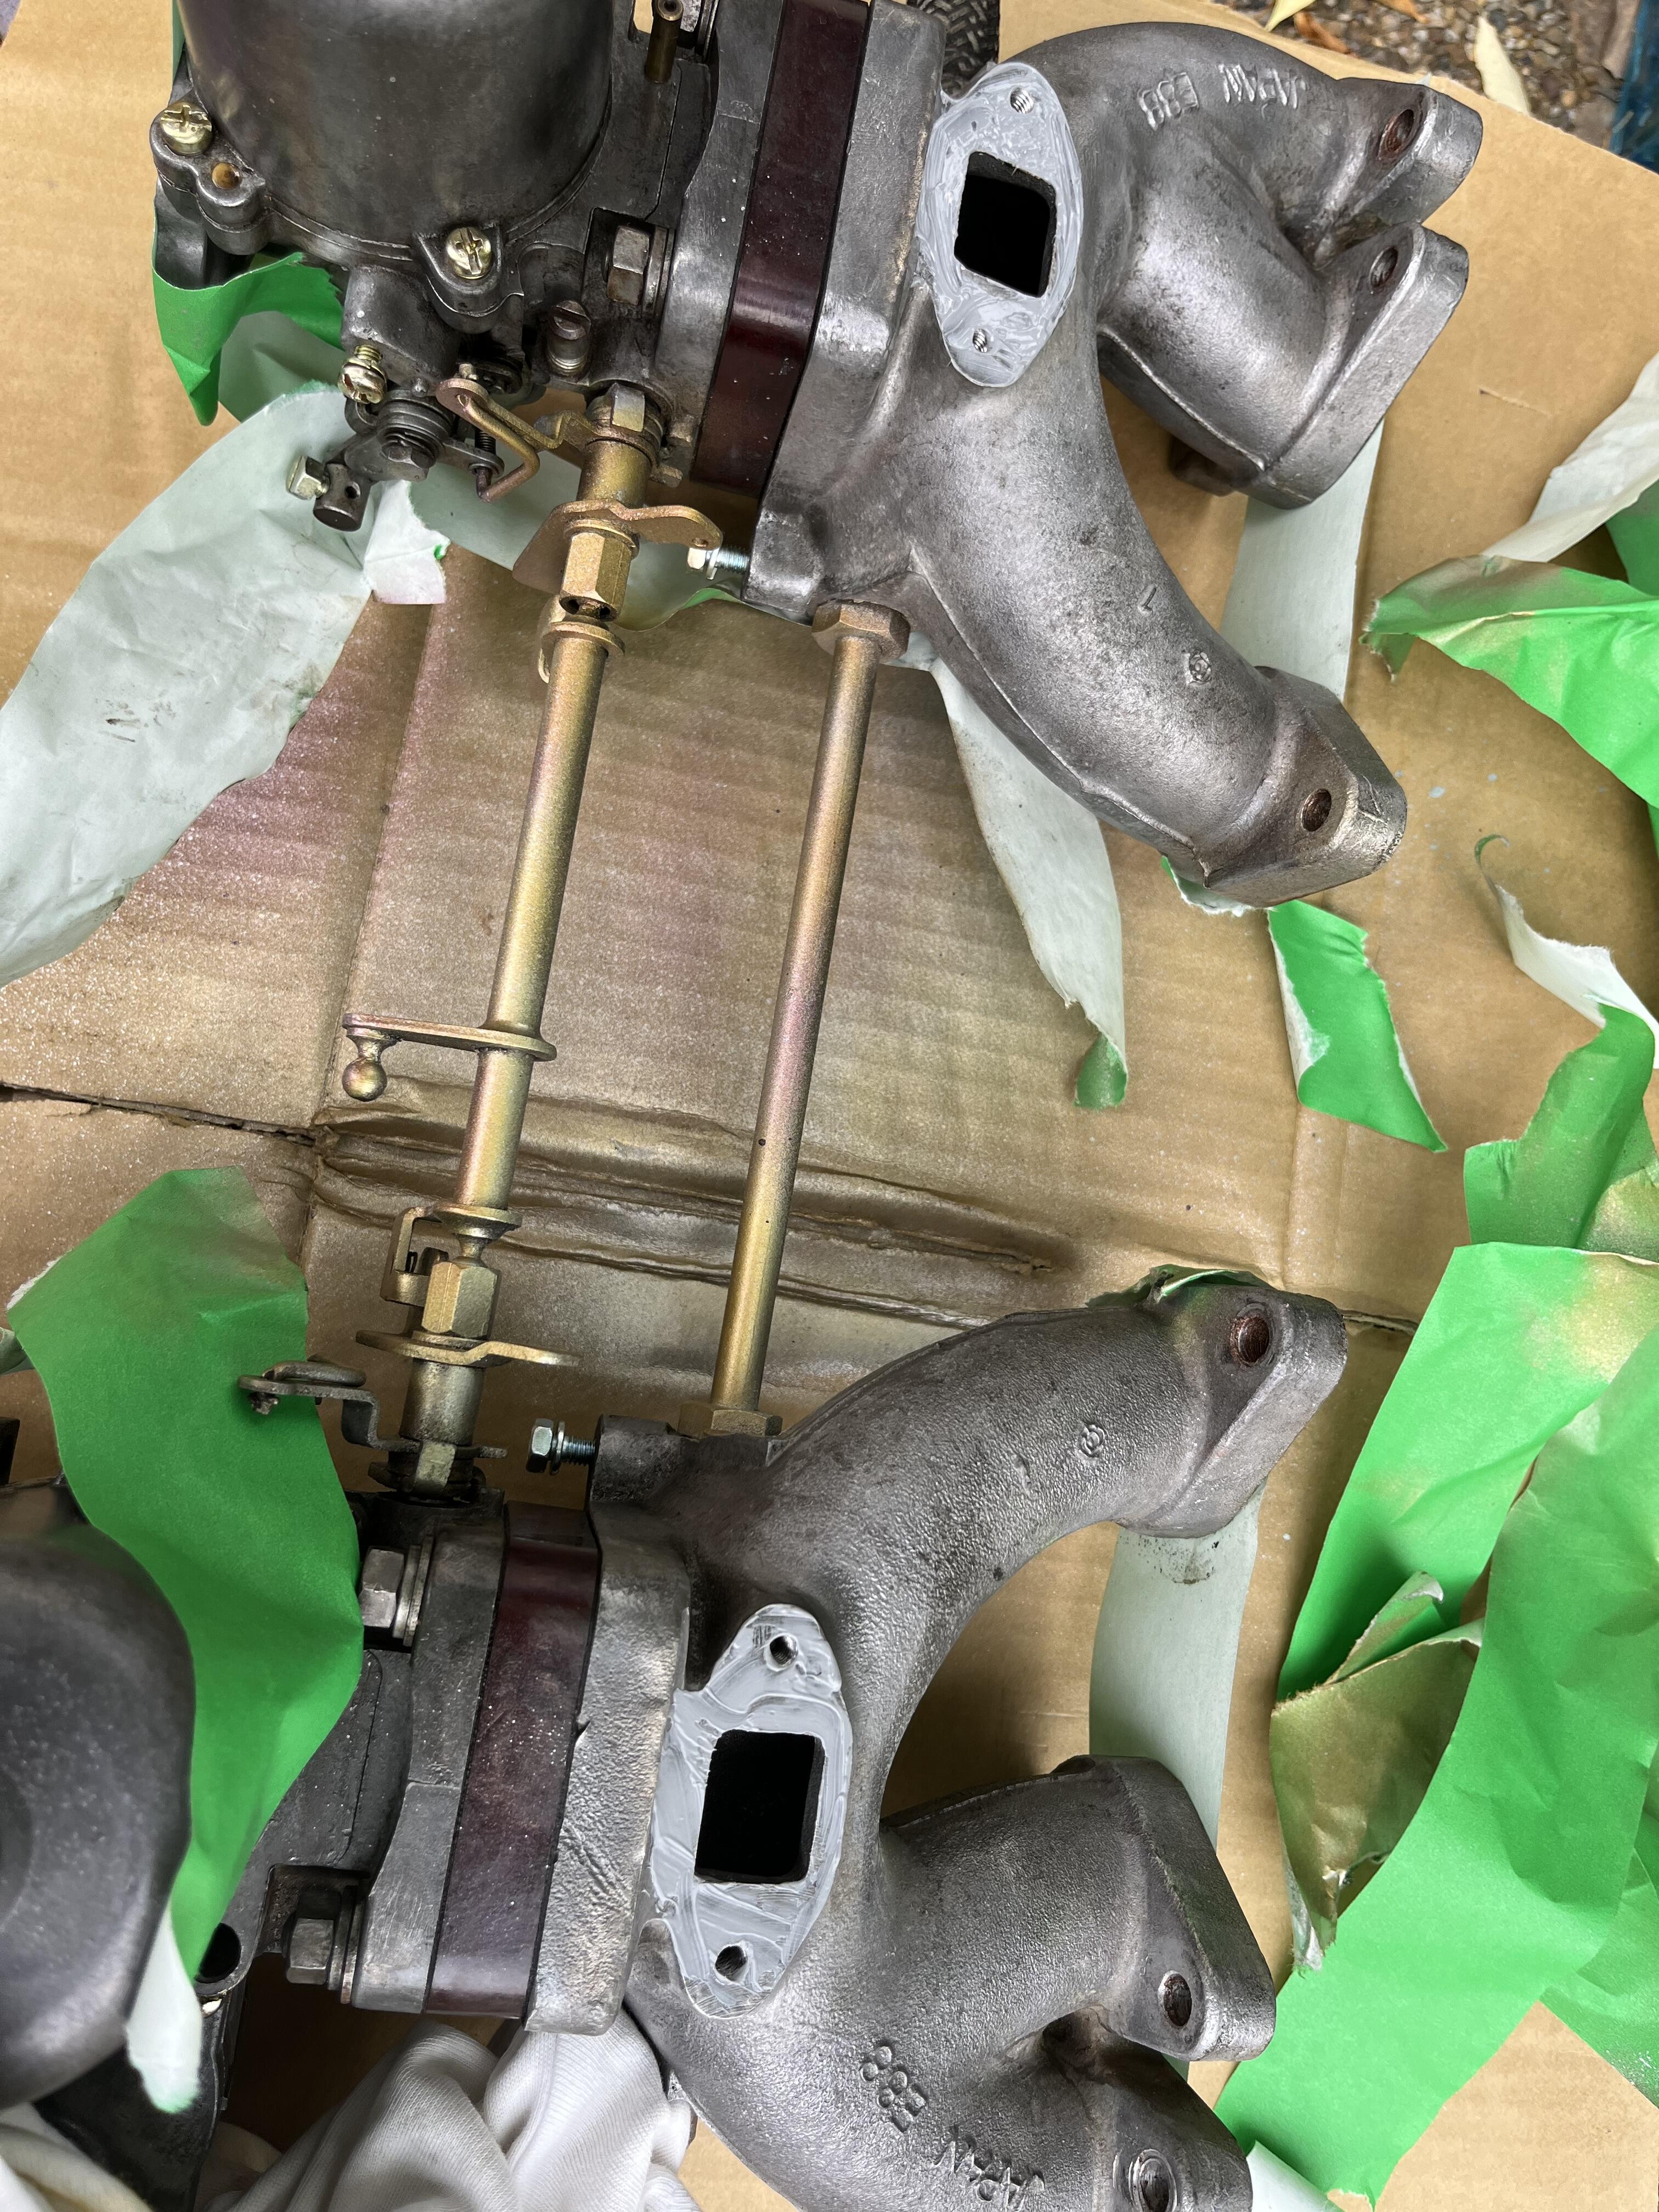
 2 pointsExcellent! Glad it's running! And I wouldn't bother with trying to use a micrometer. I would just go to the wet-set method with a piece of clear tubing. It's the only way to be sure.2 points2 pointsI snapped off the tiny tiny vacuum pipe on the front carburetor when I was trying to take the carburetor off from the manifold. Like this, I sometimes add more task which I never wished. I decided not to try talking off the carburetors because I didn’t want to brake them any further nor pay for a shop to do it instead of me. That is why you see the linkage parts between the two carbs are not plated but painted. I tried to paint them by using four colors of spray can for ‘fake gold zinc’ and it turned out so so for me. The throttle long arm across from the right side of the firewall to the pivot on the left side, and the throttle short arm on the balance tube are also my paint. Fuel pipe along the valve cover too. And a tall tower bracket for the spark plug wires is also painted. Don’t look them closely!! I had to drill a small hole on the remaining pipe on the carburetor to insert a small piece to hold the one which was snapped off. I finally managed to put it back together, and seemed the vacuum advance working properly. One of the thing which I had been wishing for was unique wire clamps for the brake and clutch master cylinders. I bought them for cheap and put them into the place where they need to be. Also please note the foot ball shape cap for the clutch master cylinder. The cap for the brake master cylinder maybe incorrect, I will change it to periodic correct one. Kats


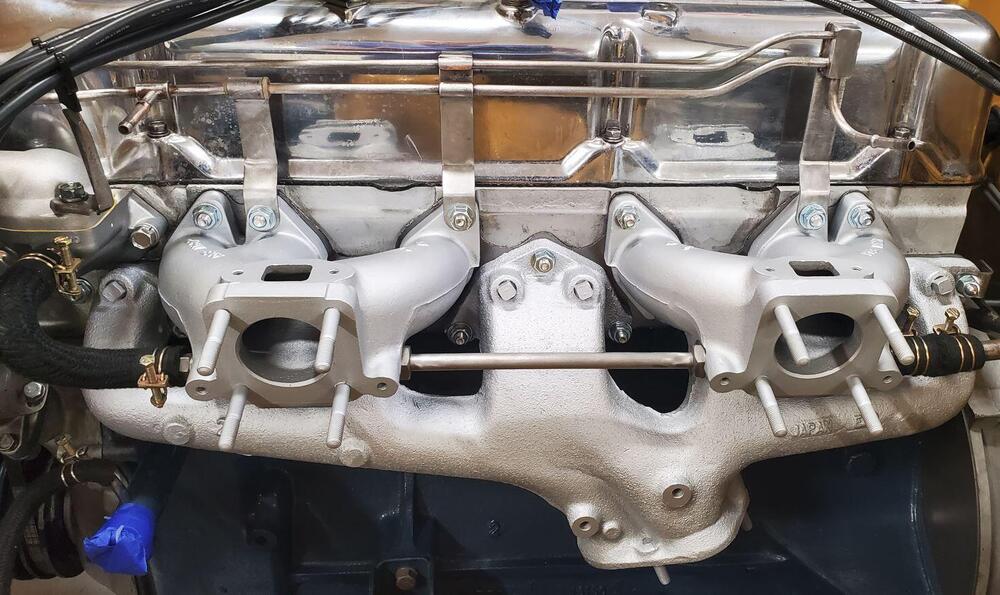
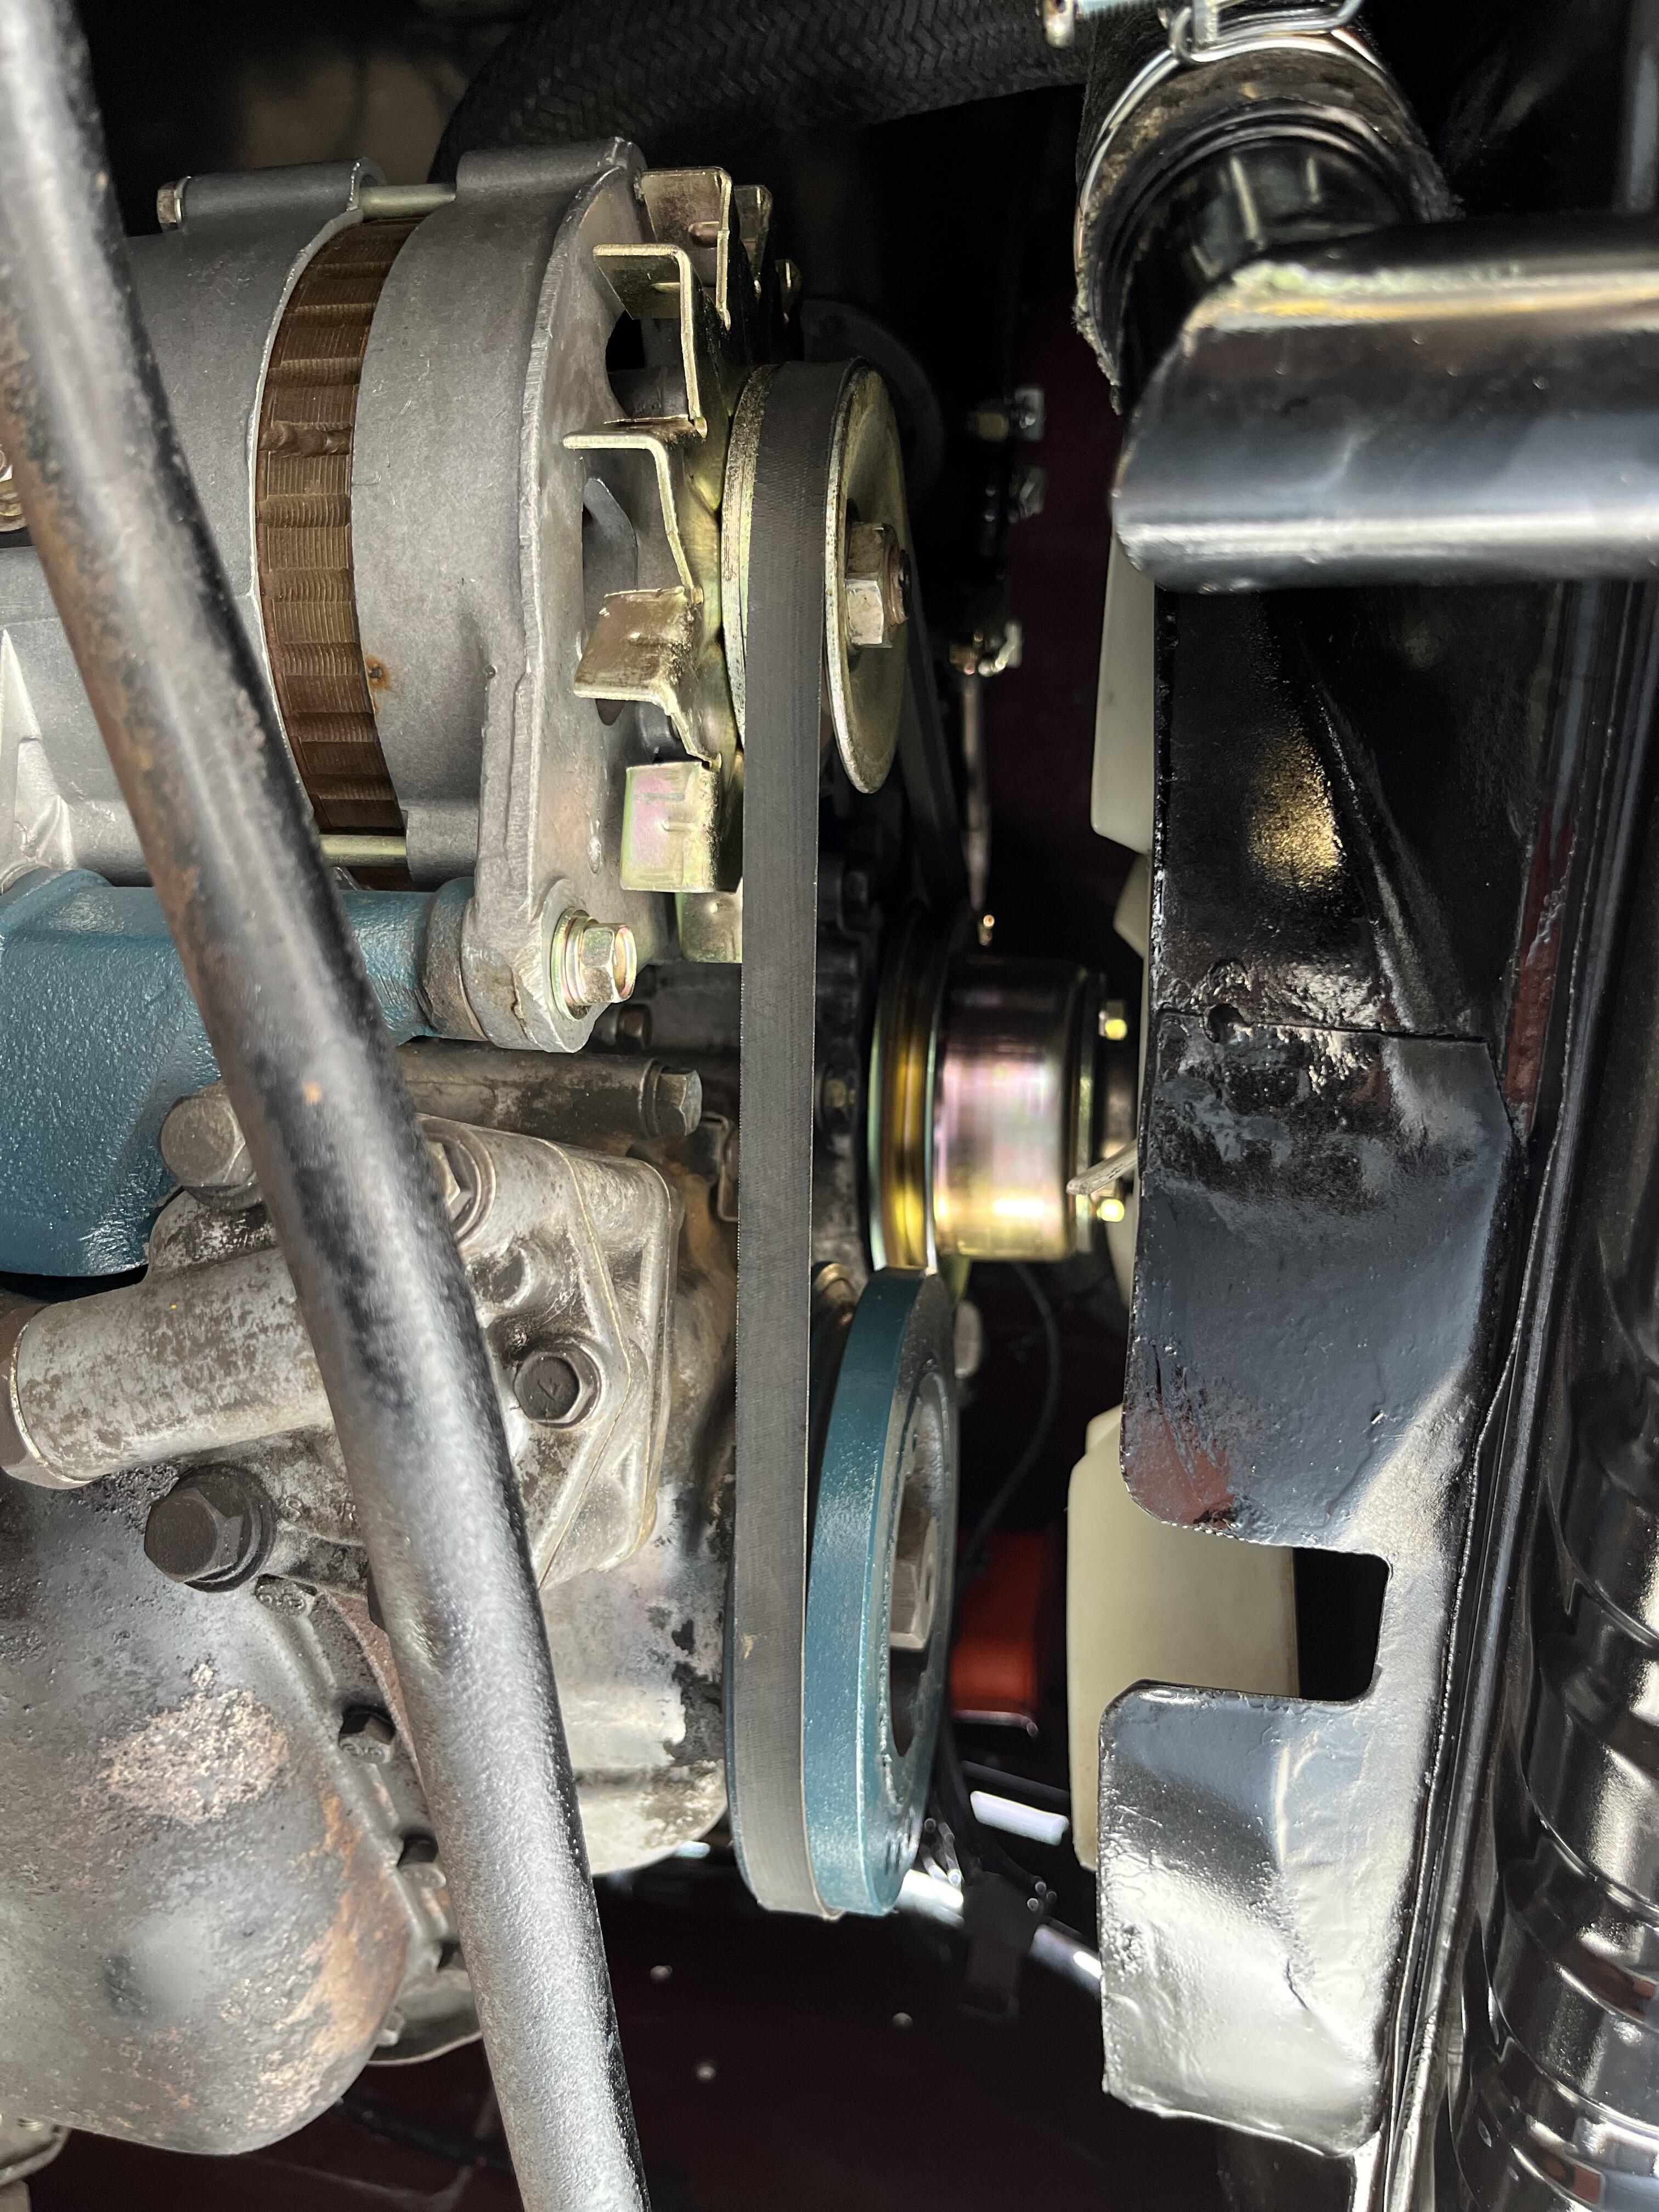
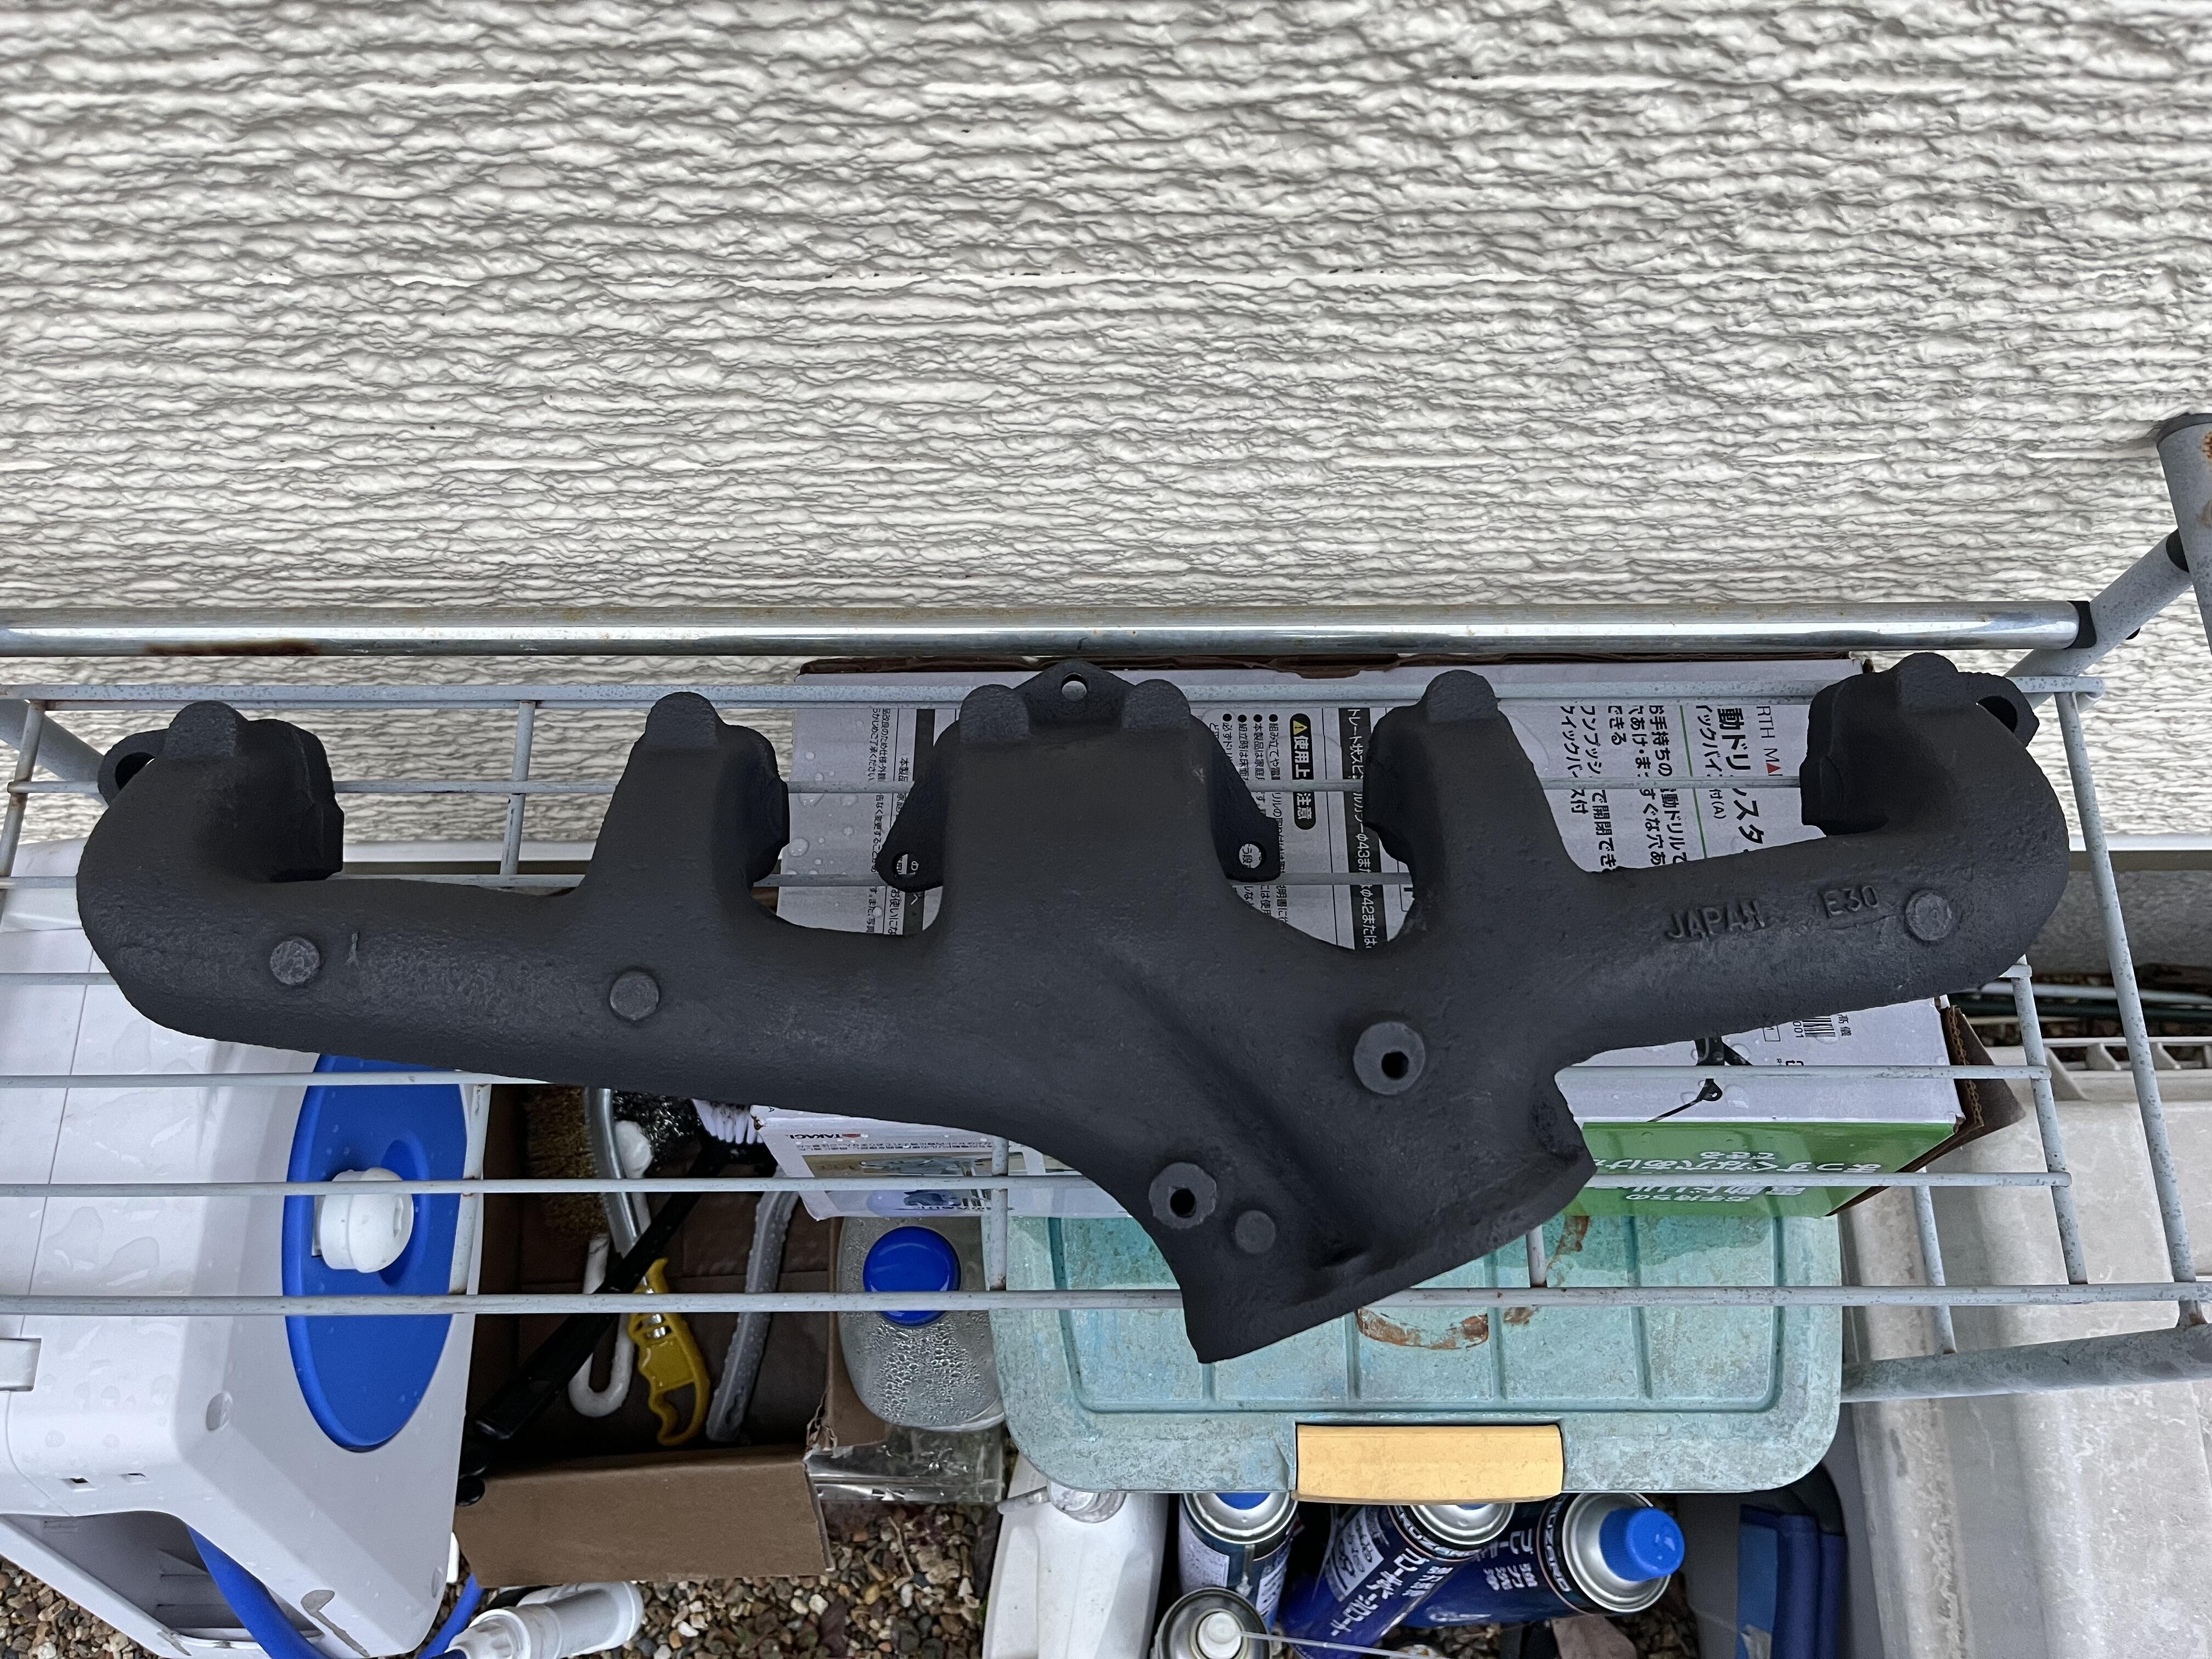
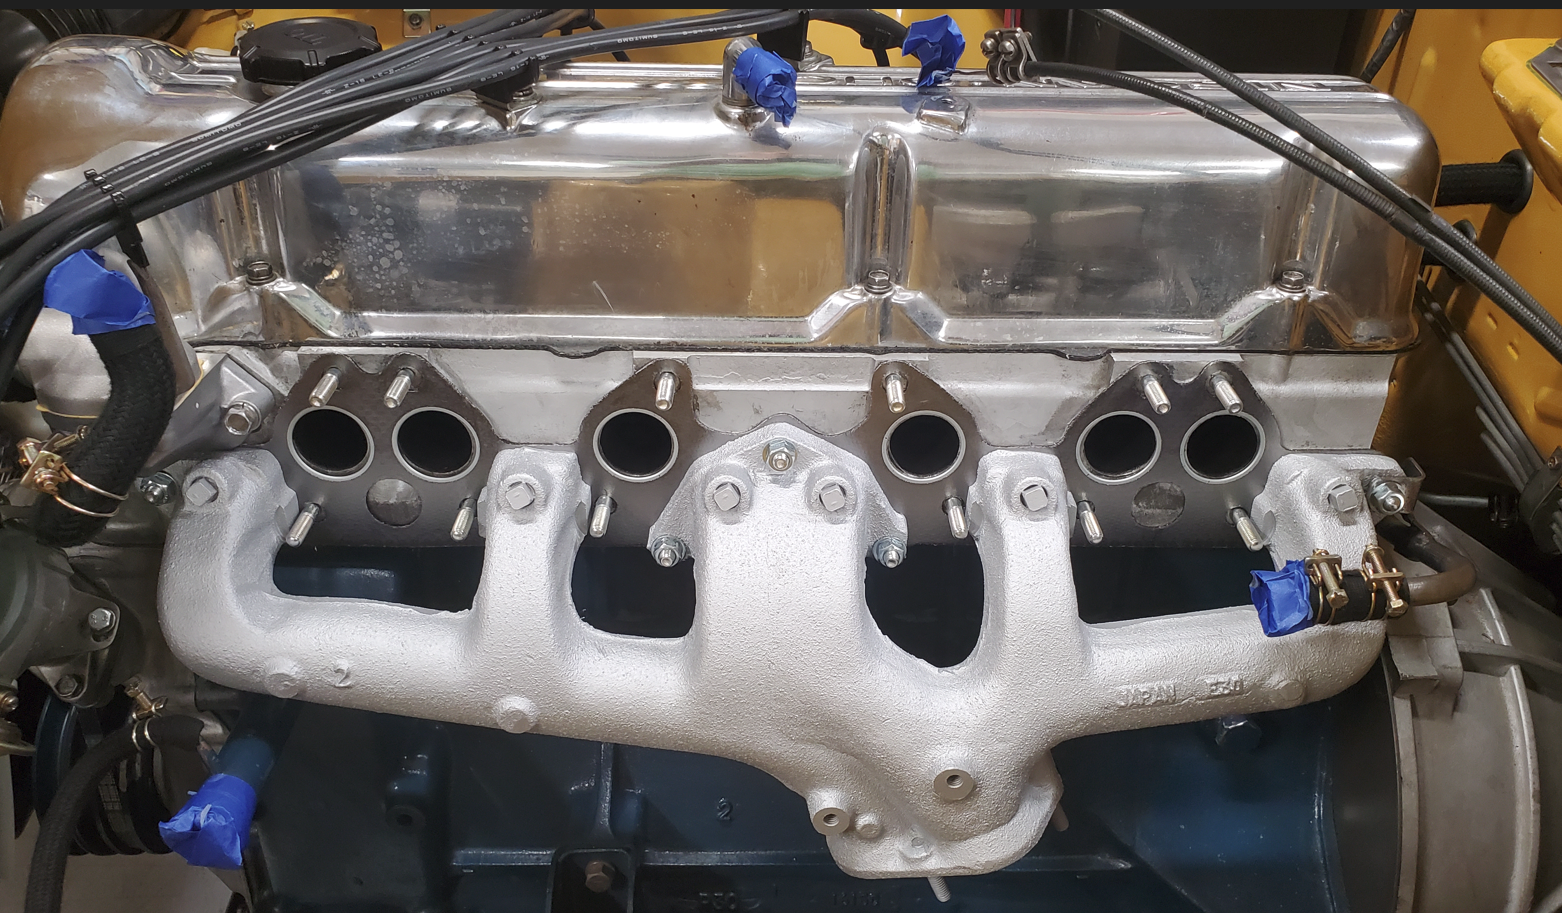
 2 points1 pointMaking progress. A little ways to go waiting on some gaskets for the carbs and balance tube along with the brake booster hose switched to the top load rather than side valve. I decided to get all new studs and HW for the block because the previous set was a mess of sizes. MSA had a decent set all sized and ready to go but it did require me changing out the intake bolts to studs. I kind of like it only because it made the mounting easier rather than having to hold it in place while i bolted it. the exhaust manifold arrived already media blasted nicely but not such a great color so i painted it with vht. I ended up using aluminum to try and match the intake I had already. then i restored and painted the intake, polished the coolant tube and fuel rail Coolant back in and as i wait for the gaskets I'm polishing the linkages as best i can. i'm contemplating painting the front section of the exhaust pipe its currently a rusty looking brown. Without a true lift might be a bit of a challenge getting it out the back but i'll see what i can do. if its not reasonable ill leave it and deal with new pipes anyway down the road with the headers.

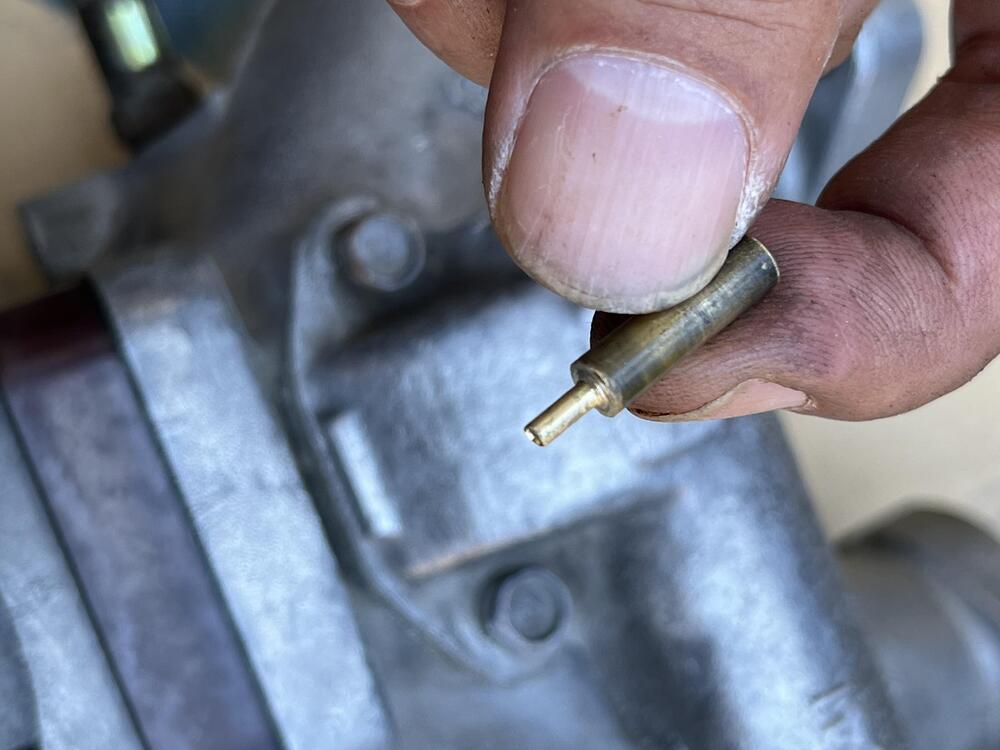
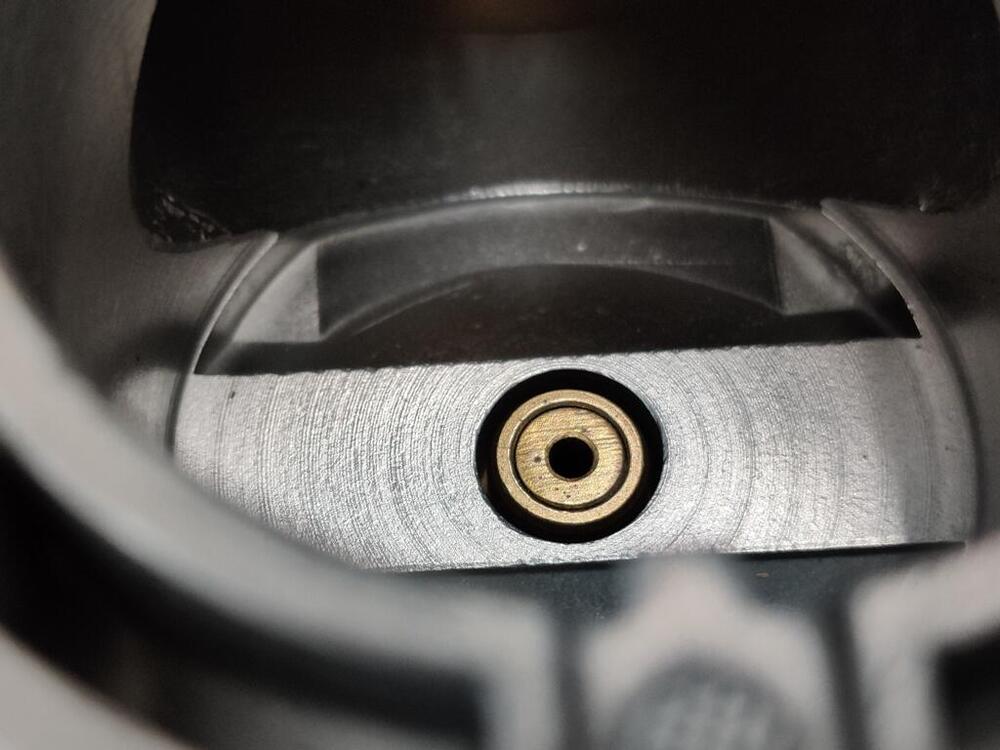
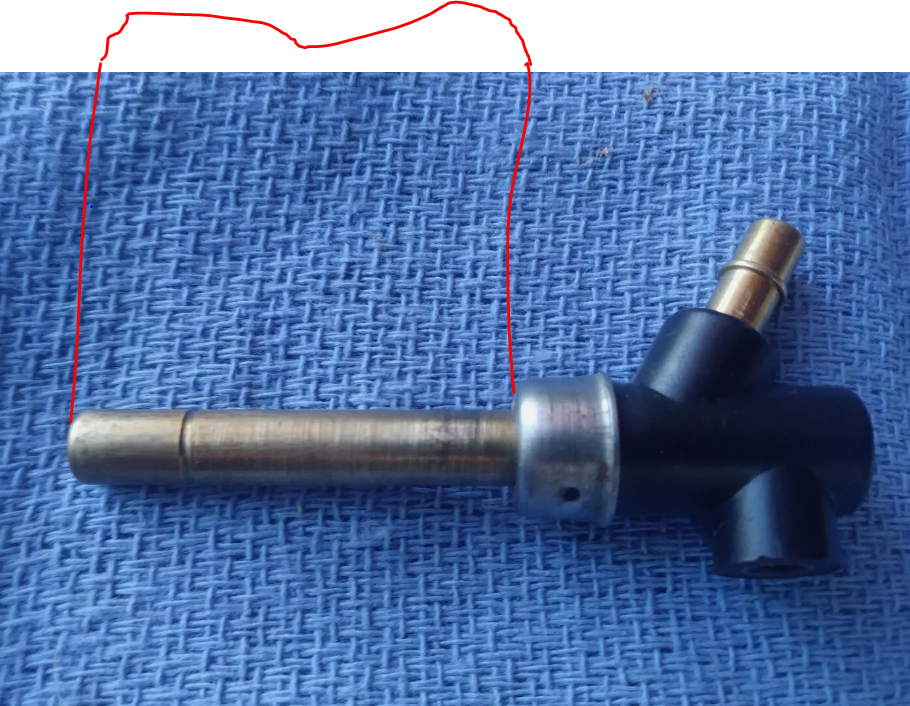
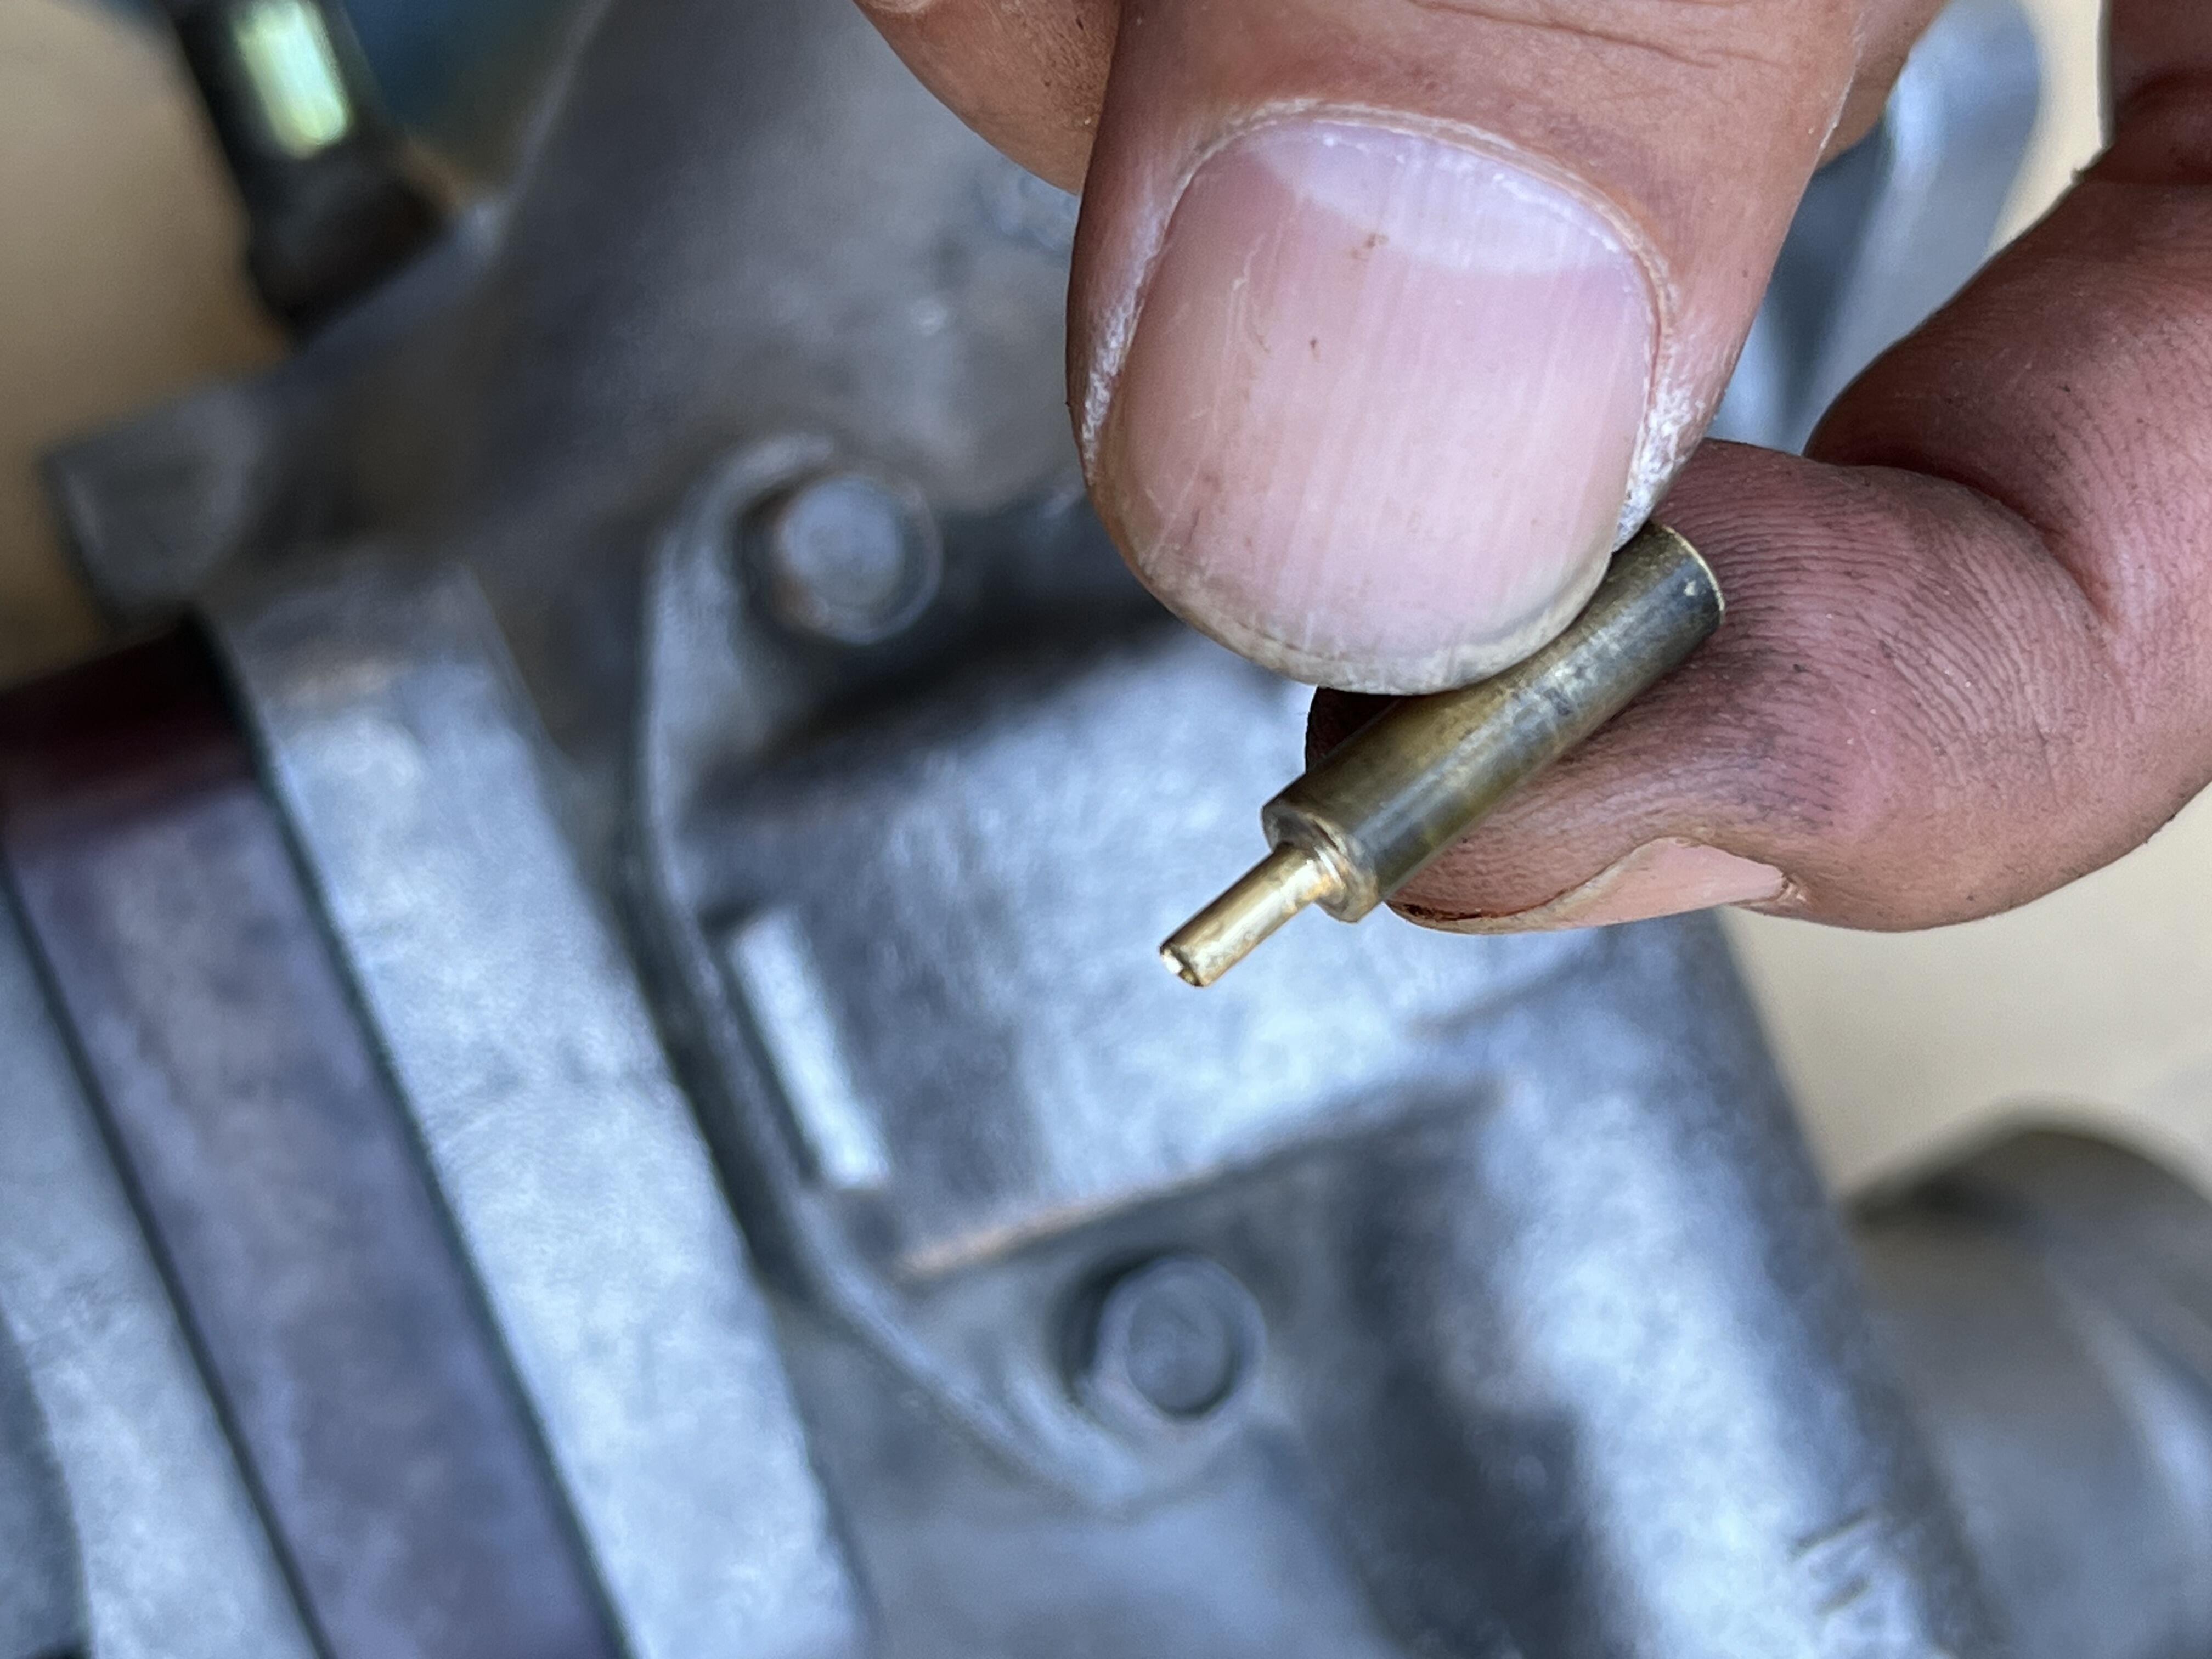
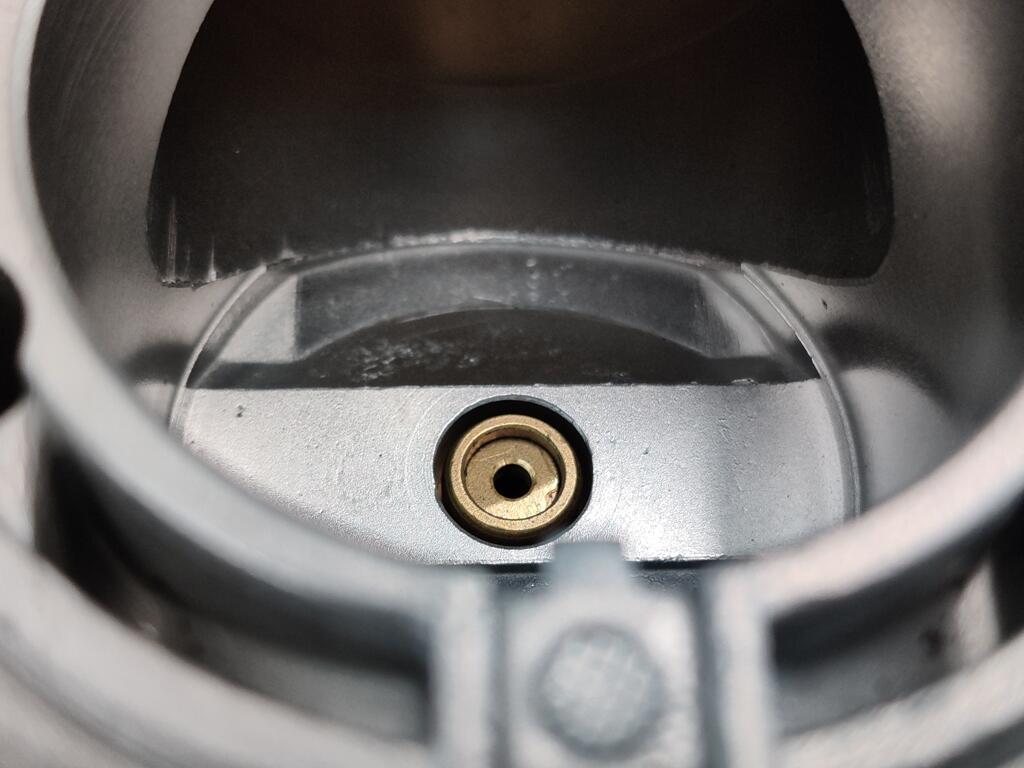
 1 pointHistorian/Sr. Research Analyst back at work!!1 point1 pointWoof. Yeah, it looks like someone screwed up your nozzle. I've got a couple nozzles here and I'll take some measurements next chance I get unless someone beats me to it.1 pointStarted to check everything on the carburetors today. They were rebuilt by Paltech - I think they are out of business now. And one of the things on my list to do is to check the basics before attempting to fire the car up. Unfortunately, I ran into and issue. I screwed the mixture screws all the way in on both carbs: Front carb - and back carb respectively: The top of the nozzle on the front carb looks odd. It has a slight angle/chamfer that you can see in the pic. But more importantly, with the mixture screw all the way screwed in, the top of the jet nozzle is not flush with the "surround" - whatever that piece is called. That is not good. I removed the jet nozzles and measured their lengths - this length. The measurements are front: 1.405" and back 1.445". These are 4 screw SU's. Can some folks measure the lengths of any nozzles so I can compare with what I have? I am going to take a closer look at my nozzles. But, I fear someone ground the end of the front one down or something.
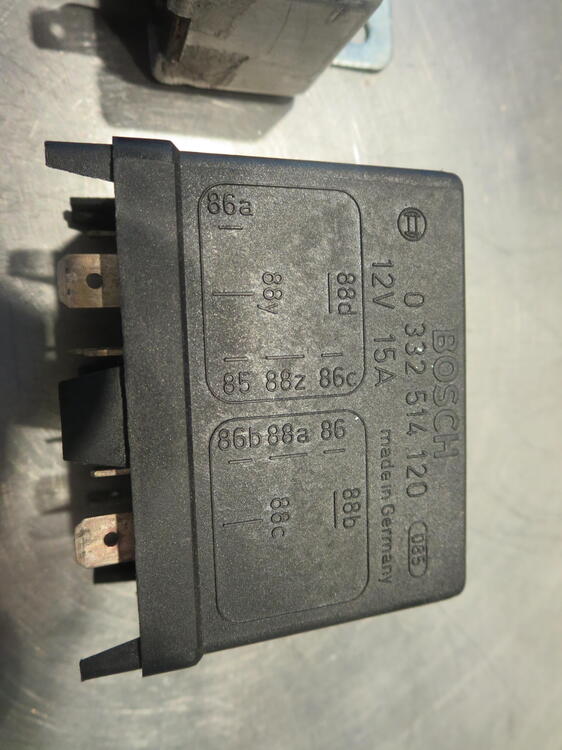
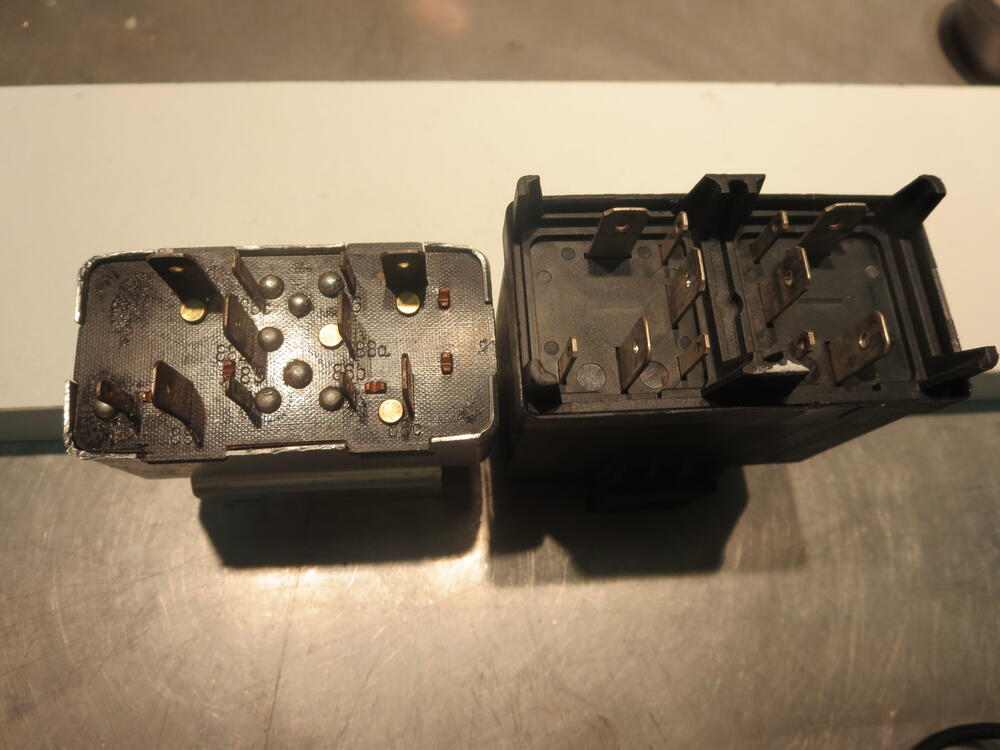
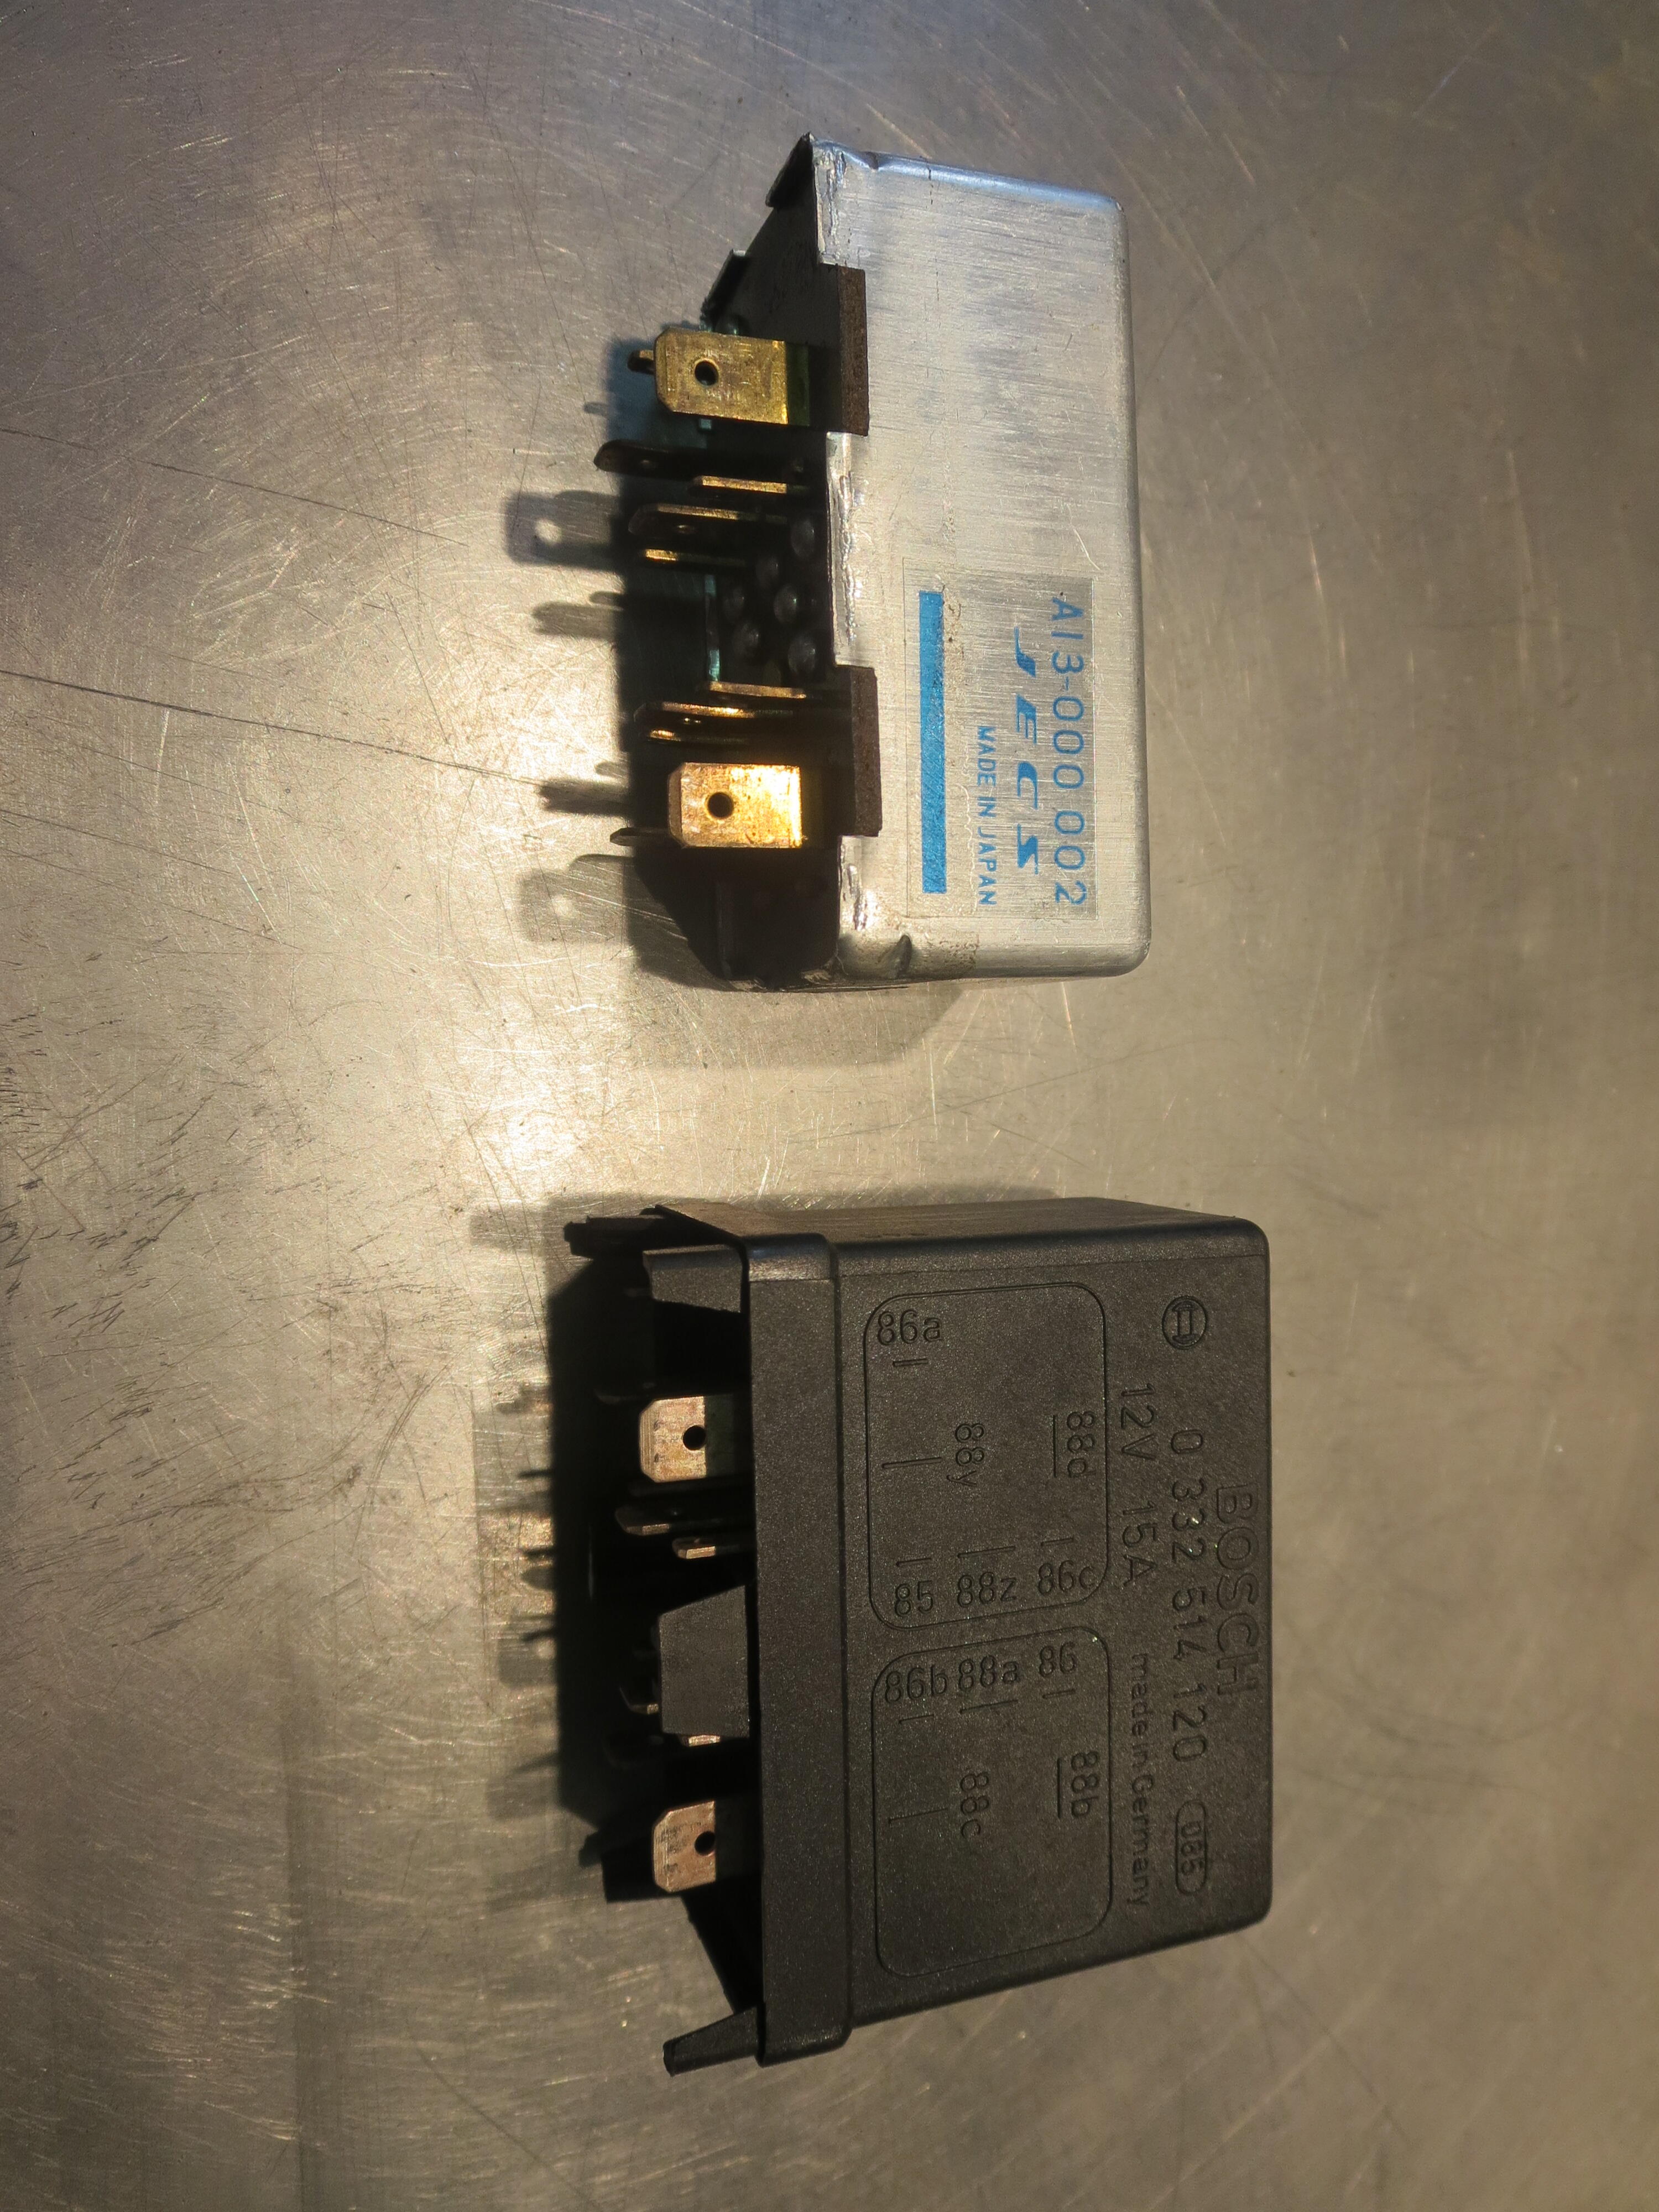
 1 point1 pointJust google Bosch 0 332 514 120 and you will find them for the Porche 912E, BMW's, Mercedes, Opels, Volvo, Peugeot etc. It will plugin and work perfectly.
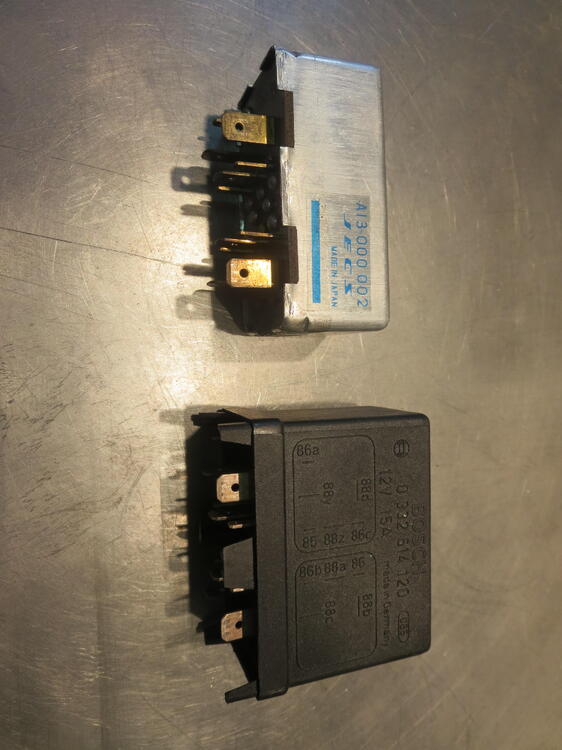
 1 point


Important Information
By using this site, you agree to our Privacy Policy and Guidelines. We have placed cookies on your device to help make this website better. You can adjust your cookie settings, otherwise we'll assume you're okay to continue.