Leaderboard
-
inline6
 Subscriber
 6Points1,282Posts
 -
z3beemer
Free Member6Points169Posts -
HusseinHolland
Free Member5Points1,031Posts -
texasz
Free Member4Points2,362Posts


Popular Content
Showing content with the highest reputation on 12/18/2023 in all areas
-
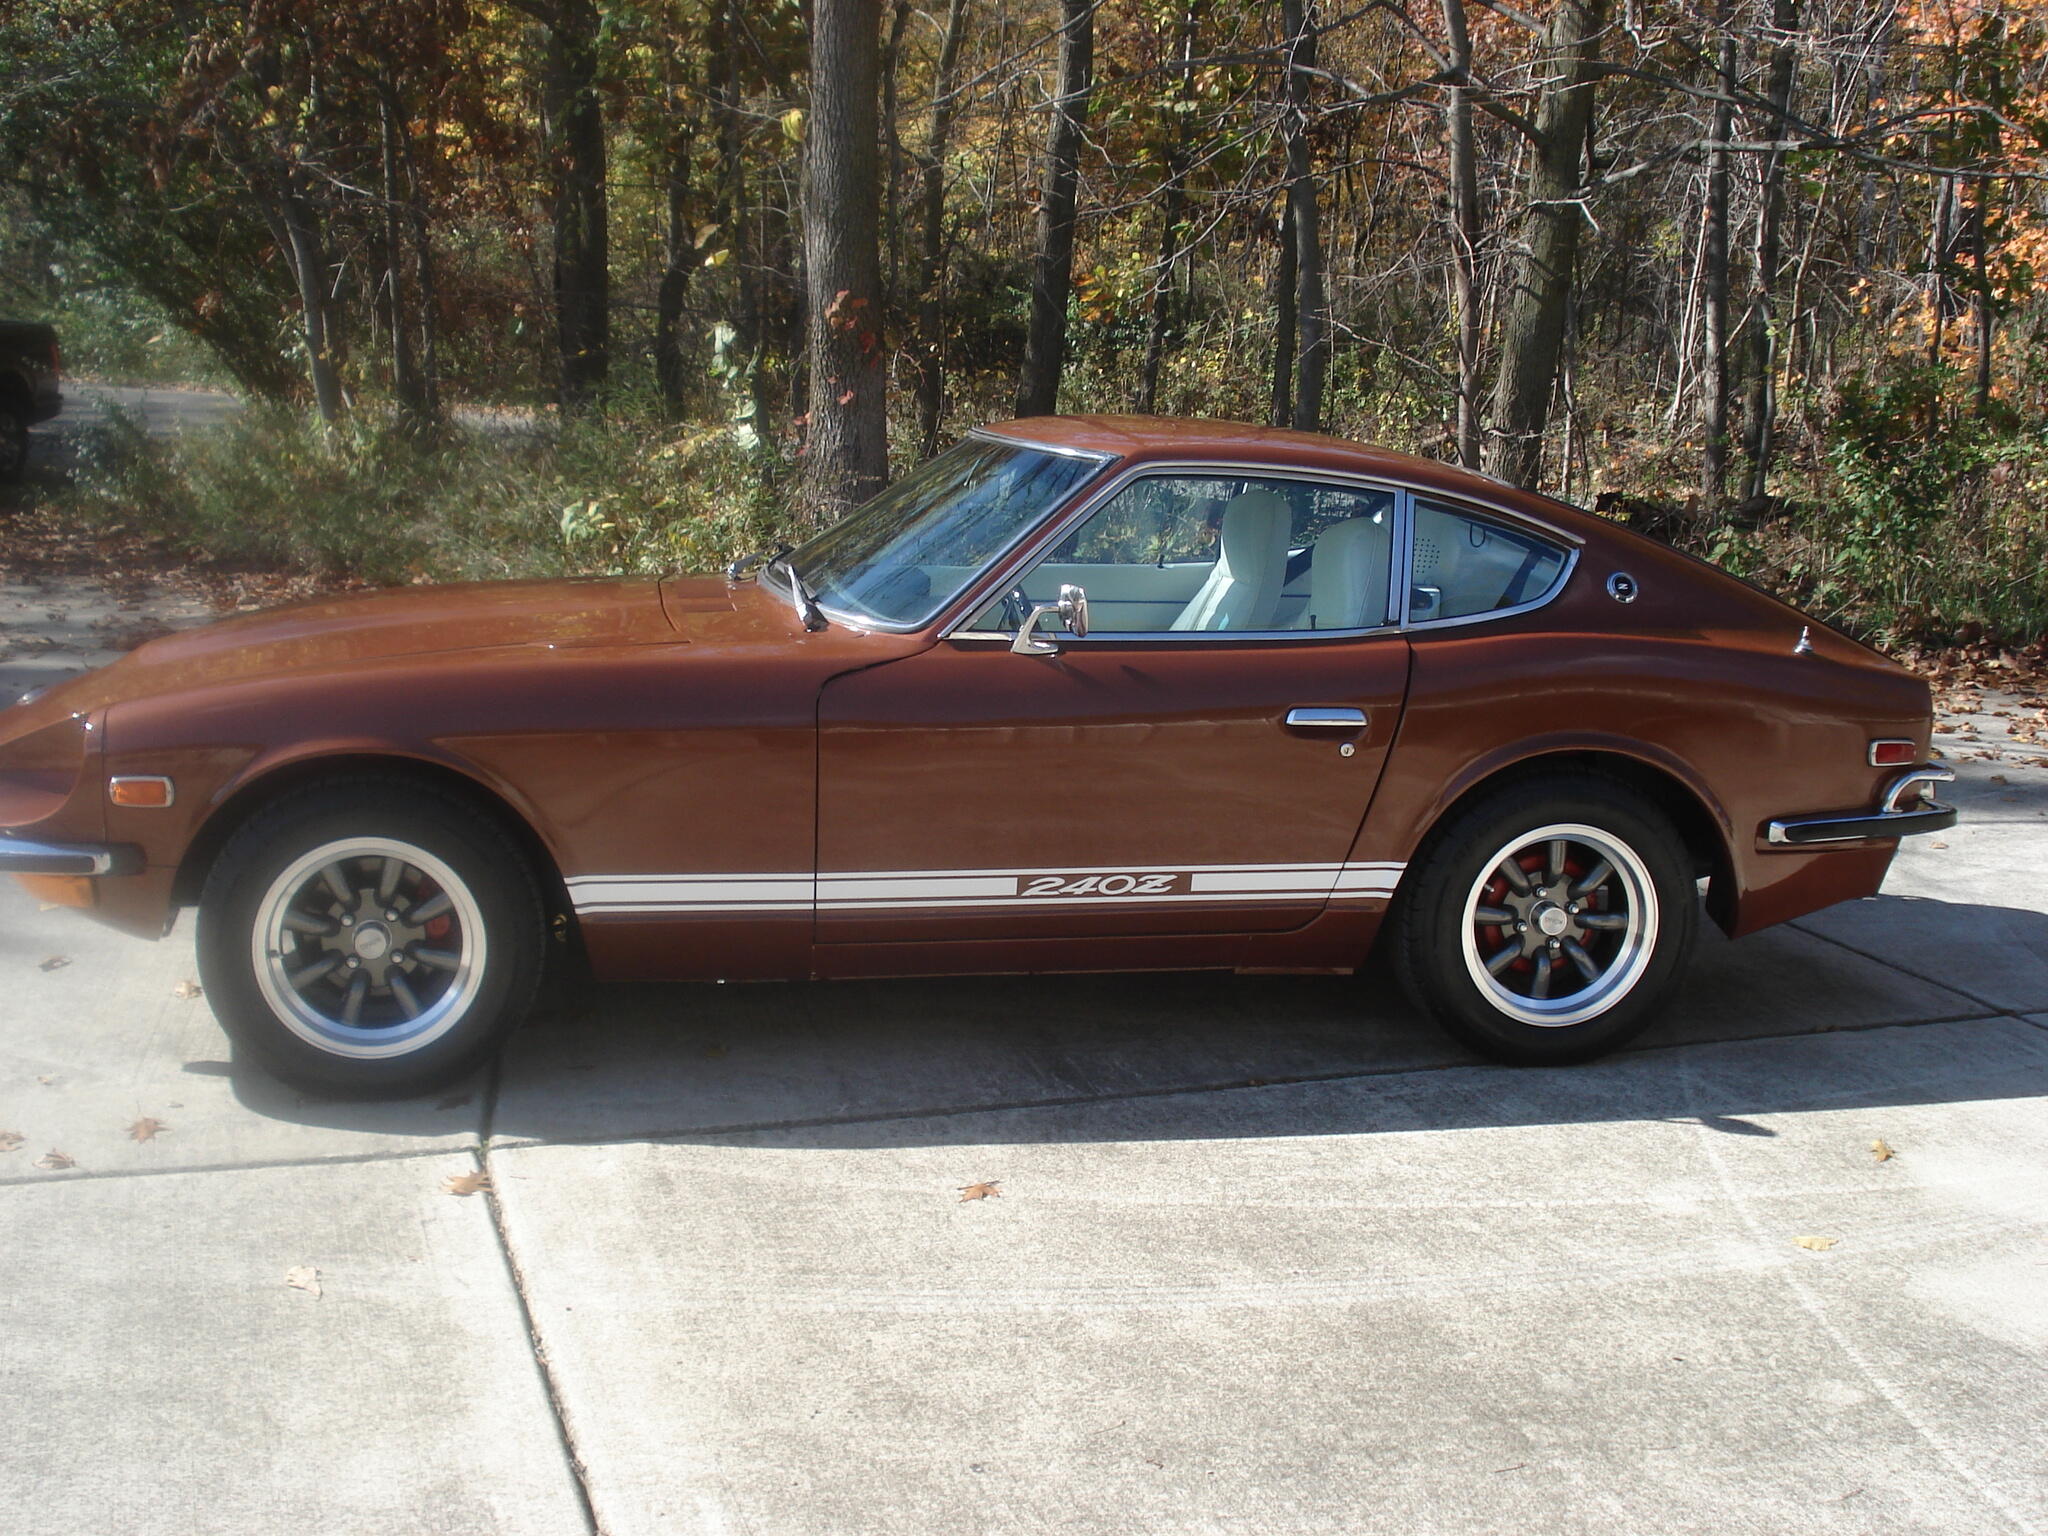
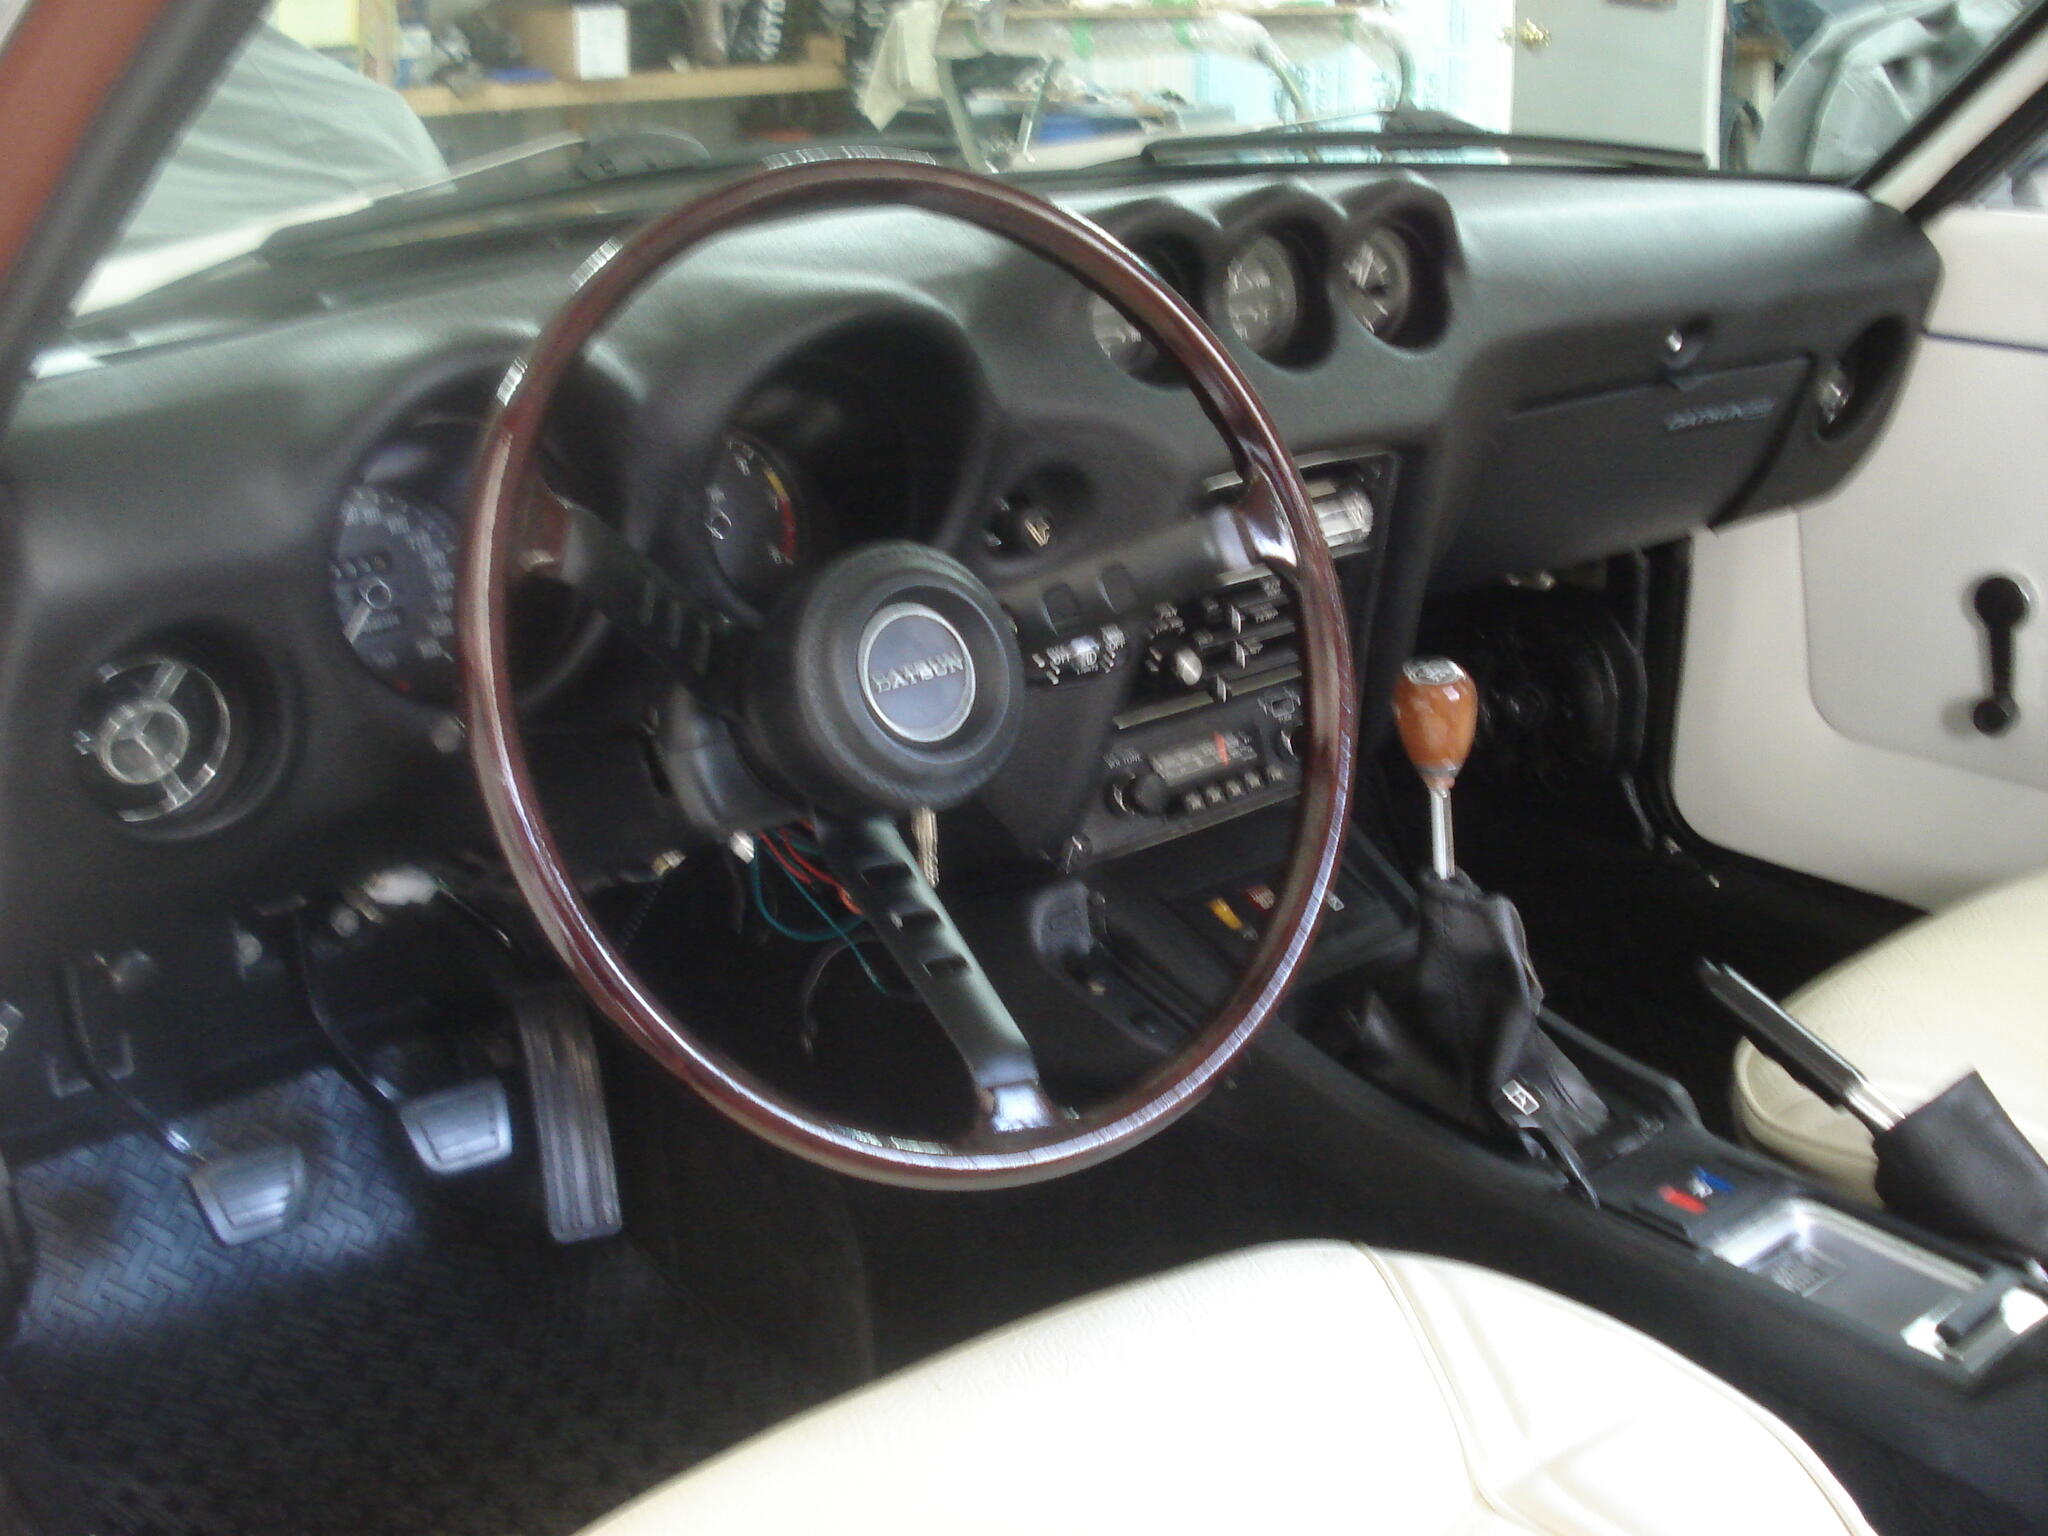
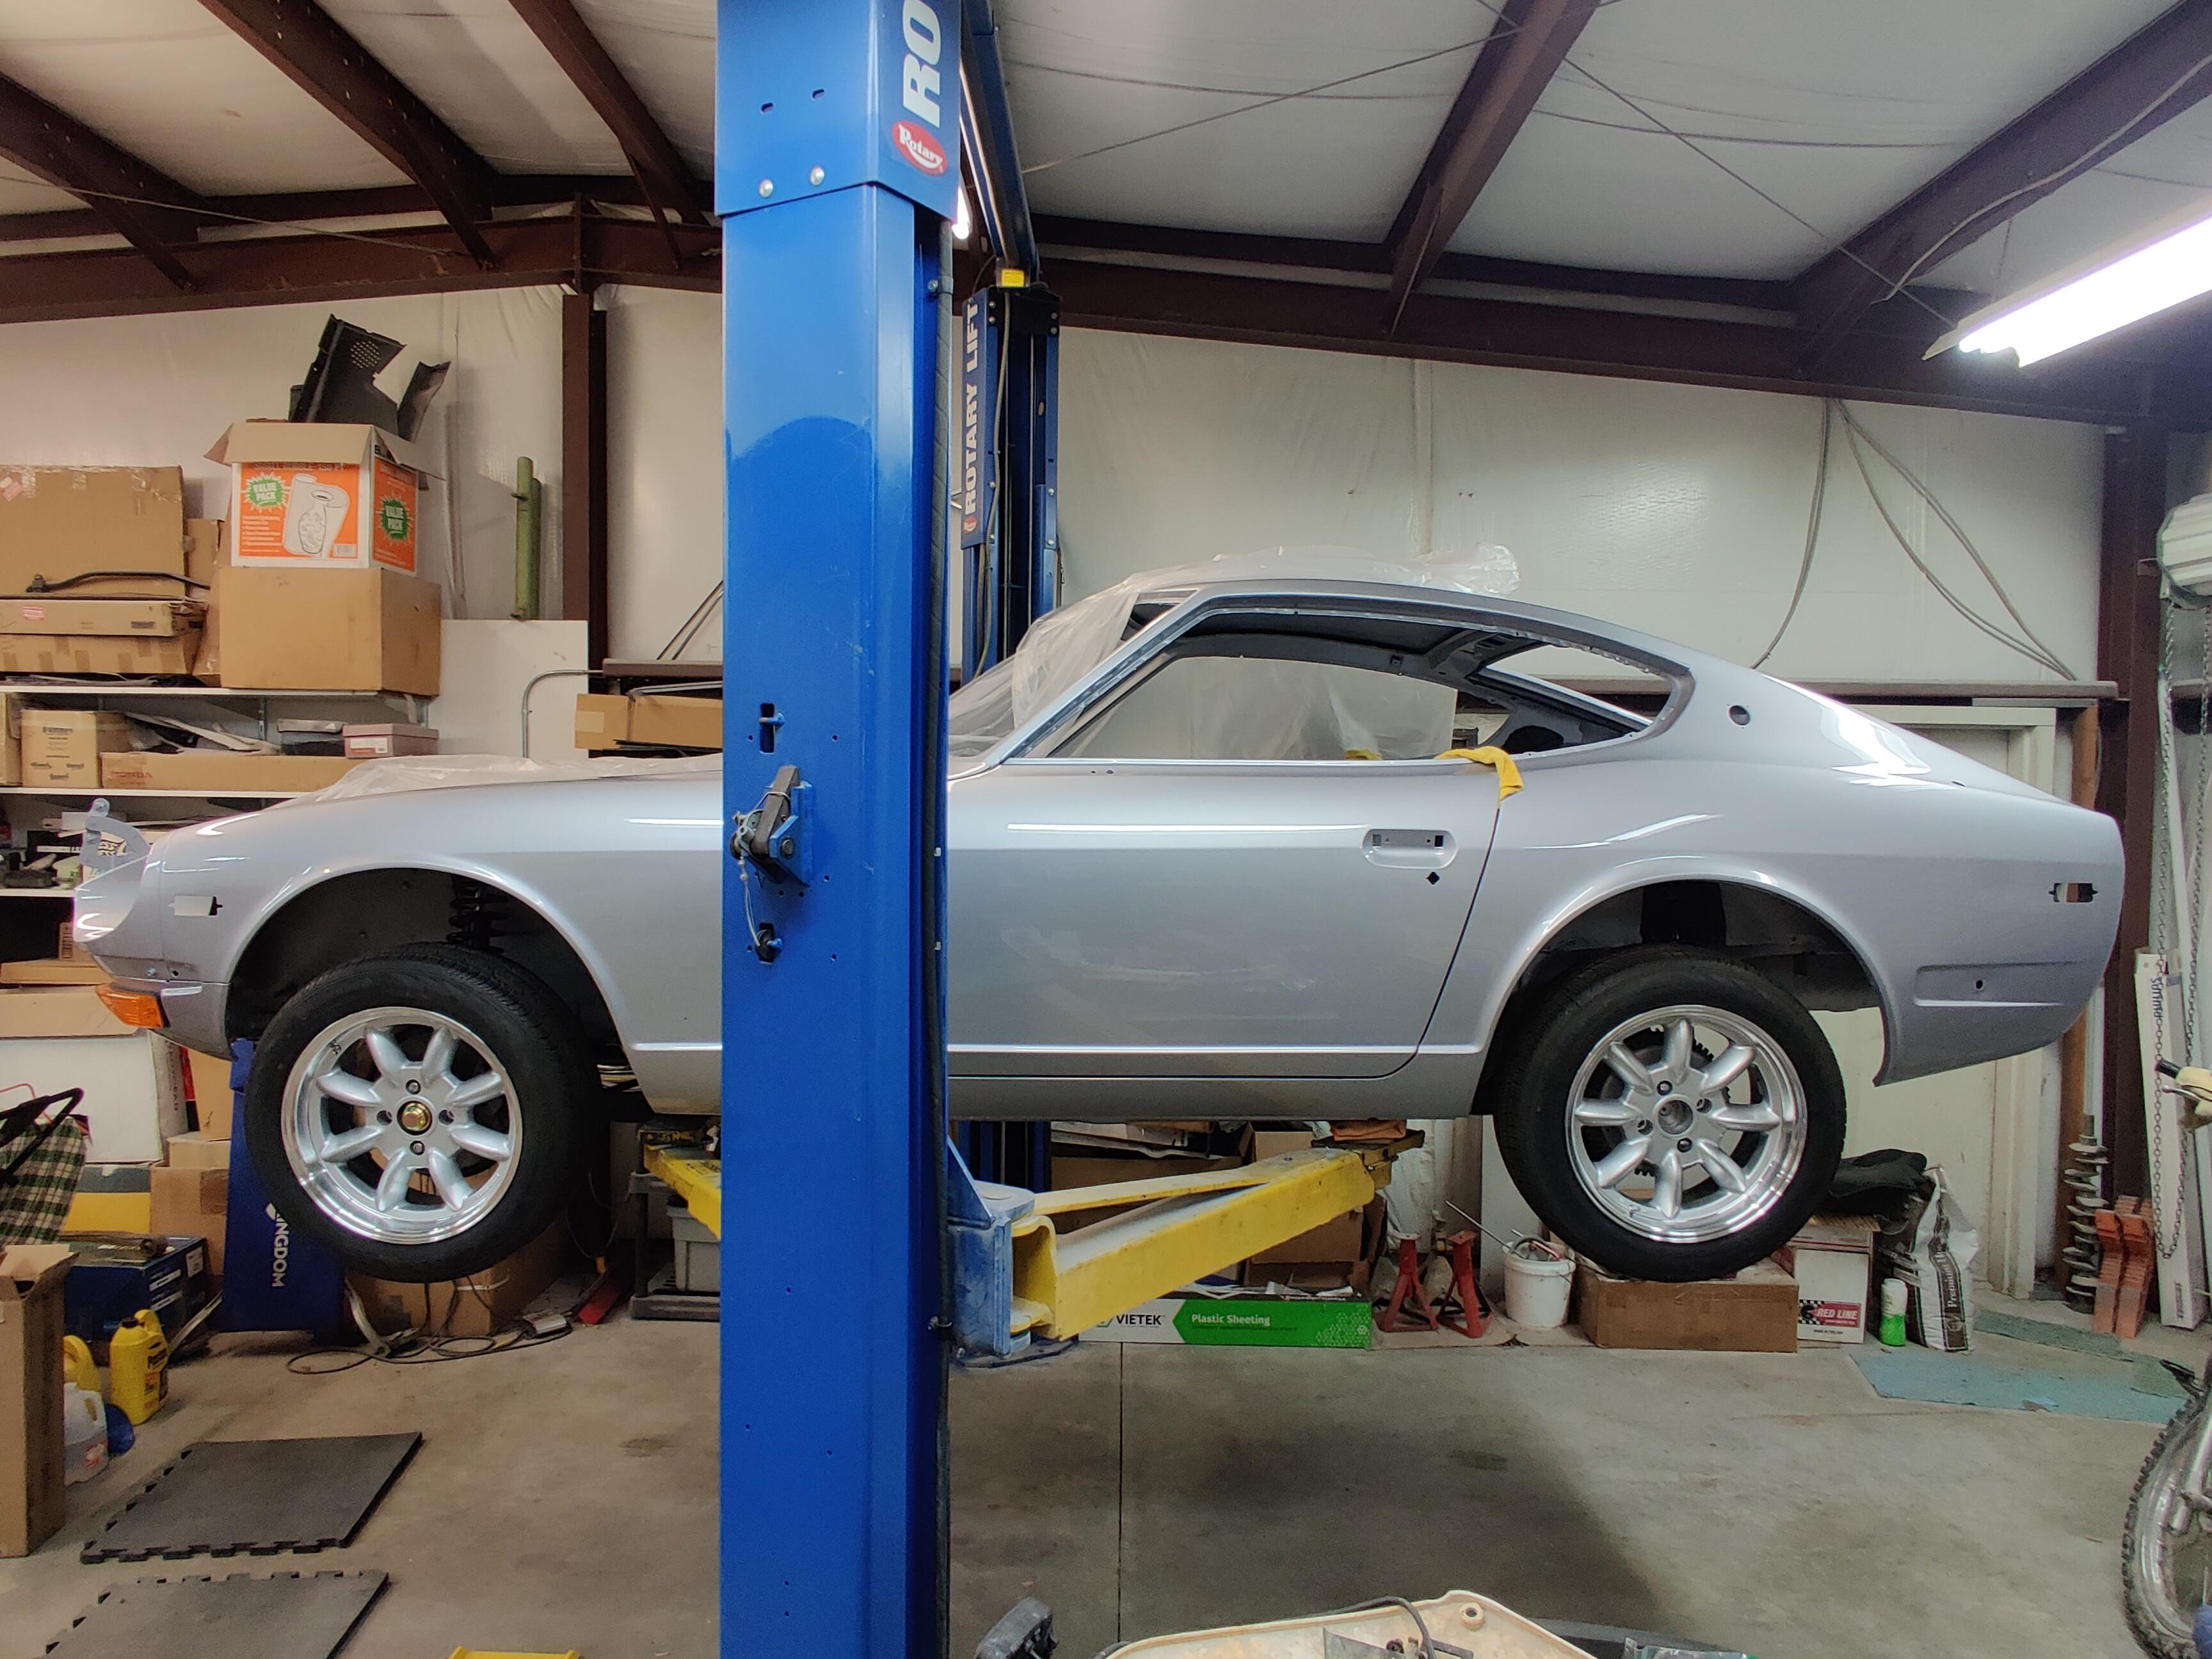
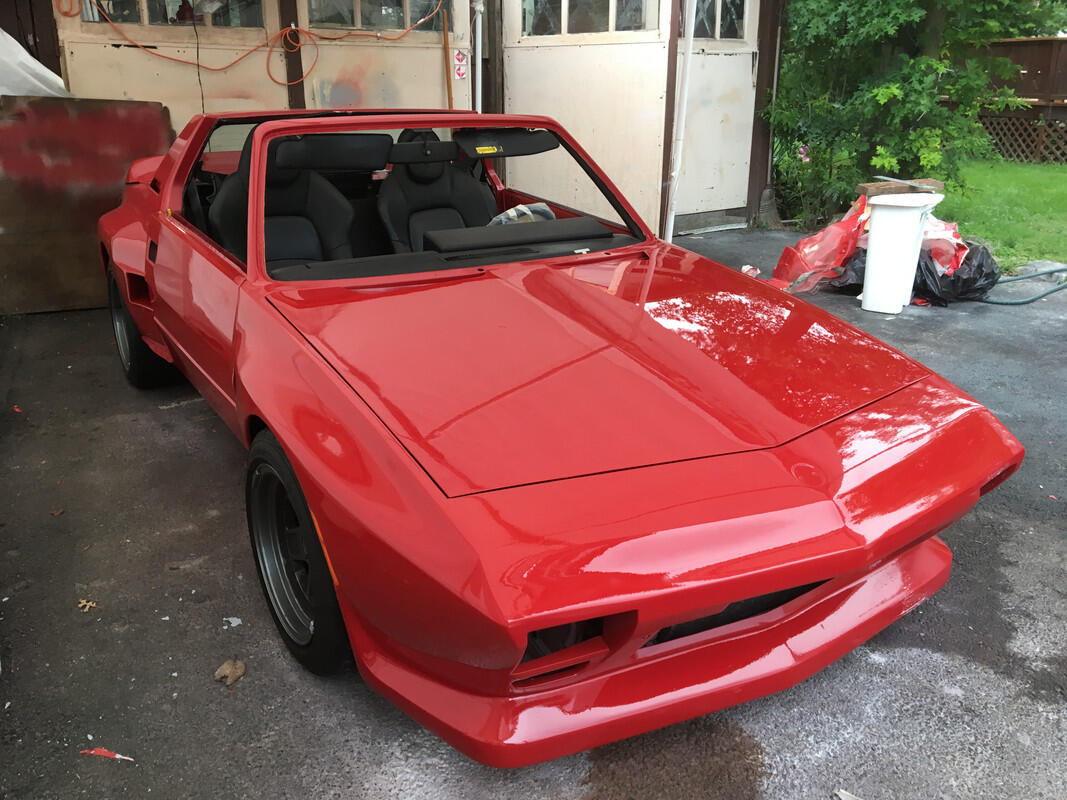
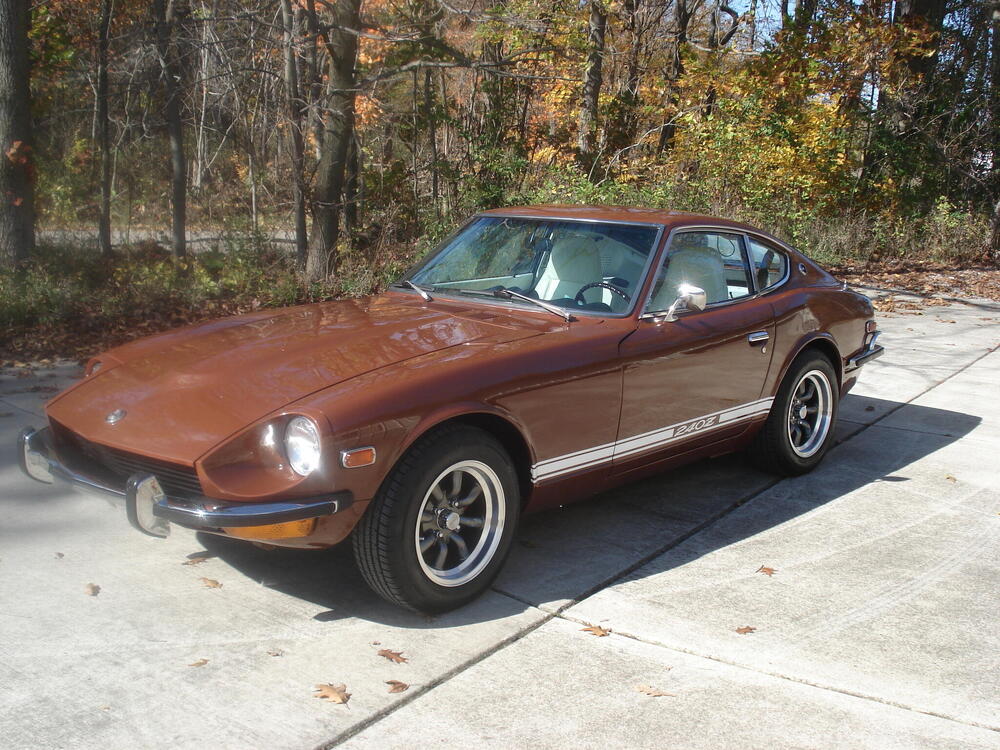
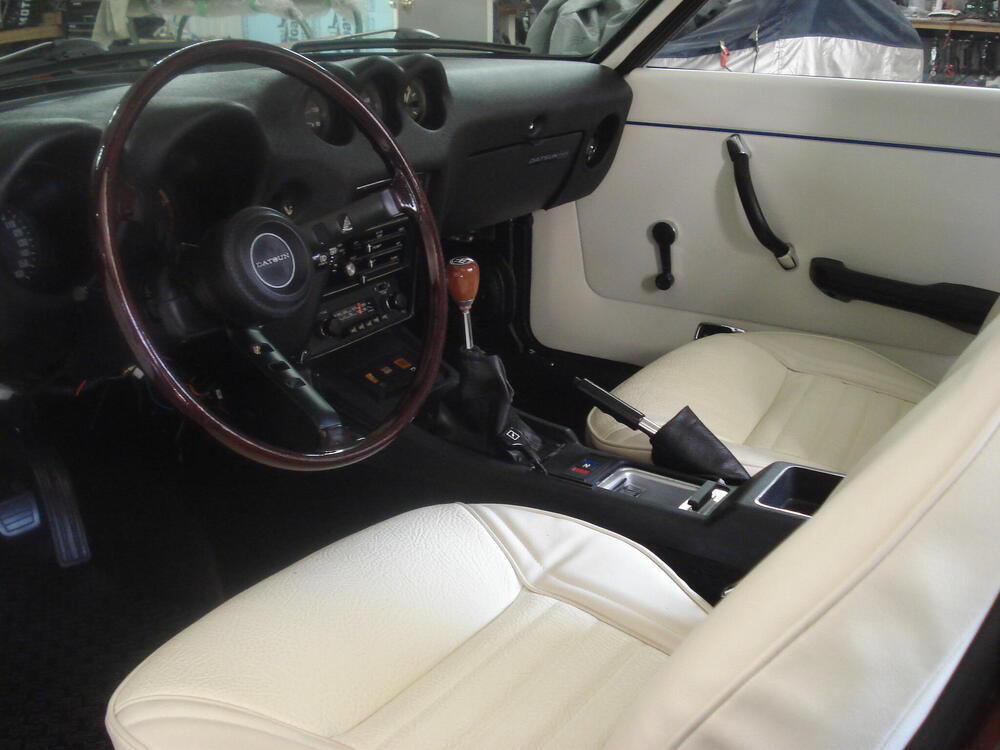
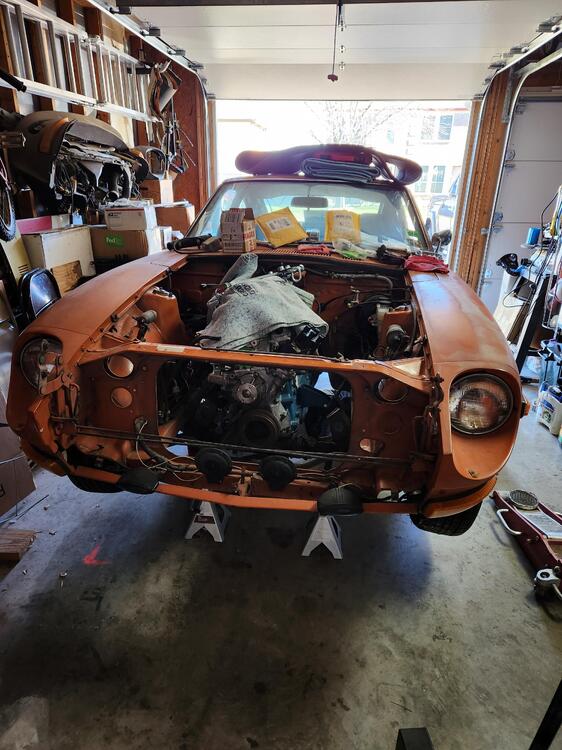
6 pointsAfter several years, a lot of $, work and help from many of you guys, I now have a 2023 1973 240Z. Here are a few pics. Thanks again to all of you. It's hard to tell from the photos but when I painted it, I incorporated gold micro sequence metal flake in an intercoat layer of paint. When it sits in the sun, it sort of twinkles.


 6 points
 -
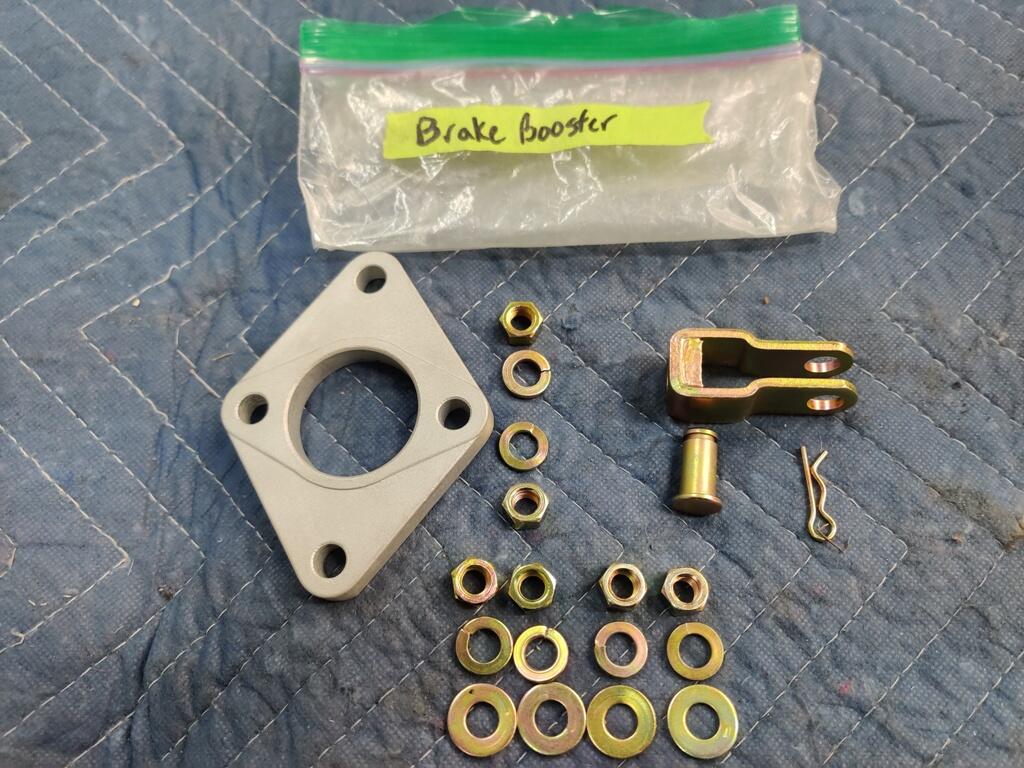
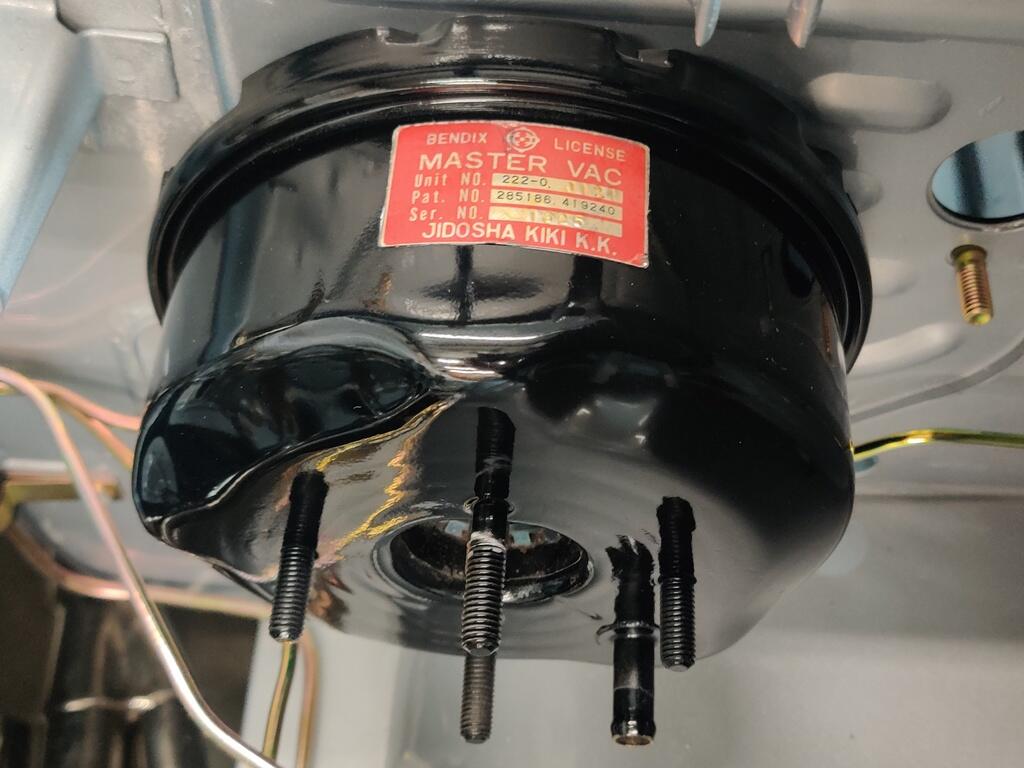
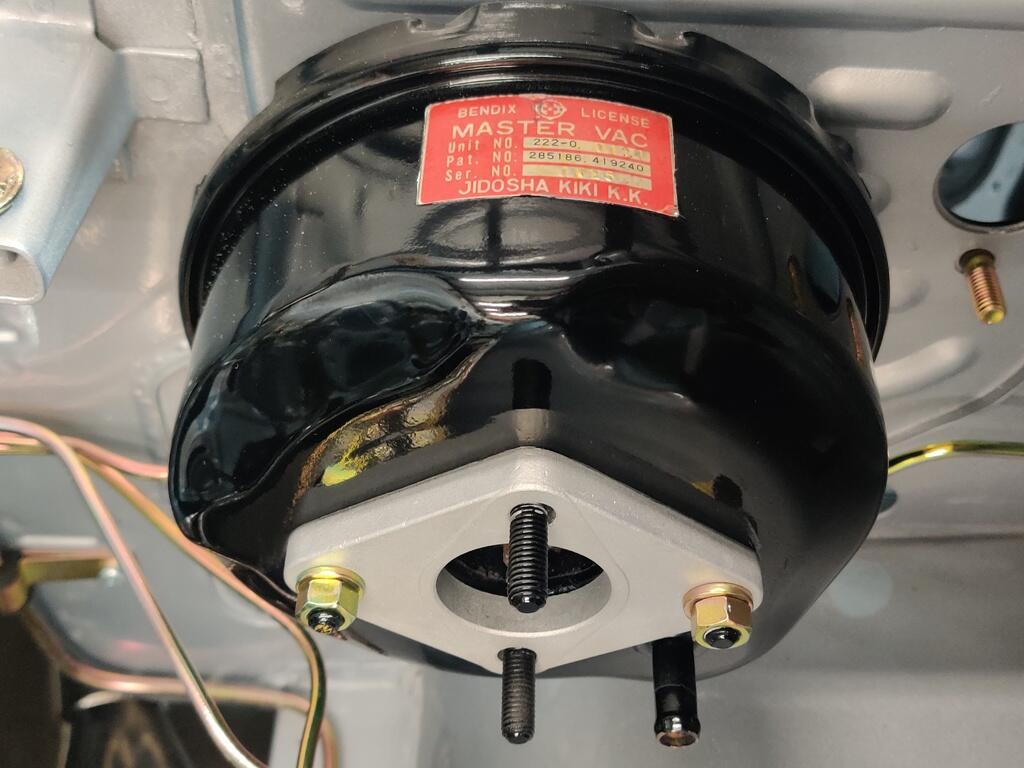
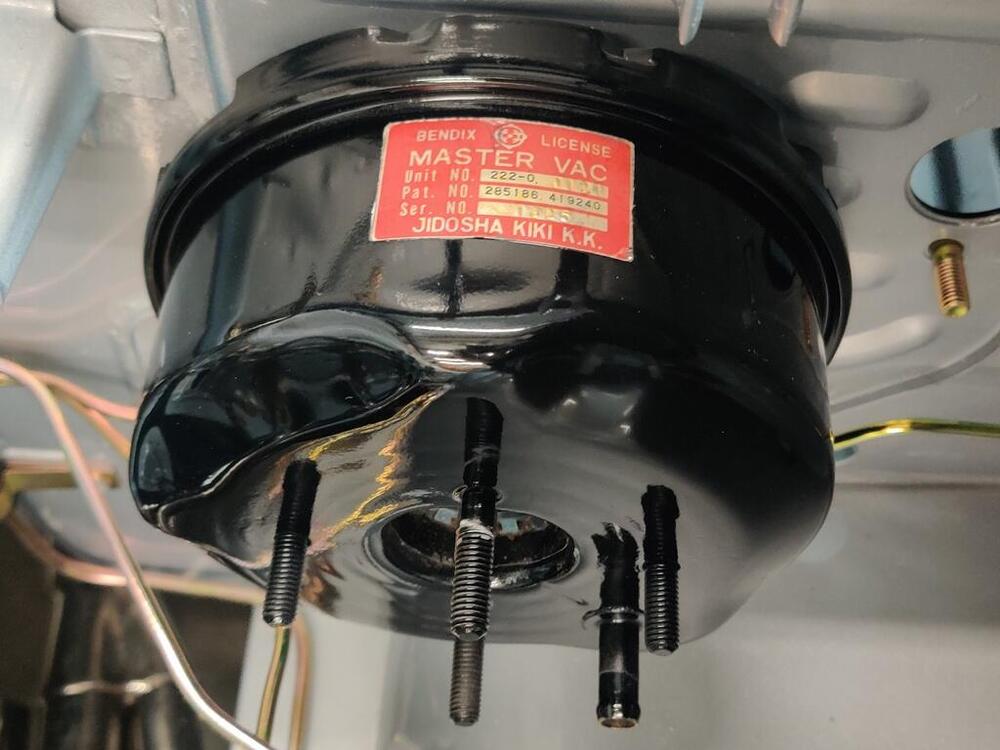
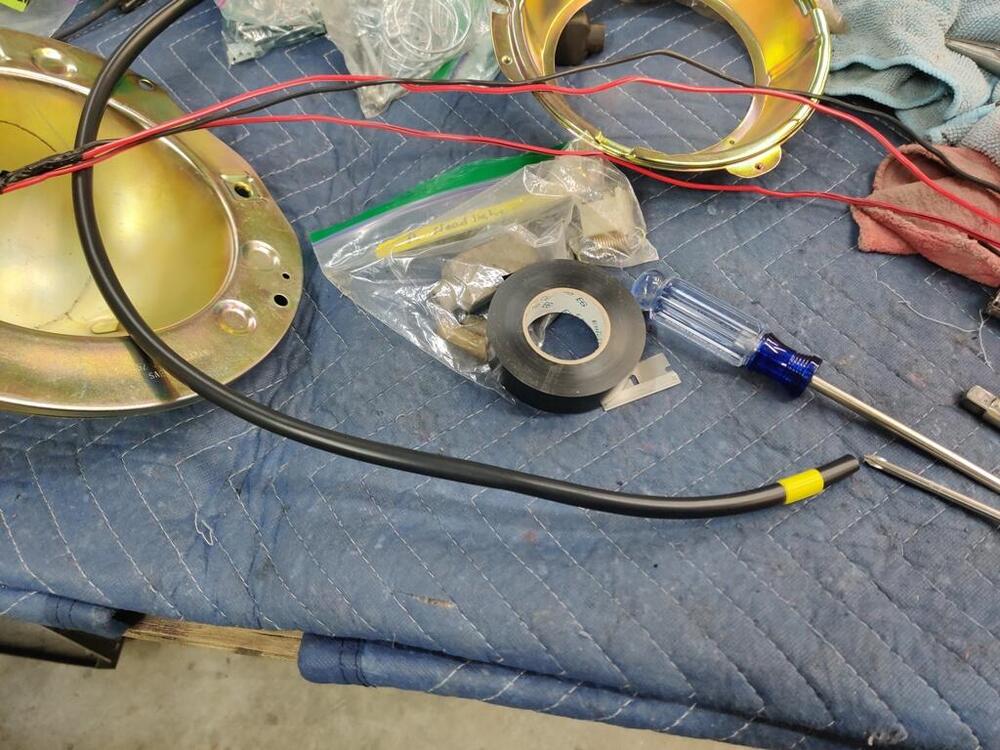
I wasn't able to spend much time working on the car today. Just a few pics: I used silicone rubber between the master vac and the firewall to keep water from finding its way into the car in the future. I like how the master vac paint came out. I was able to save the original master vac sticker. I also pulled out the box of OEM rubber items that came with the car. I put the main hatch seal in place all the way around the hatch opening (without glue) and shut the hatch on it. I will leave it like that for a few days, which ought to help it relax/fit the opening a bit better than straight out of the bag. I also started assembling the headlight buckets with the new bits I got from 240zrubberparts.com. I bought the headlight harness rebuild kits, which include new rubber grommets to keep water from entering at the point where the wires go inside the bucket, new sleeves for the wiring, and new rubber enclosures for the plastic connector. Can anyone tell me which ends is supposed to have the yellow tape (bucket side or harness connector side? And finally, I also changed out my signature picture with a small version of this pic:


 6 points
 -
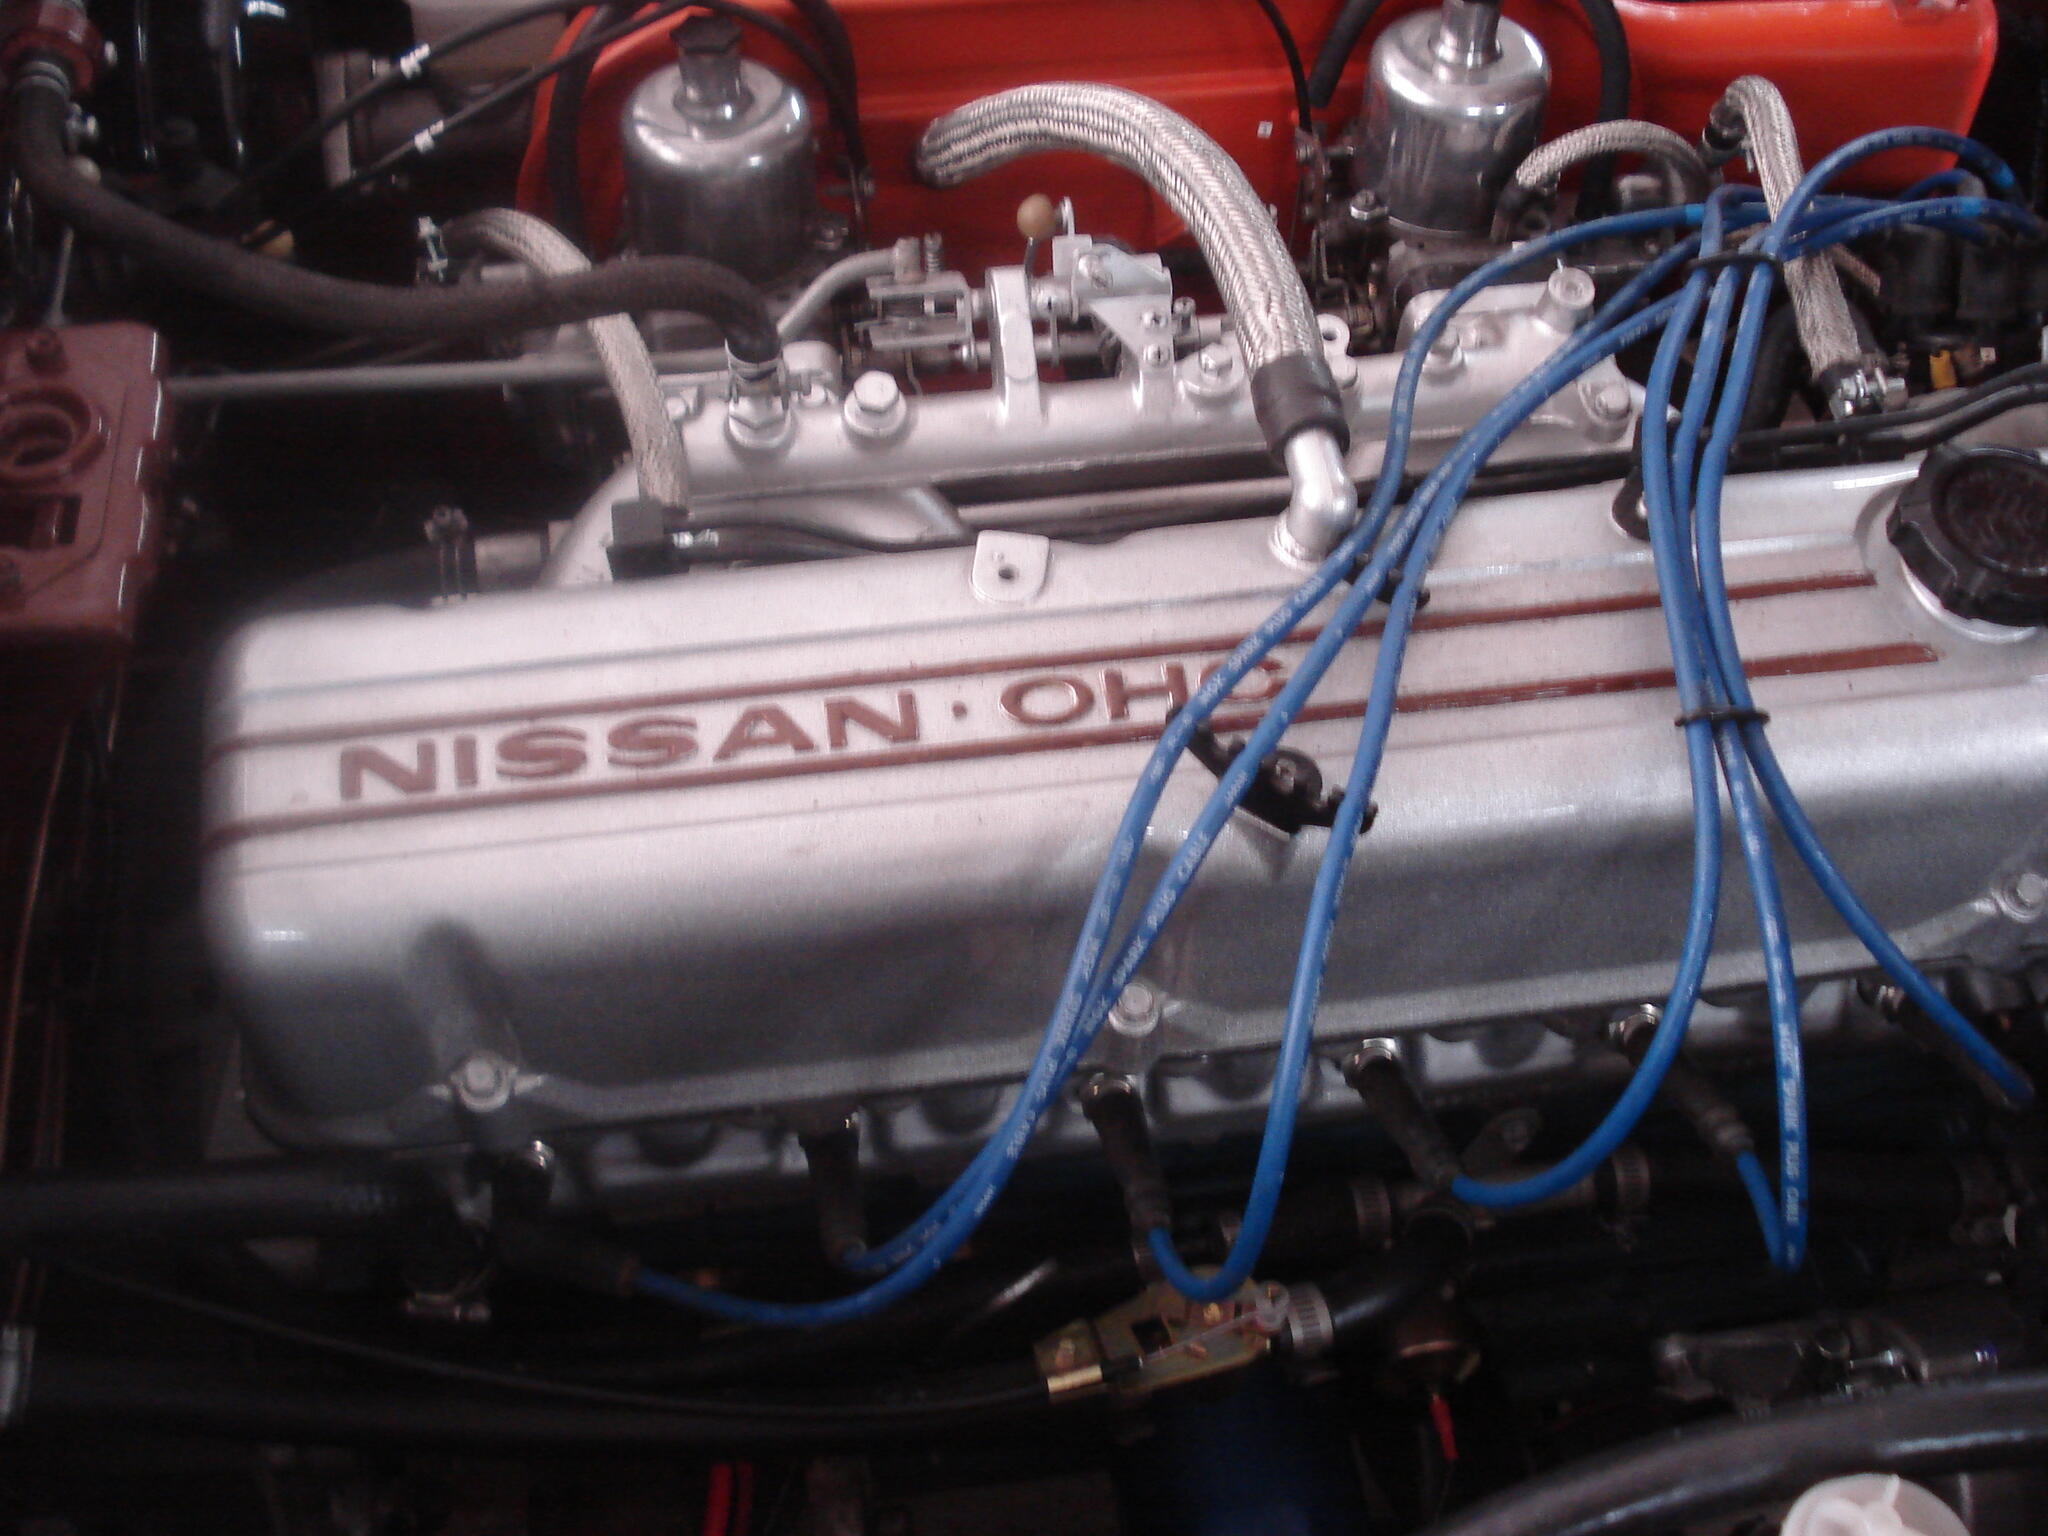
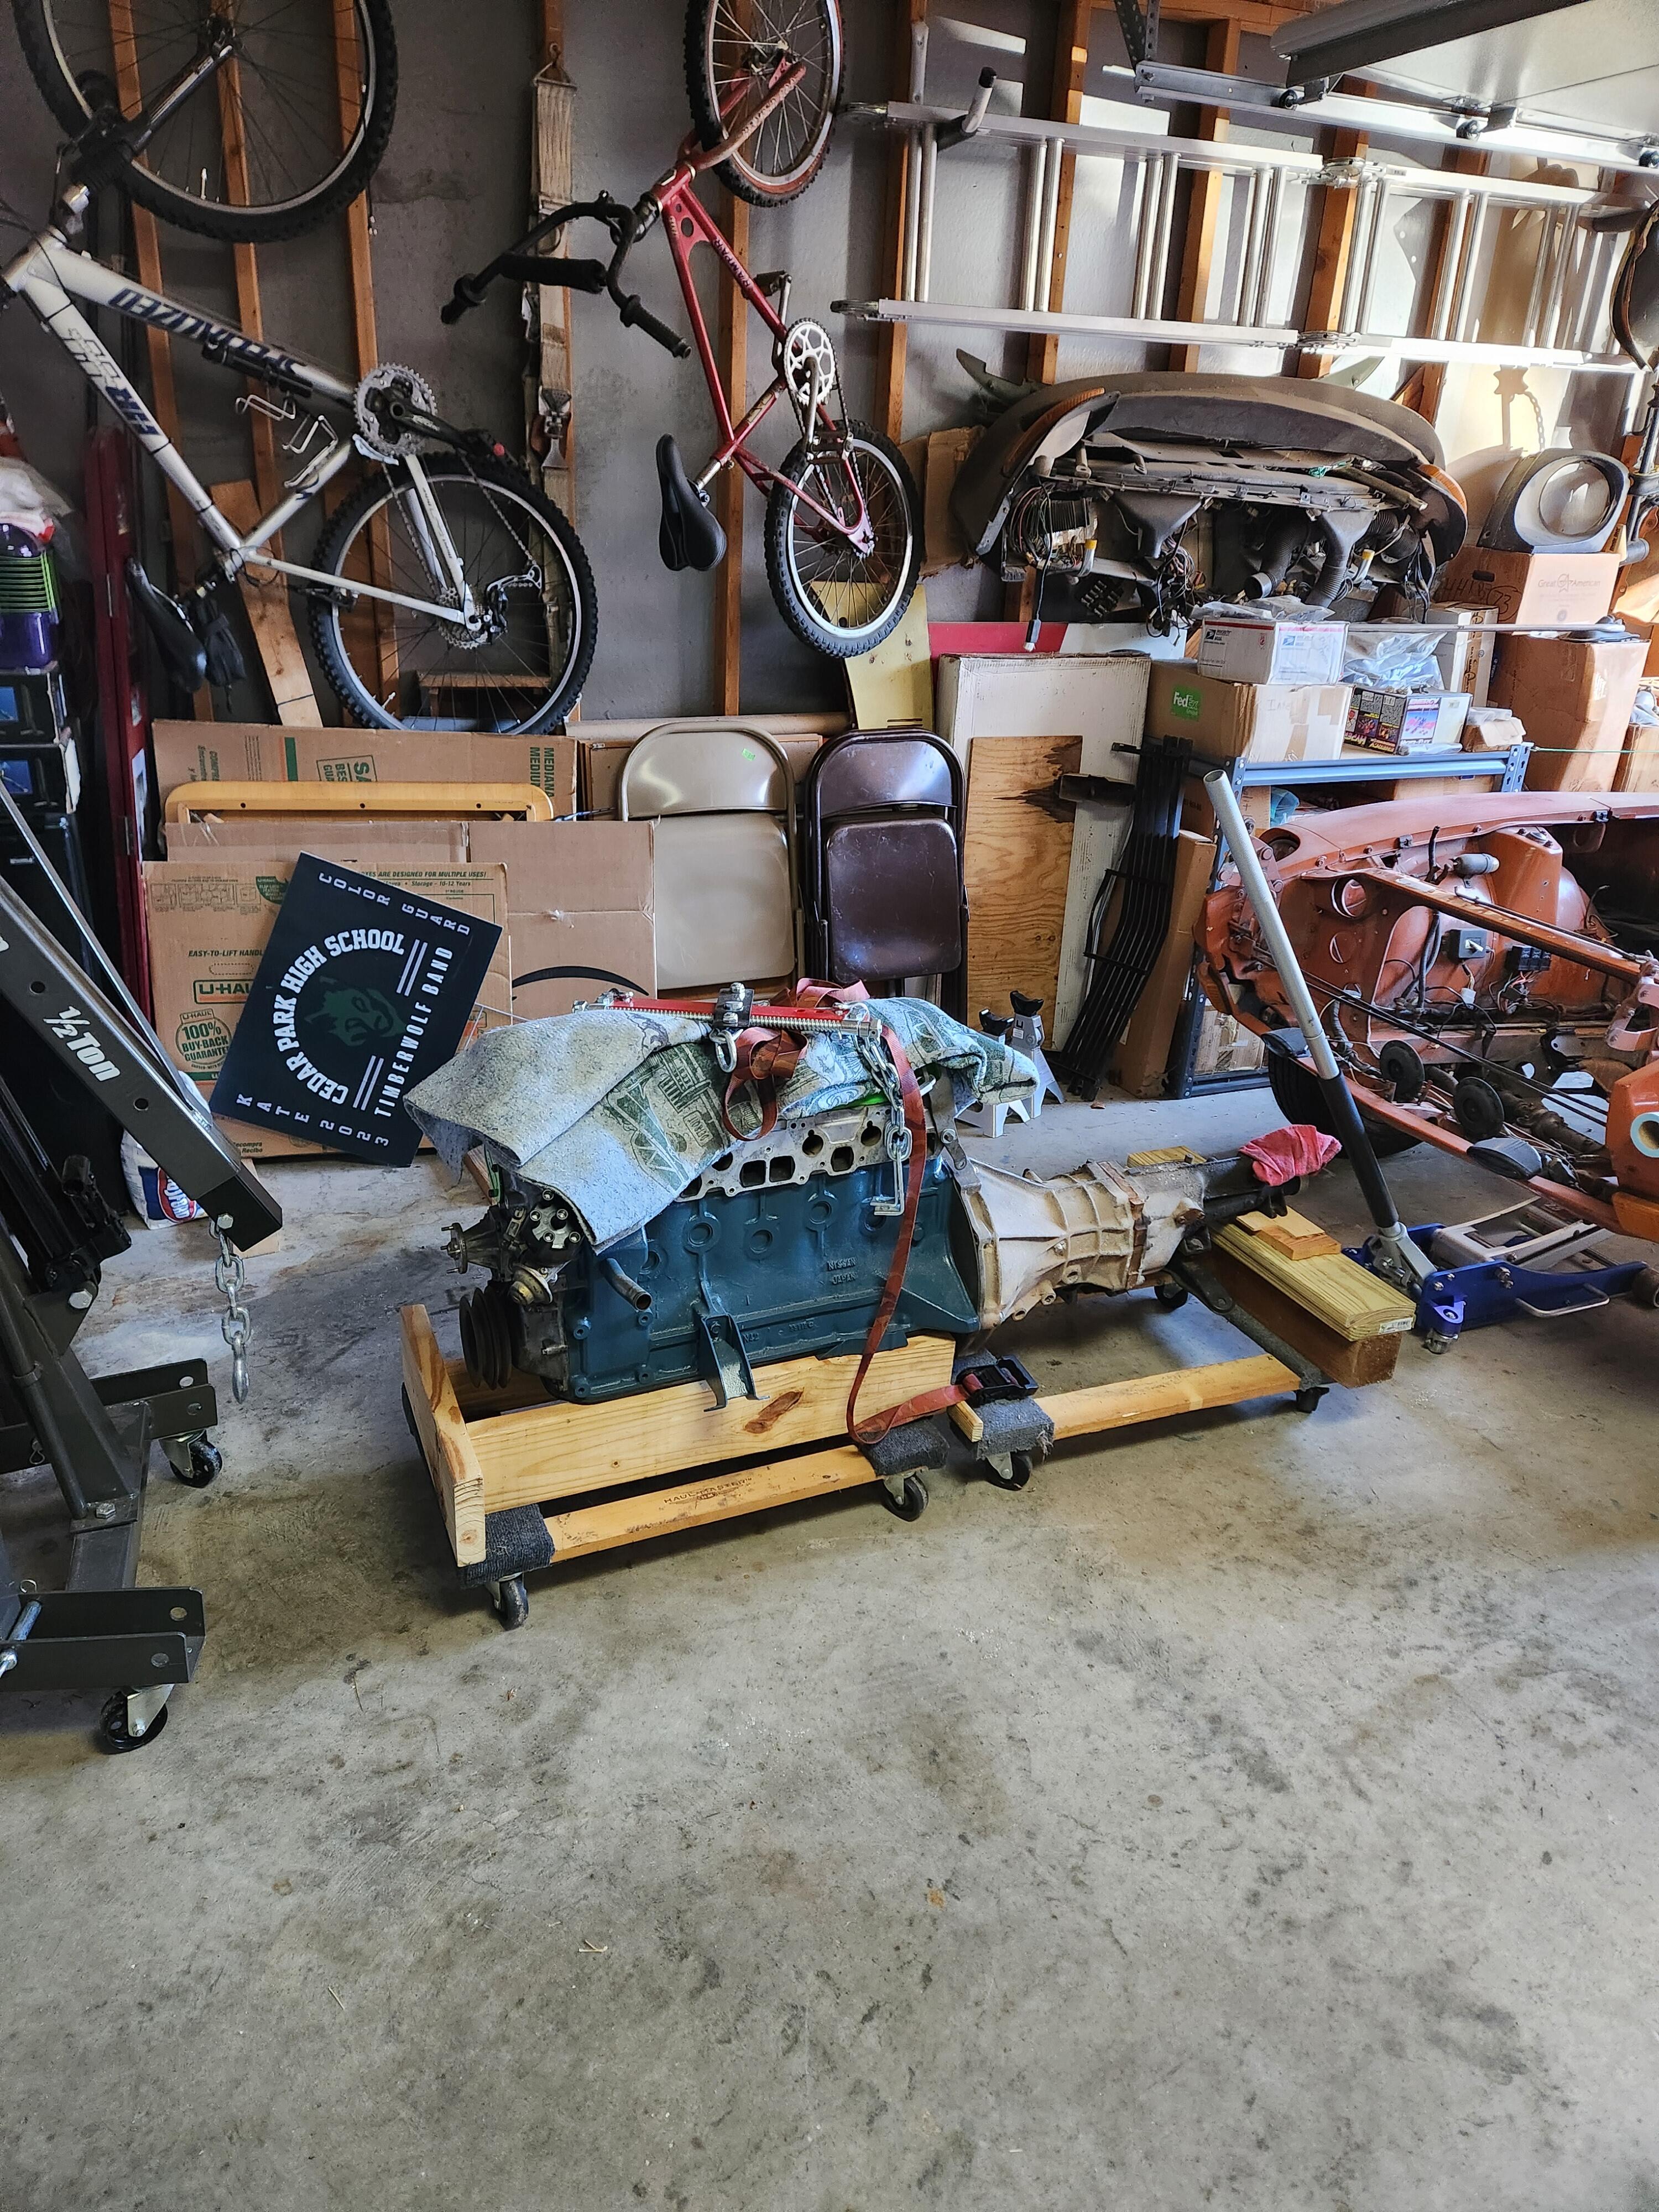
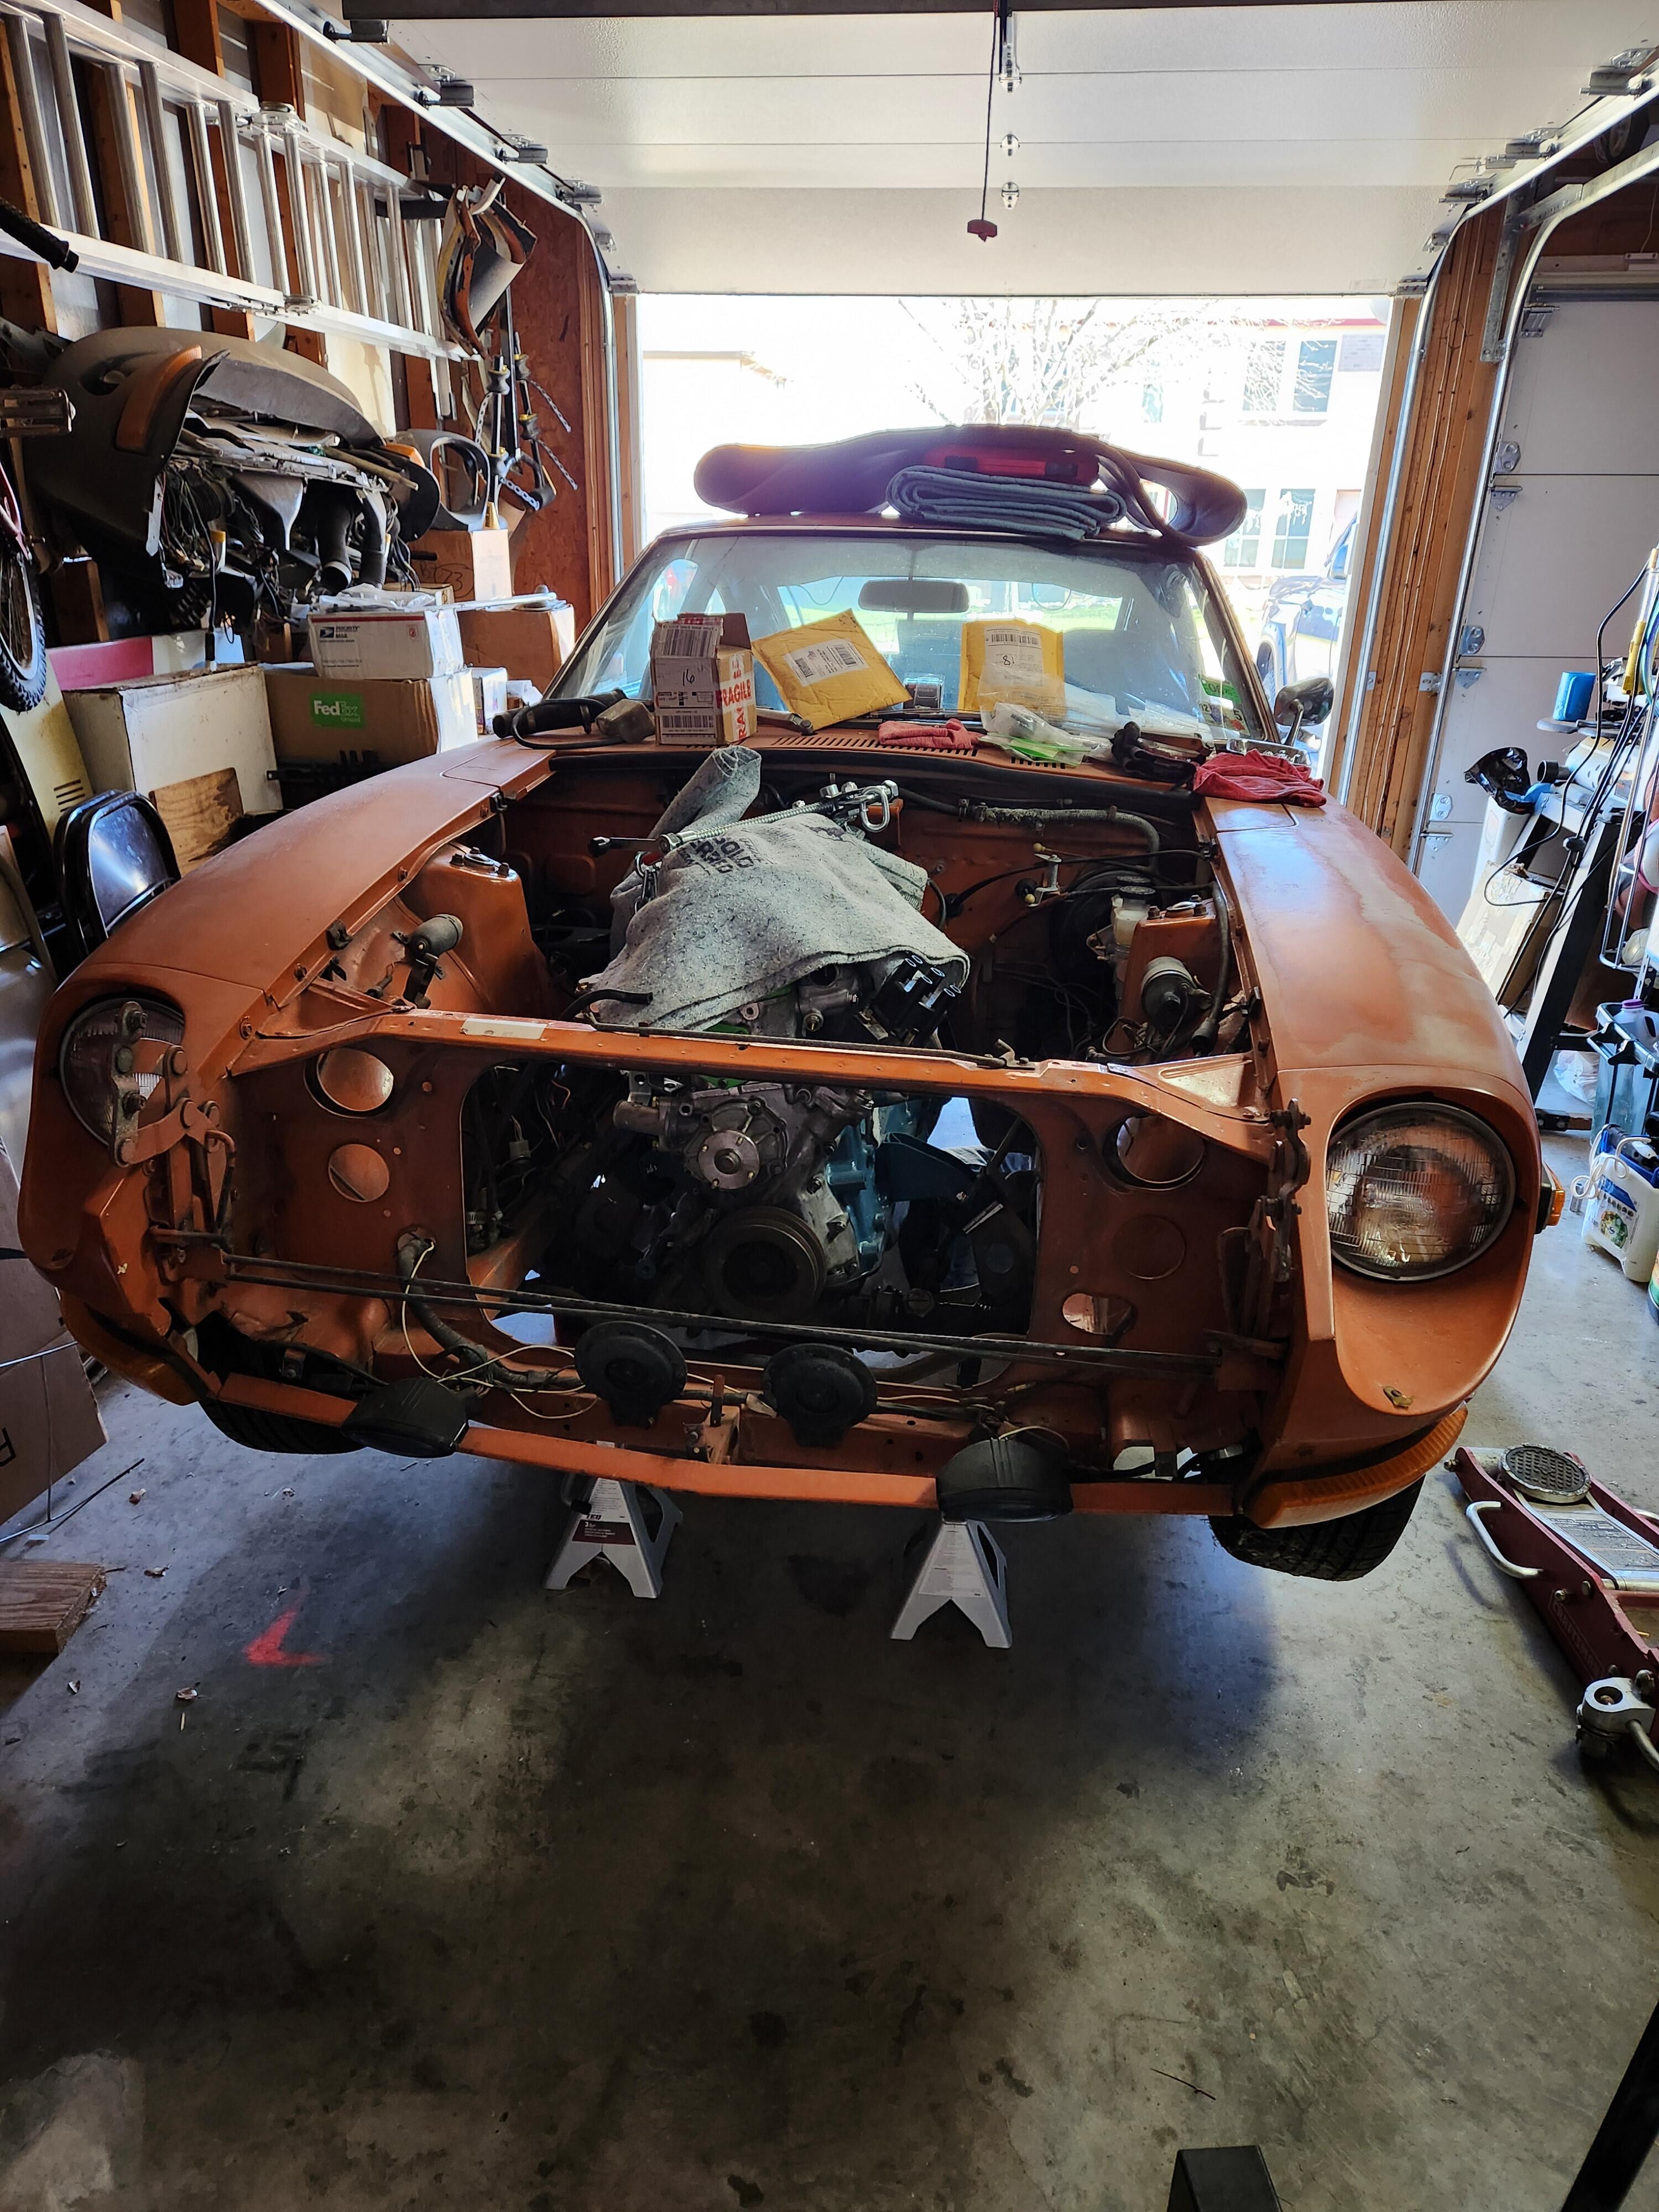
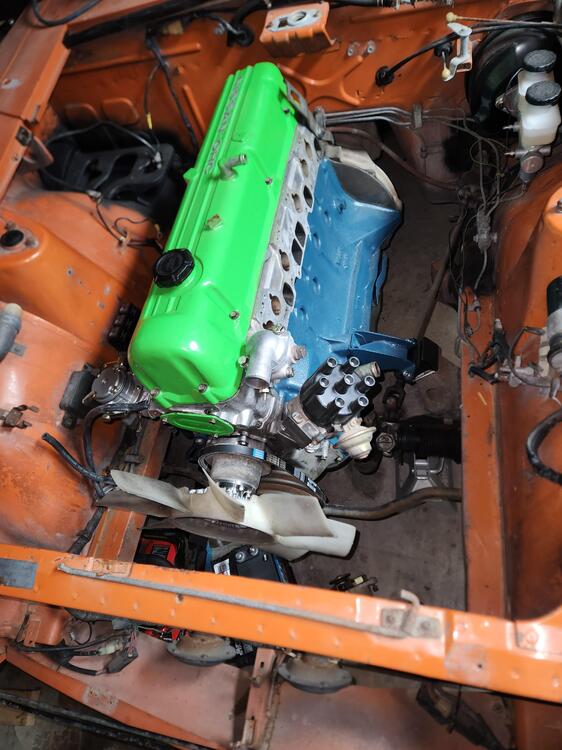
4 pointsIt It went really well, easier than expected. I've pulled 4 or so engines over the years, never put one in so this was the first. All said it was under 3 hours to get it in and all fasteners cinched down. We spend the rest of the day working on some of the smaller things like the front bumper, fan, drive shaft, etc. Here are a few pictures. Now I have to find the 3 alternator bolts somewhere, the 3 that thread into the alternator itself. I thought I had bought a set, alas it was the ones to attach the mounting brackets only.

 4 points
 -
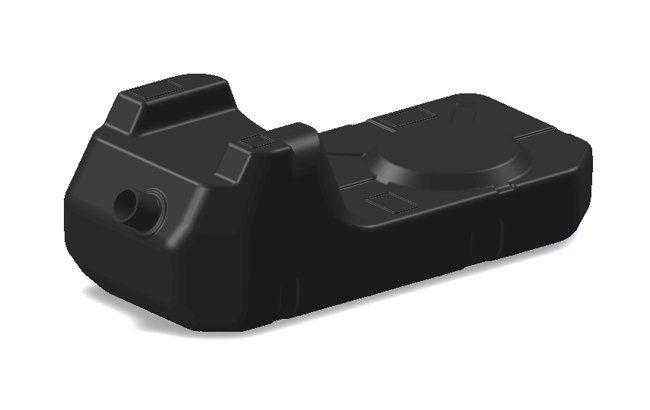
Ok, I have a 71 240 that I'm converting EFI. This means using an EFI fuel pump. My usual MO here is to retro-fit an in-tank pump. Quiet, secure, self filtering, blah blah blah. Done it to my old 73 years ago and to a couple of my 510's since. Easy peasy as they say. Well the 510's are easy. Lots of room above the tank. Not so much on Z's. If you want to mount the pump in the top of the tank, there is no or very little room between the floor and tank top, and you have to cut a wee hole in your deck then come up with a way to cover it. Then put up with a lump back there for ever more. Not perfect. Well until Vintage Tanks just announced a new product. https://www.vintagetanksolutions.com/product/1970-1976-datsun-240z-260z-280z-poly-fuel-tank-for-in-tank-retrofit-fuel-modules This is the "right" way to do for sure. They provide you a recessed area to mount the pump and sender flange. and its still 16 US gal. Slick. The bad news of course is the cost. $800 USD plus shipping exchange, duty etc. Usually works out to double that in CAD by the time it gets to me. Ouch.... Customer project or not. SO..... This crazy Canuck wants to to make a recessed area on the top of the stock tank to accomplish the same thing. Just a little fabbin' and cuttin' and weldin' and BOOMin' and screamin' and scrapping Canuck body parts off the shop wall. Right? Though shall not weld a fuel tank, pretty basic knowledge. Surely there is a safe way.
 2 points
 -
2 pointsIt's always a great thing to see one of these projects getting out into the light of day again. I hope you have a great time enjoying it.2 points
-
OK. Thank you for your experience with construction. I'll get non-treated pine or fur to run for the sub facia. I used treated pine for the supports as there is not much sun on the backside there with all the tall bamboo & trees along the bank of the easement around that side of my property. It tends to be on the damp side. I'm not concerned about obstructing the window though, so I could always add braces for the rafters, if it turns out to be an issue. I wasn't sure how much overhang would be appropriate - I do want a gutter along there so around 3-4" overhang would make seem to make sense, thank you.2 points
-
2 pointsReplacement cushion (2007) came - looks better than the auction indicated. Cushion & seat heater in great shape. Frame is also painted, - unlike my 2006 version.2 points
-
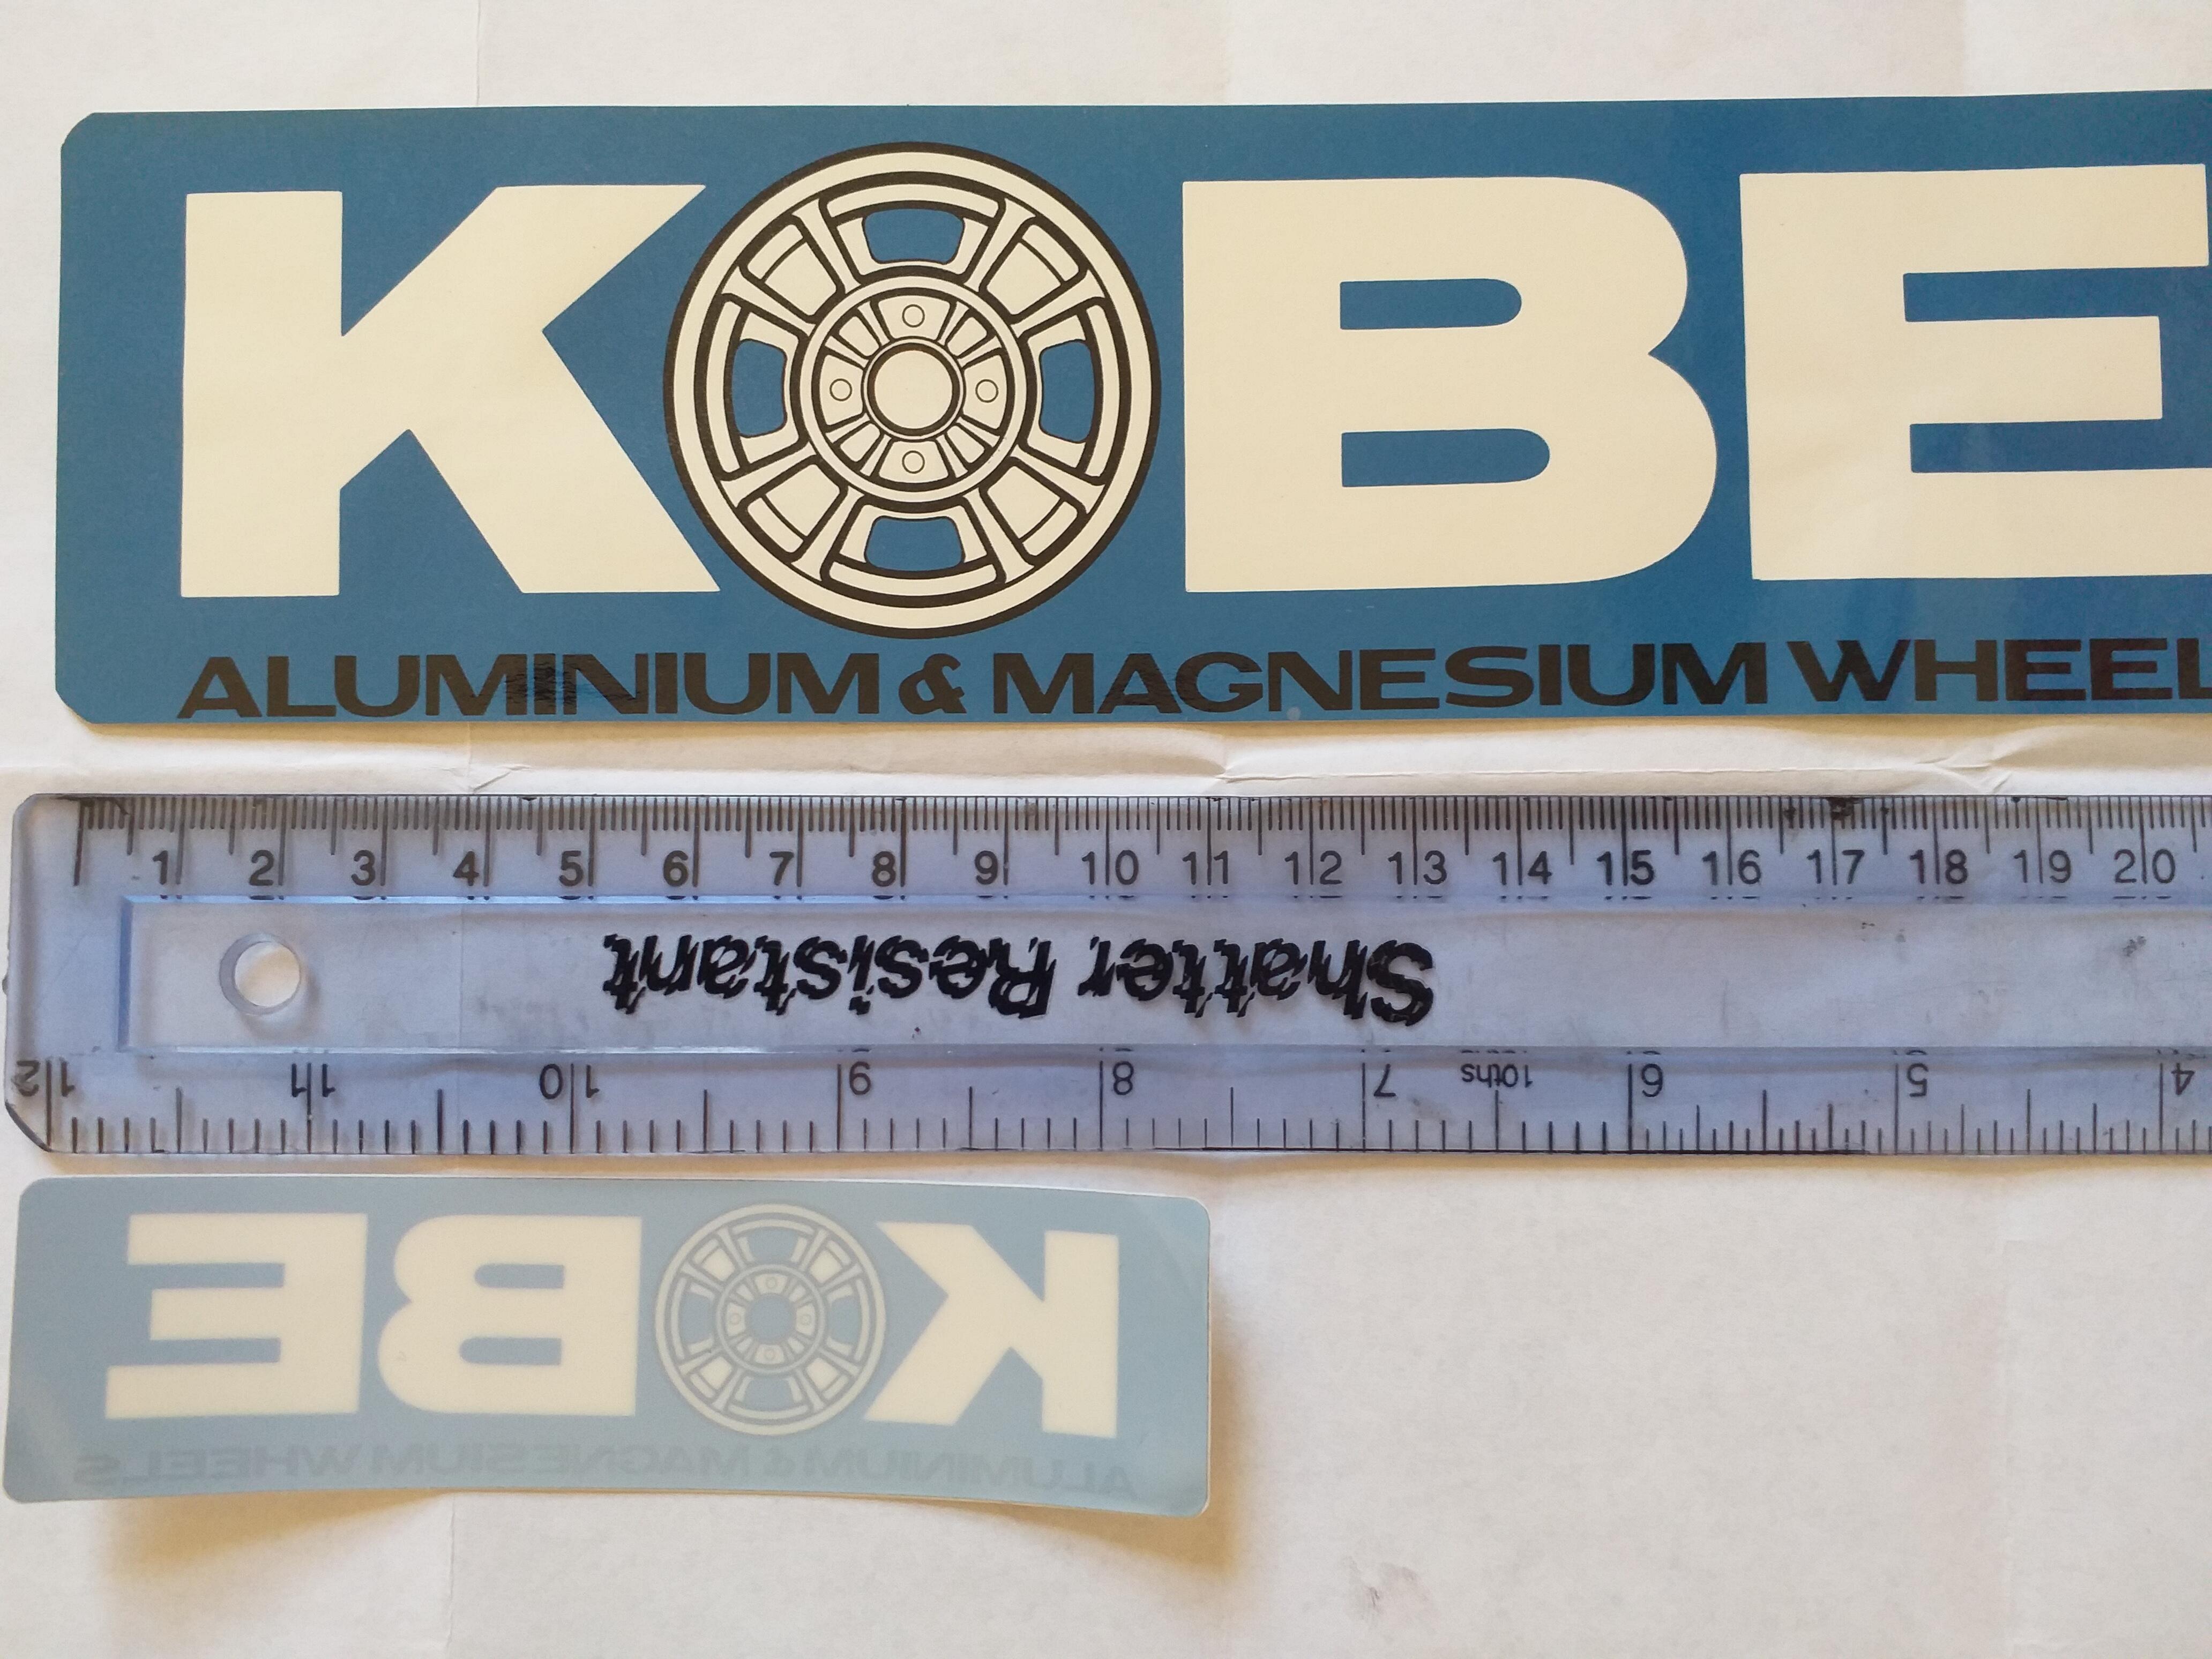
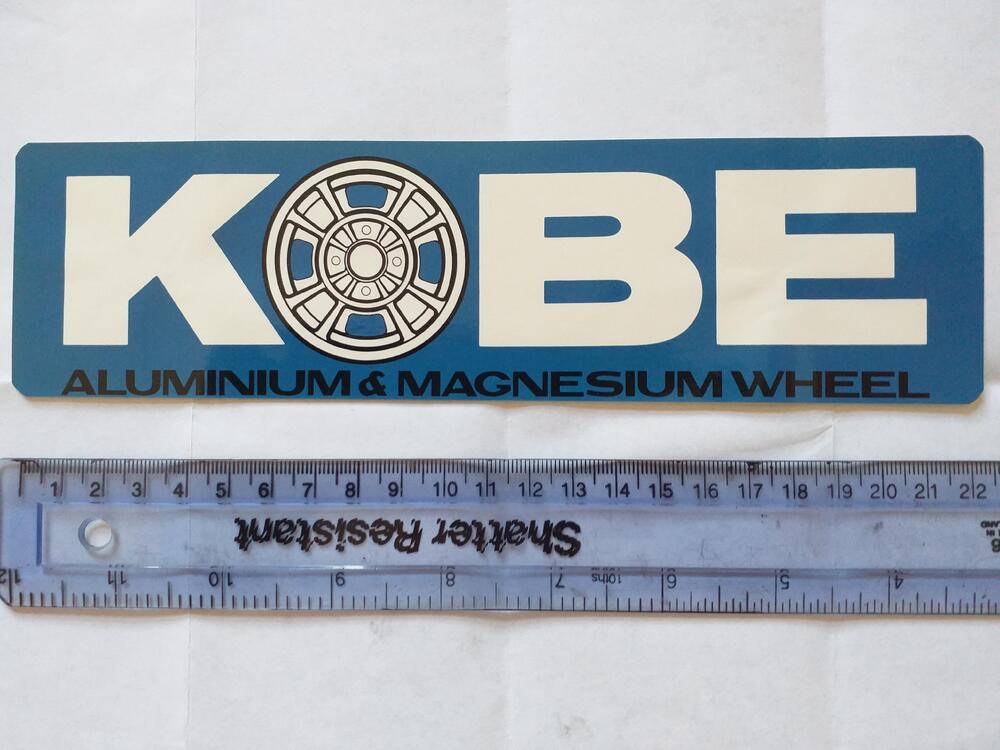
Whilst on my far too frequent trawl through various searches on Yahoo Japan auctions, I found this Kobe Seiko wheel sticker. I loved it, but the price was high, and I left it a few weeks, and finally convinced myself (well the wallet) to buy it. Its fairly well documented on here who Kobe Seiko were and the wheels that they produced for the S30, as well as wheels for various other cars. I liked it as the wheel featuring on the sticker is a Maglloy version, Kobe released in, I think, 1978, and I am lucky enough to own. The original sticker is quite large (22cm) and due to its expense, I didn't want to use, or where to put it. So, I had the original scanned, scaled down (33%), added the blue colour to the hub centre, and added a "s" to wheels instead of "magnesium and aluminium wheel". This meant the text needed recentered. It reads better being plural, as I presume plurals in the Japanese language isn't something done? Whilst I was there, I had a half size and original size made (as a flie ready to make) as well. Also, the original looks like its been cut out of a sheet of stickers, as the gap at the bottom, below the text, tapers a little, this I also had adjusted. Then had one of the sticker making companies make a small batch of the 33% scaled down, into window stickers, so they stick on the inside of the window. Now the sticker is about 114mm long, a much better size to put on the car. Not done that yet, but peeling a bit of the backing away, the company making these has done a great job. If anyone wants one (for little $), drop me a line, but the reason I did this was to have a Kobe sticker I could use, and printing by the company is a minimum order quantity wise. Also, share this great original sticker for what it is.
 1 point
 -
My car (the one @grannyknot is working on at the moment), has the original spare, we believe. The car is 04/71, HLS30-29817. If the spare wheel isn't buried, maybe Chris can get the info off it for you. I'm not looking to sell it, but maybe it can provide another data point for you.1 point
-
1 pointNeed to go to the classified section here. “Parts Wanted” Create a request for the part you’re looking for. Quite simple.1 point
-
Yeah.. and always Hitachi's.. I never saw a Clarion in that configuration with AM and FM and the antenna switch like that. Oh well, MH77280z, congrat's with your buy!1 point
-
No I dont think the 2x6 or 2x8 weight would be an issue. I would prefer spruce, pine or fur. Not yellow pine or treated. It loghter and straighter and nearly as strong. Just let the panels extend 2-4 inches to keep water off the sub fascia. I wouldn't put the pieces in the window. I think that might cause other problems and obstructs the window. You're not spanning too far and it has very little weight on it. The tributory load is half on the building side and half on the fascia side. Maybe 8 sq ft total on the fascia side. A deadload of 5# a foot which is probably high would be 40#s. The subfascia is very strong in the vertical orientation. Even with snow load it might be a couple of hundred pounds. Still not a problem I don't believe1 point
-
1 pointI would go original or California style. Wouldn't want to try to design a new system1 point
-
1 point
-
1 pointThere are a bunch of tachs on eBay starting at $40. Well worth swapping out and easy to do IMO. Modifying the harness would be a last resort. My 2 cents…1 point
-
I believe Datsun stopped listing the engine # after 1976, on the data plate.1 point
-
1 point
-
I don't believe that is a 280z radio. I believe its for a 240z. Btw if it works, its quite valuable! It even has value if it doesn't work. Look on Ebay to see what I mean1 point
-
1 pointSome of you have seen my website before but it's continuously getting updated with cheap & easy upgrades for your S30, plus some great tips and tricks, so come take a look. http://Ace240z.com1 point
-
1 pointEDIT - not a bad idea to leave it on the pallet, I could just cut it down & put the rubber pad under as you said. I was going to bolt it to the floor with isolator pads, but that does create issues with drainage. I painted my Fiat in my driveway (in a canopy) 5 years ago using the Husky & a even smaller pump in tandem - I want to be able to paint without worrying about pressure drops mid-spray , which happened several times. I'm retiring from my day job this summer, so I'll have more (uninterrupted) time for projects. I'll probably want to repaint the Z at some point in the future, along with the pickup truck I made.
 1 point