Leaderboard
-
HusseinHolland
Free Member4Points1,031Posts -
HS30-H
Free Member3Points5,509Posts -
xs10shl
Free Member2Points339Posts -
conedodger
Free Member2Points12,513Posts


Popular Content
Showing content with the highest reputation on 05/30/2023 in all areas
-
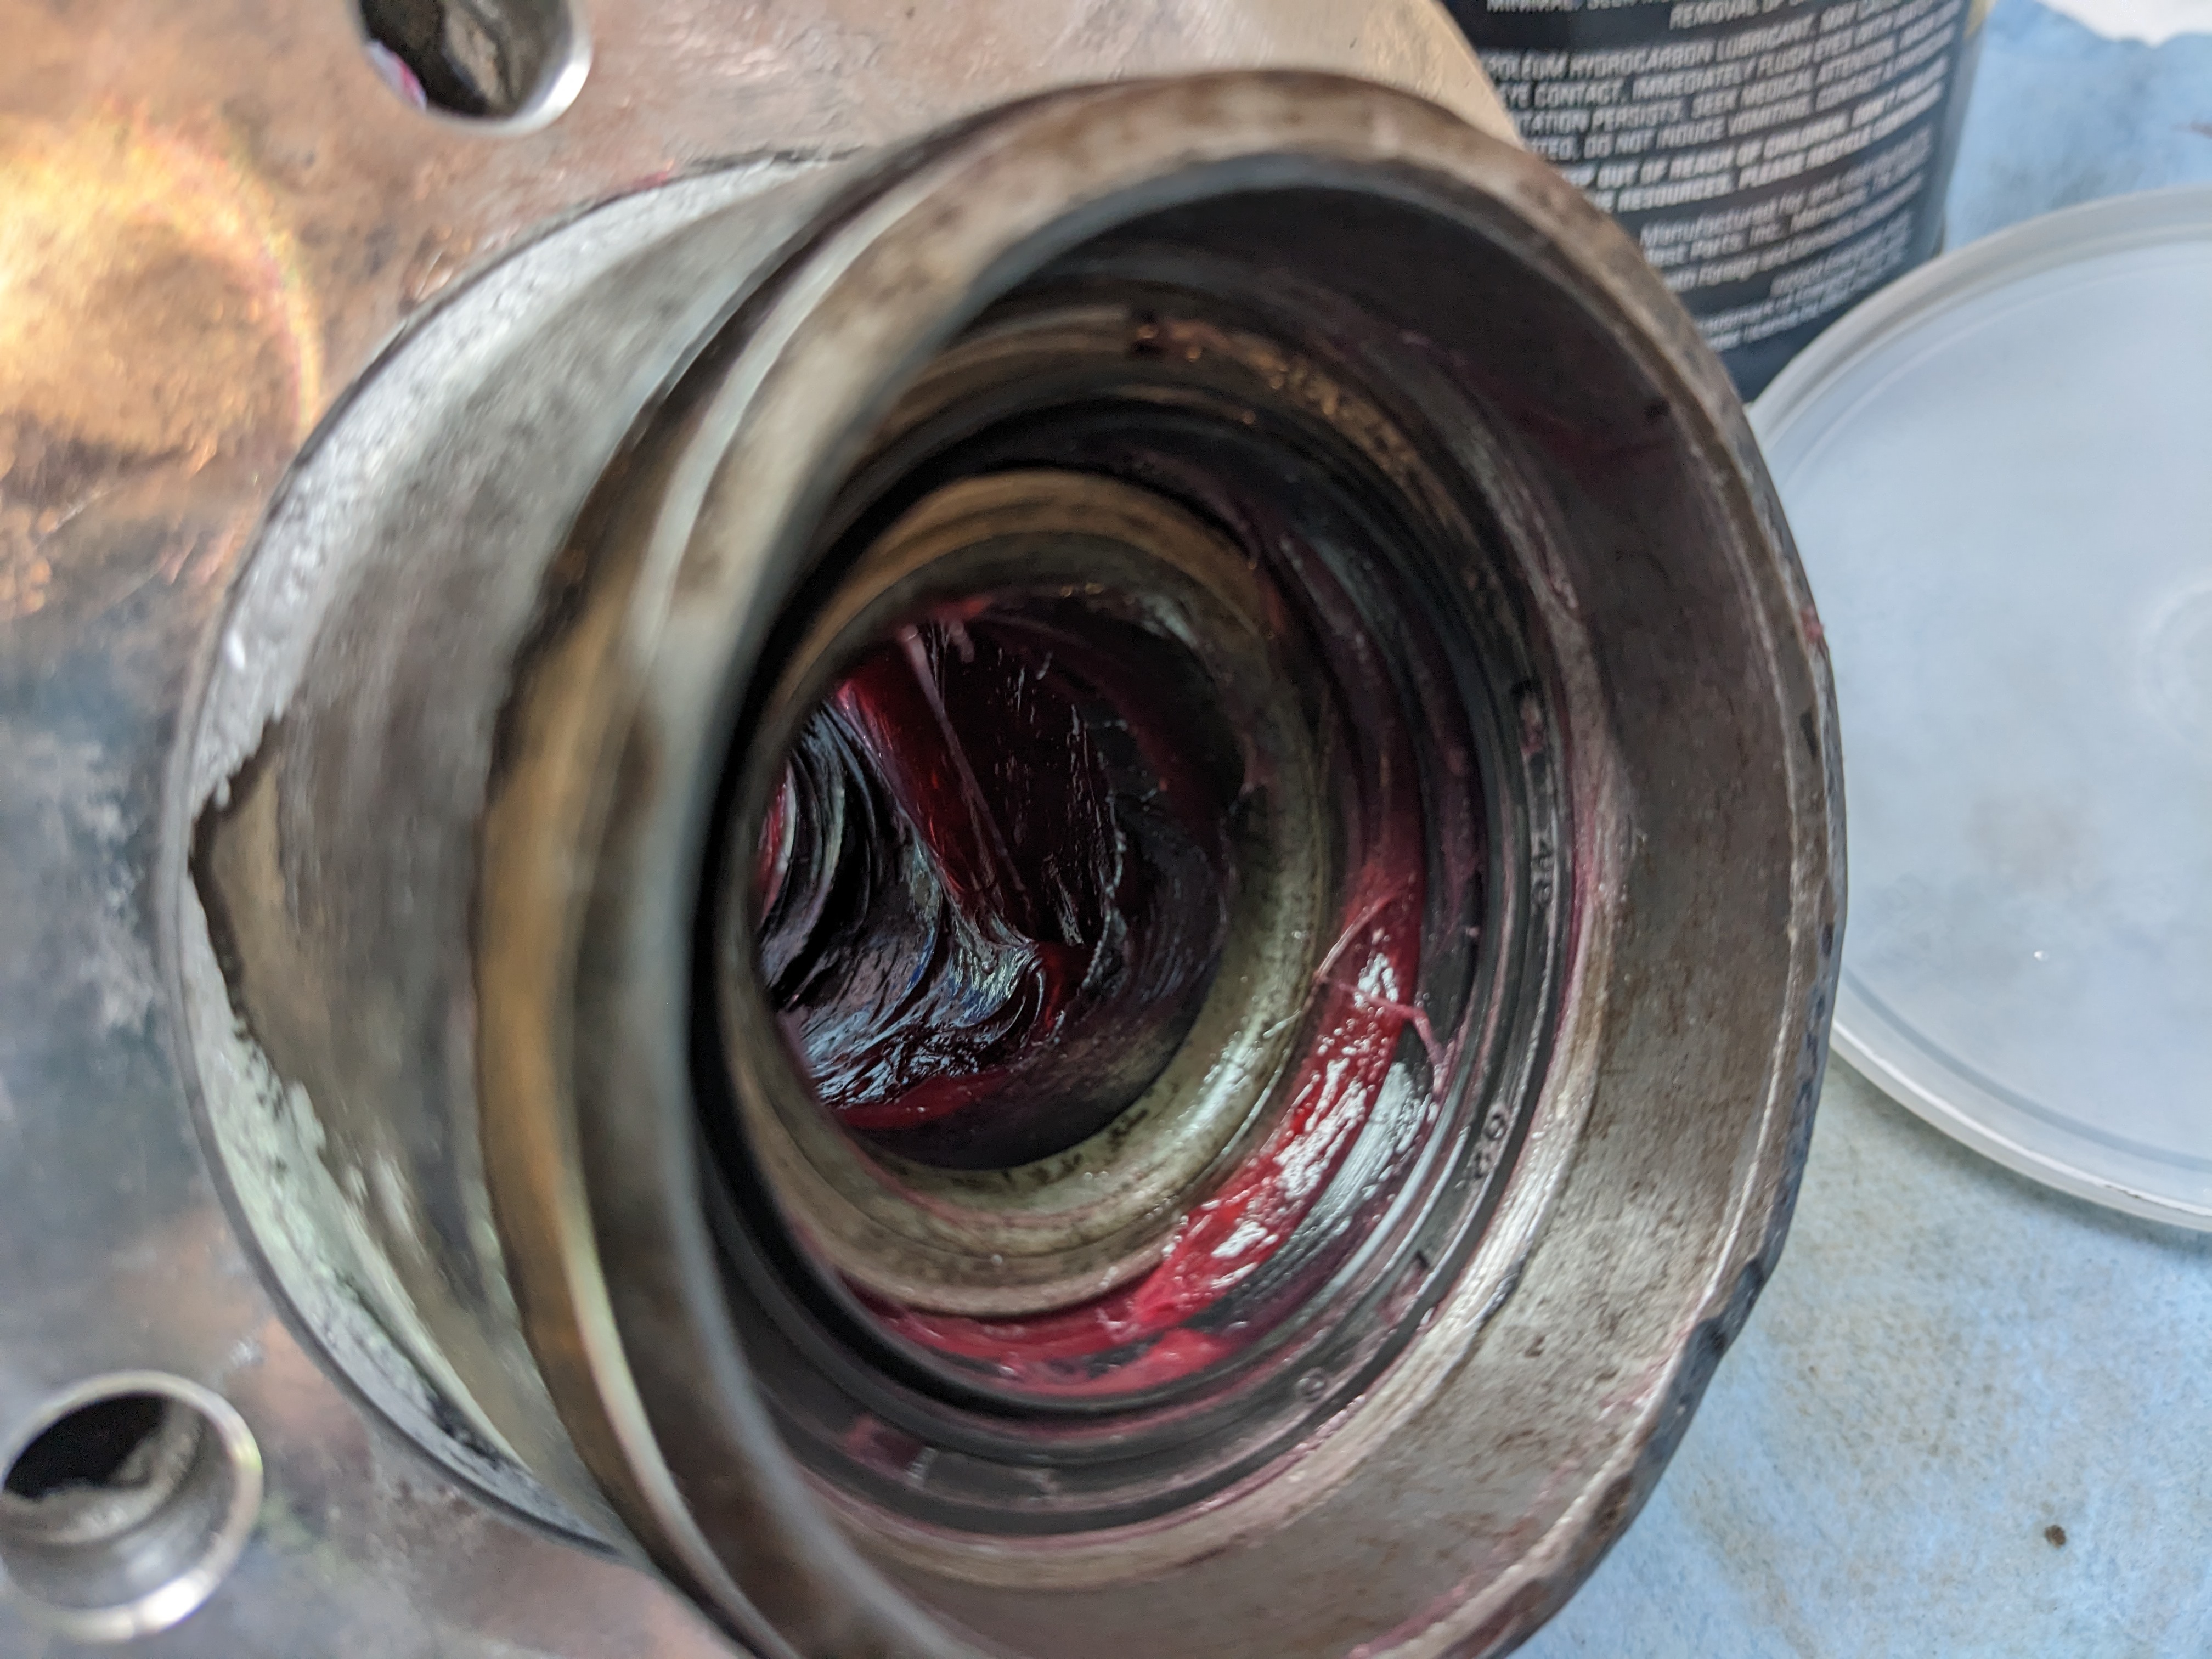
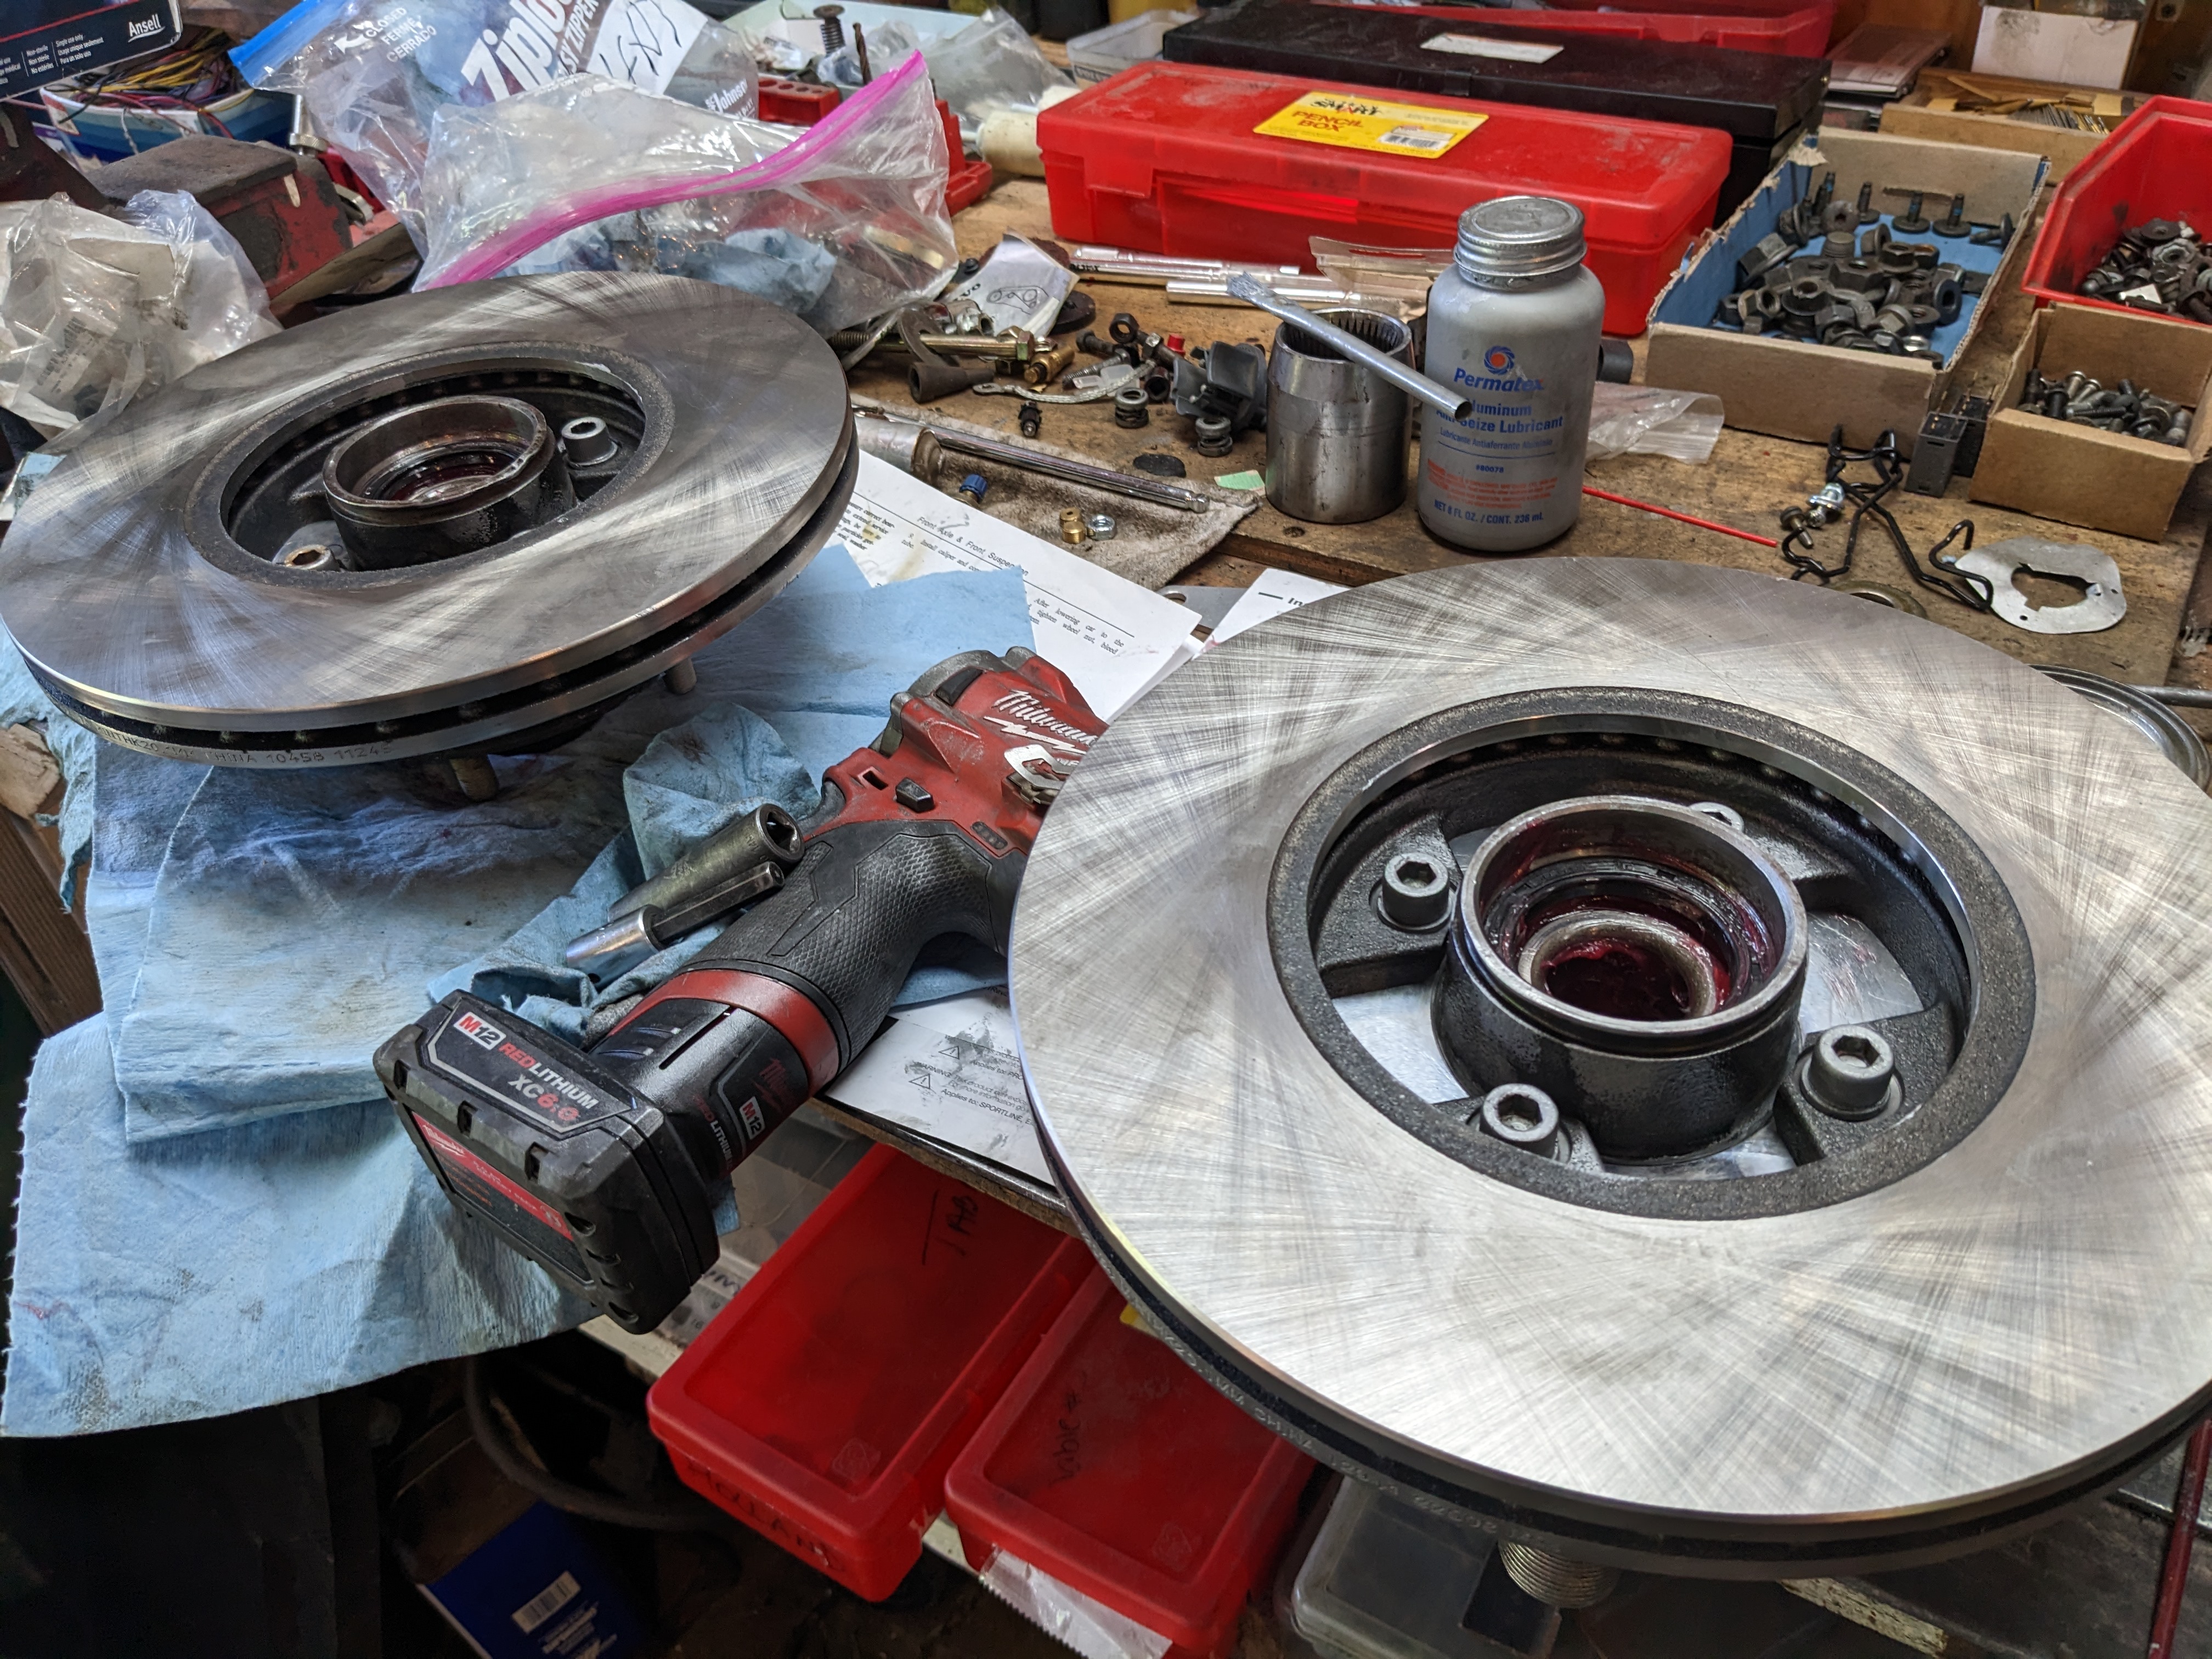
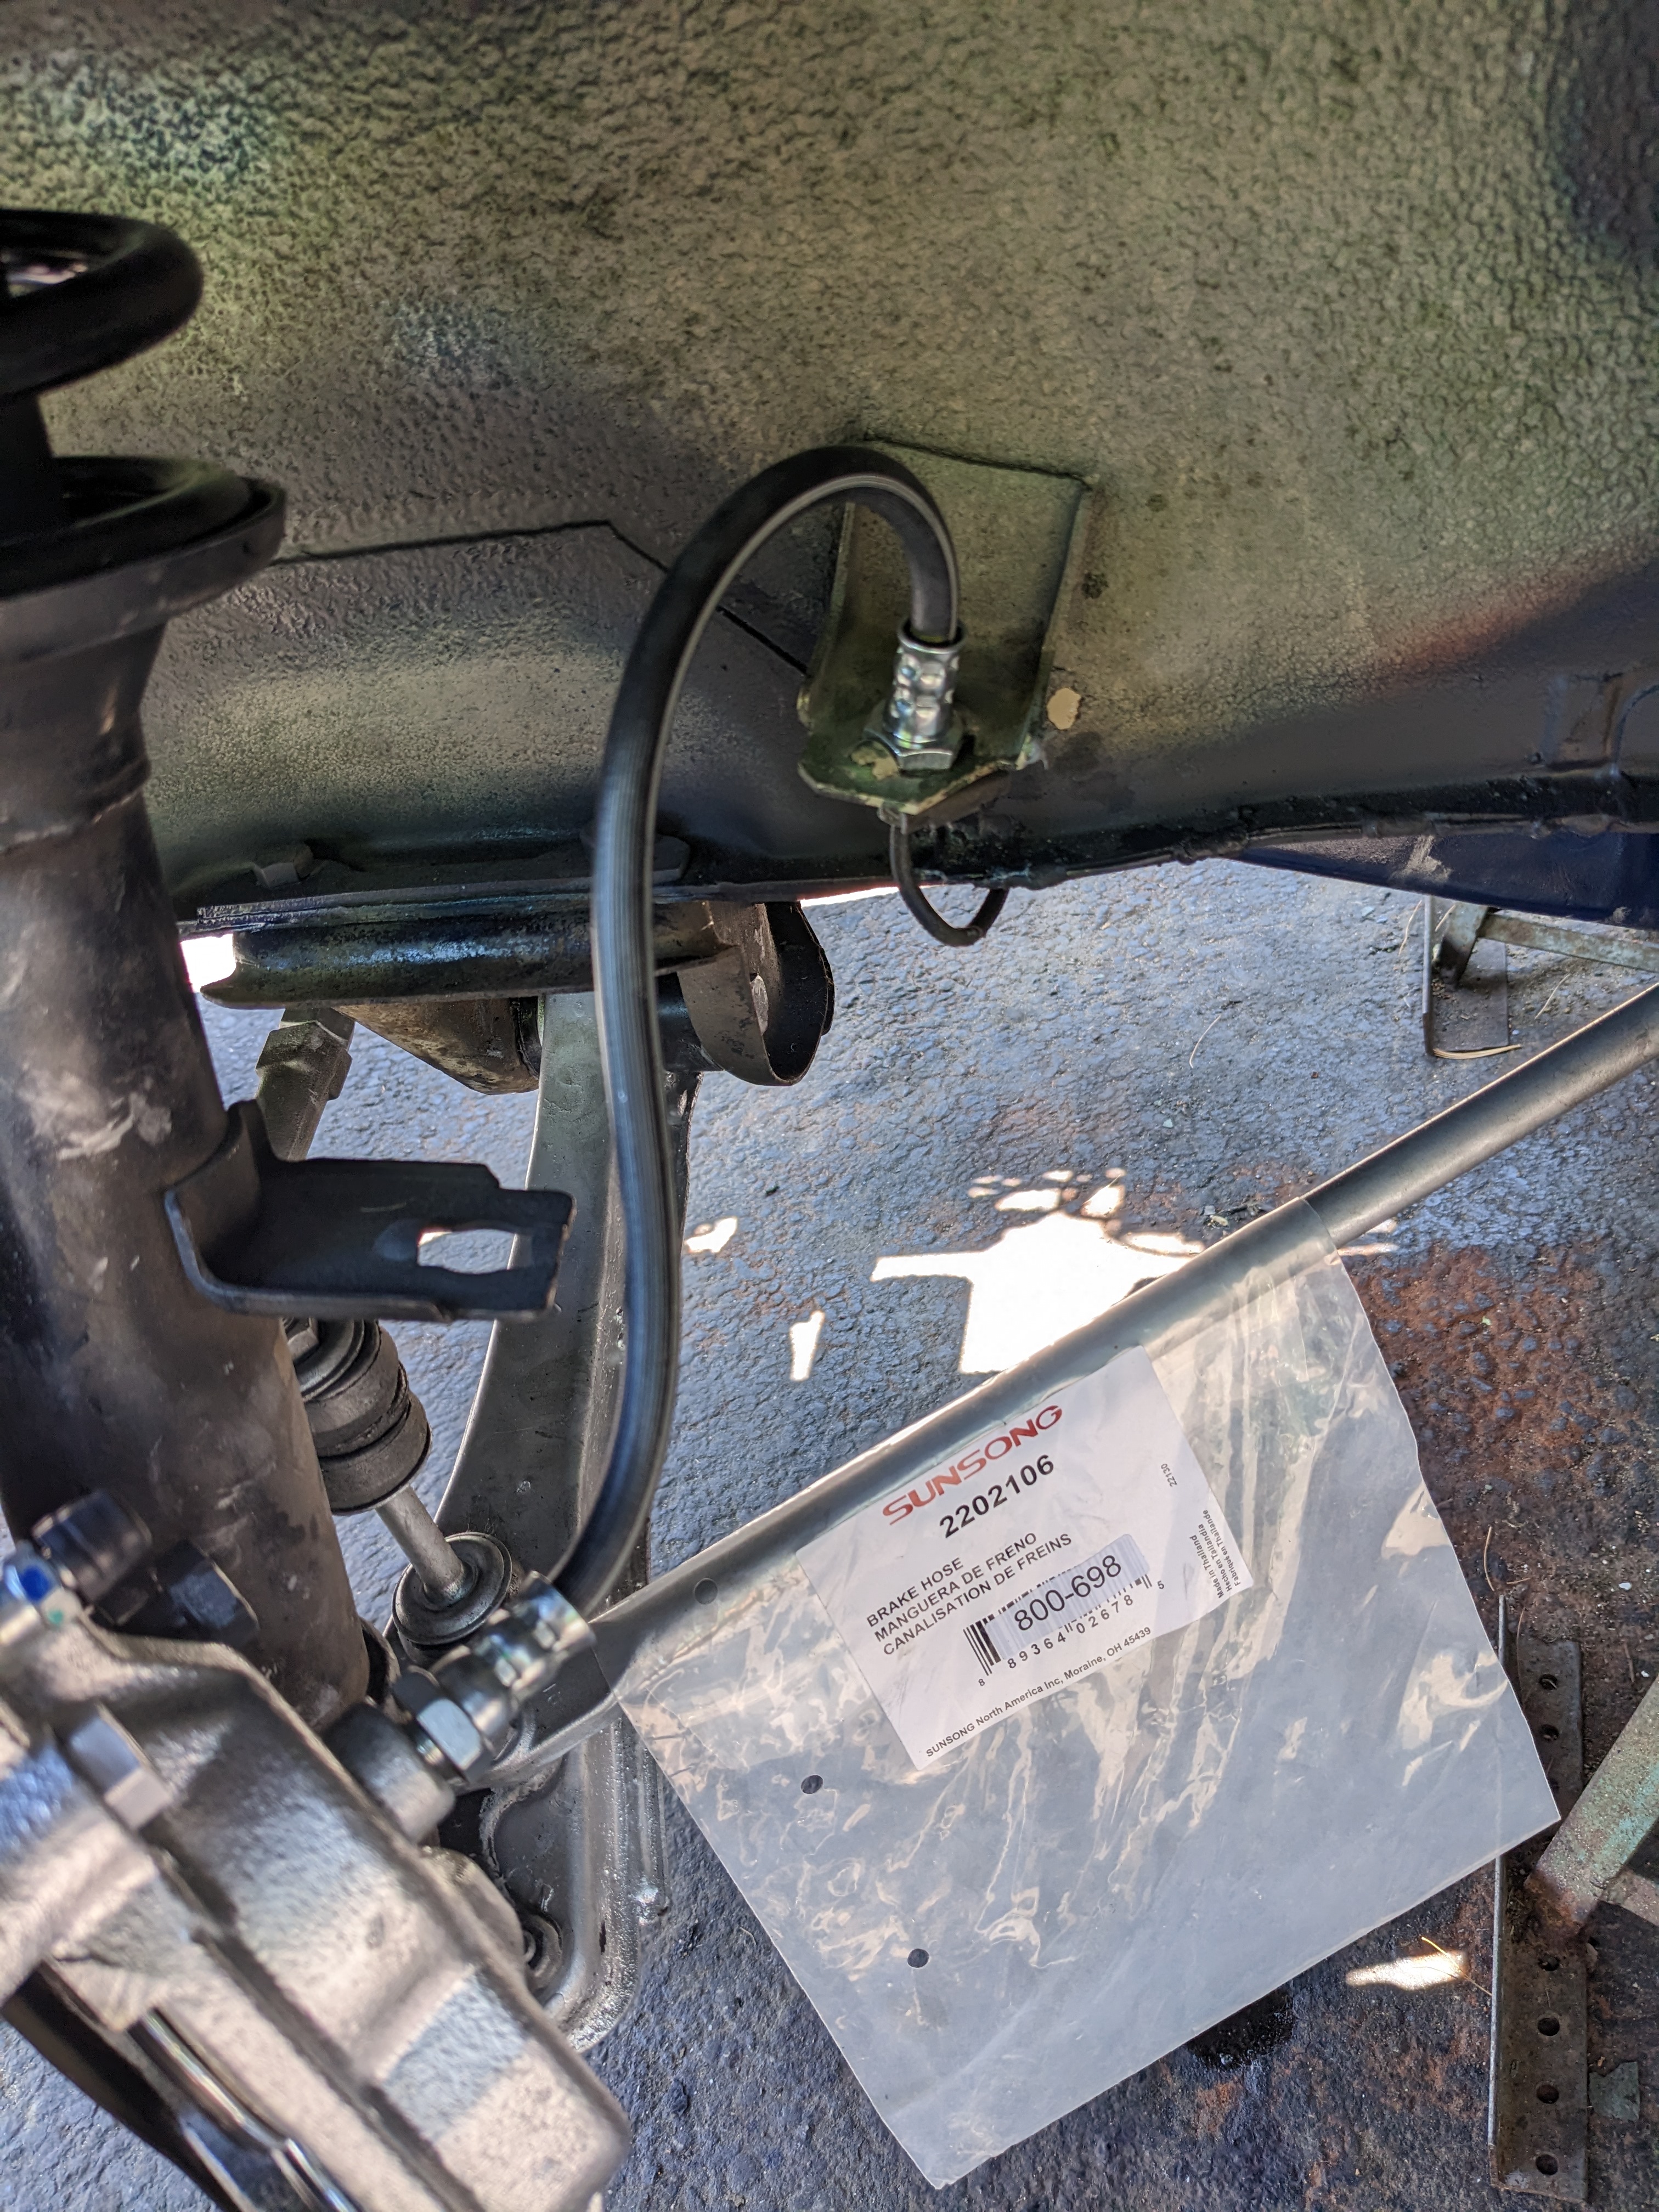
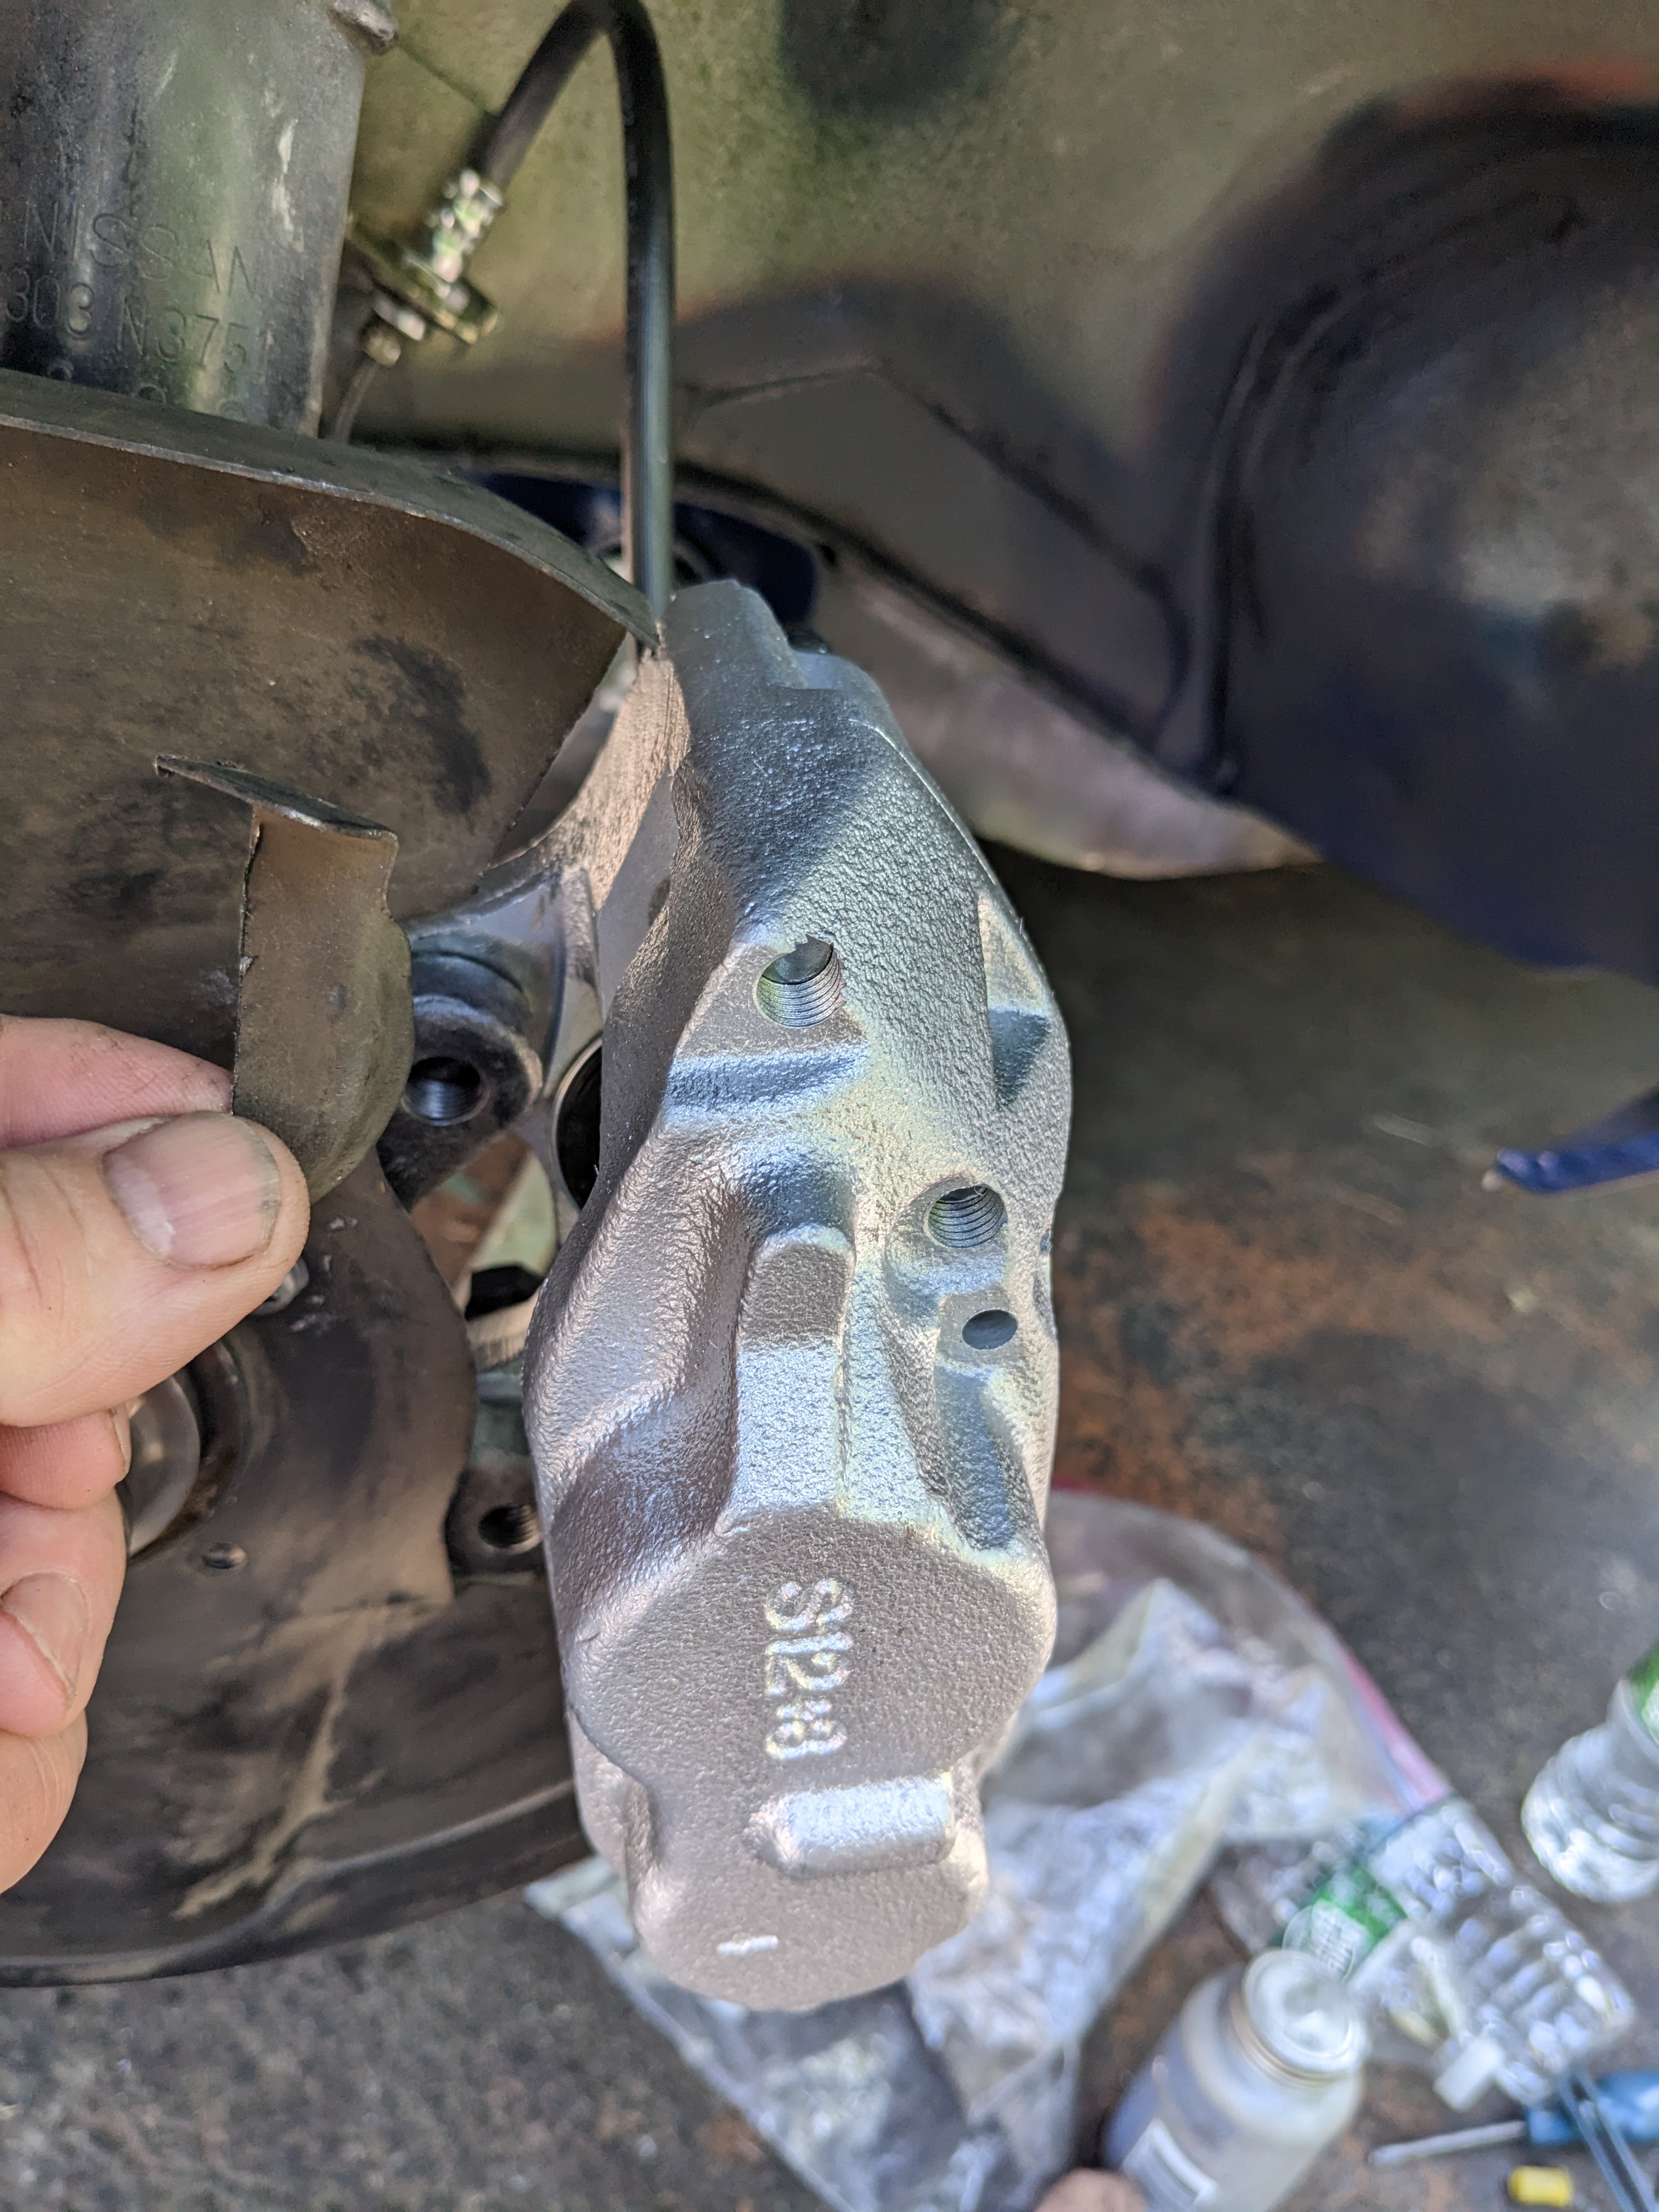
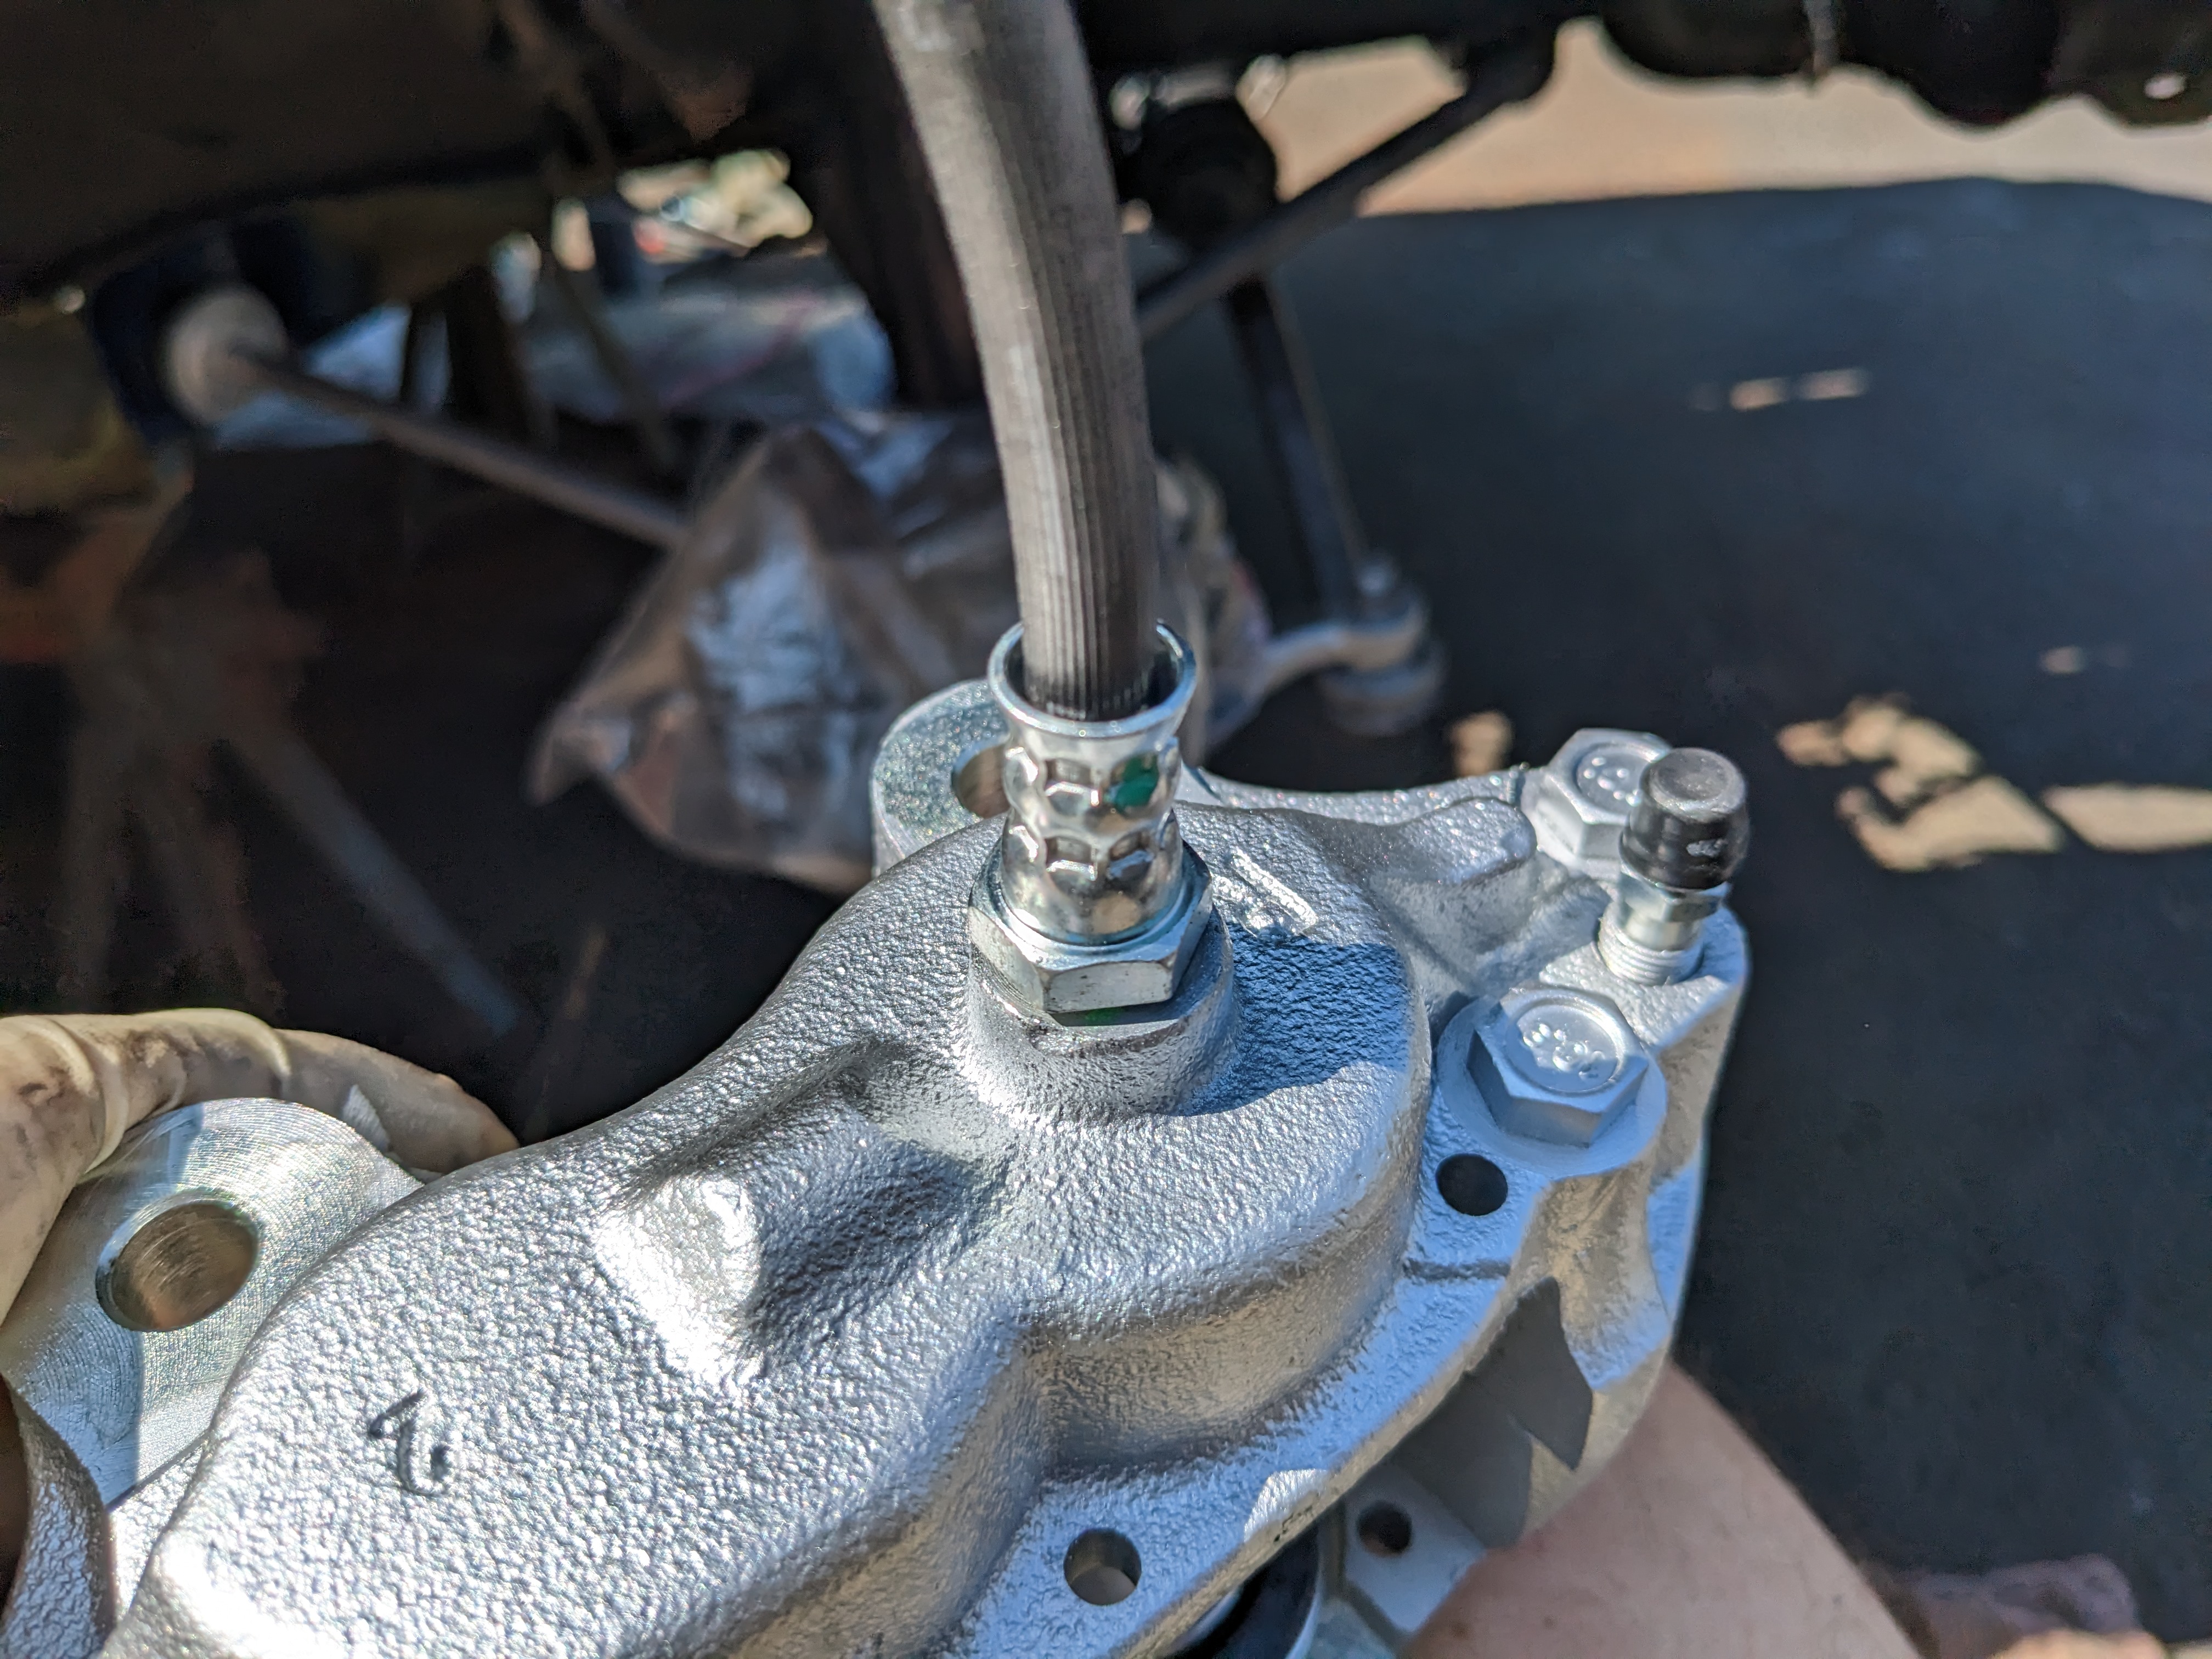
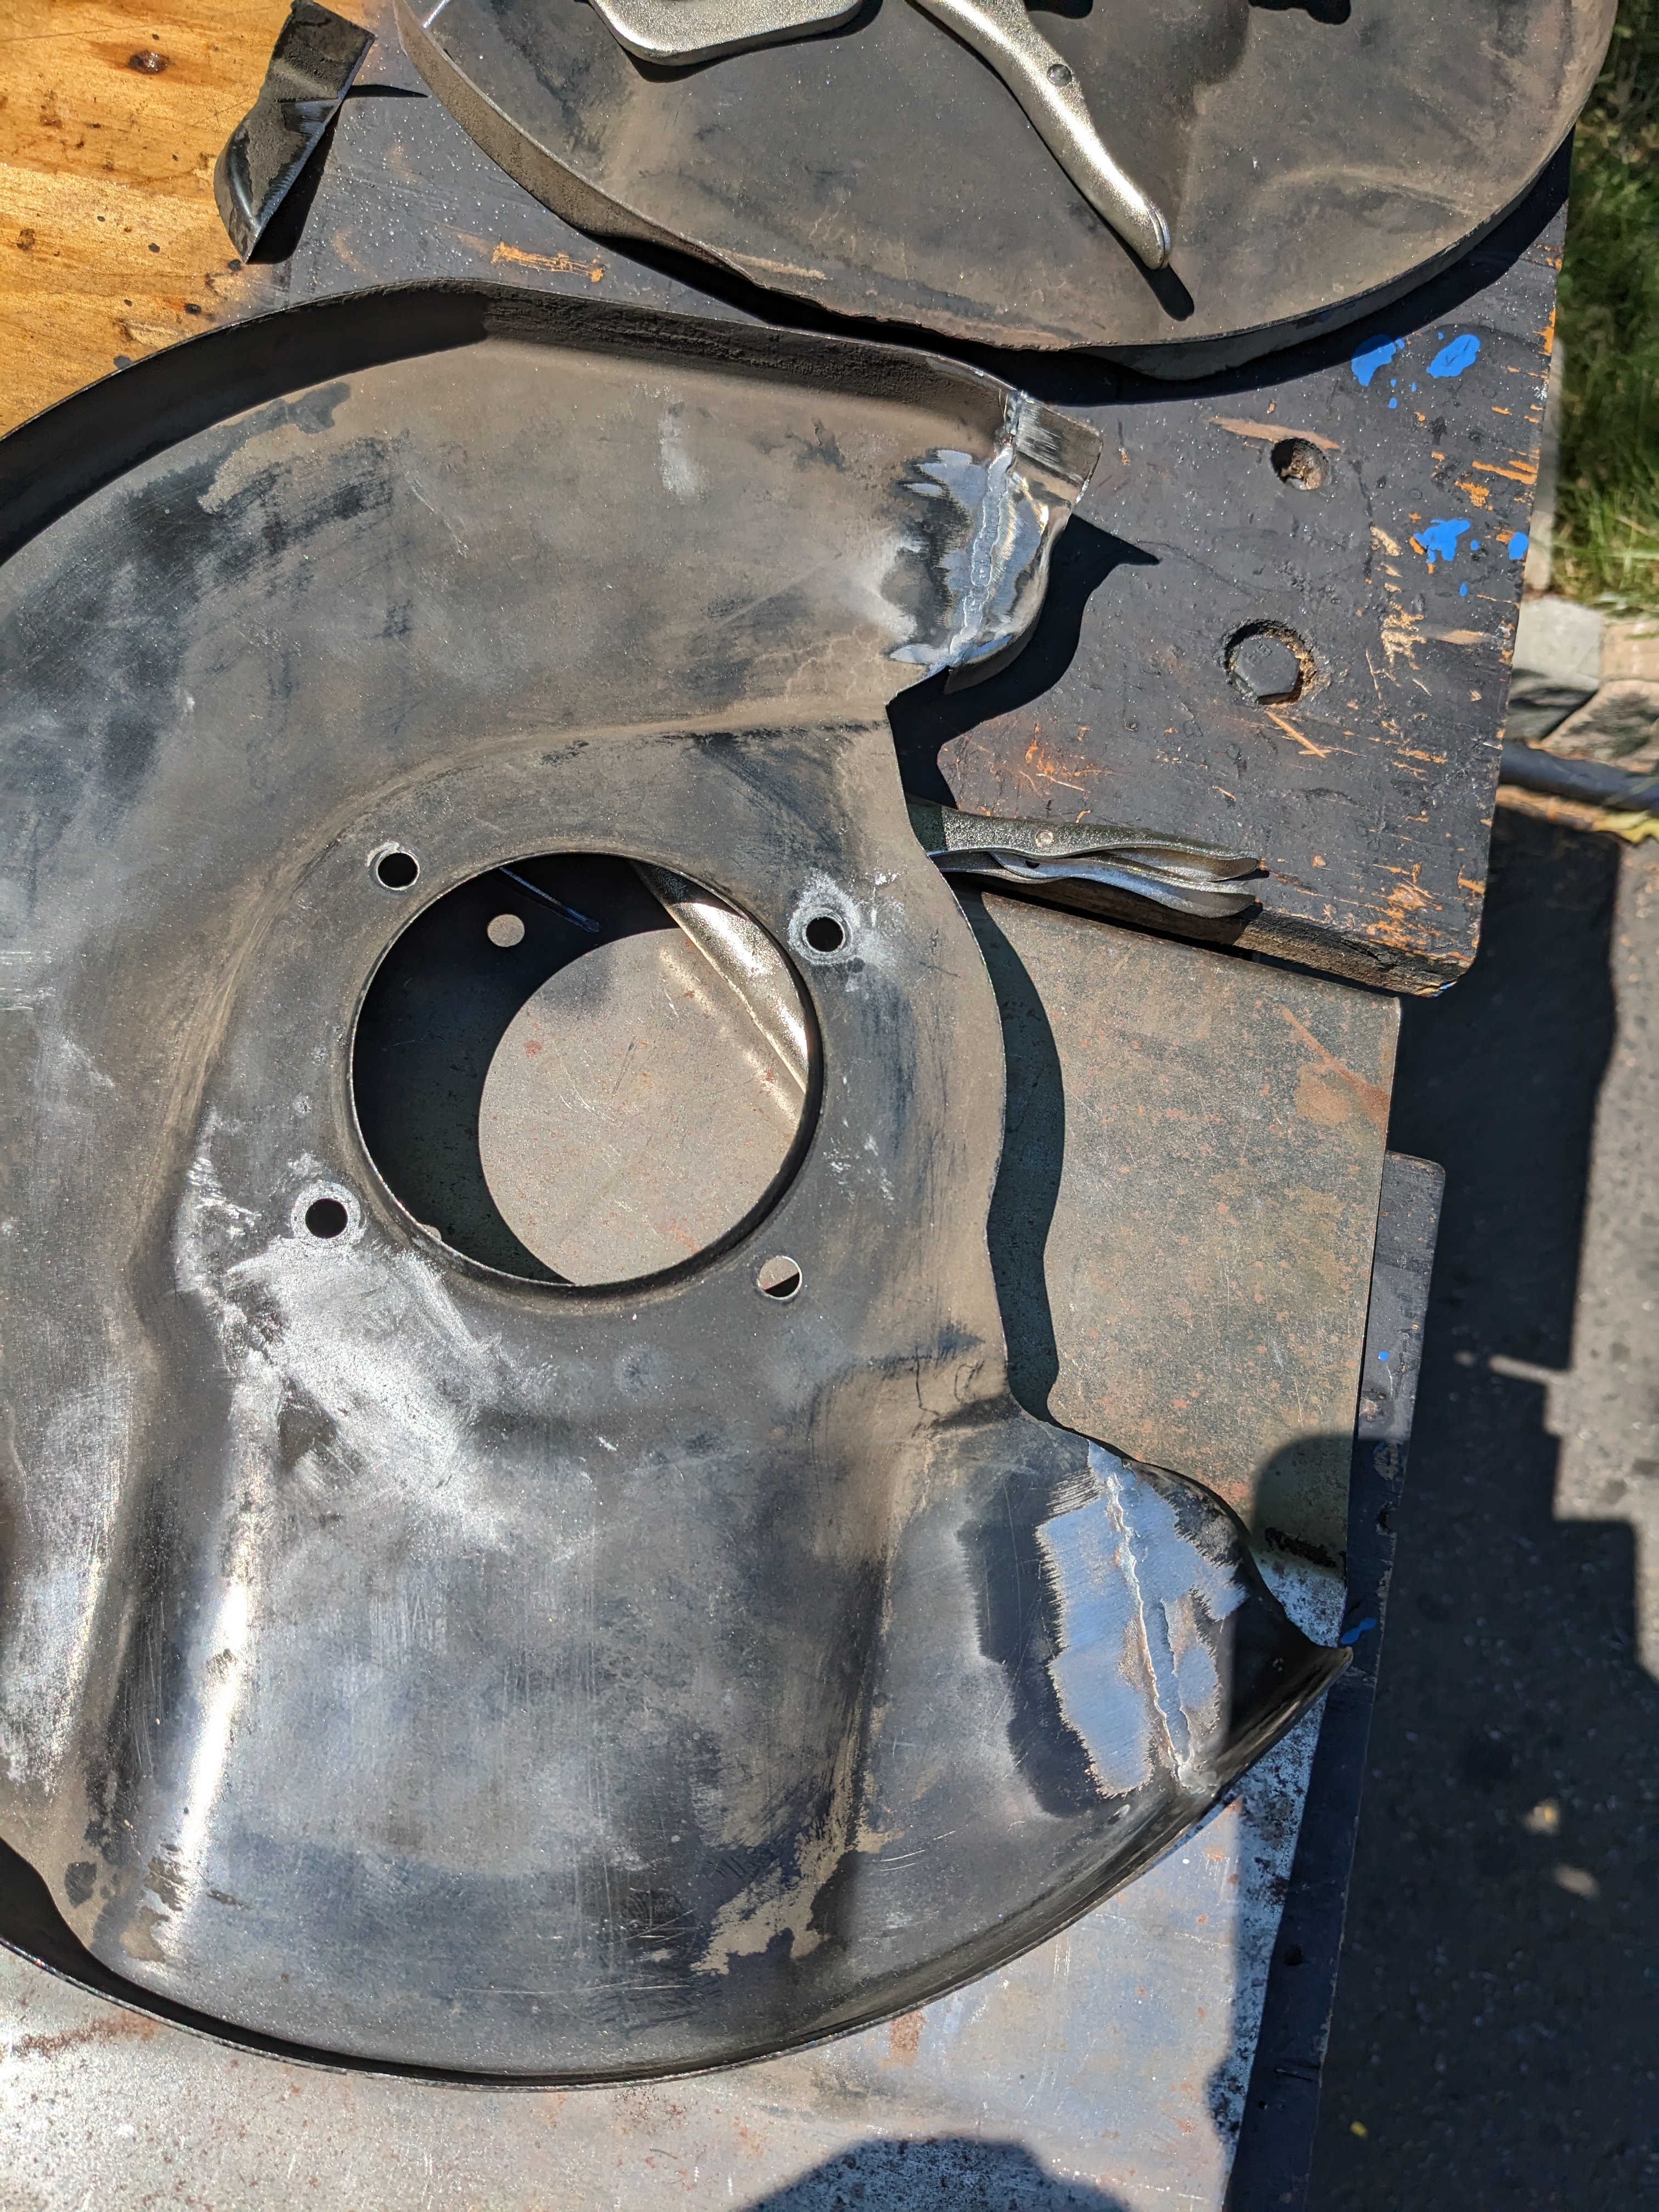
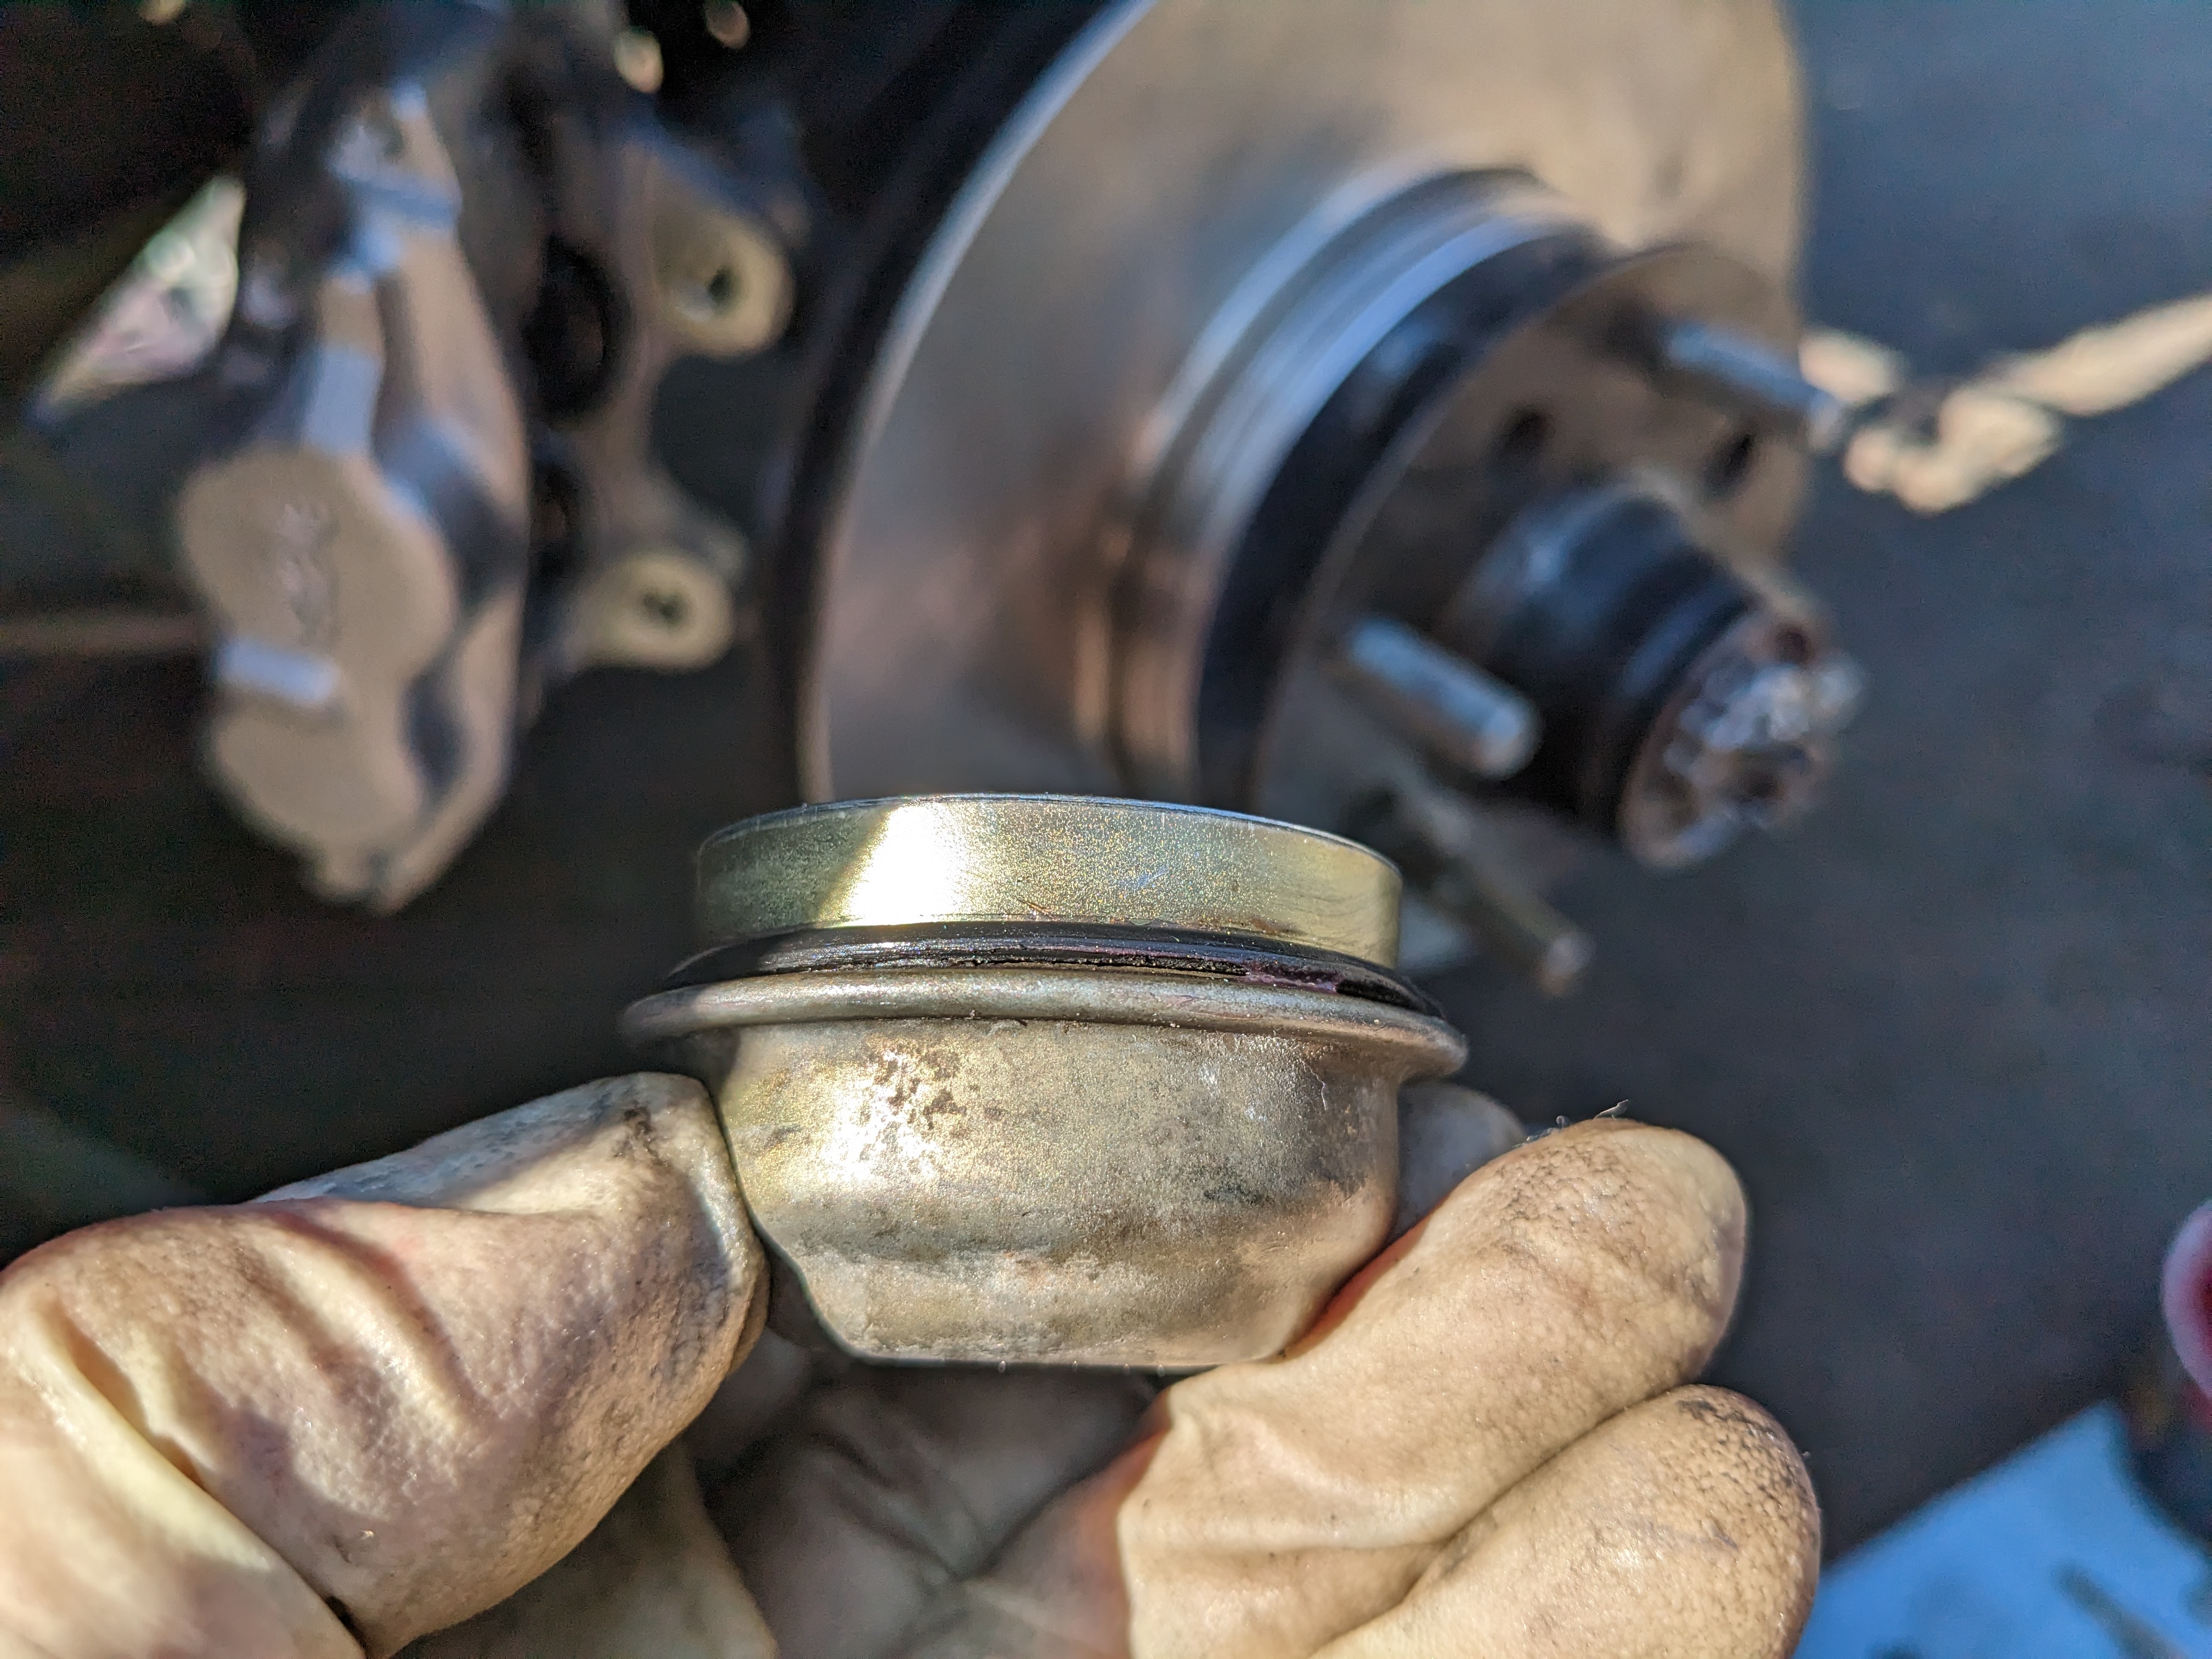
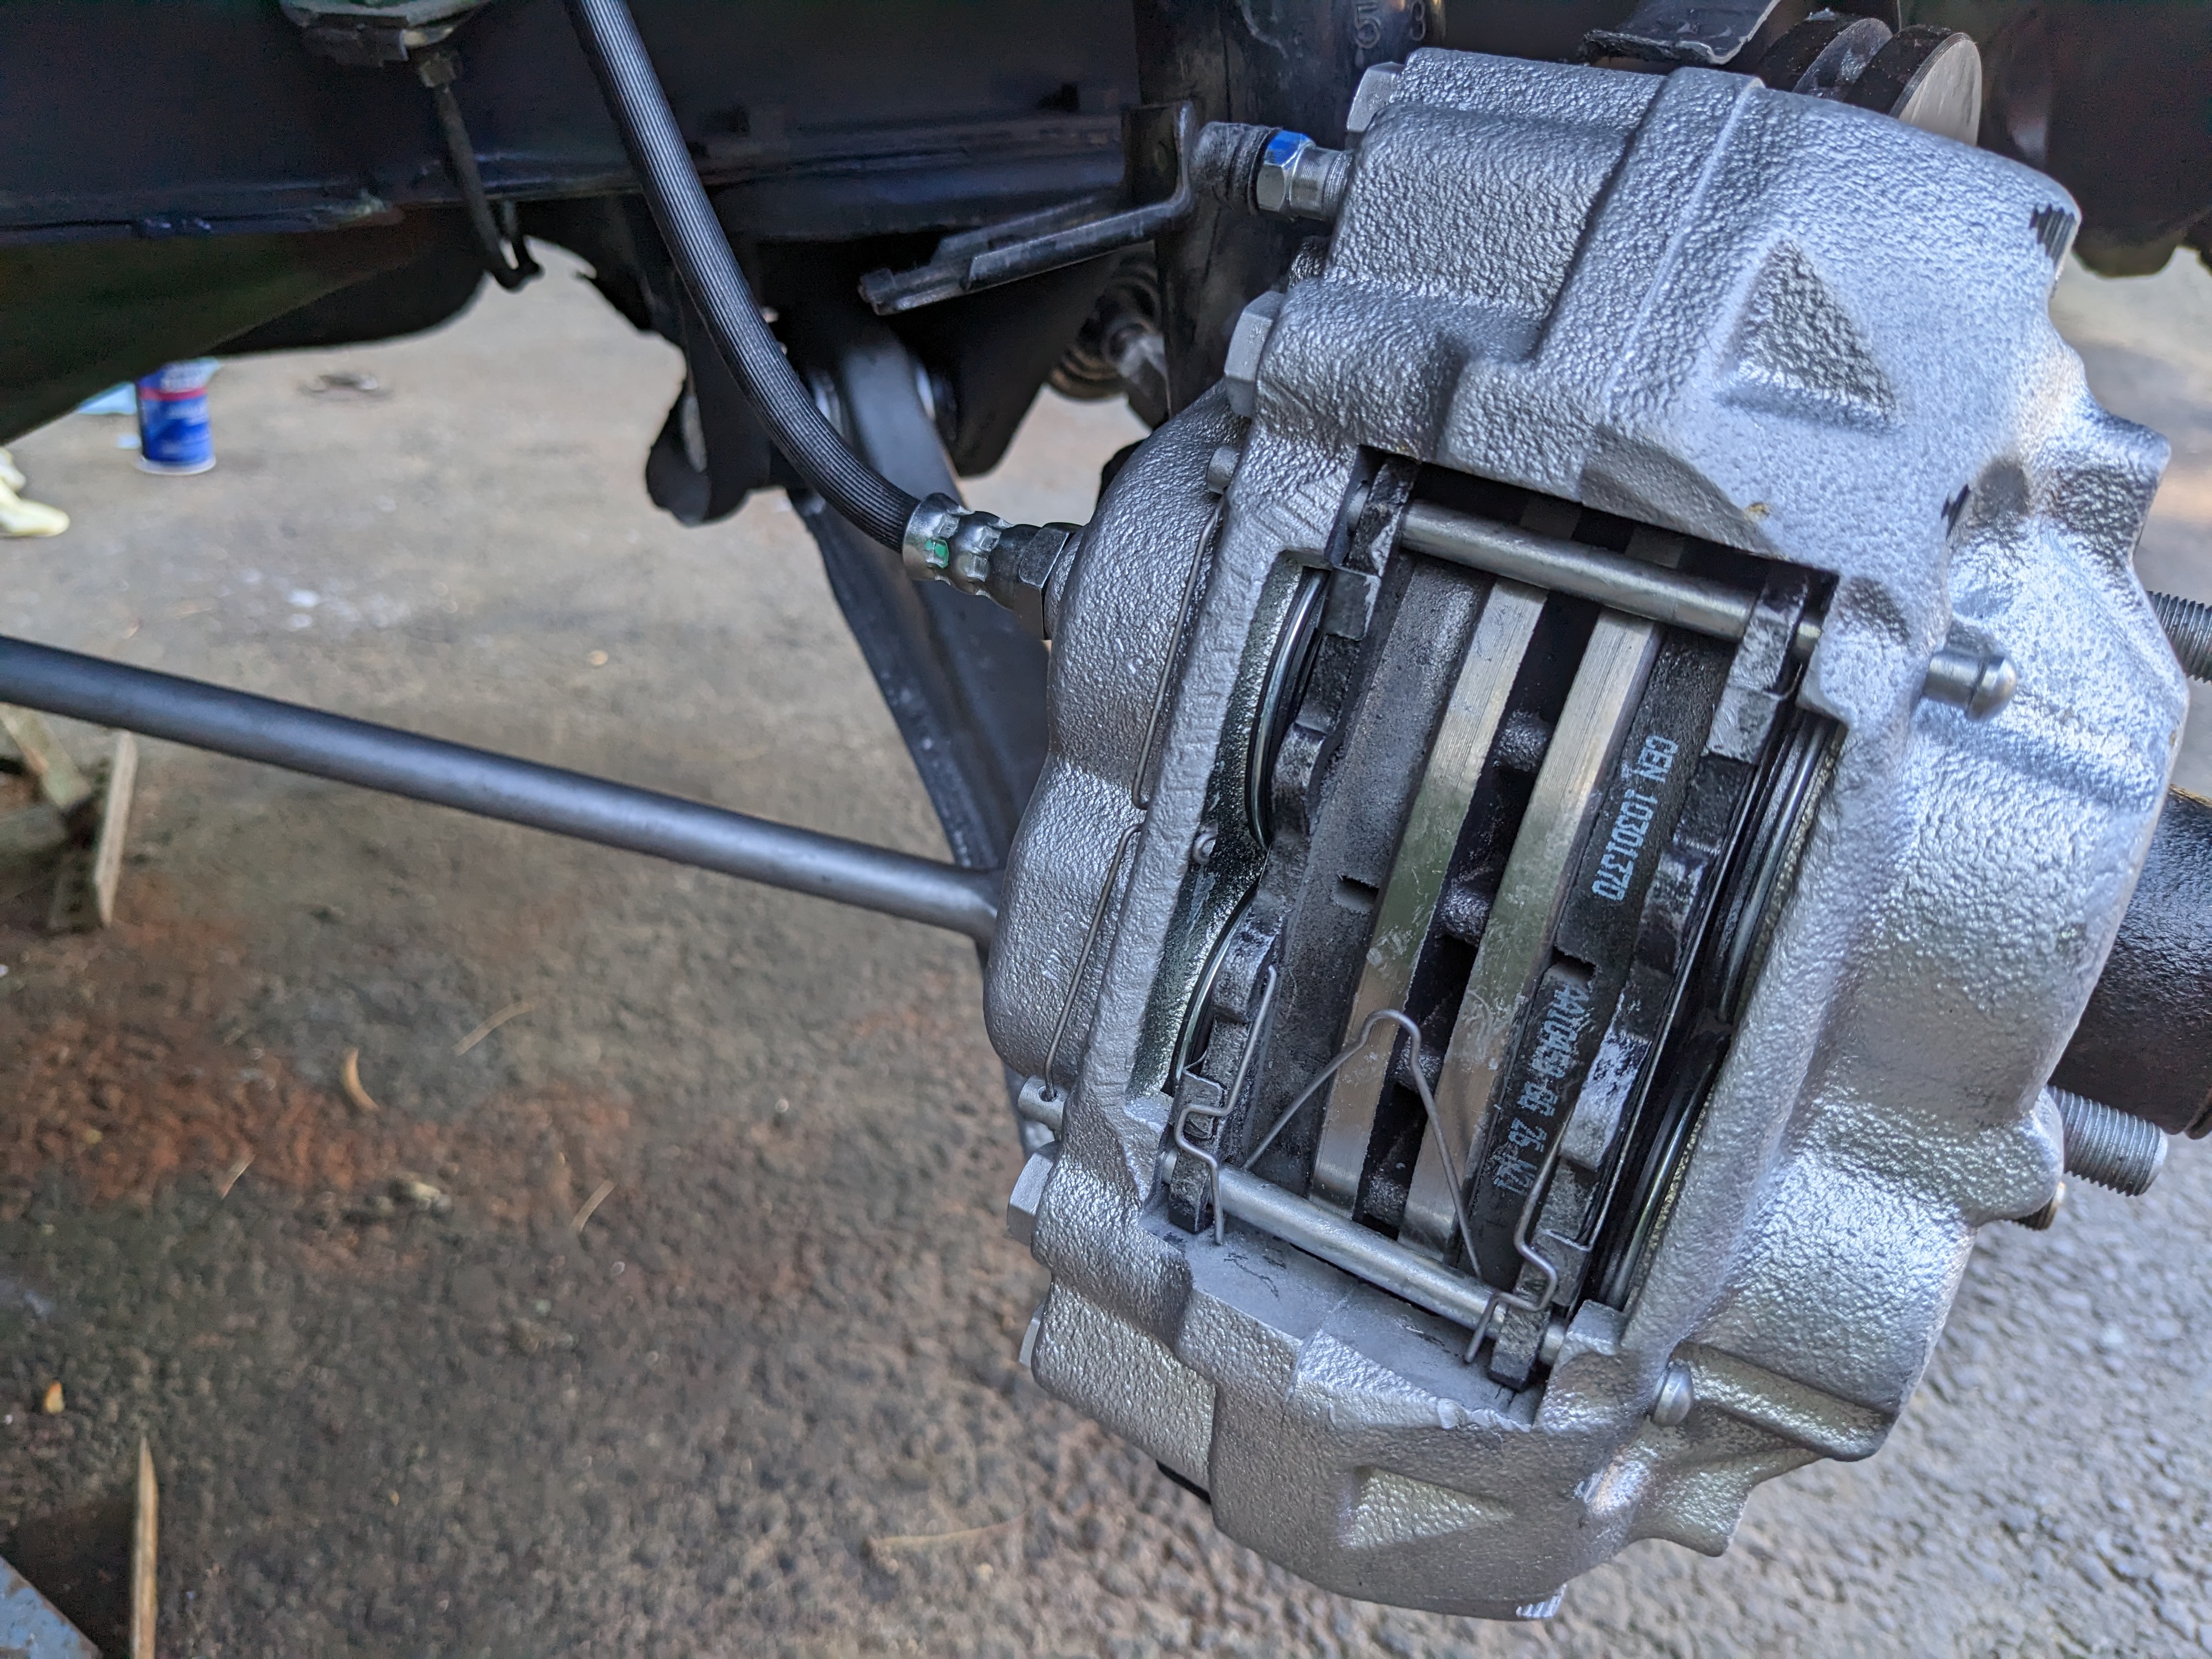
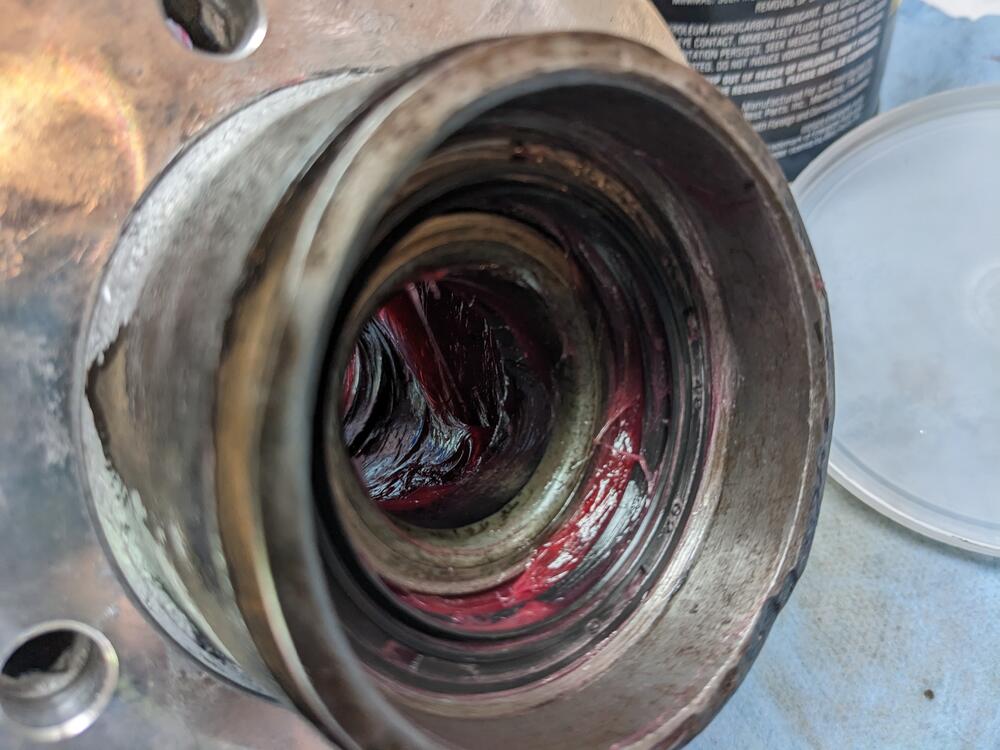
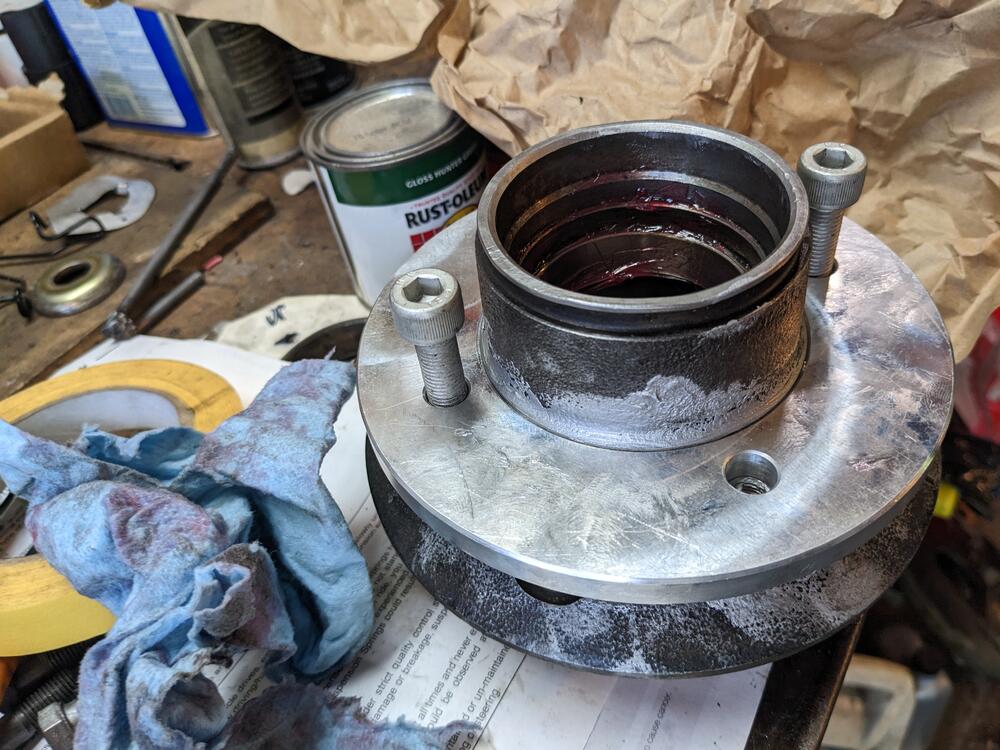
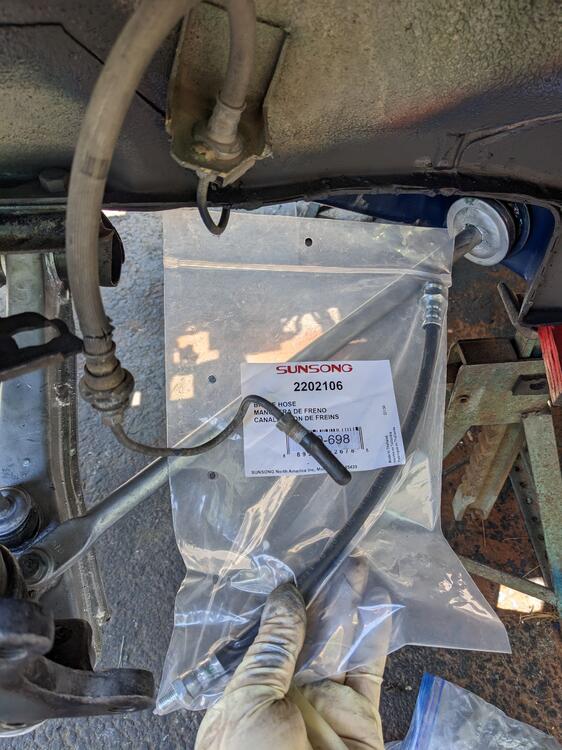
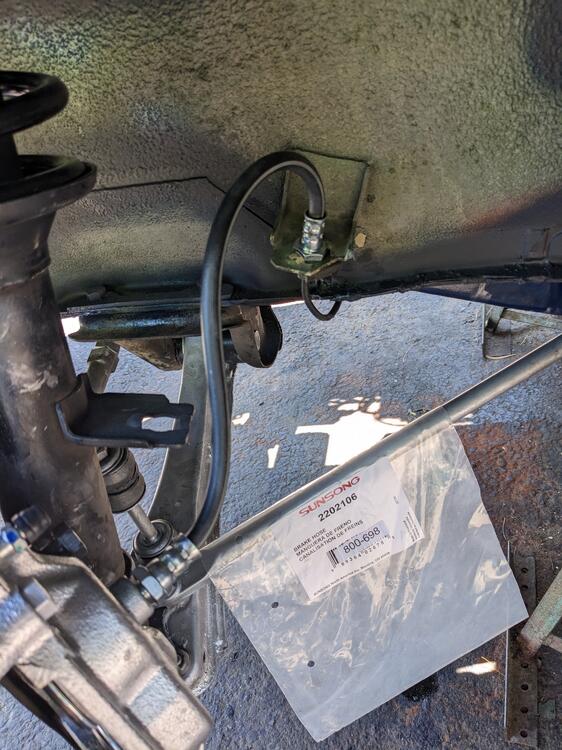
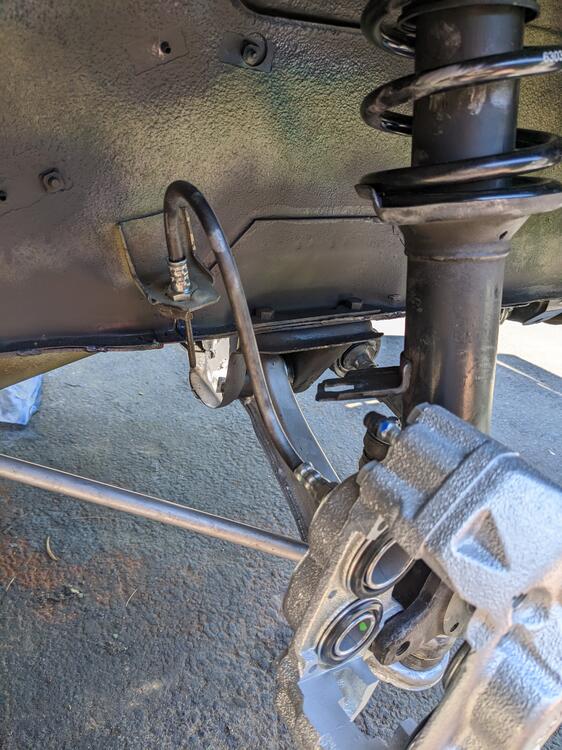
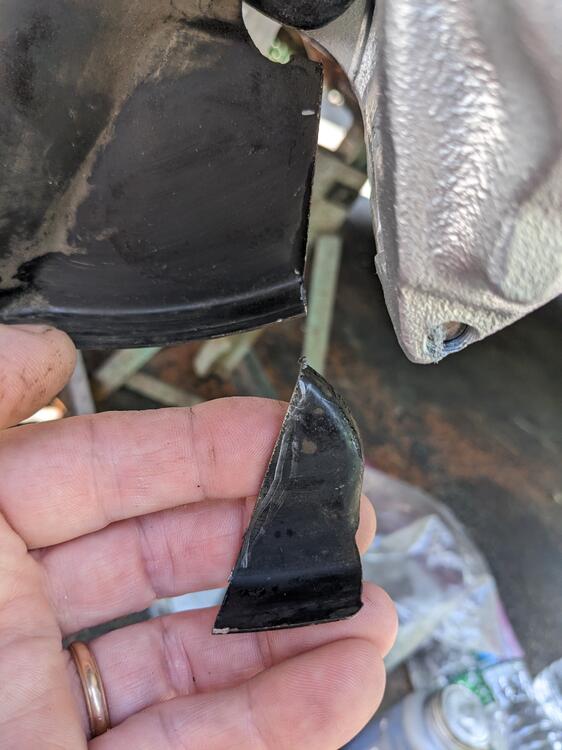
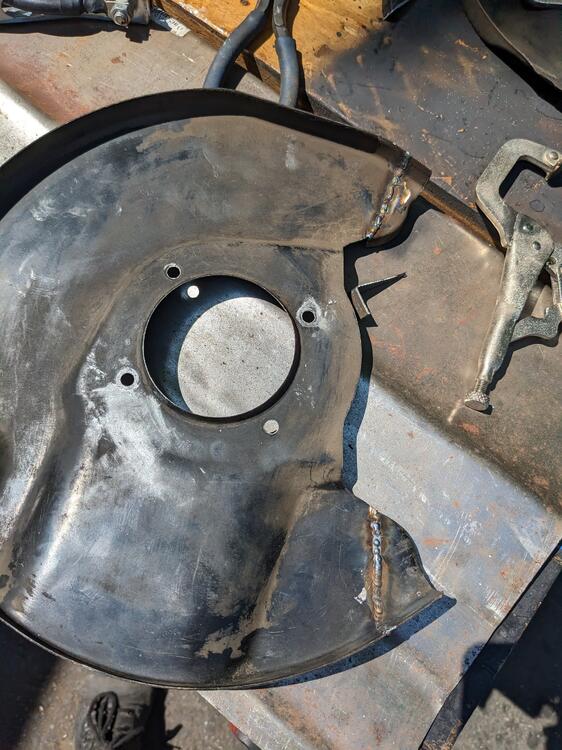
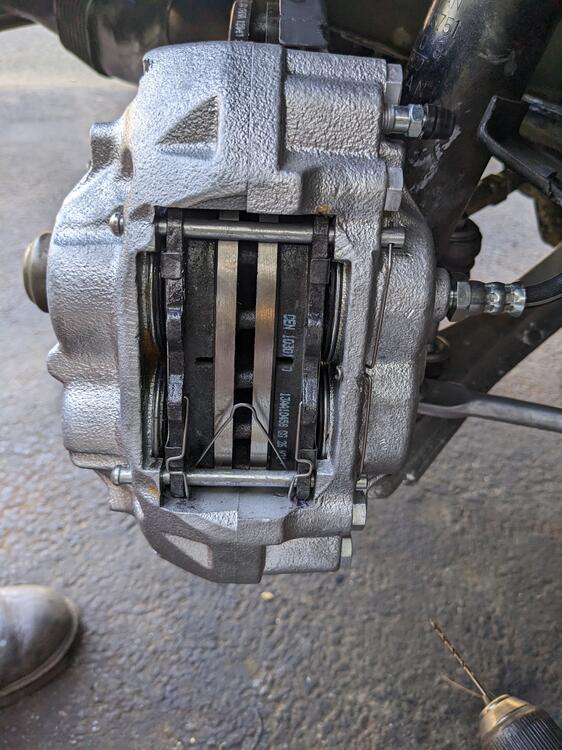
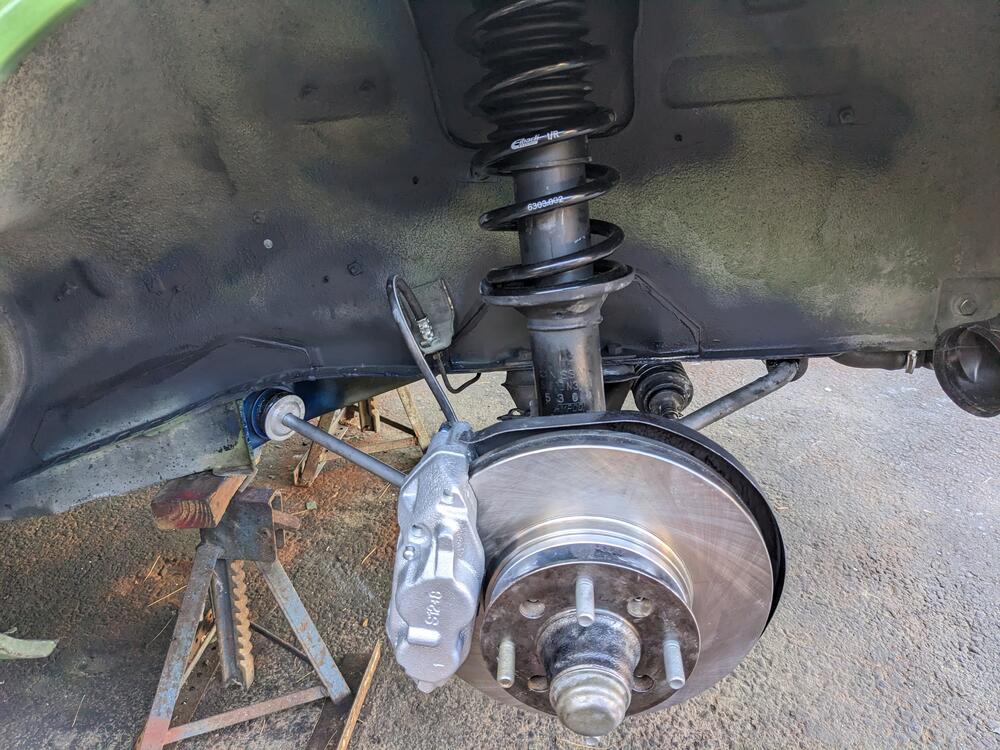
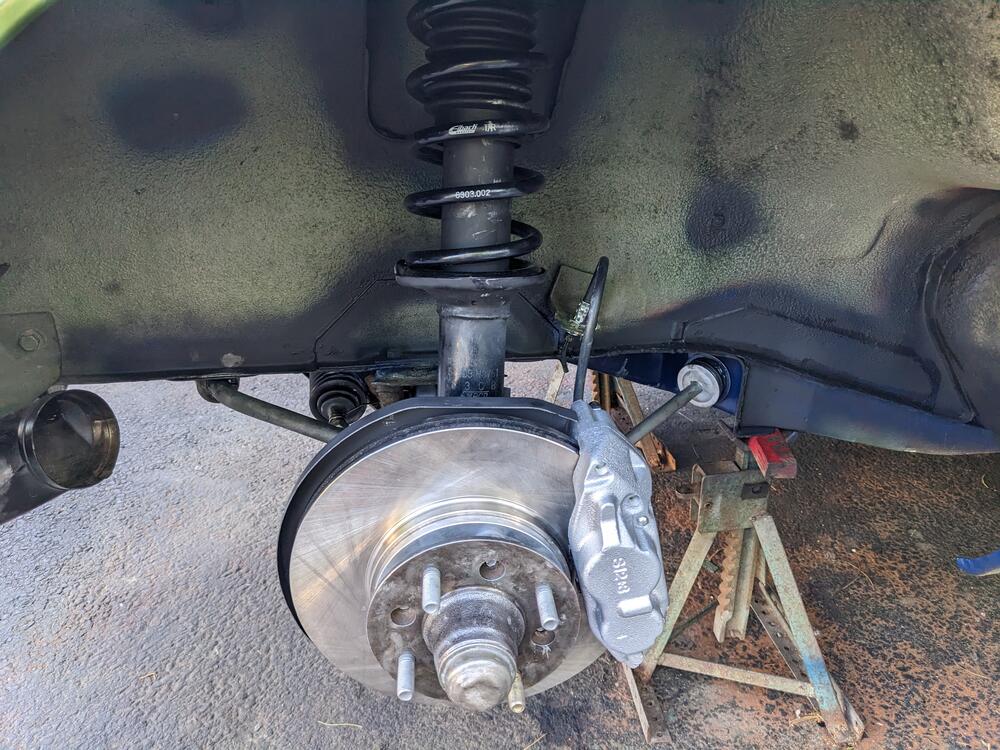
Finally got back to the brakes. I bought the ZcarDepot kit, which comes with no directions. I didn't realize that the supplied hose is intended to replace both flex & rigid lines, it didn't appear long enough. Besides that, the back plates have to be modified to clear the larger Toyota S12 caliper. I had cleaned out the old grease from the hubs, and repacked the wheel bearings in preparation for reassembly. So, I filled the hubs with new bearing grease as per the FSM, and installed the inner bearings & grease seals. I also found I never received the 8 longer bolts with the brake kit. Thankfully I had extra bolts from a CEIKA brake kit. Rotor spacer in place. CEIKA bolts. Vented rotors bolted to hubs. Single hose to replace original hoses Hose installed into caliper first, to prevent twisting or binding the hose Modifying the back plate. Sections removed I didn't want to leave cut edges on the back plate, so I reduced & welded the folded edges back on Cleaned up, primed, painted & installed Hubs & rotors installed, bearings adjusted. Longer studs installed for the Konig wheels Nice touch on the grease caps, oring seal Pads & hardware installed. The outer pad didn't have the hole for the damper spring, had to drill it out Just need to bleed the brakes


 4 points
 -
A wise choice, in my opinion. It can be difficult to know where best to wind the clock back to, or indeed whether the clock should be stopped in just one place... Kevin Bristow faced a very similar dilemma when he acquired 'TKS 33 SA 3640'/'PTE 337L'/'HS30-00879', his 1971 RAC (and more...) Works 240Z rally car. He had to contend with period-repaired damage, deterioration and further damage - caused by decades laid up - as well as a few missing parts. He finally targeted a restoration of the car to the way it was immediately prior to the start of the 1971 RAC Rally, but - pragmatically - also including some of the patina and minor modifications it received in its post-71 RAC rallying career, each of which has its own story to tell us. I think it turned out well. The trick is to avoid throwing out the baby with the bath water.3 points
-
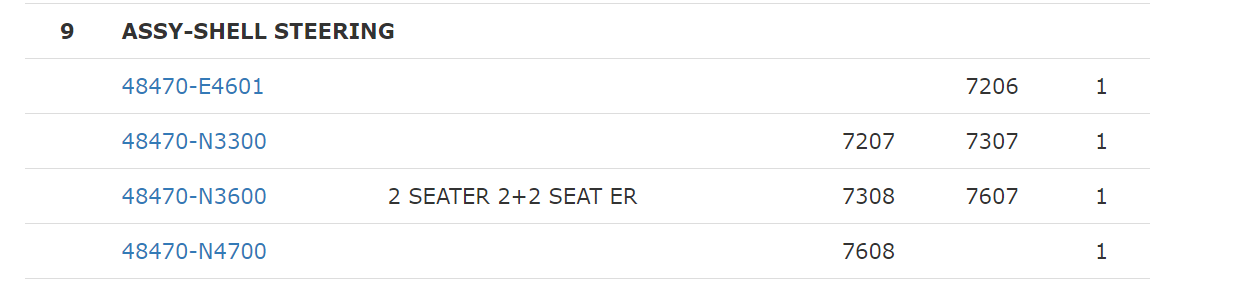
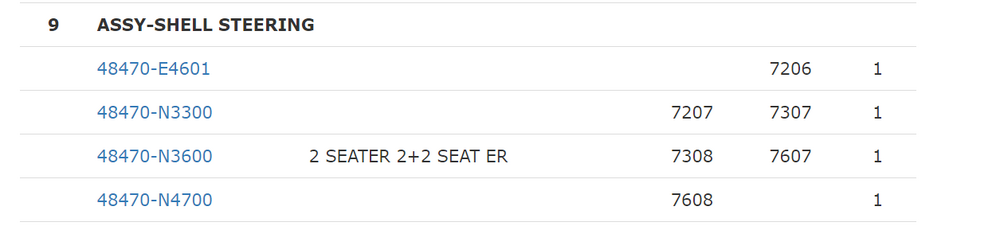
1 pointFrom the online parts catalog: Two versions for the 240Z, one version for the 260Z + '75-76 280Z, and one version for the '77-78 280Z. These parts typically have the P/N molded on the inner side of both pieces.
 1 point
 -
I always understood it as by the time the hoses are dry-rotted, it's probably time for new/reman injectors1 point
-
I don't have that relay harness, just the stock harness for that circuit. The only issues I experienced with some LEDs is that I had some type 1157 red LEDs fail so that they lit both "elements" at once. I chose a different brand that's in the list and experienced no problems since then. I first started using LEDs over 13 years ago and have no regrets. You may find corrosion in some or all of your side markers. I think that is part of the issue with the circuit overall.1 point
-
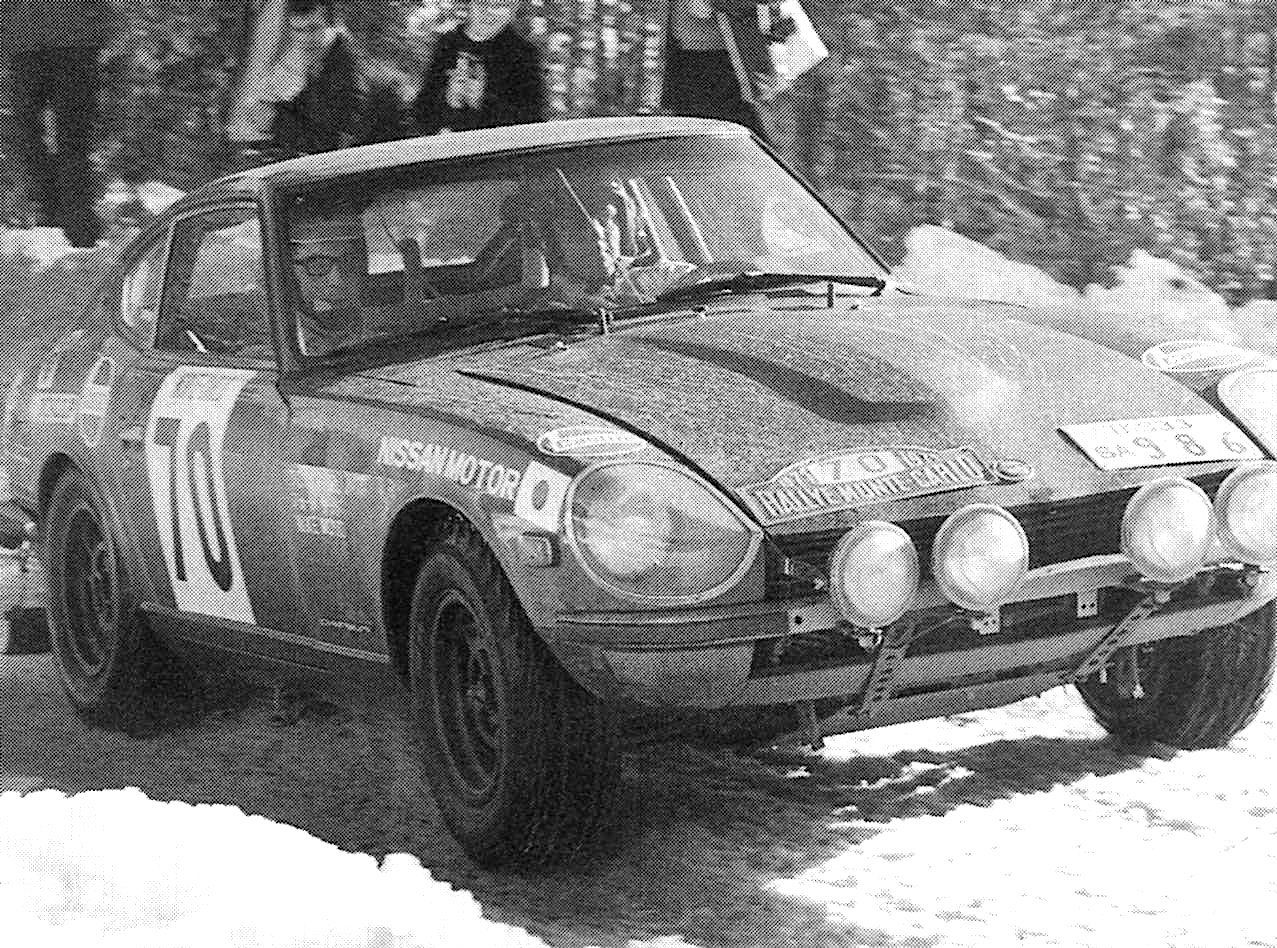
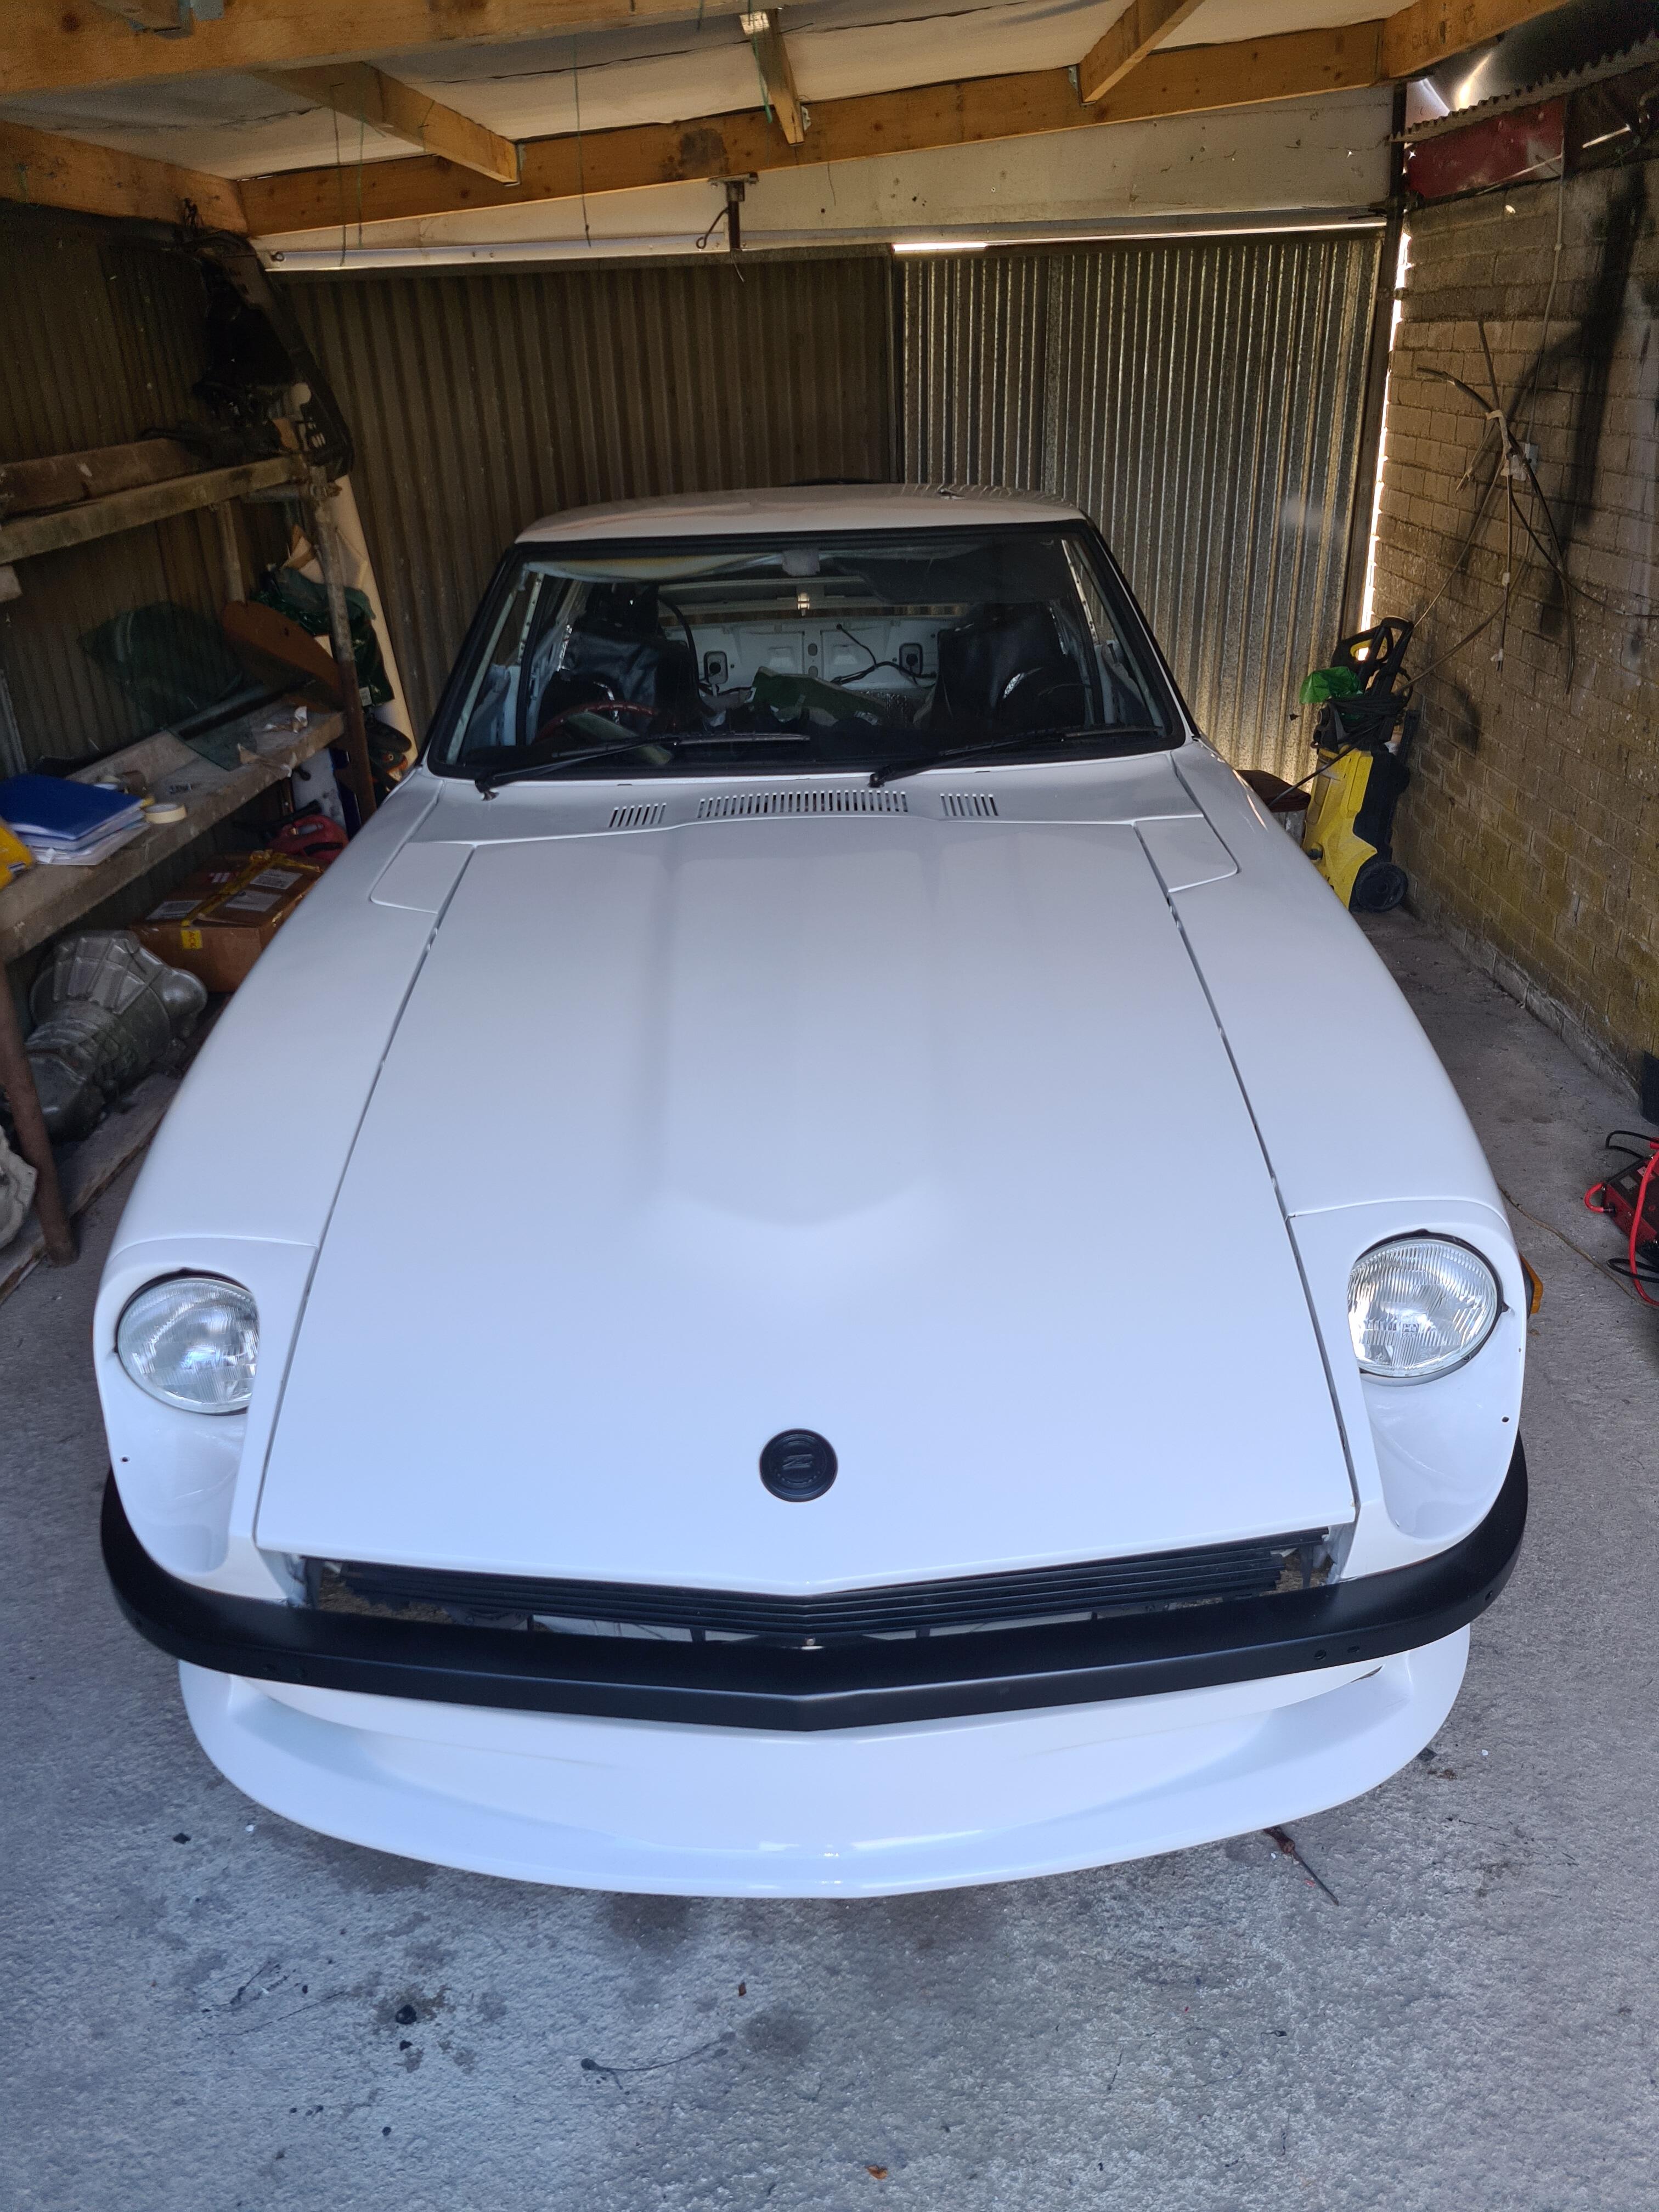
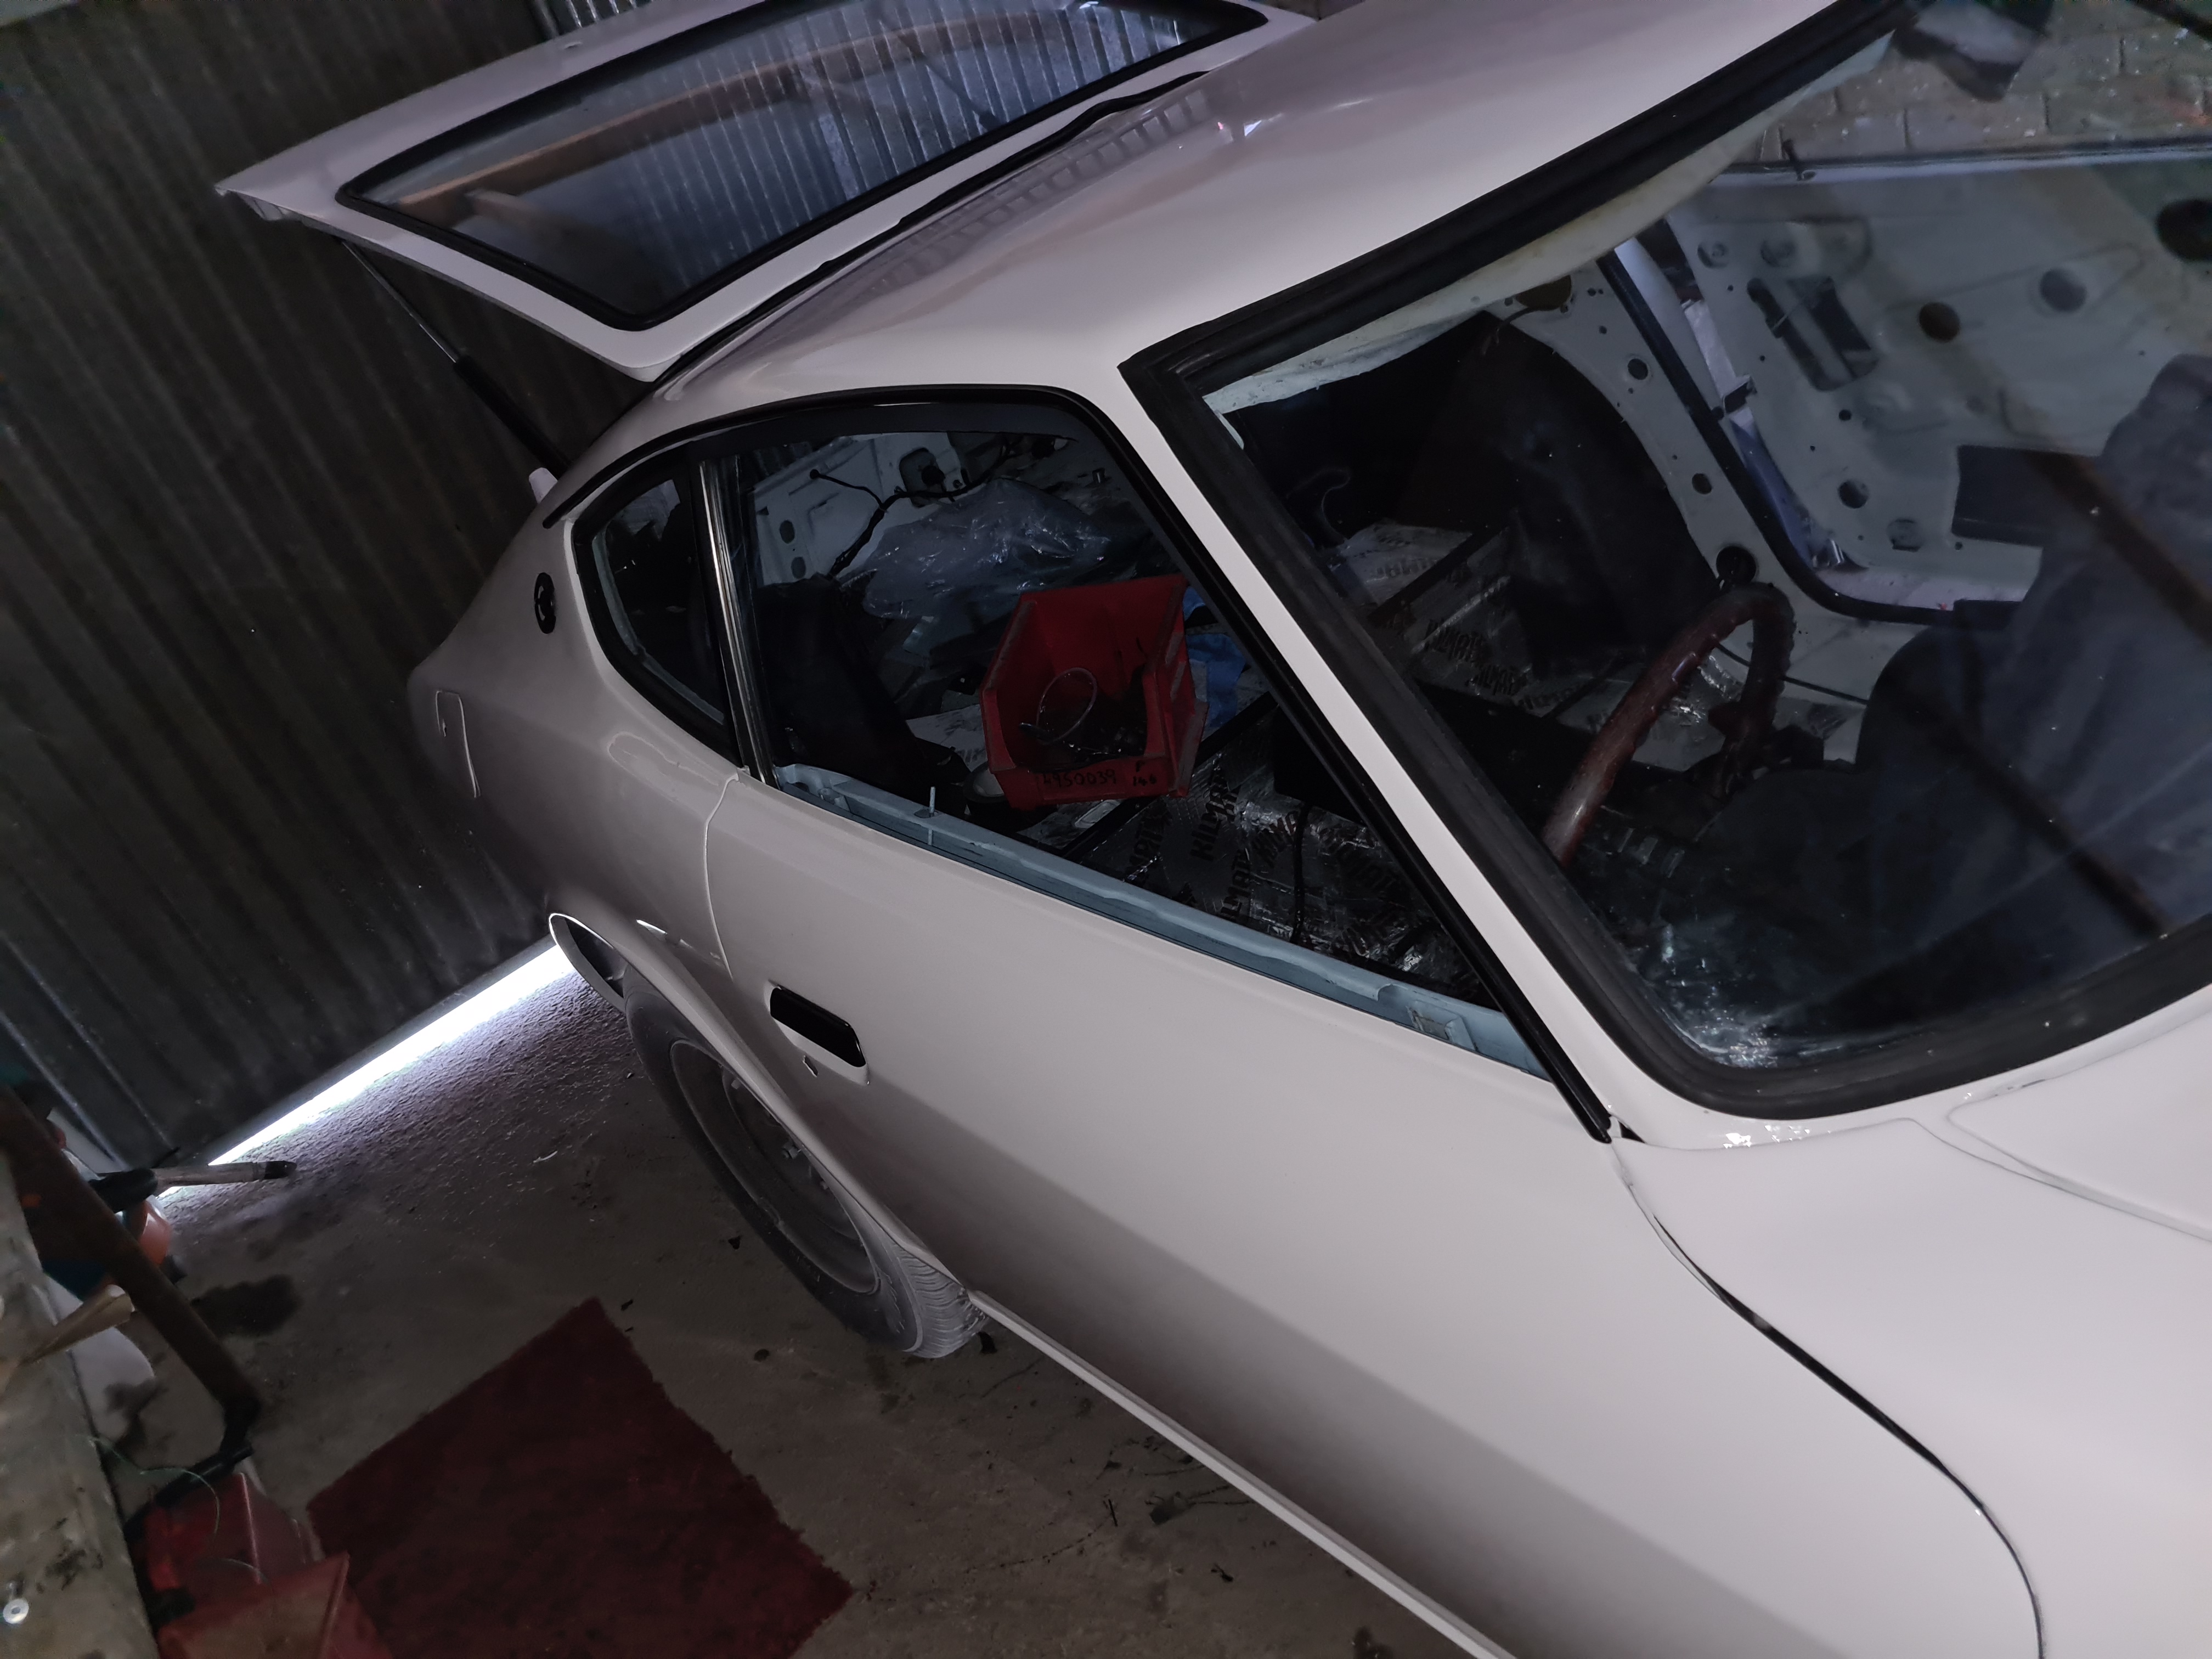
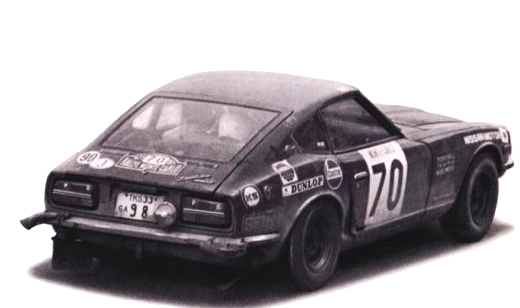
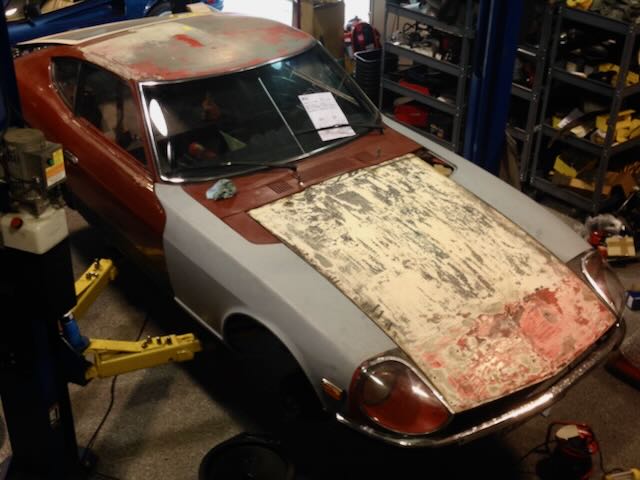
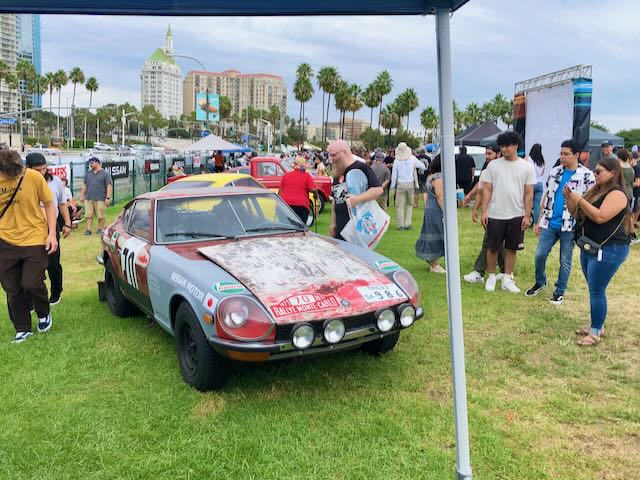
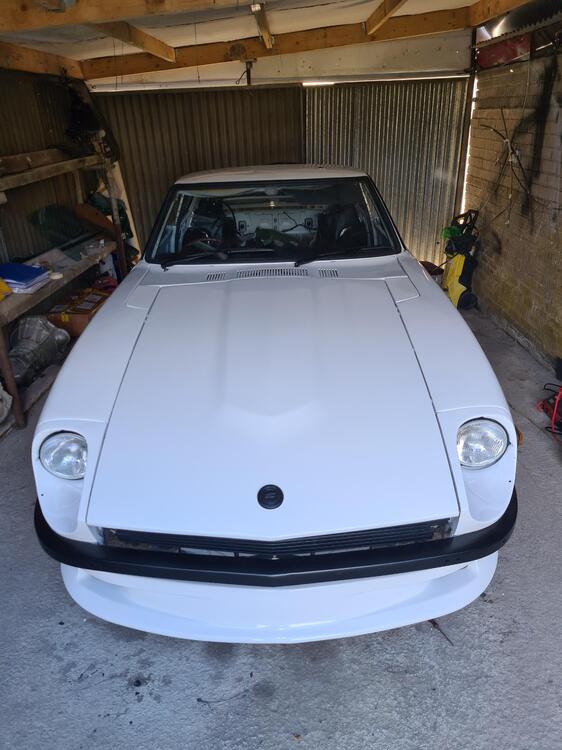
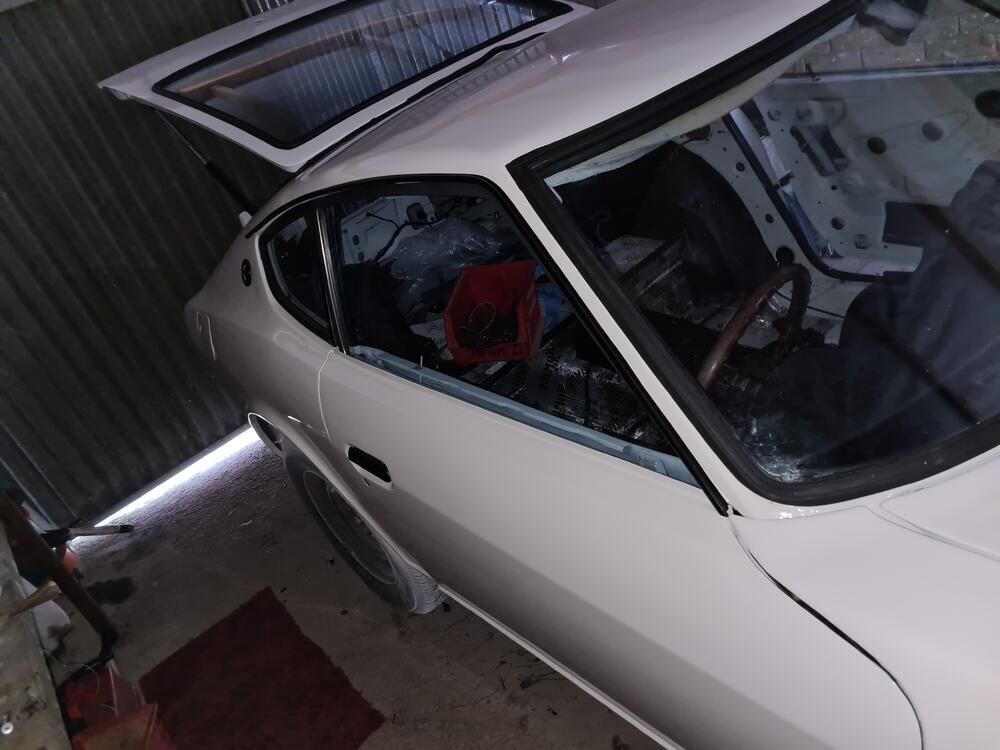
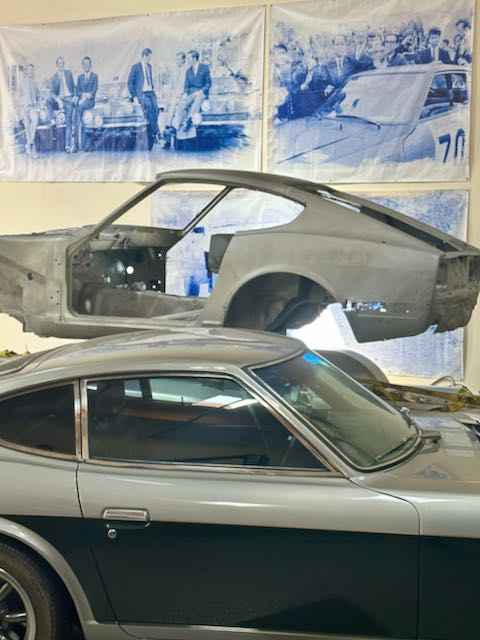
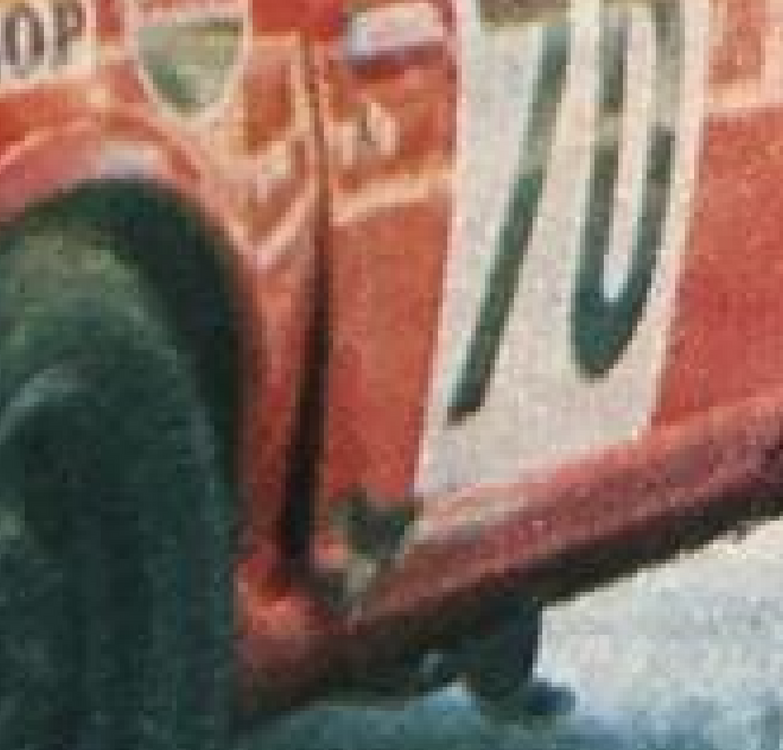
It’s an interesting question- one that I’ve given quite a bit of thought to over the past few years. here are some long-winded thoughts on the subject: When I previewed the car at JCCS in 2022 (see picture 4), by far the number one comment I got from onlookers was "Leave it as-is, and don't restore it”. I really appreciated these comments, because I myself had considered the very question “Can I leave the car as-found, and do just enough to get it running?” Short answer: I could probably make that work in some fashion, but not really in a way that makes much sense to me from a historical perspective. if I left the car as-is, I really wouldn’t be “preserving” much of any historic rallying patina. To explain: the interior appointments of the car was largely salvageable (and will be preserved, apart from the metal work) but most of the original exterior patina from its rallying days was already long gone, and any originality that was left was unlikely to be usable without a complete overhaul. The rally “patina" that was displayed in 2022 in the form of racing stickers and fog light mock-ups was largely applied by me to give event-goers an idea of what the car looked like in period. The car is REALLY rough (see picture 3, on the lift), and IMHO, beyond the sticker appliqué, there’s really almost no exterior patina that evokes its past as a Works Rally car. The damage on the dogleg and doors raises perhaps a slightly different question, but I personally feel it can also be considered in the same vein. Someone had already repaired this damage to the door and body in Spring 1971. Fast forward to today, we’re really only looking at their “fix”, and not the original hit. So. I pose the question: do I leave the fix as-is, re-damage it so it looks like the hit in the 1971 Monte, or fix it properly? I think if the car had any authentic “Post-Monte” patina, or even “Post-RAC” patina left, it would be much easier to re-create, preserve, or otherwise highlight damage such as this dogleg, and I’d have a much tougher time deciding which condition to restore the car to. However, In this case they’d already applied the fix by April 1971, and rallied it with the fix in-place. Further: apart from retaining its RAC ride height, and a few dents in the floorboards, IMHO the car really has no other external rally patina showing- it’s pretty much all gone. Given all this input, my current plan is to restore it to 1971 Monte Carlo “Pre-Race” condition (picture 1 below, credit unknown), while keeping as many of the original and period pieces as possible, restoring them to their pre-race state as best I can. This restoration target will likely include properly repairing the dogleg, and saving the original “repaired" piece for my wall. But I’m still open to hearing opinions, so I’d love to hear yours if you think differently after hearing my thoughts. Just to note, this restoration target is slightly different from an “As-New” condition, which I’m not really sure is even possible, given that these cars were hand-assembled and field-tested. IMHO “As-New” would probably yield a less interesting and inaccurate result.

 1 point
 -
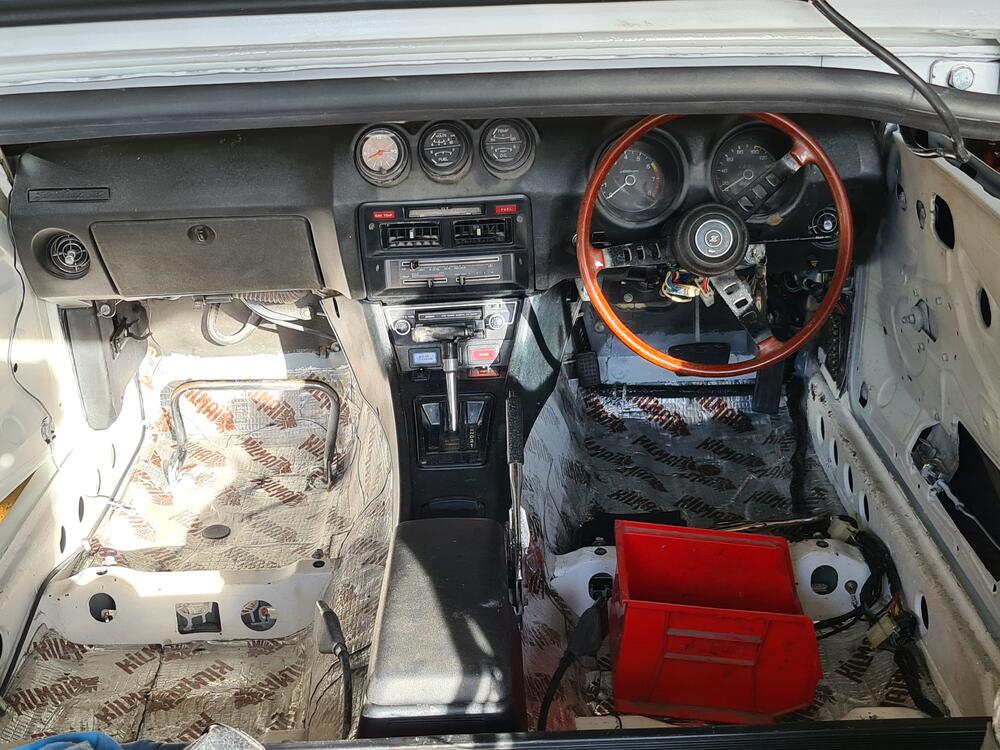
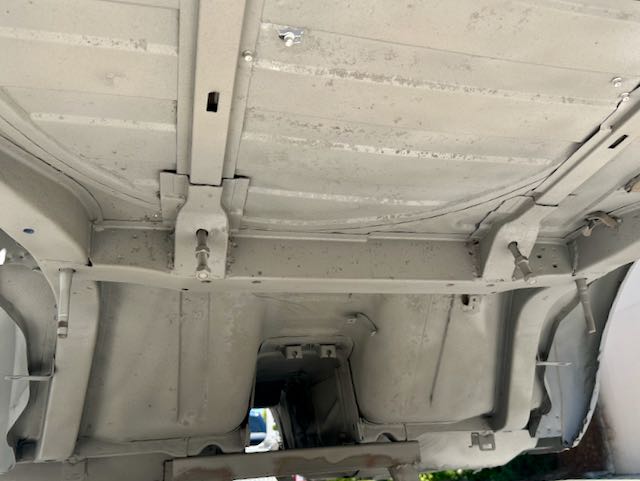
Have you chipped off all the original tar mat that was installed on the assembly line? Those tar mats were laid down on to of bare metal and very often when they are chipped up and removed you can find rust that has started underneath. That rust needs to be addressed first before sealing the metal up with primer/paint, then you could go ahead the a Dynamat type product and jute on top of that. Dynamat will take away some of the originality of the car but as you say will make the car quieter and reflect some heat from the engine bay and exhaust.1 point
-
The AltlanticZ site says 188. I'm pretty sure that the Bosch 028-150-105 (up to -114 or -115) injectors are what the Nissan injectors are copied from (the hose lengths are different in the Bosch series) and there are numerous sites that say 190. Here are a few links. They seem to all be at 3 bar, even though the early Bosch injectors used 2.5. Apparently many of them just copied from other sources. Except the last link which clearly says they did the measurements. They got 222 for the Bosch analog. http://www.atlanticz.ca/zclub/techtips/injectors/index.html http://users.erols.com/srweiss/tableifc.htm https://www.motormanfuelinjection.com/Fuel_Injector_Flow_Rates.html https://injector-rehab.com/knowledge-base/flow-rates/1 point
-
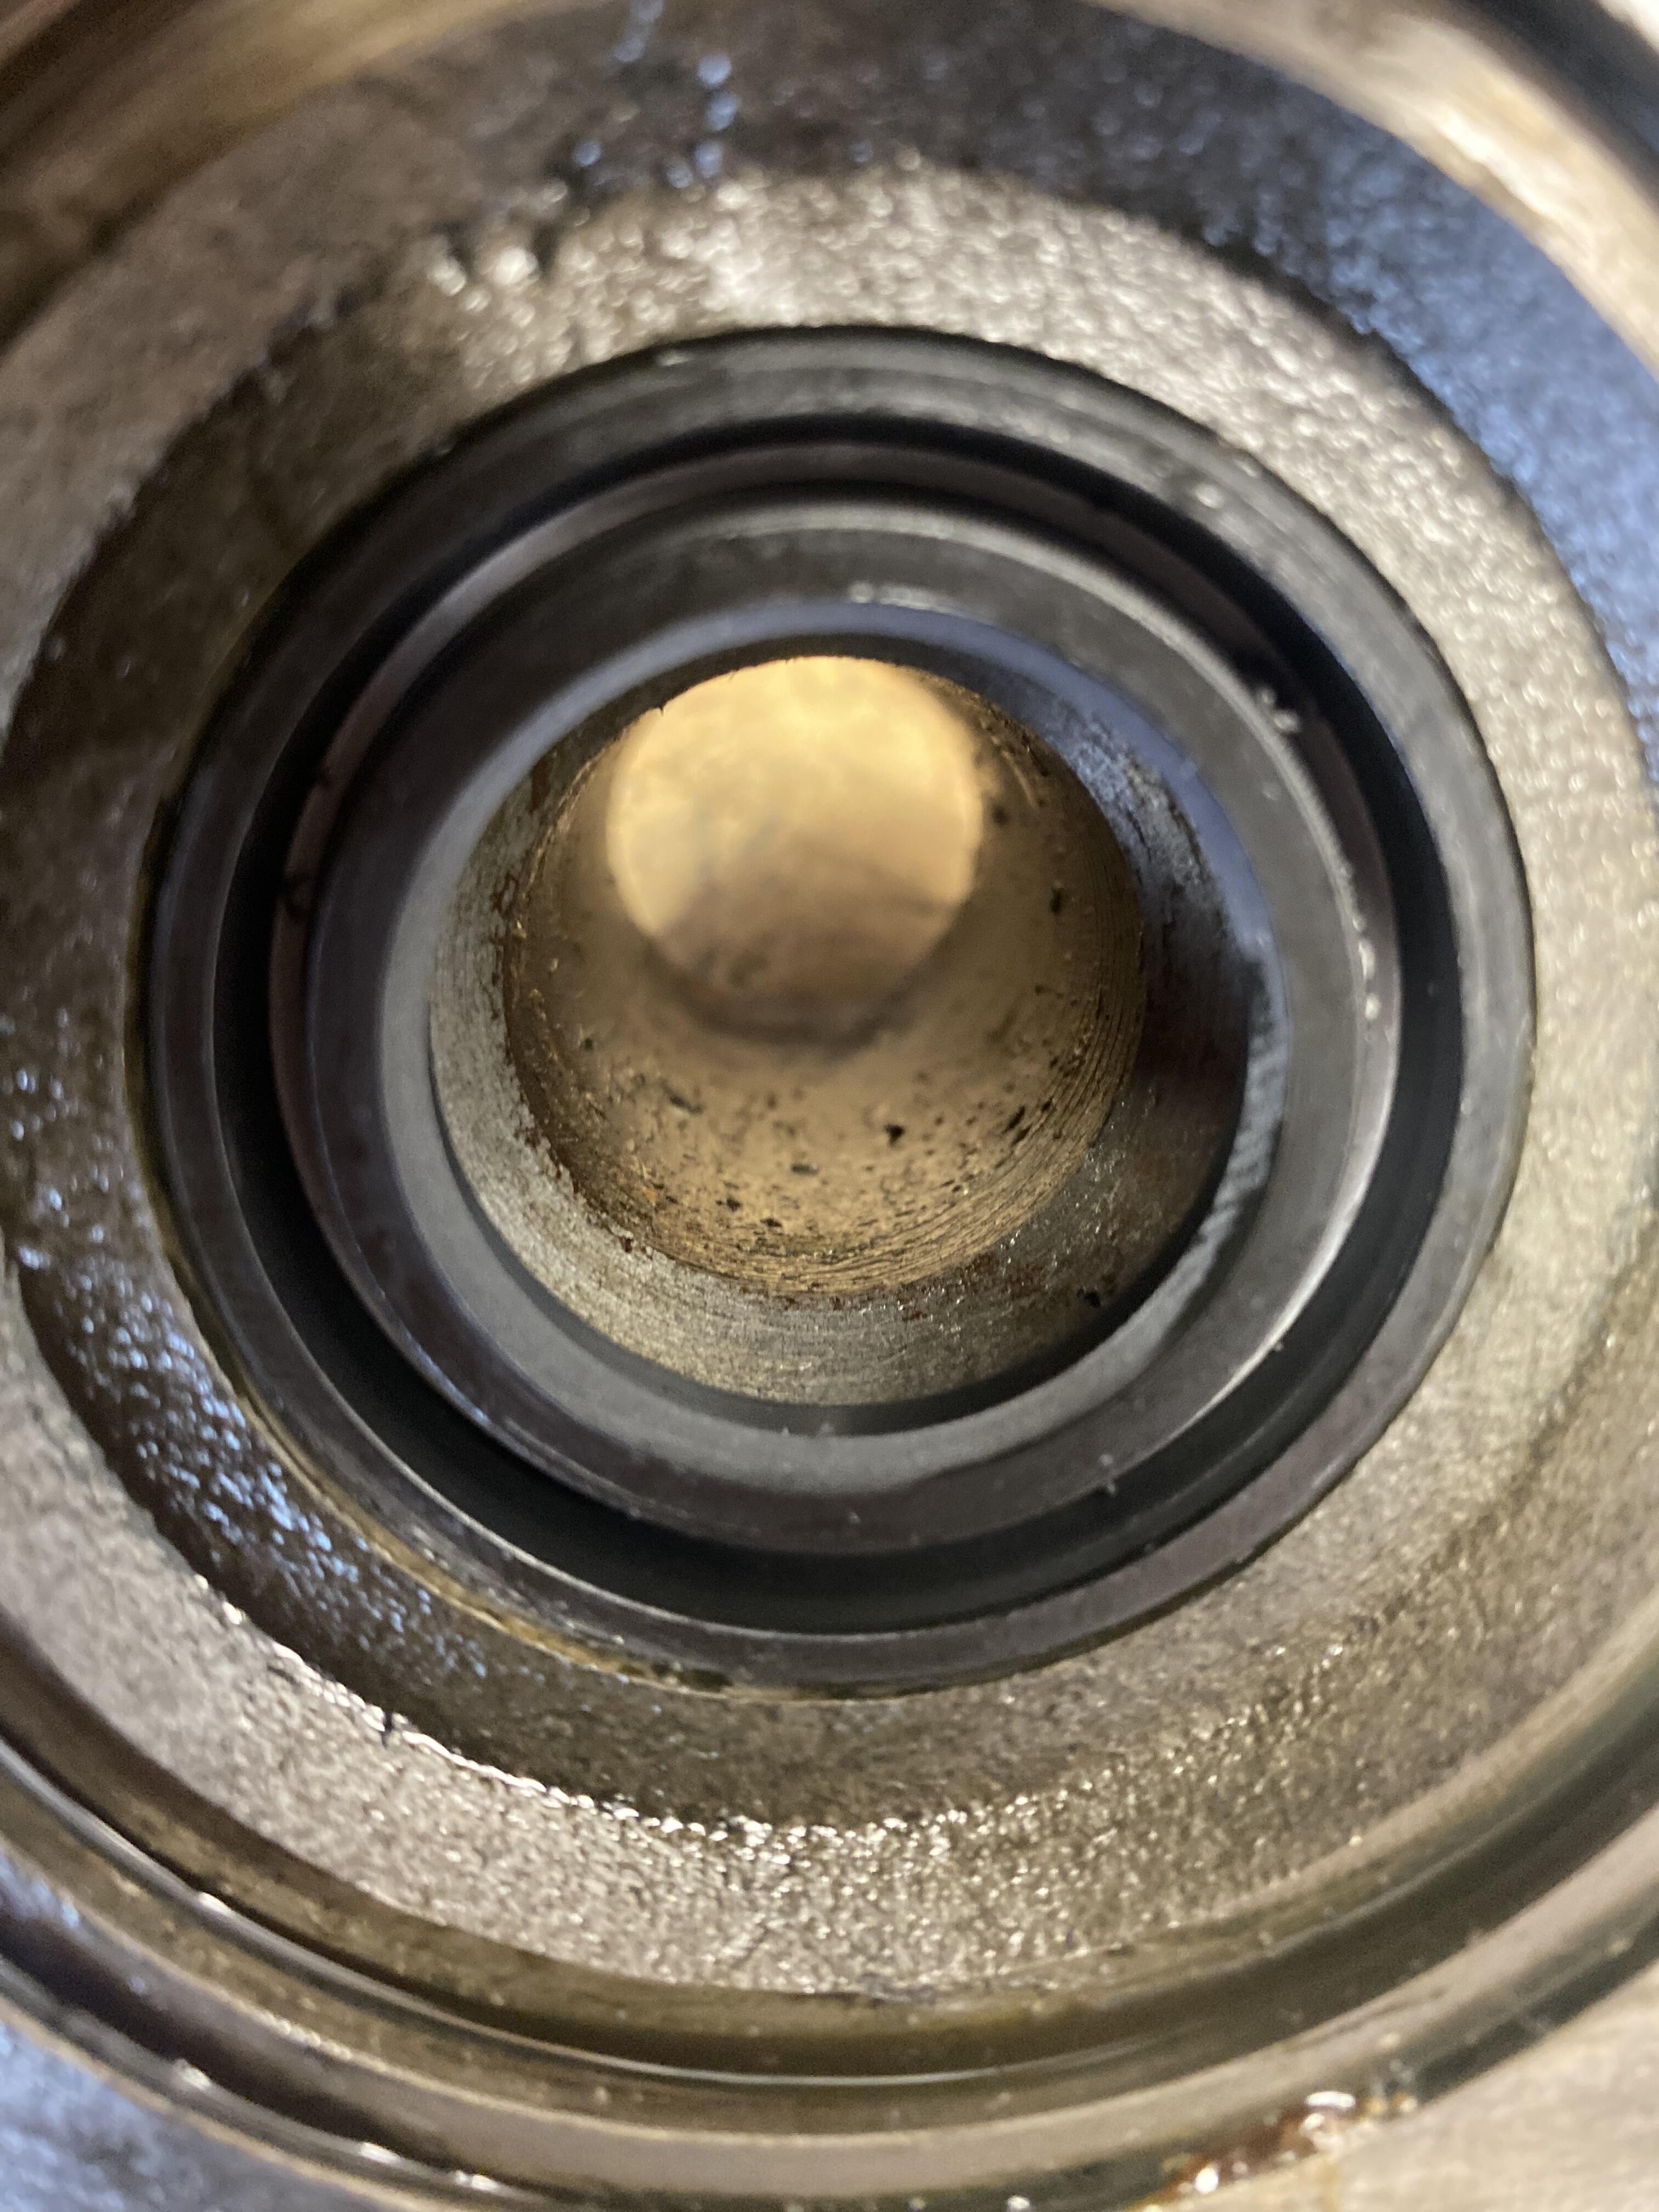
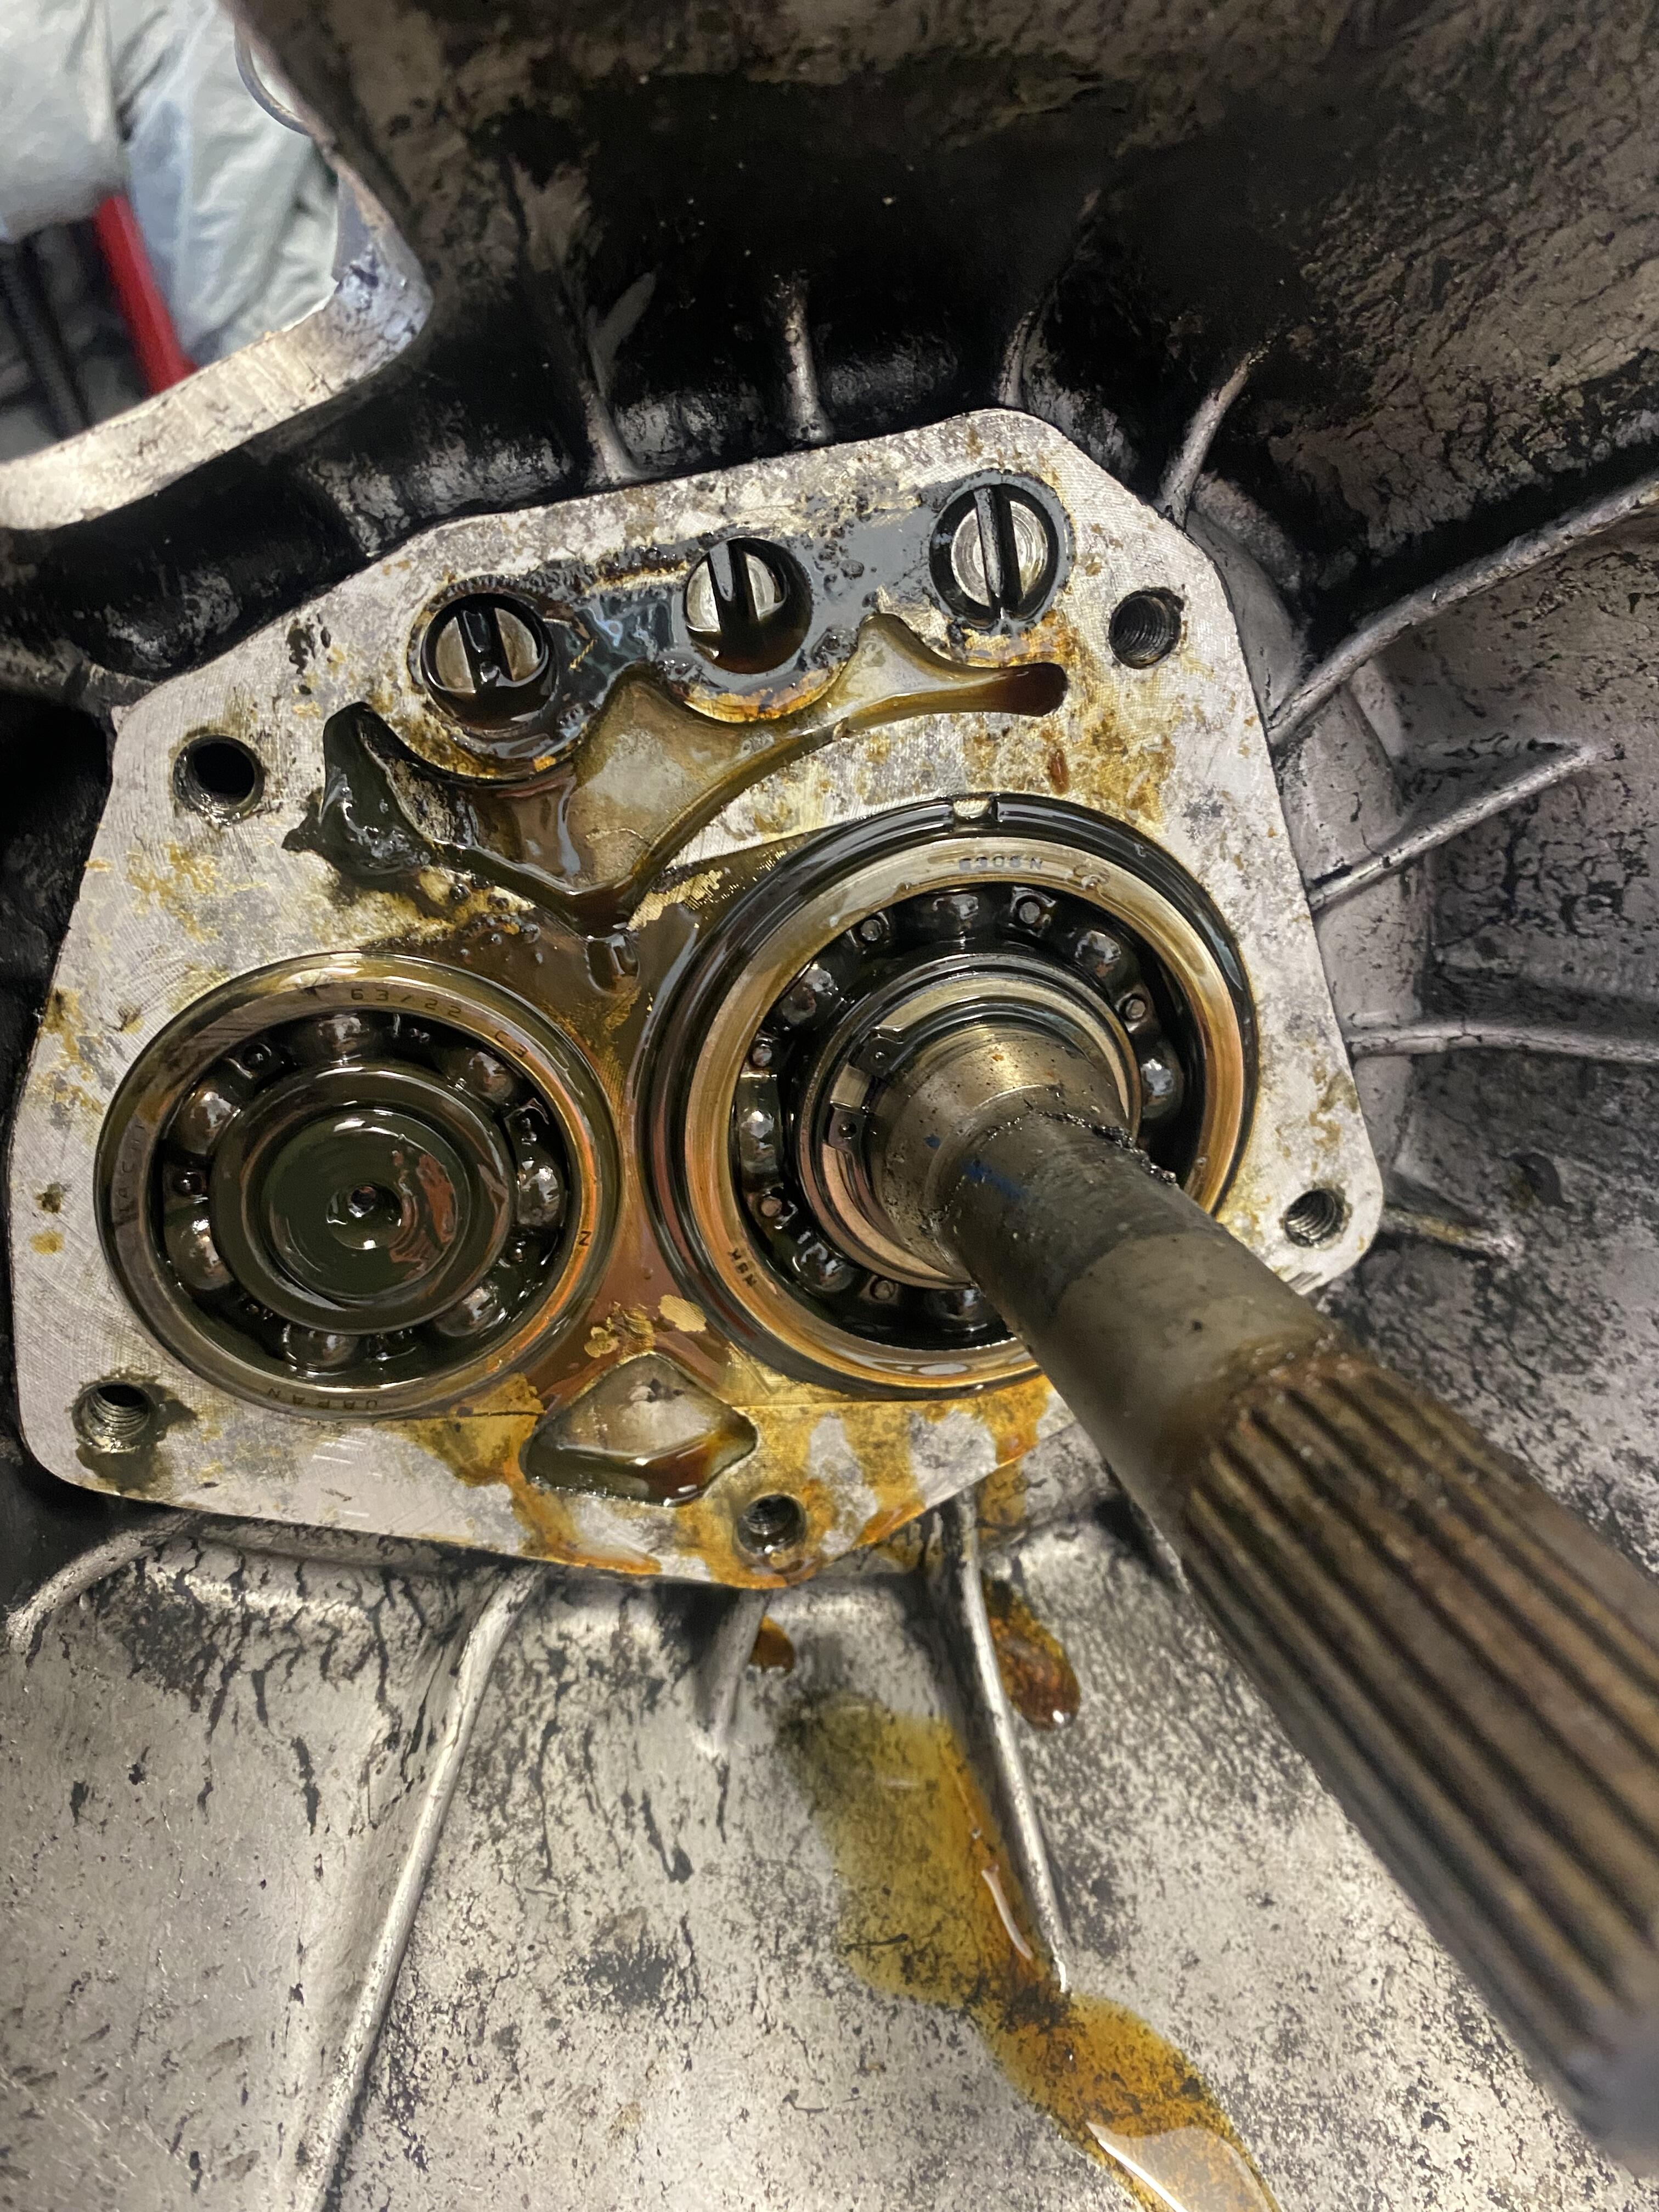
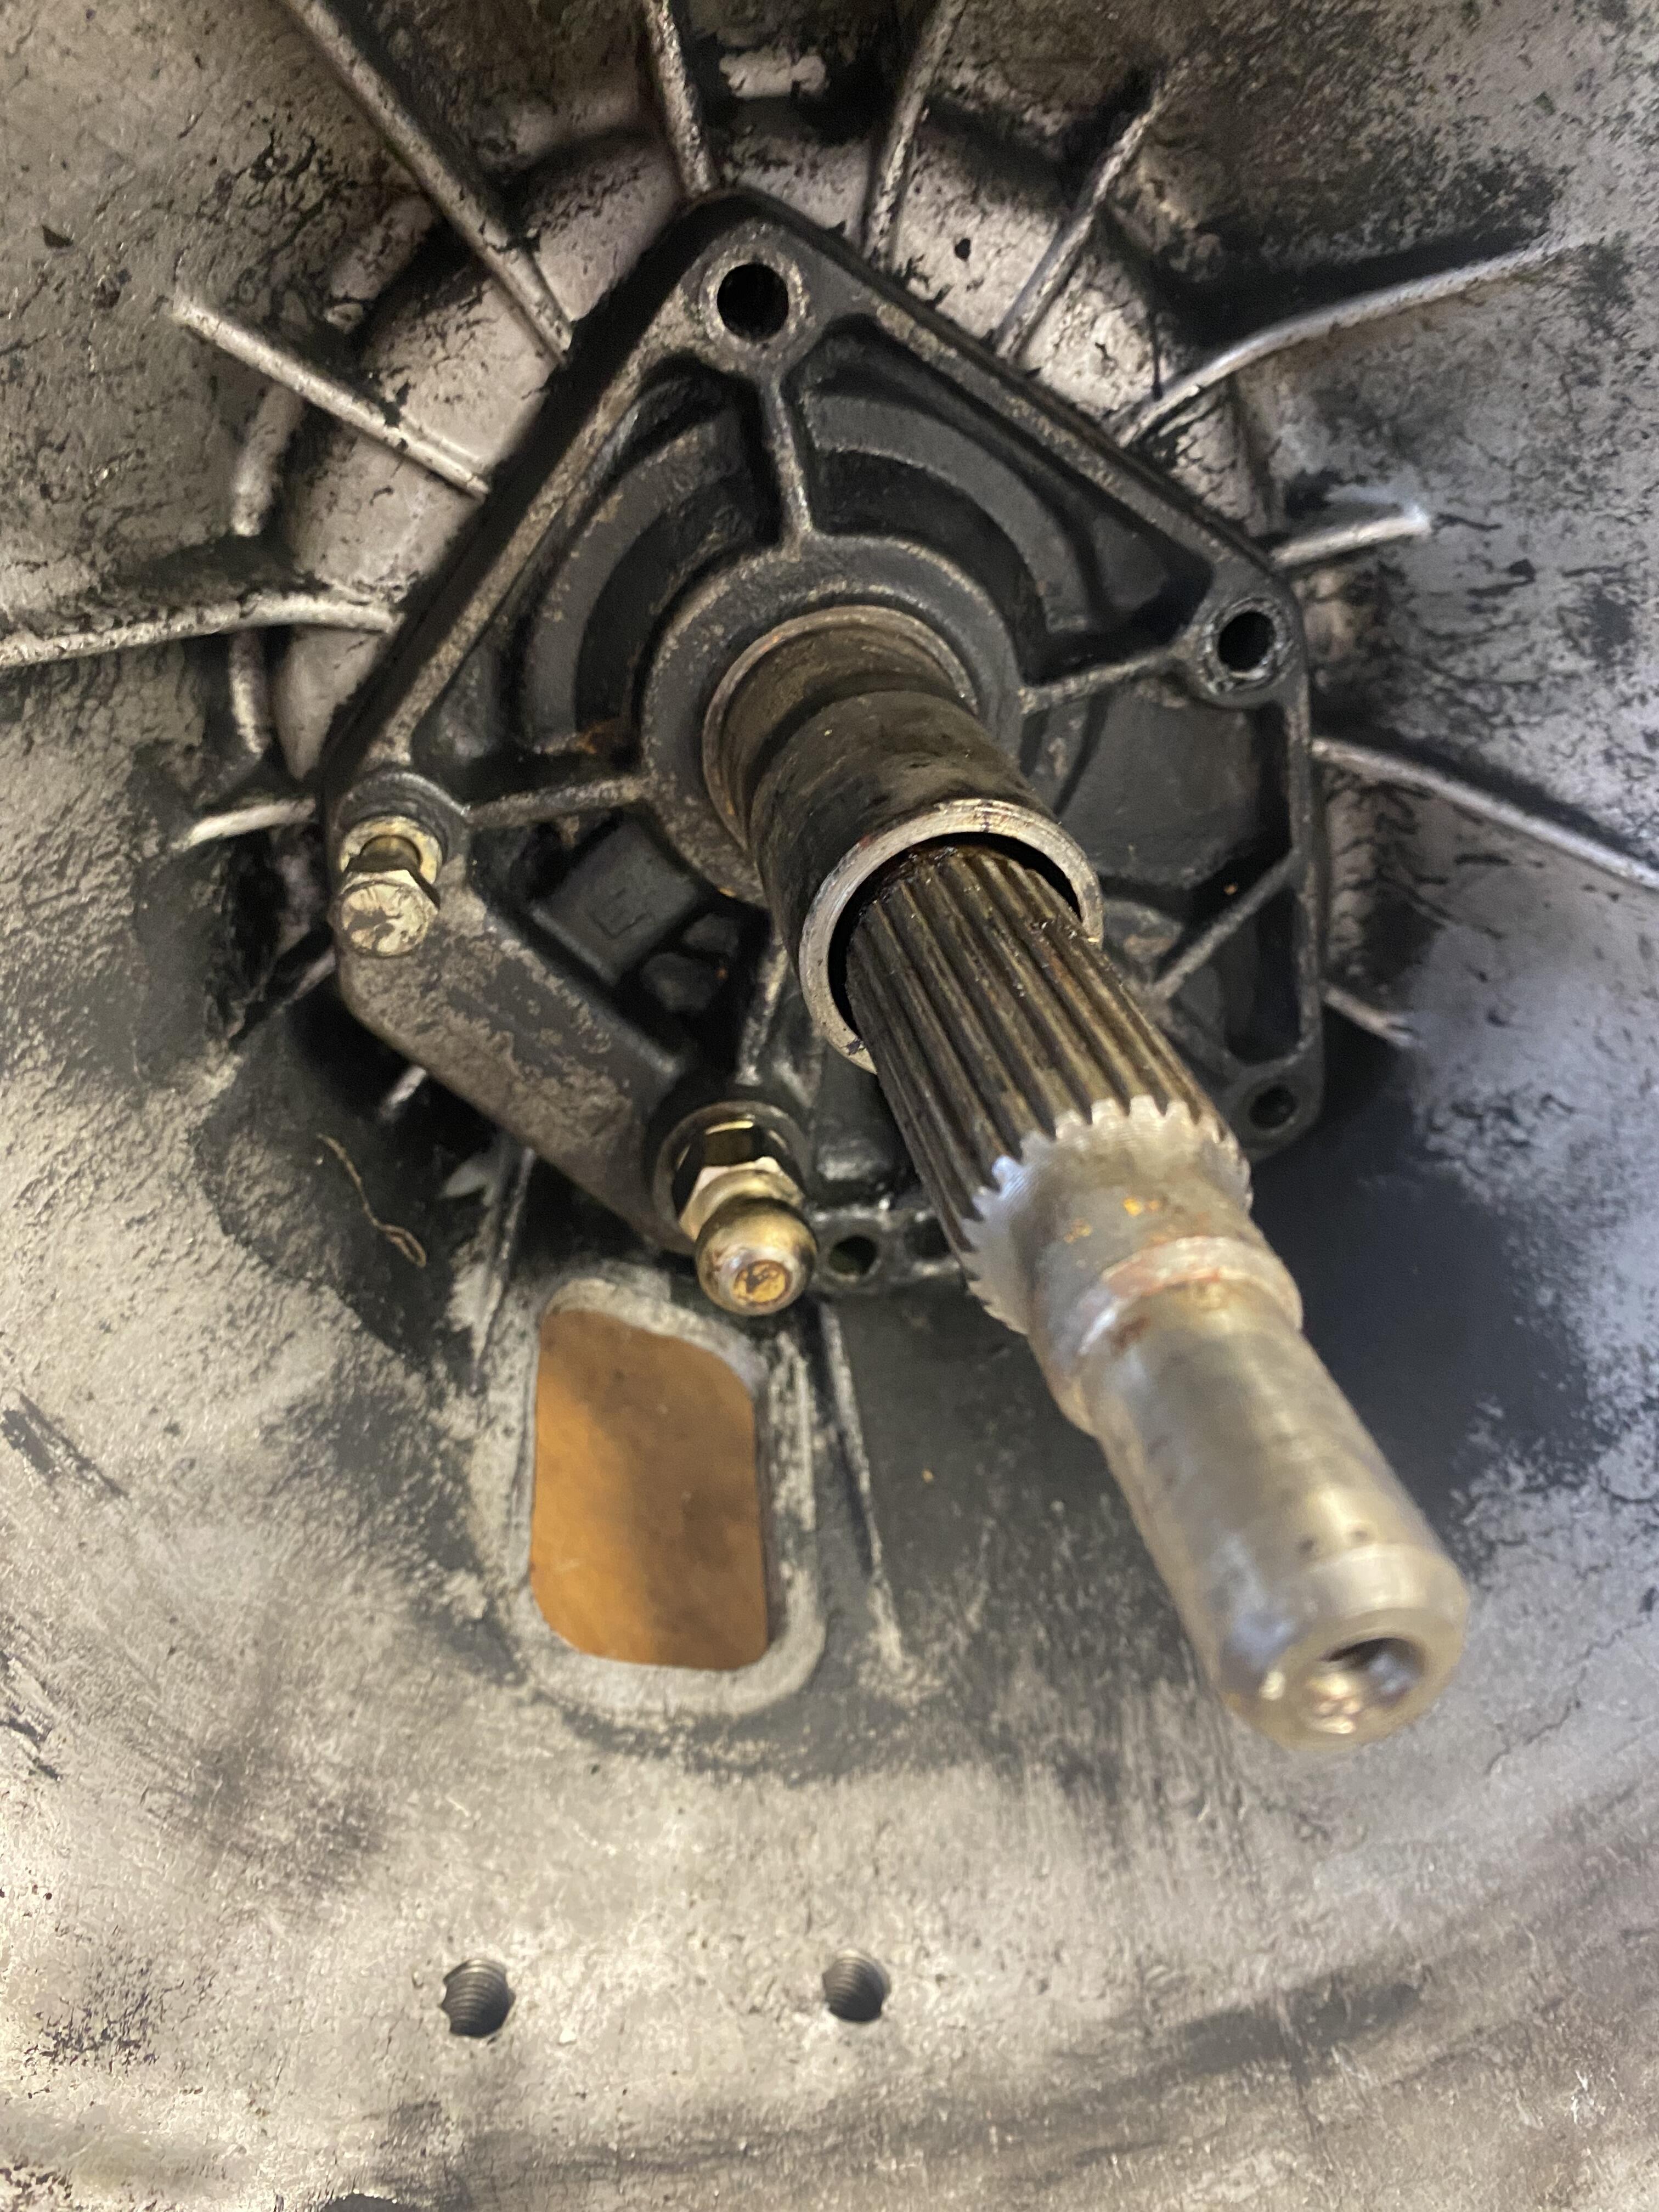
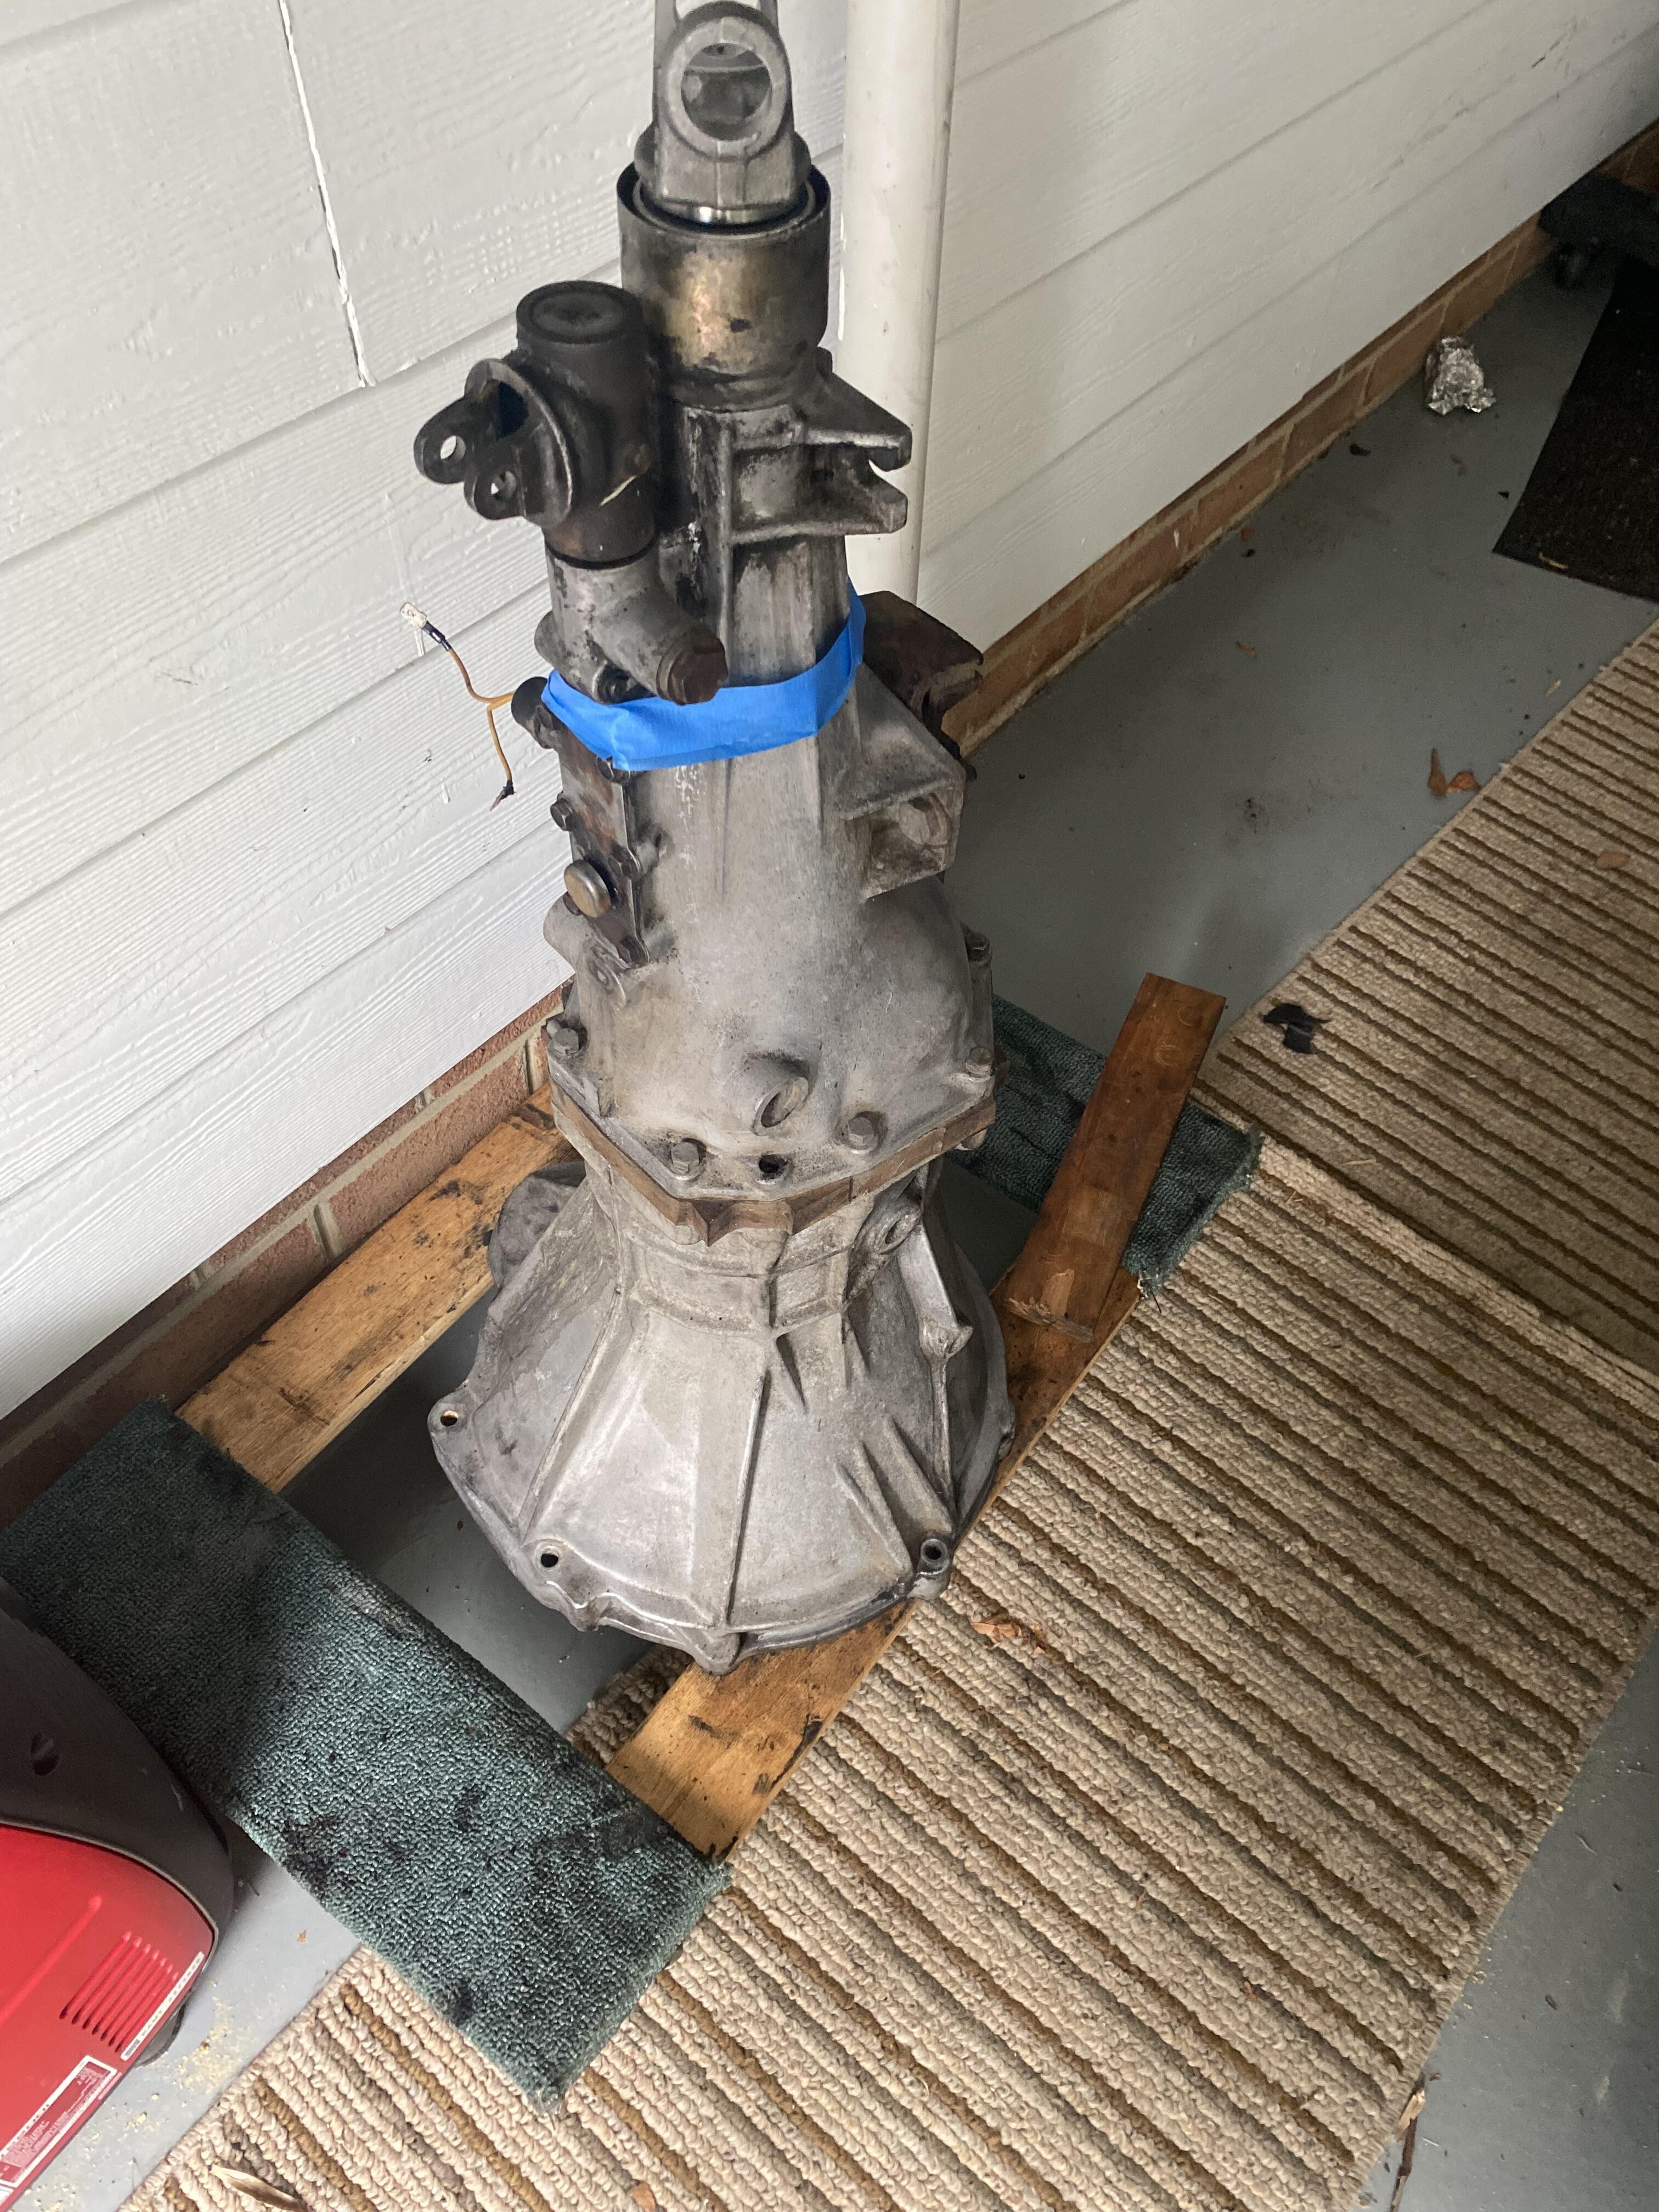
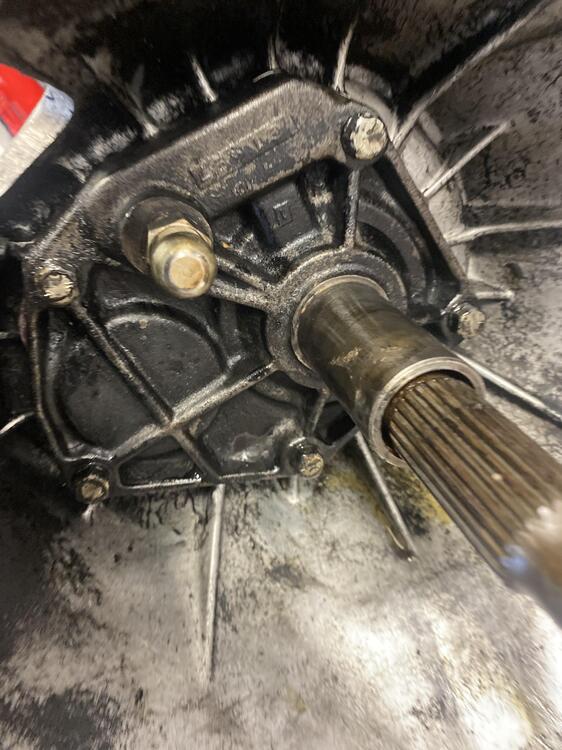
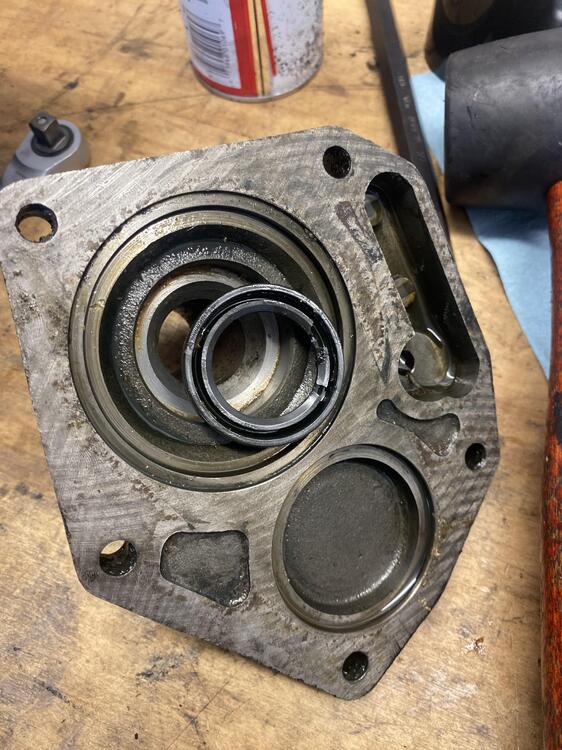
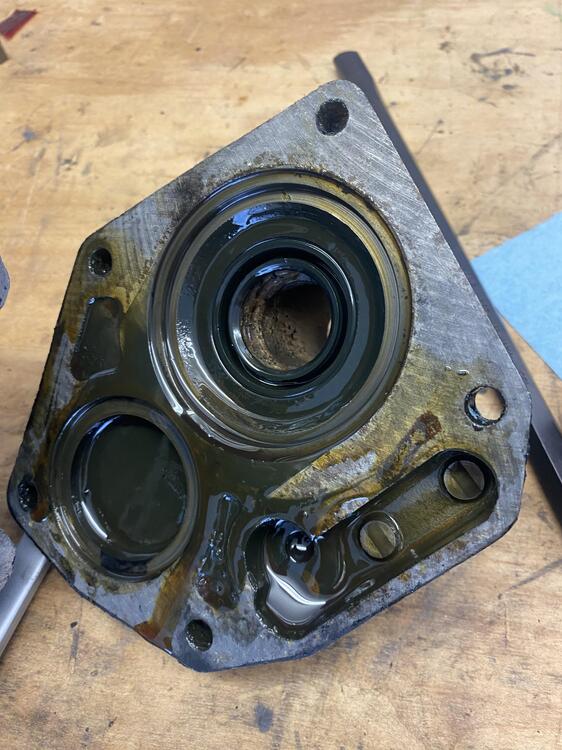
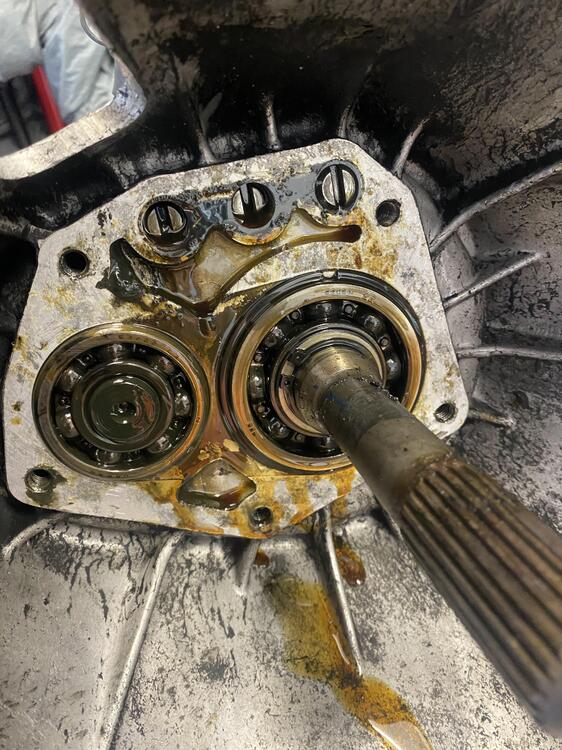
Cleaning up an old 4 speed…..gonna clean more and hit with an aluminum header paint to bring her back like new 😎


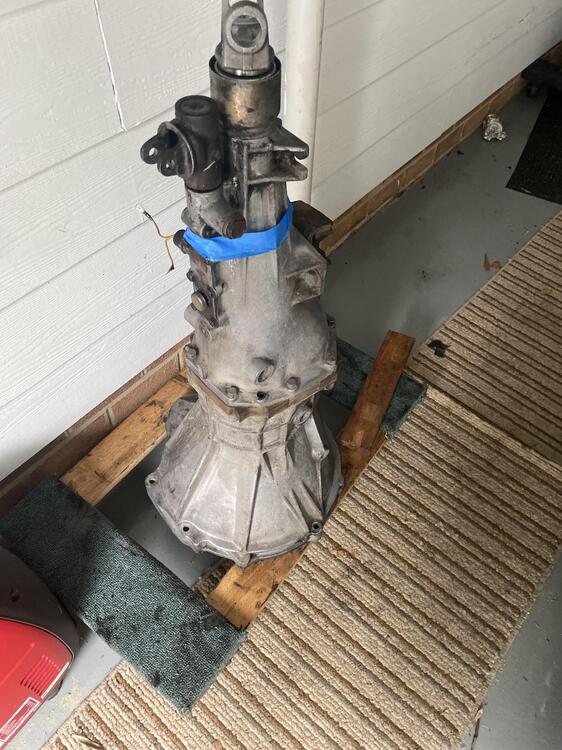 1 point
 -
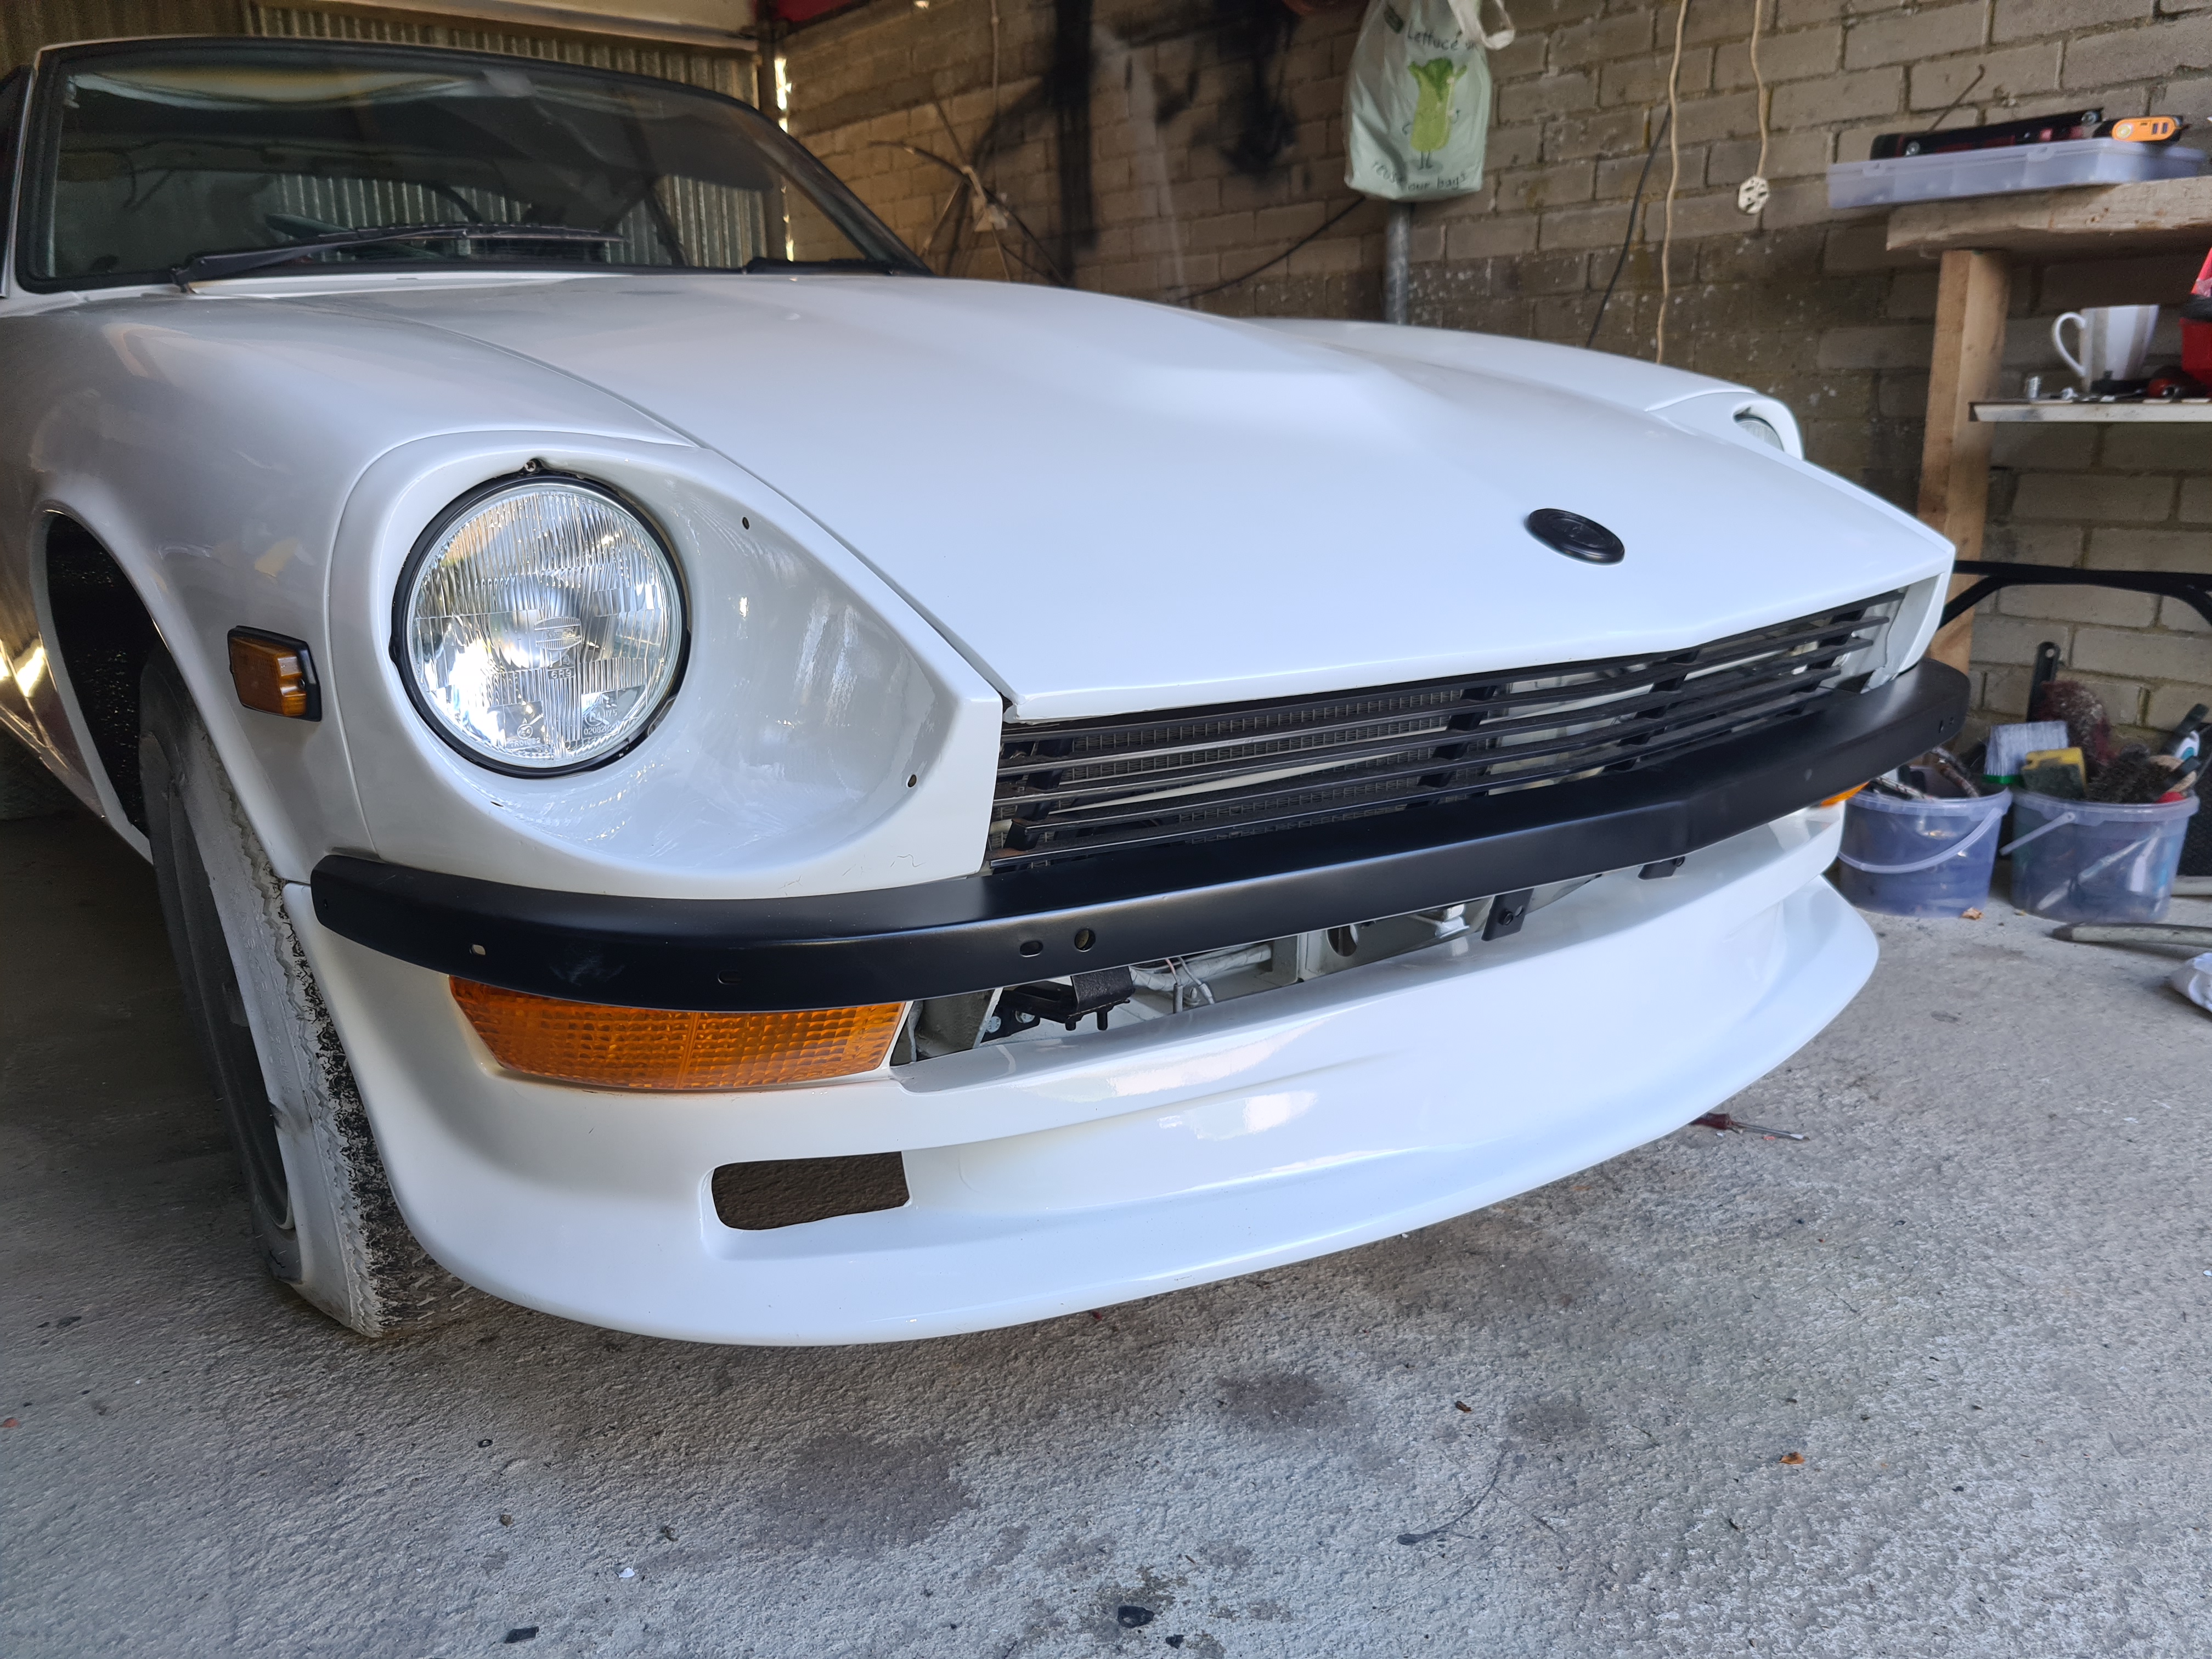
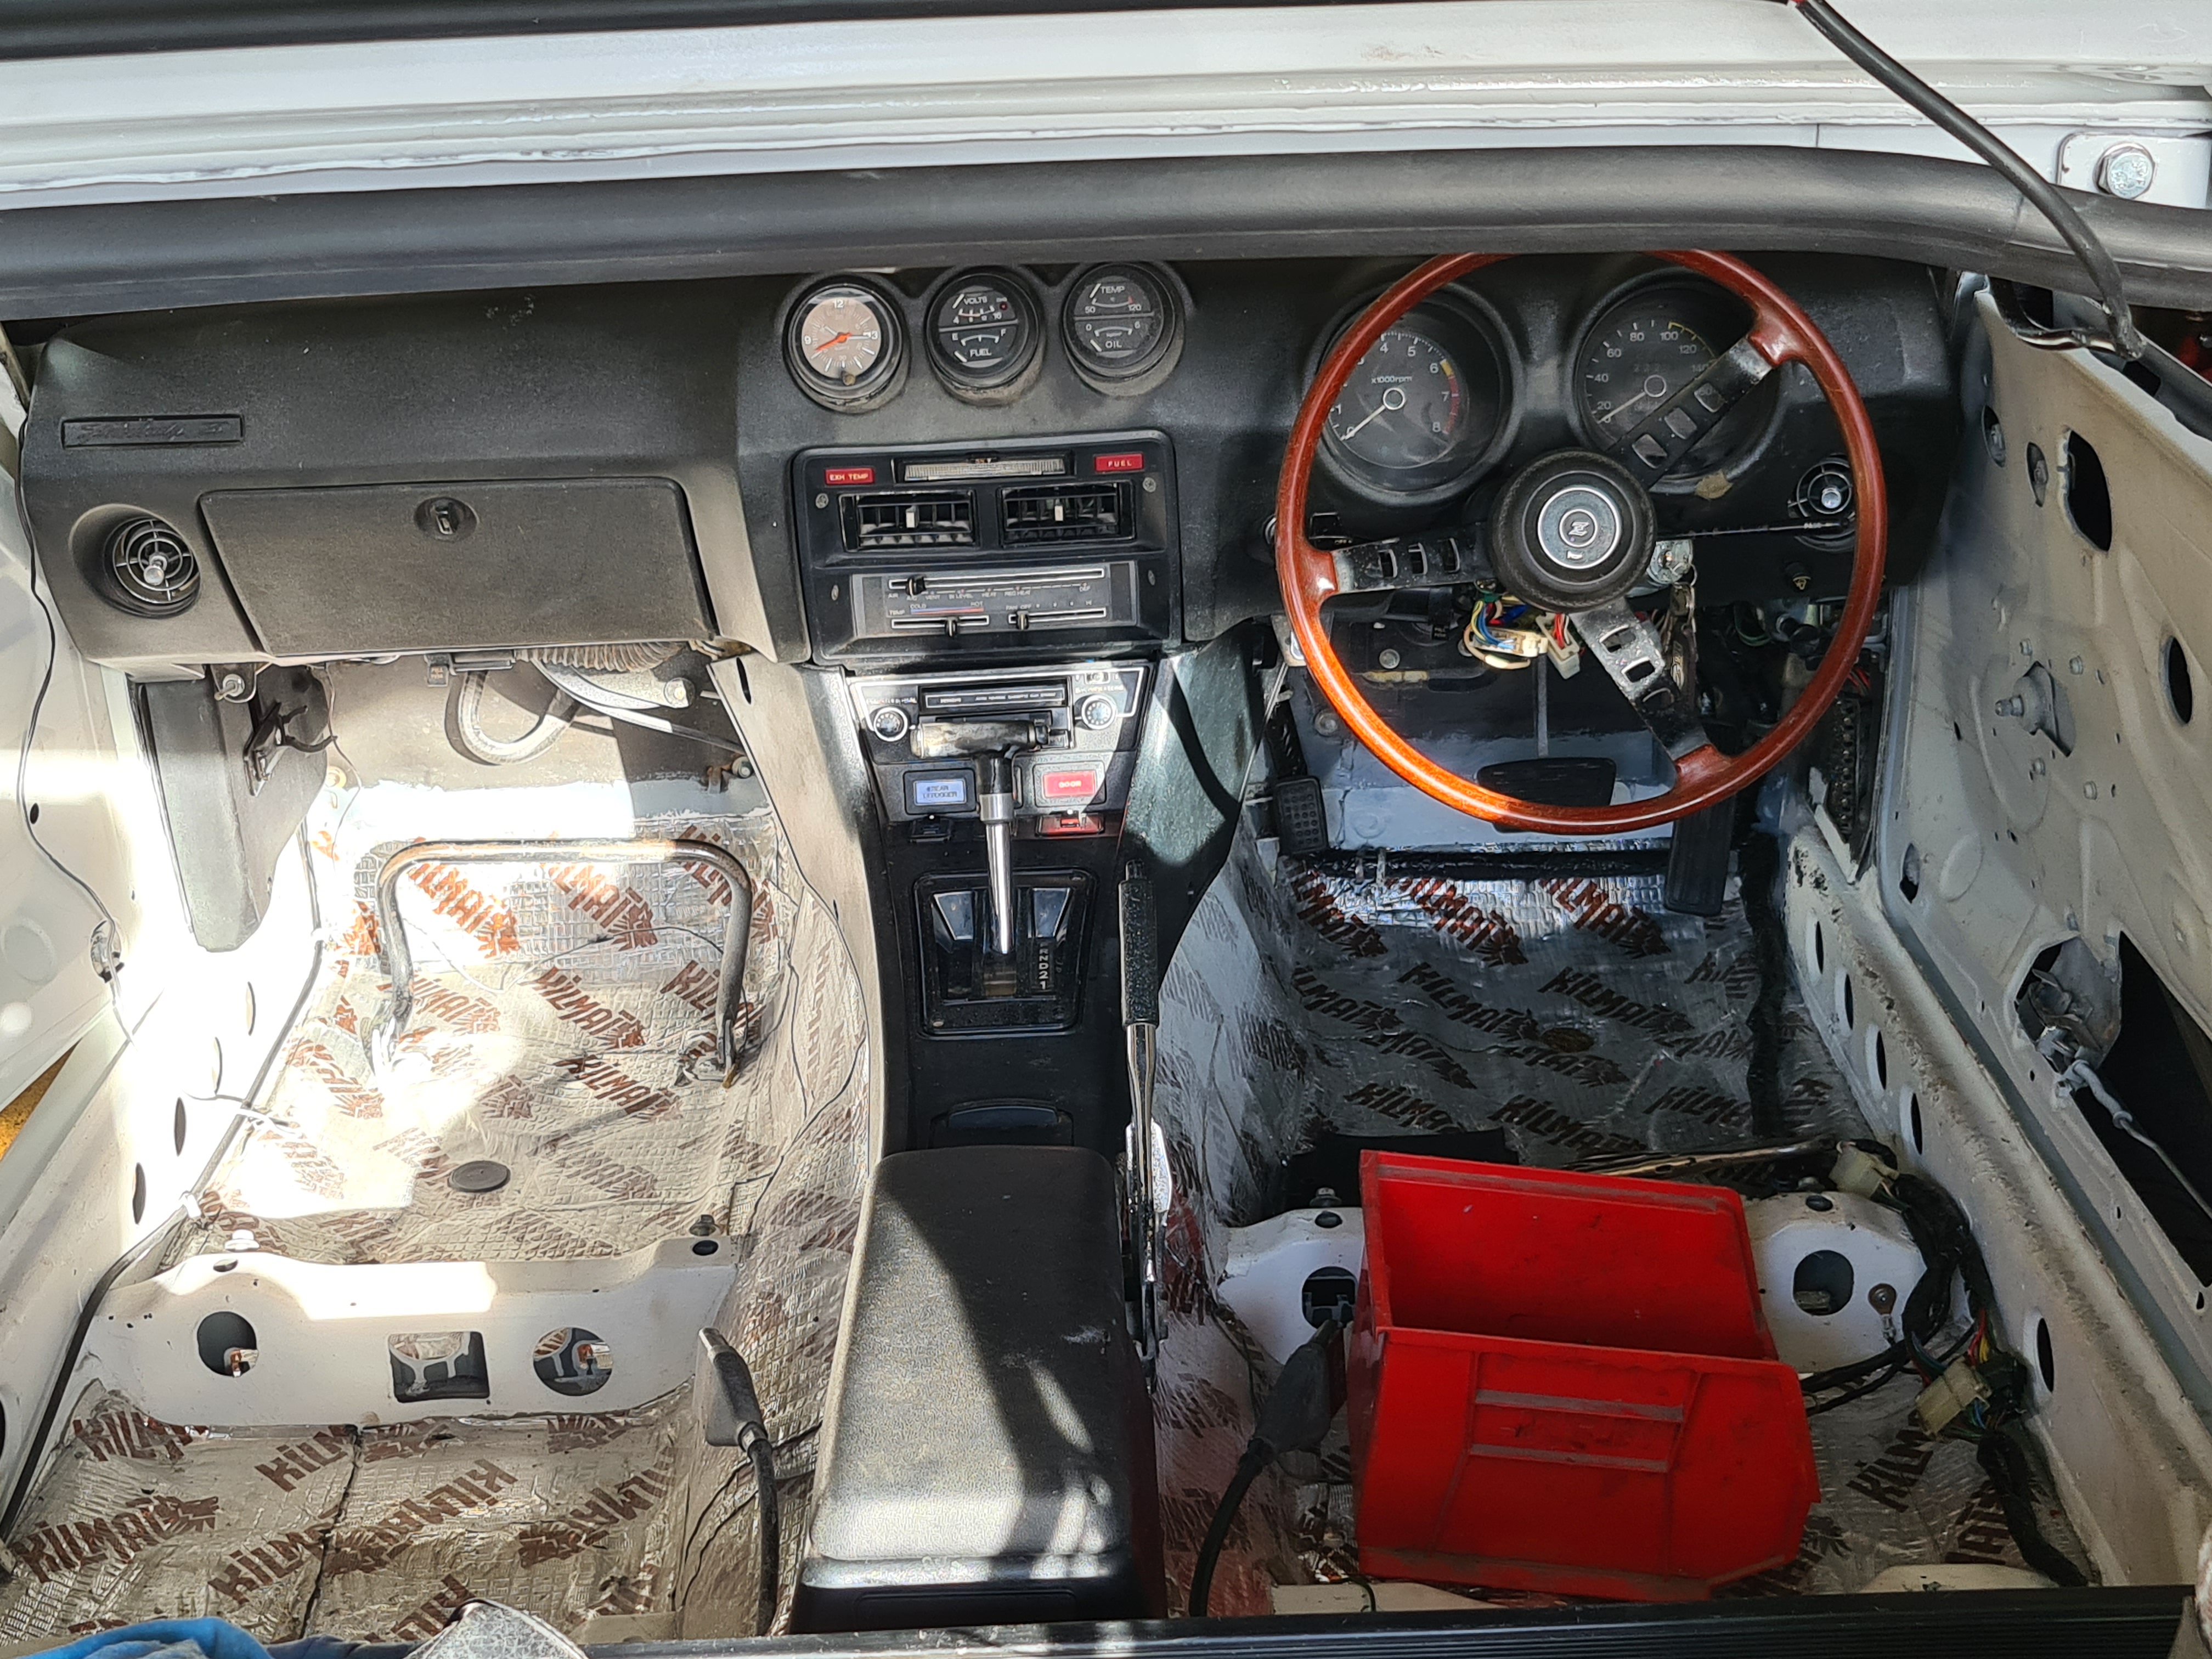
Had to update as I have been reading a lot of posts and the person who posts usually doesnt wrap up what the issue was 😄 so there ya go... Lesson learnt! some added updated progress pics 😄 Nearly there.... uff and yes I blacked out the chrome because no one in Ireland does rechroming 😛

 1 point
 -
To wrap this up.. I found out my problem! So the injectors were clicking ( all of them ) but they weren't spraying! 4 of the 6 of them were blocked! 😮 Anyway.. problem solved. 😕 So much time wasted with other things.... On another note.. can someone tell me if 280z injectors would work in my car. It being a 2.0 litre EFI engine. Surely its a yes? I think I will just replace all 6 of them. Have been looking at rockauto and they have only 2.8 l ones. I cant find any information about my original injectors. They are yellowy / brown A46-000001 Cheers for all your help 😄 and sure.. I probably should have pulled and checked the injectors at the start but didnt1 point
-
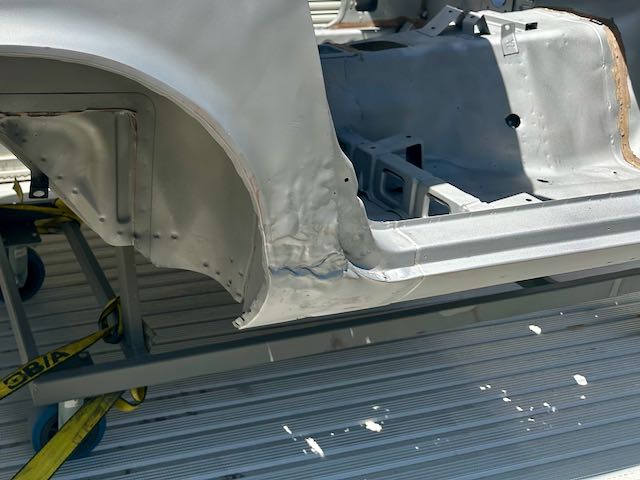
After months of delays, the car has finally been stripped of paint, and delivered to the body shop to start the lengthy process of returning the bodywork to pre-Monte Carlo condition. This point always feels like a milestone of sorts to me, because from here on, the car is coming back together. There were thankfully no real surprises (yet), which is always a good sign. Of course, there is rust in the usual spots , necessitating the retrieval of a few donor panels. Ive also included a picture of the seldom-seen fuel tank mounts, which appear to be identical to PZR stampings. Based on my understanding, these pieces were installed in place of the standard componentry as the four sequentially-numbered (I assume) Monte Carlo cars traveled down the assembly line. One thing I expected to see was the damaged passenger-side dogleg and right door, which occurred during the 71 Monte Carlo. This was hastily banged out, filled and painted.
 1 point
 -
Unexpected update! Evidently "they had a window open" and I was told that if I wanted to inspect the work before color was sprayed, I needed to come next week! Various things aligned - I had taken today off to travel to Charleston, SC for a soccer tournament... and John, the guy that put me onto these painters was itching to go flying today. So, we flew to AL today and dropped in to check out the work they have done thus far. I talked with the two guys who have worked on it thus far, and all is looking good. There is an issue with hood alignment, but they are hoping that when they install the hood springs, it will resolve. They had to straighten the belt line in a few places, align the rear hatch, and they found a hairline crack in the driver side headlight housing, which they fixed. I suspect I caused that crack the day before I delivered the car when I was assembling panels. I asked again for "spray cards" of the 901 silver to be sent to me ASAP - next day or second day, as necessary. As things stand now, they may paint the car before the close of business next Friday! Or not. We'll see.1 point
-
1 pointHey all. The guy I worked for off and on, presently on at the time, past away in his sleep at the end of January. I've gone from a great 30 hour a week job to 55 hours a week by myself running a paint store. He had that and was a general contractor plus 88 two bedroom apartments plus another 10 or so commercial rentals. We lost our best employee when he didn't wake up one morning so I'm trying to help his family which he kept out of his businesses as best he could. I read the site every day but can't reply too much because of how busy day to day is. Making a lot of money is my get out of bed every morning motivation and his family is my family too. Saving up to do things in the future. That P90 head is my next project. I miss participating and chatting with the forum members but I must help the family get all his finances in order. He was a private guy that wouldn't worry us with the behind the scenes going ons. I'll be more active asap. Cliff1 point
-
1 pointWe’ll never pass up a chance to tell the people in your life that you value them. My father told always tell your loved ones, you love them every chance you get because it might be your last. My good buddy Yarb has embraced this philosophy [emoji6] 2 weeks ago a friend of the family lost those 34 yr old son suddenly. Fell asleep at the wheel late at night, hit a tree and died instantly. Stay strong Cliff!1 point