Leaderboard
-
HusseinHolland
Free Member5Points1,031Posts -

Racer X
Free Member3Points1,877Posts -
Patcon
 Subscriber
 2Points11,142Posts
 -
Namerow
Free Member2Points1,551Posts


Popular Content
Showing content with the highest reputation on 05/16/2023 in all areas
-
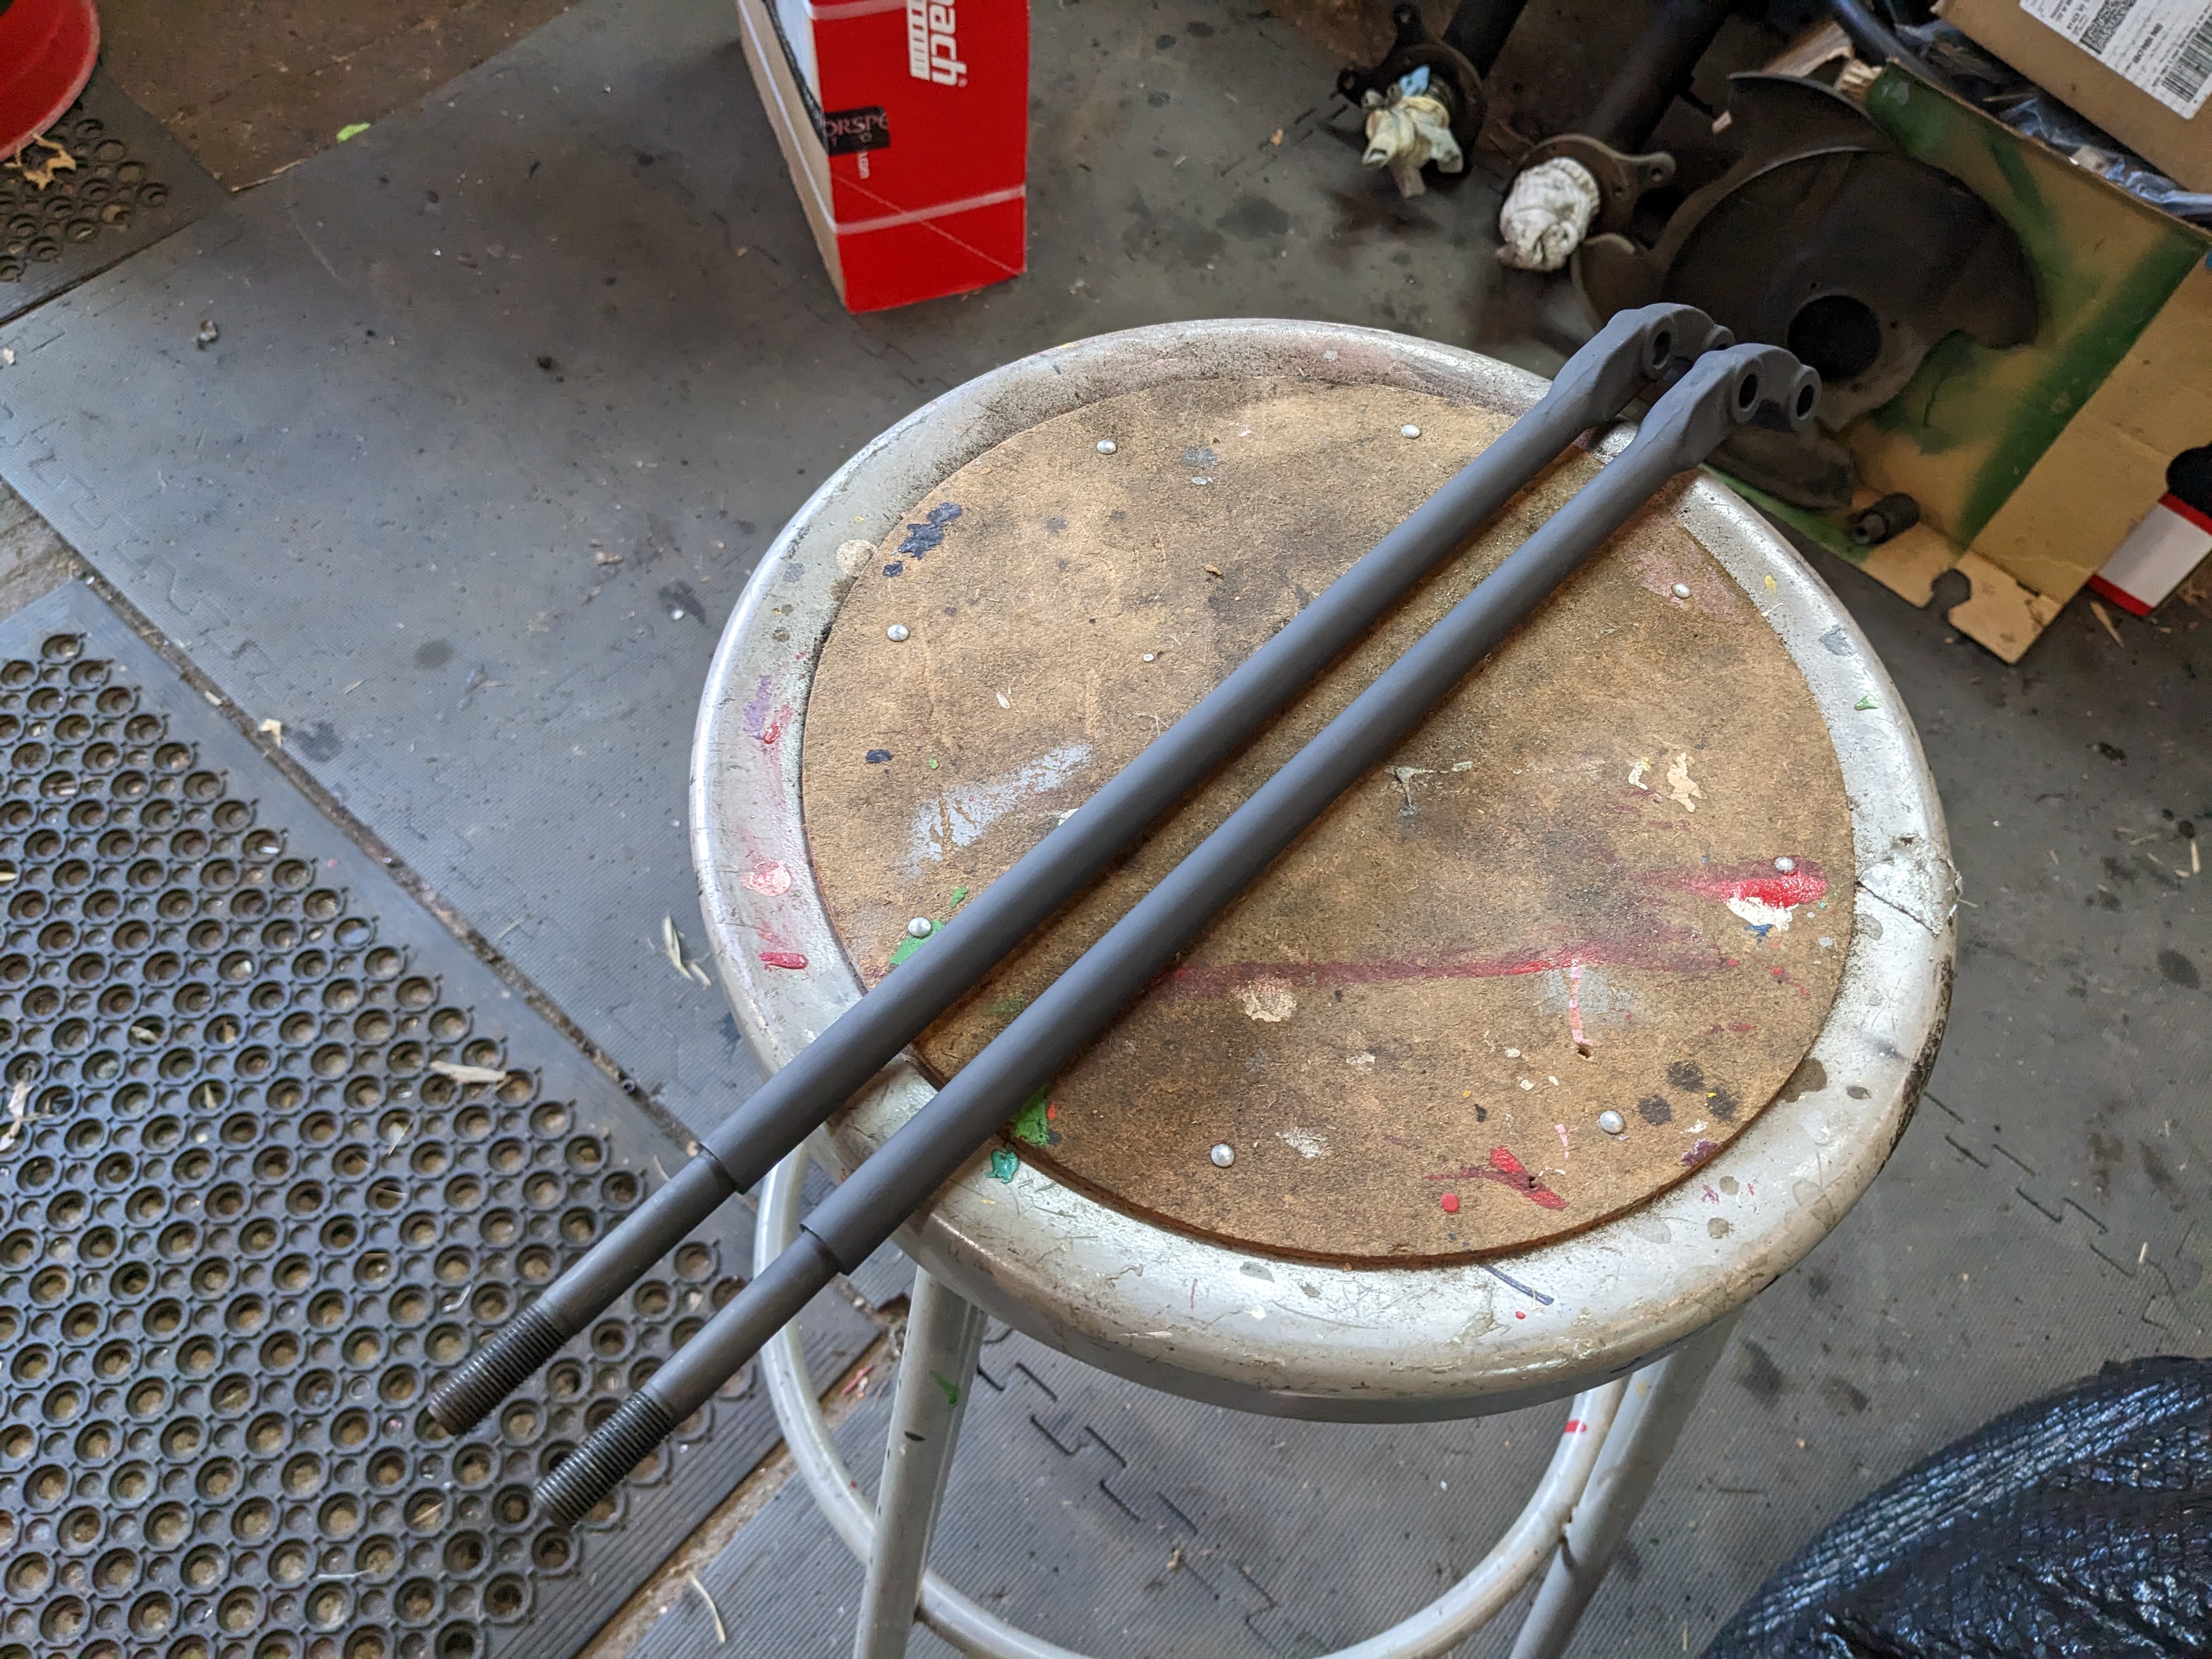
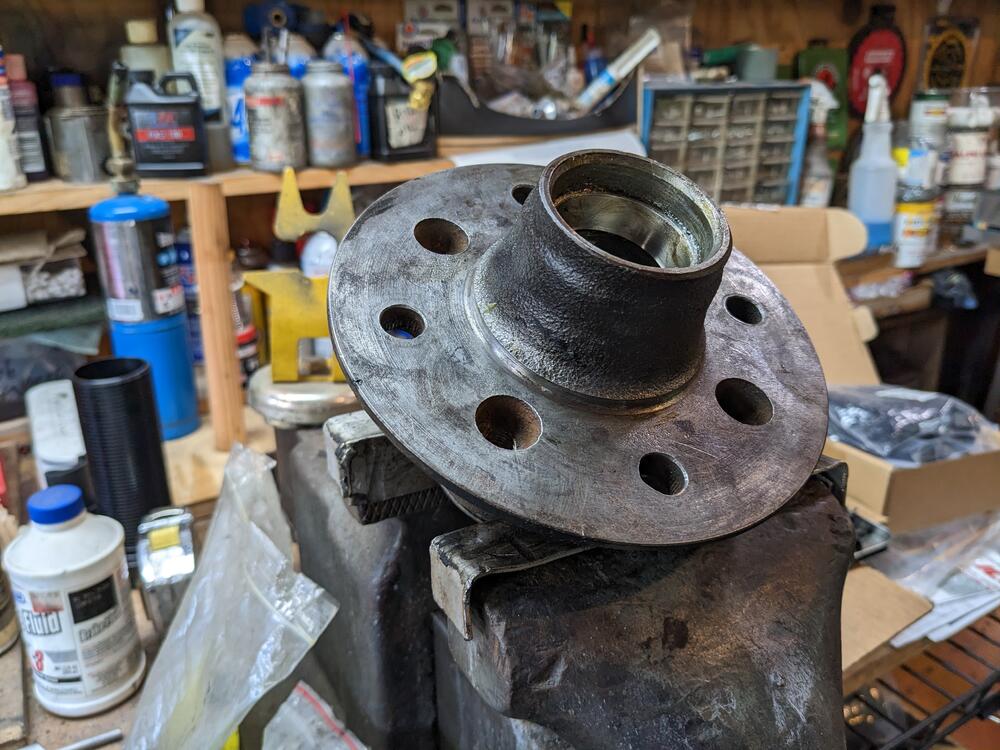
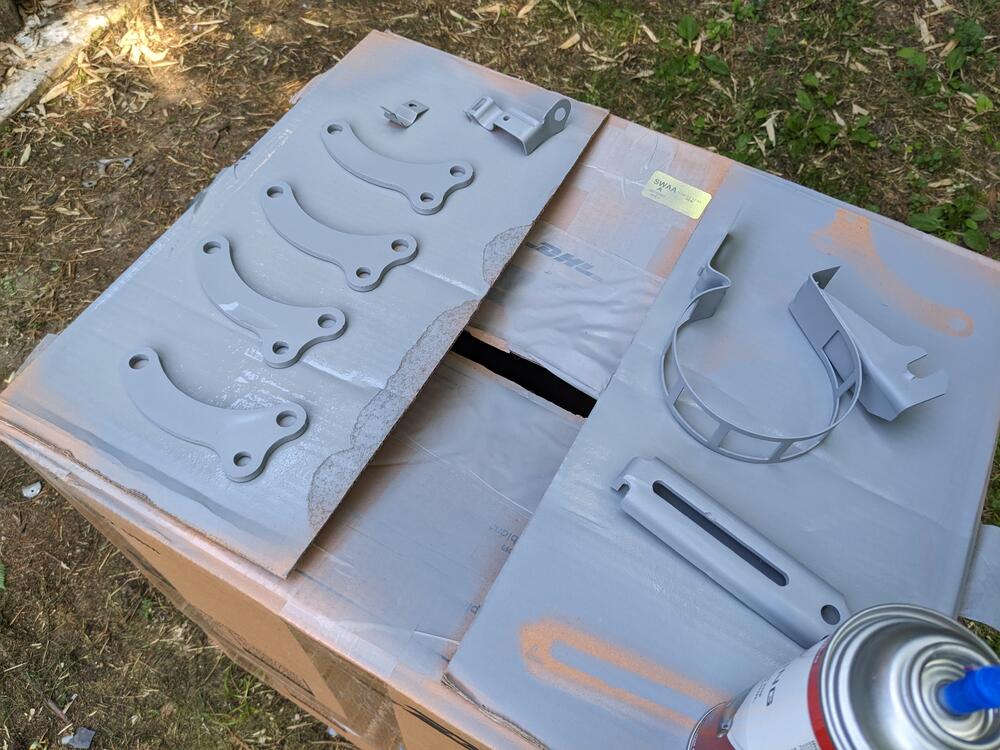
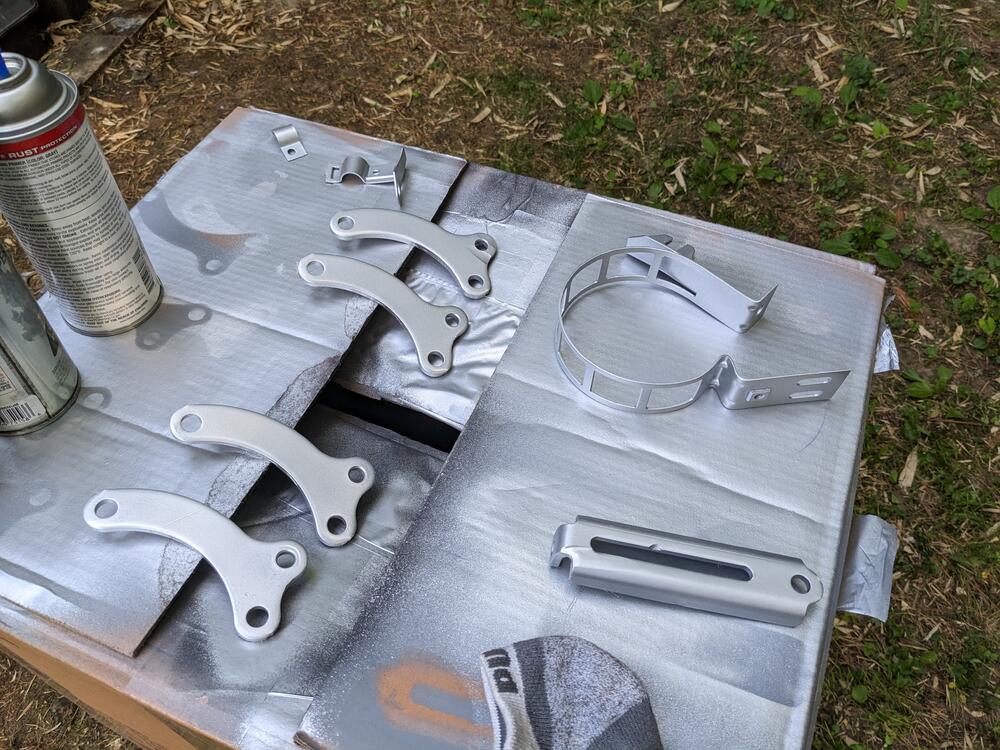
Still focused on getting things set up for my mother's change in health, so not much time for the car right now. I got about an hour to futz, so I started cleaning up the front hubs and tension rods, and acid-dipped, cleaned, primed & painted the AC compressor mount brackets (for the Volvo conversion) An array of suspension & brake parts

 3 points
 -
Reading through this thread, and I see lots of good information, but I also see some that isn’t so good. When new Datsun required 95 octane fuel. I use the highest octane fuel available when filling my street driven Zs, and use with 100LL avgas or 110 racing fuel in my race engines. The engine in stock form has 9.0/1 compression, so low octane regular pump gas isn’t suitable. As mentioned, if these cars are sitting for extended periods without being run, a fuel stabilizer is a great idea. Octane boosters do nothing to stabilize the fuel during extended storage. Note that even stored in a sealed container the fuel can degrade over time, as the additives separate as vapor, and are lost when the container is opened, and no, shaking before opening won’t recombine them with the fuel, you need a refinery to do that. Regarding setting fuel mixtures, having access to a 4 gas automotive exhaust gas analyzer makes the process a cinch. Not having one doesn’t mean that it can’t be done, it just removes any uncertainty regarding the correct mixture settings. Setting the mixture without one goes like this: turn the mixture lean until the engine begins to stumble, then turn the collar towards rich until the stumble goes away. If the engine is running too rich, then lean it out very slightly. Tuning SU carburetors isn’t as difficult as some people make it out to be. The SU is an amazingly simple carb. I found the following on Classic Motorsports, a web page centered on British cars, and feel it is relevant here: [quote]Assuming that the carburetors are in good condition and have properly sized needles in them, the tuning procedure is not as complex as most people think. However, before the carbs are touched, ignition dwell and timing must first be correct. It's a good idea to ensure valve clearances are correct as well. A quick check for vacuum leaks is next, and only once this is done is it time to move on to the carburetors. Next, if there are two or more carburetors, they need to be synchronized. This can be done with either a dedicated synchronization tool or a short length of hose. With the engine running at idle--usually 600 to 1000 rpm--the synchronization tool is placed over the inlet of each carburetor to get a reading on its gauge. The idle screw is adjusted on each carburetor until each one gives the same reading on the synchronization tool. The low-buck method is to substitute a 12- to 18-inch length of 1/4-inch or 5/16-inch hose for the tool. Hold one end of the hose up to the air inlet of each carb and the other end to your ear. When each carb emits the same noise through the hose, they are synchronized at idle. (Note that revving the engine slightly and periodically throughout the adjustment process helps to "clear out" the carbs.) After the carbs are synchronized at idle, the throttle linkages can then be adjusted to ensure they remain synchronized throughout the rpm range. With just a little free play in the linkage, each throttle arm should start moving at the same time when the accelerator pedal is depressed. If not, the locking nuts can be loosened to adjust the linkage. The idle mixture is set next. The conventional method, which is published in most manuals, works very well. First, each piston is lifted slightly, about 1/16-inch (usually a small screwdriver is helpful for this step). If the engine speed falls off, the mixture is too lean and the jet is lowered via its adjustment nut or screw. If the rpm rise, the mixture is too rich and the jet is raised. If raising the carb's piston causes the engine speed to rise by about 50 rpm before returning to its previous level, the mixture is just right. An alternate method is to use a vacuum gauge and adjust the mixture in each carb to get the highest vacuum at idle that is possible. At this point, the idle speed can be verified to be correct and the tuning is nearly done. All that is left is the "choke" adjustment. As discussed before, SUs don't really have chokes, as they richen the mixture instead to allow smooth engine starting. This is usually accomplished through a linkage and cam that lowers the jets and raises the idle speed. The linkage and cam only affect idle speed in the first two-thirds of the distance of choke cable travel; it increases the air/fuel mixture as well as the idle speed during the final third of travel. The two steps to adjustment are to ensure that multiple carb setups have proper linkage balance between carbs, then to set the high-speed idle screws that touch the cams. High speed idle is usually around 1800 rpm.[/quote] Note the second paragraph which mentions the state of the ignition tune. Very important.2 points
-
@siteunseen, @Dadsun Have you tried easing the choke on during the flutter? Over the years I found the choke to be an easy method for checking lean mixtures.2 points
-
The ammeter is probably not inaccurate. You probably put the new loads on the battery side of the ammeter. That means in order for the alternator to provide power to the EFI, the current has to flow through the ammeter. Did you check the resistance of both sending units? It may be a difference in resistance between the two that is affecting the fuel gauge. As for putting a 260Z AMP/FUEL gauge in the car. NO! DON'T! FORGET YOU EVER HAD THE IDEA! The 260Z is wired completely different from the 240Z for how this gauge works. For better or WORSE, all of the current flowing from the alternator to the battery in a 240Z goes through the dash, and the terminals on the ammeter don't have boots. (At least that I have seen.) The 260Z is measuring the current through a shunt. (Good luck finding that shunt, to install in your 240Z, too.) To wire the car to handle the 260Z ammeter is likely more hassle than it's worth. As for the fuel gauge, the sender for a 260Z is the same as a 240Z, and the gauge is the same. The correct answer to your question is to move the power source for your EFI away from the battery side of the ammeter and try again to adjust the fuel gauge.
 1 point
 -
Truly unfortunate that the suspension aftermarket suppliers are so biased toward 'performance' in their choice of the urethane grade they use for these bushings. I suppose it makes sense for a 3000 lb + American muscle car or for competition use, but it's way too stiff for a small coupe of sportscar being used on the street and highway.1 point
-
I just got my t-shirt today. It's very nice; big bold, full chest graphic with a 'Hunzinker' signature on the sleeve. Highly recommended, it's for charity.1 point
-
1 pointI'm with Hussein. There's a lot of pleasure taken from bringing a worn part back to life. I've repaired more switches, valves, contractors, etc. than I could ever count, and most have continued to operate for many years. Having a 3D printer helps! Nice work bead blasting. Did you do it wet or dry? It looks perfect. I once found a place that would sell you one oring. Amazing! or so I thought, then they add the shipping. Really? $15 to mail one oring? Buy the bag of a 100.🙄 Think of the business you could start repairing heater valves.1 point
-
1 pointNice find! I messaged him on FB, to ask if he has 280Z templates. ZcarDepot has an Asian vendor, but they have no stock or ETA on 75 280Z pattern1 point
-
1 pointI thought that's what you probably meant but wanted to be sure. Sometimes things get lost in translation1 point
-
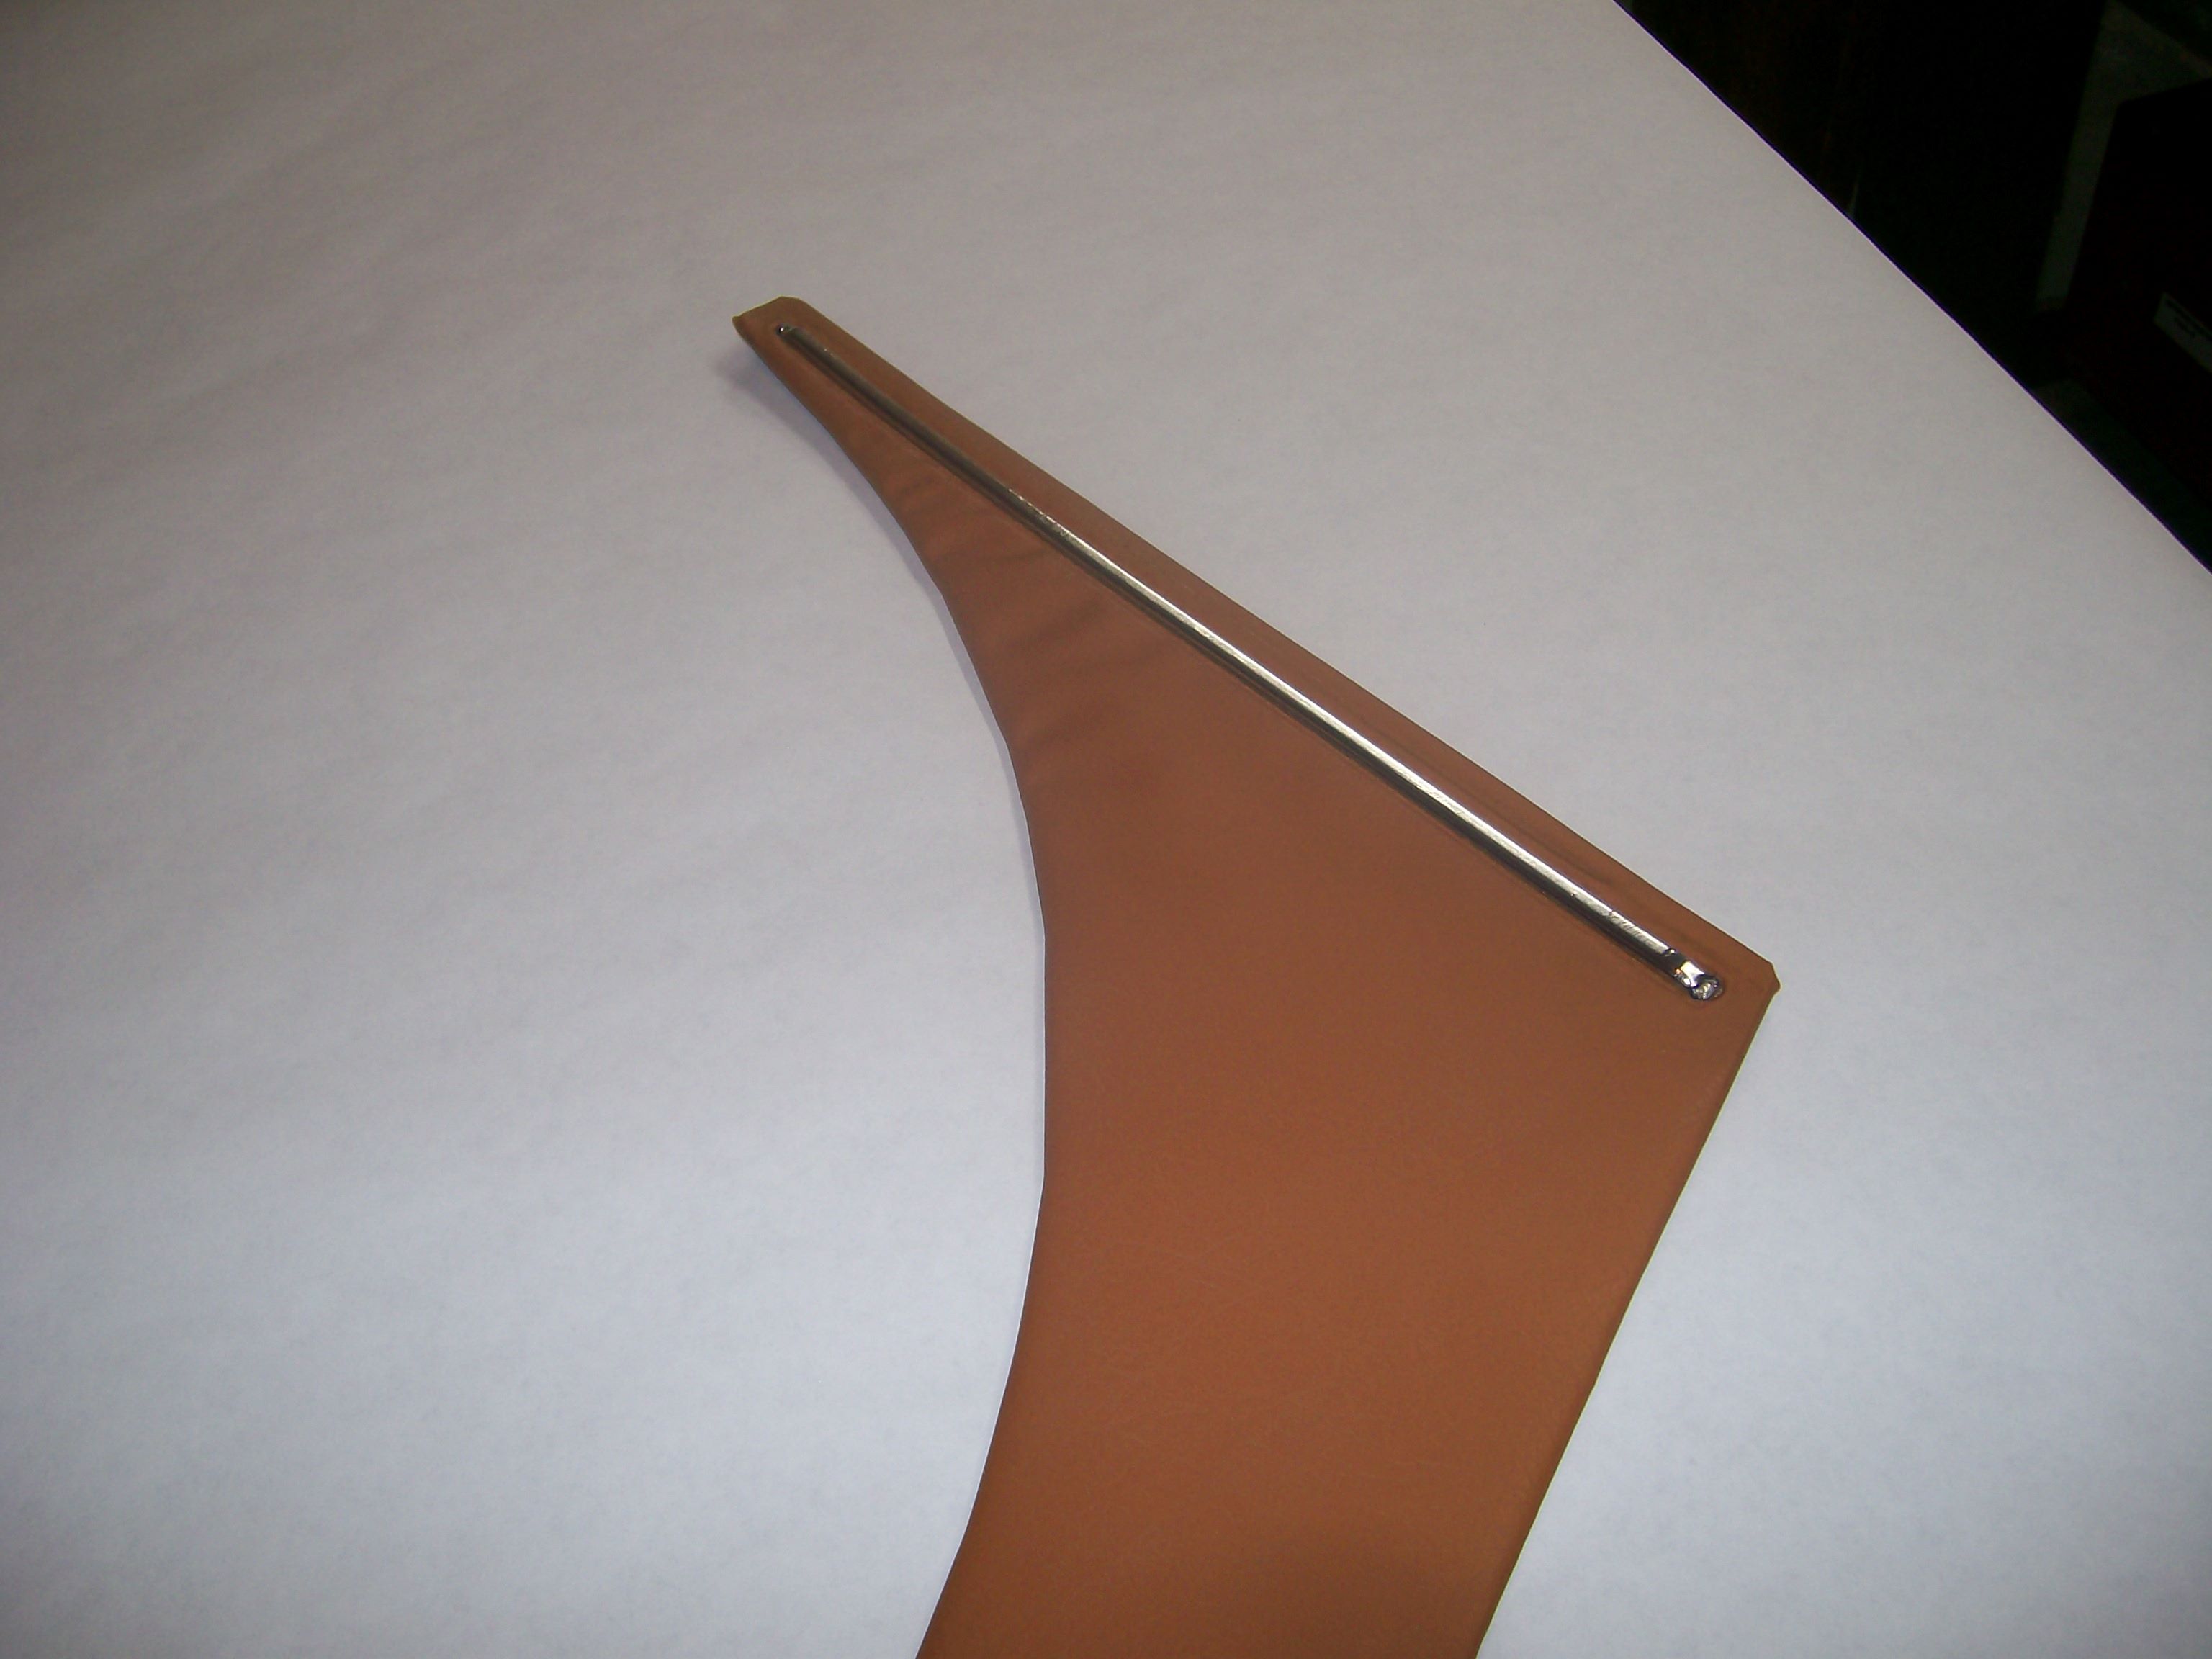
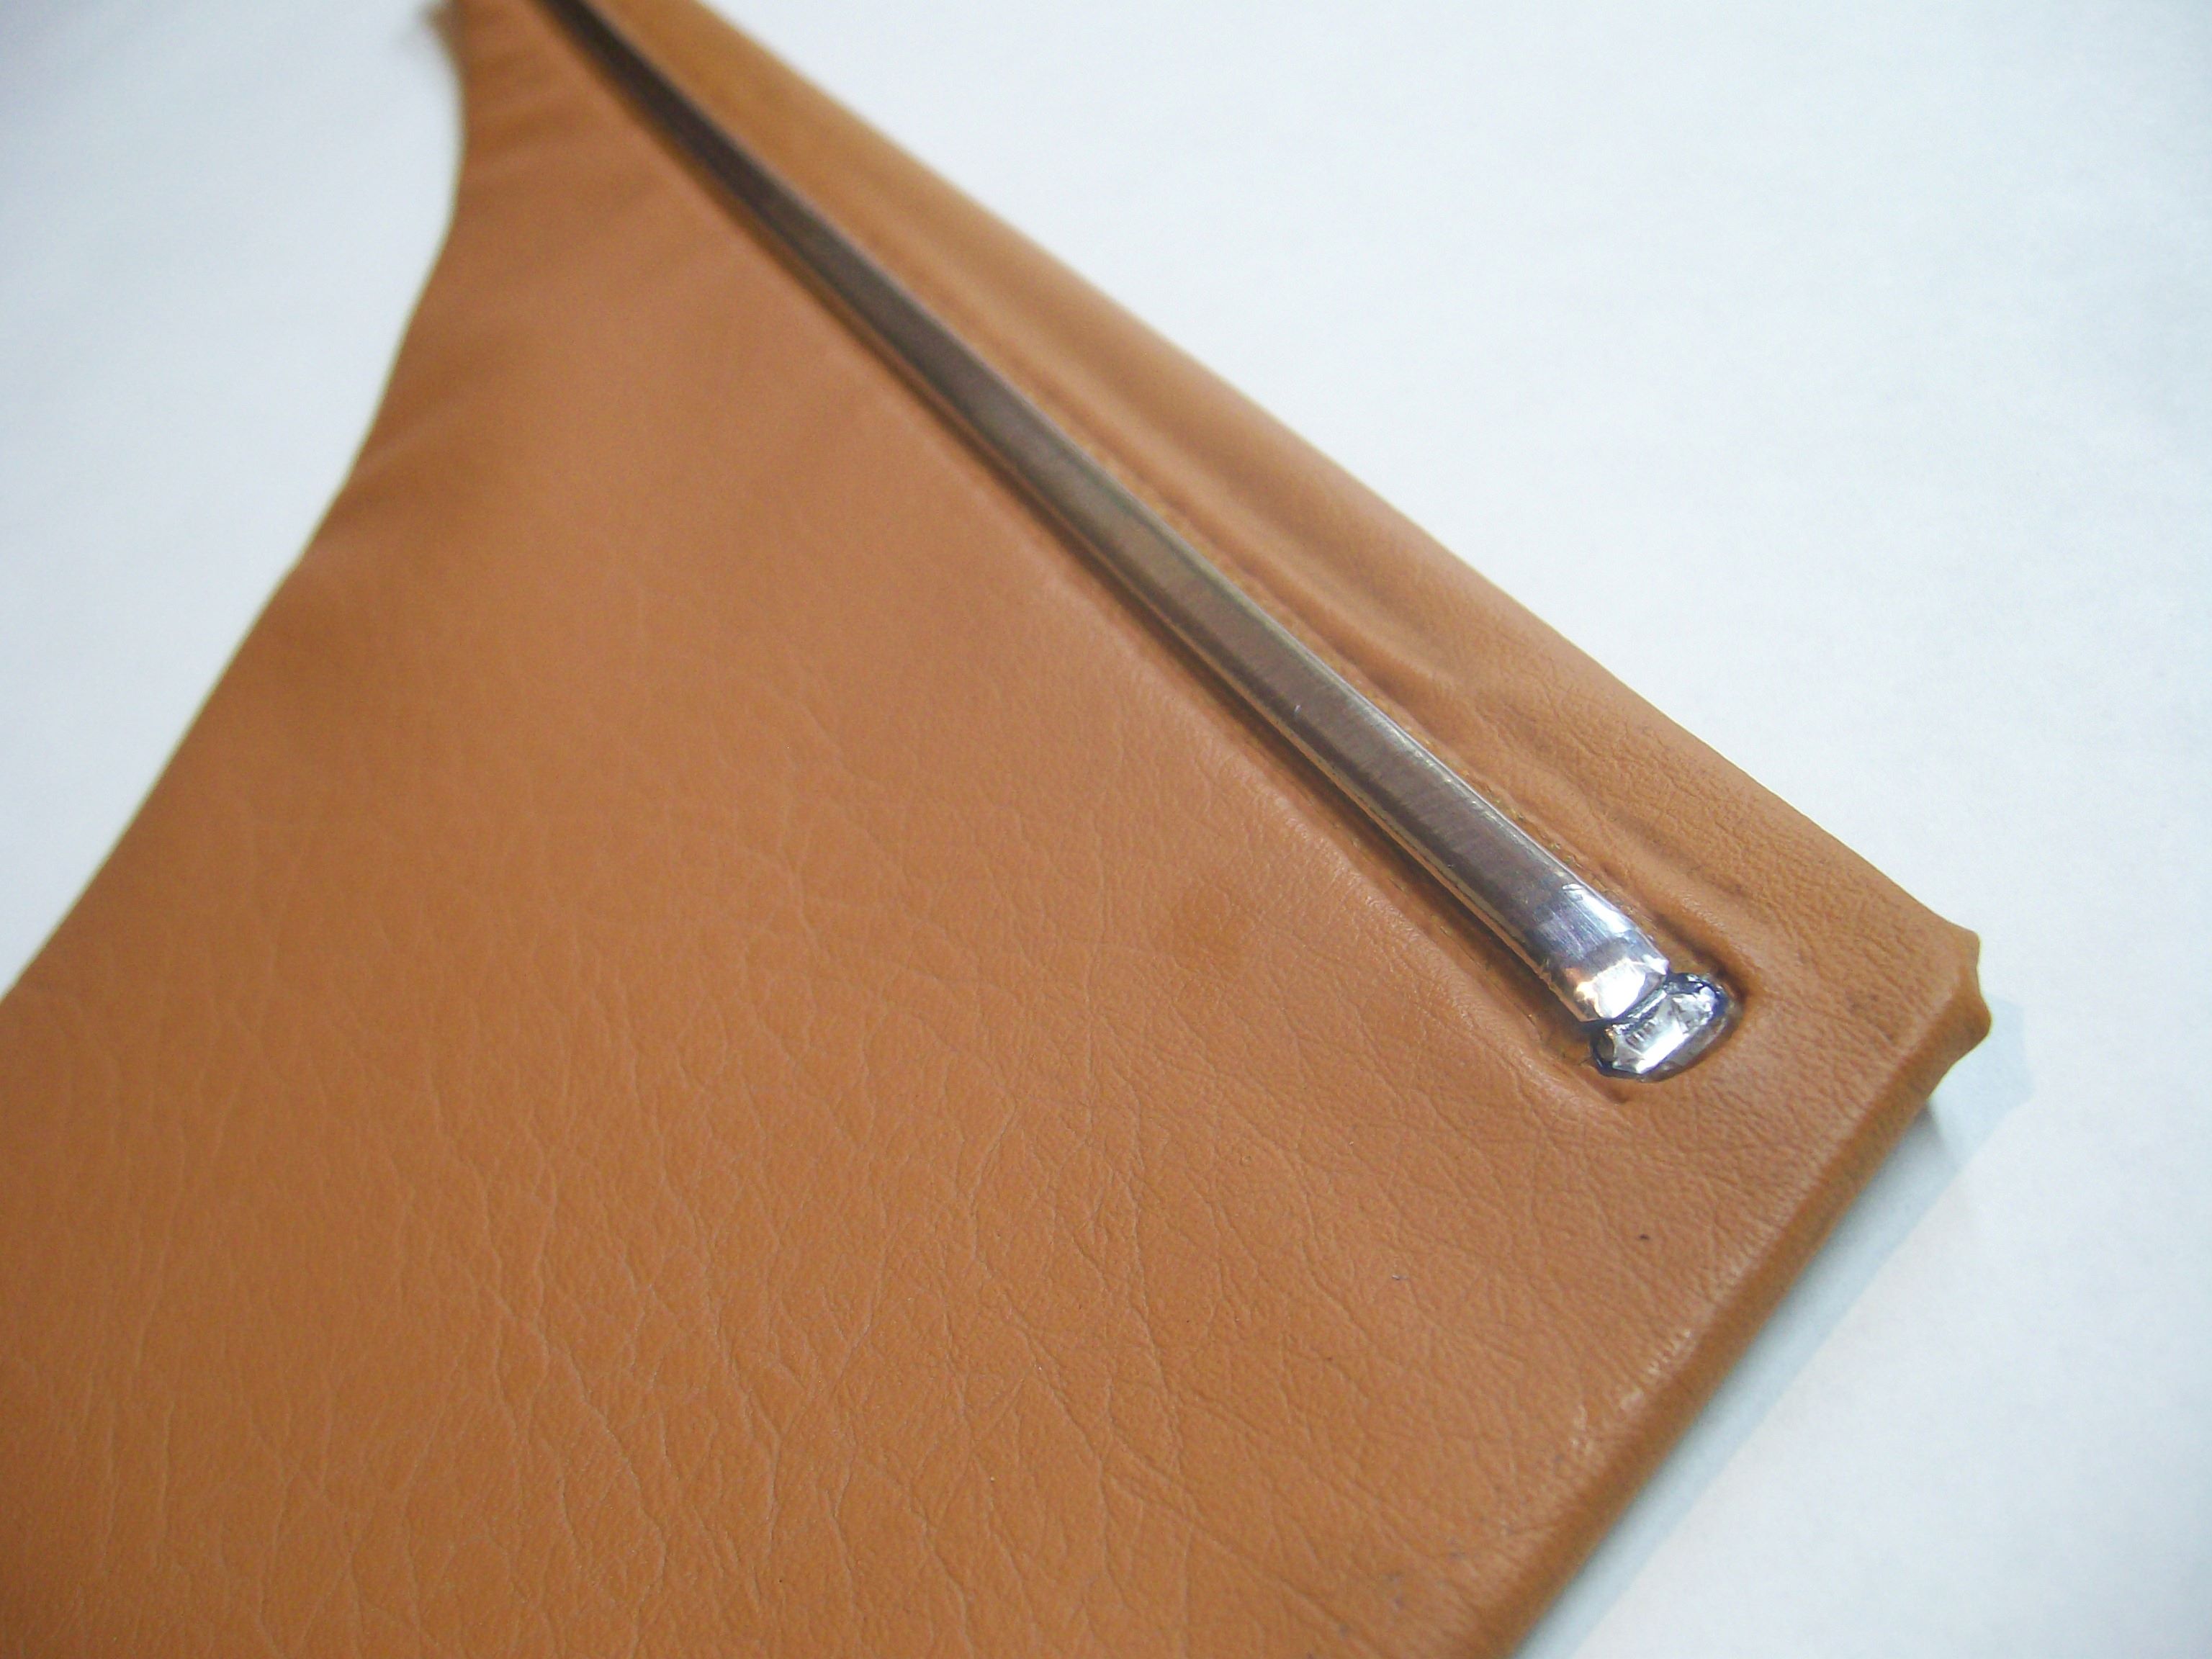
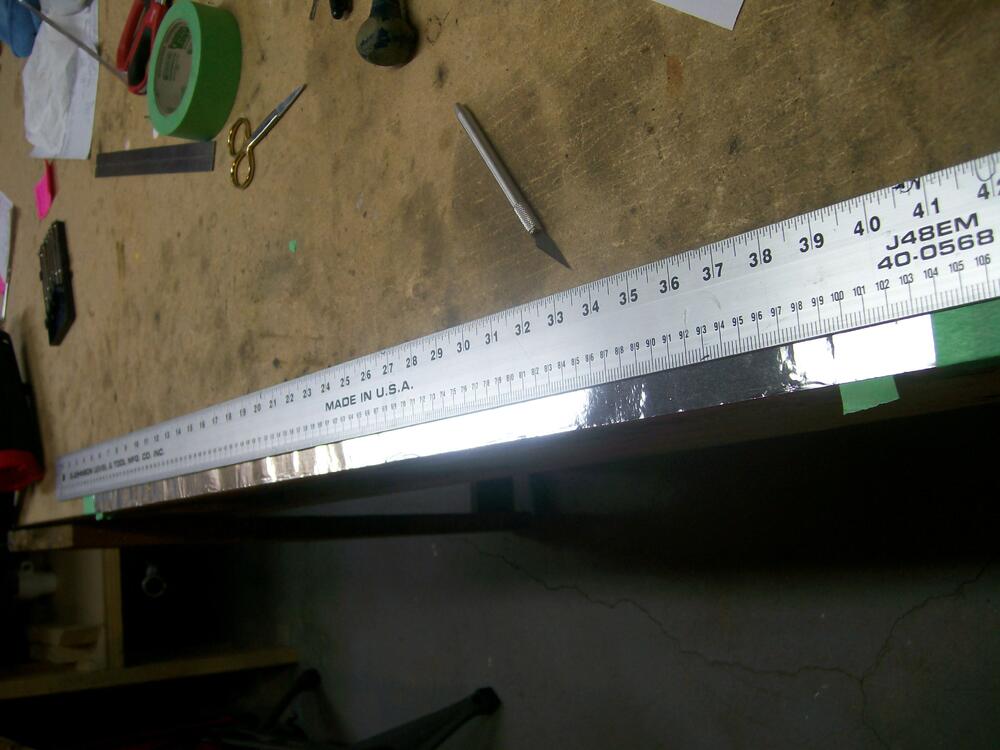
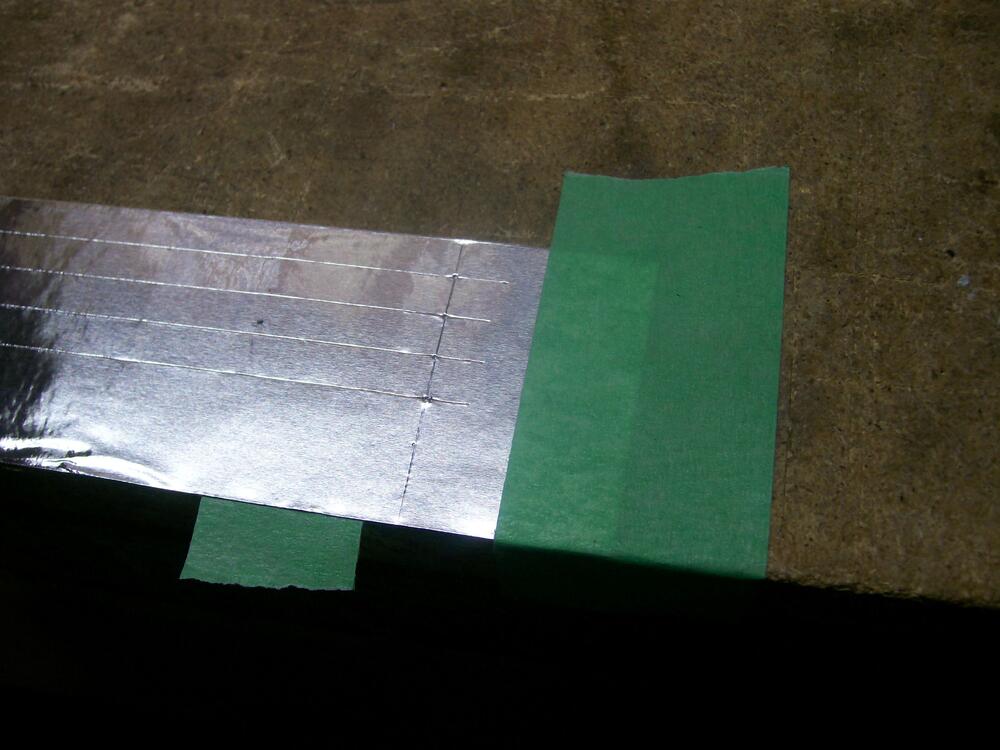
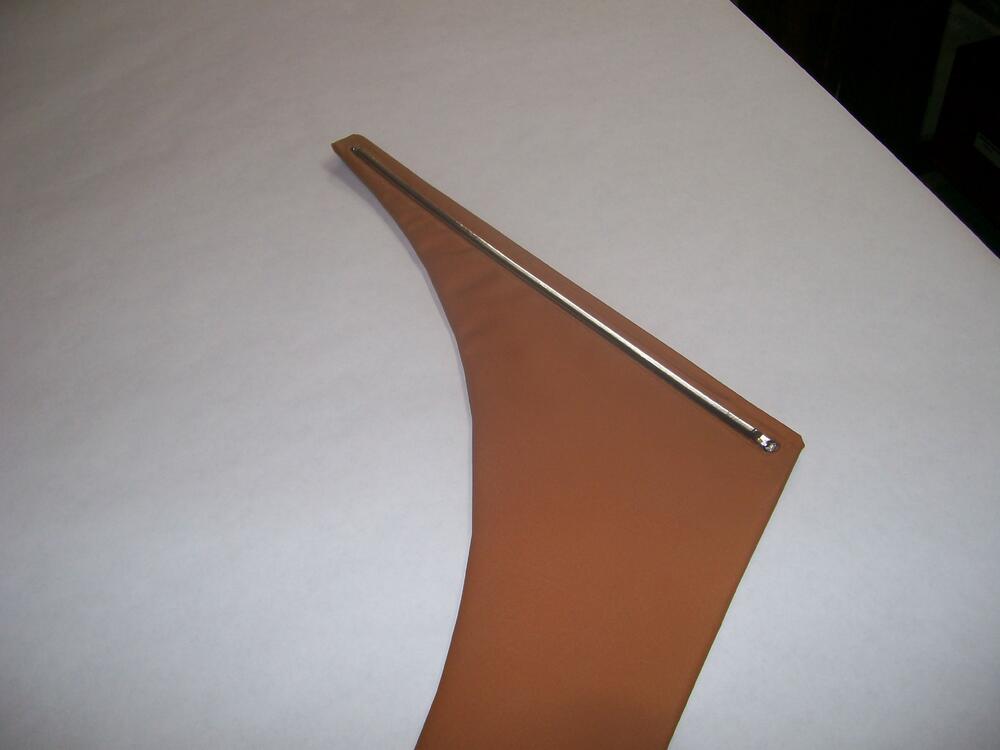
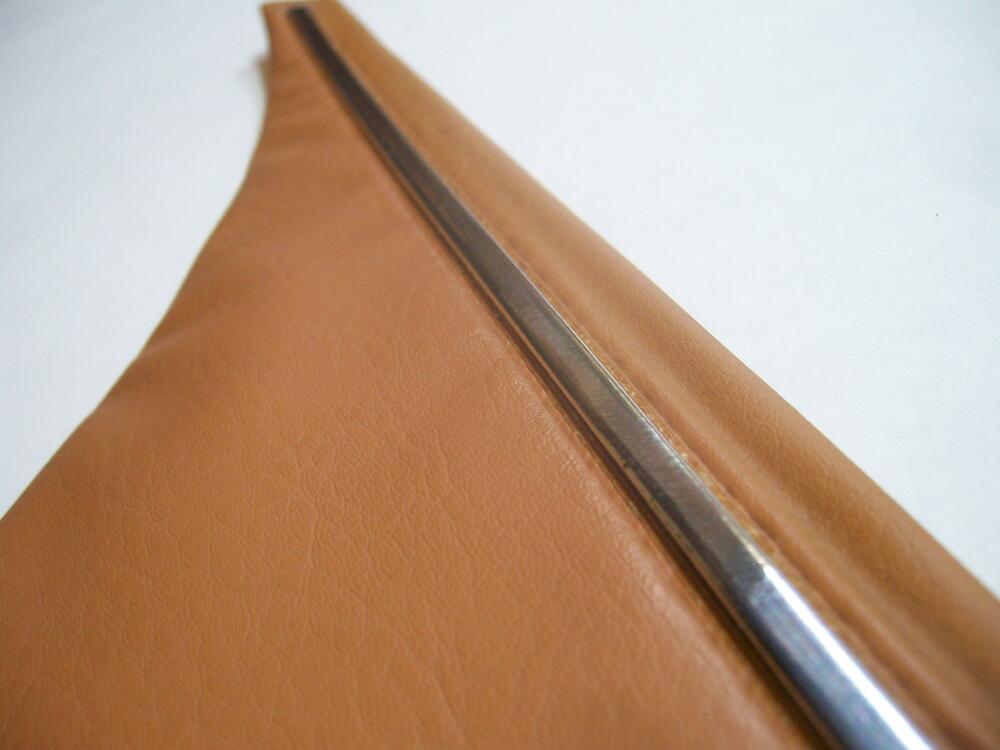
1 pointA few photos to go with my write-up. I didn't take any photos of the work that I did with my door trim panels. These pix show the same technique used for the rear kick panels...

 1 point
 -
The poly in front will stop the control arm from moving backward on braking. It gives more precision to the steering. That's its only real purpose. It started as a racing thing, people saw a market, and started making poly parts for anything that was rubber. If you put poly in the back it puts side force on the tip of the rod as the suspension moves. The rod actually changes its angle through that mount as the suspension moves. You can move it by hand and see what happens. Since yours is apart you could assemble the rod and mimic it. Eventually the metal will fatigue and it will break off. It will also creak and moan when you go over bumps. It happened on my 76. That was with old rubber in the control arm bushings. Some people have said that they put poly everywhere and did not have any problems. So it might be that the mix of poly and old rubber creates a problem. And, finally, some people have drilled holes in the poly to reduce its overall stiffness. But, of course, that just makes it more like rubber.1 point
-
1 pointSince I'm new to the Z world, I searched for factory & repro parts sources online & found ZcarDepot along with several other sites. They were the only one (besides MilkFab, but they are specialty items) that responded very promptly to email questions, and also to order modifications (which has happened several times now, as I have found I missed one thing or another to complete a job).1 point
-
How many turns down are the mixture nuts? Are you sure its rich? Is the float fuel level correct?1 point
-
https://www.buyautoparts.com/buynow/1978/nissan/280z/rack_and_pinion1 point
-
1 pointIs your engine fuel injected? If so, the throttle sticking could be carbon buildup at the throttle butterfly. Open it up, and have a look. If there is any carbon wipe it off with a rag and carb cleaner. Use an old toothbrush to get at the hard to reach spots.1 point
-
1 point'46' indicates Showa 46, which is 1971. Japanese calendar dates tend to follow USA format, which is Year-Month-Day, so '46-11-9' is November 9th 1971. This of course indicates manufacturing date and/or quality control check of the console, not of the car. It may even be for the FRP moulding of the console body and not the completed article. Consoles were made in another facility and then shipped in batches to Nissan Shatai's Hiratsuka plant for the build-up of the cars. The batches may well have been made up of consoles made over several days or even weeks, and it is doubtful that they were attached to cars in sequence according to the quality control date - although it is logical that they would normally have been attached to a car within a few weeks of production. I think it is fair to say that most quality control/production date stamps on the components of these cars tend to average out at within a month of the car being given its 'OK' completion check, although it is possible to observe the odd exception which tends to prove the rule...1 point
-
I have a BA9S in my glovebox. Works fine.1 point
-
0 points