Leaderboard
-

Zed Head
Free Member4Points19,238Posts -

siteunseen
Free Member3Points15,115Posts -
26th-Z
Free Member3Points5,264Posts -
Patcon
 Subscriber
 3Points11,142Posts


Popular Content
Showing content with the highest reputation on 10/11/2022 in Posts
-
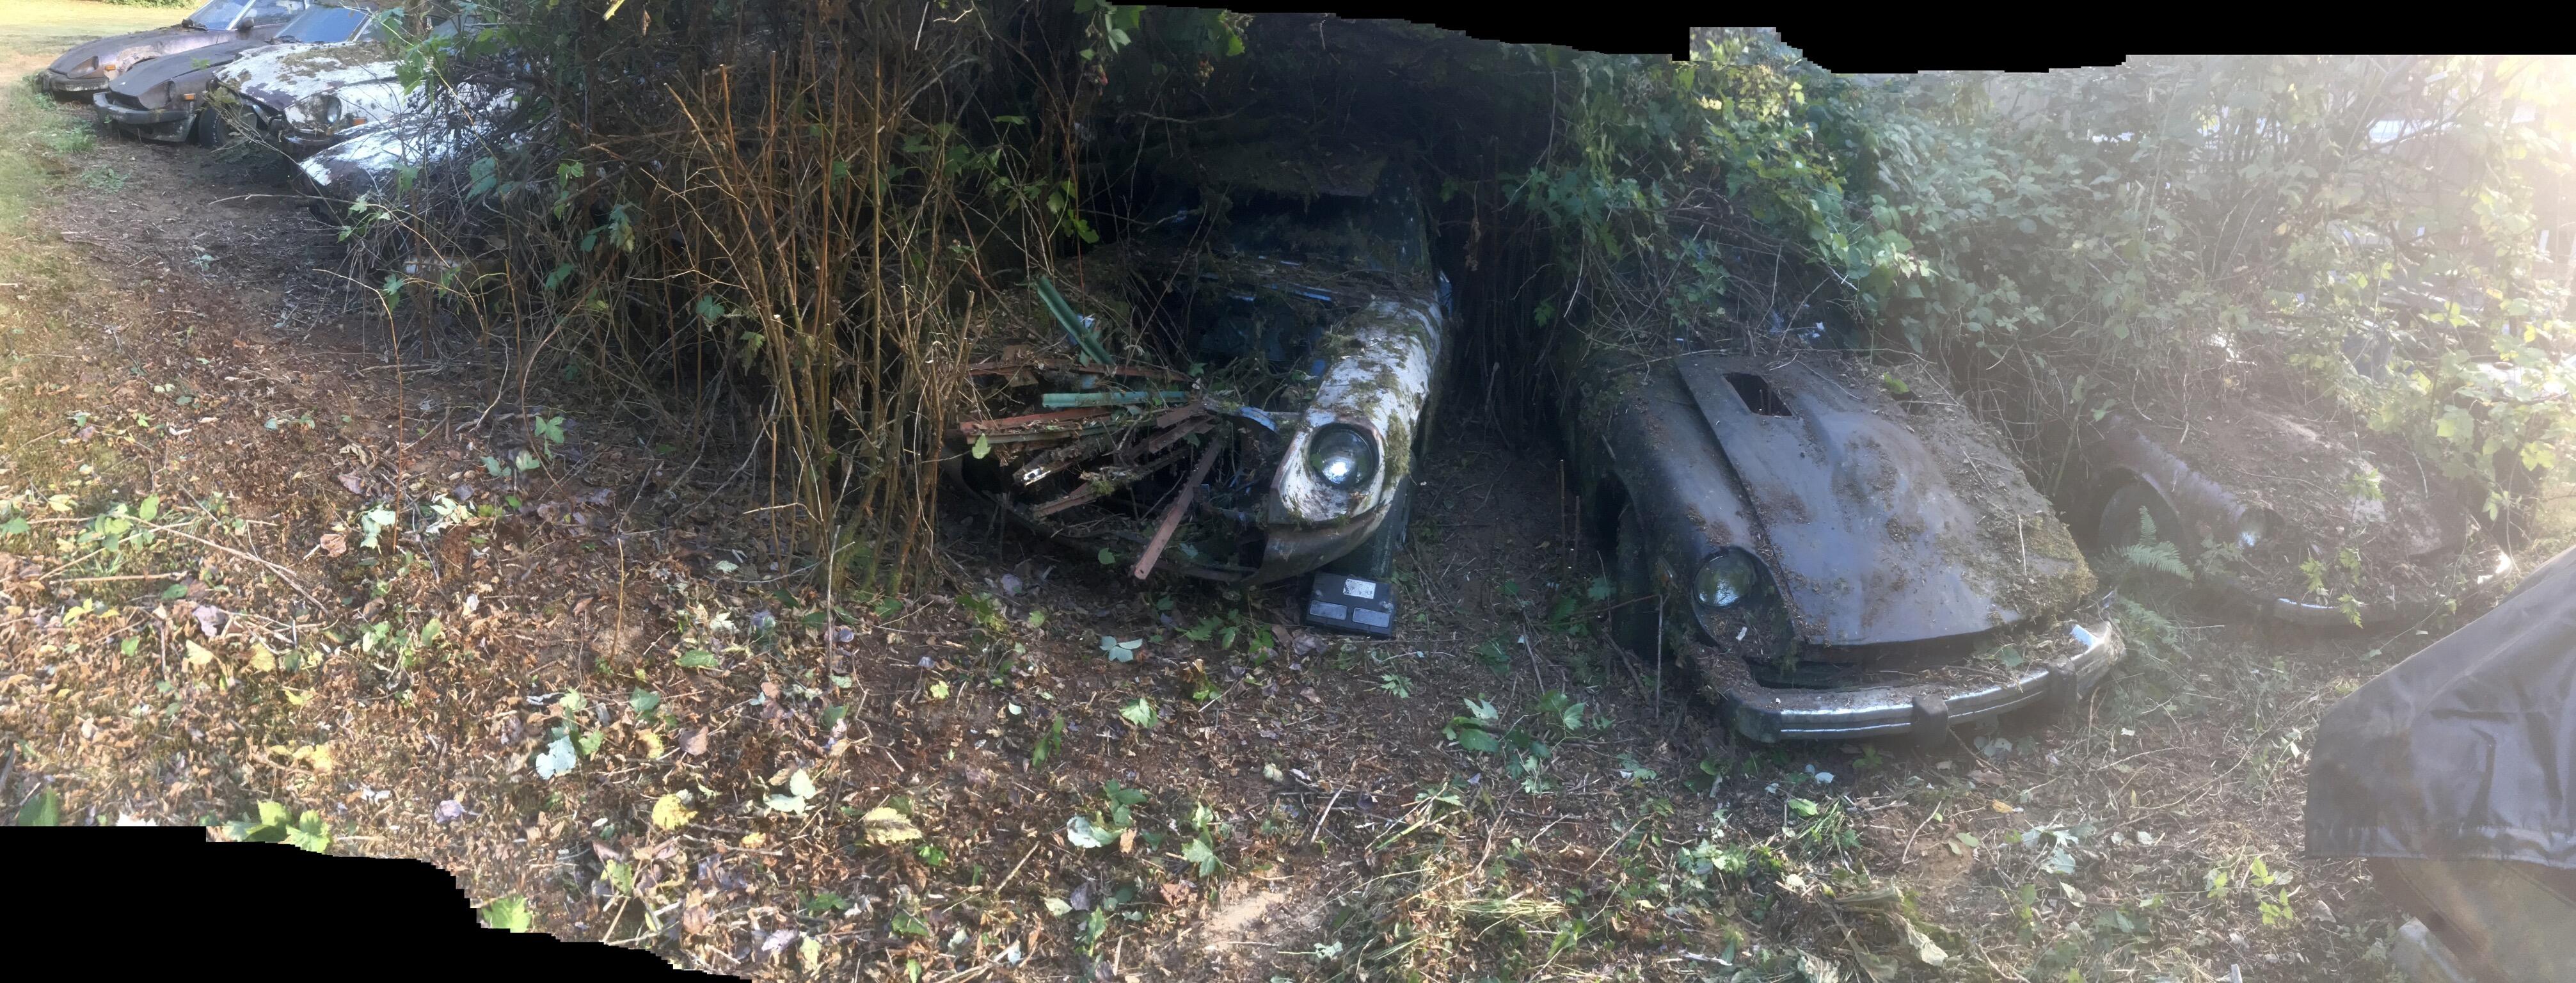
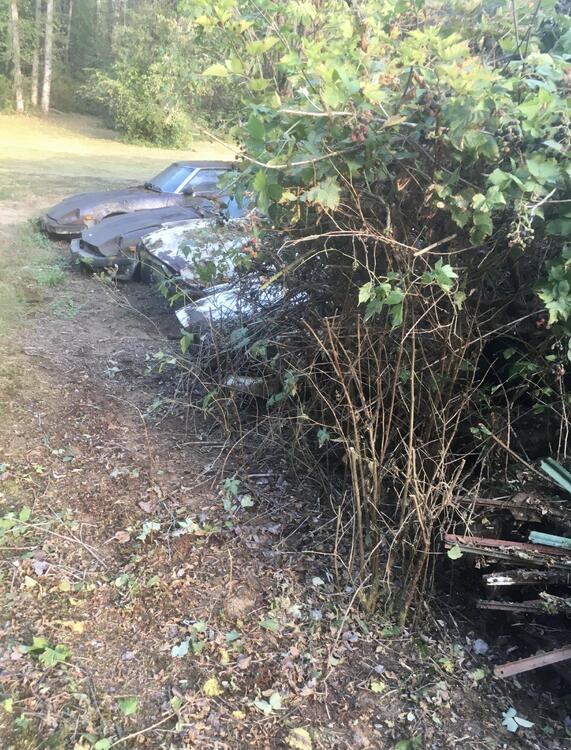
Build a tree house up in there and you'll have a vacation rental, Airbnb maybe? "SLEEP IN THE TREES WITH Zs"
 3 points
 -
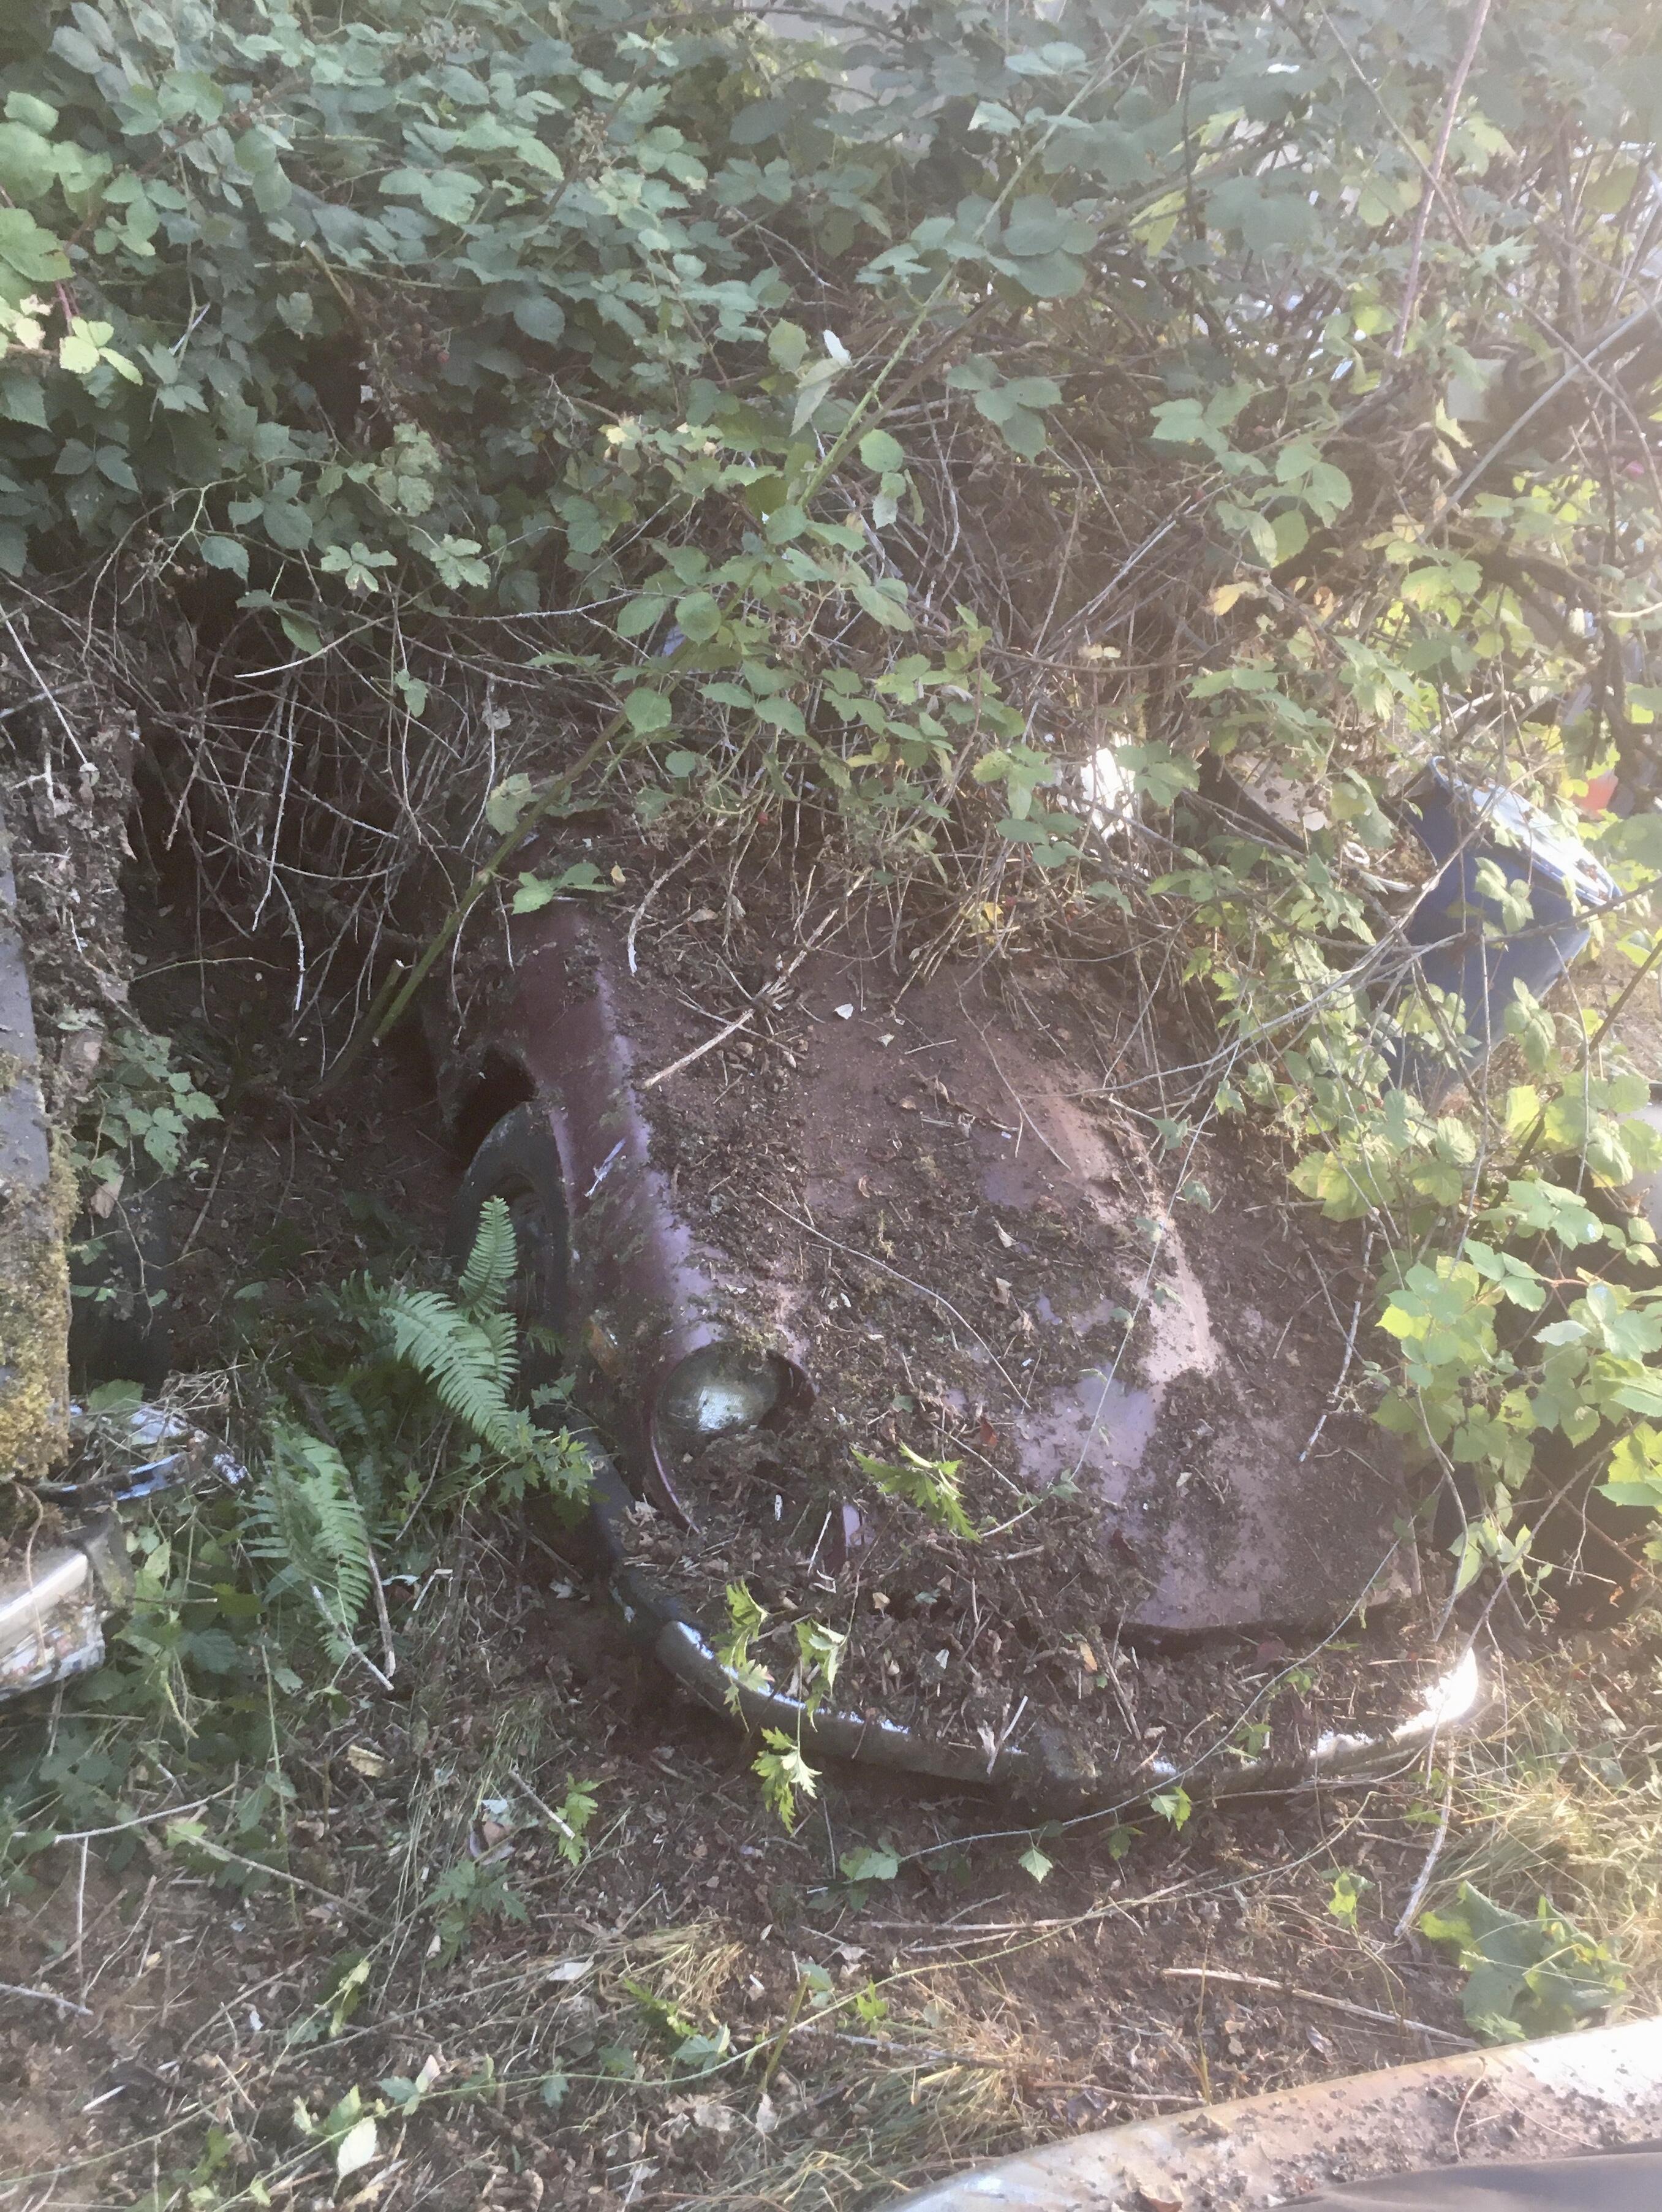
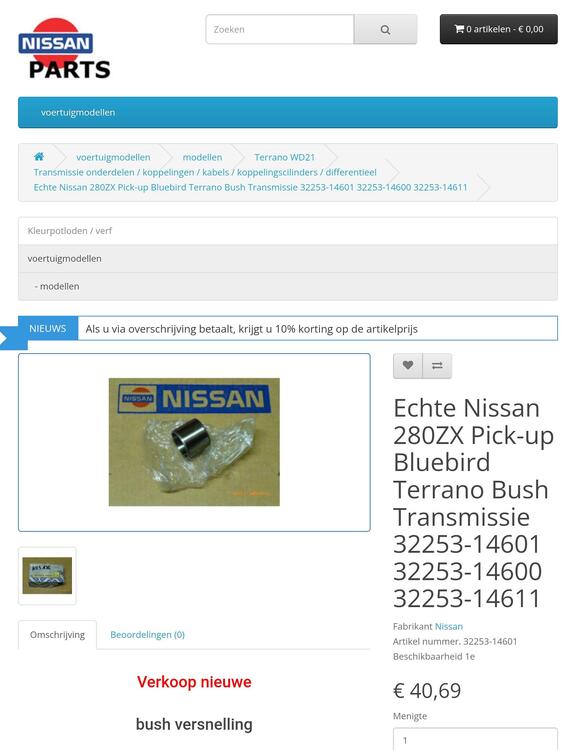
This will require Nissan part number D2345-E4100; "Puller_tree large single diameter" rather than the D2344 for the smaller bush stuff.3 points
-
2 pointsYou may have determined this already but keep in mind any B/C trans will need the shifter hole enlarged some to accommodate the more rearward position of the shifter. Not by much but still an alteration. As Zed says worth more in the long run, unmodified. The 5 sp is nice for the highway speed runs. 4th is 1:1 on both the 4 and 5 speed. Makes the twisty back roads about the same. 1st-4th. I too have some 4Sp 71B transmissions and even a couple of 71A models. You can still find 5sp ZX cars but they are getting harder and harder to find, with the price going up some too. I bought one from Everett for $300 and have parted out most of it. (I am keeping the transmission.) Edit: this is in your neighborhood. looks like he just dropped the price. 83ZX 2+2 $100.00 https://offerup.com/item/detail/9f4db155-79df-305b-8fba-72401858e4ad?q=datsun&cid=5.12 points
-
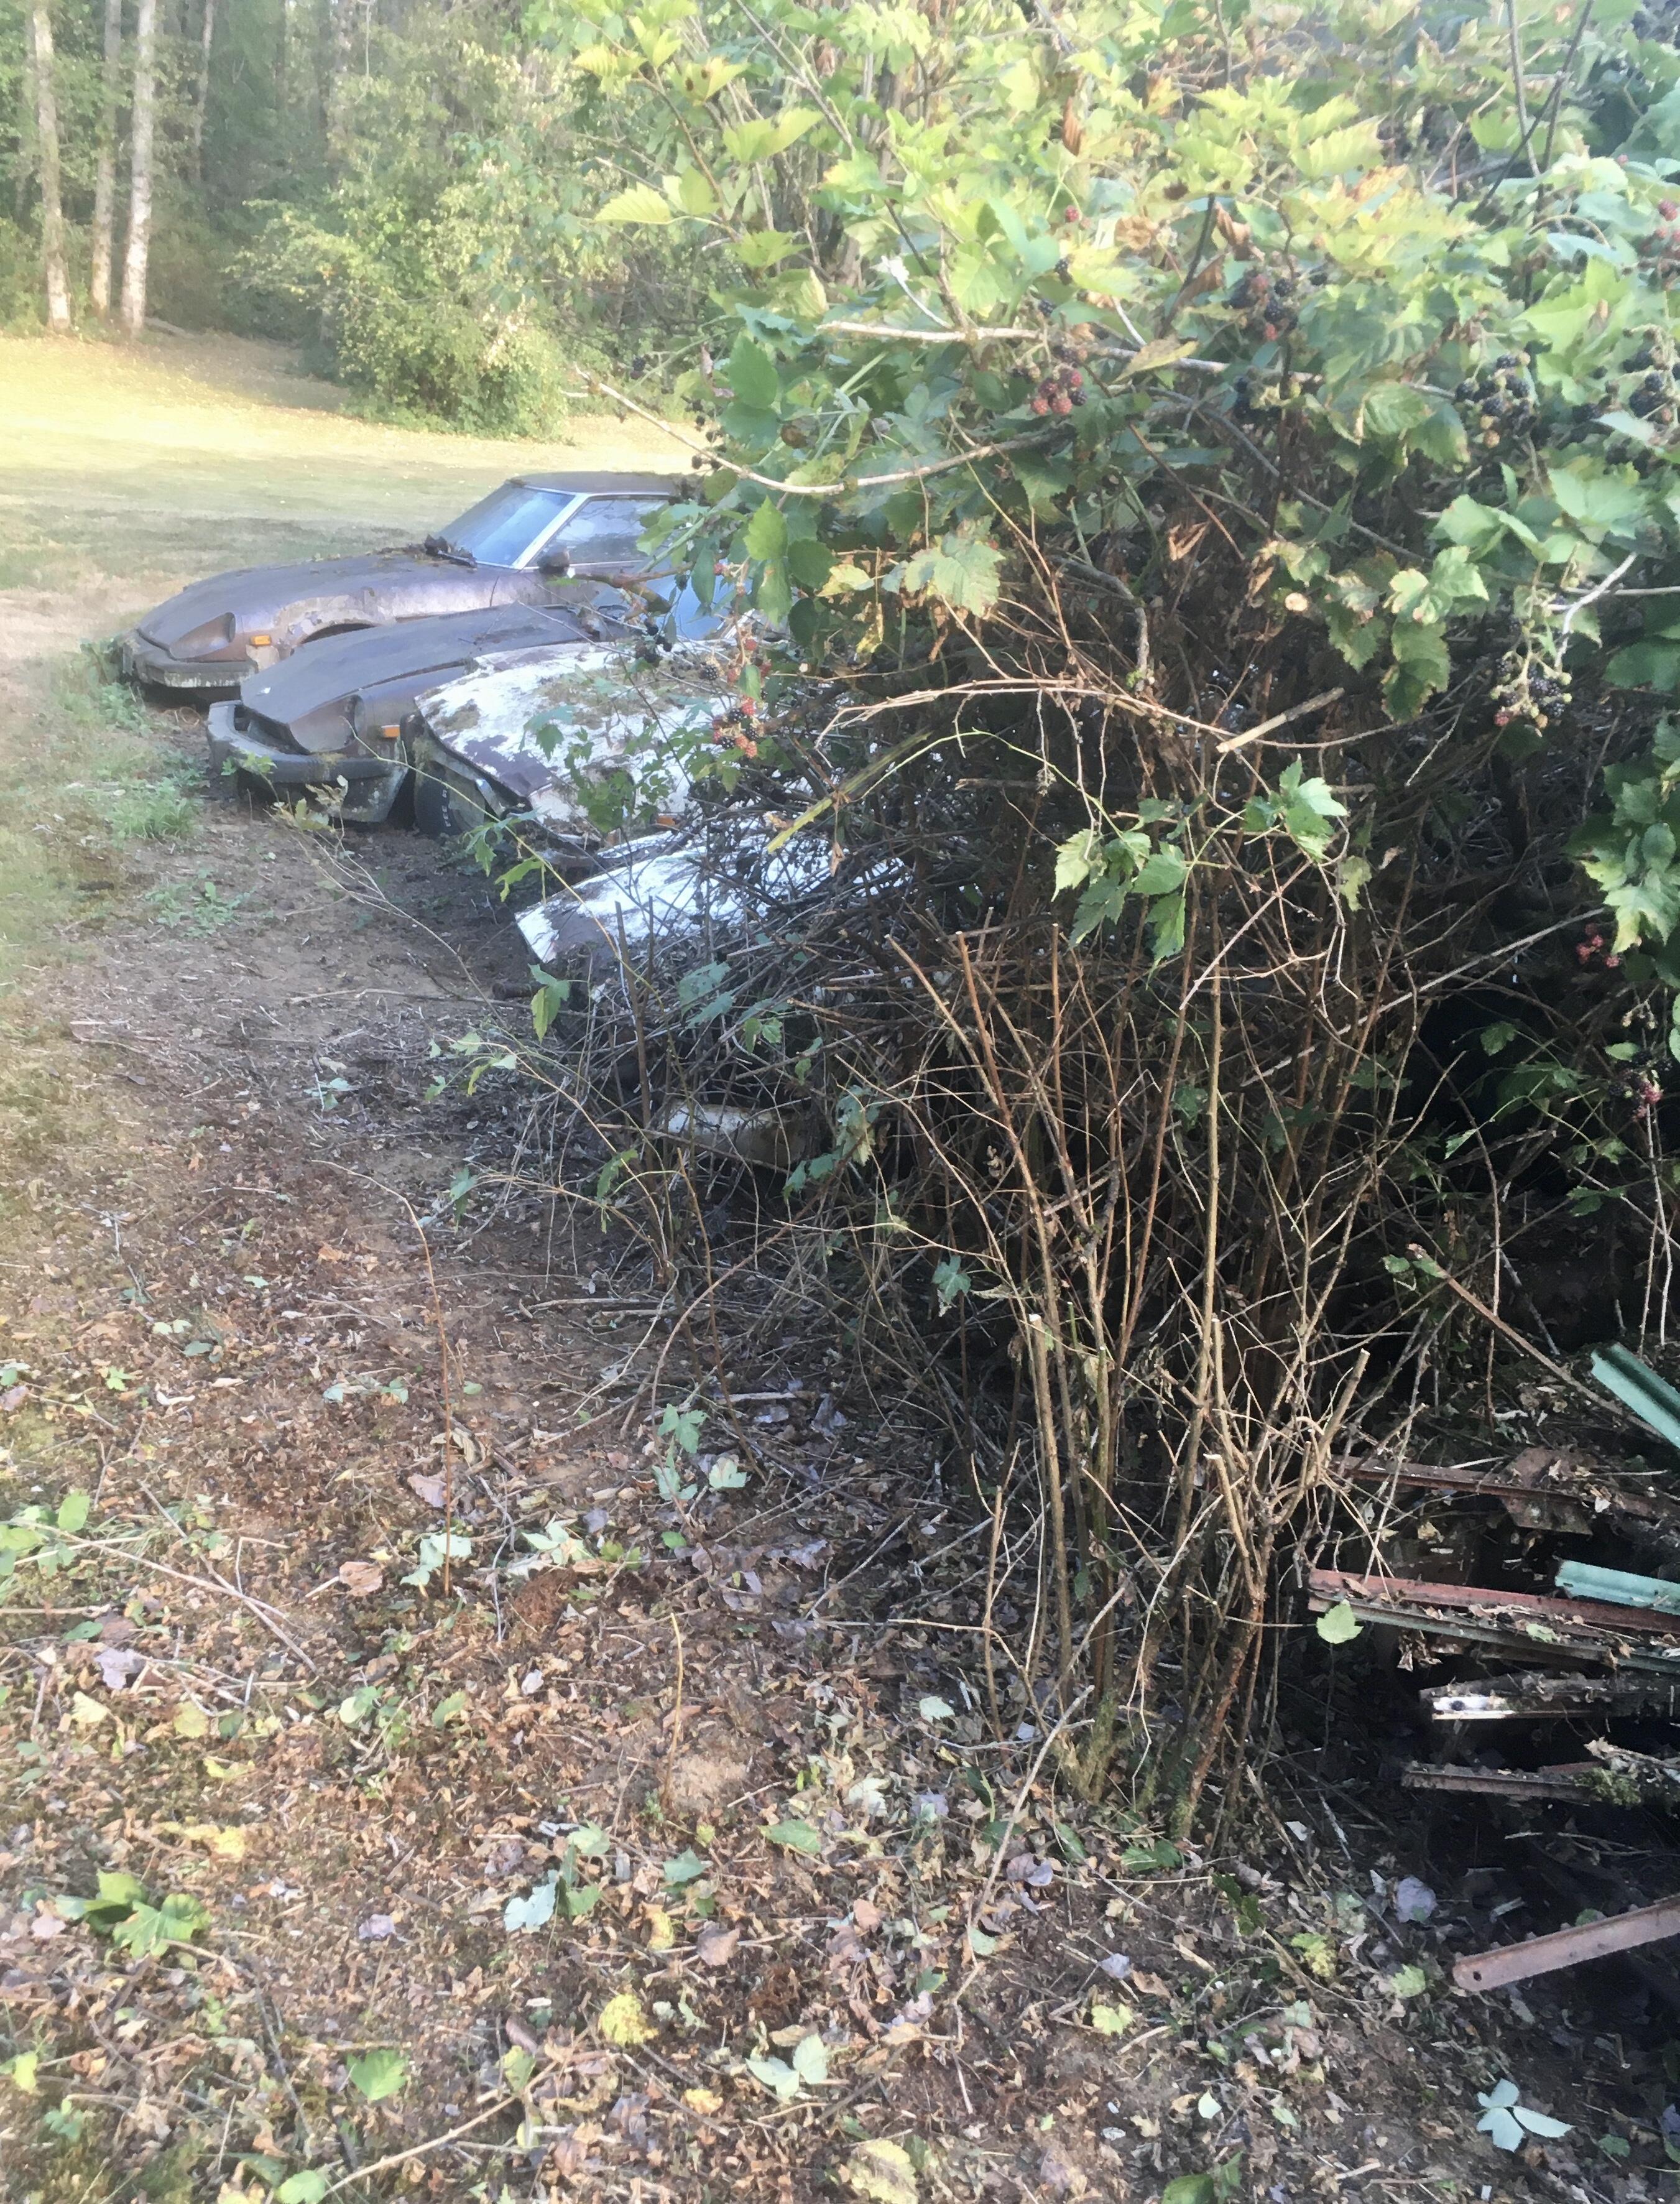
2 pointsI wouldn't assume that whatever you might find needs a rebuild. Look around for a complete junked 280ZX or 280Z. Buy the whole car and scrap the rest for $50. As far as the 71A the car will probably be worth more with it installed. Not clear what your long-term plans are. Your problem description makes it not clear what exactly is wrong with it. Might be a simple fix, who knows. Don't overlook just buying a cheap 71B 4 speed while you look for a long term solution. Sometimes people give them away. @Racer X has what you need, probably of all three varieties, but it might take some work to get to. He's right down the road...2 points
-
2 pointsDon't buy from California datsun! I would prefer the 5 speed if it were mine. I believe you could go the 240SX route, too?2 points
-
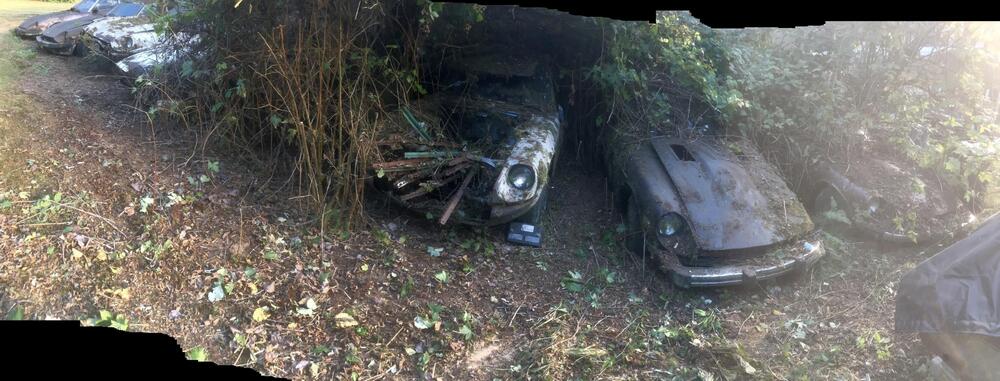
Wow a tree in a Z… Haven't seen that in quite a while. BAT posting must include BAC (bring a chainsaw)...2 points
-
Oh, I’ve got a few that should be in the sub $10K range.


 2 points
 -
@EuroDat You can't buy this but if you ever want some. I will gladly ship you some... C1 point
-
1 point
-
My trusty dog google sniffed this out. https://www.nissanparts.at/index.php?route=product/product&path=638_73_91_739&product_id=7873 https://jp-carparts.com/zh/nissan/part_detail.php?maker=nissan&type=46&cartype=40&fig=D3203&part=3225314601&page=1&img=D3203001
 1 point
 -
Hi, You have not mentioned what your plans are for your series I. If you want originality then you will want to keep this 71A transmission. You can very likely fix your problem by using a good oil suitable for brass synchros. Try oil from AC Delco or GM. Yes, it does wonders on these old trannis. The part numbers are AC DELCO USA part number is: 88900399. GM USA part number is: 12377916. I can not order the GM or AC delco oil here in Europe. I'm using Redline MT 75W-90 and find it very good. Here is a thread on the oil subject for these transmissions. Another option could be to dismantle the transmission and replace the bearings. If you can not find new synchros, you could swap it with 3rd gear. You might want to read through this thread as well. He had issues with 3rd gear, but his journey to fixing it is informative. Just for the info. People mention the 280ZX close ratio, but the 2+2 has the same wide ratios as the earier 280Z. The 2+2 also uses the 240mm clutch/flywheel. $100 would be an absolute bargin over here.....1 point
-
I wonder how many of us are looking up that number to see if it excists and what it really is? 😂 What? No!! NOOHH! I'm not gonna do that! NOOWW!!1 point
-
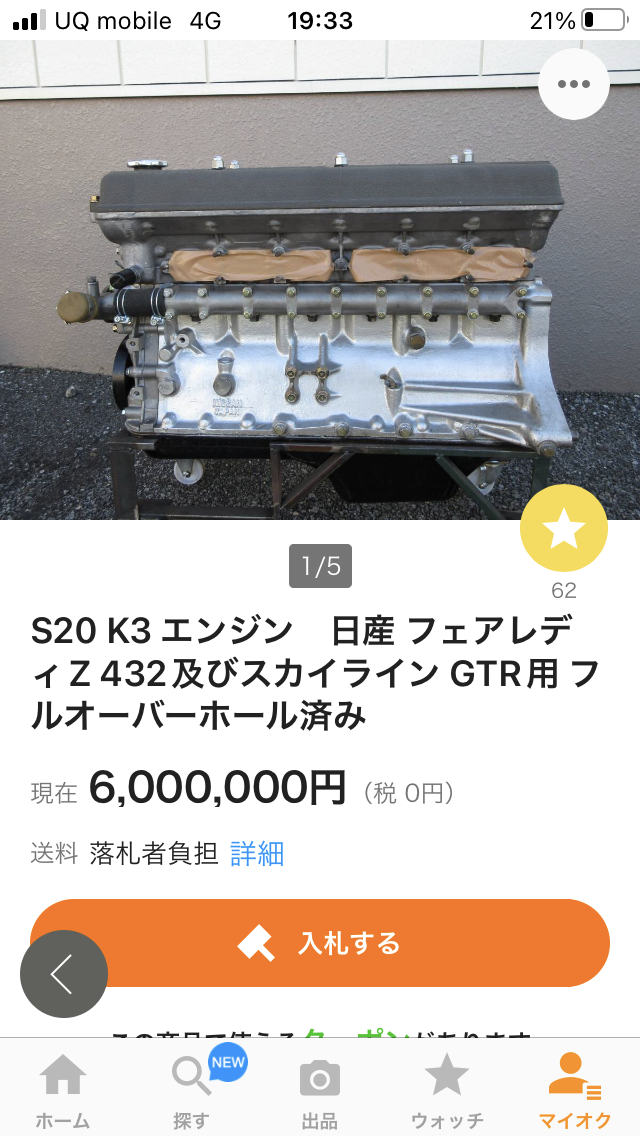
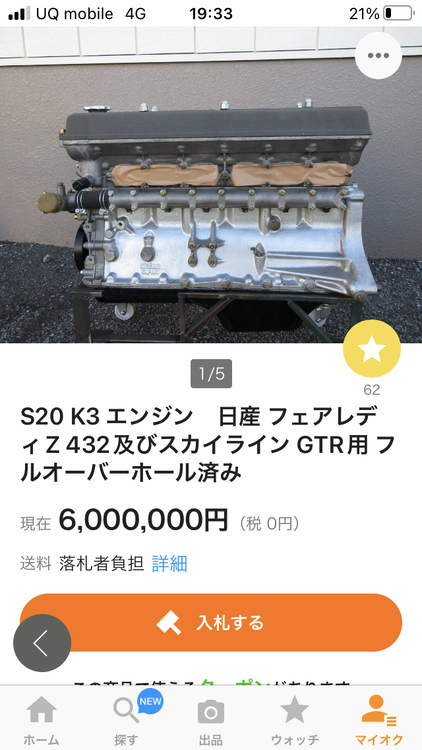
Hi Carl, I want to know how much it will be on the market if some one puts a S20 in this “something short “ 69 240Z . Now a S20 is 42000 USD for American people. Kats
 1 point
 -
1 pointMine were held in place by the bottom ring. I don’t want to drill holes in the mags to secure the cap.1 point
-
1 point
-
If you do end up drilling it, use a left hand twist drill bit. When the bit gets enough bite on the bolt, the bolt frequently screws out with the bit.1 point
-
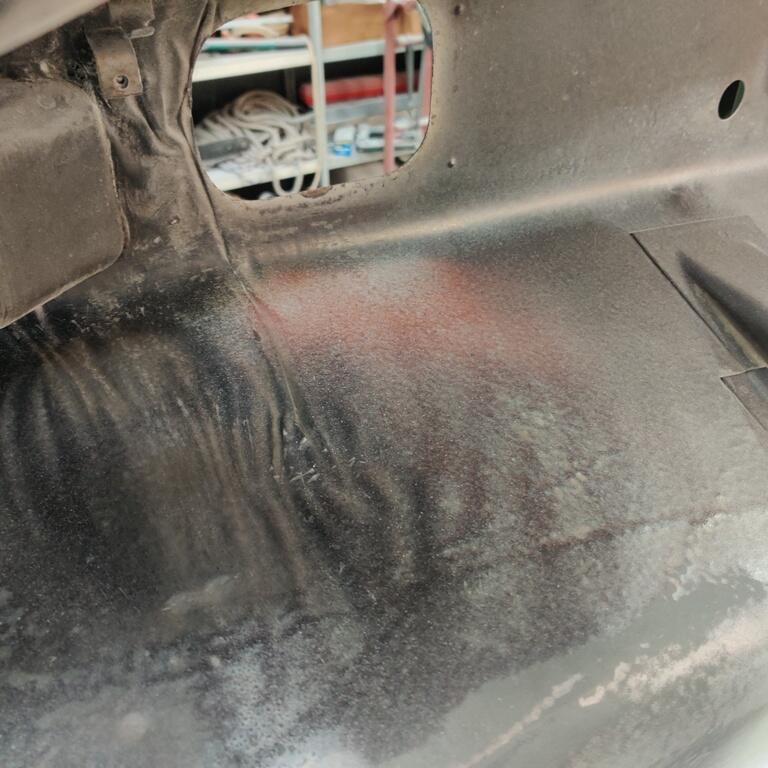
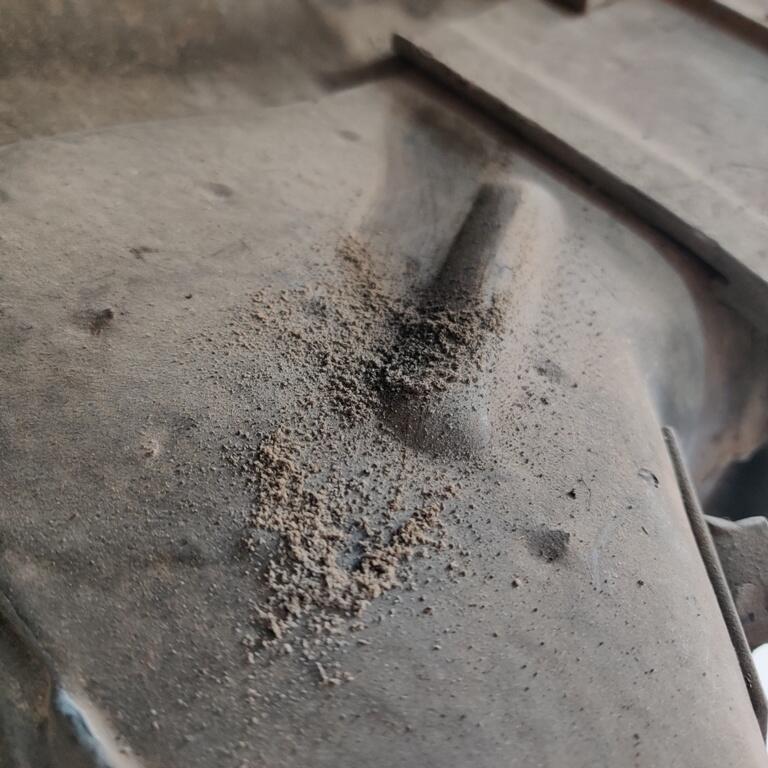
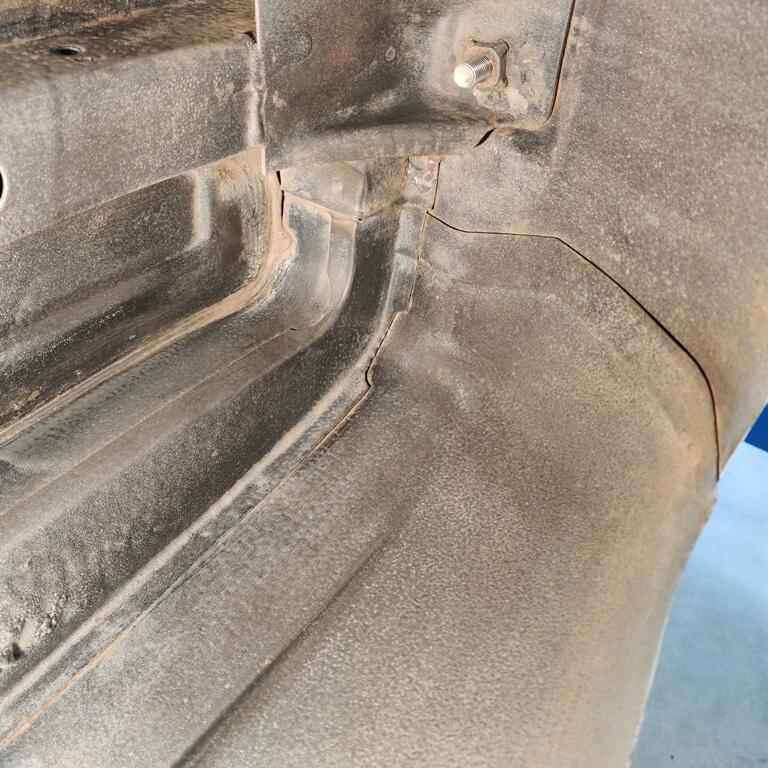
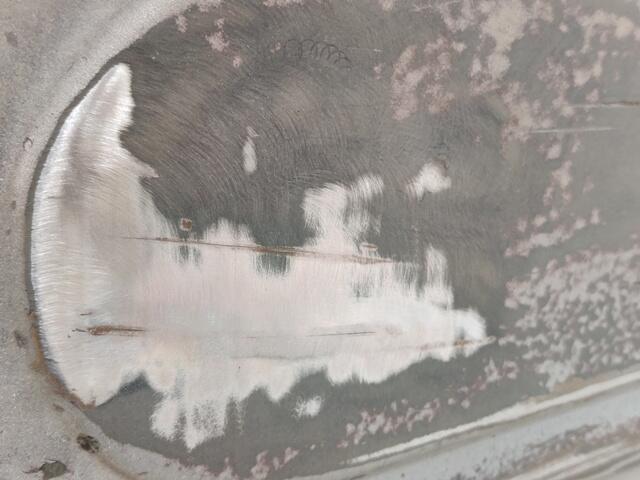
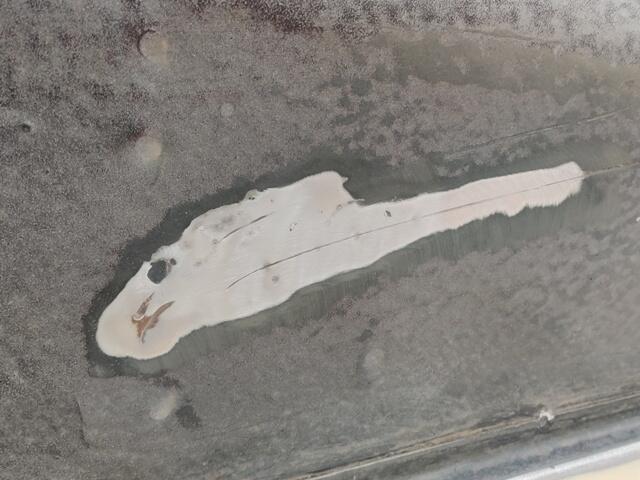
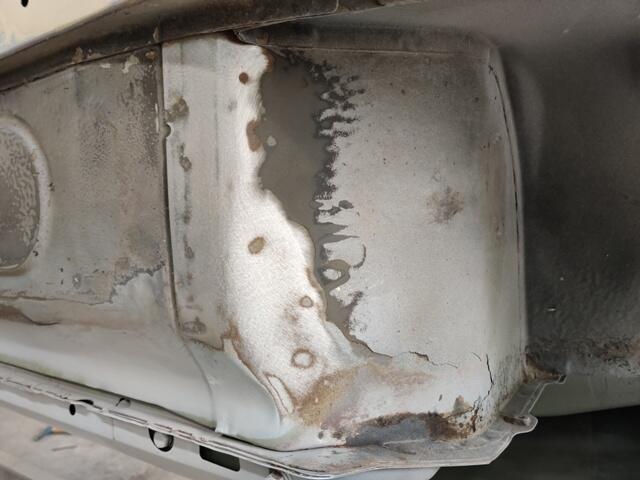
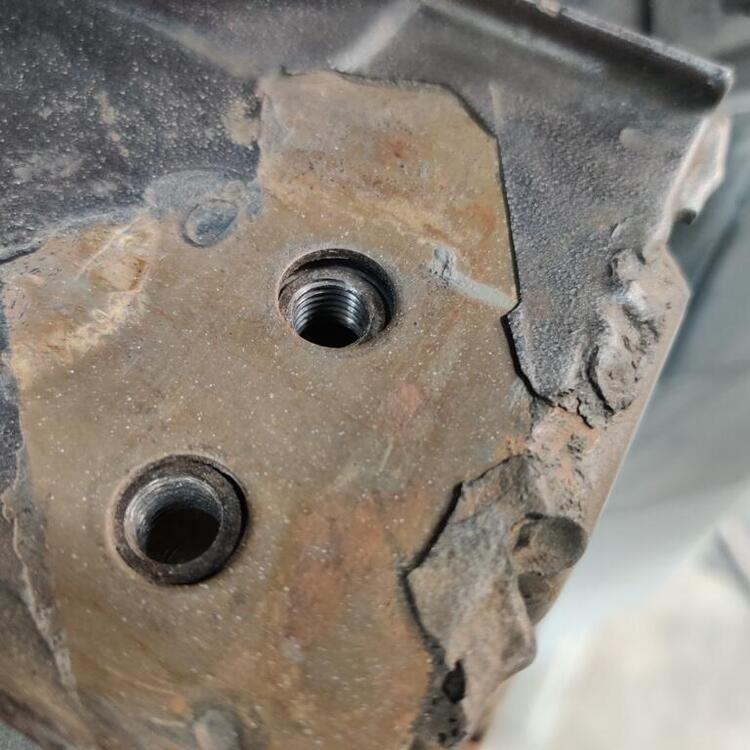
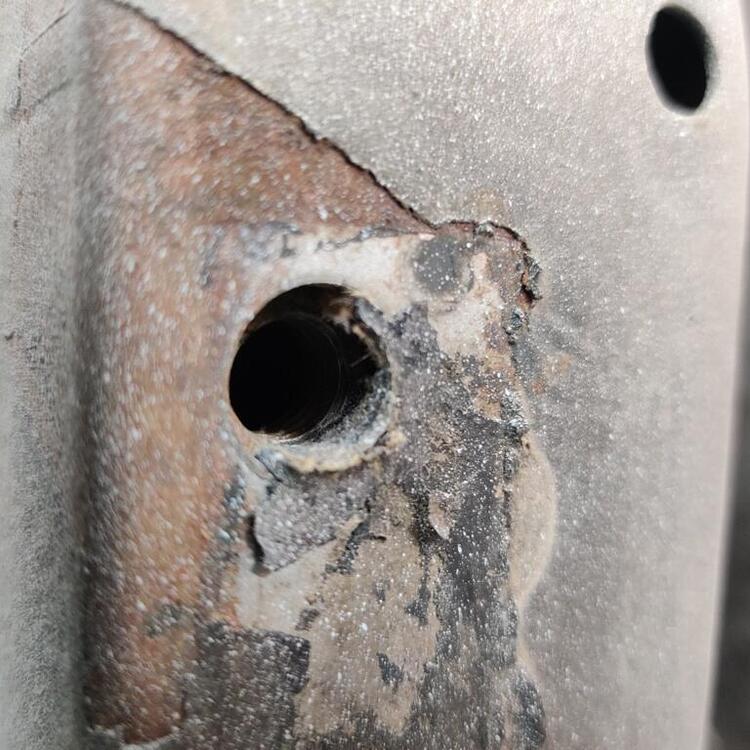
With what I believe (hopefully) is the last of the primer coats on the exterior of the car, I have switched to the bottom surface. There are areas of the floor which had impacts. These were straightened and the existing undercoat has been sanded down and feather edged. These photos show basic progress in that regard: My plan is to keep most of the original undercoating on the car. It is in great condition in most places. Where it is not, I will be attempting to spray Raptor Liner (primer on bare metal areas first). I've watched a lot of videos on Youtube of people who have experimented with different ratios of hardener, thinner, spray pressure, and spray technique. In almost of all them, the texture is not like what you see here on the car. But, I have ideas of how I may be able to get something close. In addition to continuing to prep the underside today, I hope to have time to experiment a bit. I am intrigued by one technique I saw where the person used less hardener than is called for and a Harbor freight HVLP gun with the tip drilled out to 2 mm. He claimed that less hardener allowed the coating to flow out more before drying, and the video seemed to confirm that. The Z is small, so the Raptor kit I bought should be much more than I need, allowing for plenty of material for experimentation. At the factory, they used a kind of tape to cover bolt holes to keep the coating from getting to threads. I took some existing tape off where he handbrake part bolts to teh underside of the tunnel (third pic): Preparing the underside for a coating of Raptor Liner to repair areas where the factory coating is gone) and give the entire floor a somewhat consistent finish is a lot of work. I am using small wire brushes to remove the accumulation of dirt cemented in place with oil. Then I follow with a degreaser/thinner. Then I follow with more wire brushing and a red Scotch Brite pad. It is tough to get into all the corners, but I will get them eventually. Seam sealer will be used on some seams like the overlap of the lower, rear panel to the quarter panel (third pic).


 1 point
 -
List some of those up on BAT, it would elicit comment gold! 🤣1 point
-
1 pointMy 71 Z roundtops were adjusted for near sea level. When I took it up to Timberline Lodge on Mt. Hood (app. 5000') I had to lean the carbs out a bit to keep it from missing. I noticed the miss started at just over 4000'.1 point
-
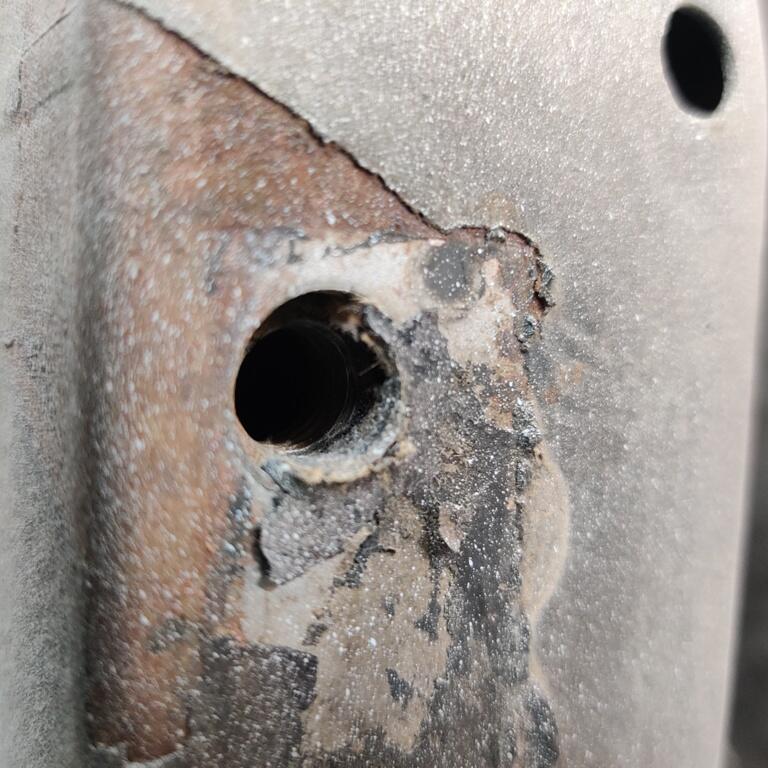
you'll have to take the timing cover off. if you're lucky, there'll be enough sticking out of the block to get a tool on and unscrew. if not, drill and tap it. did you use a torque wrench? it's only m6, so it can't take much. 5 ft lb or so.1 point
-
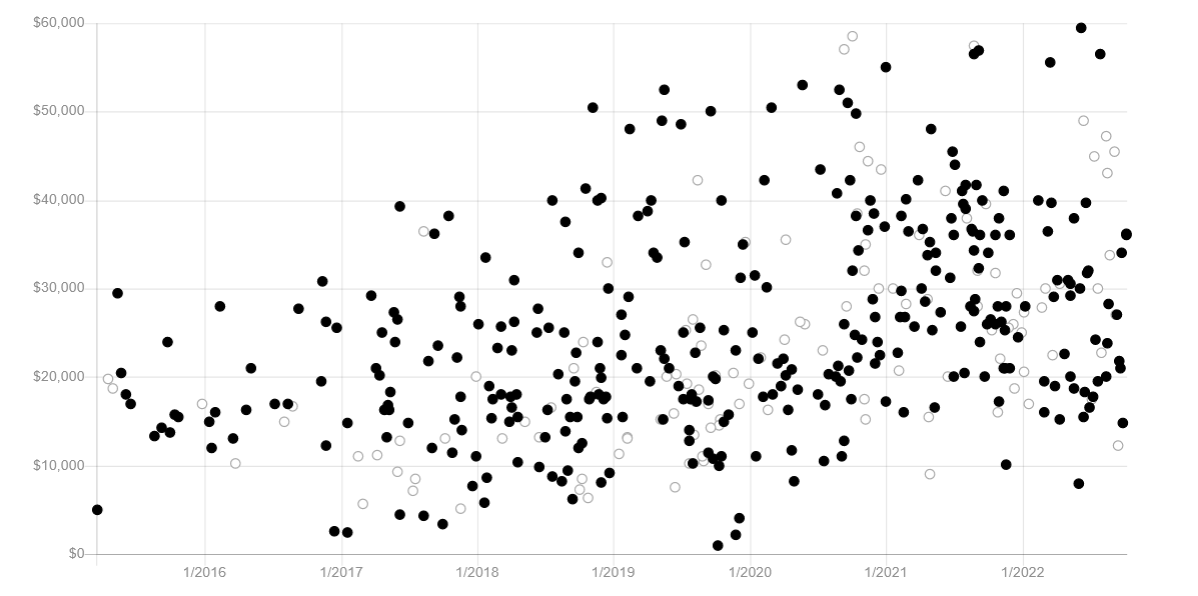
The market is a combination of enthusiasts (the V8 car went for a good price), collectors (the imperfections detract), and investors (the low VIN number has inherent value that will increase as time goes by). I think that the investor class is growing as the stock market loses value. Hard assets bought by investors who like neat cars. Here's the BAT price plot for 240Z's with a limit of 60K. The trend is still up. Even the low end is up.
 1 point
 -
Looks like the days of finding anything in the sub $10K range were gone a couple years ago.0 points