Leaderboard
-
grannyknot
Free Member10Points5,158Posts -
.JPG.cfcada9cf1c1b502df3f5f2f2ca3ff36.JPG)
SteveJ
Free Member4Points9,646Posts -

siteunseen
Free Member3Points15,115Posts -
RabbitZ
Free Member2Points434Posts


Popular Content
Showing content with the highest reputation on 02/14/2022 in Posts
-
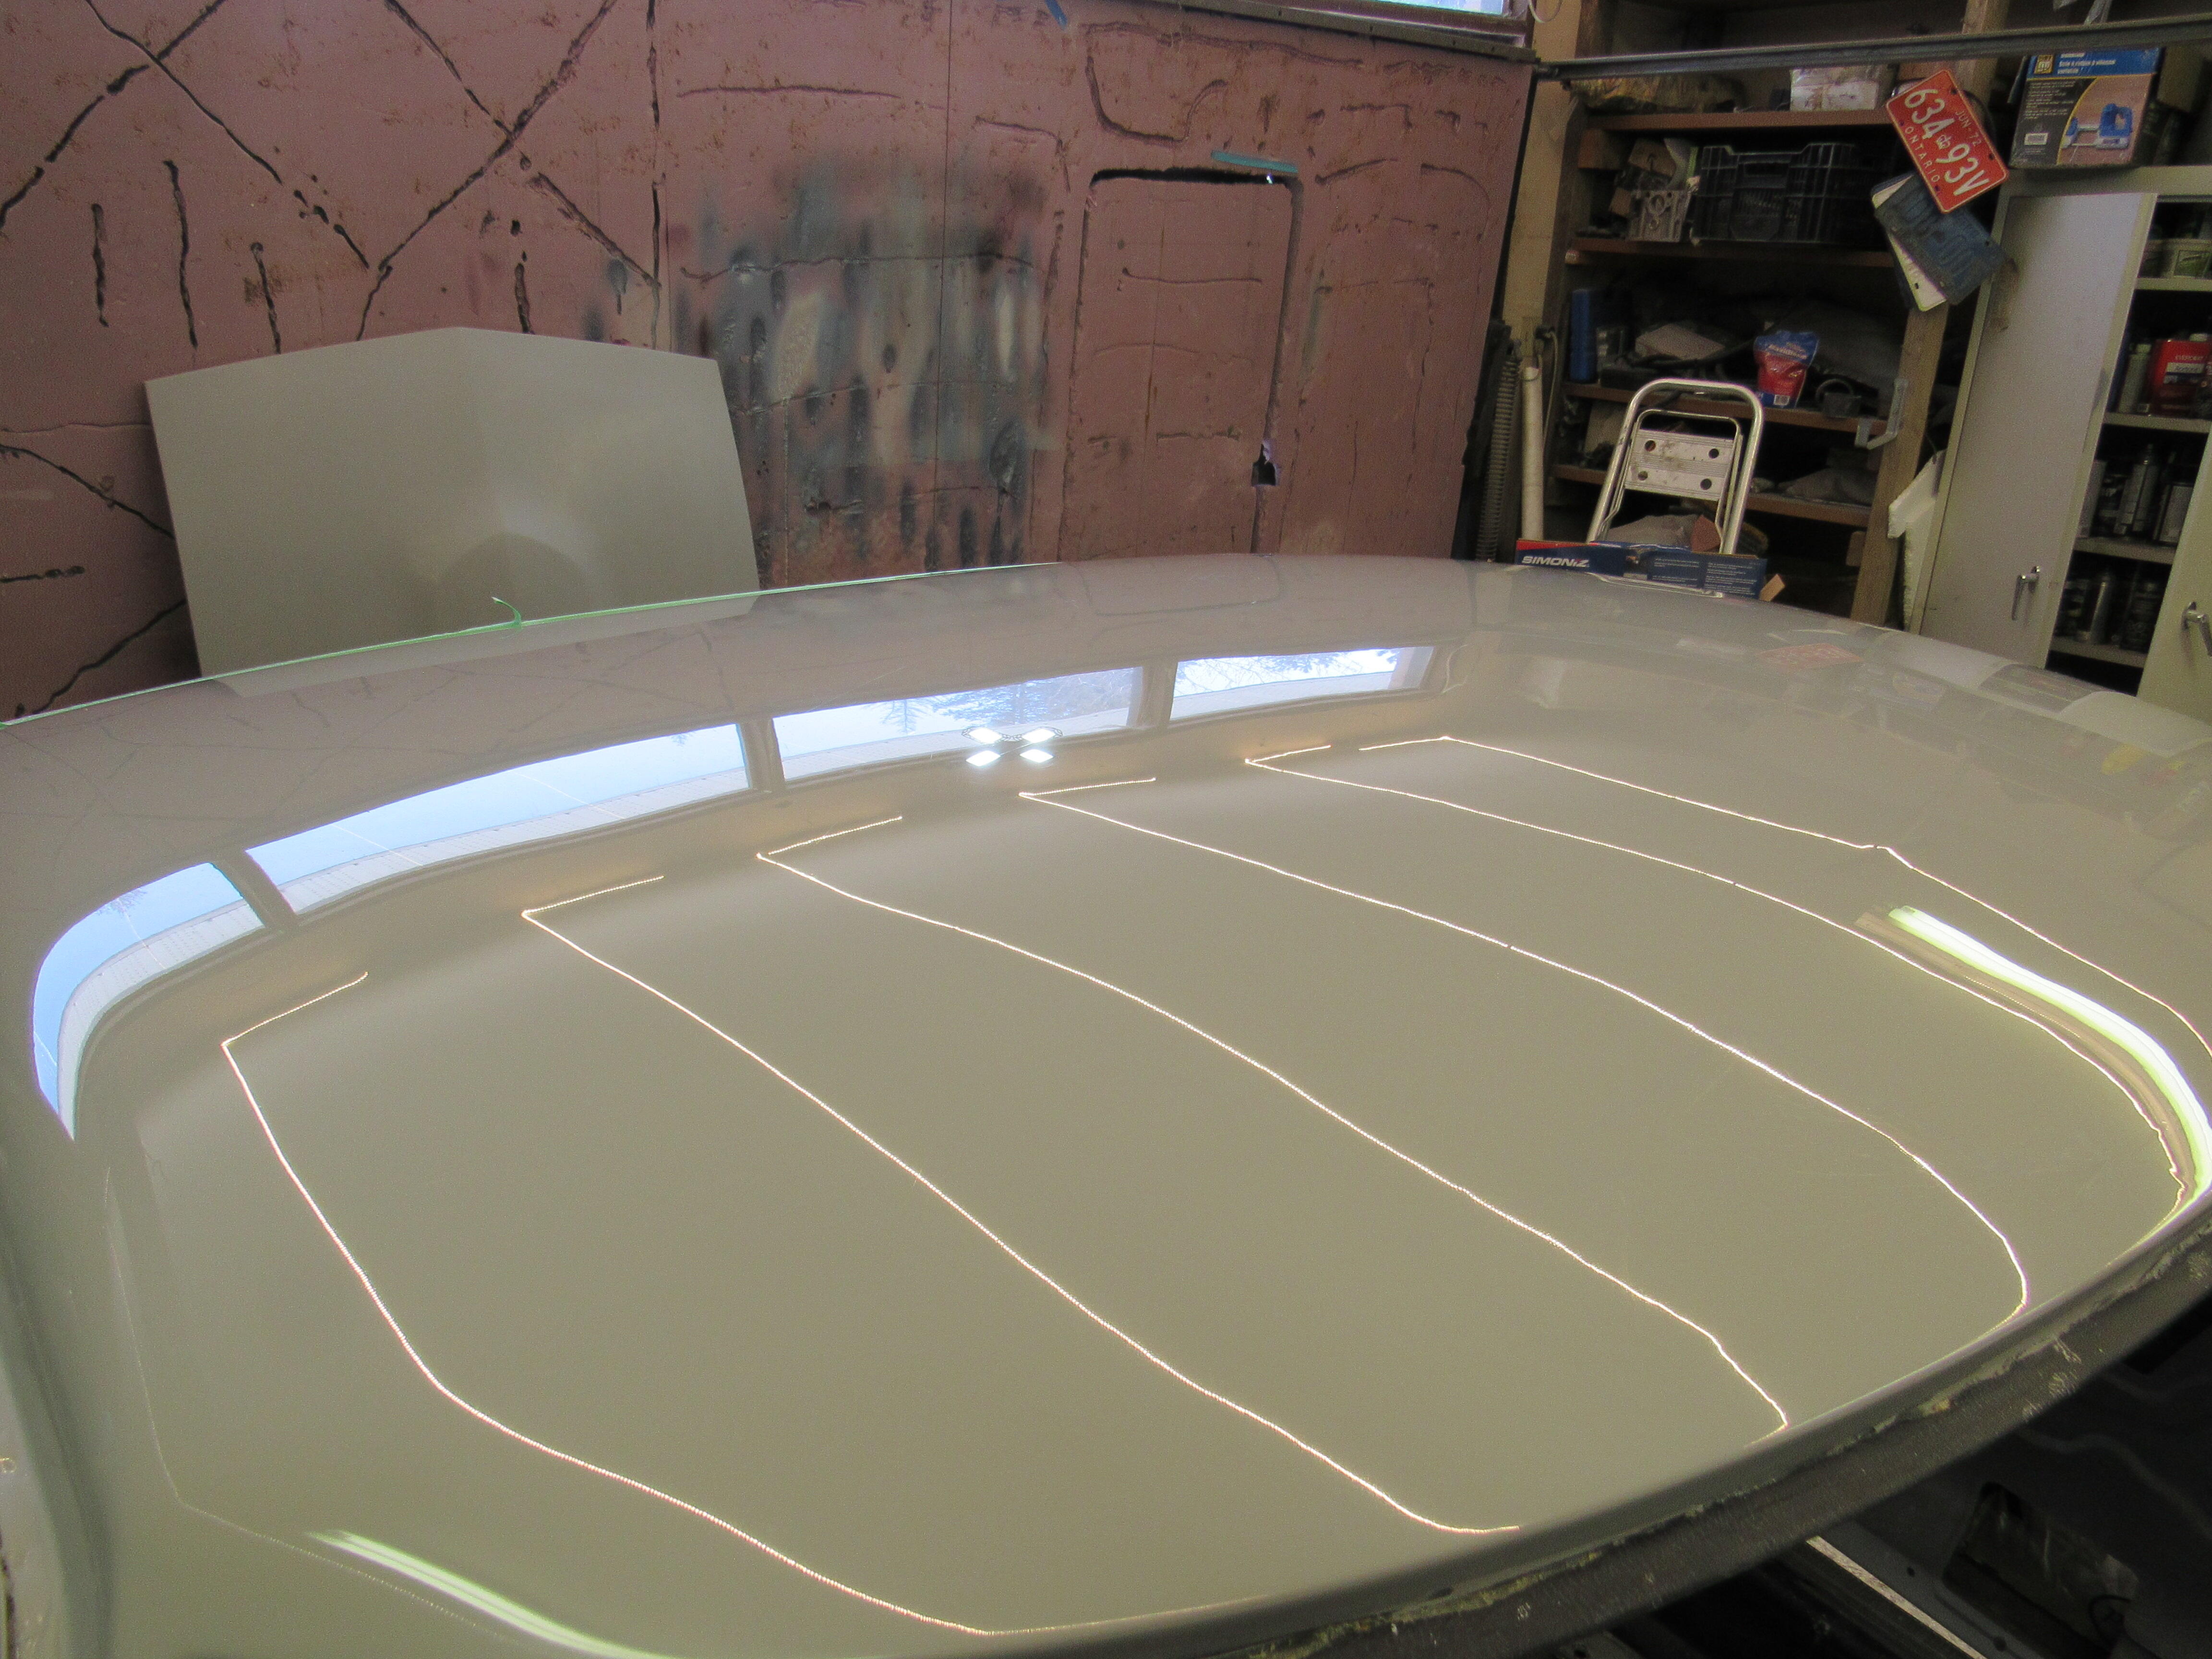
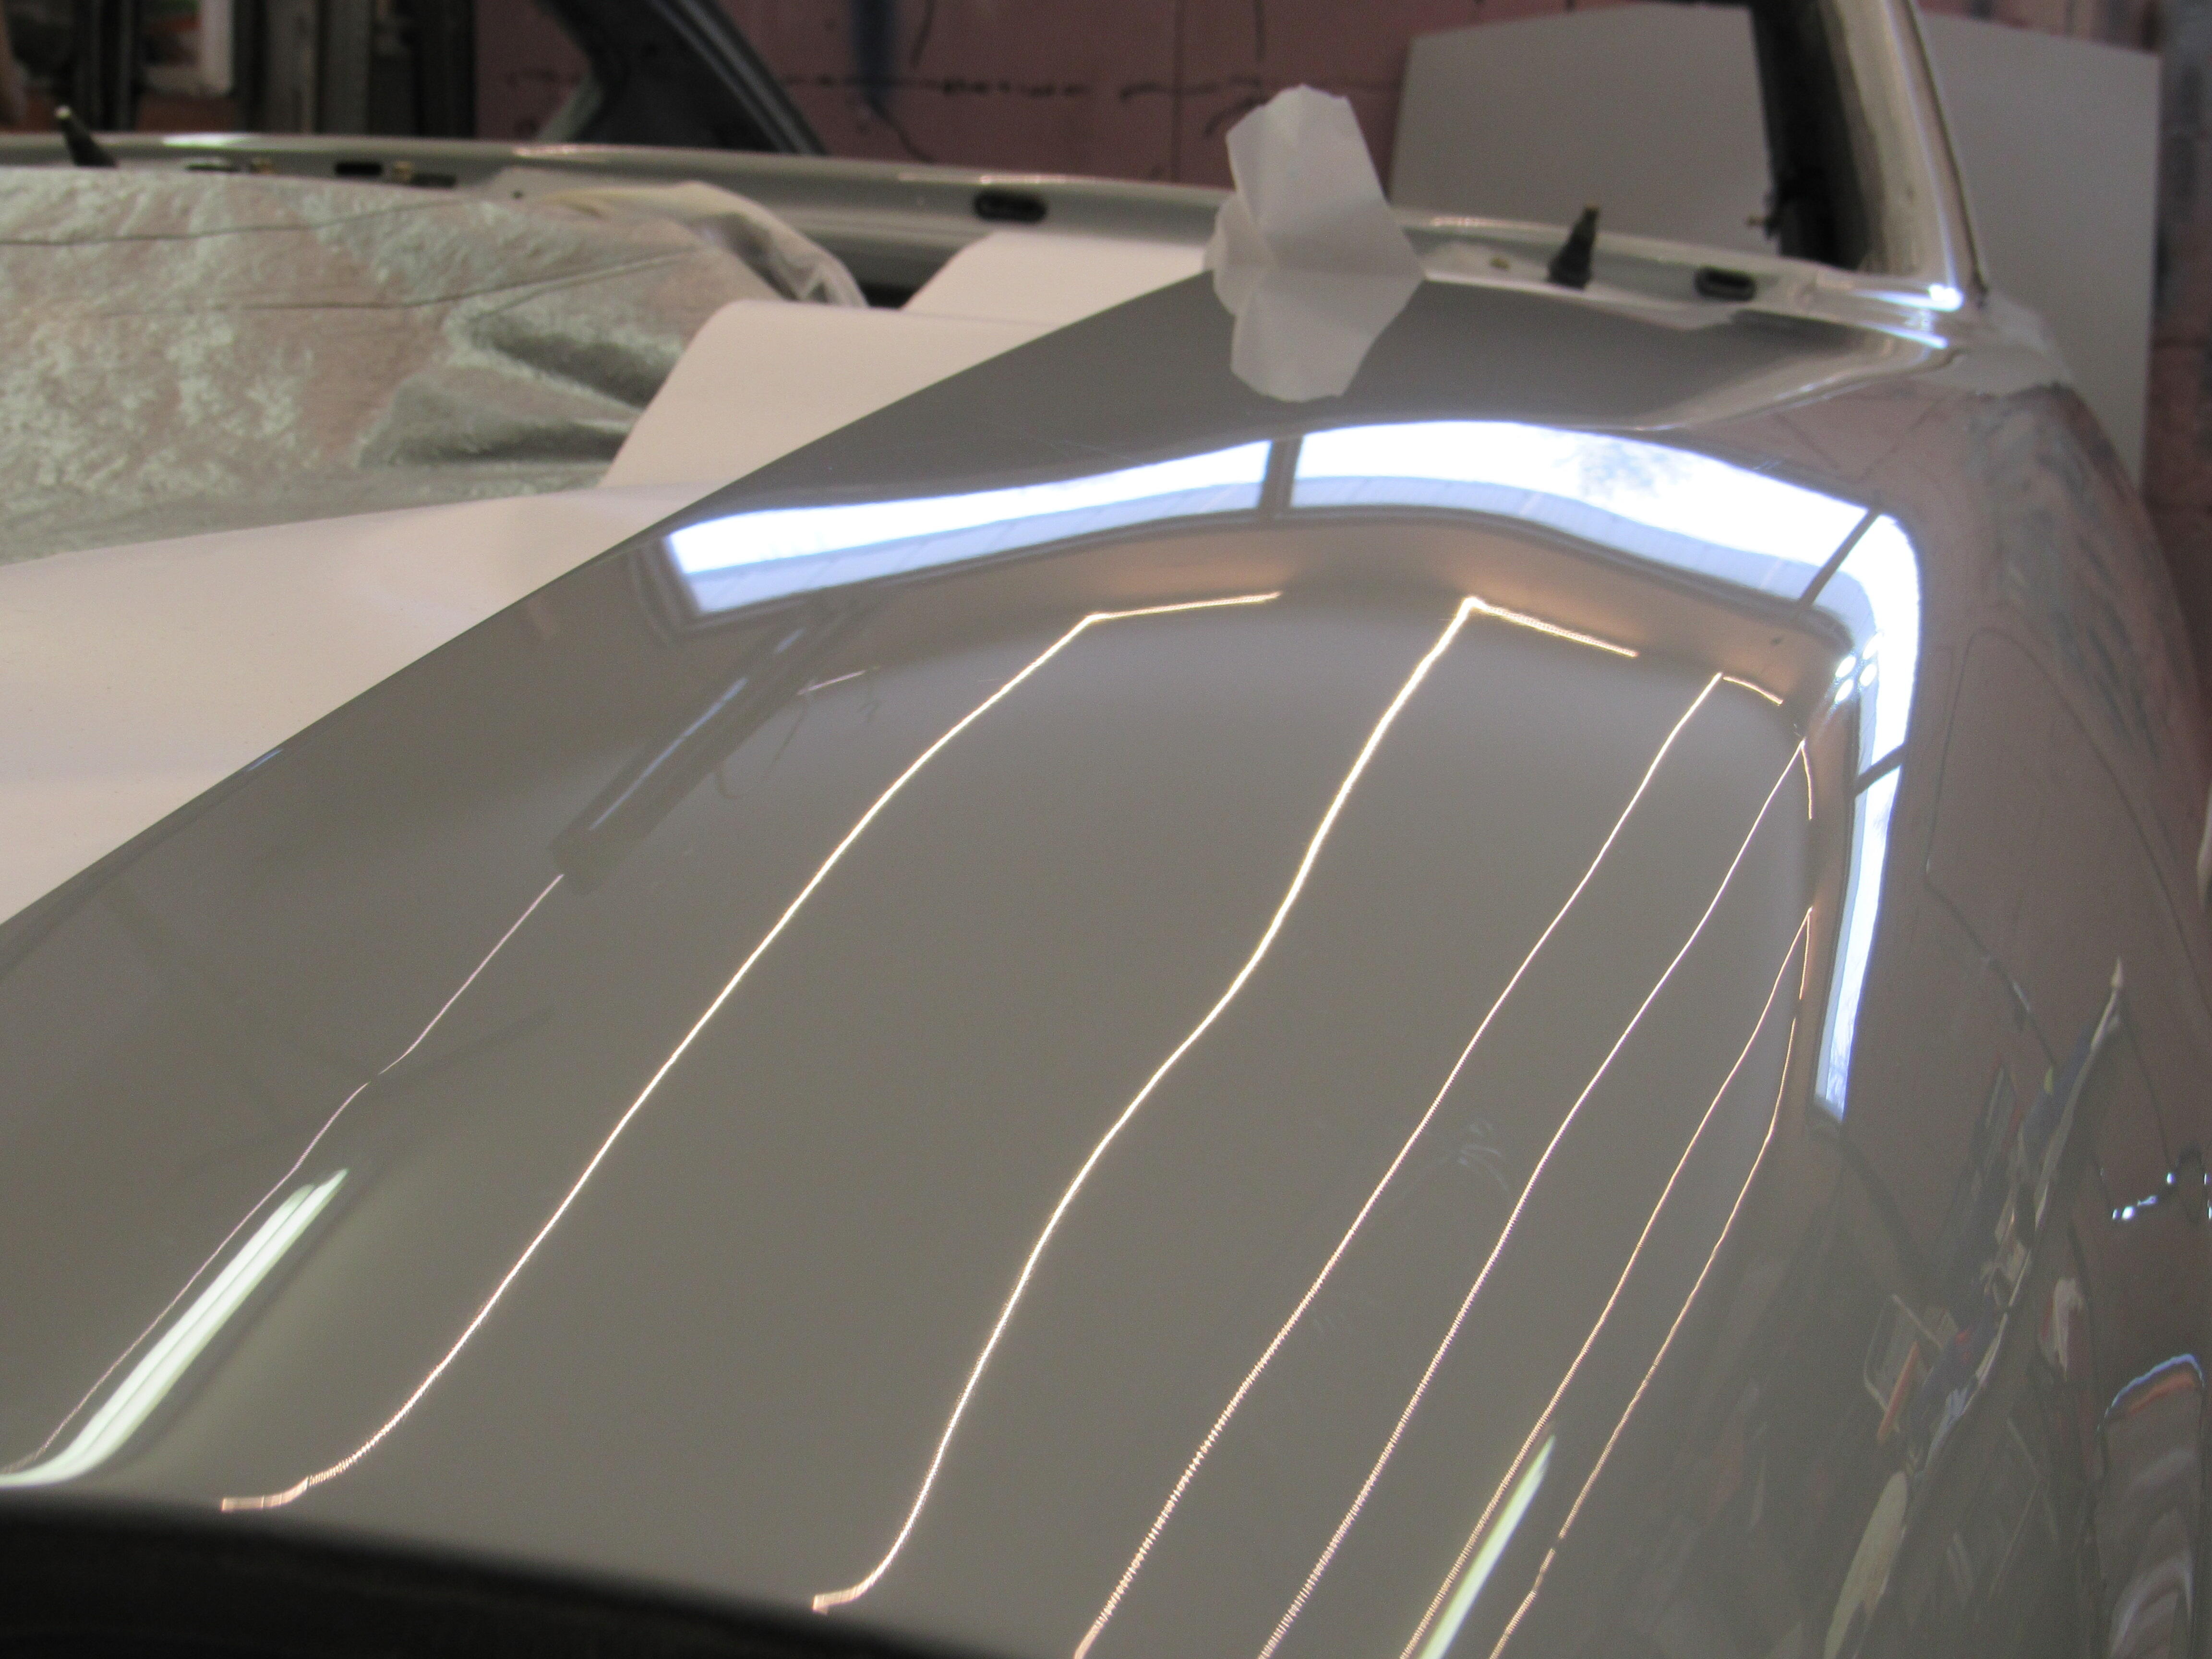
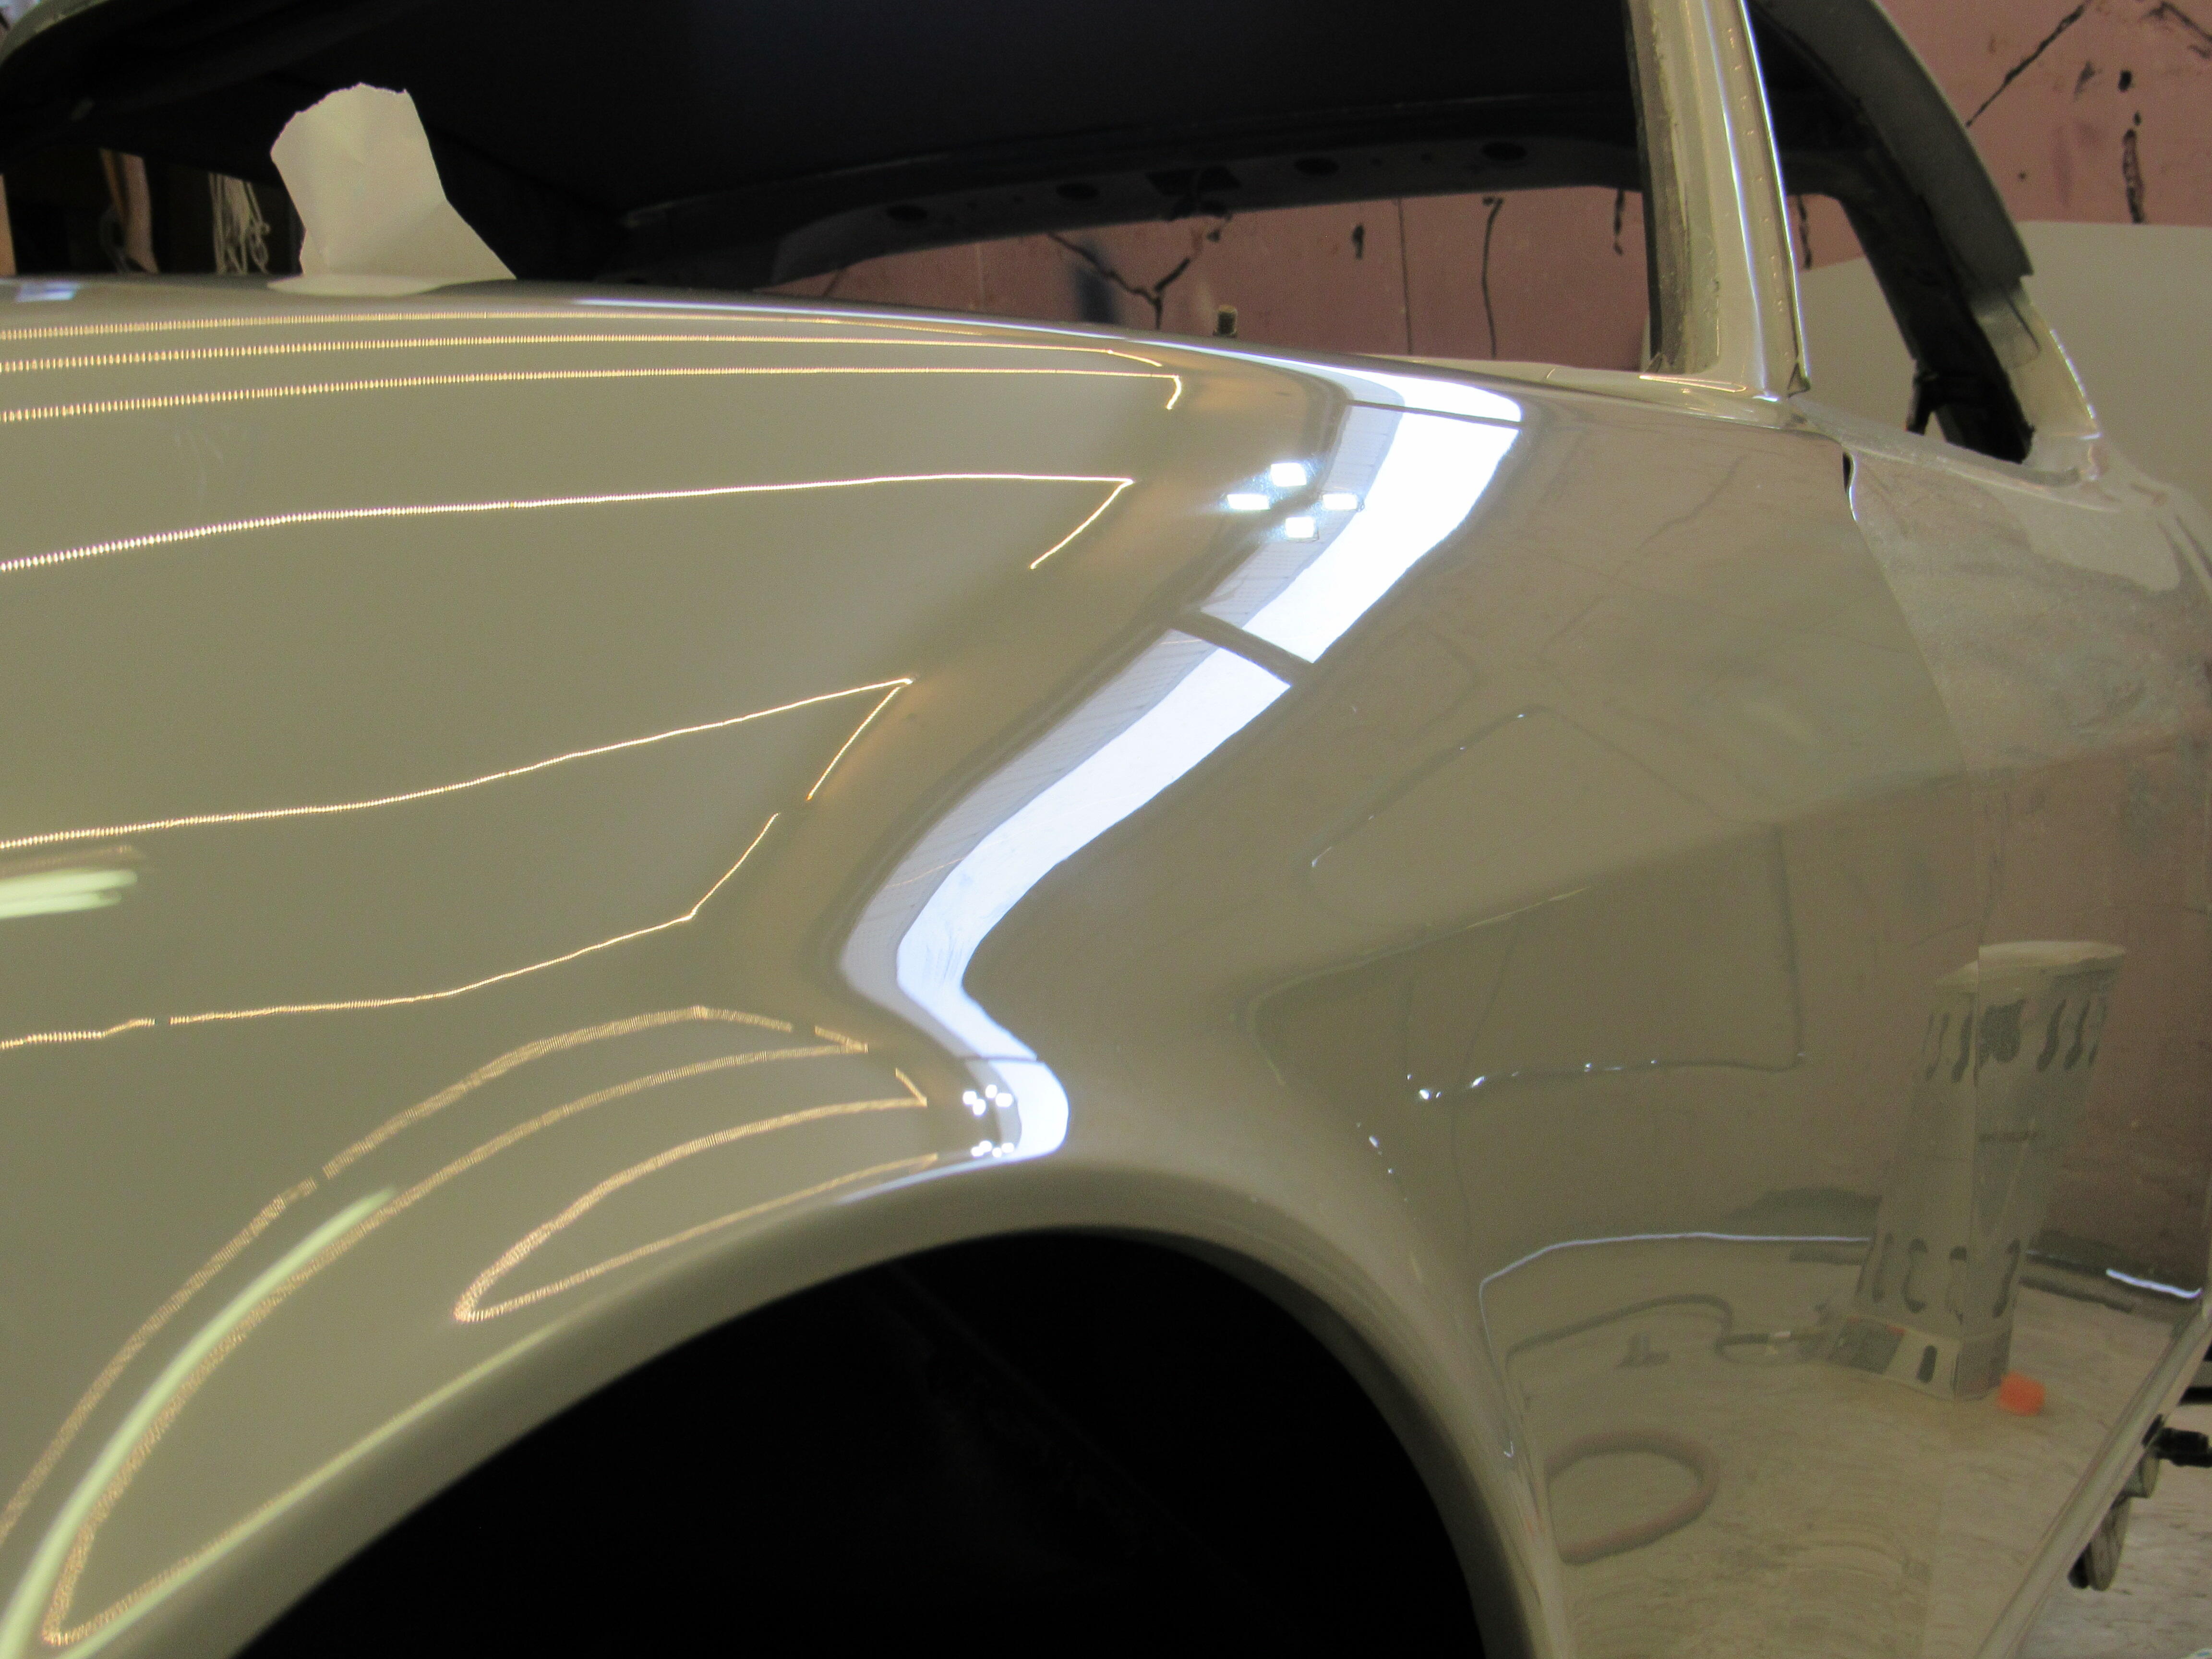
I started wet blocking with 1000, 1500, 2000 and 2500, finished that up yesterday and started cut and buff this morning, one more day and I'll have the paint done😊😊😊

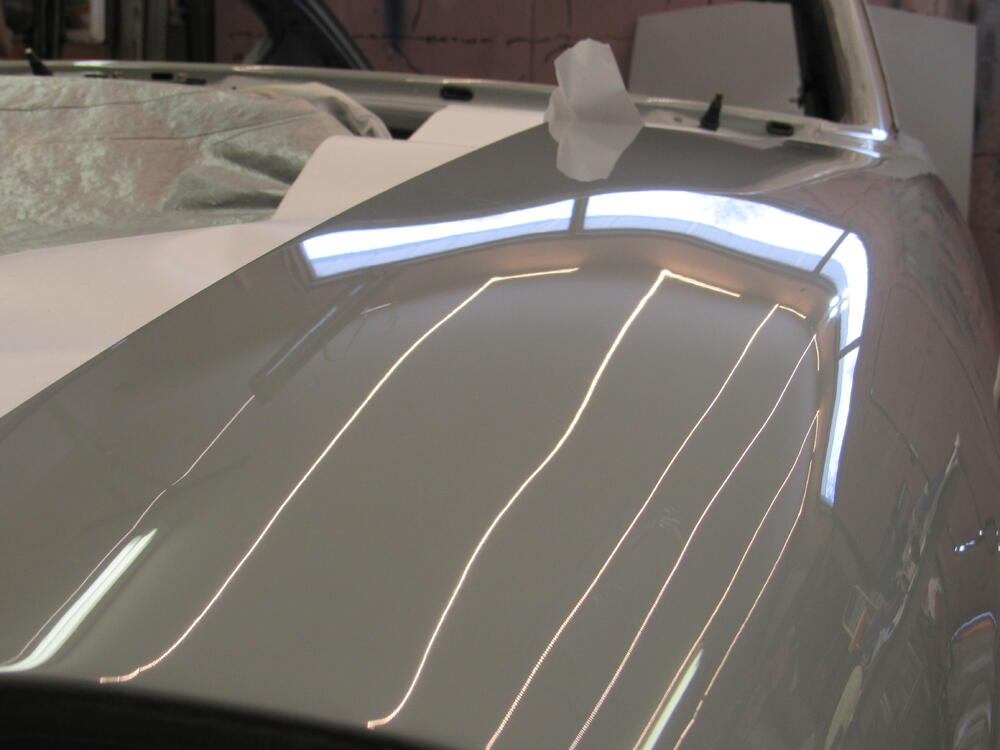
 7 points
 -
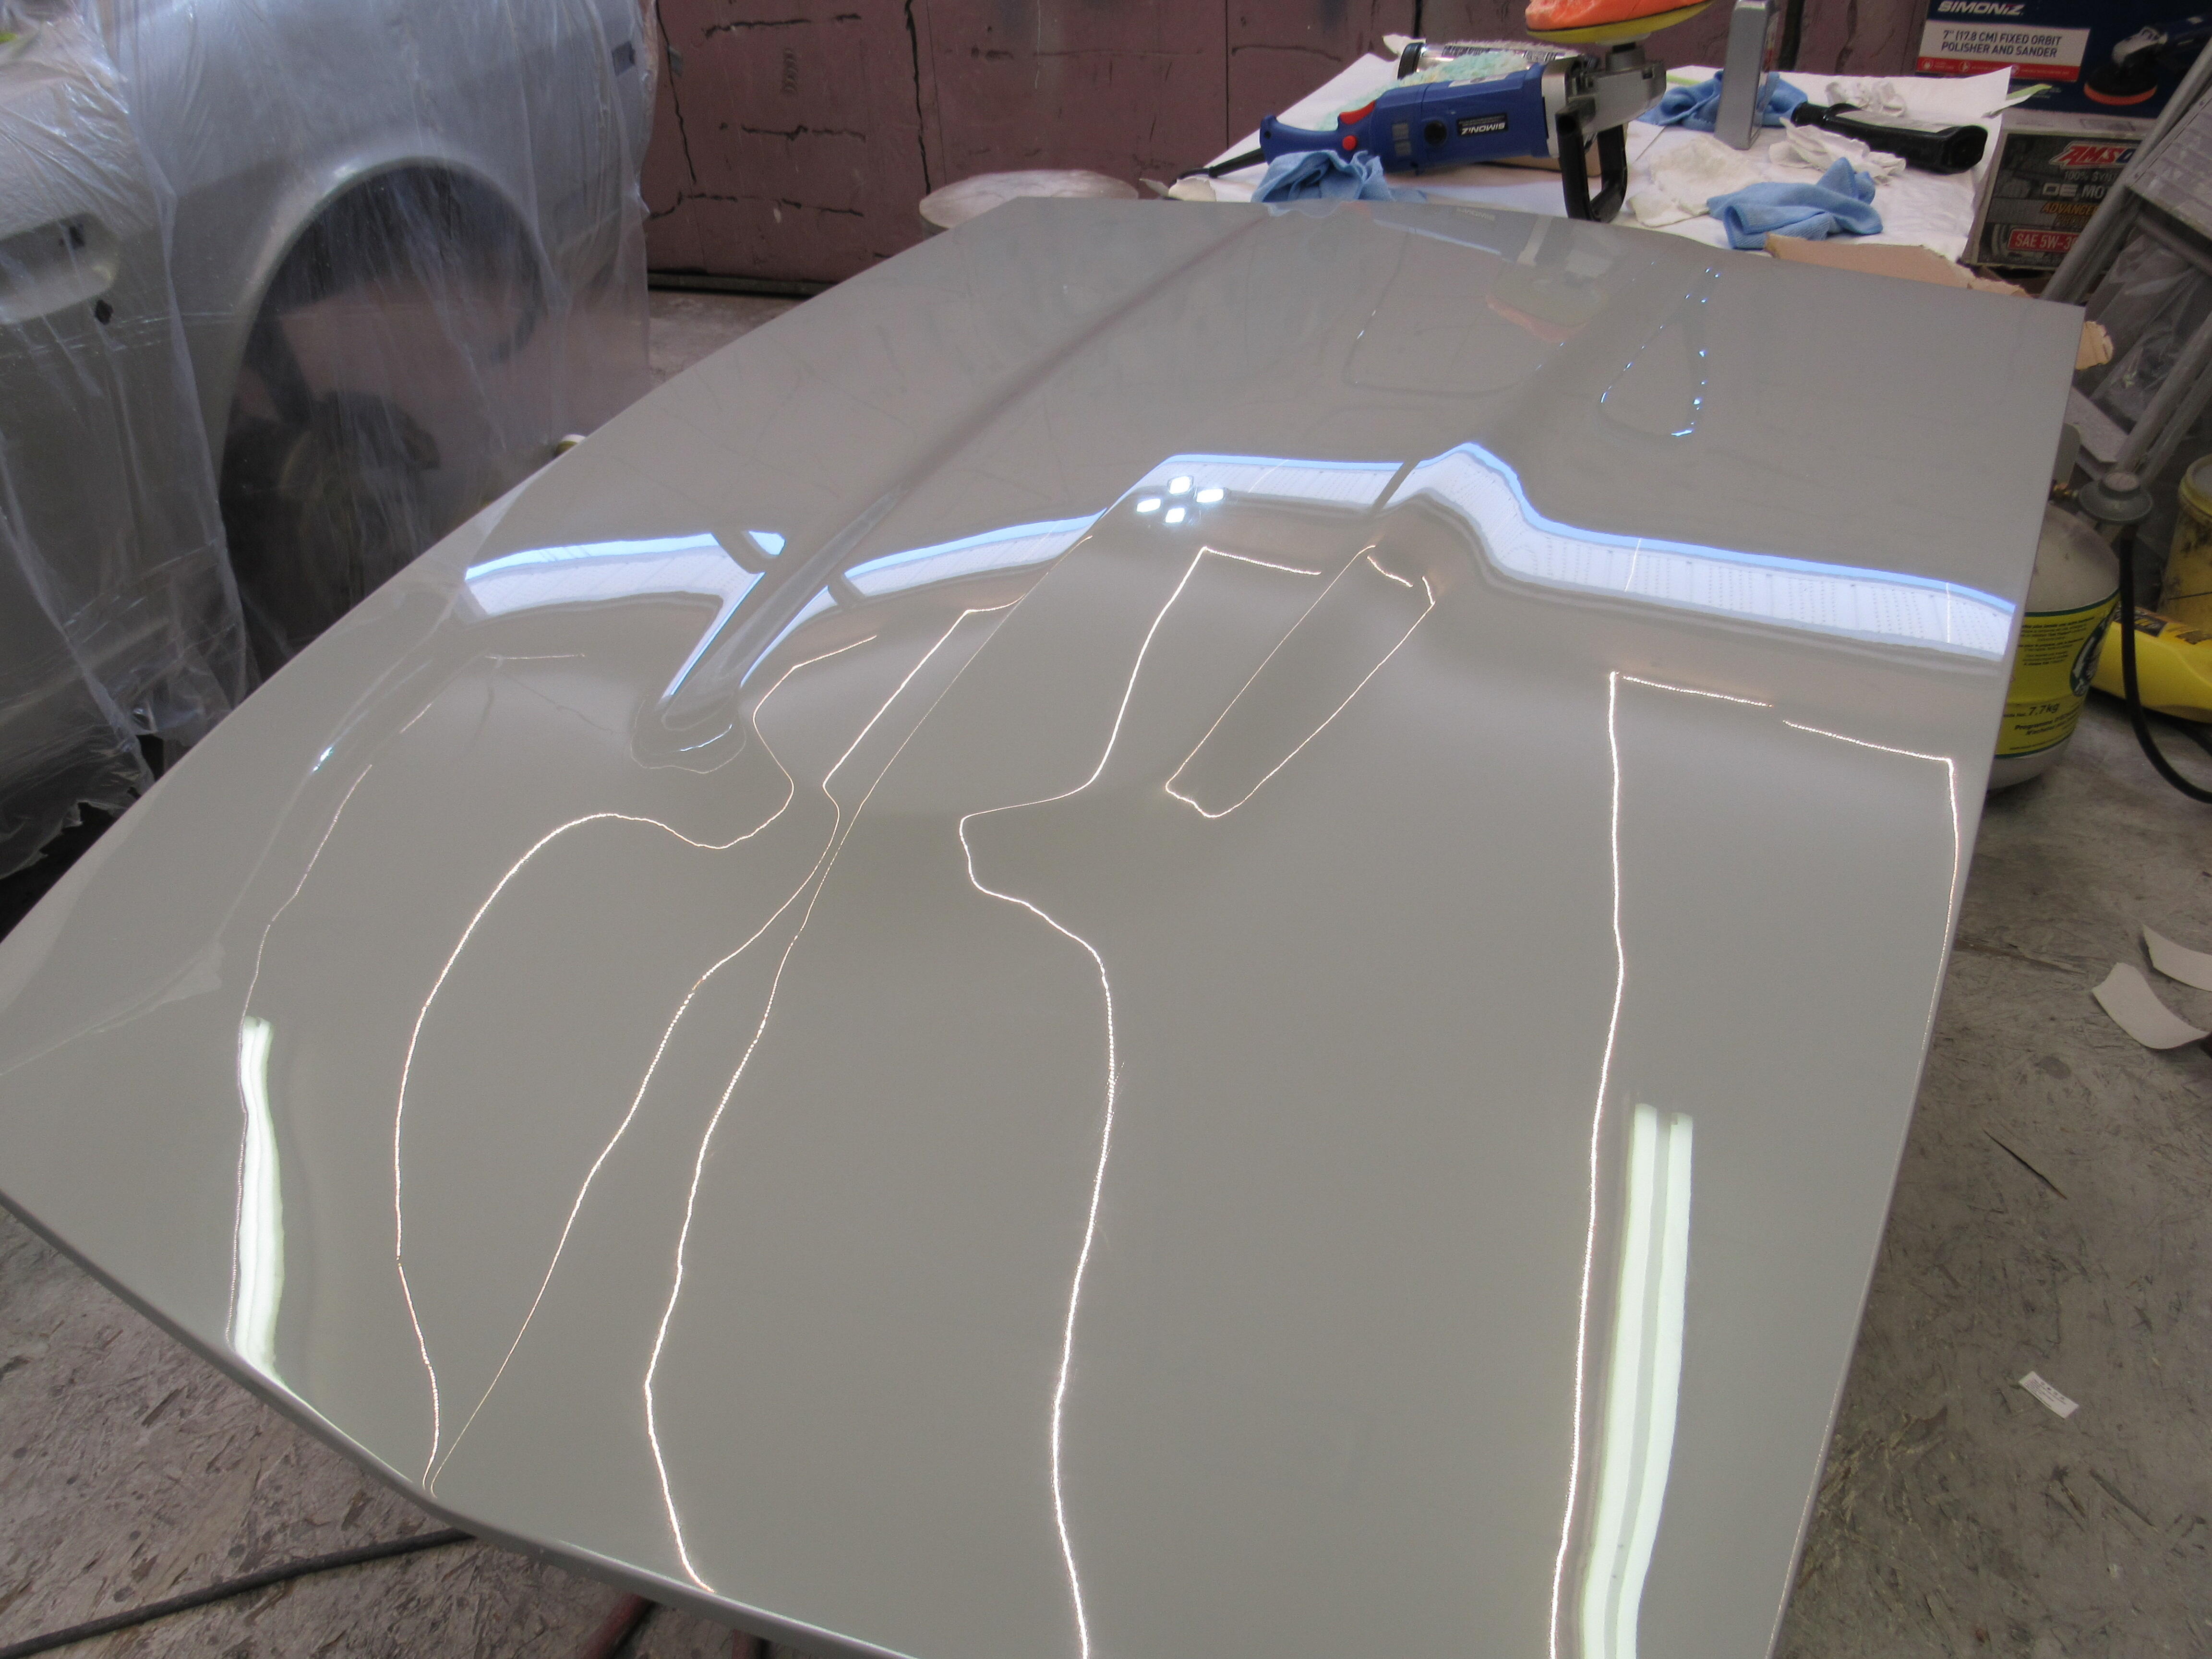
The hood was the last piece to be done today, tomorrow I start dropping the engine back in.
 2 points
 -
2 pointsI think at 52 it would be hard to get adopted but I'd be the best! Your living a good life @psdenno and I know it's your good decisions. You're a good friend and I appreciate all your experiences you share with me and the forum. Keep on trucking!2 points
-
1 point
-
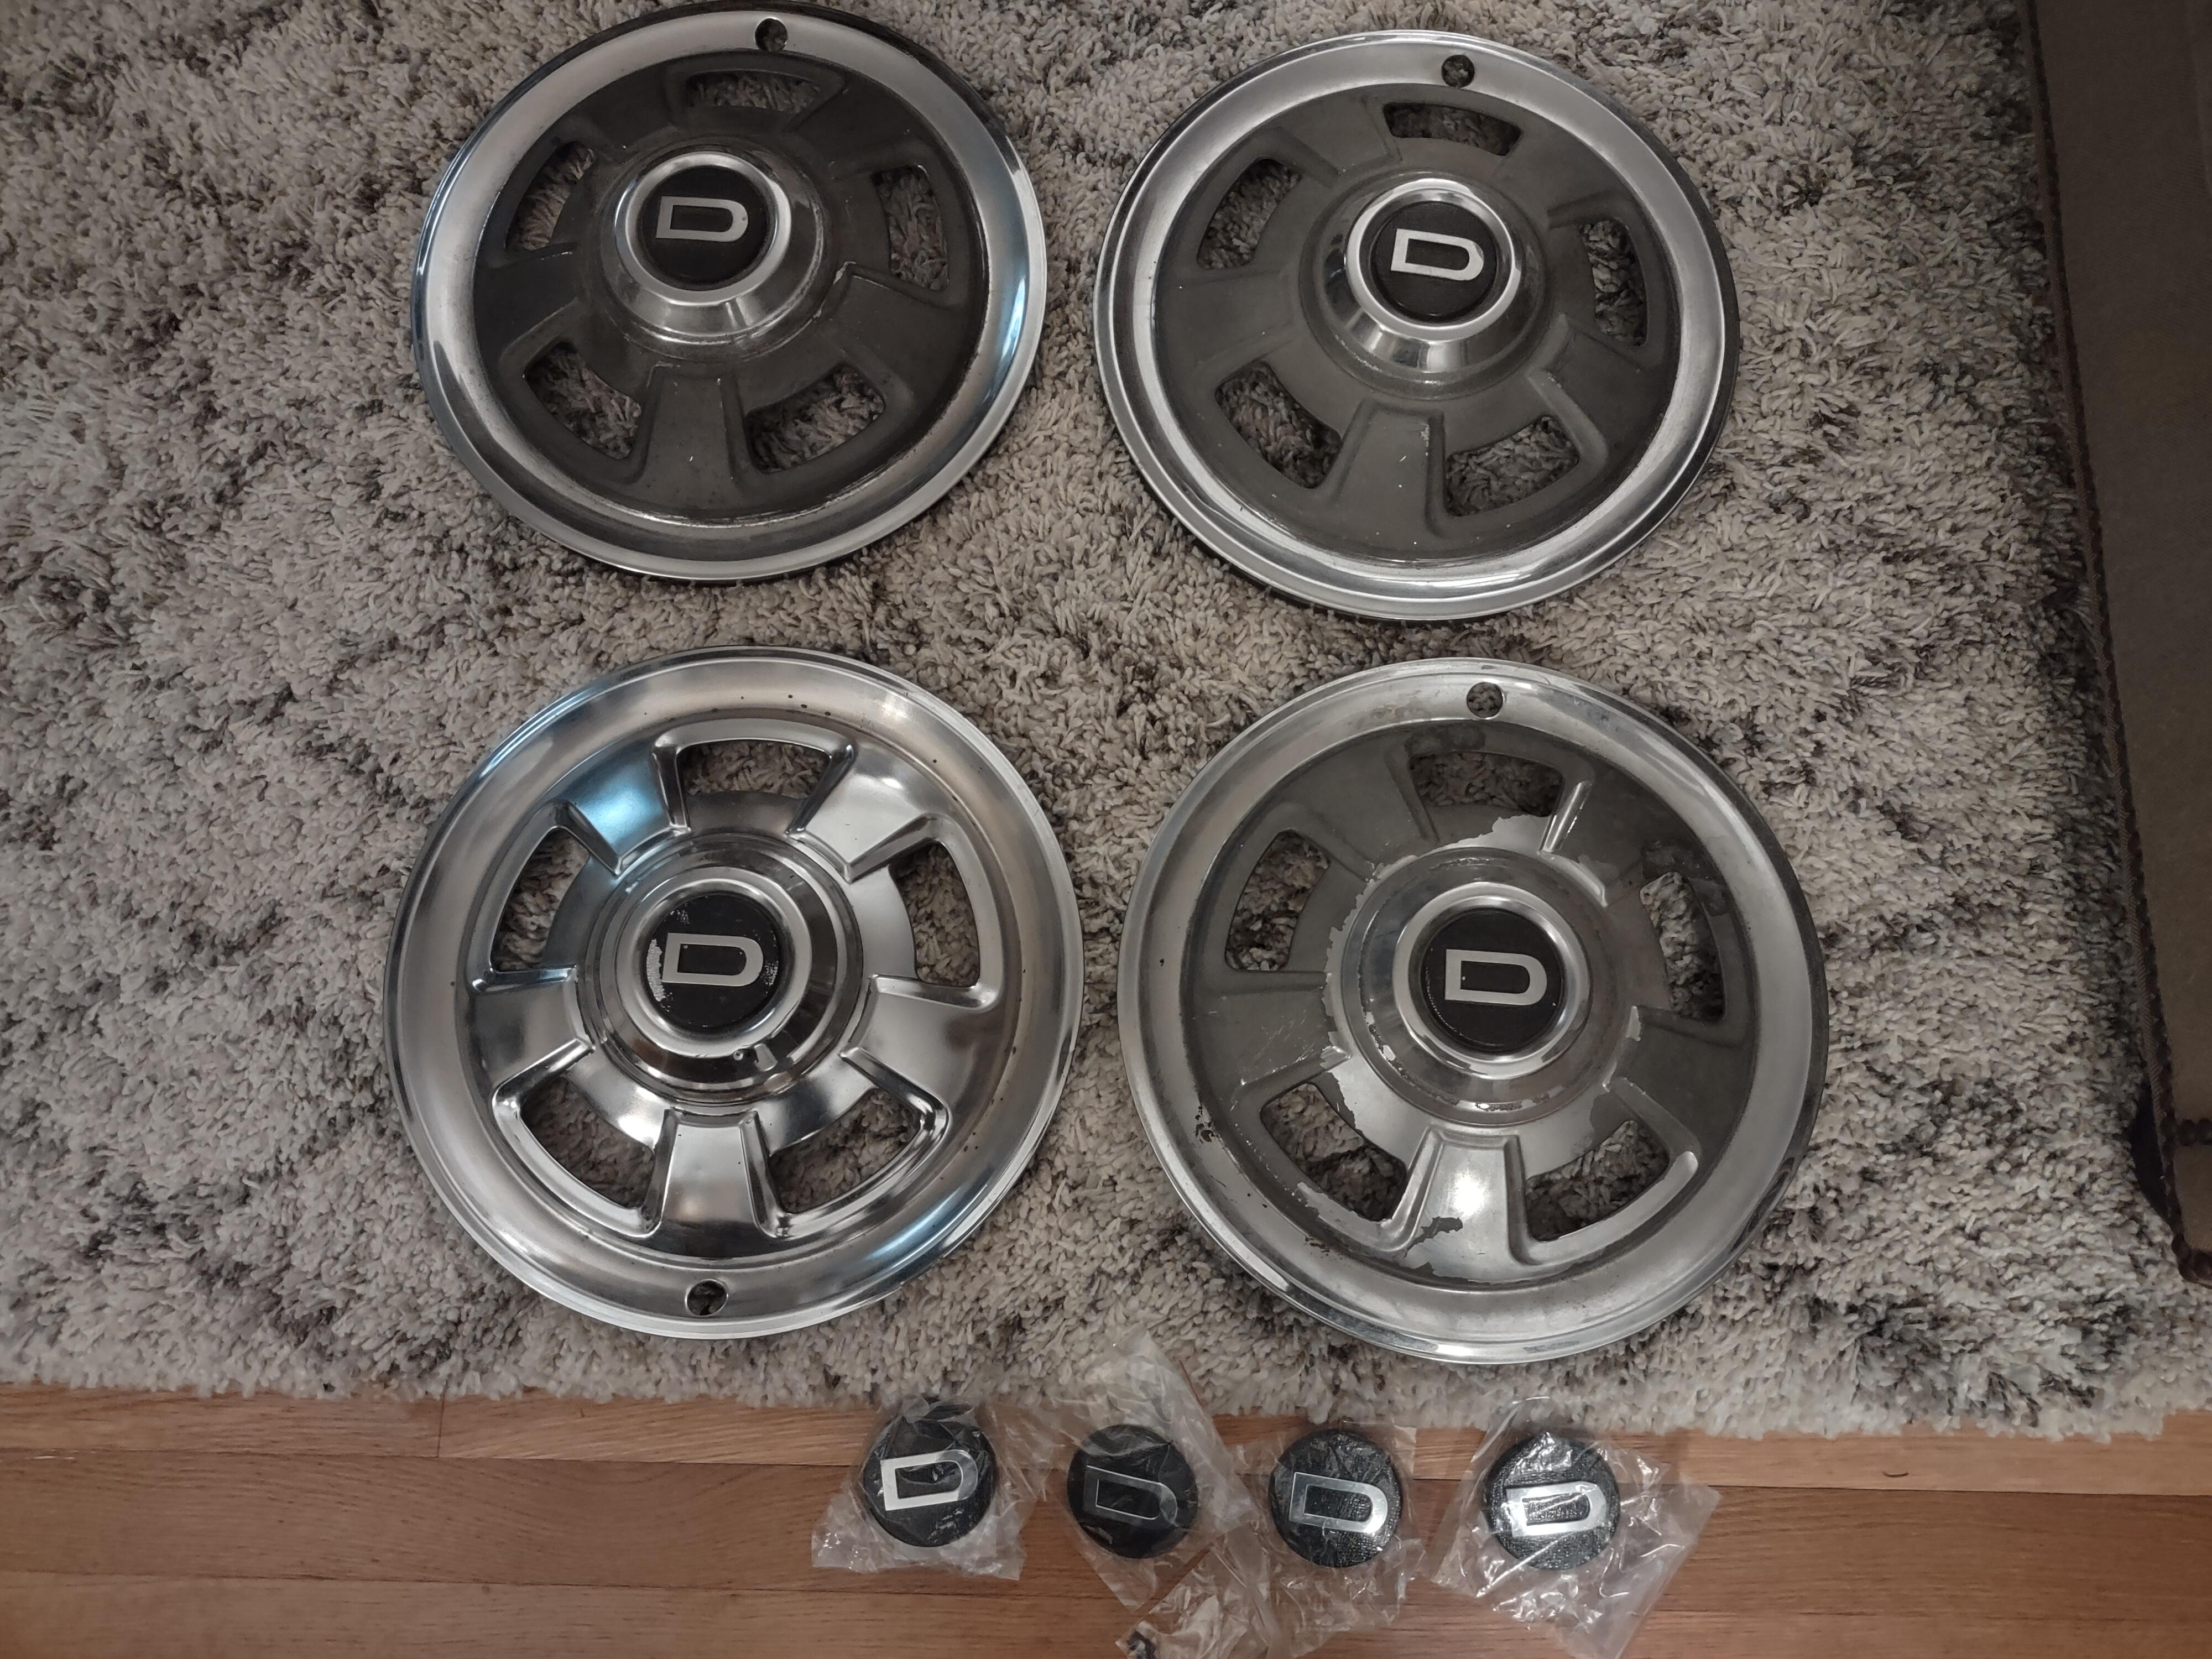
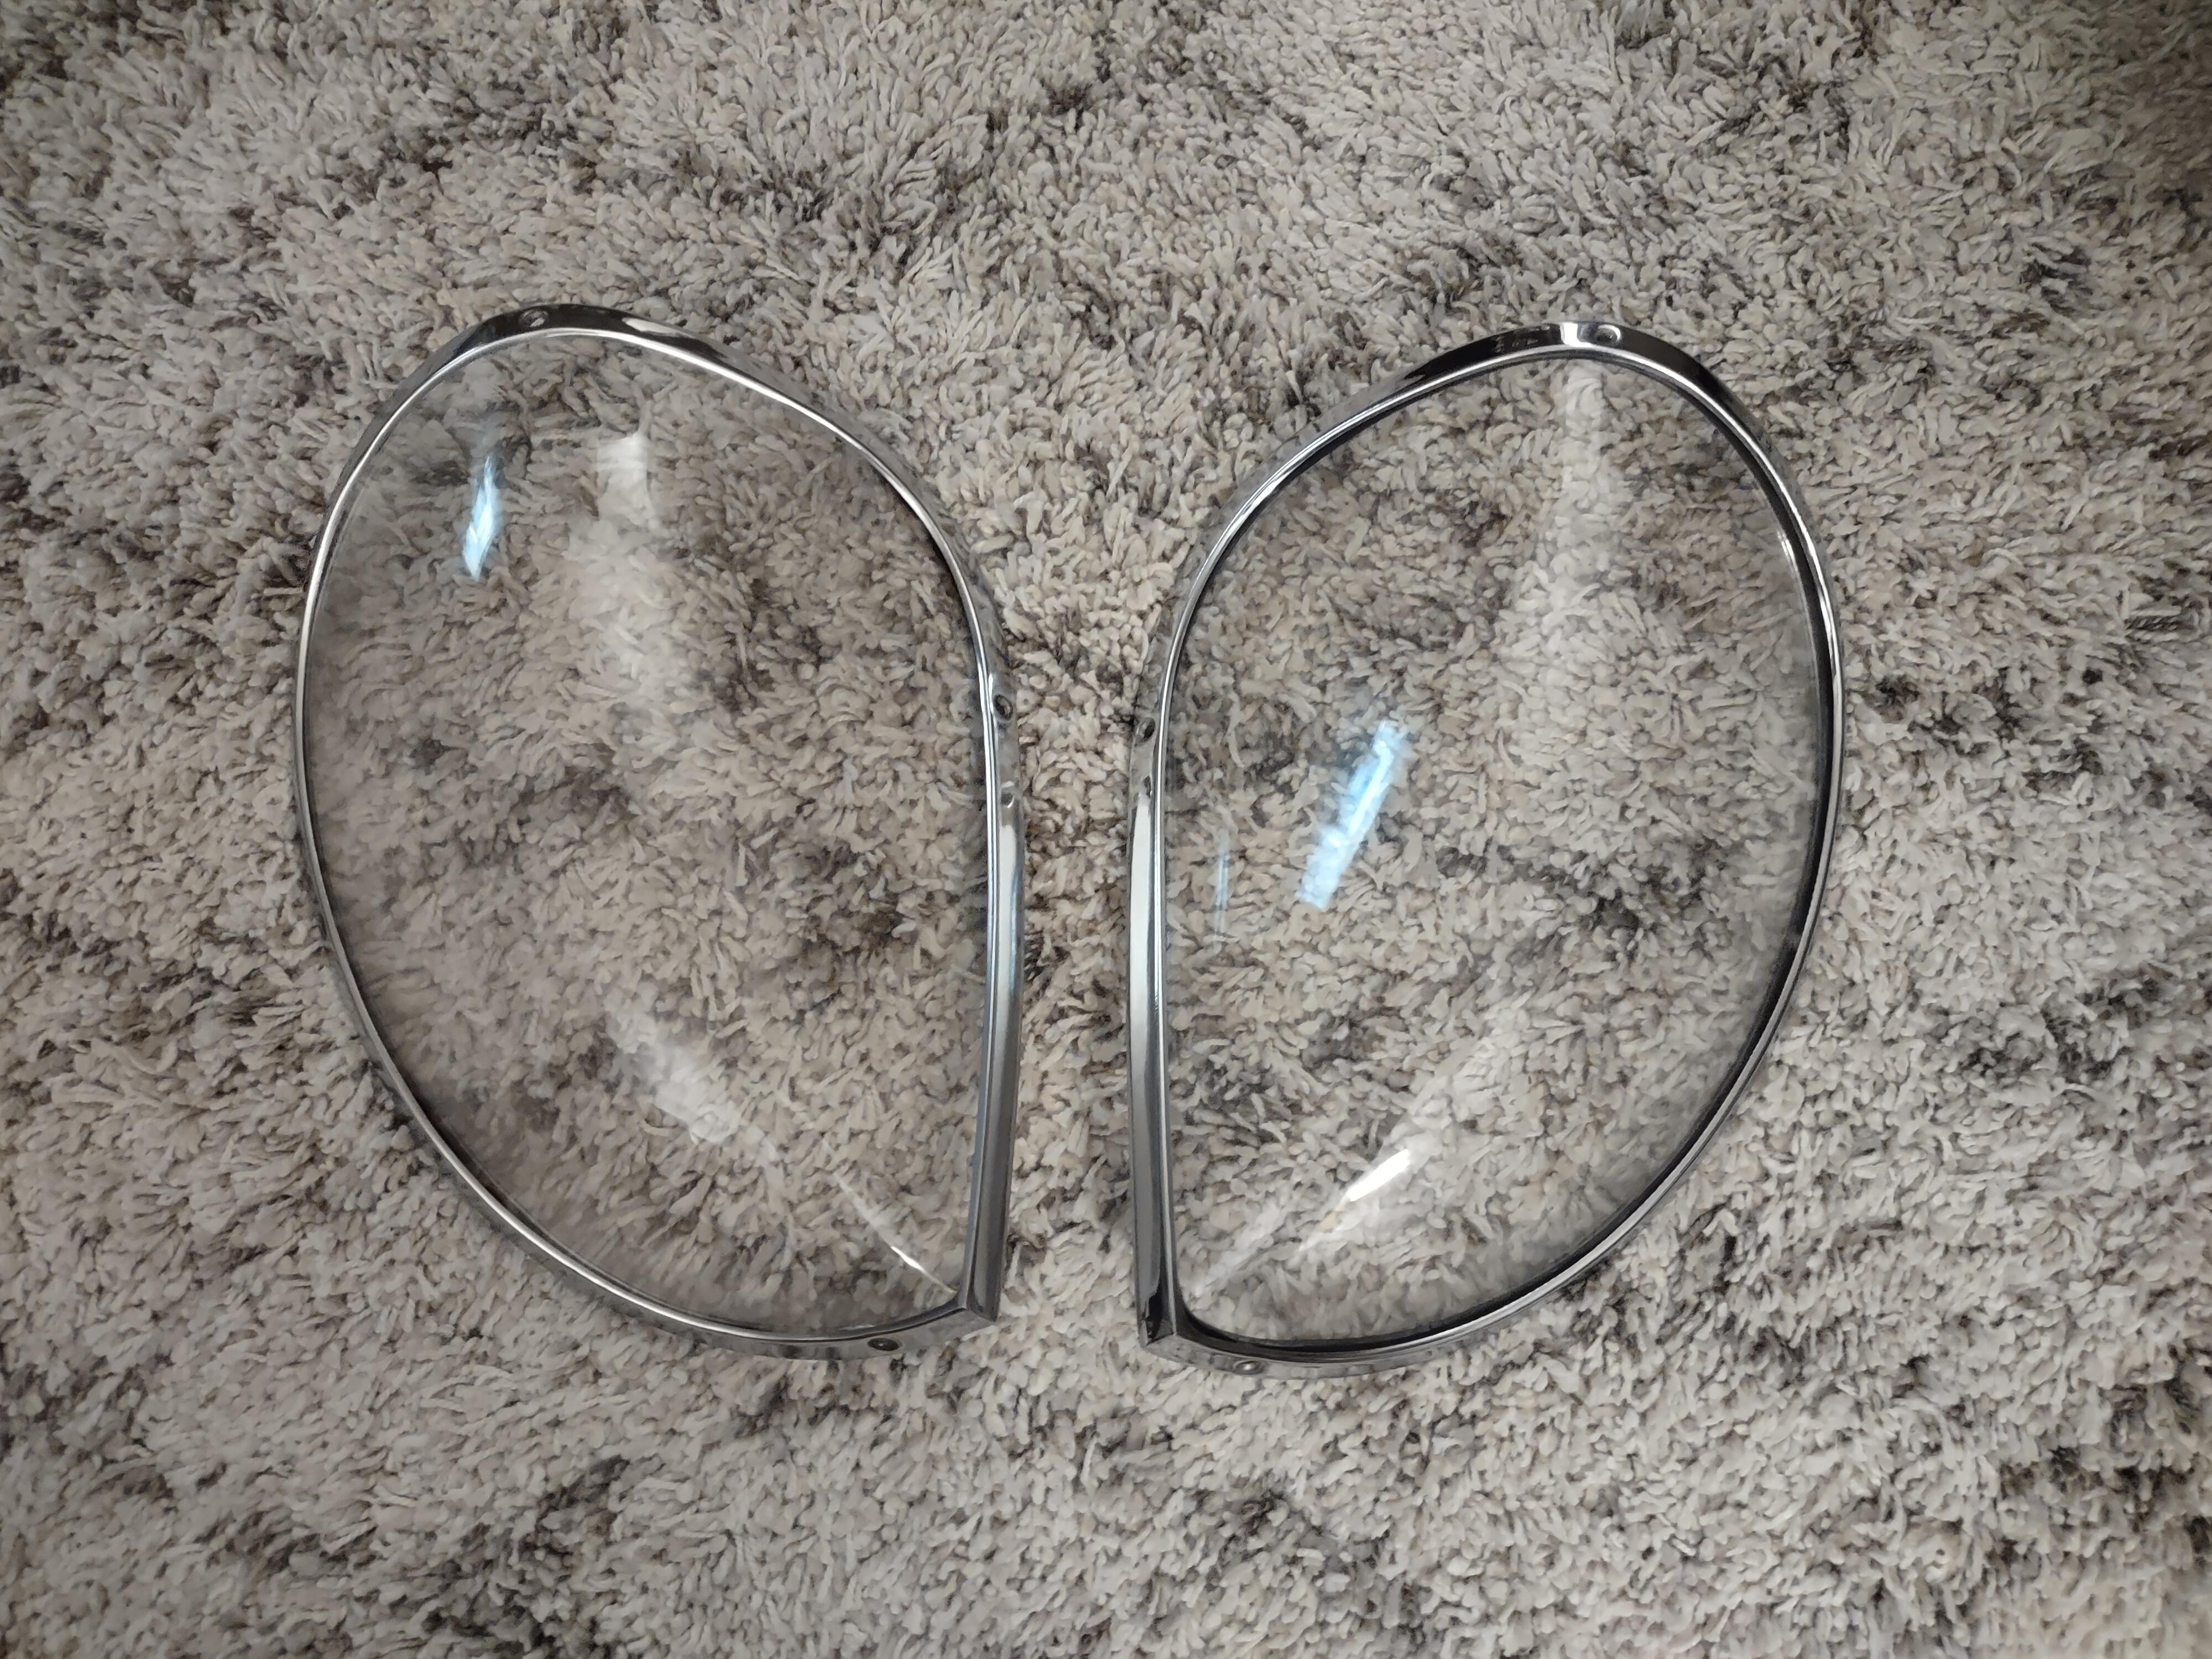
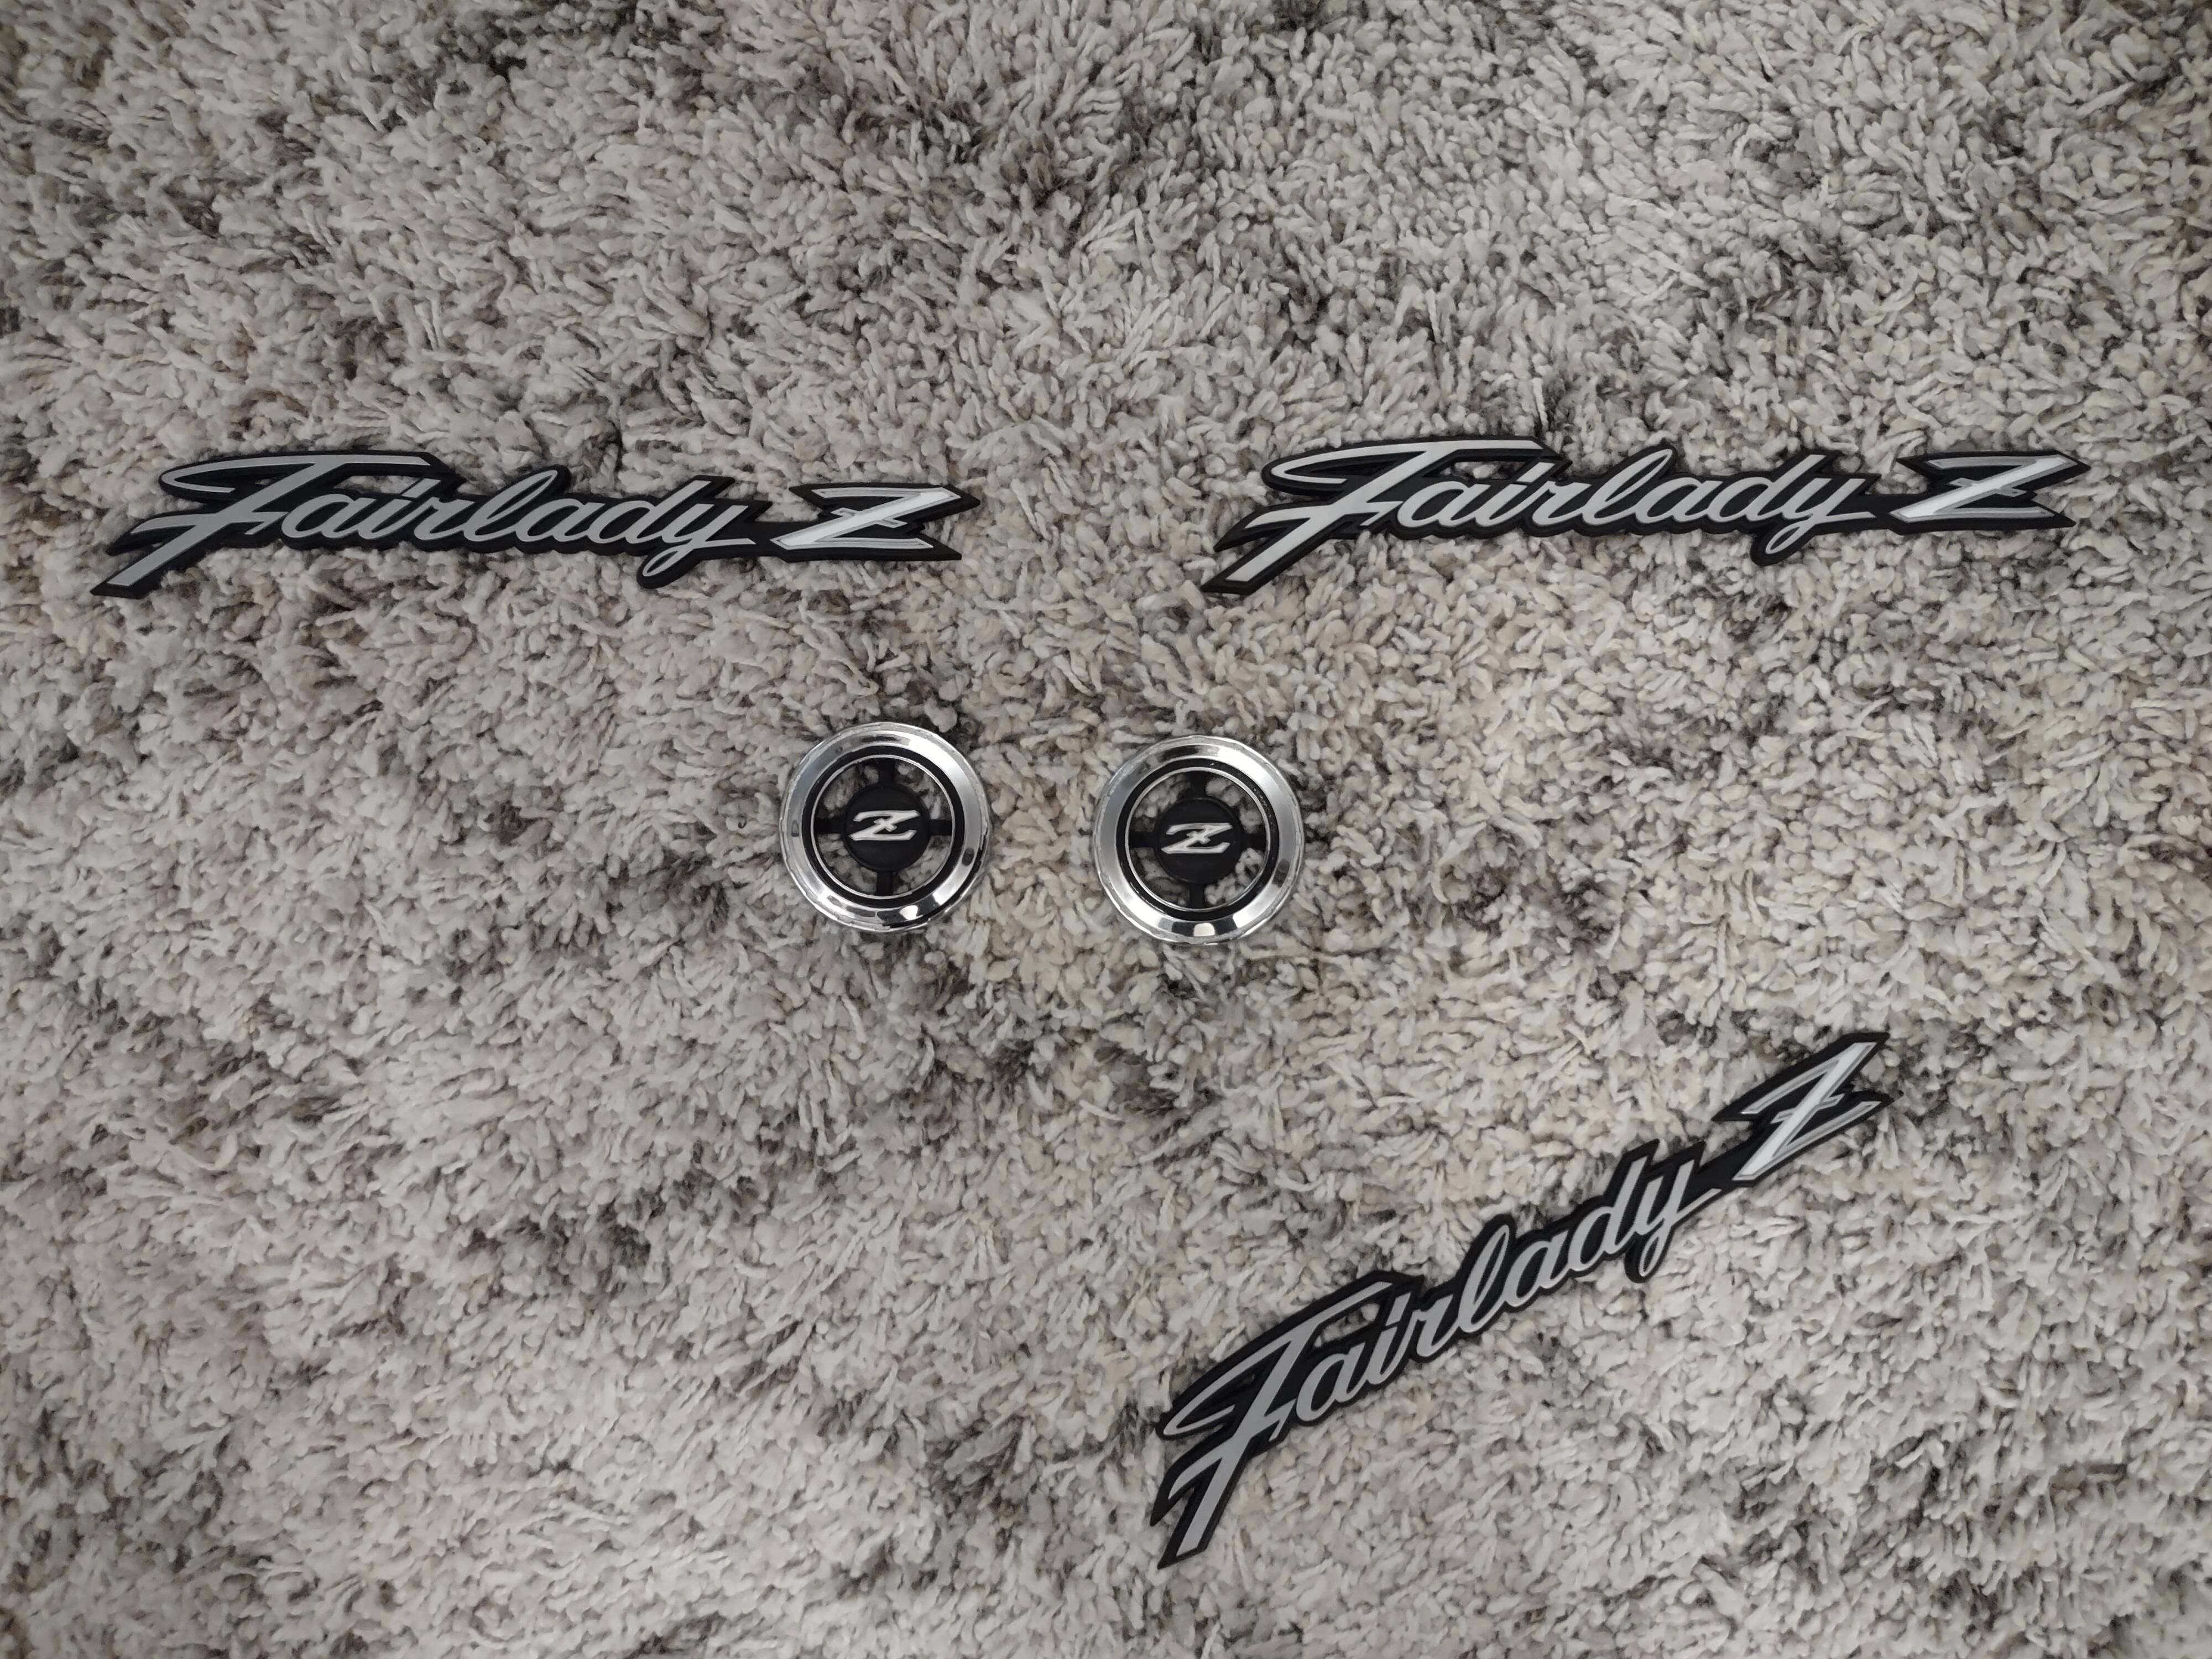
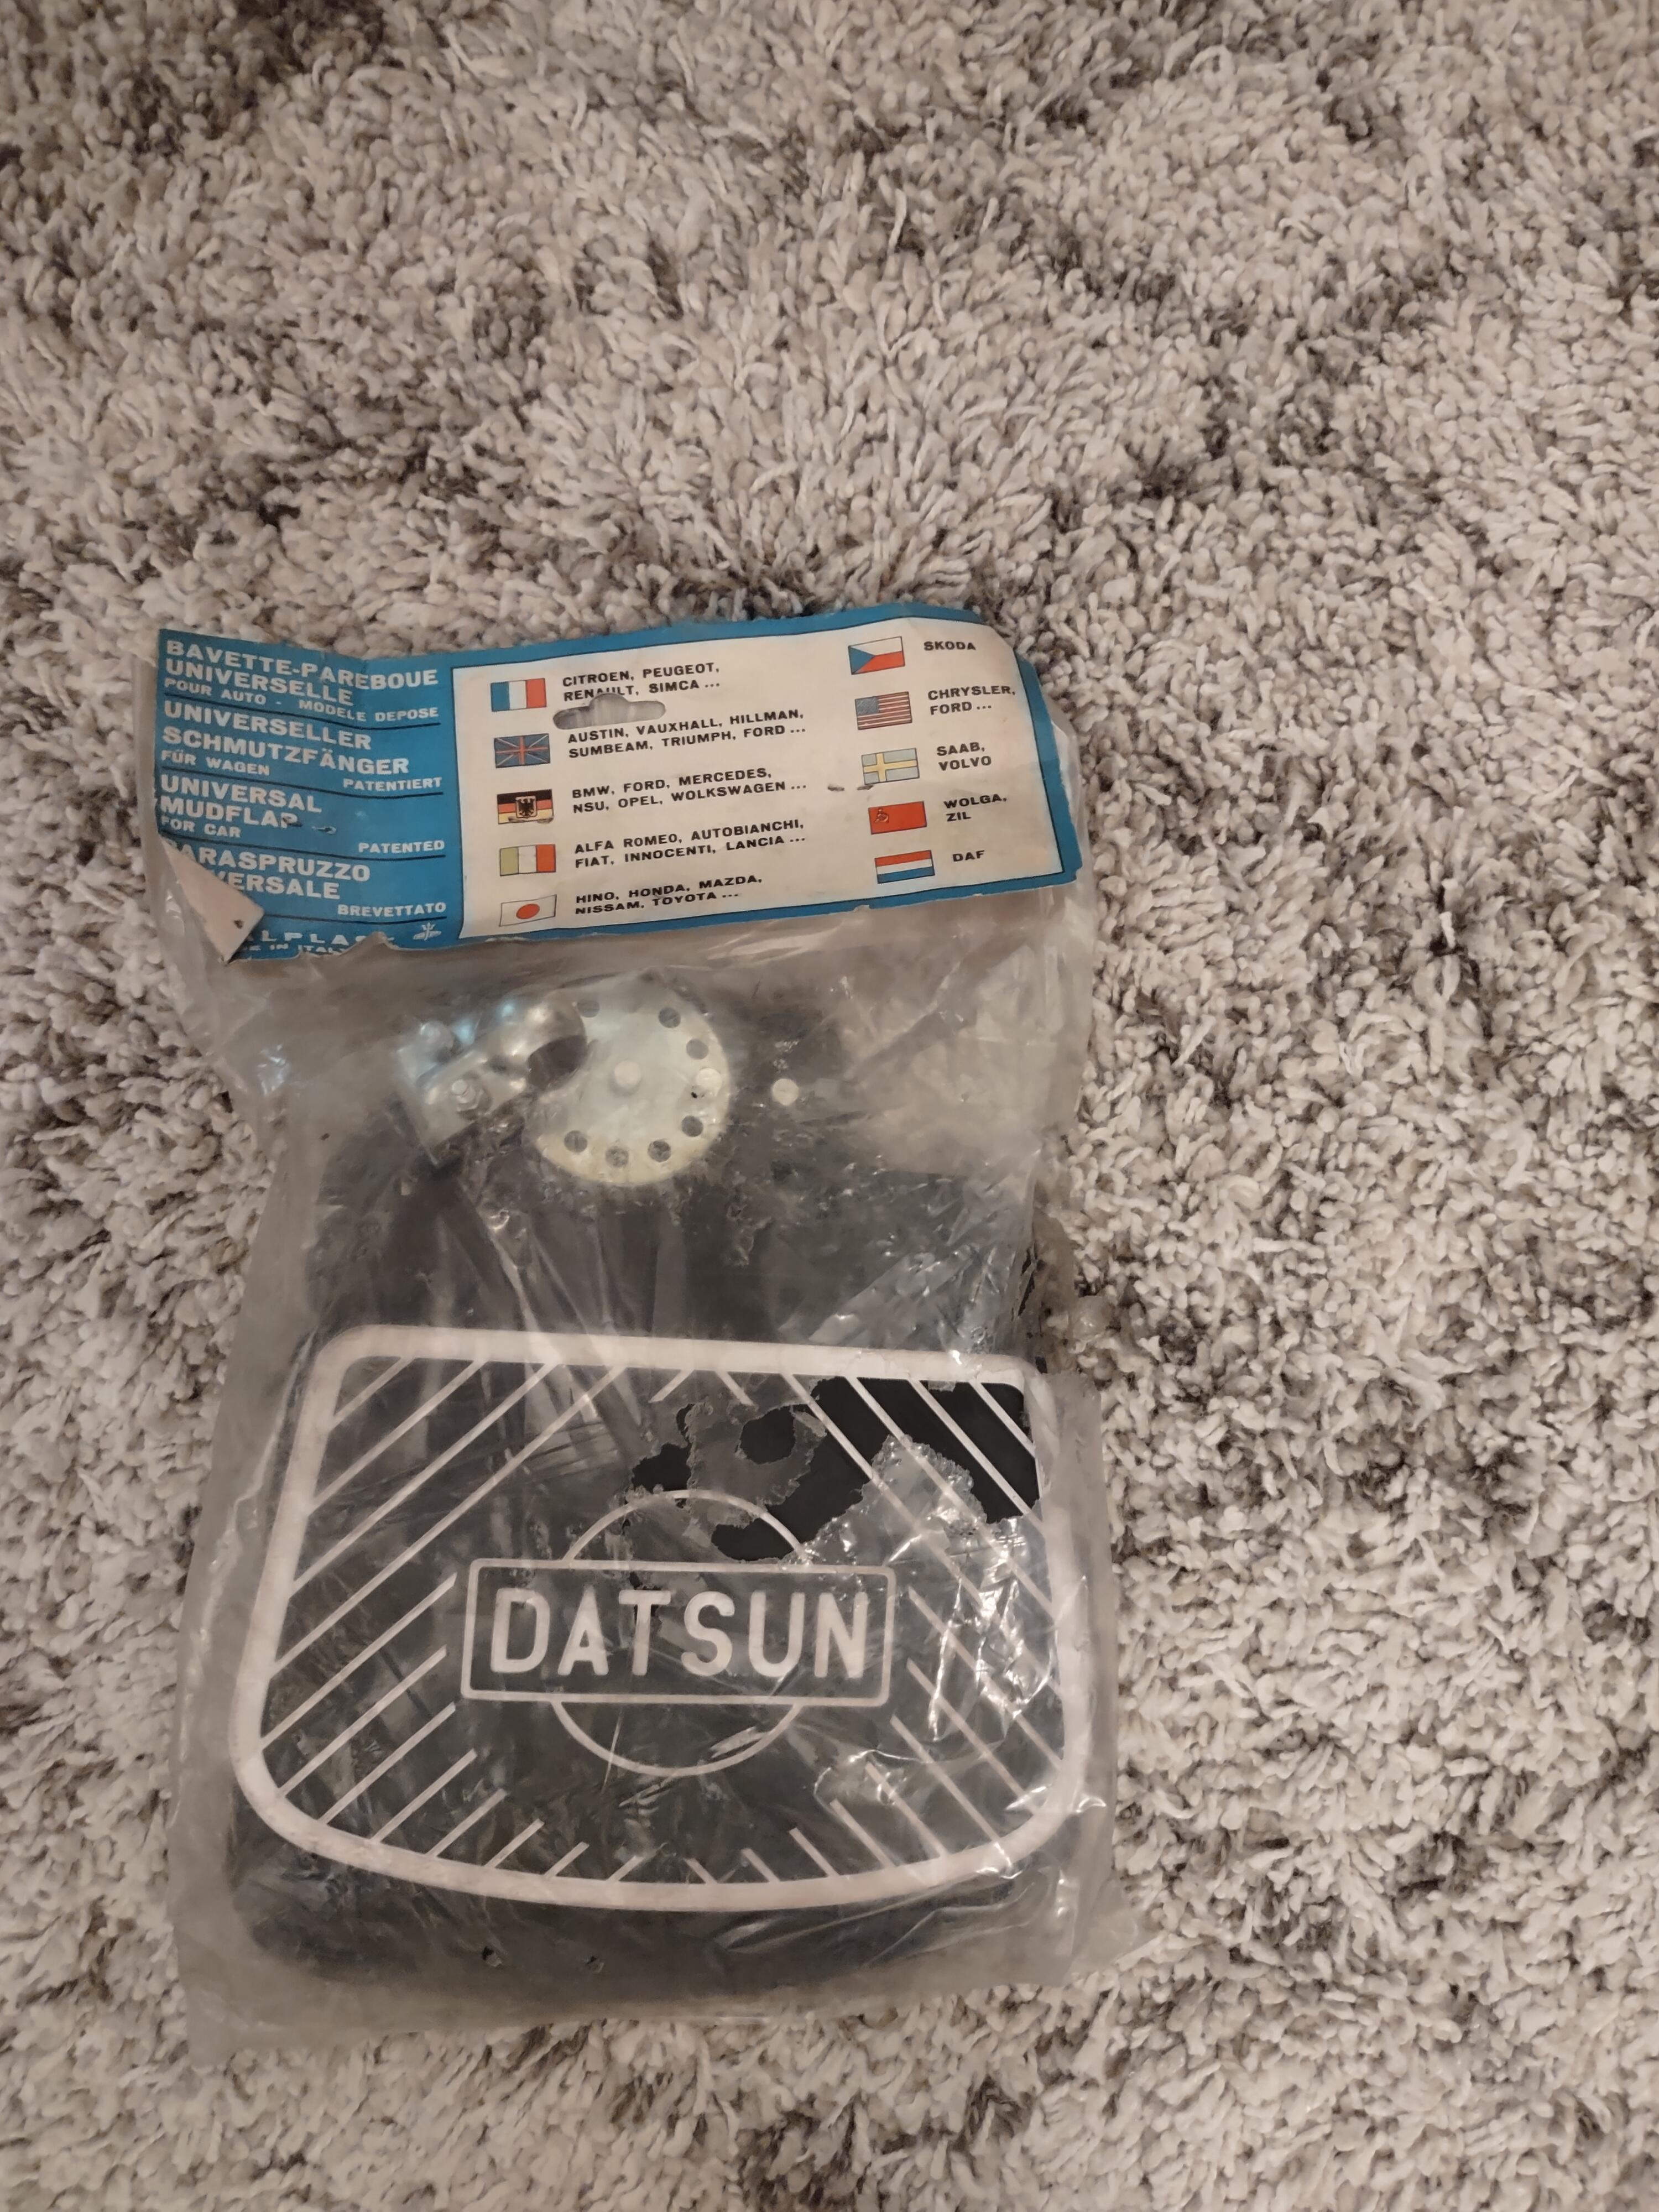
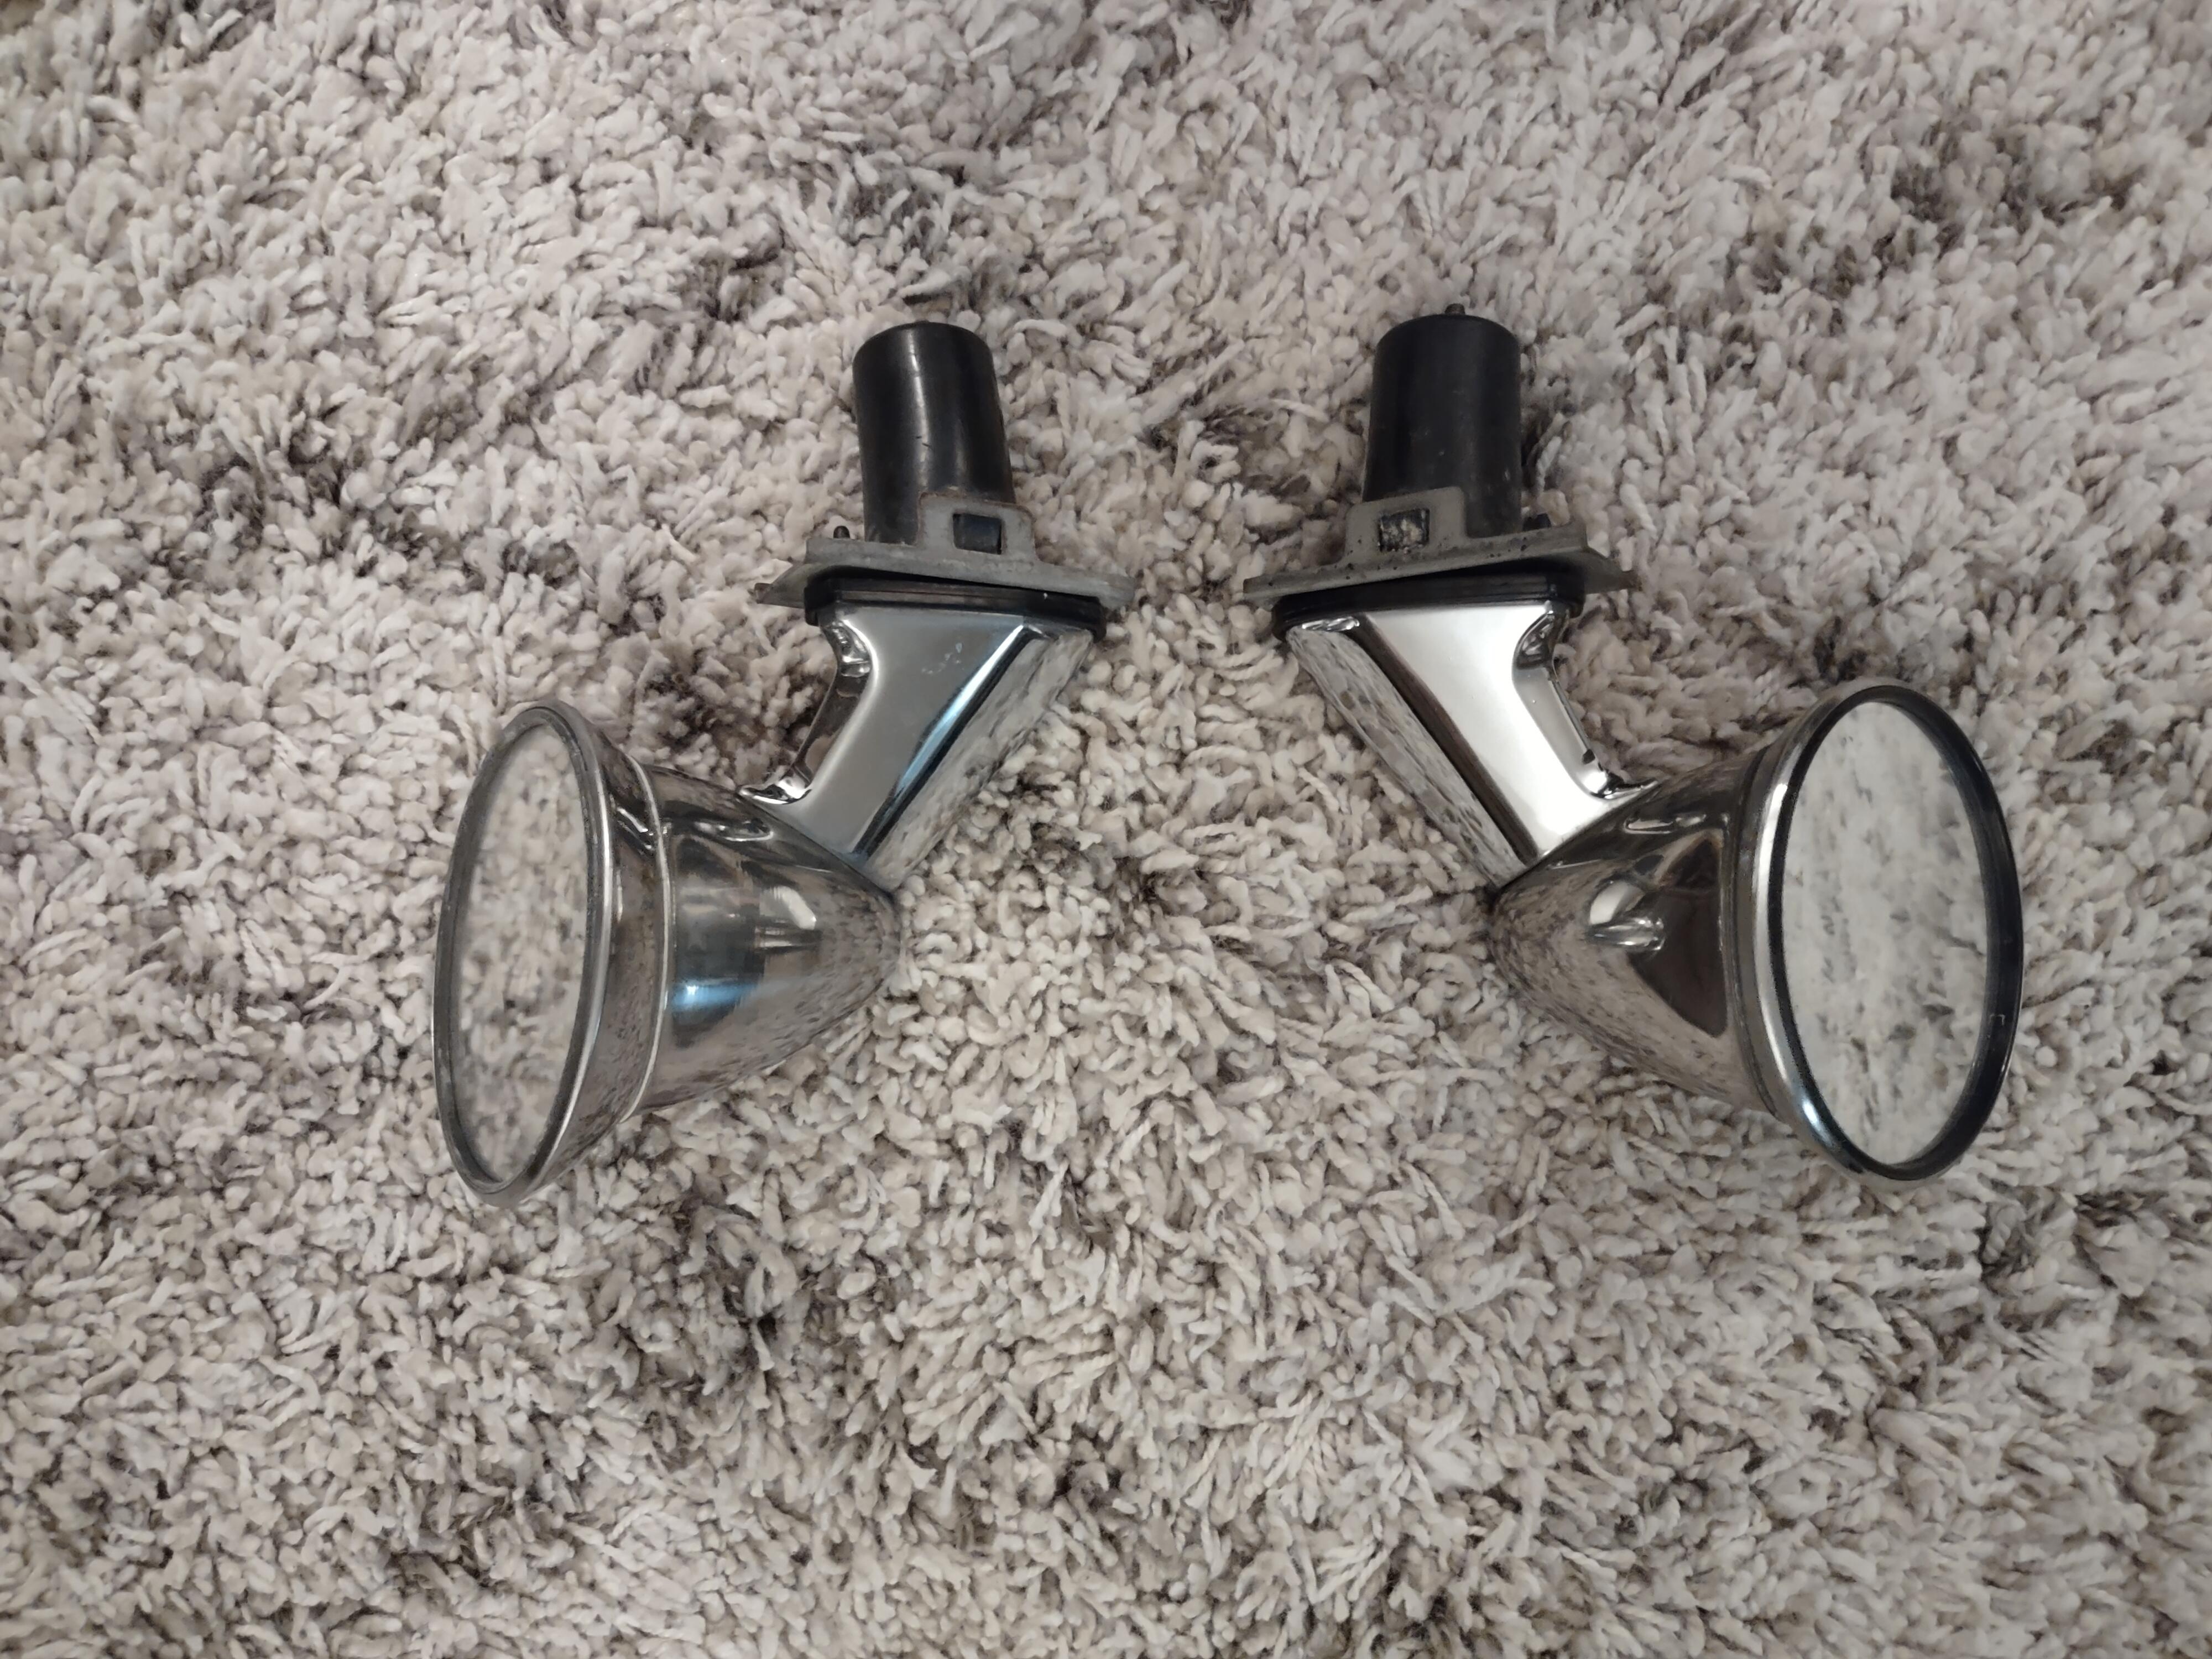
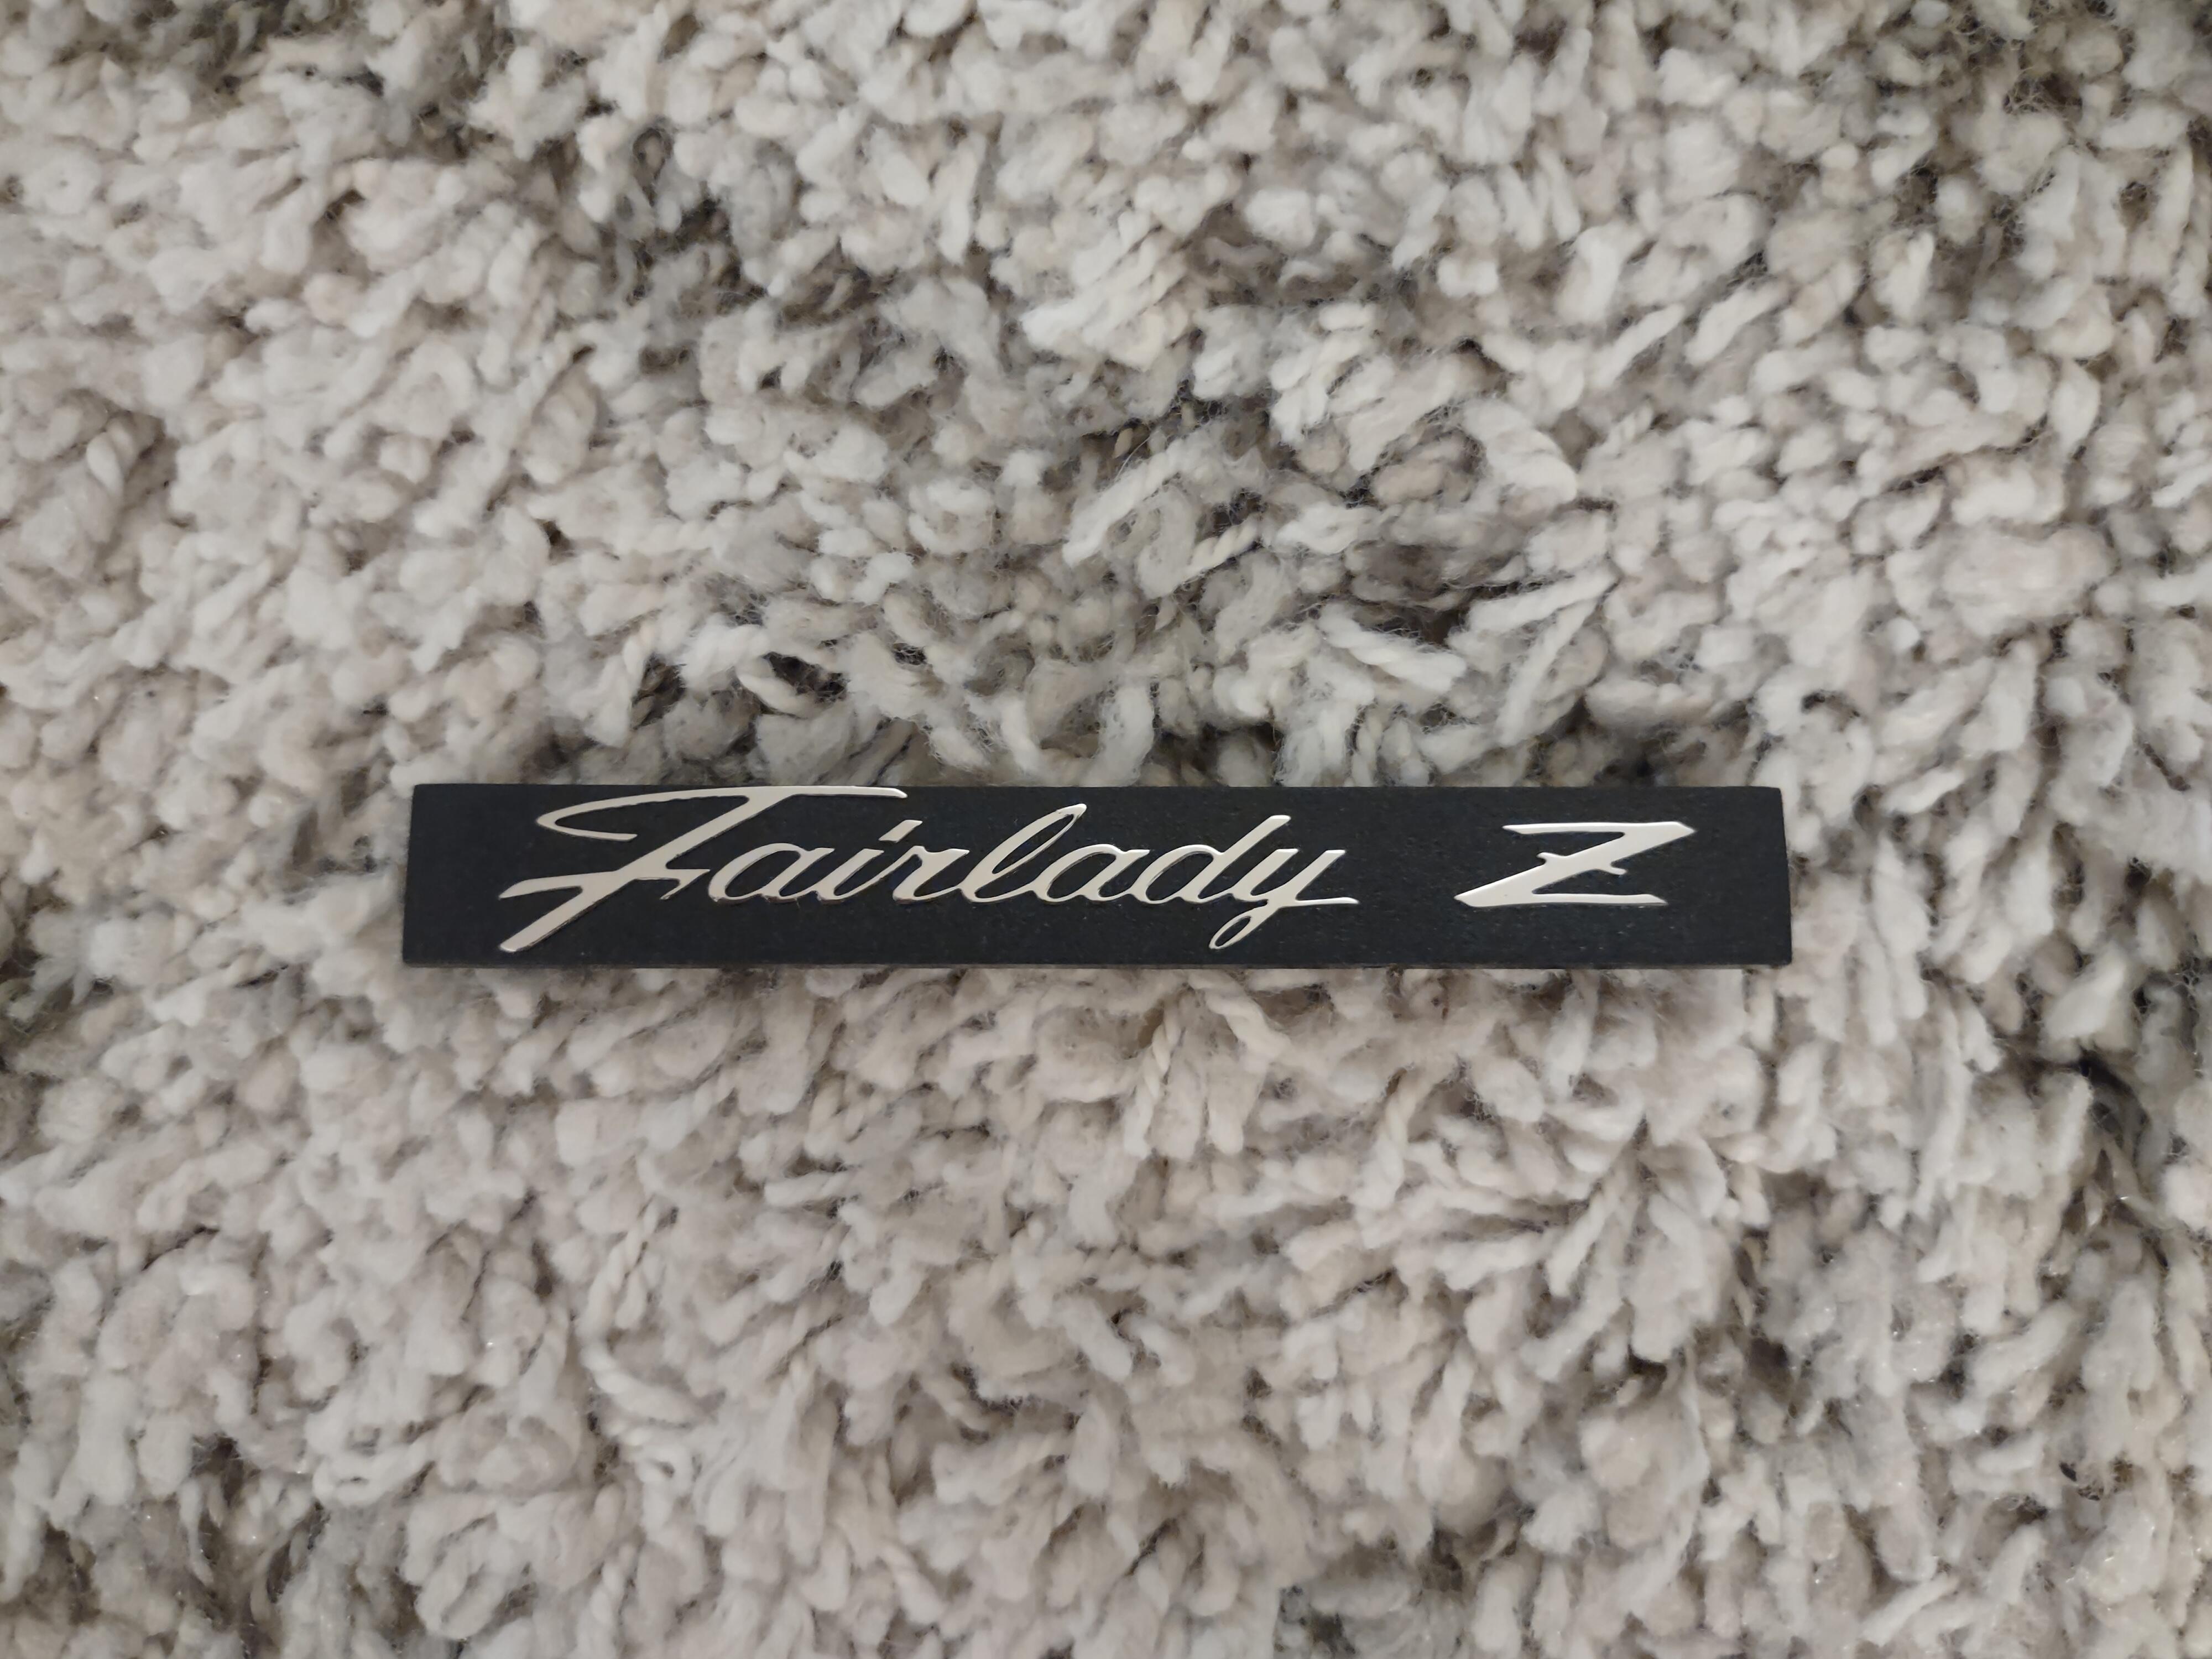
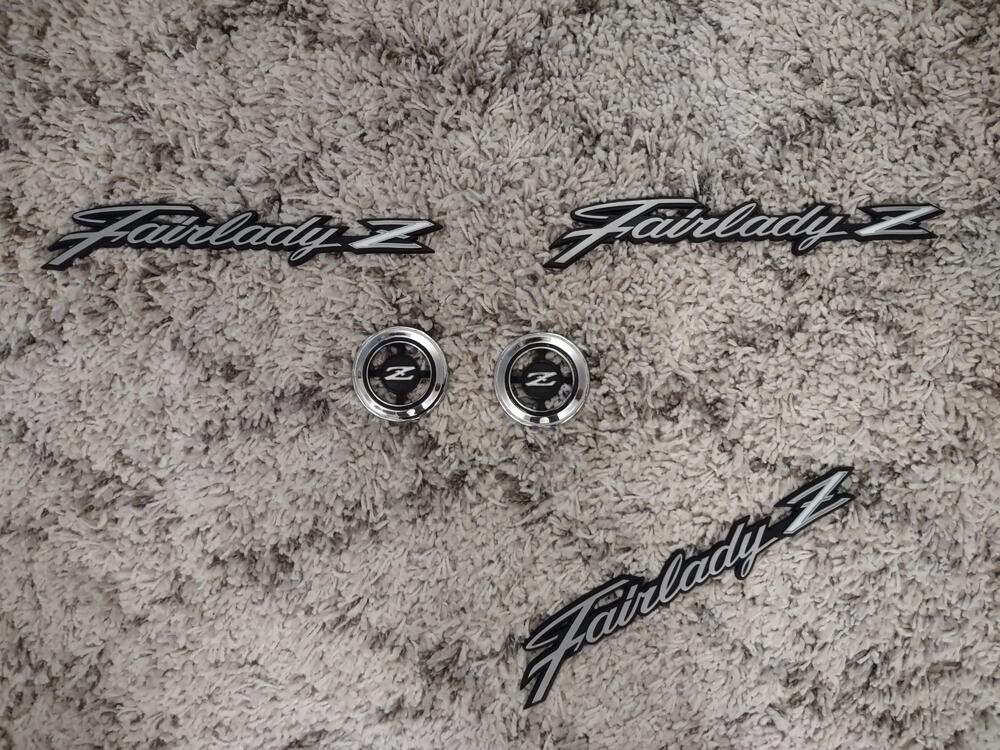
1 pointParts I've collected over the years for this build. May or may not use them all. Debating on the fender mirrors and Fairlady badging at this point. I sure think it would be neat.


 1 point
 -
1 pointAre you staying with incandescent or are you switching to LEDs? Also I didn't mention earlier that circuit voltage can affect the flash rate with the electromechanical flashers. For modeling purposes, R is constant. R=V/I, so if voltage drops, current drops. That's why old cars with electromechanical flashers blink slowly at idle. The alternator output drops from 14.5V to 13V or 12V. That drops the current through the circuit by 10% or more.1 point
-
1 point
-
1 point
-
1 pointWhat is driving your question? There are only two exterior bulbs and the gauge bulb per side. - Correction: 2 in the back and one in the front per side plus the gauge bulb. That's not true for electromechanical flasher relays typically found in Z cars. The electromechanical flashers use a bi-metal strip that heats up, opening the circuit. It cools down and completes the circuit again. The rate the bi-metal strip heats up is a function of current flow. Since a bad bulb is very high resistance, there isn't as much current flow, so what would make it flash faster? LED bulbs are high resistance compared to incandescent bulbs, and if you replace all your bulbs (including gauges) to LED, you will see that an electromechanical flasher won't flash at all.1 point
-
1 pointFor the 73, there are 10 green BA9S, 1 red BA9S, 1 blue BA9S, and 1 green 194. There are also 1 red BA7 for the seat belt warning light and 1 amber BA7 for the choke warning light. Earlier 240Zs only need 9 green BA9S and don't need the 194. I also believe the BA7s are only in the 72 & 73. I forgot the count for the 280Z and 260Z.1 point
-
1 pointThe bumpers are very different . The early pre august version does not compress as much as the later version. Thatis way the shockslook a lot shorter in carpartsmanual, the bumper does not push in as far. That being said, you can change a later model 280Z back to the early version if you have all the parts. The bolt pattern for mounting the shocks are the same on bothversions. So if you have all the components from a early model it would work. The bumper components are not interchangable. The shocks, chrome section and rubber ends are all different.1 point
-
1 pointHi Kats, Reproduction fuel tanks can be bought here. https://s30.world/1 point
-
1 pointcarpartsmanual.com shows the bumpers being the same from Sept. 74 to July 76. Shock part #s are 62210-N4200 and #62211-N4200. Aug. 76 on the shock #s are 62210-N4701 and 62211-N4701. It's time to get the build date on Jai's Z. Hopefully that will narrow it down.1 point
-
1 pointThanks. I'll keep that in mind. Jai's bumper is also damaged on the left side too. She's hoping for as close to pristeen as she can get.1 point
-
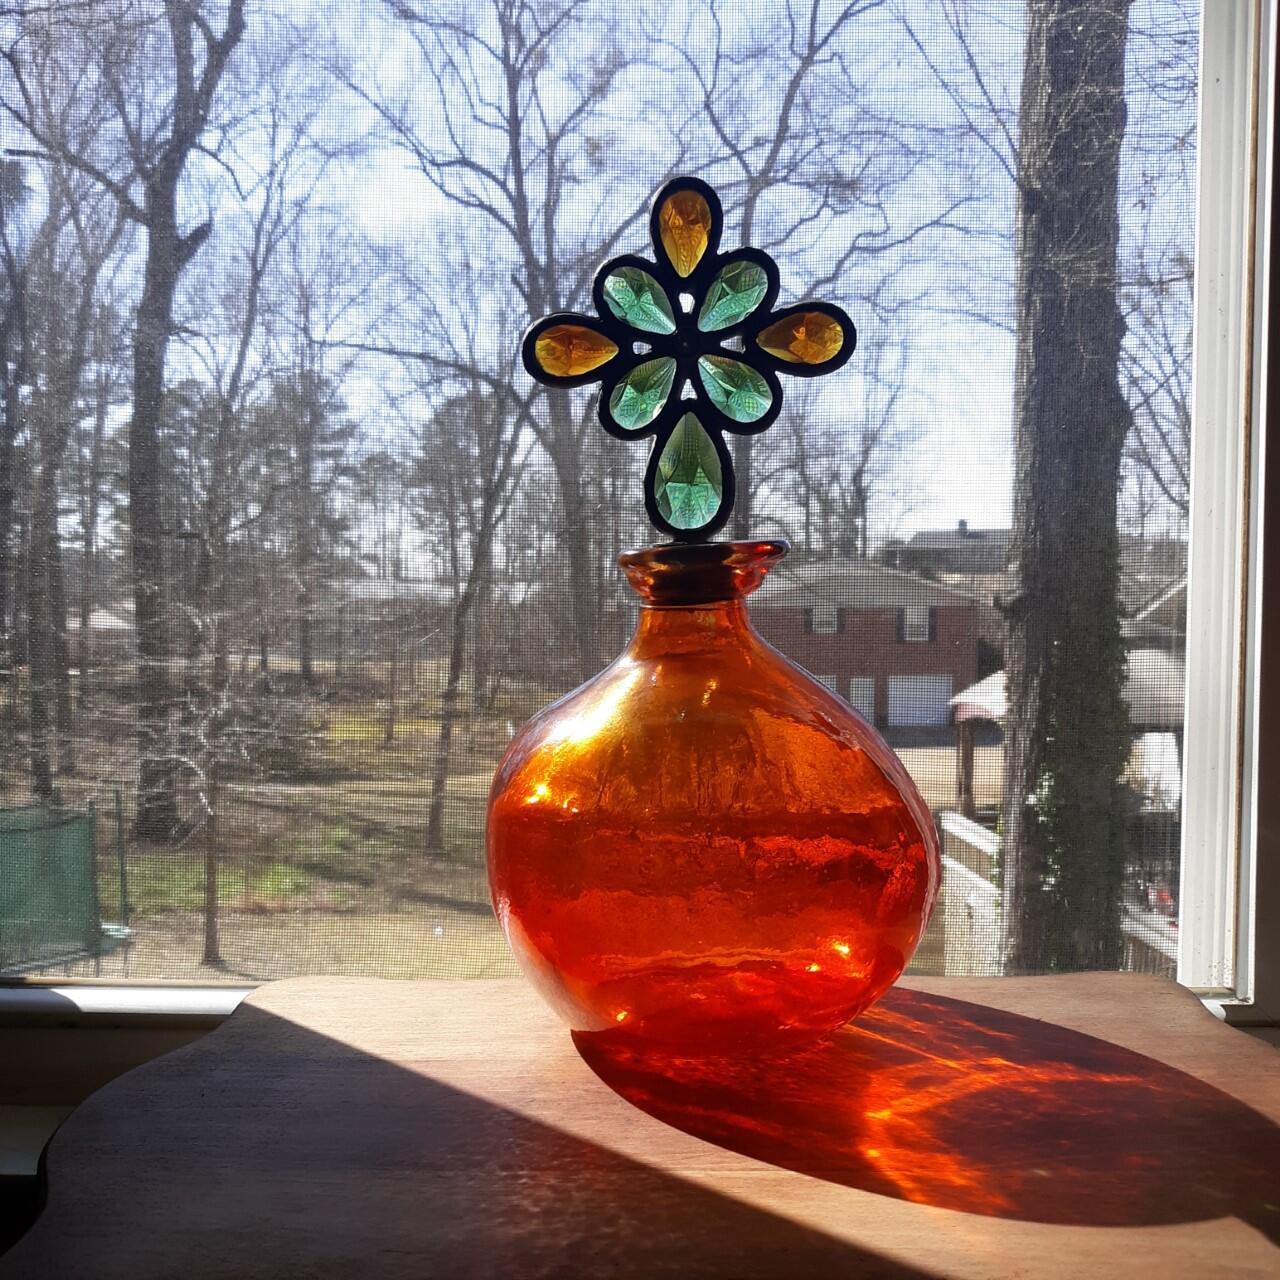
1 pointI know it's a car club but I'm a Southerner. When it gets cold we stay inside. This makes me smile. I made it out of an old stain glass wine stopper and a vase I bought at a yard sale. Inside down time is hard for me. I hope you others are not suffering "cabin fever". It's a tough problem for compulsive people like me. Bengals by 10.
 1 point
 -
1 pointI haven't read through your entire post yet, but what I have is most impressive. This is particularly exciting for me as I am planning the very same course of action. The detail and commentary you've provided will be most helpful. Very nicely done, sir.1 point
-
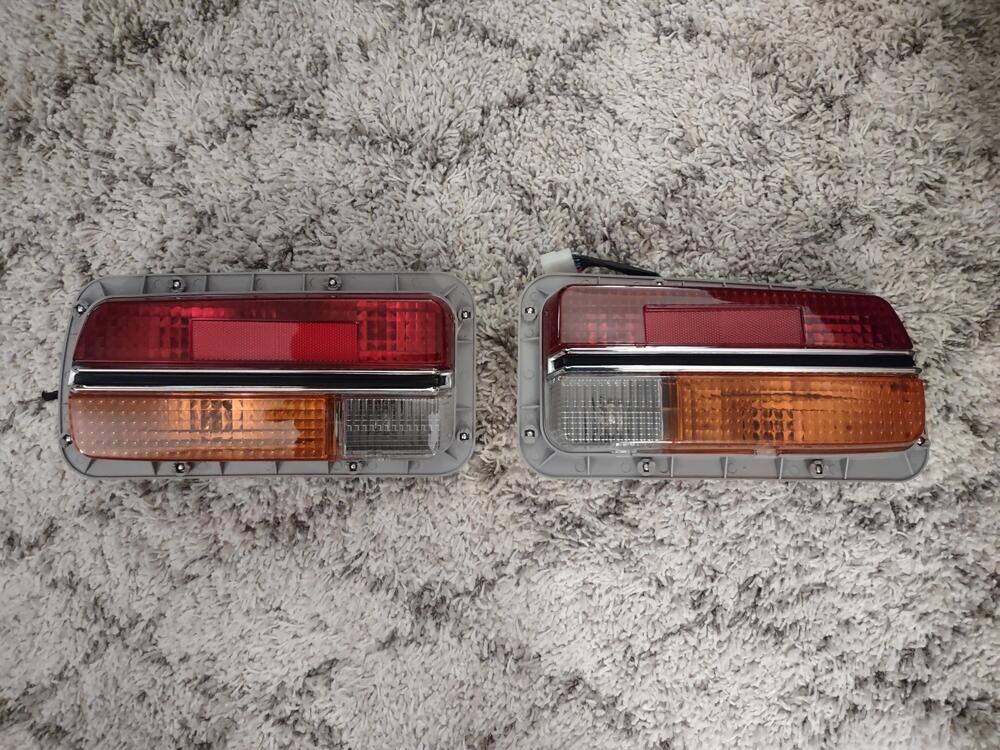
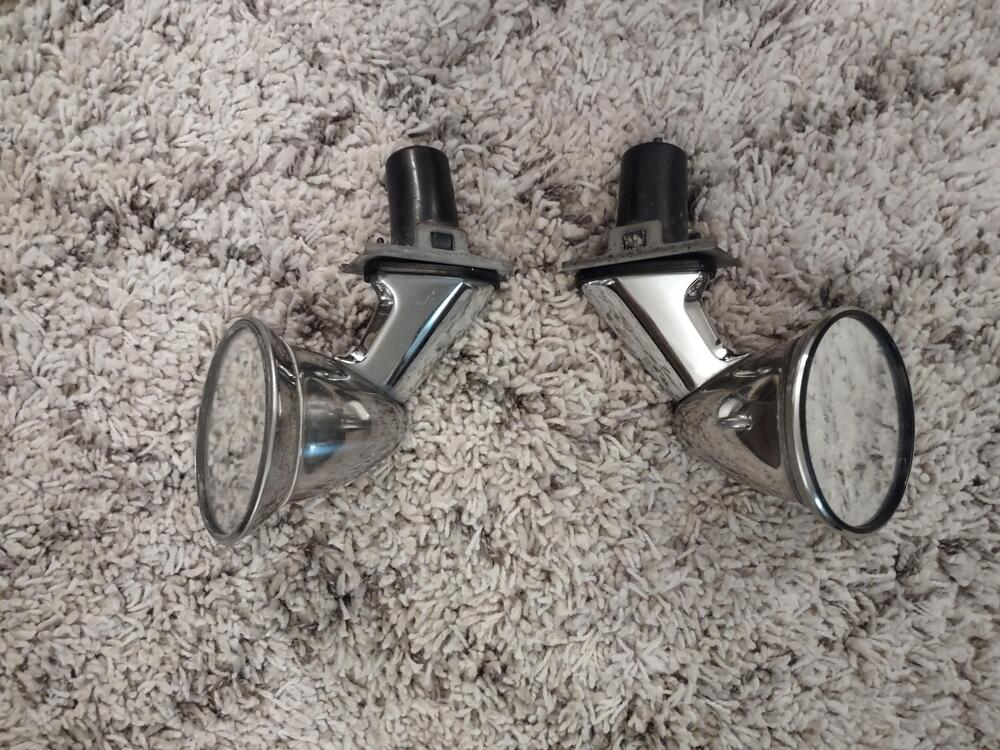
When i got my "west germany" Spec turn signals last week, i went through my own parts to compare them, and realized i have everything ready to assemble a nice pair of restored ones. A perfect task for a saturday morning. so i got everything ready and started the project: From the three complete sets i have, i realize only one of the amber lenses was still without cracks: What a difference a little cleanup in warm soap water makes: Then i cleaned the rubberpieces and chrome trim with a bit of warm water too and had the rubber seals greased up with a bit of petroleum grease (Vaseline) and the chrome trim cleaned and polished with my secret weapon called "Metarex" And here we go, everything cleaned uo and assembled. looks like almost new. I will probably take one of the lenses from the "west germany" spec signals, as they're exactly the same. but until then, i just keep them as they are. Oh andi need new bulbs, the old ones are both quite corroded and i want some nice ones 🙂1 point
-
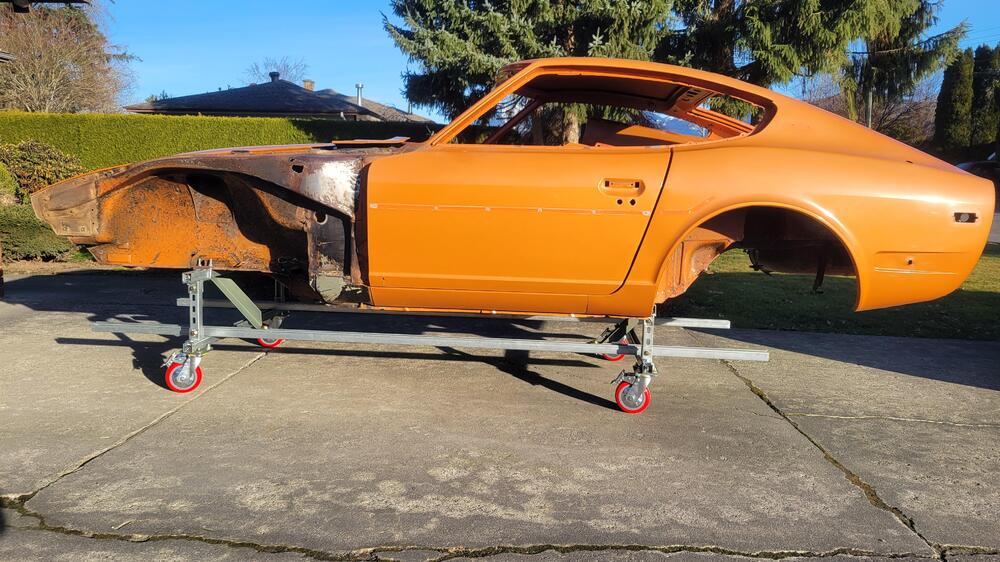
1 pointYesterday I made and installed four diagonal braces to complete my rolling chassis support. Deb, my better half, has renamed it "The Two Forty A La Carte". In keeping with my no welding theme, the braces are simple angle iron parts, cut/drilled/formed and then bolted in using Unistrut channel nuts. I don't have much experience making parts like this and it was enjoyable to practice some basic techniques.
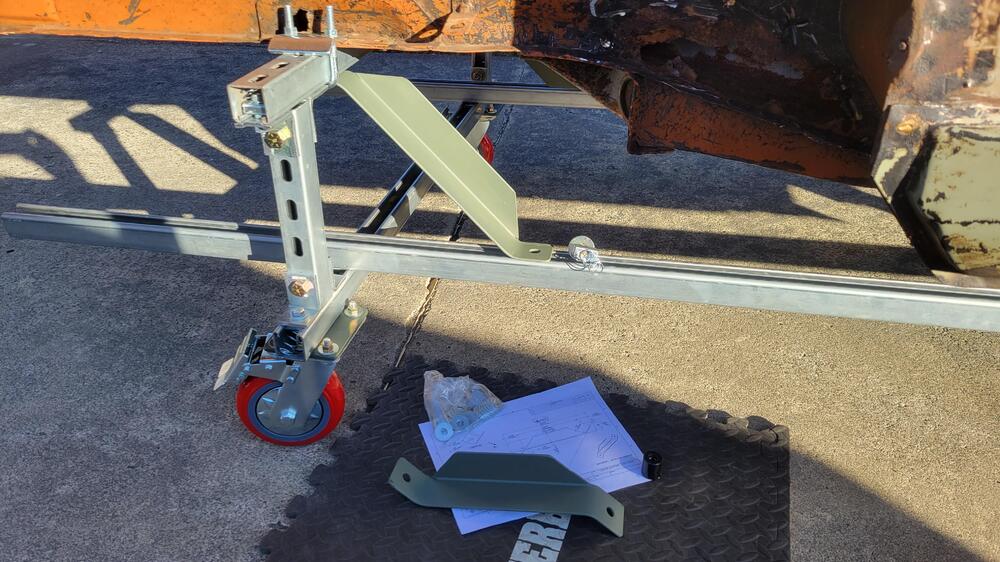
 1 point
 -
1 pointHere is my 2¢. YMMV If you are concerned about corrosion in the brake lines, run denatured alcohol through the hard lines after draining (and removal), blow out with compressed air, and spray fogging oil into them. Prior to re-installing, used the denatured alcohol and compressed air prior to re-installation. Use rubber plugs/stoppers on the master cylinder, front calipers, and wheel cylinders to prevent contamination while in storage. As far as draining, have a quart jar or oil catch can handy. Remove the caps at the master cylinder. At the left rear, remove the hose from the hard line. Use a rubber cap when you're done if you want to prevent a mess during removal. Repeat for the right rear, right front, and left front.1 point
-
1 pointI would flush them with solvent, then blow dry. Then cap both ends, to keep any critters from moving in and setting up housekeeping in them. Keep them in a cool, dry place until you are ready to reinstall them. Then once more, flush with solvent and blow dry before reinstalling them.1 point
-
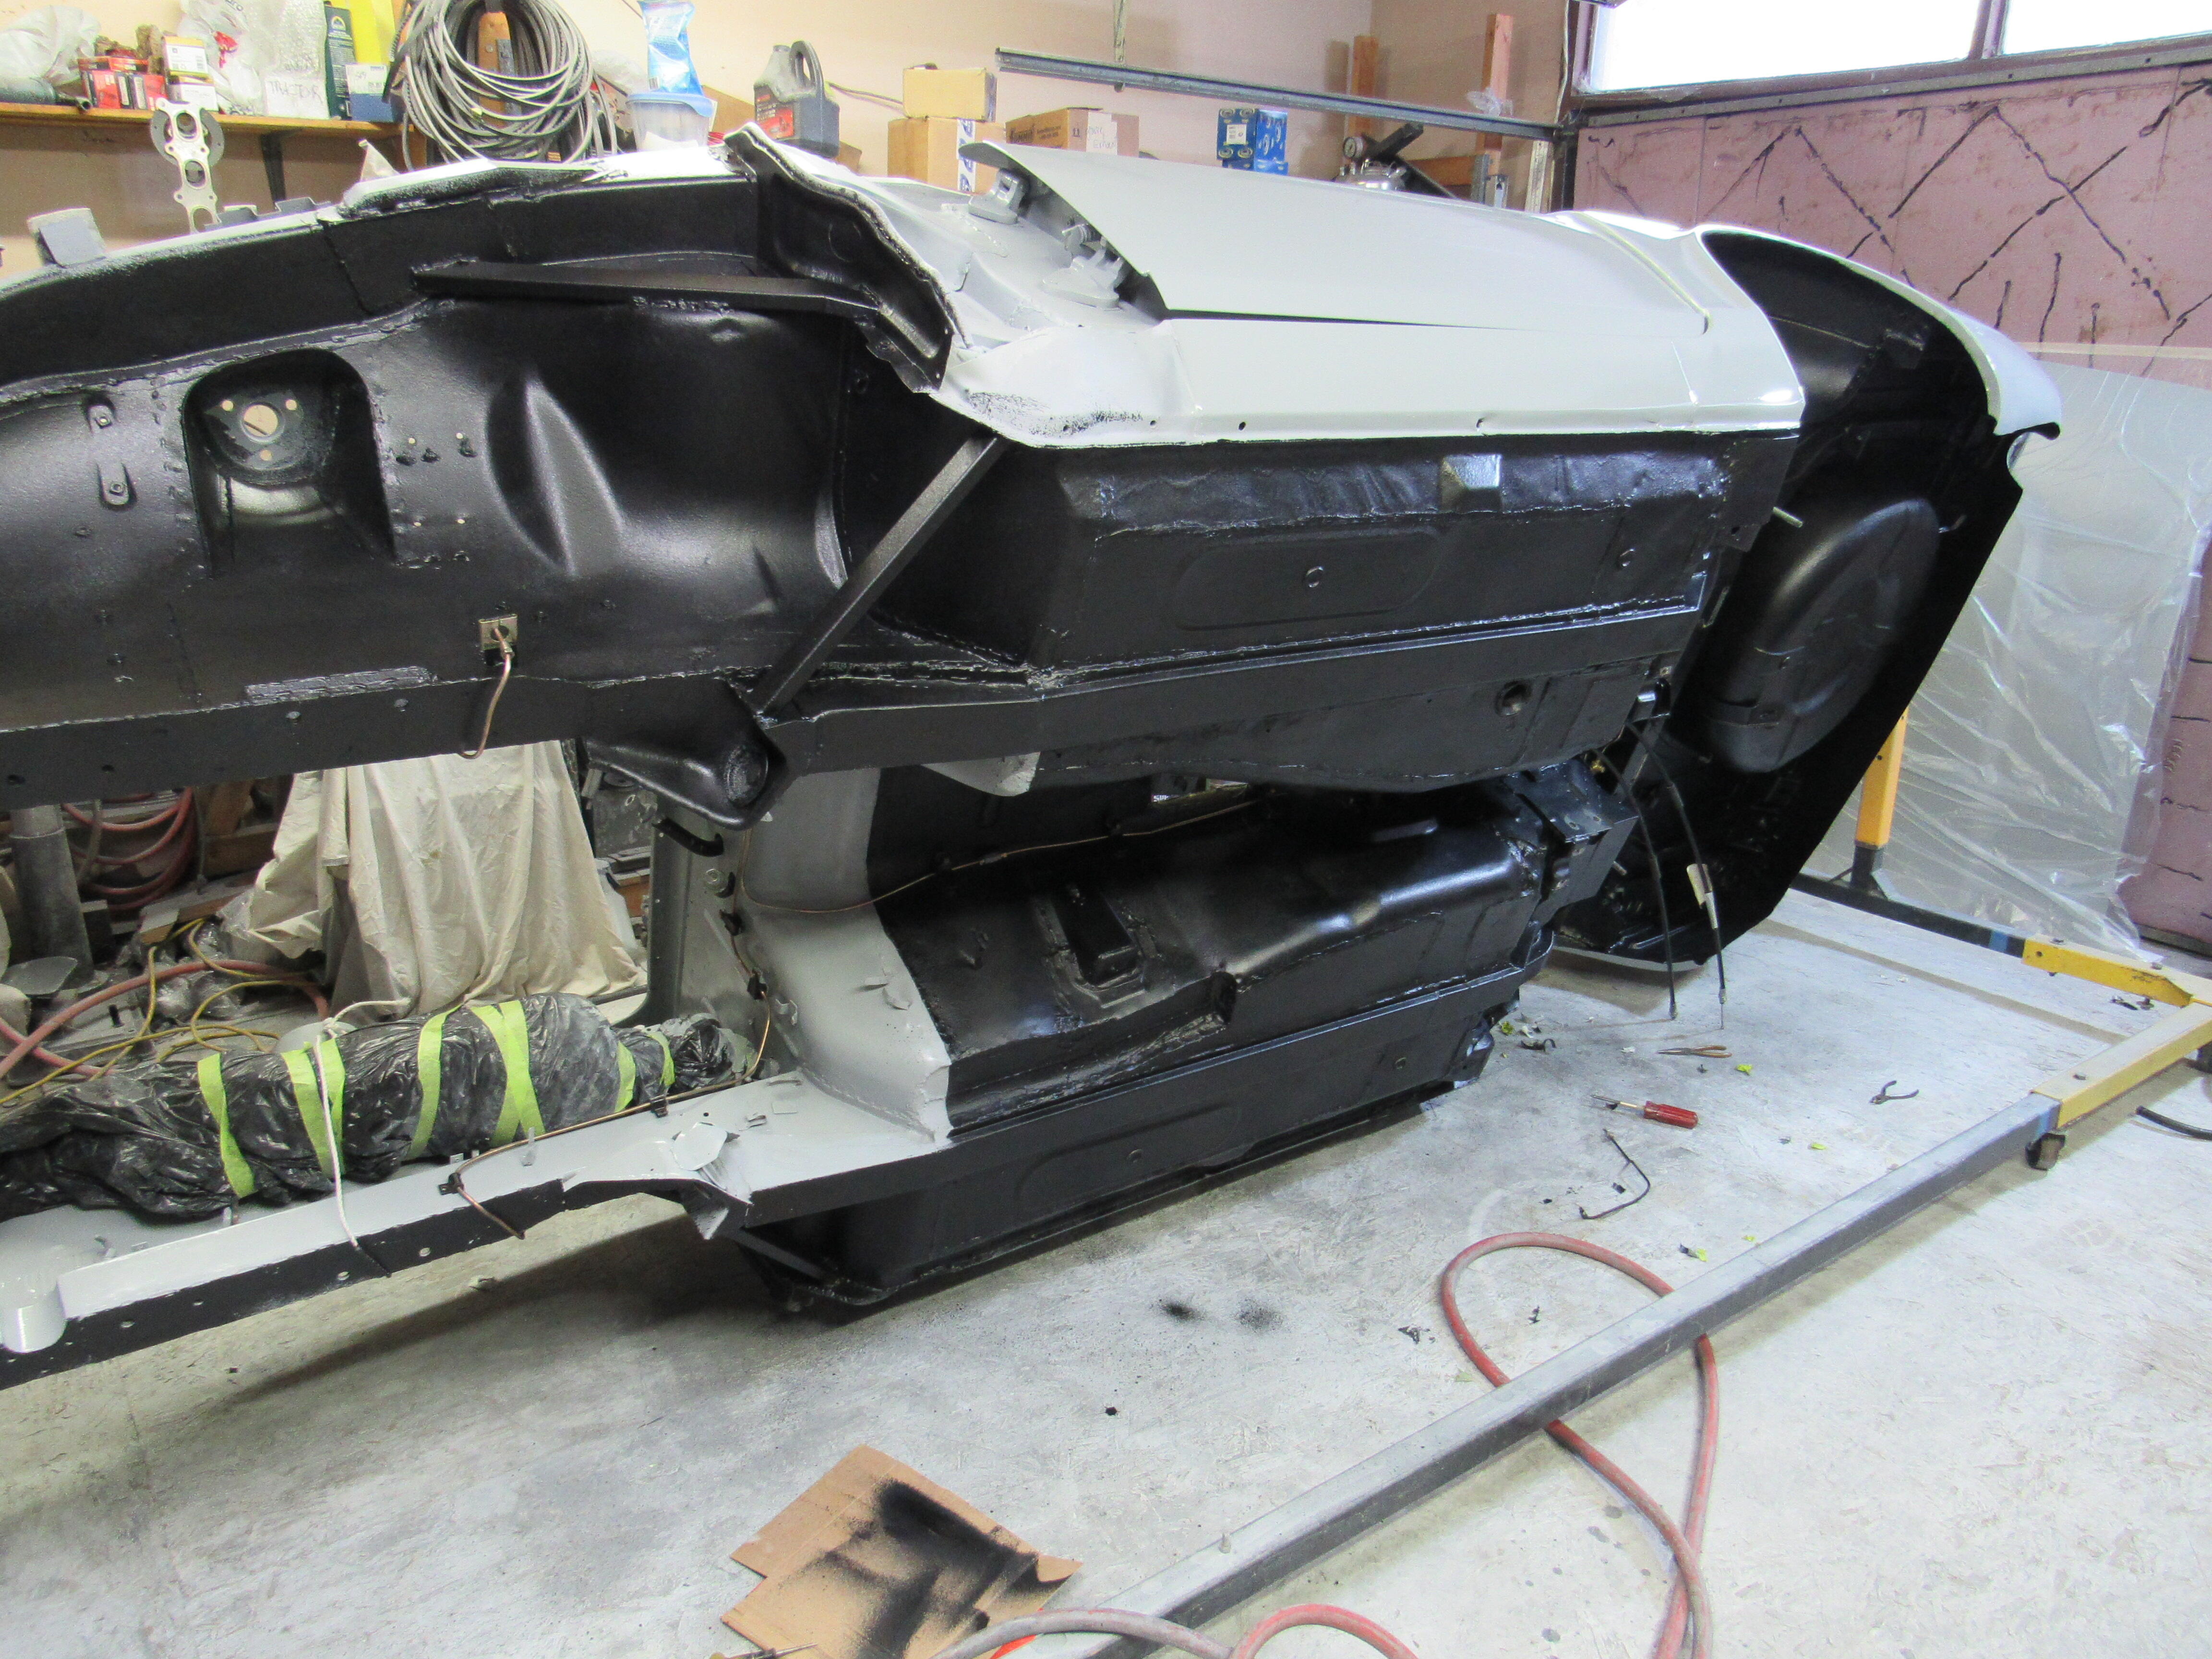
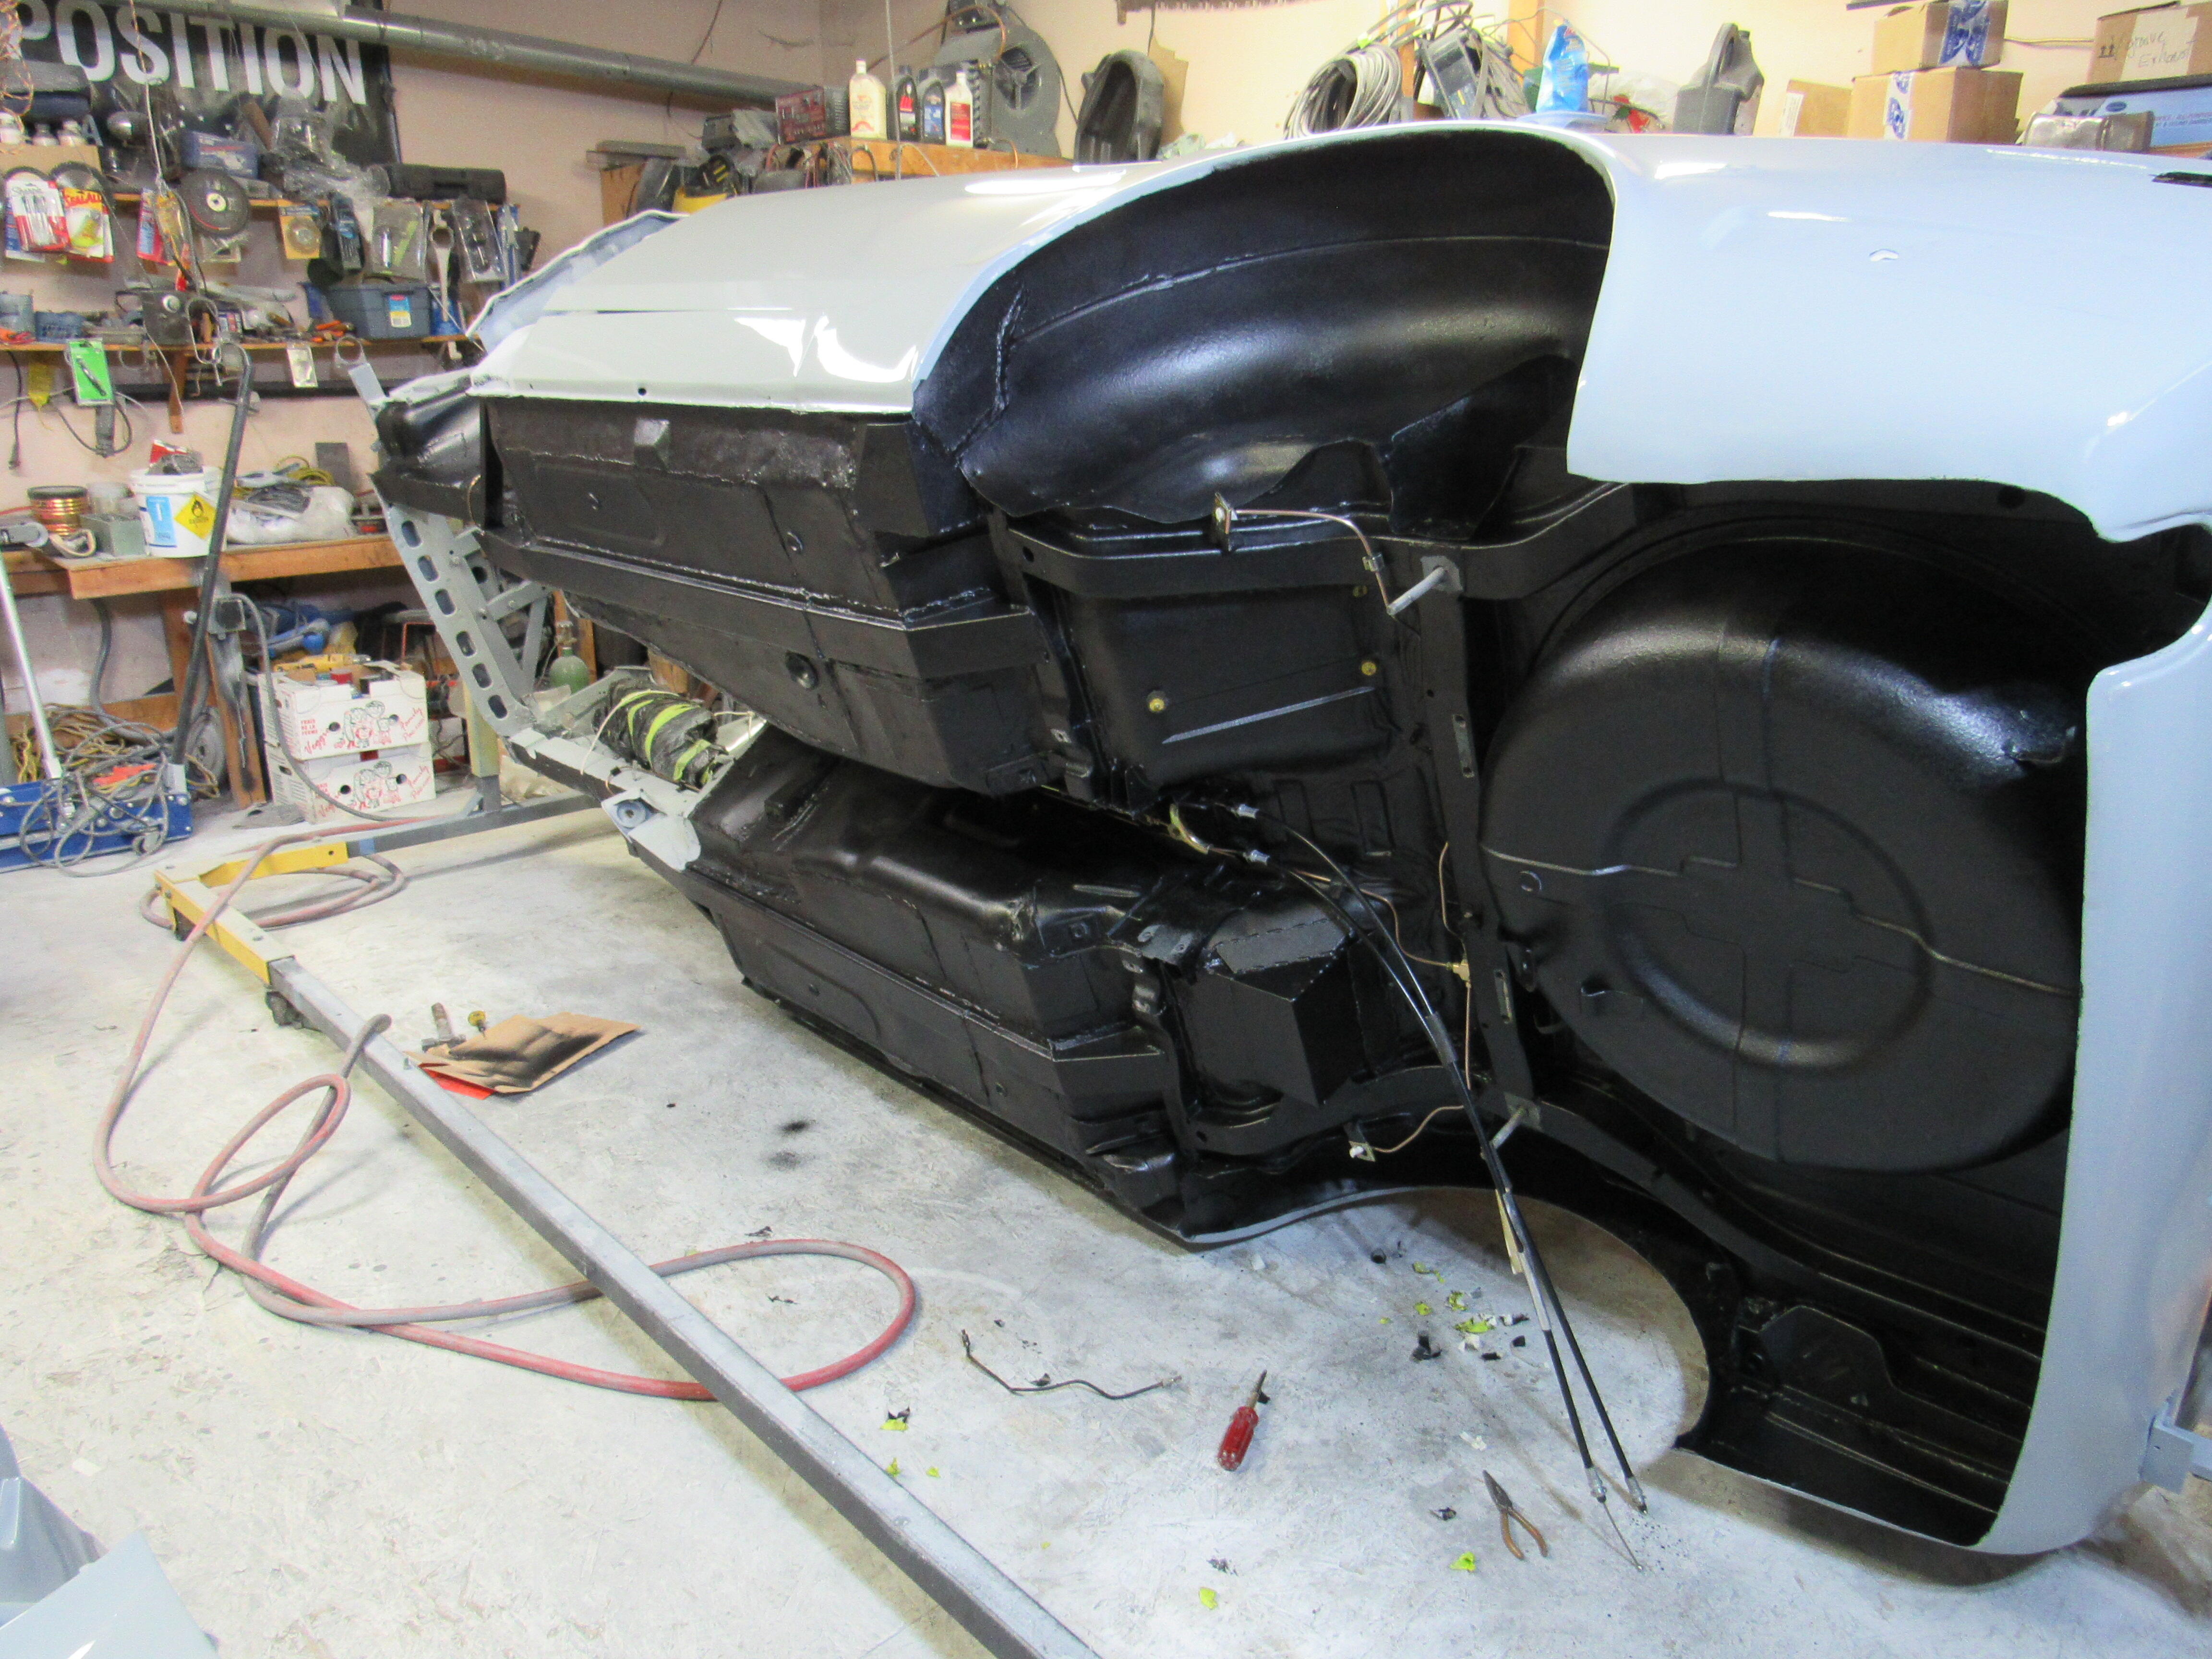
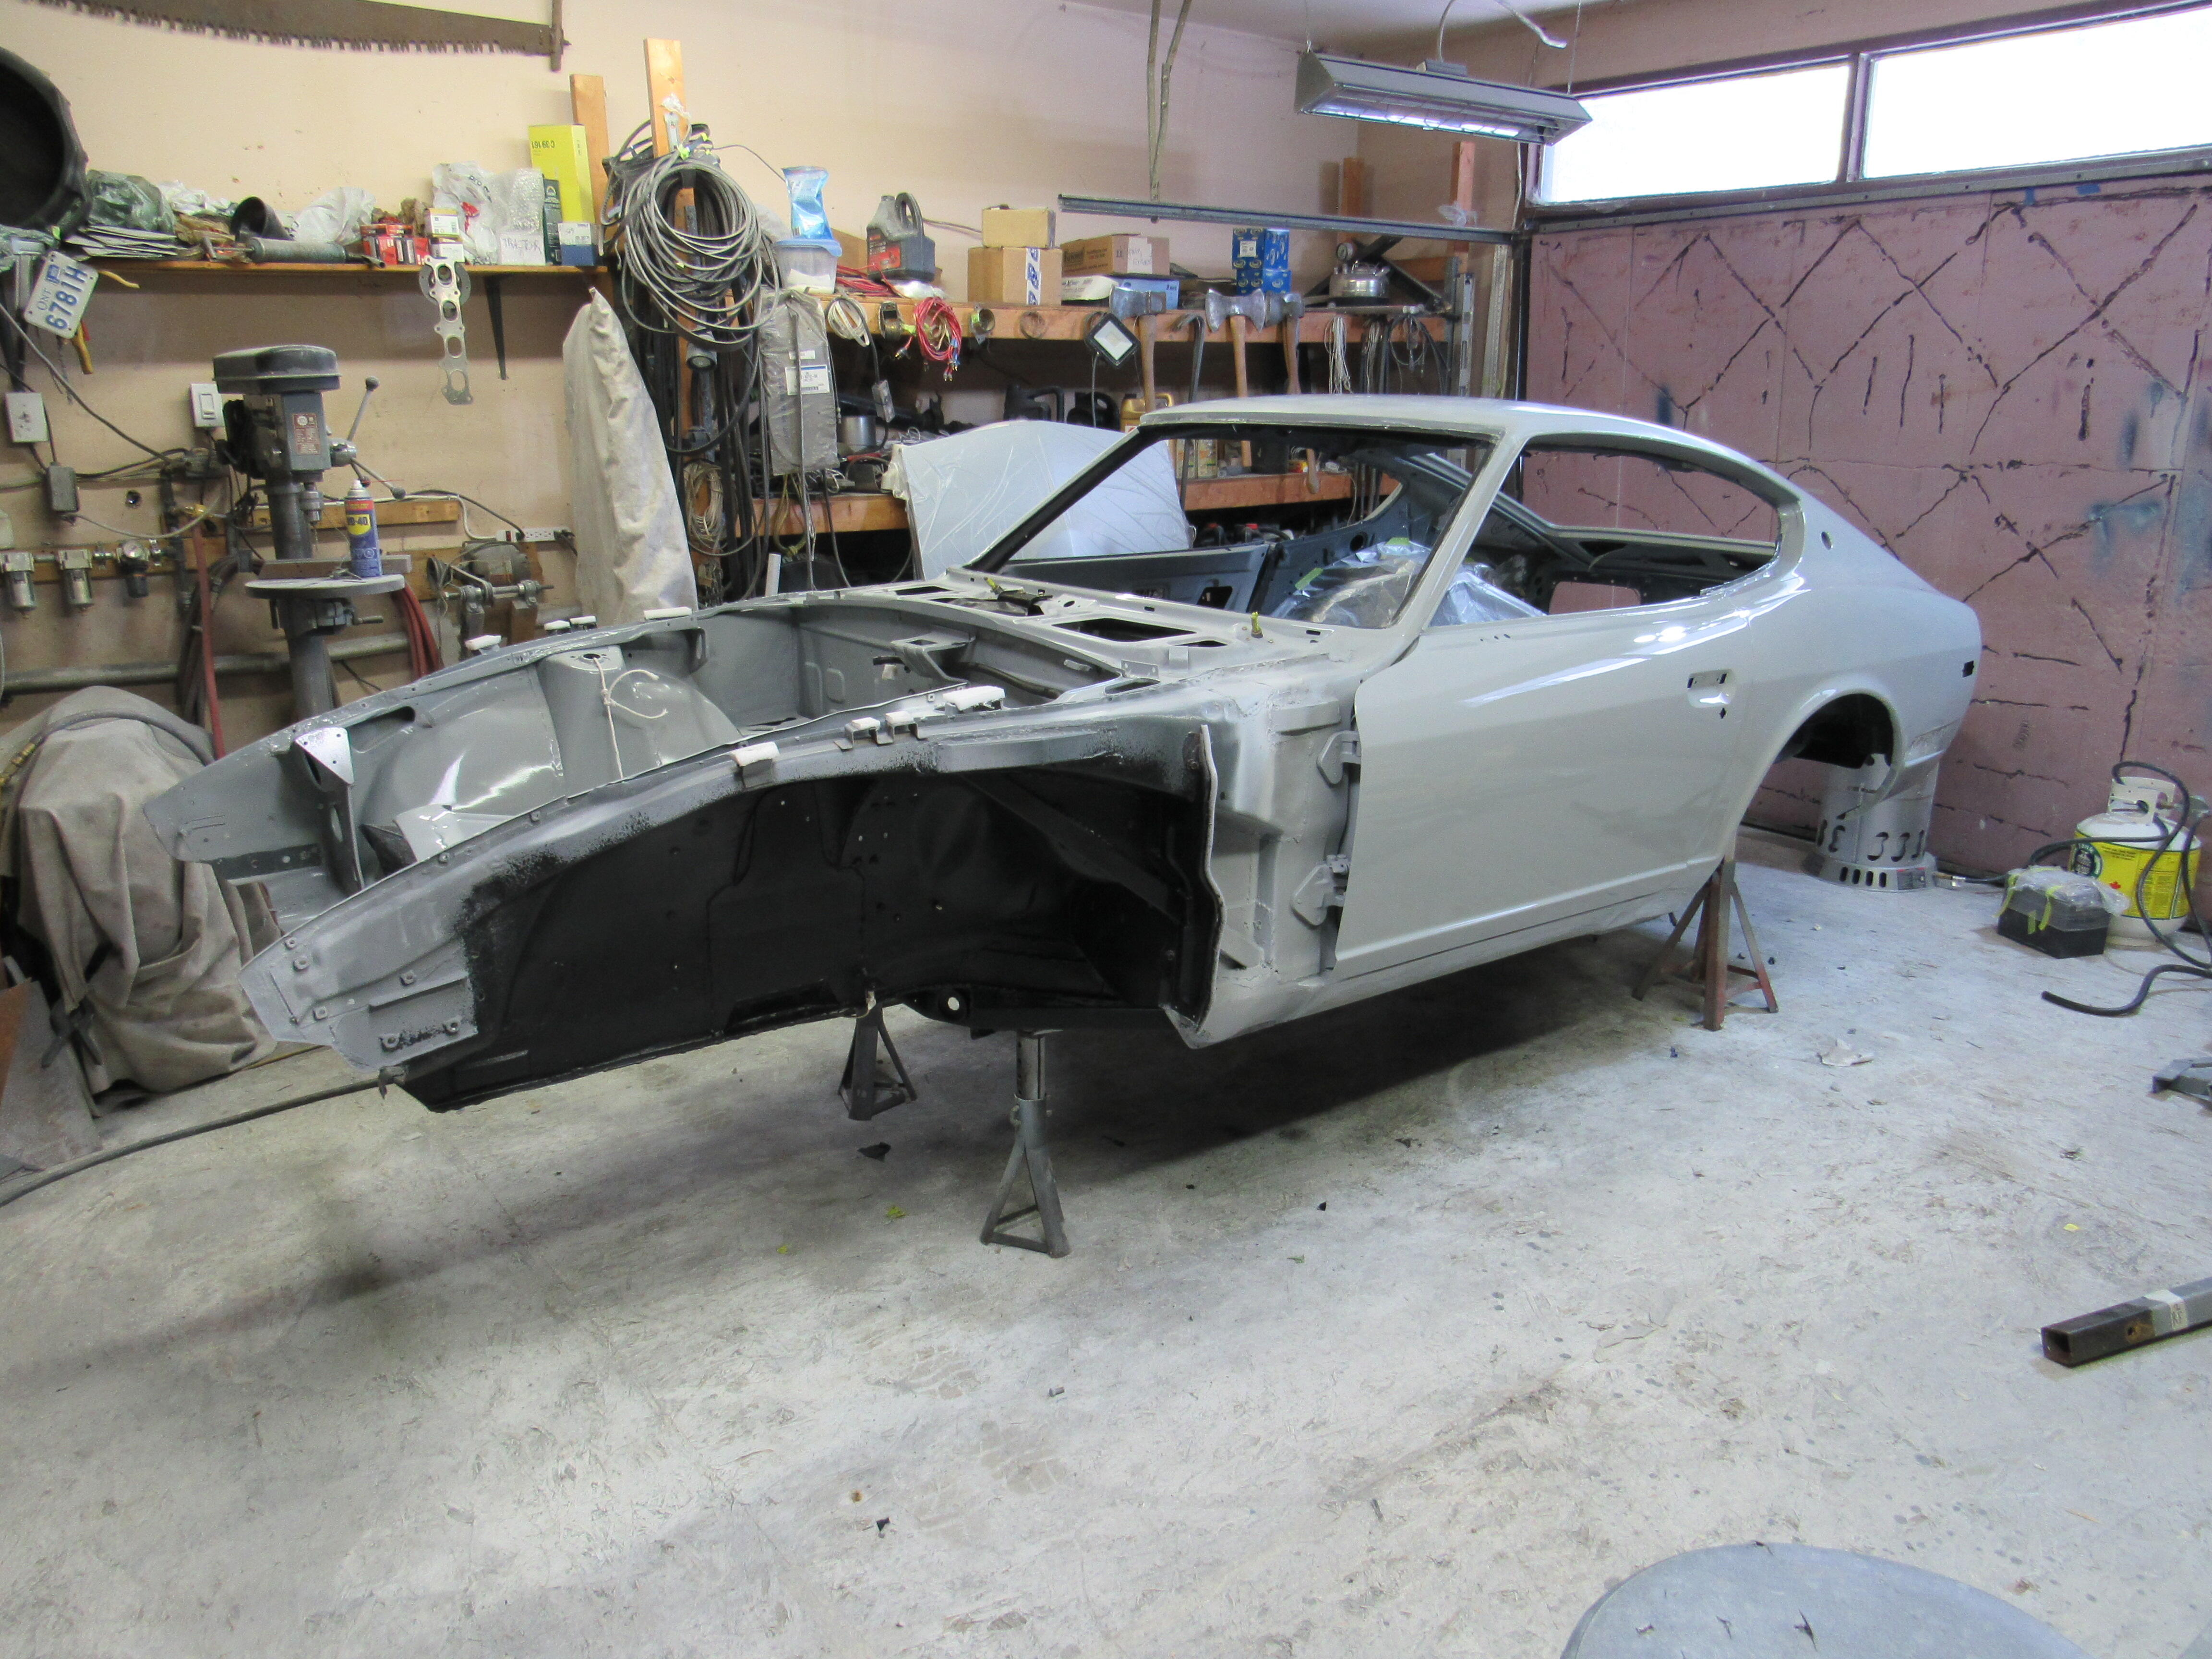
I seam sealed again before undercoating the car and got her down off the rotisserie. I should have the rest of the suspension installed tomorrow and back down on the wheels by the end of the day. I've been trying to keep the shop as warm as I can to fully cure the clearcoat. Some guys start sanding after 24hrs but that's got to be California, I think I'll block it out with 1500 to break the surface and let it out gas for another week.

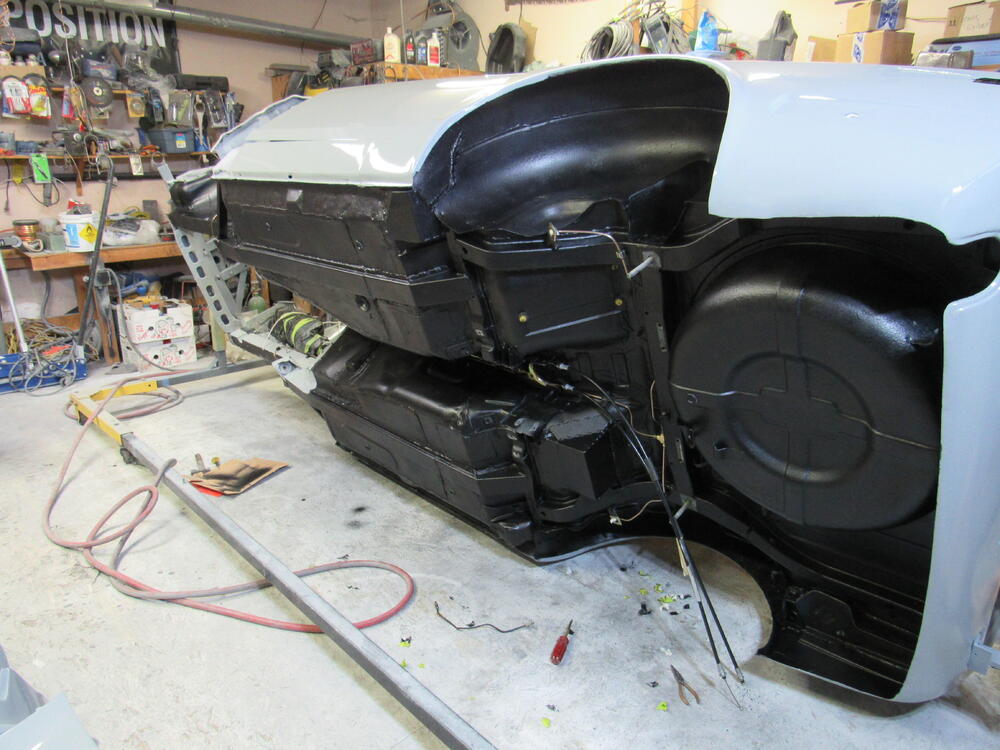
 1 point