Leaderboard
-

Zed Head
Free Member10Points19,238Posts -
.JPG.cfcada9cf1c1b502df3f5f2f2ca3ff36.JPG)
SteveJ
Free Member10Points9,646Posts -
psdenno
Free Member5Points2,632Posts -
Captain Obvious
Free Member4Points10,081Posts


Popular Content
Showing content with the highest reputation on 09/15/2021 in Posts
-
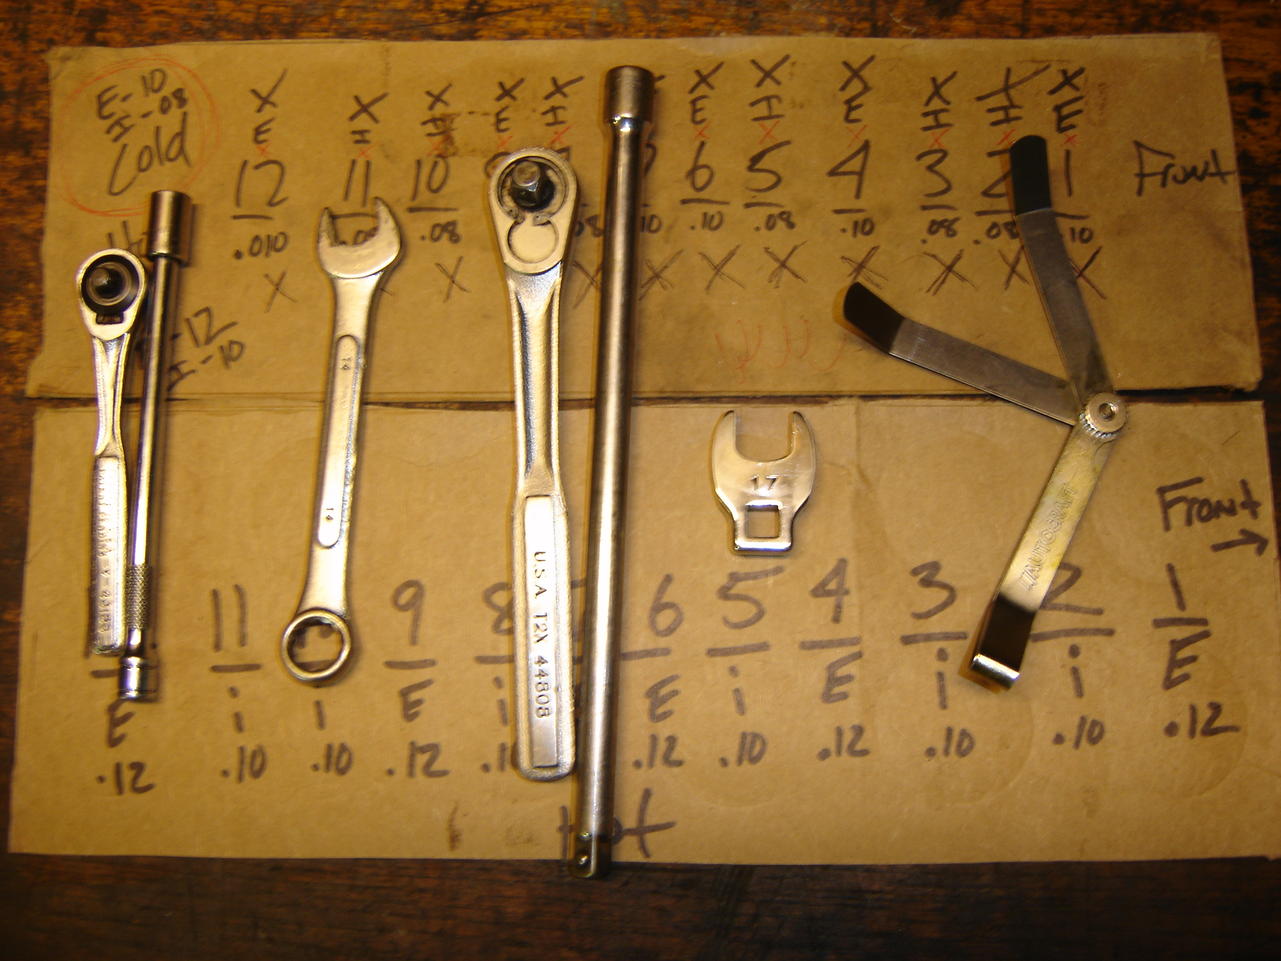
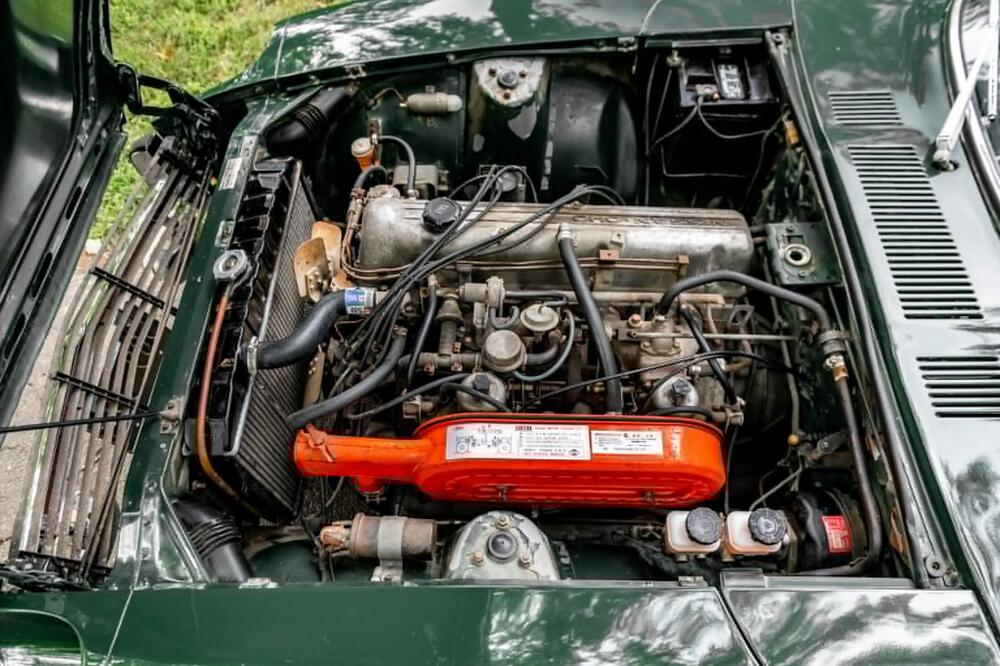
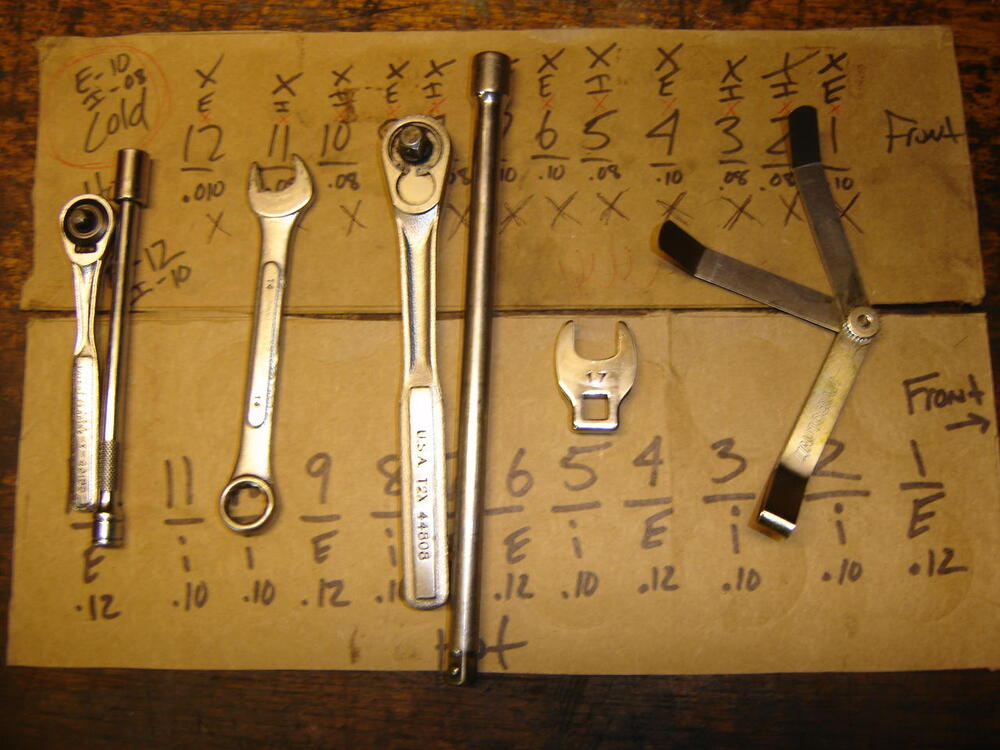
As I was thinking about this a bunch of memories passed through my head in voice over type thoughts. "Is this one exhaust or this one?" Do they just alternate from here? Exhaust - intake - exhaust - intake... No? Crap. The engine's tilted. Up is not Up". Is this still hot? Should I start over? It was perfect before I tightened the lock nut, now it's too tight. Does it matter if it's hard to get the feeler gauge in? Am I scratching the cam lobe with the feeler gauge? Where's my small sledge, I don't want to bleed anymore. #1 is a B___h! I should have wiped that oil off the edge before it dripped down the side of the engine. Wow, I really wacked something when the nut came loose. Hope nothing got bent. I could have just taken my time setting them cold, then rechecked them when they're hot. And that's just in the first hour.8 points
-
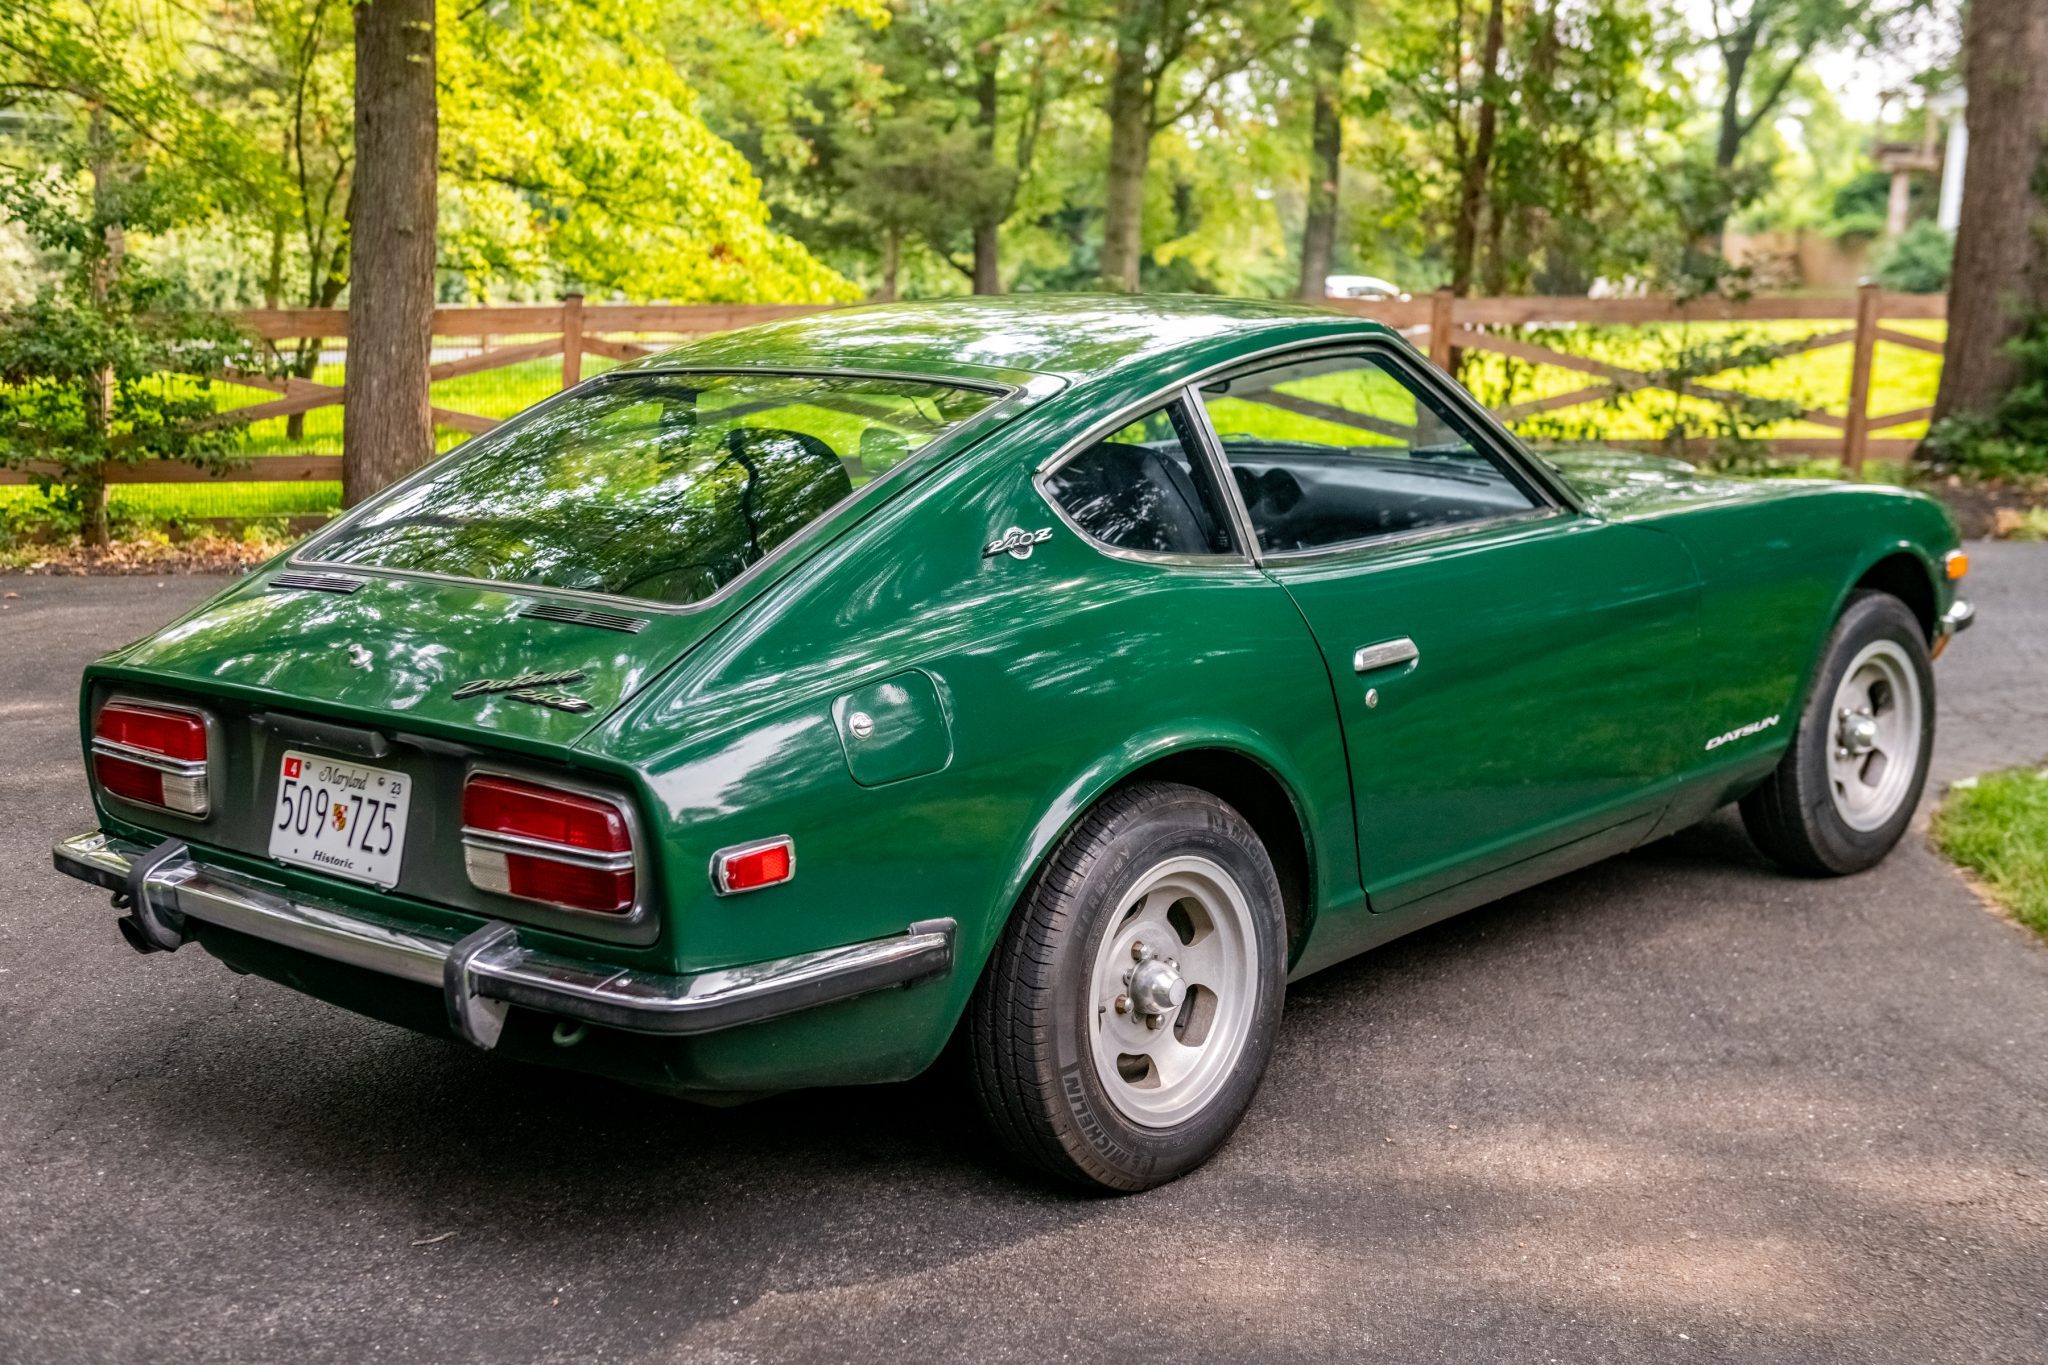
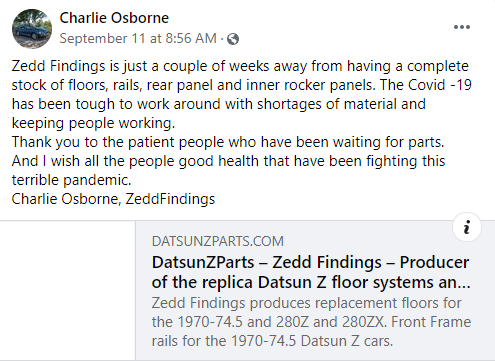
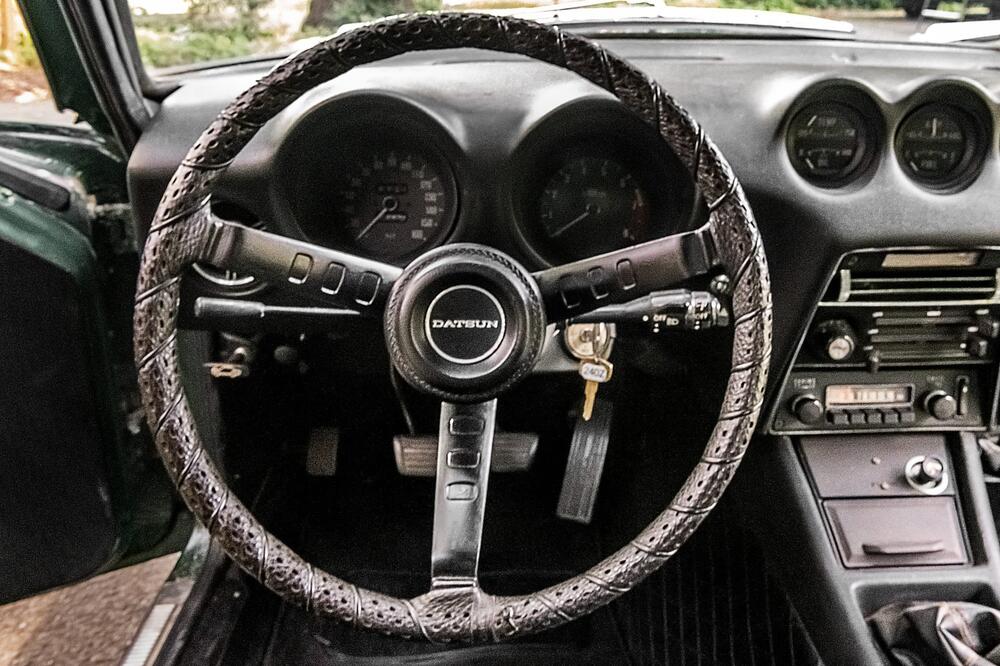
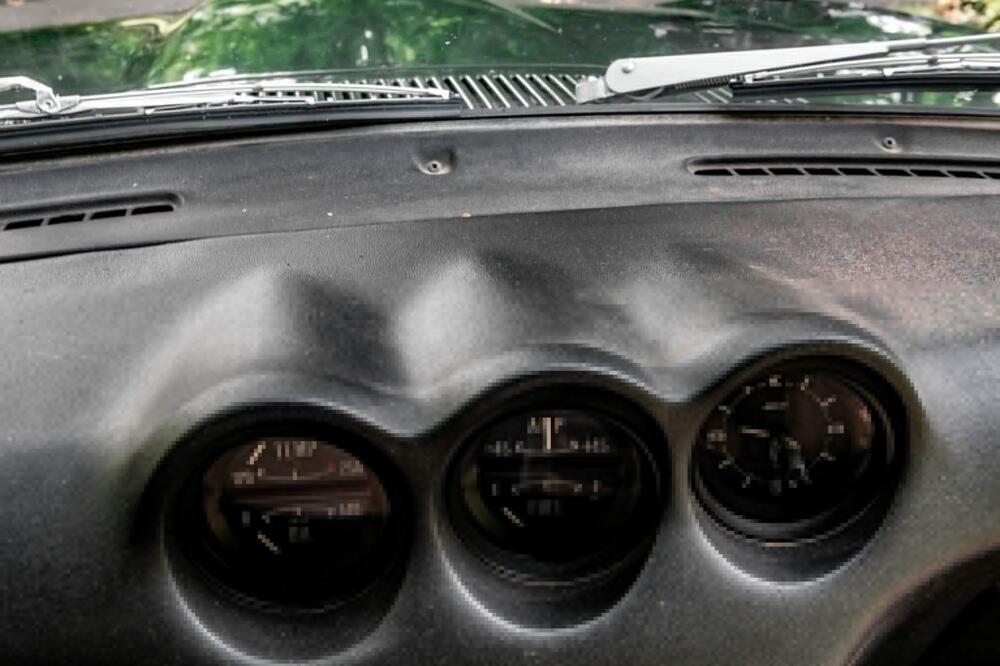
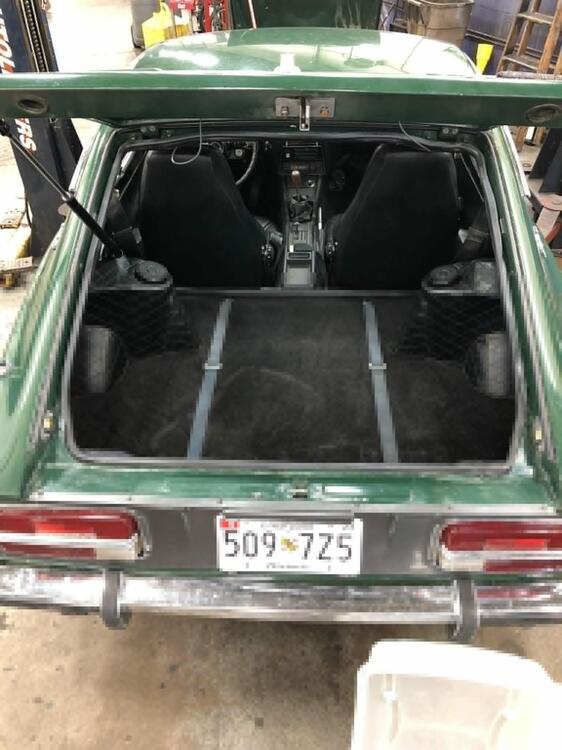
3 pointsThanks all. My 78z was blue, and I almost purchased another one recently, thus the reason for my I’d. Ended up getting a 71 instead, so I should do an name change.. Since I’ve been away from Z’s for so long I need to do some serious catch up. Plan is to keep it original as much as possible. Car is from Md, built 12/70. Minimal work done, over last 30+ yrs. Here’s what I’ve found so far: The good- Motor, clutch, trans, steering, lights, body panels, floors all appear good, interior, dash, seats, rugs all good. The bad- Tires dry rotted, antenna cord to be replaced, speedometer orings leaking, most hoses need replacement, suspension bushings are disintegrating, clock not working, new drivers seat cushion doesn’t quite match OEM. Still in exploring stage, car going on lift today. Can’t wait to see what lurks below. Here’s some pics.


 3 points
 -
3 pointsLOL!!! Here's hoping we didn't run him off with our (hopefully good natured) irreverence !3 points
-
3 pointsWe opened a bar in Atlanta in the 70’s.......called it ”Mrs. Boomers”.....on North Druid Hills Road. The Luvable bra factory was right down the street......the girls that worked there spent their lunch hours making us a four foot long bra to hang over the bar. We drank a lot of the profit! Looks like a nice car @bluez, but how about another 30 pics so we can see more.3 points
-
3 pointsOr maybe open that bar somewhere high in the mountains on the edge of a precipice overlooking a beautiful valley and call it....wait for it...Cliff's. BTW, welcome to the group, Bluez. Nice looking green Z. How's the interior?3 points
-
2 pointsActually, I had a 24F in my 240Z a long time ago and made the mistake of driving it without having the battery fully secured. When I made a right turn, the battery moved left, and the positive post contacted the engine. Fortunately, I put out the electrical fire before the car burned up. I am all for using the 24 instead of the 24F based upon my personal experience.2 points
-
LOLILOLOLOLOLOLOLOLOLOLOLOLOLOLOL!! I’m amazed how you managed to list my exact thoughts! [emoji1787][emoji1787][emoji1787][emoji1787] Brilliant!2 points
-
Here's a good read... And my setup with the tools and the "crossing them off" board I put under the passenger's wiper blade.
 2 points
 -
2 pointsIt's a great ID. I love the blues! I always wanted to open a bar, yes a drunkard with his own bar, but I realized as I grew older how stupid I am. My bar would be named "Elbert Bellew's". Great looking car mr bluez. Welcome to our forum, you'll like it here. The members are super smart mostly and very friendly. We like to help! Pictures, pictures pictures... Cliff2 points
-
2 points
-
RacerX, this is how these valve lash adjustment threads always end up. The guys that have done many and have practiced (that's the real key to speed - practice), and have calloused burnt finger tips, say it's easy and everyone should do them hot. "It's easy, don't be a weeny!". They have forgotten that their first time probably took a couple of hours. Logically, setting cold and checking hot has no flaws, except time spent. In the big scheme of things, for a guy with an engine that's new to him, the time spent looking at the engine parts with no reason to hurry might be more valuable than actually adjusting the lash. Plus, mistakes in lash settings can cost a lot of money. One hanging valve and the head might have to come off.2 points
-
2 pointsSilicone sealer has acetic acid in it (that vinegar smell when it is curing). Acetic acid is corrosive. I would caution against using it on bare metal as the resulting corrosion it causes would be just as bad as not using it. Before installing a rivnut I paint the bare metal. After installing the rivnut I go over it again to seal the area.2 points
-
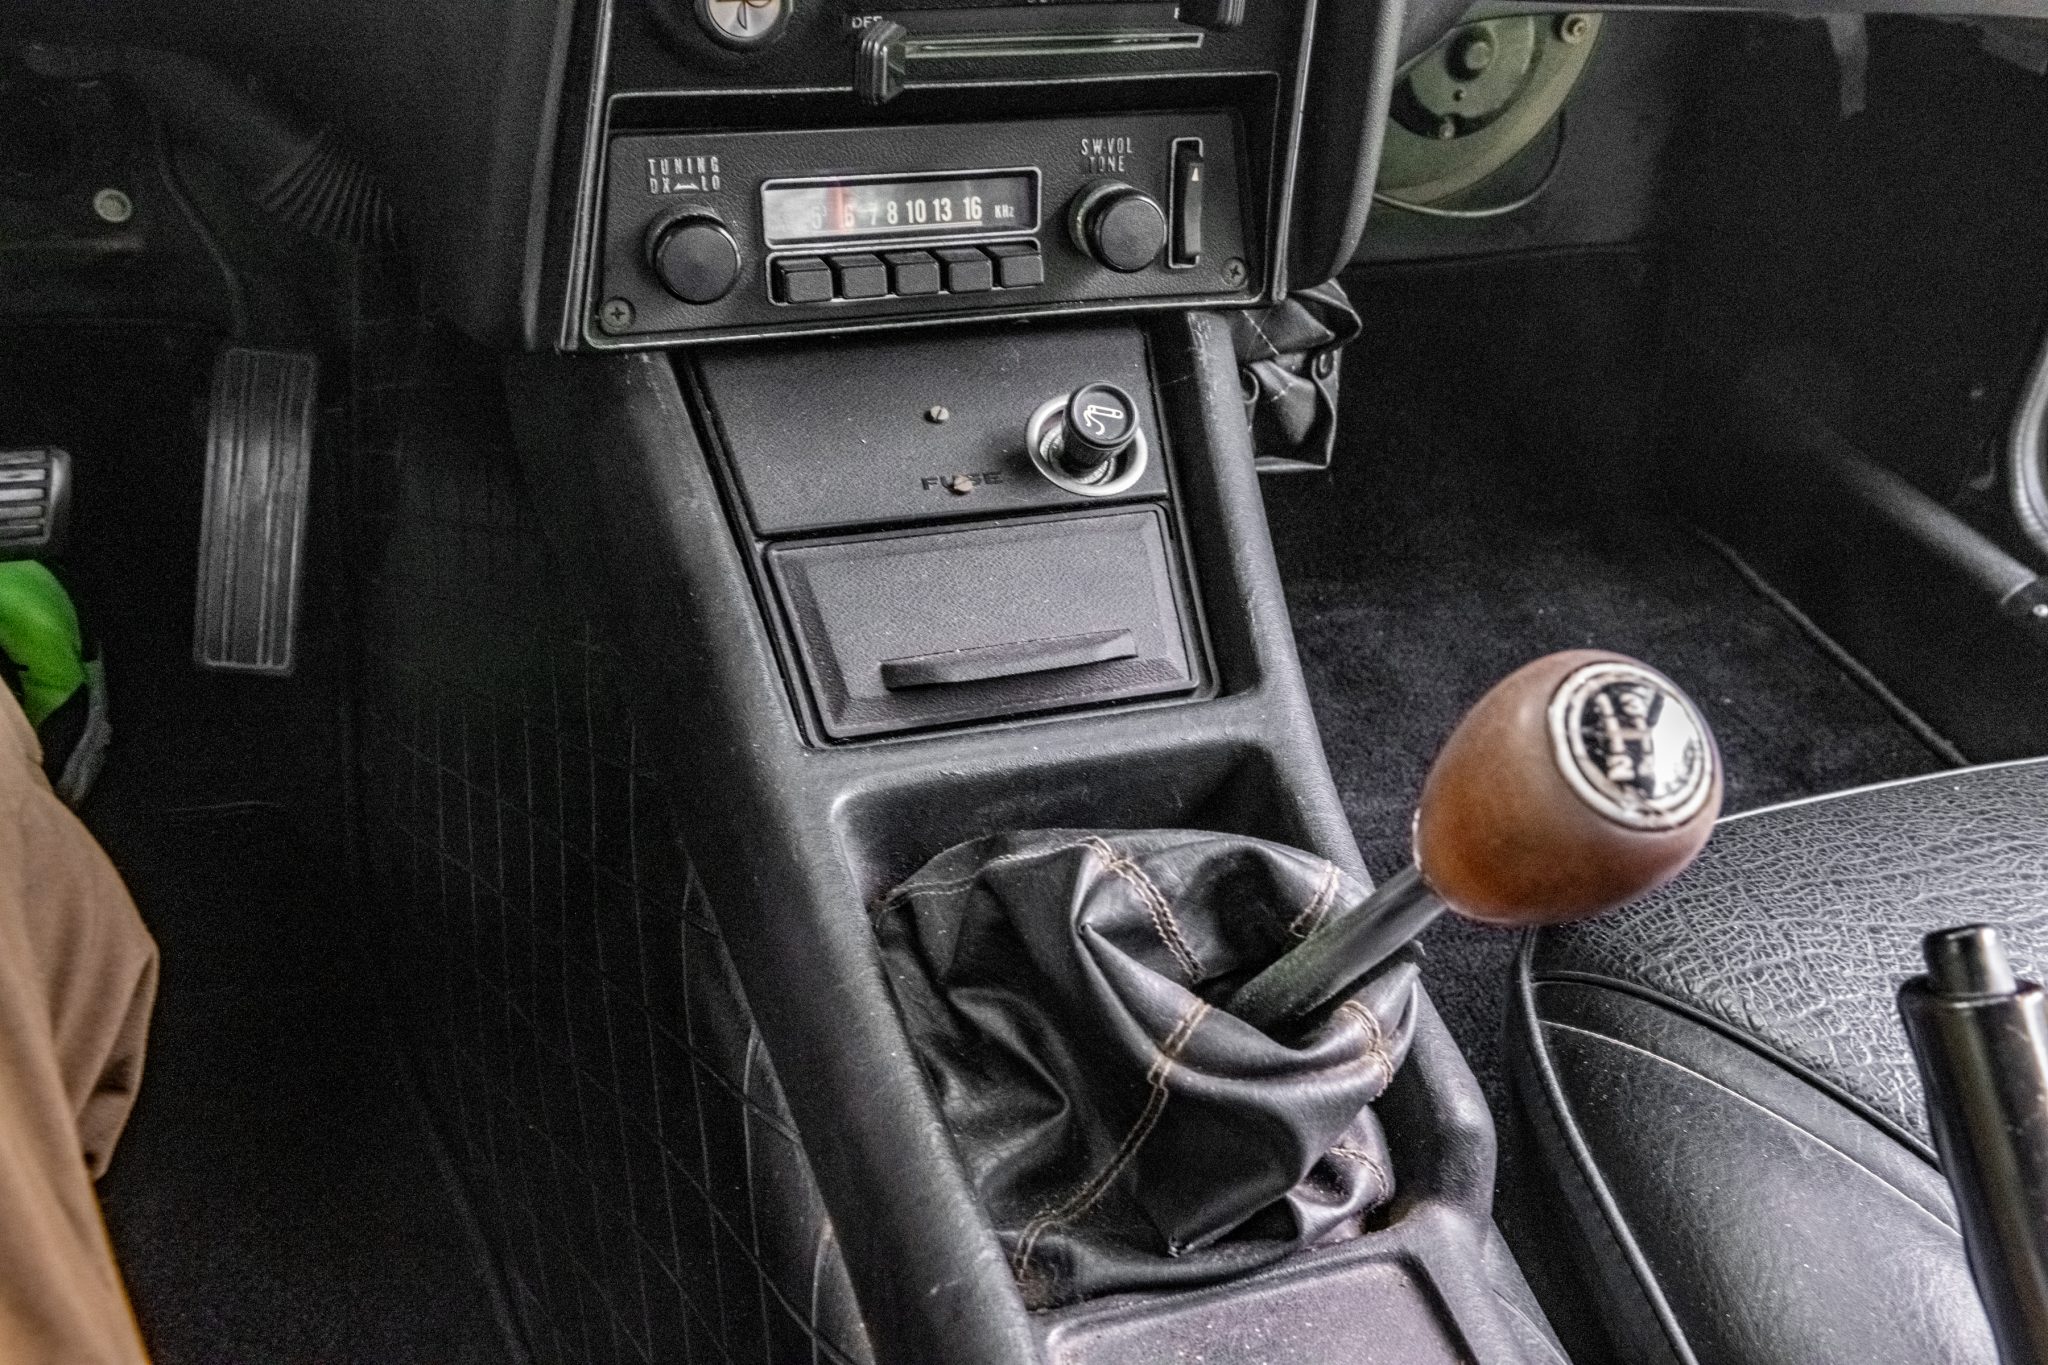
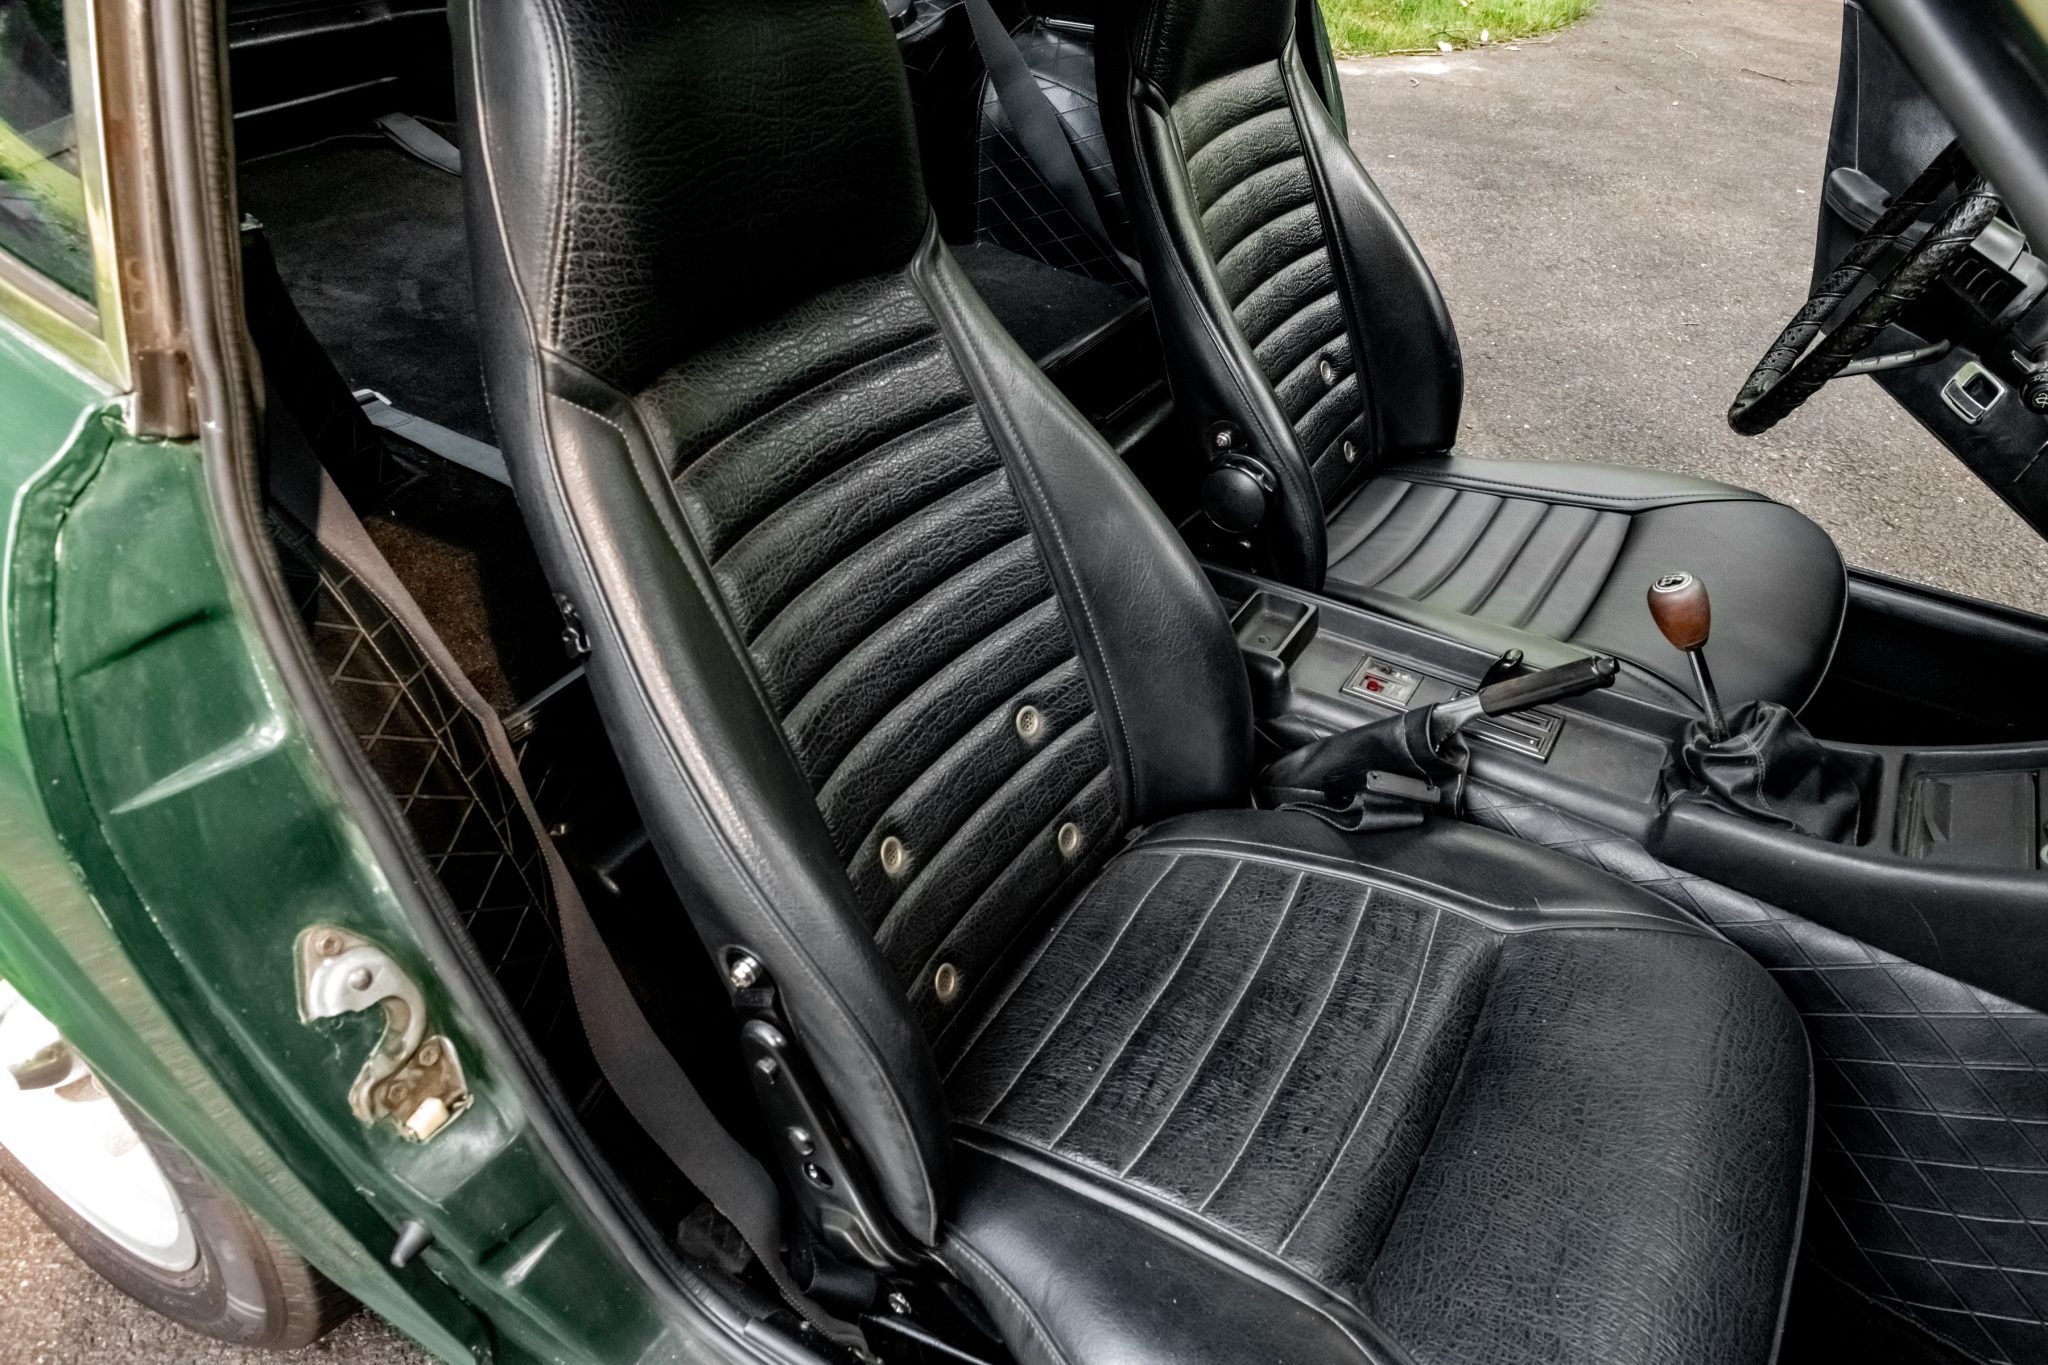
1 pointVery nice interior! I wish my '71 was that clean and tidy. Does the red button on the center console activate the fog lights?1 point
-
Keen readers might remember i was collecting parts to puzzle together an original, complete tool kit. With my first orders i got some wrong parts and some were still missing. Thanks to a tip from my Datsun-Mate Dan. i recently found this kit with the exact missing parts for sale in UK. Naturally i had to get it. So this is what arrived today: An original Nissan branded pliers, along with a double-headed screwdriver And s et of wrenches. This time metric ones and not inch-based sizes. I still have to check all the details. But i guess with my previous purchases the kit is complete now. More parts are somewhere on a container outside japan now. so expect more updates soon (might still take a few weeks until they're here)1 point
-
1 point
-
1 point
-
1 pointIt may be time for a new set of BP6ESs too. I've experienced a high RPM stumble that was cured by new plugs.1 point
-
1 pointGood to know. That eliminates one of the extra variables. Don't forget to check the valve lash and timing, too. Those are important to have correct before futzing too much with the carburetors.1 point
-
1 pointWelcome. This thread I started on getting my car back on the road after 11 years in the garage may be helpful to you.1 point
-
1 pointCorrect. ETI4K did, and I tried to multi quote you both but failed. Sorry, eh?1 point
-
1 pointI have a 78 280 and a late 74 260. I have the swap on the 260 which is a race car. Look at the hub in my pic. The face is round which is different than the 240 and early 260 which have scallops between the wheel studs. The early hubs are thinner which means the brake rotor hats taller. The 240Z spacers are around 0.625" thick.1 point
-
1 pointWow, I take my hat off to you sir! That’s proper analysis!! [emoji106] I really don’t know the full details as I simply bought them from a (now retired) UK club trader as a kit, complete with the S12W callipers and pads. This side of the pond, it’s a time honoured package with, as you say, just the machining of the centre hole required for 77-78 models. But I believe the hub config is different on the earlier models and needed some spacer arrangement. Having said all that, thank you for the detailed comparison!! It will be useful to others in the future potentially weighing up the two options. I will have to take pictures next time I have the wheels off. As a matter of interest, what year / model is your car? I am assuming 78 given your call sign! If 78 then I wonder if the hubs on a late 280 are different to a late 260!? [emoji848]1 point
-
1 pointI didn't say silicone 😉 I can't stand the stuff, it's good enough for bathtub caulking but I don't use the stuff on cars.1 point
-
1 pointBased solely on his astute observation earlier in this topic which parsed screen name and accompanying photo, a promotion to Major Obvious may be appropriate. 😎1 point
-
1 point
-
1 pointWelcome to the group and your introductory dash of irreverance from a fellow member. That's a great looking car, I know we'll all be looking forward to your updates with mandatory pics. Set up your signature line in your profile to include your VIN and build date as it will help everyone when responding to any questions you post. Did I mention mandatory pics???1 point
-
1 pointI did a quick spec comparison between the 505 rotors and the Z31 rotors. The OD is pretty close, while the Z31 rotor is thicker by 0.078" (2mm), the center bore of the 505 rotor is smaller by 0.193" (4.9mm) and the overall thickness of the 505 rotor when laid flat is 1.63" (41.04mm) which is greater by 0.23" (5.84mm) than the Z31 at 1.4" (35.56mm). The bolt circle is also wrong, but it appears the ones you pictured have two sets of holes, so maybe they fit? I don't have my sheet handy where I measured the spacer thickness, but I recall it being somewhere around .355" (9.0mm). I'm sure you are right, but based on the specs I found, I'm not sure how the 505 rotor would work as the overall thickness is somewhere around 3.5mm off compared to the Z31 rotor and spacer combo. Maybe the US spec 505 is different than the UK spec 505???1 point
-
1 pointFor what it is worth, when I put this setup on my racecar, no one produced a “kit” and spacers weren’t commercially available. I took measurements, made a drawing, and then had them made at a local machine shop.1 point
-
1 pointI don't recall any talk of adjusting the float levels (the primary mixture adjustment). The easy way to check them is remove the domes and pistons, raise the mixture screws to the top, then lower them 9 1/2 - 10 turns down from the uppermost position. The fuel level should be close to the jet height at 9 1/2 - 10 turns down. Then raise the jets back up to 2 1/2 - 3 turns down from the top. How many turns down are your mixture screws now?1 point
-
1 pointI didn't even think to mention this earlier. Are you still using points in your distributor? If the gap and dwell aren't right, that could weaken the spark enough to make the car bog down going uphill. I was working on another guy's 240Z not that long ago. I got the carbs set up pretty good, put it bogged down going uphill. Another friend set the dwell, and it improved the car for a while. I finally convinced the owner to get a Pertronix. Once I installed that, the car would run uphill like a scalded dog.1 point
-
1 pointMy translation... I believe they are referring to jonathanrussell's comment at the top of this page about how do deal with the battery tray refurb: "To me, the best way to restore the battery area is to drill out the spot welds and remove the tray. If you do this, buy a nice, properly sized spot weld drill bit and extender, and practice removing spot welds without drilling through the body. You will then need to weld up the holes in the battery frame...or buy a new one. I use rivet nuts to re-attach the tray to the body."1 point