Leaderboard

 Subscriber


Popular Content
Showing content with the highest reputation on 02/18/2021 in all areas
-
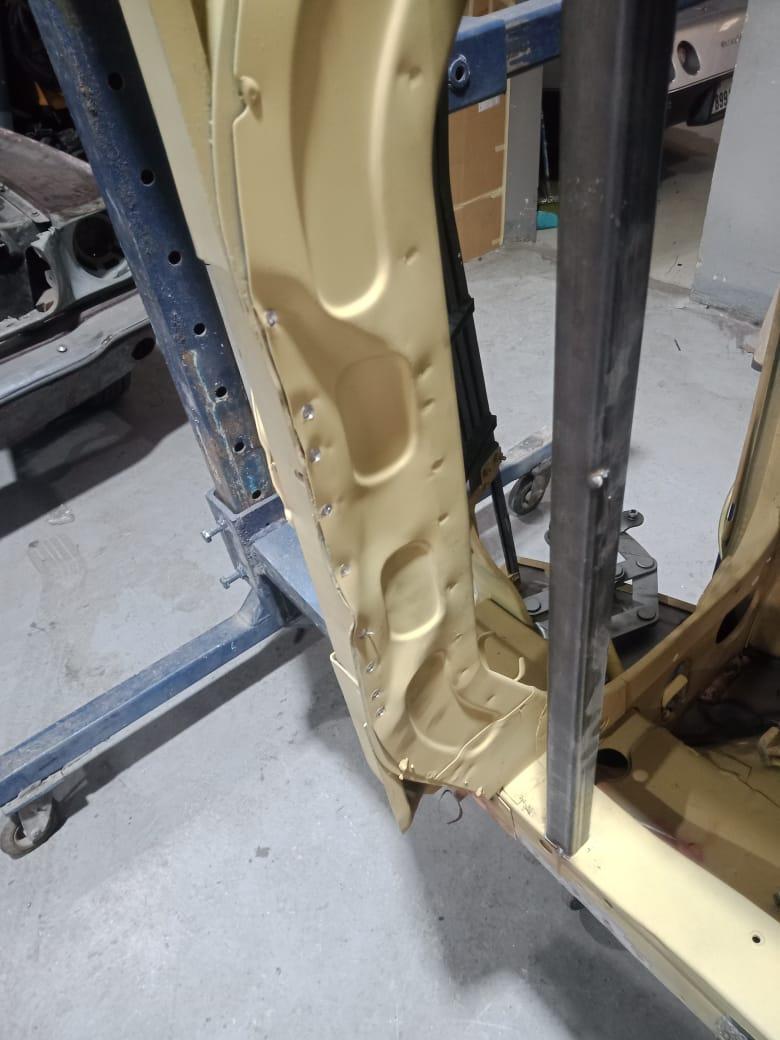
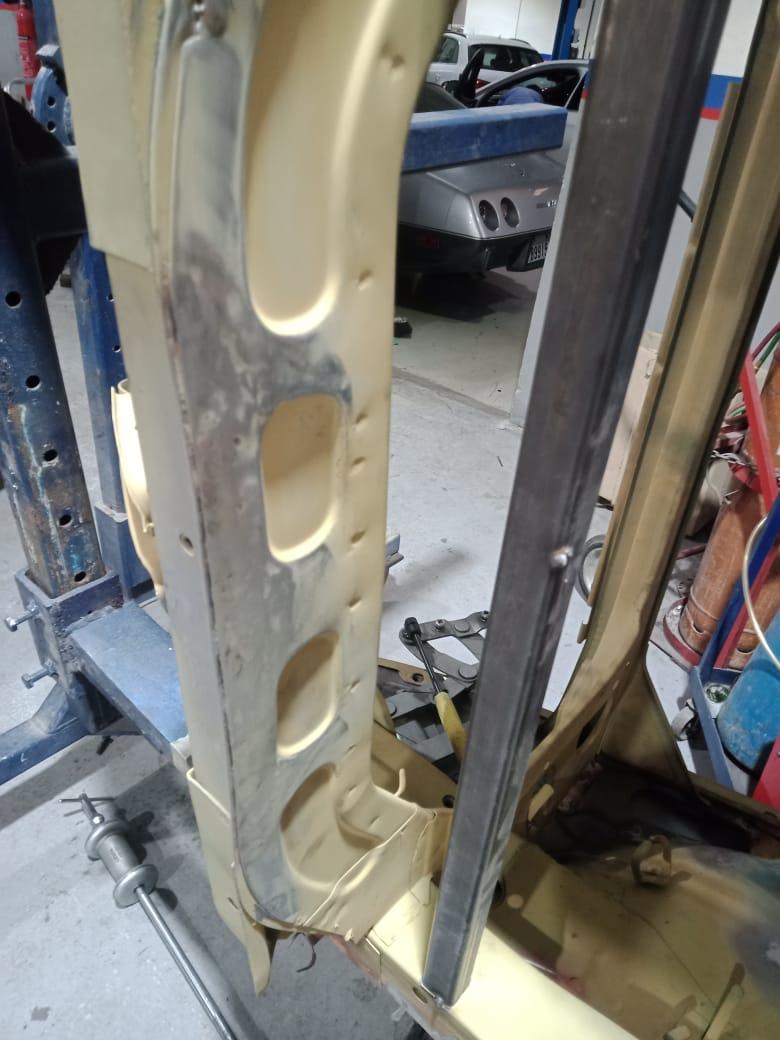
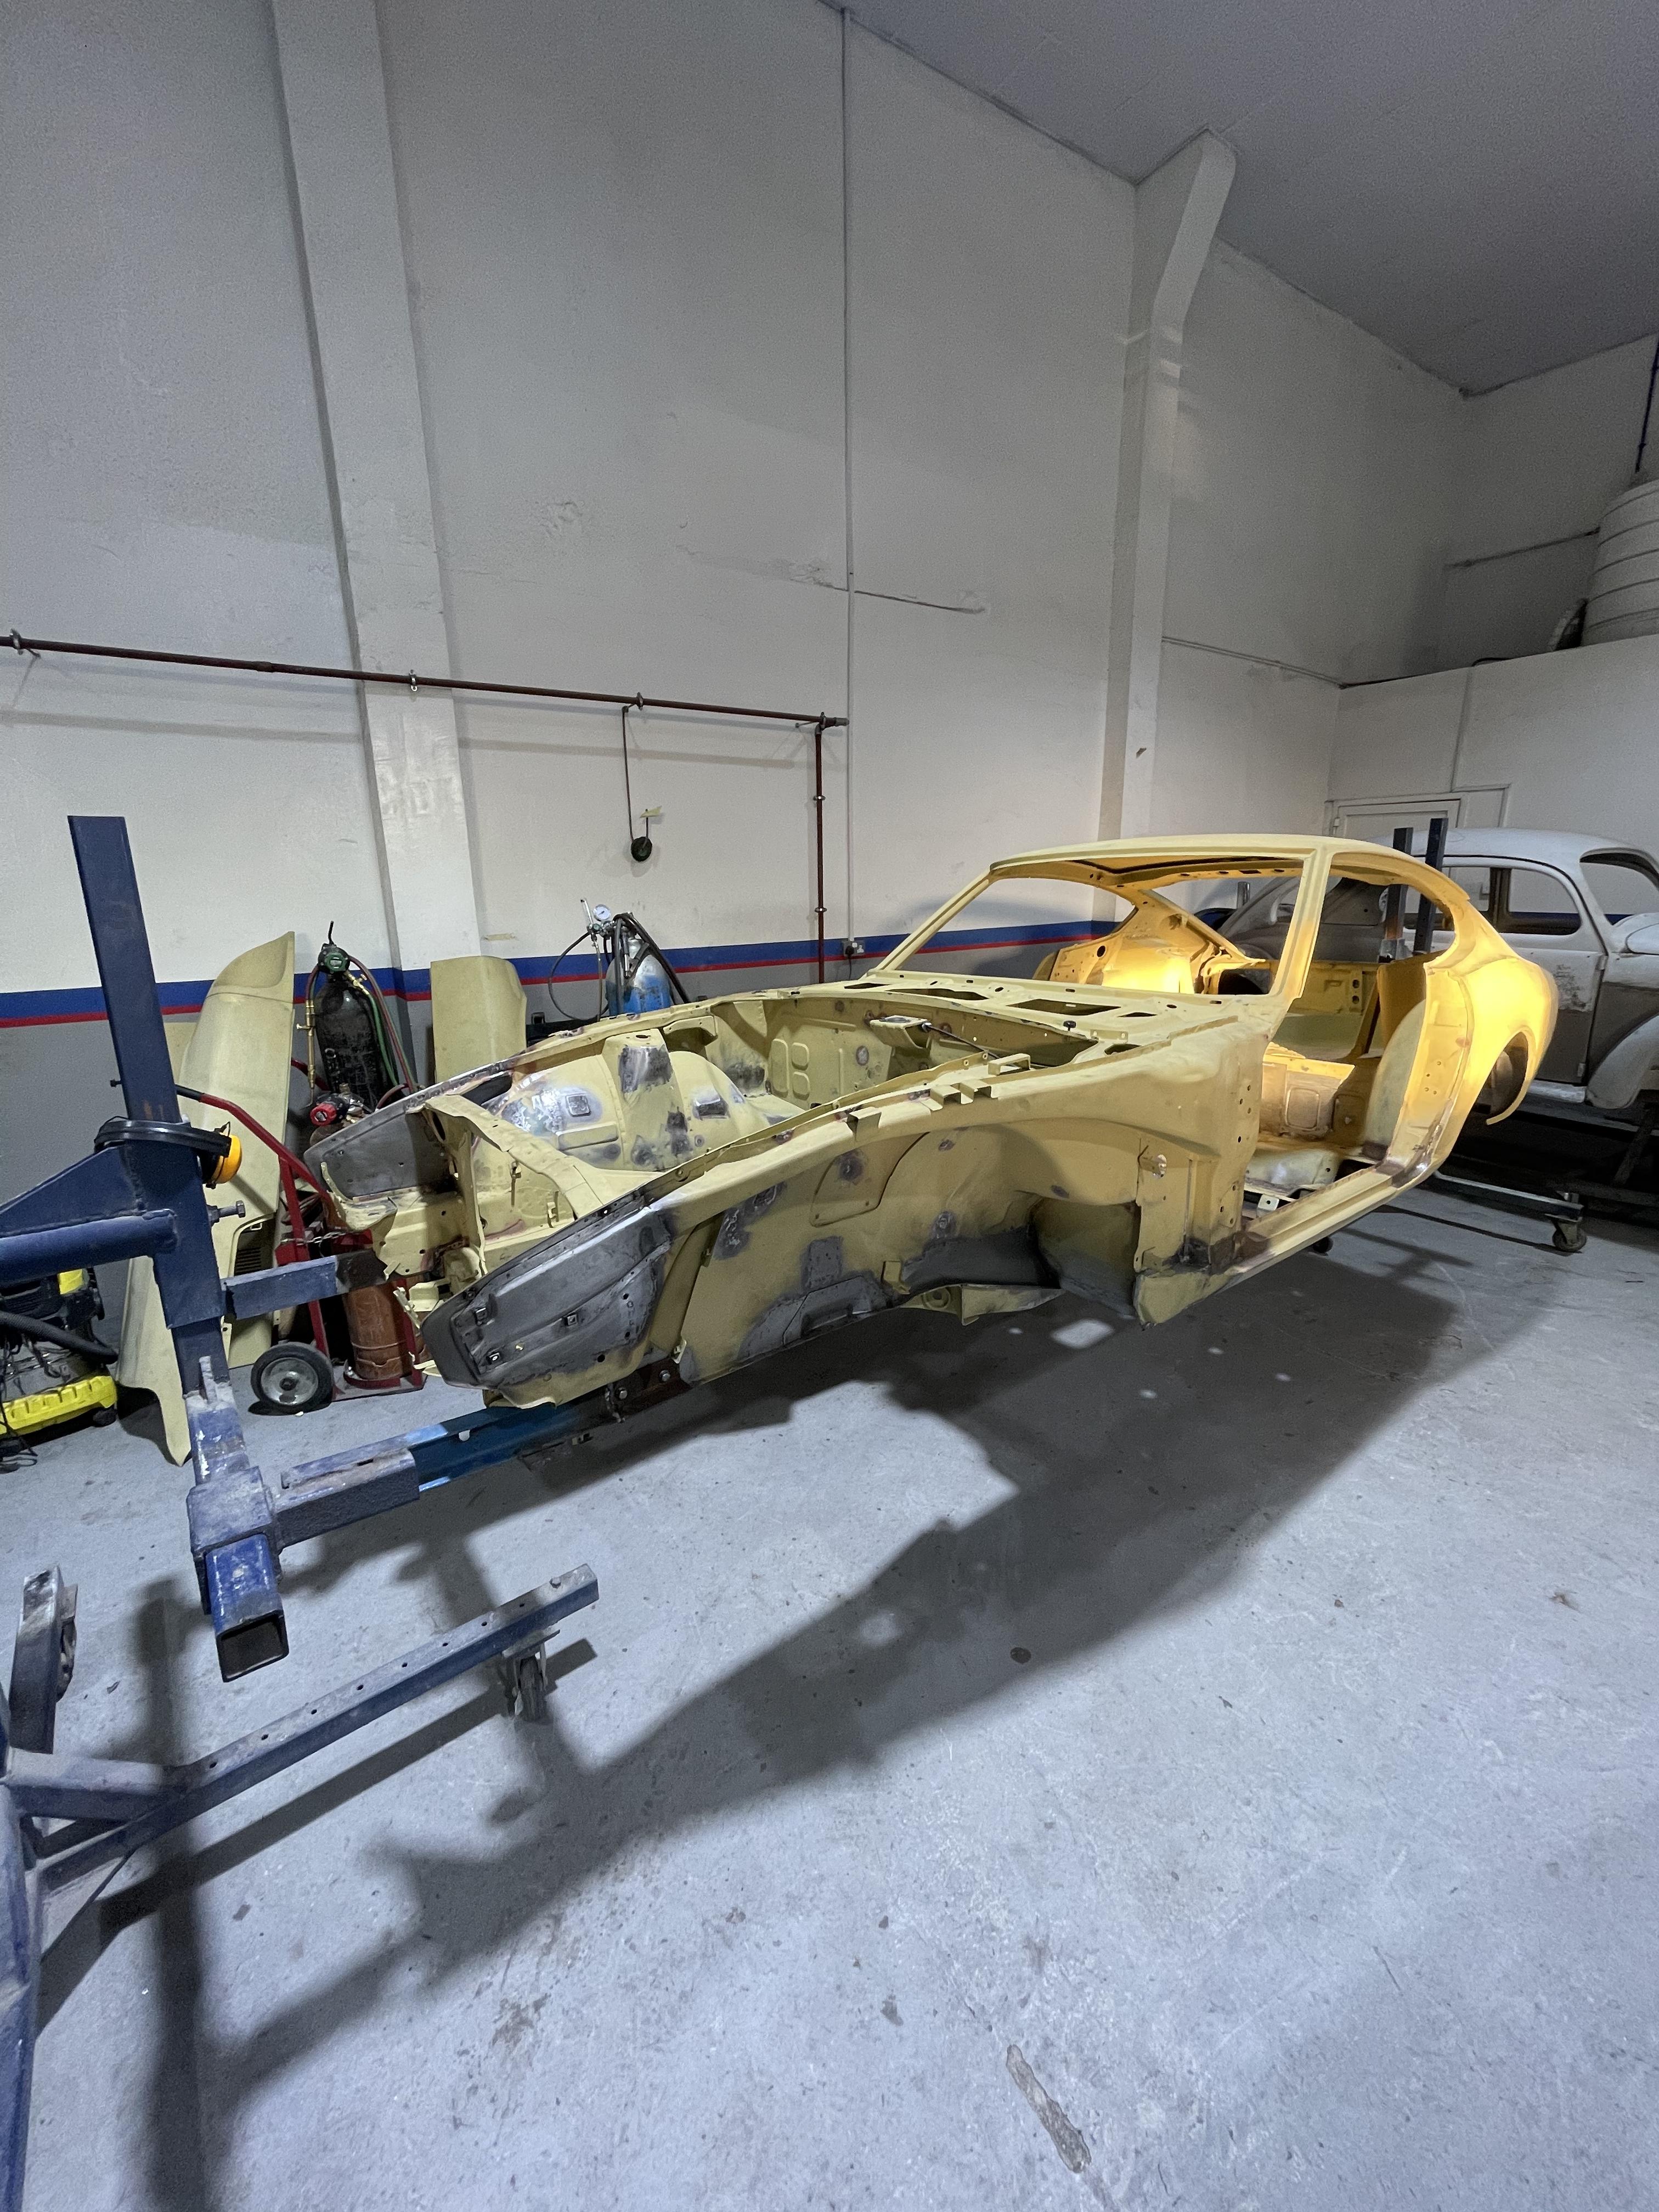
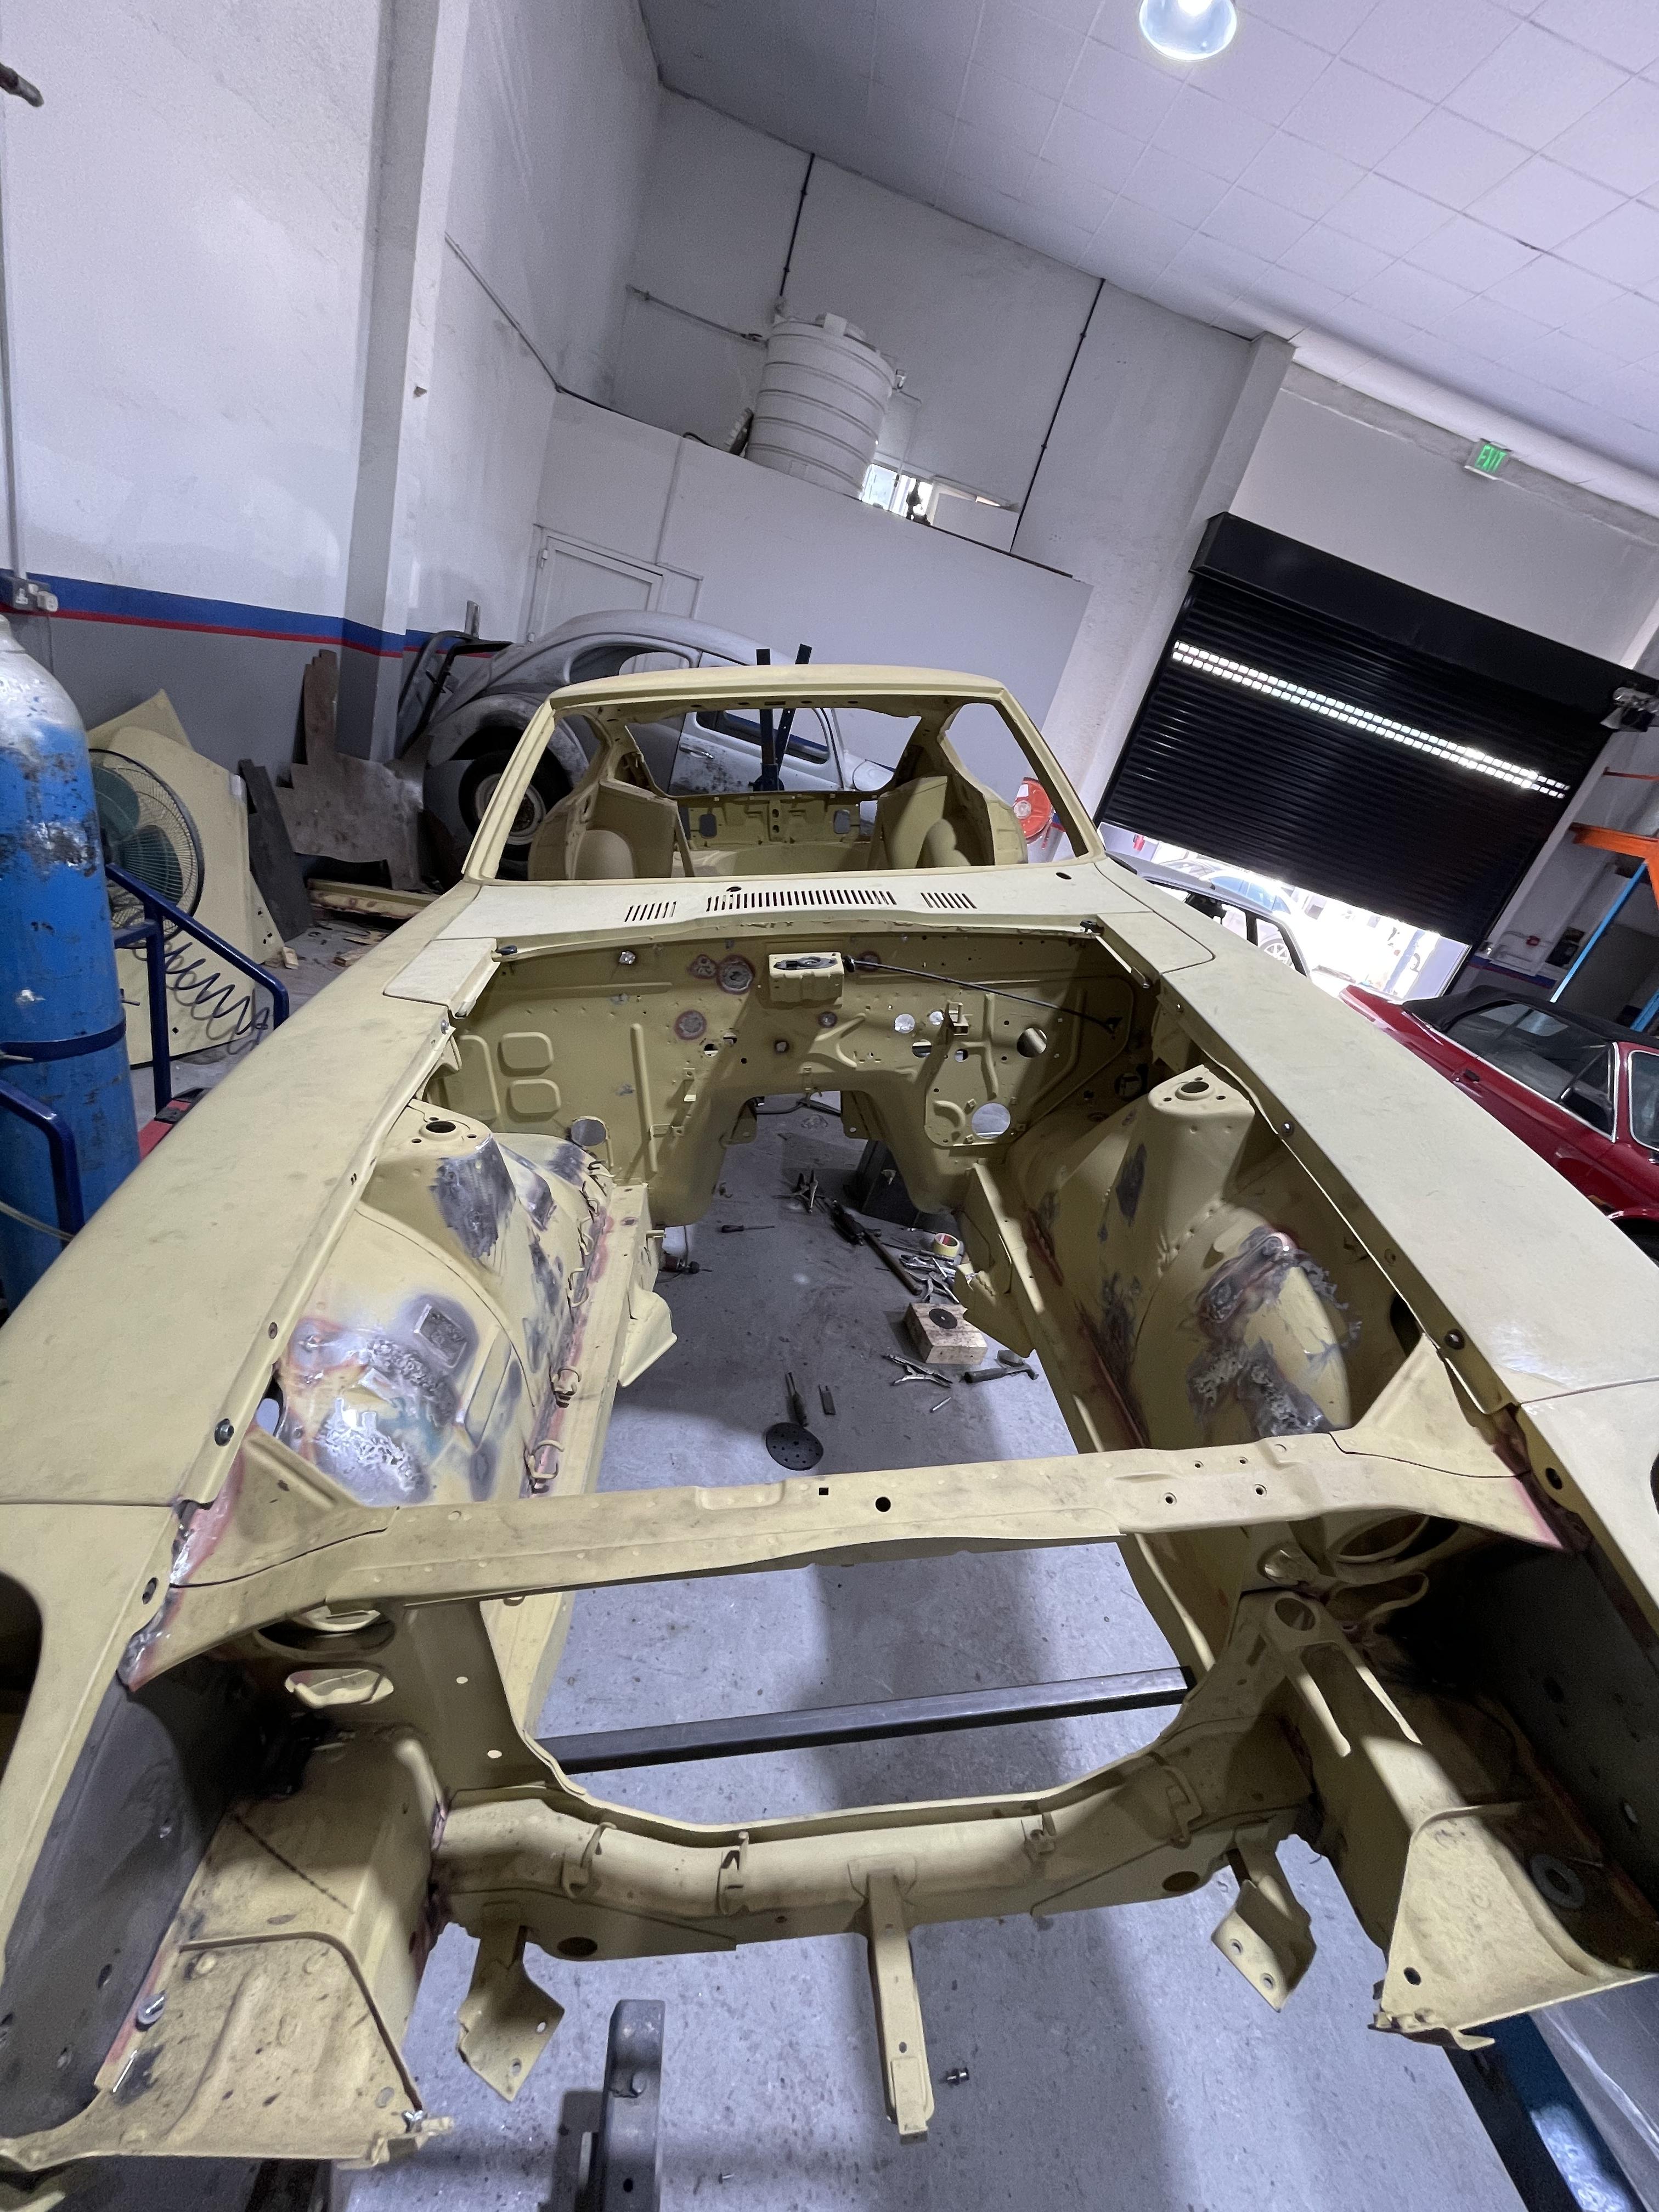
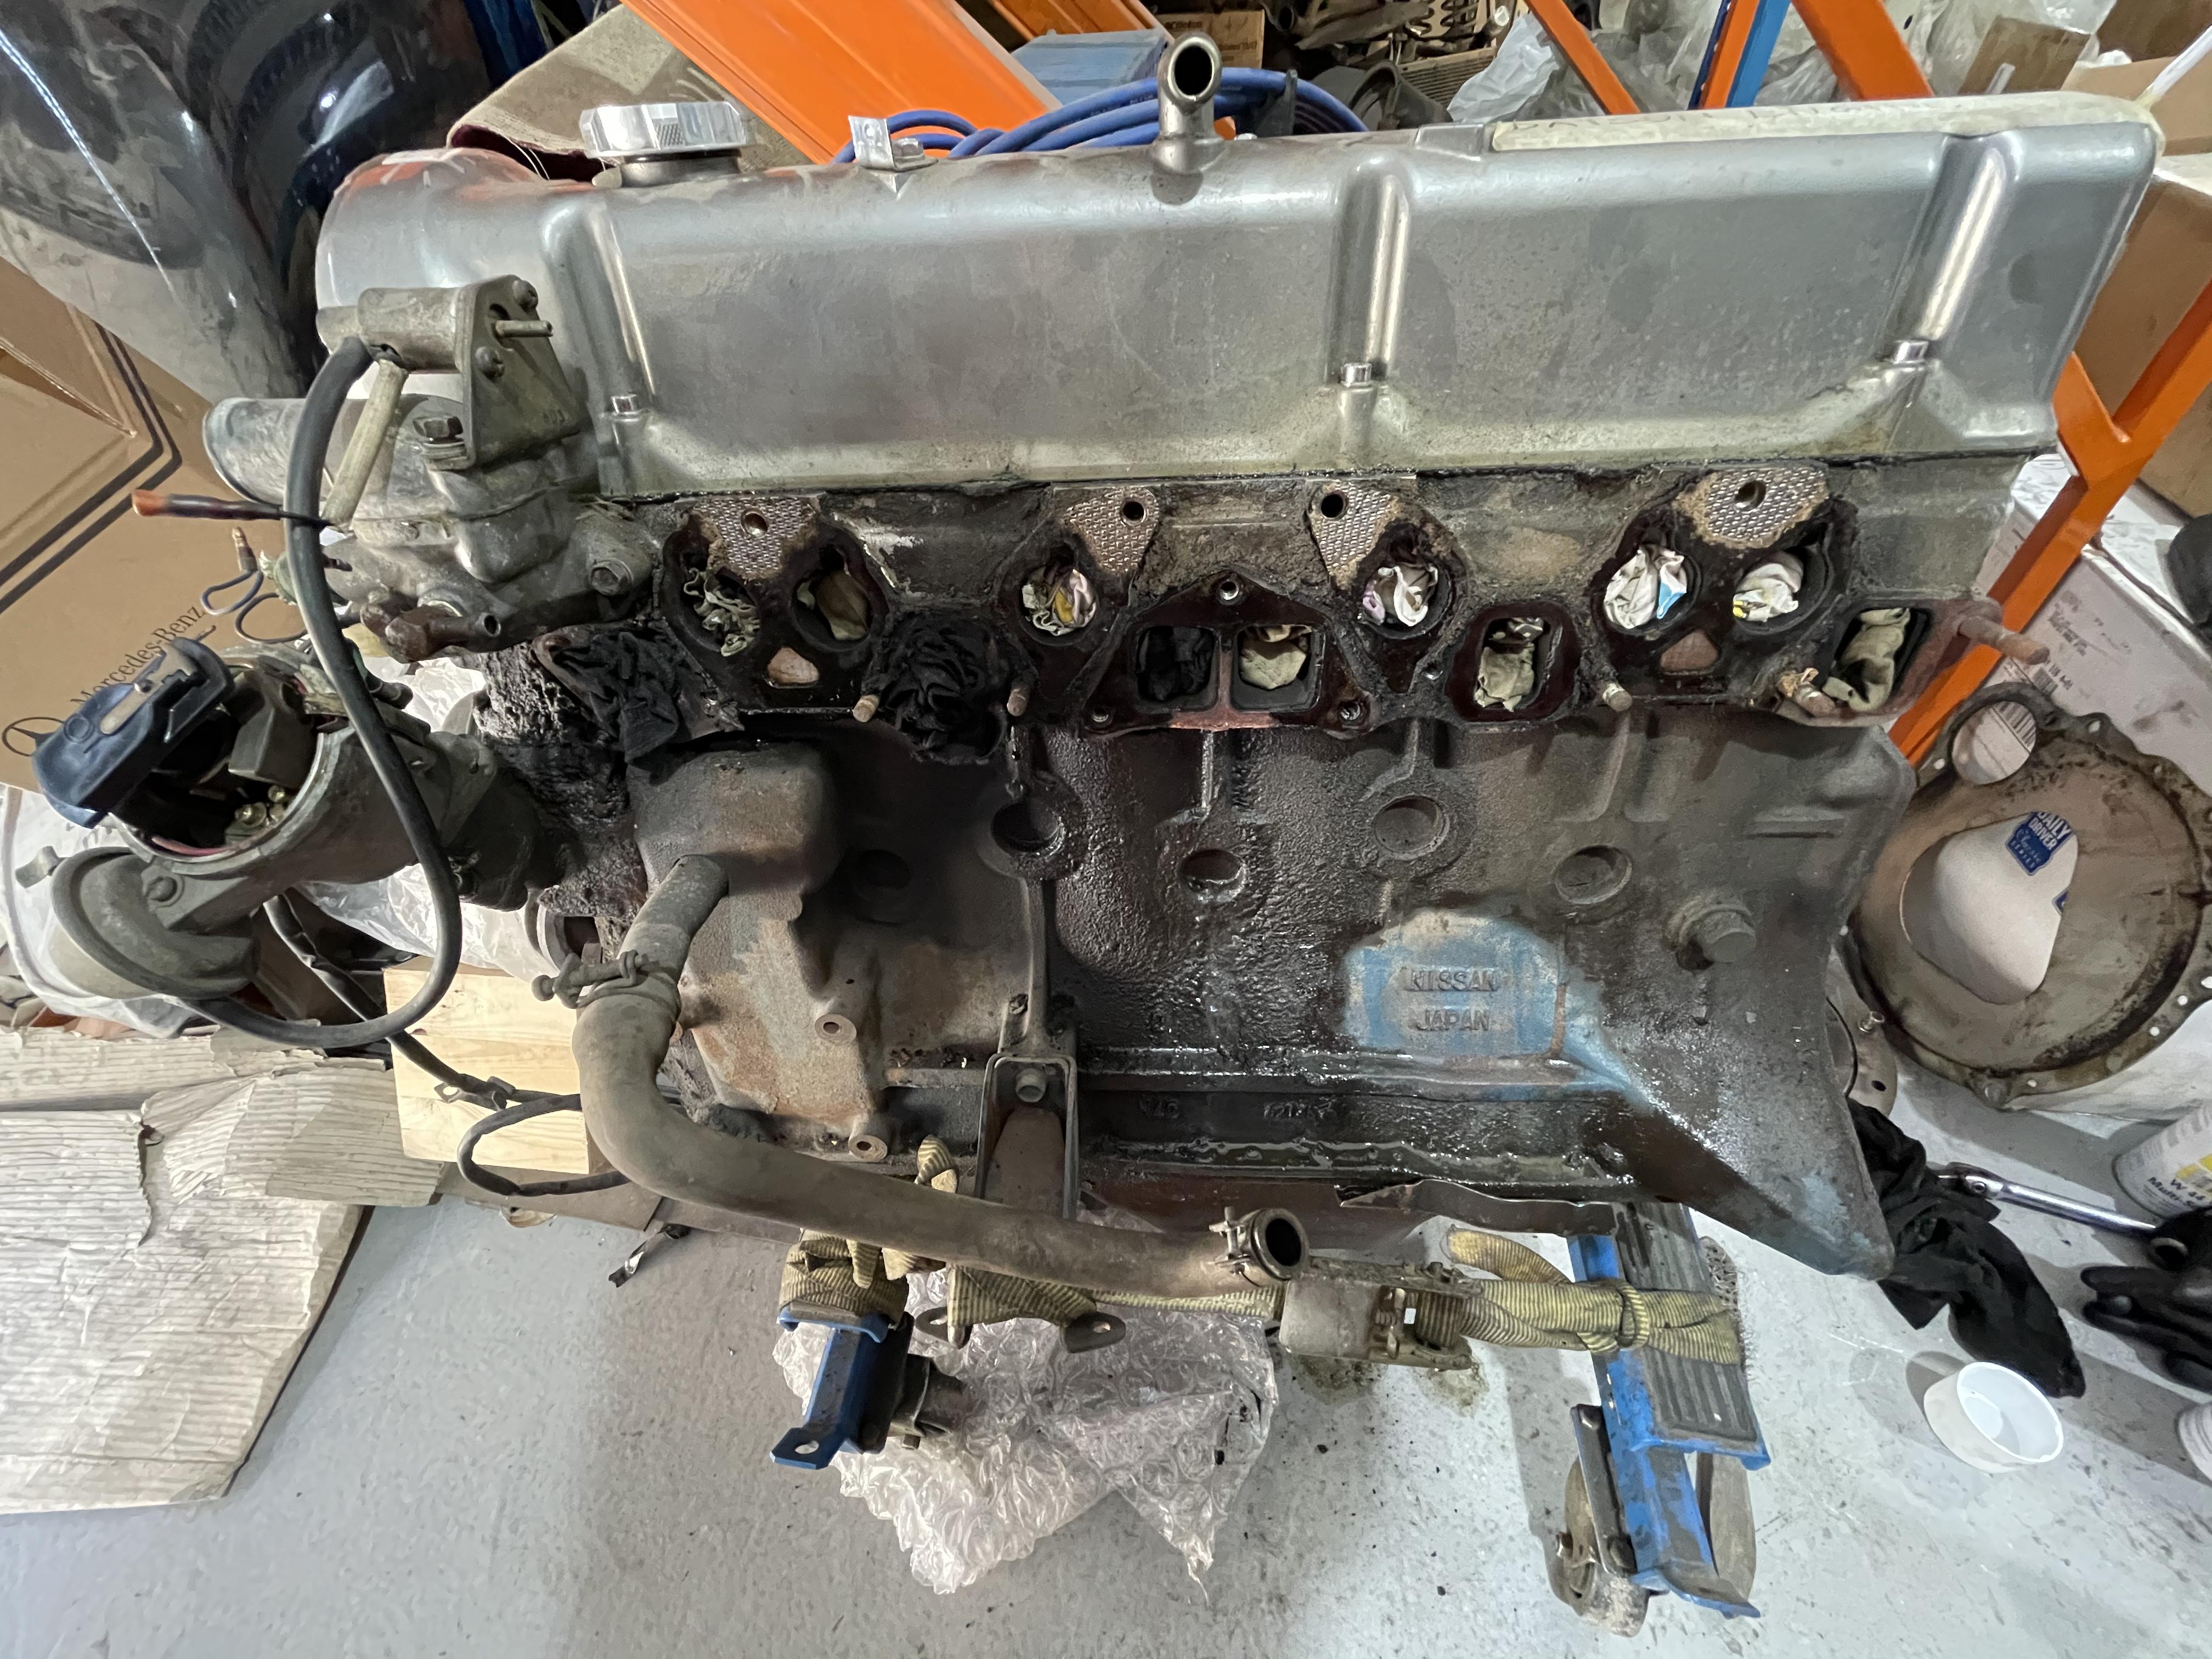
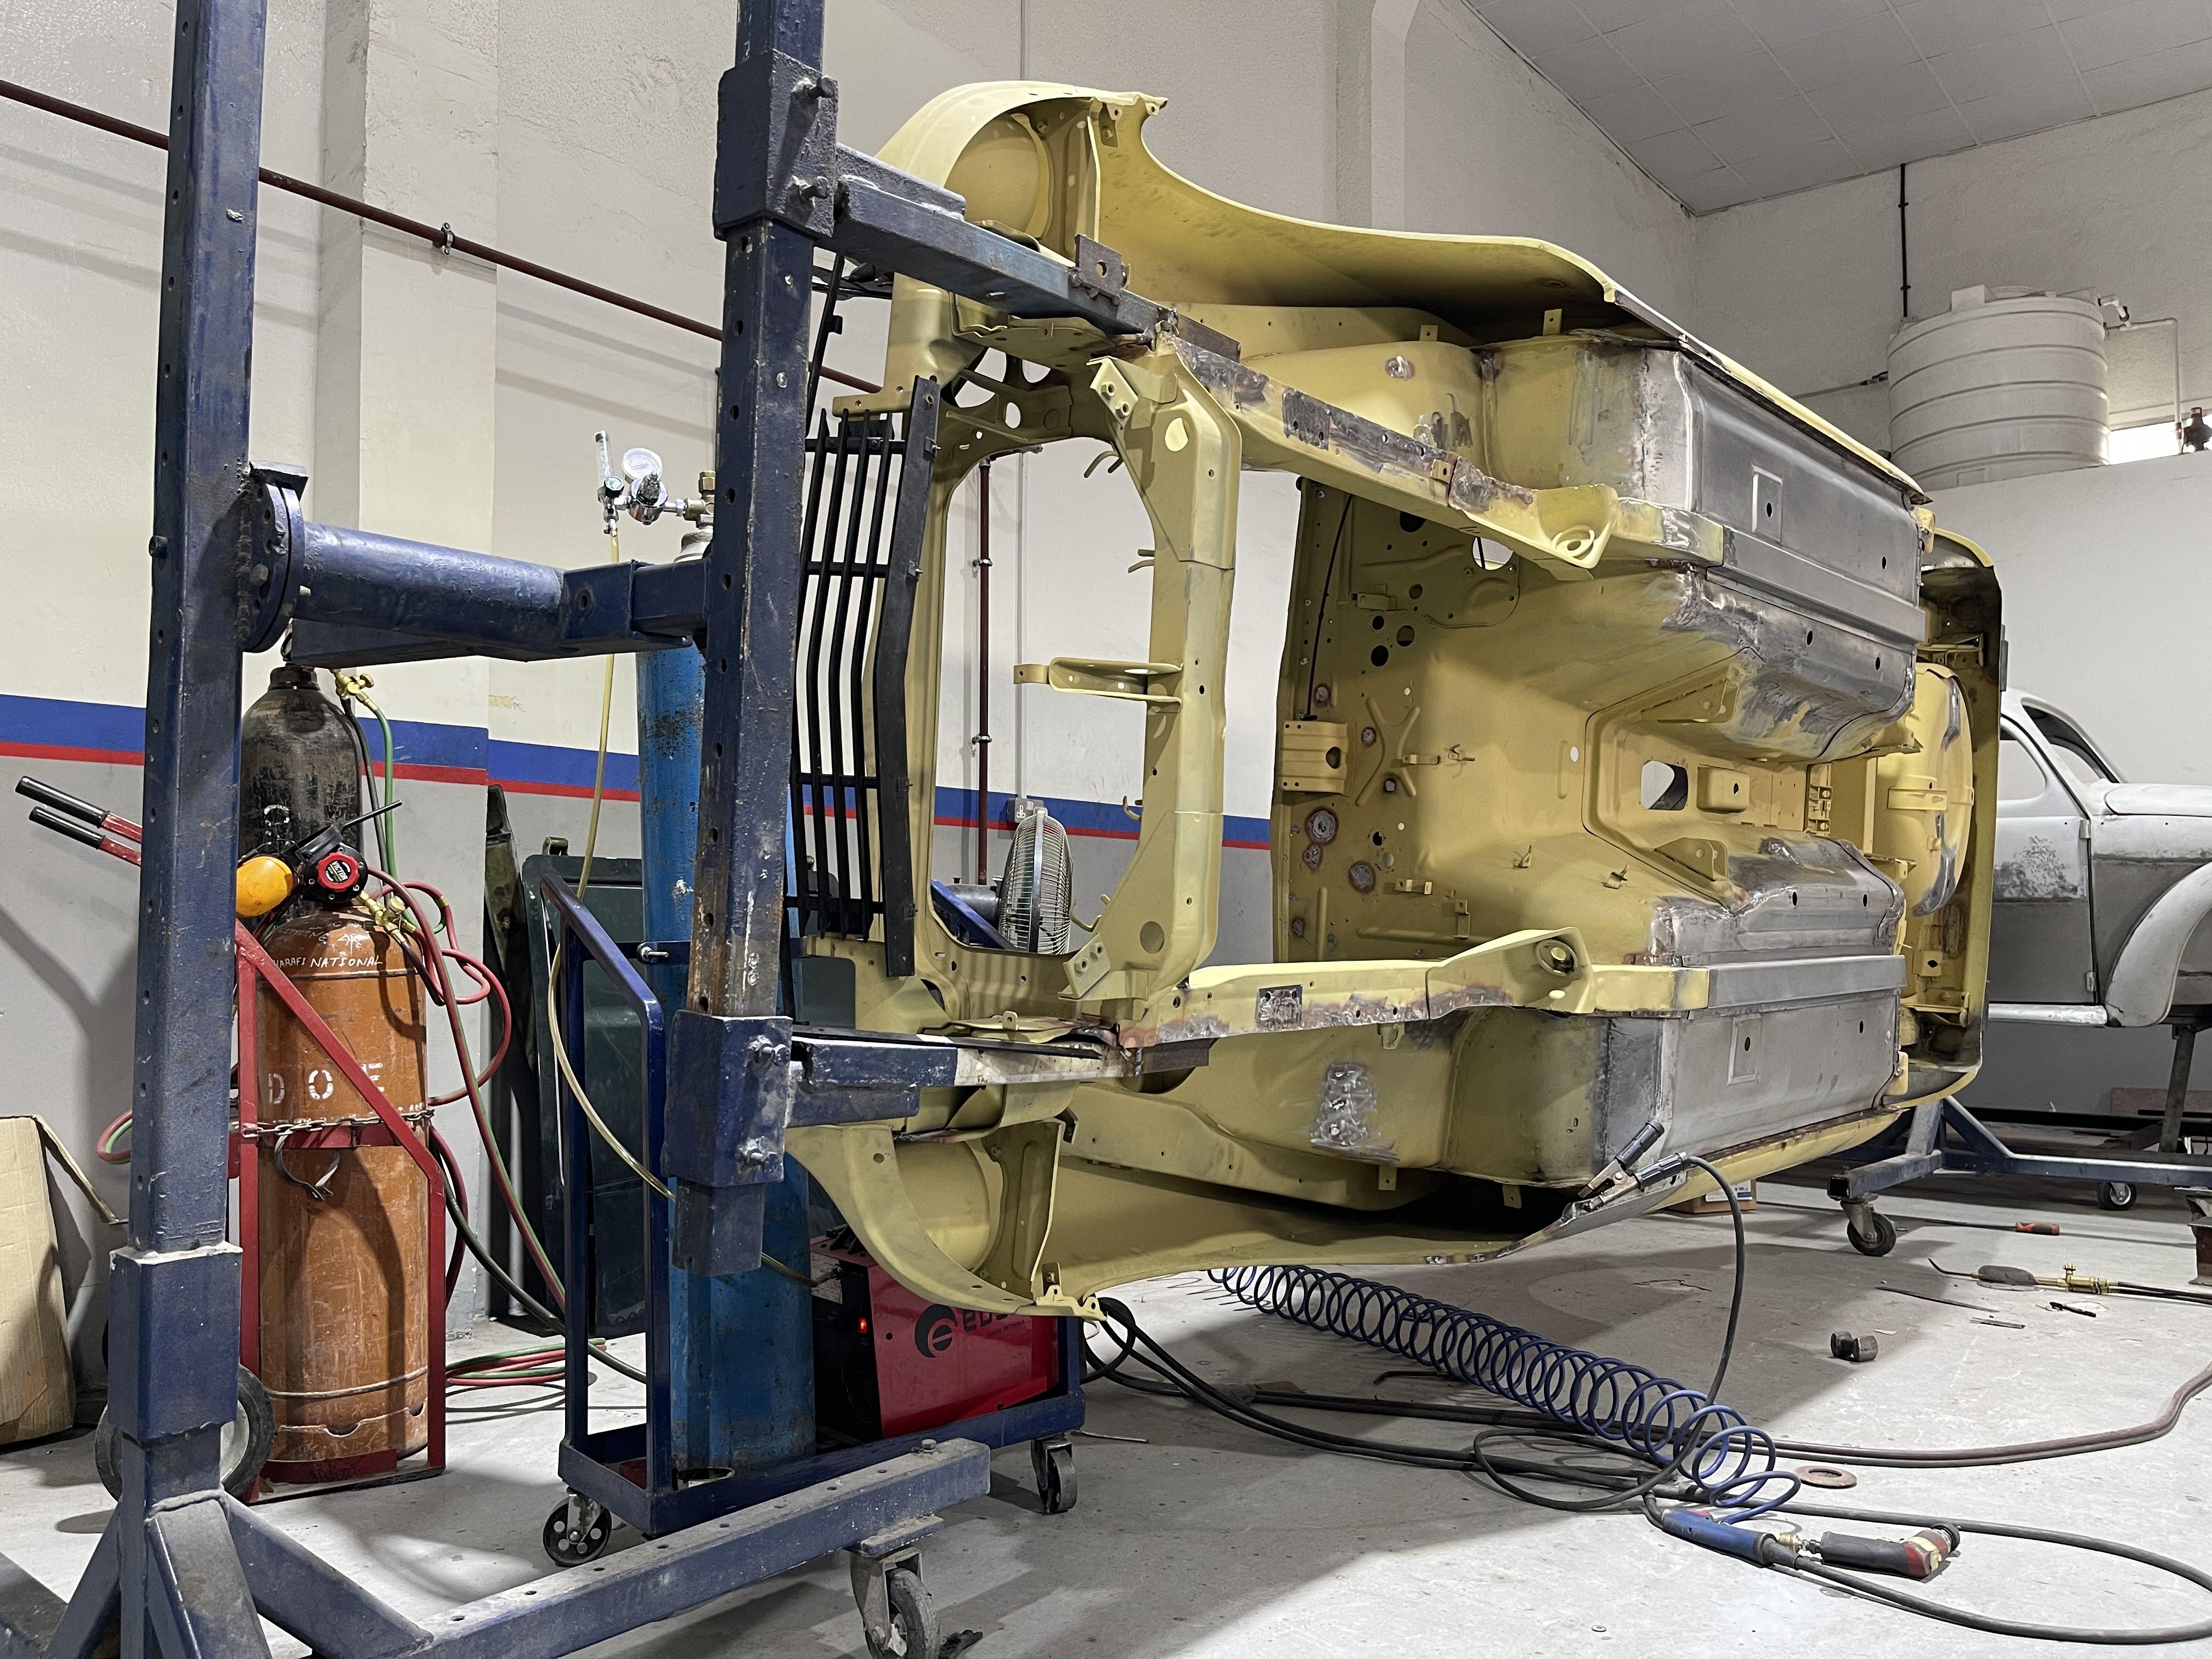
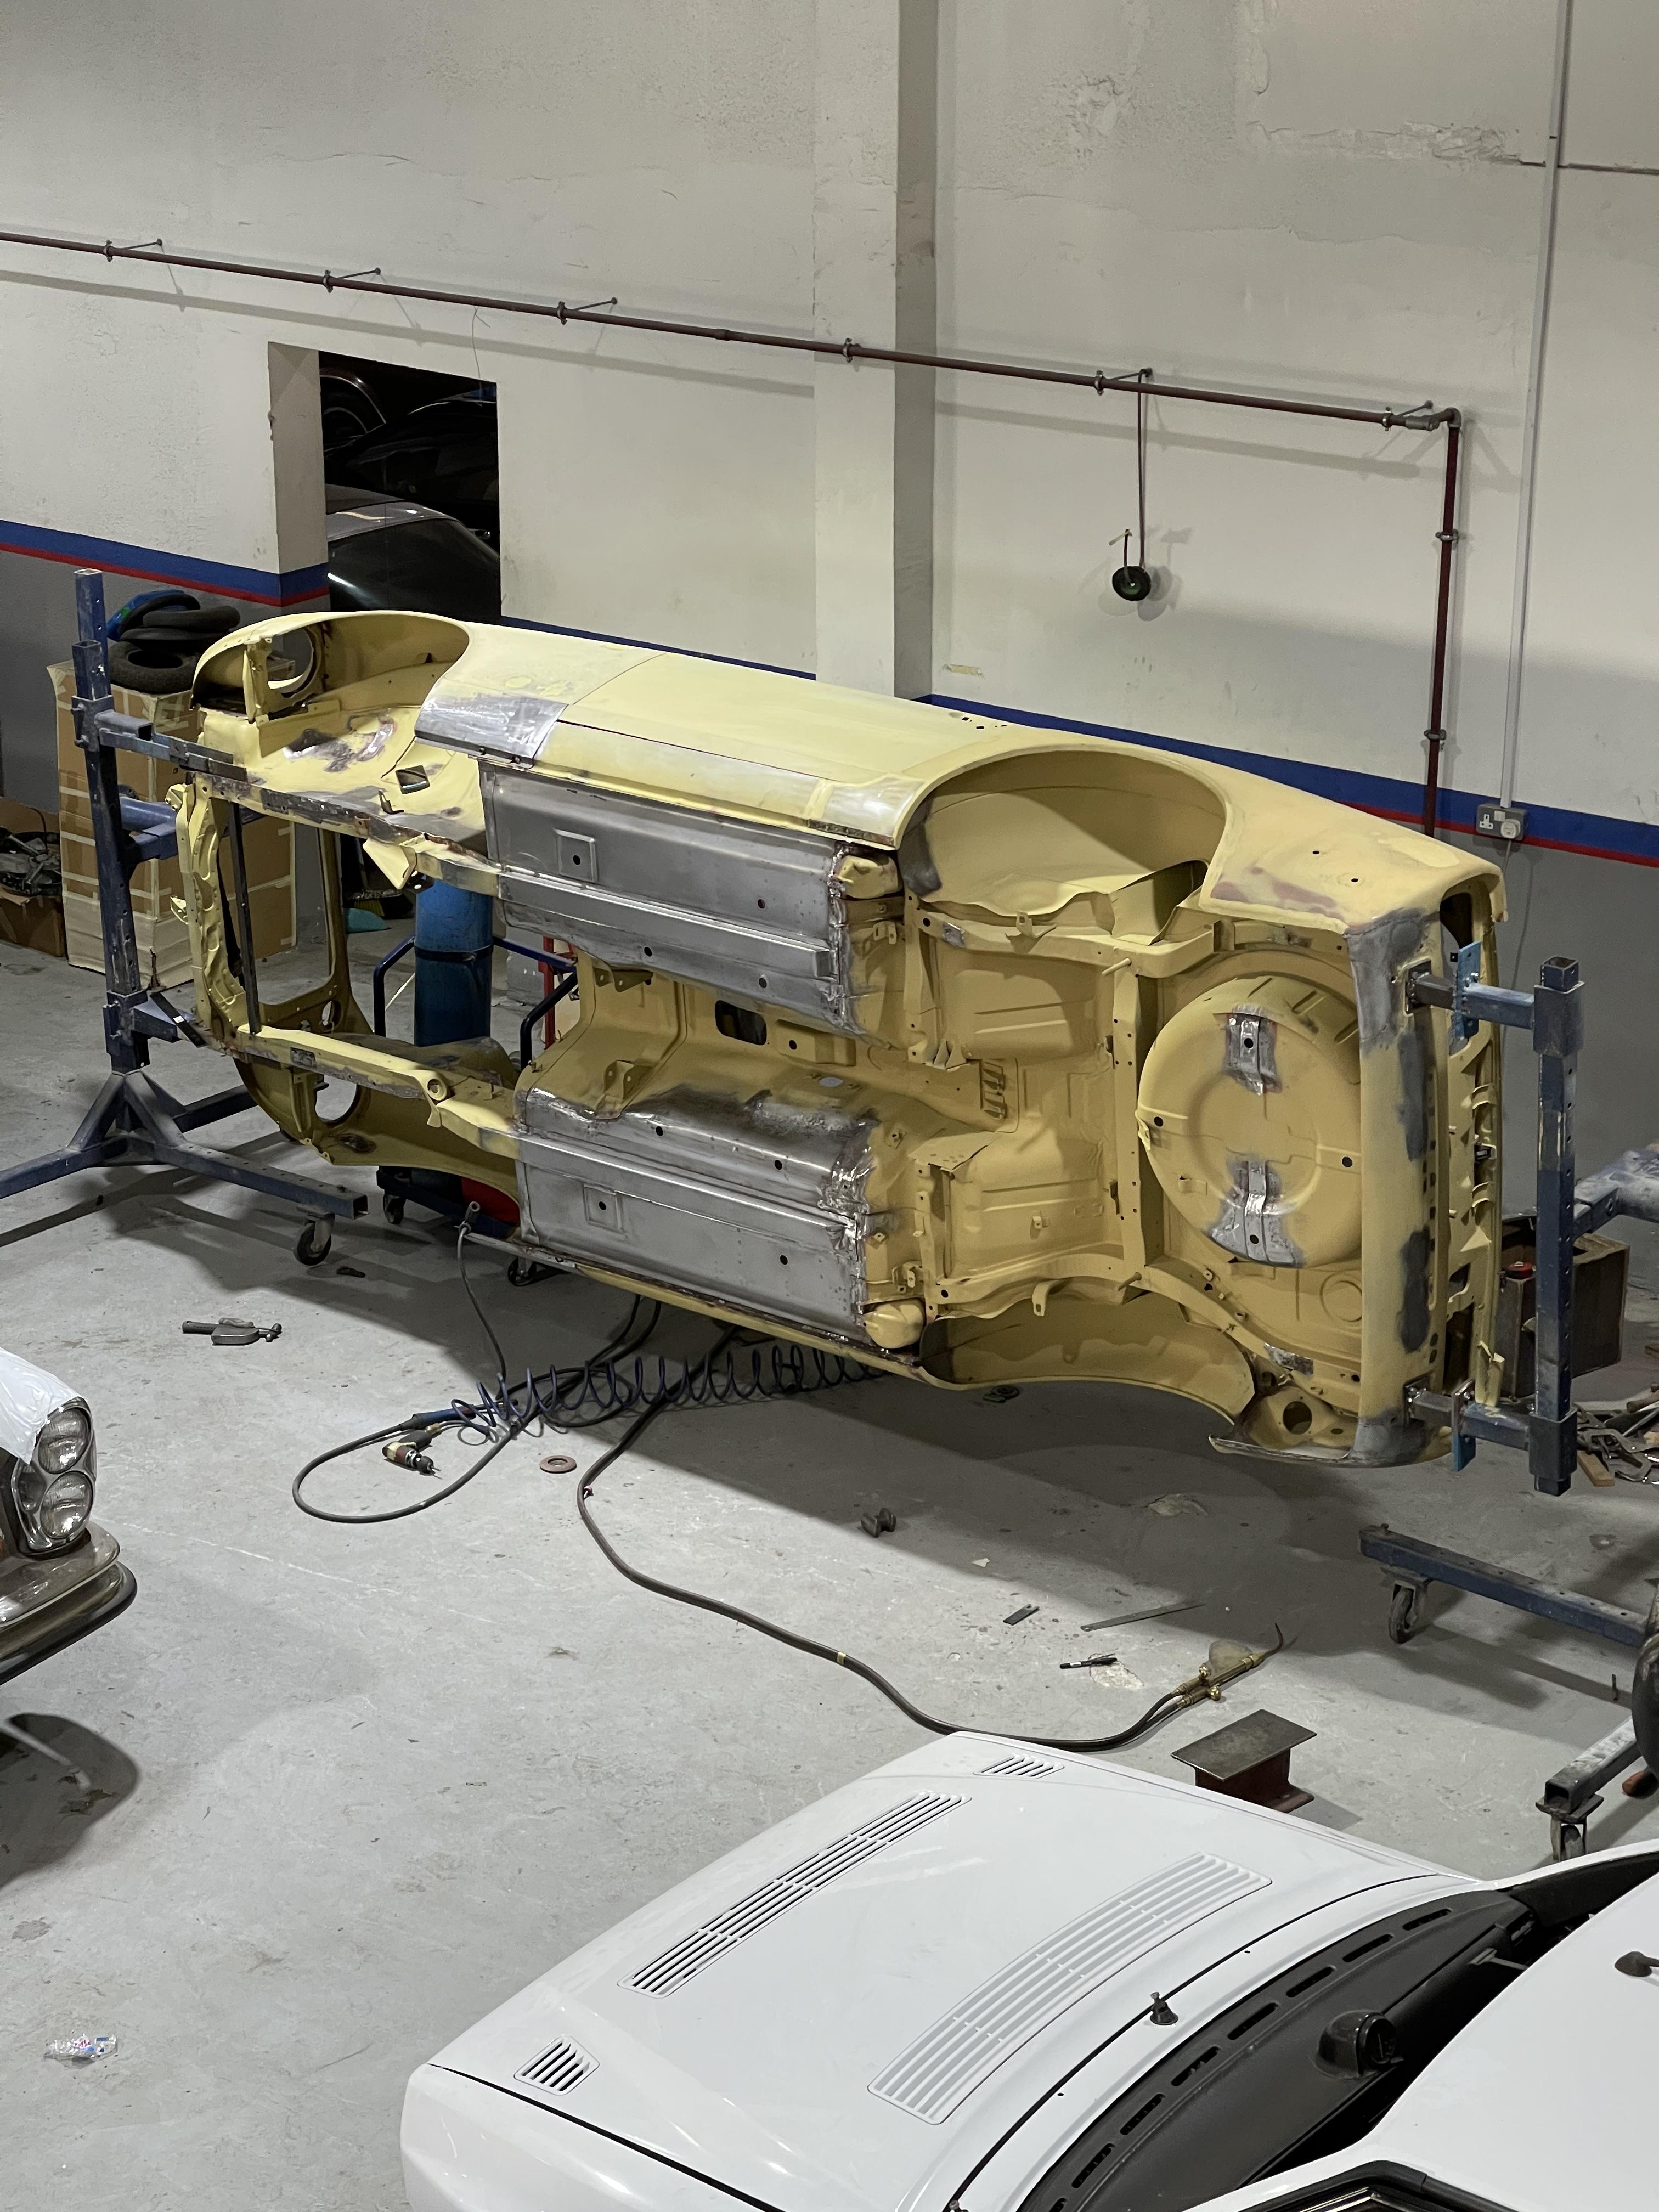
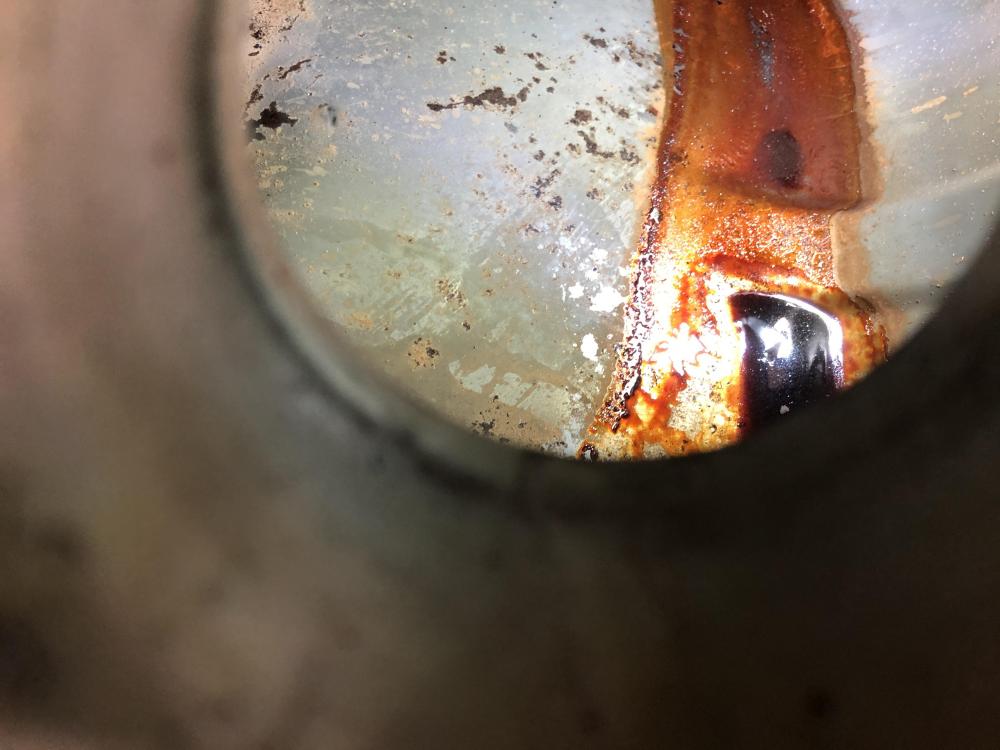
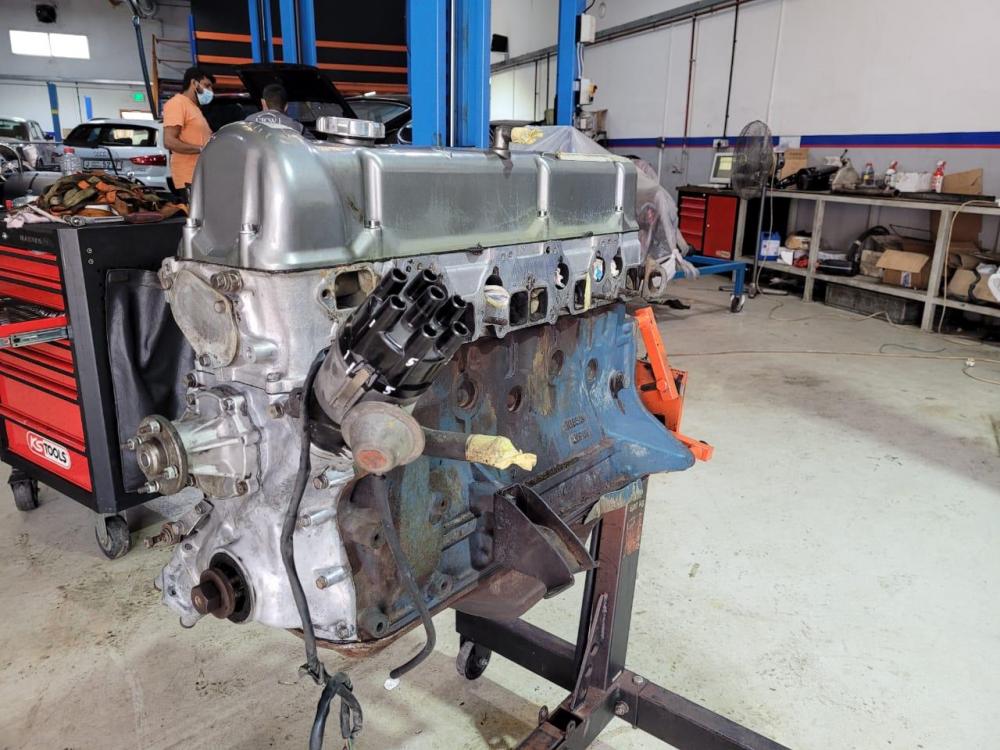
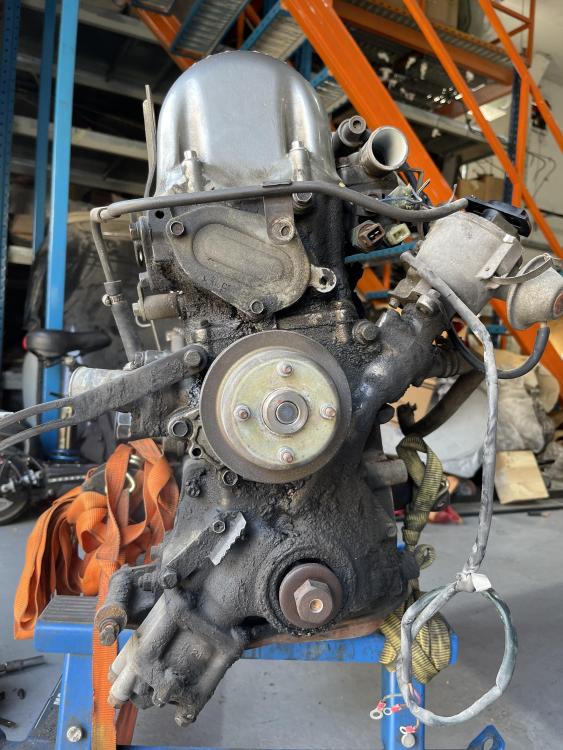
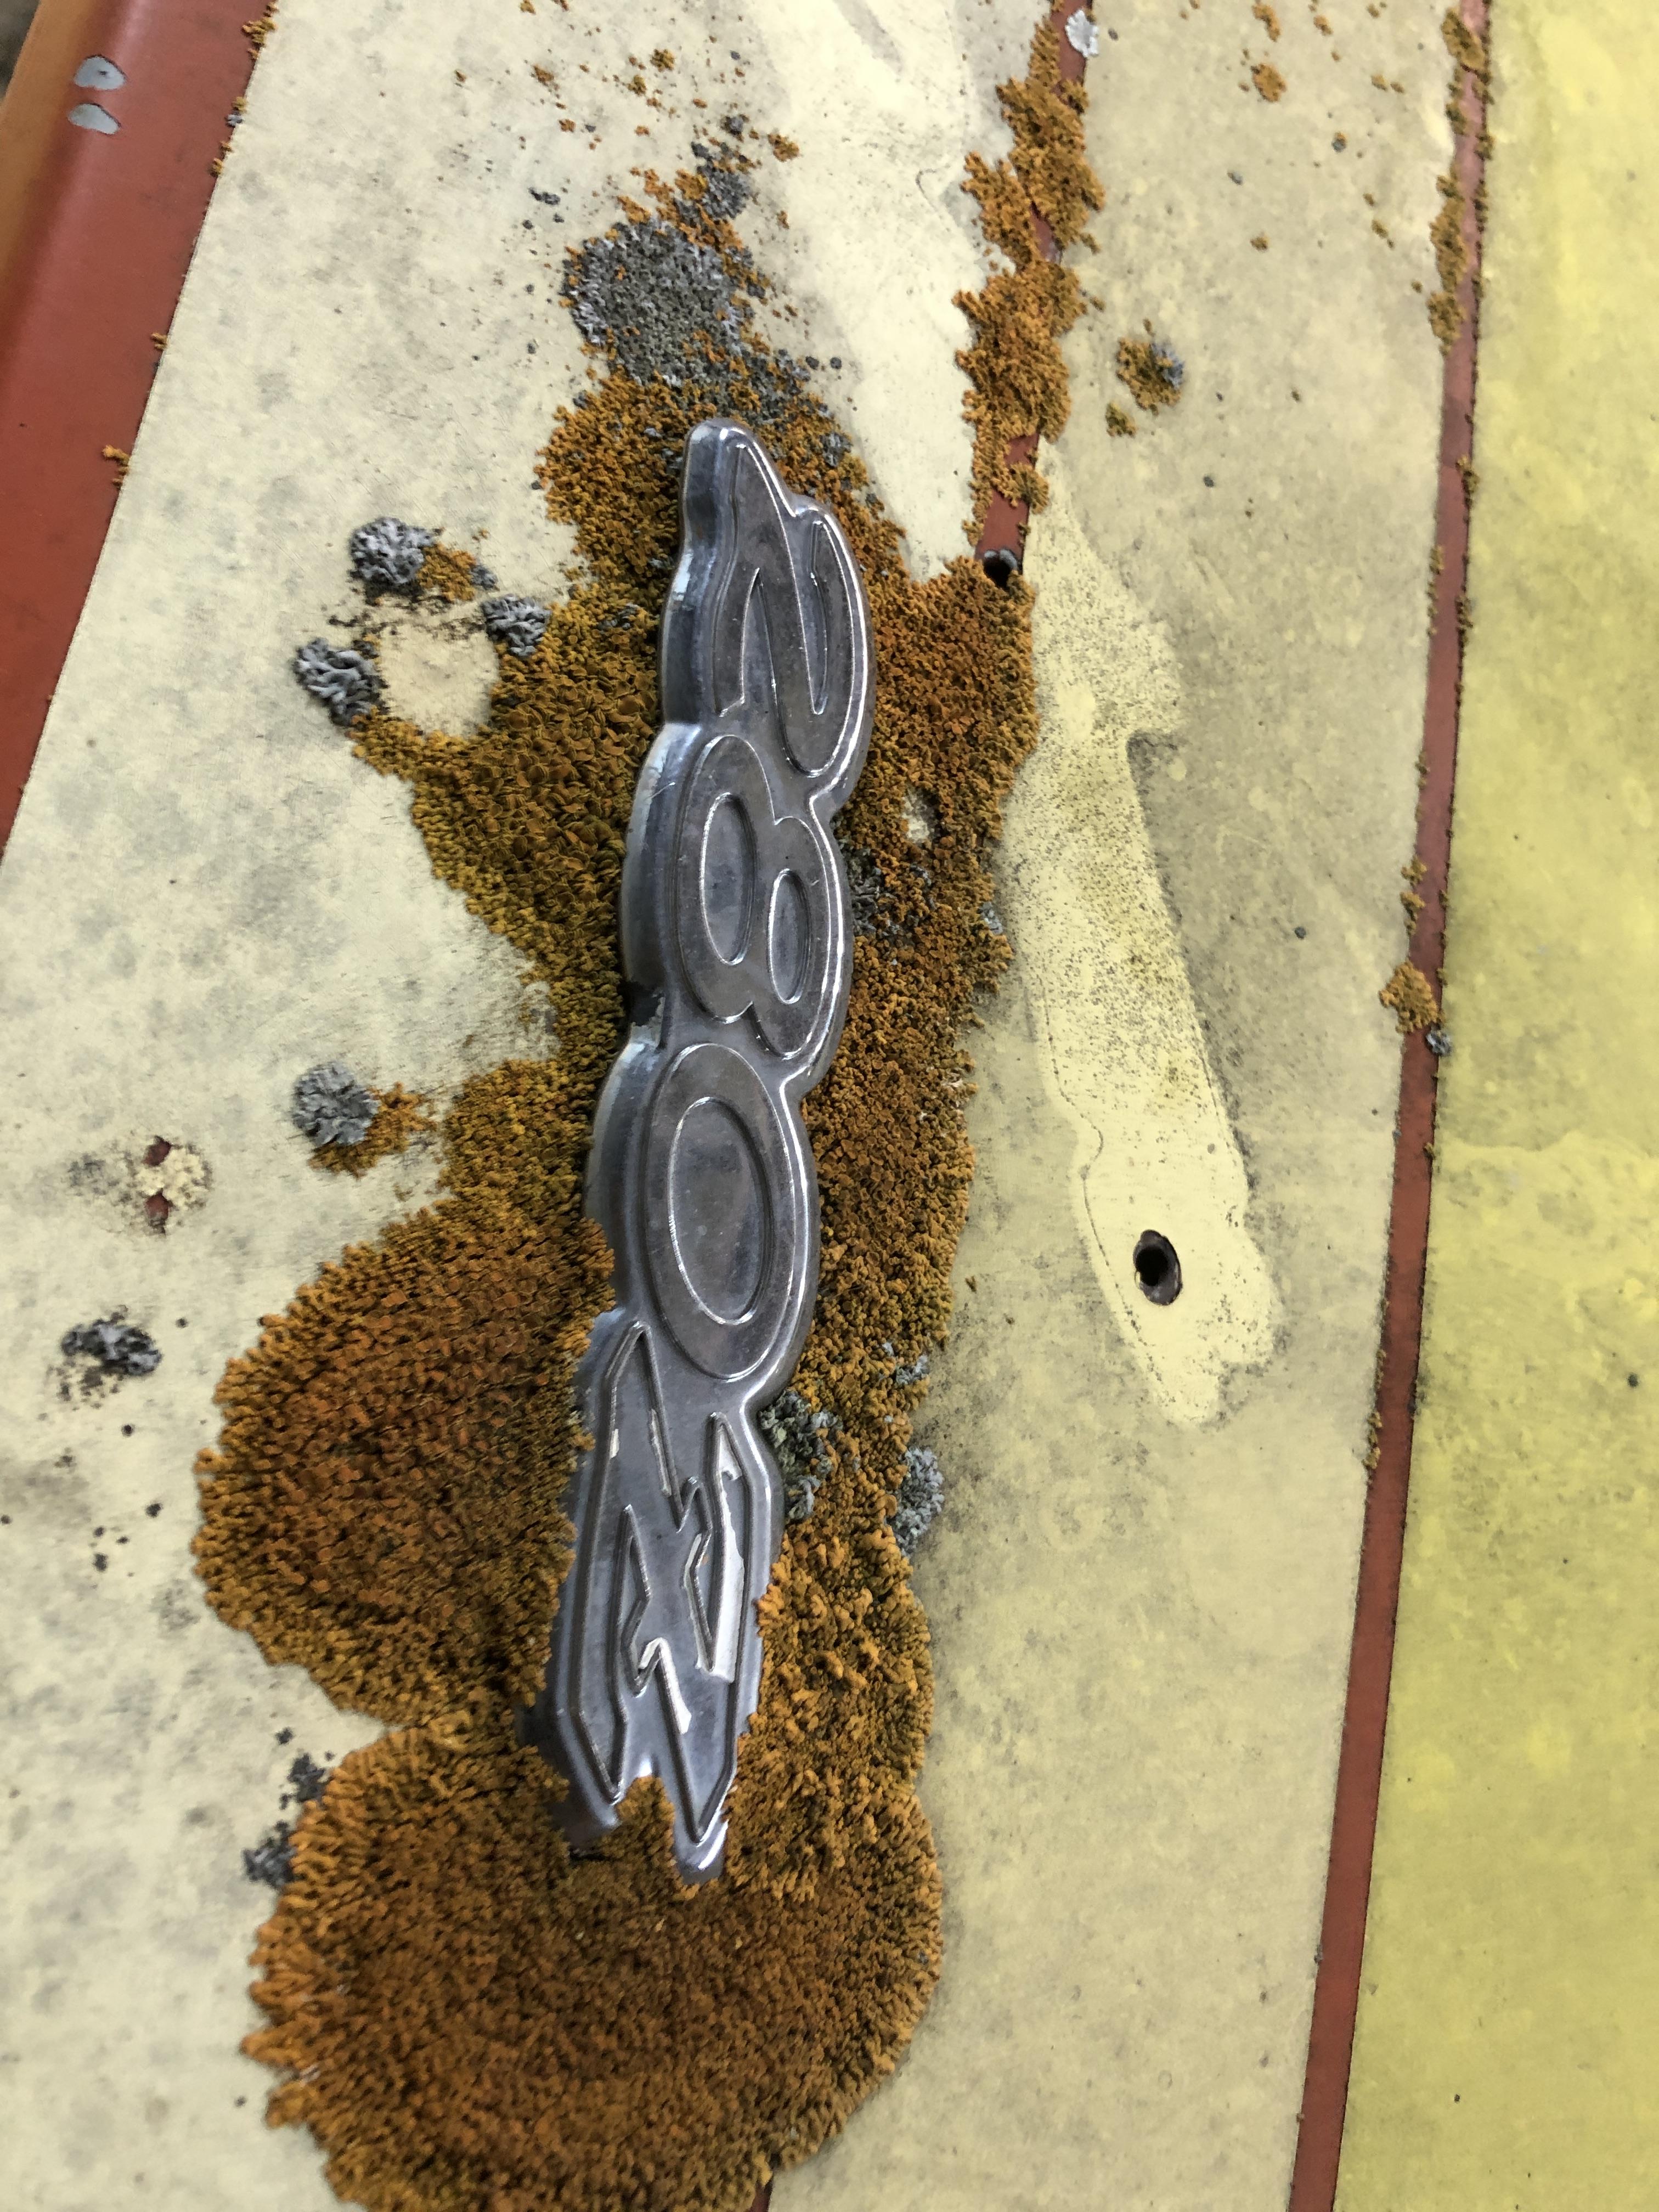
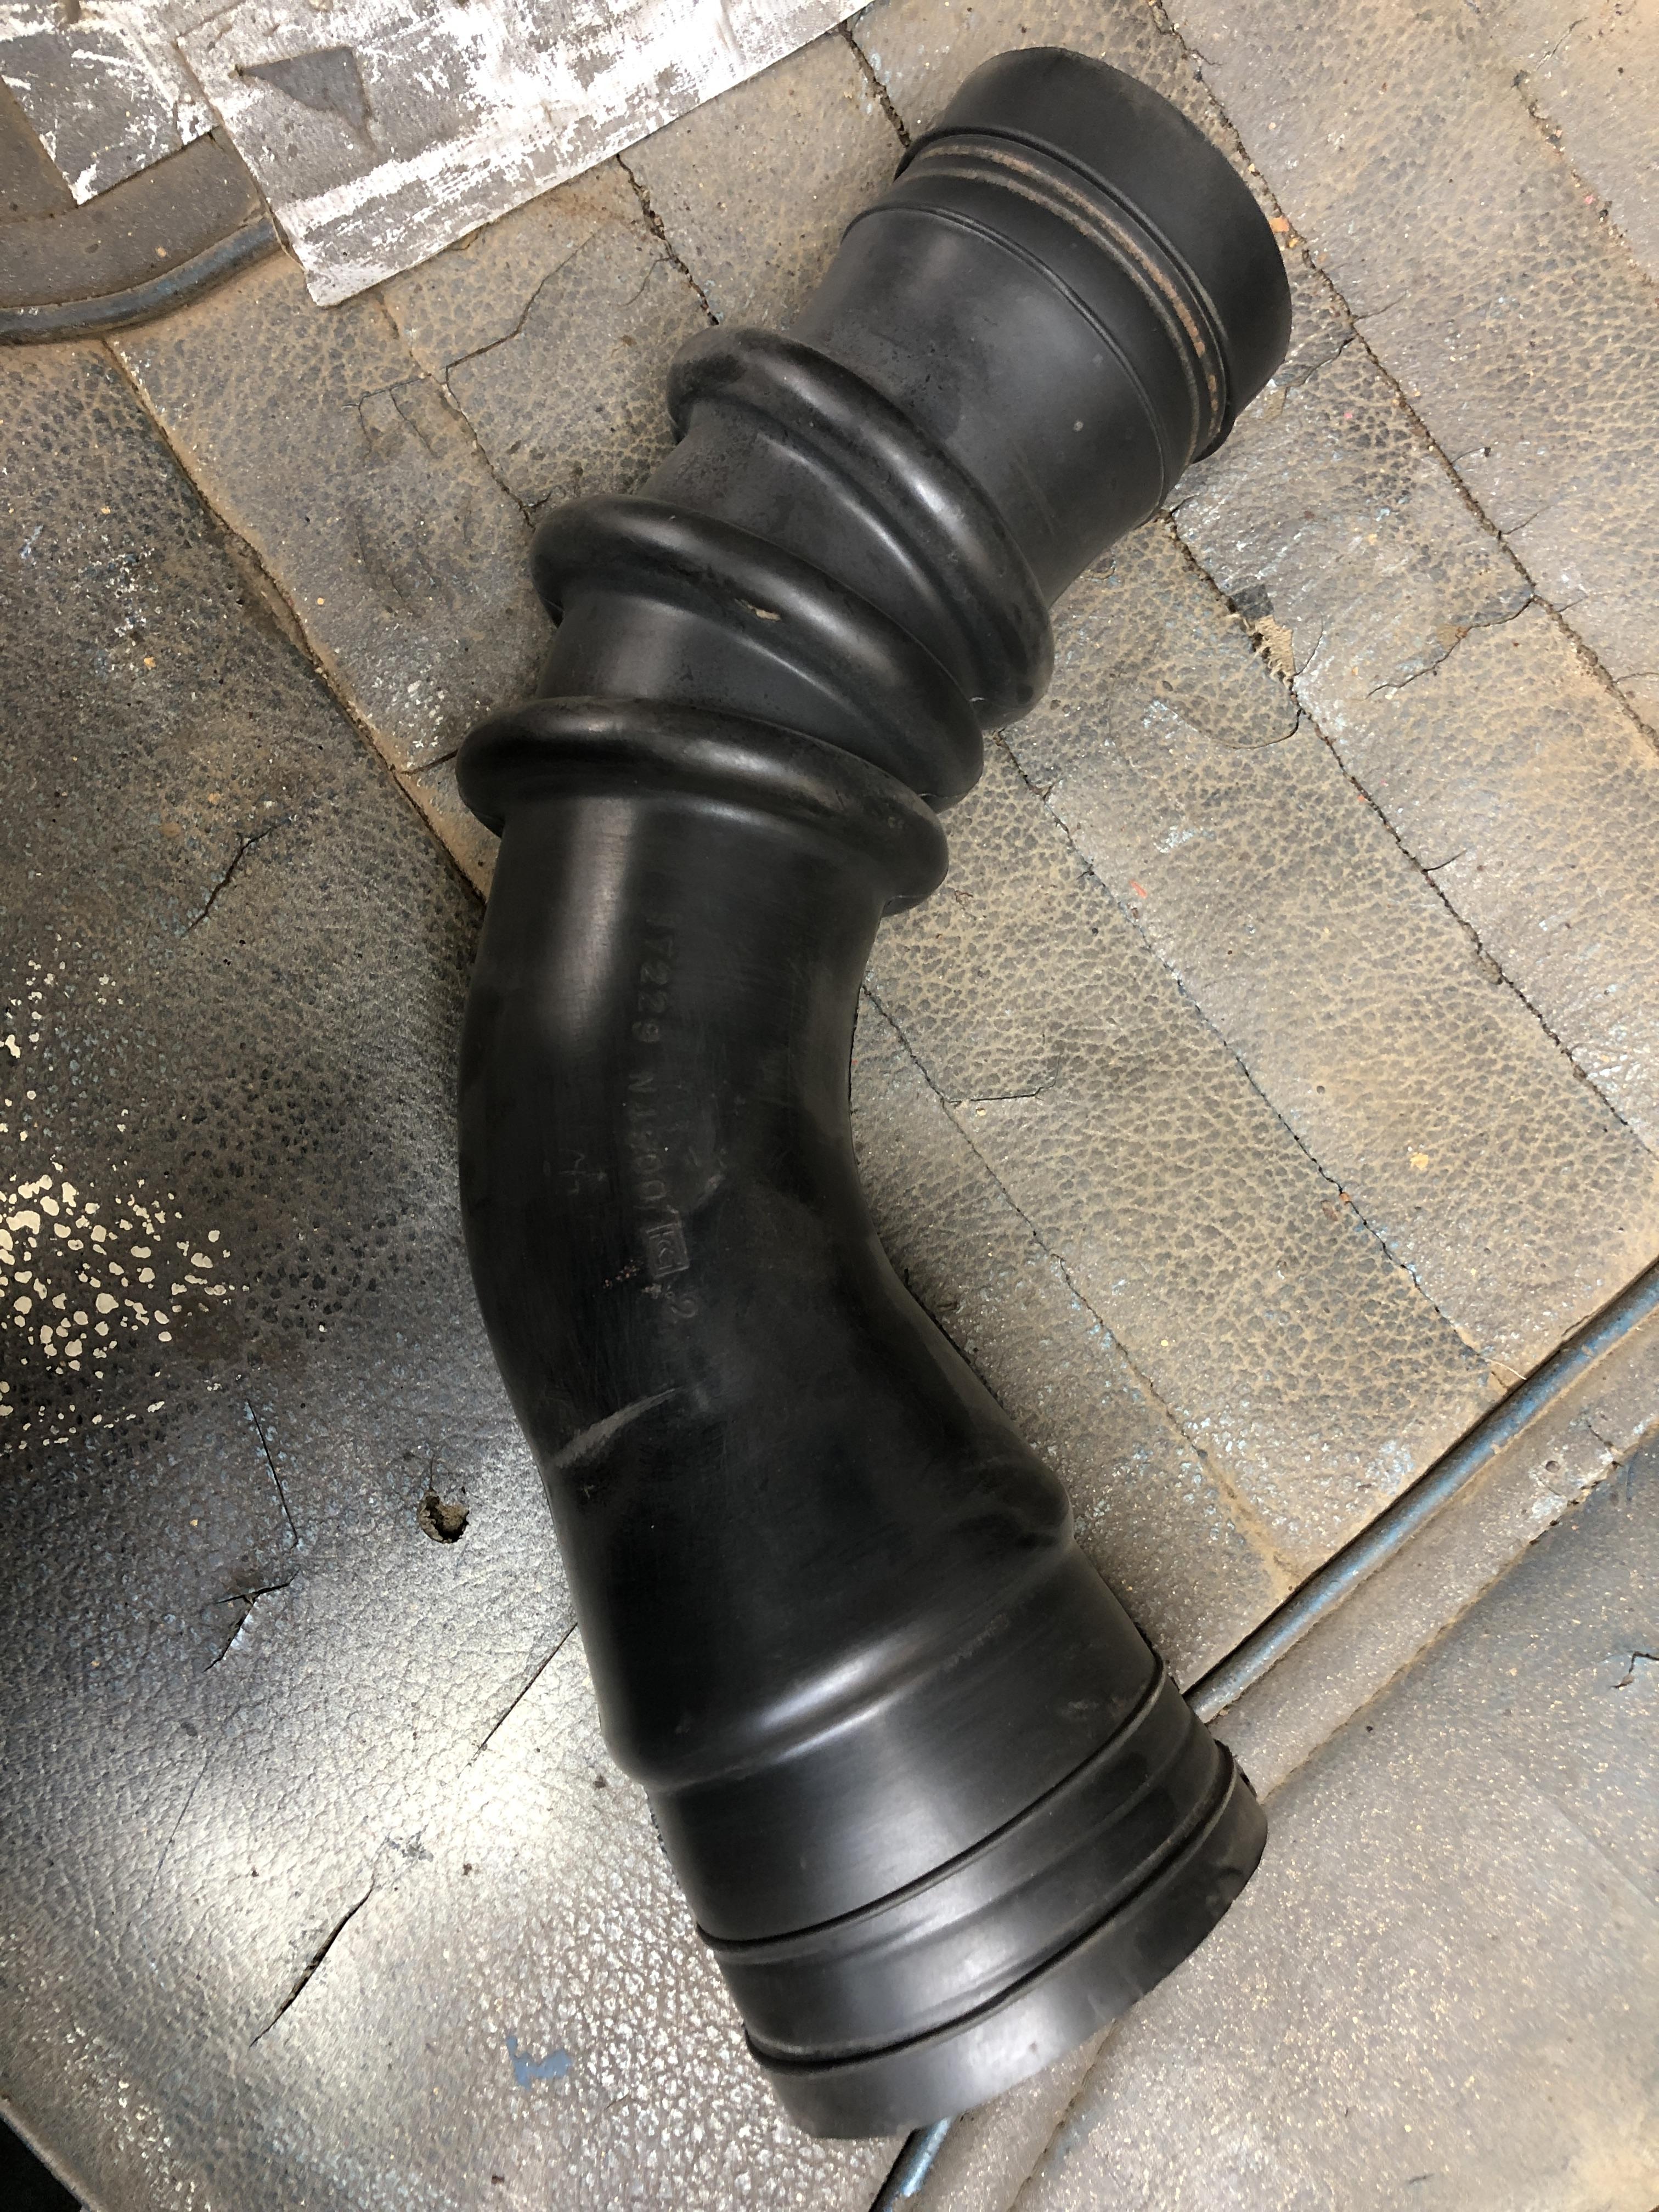
I’ll post a few more interesting pictures I took of the beast.


 4 points
 -
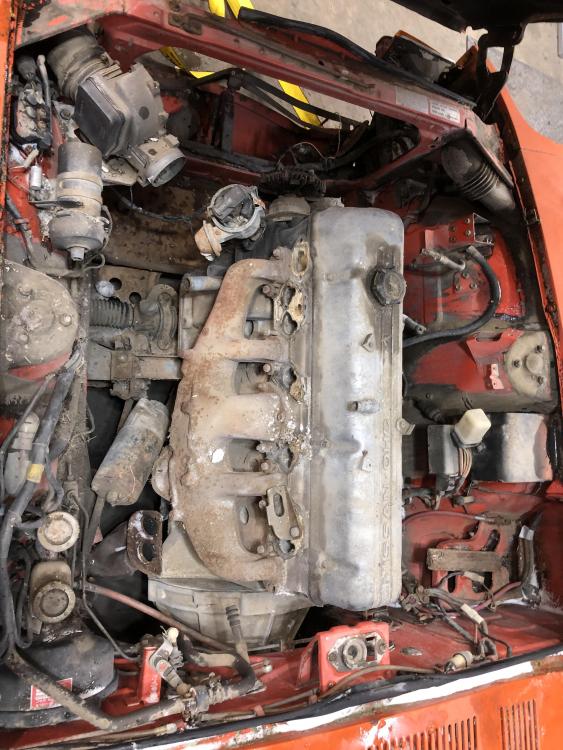
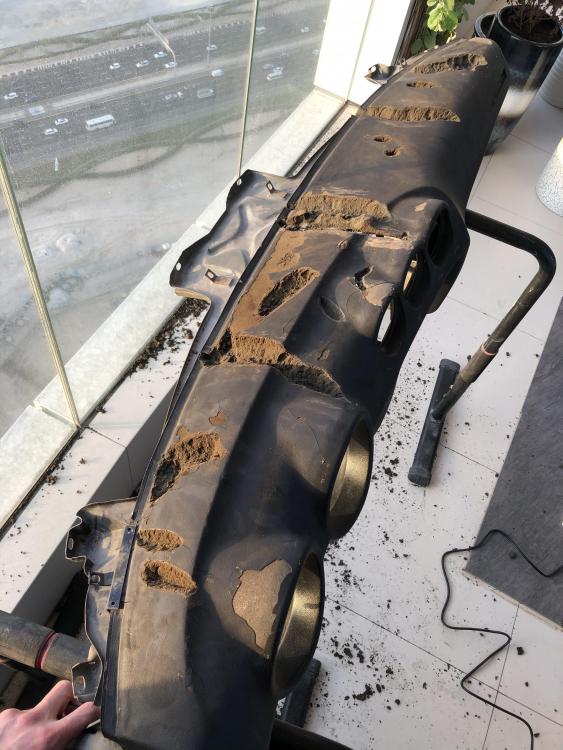
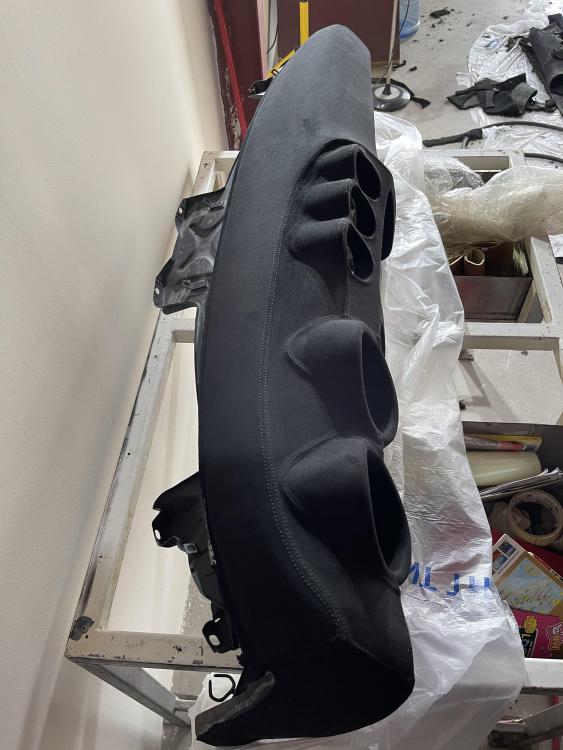
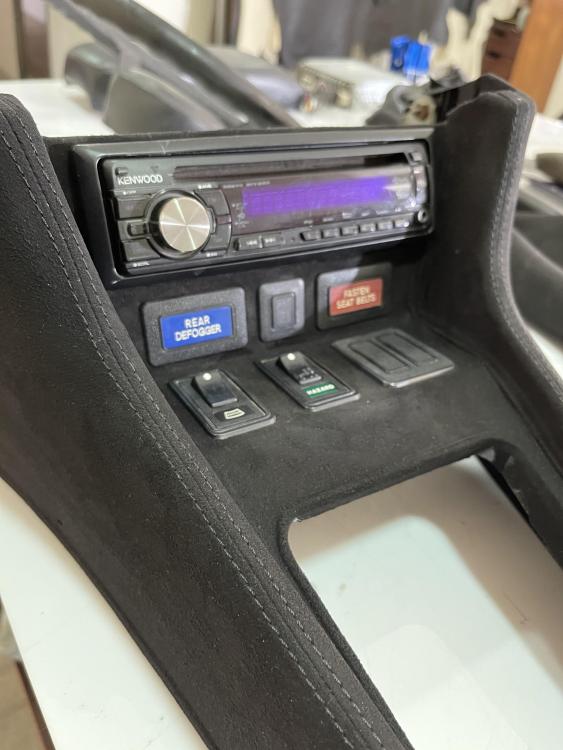
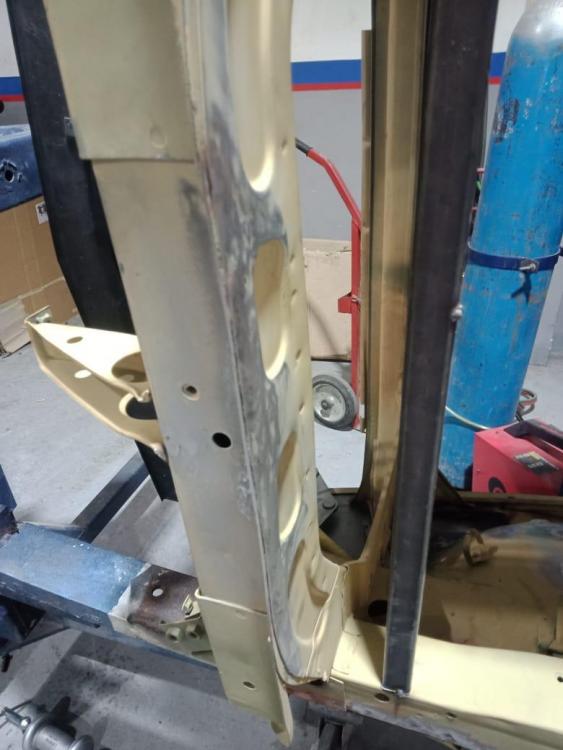
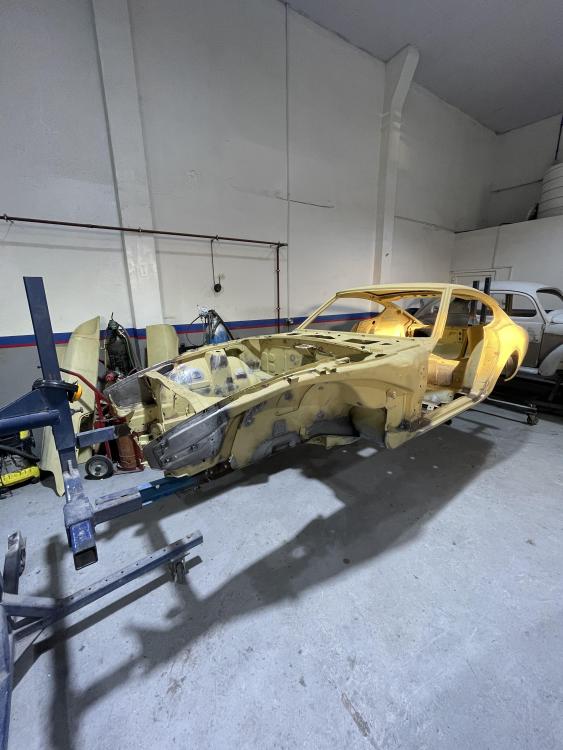
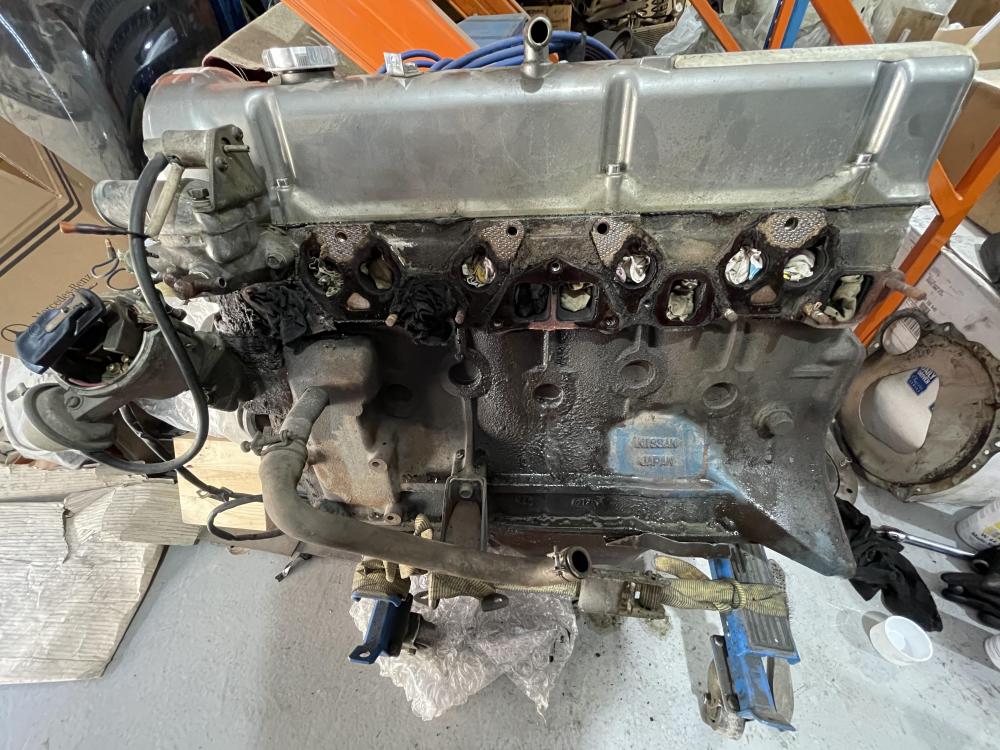
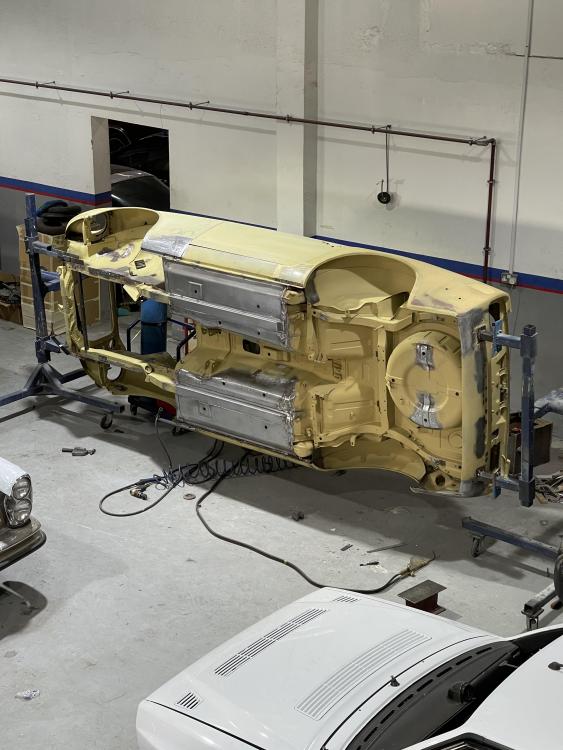
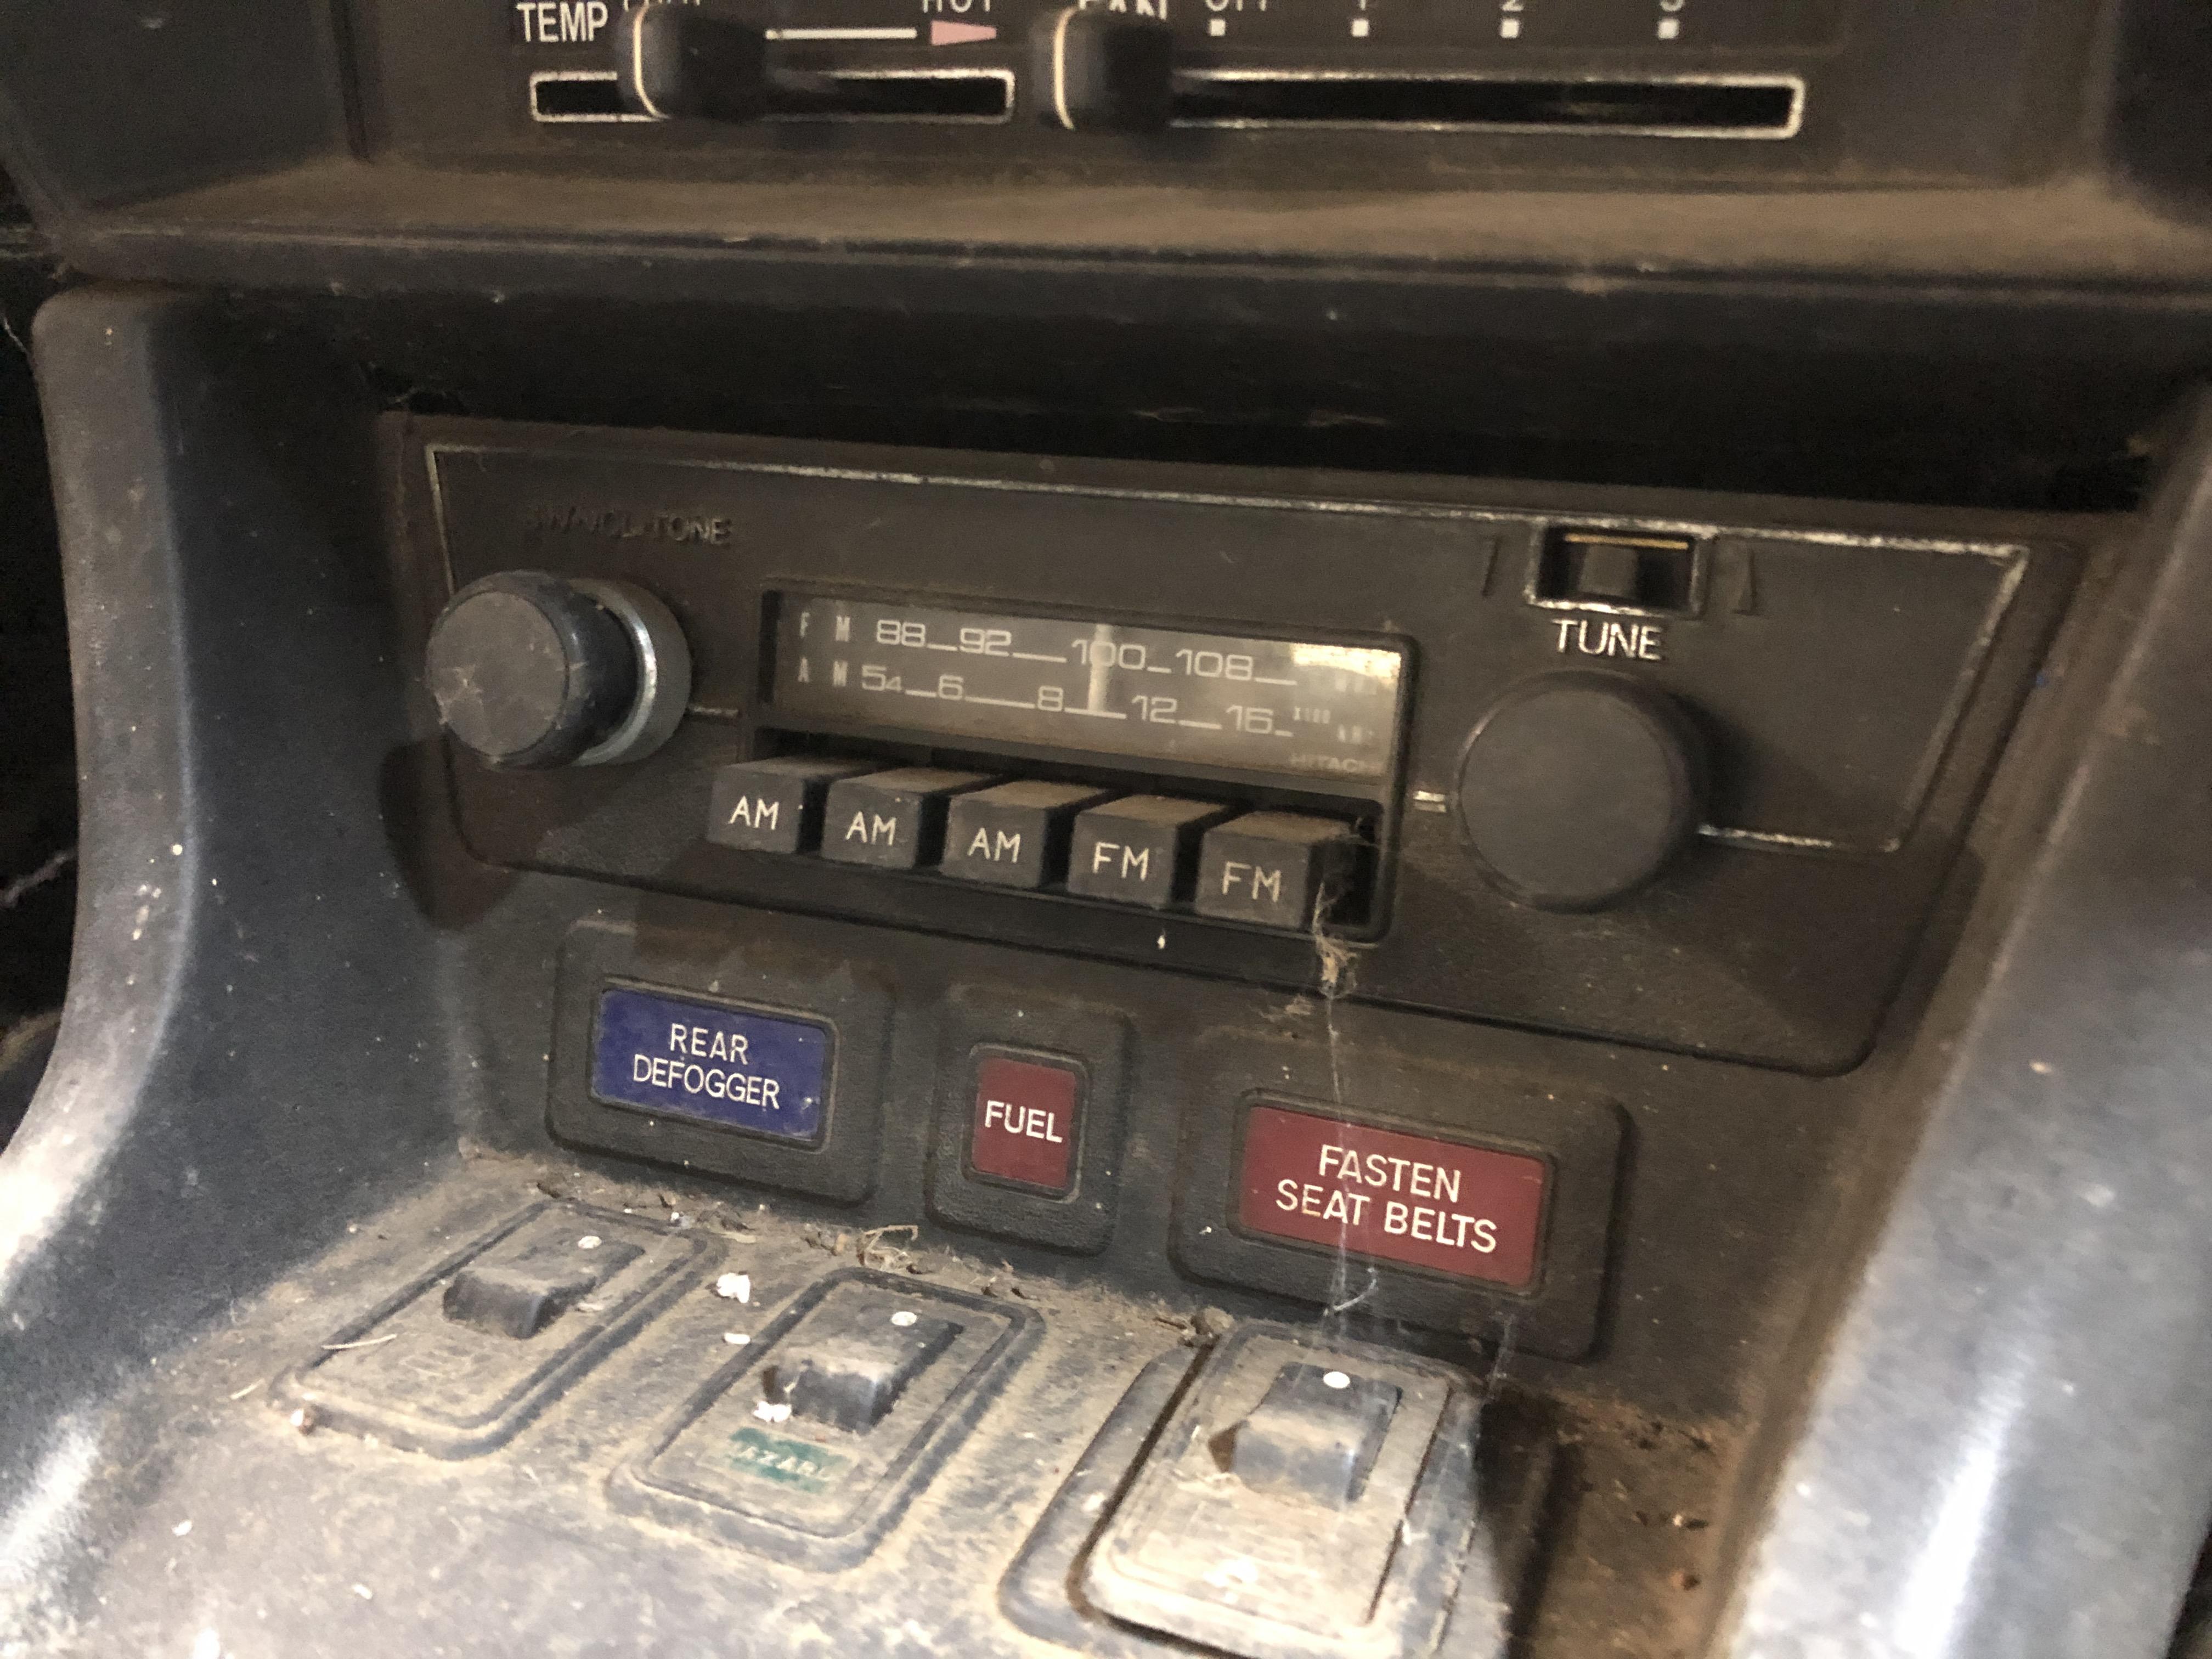
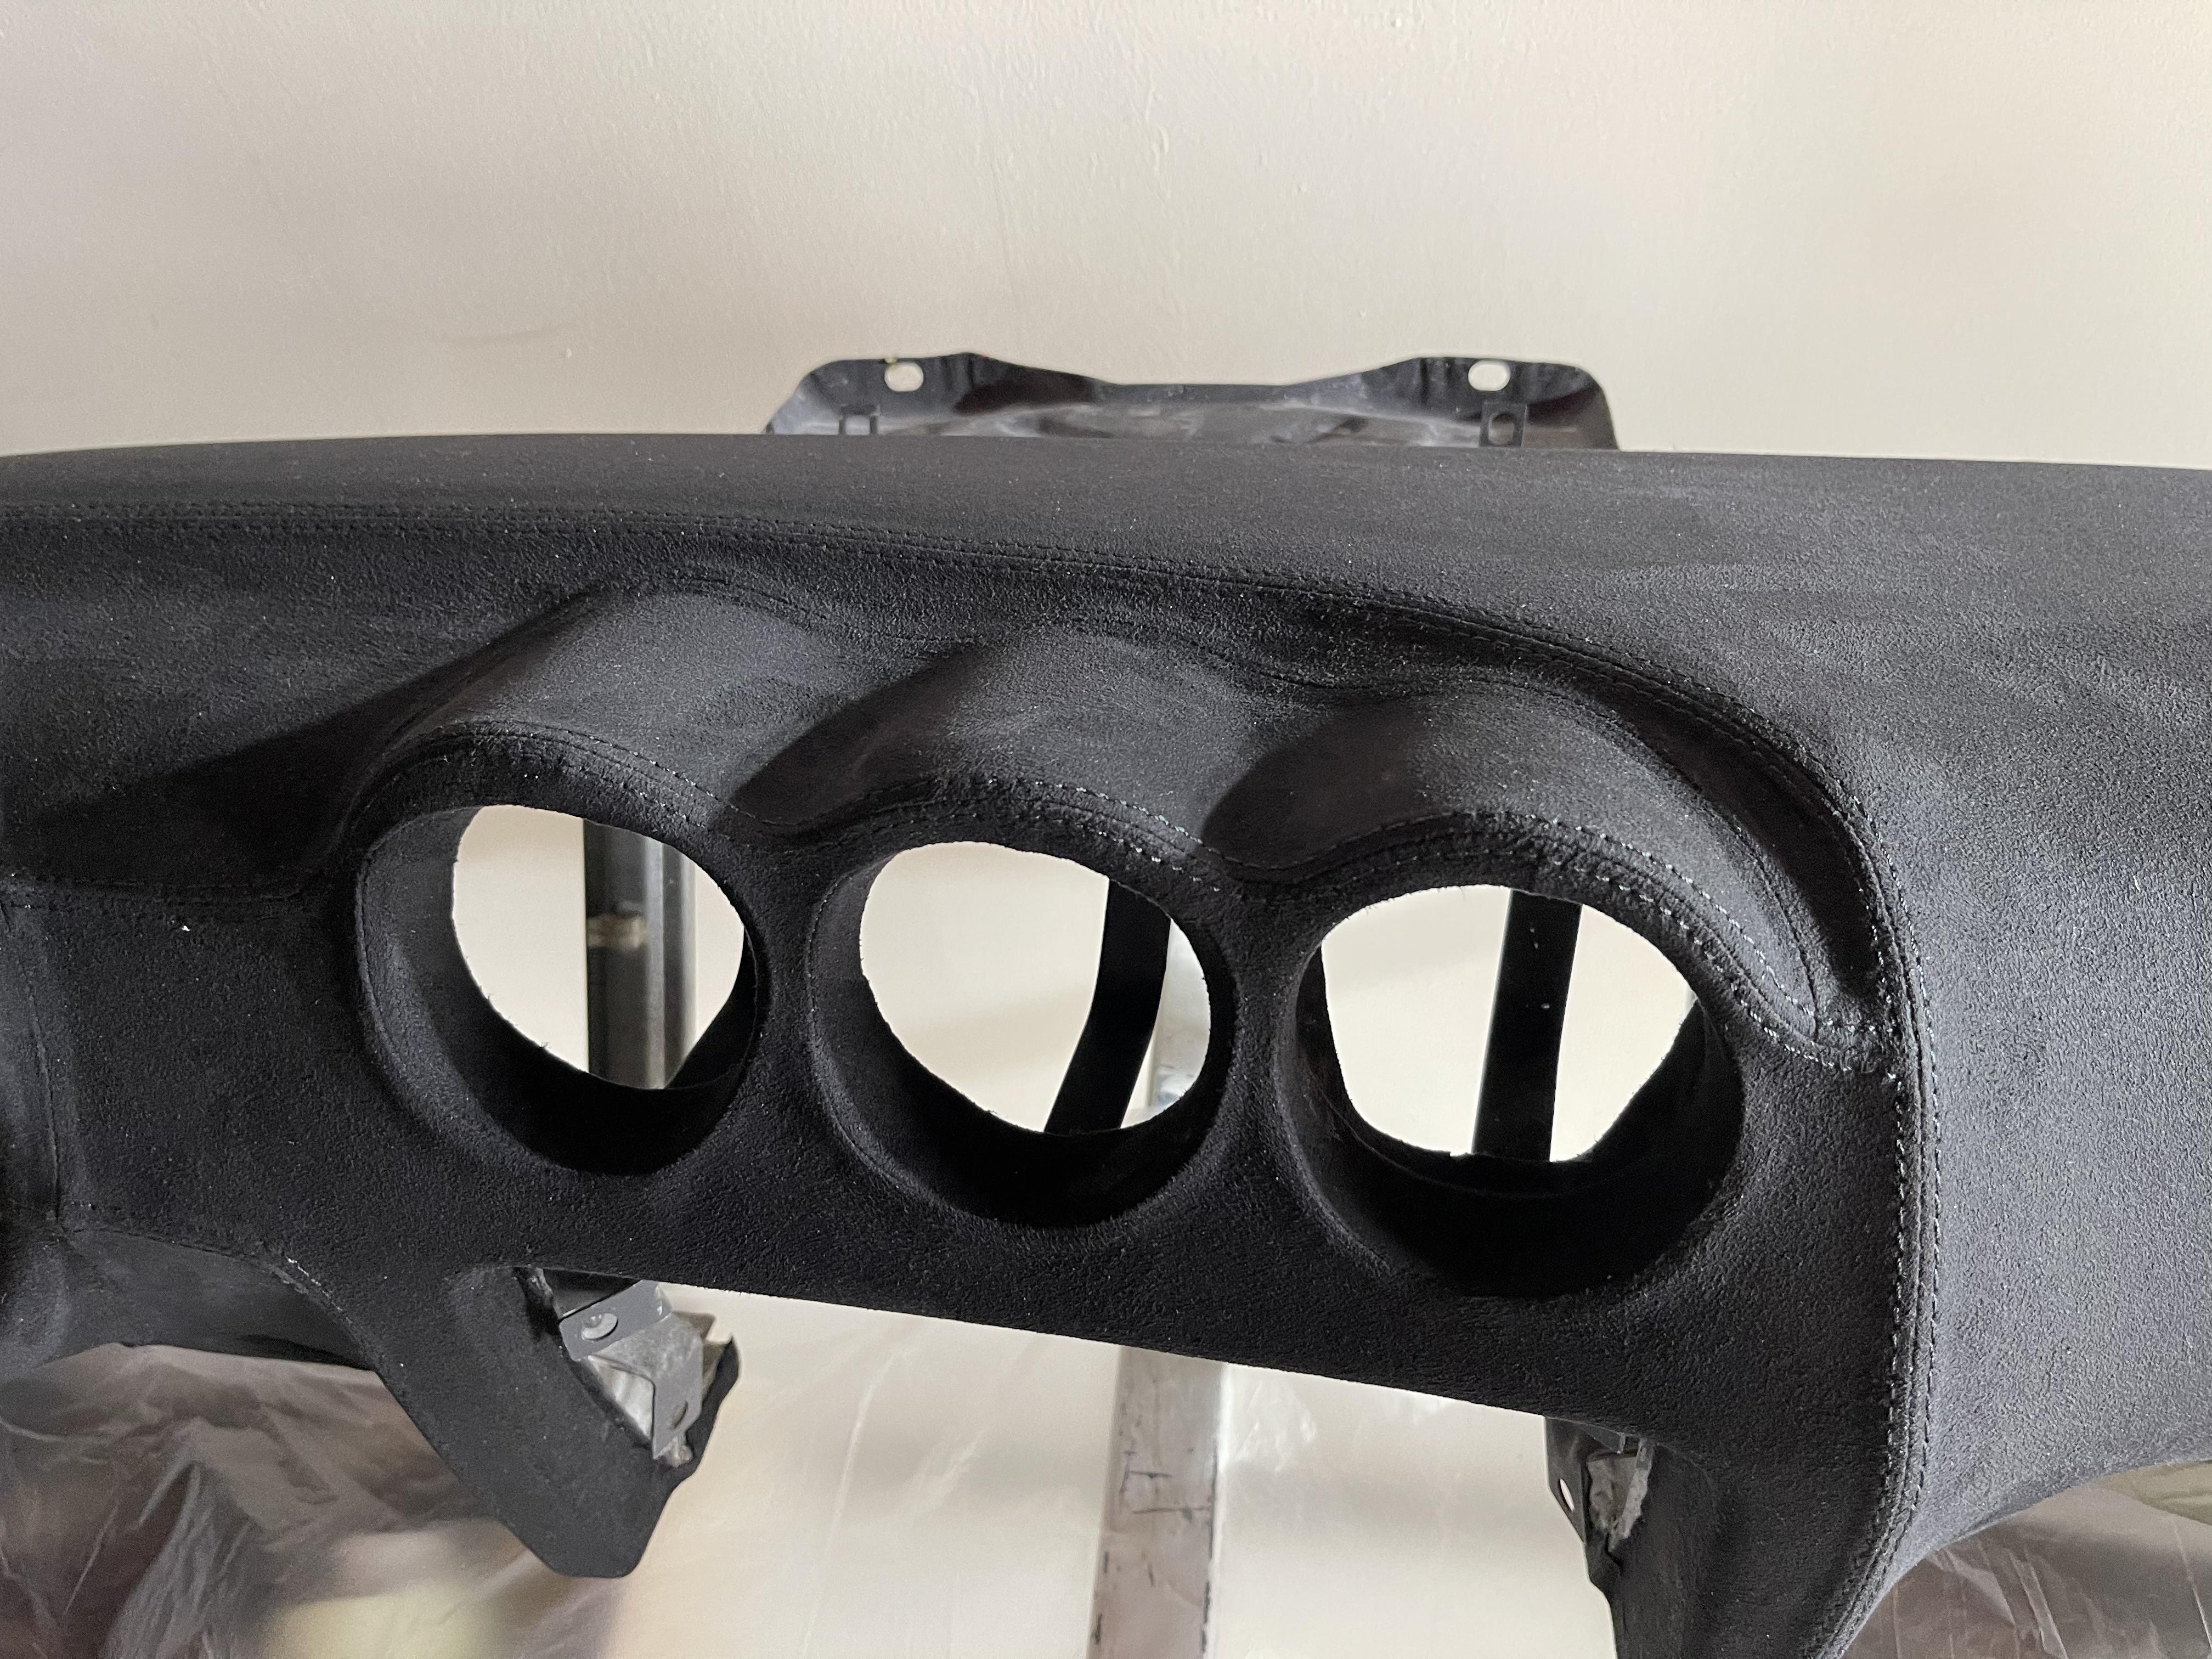
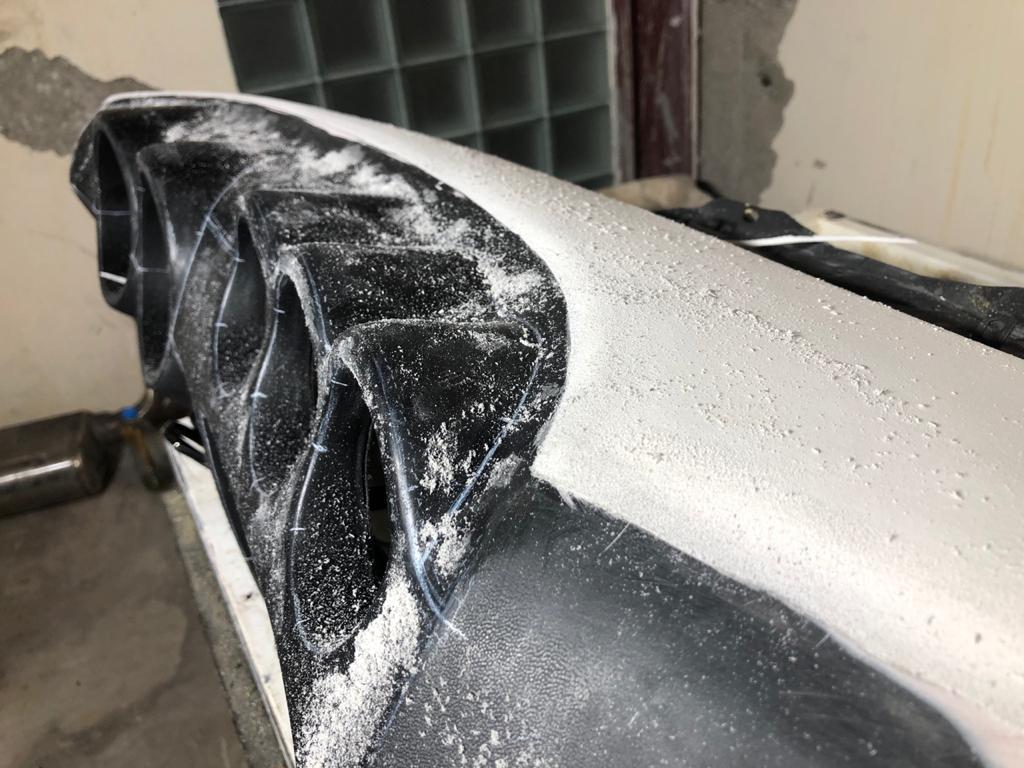
2 pointsHey Guys, been a while, busy with lot of work, but progress is great ! A little Before / After on the dashboard, safe to say I am extremely happy with with the result ! Added some soft foam on the top in an attempt to beat the distortion with the sun and heat here in Dubai, let's see once the car is on its wheels... Details on the gauges area (I will be remounting everything next week, the red needles are gonna be fire !) Central console received the same treatment. The Kenwood will be replaced obviously, still need to find with what... =D I might add a USB charger socket between defogger and Seat belt lights, and put 2 JBL bluetooth Charge 4 under the seats... They work in Stereo, have decent bass and are waterproof, so I can also reuse for pool party =D Last part of the body work is now over: deleting the barbaric speakers openings... (still trying to fine an AGM battery similar to Braille 2015 to put inside passenger compartment, impossible to get them here...) Fixing the front lower frame: Front and rear bumpers (240z style) had all the holes filled up and are also adjusted closer to the car body, they will be painted black with gold metallic chips. Engine bay cleaned up, the car is now getting ready for paint, the old seam seals removed, new seam seals, epoxy paint, under carriage rock protection and painting planned for next week. Next week will also start the engine care: finish the cleaning, painting of the block, head, valve cover and oil pan, replacement timing chain, alternator, water pump, all gaskets and seals !
.thumb.jpg.4b8b6fe58378250656aa269d6c8d63d6.jpg)


.thumb.jpg.85c9fa28bbf7f7df20e4d6d03c574ce9.jpg)
.thumb.jpg.ba6fc441a2d171728ad2752f341f6572.jpg)
.thumb.jpg.fd080936b31870941136dfa305a15455.jpg)


 2 points
 -
View Advert Polished 3 screw cabs These carbs were removed from a running engine in November of 2020. They have been drained and flushed of fuel, cleaned up and lubed for storage on the shelf, they worked great, no issues. There is no linkage, heat shield of springs. Price does not include shipping. Parts are in Hillsboro Oregon. Advertiser Ed Brock Date 02/18/2021 Price $250.00 Category Parts for Sale1 point
-
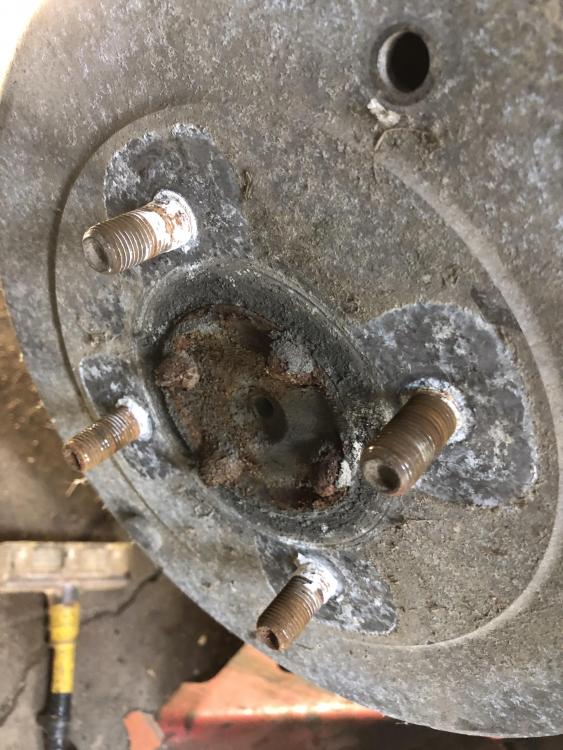
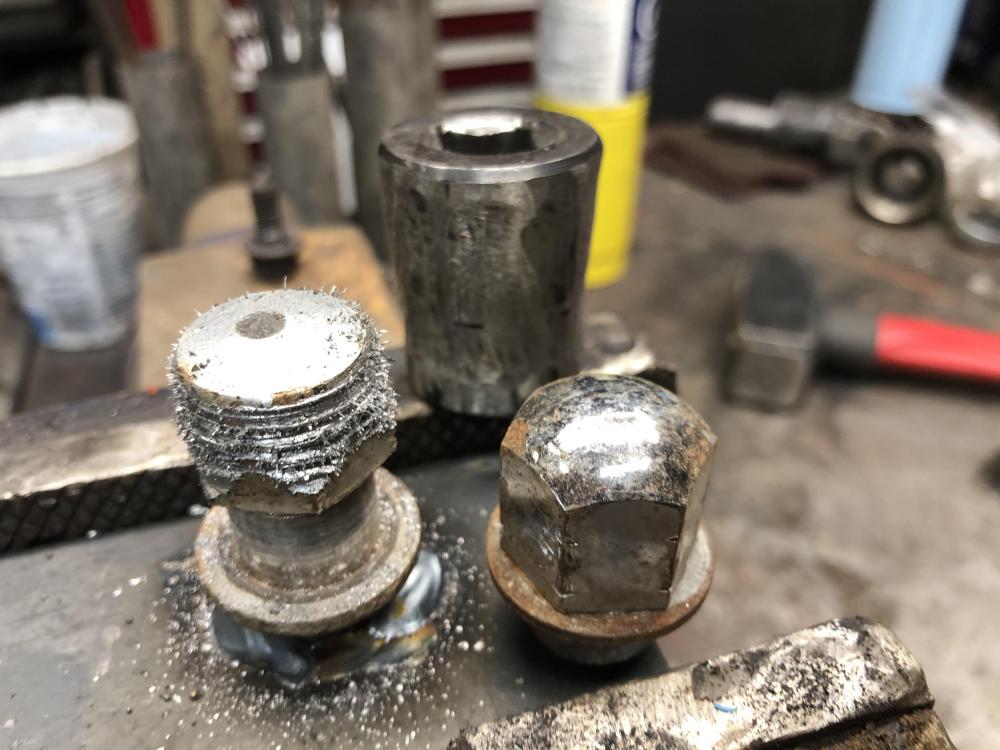
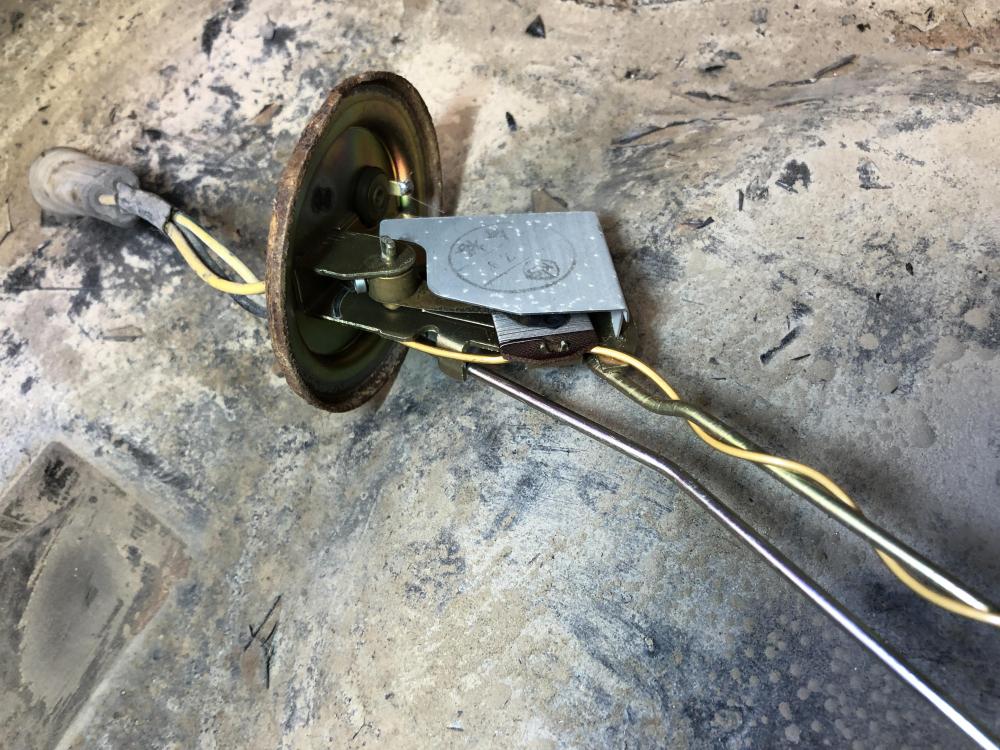
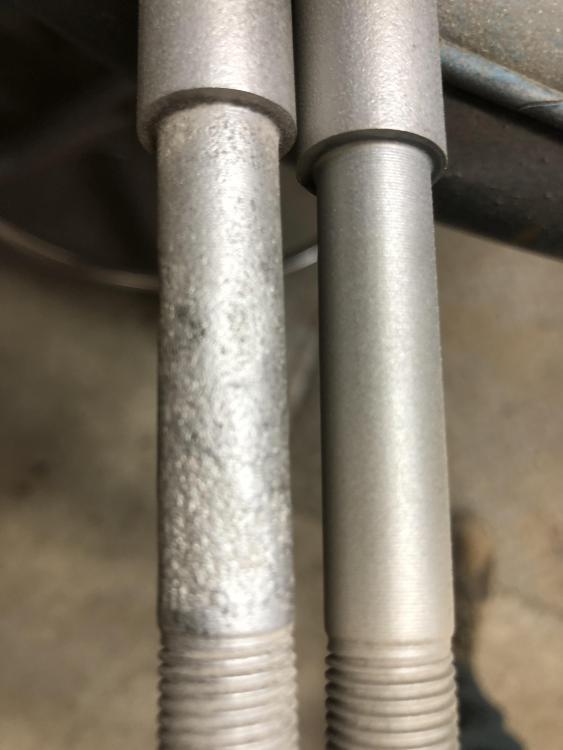
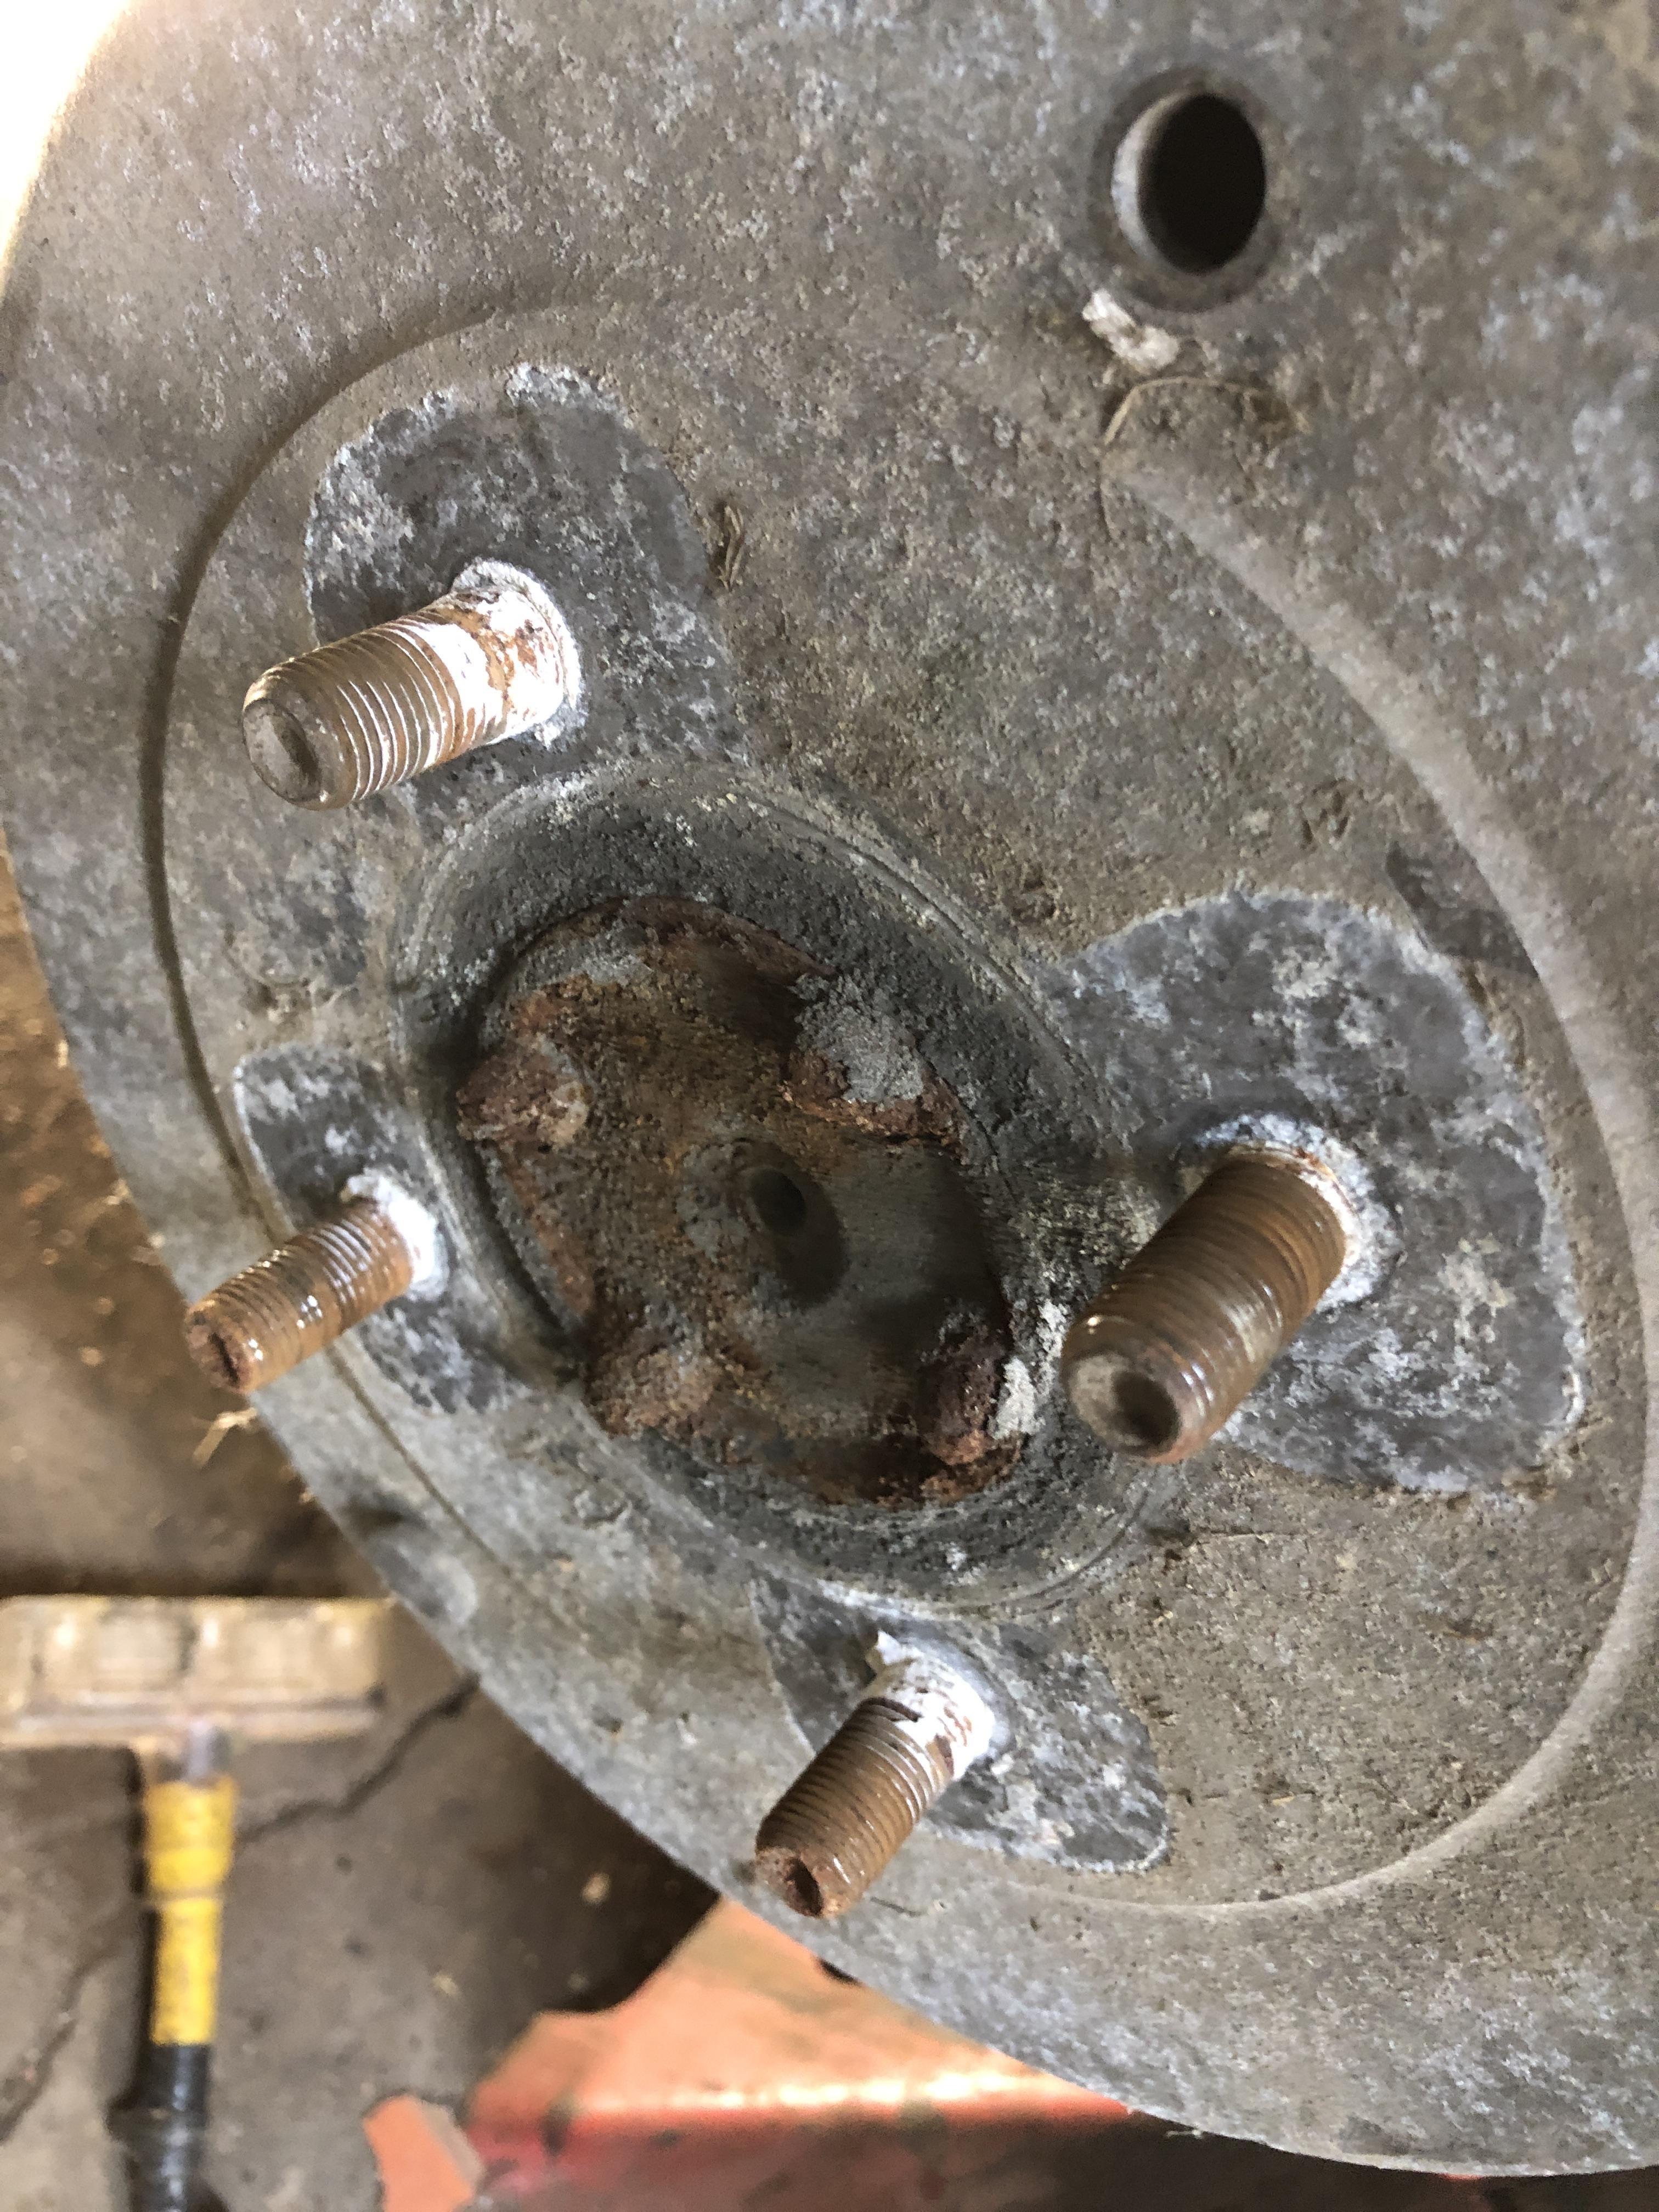
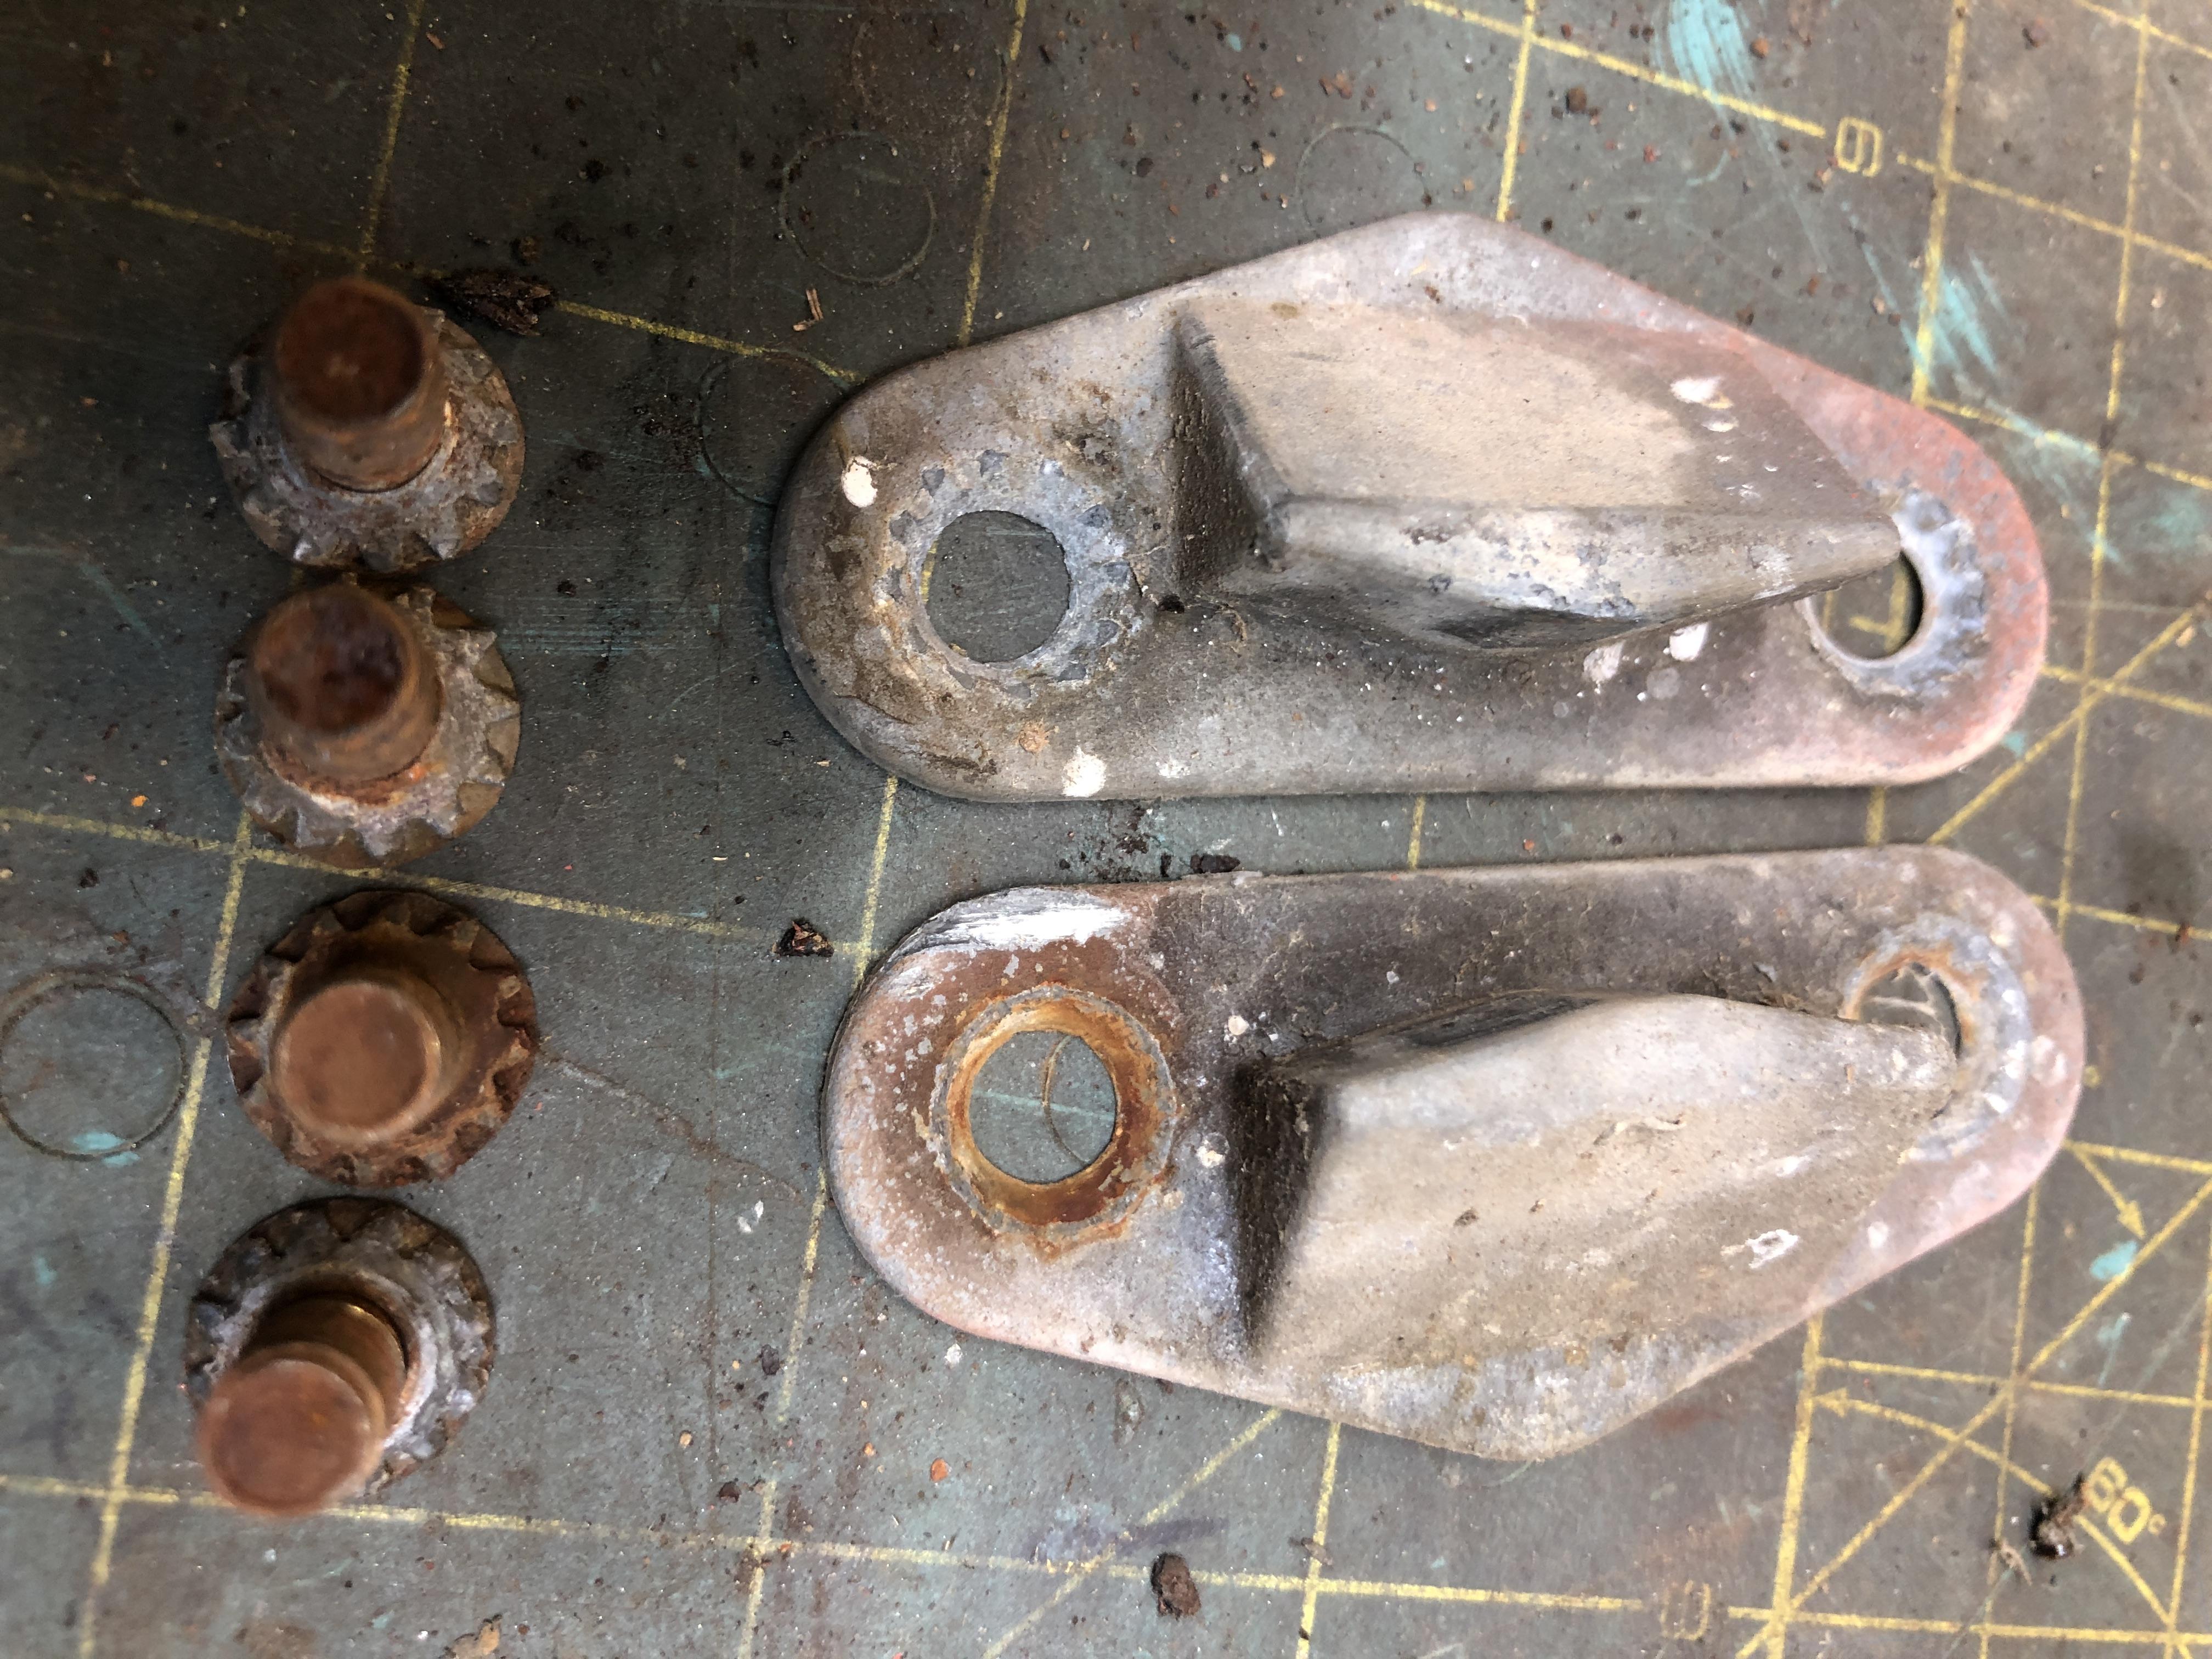
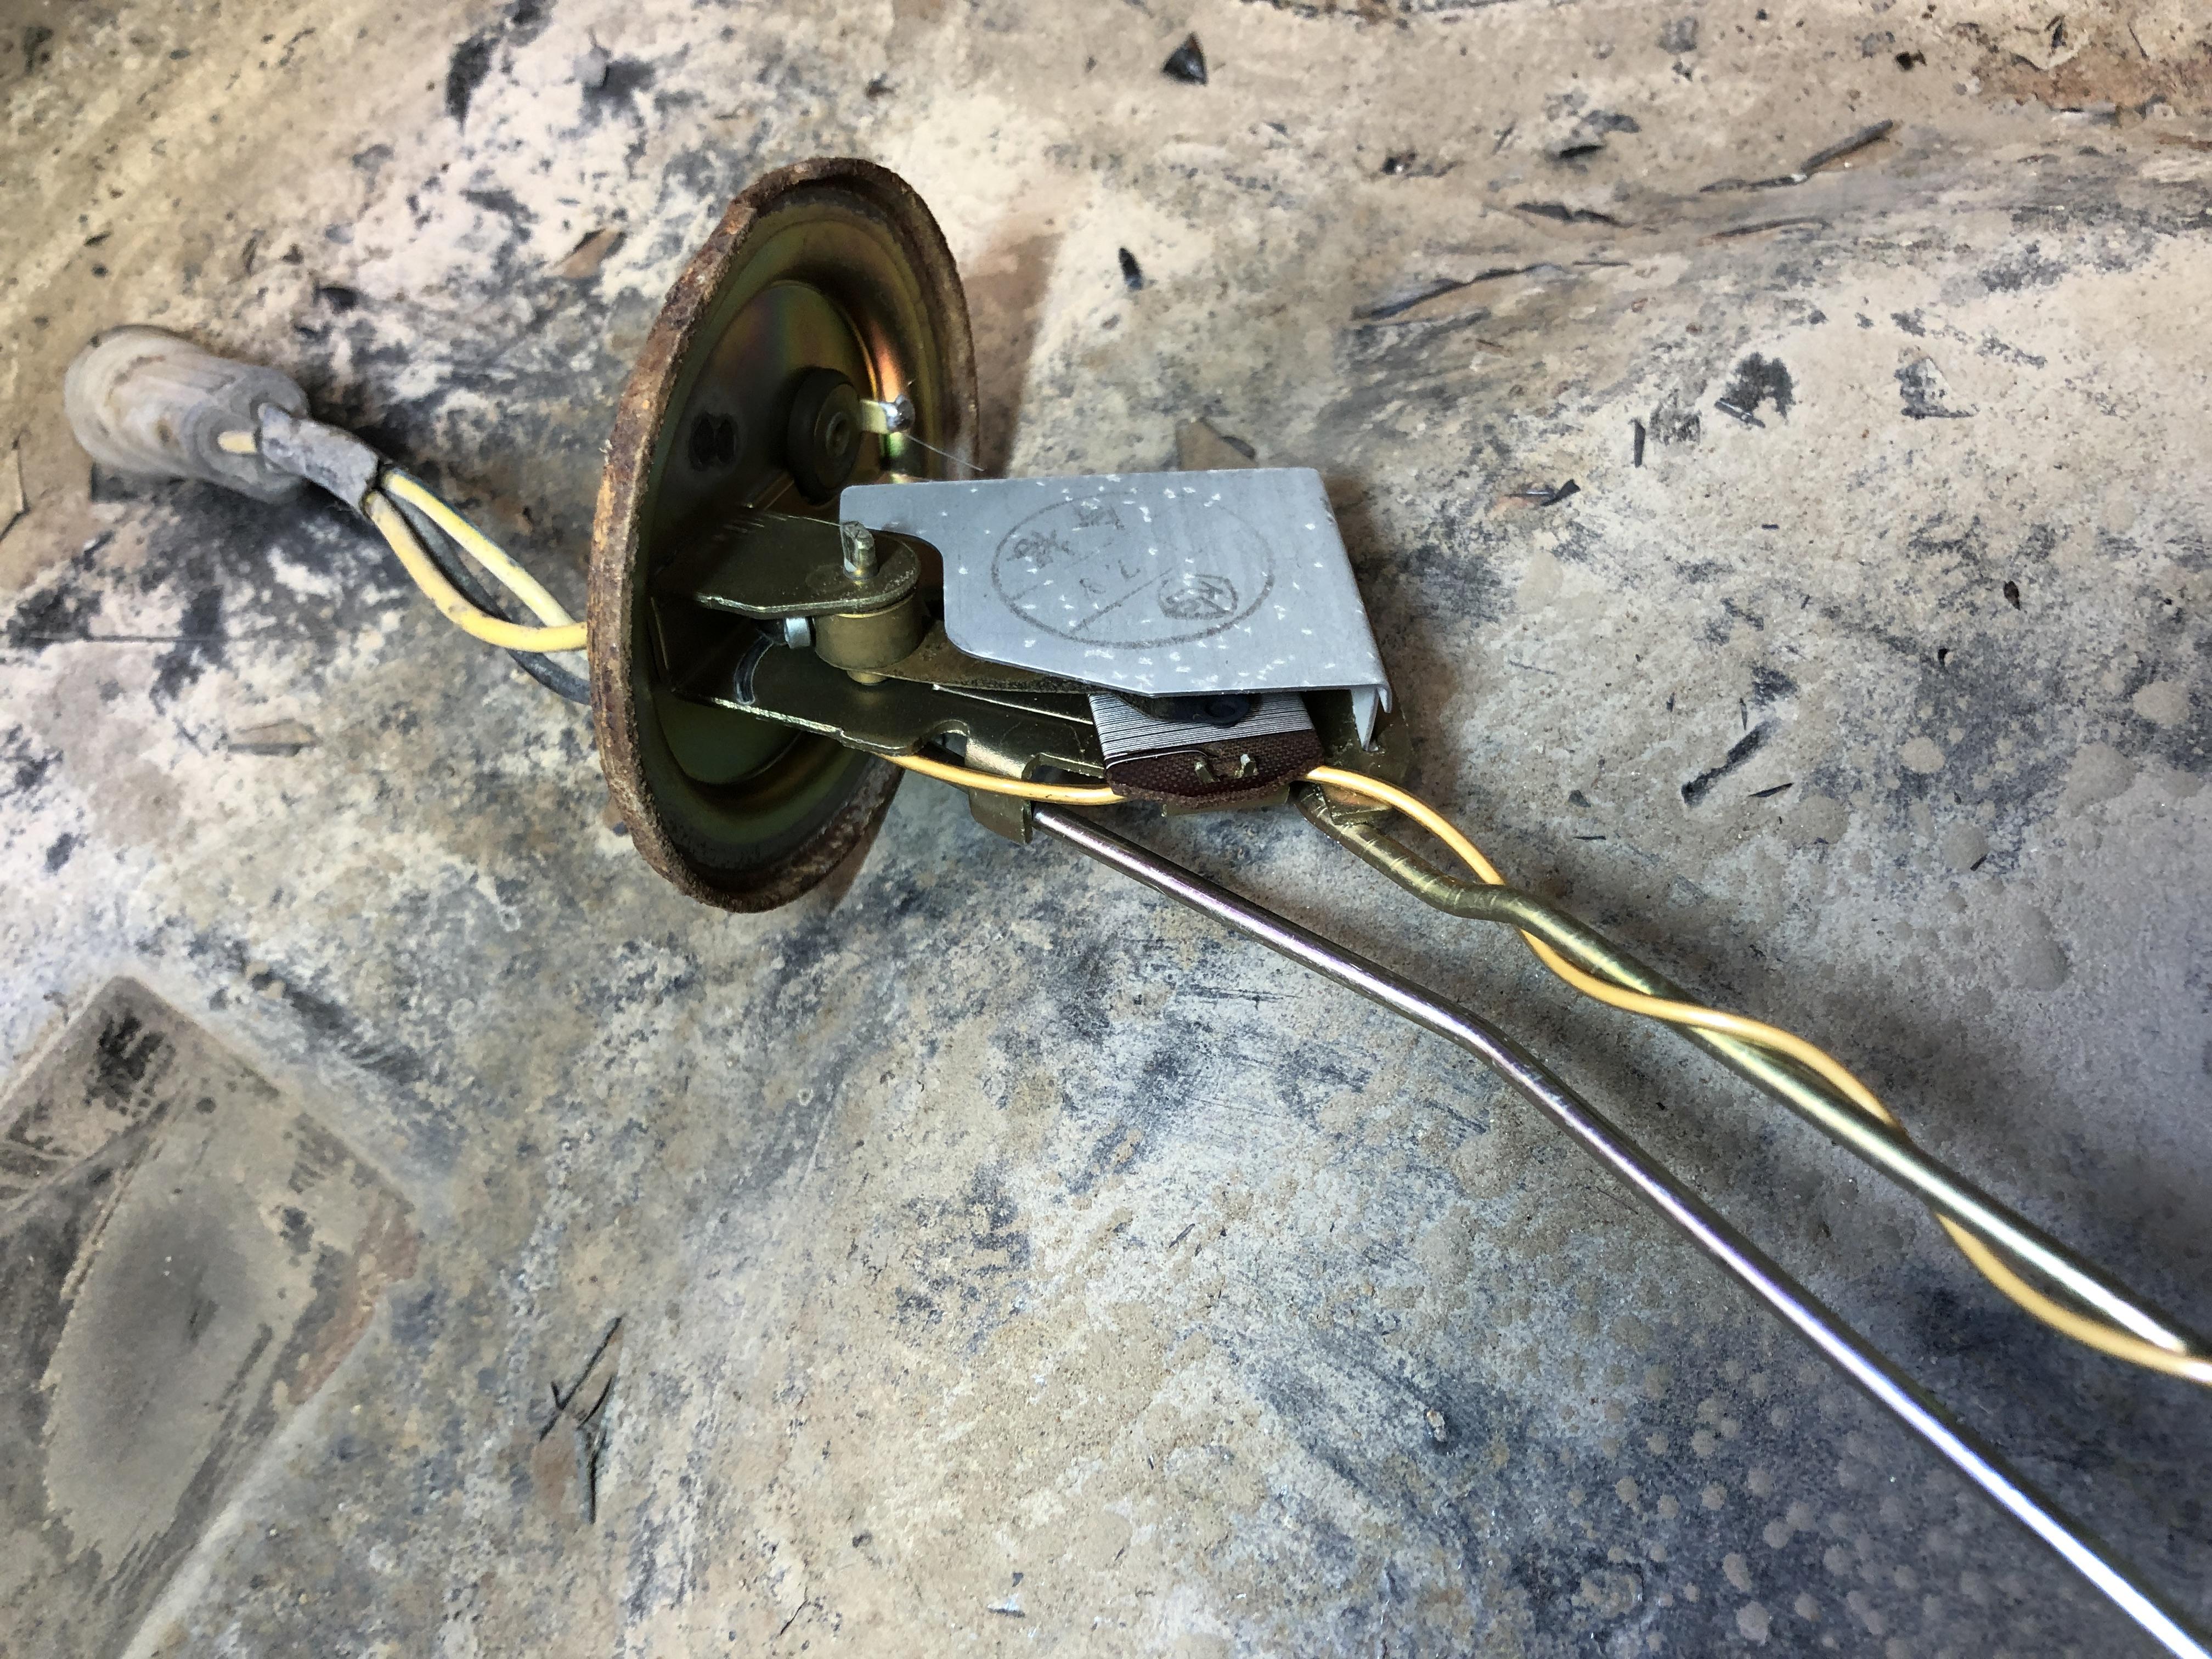
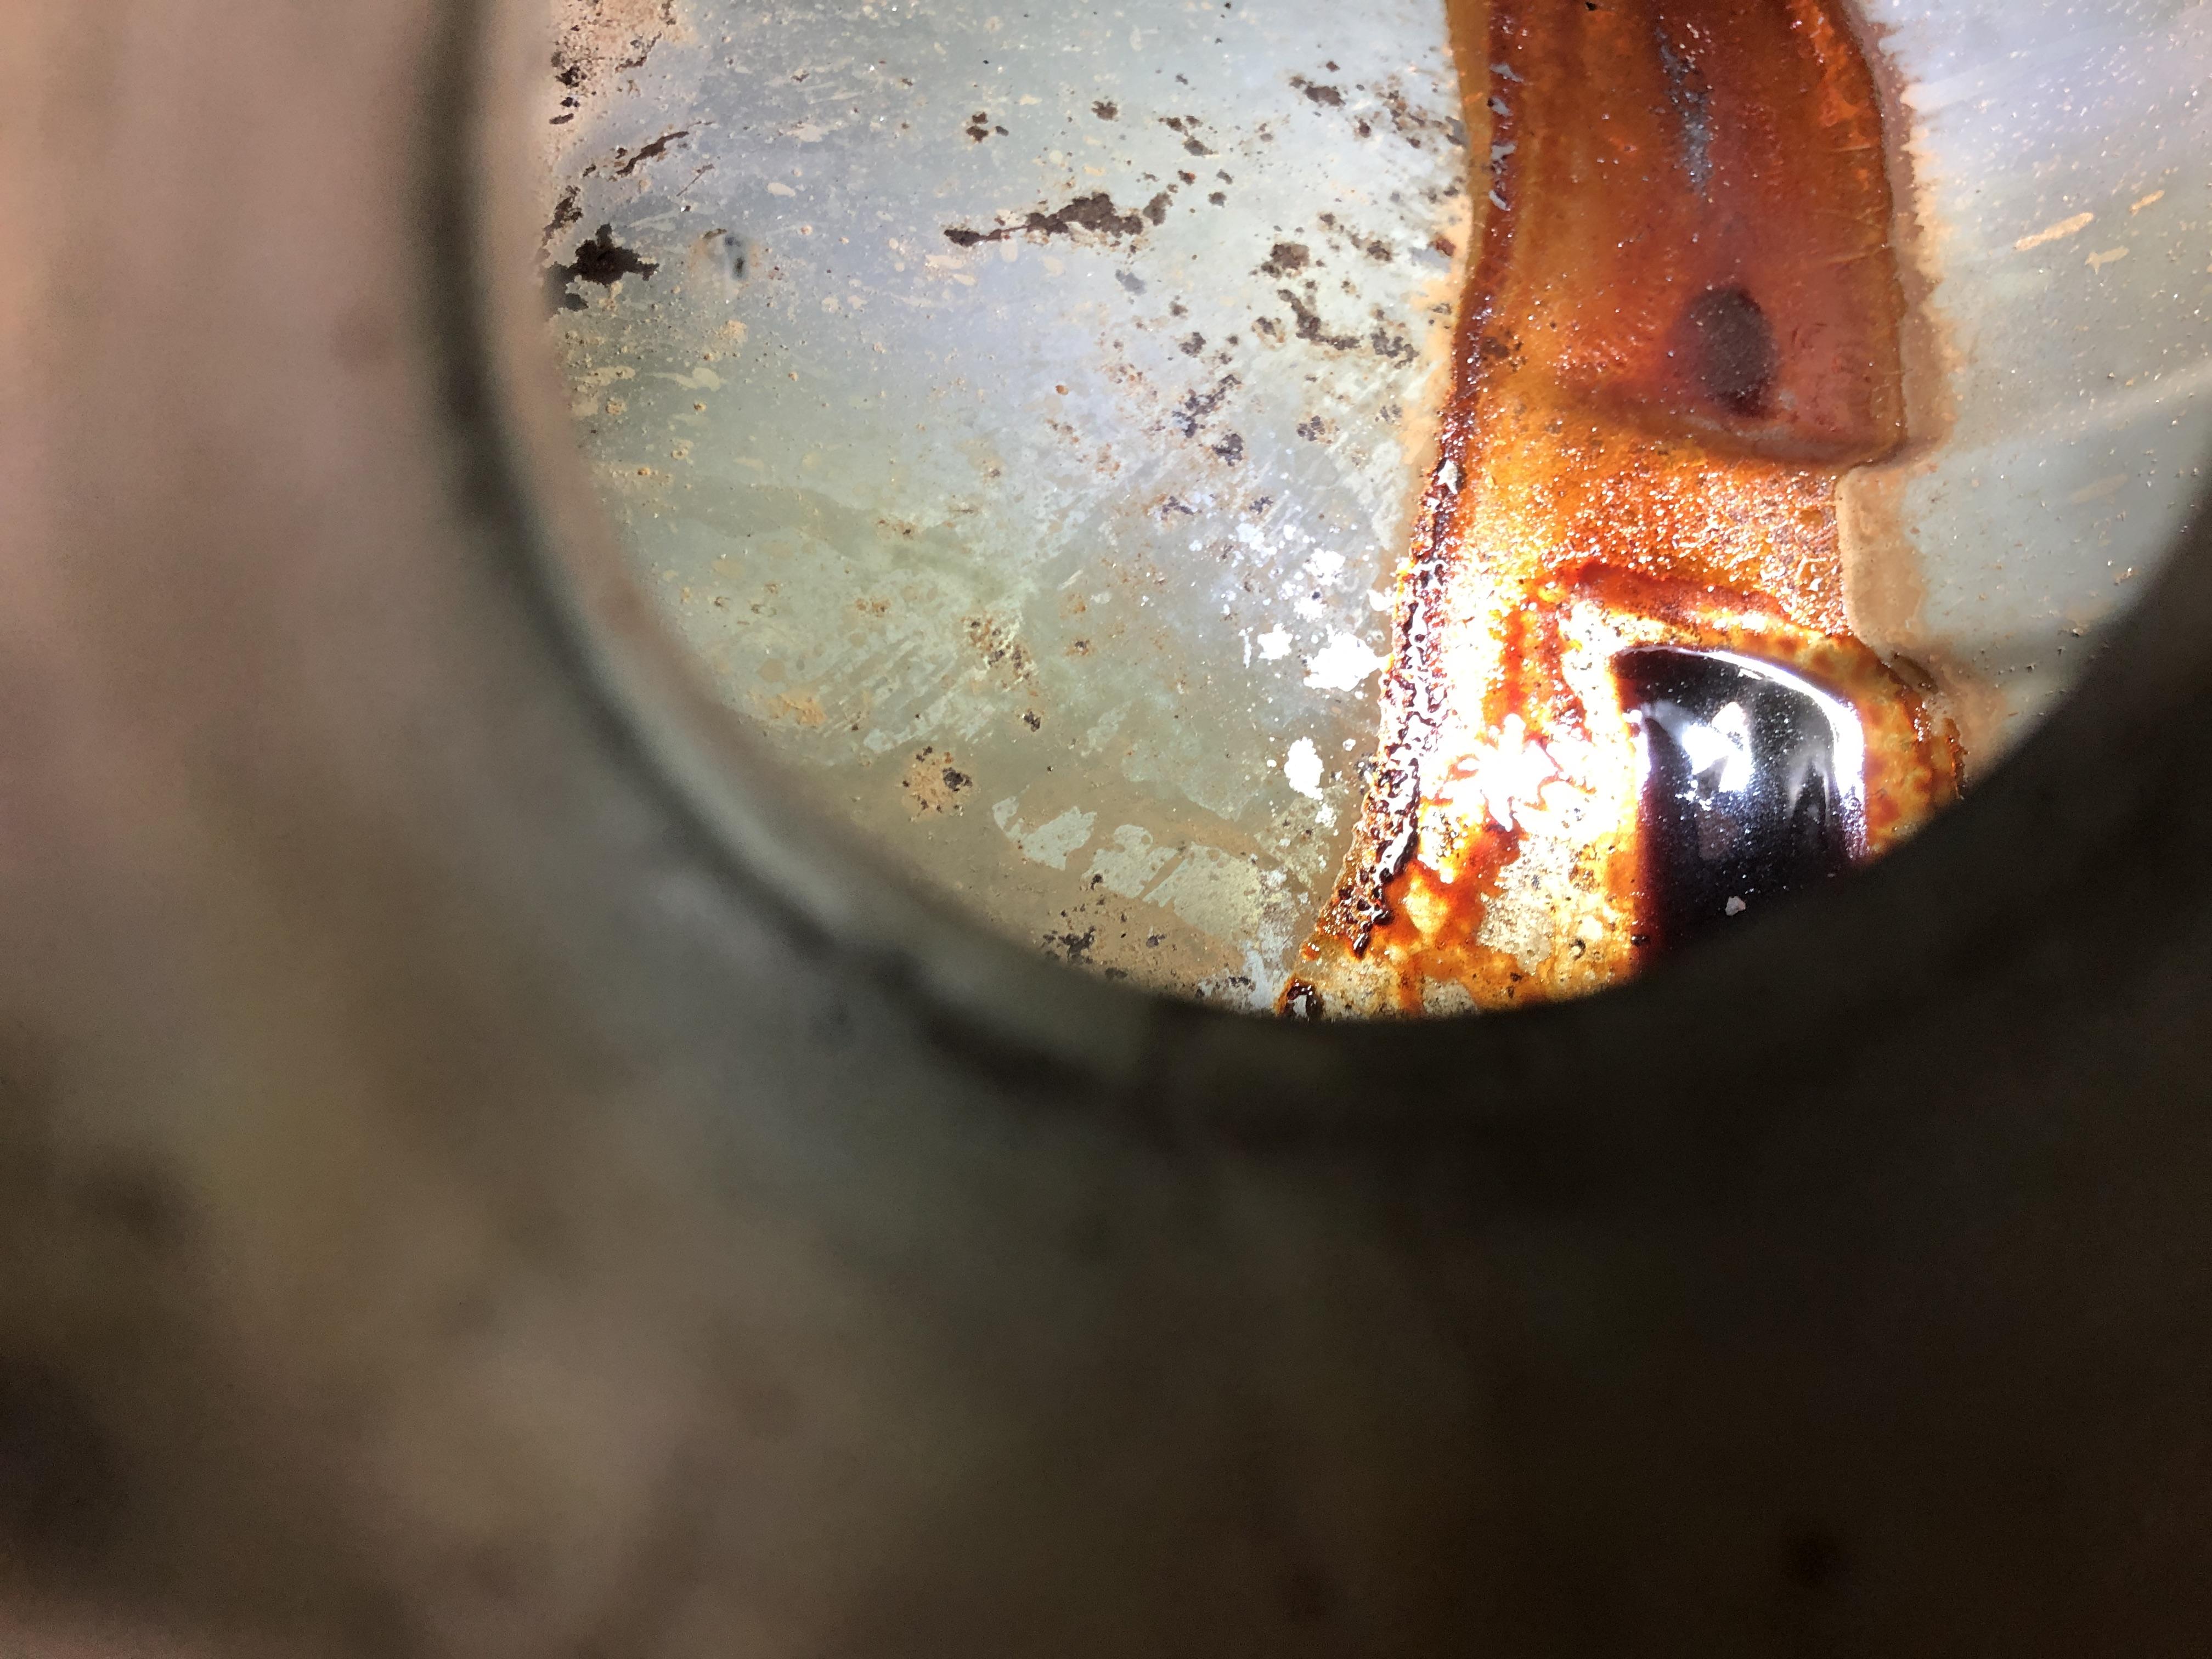
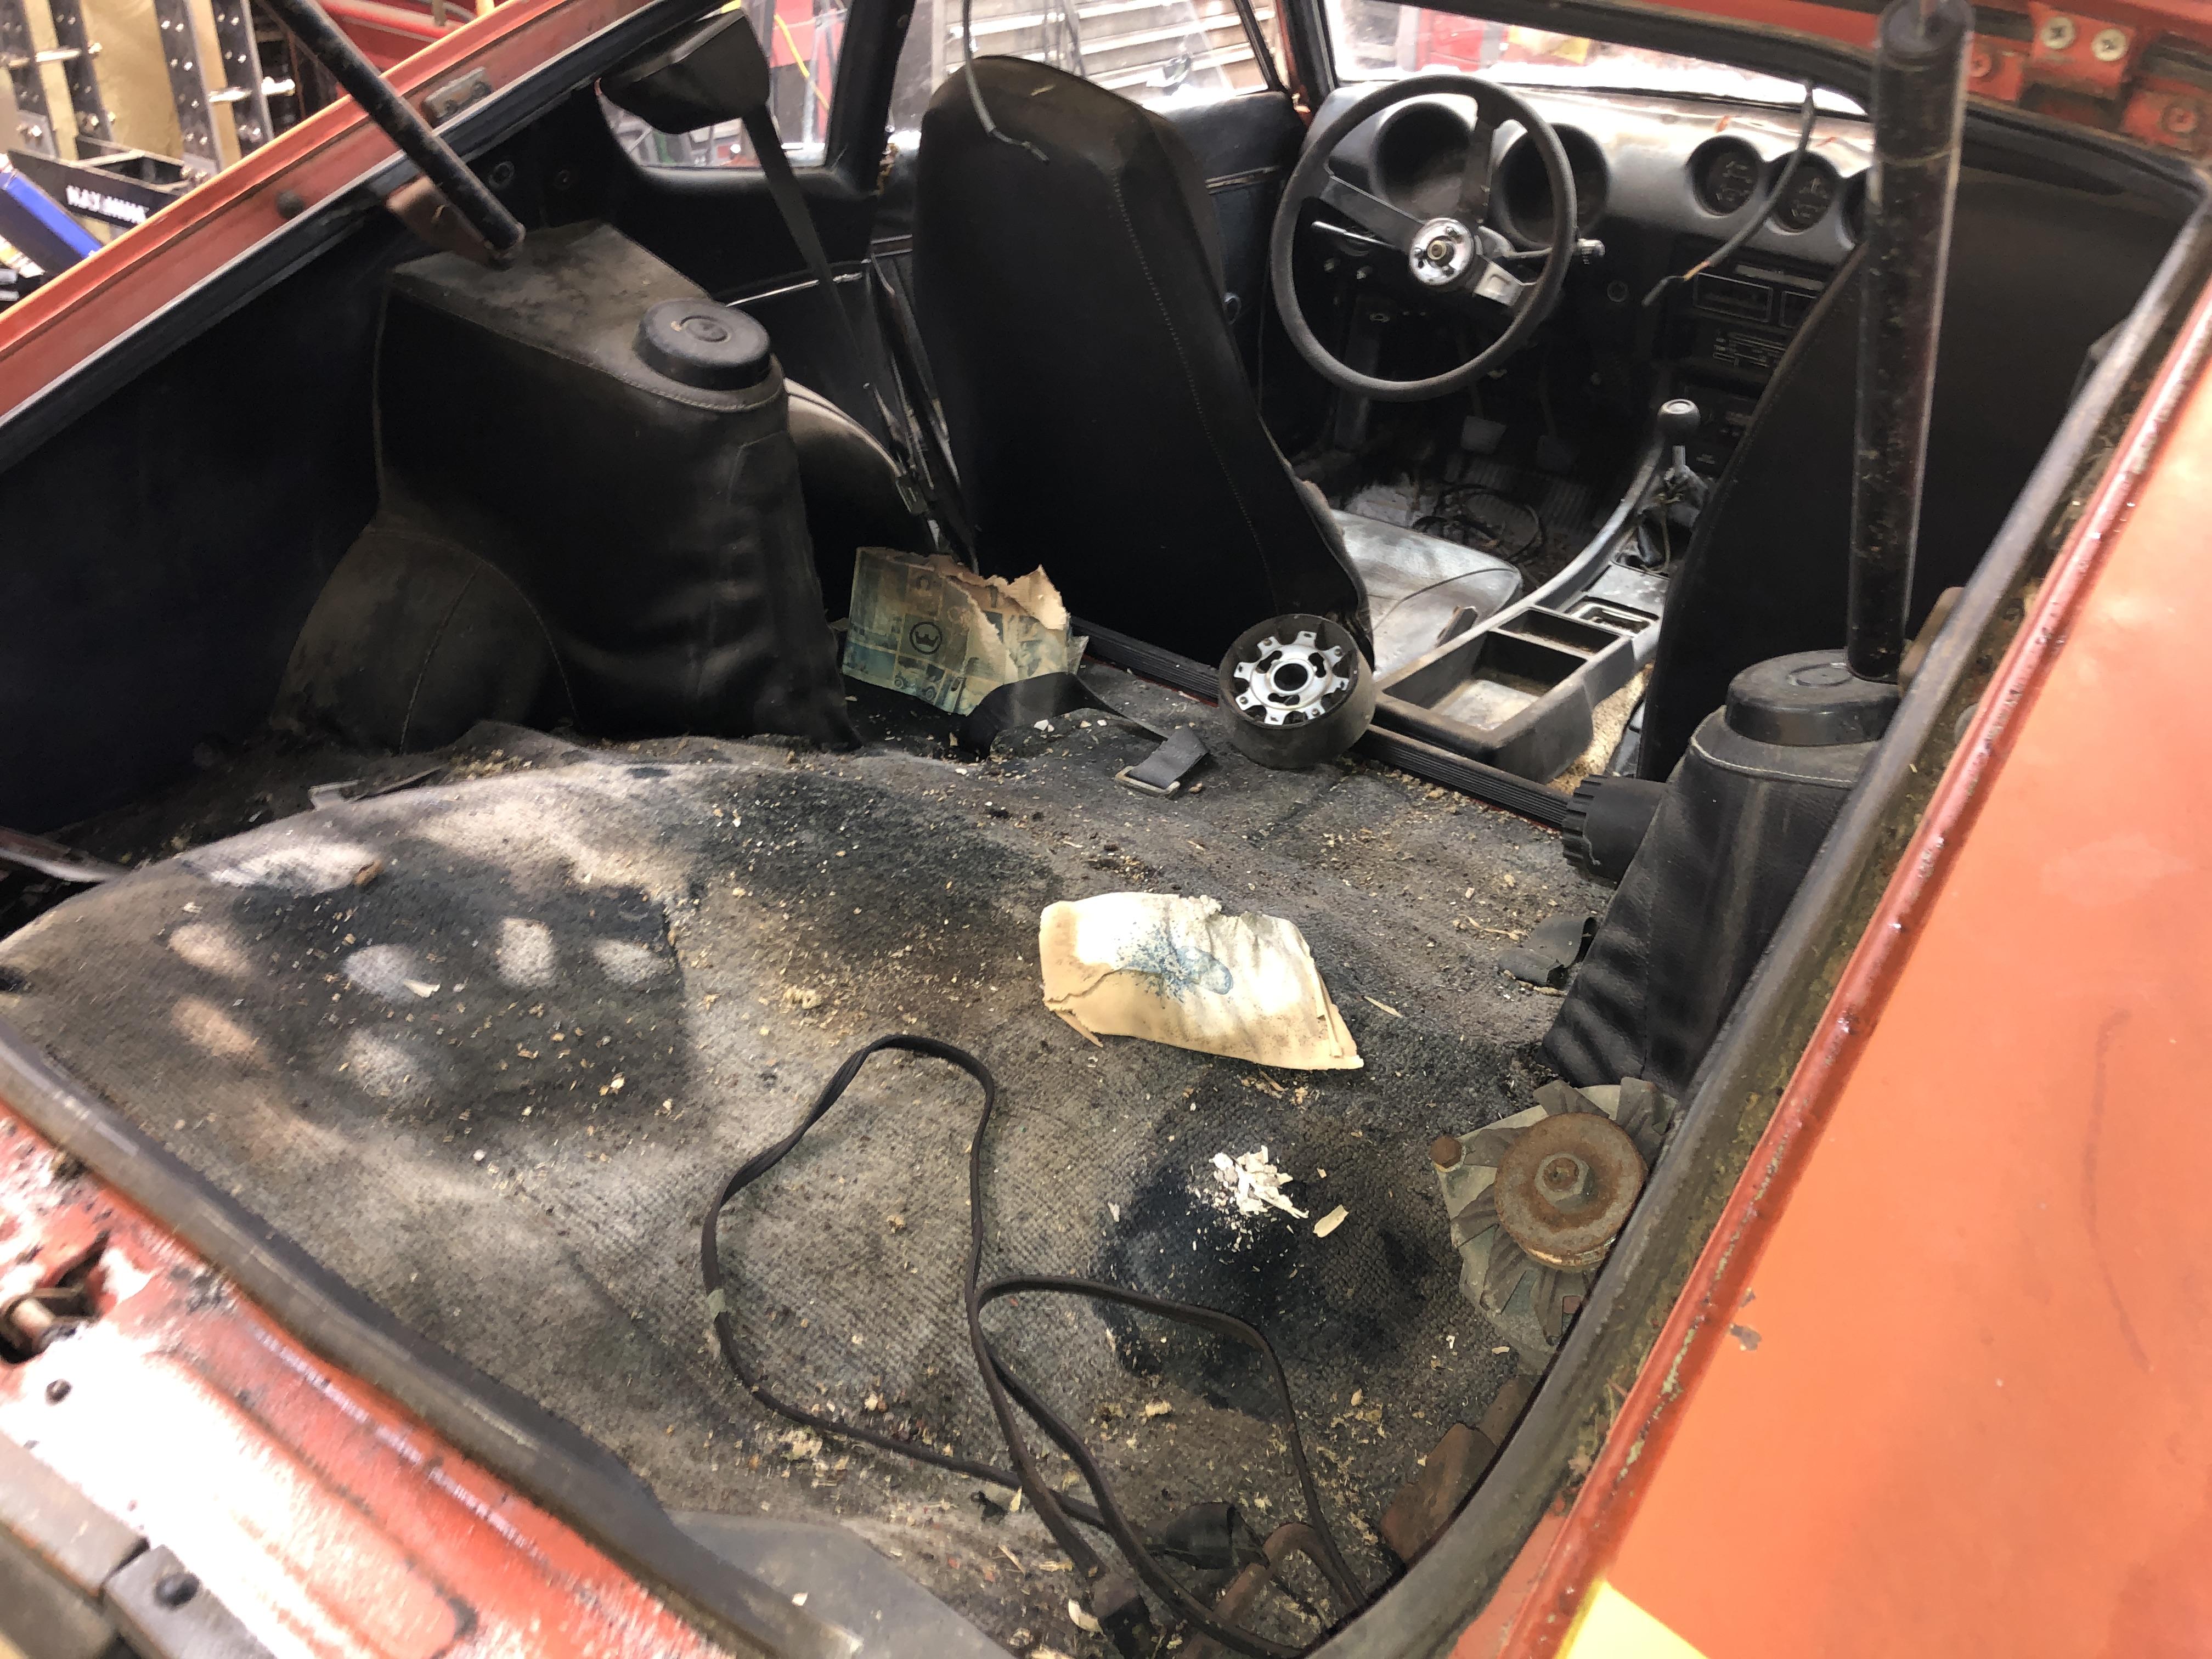
The recent 75 that I just parted out displayed quite conflicting “usability” or should I say “re-usability” in many components that come in twos. The car had sat outside for I’d estimate 10-15 years at least. 95000 mi on the clock. 195000? Maybe.... 1. Spindle pins. Right side came out easily with my usual simple air hammer technique. Left side, no such luck. Even after upgrading my air hammer to the best one available (ingersol-rand 123KMax) and heating with dual MAP gas torches to 600C +, not even a micro-millimeter of movement. Off to the machine shop we go. I even cleaned out the cross pin area, although it came out without a fuss. Haven’t had to seek outside help for quite a while. 2. TC rods. Right side is near new, left side again not so much. Significant corrosion under the sleeve at the bushing end. Just enough to make me not want to re-use it. 3. Drum brakes. Unlike the usual drum to hub corrosion, this left side came loose with only a few hundred mild blows from a 5 lb, but then had to literally pry the drum off, the totally worn out brake shoes where bonded to the totally worn down steel liners and actually peeled off parts of the liner when it finally gave up. Right side? Just came apart..... 4. I previously shared my struggle with the lug nuts on the left rear side. One that had to come off with a ridiculously long snipe and a left hand thread lug remover socket So its no mystery to me that the car sat more on its left side in a damp spot. There were also many pleasant surprises. The gas tank interior was sparkling clean, as well the fuel level sender. The filler hose is still soft enough to re-use easily. The tank itself has some dents, which I will chronicle the removal of here later. Going to try one of the hot glue slide hammer dent puller thingamadooees. The hinges are like new, pin play and roller detent wise. How is this possible? The e-brake cables are free to move in the sheaths, which are in great shape! Again, Huh???? The rest of the linkage is dirty and seized some, but un-seized with little fuss. Even the lousy M6 threads on the adjusters just cleaned up with a wire brush and PB Blaster and the nuts move just fine. The little rotten cotter pins all came out with a fuss, as did the the square C clips that hold the brake sheaths to the brackets under the car. The tar mat sound deadening came off in huge sheets with my fingers. ok, the floor under them was mostly gone, that ones not fair. The steering wheel, the infamous sponge rubber “rotten on top where the sun shine, not bad the rest of the way around” was EVENLY rotten all the way around. Spooky. Actually feels nice high grip in use. The wiring is totally un-molested and in pretty good shape. No the clock was not working. I was sure it would work given the other nice surprises. Wiper linkage and motor. Primo! Even the 6 little M5 bolts that hold the linkage to the cowl came off without much fuss. Sun roof. too bad..... Front clip from in front of the shock towers forward, near perfect. Remember the hood prop clip still in place and unbroken? Still is. Saved it. Battery tray and surrounding body is nearly rust free!!!!!!! Saved it Now the rest of the body from the rockers down, actually bottom of doors down, was GONE. It was neat to see the seat rails still attached to the sills and trans tunnel, but half gone on their bottom where the floor was.....
 1 point
 -
1 pointView Advert Nose Mask (Bra) Here is a really nice Bra for the front of your 240Z. Only used it a couple of times. Shipping is extra. Advertiser Marty Rogan Date 02/18/2021 Price $50.00 Category Parts for Sale1 point
-
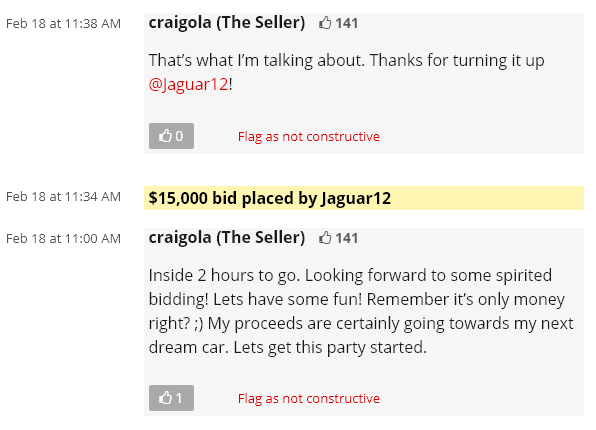
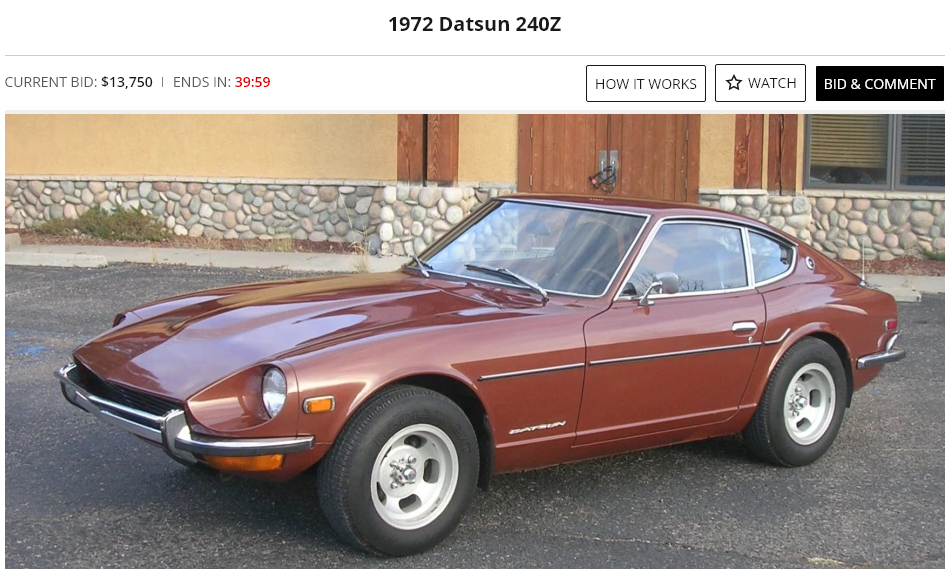
So you're thinking about bidding on a car in an internet auction. Does this help? Makes me cringe. https://bringatrailer.com/listing/1972-datsun-240z-166/
 1 point
 -
1 pointYeah, the bucking is how I explained my coolant temp sensor problem before I installed a potentiometer. It would buck until about 2,500rpm and then pull good. Make sure these connections are good and clean, tight. You can crimp them down a little too. https://atlanticz.ca/zclub/techtips/tempsensorpot/index.html1 point
-
1 point
-
1 pointBucking during acceleration sounds like the typical lean AFM problem. But the black plugs suggest a rich problem. The video sounds like an ignition miss. Here's another simple check - the FPR vacuum hose. If the FPR diaphragm blew that would be a sudden problem. Check it for fuel, it should be dry. 1977 has the old weak ignition system with the ballast resistor. You should check it carefully. They fail on a consistent basis. Old. Forgot to say - check your fuel pressure if you can. Might be something simple like a failing fuel pump or a clogged filter.1 point
-
1 pointThat’s correct. There are a few variables that can alter the print quality, but the individual layering will always be visible.1 point
-
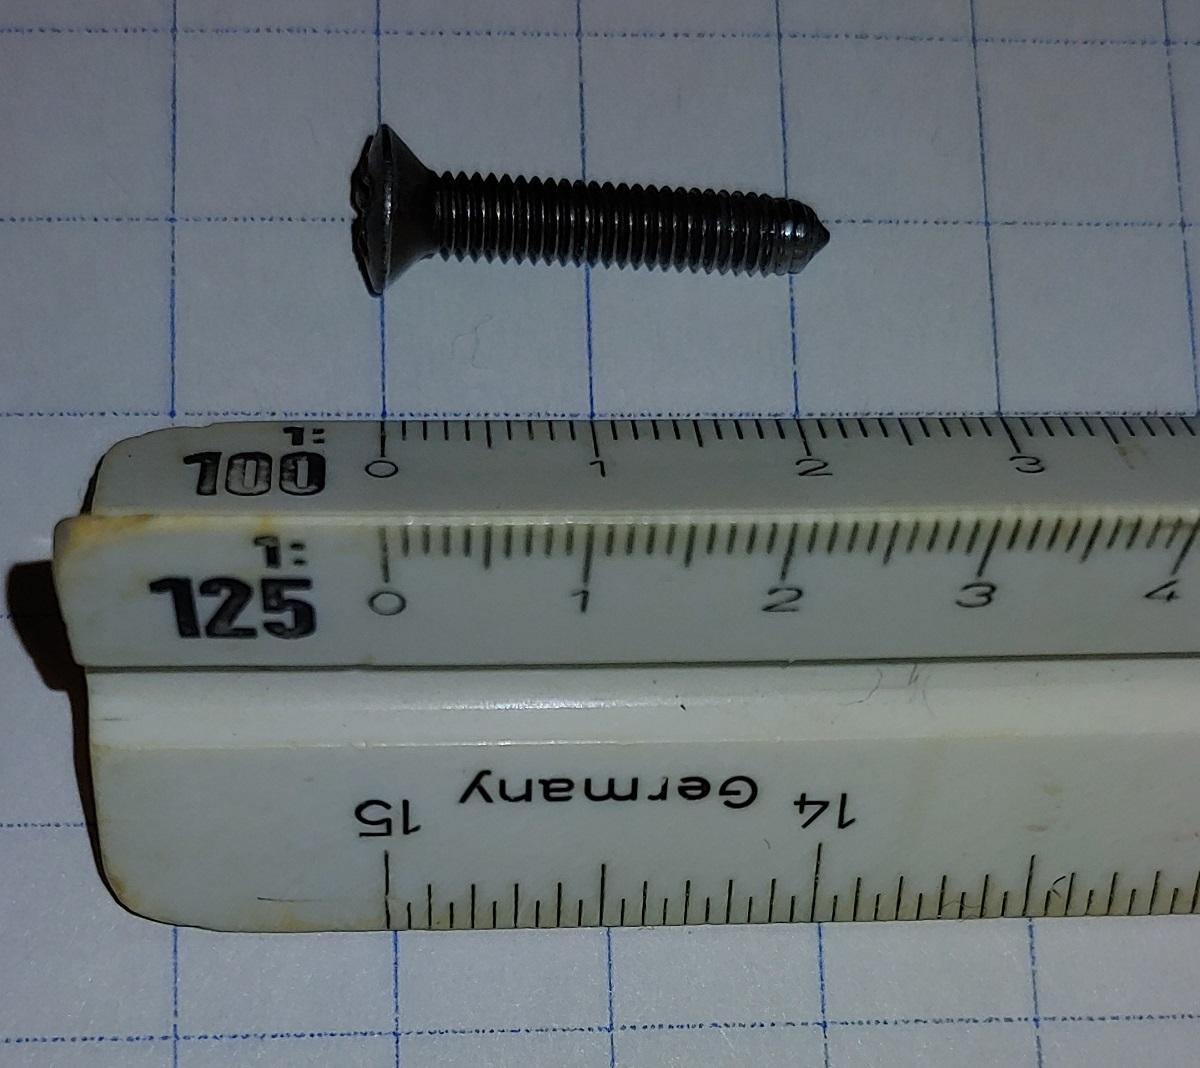
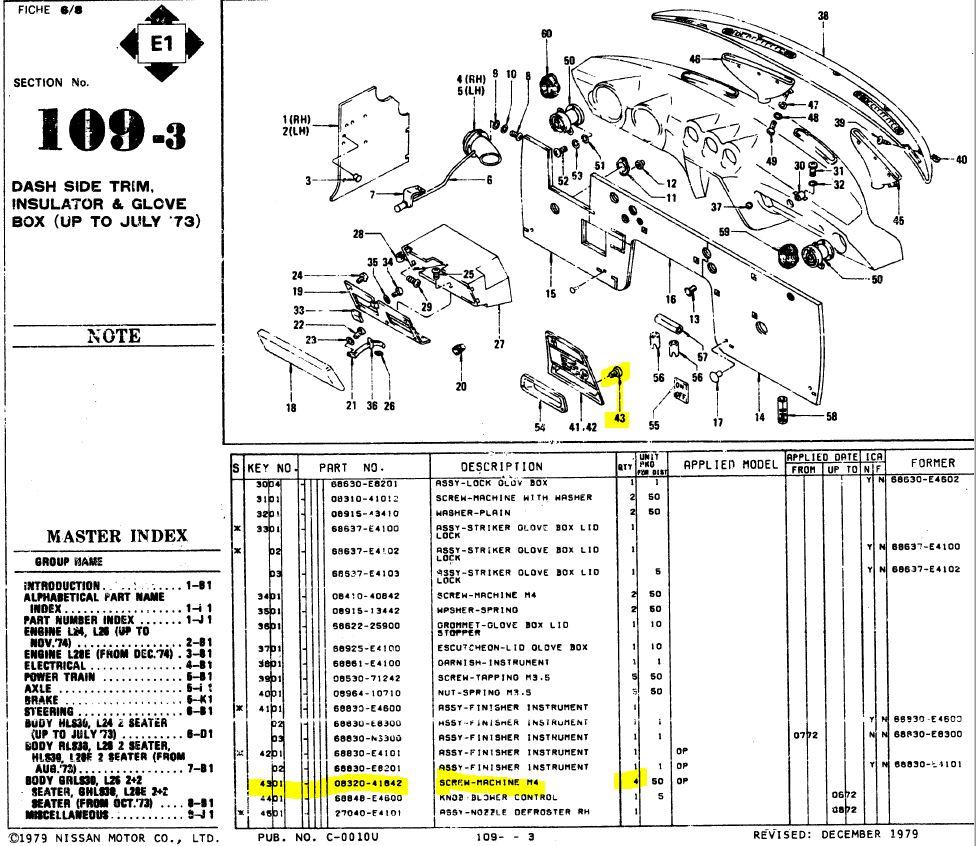
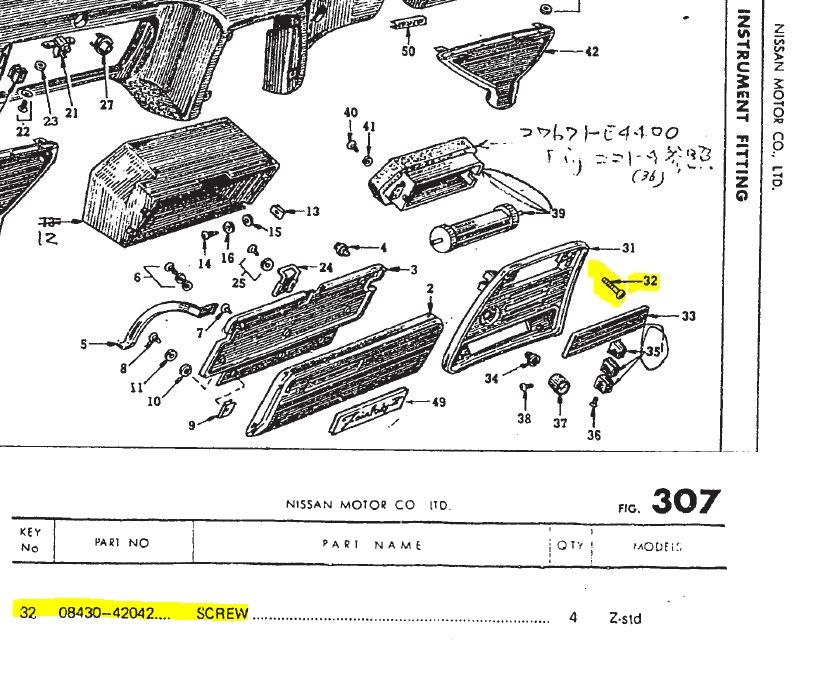
Thought I'd use the heater panel screw as an example to use the NES ten digit part number system to decode and compare to one of the screws from my 7/70 car. From the US Nissan parts book (1979) the part number is 08320-41842 and decodes as follows: 08320-41842 SCREW-MACHINE M4 08 = standardize hardware prefix 32 = Machine Screw, Flat head 04 = 4mm diameter (M4) 18 = 18mm length 4 = Phosphoric acid coated (Black) 2 = filler to complete ten digits When I look at my screw it has an oval head and was a bit longer, here's a picture, So I had a look in the 1973 JDM Nissan parts book and found a different 10 digit part number, 0843-42042 and decodes as follows: 08430-42042 SCREW-MACHINE M4 08 = standardize hardware prefix 43 = Pointed Machine Screw, Oval head 04 = 4mm diameter (M4) 20 = 20mm length 4 = Phosphoric acid coated (Black) 2 = filler to complete ten digits This describes mine exactly, unfortunately I am missing one. What screw type do others have, oval like mine or true flat head? Here are images from the US and JDM parts books. The illustrations are much better in the JDM version.


 1 point
 -
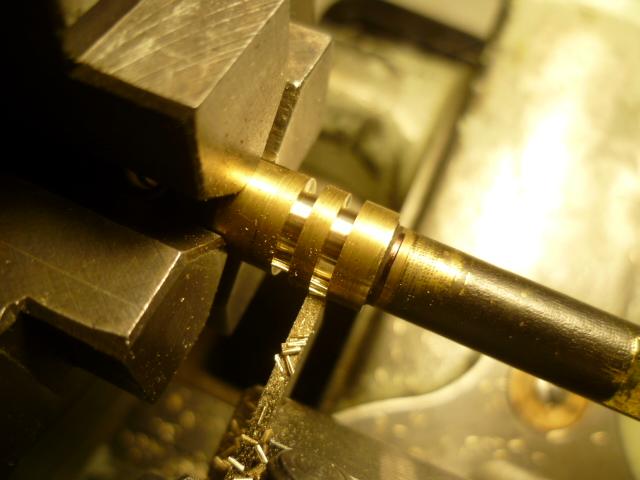
Building back up with new chrome is a technique used often to repair shafts. But they're expensive shafts that make a $450 replacement seem like a bargain. Big hydraulic cylinders, etc. So yes, that's absolutely a viable technique to fix the wear, but might not be cost effective. I don't think you want to entertain turning down the shaft ends just for sleeves. Alignment would be very difficult. Would probably be easier to just make a whole new shaft. As for sealing the vacuum leaks, you're right... Plugging the short end is easy. It's the inboard ends that are more difficult because of the linkage stuff. My solution is O-rings on the shafts. This pic is for a flat-top I'm working on, but the concept is the same:
 1 point
 -
Dash to firewall are all M6 1.0 but are machine screws not self tapping, the ones under neath the ends are the same. Even the two in the middle at the trans tunnel (four for 280’s) are all M6 machine. They do have a starter tapered thread at the tip I suppose. The self tappers that hole the vent levers are #8 roughly, quite coarse. Sorry don’t have the exact spec. the four heater panel are M4 x 0.7 about 30 mm long, 25 at least. Run a tap into the threads on the dash to clean them up. They like to get cross threaded and nasty.1 point
-
1 pointIn the middle of sub 10 F temperatures, been working on the routings for the AC hoses. Being one of the very few things on the car that's not original, I wanted to do the AC installation with as few permanent cut ups to the car as possible. I plan on routing the hoses down the passenger frame rail so that they'll be tucked away and not as much of an eye sore as the dealer setup was previously. To do this, I created these mounting saddles that I can zip tie over the electrical harness, and will also saddle each of the lines. 3D printed two to rough-in the concept. I think it'll work out nicely with a few more.
 1 point
 -
I've always wanted to decorate my workshop & Garage with some authentic Vintage datsun signs or so, but they're not exactly easy to come by.. So when this one popped up, i had to get it immediately. Yesterday i undertook a 6 hour drive to the other, french speaking side, of the country, to pick up this vintage dealer sign. Due to the language barrier and short time we had, i wasn't able to figure out the history. But the seller had other, similar signs, so i guess it must have been part of a combination with other signs outside a dealership in the french speaking area of switzerland. Nevertheless. i loaded it into the back of my car and brought it home. It's basically an aluminum frame with a plexiglass front which has the datsun logo printed on it somehow (it doesn't seem to be a vinyl sticker or so) I wasn't really sure if it's working or not, and honestly i was expecting the inverters to explode when i power them up, simply to the fact that it hasn't probably been used in decades. But this beeing an "industrial grade" outdoor sign, made by a well known swiss signmaking company, it just came alife as soon as i installed the cable and plugged it in. great! Now i have to find a nice place for it, it is much bigger then what i expected when i bought it. but i love it 🙂 Probably will convert it to LED lighting before hangig it somewhere on the wall, to avoid a repair after a few working hours. This thing is big and it might e tricky to hang it somewhere, so it better should stay there forever 🙂1 point


.jpg.2bc6ff8d9041c5ff2a1a3b117ec21fef.jpg)

.jpg.8fb72692aa142091cf758356d8b978b8.jpg)
.jpg.84c5e9d2de16d2c90f422e1db4d58bfd.jpg)
.jpg.569a85039281a907379f116e52f07198.jpg)